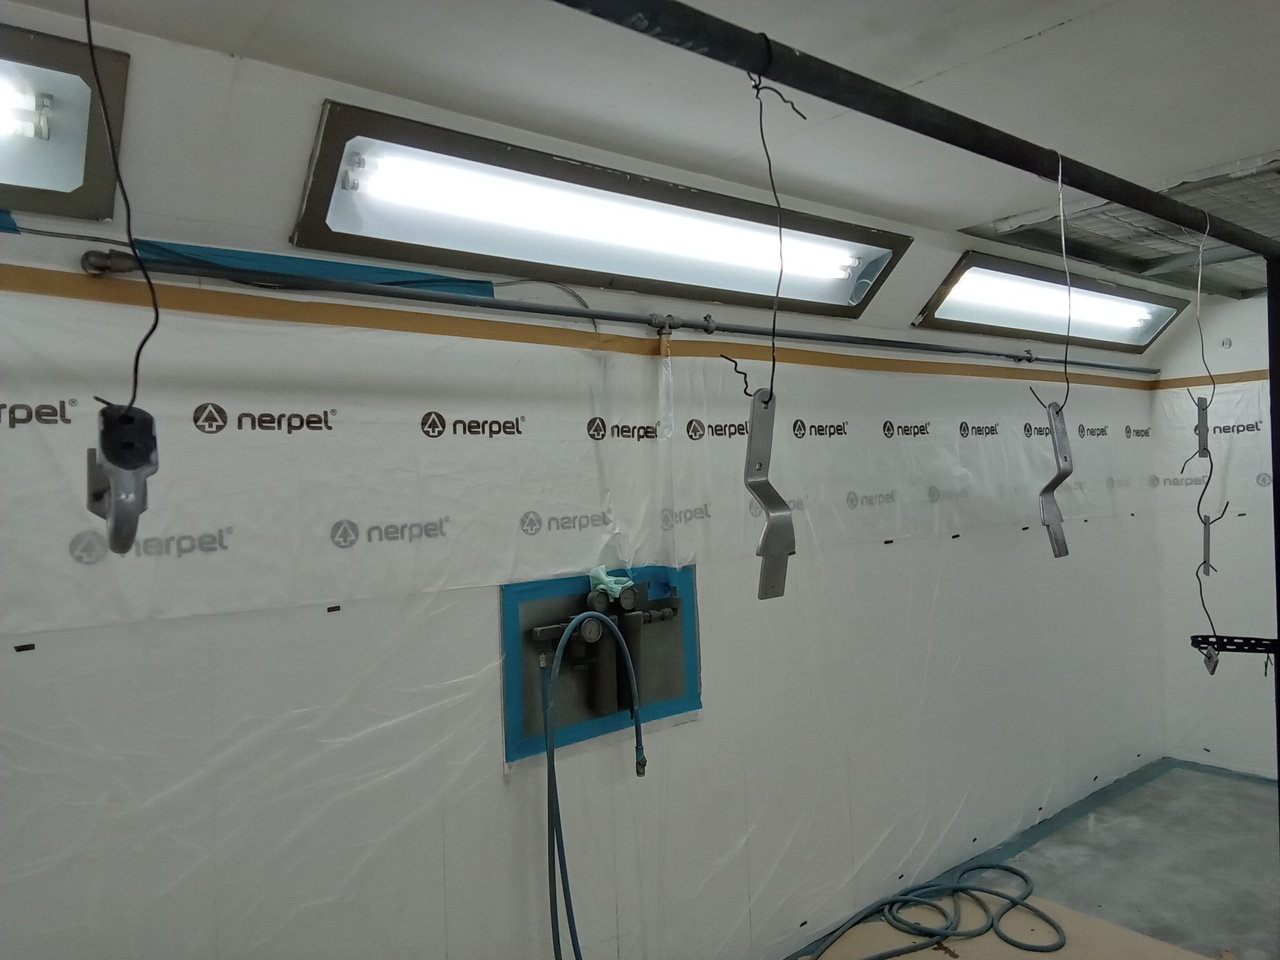
Into Storage
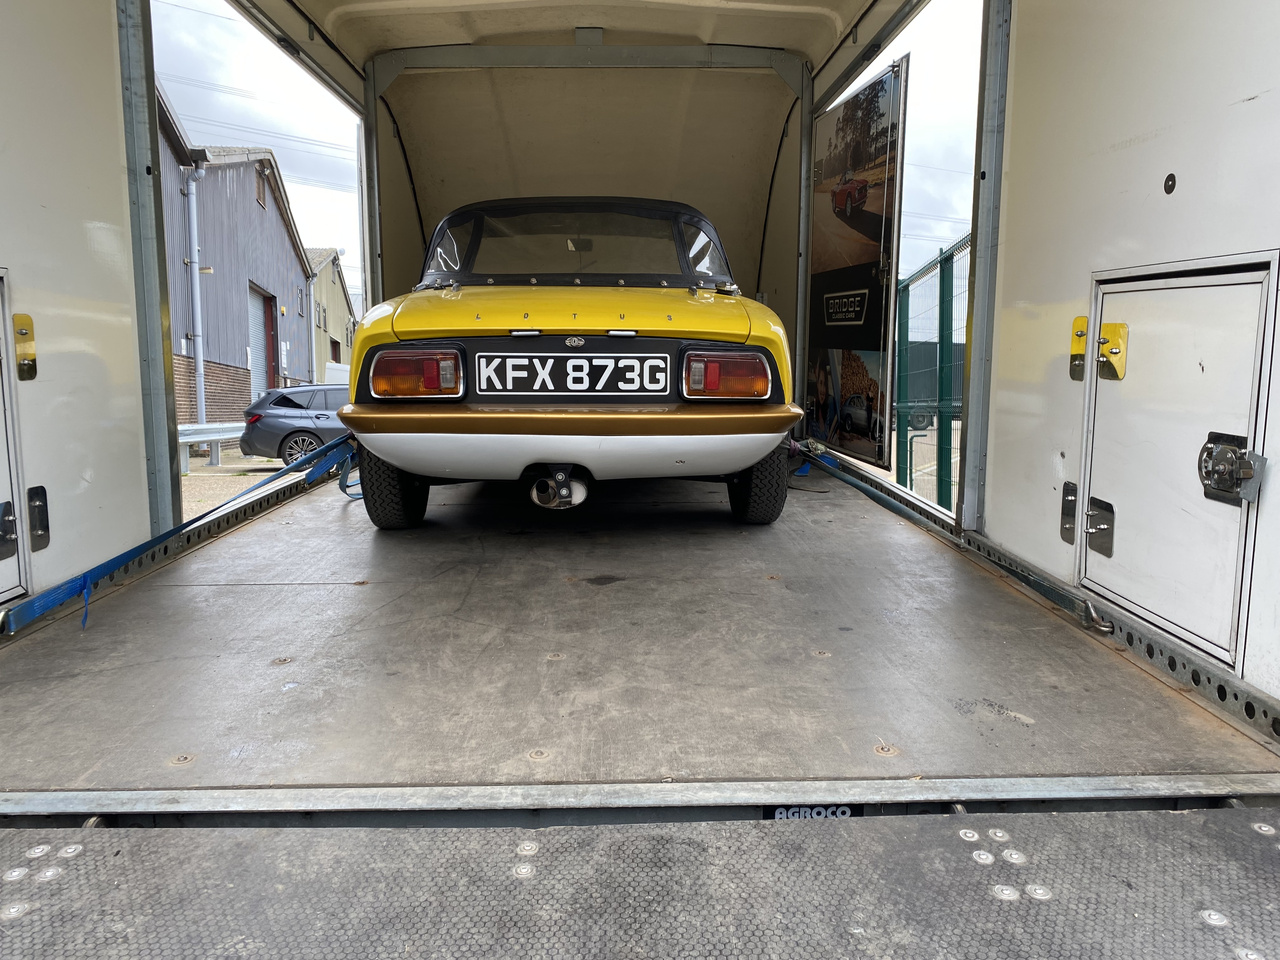
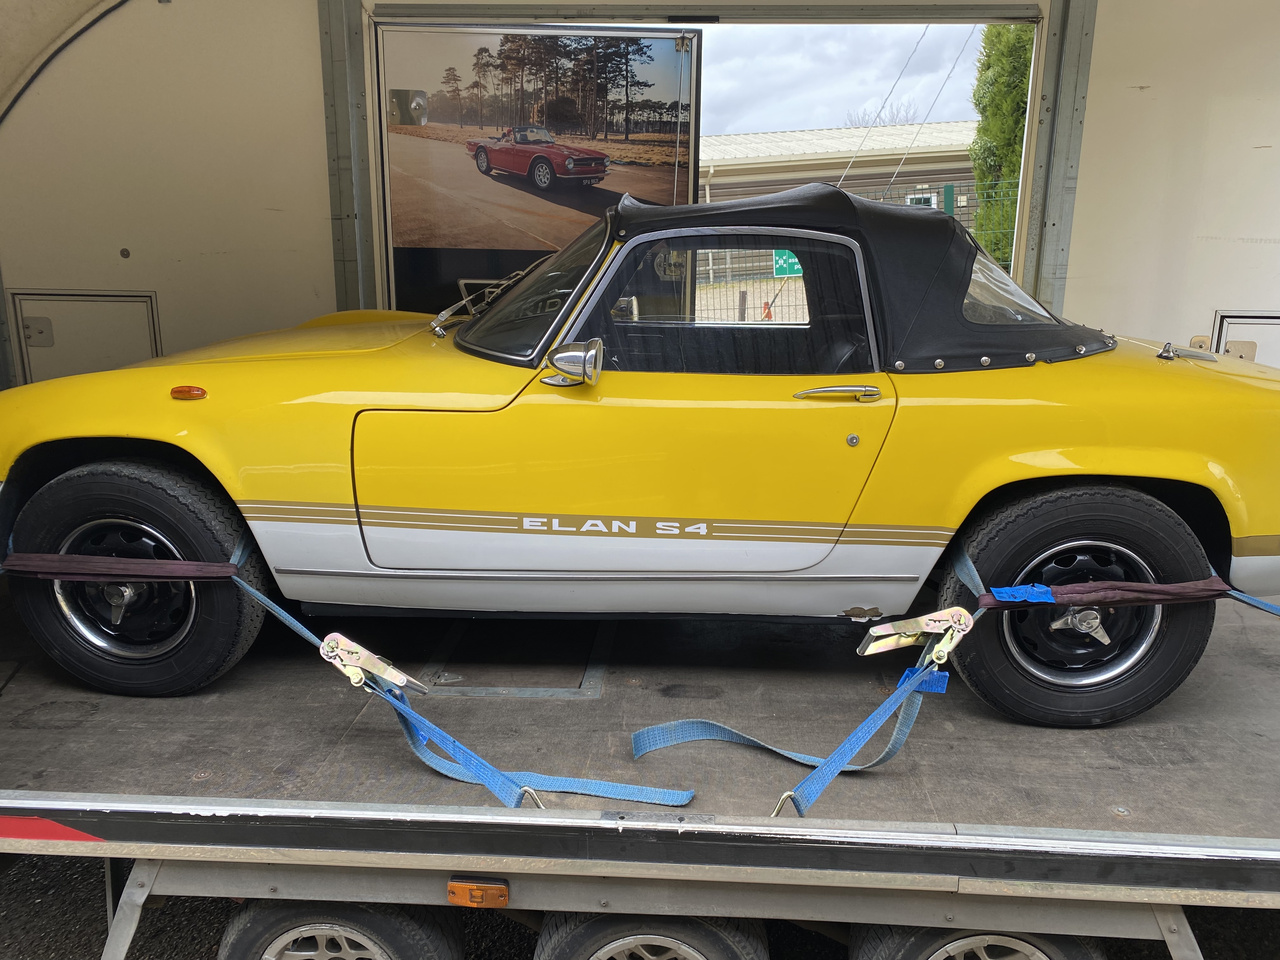
Our 1968 Lotus Elan has been safely transported to our secure storage facility. It will now be looked after in the company of other impressive


Our 1968 Lotus Elan has been safely transported to our secure storage facility. It will now be looked after in the company of other impressive
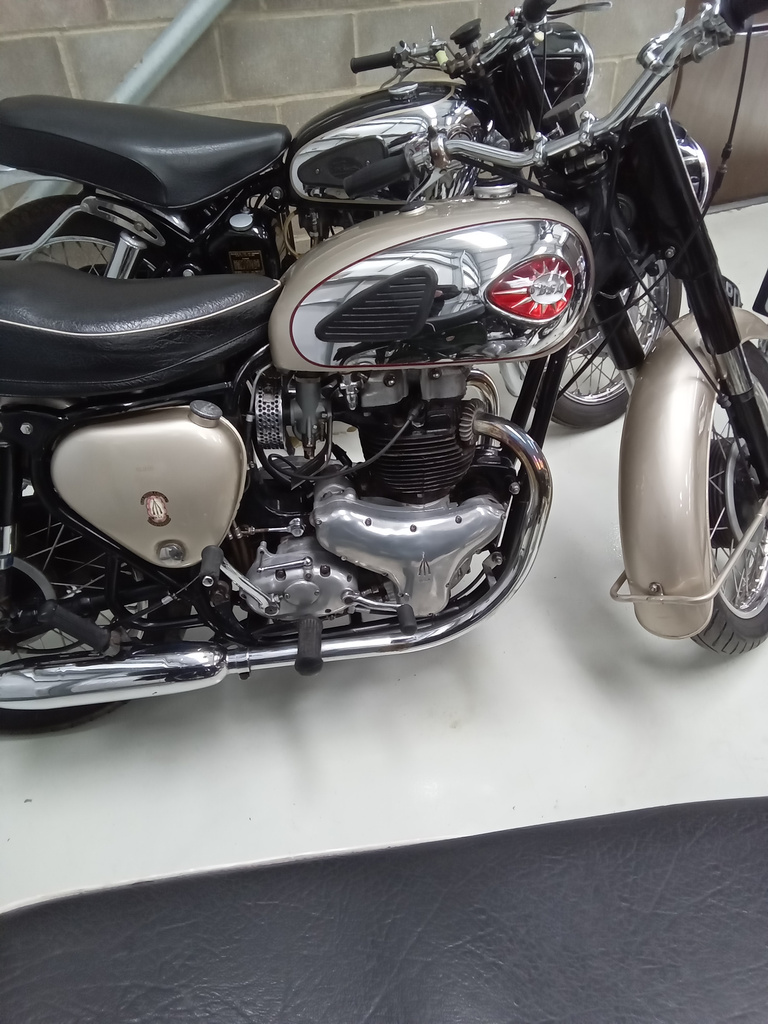
Paul has begun his inspection and assessment of 2 of our recently arrived motorbikes – our 1960 BSA 650 and our 1961 Matchless 350. On

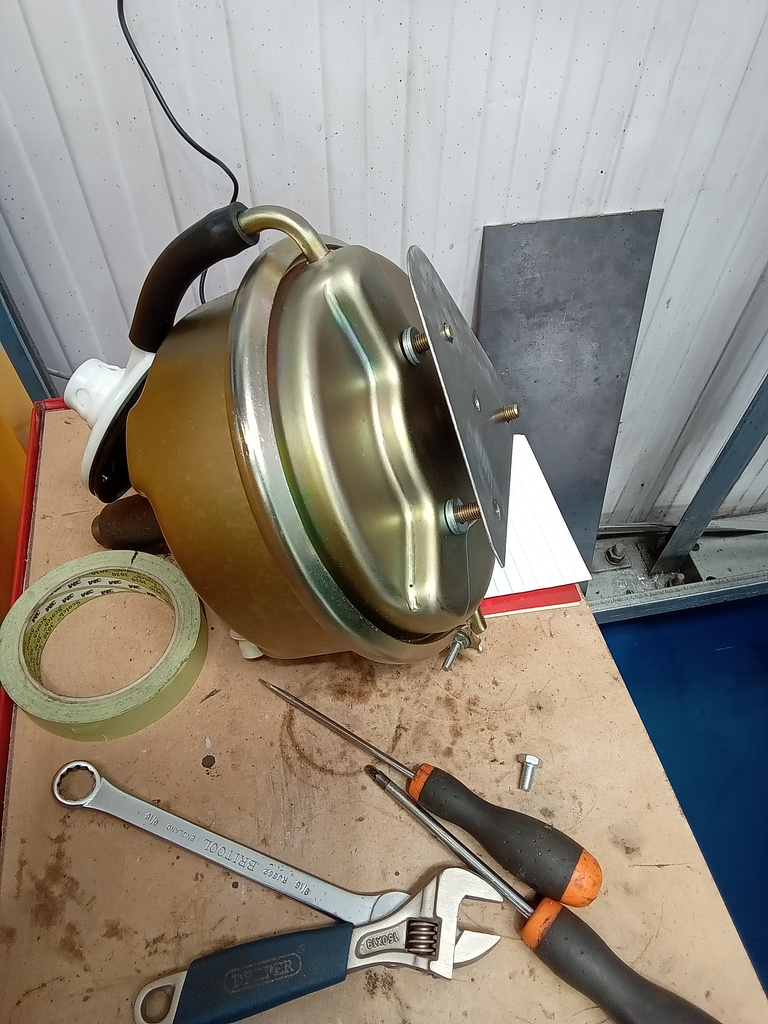
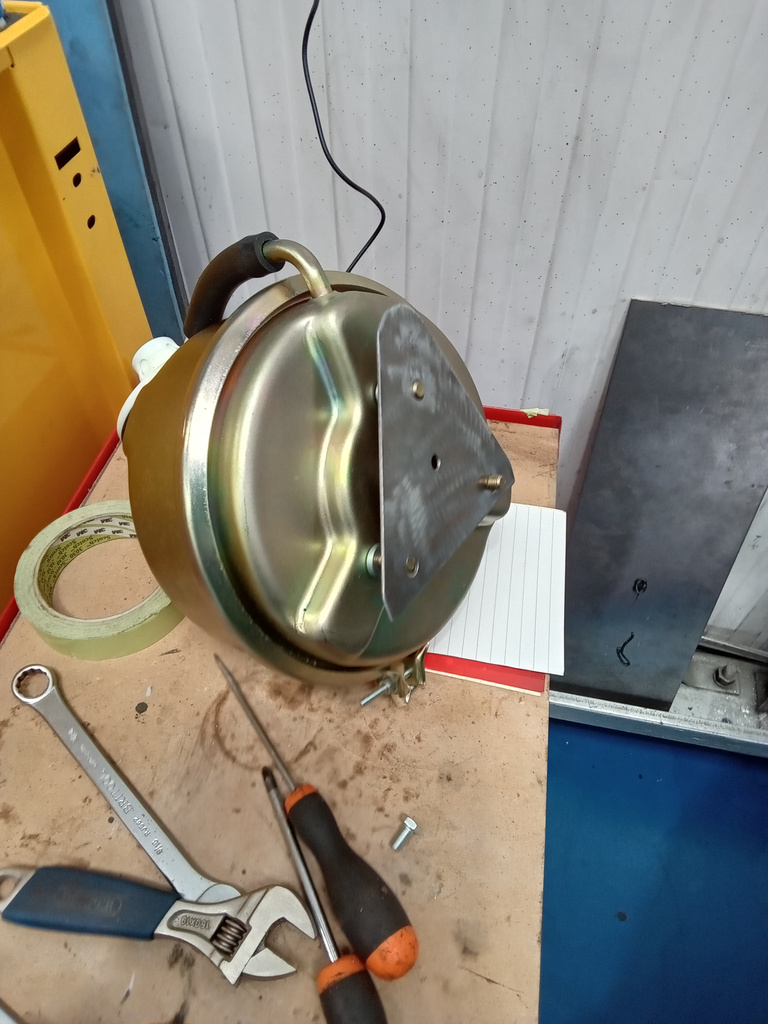
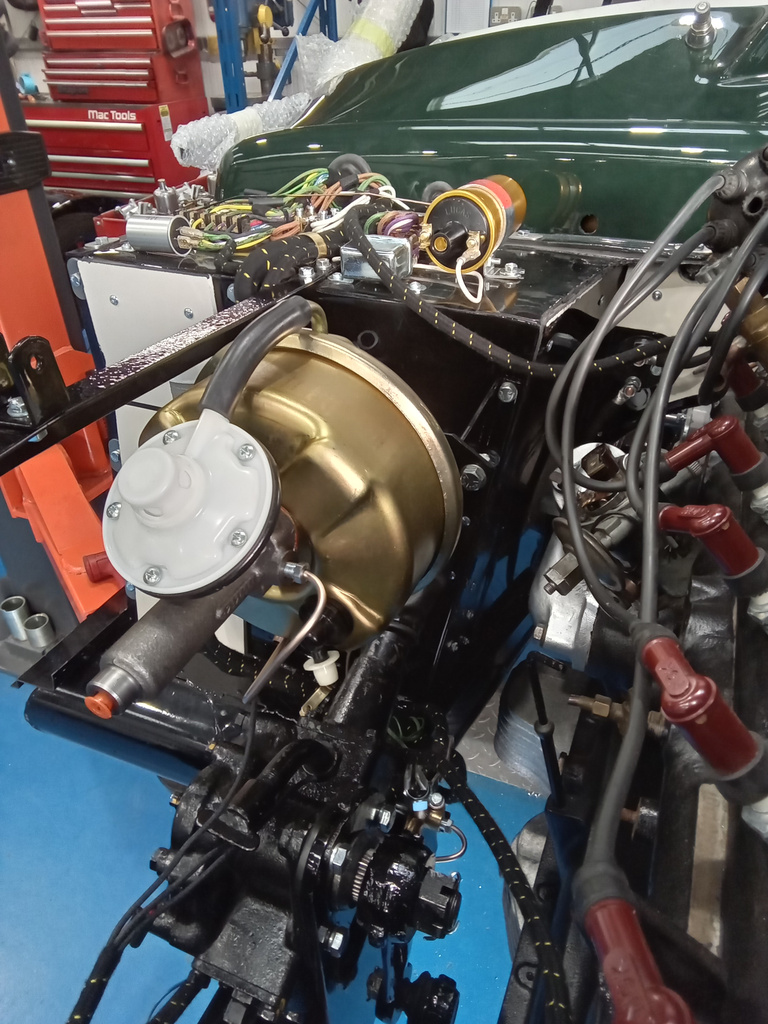
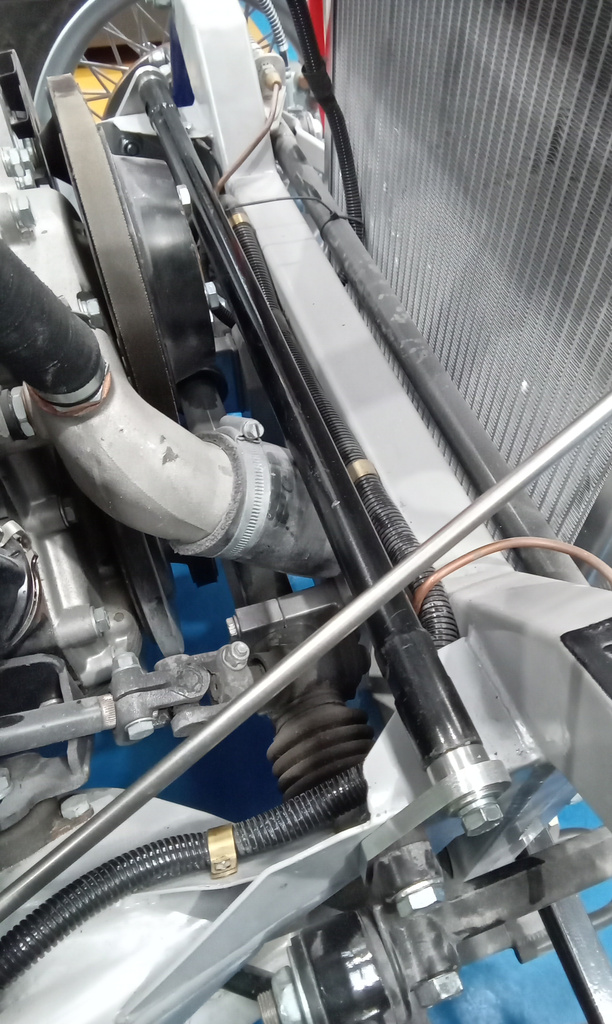
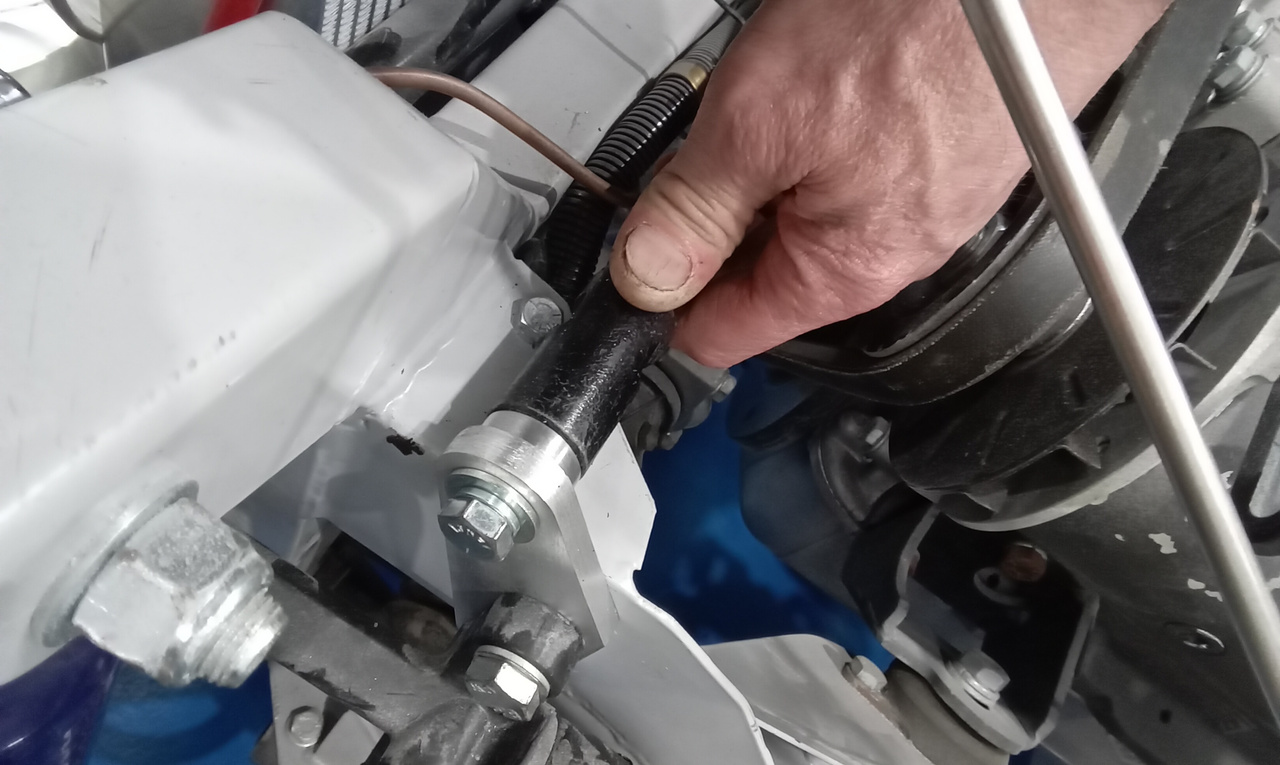
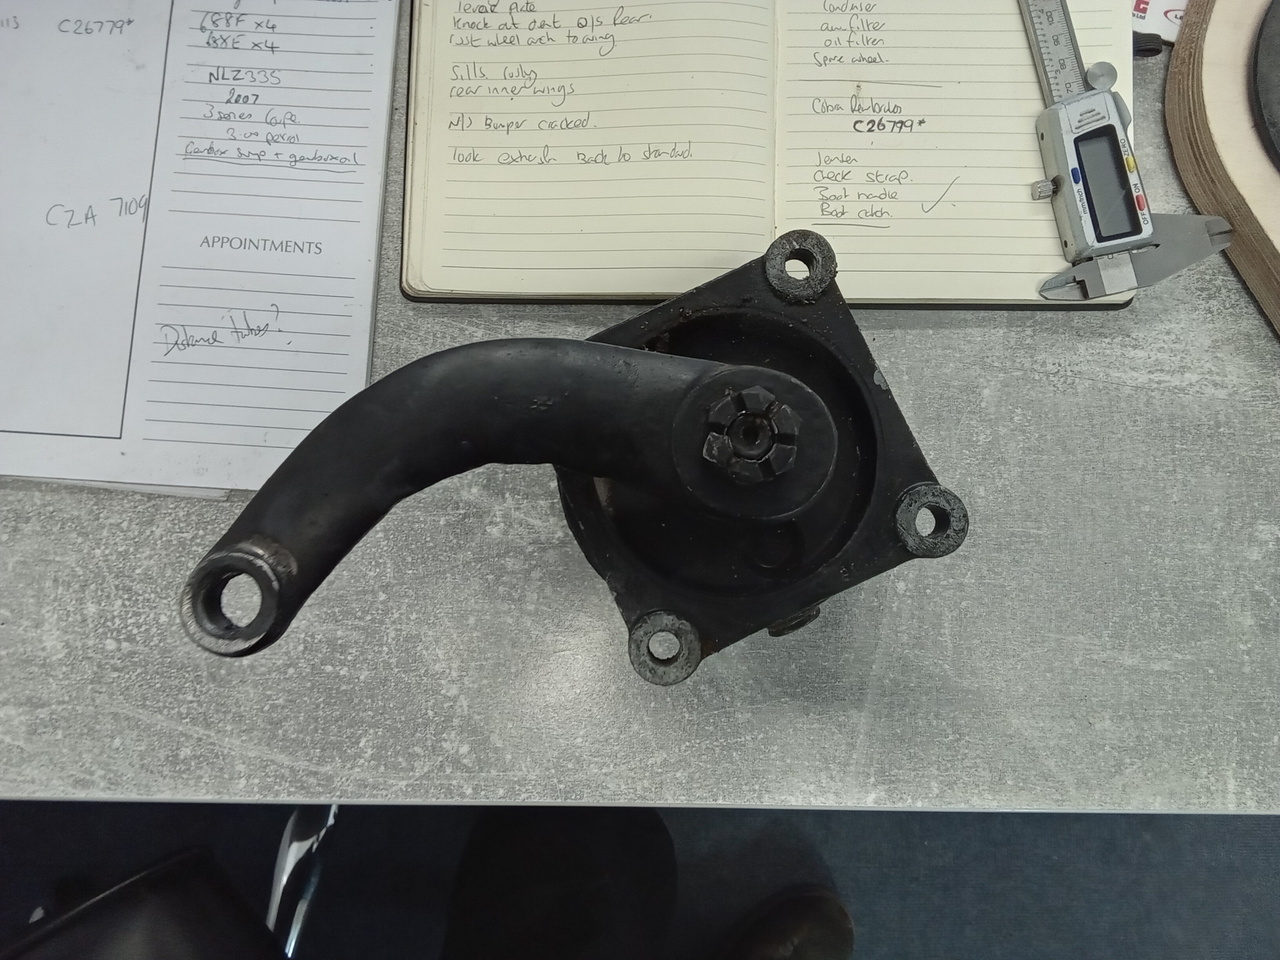
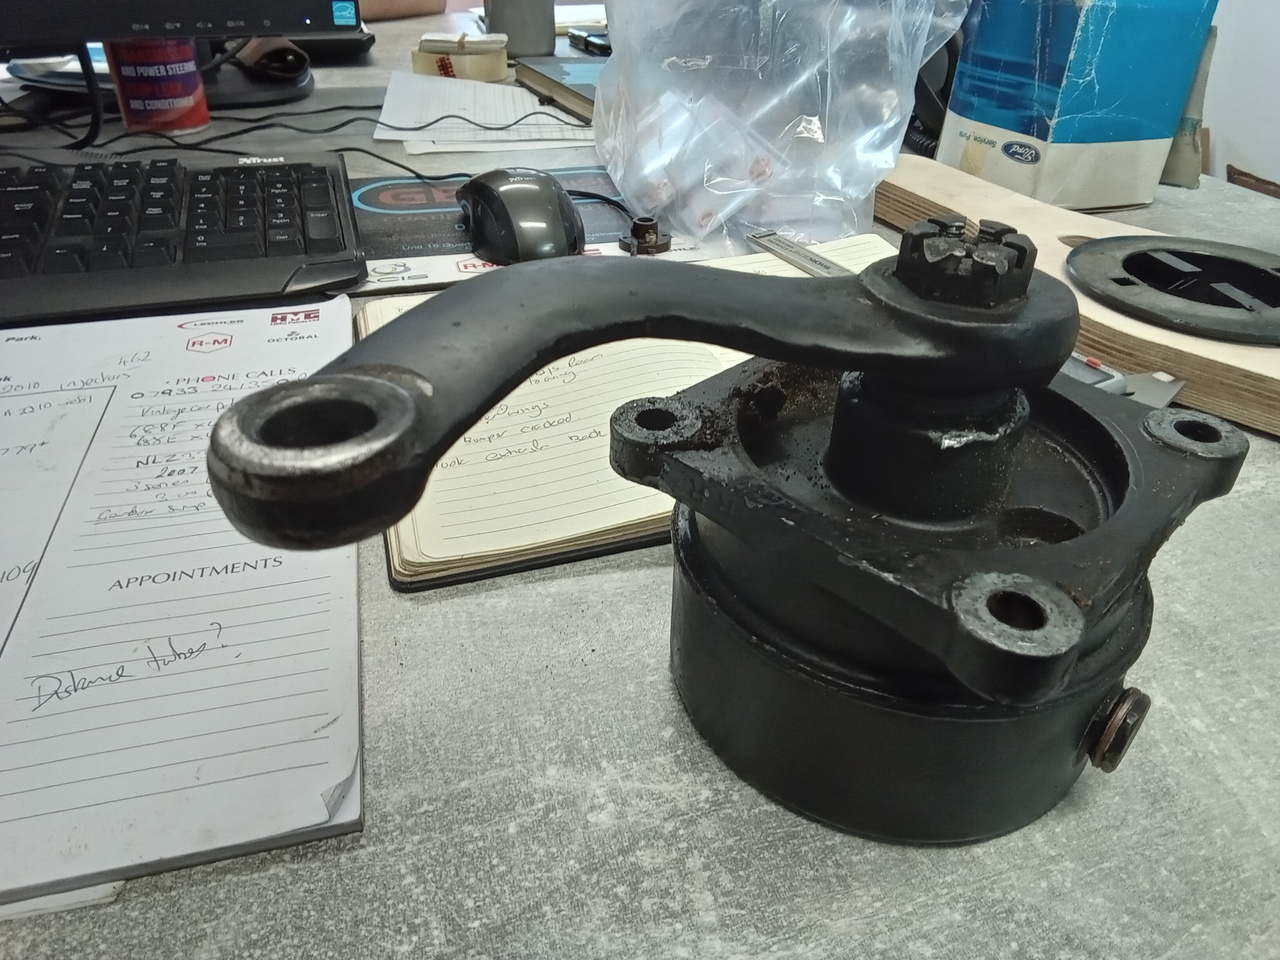
Here are Jonn’s notes following the pre-delivery inspection of our 1964 Ford Zephyr: Refit radiator now back from repair. Connect hoses and secure. Vacuum refill
After several years of research and restoration, our 1905 Riley 9HP is ready to be revealed to the world! As a 1 of 1 prototype
Arriving in with us this week is our 1964 Mercedes 230SL. The car has come in for a possible engine rebuild but at this stage
Finished in a two-tone paint scheme of bronze over cream and accompanied by matching leather work on both the main and fold-back seat, our BMW
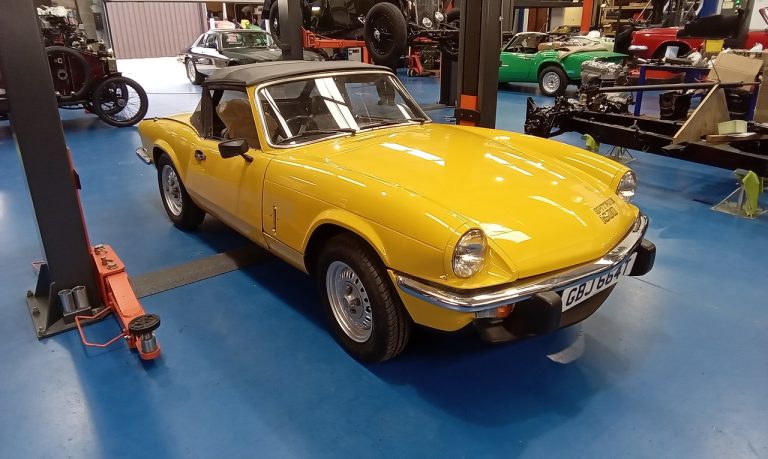
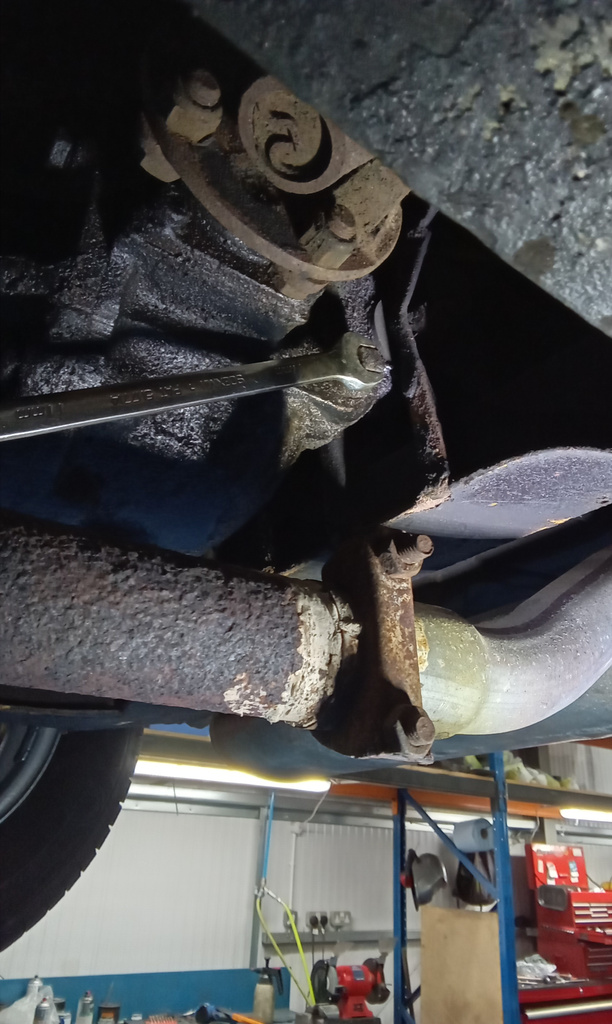
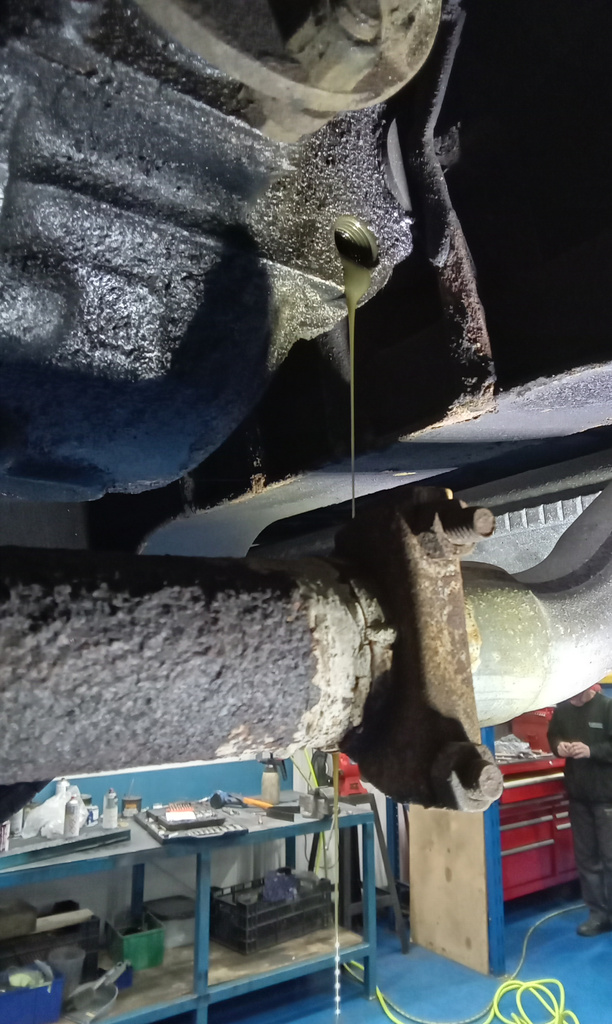
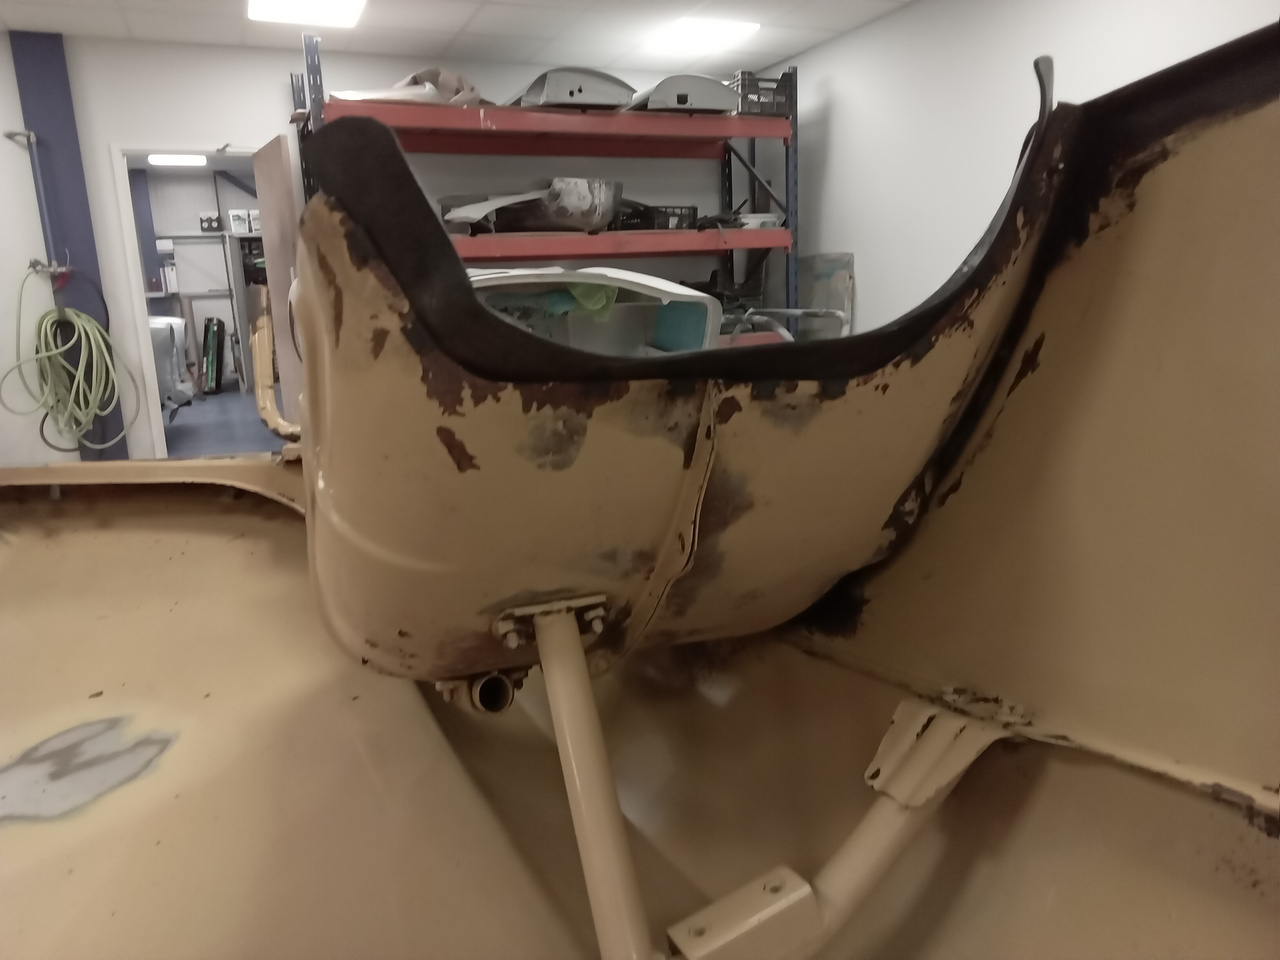
Jonn has been inspecting and making some repairs on our 1979 Triumph Spitfire. Here are his notes: Raise on ramp and finish Inspection. Carry out
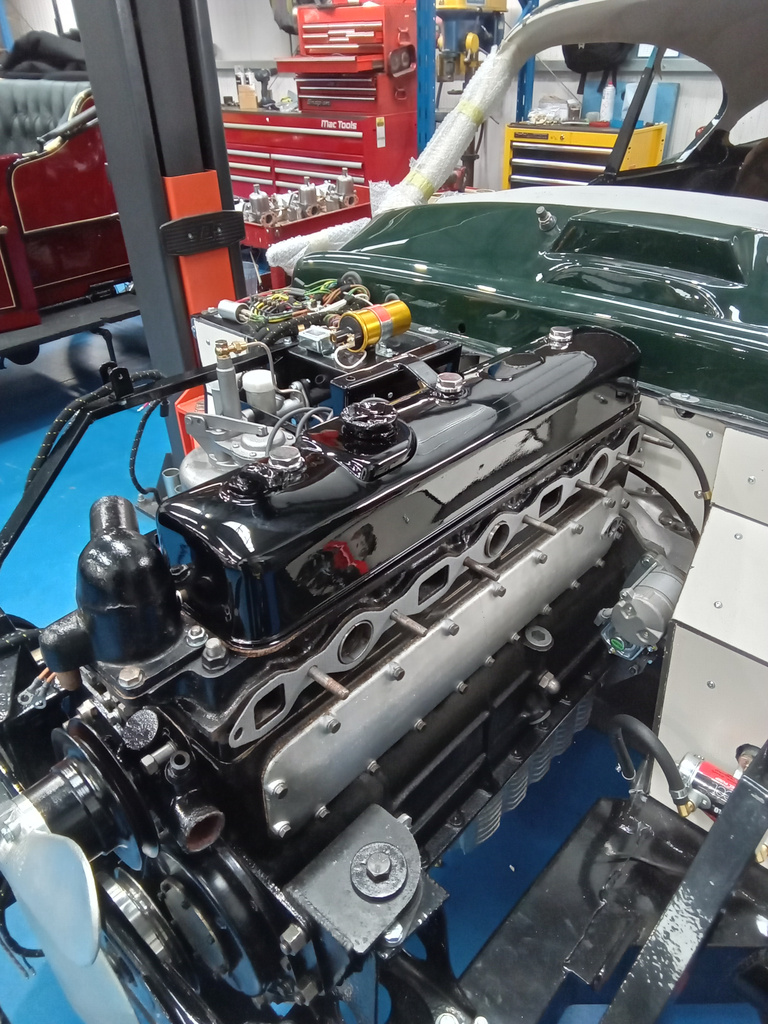
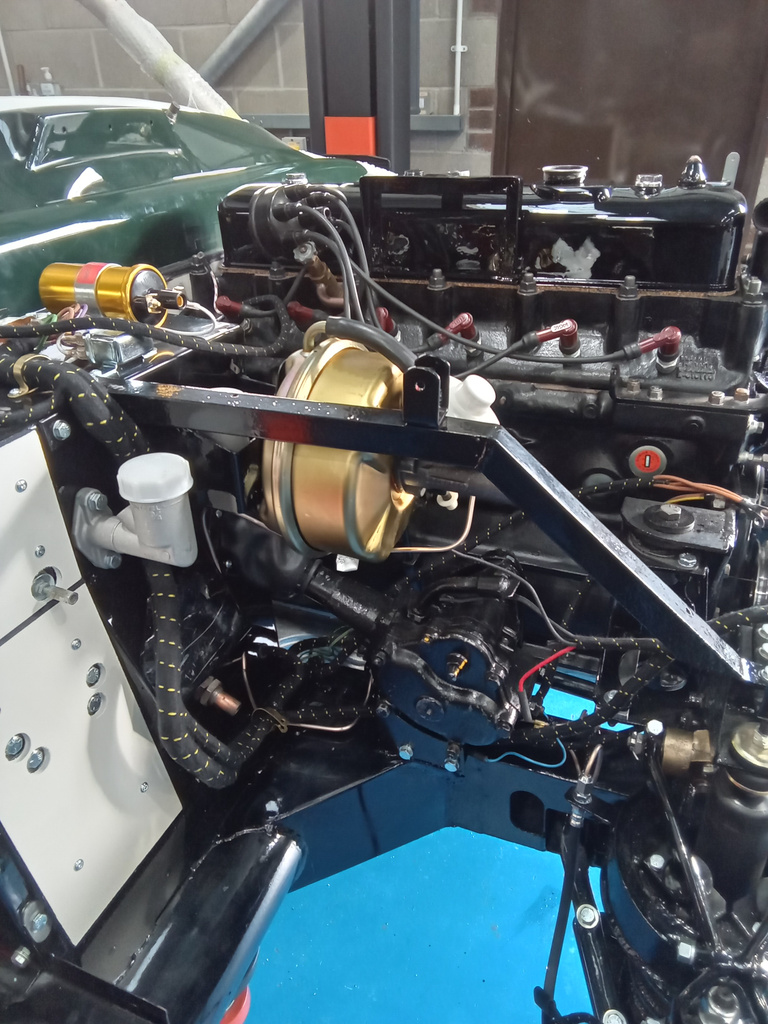
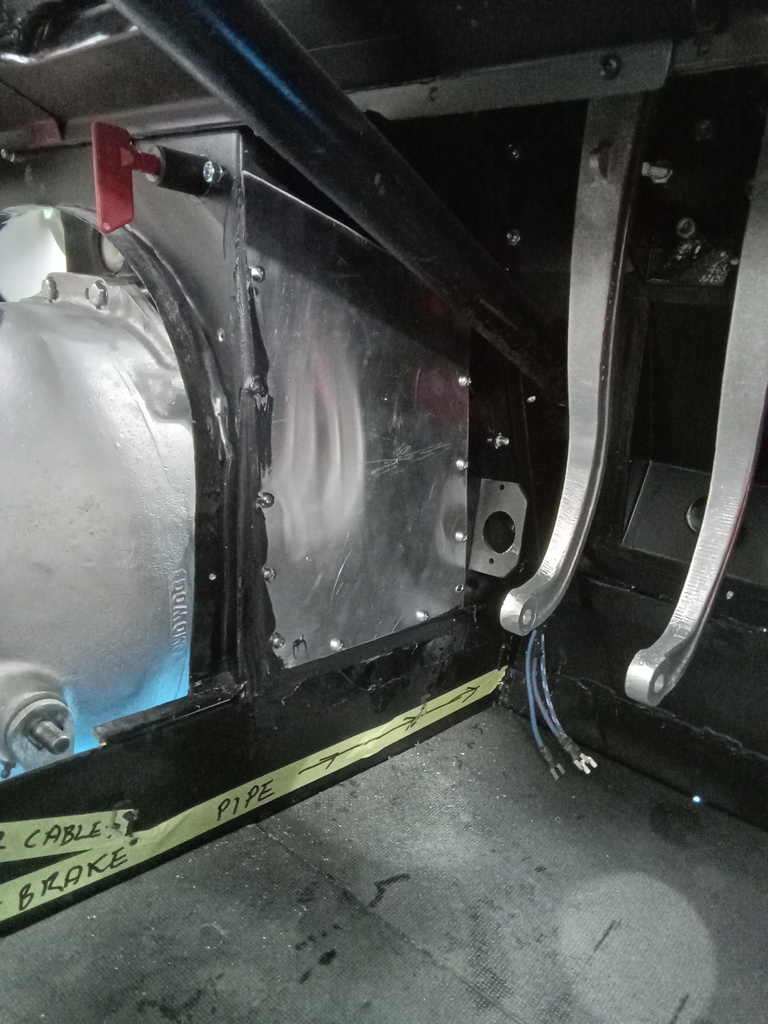
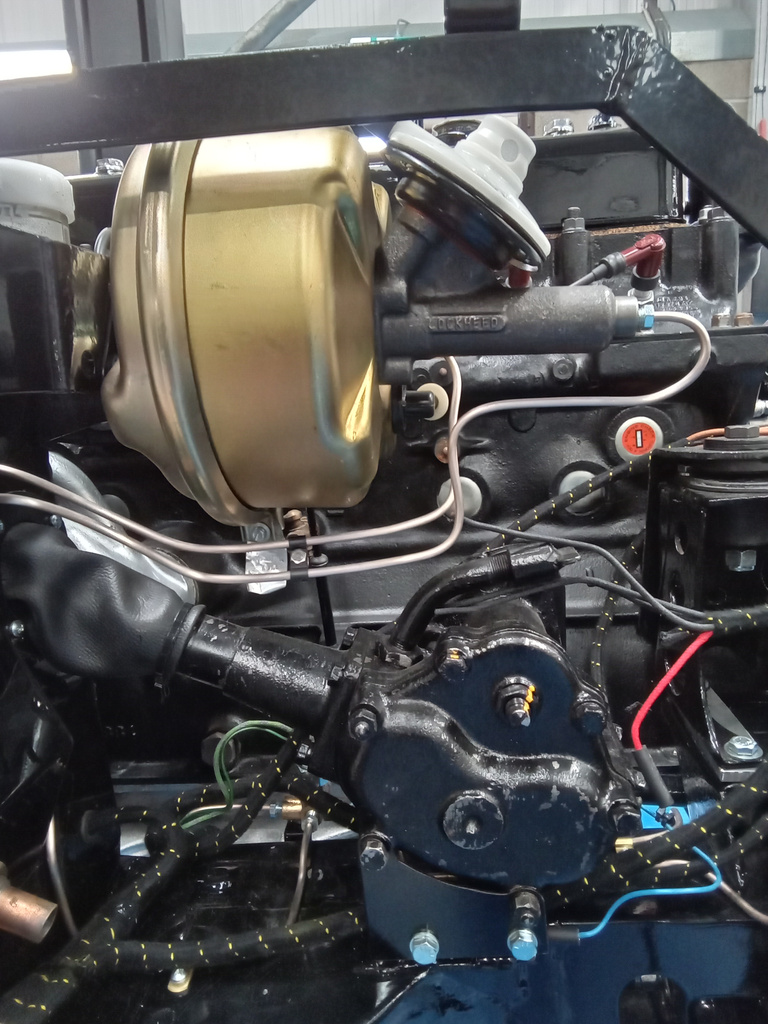
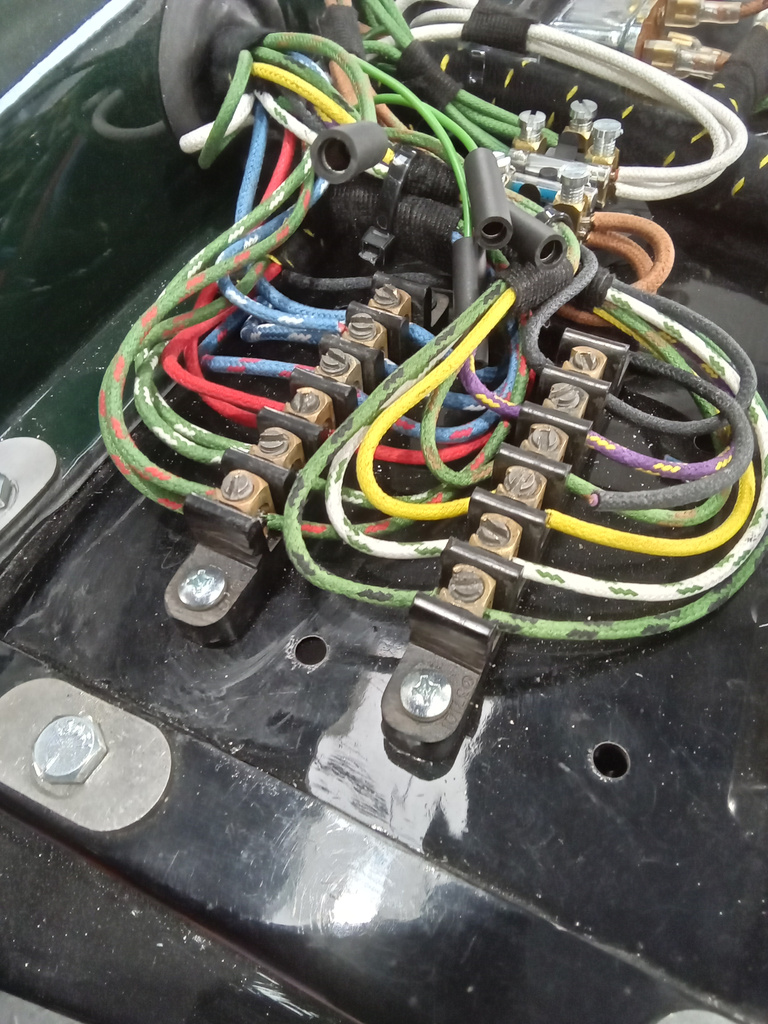
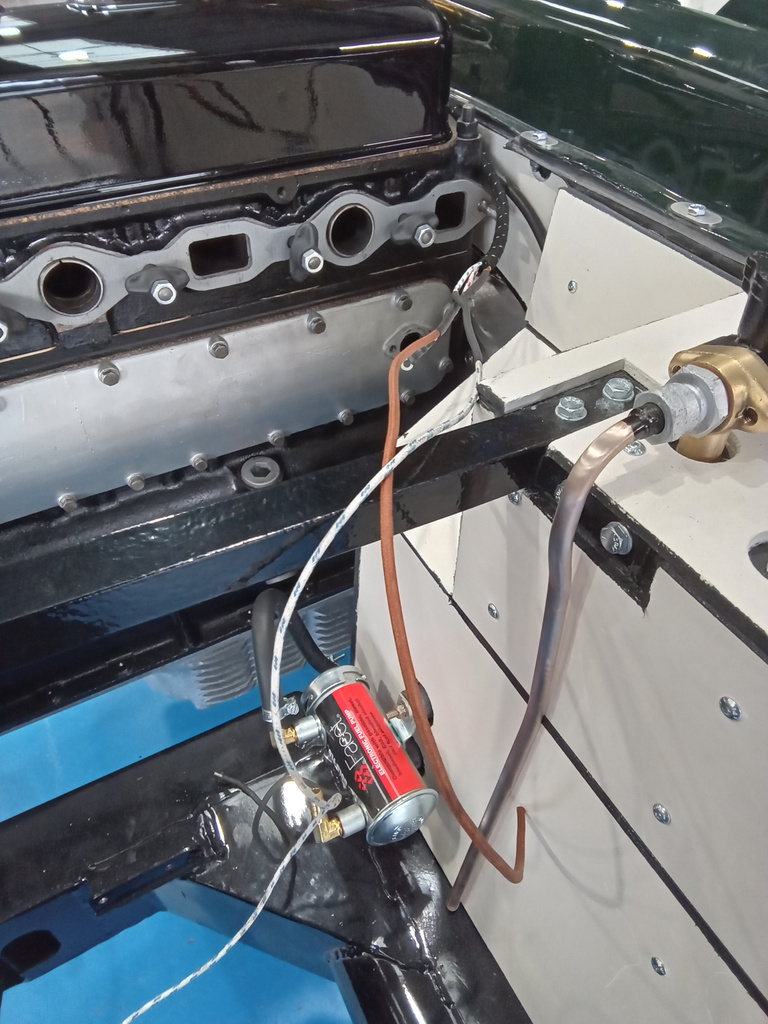
Paul has continued rebuilding our 1956 Jensen 541. He has: He also made and fitted the brake pipes to the servo, repaired the exhaust manifolds
John has been running the wires of our 1905 Riley 9HP from the front and rear to the batteries. He wired in the switch and

The chrome components of our Raleigh Chopper MK3 Ben Sherman Limited Edition have been removed so they can be repaired.
Our 2007 Land Rover Defender was suffering from a battery drain which John traced back to the wiring to a relay. The wiring was modified

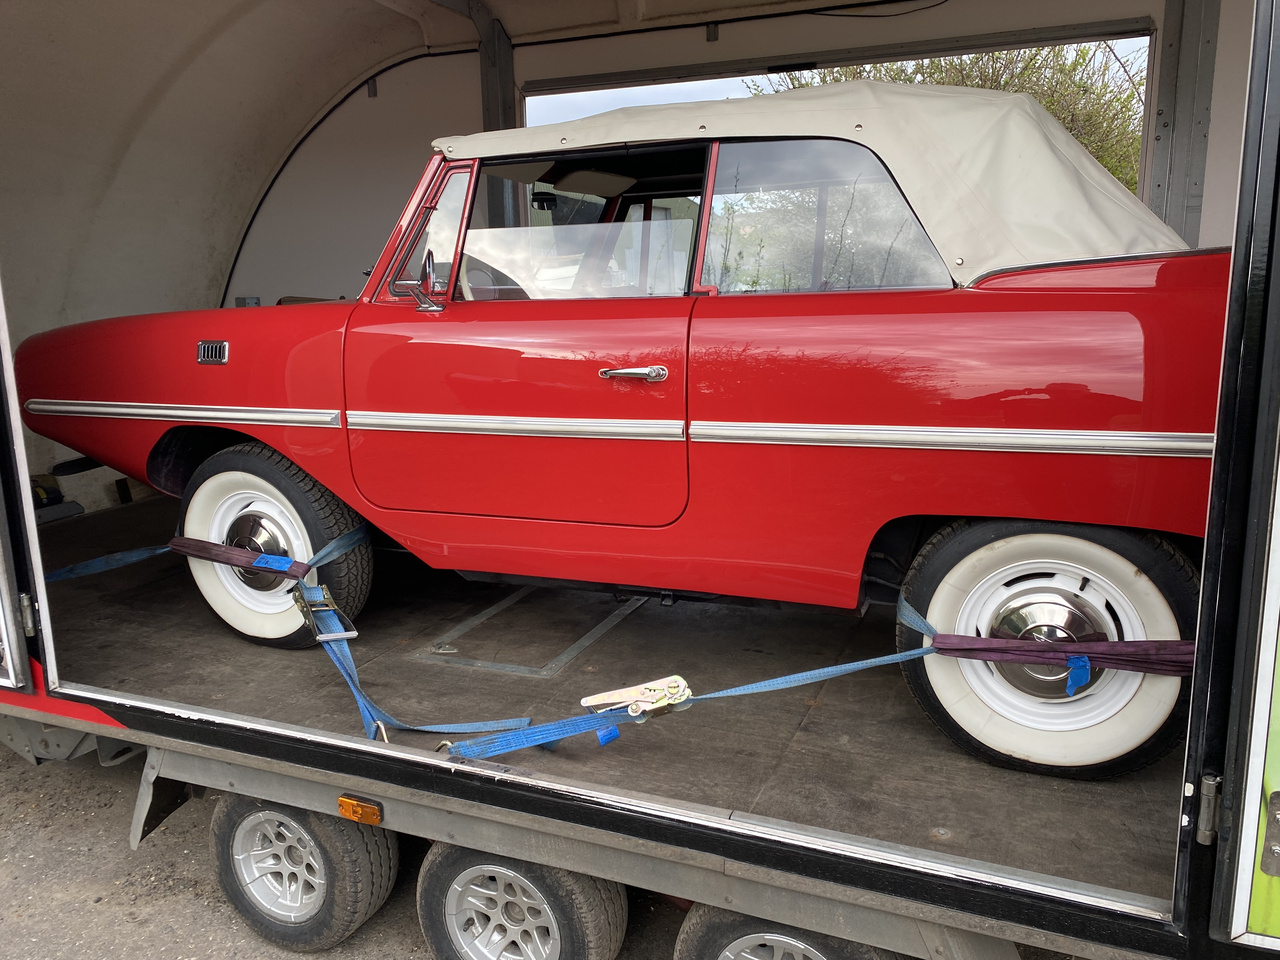
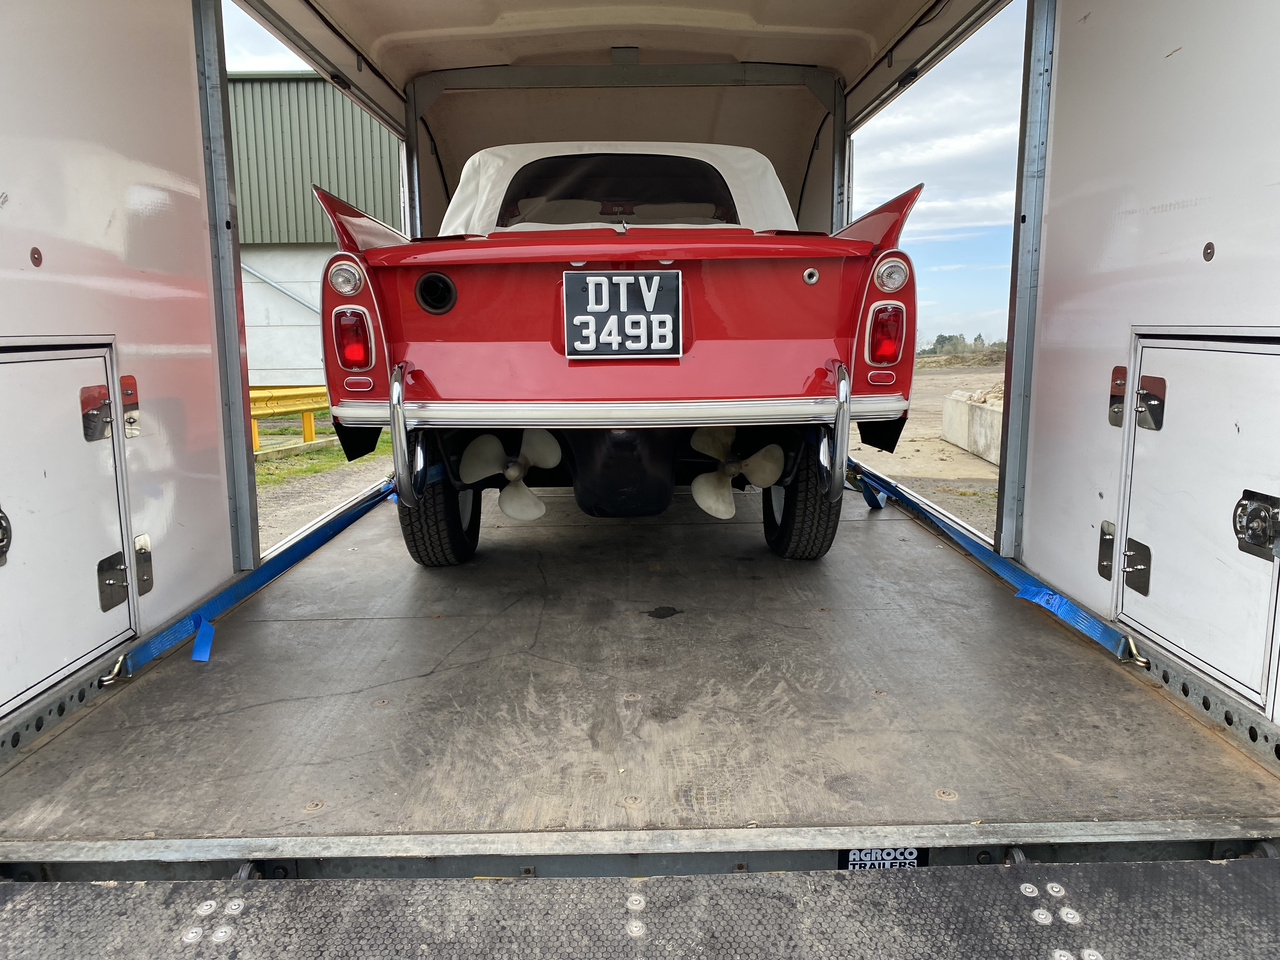
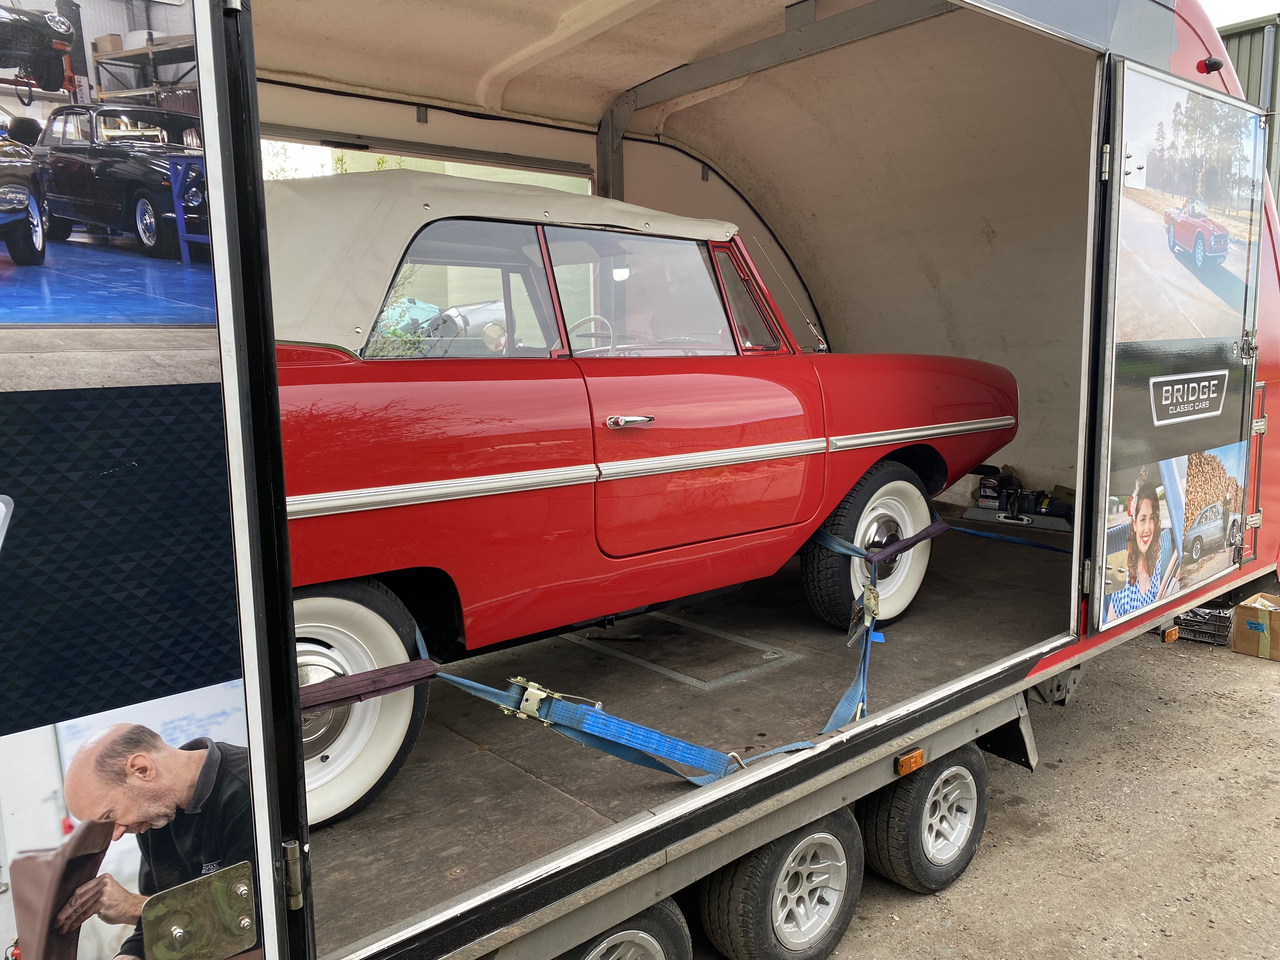
Tony has recently transported our 1964 Amphicar 770 from our secure storage facility back to the workshop.
It’s been a long time coming but we have finally completed the pre delivery inspection on our 1976 Leyland Mini Clubman 1100. The road test
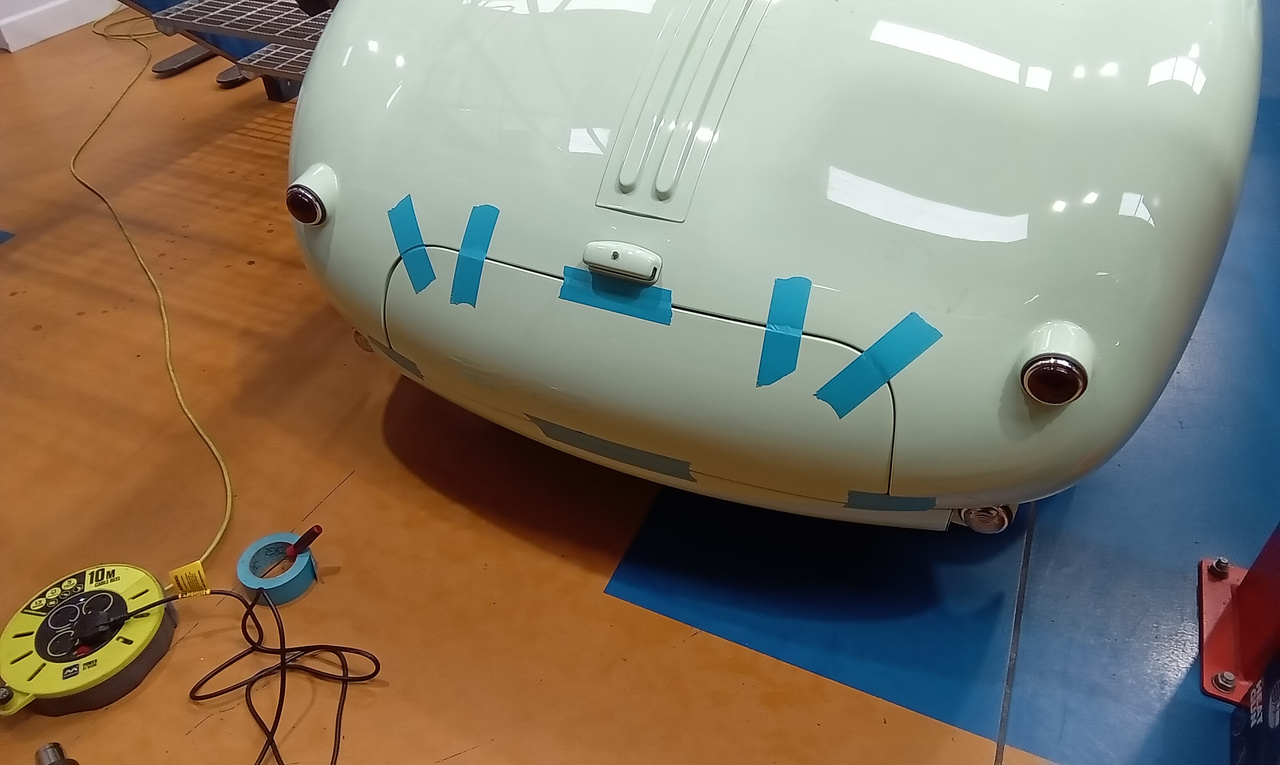
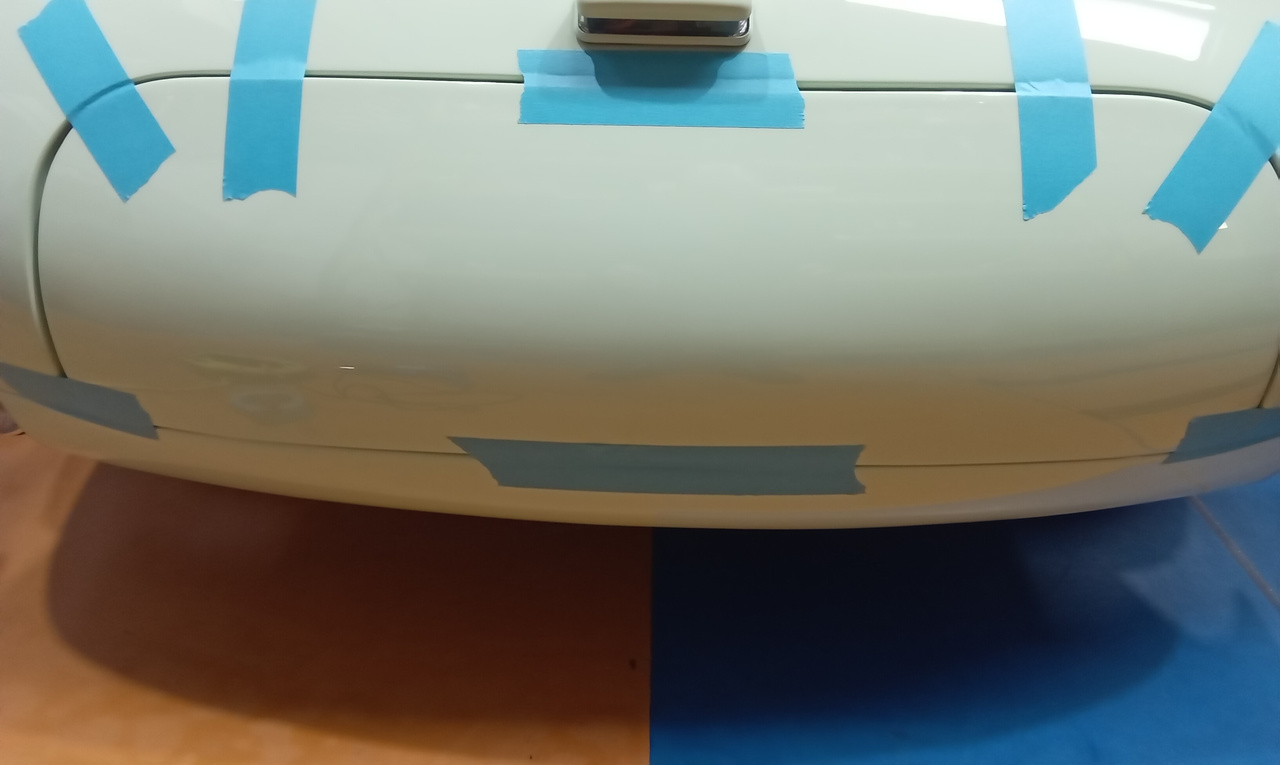
Every day is that one step closer to revealing the finished project. Our 2023 Jaguar C-Type replica is coming on leaps and bounds now with
Workshop Manager John has been working on getting to the bottom of an issue with the indicators on the 1939 Jaguar SS100. For this, John

The shock absorbers for both Aston Martin DB2/4 projects have been stripped down by the workshop team to be sent away to the masters at
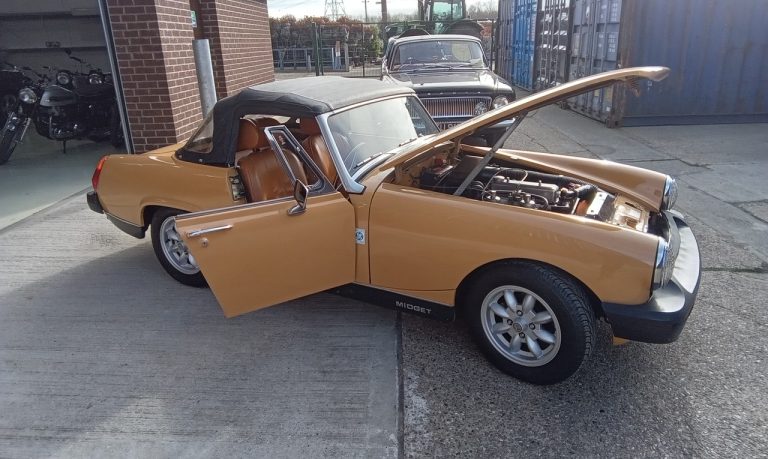
Our 1976 MG Midget is off to its new home! But before that, our technician Jon carried out the final checks on the classic sports
The final parts of our 1905 Riley 9HP restoration project have been in the booth under the gun of our paint technician Mauro. Mauro has
Chris, from the fabrication team, has been working on repairing the metalwork in the roof of the 1951 Austin Devon Pickup at the Bridge Classic
Mauro has been working on getting the underside of the bonnet for our 1979 Triumph Spitfire to look just as good as the top side!

John has been working methodically and meticoulsly through the various parts and pieces of the 1951 Austin Devon Pickup. All of these parts have to
Fabricator Chris has been working his magic on the valance of our 1963 Bentley S3 Continental Coupe. With such an impressive and handmade car, adjustments
Our technician Julian has been working on getting some of the final bits and pieces finished on our 1955 Aston Martin DB2/4 Mk1. We previously
With our 1956 Jensen 541 project moving quickly now, the team have had a chance to try out some new ideas for the car. One
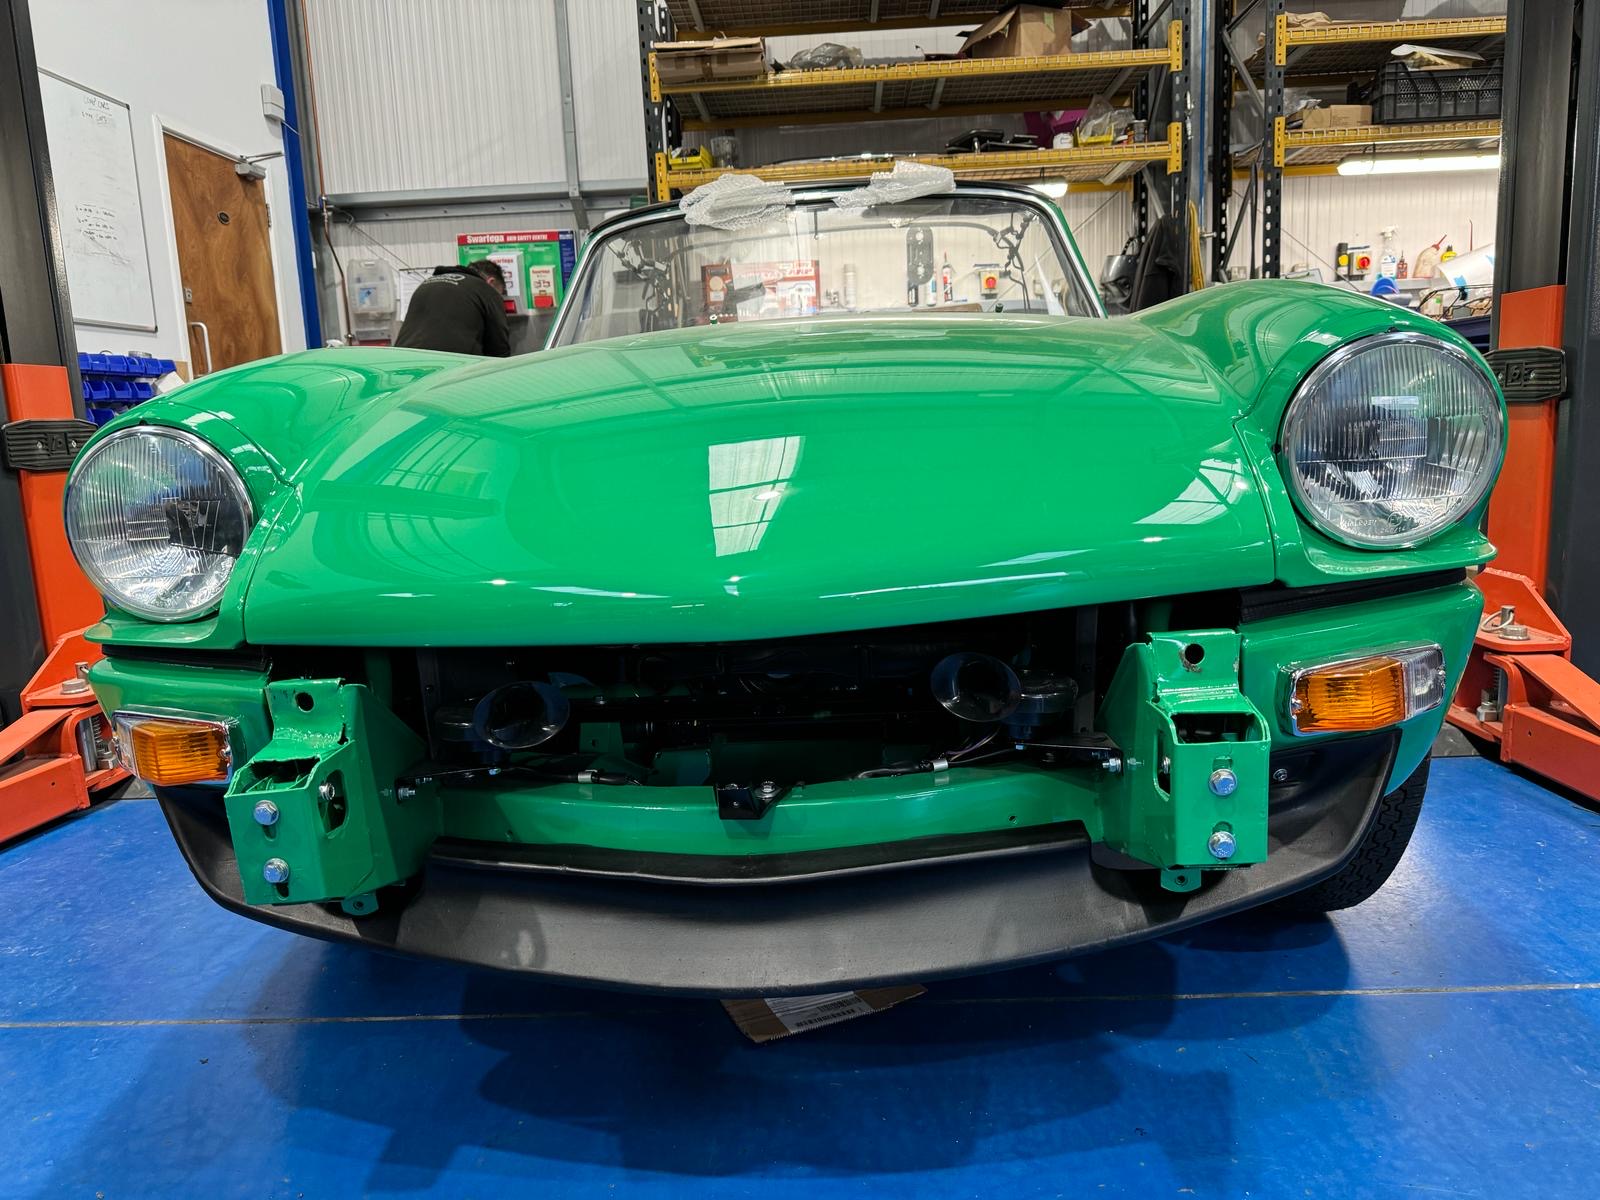
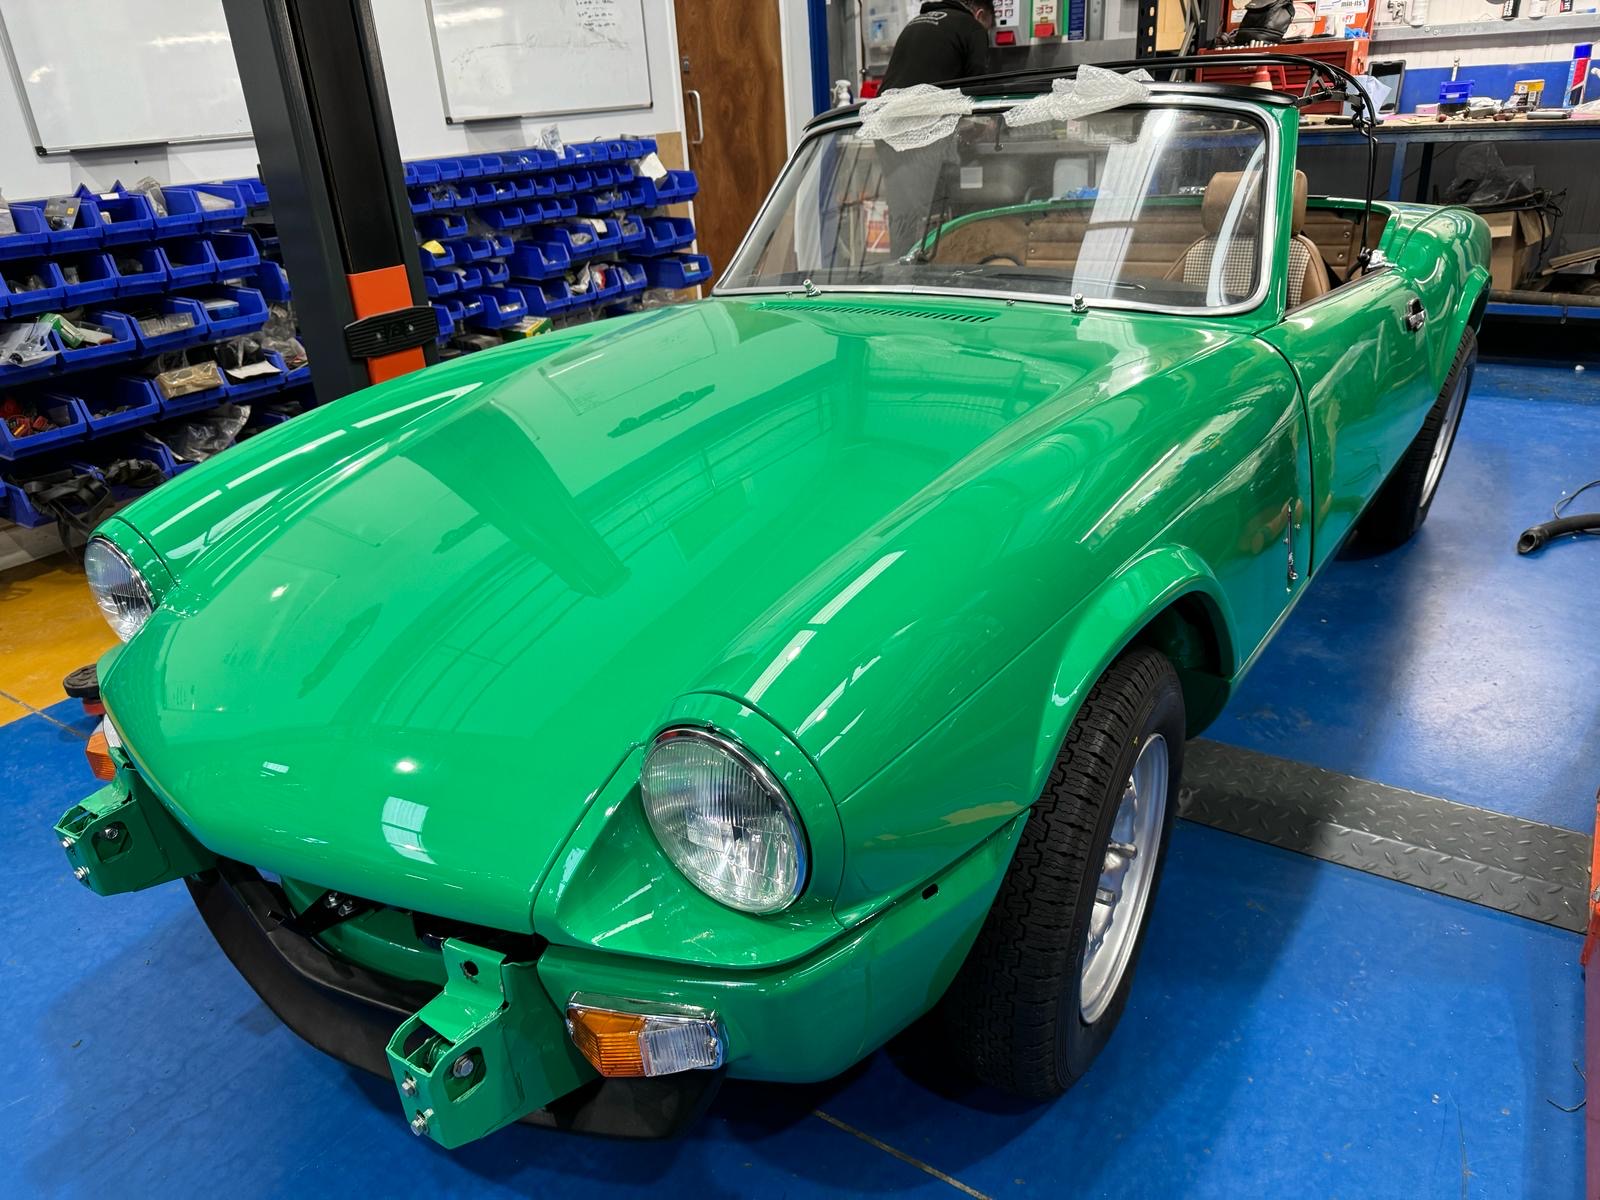
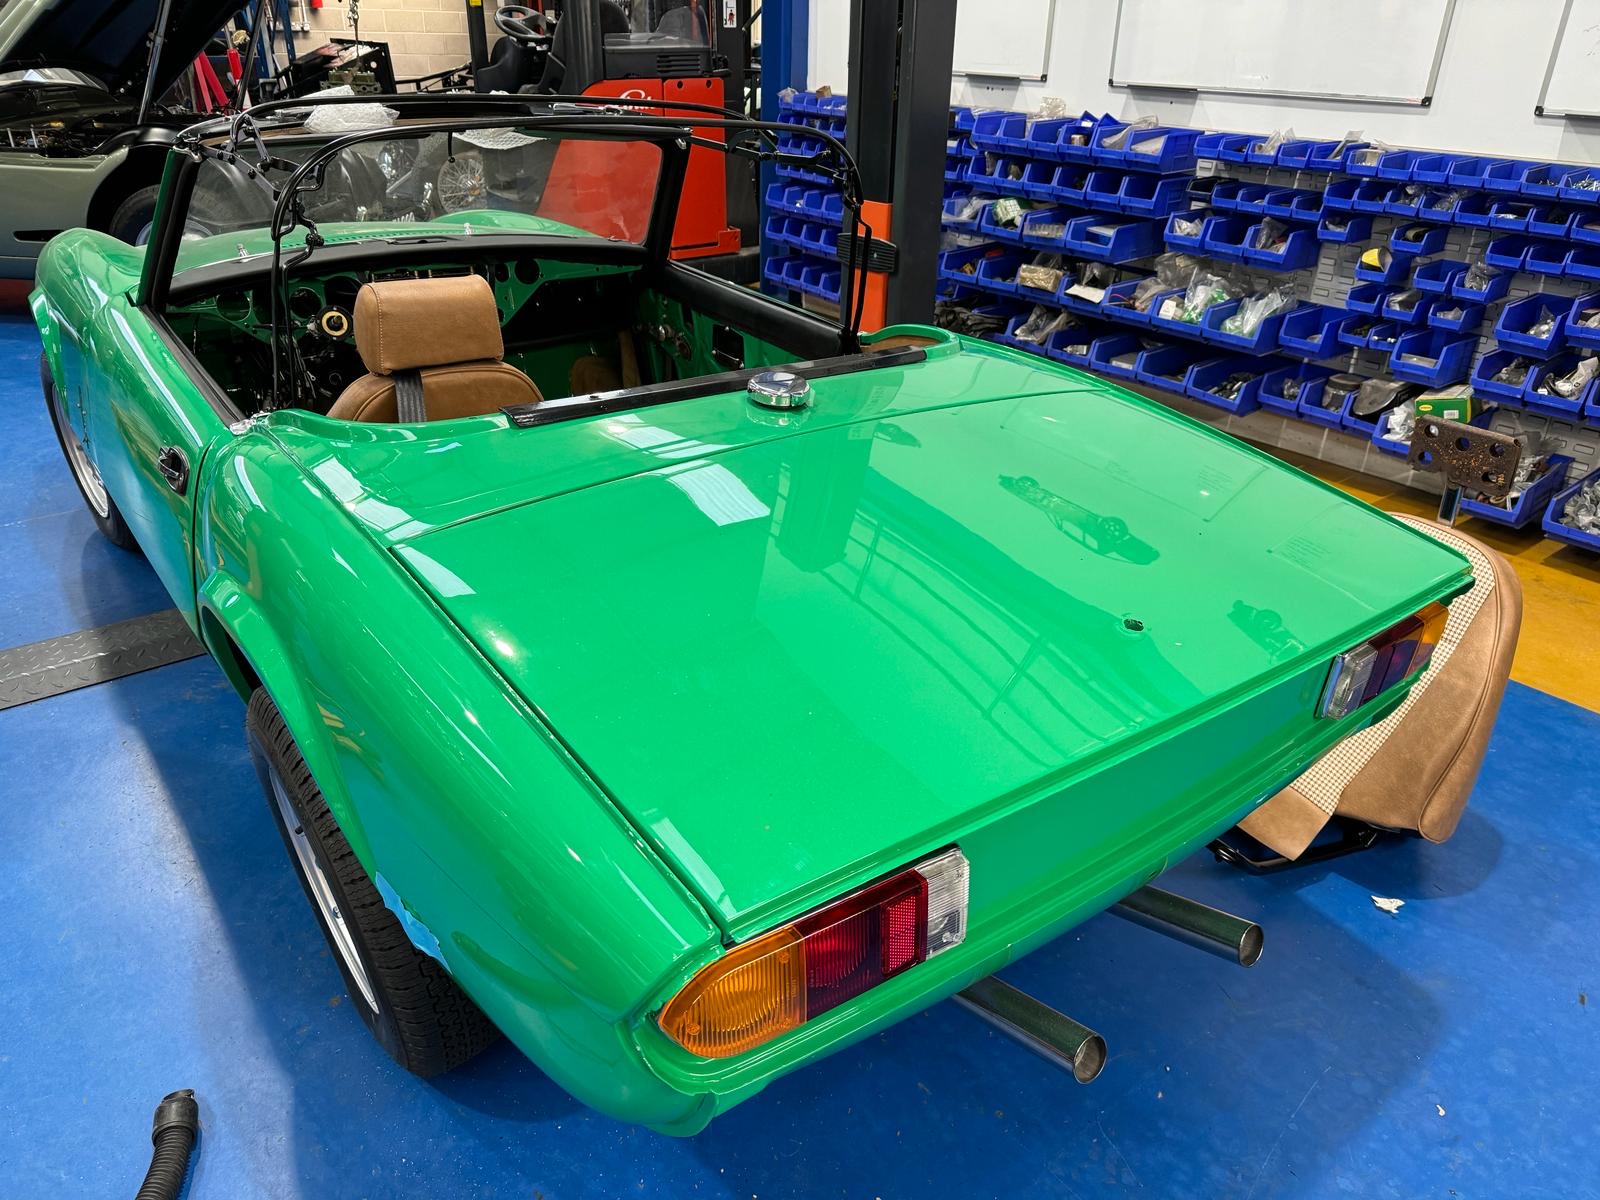
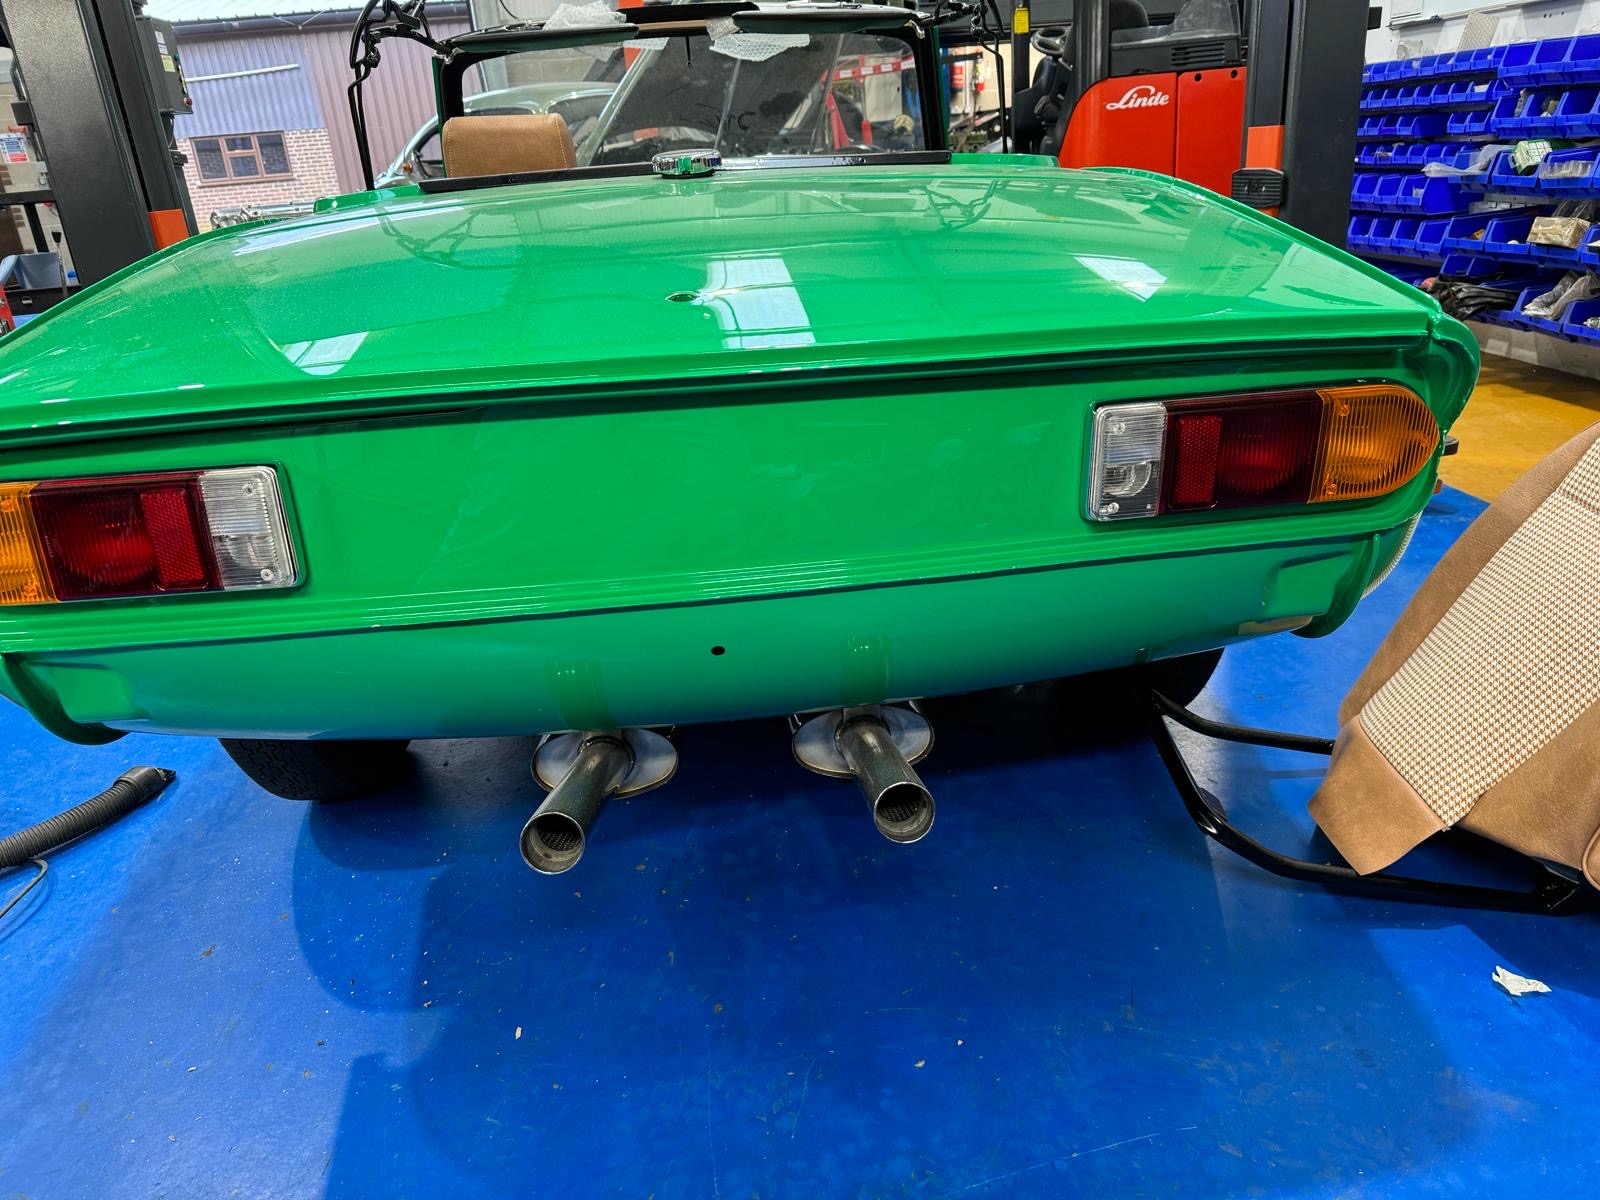
Our technician Rob has been working on our 1976 Triumph Spitfire restoration project and getting it closer and closer to handing over to its excited

Ahead of its unveiling at the Practical Classics Restoration Show at the Birmingham NEC this weekend, our restorations teams have been working flat out to
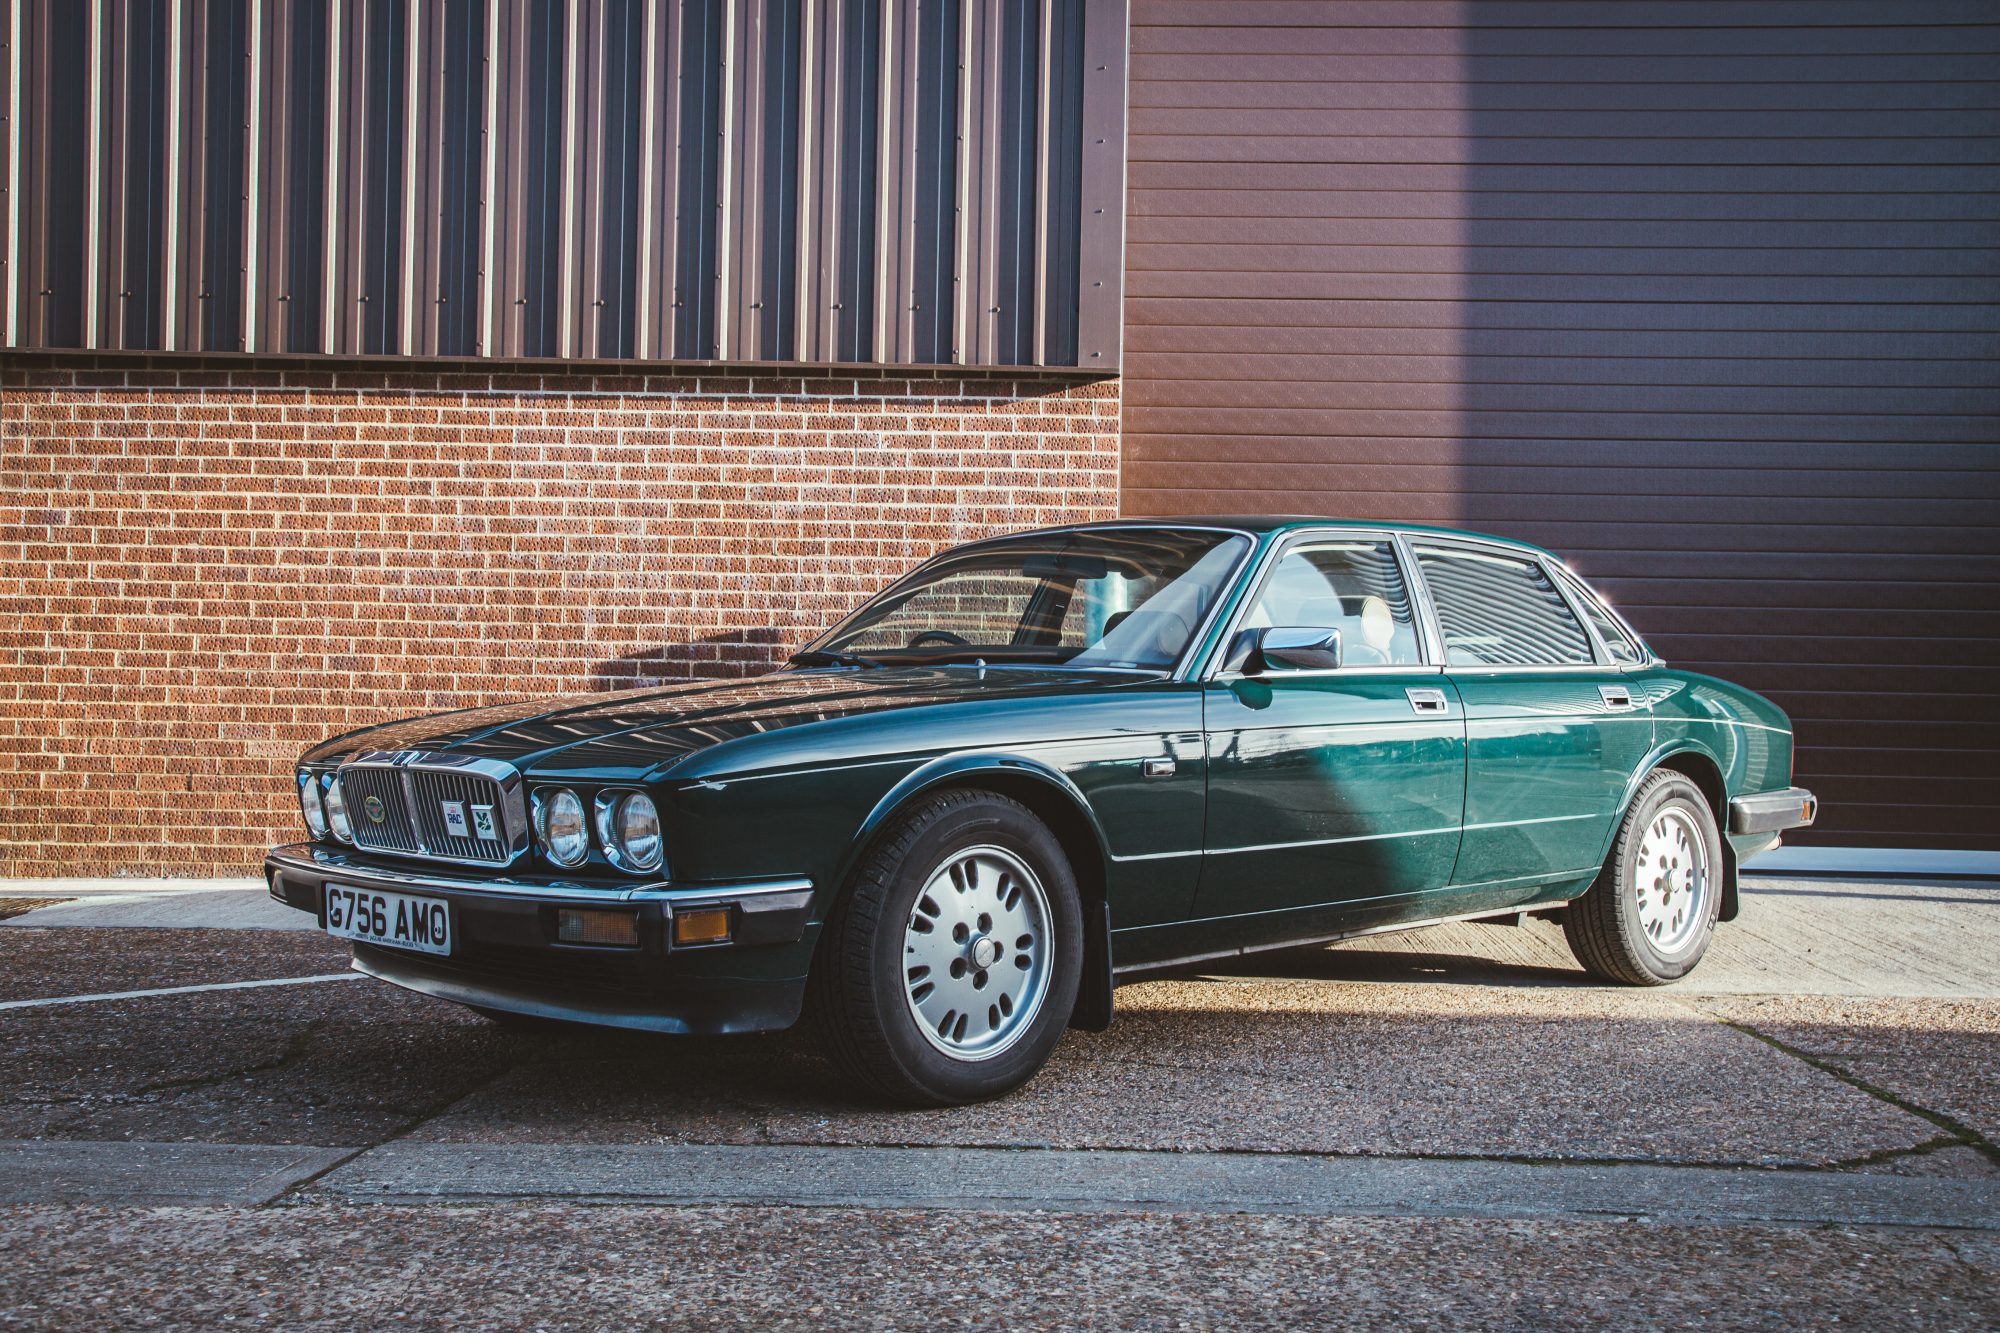
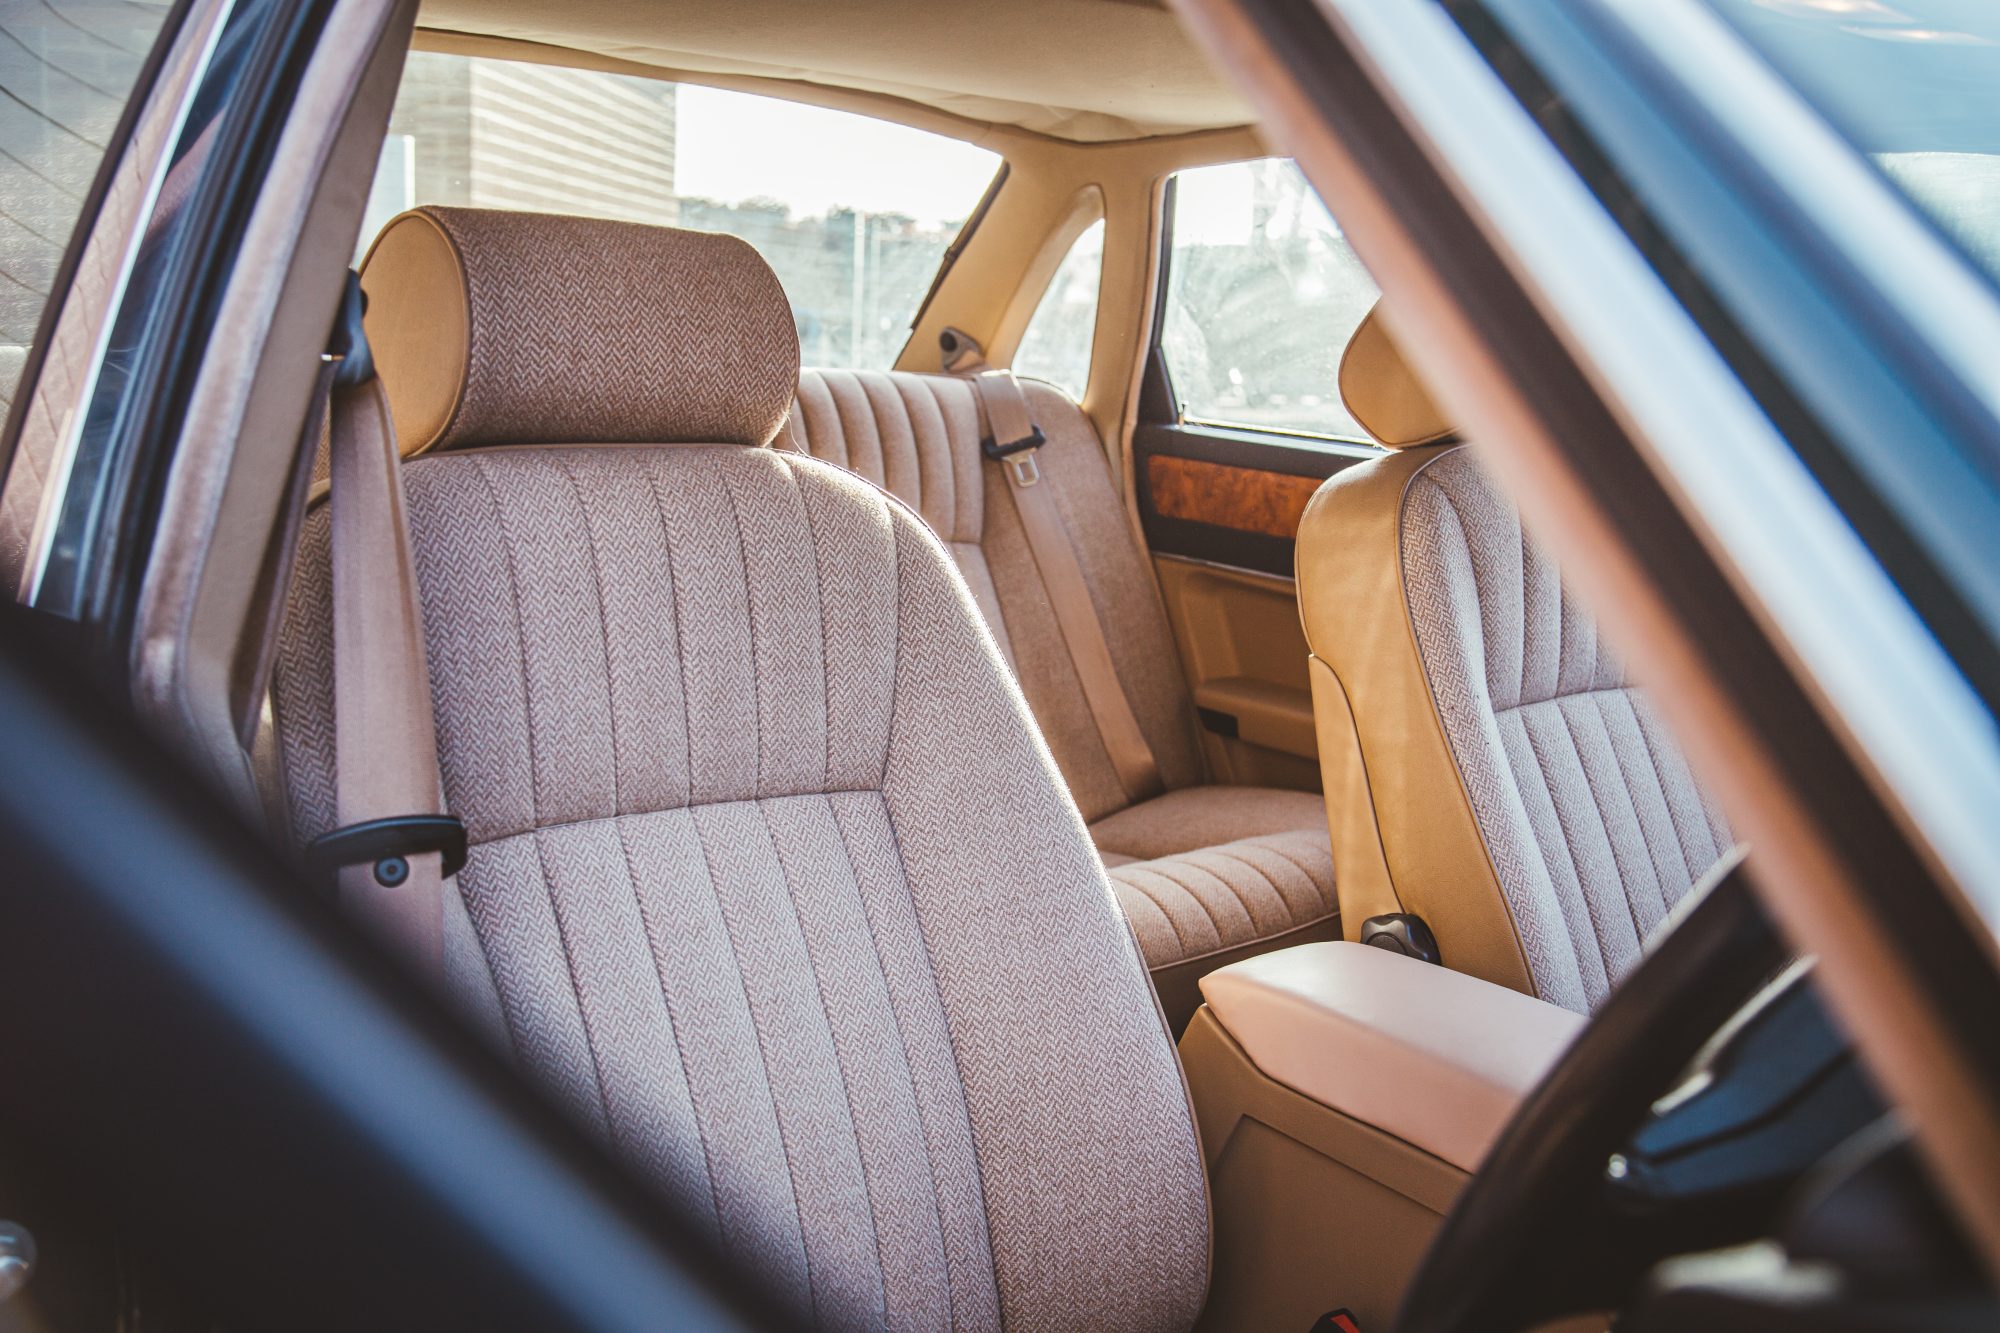
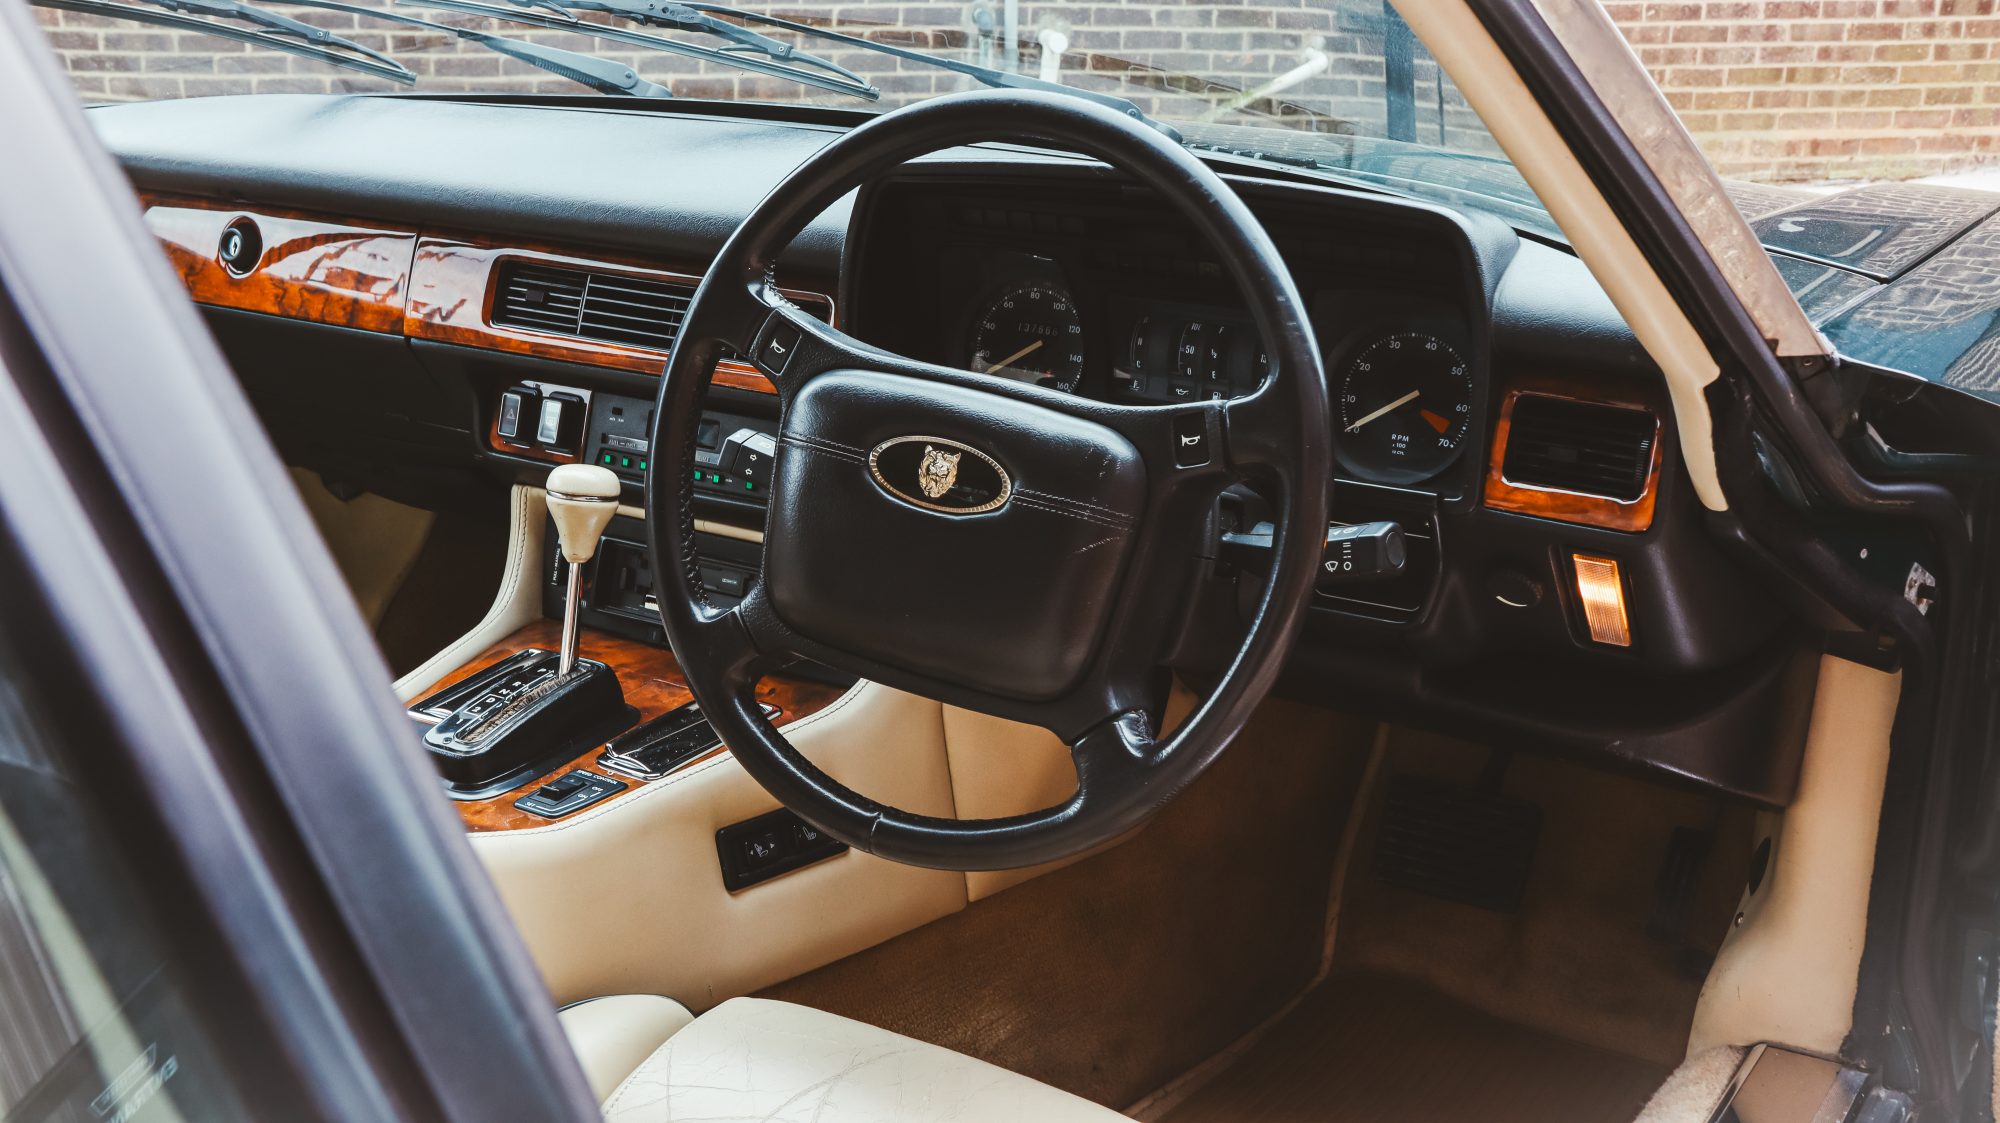
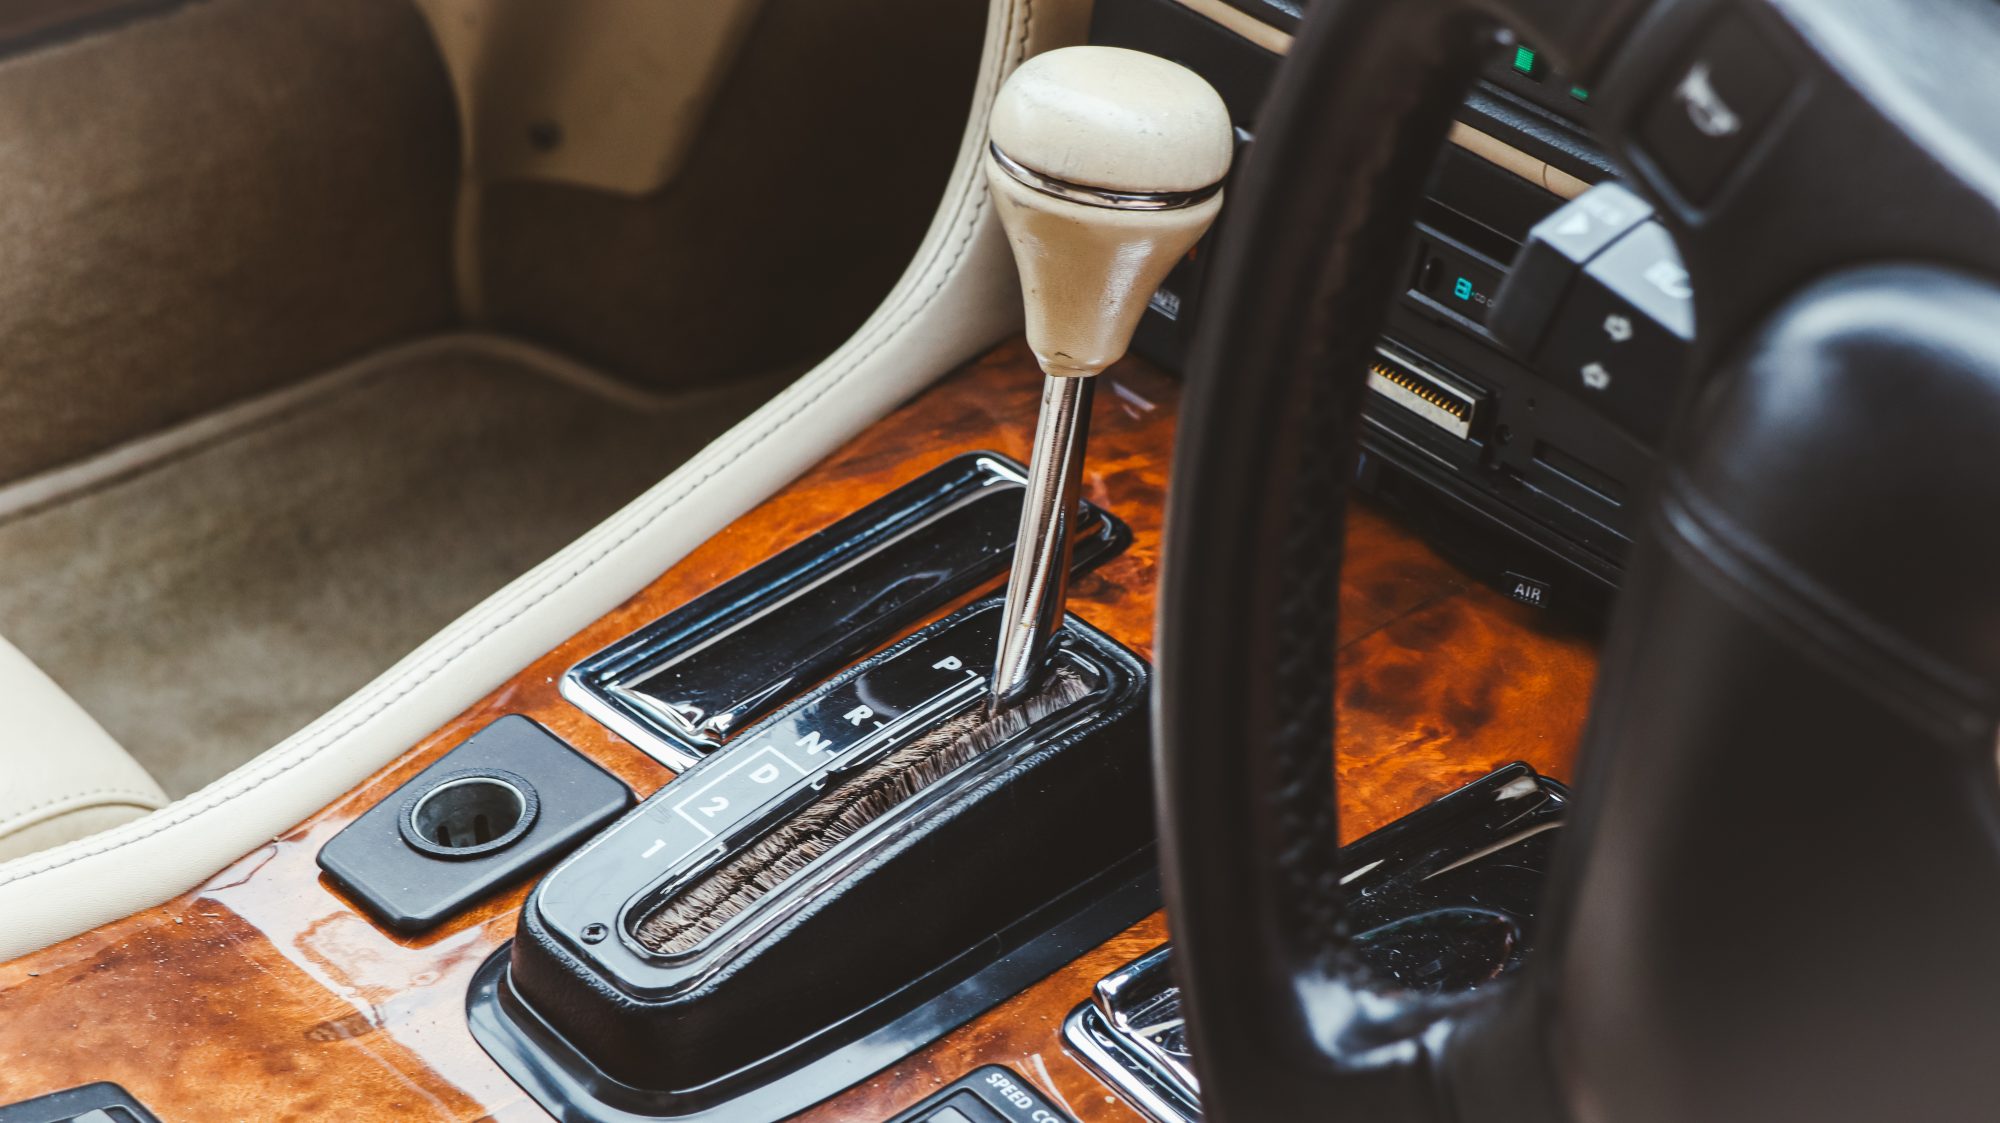
Our 1990 Jaguar XJ6 arrived at the workshop earlier this week and joined the growing crowd of stablemates at our HQ hidden away in the
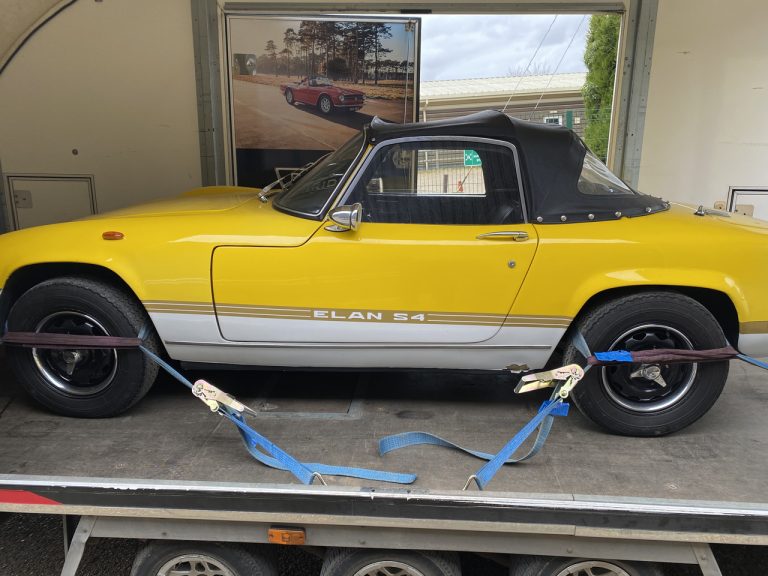
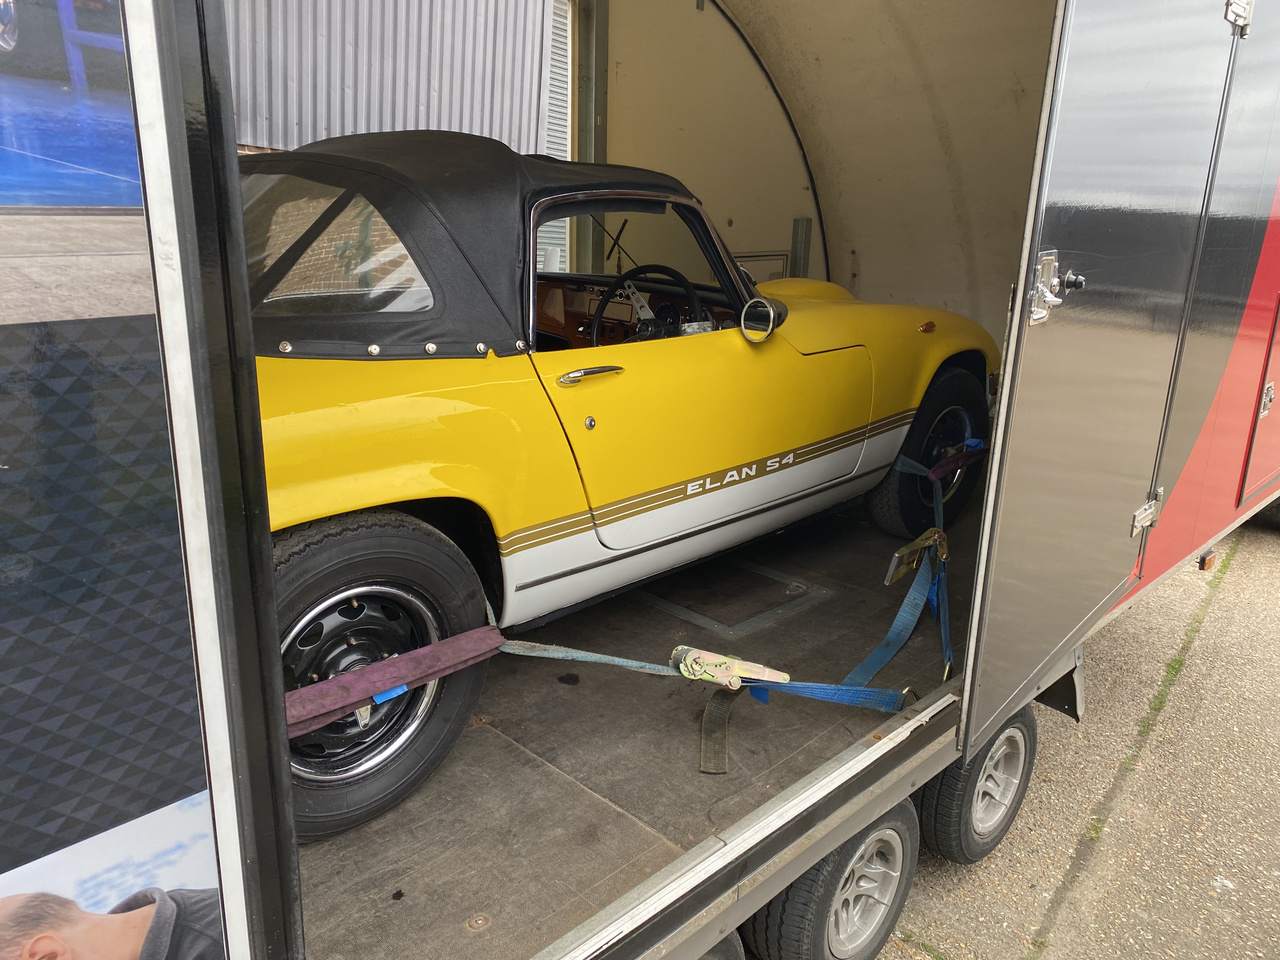
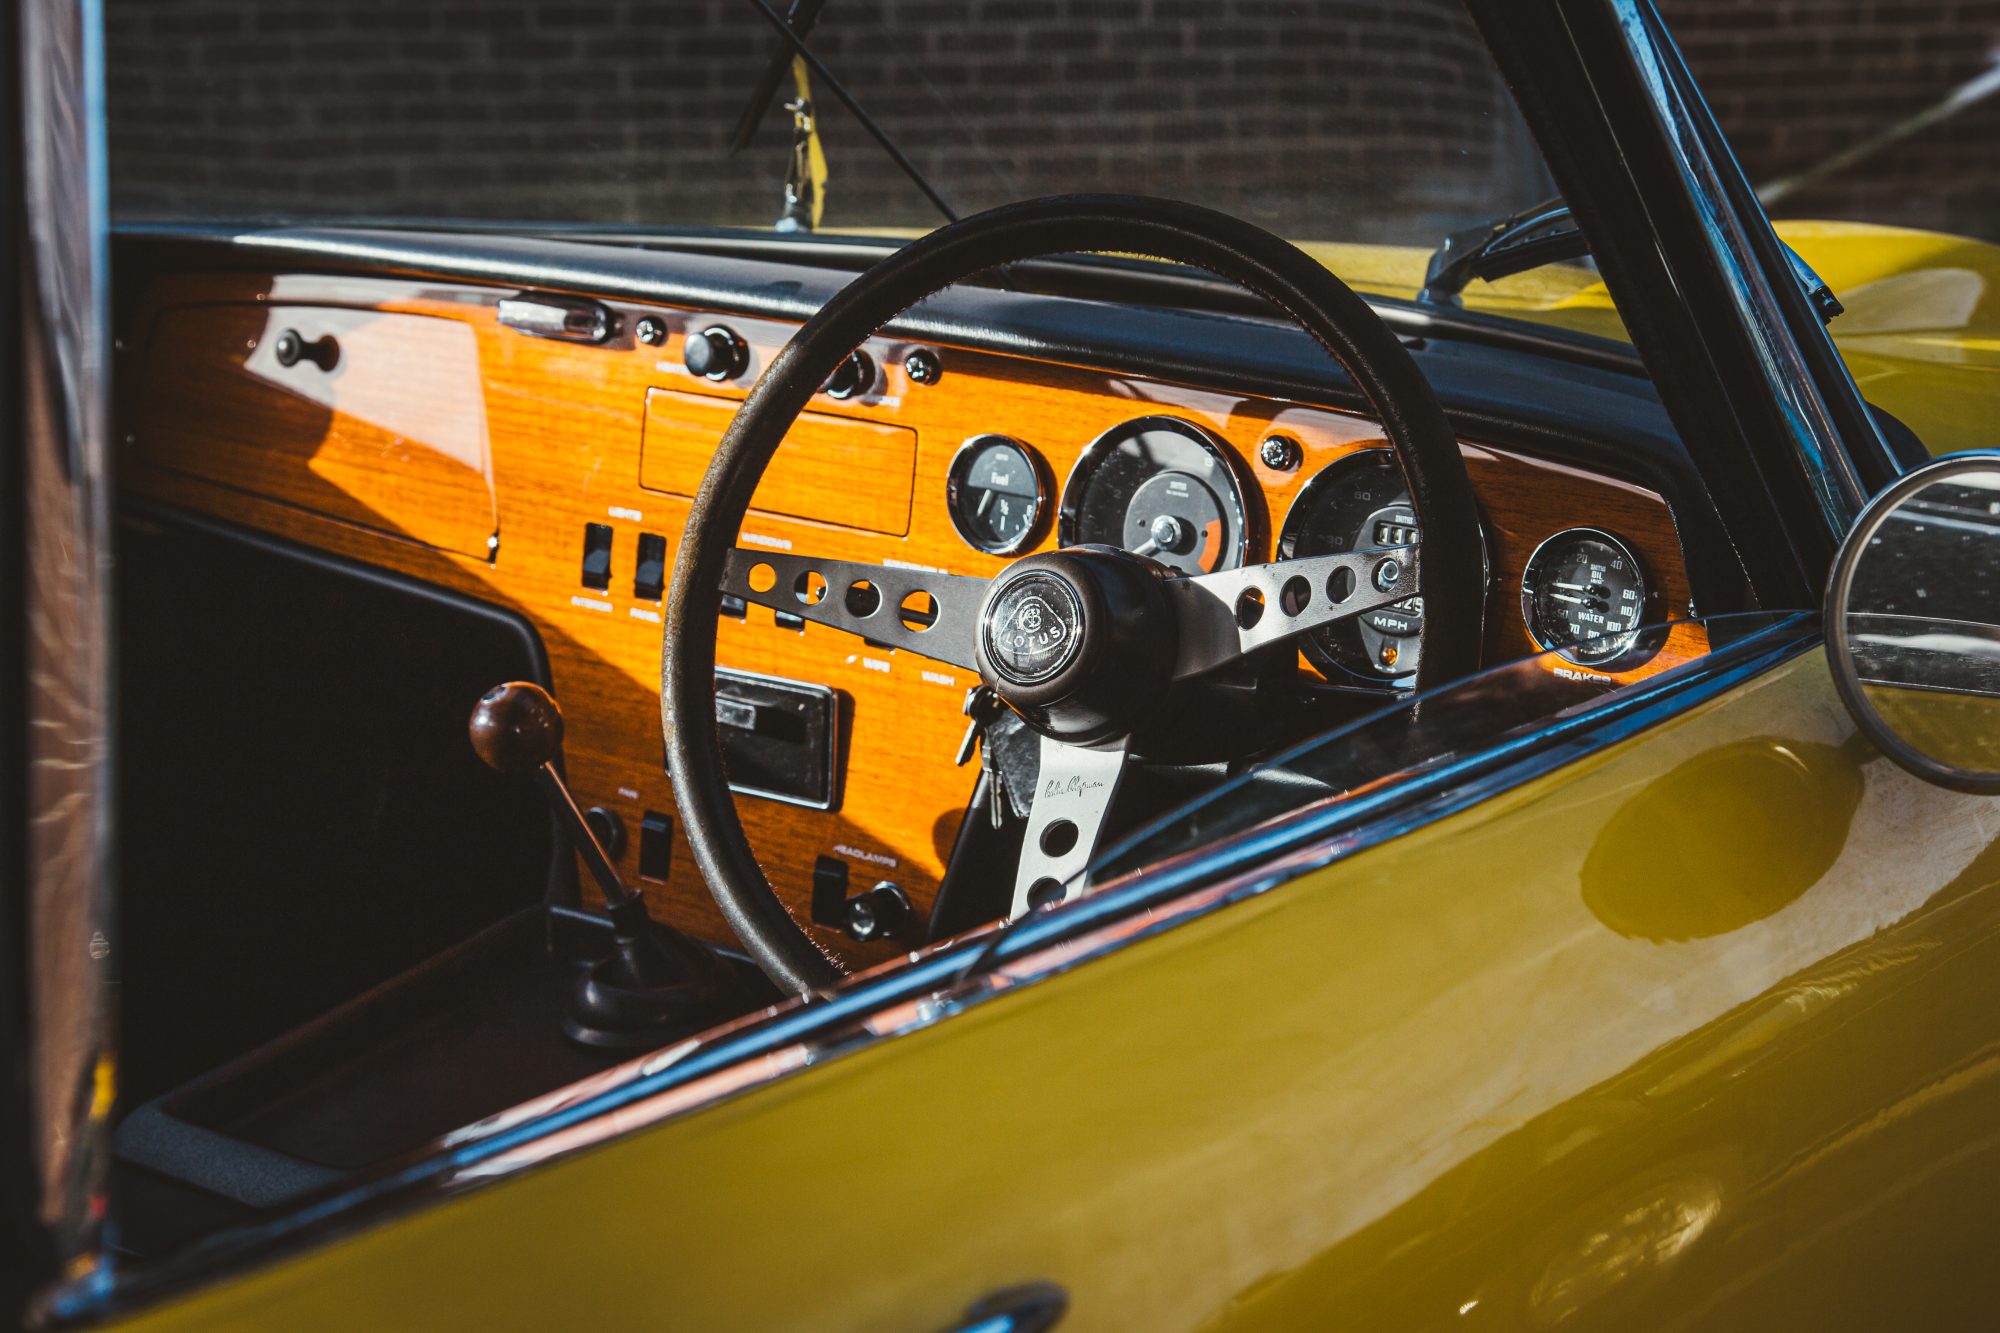
Another new arrival this week! This time in the shape of our 1968 Lotus Elan. This bite-sized, cult classic sports car has arrived at our

To celebrate their win at the 1990 24 hours of Le Mans, Jaguar would take their flagship coupe and create a very special car to

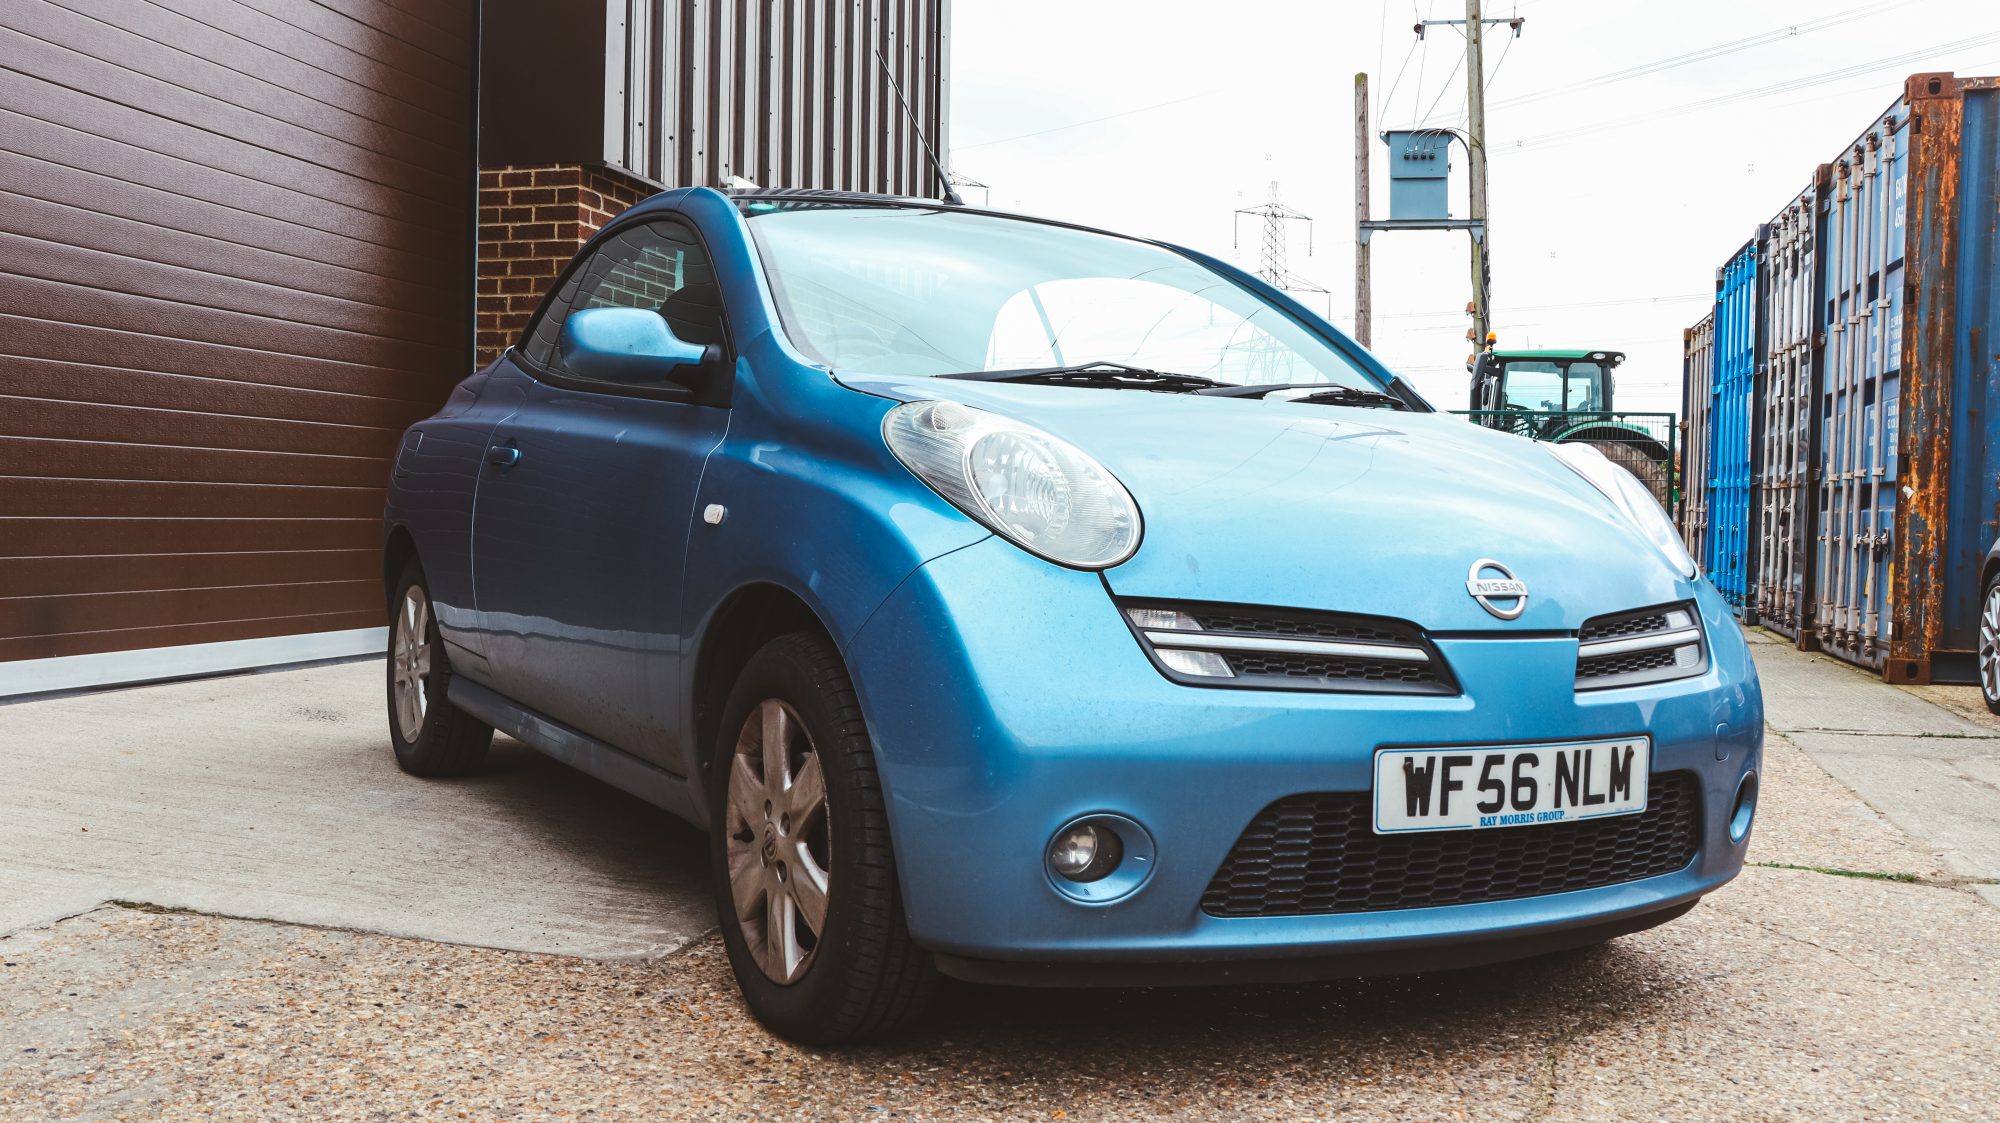
We’ve welcomed a few new arrivals this week at the Bridge Classic Cars HQ! One of them being this 2006 Nissan Micra for the team
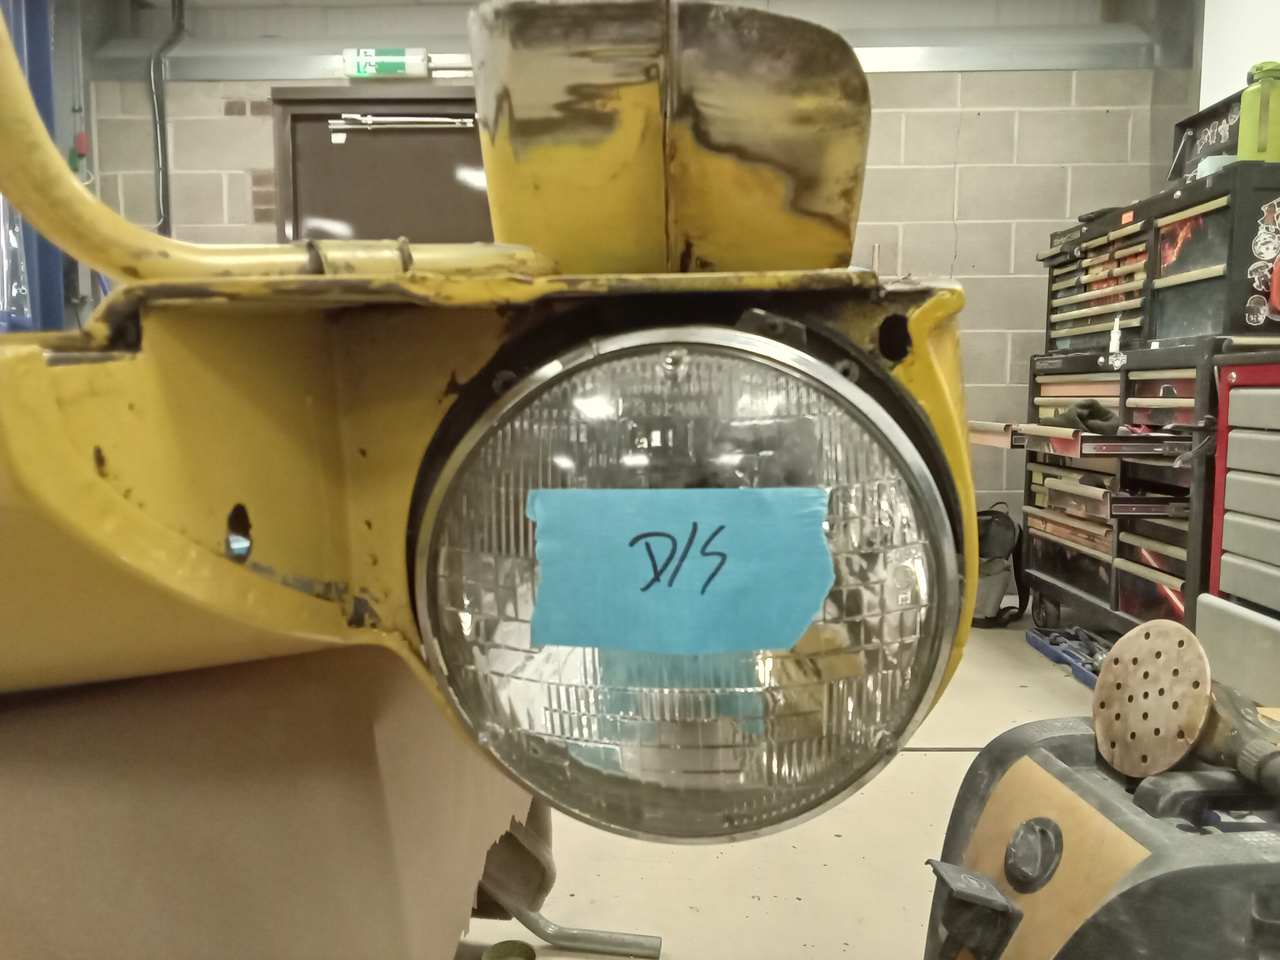
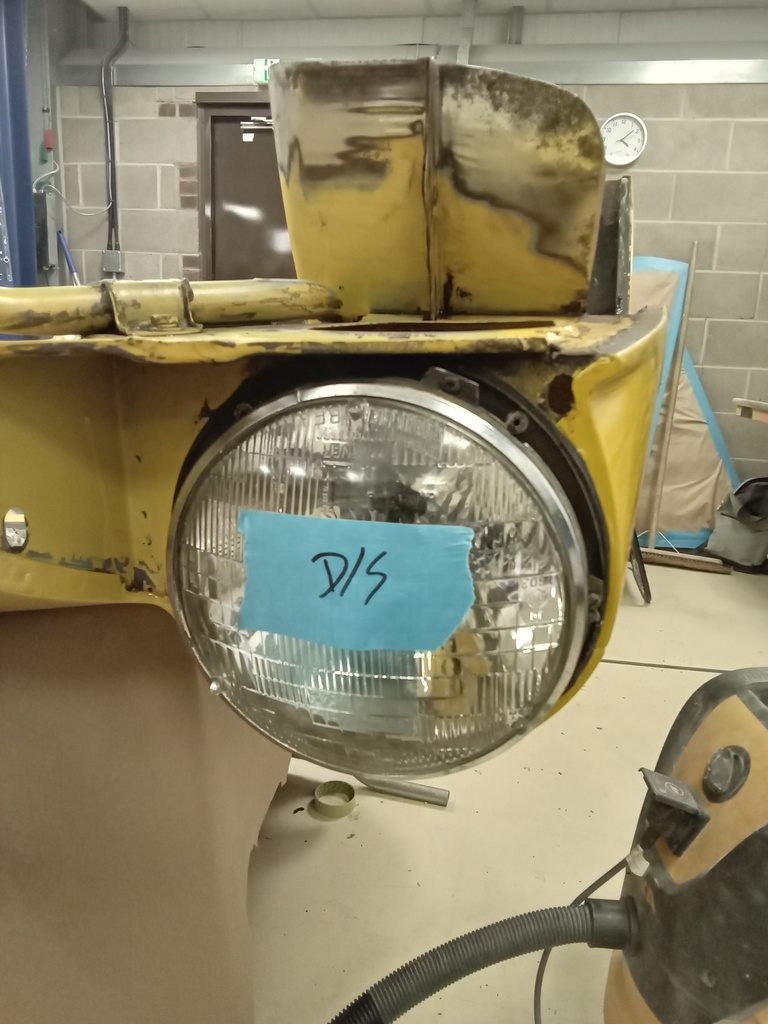
Our 1968 Lotus Elan has been safely transported to our secure storage facility.
It will now be looked after in the company of other impressive cars.
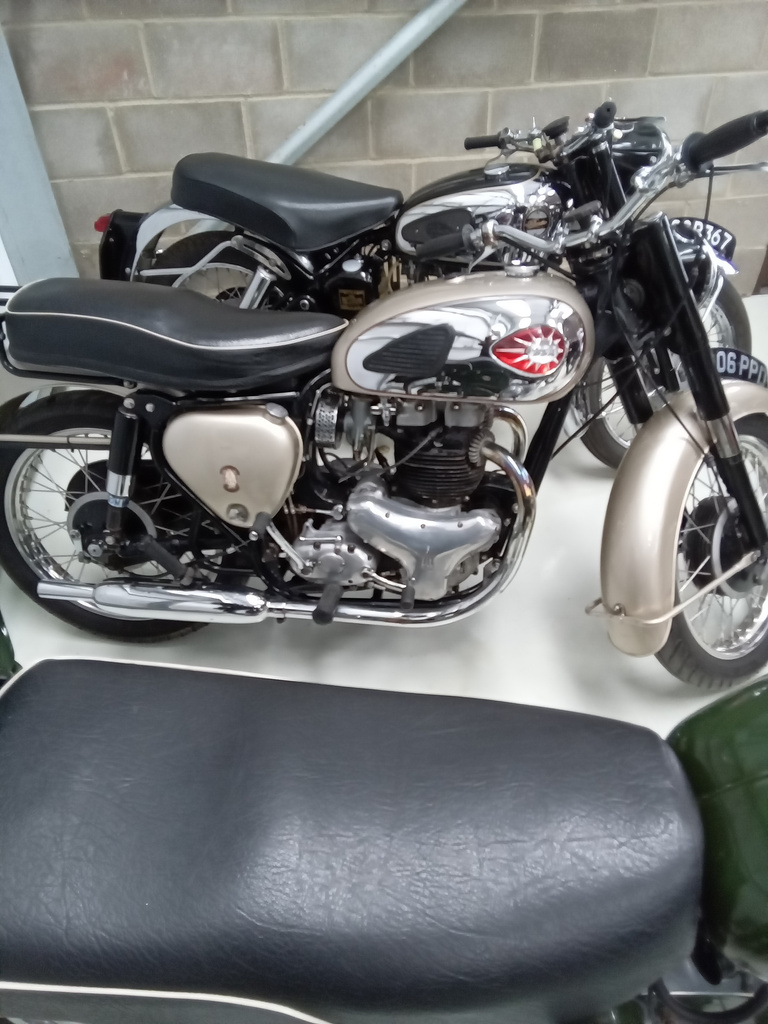
Paul has begun his inspection and assessment of 2 of our recently arrived motorbikes – our 1960 BSA 650 and our 1961 Matchless 350.
On the Matchless 350, he cleaned out the carbs and fitted a new spark plug before taking it out on a test ride.
He then moved on to assess the BSA which he found to start and run ok.
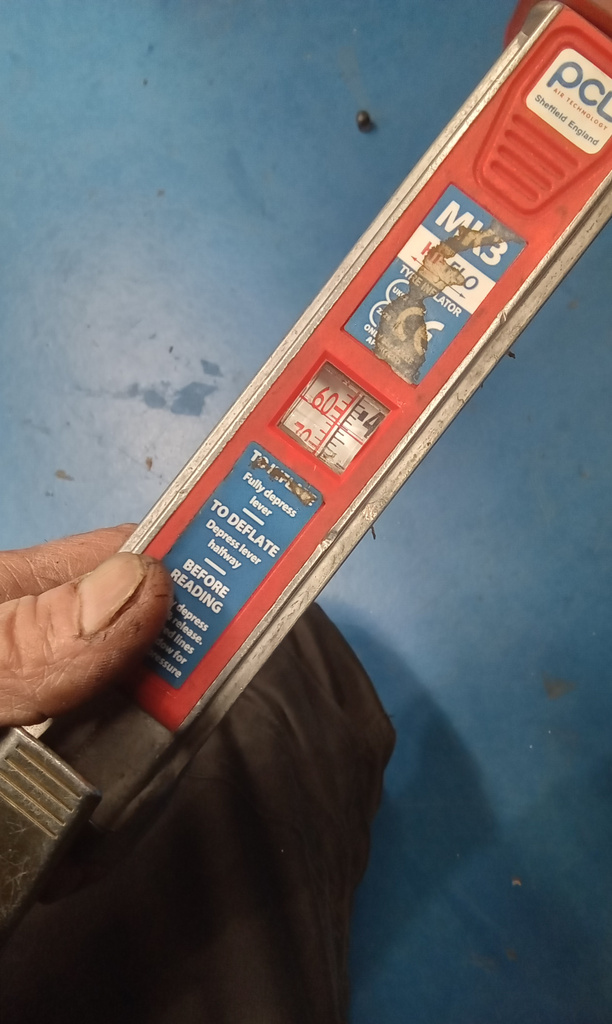
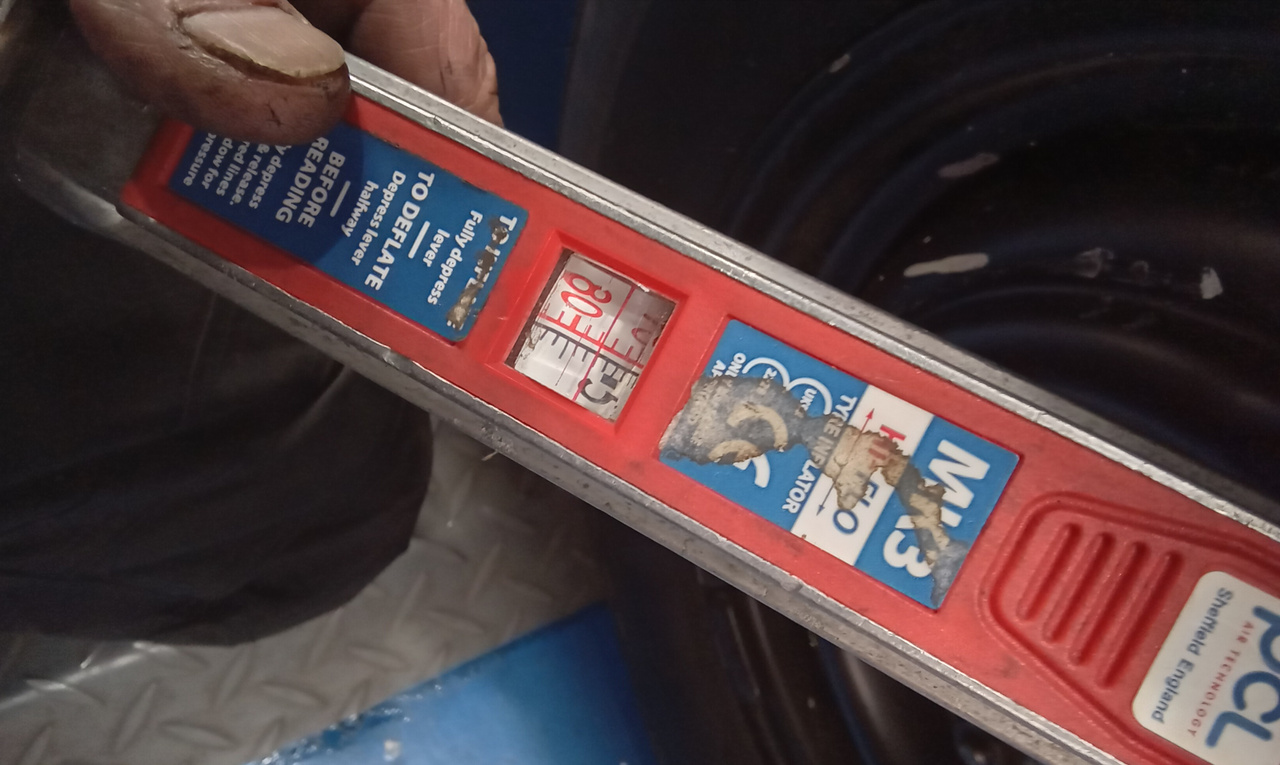
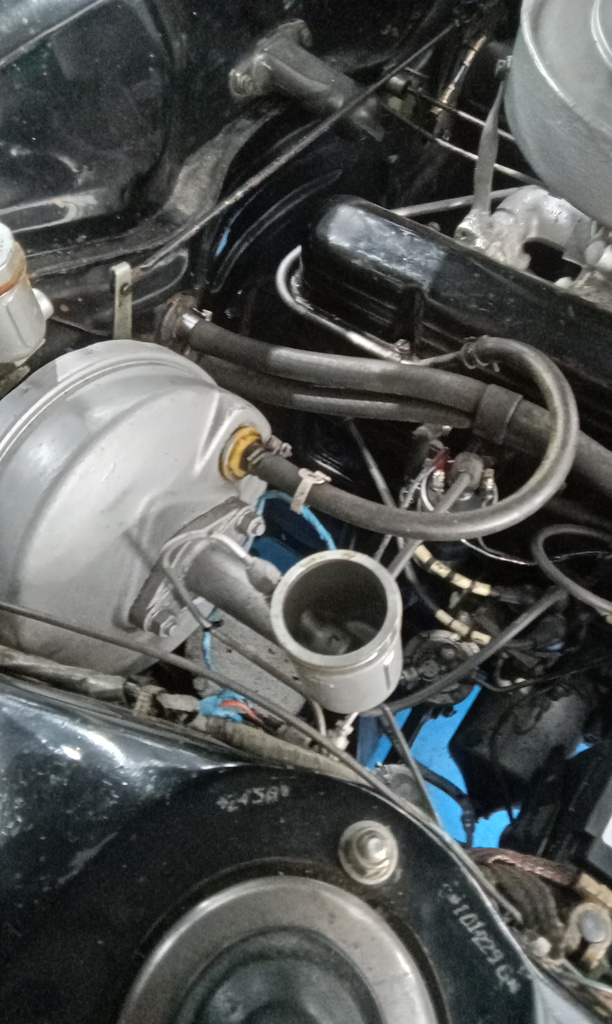
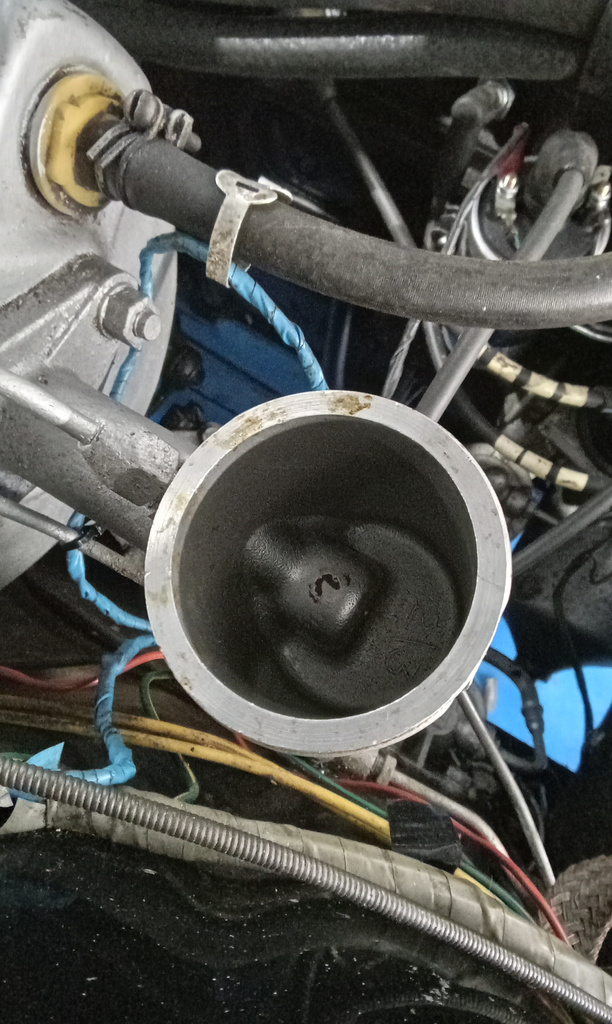
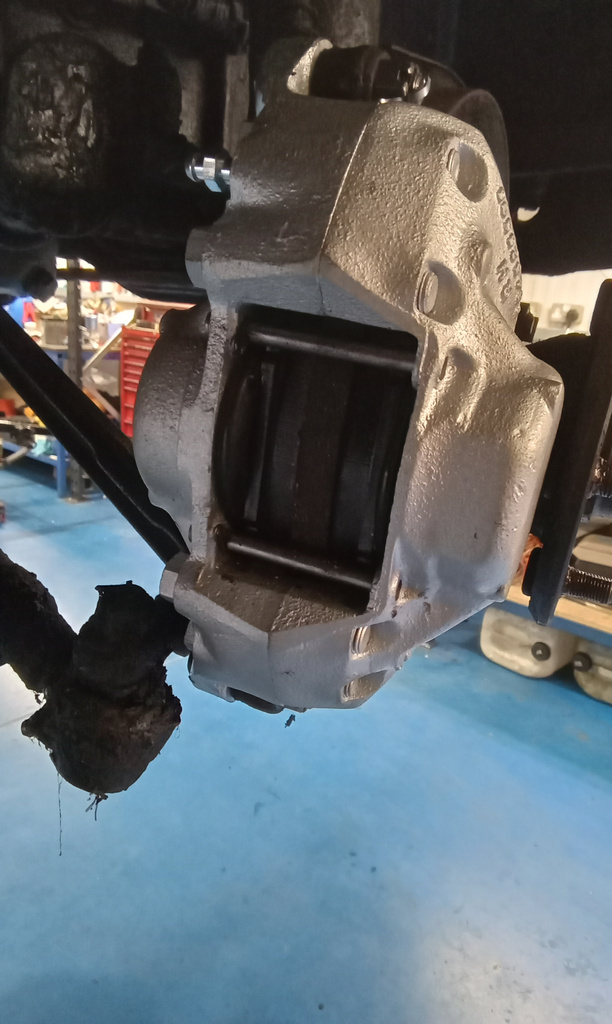
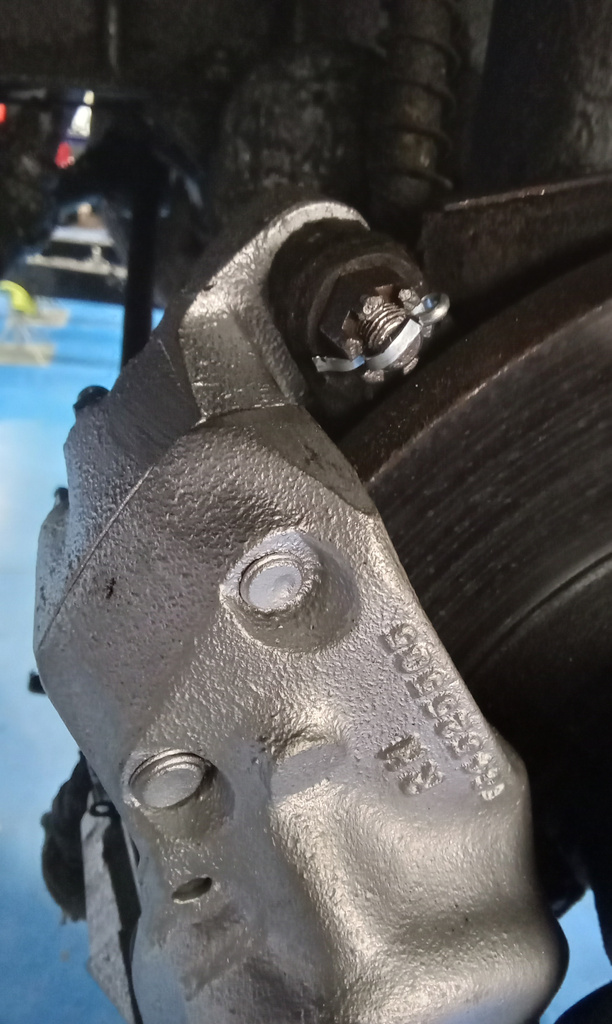
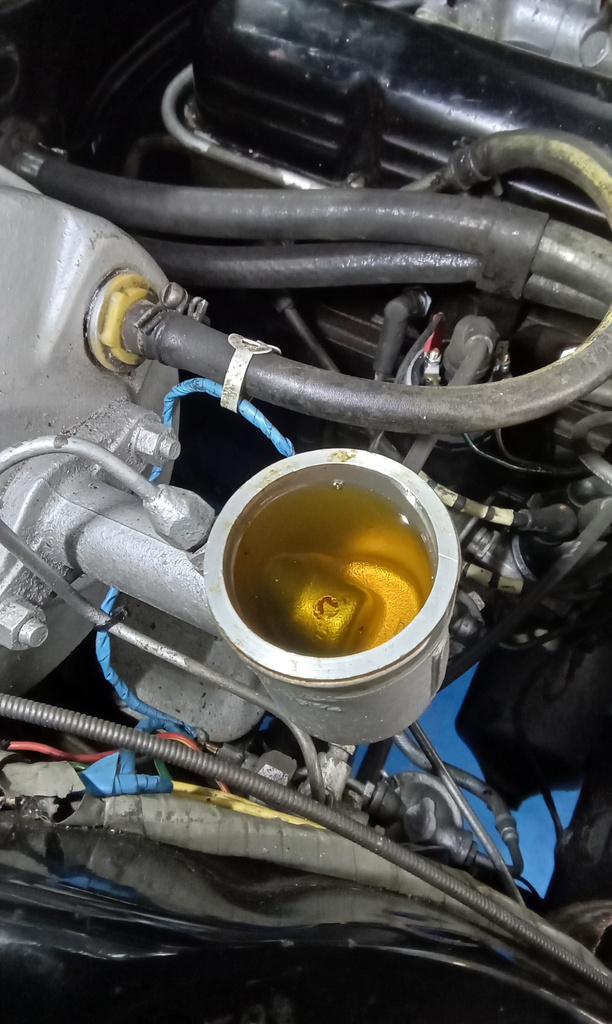
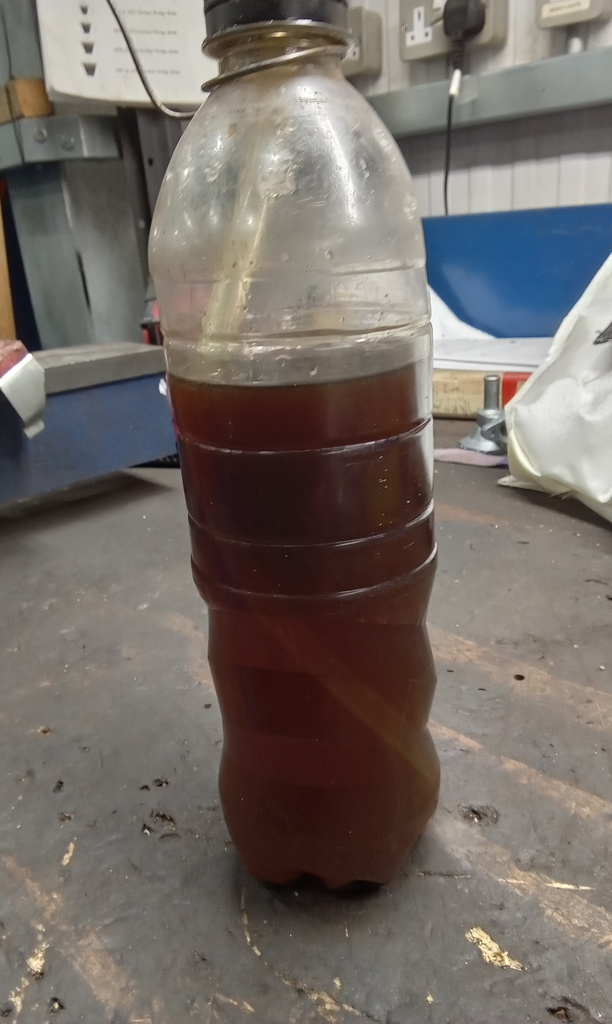
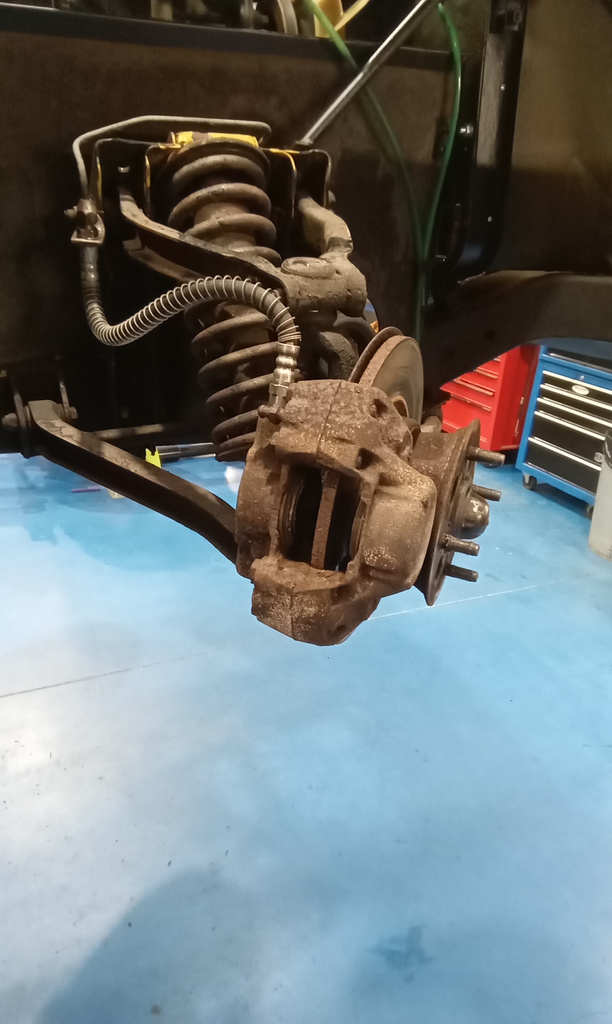
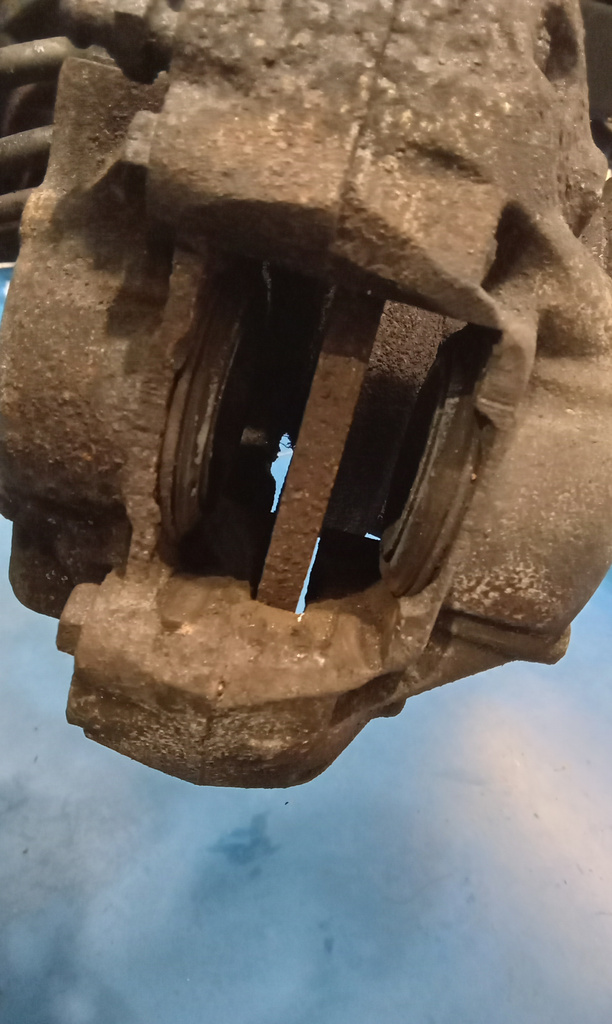
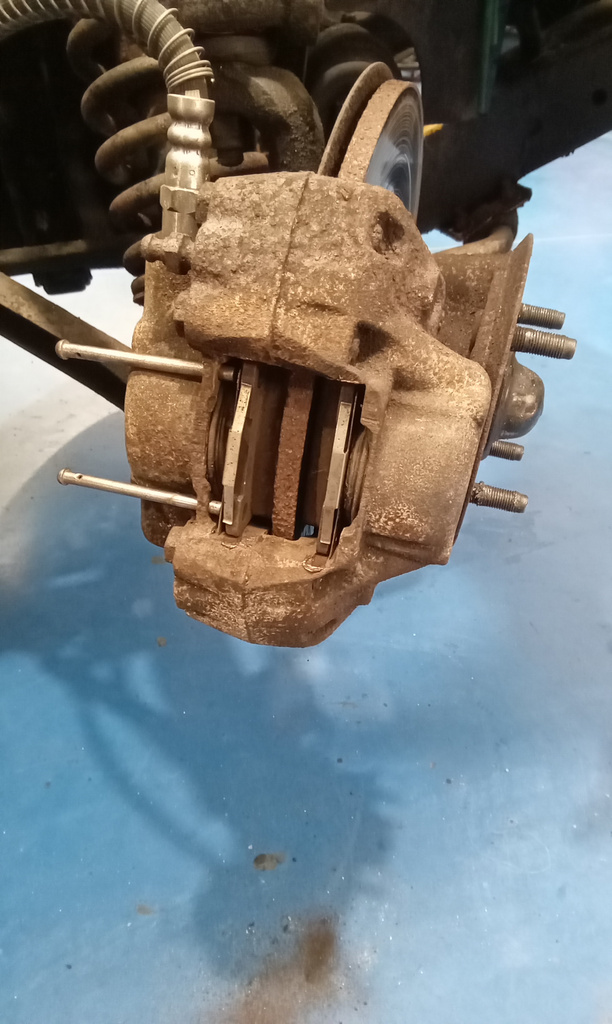
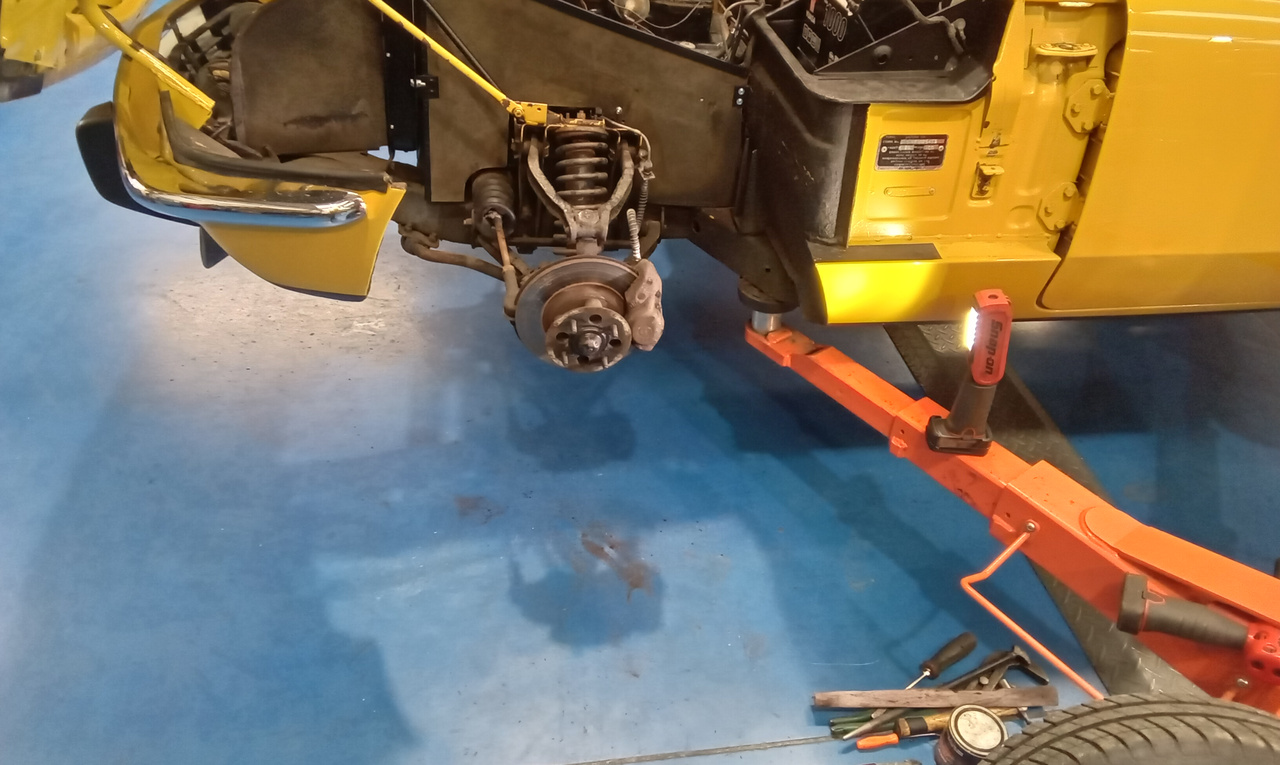
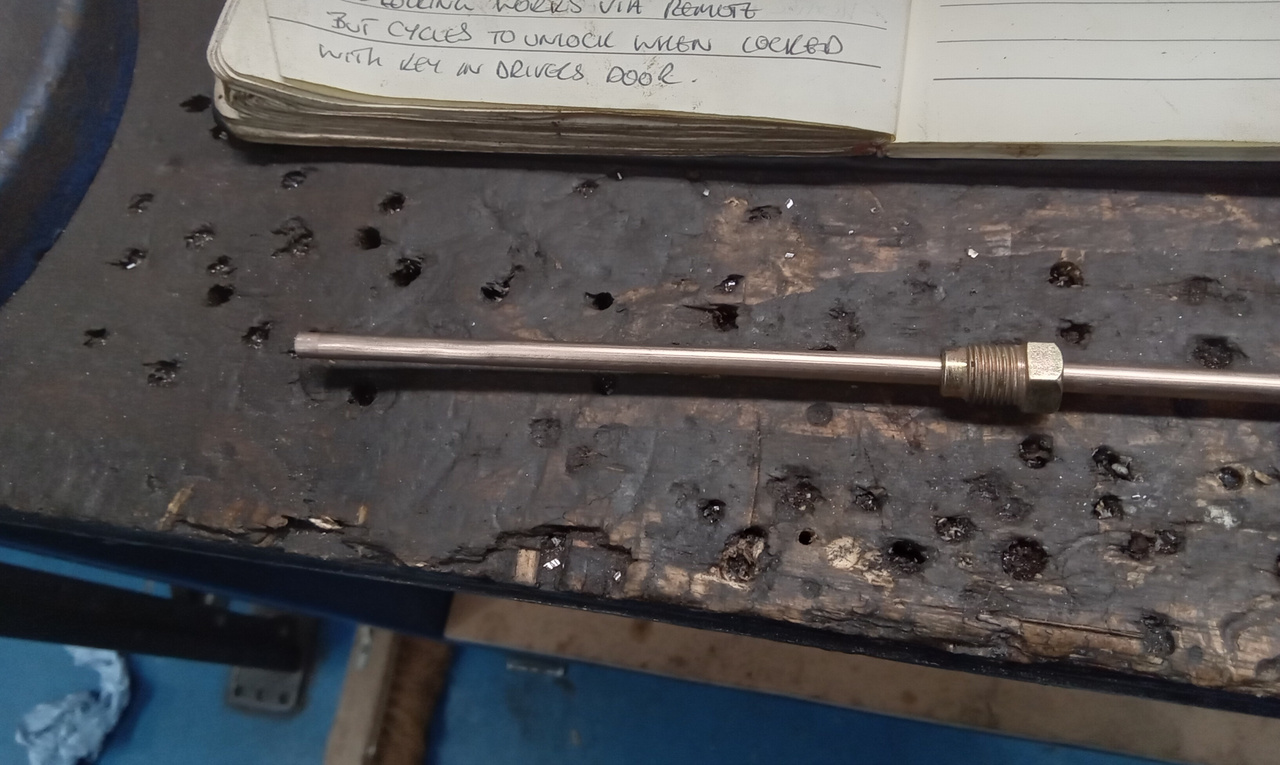
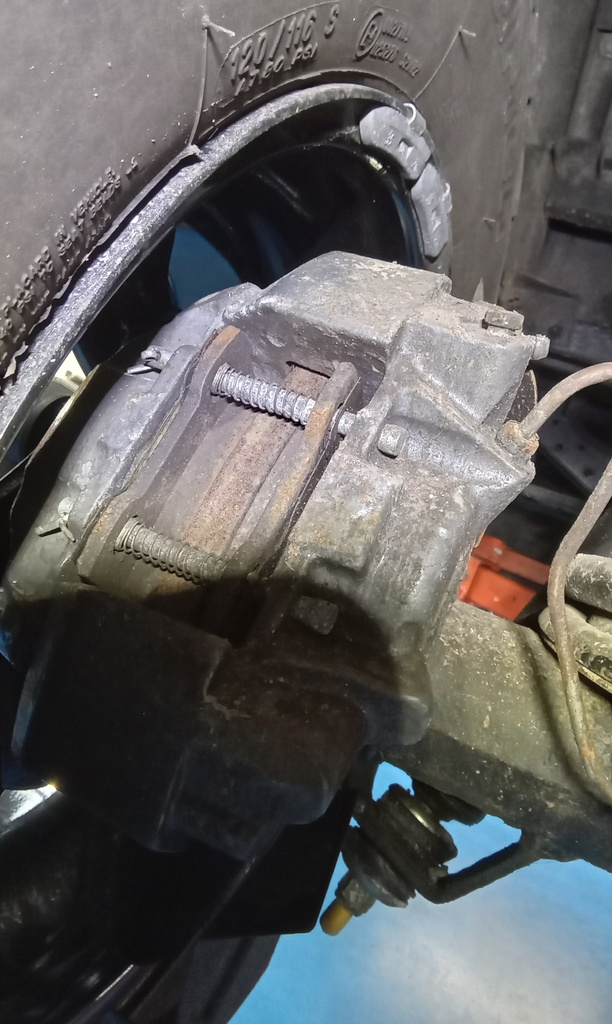
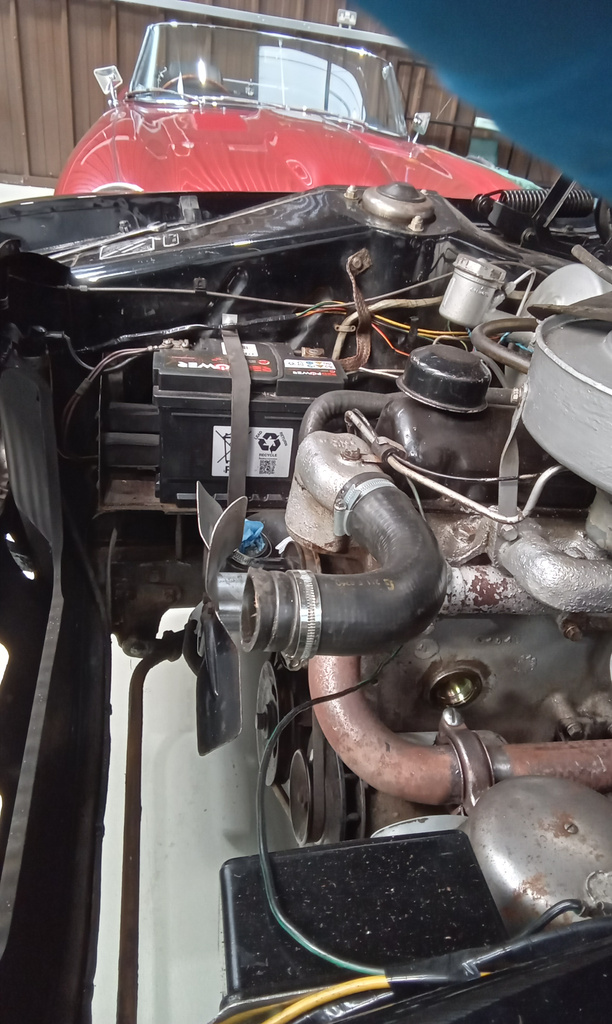
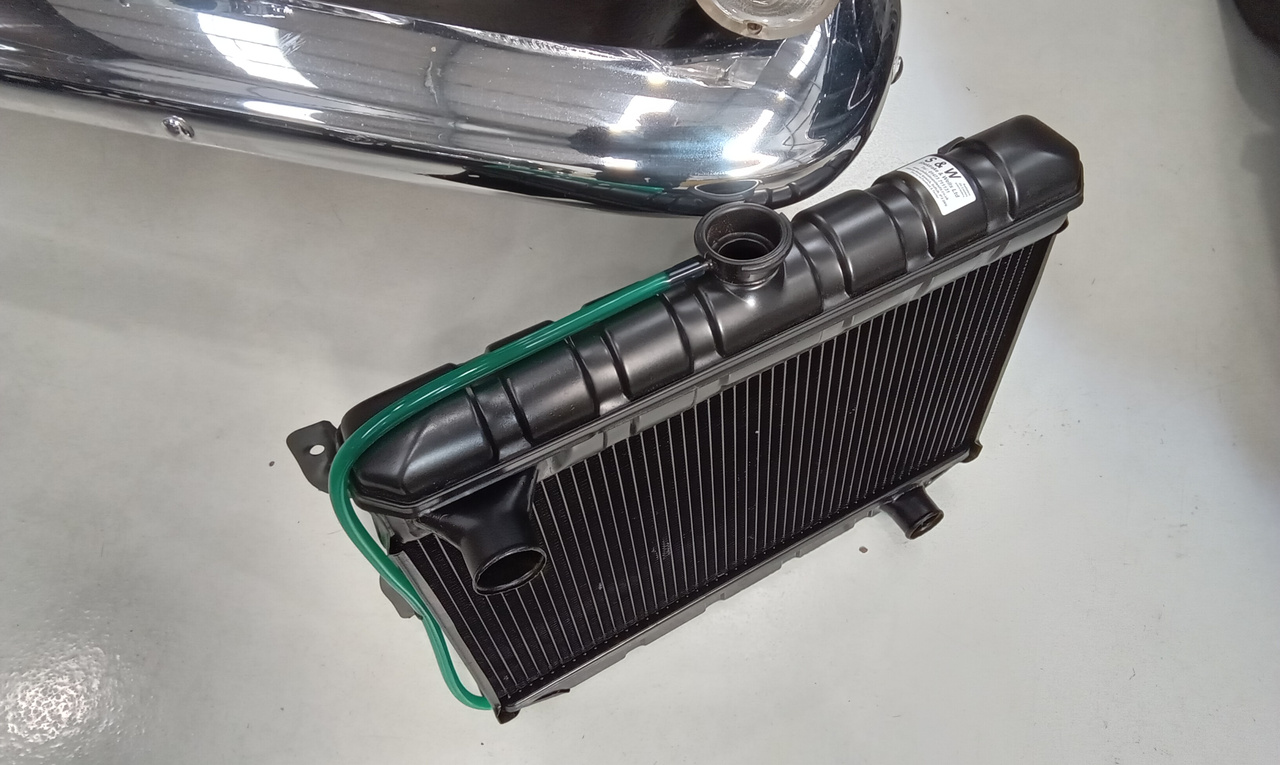
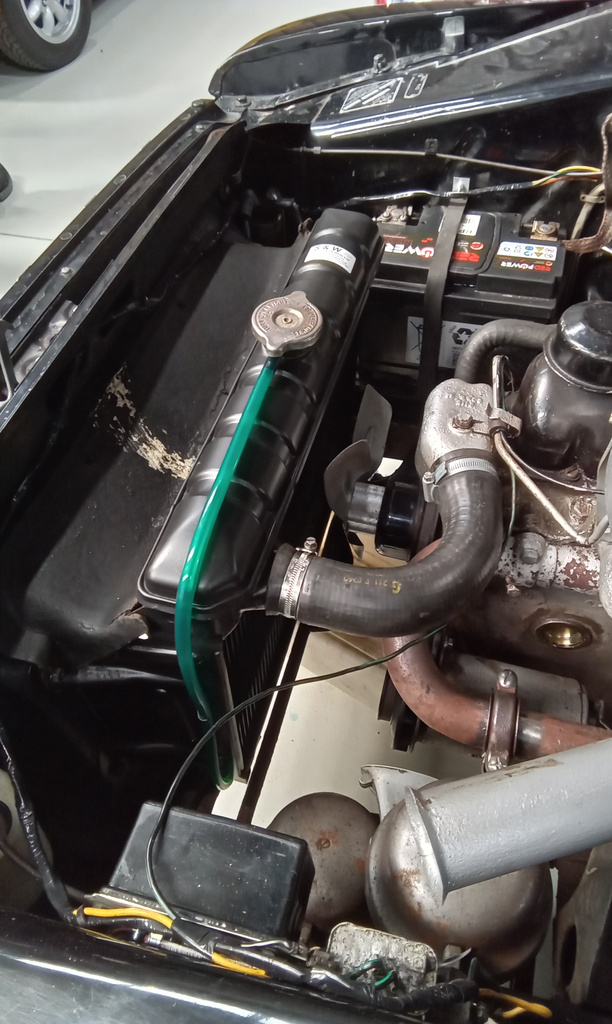
Here are Jonn’s notes following the pre-delivery inspection of our 1964 Ford Zephyr:
Refit radiator now back from repair. Connect hoses and secure. Vacuum refill system even though it had a minor pressure loss over 2 mins. Visually check round resecure all pipes and check for leaks. Ok at present. Fit refurbished offside front brake caliper and pads. With John’s help bleed entire brake system and pressure check for leaks, ok. Refit wheel.
Take outside to start up and check. Found door ajar and interior light on all night so battery flat. Run lead outside and battery charger and get started, but heater valve leaking almost instantly. Check charge light extinguished and switch off. Take back into workshop and drain coolant again. Strip and remove heater box assembly. Remove heater valve and strip. Get Christian to weld small hole in valve body. Use instant gasket and new O ring and reassemble in vice. Refit to heater and leave to go off overnight. Carry out pdi. Torque wheel nuts and refit wheel trims. Inflate/deflate tyres to obtain correct pressure. All tyres Found to be excessively high pressure as pictures will testify. Set to correct pressures all round.
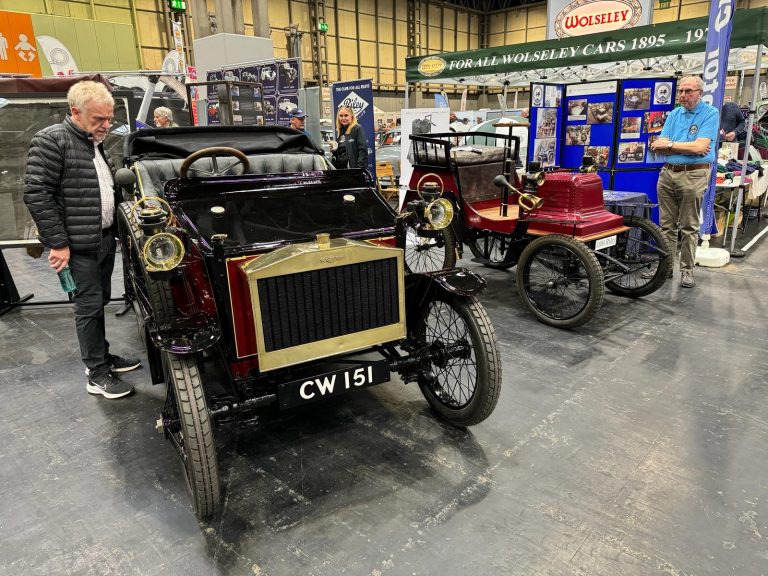
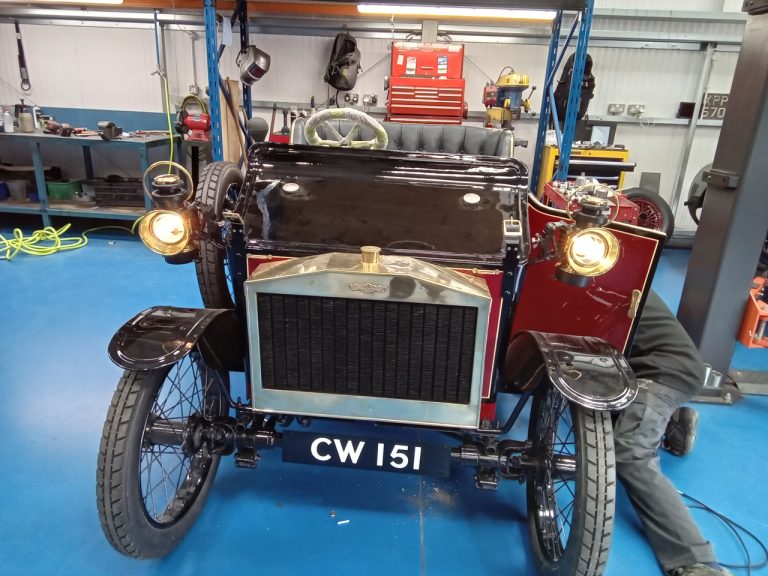
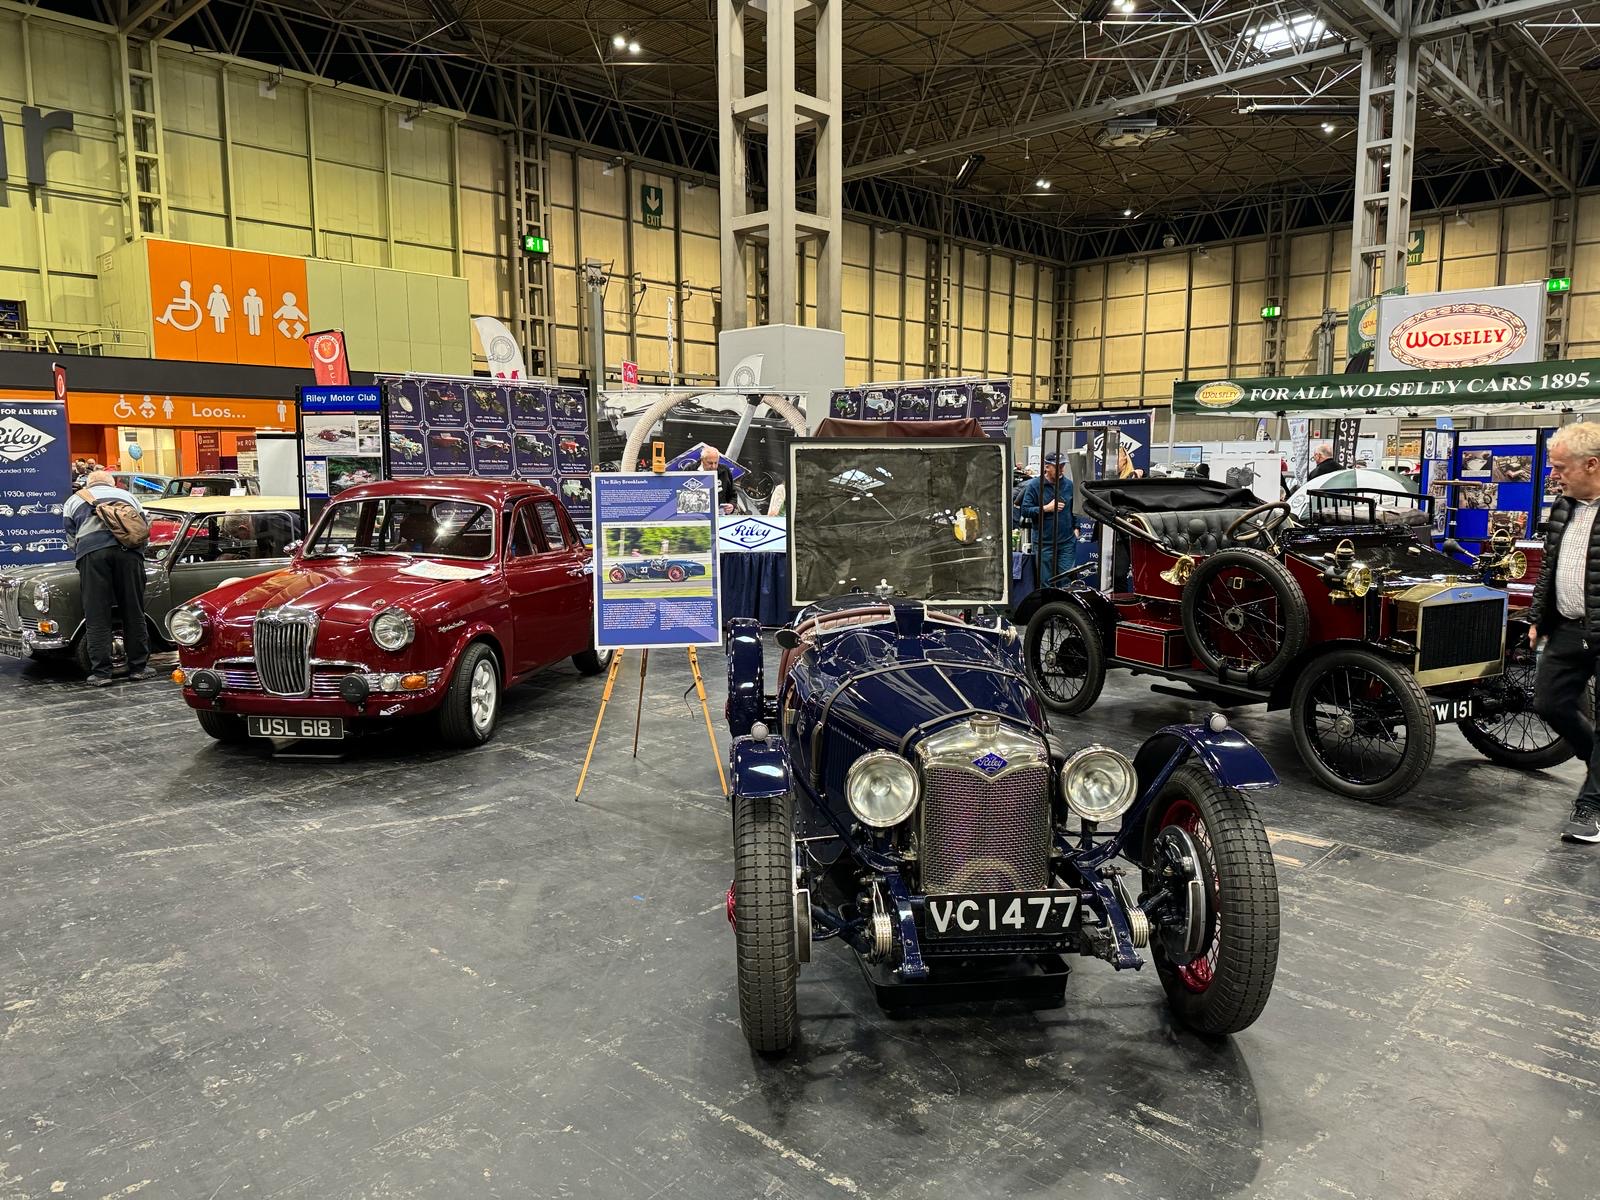
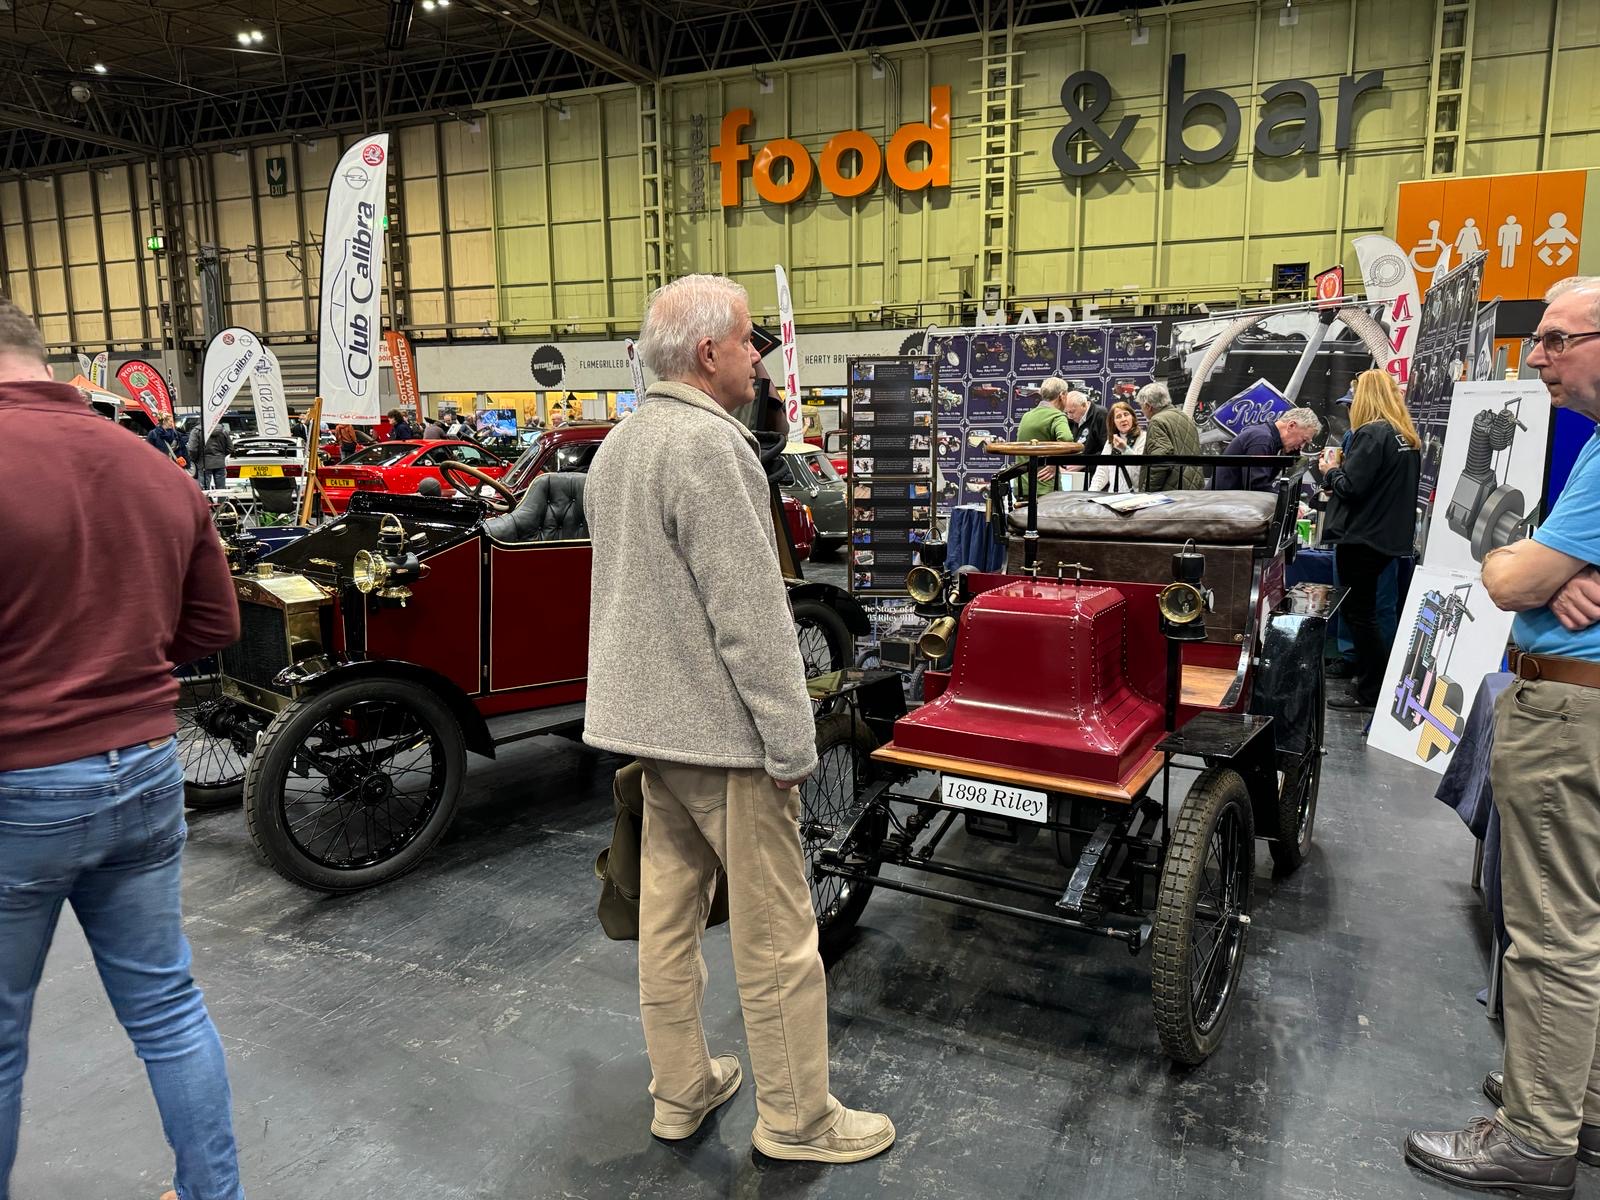
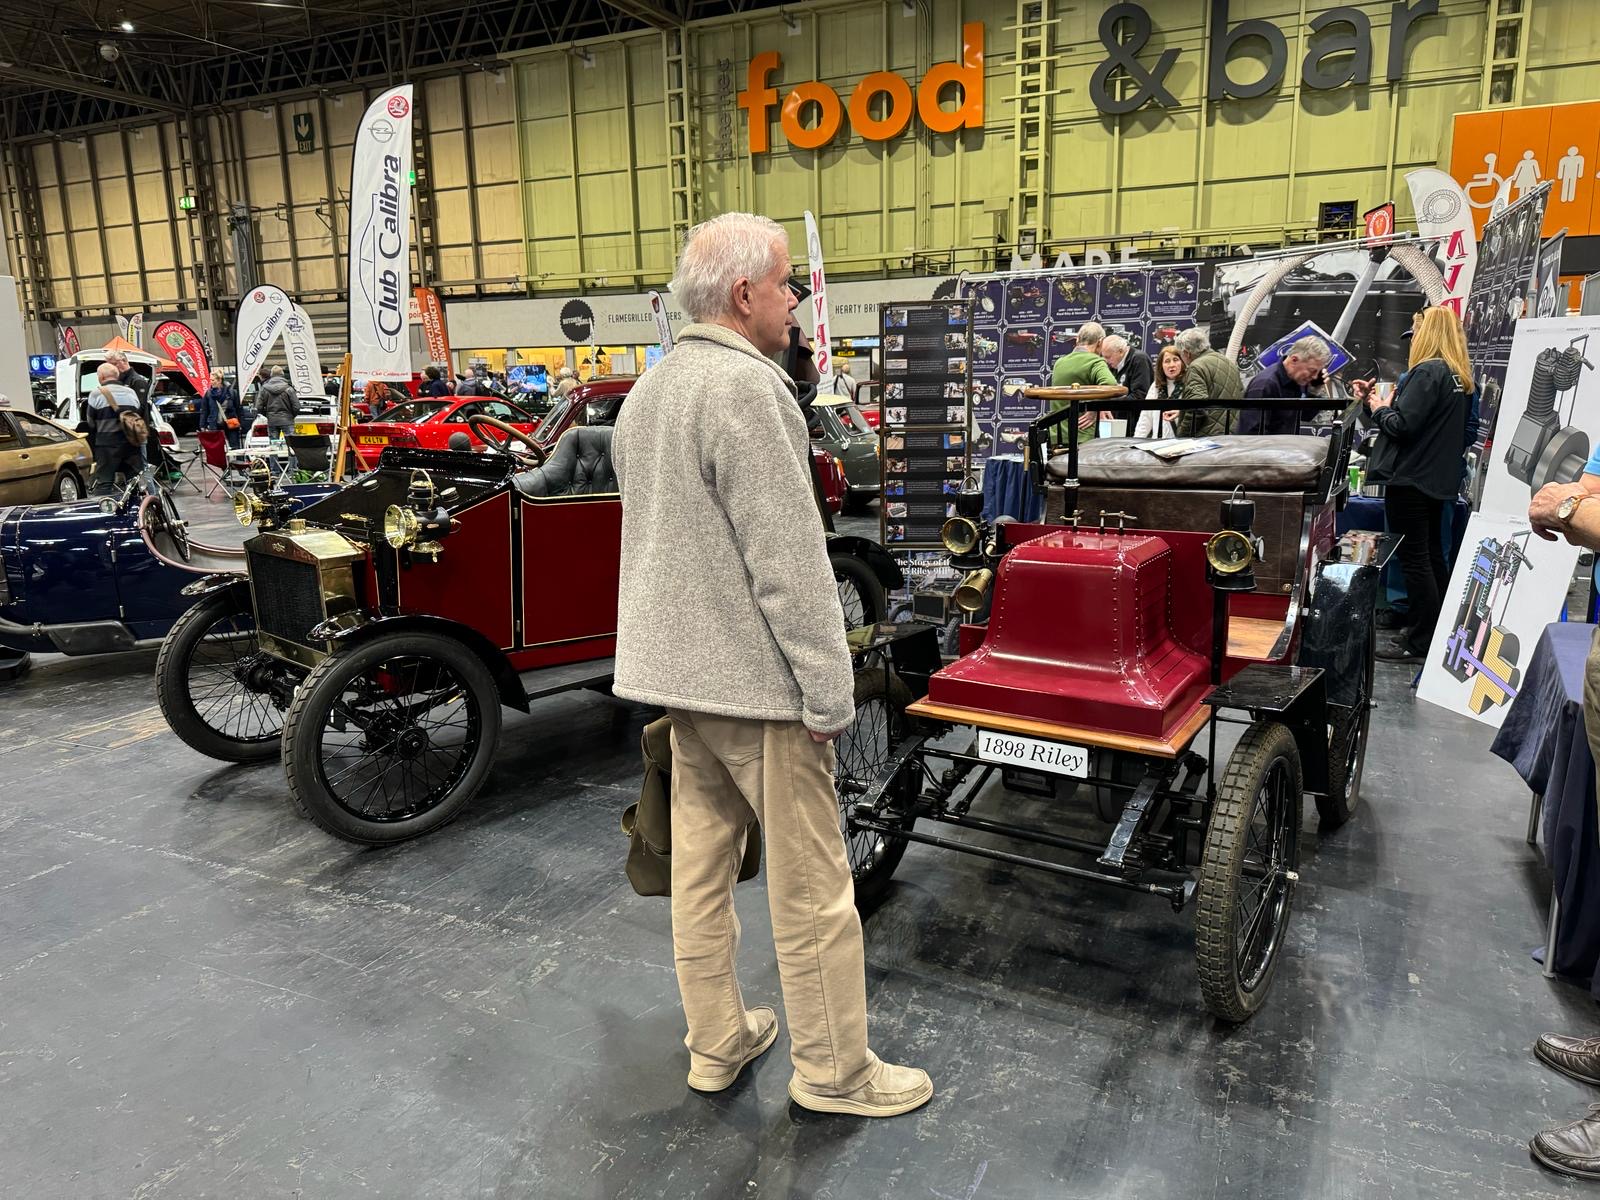
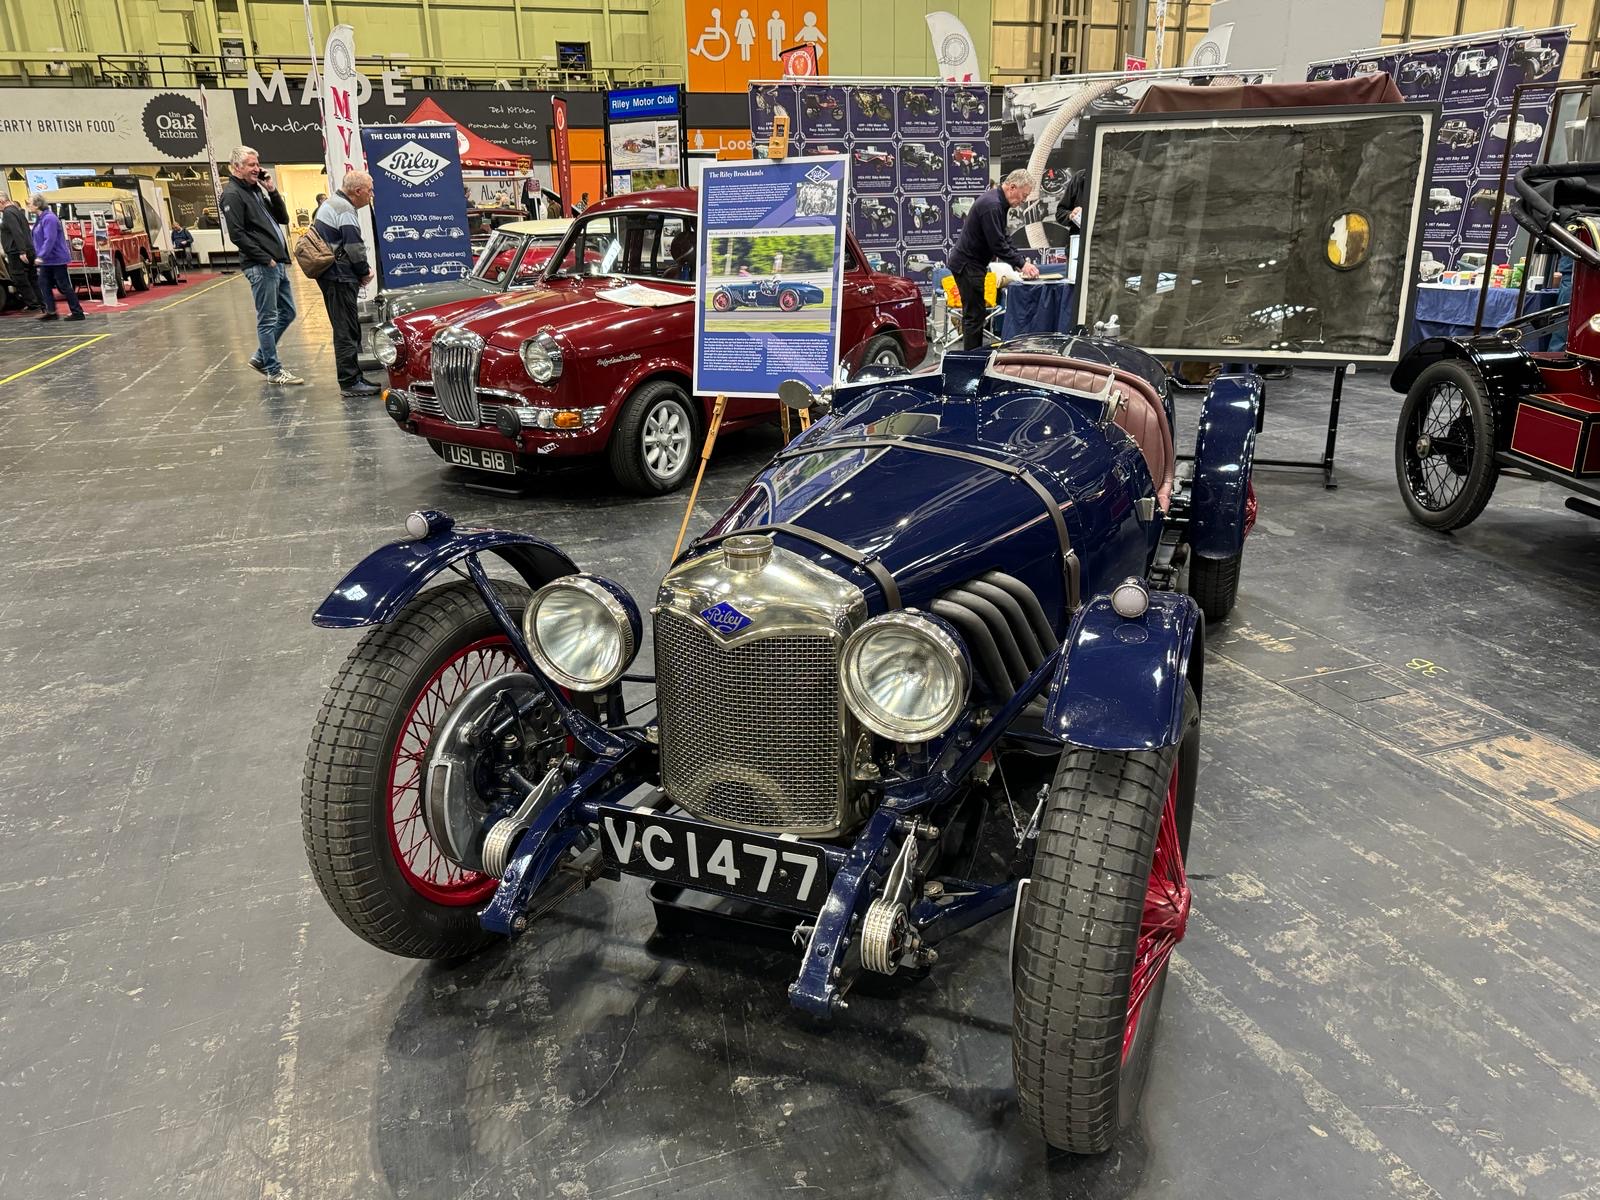
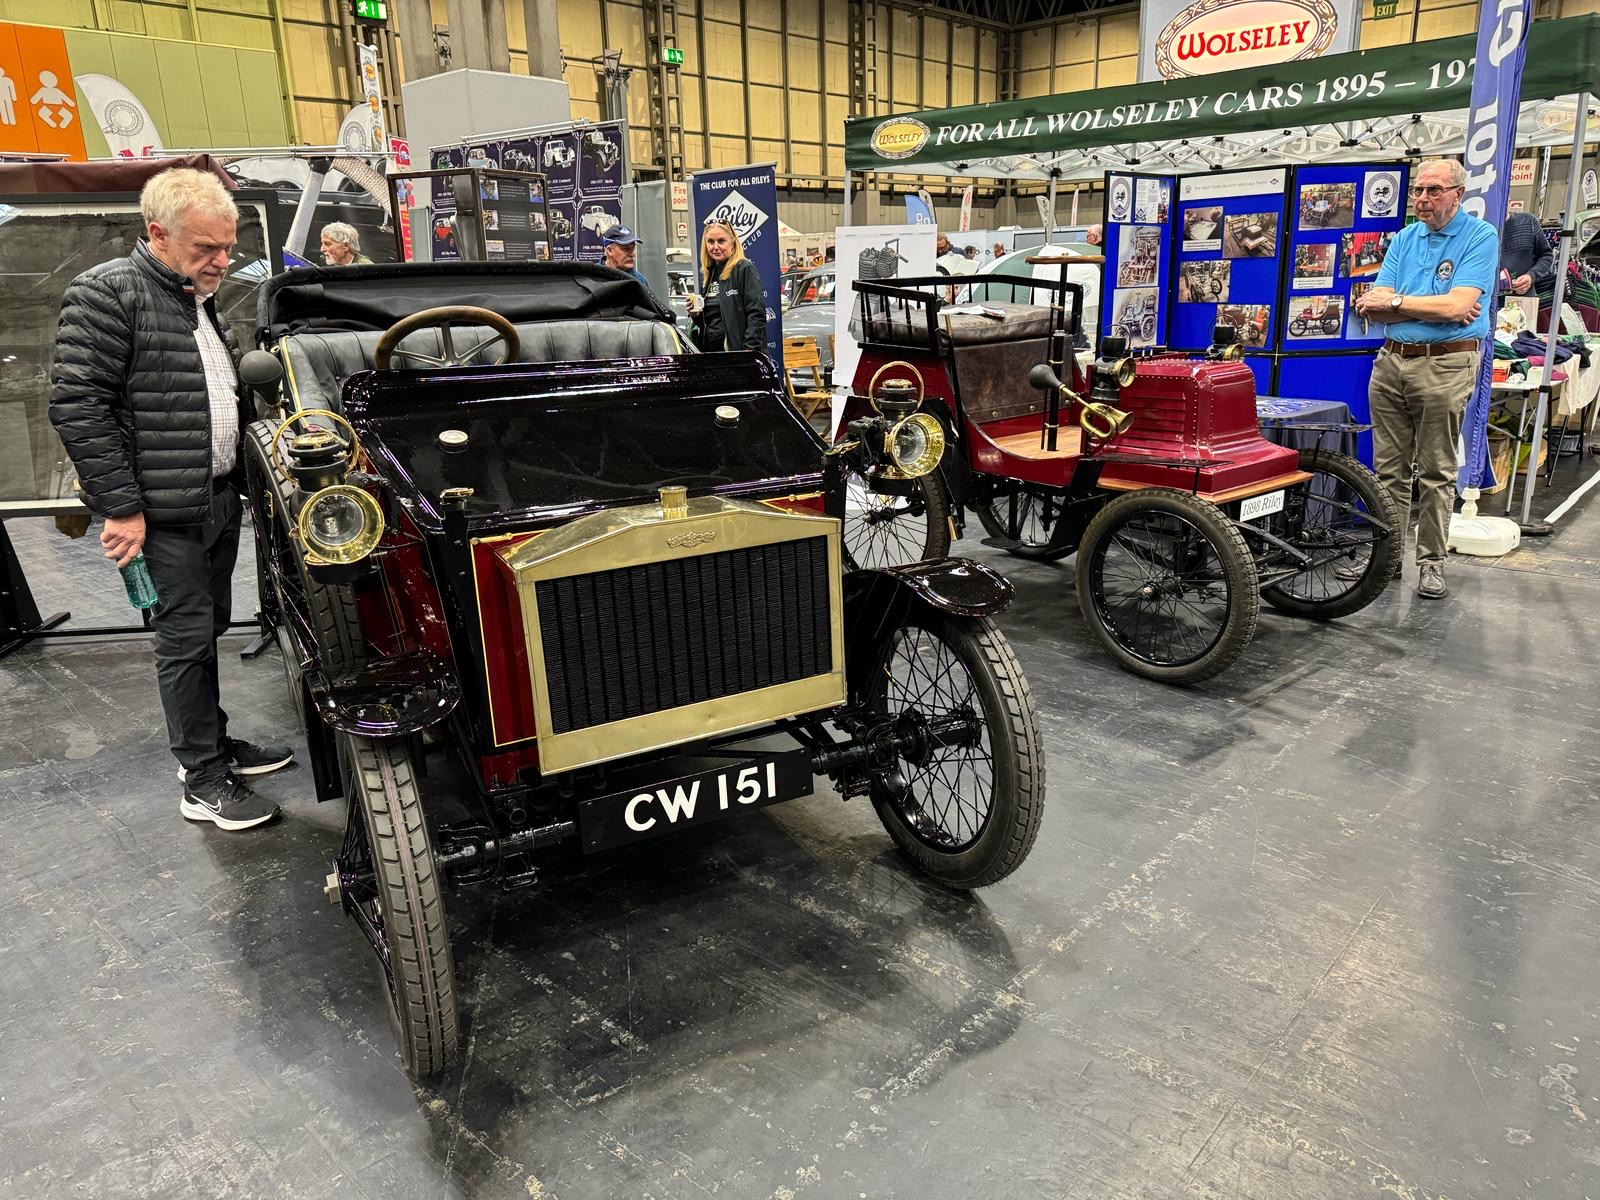
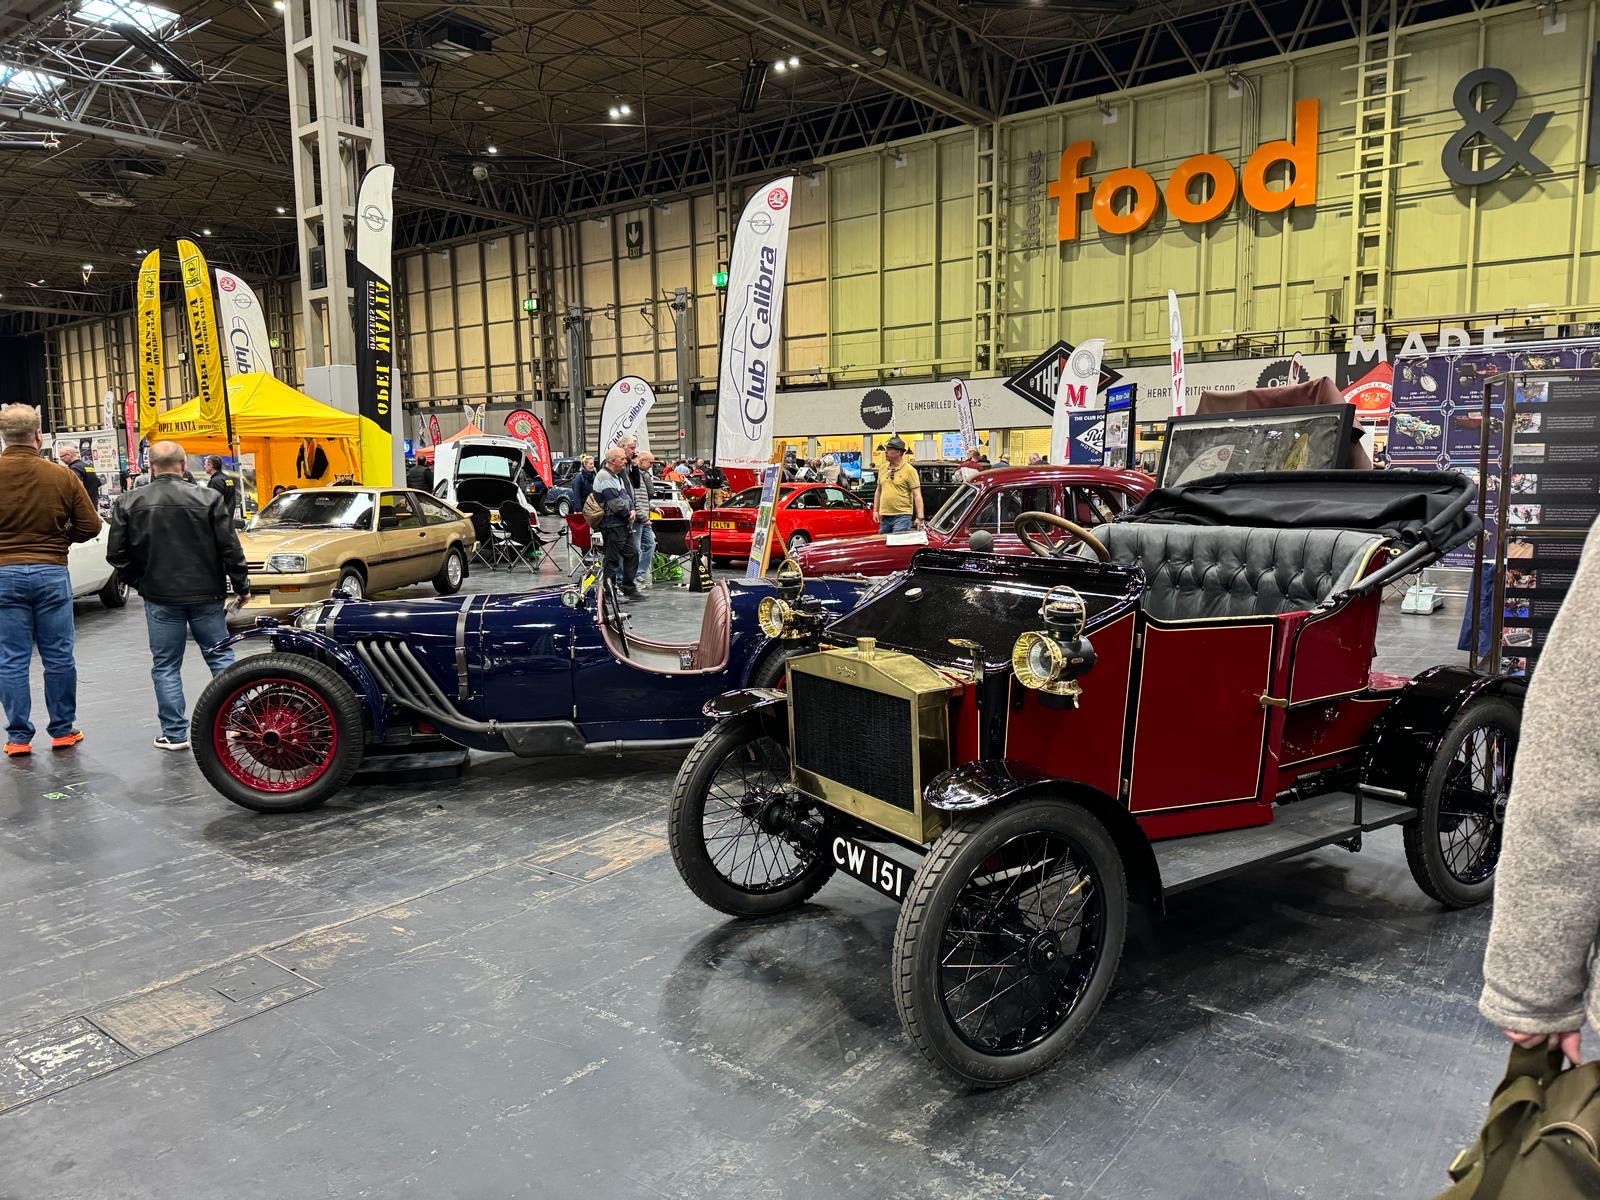
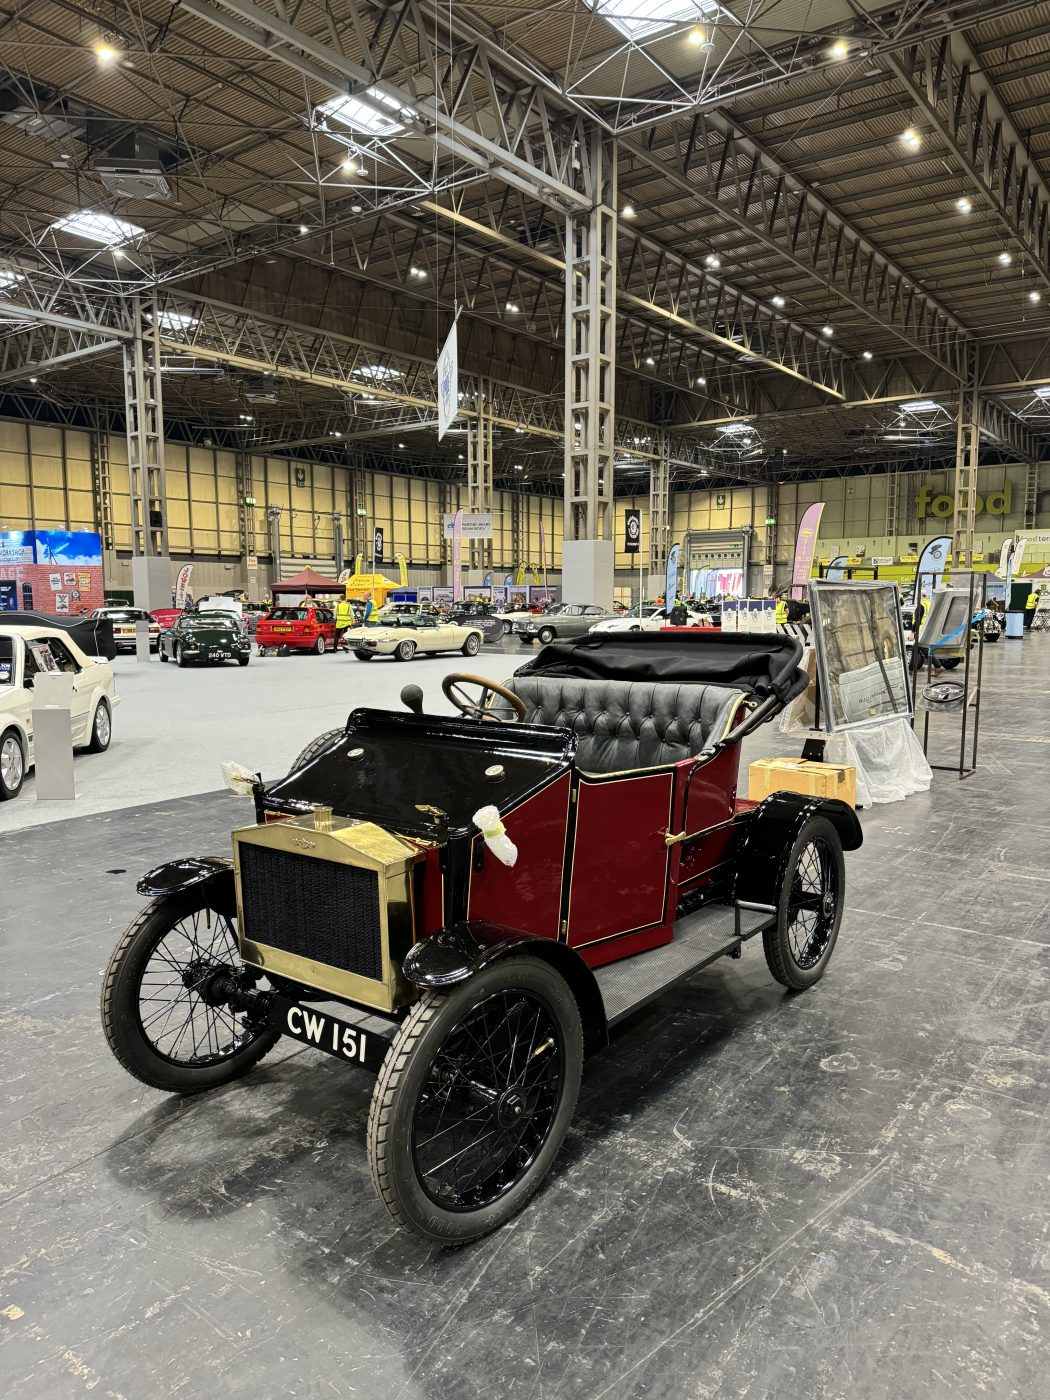
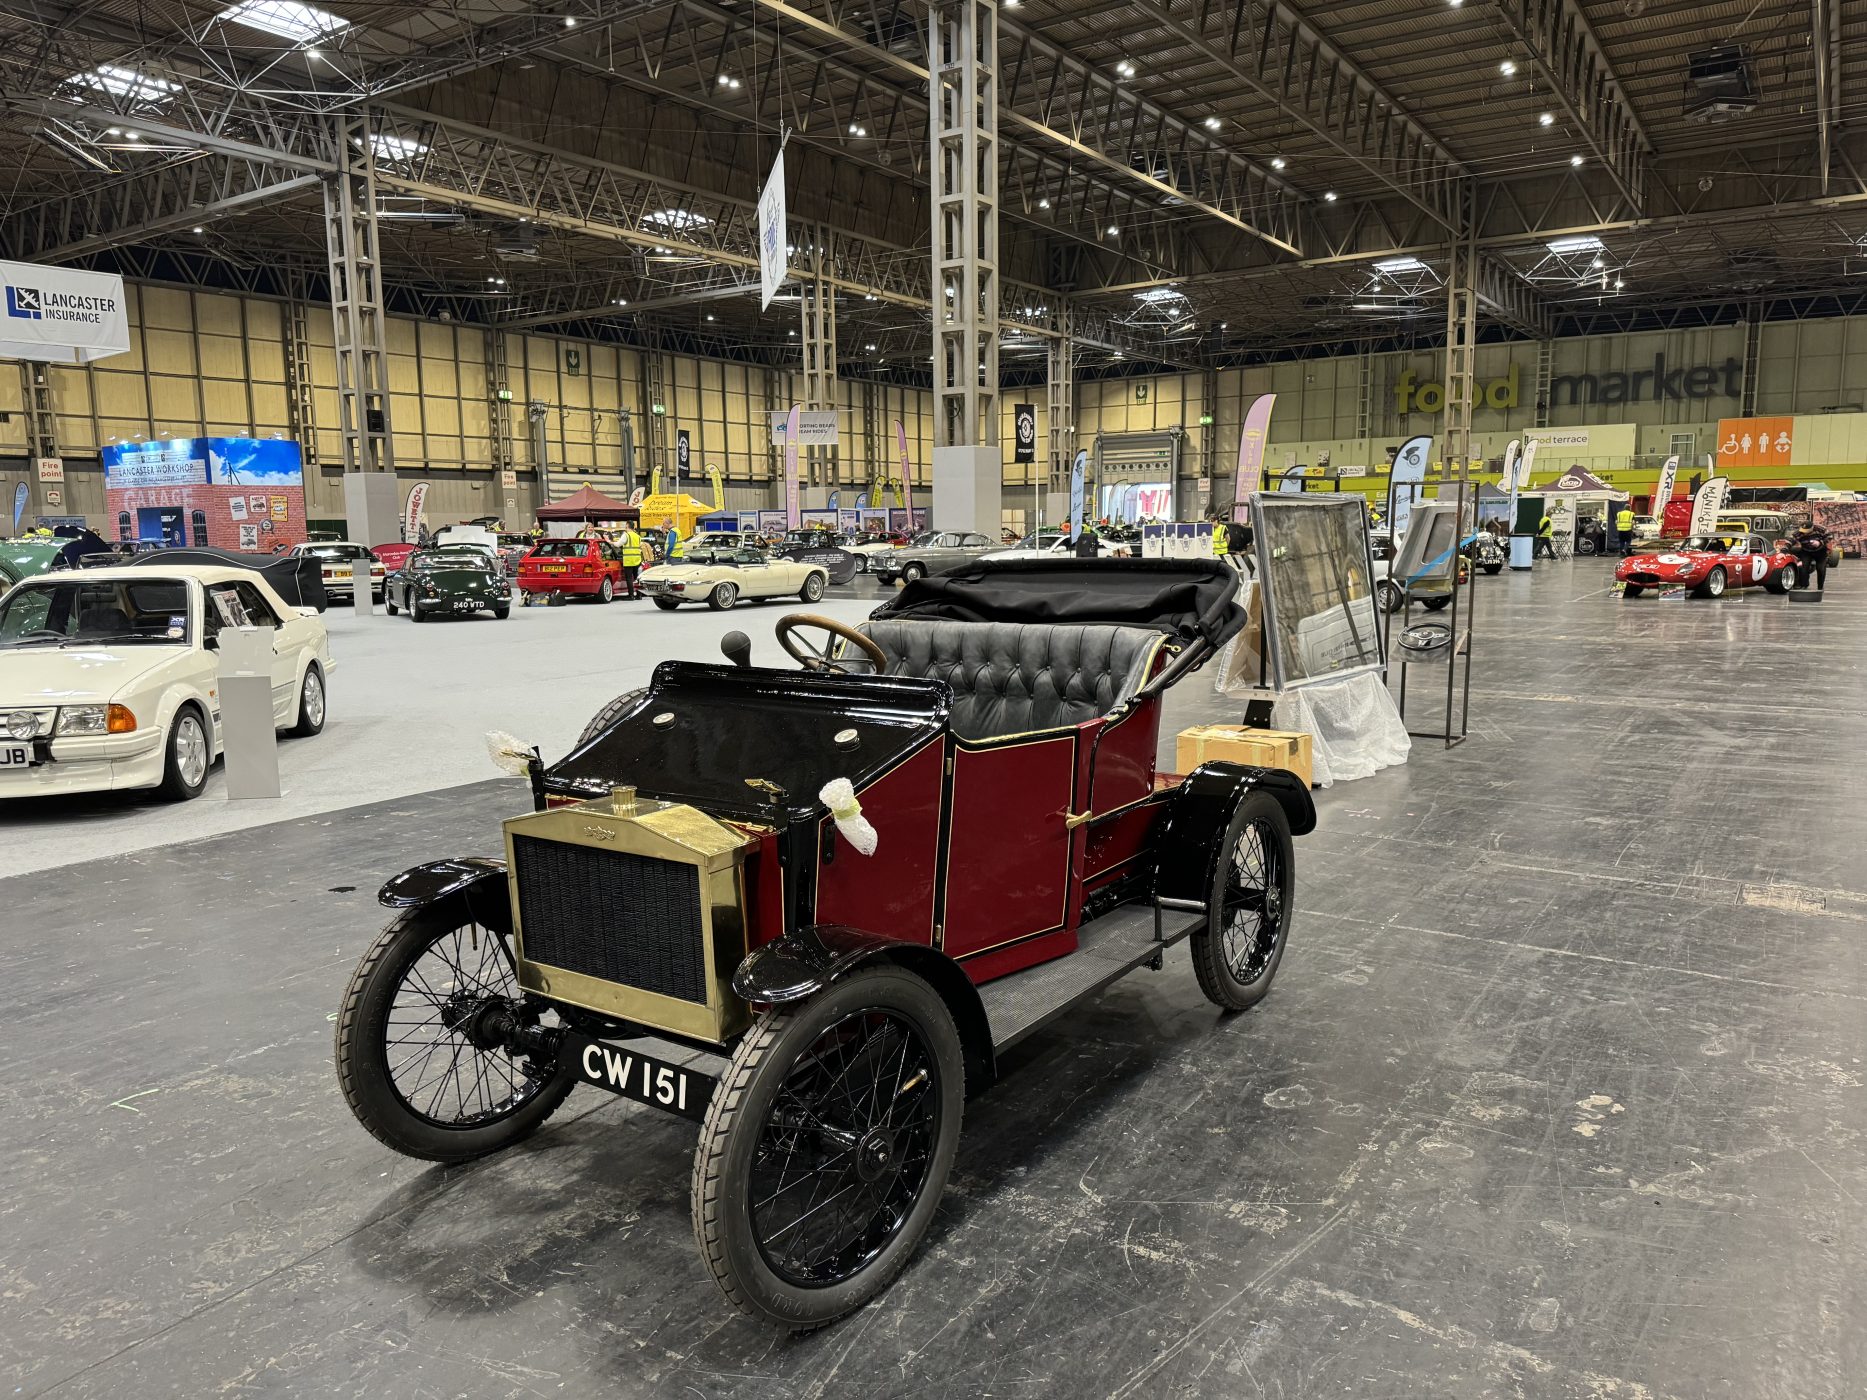
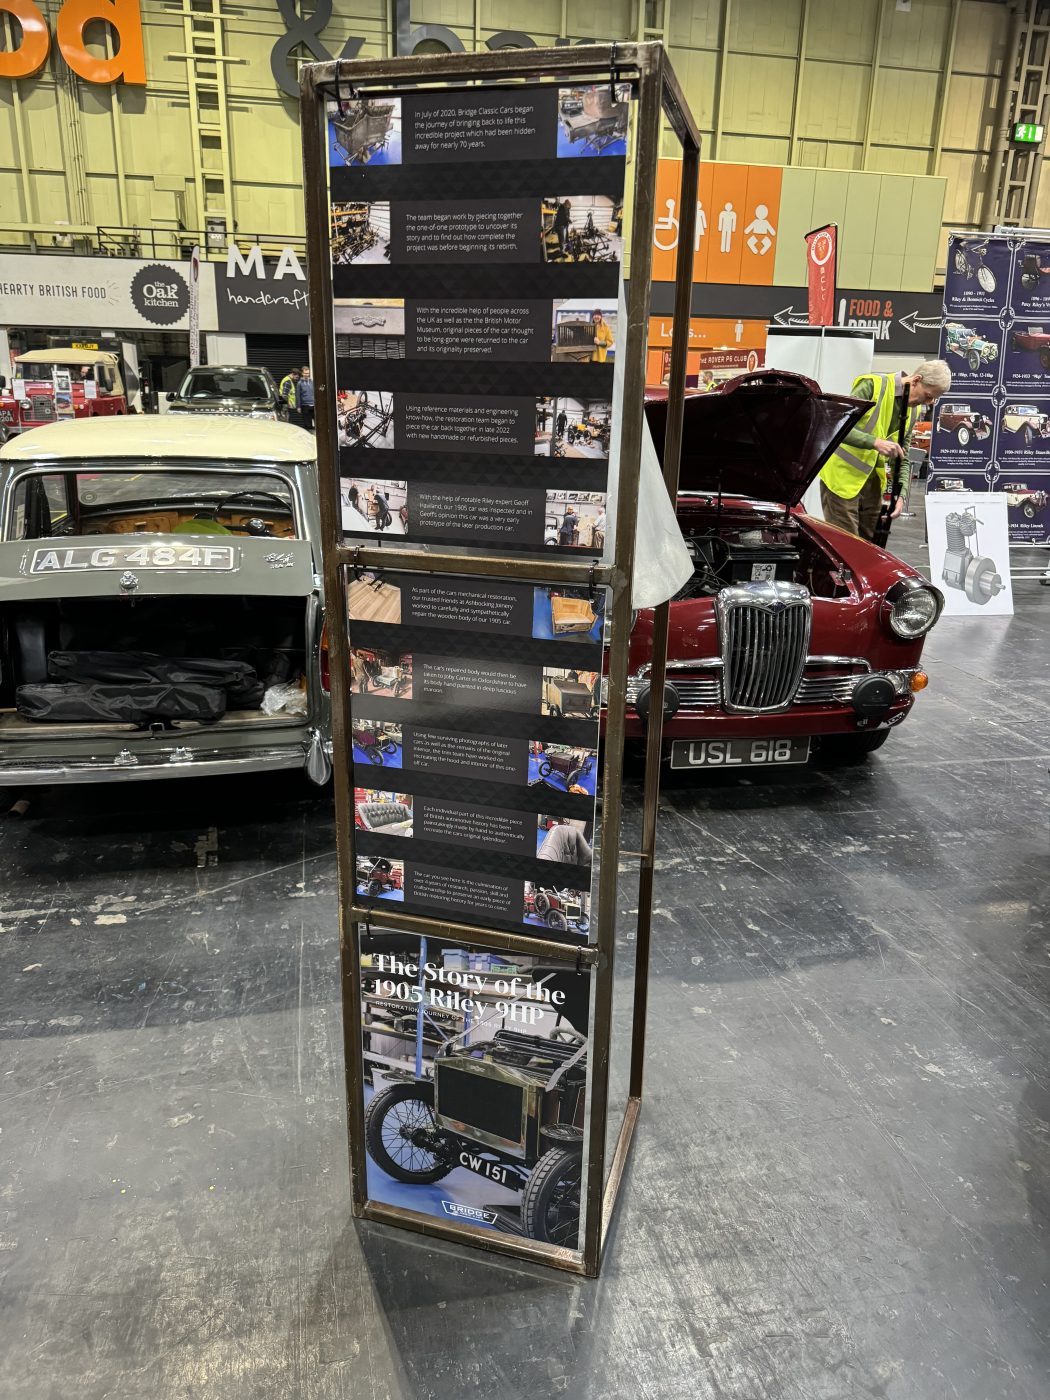
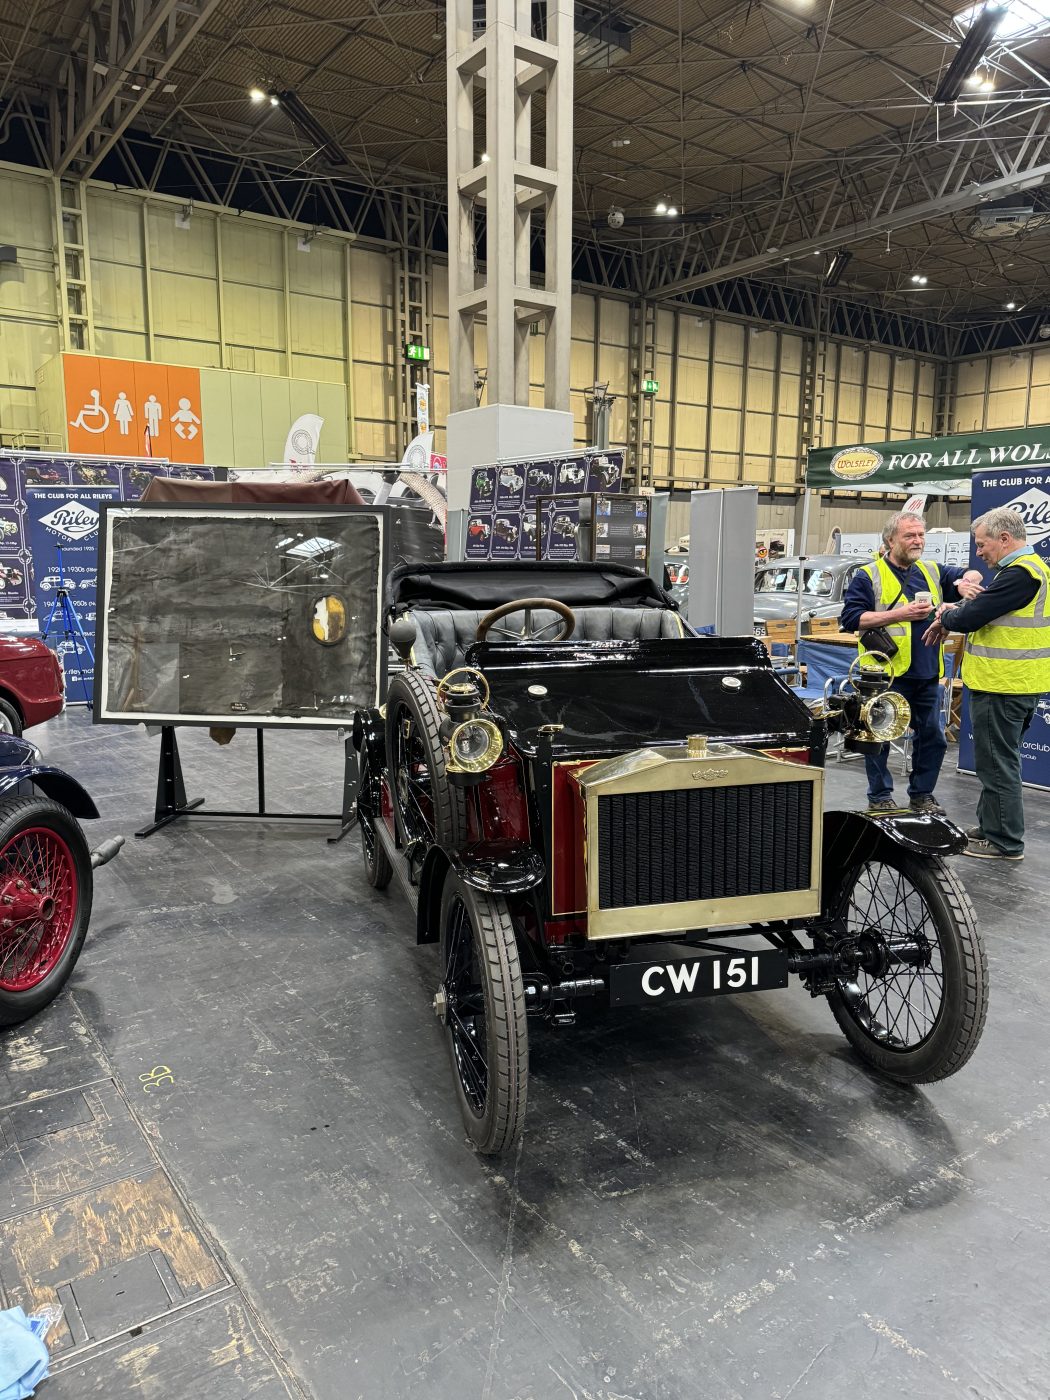
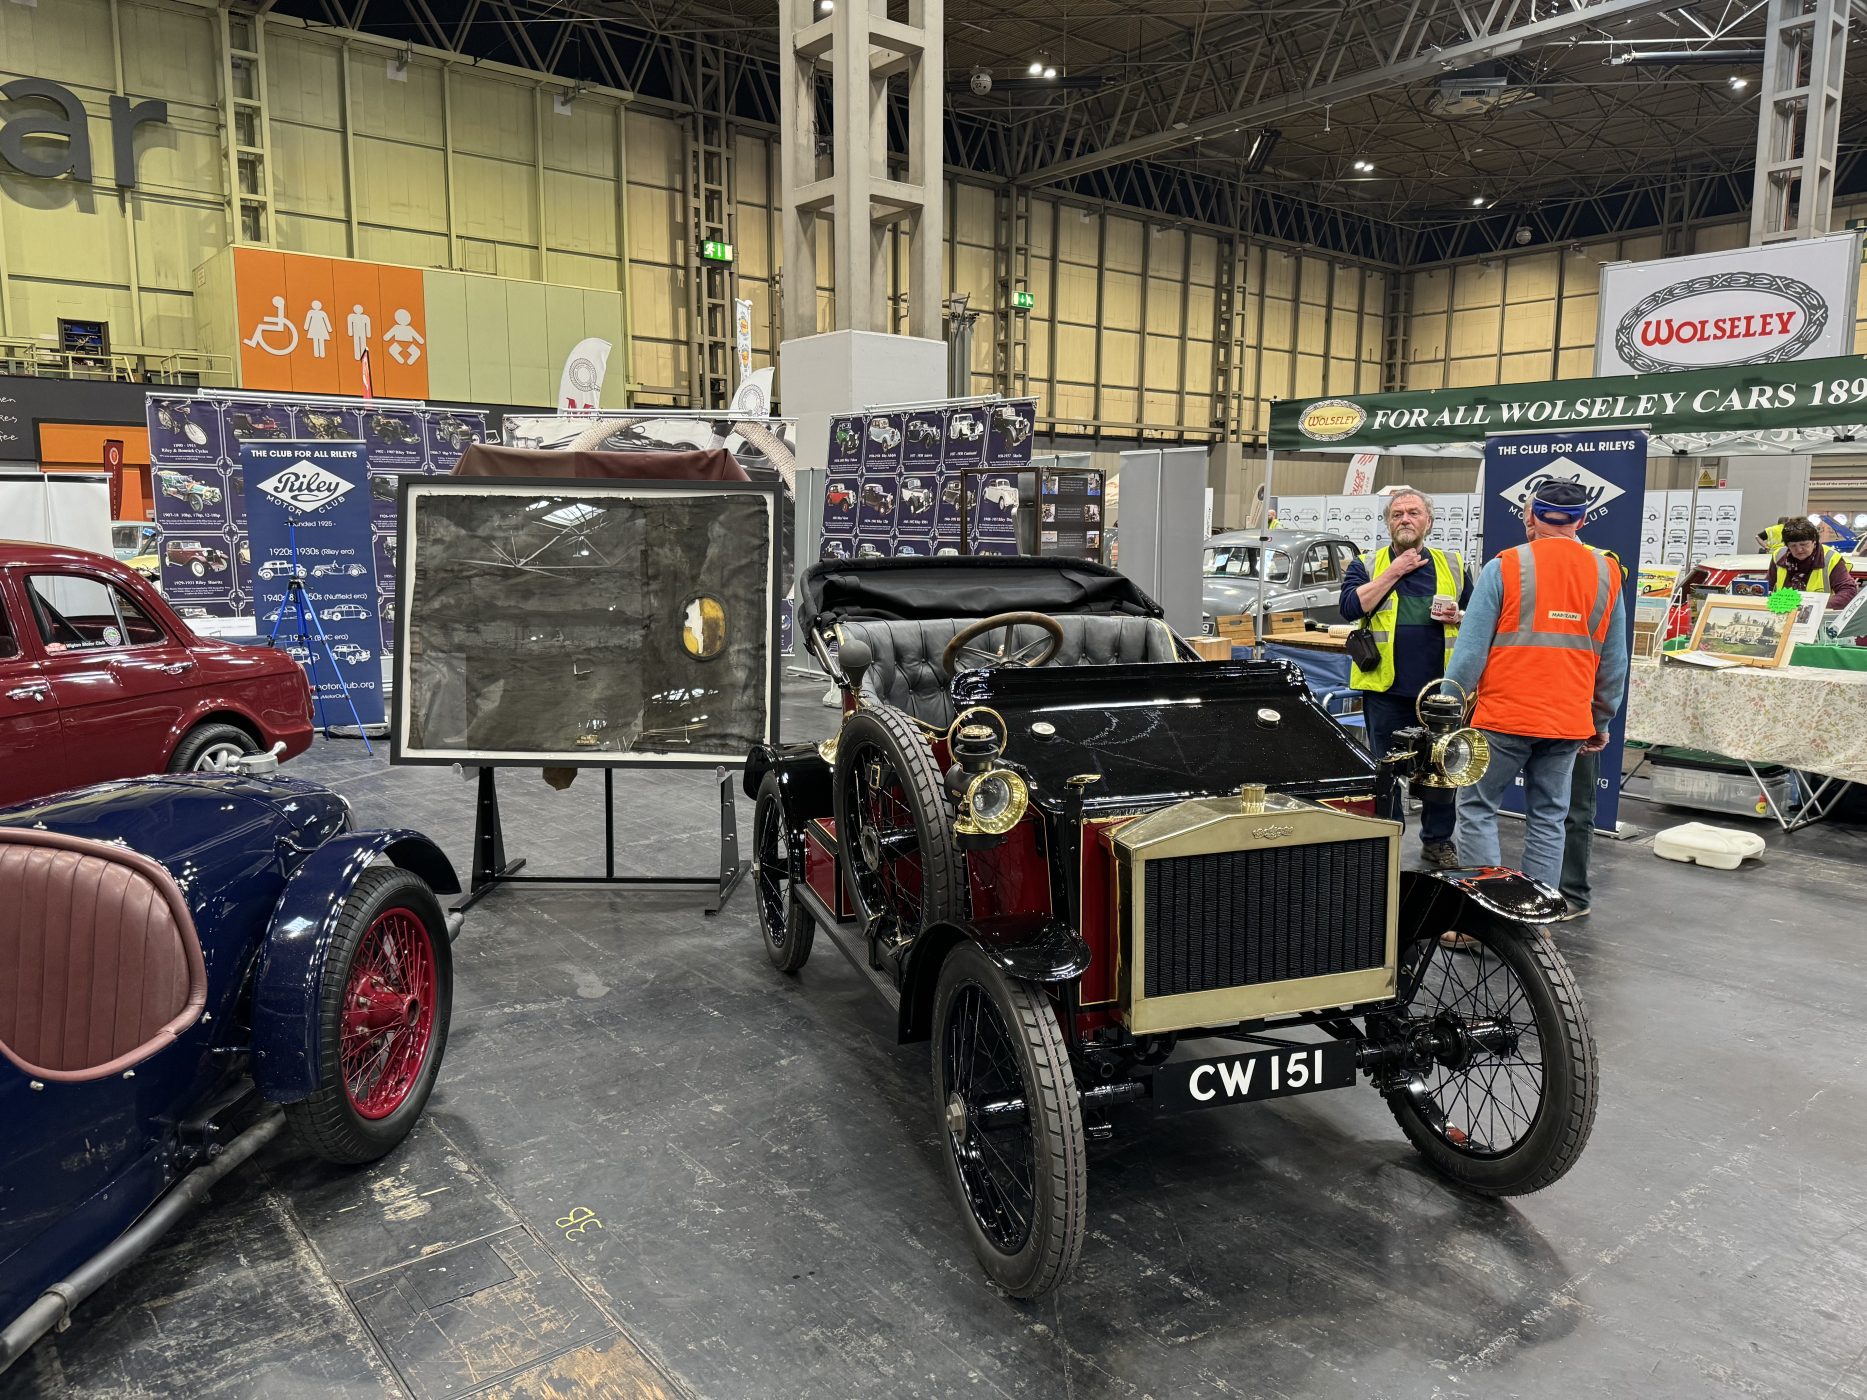
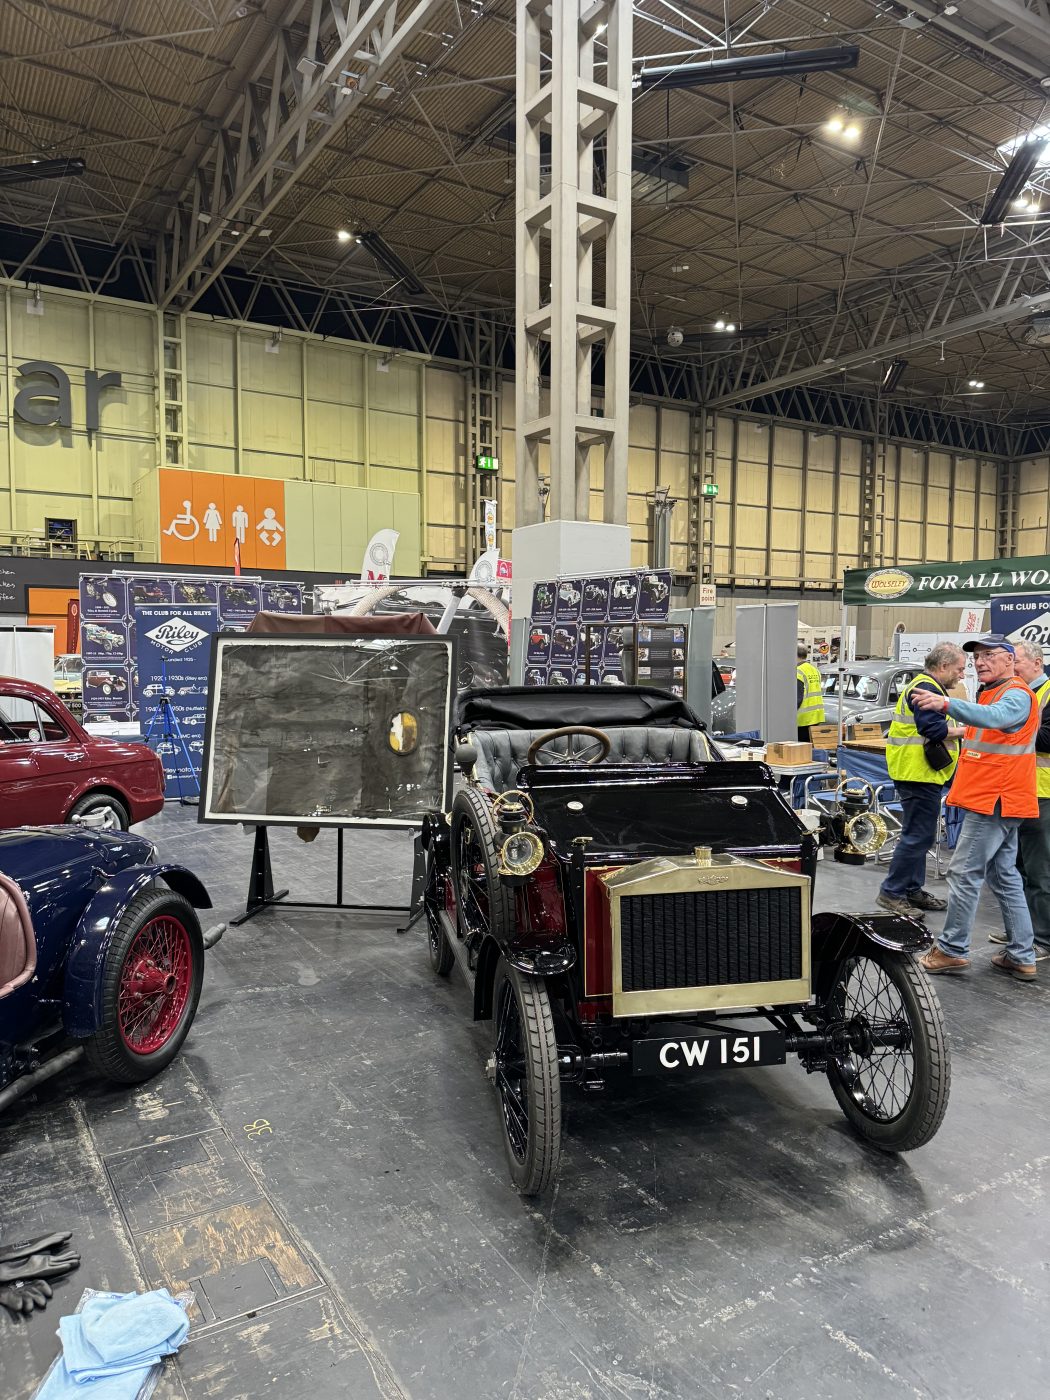
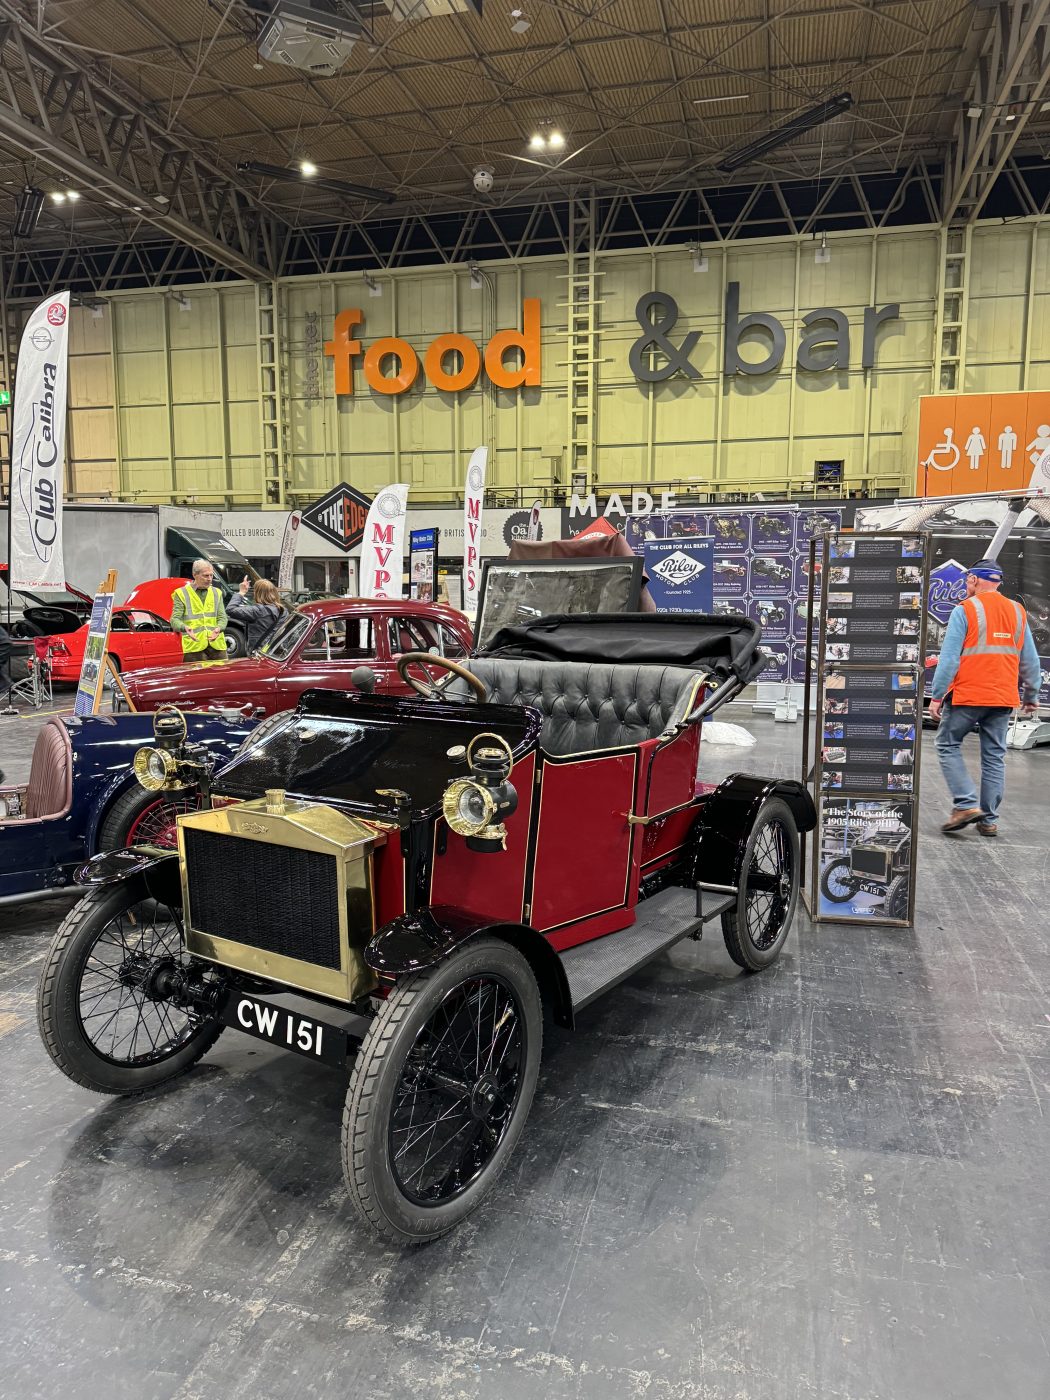
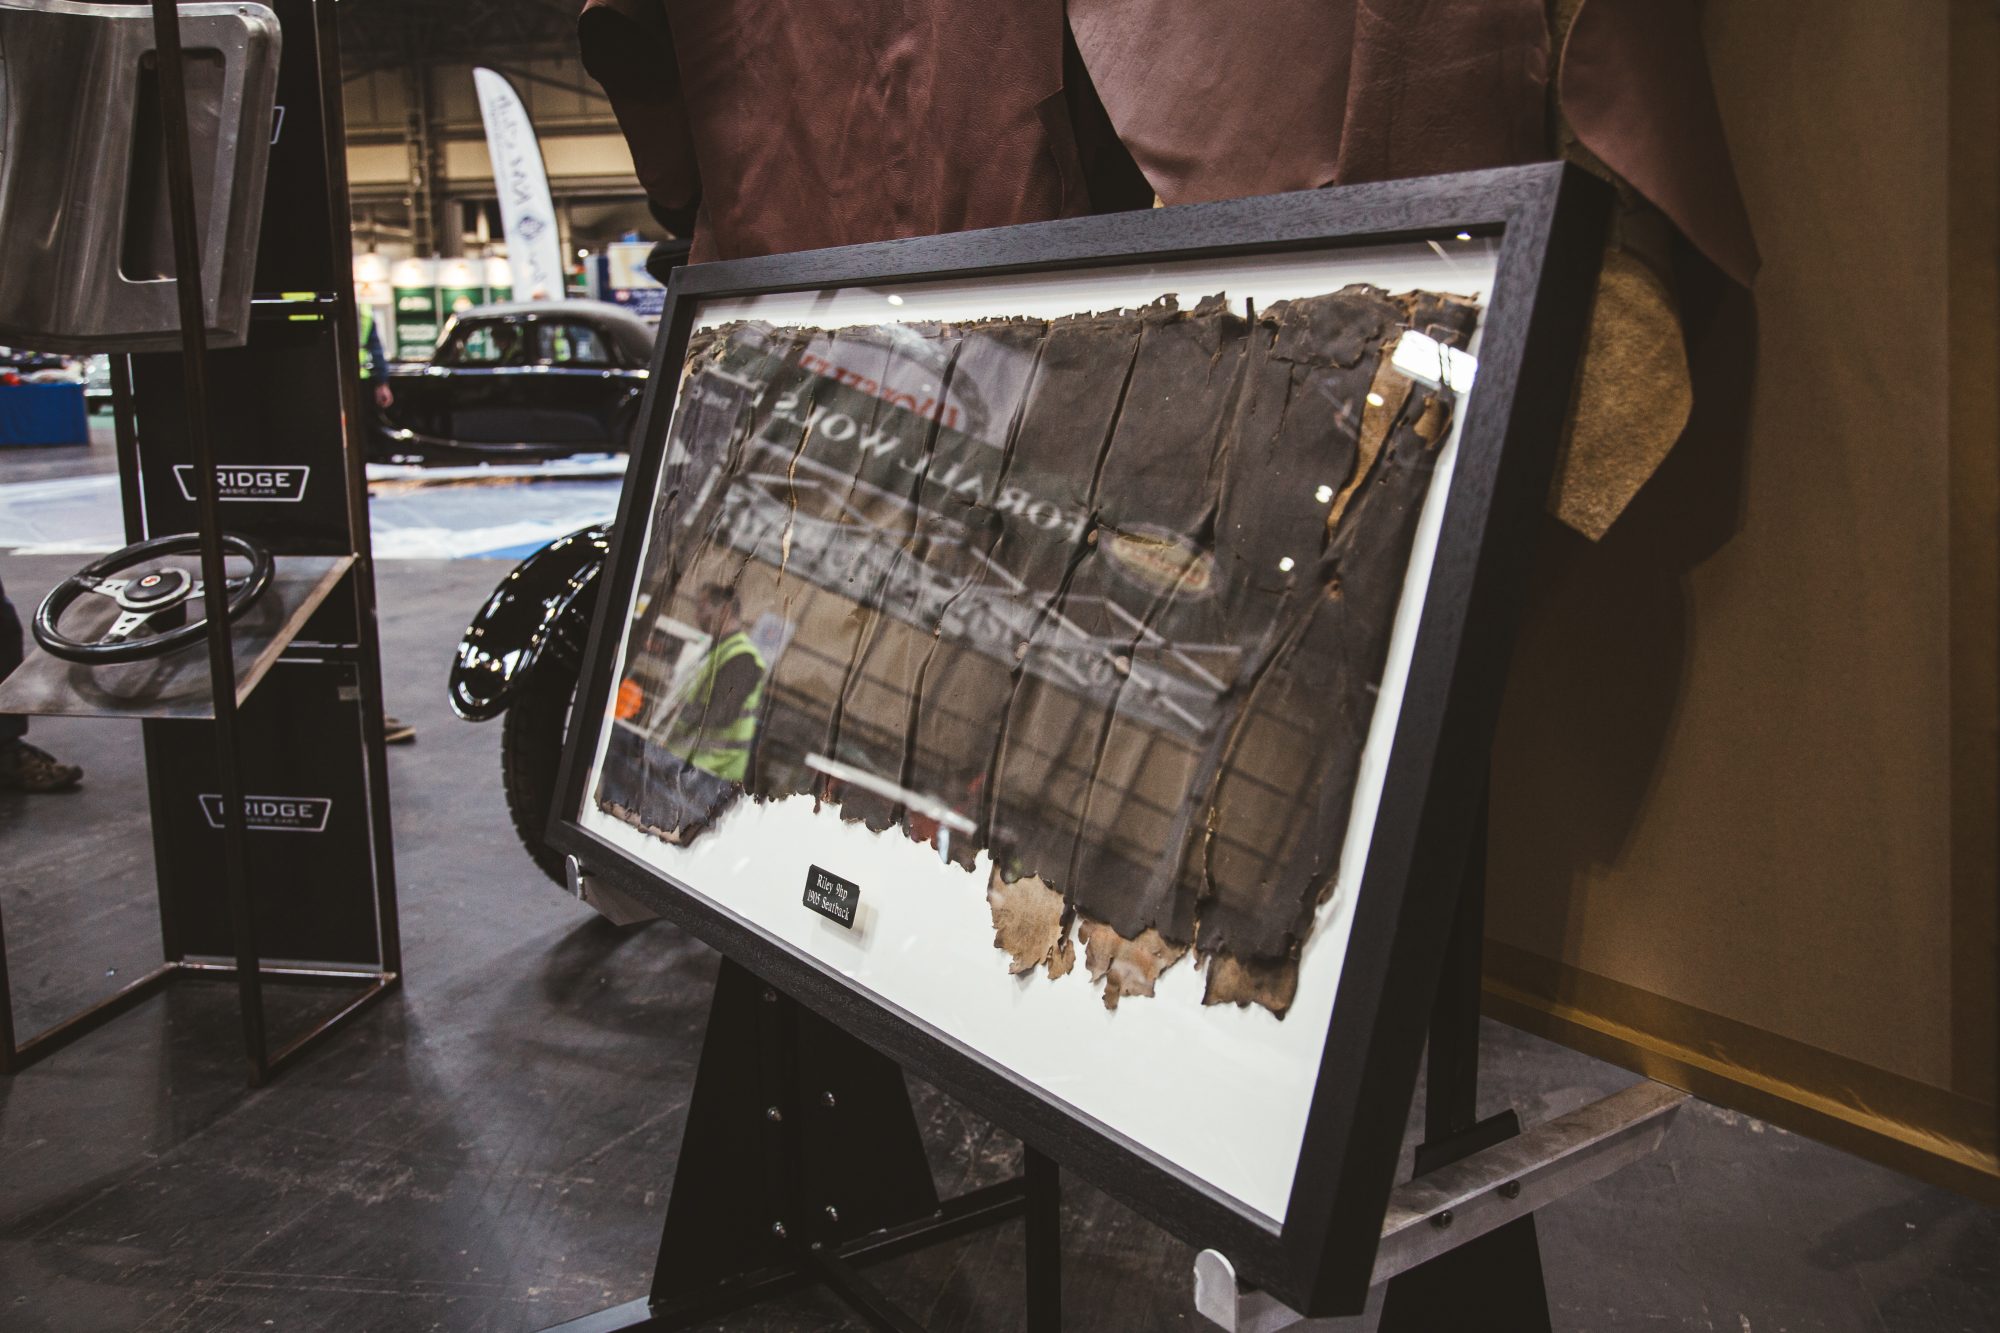
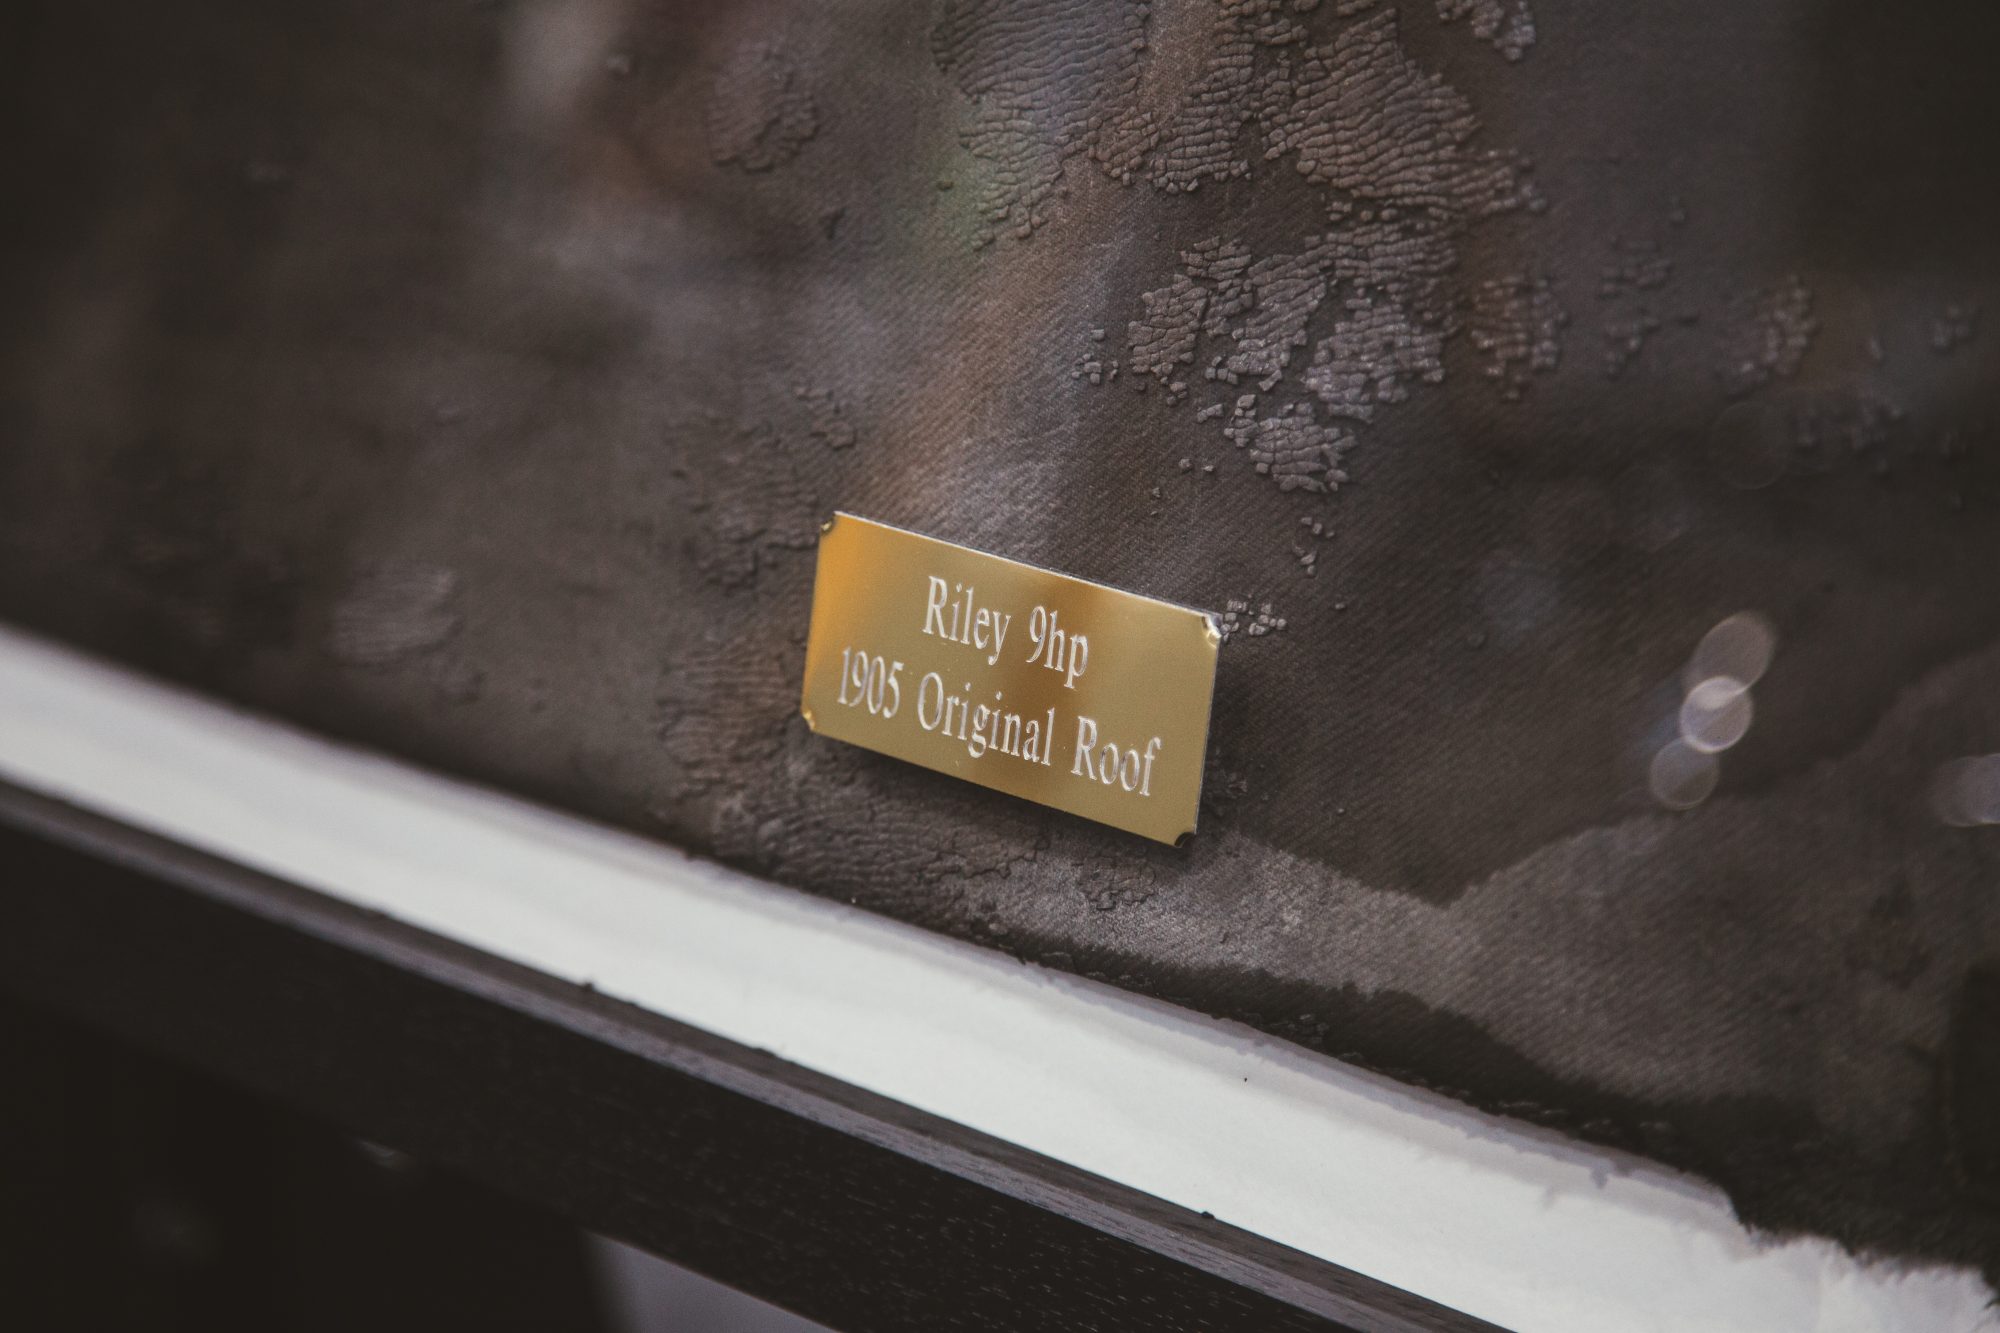
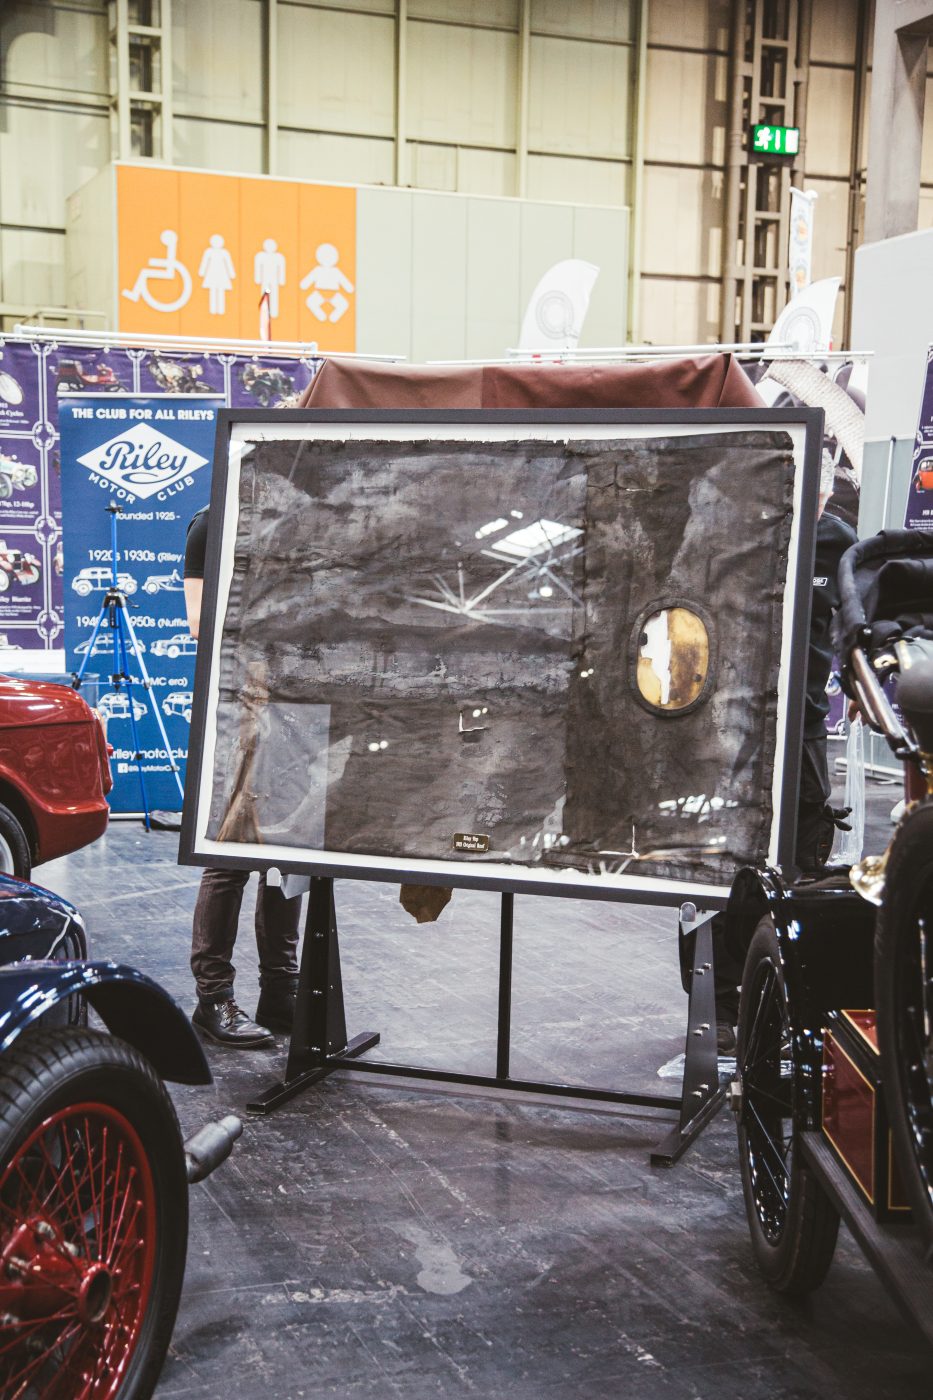
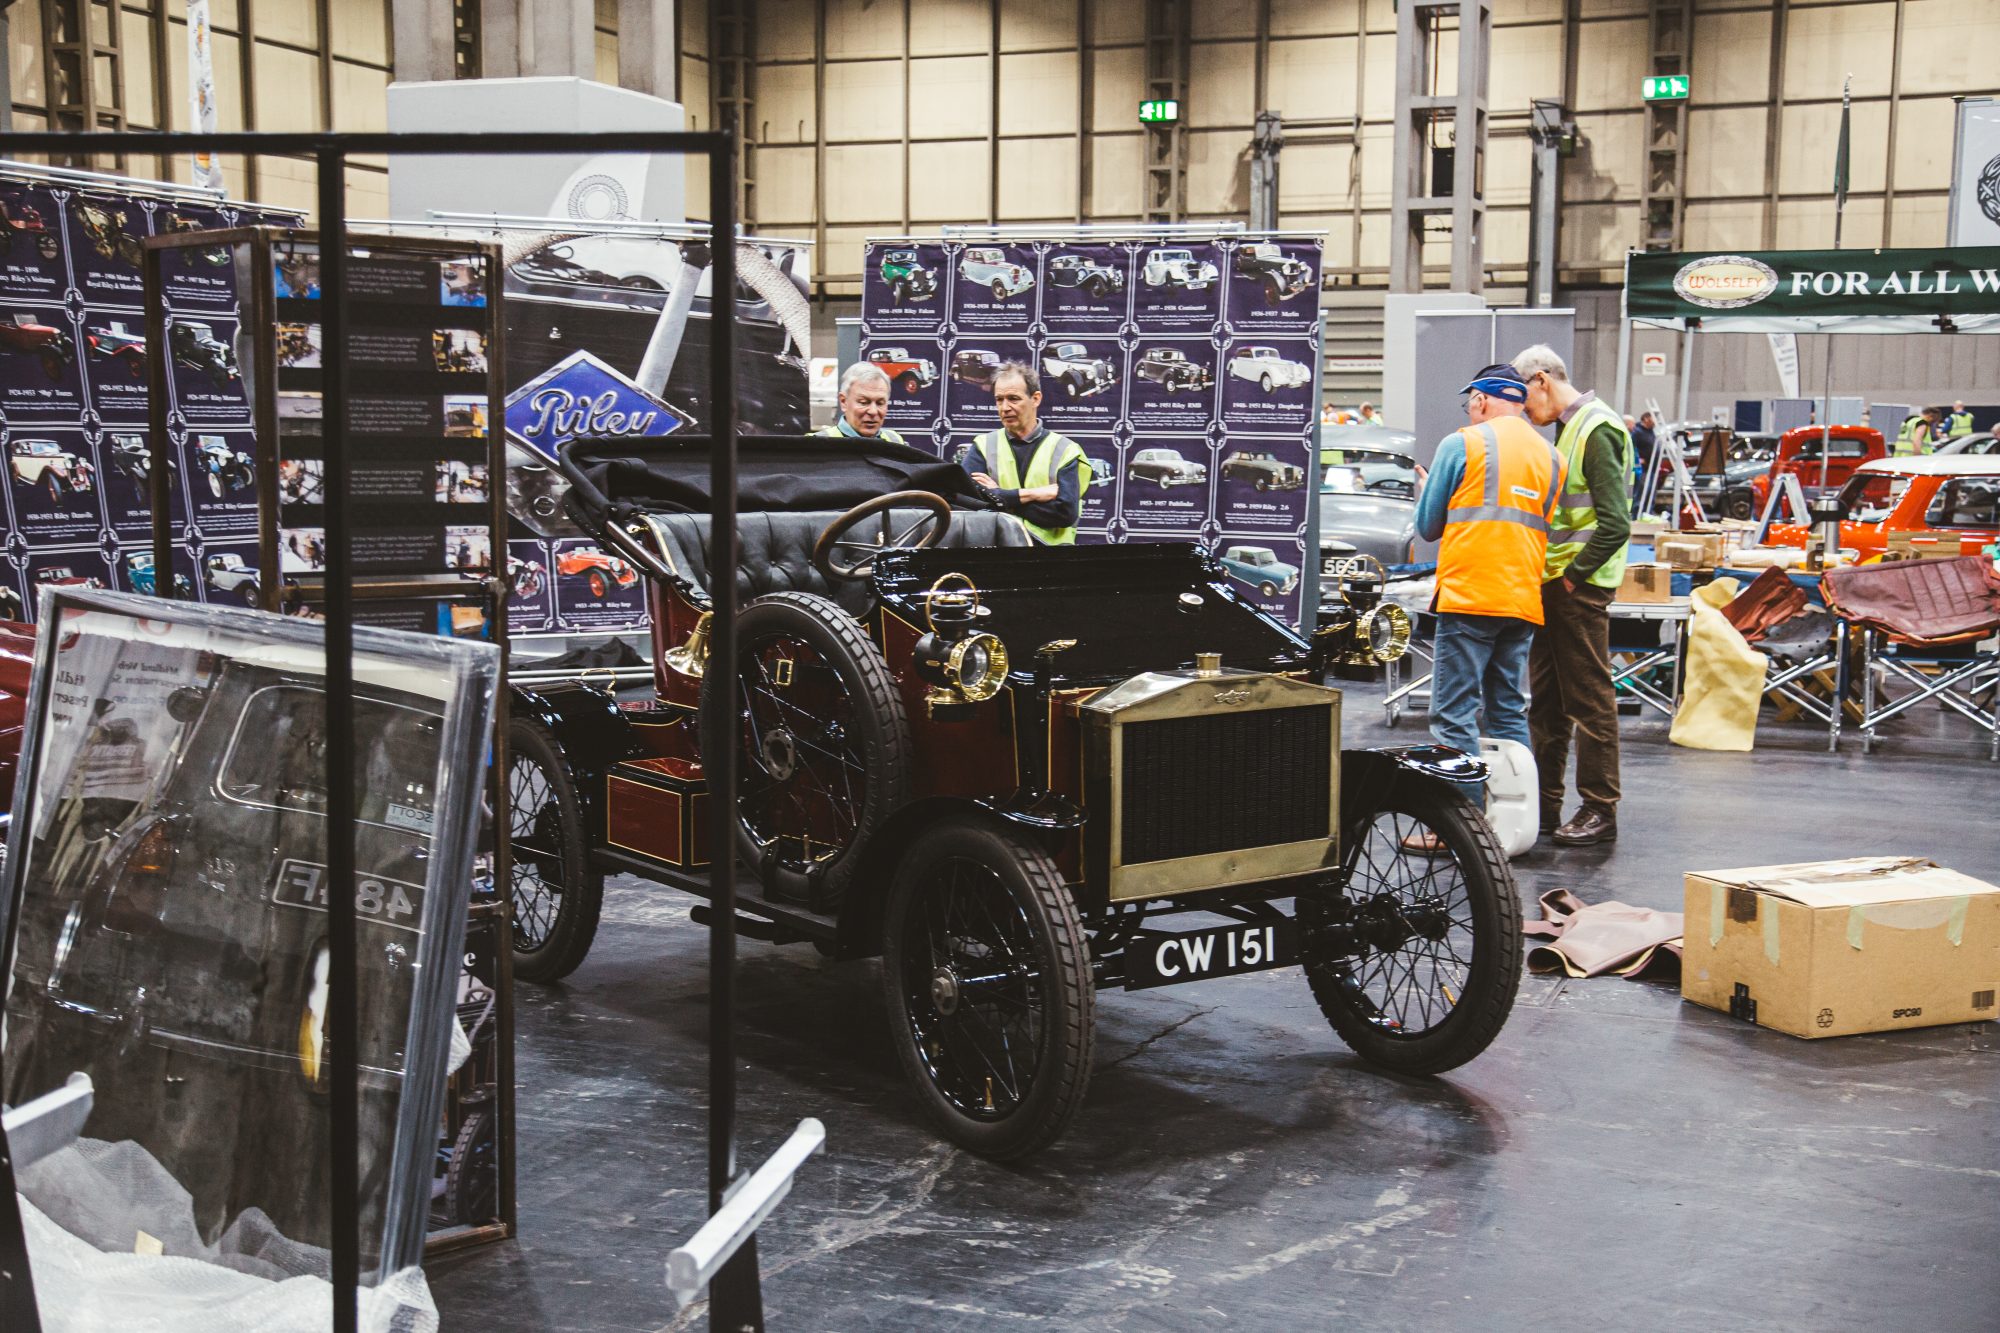
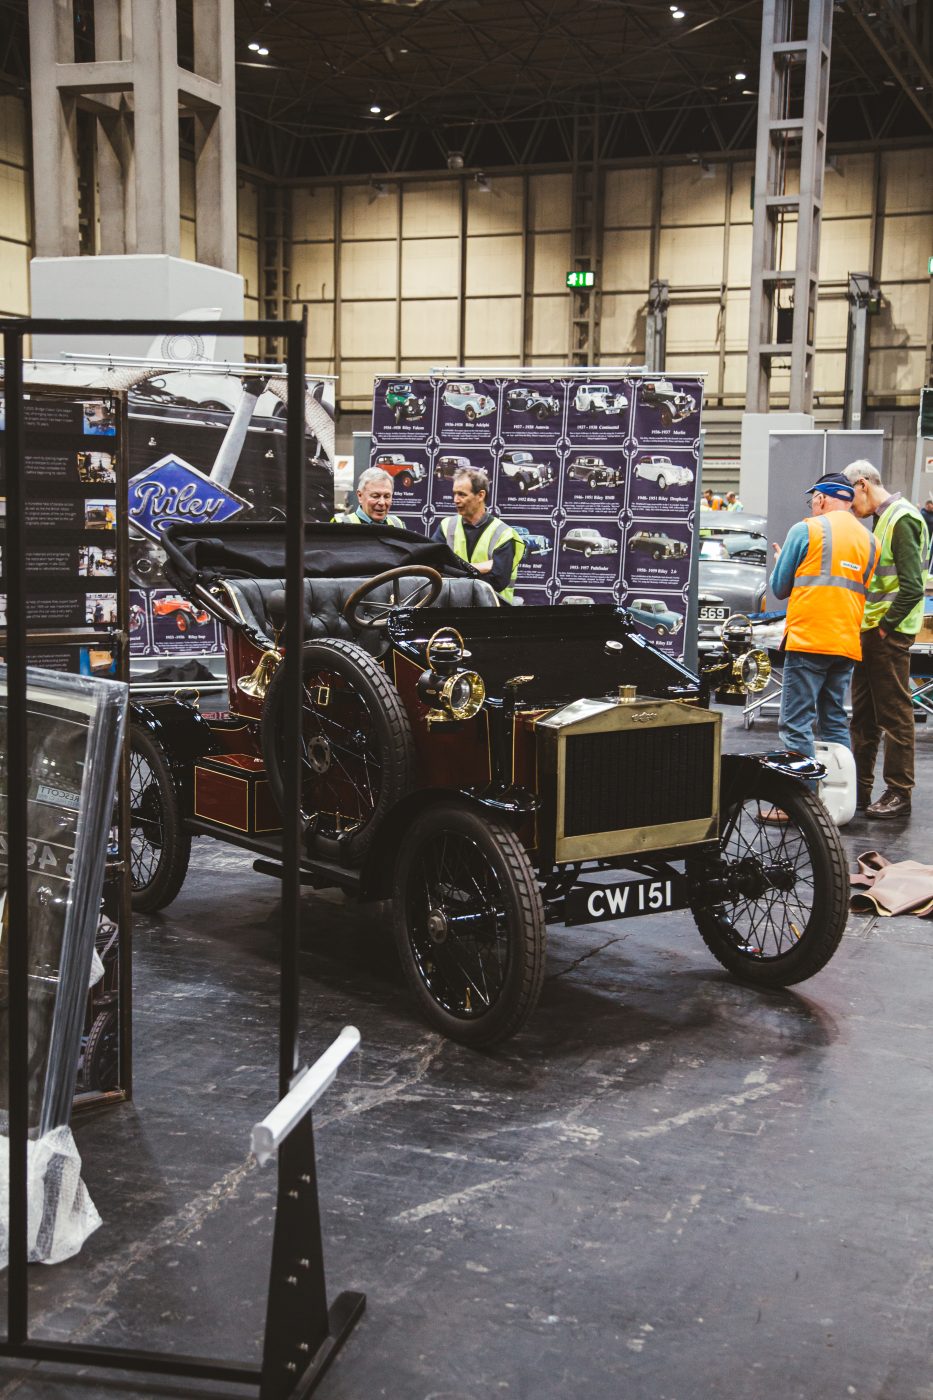
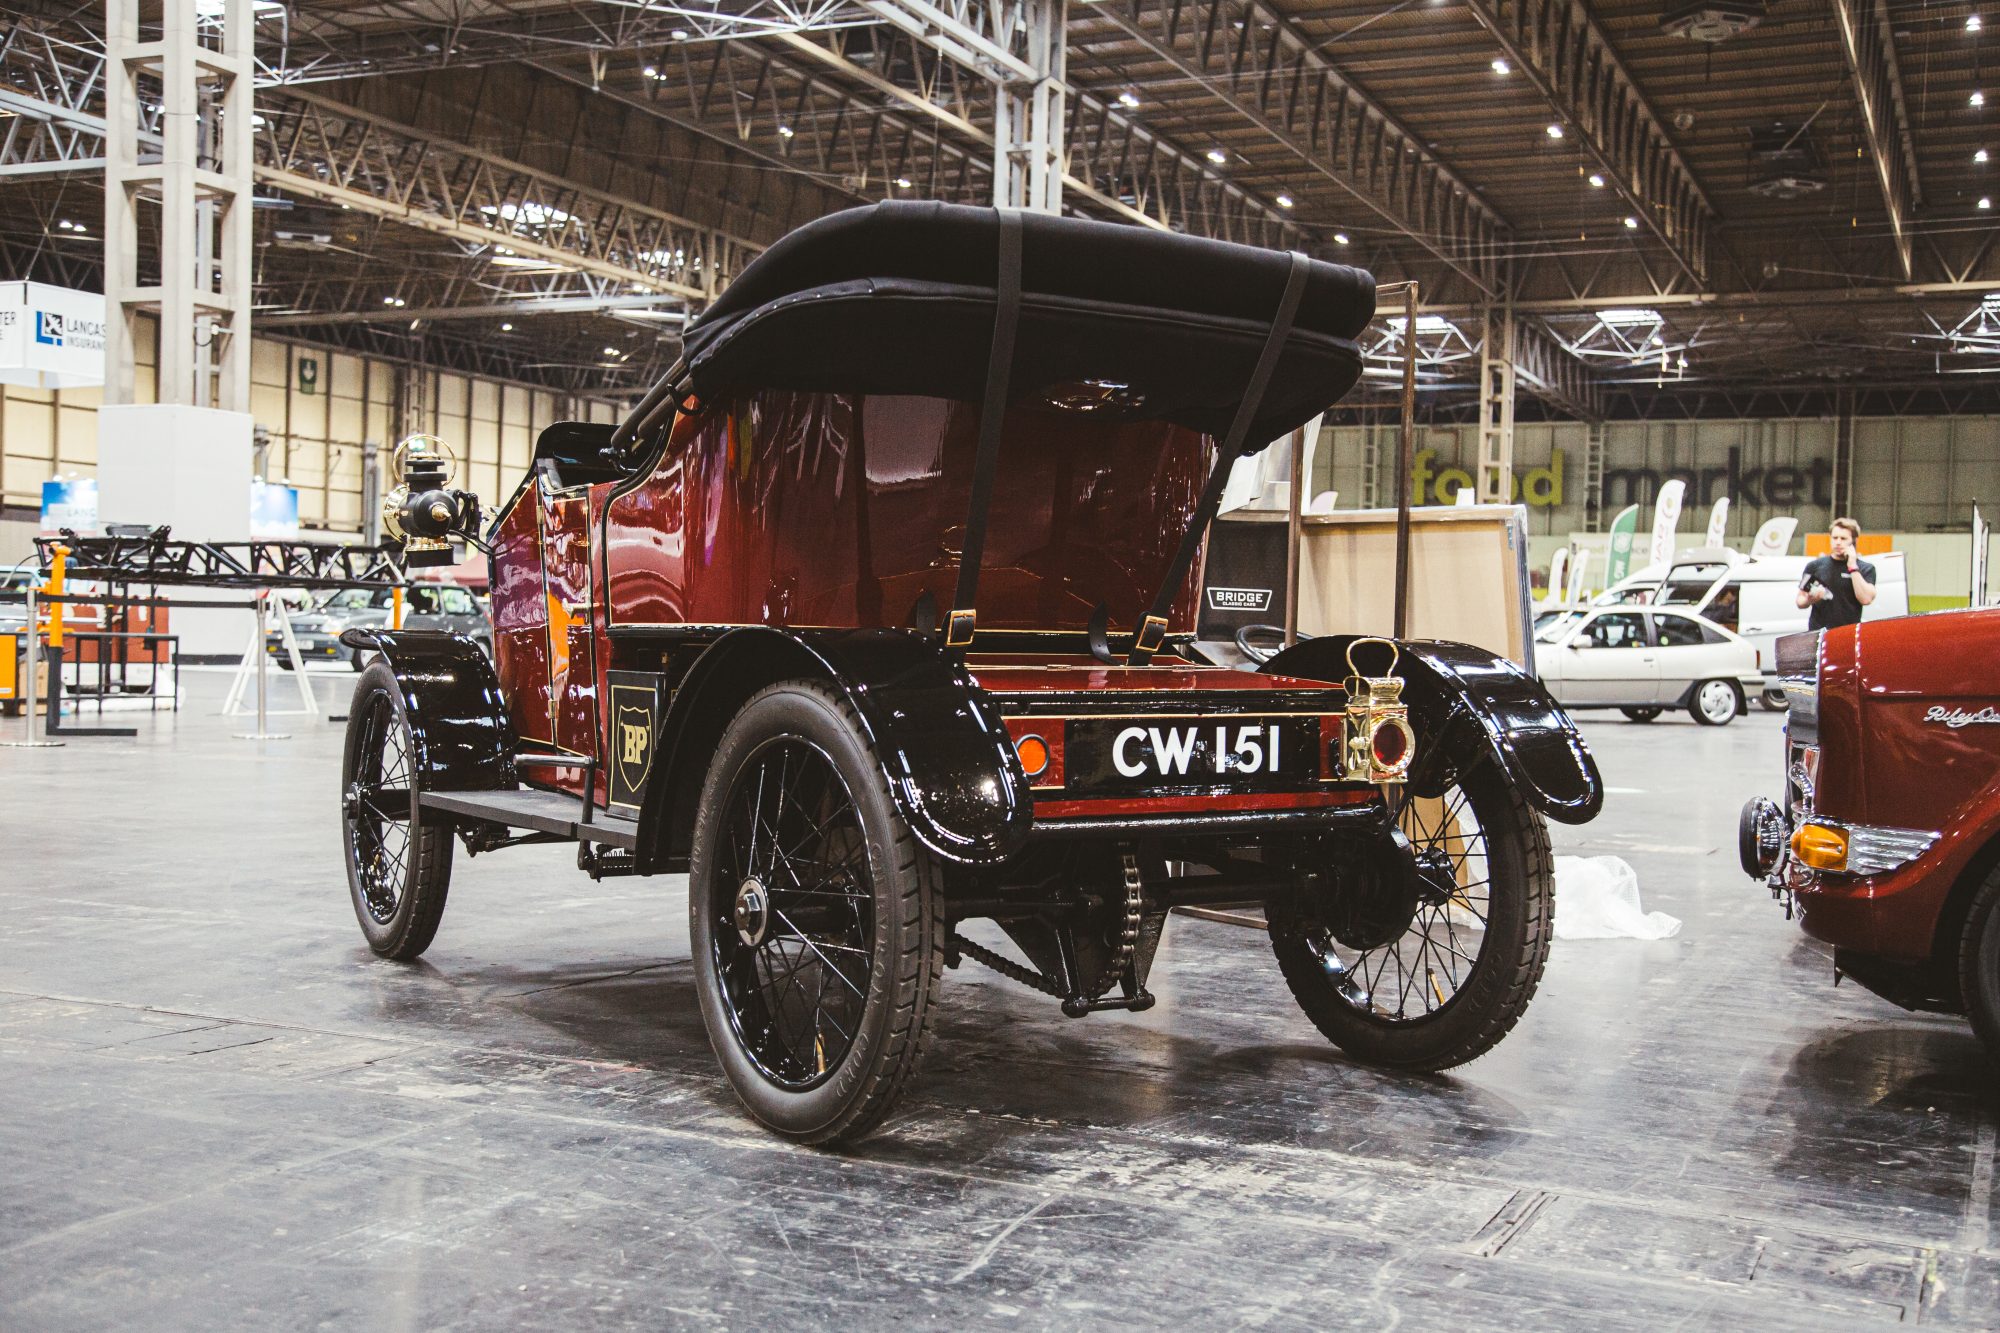
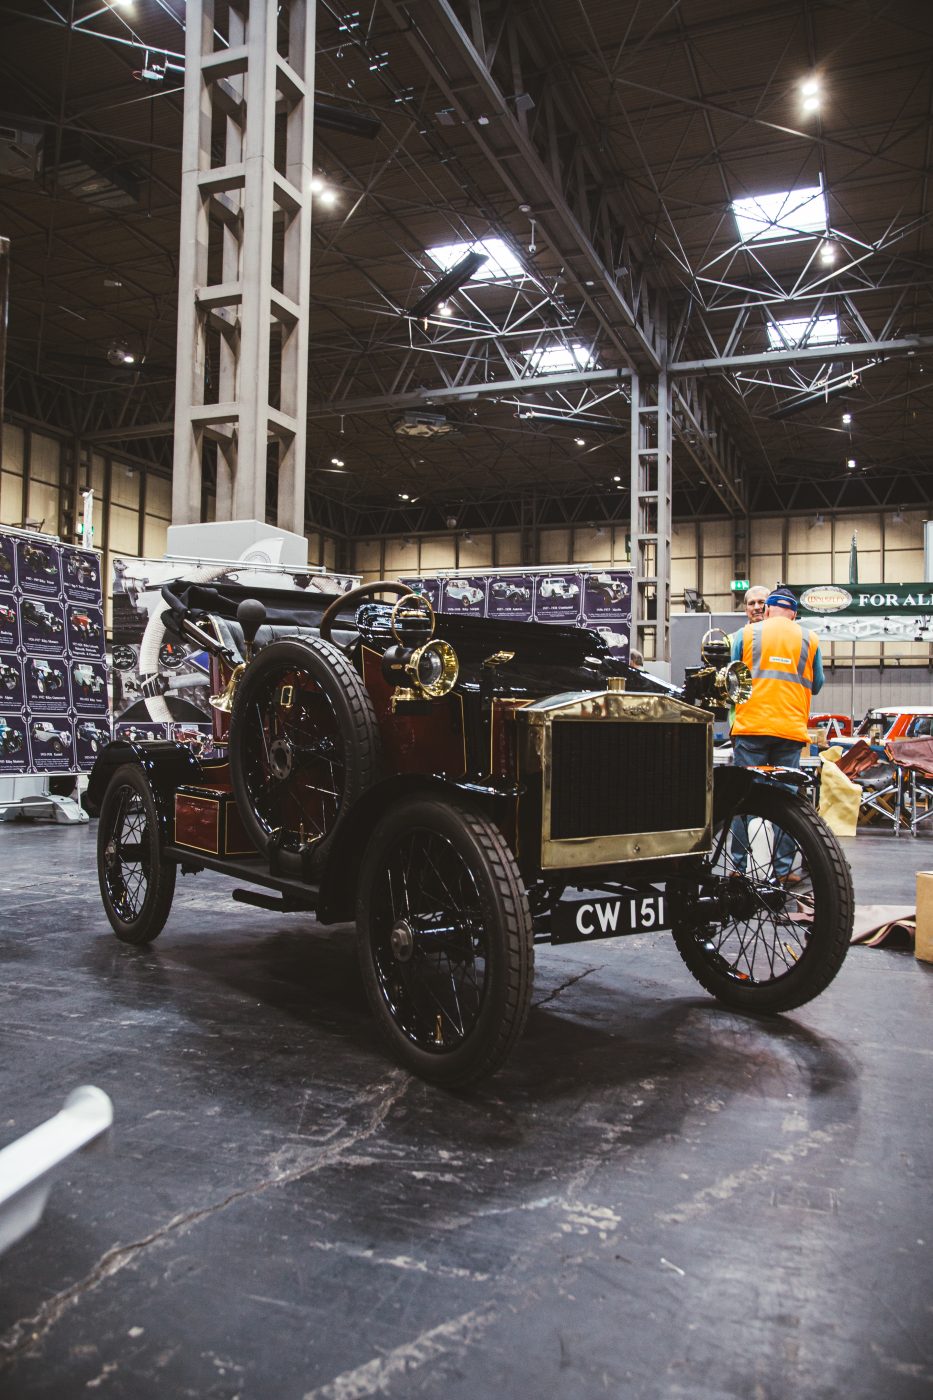
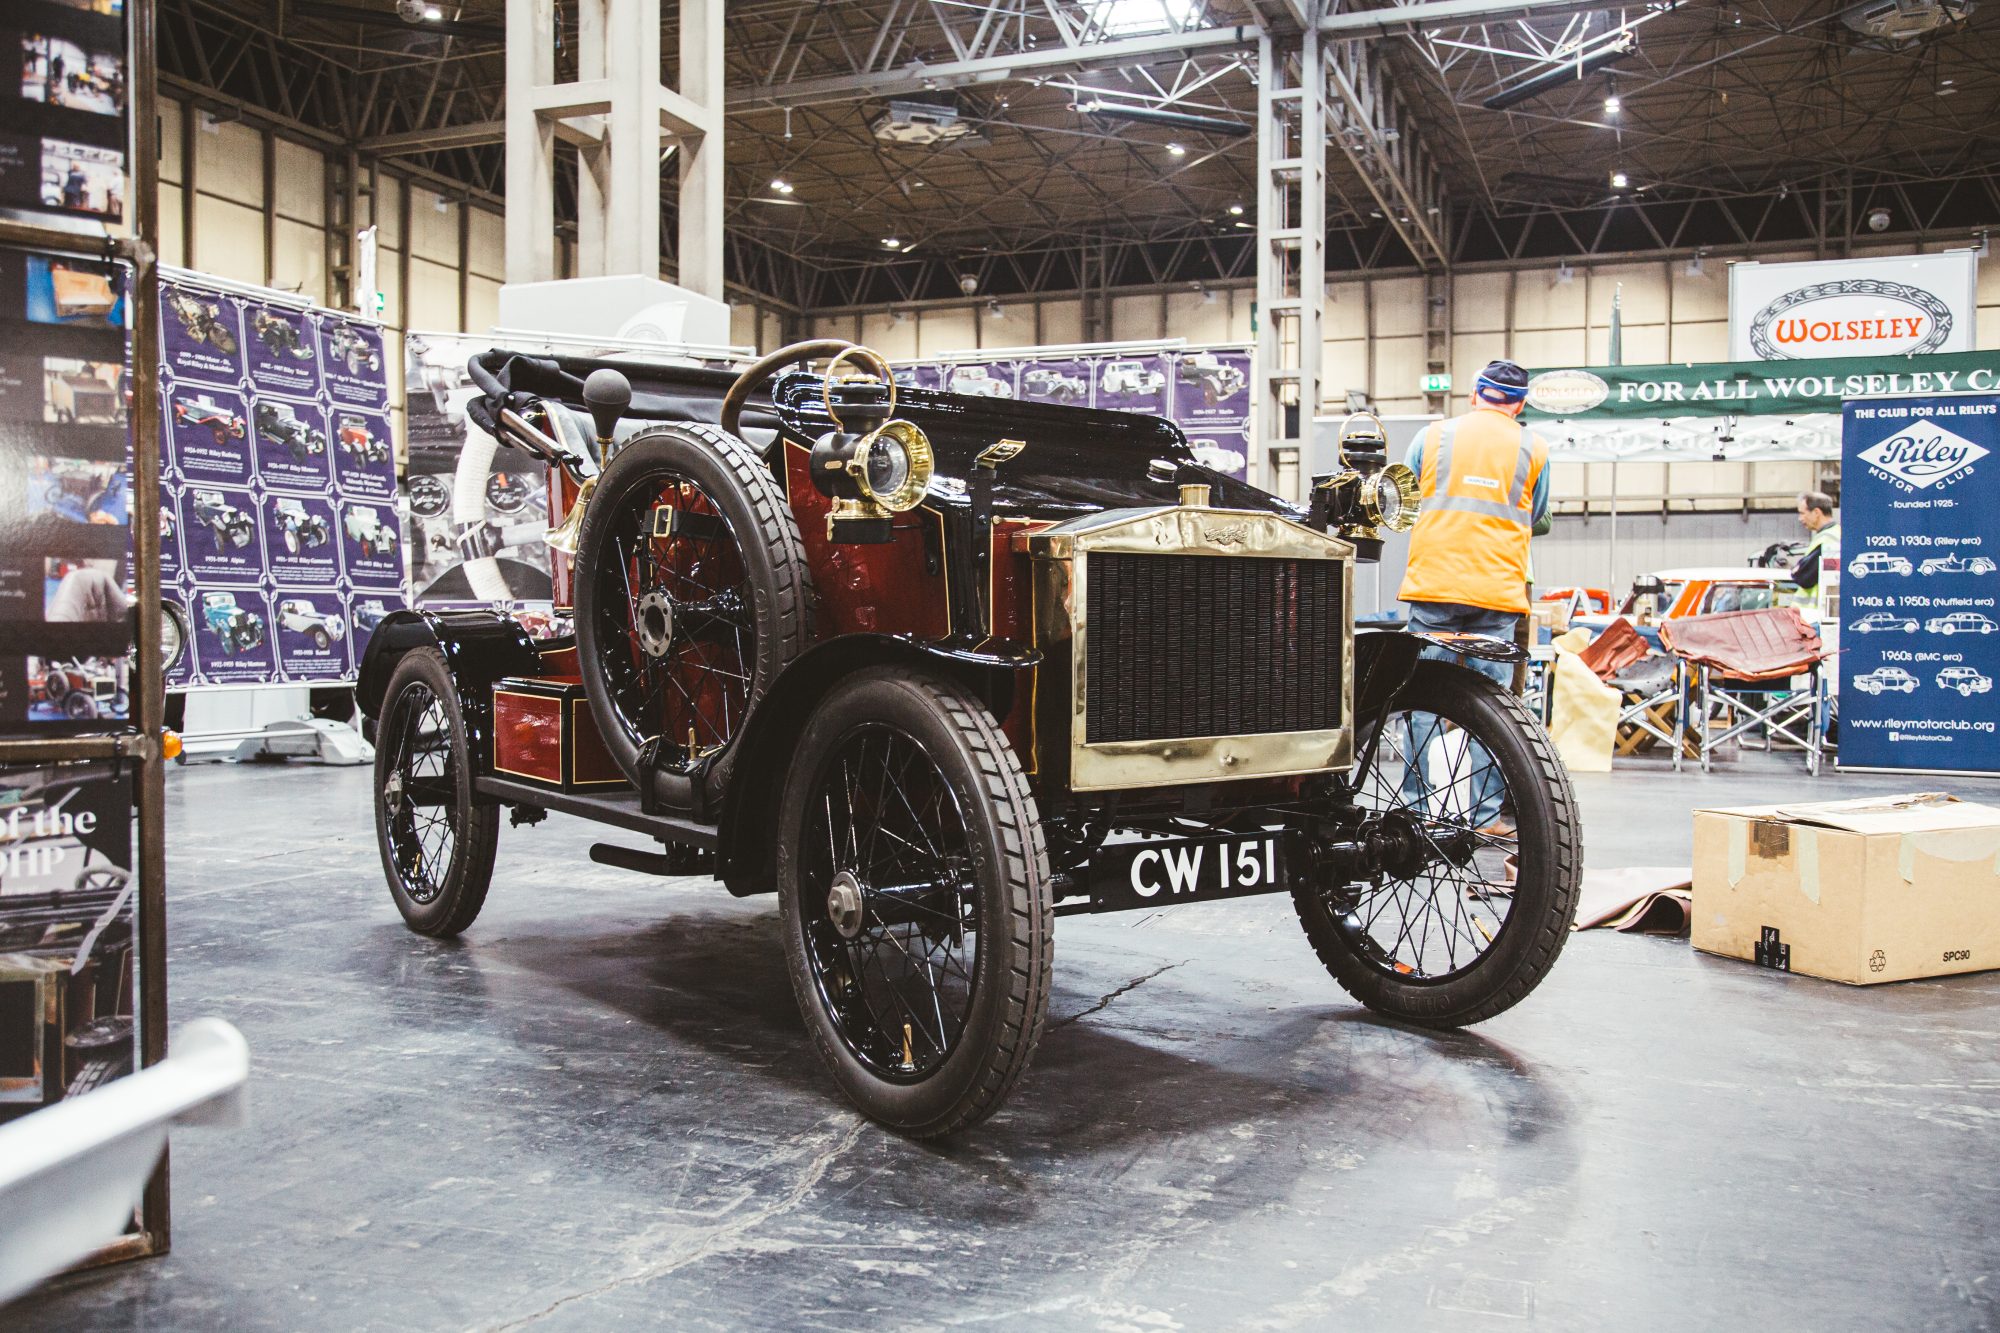
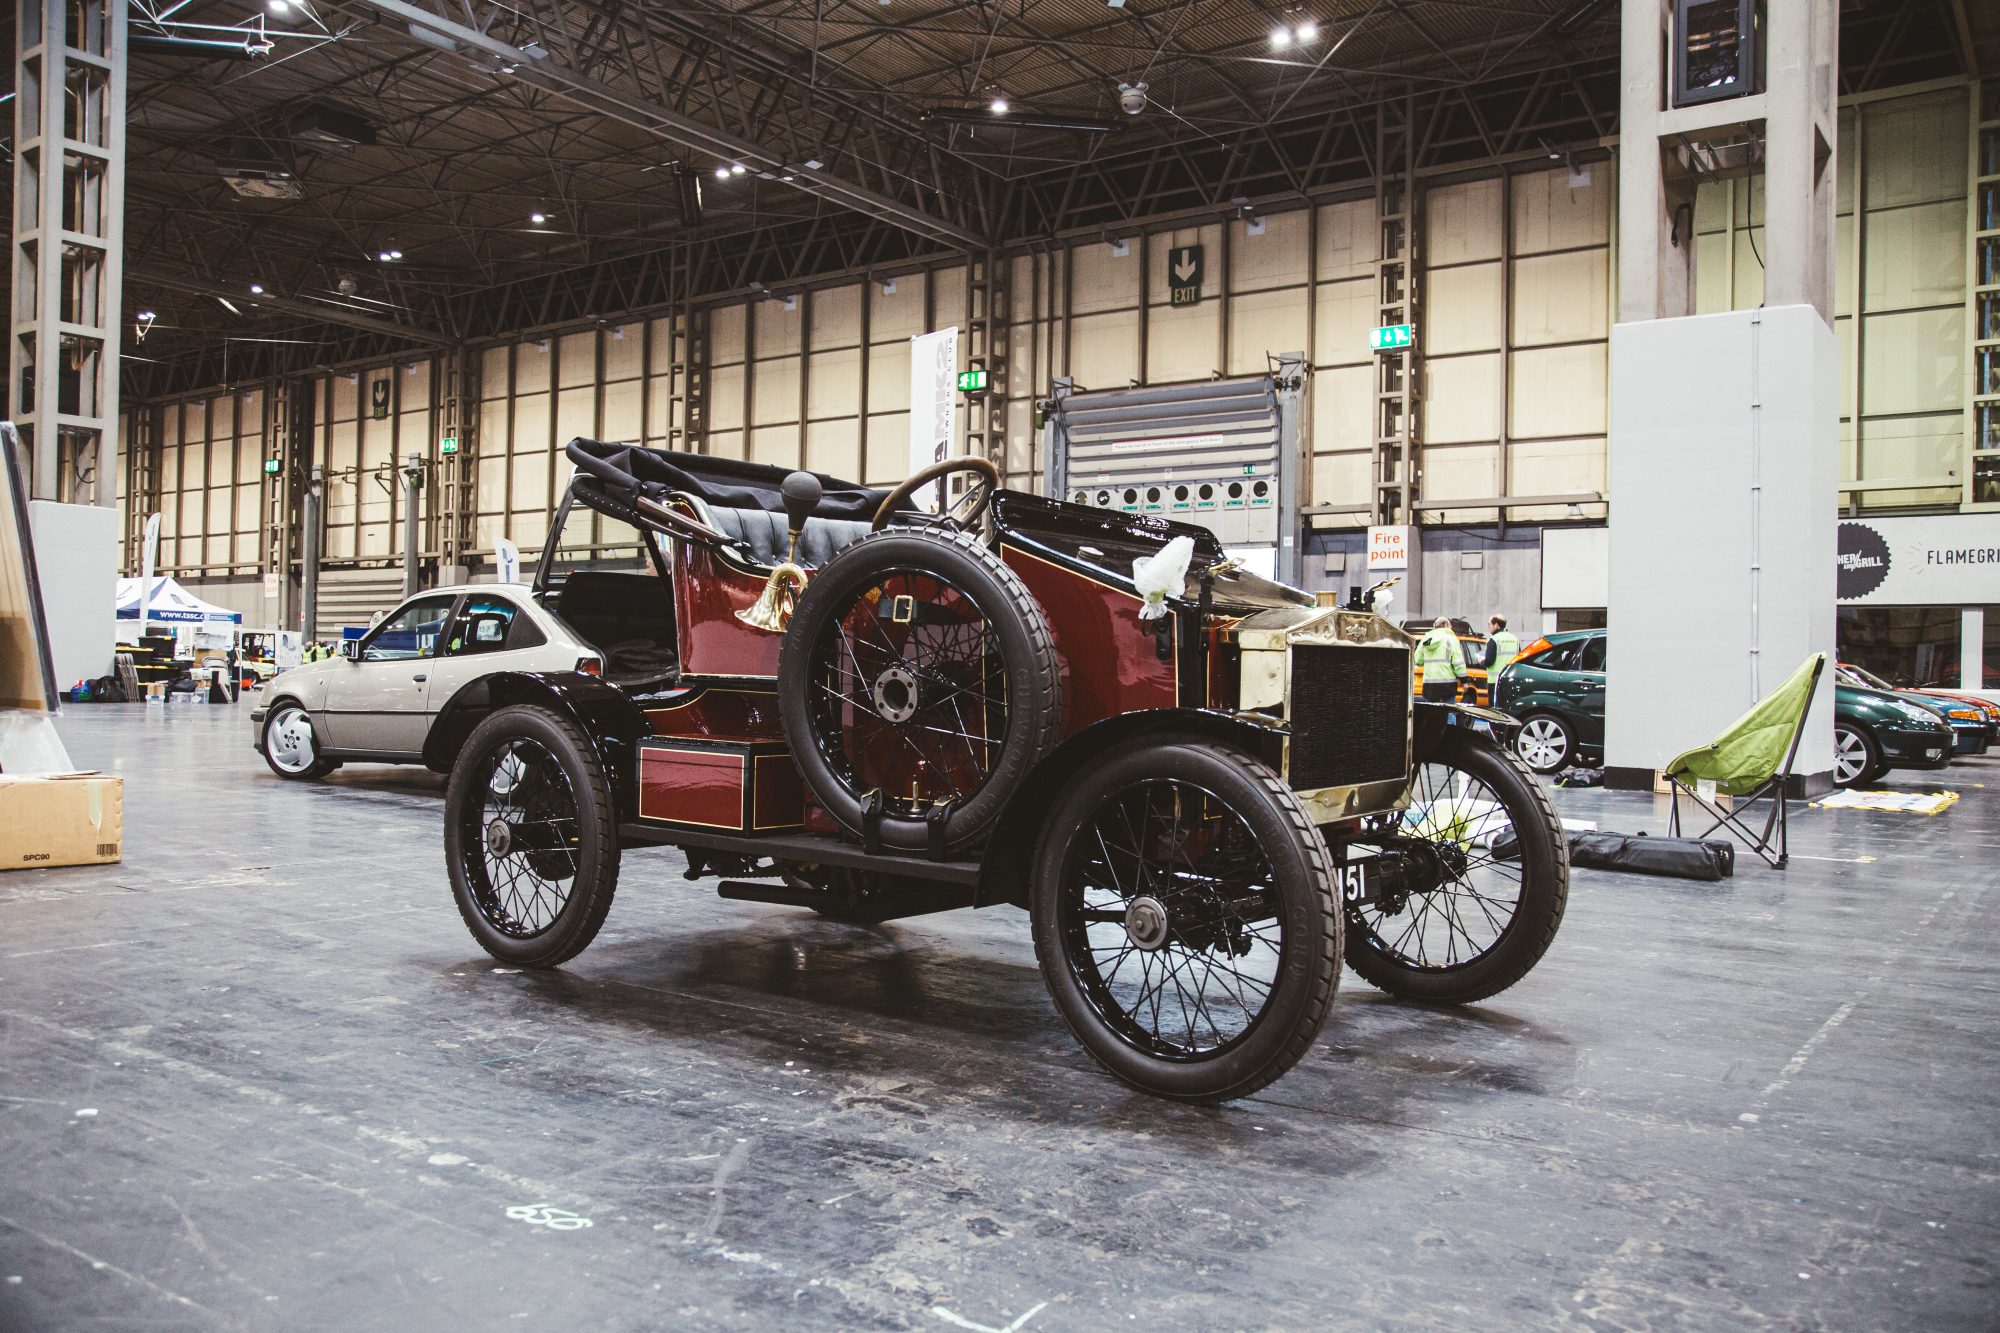
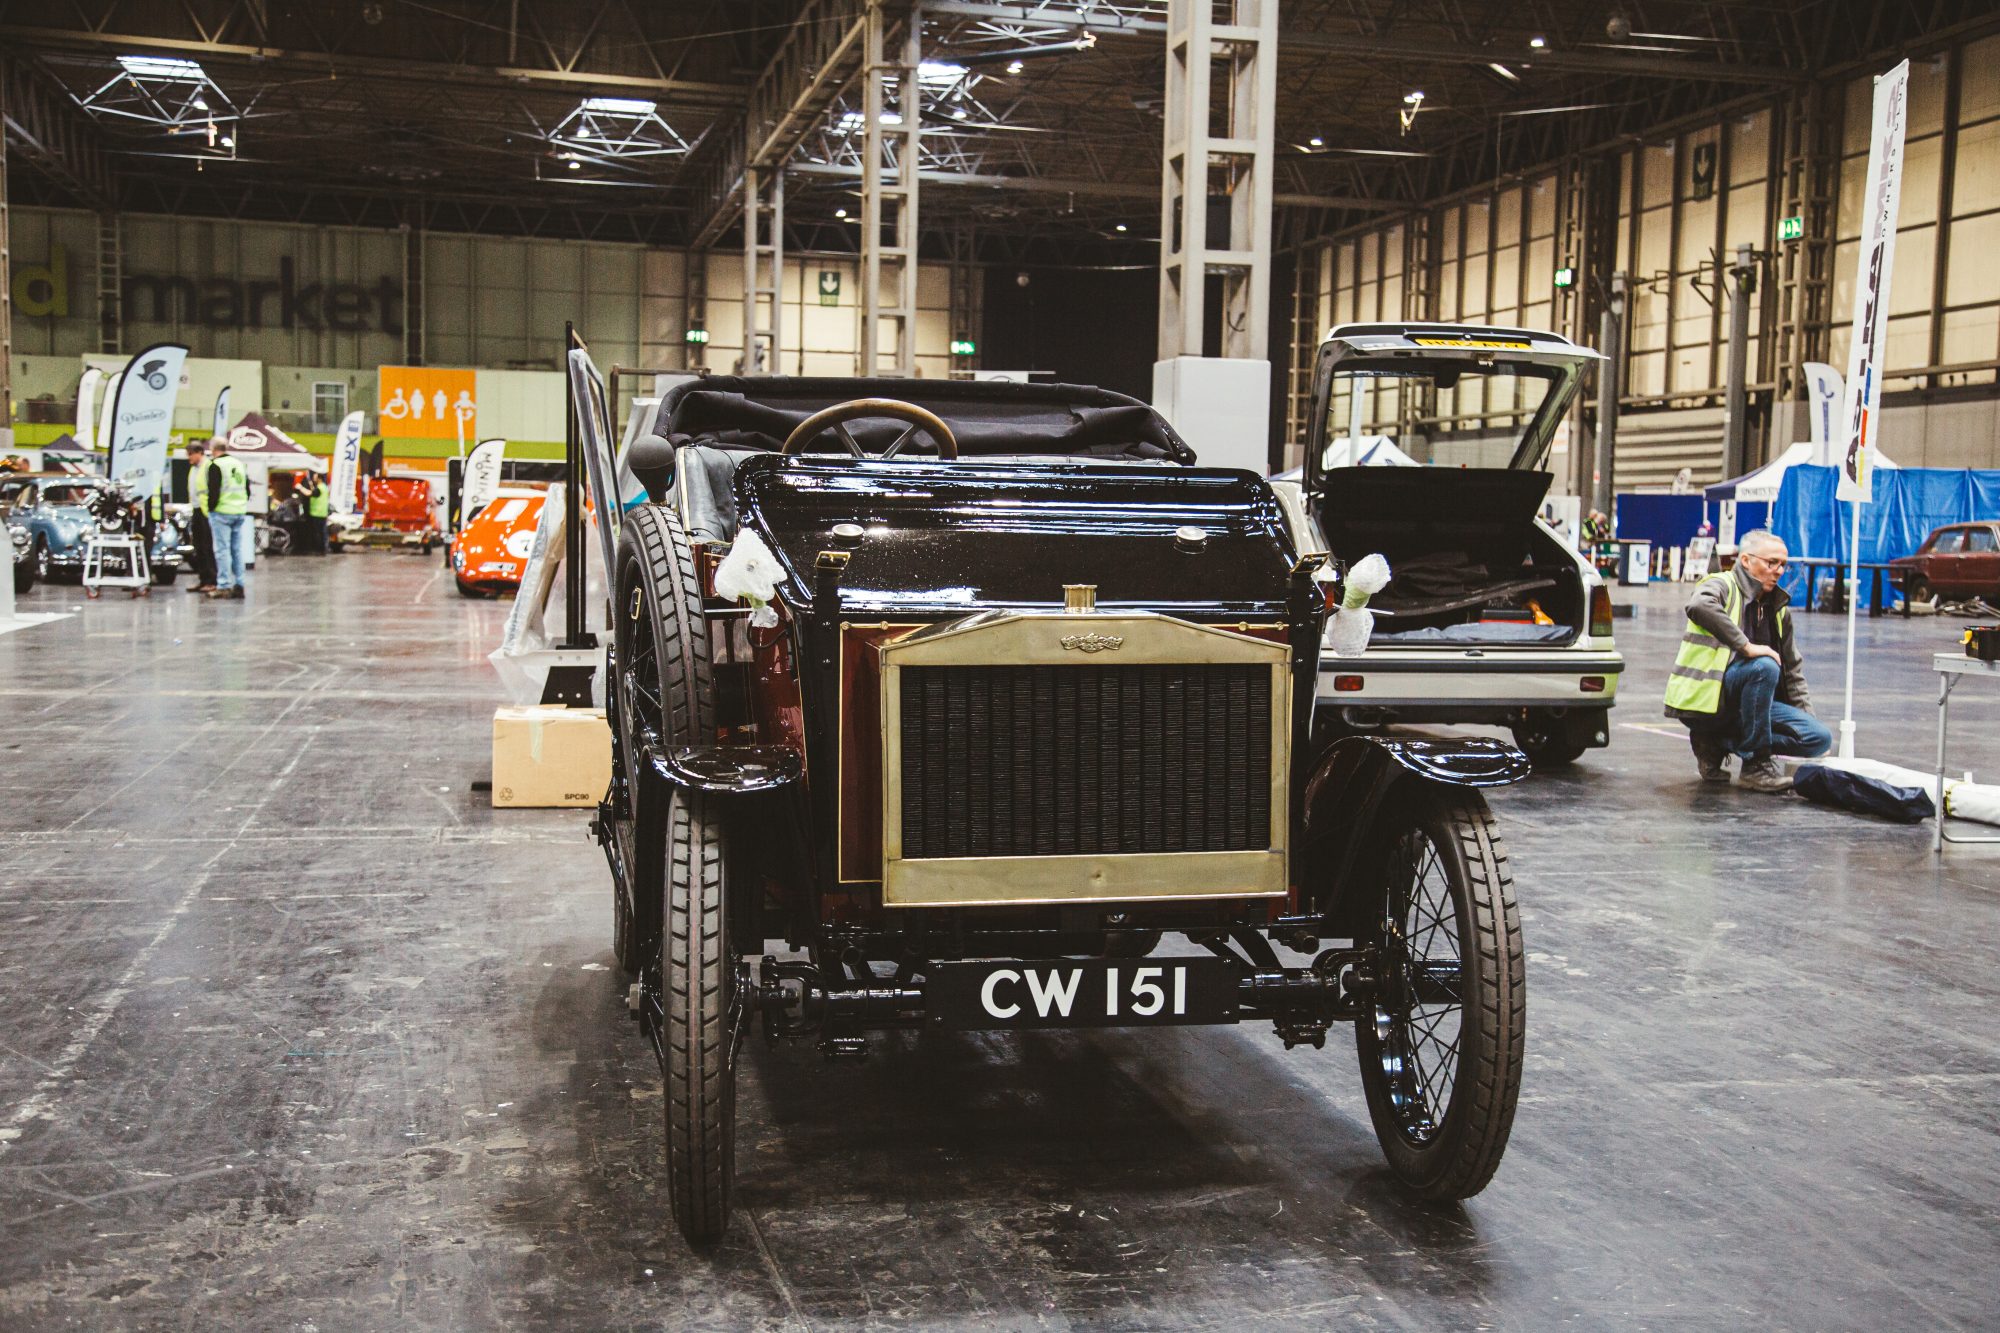
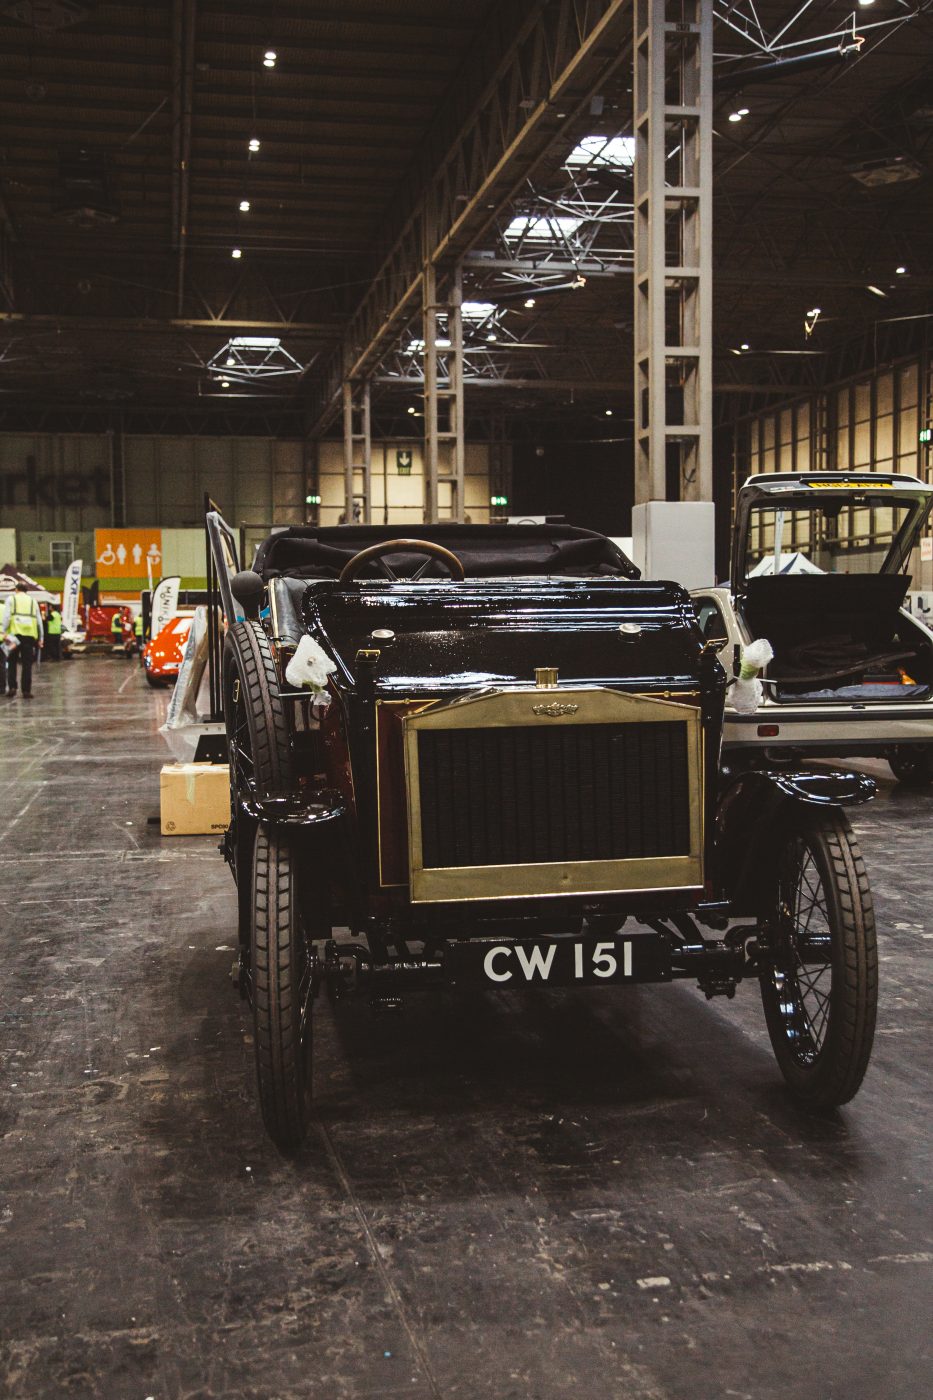
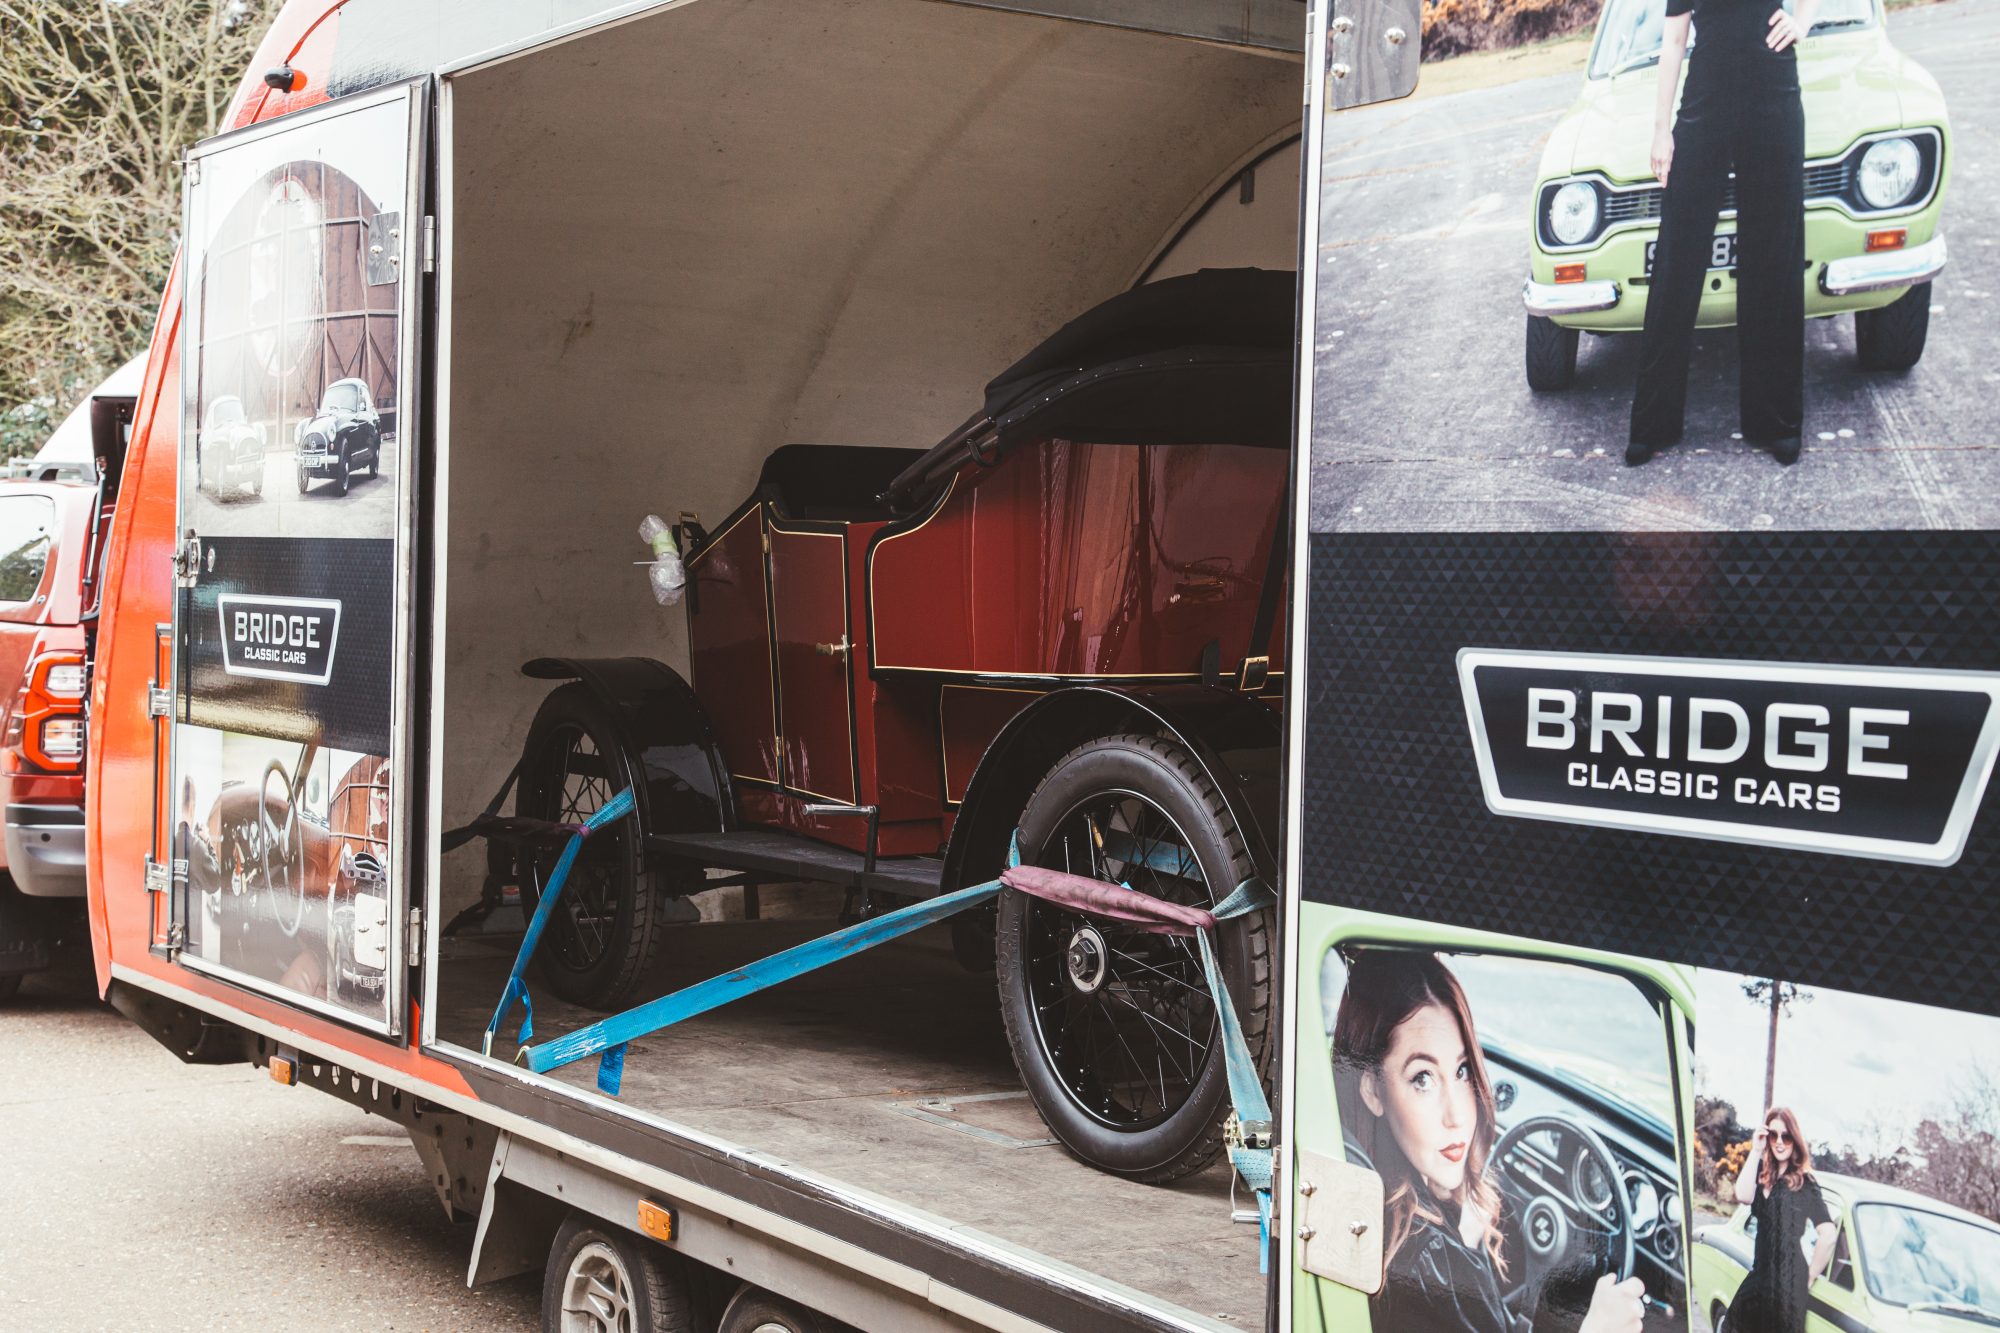
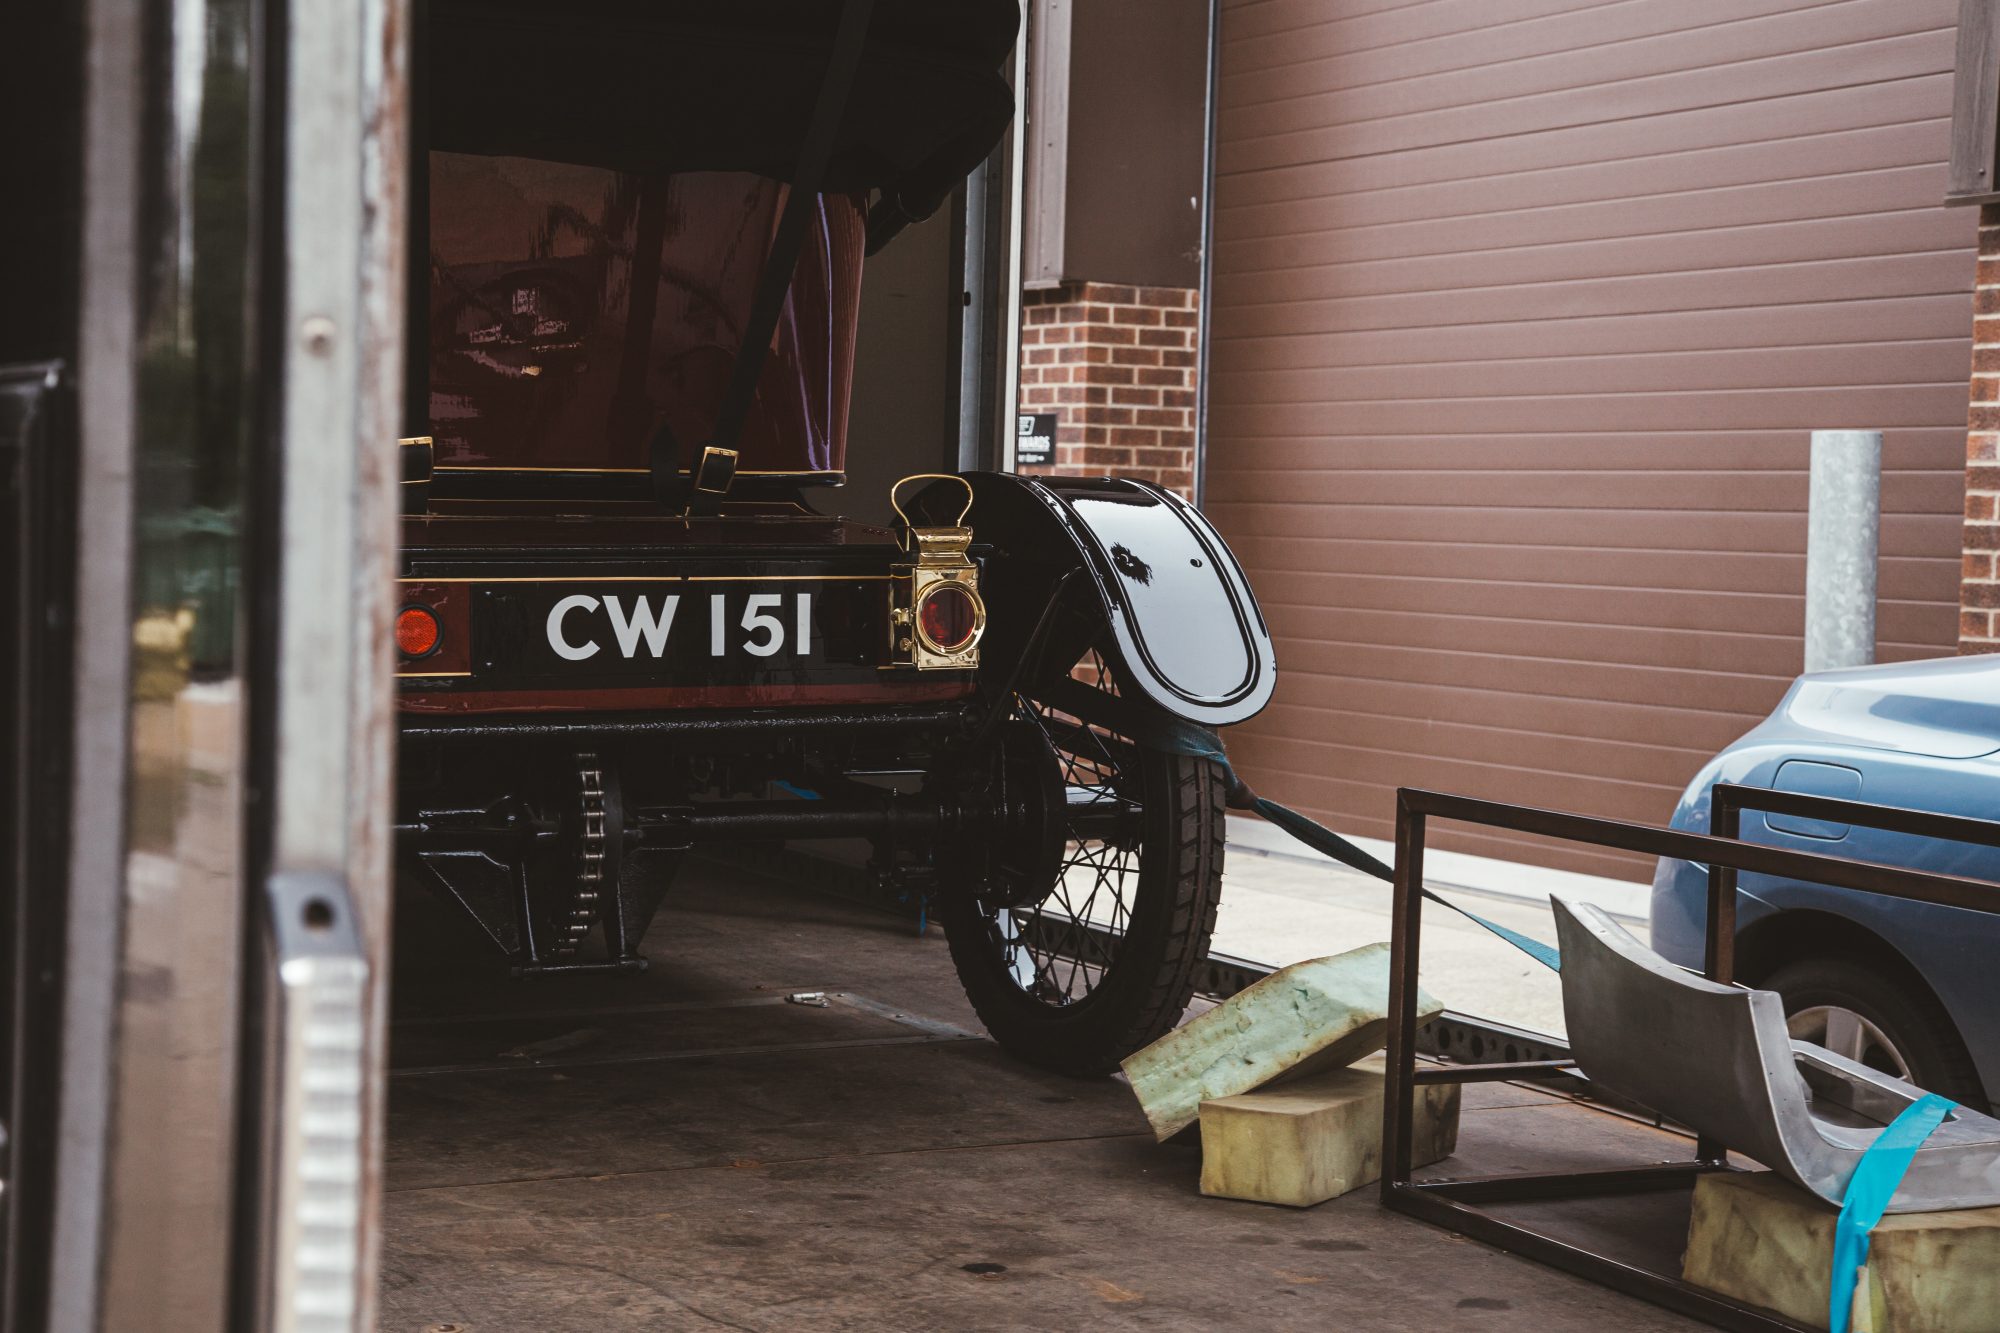
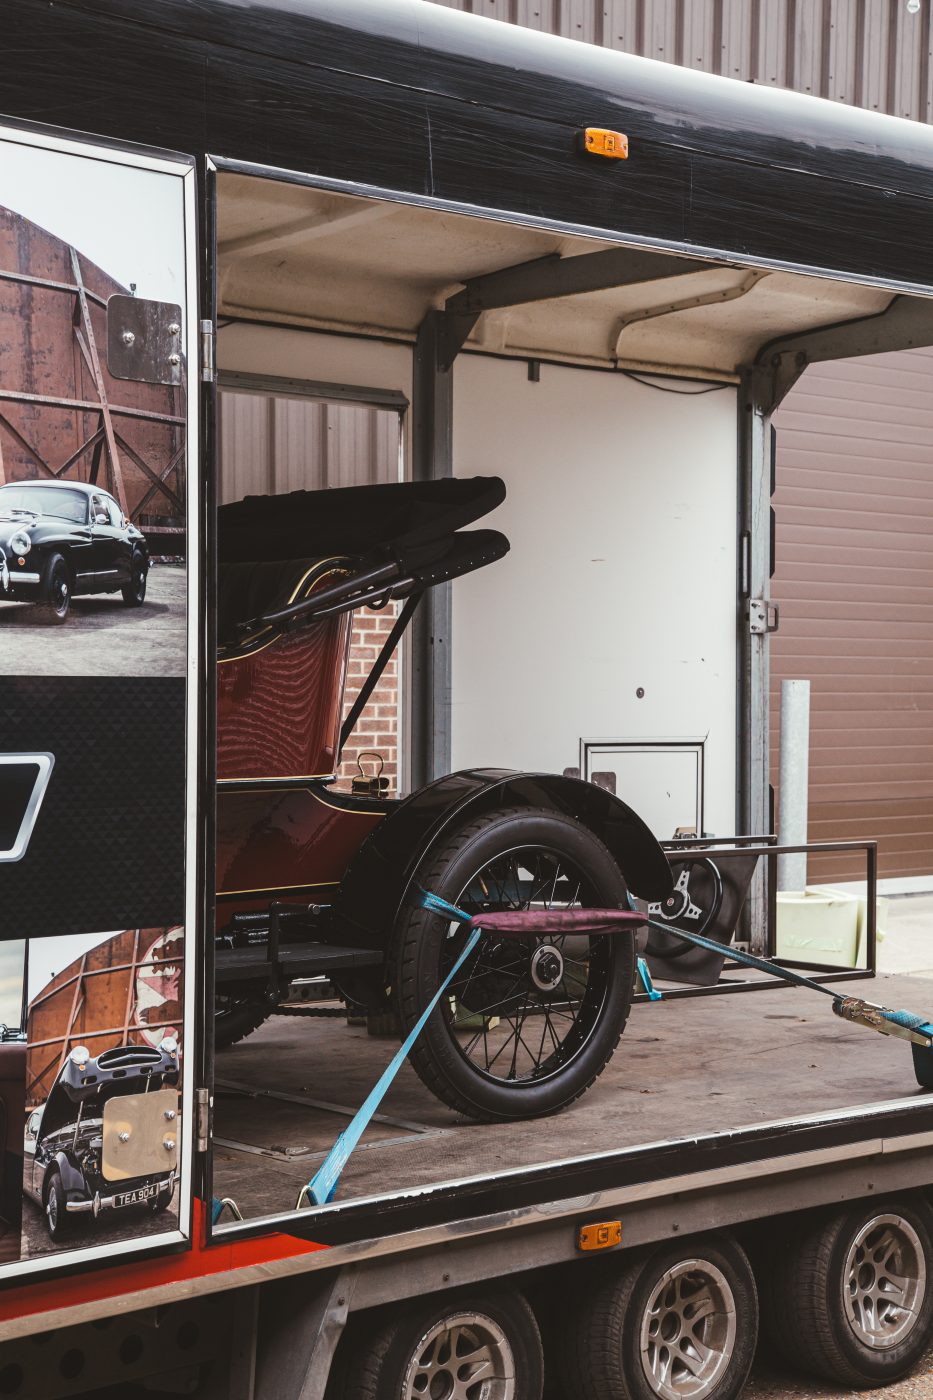
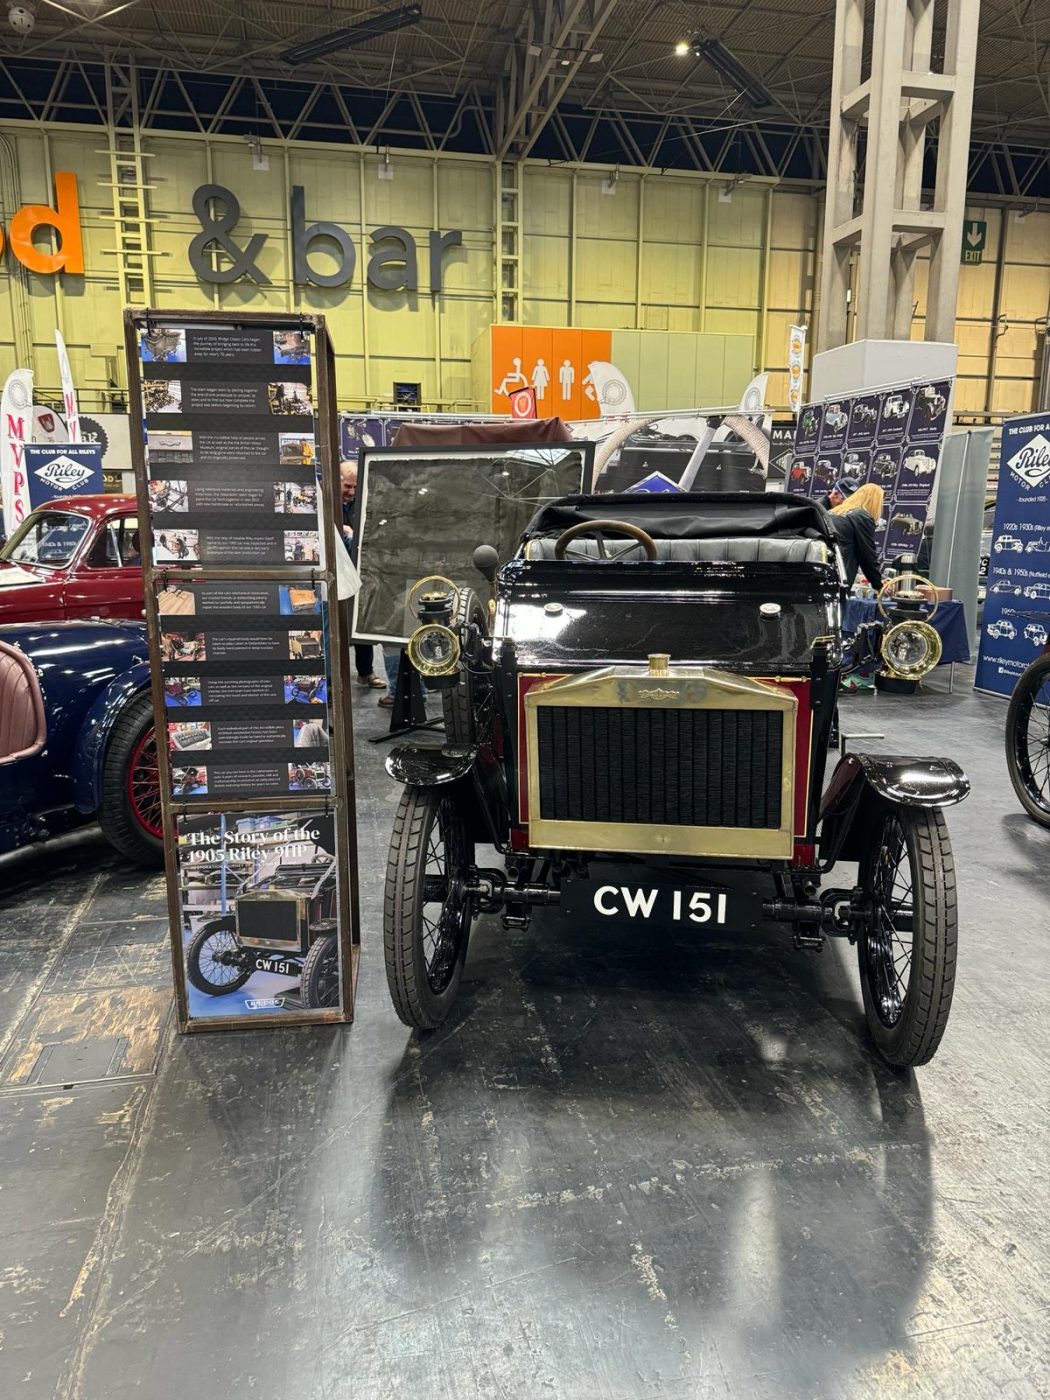
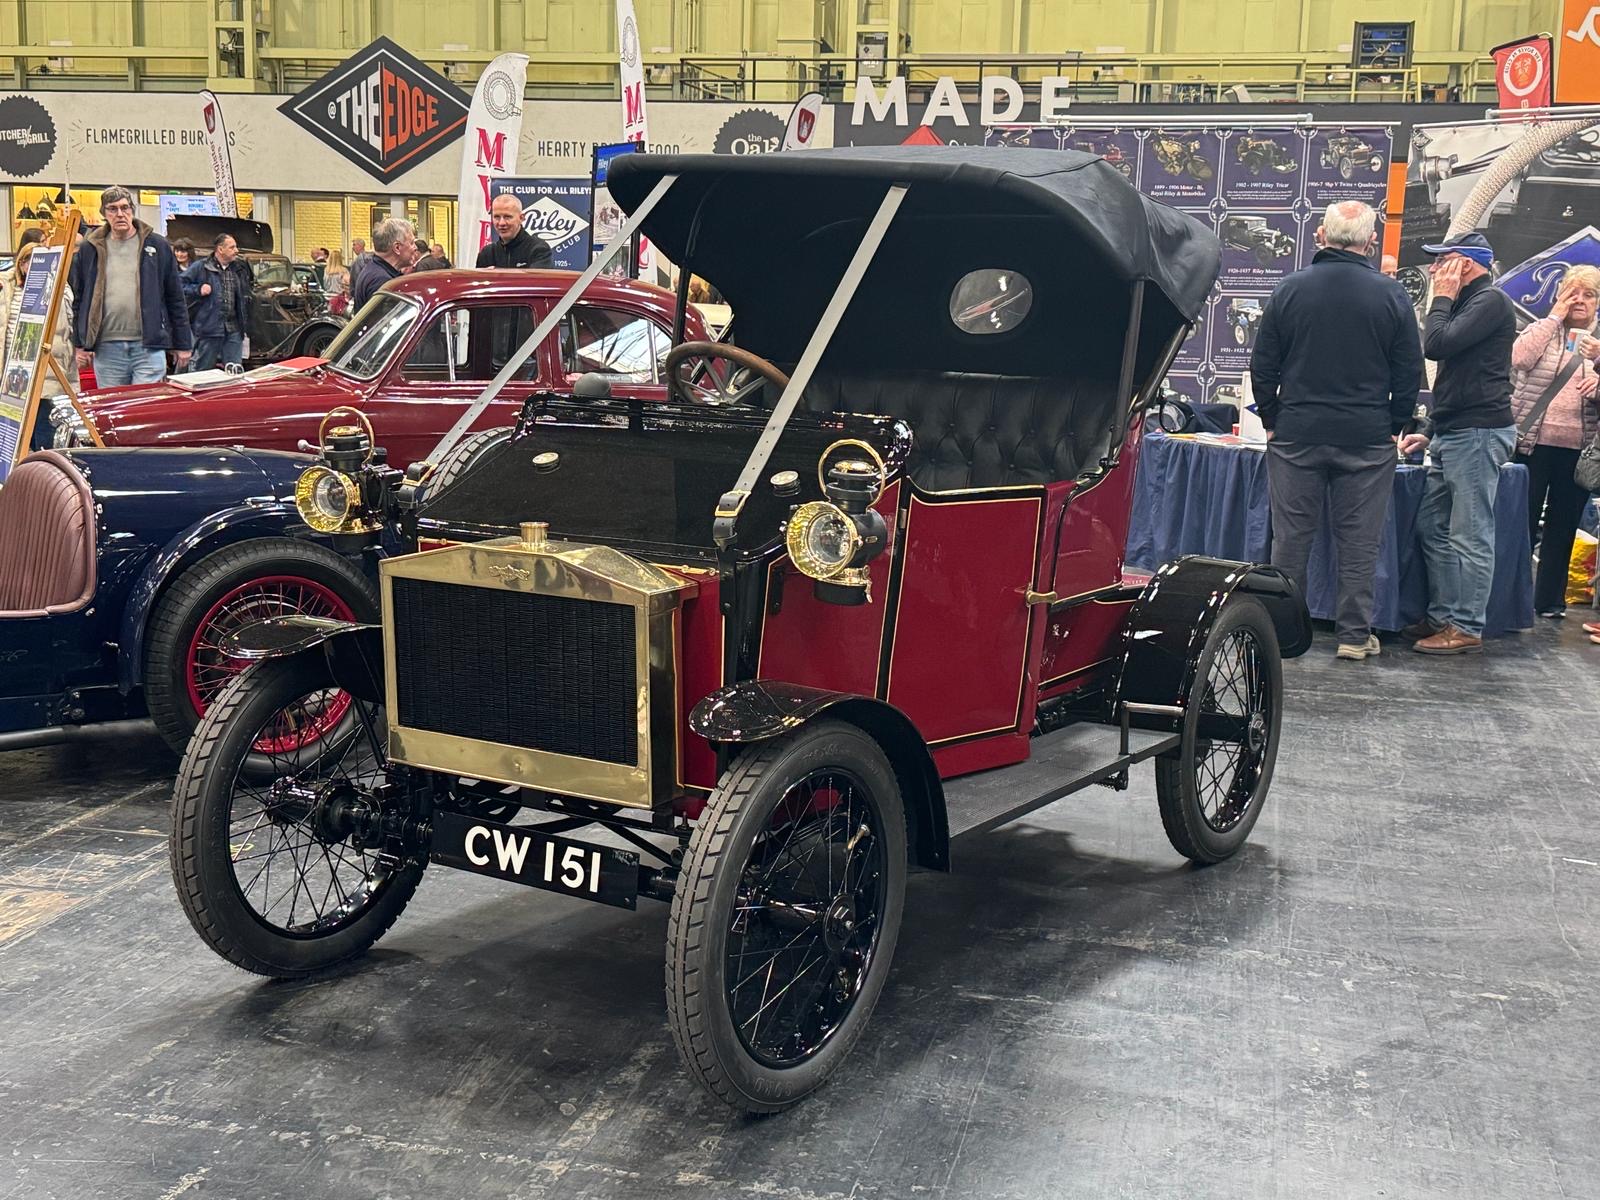
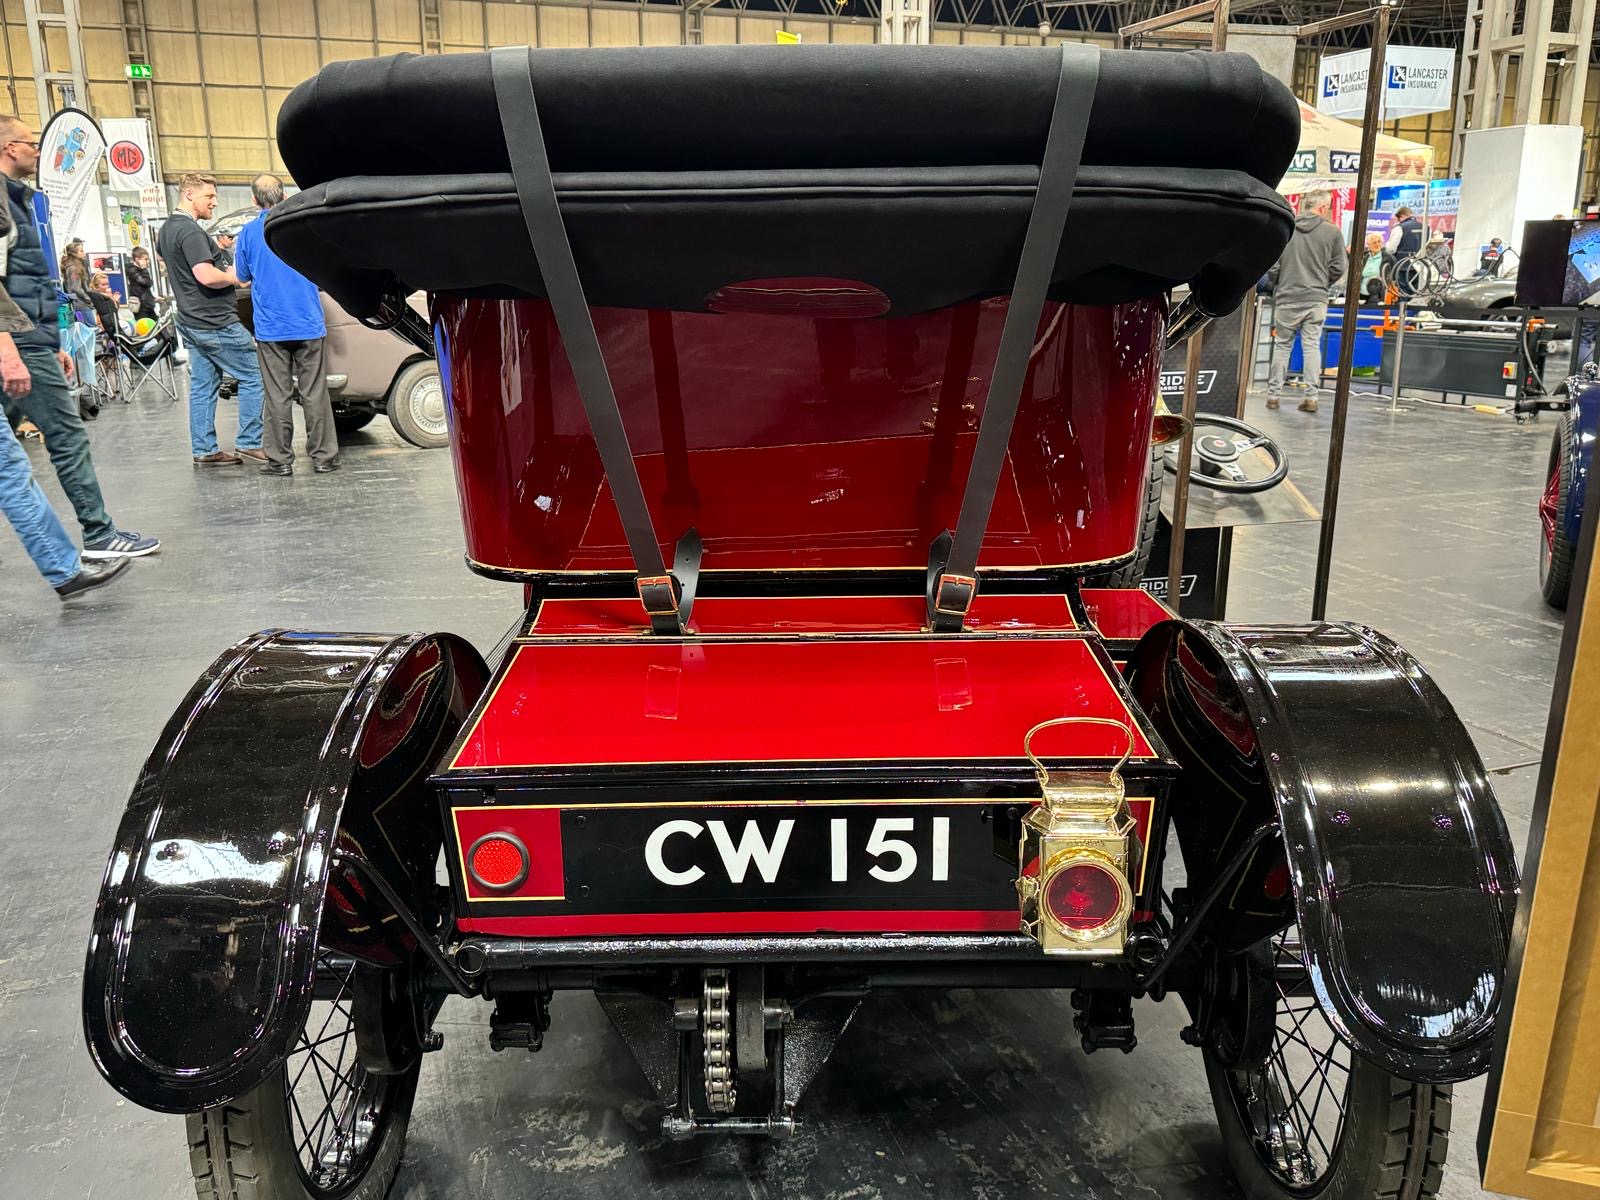
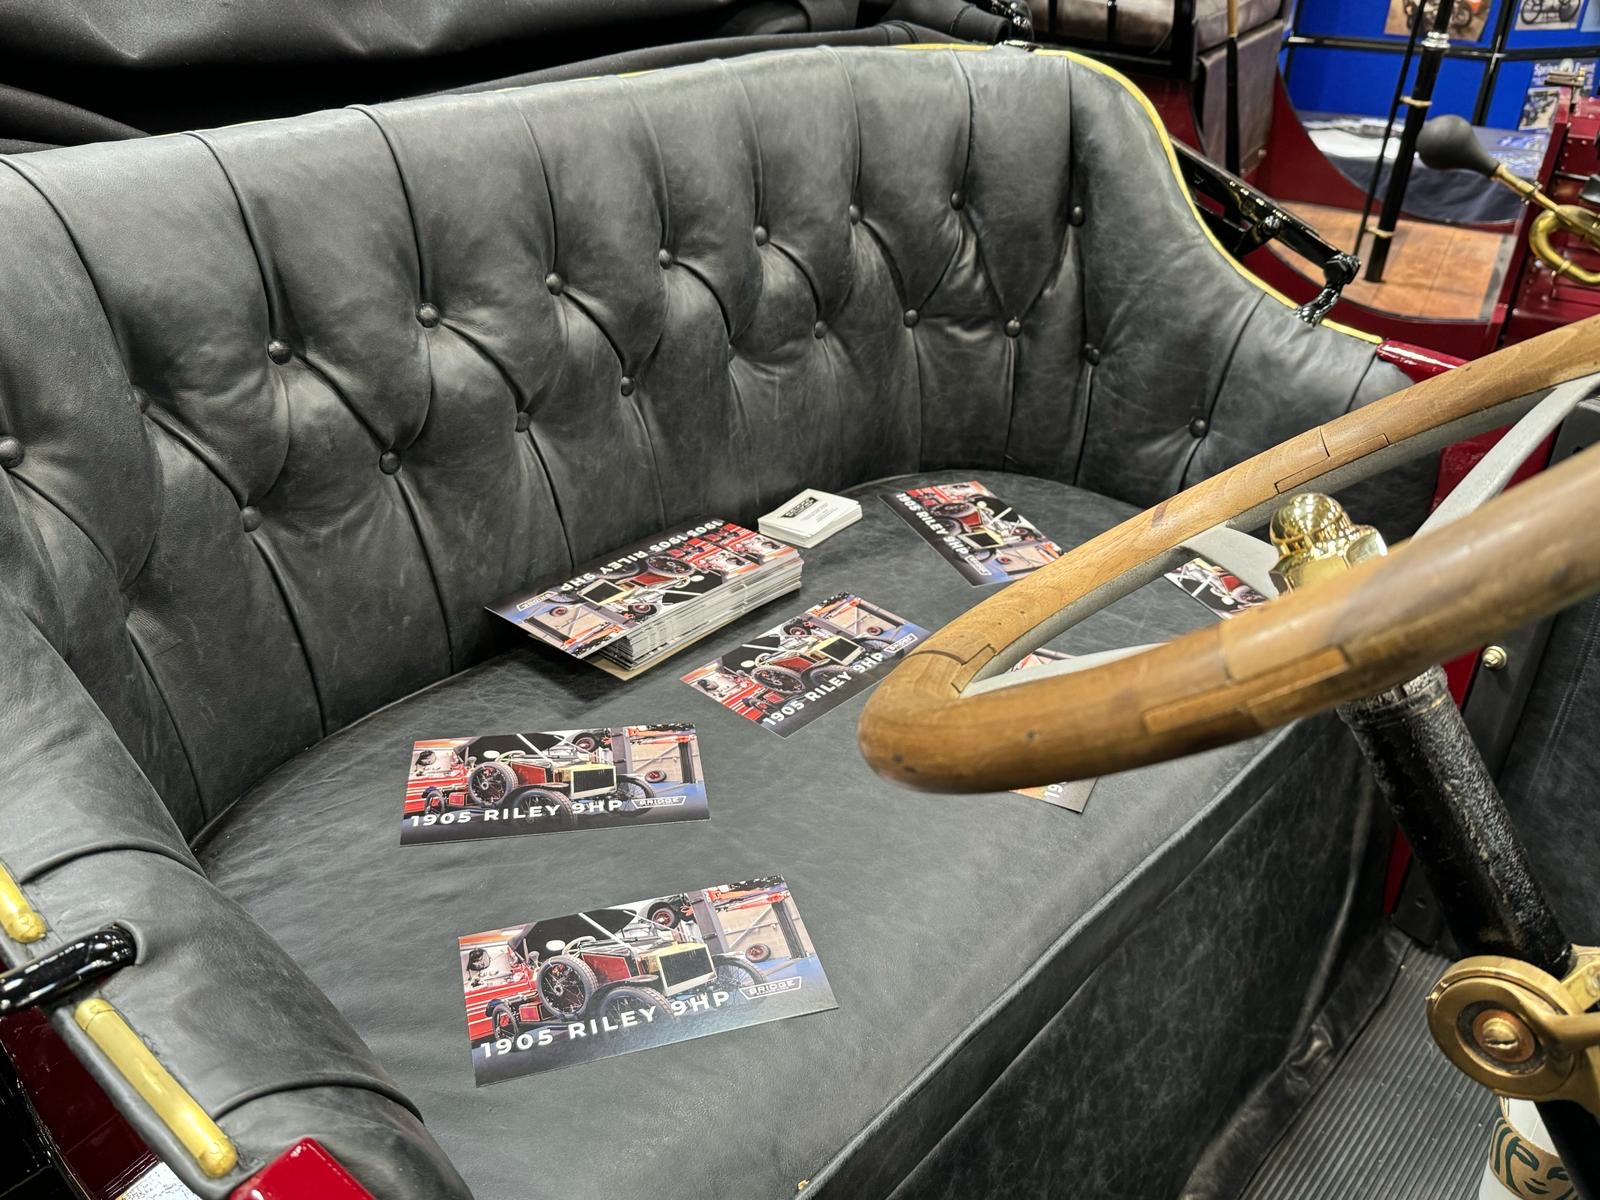
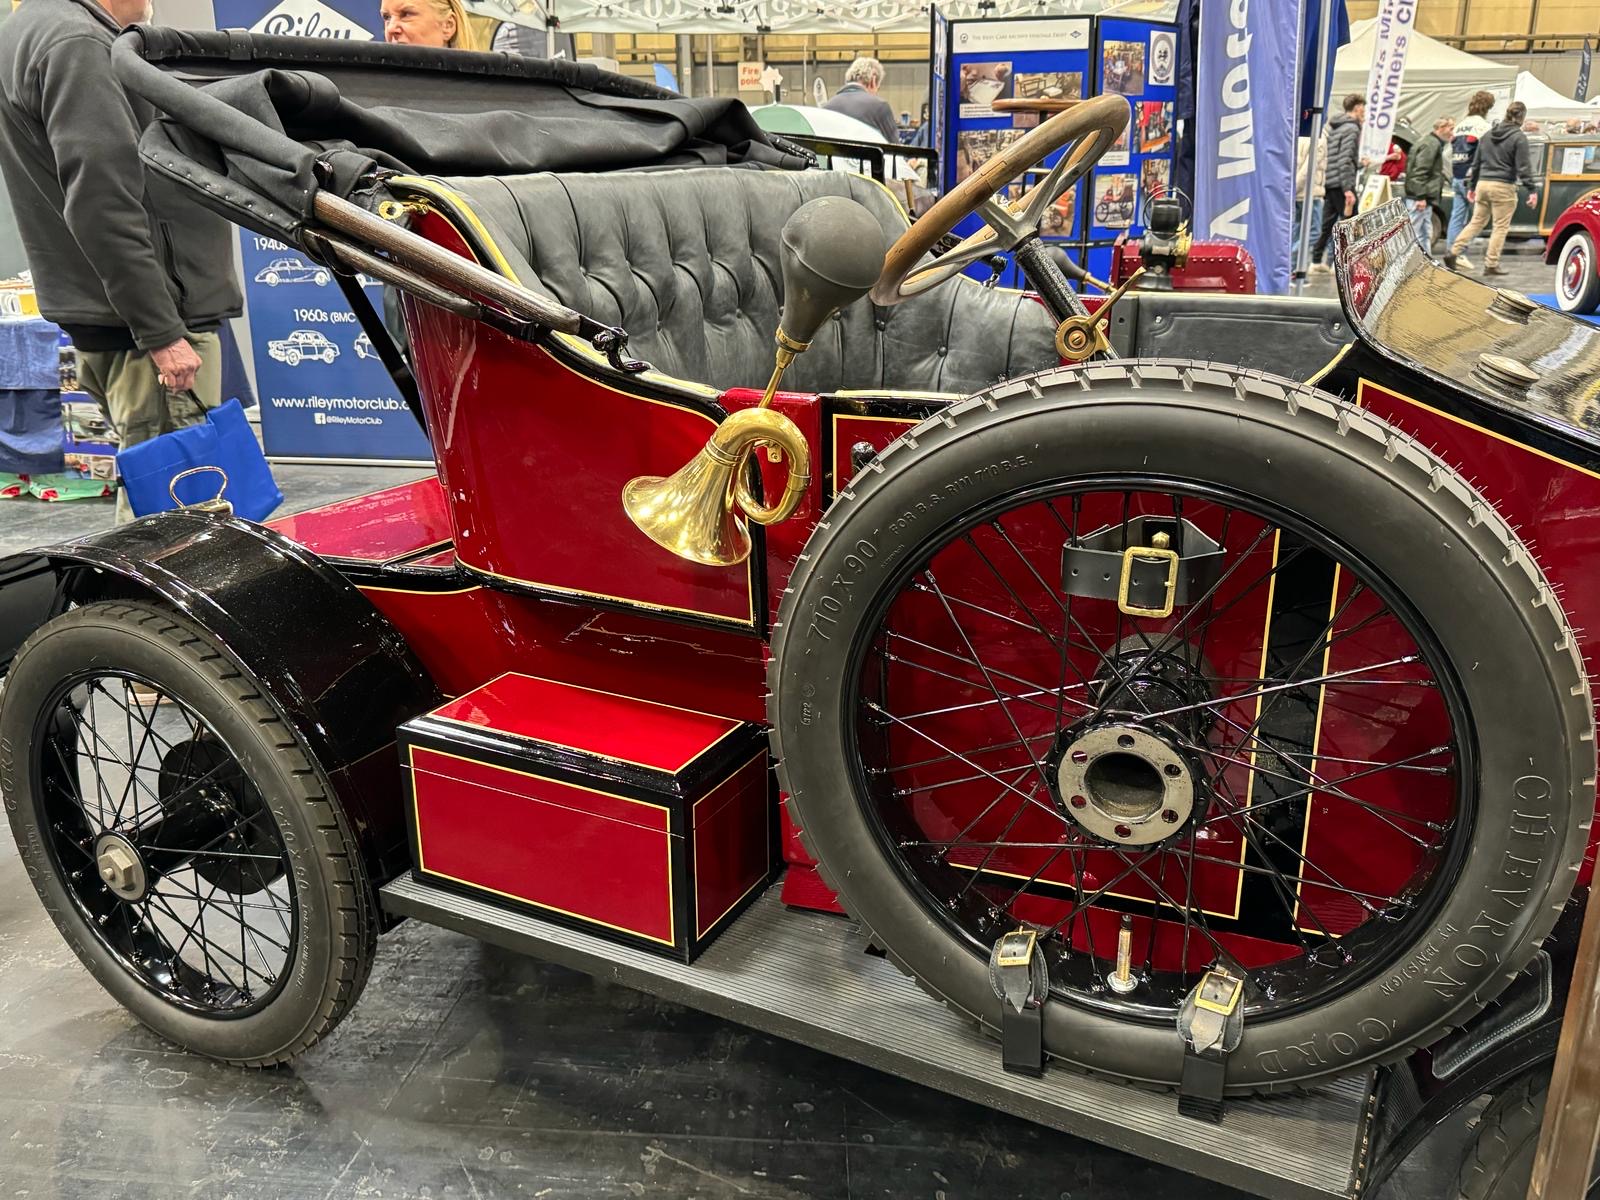
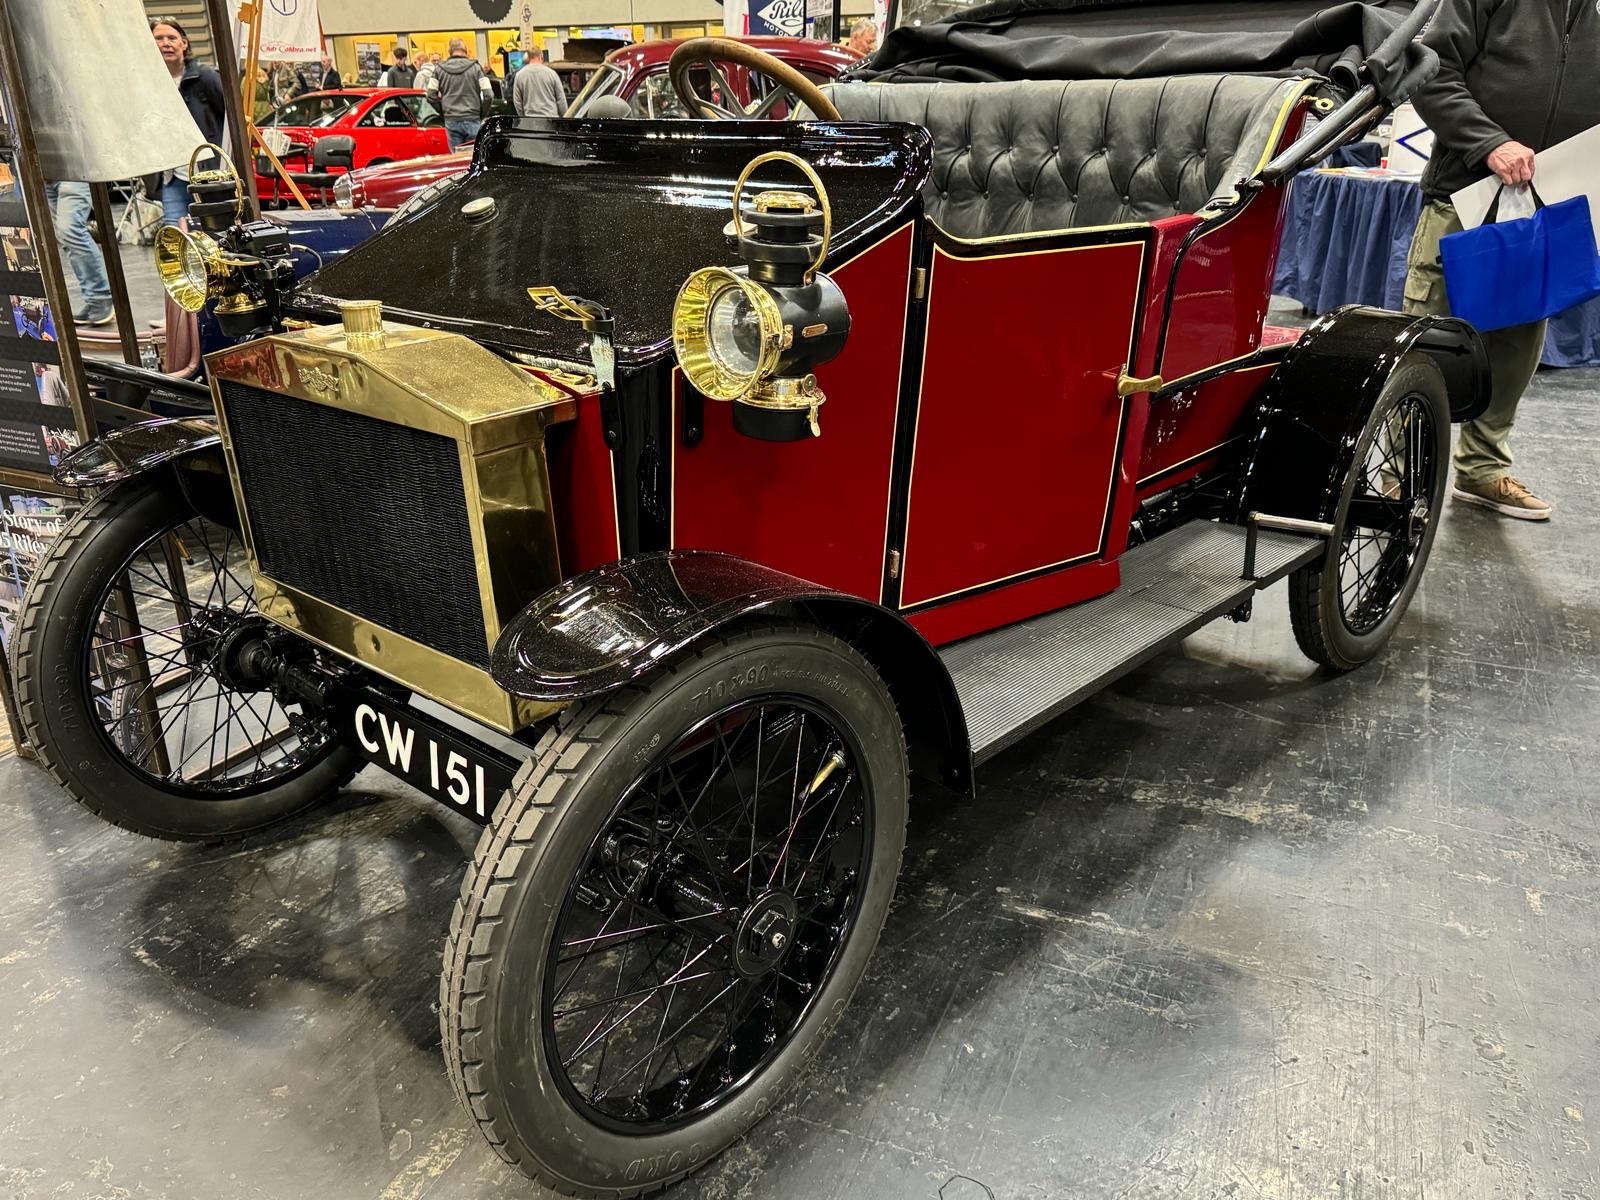
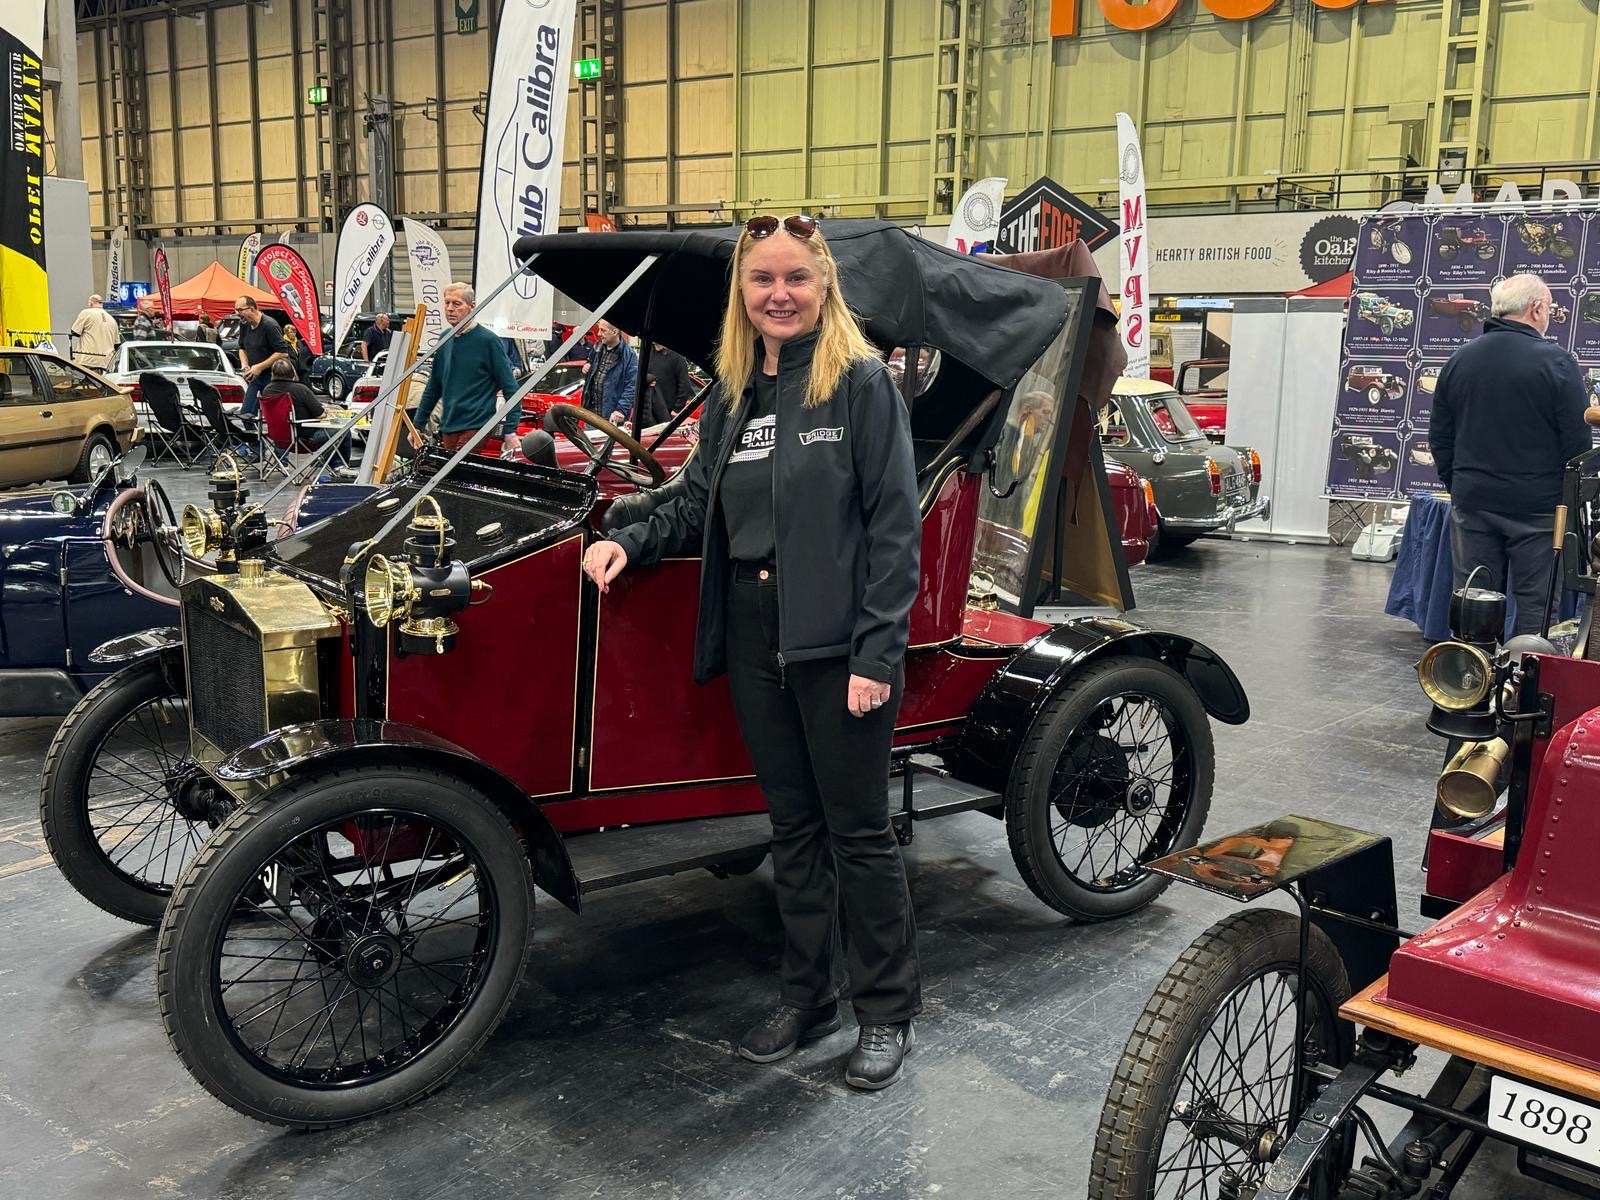
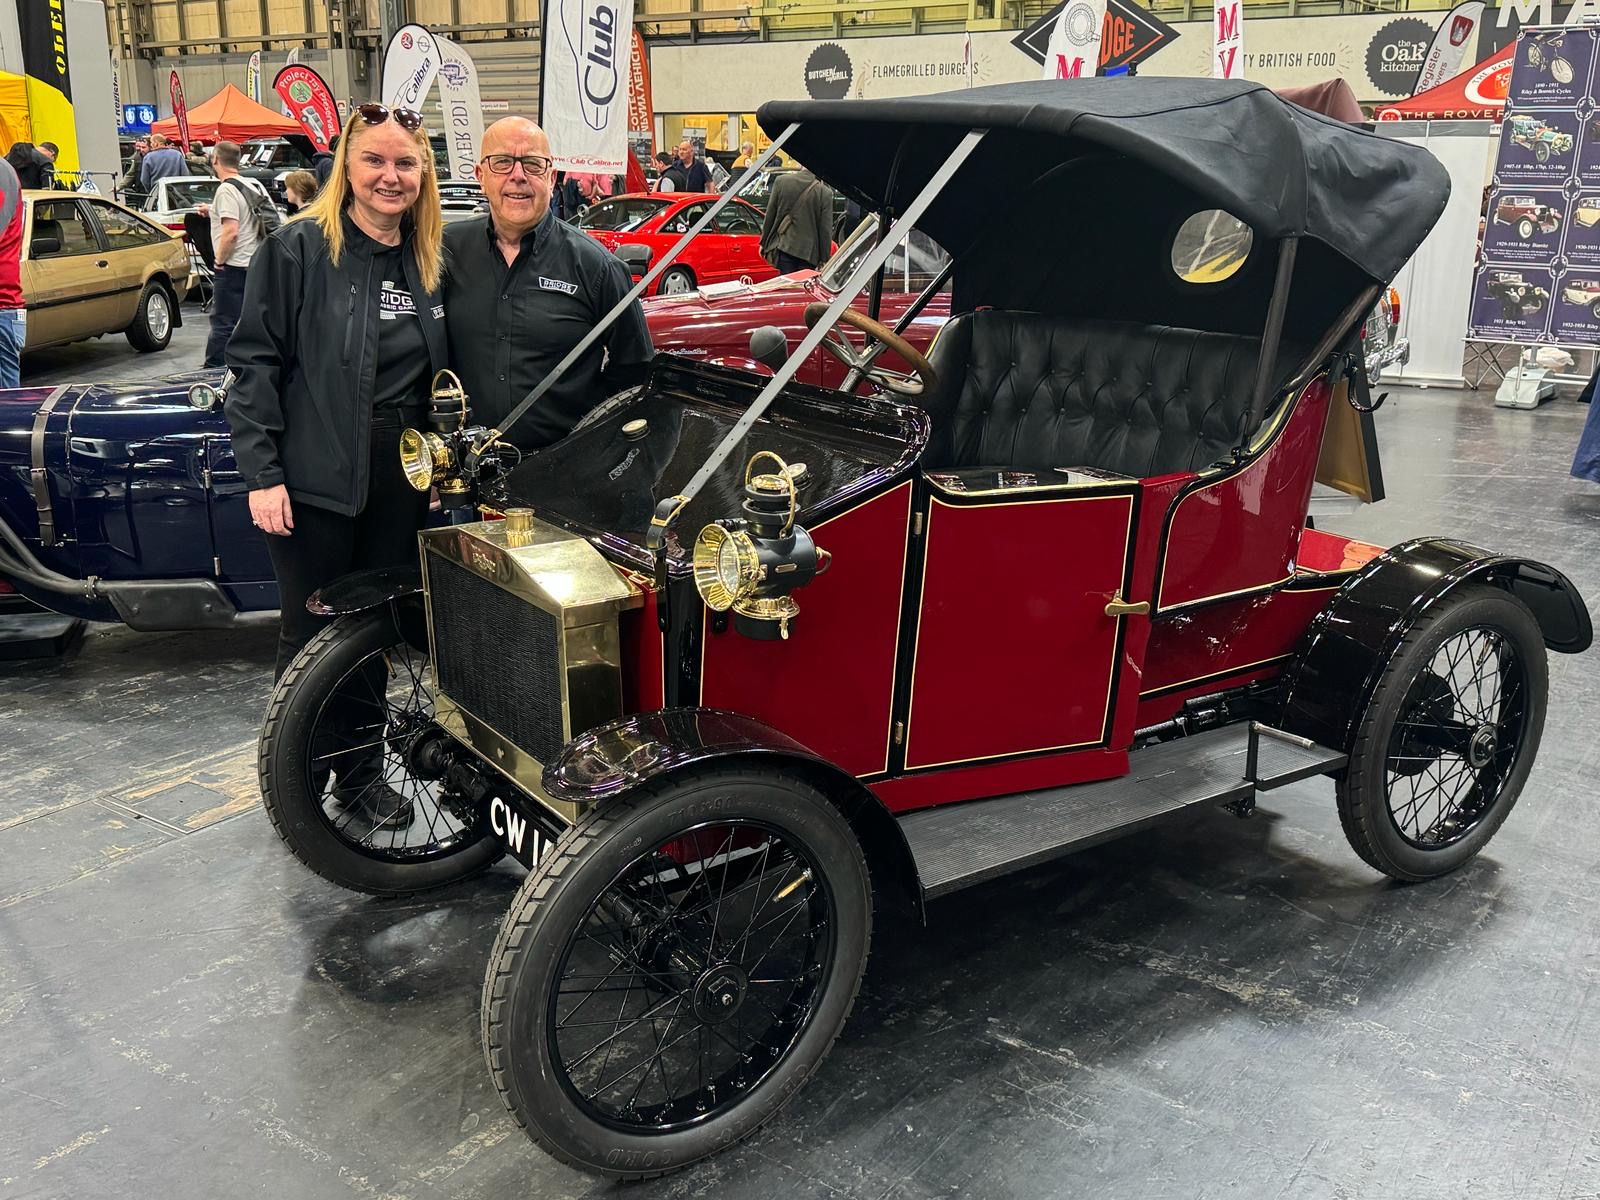
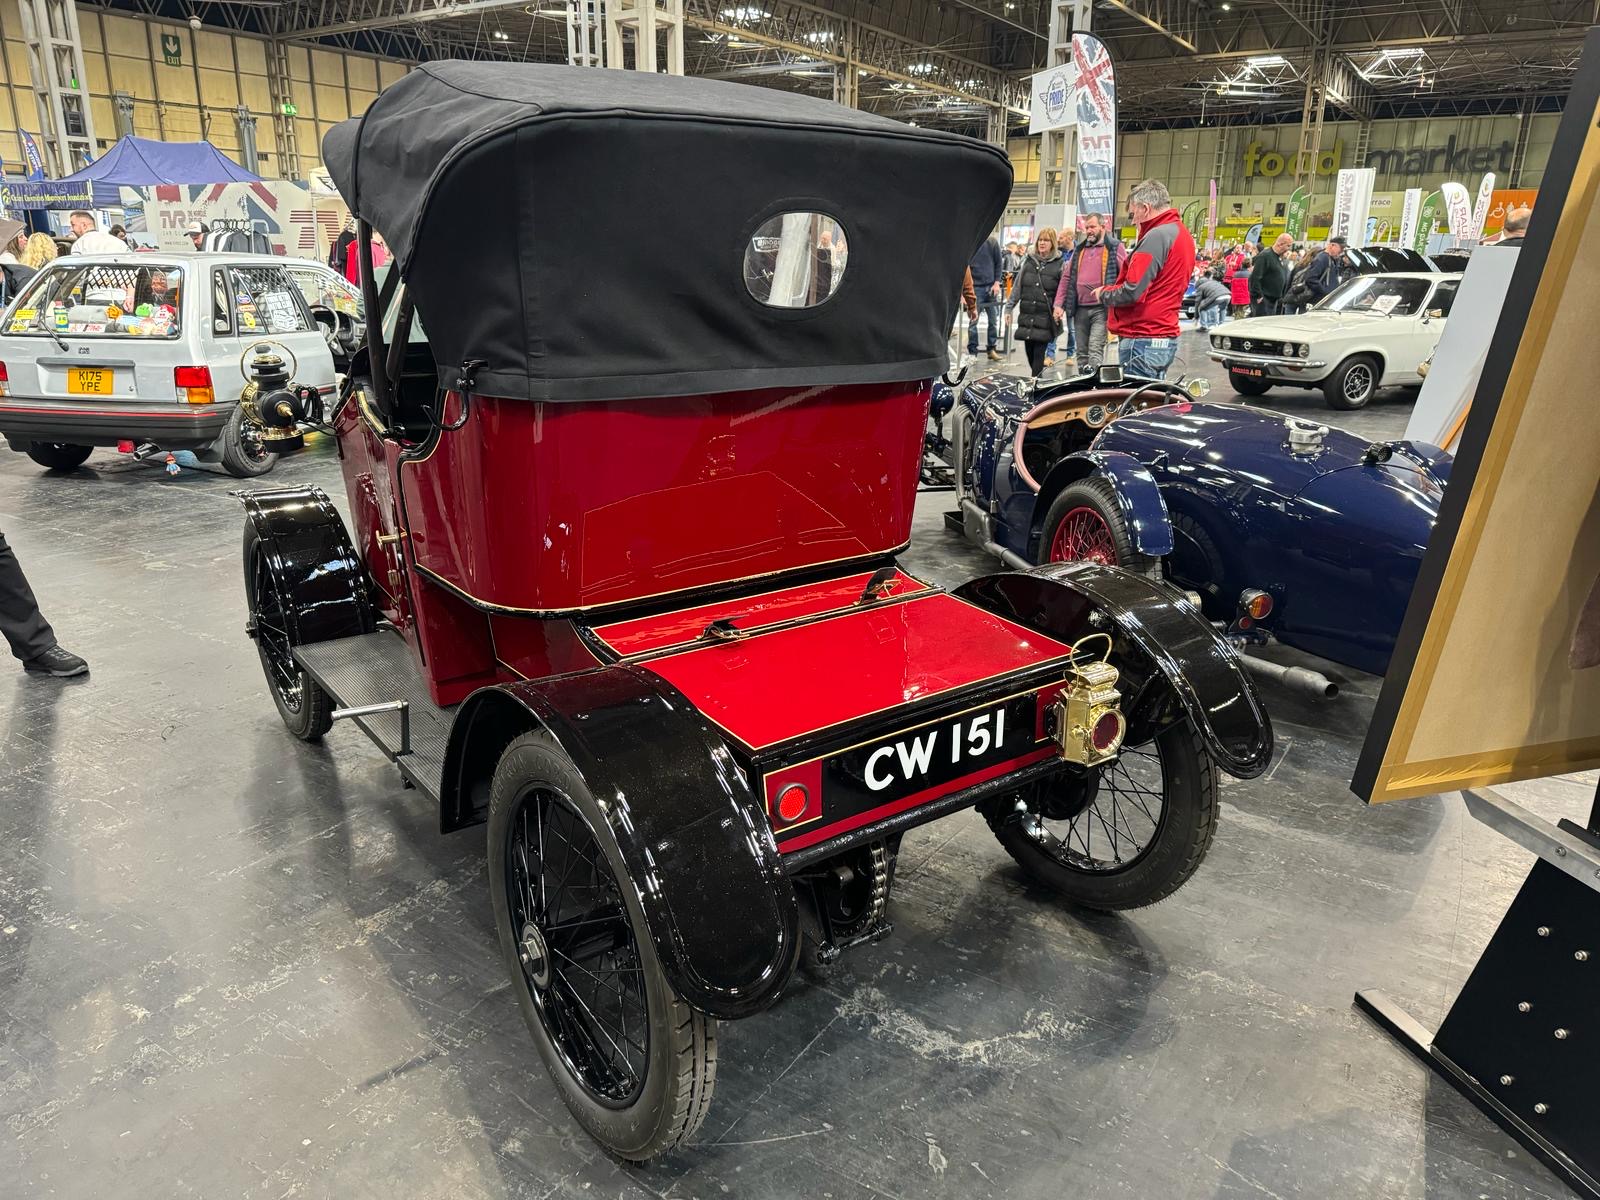
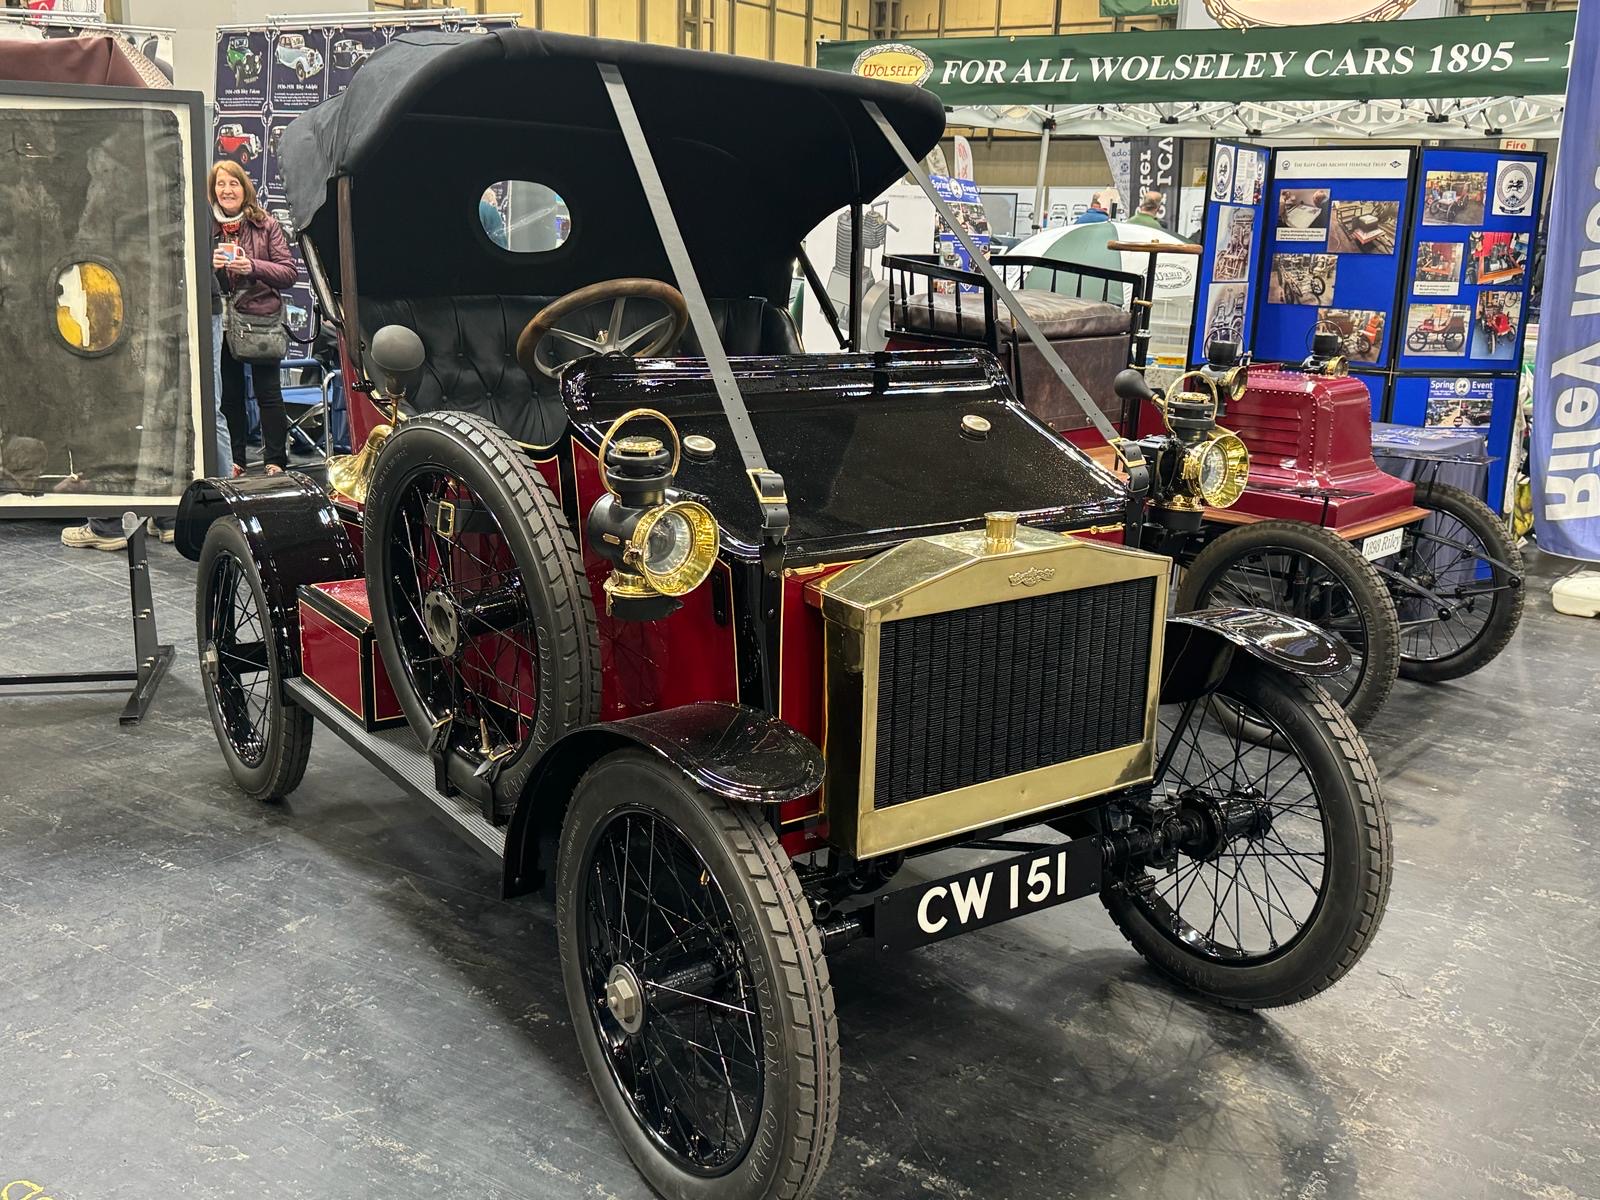
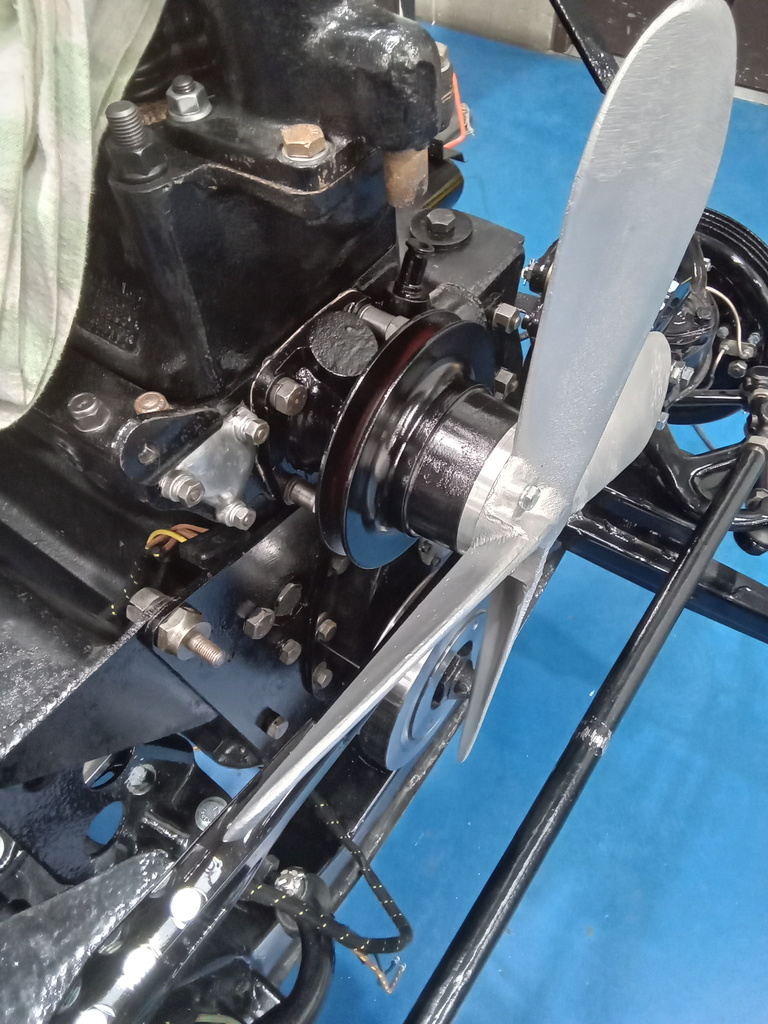
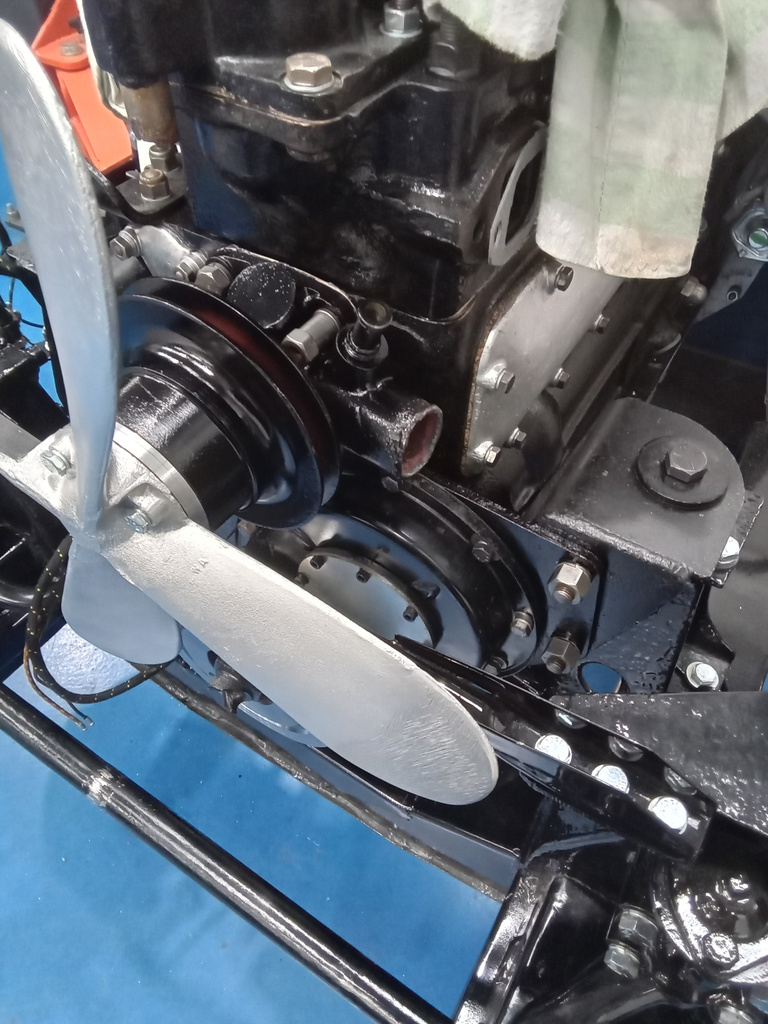
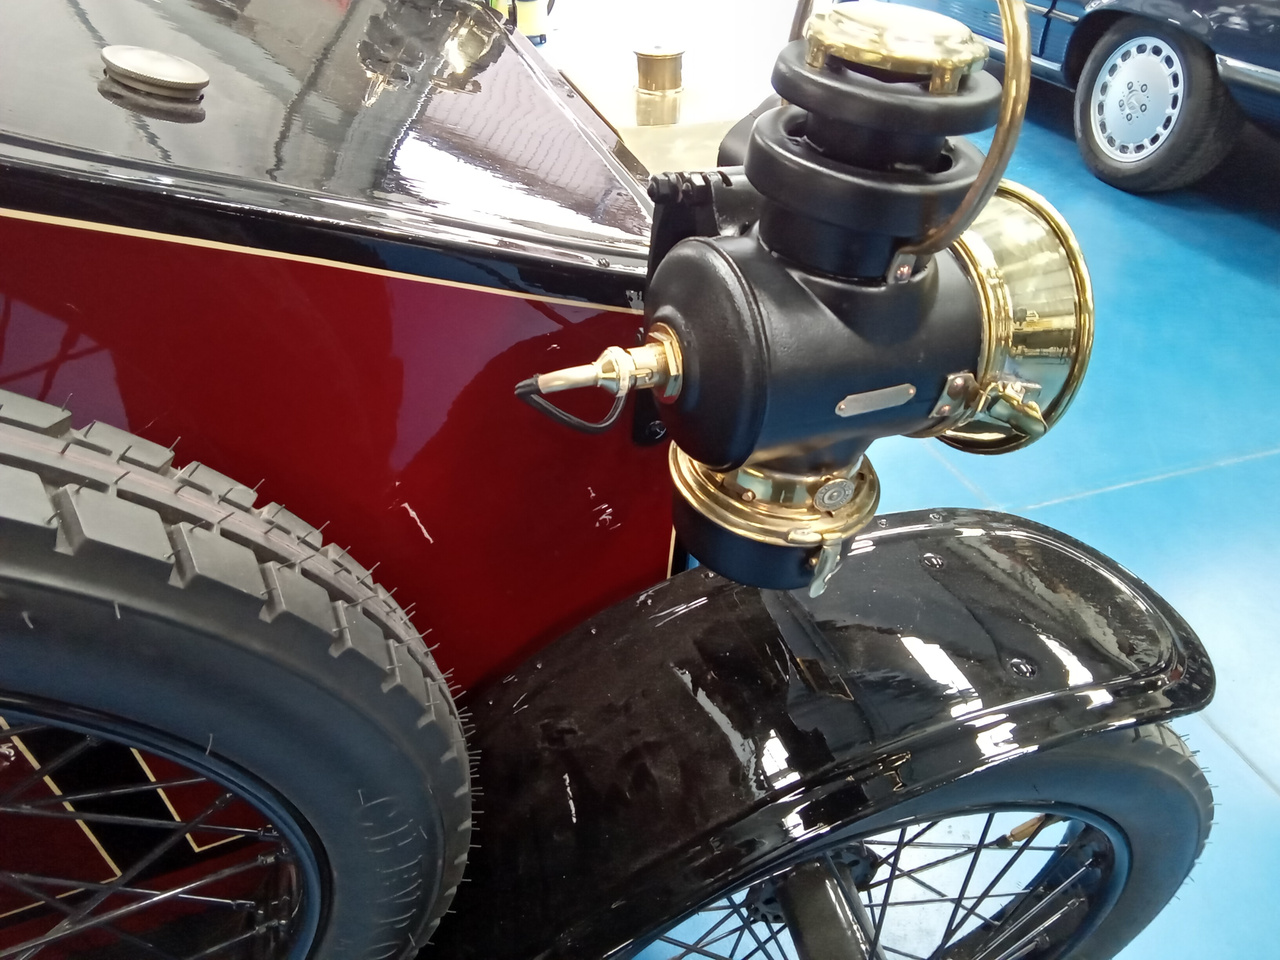
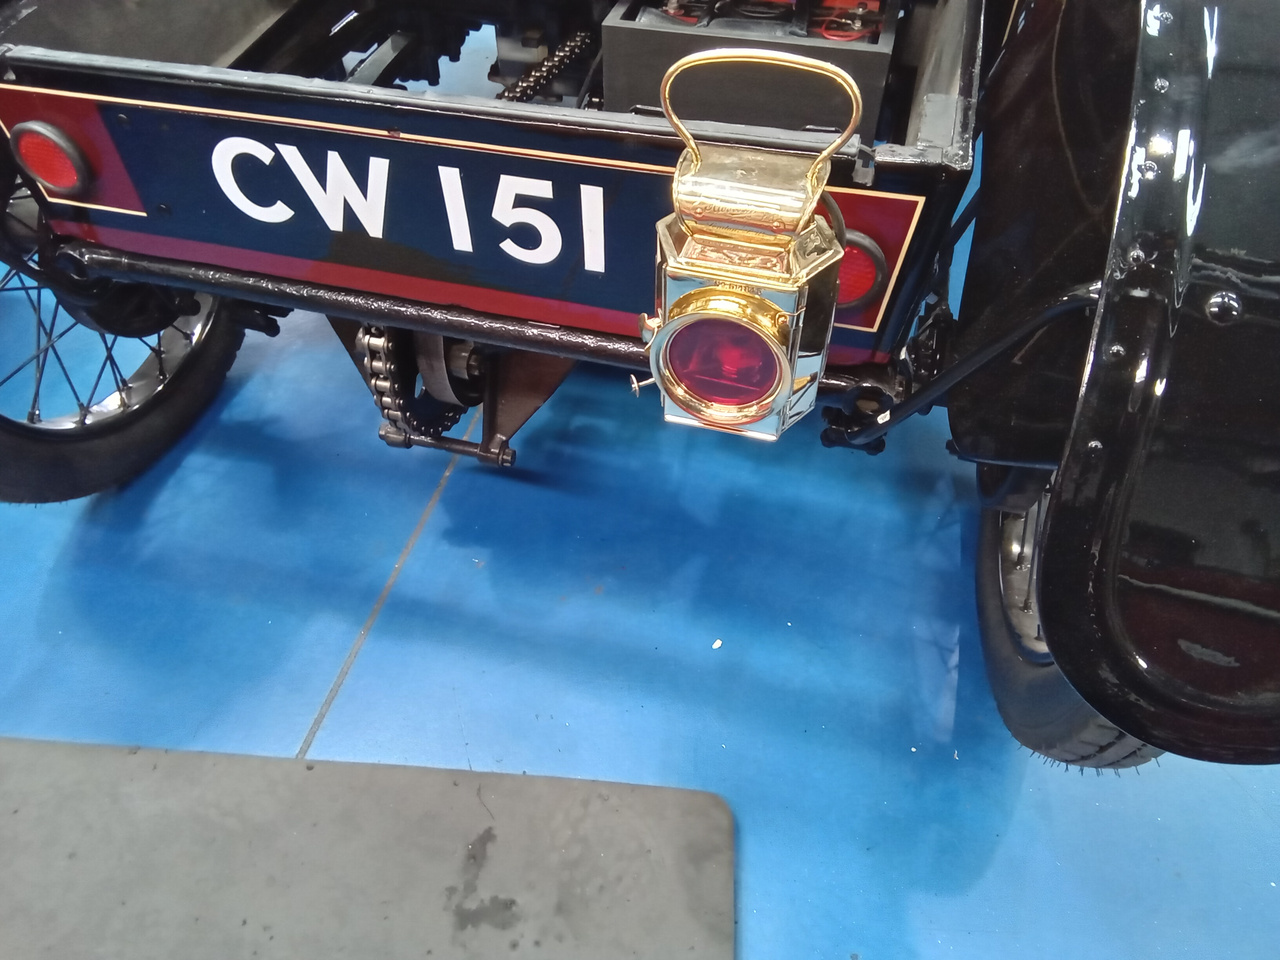
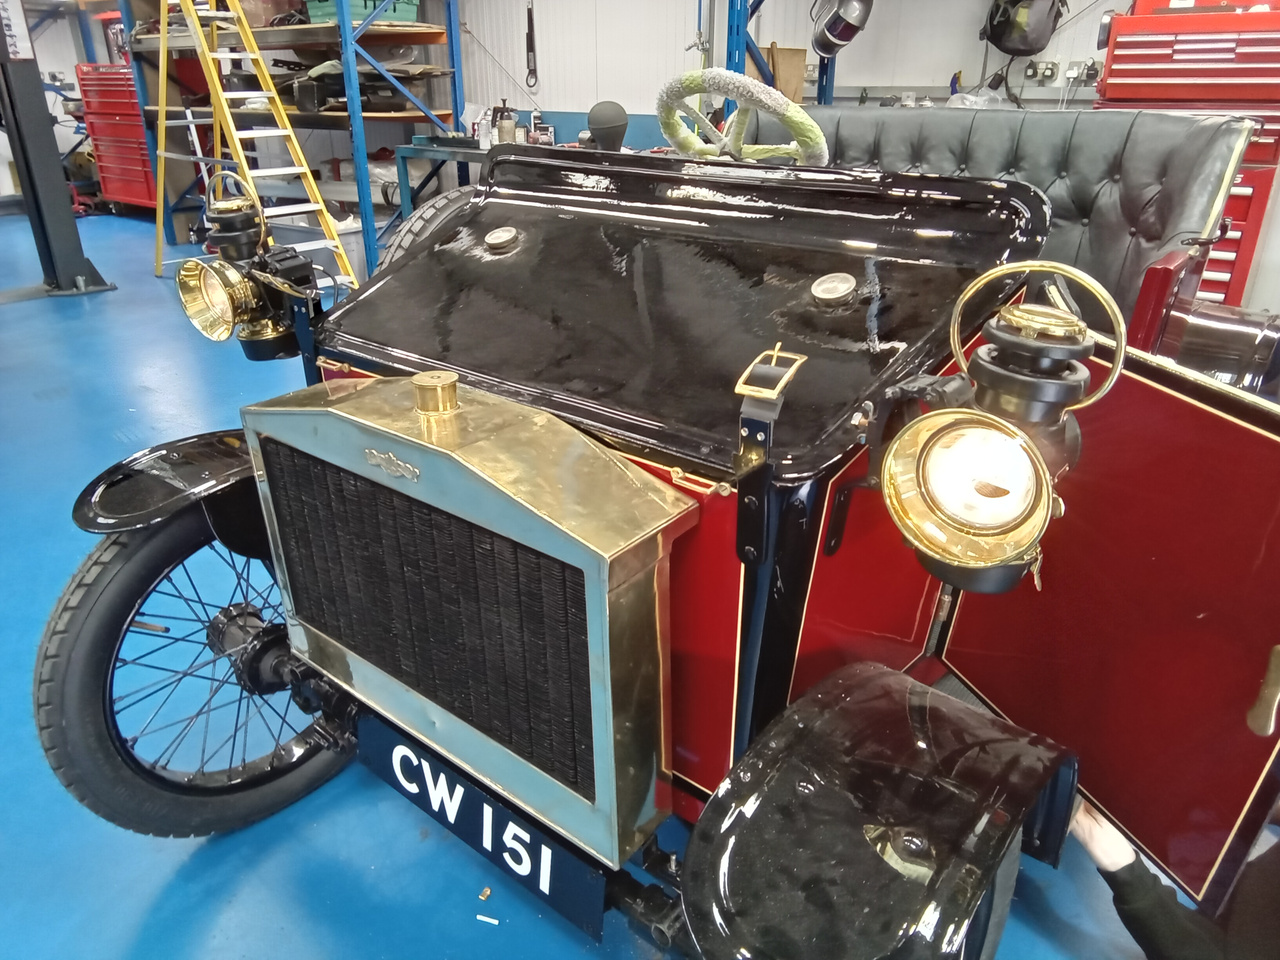
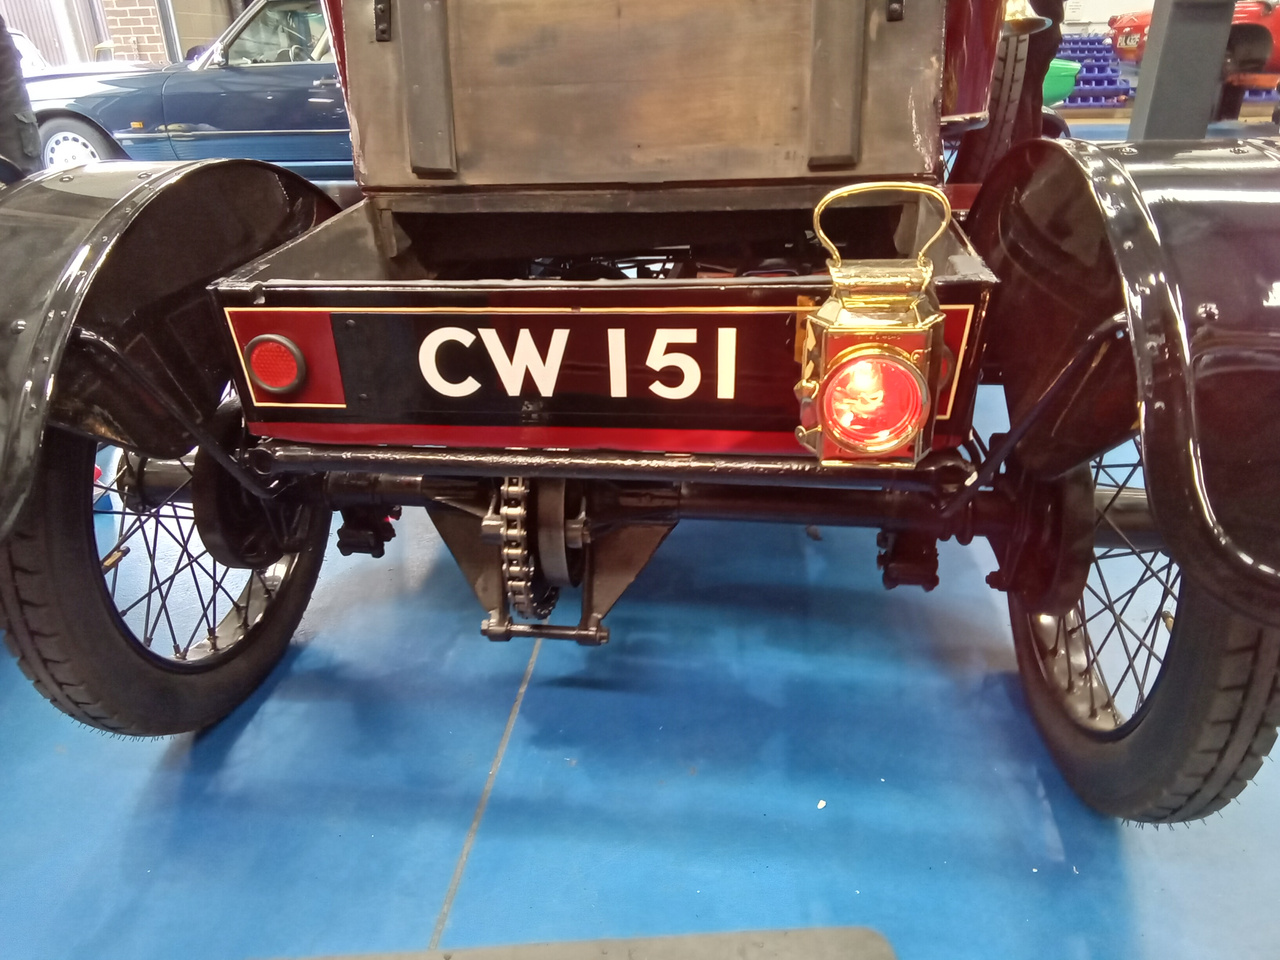
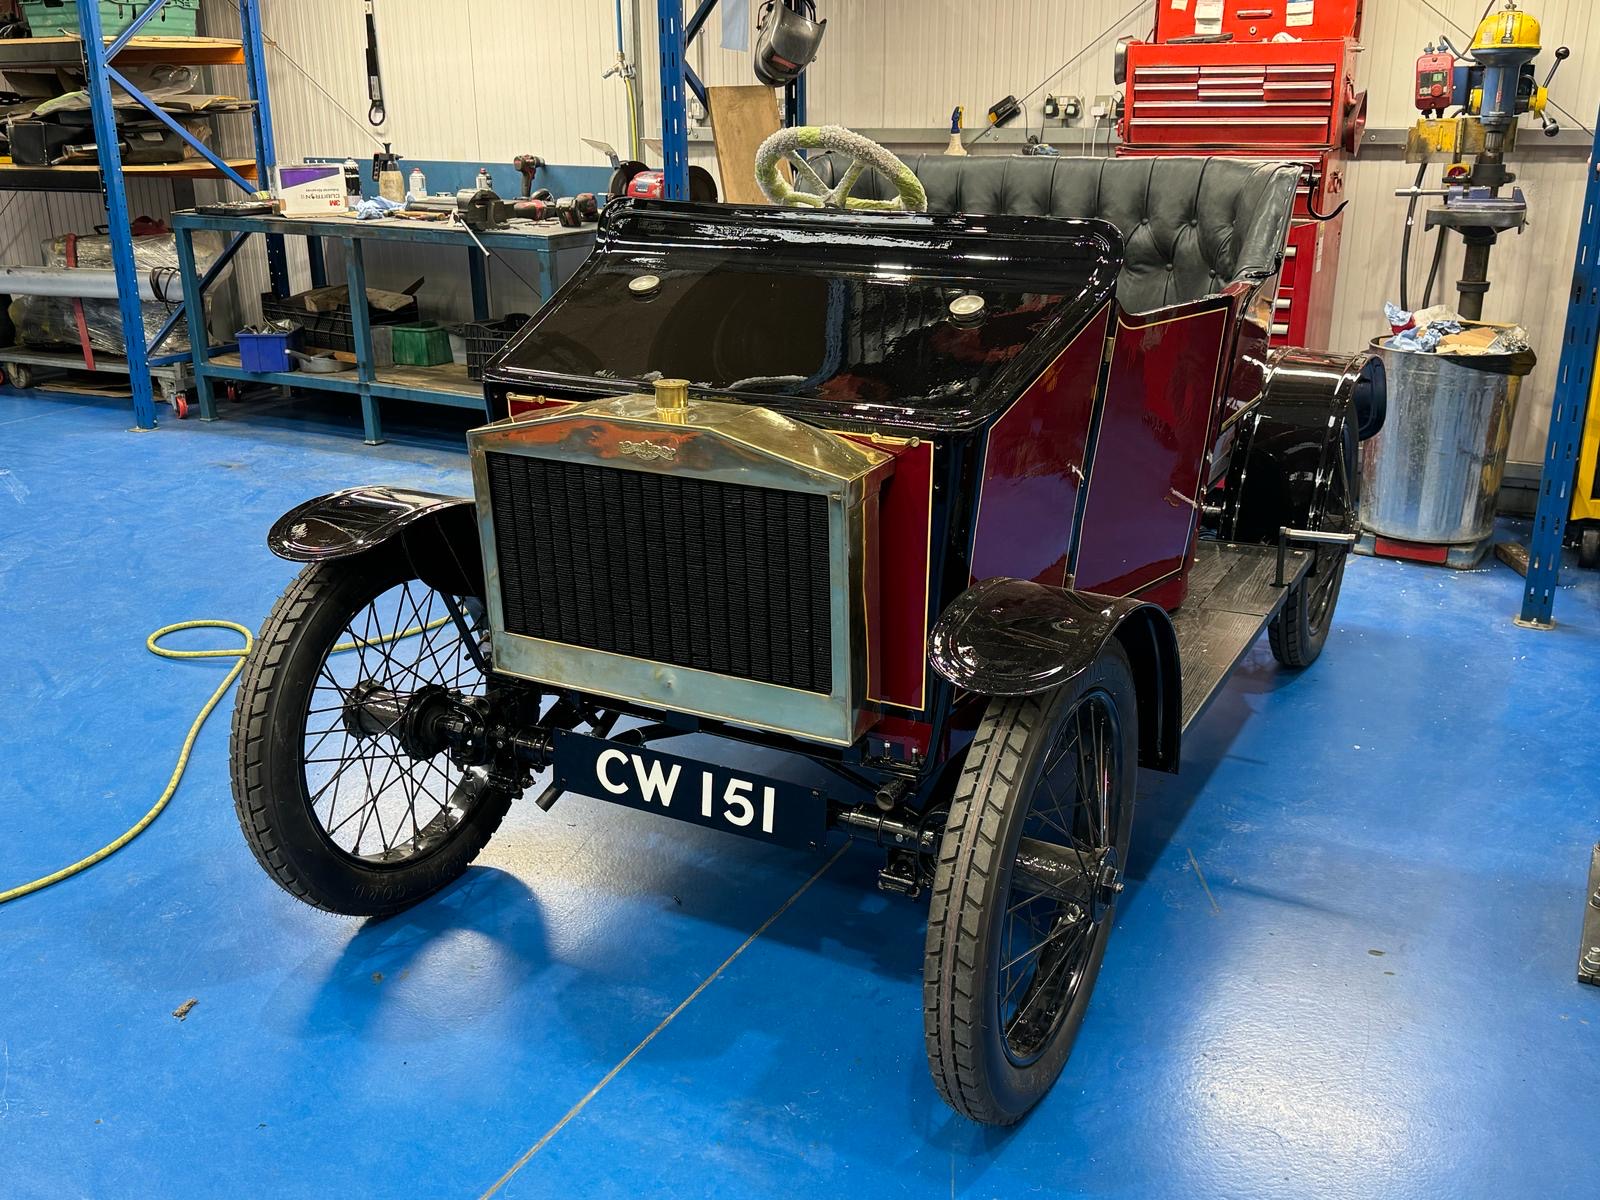
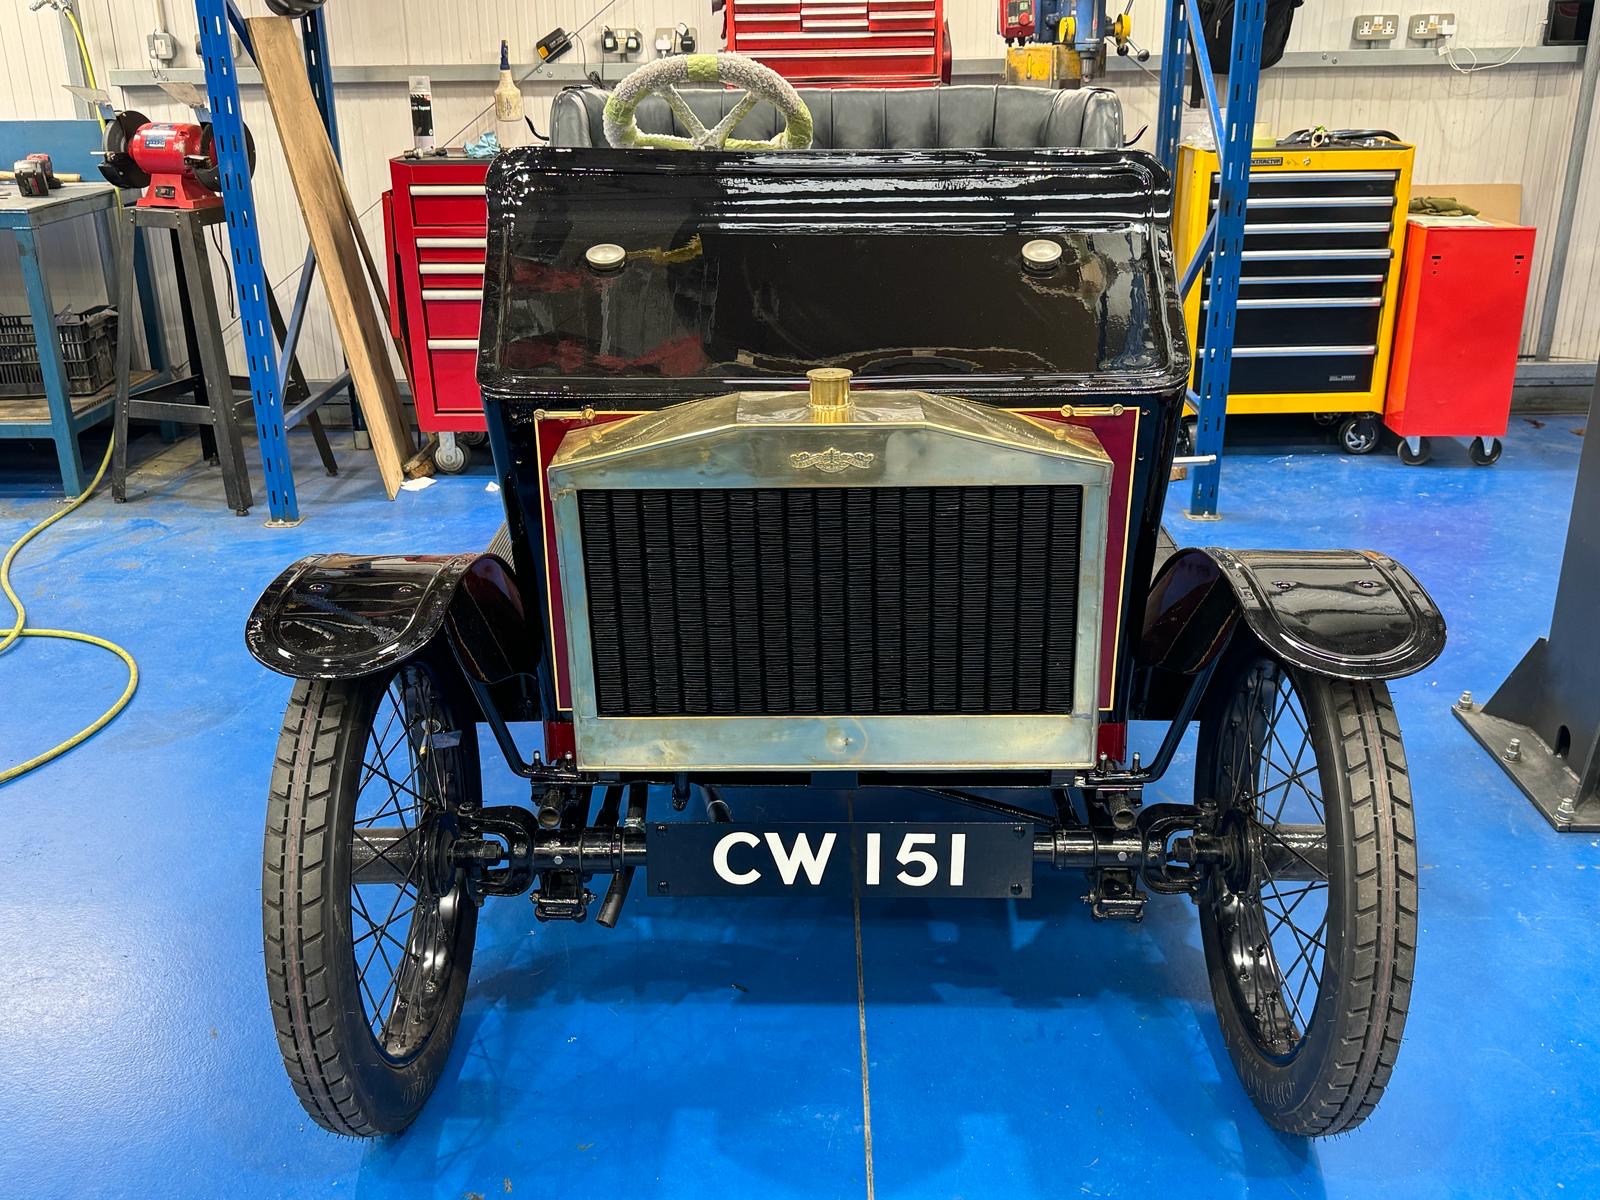
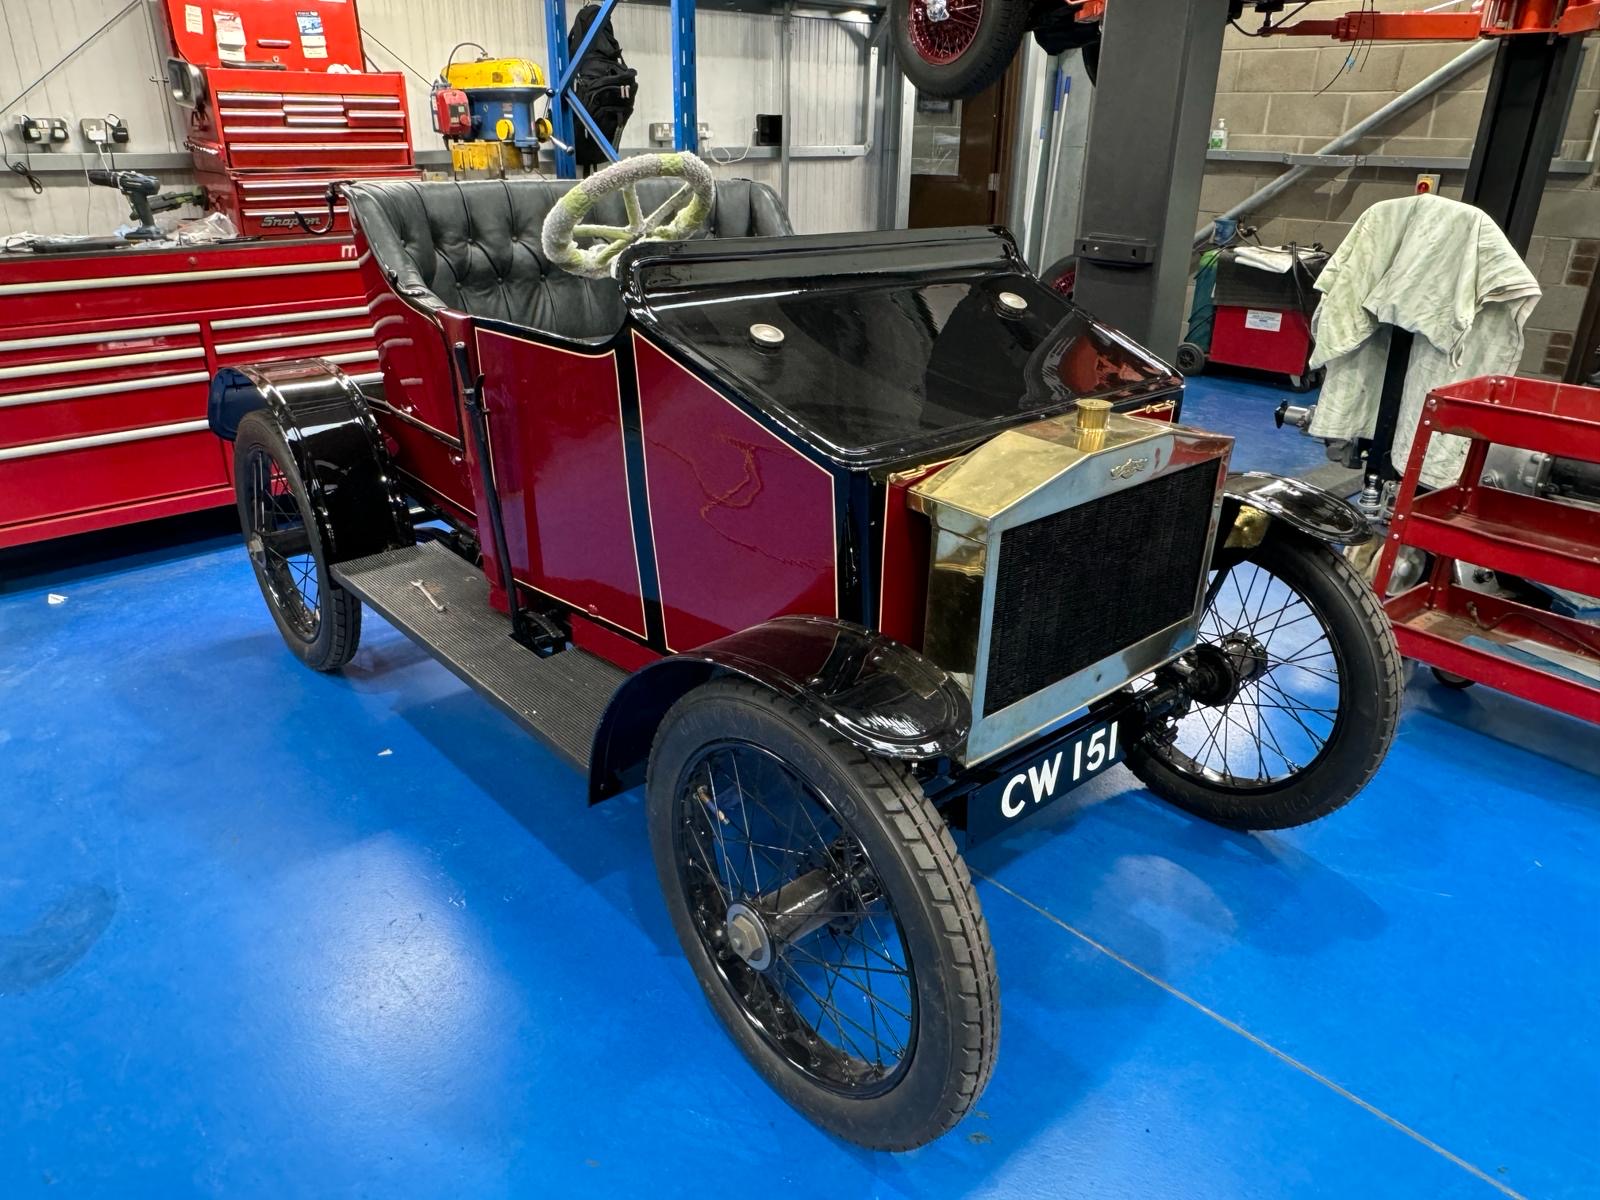
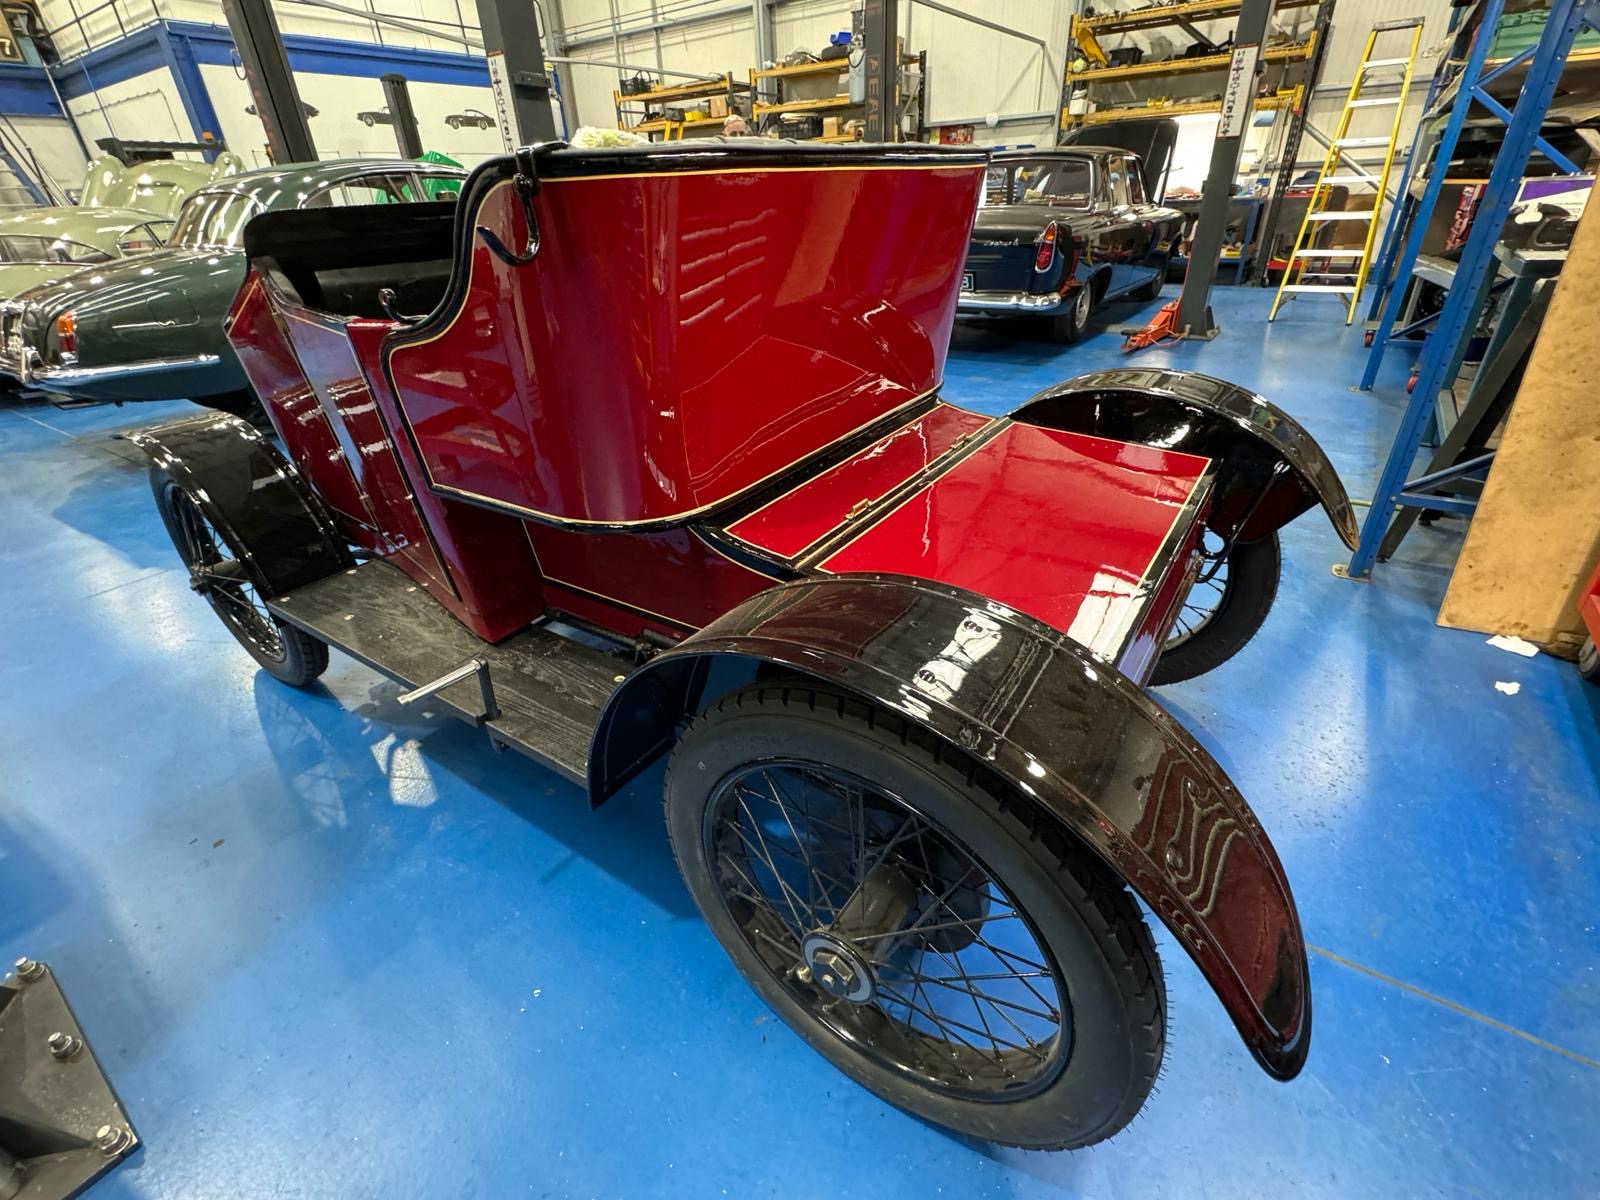
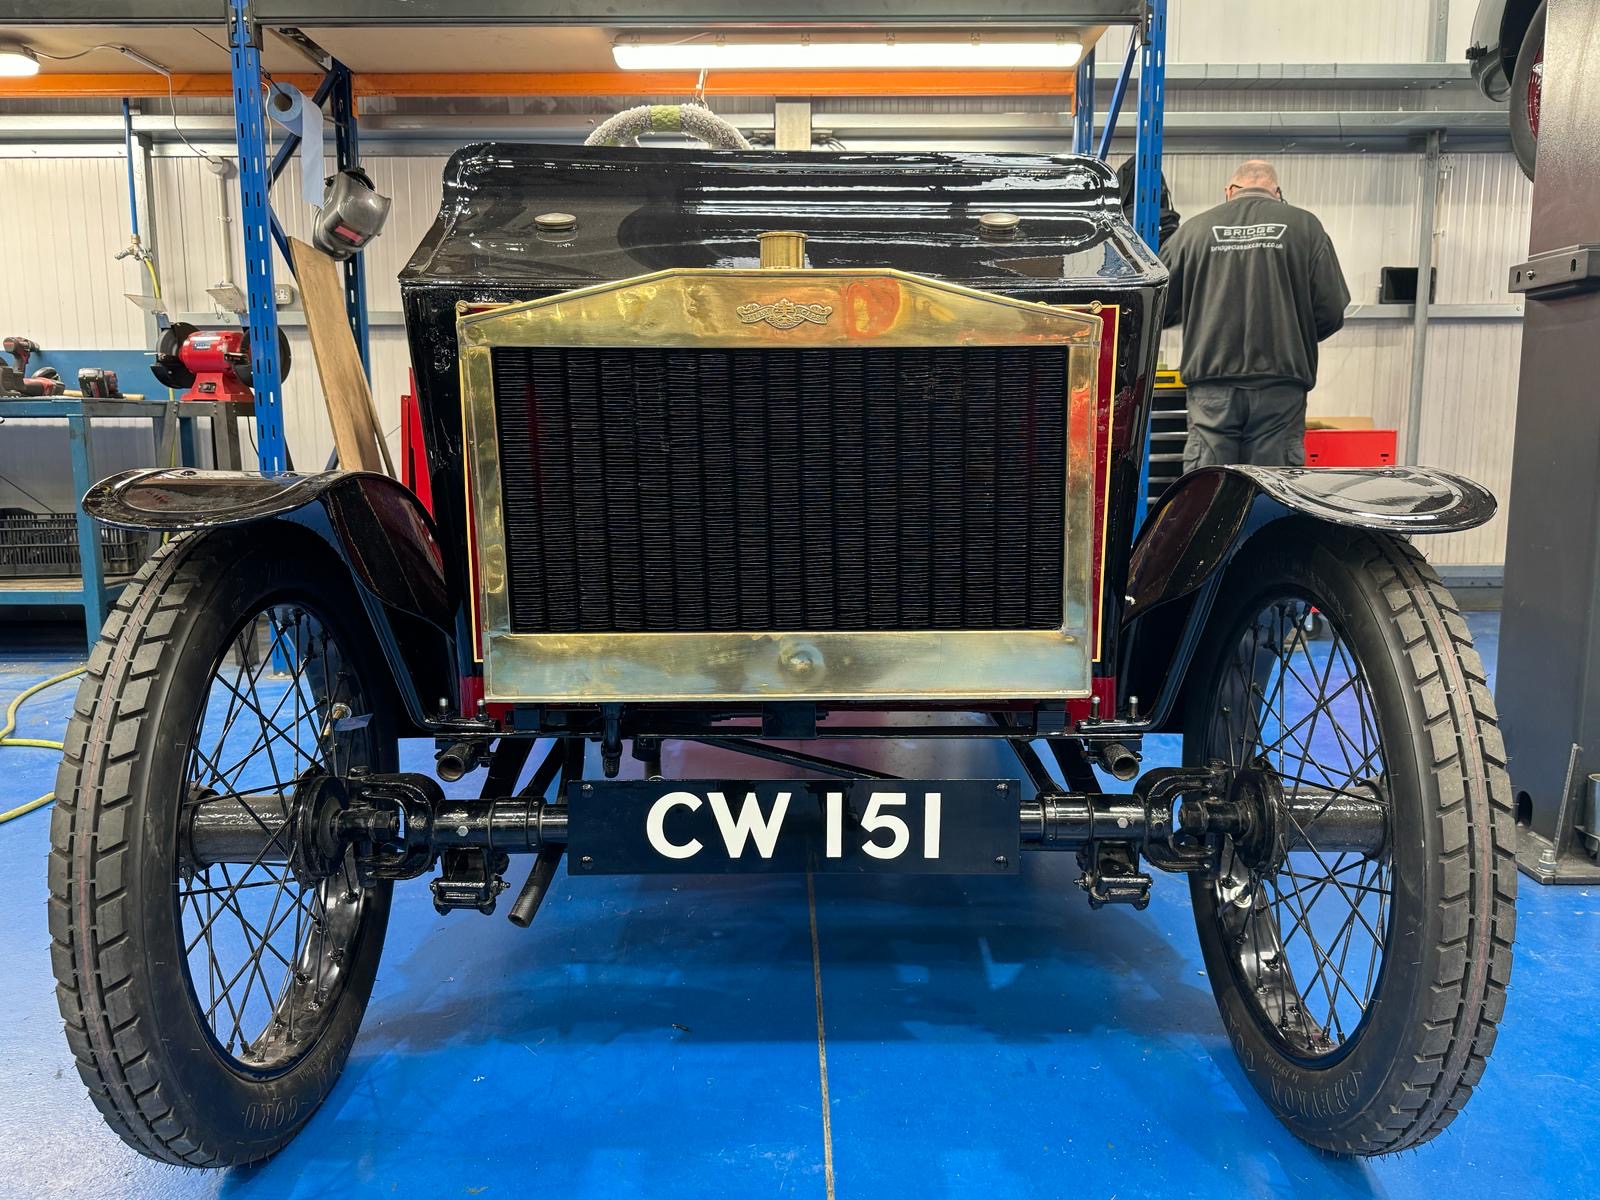
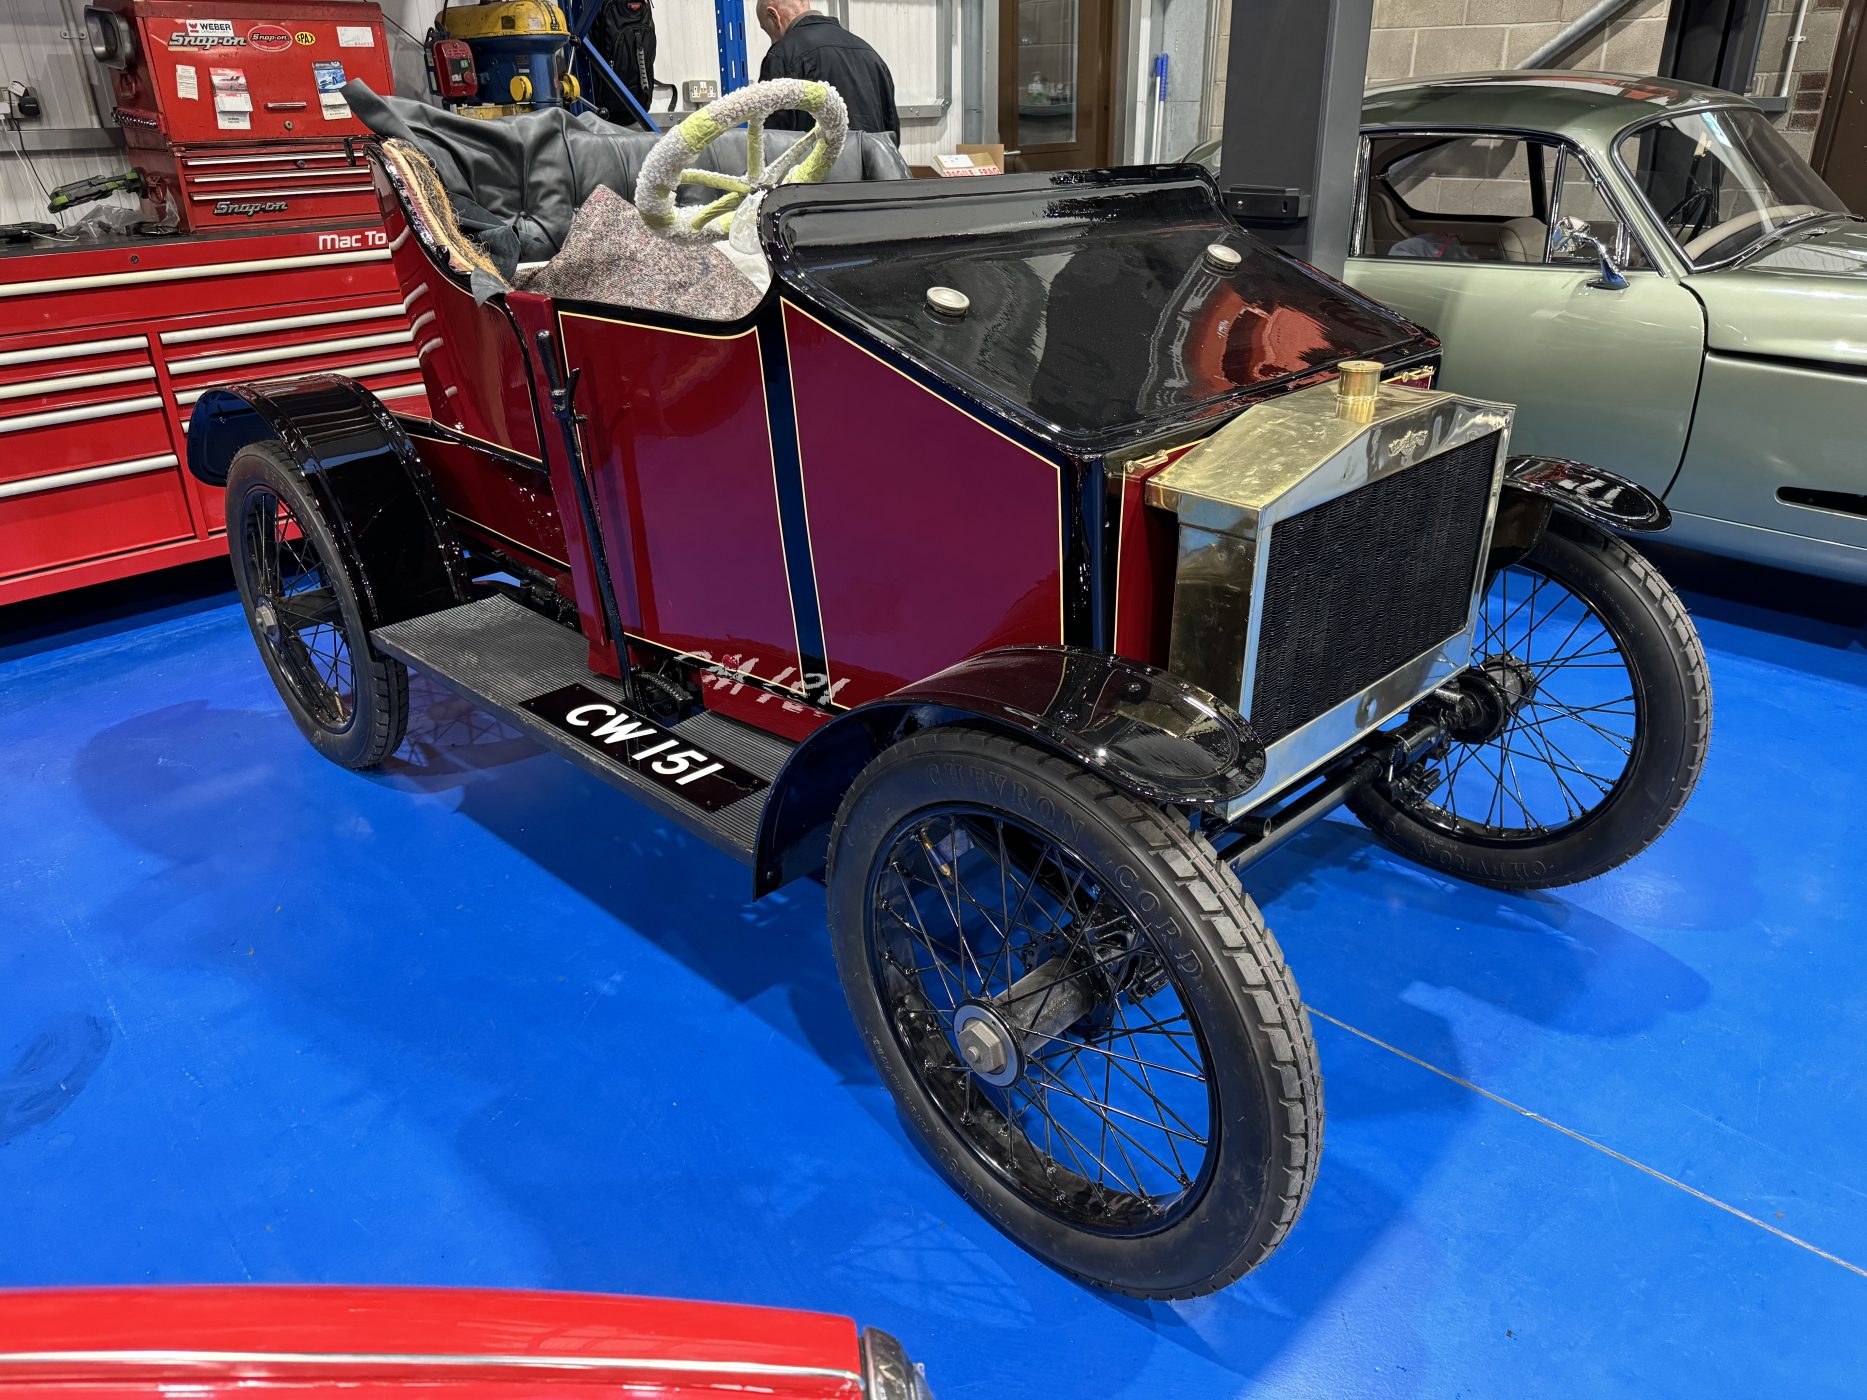
After several years of research and restoration, our 1905 Riley 9HP is ready to be revealed to the world!
As a 1 of 1 prototype for the first car to have fully removable wheels, this is the first time anyone outside of the workshop has seen the car in decades.
The unveiling of the fully restored unique vehicle takes place at the Practical Classics Classic Car & Restoration Show 2024 at the NEC in Birmingham.
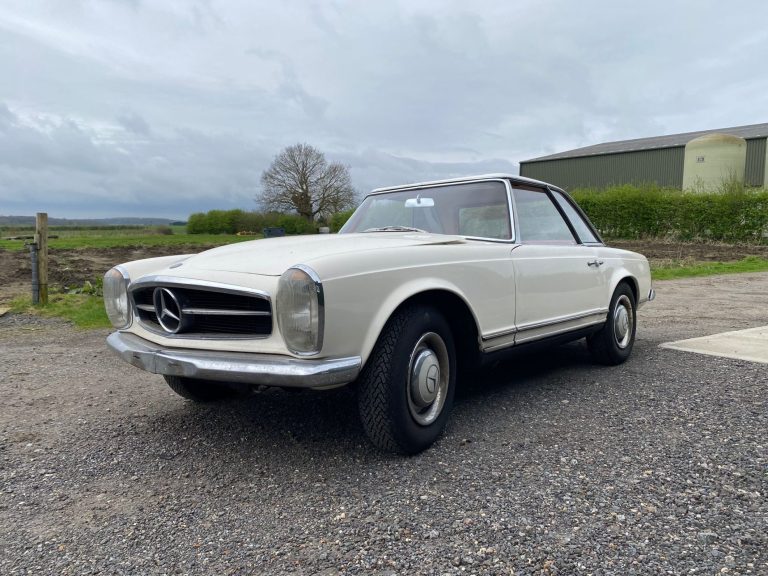
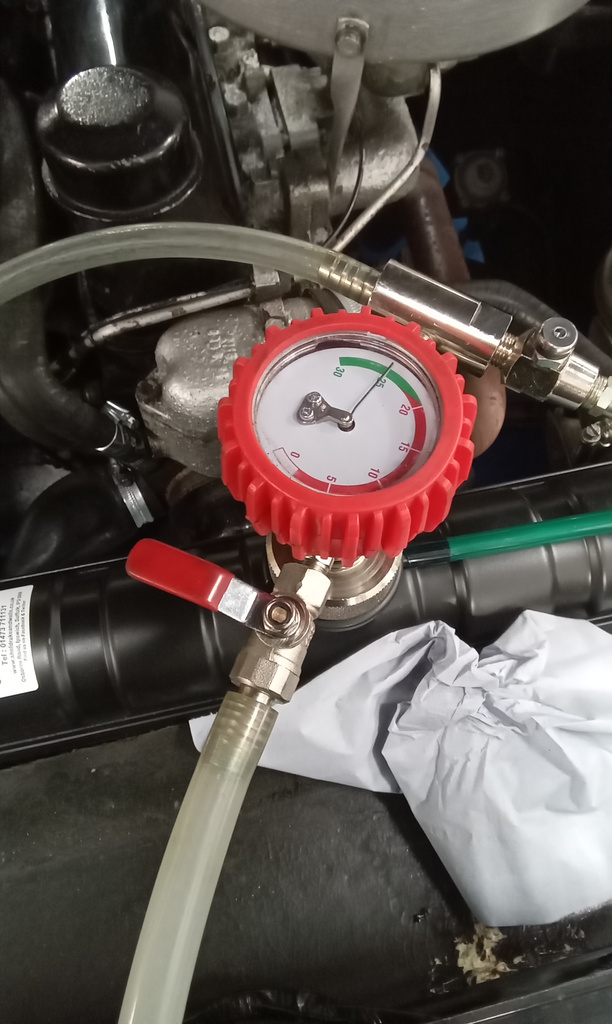
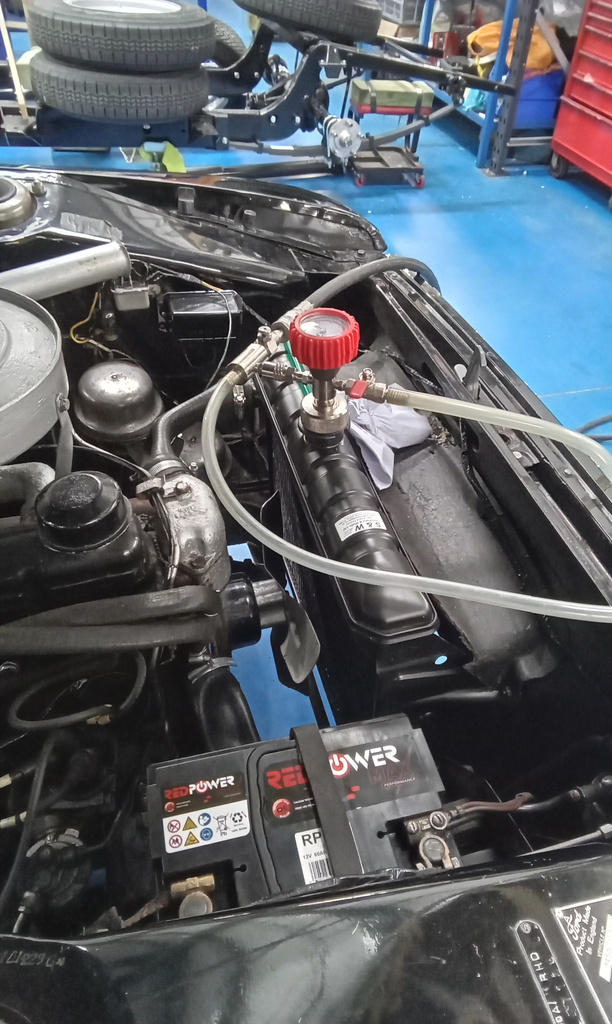
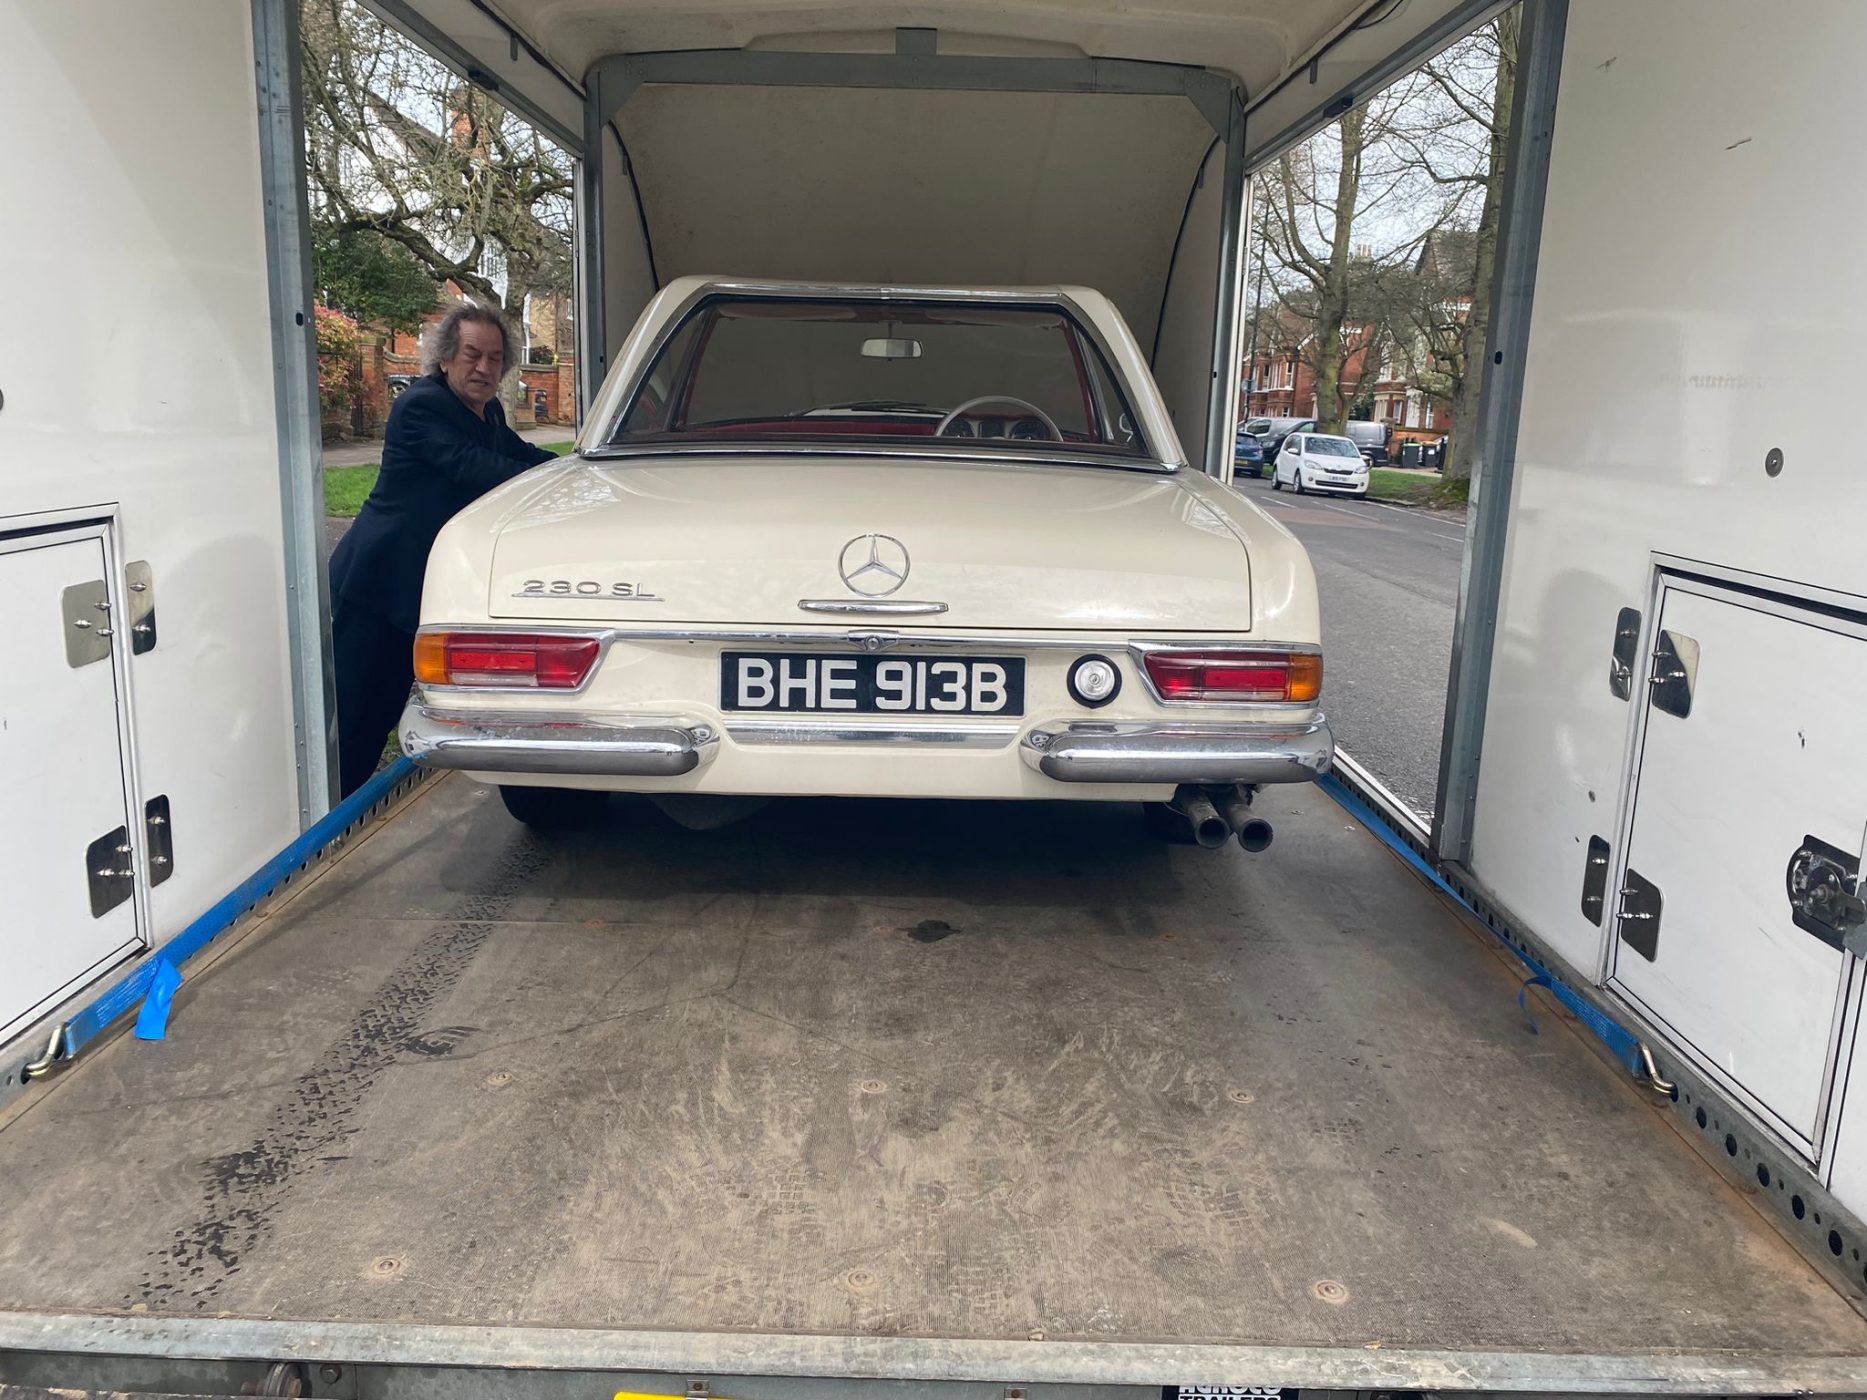
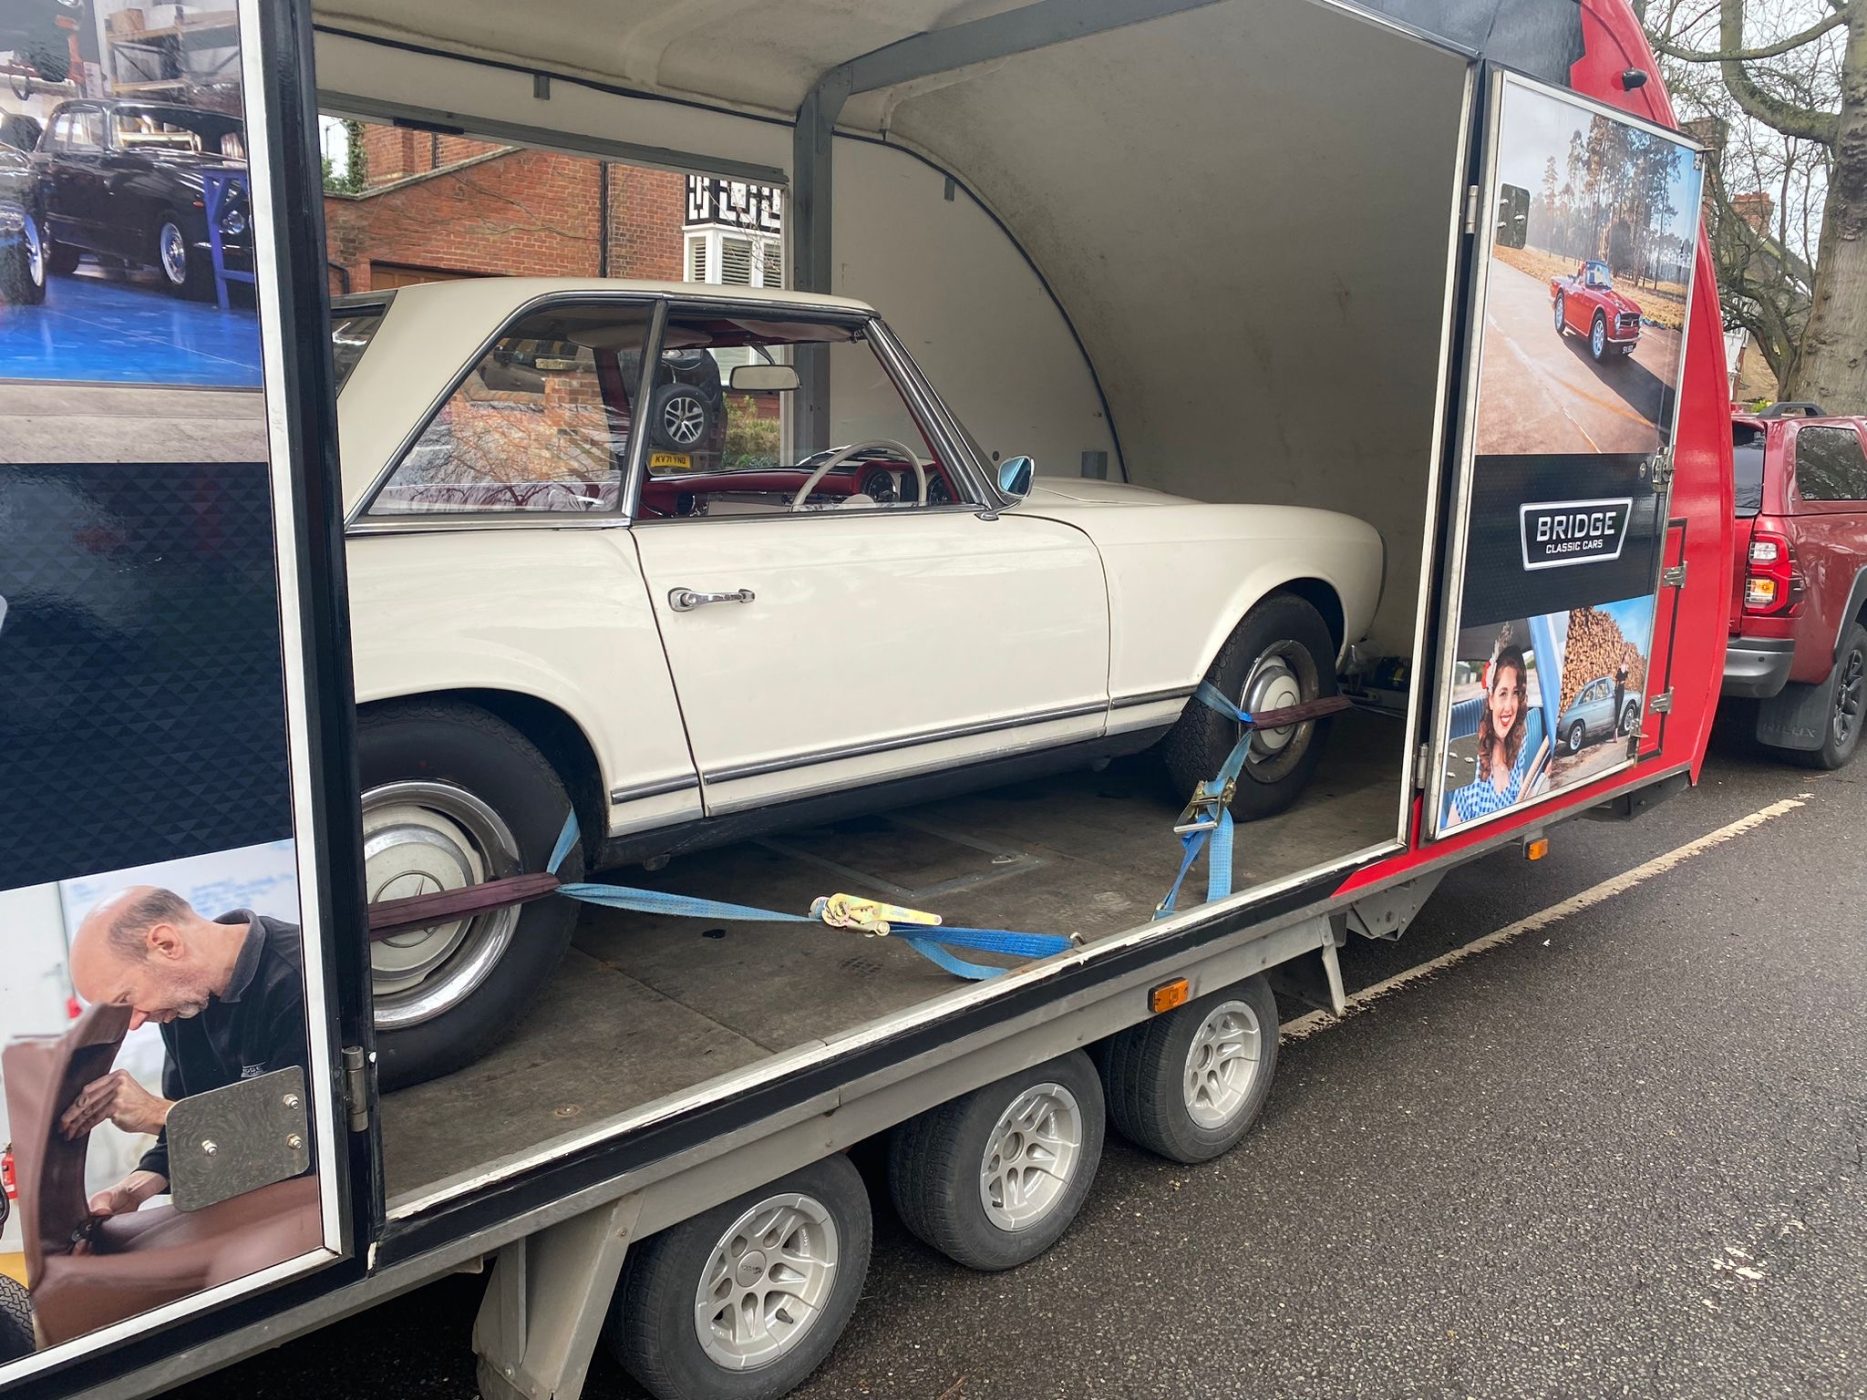
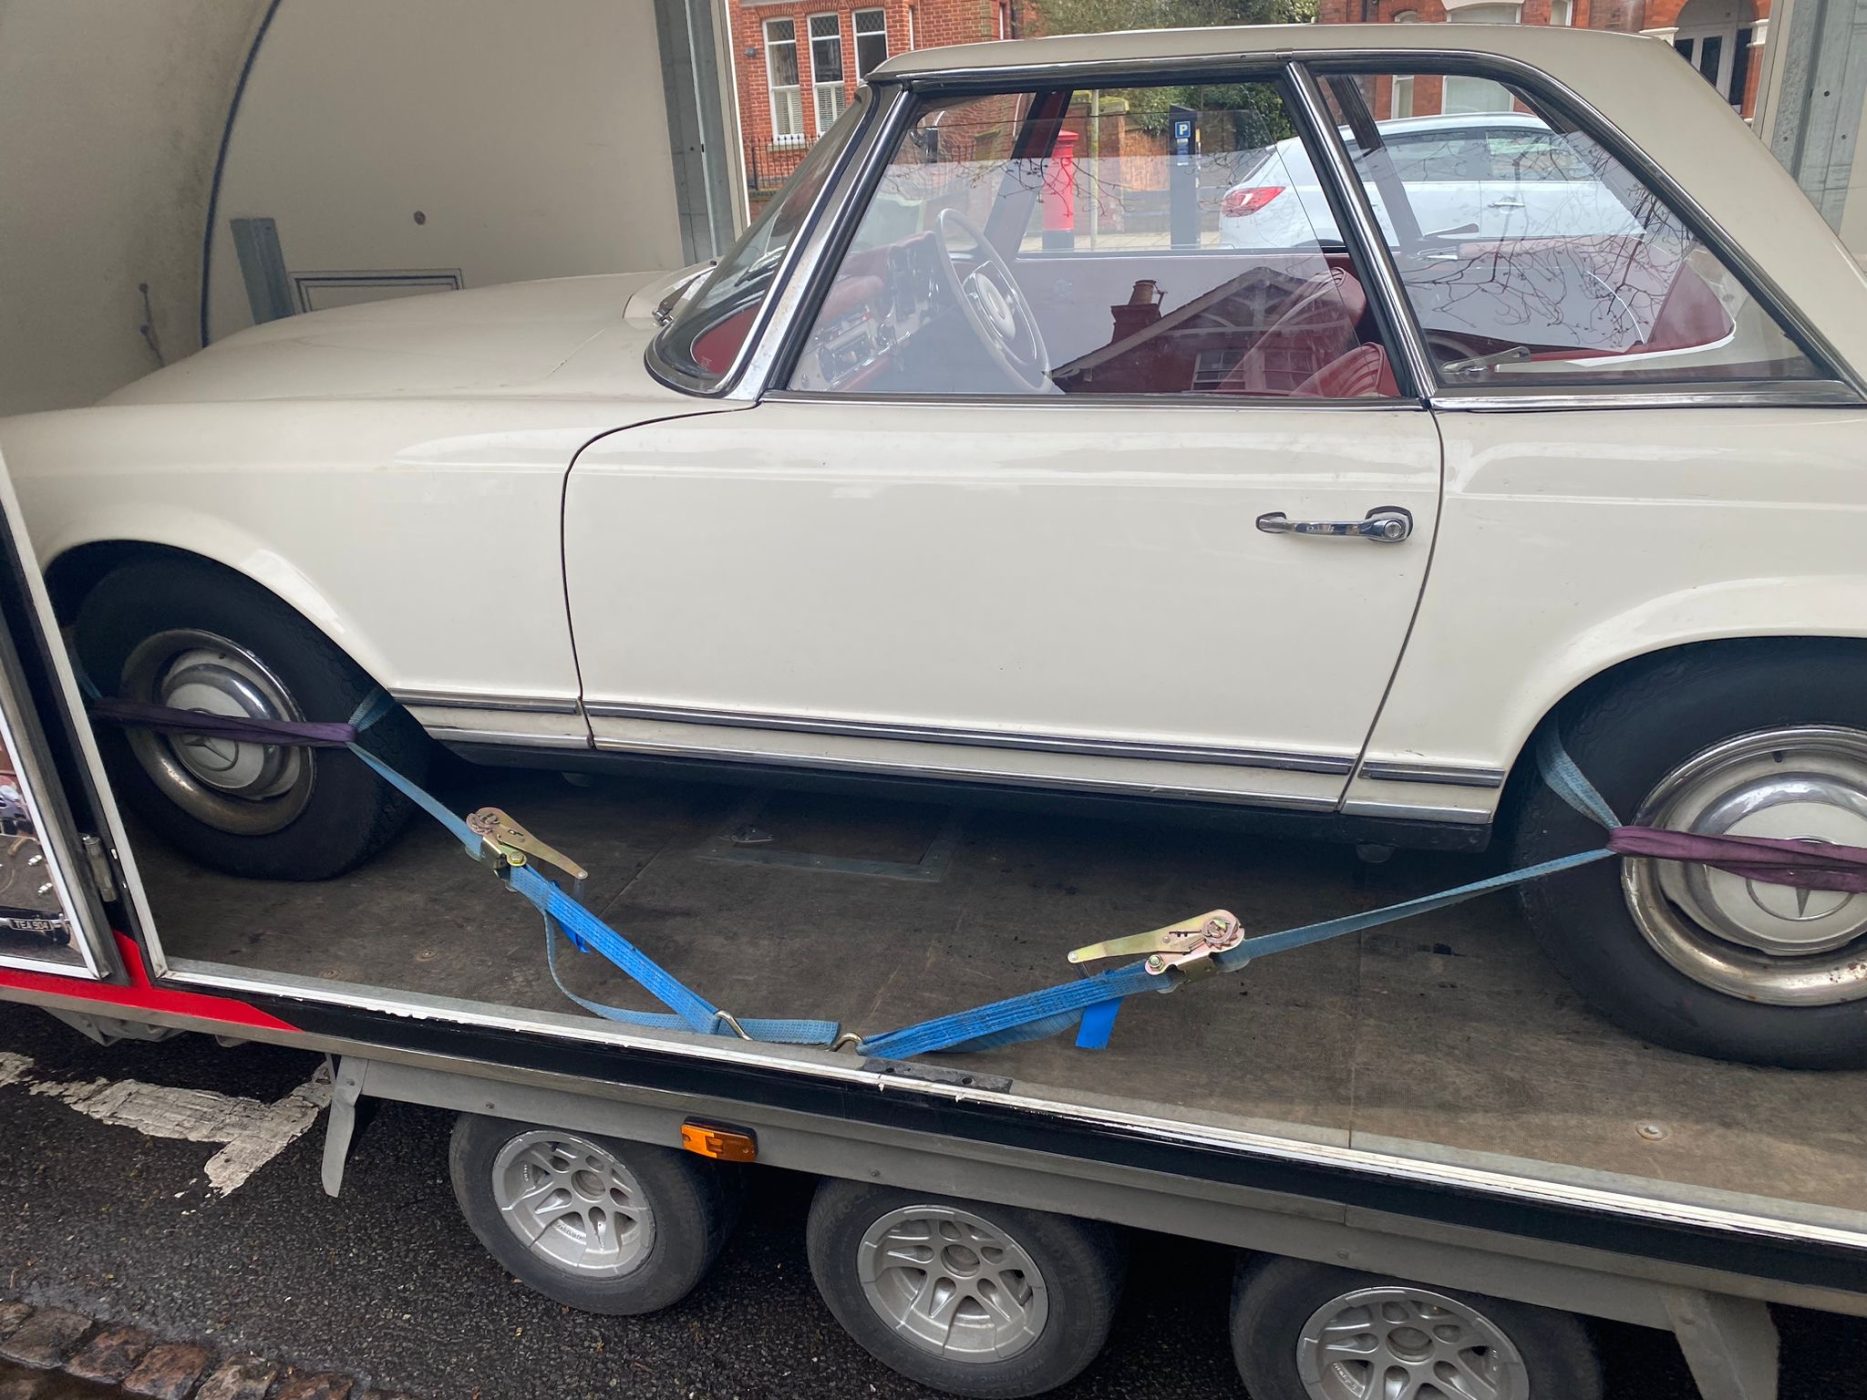
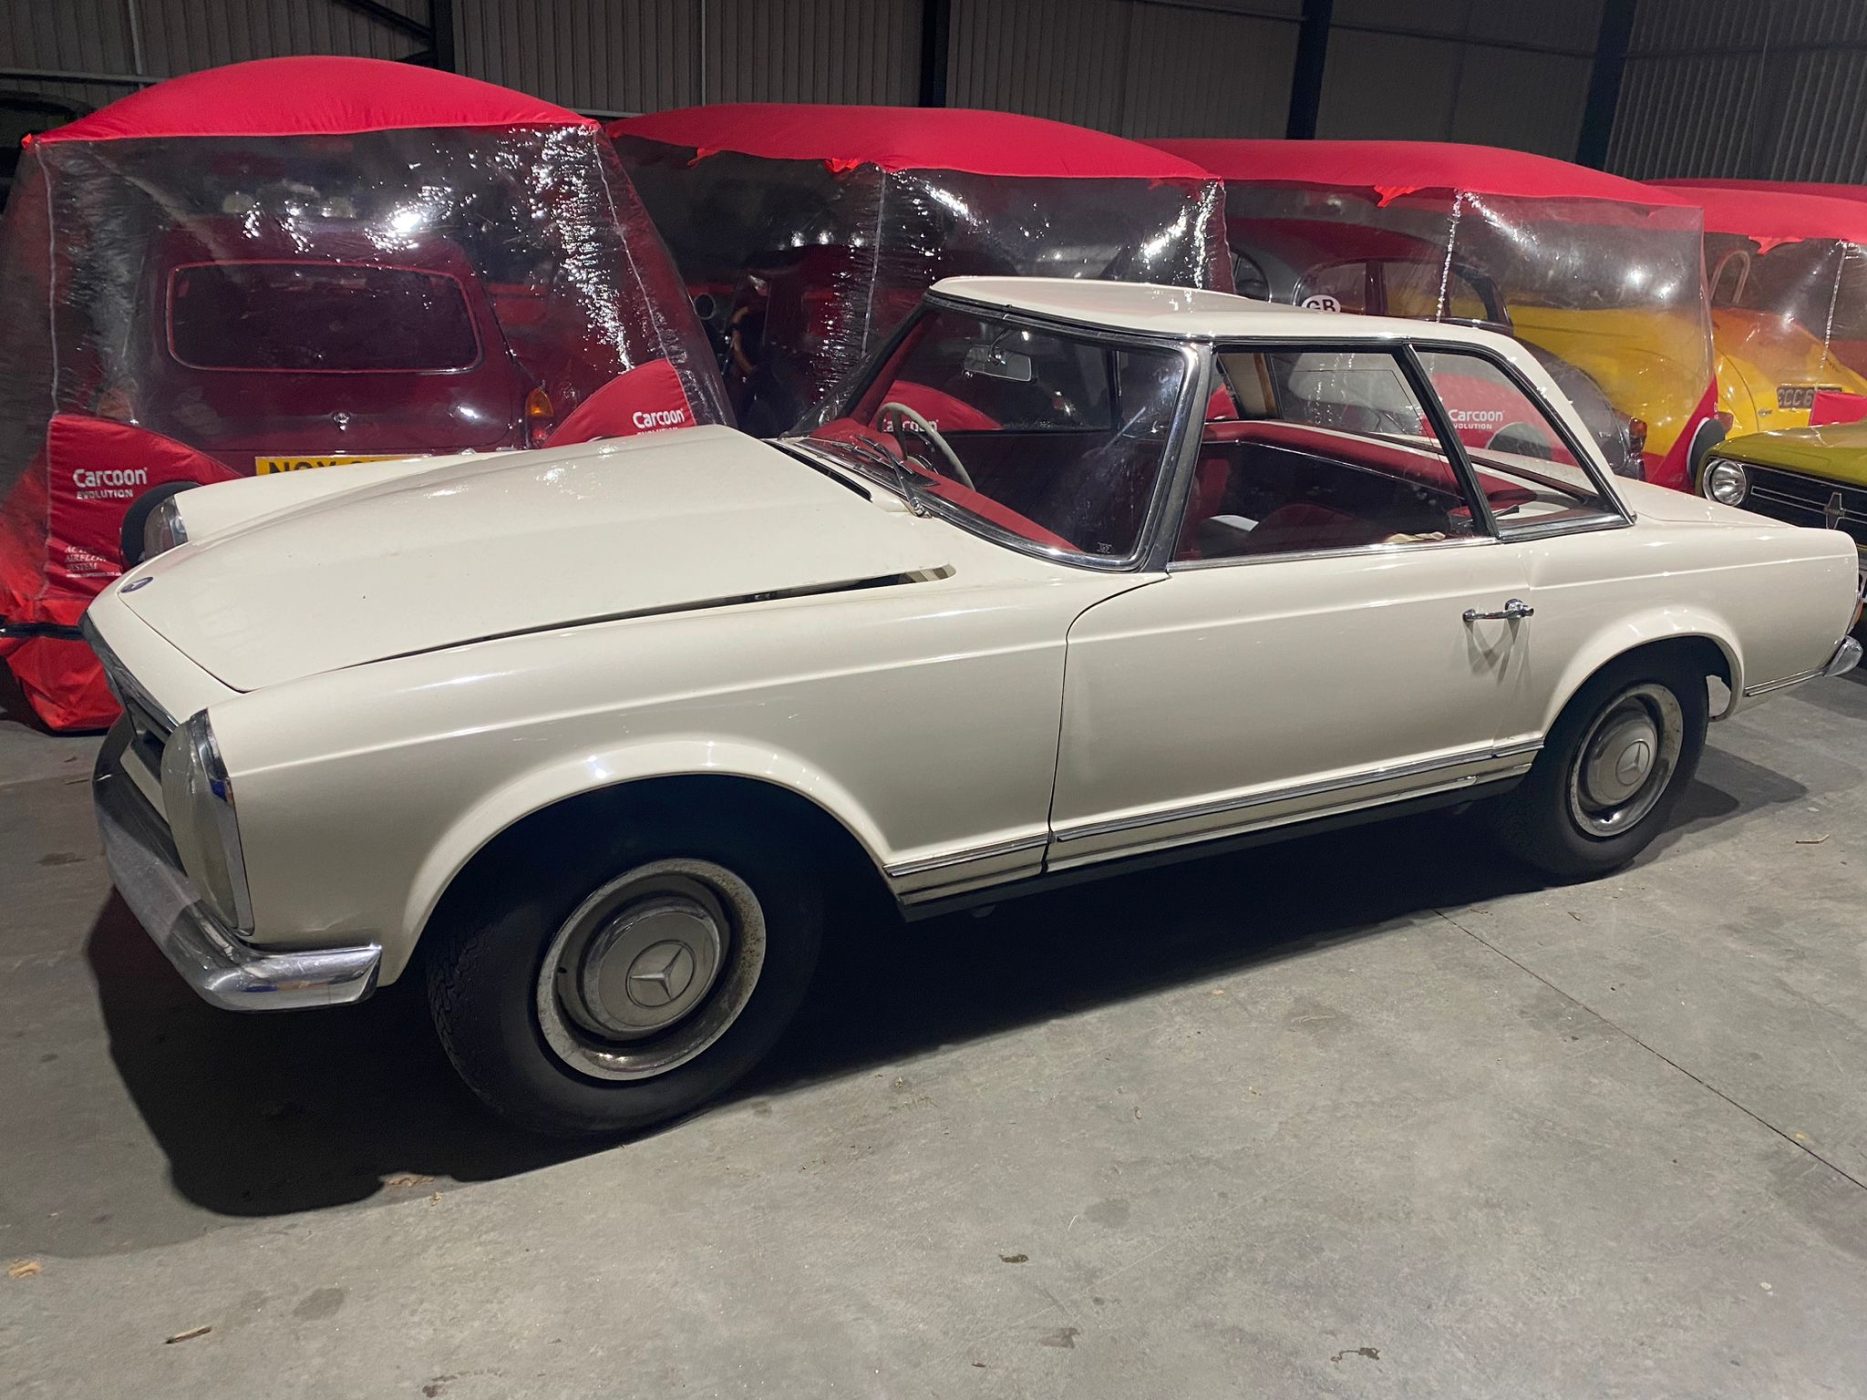
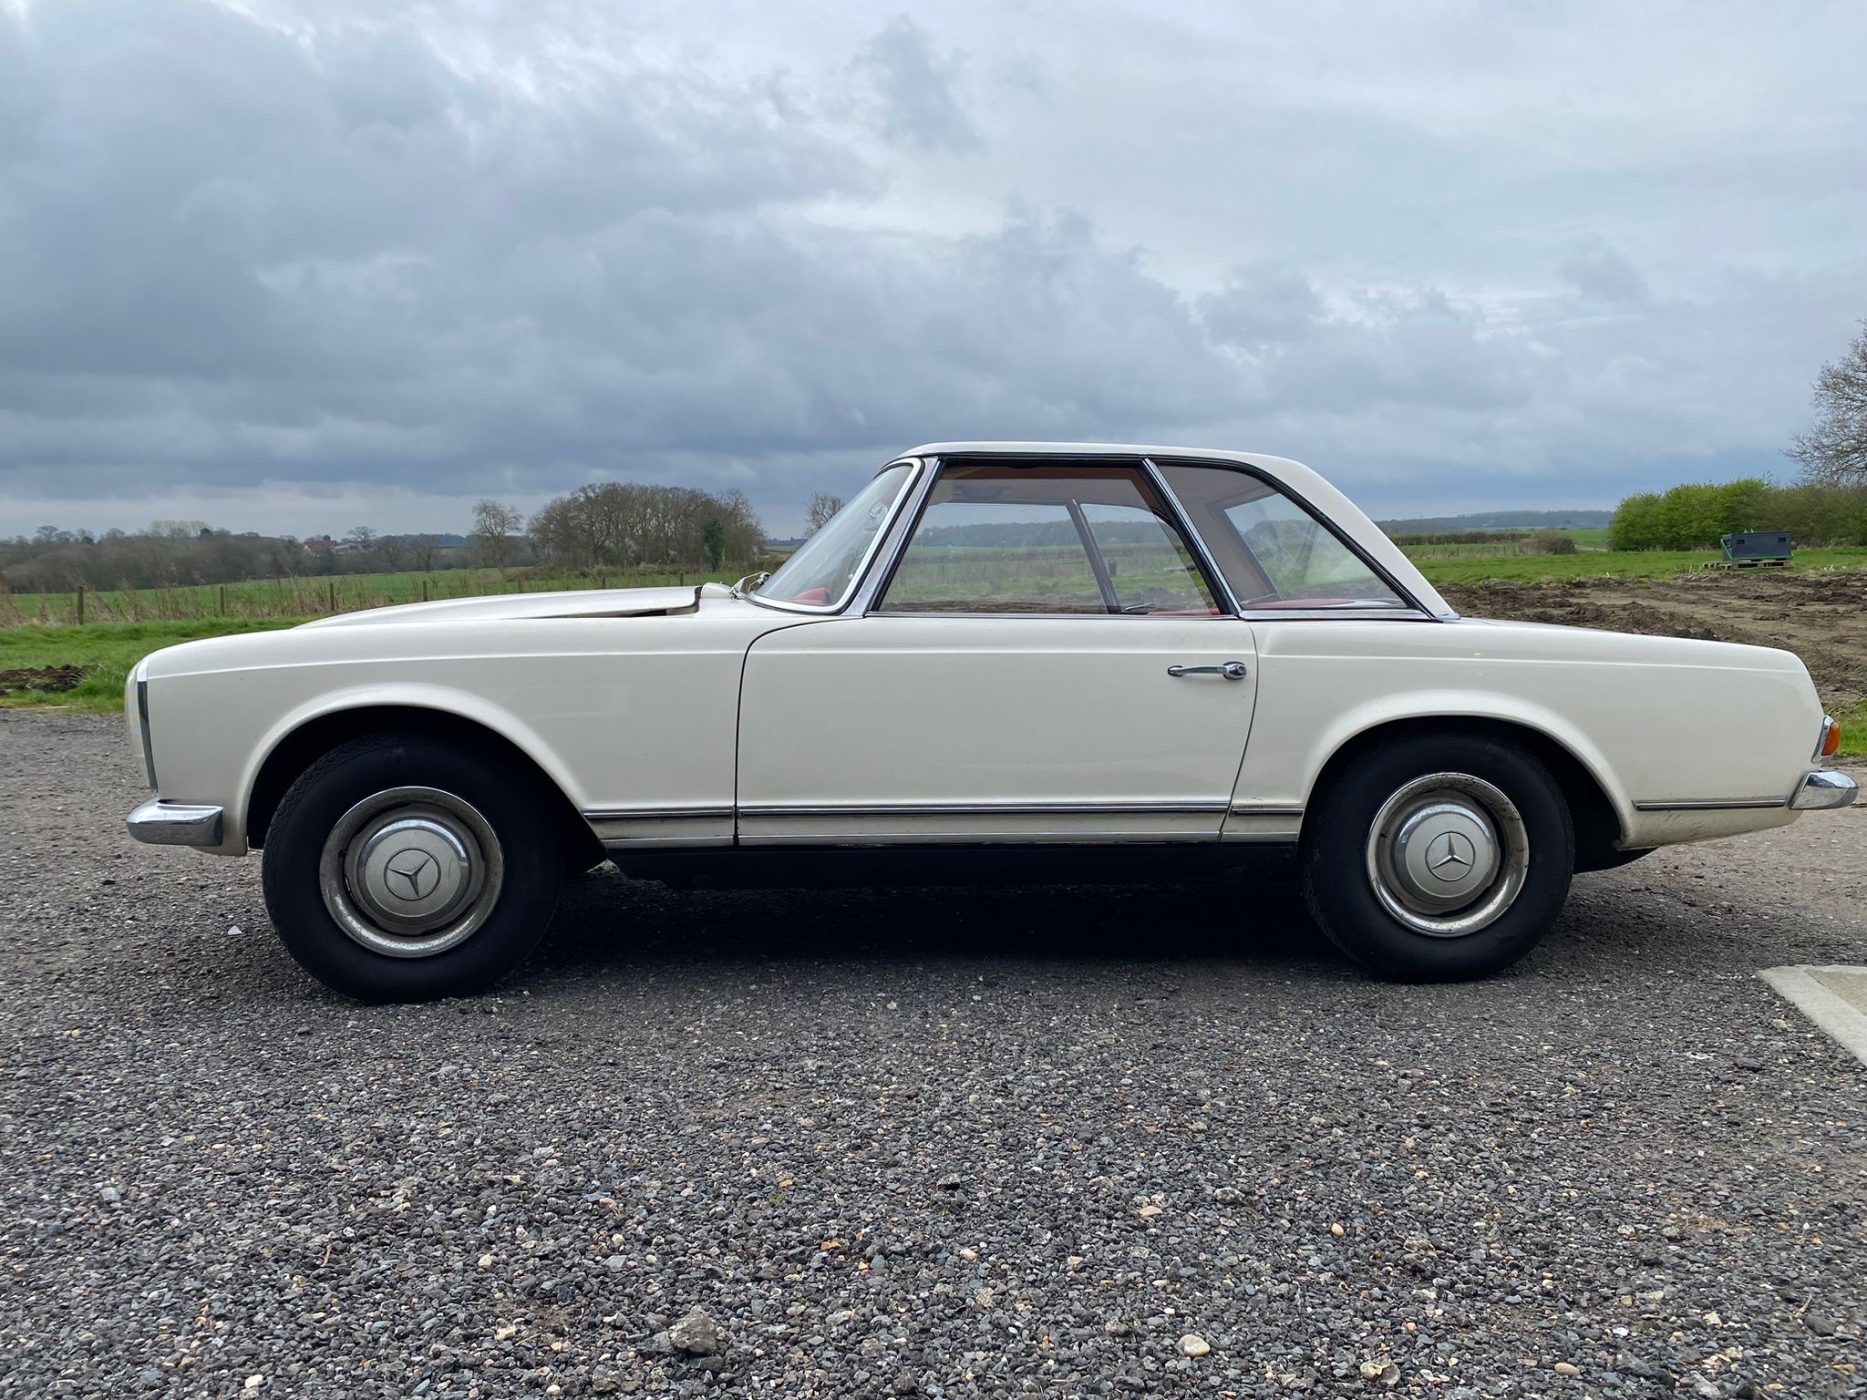
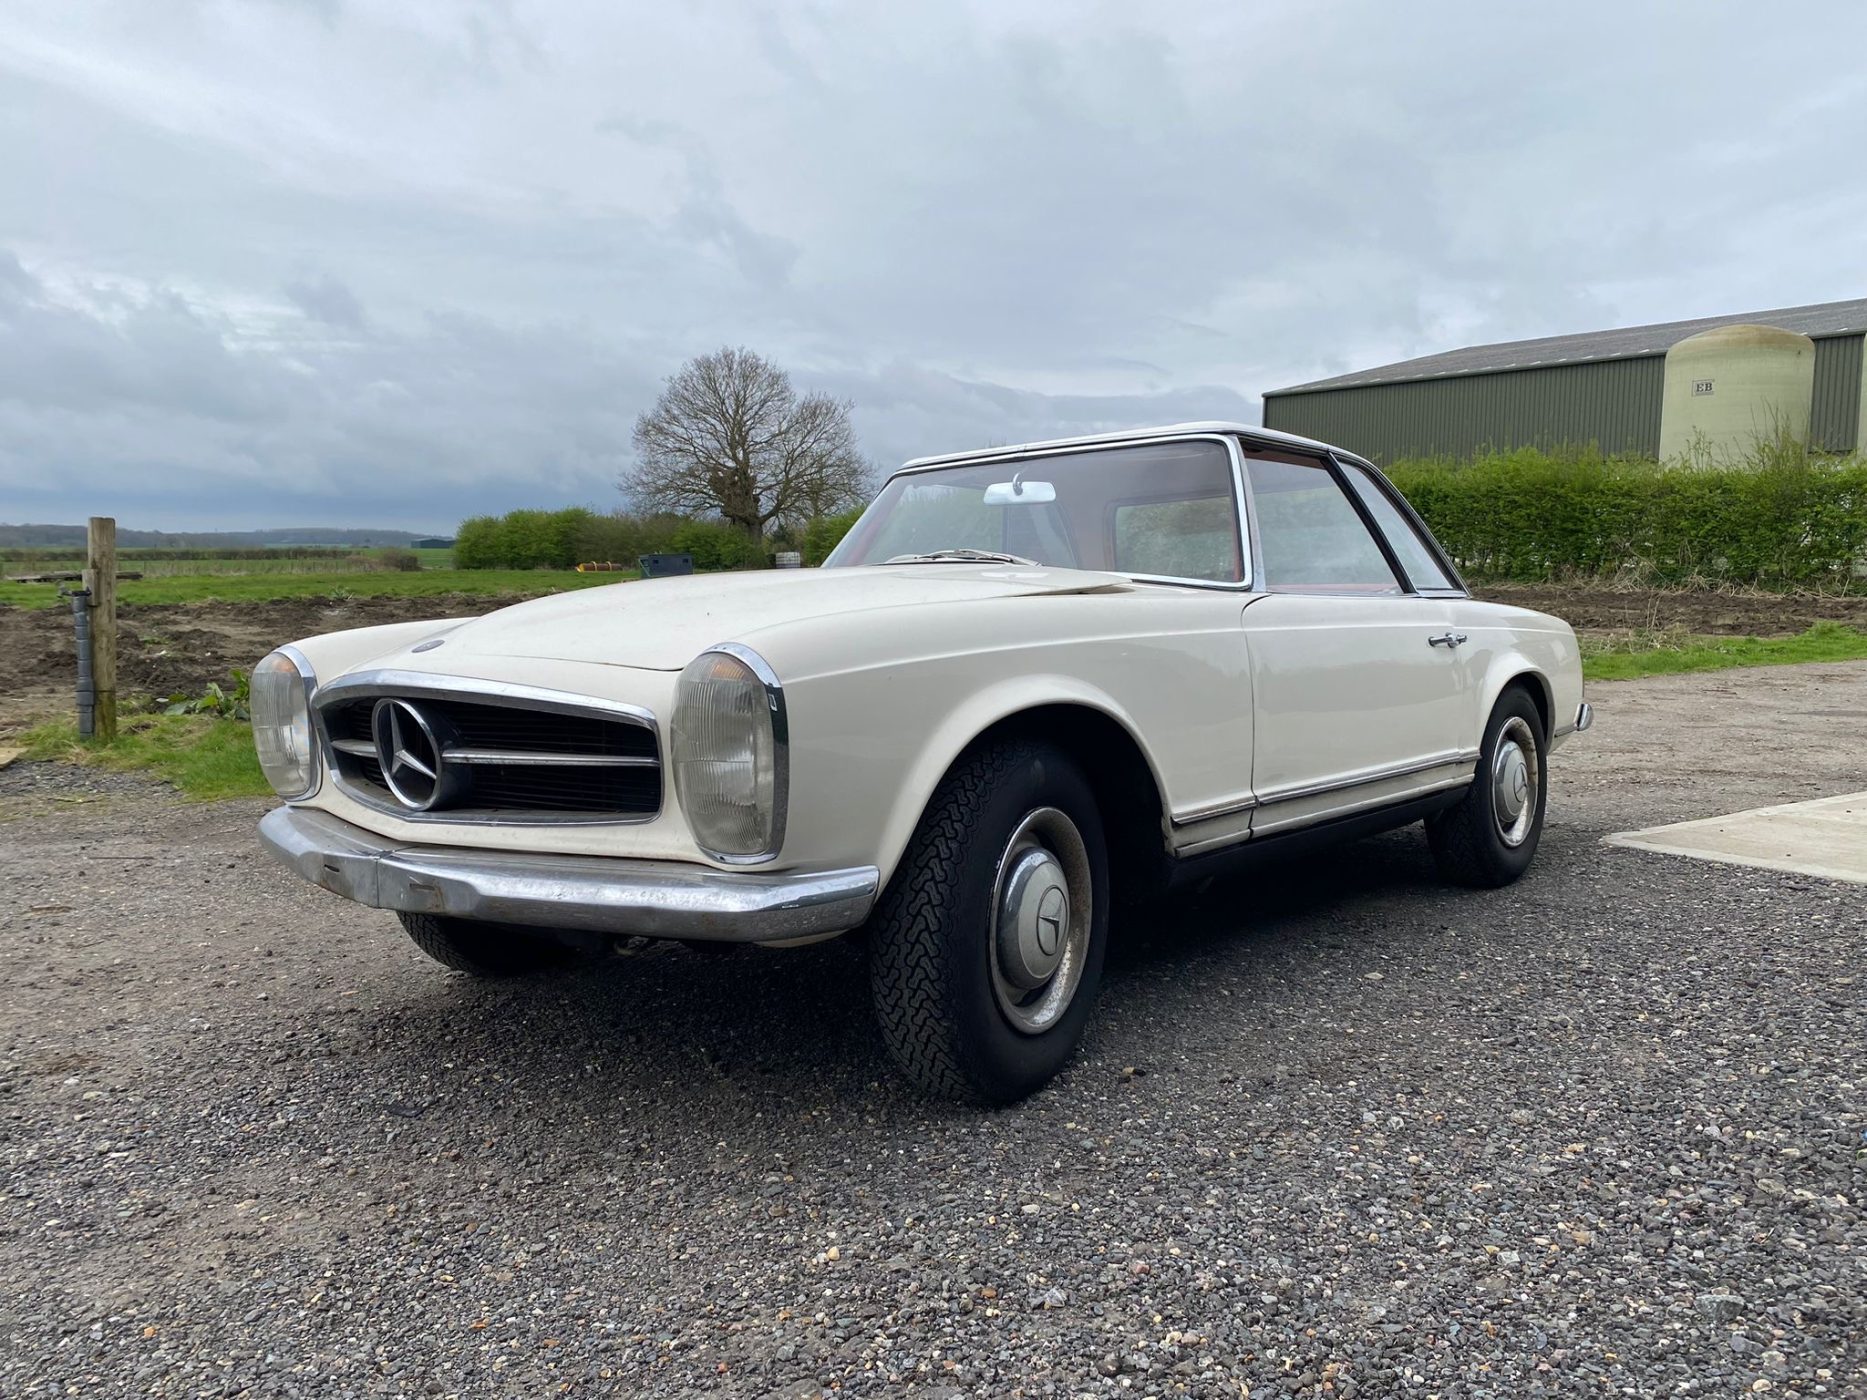
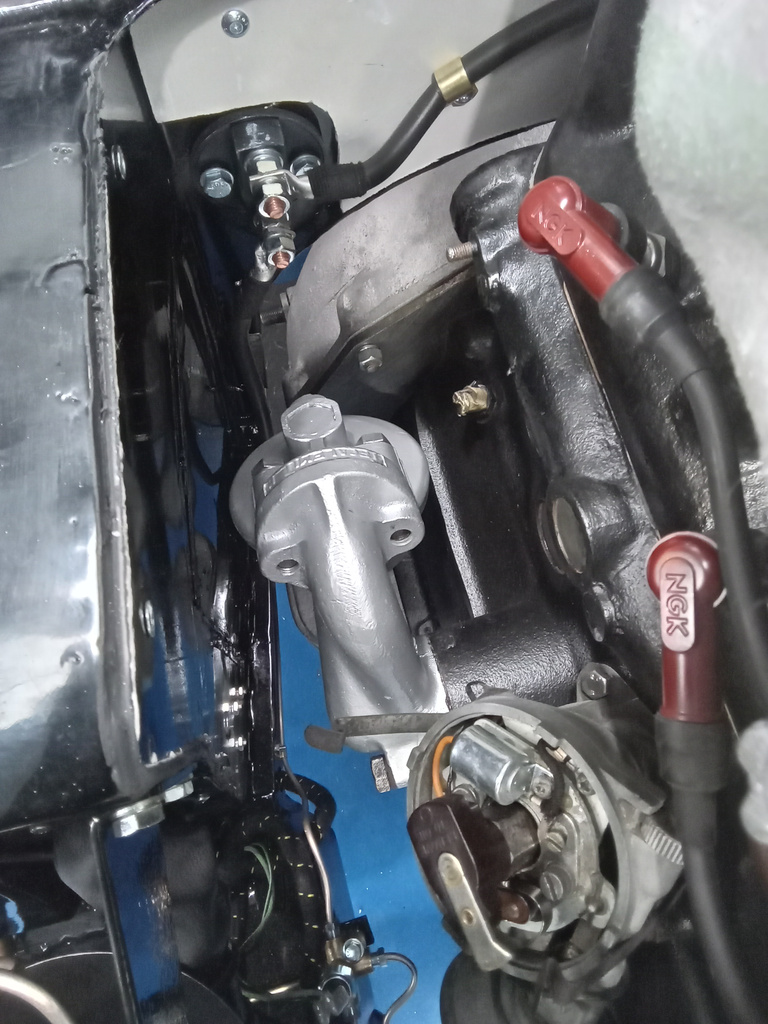
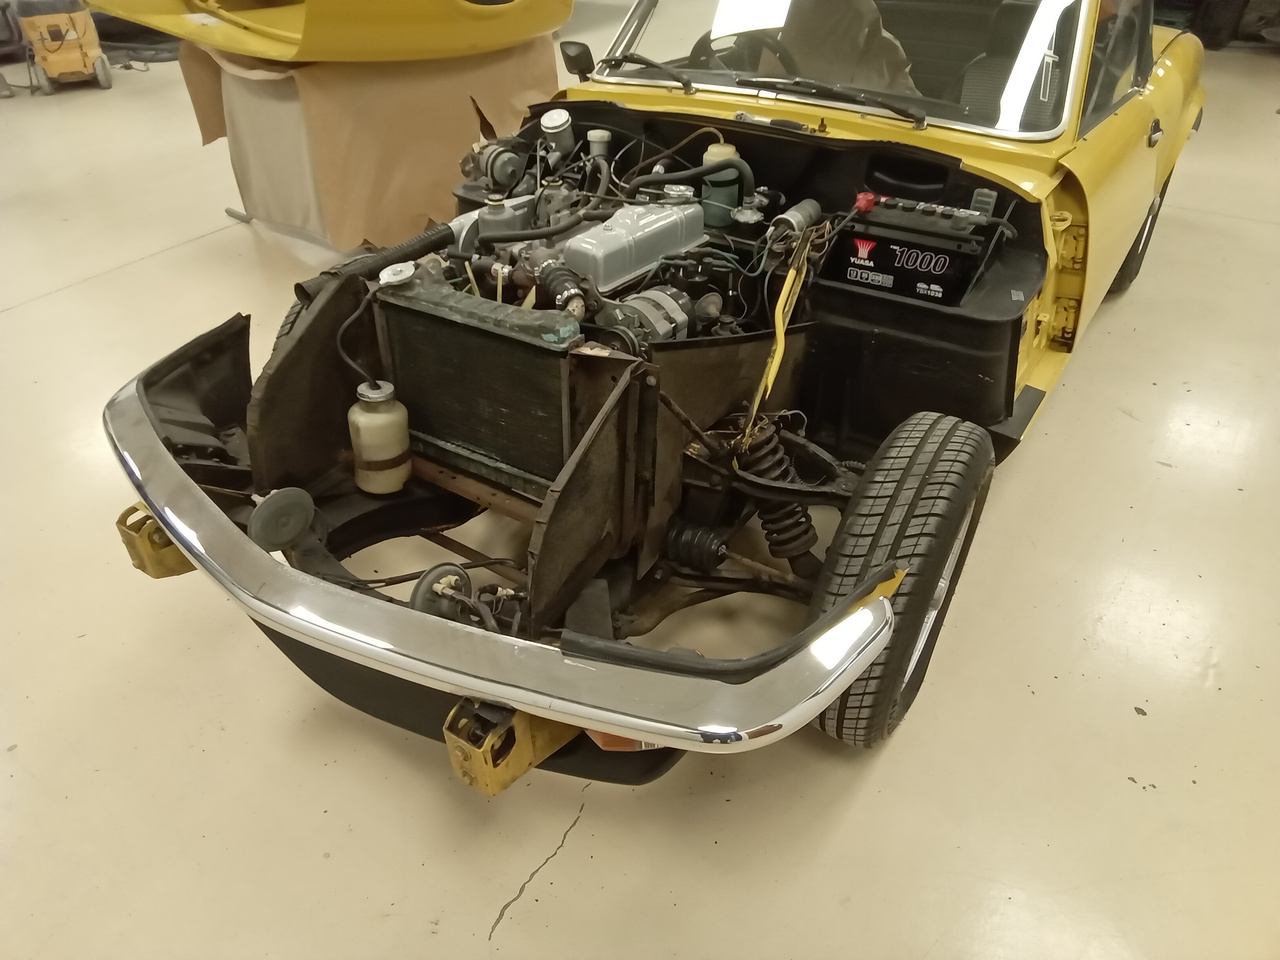
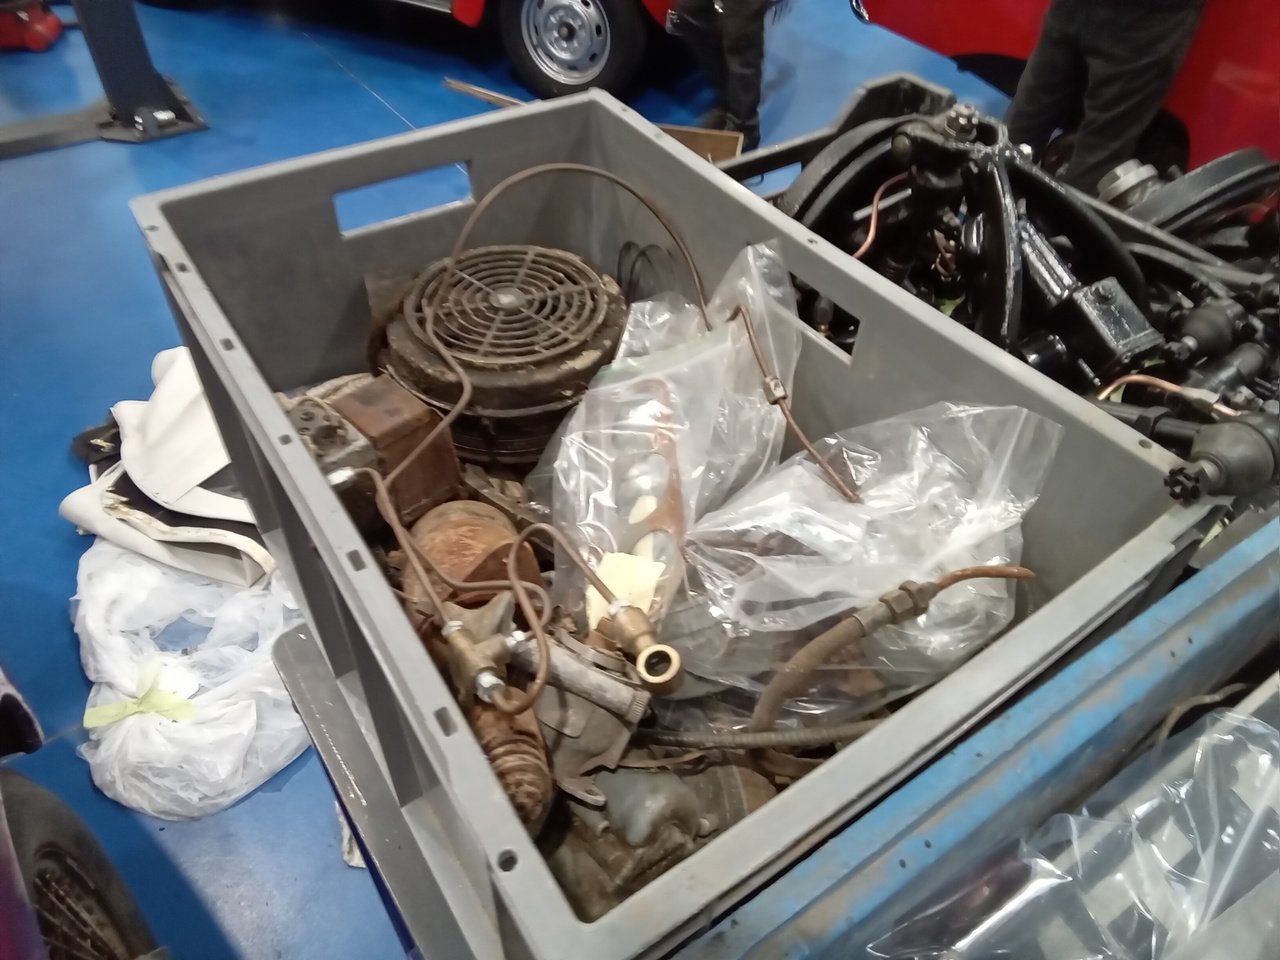
Arriving in with us this week is our 1964 Mercedes 230SL. The car has come in for a possible engine rebuild but at this stage we are not convinced that this work is required. We want to carry out a few tests and checks before we make the decision of whether the engine needs to be removed.
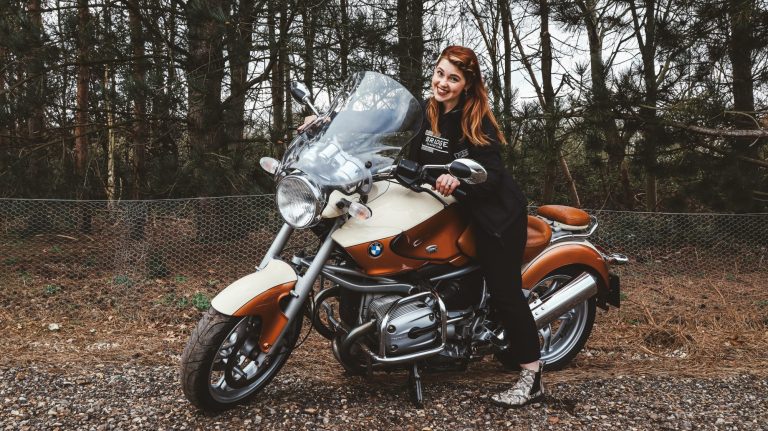
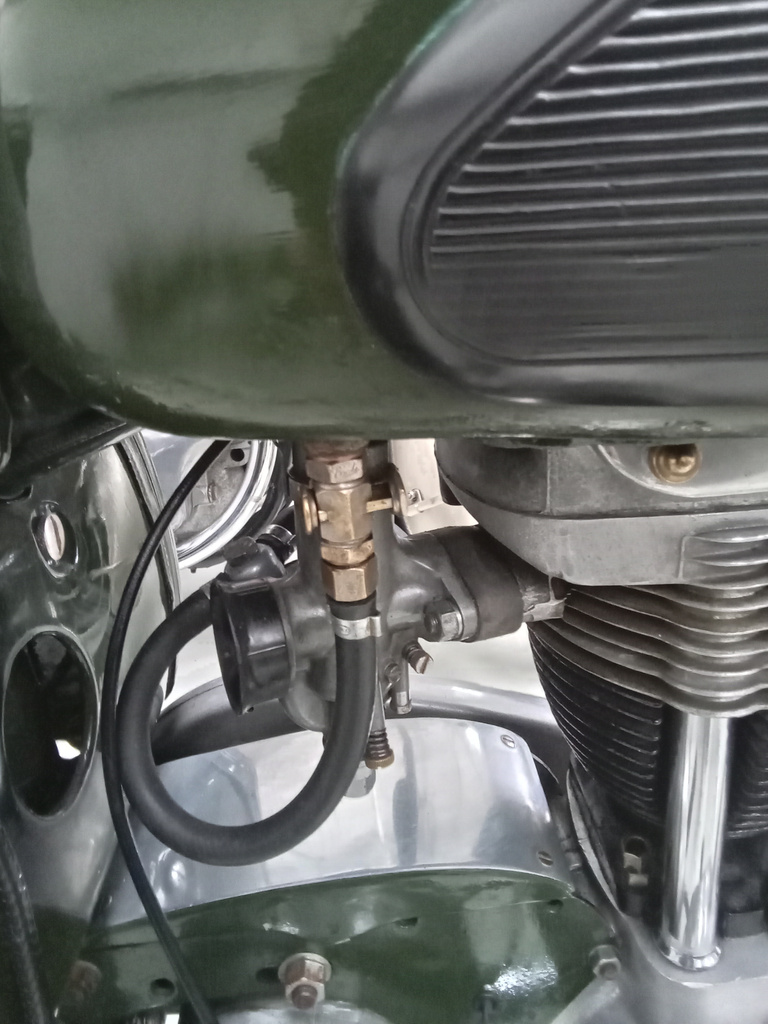
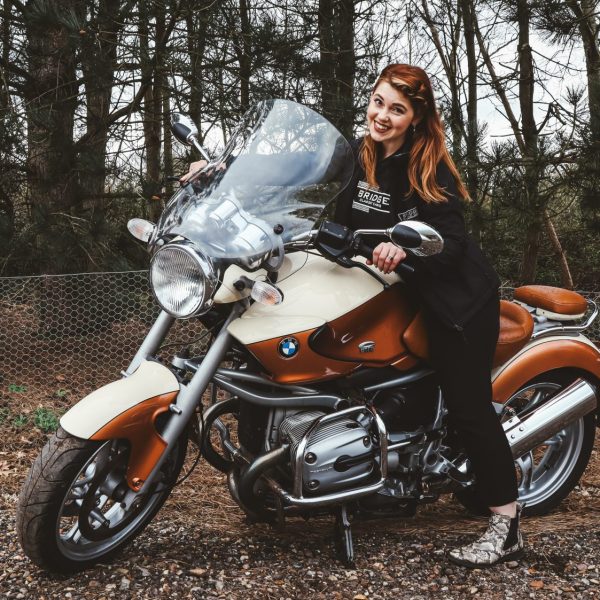
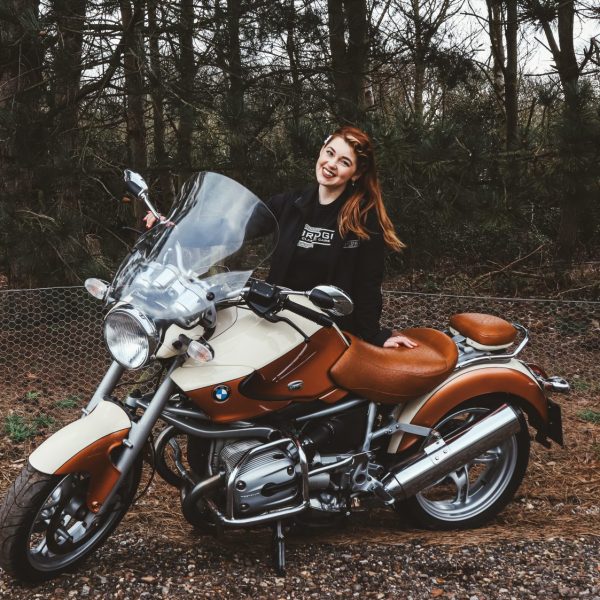
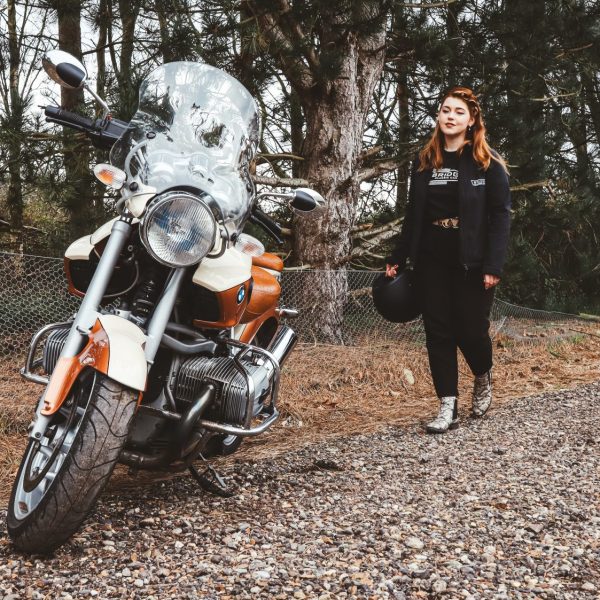
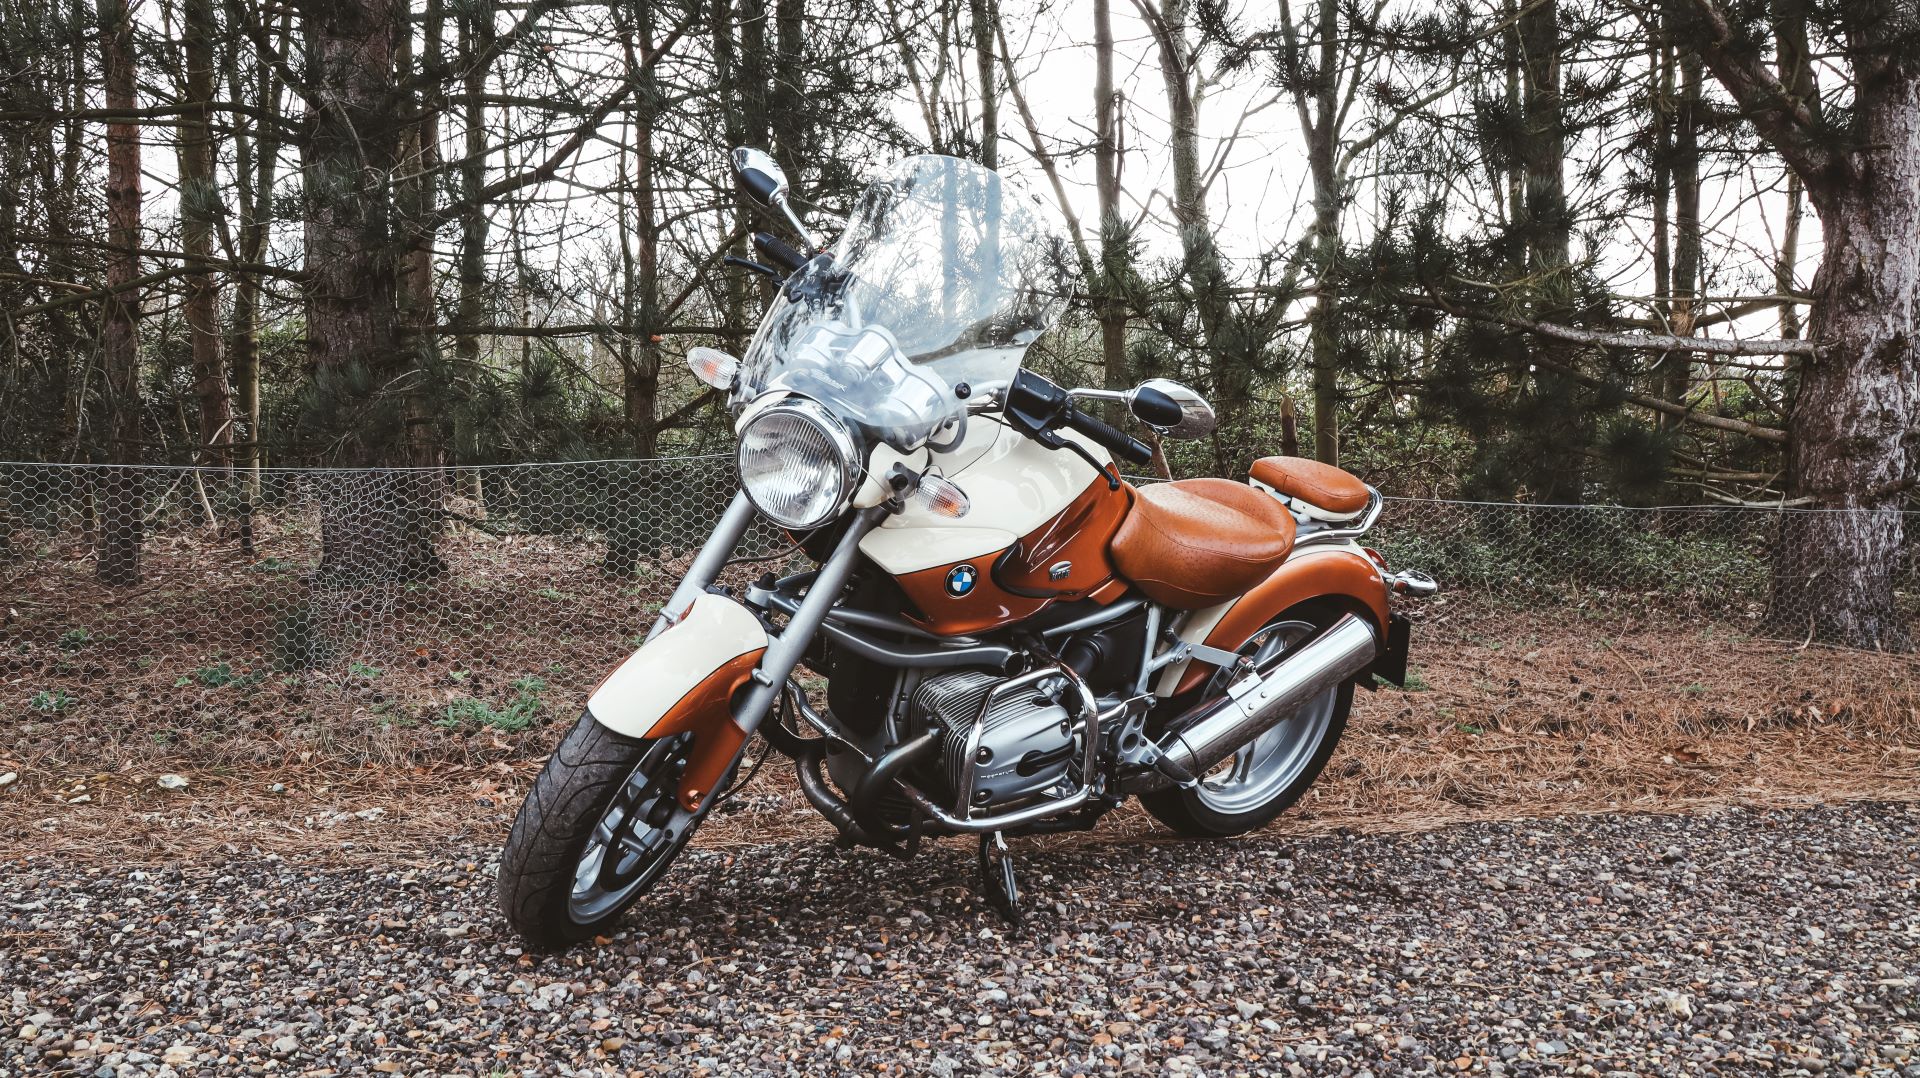
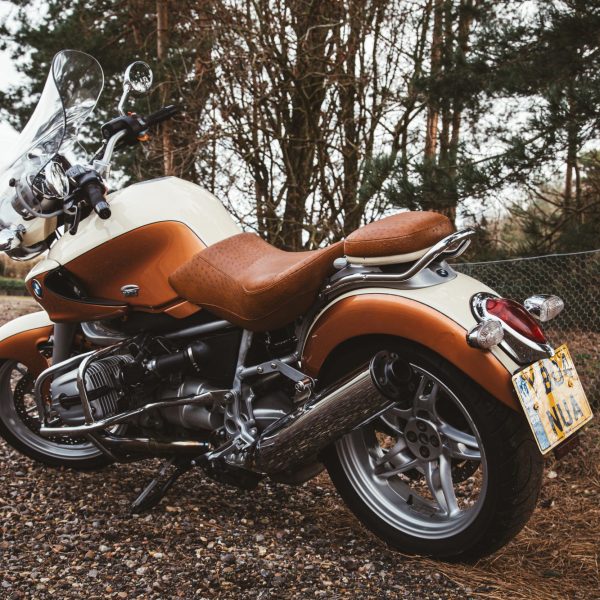
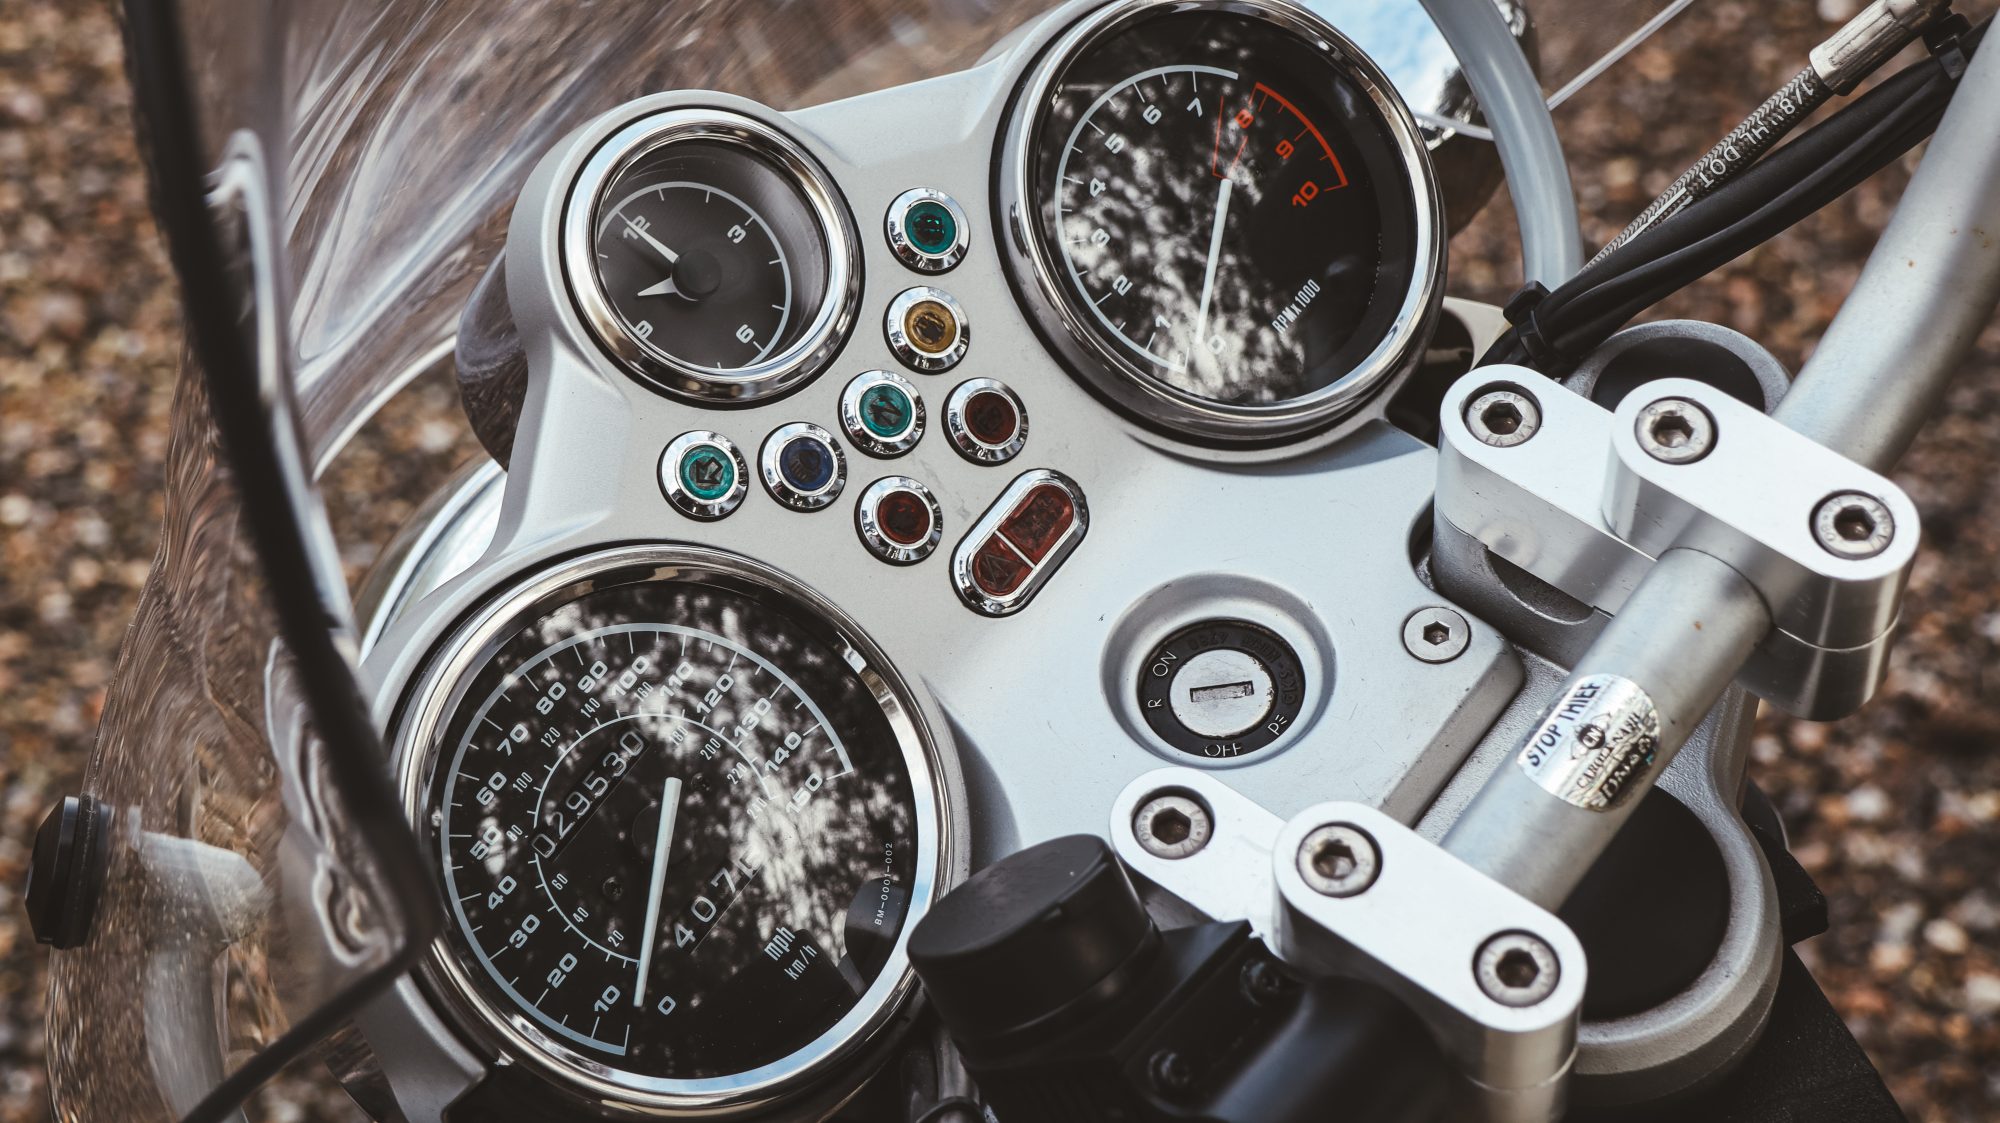
Finished in a two-tone paint scheme of bronze over cream and accompanied by matching leather work on both the main and fold-back seat, our BMW R1150 has the right feel to blend both performance and comfort while out on the open road.
Tickets are now on sale for just £2.00 on the Bridge Classic Cars Competition website.
The winner will be announced at our Bike Meet on Wednesday 27th March.
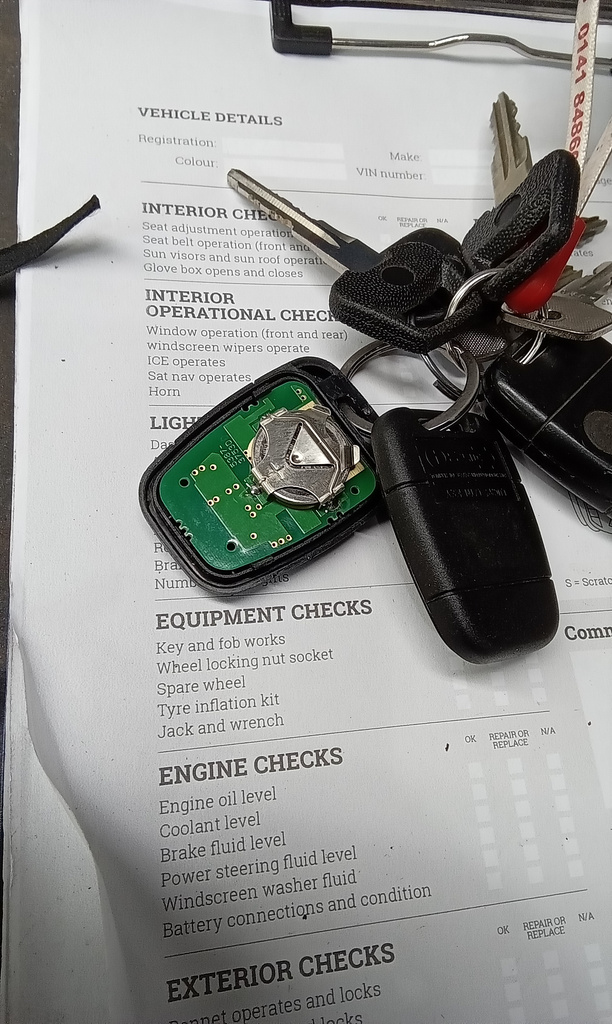
I haven’t seen any mention of mot. Will the bike get one prior to delivery?
Hi Chris,
Yes, it will have an MOT before it is delivered to the lucky winner
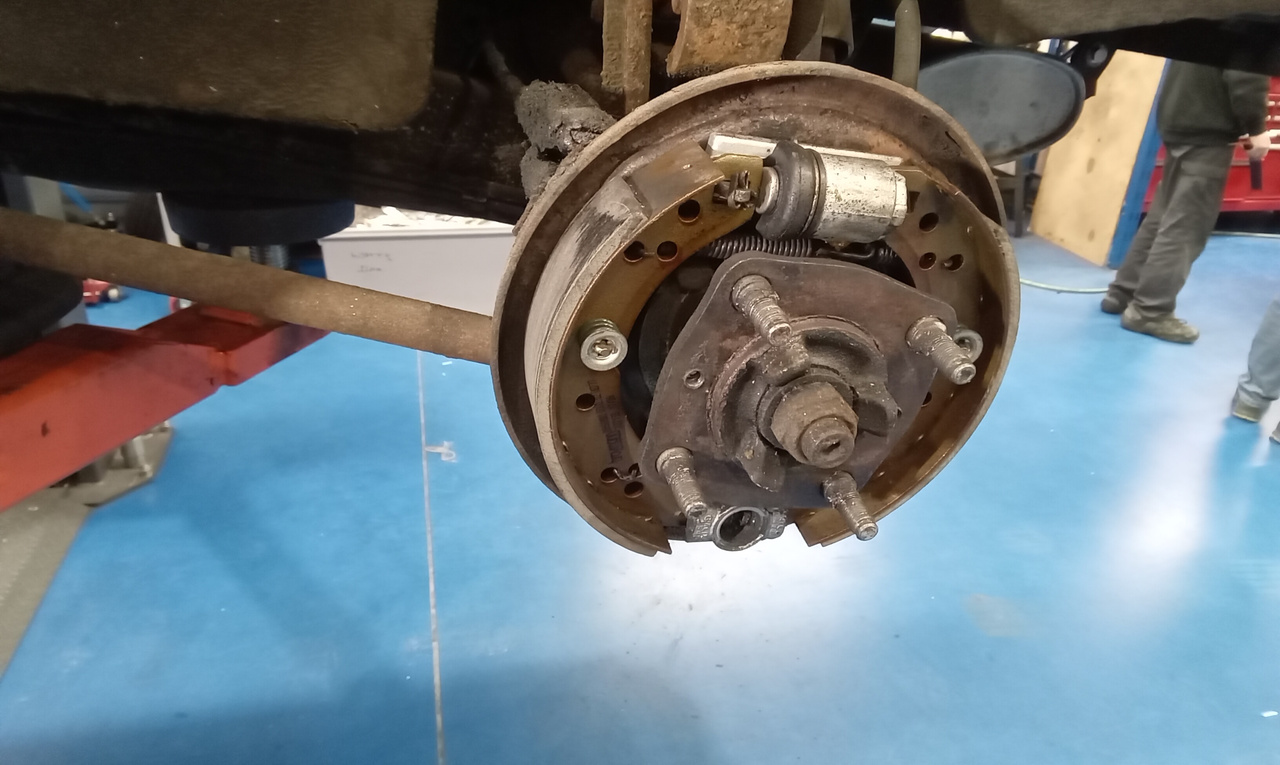
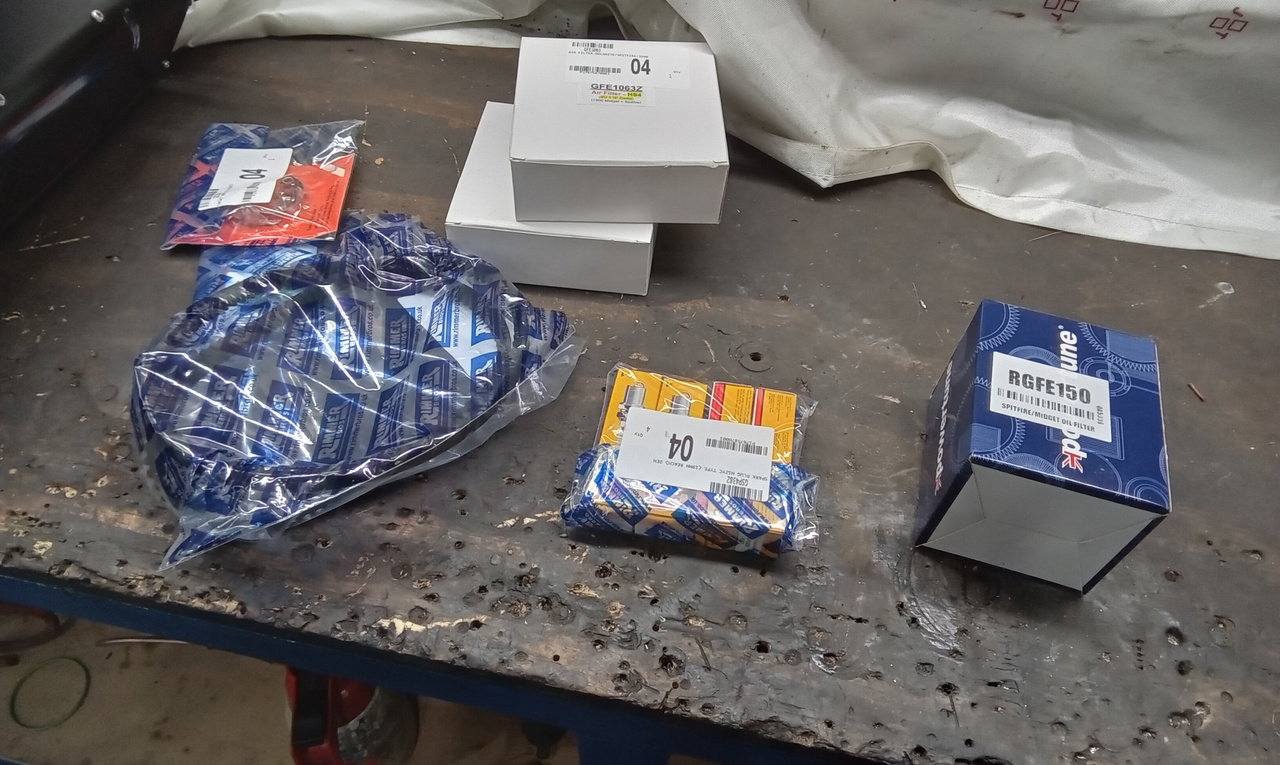
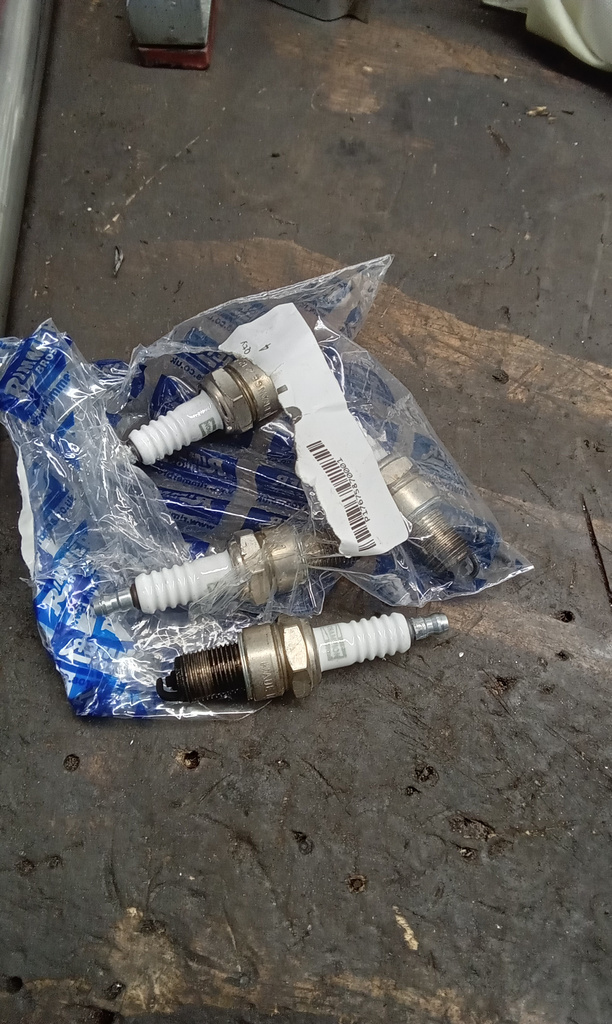
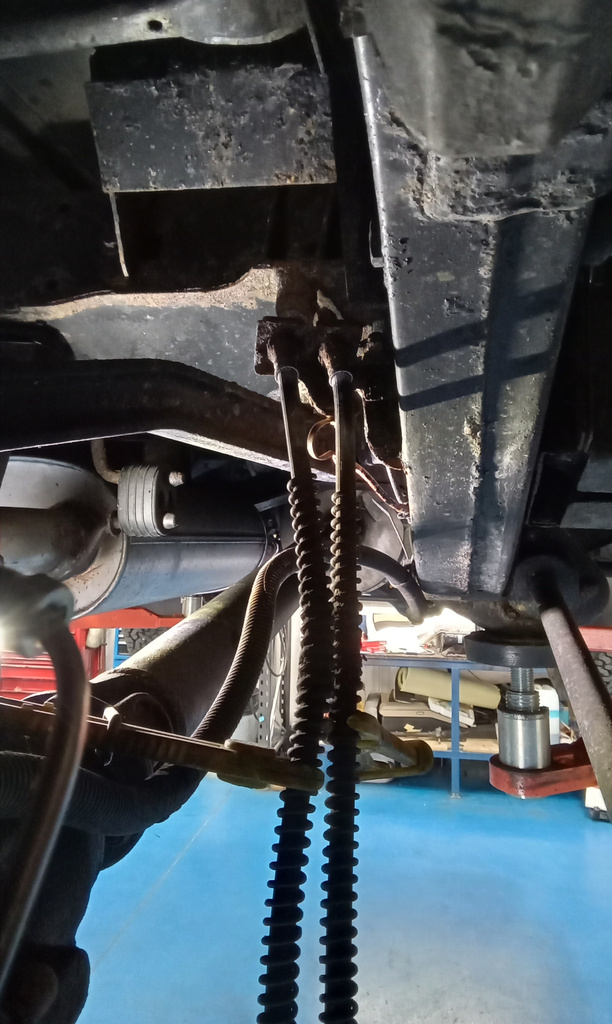
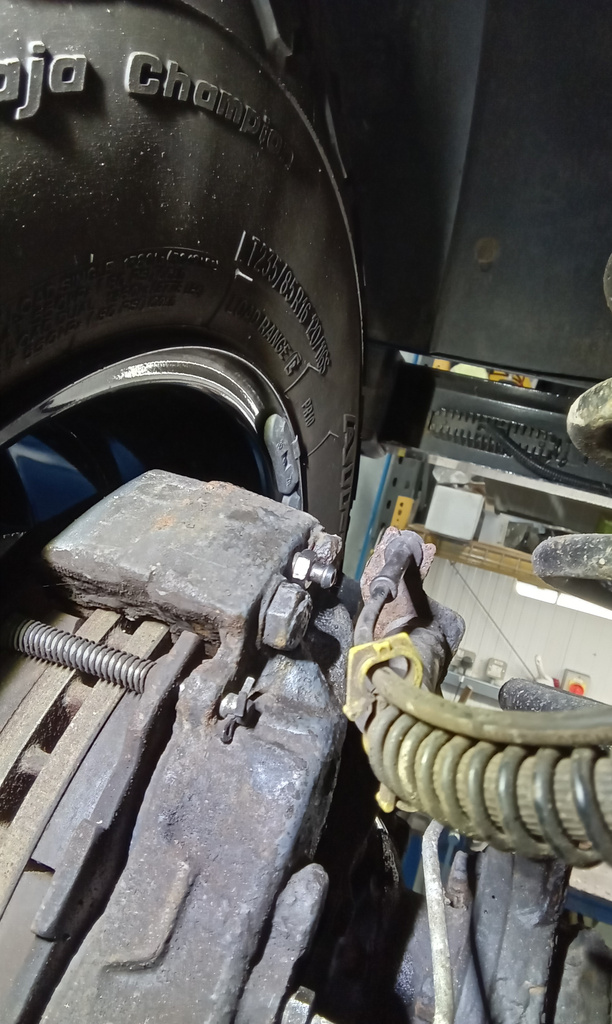
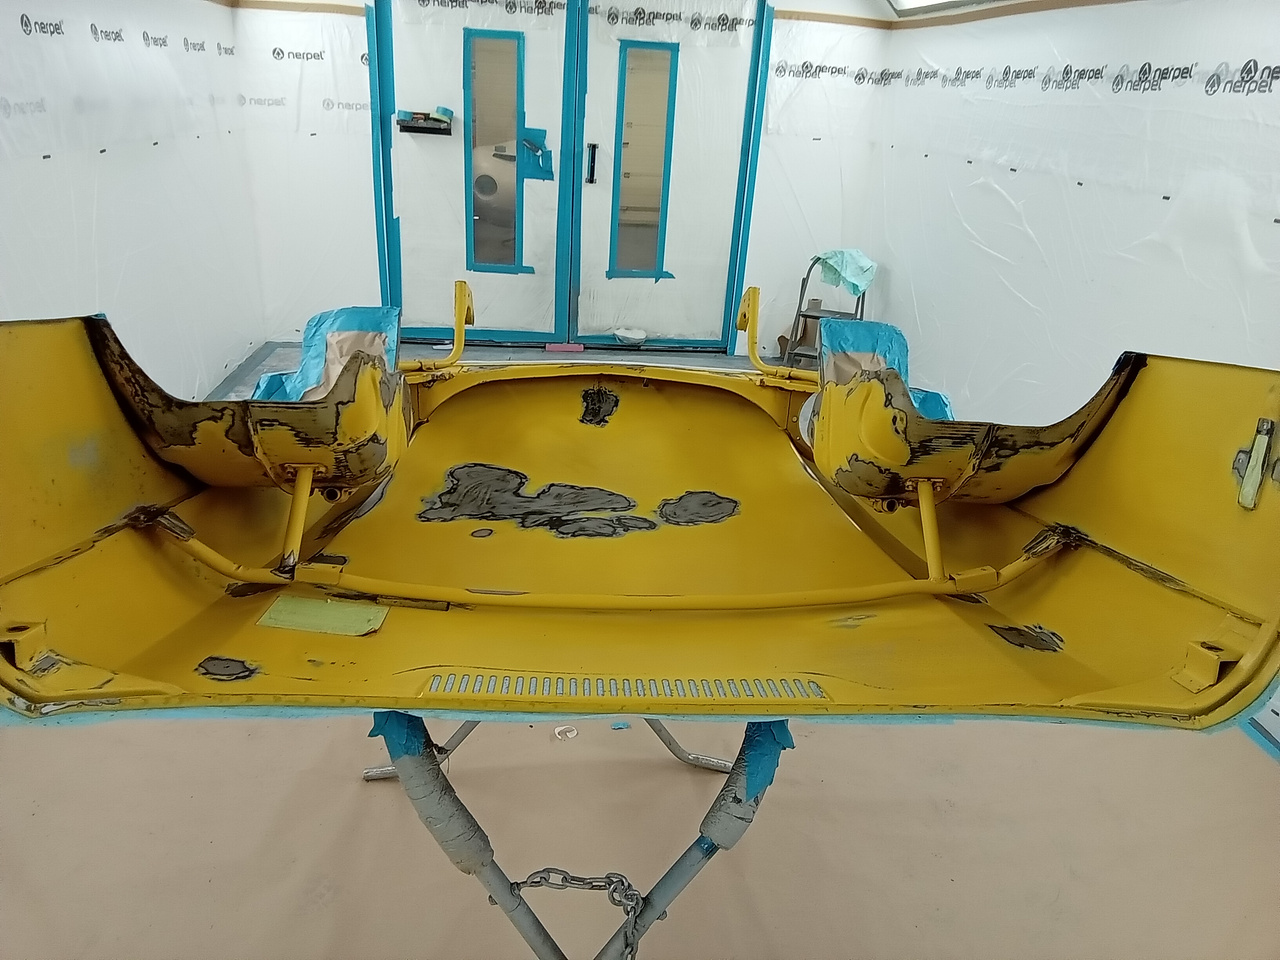
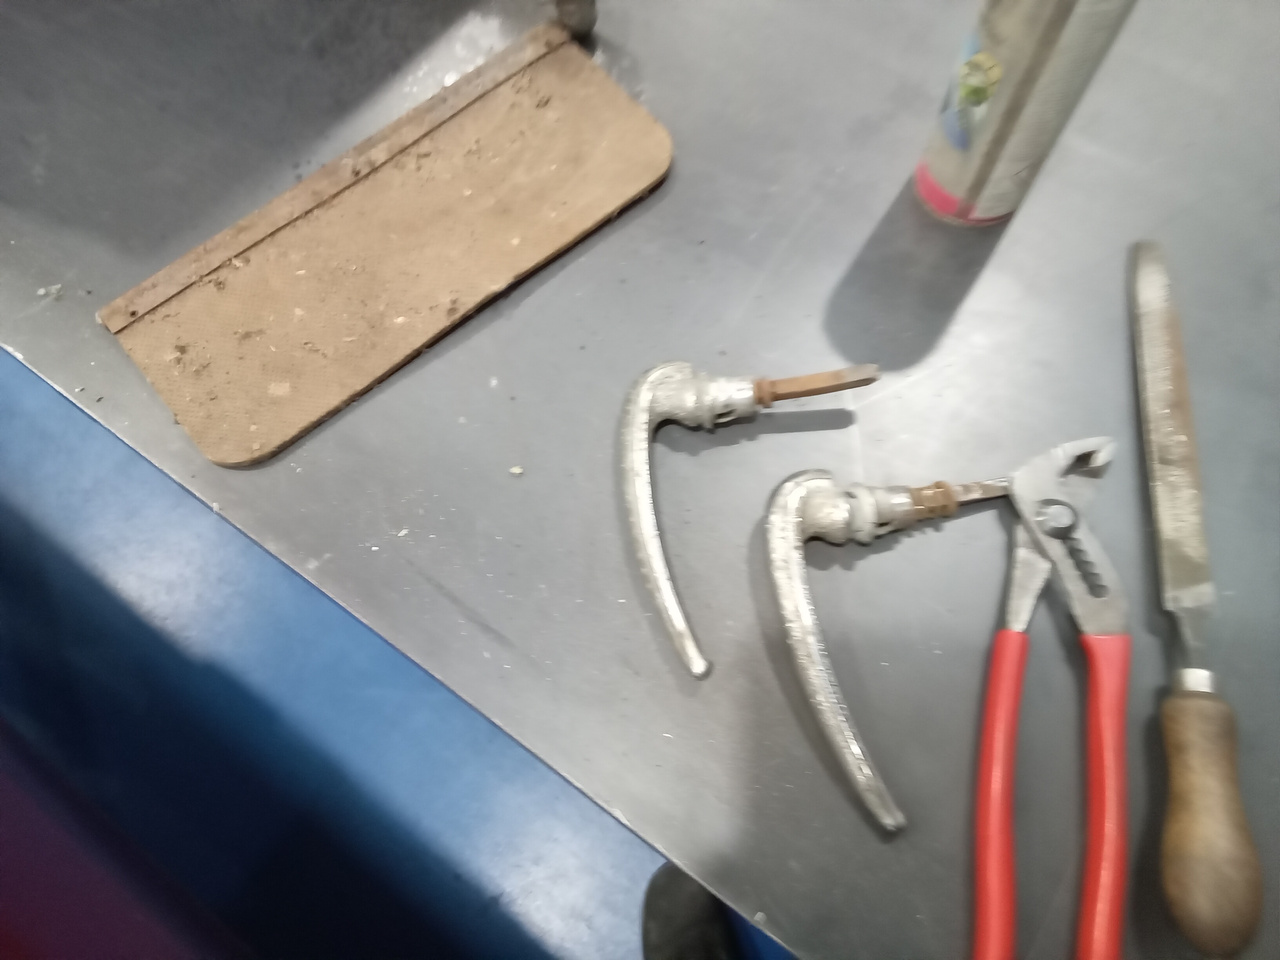
Jonn has been inspecting and making some repairs on our 1979 Triumph Spitfire.
Here are his notes:
Raise on ramp and finish Inspection. Carry out repairs. Grease all points.strip front brakes. Remove pads and clean/lubricate ready for refitting. Work caliper pistons in and out to free off. Rebuild both sides and pump pedal and recheck. Seem ok now. Refit wheels. Strip rear brakes inspect and clean. Refit drums and adjust. Refit wheels. Inflate tyres to correct psi and torque up wheels. Check handbrake, ok now. Fit grommet to fuel feed pipe at rear of engine.fit new washer pump and test. Can’t get washer pump to actually pump. Strip and check pump. Pack with grease inside to help bleed system. Refit and test. Eventually get it working ok. Get off ramp and take to body shop to align bonnet.


Paul has continued rebuilding our 1956 Jensen 541. He has:
He also made and fitted the brake pipes to the servo, repaired the exhaust manifolds ready for coating, checked and balanced the carb mixture screws, replaced the bulkhead heat shield, made and fitted the king lead, and carried on with the electrics.


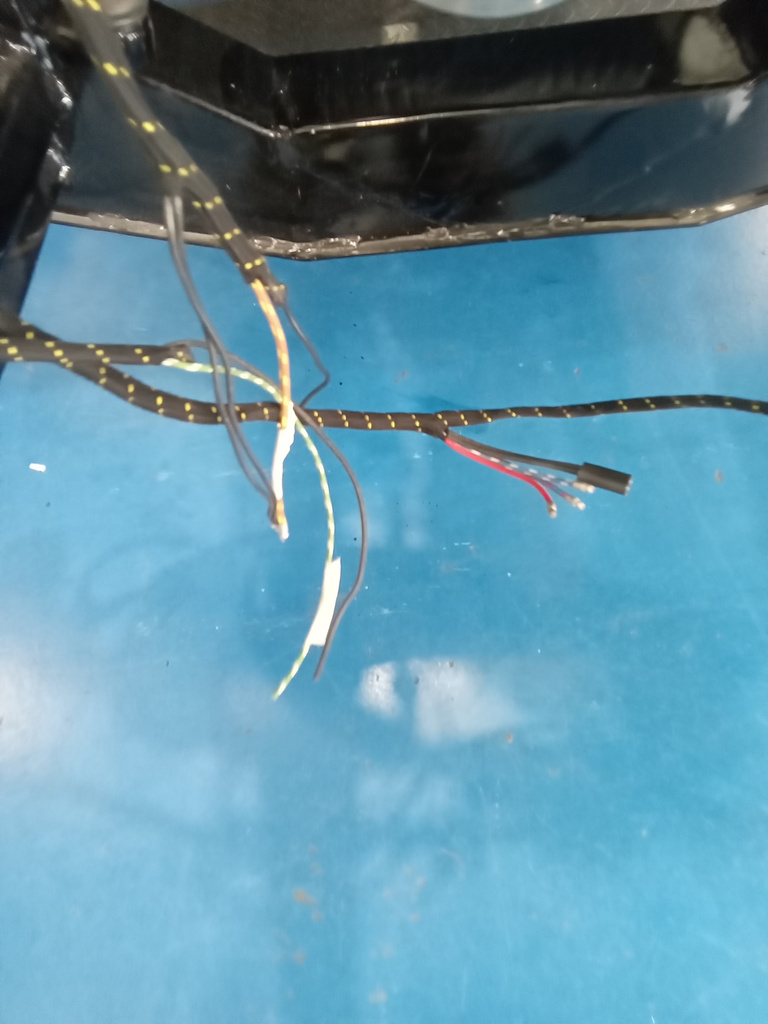
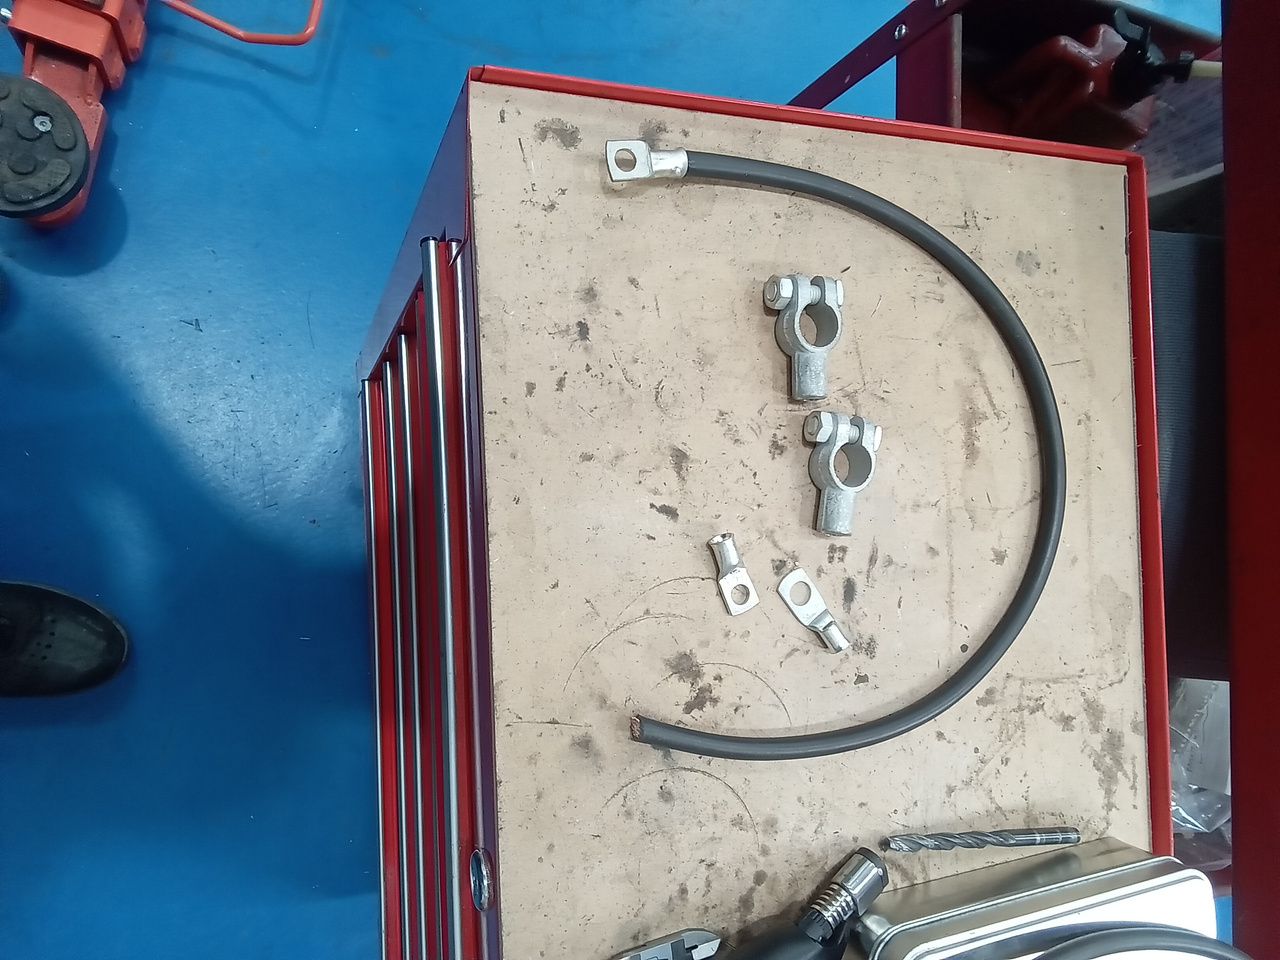
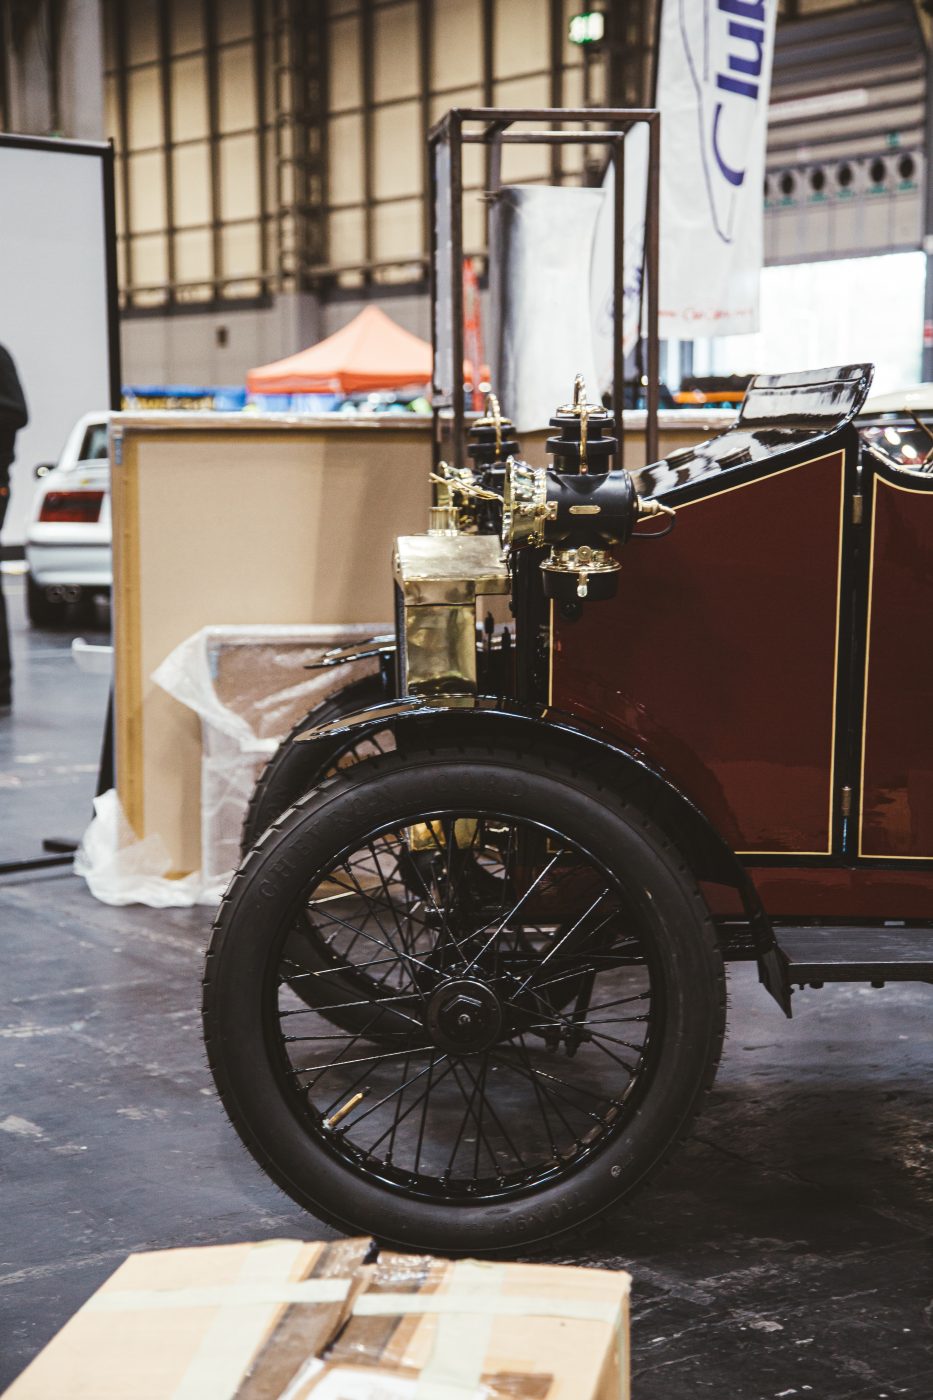
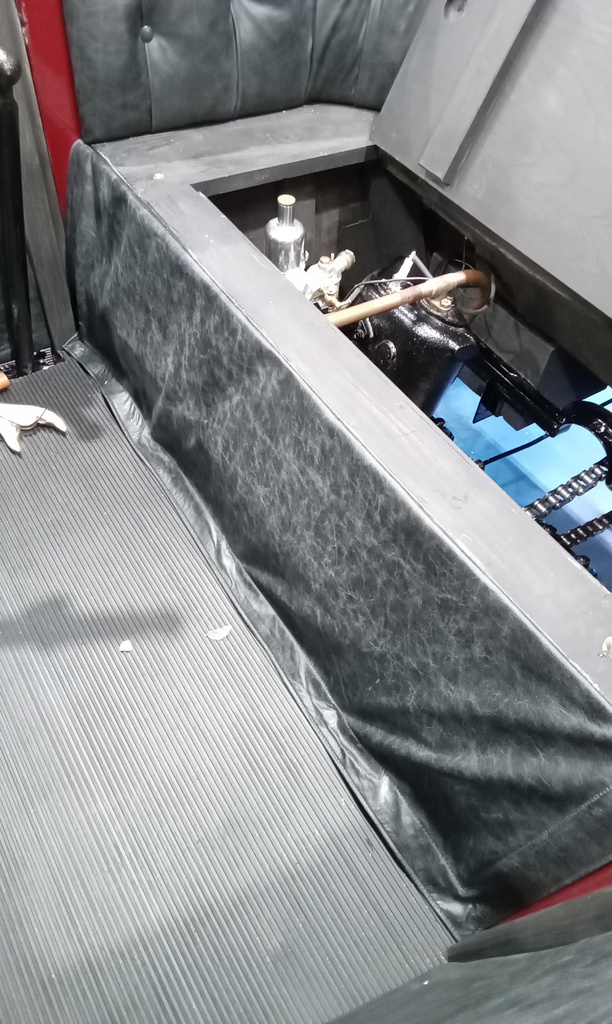
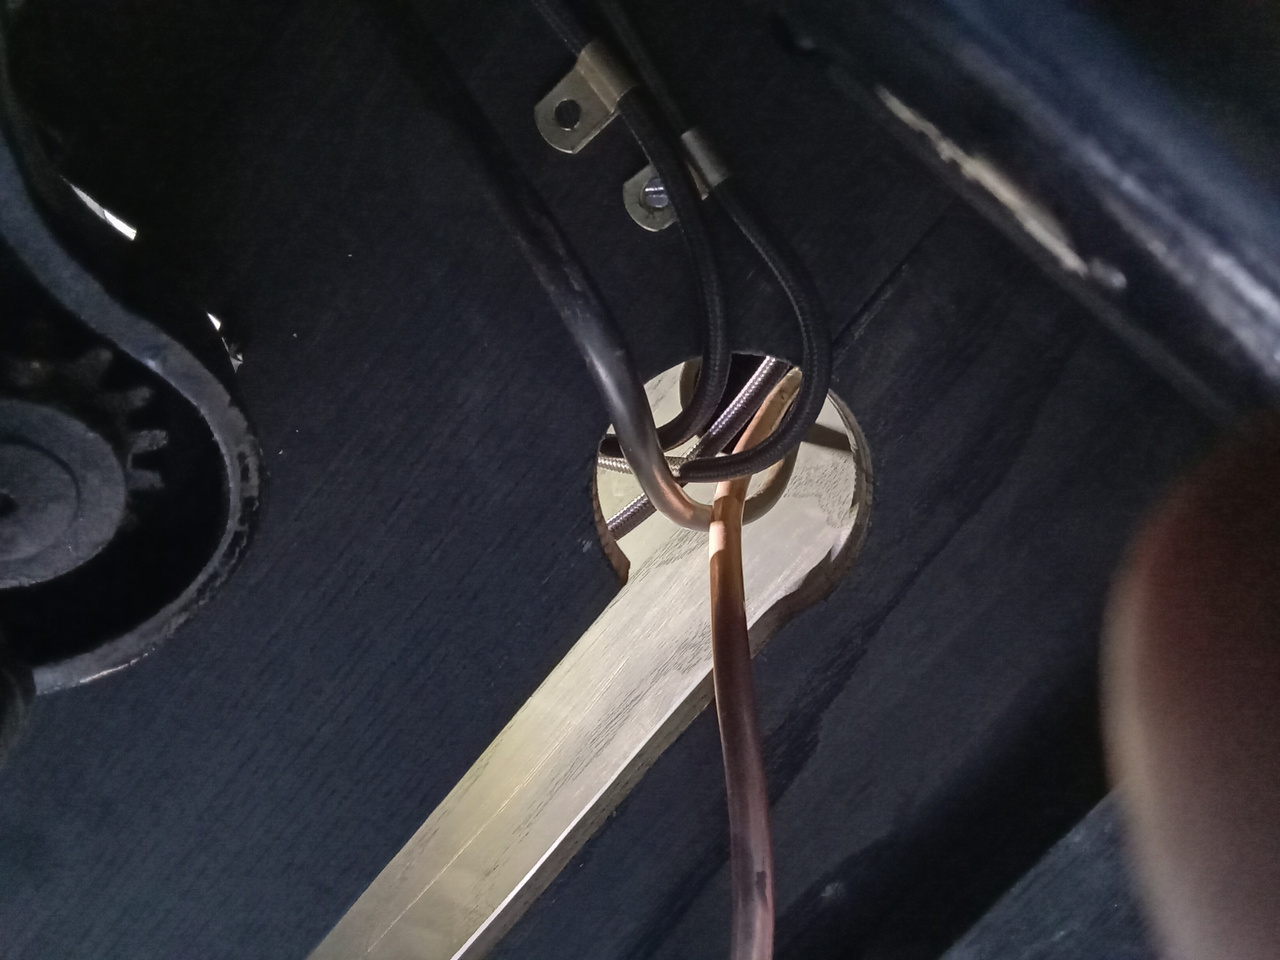
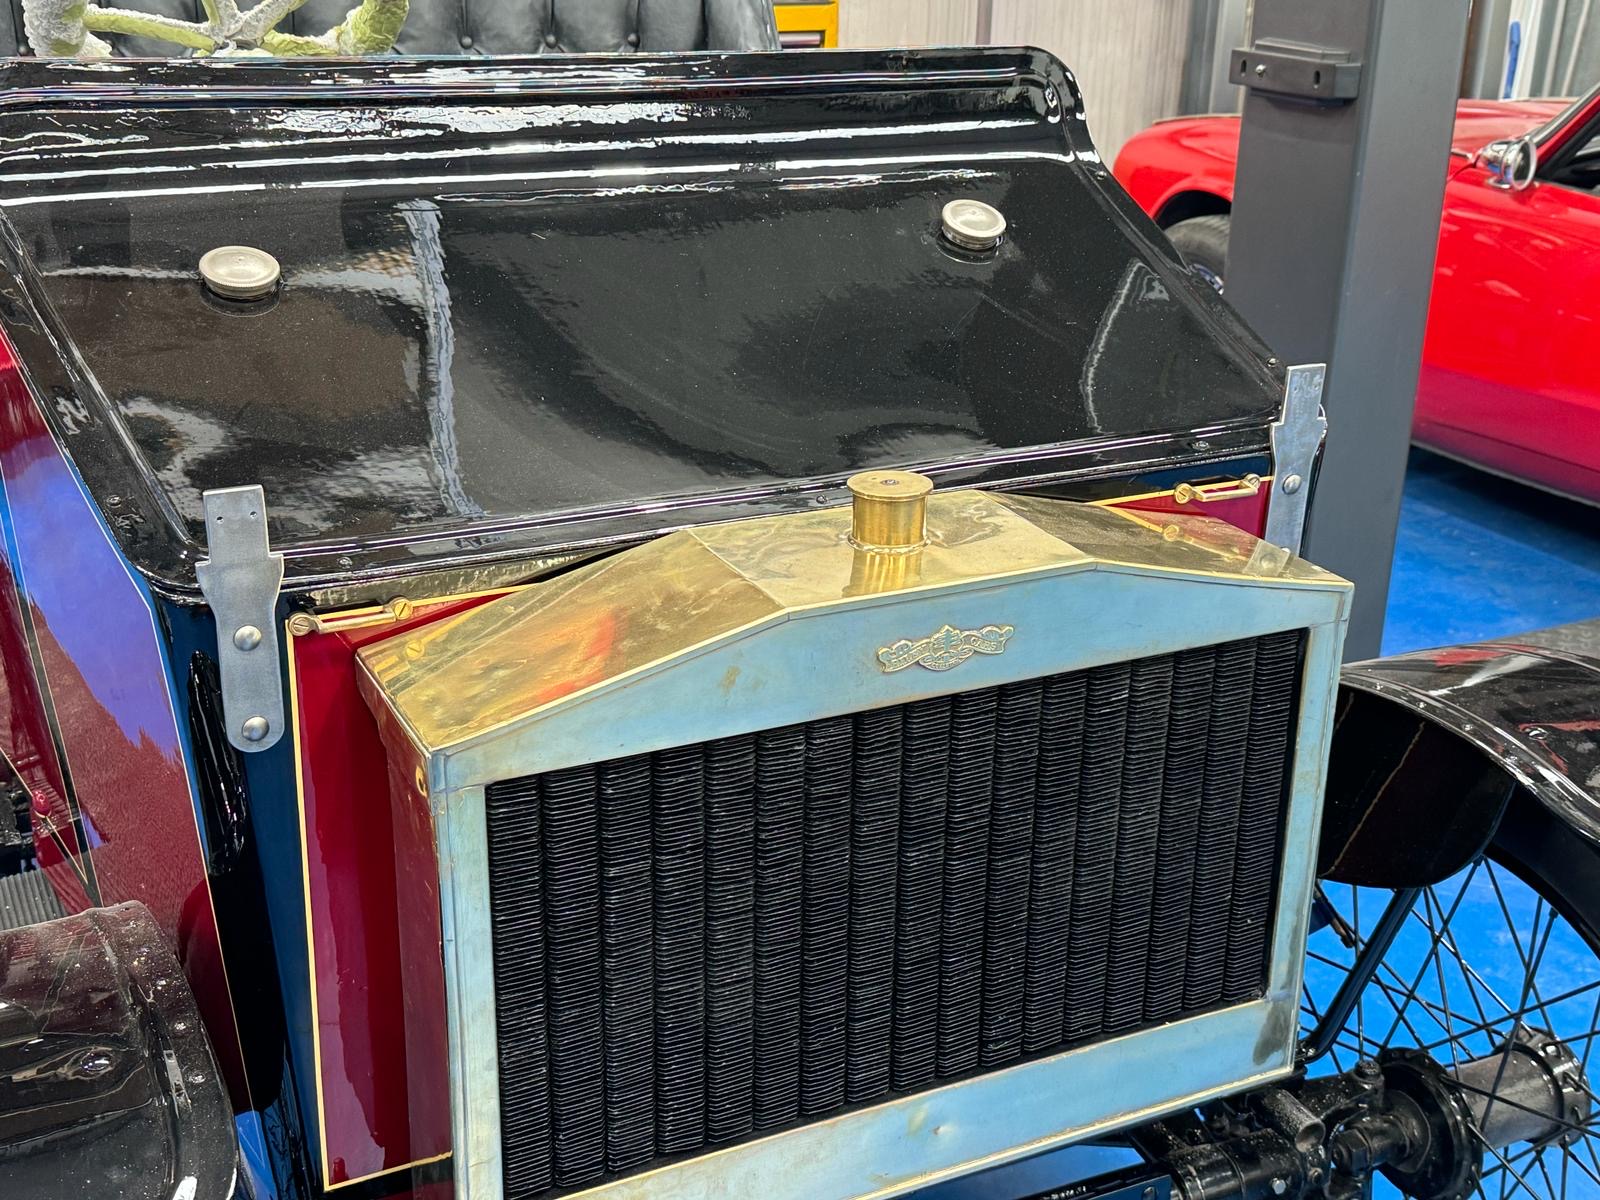
John has been running the wires of our 1905 Riley 9HP from the front and rear to the batteries. He wired in the switch and the front and rear lights.
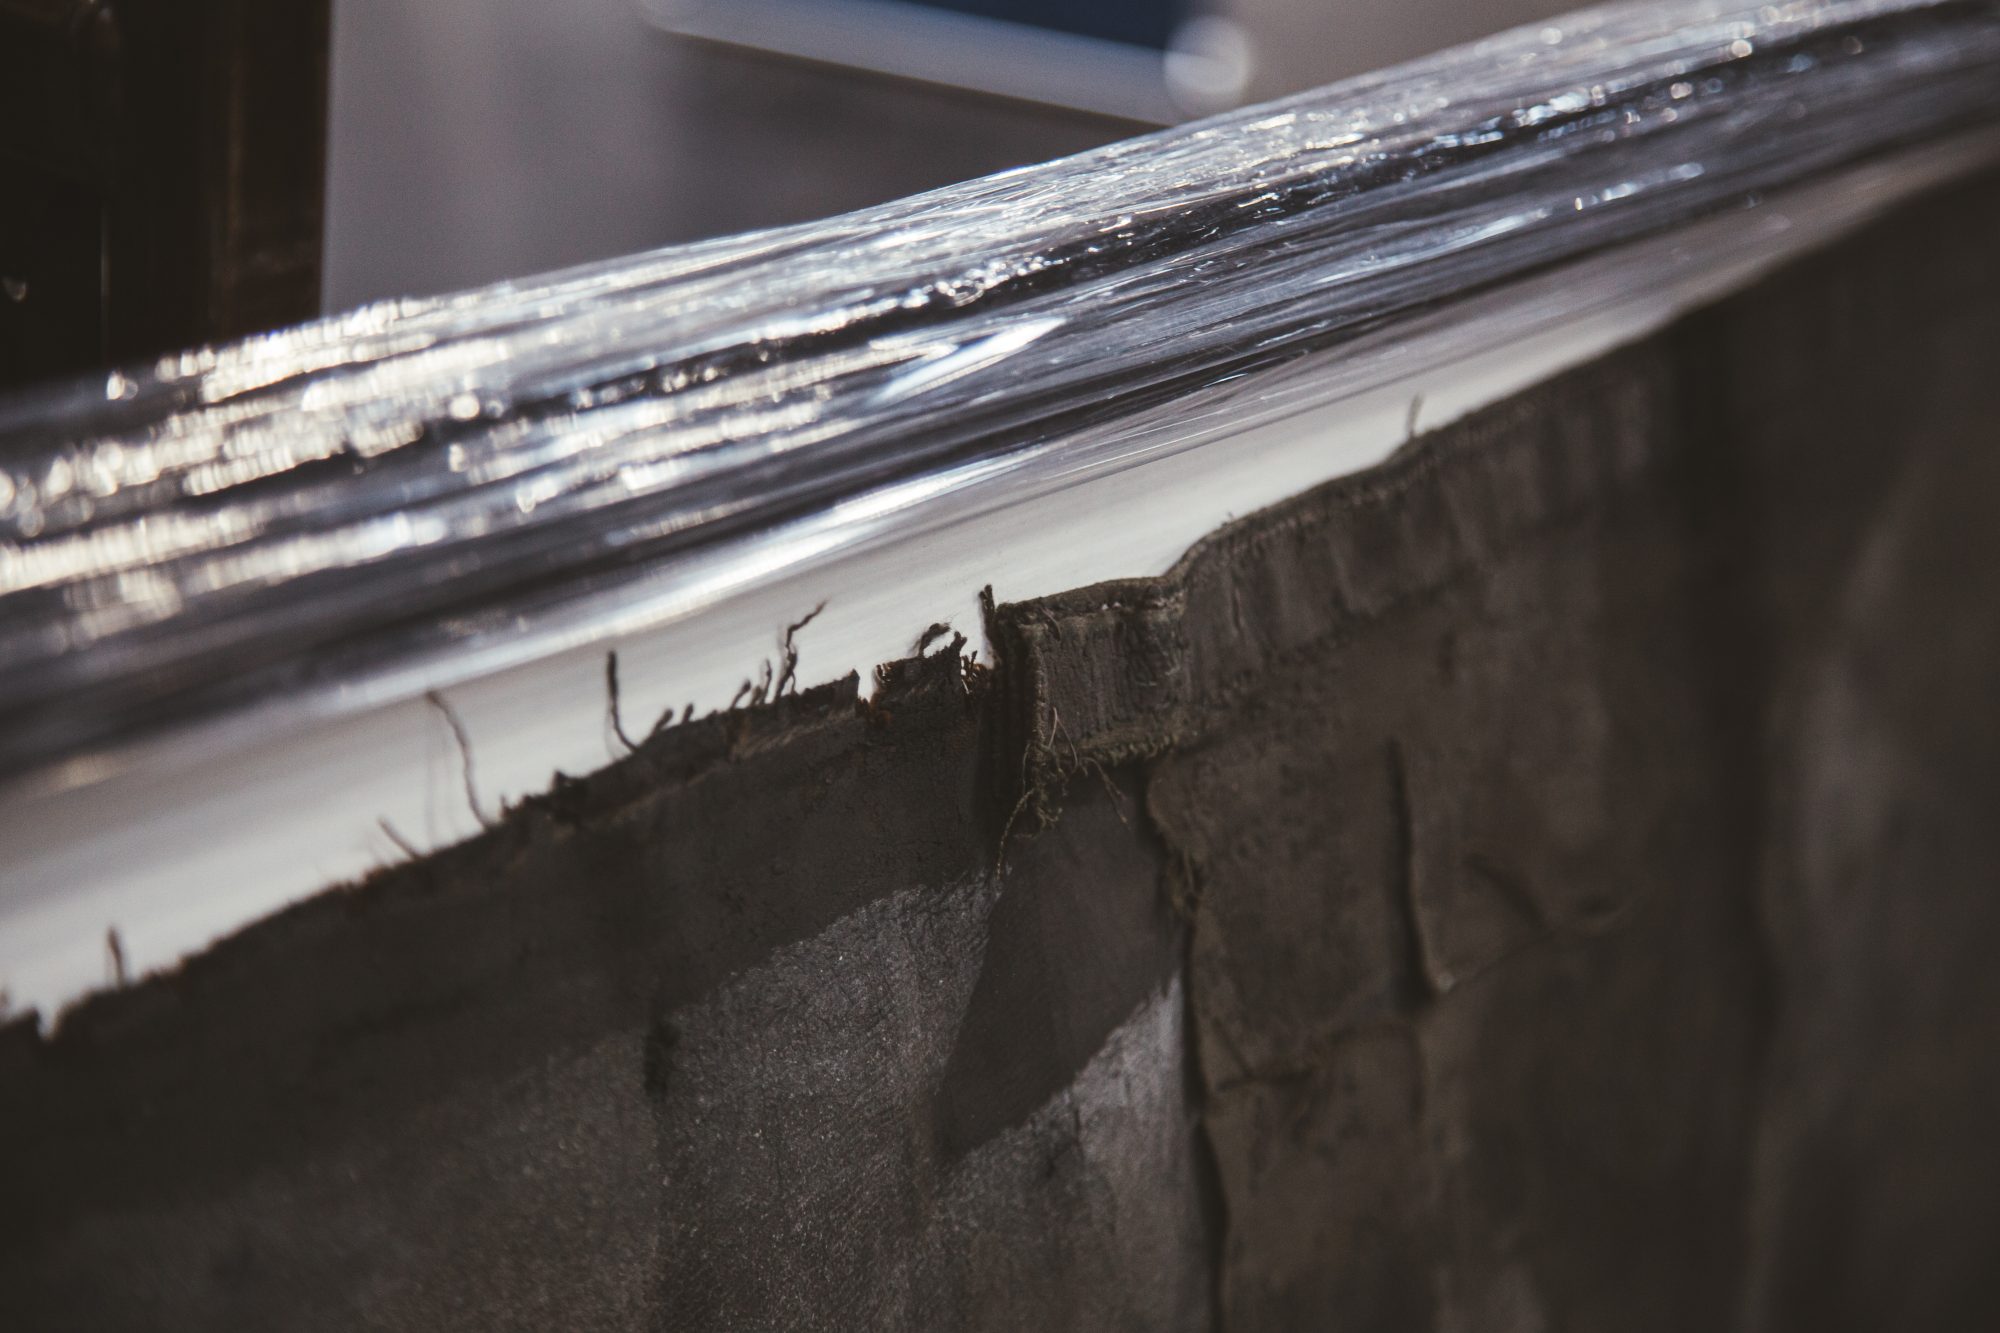
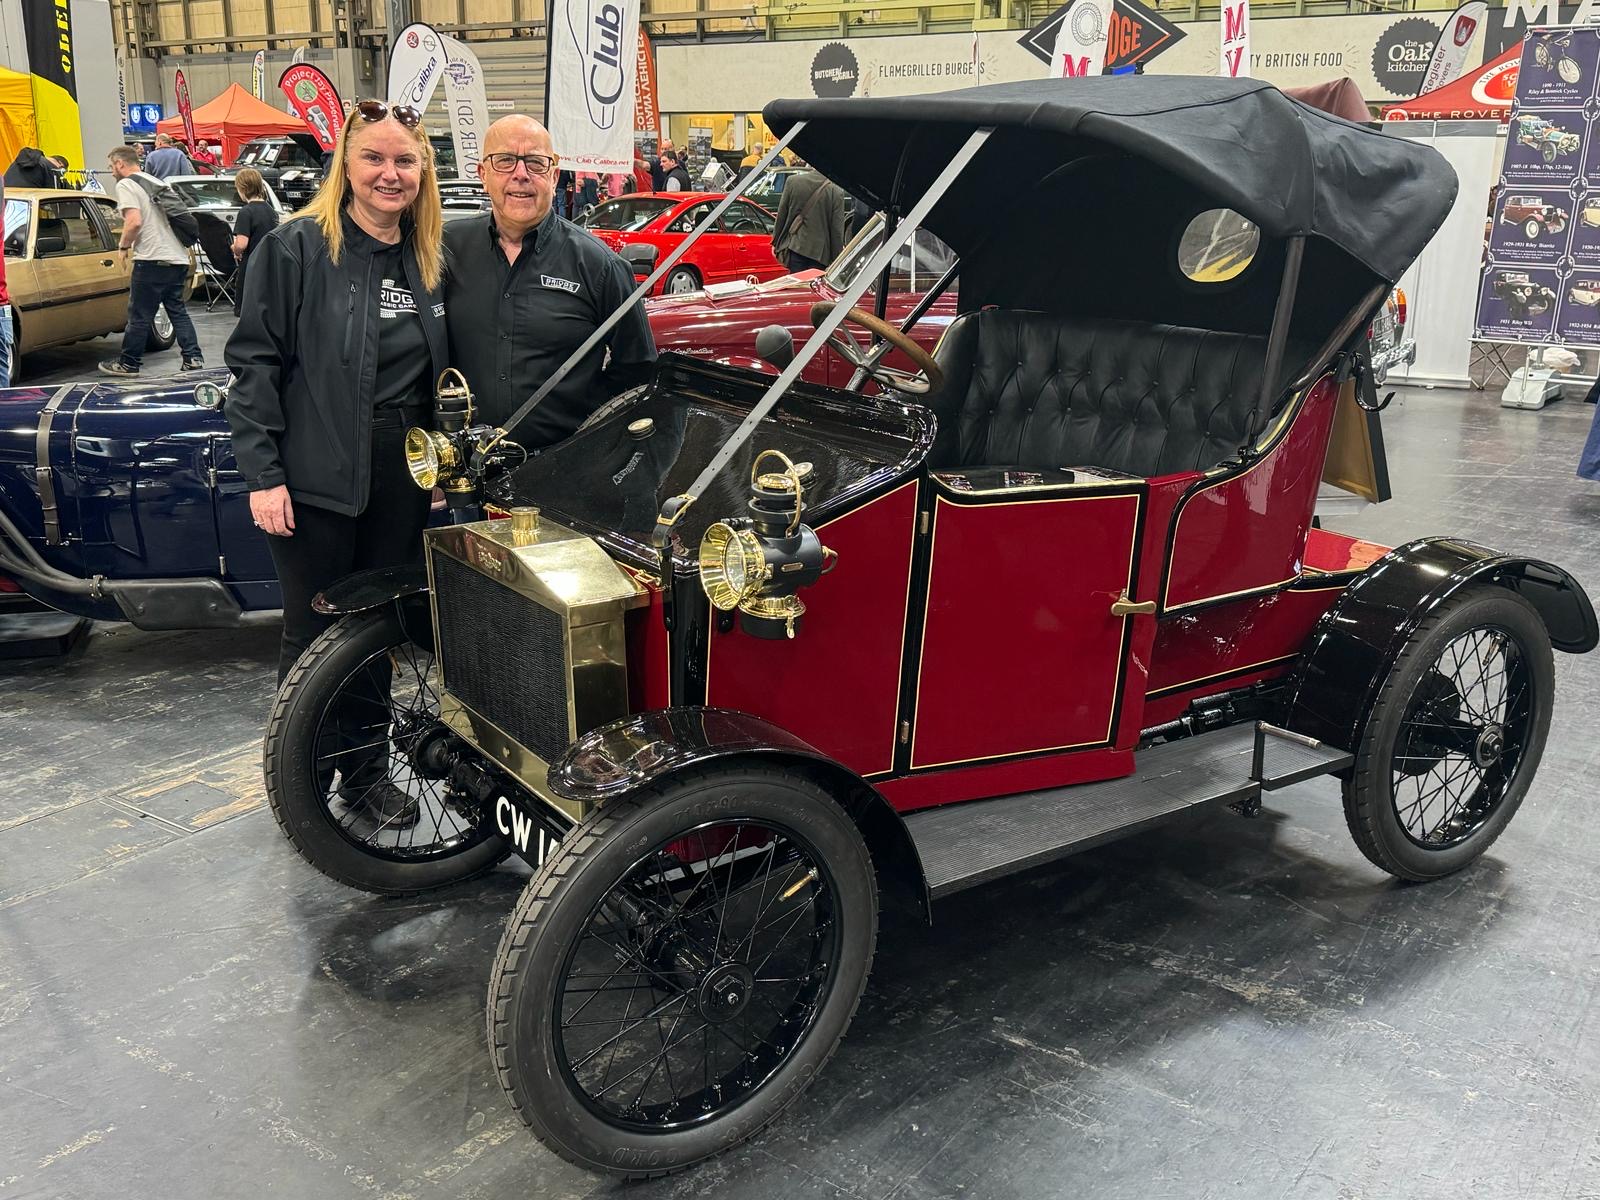
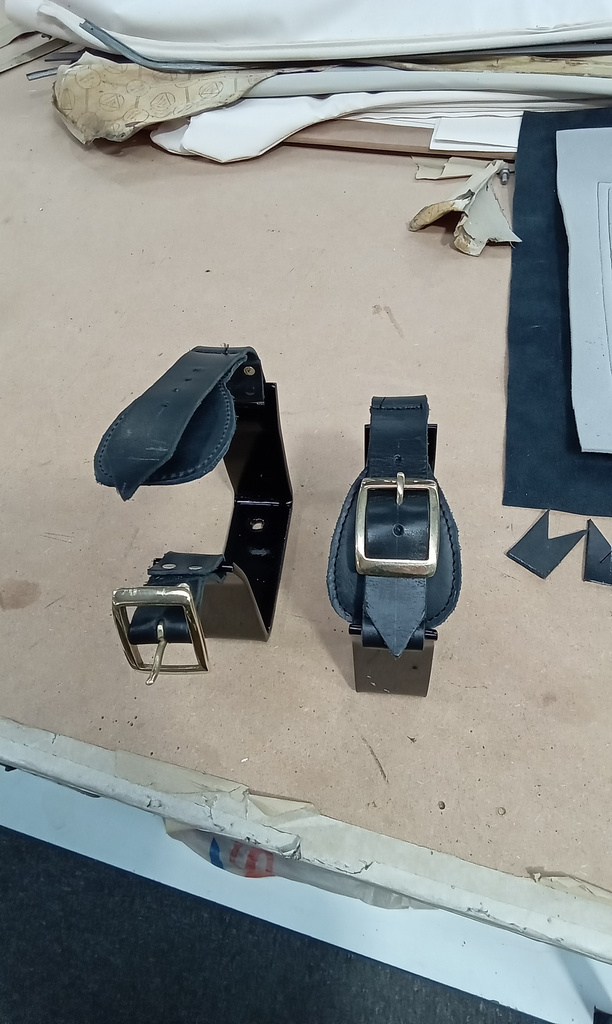
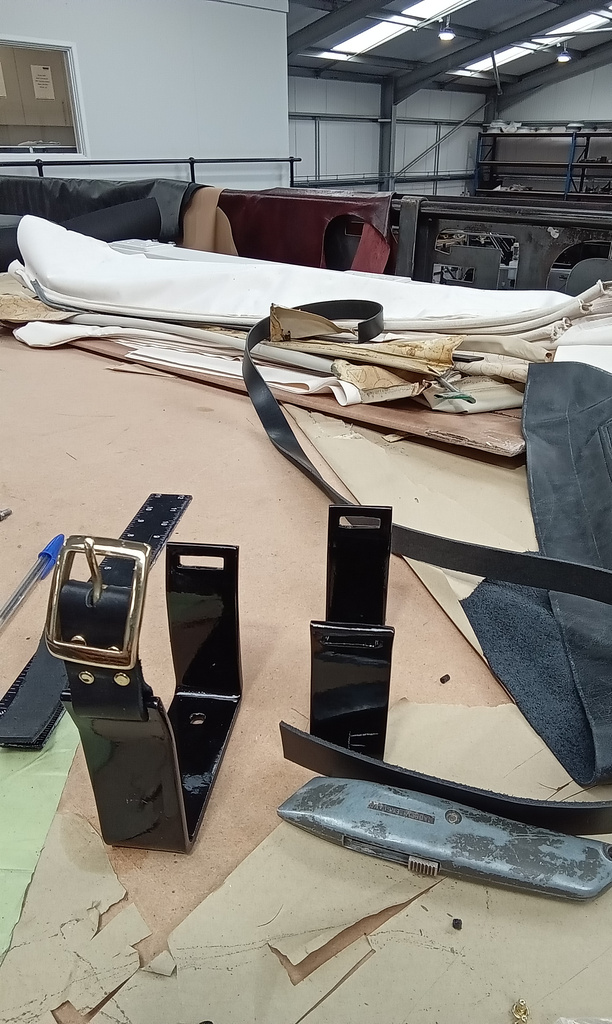
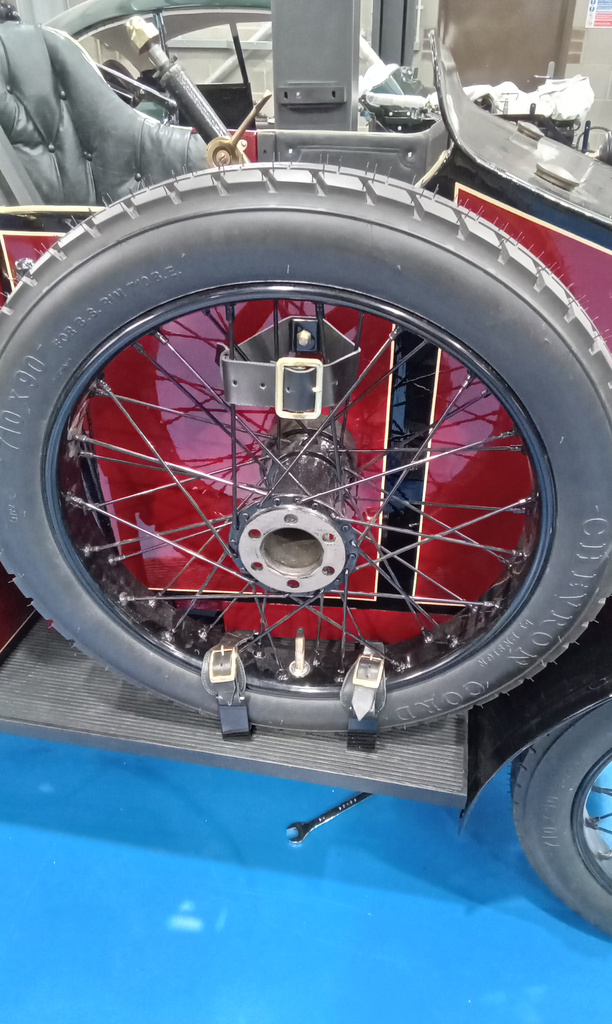
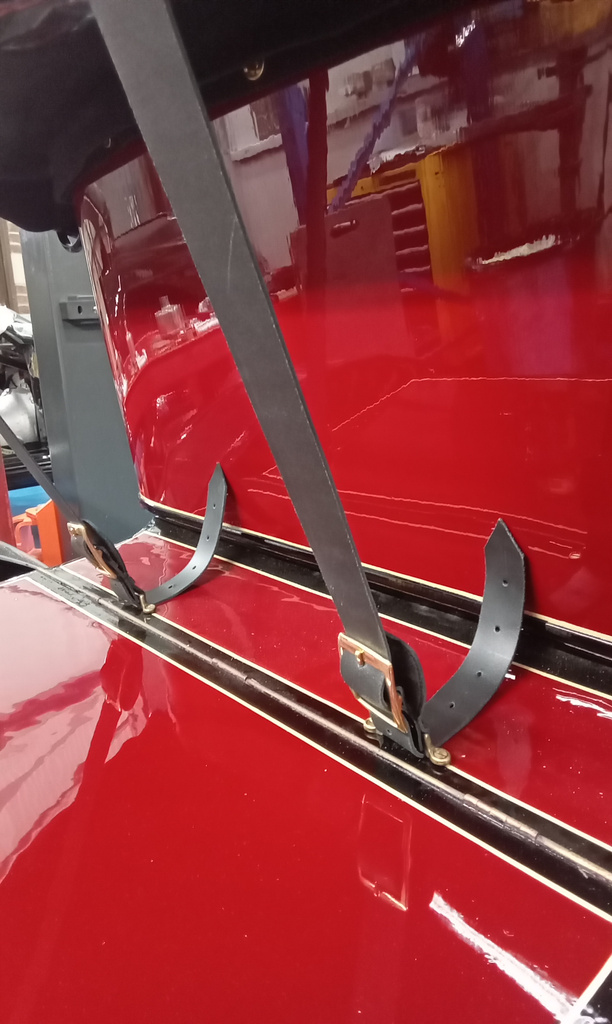
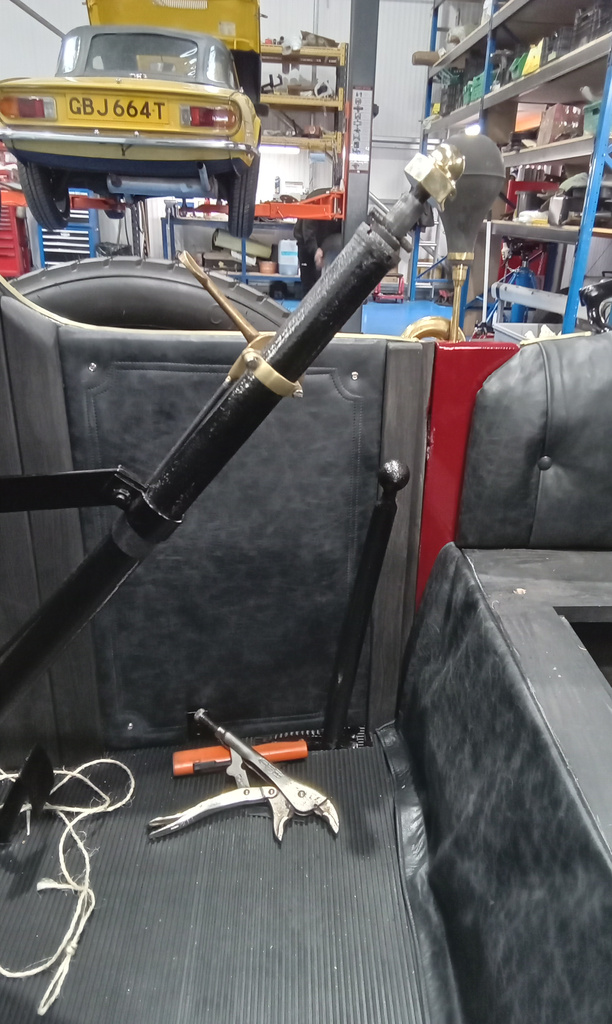
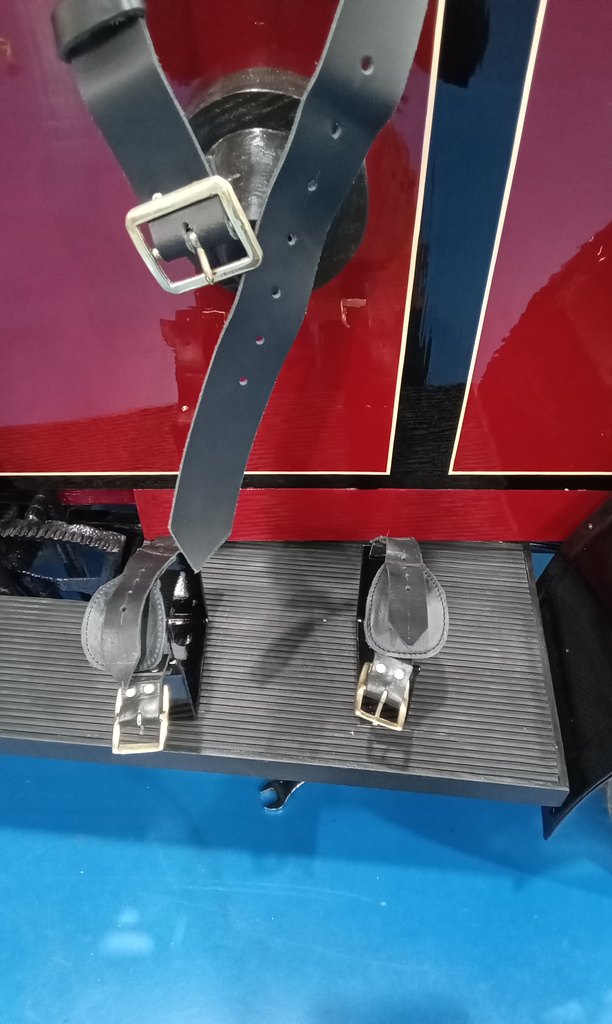
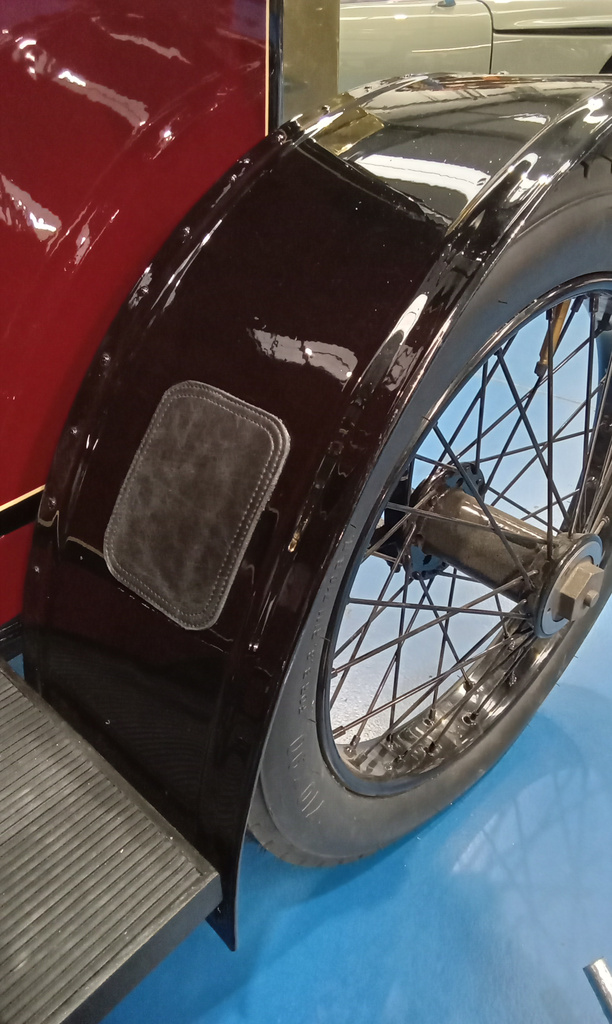
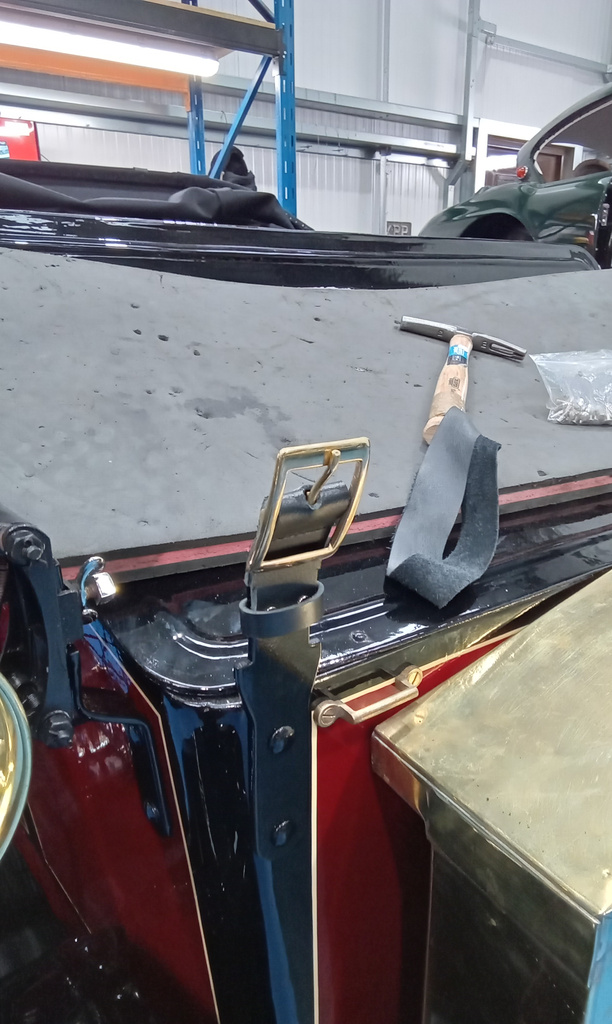
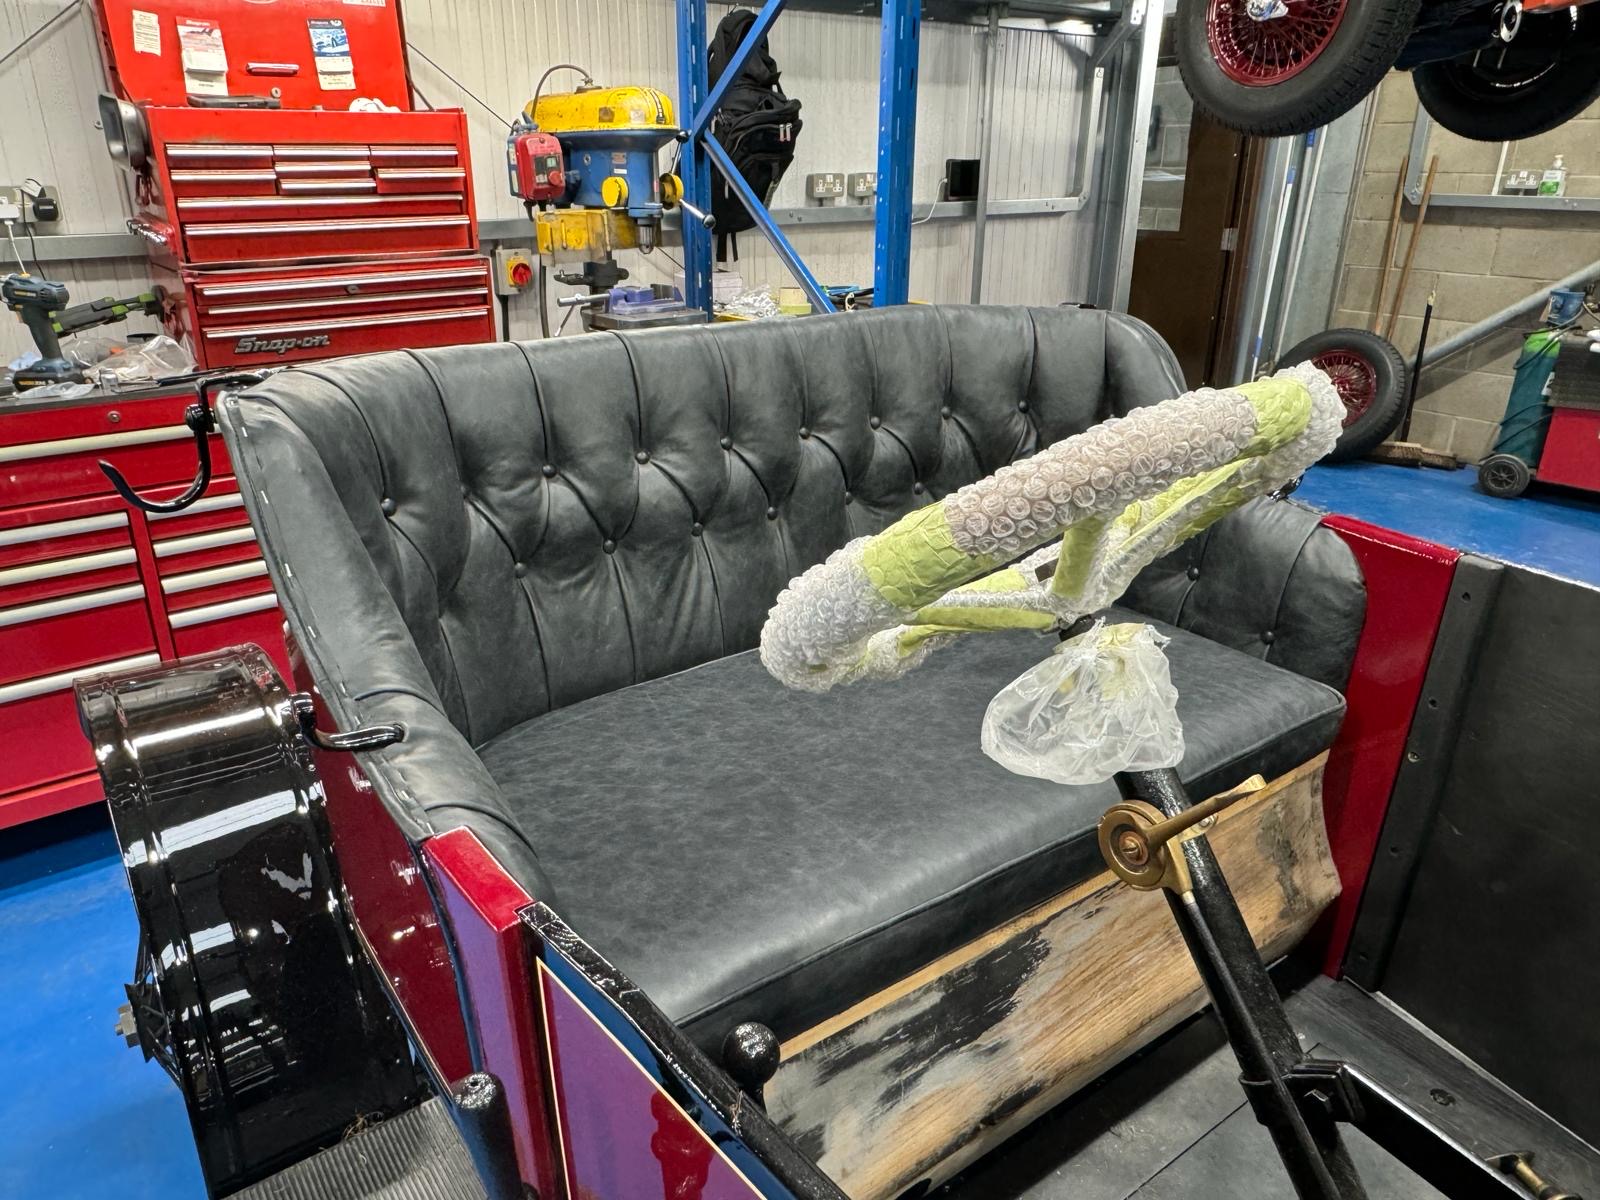
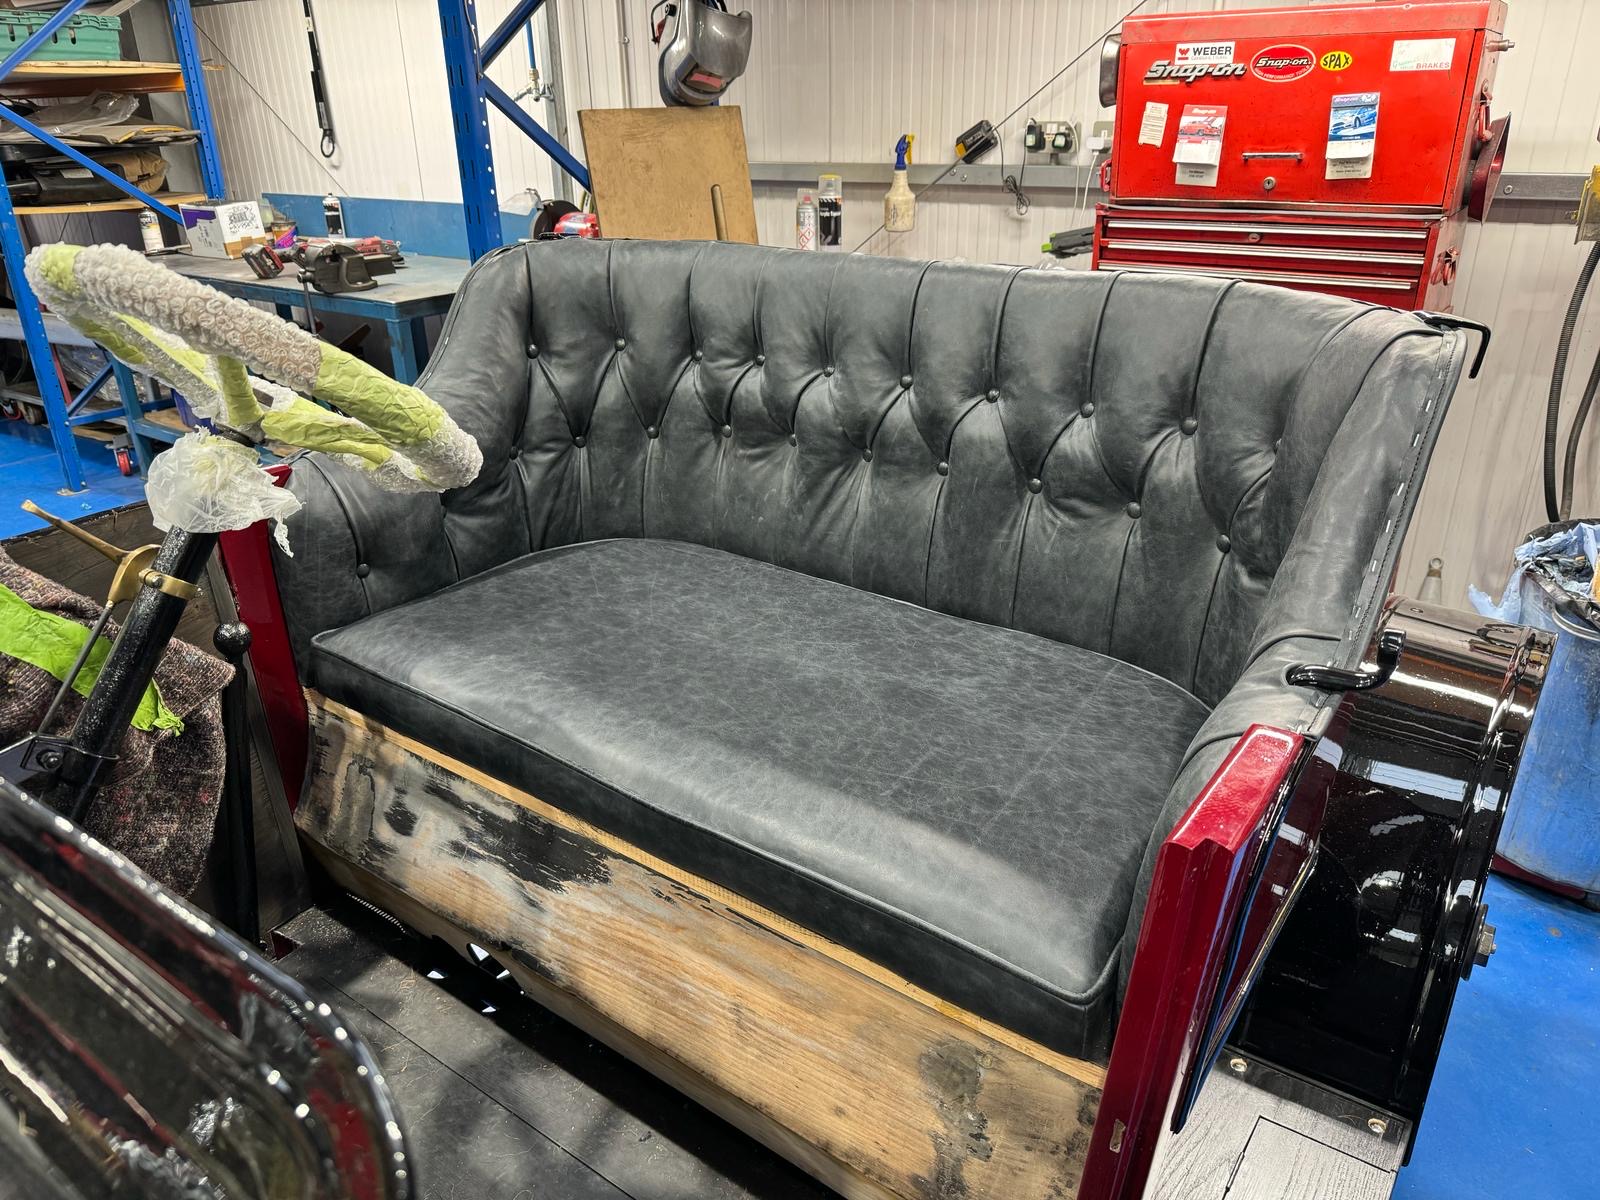
Lydia has spent the last few days titivating the Riley before its grand unveiling at the NEC show at the weekend. Mostly, she has been making the last of the buckles and straps needed to secure the spare wheel, and the hood at front and back.
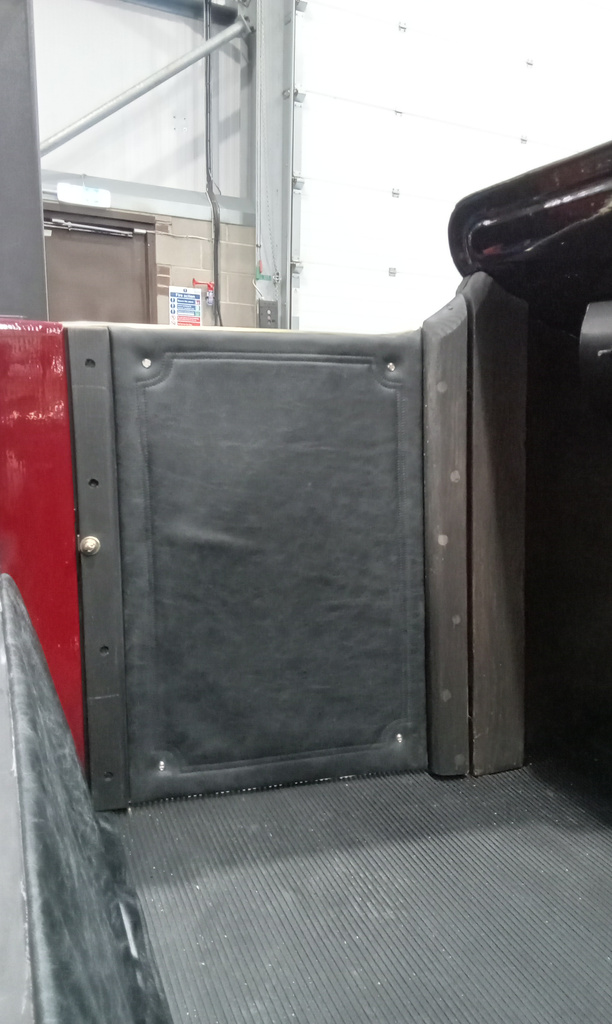
She also made a rubbing patch should the wheel ever come to touch the front mudguard. Lydia also made the leather cover to go from the bottom of the seat to the floor, and this press studs over the rubber mat that has been placed on the floor.
The door cards were also finished and fitted and this meant that the brass strip could be applied to the top.

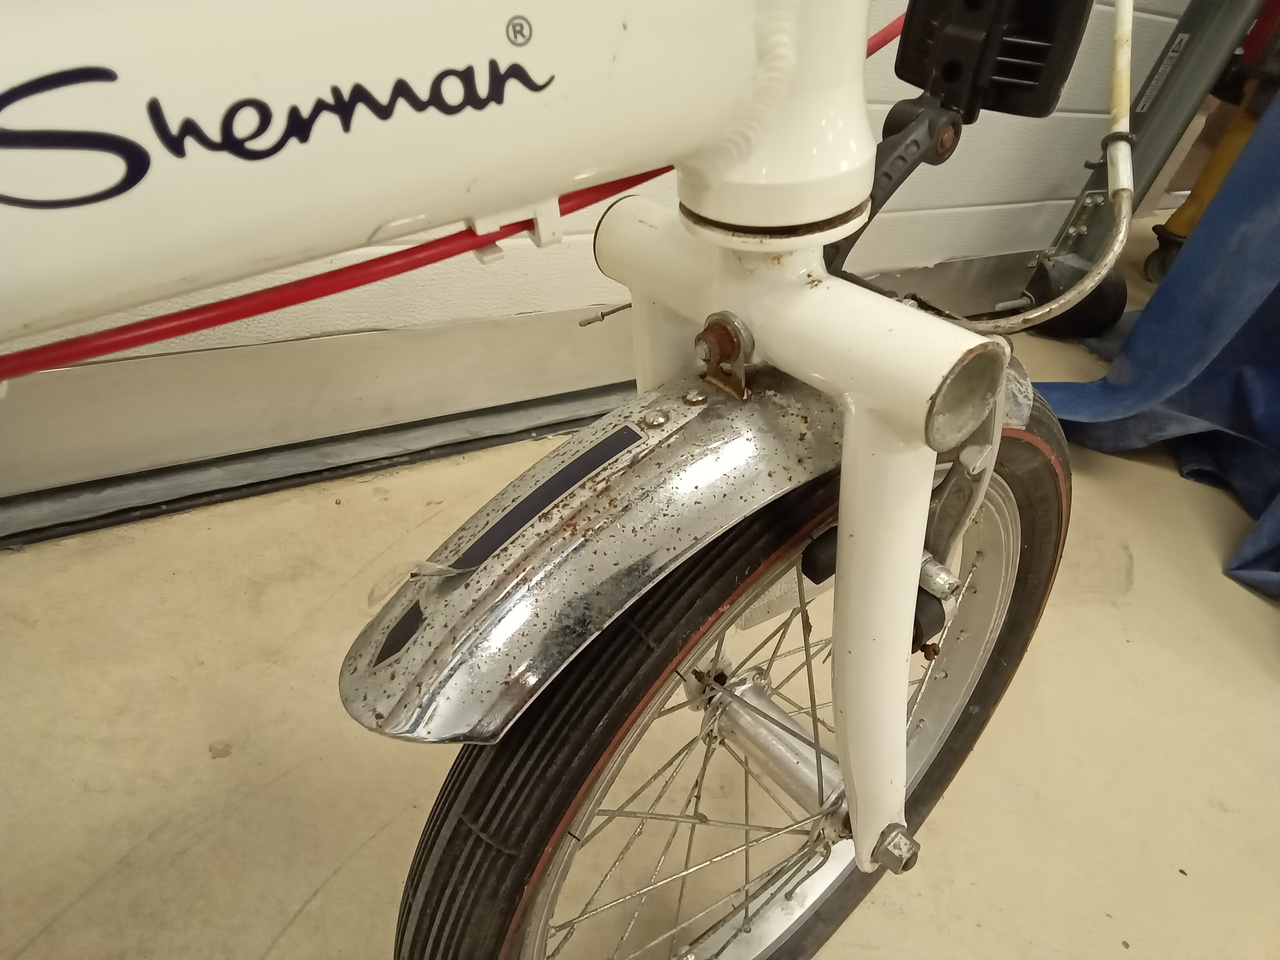
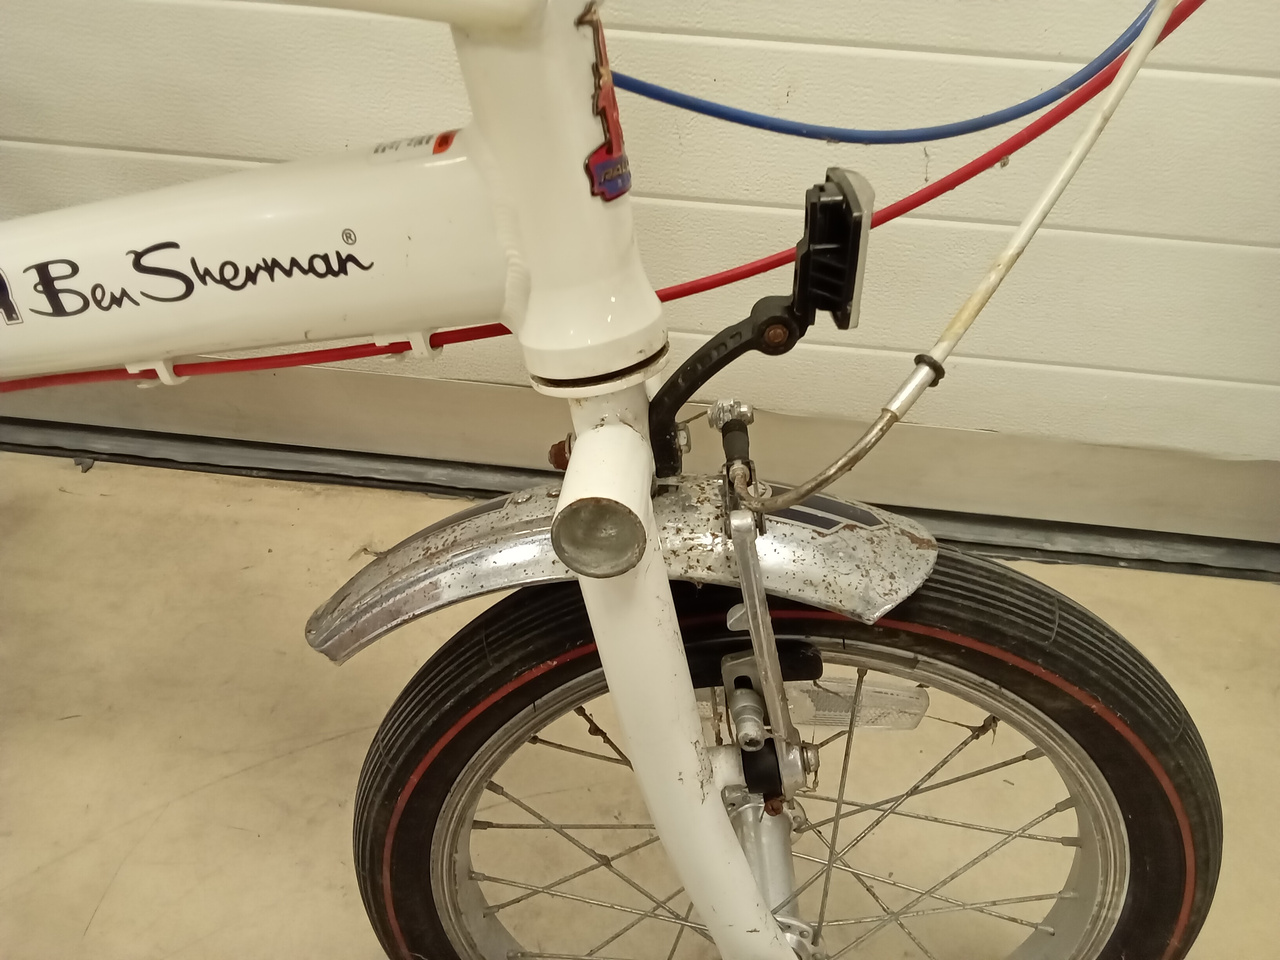
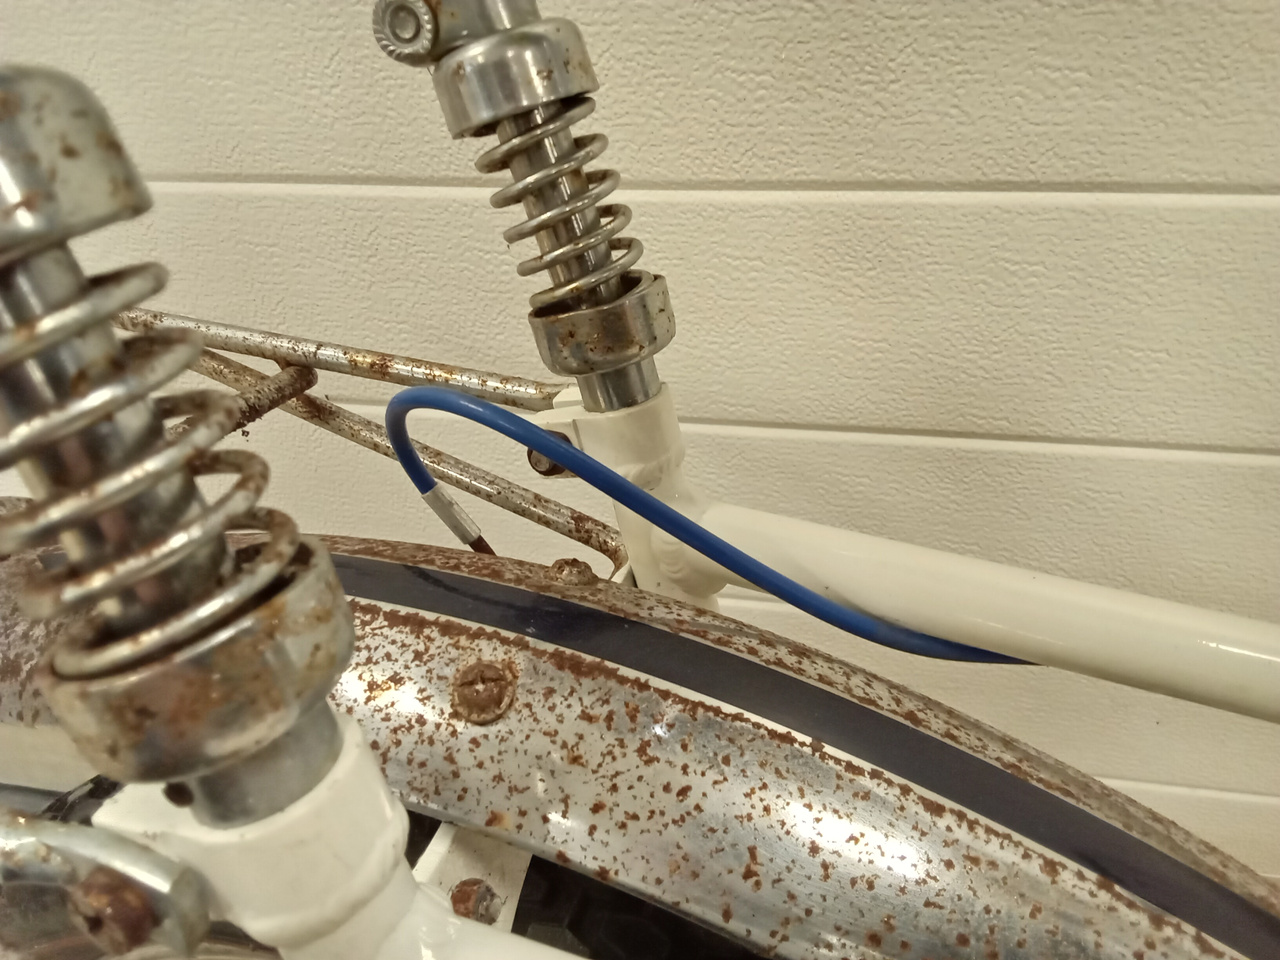
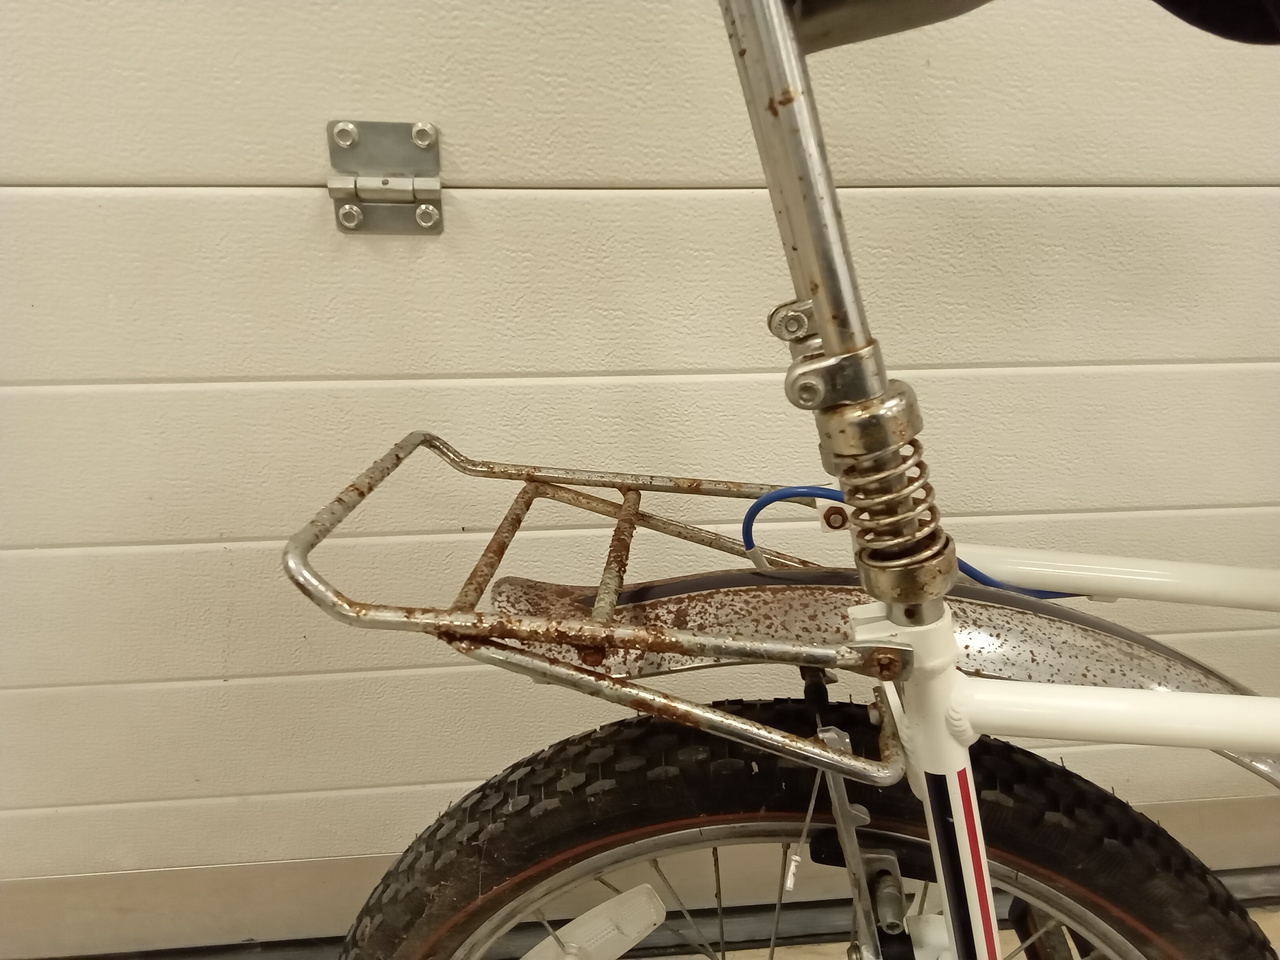
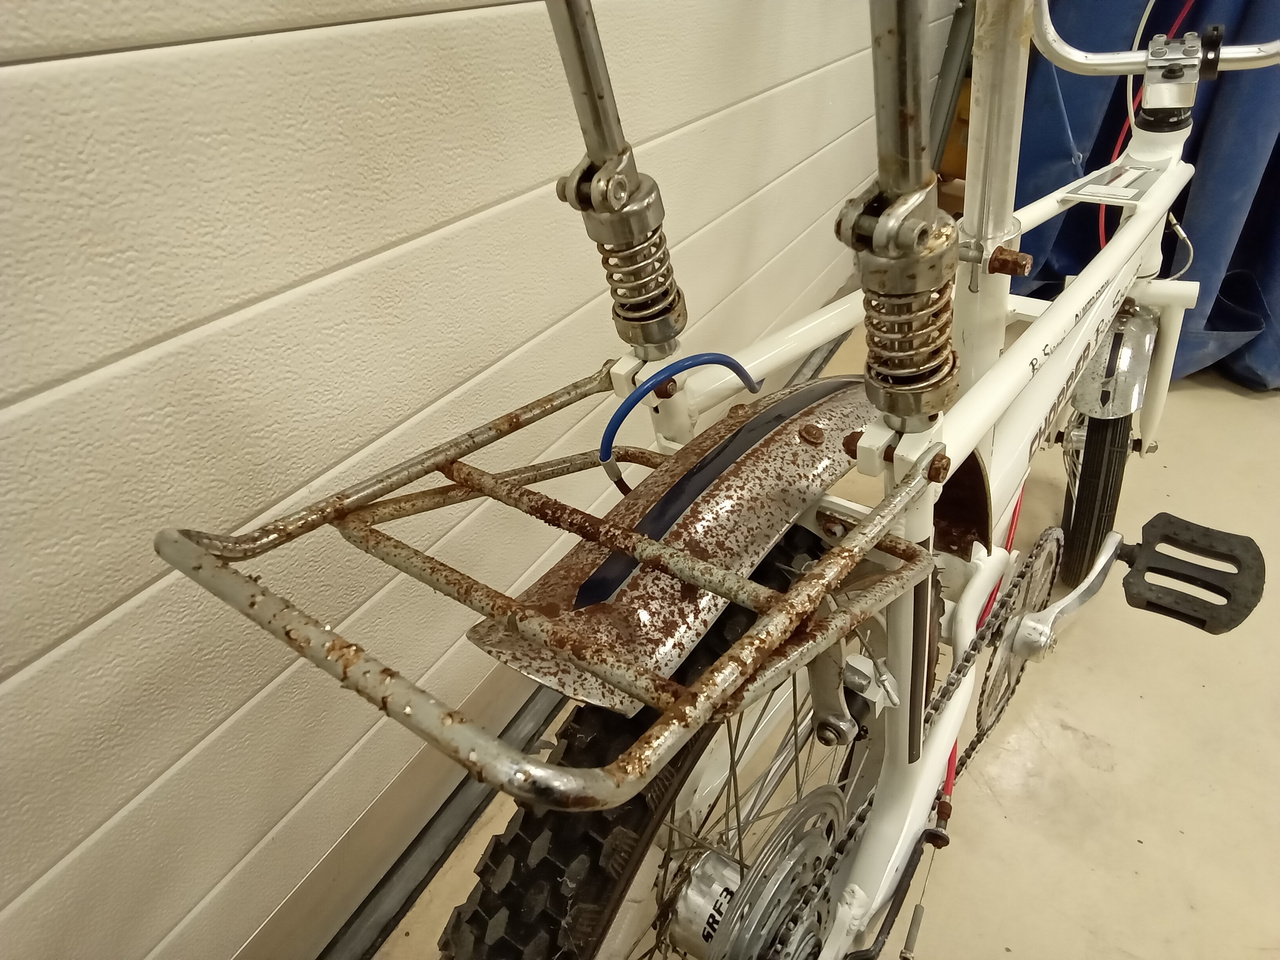
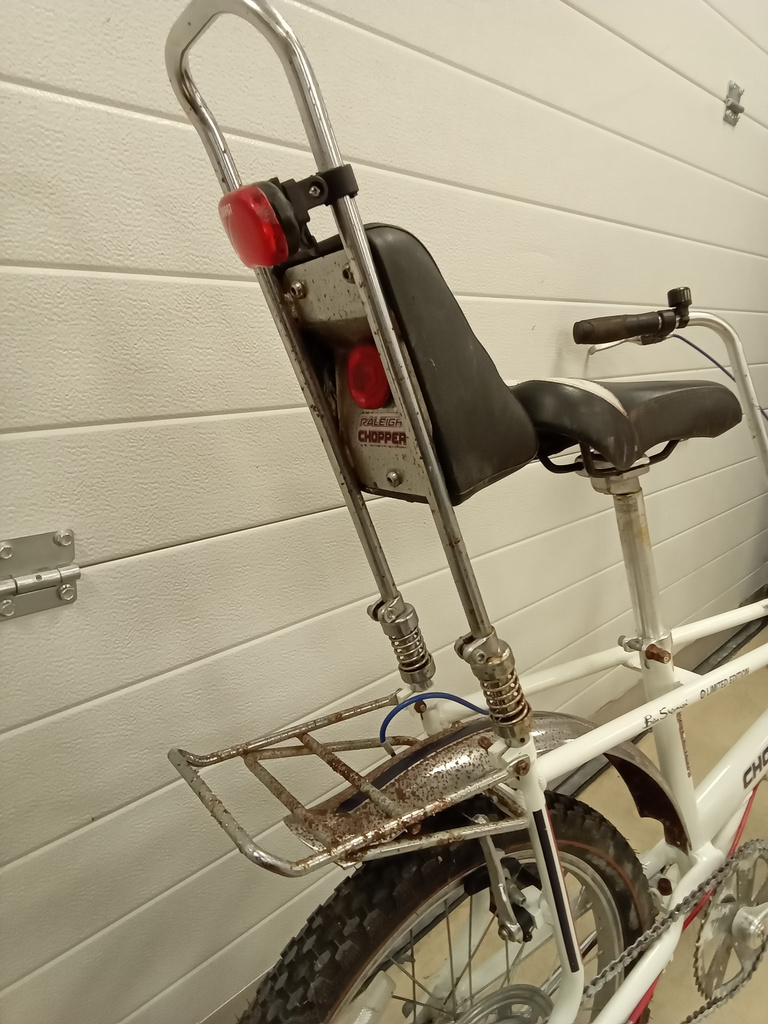
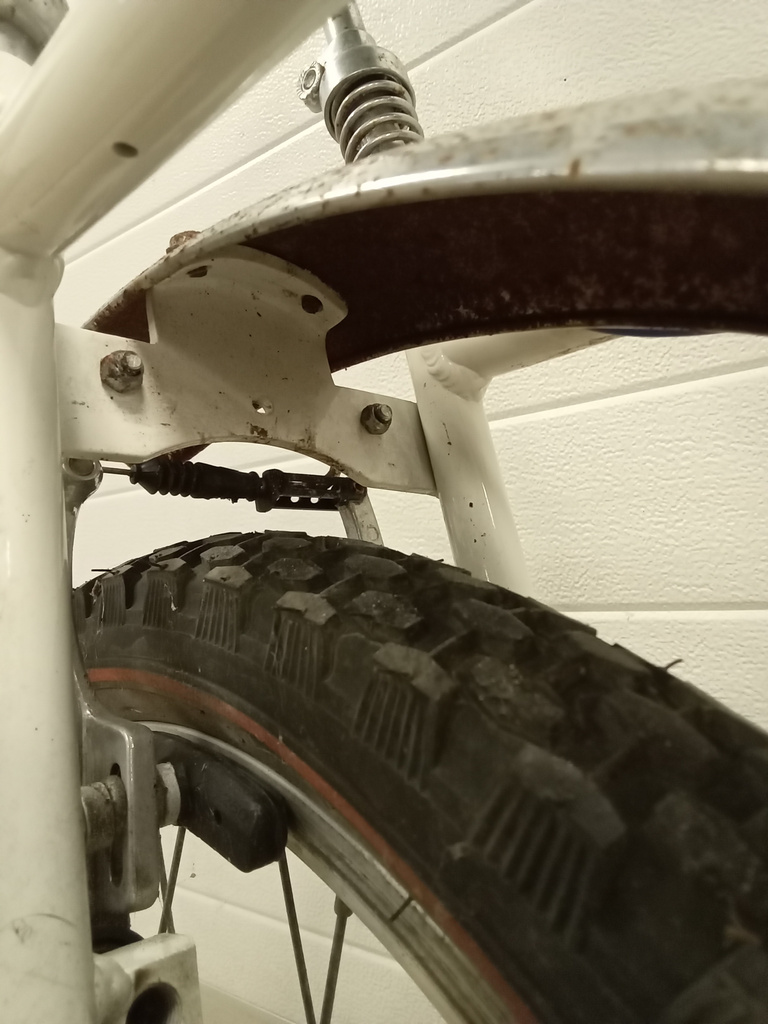
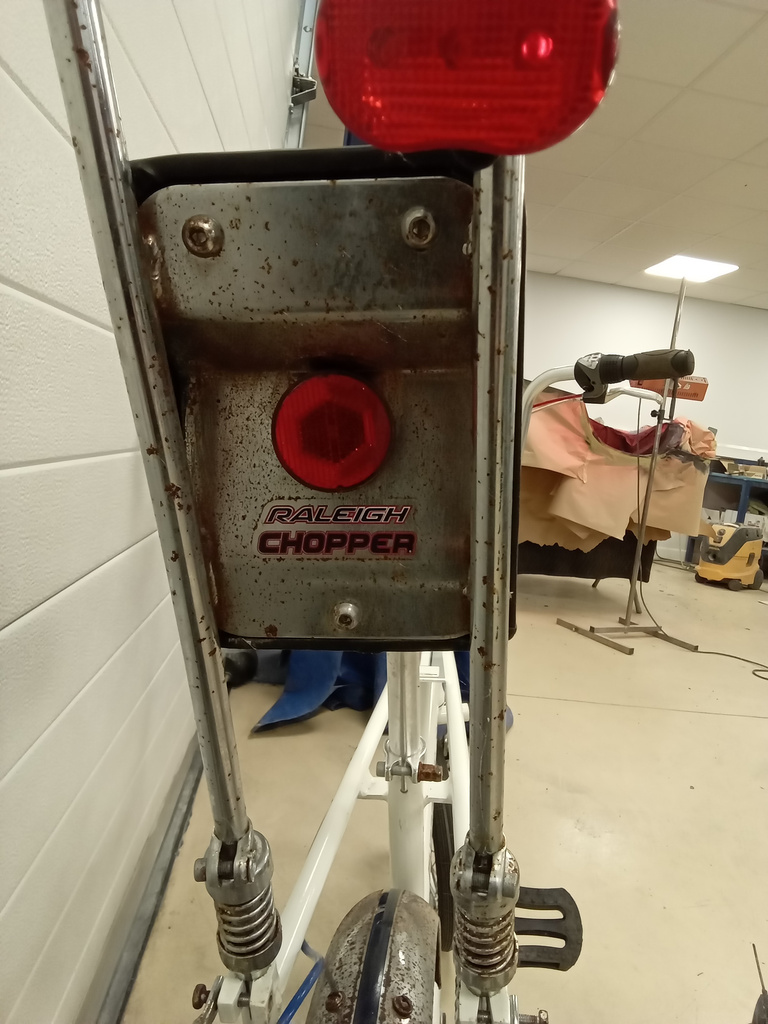
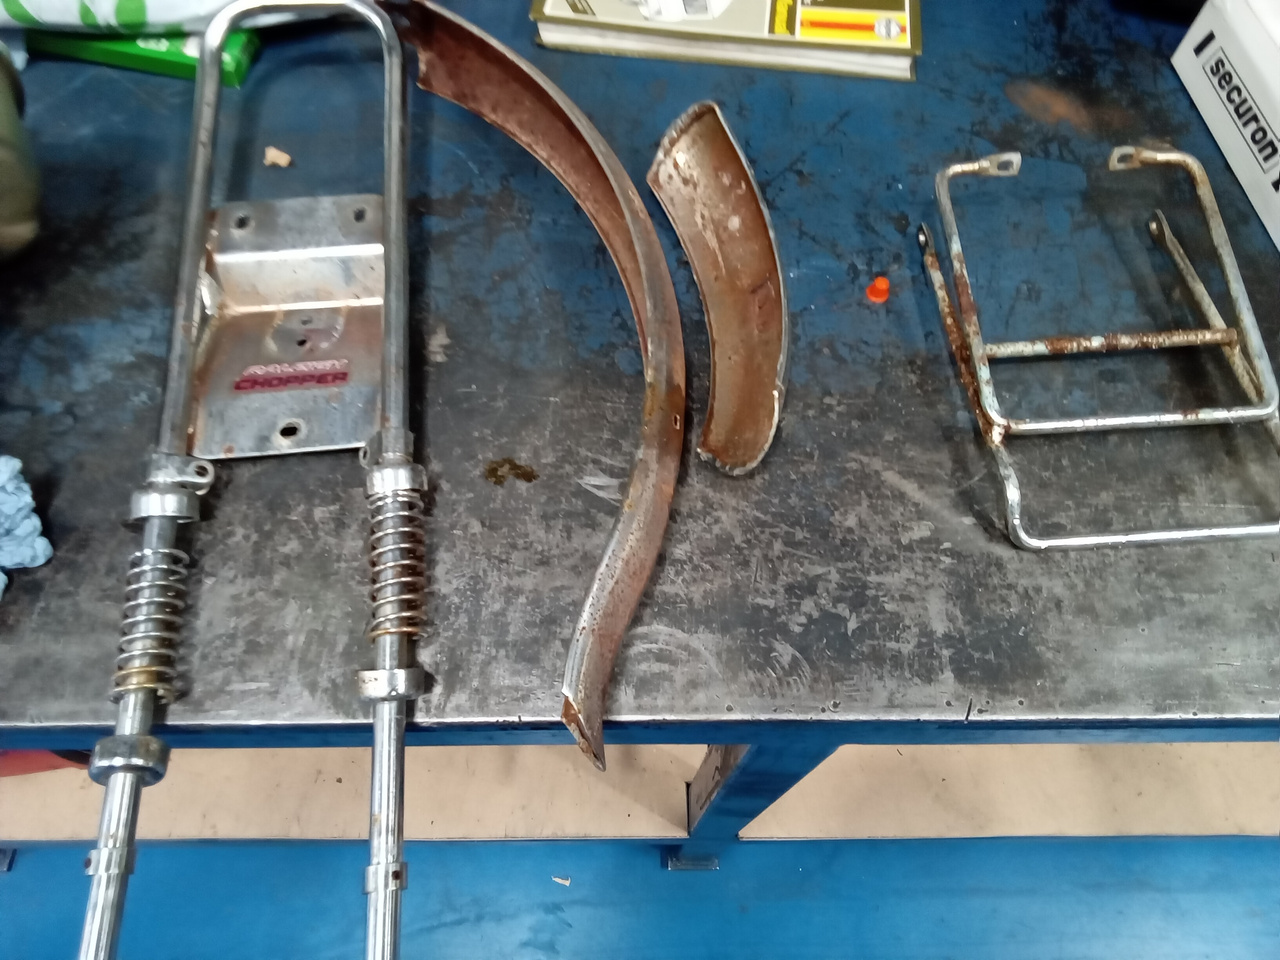
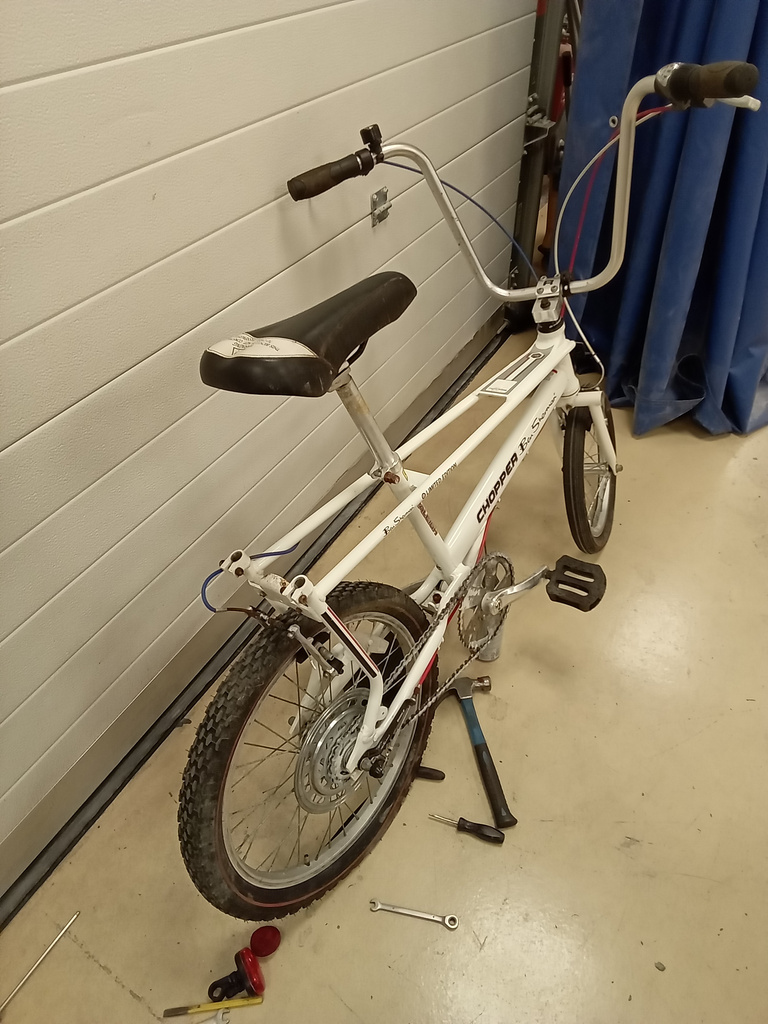
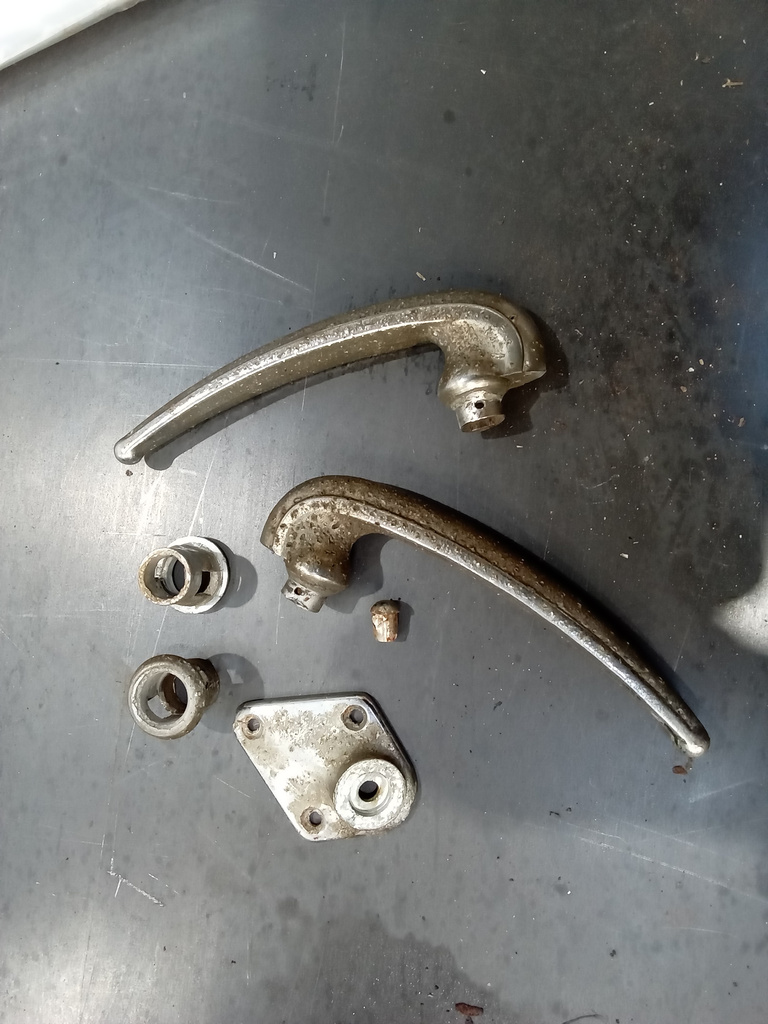
The chrome components of our Raleigh Chopper MK3 Ben Sherman Limited Edition have been removed so they can be repaired.

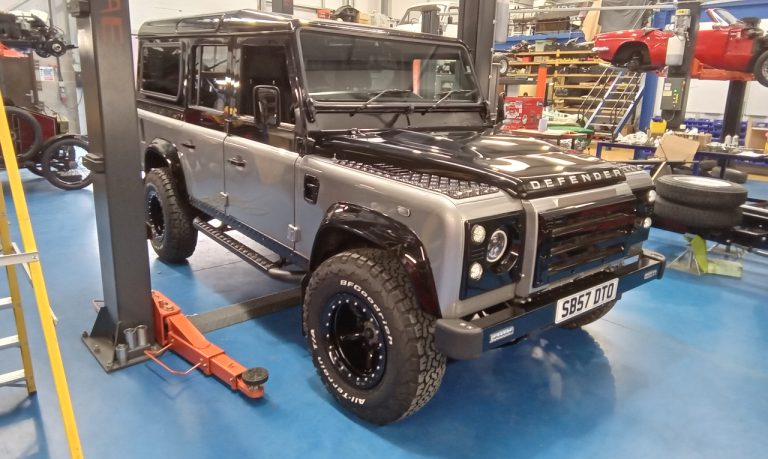
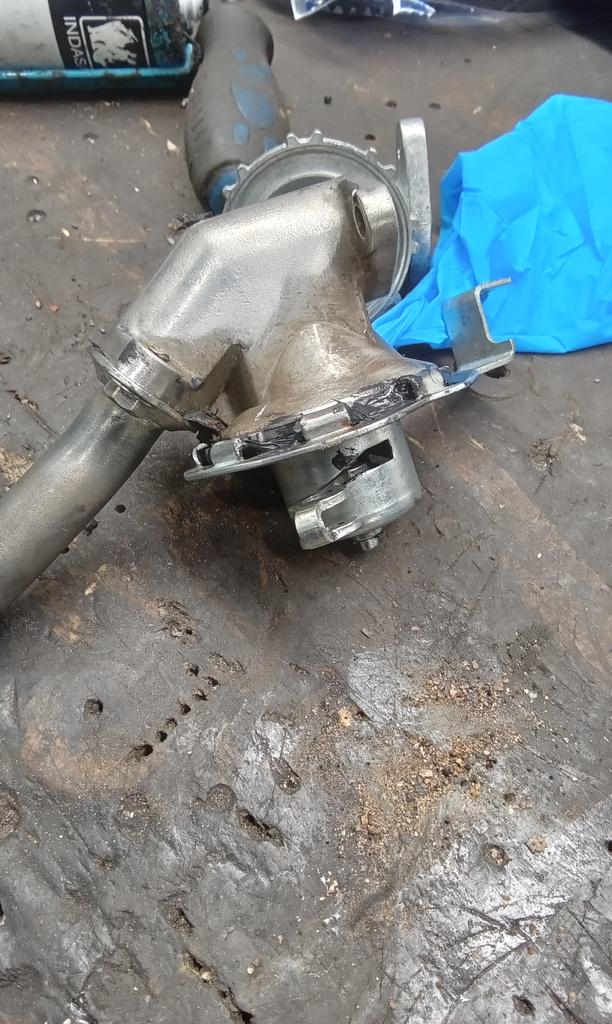
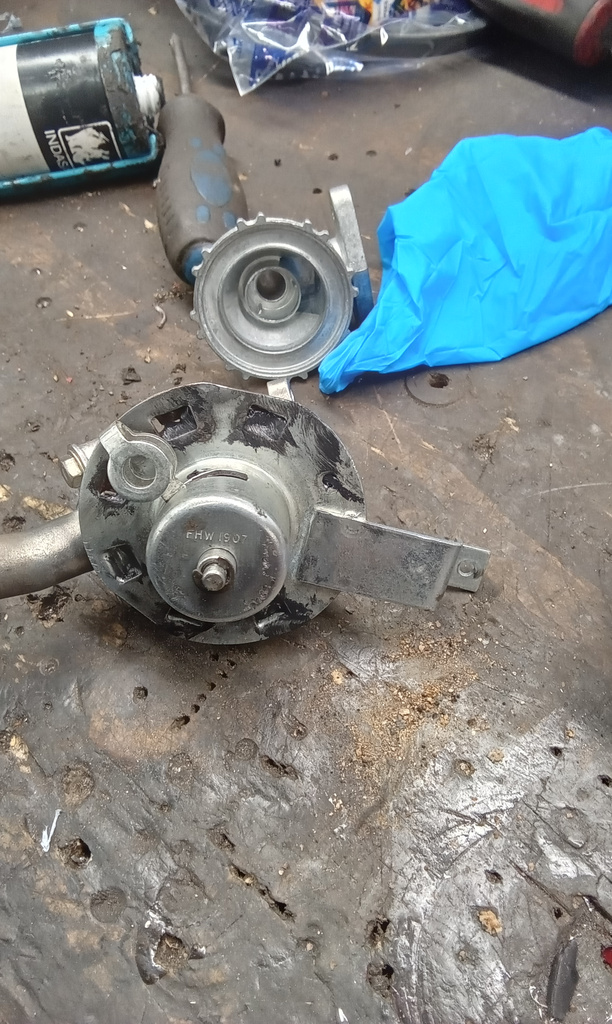
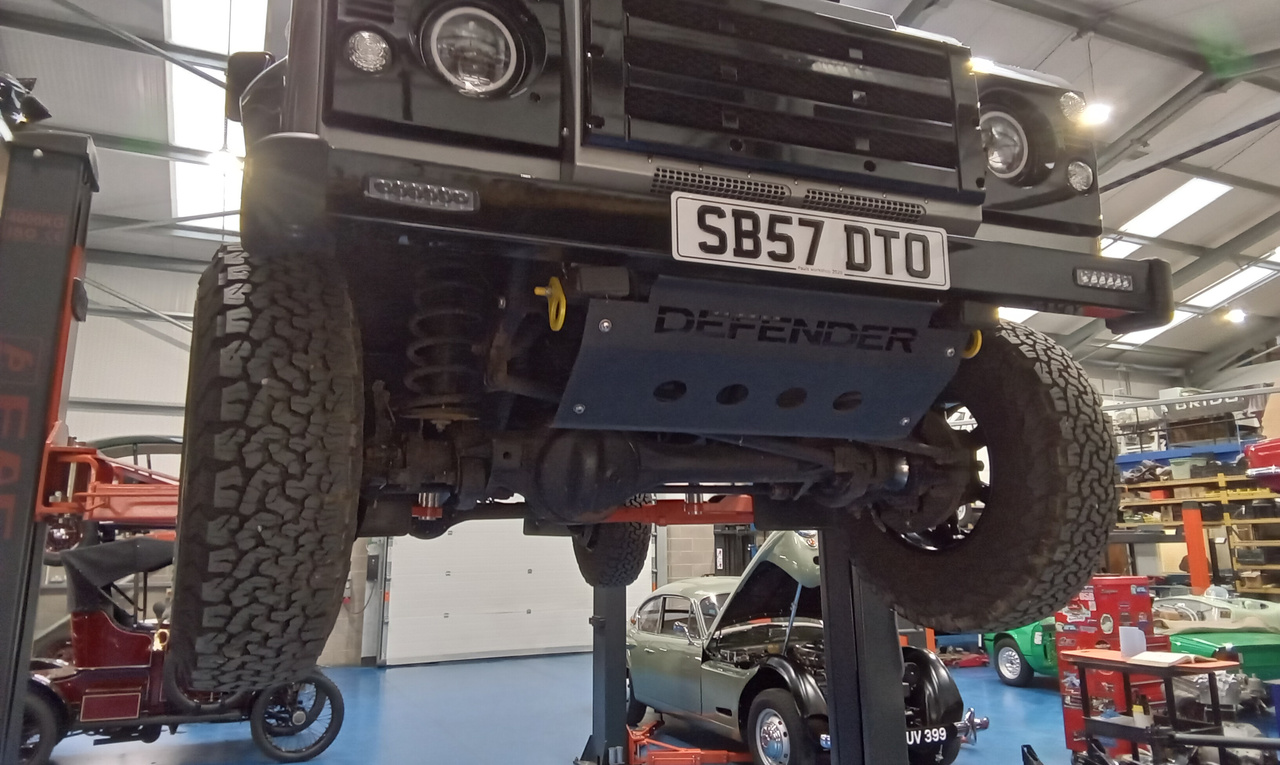
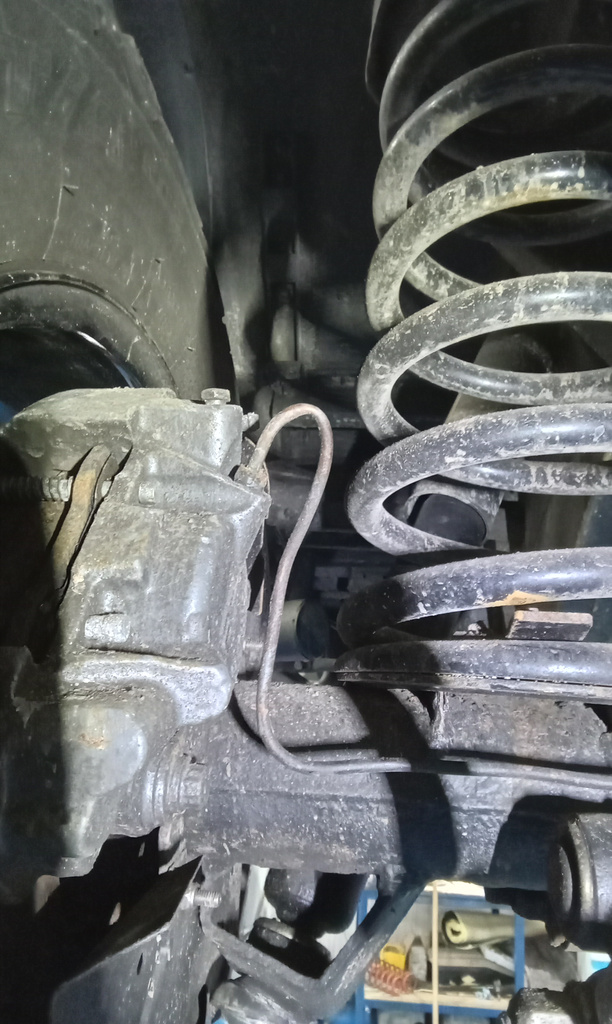
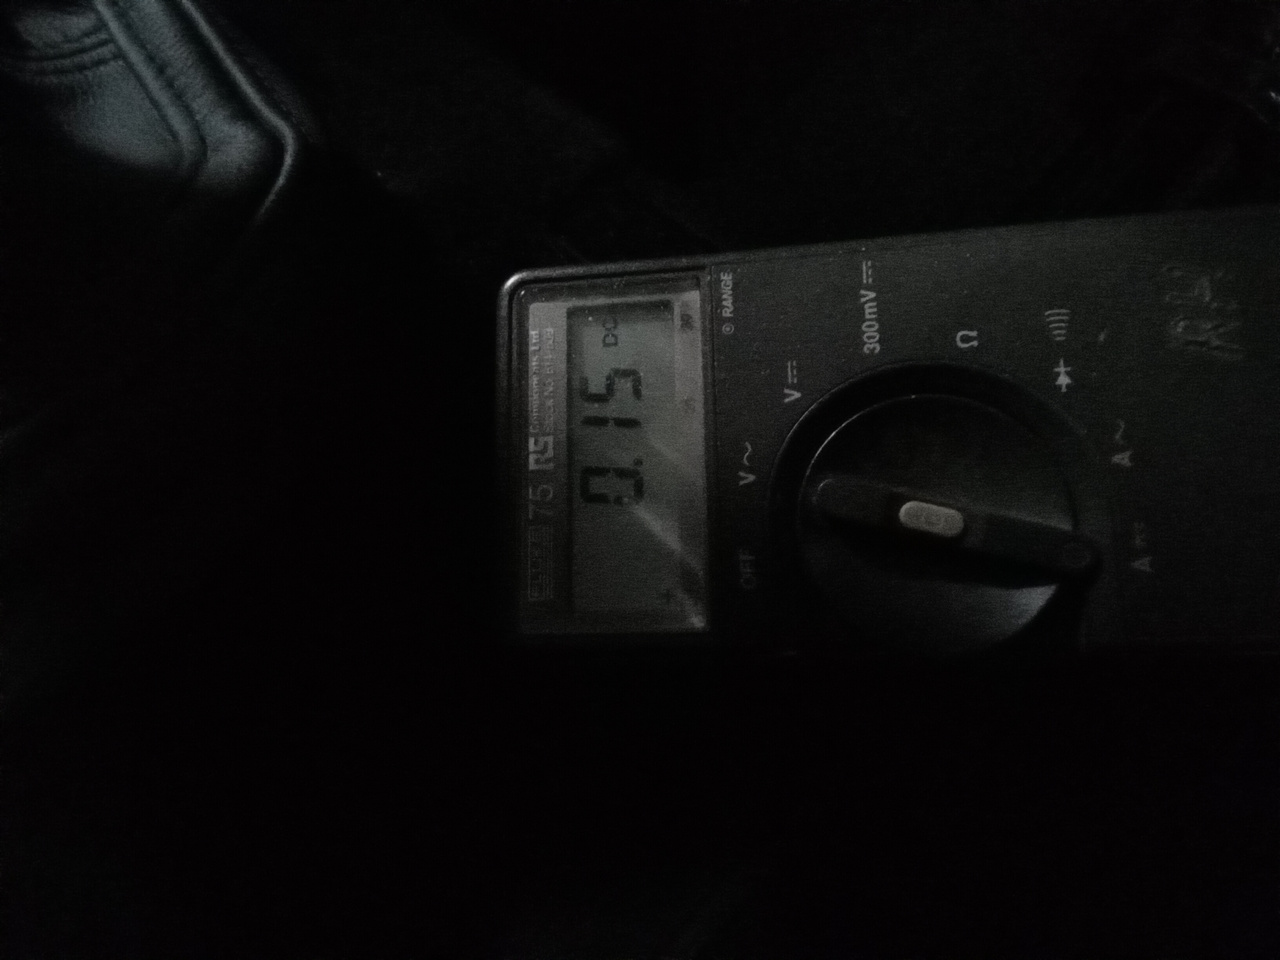
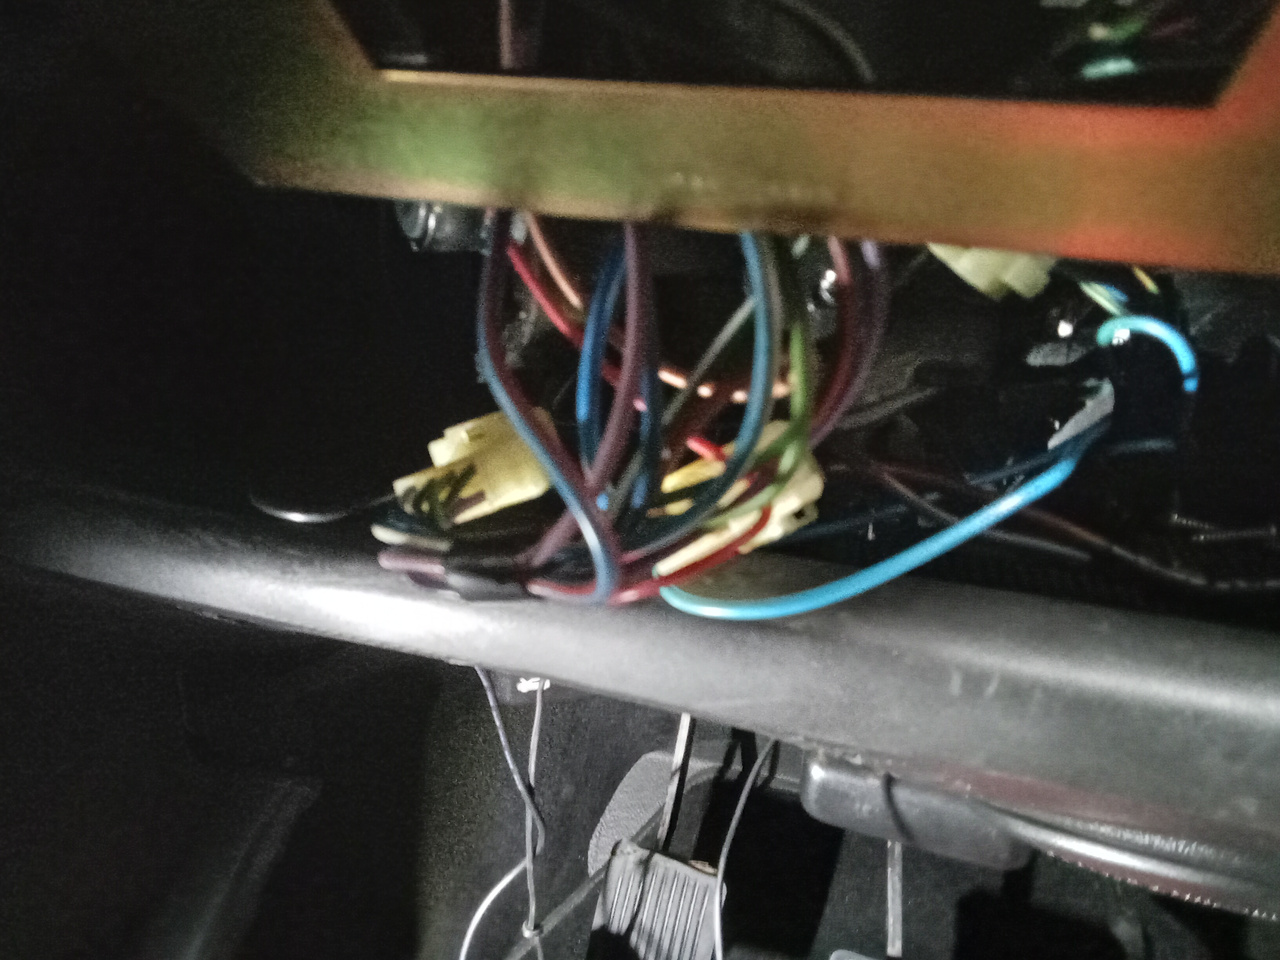
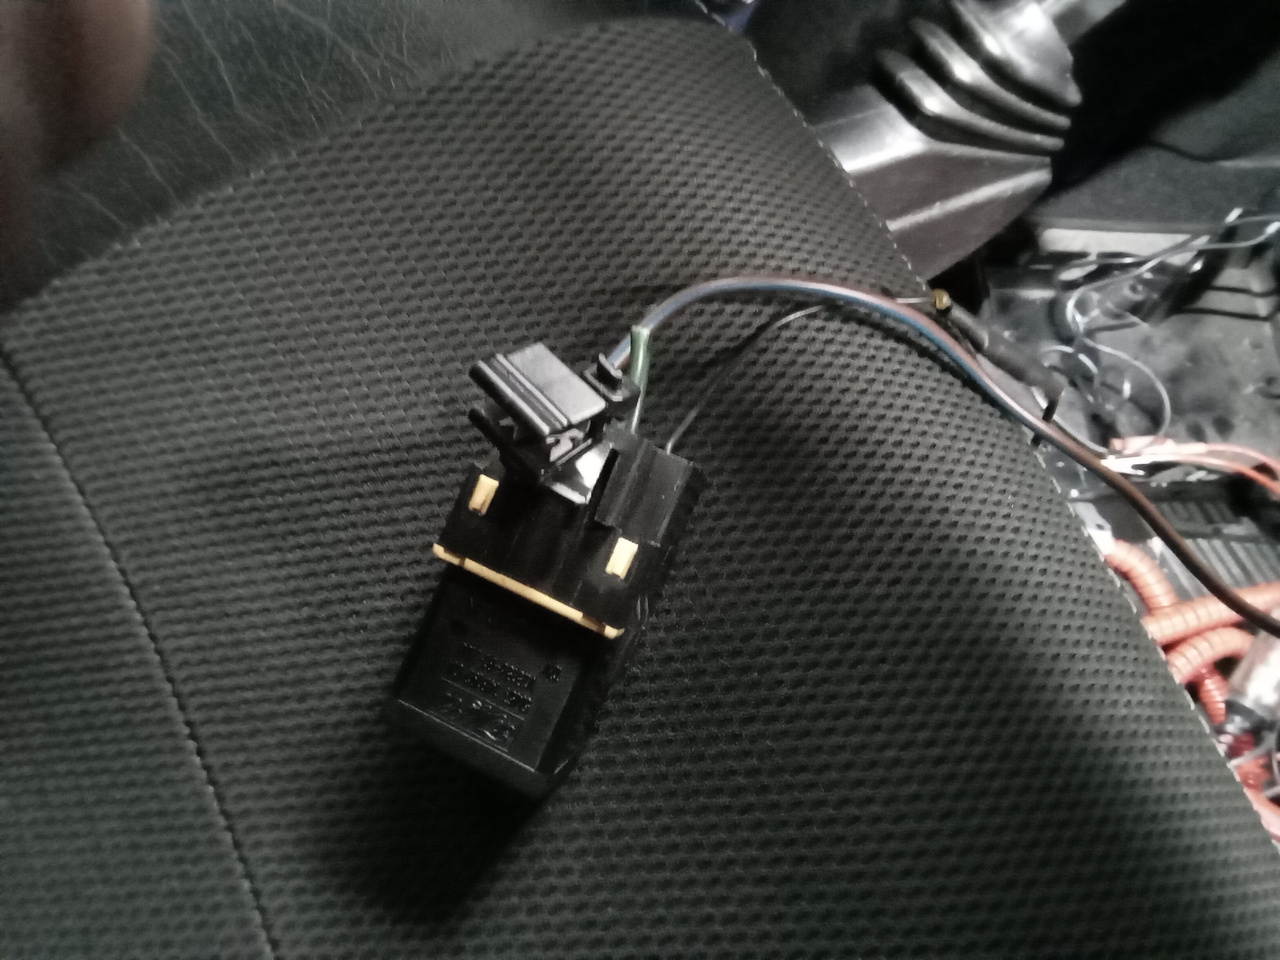
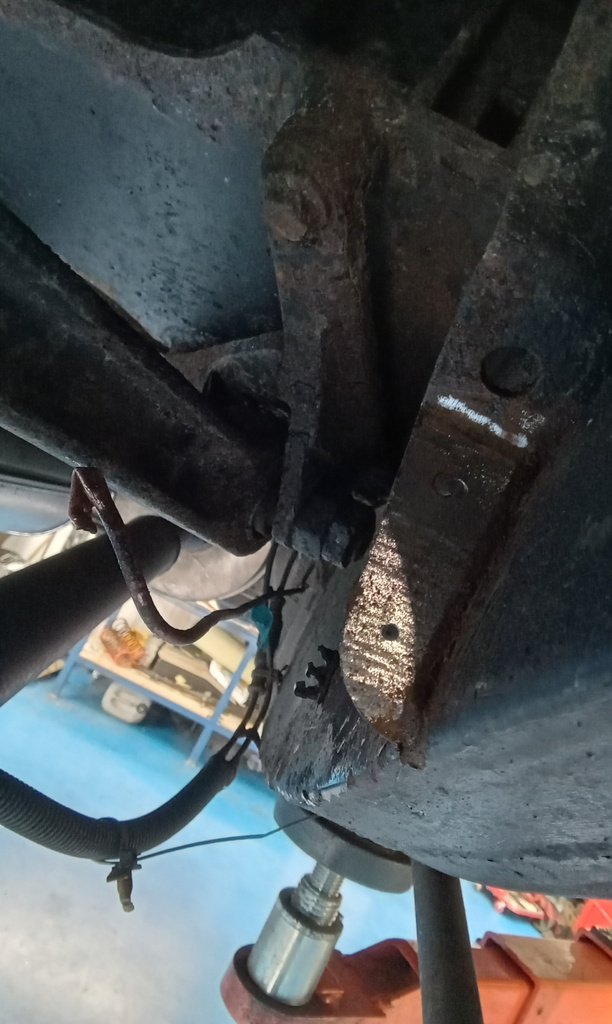
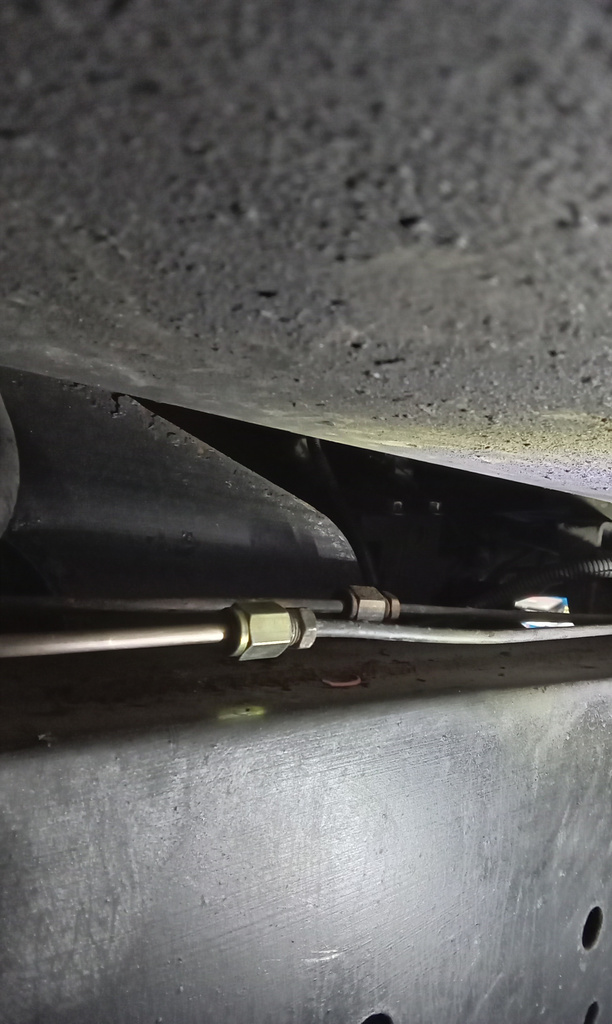
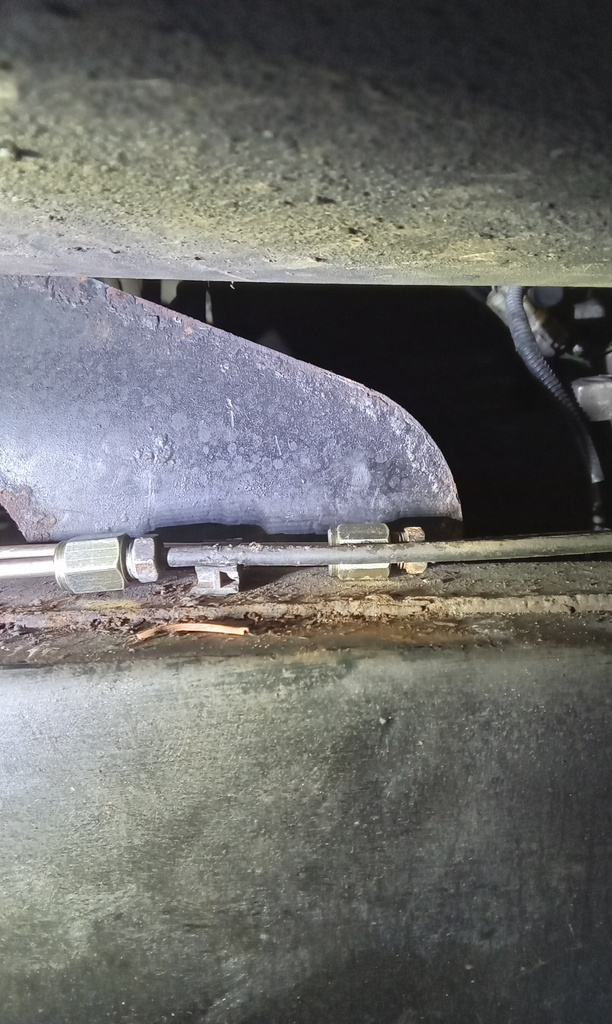
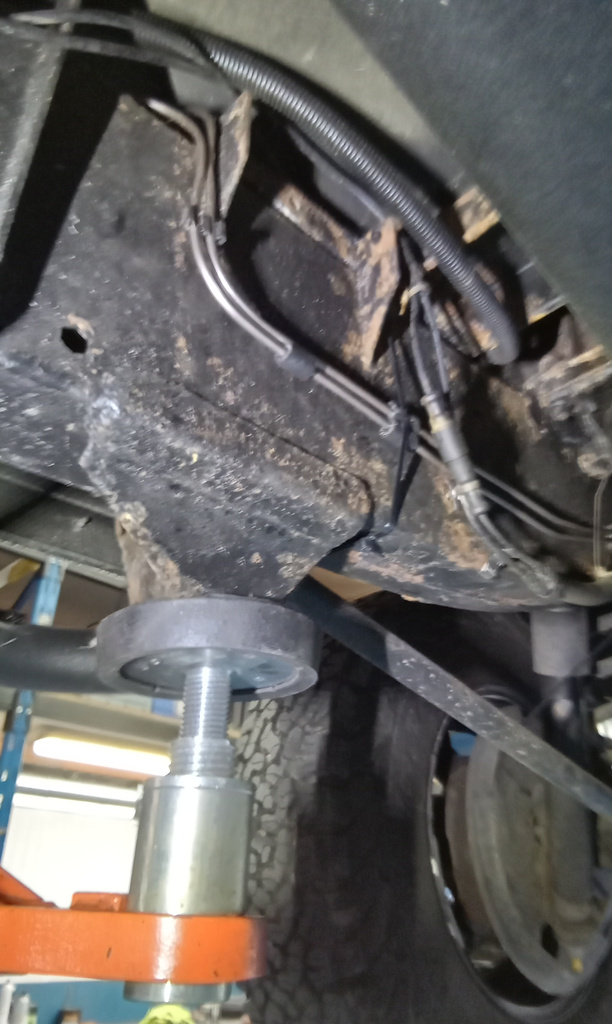
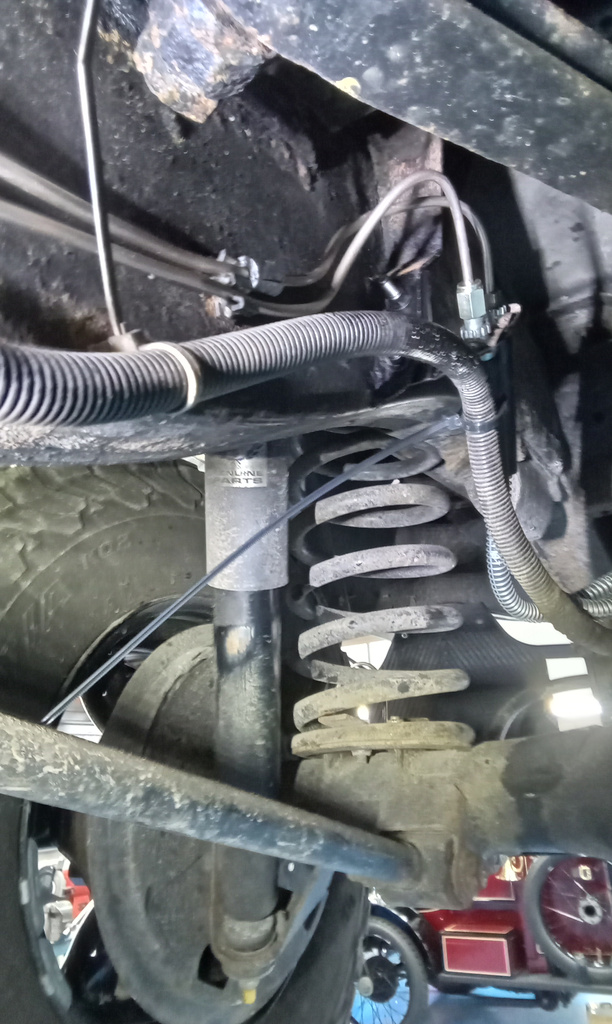
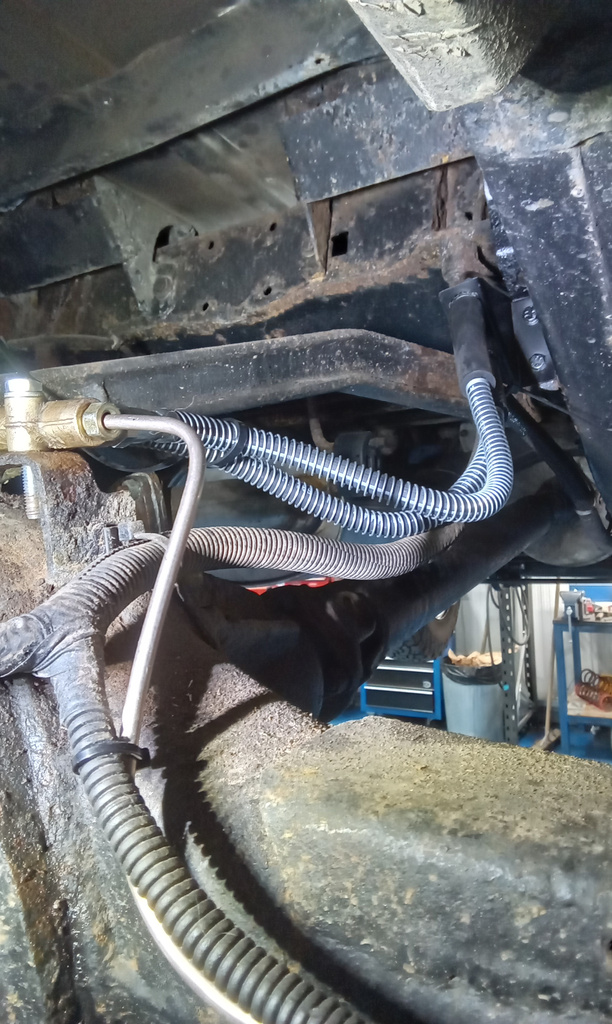
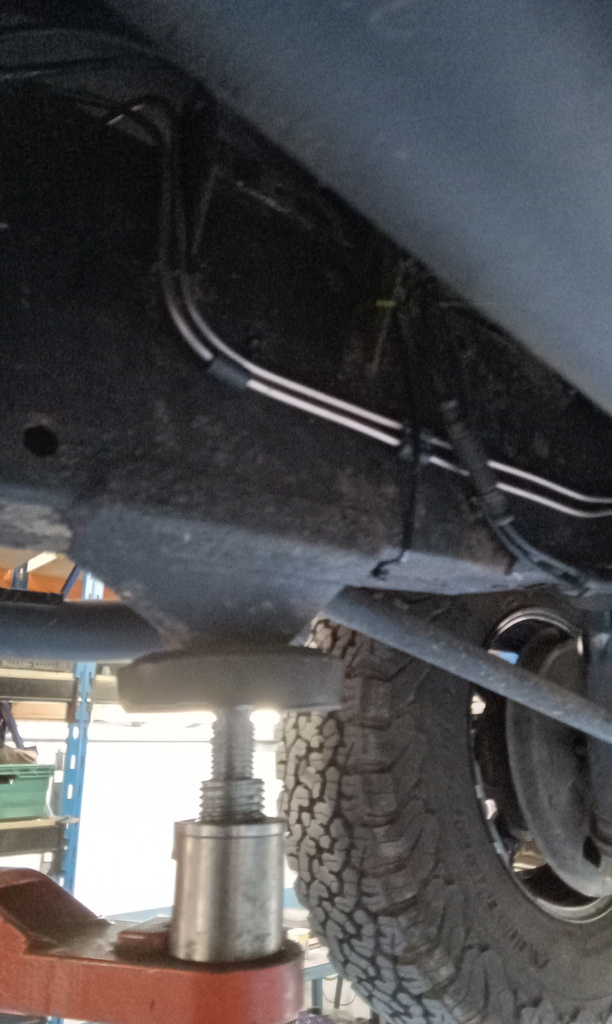
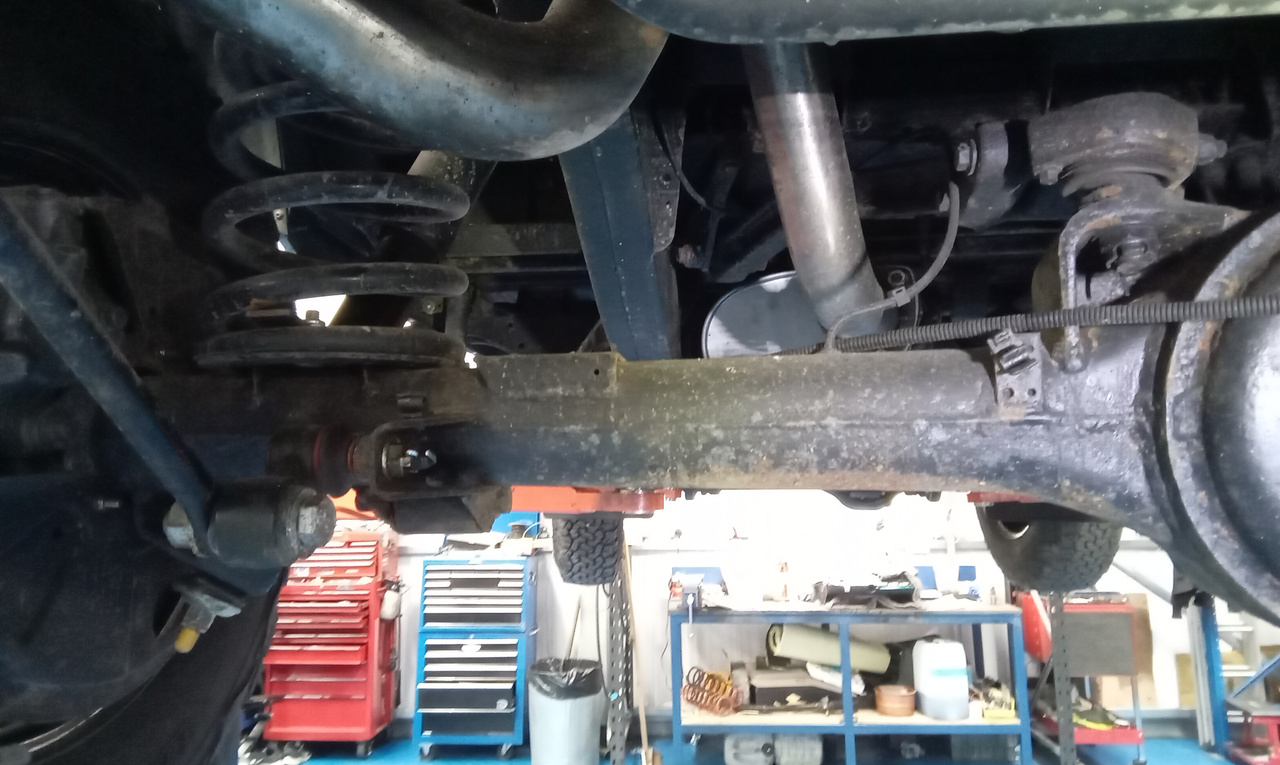
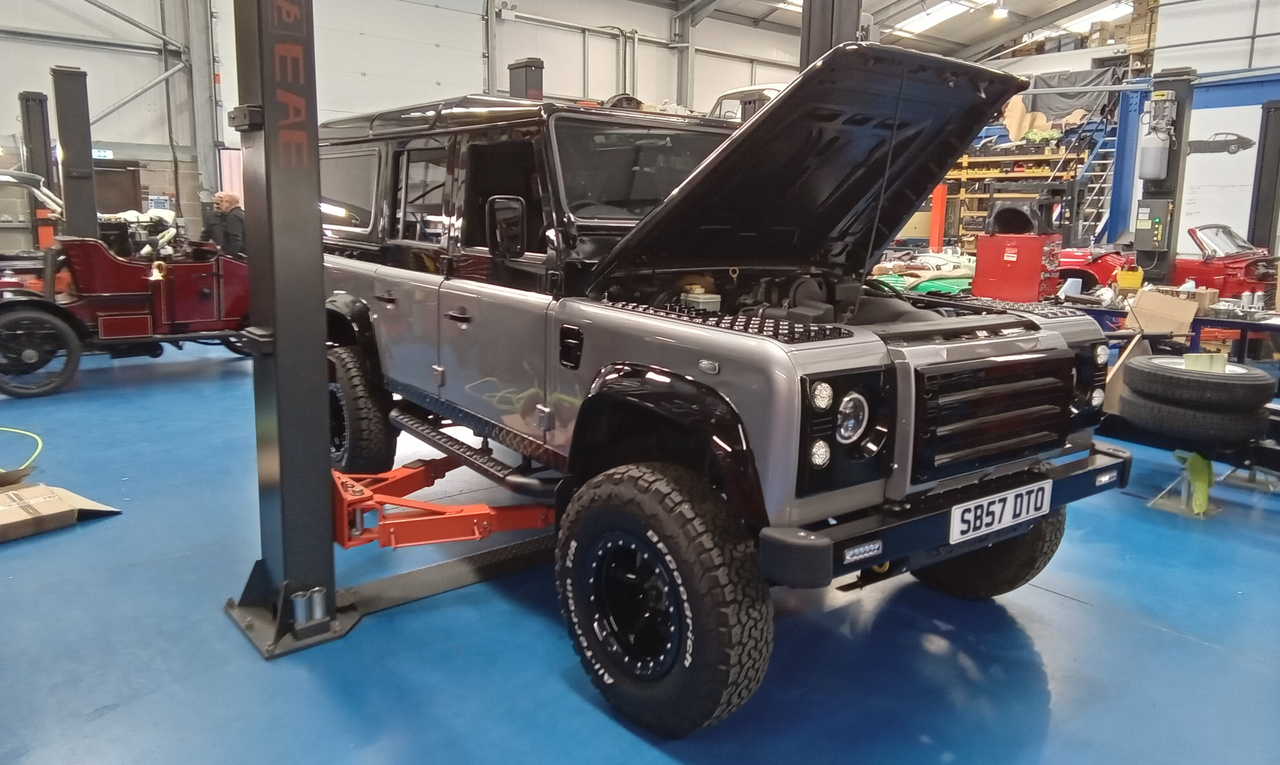
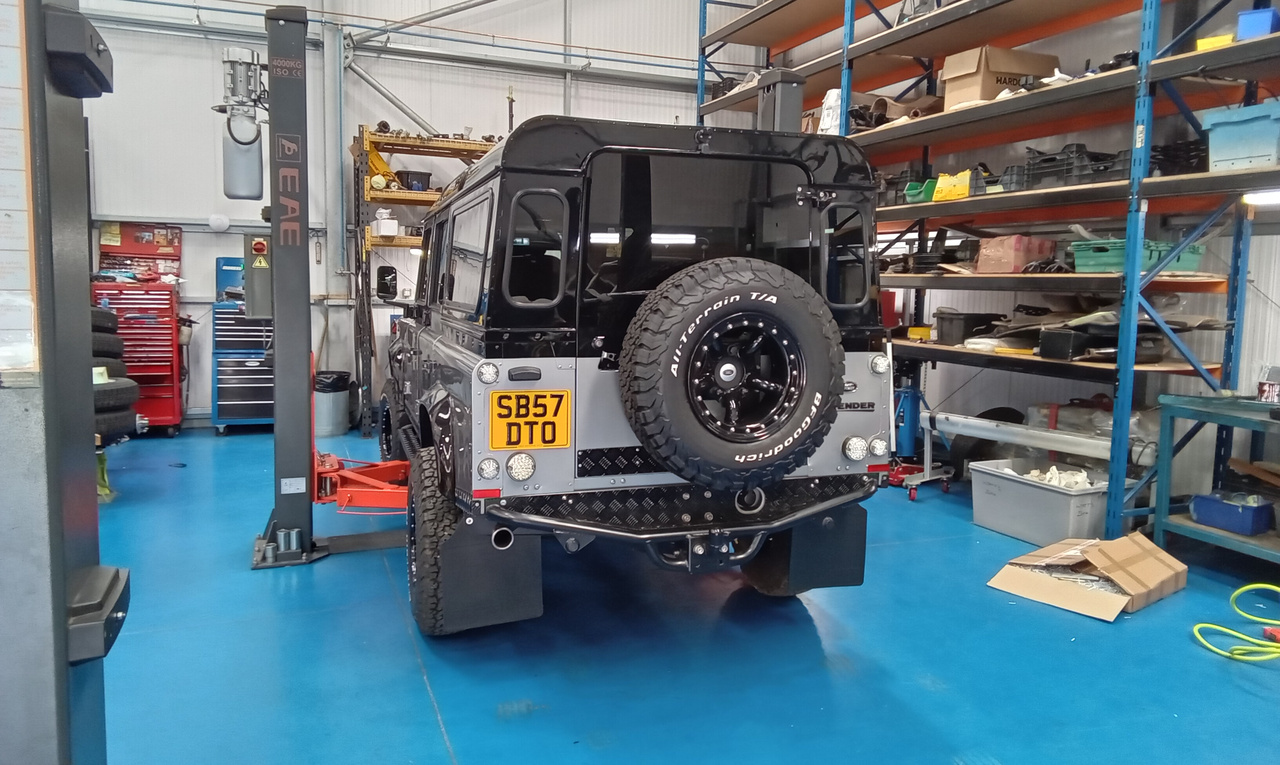
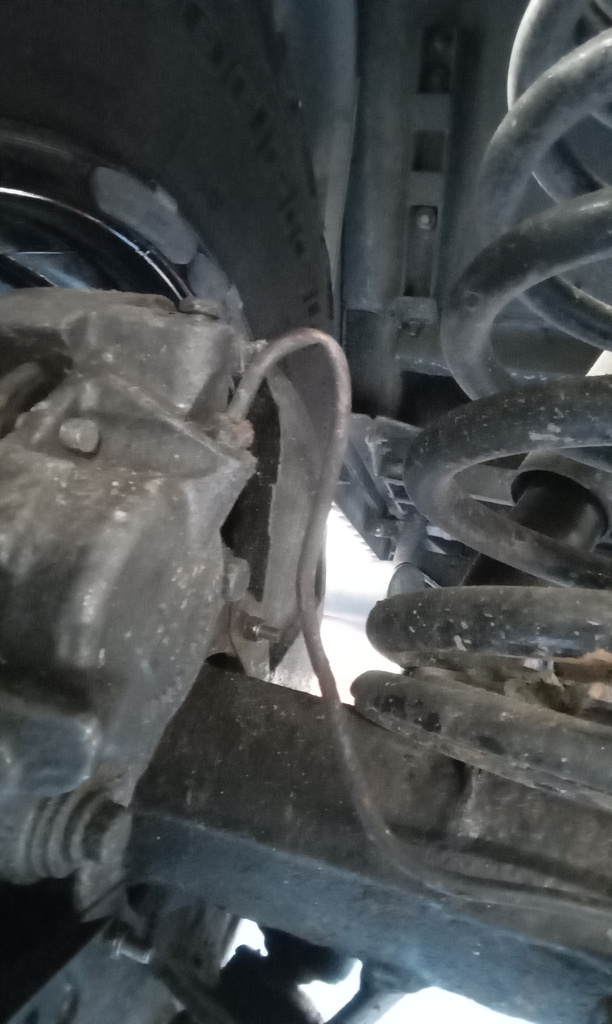
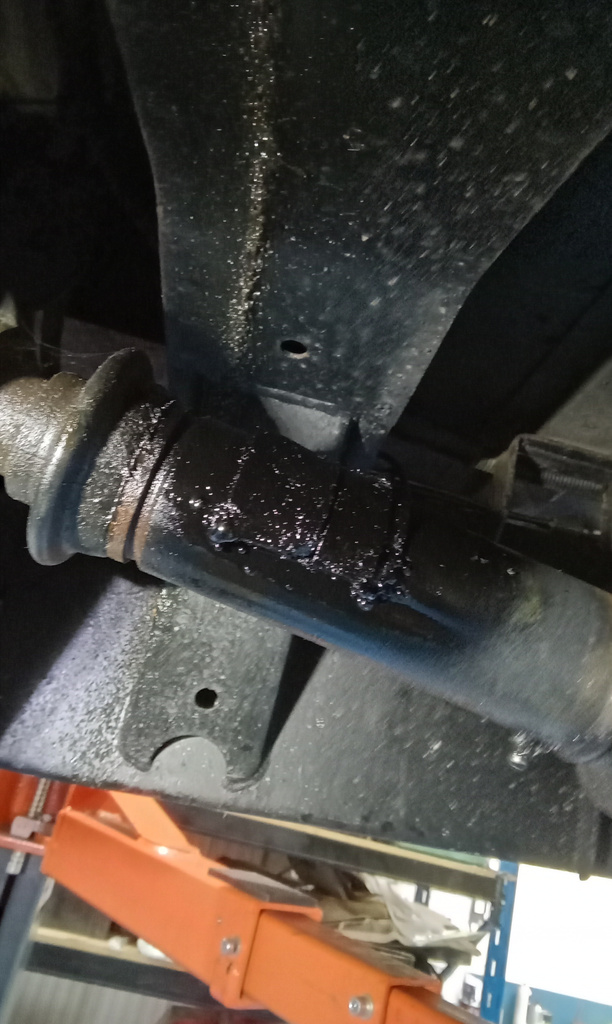
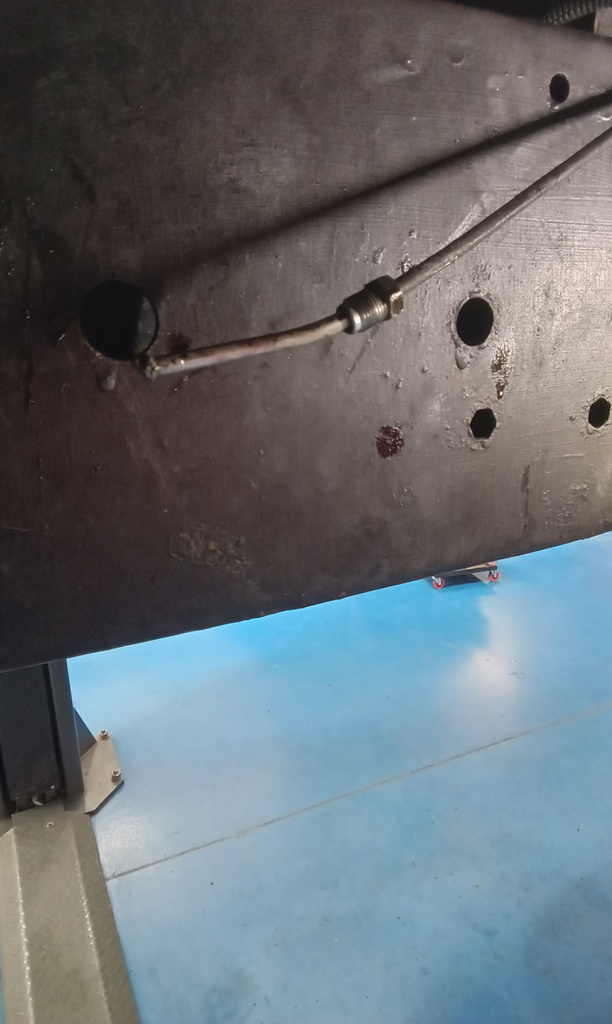
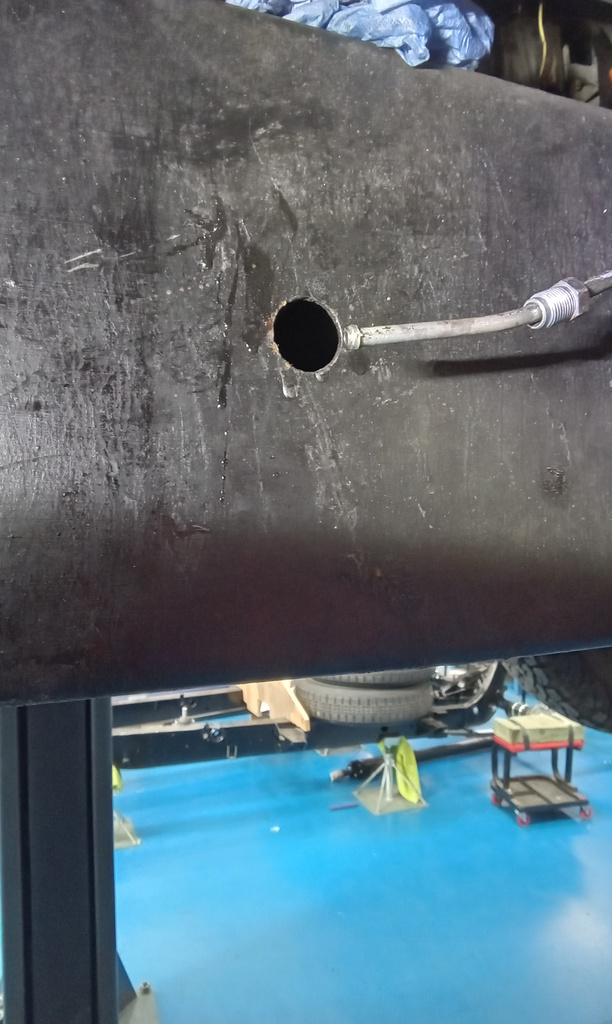
Our 2007 Land Rover Defender was suffering from a battery drain which John traced back to the wiring to a relay. The wiring was modified to bypass the relay which wasn’t needed. A permanent ignition feed was also fitted for the rear-view camera.
The car was then checked over before it is won on Tuesday.
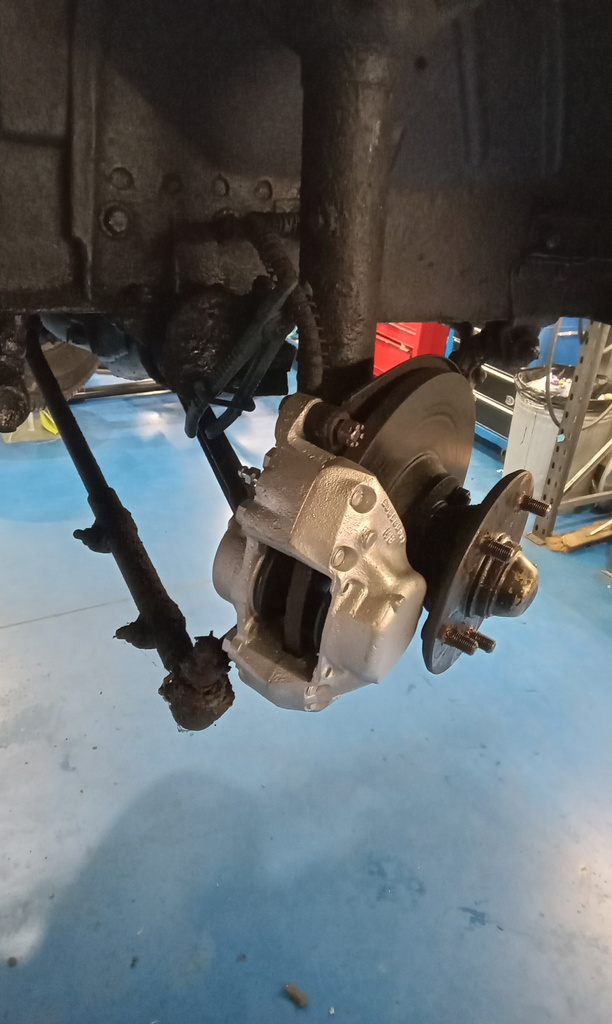
During the checks, our other Jonn made the following notes:
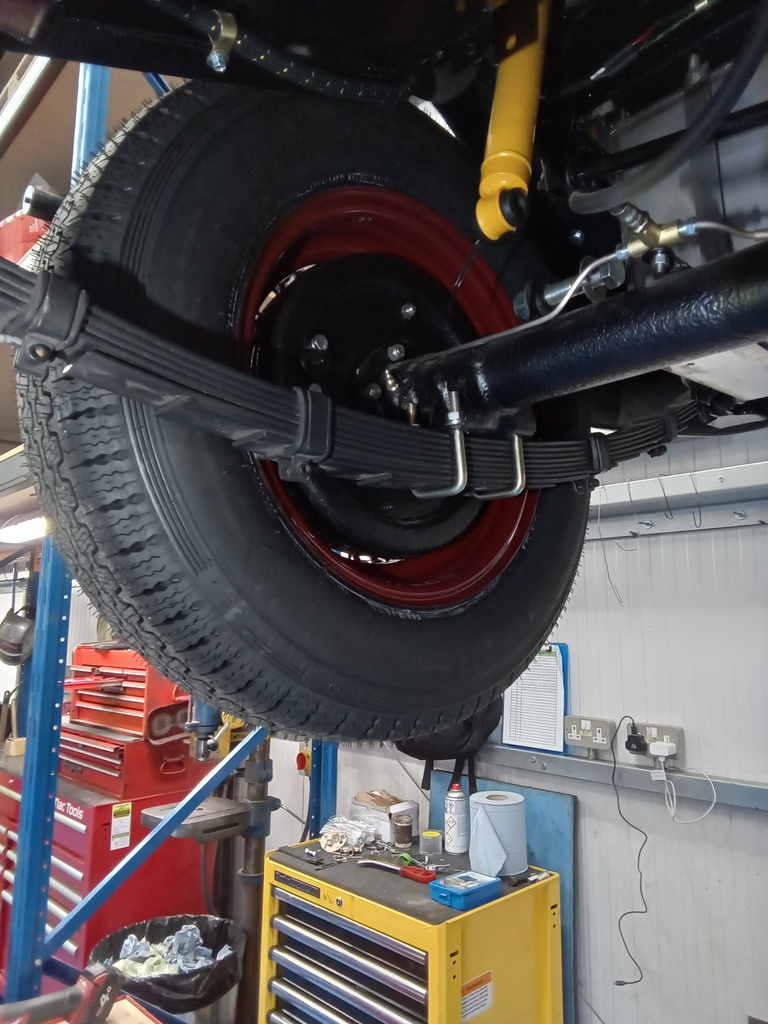
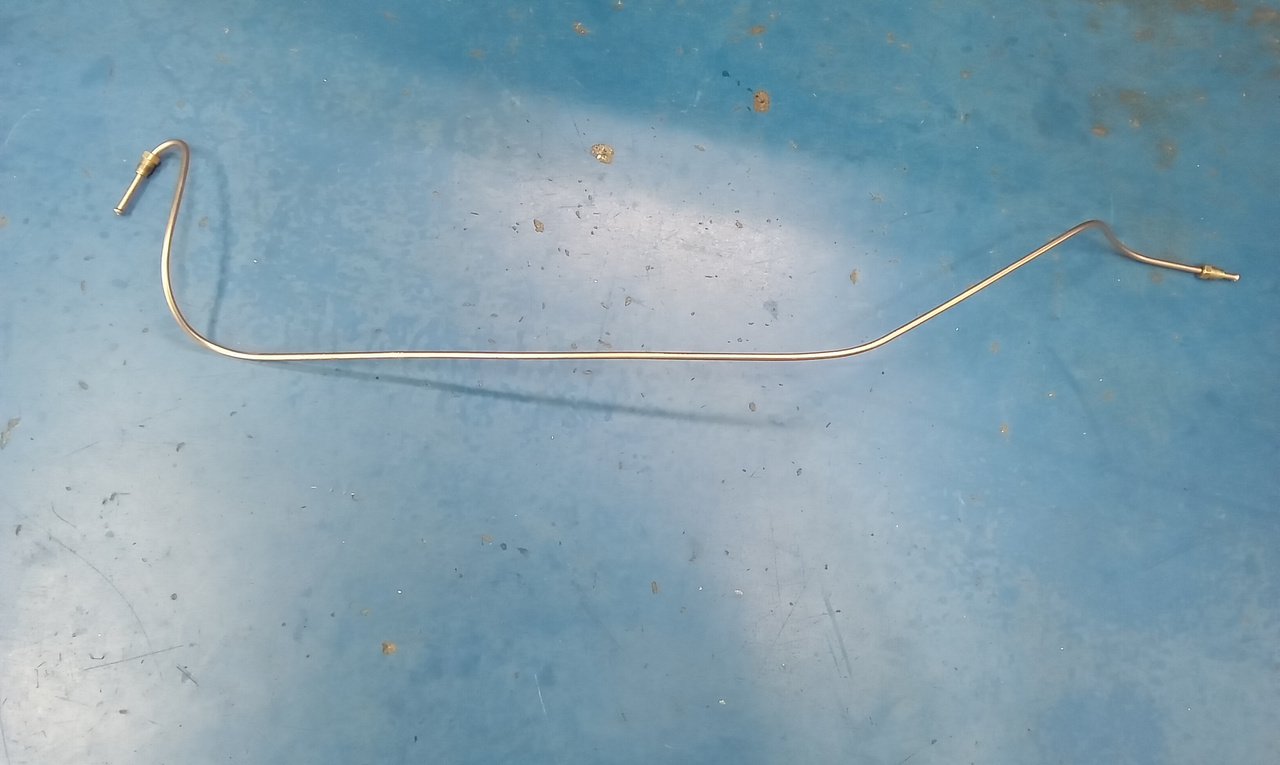
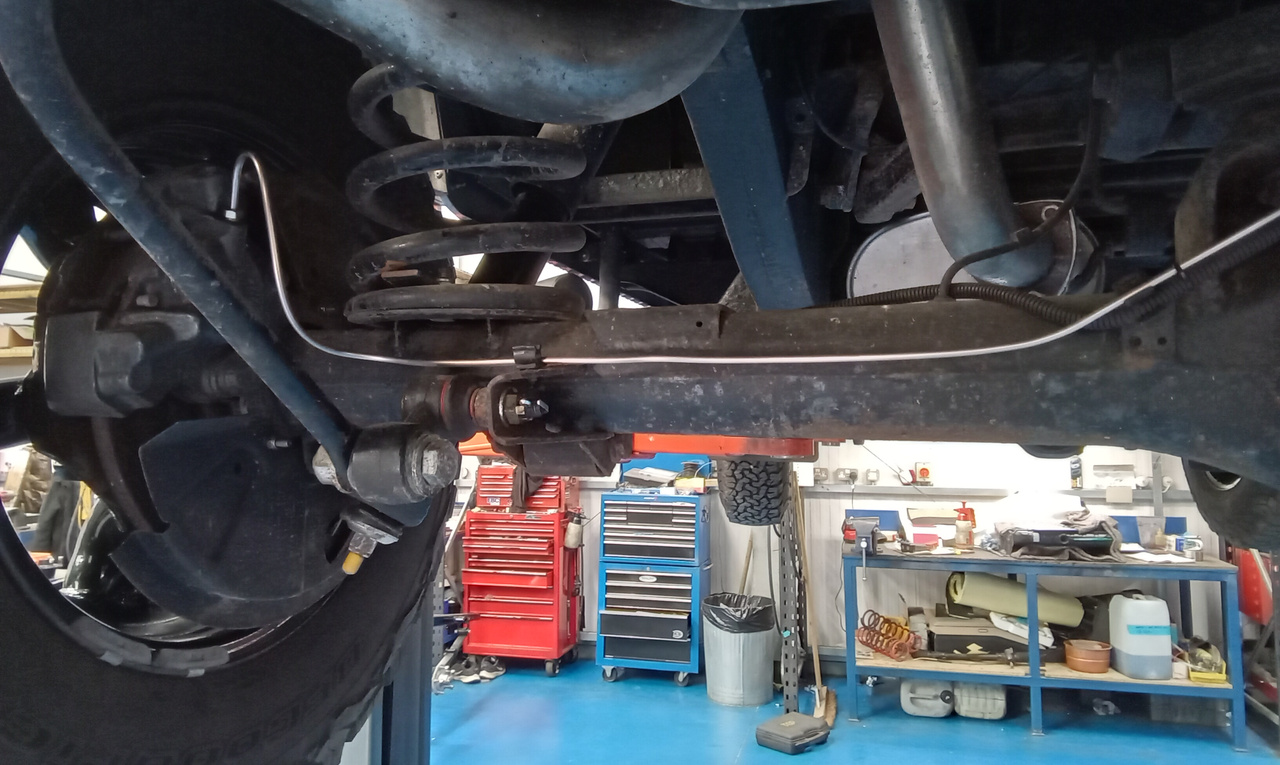
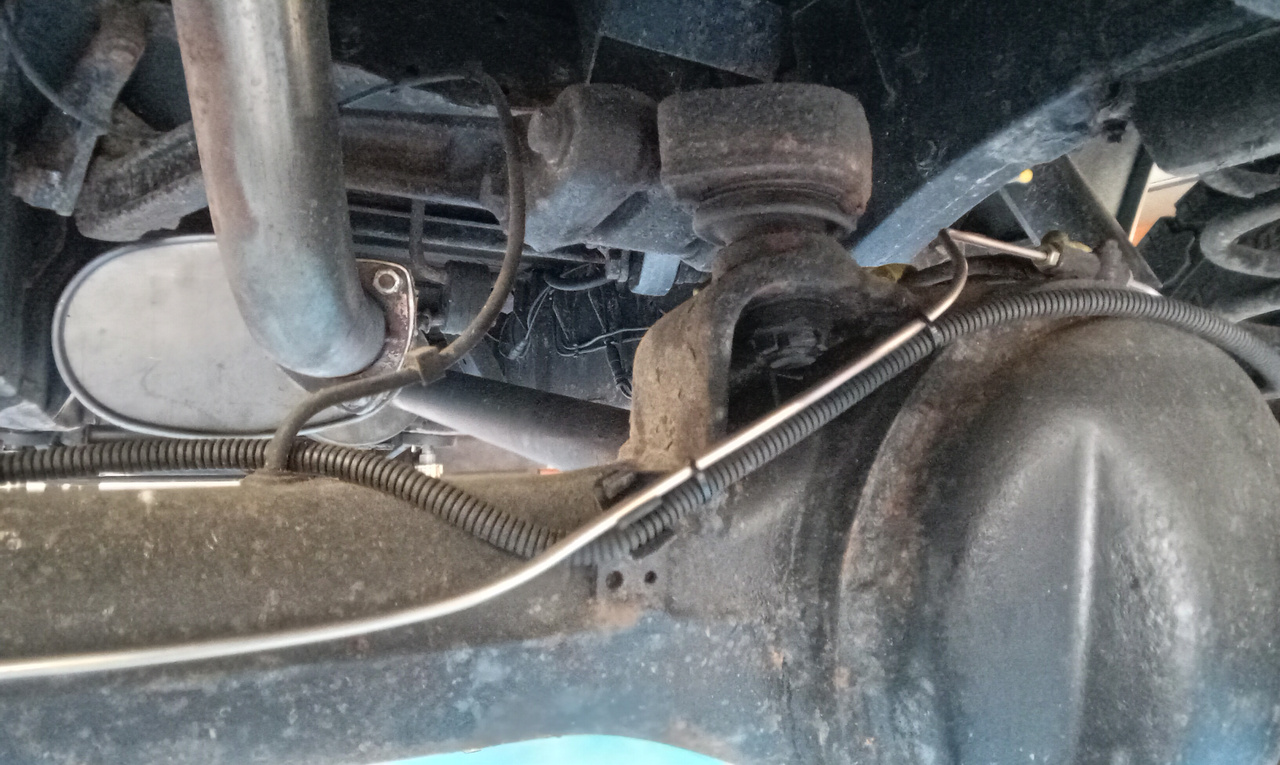
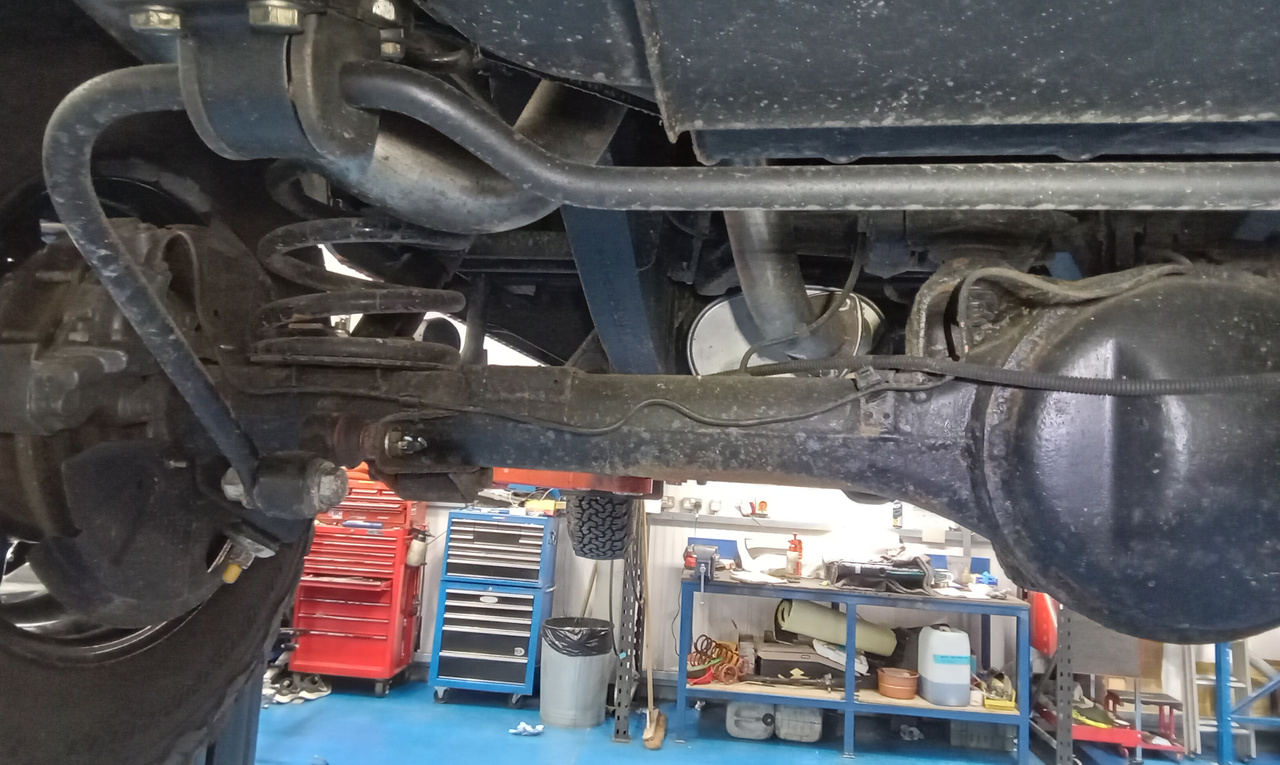
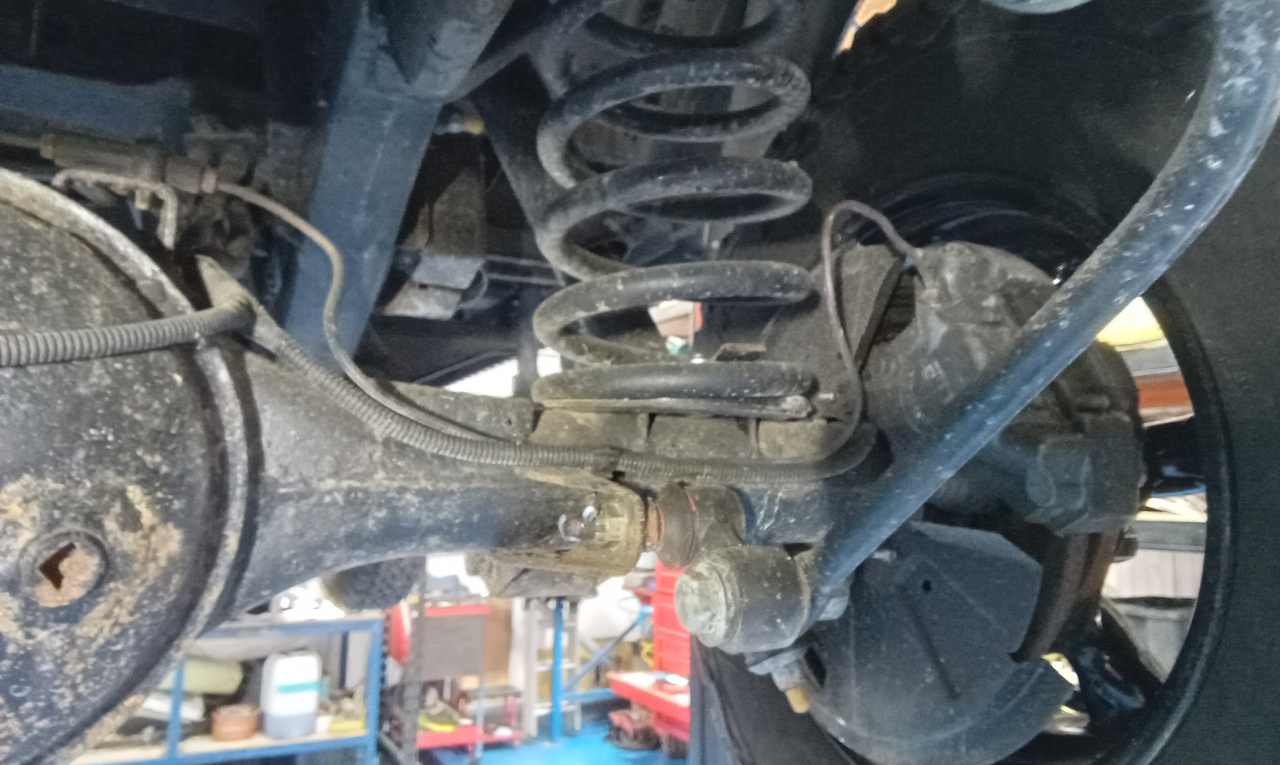
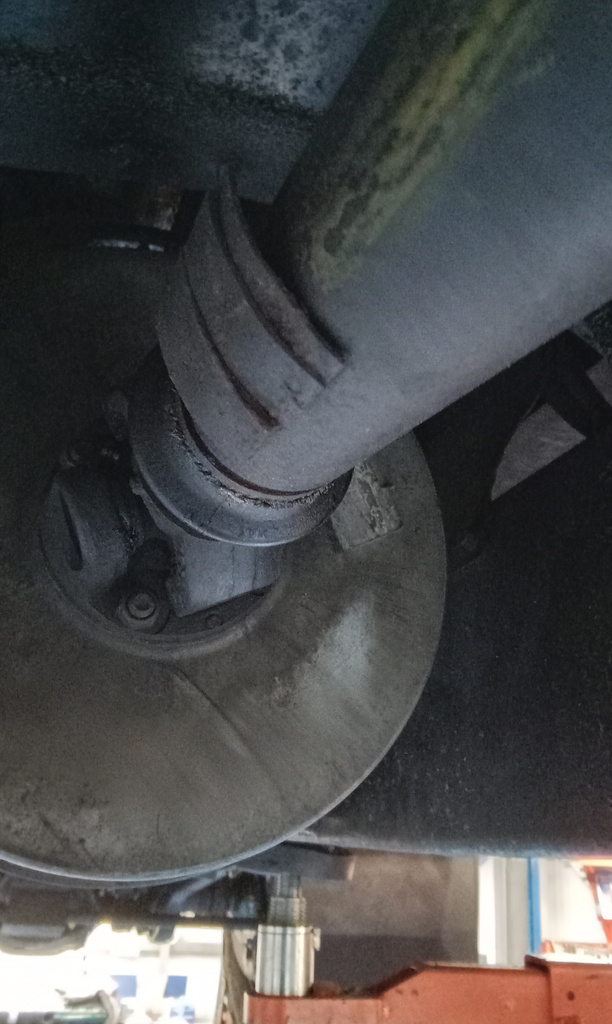
Carry out inspection. Start repairs. Reverse lights still not working after new switch fitted. Remove multi plug and short out. Ignition on and reverse lights working. Remove switch from gearbox and grind away nut slightly so switch goes further into gearbox. Test switch plugged in but not fitted to gear ox. Operate and light works. Fit to gearbox and tighten. Test reverse lights, now working. Adjust hand brake via transmission brake shoe adjuster. Strip and remove brake pipes from across rear axle to replace.
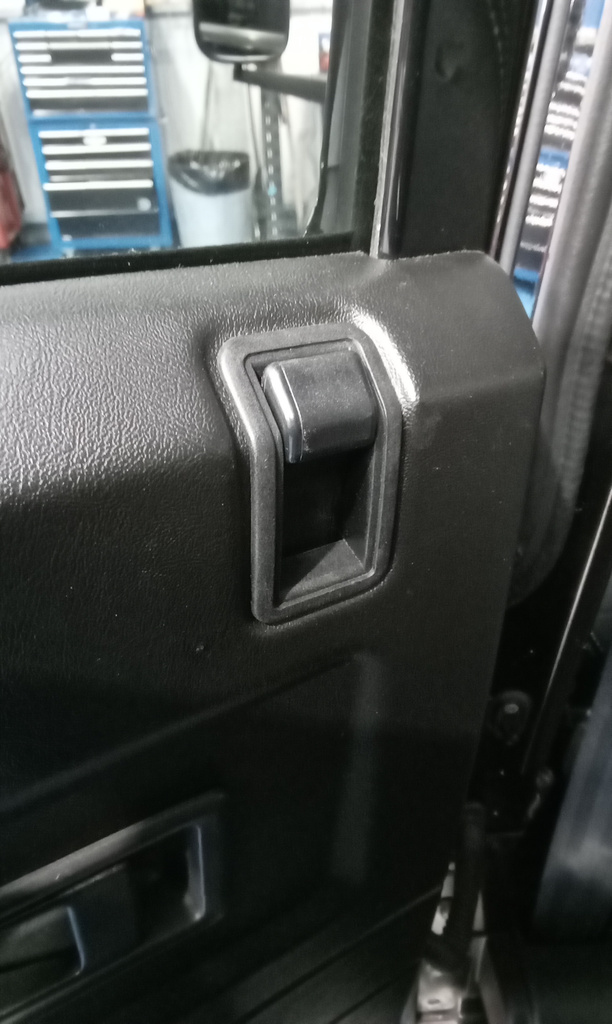
Manufacture new brake pipes for rear. From rear flexis to calipers. Secure and cable tie Abs wiring to pipes. Remove bleed nipples and clean and blow out, refit. Inflate tyres and torque wheel nuts. Adjust washer jetvaim and test. Resecure trim around nearside rear door lock button.
Fit new rear wiper blade. Raise on ramp mp and strip rear flexi brake pipes. Corroded badly and unable to remove brake pipes from flexis. Cut front to rear brake pipes and chisel off bracket supporting rear flexis. Get Christian to make a new support bracket. Mount new flexis at axle end and secure to mount. Reconnect brake pipes across rear axle. Upon inspection found joiners for front to rear brake pipes on top of nearside chassis rail.
Manufacture new brake pipes to rear flexis. Fit each in turn shaping pipe as its fitted. Drill and paint new mount and fit and connect pipes at each end. Use small pieces of hose to protect pipes from chaffng and secure with cable ties.clear up area.
Top up brake fluid and free of all bleed nipples. With John’s help bleed brake system complete. Carry out pressure check. Tack weld weights back onto rear rpropshaft. Take outside and warm up. Carry out road test. Recheck all joints and connections on return and found small weep at nearside chassis joiner. Drain circuit and re flare original steel pipe on car. Reconnect and tighten. Re bleed circuit and pressure check. Ok this time. Carry out road test to fuel station and put £30 diesel in. Finish pdi, ok.


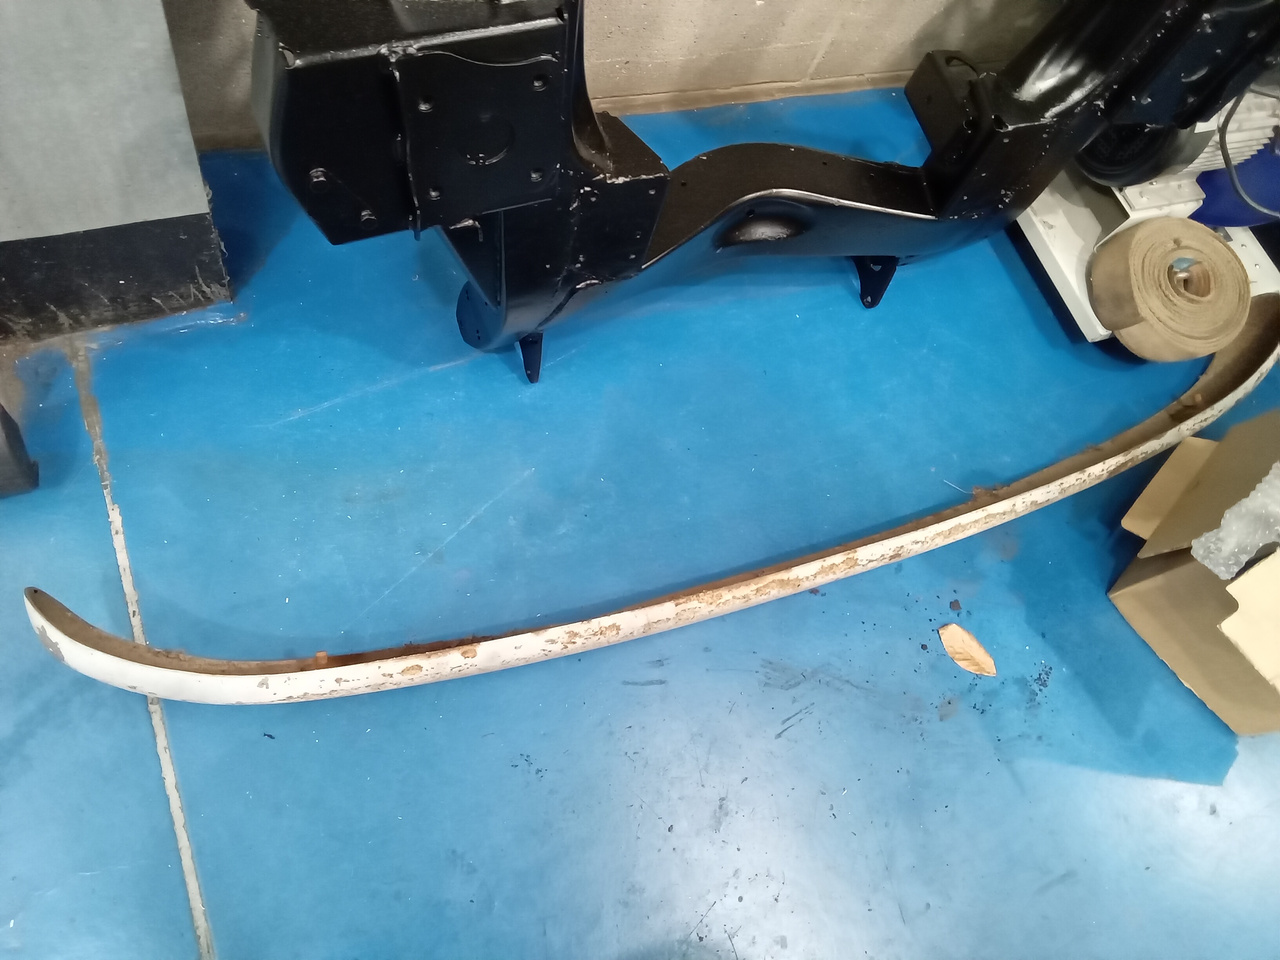
Tony has recently transported our 1964 Amphicar 770 from our secure storage facility back to the workshop.
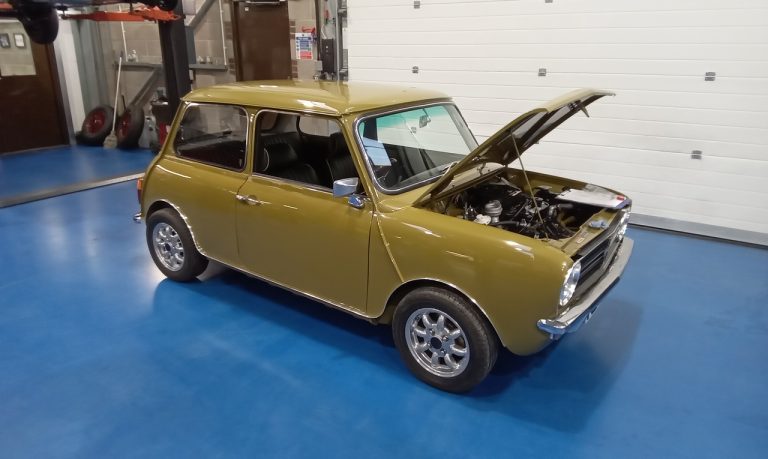
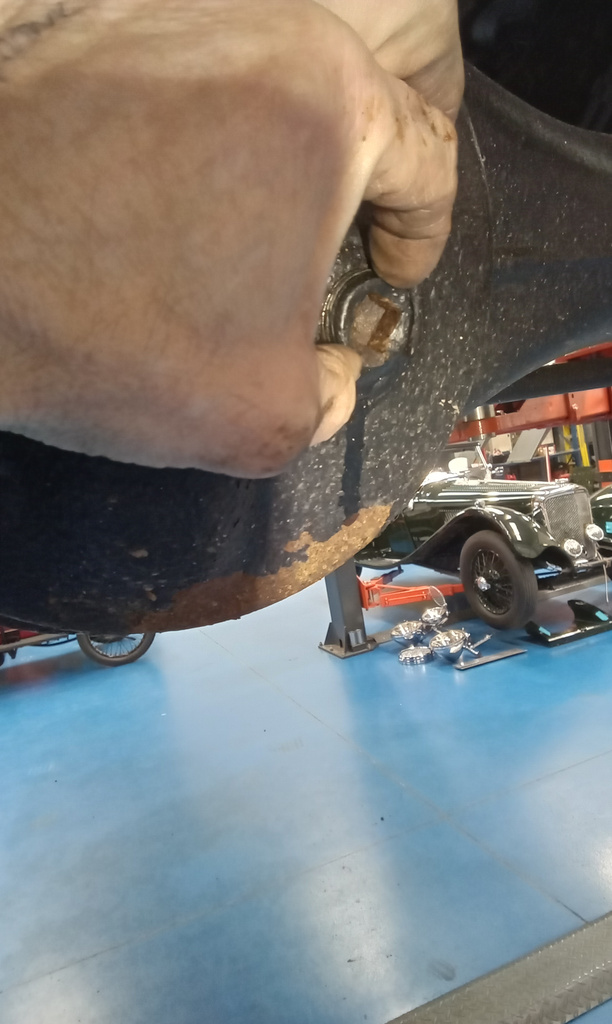
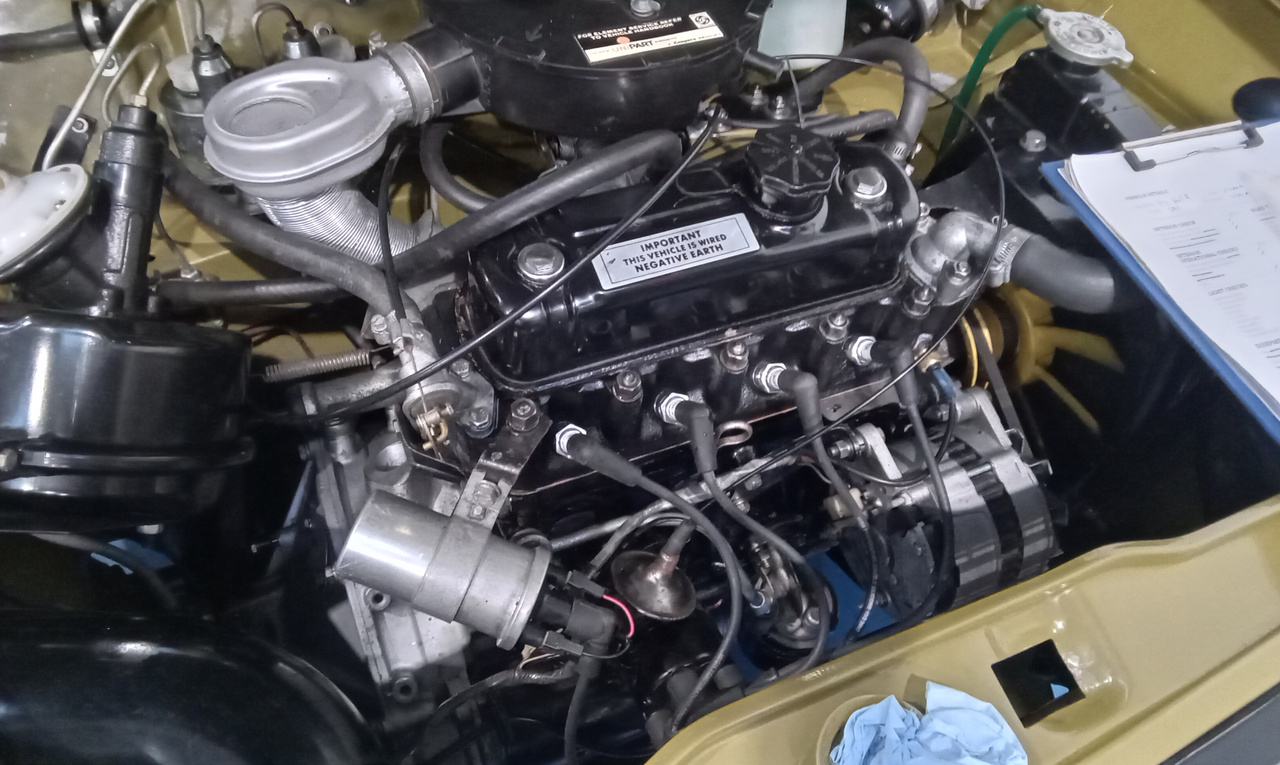
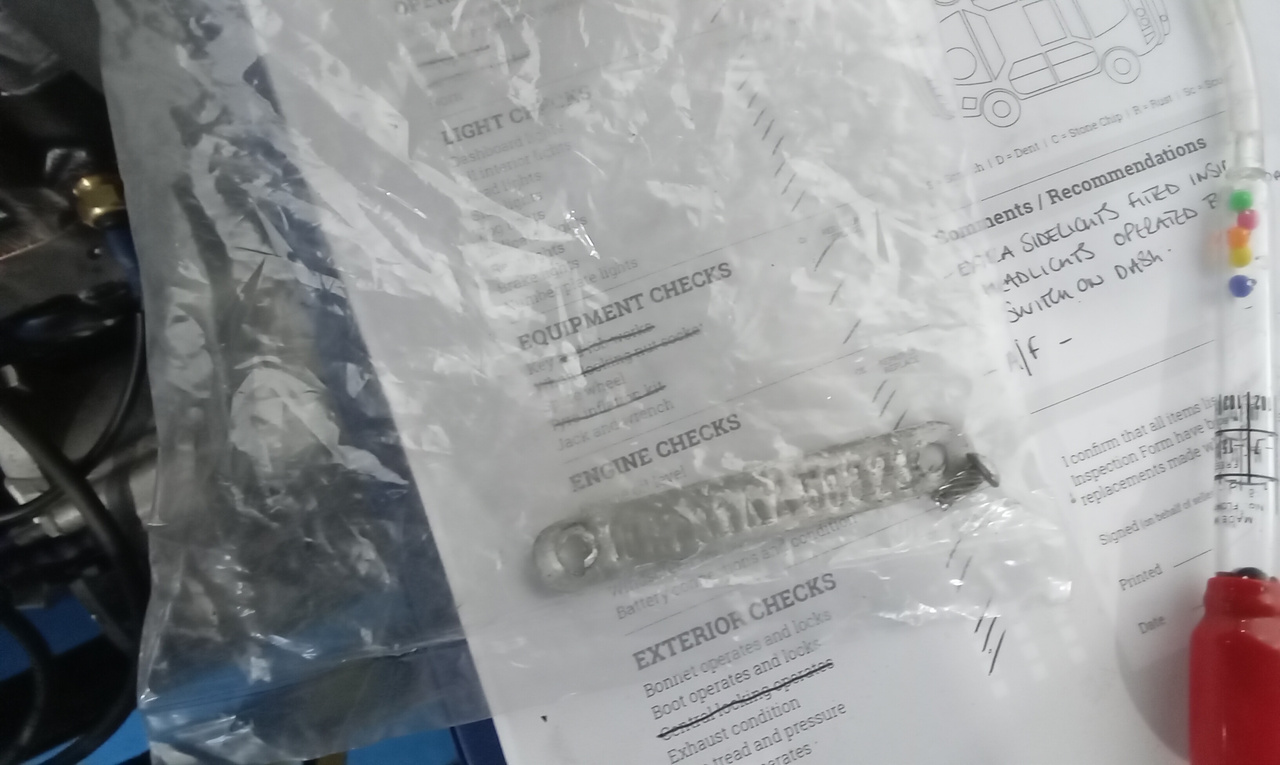
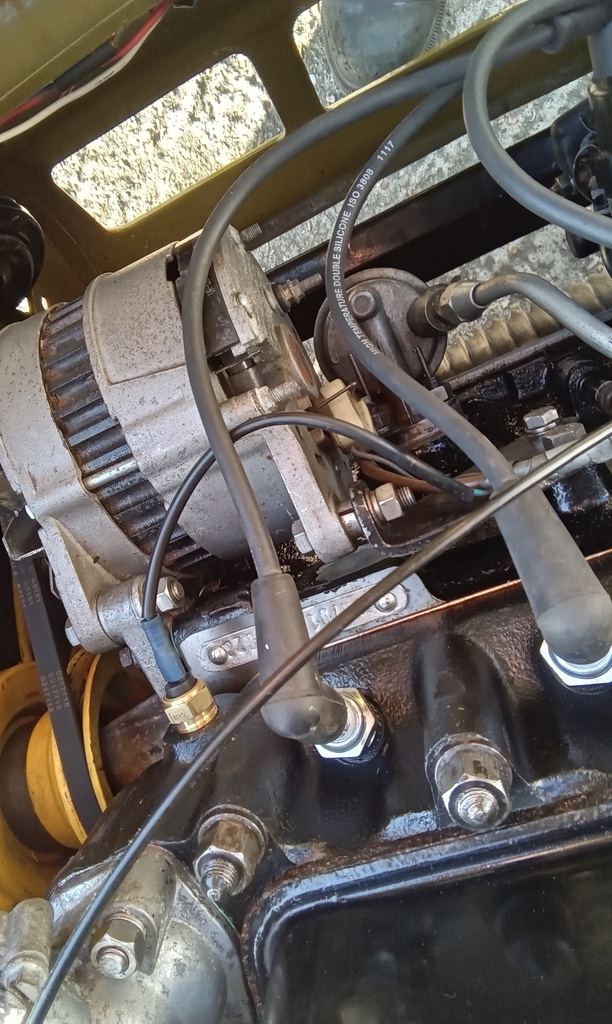
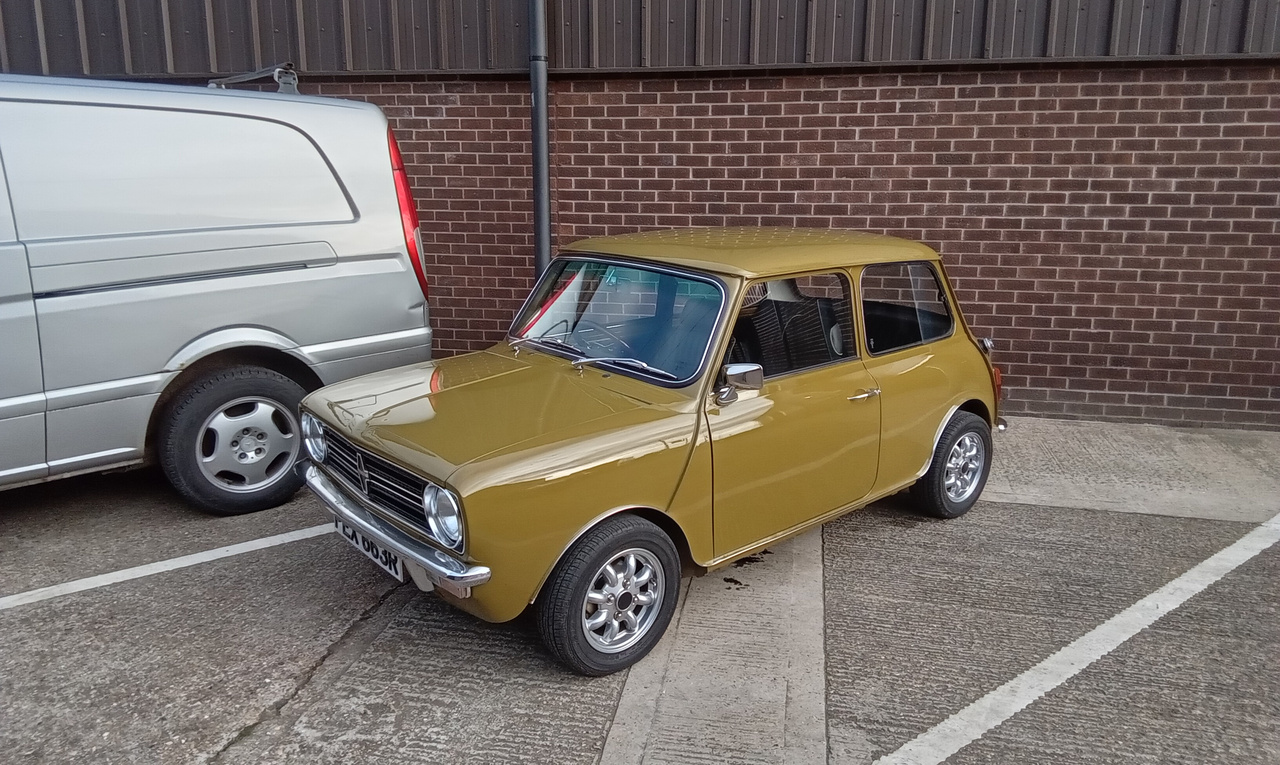
It’s been a long time coming but we have finally completed the pre delivery inspection on our 1976 Leyland Mini Clubman 1100.
The road test proved a success. Just had to inflate the tyres and torque up the wheel nuts.
Jon has refitted the engine identification plate after the engine work has been carried out and she’s now good to go. Next stop, a very understanding and patient Henry who won the car back in January and is yet to see it. I’m sure, with all the unexpected work identified in the previous pre delivery inspection he’ll now be one very happy man.

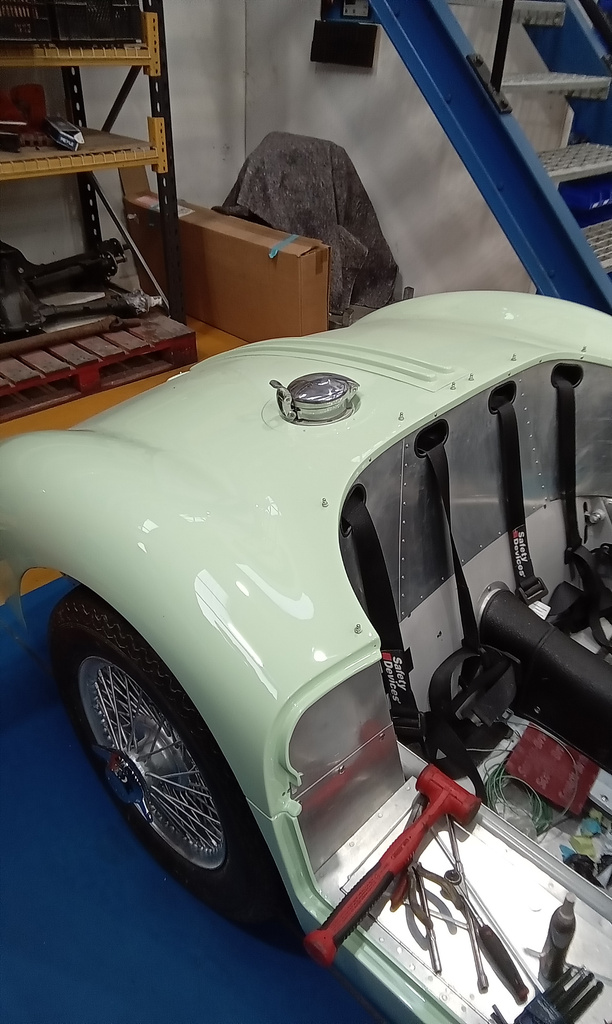
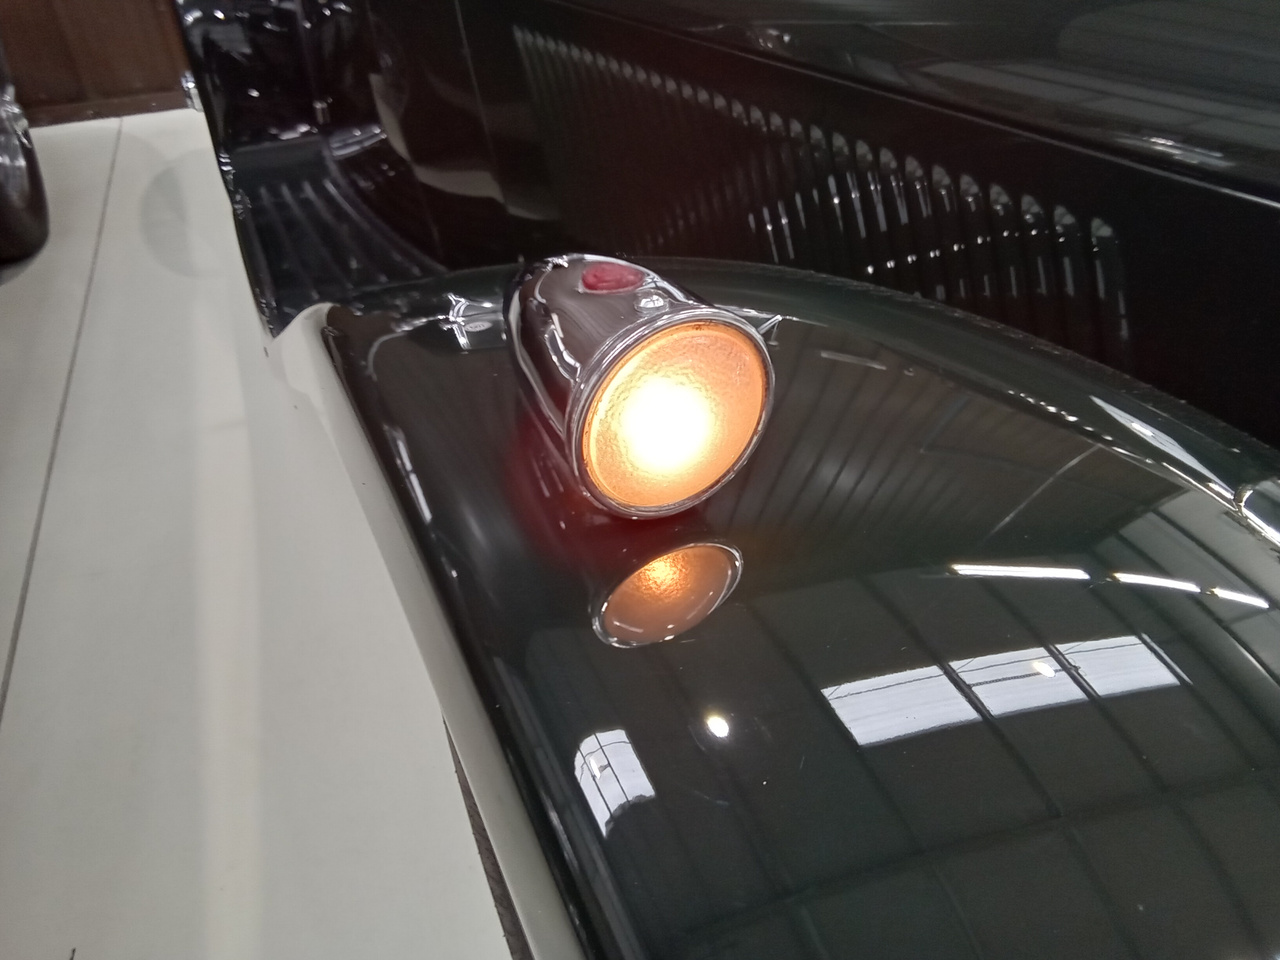
Every day is that one step closer to revealing the finished project. Our 2023 Jaguar C-Type replica is coming on leaps and bounds now with the refit well and truly underway. John has been busy fitting the lights back up and the wiring back in.
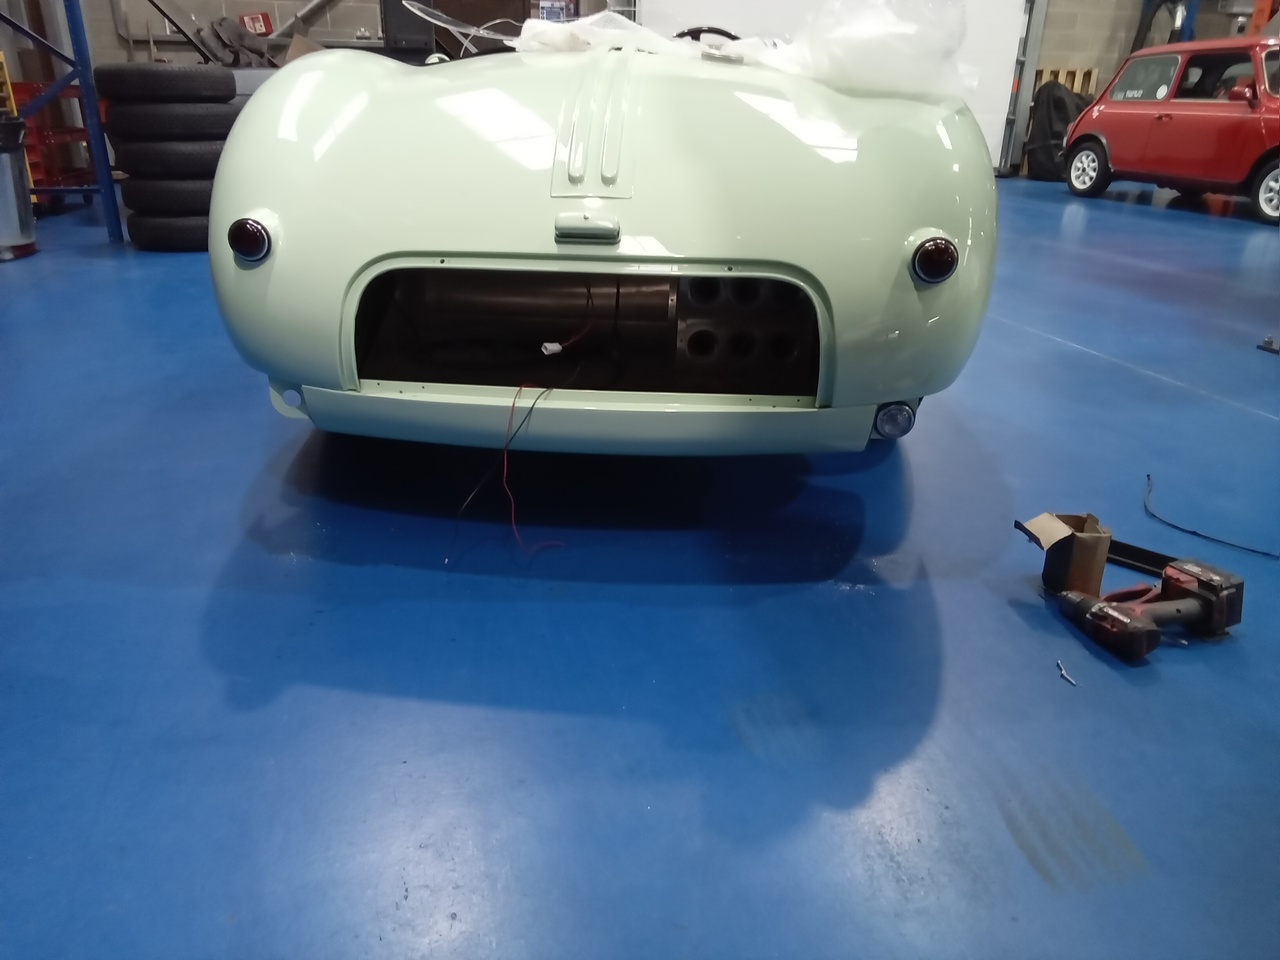

The next biggest piece in the colour changing process was the bonnet and Alan has been making this a reality this week. We now have colour.
Meanwhile we have removed the spacer blocks from the boot lid pins. We have now fitted in place and masked in position.
We have heated up with hot air gun to reshape and periodically repeated the process over a few hours.
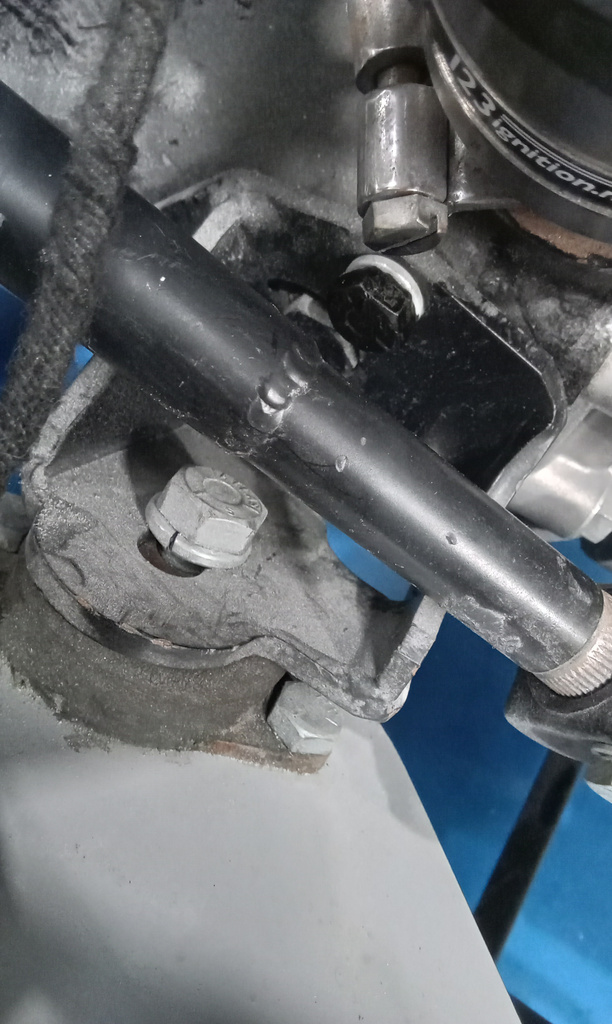
The front suspension braces are now spaced.
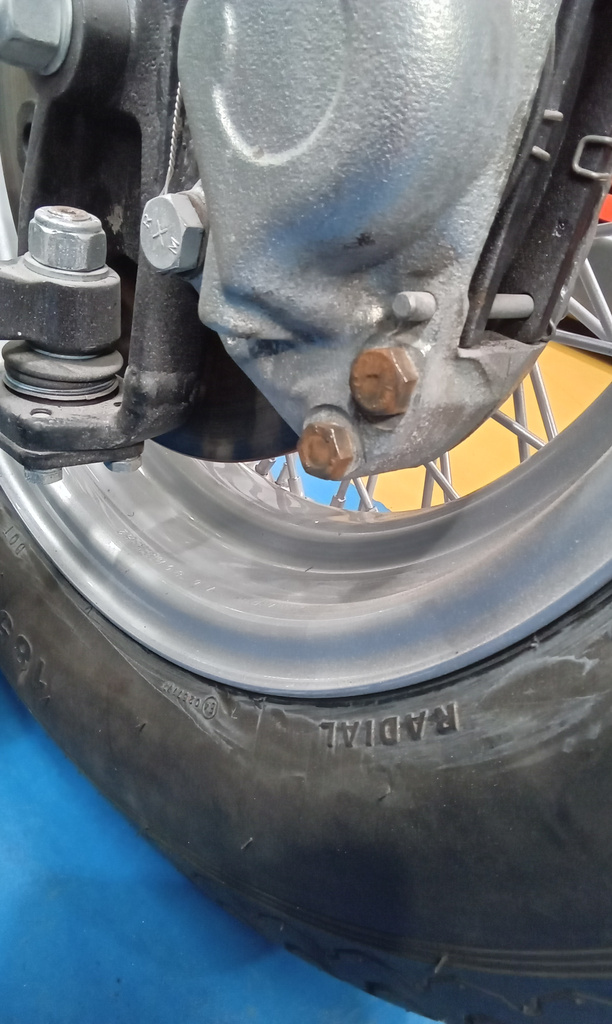
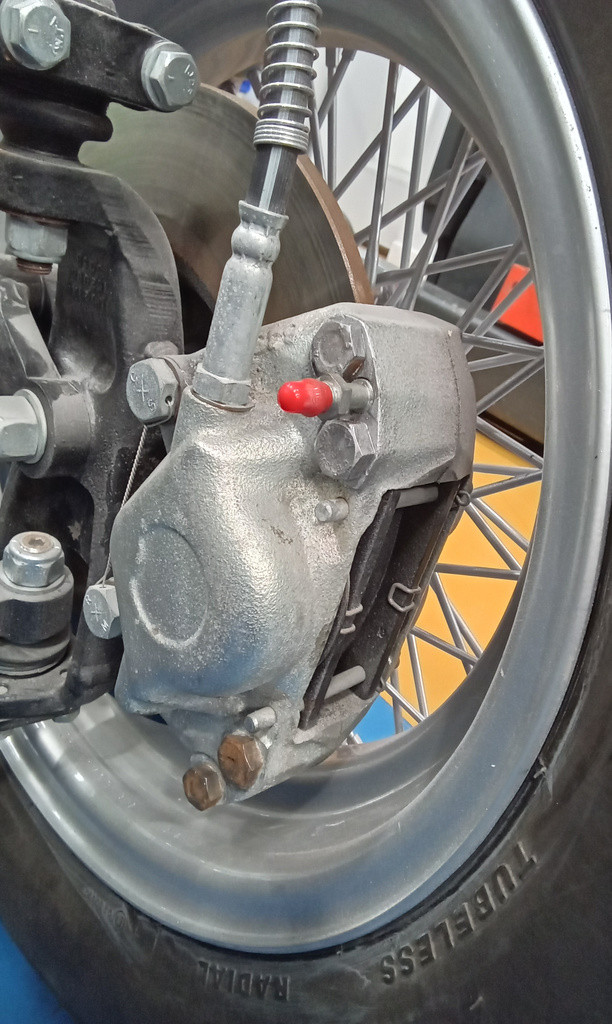
We have wire brushed and painted the rusty engine mount bolts and finished in black. The rusty calipers bolts have been wire brushed and paint in silver.
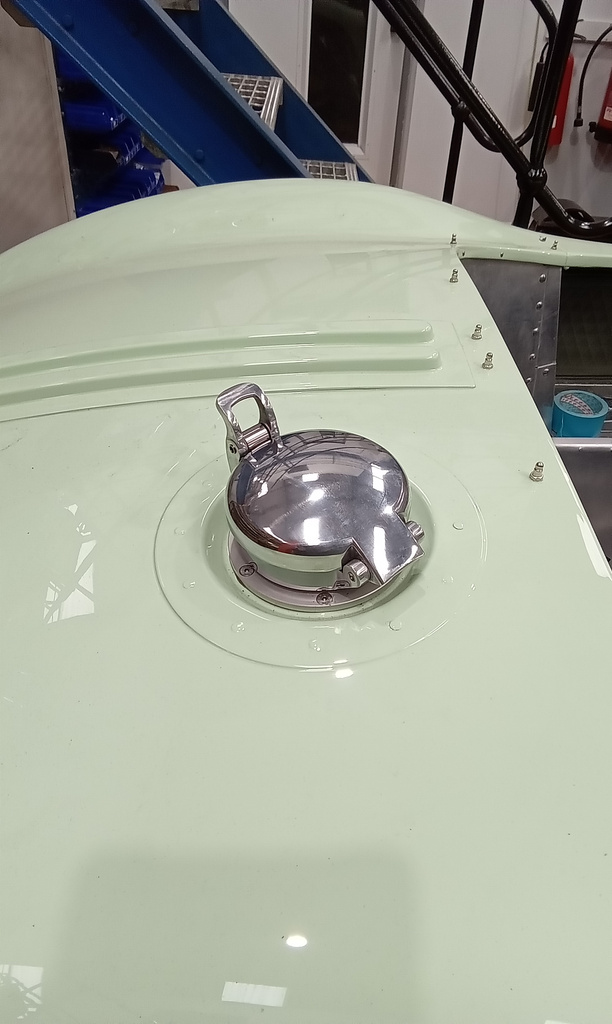
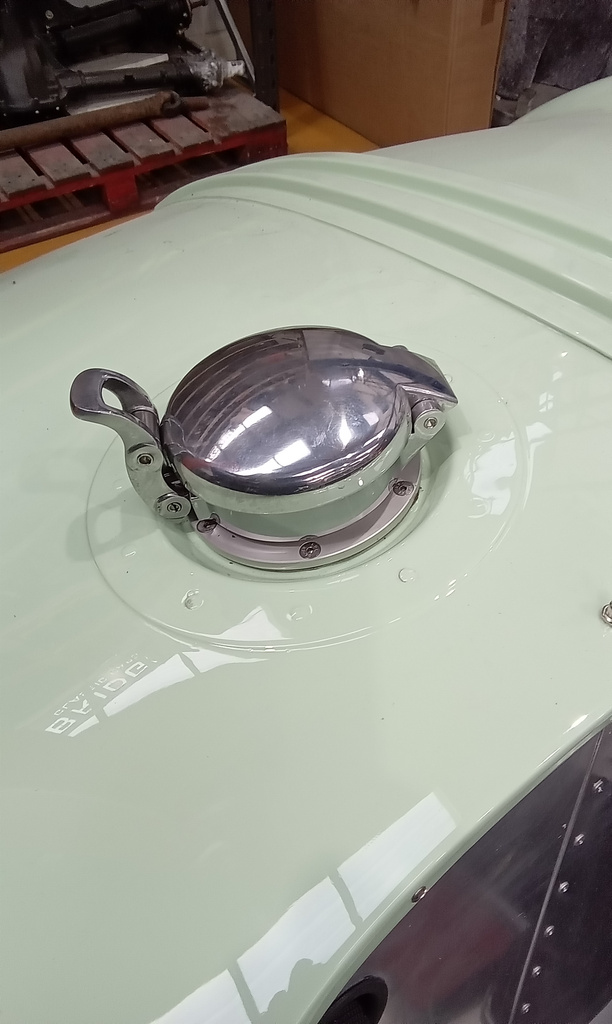
The fuel filler cap has been removed and the neck clamp has been slackened. Two of the screws have been removed and repositioned to the left in rotation before re-securing. Fit filler cap, grease seal and Loctite threads and knock up tight.

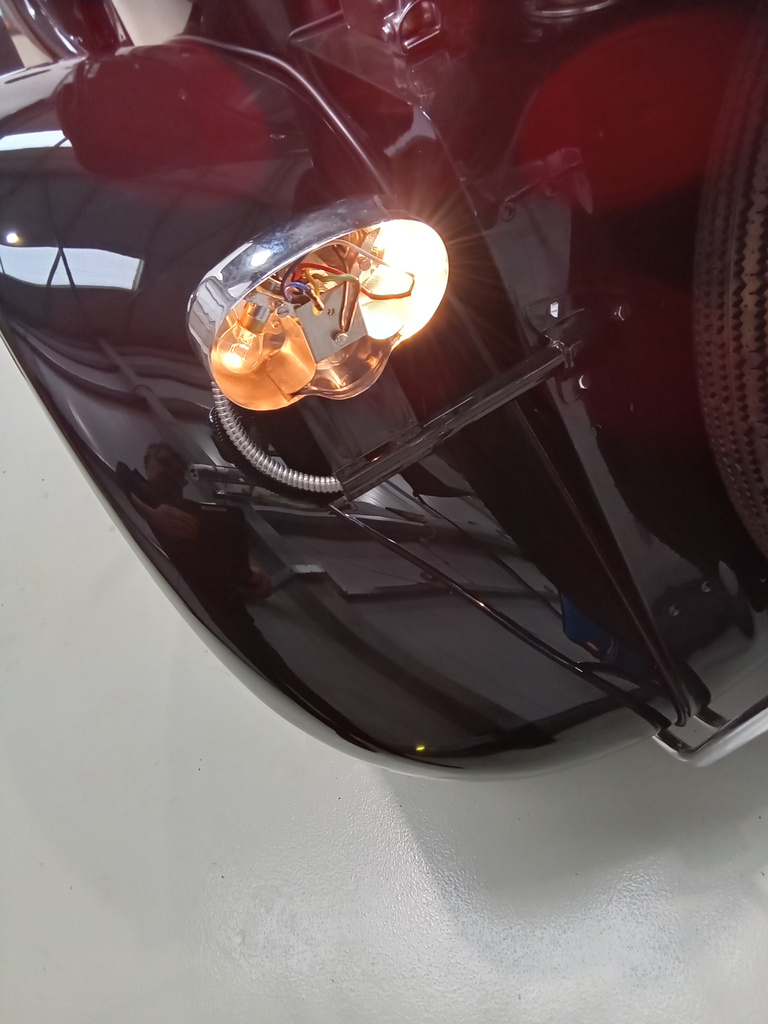
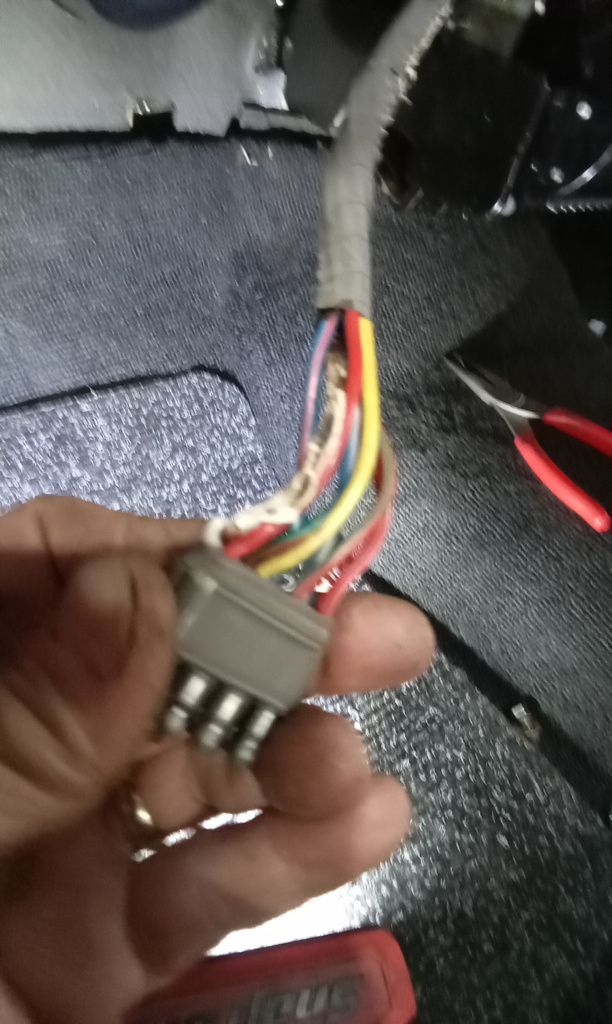
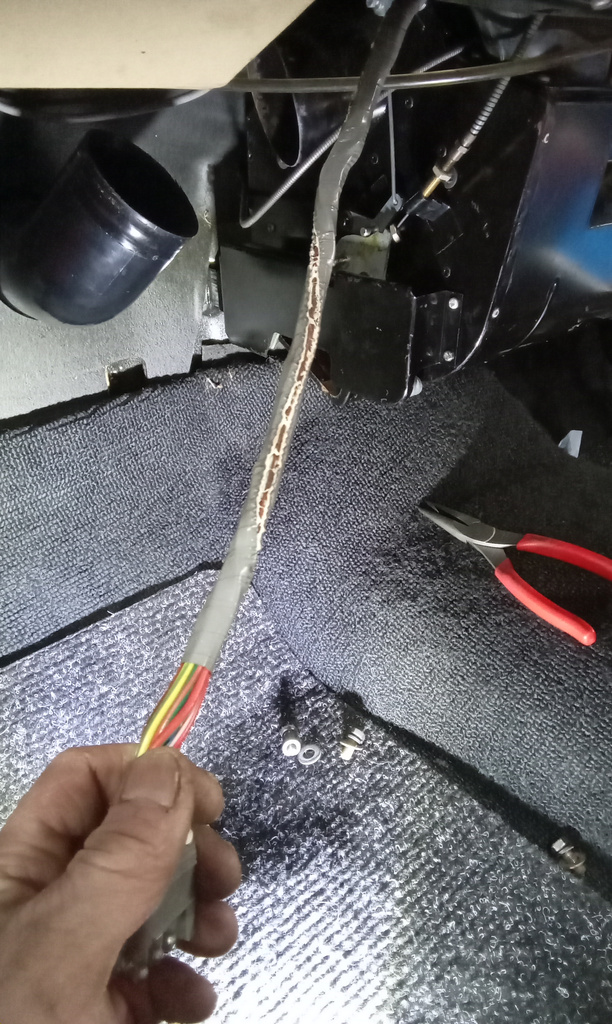
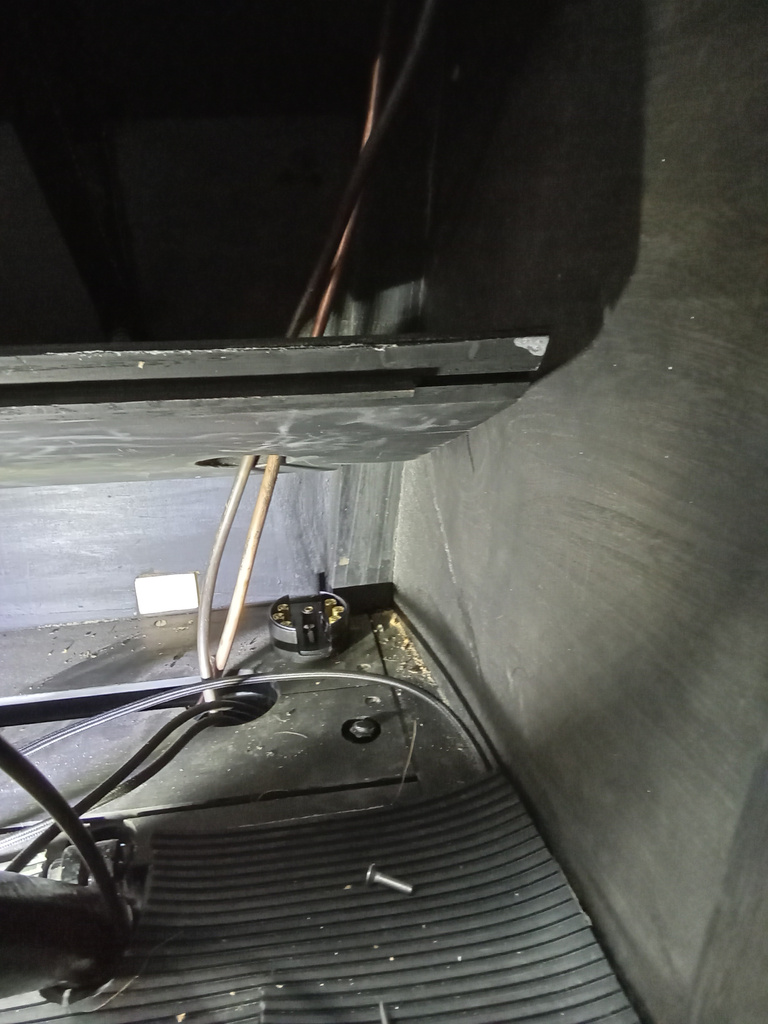
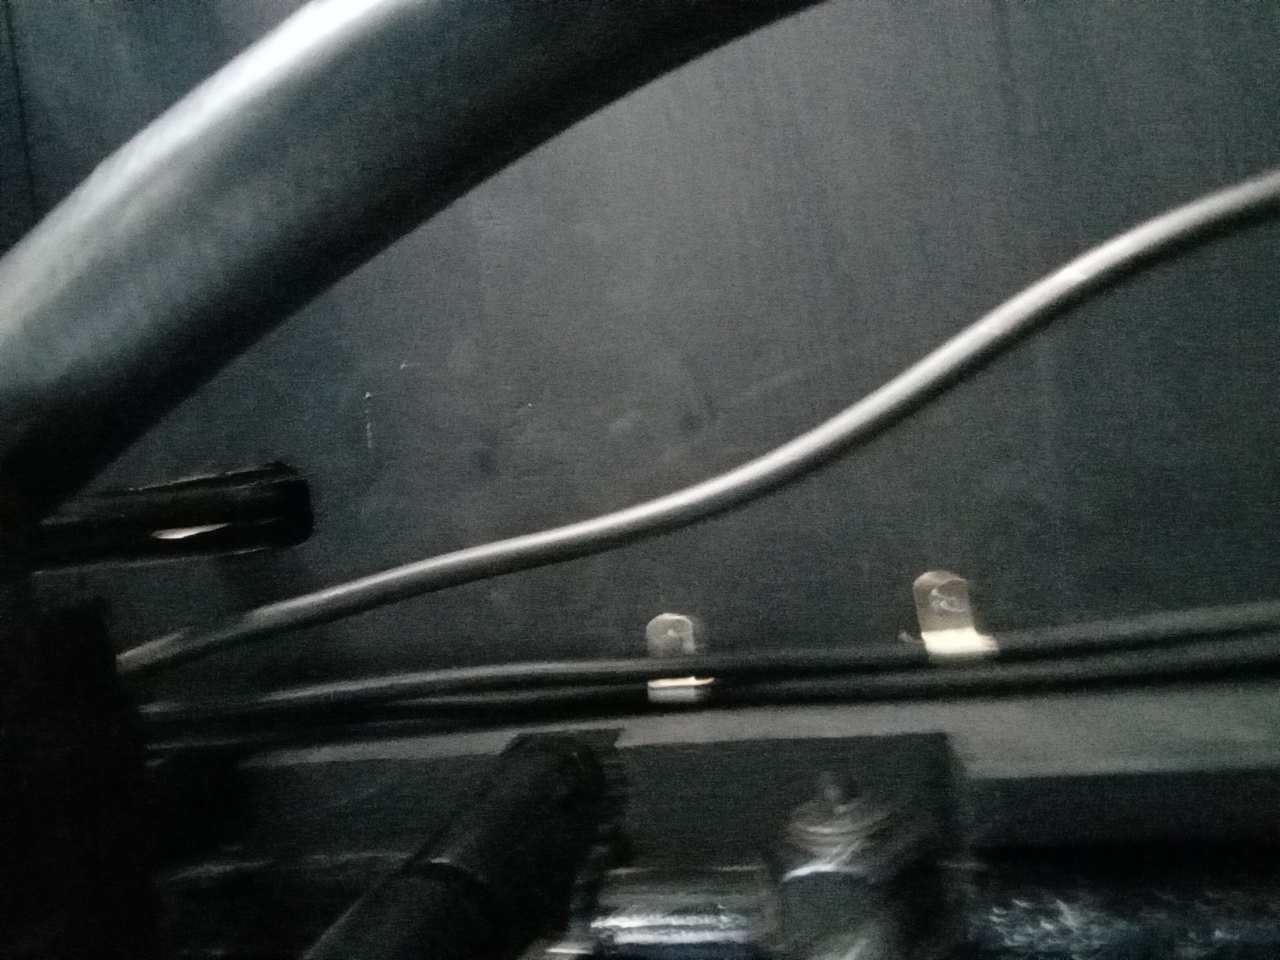
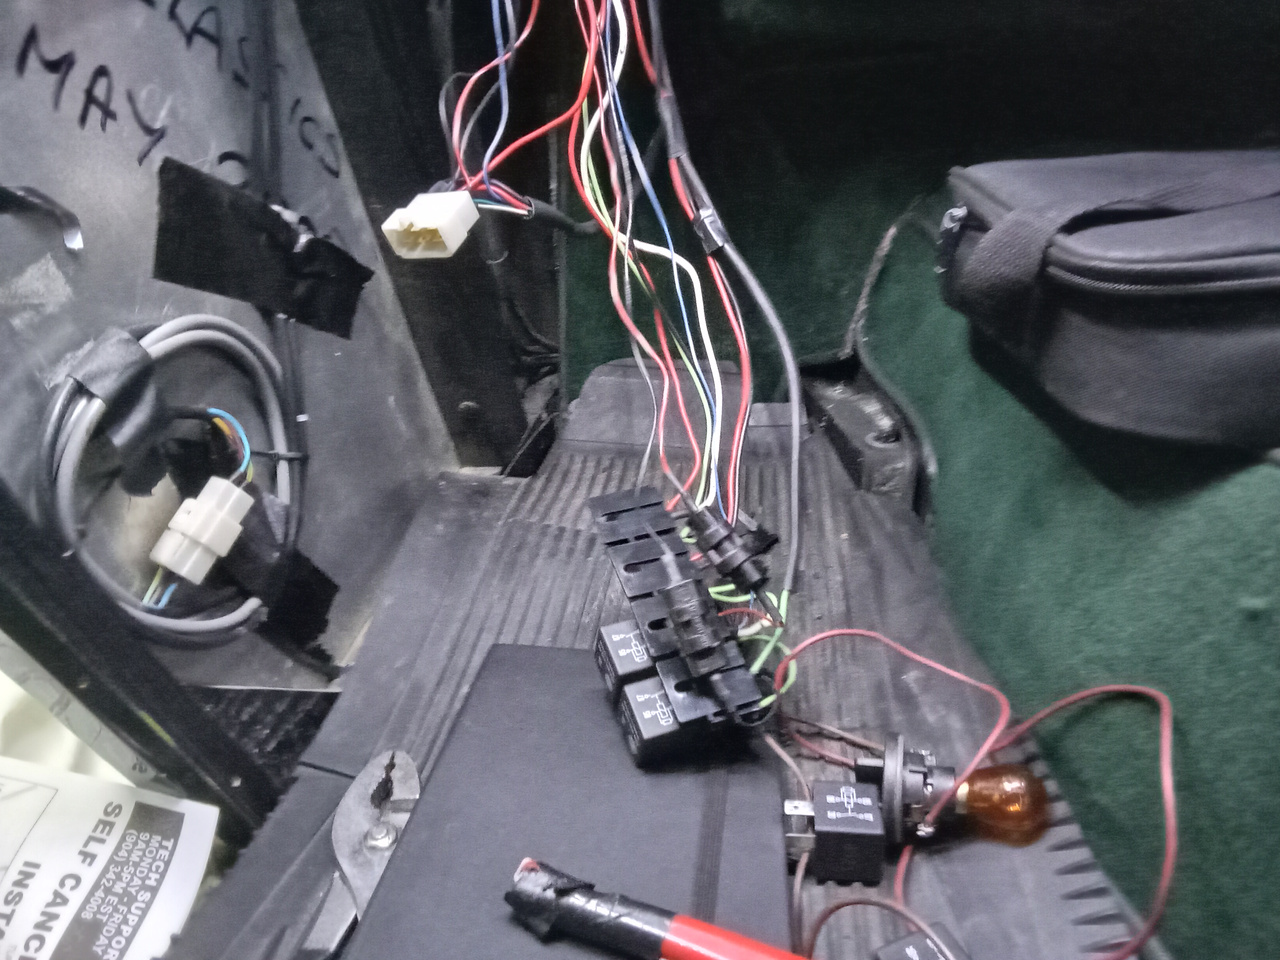
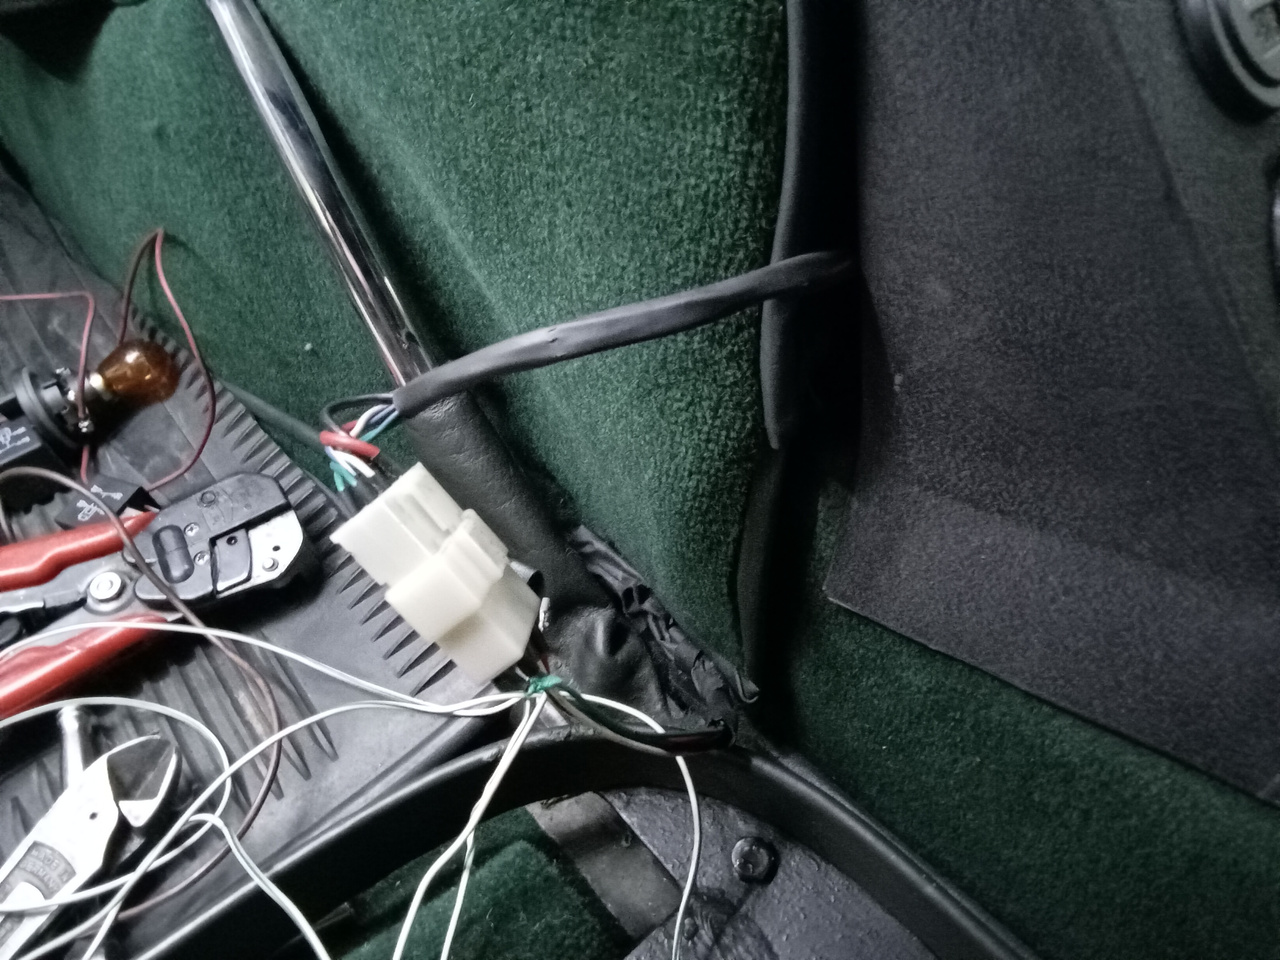
Workshop Manager John has been working on getting to the bottom of an issue with the indicators on the 1939 Jaguar SS100.
For this, John has been tracing the wiring back through the car to get to the bottom of why the nearside indicators won’t cancel. For this, he has had to remove certain sections and panels in the rare cars interior to gain access to the harness and test as it winds its way through the cabin and the car.
The shock absorbers for both Aston Martin DB2/4 projects have been stripped down by the workshop team to be sent away to the masters at V&C Engineering for refurbishment for the projects.
Both the Coupe and Drophead’s shock absorbers will be inspected, cleaned up and rebuilt by the team before heading back to our Suffolk HQ to be fitted to the relevant cars.


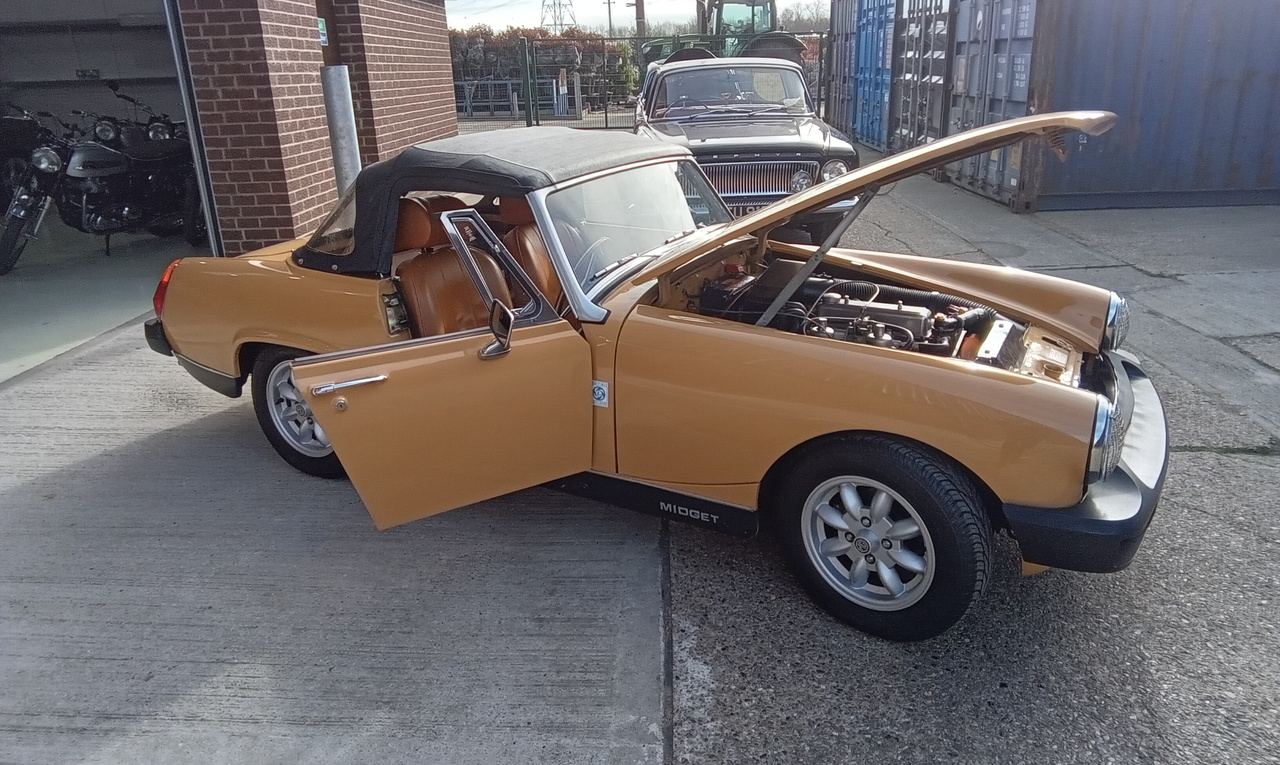
Our 1976 MG Midget is off to its new home! But before that, our technician Jon carried out the final checks on the classic sports car.
After a couple of adjustments and reworking the choke system, he got the classic sports car to idle perfectly from a cold start and repeated this test multiple times to ensure perfect running.
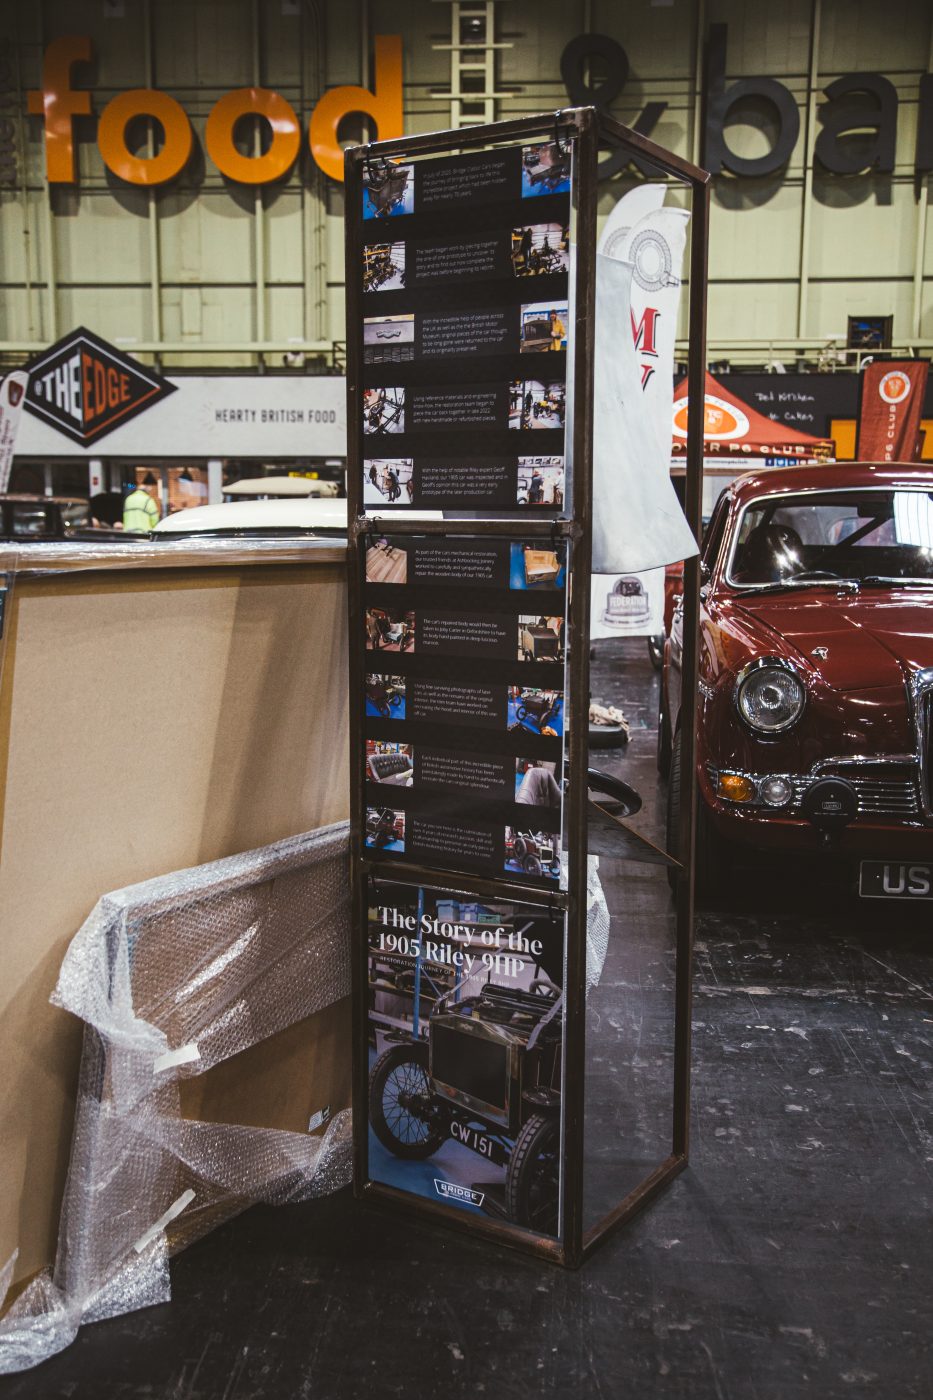
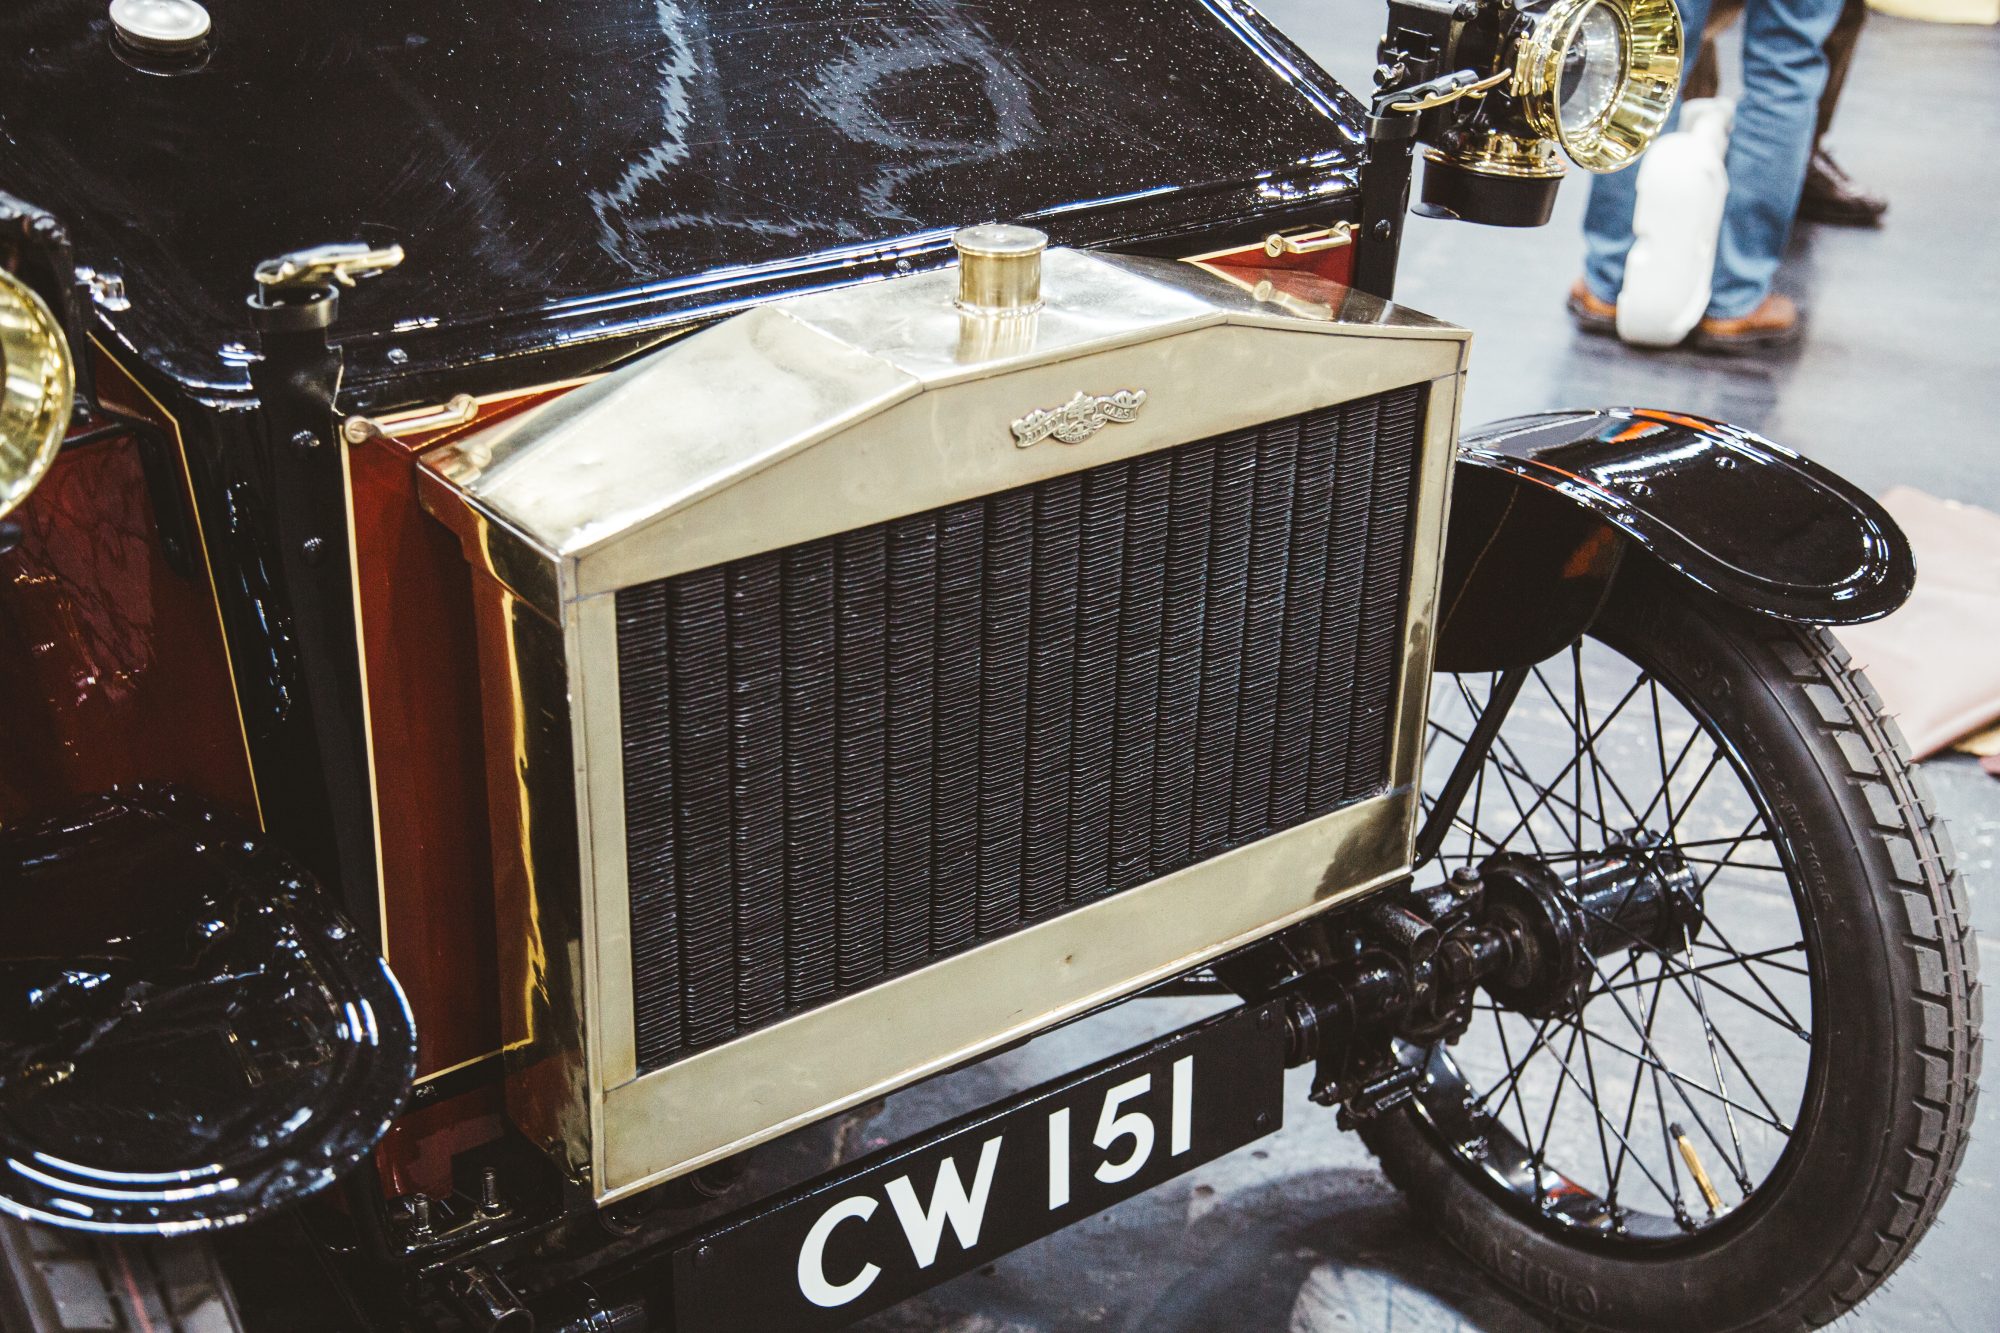
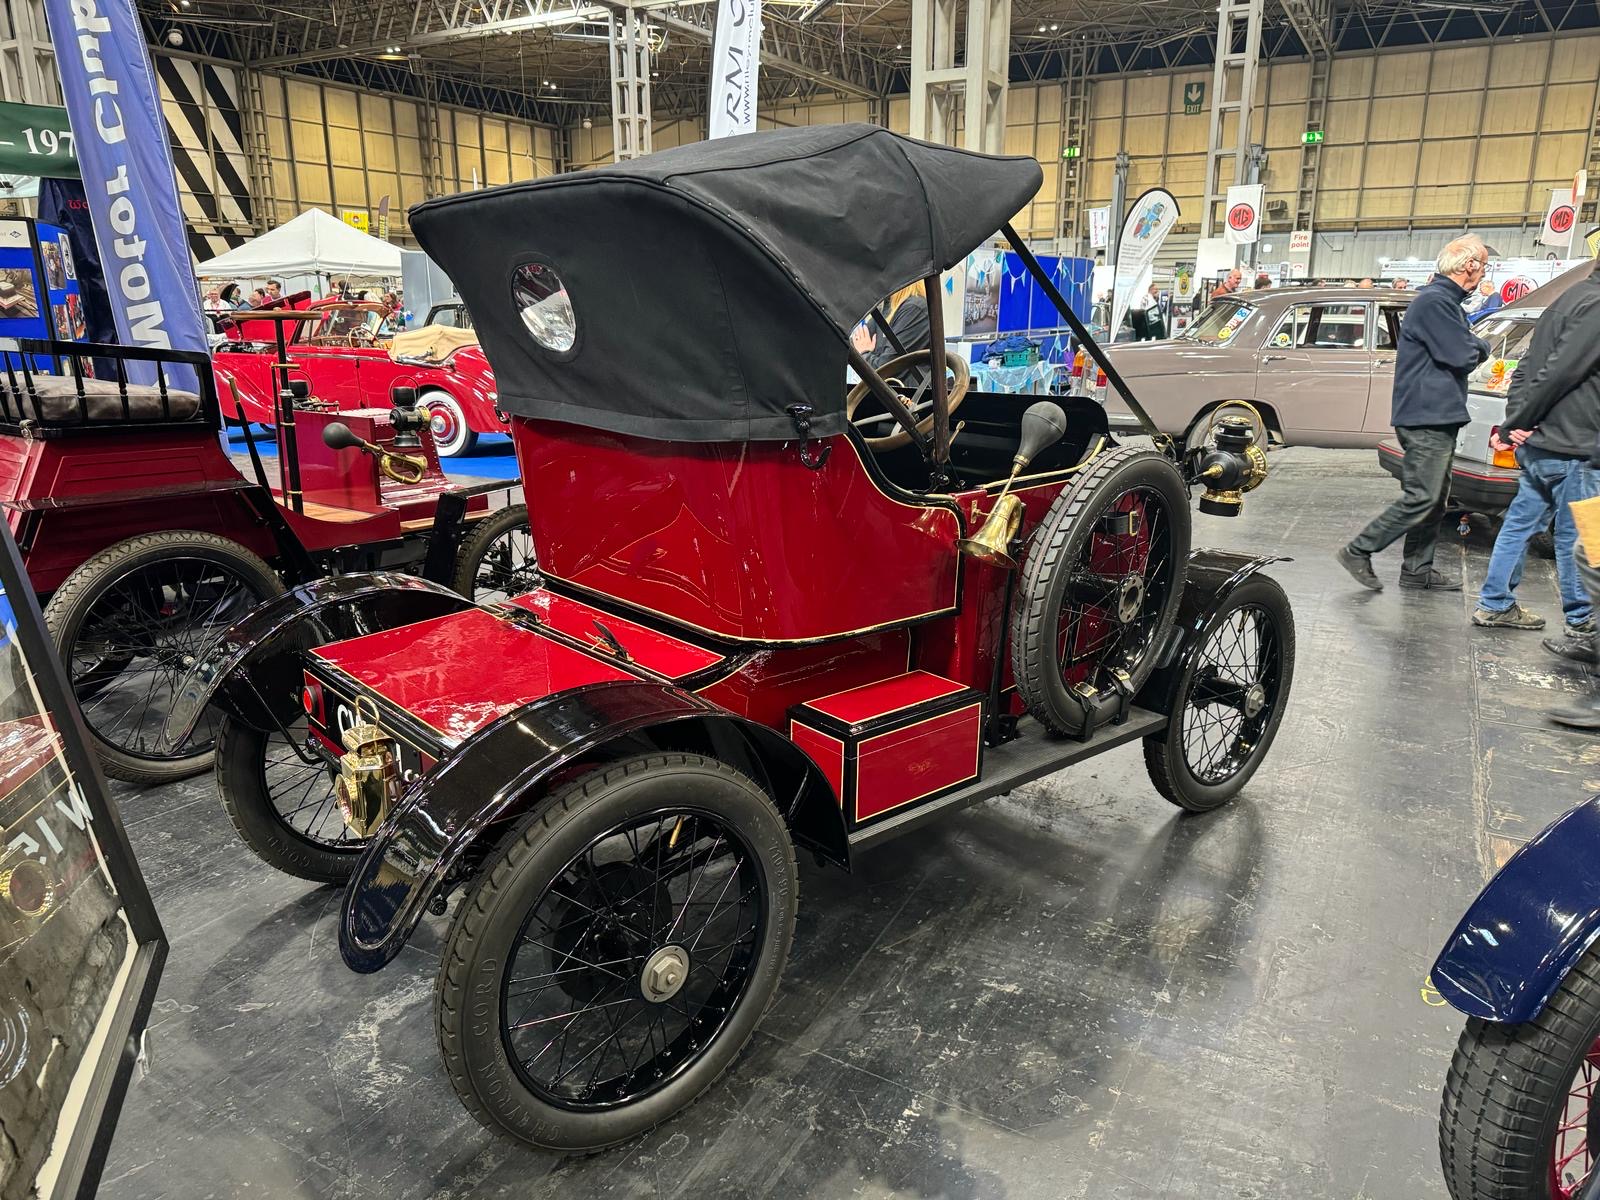
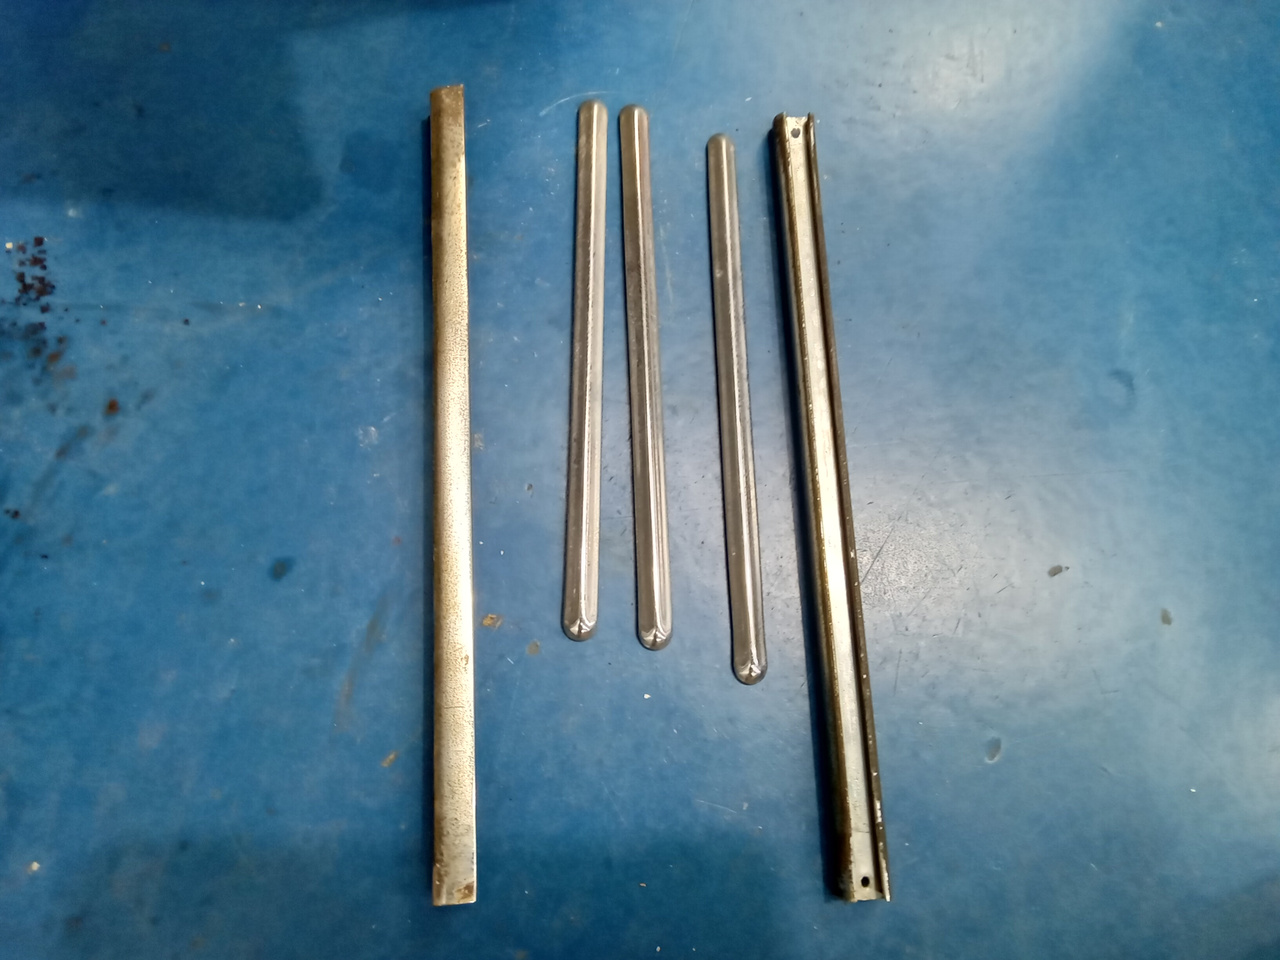
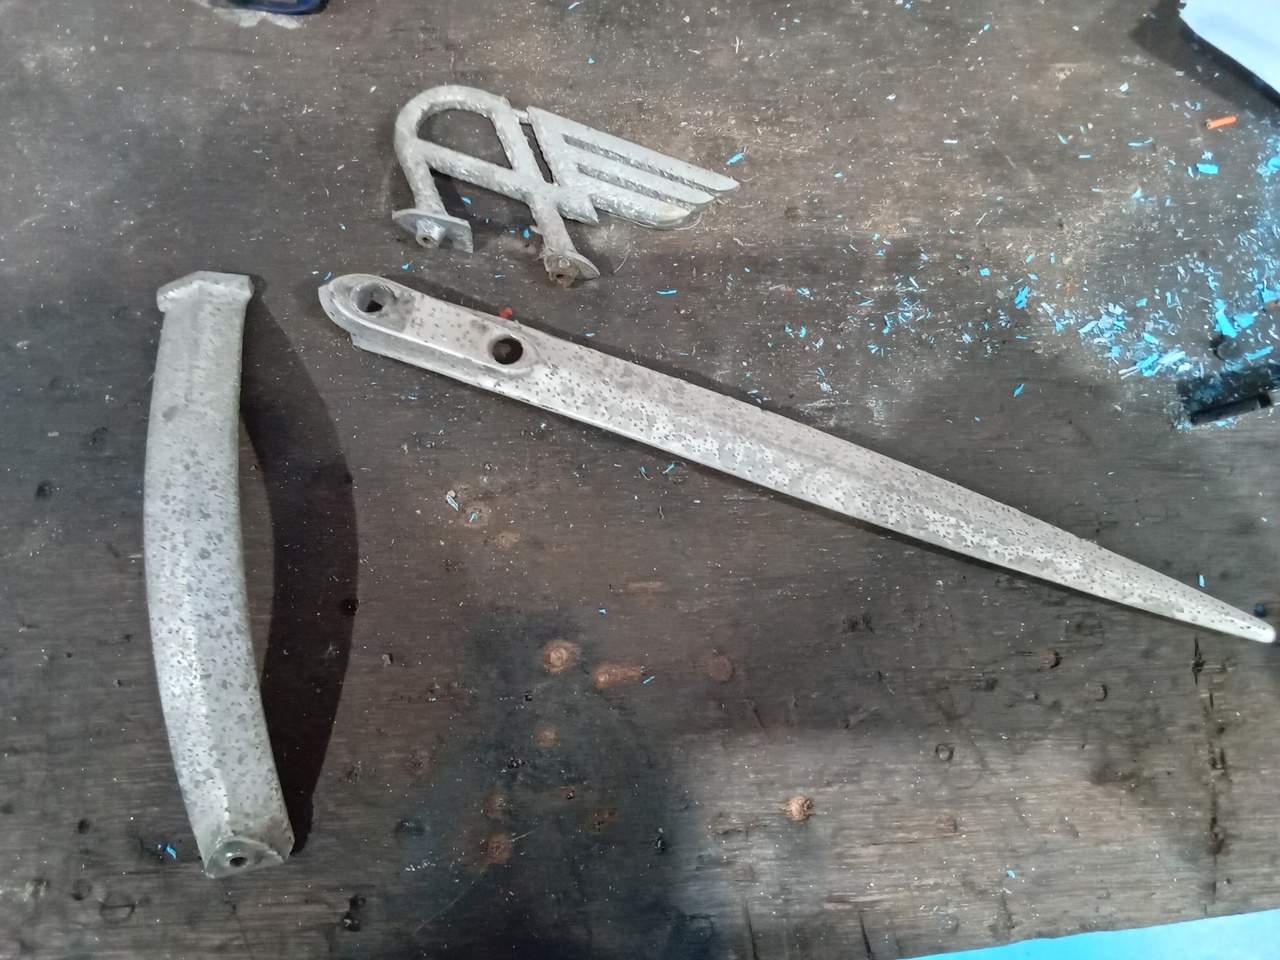
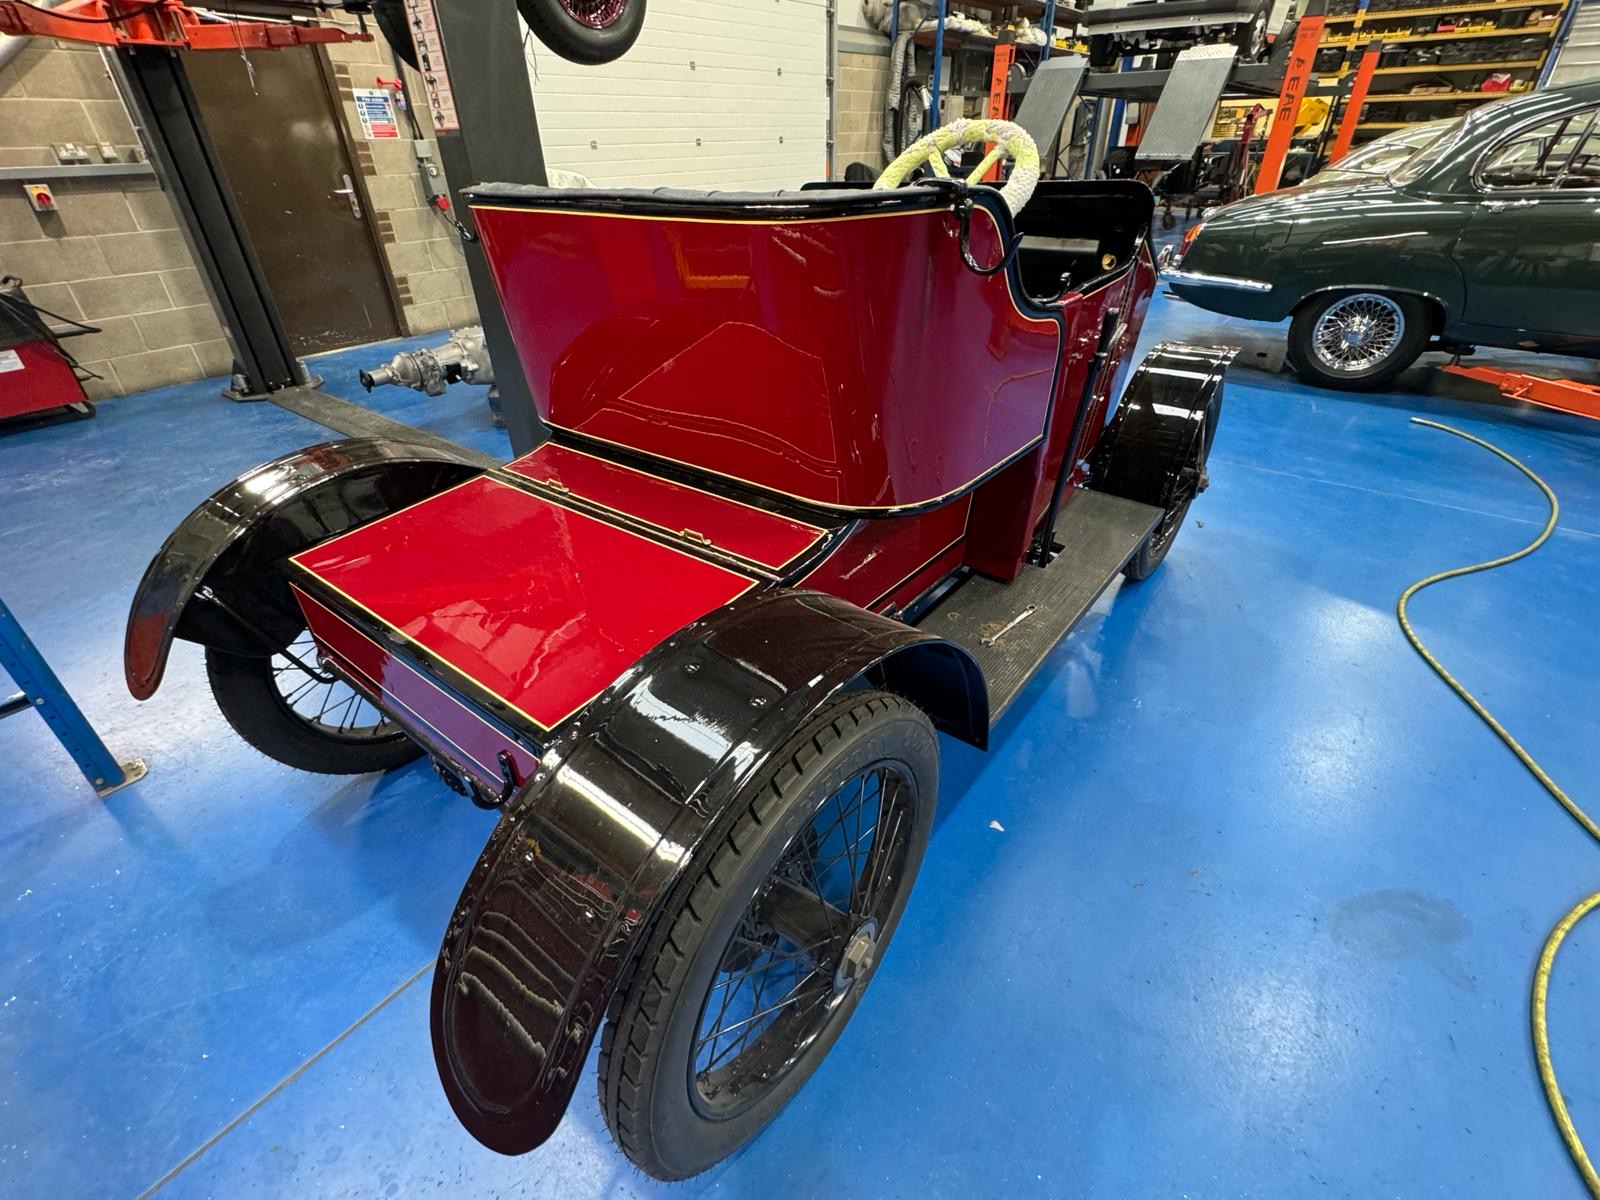
The final parts of our 1905 Riley 9HP restoration project have been in the booth under the gun of our paint technician Mauro.
Mauro has been working on finishing these handmade parts in thick, gloss black for the workshop team to get back on the car ahead of the car’s unveiling at the Practical Classic Restoration Show at the Birmingham NEC this weekend.

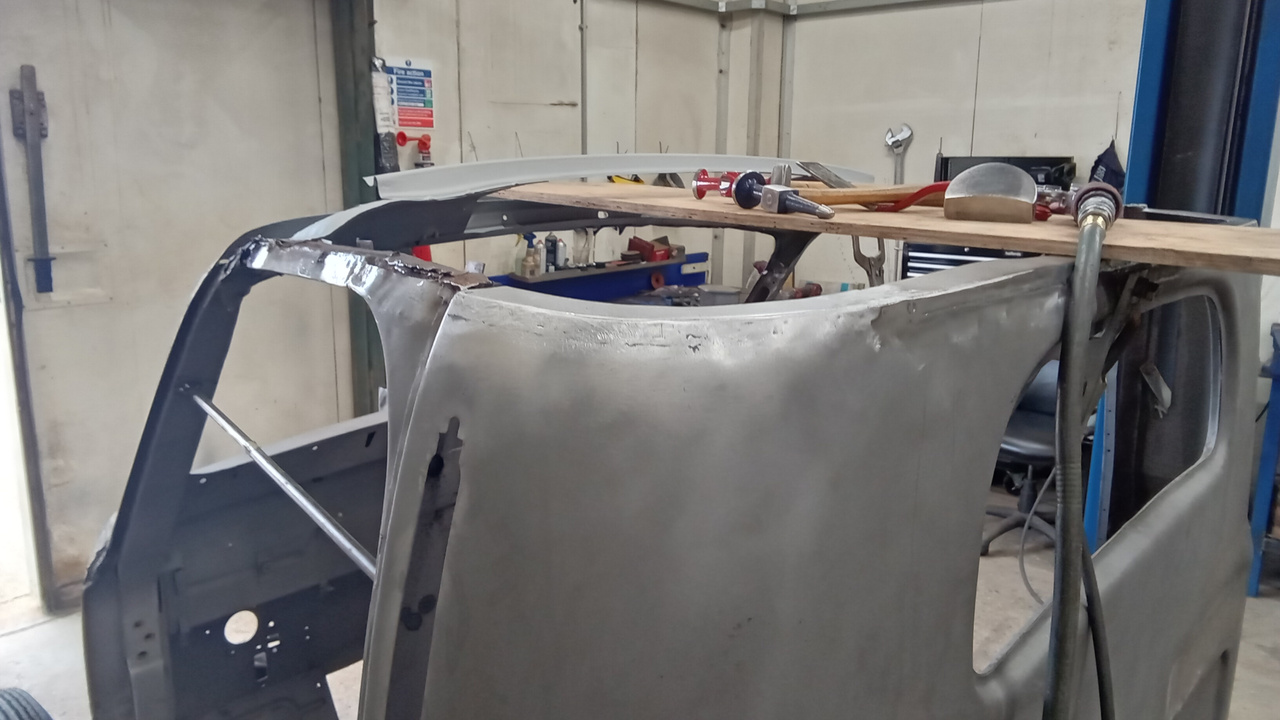
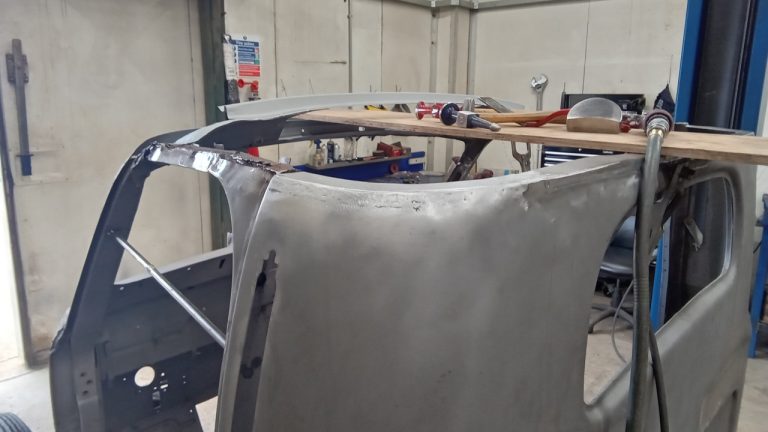
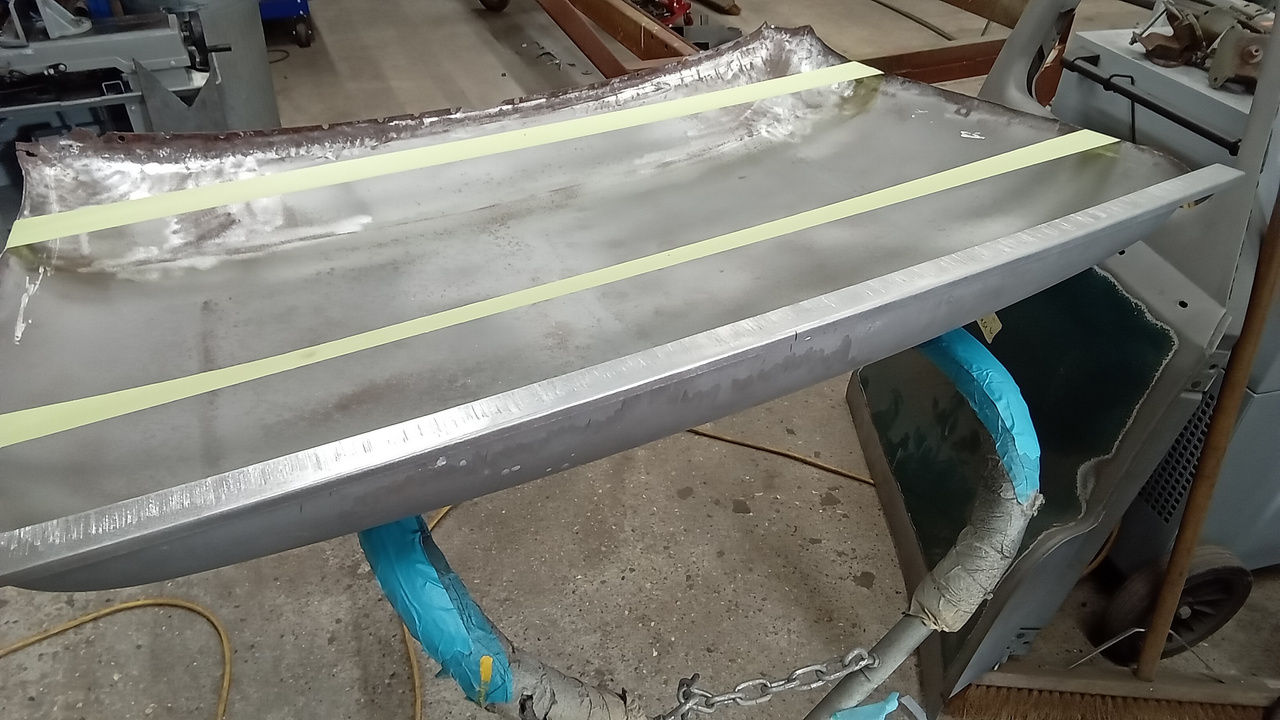
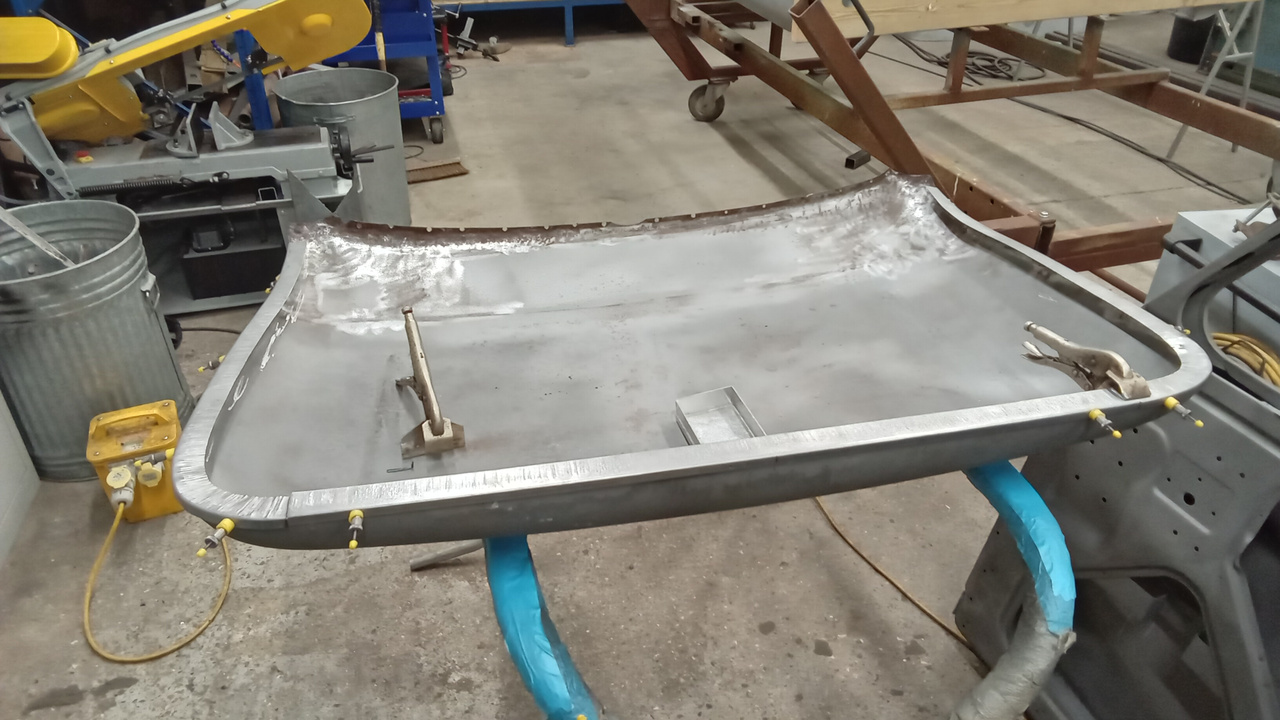
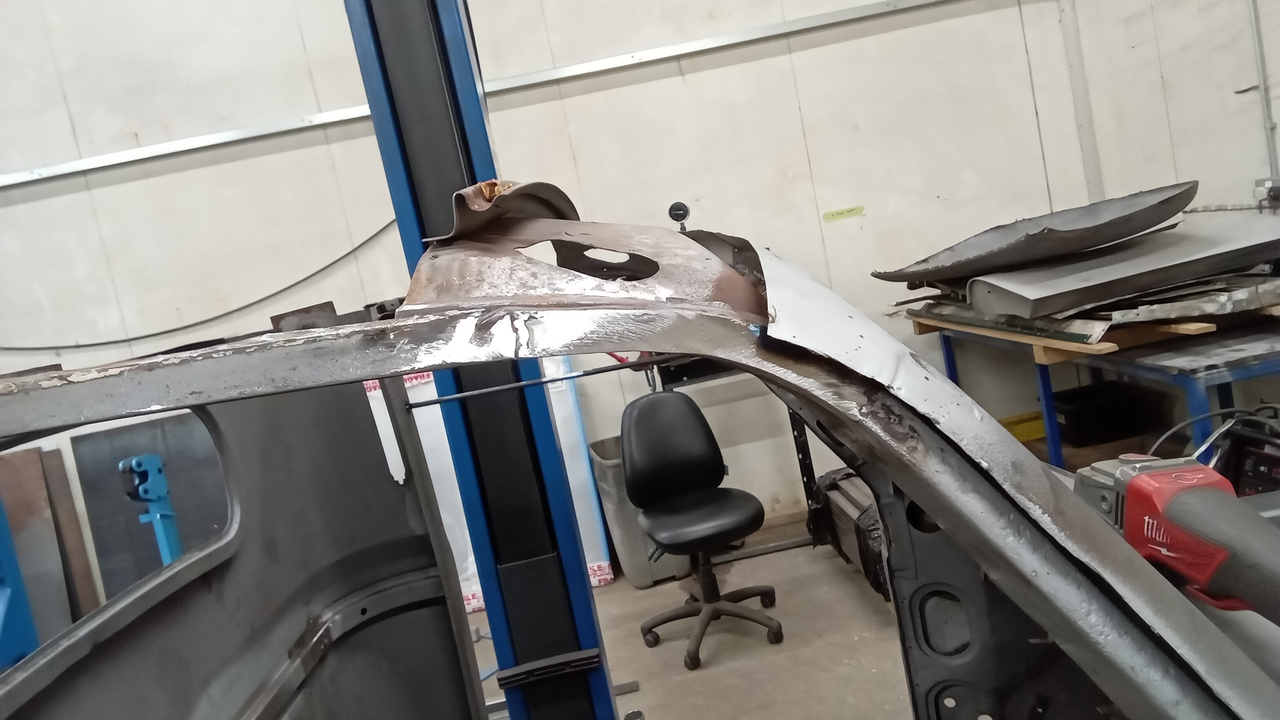
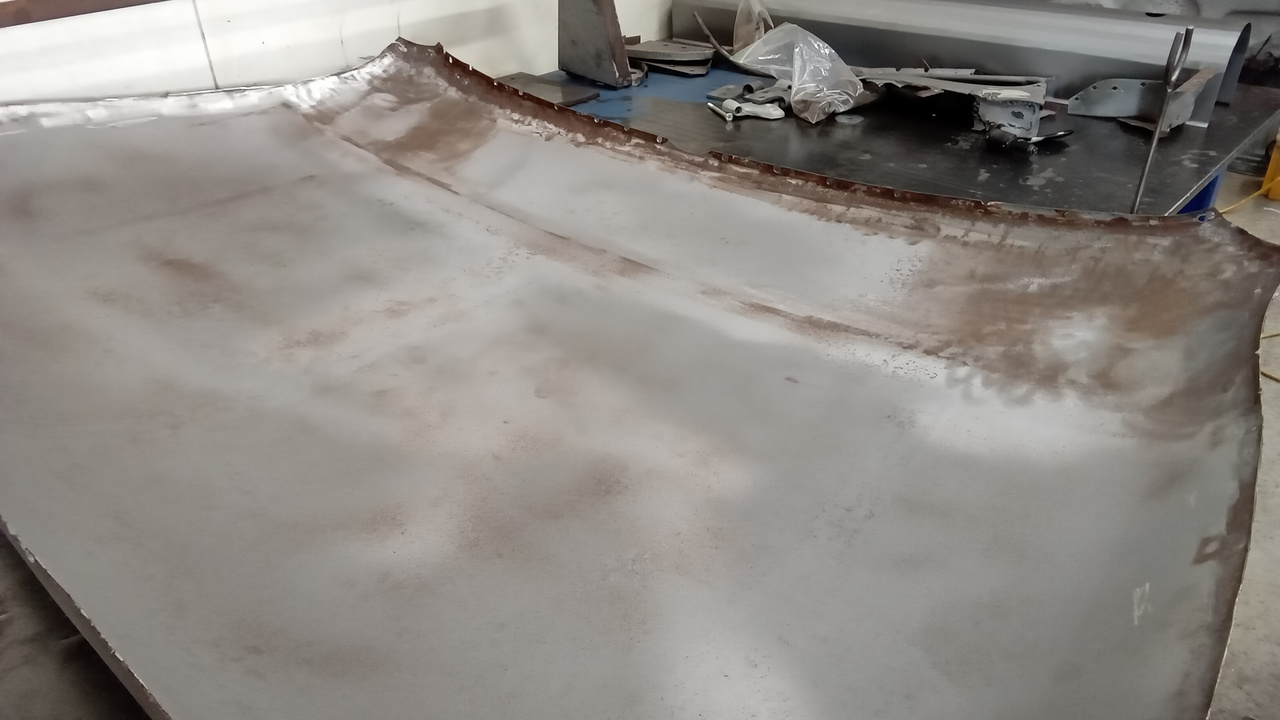
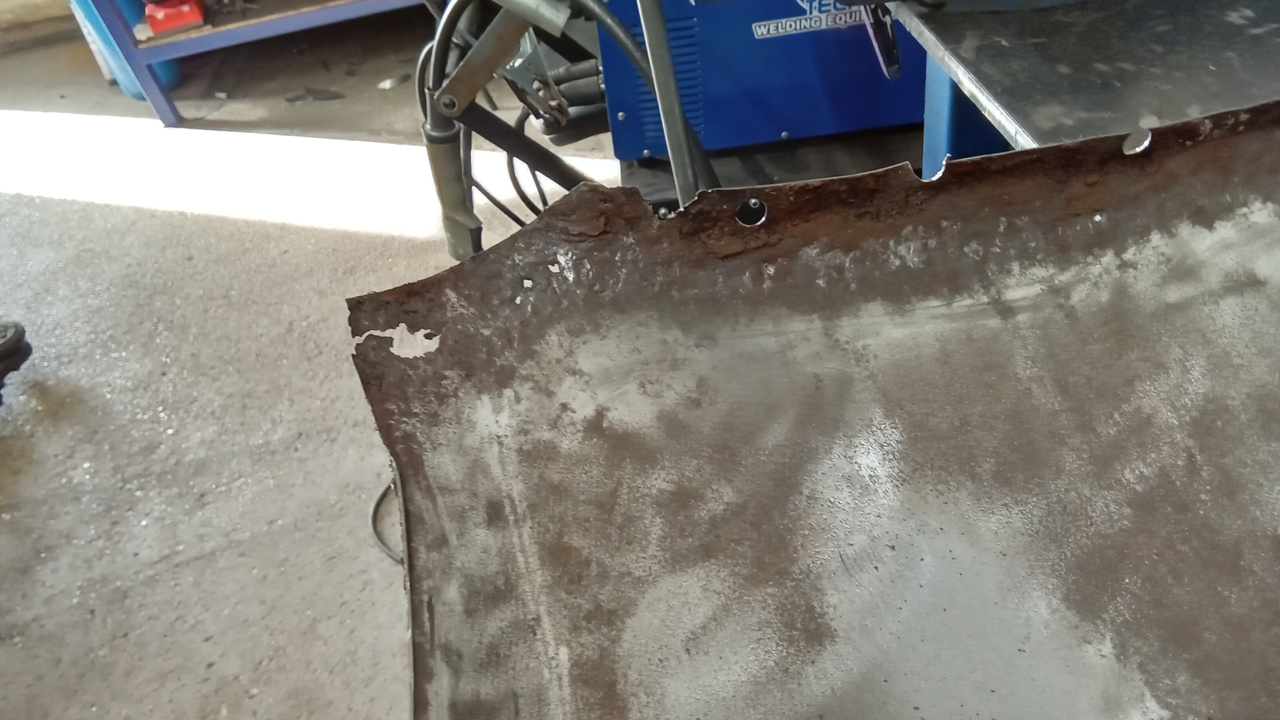
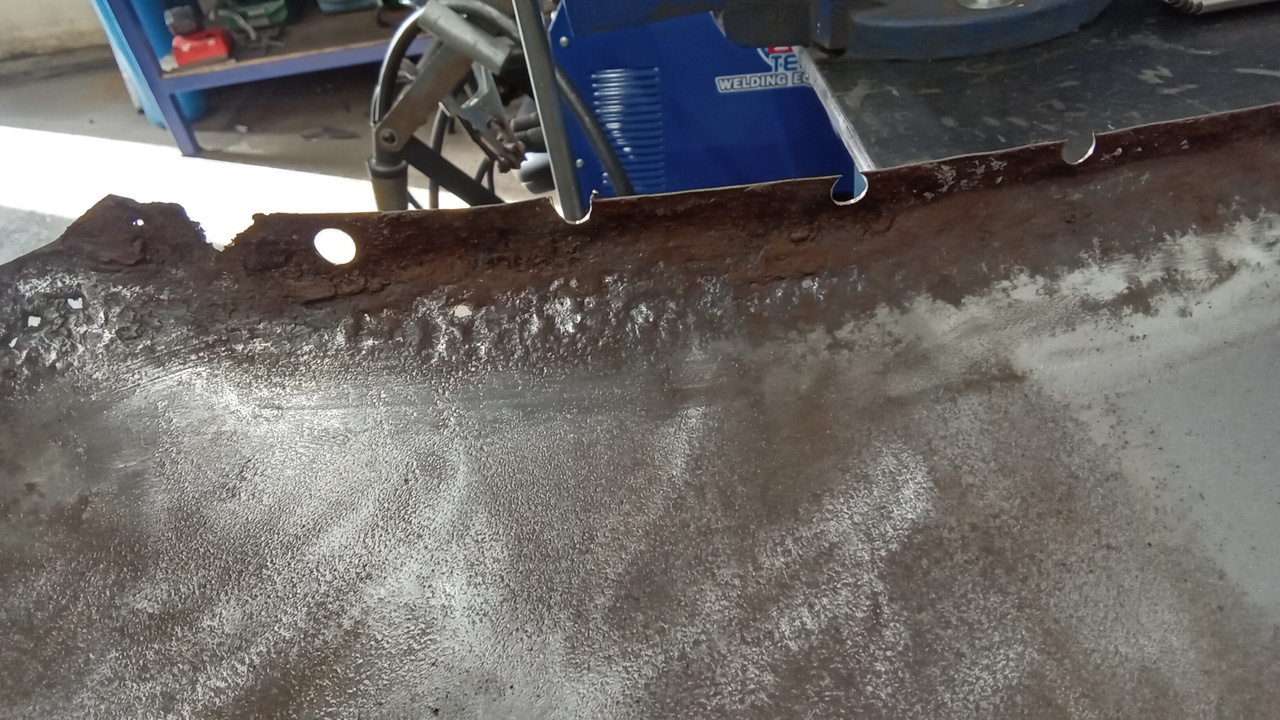
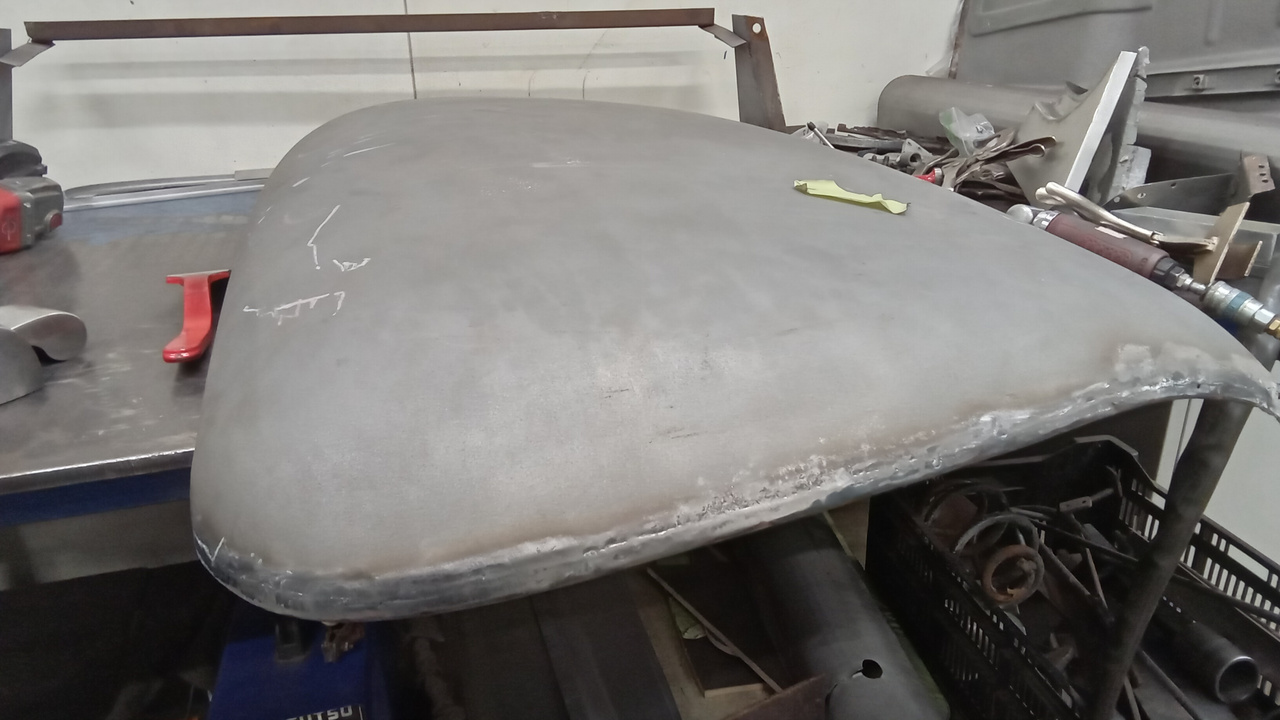
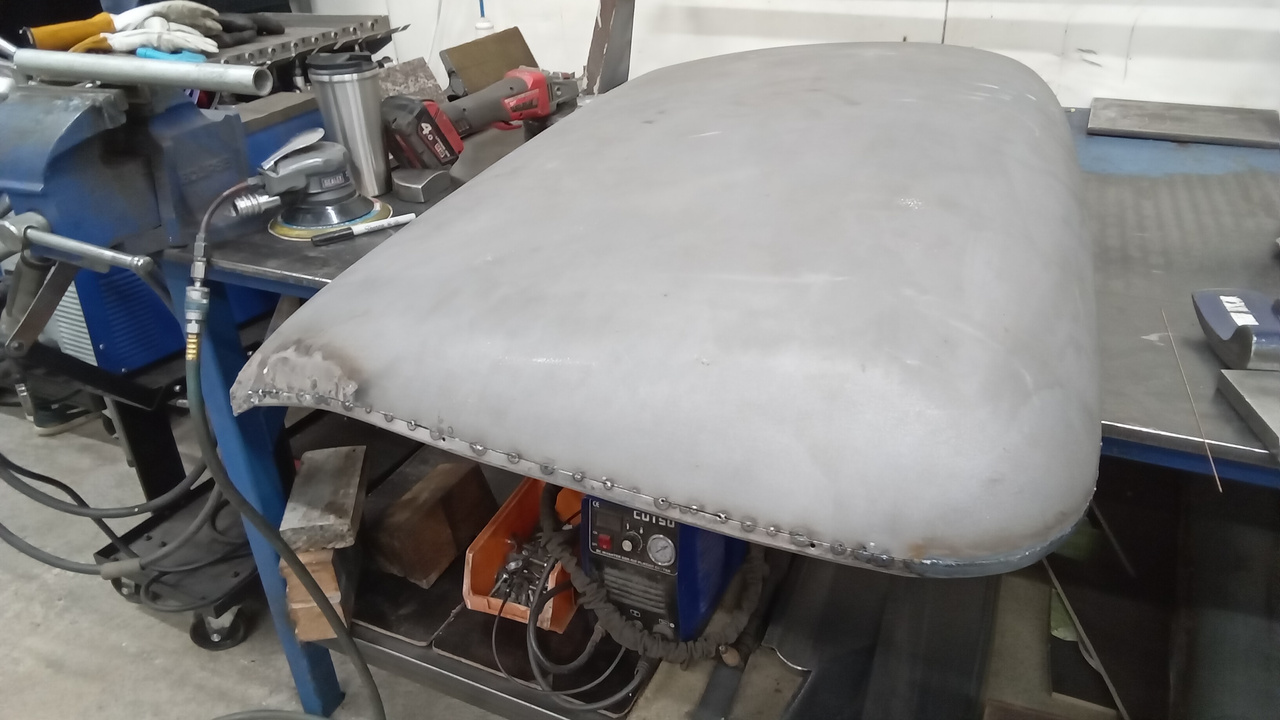
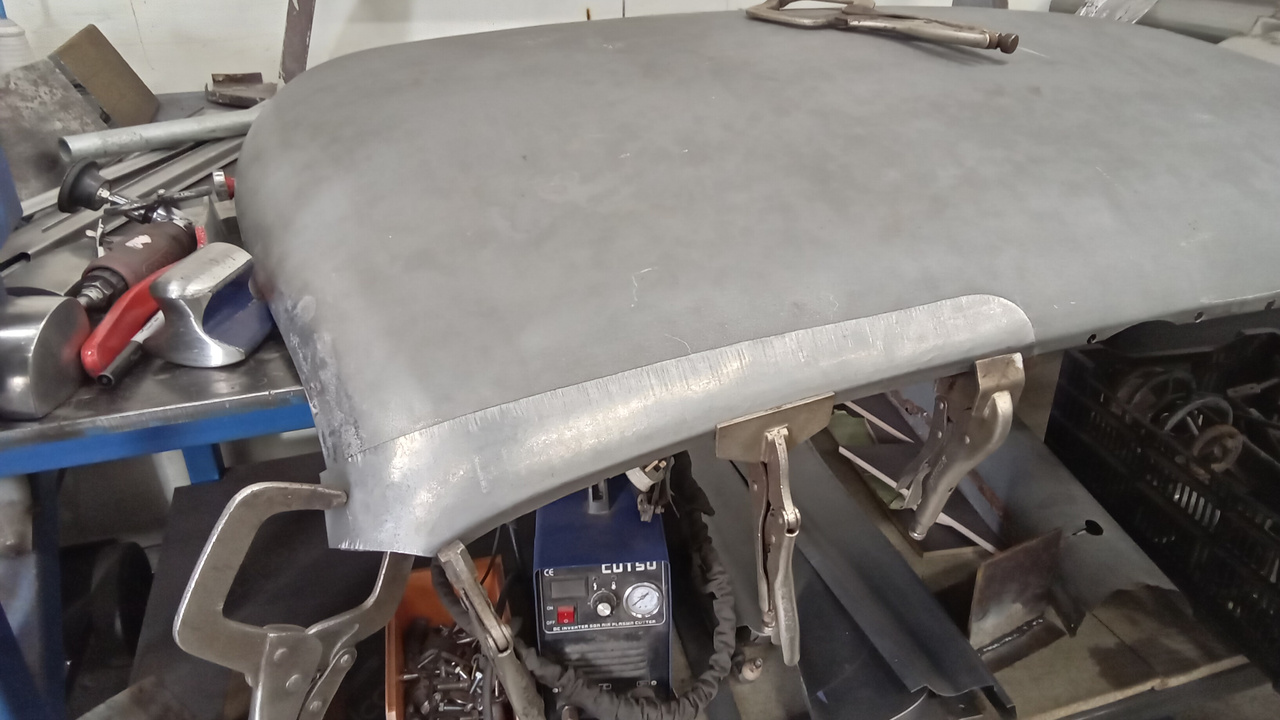
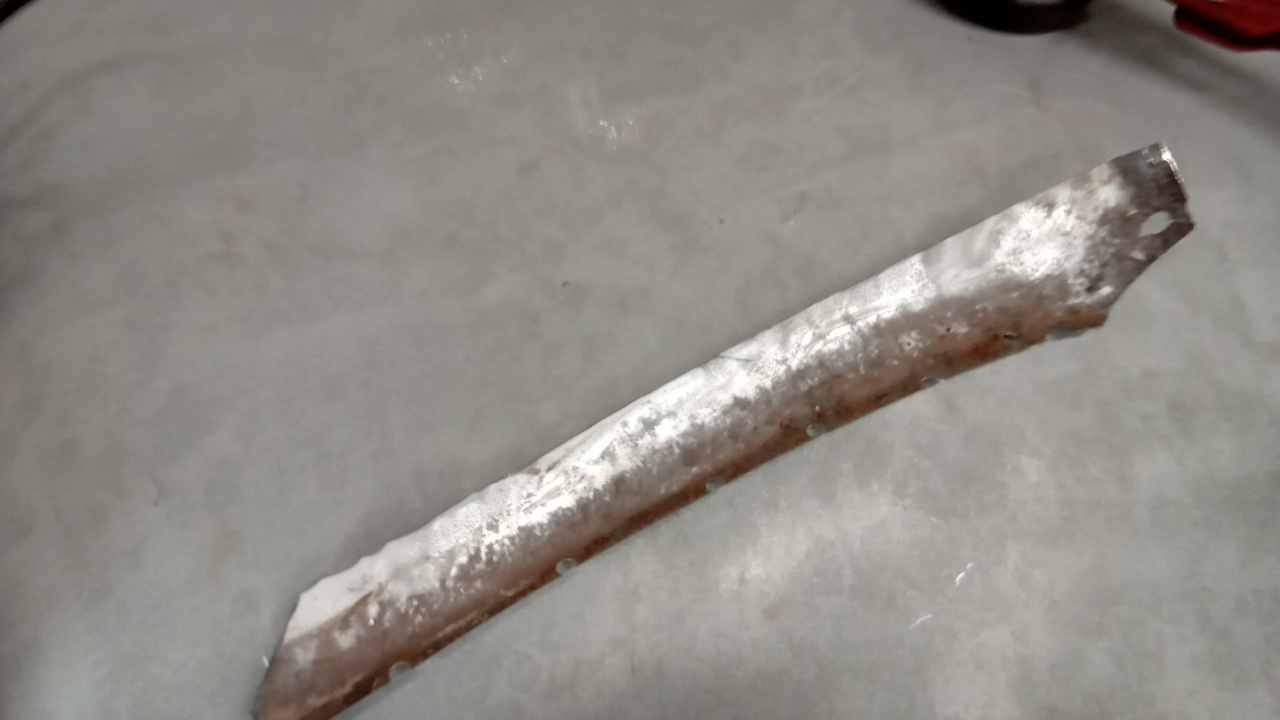
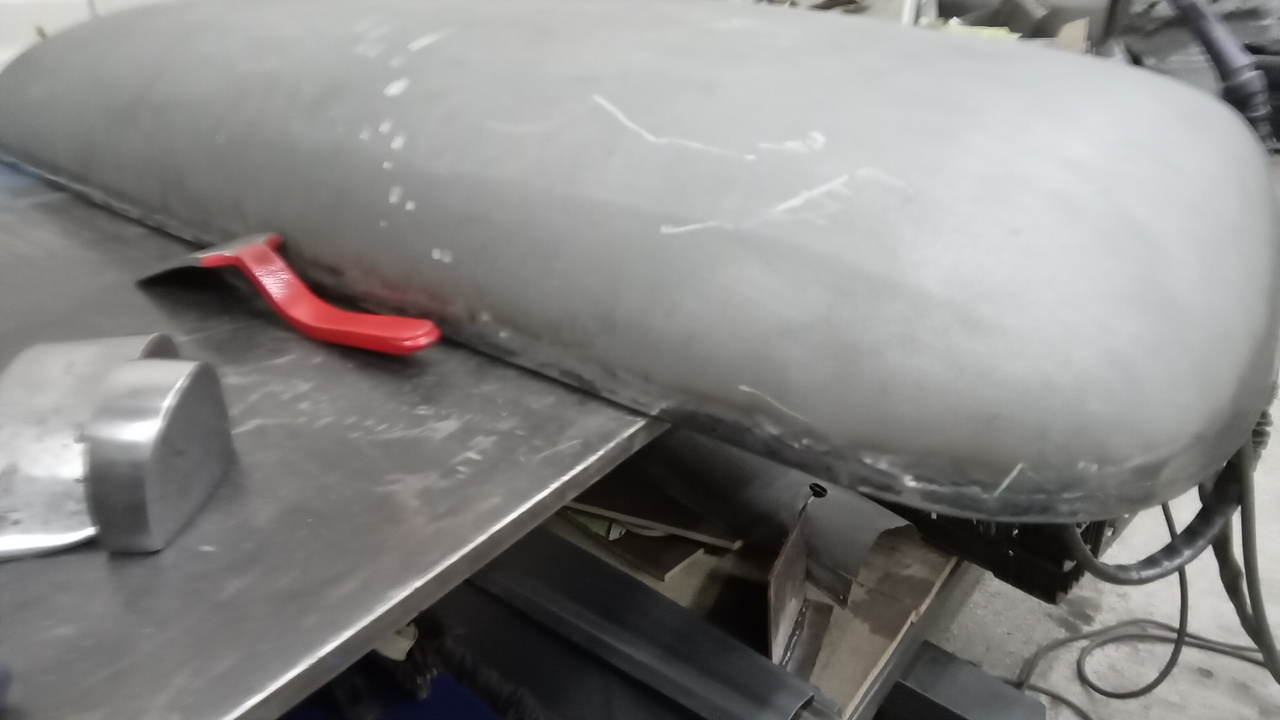
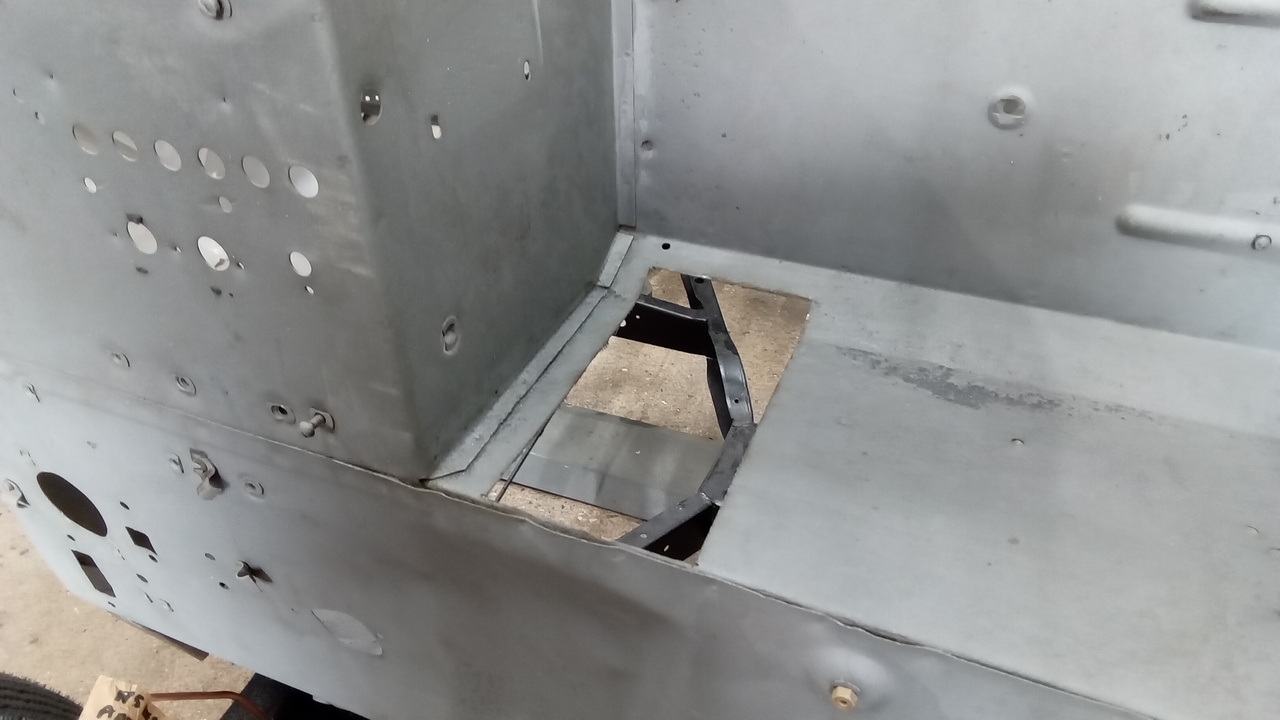
Chris, from the fabrication team, has been working on repairing the metalwork in the roof of the 1951 Austin Devon Pickup at the Bridge Classic Cars HQ.
After carefully removing the piece from the top of the vintage truck, he has carefully remade the part in order to get it to fit back flush and properly. With it being such a crucial piece, he has taken extra care to make sure every surface is as close to perfect before he begins to reattach the part to the truck.


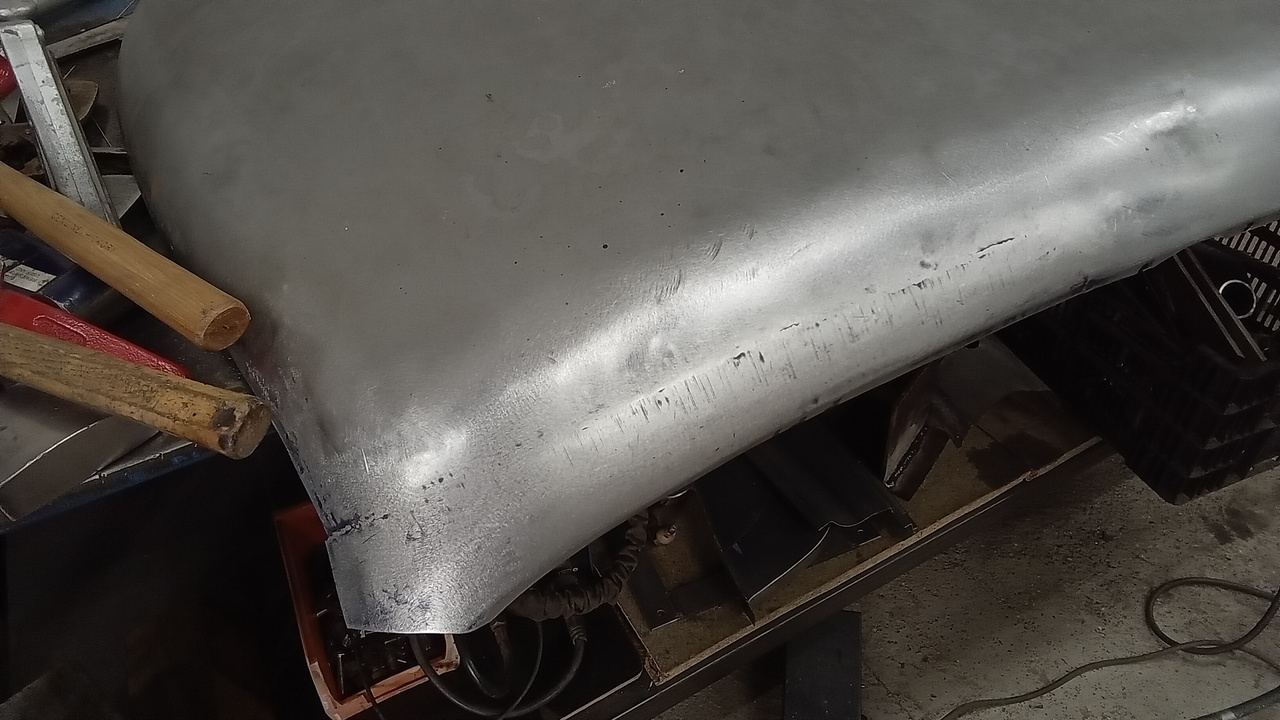
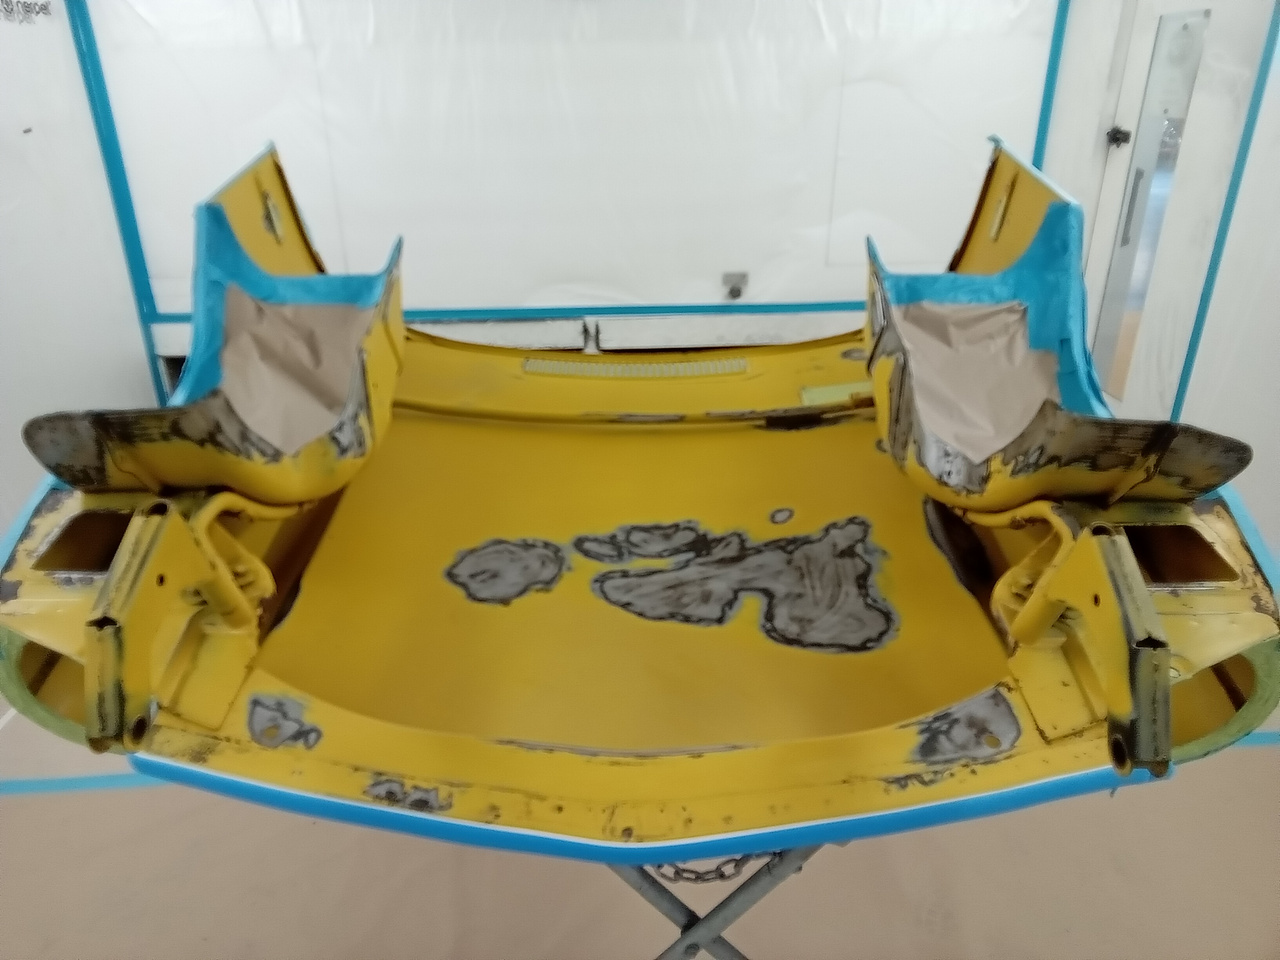
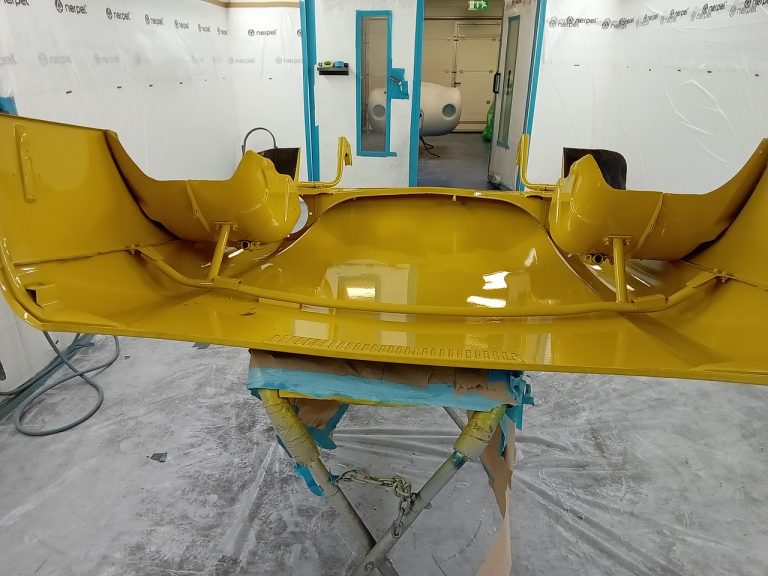
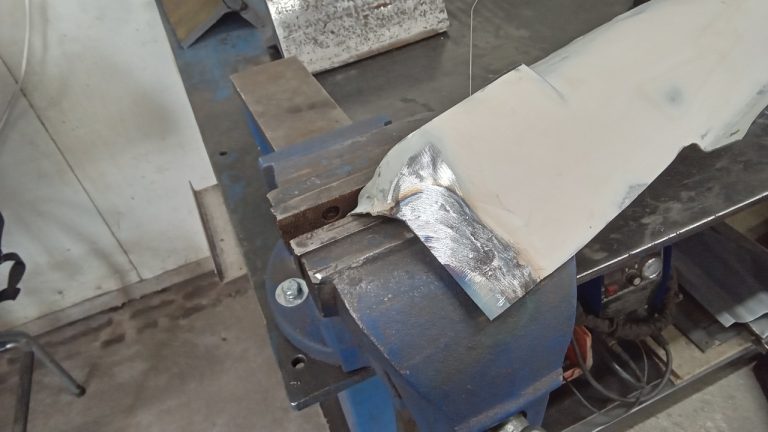
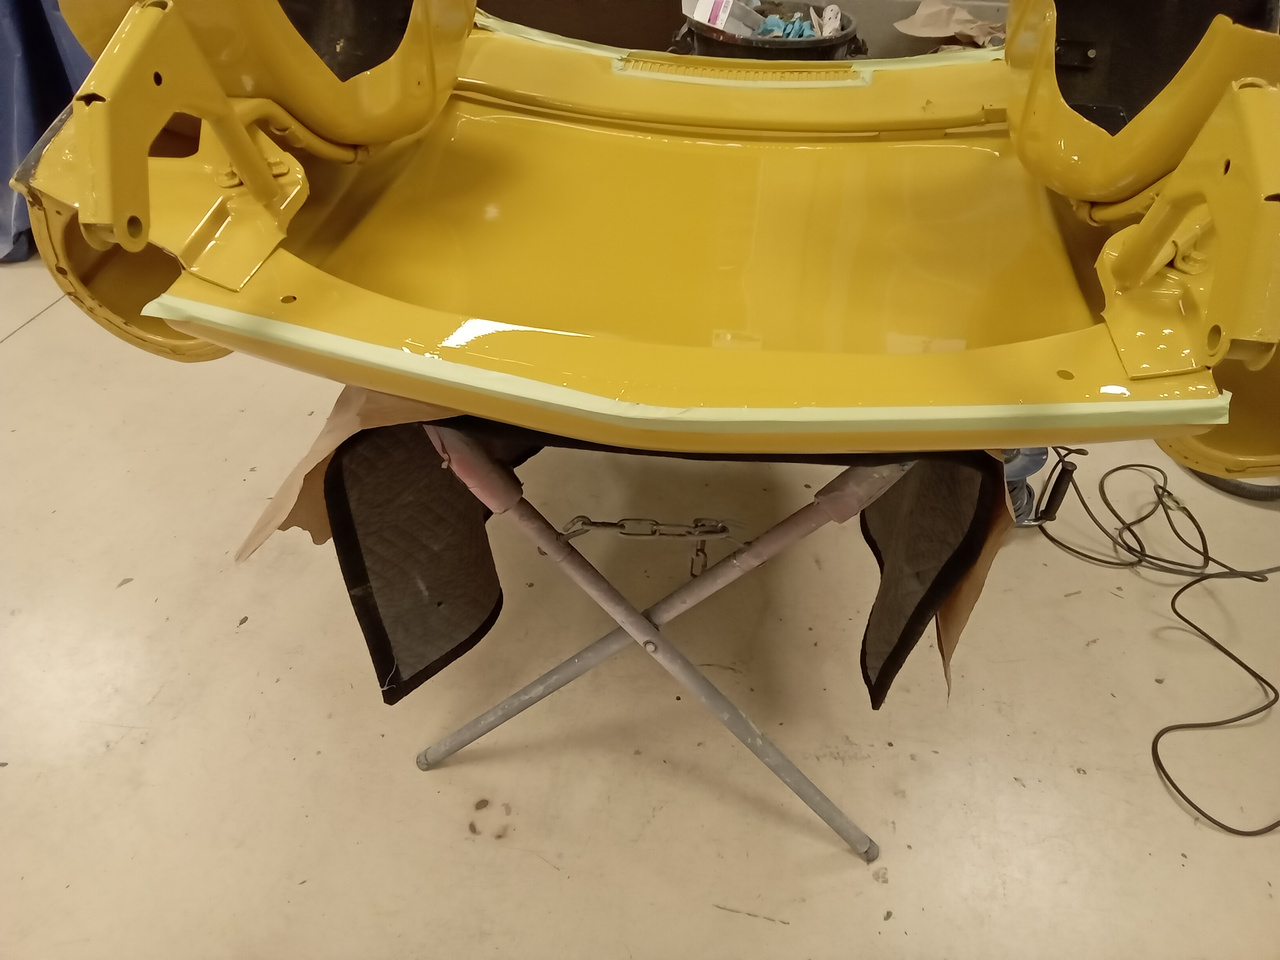
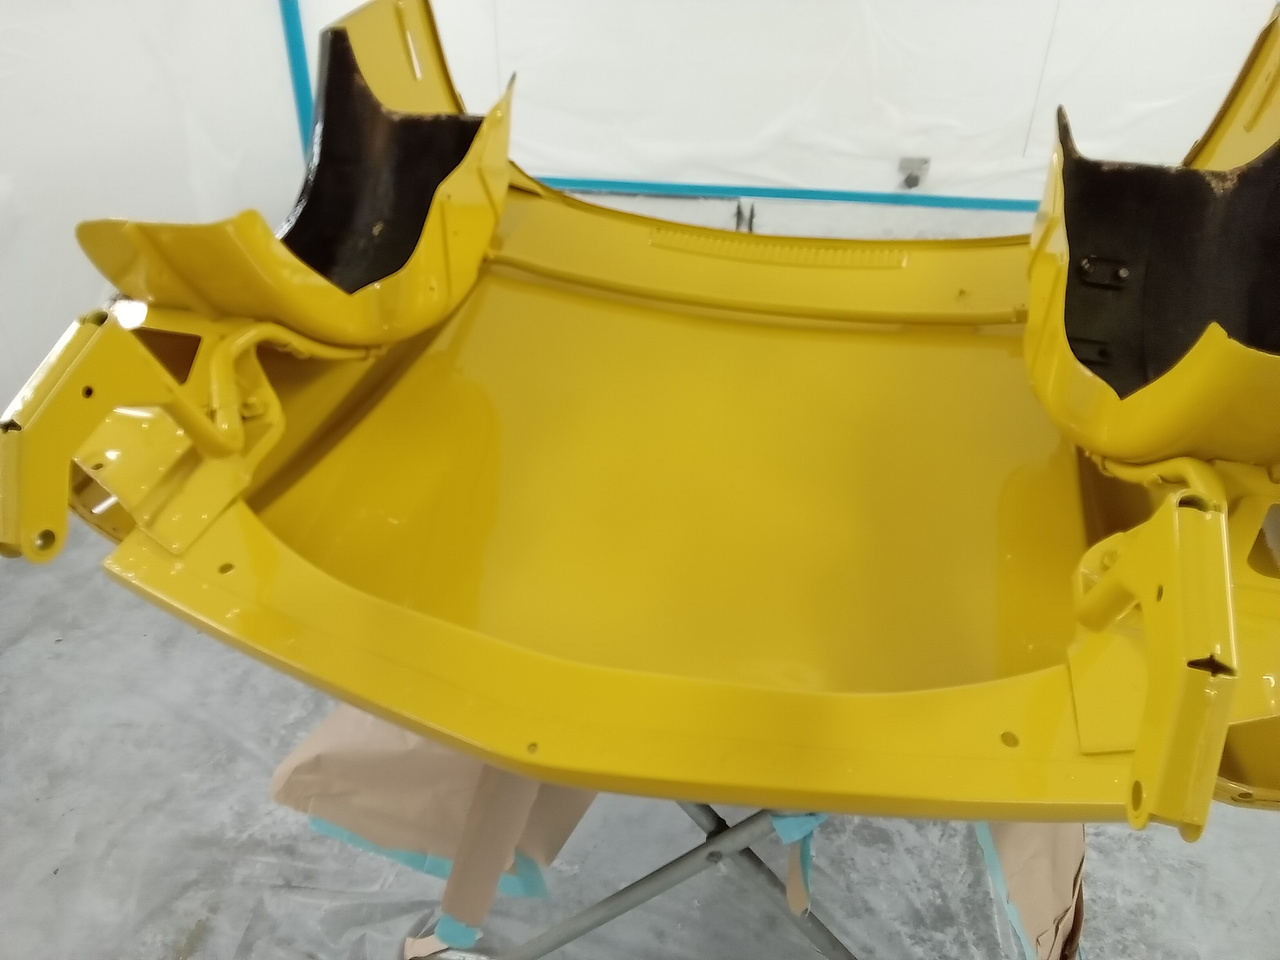
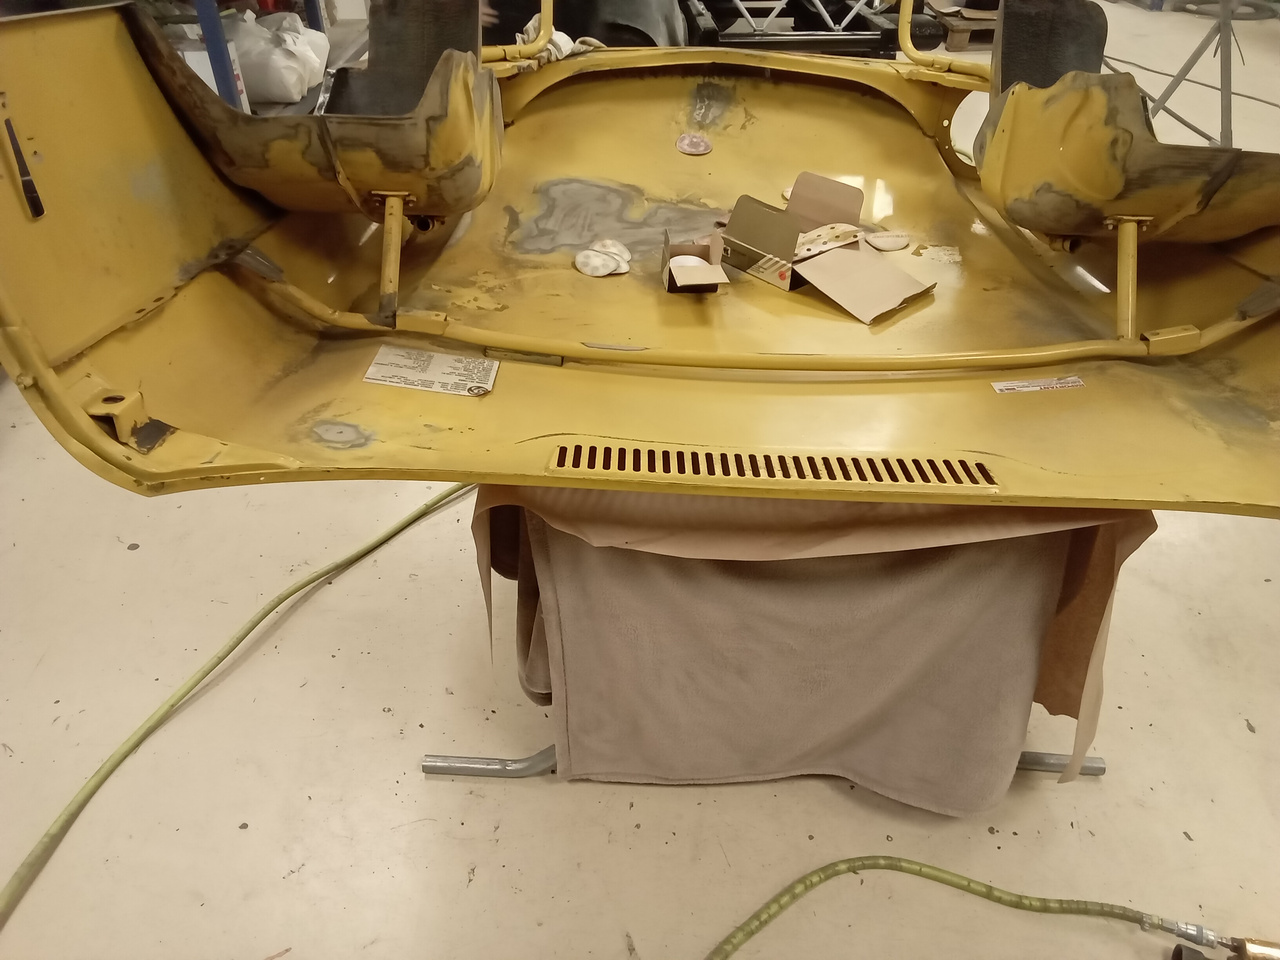
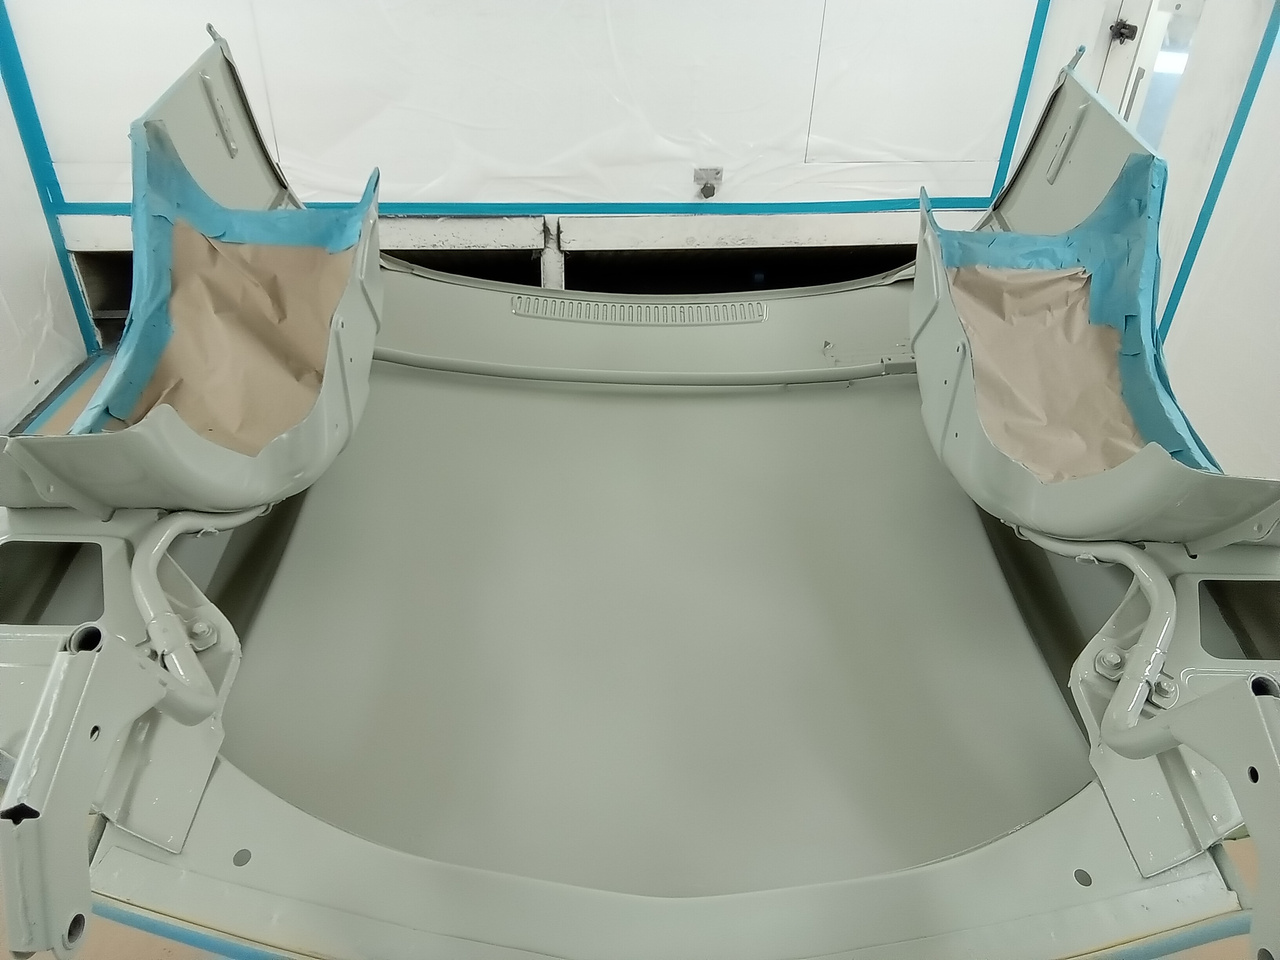
Mauro has been working on getting the underside of the bonnet for our 1979 Triumph Spitfire to look just as good as the top side!
He carefully went through and treated any areas of corrosion before carefully working the surfaces and finally taking it into the booth for it’s matching yellow paintwork to be laid down.


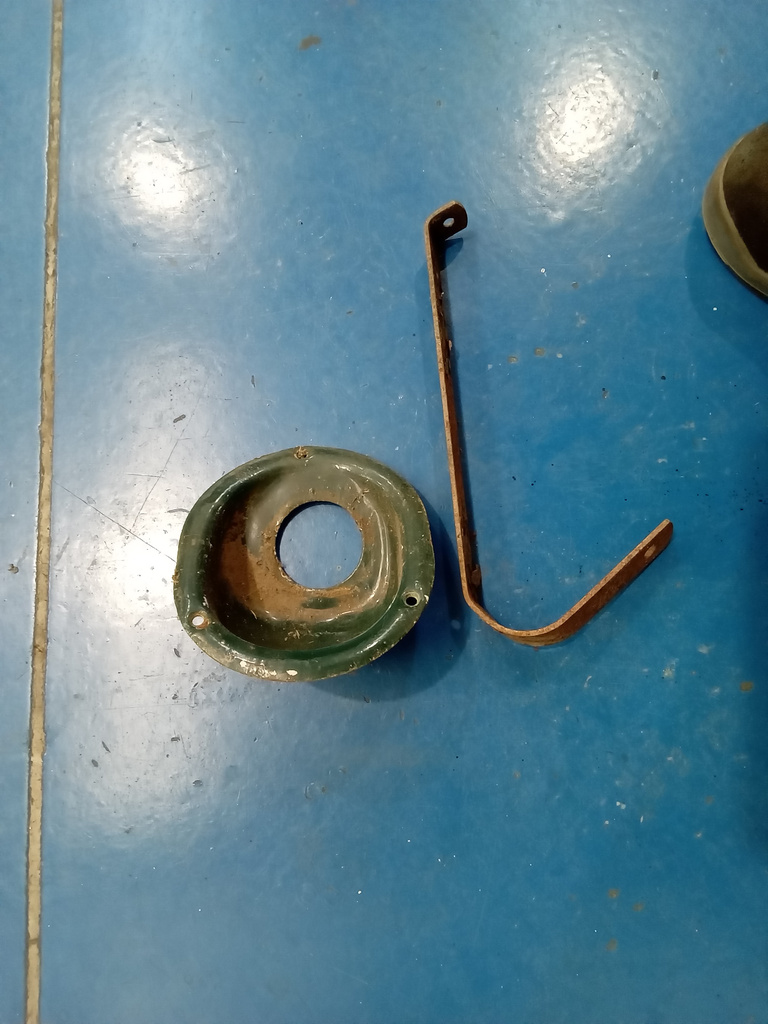
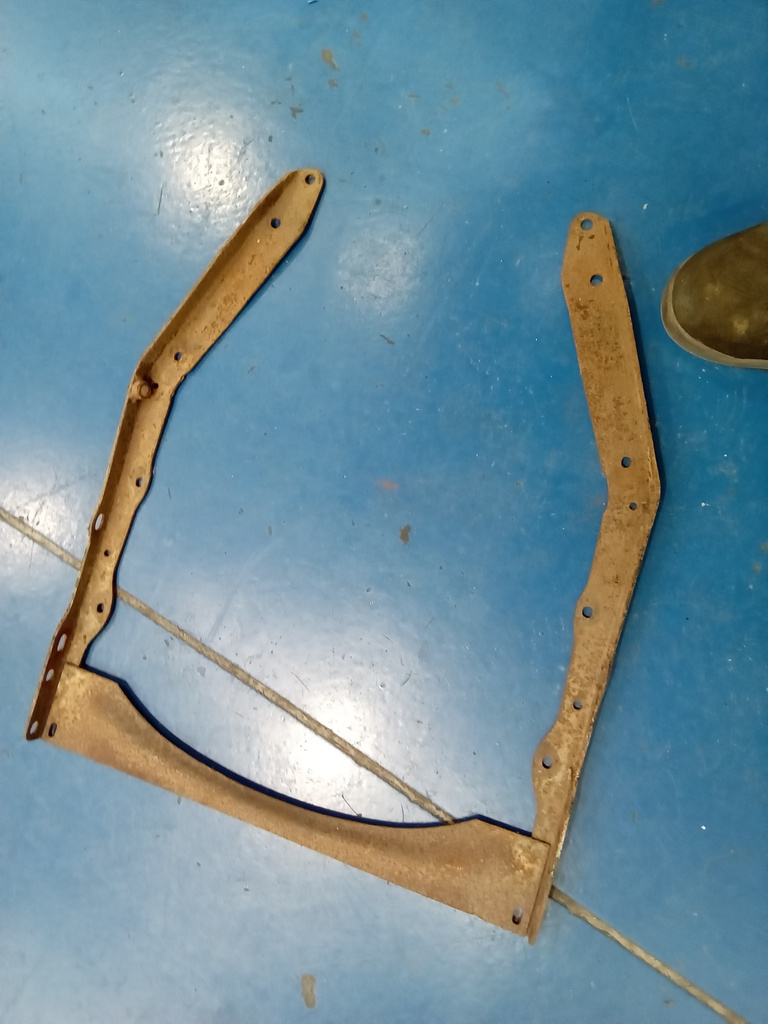
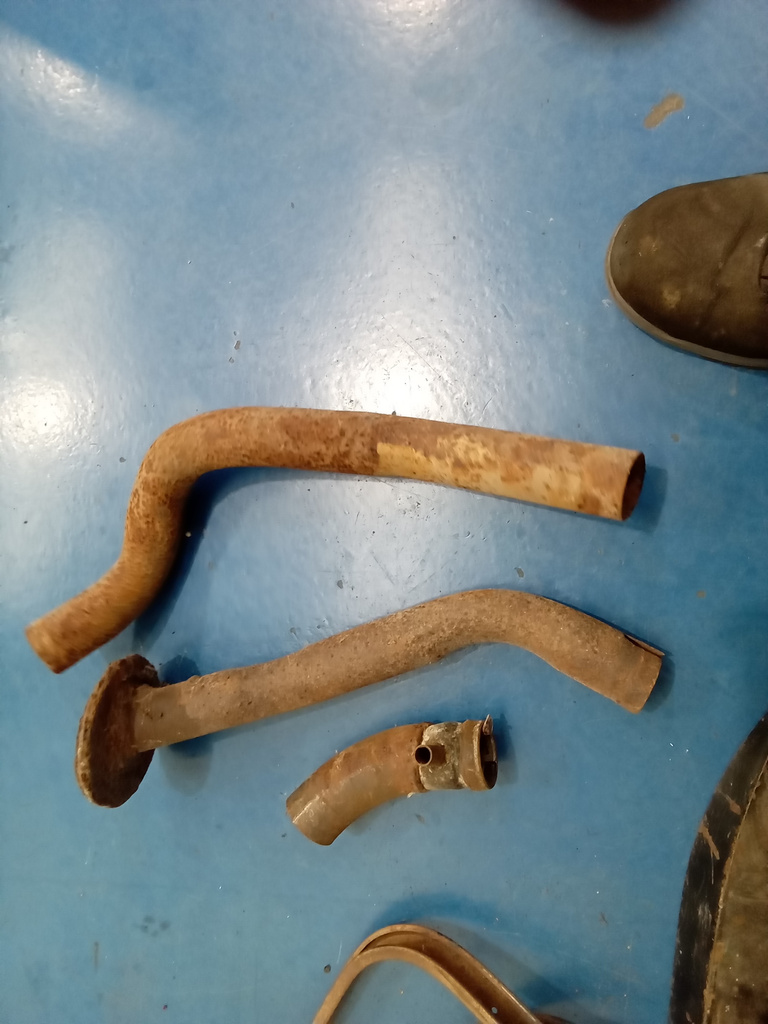
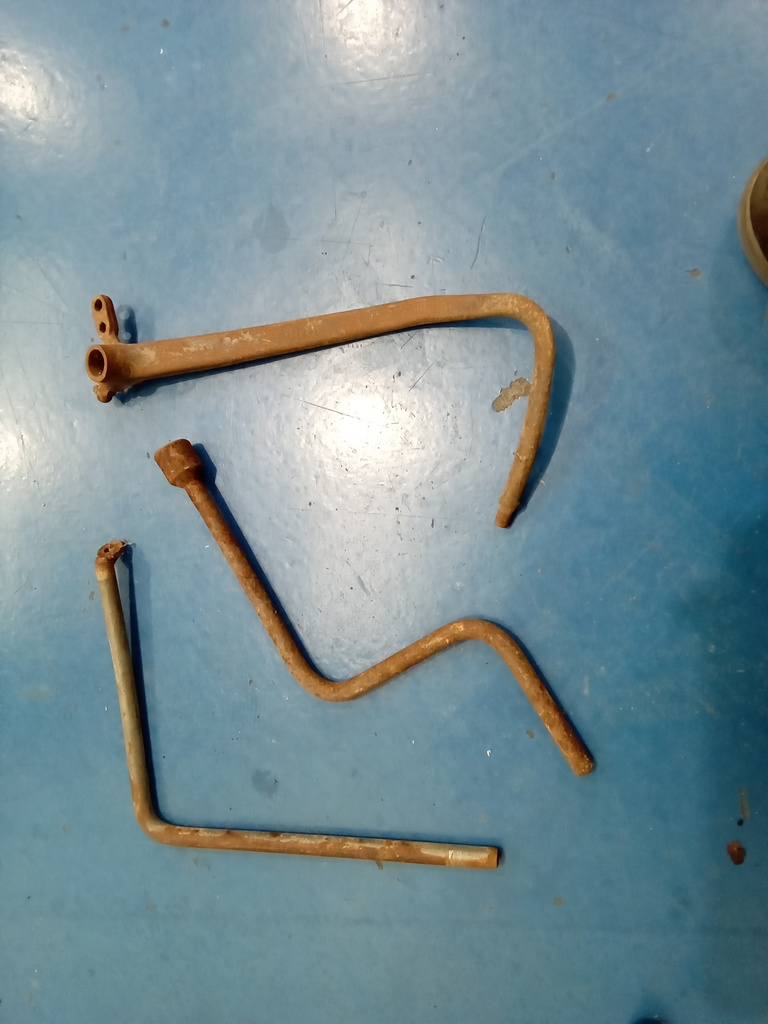
John has been working methodically and meticoulsly through the various parts and pieces of the 1951 Austin Devon Pickup.
All of these parts have to be stripped back in preparation of them going to be blasted ahead of being rechromed as part of the restoration project.
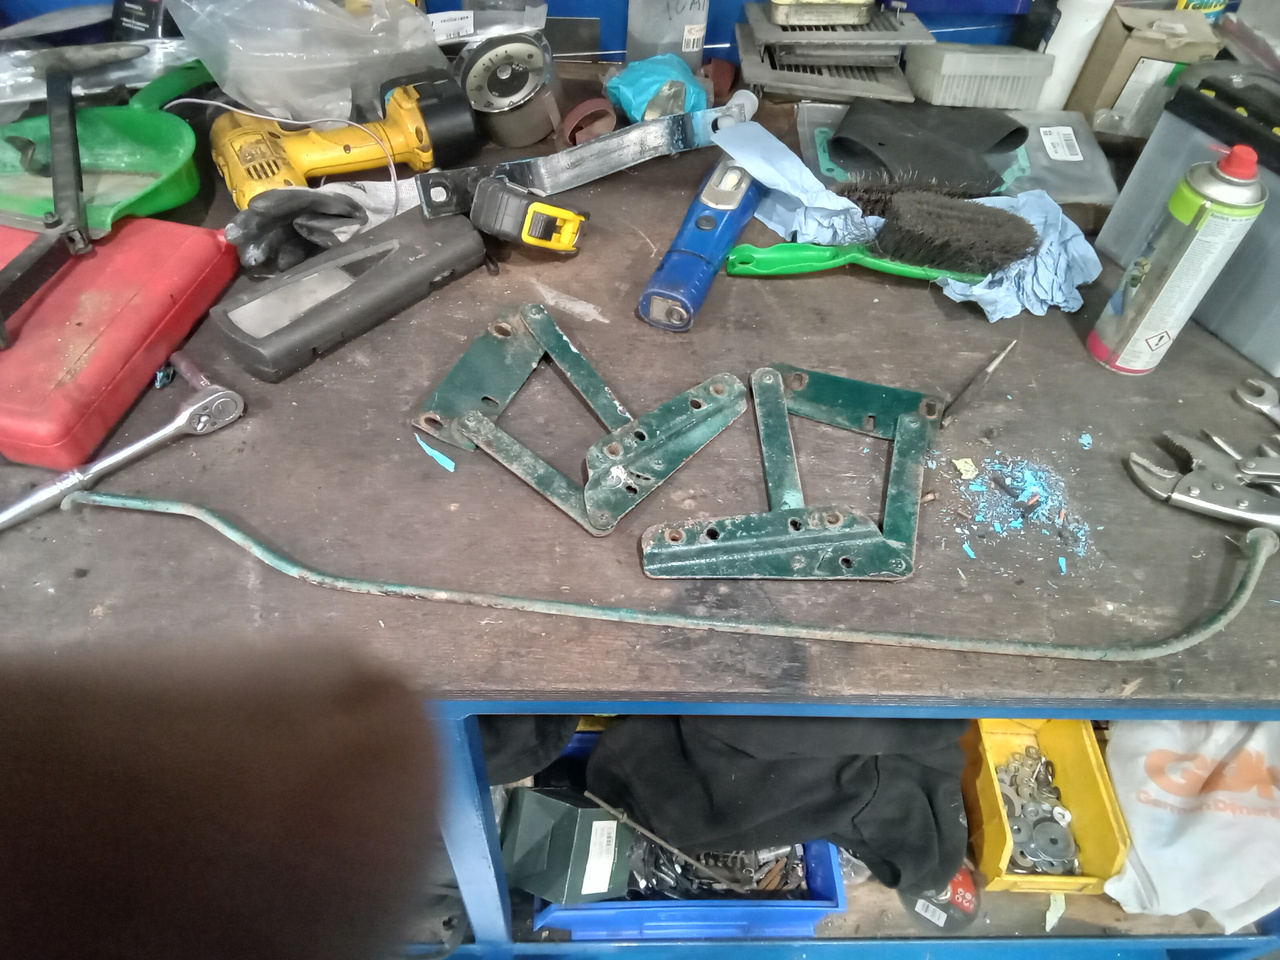
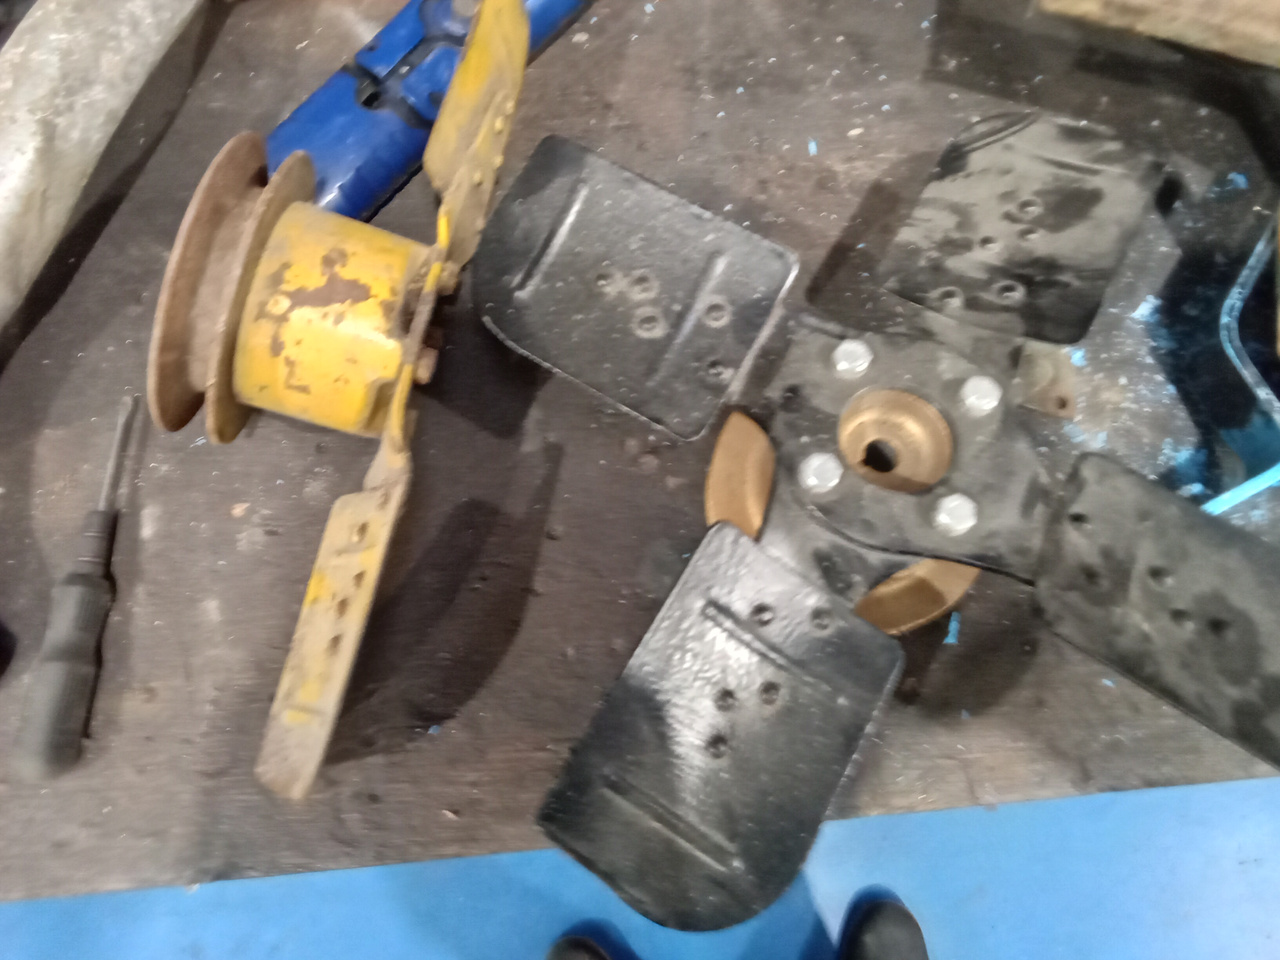


Fabricator Chris has been working his magic on the valance of our 1963 Bentley S3 Continental Coupe.
With such an impressive and handmade car, adjustments sometimes have to be made in order to get the best fitting parts and ultimately the best end result, so the valance was handed over to our fabrication team to get delicately persuaded back into shape for this beautiful 1960s luxury coupe.
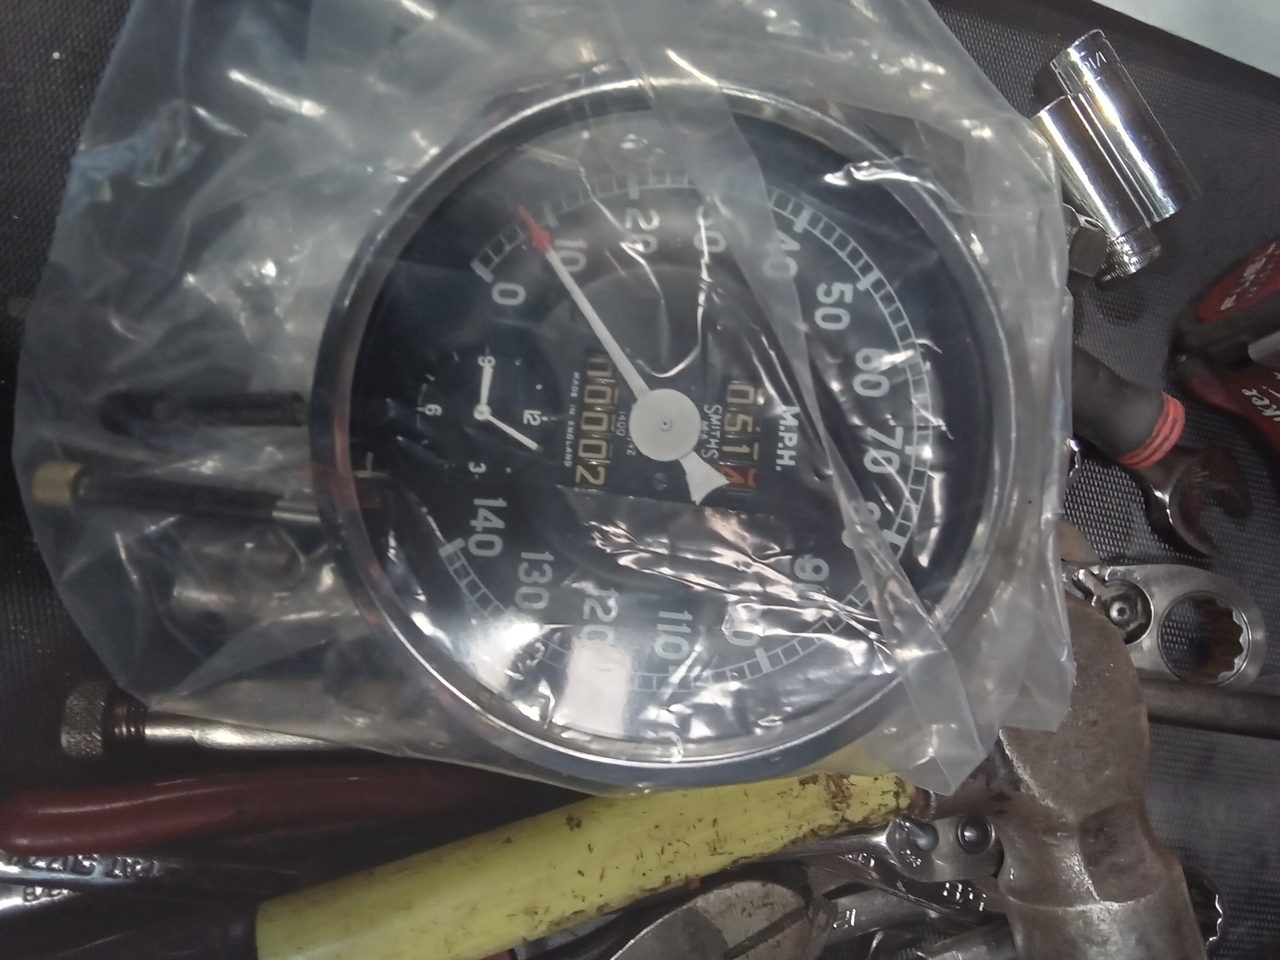
Our technician Julian has been working on getting some of the final bits and pieces finished on our 1955 Aston Martin DB2/4 Mk1.
We previously had found that the speedometer had an internal fault and had to be sent back to our gauge specialist for repairs but now, it can be fit back into the car and final testing can begin soon.

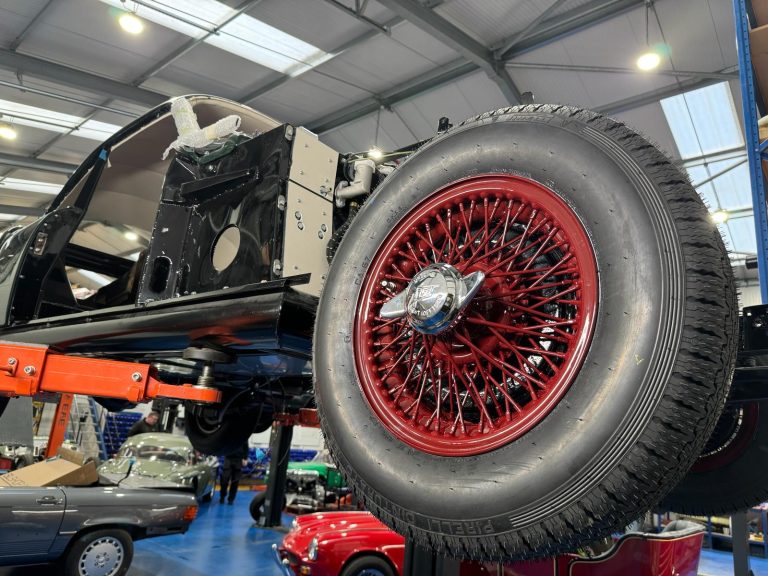
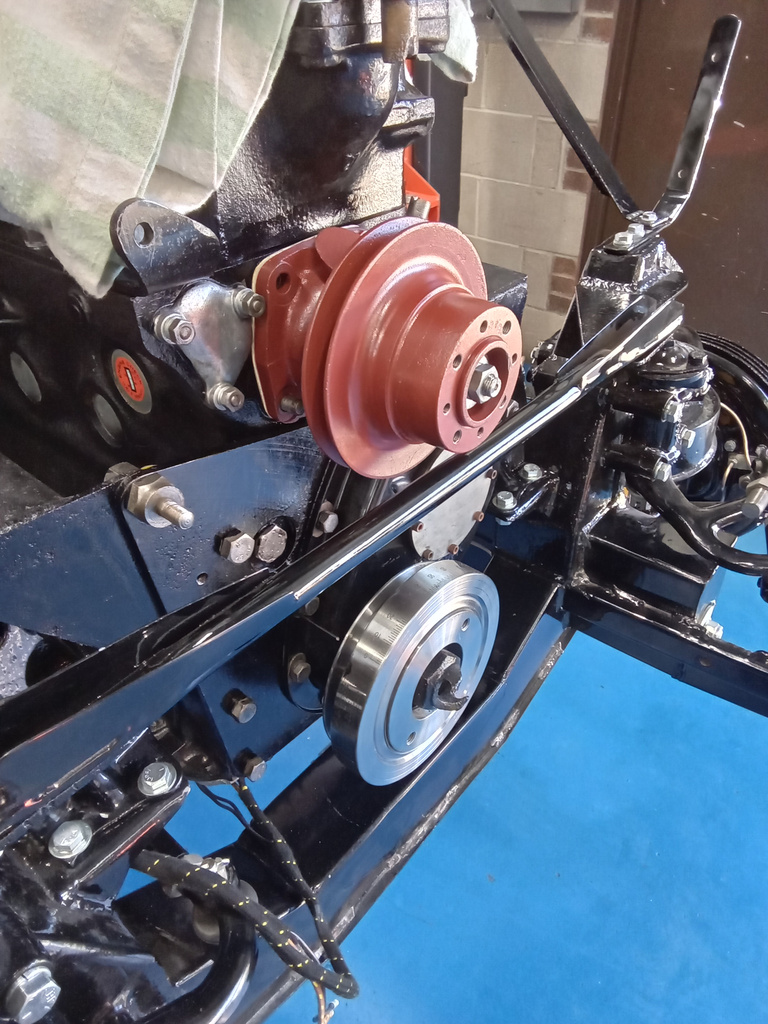
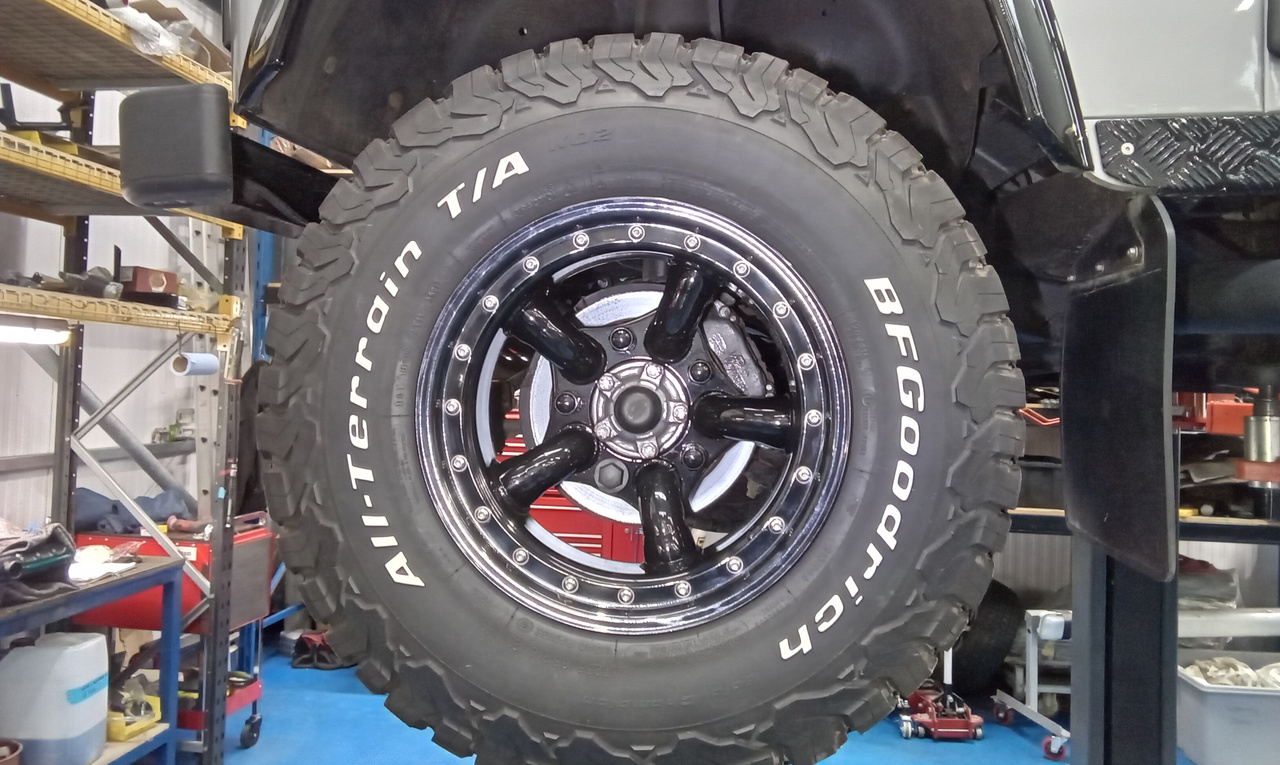
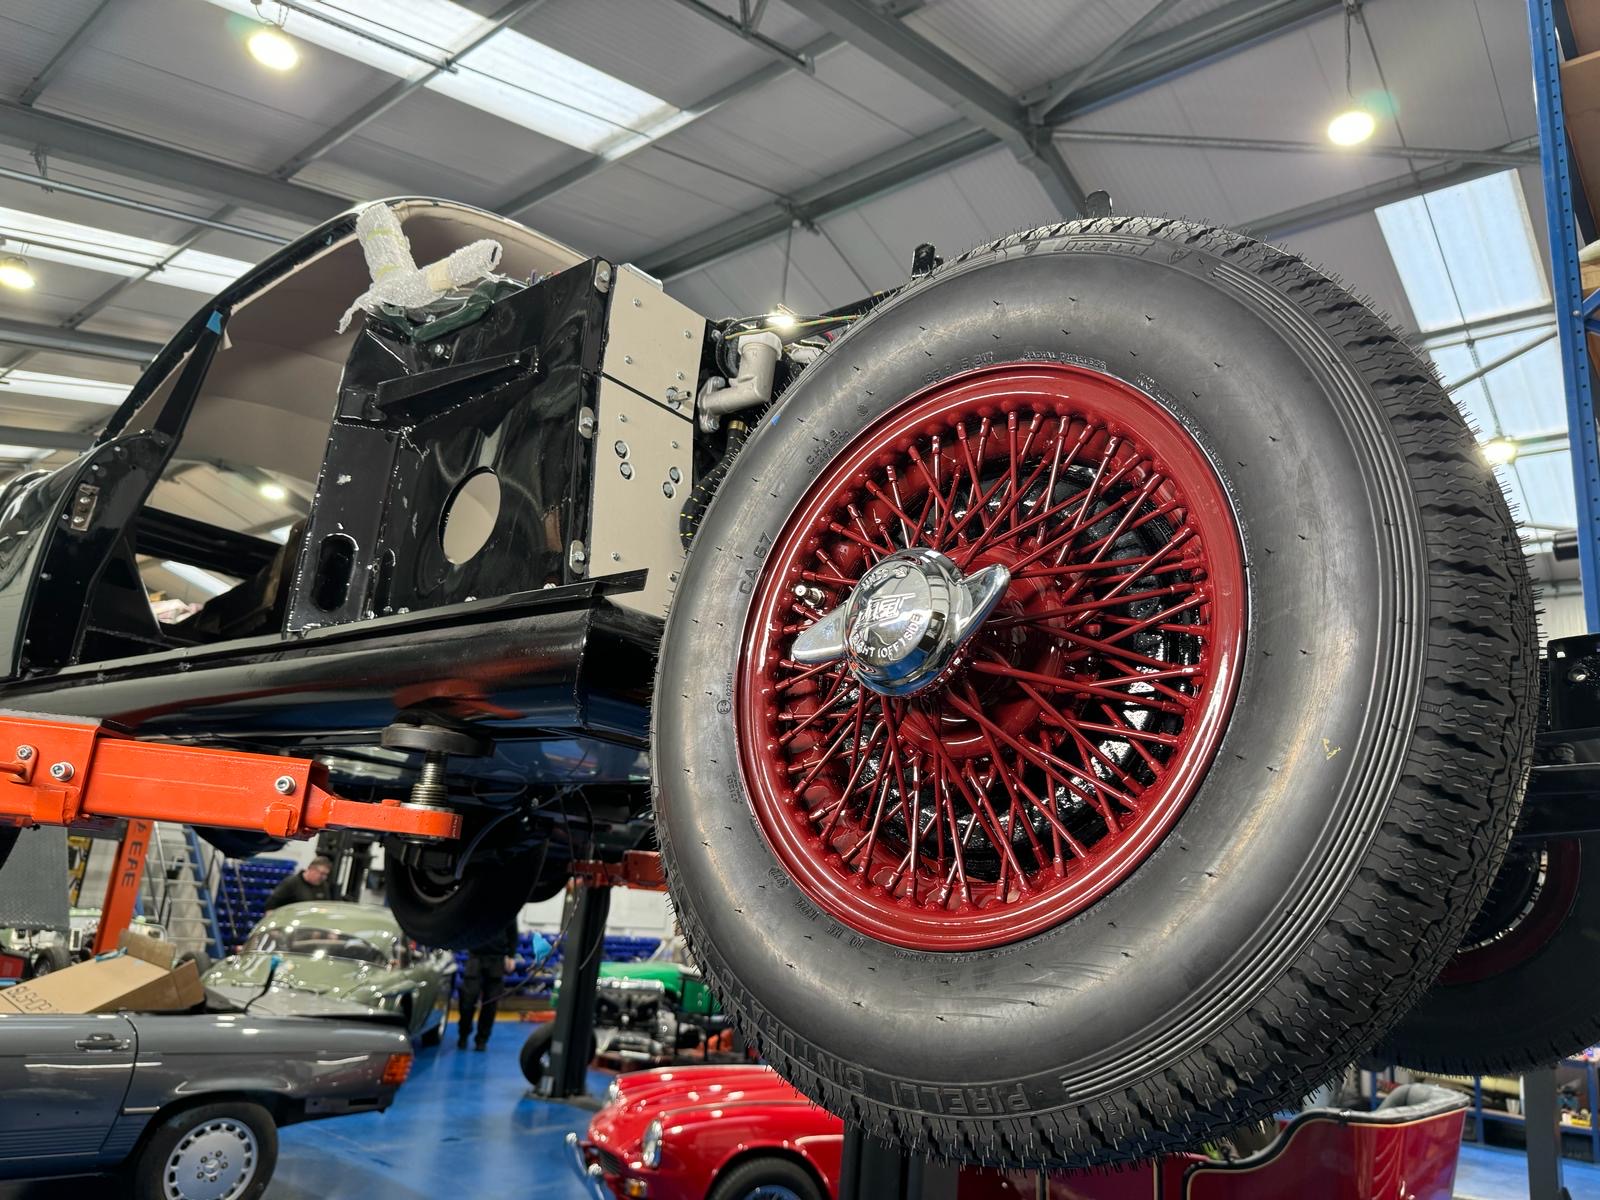
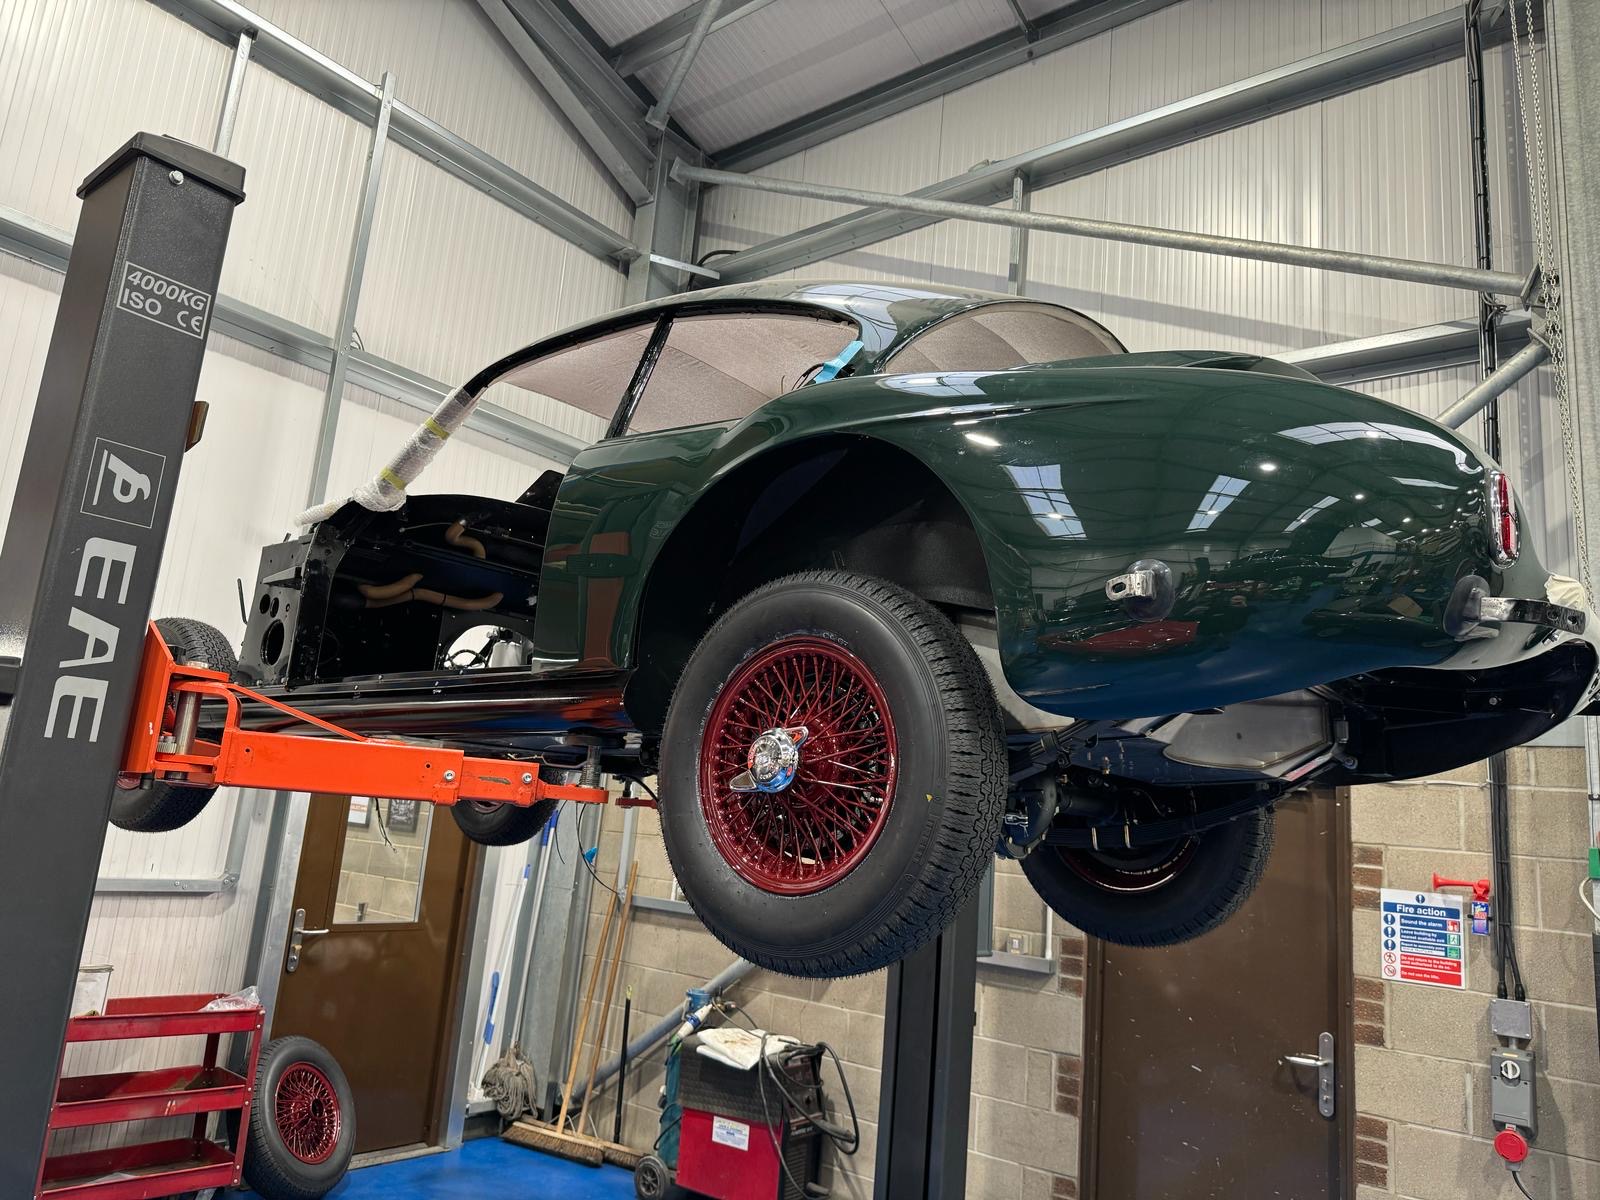
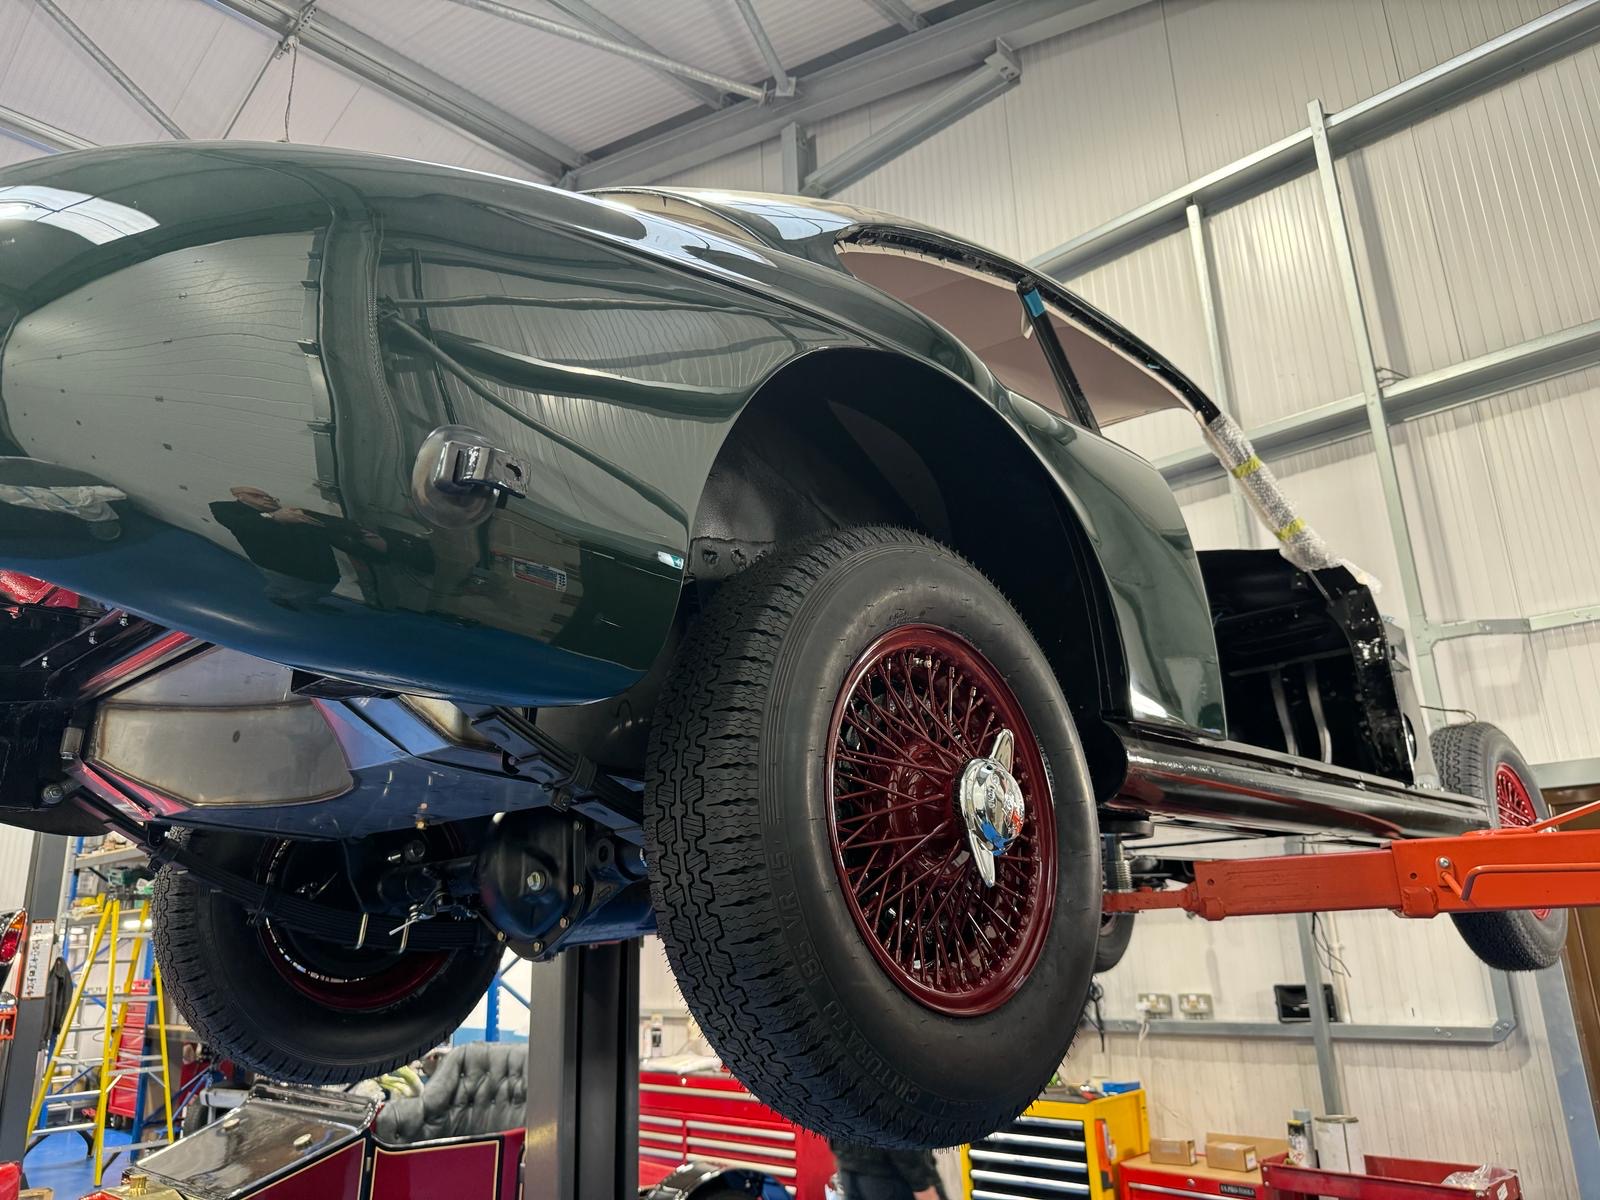
With our 1956 Jensen 541 project moving quickly now, the team have had a chance to try out some new ideas for the car. One of which being the cars wheel colour.
This 541 is going to be fitted with wire wheels and to change things slightly, the team have opted for the dark red wheels you see here. This adds a beautiful flash of colour to the dark exterior and makes this car unique in its own way.

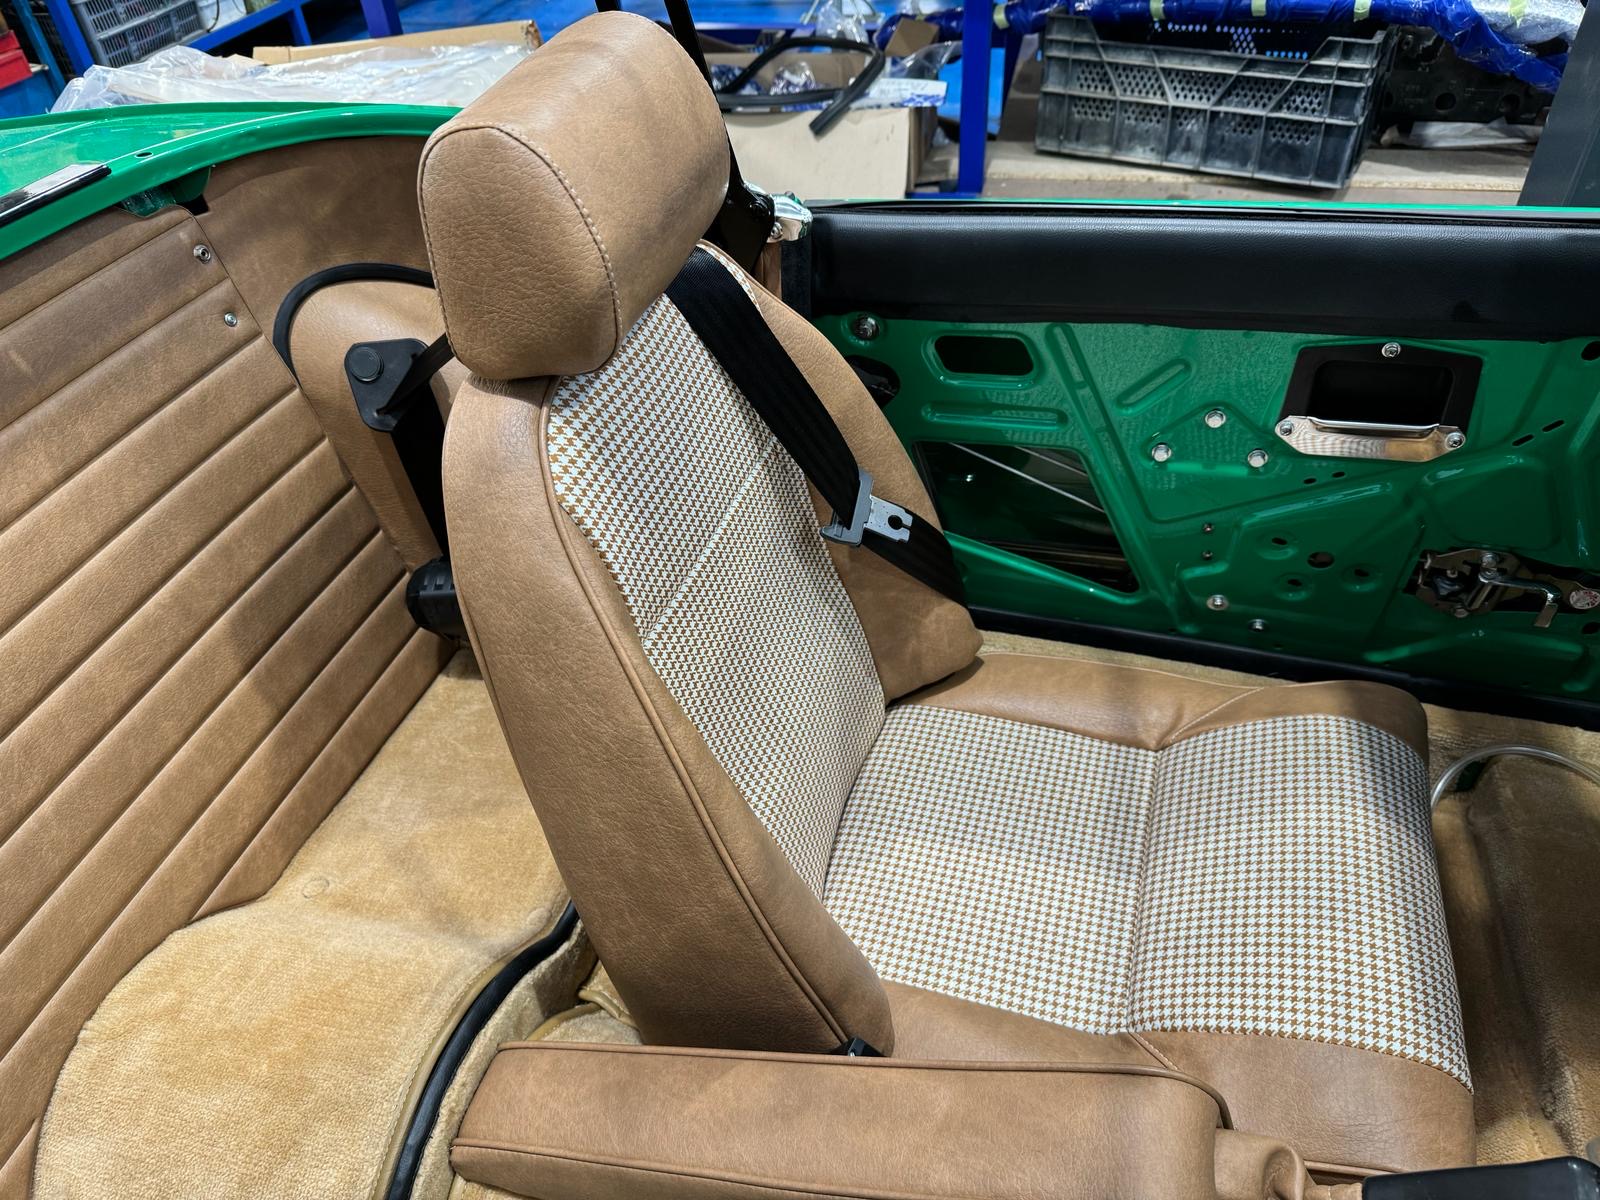
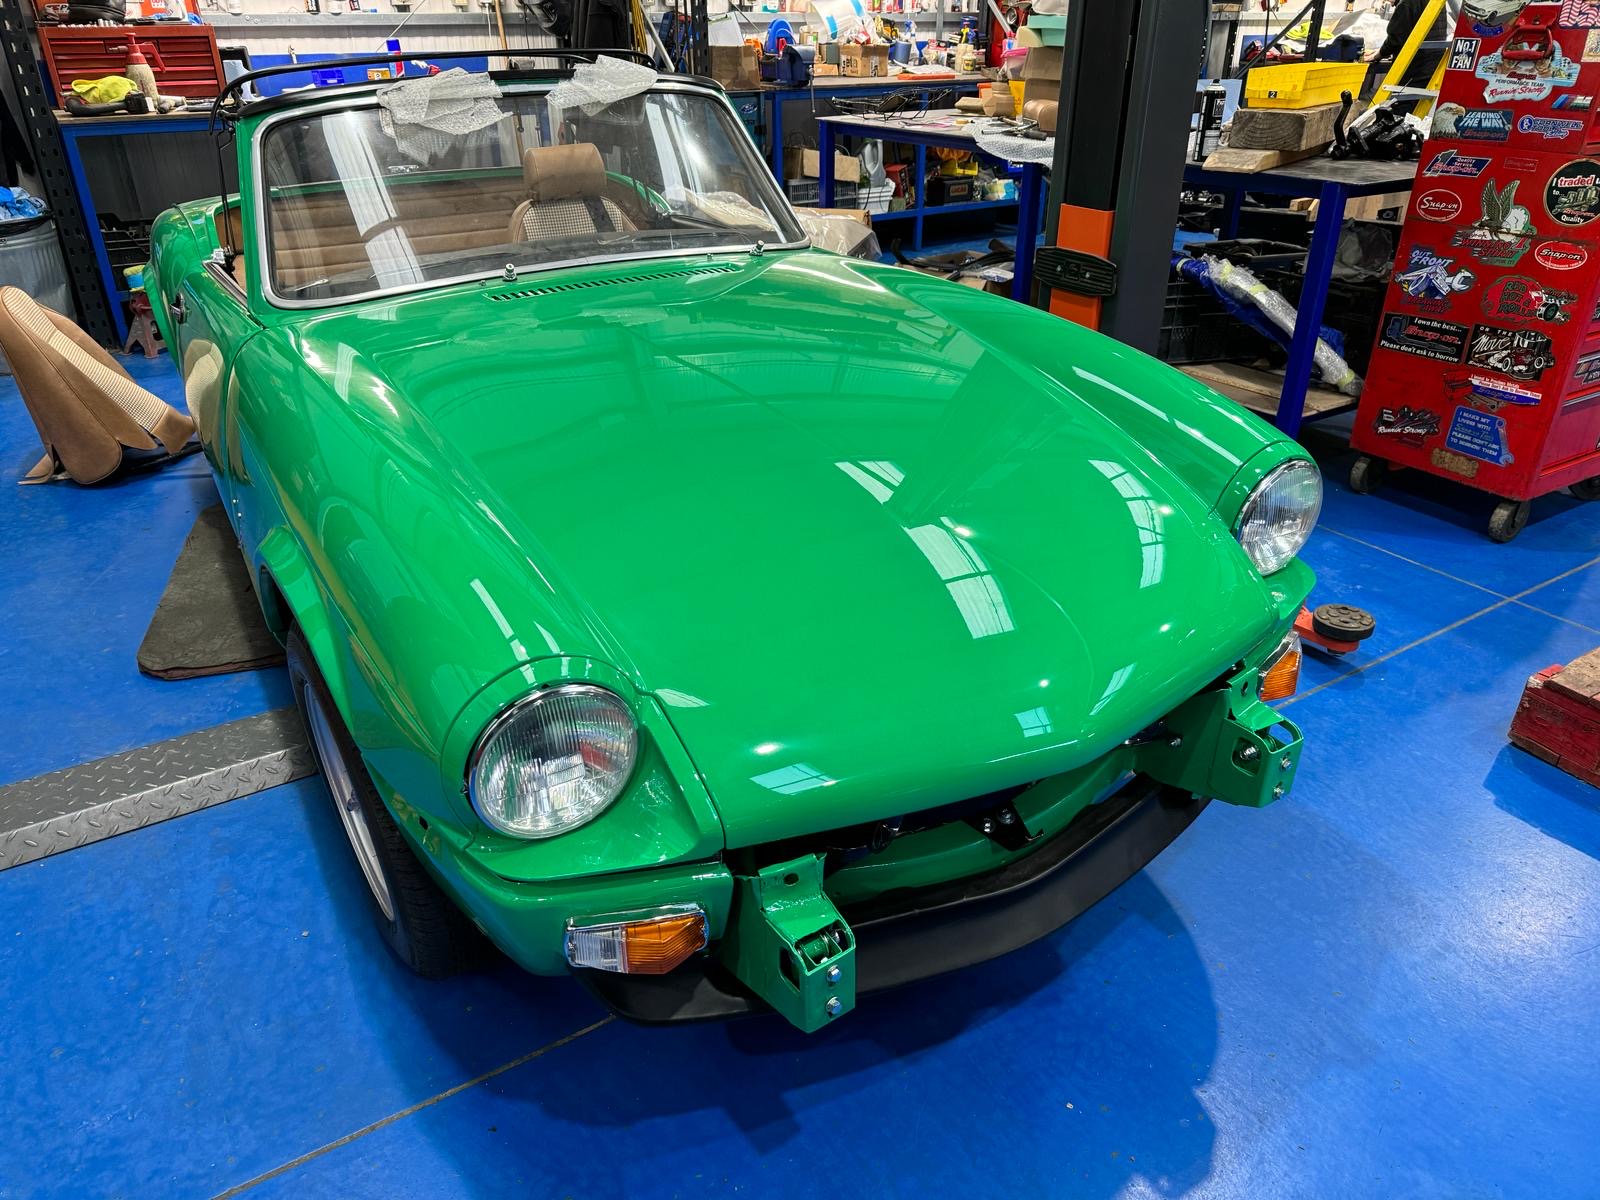
Our technician Rob has been working on our 1976 Triumph Spitfire restoration project and getting it closer and closer to handing over to its excited owner.
With various pieces of trim both inside and out have found their way onto the Java Green 1970s sports car to take those steps towards the project being completed.


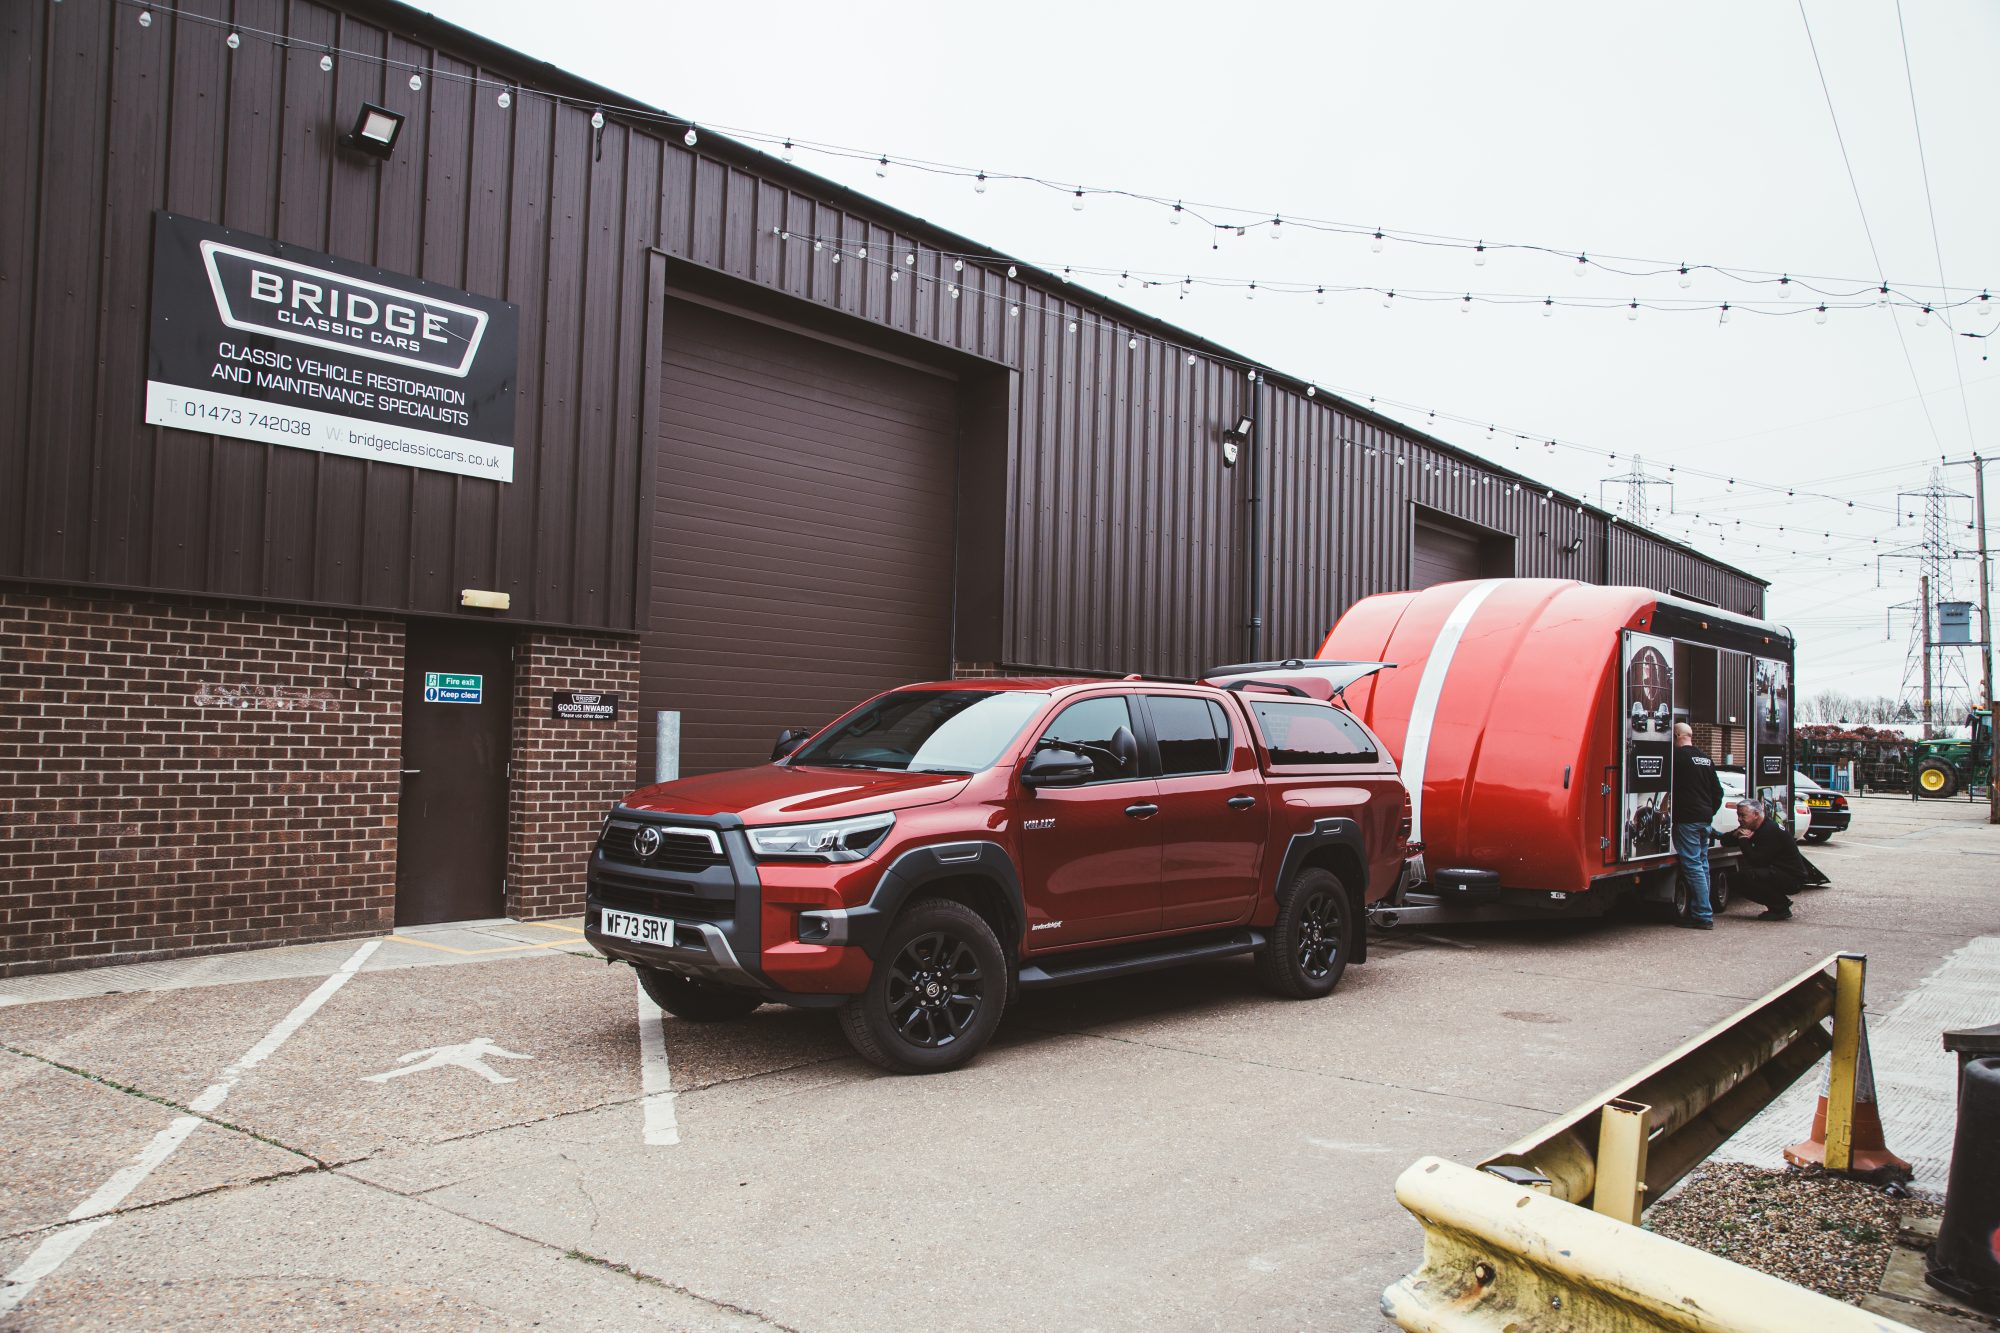
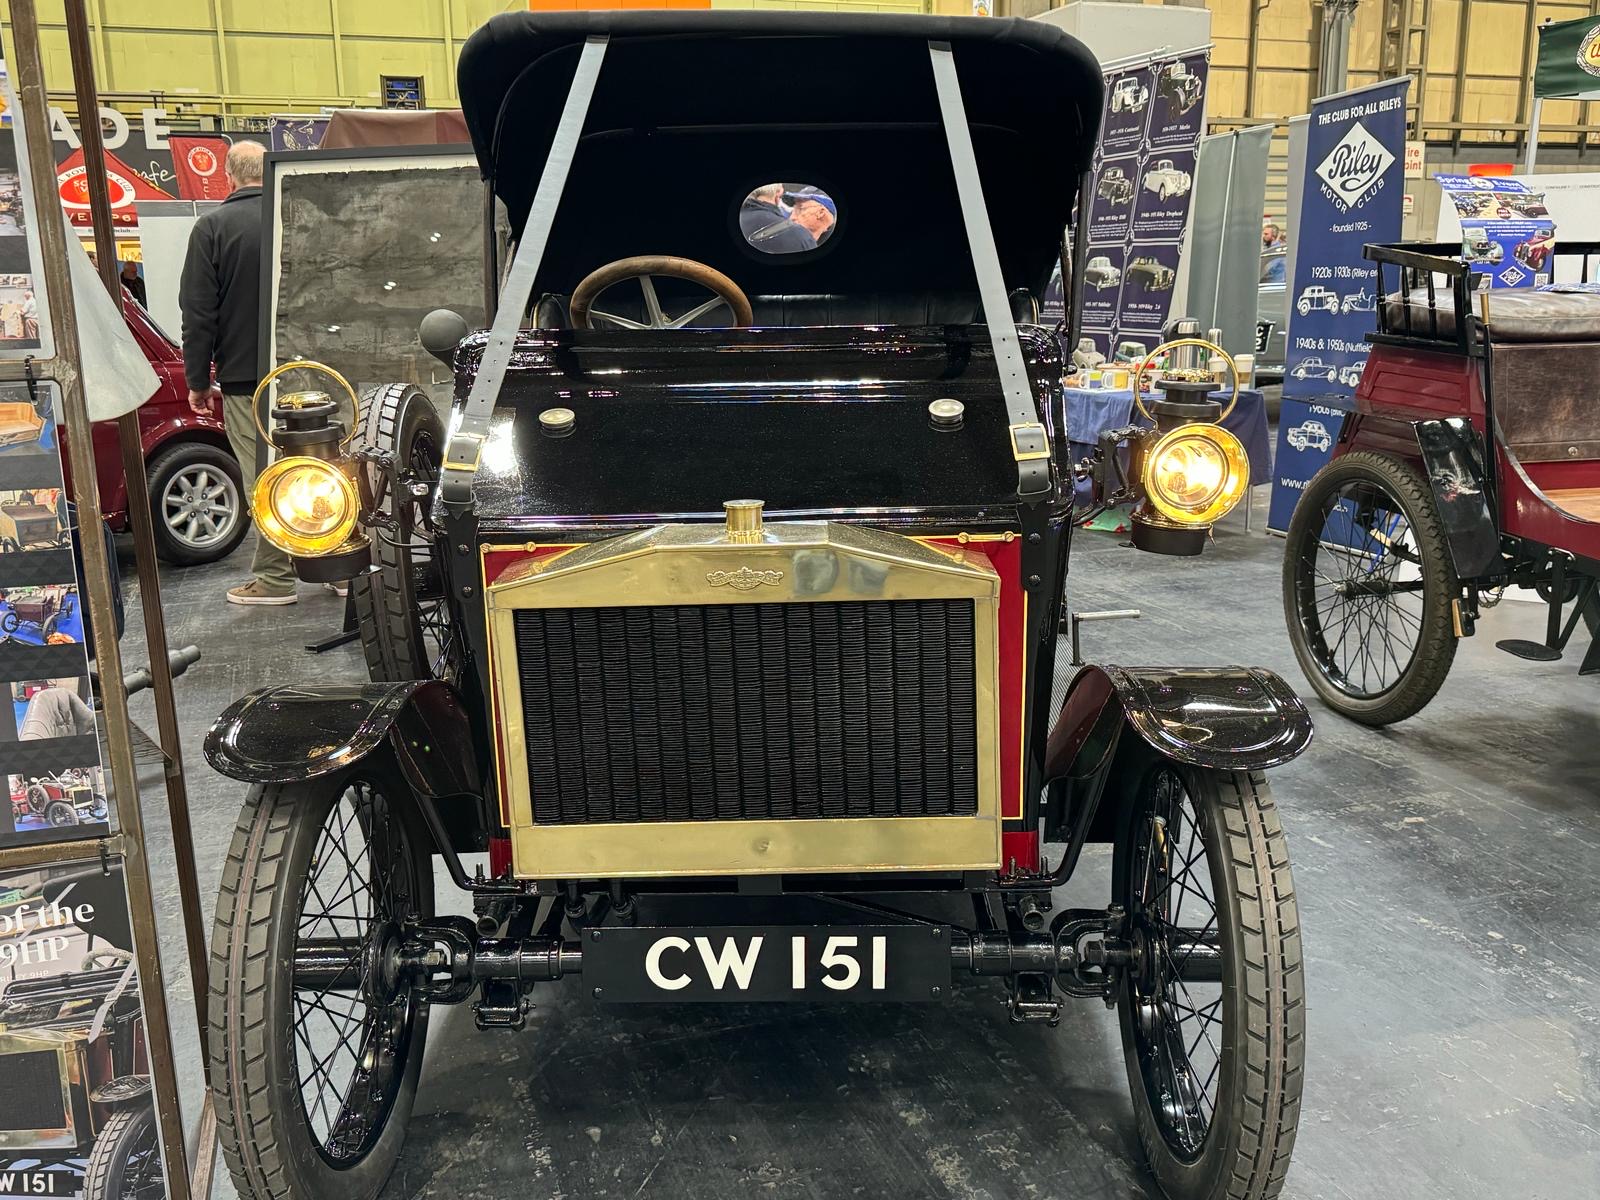
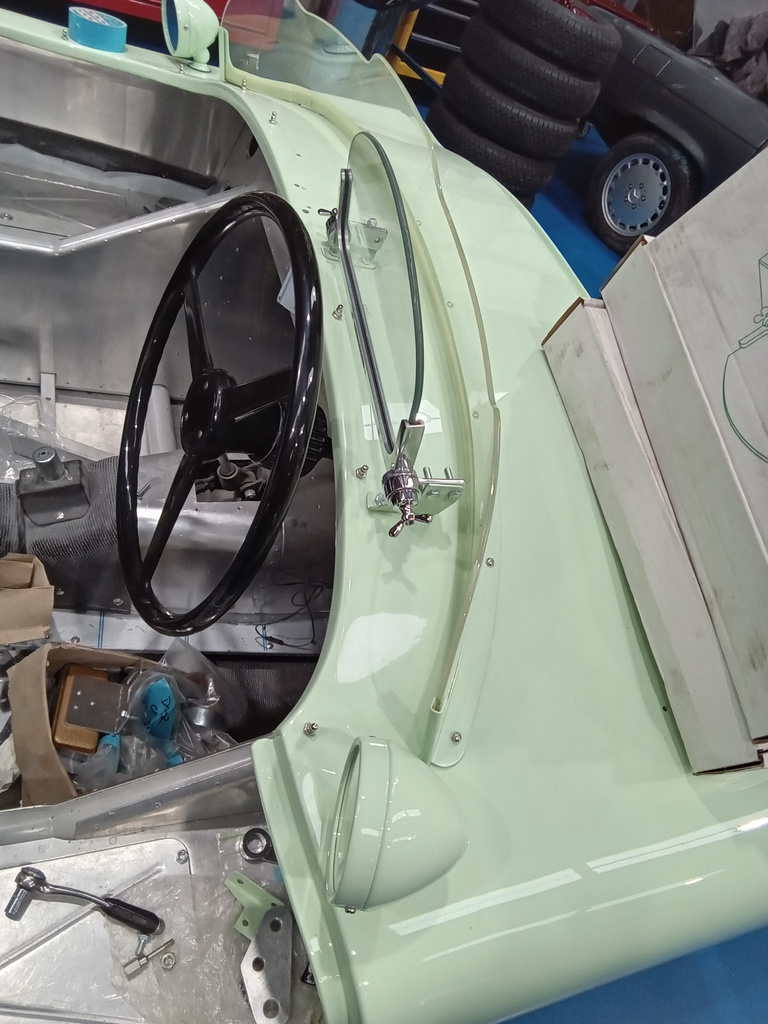
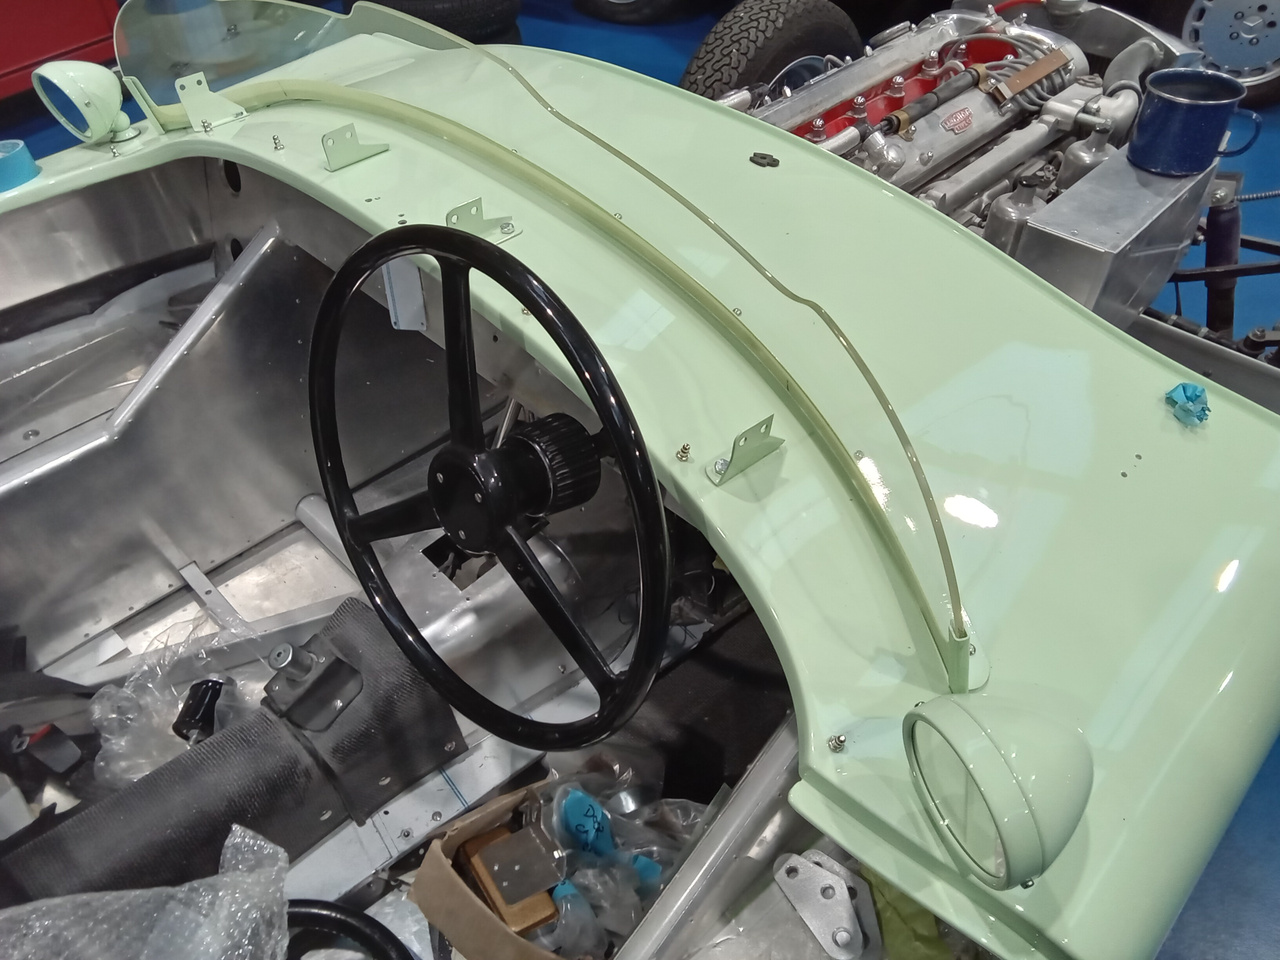
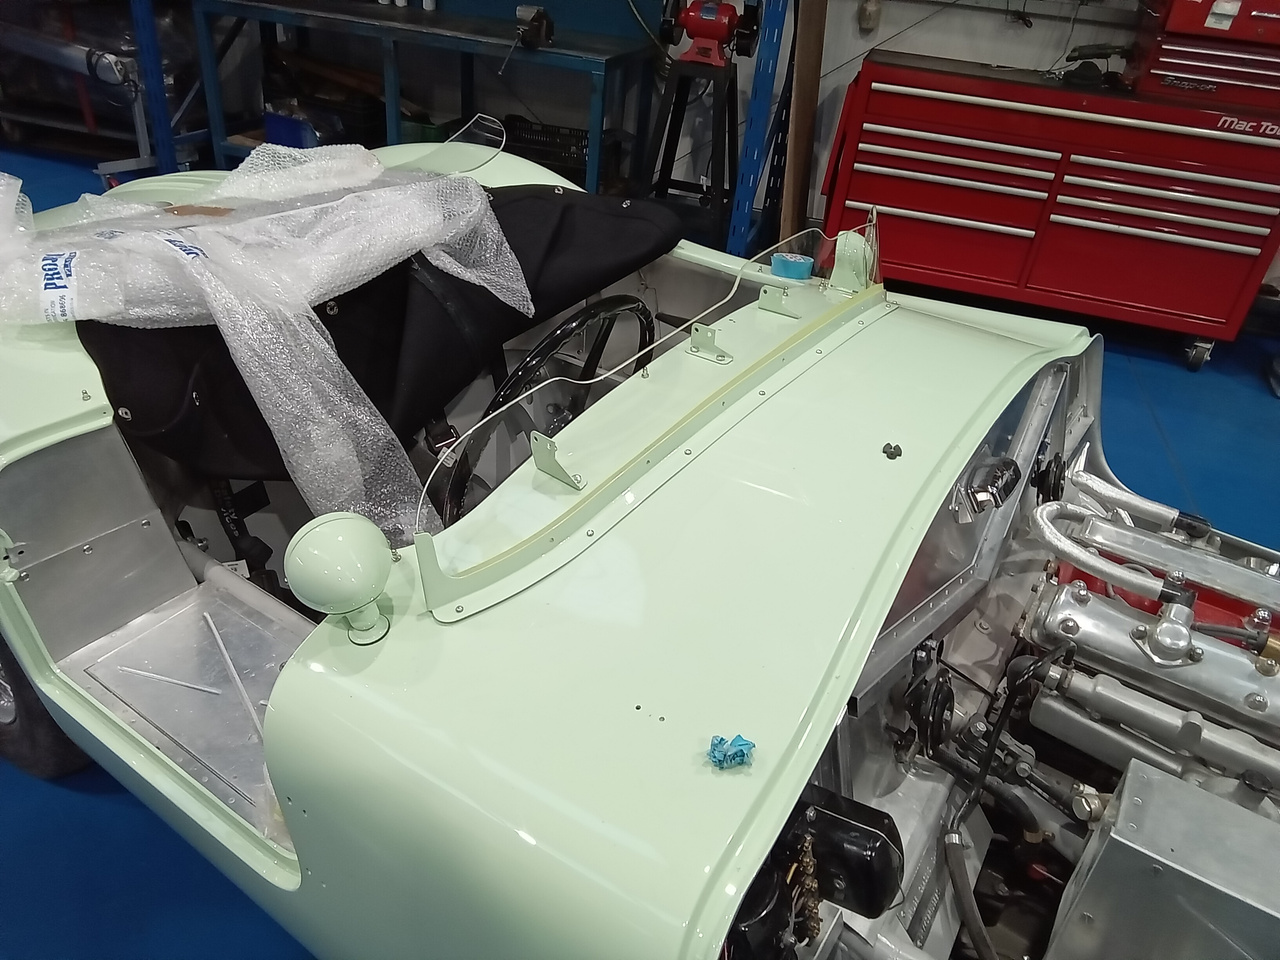
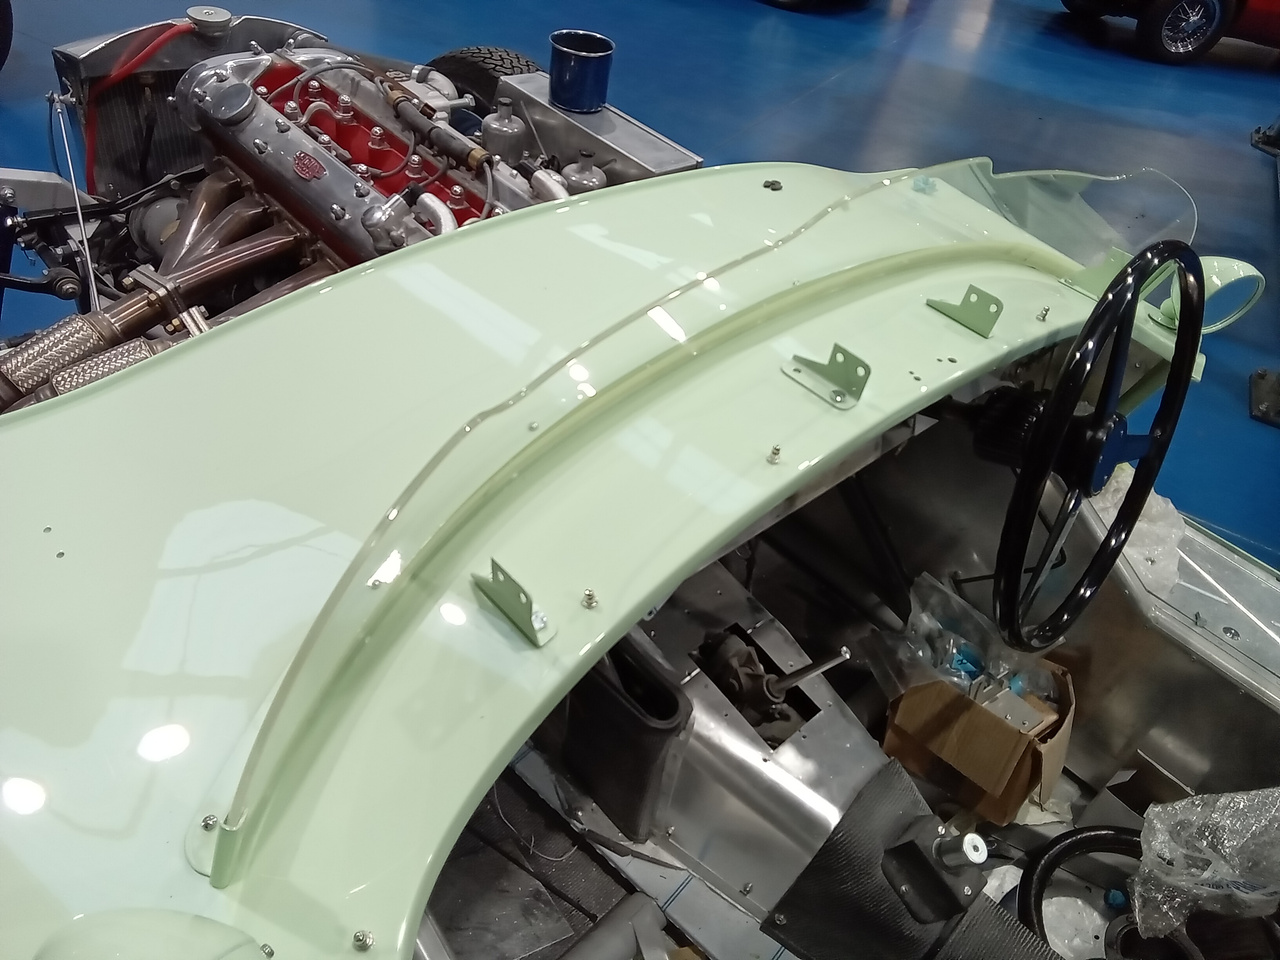
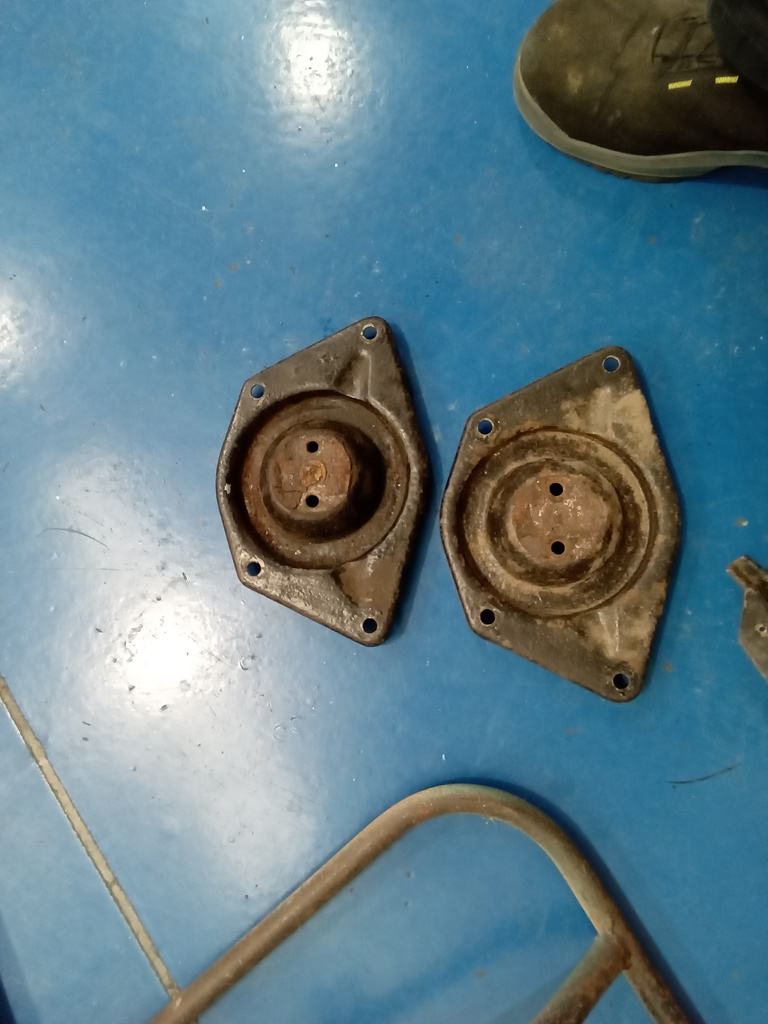
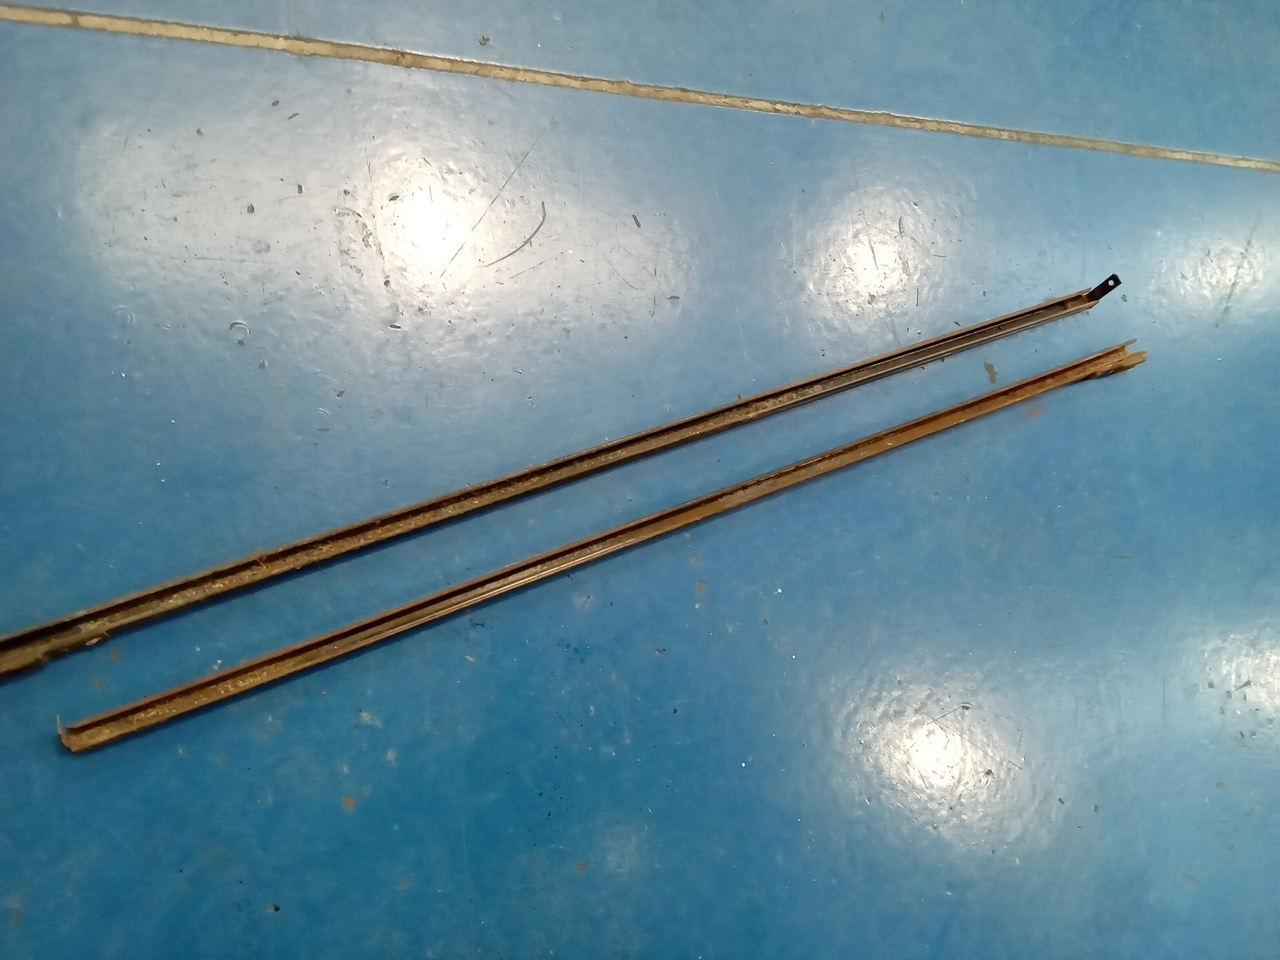
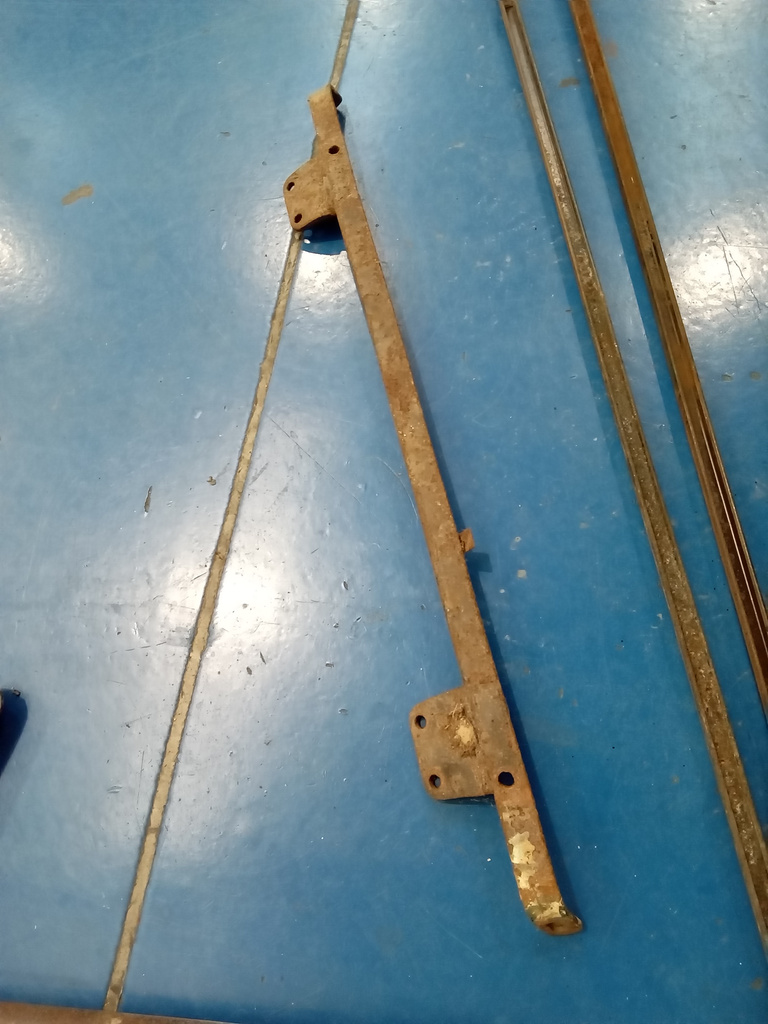
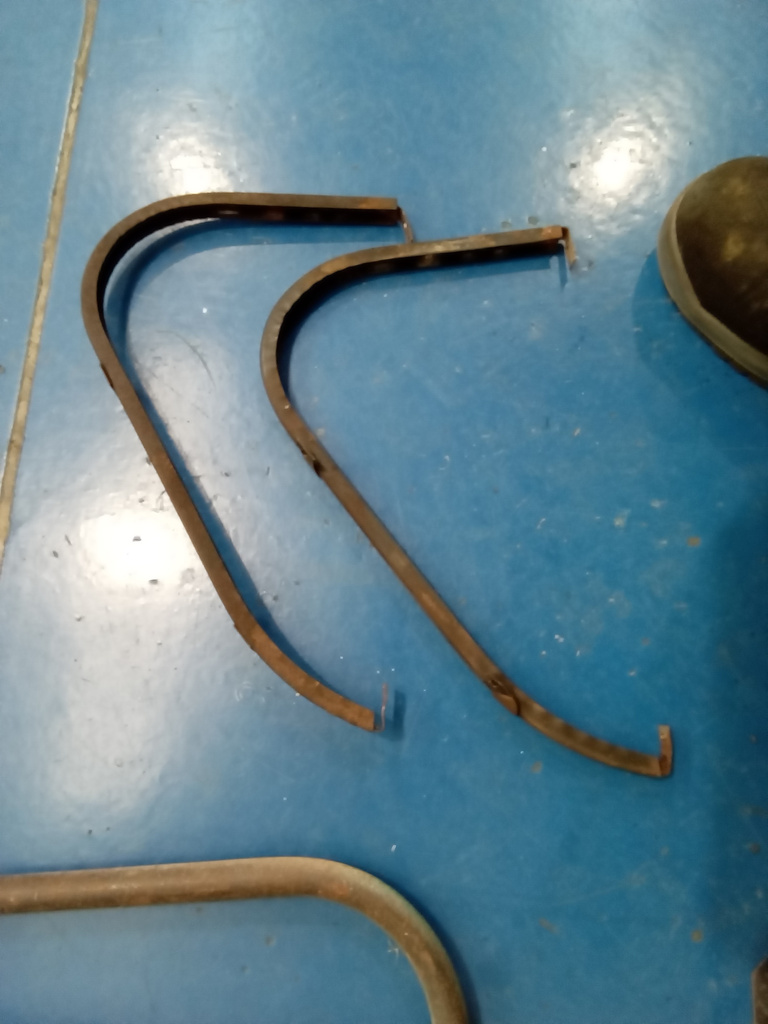
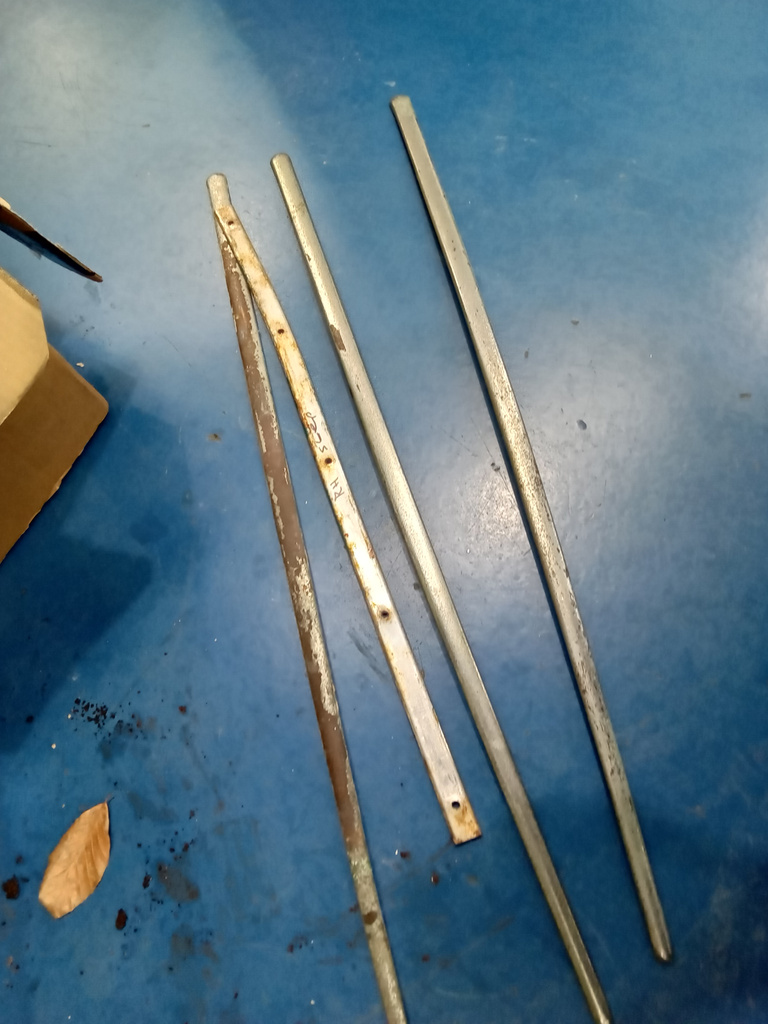
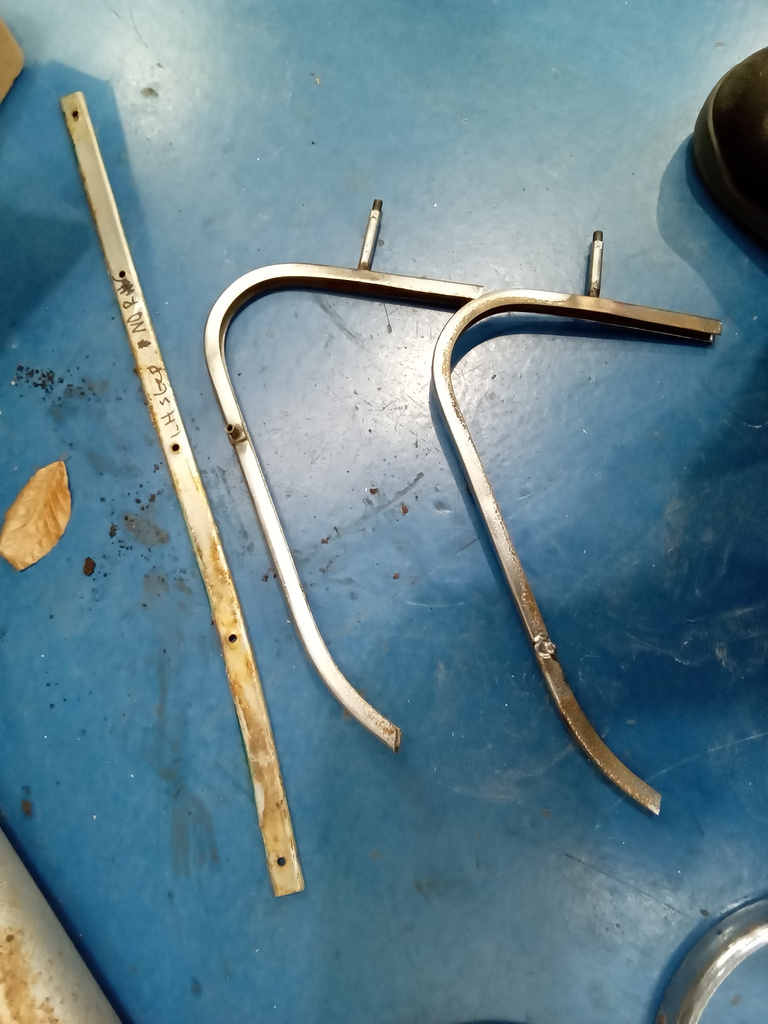
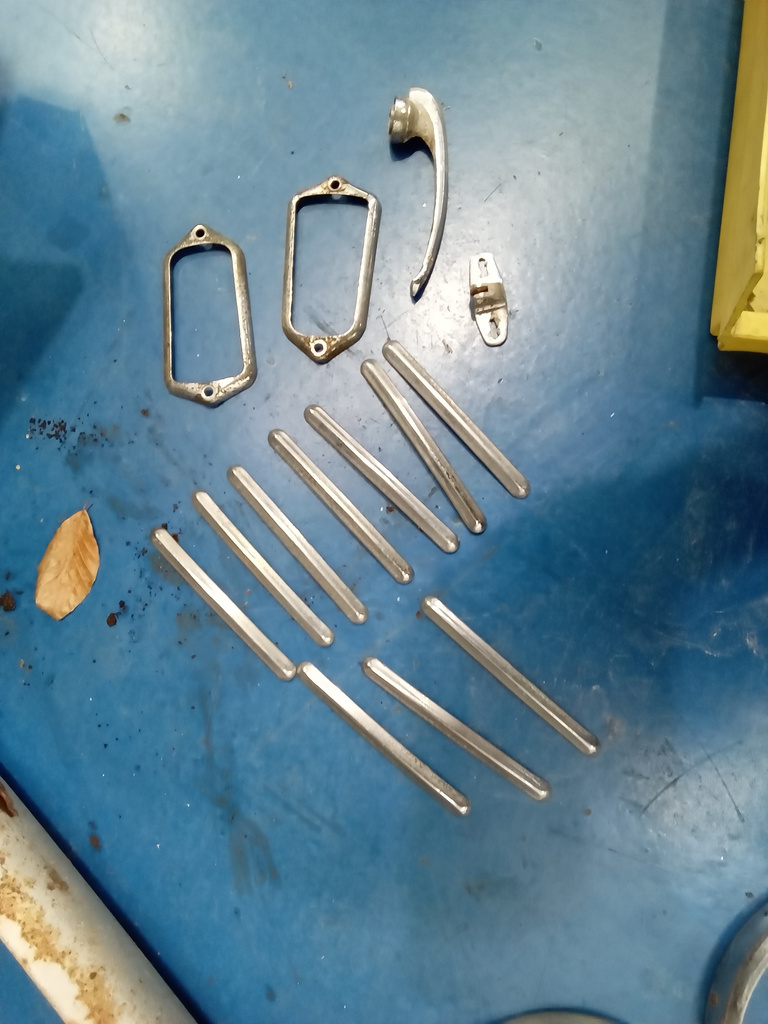
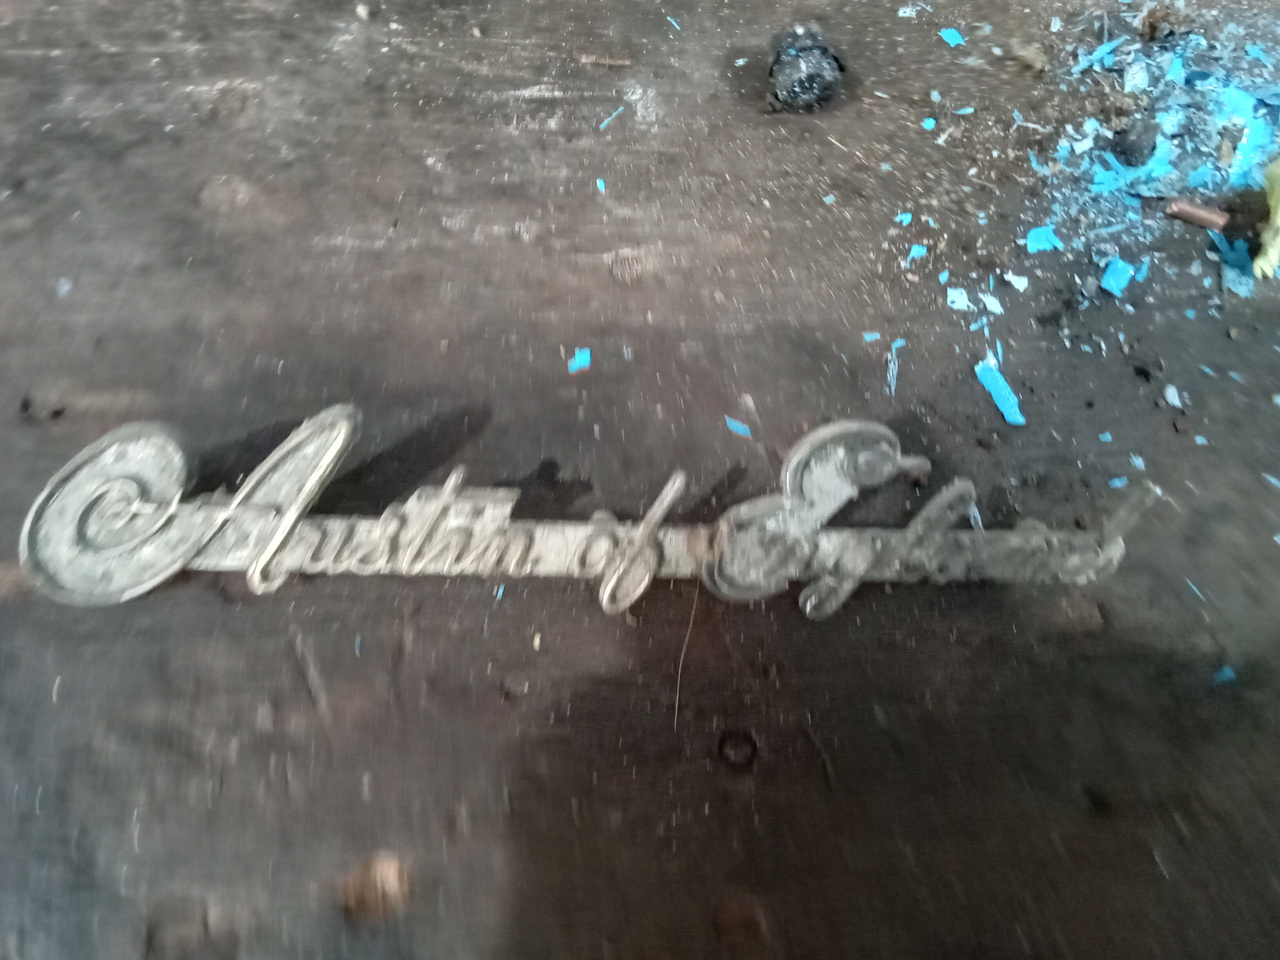
Ahead of its unveiling at the Practical Classics Restoration Show at the Birmingham NEC this weekend, our restorations teams have been working flat out to get our 1905 Riley 9HP ready for its first public appearance in what is thought to be nearly 70 years.
The trim team have worked on getting the bench seat in place and the moldings secured ahead of the fabrication team coming in to put on some of the beautiful bronze accent pieces alongside the mechanical team getting all of the final pieces into place before systems checks.
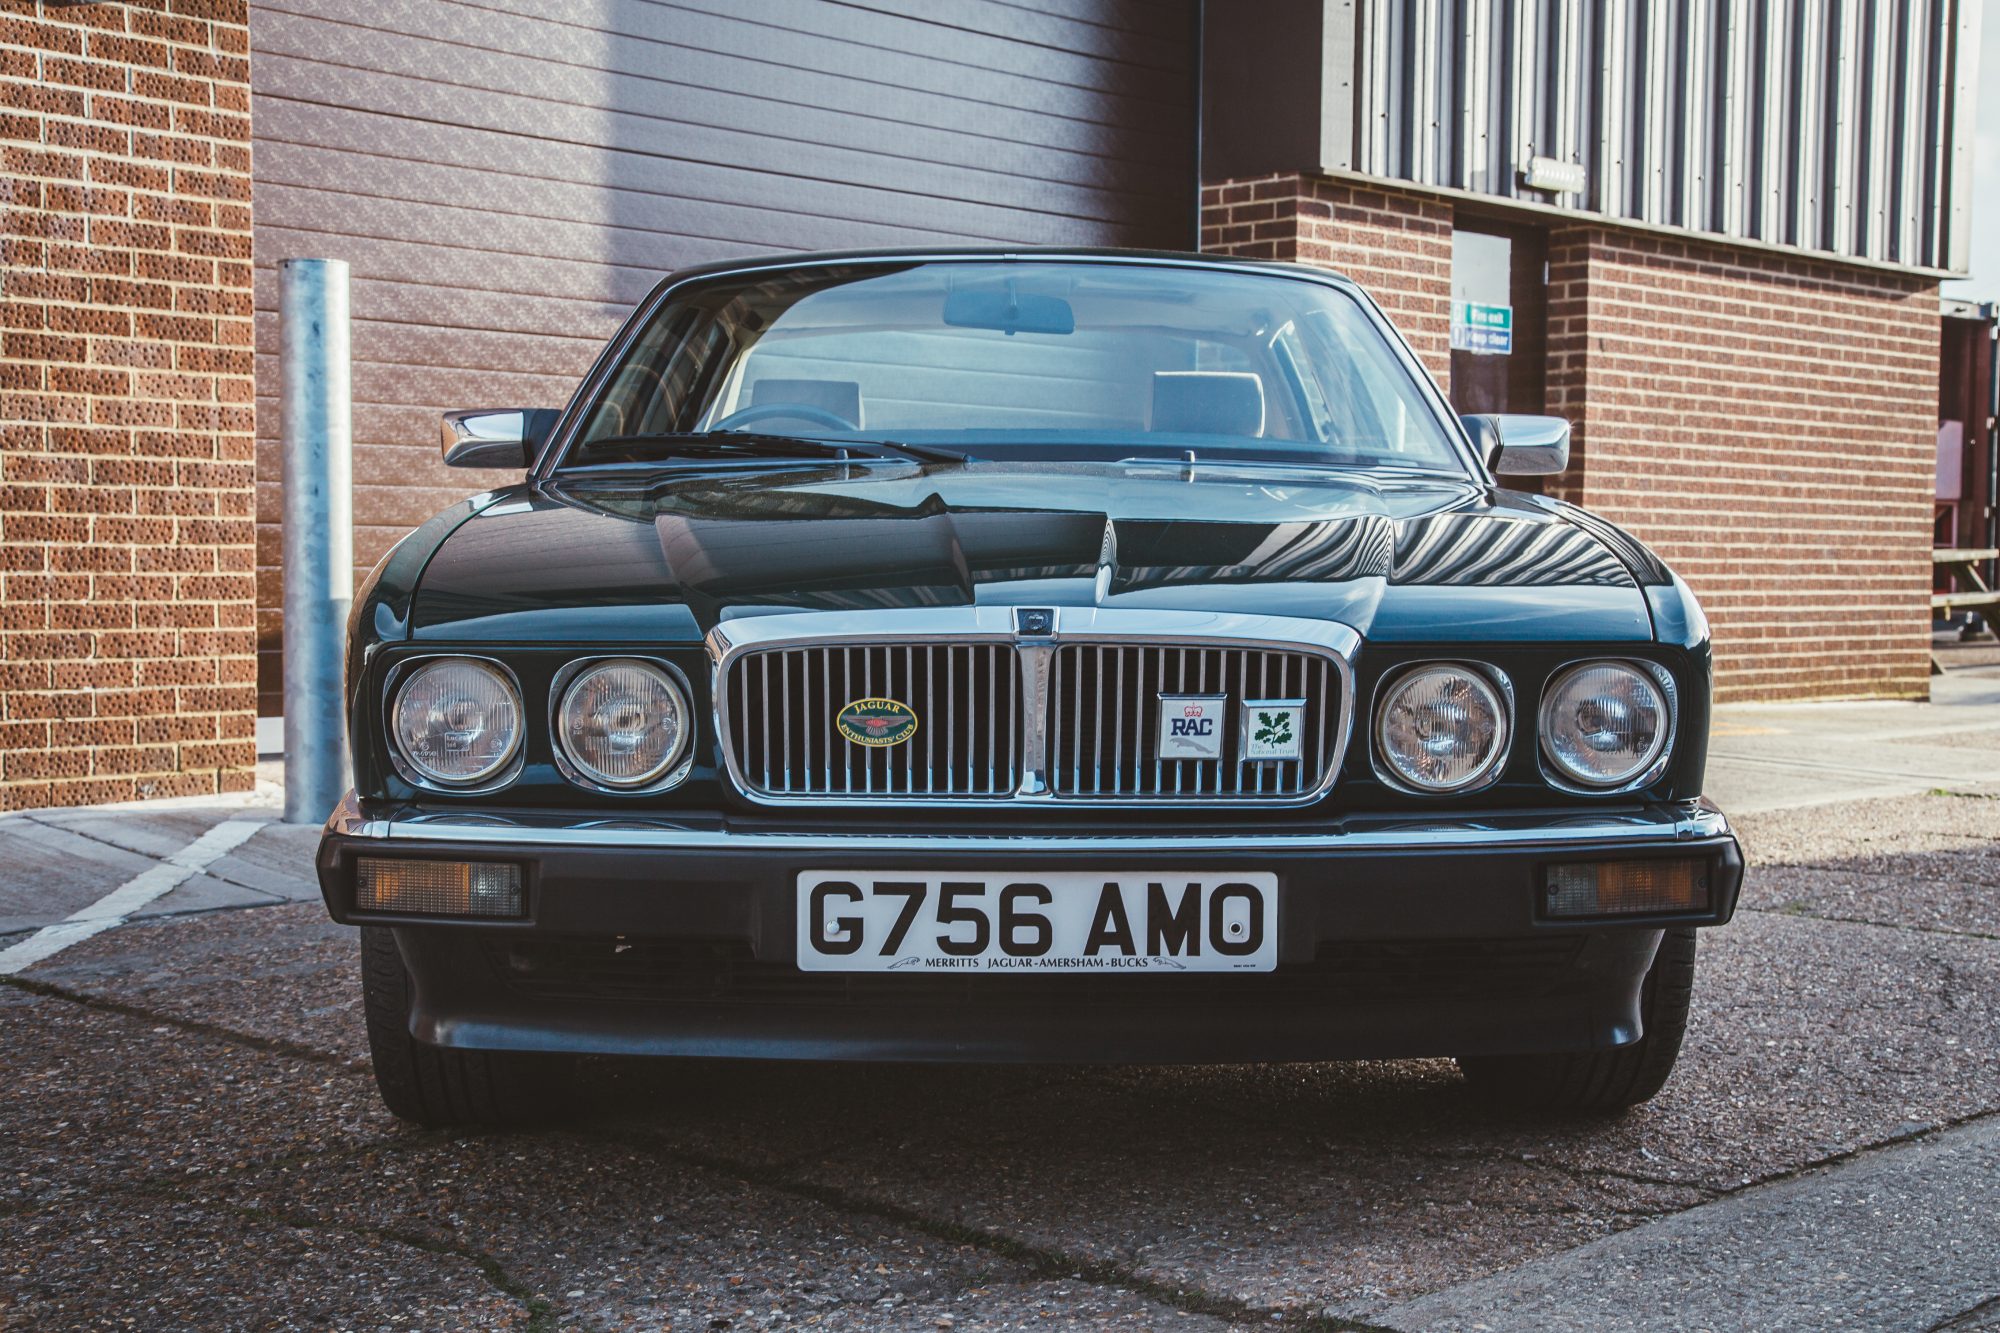
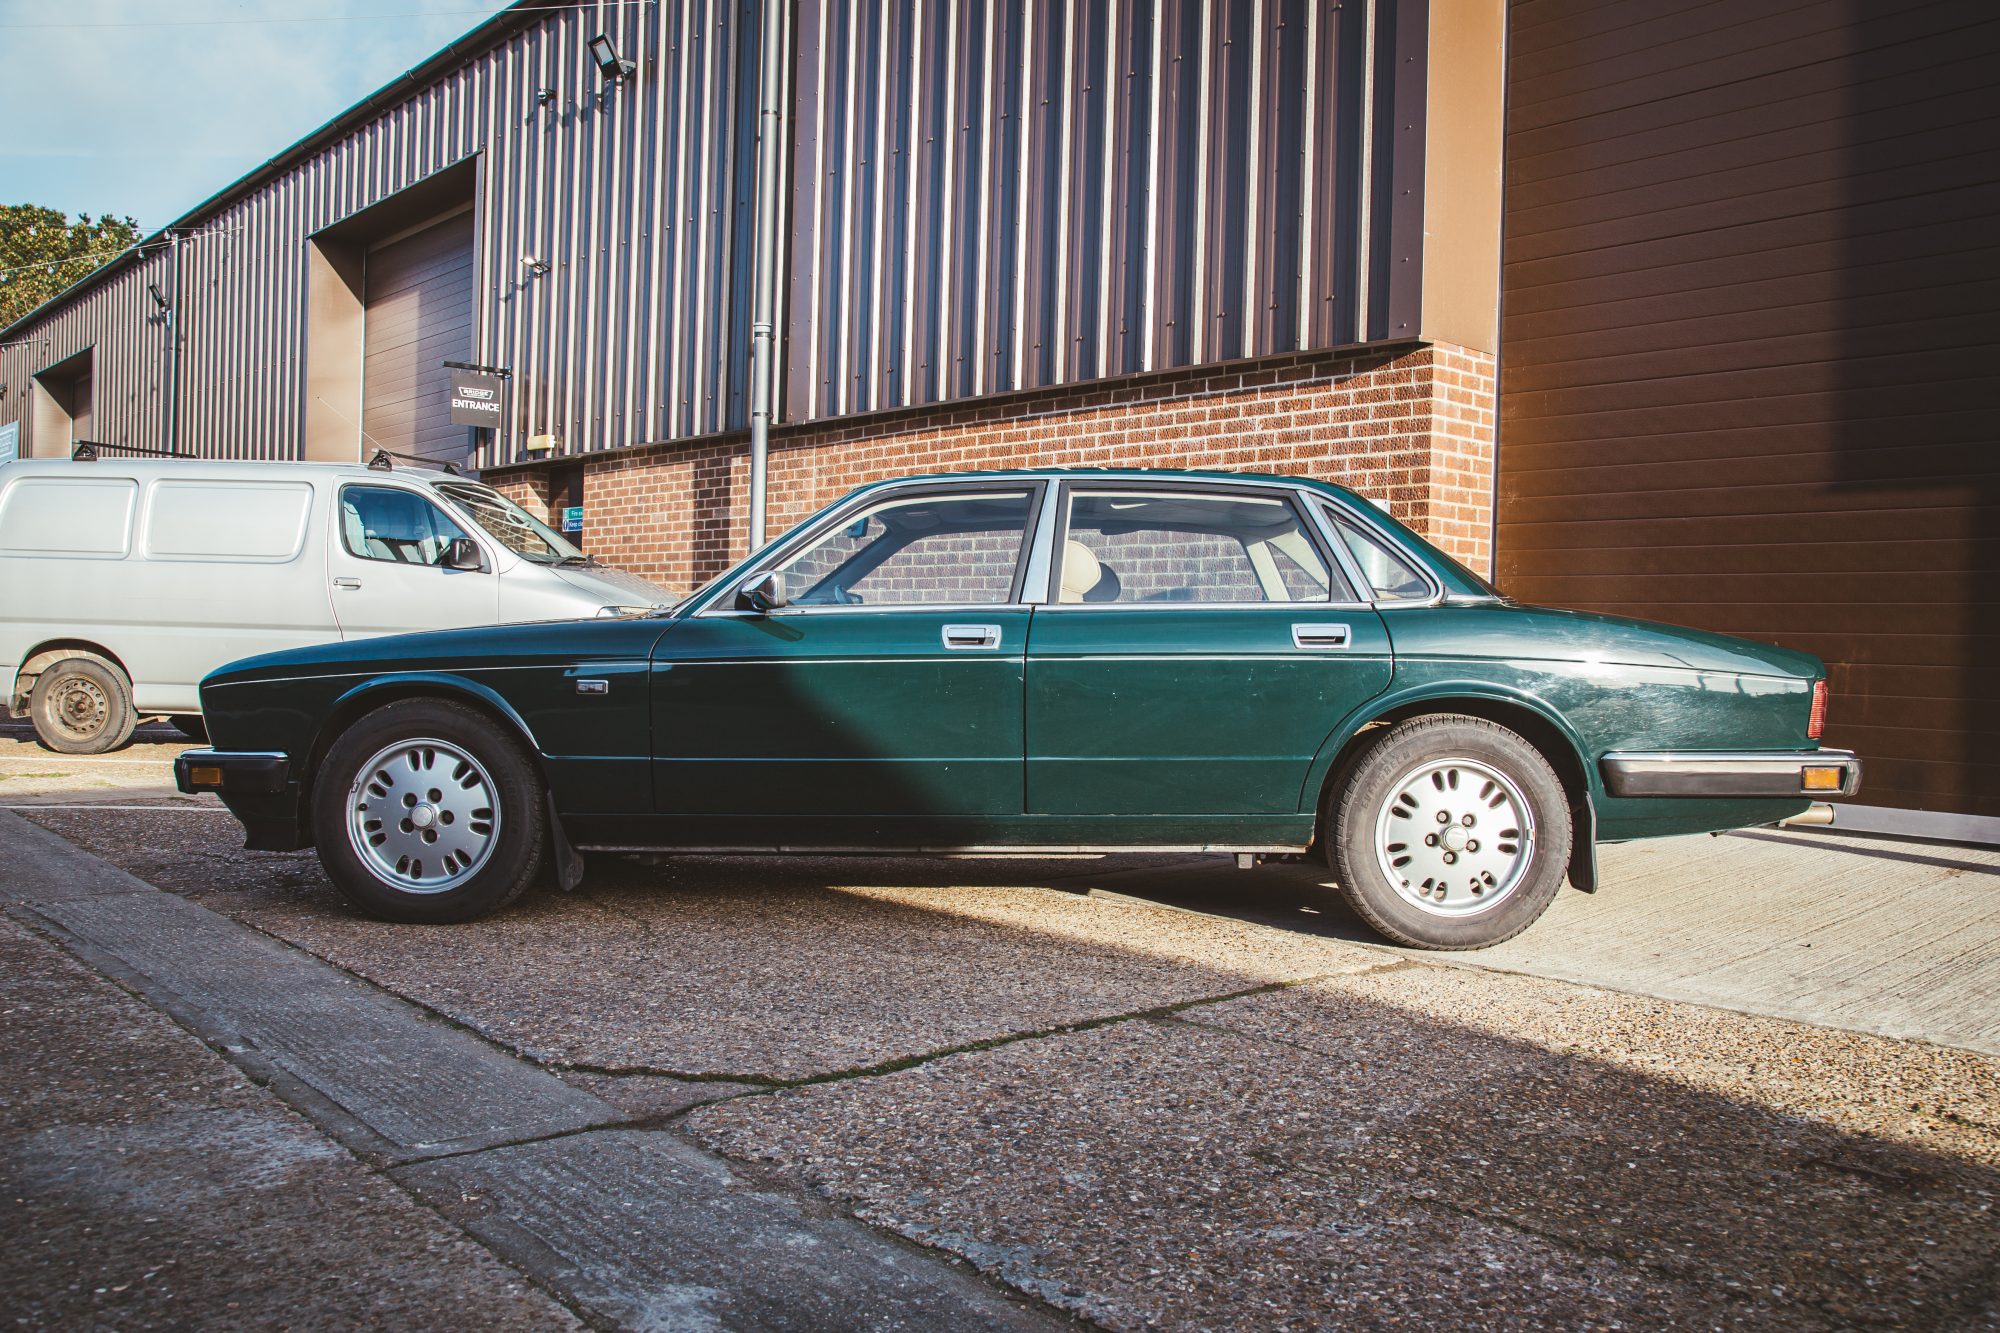
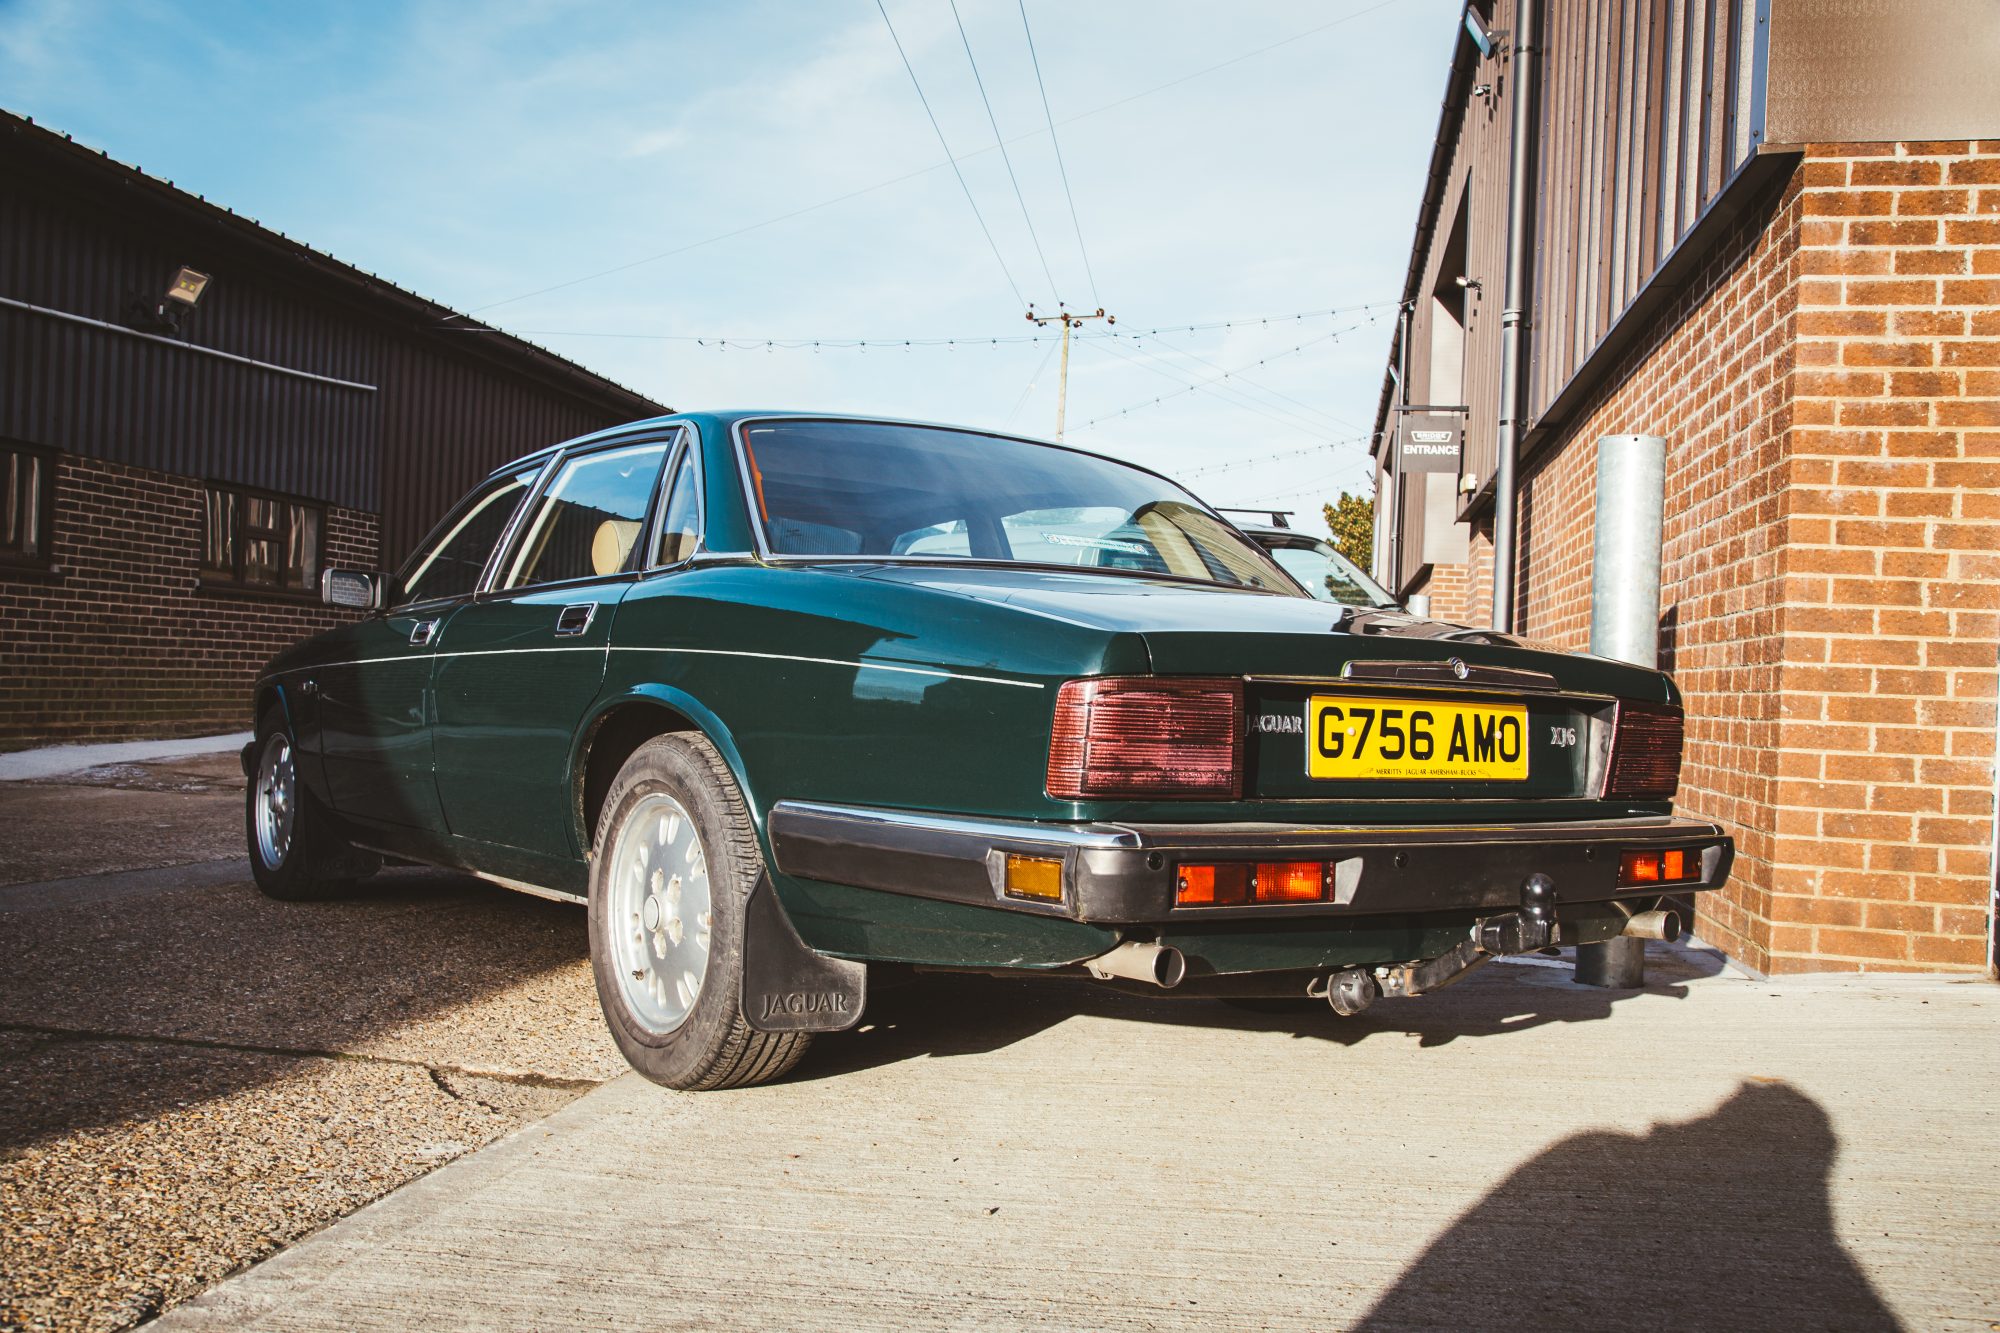
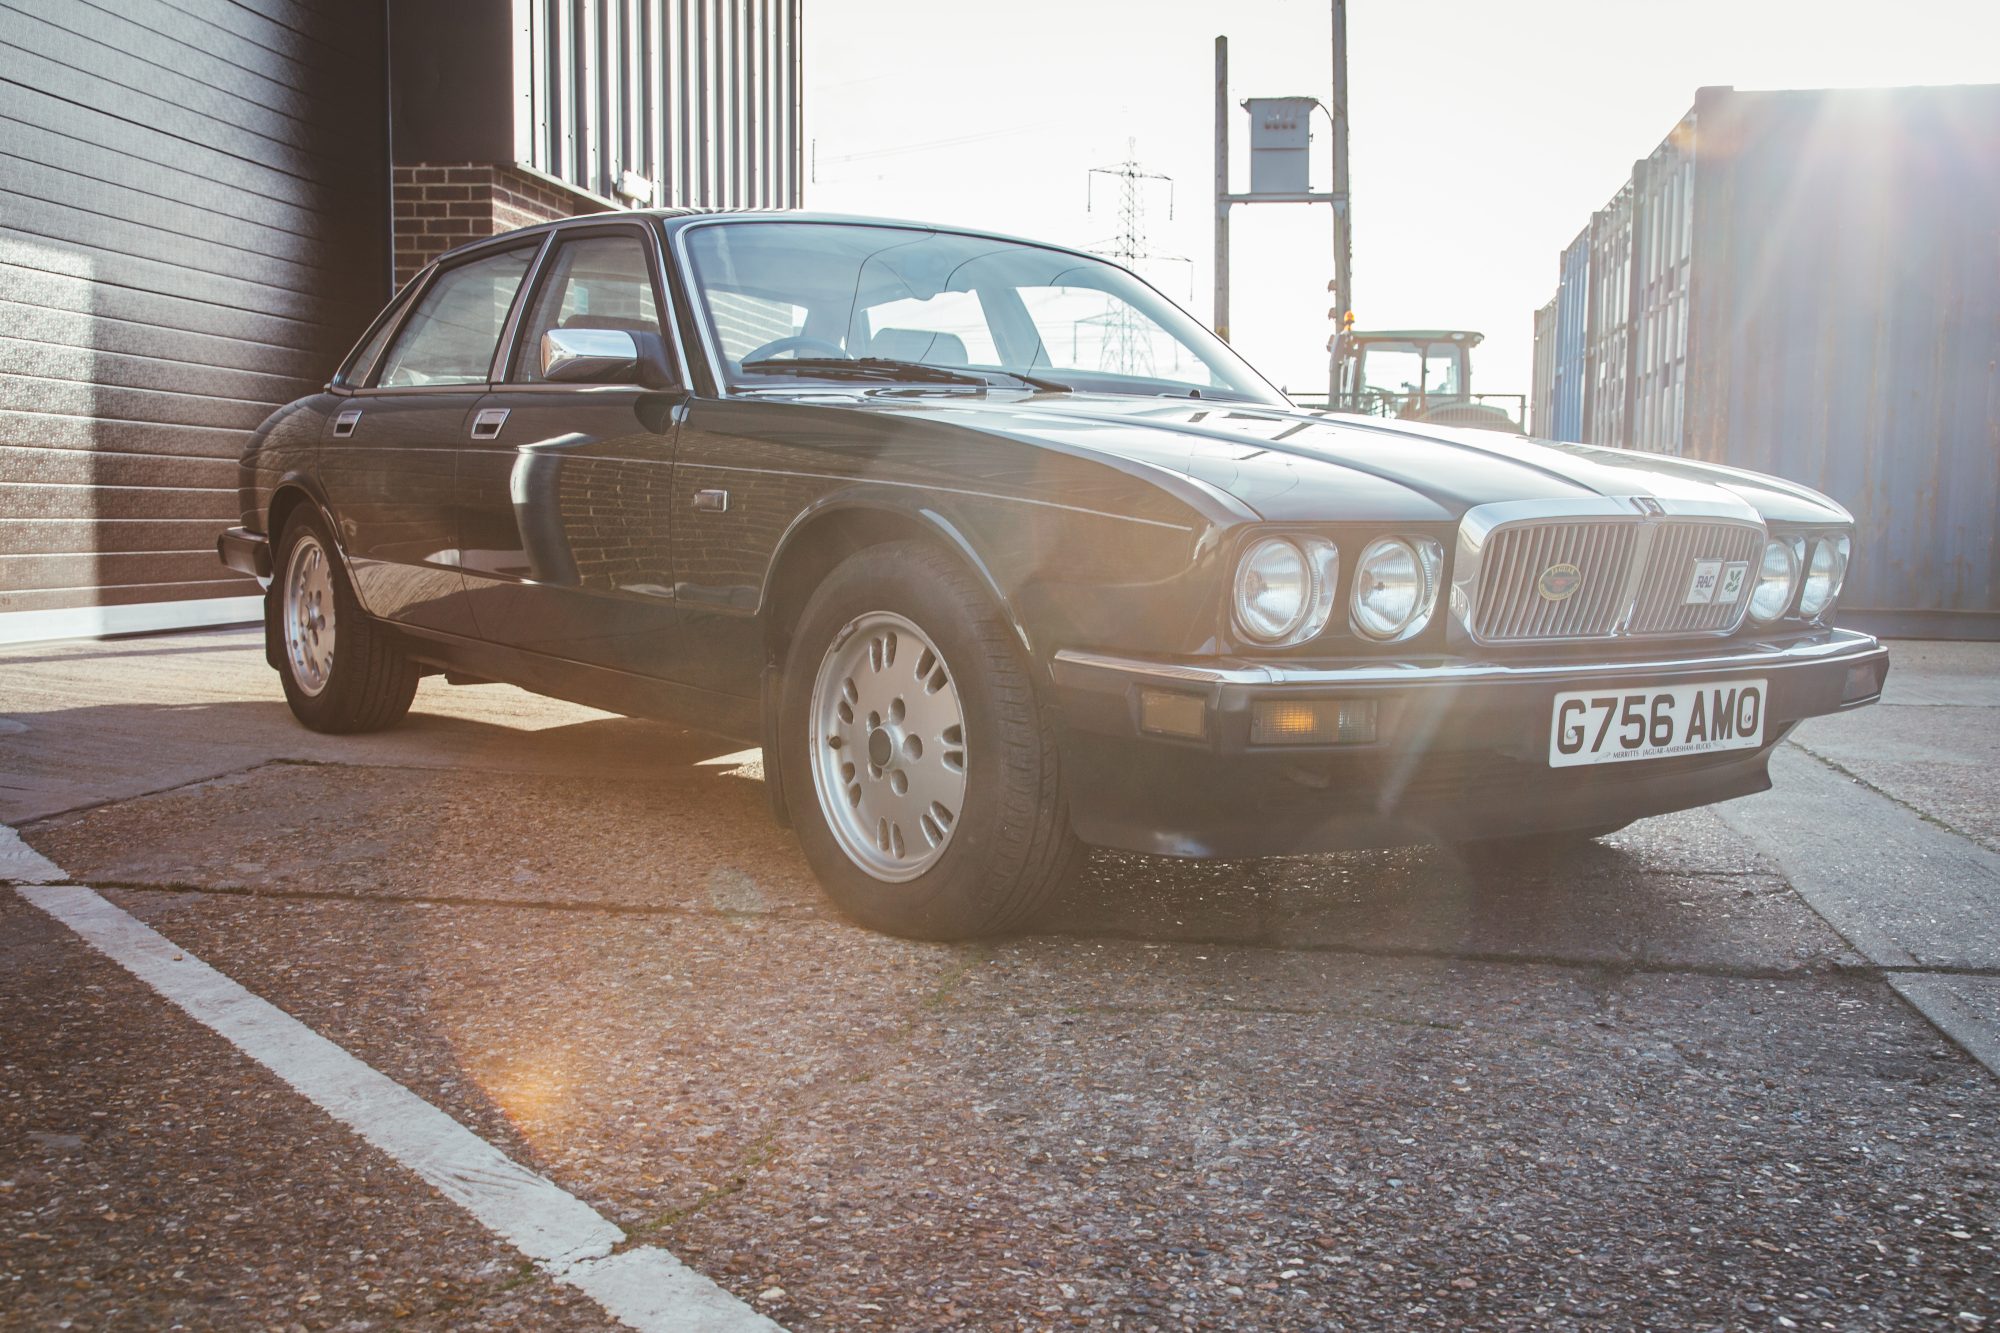
Our 1990 Jaguar XJ6 arrived at the workshop earlier this week and joined the growing crowd of stablemates at our HQ hidden away in the Suffolk countryside.


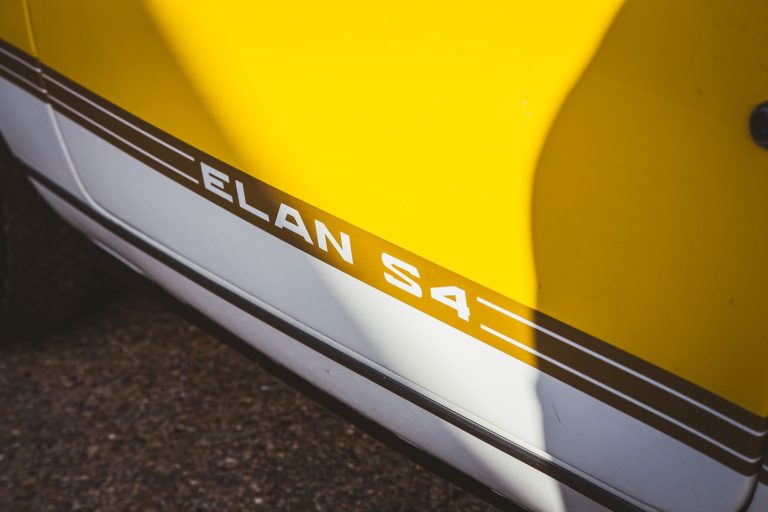
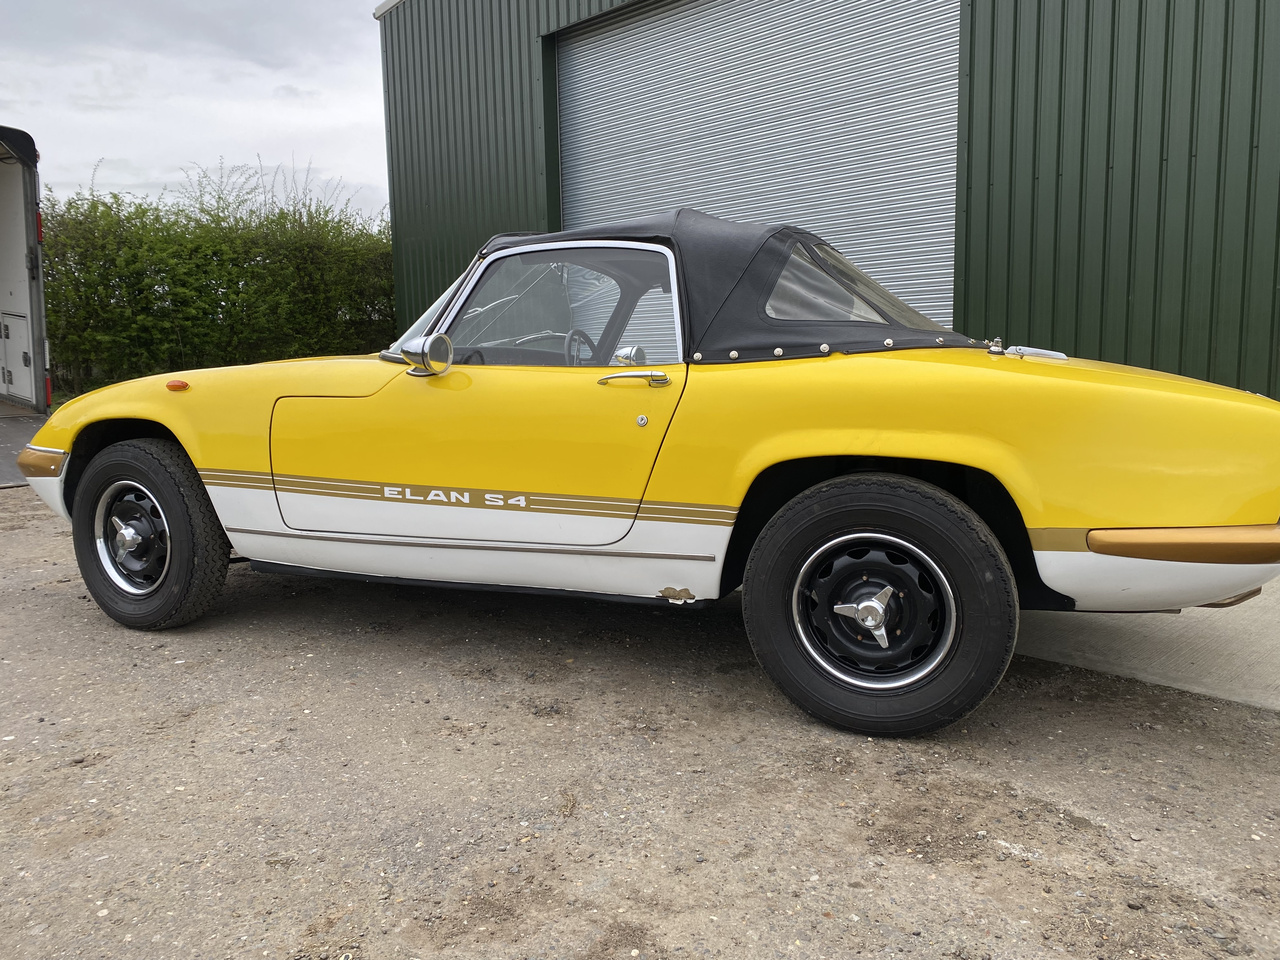
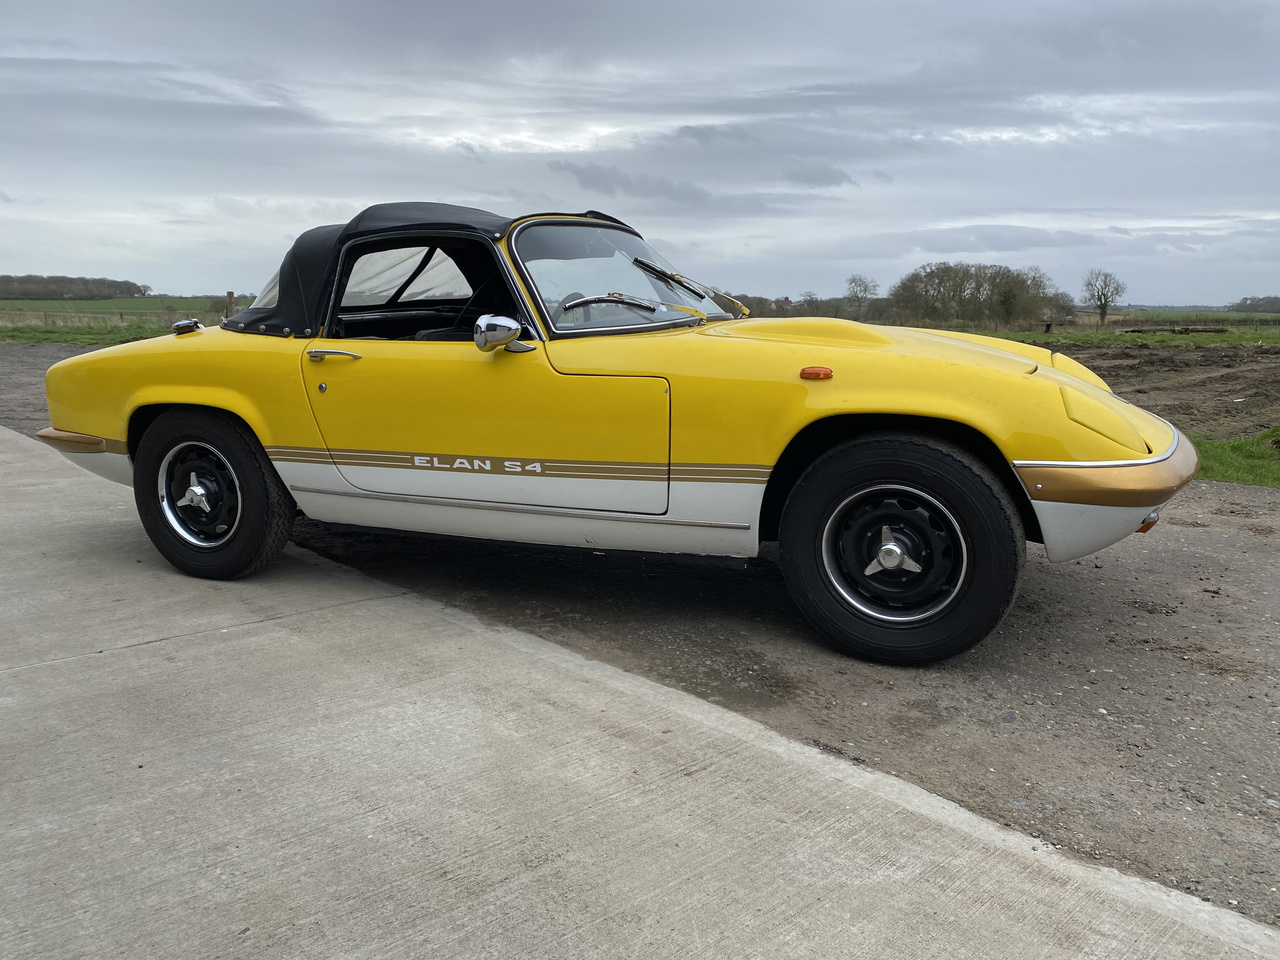
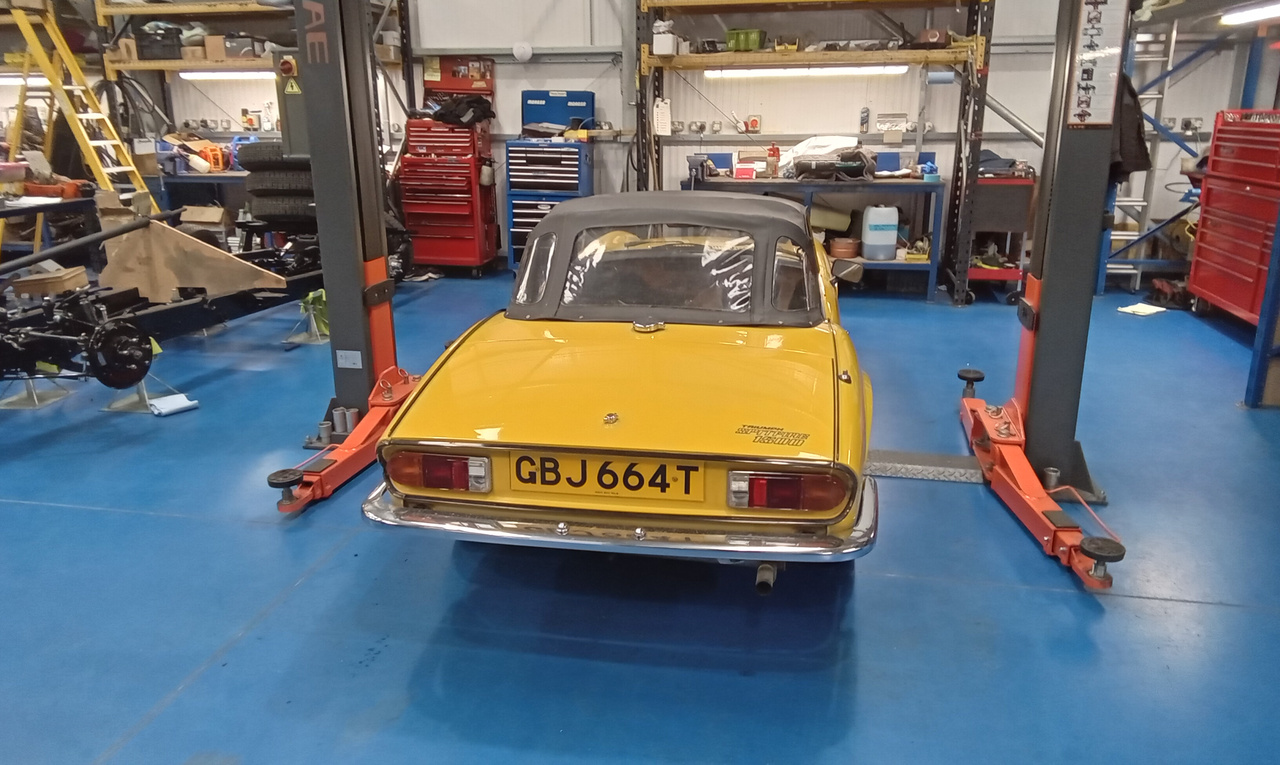
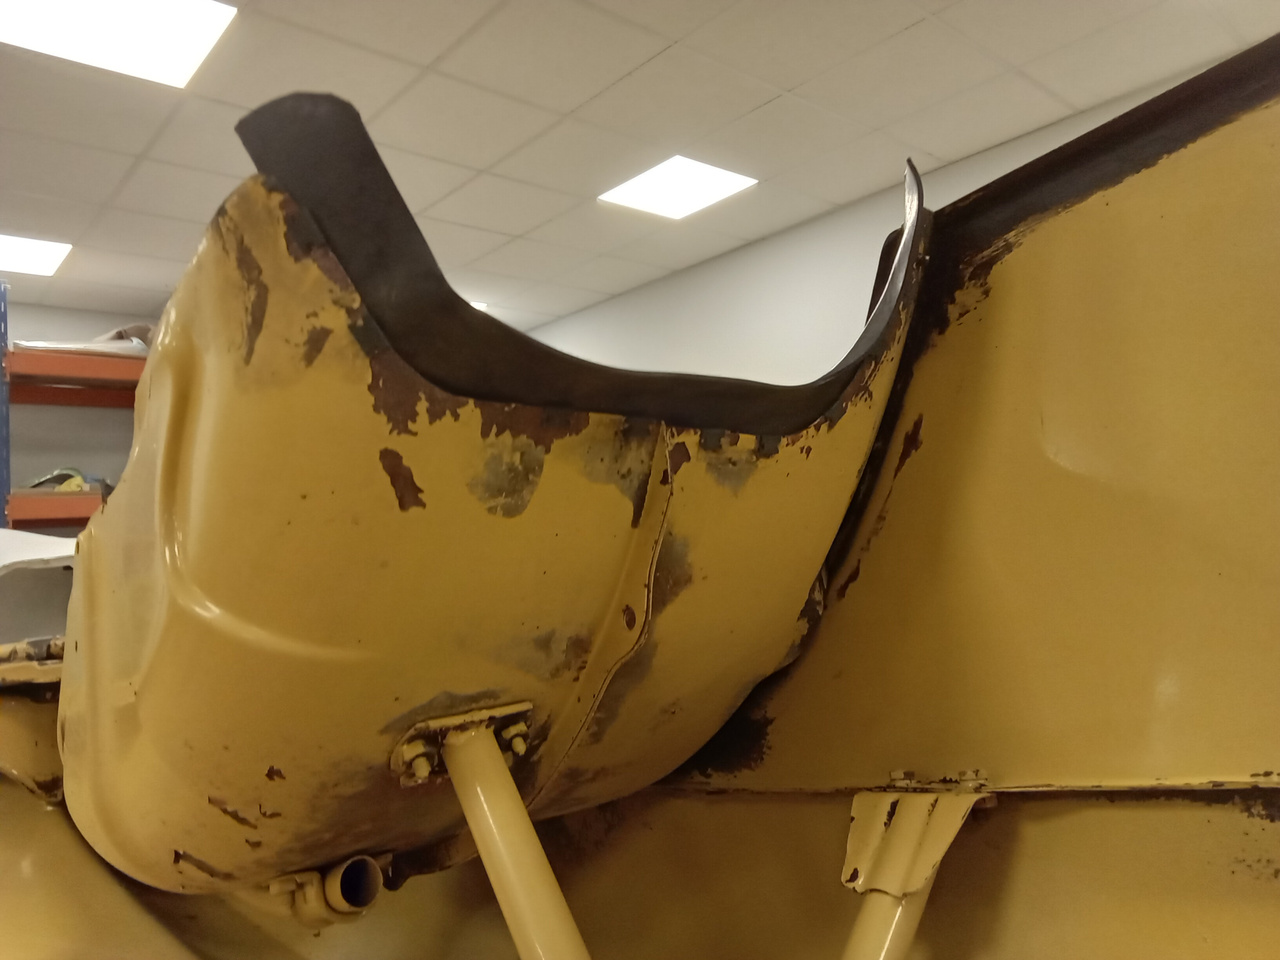
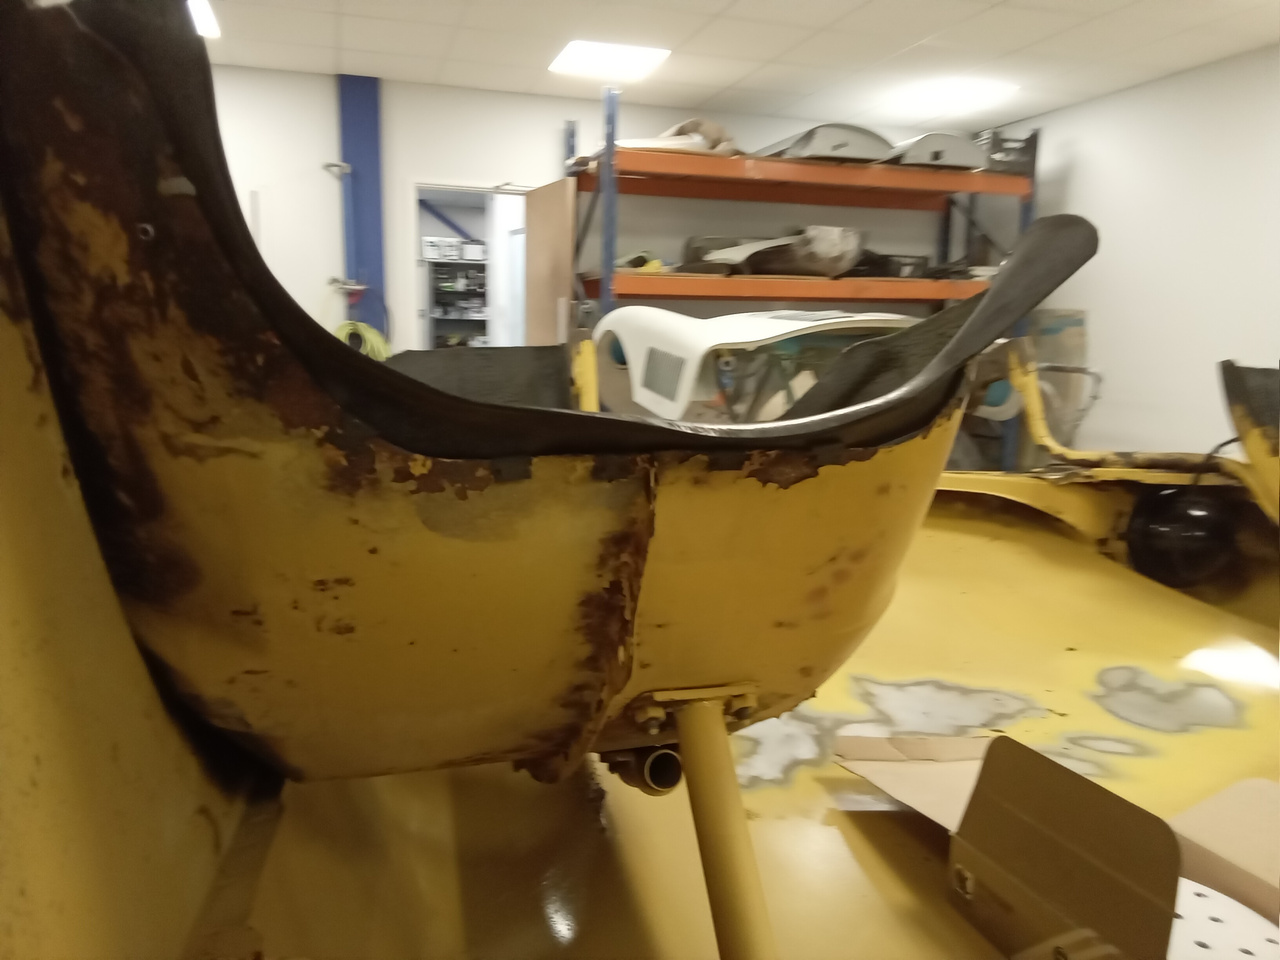
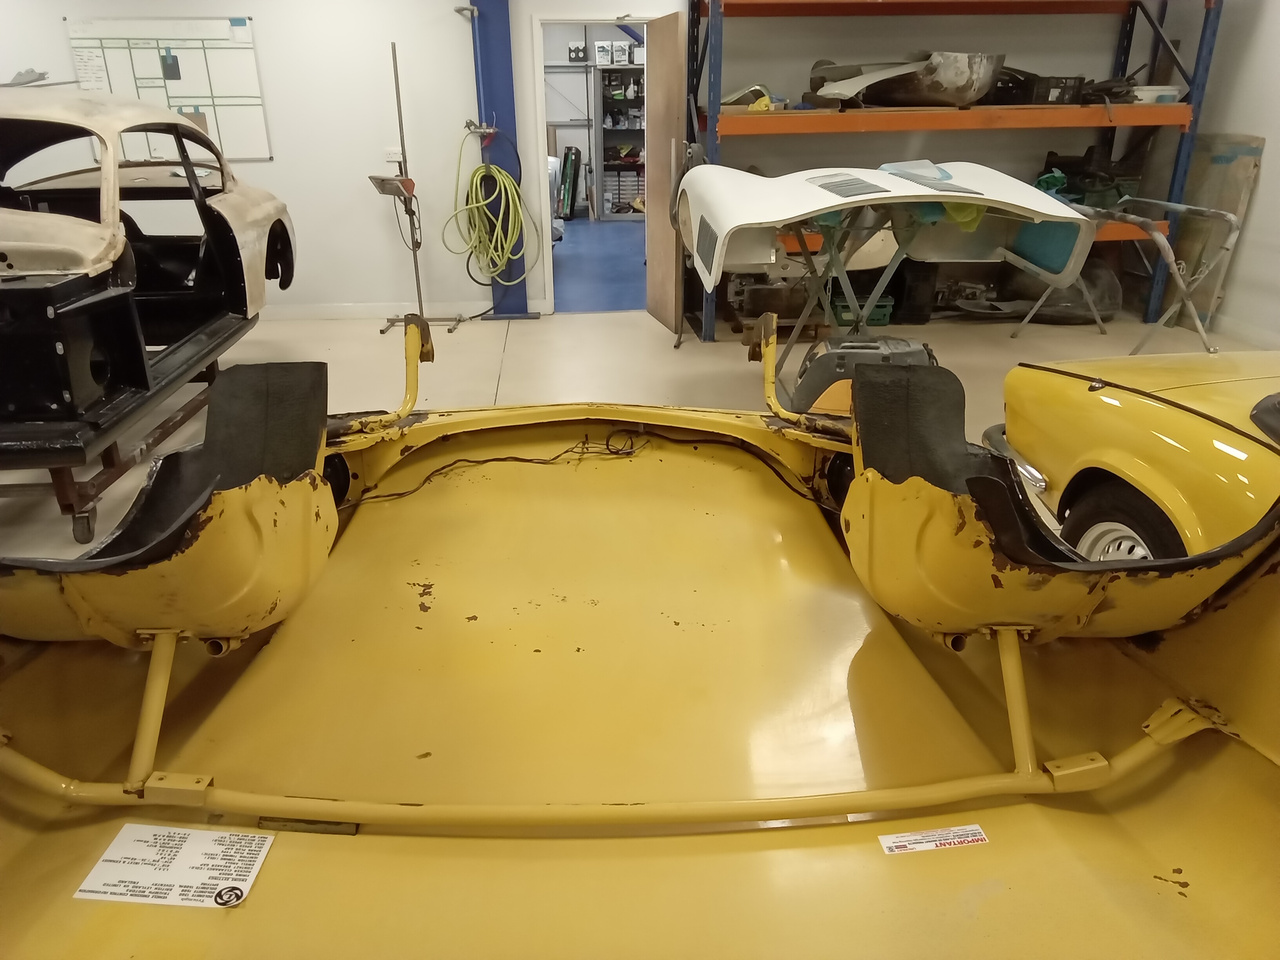
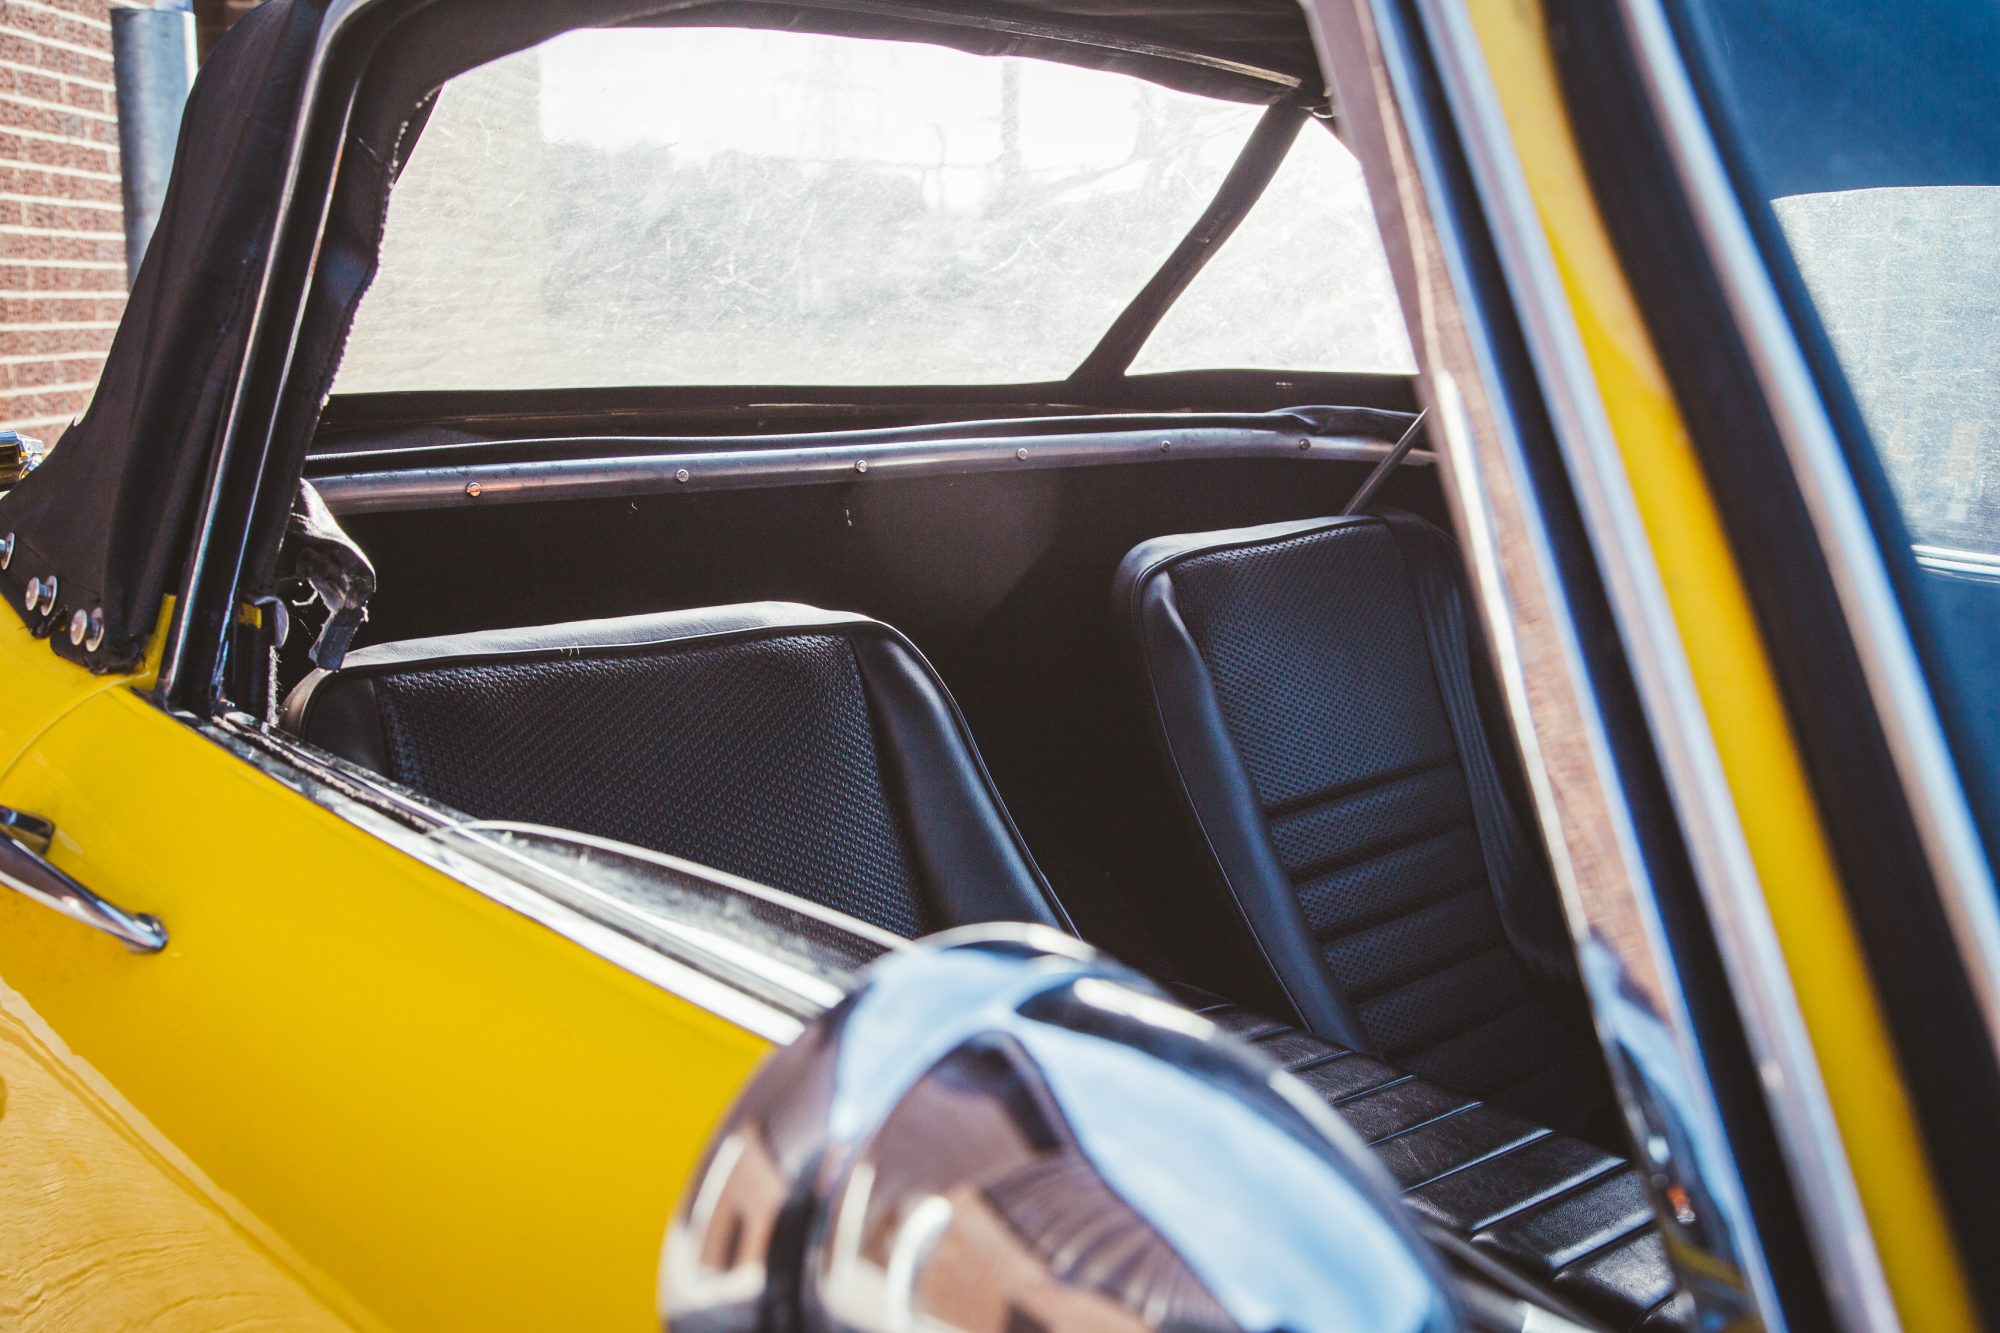
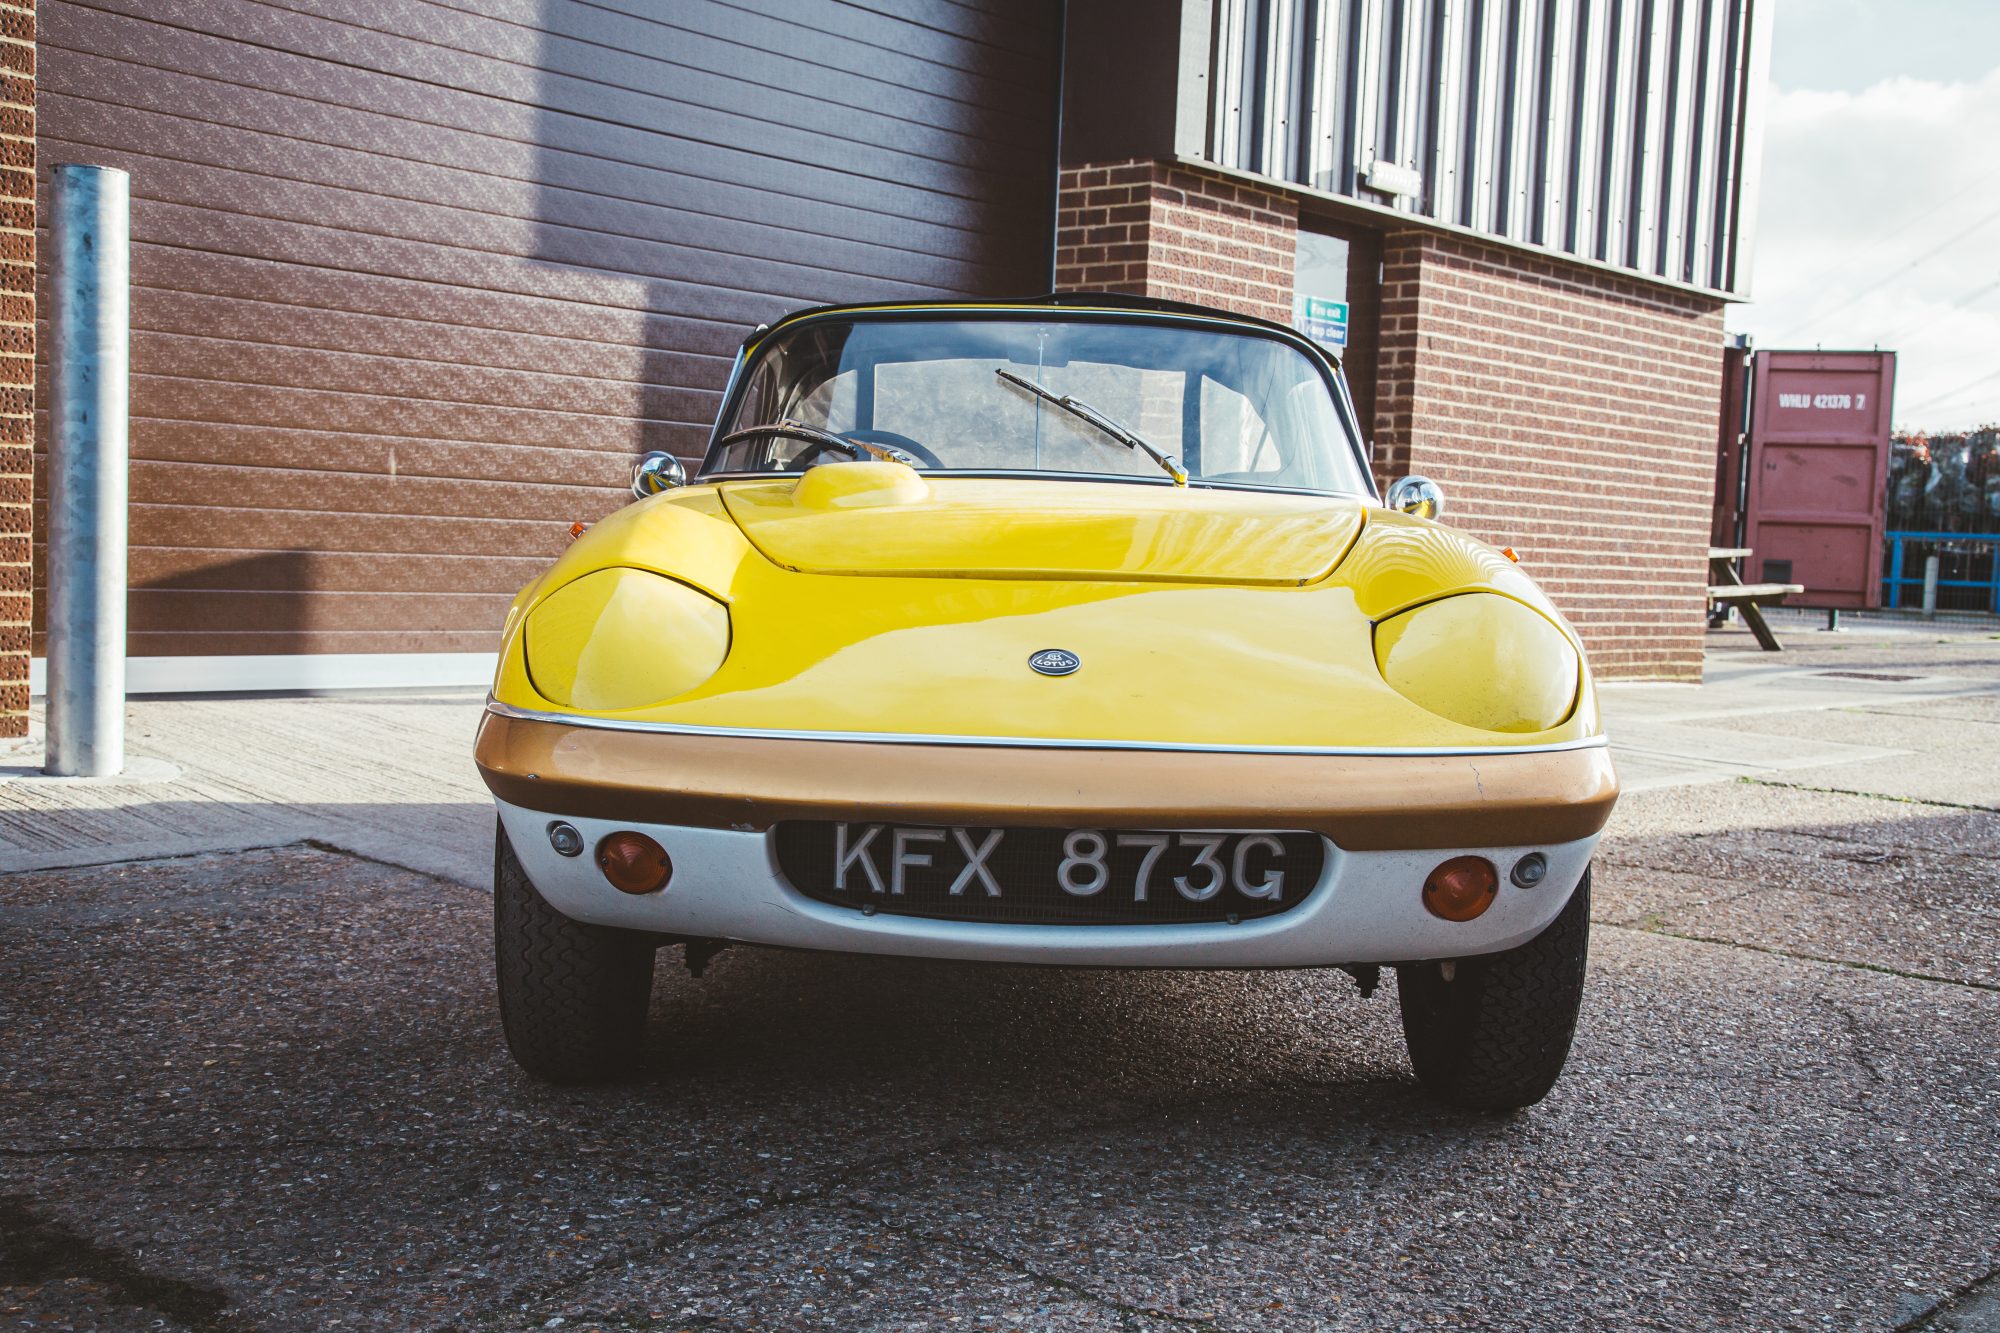
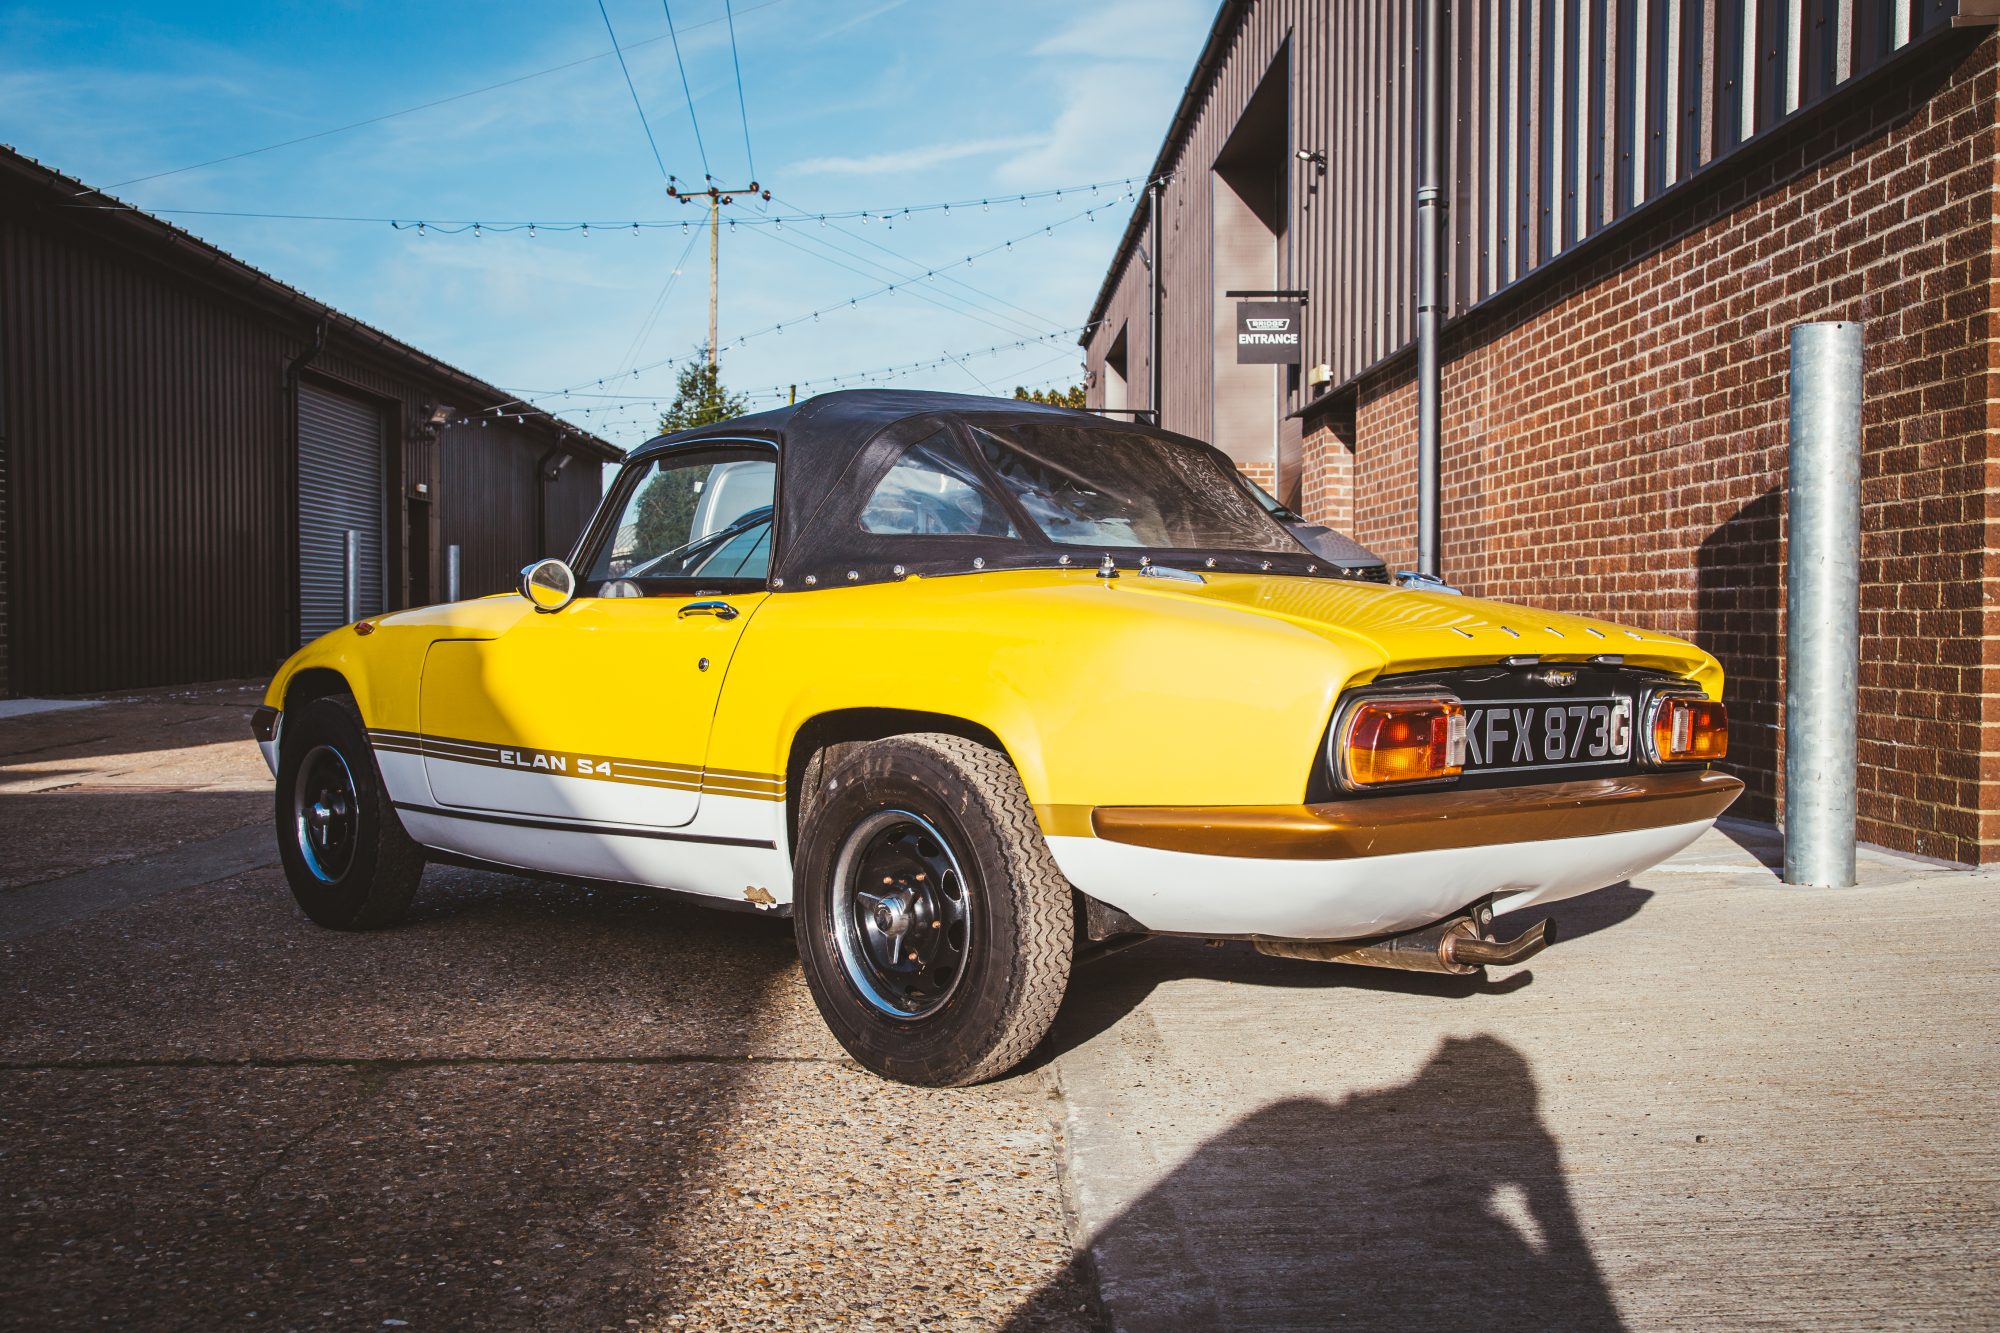
Another new arrival this week! This time in the shape of our 1968 Lotus Elan.
This bite-sized, cult classic sports car has arrived at our Suffolk HQ for the restoration teams to take a look at and work their magic on this iconic Norfolk built sports car.
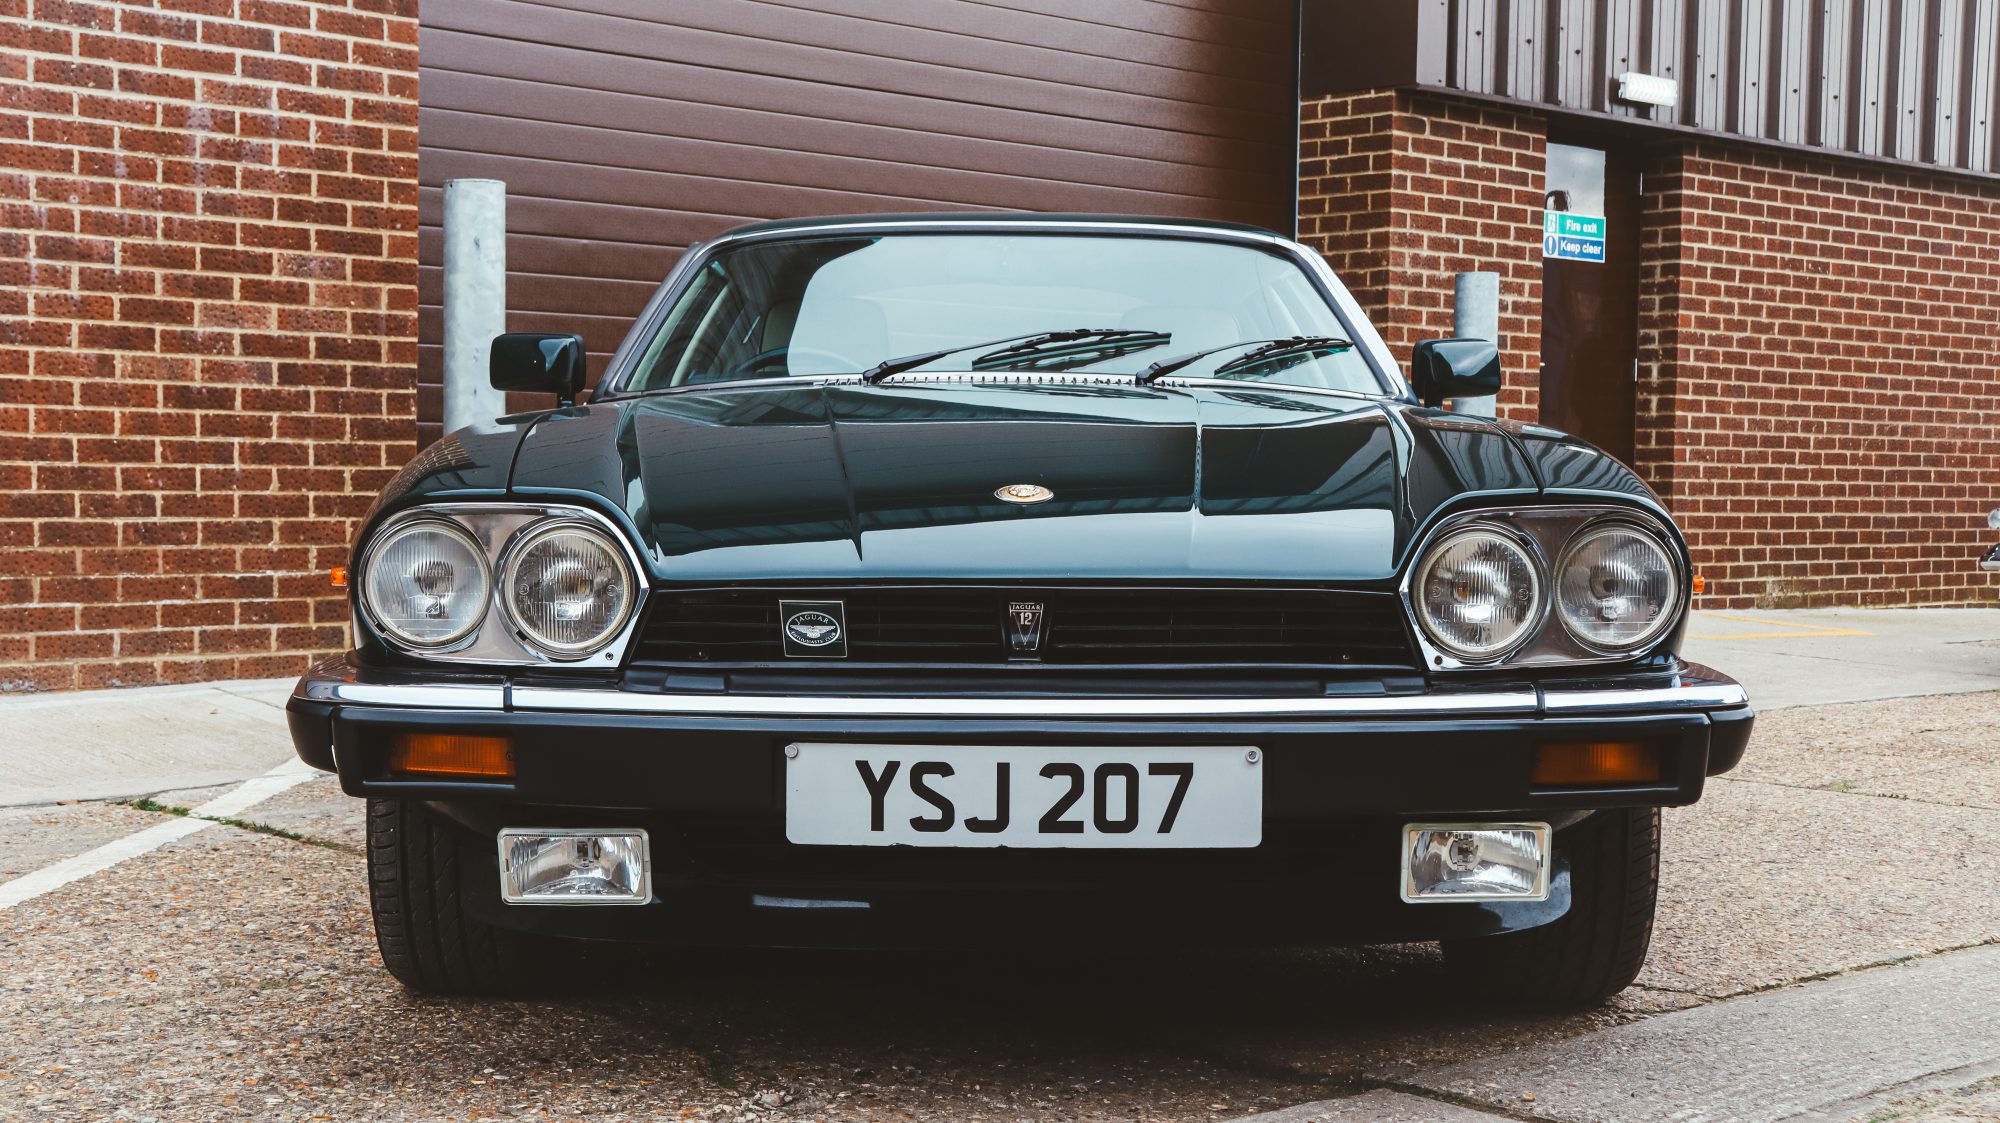
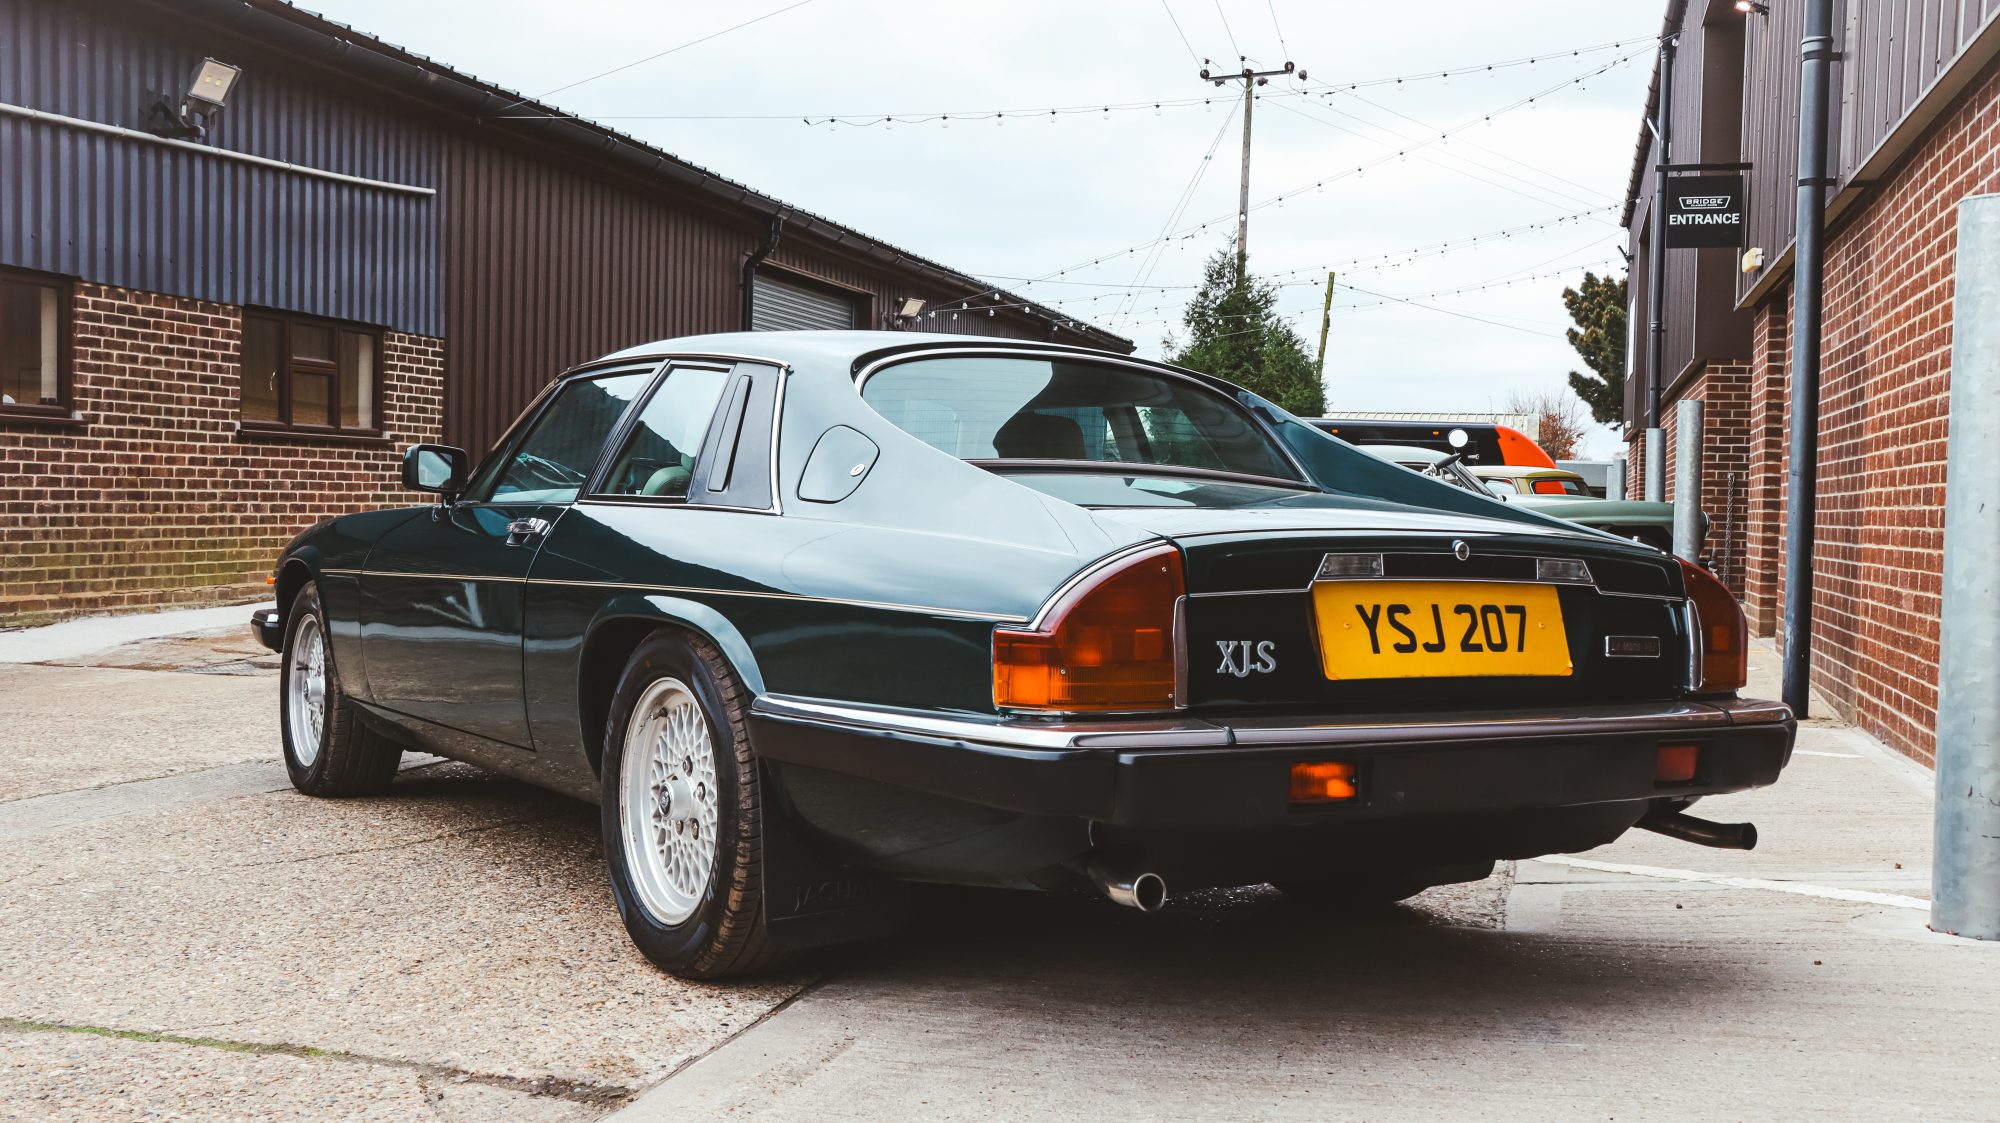
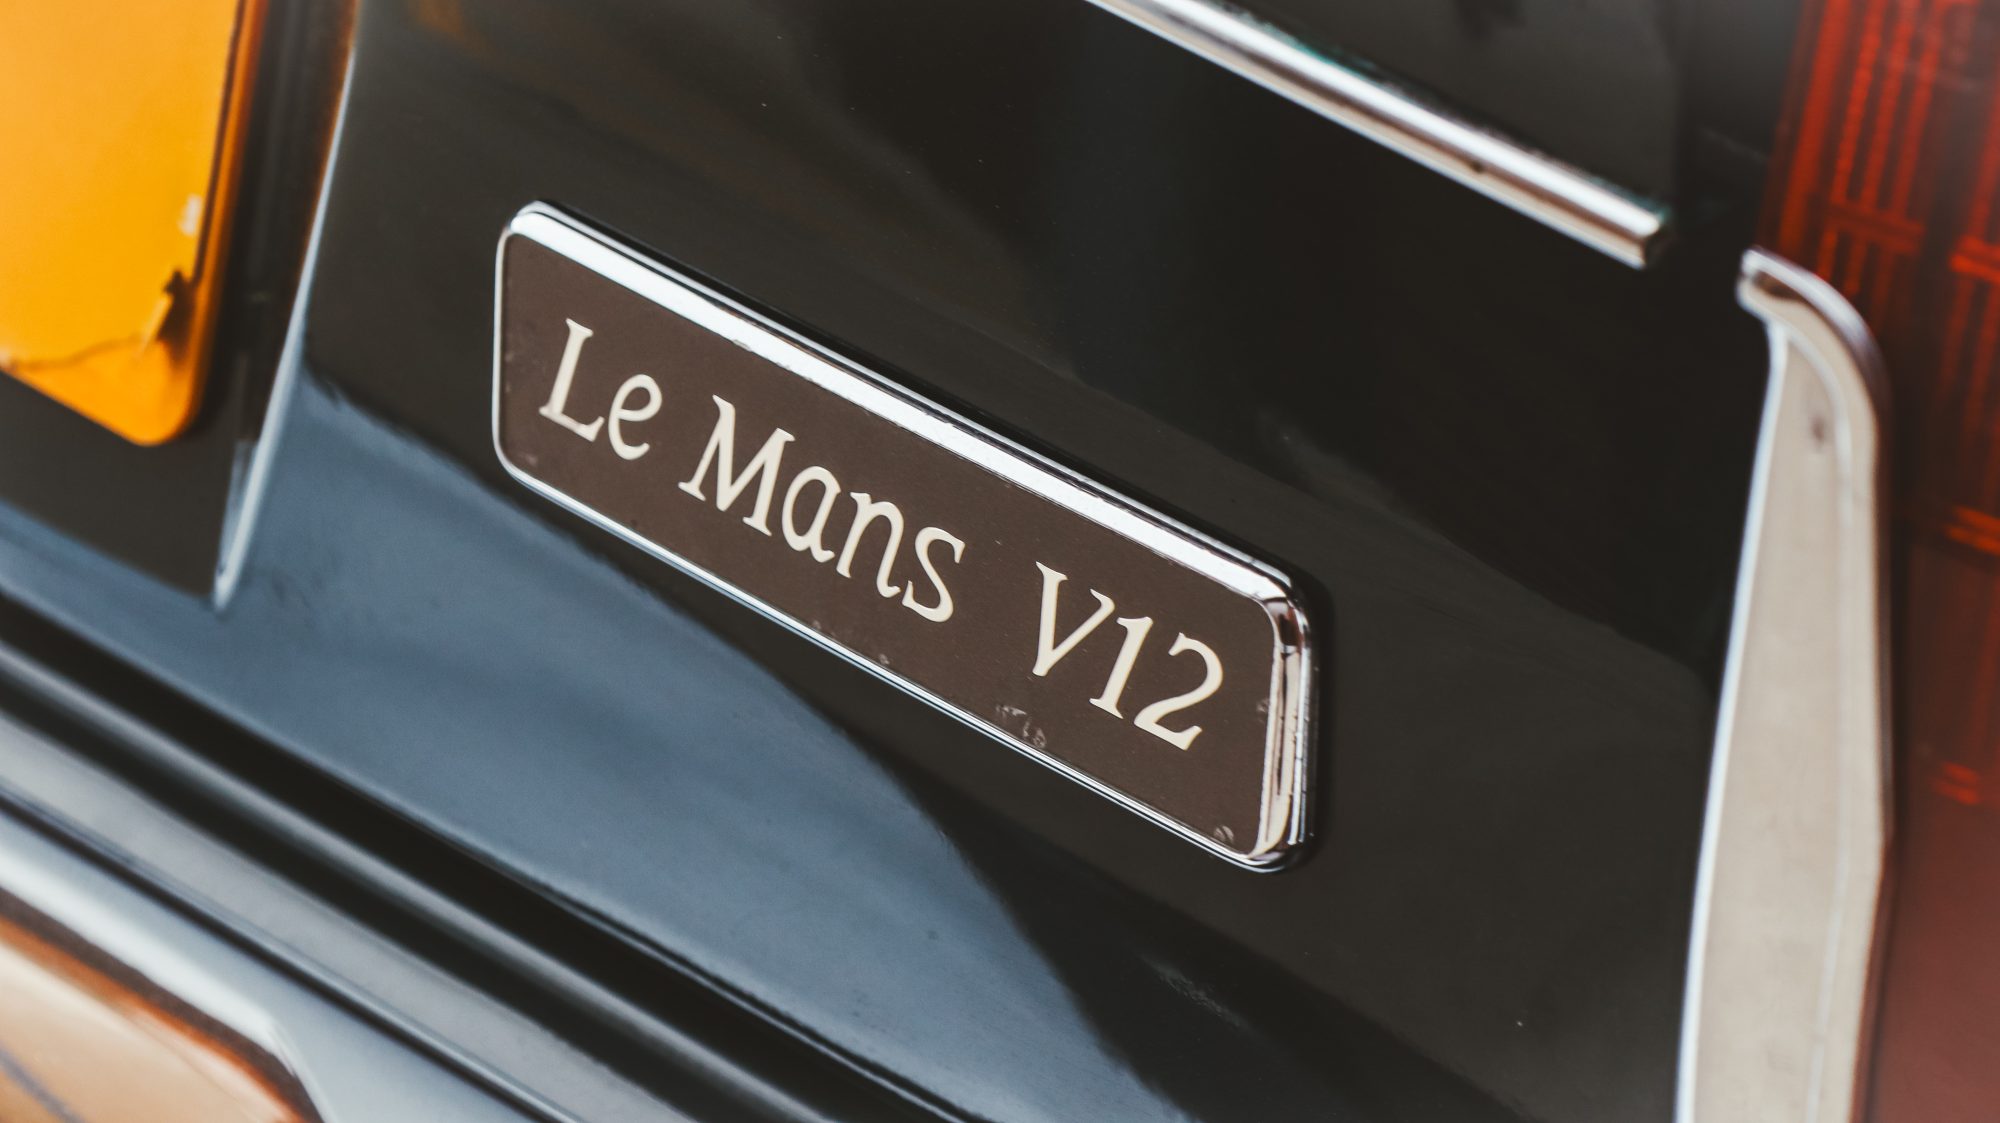
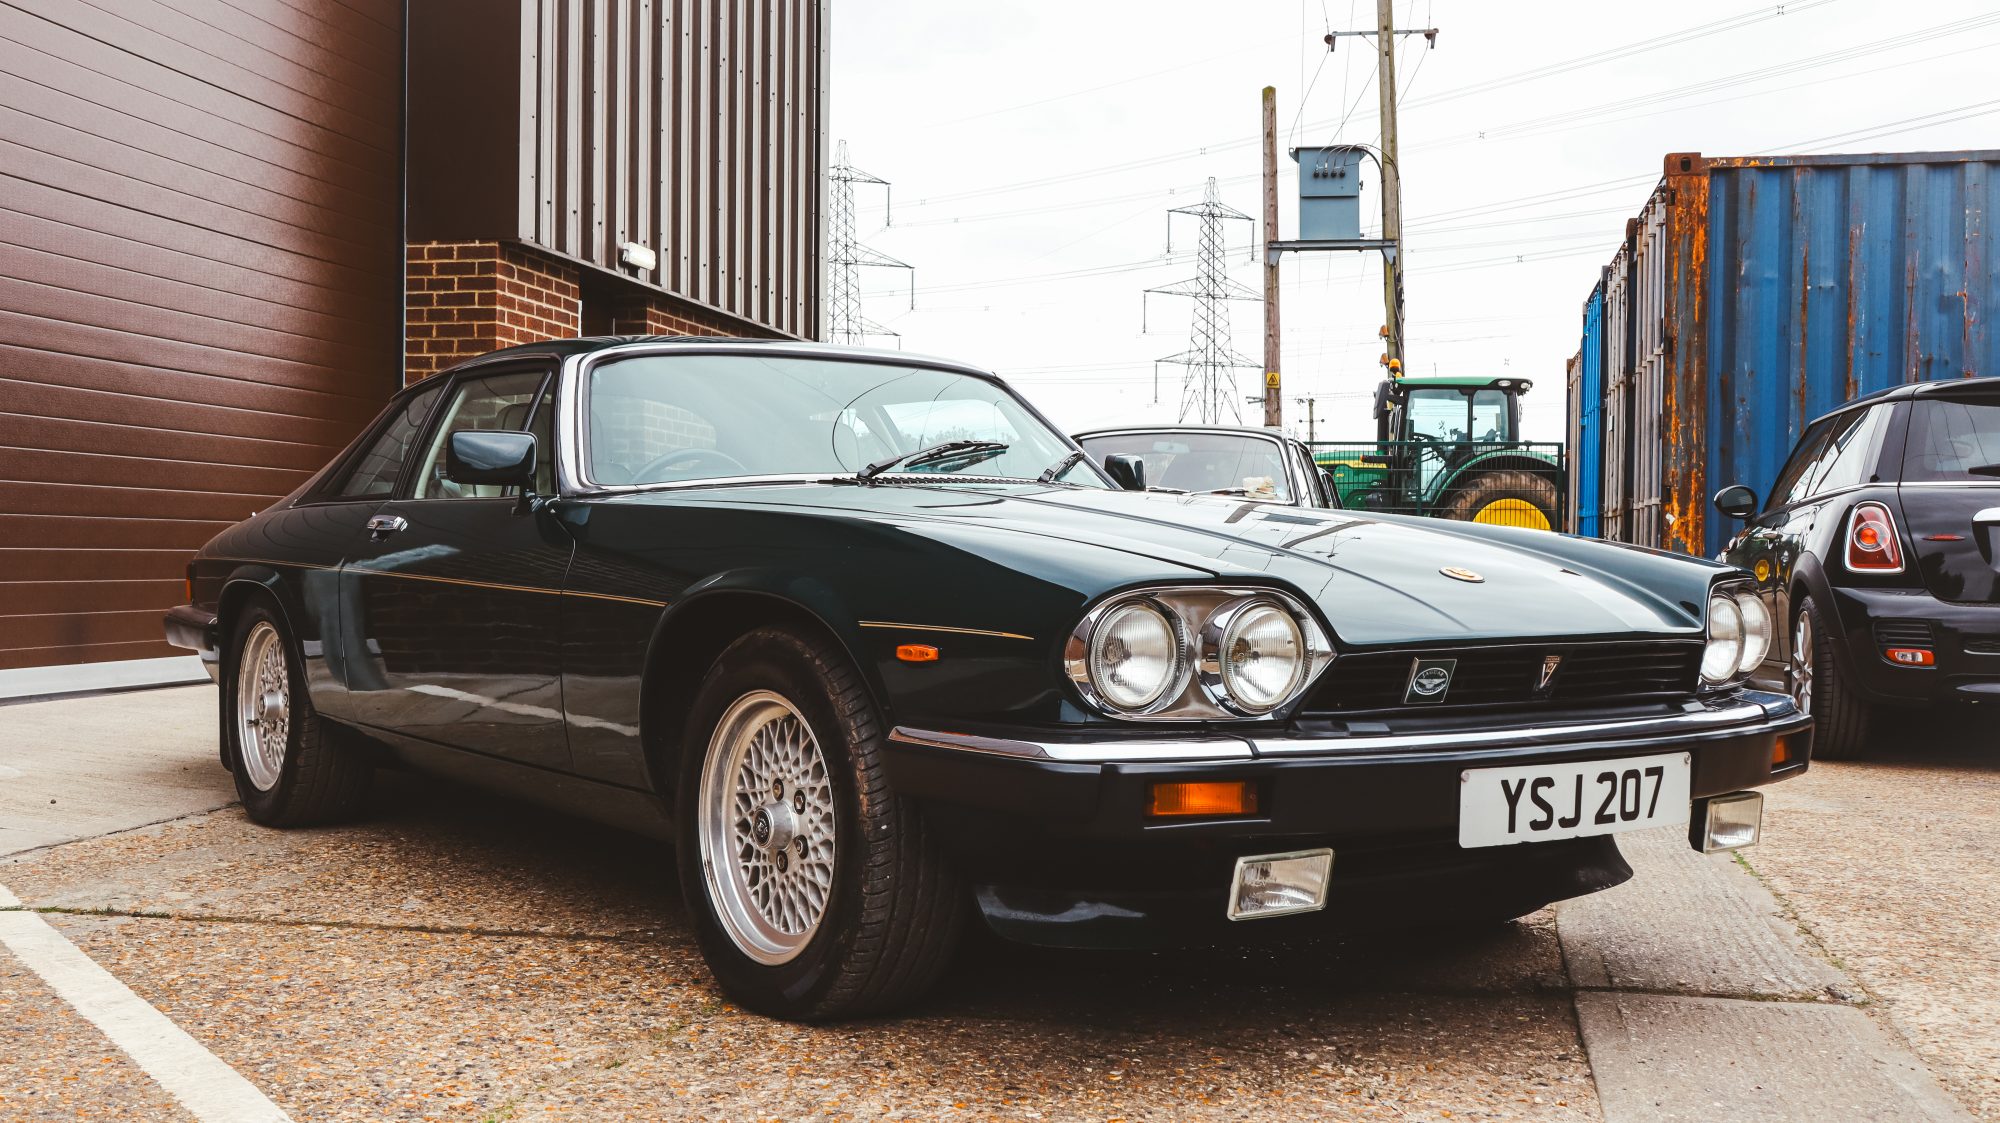
To celebrate their win at the 1990 24 hours of Le Mans, Jaguar would take their flagship coupe and create a very special car to pay tribute to their illustrious racing history – the XJS Le Mans V12.
And this, is our one! Recently arrived at the Bridge Classic Cars HQ, the 12-cylinder GT car will find its way into our workshops very soon for our restoration technicians to check over.
Keep an eye out on the Bridge Classic Cars news page very soon for more on our 1991 Jaguar XJS Le Mans V12.
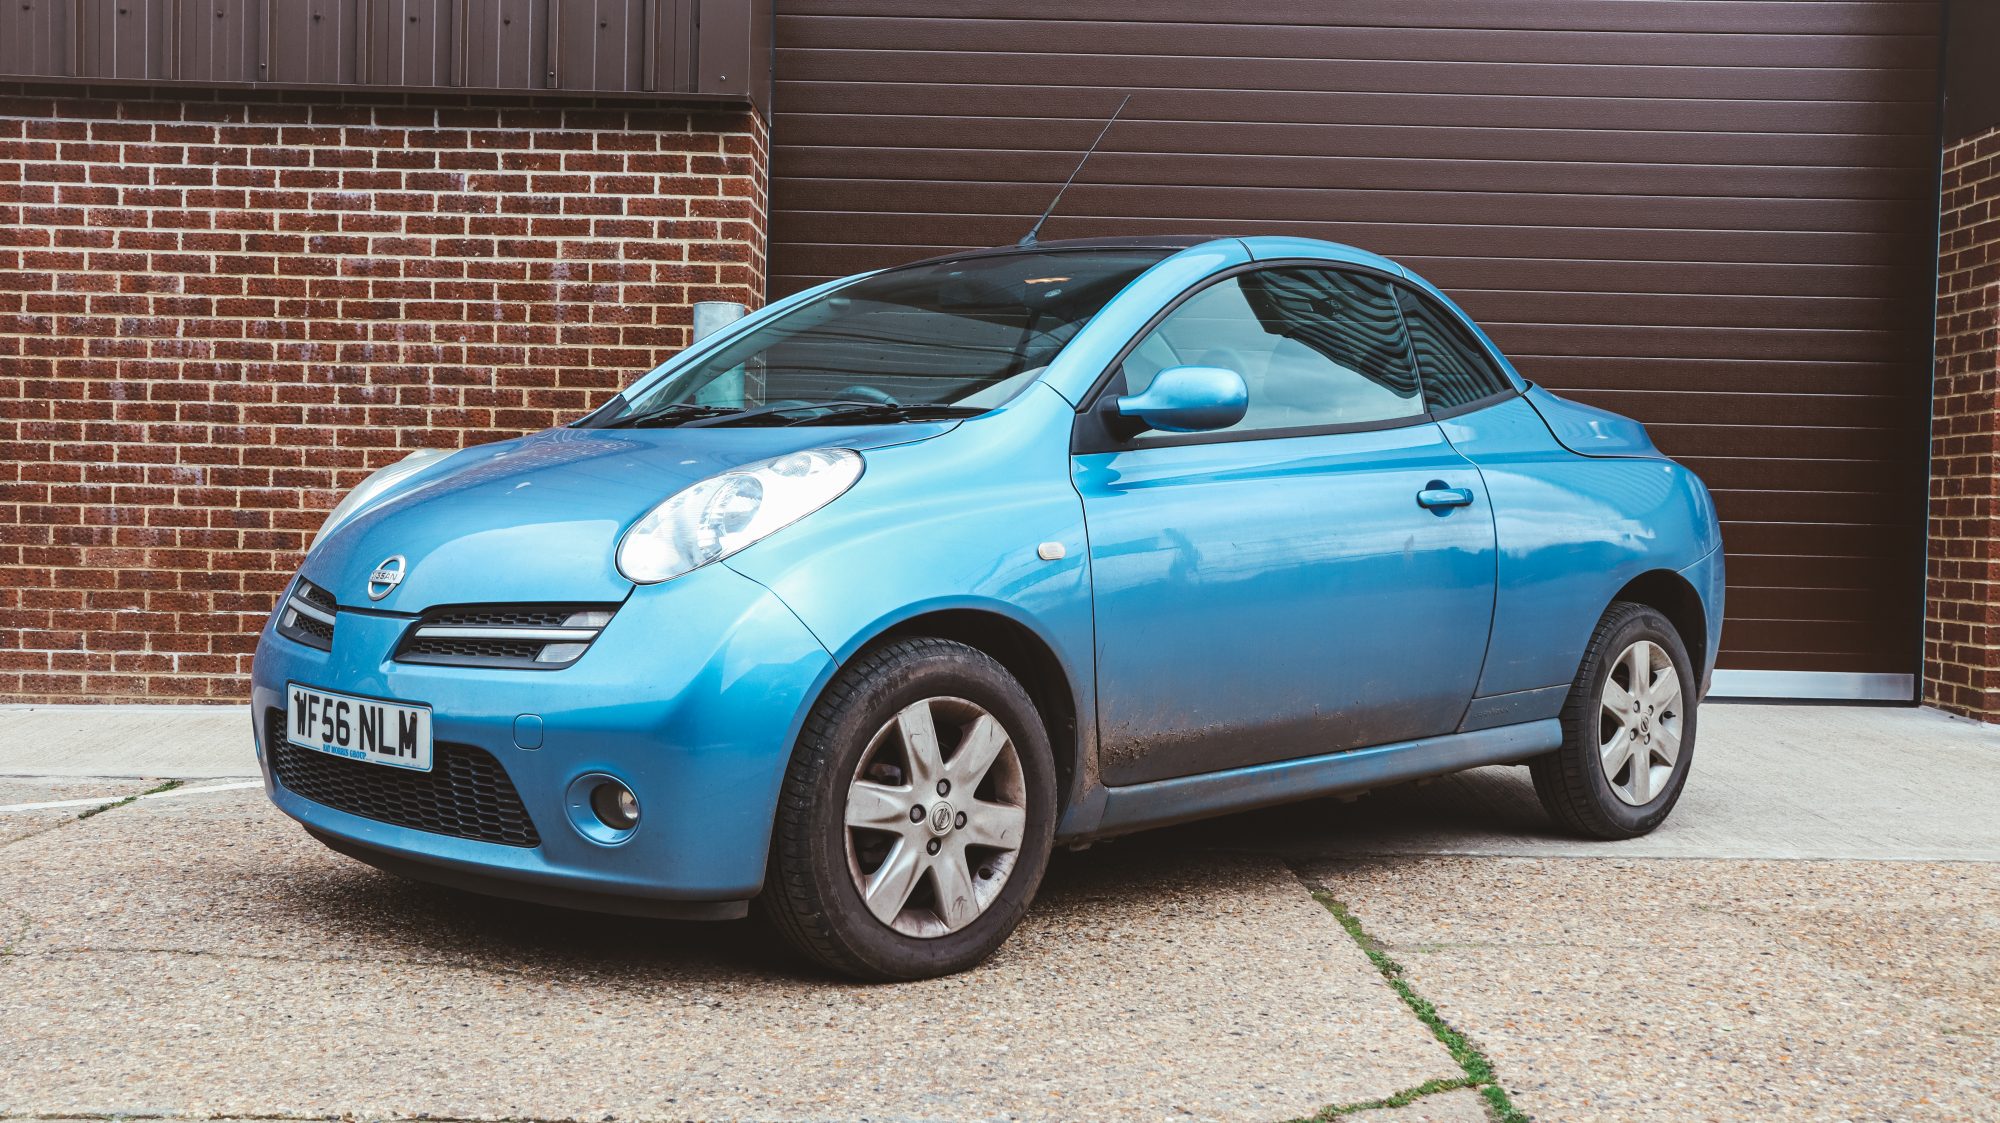
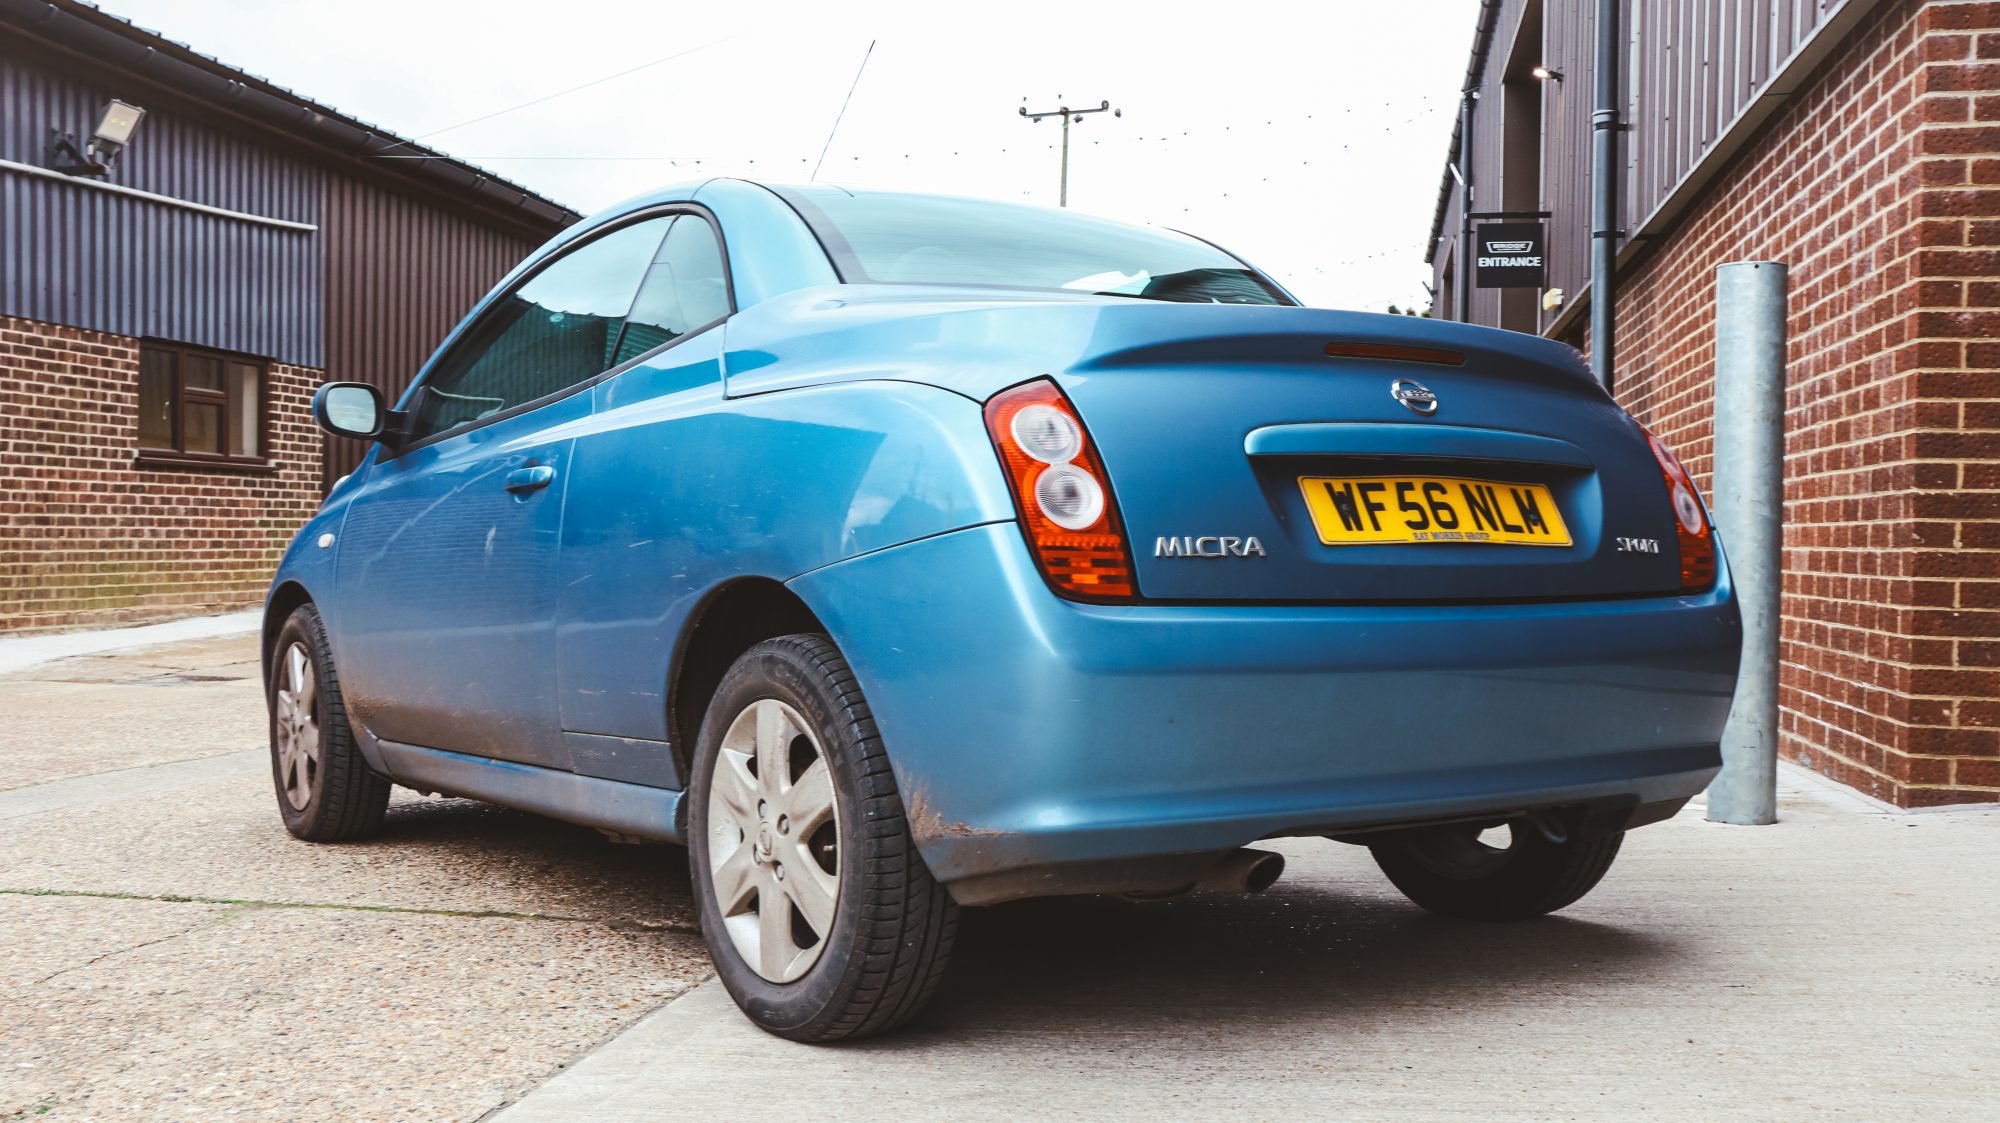
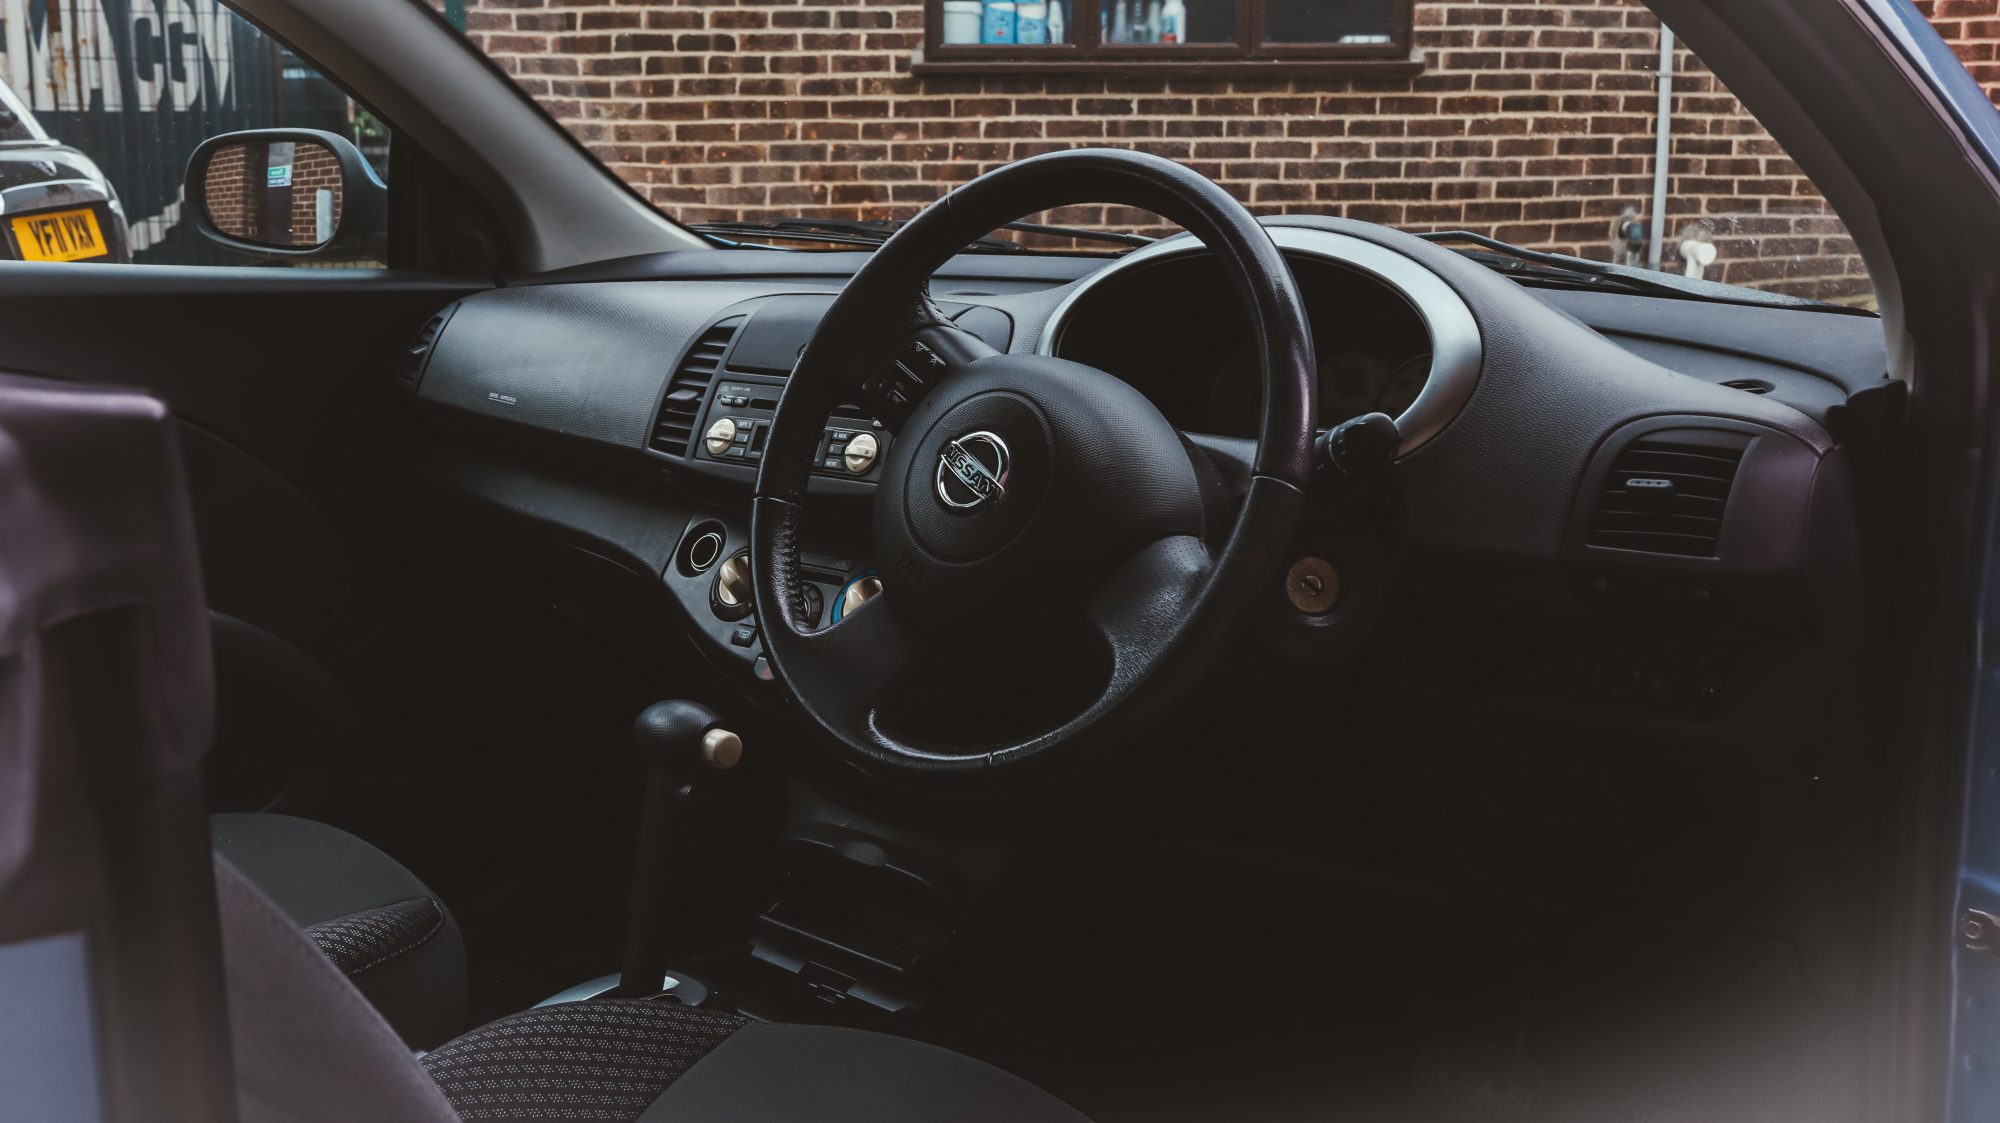
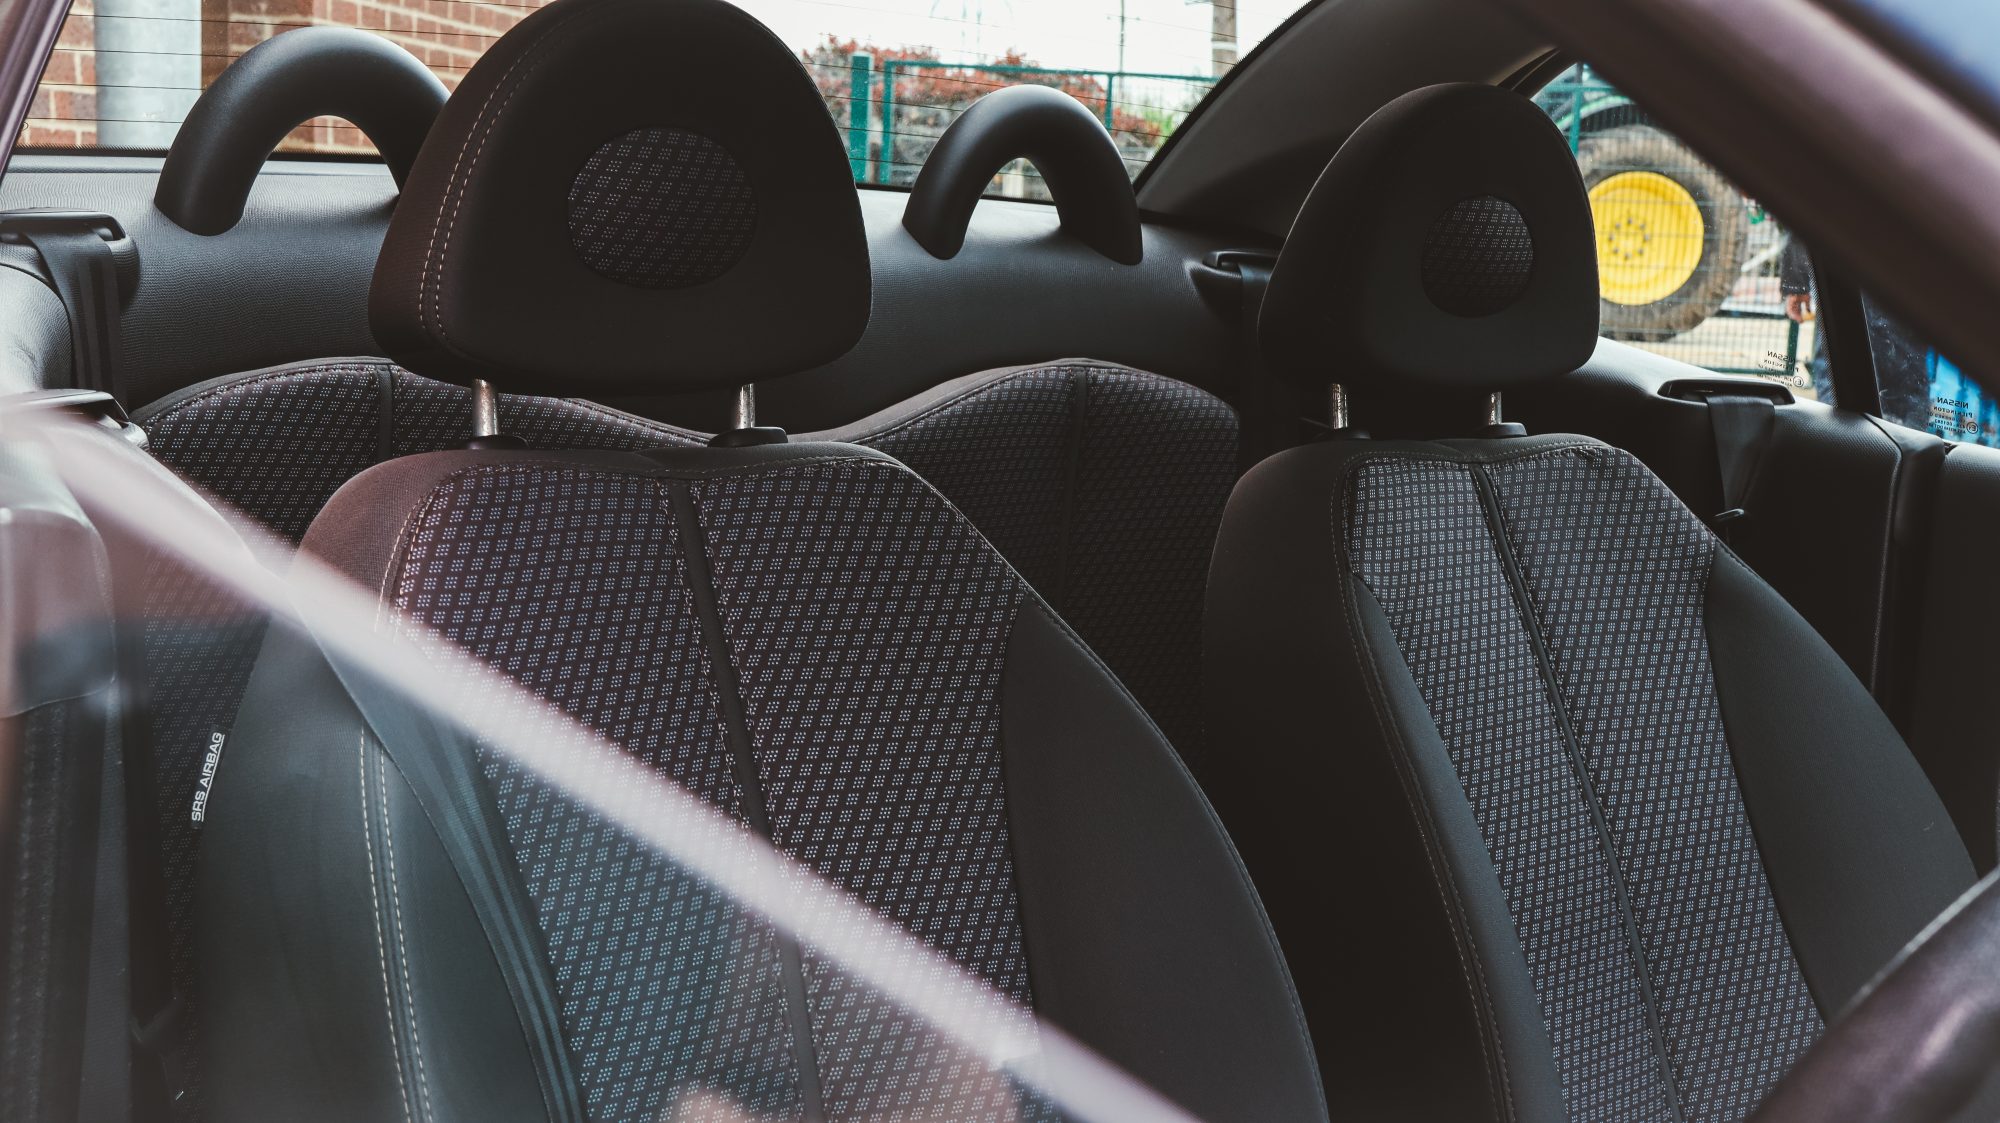
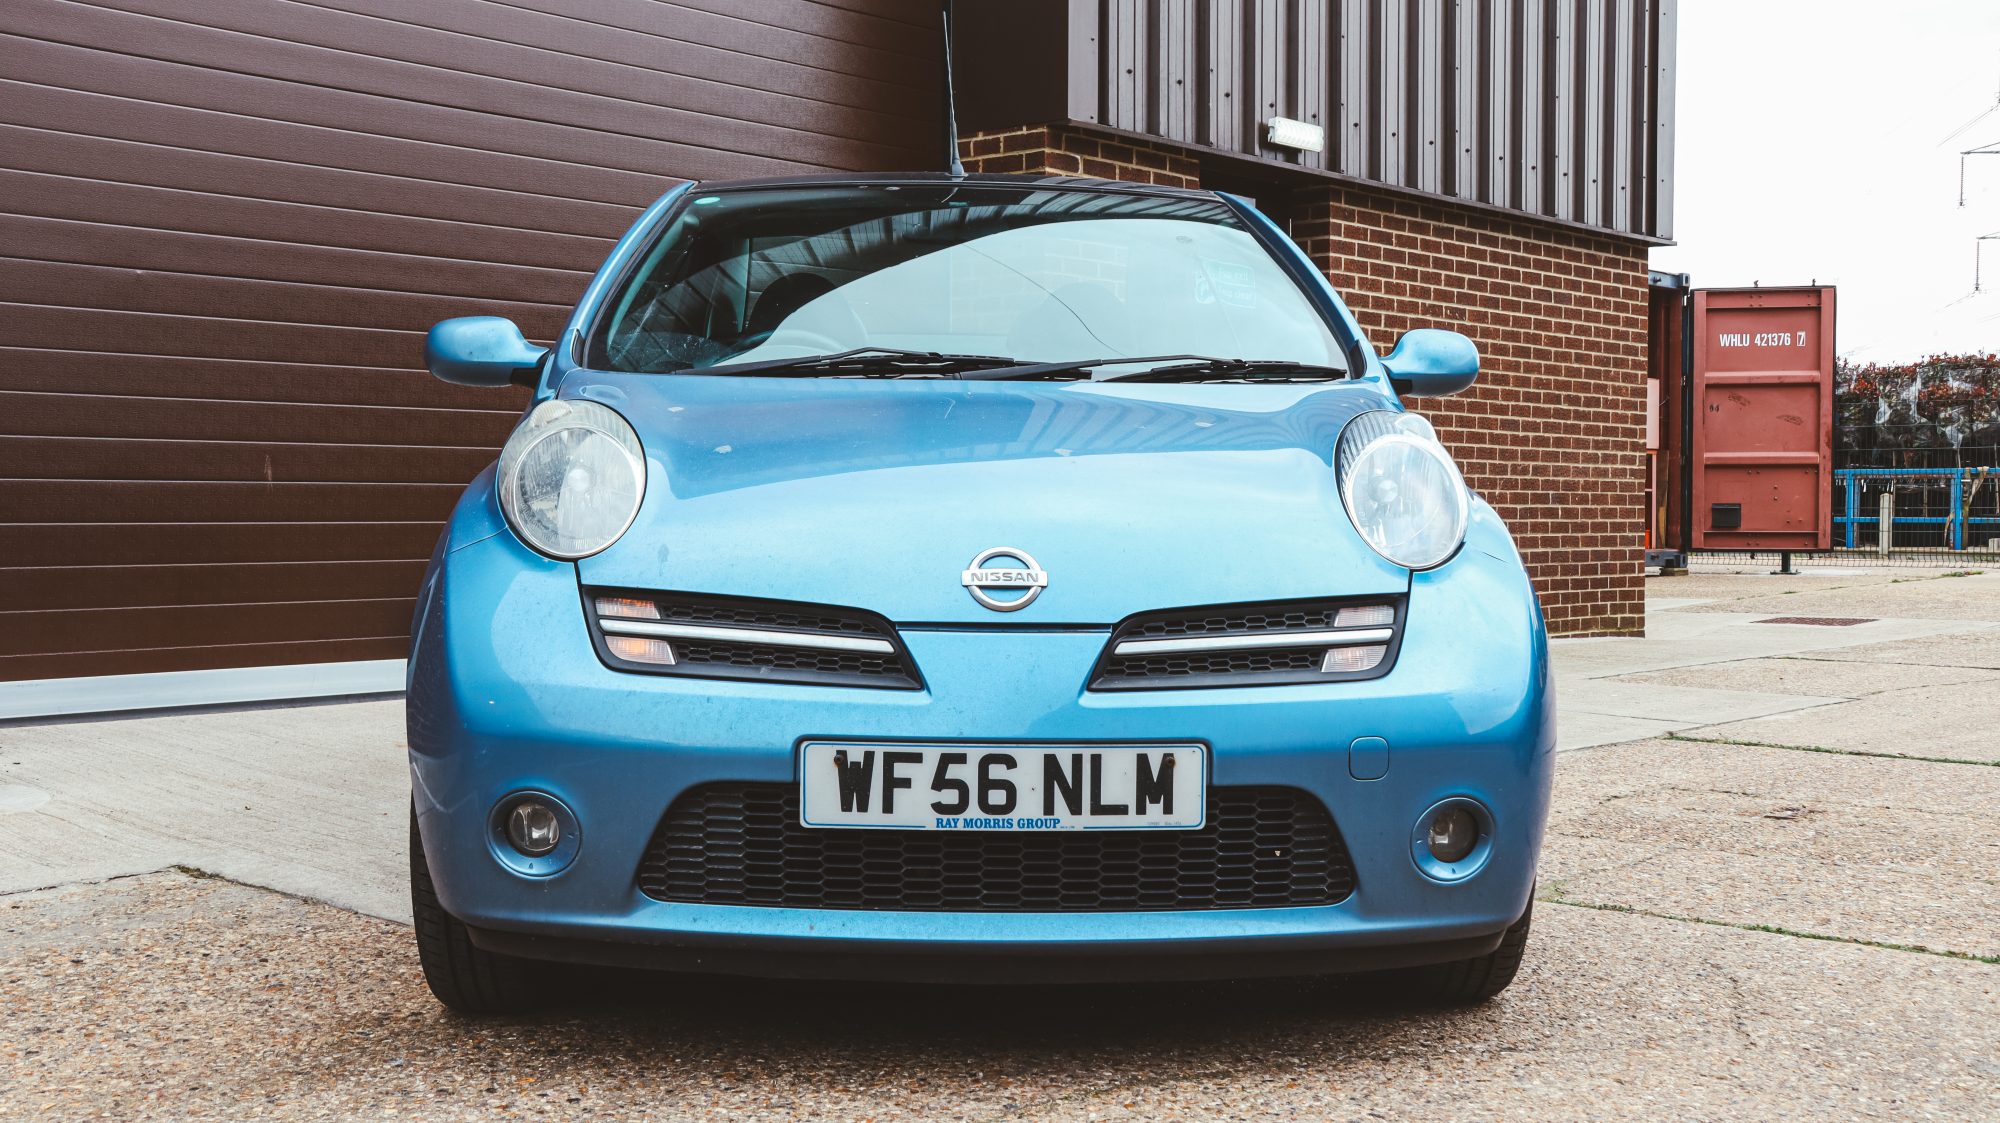
We’ve welcomed a few new arrivals this week at the Bridge Classic Cars HQ!
One of them being this 2006 Nissan Micra for the team to take a look at. Although not a classic, its adored and enjoyed by its owner who wants to keep the car in the best condition possible so has bought it over to our Pettistree workshops for the team to take a look at.

Leave a Reply