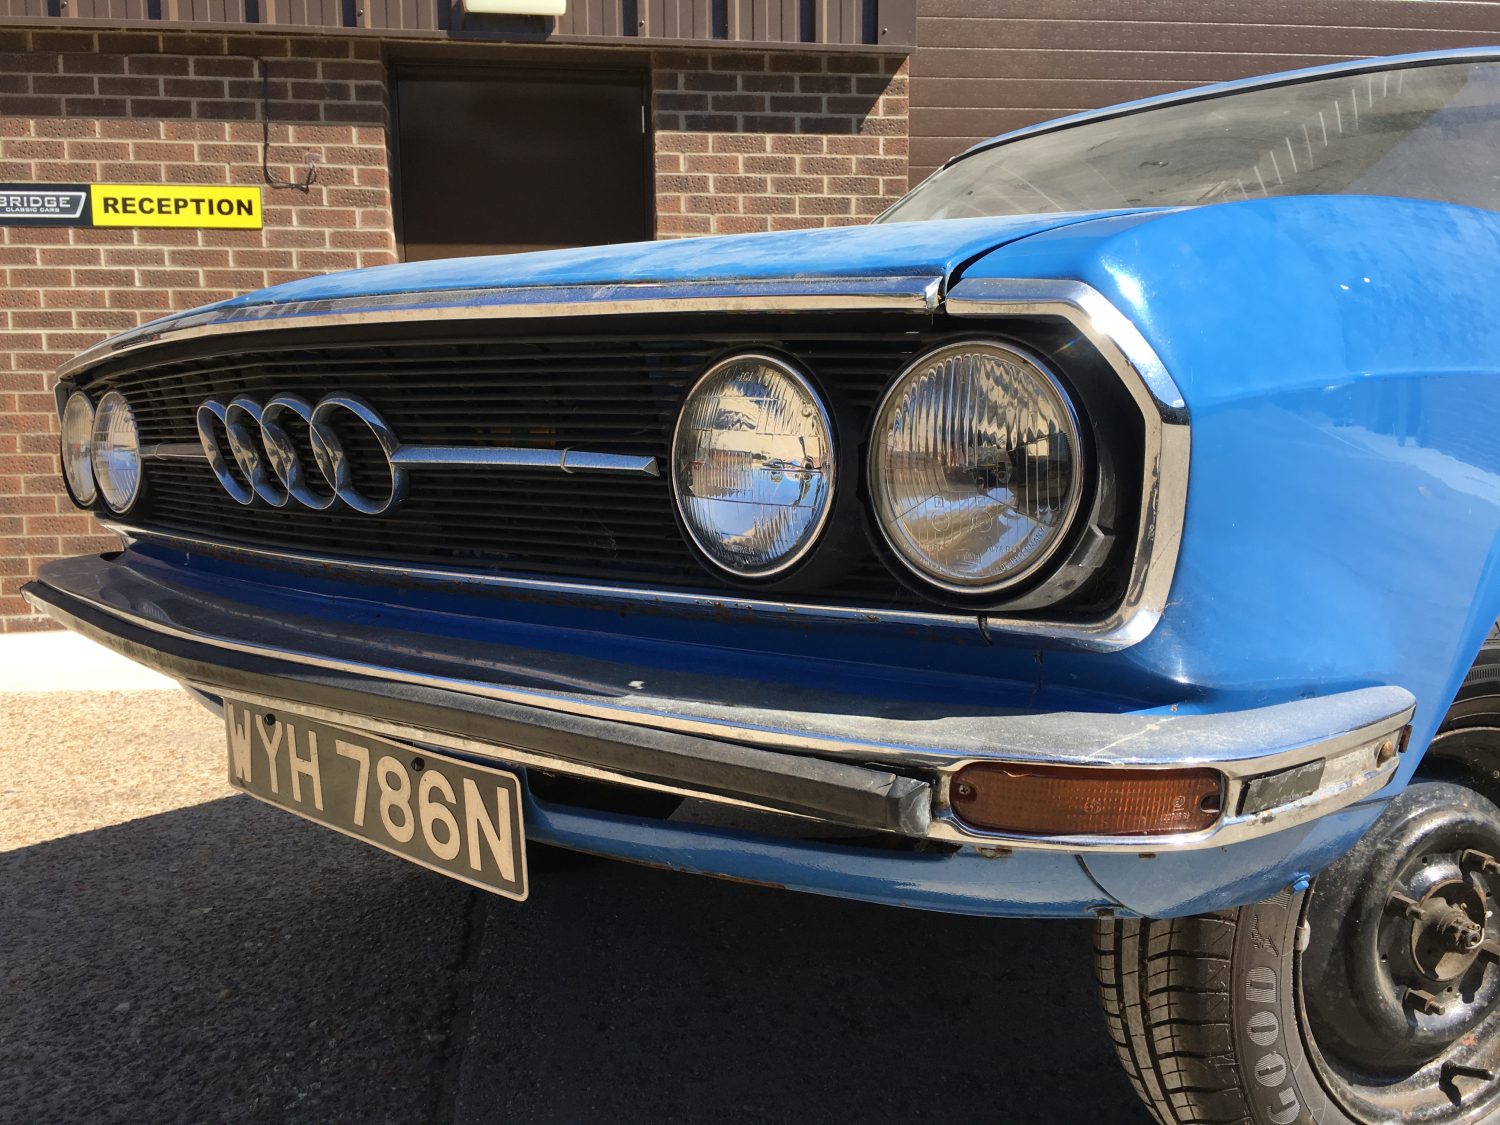
Change of approach to our 1974 Audi 100 Coupe Restoration
When you start out with a full restoration you have all good intentions to stick to the plan and stay within the schedule but inevitably


When you start out with a full restoration you have all good intentions to stick to the plan and stay within the schedule but inevitably
The beautiful door cards are now fitted back into place on our 1960 Jensen 541S. John is now on the final stages of the build

Confirmed: Shaun will be returning to our workshops with his 1965 Jaguar E-Type. Also confirmed this morning is Francis with the 1983 Mercedes 230E
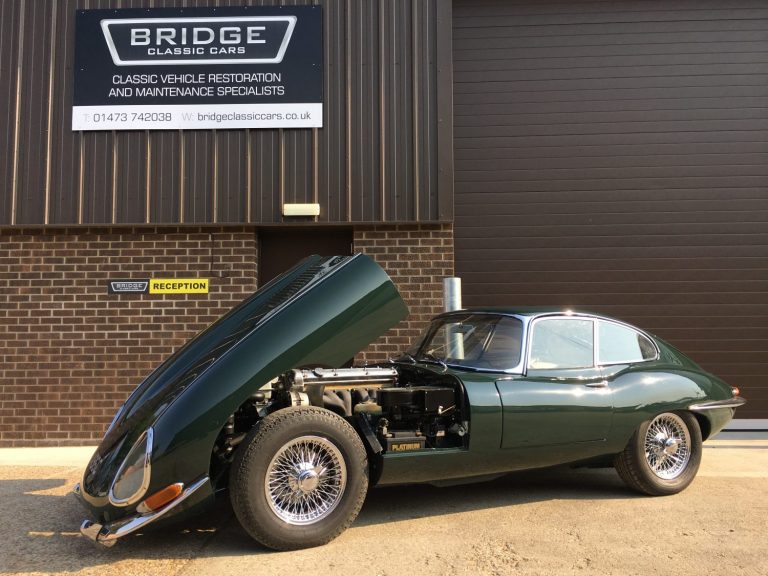
All levels have been checked, all objectives have been met and our 1965 Jaguar E-Type is now ready for this weekend’s wedding duties.
[vc_row][vc_column][vc_column_text]The highlight of the year for Bridge Classic Cars’ Pete; his annual trip to Goodwood for the Festival Of Speed. This year’s highlight…the guys camping
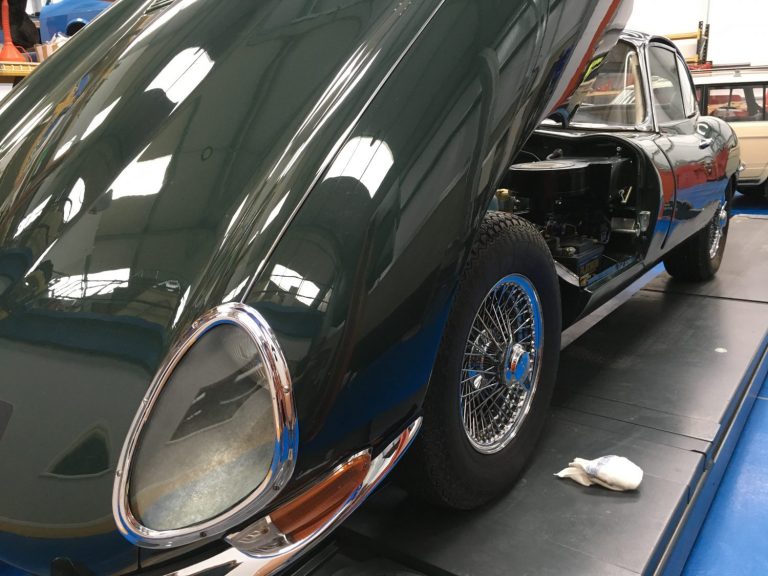
[vc_row][vc_column][vc_column_text]Today we see the return of our beautiful 1965 Series 1 Jaguar E-Type. She’s on wedding duties next week so we have a bit of
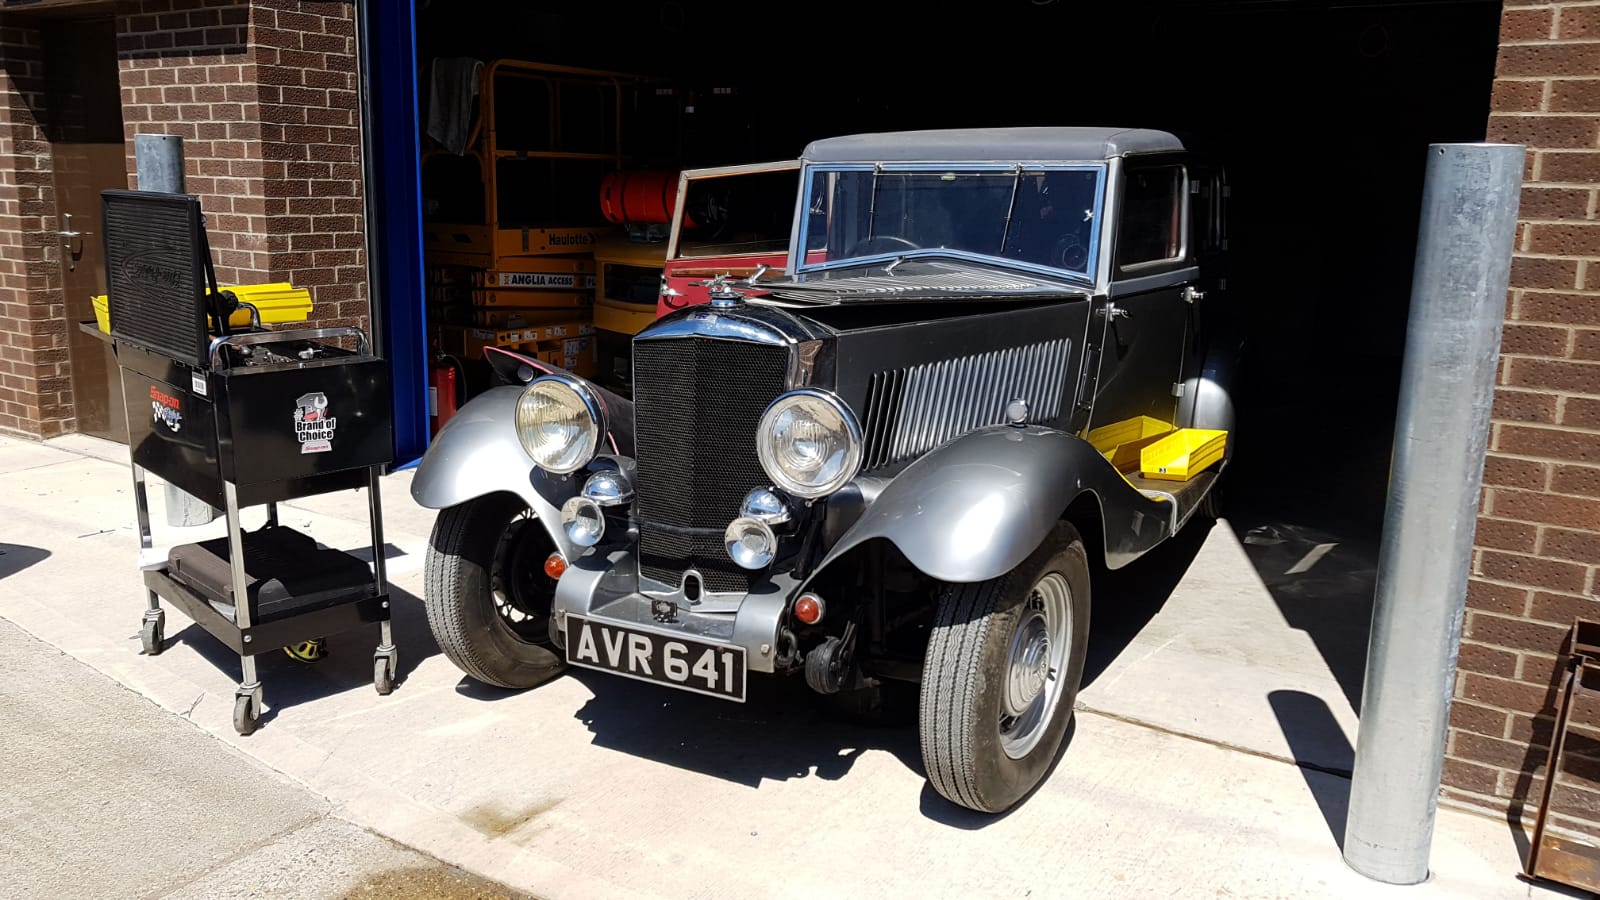
[vc_row][vc_column][vc_column_text]We have just received confirmation of our Jensen leaving the US for the UK and photographs of it being loaded up. ] At this stage
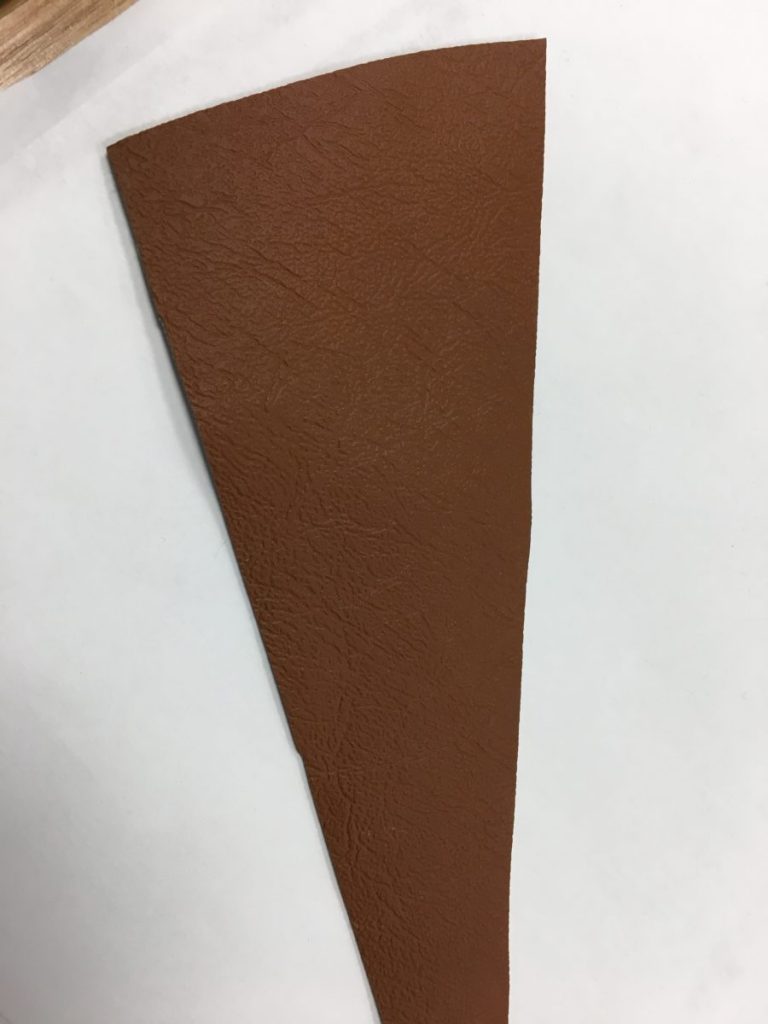
The green piped in yellow will soon be disappearing from the interior of our 1971 Bedford, to be replaced with a classier looking brown vinyl.

The battery light has come on on the Range Rover so it’s in our workshops having the alternator replaced. It’s a fiddly job on the
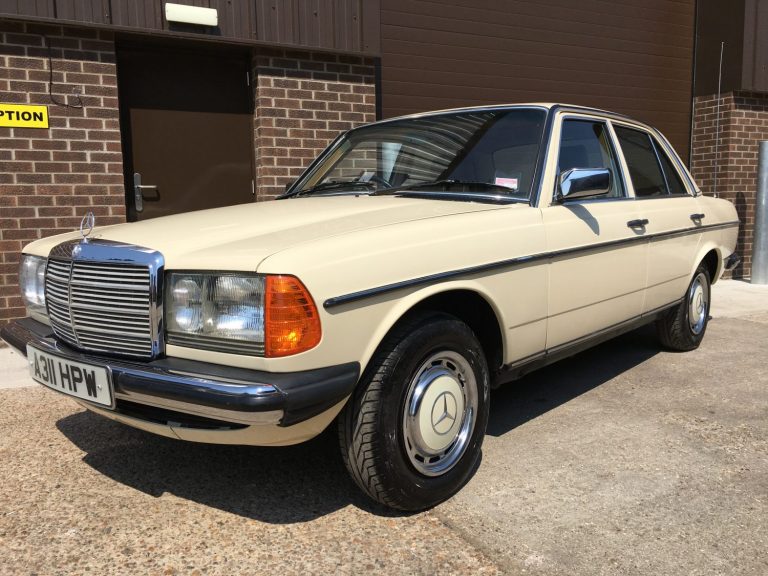
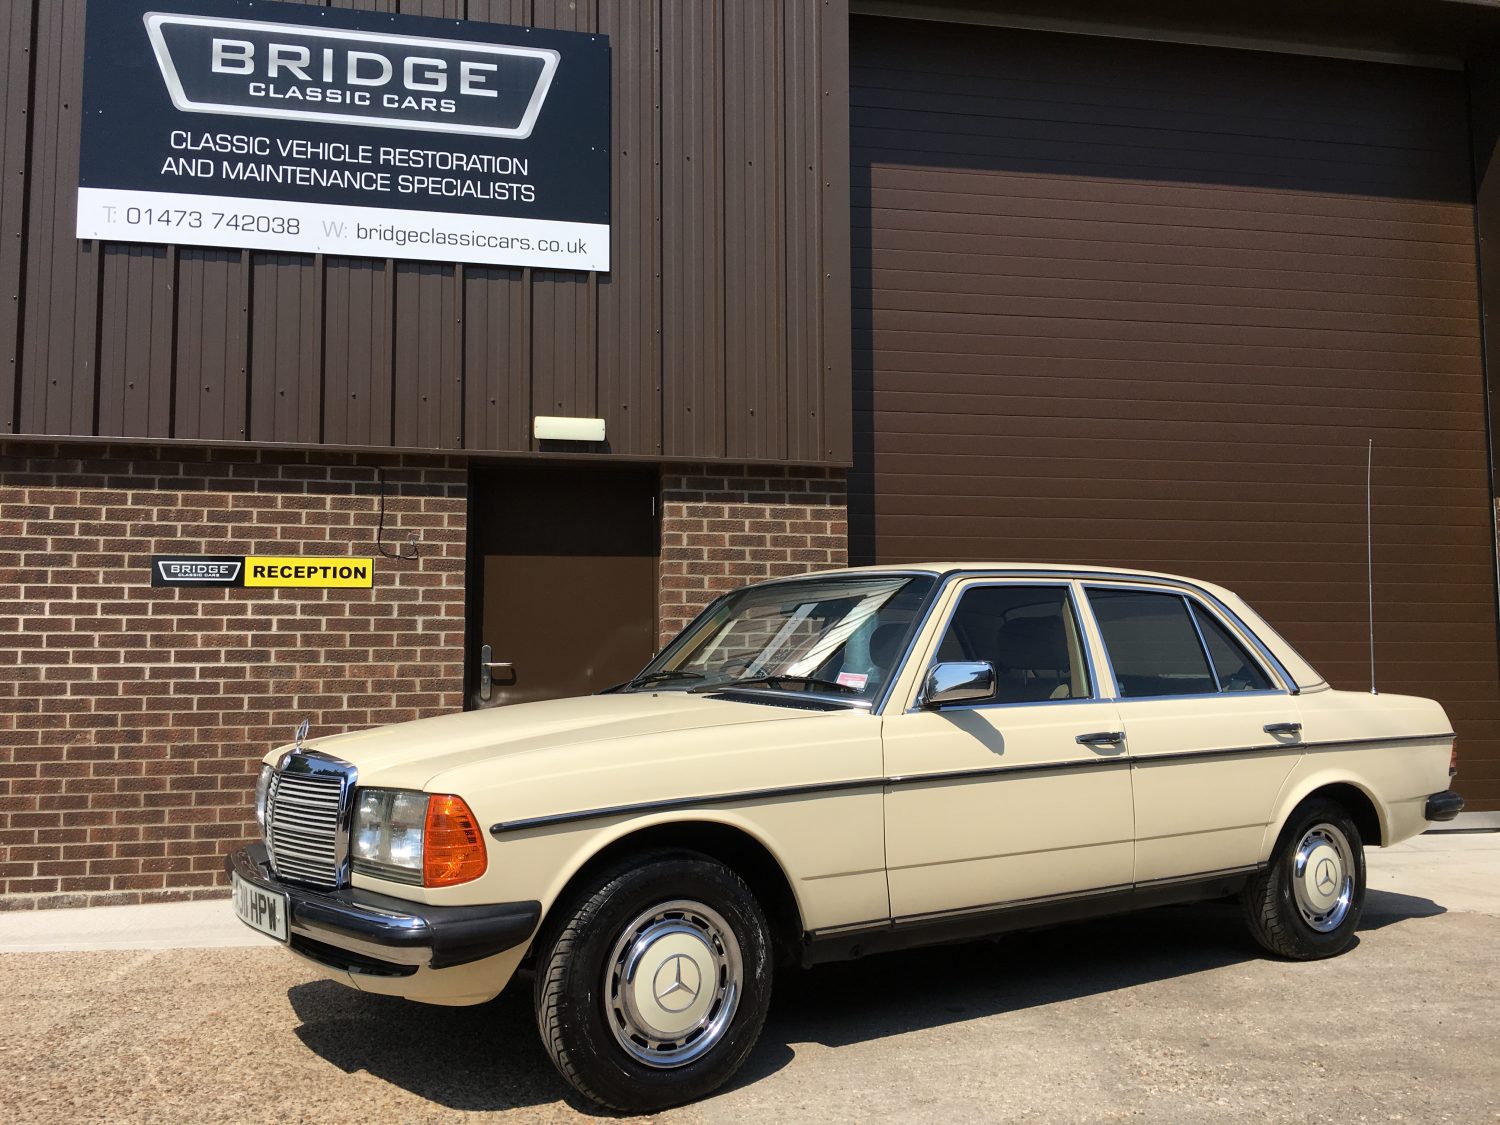
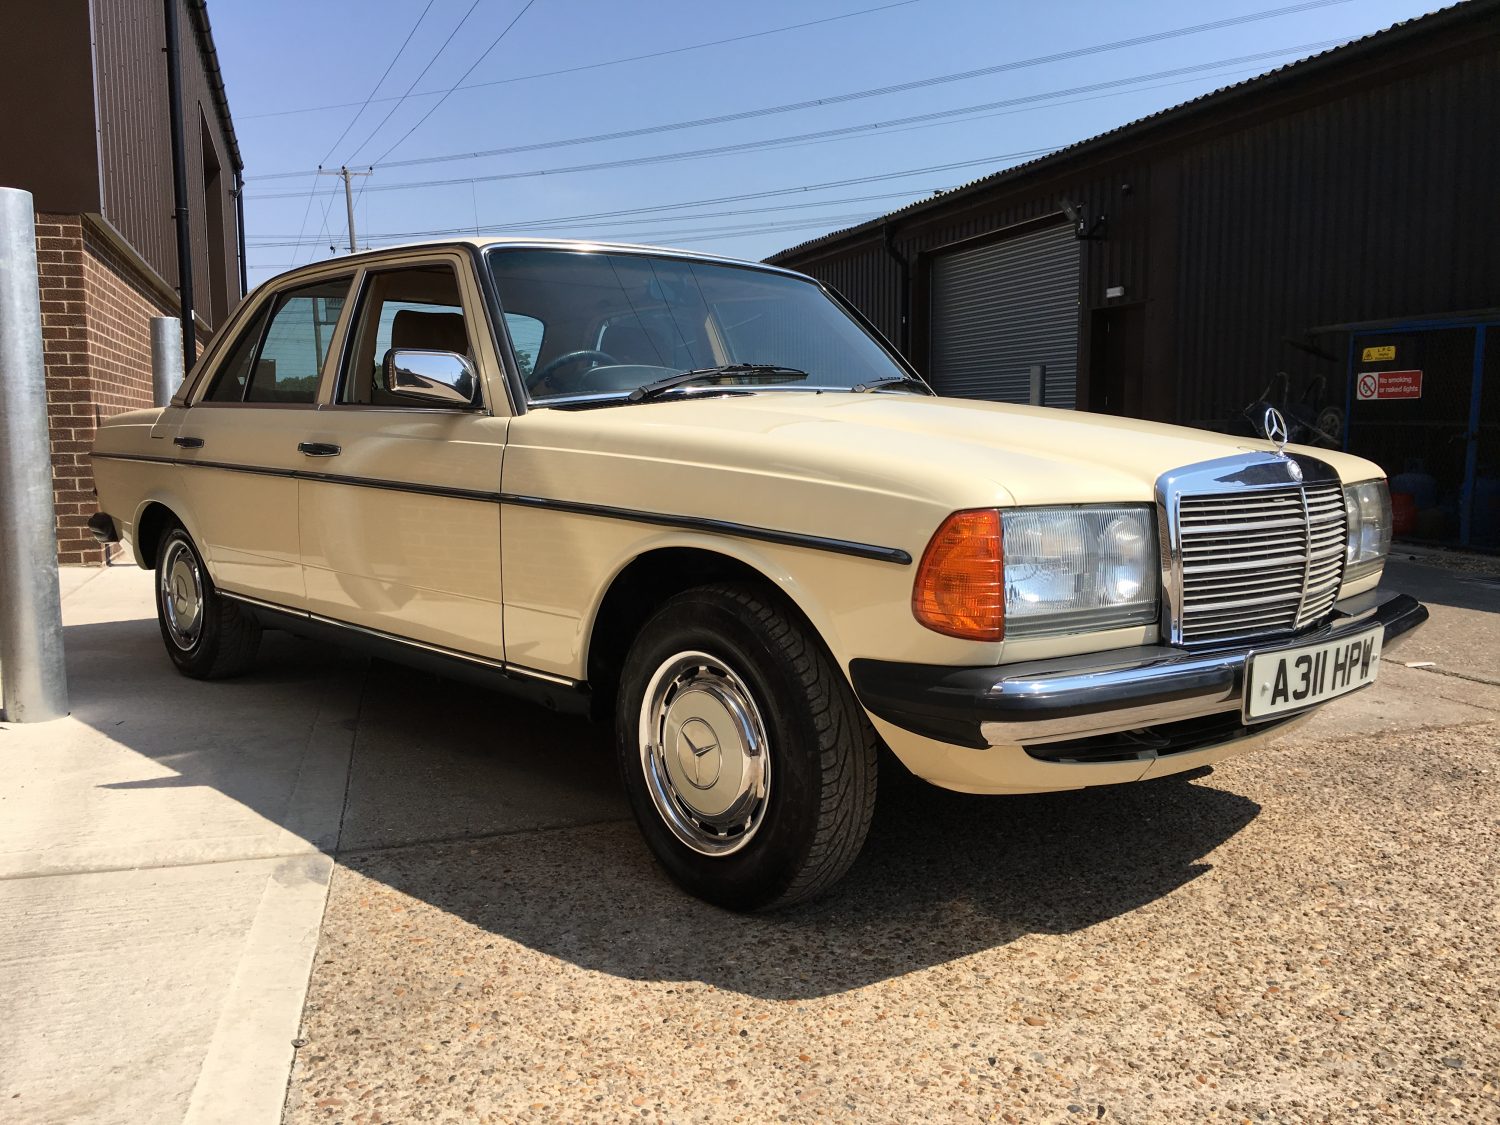
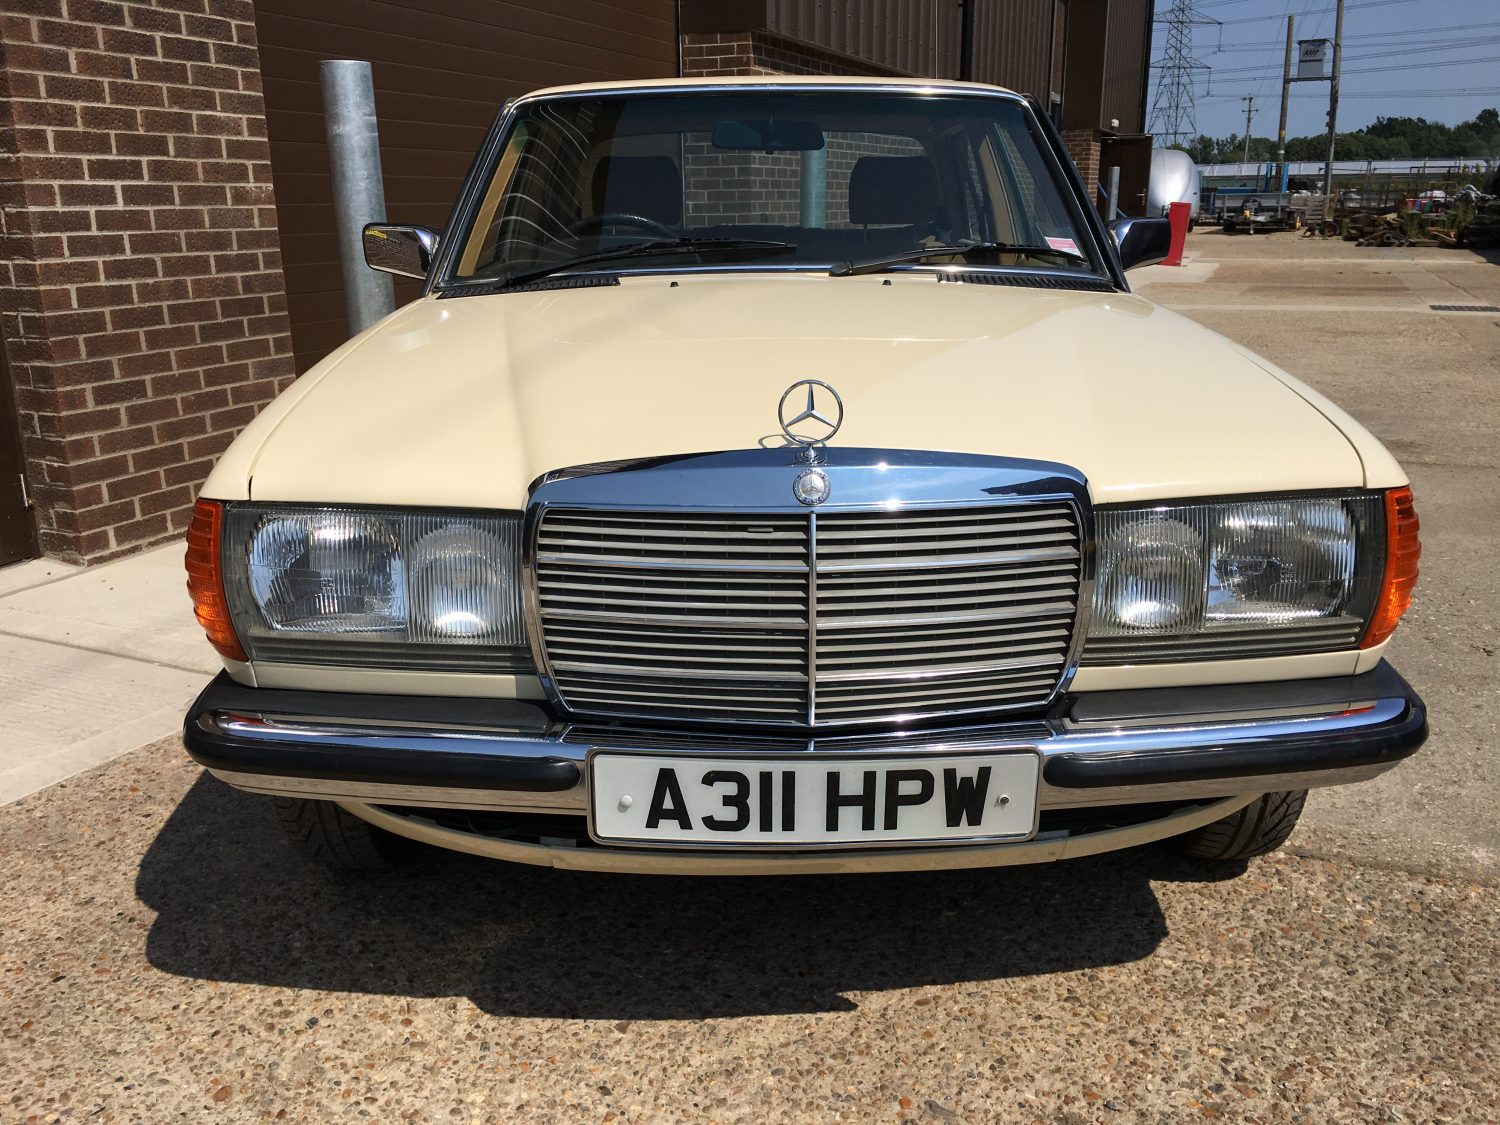
The refit is now complete and our 1983 Mercedes 230E is now ready to head back to Ipswich. We will next be seeing her at
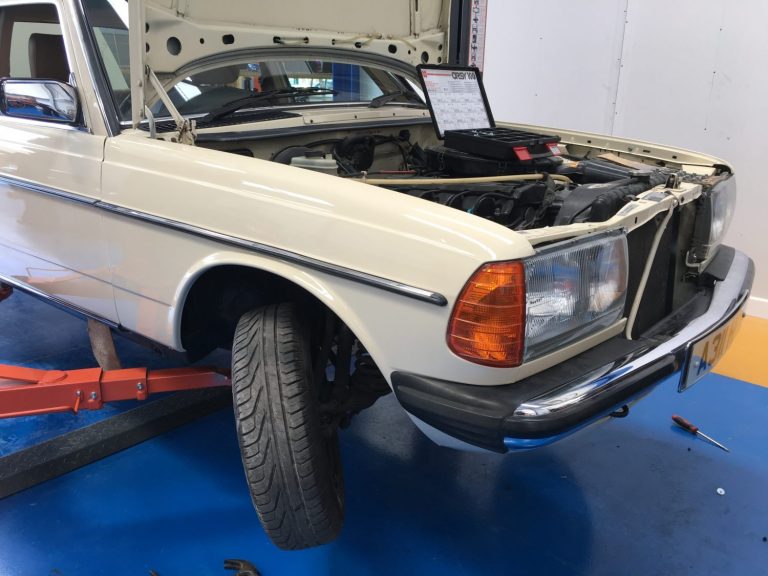
Our 1983 Mercedes 230E has returned from the paint shop having had the welded areas blended back in. The loose components have also returned so
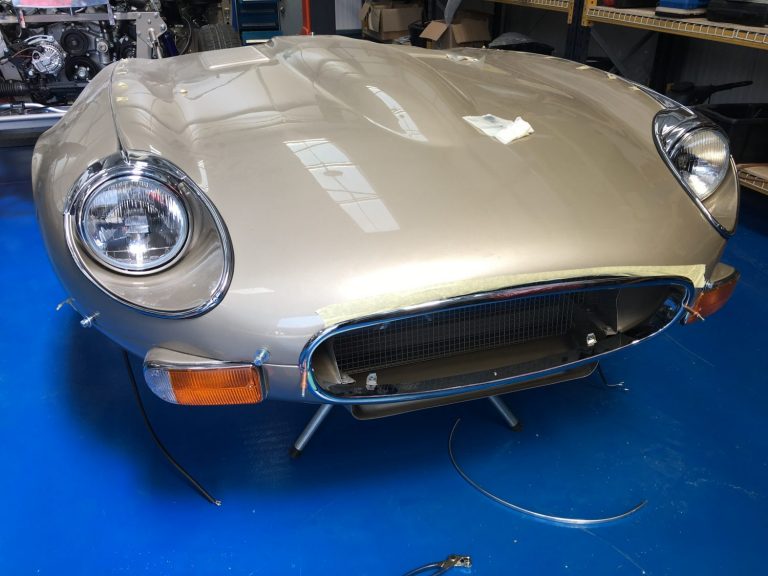
The front end of our E-type is almost complete with the lights and surround now in position. The front grill surround just requires tightening and
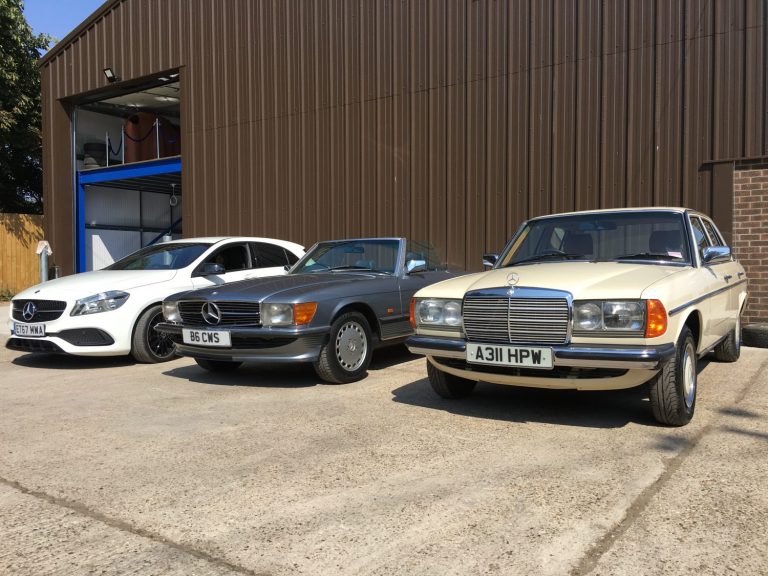
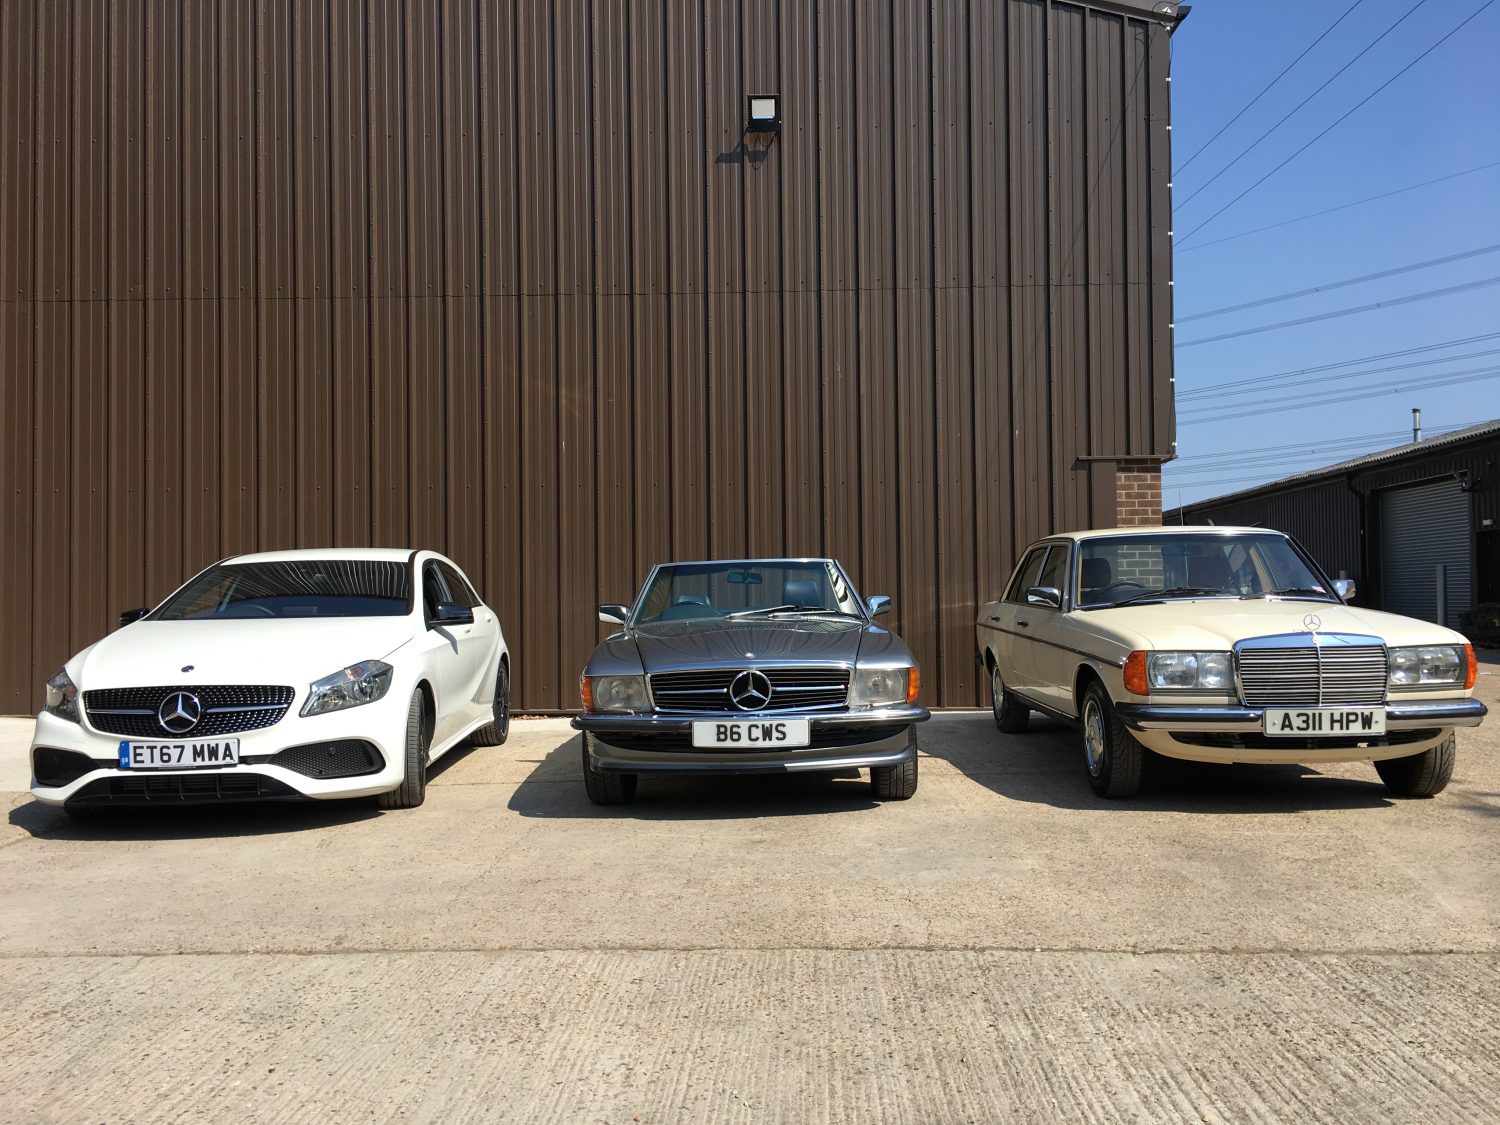
Over 30 years apart but the iconic 3 pointed star remains the same.
With the new flooring now in position we are now able to re-install the fuel tank to our 1960 Jensen 541S.

I won’t lie to you, fitting up the power steering hasn’t been ‘EZ’ (sorry, couldn’t resist), through no fault of anyone in particular but simply
Looks like the boys are enjoying the sunshine up in Scotland. Gordon has been joined by our good friends Shaun Harkness and Greg Lister for
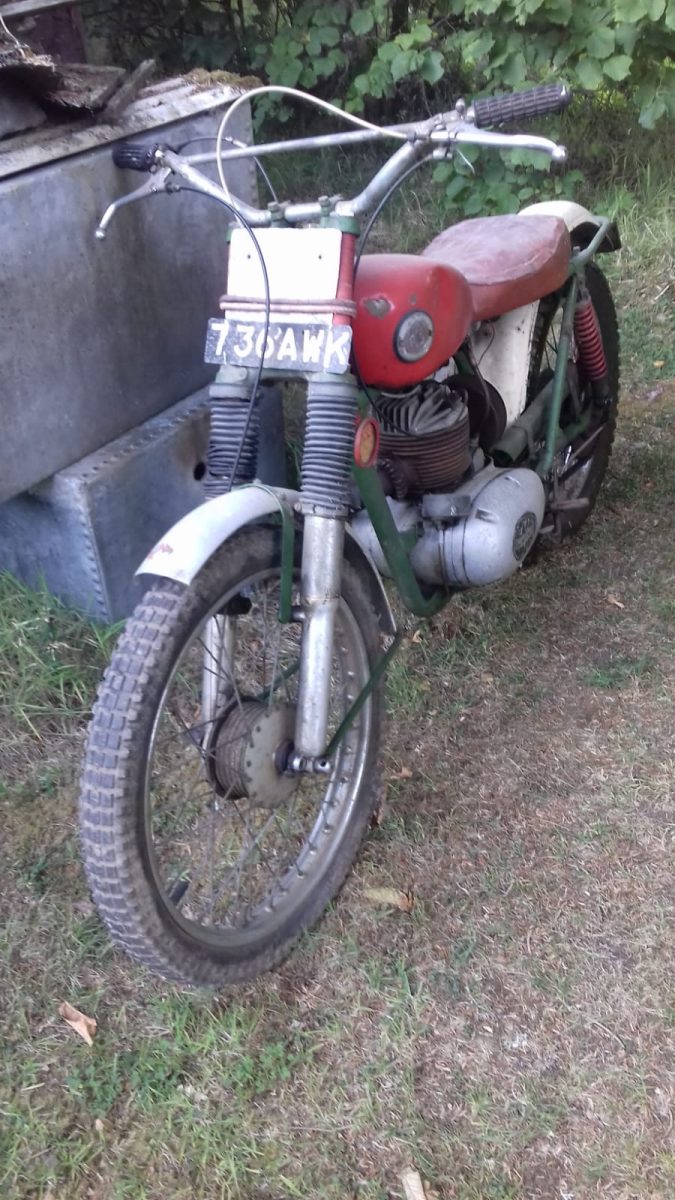
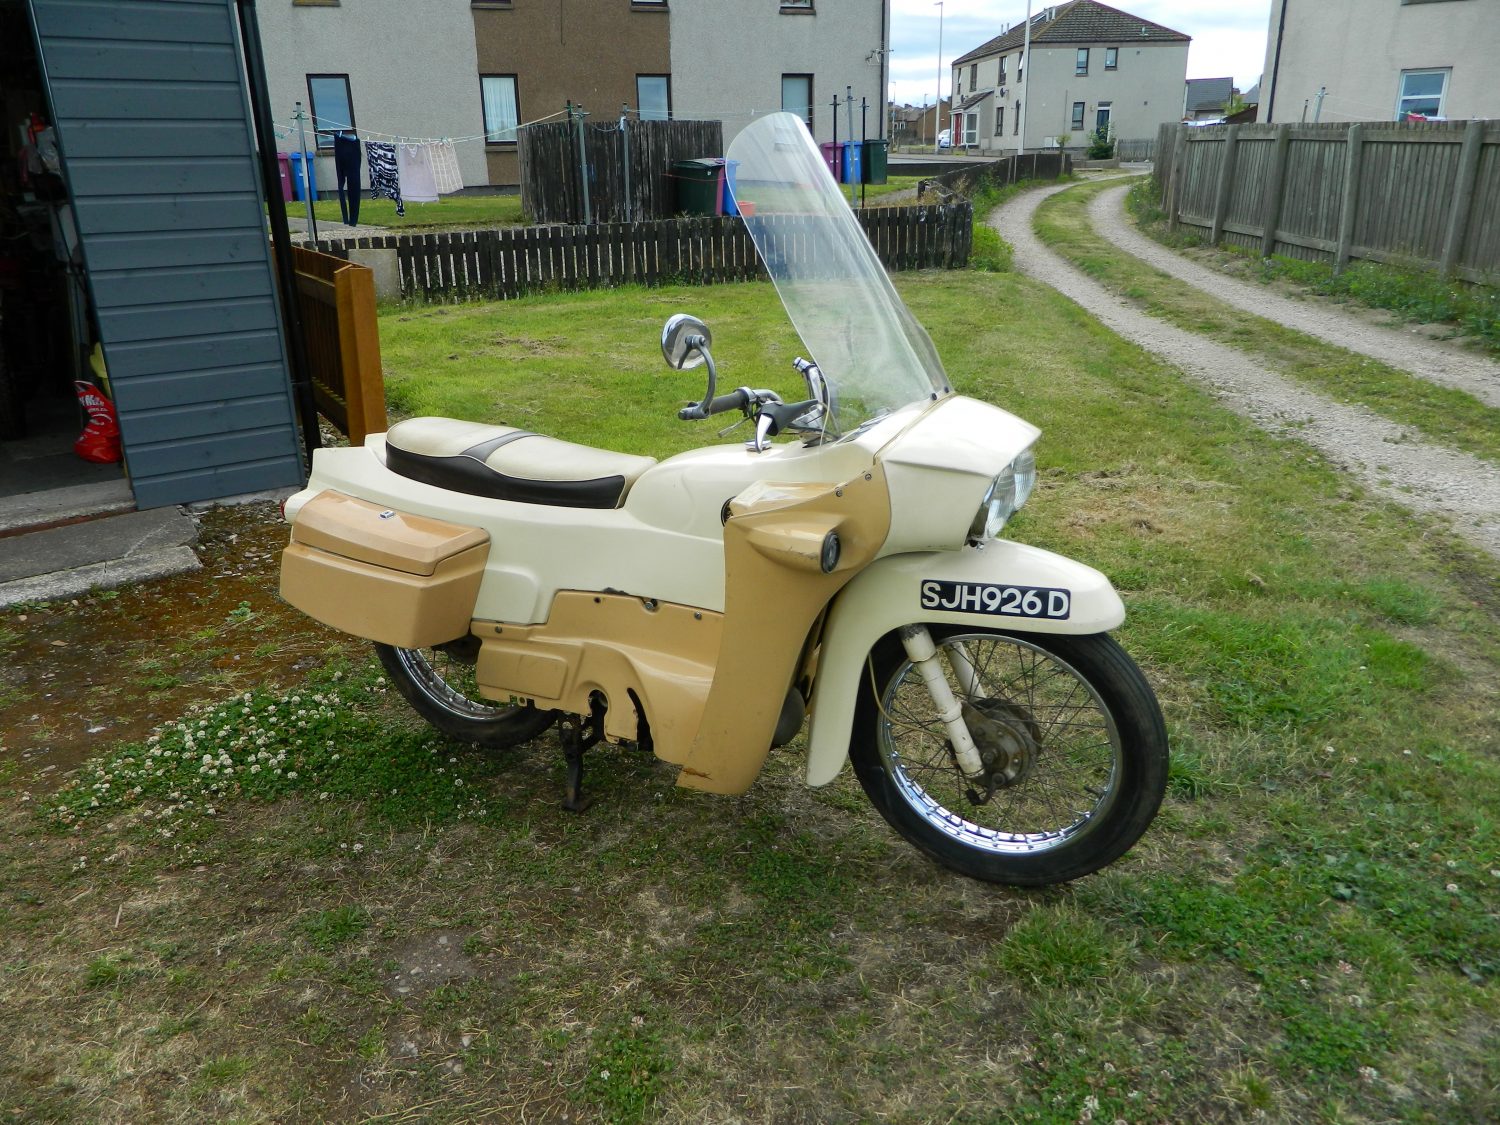
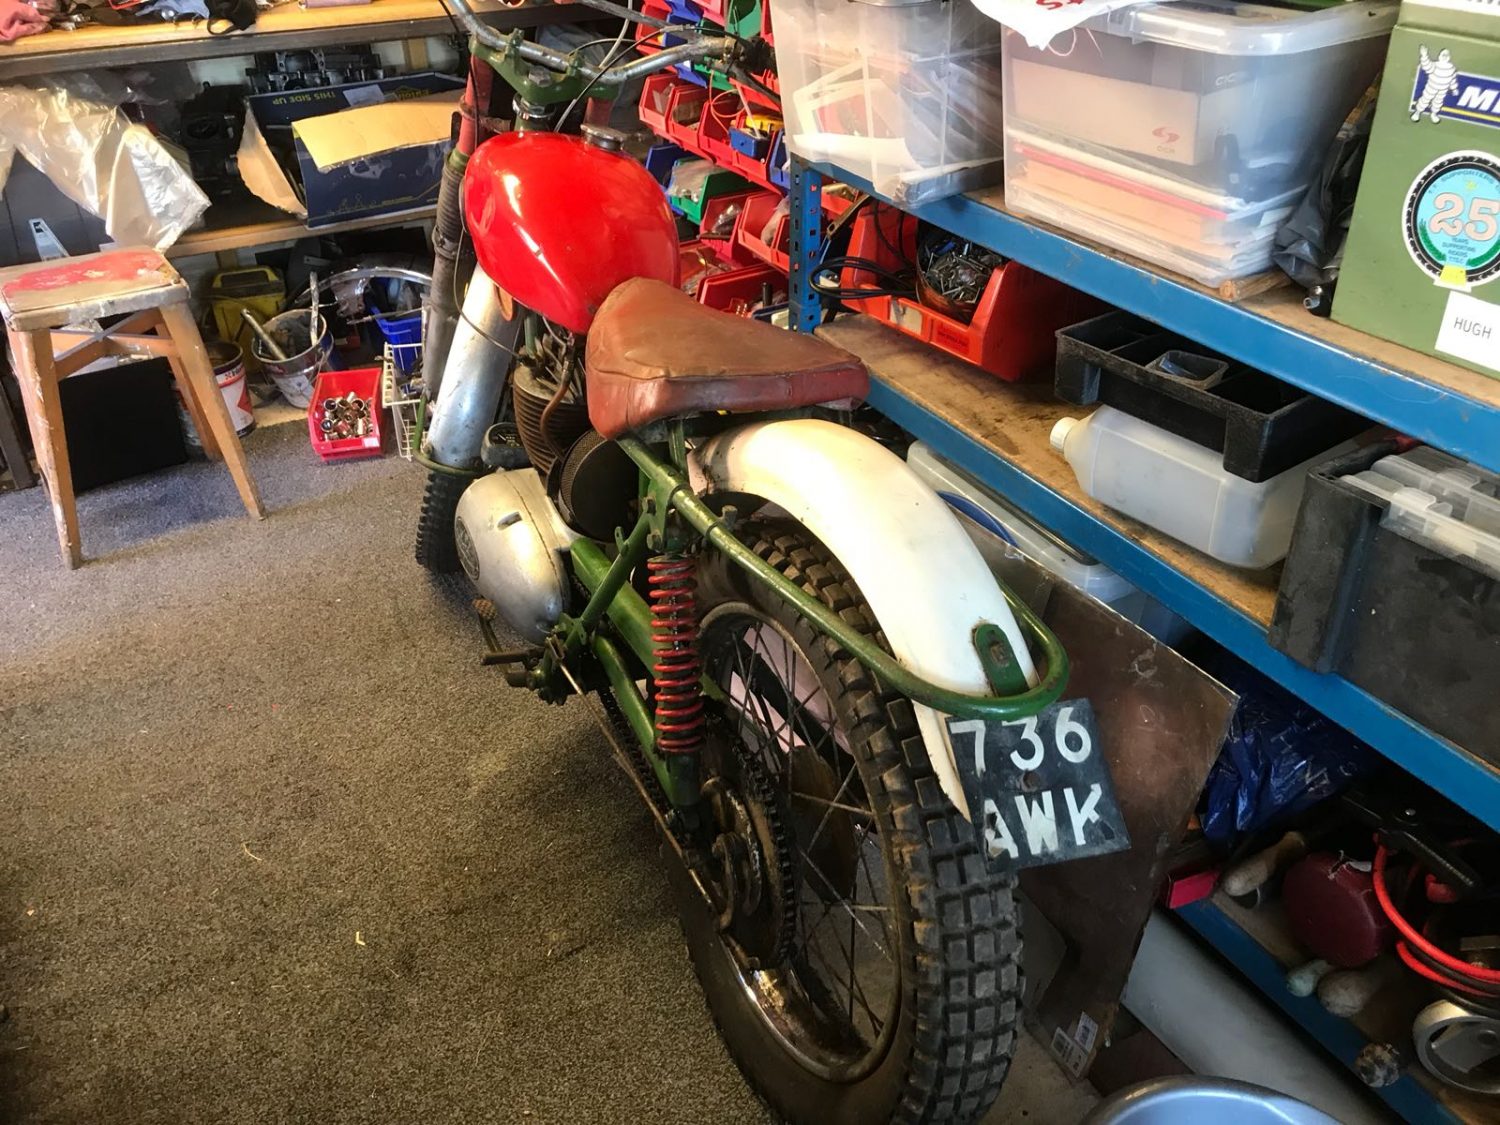
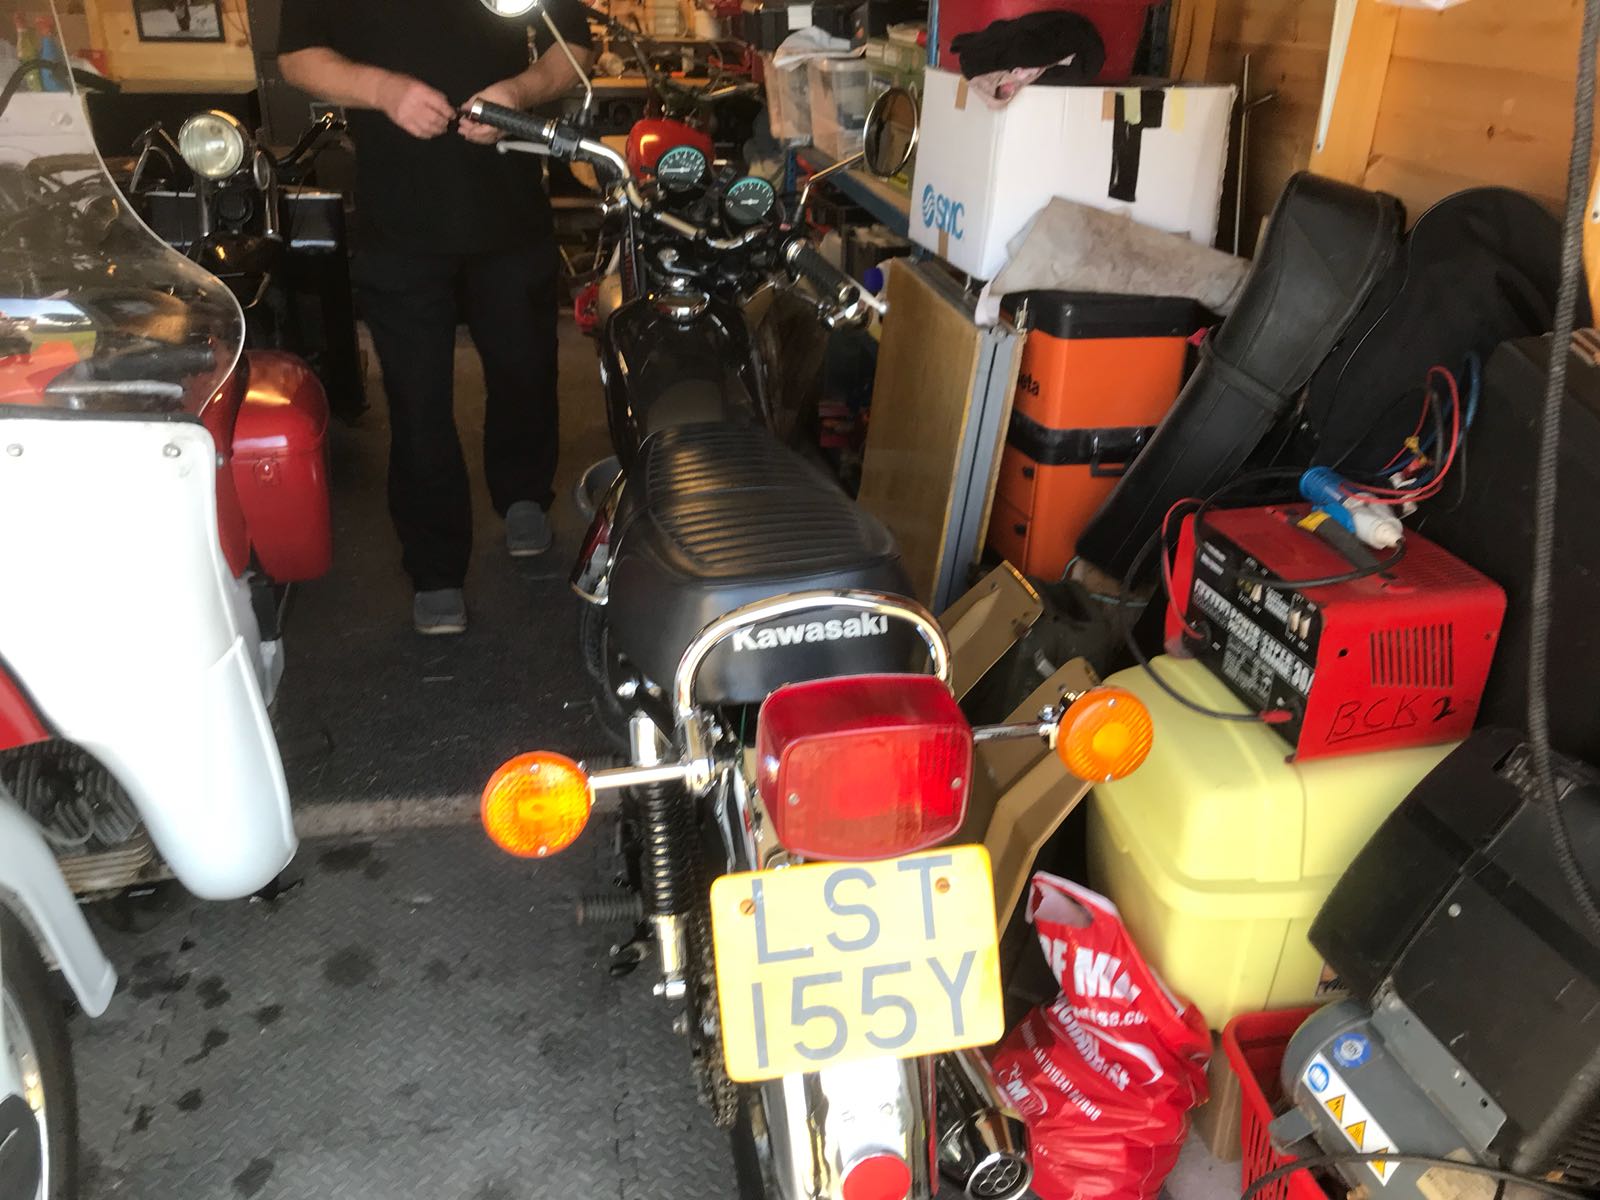
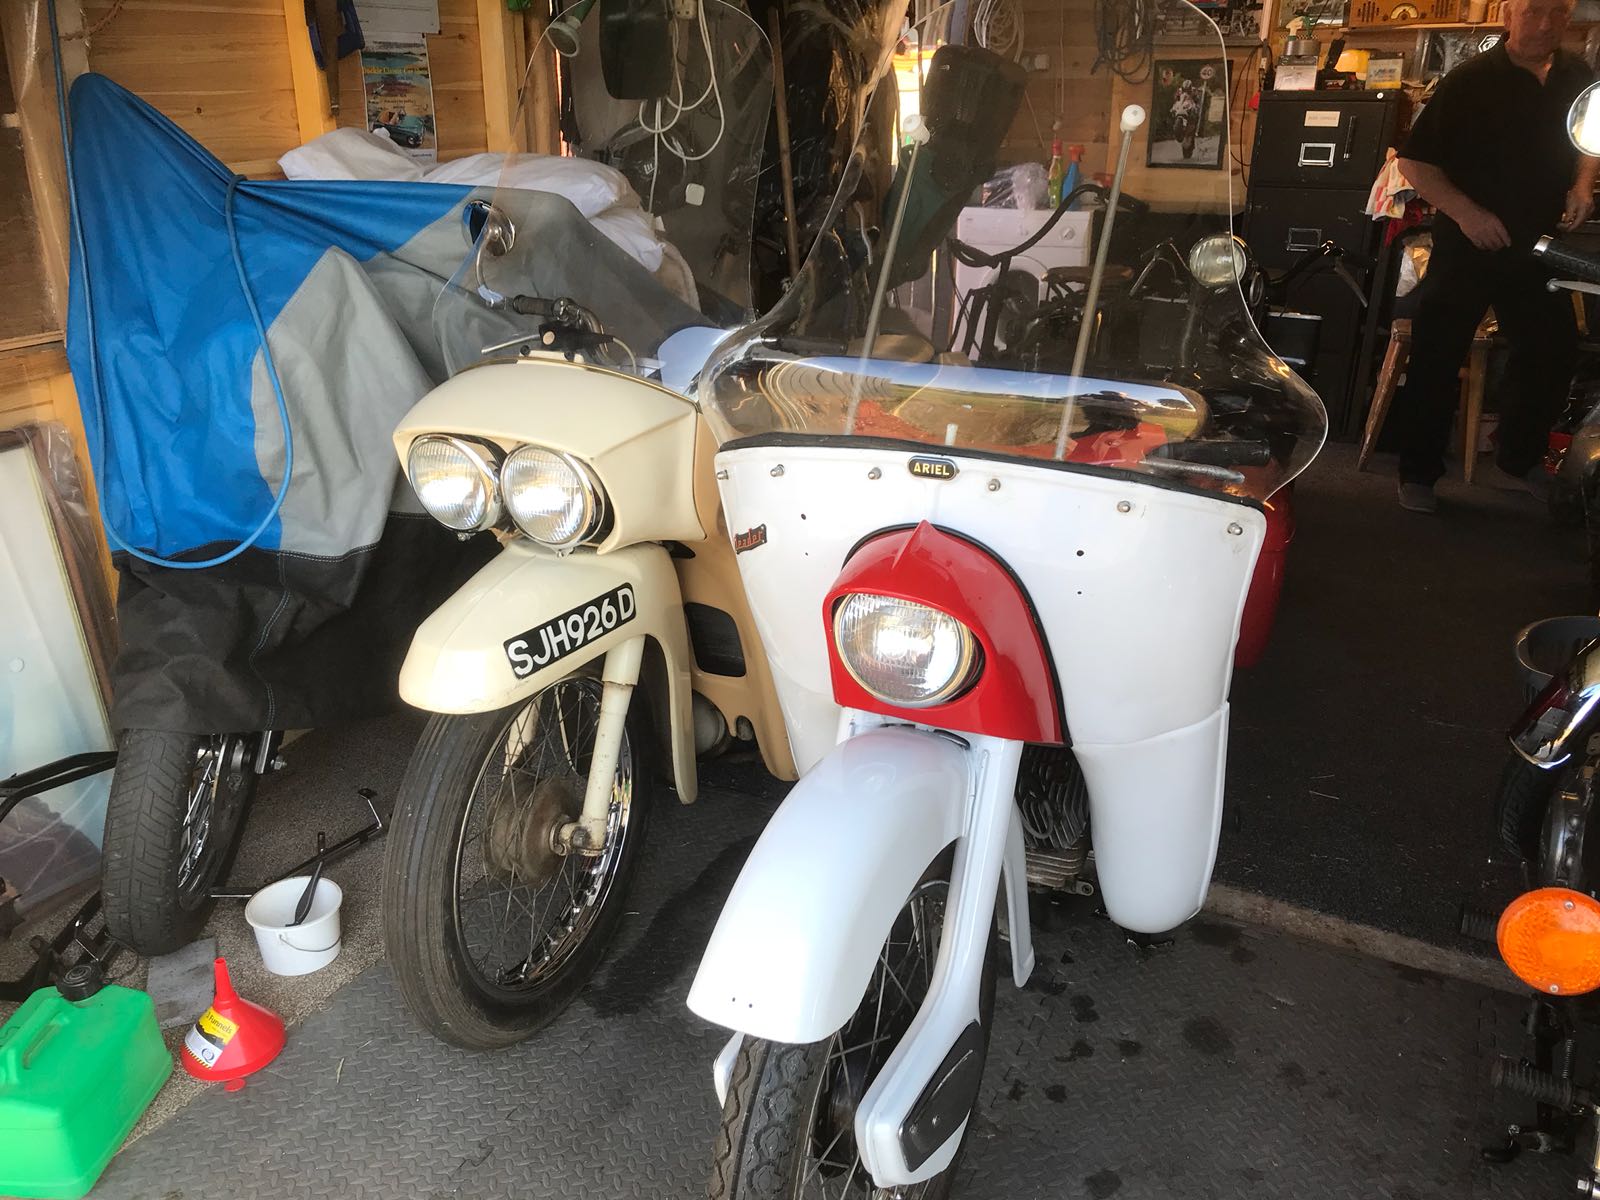
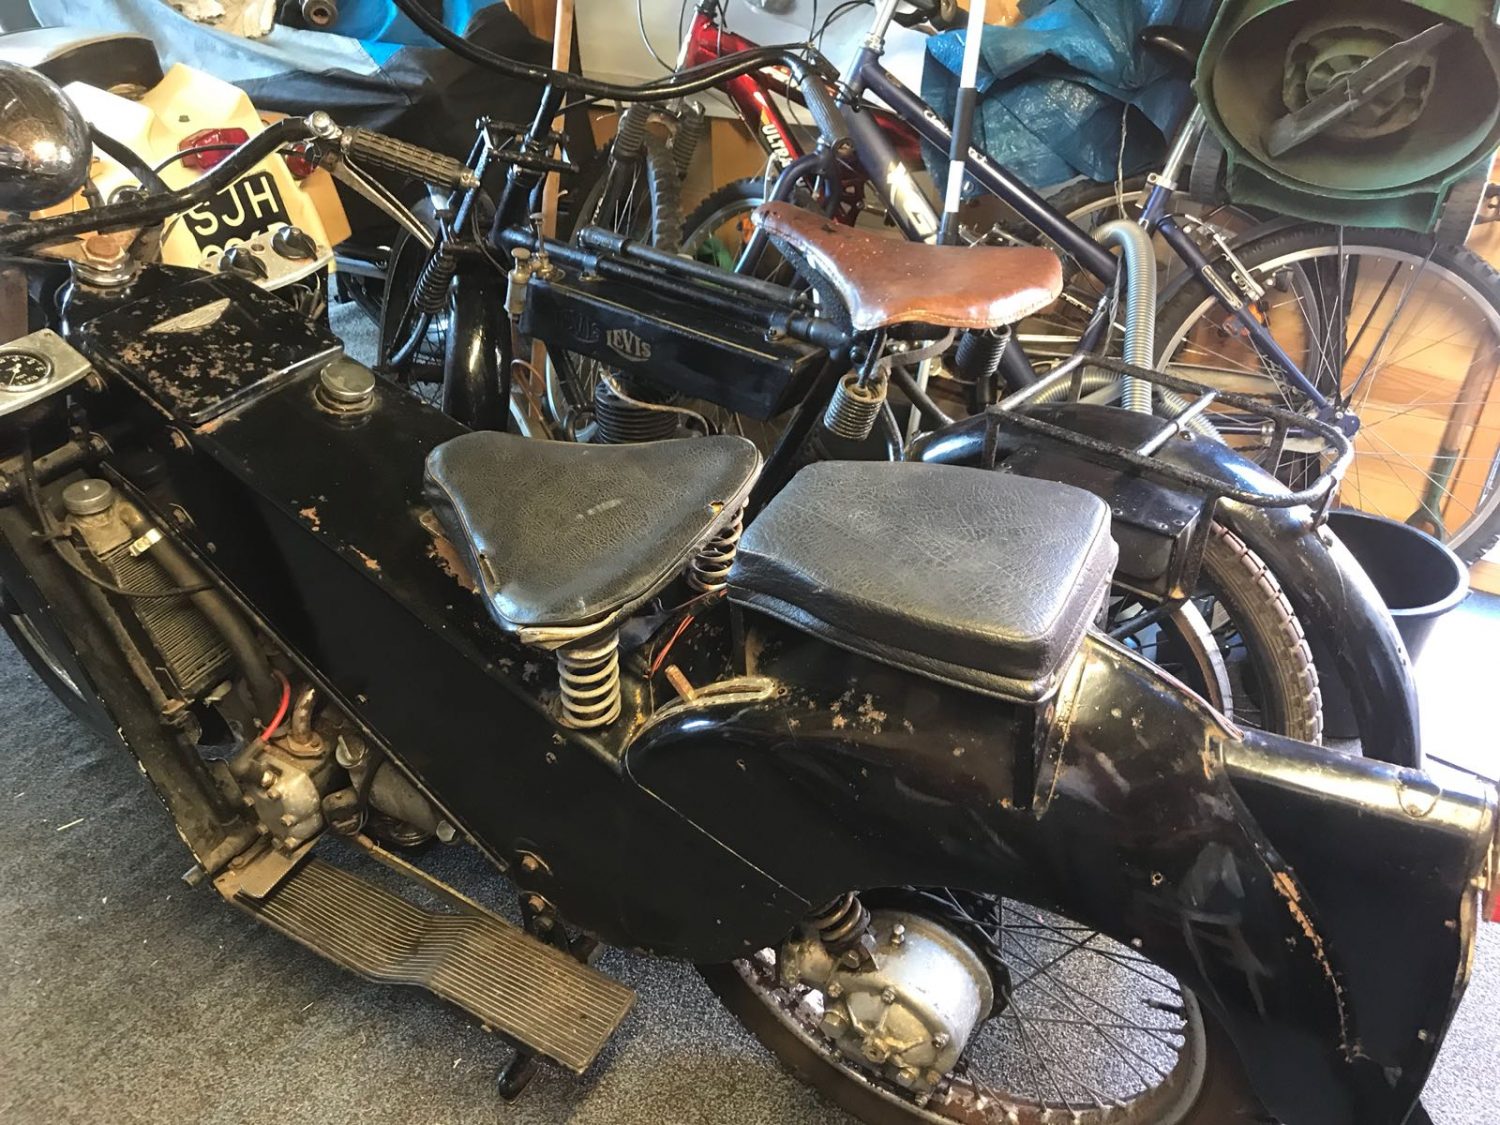
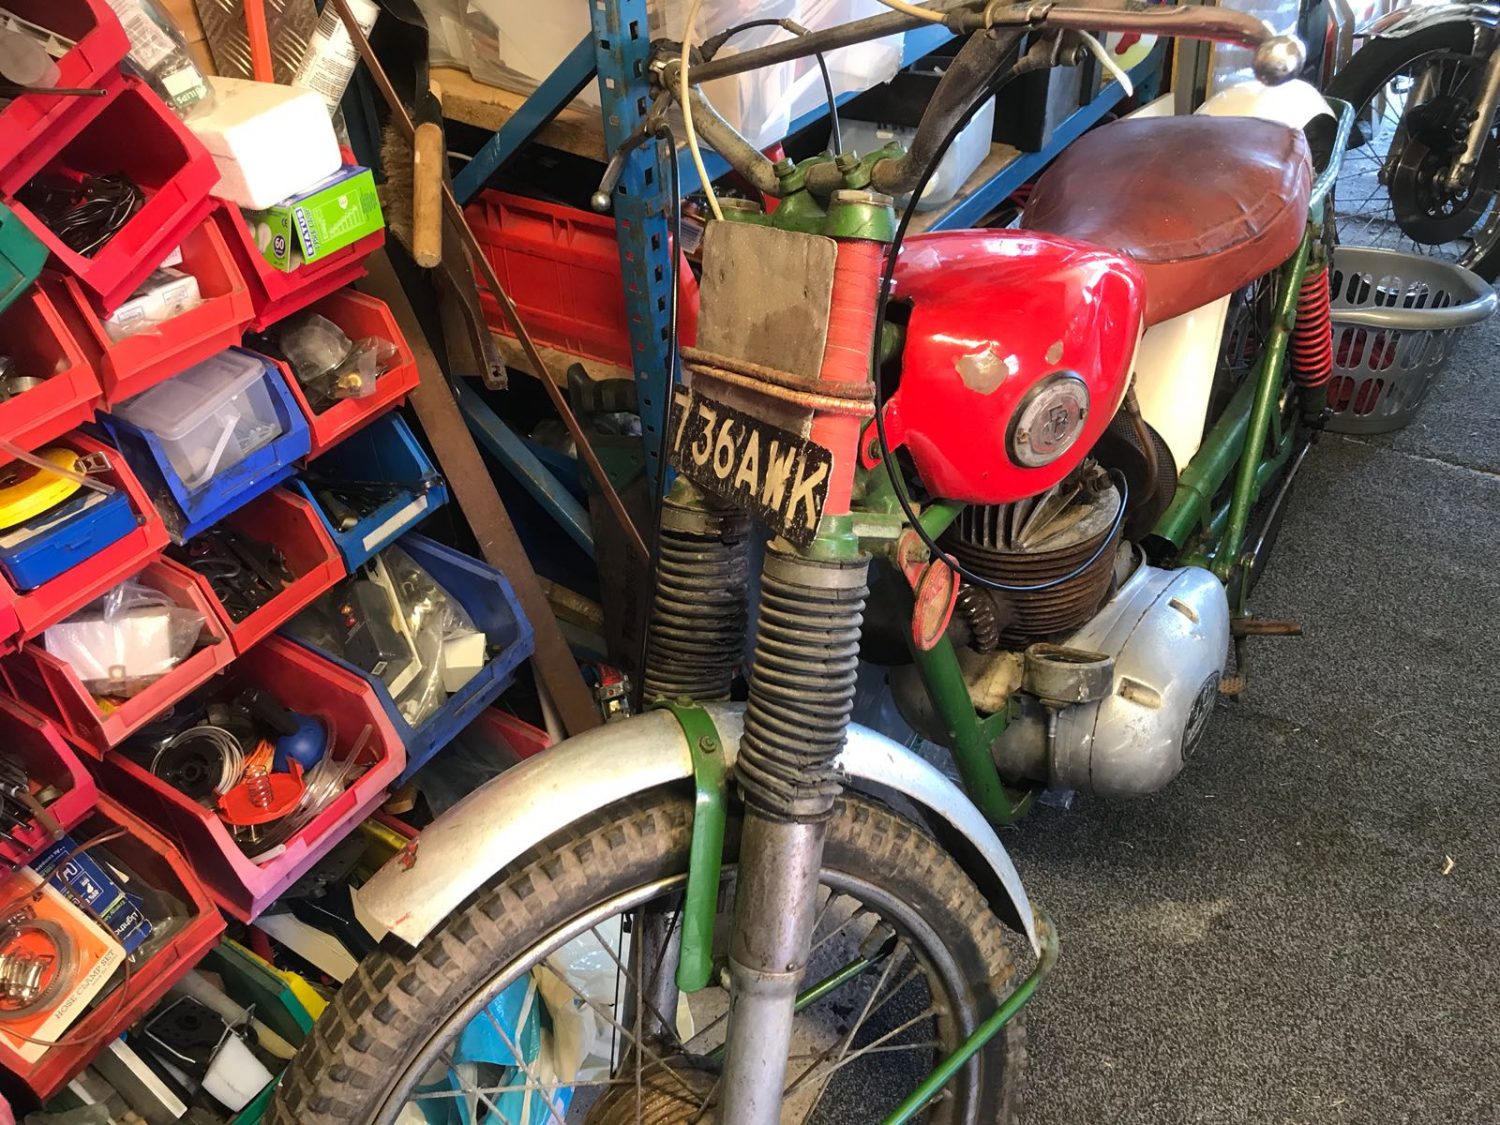
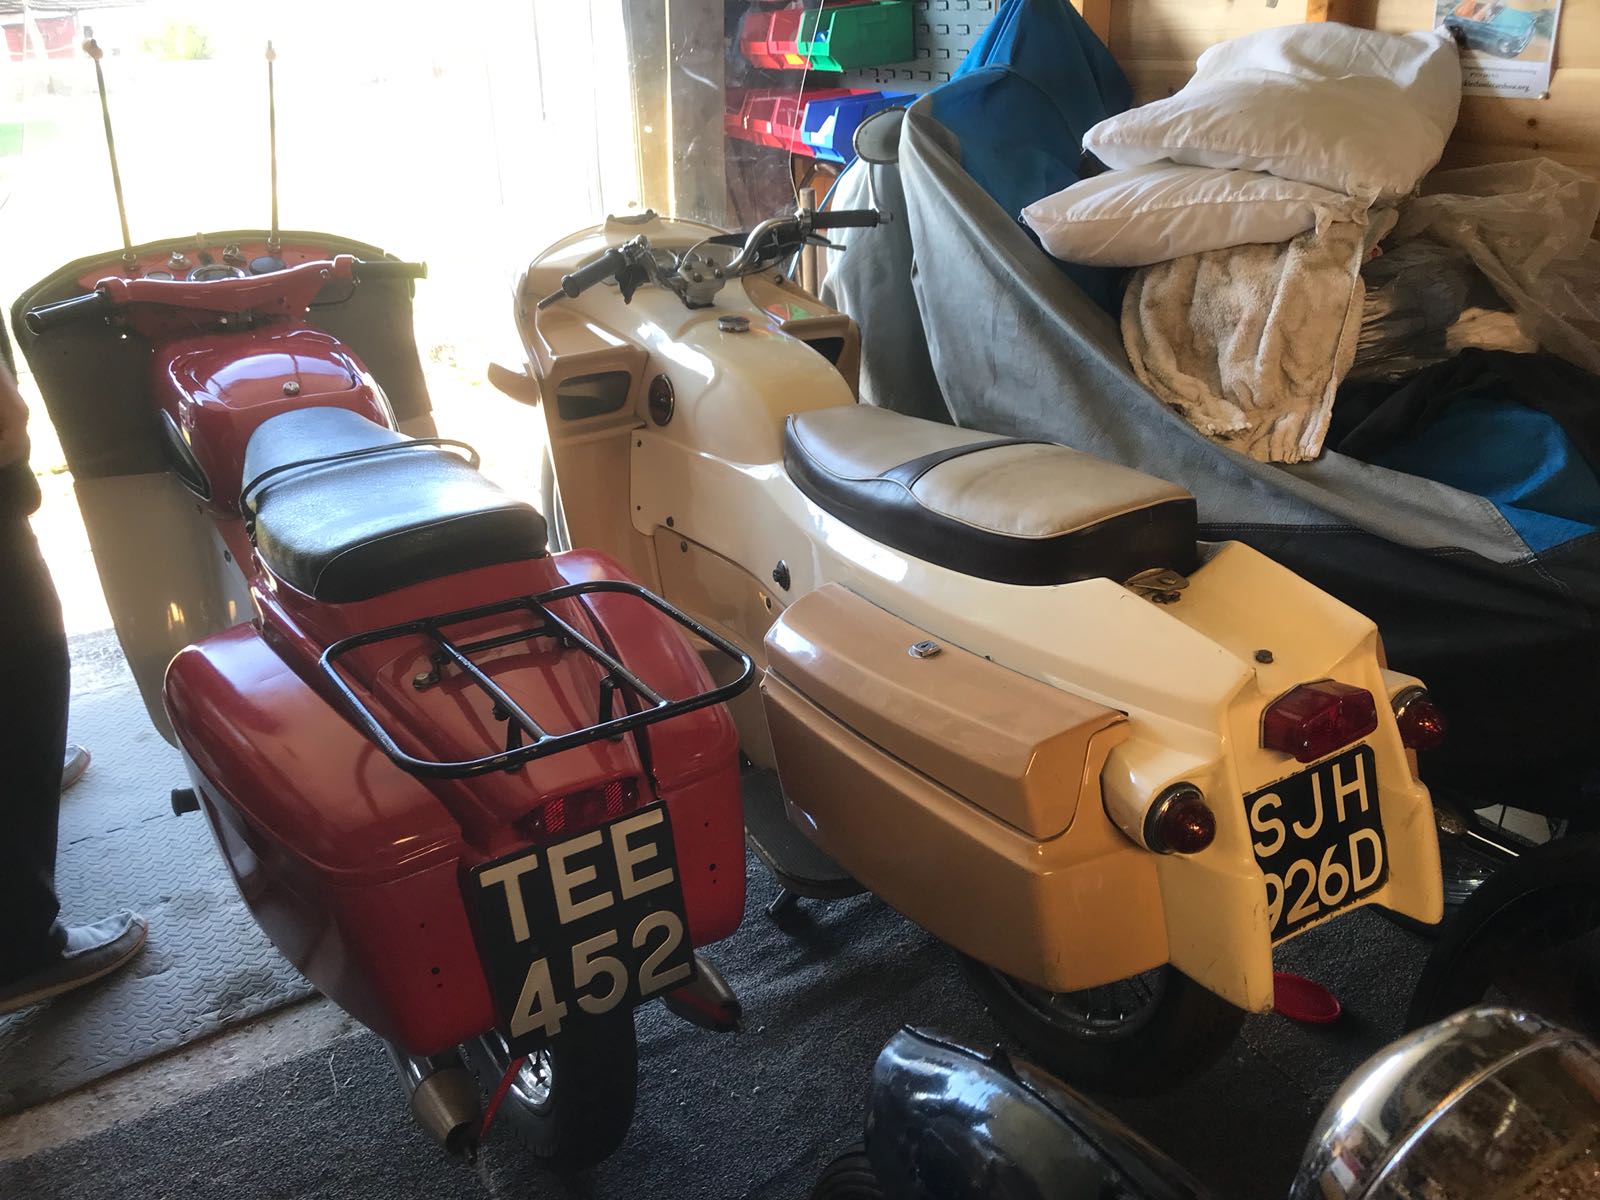
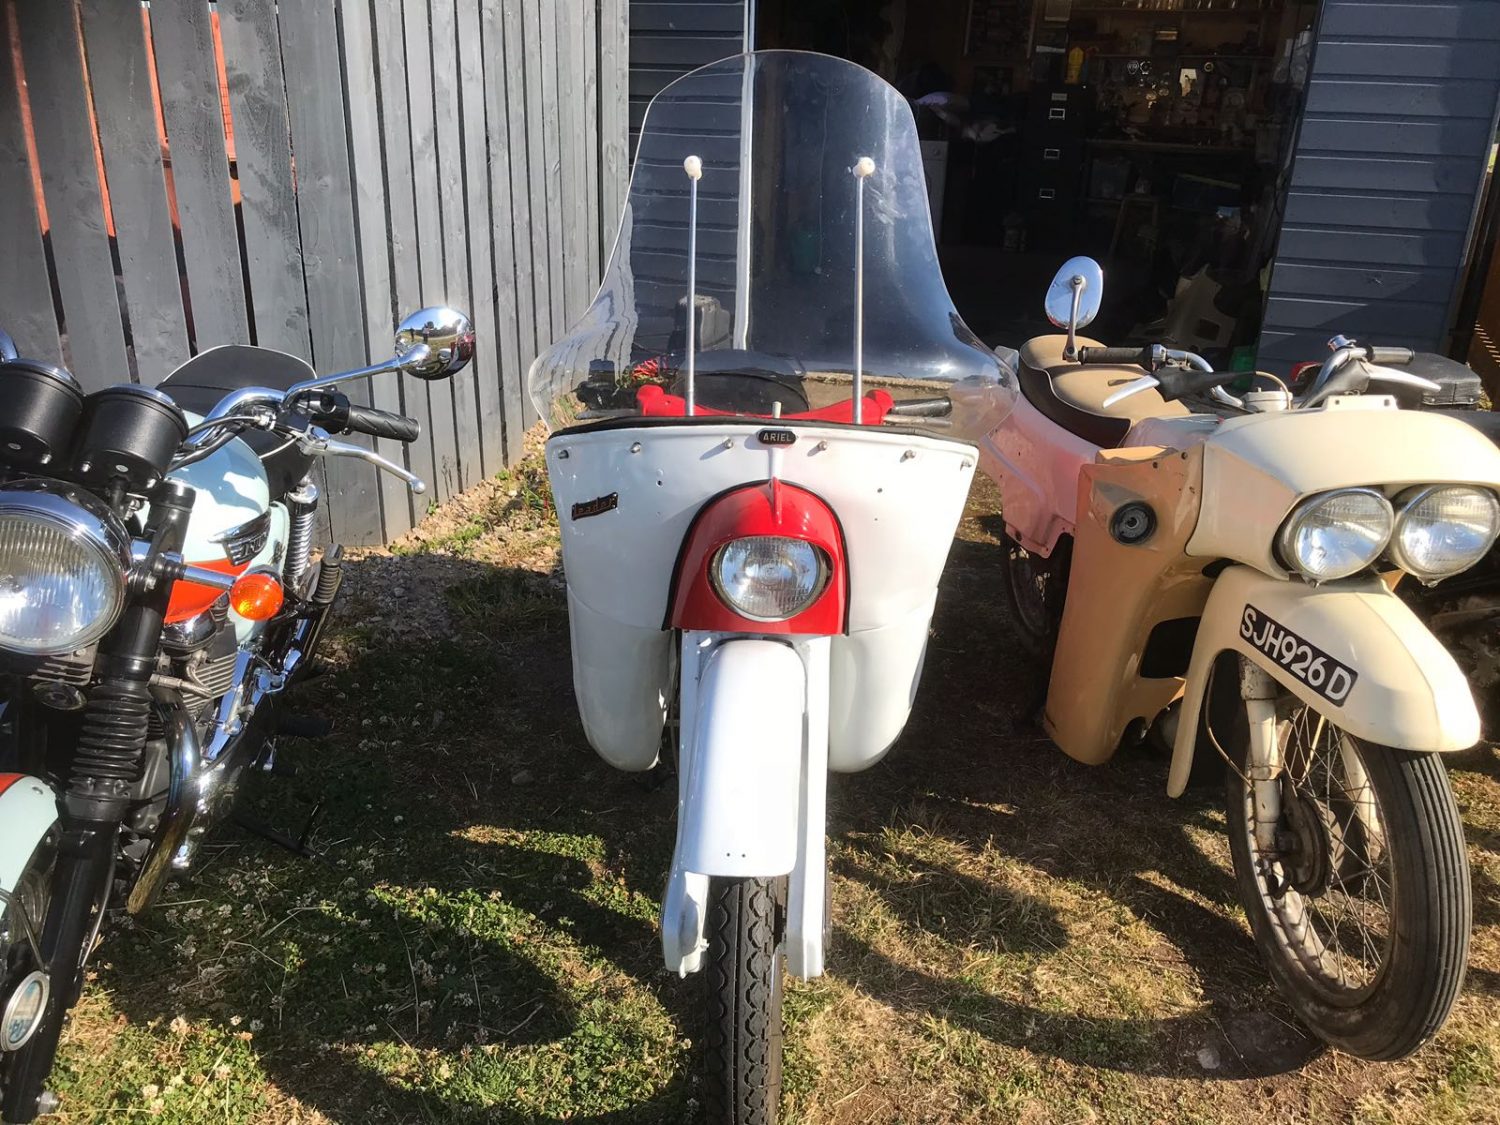
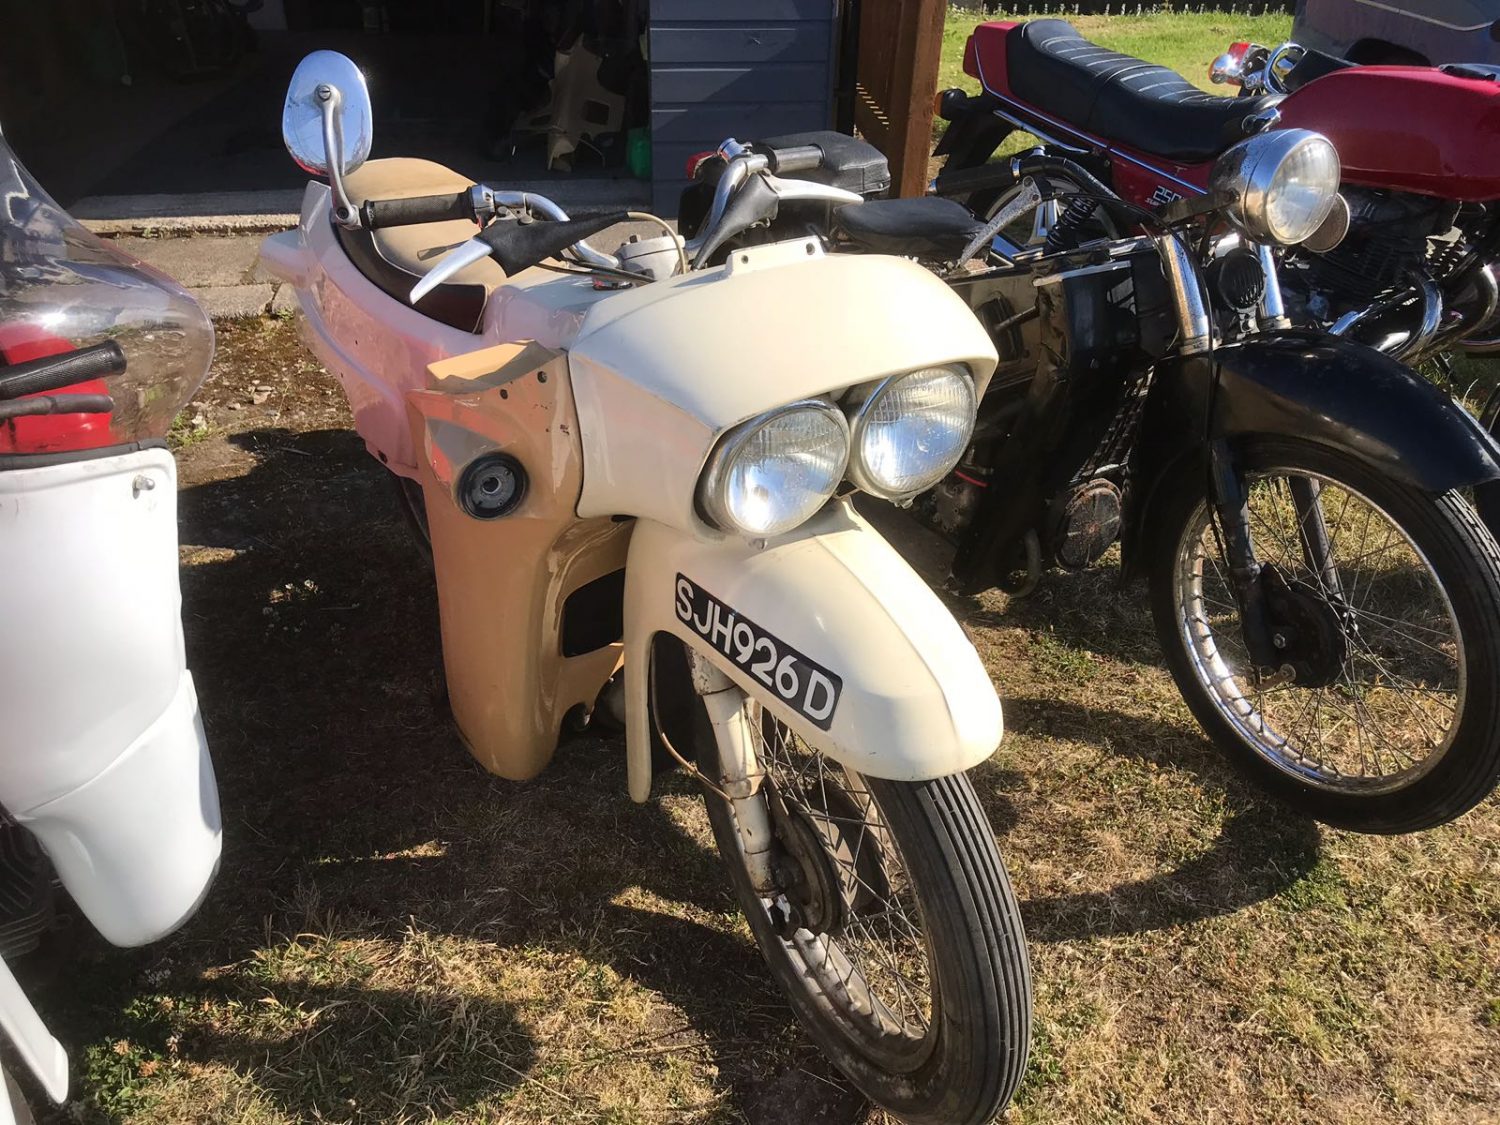
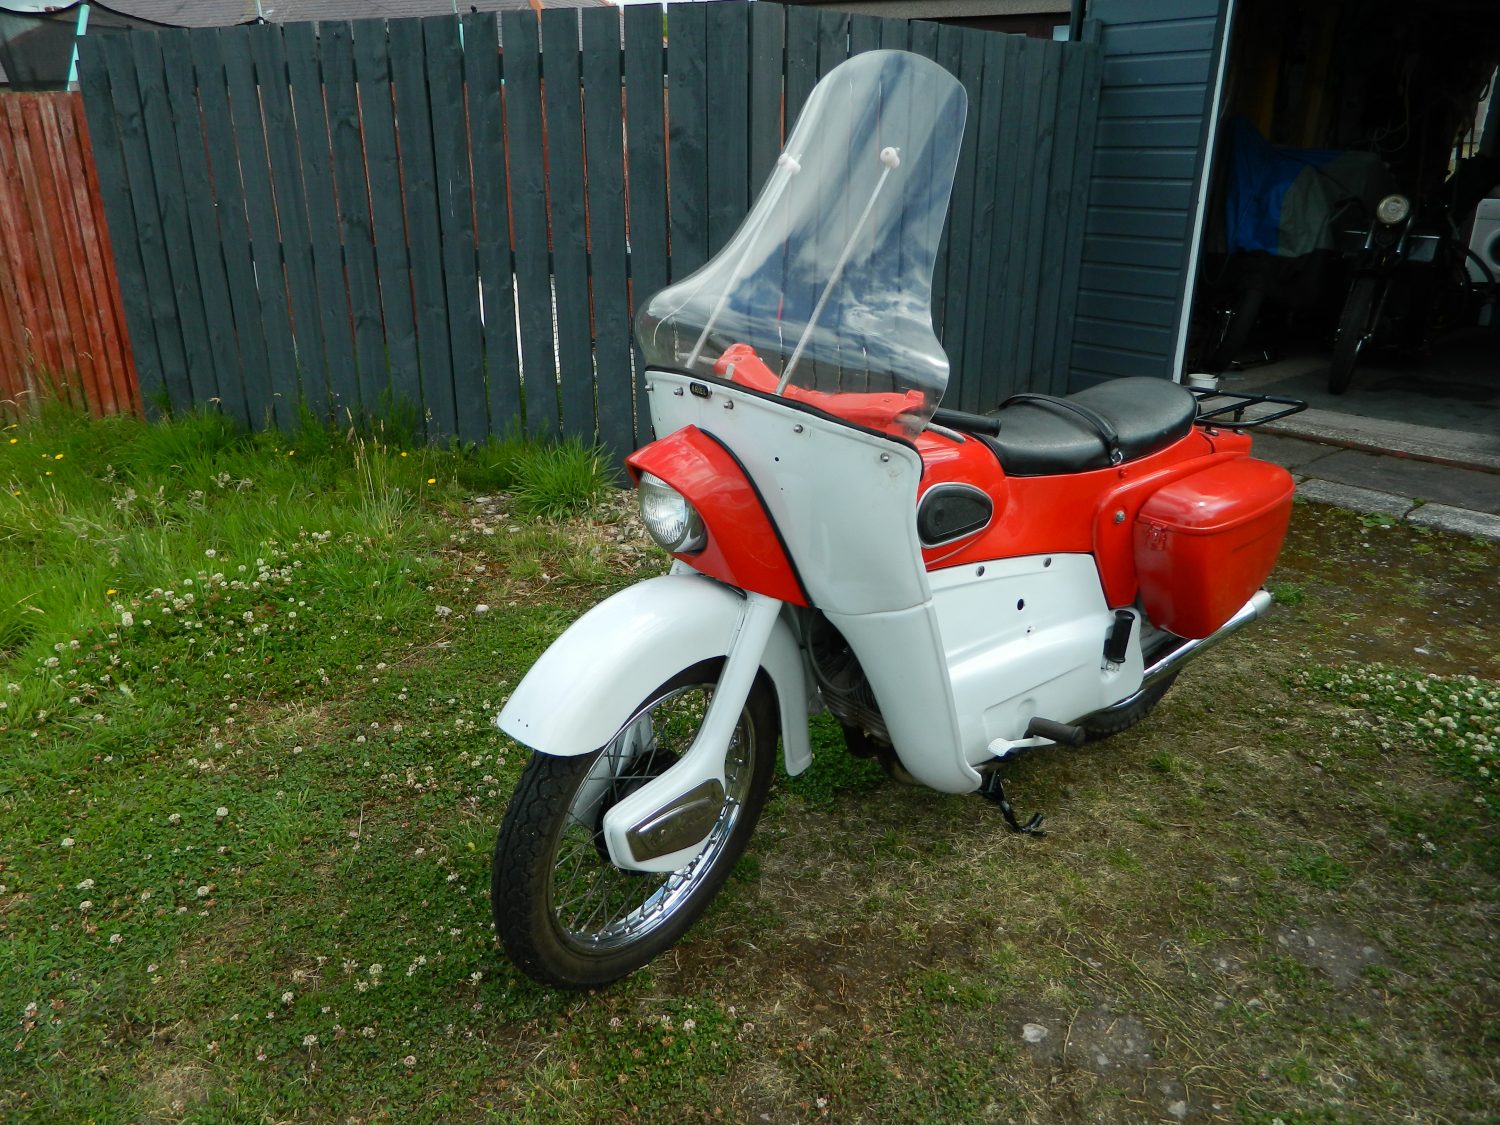
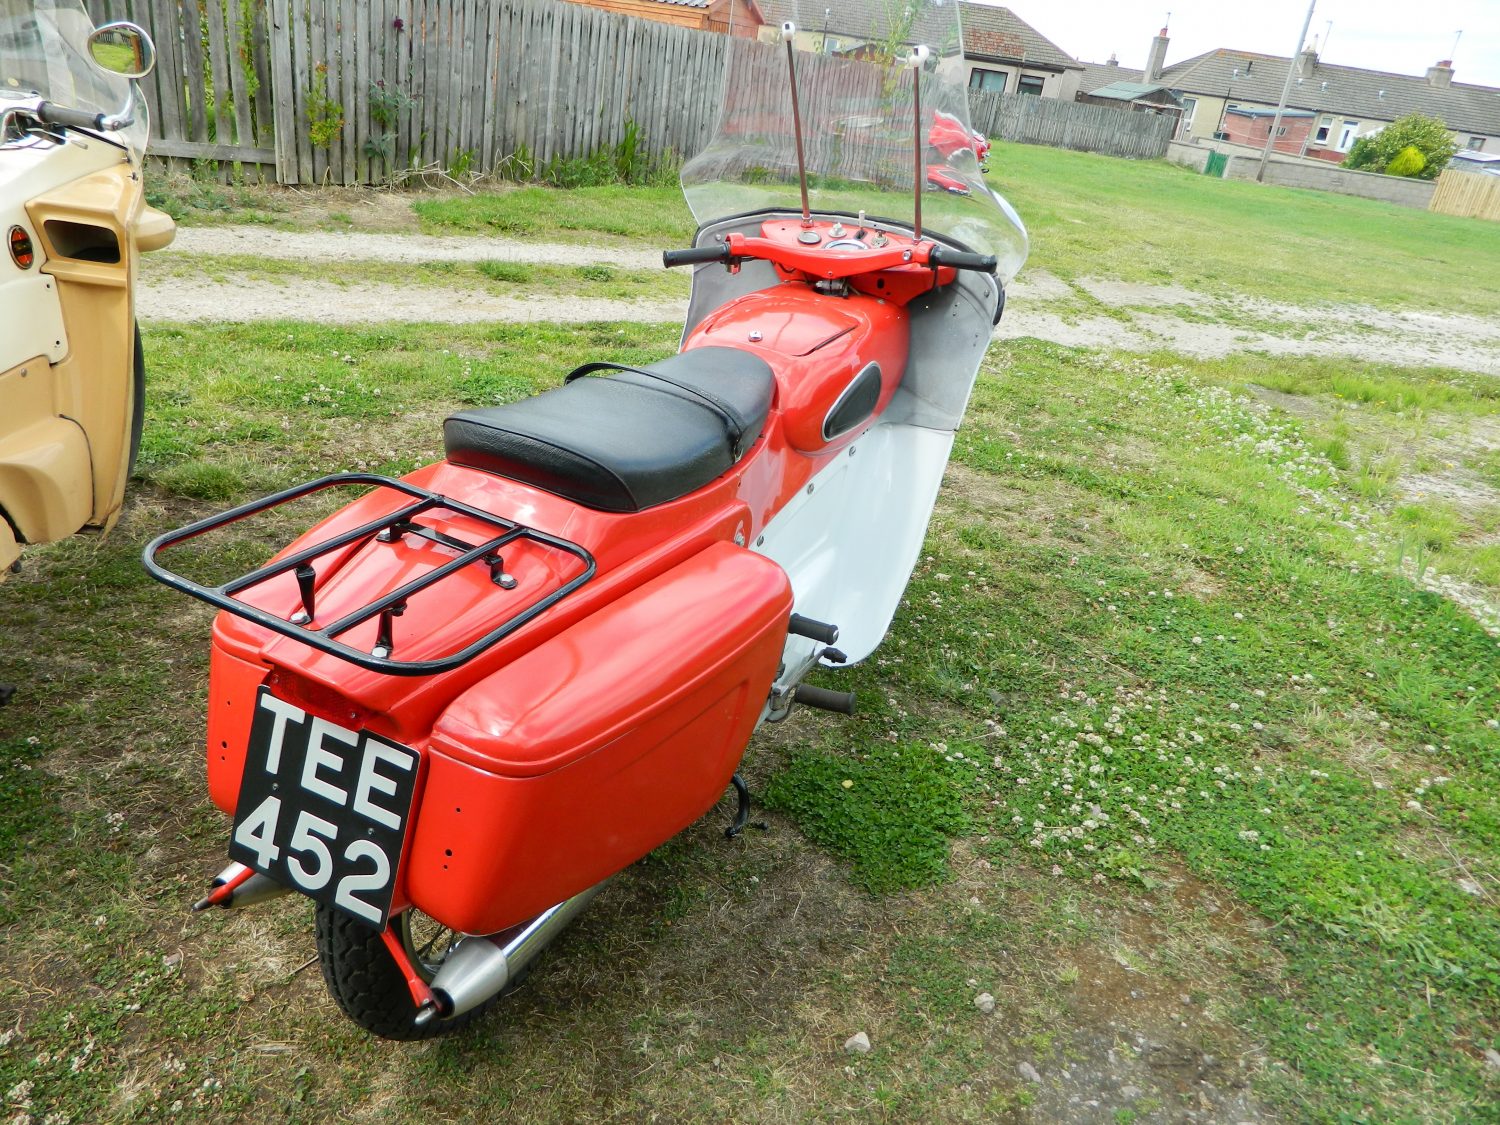
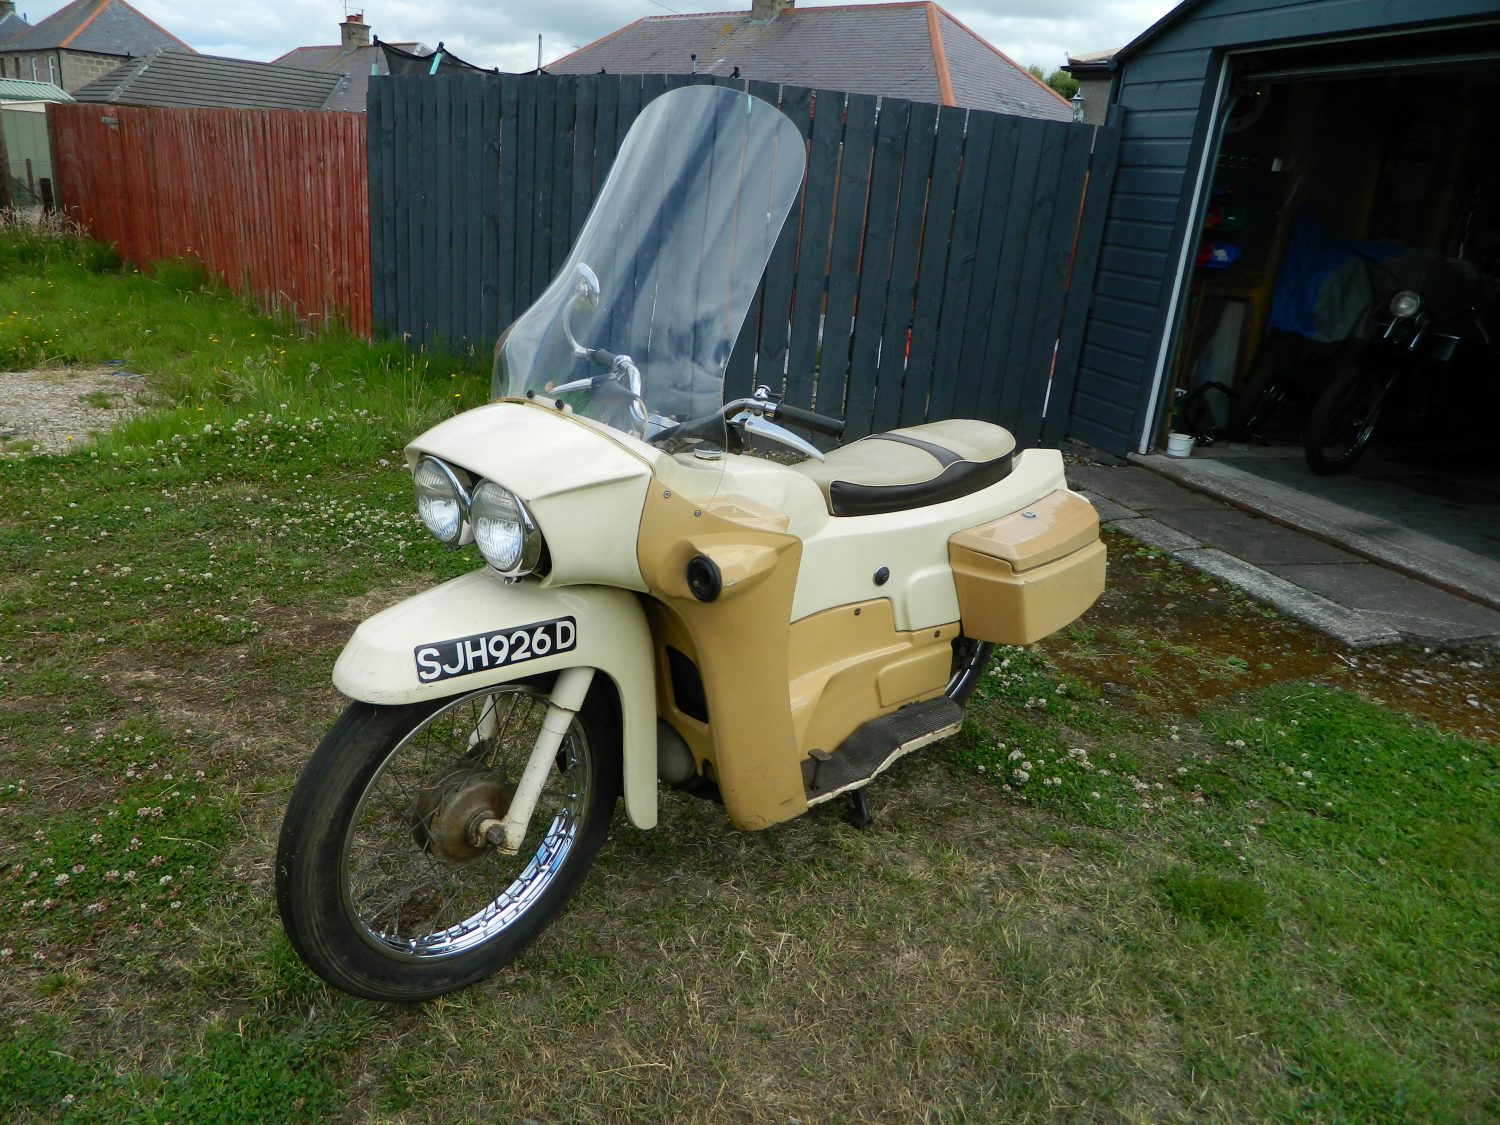
Due in to our Woodbridge workshops mid August we have a small collection of classic motorcycles. Currently stored away up in the highlands of Scotland the

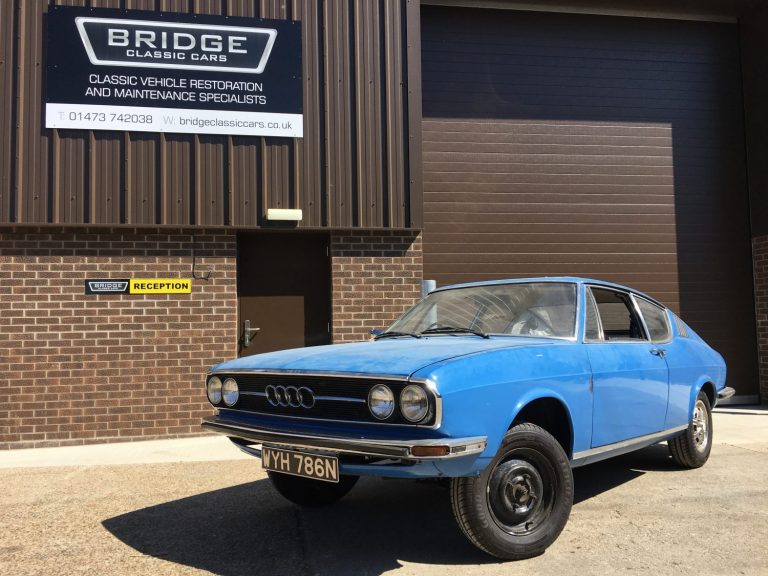
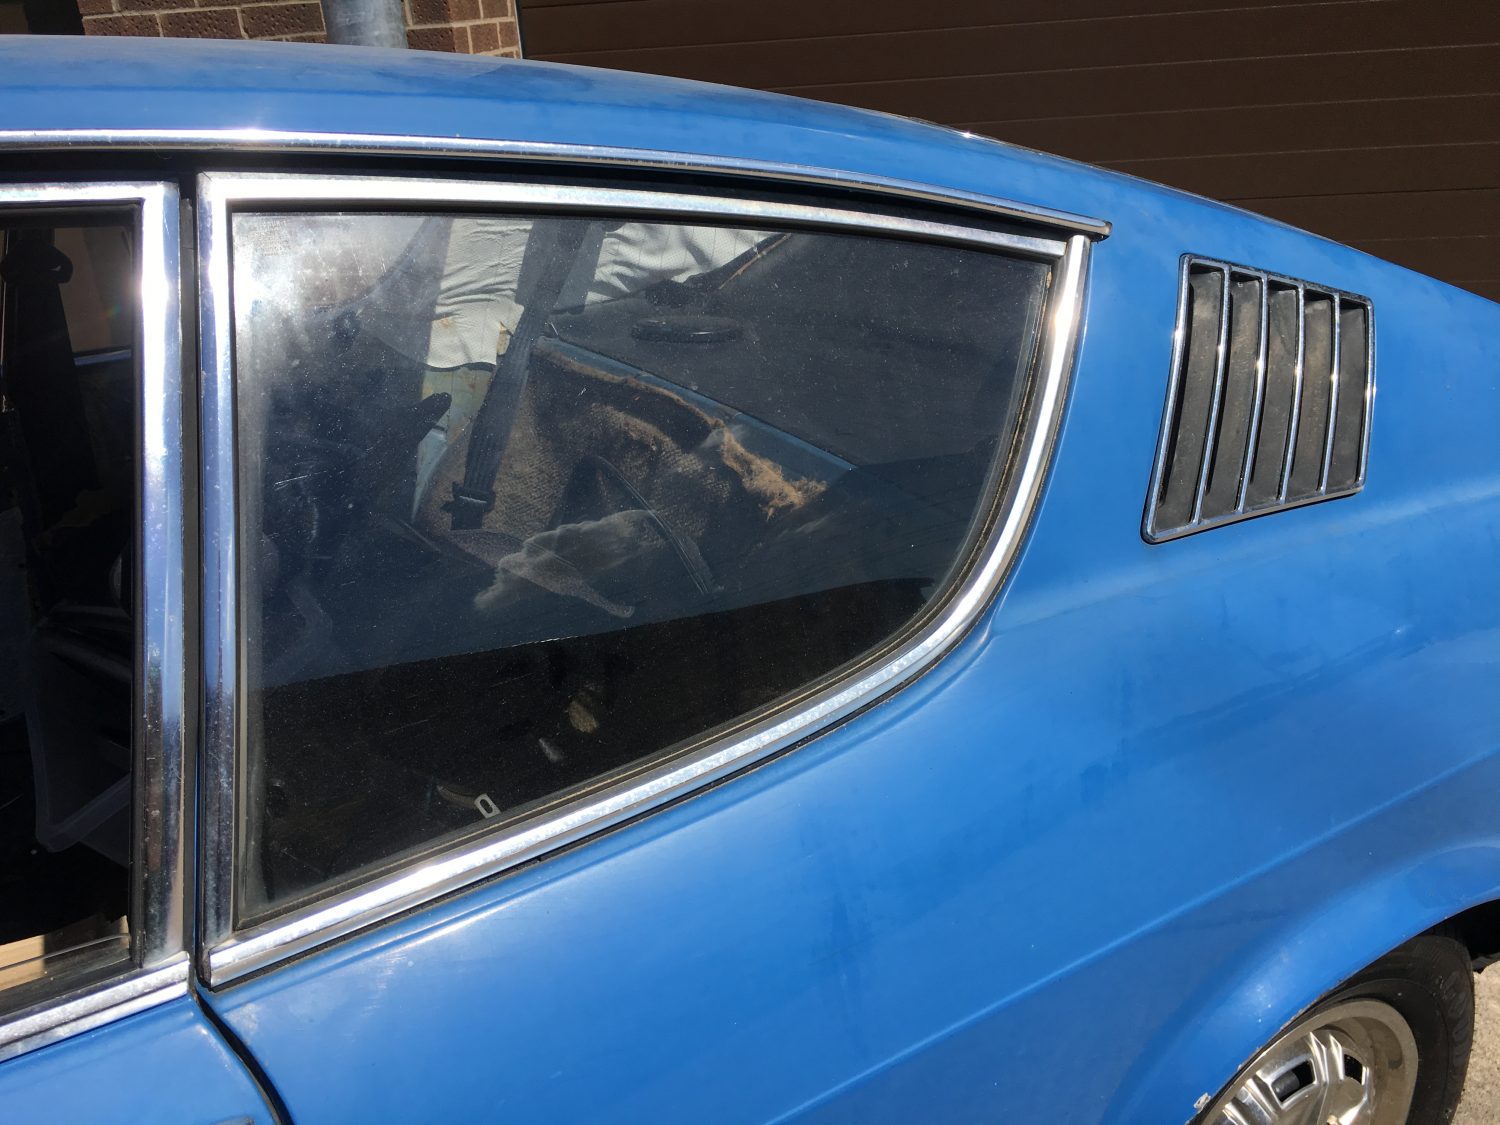
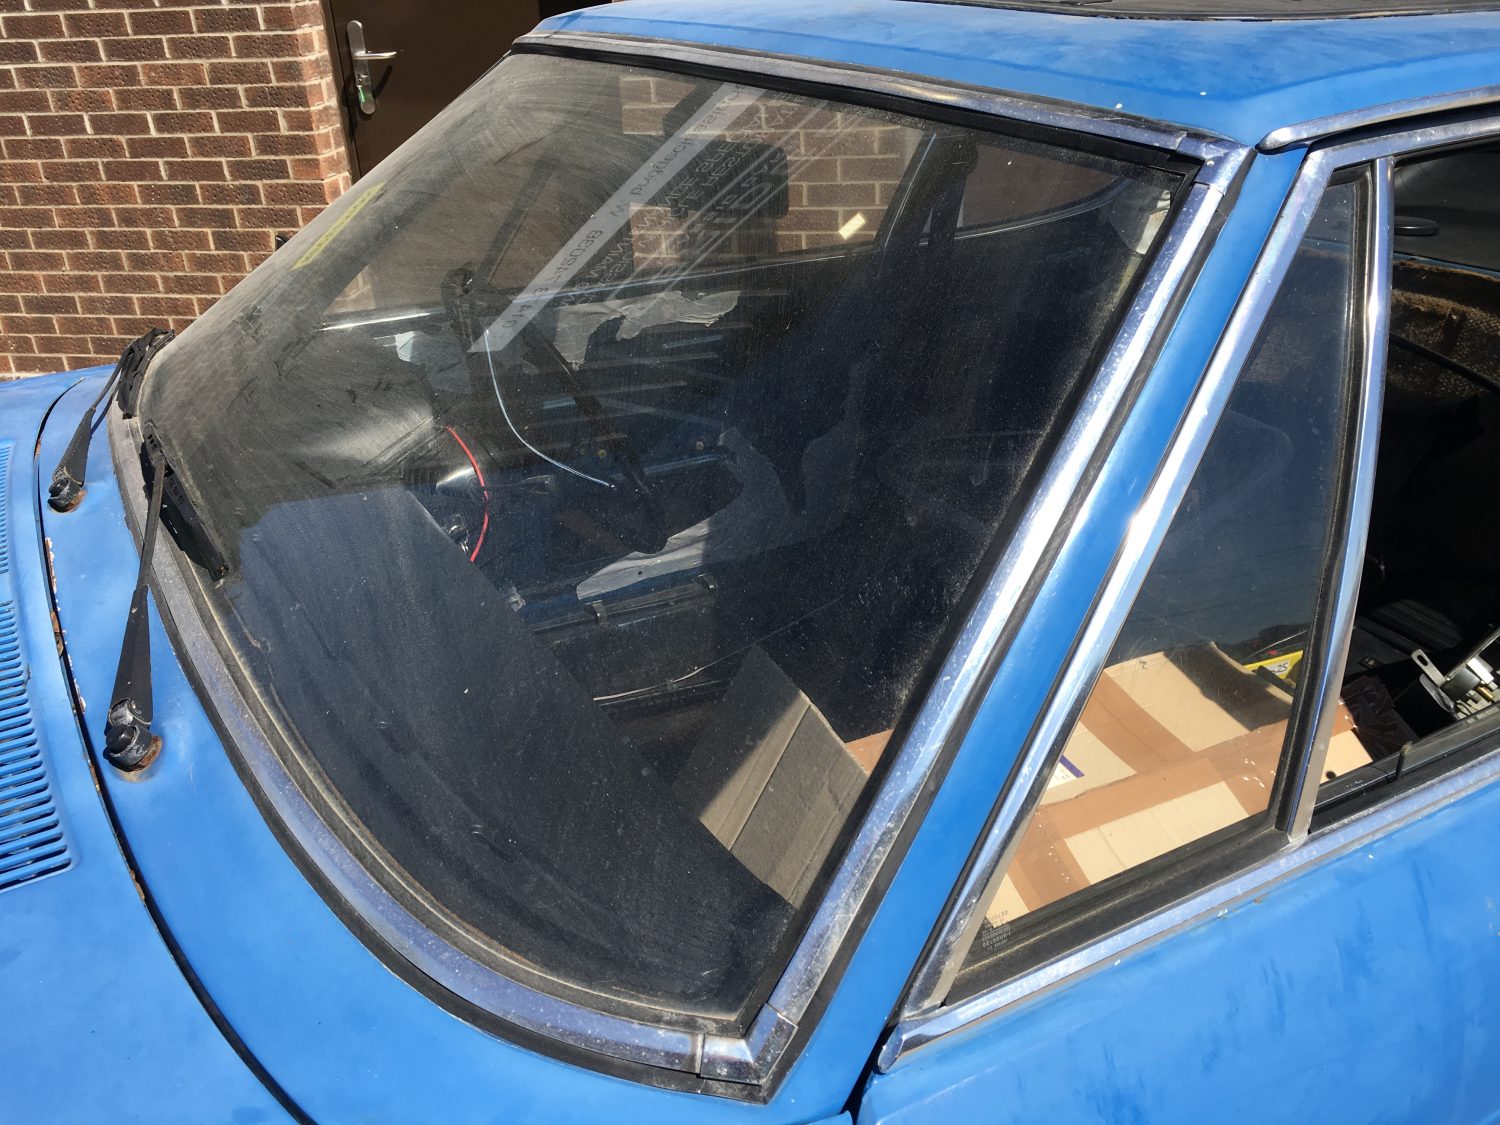
Our Audi 100 Coupe S is well on the way to be completely stripped. We’ve hit the ground running with this project and have managed

May not be a classic just yet but here’s Instagram sensation @confetti_5 enjoying the sunshine in a beautiful Ferrari in the Moscow International Business Centre,

So before arriving to us here at Bridge Classic Cars our 1987 Mercedes 500SL had been stored for some time under a tree. With her
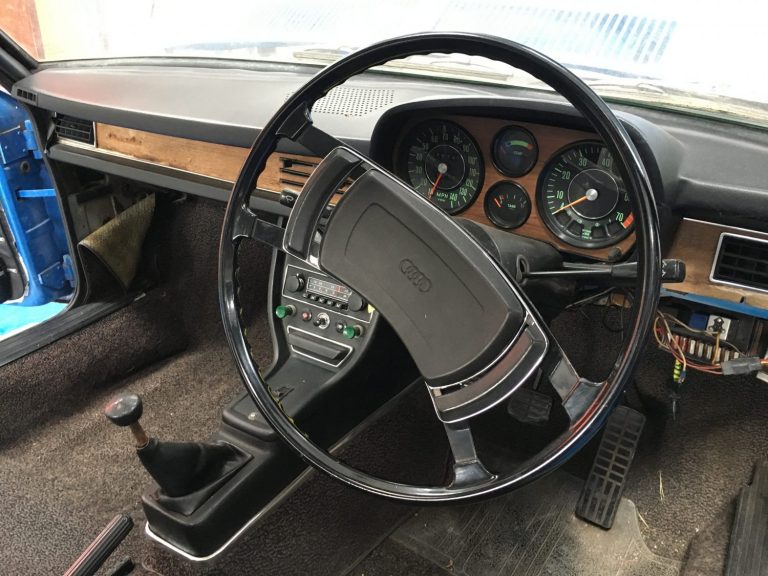
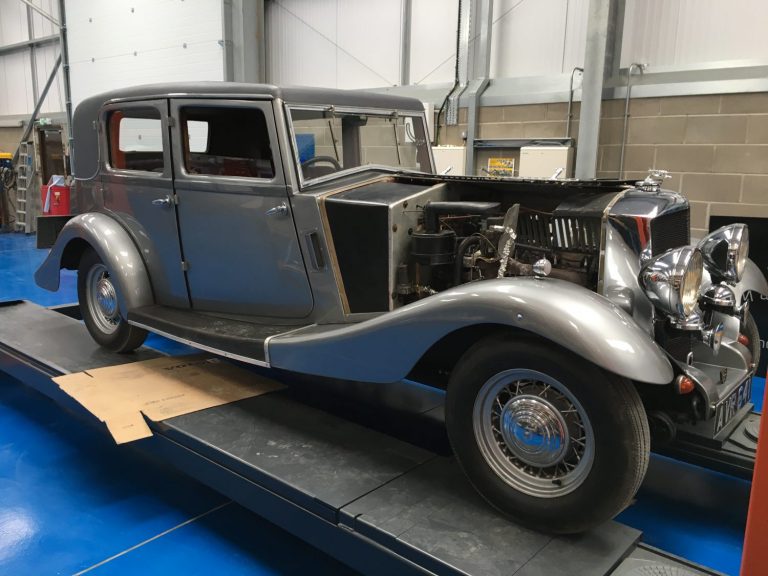
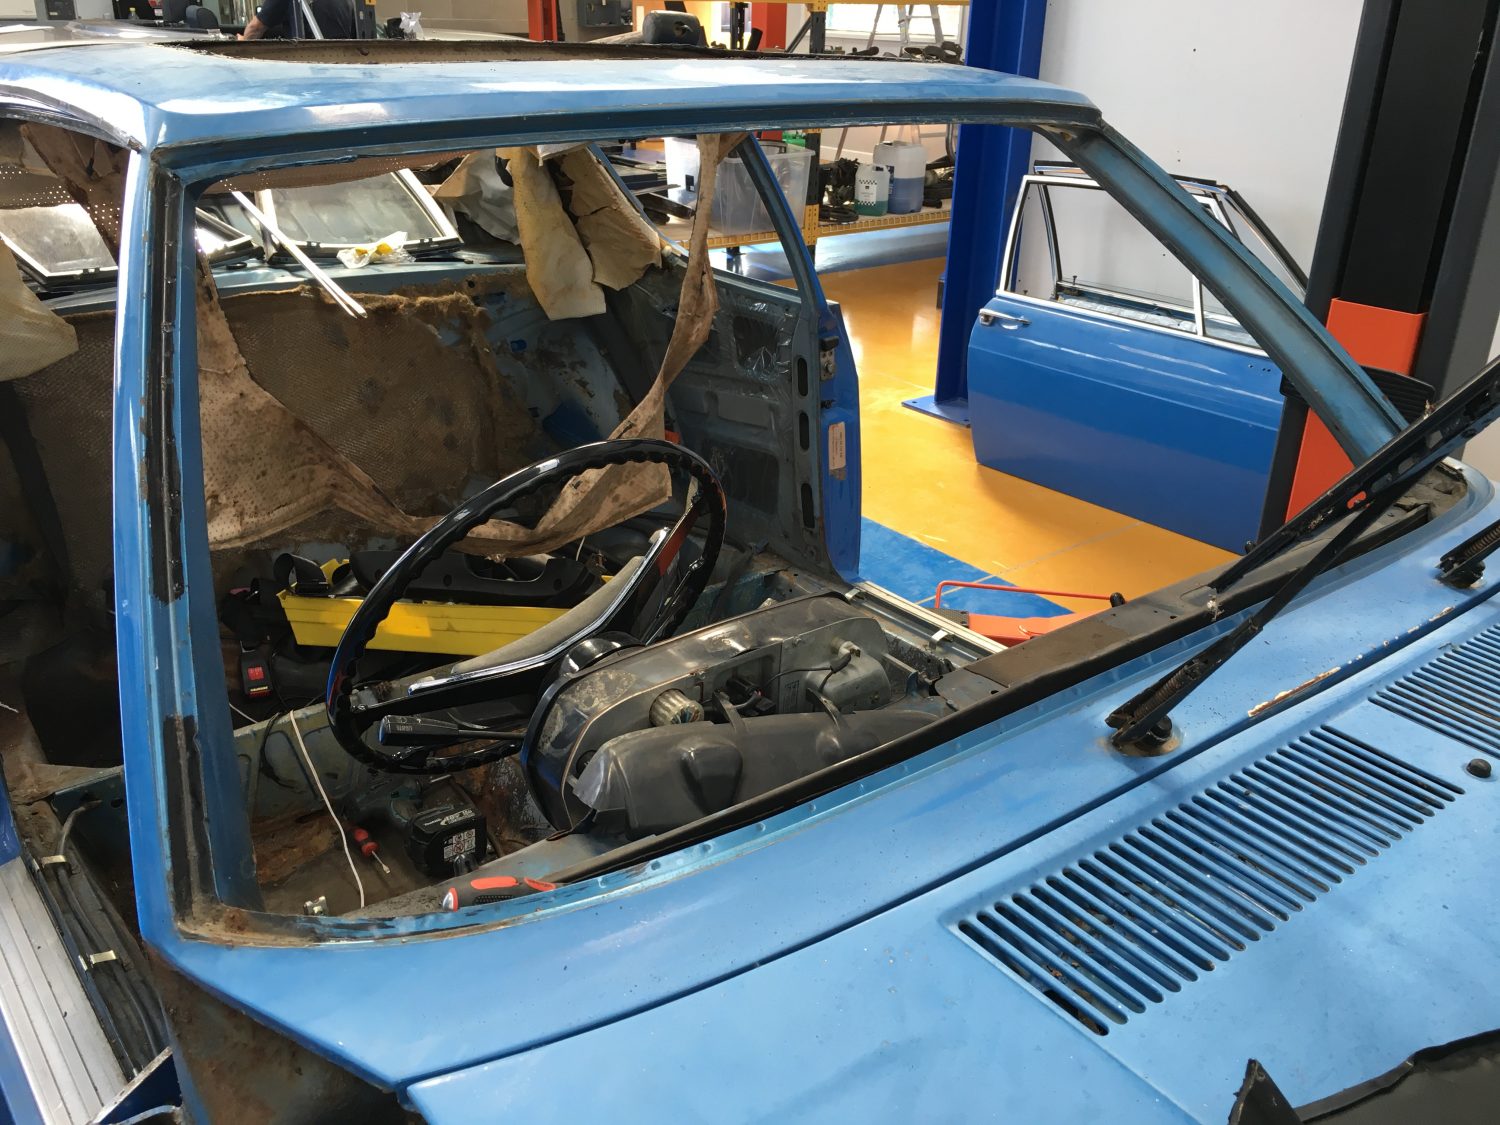
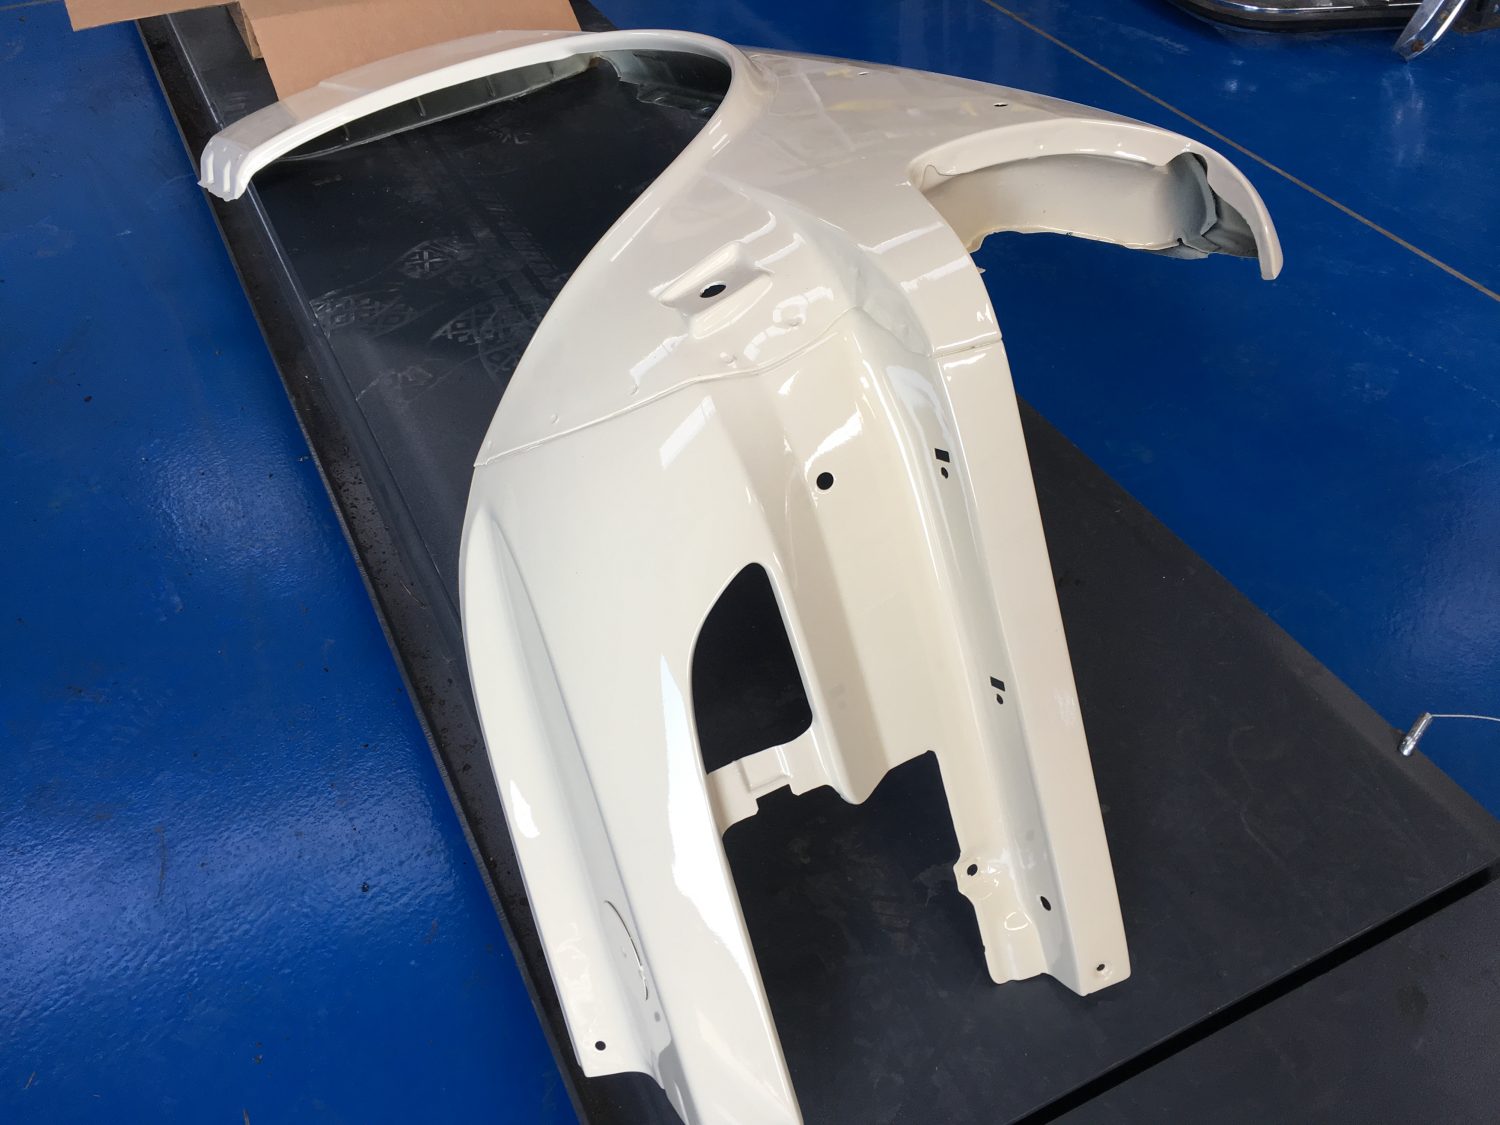
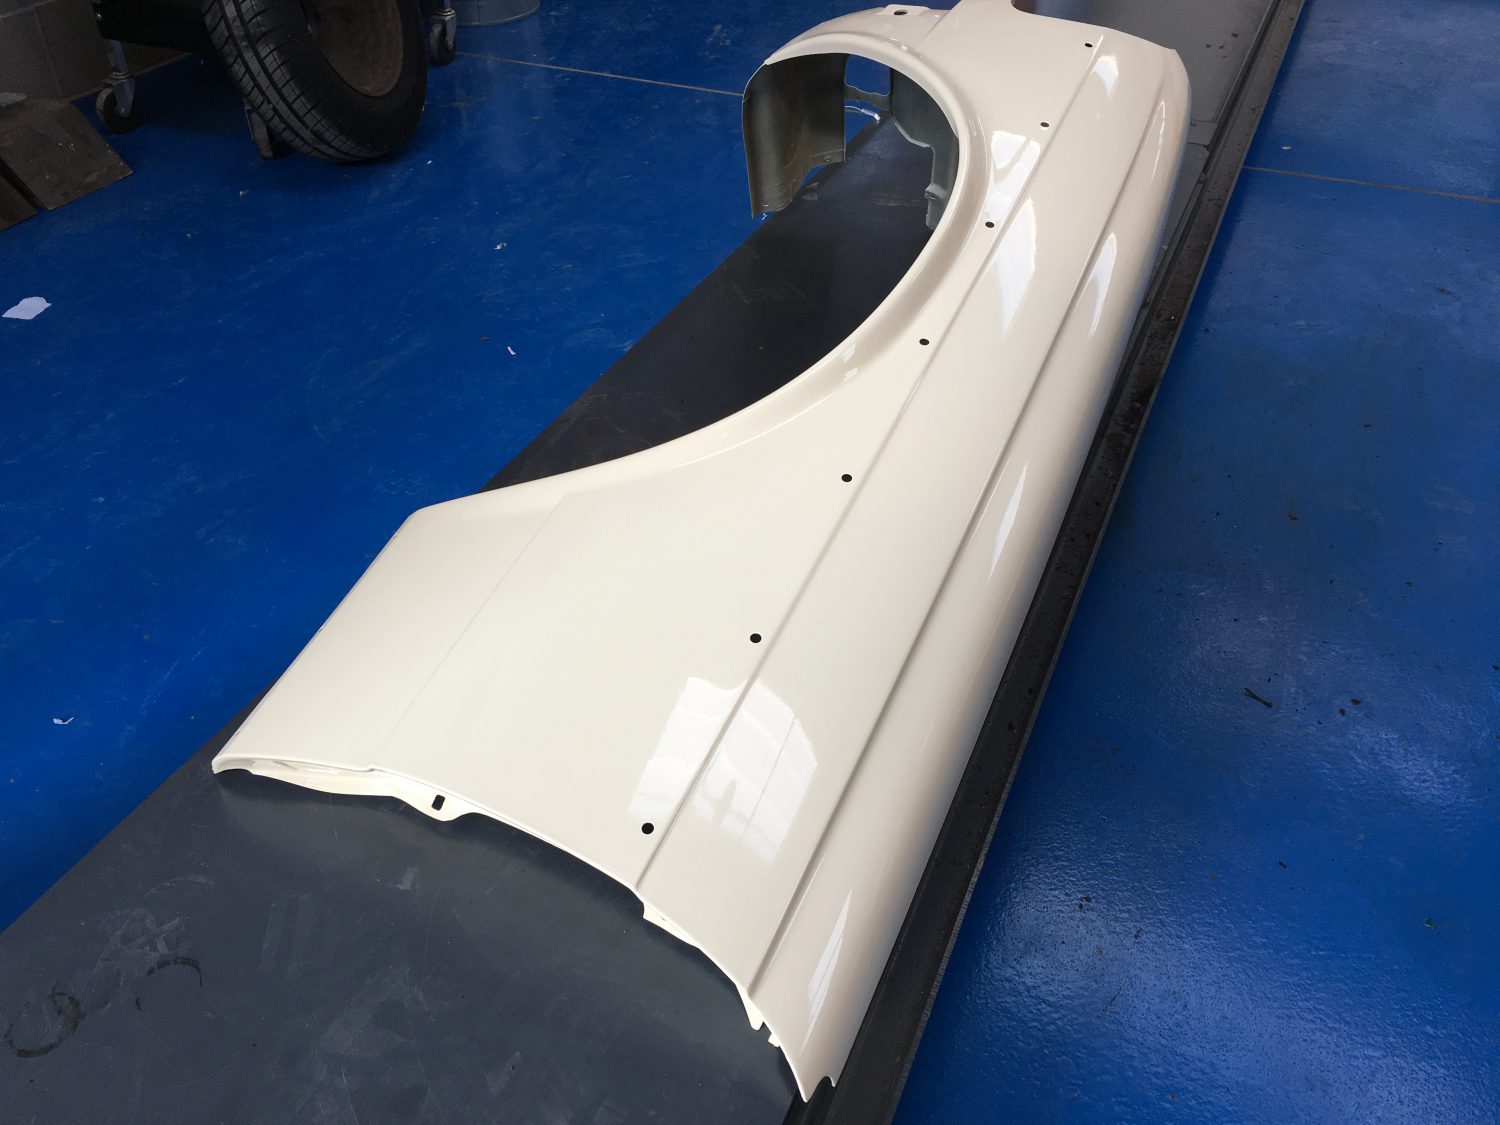
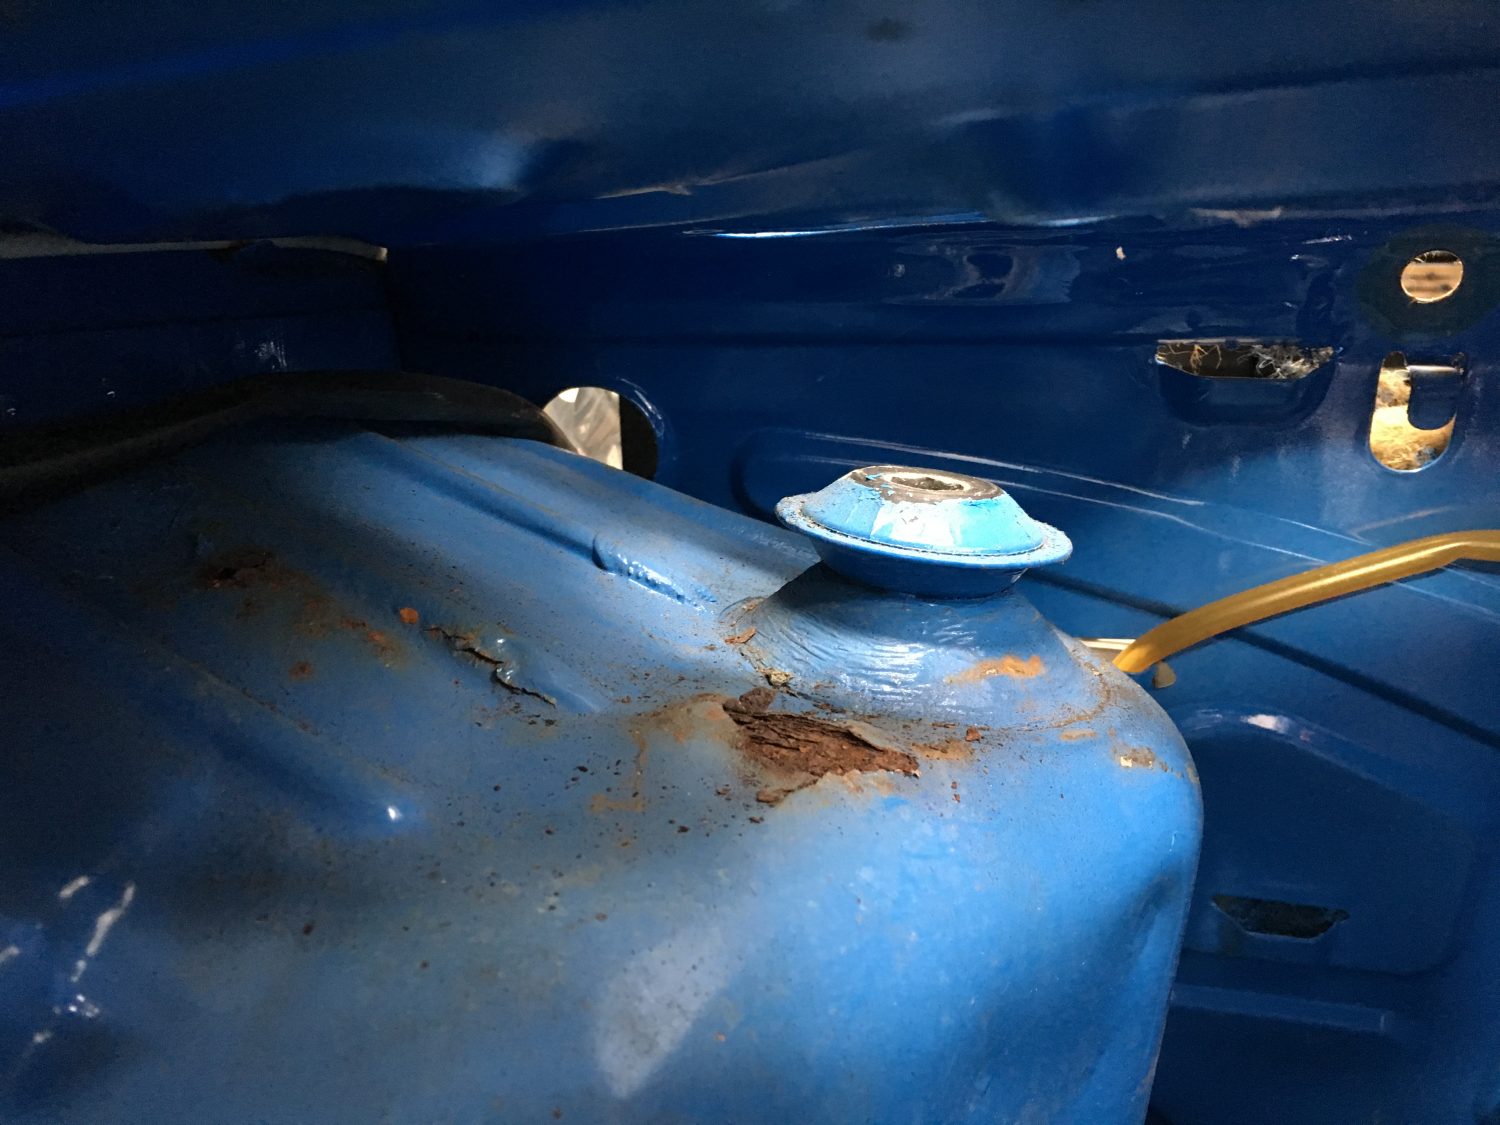
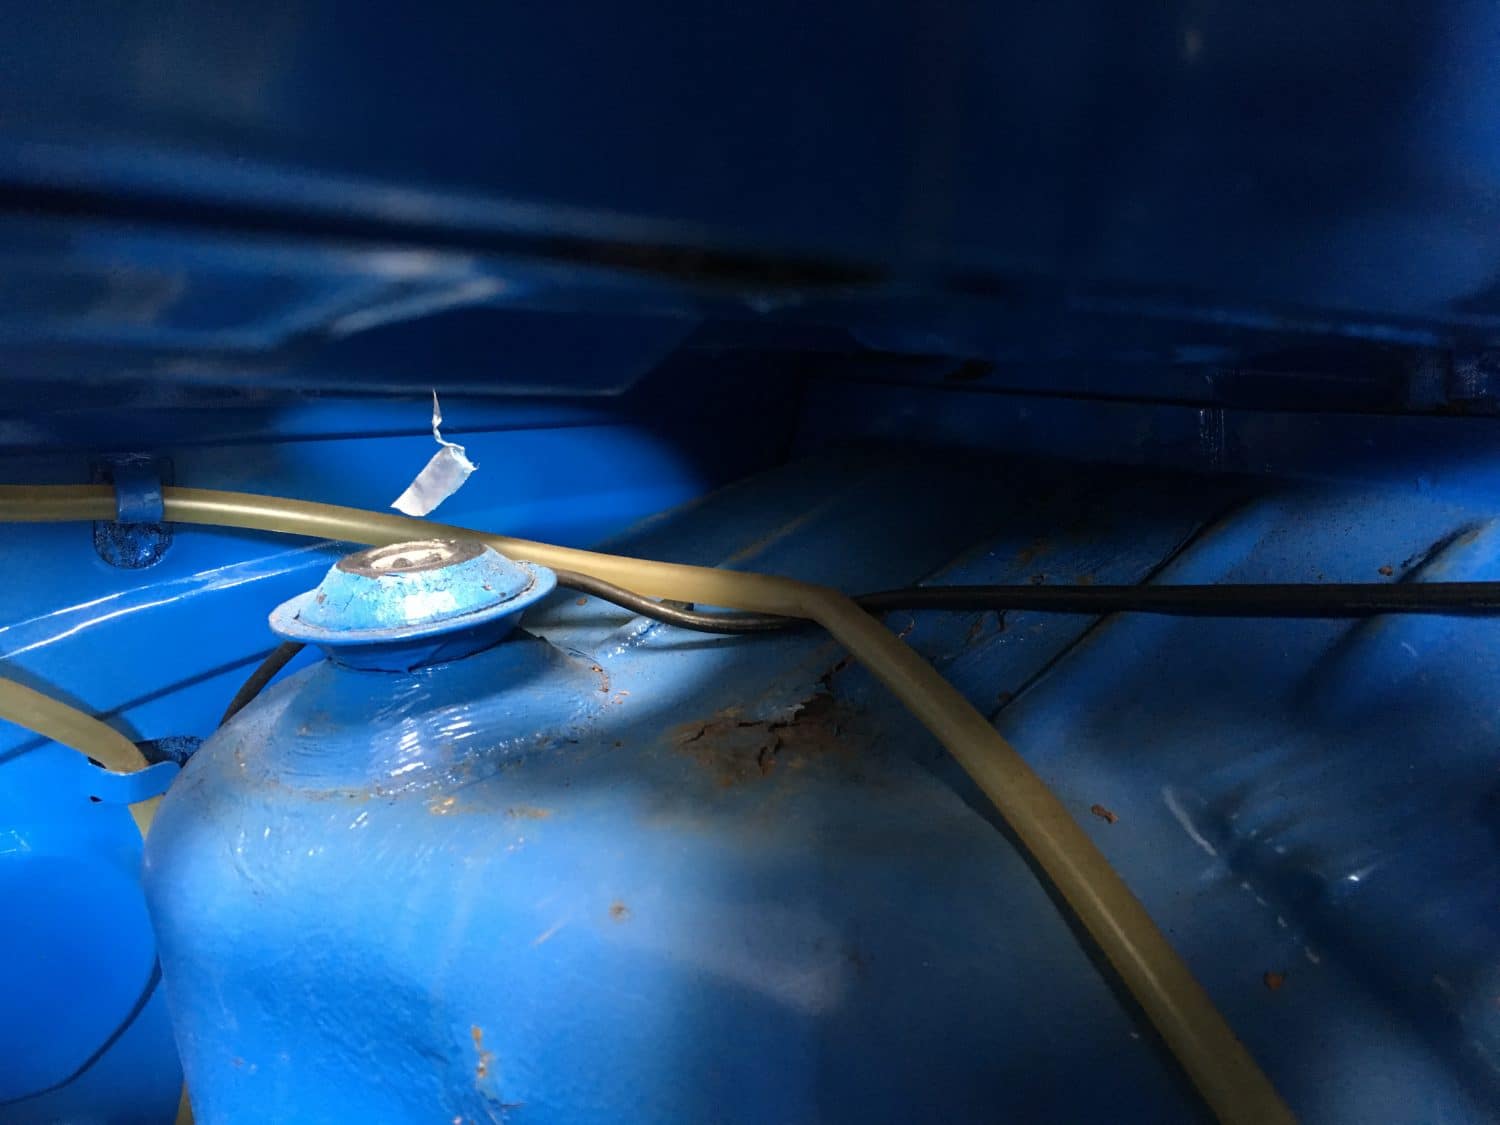
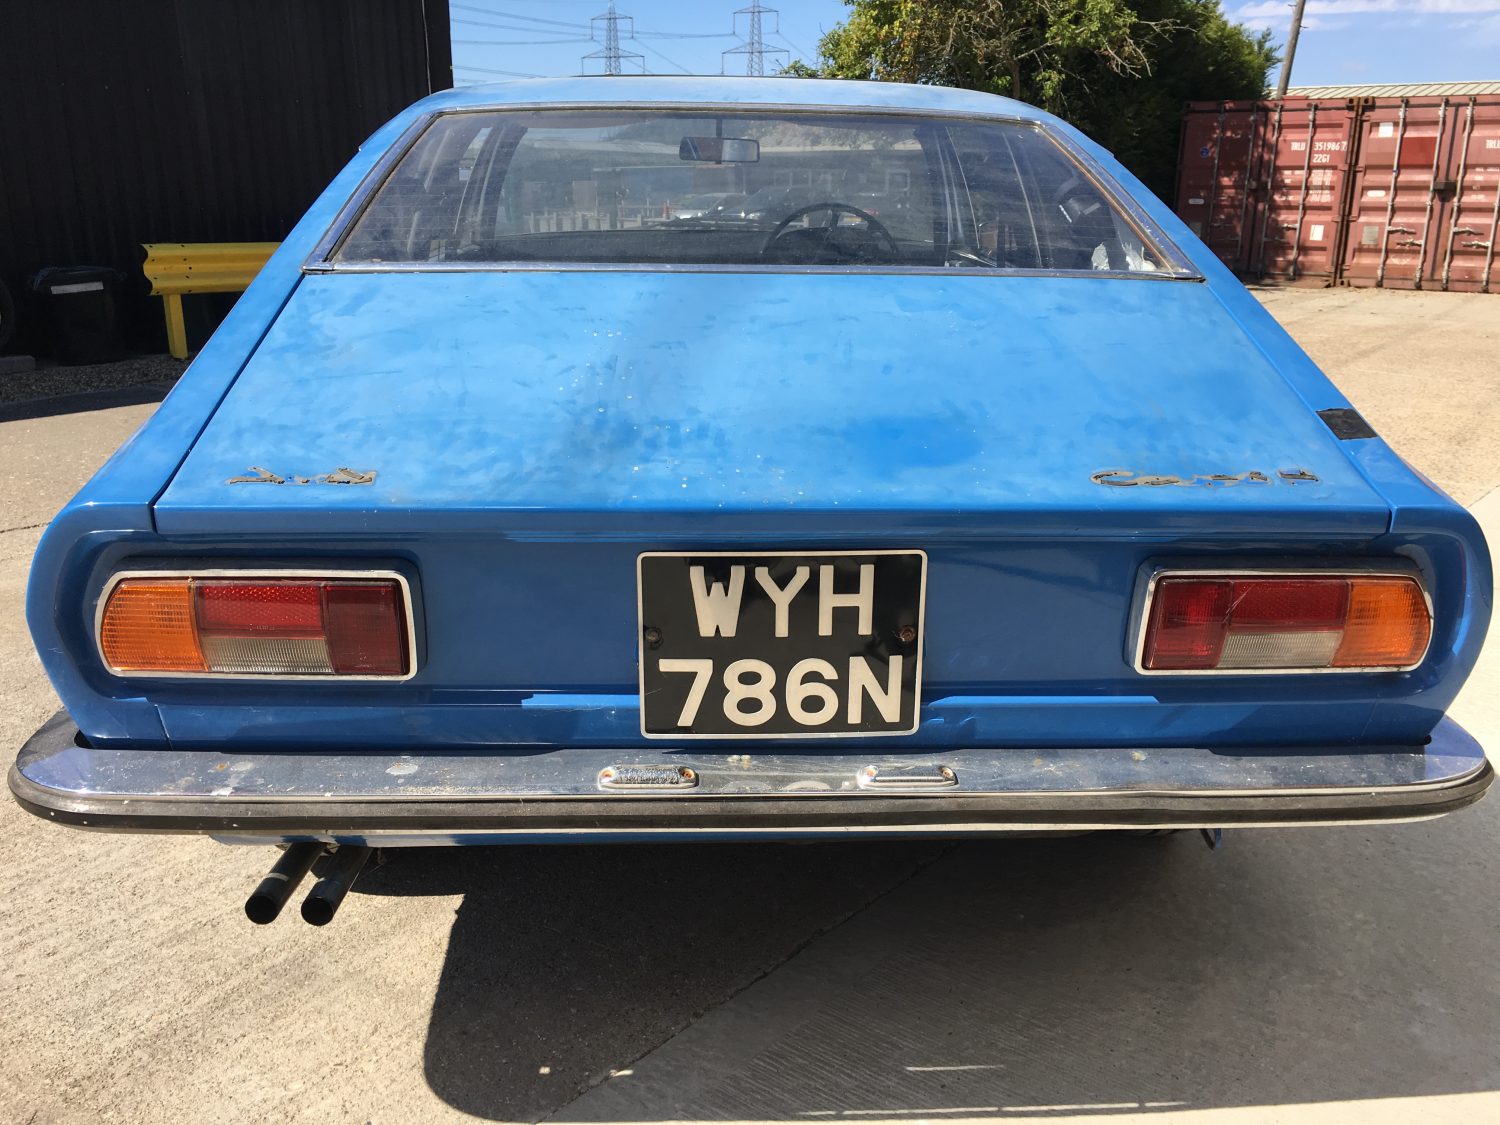
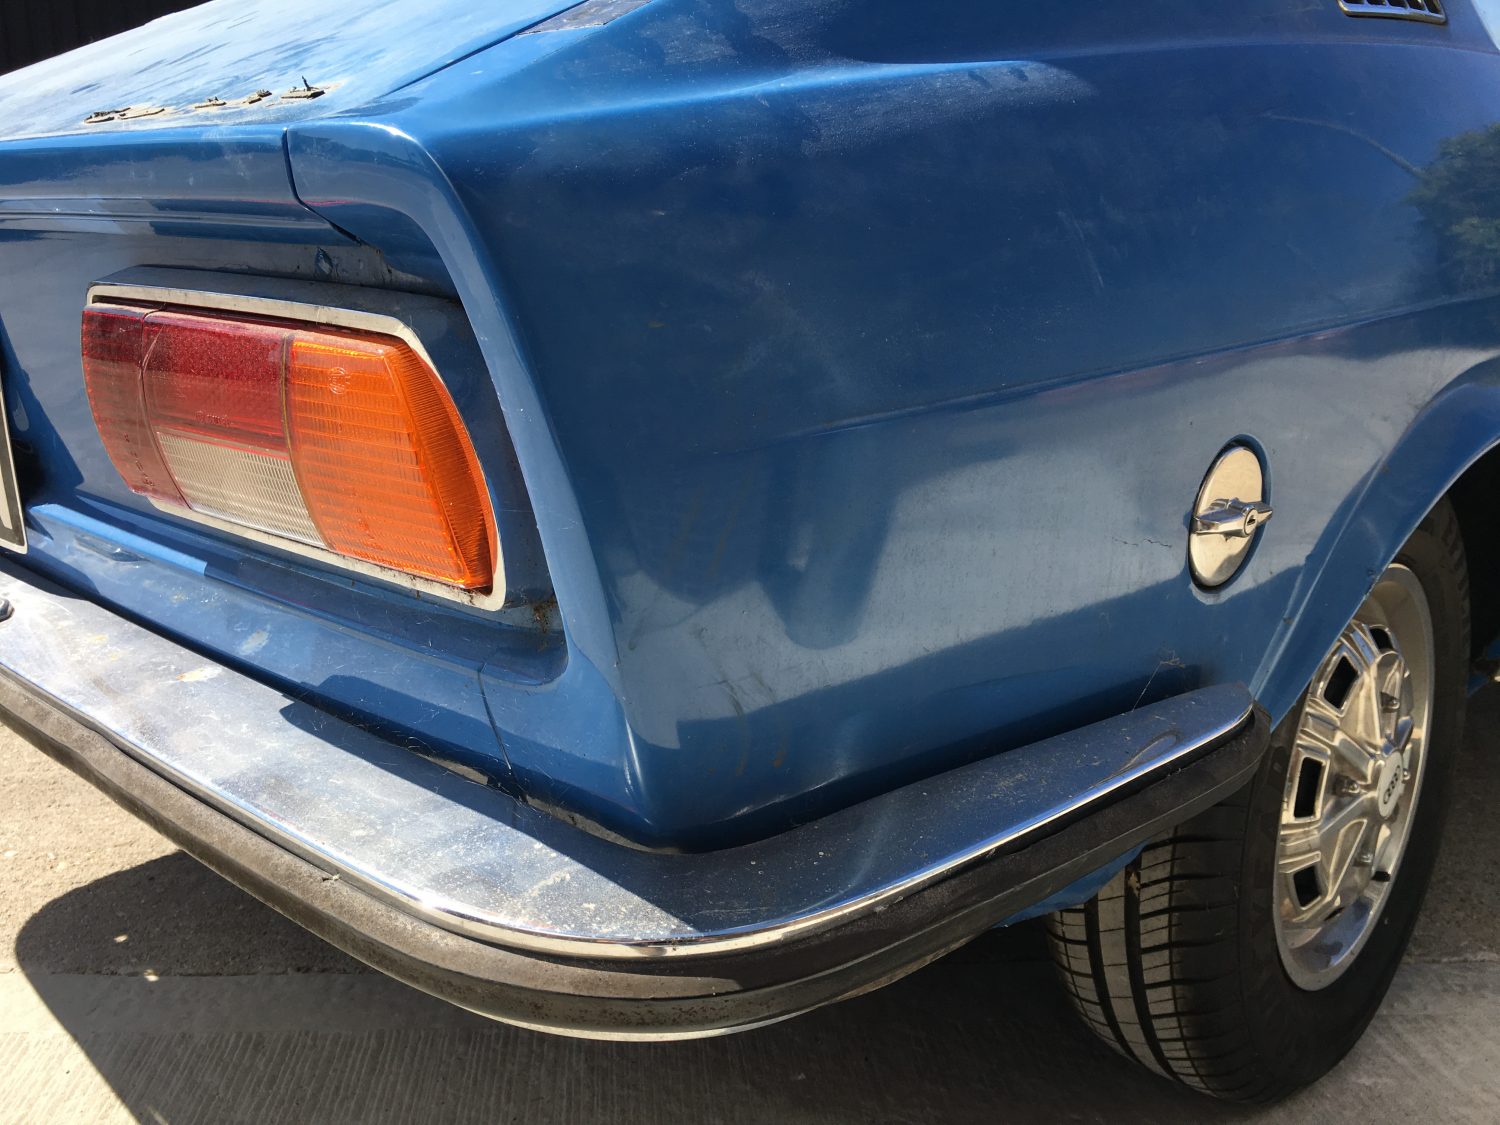
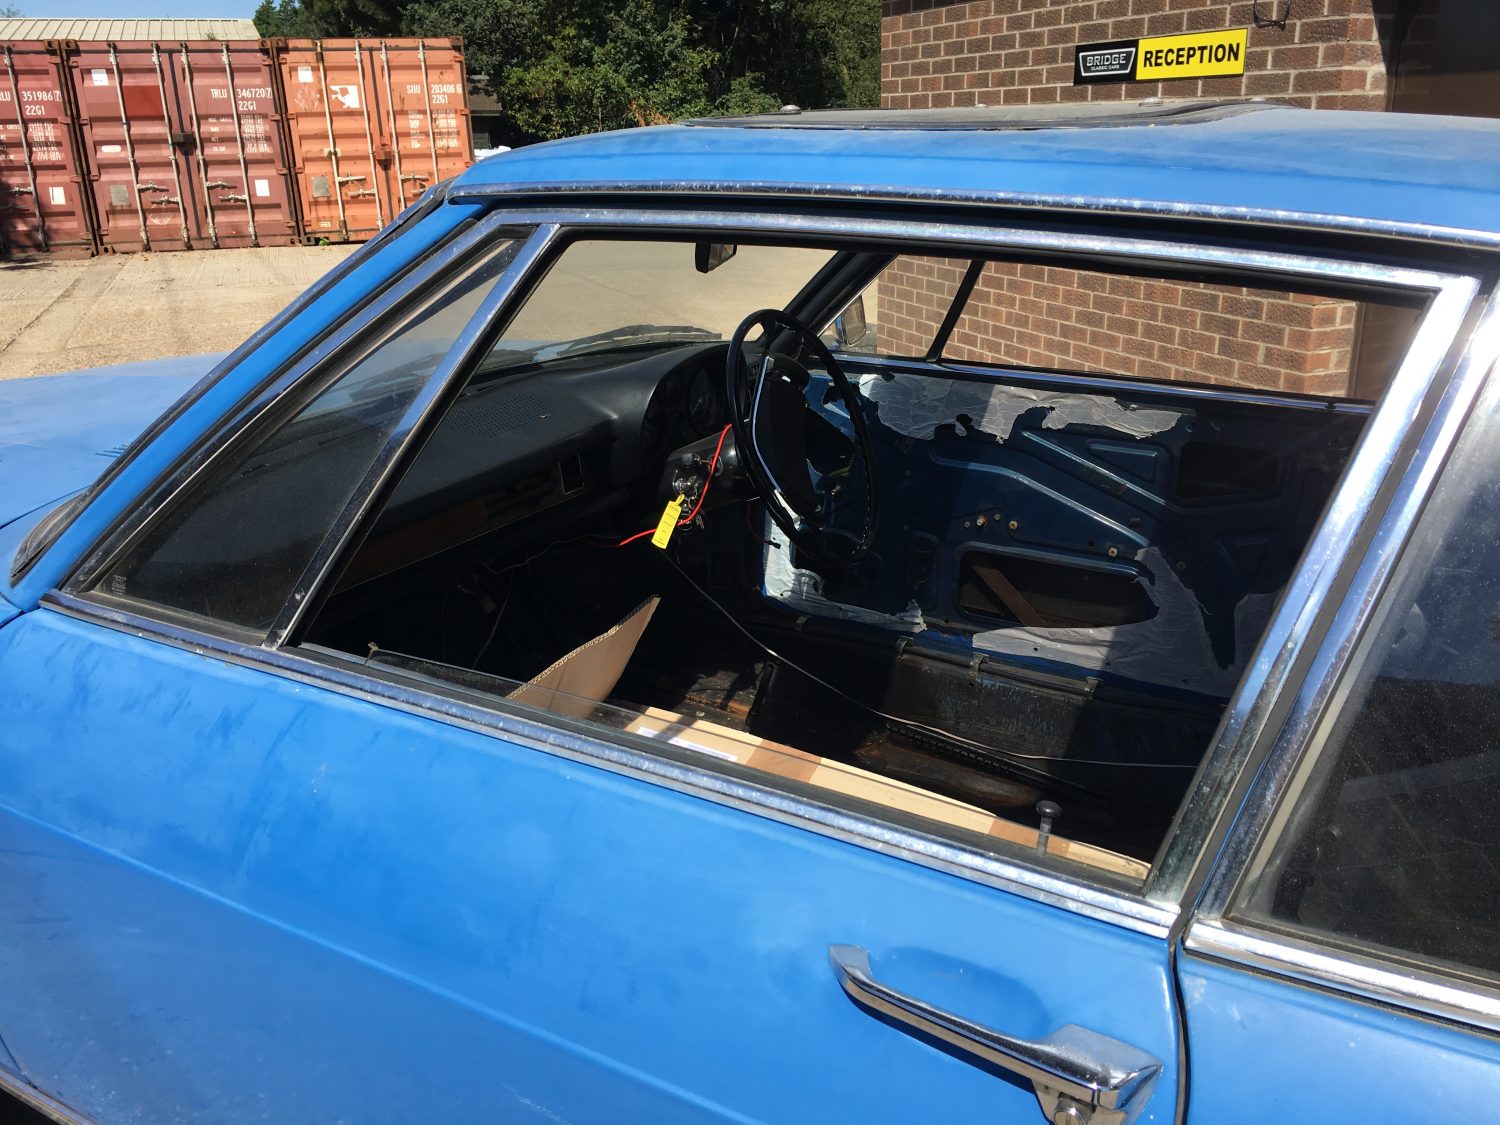
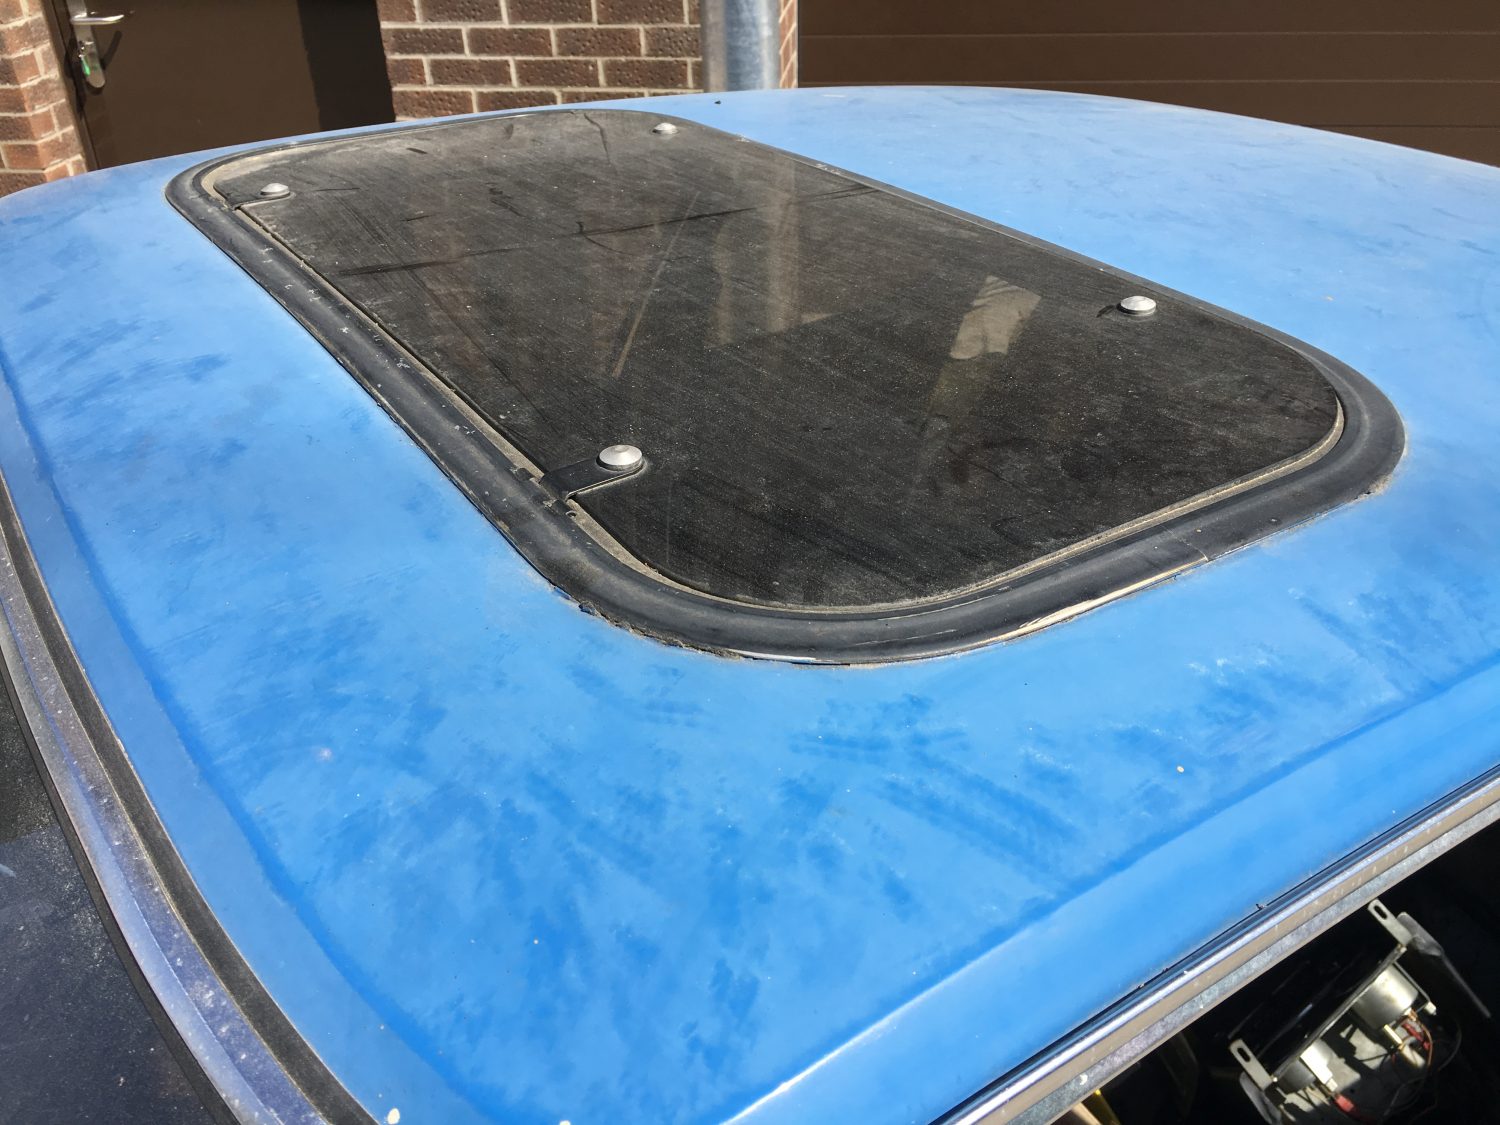
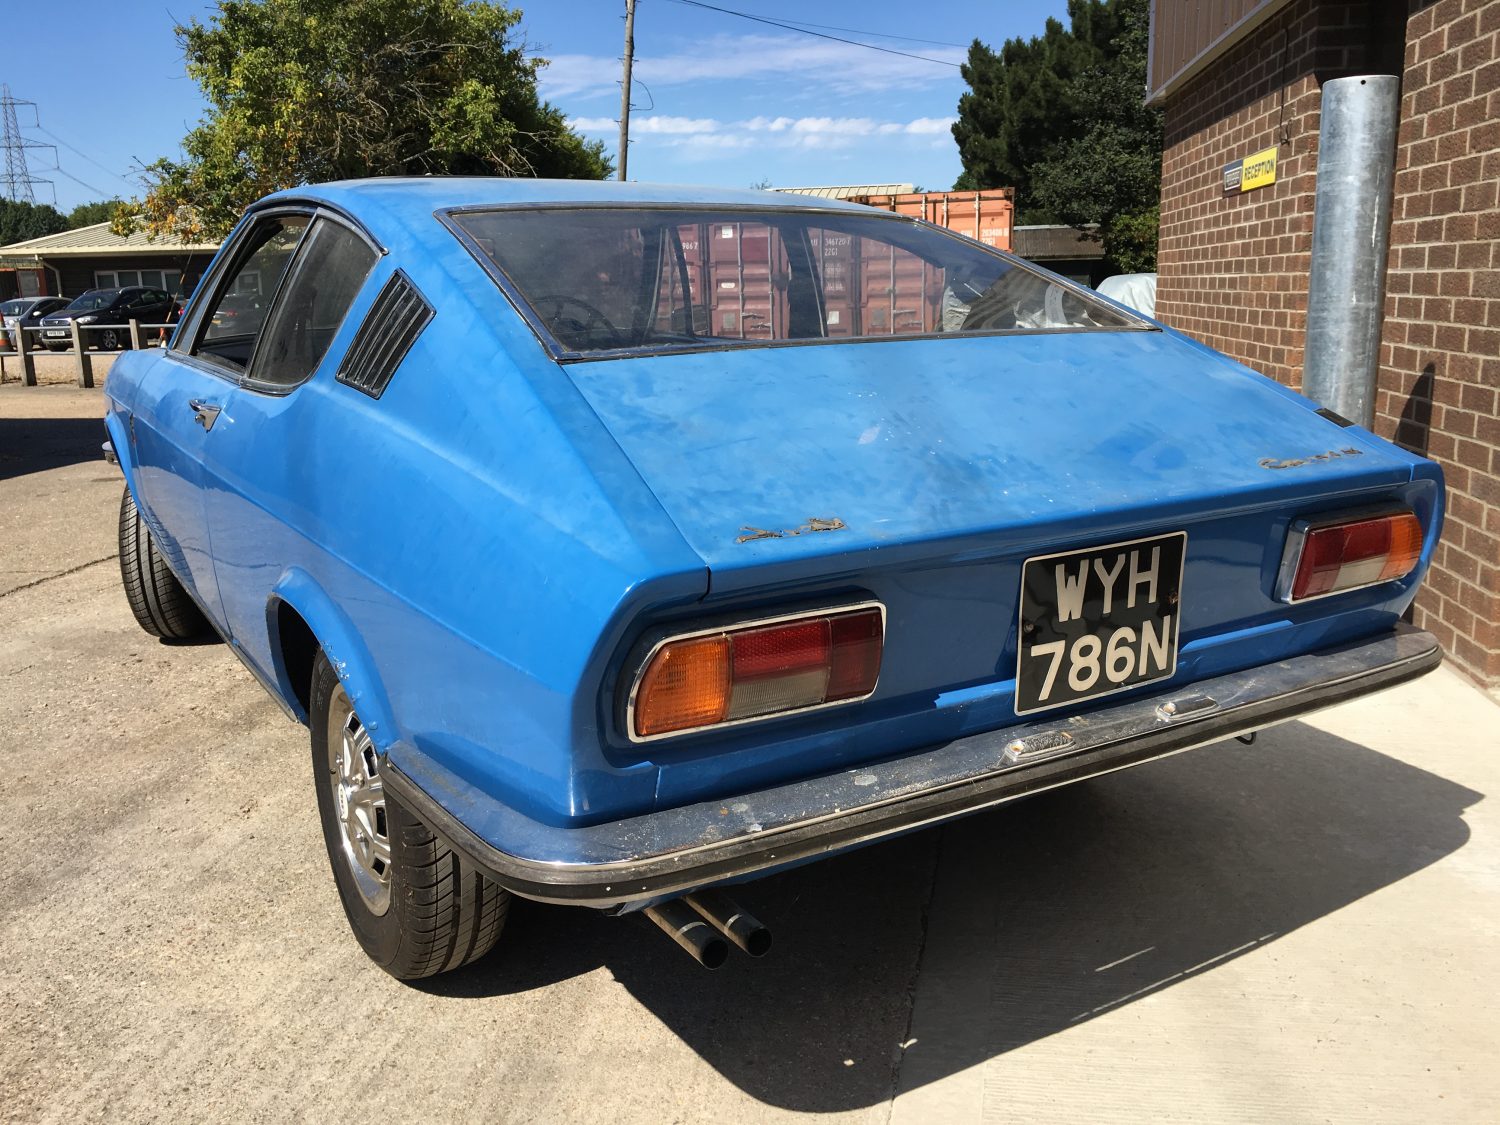
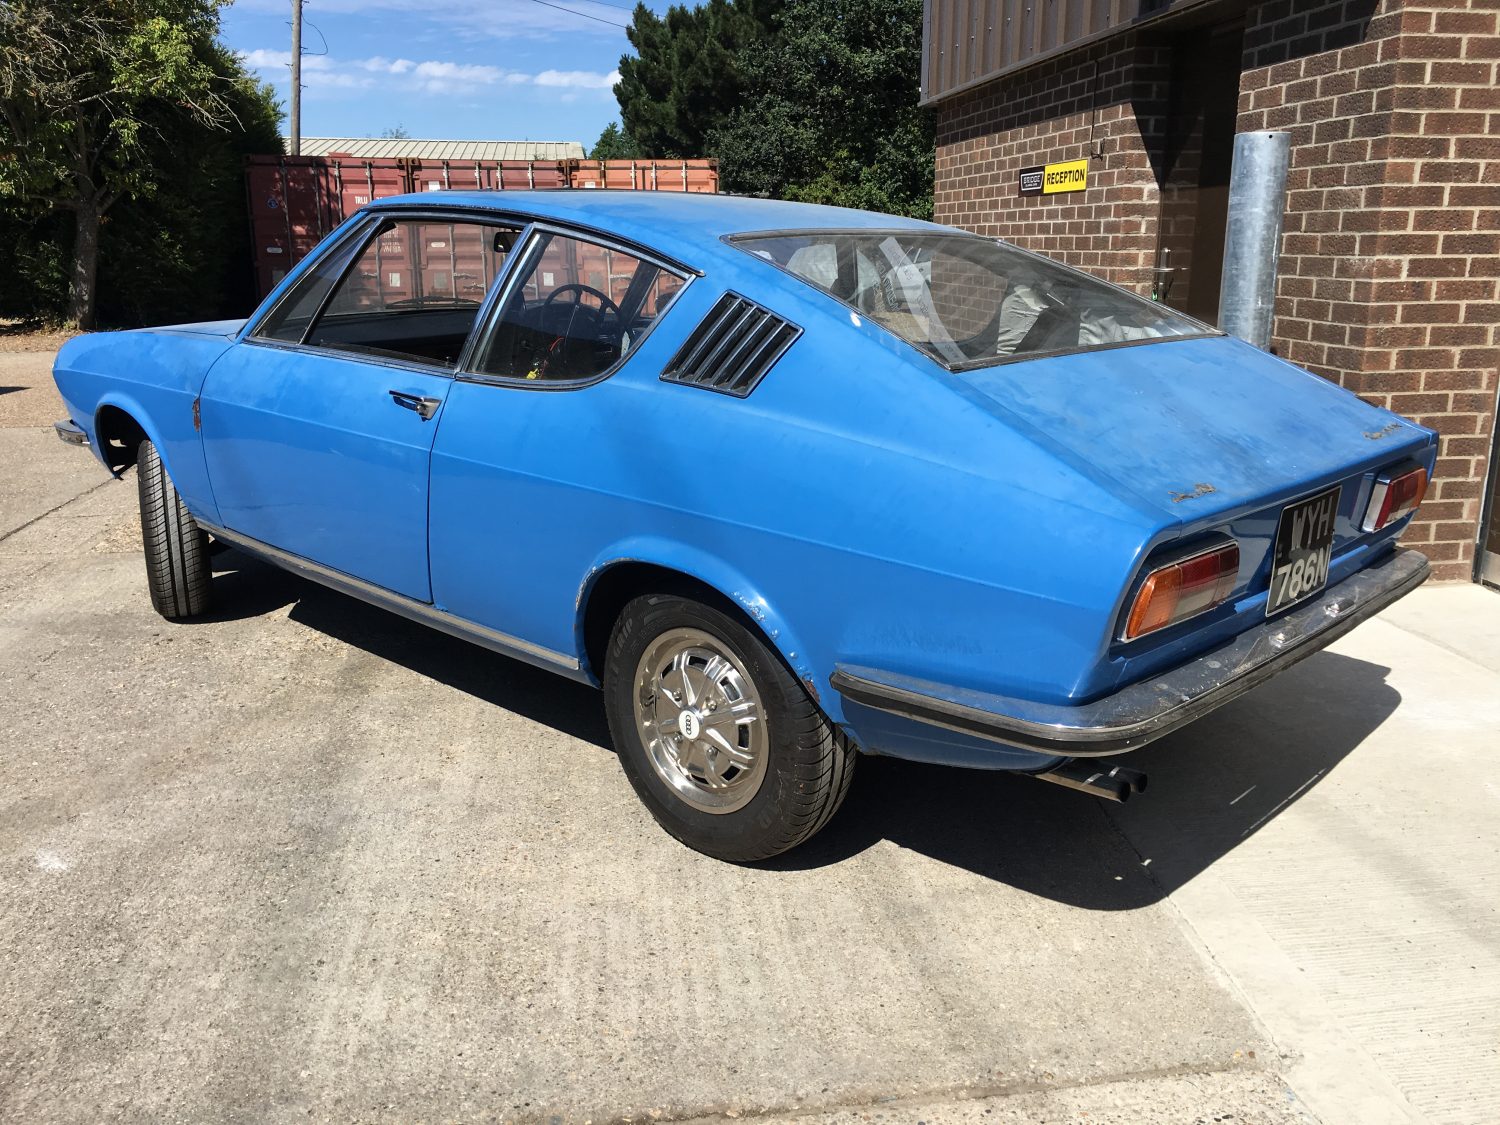
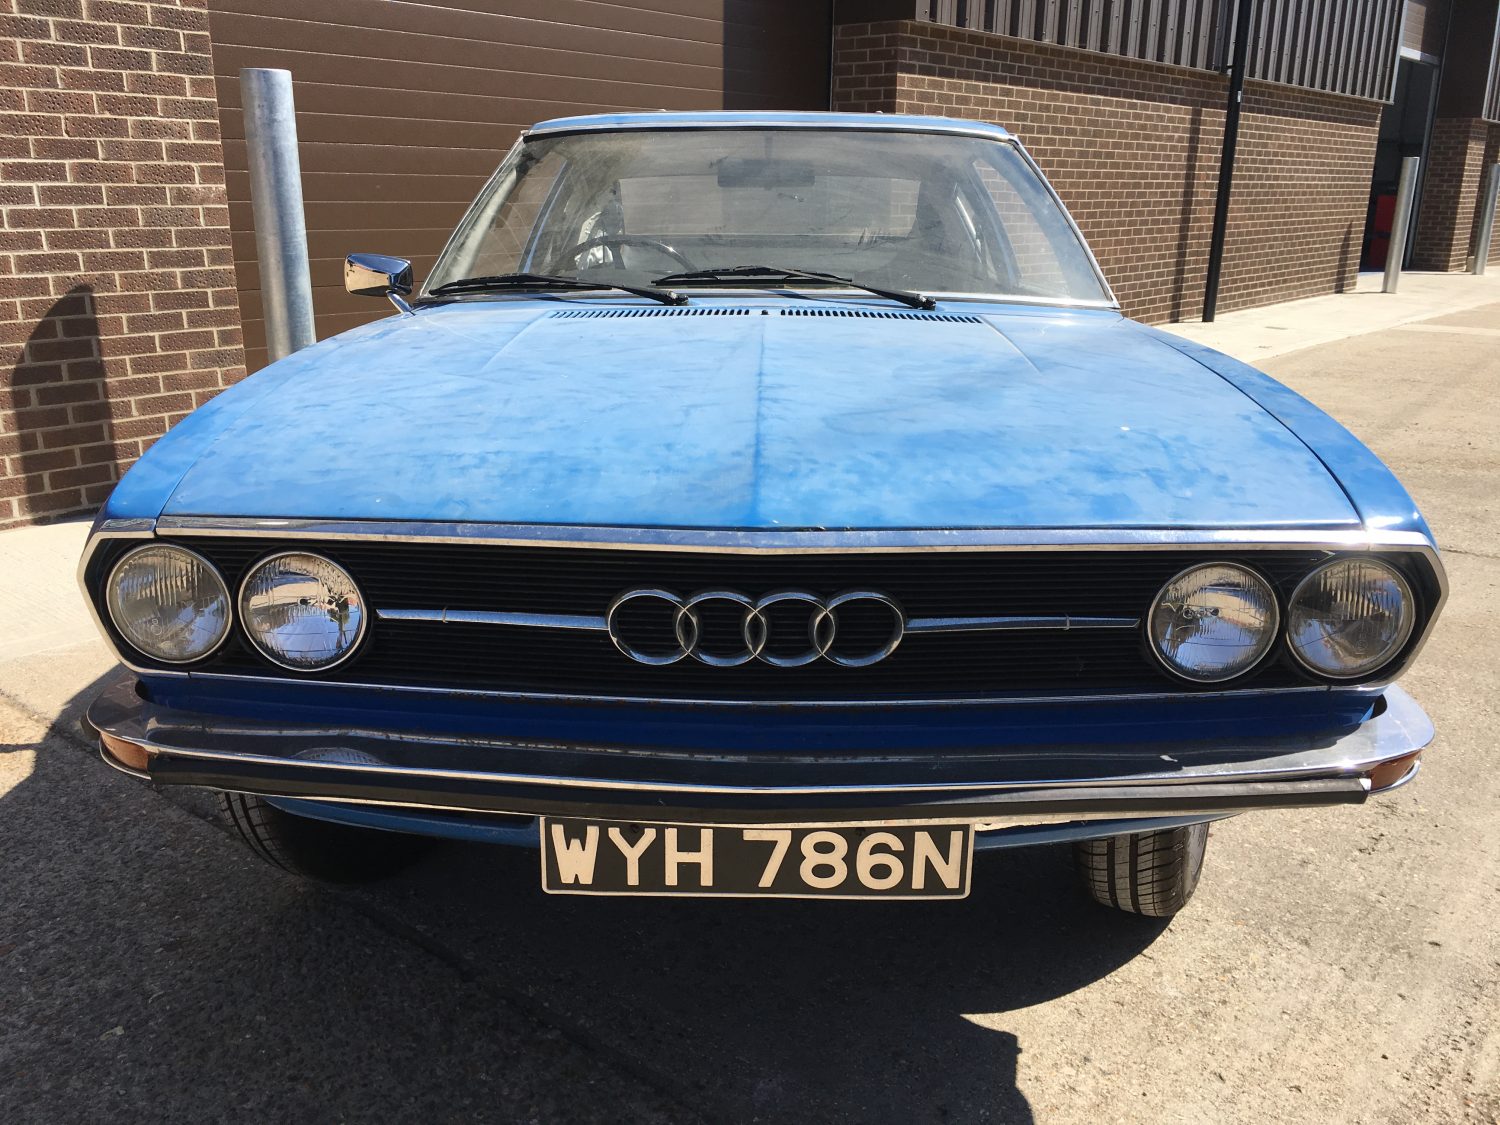
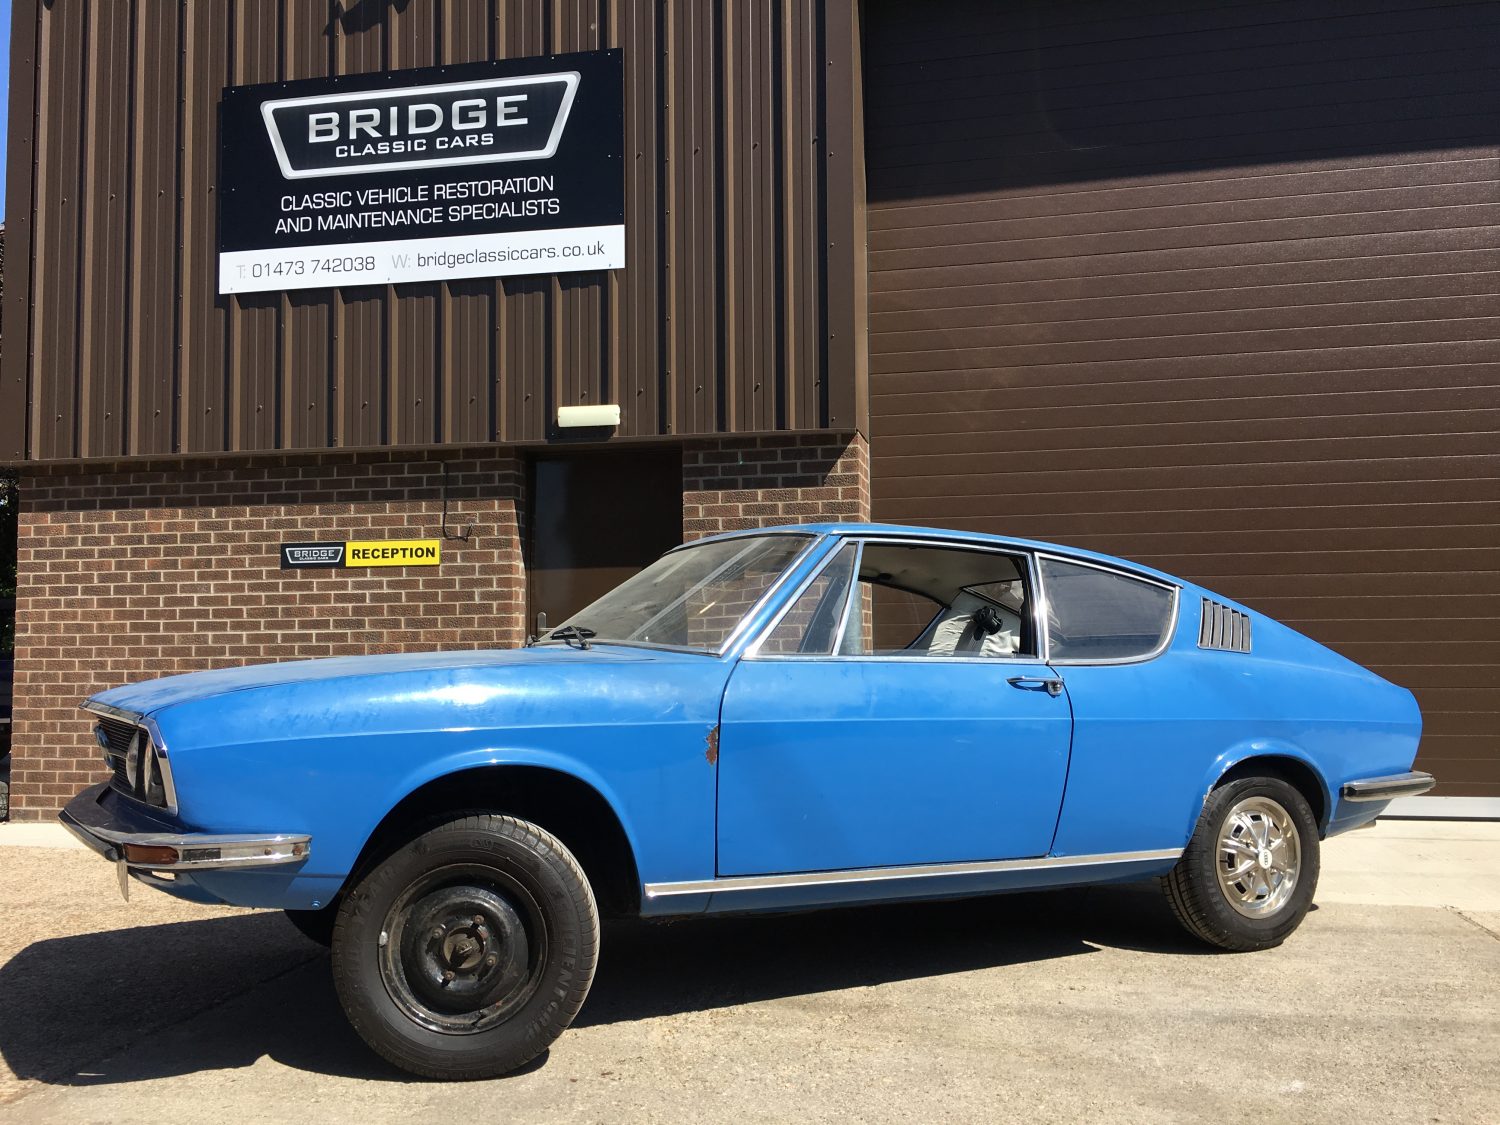
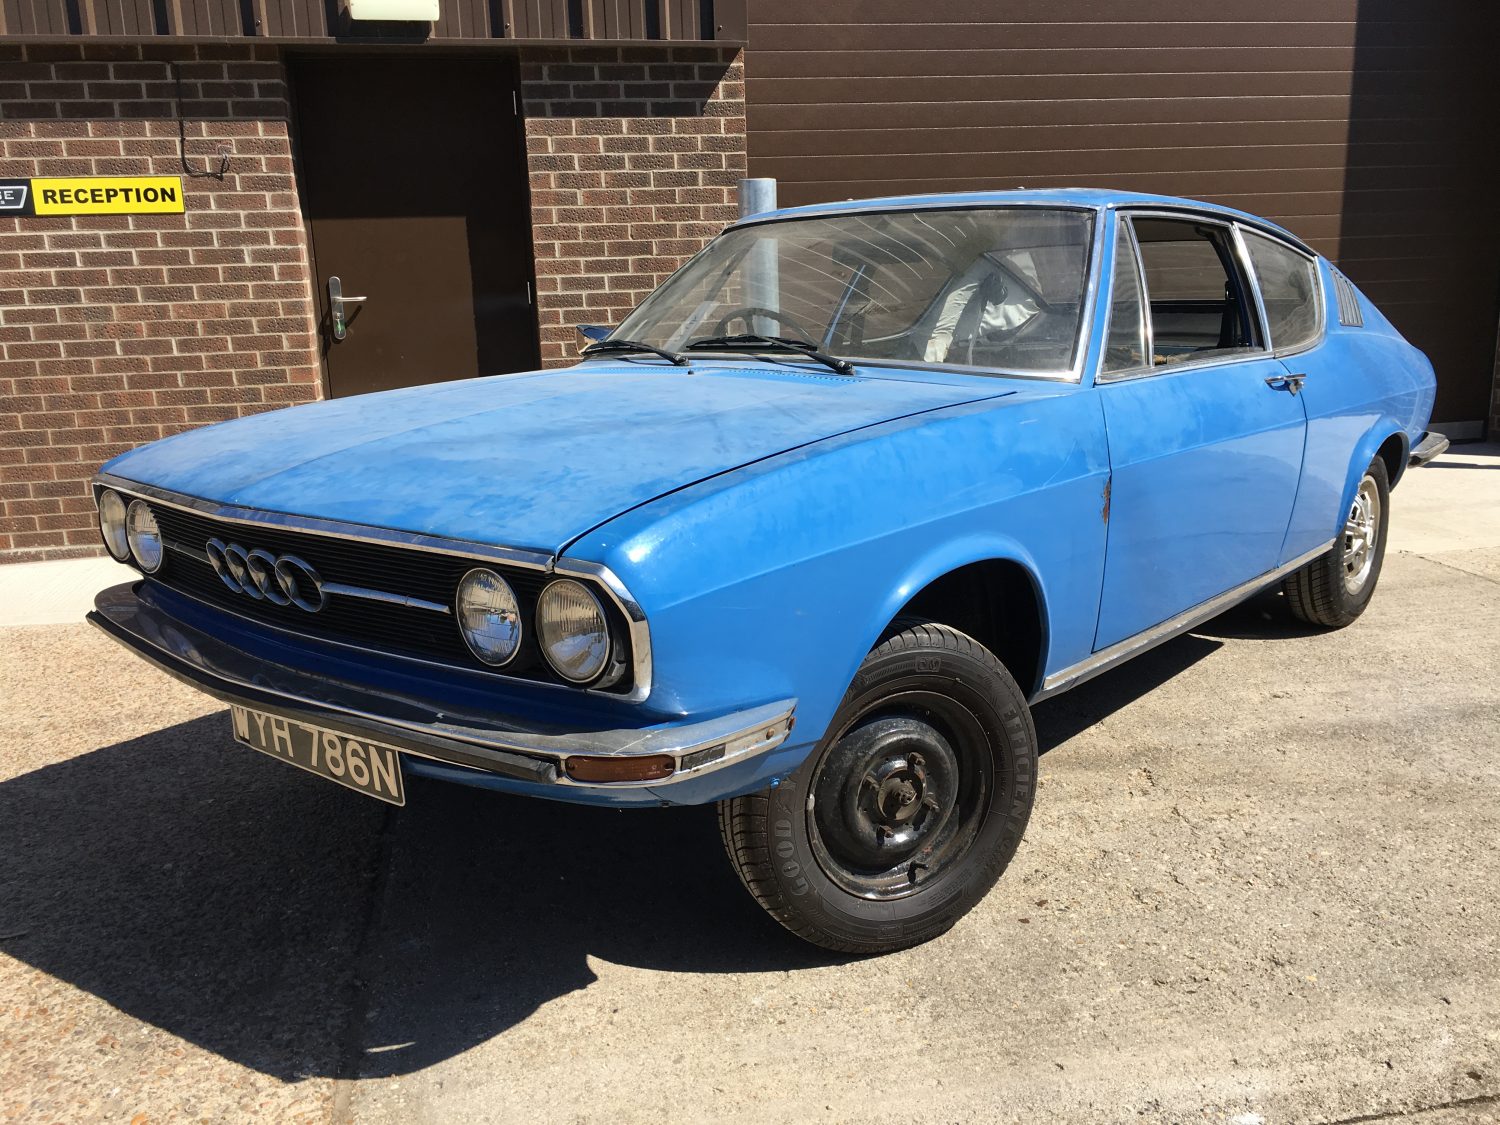
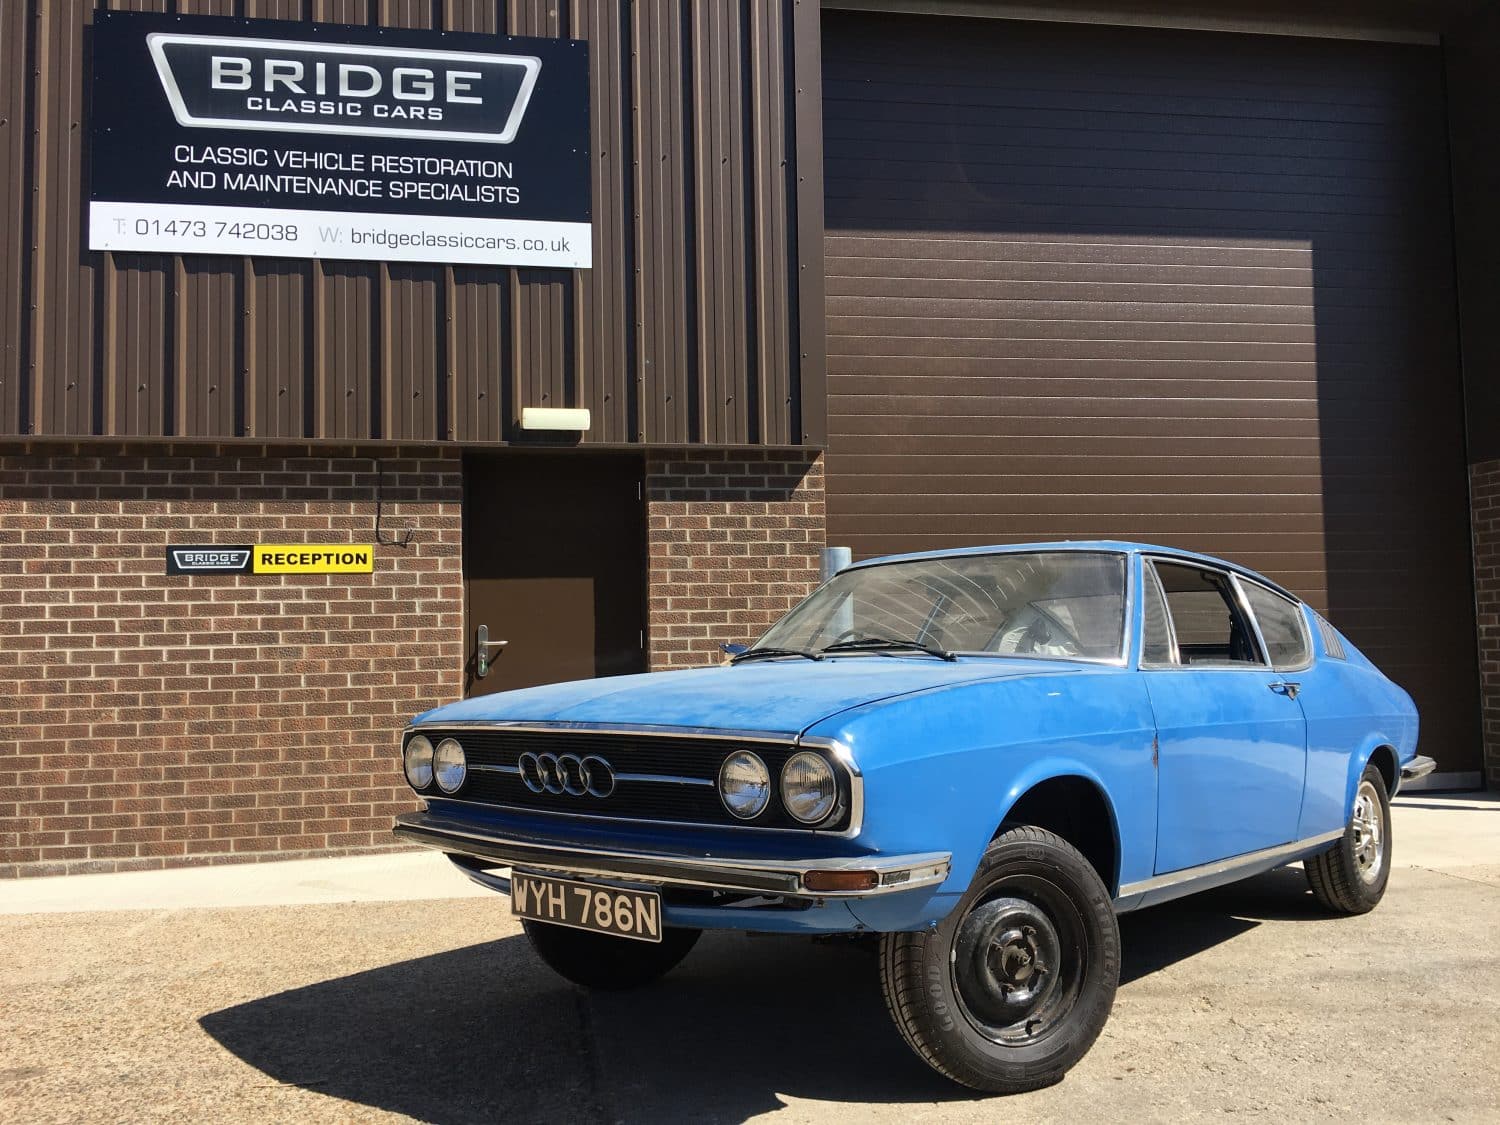
[vc_row][vc_column][vc_column_text]The strip down of our 1974 Audi 100 Coupe S is now in full swing. Andy has been set the task of removing our the
It’s time to bring our 1974 Audi 100 Coupe S into the workshops for the strip down to commence.

In our workshops this week we have a 1987 Lada Riva with some running issues. The car looked and felt to be starving of fuel

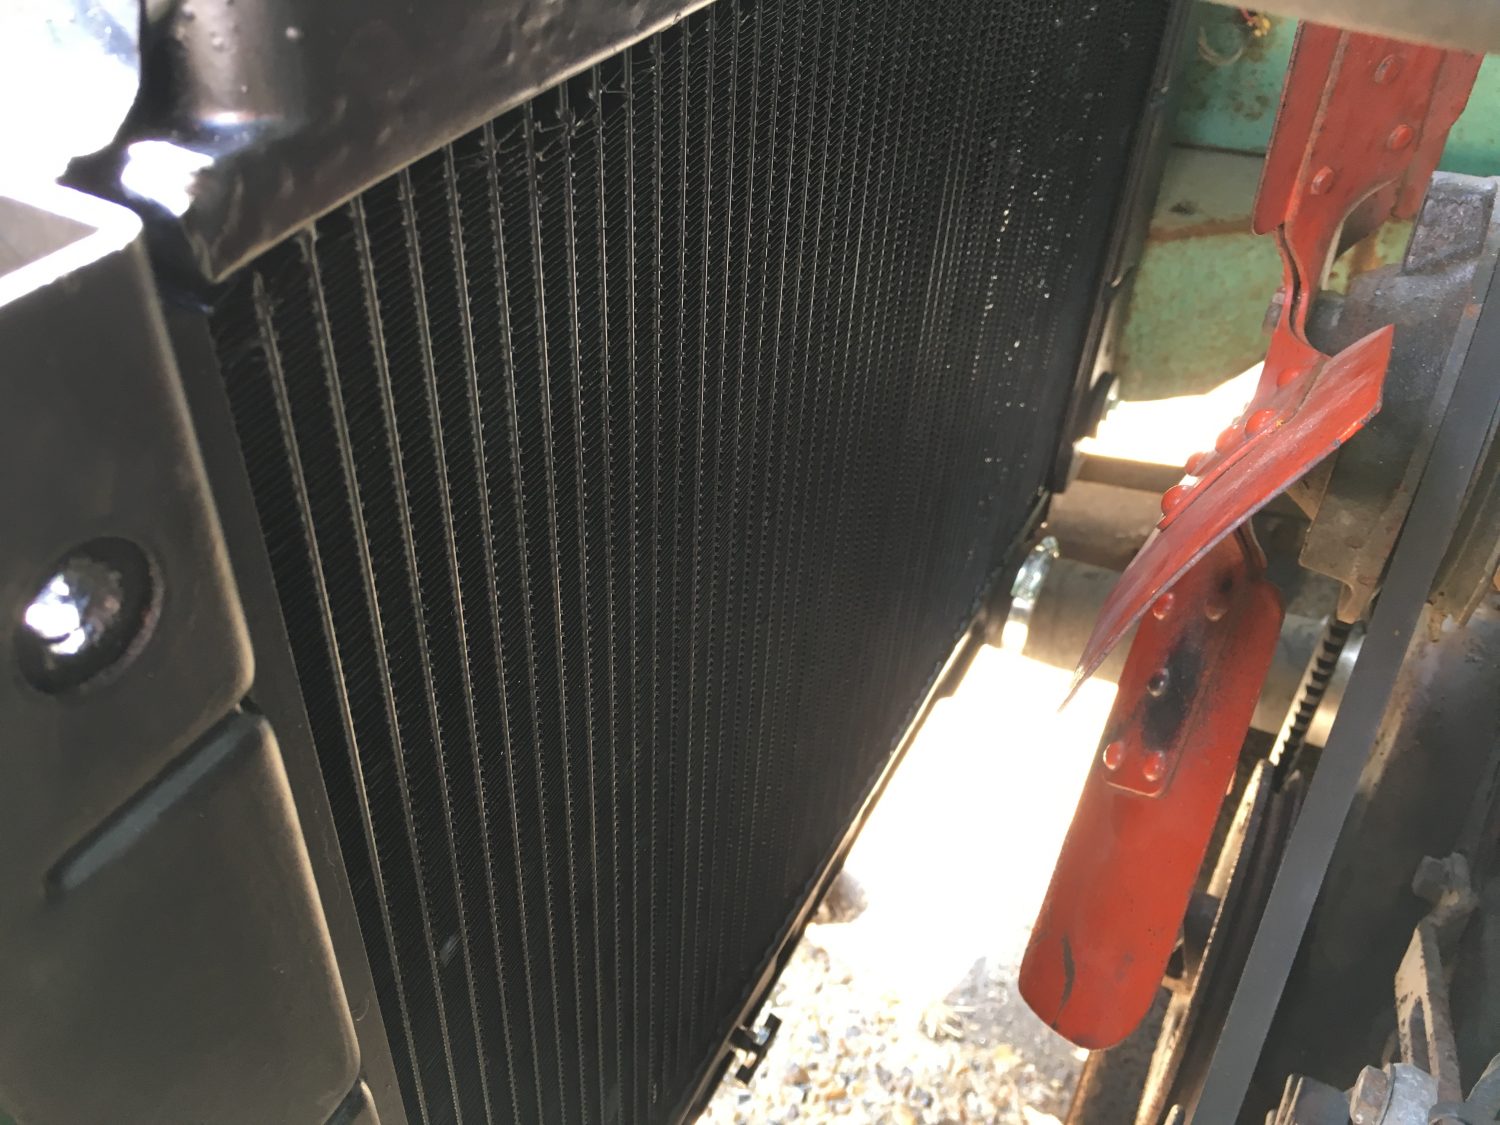
Our 1971 Bedford J Series truck arrived in with us in desperate need of a radiator overhaul. Thanks to the guys at Sheldrake & Wells in
[vc_row][vc_column][vc_column_text]We had an issue to resolve on our 1954 MGTF, the seat was permanently stuck in position and would not move forward or back. Upon
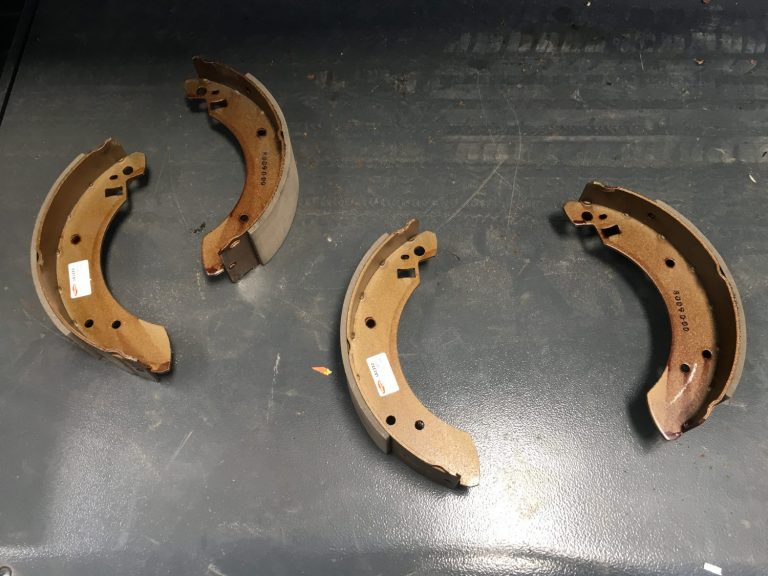
The new brakes have arrived today for the Capri so we are one step closer to having her back on the road looking gorgeous.
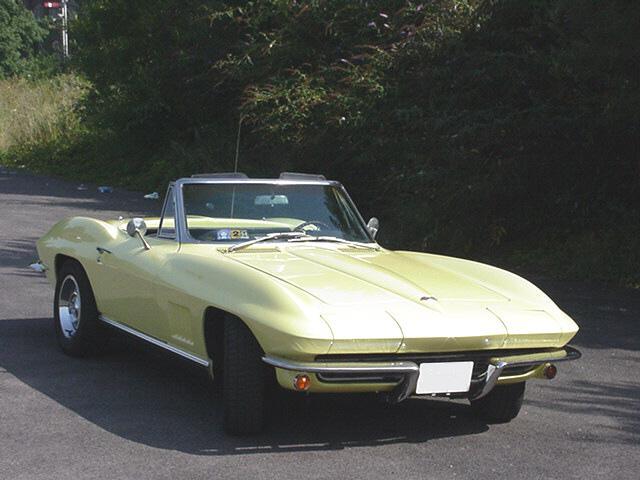
Confirmed: Sean with his 1967 Chevrolet Corvette Stingray.

Just as we were ready to return this beauty back to her owner we discovered a slight weep from the sump. The gasket has deteriorated

Just waiting on the door cards to be completed but we have made a really good start with the refit of the Jensen interior. We
Source: Railton Owner’s Club Always fit a new cylinder head gasket, and make sure all the holes line up properly. Smear a film of non-setting
When you start out with a full restoration you have all good intentions to stick to the plan and stay within the schedule but inevitably incidents and issues arise that are not expected. Your plans therefore have to change.
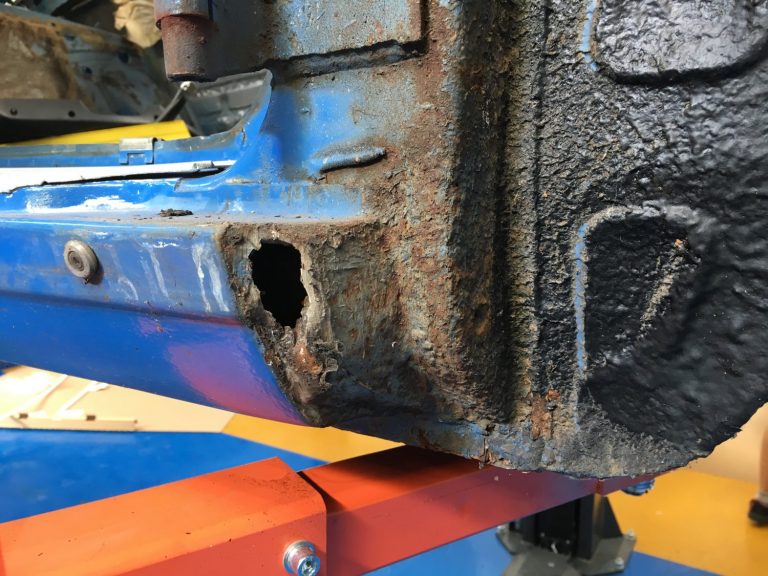
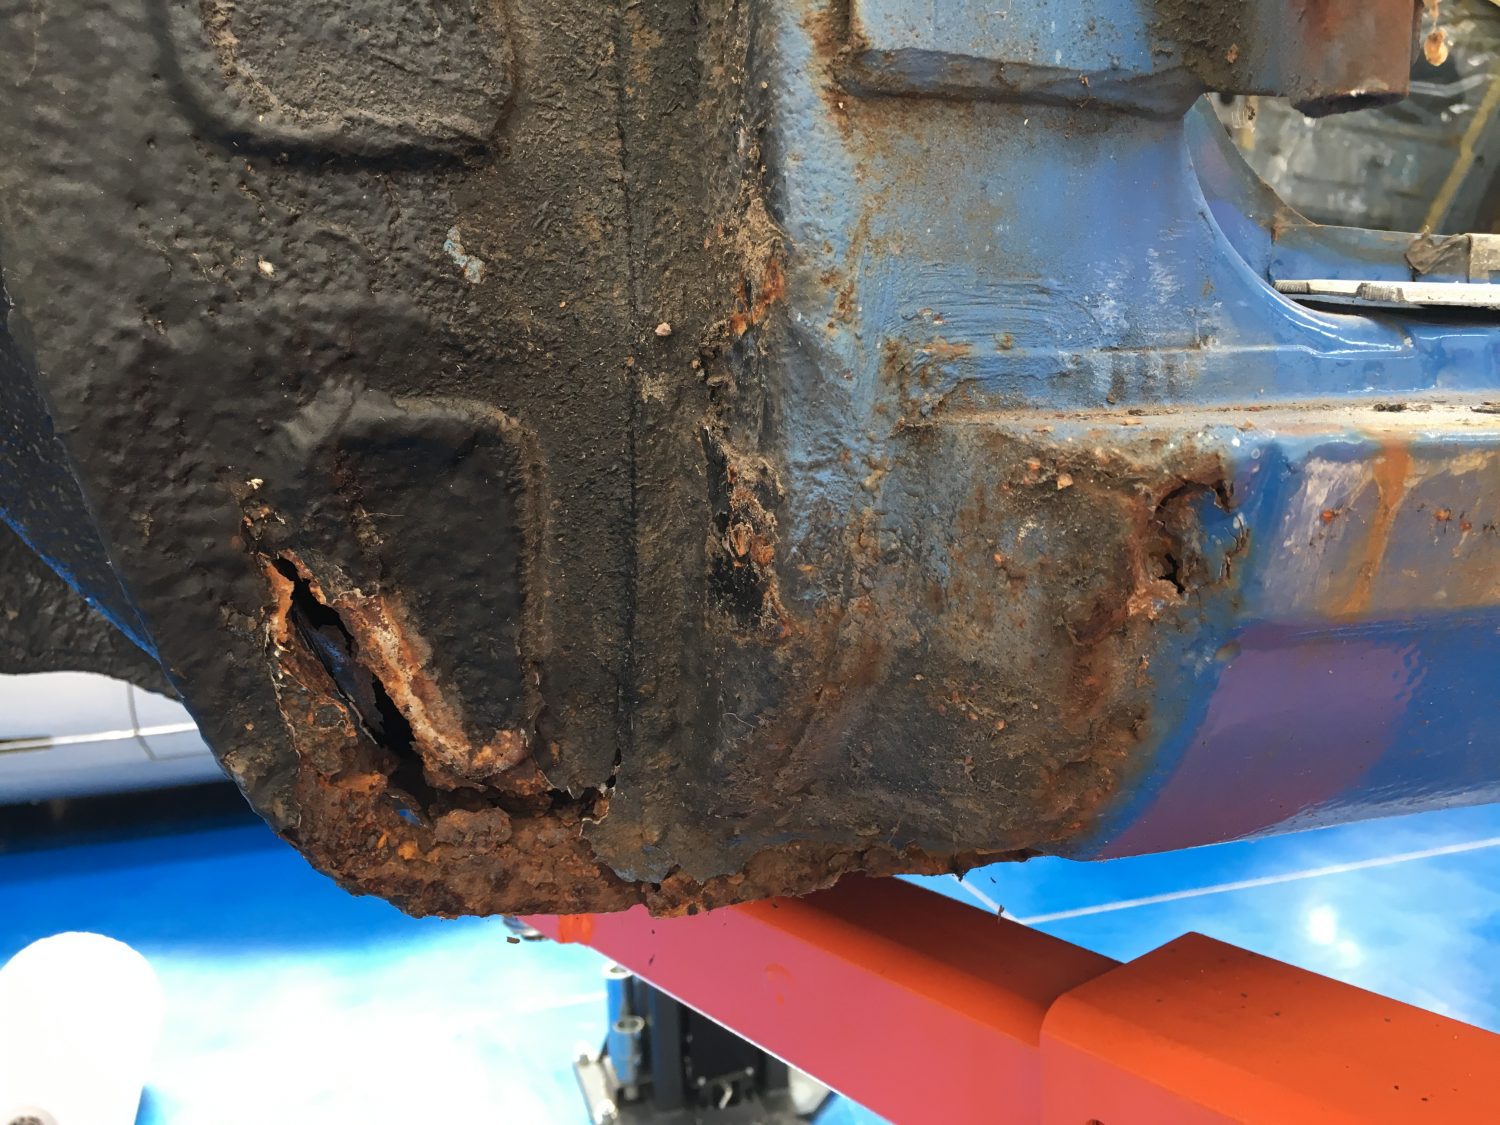
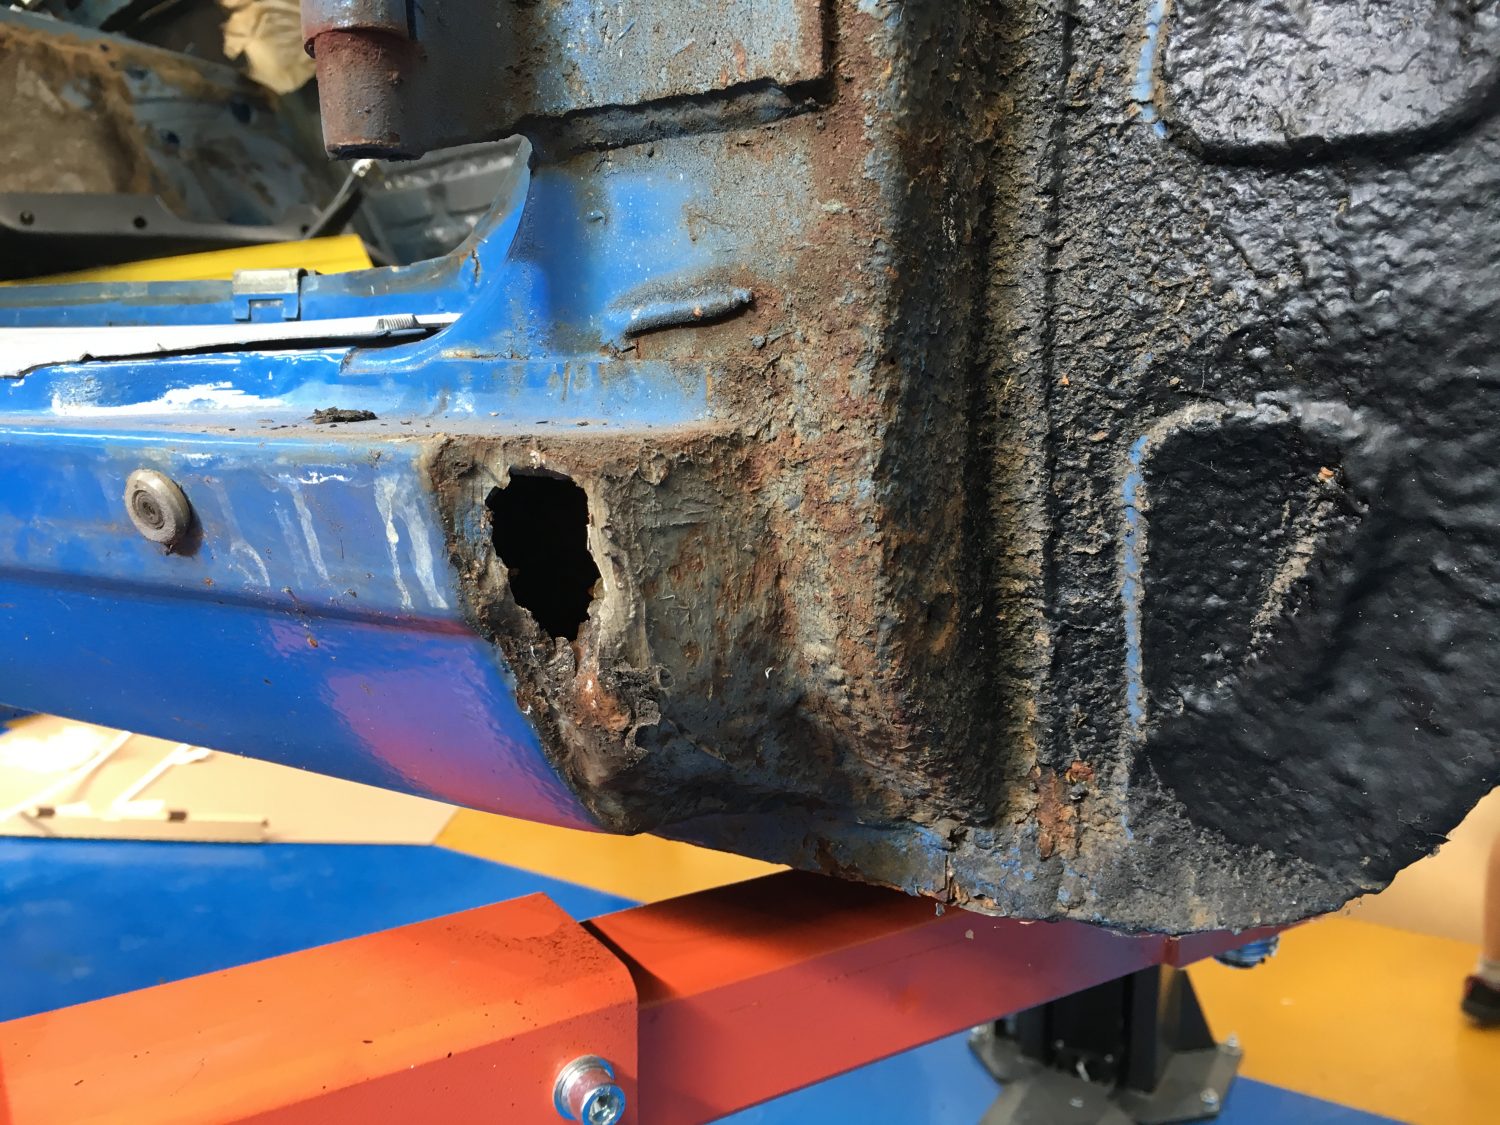
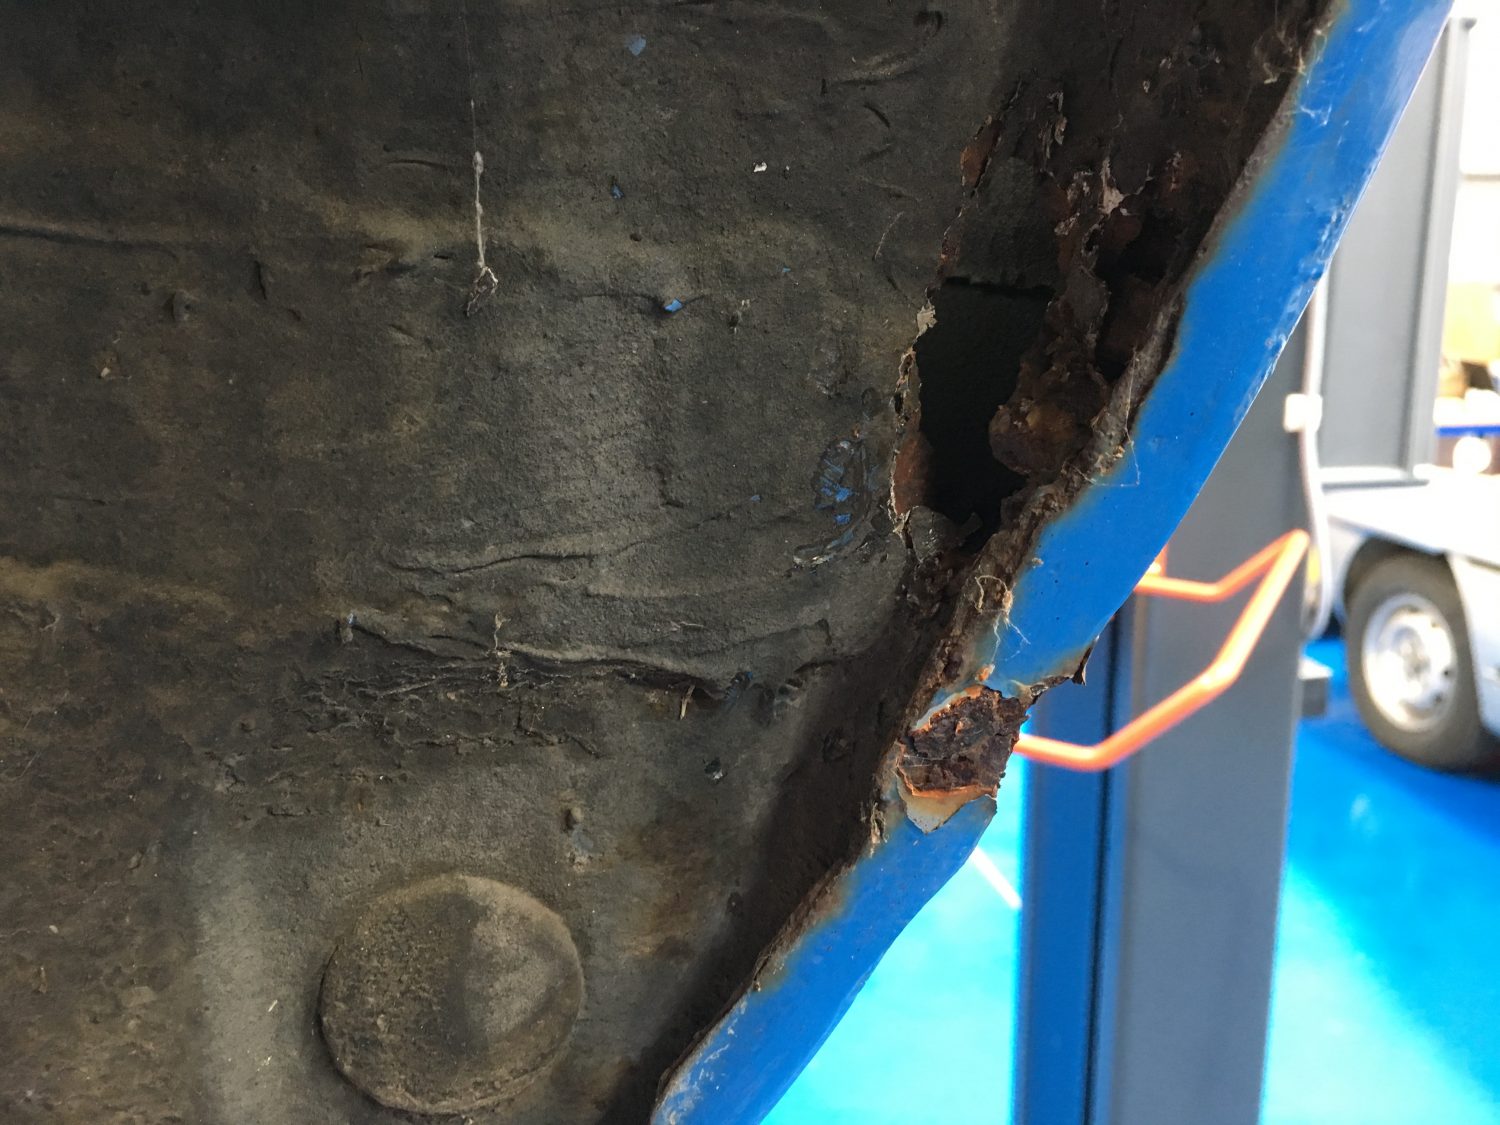
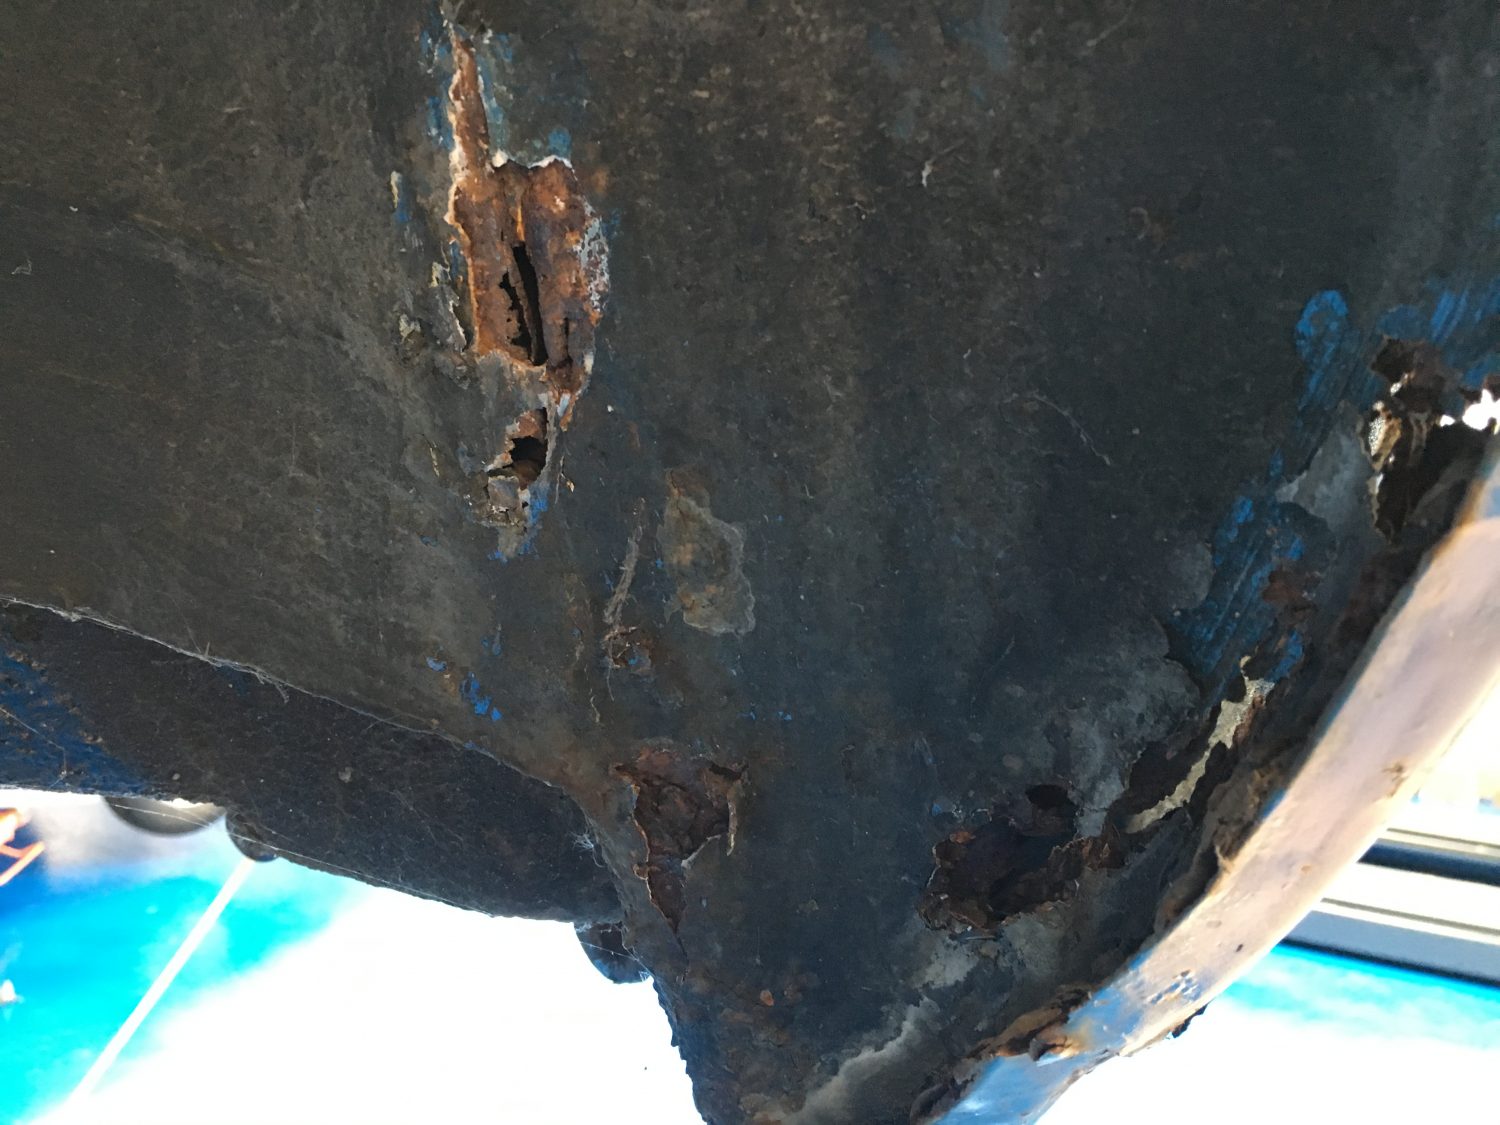
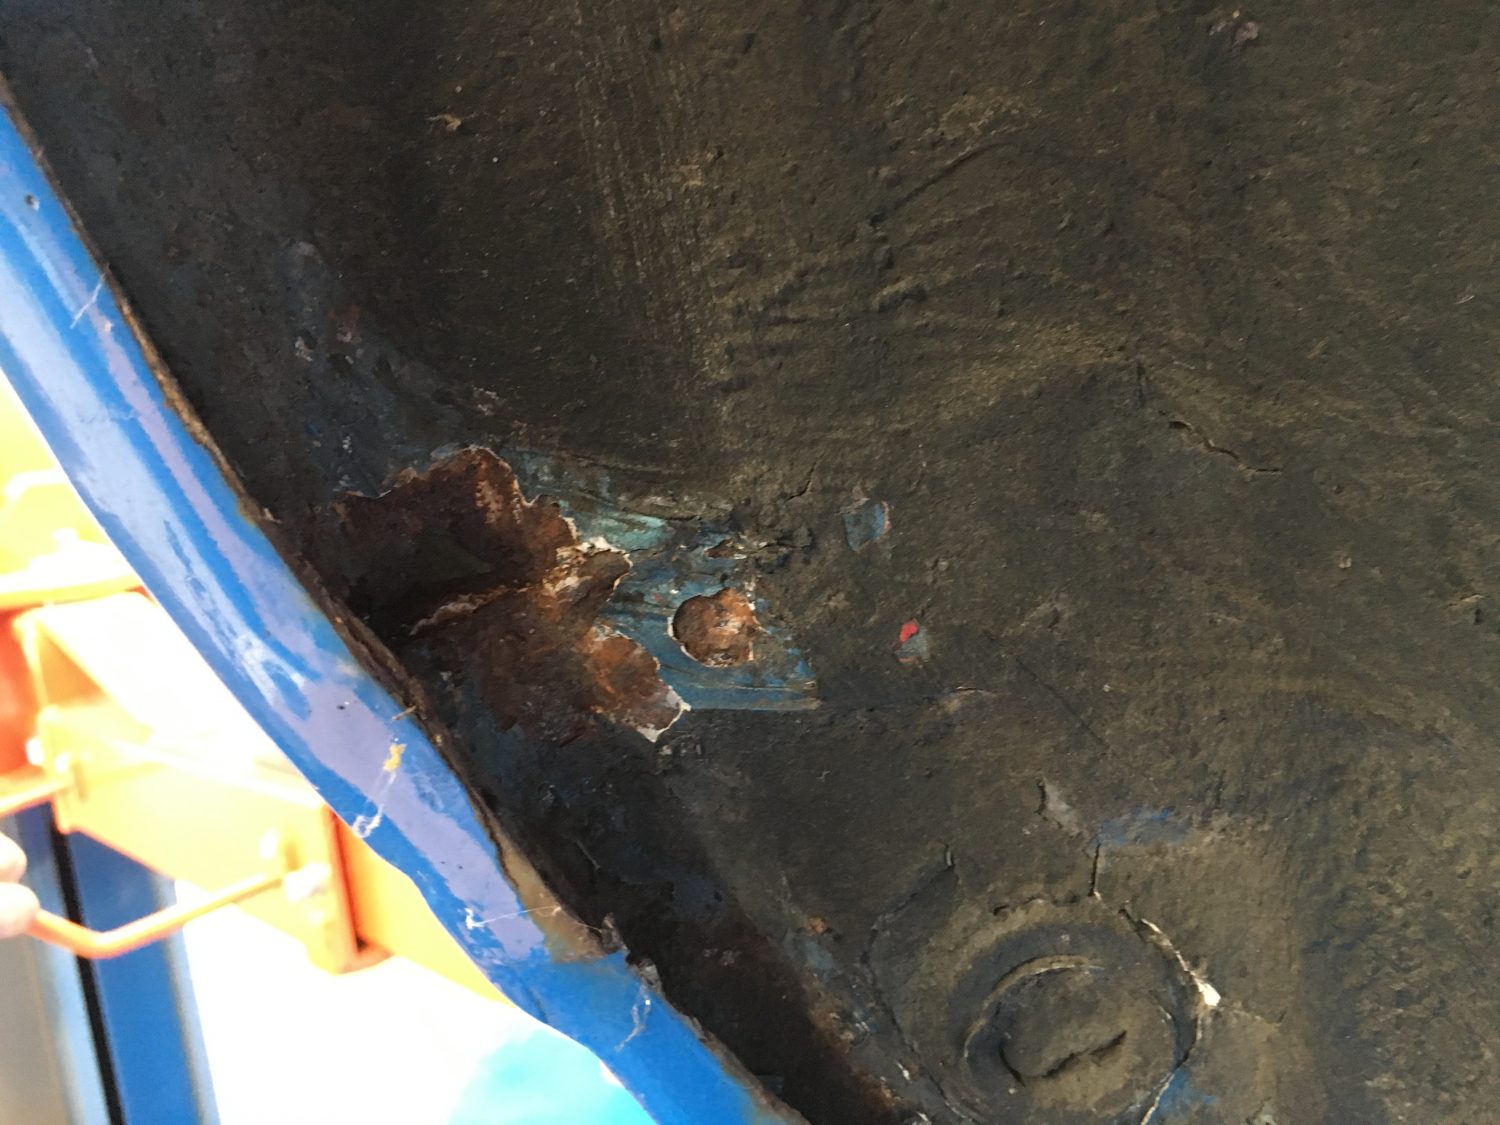
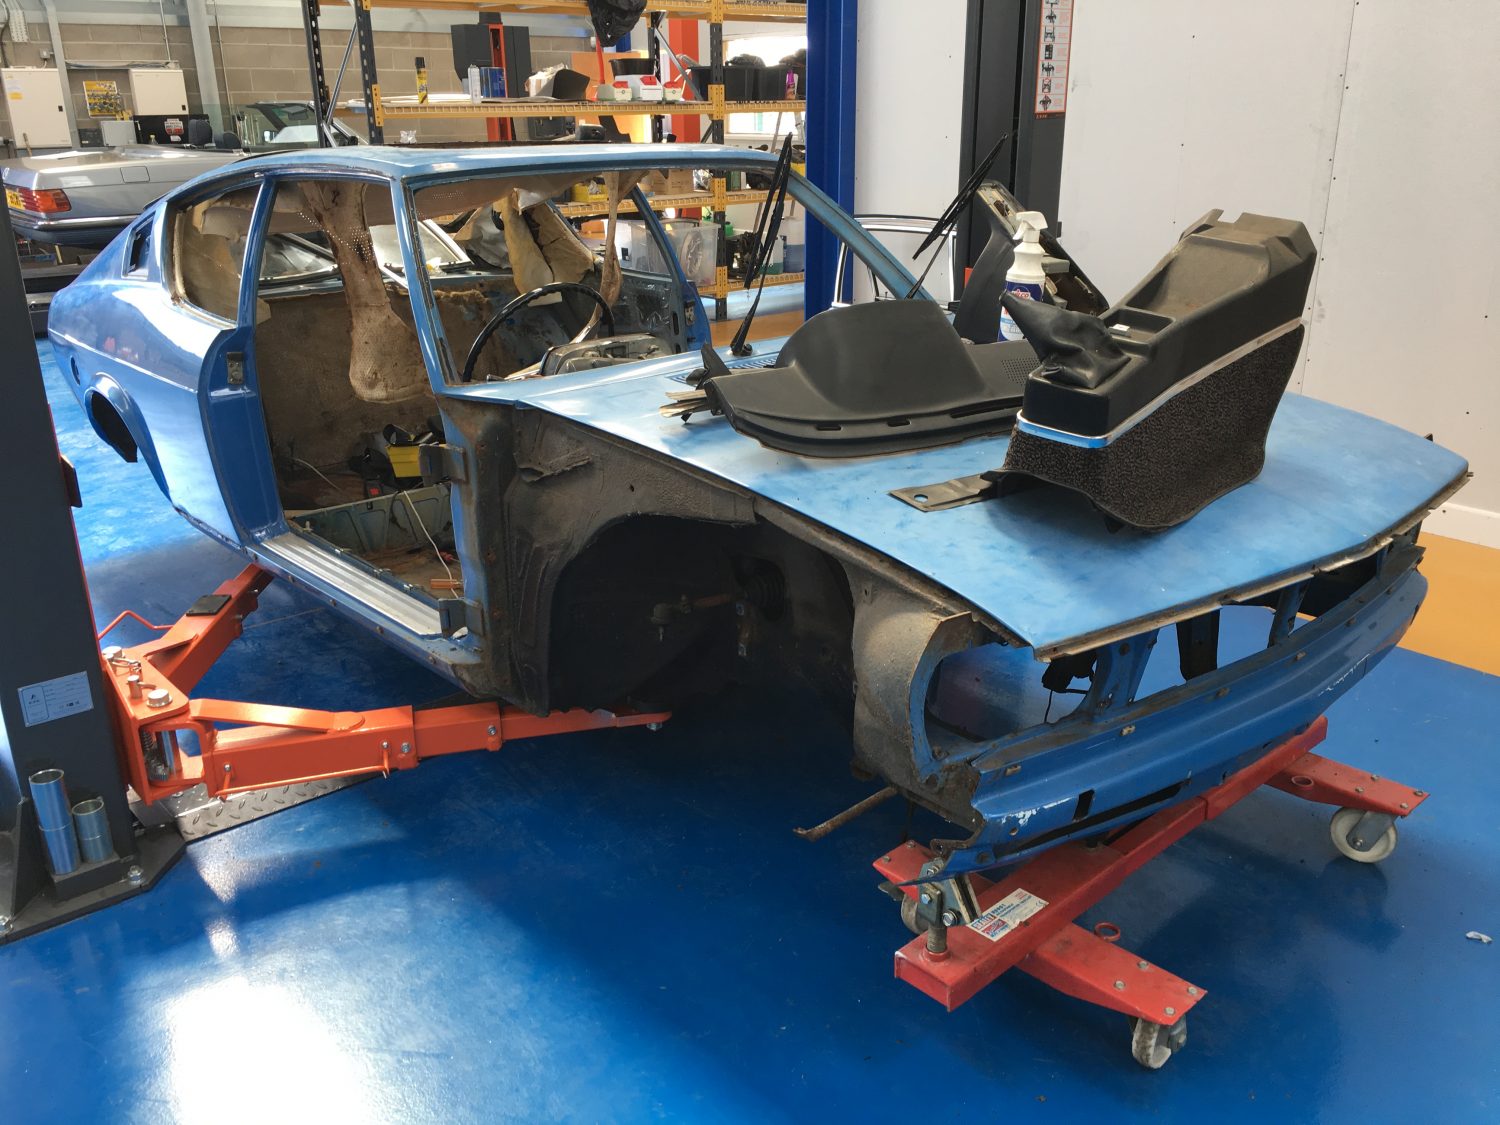
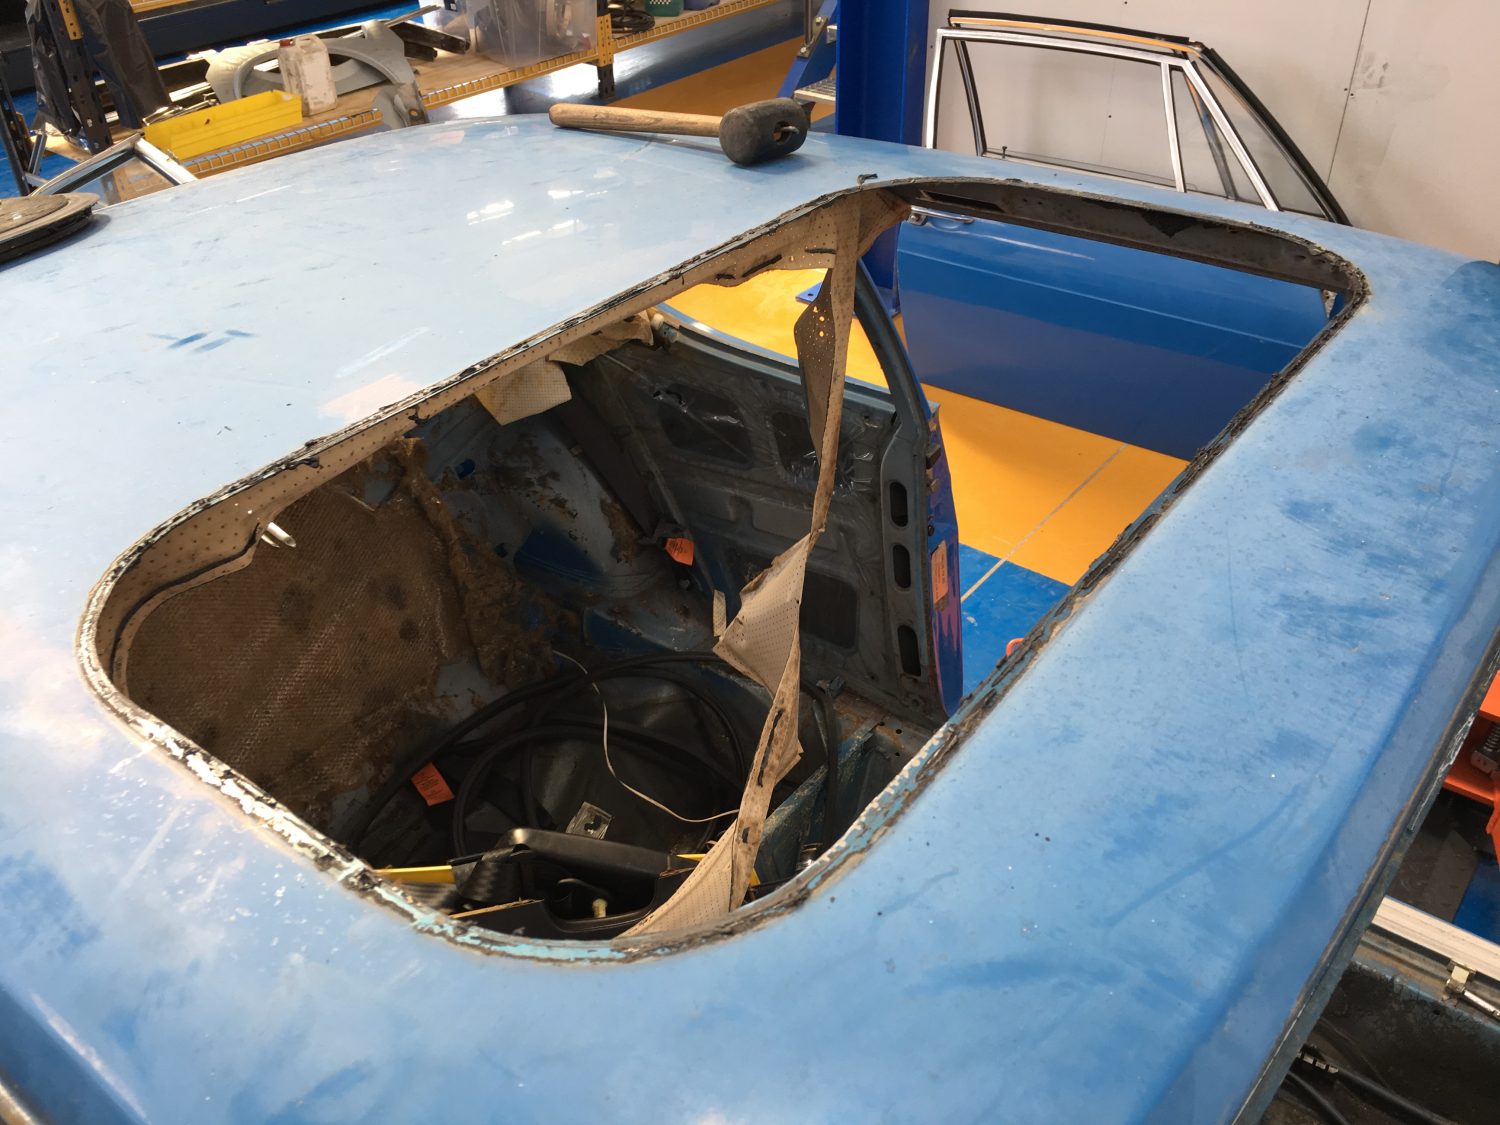
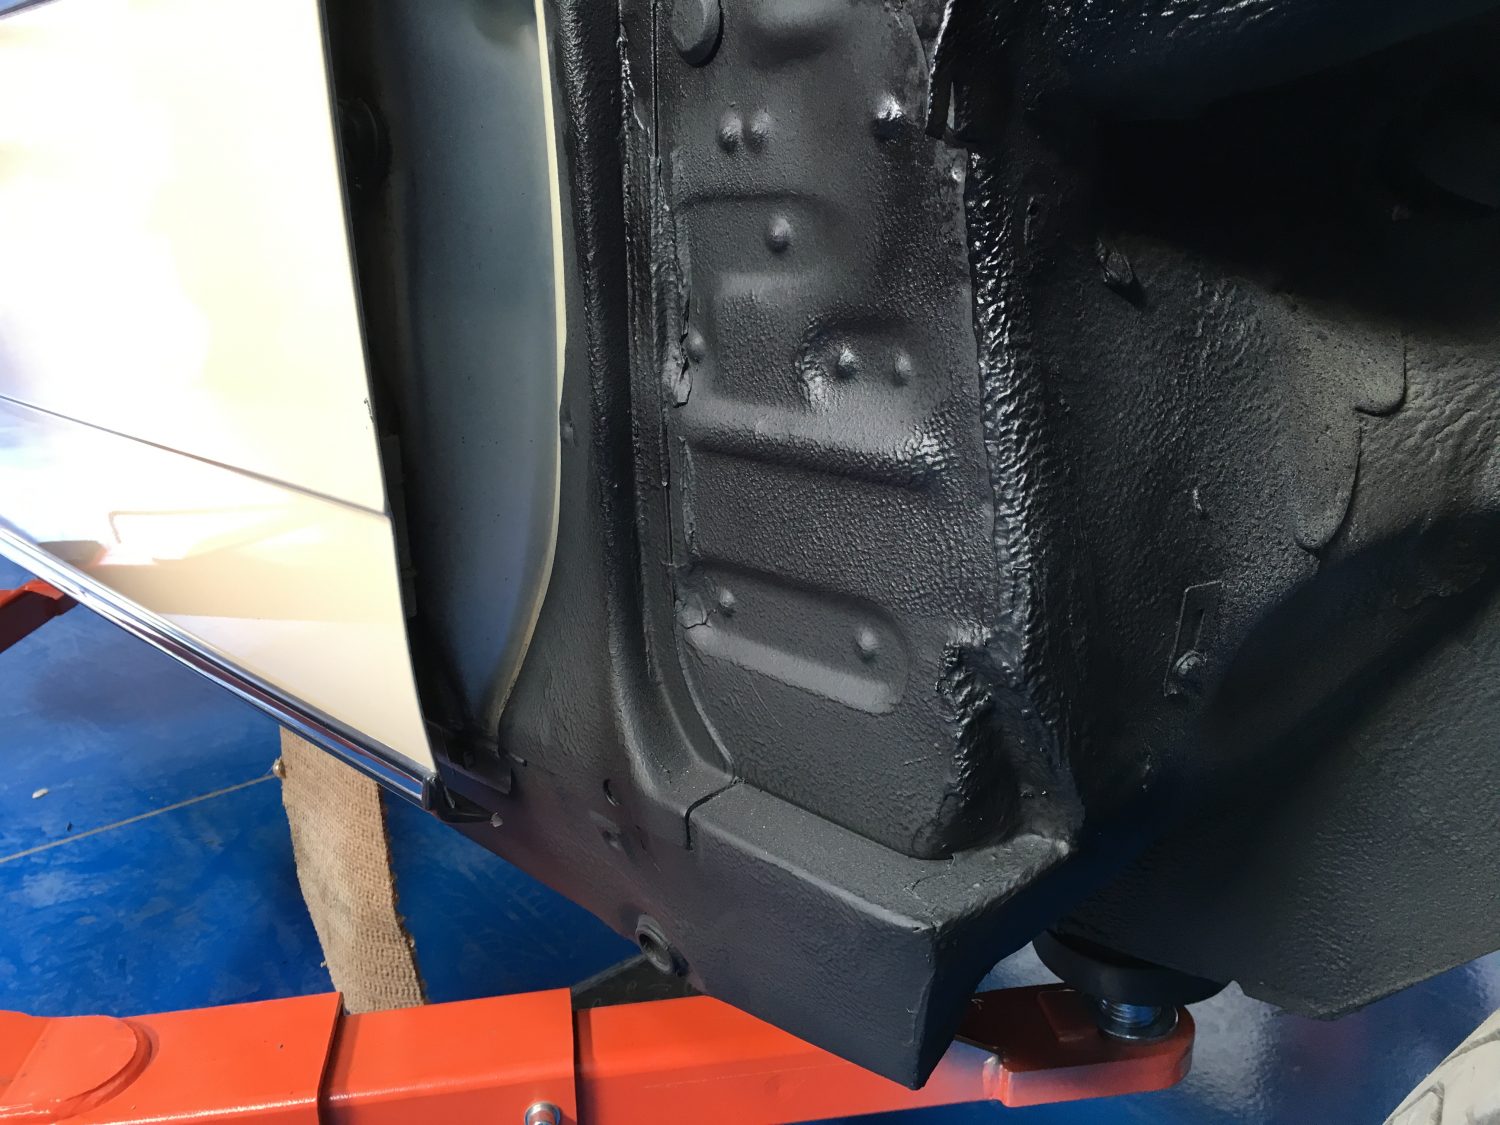
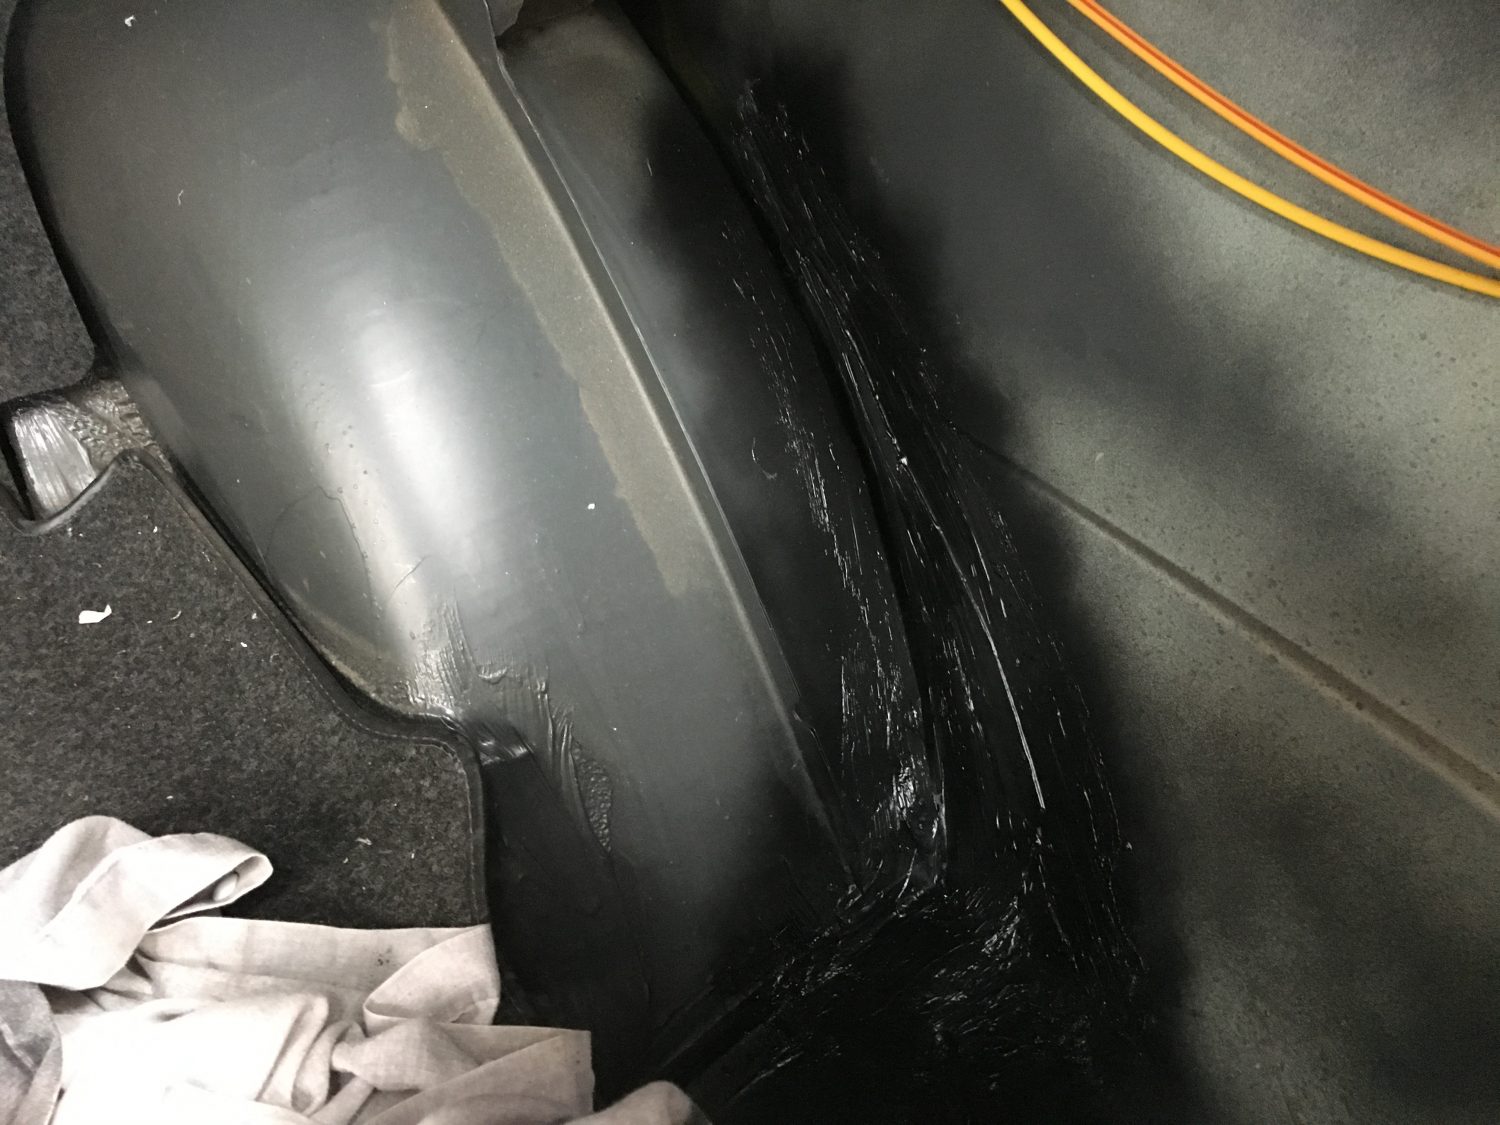
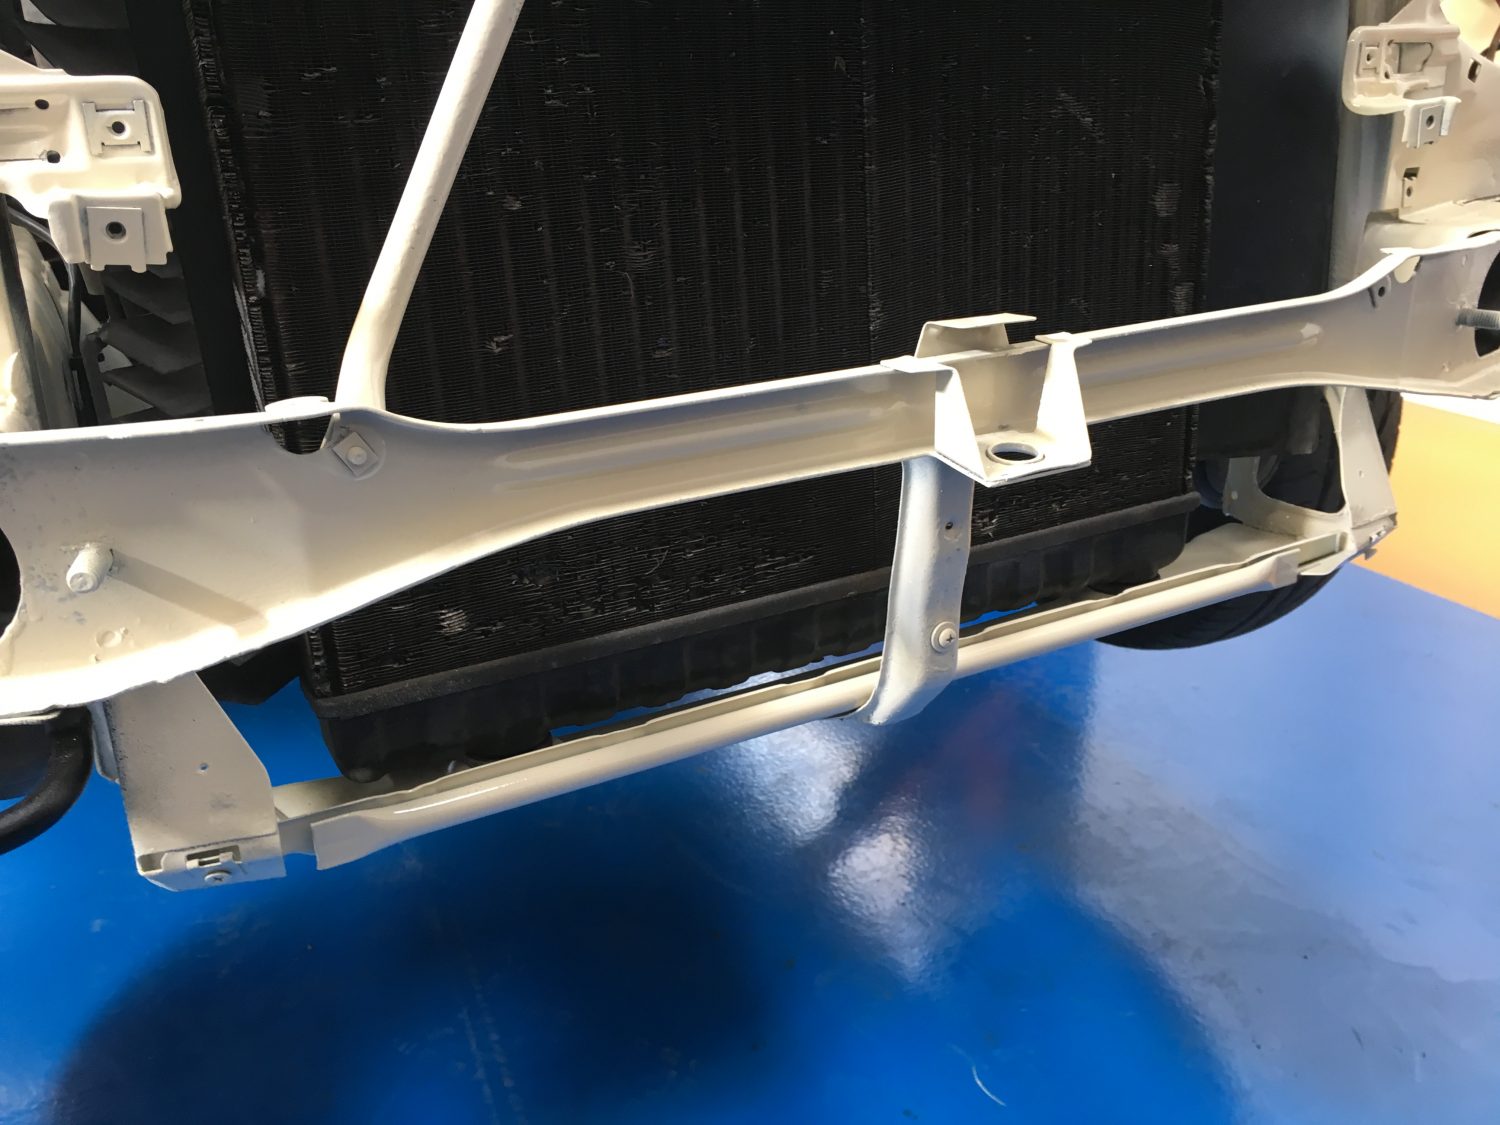
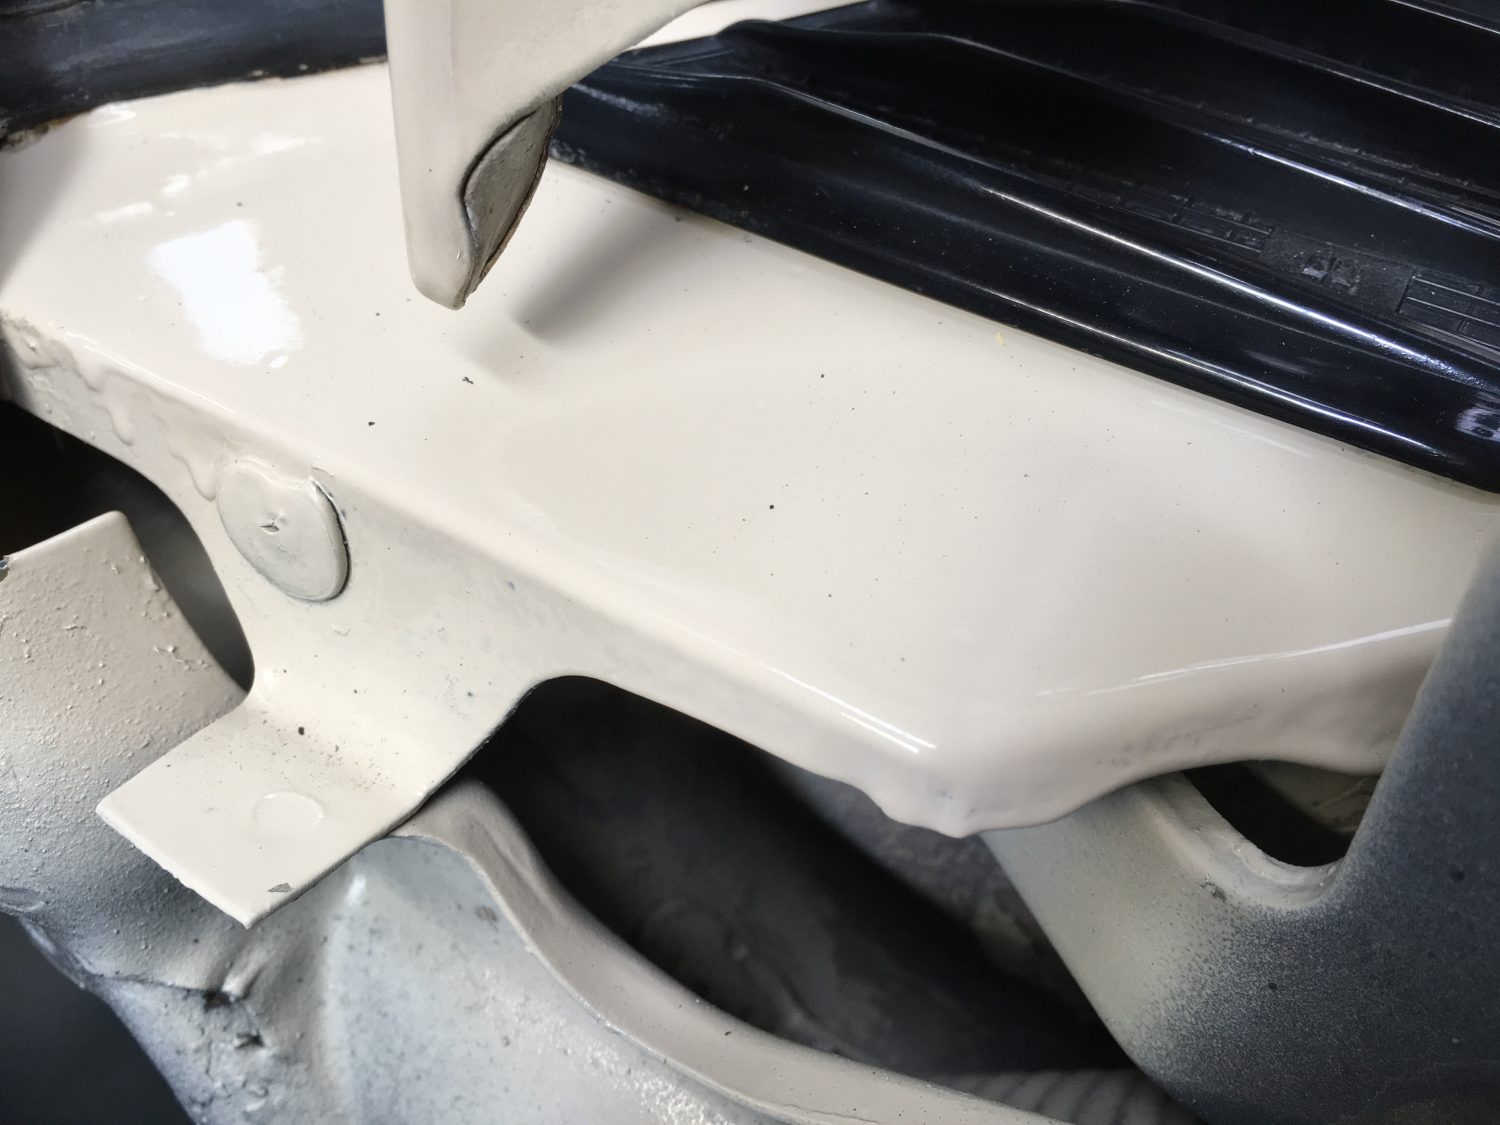
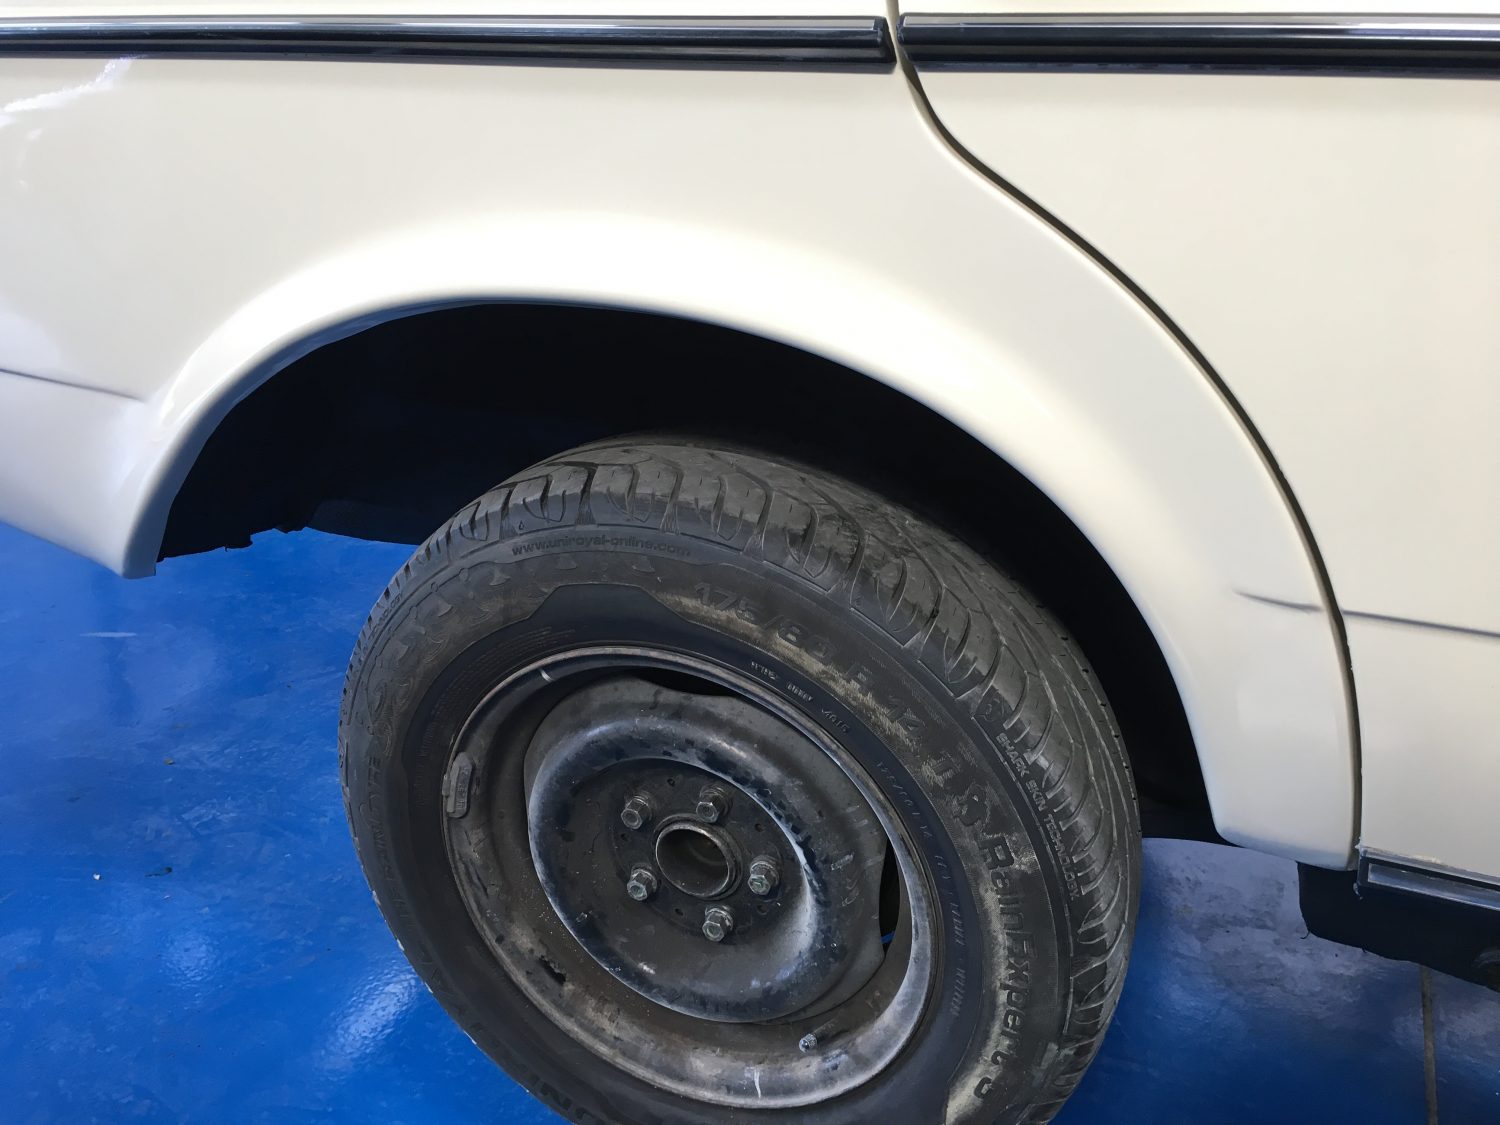
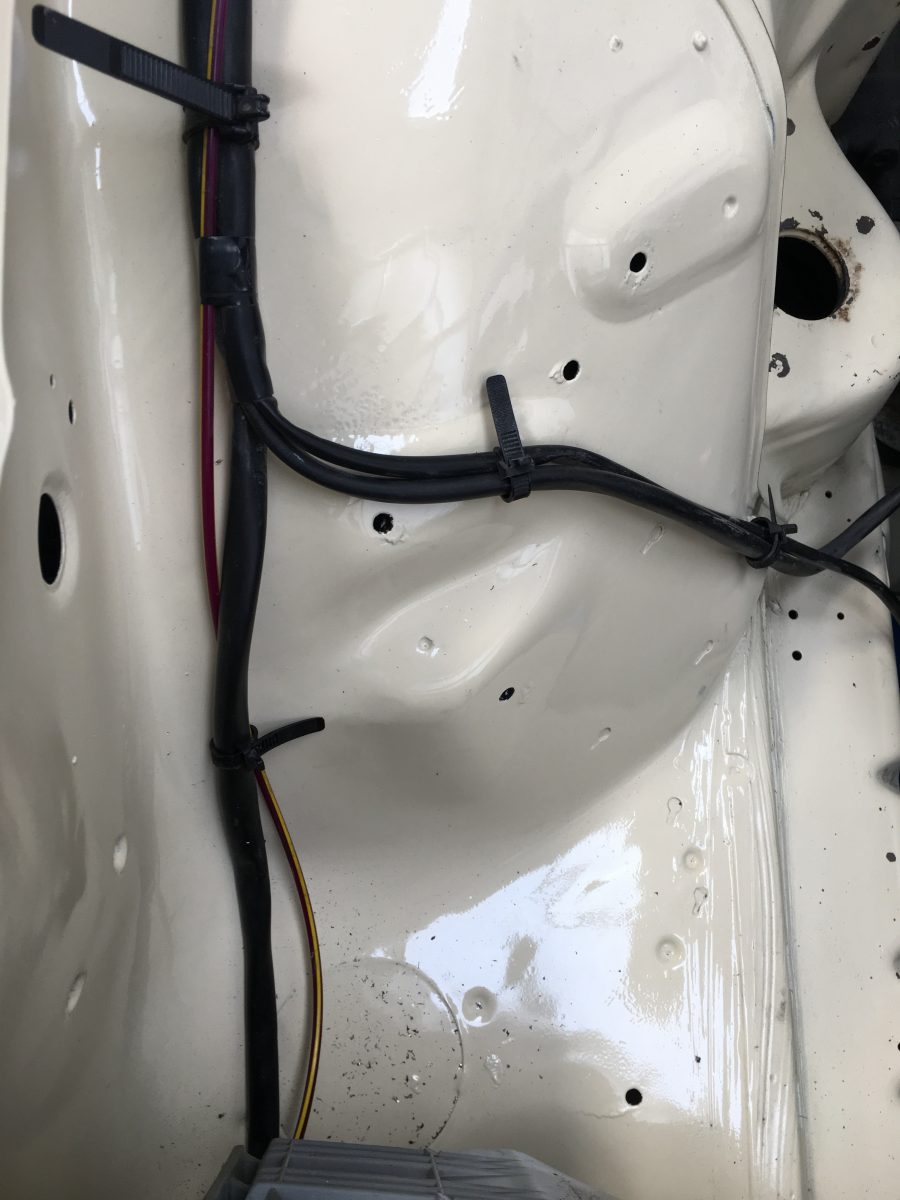
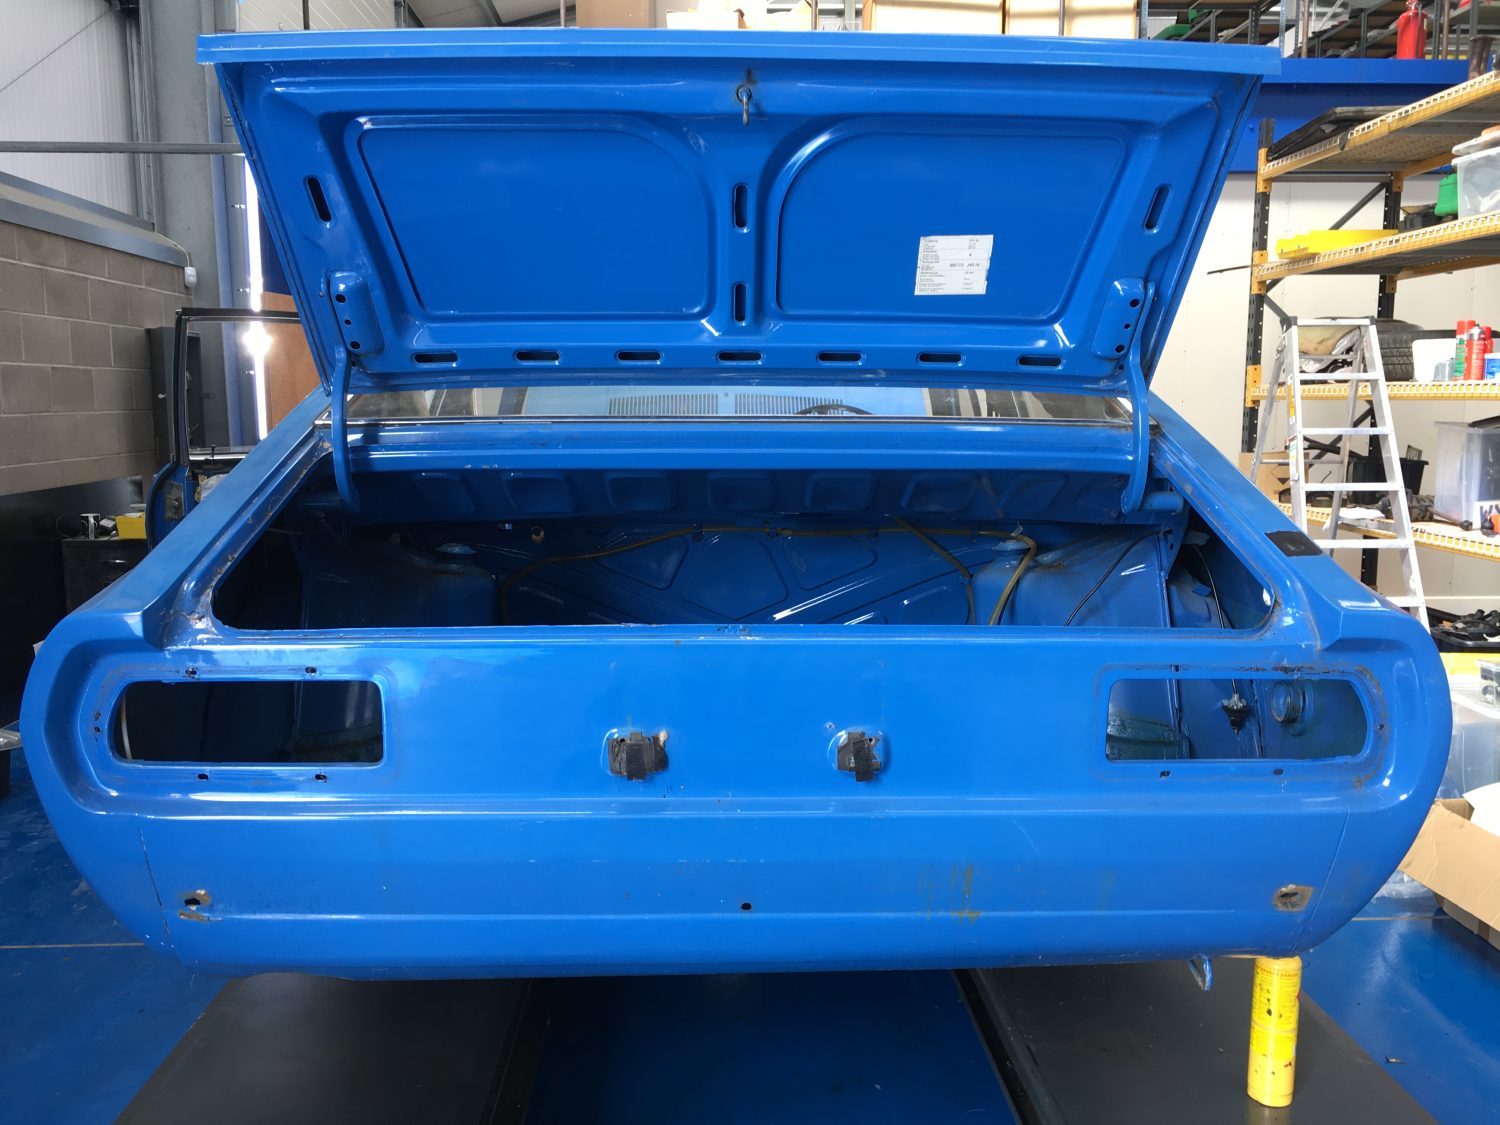
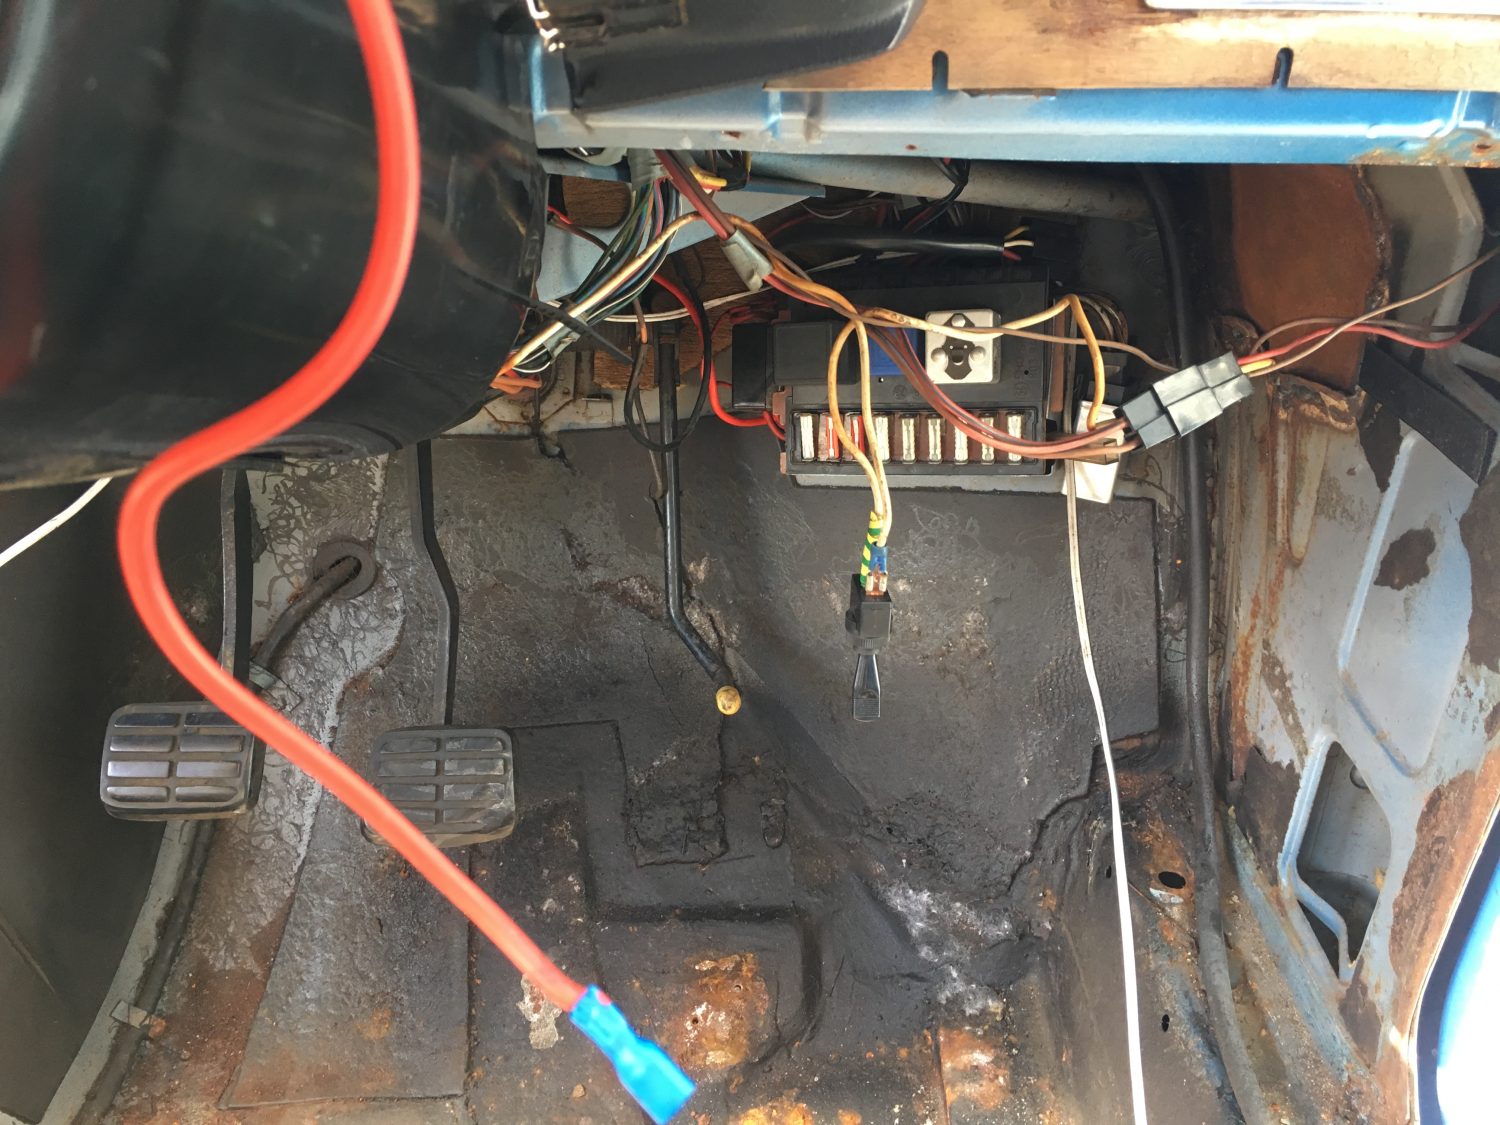
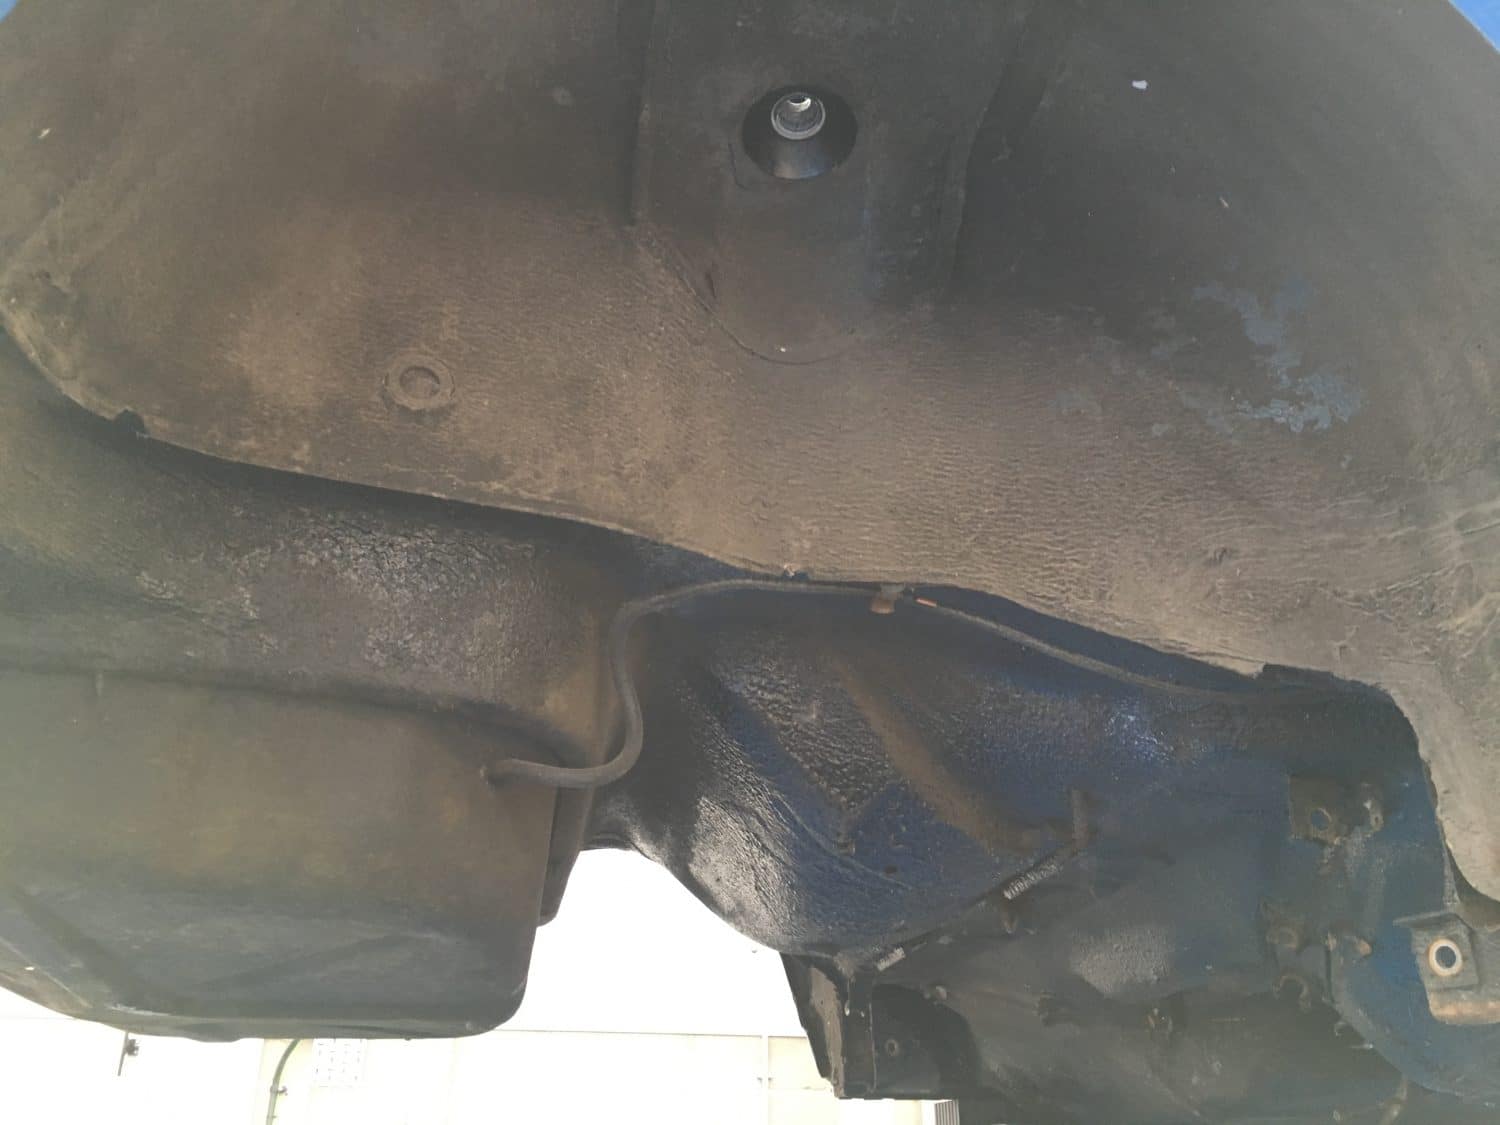
This is definitely the case with our 1974 Audi 100 Coupe. We started off the week flying. Having the car almost stripped within days we were left with a car that looked relatively solid.
Once we started the welding stage this is where we began to uncover lots of hidden nasties, mainly with rotten panels and holes appearing from nowhere.
Before we continue with the project we have decided to arrange for the car to chemically dipped to ensure all areas are uncovered so we know exactly what we are dealing with.


Prostrip automotive restoration specialise in removing paint, rust and other contaminants from all types of vehicles and substrates involving steel and aluminium, ranging from classic cars to vintage motorcycles. Our vast in house facility ensures we have the correct and most cost effective process to suit your application.
Prostrip Ltd. has developed Phos-Strip™ a chemical dip process for the removal of paint, rust and underseal from complete car shells or individual panels. Its chemical formulation strips away contaminants from all internal and external areas.
As a company we are pleased to offer a complete service and are proud to have access to a body shop housed within a modern factory within a few 100 yards of the stripping facility. Dedicated to automotive refinishing we can offer customers a complete package from start to finish.
So we continue to strip the car of ALL components now as what’s left the car probably won’t be once the chemical process is complete.

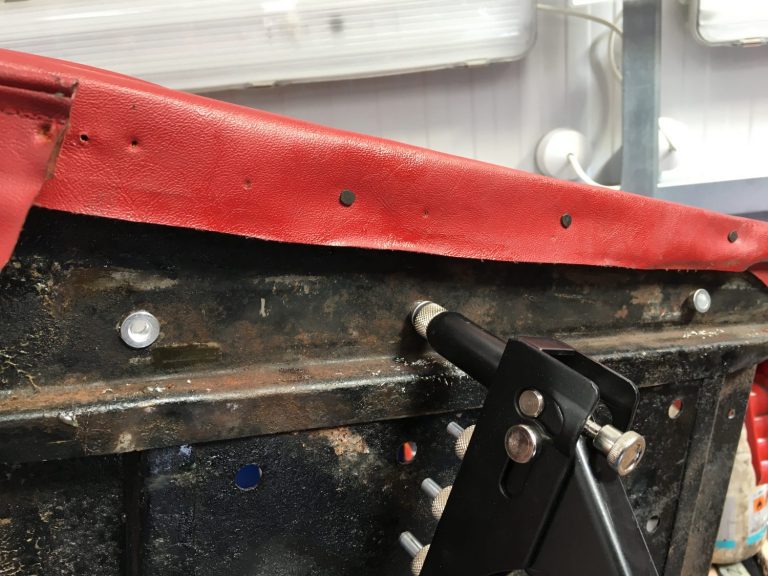
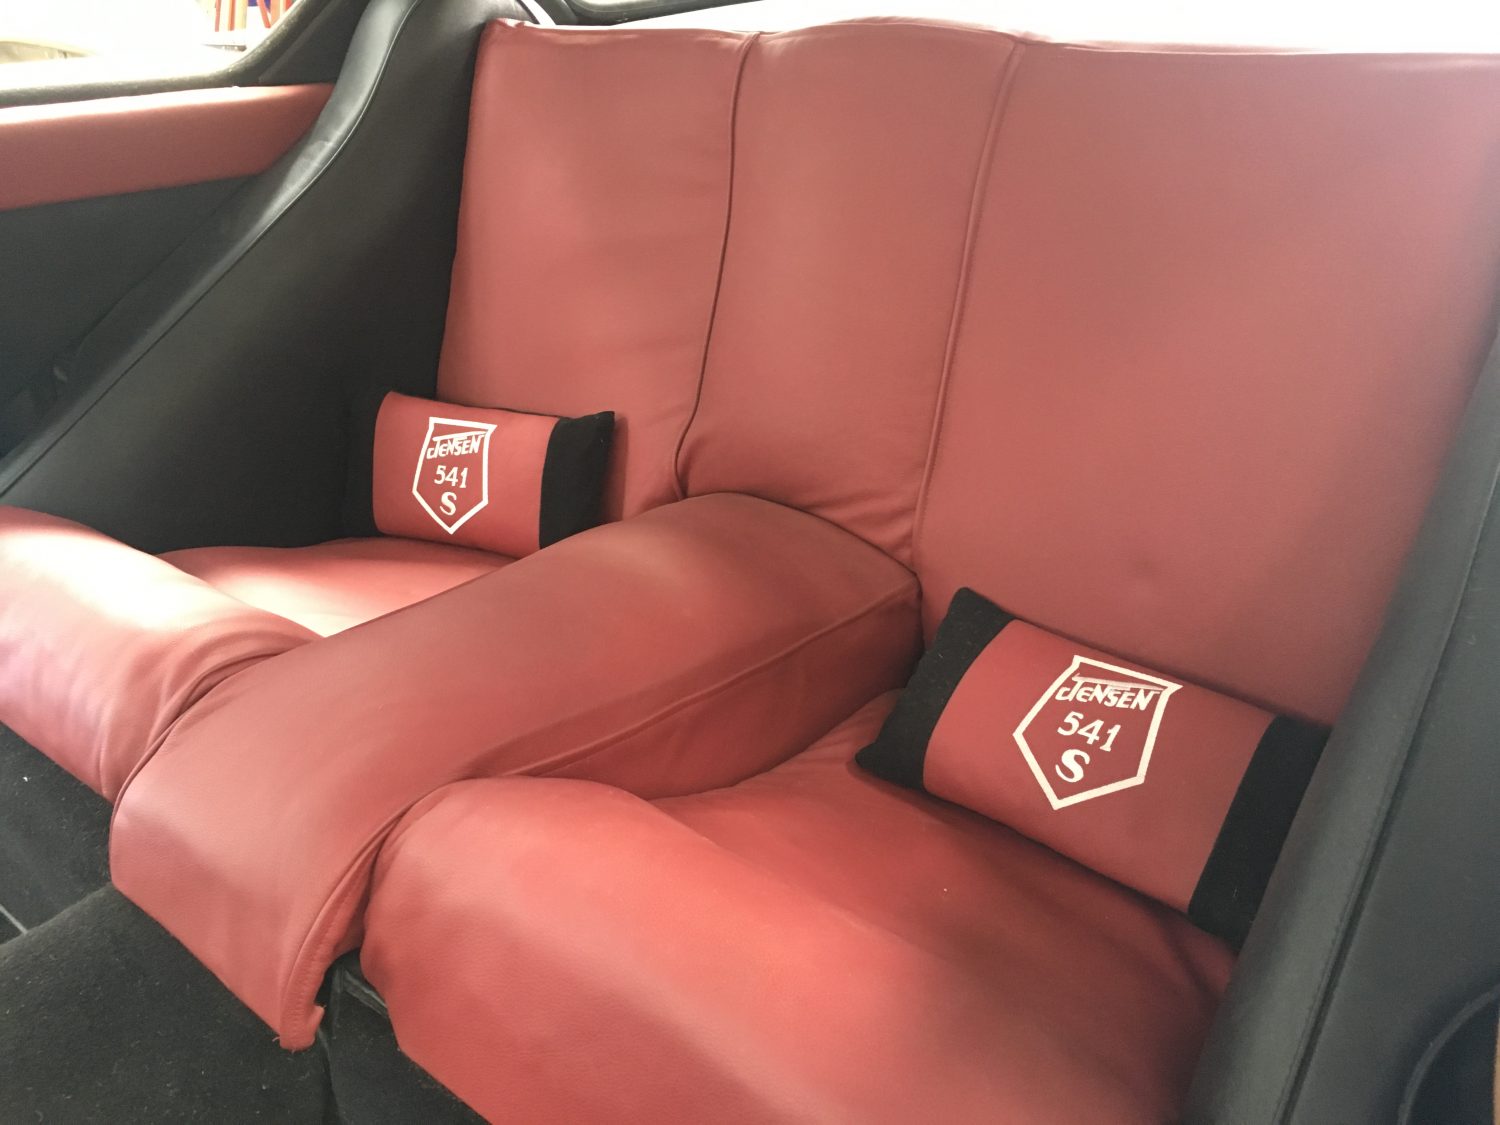
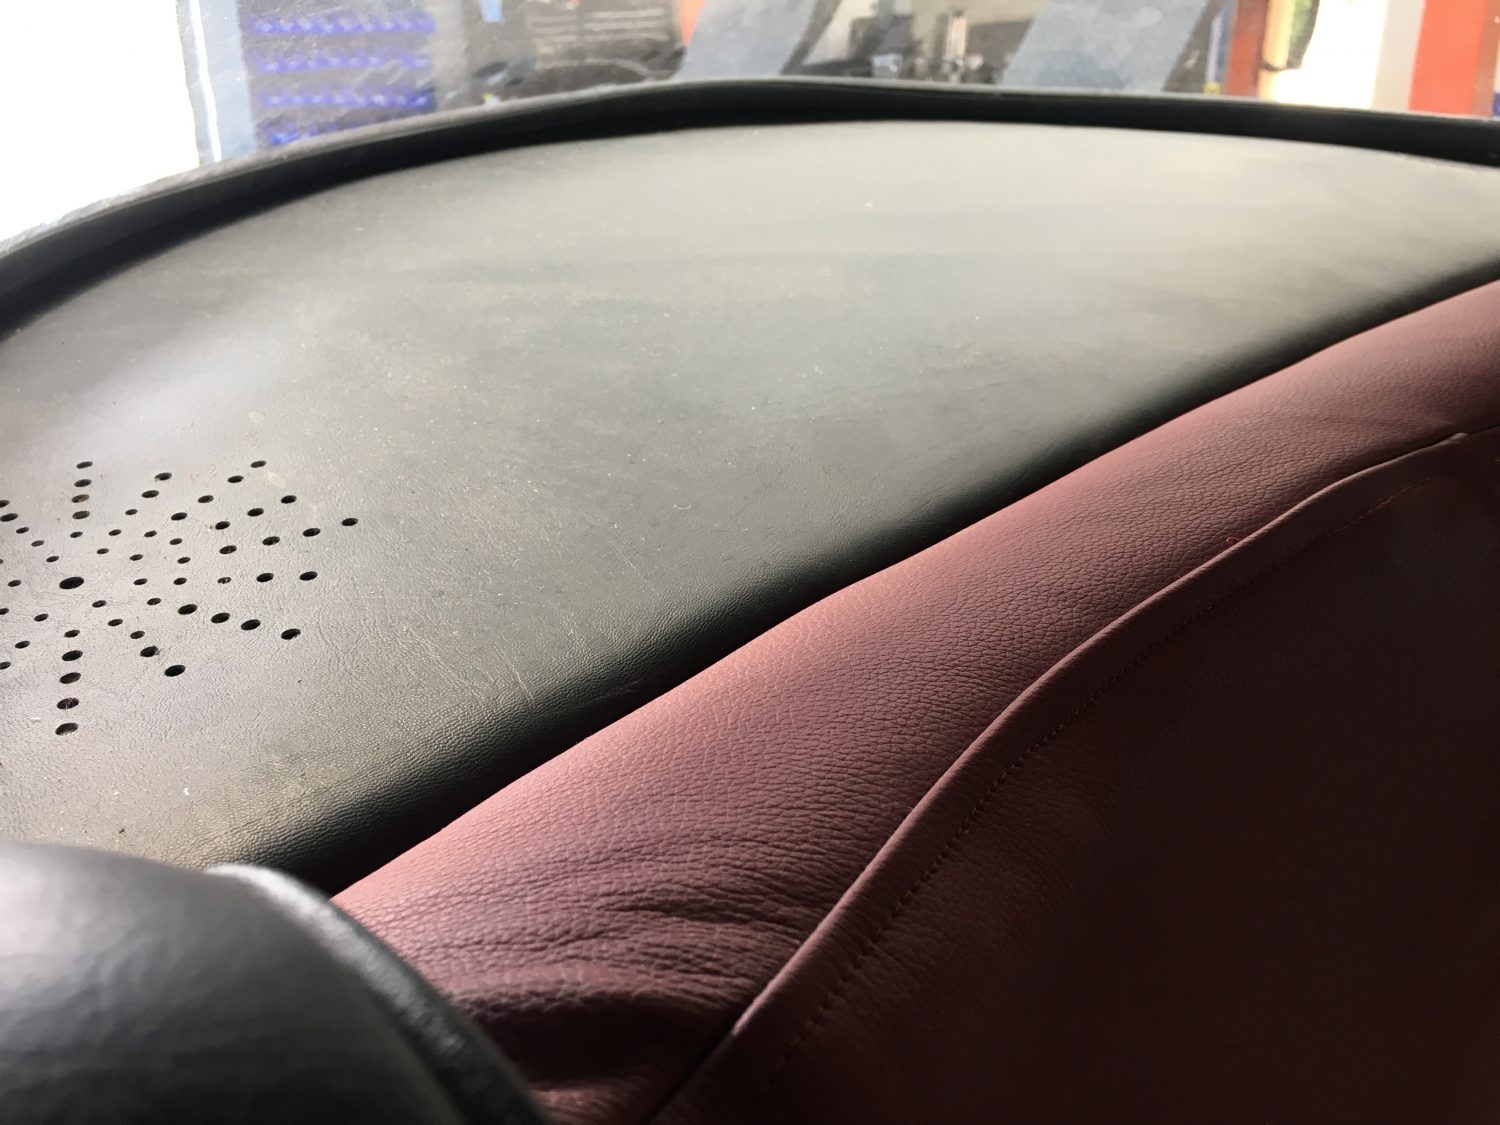
The beautiful door cards are now fitted back into place on our 1960 Jensen 541S.
John is now on the final stages of the build with only small, concentrated areas to focus on now. The final parts of the chrome-work will be back with us early next week.

Confirmed: Shaun will be returning to our workshops with his 1965 Jaguar E-Type.

Also confirmed this morning is Francis with the 1983 Mercedes 230E

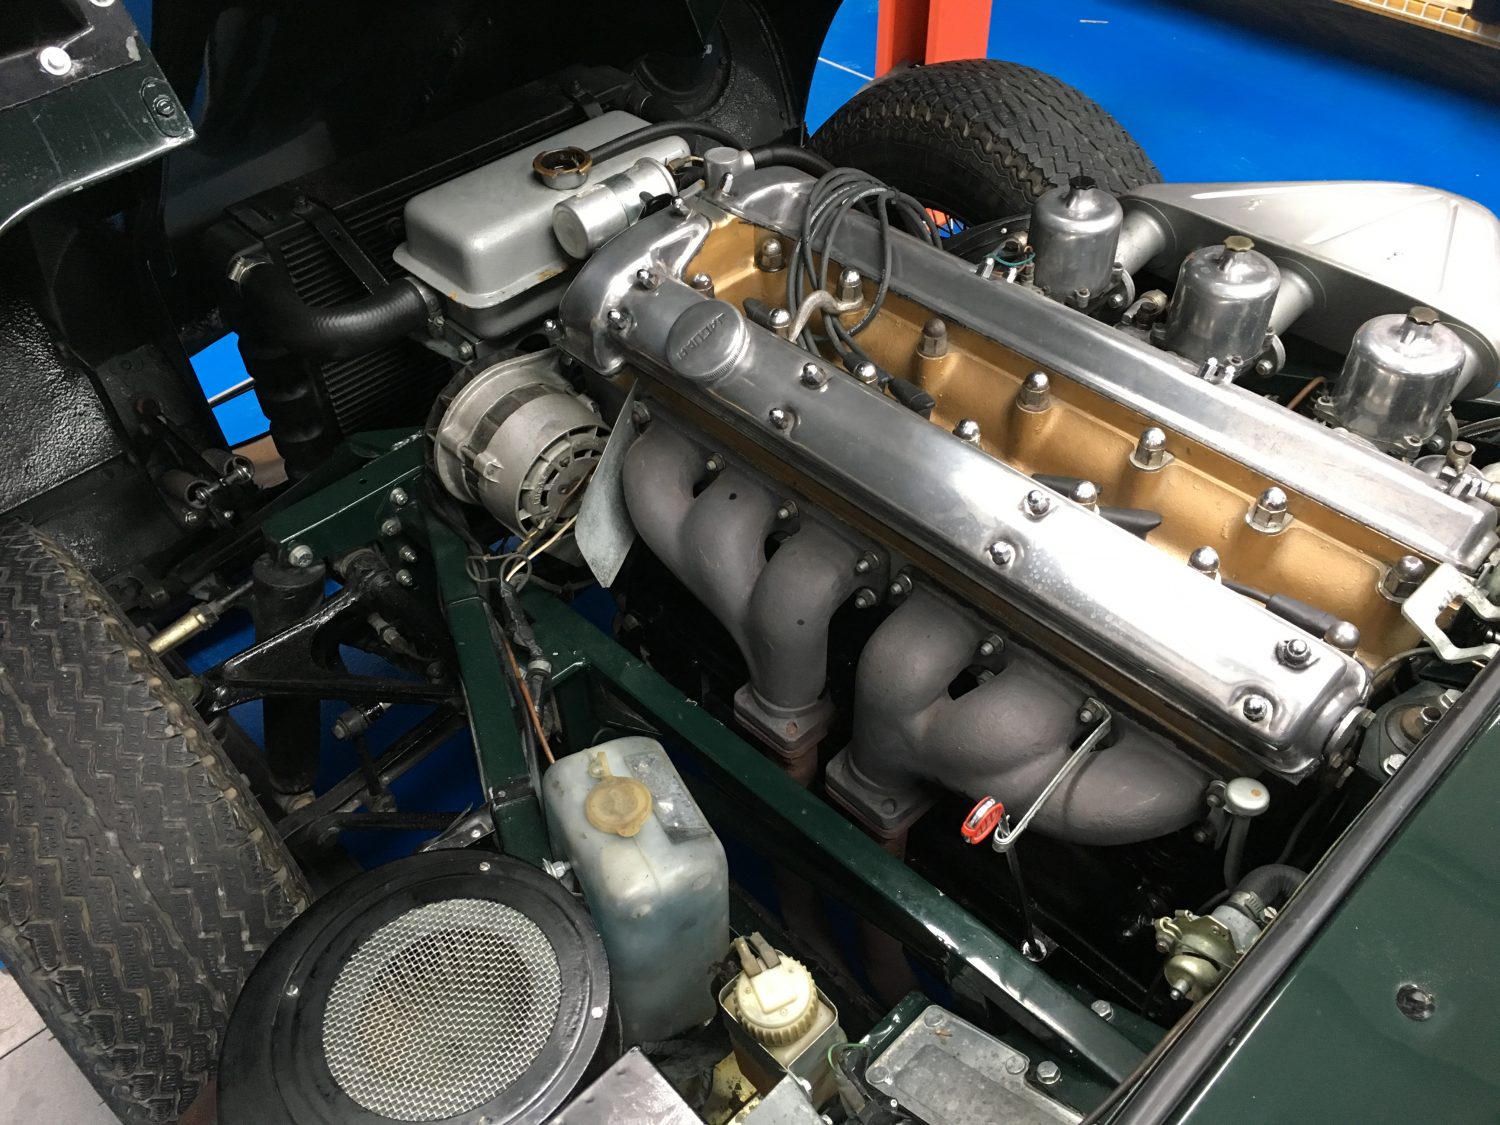
All levels have been checked, all objectives have been met and our 1965 Jaguar E-Type is now ready for this weekend’s wedding duties.

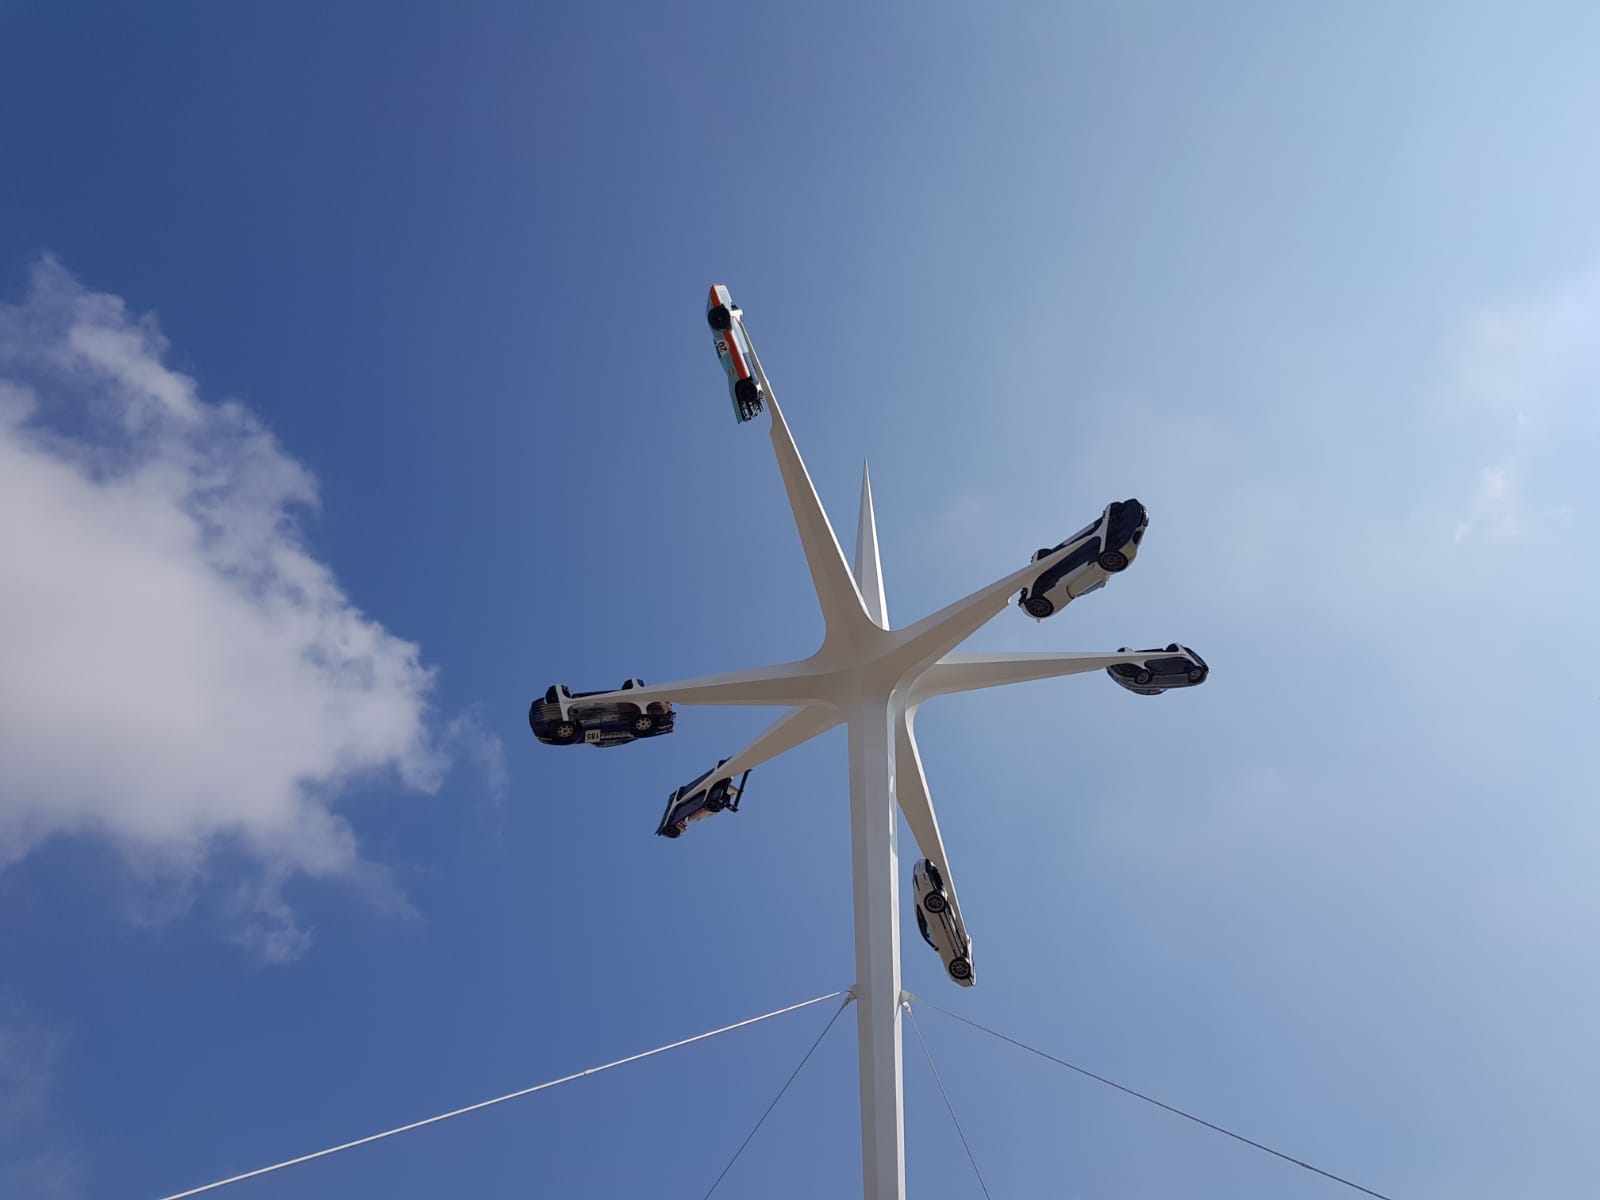
[vc_row][vc_column][vc_column_text]The highlight of the year for Bridge Classic Cars’ Pete; his annual trip to Goodwood for the Festival Of Speed.
This year’s highlight…the guys camping next door brought their own gin bar!!!
Festival of Speed – The Silver Jubilee
The 2018 Festival of Speed presented by Mastercard theme celebrated the event’s 25th anniversary: “Festival of Speed – The Silver Jubilee”. The first Festival, in June 1993, redefined what a car event could be, and, in the years since, it has firmly established itself as the world’s greatest celebration of motorsport and car culture.
To mark the Silver Jubilee, the Duke of Richmond selected his 25 favourite moments from the first 25 events – personal highlights which, in very different ways, have been landmarks in the Festival’s history. These moments, and the cars and drivers which created them, were cornerstones of this year’s event, alongside the usual gathering of extraordinary vehicles from the dawn of motoring to the present day and beyond.
[/vc_column_text][/vc_column][/vc_row][vc_row][vc_column][vc_gallery type=”image_grid” images=”21201,21200,21199,21198,21197,21196,21195,21194,21193,21192,21191,21190,21189,21188,21187,21186,21185,21184,21183,21182,21181,21180,21179,21178,21177,21176,21175,21174,21173,21172,21171,21170,21169,21168,21167,21166,21165,21164,21163,21162,21161,21160,21159,21158,21157,21156,21155,21154″][/vc_column][/vc_row]
[vc_row][vc_column][vc_column_text]Today we see the return of our beautiful 1965 Series 1 Jaguar E-Type. She’s on wedding duties next week so we have a bit of work to do to get her ready.
Firstly we need to carry out a full service and to check over everything. We have reports of a slight over run when moderately warm. Finally, the rev counter has an intermittent fault.[/vc_column_text][/vc_column][/vc_row][vc_row][vc_column][vc_gallery type=”image_grid” images=”21005,21004,21003,21002,21001,21000,20999,20998,20997,20996,20995,20994,20993,20992″][/vc_column][/vc_row]
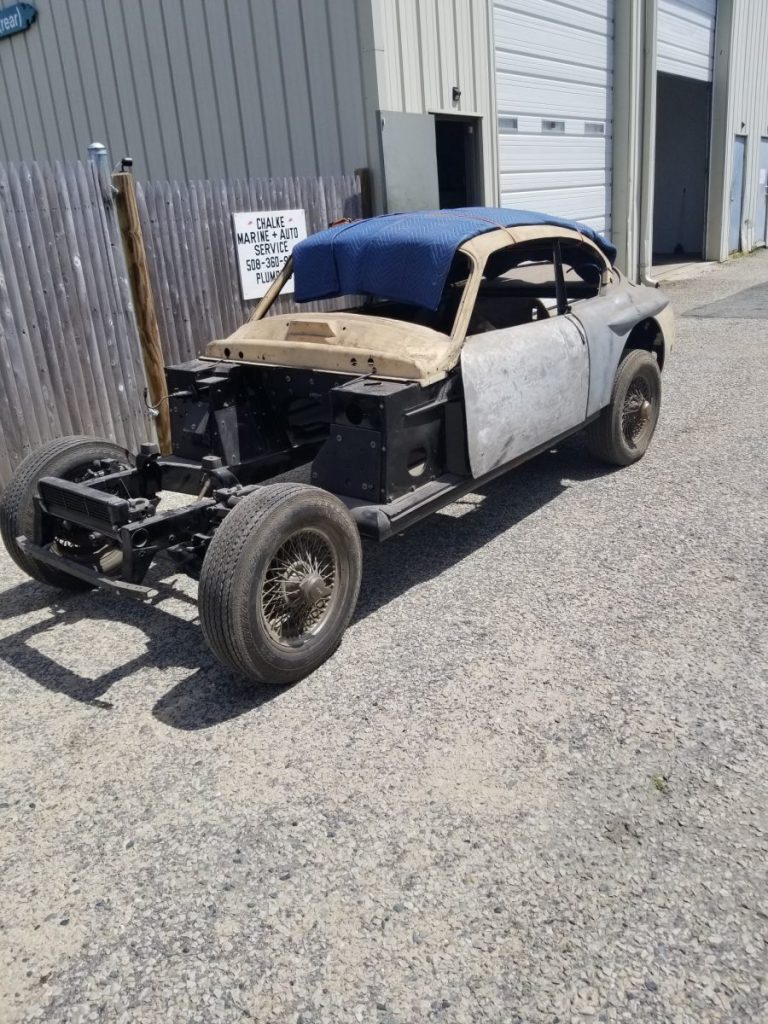
[vc_row][vc_column][vc_column_text]We have just received confirmation of our Jensen leaving the US for the UK and photographs of it being loaded up. ]
At this stage we do not have a due date but we are very excited for the arrival.
[/vc_column_text][/vc_column][/vc_row][vc_row][vc_column][vc_gallery type=”image_grid” images=”21563,21564,21565,21566,21567,21568,21569,21570,21571,21572,21573,21574″][/vc_column][/vc_row]
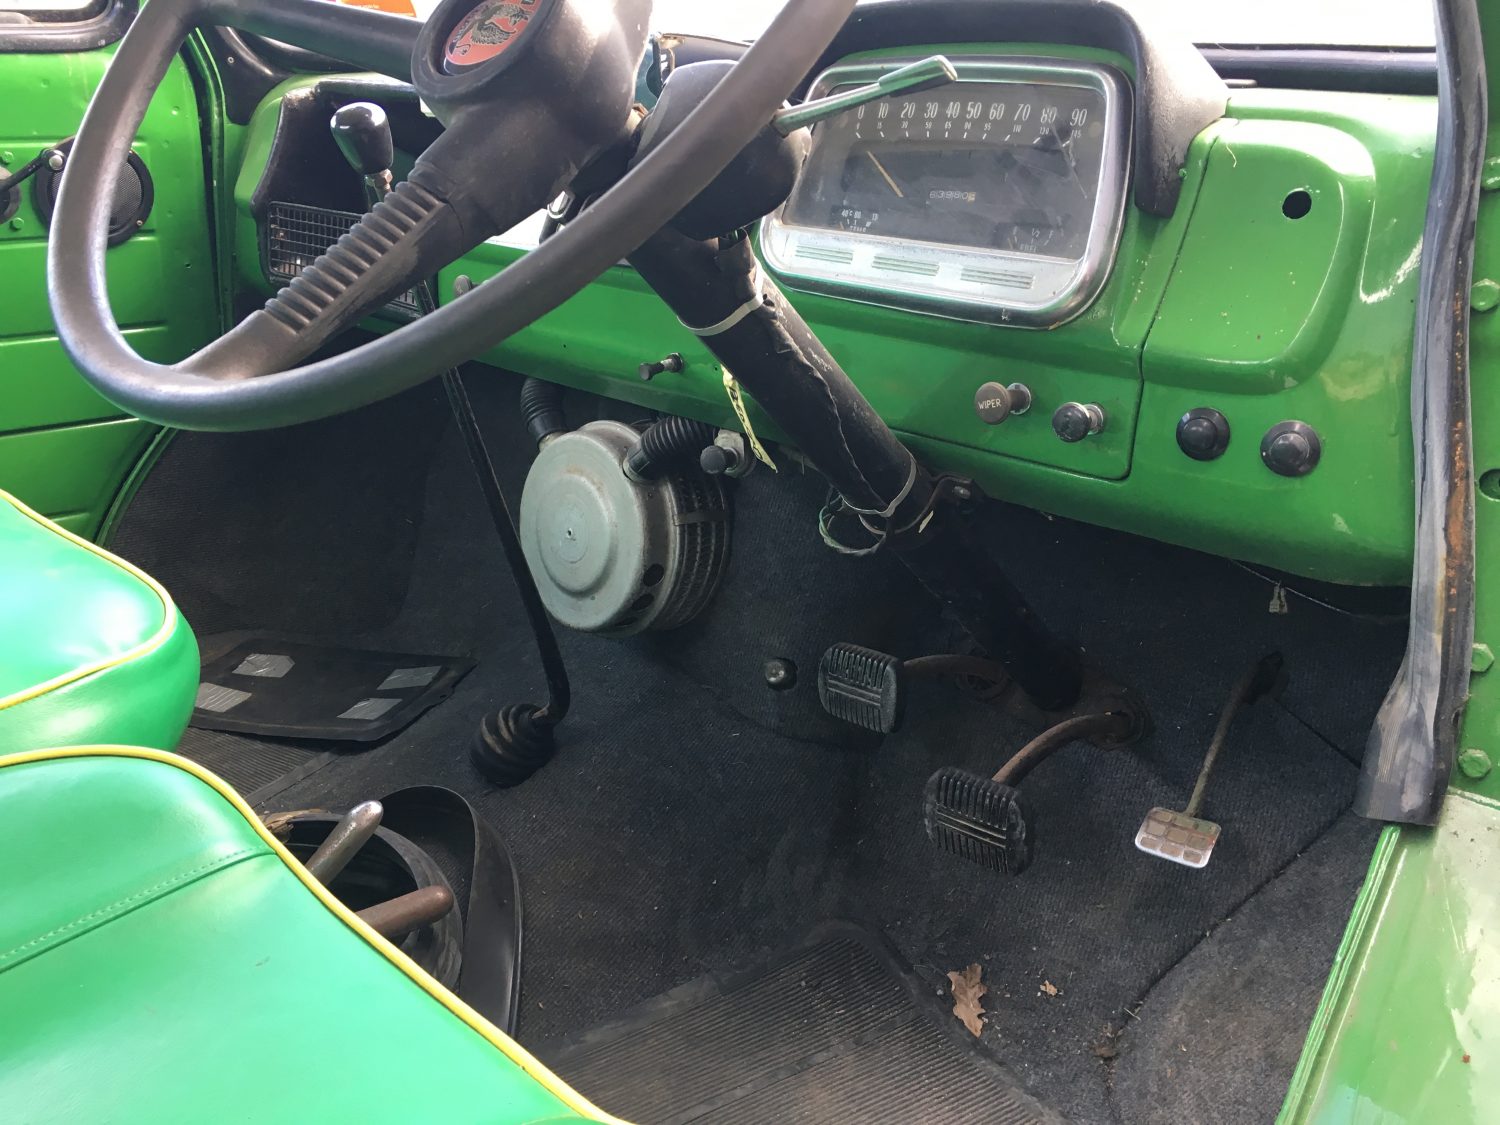
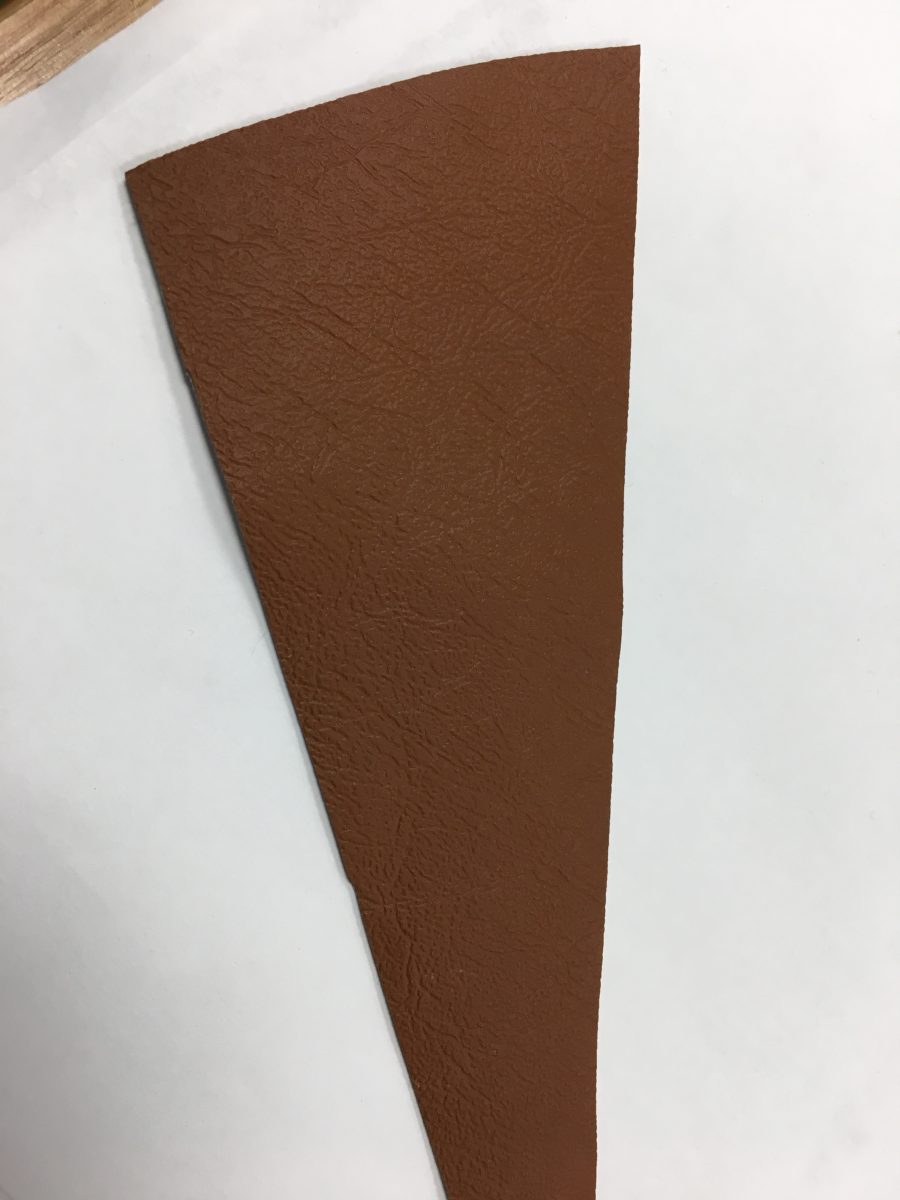
The green piped in yellow will soon be disappearing from the interior of our 1971 Bedford, to be replaced with a classier looking brown vinyl.
Vinyl gives the same overall appearance of leather but at a fraction of the cost this can often be the preferred option.
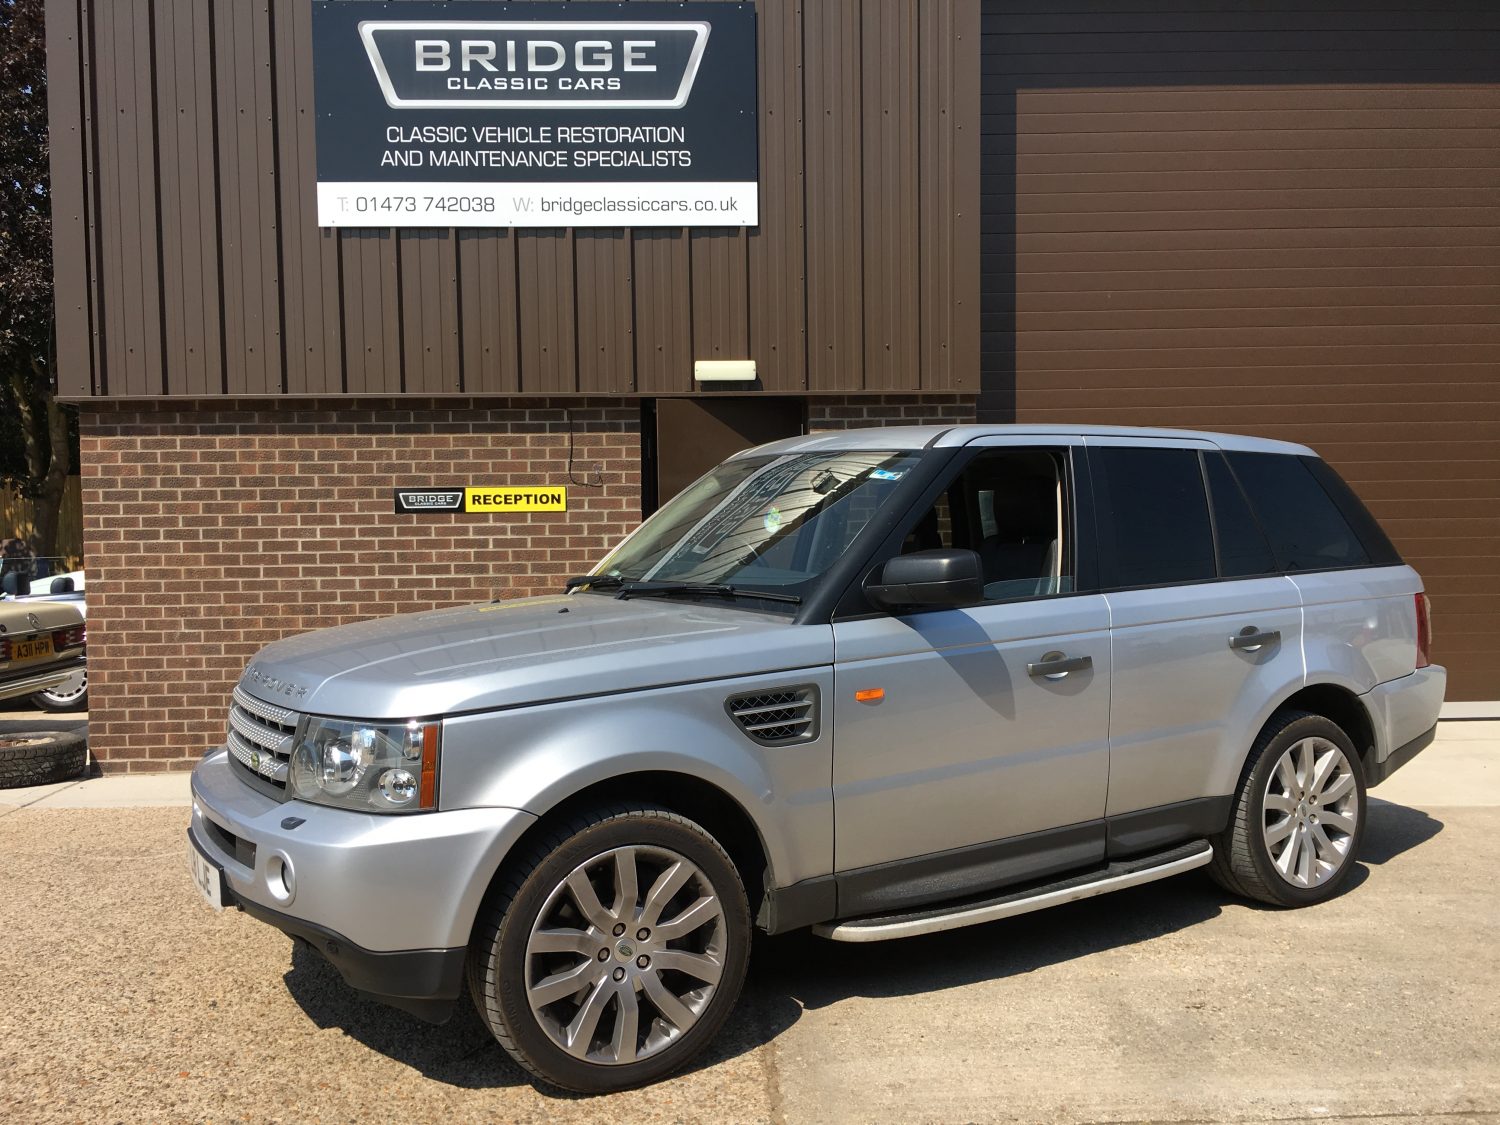
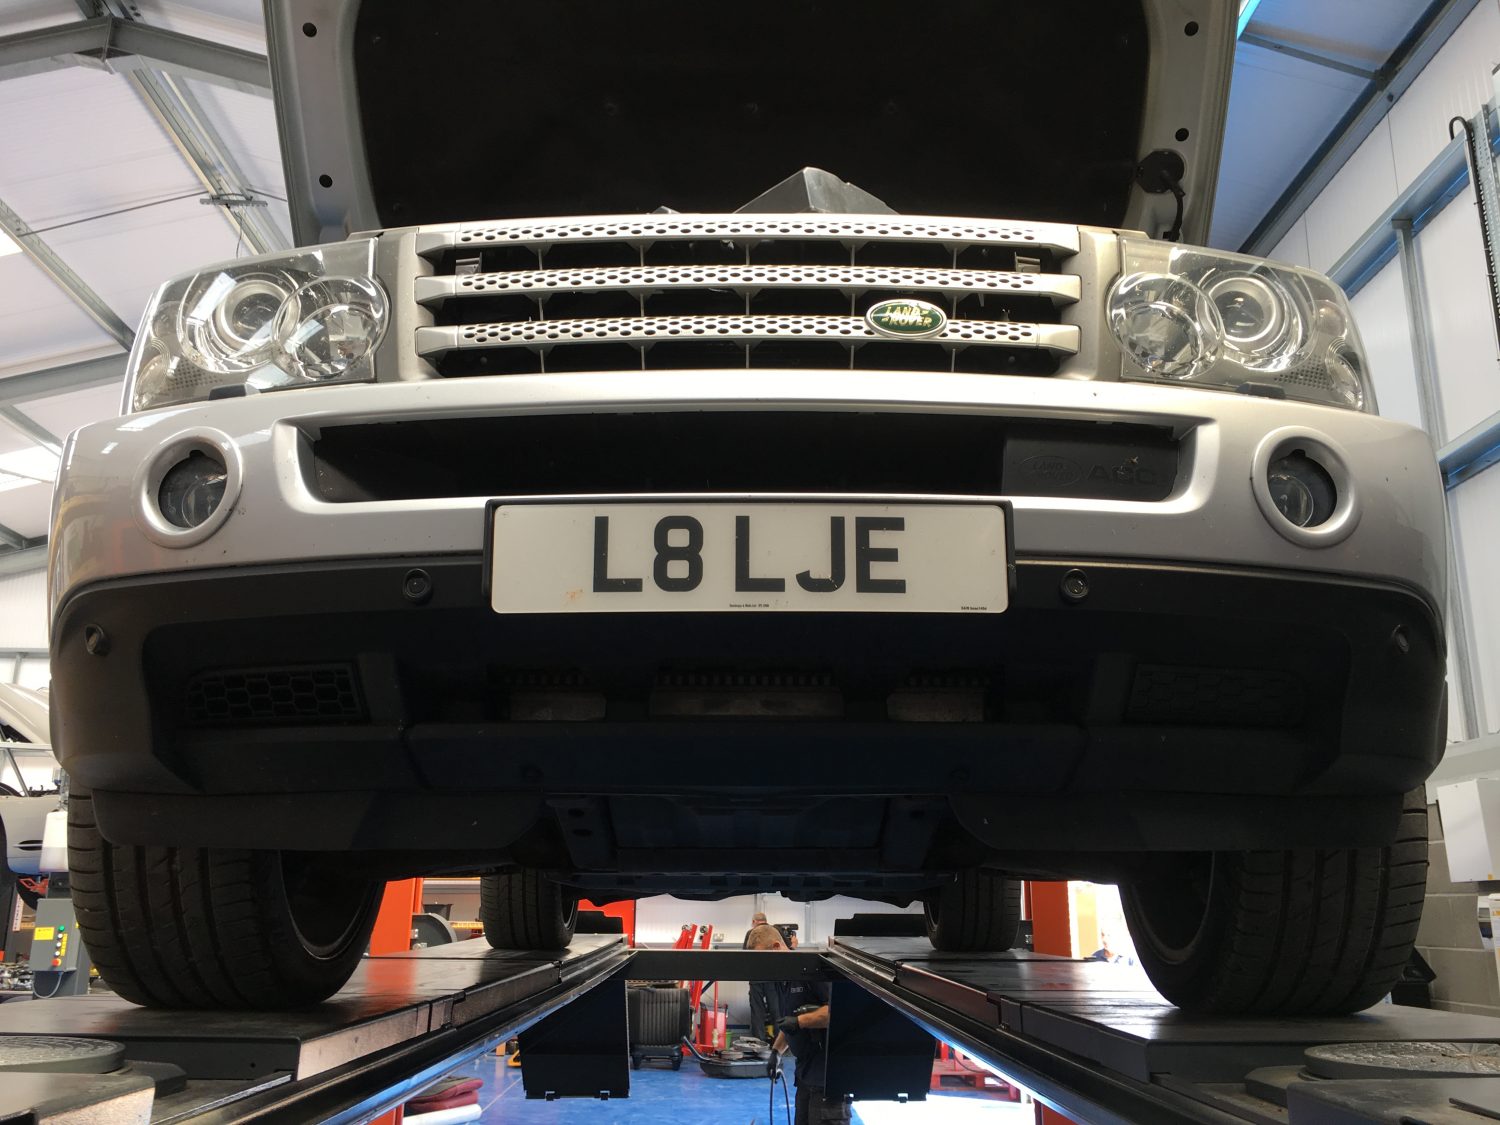
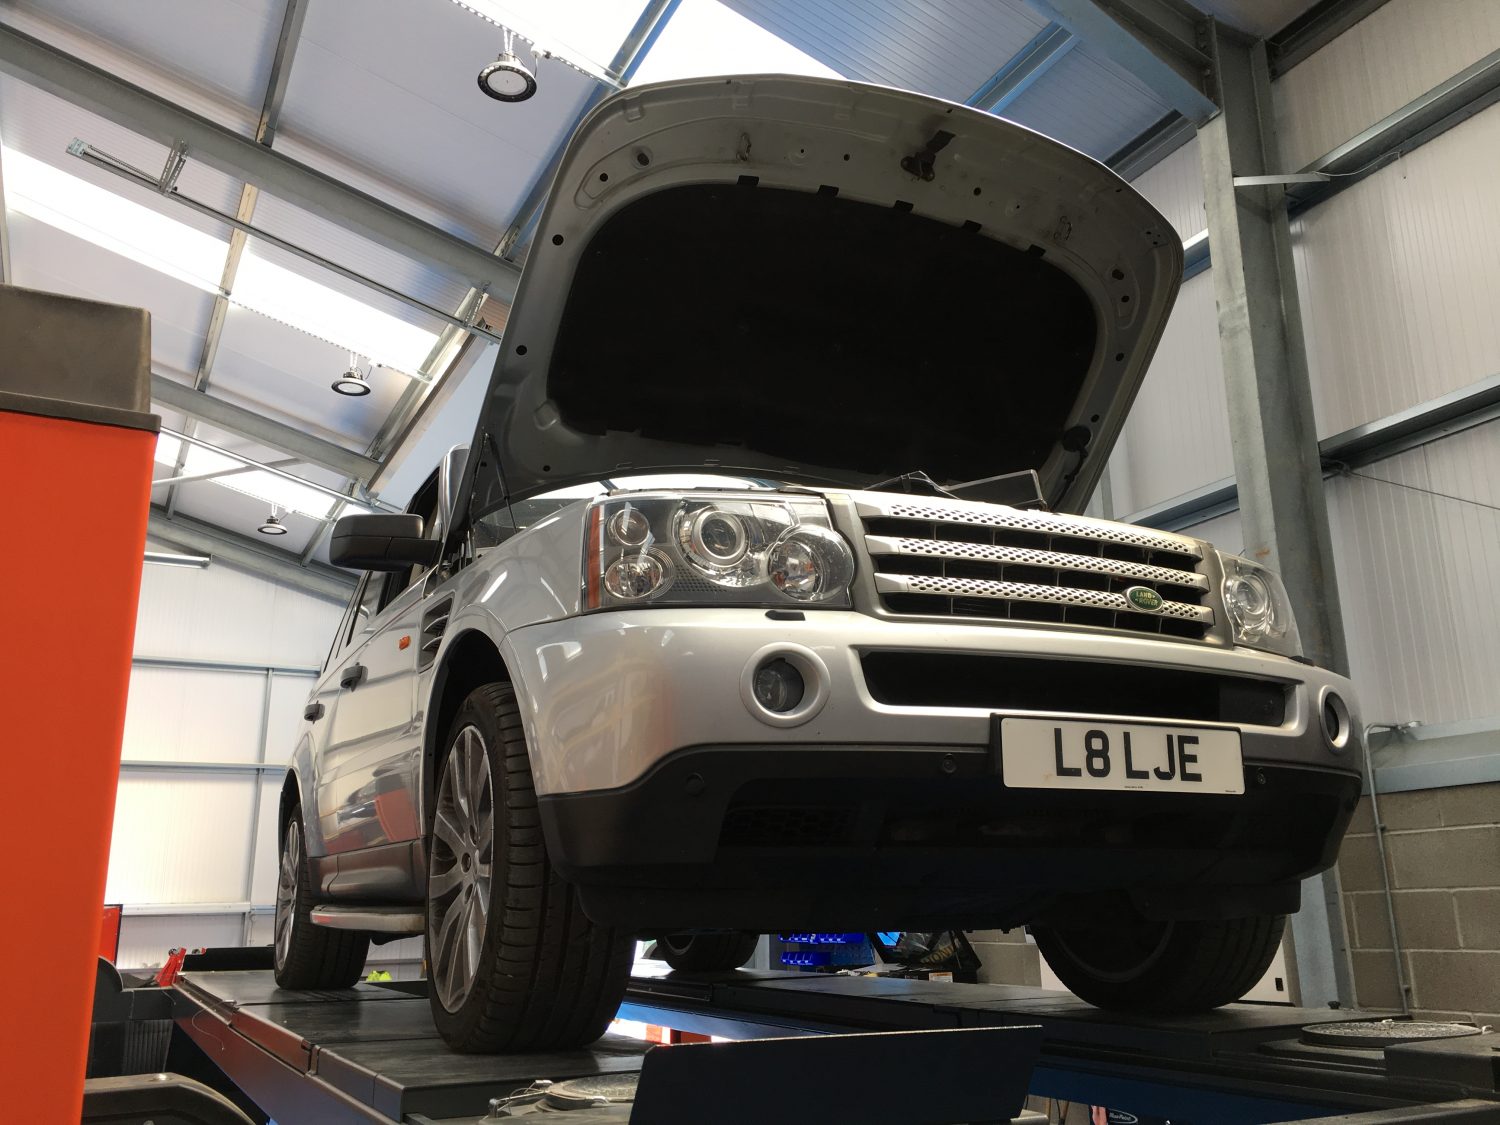
The battery light has come on on the Range Rover so it’s in our workshops having the alternator replaced.
It’s a fiddly job on the Range Rover with some reporting that it is a full ‘body off’ task. We’ve managed to gain access without having to carry out anything too dramatic.


The refit is now complete and our 1983 Mercedes 230E is now ready to head back to Ipswich.
We will next be seeing her at the Bridge Classic Cars Classic & Sports Car Show on Sunday 26th August


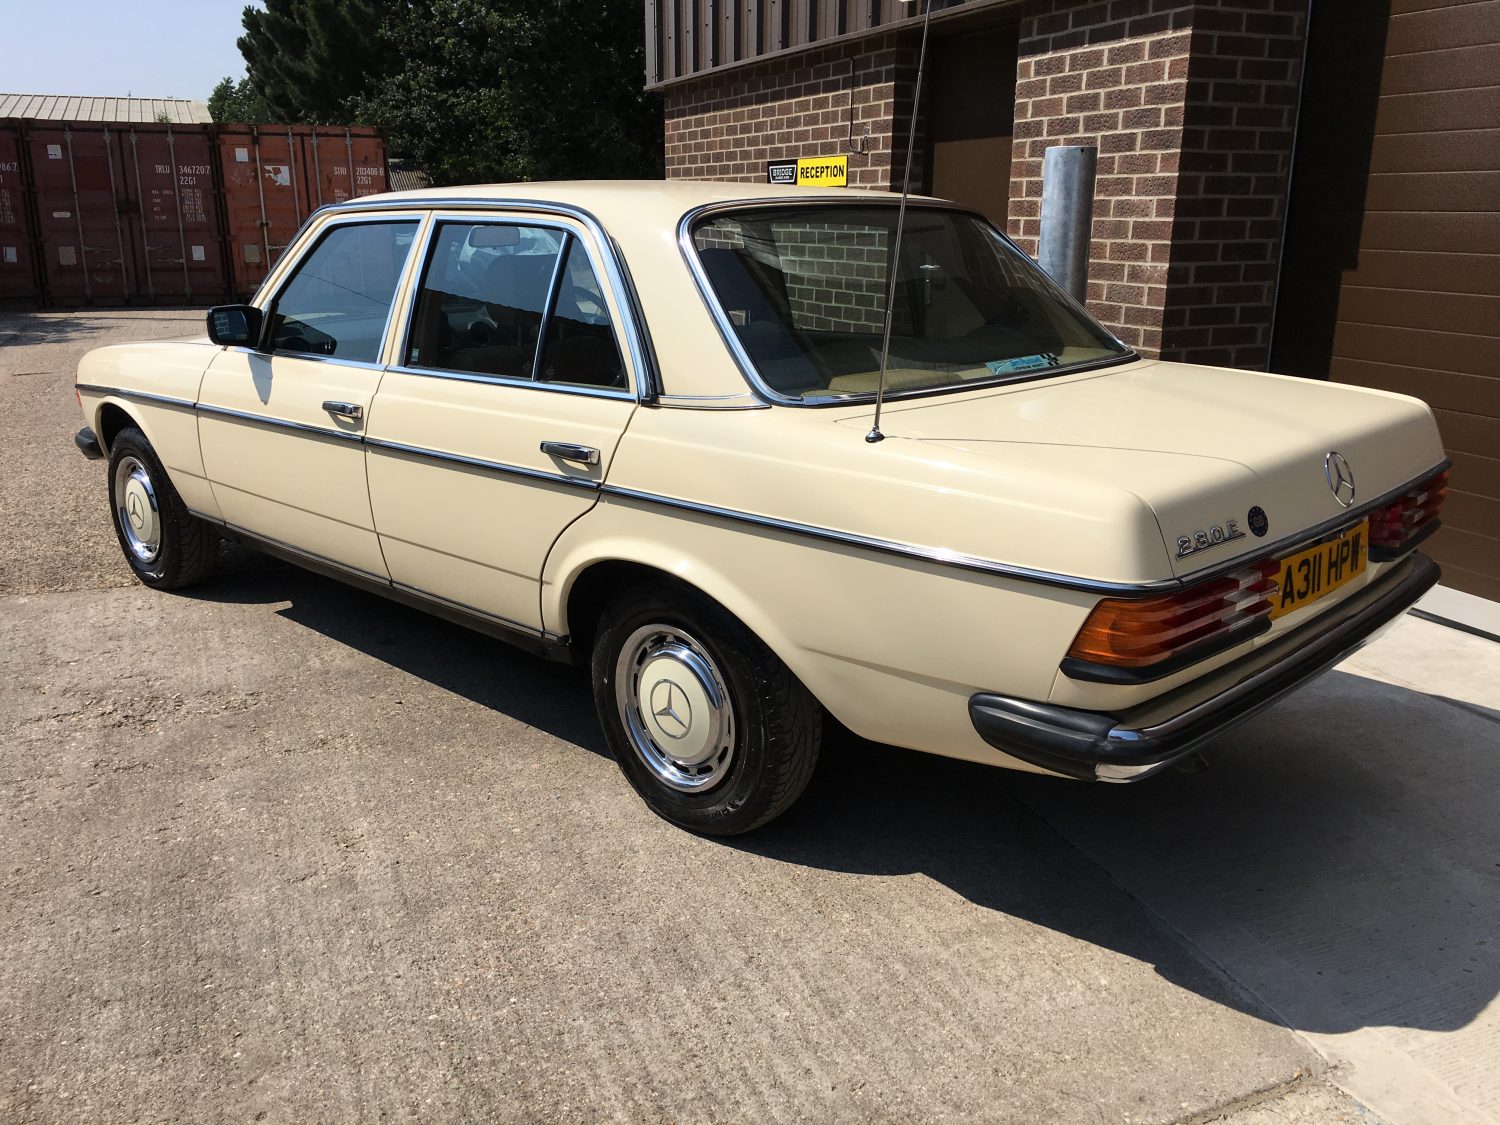
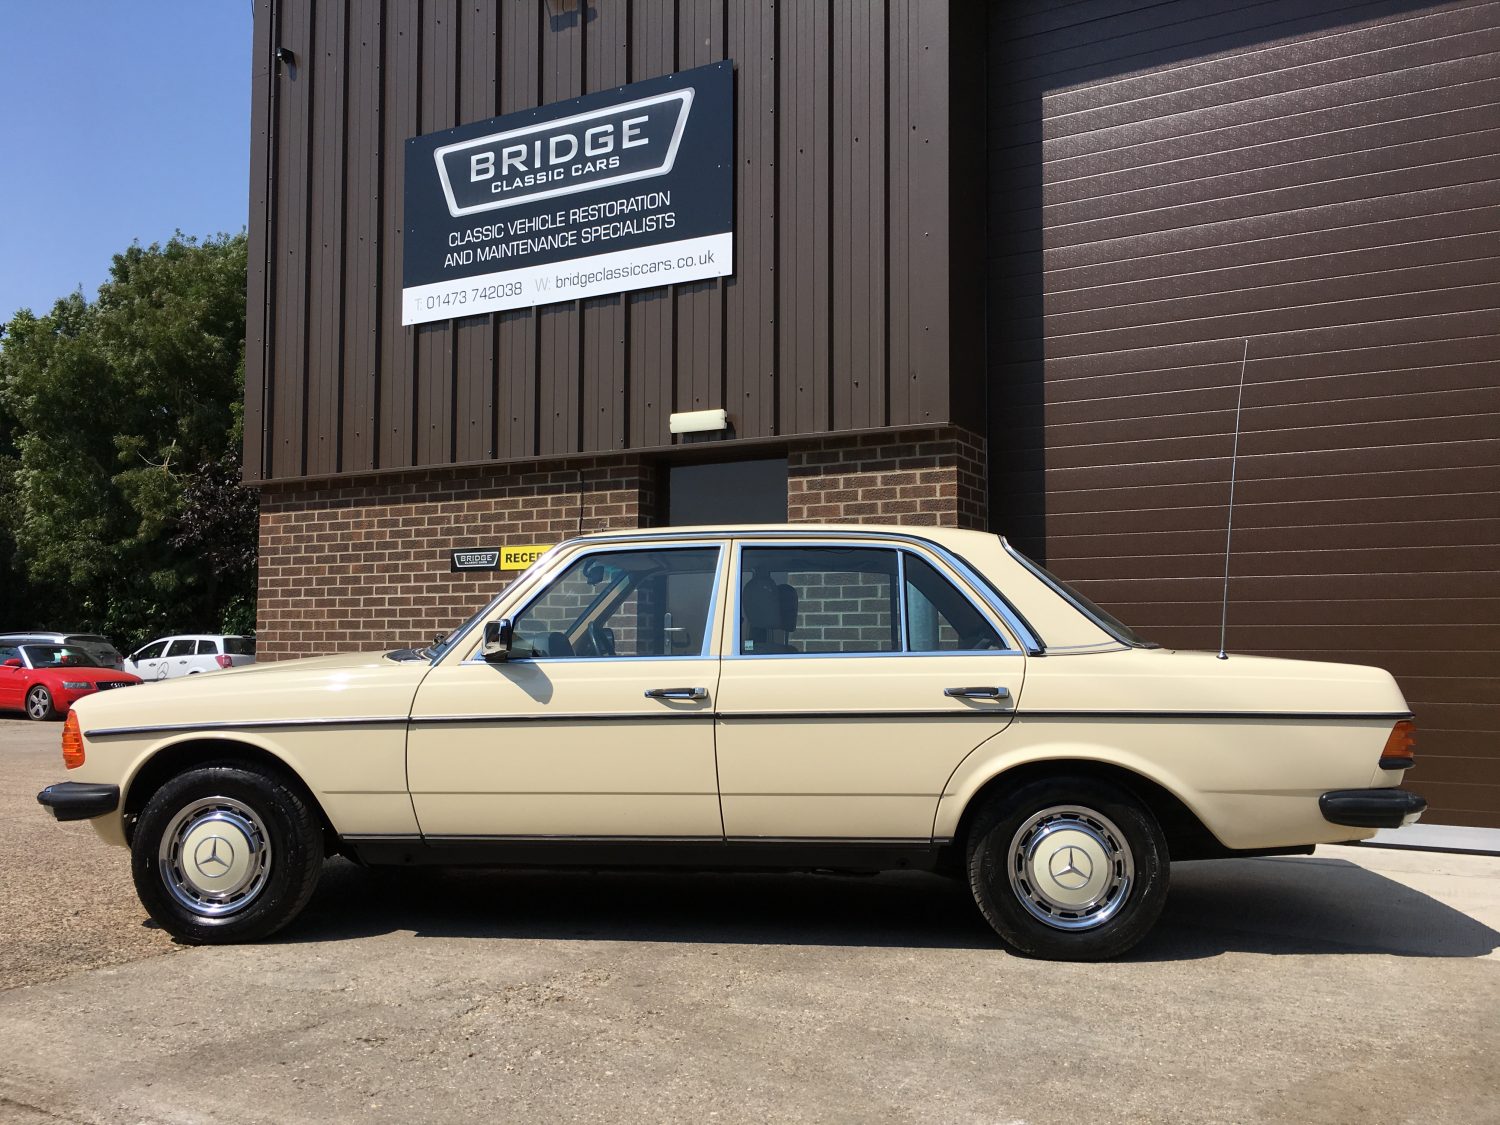
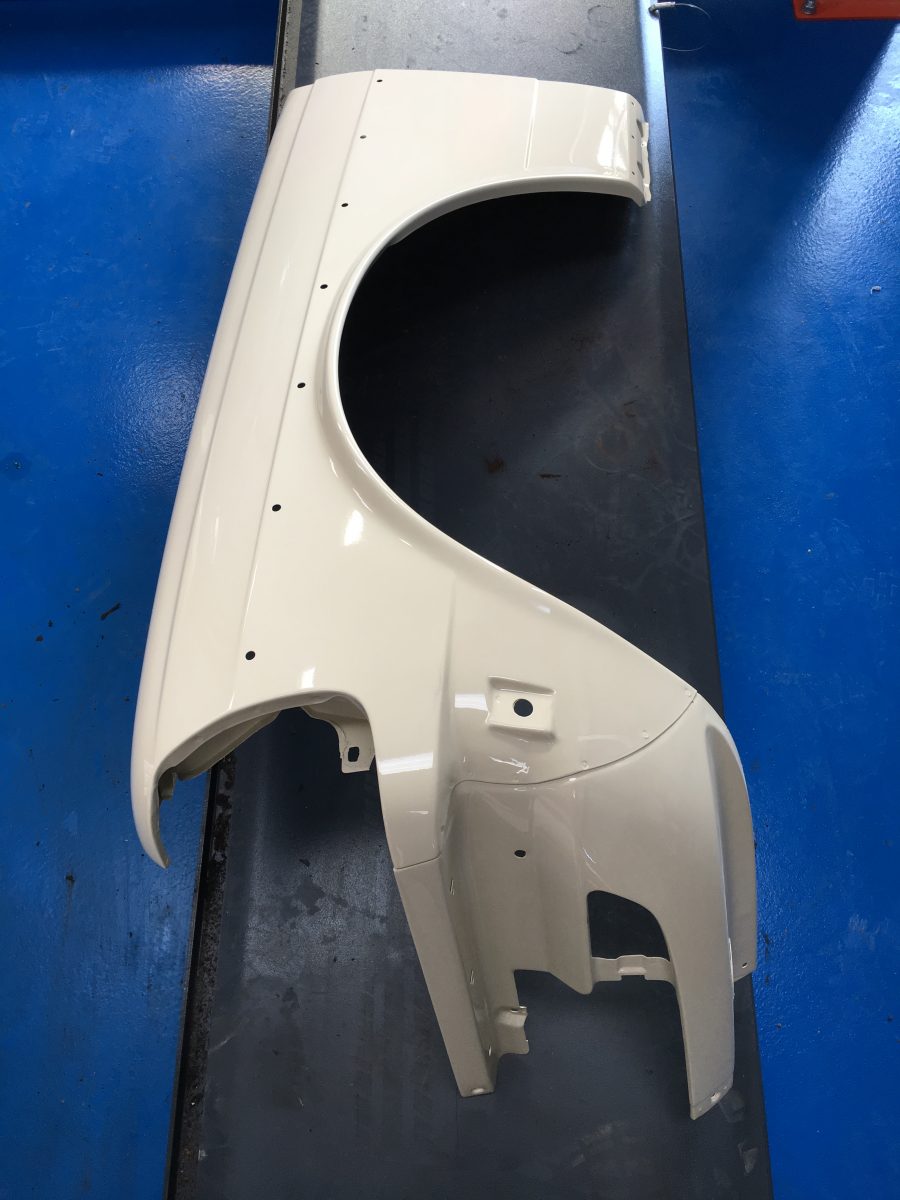
Our 1983 Mercedes 230E has returned from the paint shop having had the welded areas blended back in. The loose components have also returned so we are now on the final stages of fitting up. The internal arches have been stone guarded too to help fight against the debris that comes off the roads during a drive. This will help also to prolong the life of the paintwork.


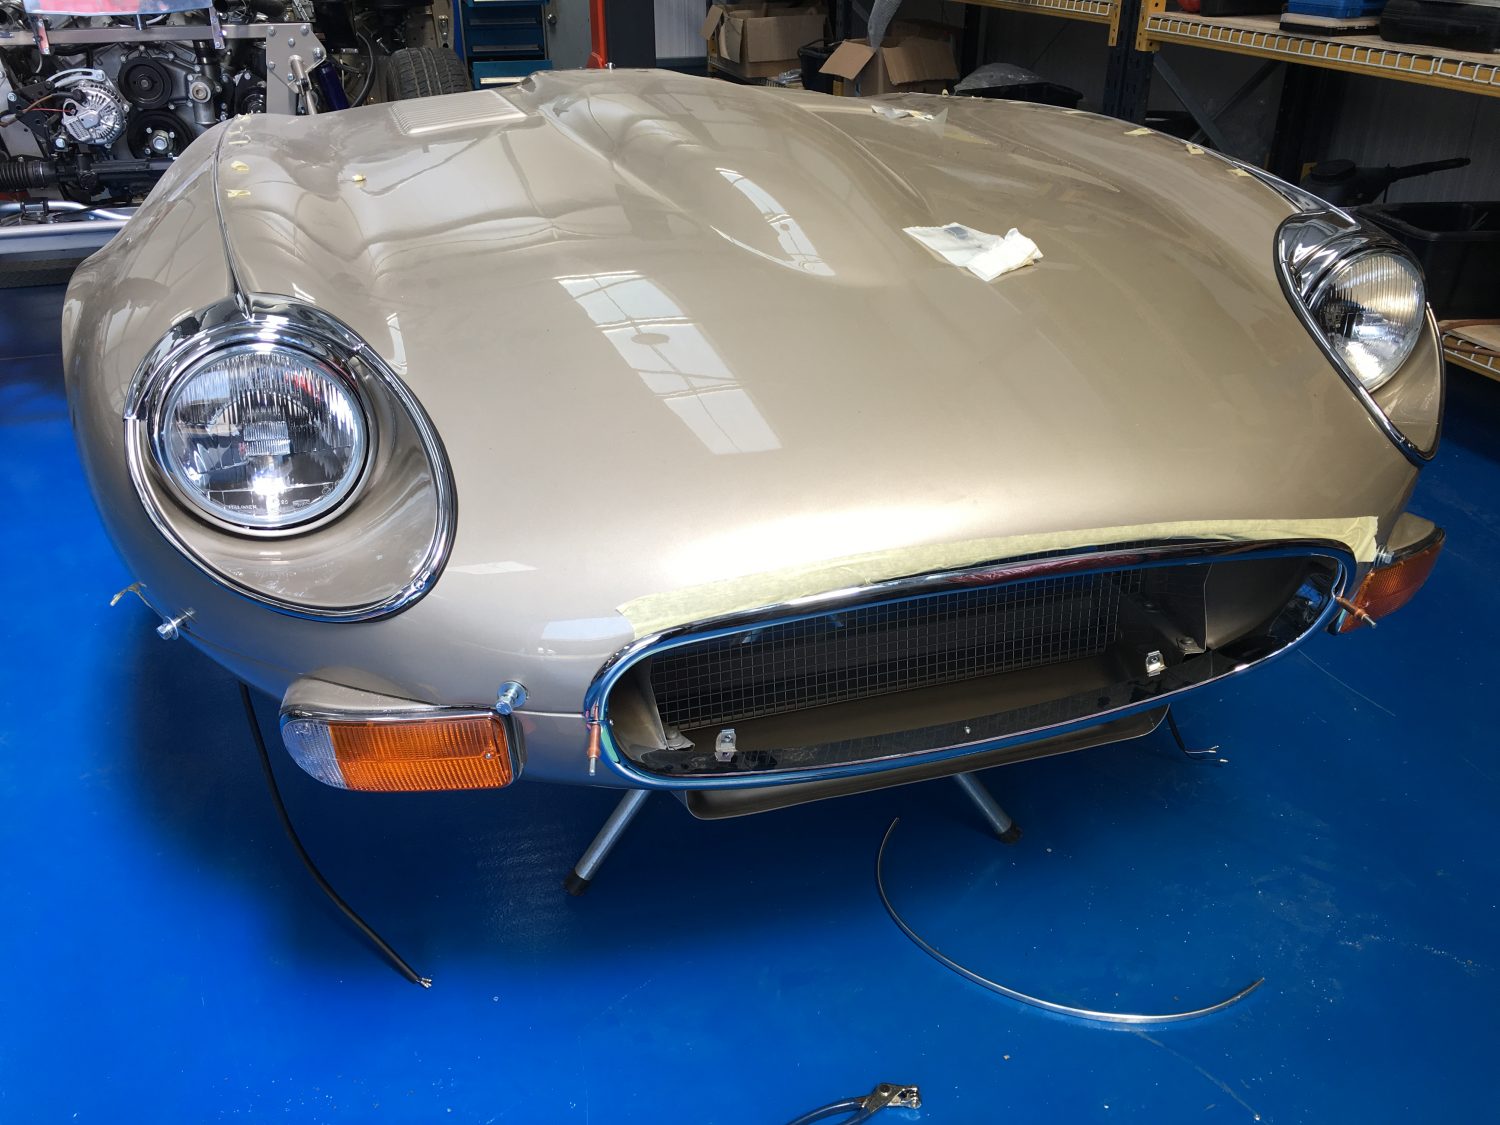
The front end of our E-type is almost complete with the lights and surround now in position. The front grill surround just requires tightening and it’ll be ready to be fitted.
With the new flooring now in position we are now able to re-install the fuel tank to our 1960 Jensen 541S.


I won’t lie to you, fitting up the power steering hasn’t been ‘EZ’ (sorry, couldn’t resist), through no fault of anyone in particular but simply due to the fact that this may be the only Jensen 541S of it’s kind to have one in.
We called upon the assistance of EZ Electric Power Steering, the market leaders in the manufacturing of classic car power steering. Luckily they had experience in the Jensen 541S having produced one before but unfortunately it turns out that the one before happened to have a manual gearbox.
Upon arrival we quickly noticed that the new system built for us was not going to fit correctly so back to Holland it went, along with the old rack for a new system to be made.
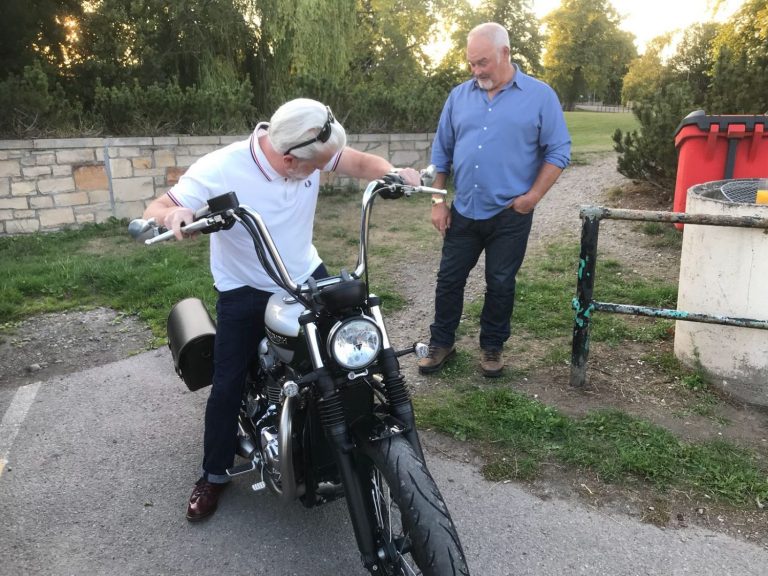
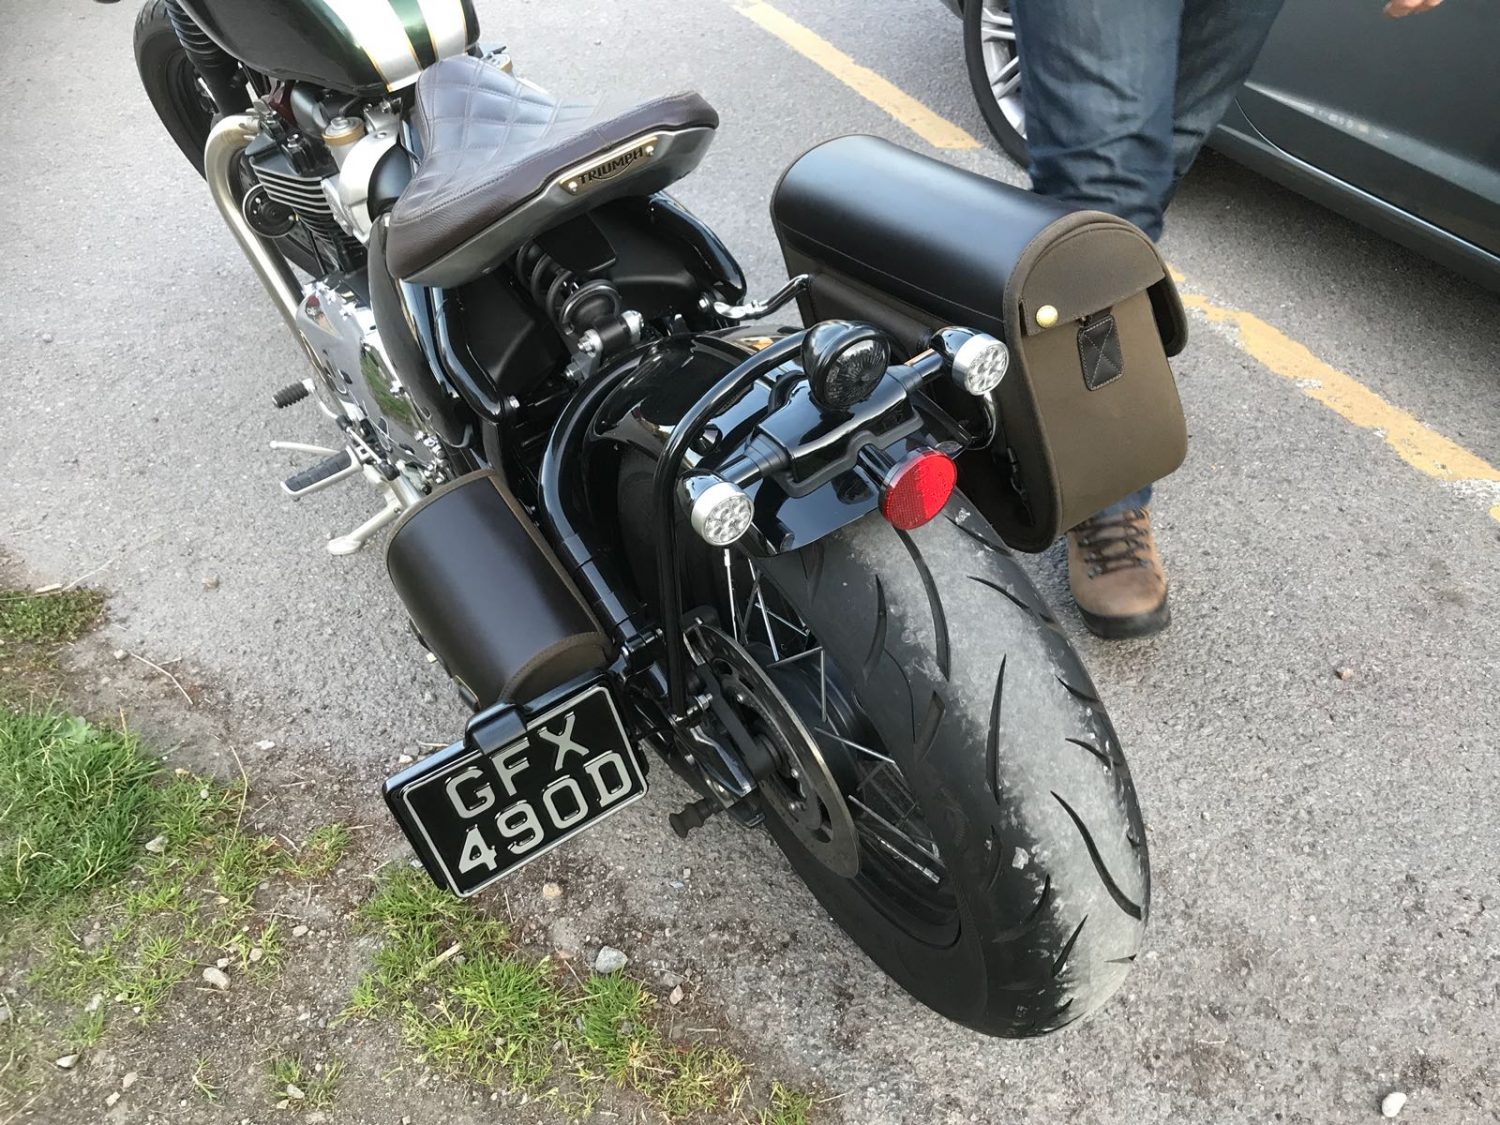
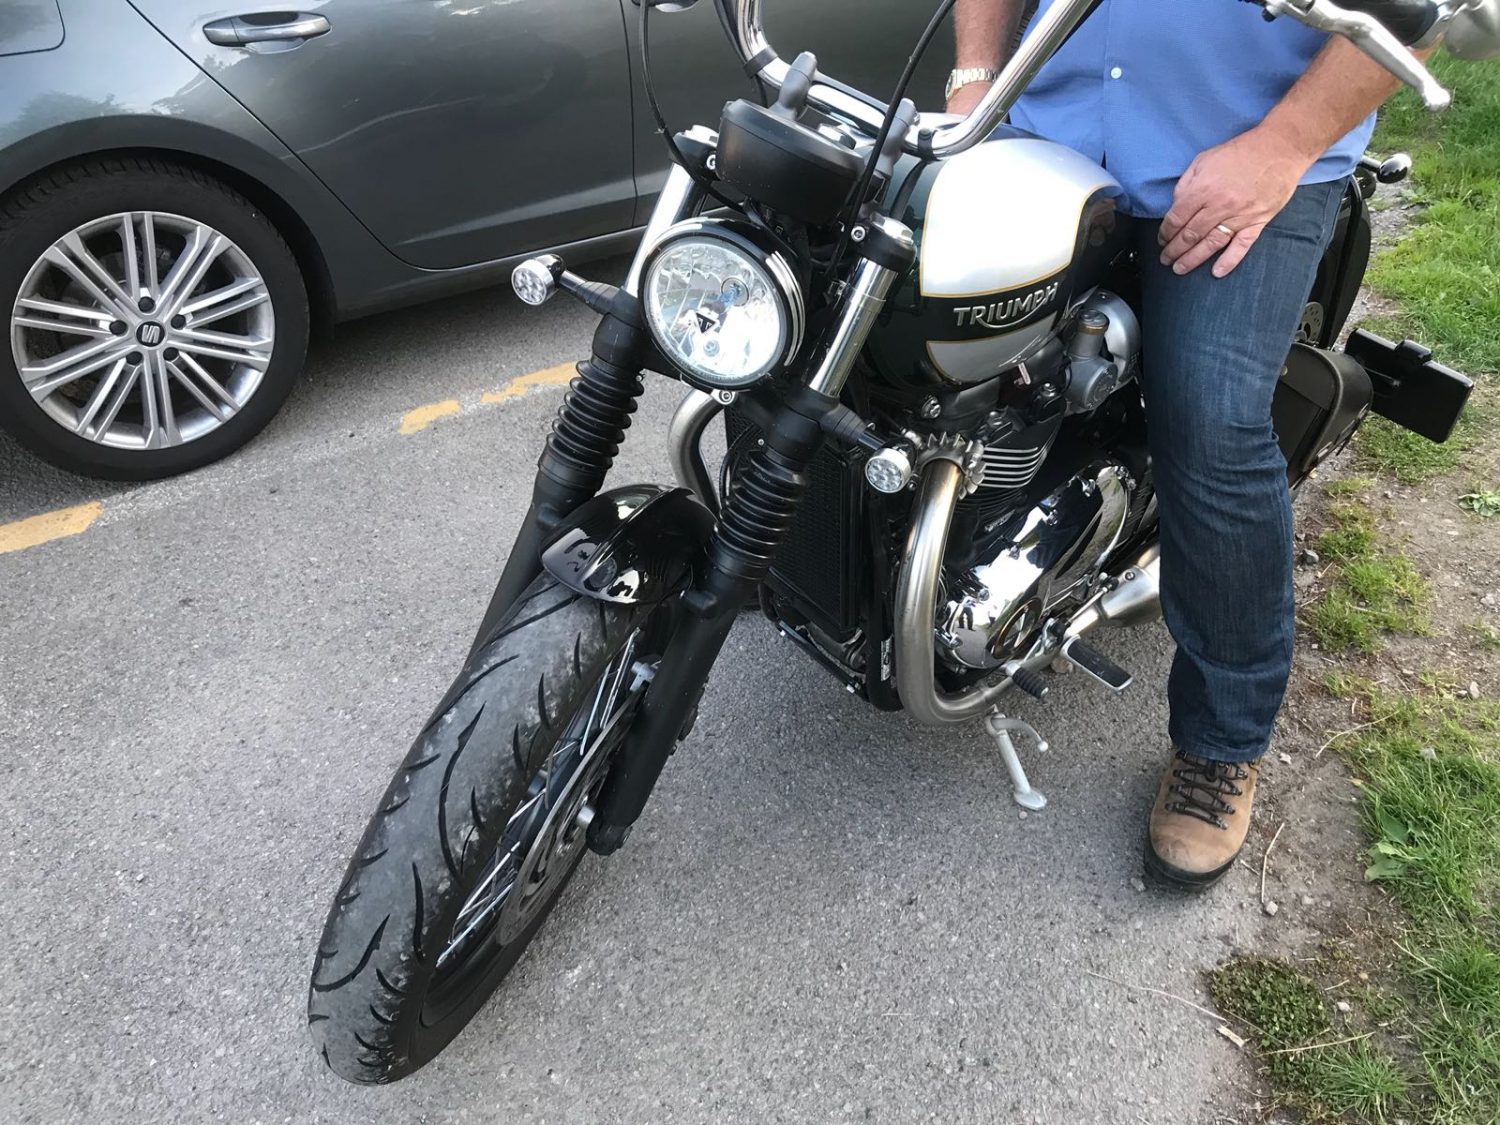
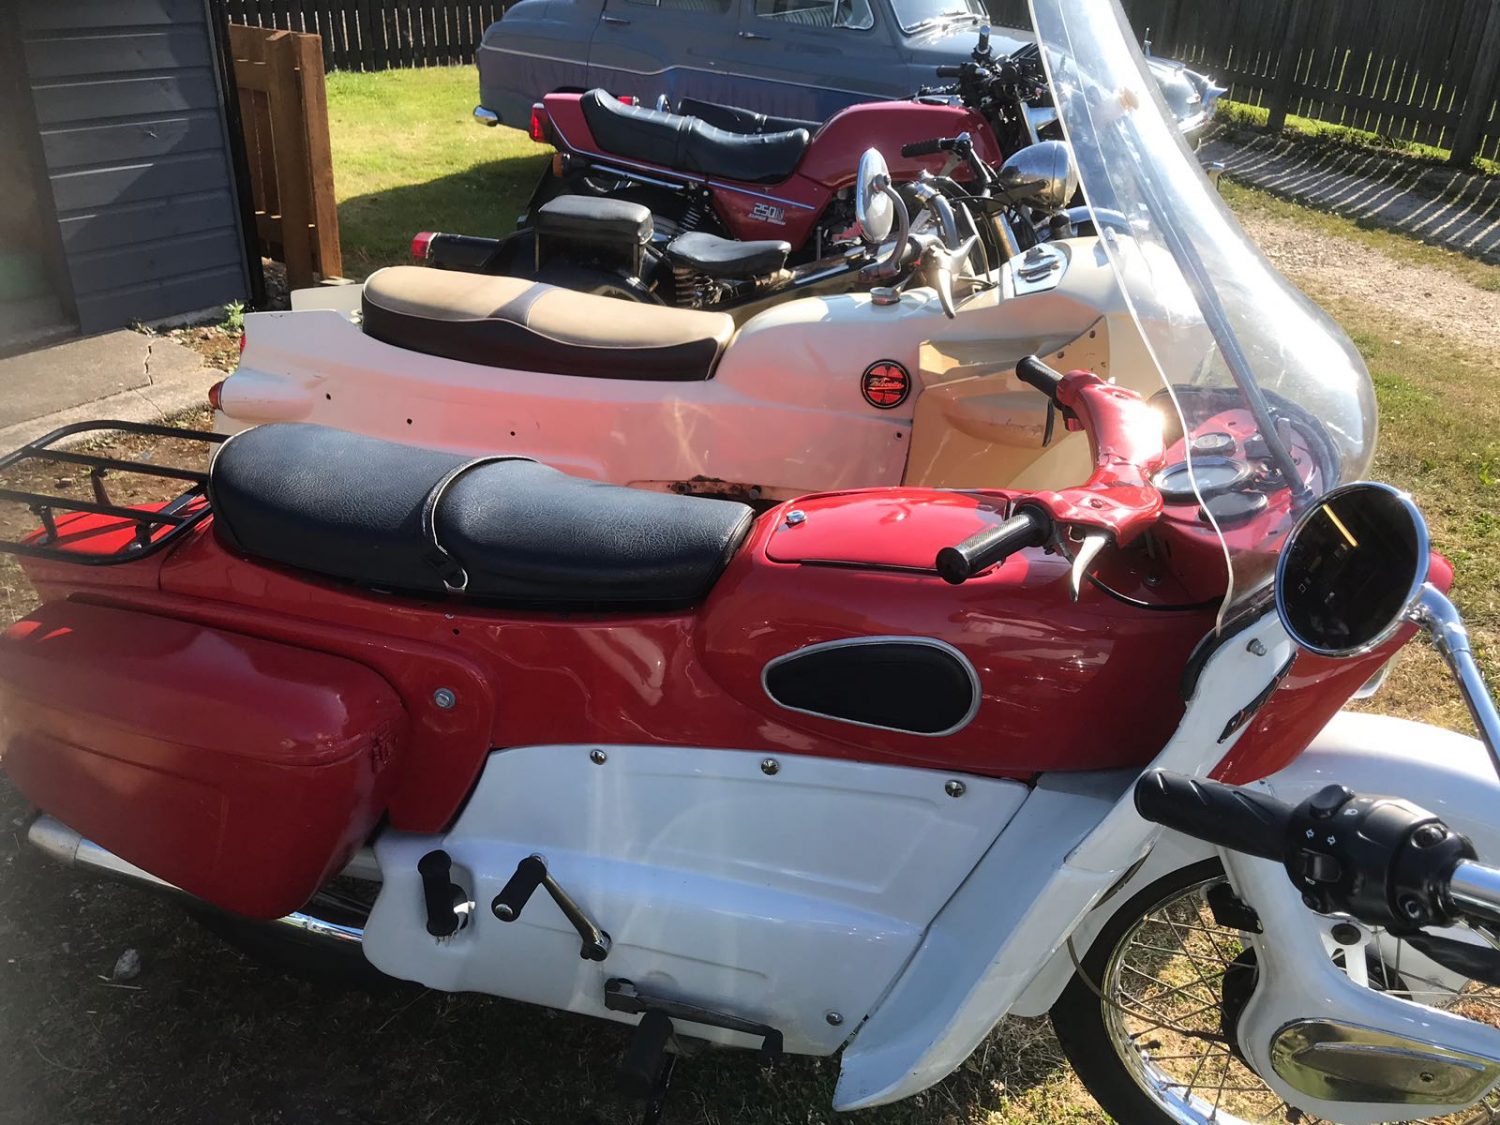
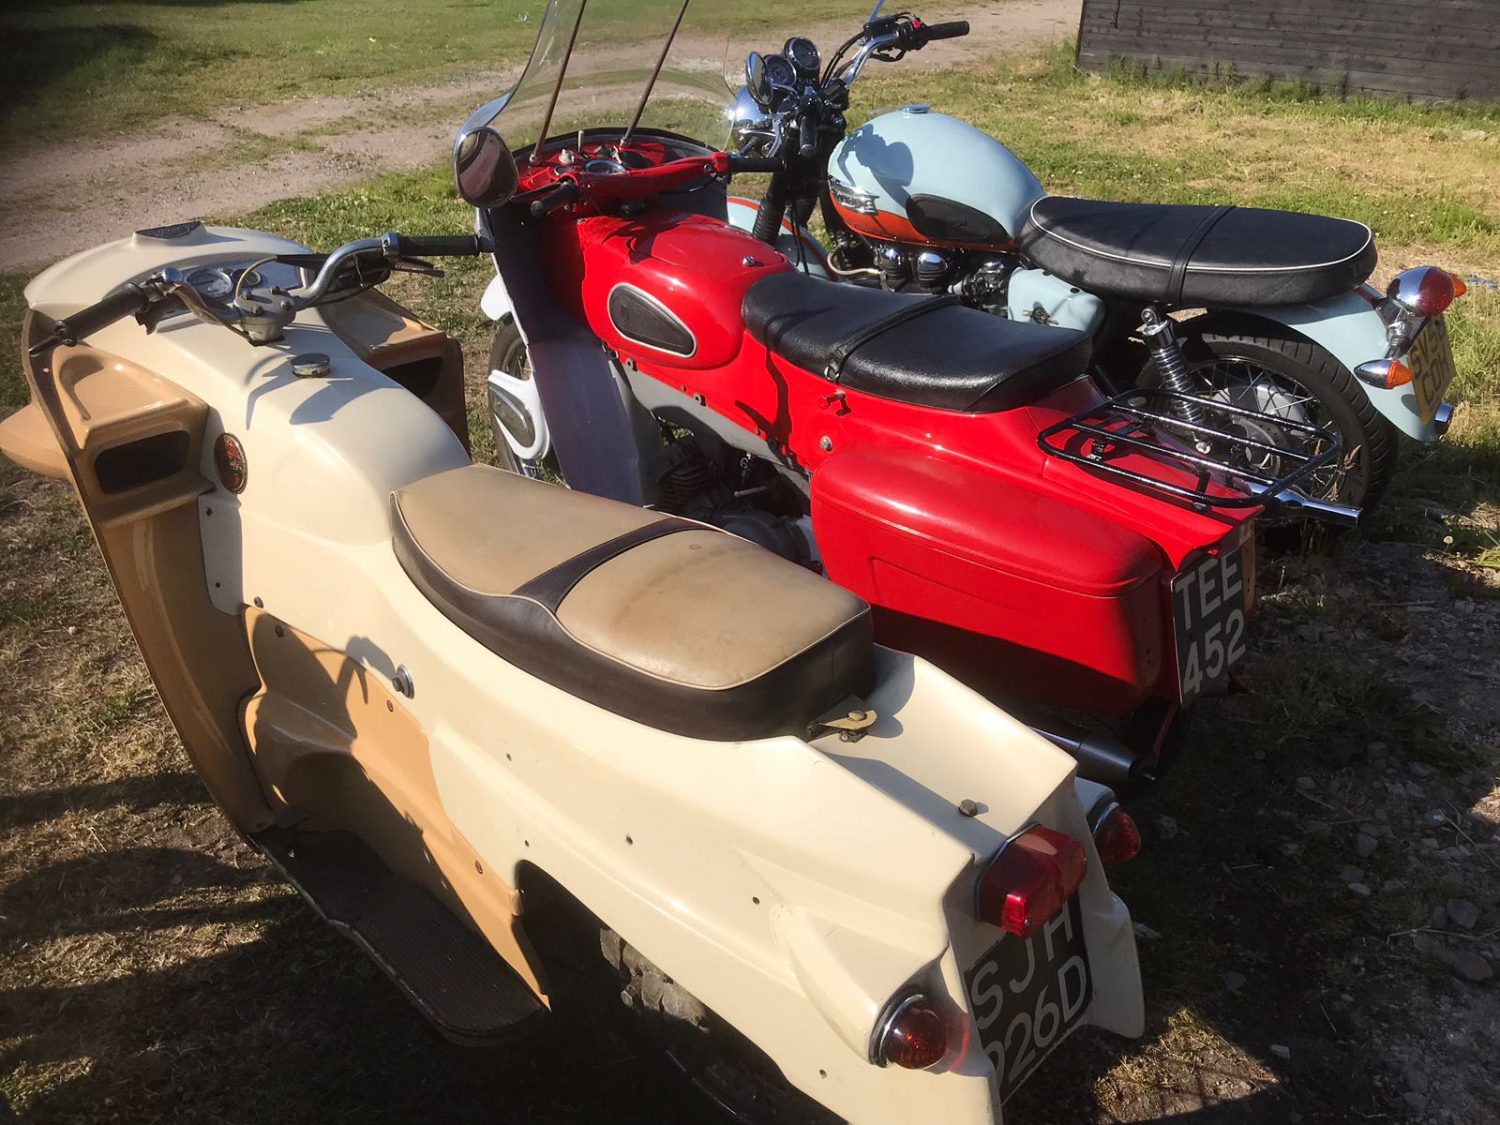
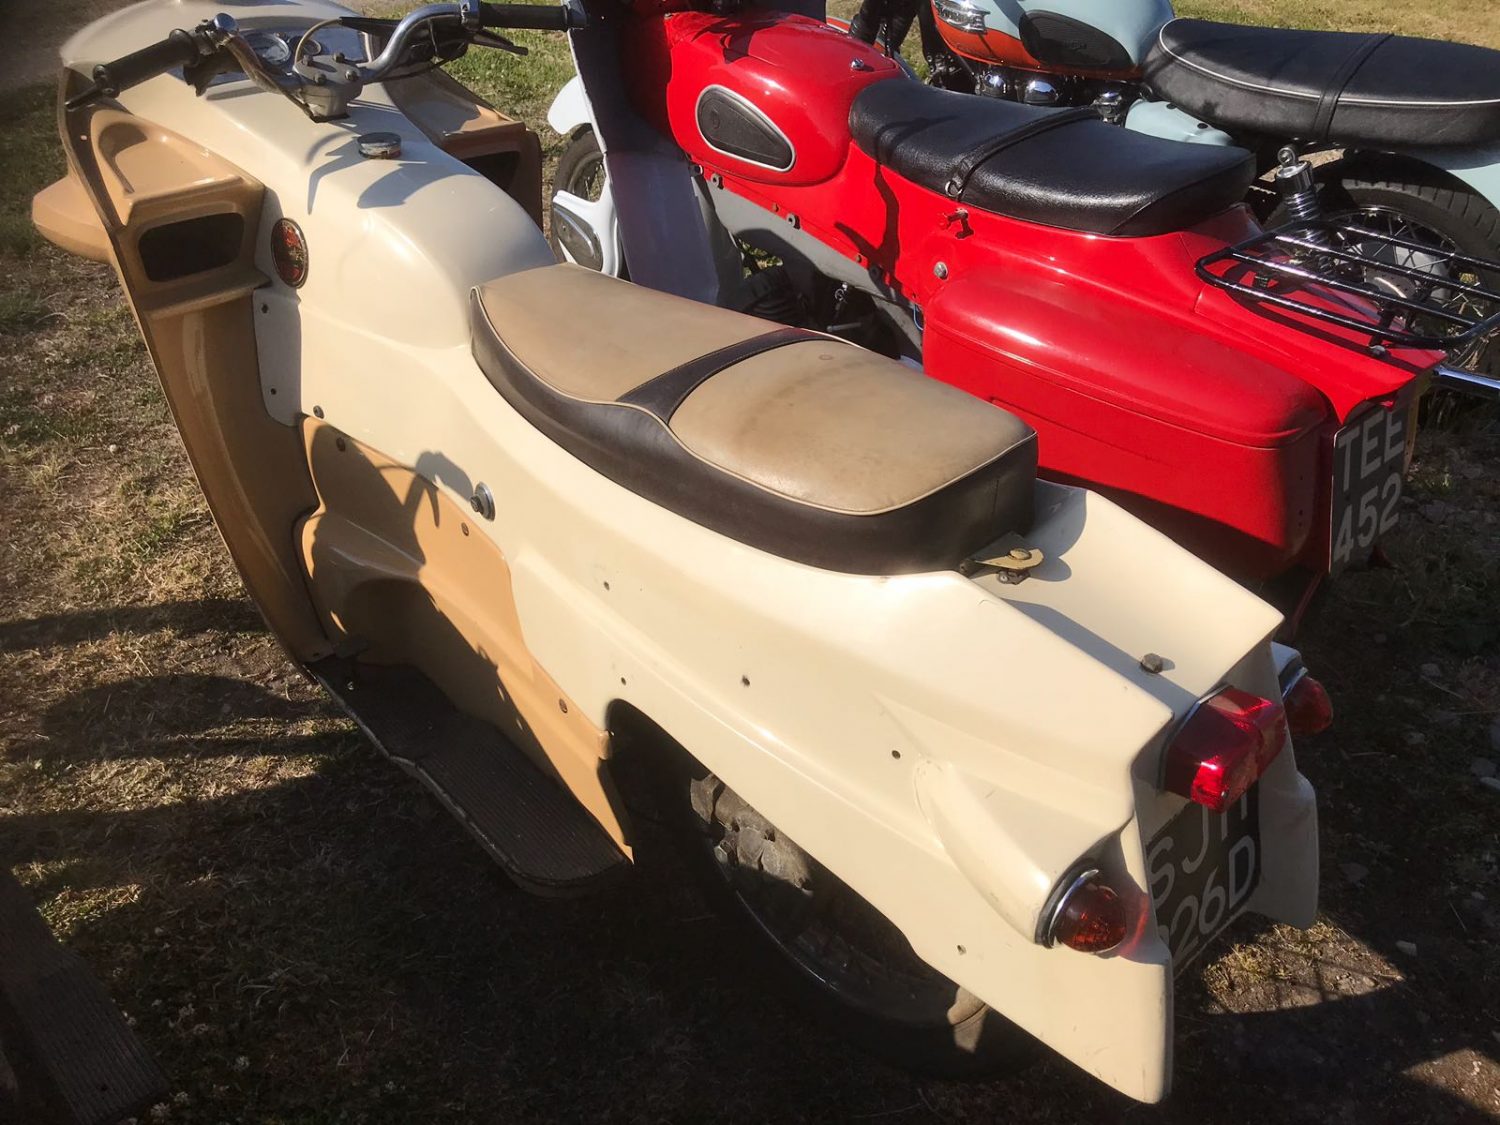
Looks like the boys are enjoying the sunshine up in Scotland. Gordon has been joined by our good friends Shaun Harkness and Greg Lister for a spot of dinner and drinks.
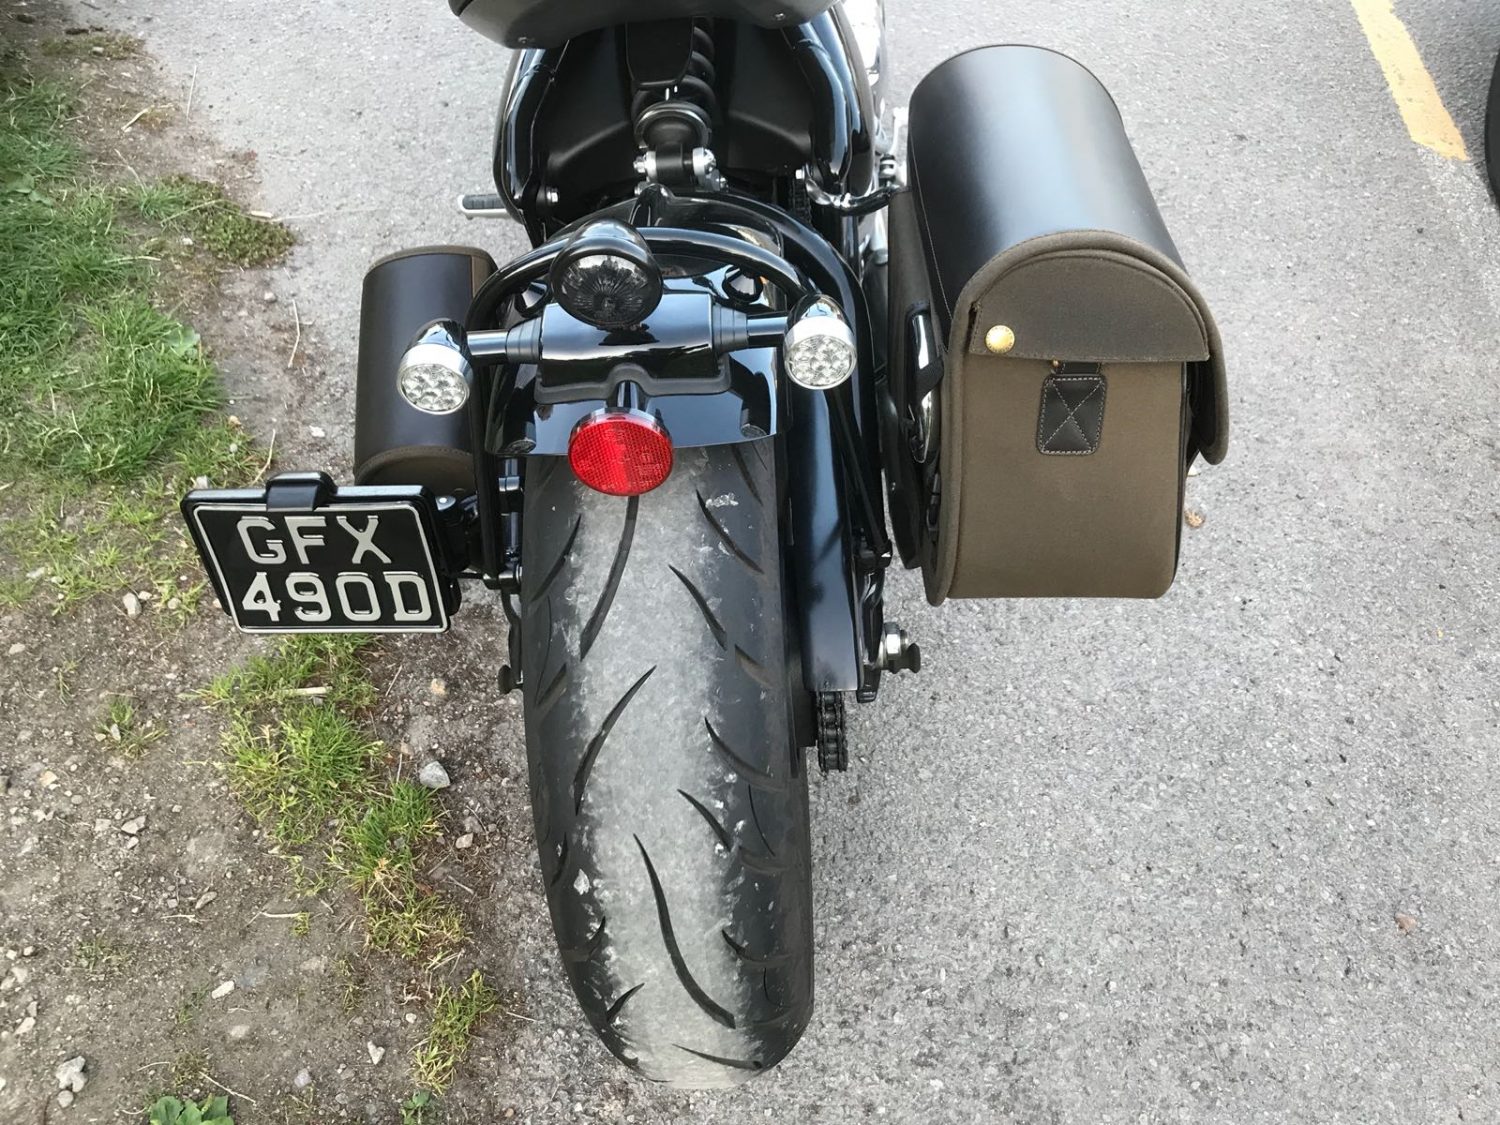
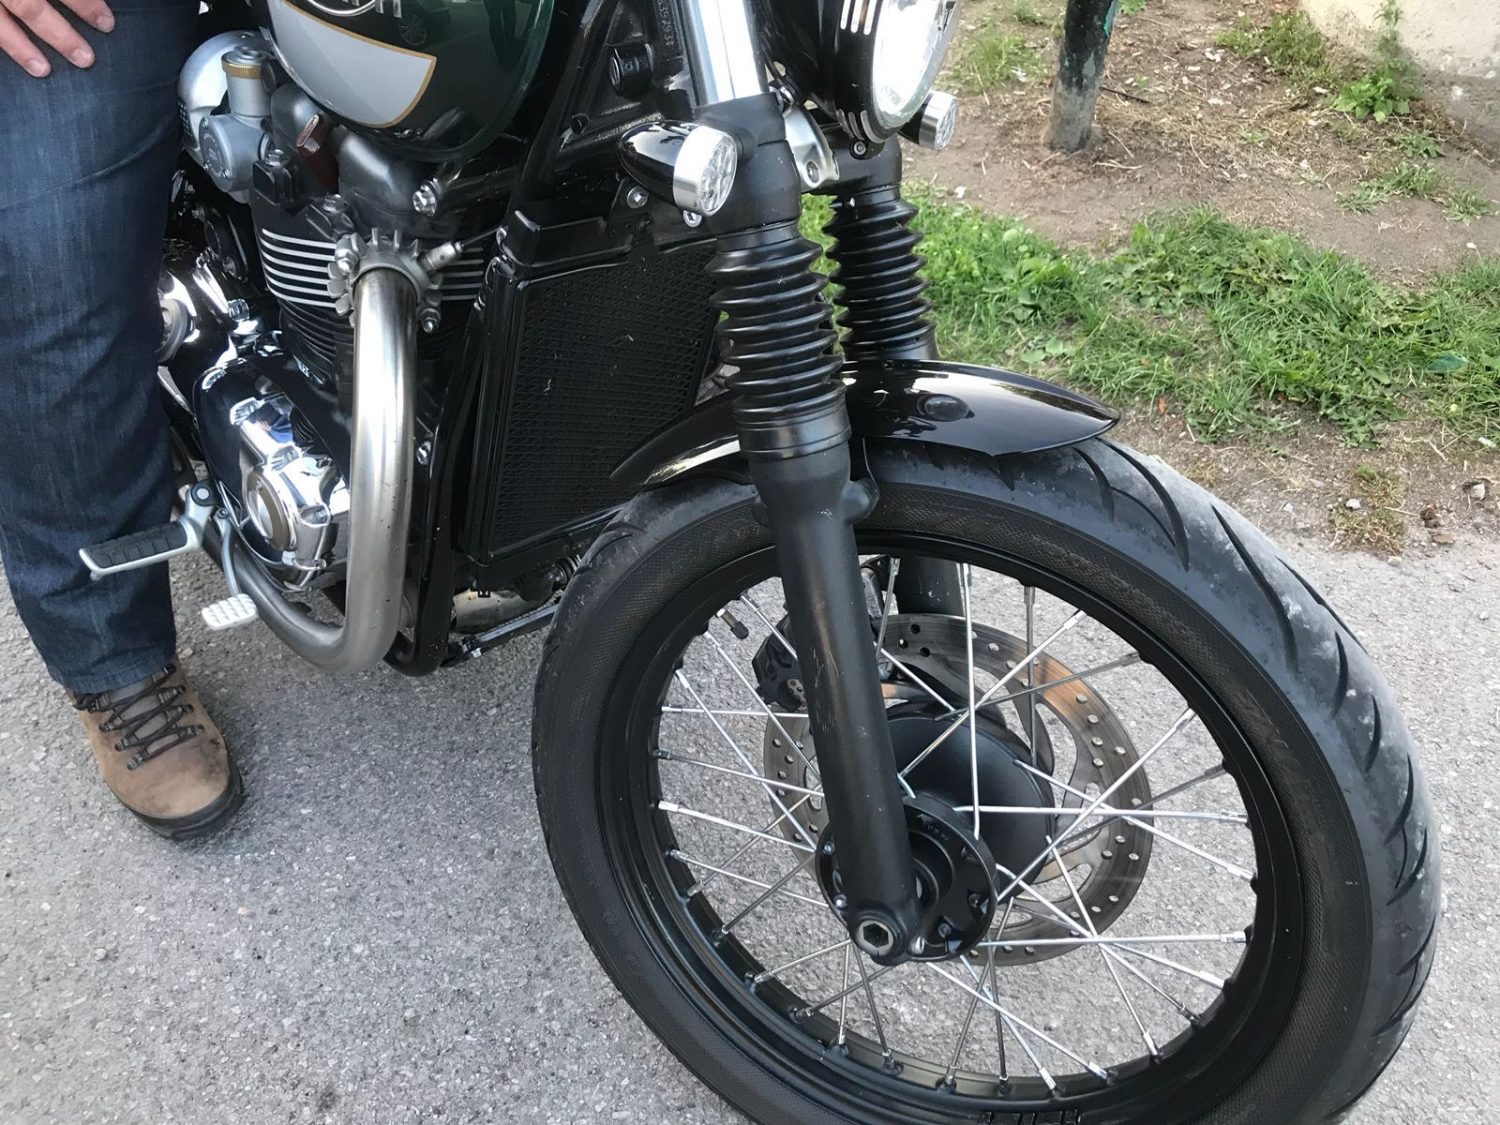
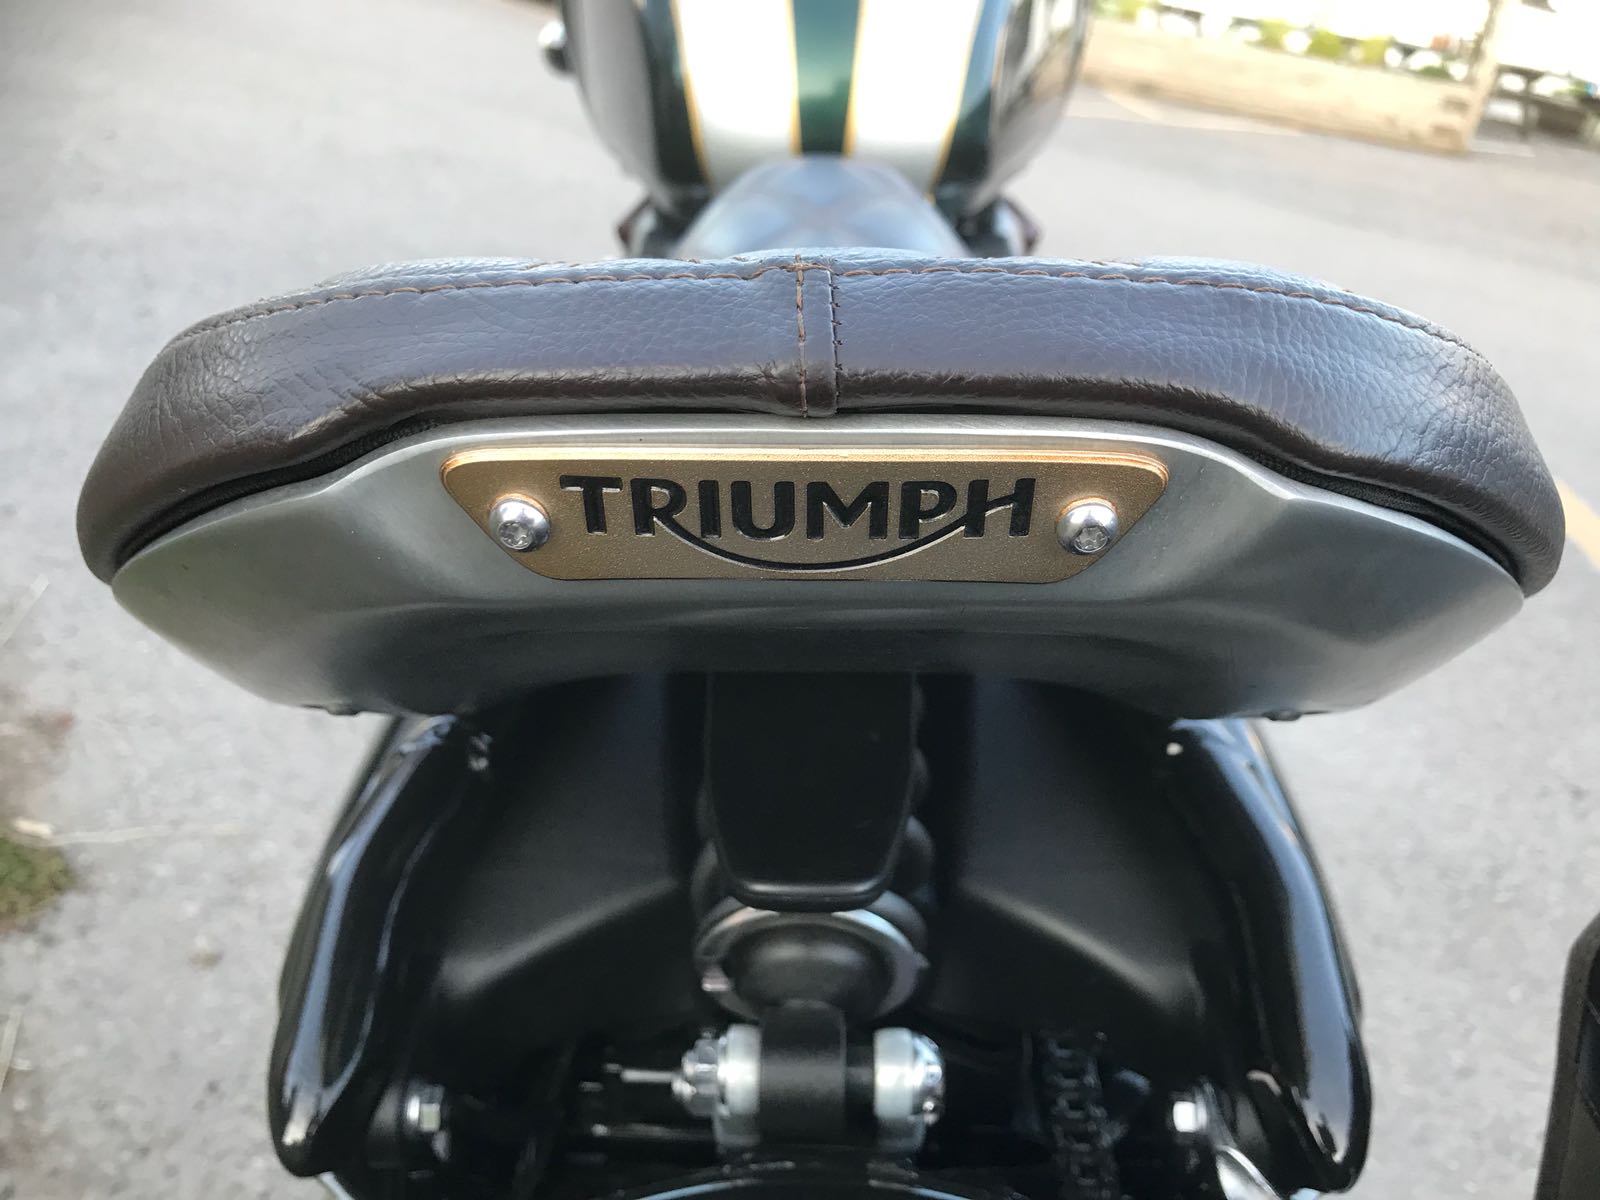
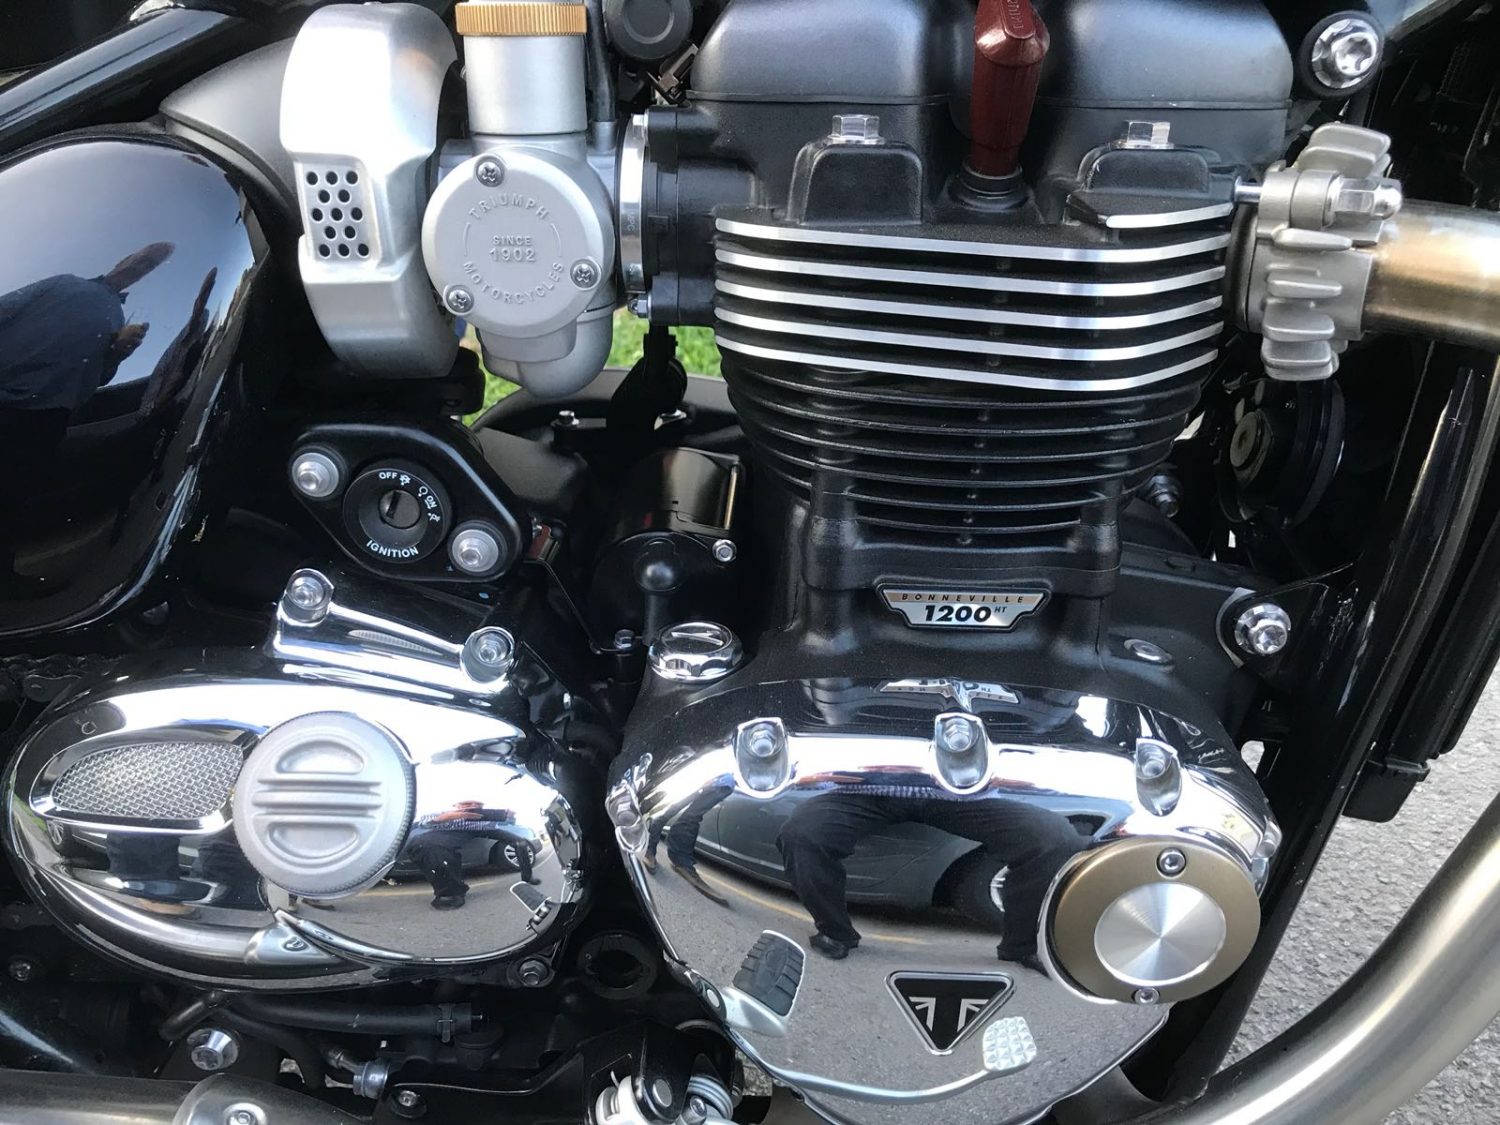
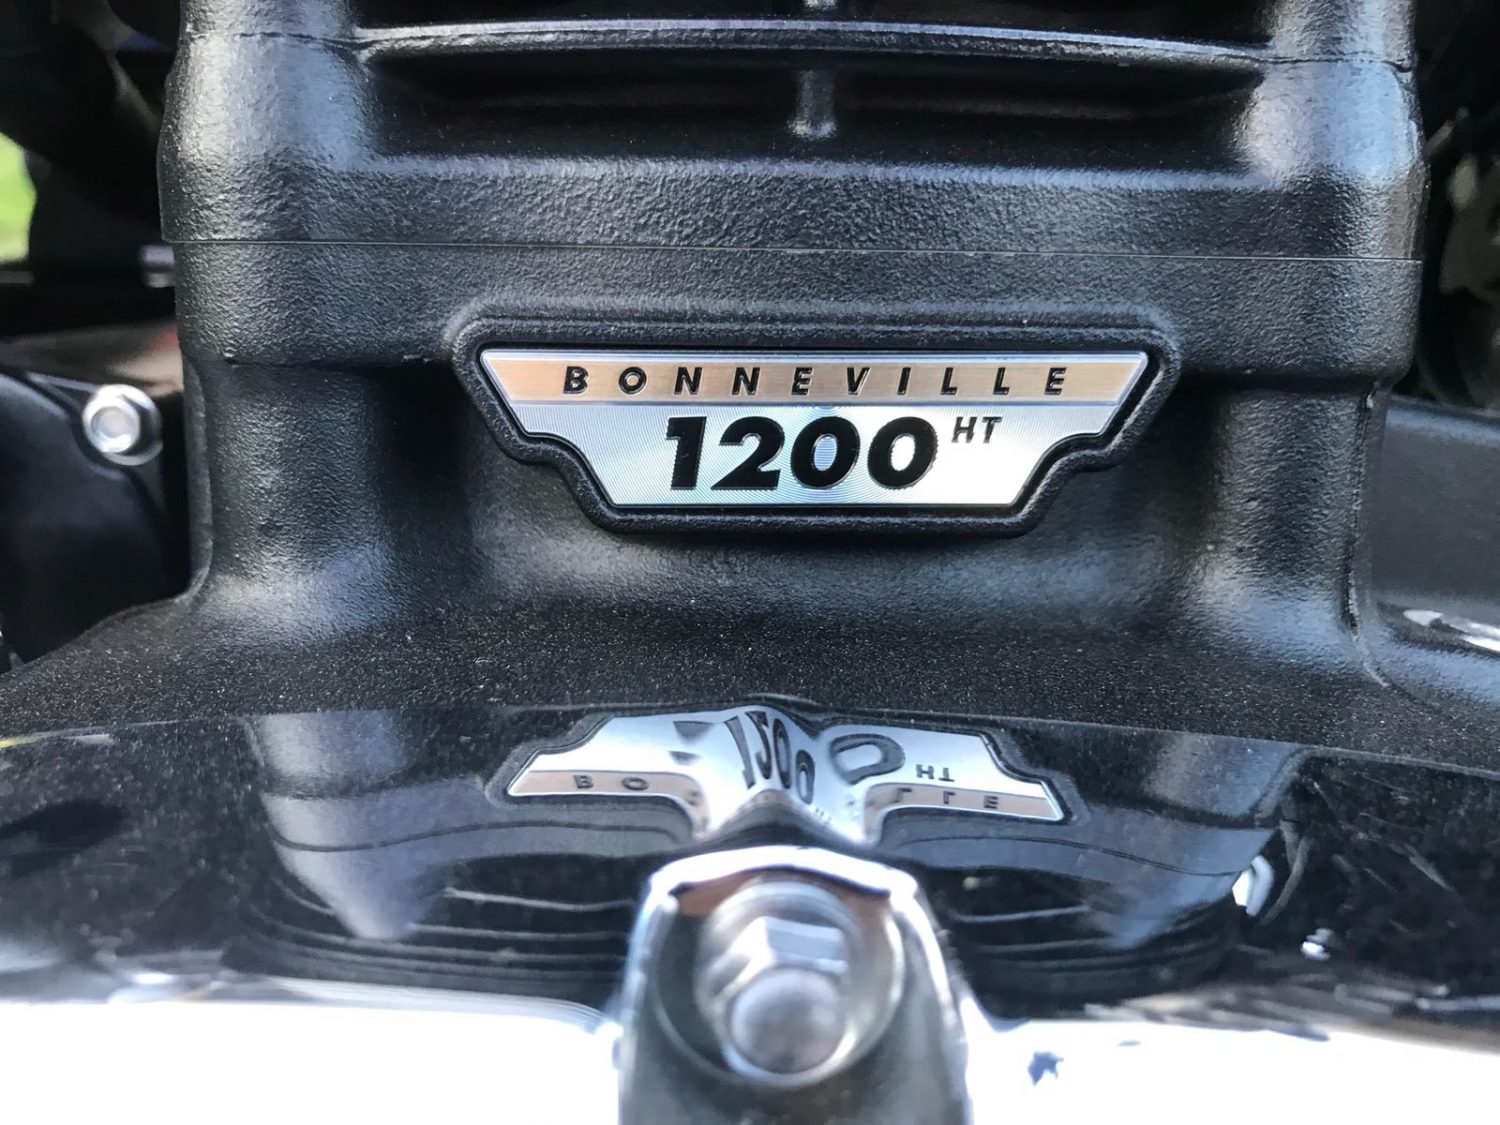
Shaun has brought along his latest toy, a Triumph Bobber.
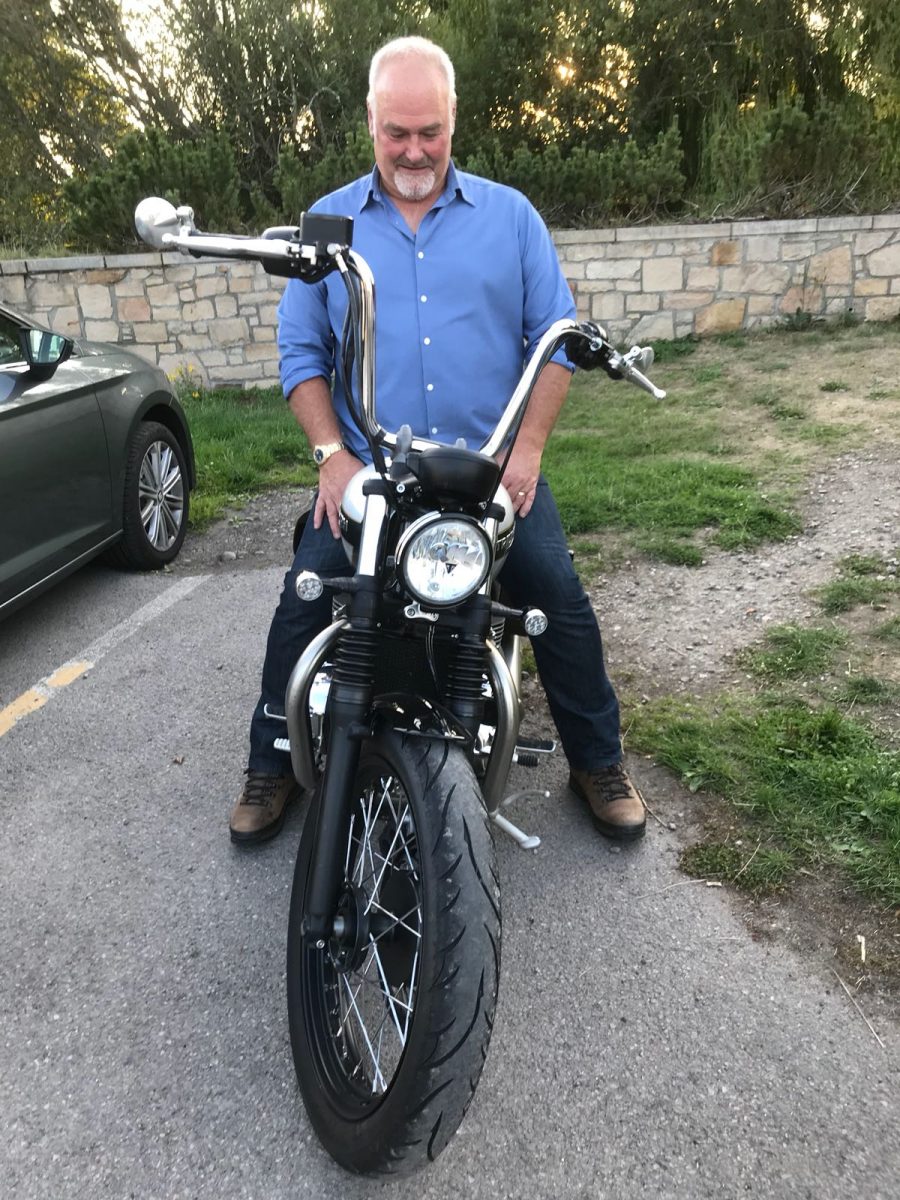
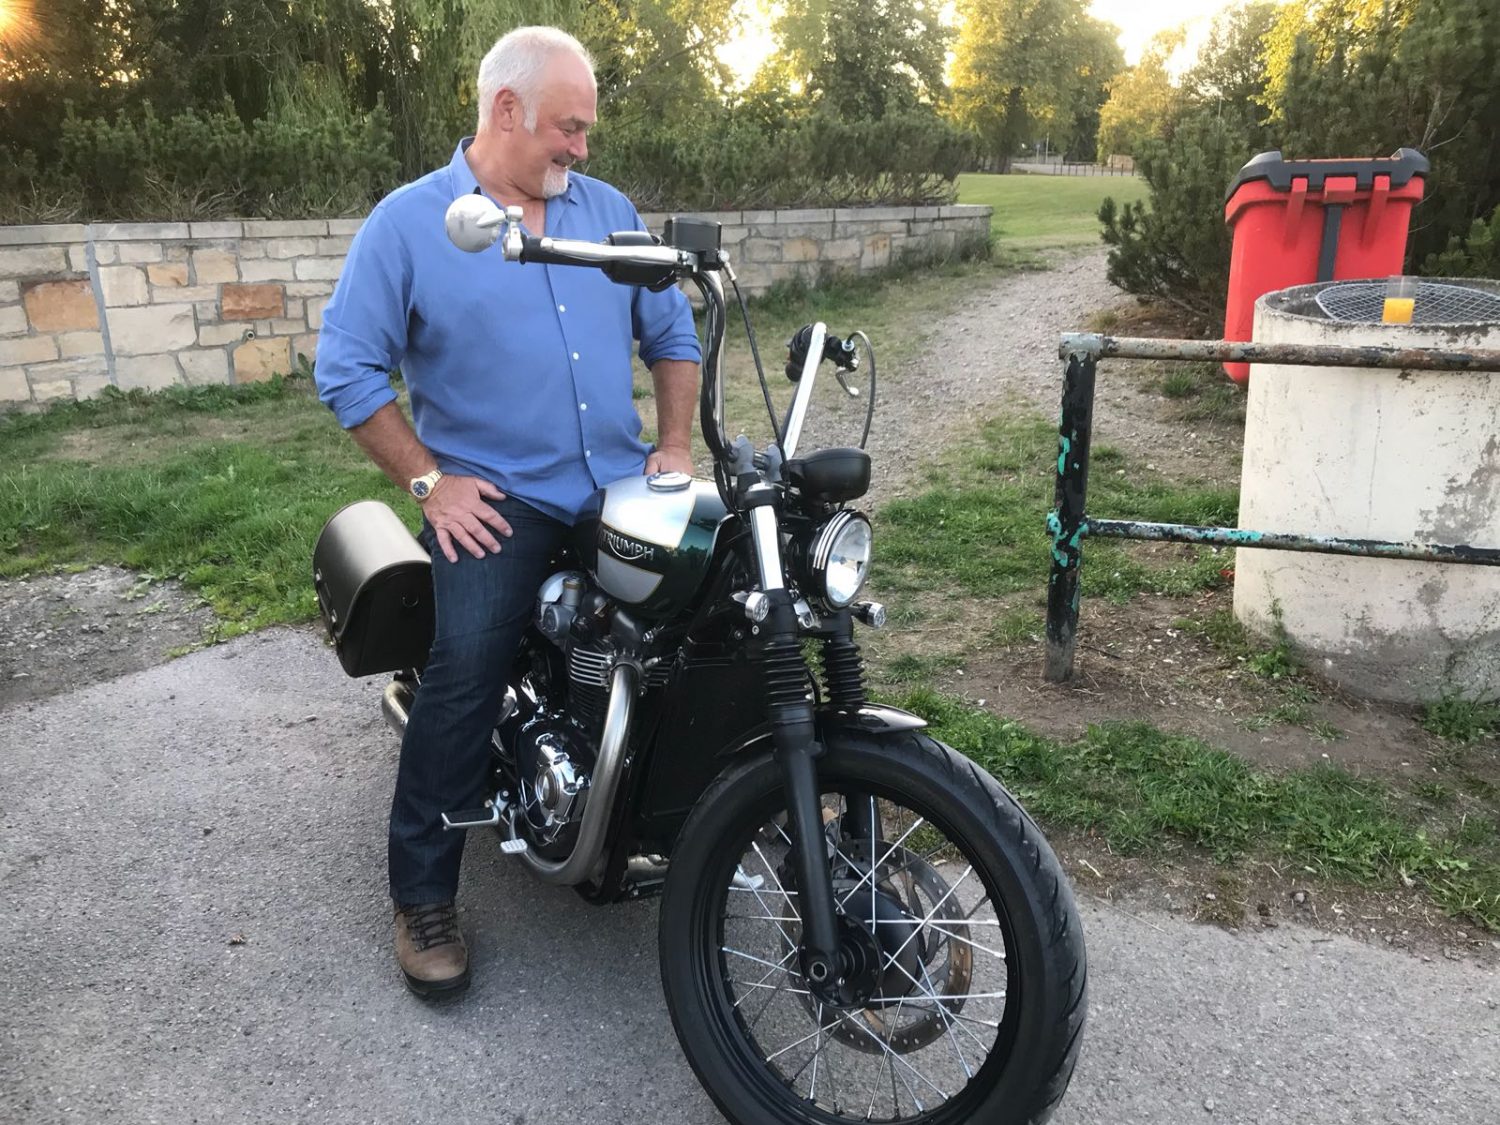
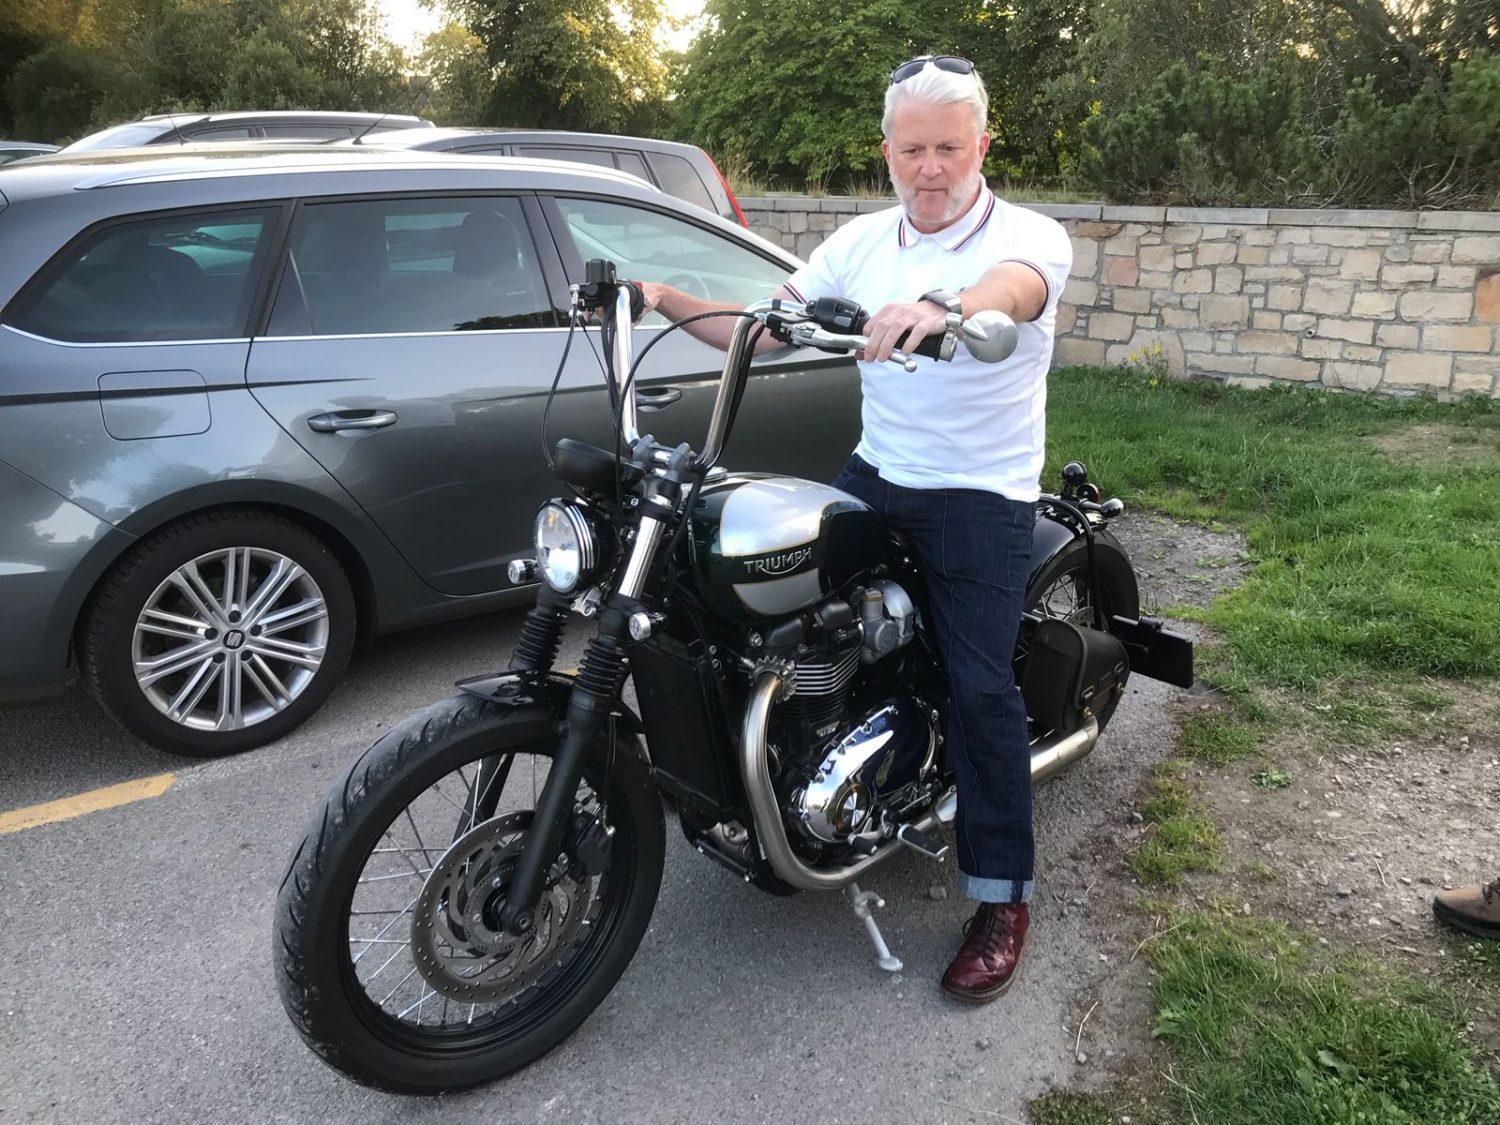
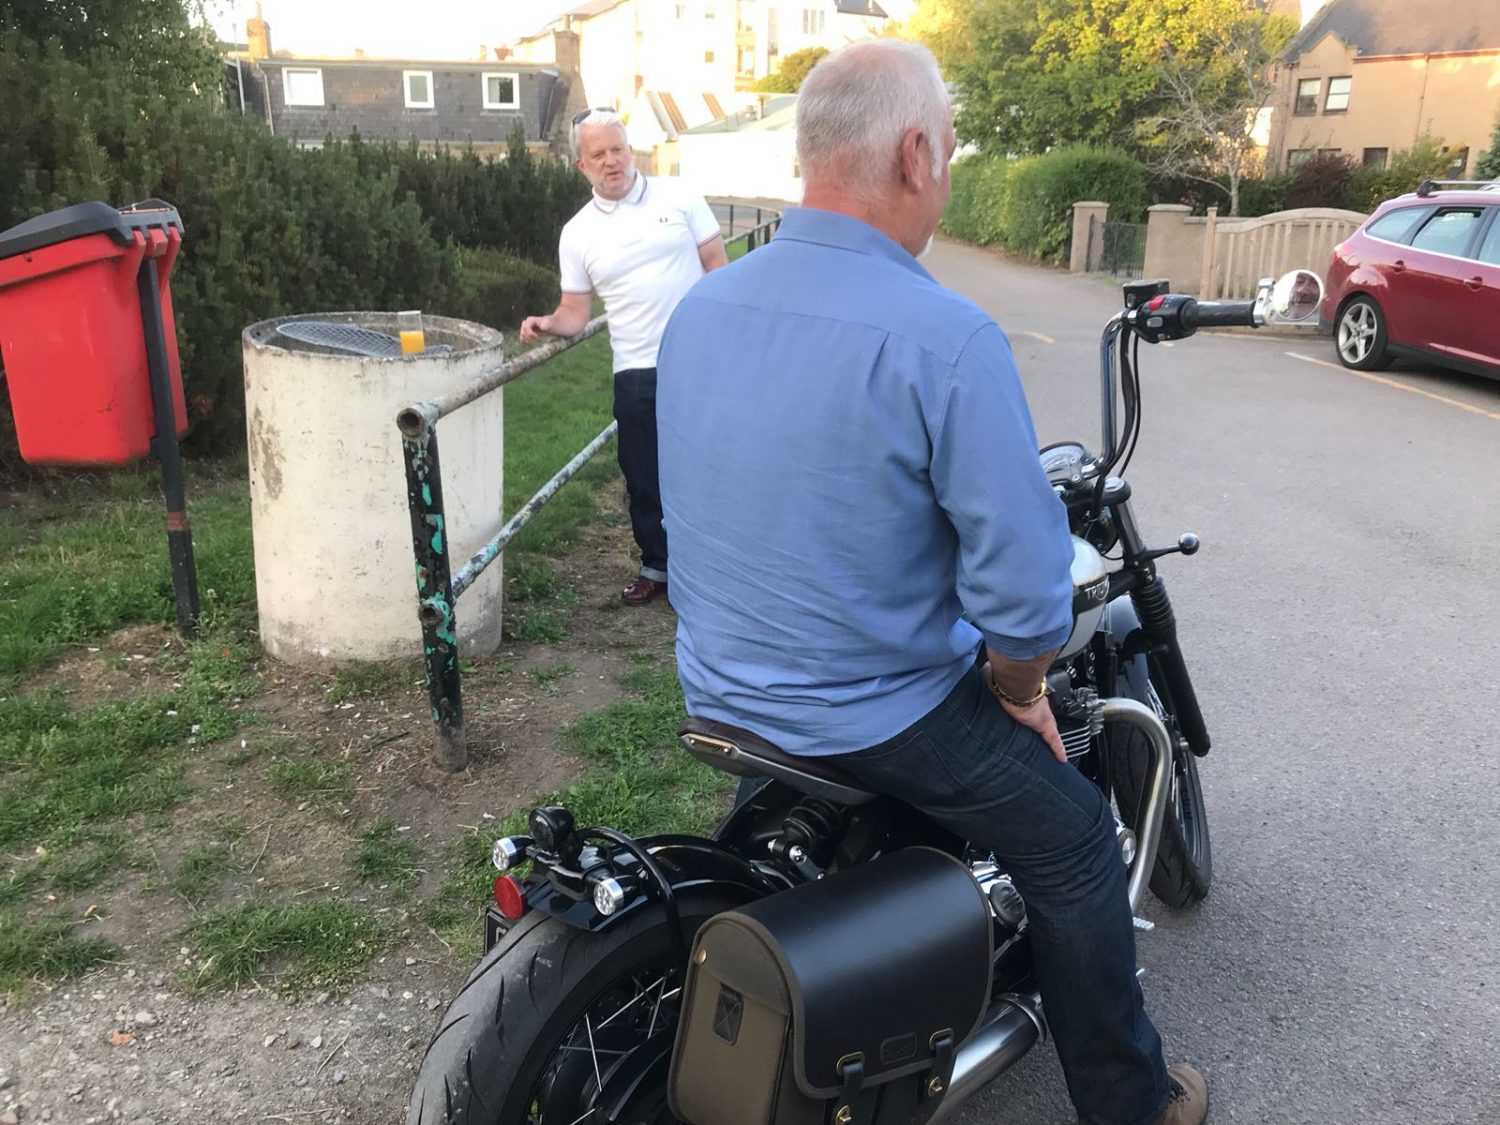
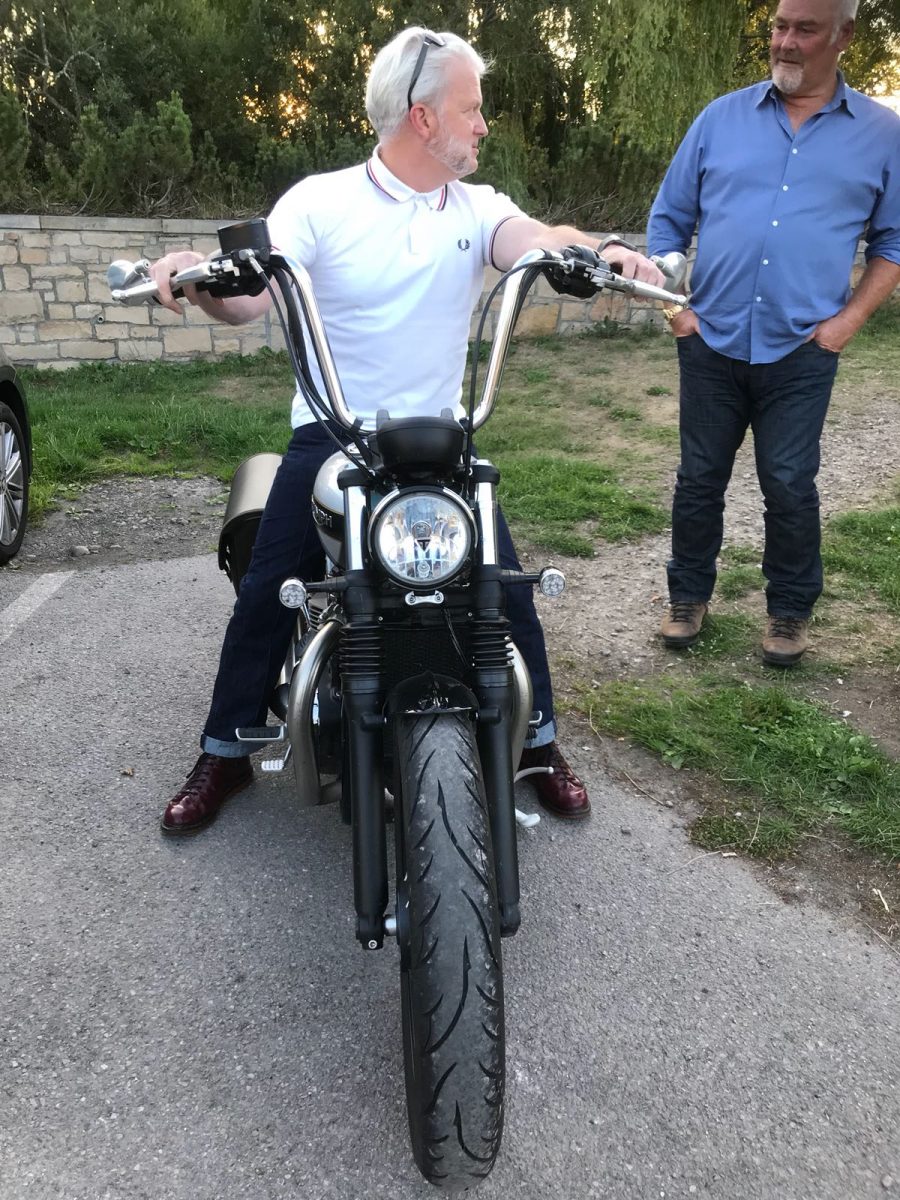
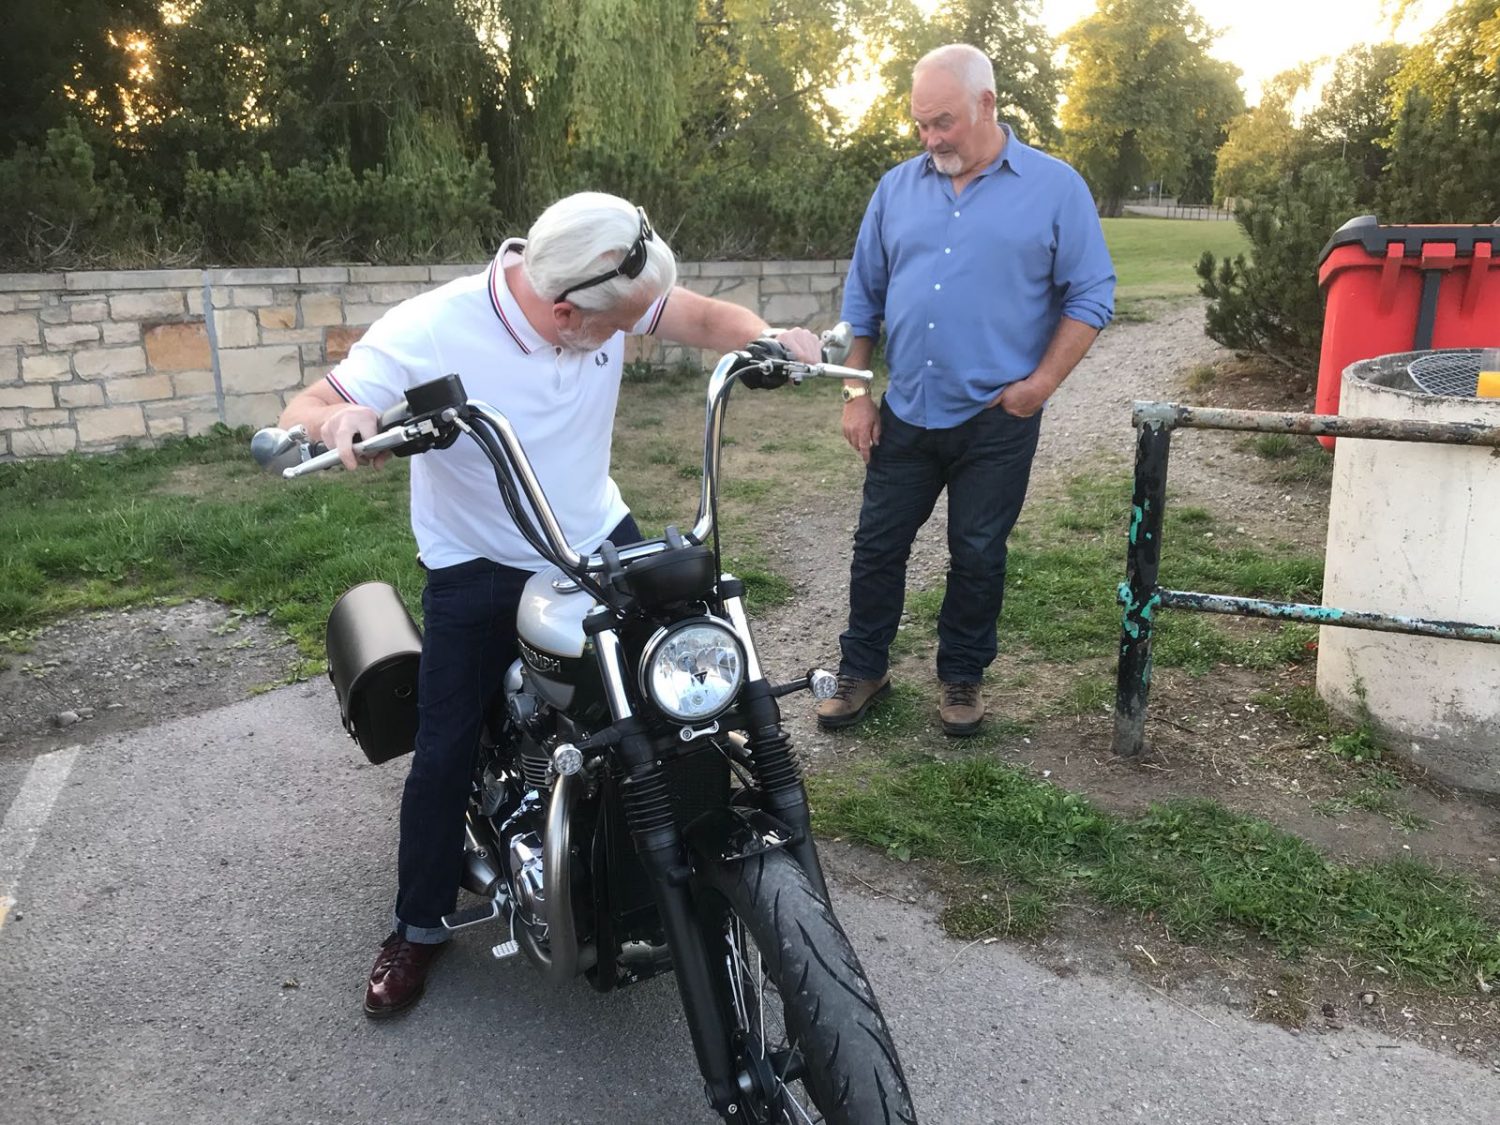
And we look forward to Greg taking on the 650 mile trip to visit us here in Suffolk on Sunday 26th August 2018 for Bridge Classic Cars Classic & Sports Car Show. Open to everyone feel free to come along too.
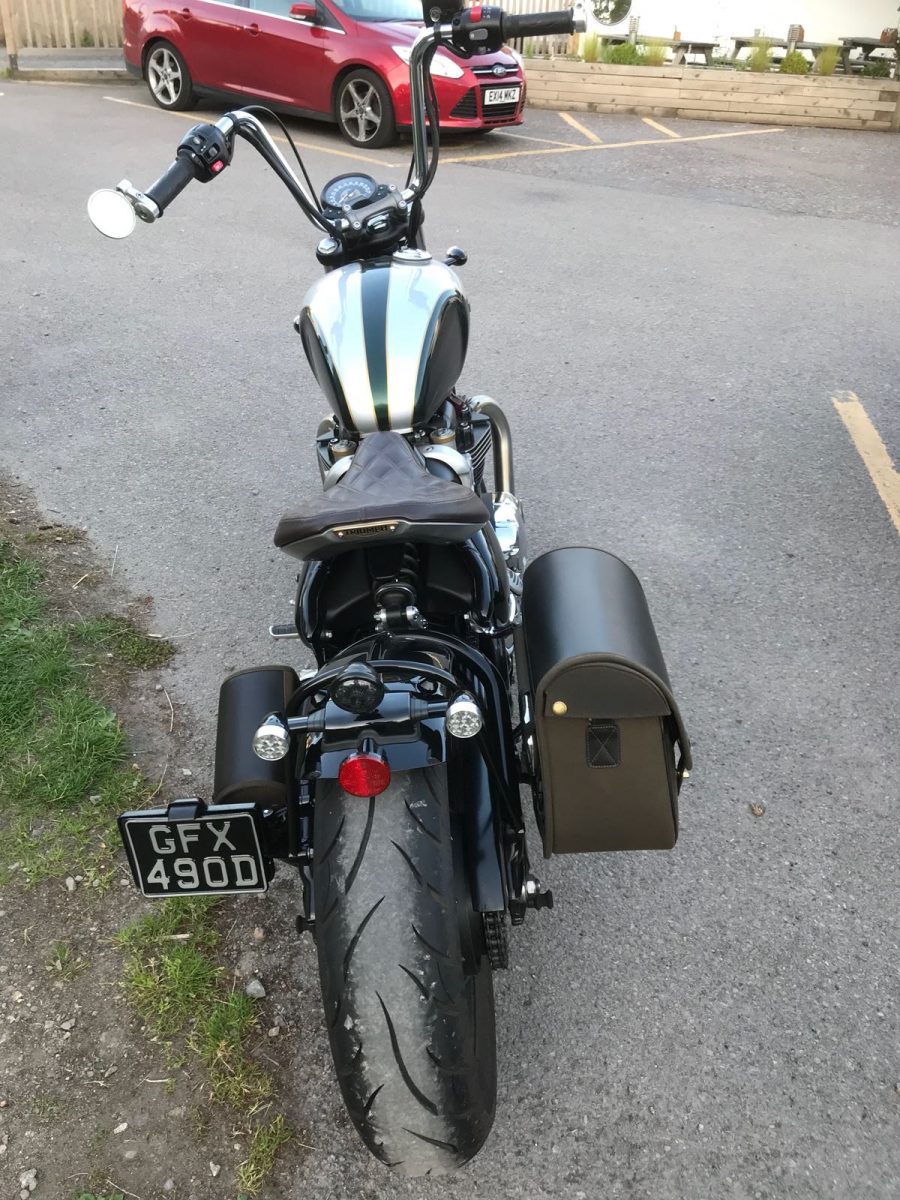
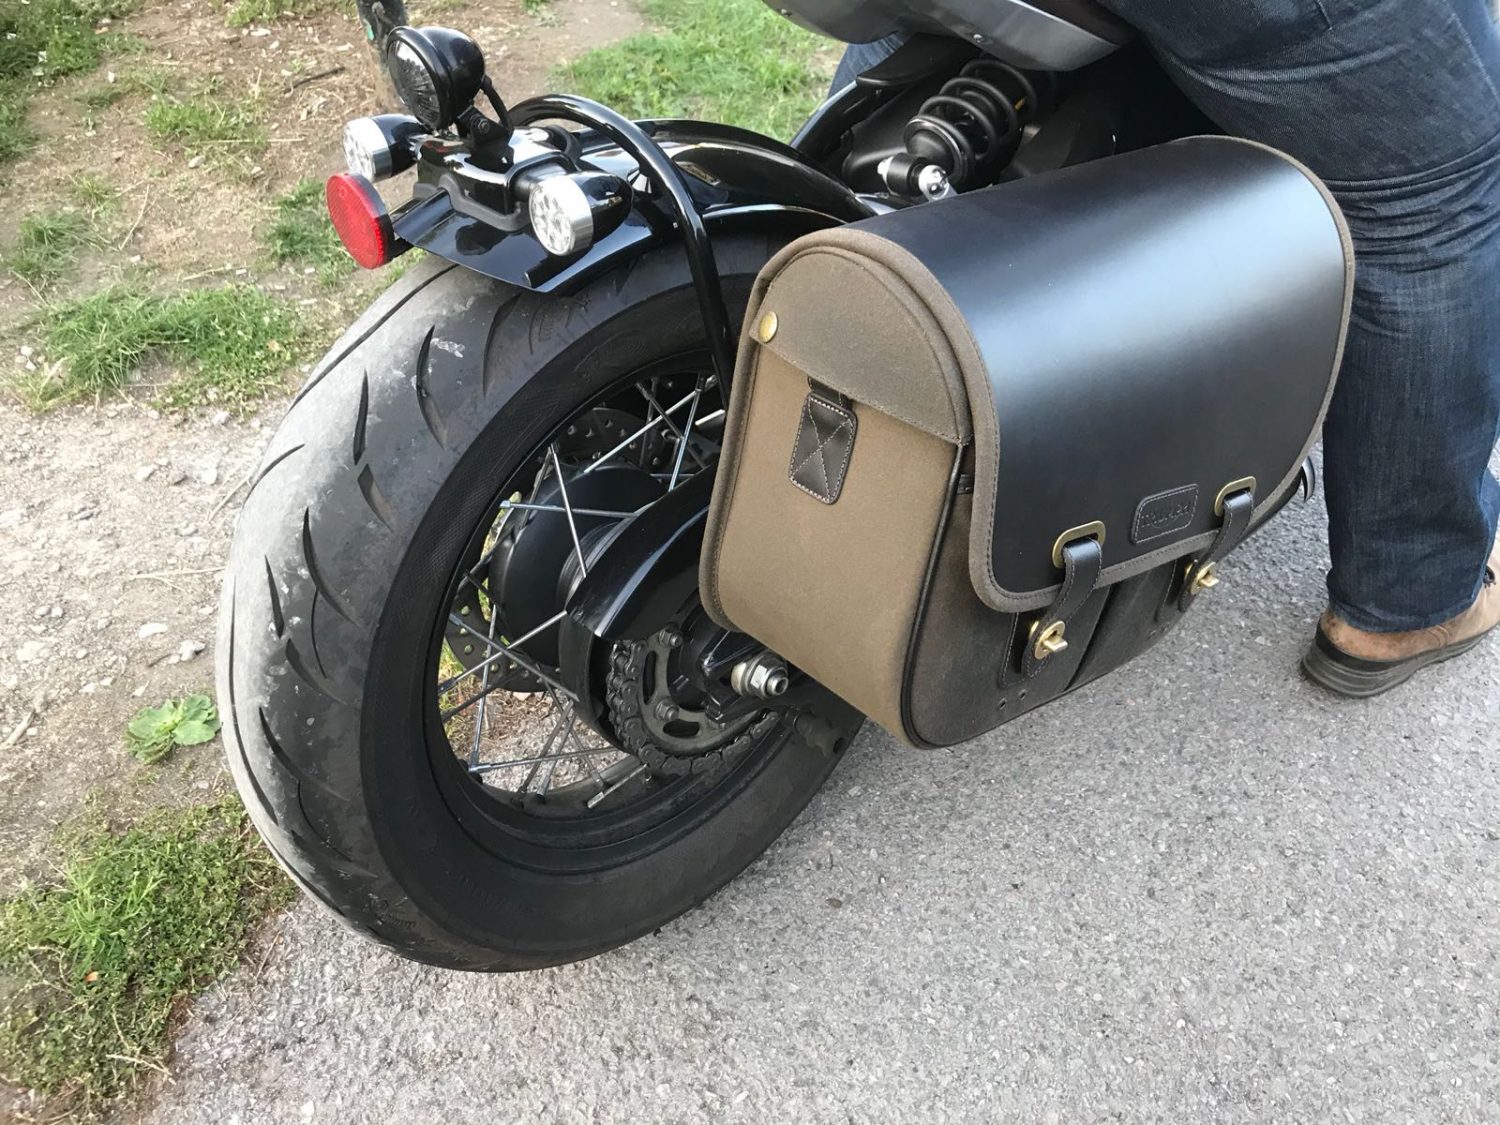
Due in to our Woodbridge workshops mid August we have a small collection of classic motorcycles. Currently stored away up in the highlands of Scotland the small collection is an exciting prospect for Bridge Classic Cars and we look forward to starting the work very soon.


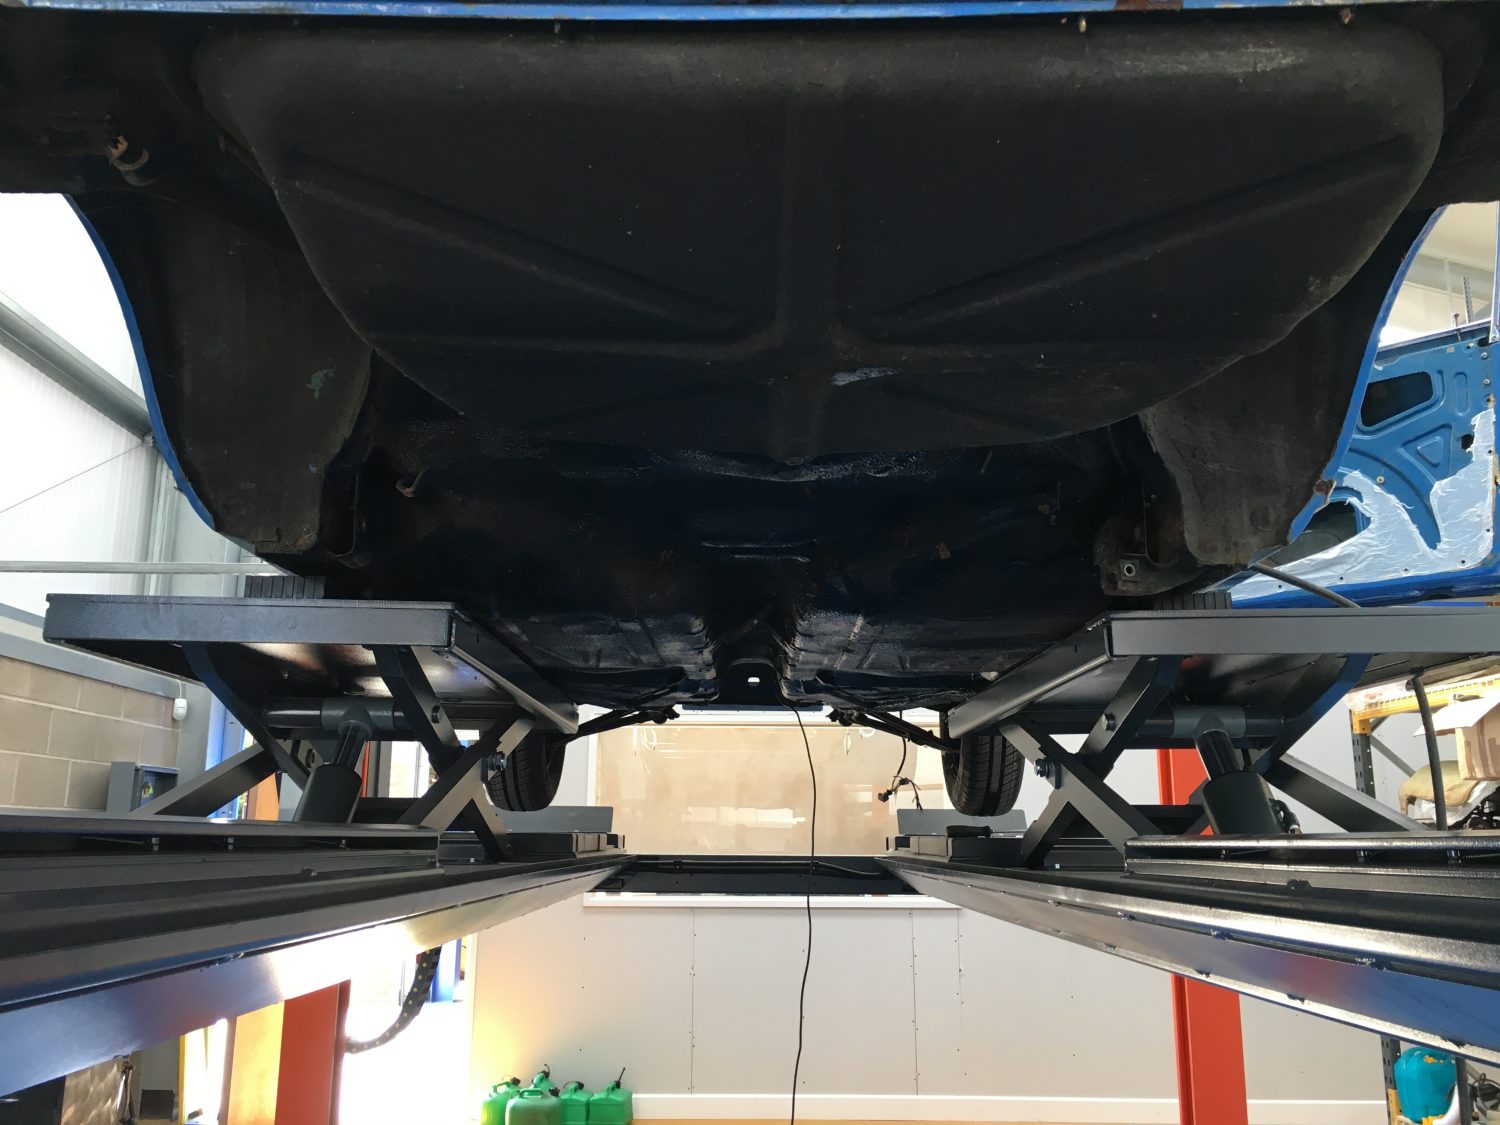
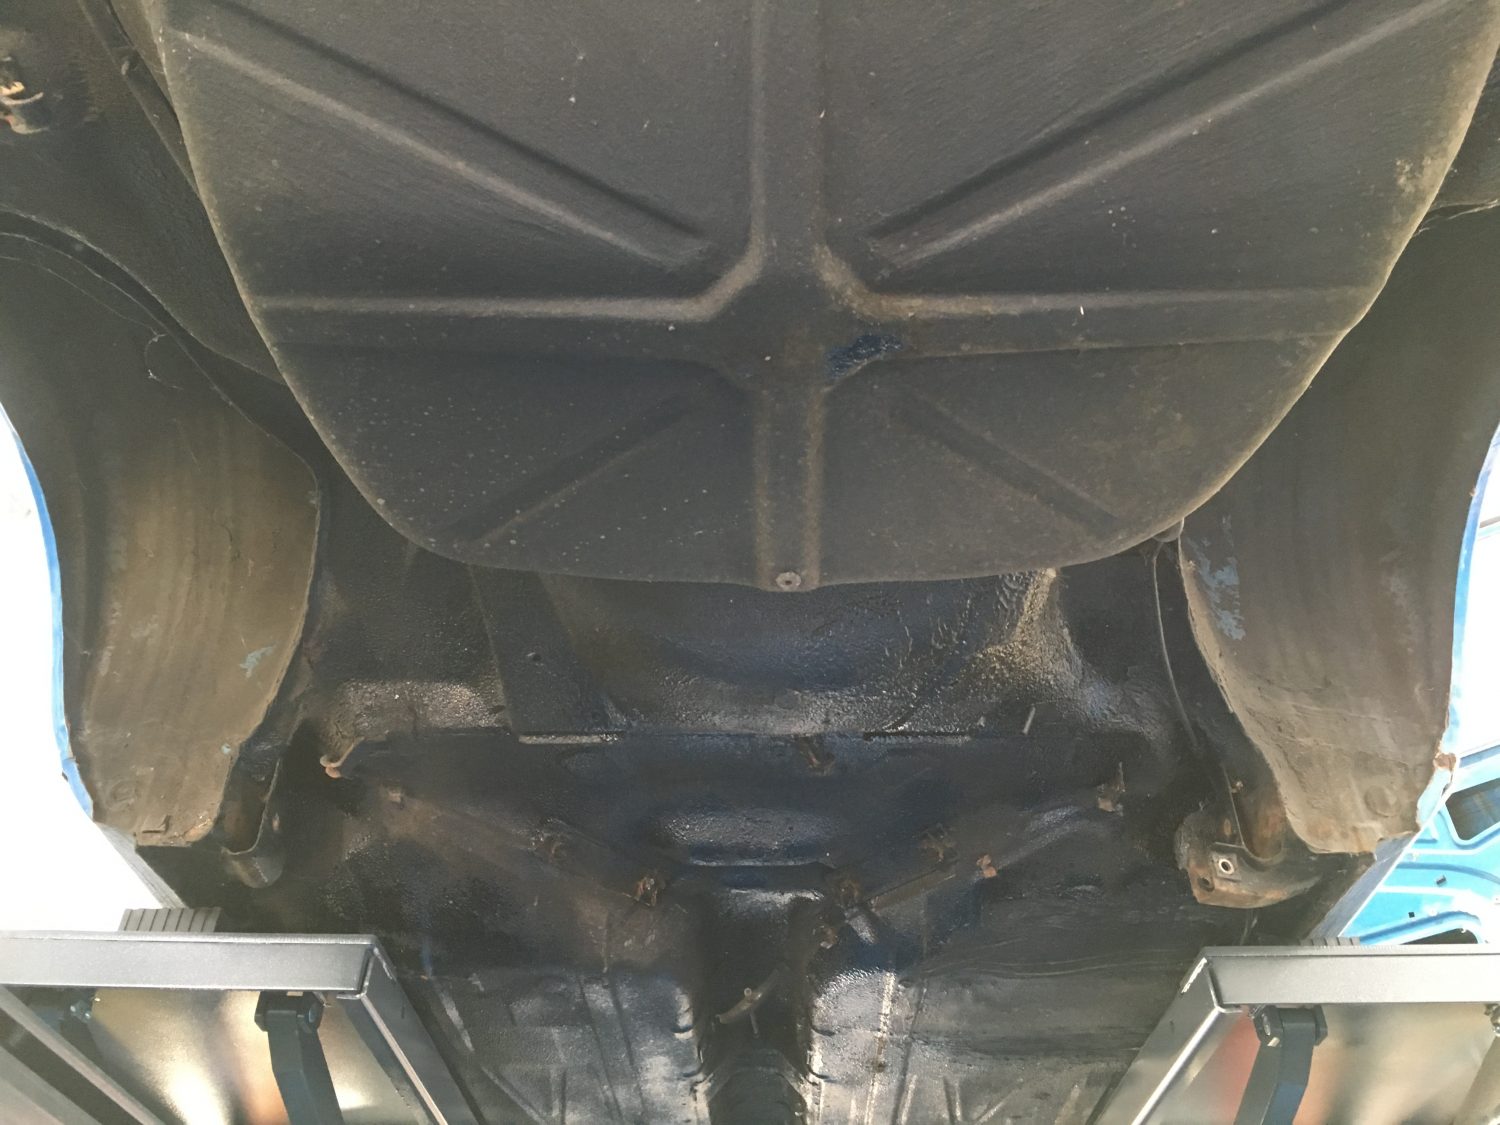
Our Audi 100 Coupe S is well on the way to be completely stripped.
We’ve hit the ground running with this project and have managed to strip all major components from the car within a couple of days.
We have uncovered a couple of areas of rot that will need attention during the welding process and I’m sure there will be more to come as we progress with the restoration.
For now, the running gear is off and currently being blasted and refurbished and more of the interior and exterior is being removed, wrapped and stored.


May not be a classic just yet but here’s Instagram sensation @confetti_5 enjoying the sunshine in a beautiful Ferrari in the Moscow International Business Centre, Russia.
#thefutureofbridgeclassiccars

So before arriving to us here at Bridge Classic Cars our 1987 Mercedes 500SL had been stored for some time under a tree.
With her now up and running and all levels checked our first trip was to drop her off with Mike down at Shine Supply UK to give her a good clean and find out to what extent the restoration may or may not be.
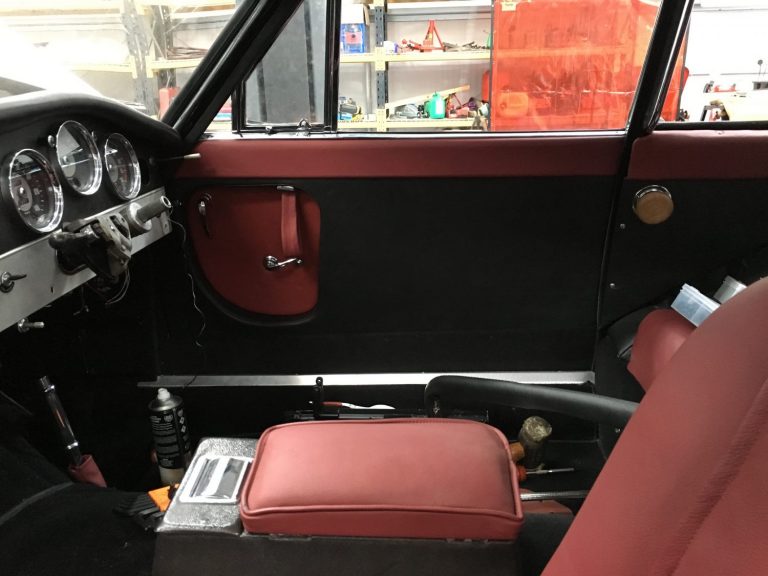
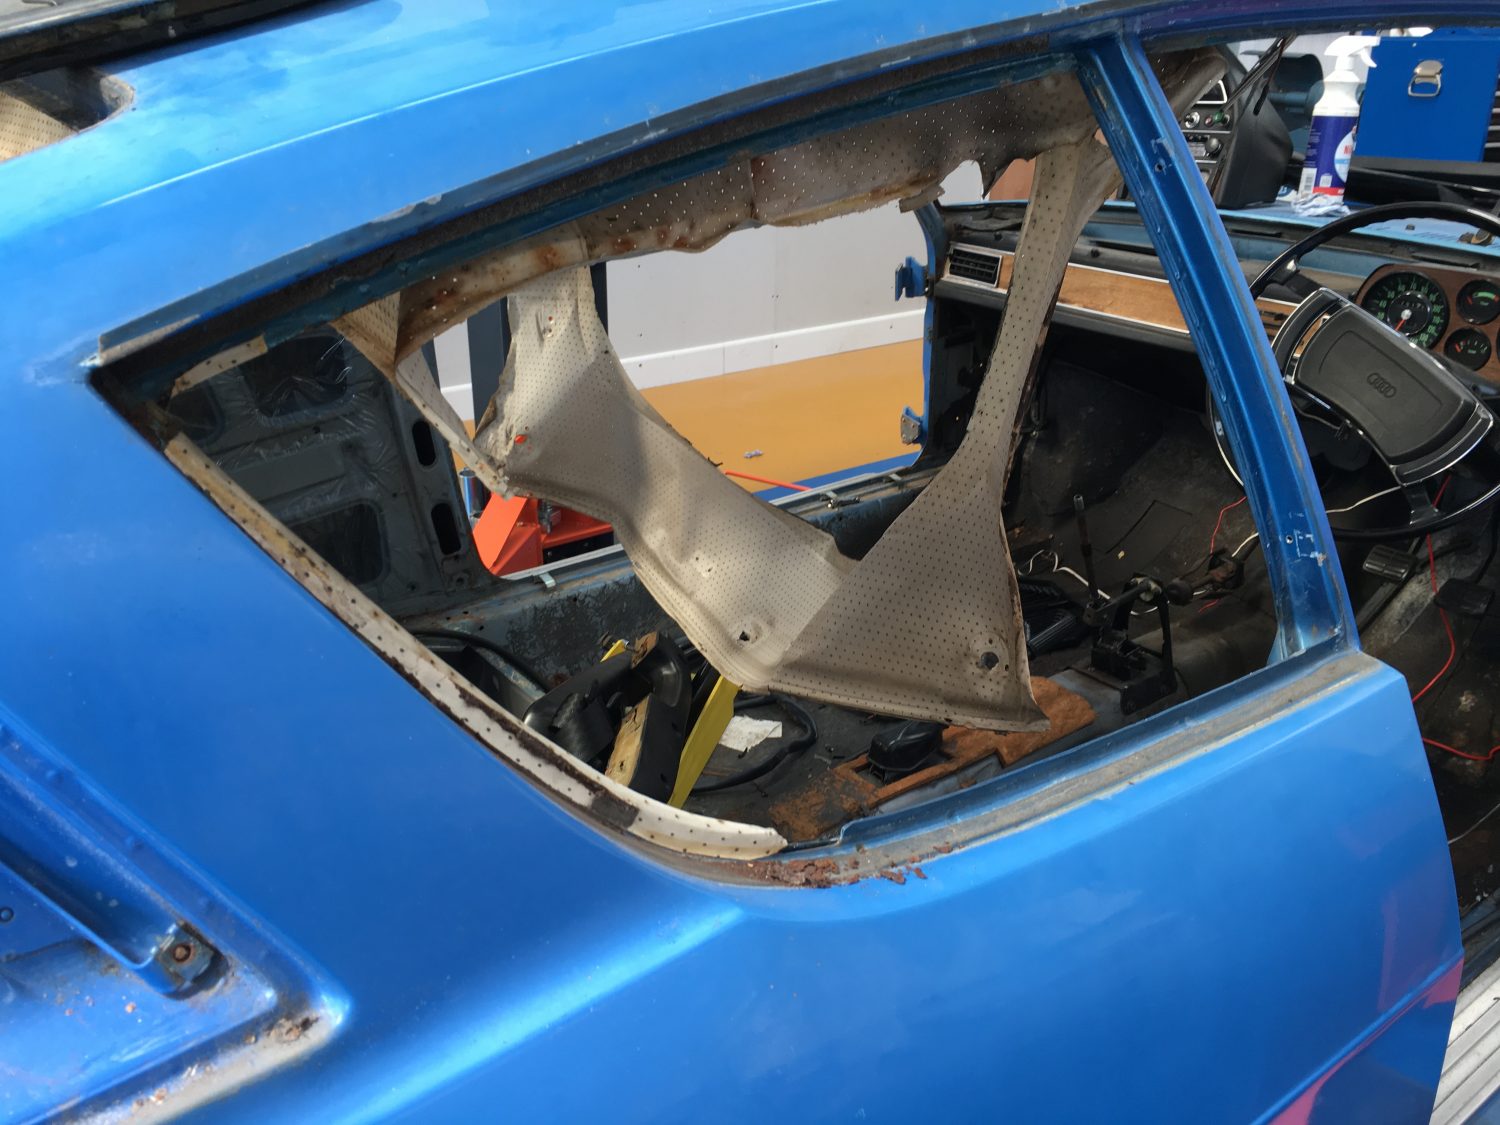
[vc_row][vc_column][vc_column_text]The strip down of our 1974 Audi 100 Coupe S is now in full swing. Andy has been set the task of removing our the interior today ready for the trimmer to take control.
At the minute, it has still not been decided on whether the colour change will be red with black interior or silver with red interior.
With the seats still to strip and the frame work to be refurbish we still have a little time until a decision needs to be made but for now, the work must commence as we have lots to do.
[/vc_column_text][/vc_column][/vc_row][vc_row][vc_column][vc_gallery type=”image_grid” images=”20892,20891,20890,20889,20888,20887,20886,20885,20884,20883″][/vc_column][/vc_row]
It’s time to bring our 1974 Audi 100 Coupe S into the workshops for the strip down to commence.


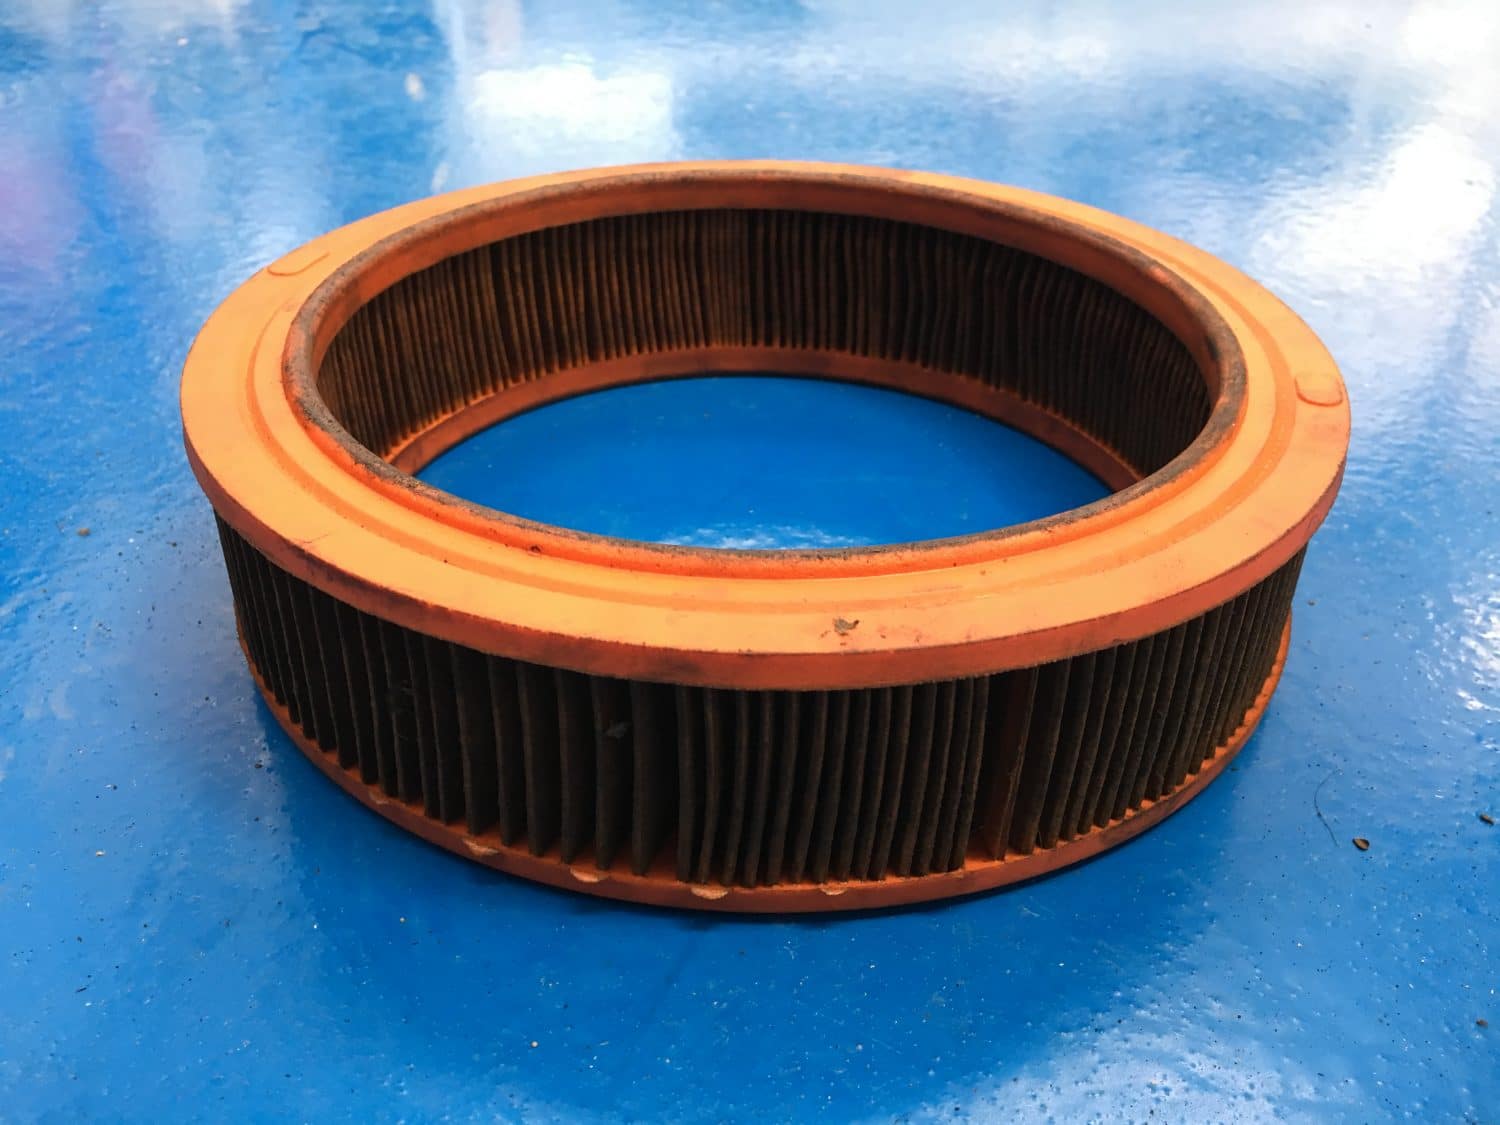
In our workshops this week we have a 1987 Lada Riva with some running issues. The car looked and felt to be starving of fuel so we needed to look into what could have been the cause.
Firstly, the air filter is severely clogged up so a replacement air filter was ordered.
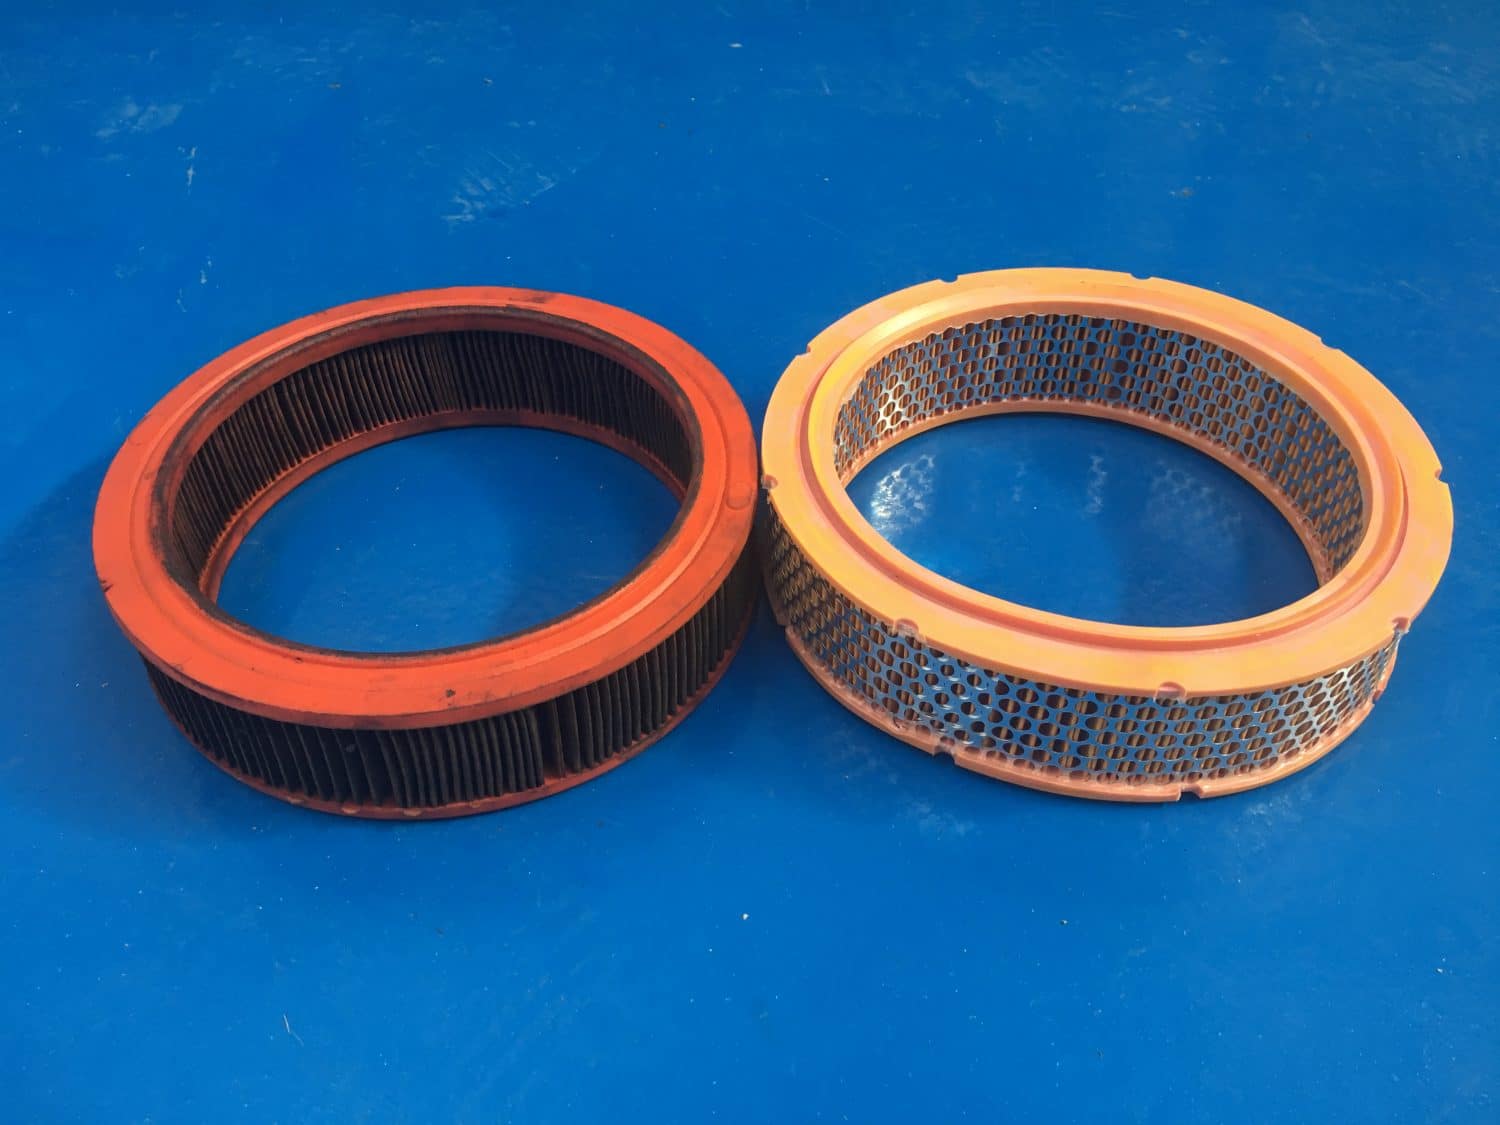
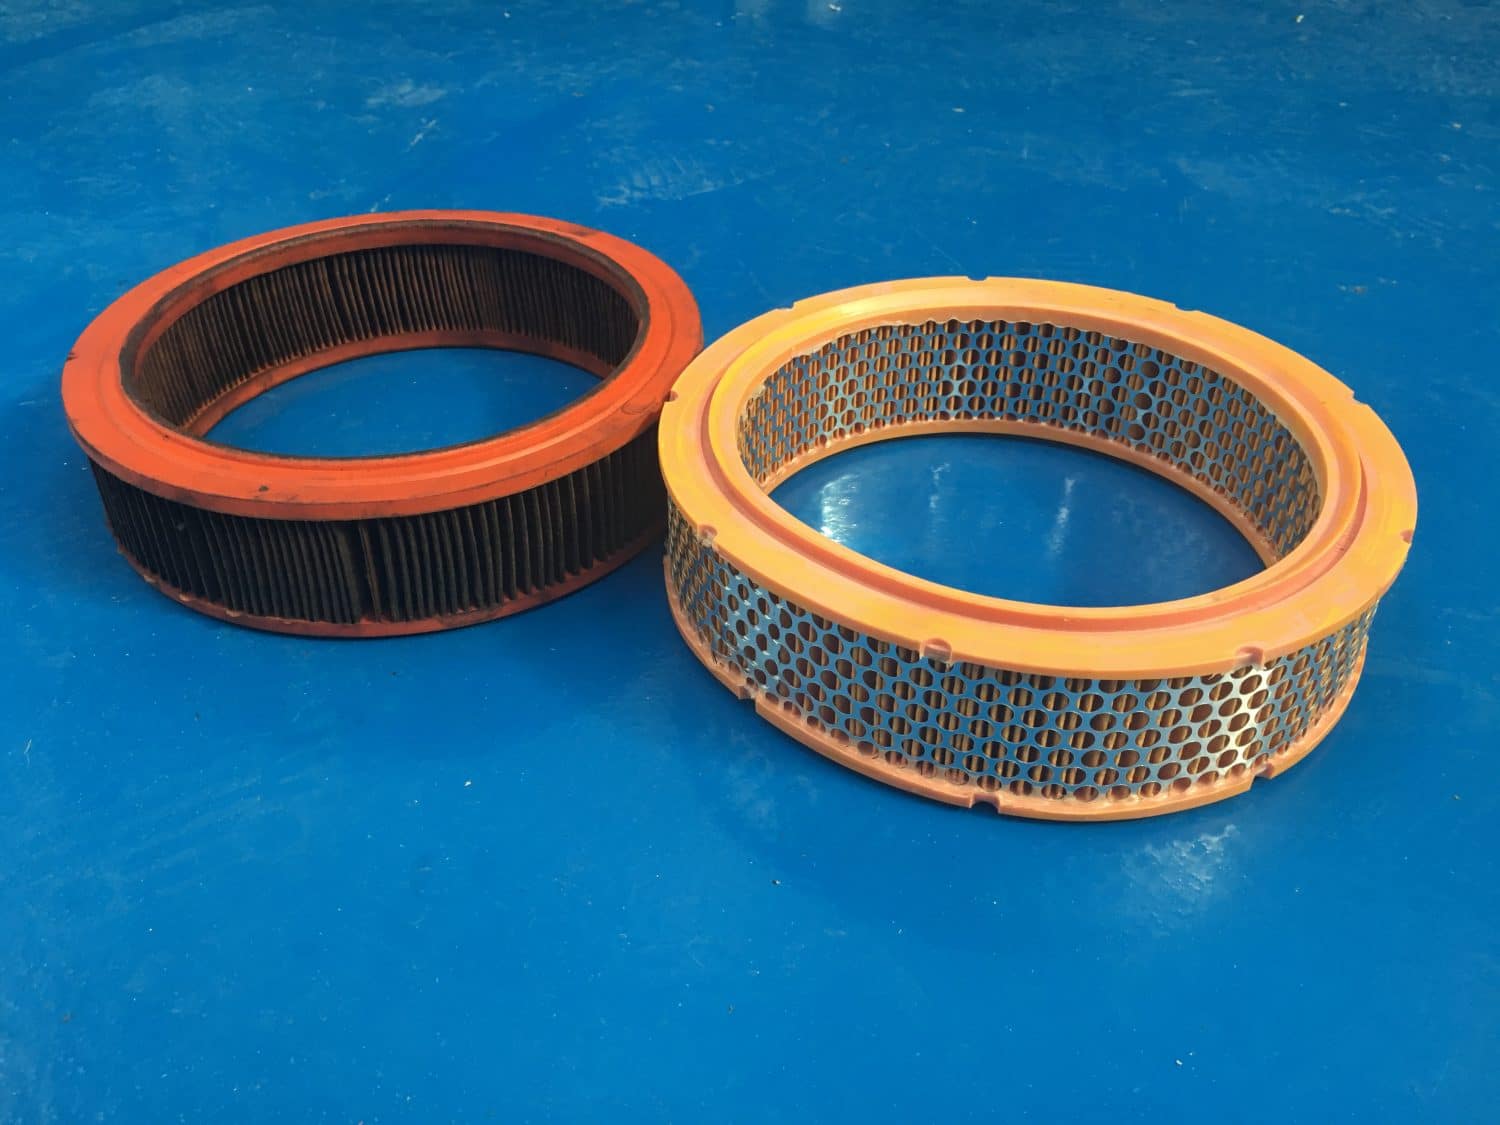
With the top removed we also noticed that the recently fitted carb had a perished gasket so whilst everything was out of the space we looked at rebuilding the carb with new gaskets.
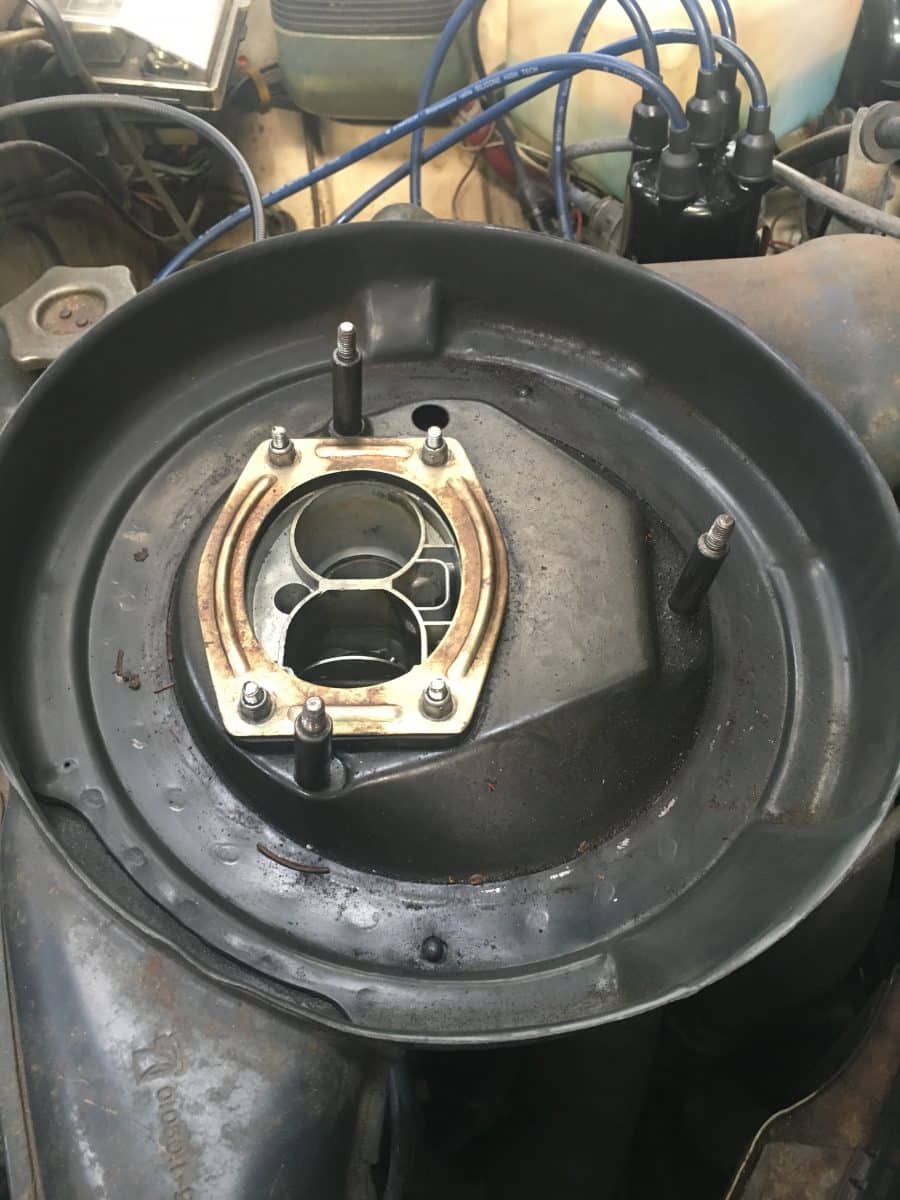
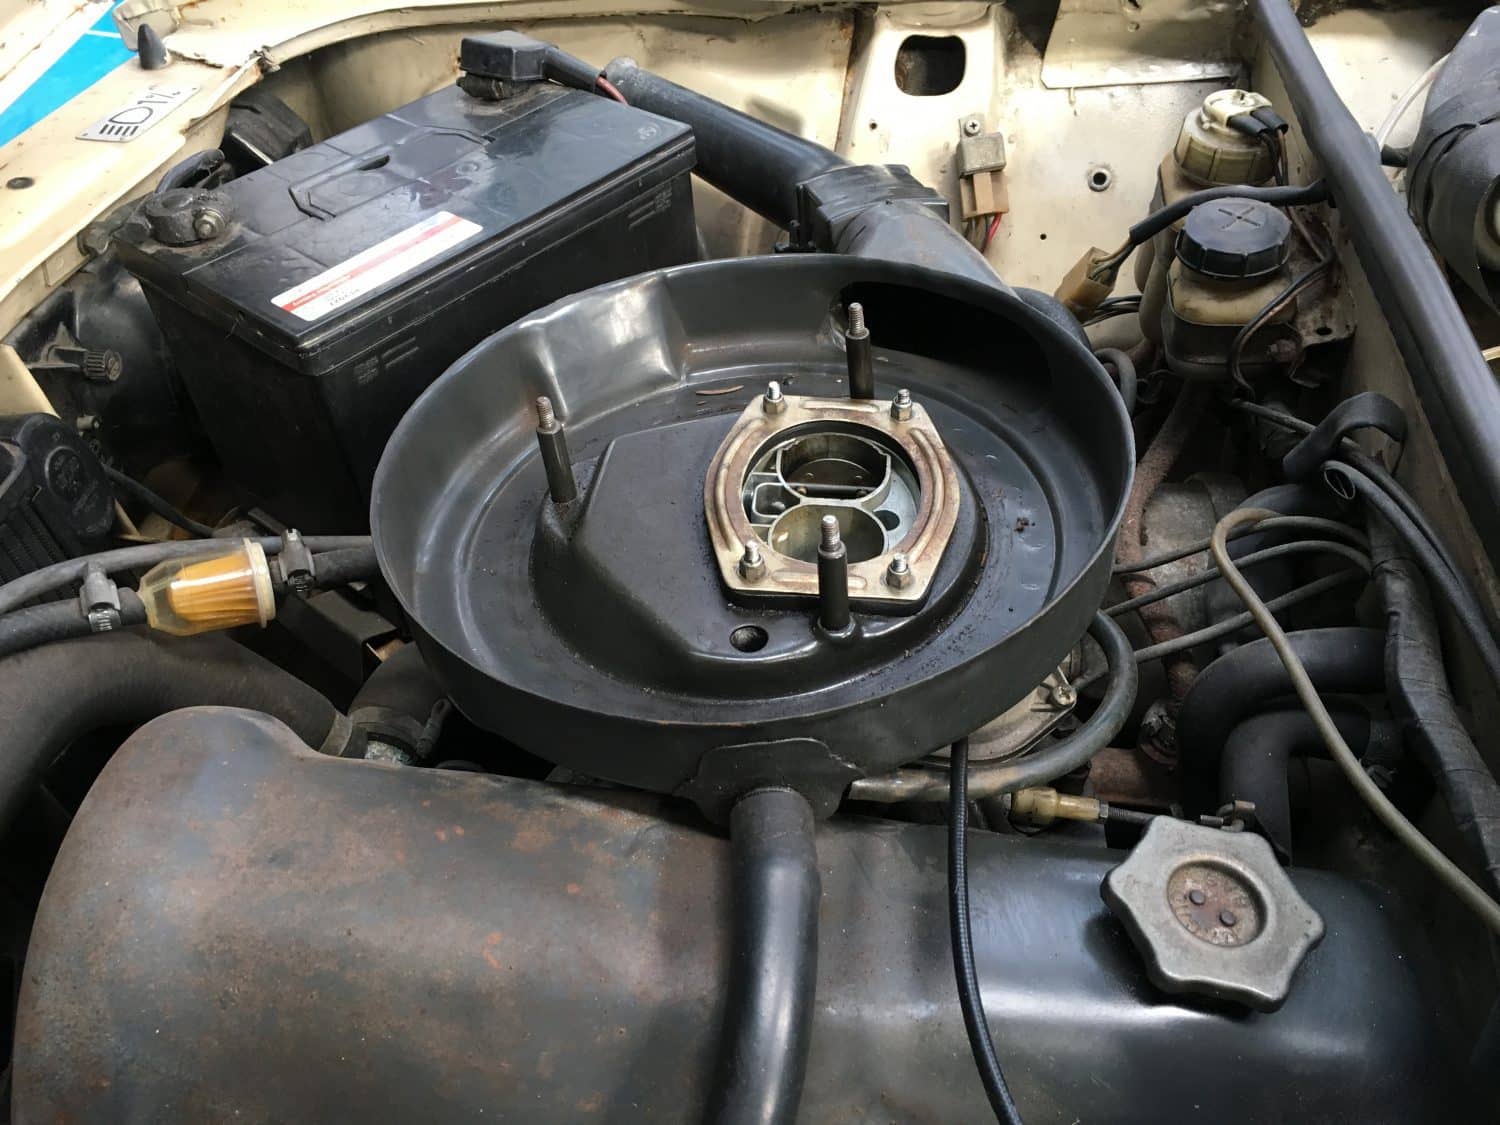
She’s running much better but still has a flat spot when pulling away so more work is needed to diagnose the underlying problem.
Our 1971 Bedford J Series truck arrived in with us in desperate need of a radiator overhaul. Thanks to the guys at Sheldrake & Wells in Ipswich the radiator is now fully refurbished, looking lovely, working as it should and now back on the car.
[vc_row][vc_column][vc_column_text]We had an issue to resolve on our 1954 MGTF, the seat was permanently stuck in position and would not move forward or back.
Upon closer inspection the runners were actually loose but this gave the opposite affect when weight was on the seat. The runners had positioned themselves like skies, pointing in different directions so the seat was essentially seized.
Having removed the seats and securing the runners back into position we are now able to move freely forwards and back.
[/vc_column_text][/vc_column][/vc_row][vc_row][vc_column][vc_video link=”https://www.youtube.com/watch?v=VPV7a_-768Y” align=”center”][/vc_column][/vc_row]
The new brakes have arrived today for the Capri so we are one step closer to having her back on the road looking gorgeous.


Confirmed: Sean with his 1967 Chevrolet Corvette Stingray.
Just as we were ready to return this beauty back to her owner we discovered a slight weep from the sump. The gasket has deteriorated and needs replacing.
Mike from Railton Owner’s Club has one on the shelf which is on its way to us as we speak.
Fo now, she’ll stay put looking pretty.


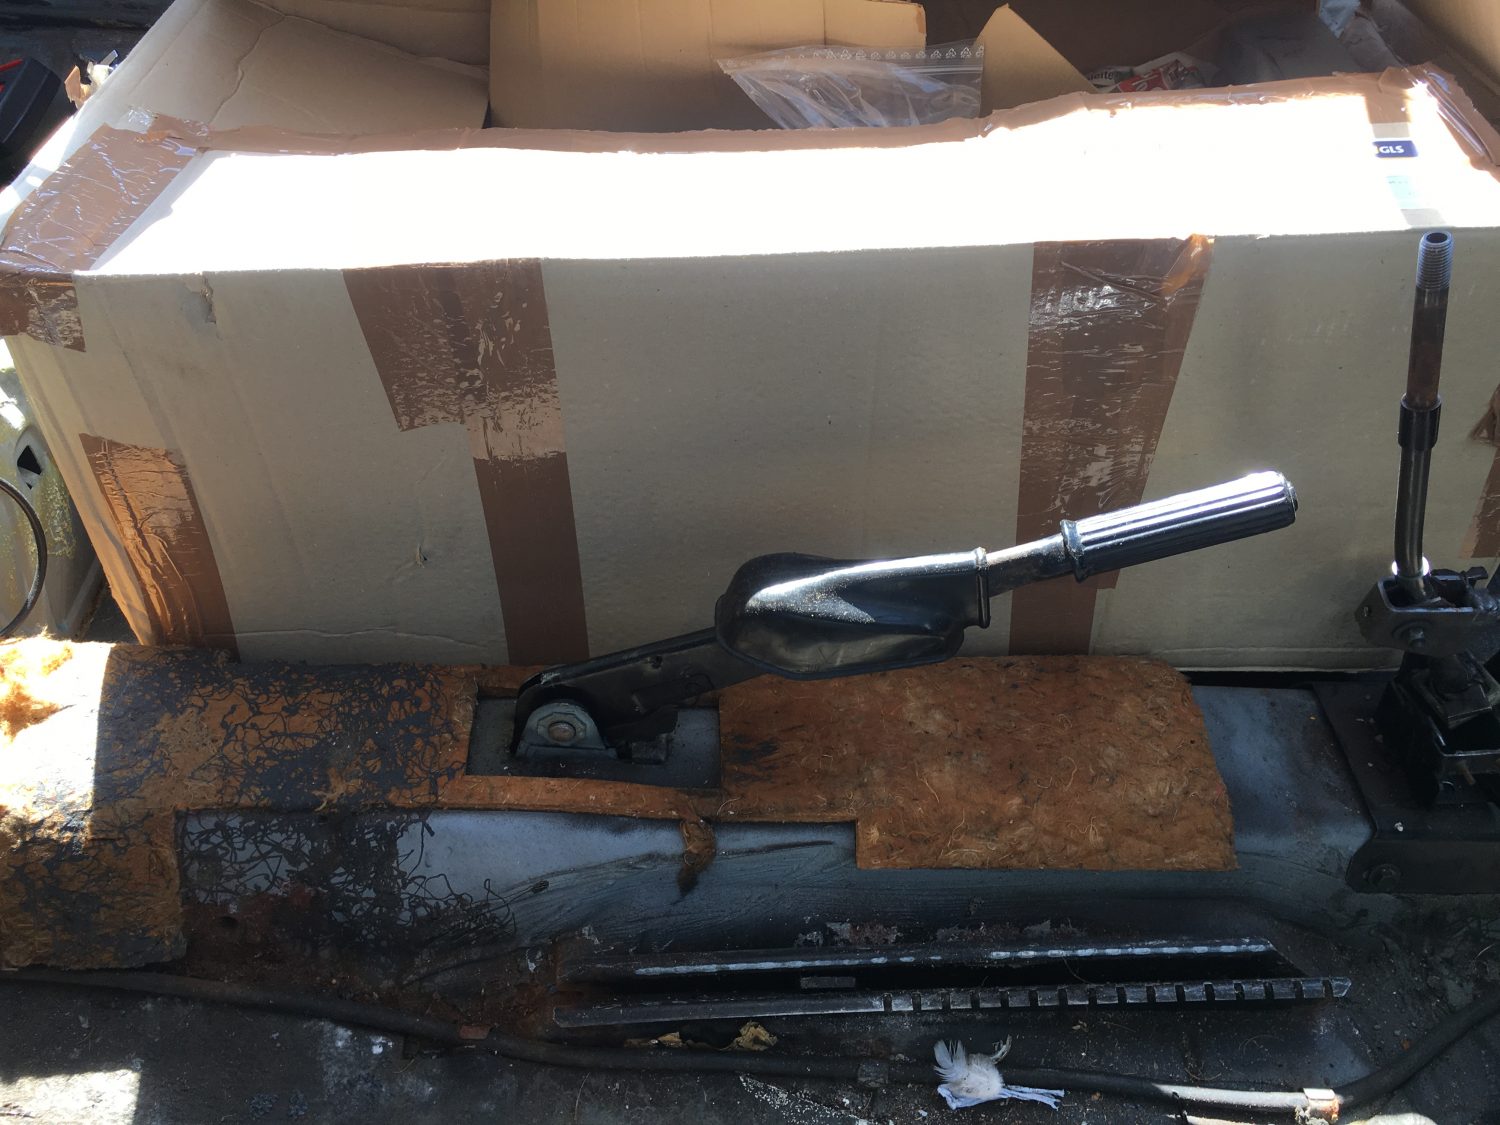
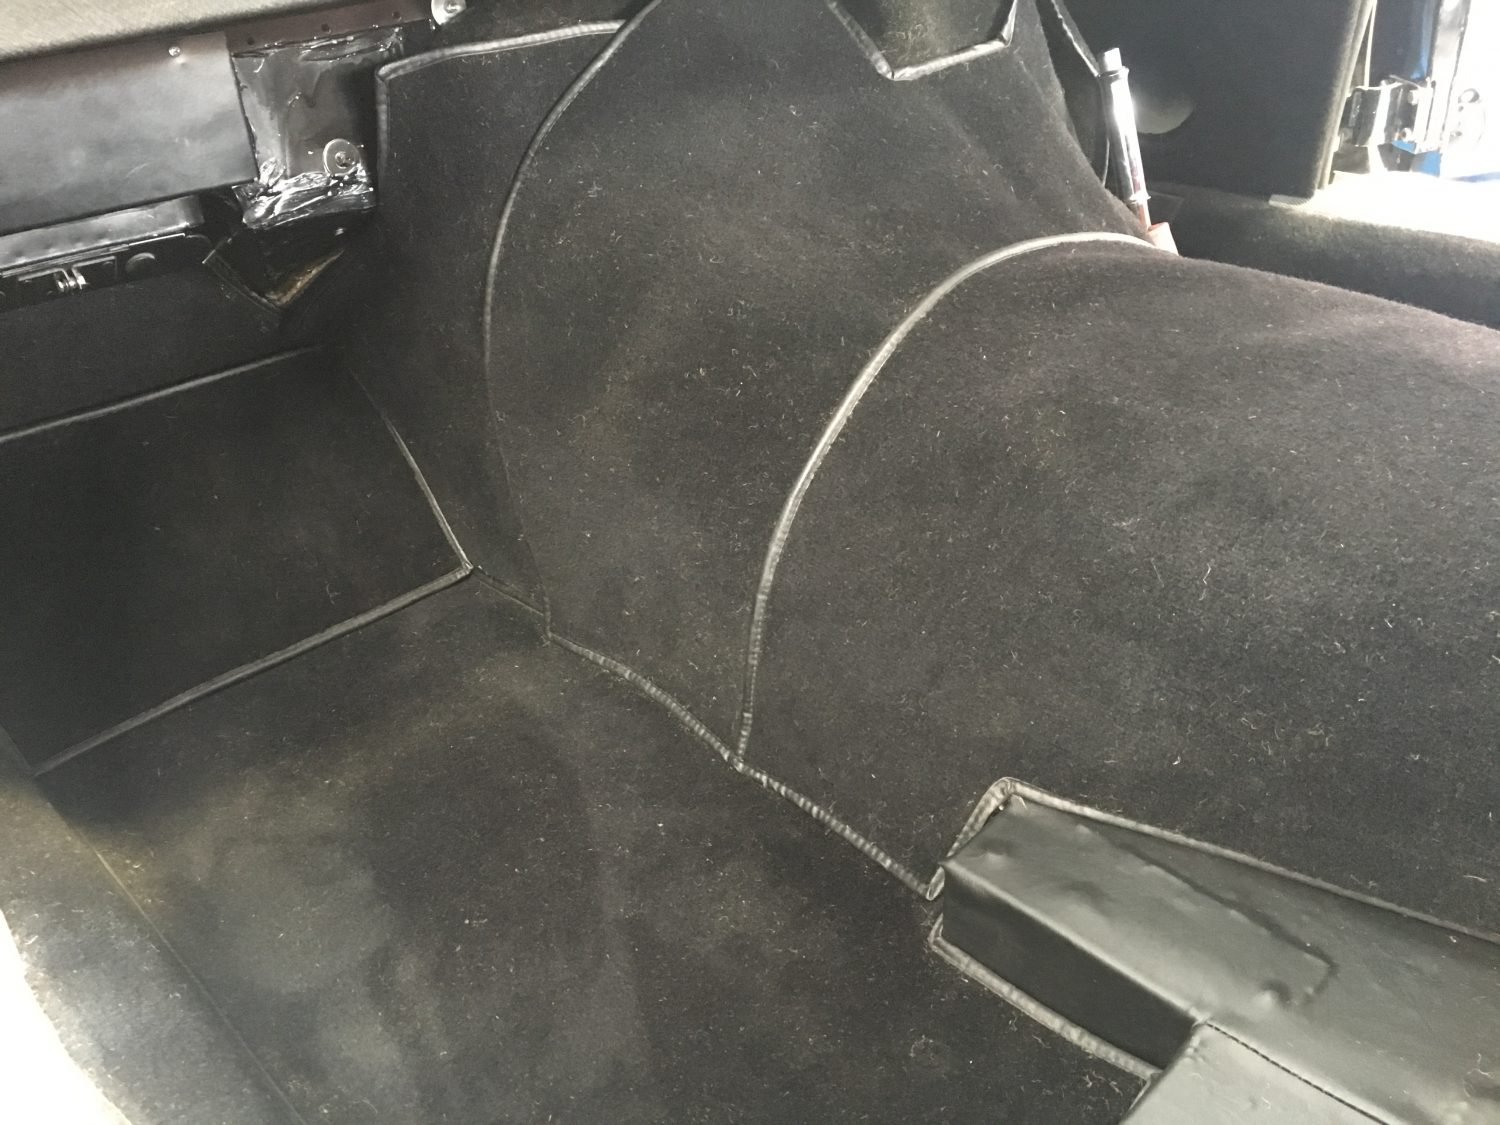
Just waiting on the door cards to be completed but we have made a really good start with the refit of the Jensen interior. We have had very little to do with the interior as it came to us look beautiful. A few minor alterations and a couple of areas needed some TLC but we mostly removed, preserved and refitted. The carpets are in now in position as are the rear seats.
We have made up a new parcel shelf and cut in the speak holes.


Always fit a new cylinder head gasket, and make sure all the holes line up properly. Smear a film of non-setting type gasket cement on both sides and carefully lower the gasket over the studs, taking care not to bend it. Lower the head over the studs and fit the nuts with plain washers, screwing them down finger tight.
The following procedures are to be used for tightening the nuts:
8 cylinder, plan of nuts:
1 4 7 10 13 16 19 22 25 28
2 5 8 11 14 17 20 23 26 29
3 6 9 12 15 18 21 24 27 30
(i) pull down the following nuts to 15lb.ft. torque in sequence:
14 11 8 5 2 17 20 23 26 29
(ii) Go back to 14 and pull down to 30lb.ft. torque sequence:
14 13 15 11 10 12 8 9 7 5
4 6 2 3 1 17 18 16 20 19
21 23 22 24 36 27 25 29 30 28
(iii) Pull down nuts tight to 45lb.ft. in the same order as (ii)