Ferrari Daytona’s First Steps
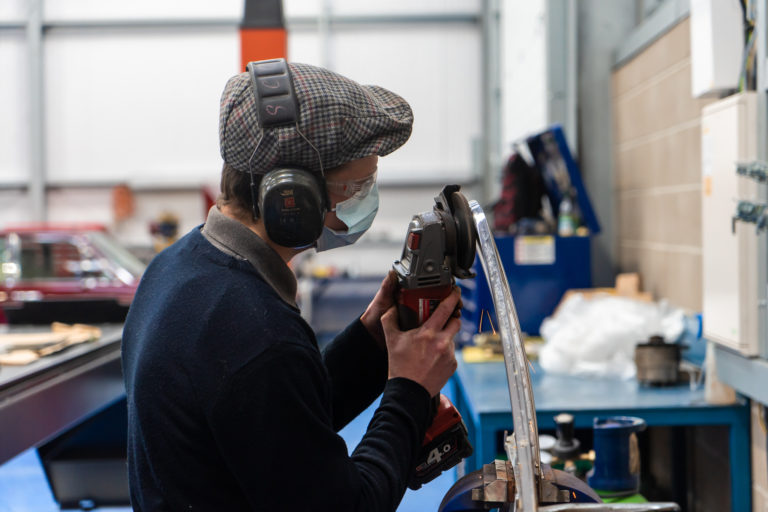
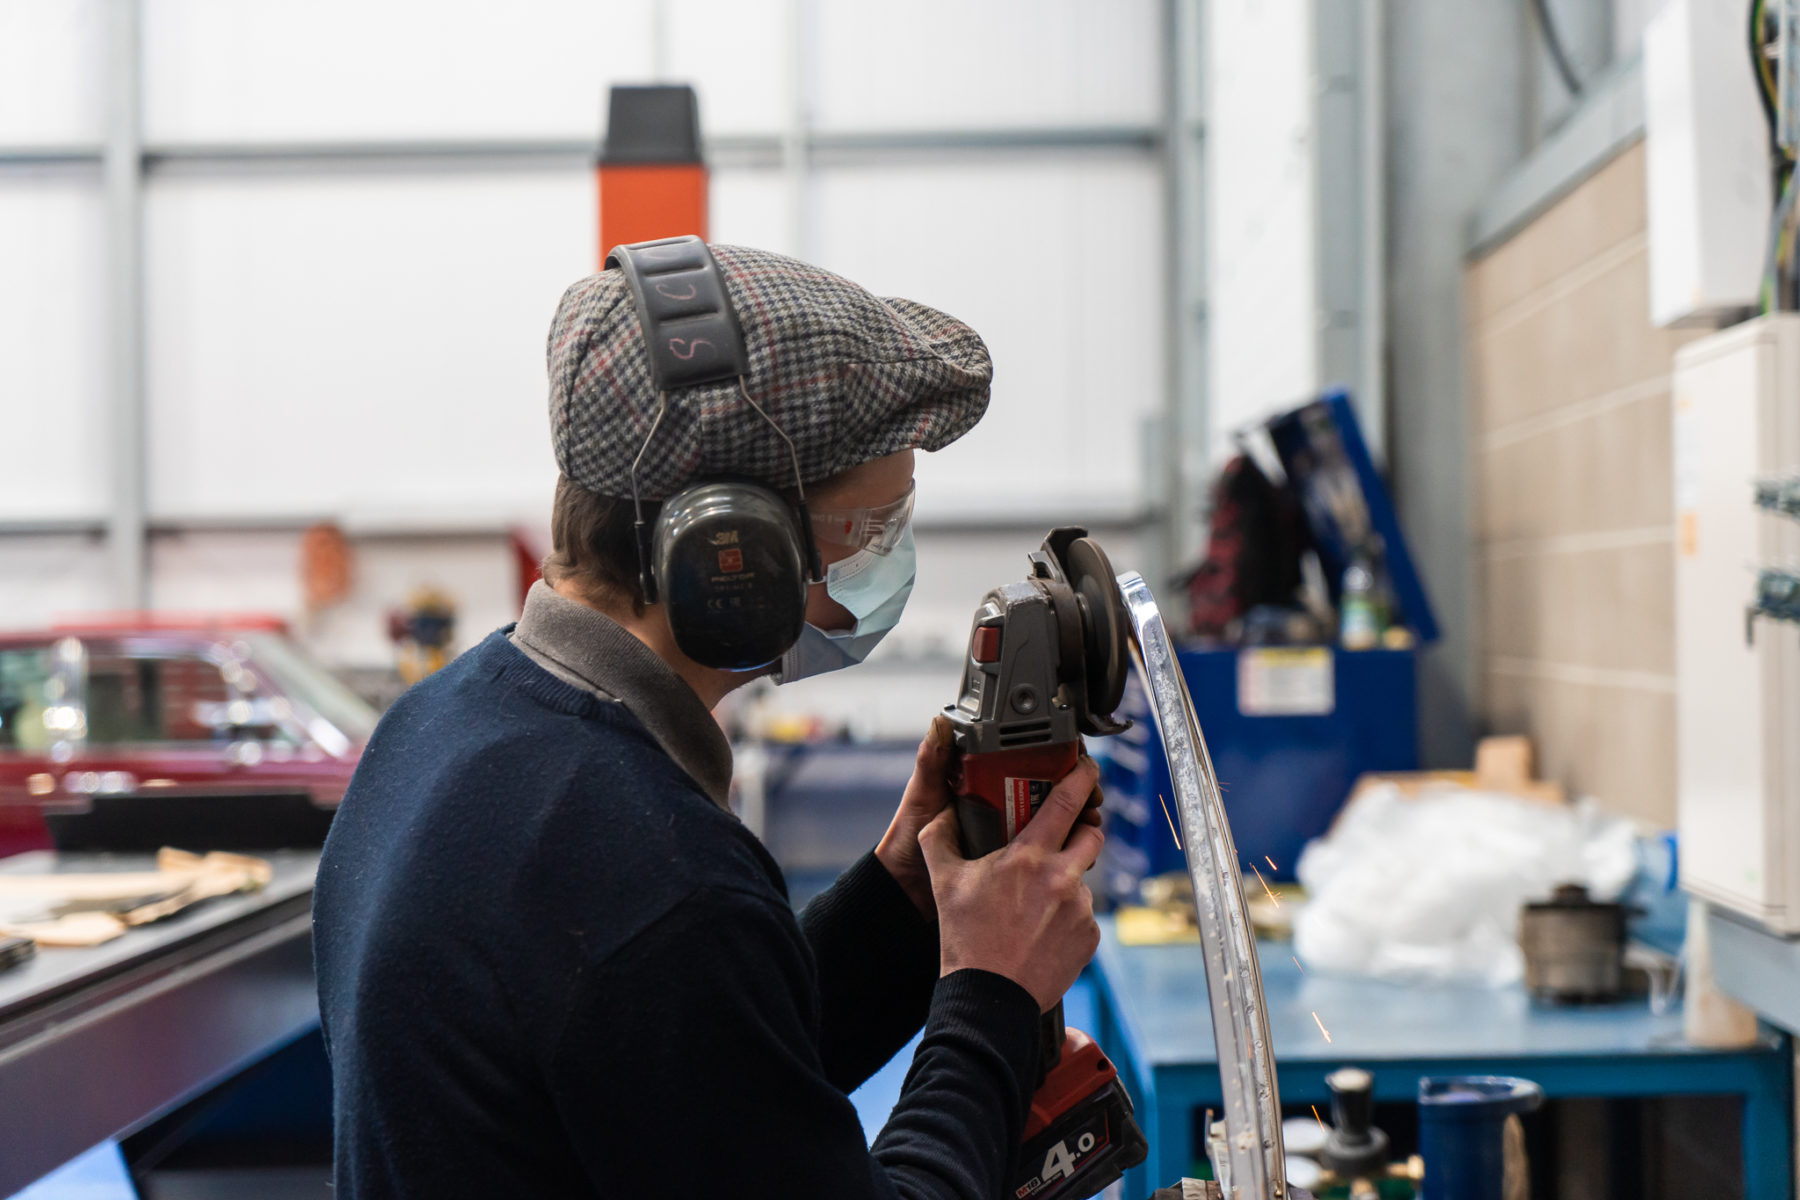
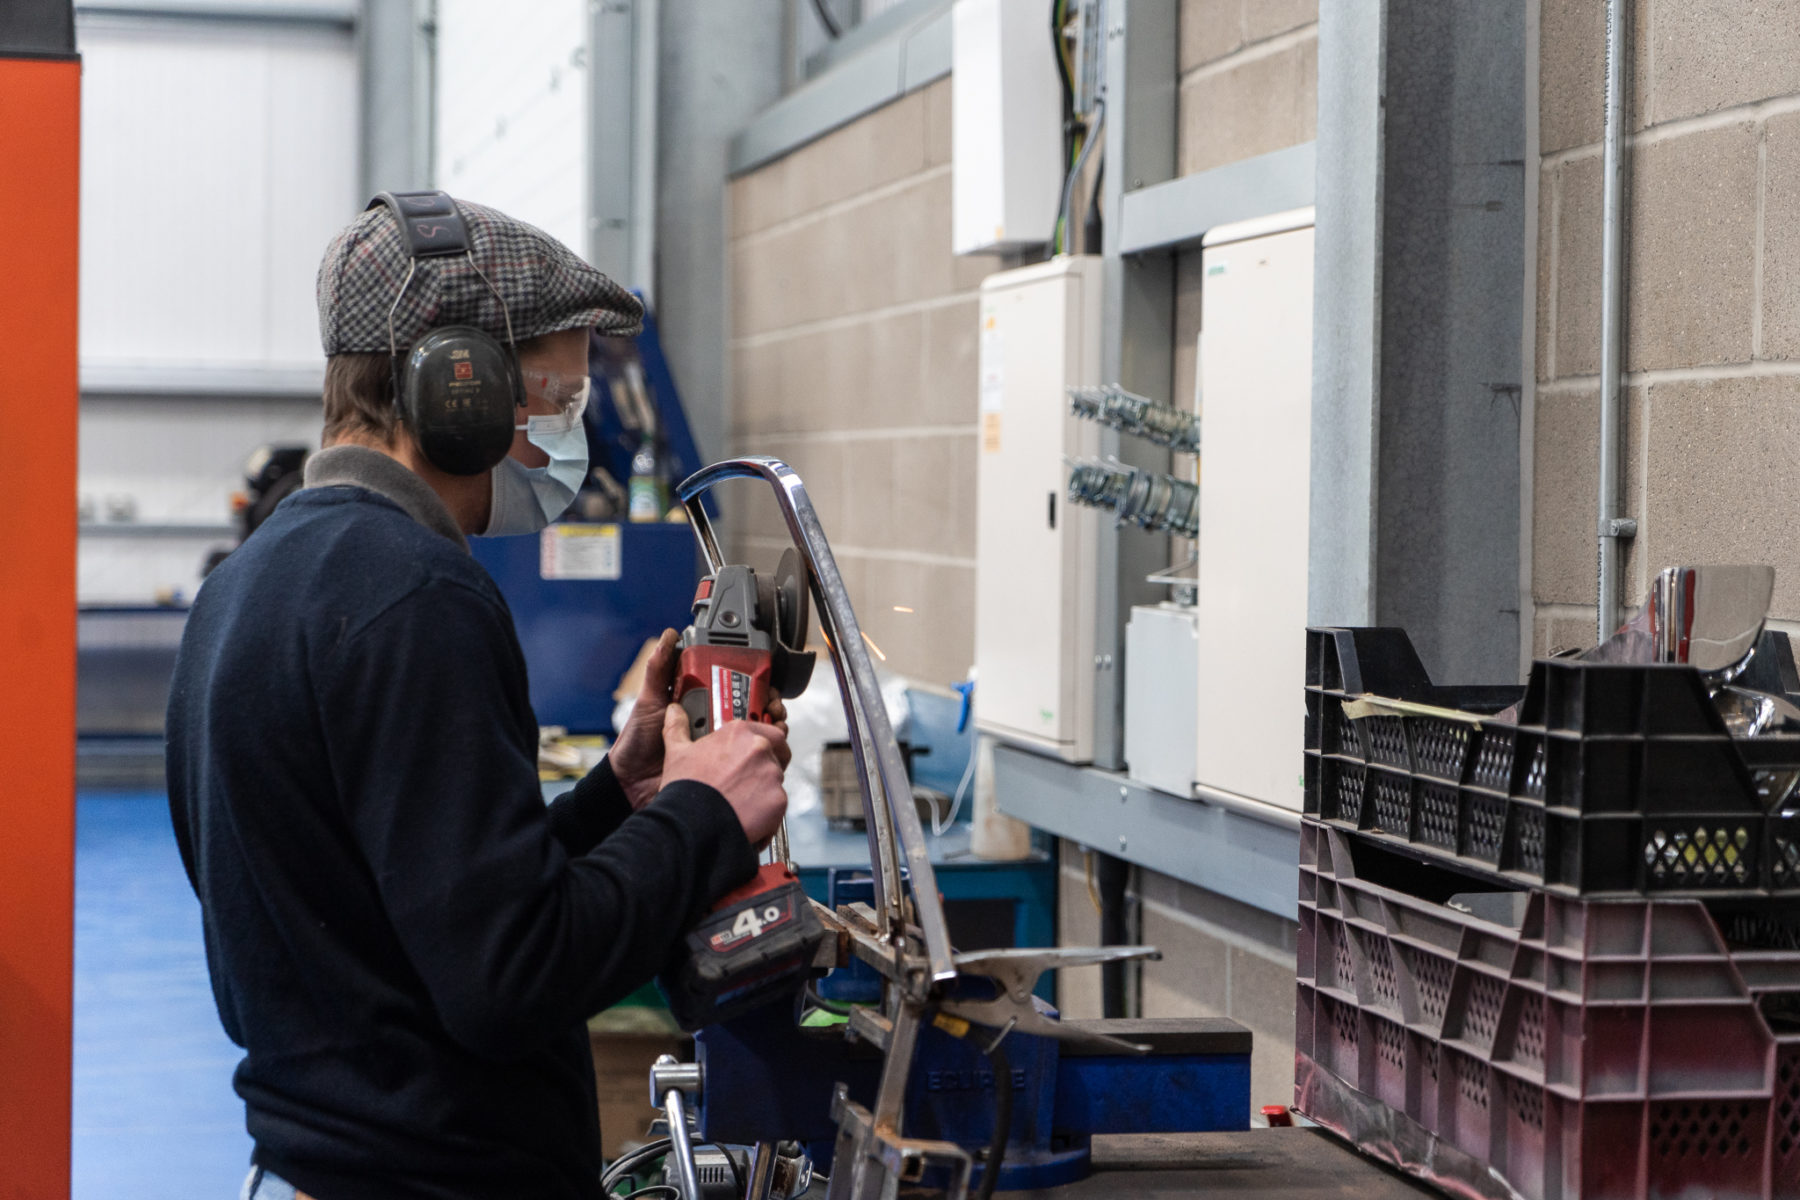
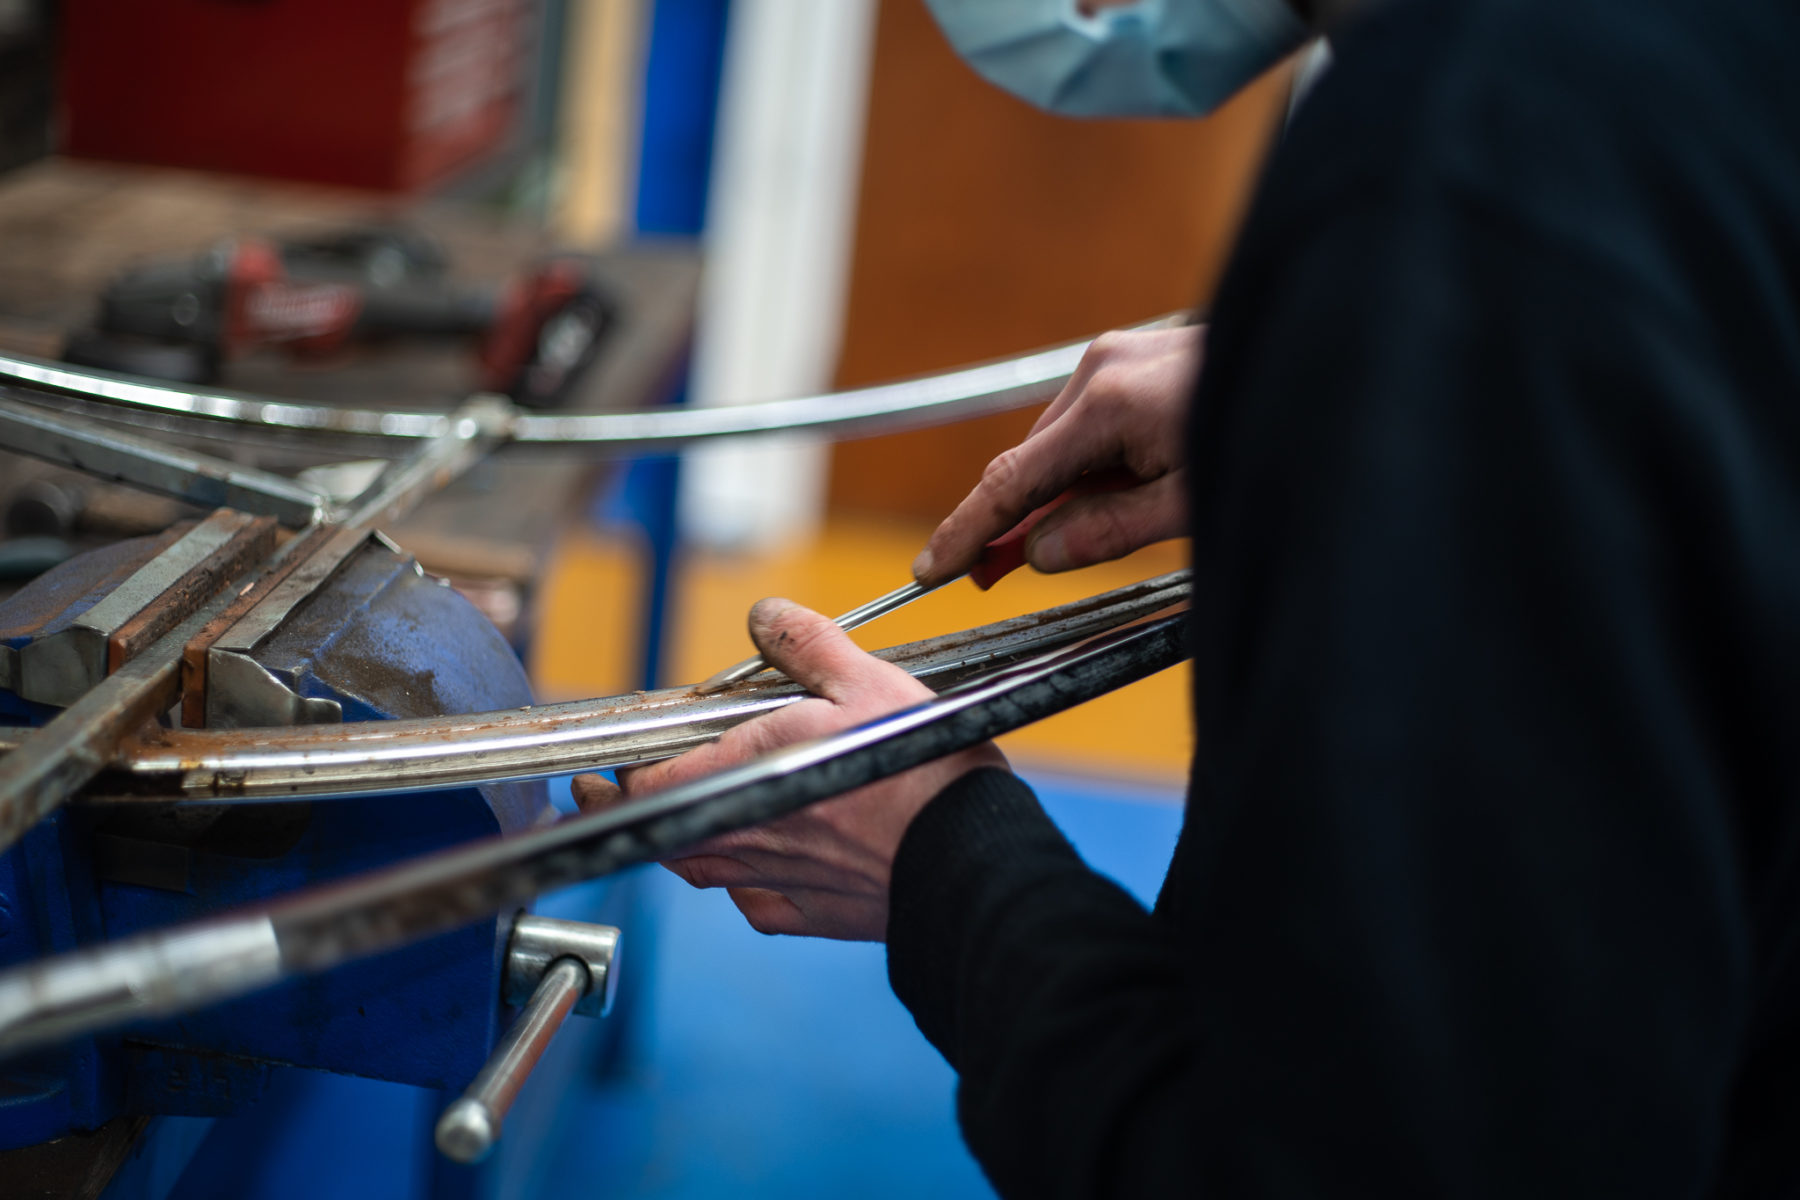
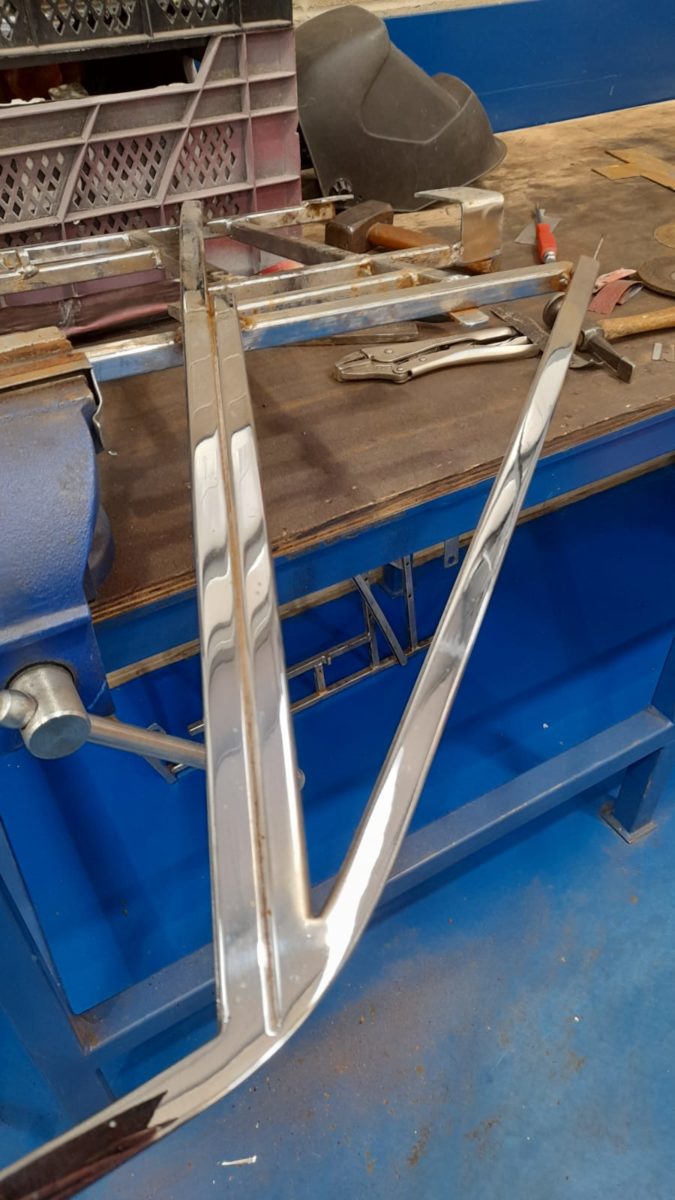
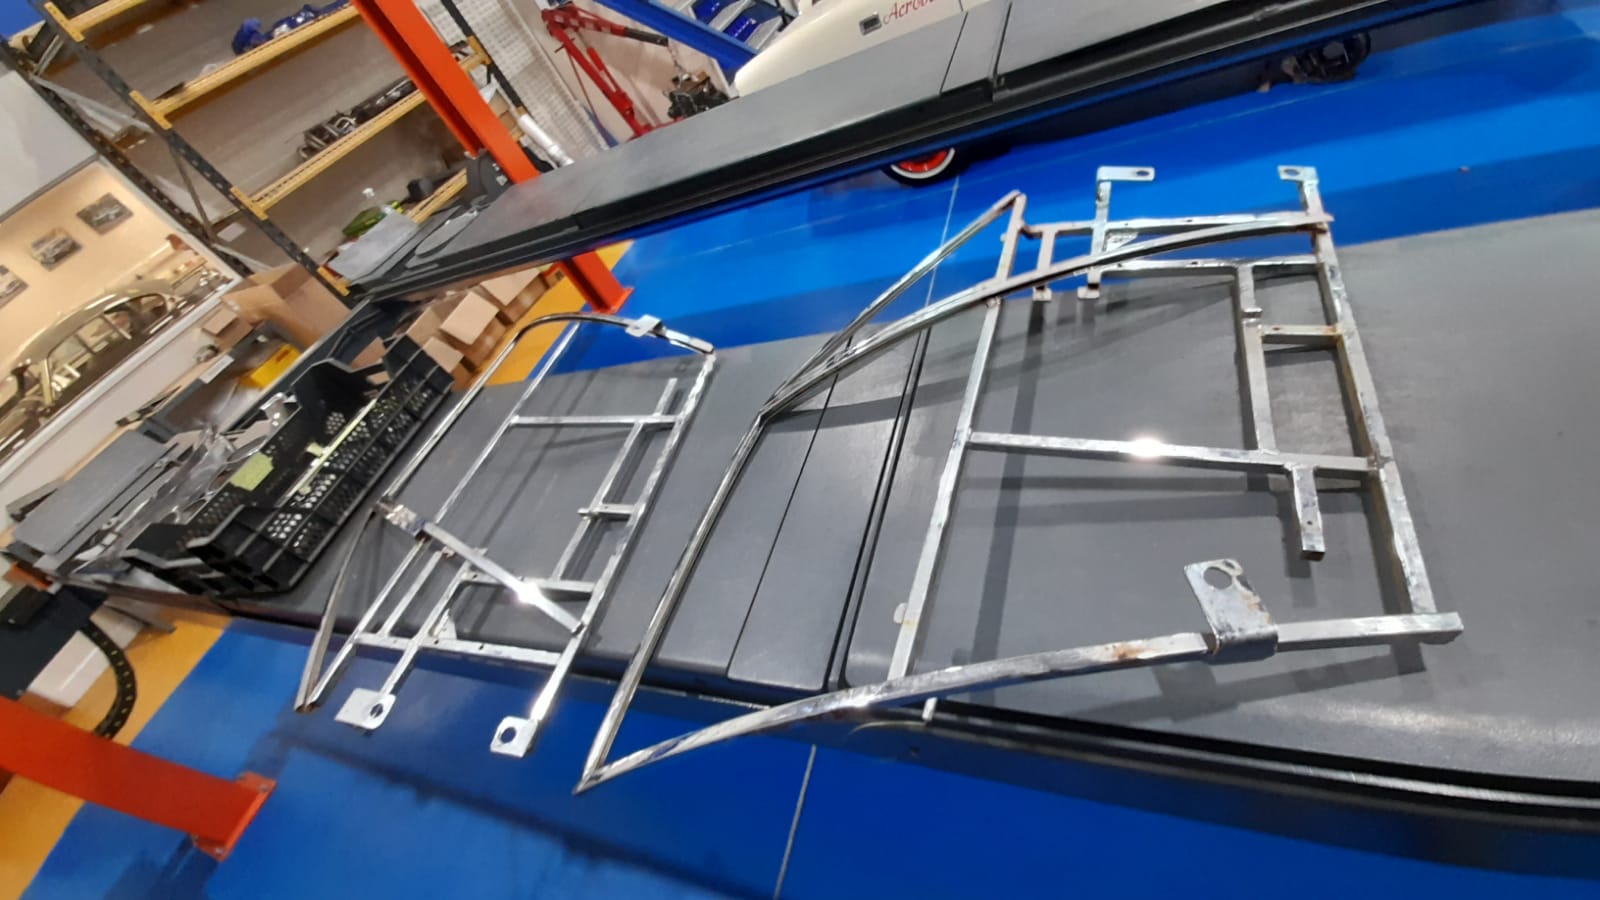
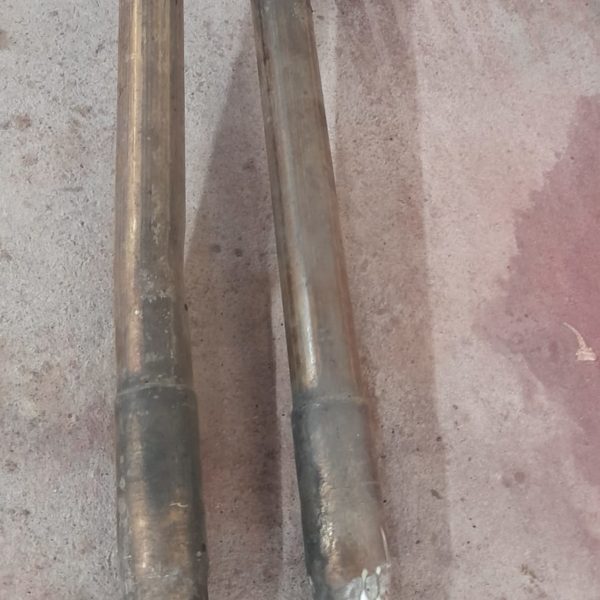
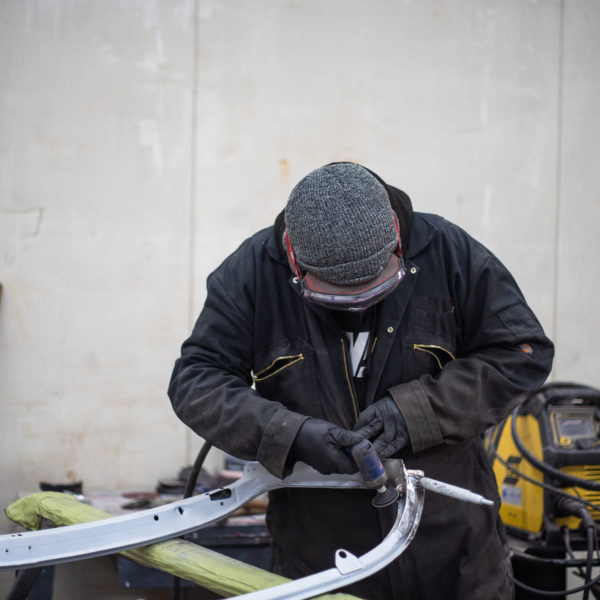
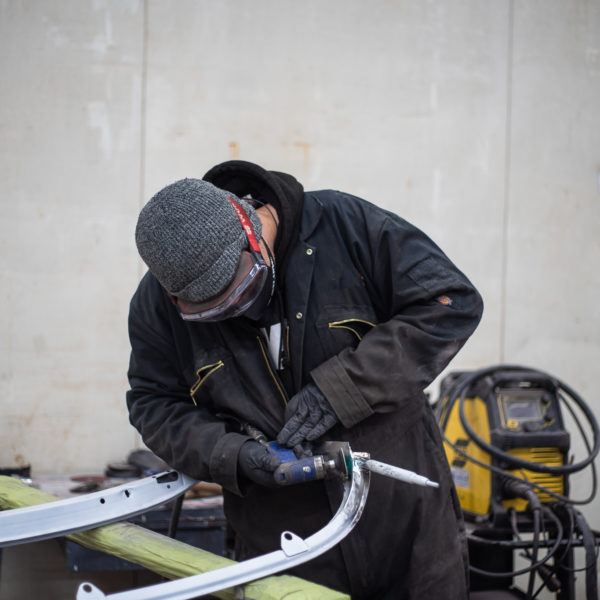
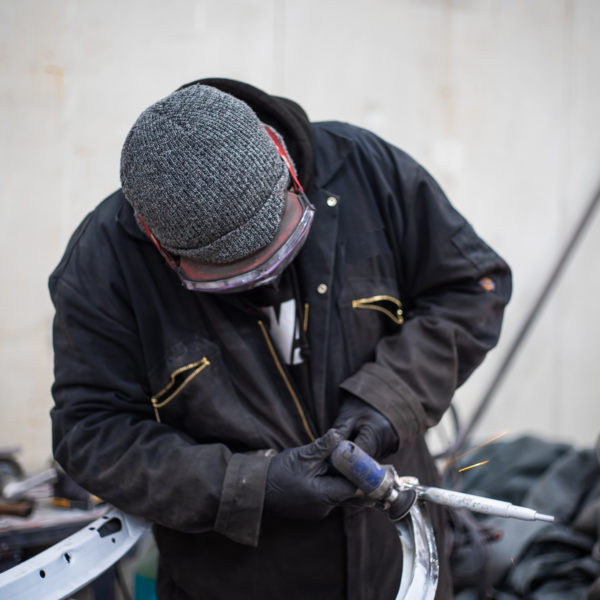
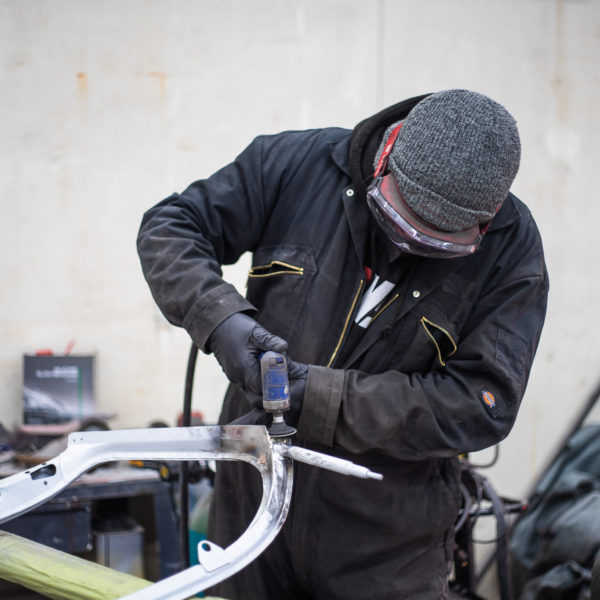
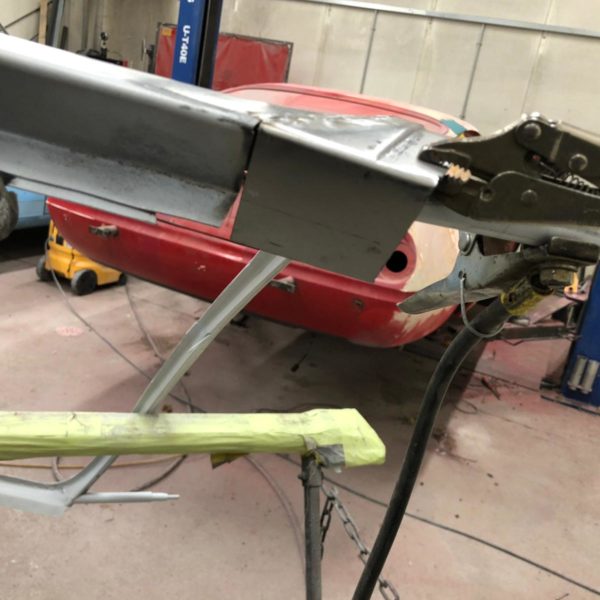
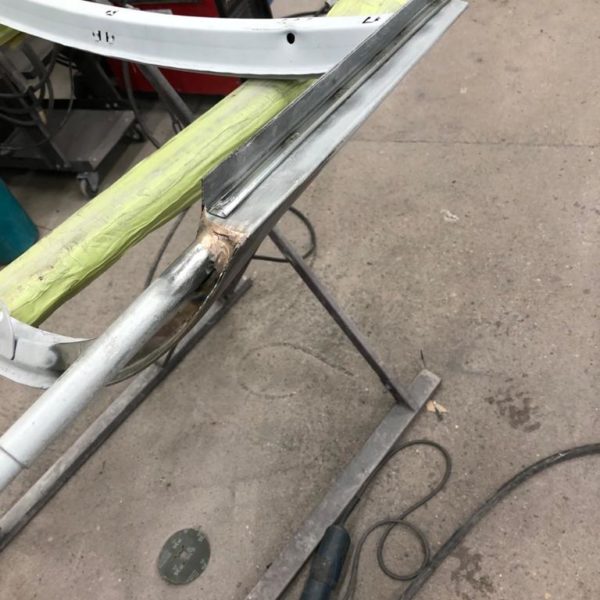
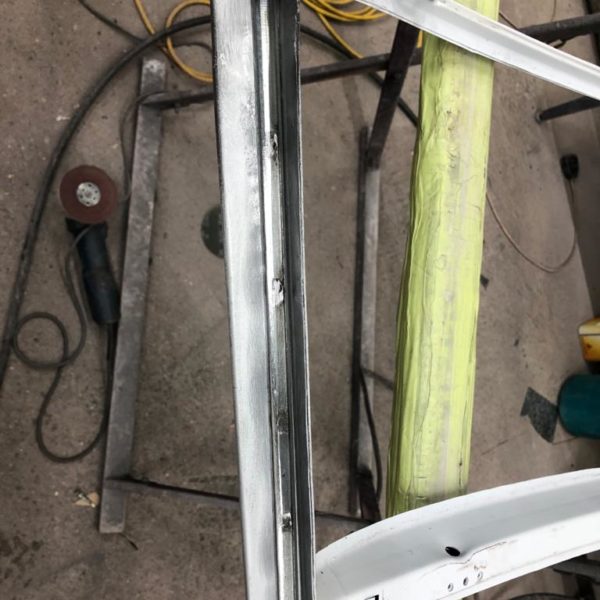
Scott has been working on preparing the Daytona door frames by welding the bottom to correct the rust damage. He’s essentially grounding out the rotten


Scott has been working on preparing the Daytona door frames by welding the bottom to correct the rust damage. He’s essentially grounding out the rotten
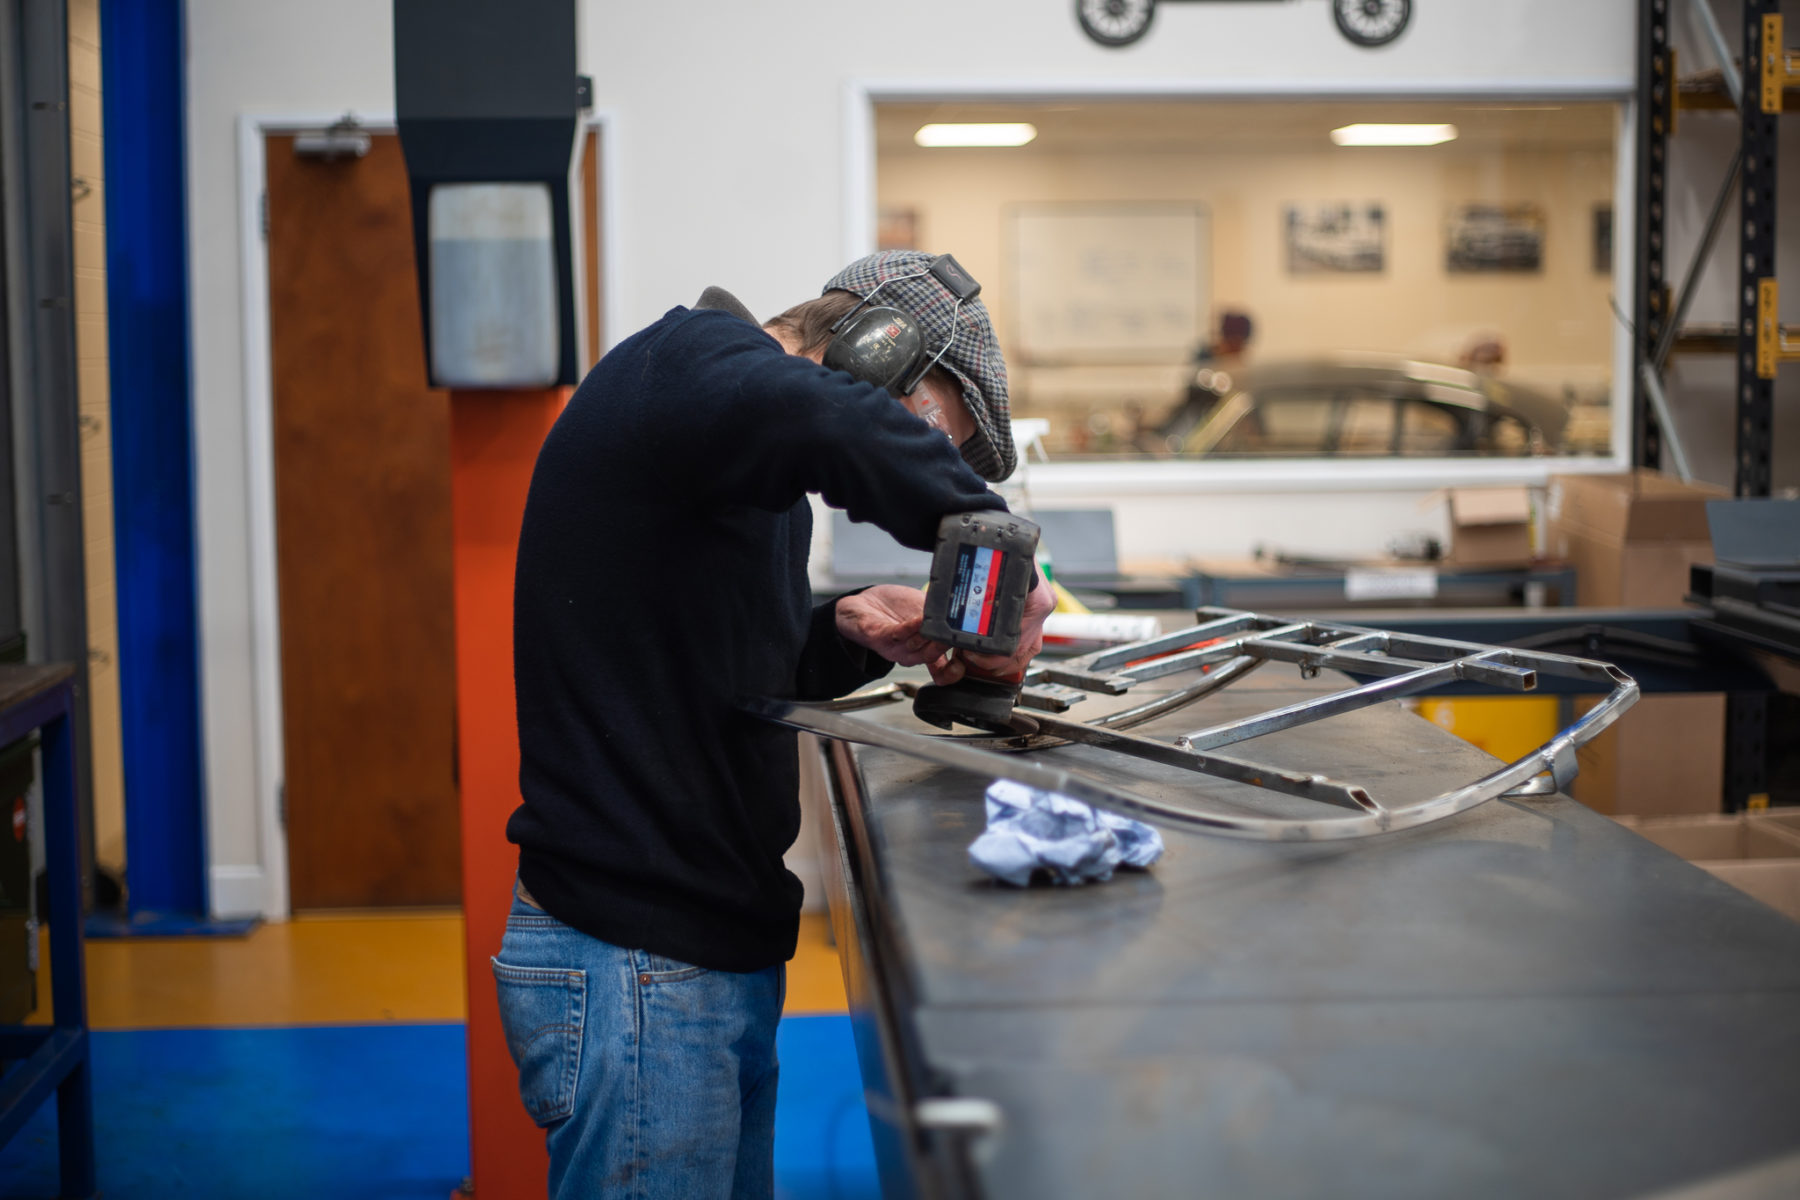
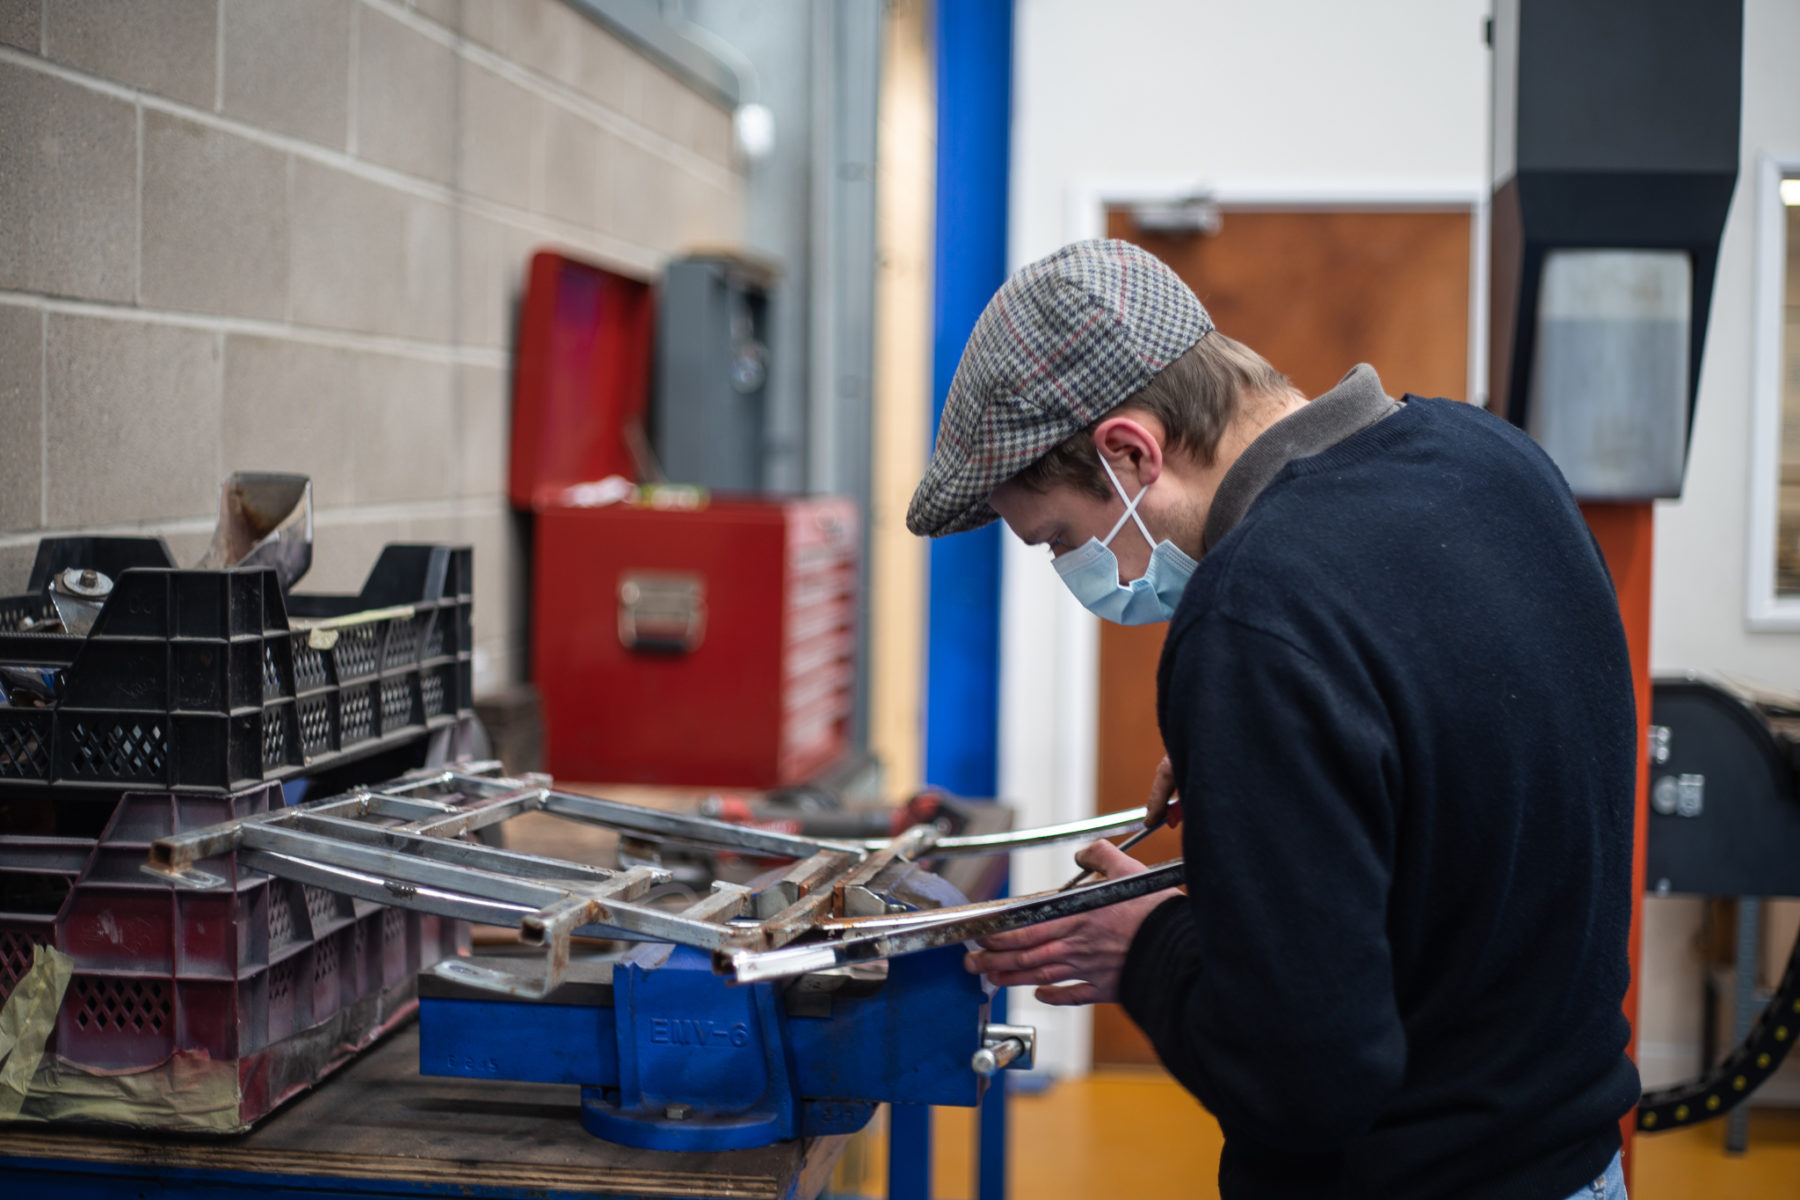
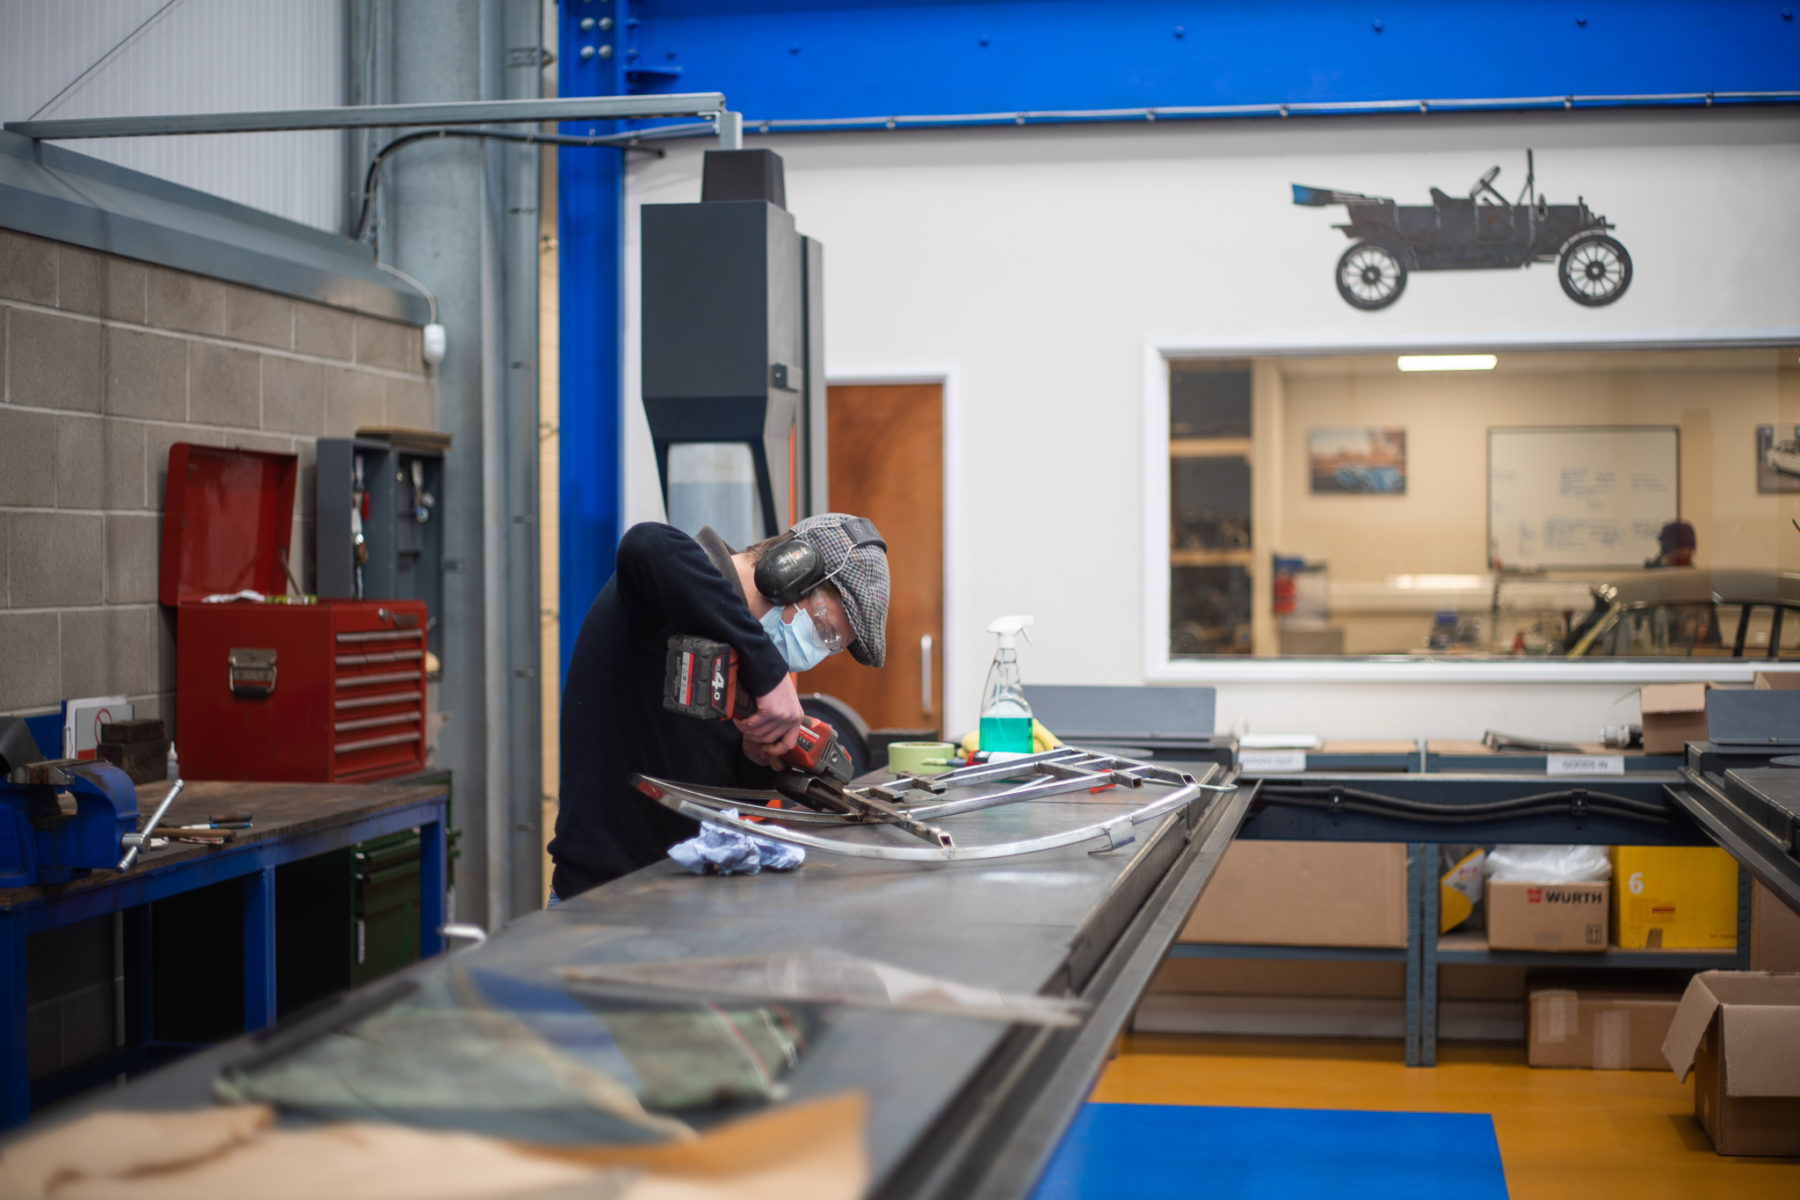
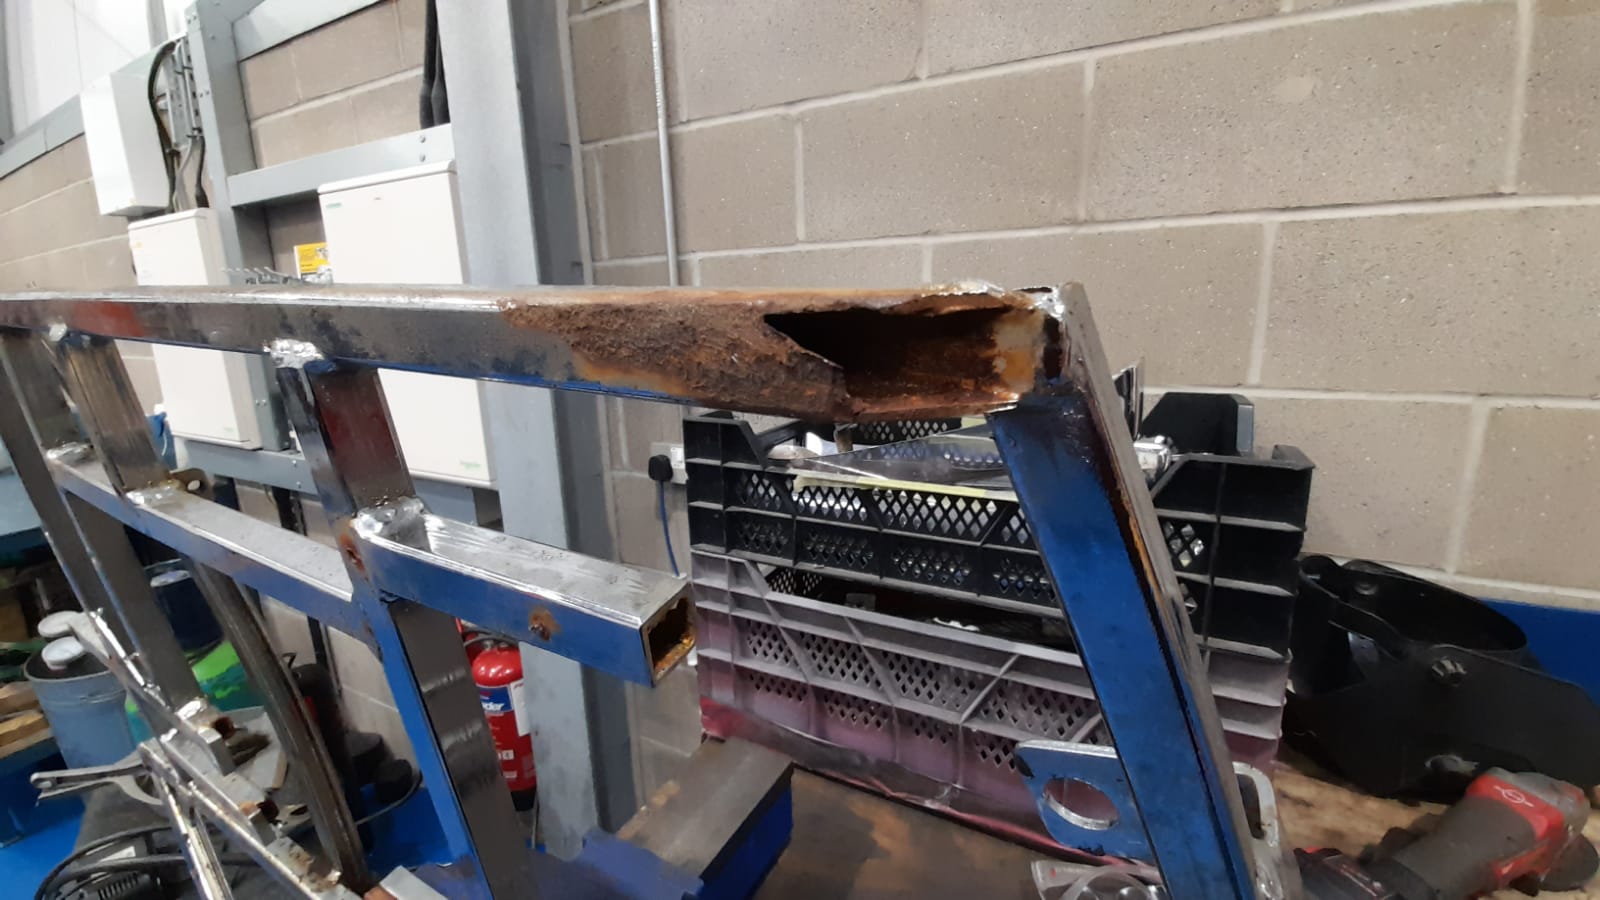
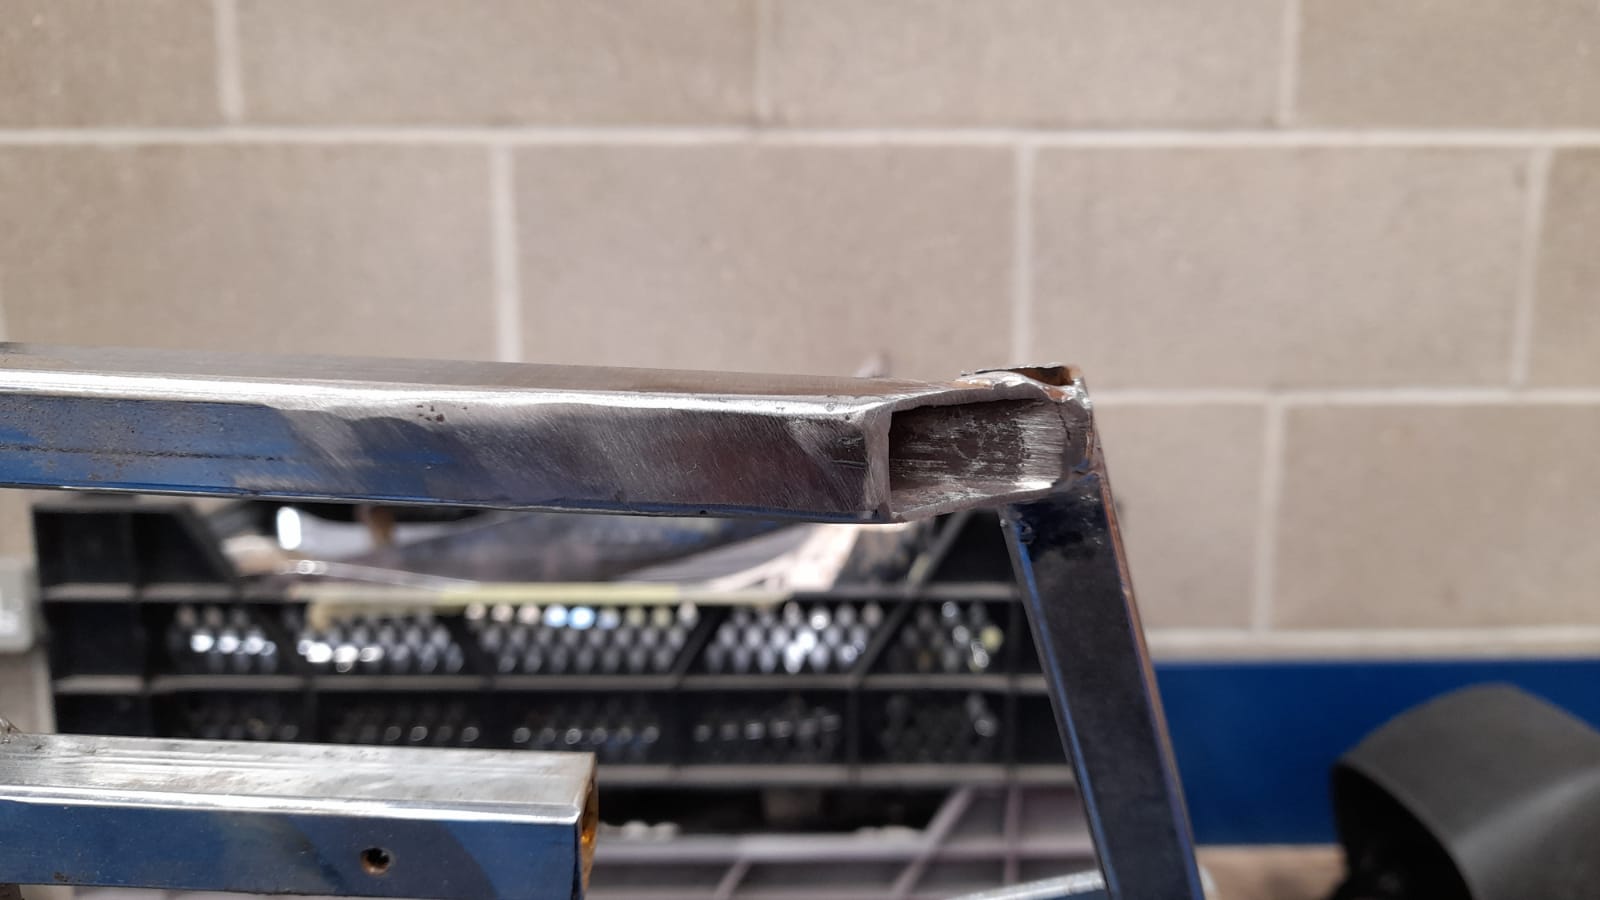
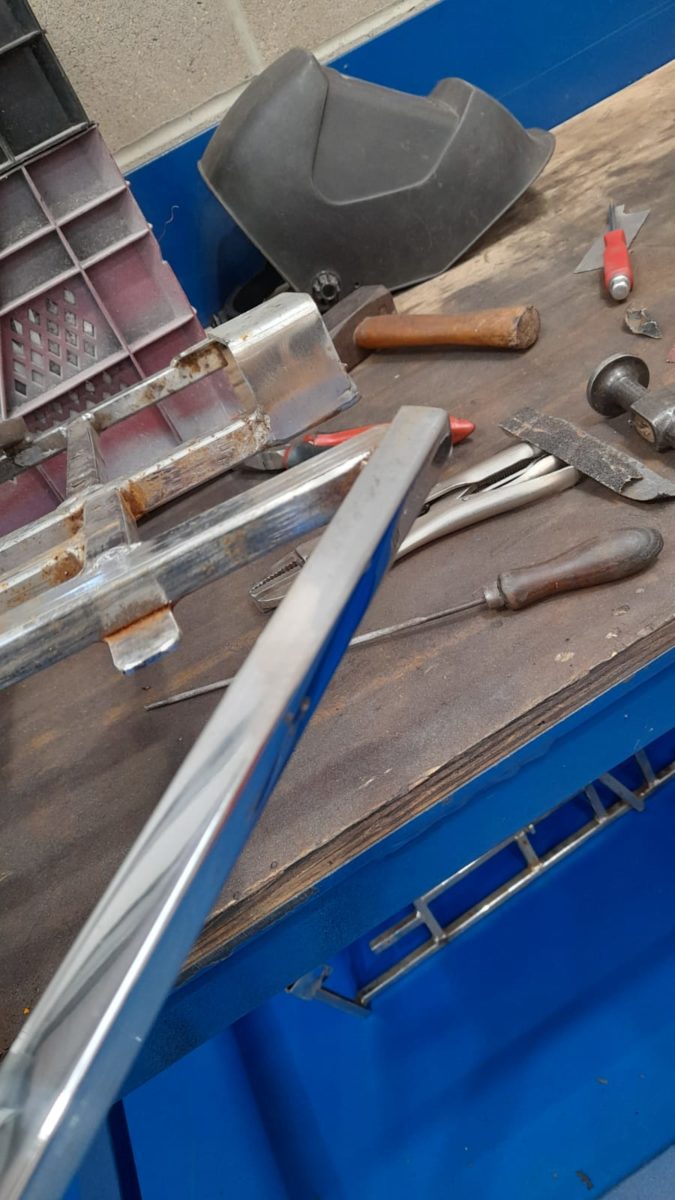
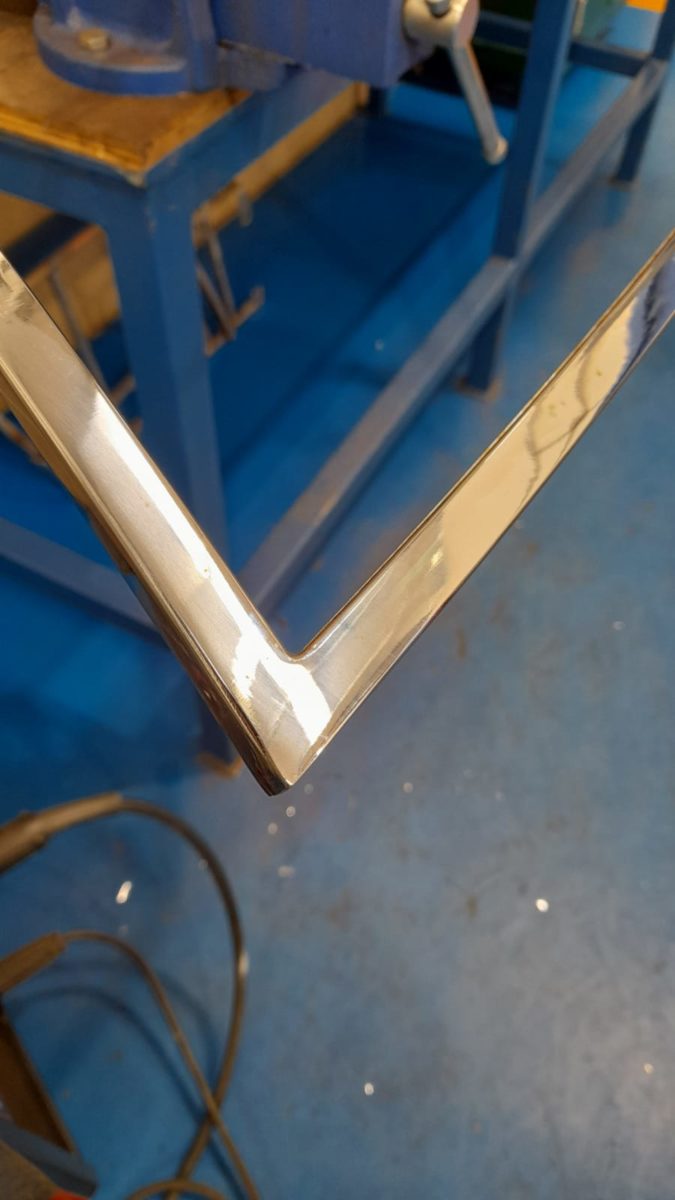
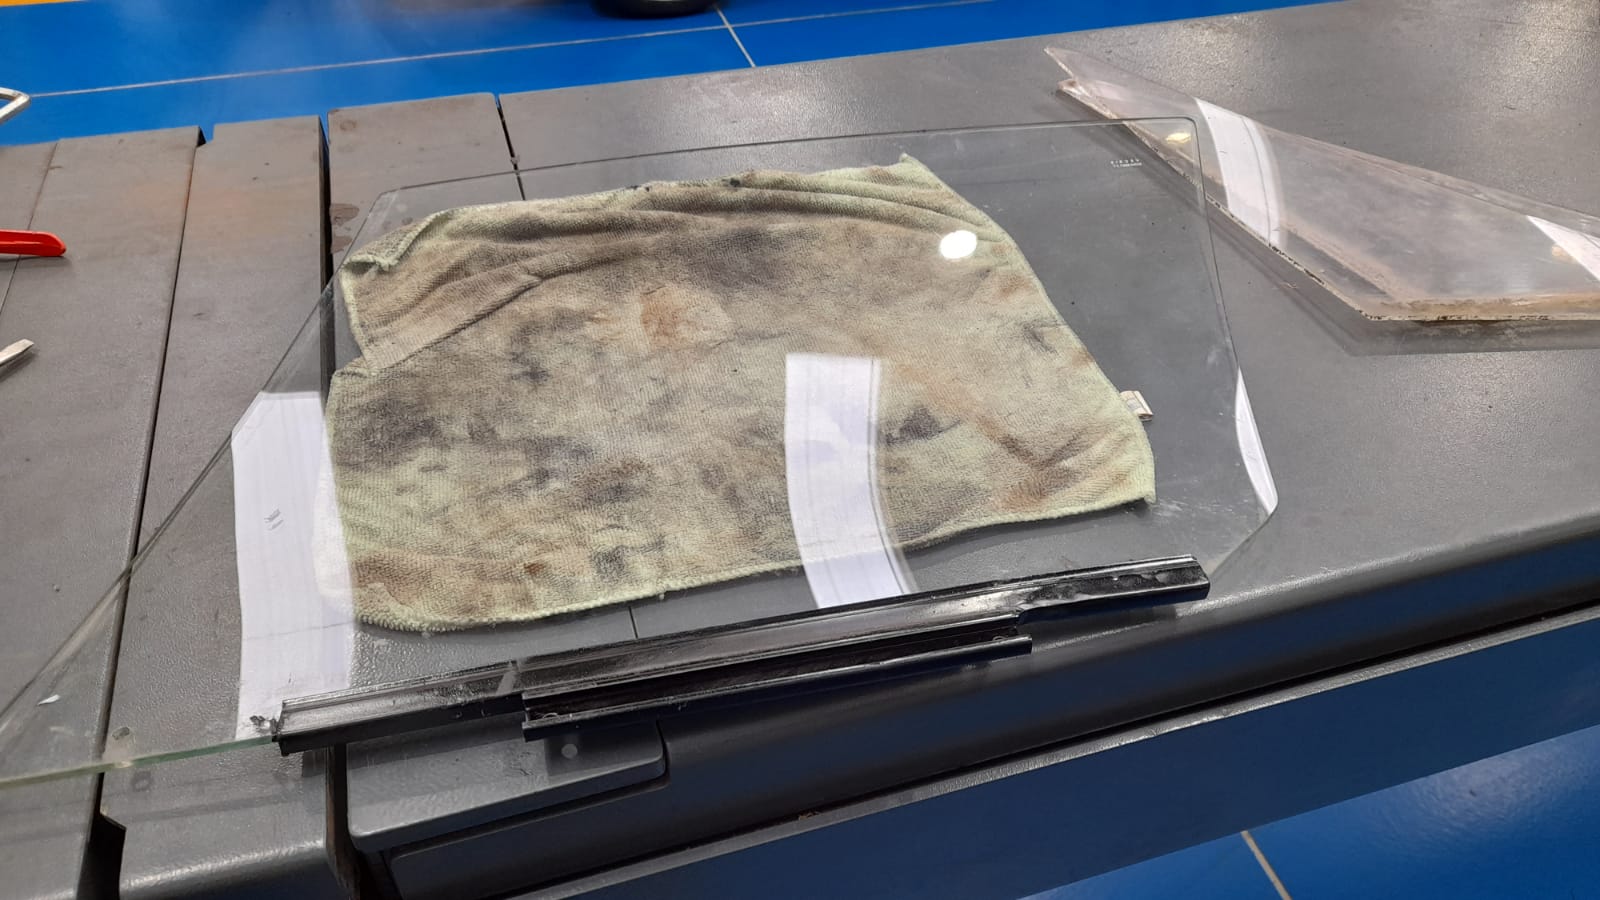
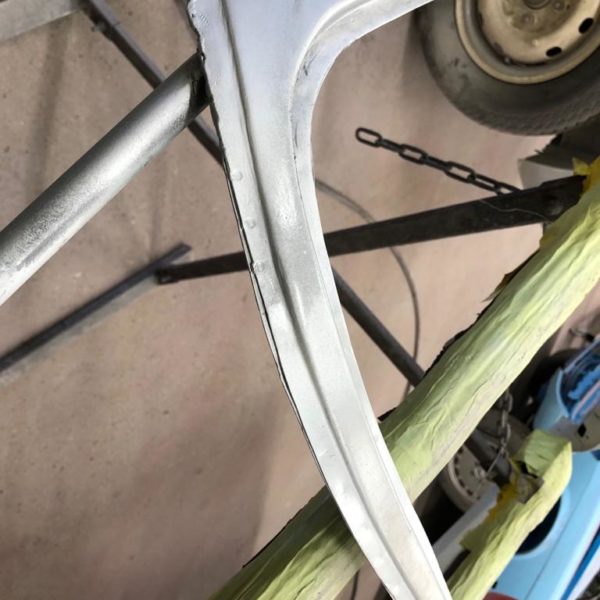
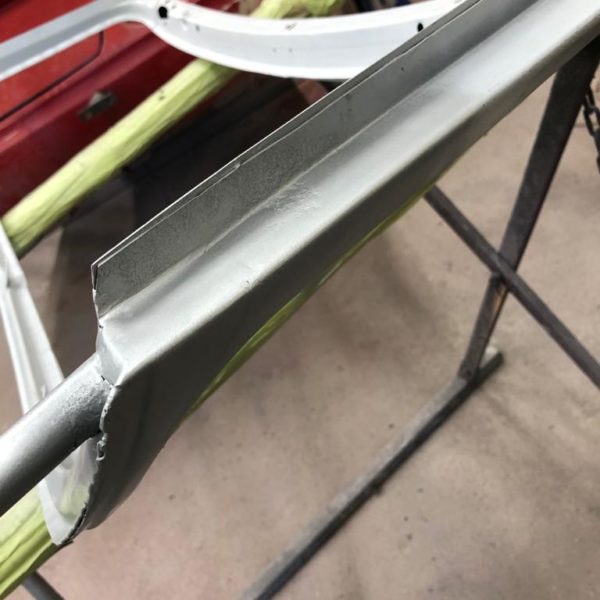
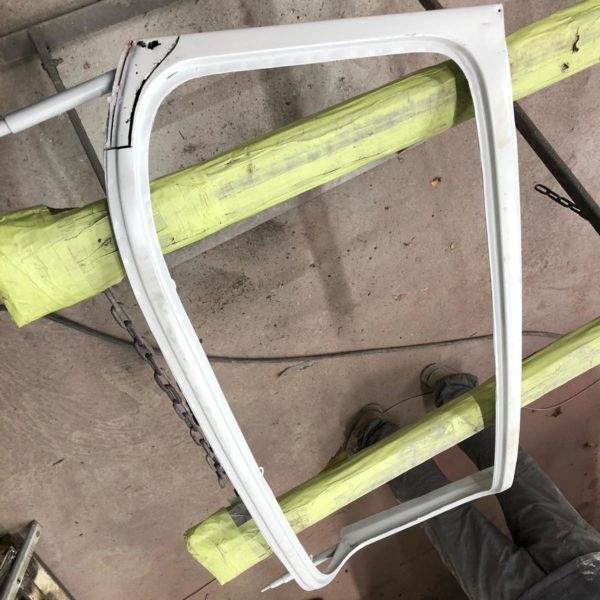
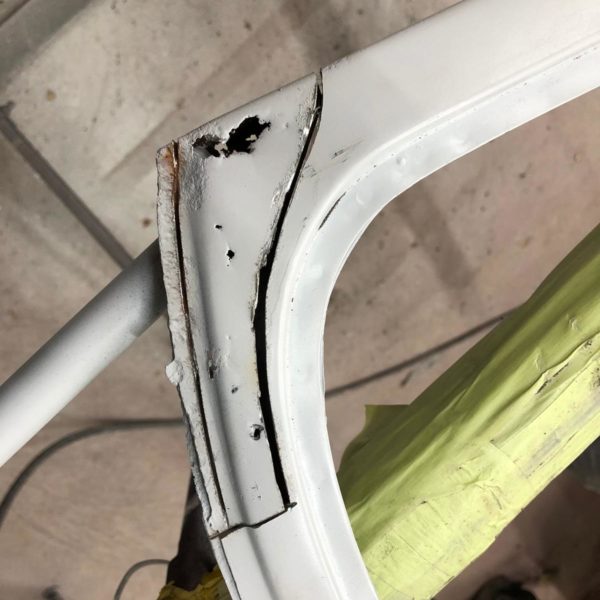
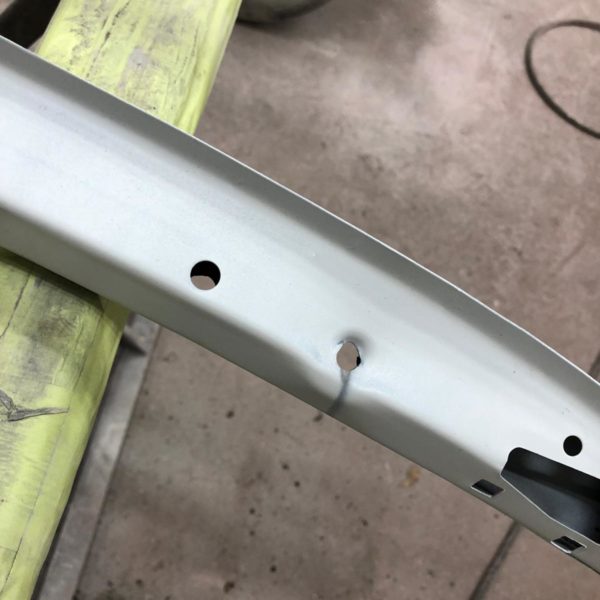
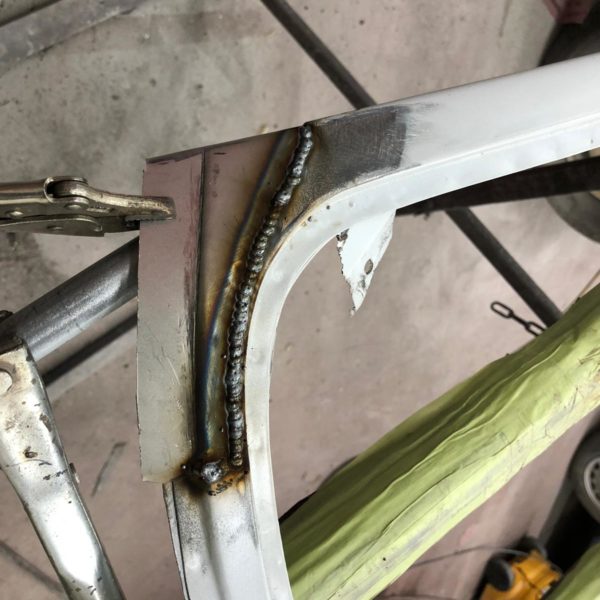
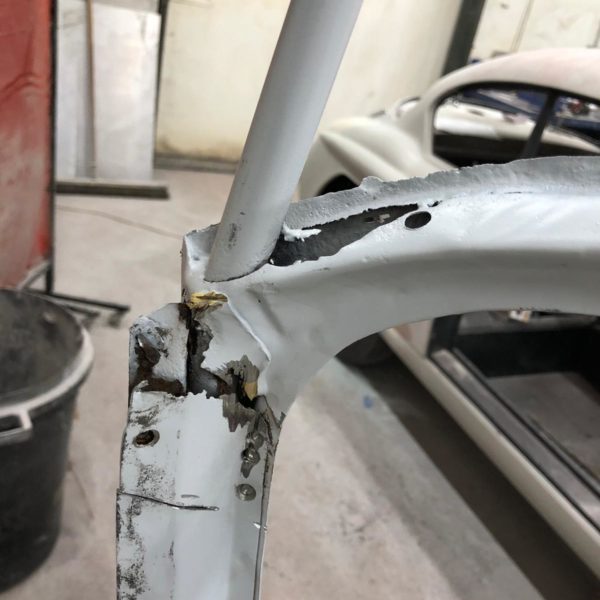
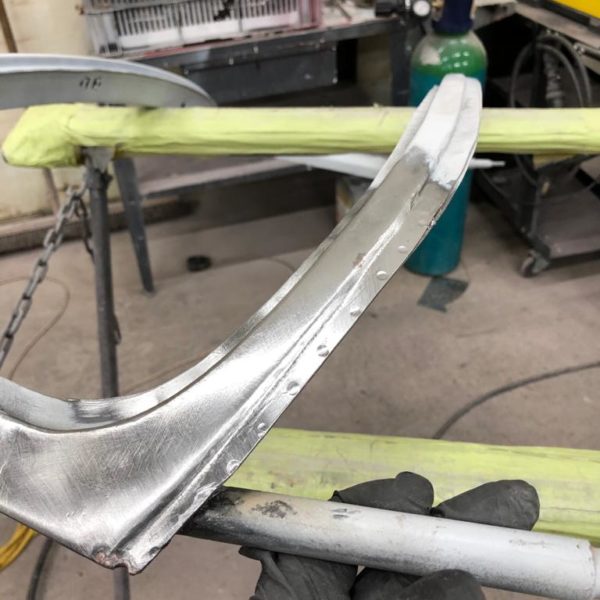
James has been working in the fabrication bay to prepare the Triumph TR5’s windscreen. The front screen surround frame has corroded in the lower right-hand
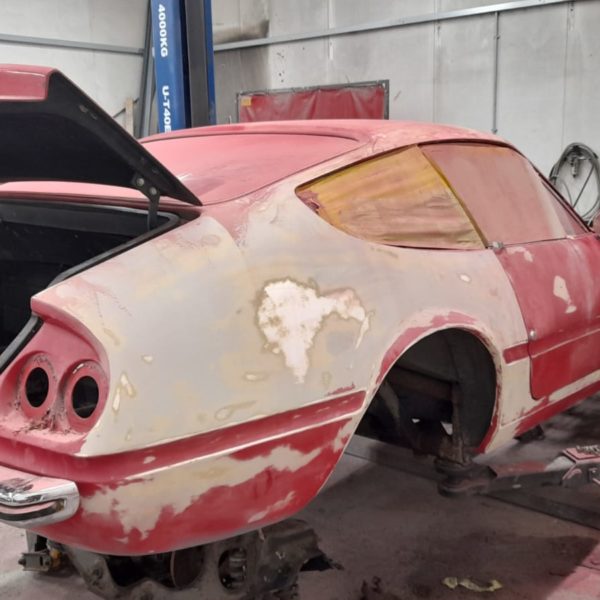
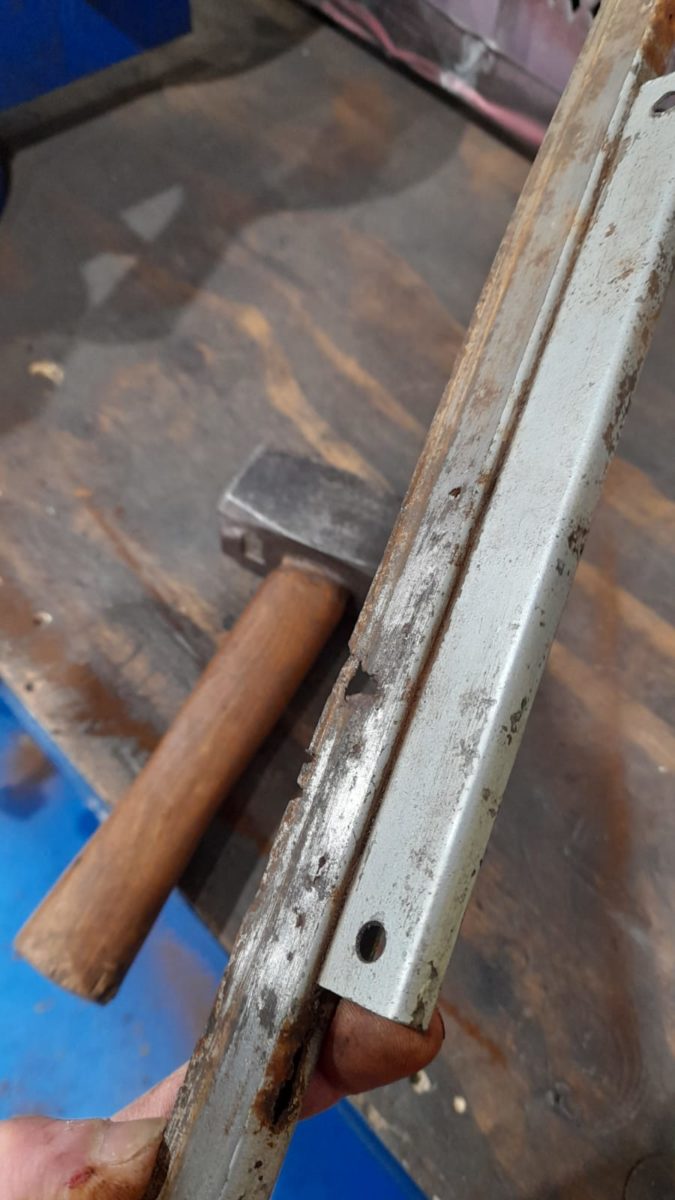
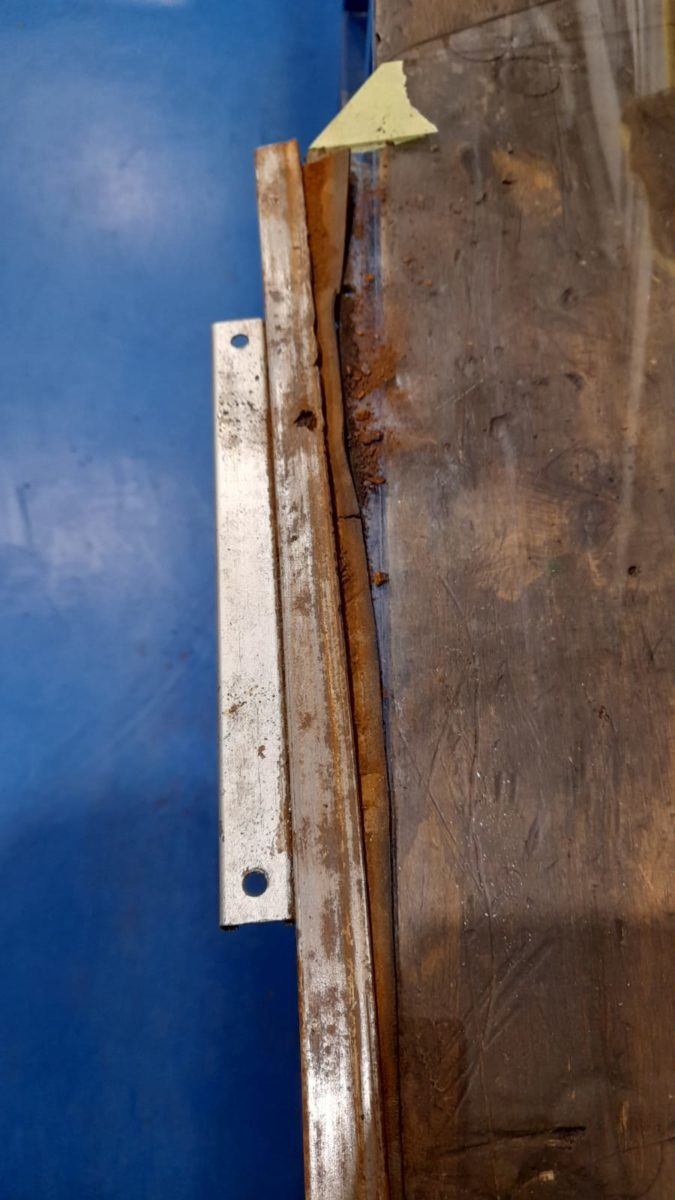
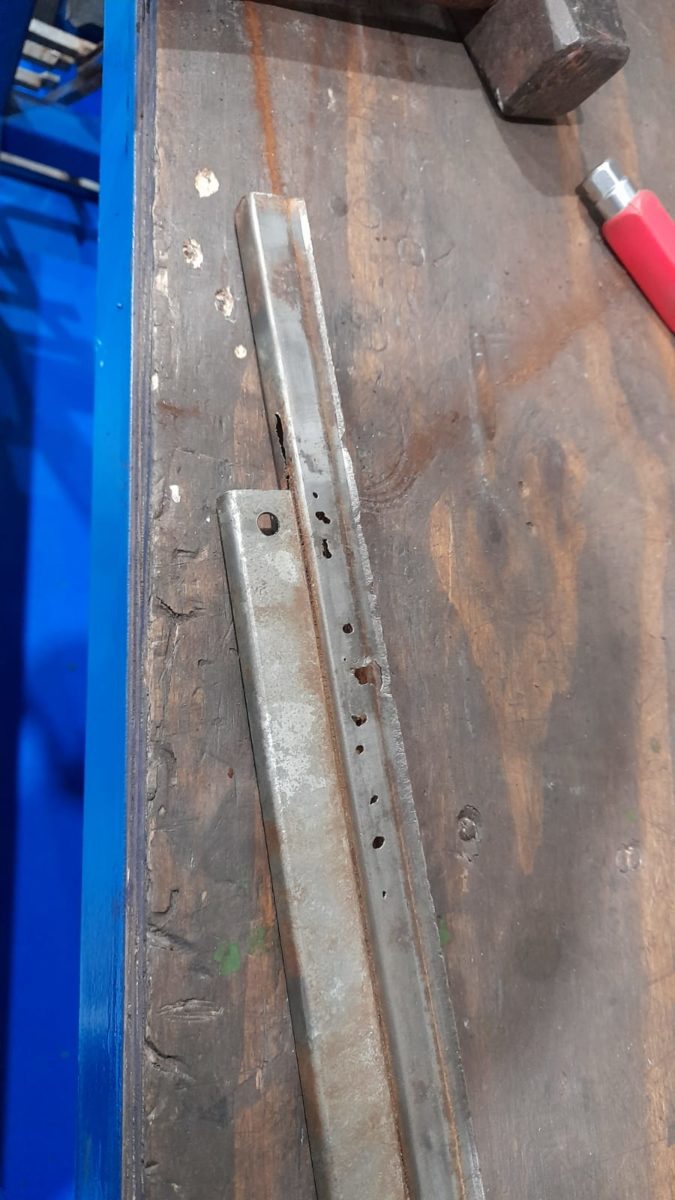
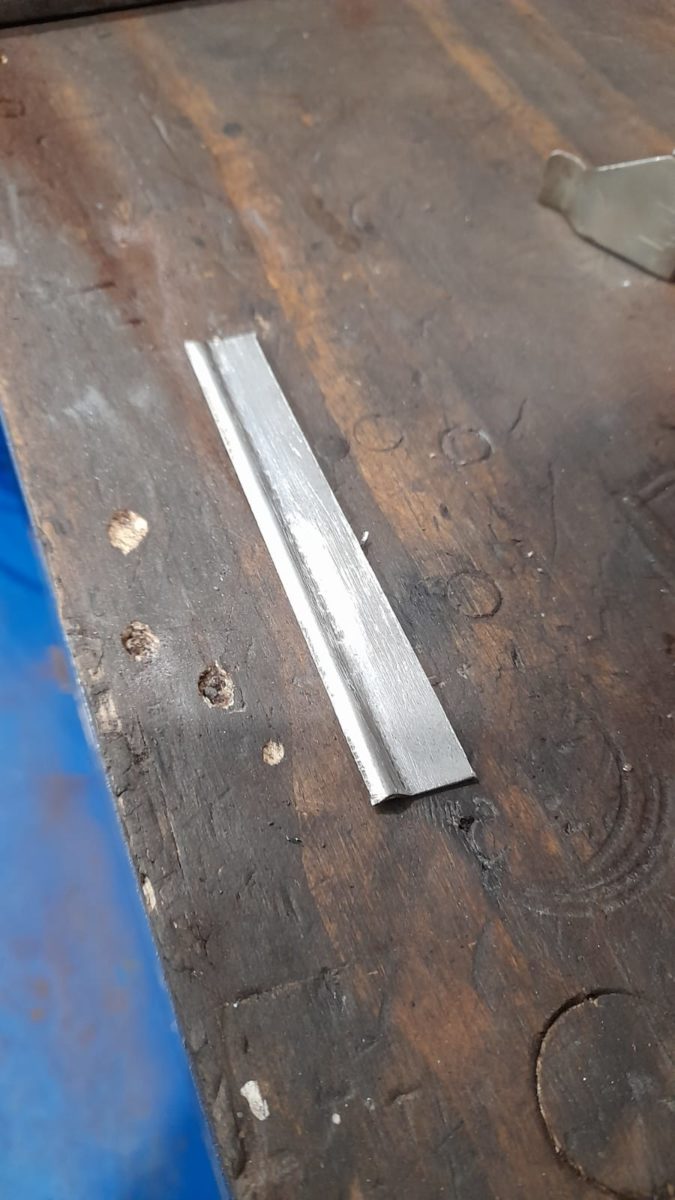
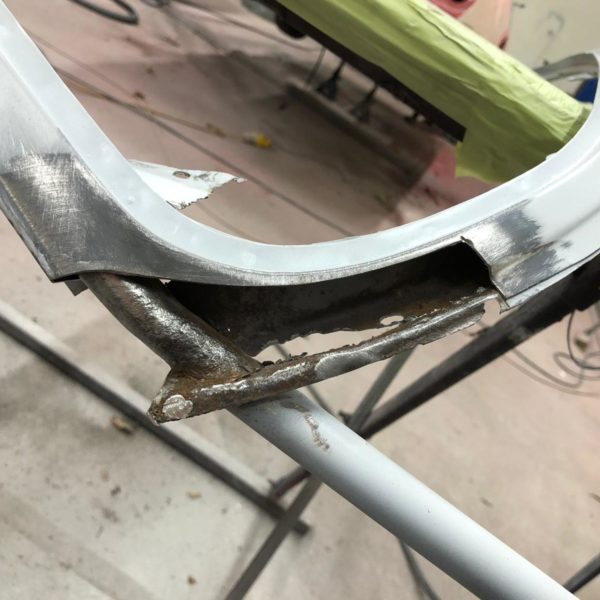
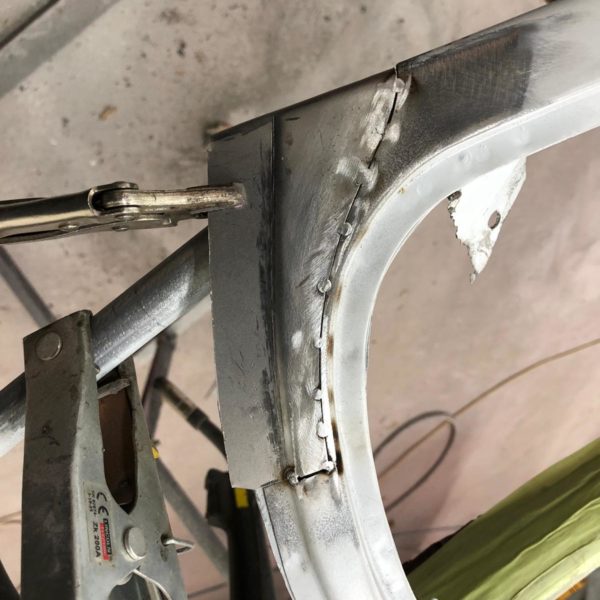
Scott has been working on preparing the Daytona door frames by welding the bottom to correct the rust damage. He’s essentially grounding out the rotten parts before we send it off to chrome.

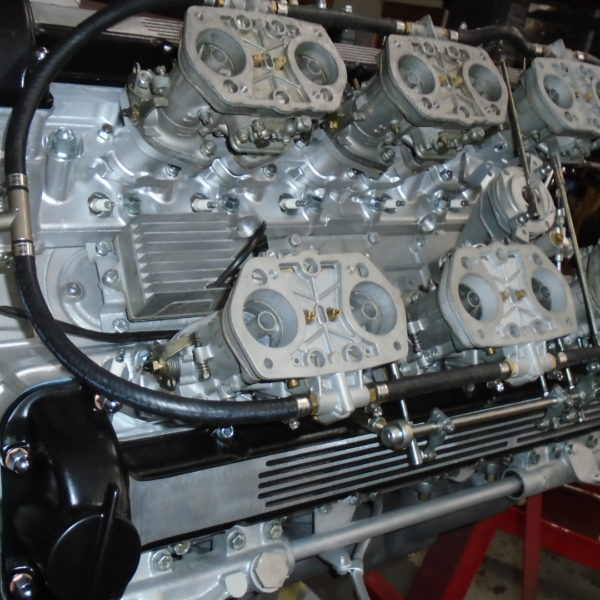
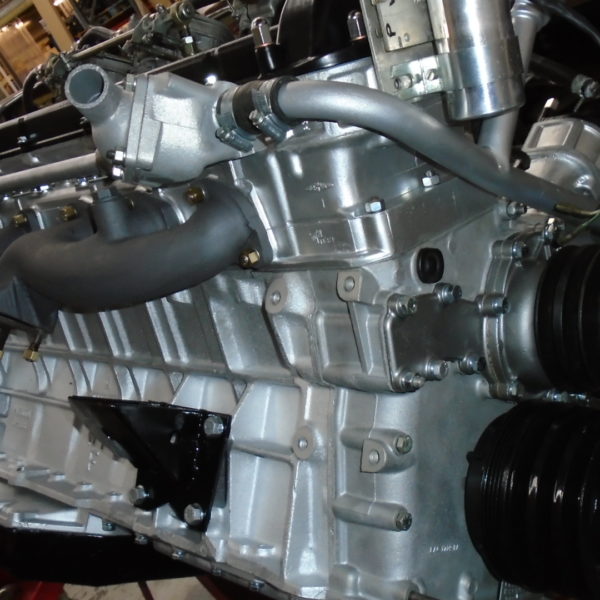
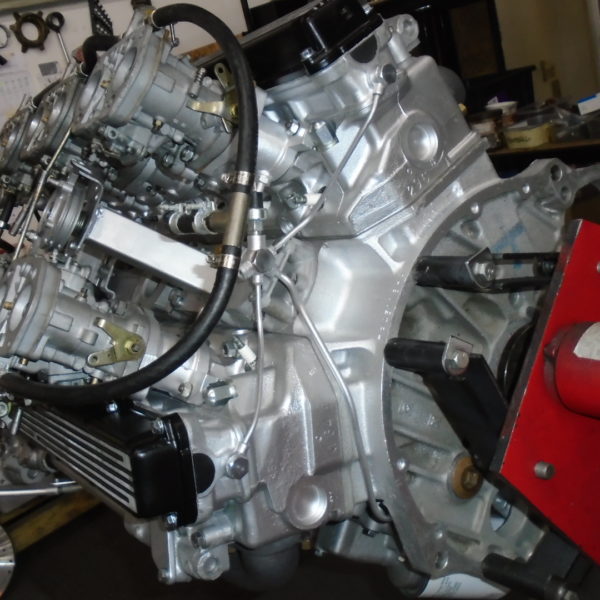
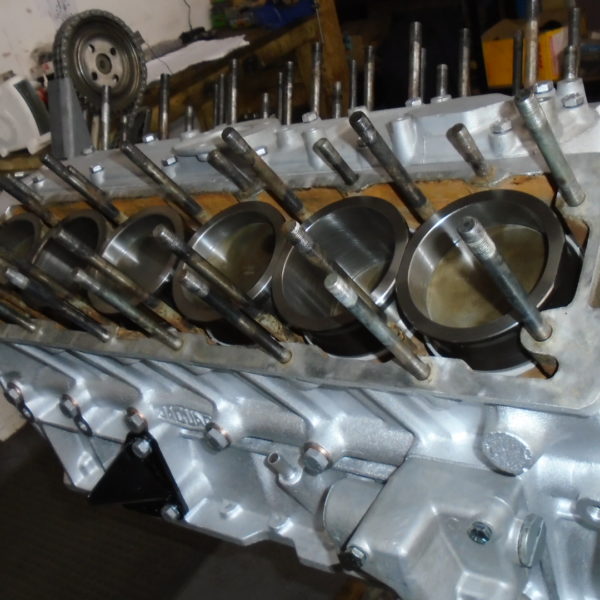
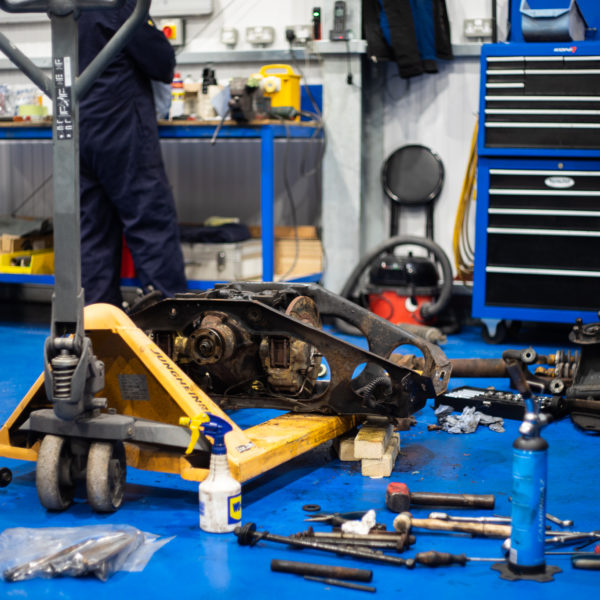
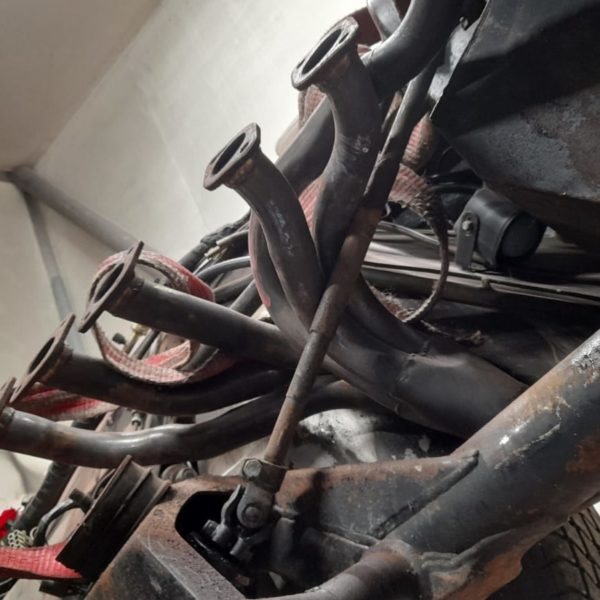
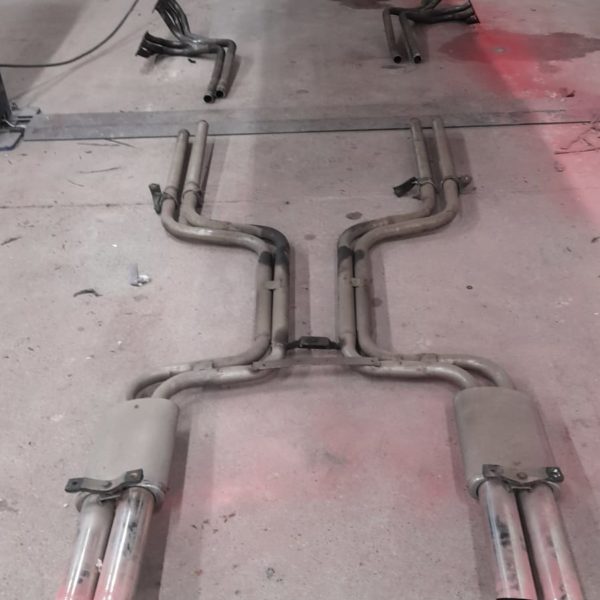
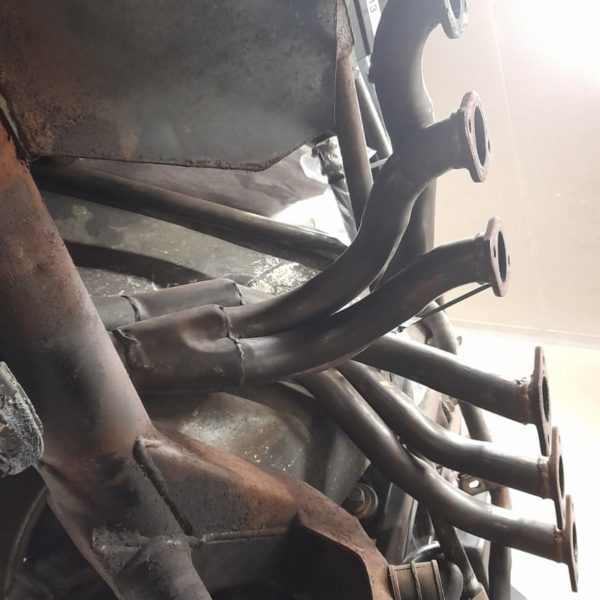
Here’s a closer look at the Daytona engine we have sat here waiting to be installed. This huge piece of machinery is what gives the Daytona its iconic power.
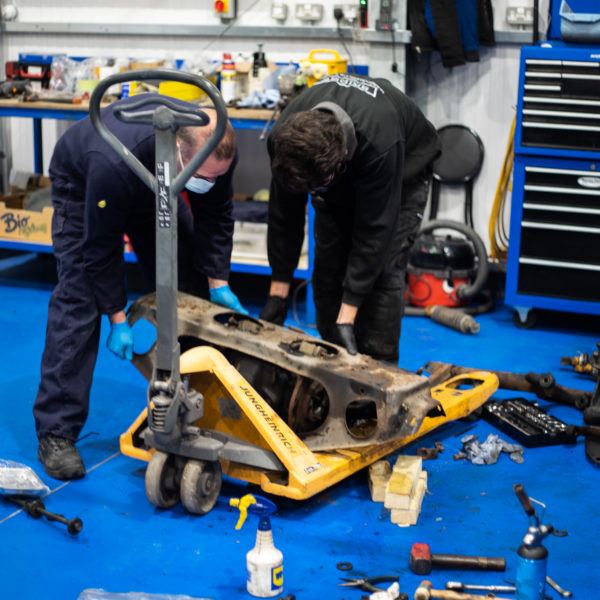
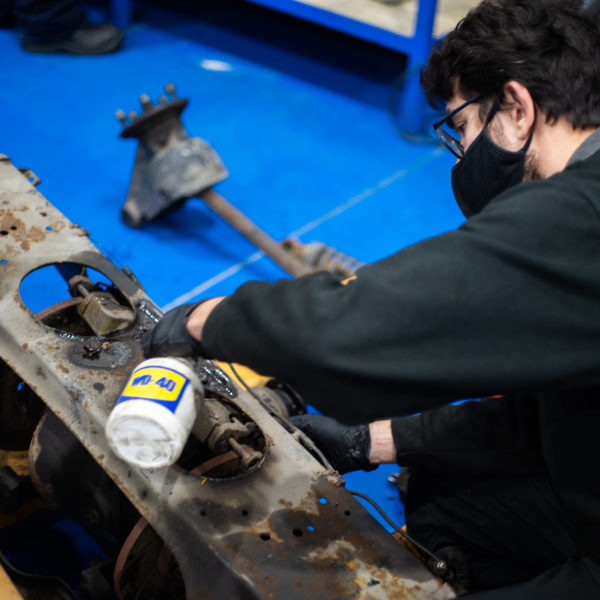
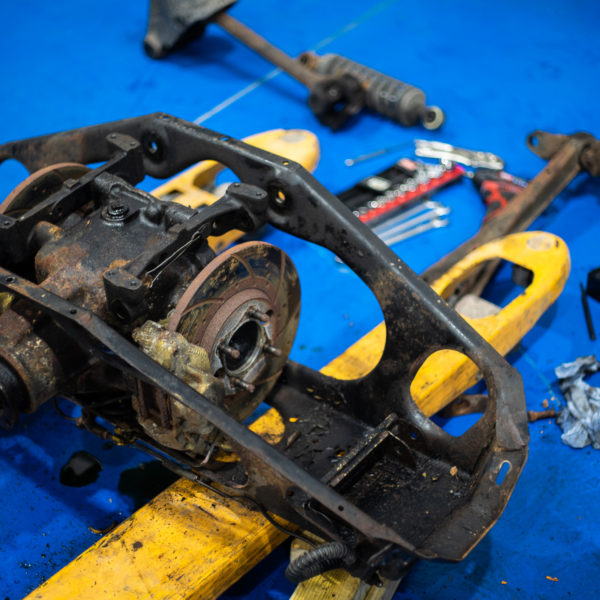
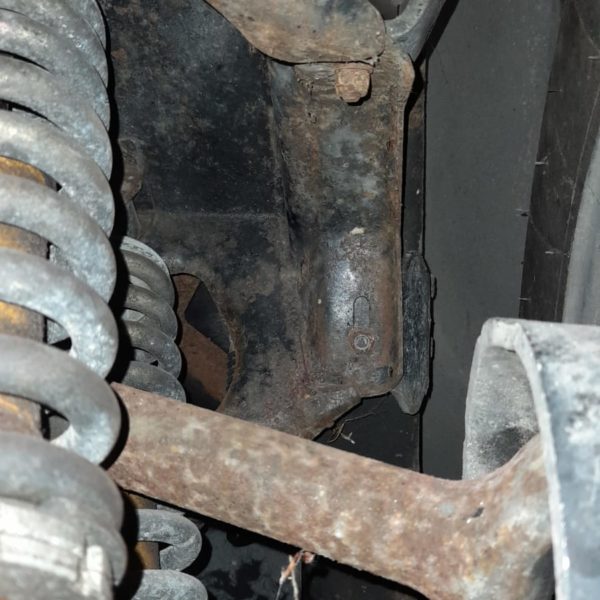
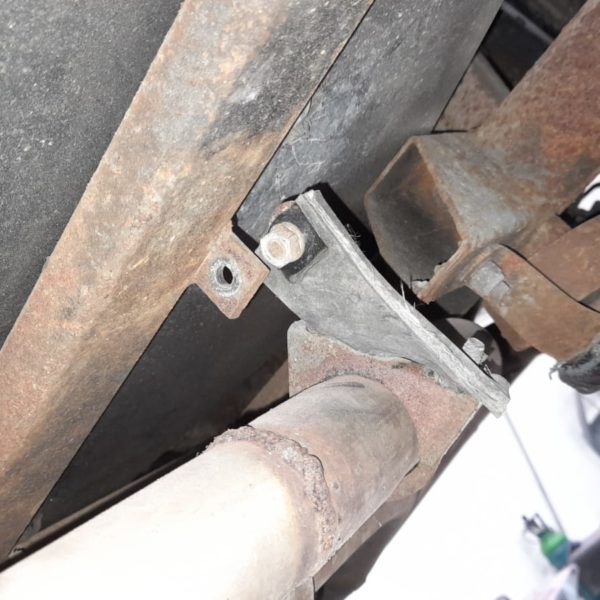
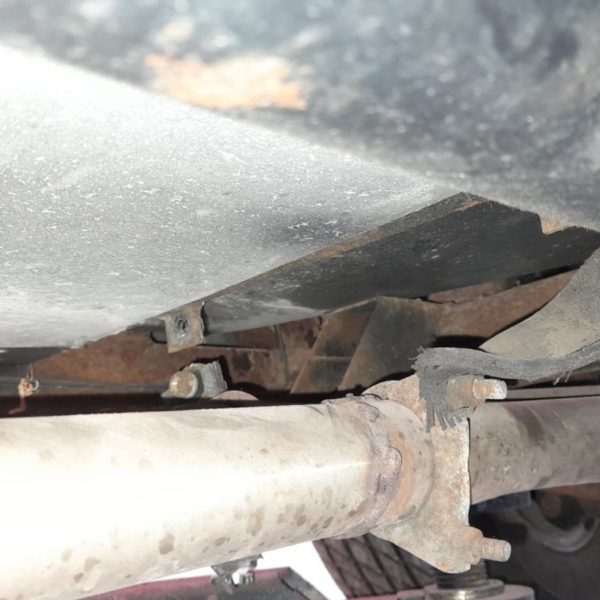
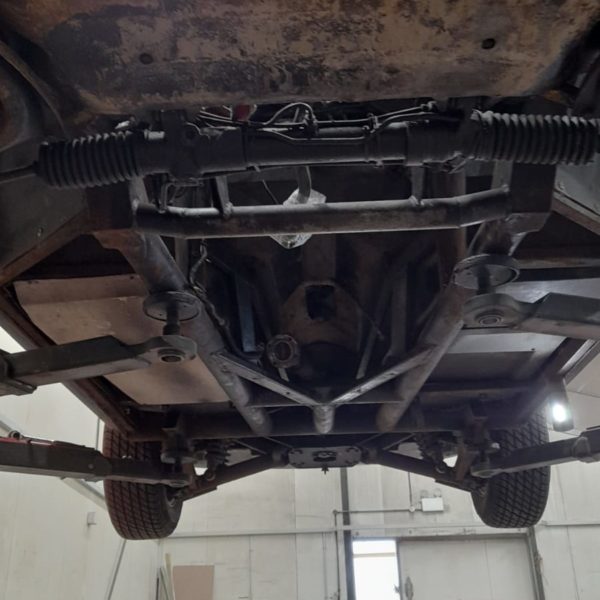
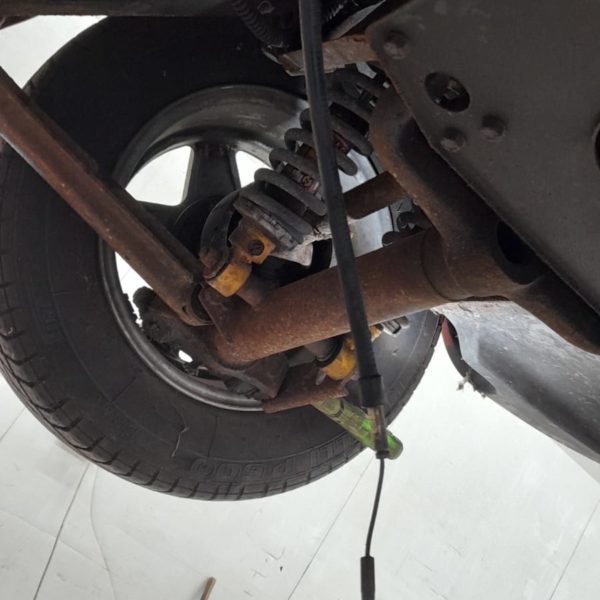
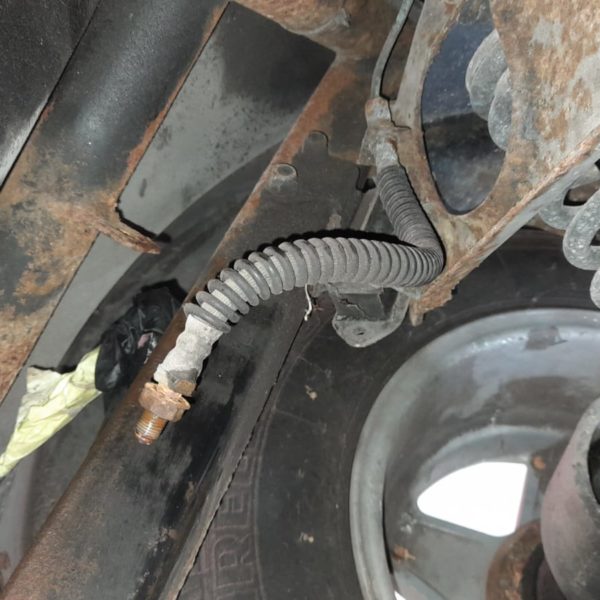
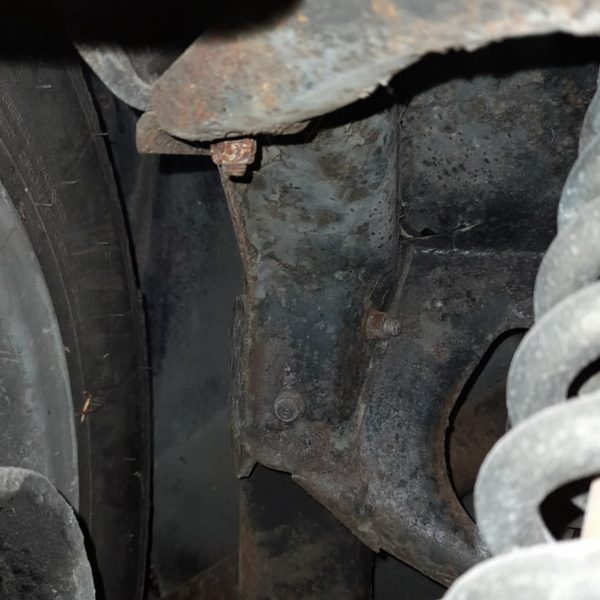
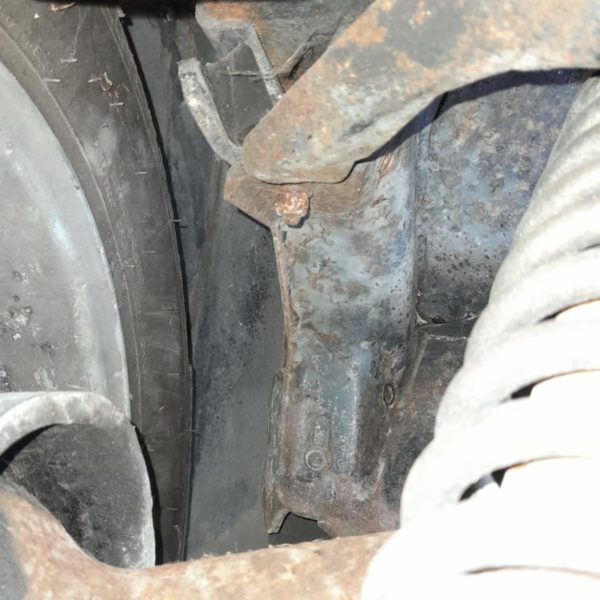
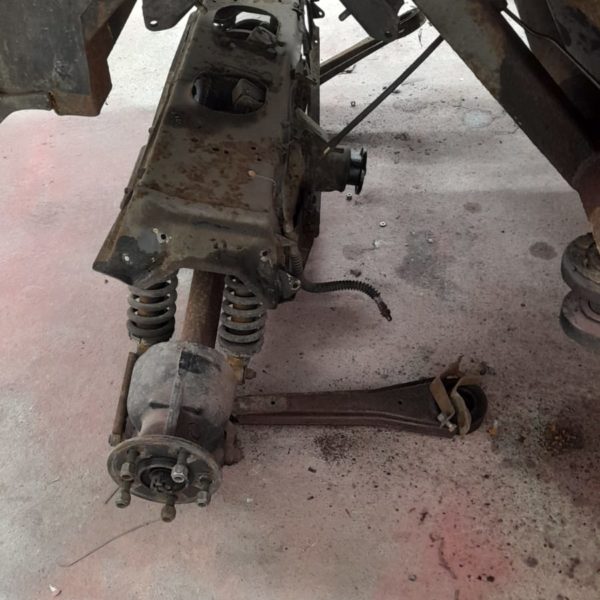
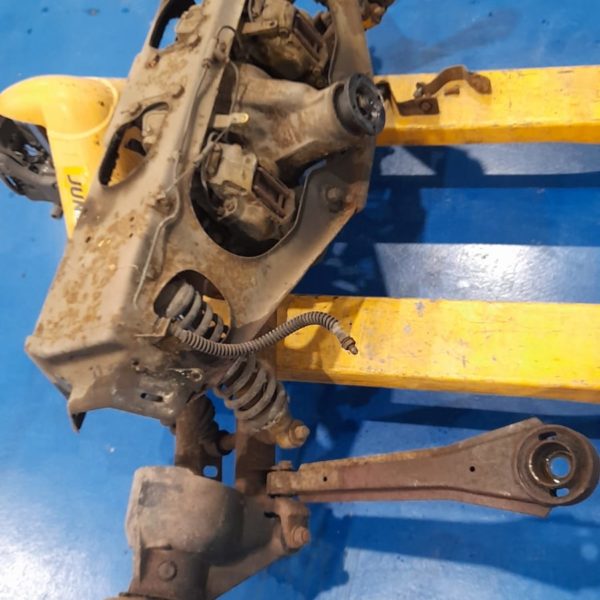
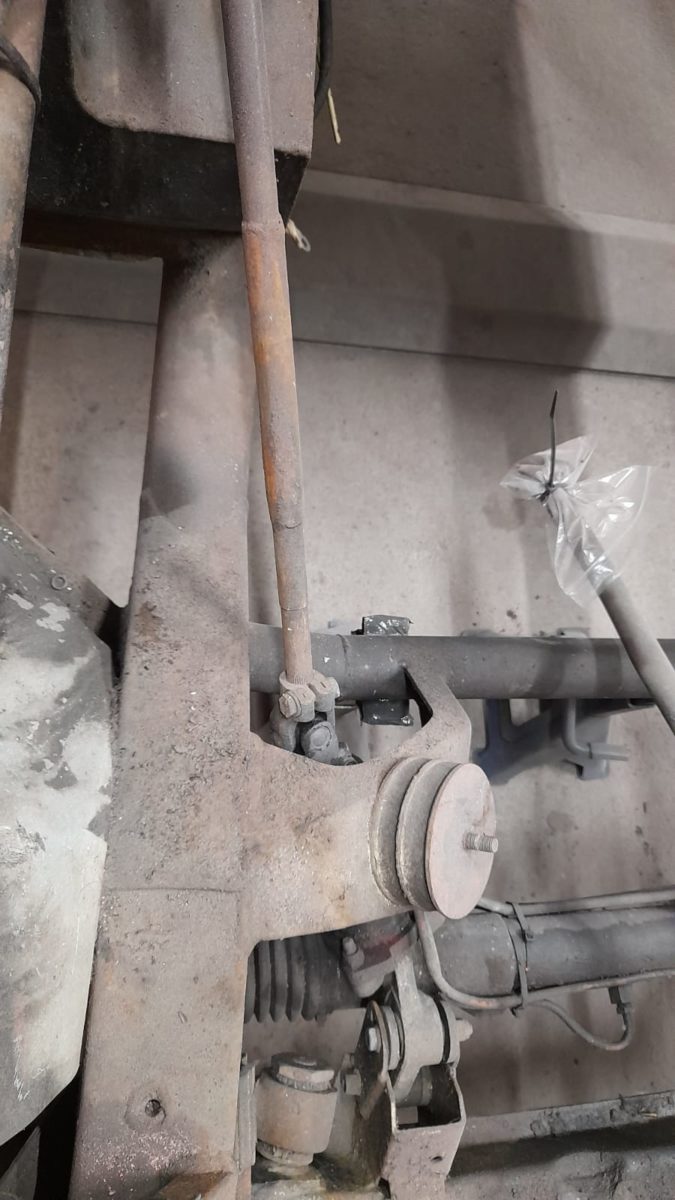
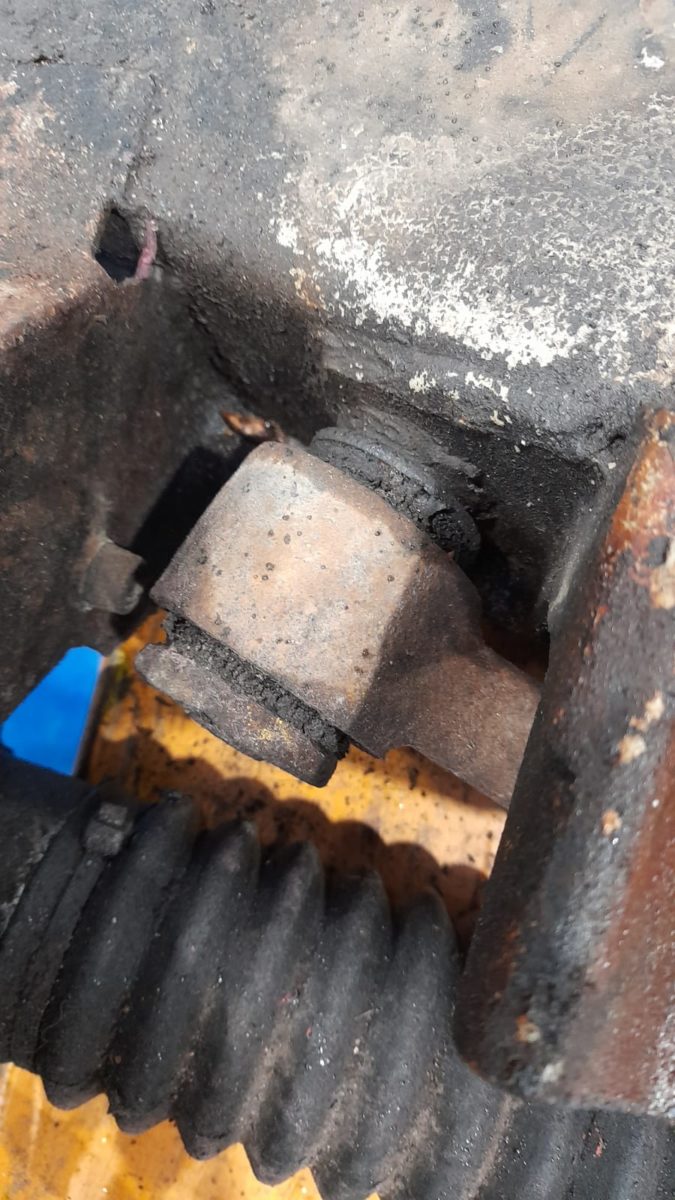
Tom has been stripping down the rear axel by cleaning and preparing it to be refurbished.

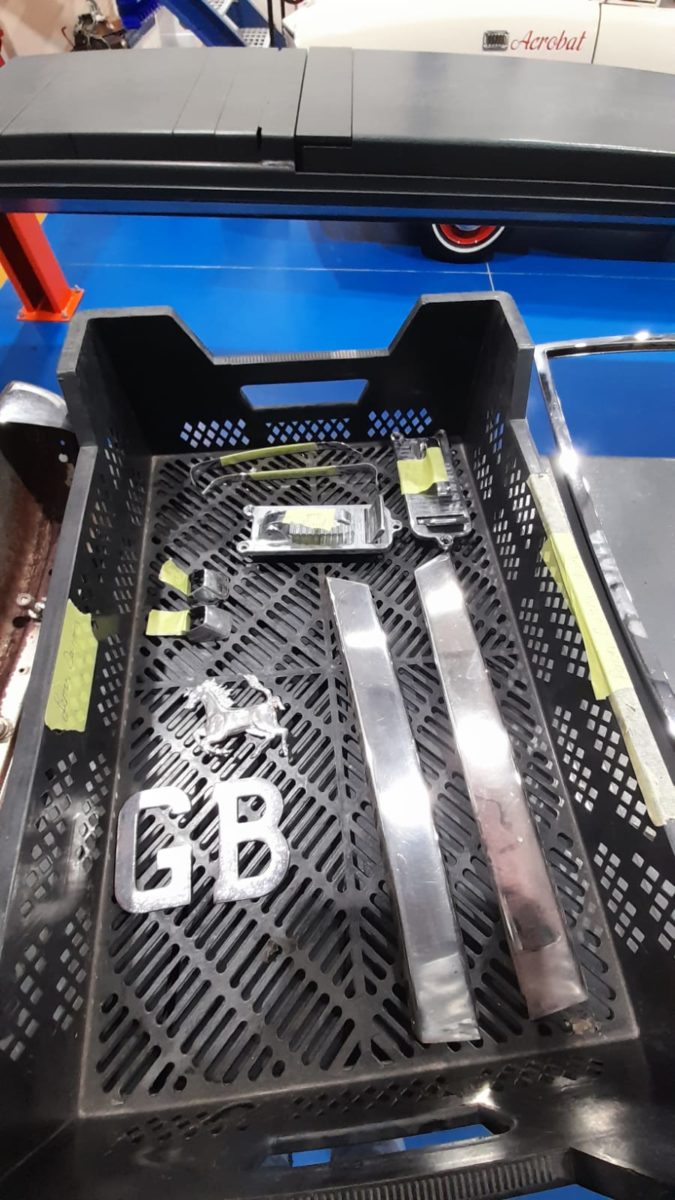
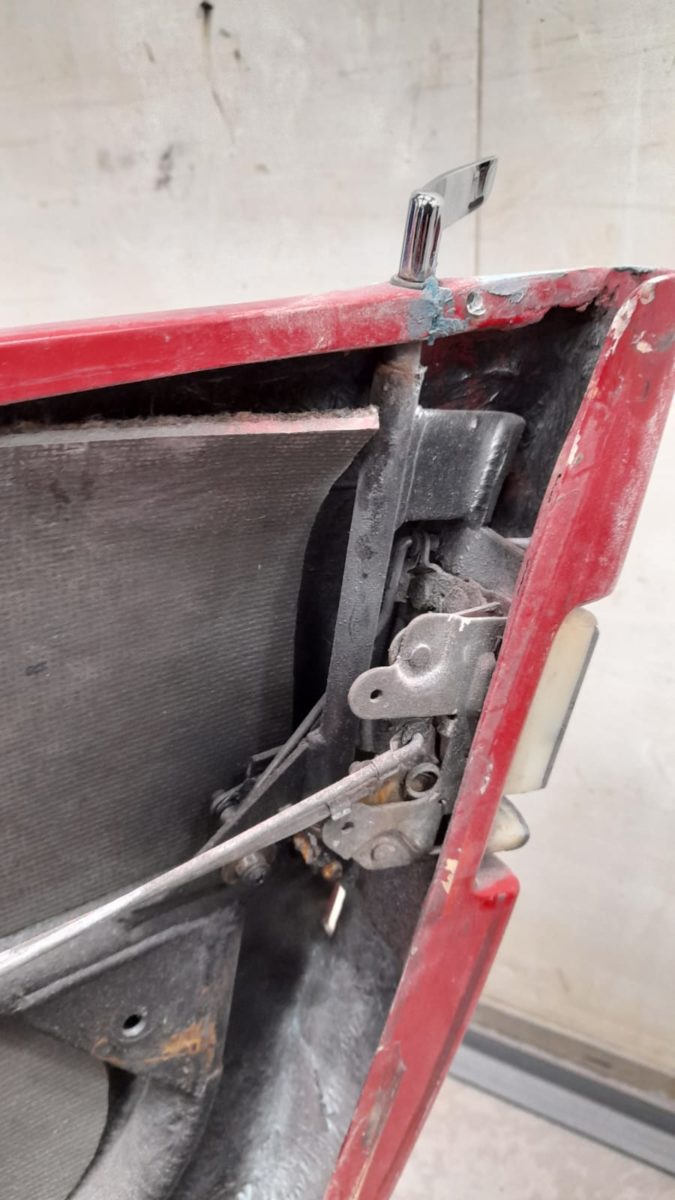
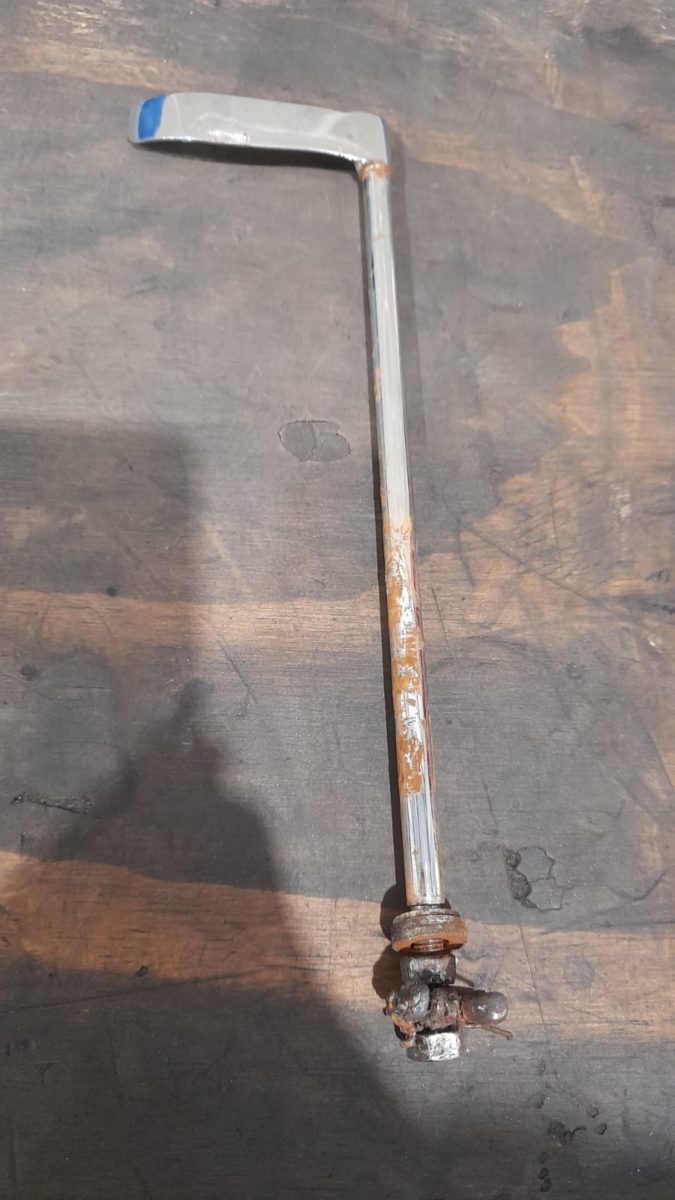
Scott has removed and repaired the sash on the door glass as it was rotten. It was then painted it and bonded it back onto the glass. Scott then cut any rotten bits out of the door frame and welded in some new metal and then got it ready for chrome. Scott has also removed the door handles and got them ready for chrome.
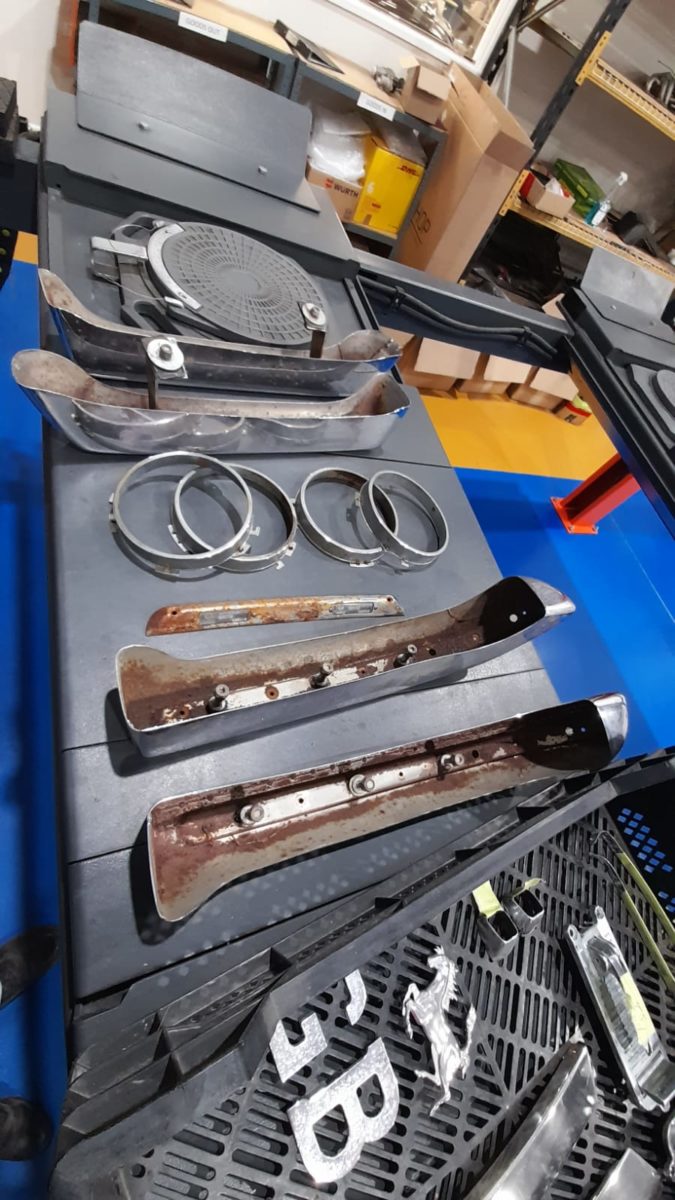
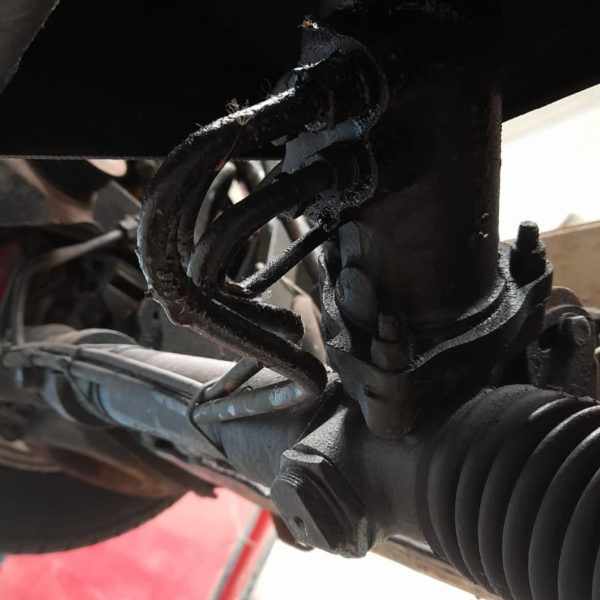
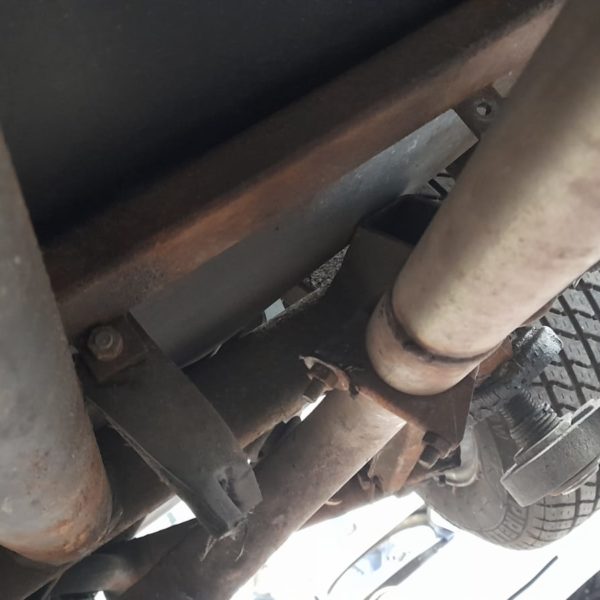
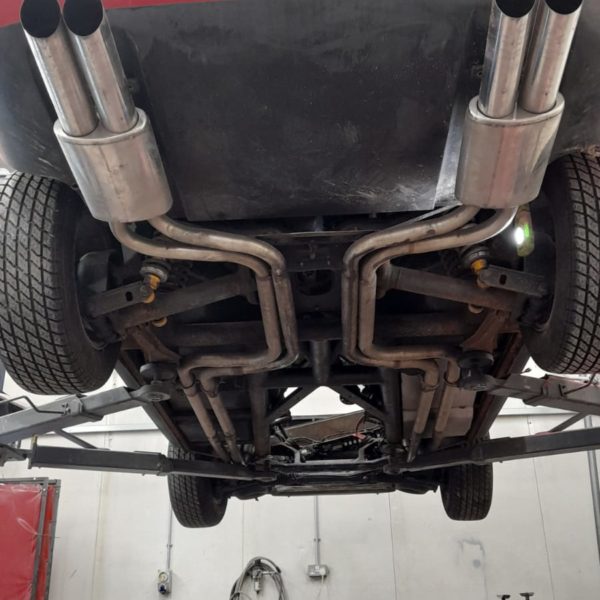
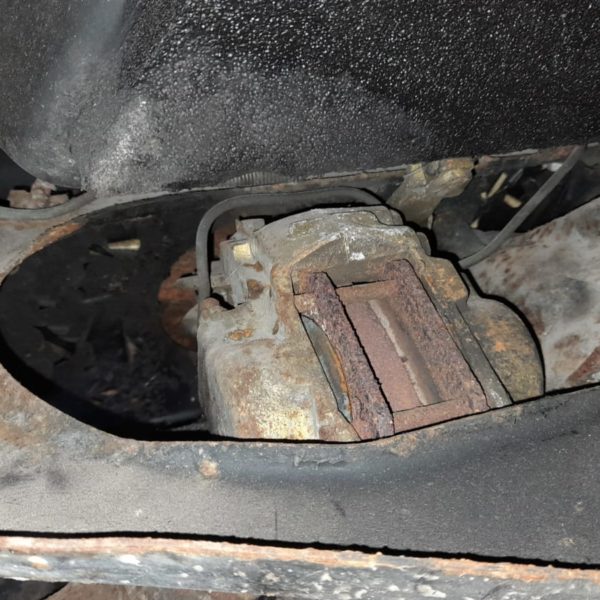
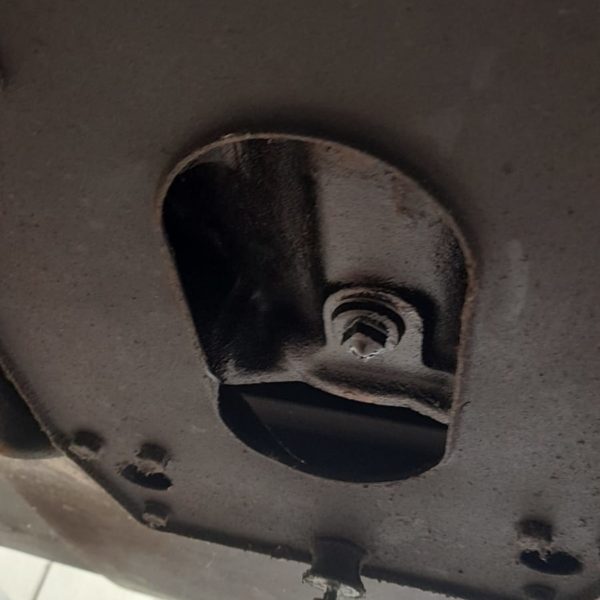
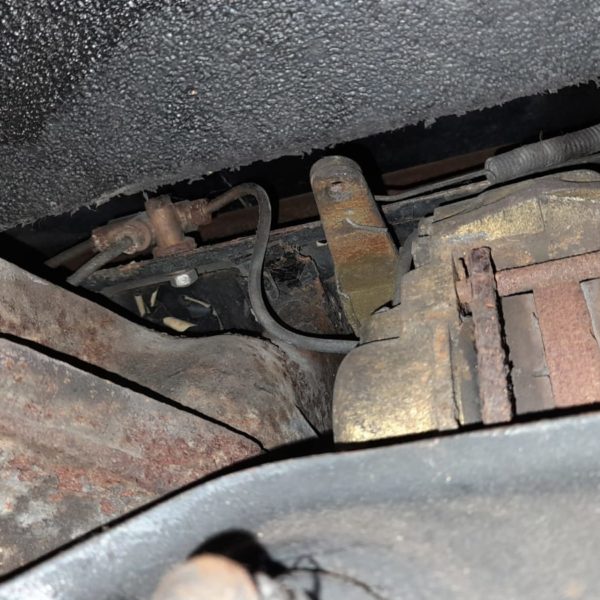
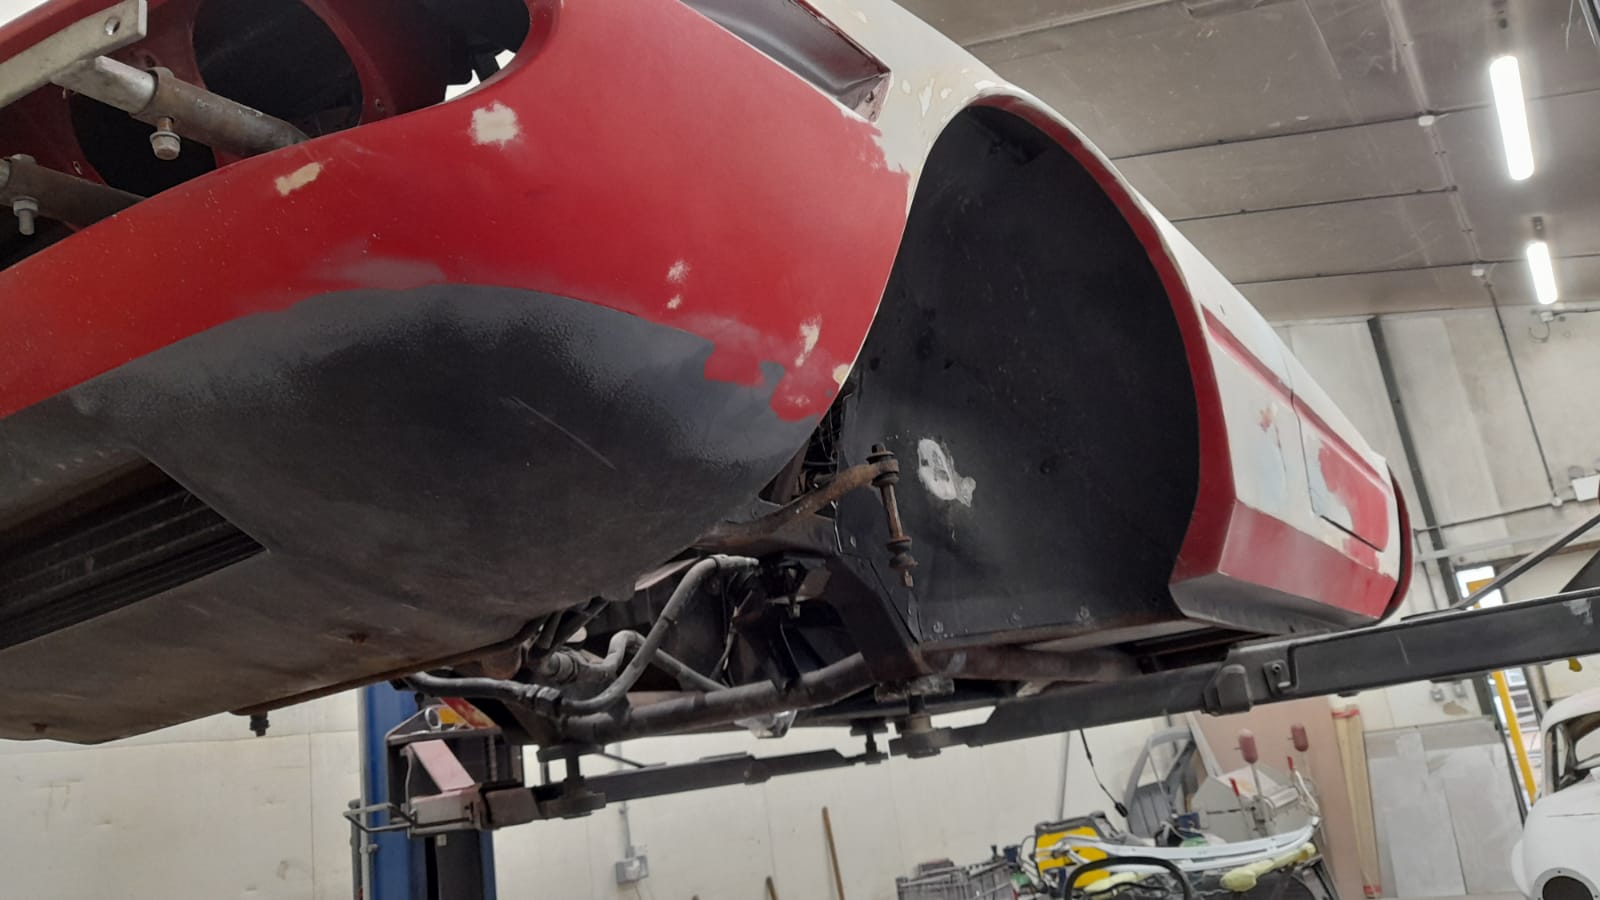
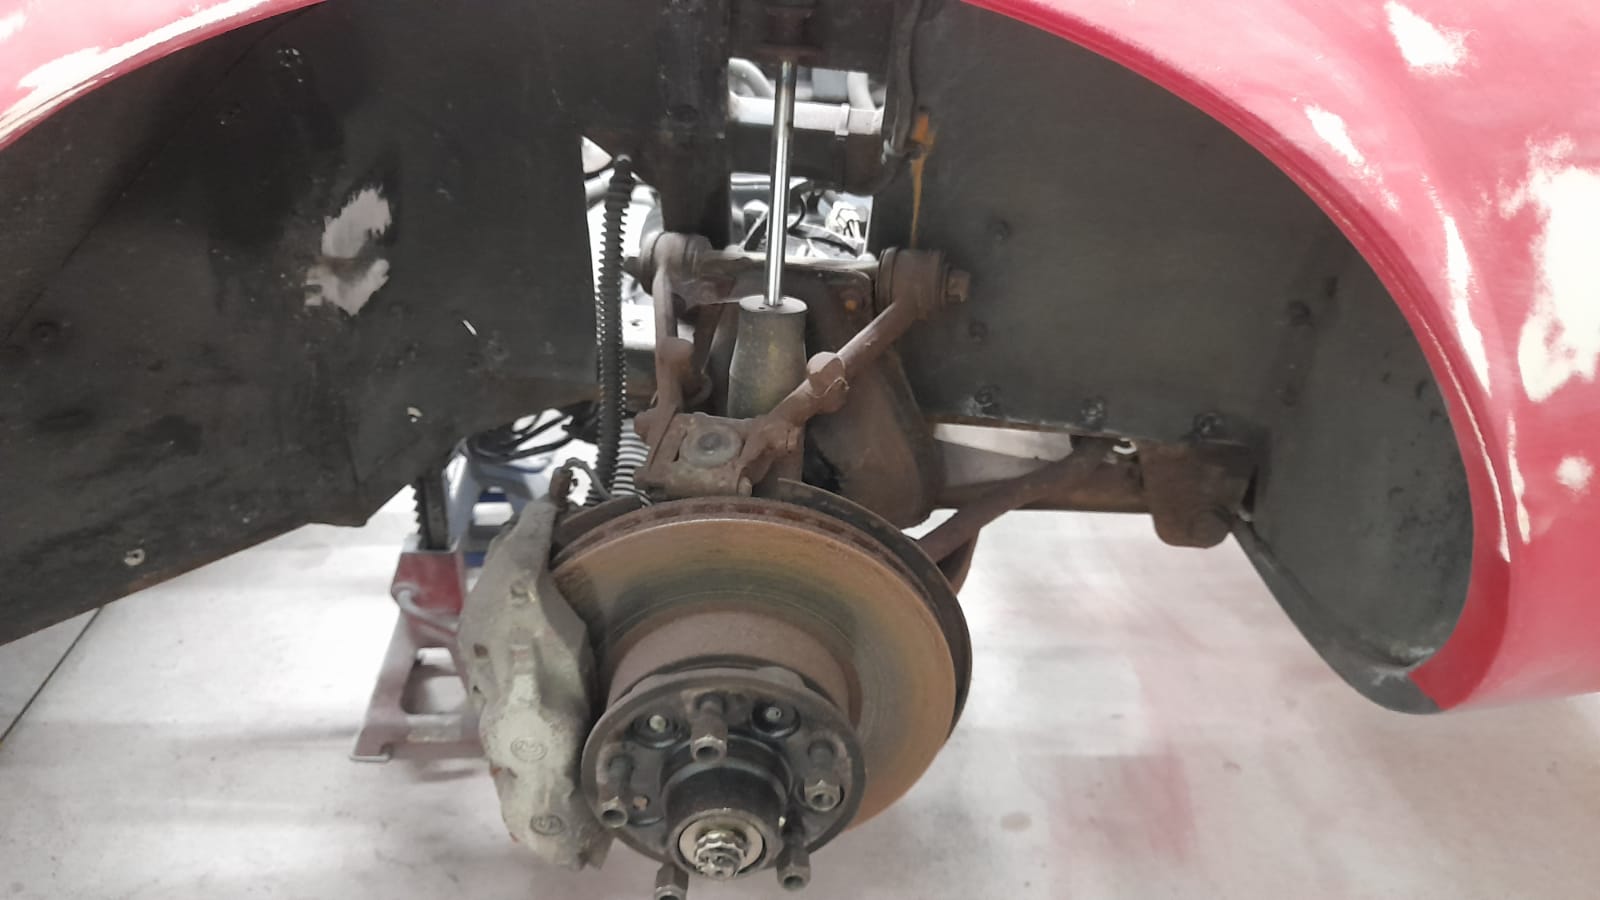
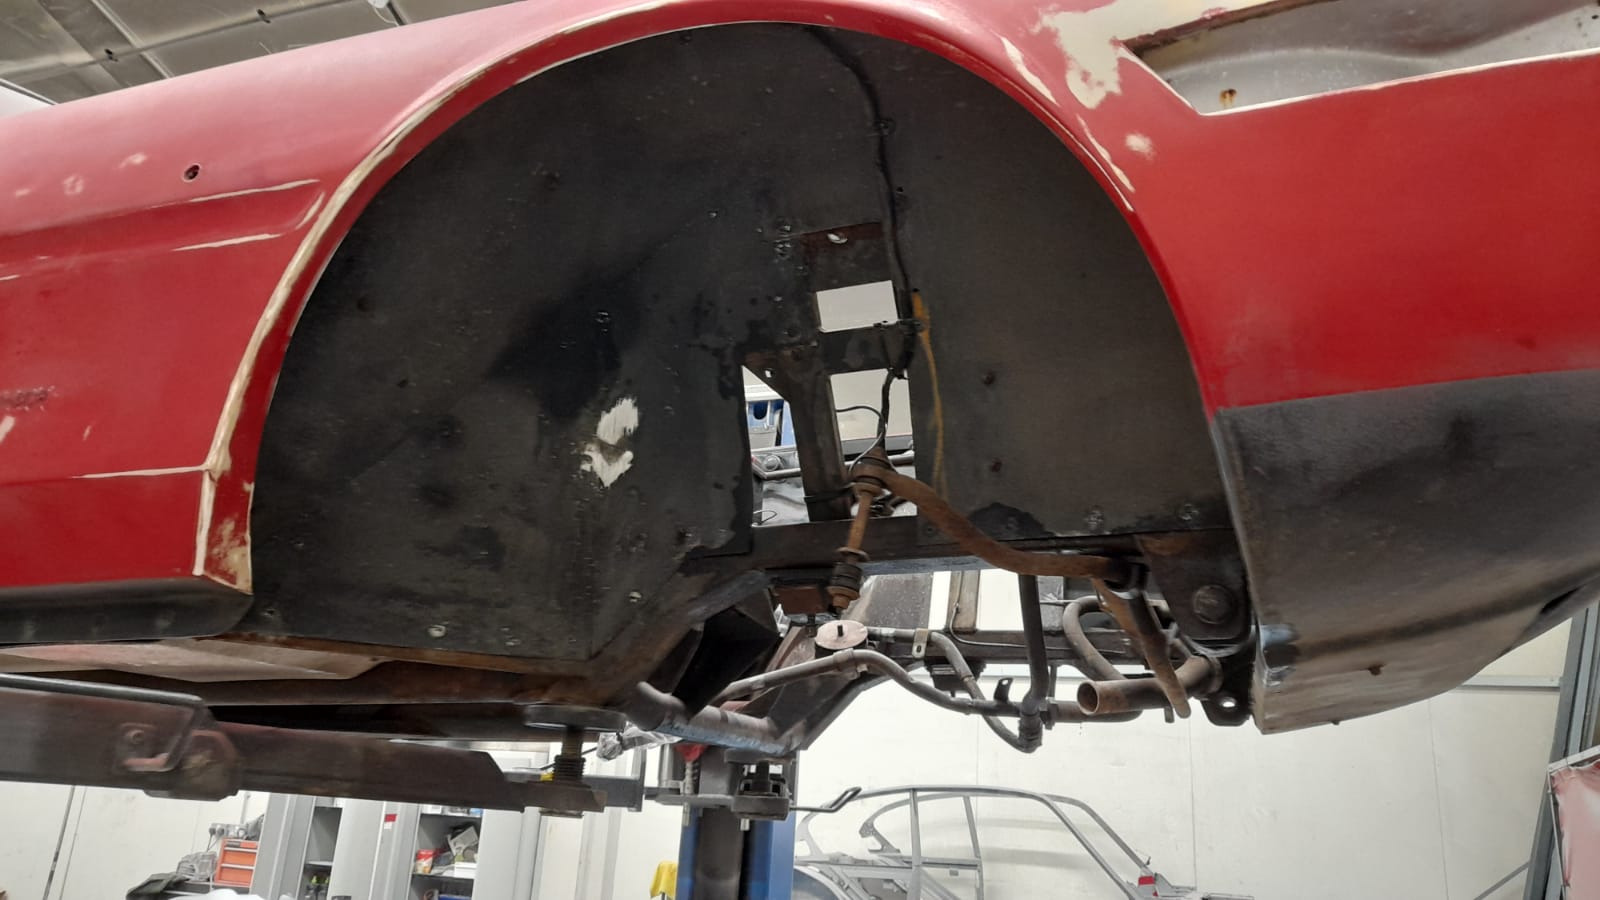
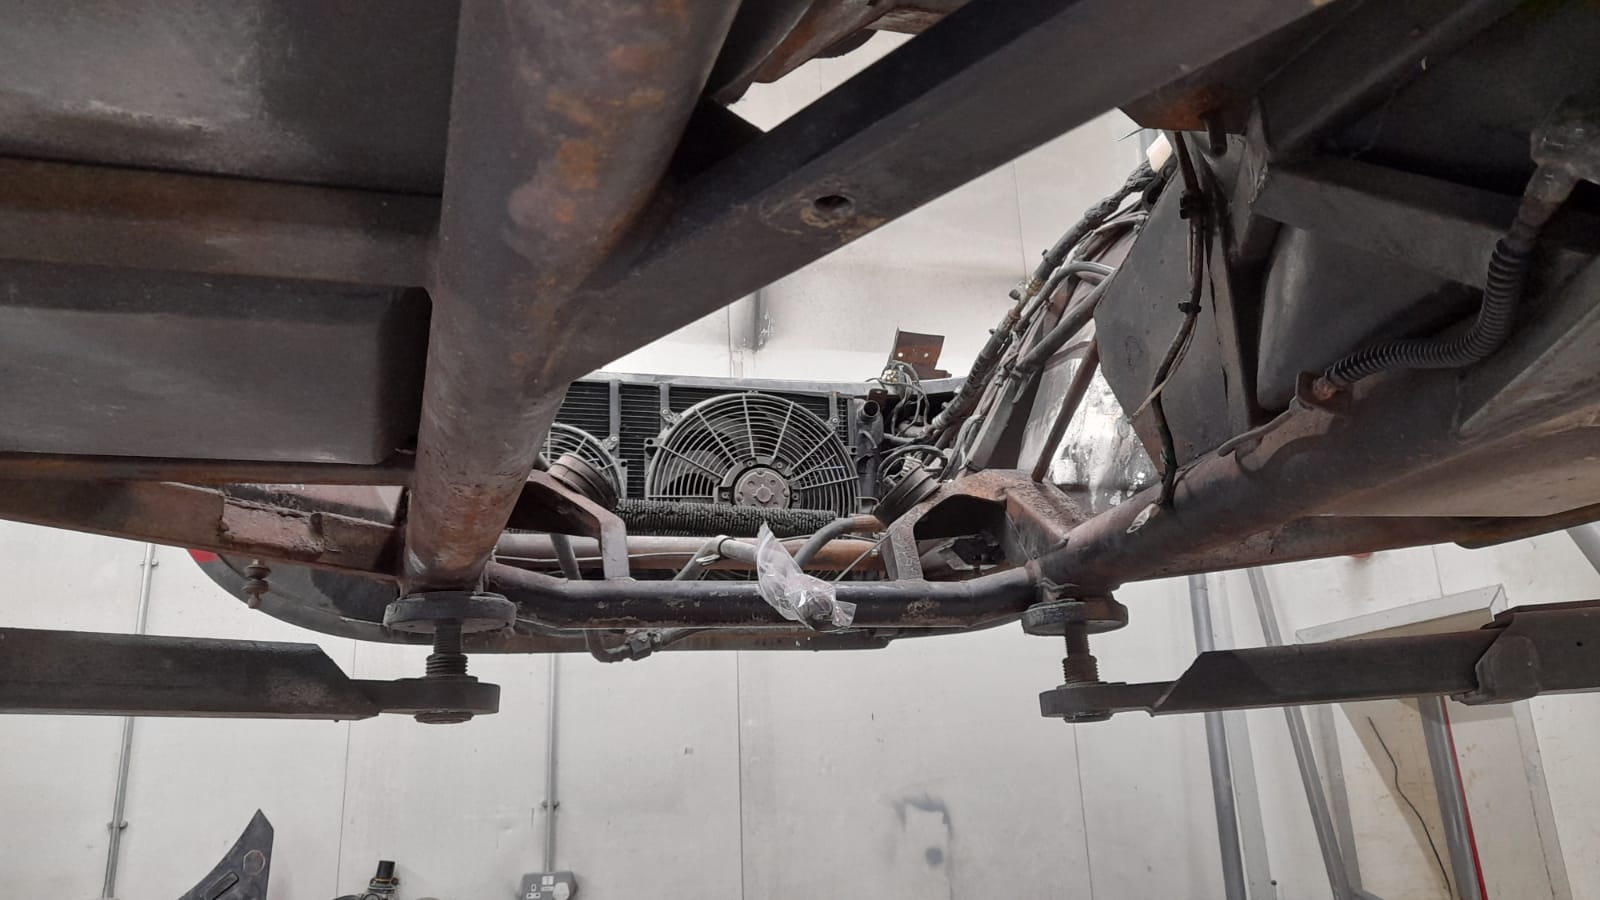
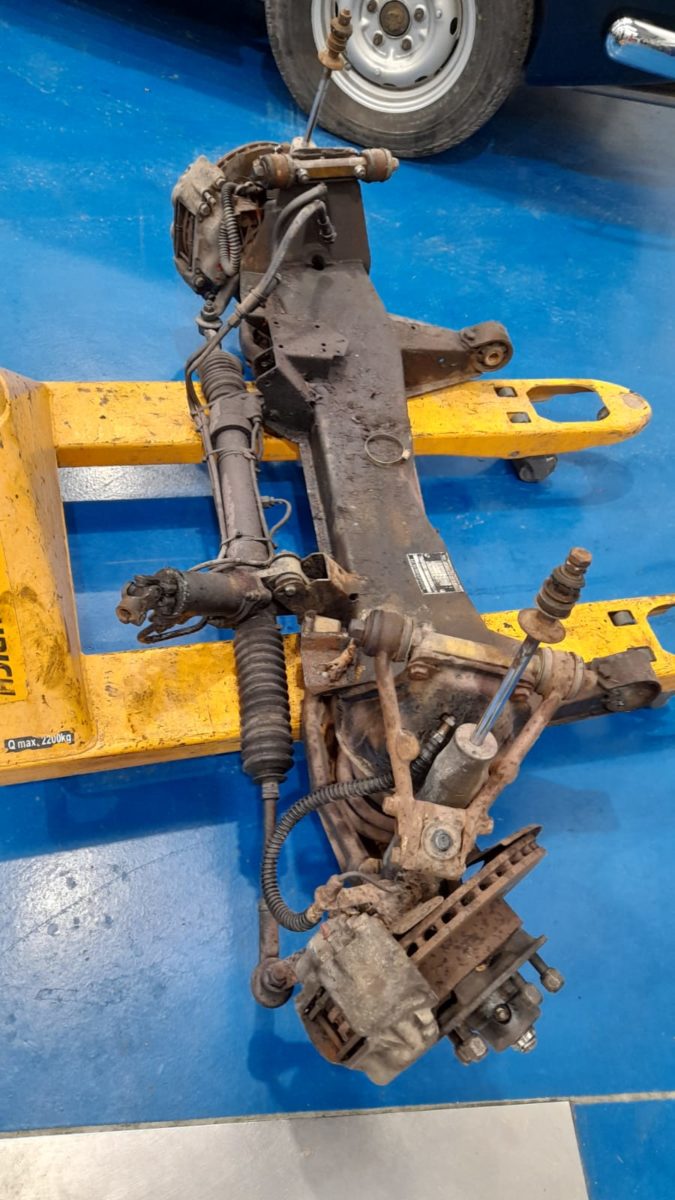
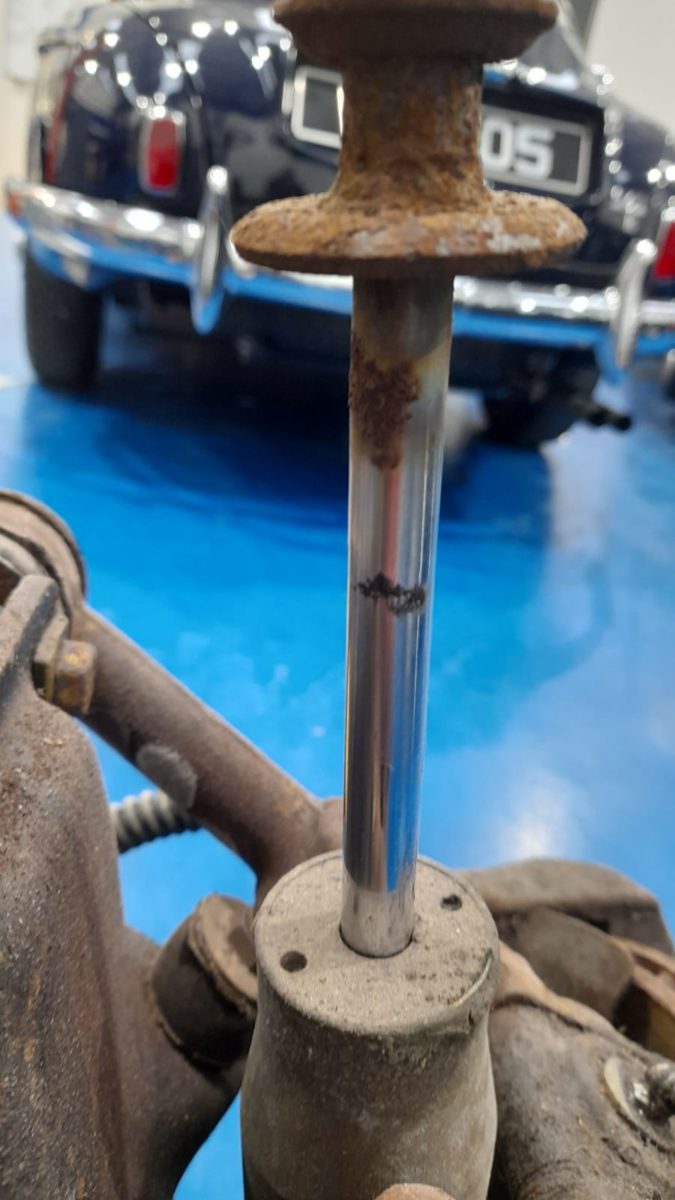
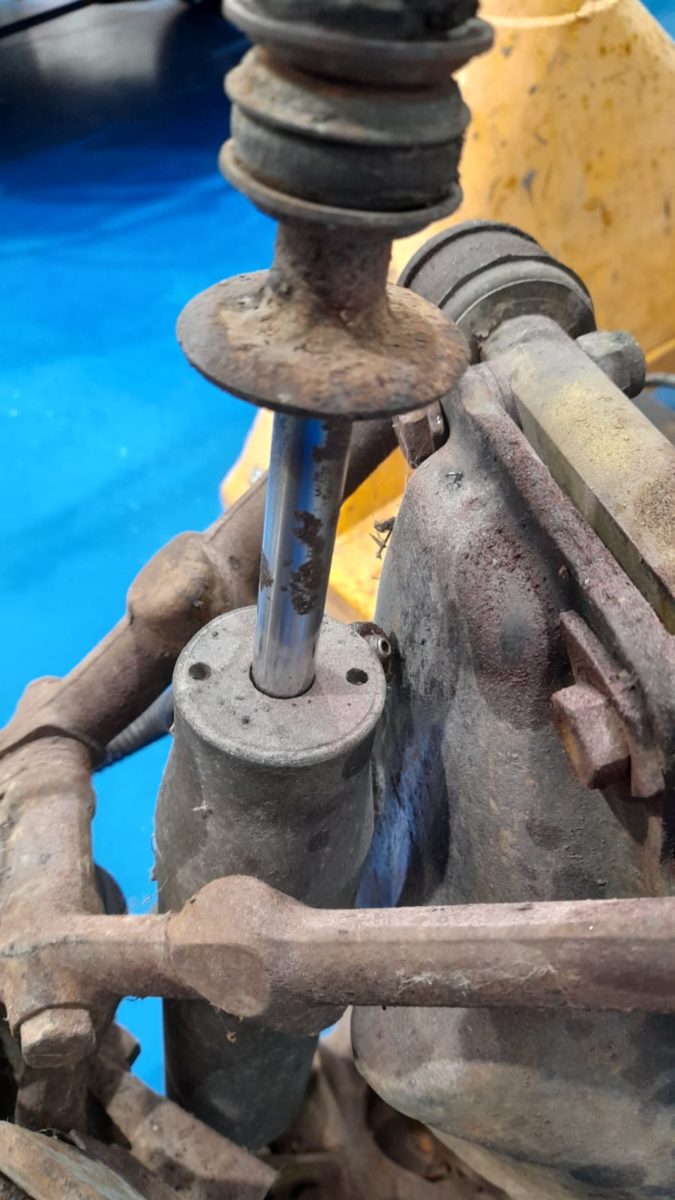
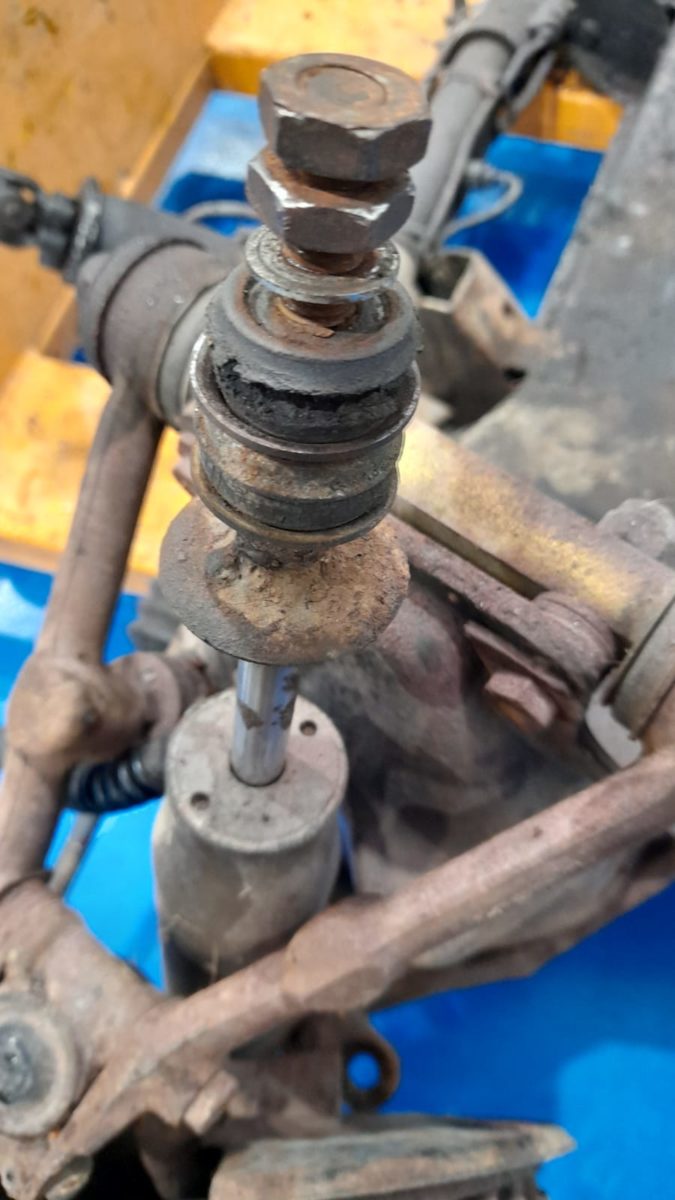
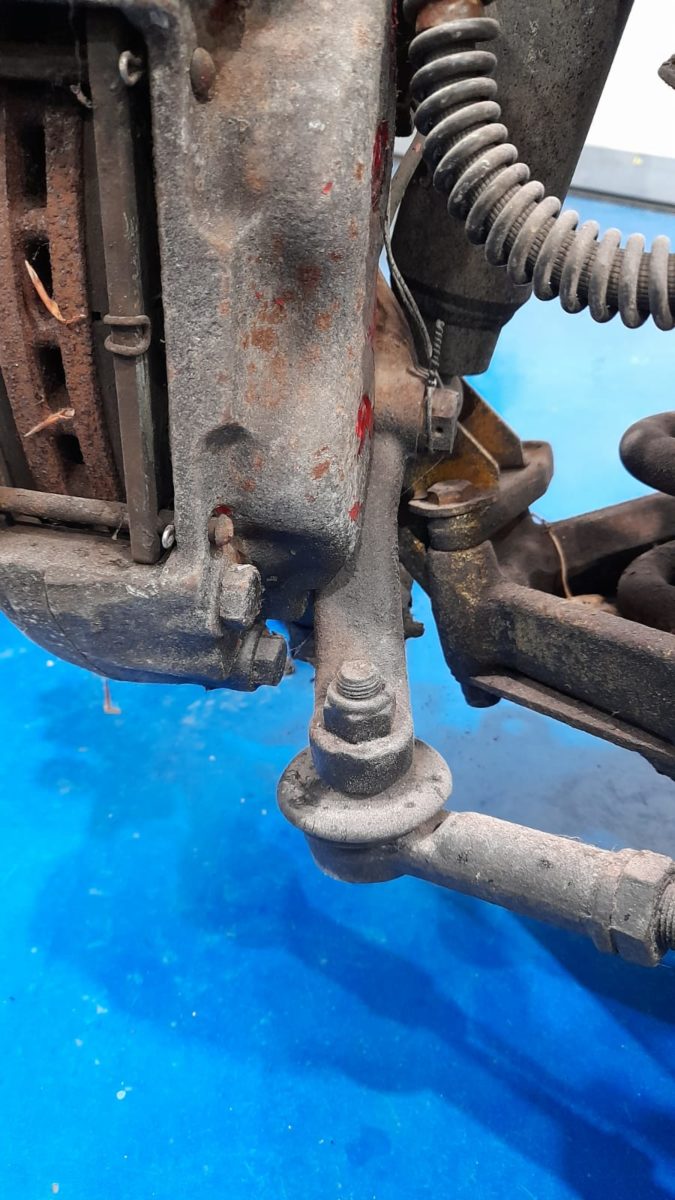
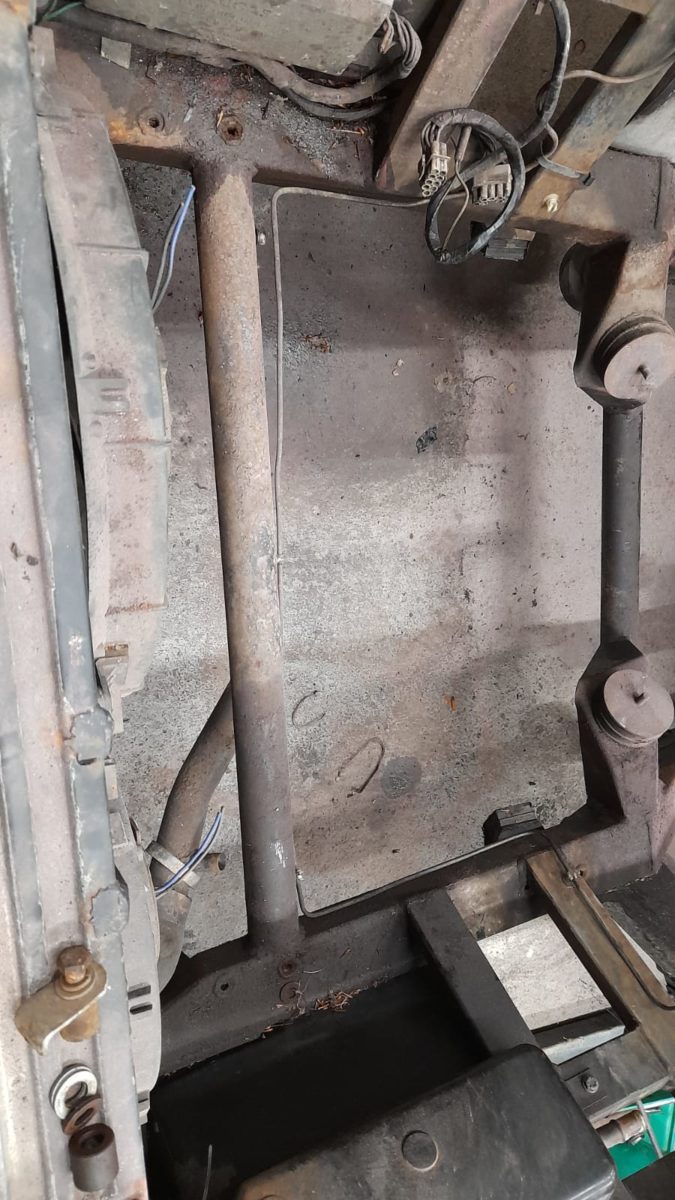
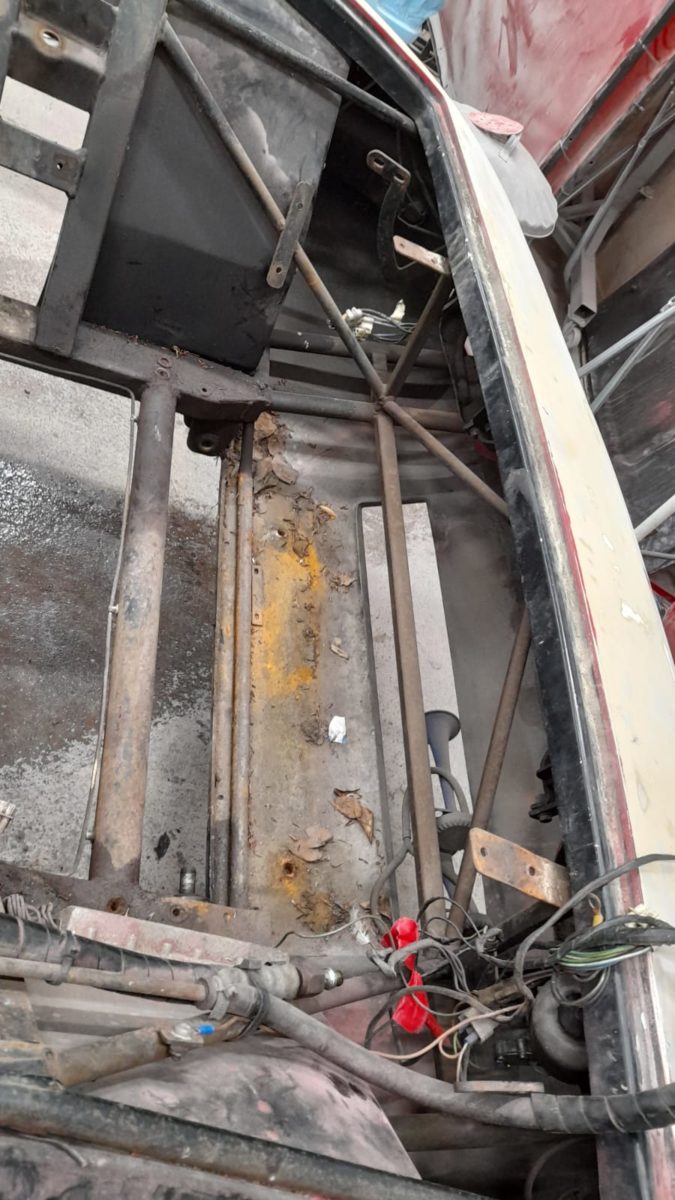
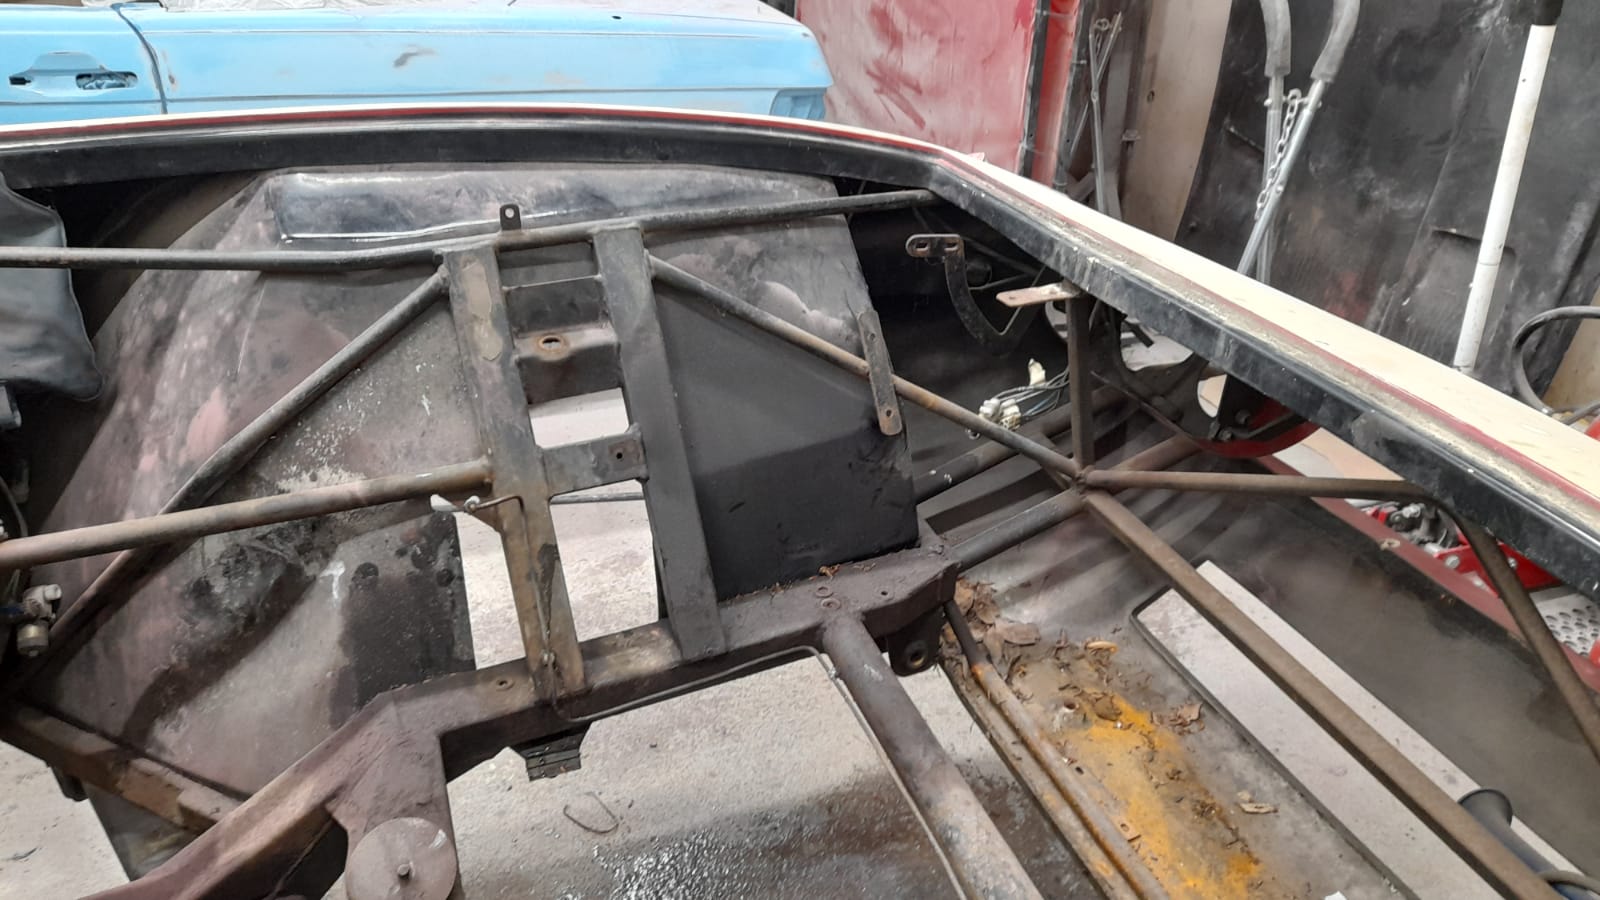
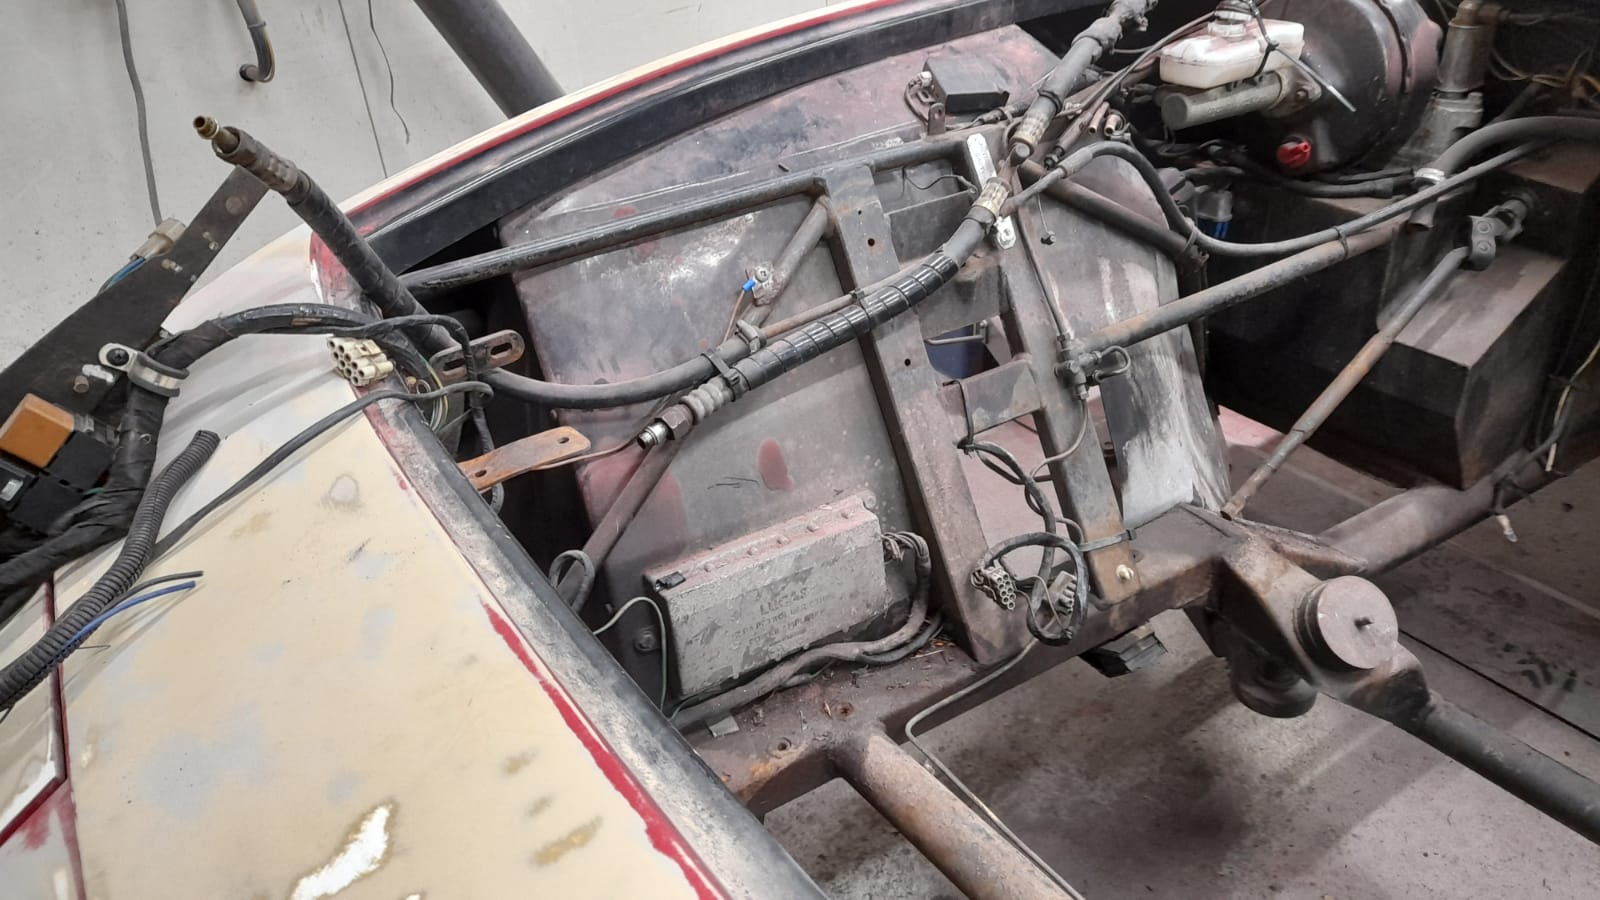
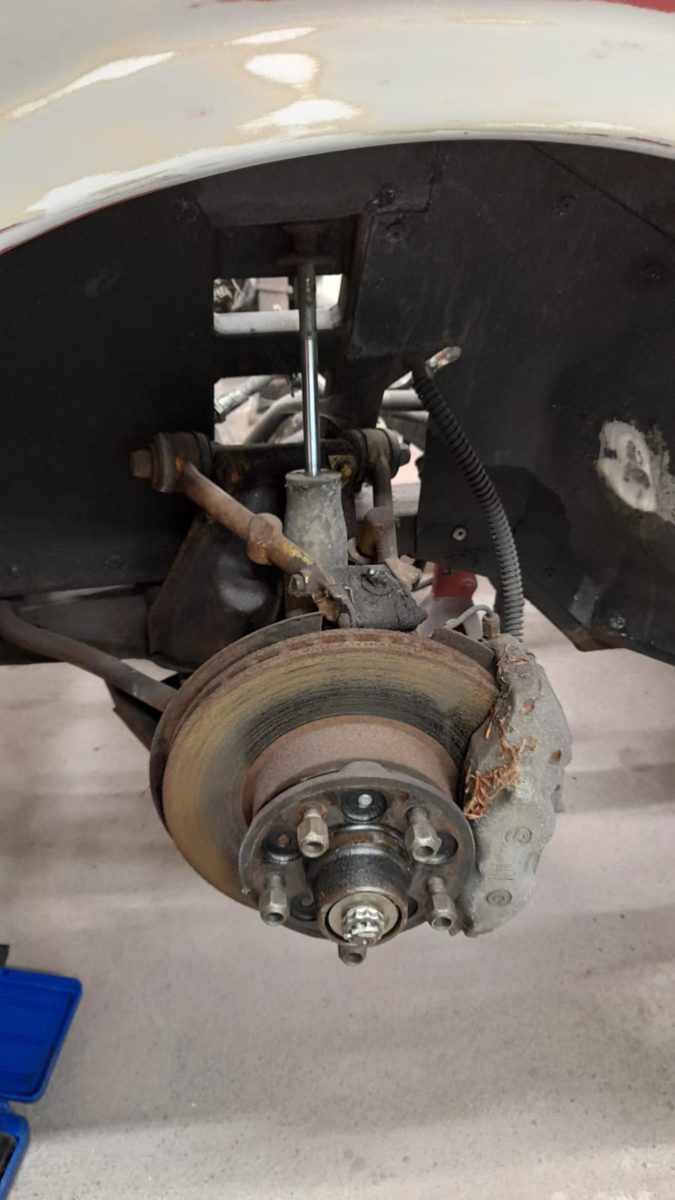
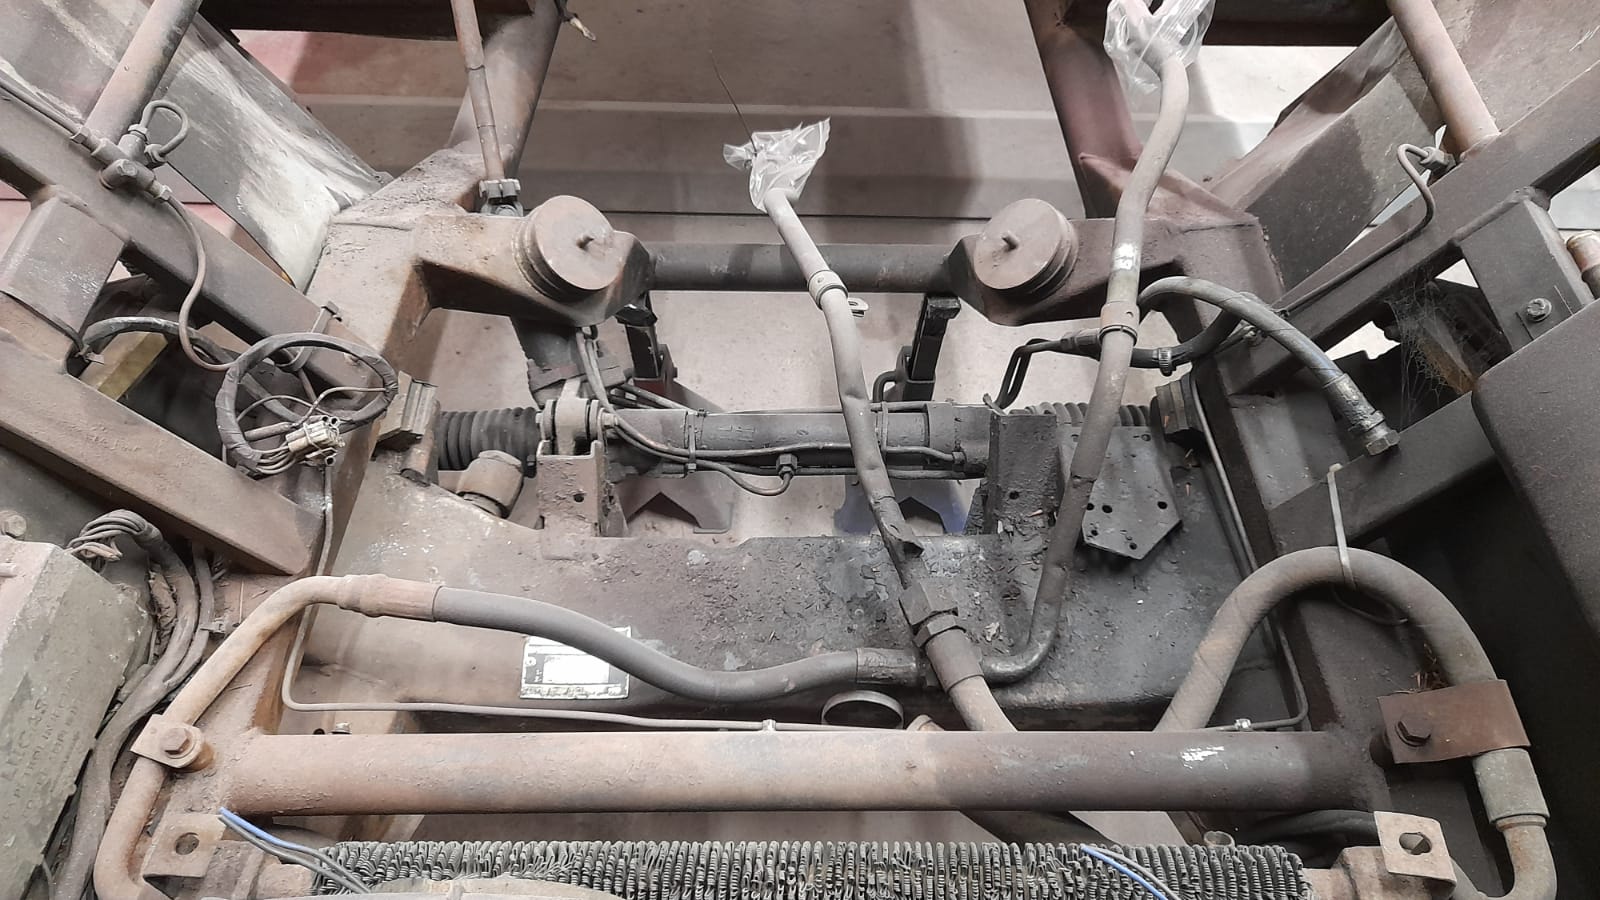
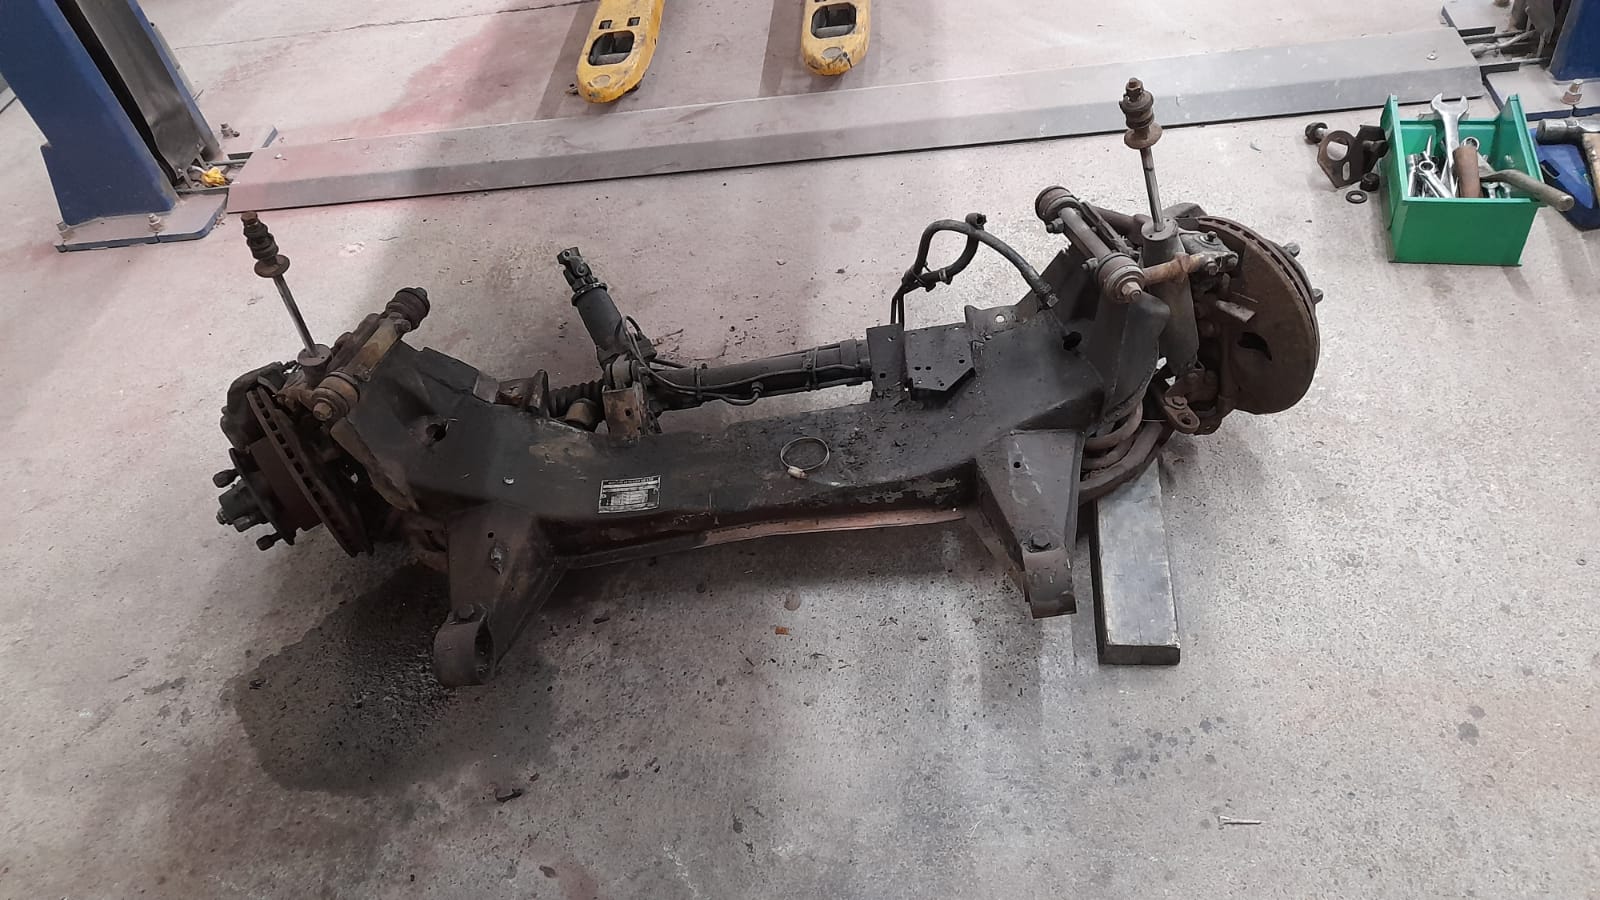
Scott has also removed the complete front axle assembly and the radiator to start checking over to see what needs to be refurbished.


Here’s the rest of the work Scott has been doing to the Daytona:


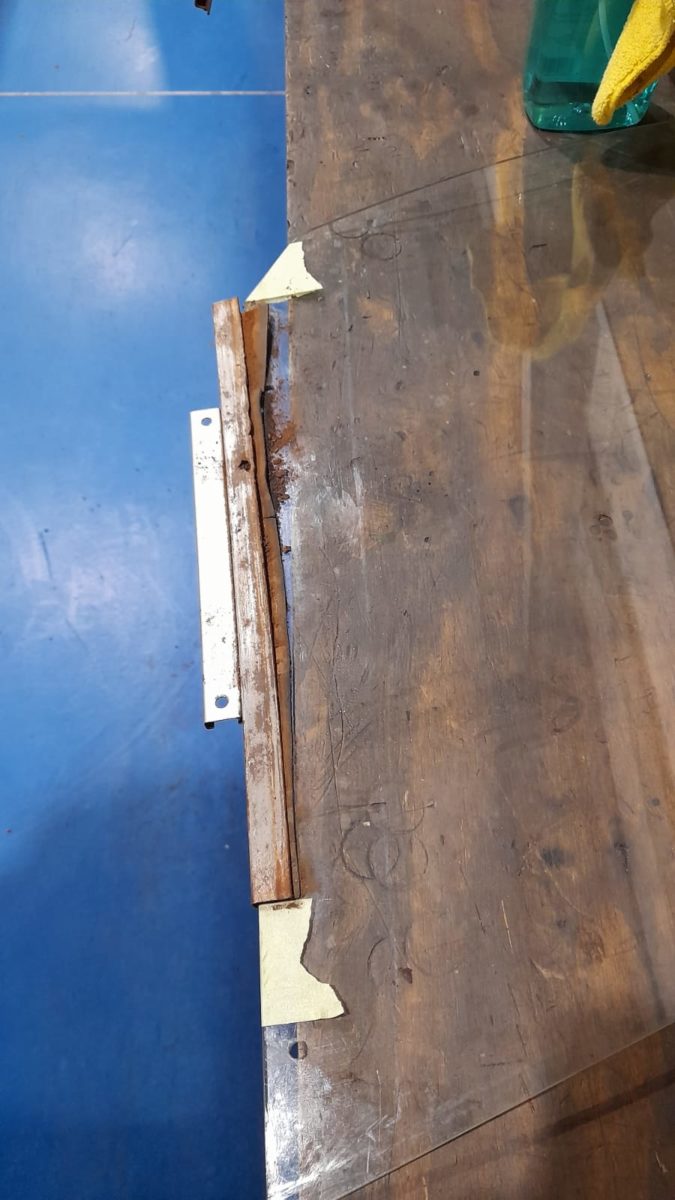
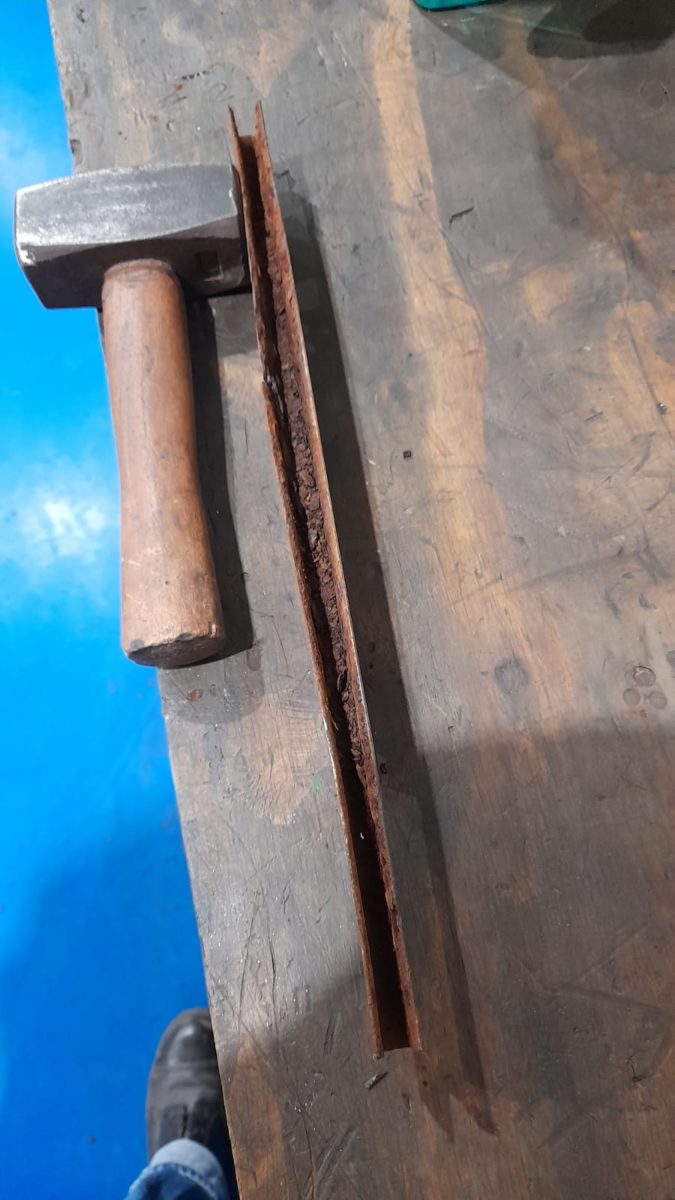
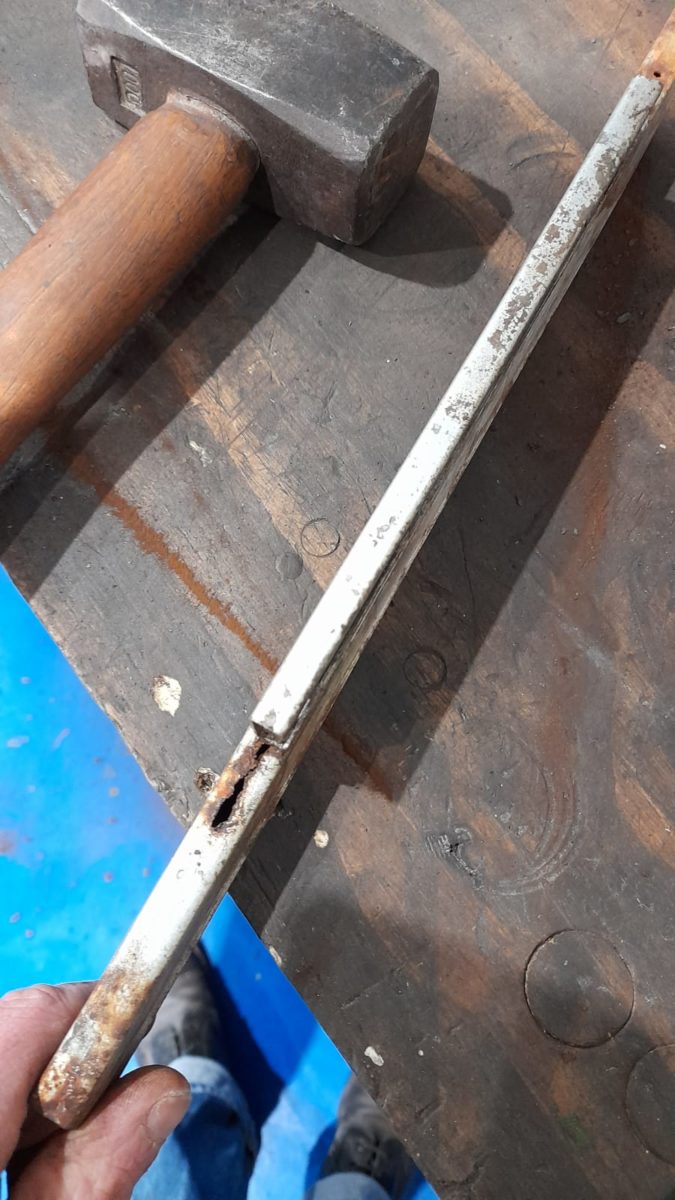
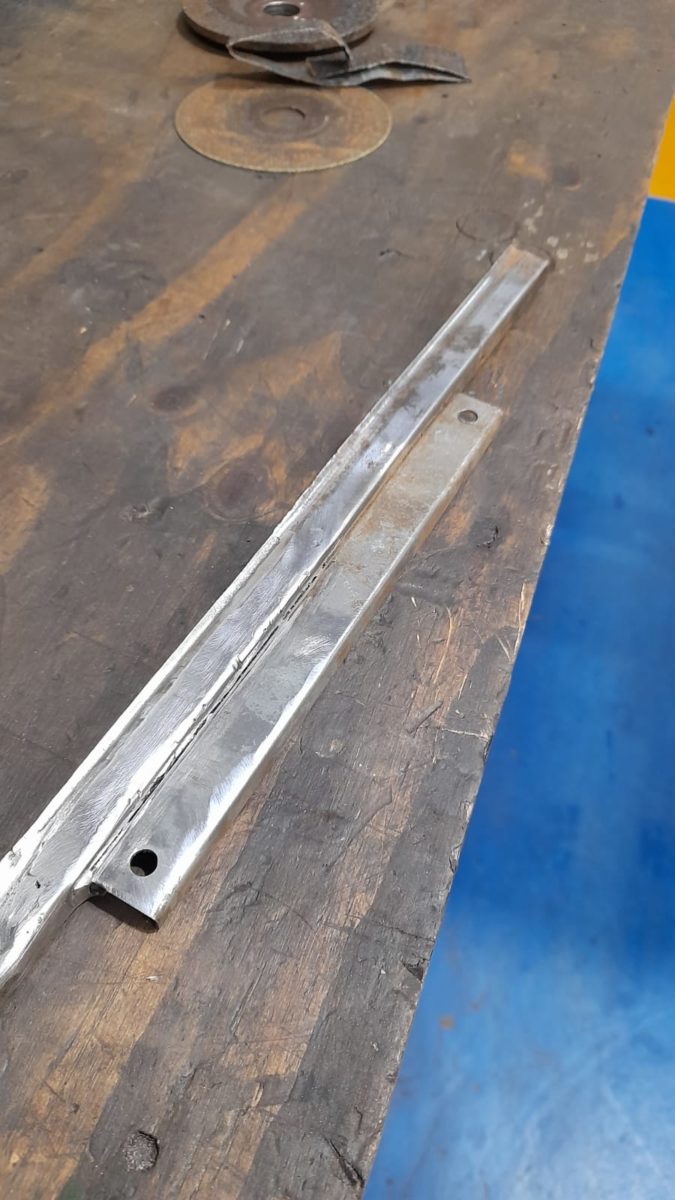
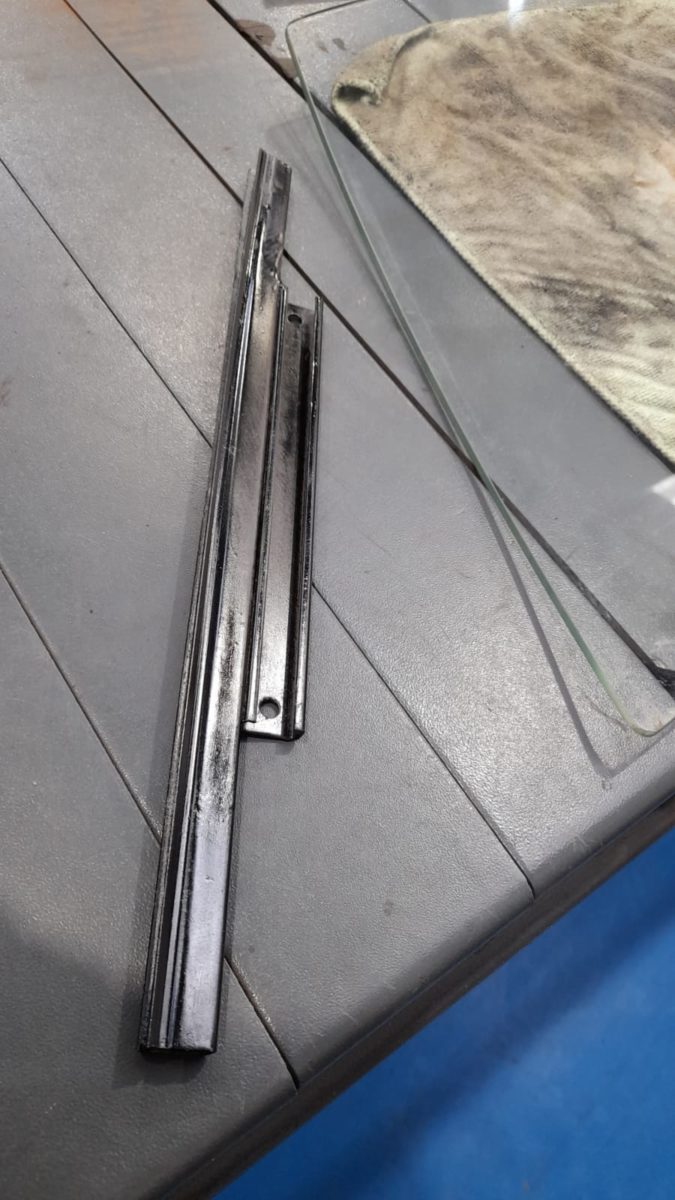
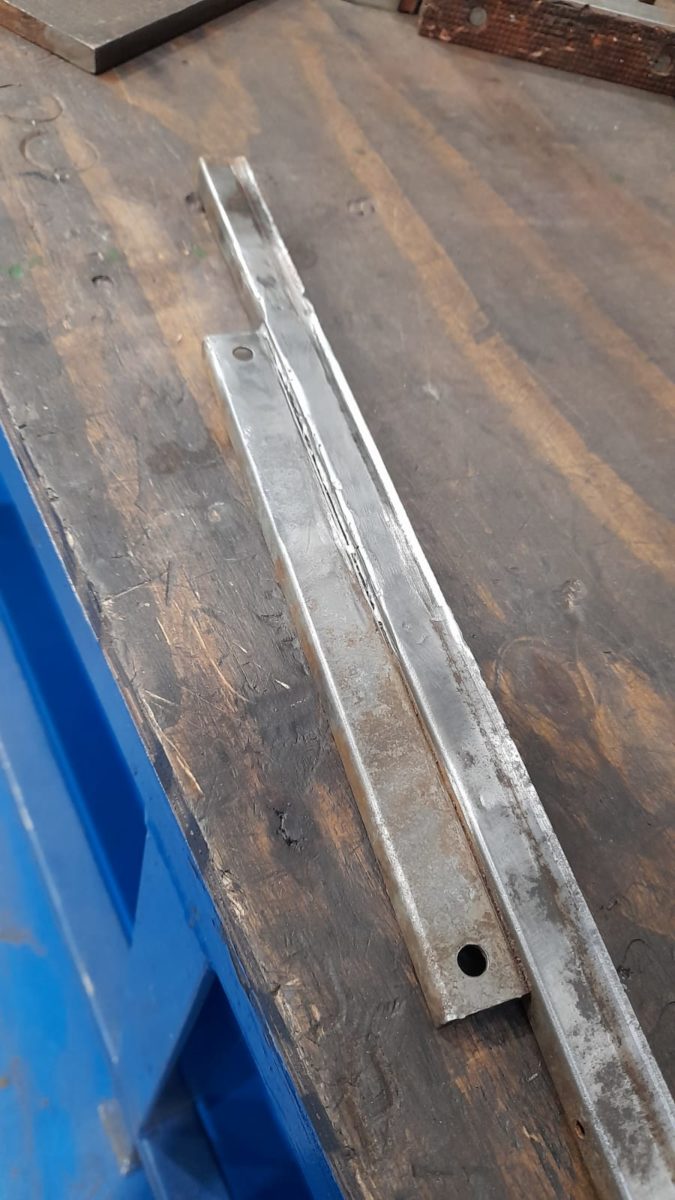
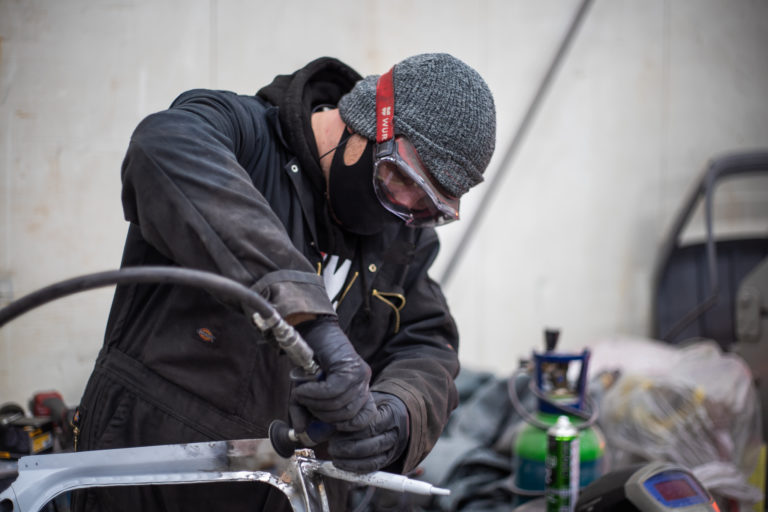
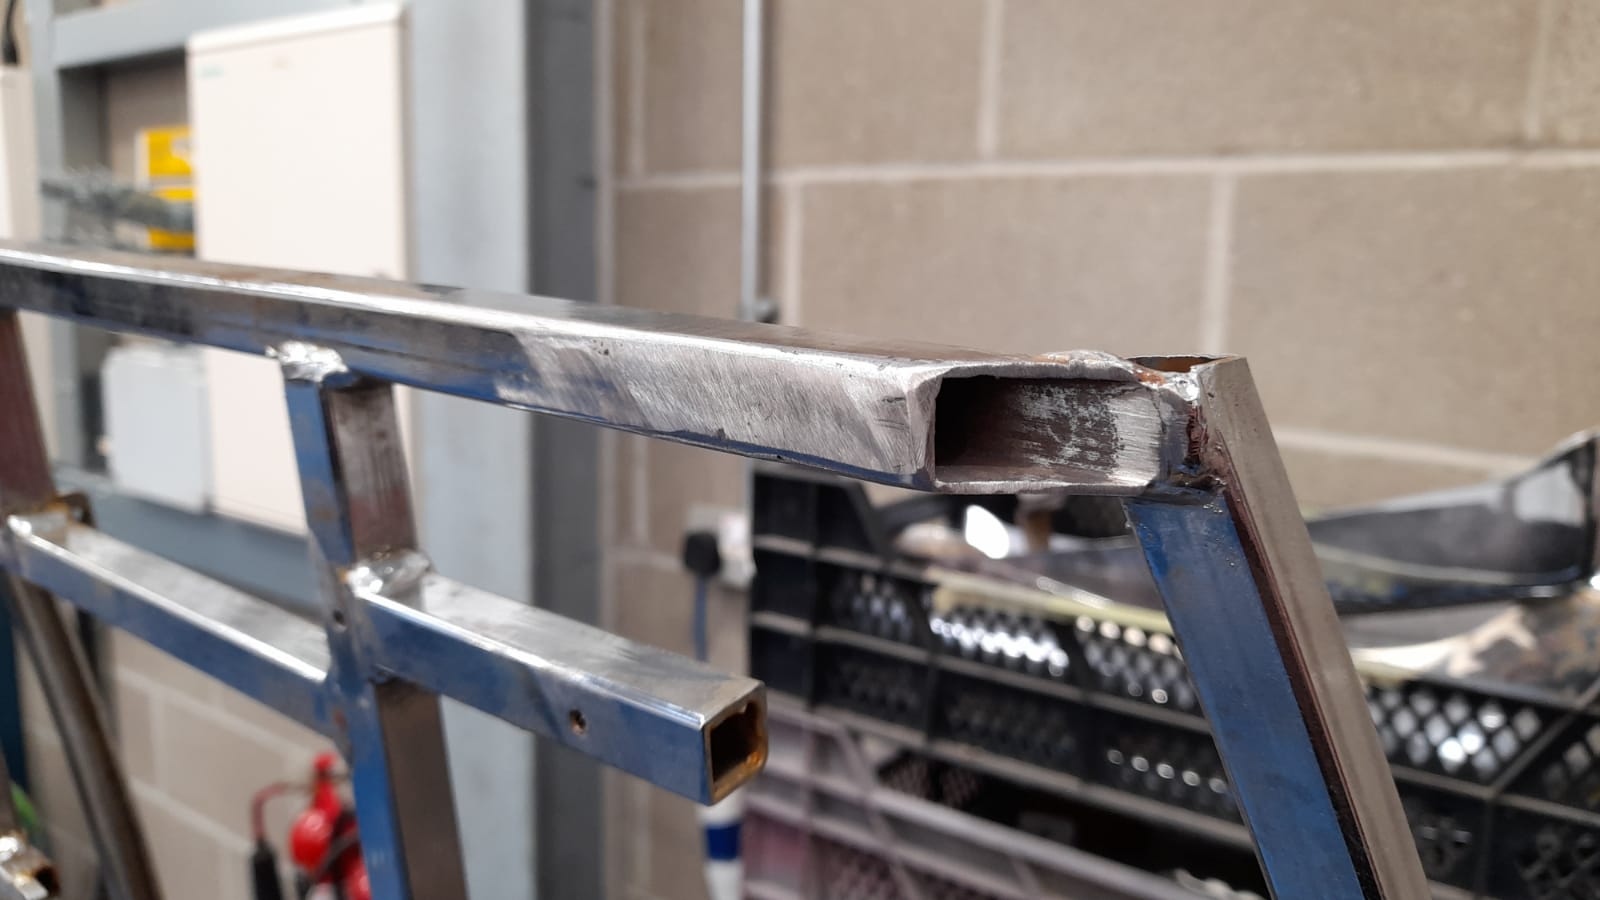
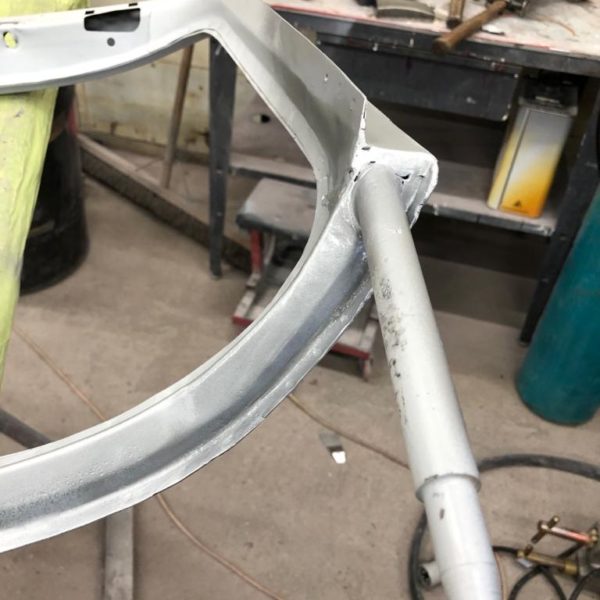
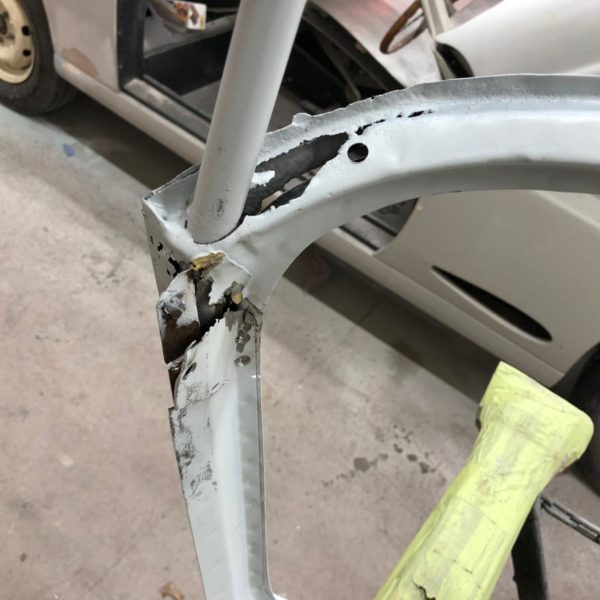
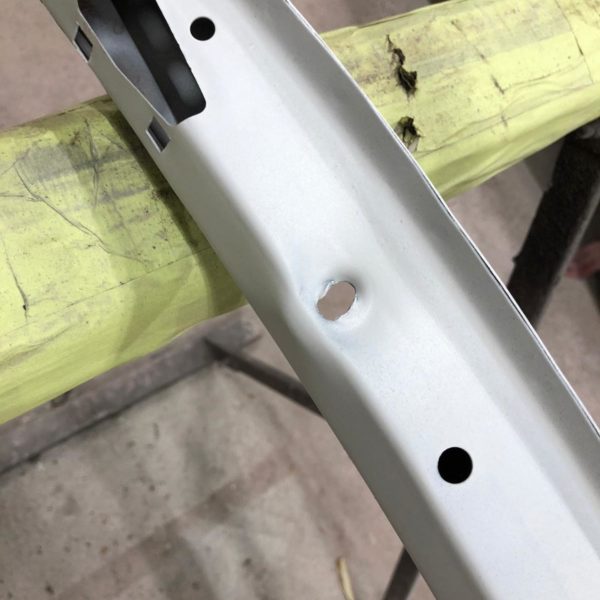
James has been working in the fabrication bay to prepare the Triumph TR5’s windscreen. The front screen surround frame has corroded in the lower right-hand corner. He did this by cutting out the old rusty metal and old fibreglass to then fabricate and repair those sections. James cut away the rusty metal and replaced sections by applying a new coat of Zinc spray in place to protect inside the frame in the future. After applying the zinc spray, James welded the replacement in place, he then grinds, cleans and spot welds it all back together. The last step is to replace the metal channel that holds the sealing rubber.
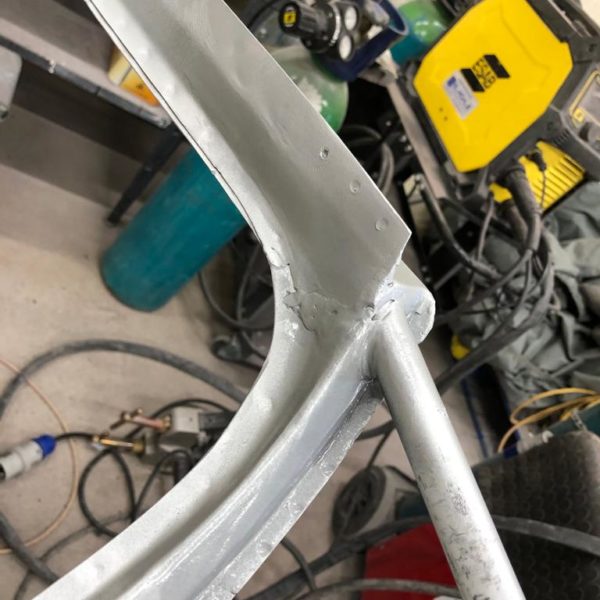
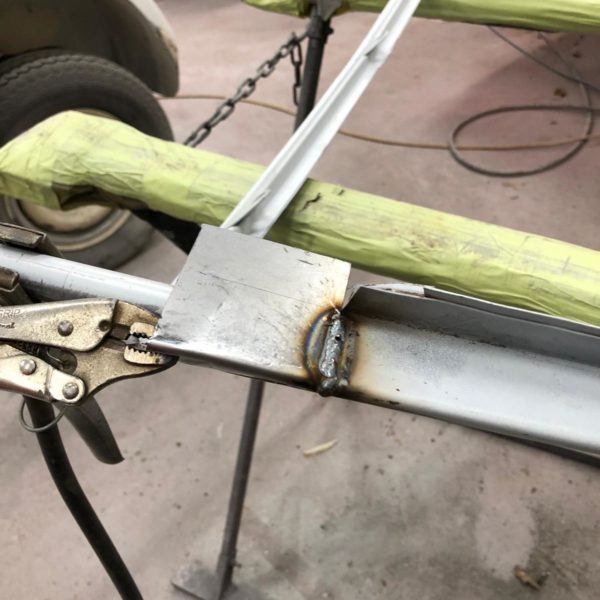
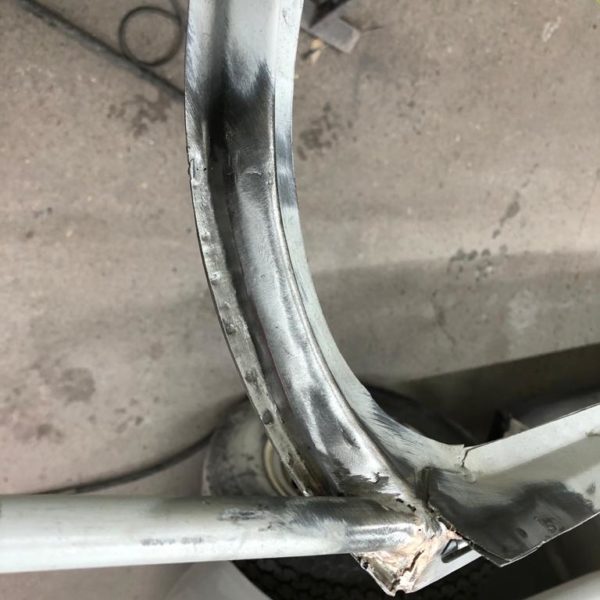

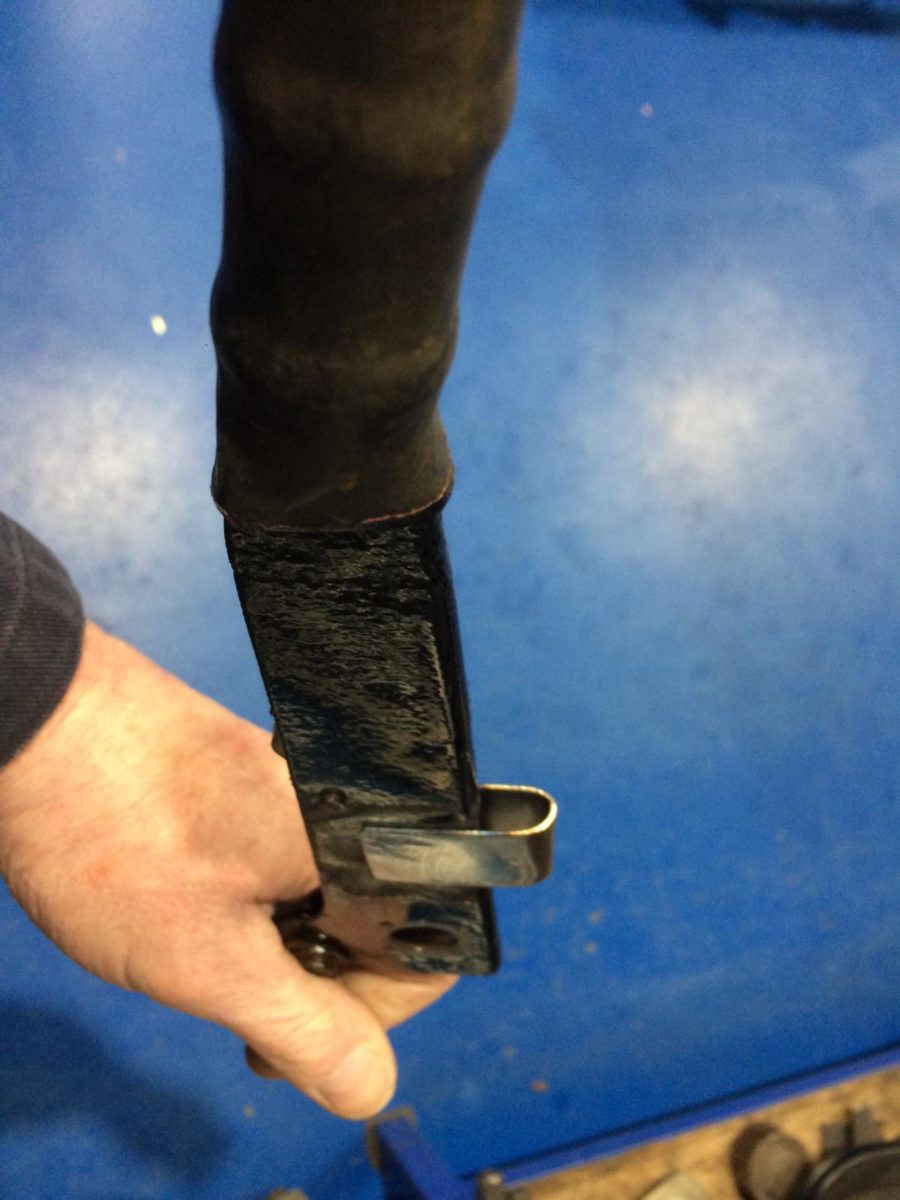
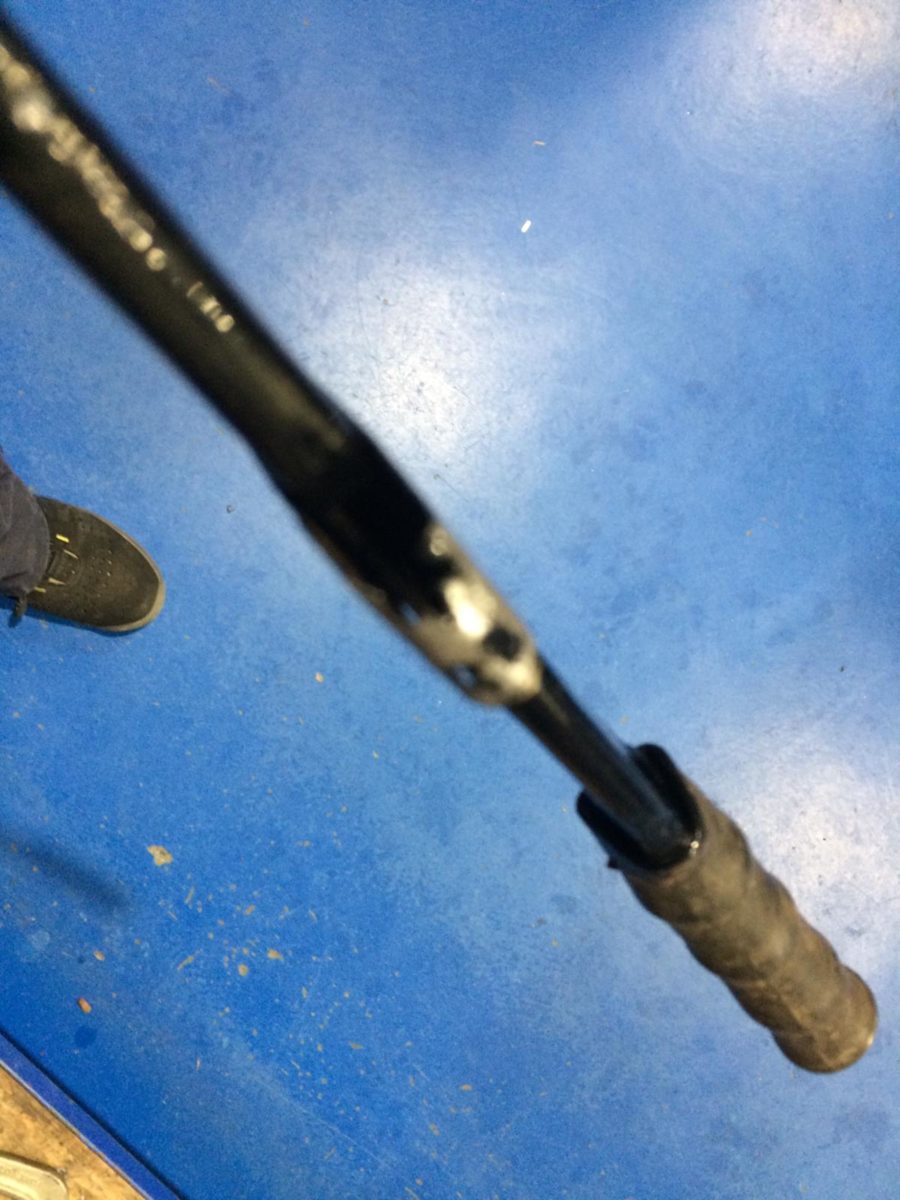
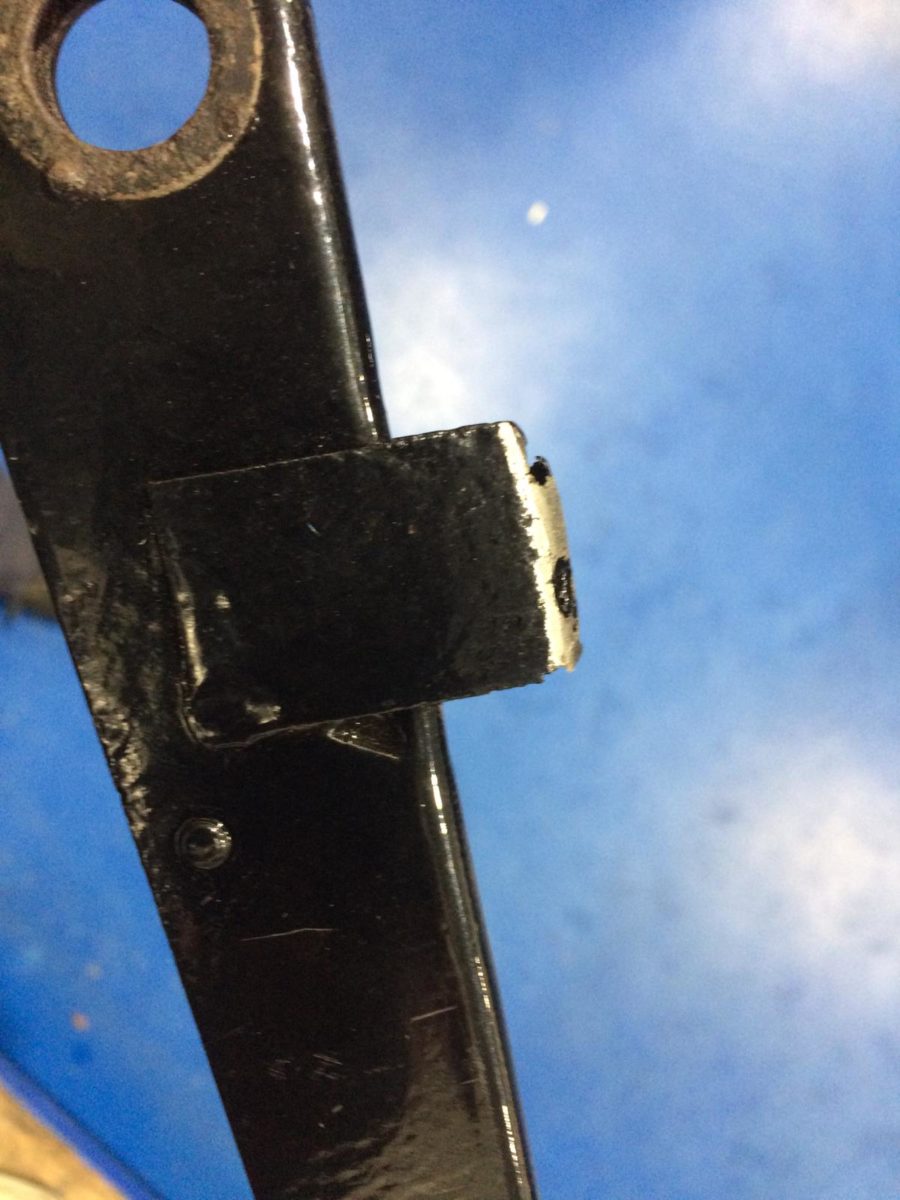
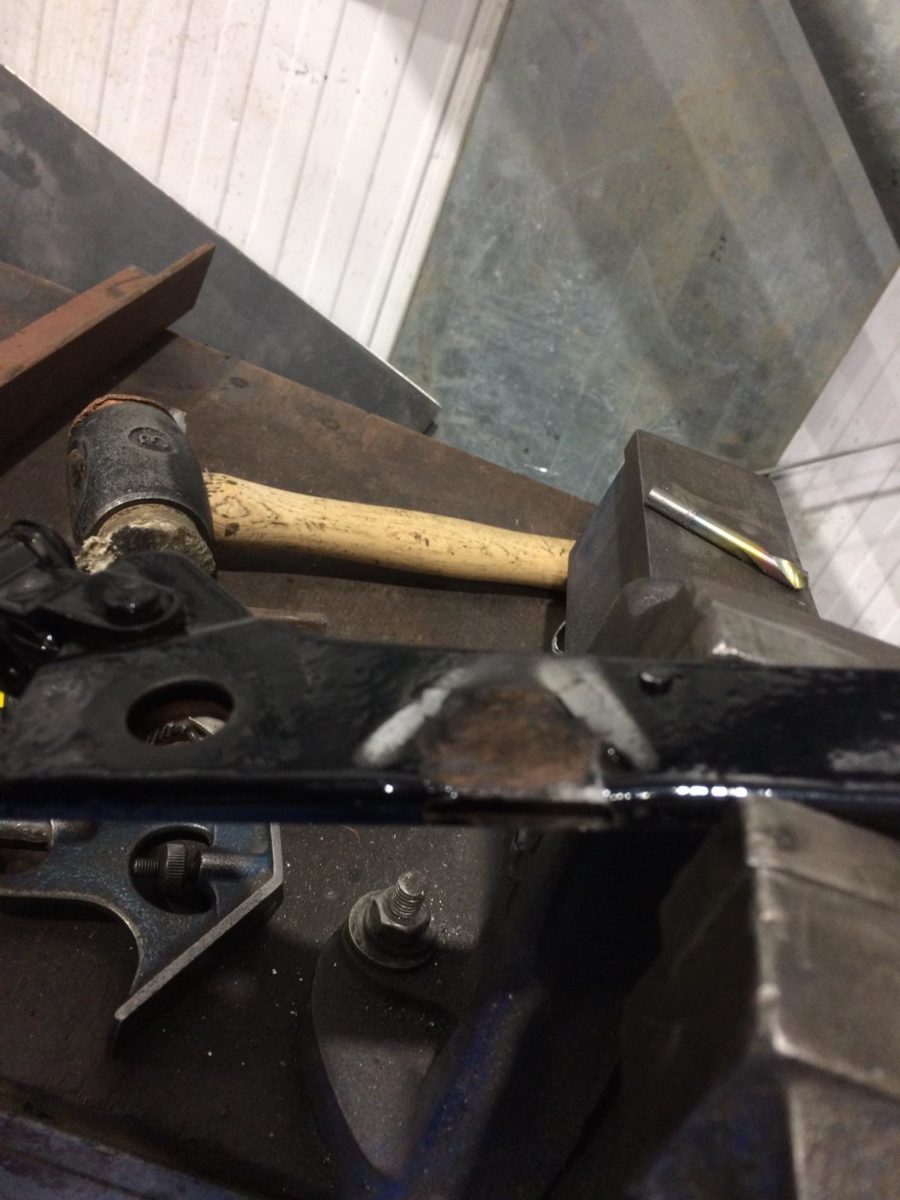
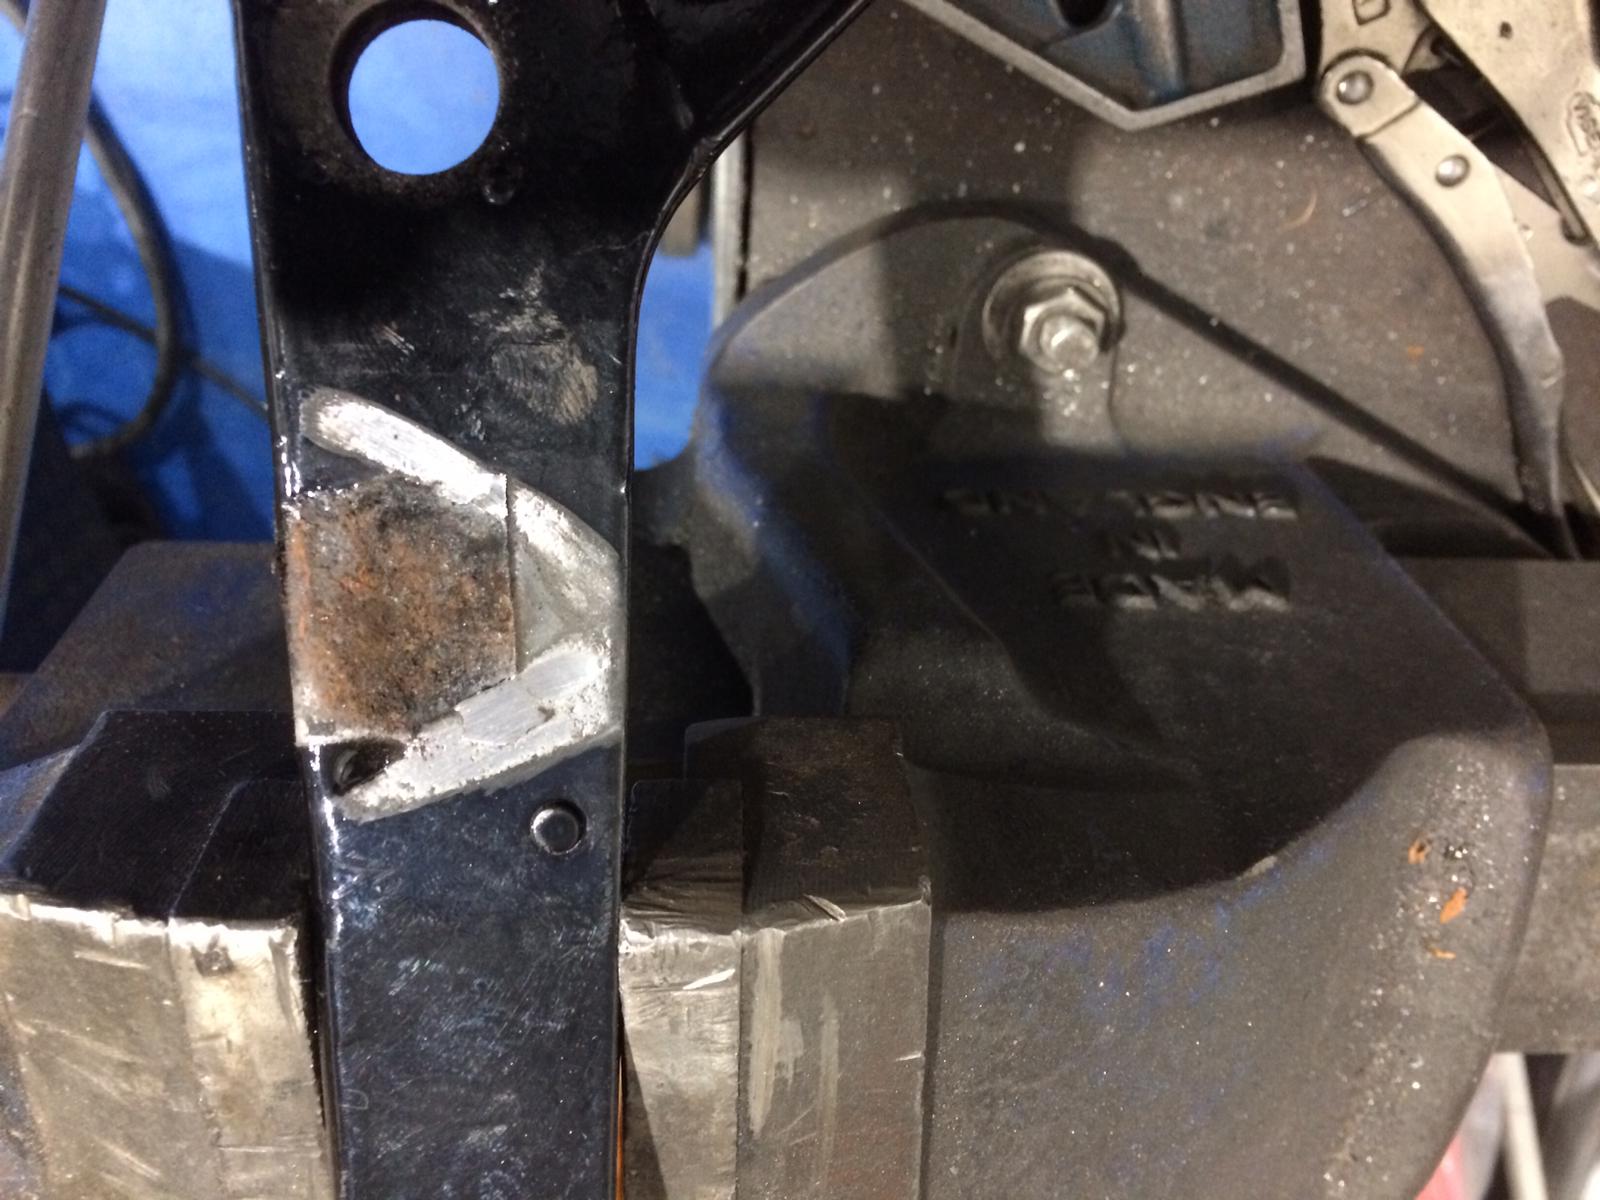
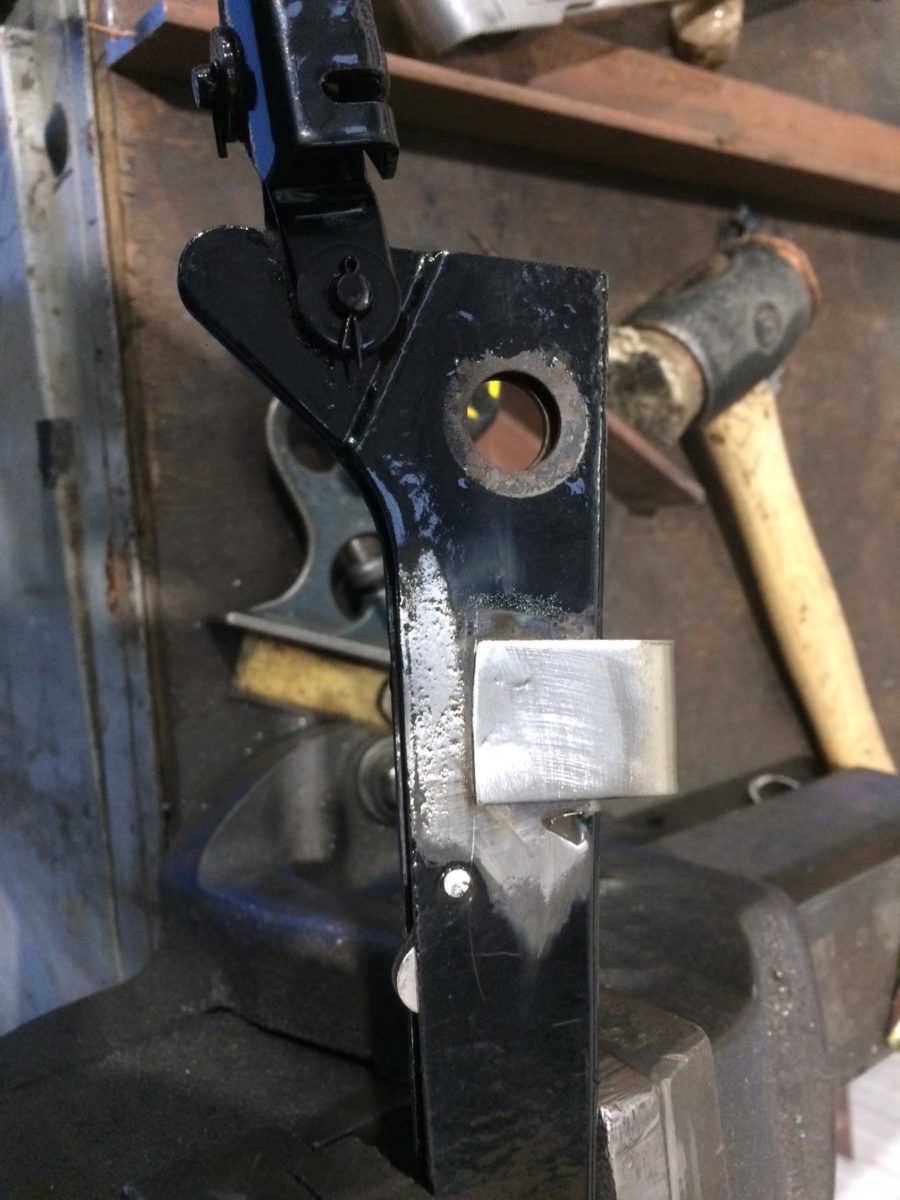
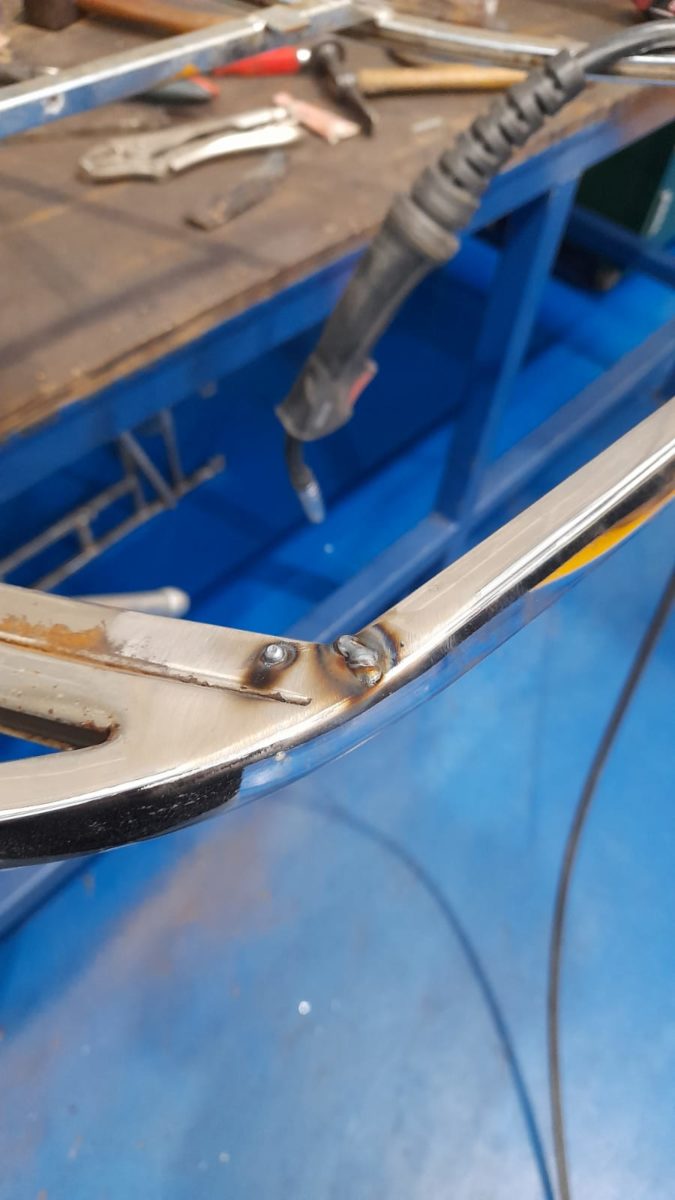
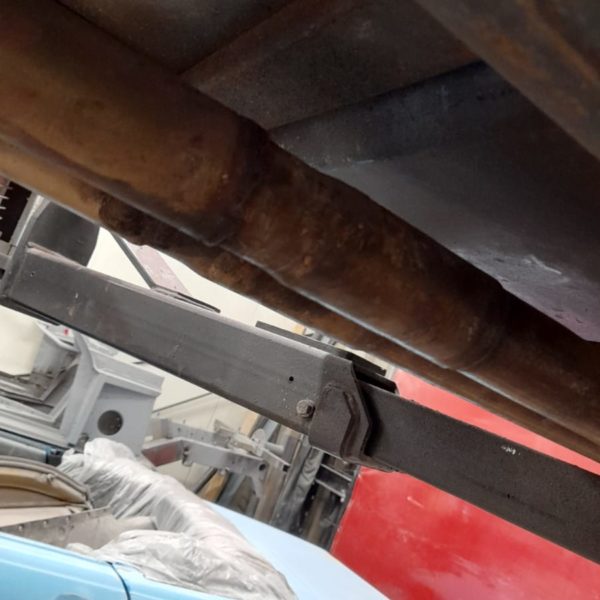
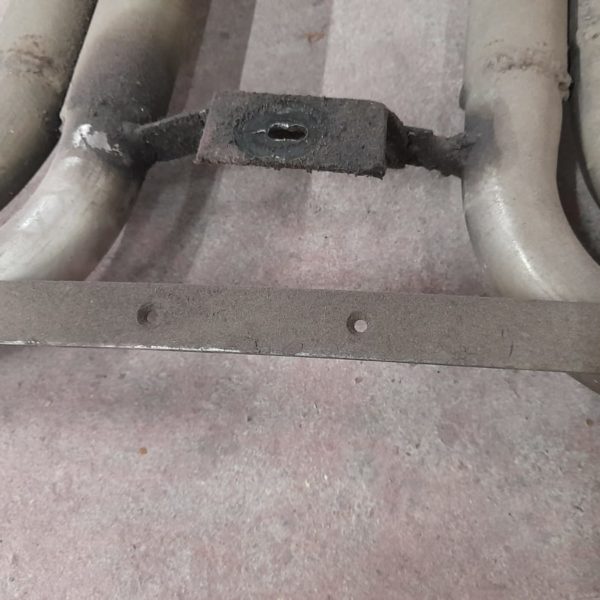
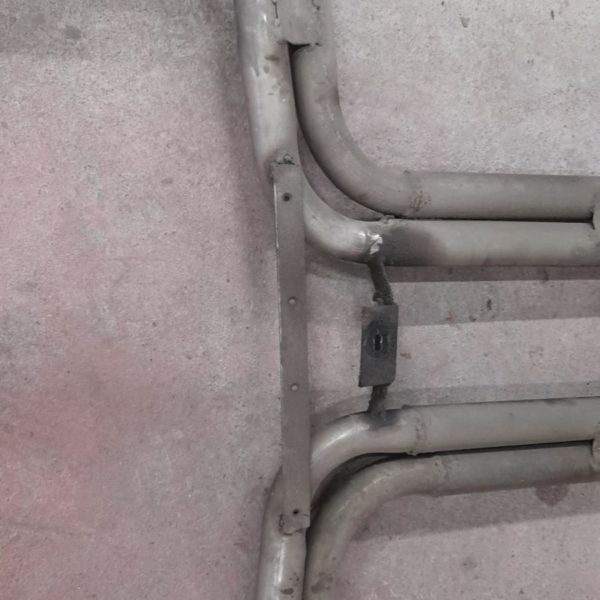
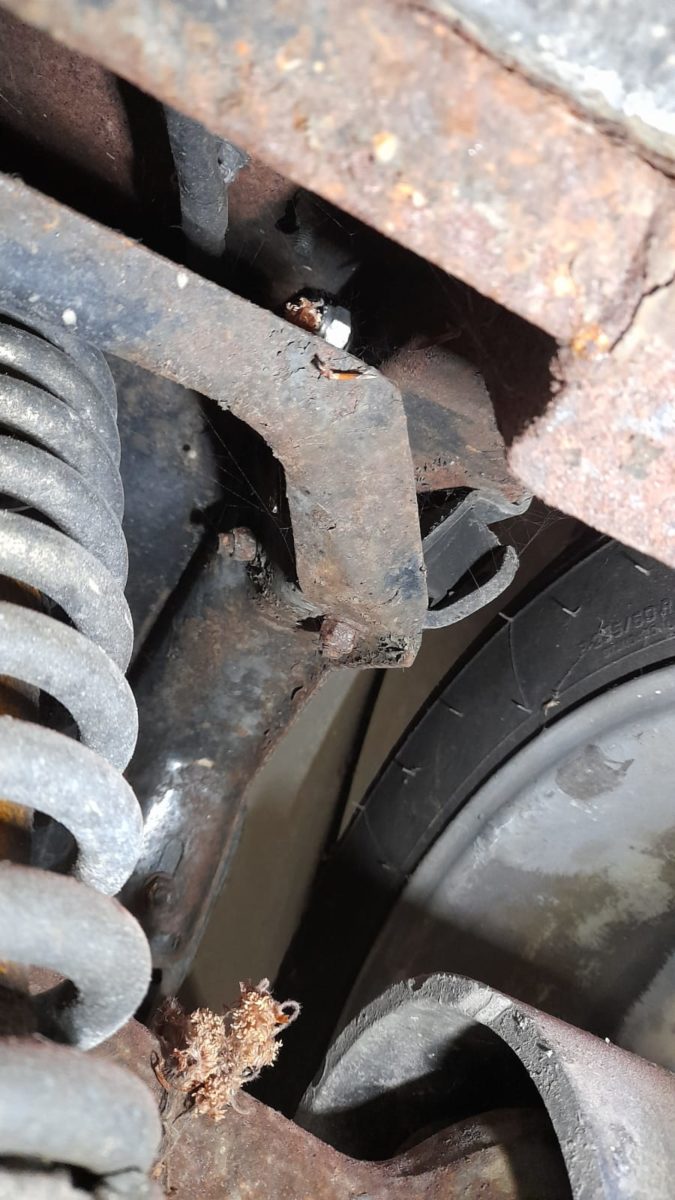
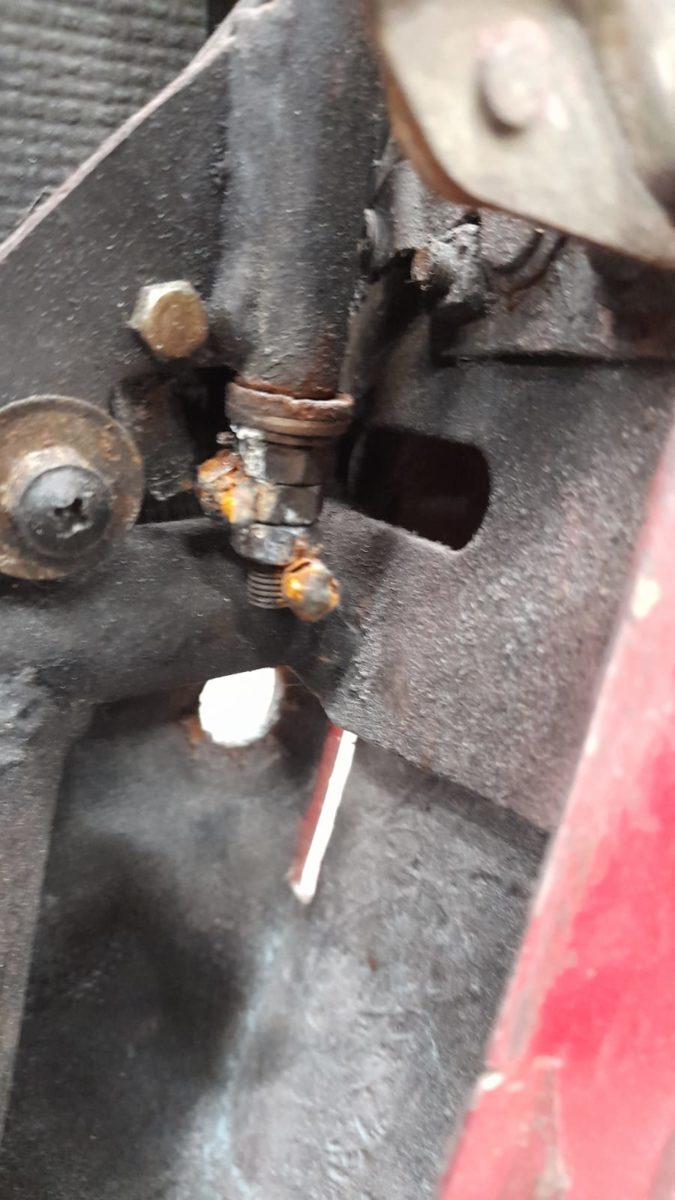
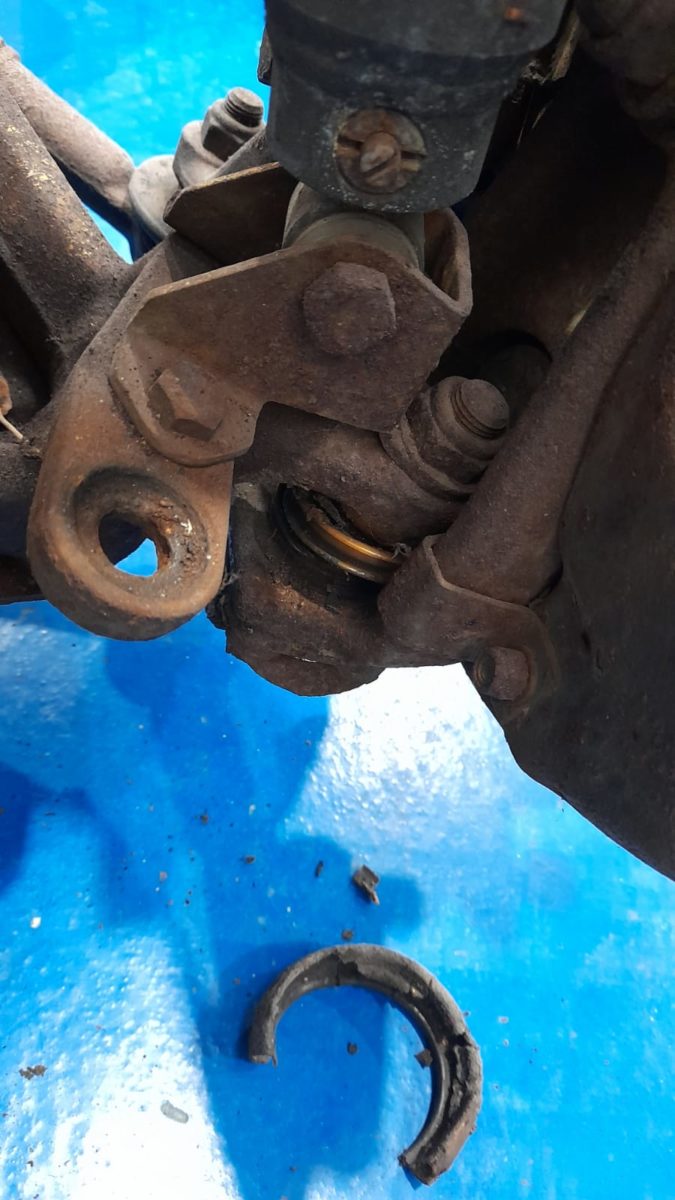
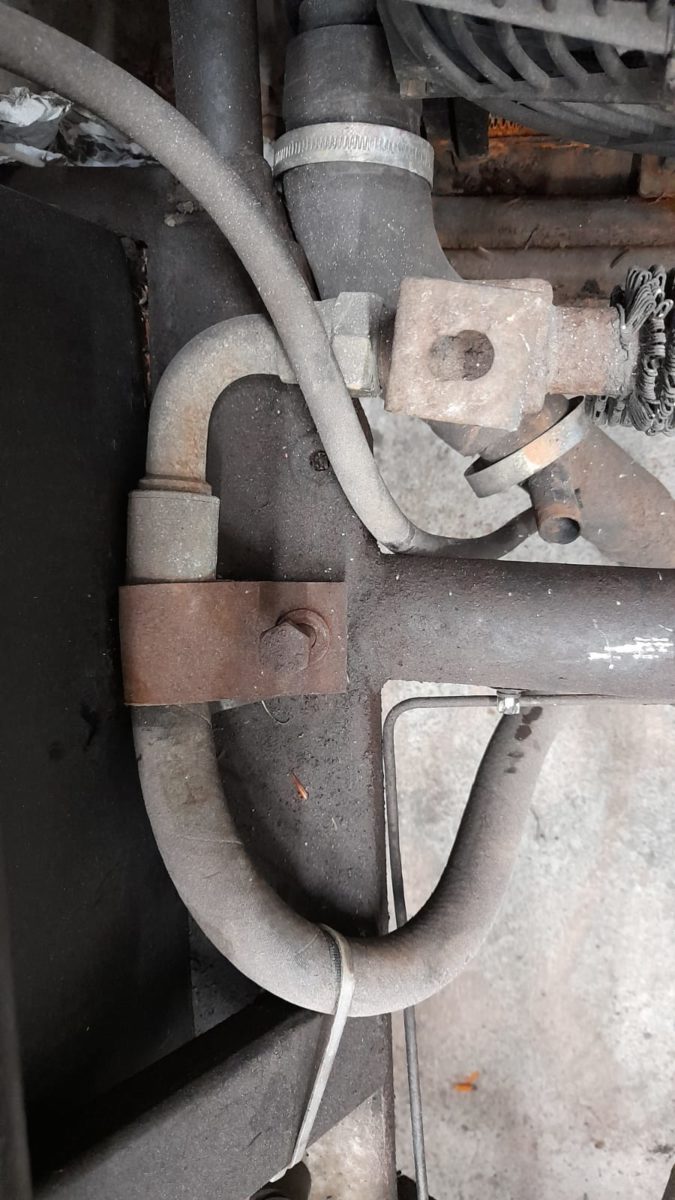
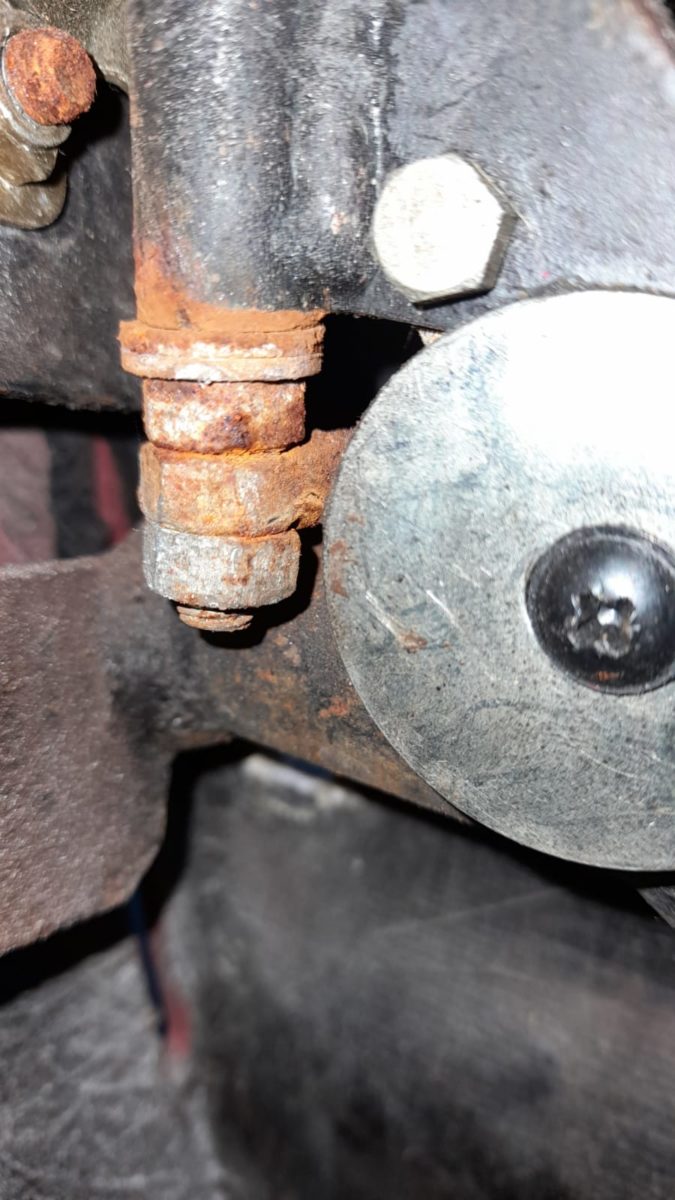
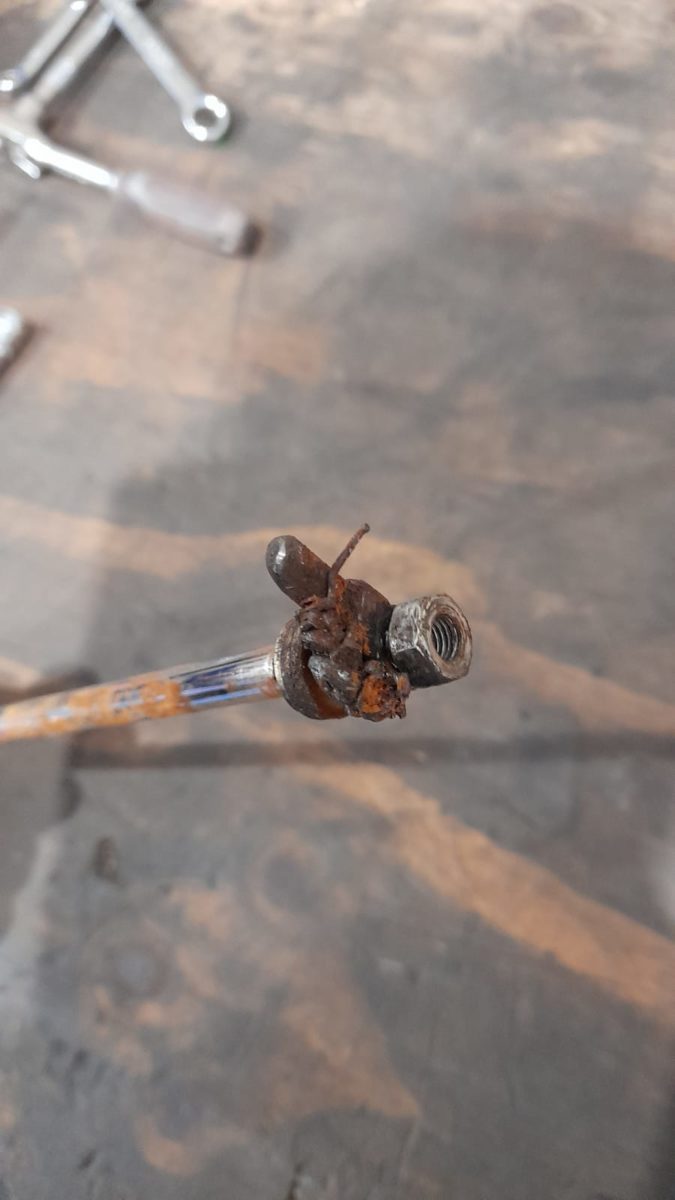
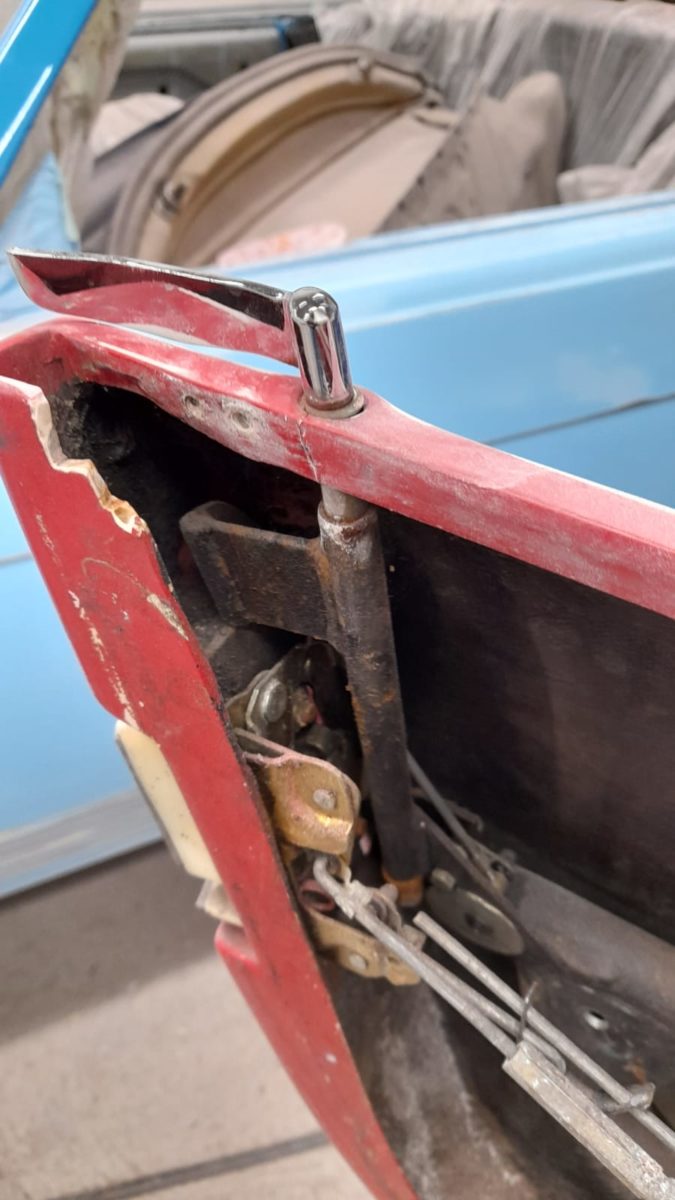
We’ve also fixed the TR5 handbrake by welding in a replacement metal component as seen in the images below.