Lada Extras
The Lada has come in with a mysterious tilting issue whereby it tilts and rises intermittently, as if by magic. After an investigation, we discovered


The Lada has come in with a mysterious tilting issue whereby it tilts and rises intermittently, as if by magic. After an investigation, we discovered
Our lovely 1963 Morris Minor 1000 passed its driving test with flying colours, as seen in the last update, however, there’s a final tweak we

Lydia, one of our trim shop technicians, has been working on preparing and creating the interior for Craig’s 1987 Mercedes 500SL. A while ago Craig
There’s a long list of work that’s going on with the Daytona, which mostly has Scott at the helm. The brakes have been sent off
Our Amphicar has been taking a temporary back seat in our workshop whilst we wait for the gearbox to come back. Our plan moving forwards

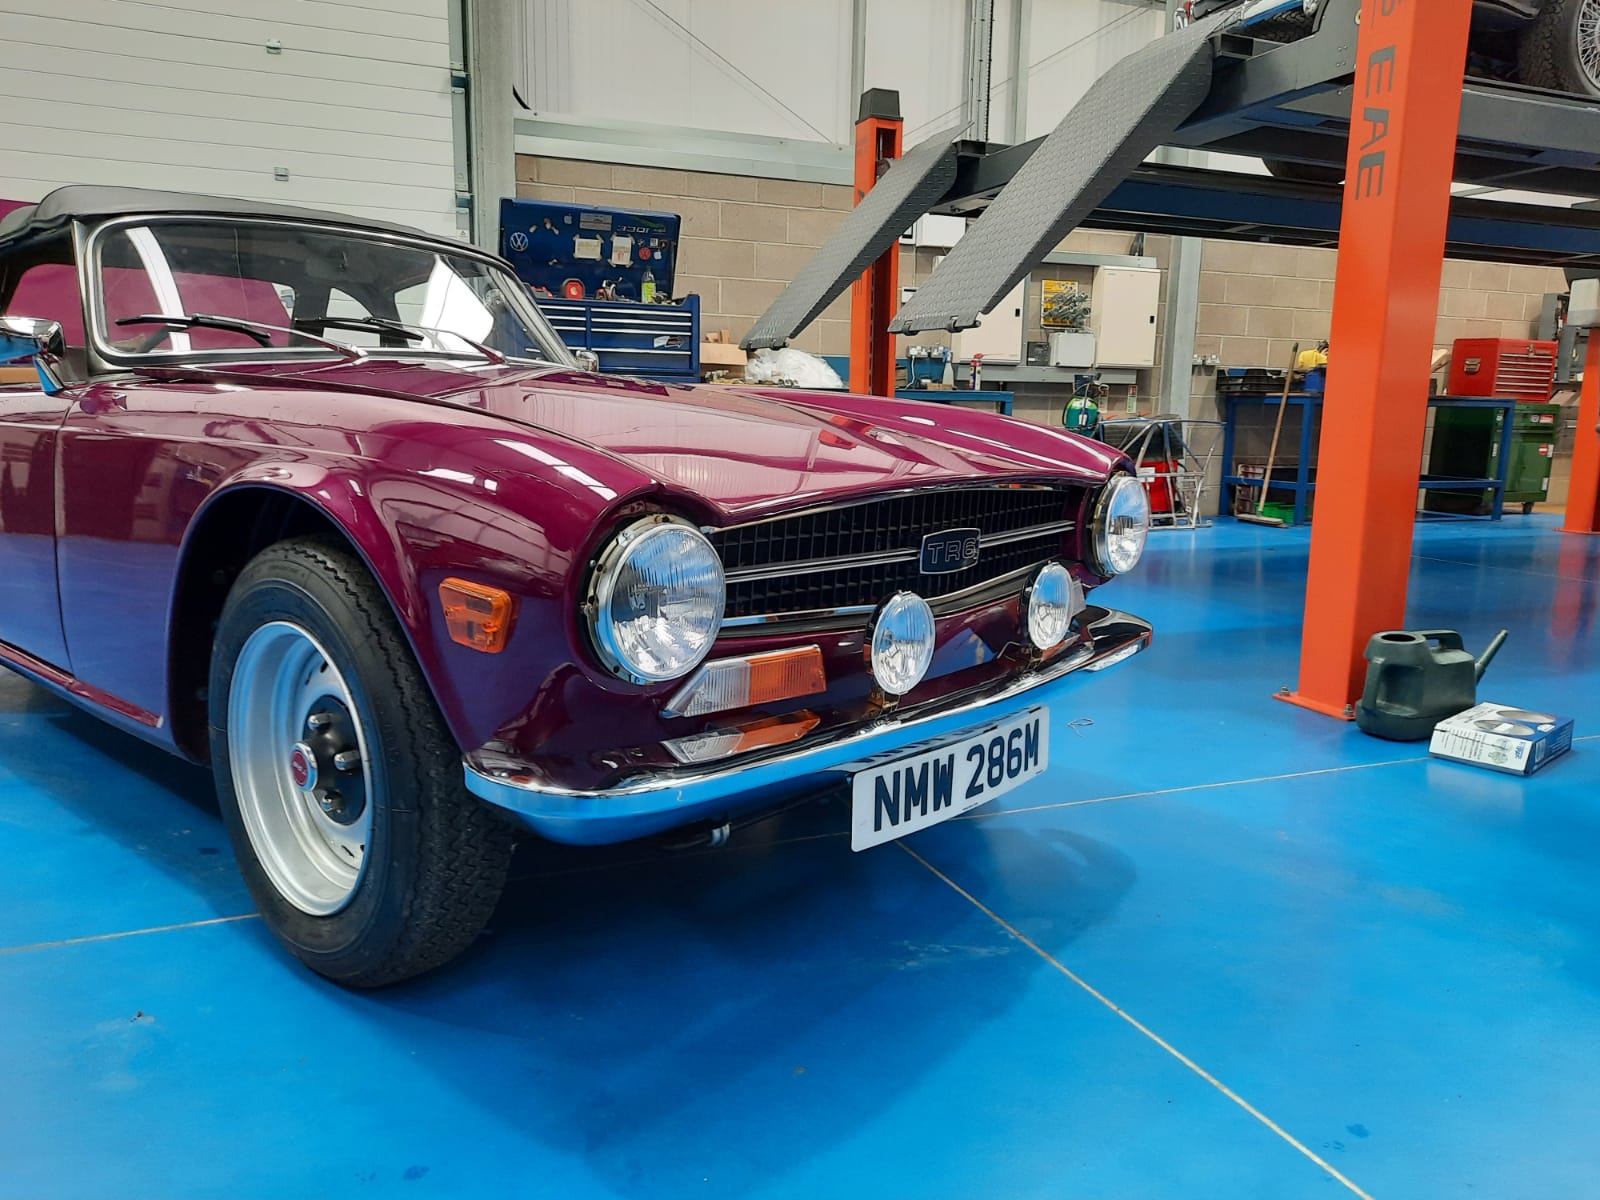
The Triumph TR6 has recently had new spotlights installed. Our next step is to install the switch. The client has asked that we install the

Its Jensen central here in the workshop! Our other Navy Jensen is currently undergoing some more work after the owner gave us the go-ahead to

This lovely 1958 Jensen 541R will soon be up for sale with us however there are a few issues that need attending to first. First
Our 1960 Jensen 541R is currently in the final, final stages. It is currently sat in the paint shop for some minor corrections as we

The Grey Jensen is having some small alterations made to its doors. Currently, as they sit, the doors are slightly too wide to fit into
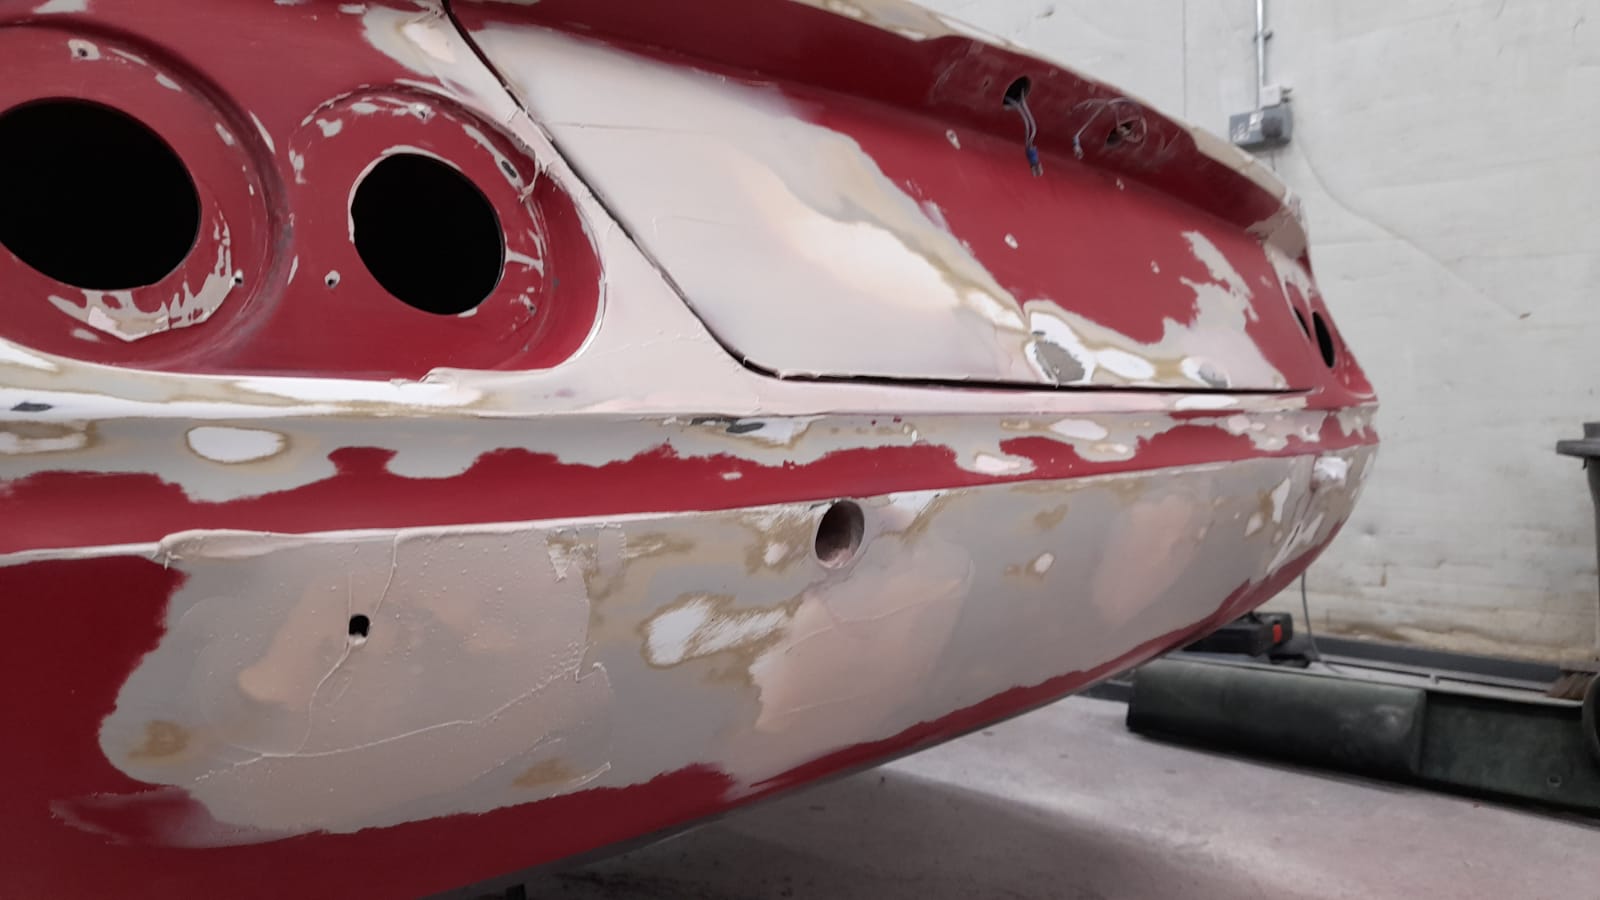
The restoration to the Peony Red Jensen’s doors continues. James is working on correcting the corrosion damage by welding and fabricating new parts to replace
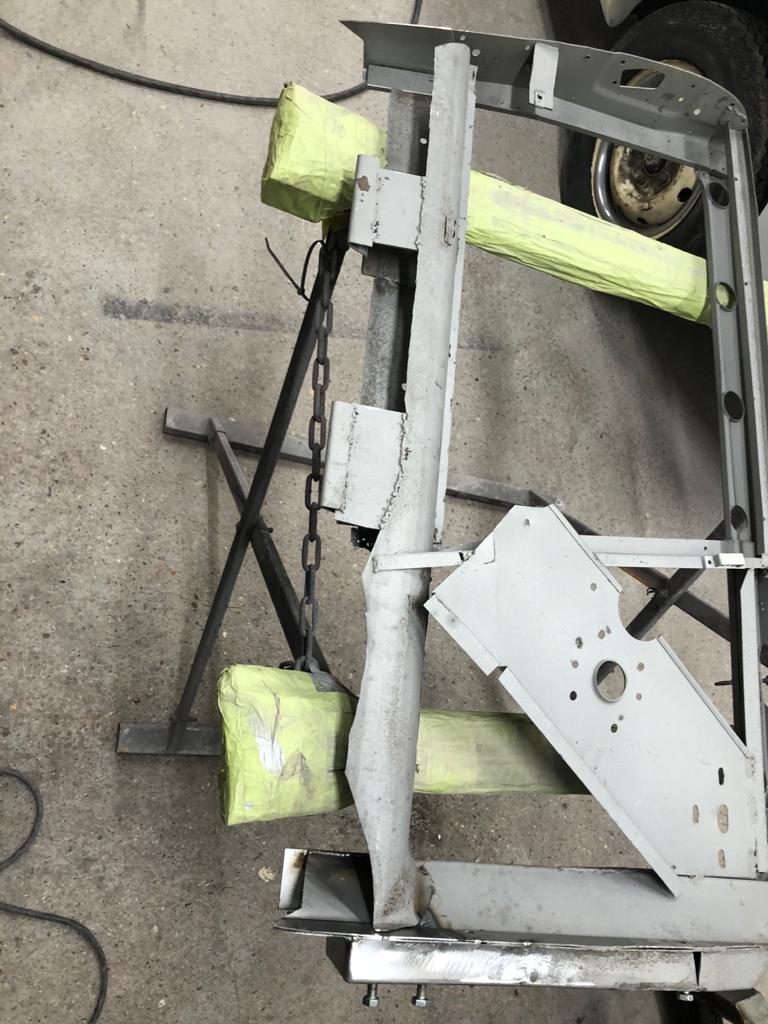
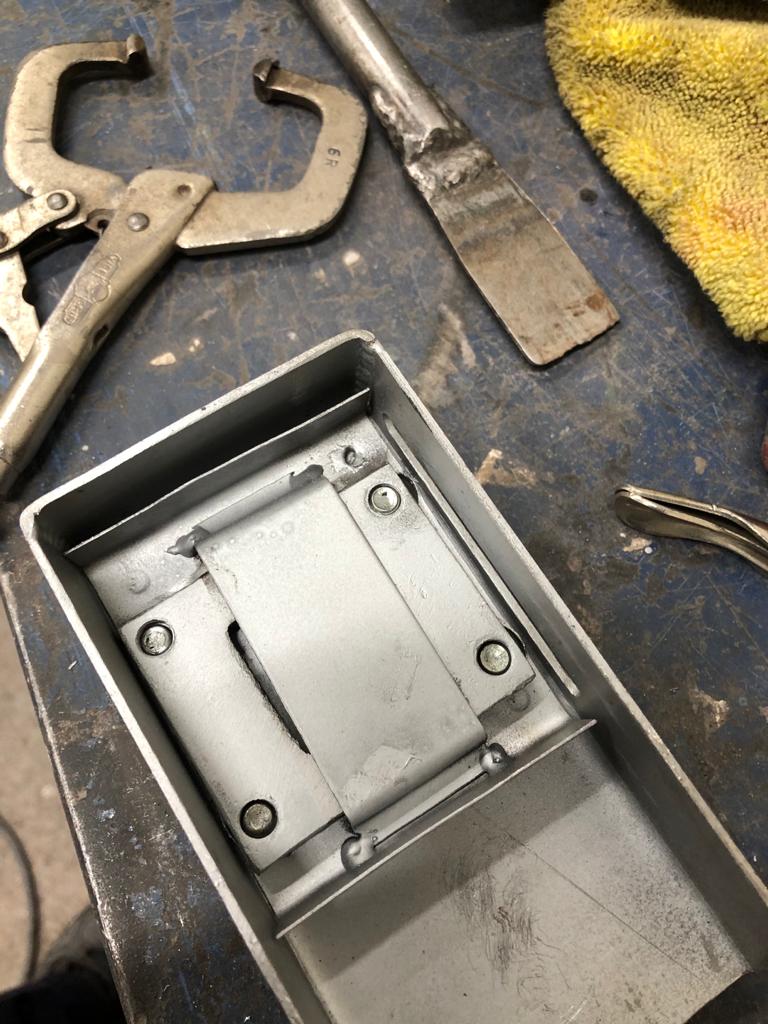
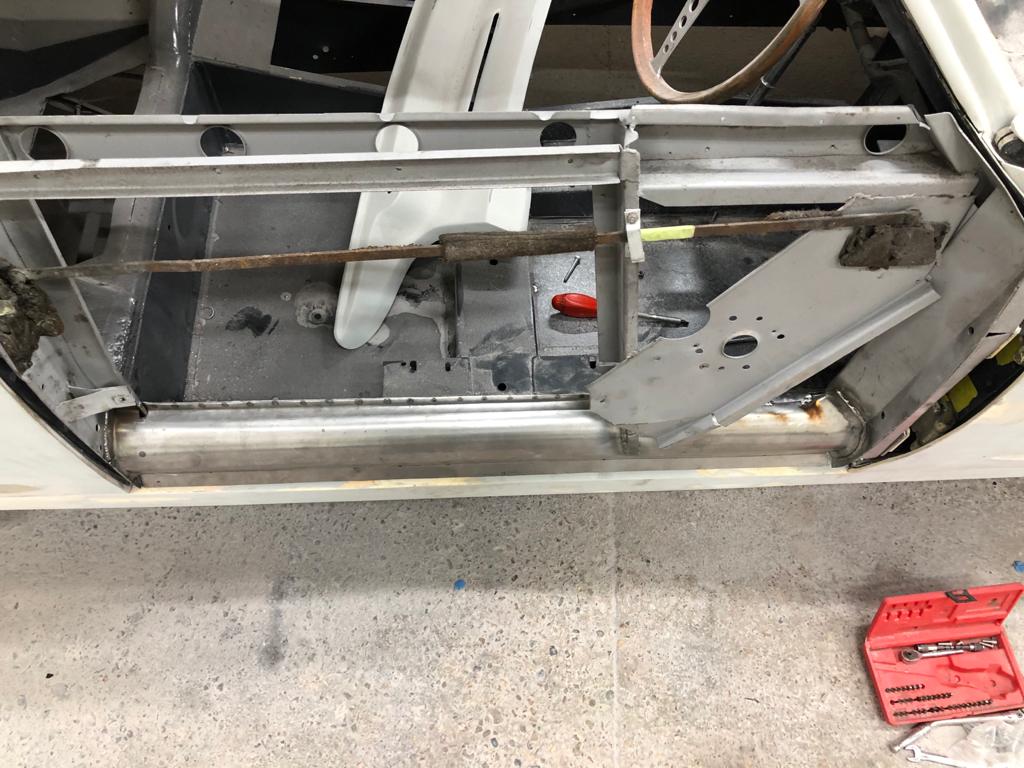
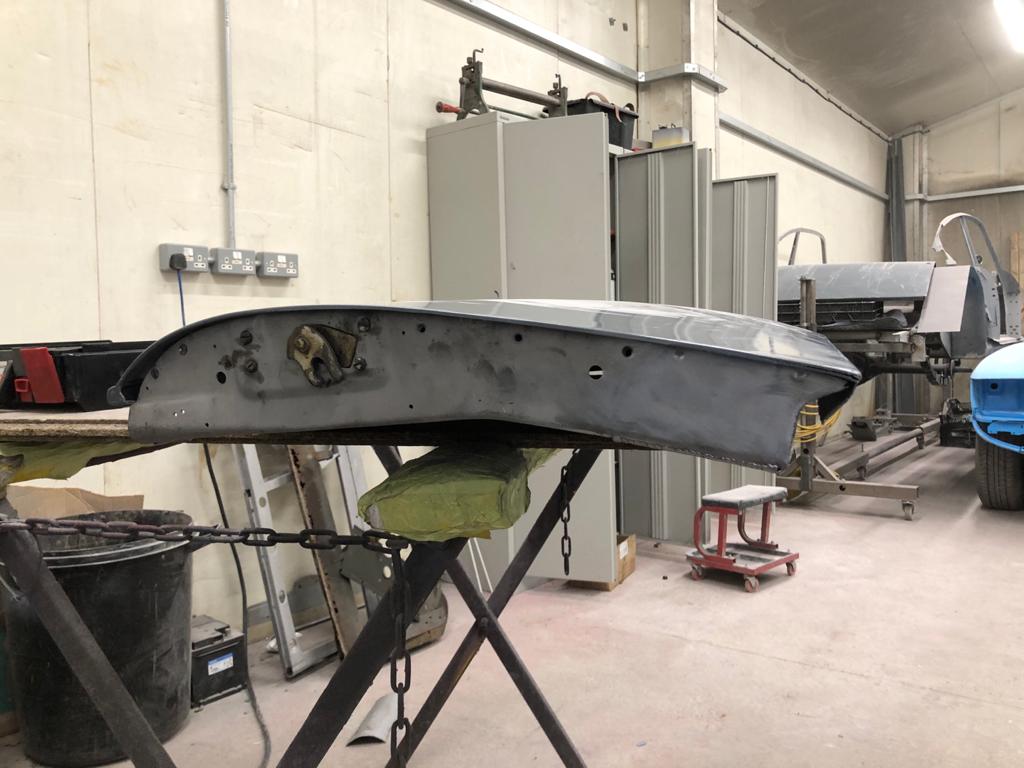
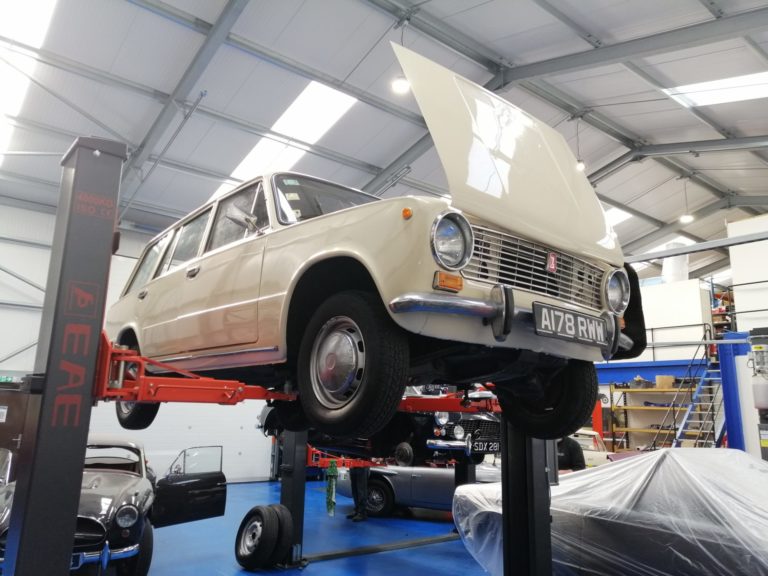
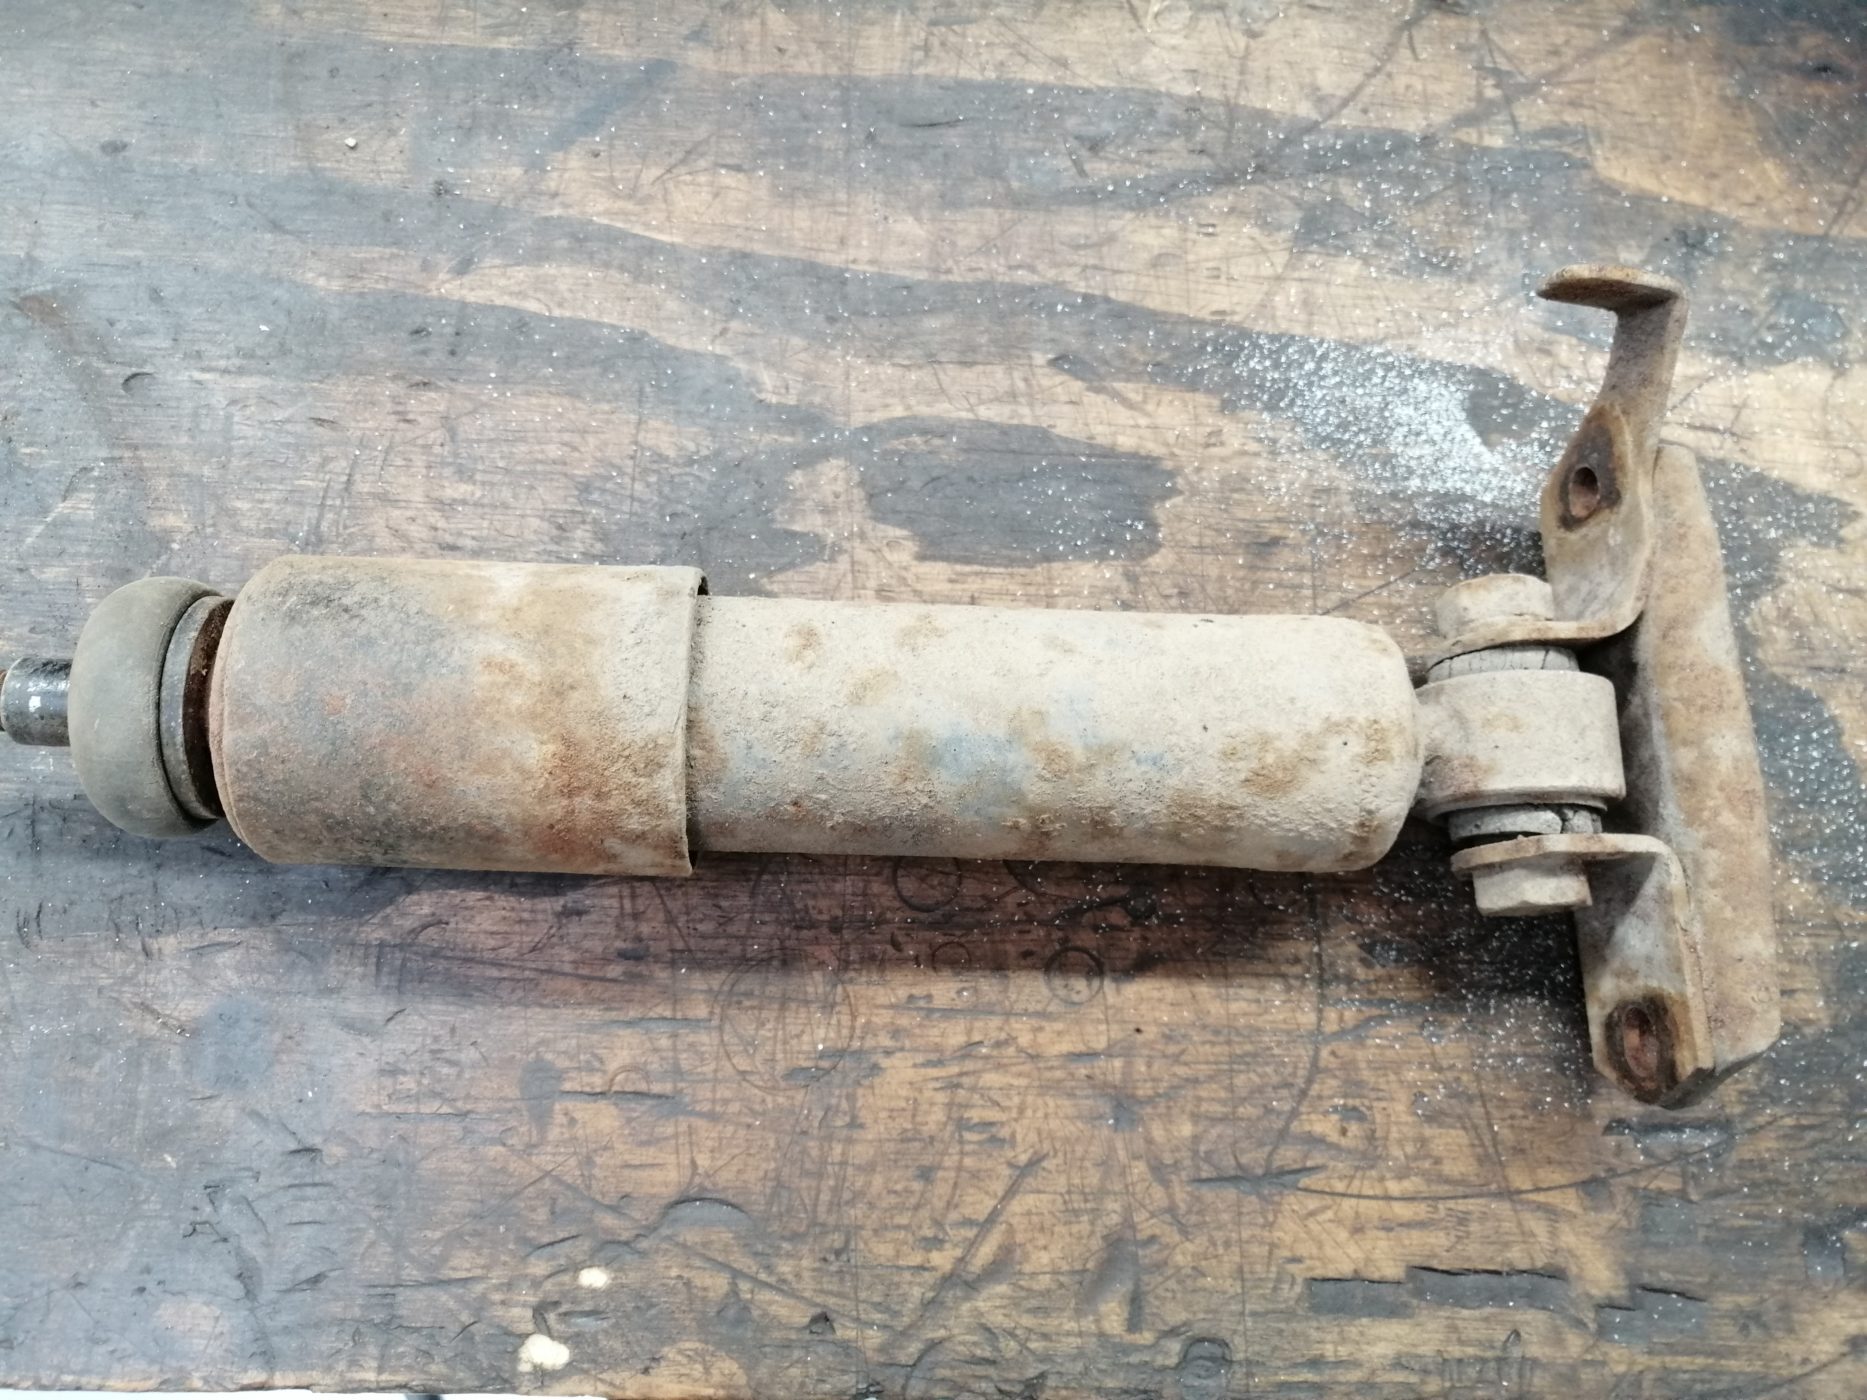
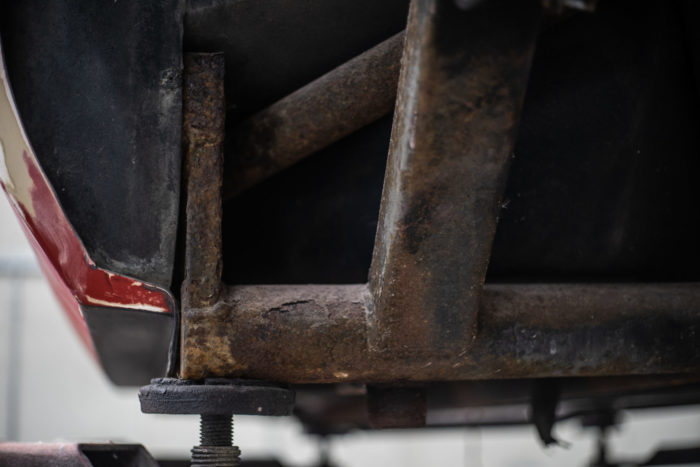
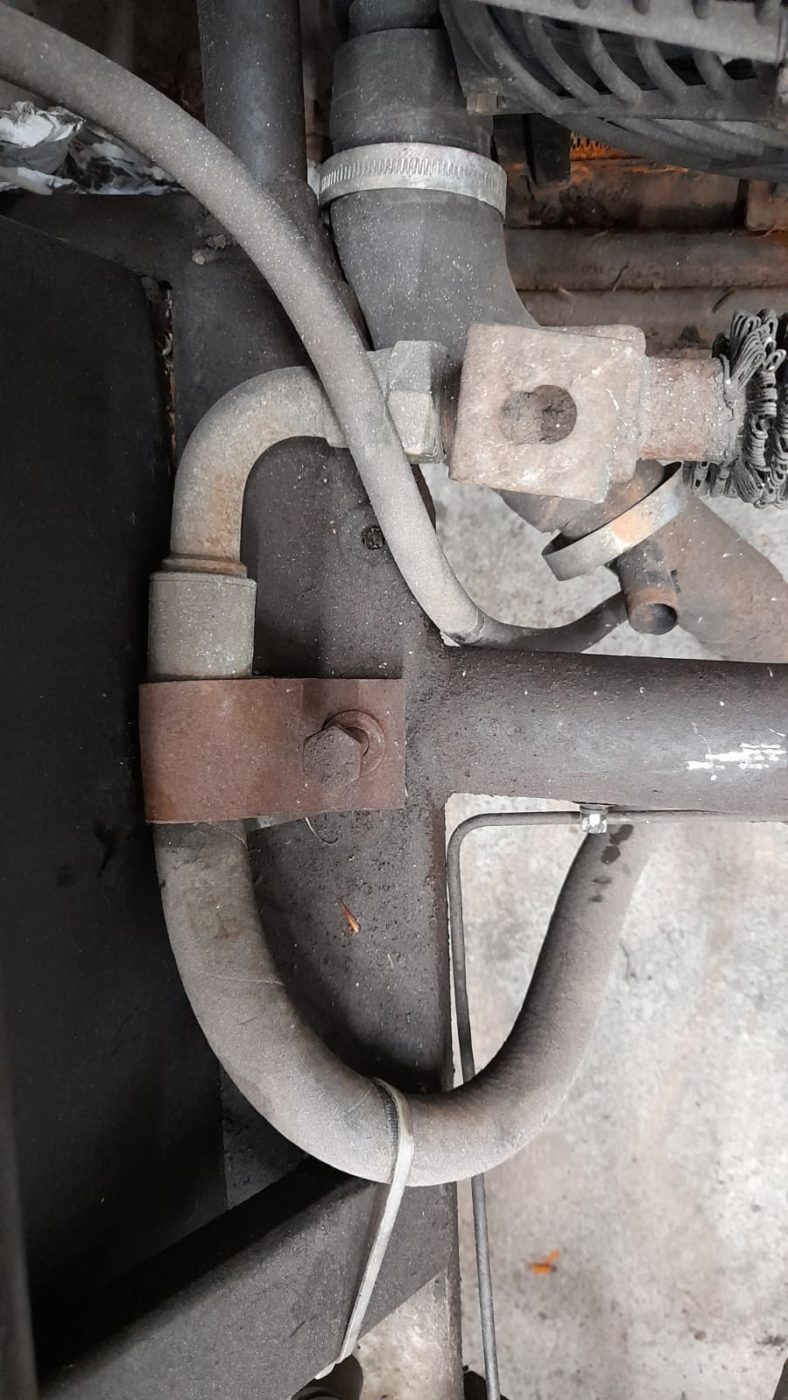
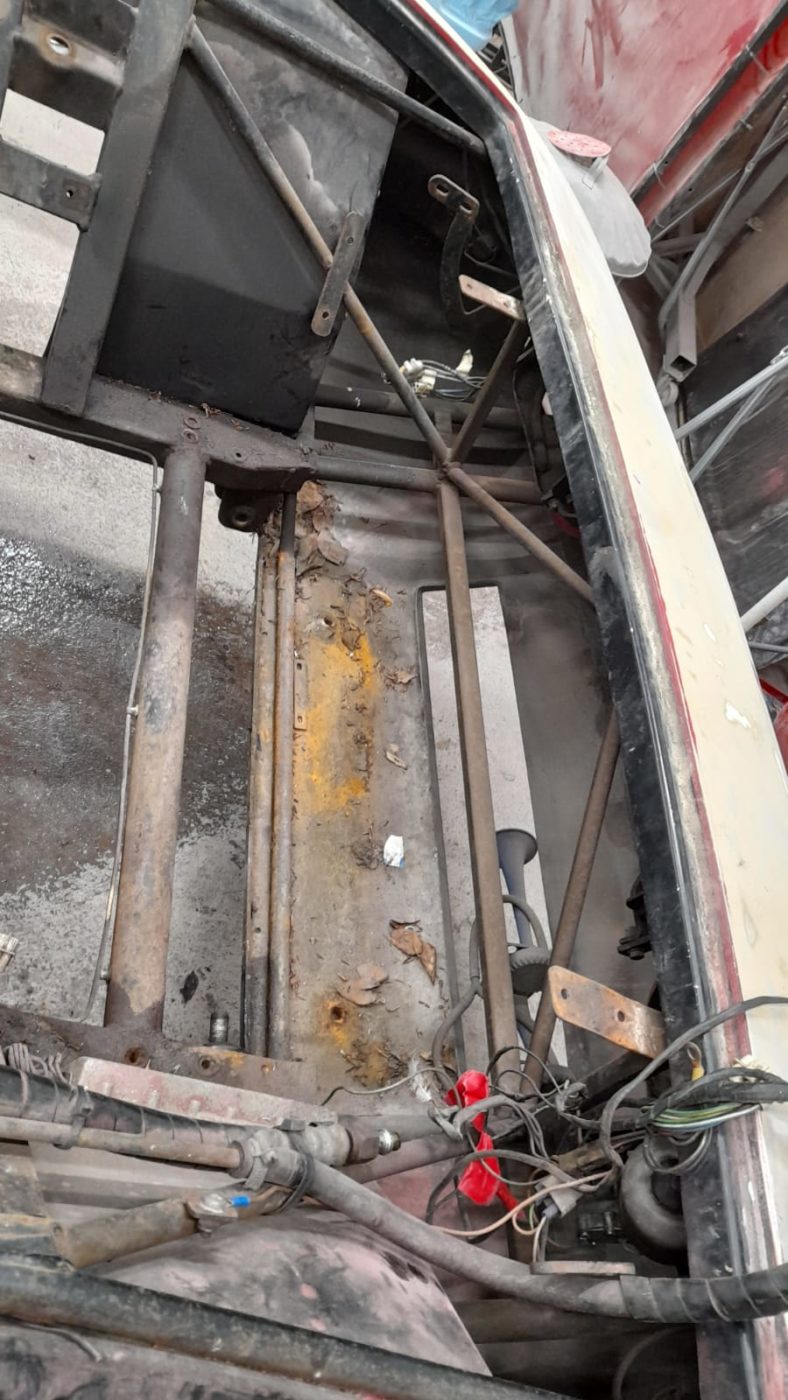
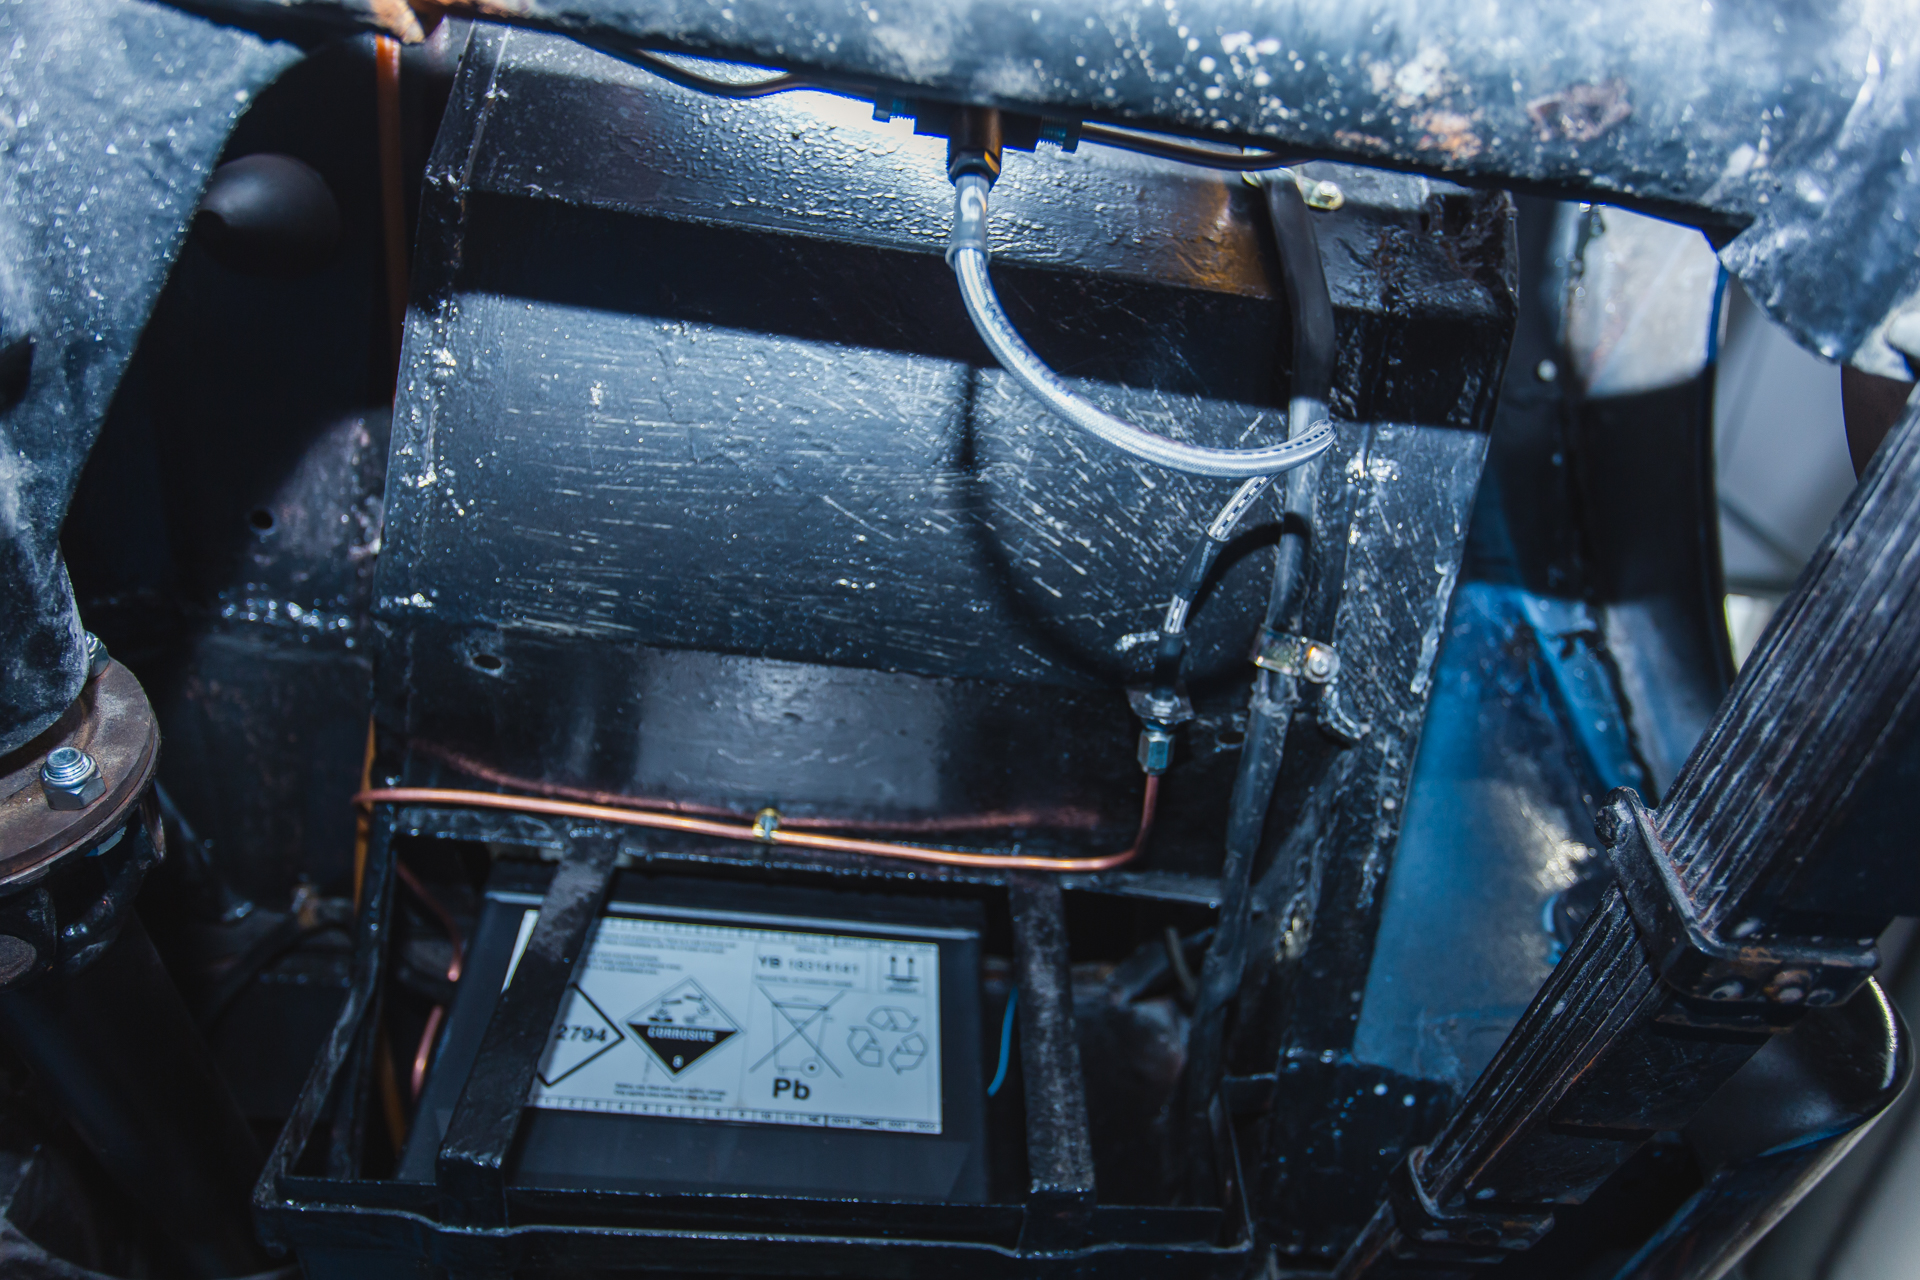
The Lada has come in with a mysterious tilting issue whereby it tilts and rises intermittently, as if by magic. After an investigation, we discovered that the shock absorbers have collapsed. With this diagnosis in mind, we’ll endeavour to rectify the issue when the new parts arrive.

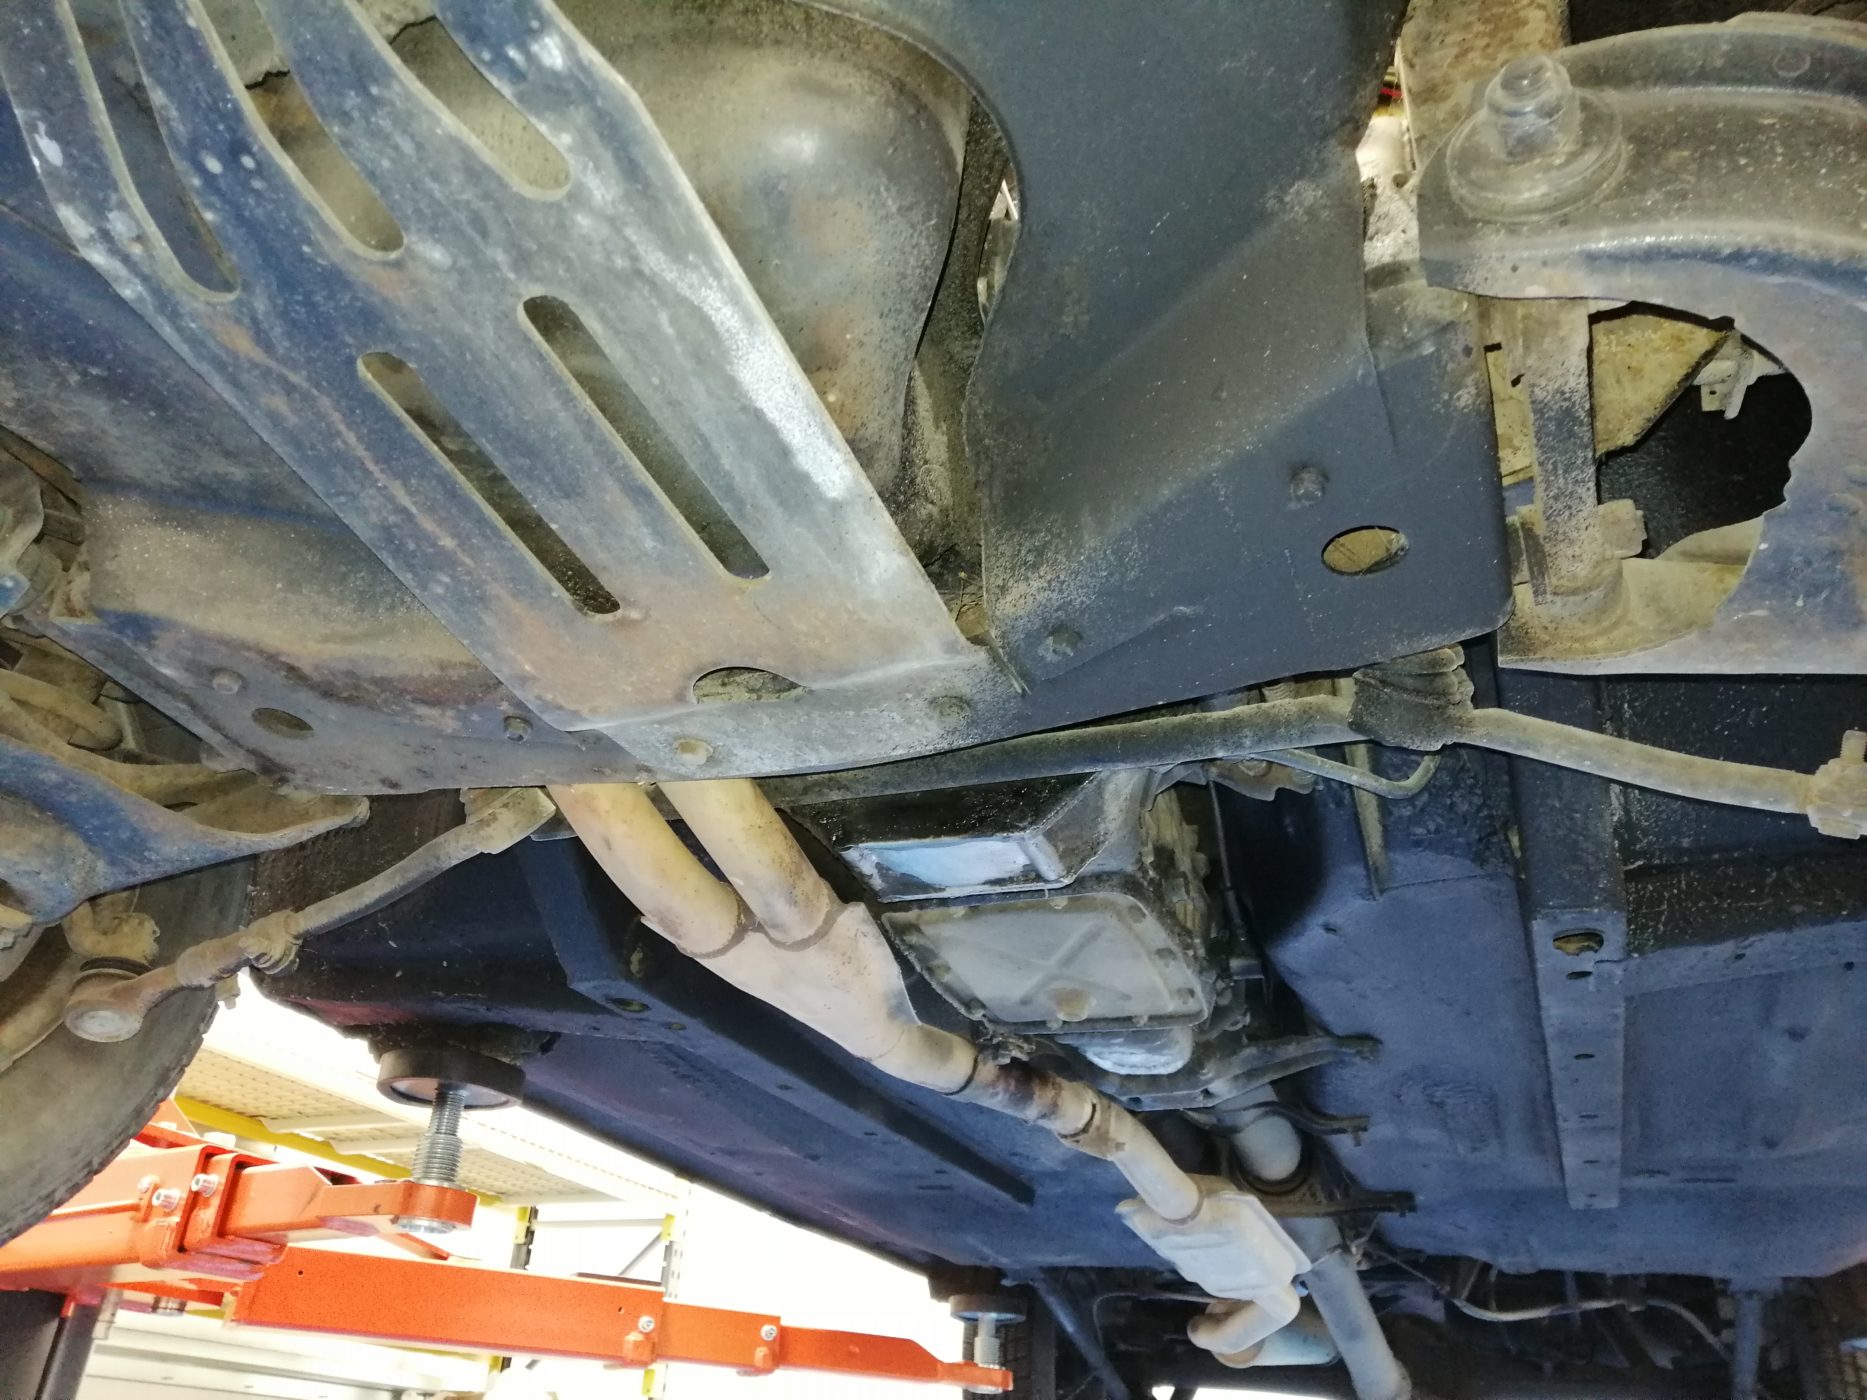
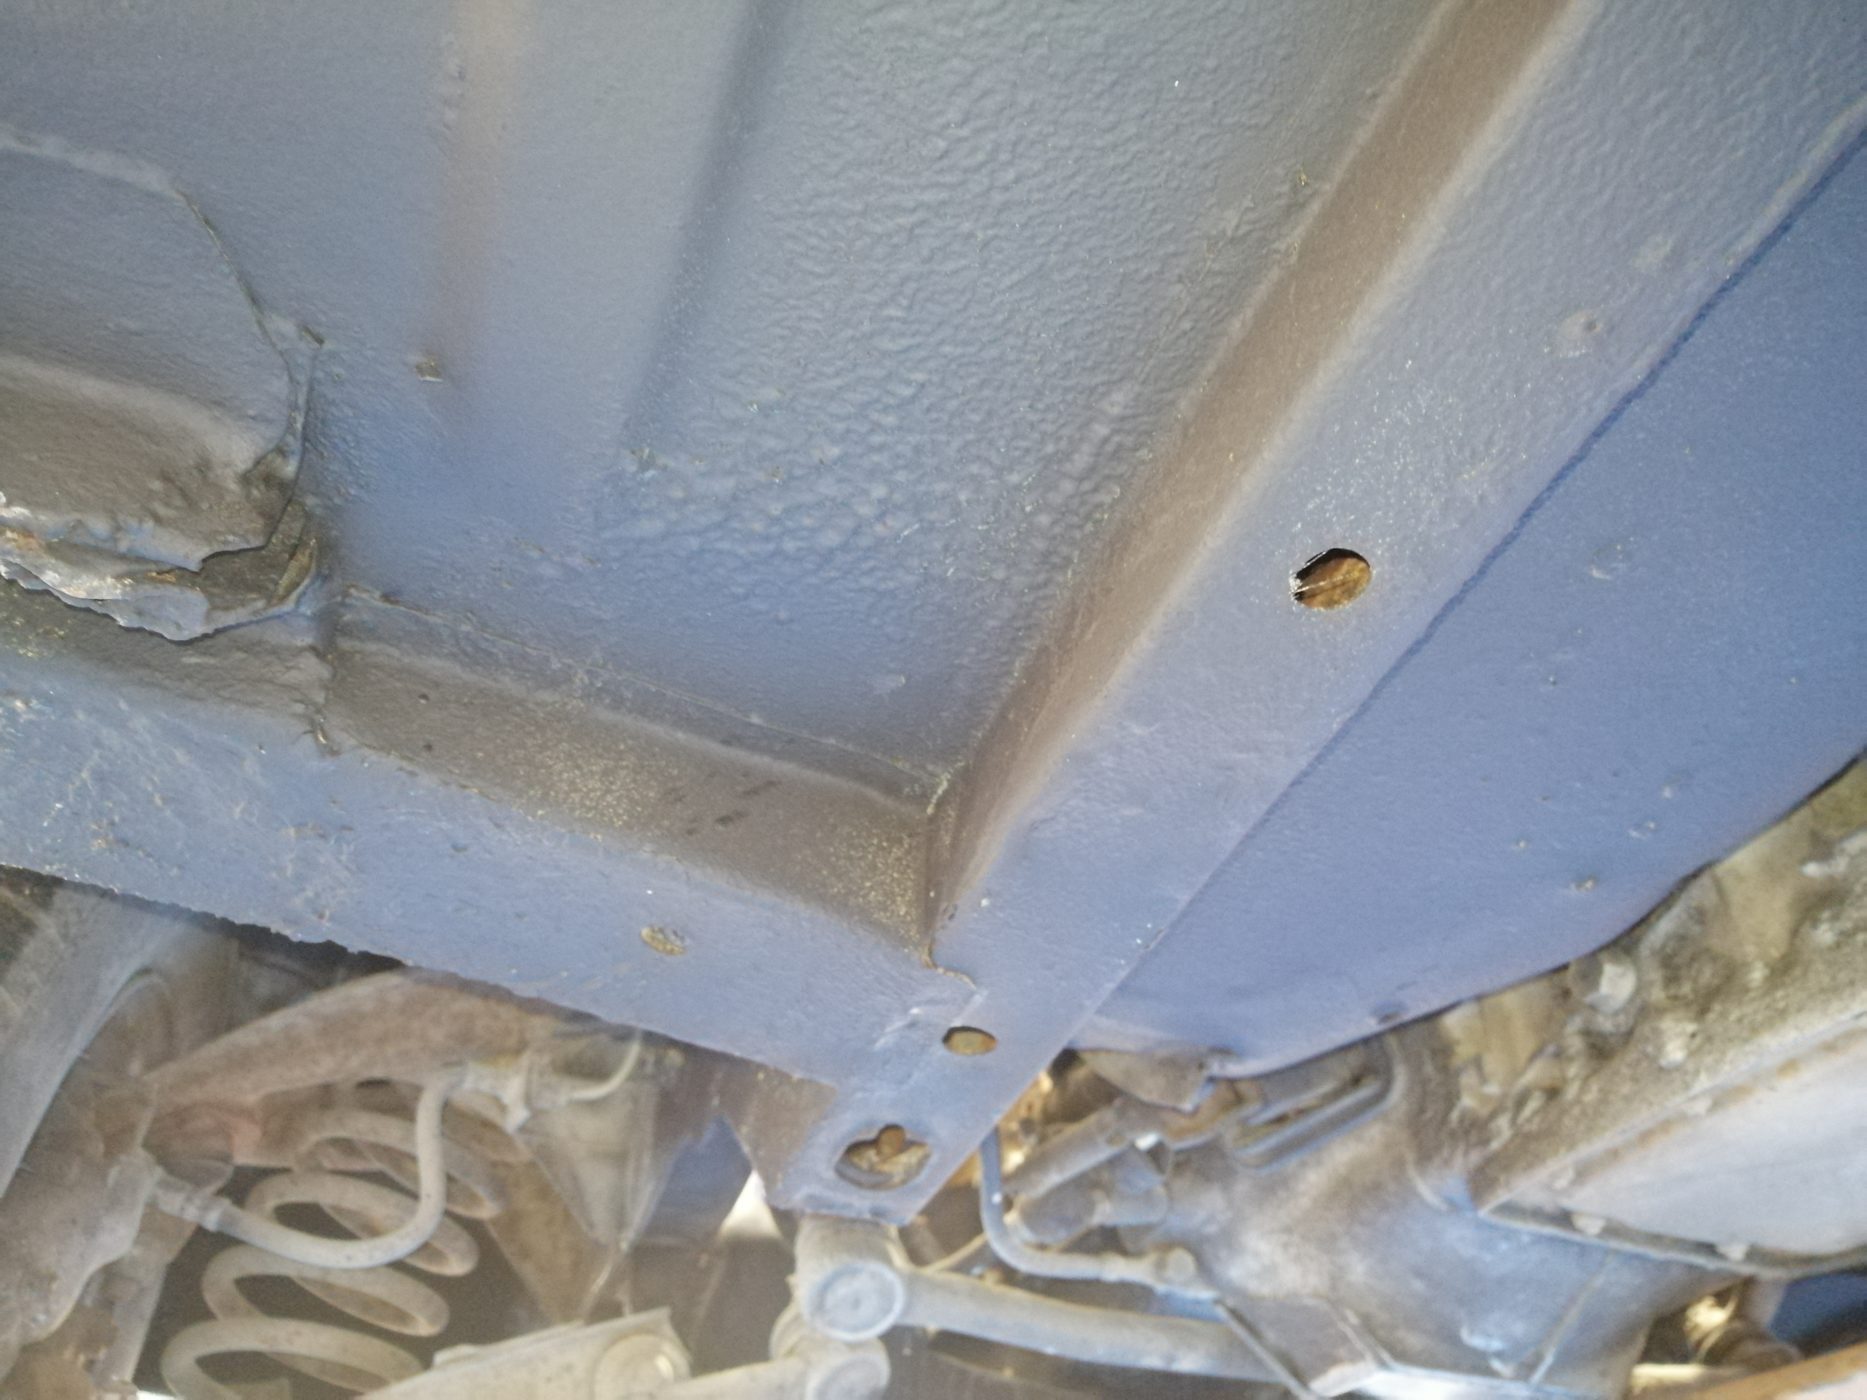
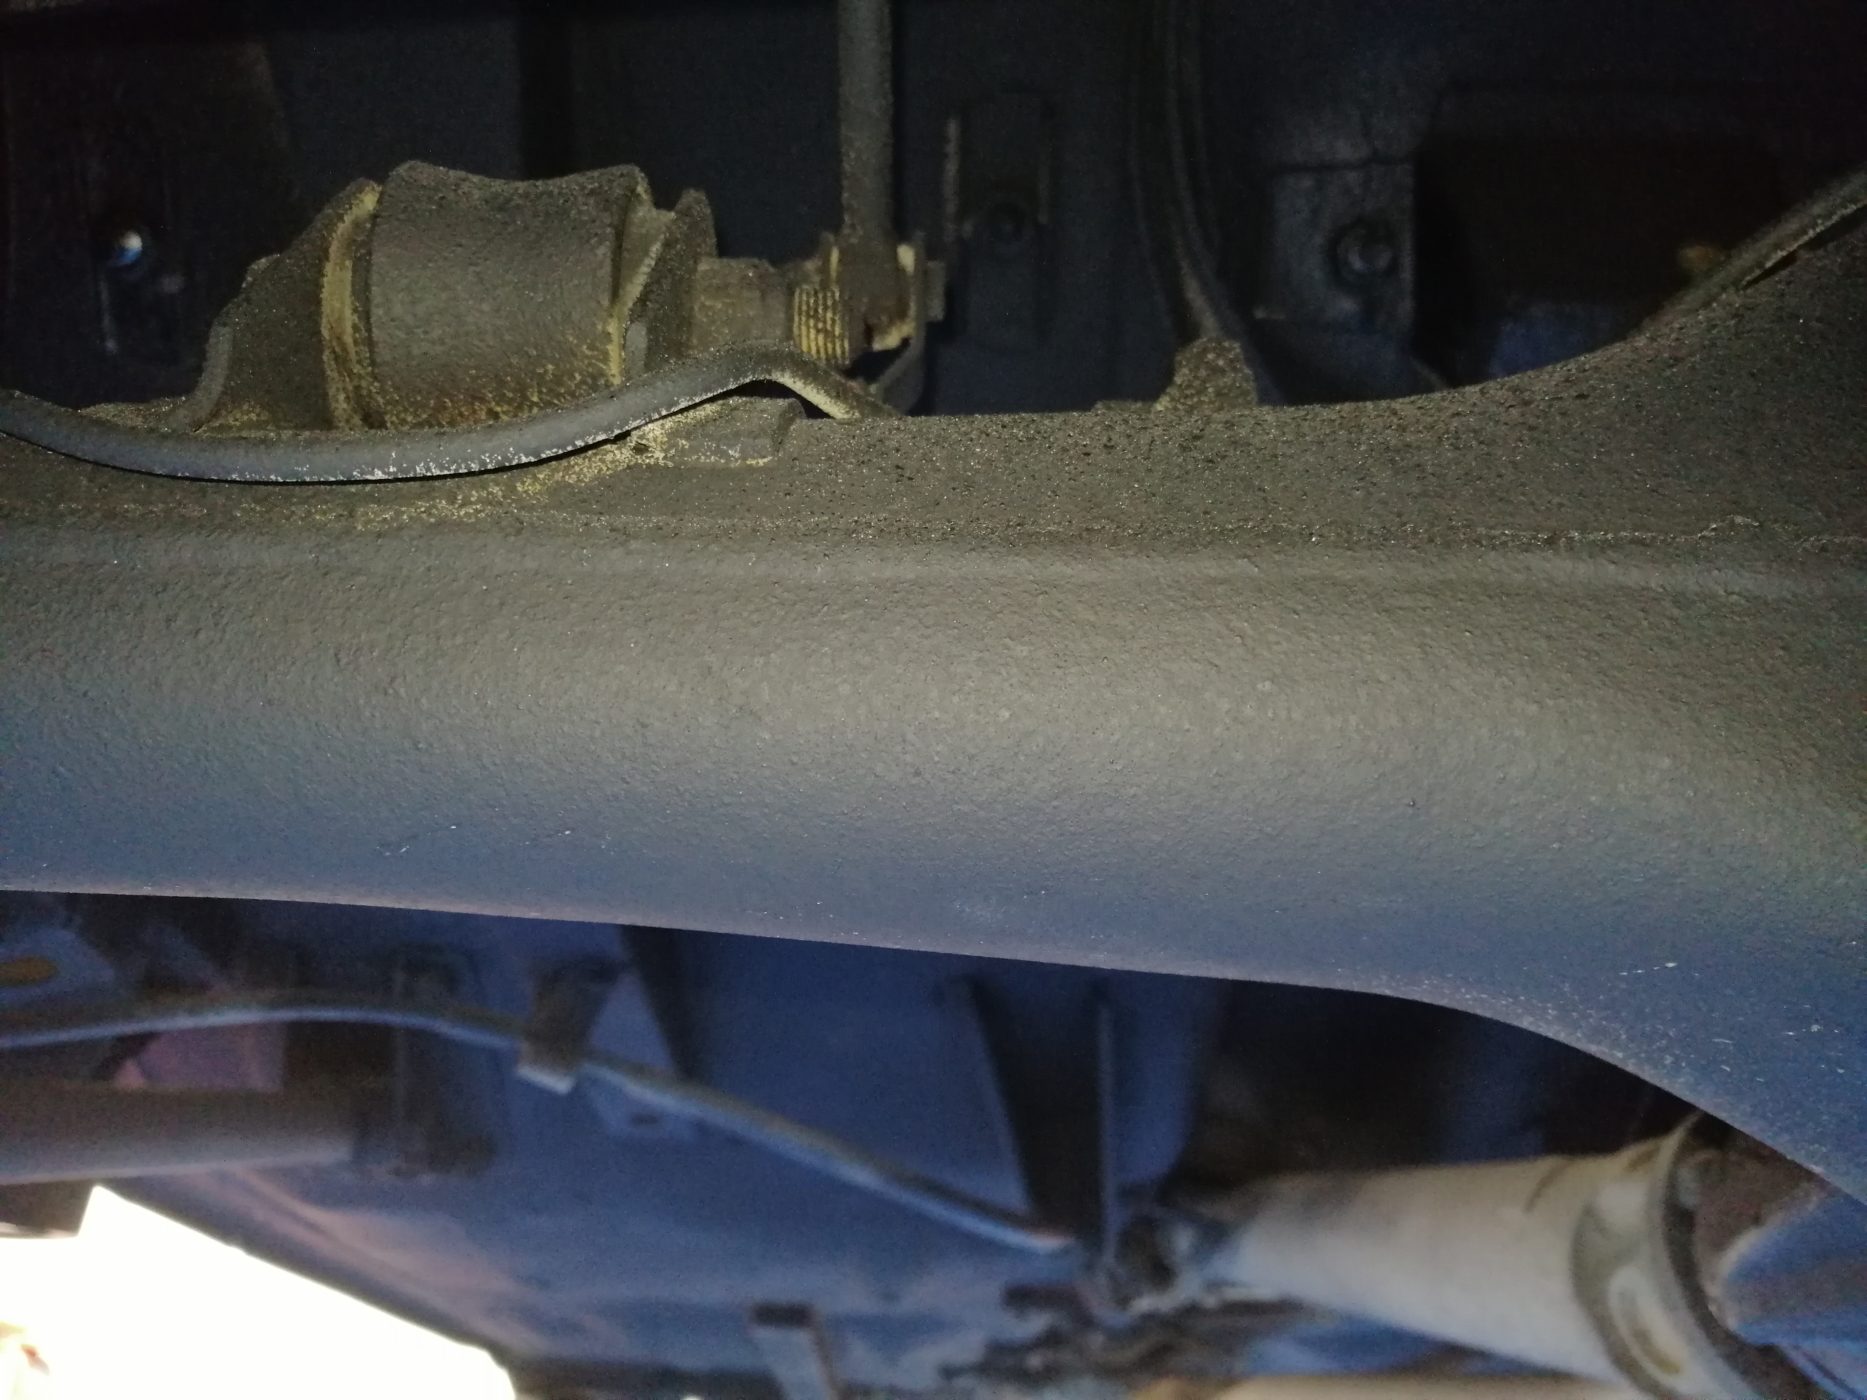
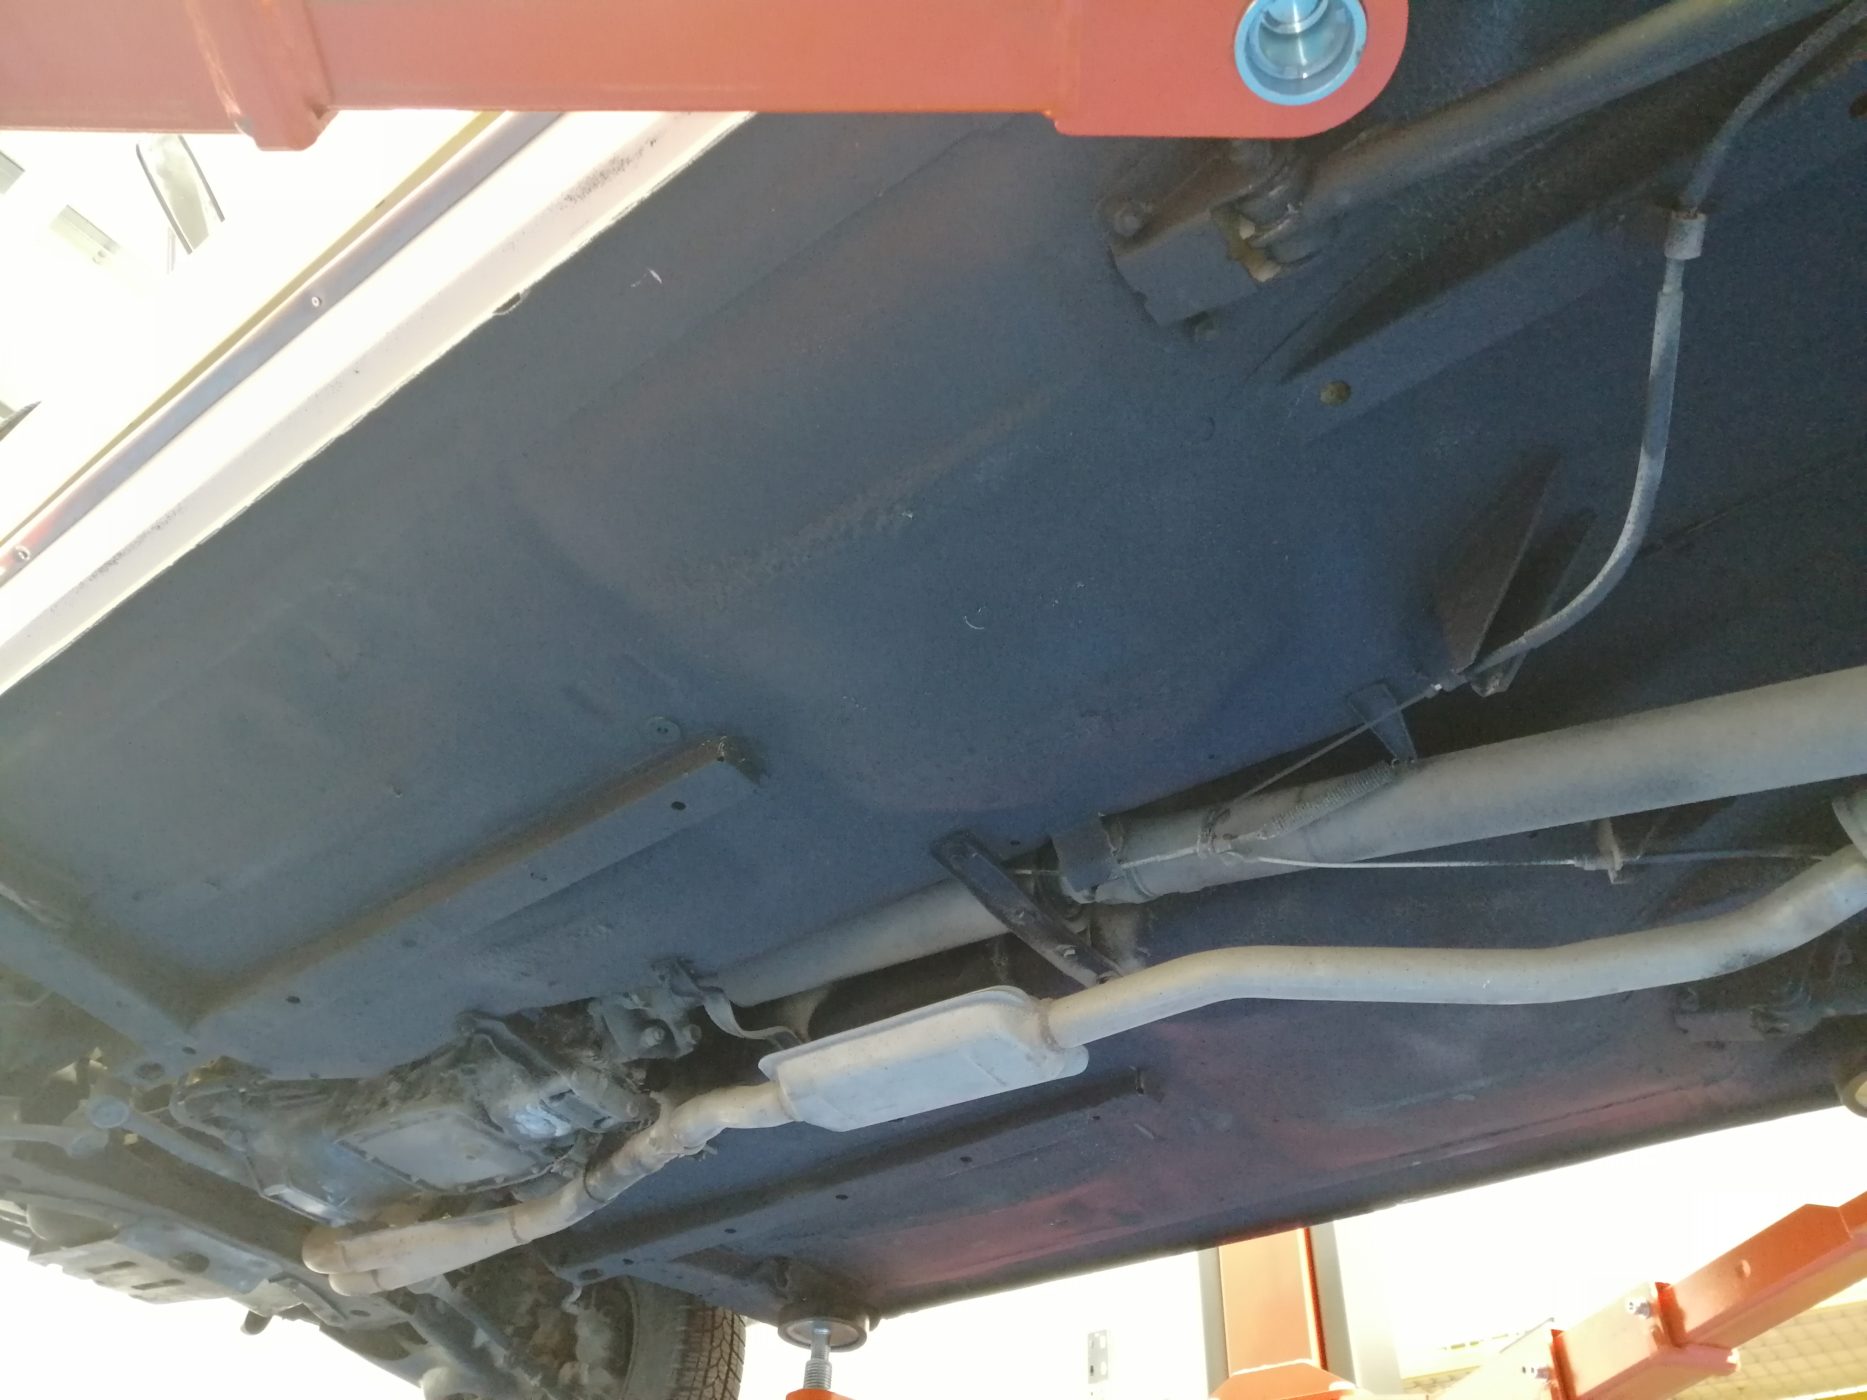
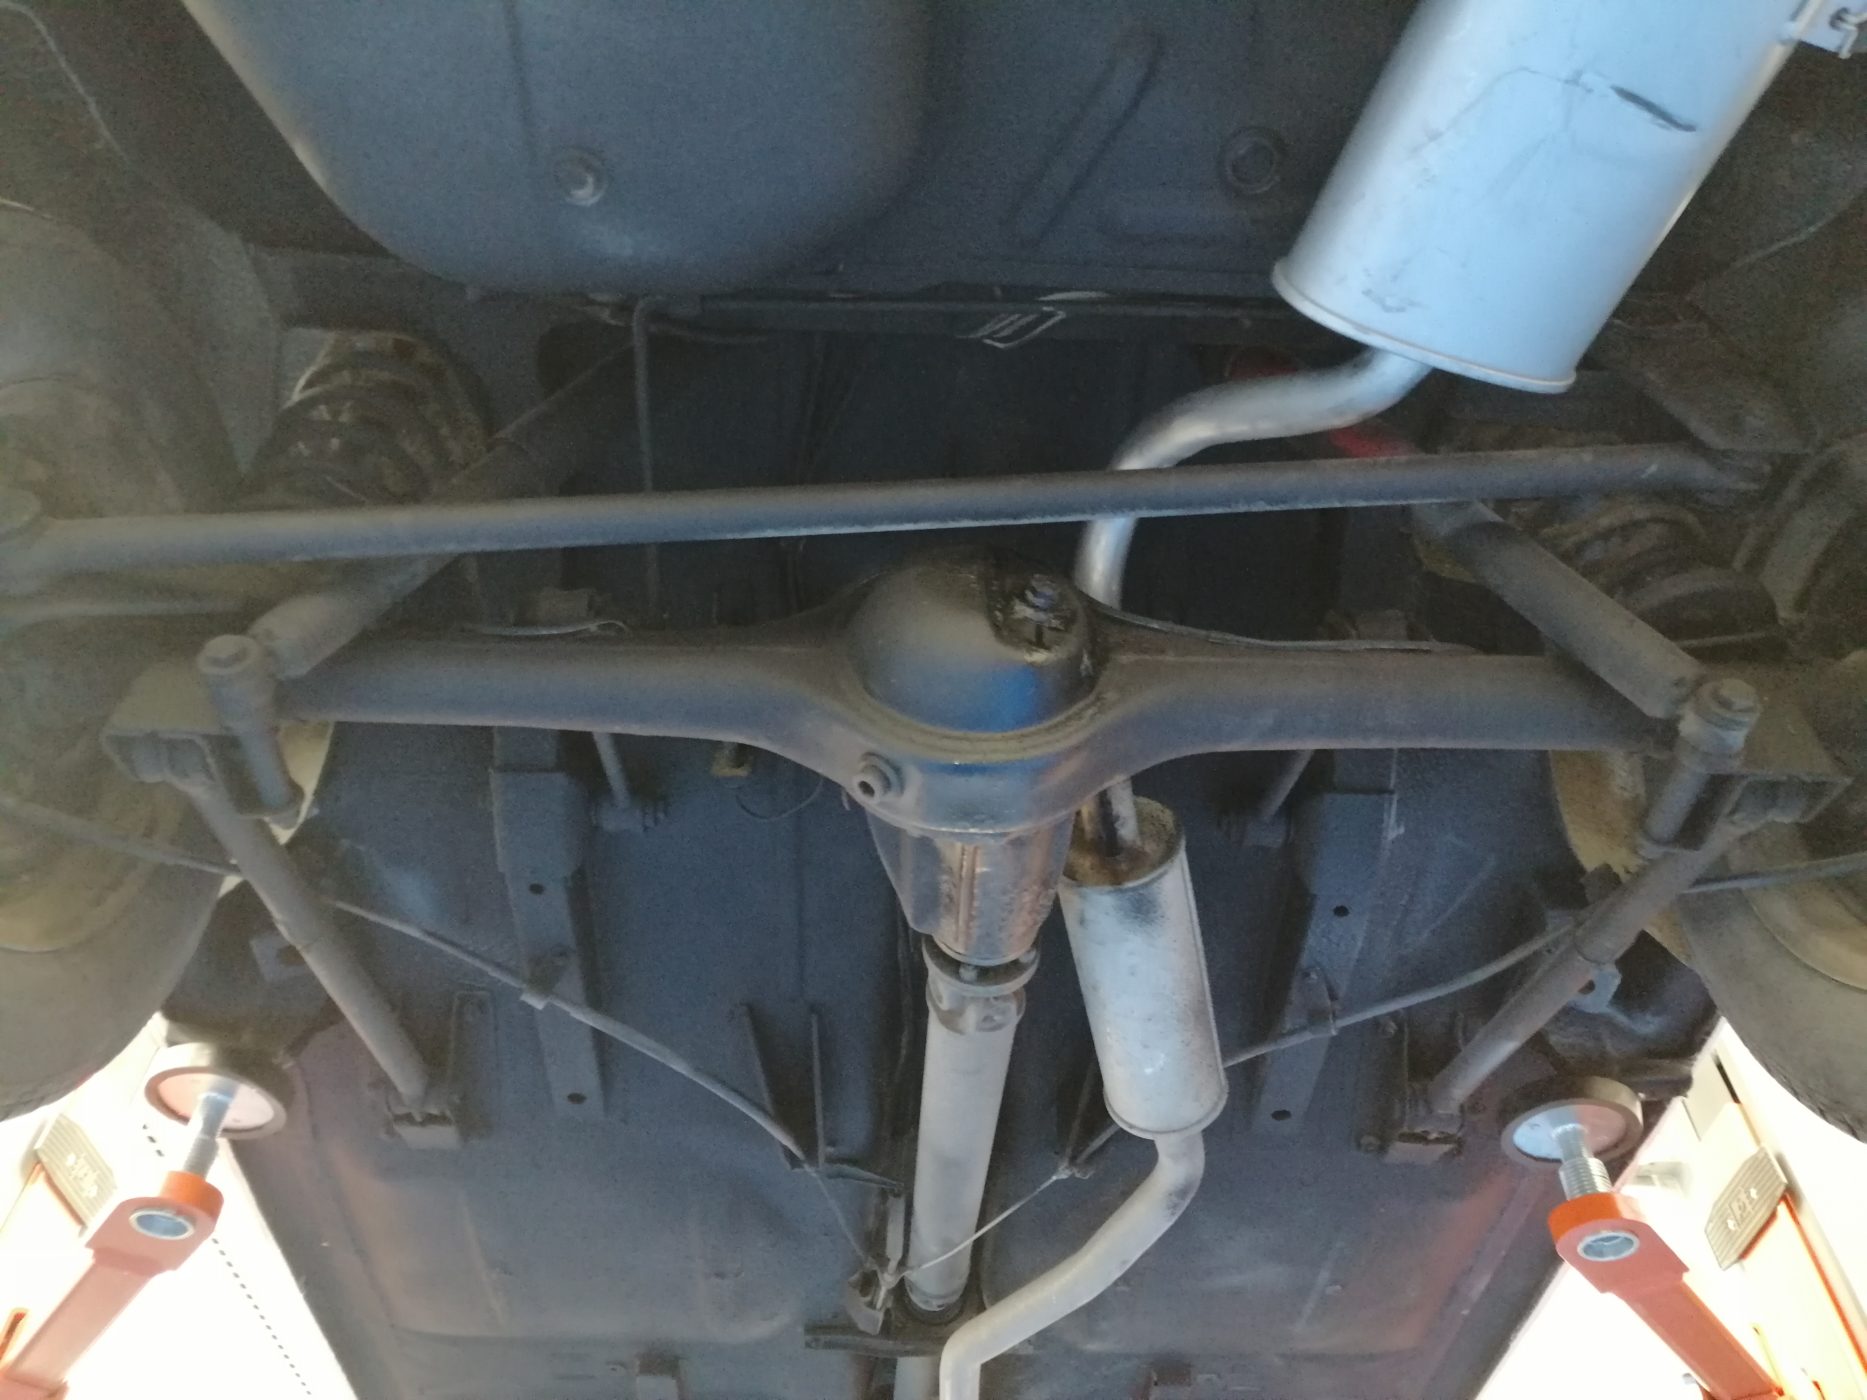
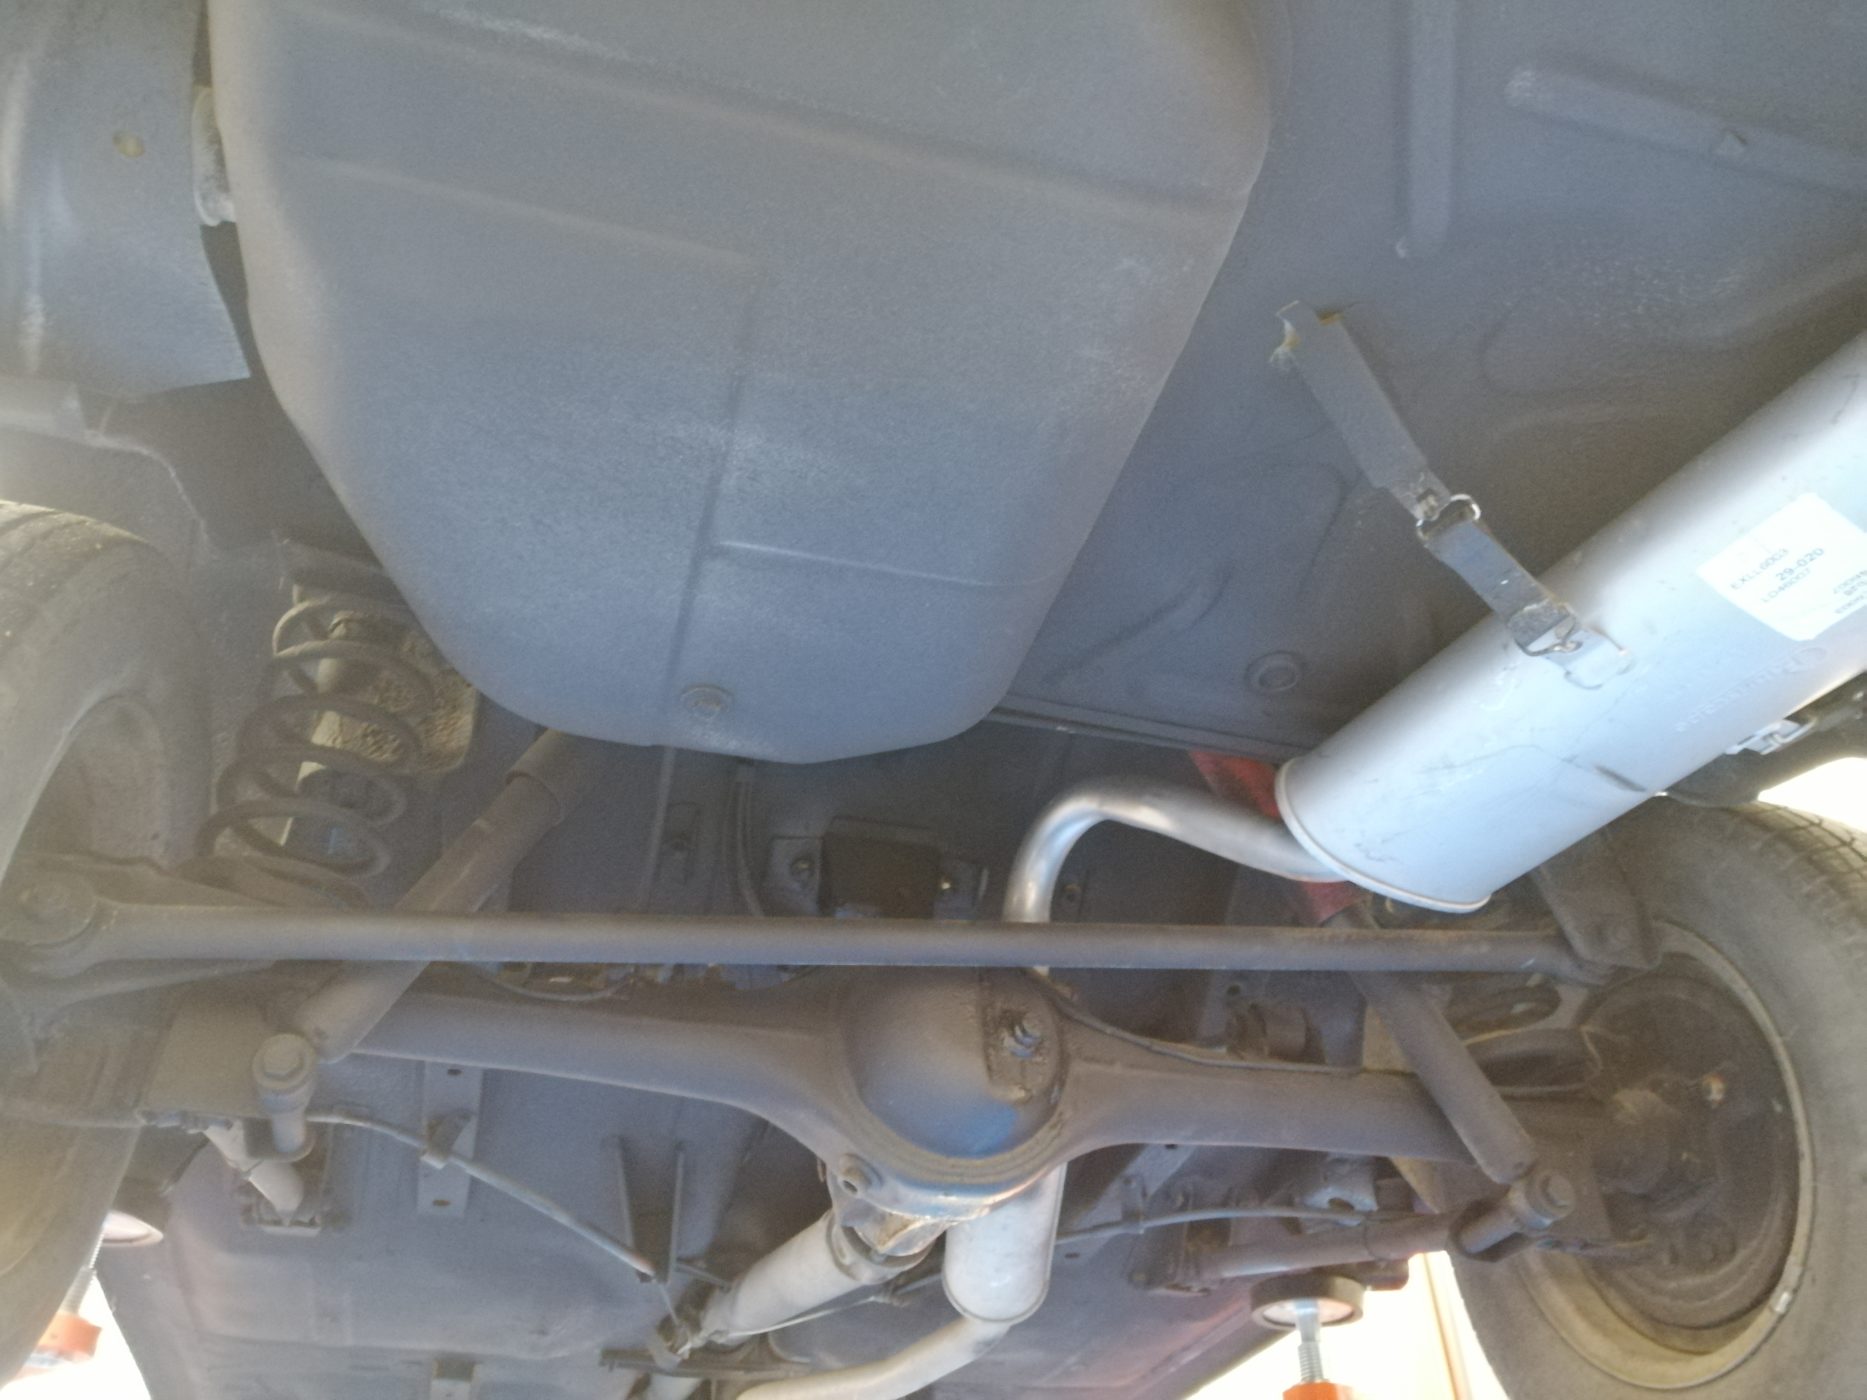
As pictured above is the work we did to blacken the underside of this Lada when it was last in to preserve the work we added to rectify an issue with corrosion.
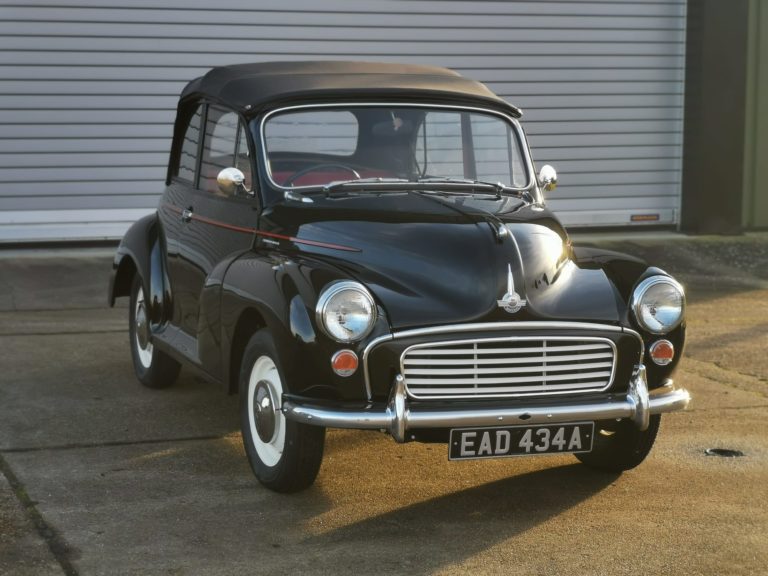
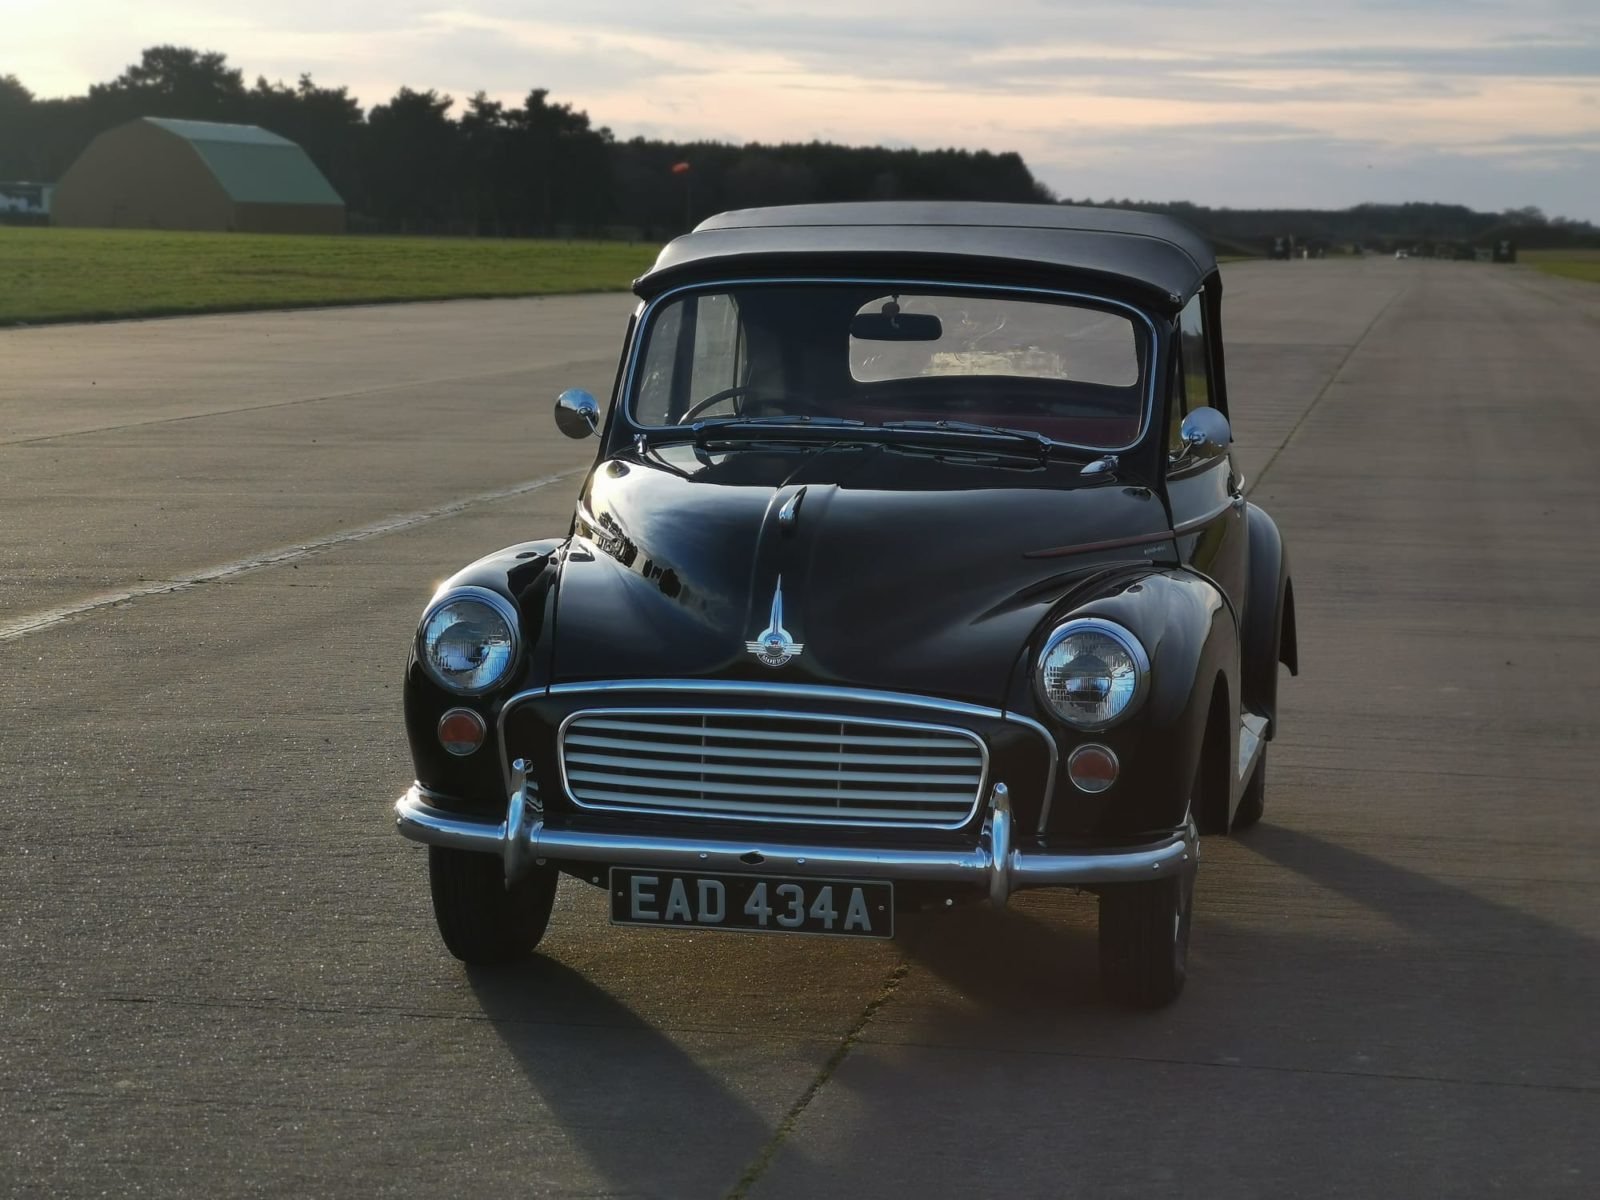
Our lovely 1963 Morris Minor 1000 passed its driving test with flying colours, as seen in the last update, however, there’s a final tweak we want to make to ensure the Morris is perfect. The steering wheel needs to be centralised, so we are going to send Tom over to our hanger where the Morris is being stored, to centralise the steering wheel.
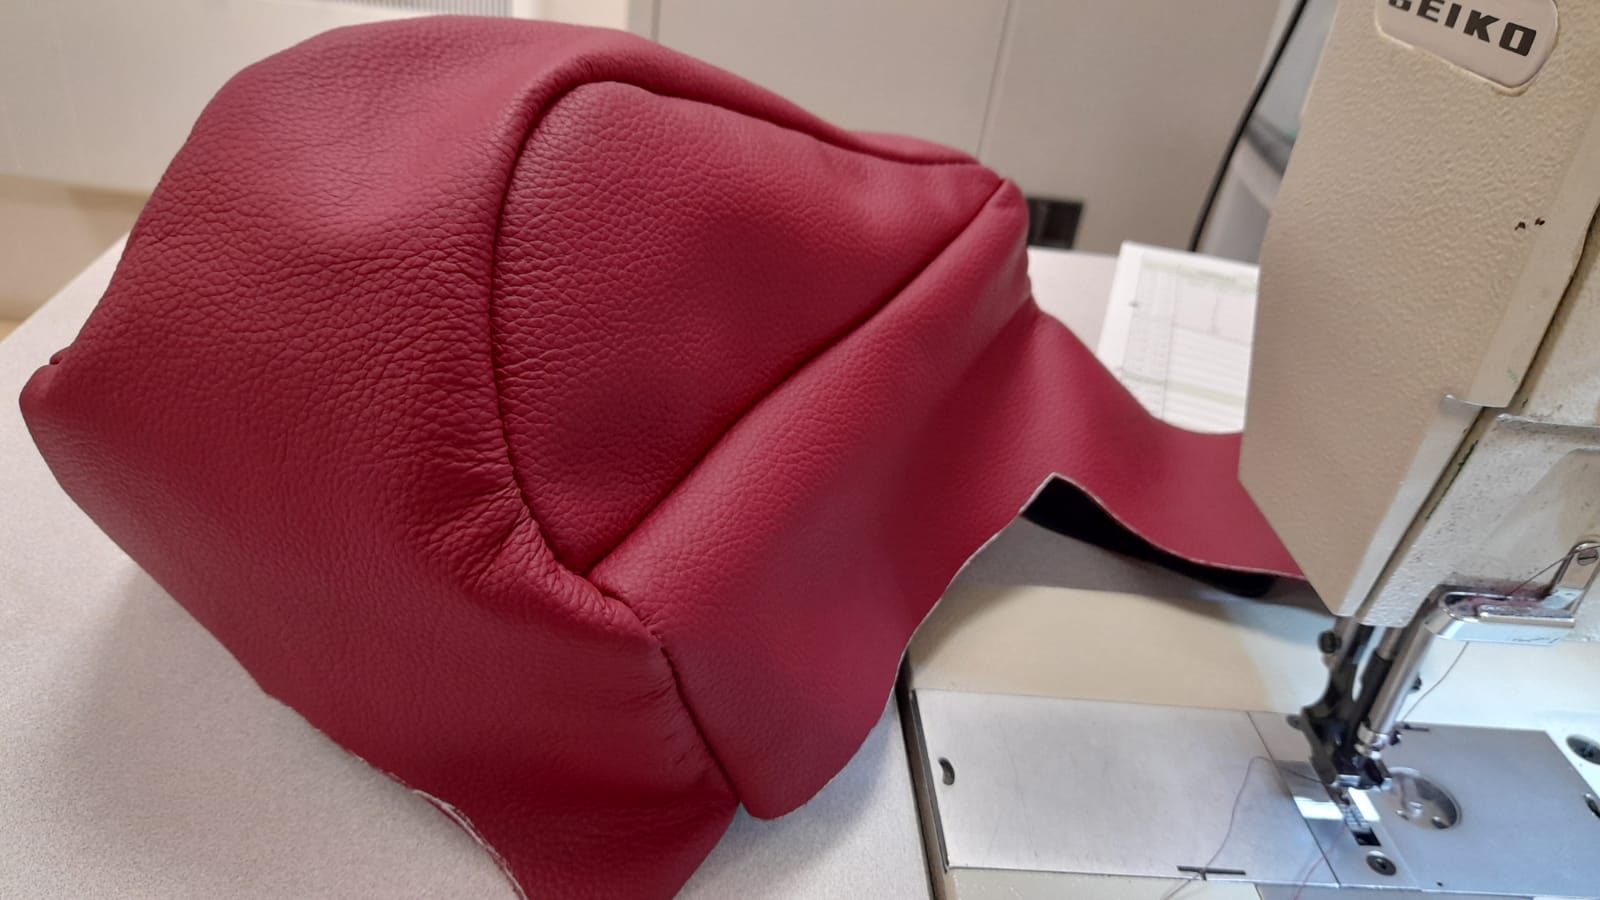
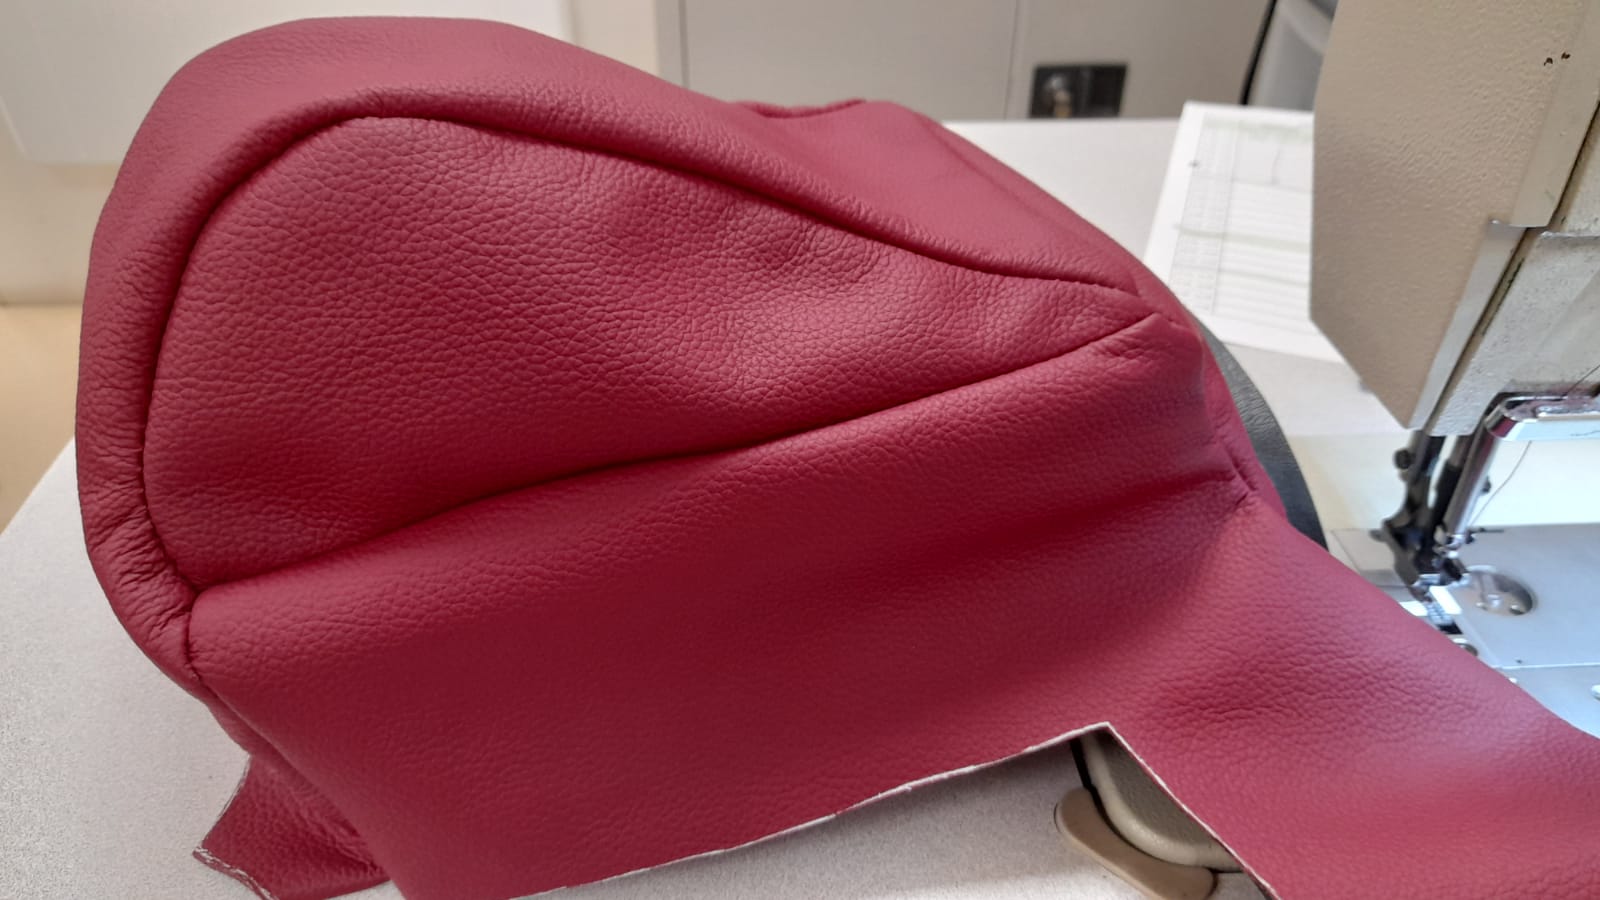
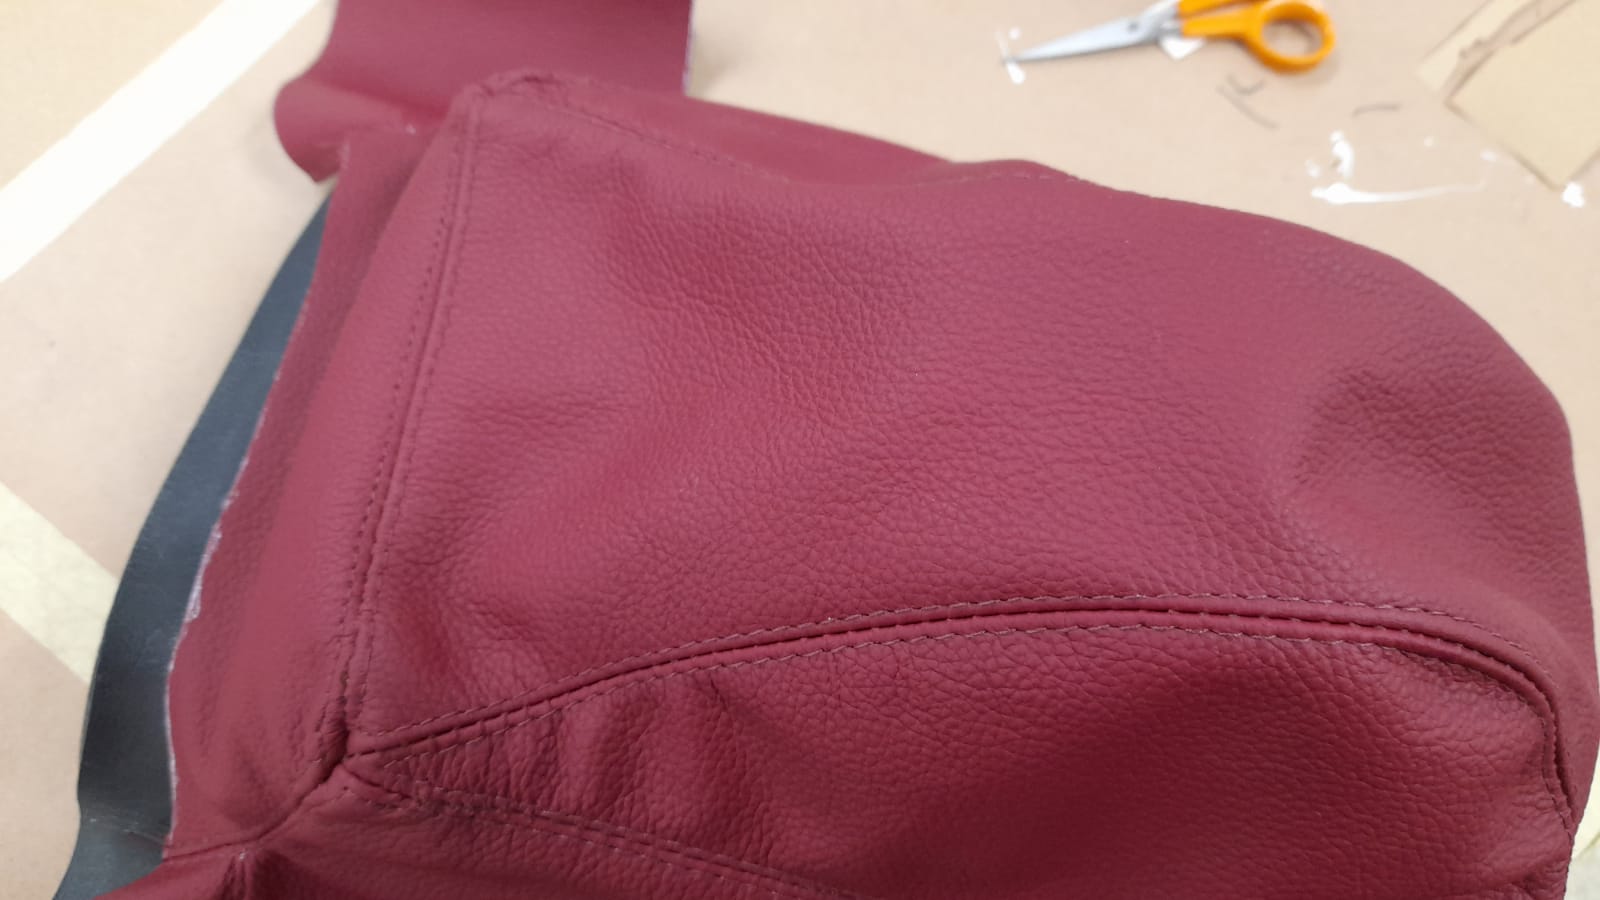
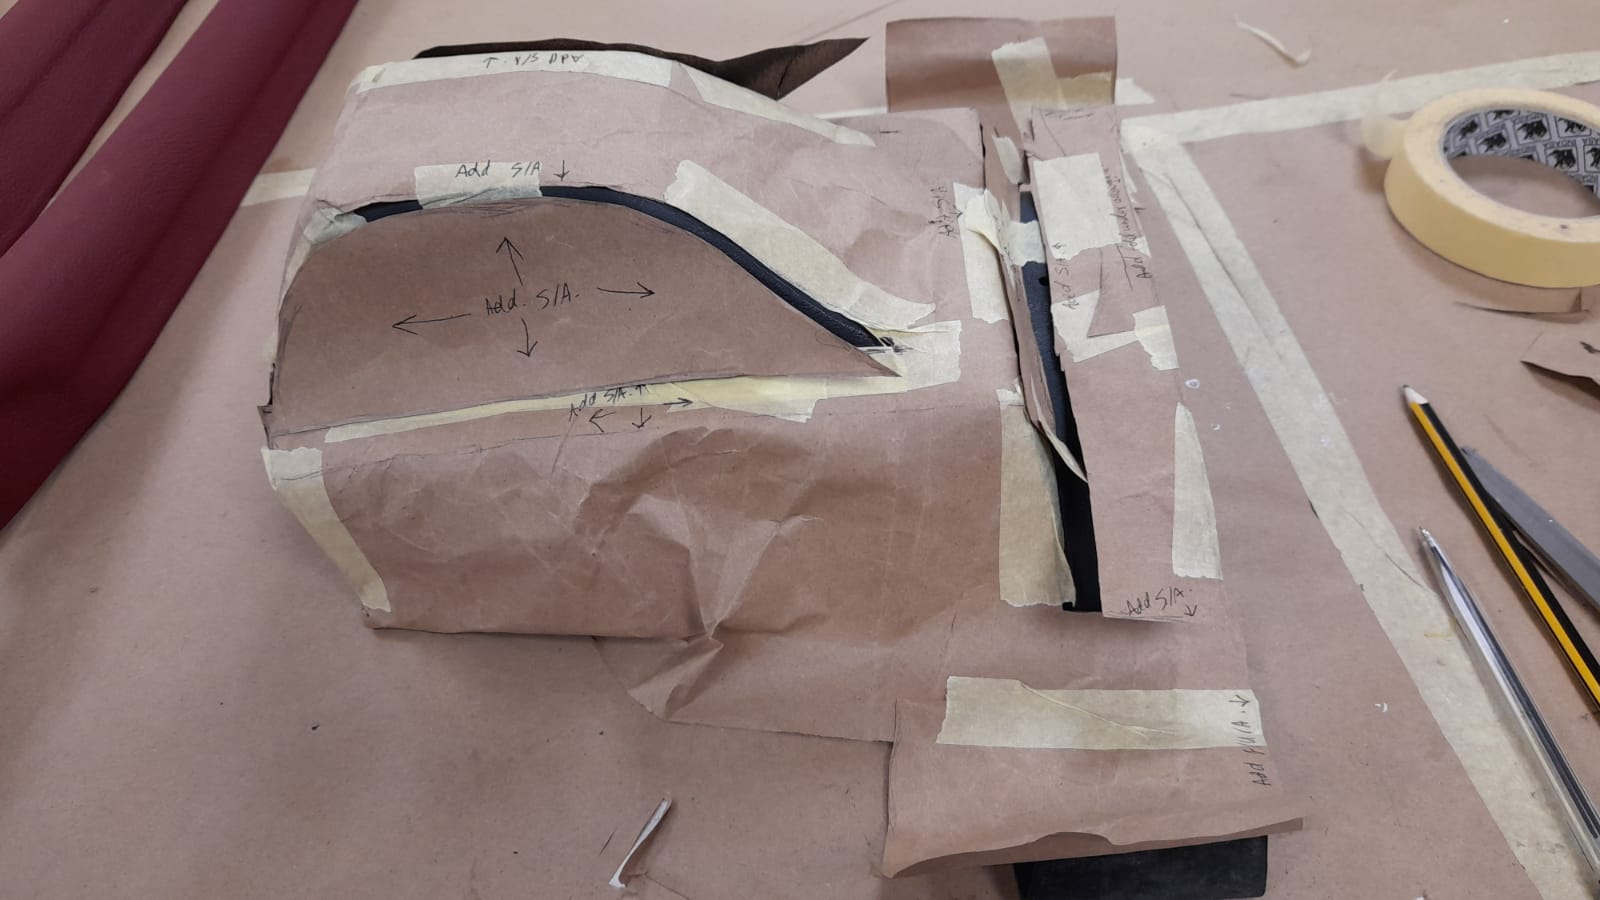
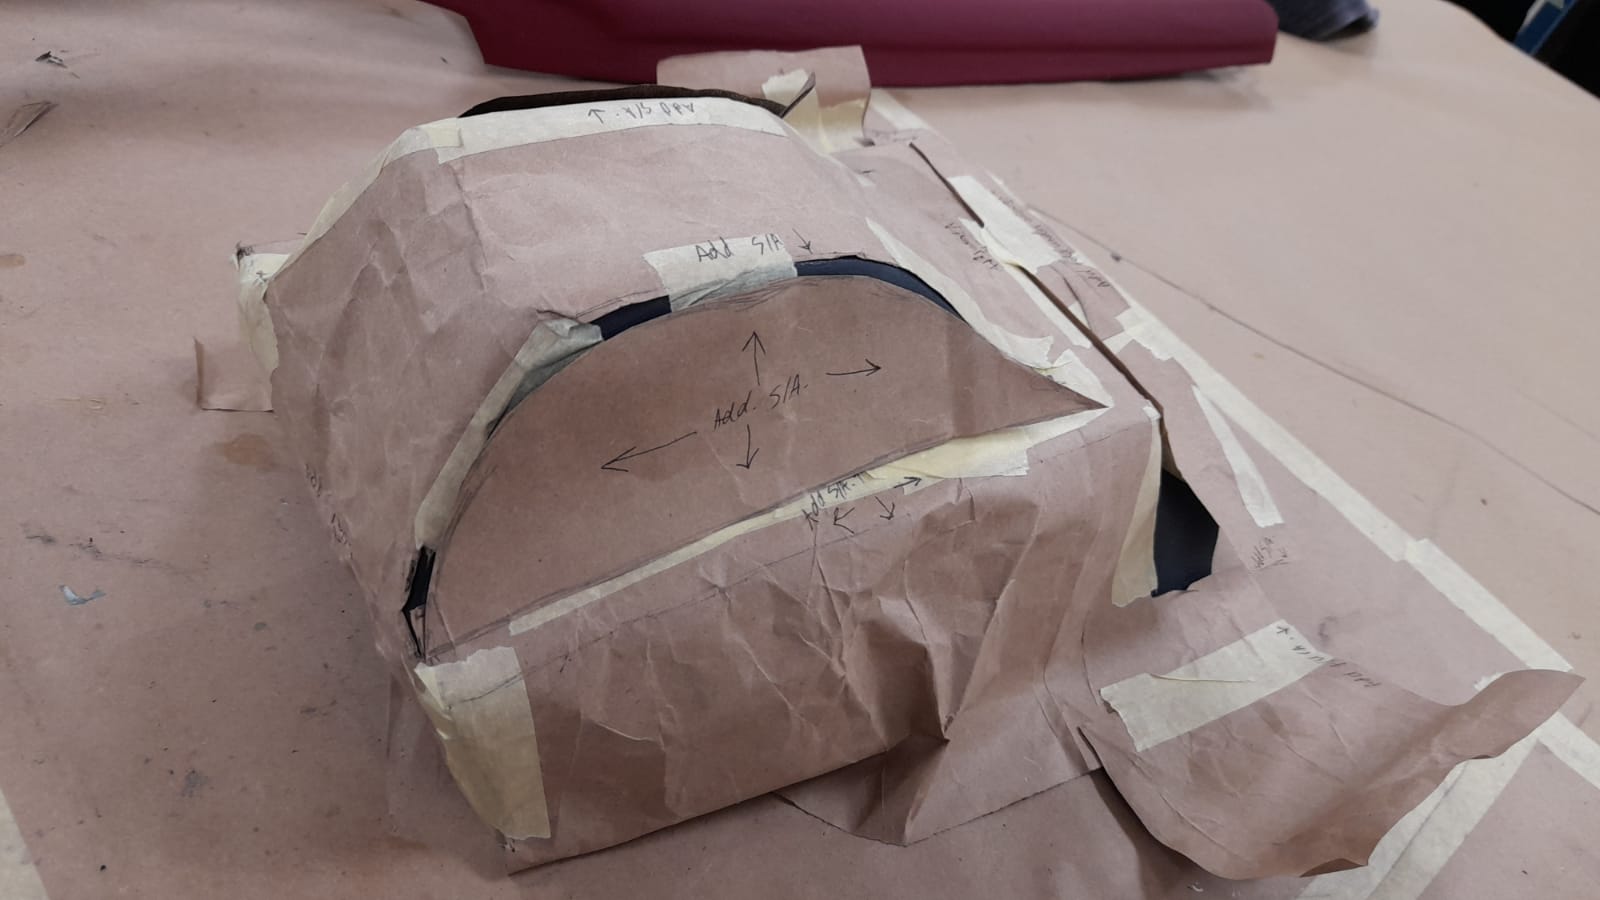
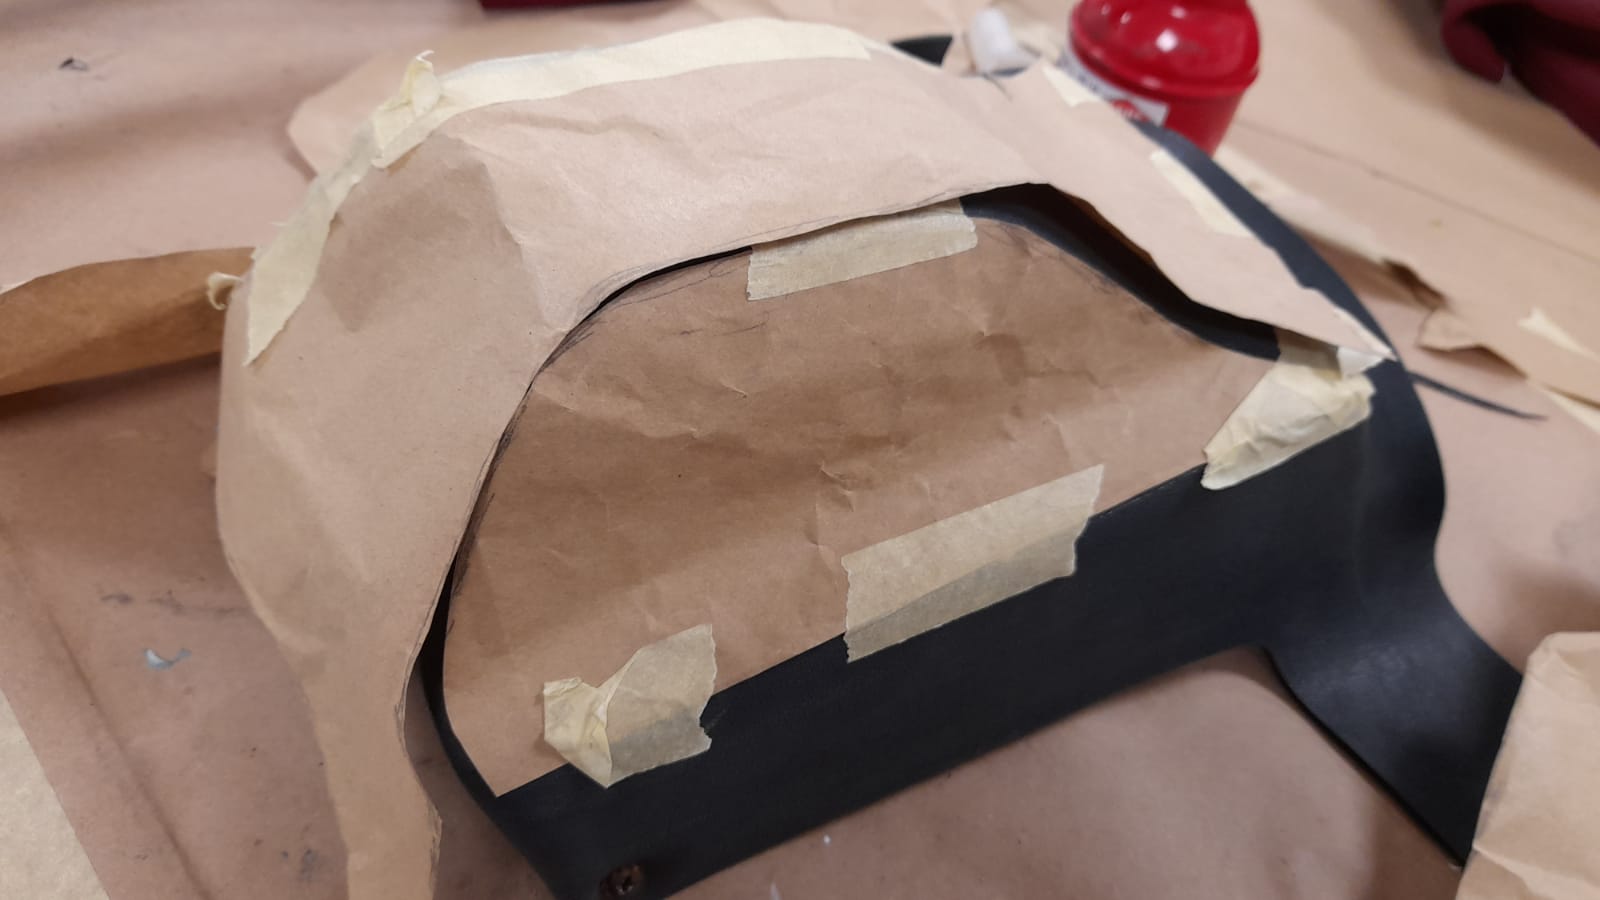
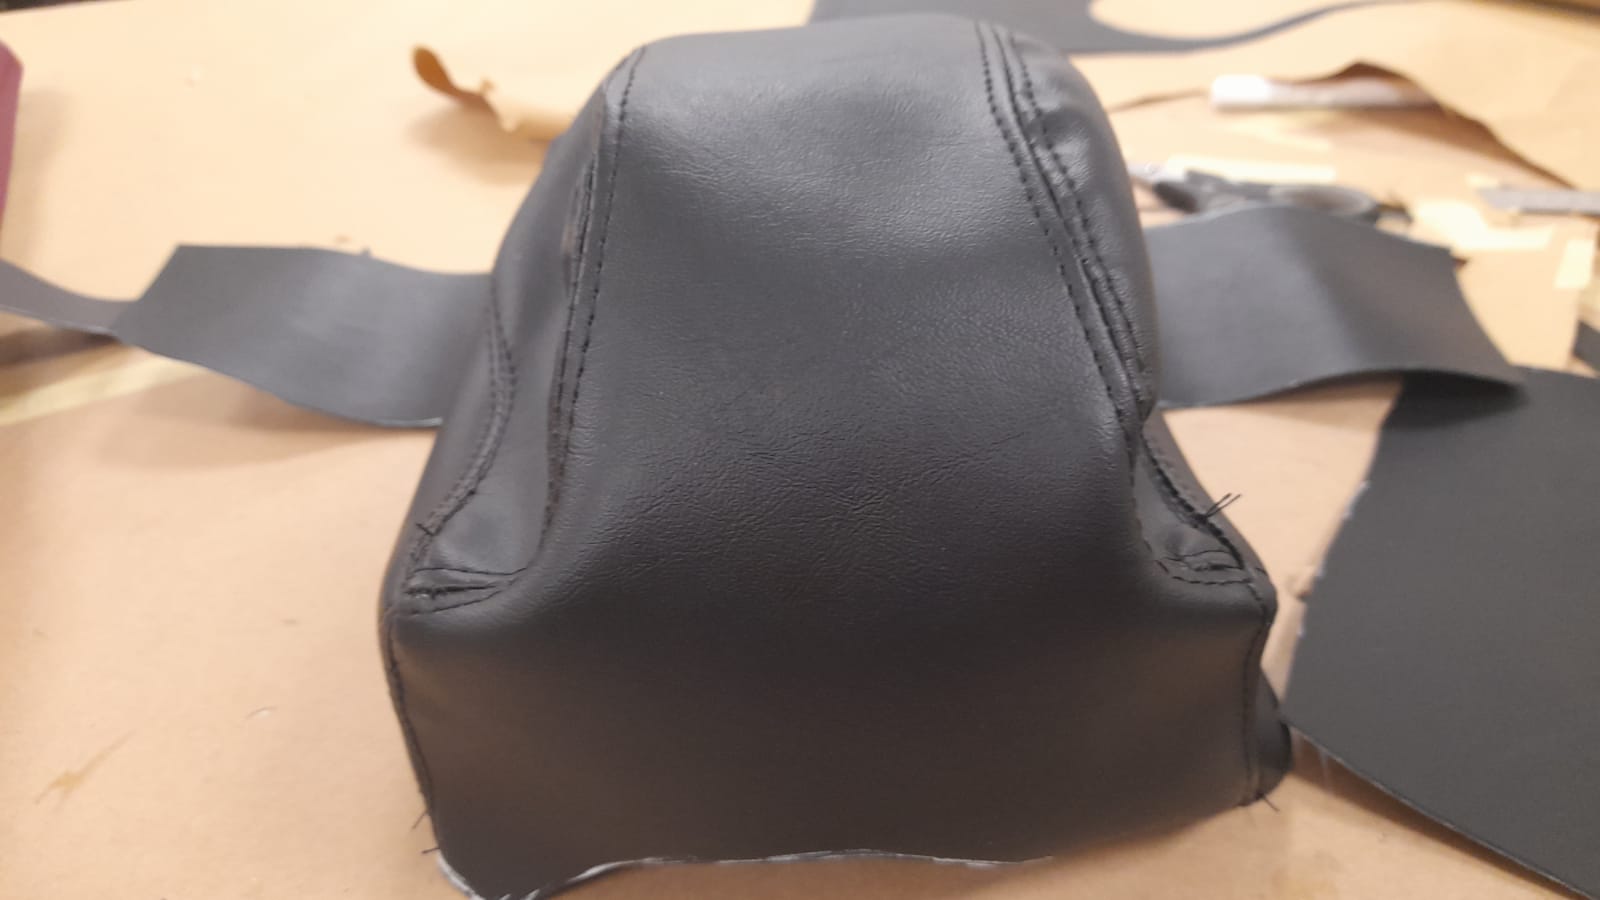
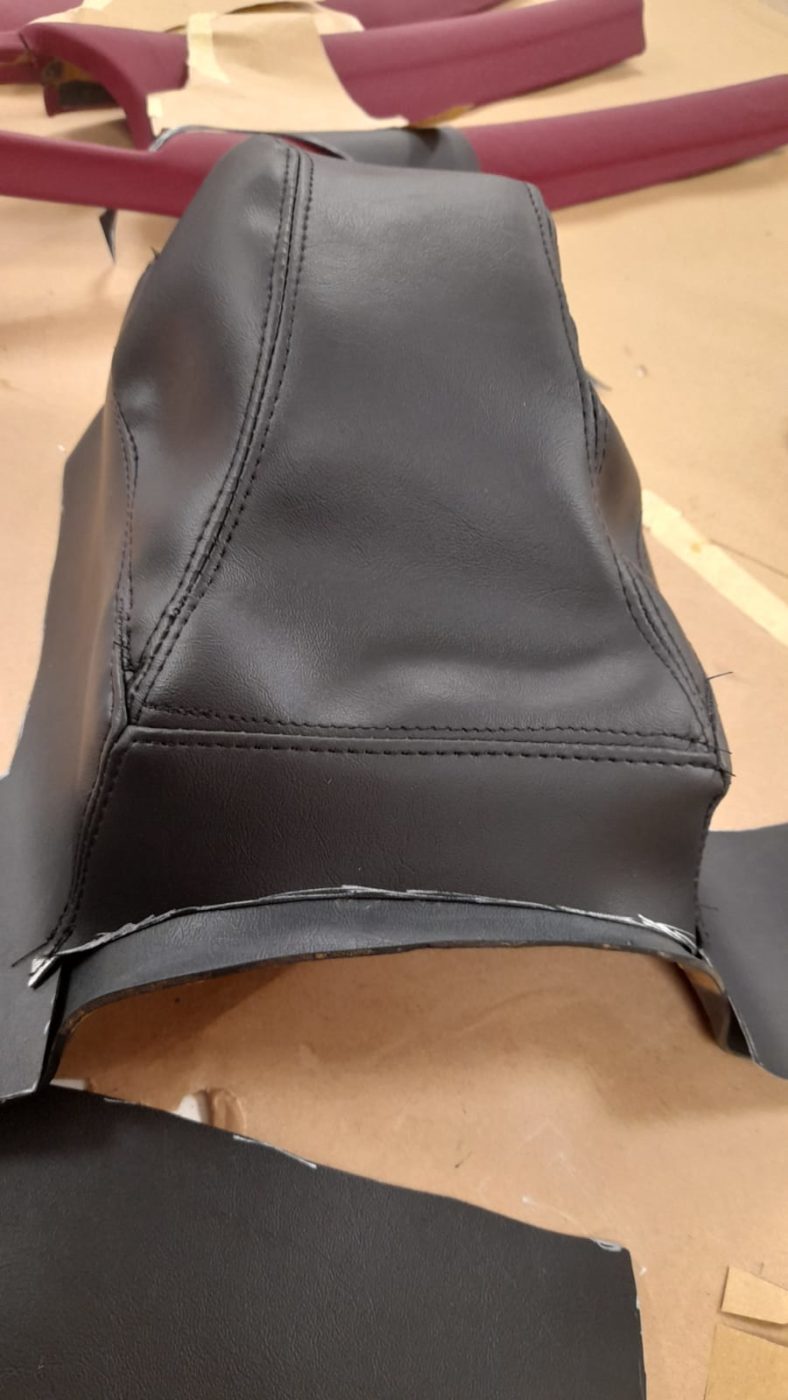
Lydia, one of our trim shop technicians, has been working on preparing and creating the interior for Craig’s 1987 Mercedes 500SL. A while ago Craig decided to go with a Claret red to dress the interior of his custom classic, and now the interior trim creation begins
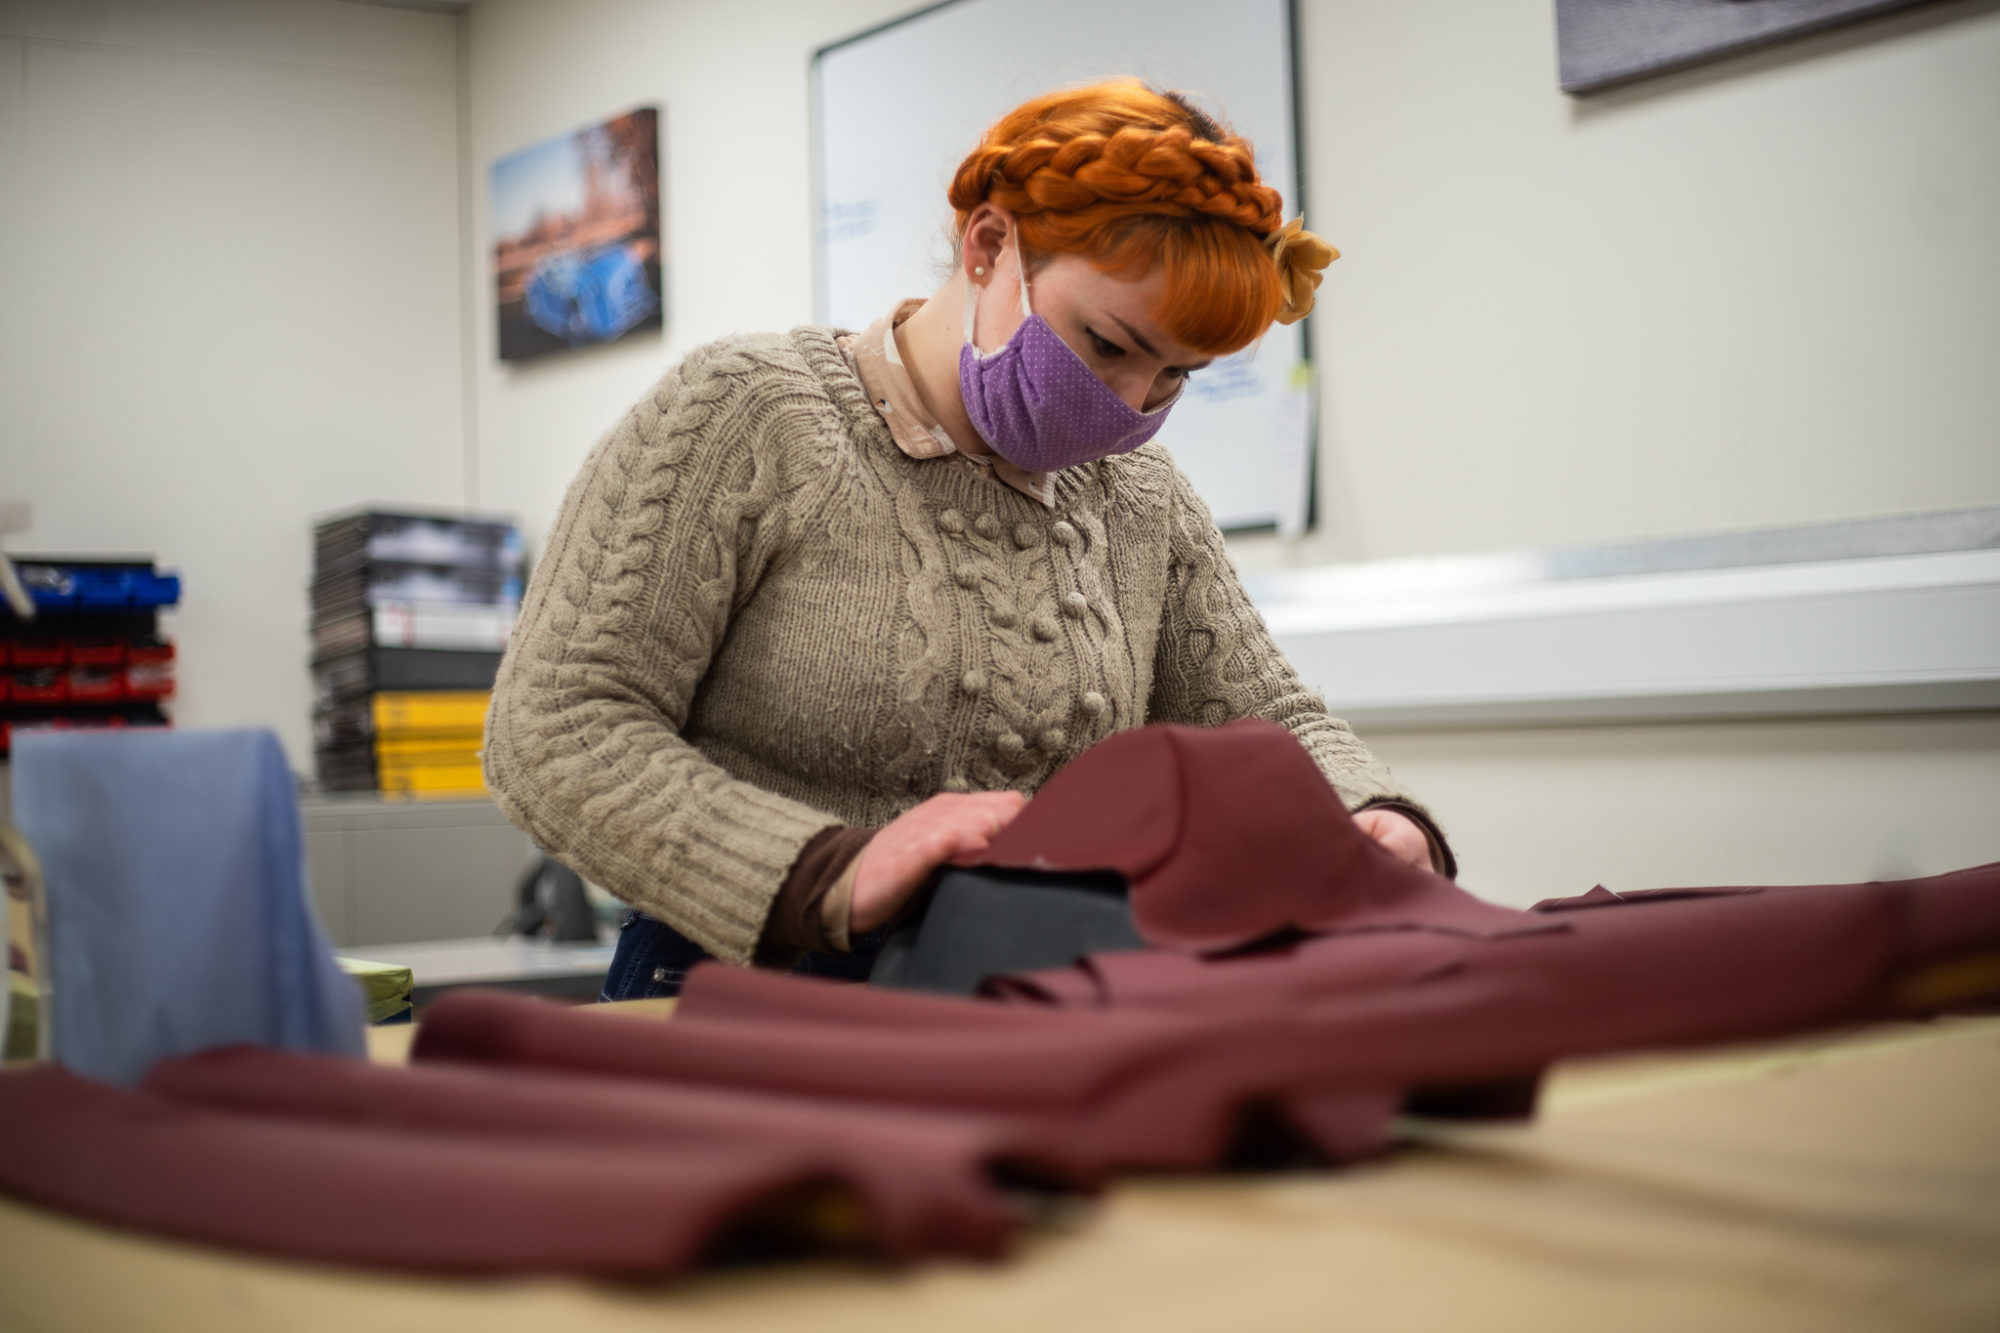
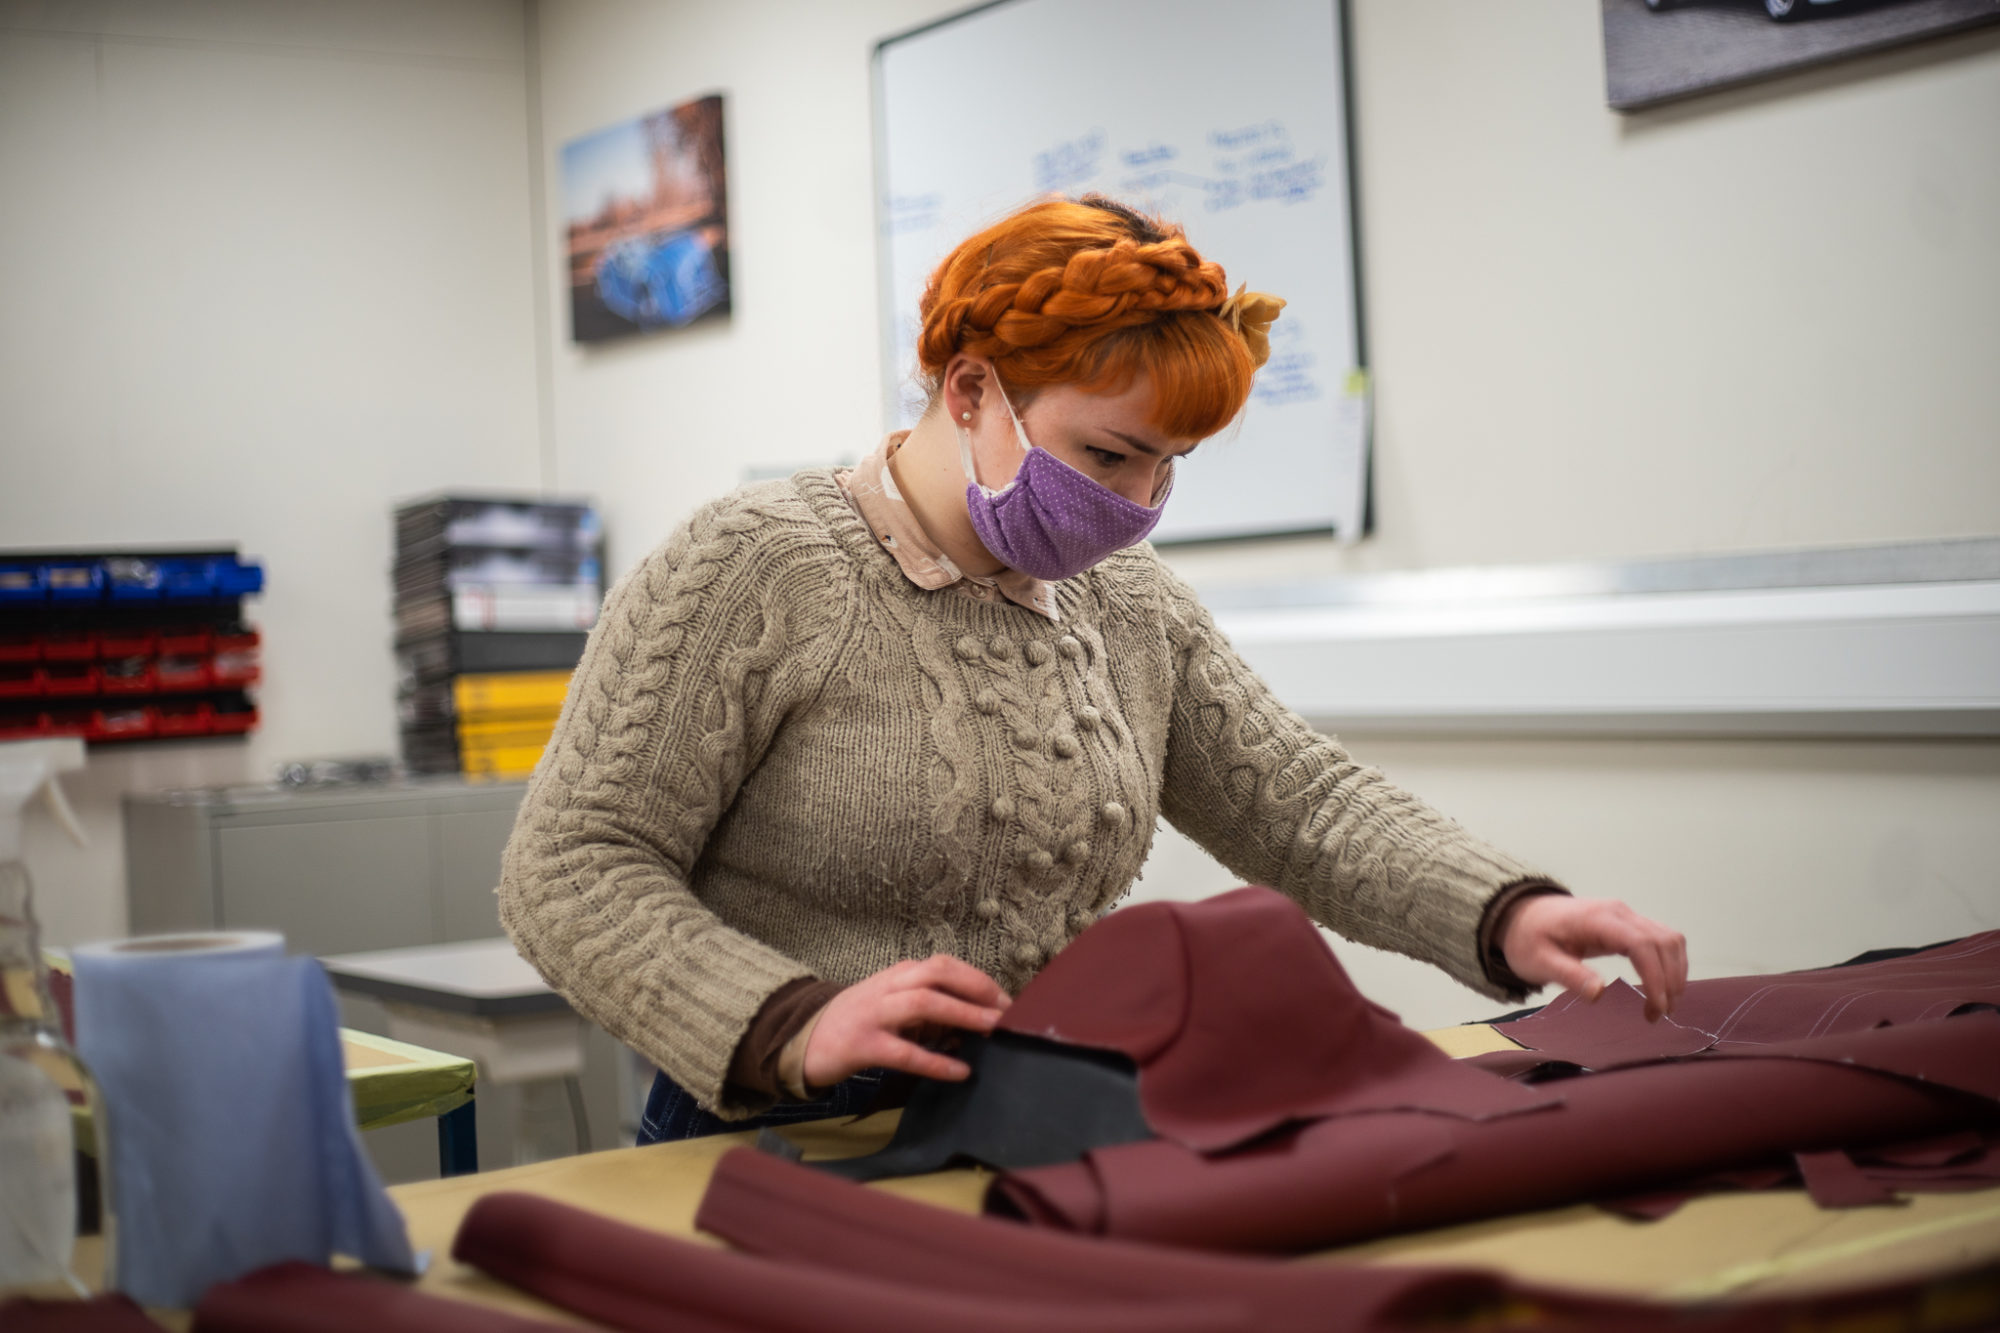
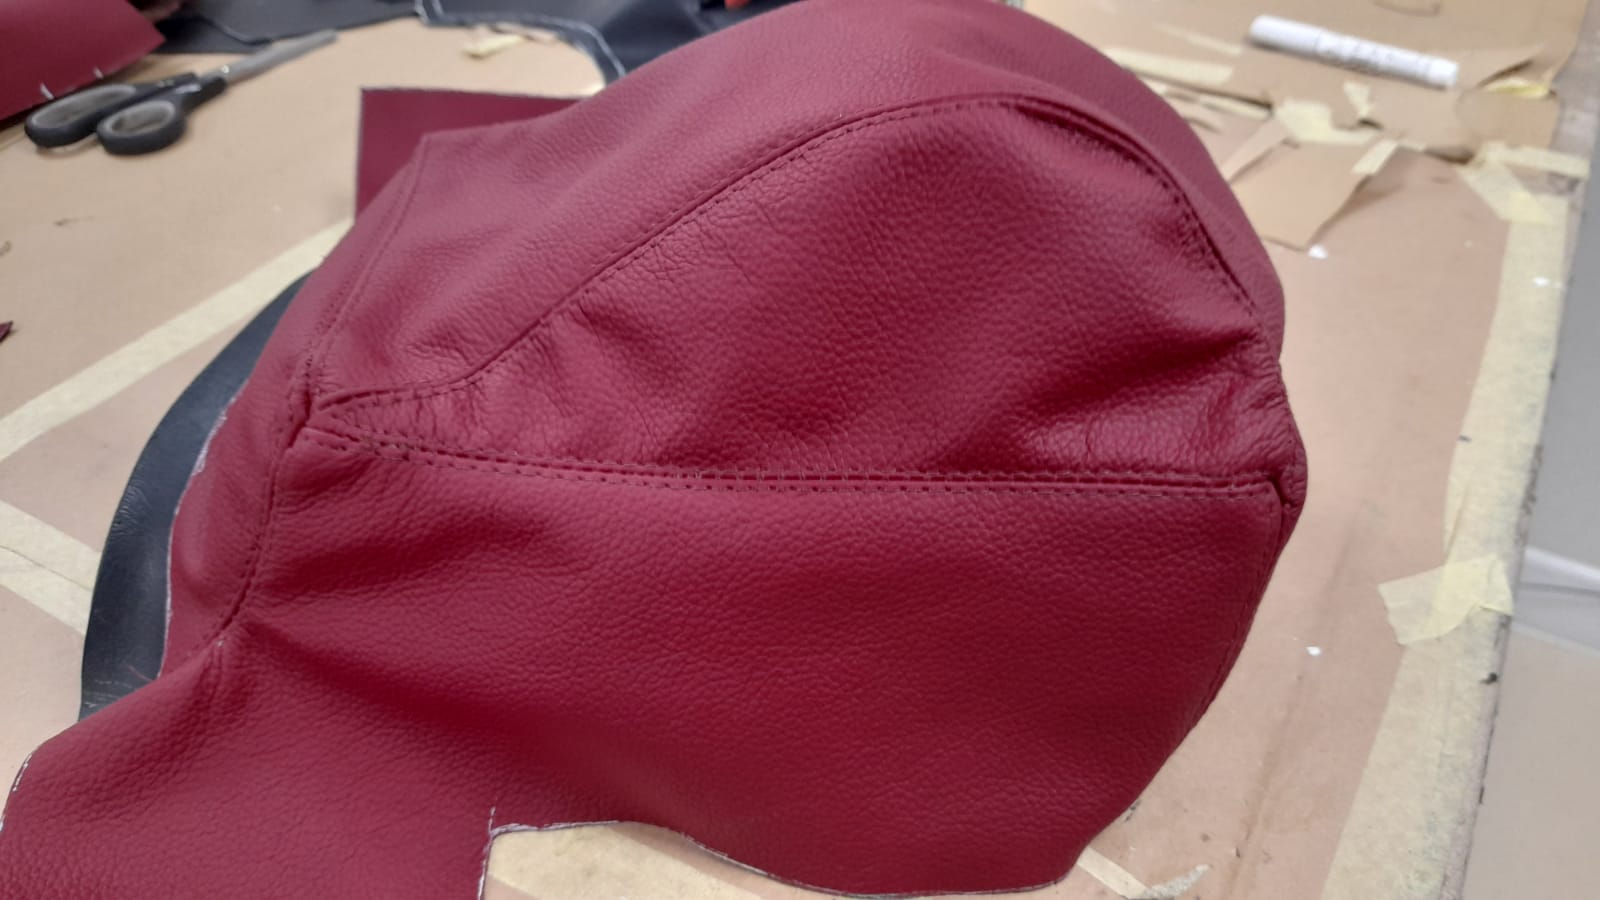
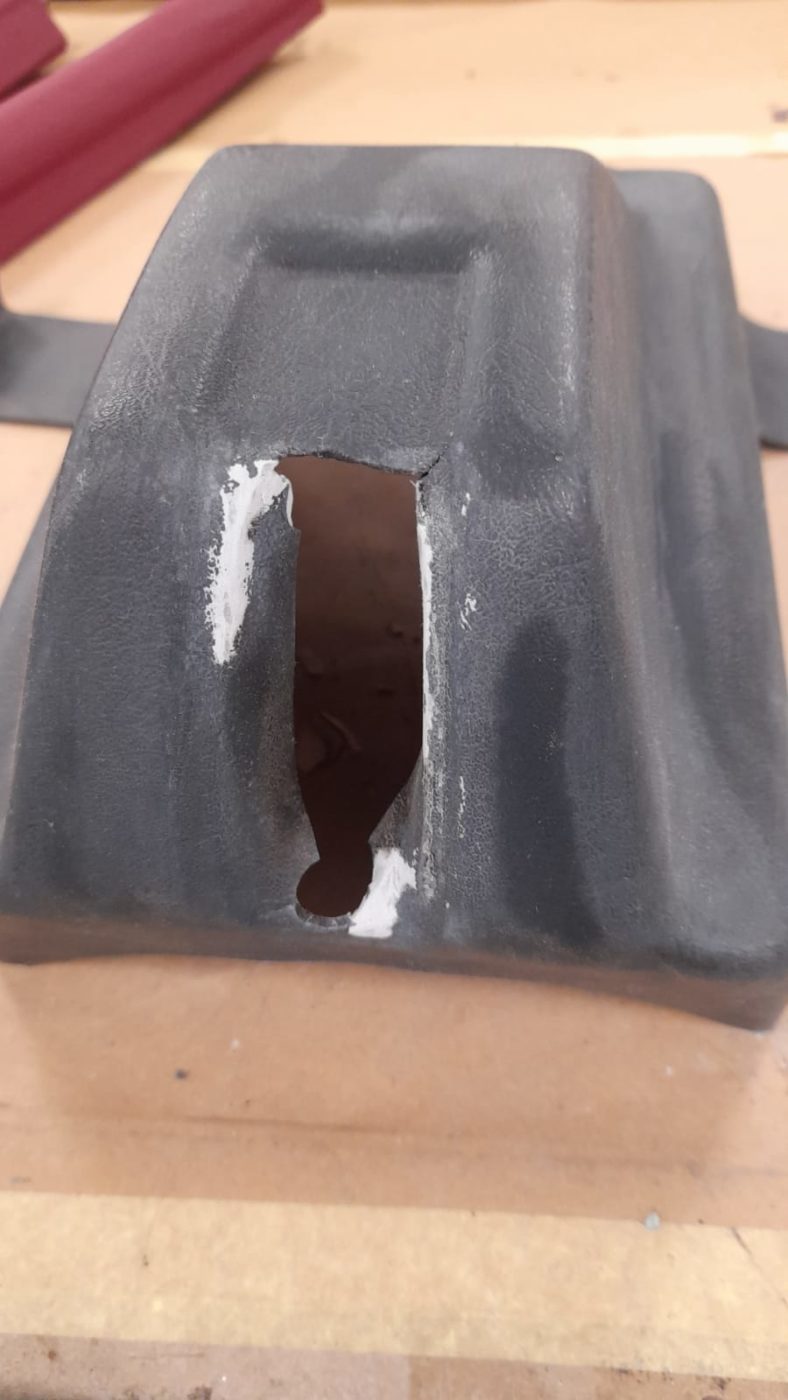
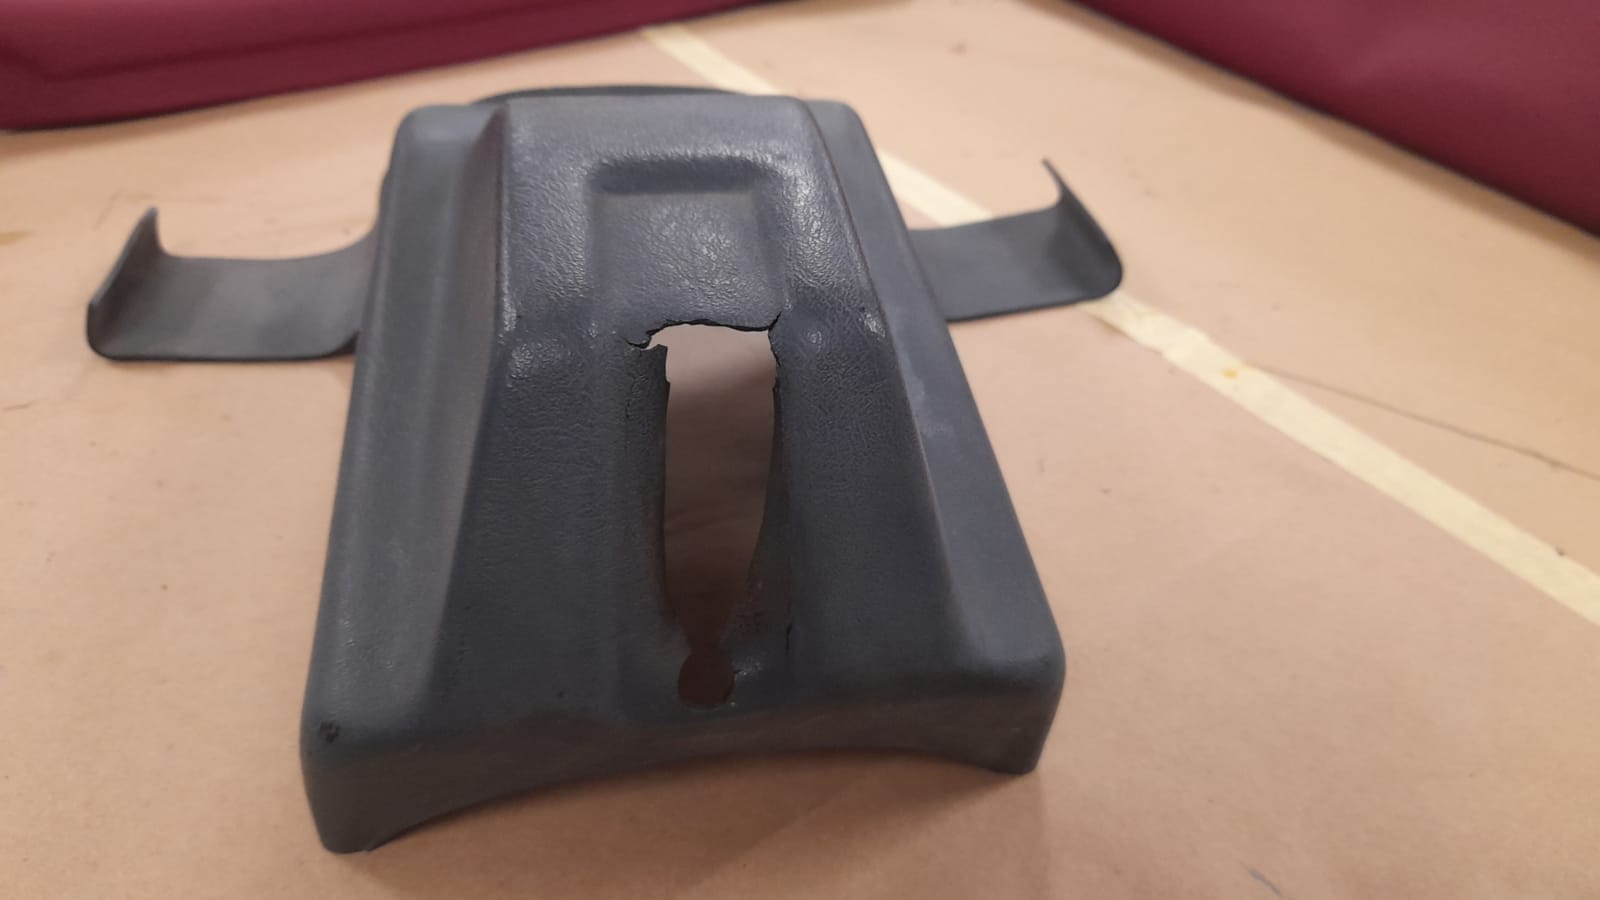
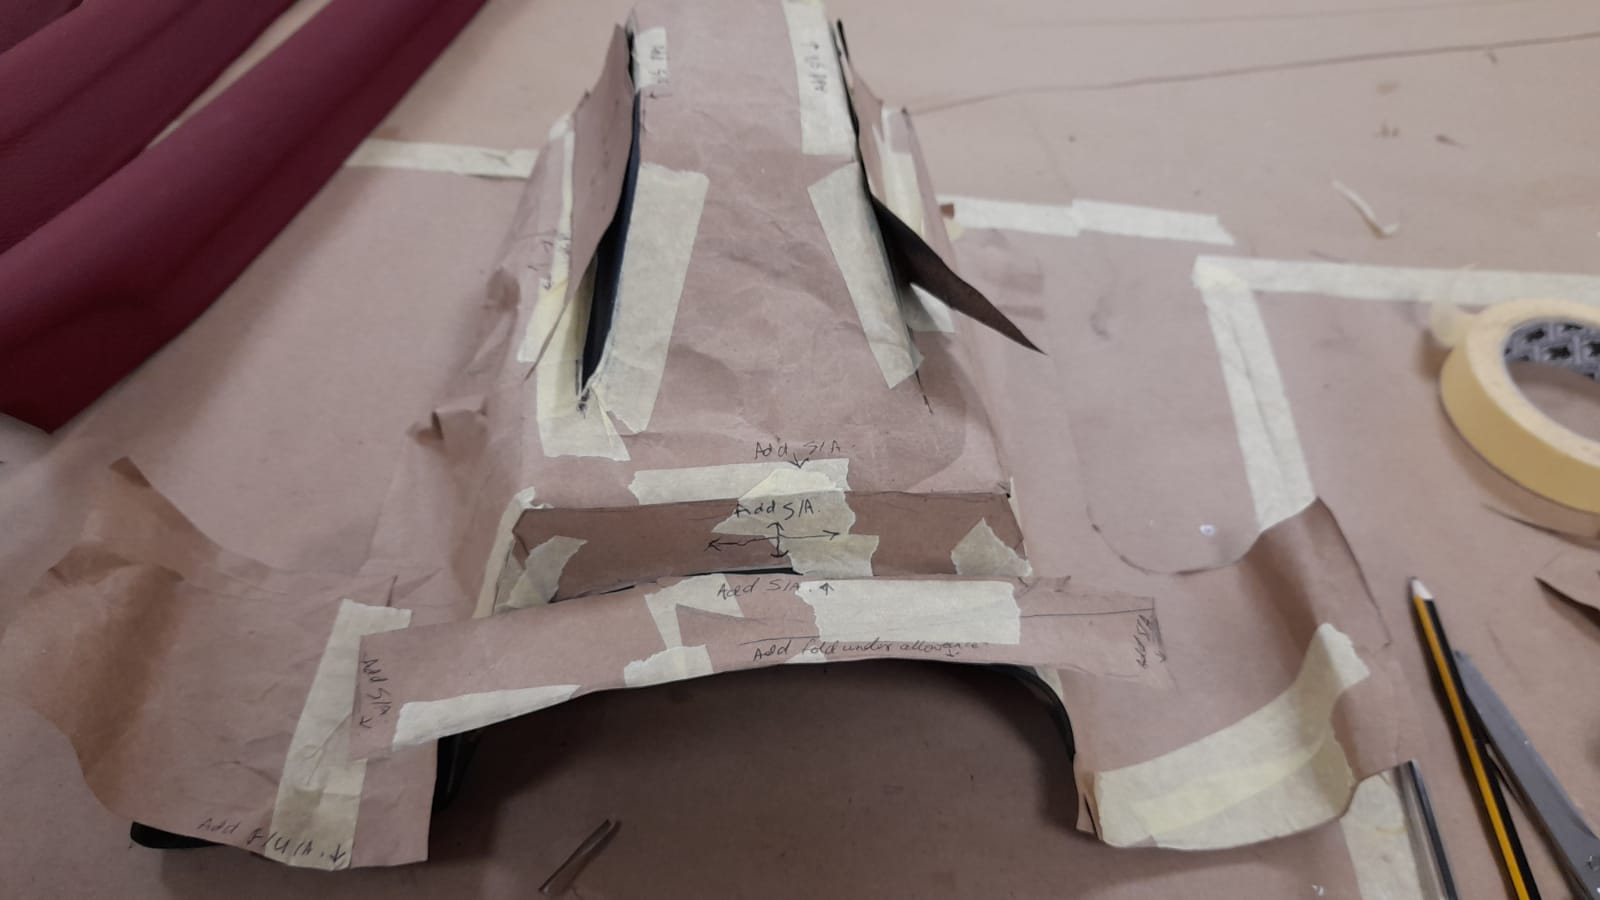
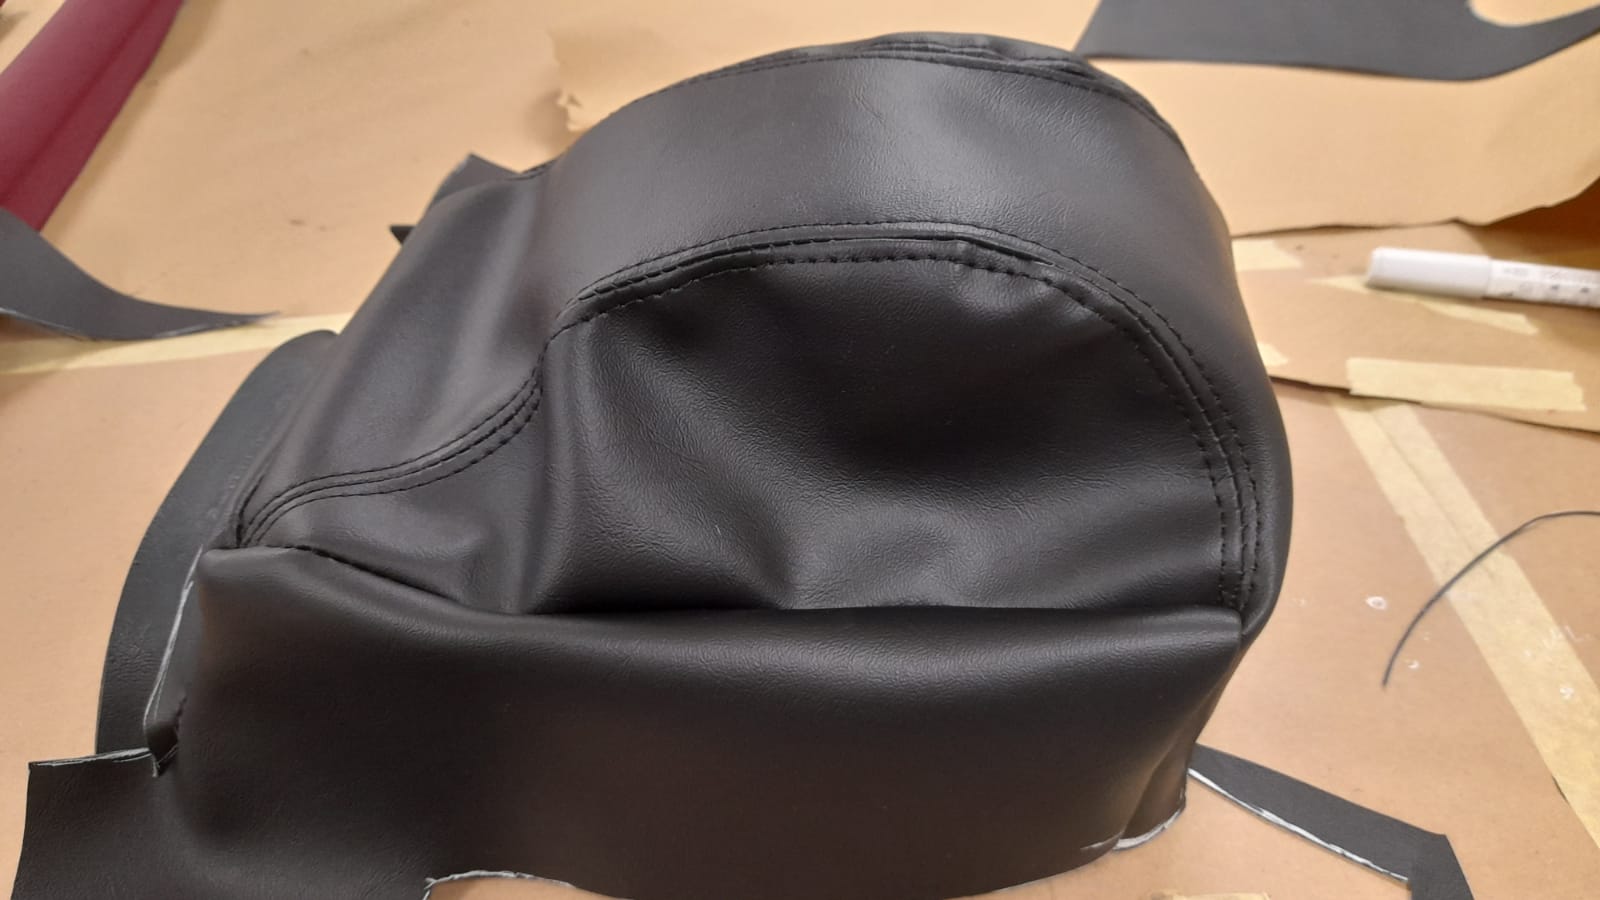
Lydia has been focusing on preparing the gearstick holder. Once stripped, it is ready for recovering by sanding and filling. Lydia makes the first draft of the paper patterns, she then cuts out vinyl for a vinyl draft copy. By sewing the vinyl together, Lydia can see how the cover would fit and address any issues that may arise. Once the first draft is made, Lydia then makes a second draft paper pattern, makes it in vinyl and re-addresses how the parts come together. This process also allows her to test out how much topstitching to sew on and if her measurements are correct. From these drafts, Lydia took the decision to add topstitching all over as she believed this would be the most efficient design.
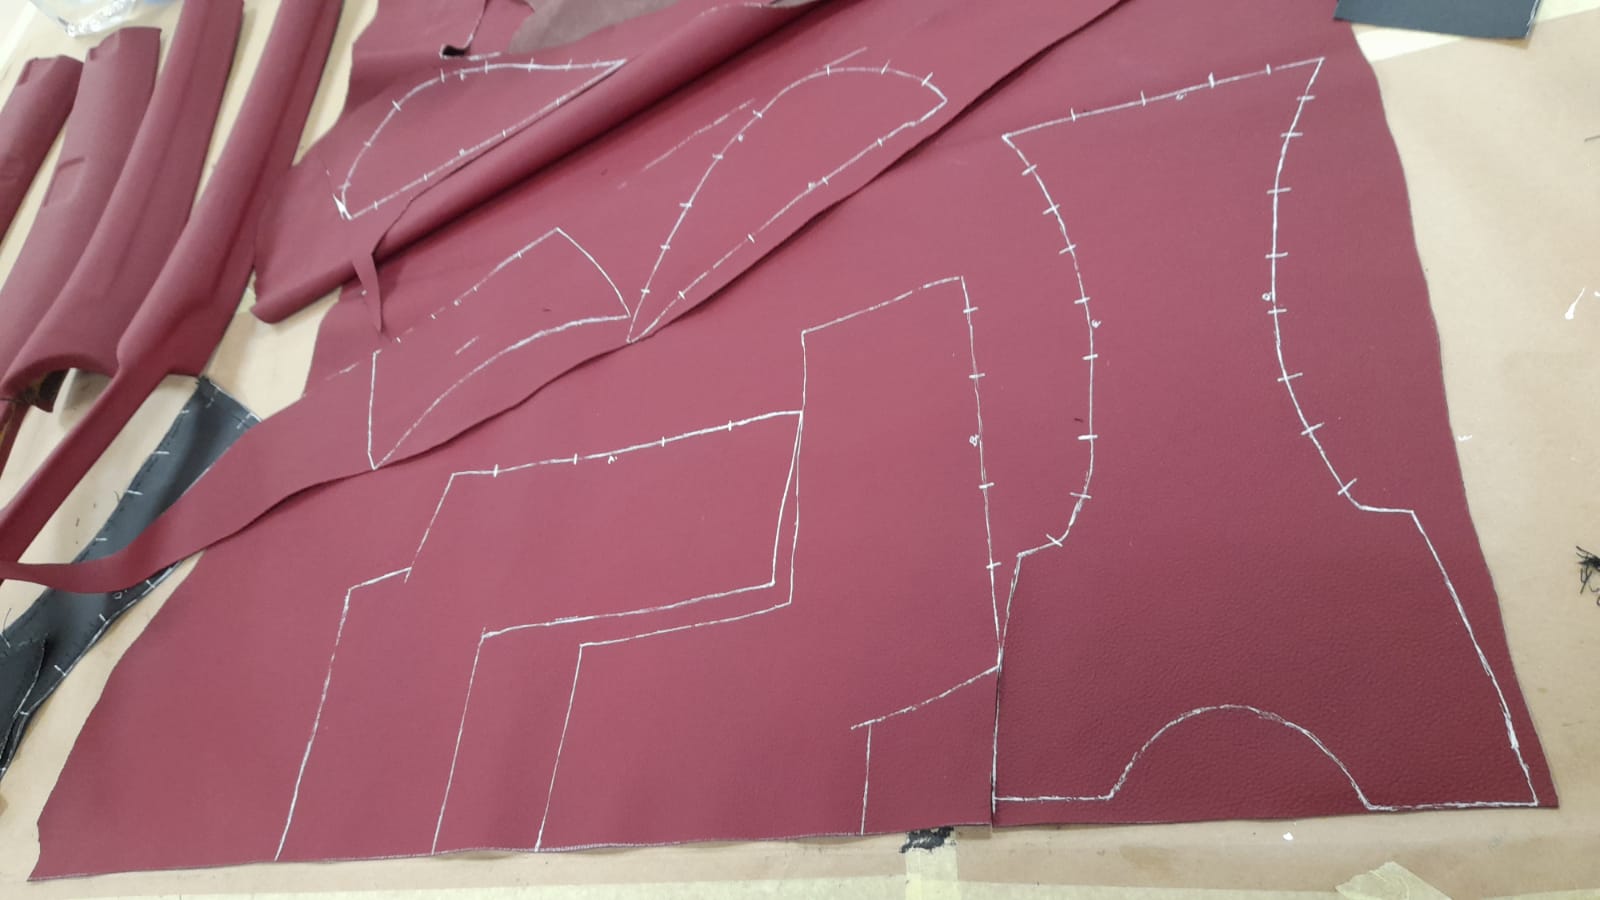
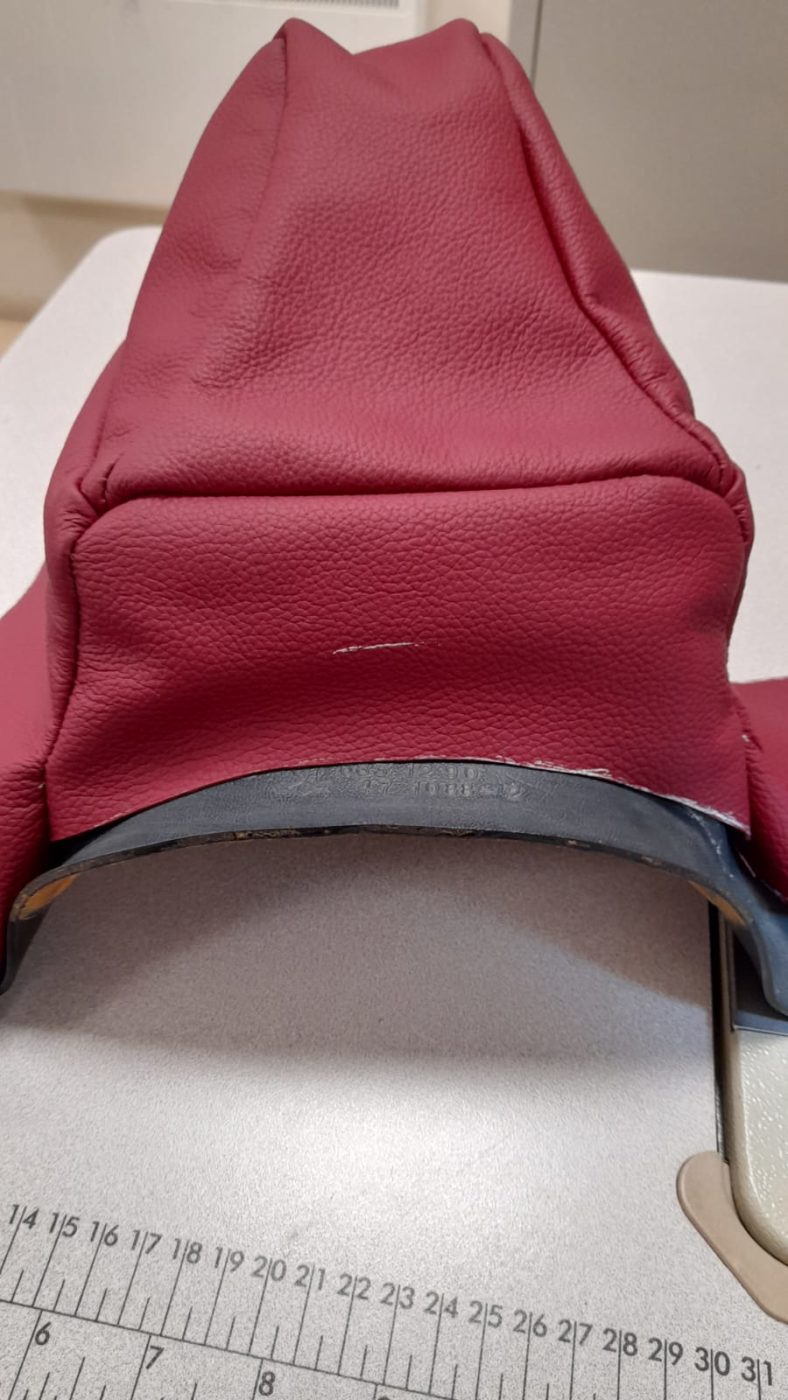
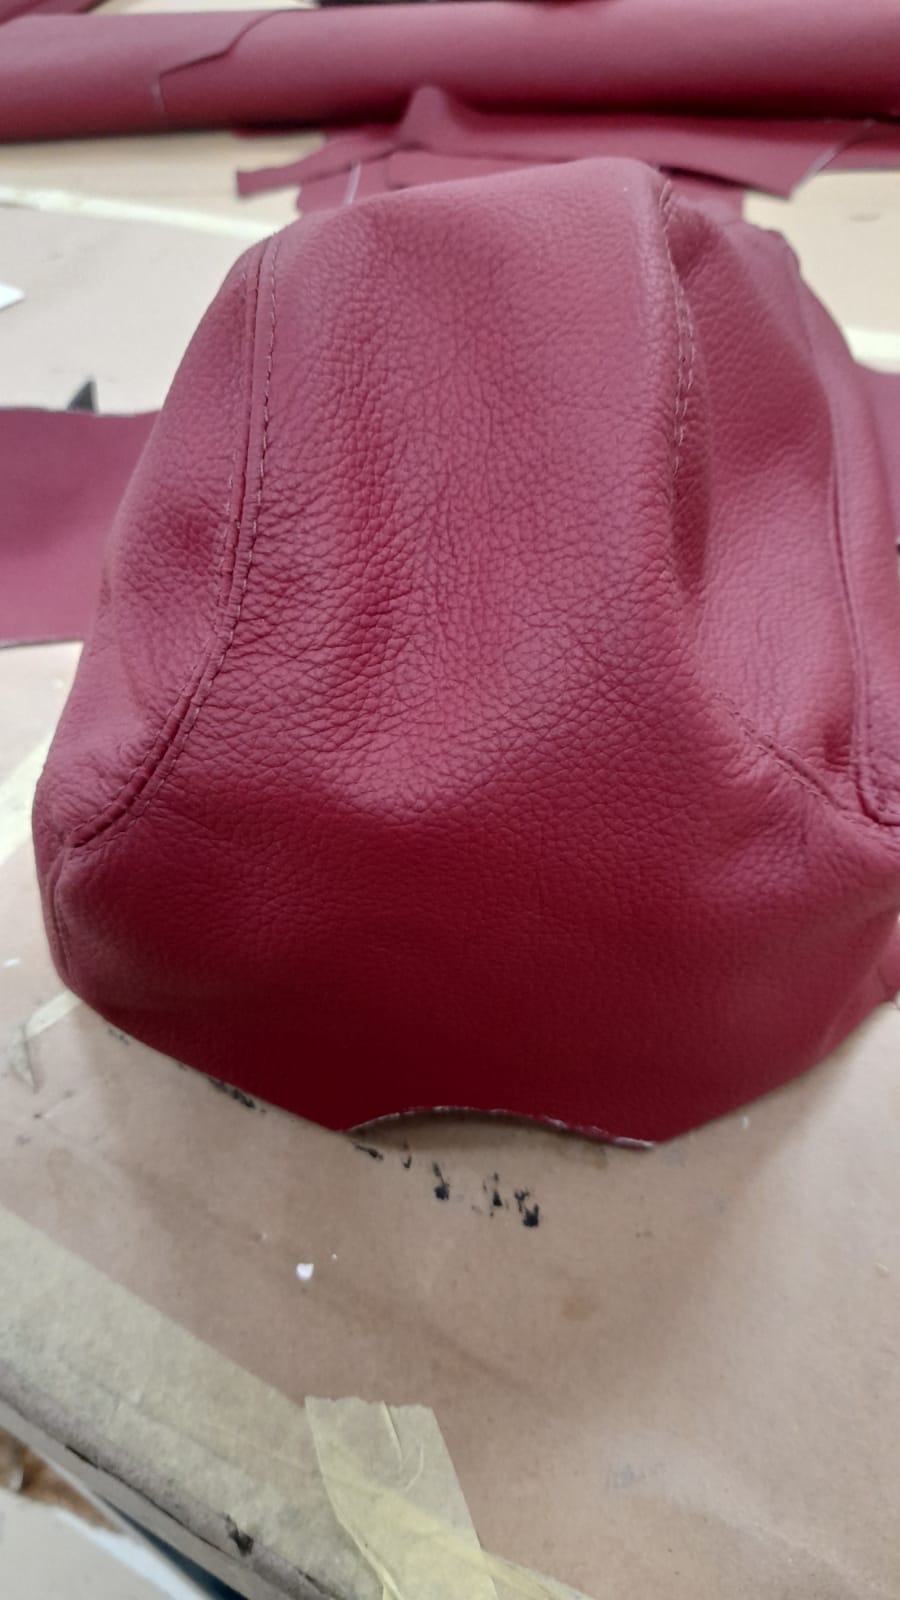
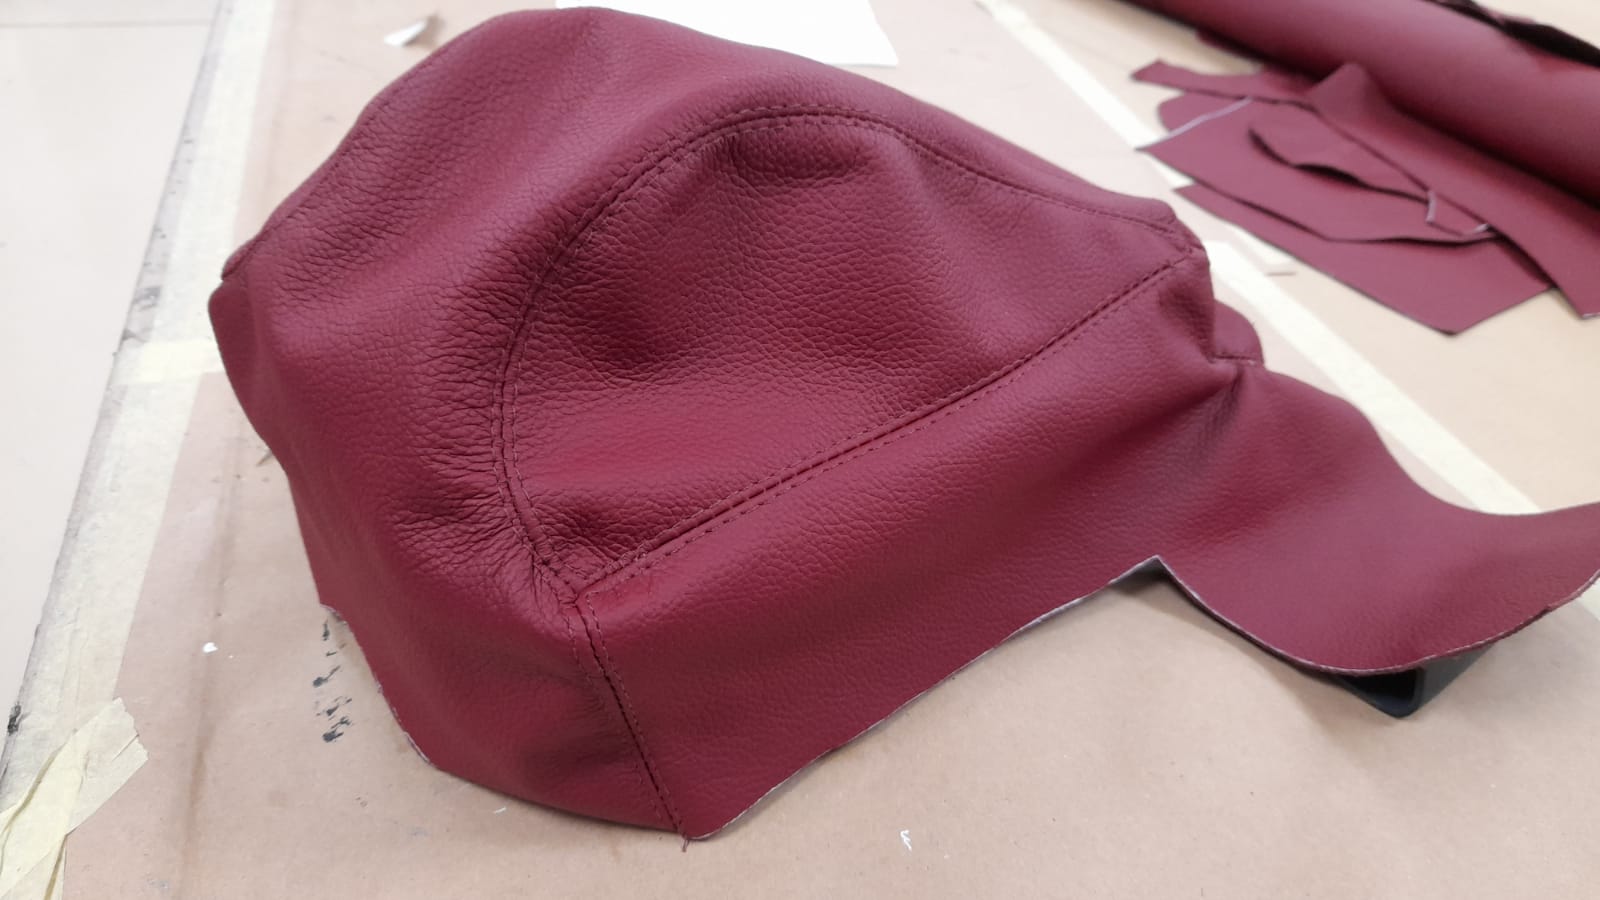
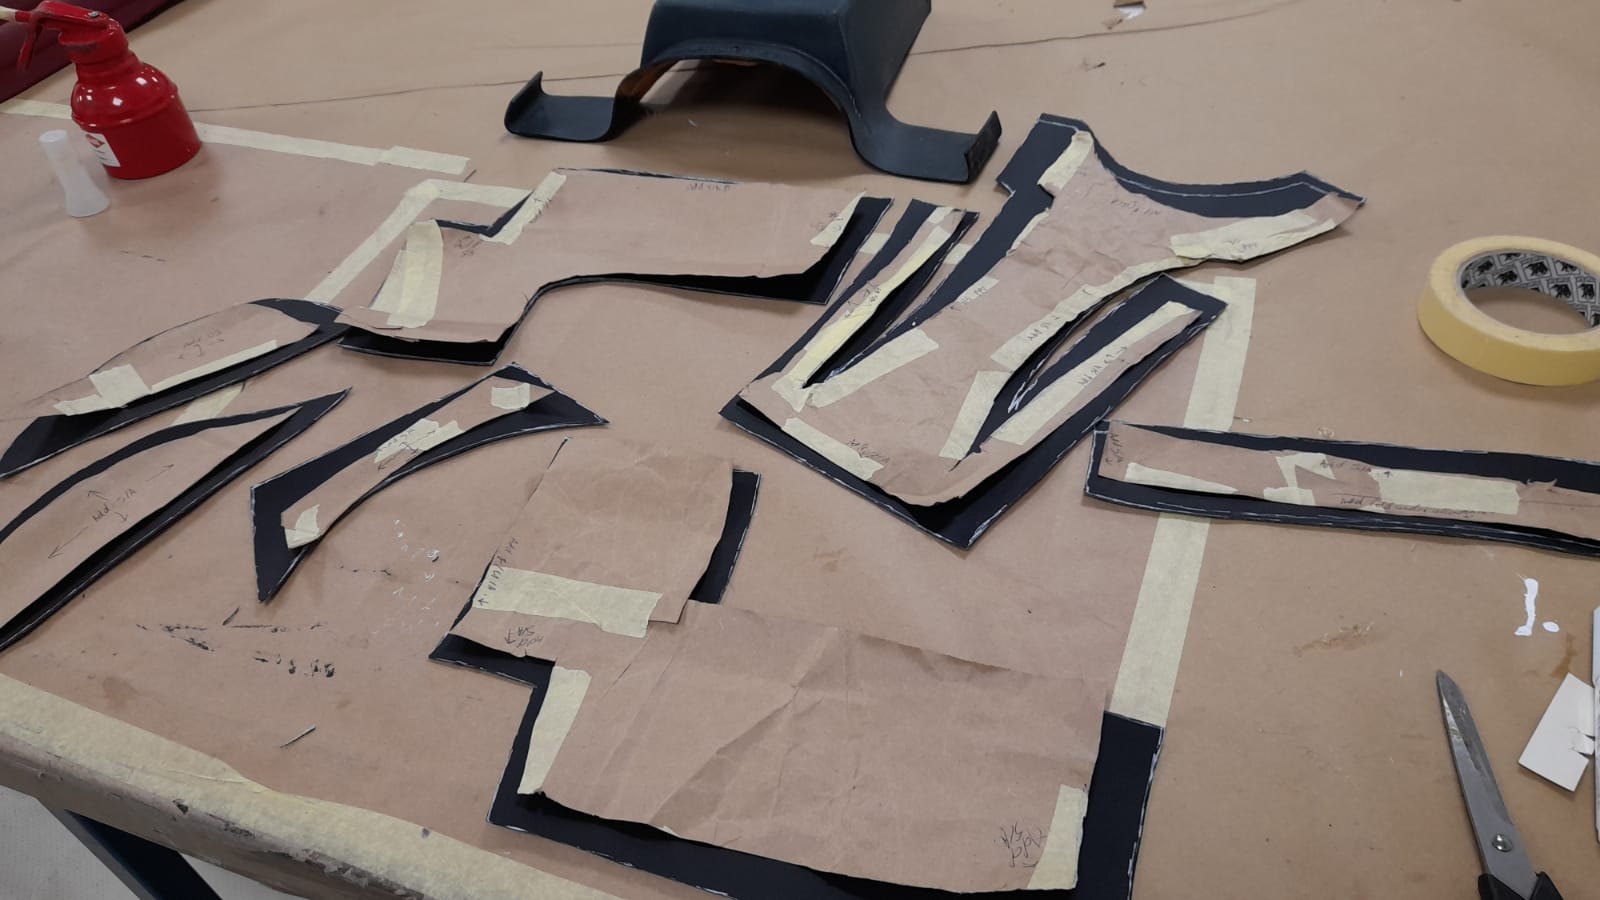
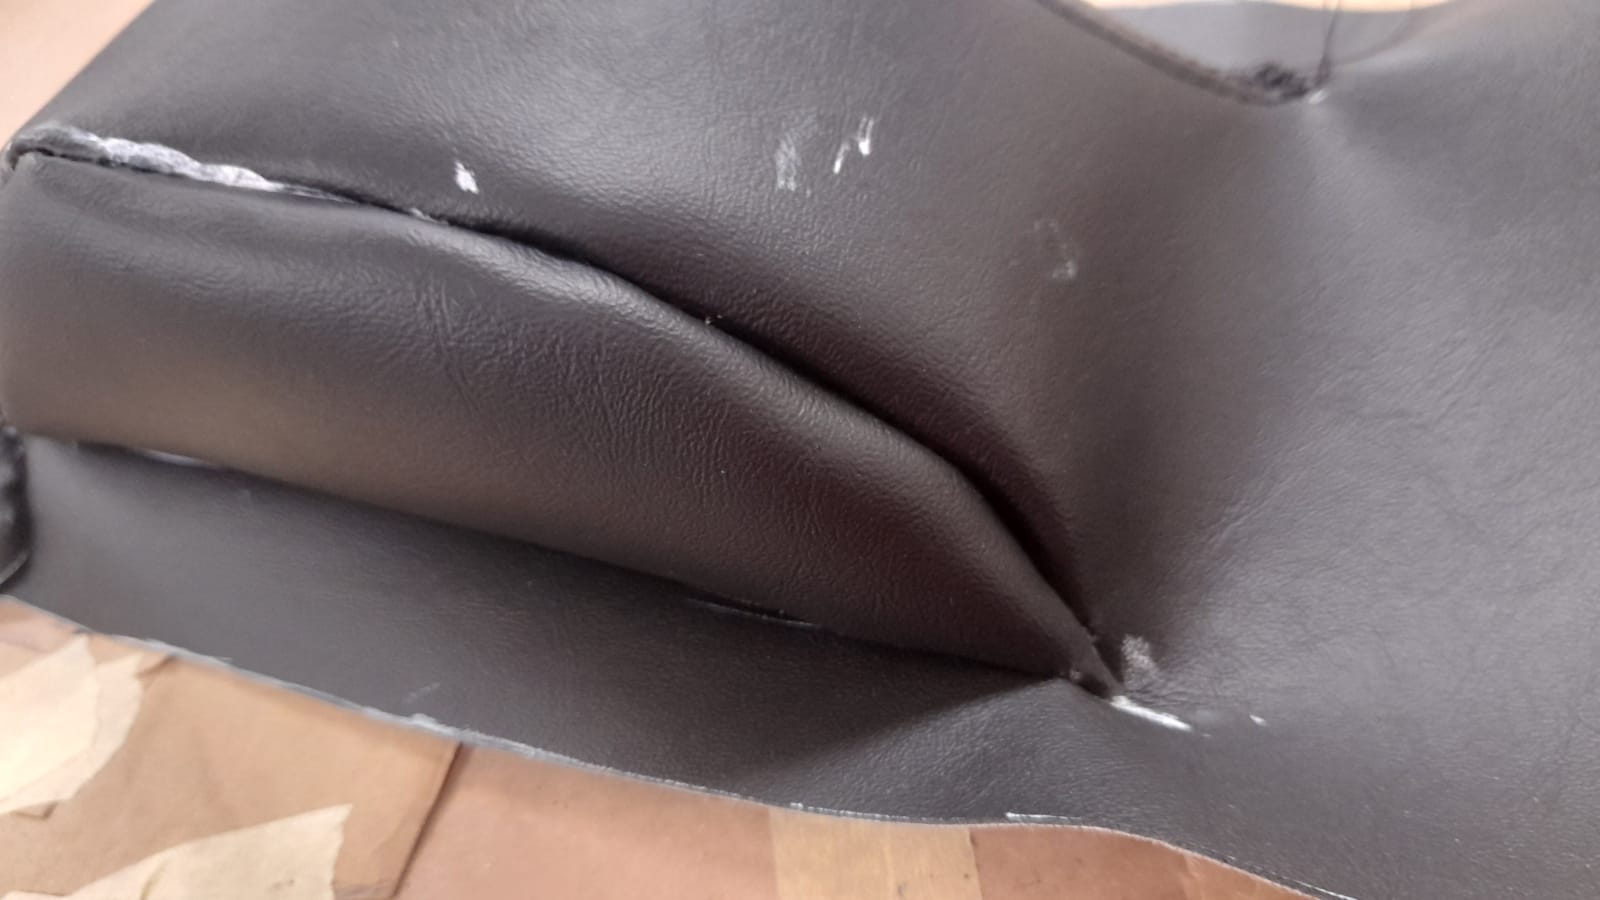
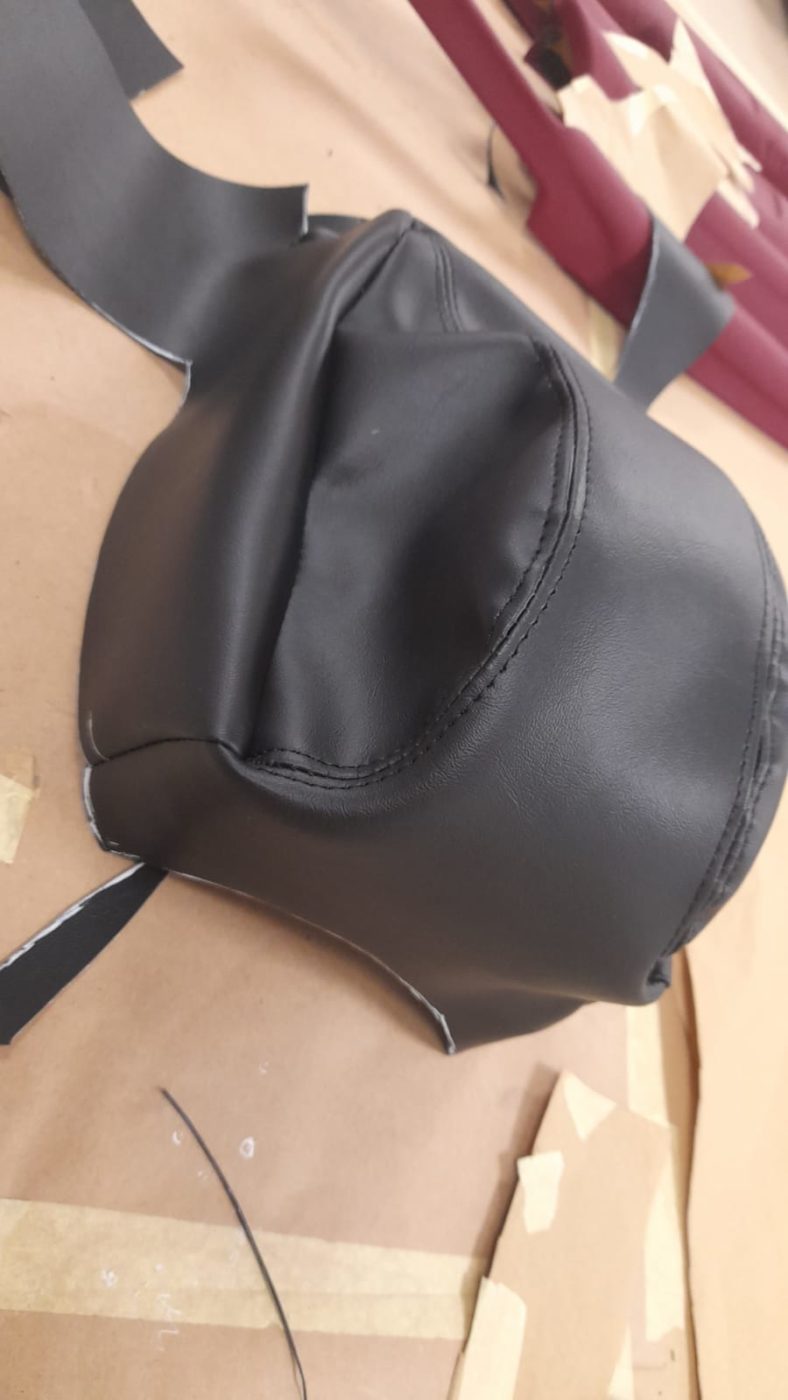
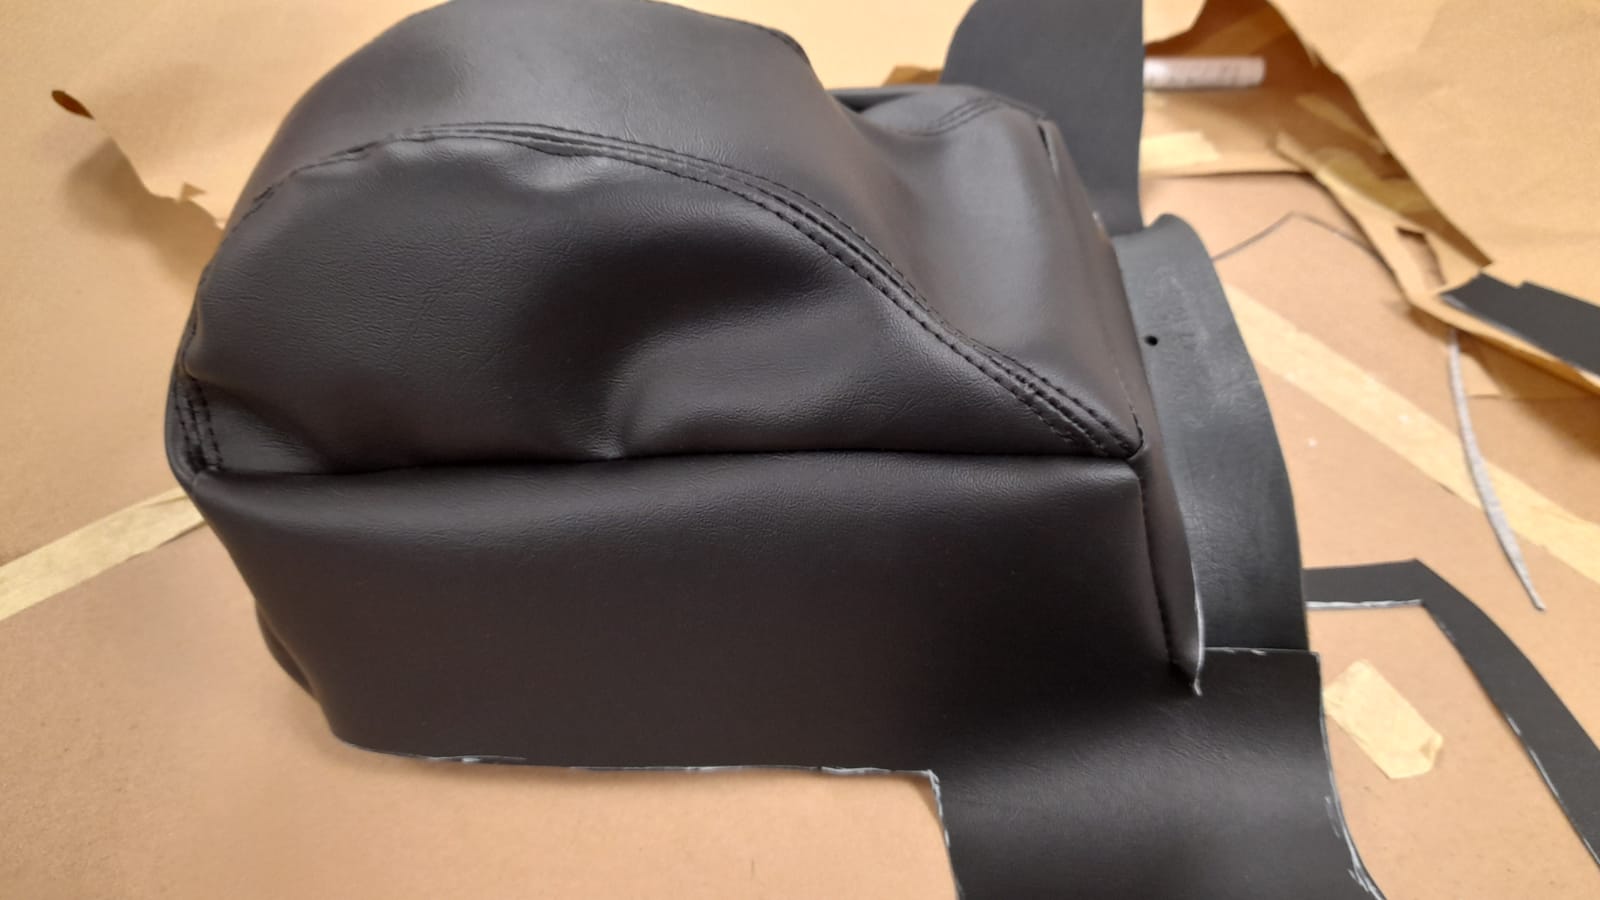
Once the drafts have been made and corrected, Lydia can start making the real leather cover. She does this by marking up the second vinyl draft so that she can take it apart and use the pattern pieces as a guide for the leather. Once the leather is all marked up and ready for cutting out, the leather pieces can be sewn together, topstitched all over and fit.
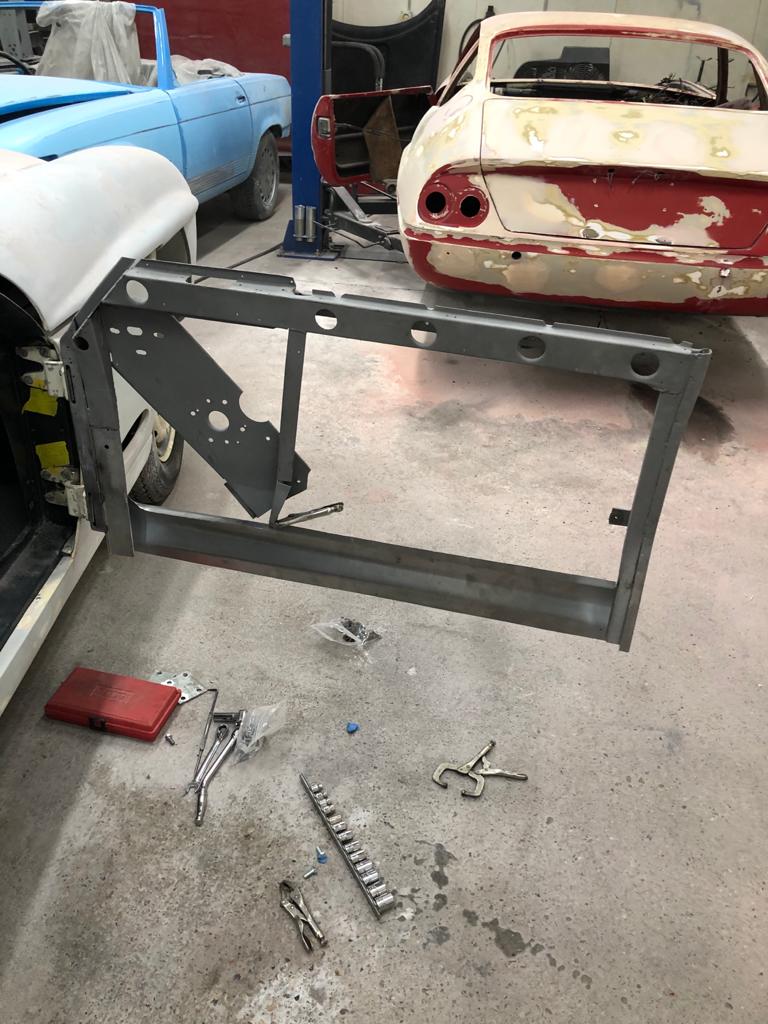
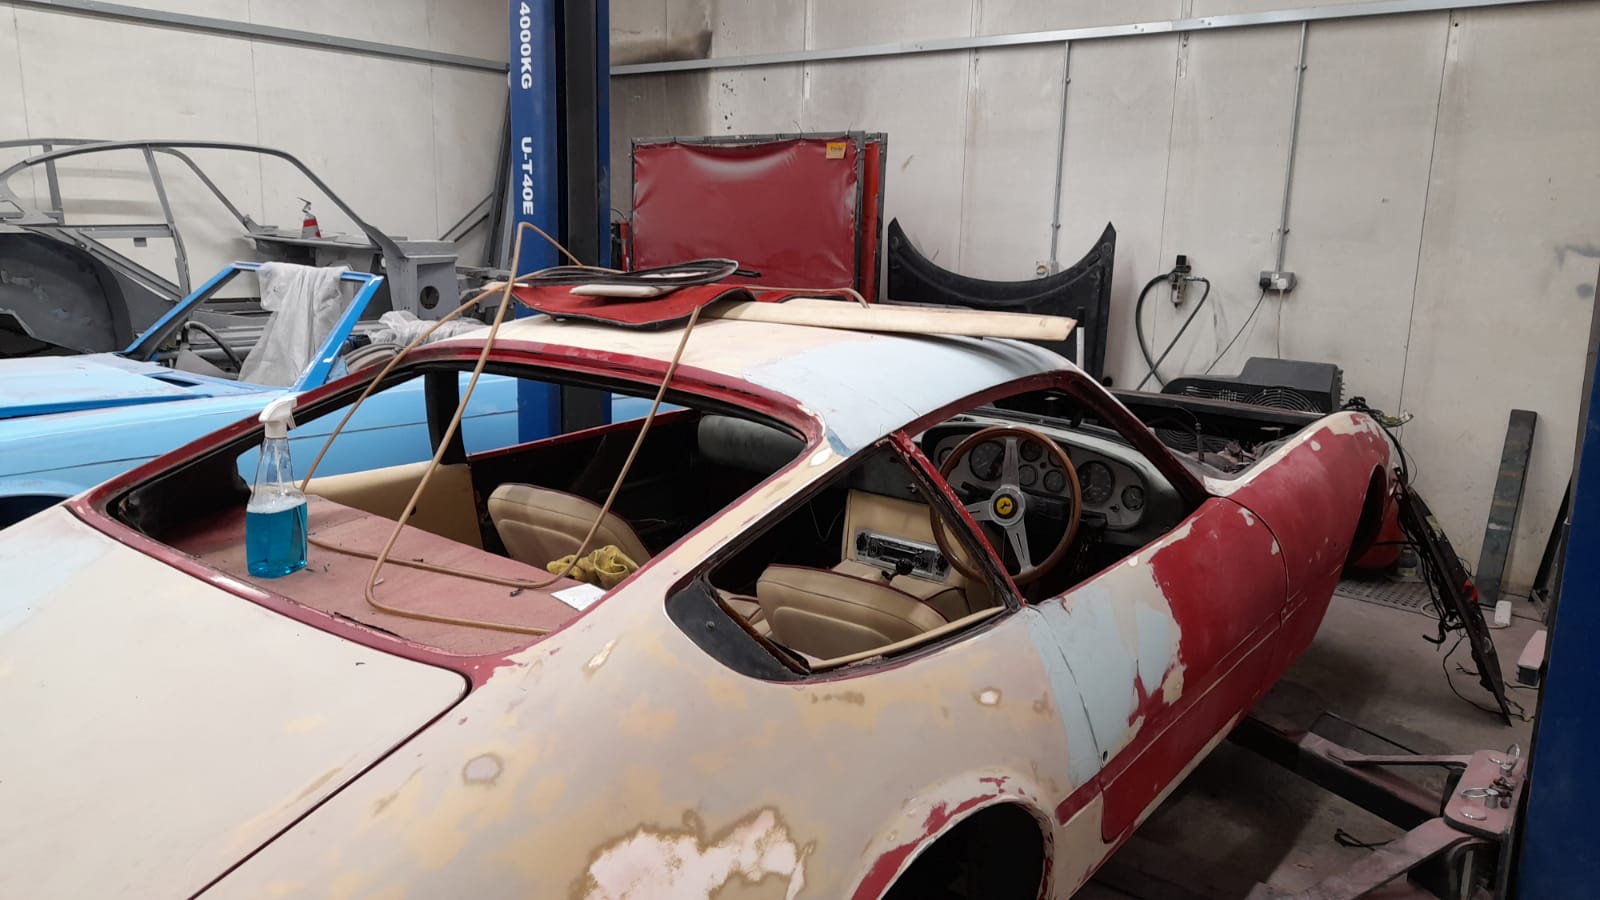
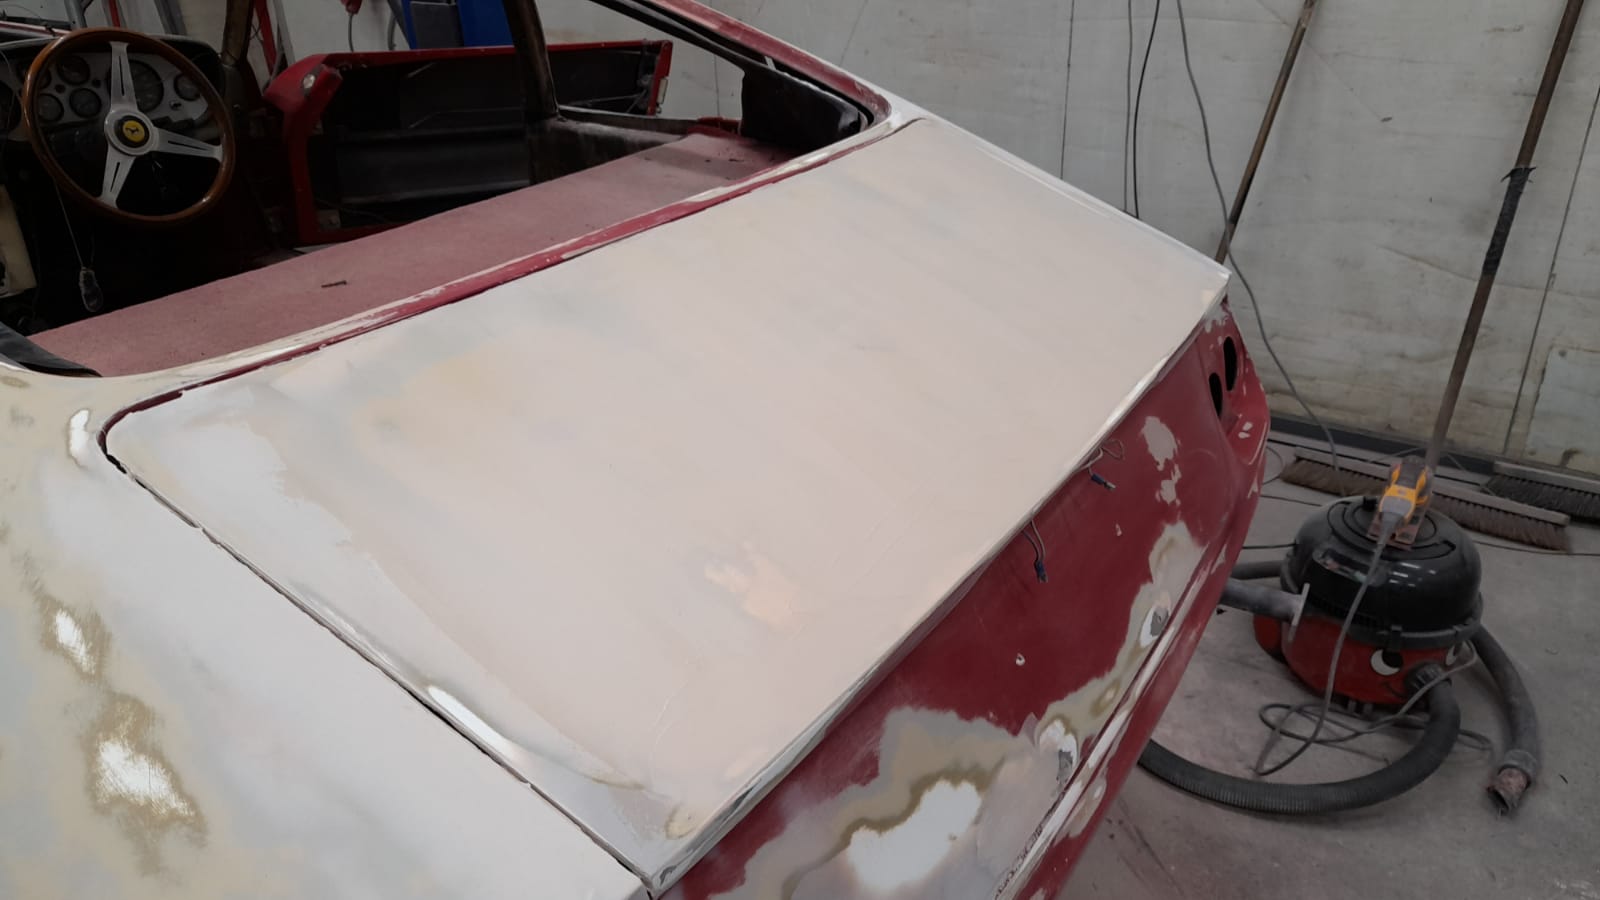
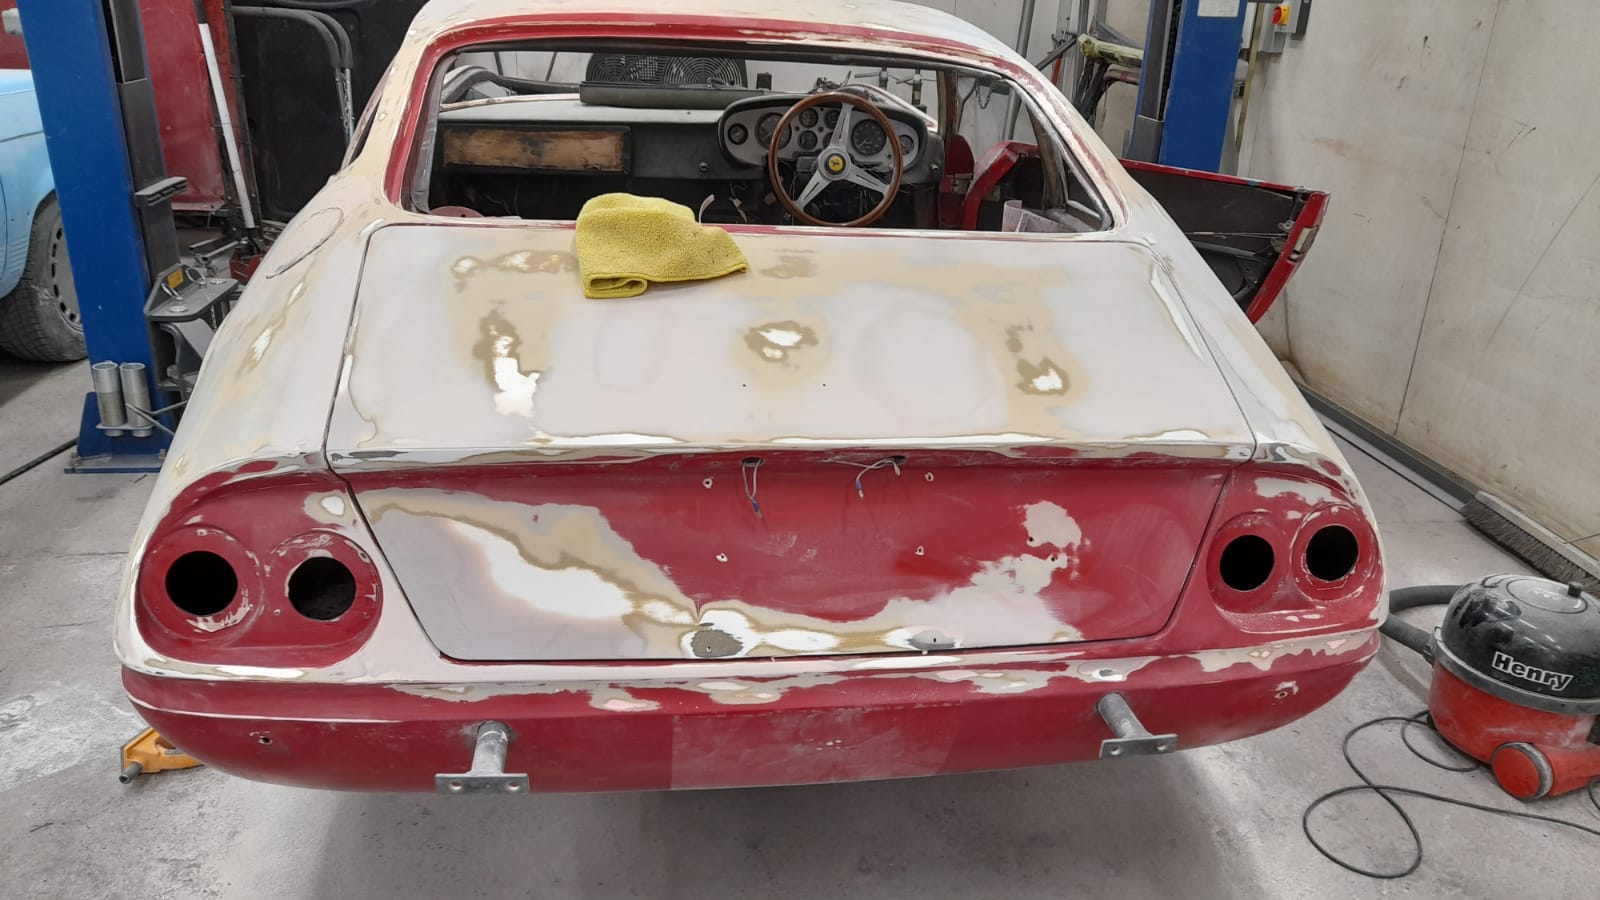
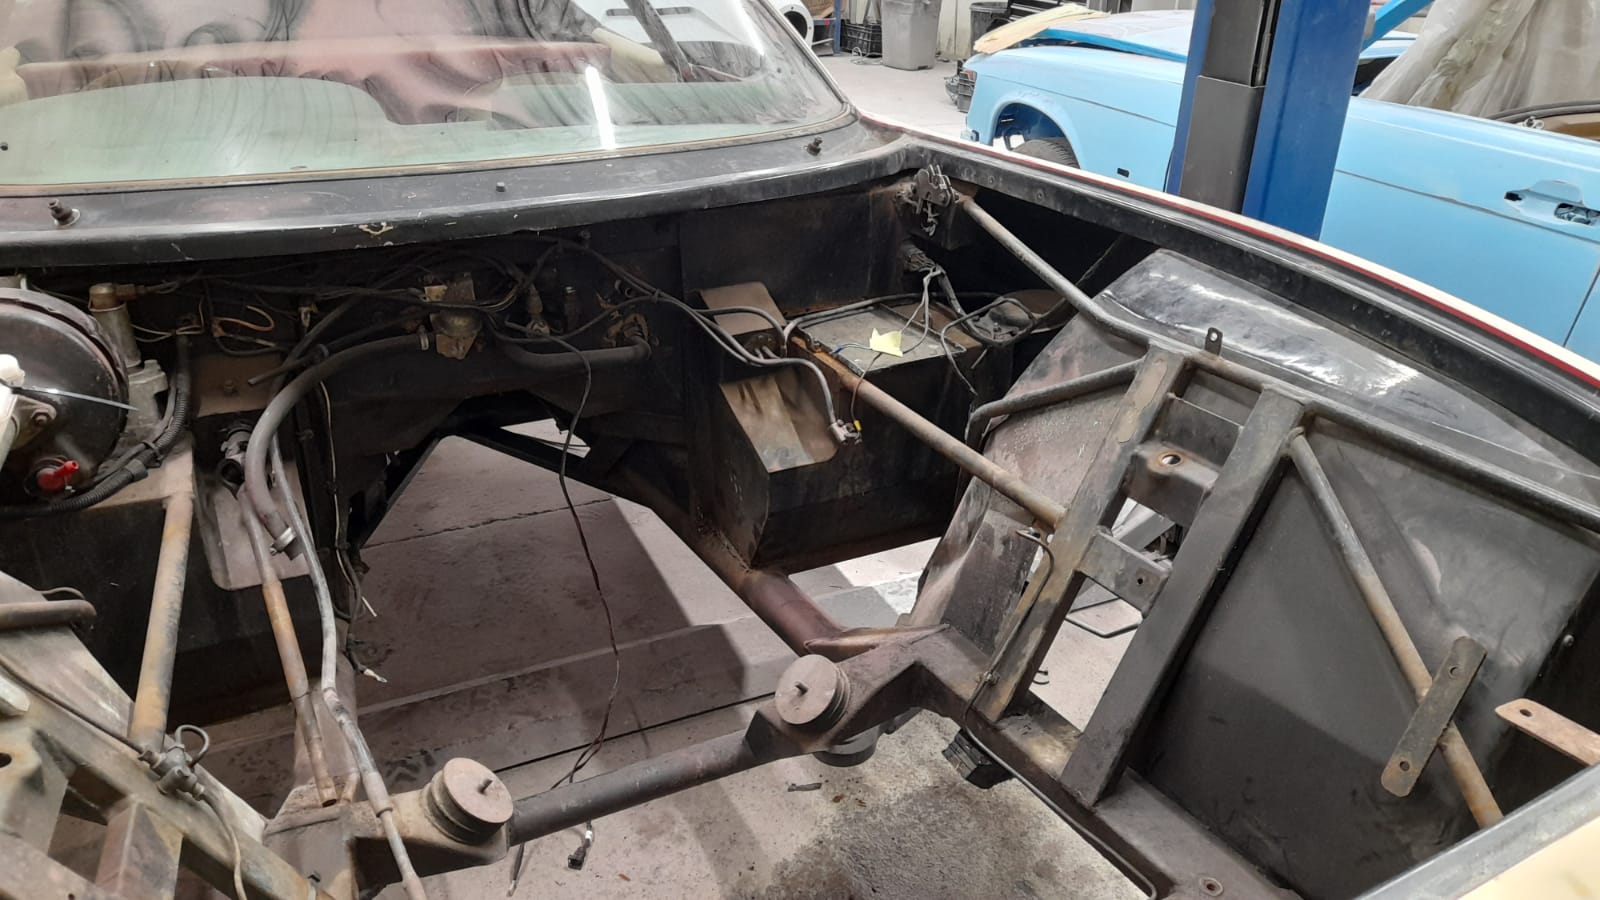
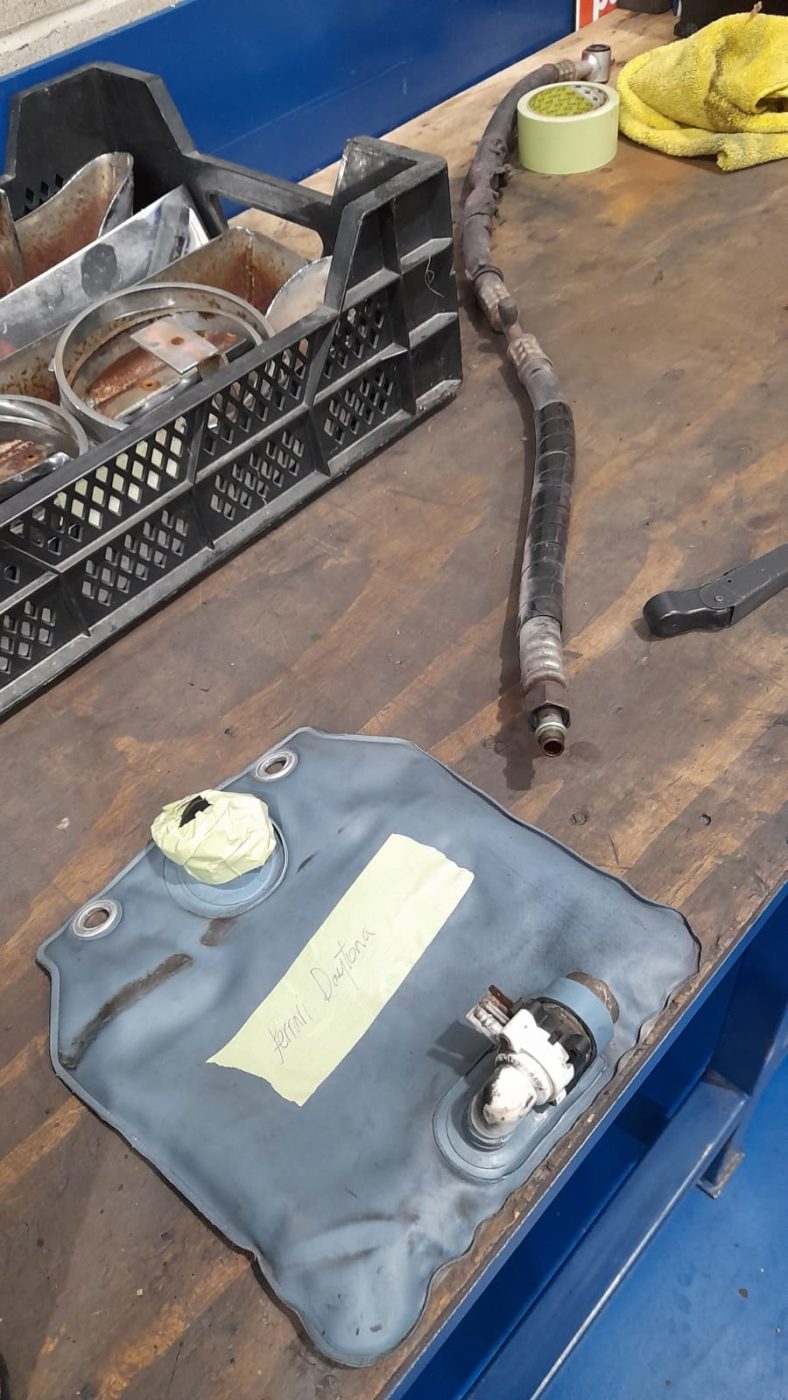
There’s a long list of work that’s going on with the Daytona, which mostly has Scott at the helm. The brakes have been sent off to be refurbished at Norfolk Brake and Clutch, the chrome work will be sent to our friend Tony Wyatt and we will do the stainless steel refurbishments in house. As seen in a previous Daytona update, Tom has taken apart the rear axel so it is now ready to be sandblasted. We’ve also found a leak in the differential which needs to therefore be rebuilt, as does the steering rack after finding a leak there too.

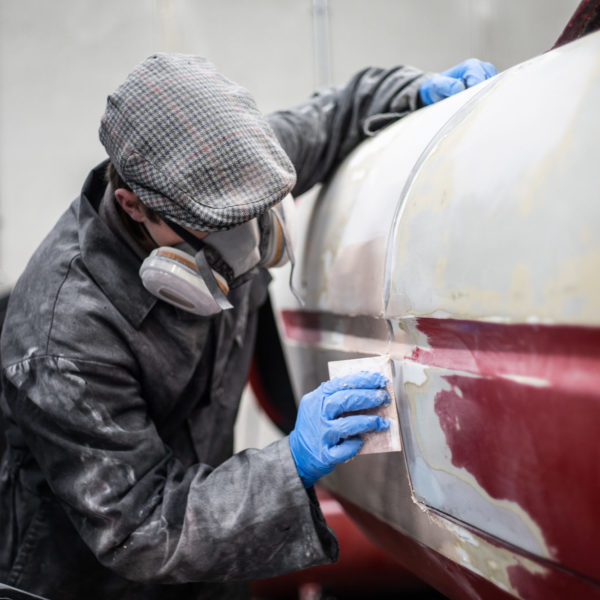
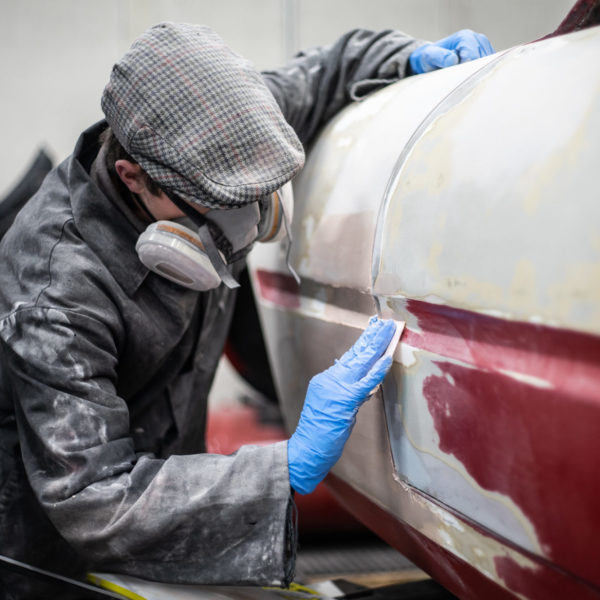
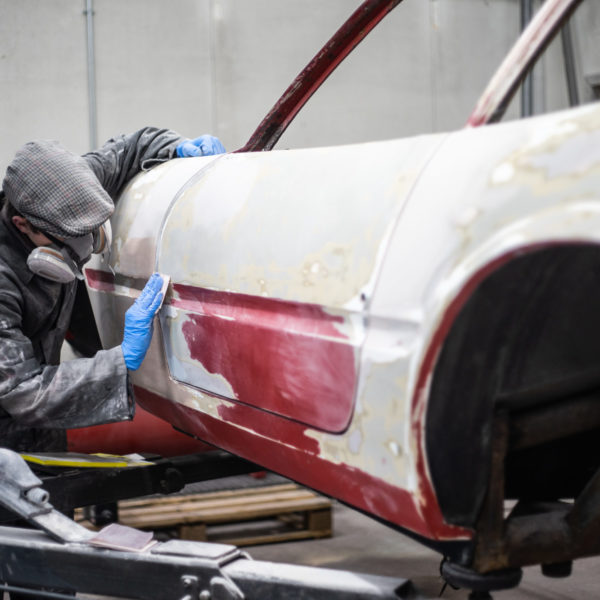
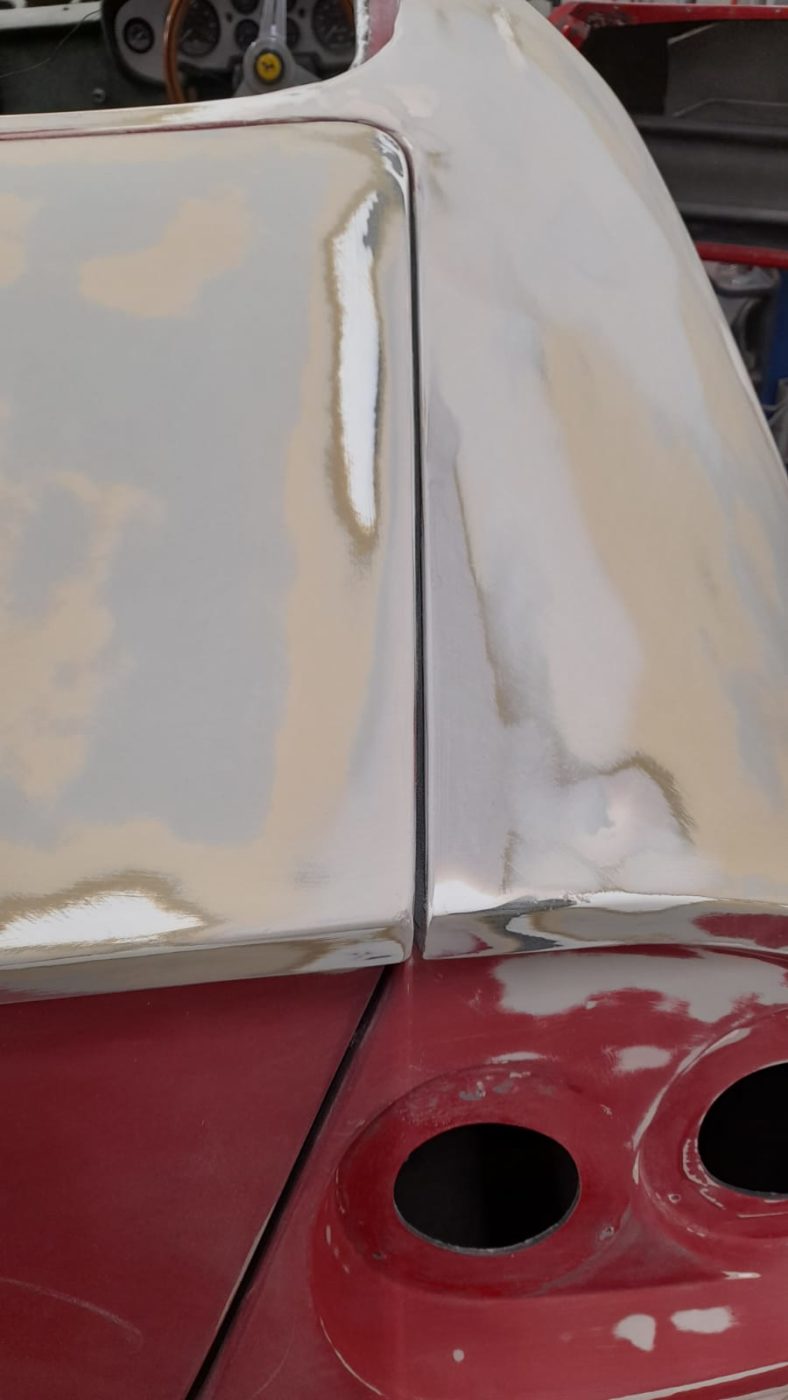
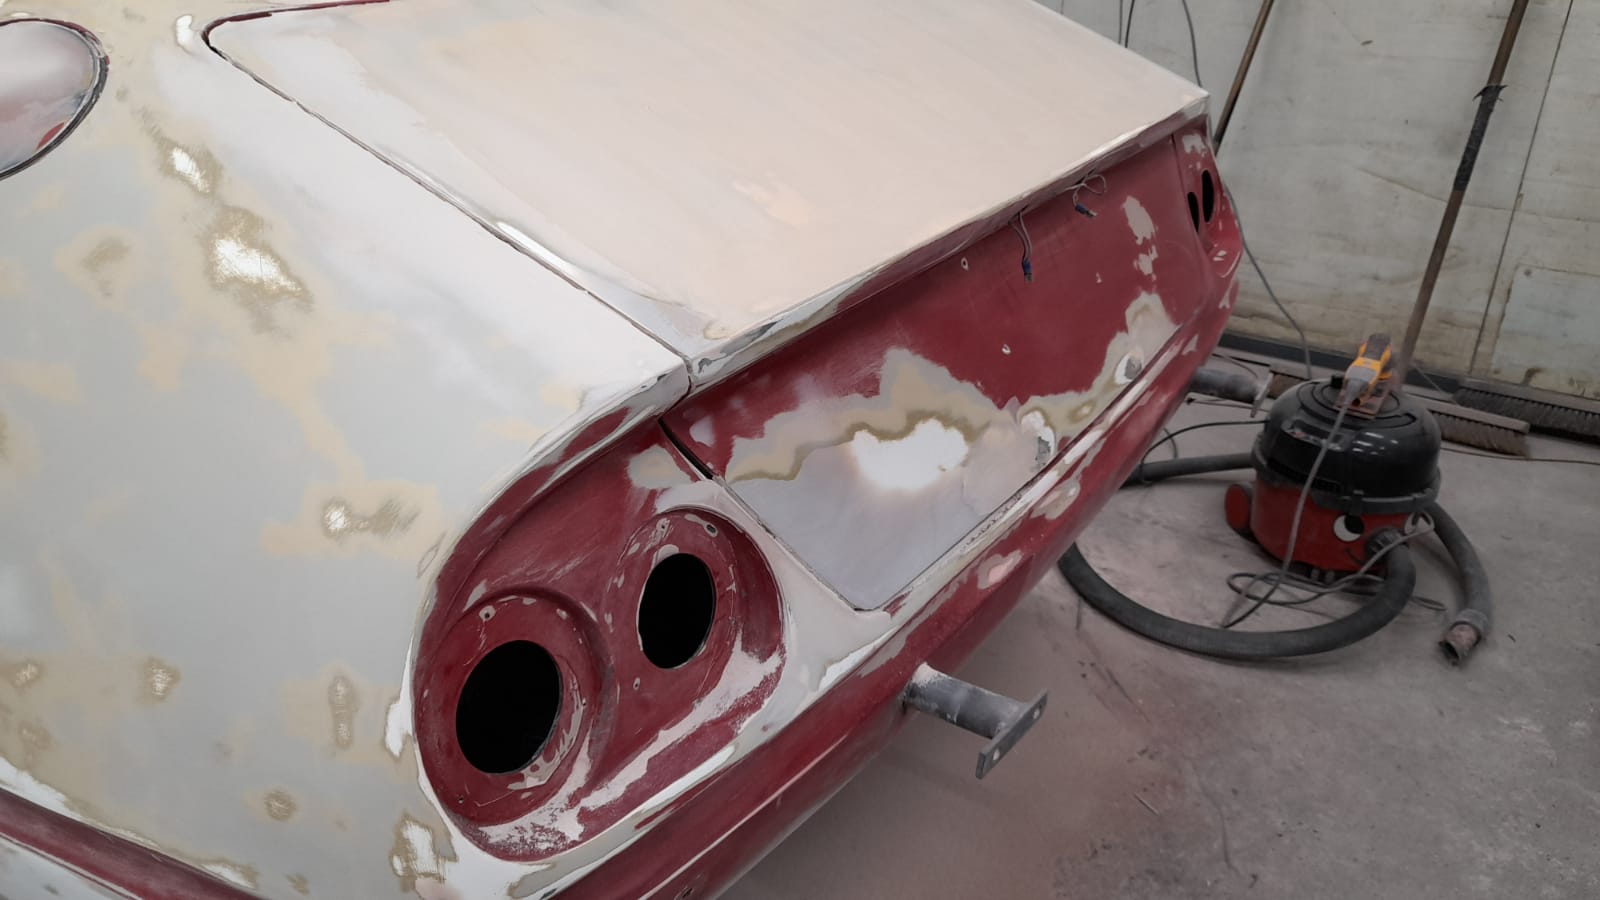
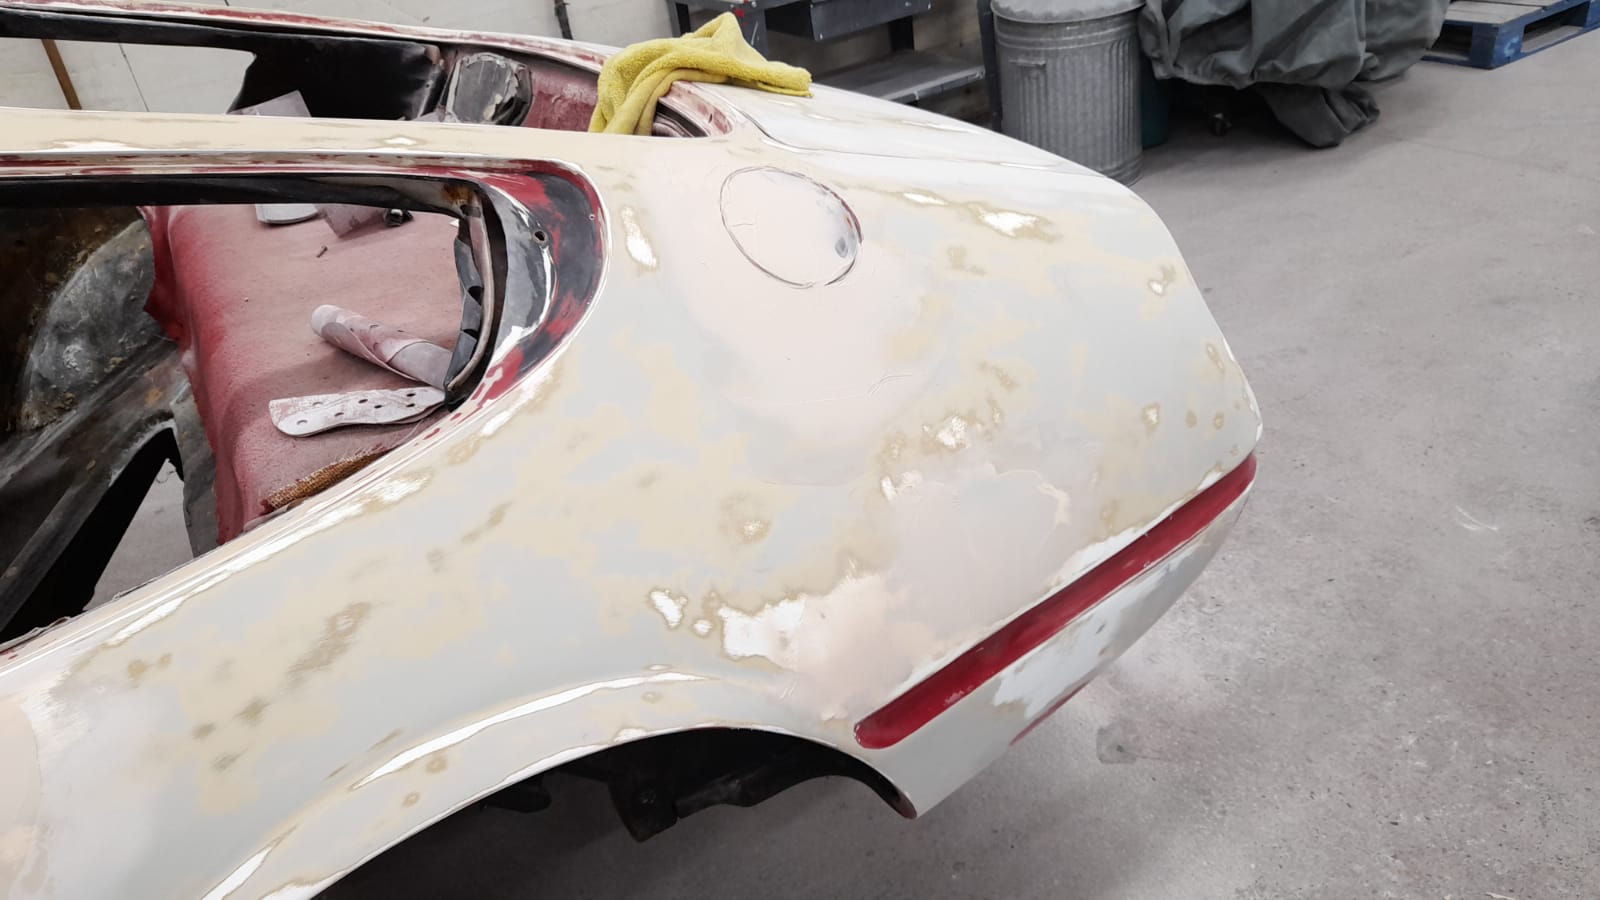
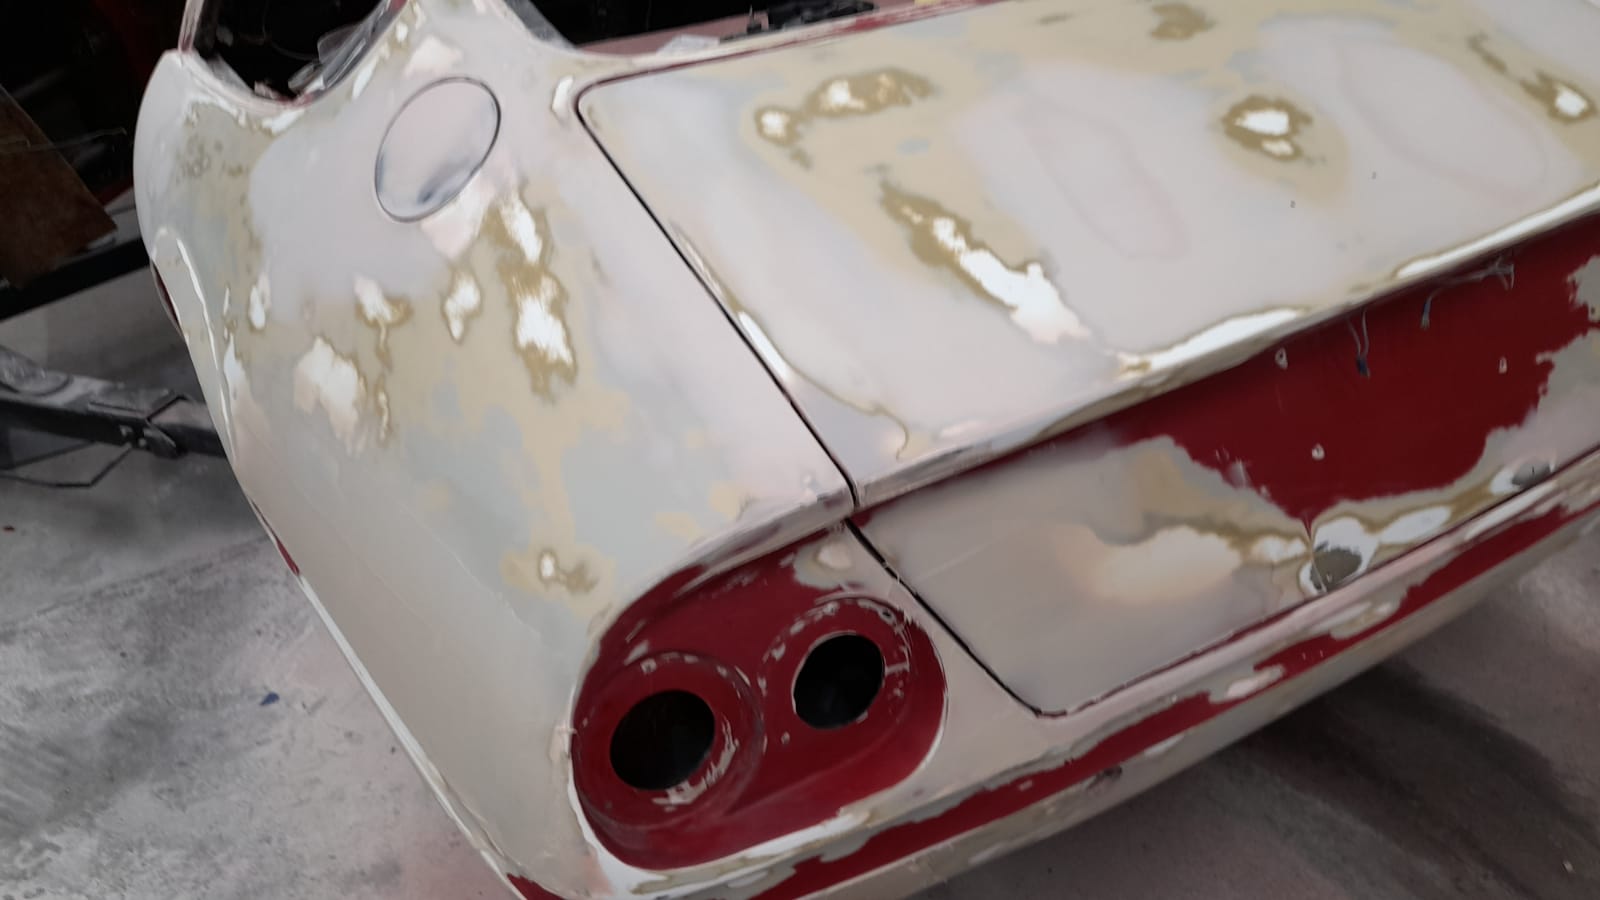
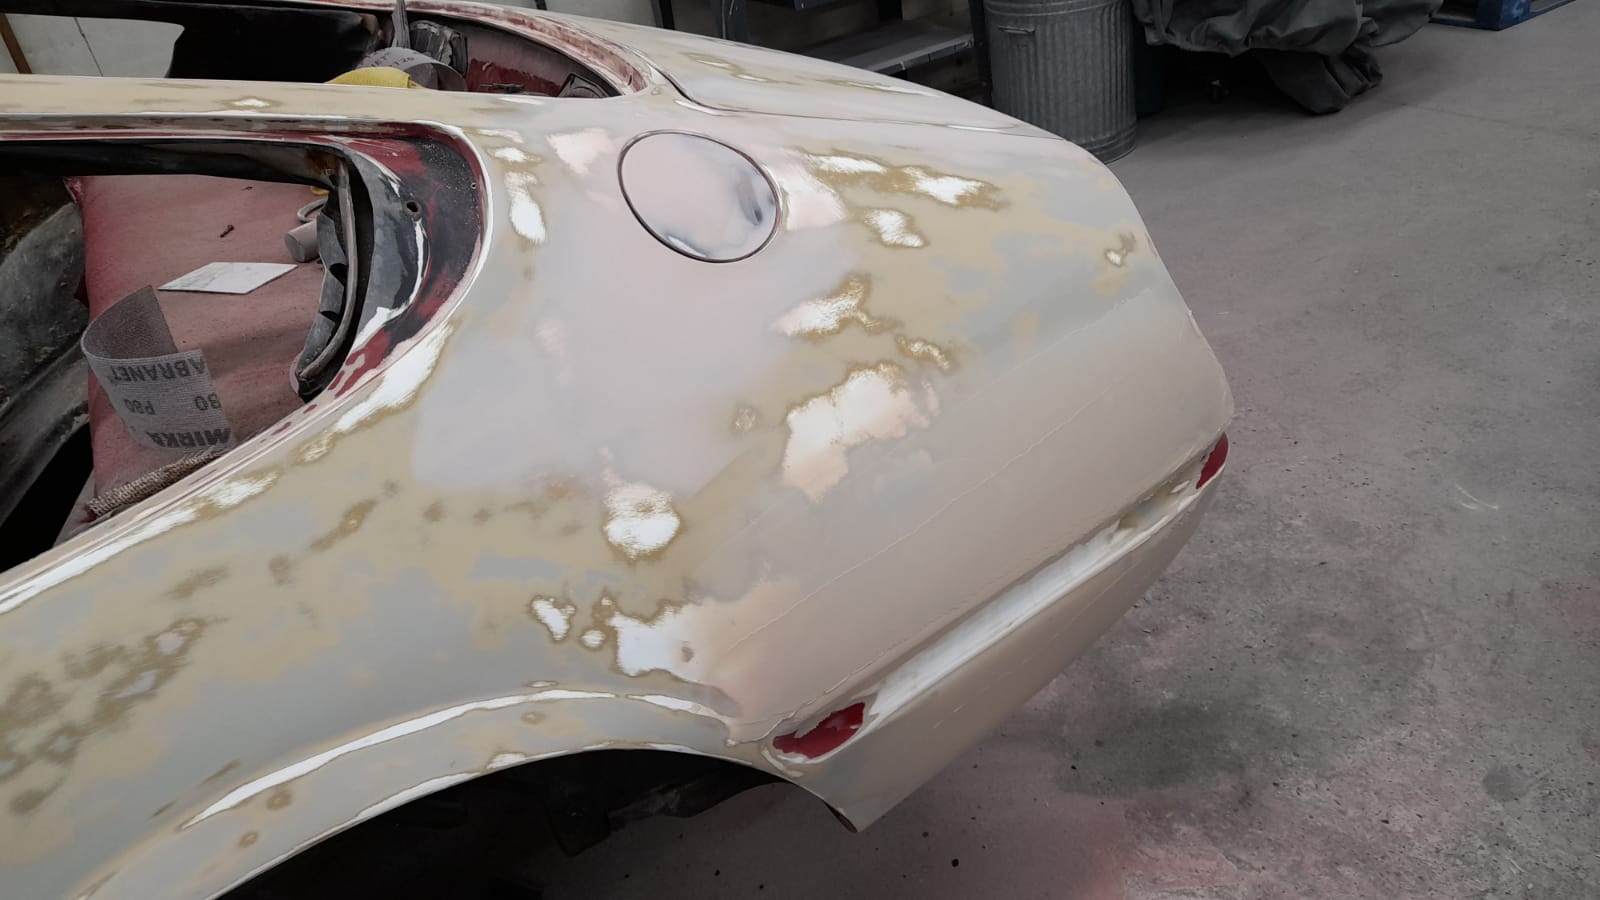
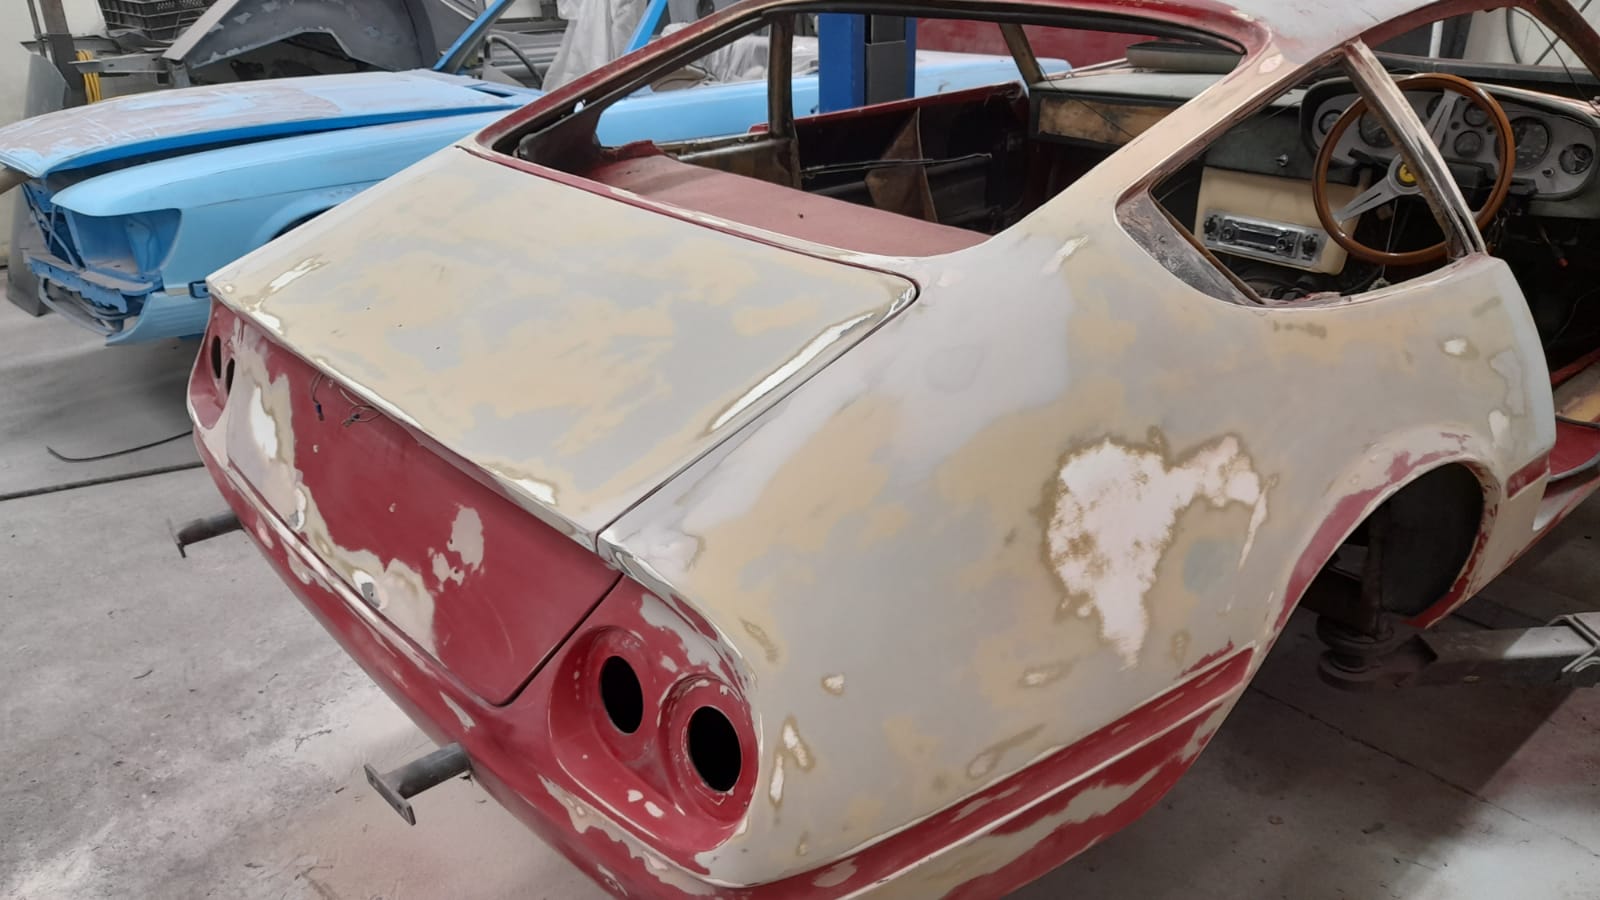
Scott has also been focusing on doing filler work on the Daytona body. He’s been repairing any imperfections in the body and getting neat panel gaps. This is done before we prep the body for paint.
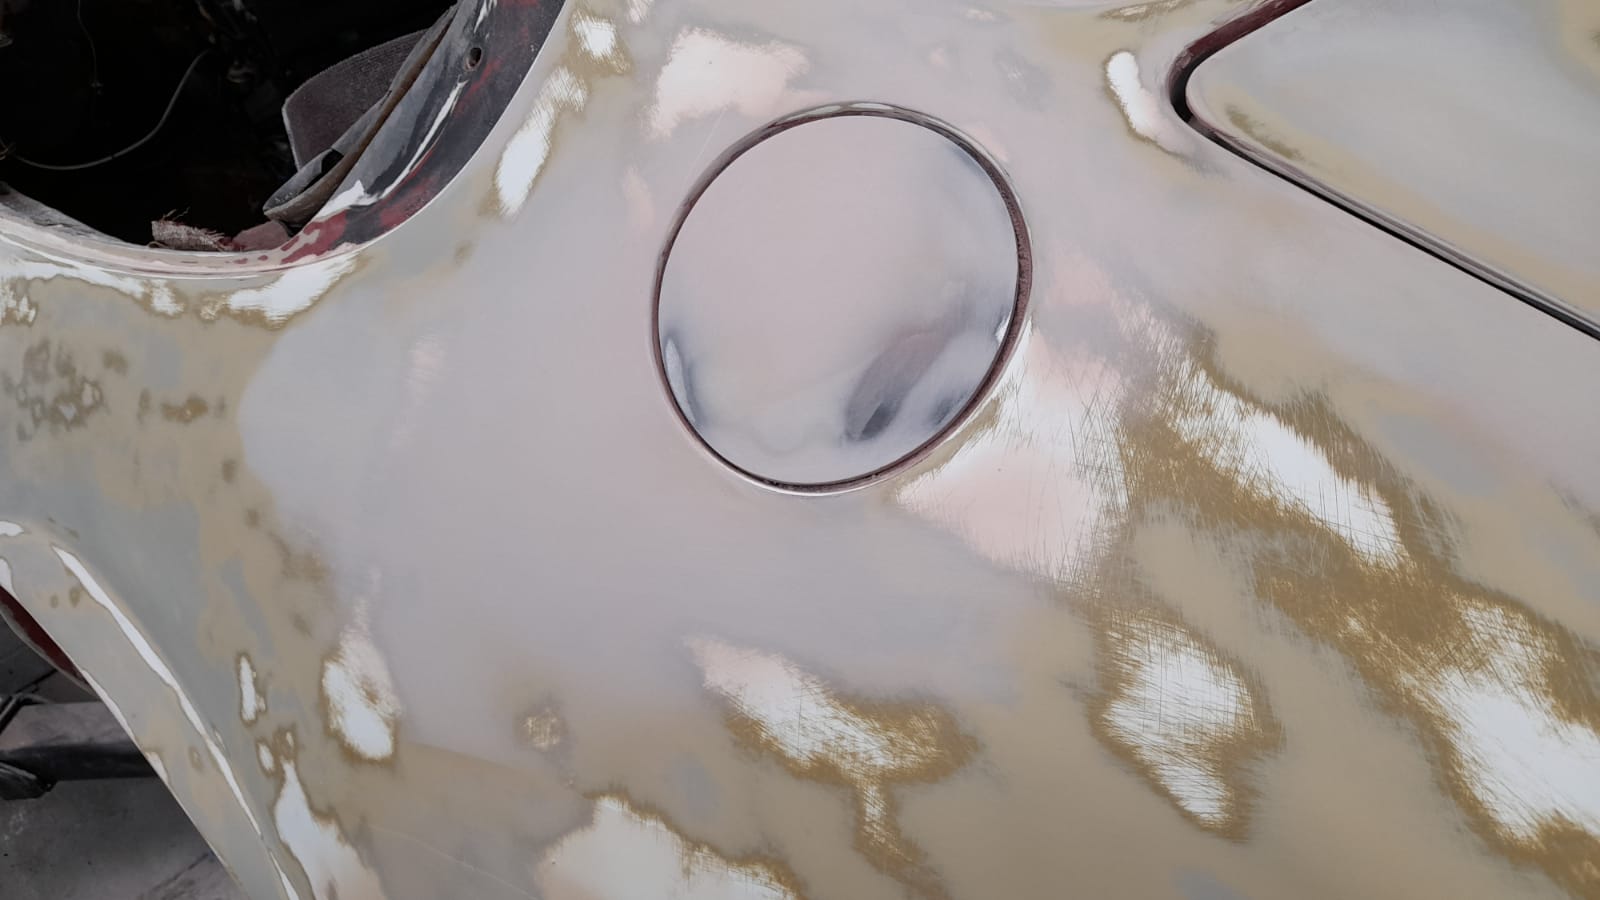

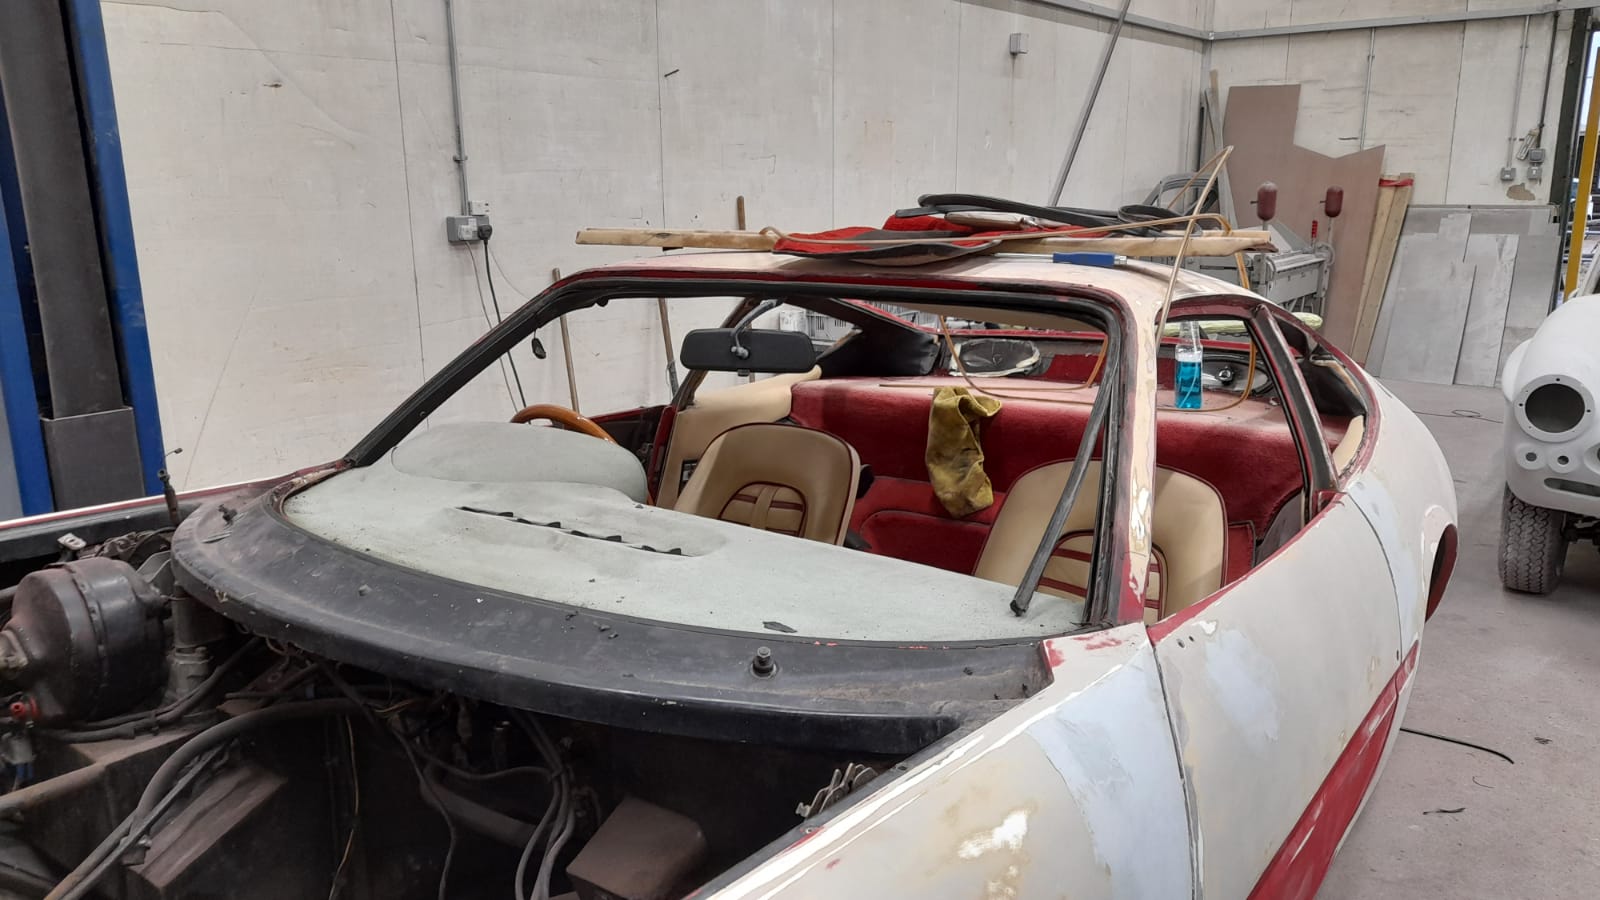
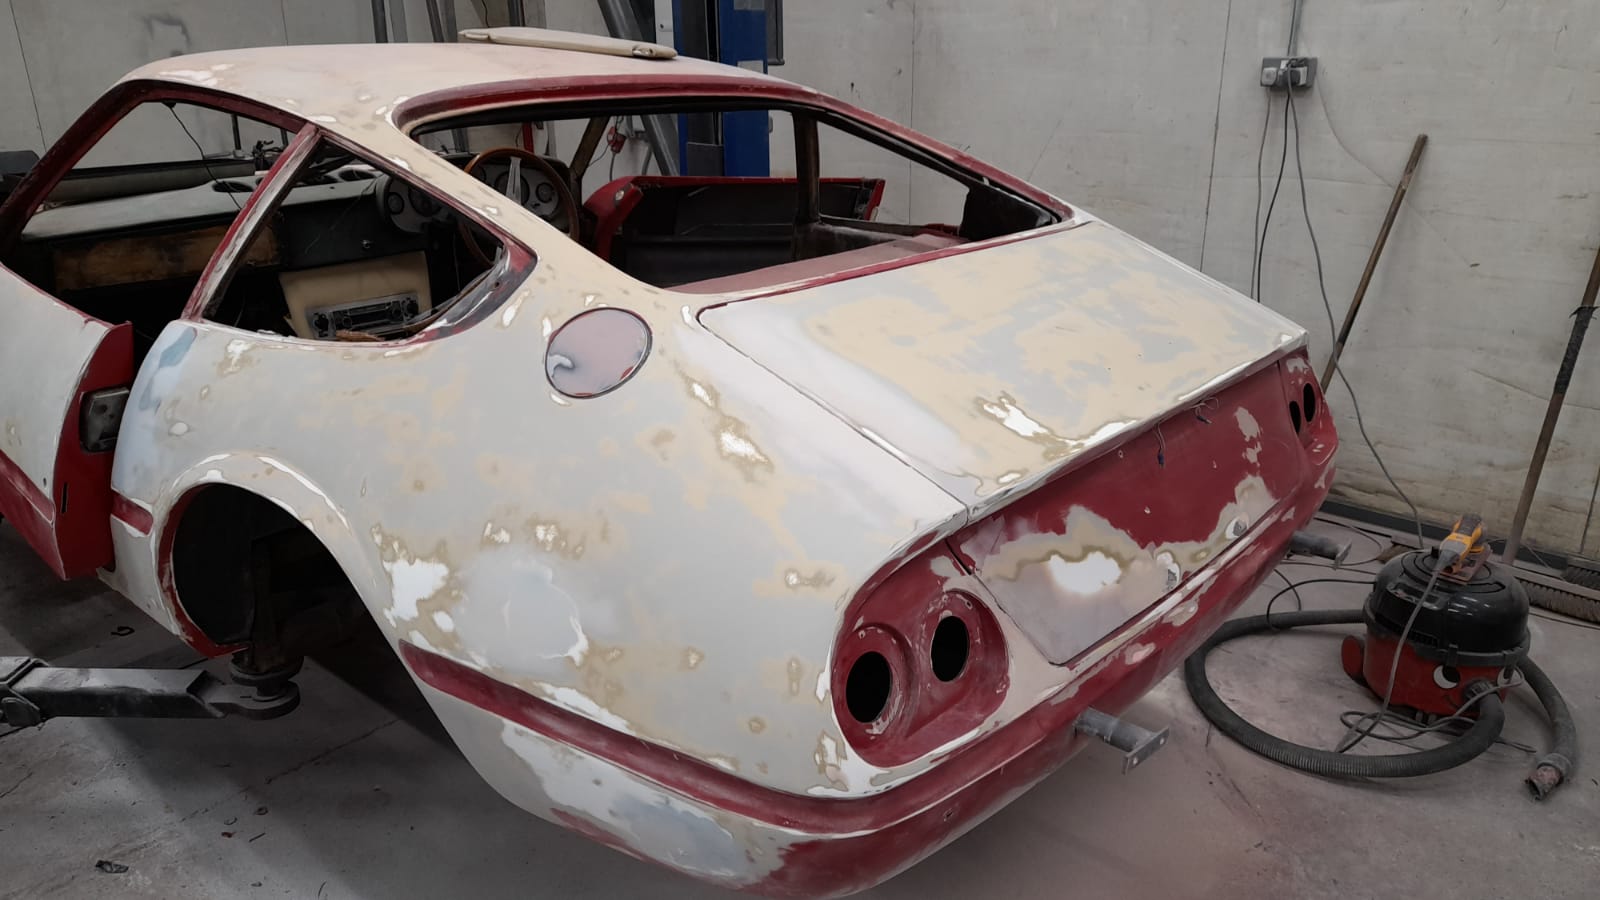
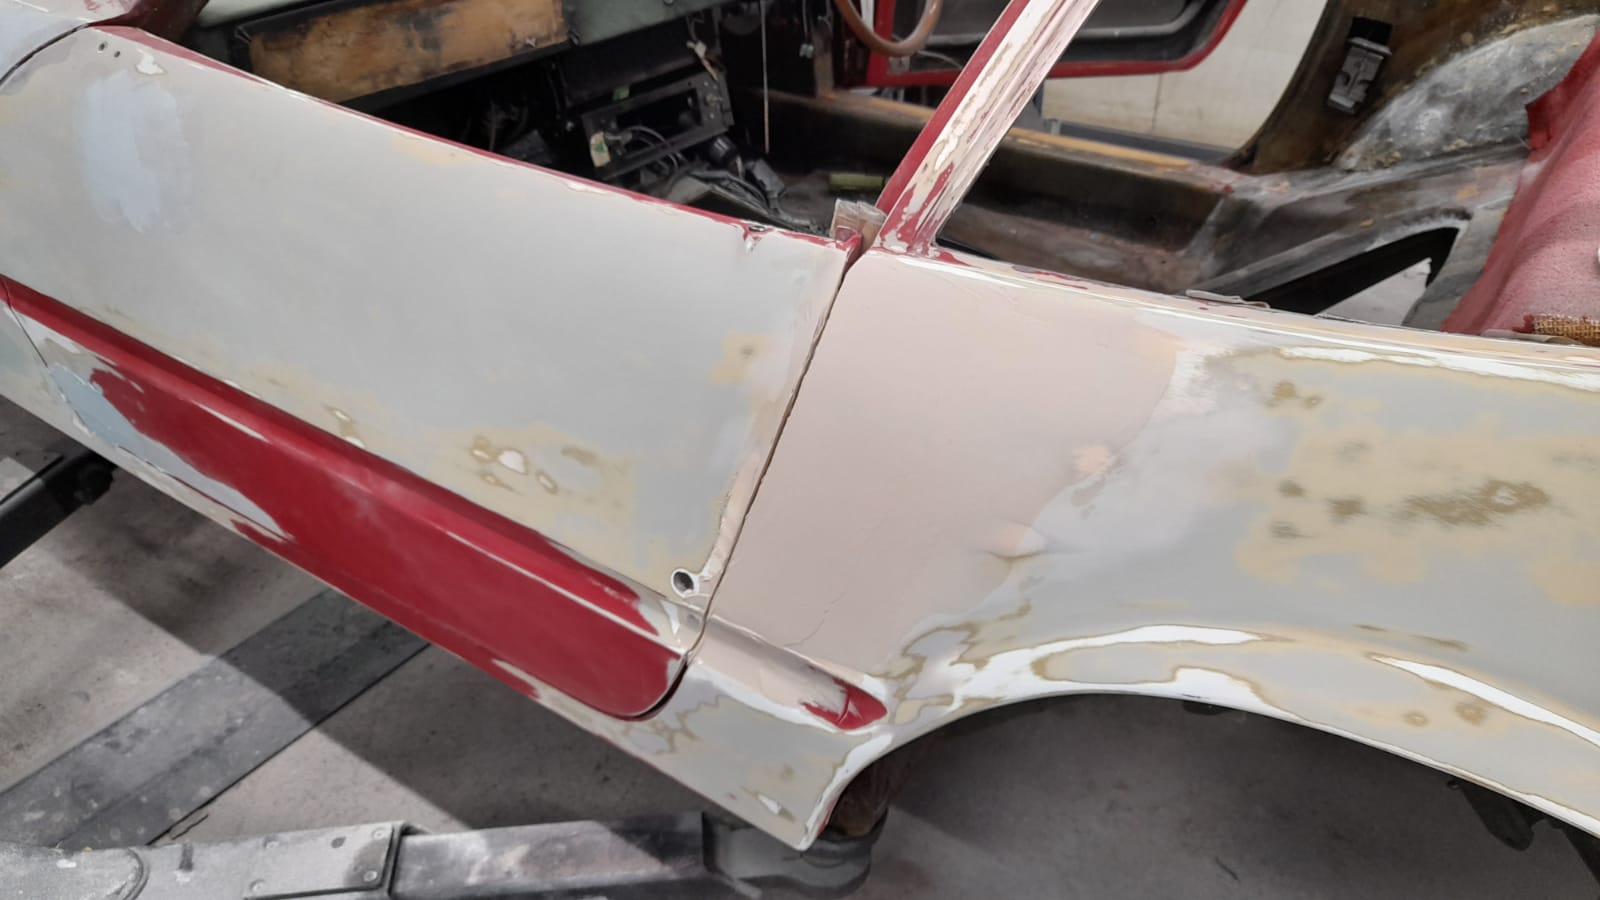

We also discovered a large amount rust on the chassis which will need to be repaired and fabricated.
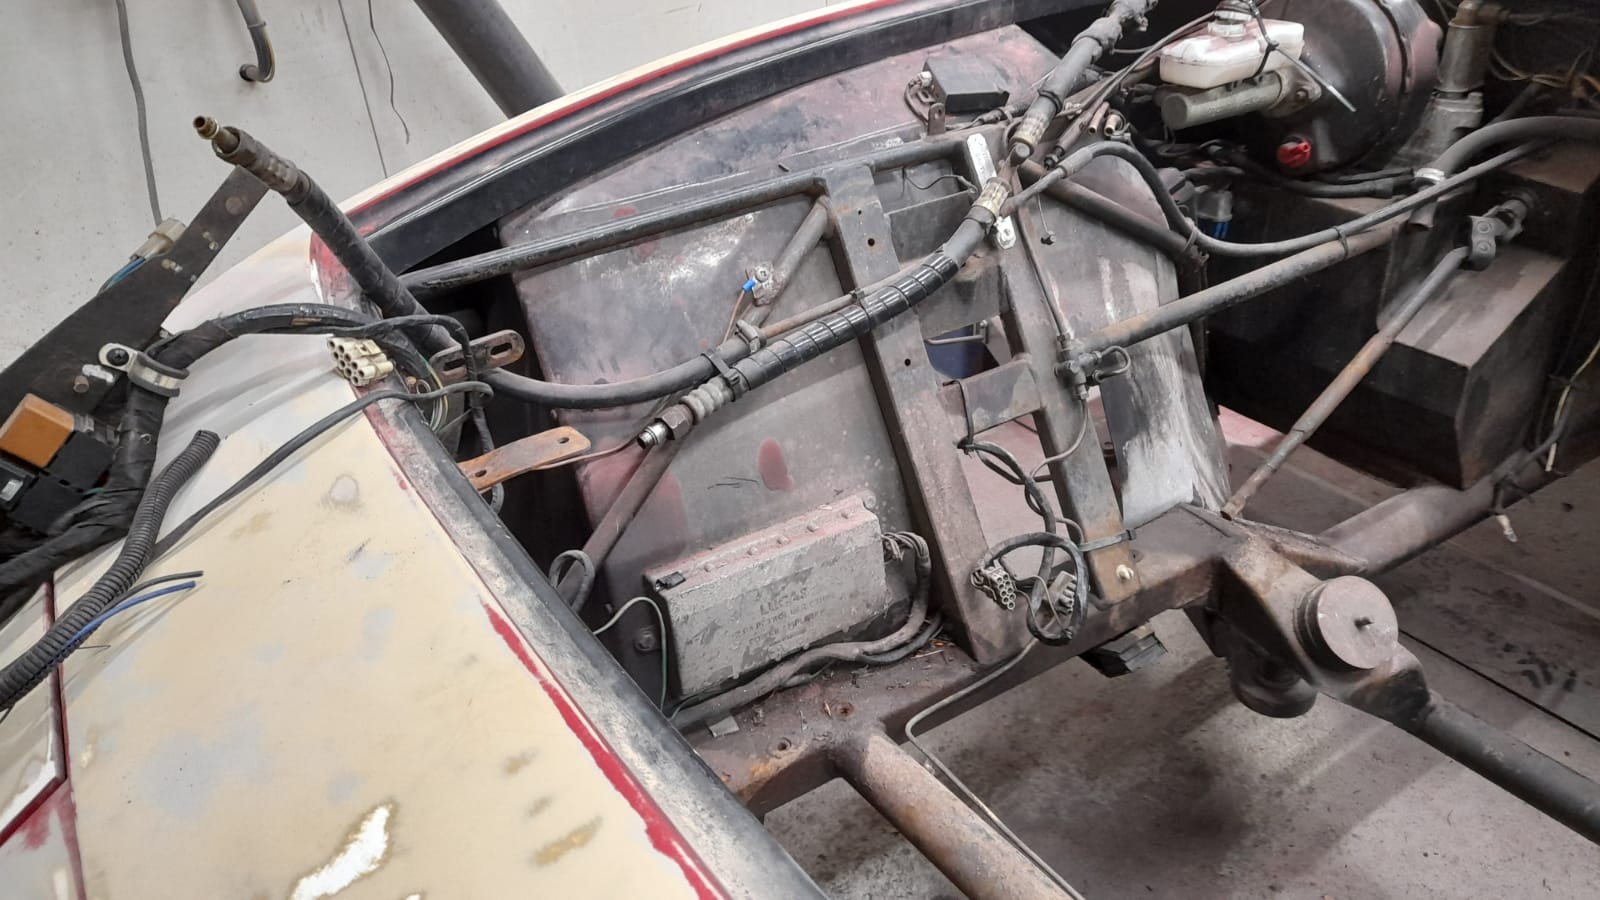
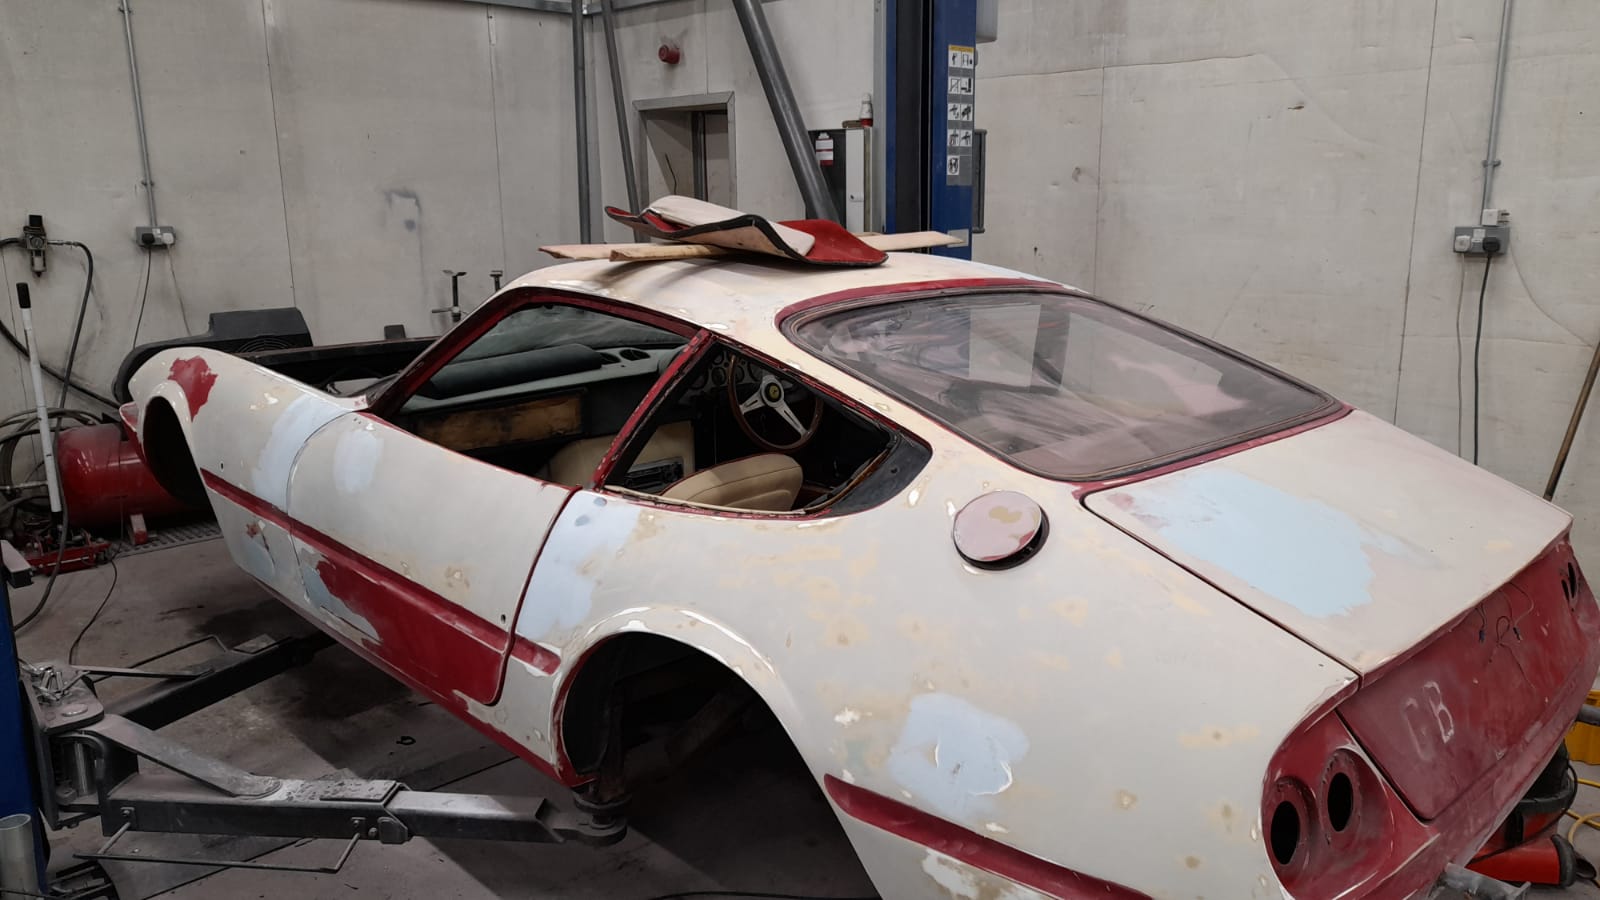
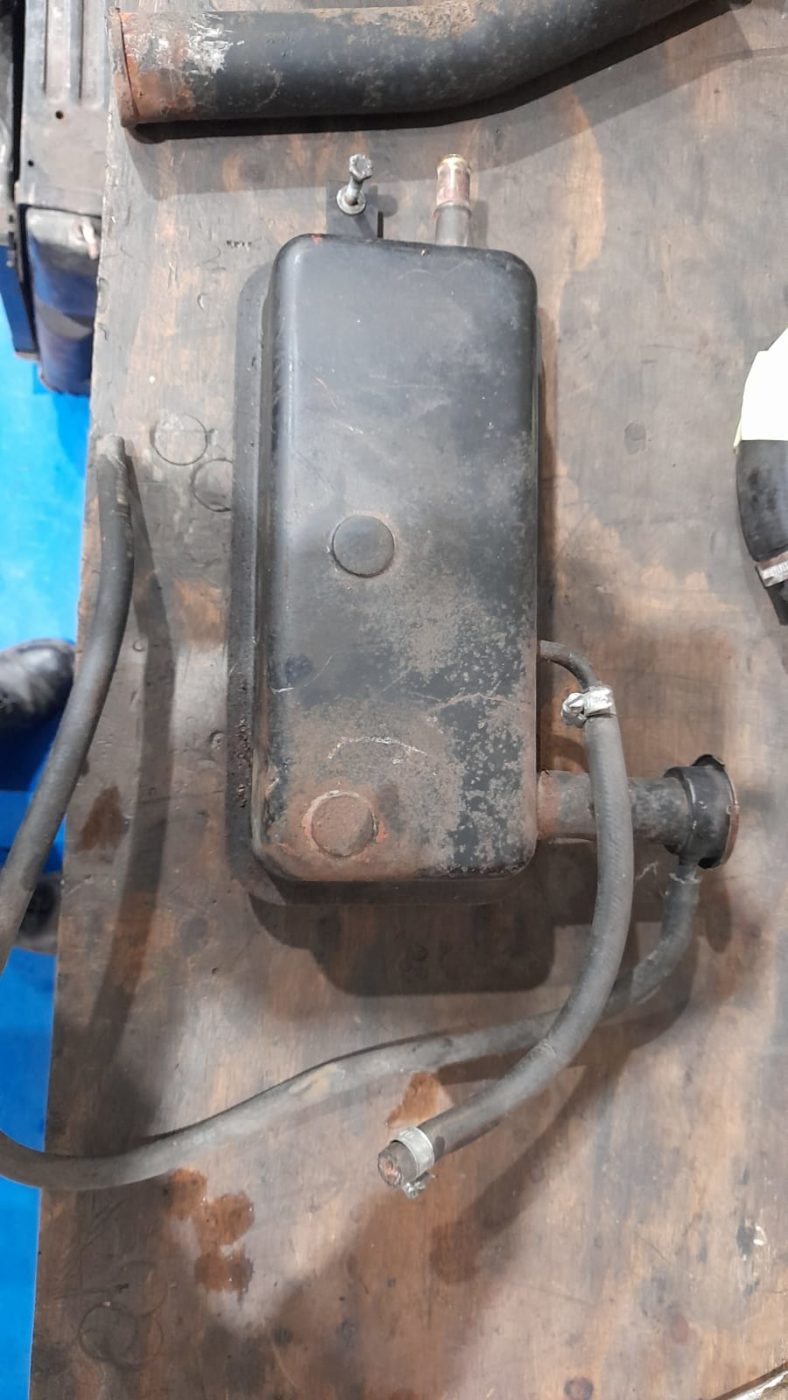
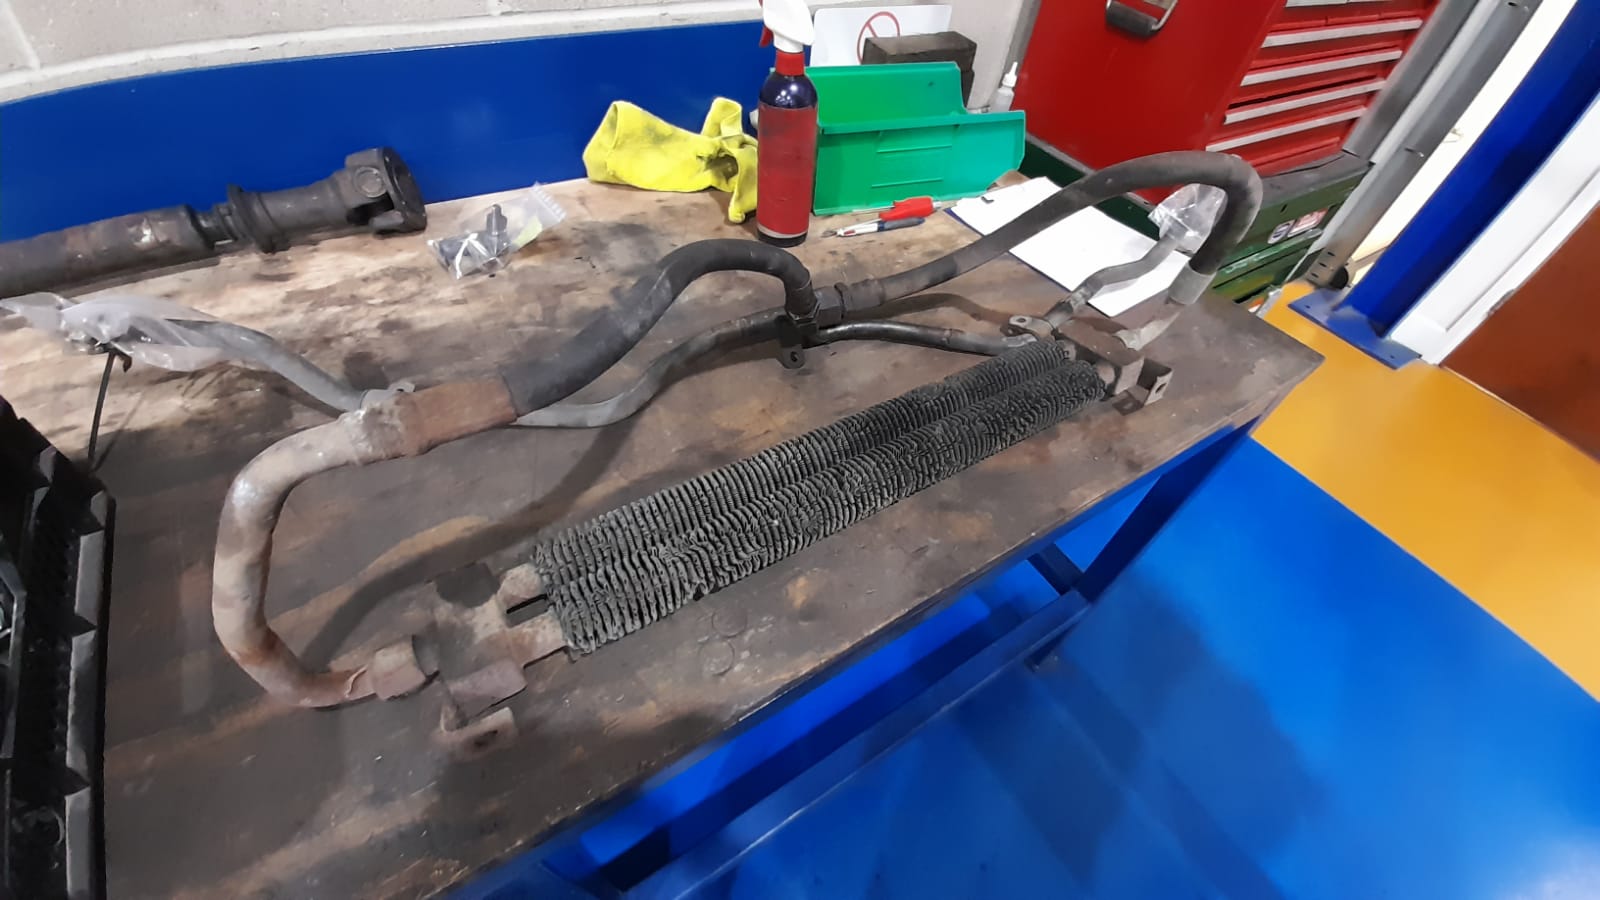
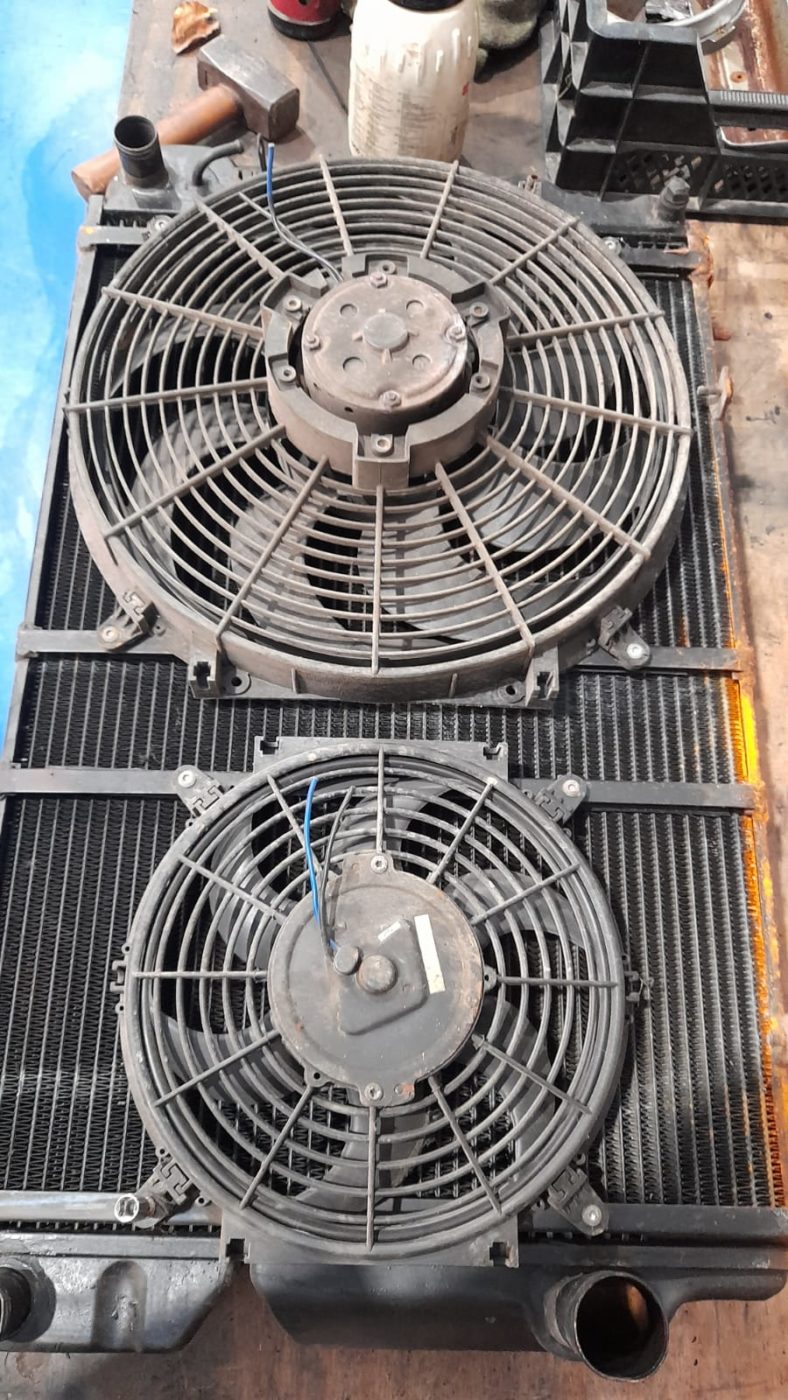
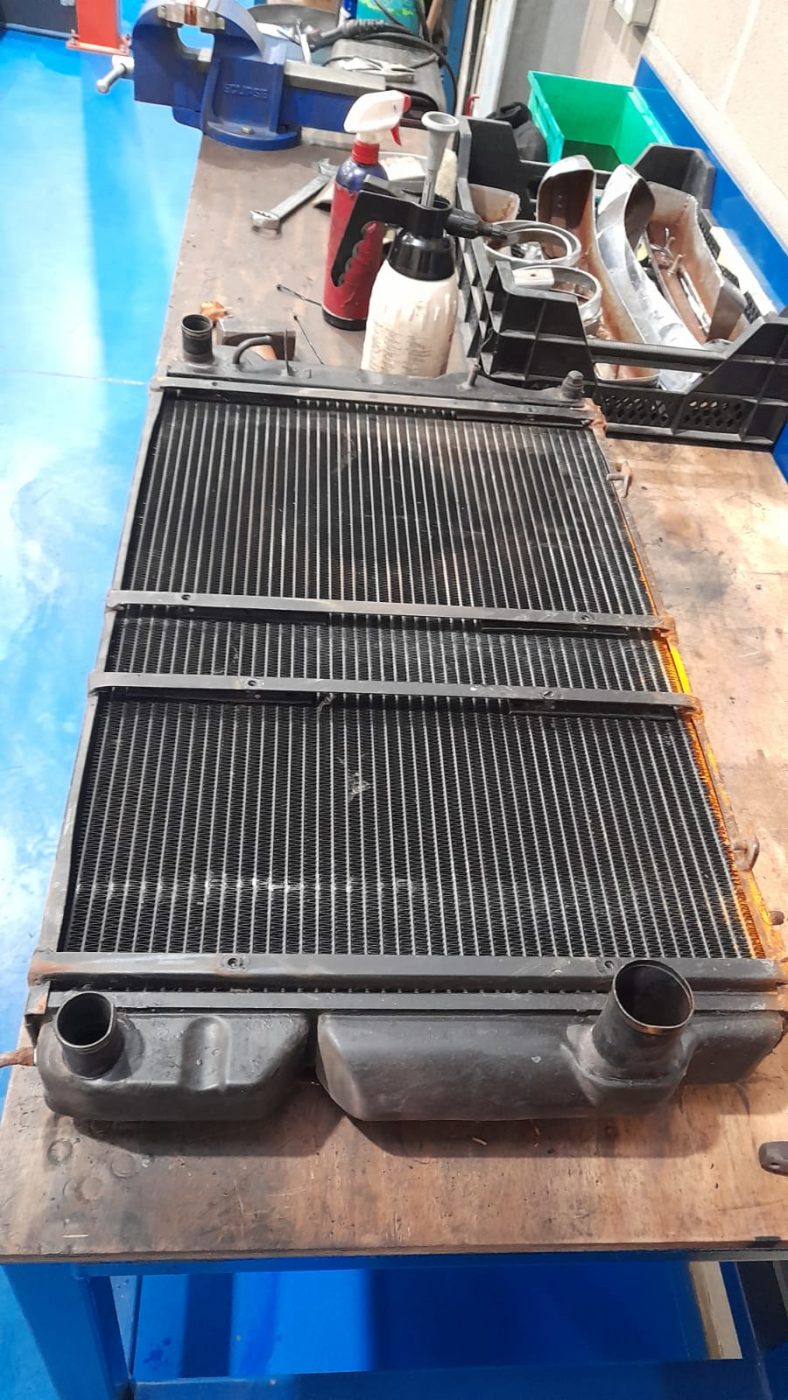
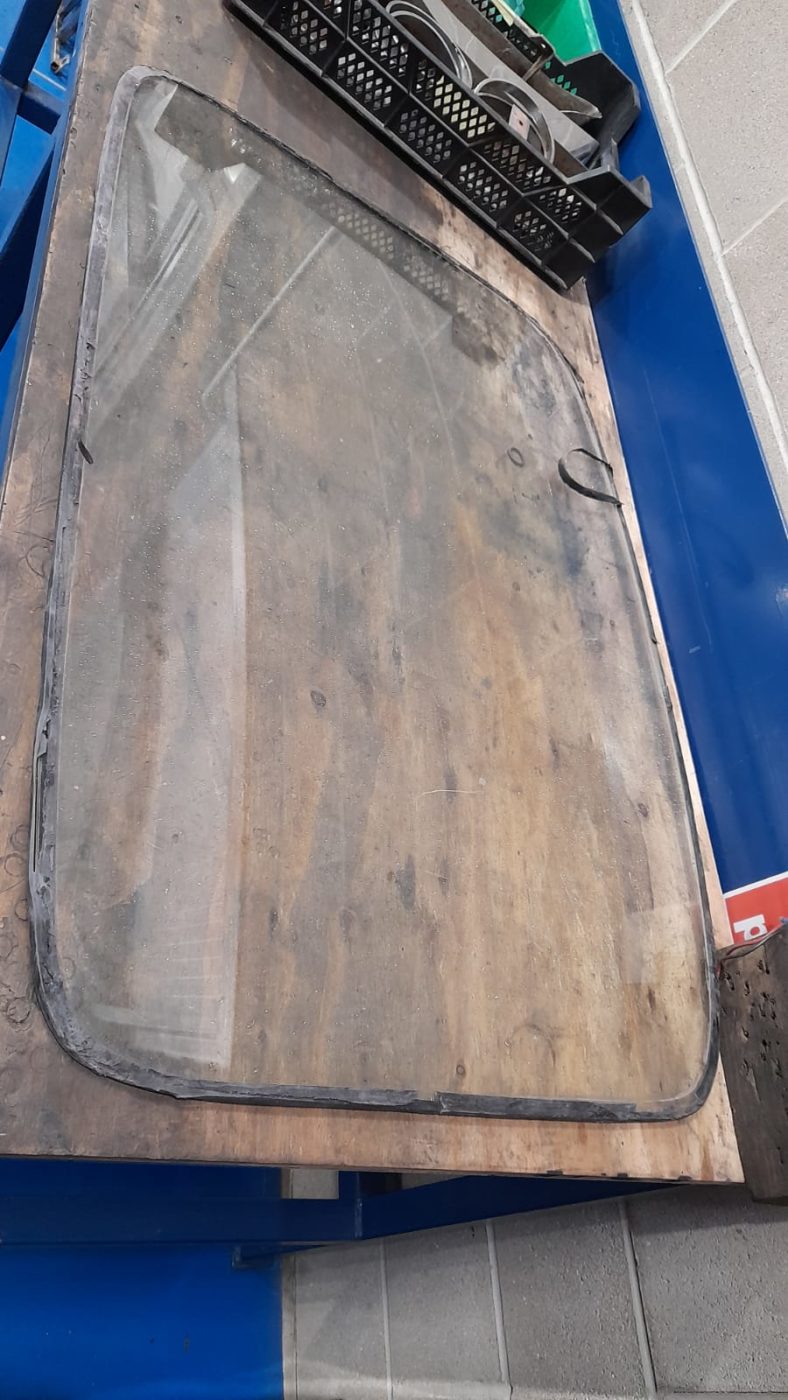
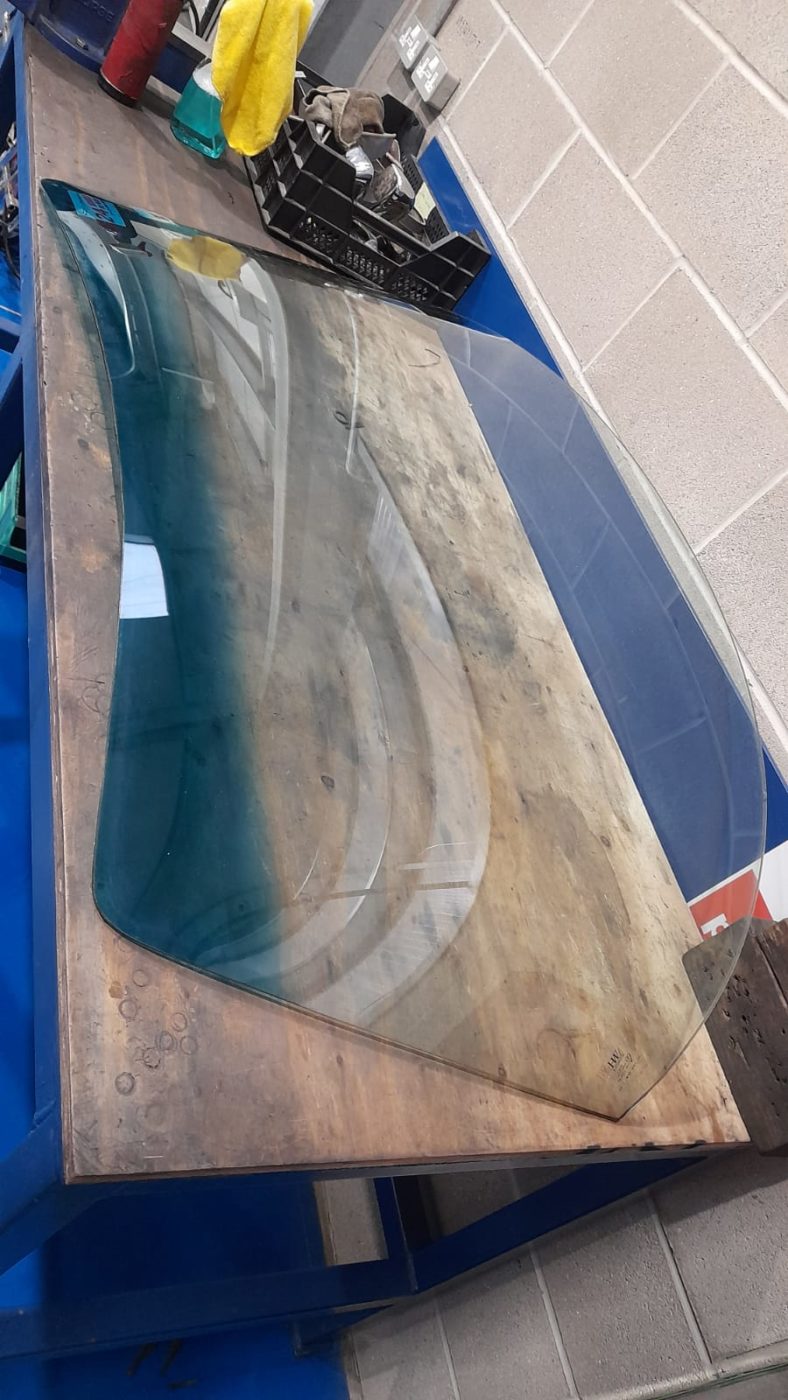
Scott has also removed the radiator and oil cooler, and stripped some elements out of the engine bay to make it easier to prep for paint. He has also removed the front and rear windscreens too.


Tom has also stripped down rear and front axle ready for it to be sandblasted and painted. He’s also checked the bushes and sub-frame condition. Tom has prepared the power steering rack to be repaired as well as the brake callipers.
Our Amphicar has been taking a temporary back seat in our workshop whilst we wait for the gearbox to come back. Our plan moving forwards is to re-seal the underside with a resin seal, ensuring that this iconic car is watertight and water ready.
The Triumph TR6 has recently had new spotlights installed. Our next step is to install the switch. The client has asked that we install the switch in a discrete place so that the interior still keeps its original look.
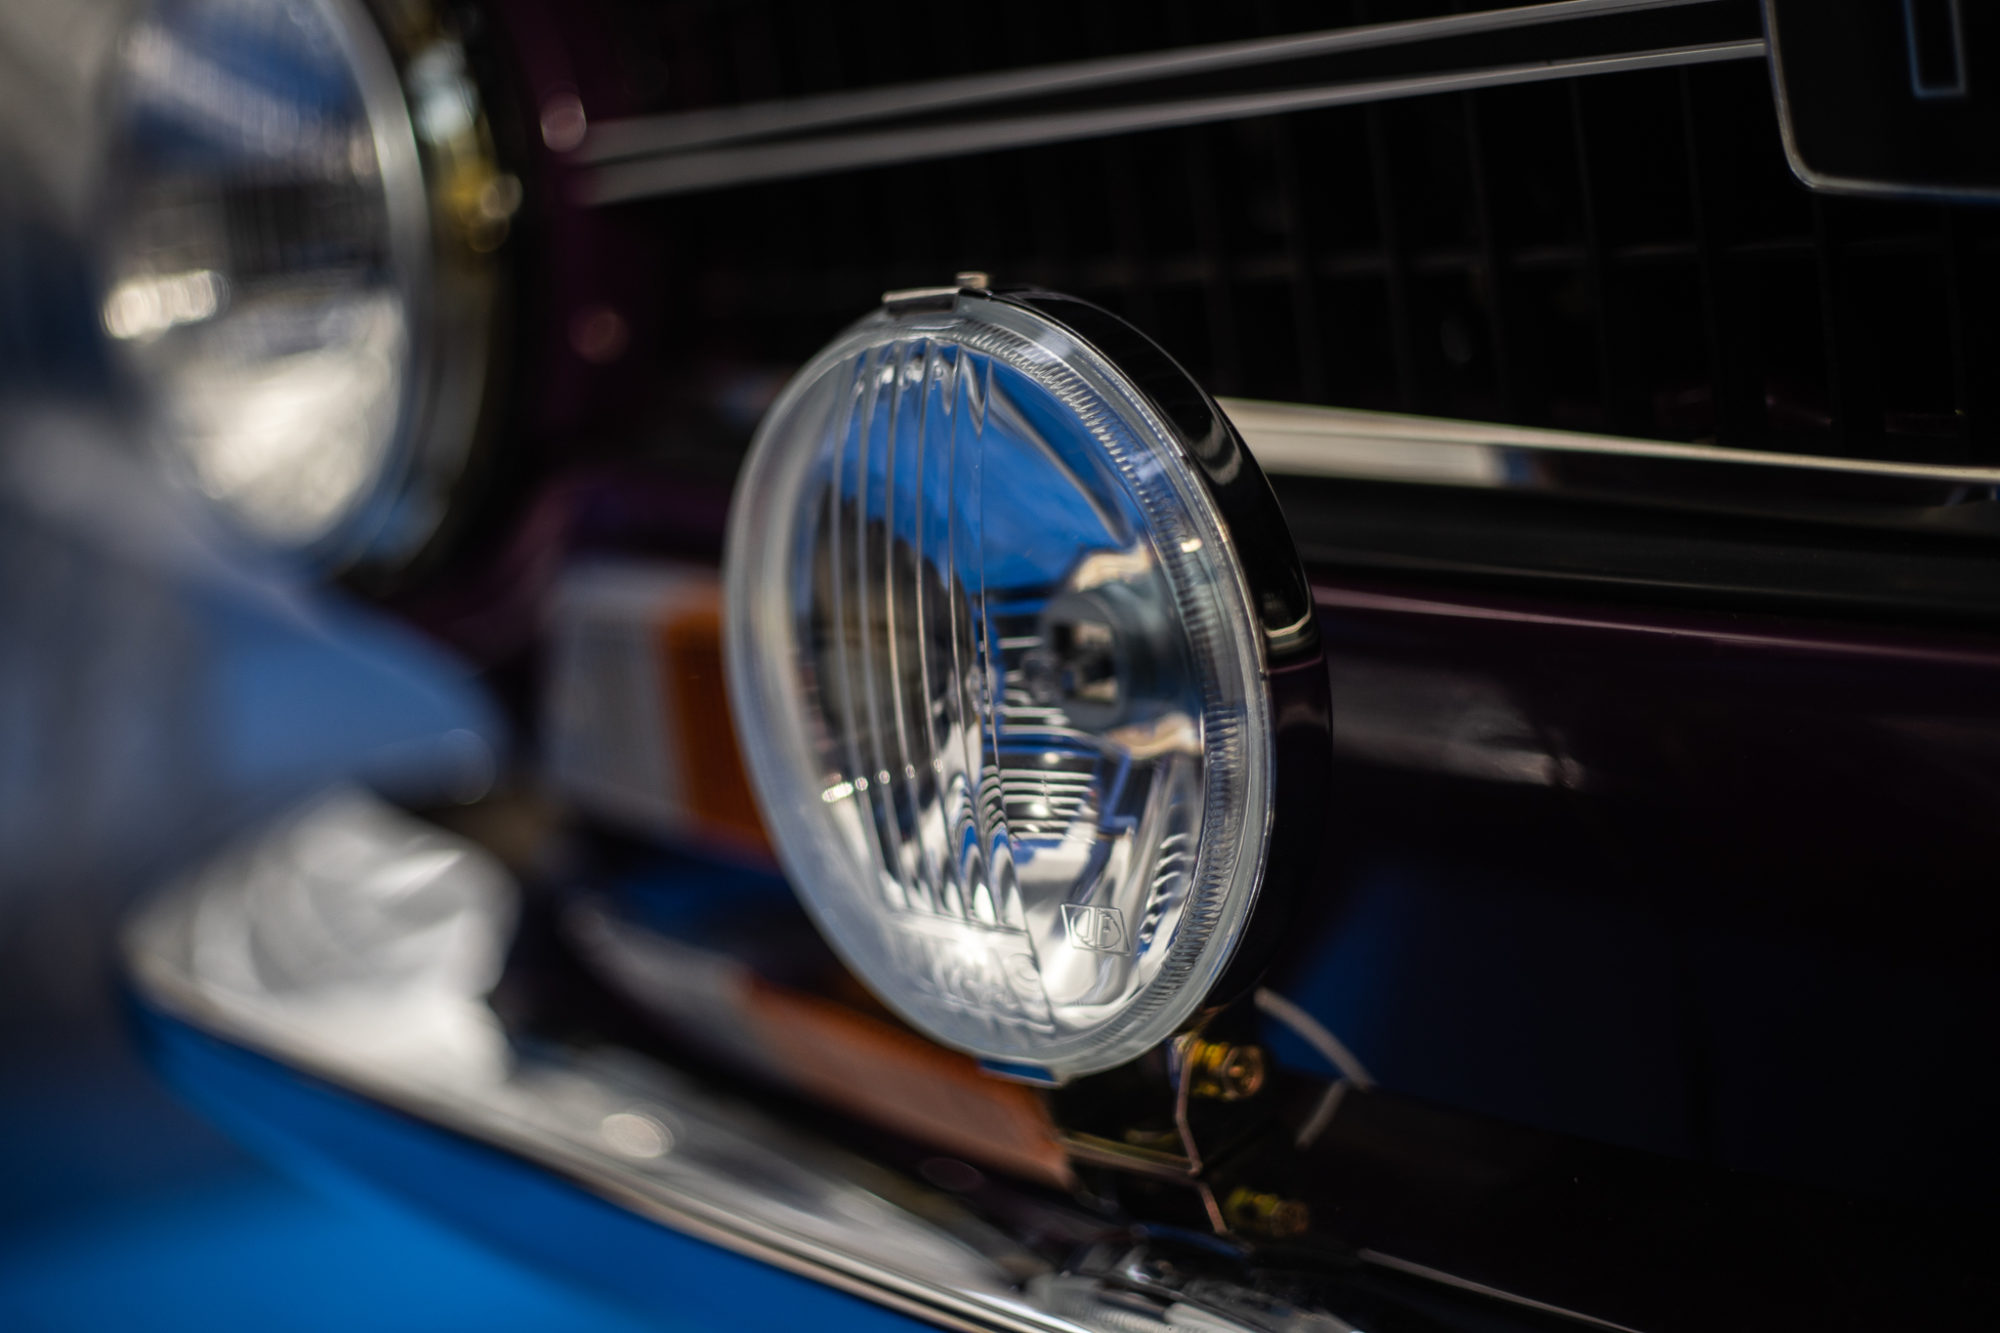
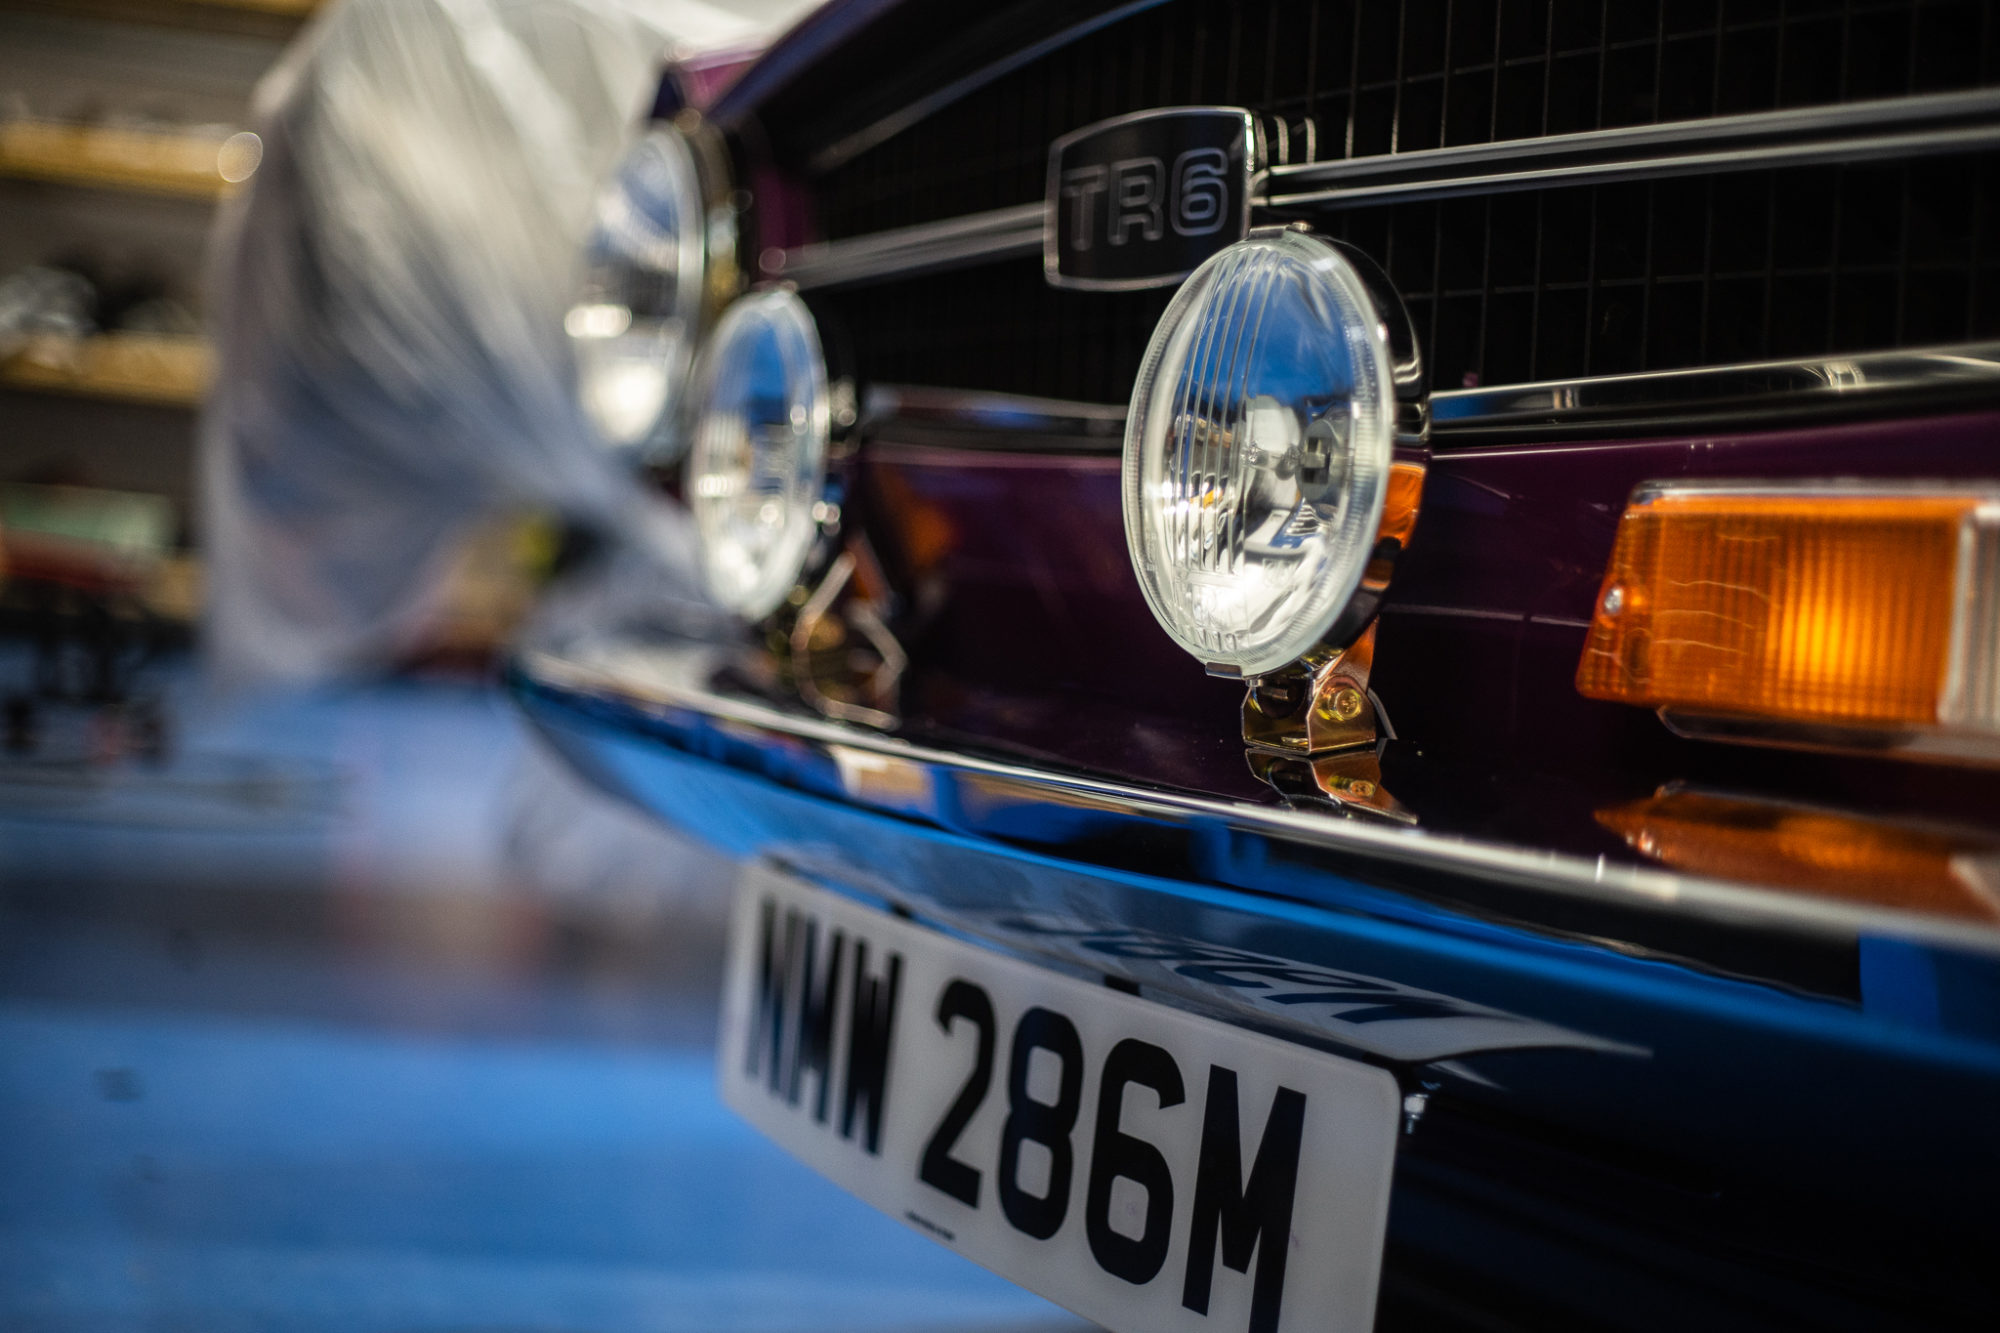

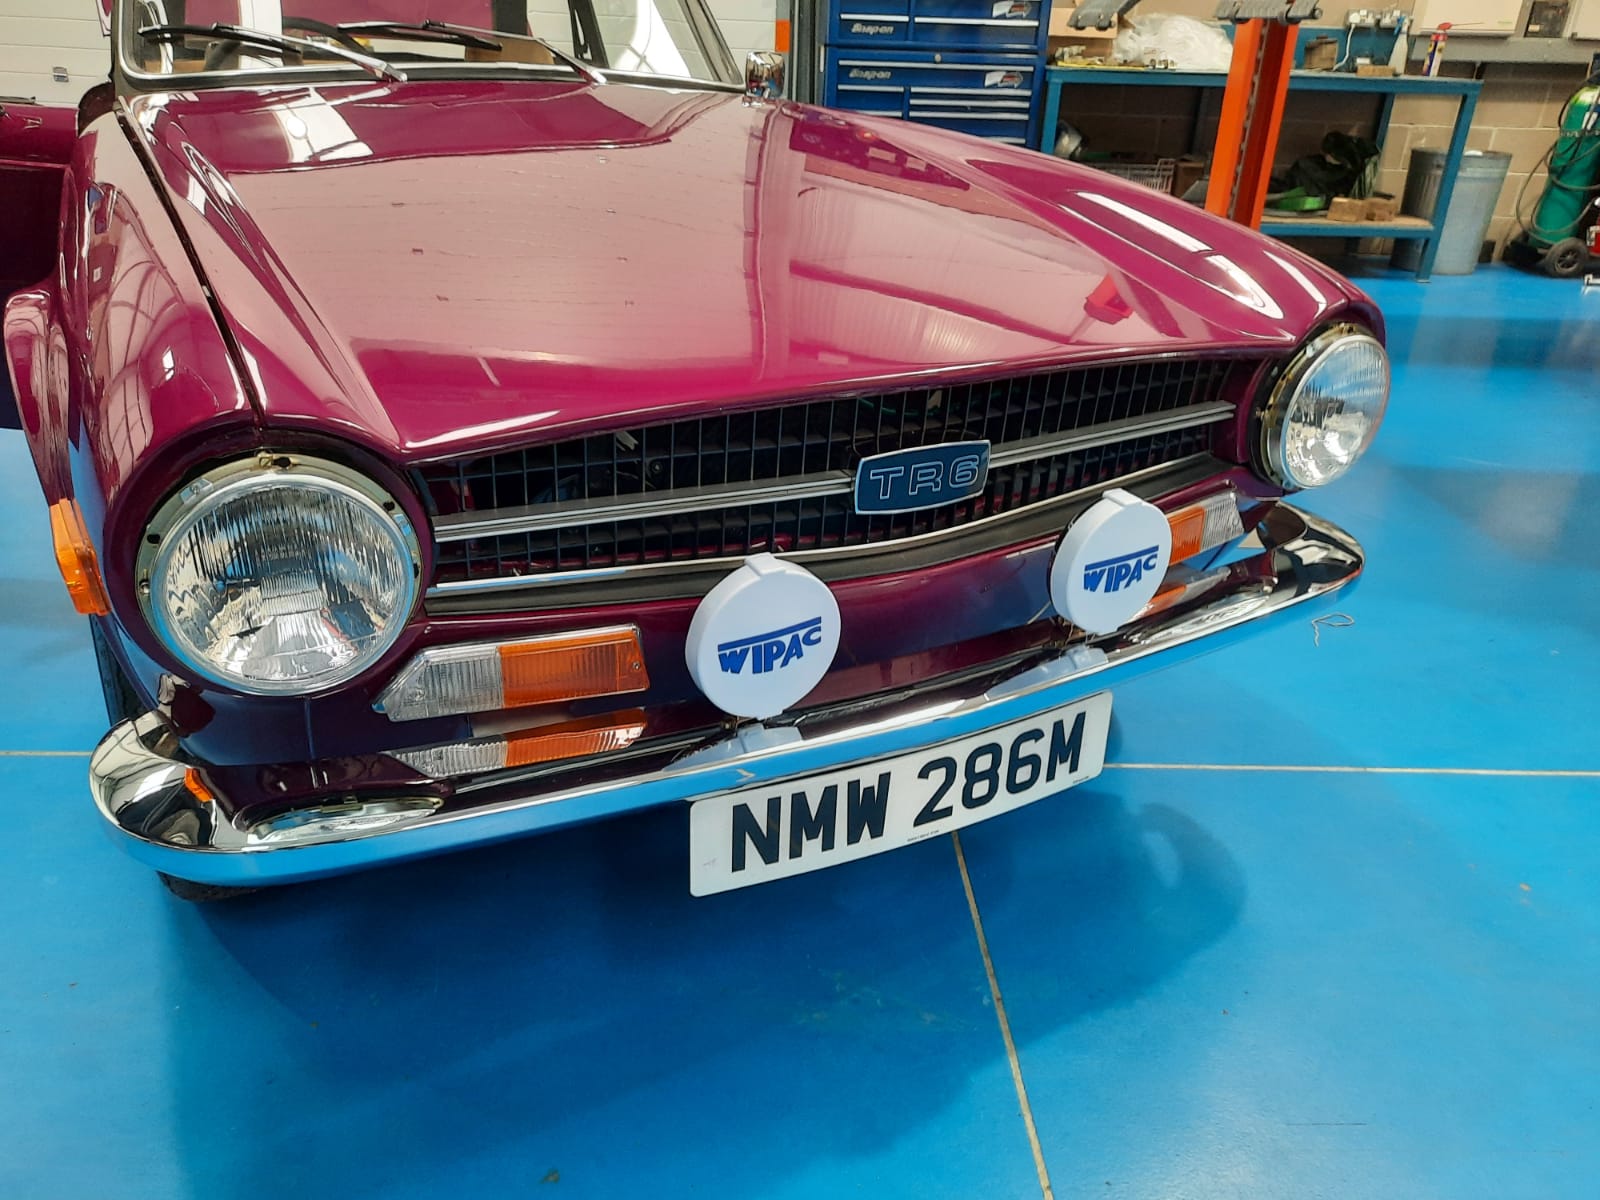
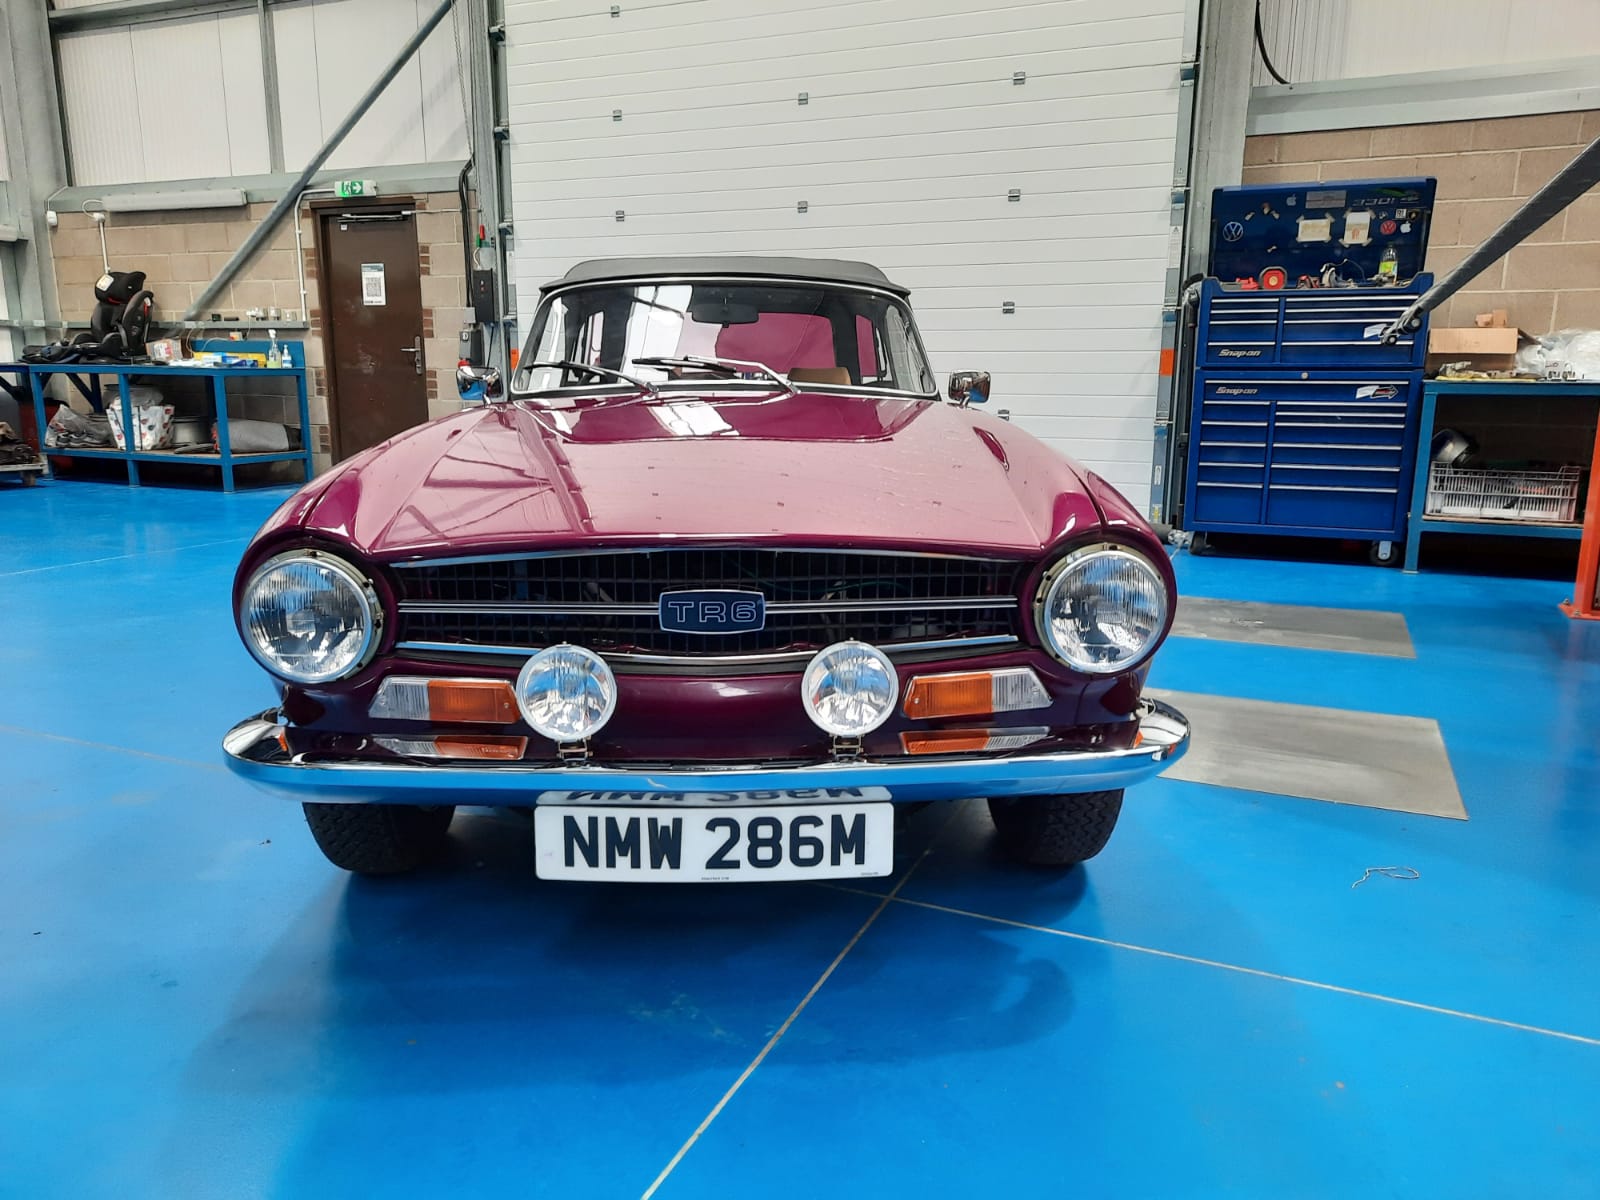
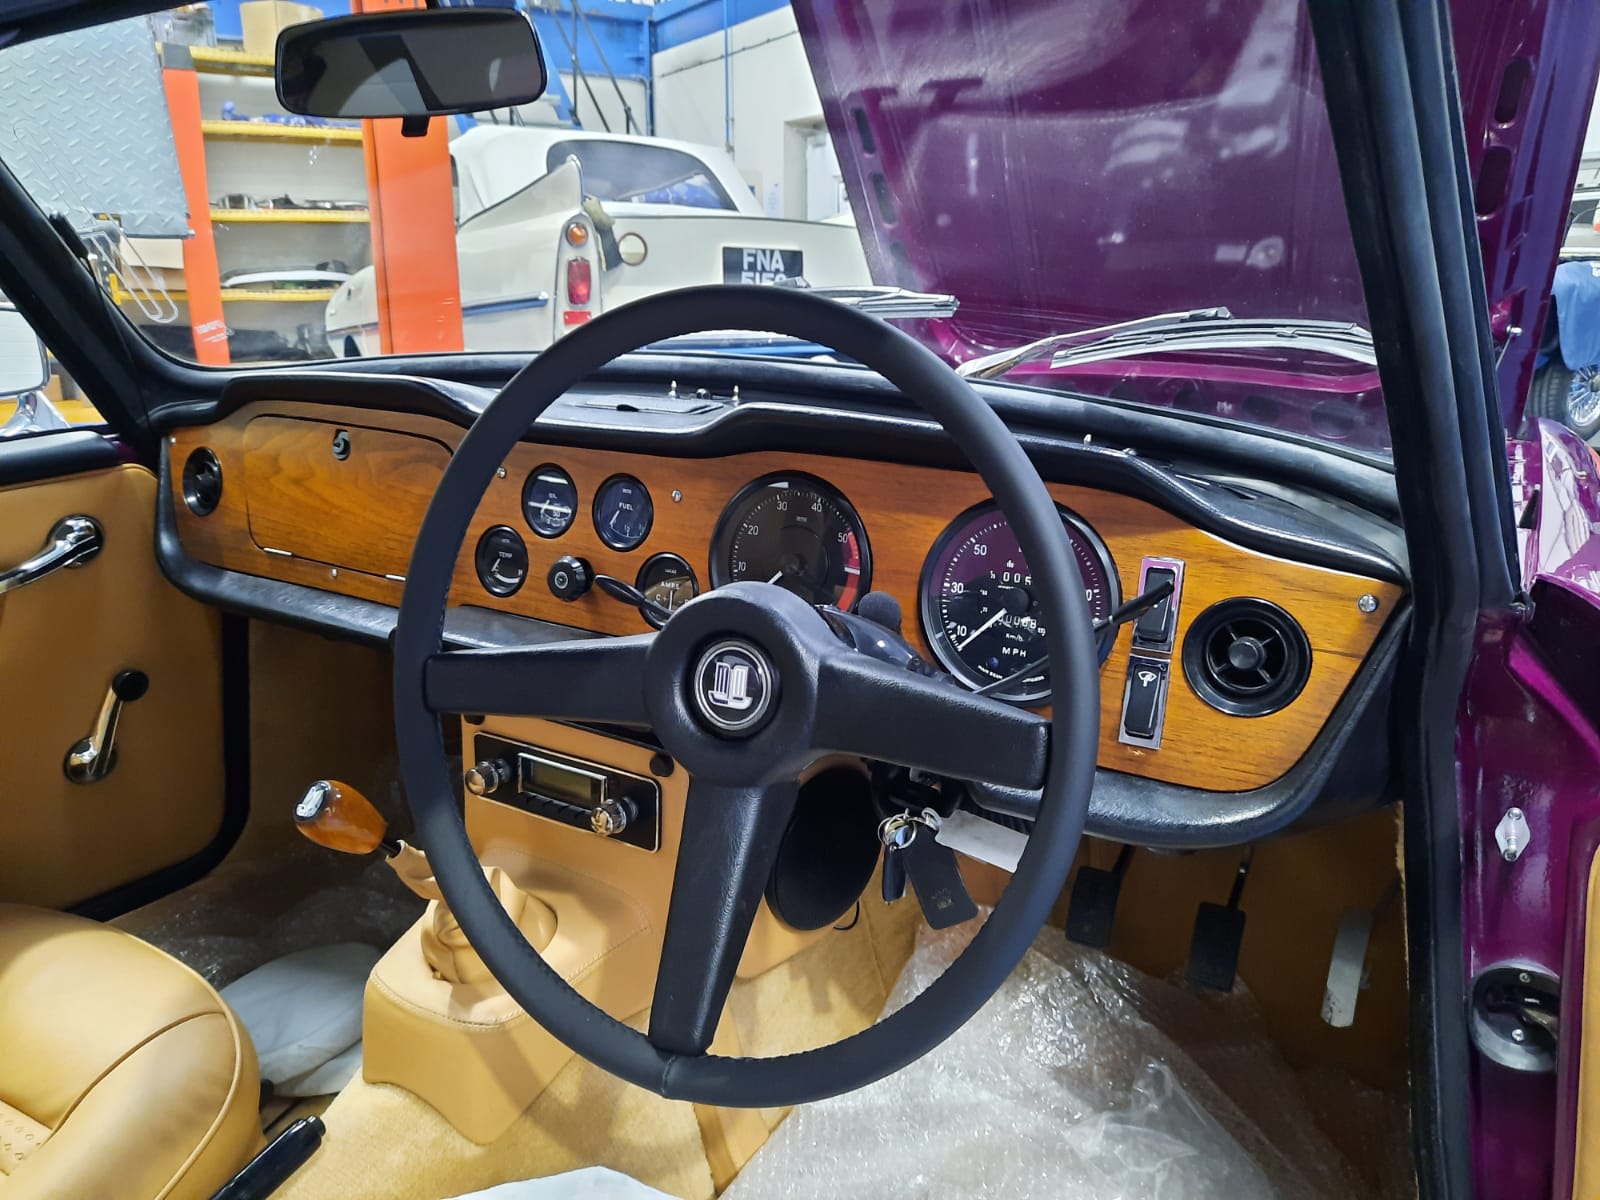
Mauro has also installed the new steering wheel, with the cover made by our trim shop, into the TR6 which is looking very smart!
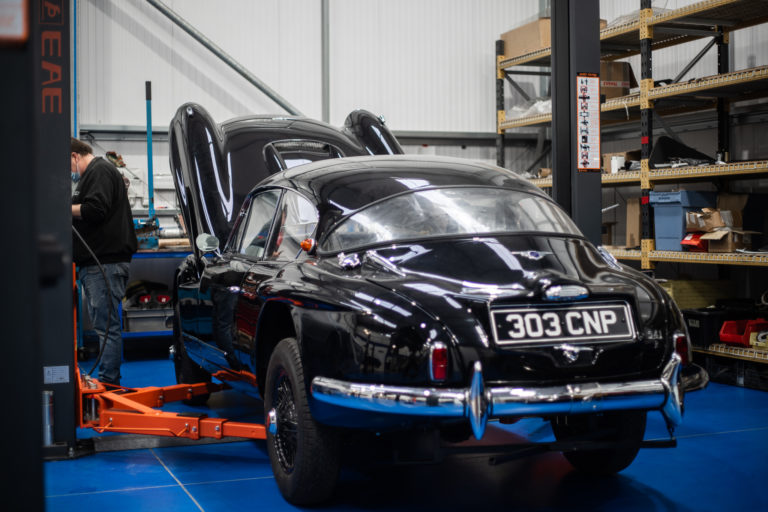
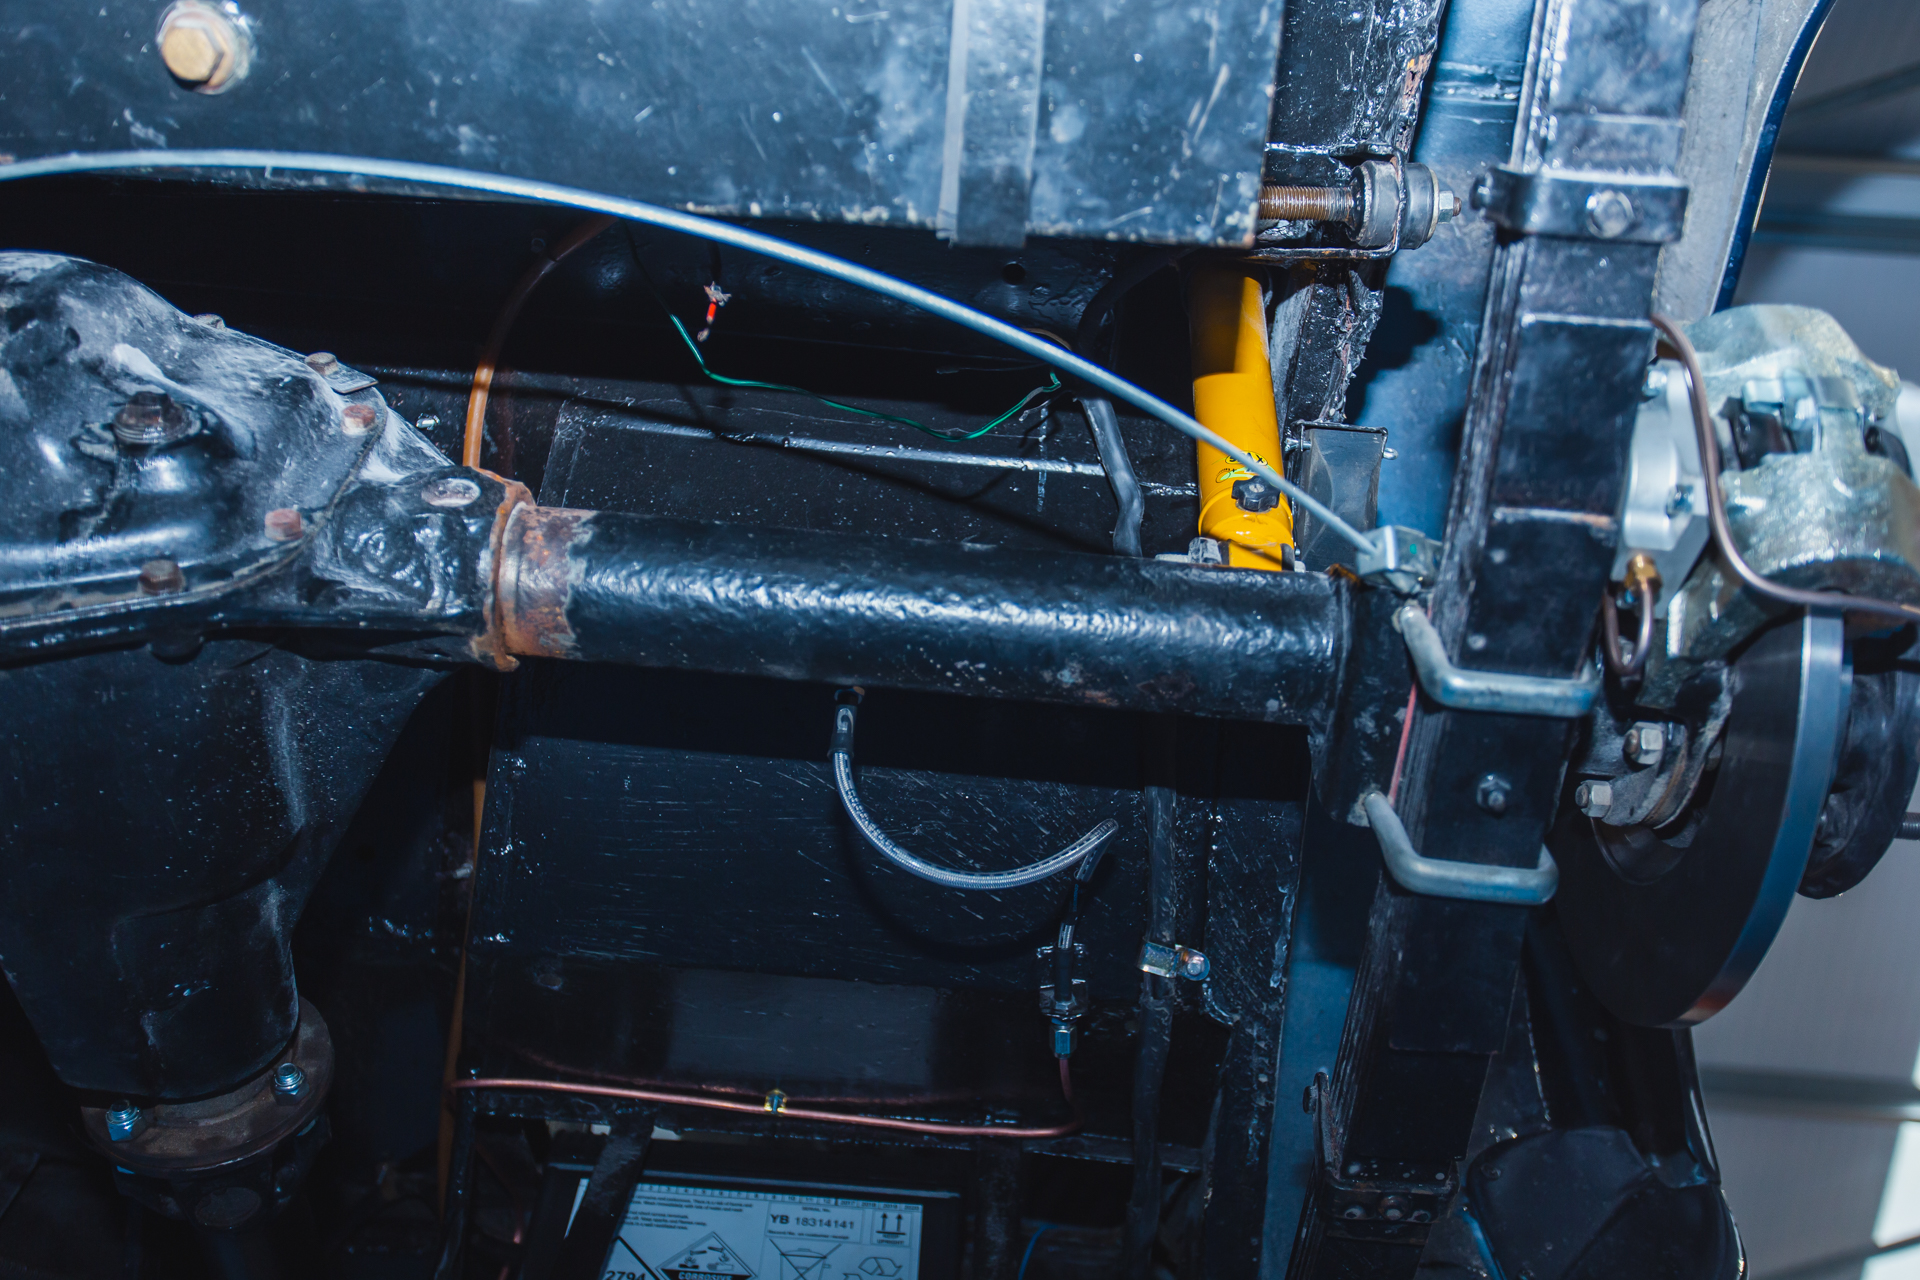
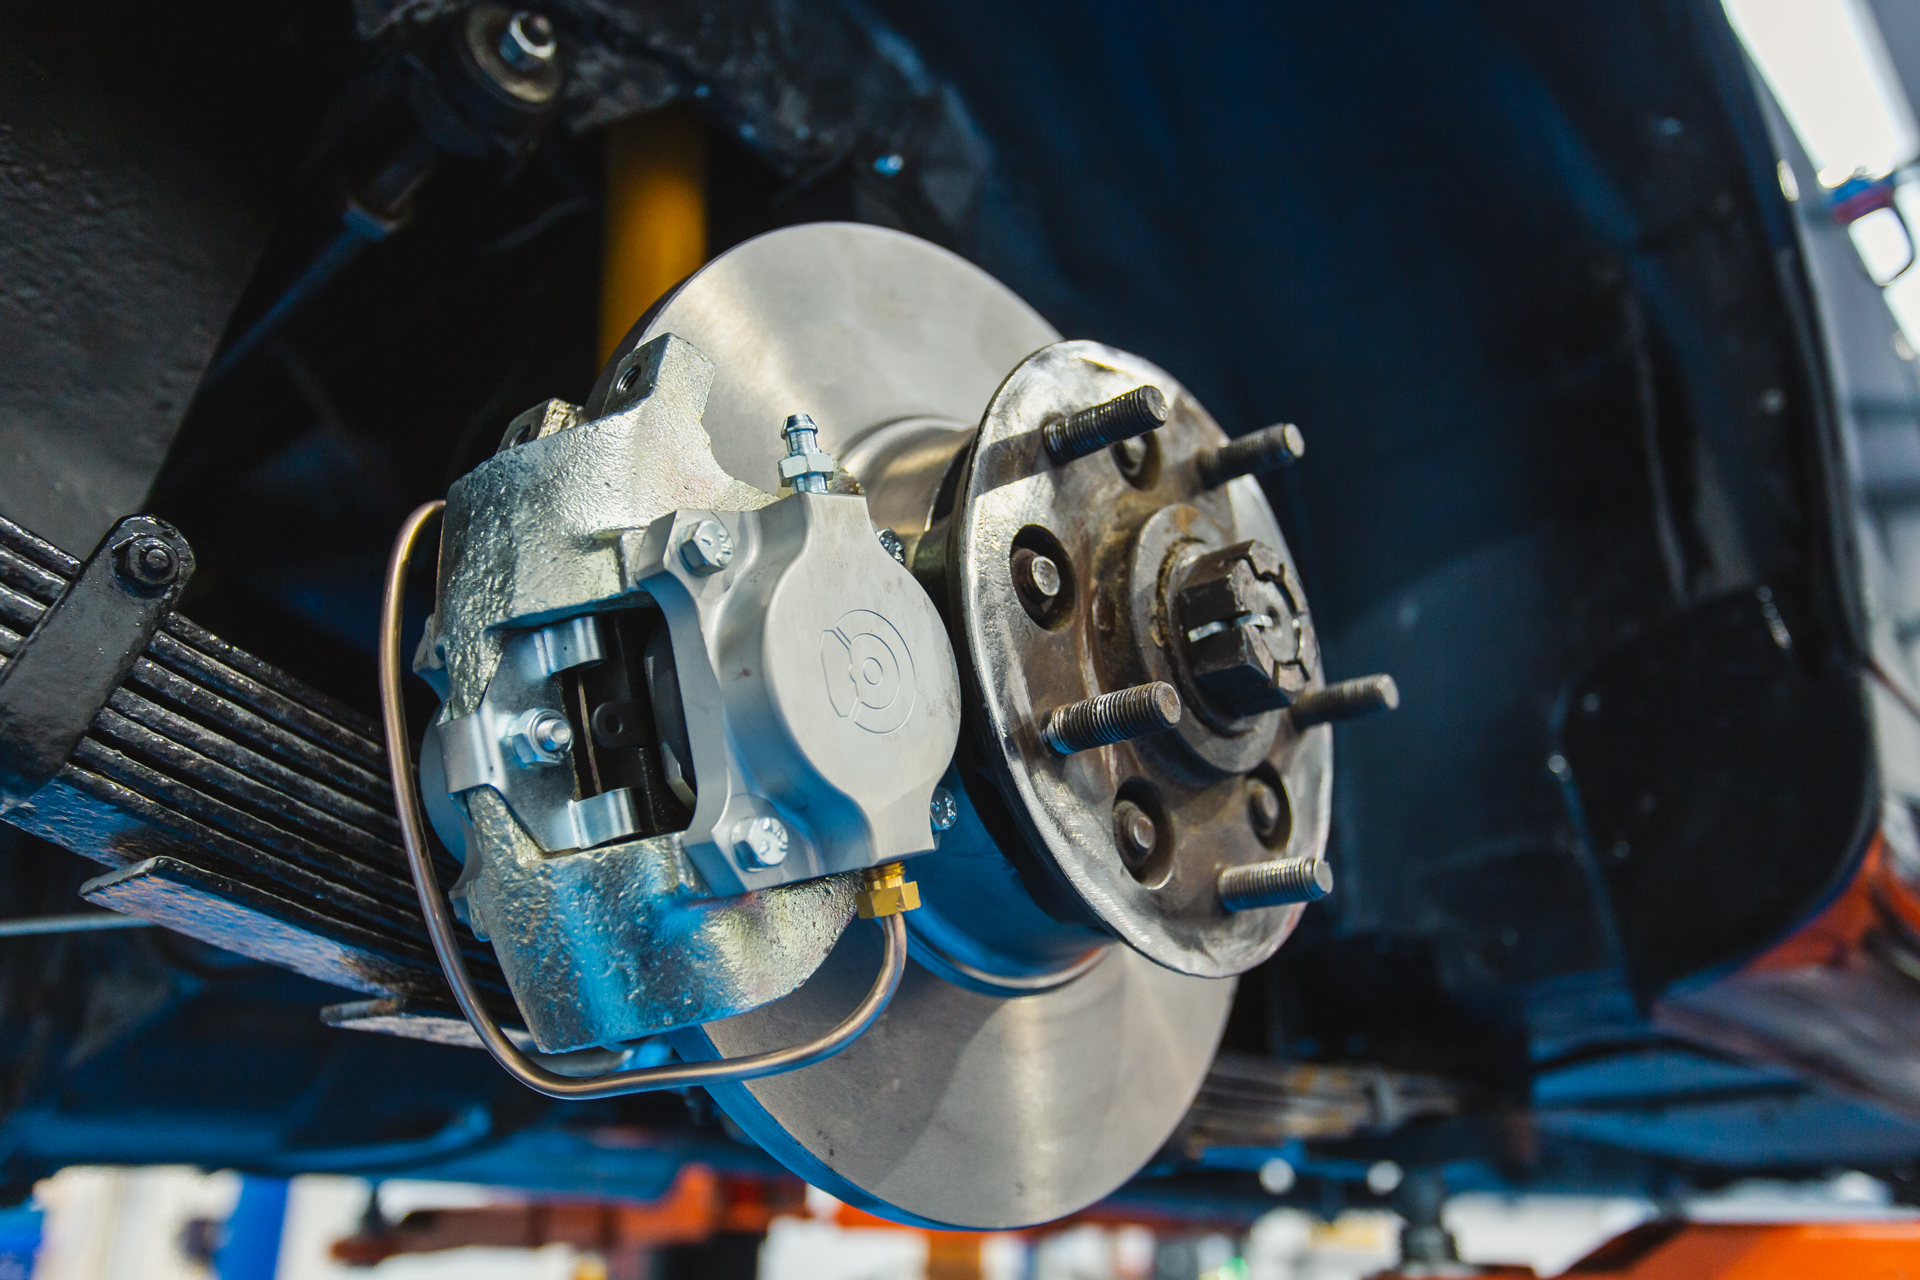
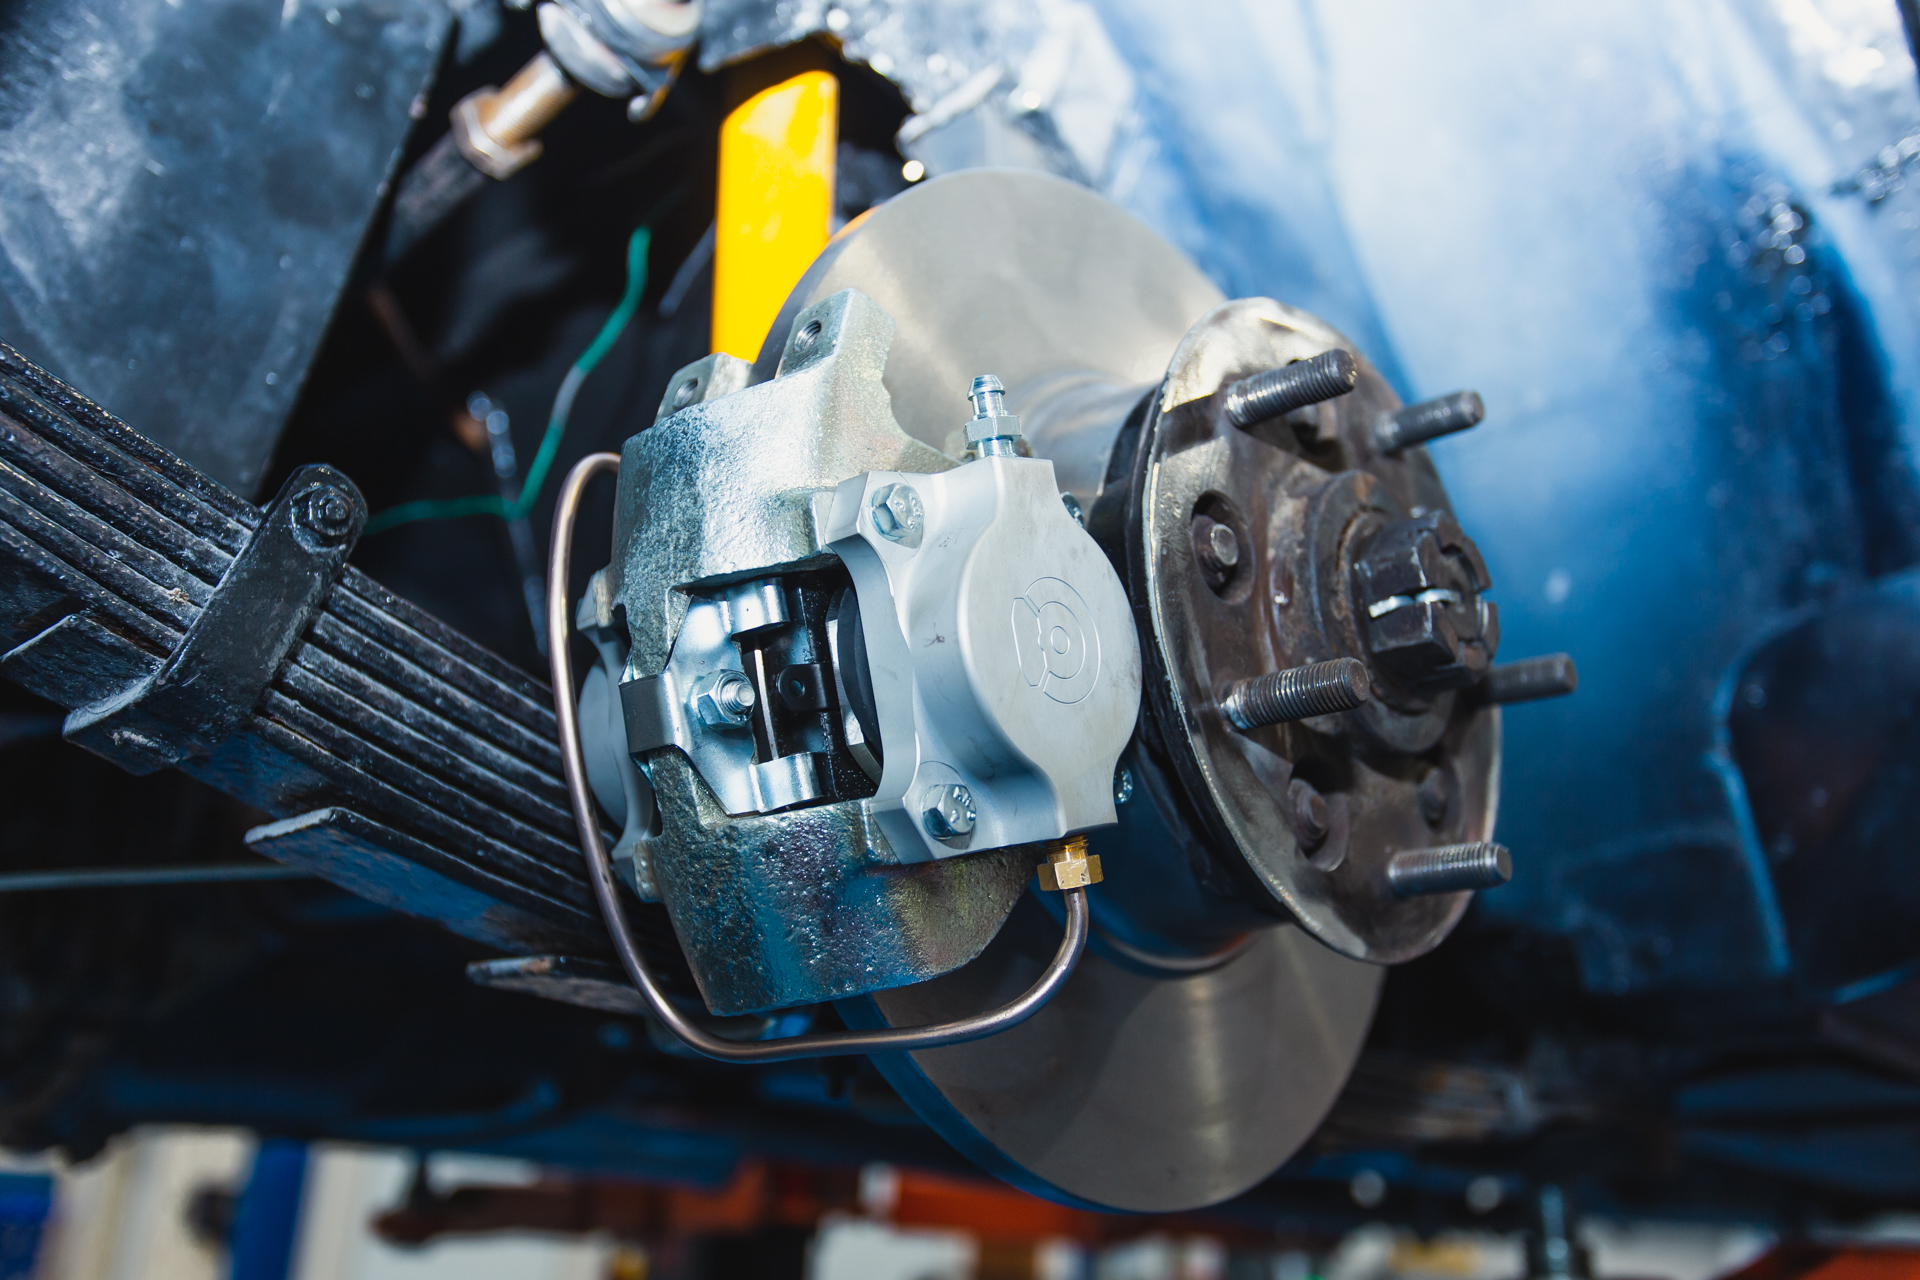
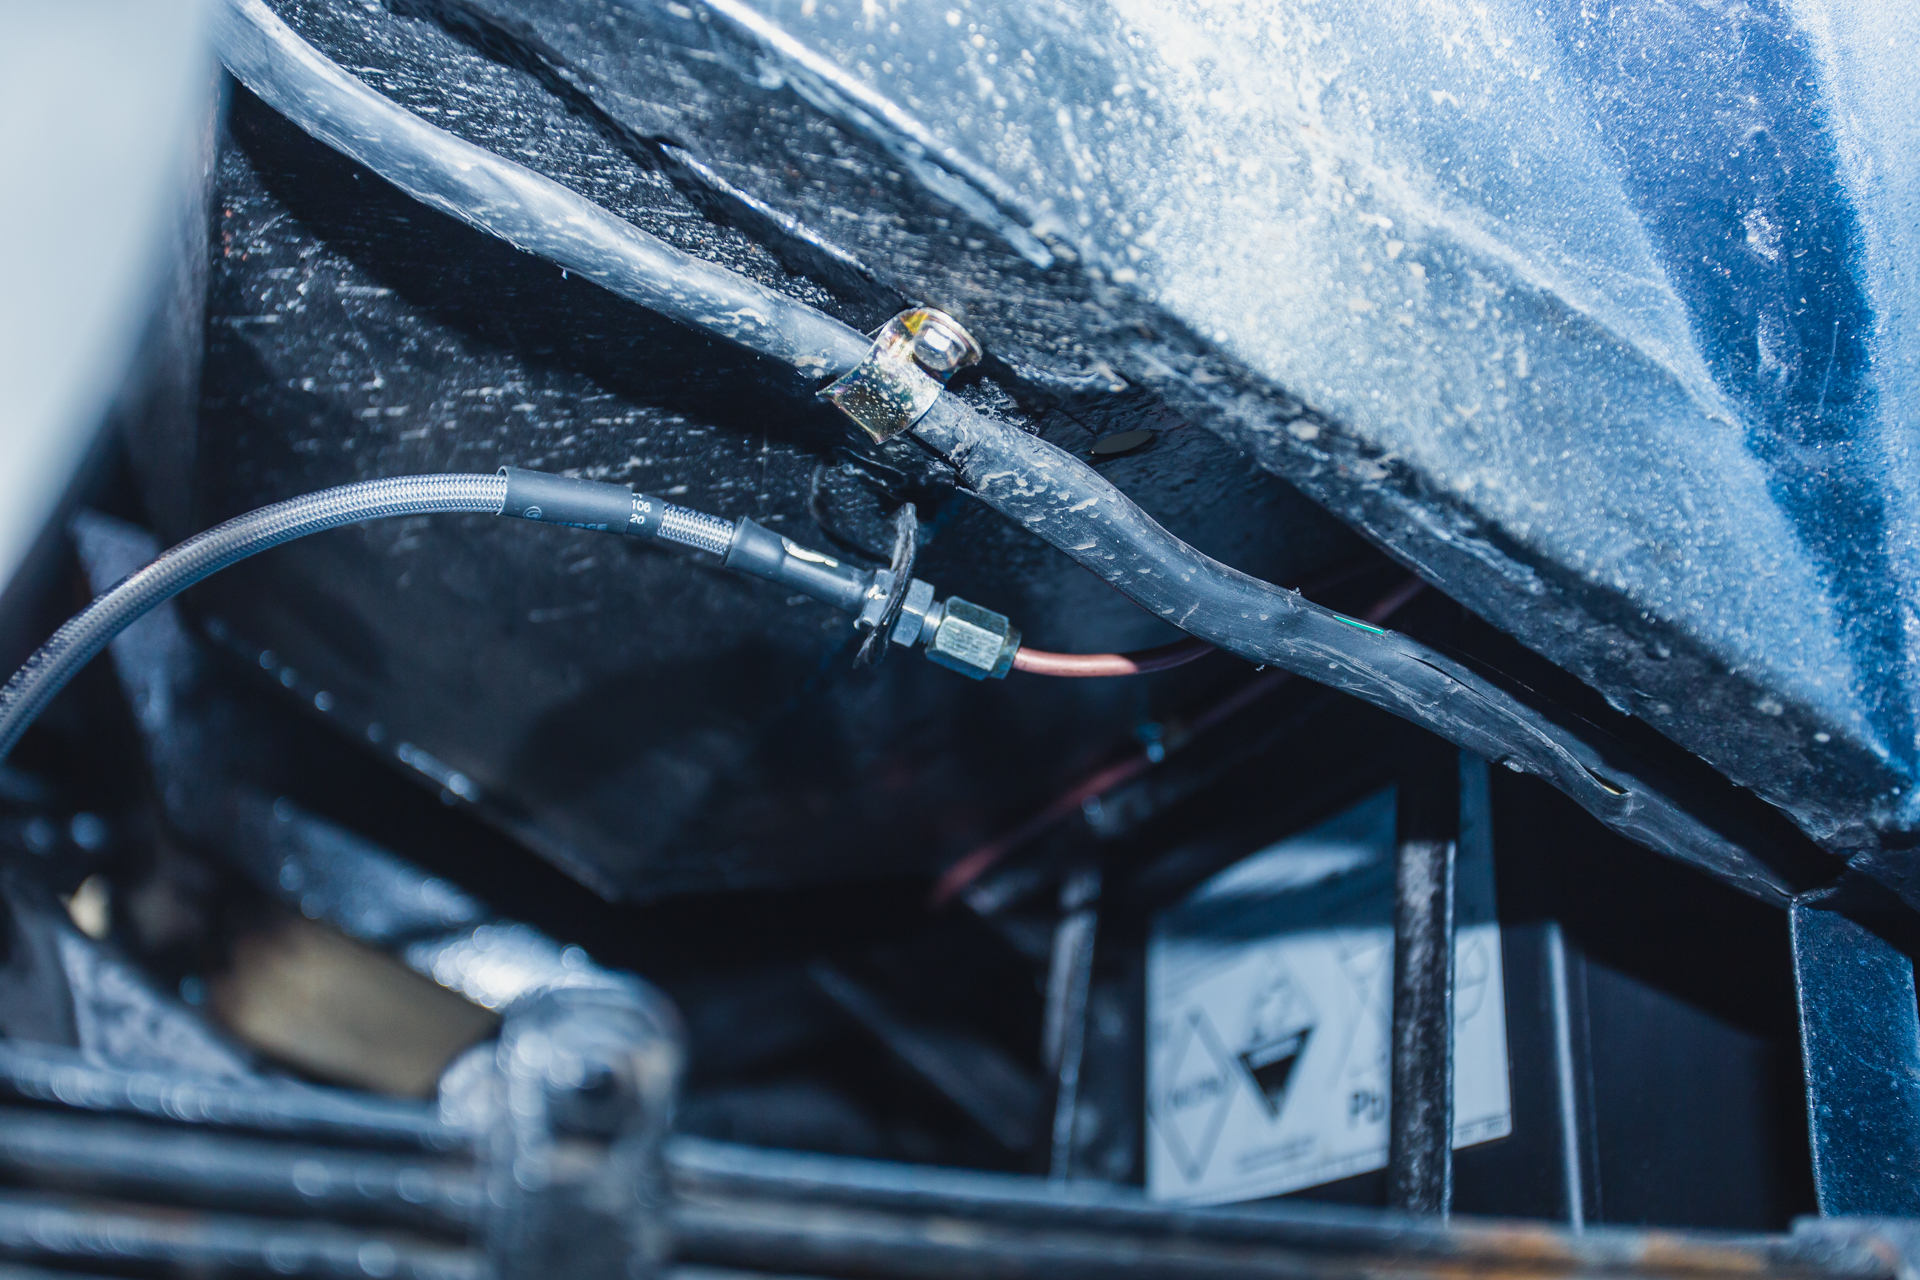
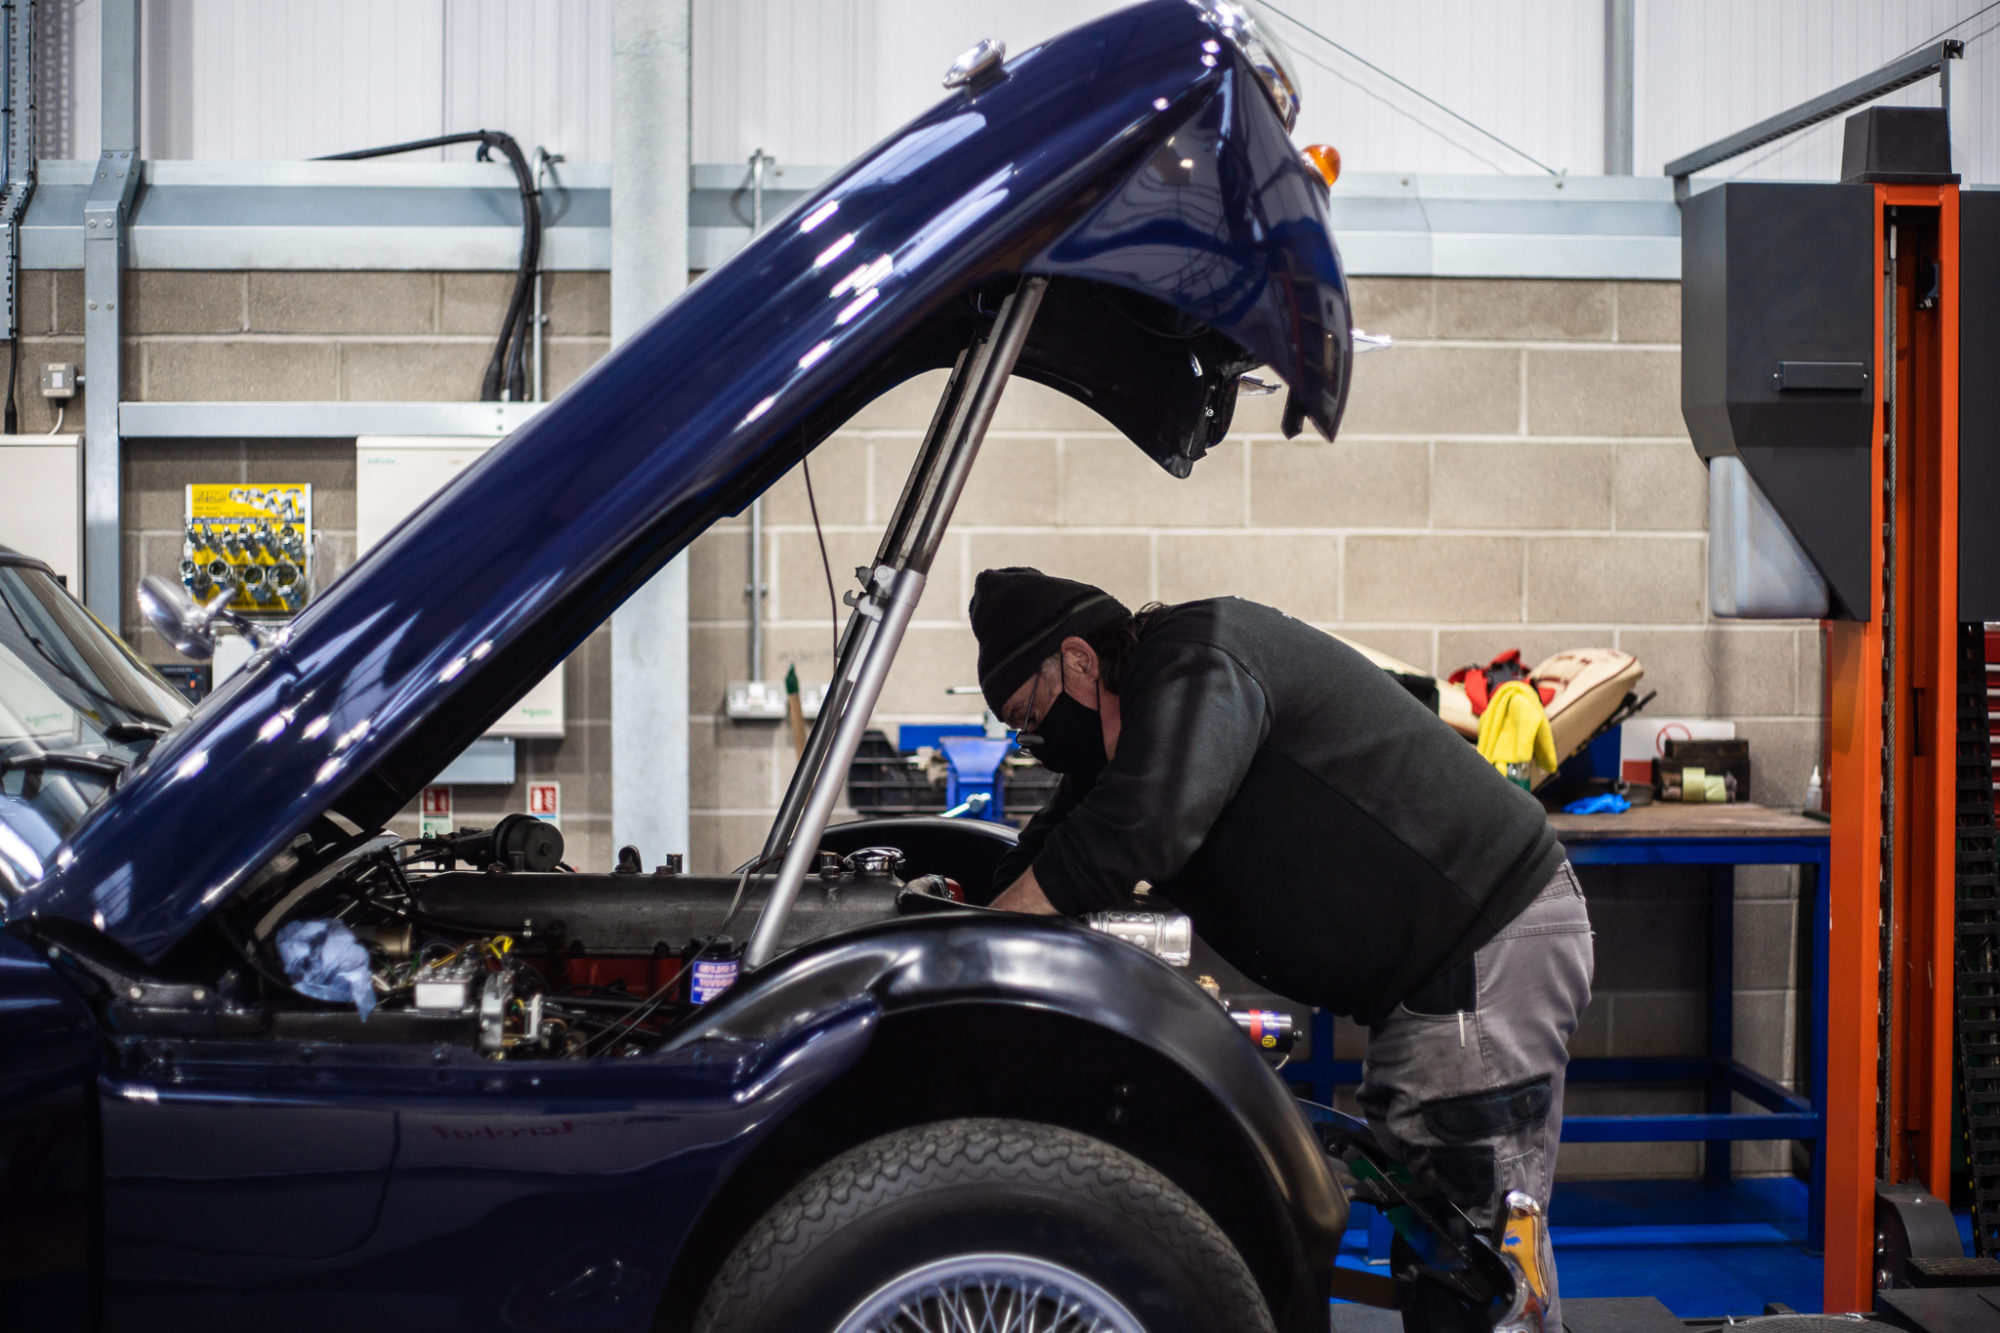
Its Jensen central here in the workshop! Our other Navy Jensen is currently undergoing some more work after the owner gave us the go-ahead to continue their restoration.
Paul has cleaned the brake discs, removing existing grease sat on the elements. Paul has also taken apart the disks and taken out some other debris that had sat in there. We’ve also fitted new brake lines and callipers on the back. The brake pipes have been redone, as well as the kingpins and bushes replaced. The front brakes have be been upgraded and the new brake lines have been fitted.
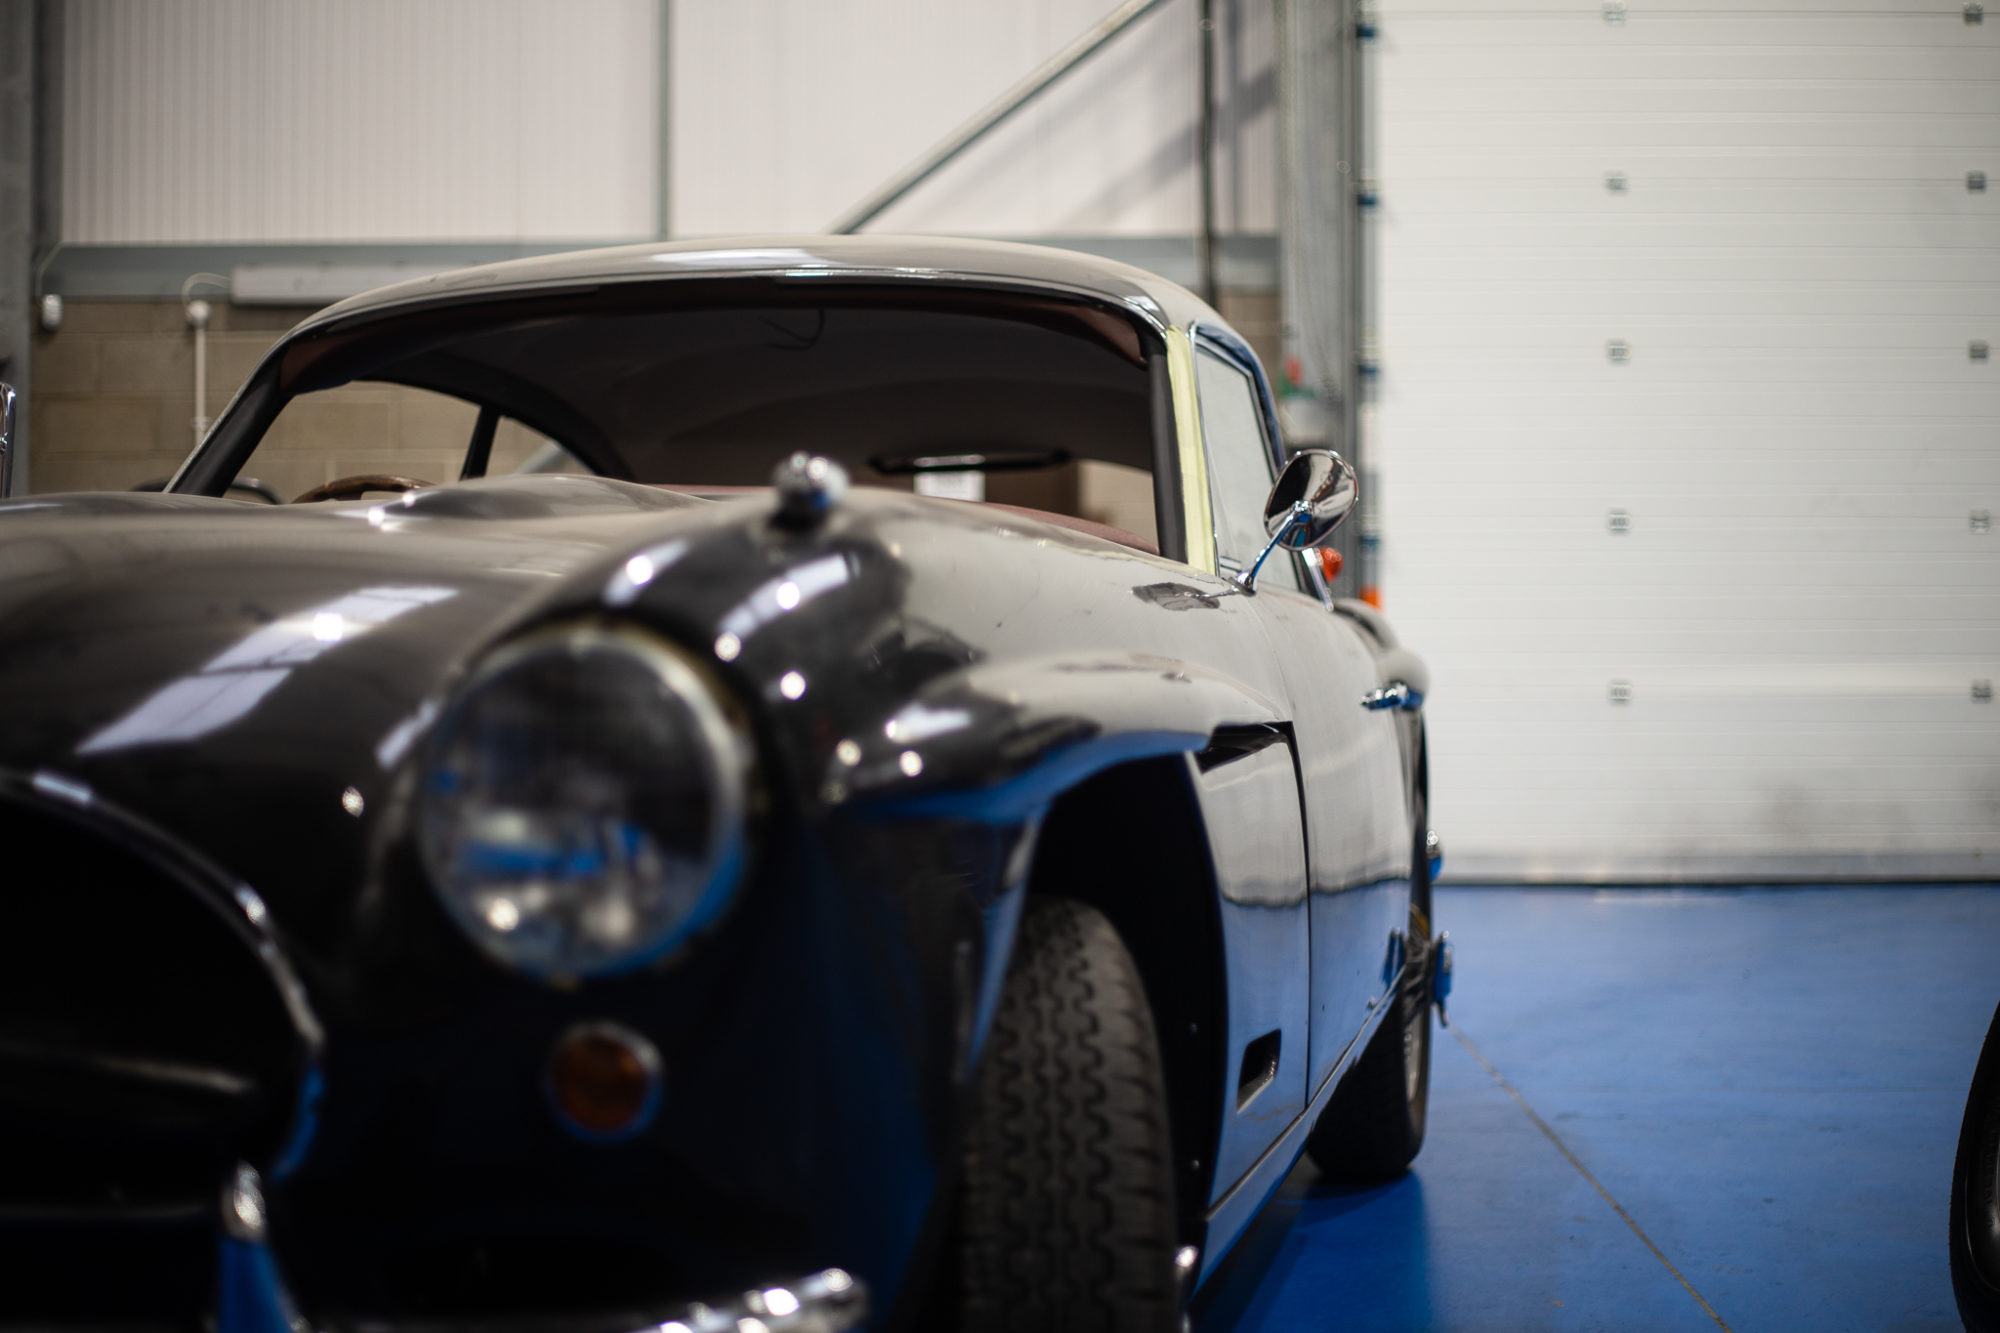
This lovely 1958 Jensen 541R will soon be up for sale with us however there are a few issues that need attending to first.
First of all, the Dynamo needs to be refurbished as although it technically works fine, there’s a small charging fault with it.
There’s an issue with the water pump which has a severe leak meaning it will need rebuilding.
Our 1960 Jensen 541R is currently in the final, final stages. It is currently sat in the paint shop for some minor corrections as we believe that perfection is the only option when it comes to our restorations.
On its road test, our Jensen performed well and only showed small teething issues but otherwise its ready to go!

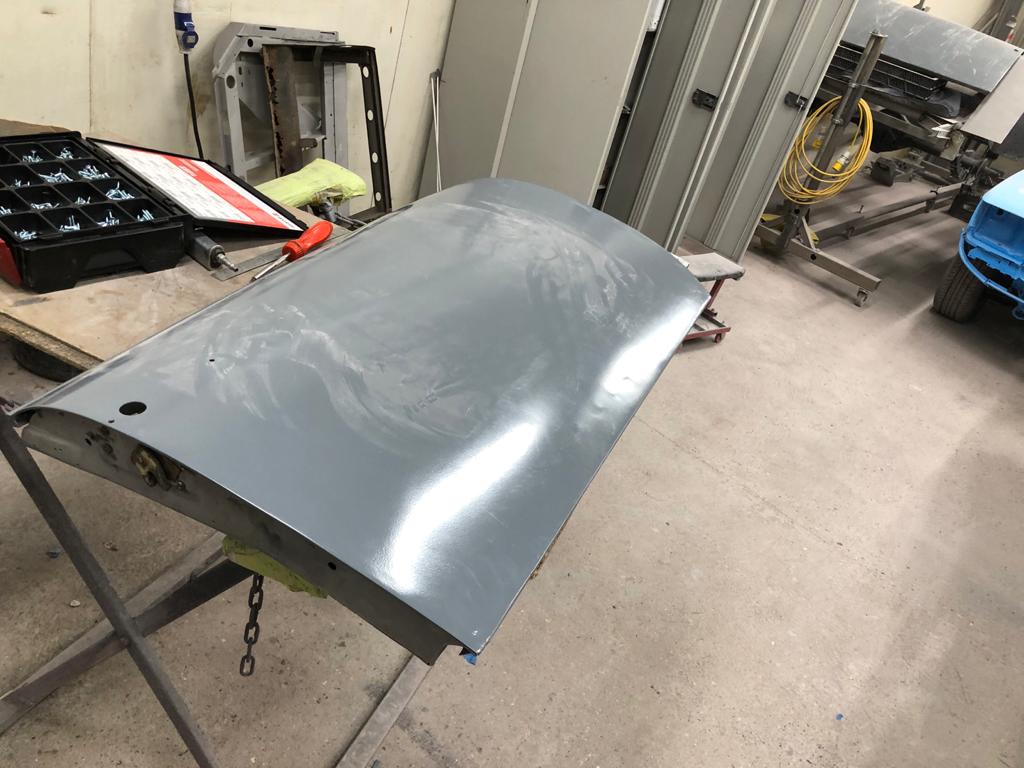
The Grey Jensen is having some small alterations made to its doors. Currently, as they sit, the doors are slightly too wide to fit into the B-post, so we have managed to make some subtle alterations to the door and the aluminium trim to allow the door itself to fit more comfortably into the body.
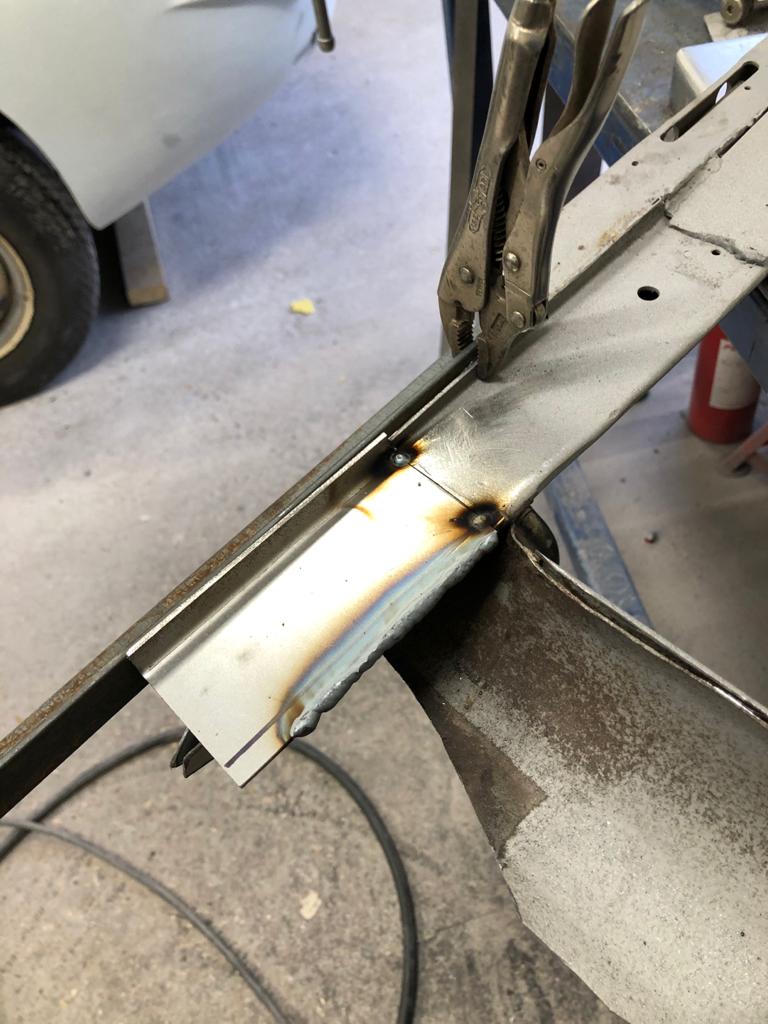
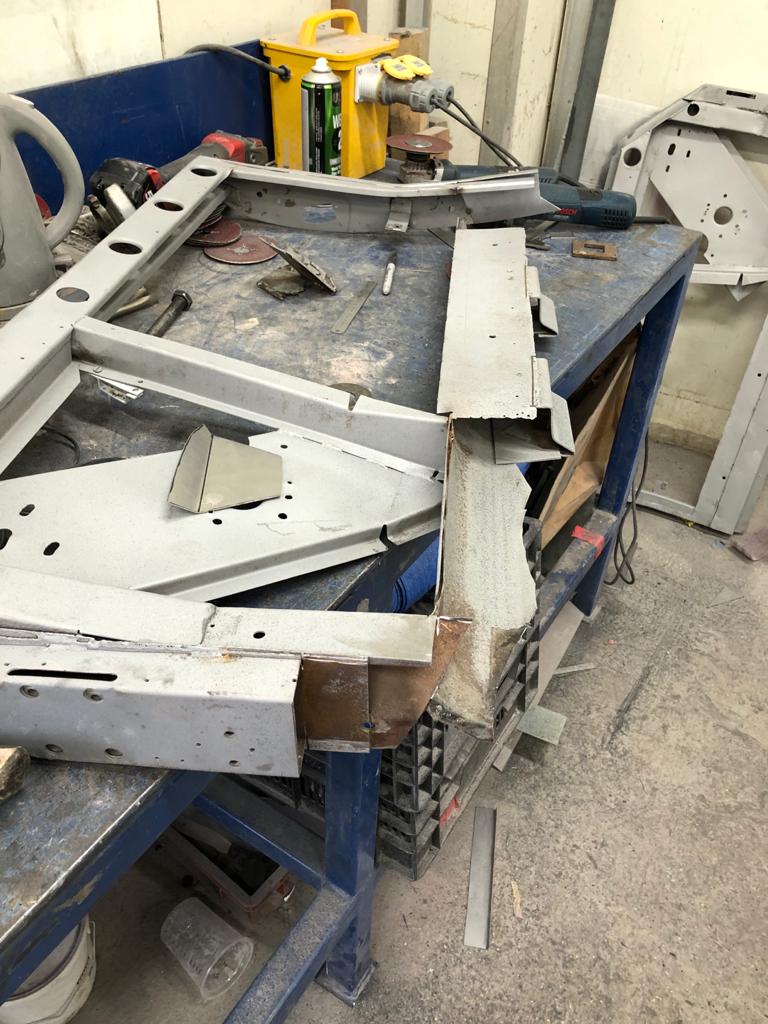
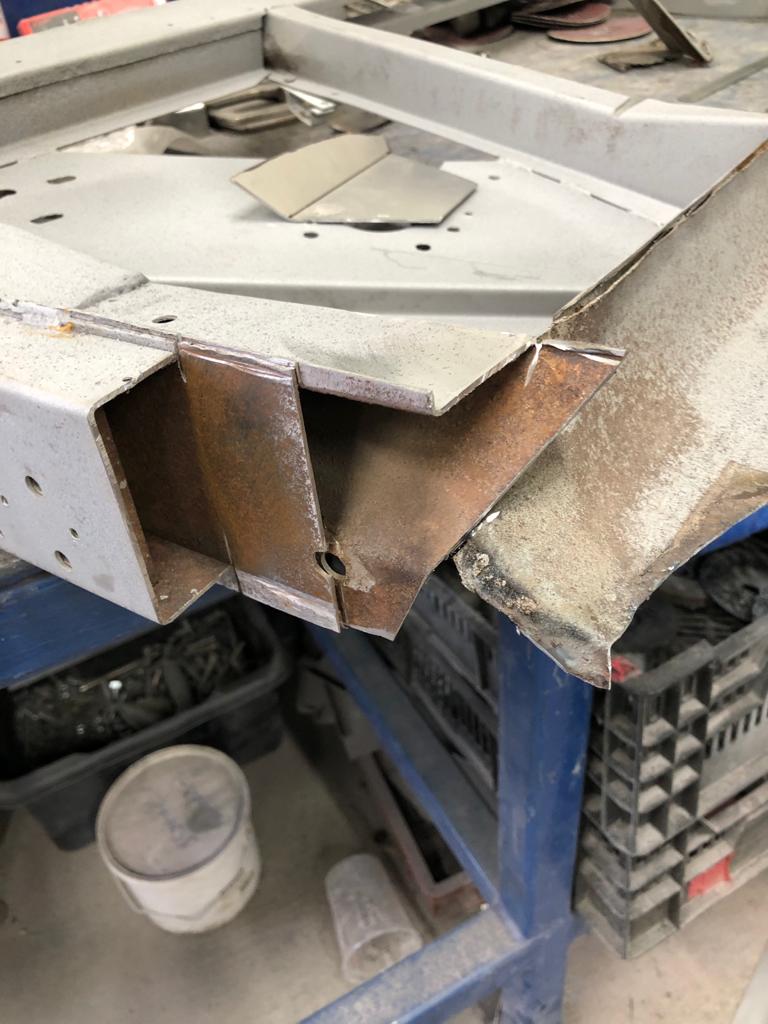
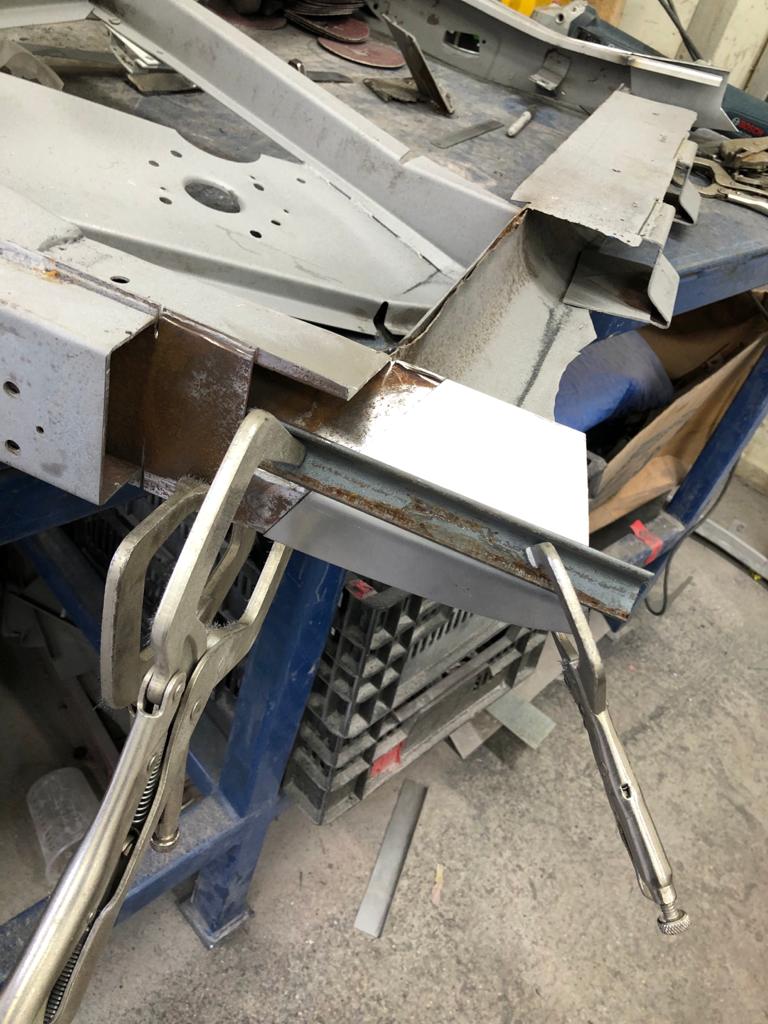
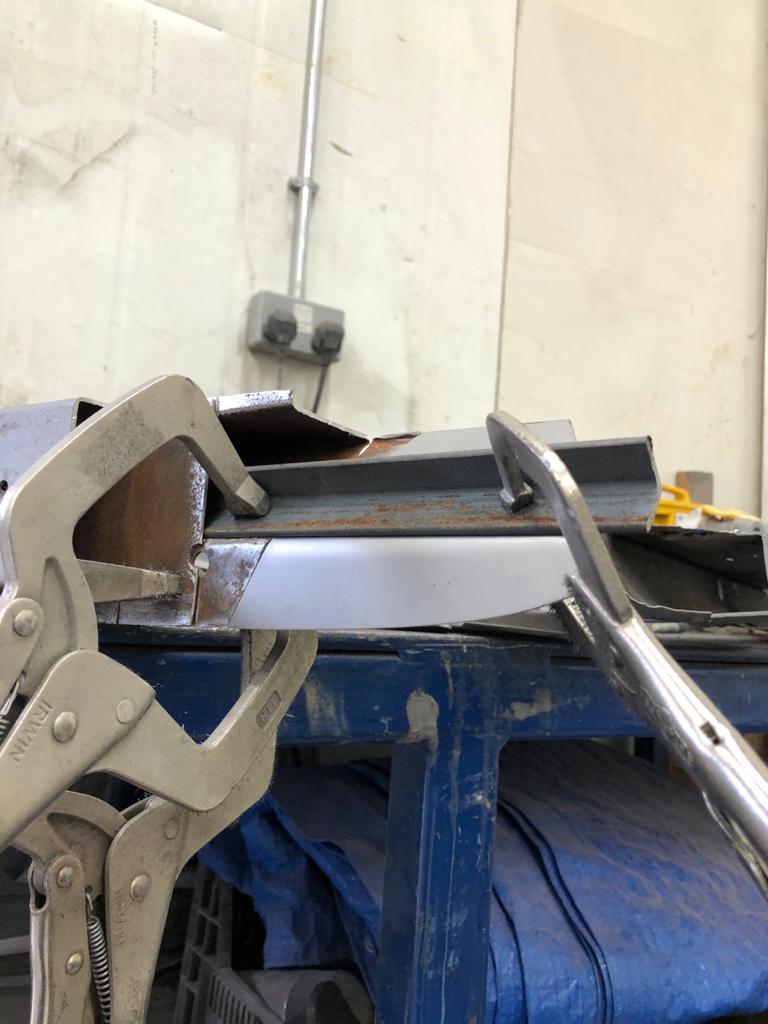
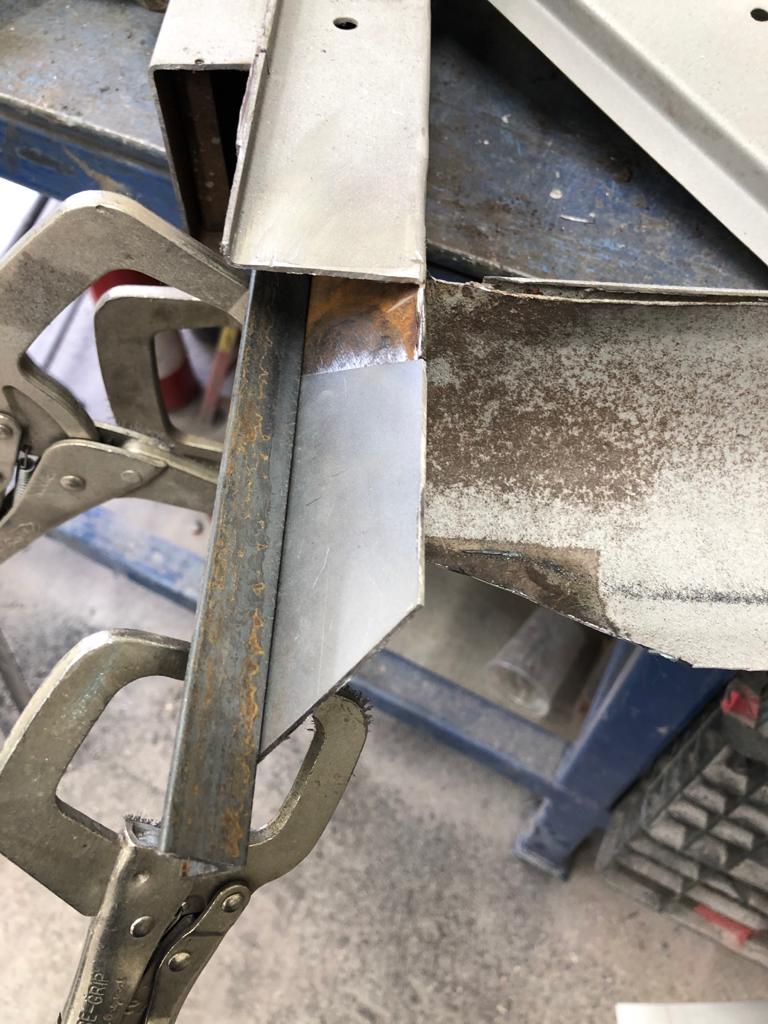
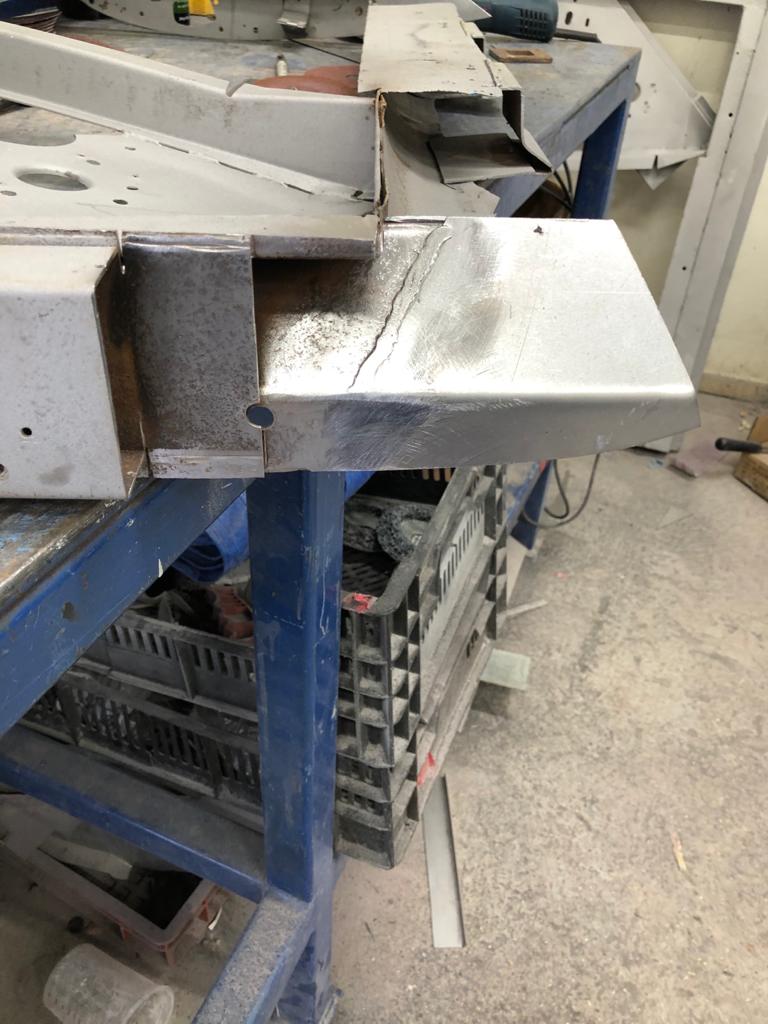
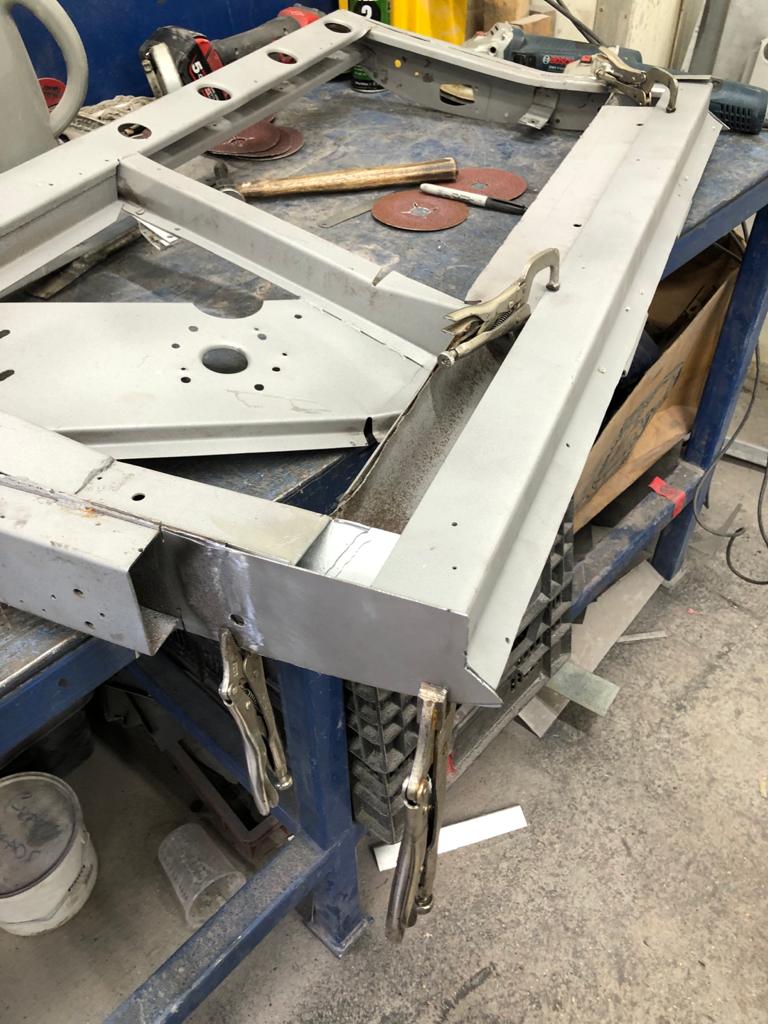
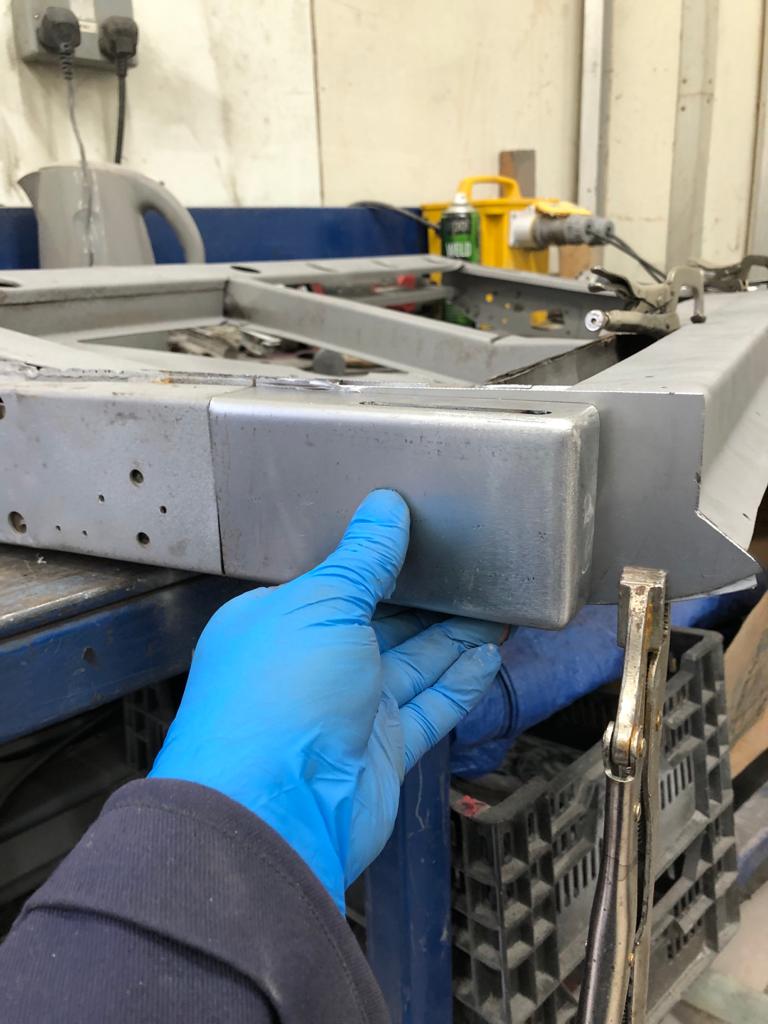
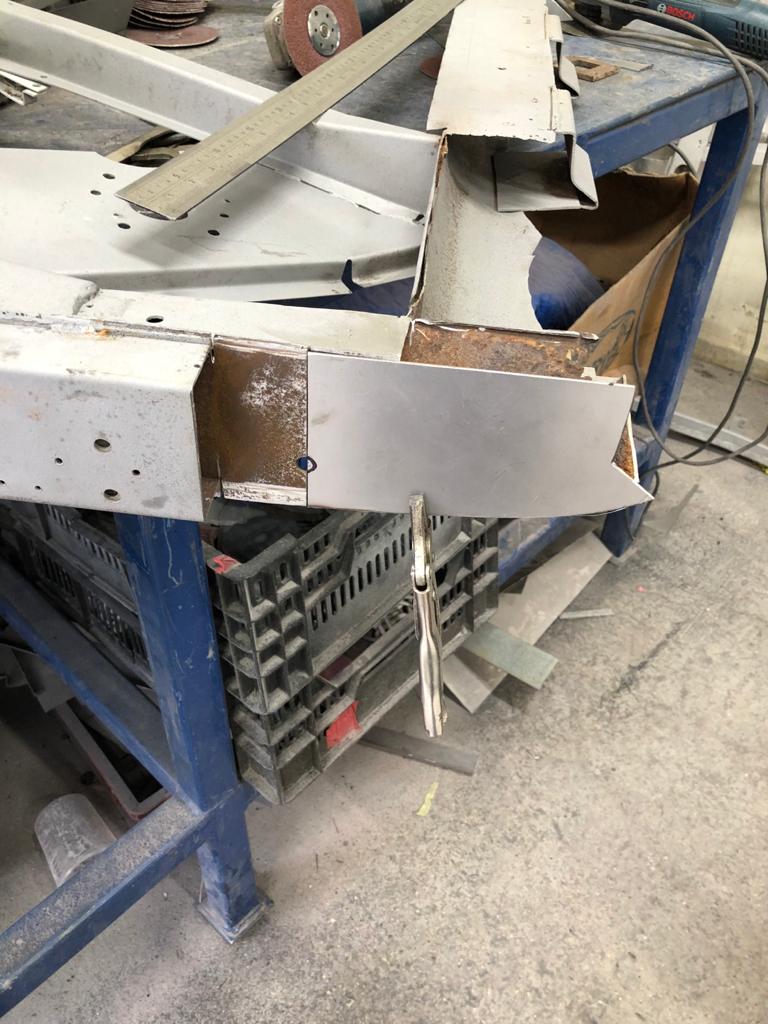
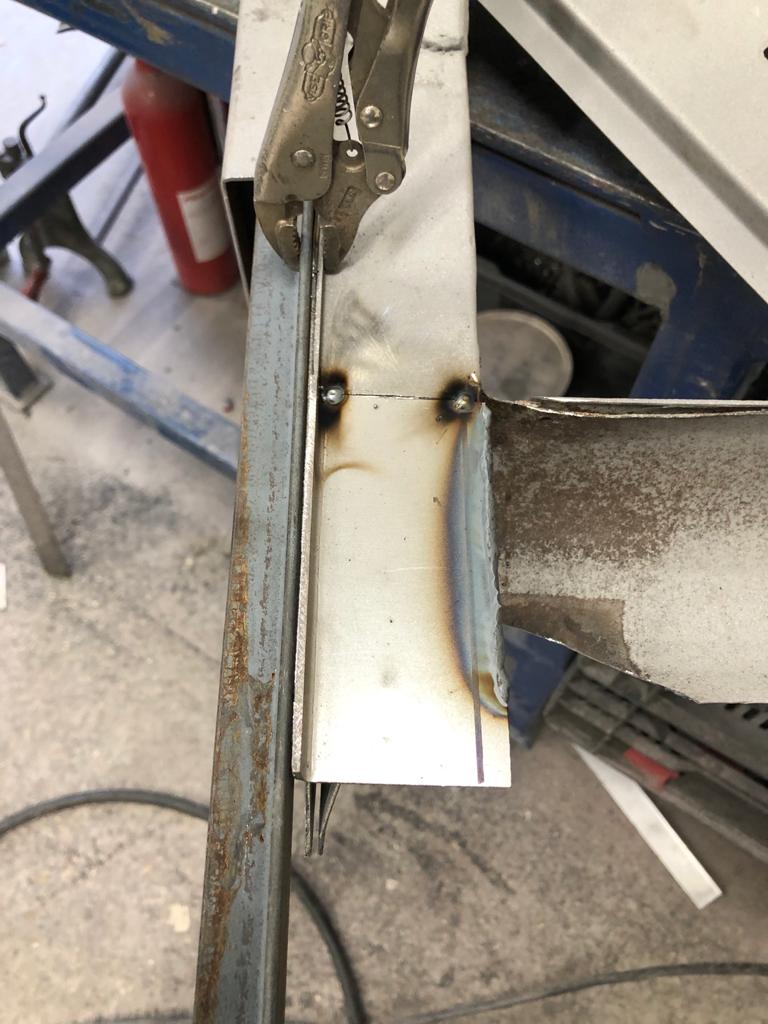
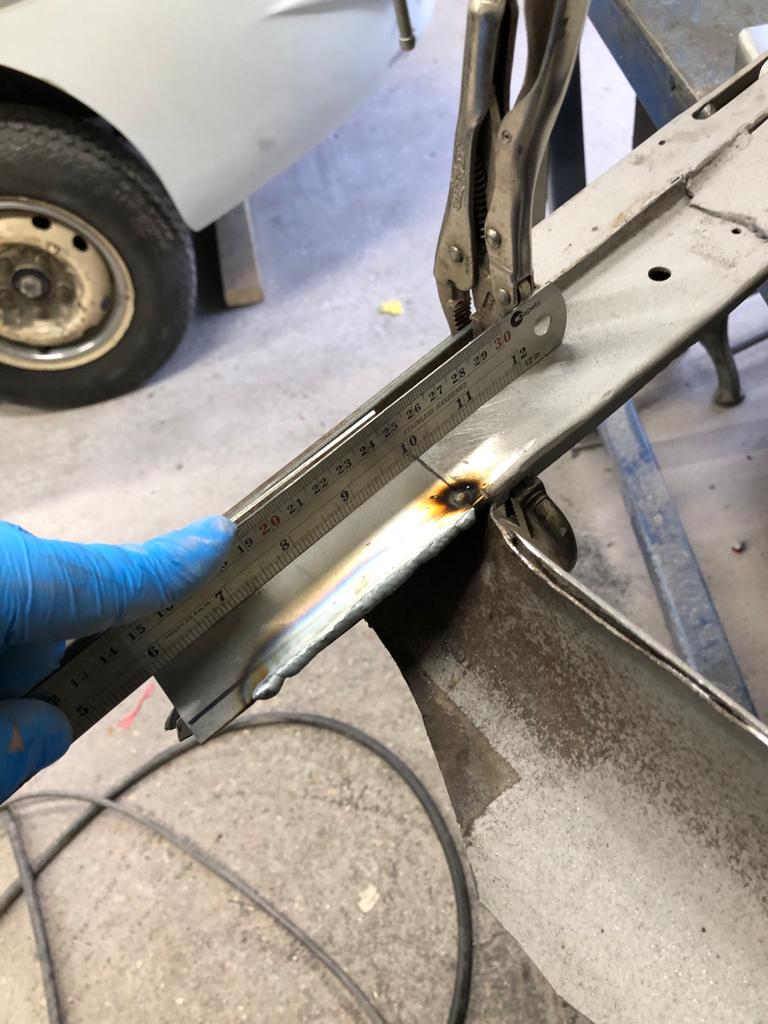
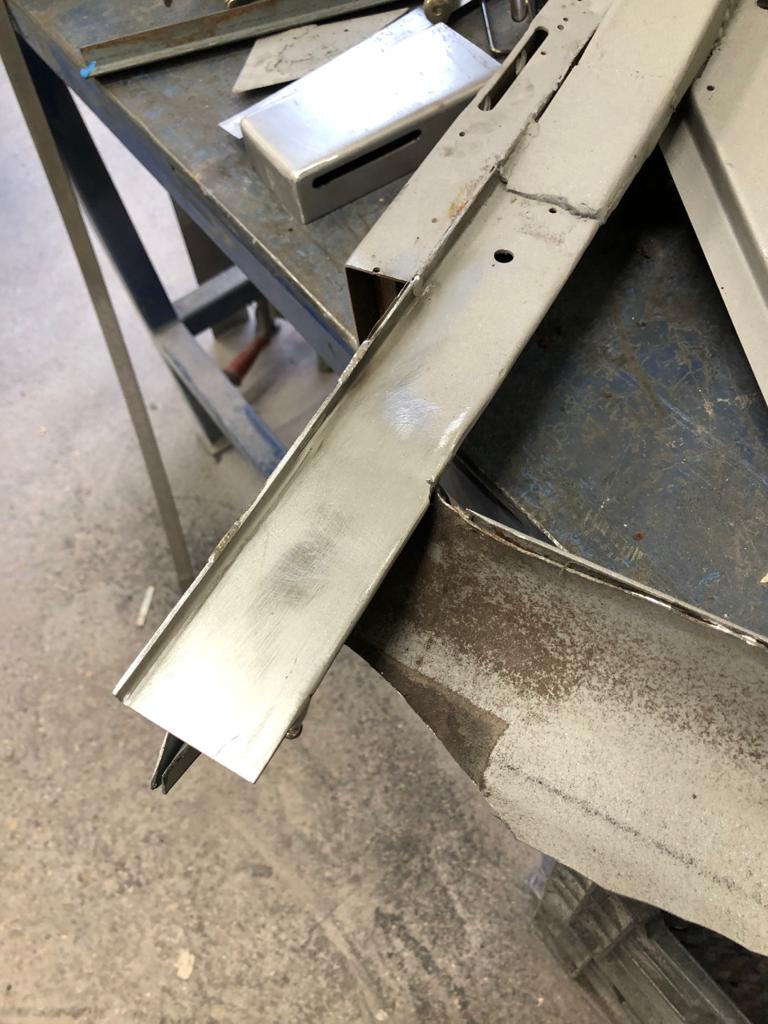
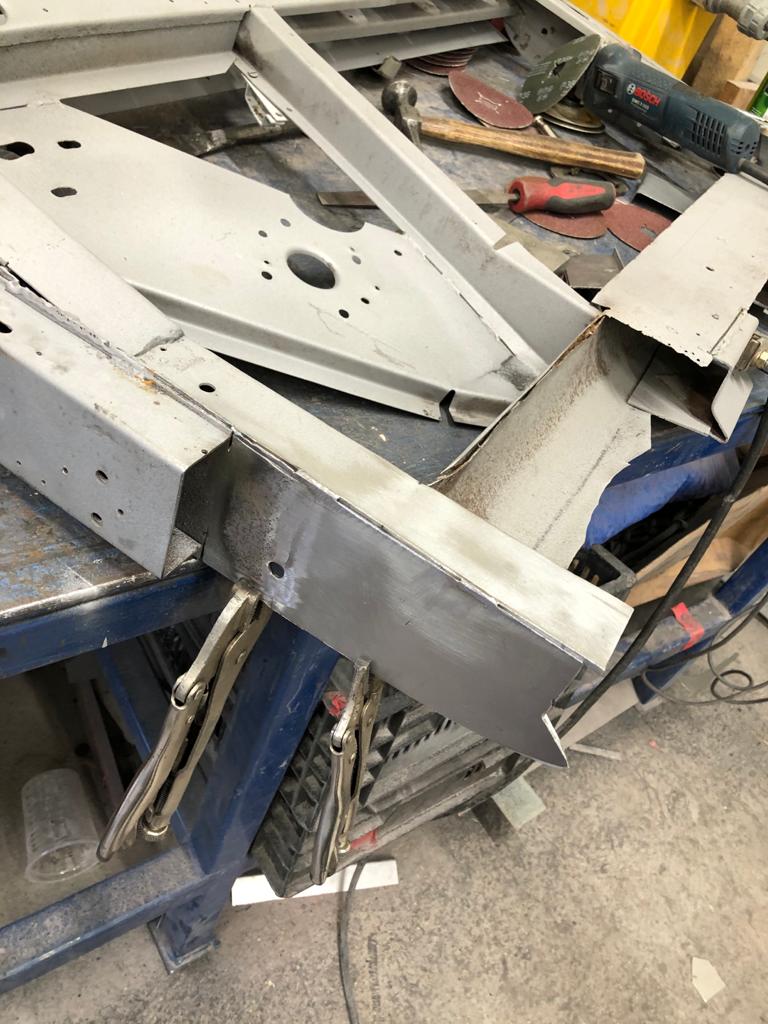
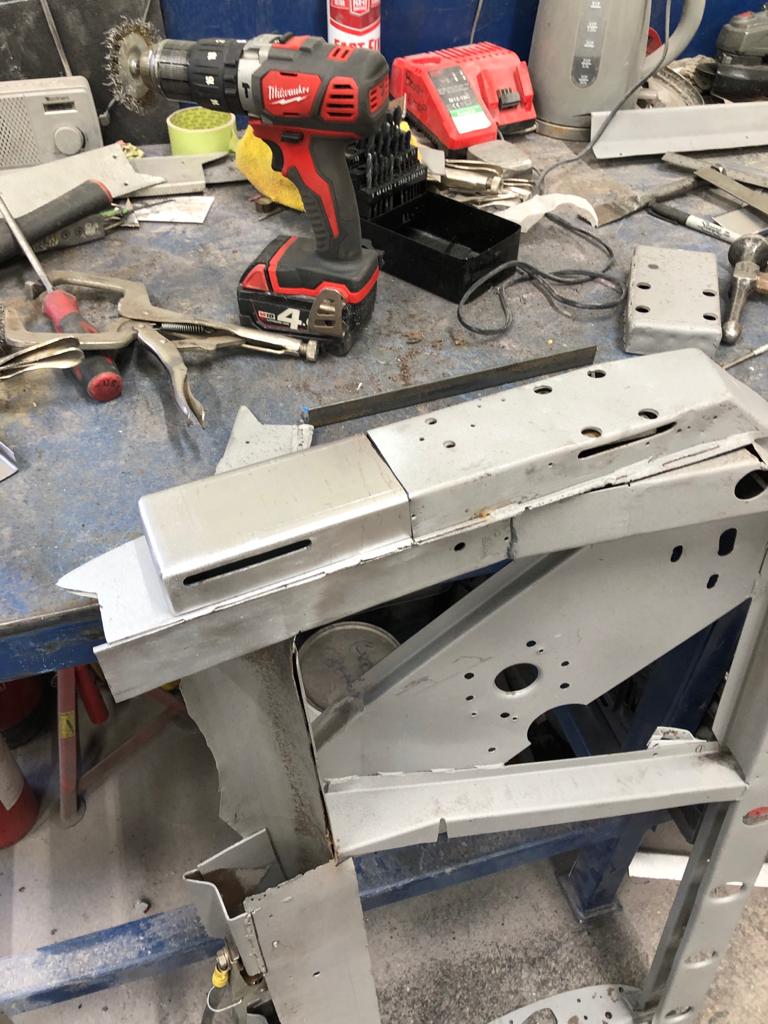
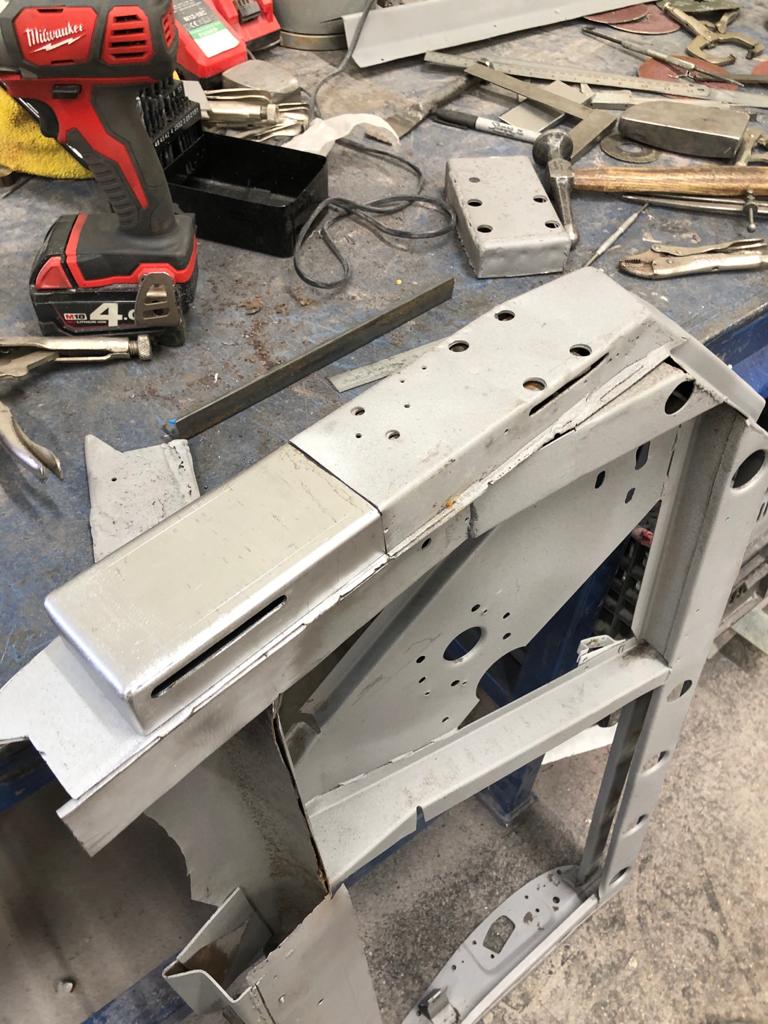
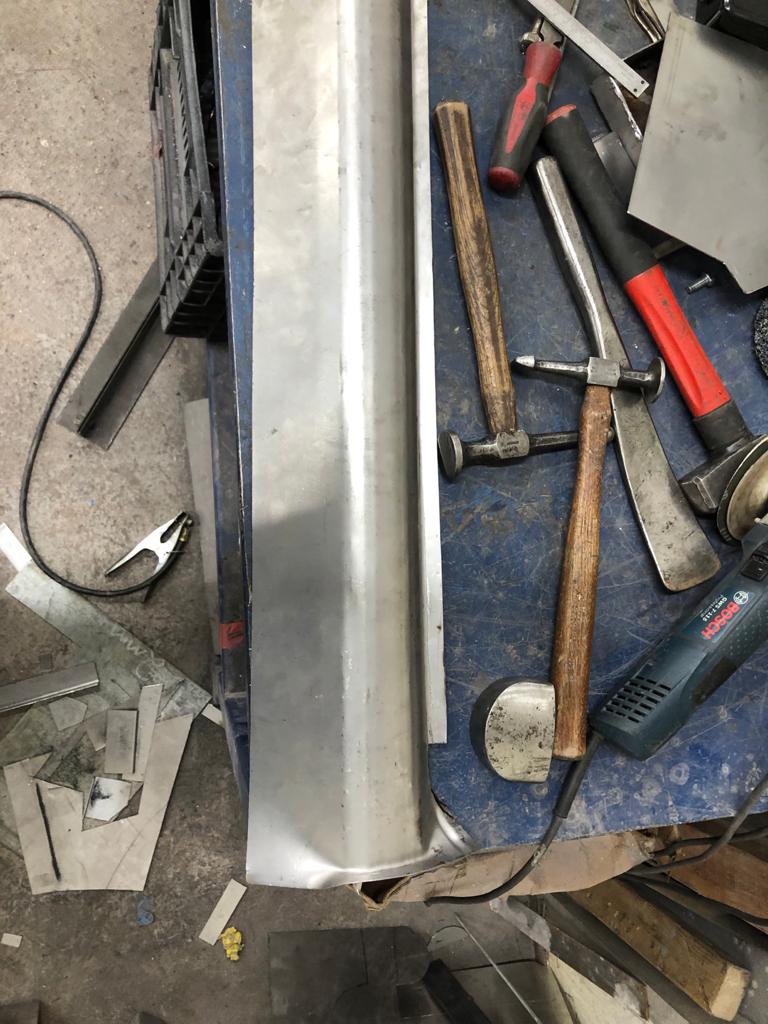
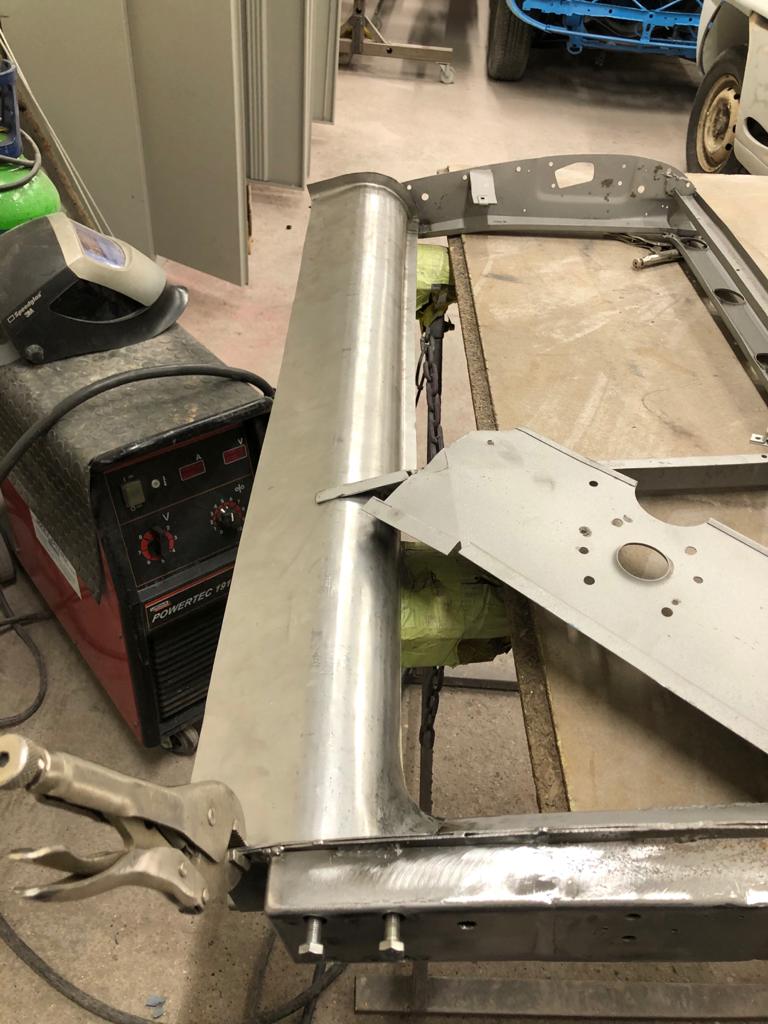
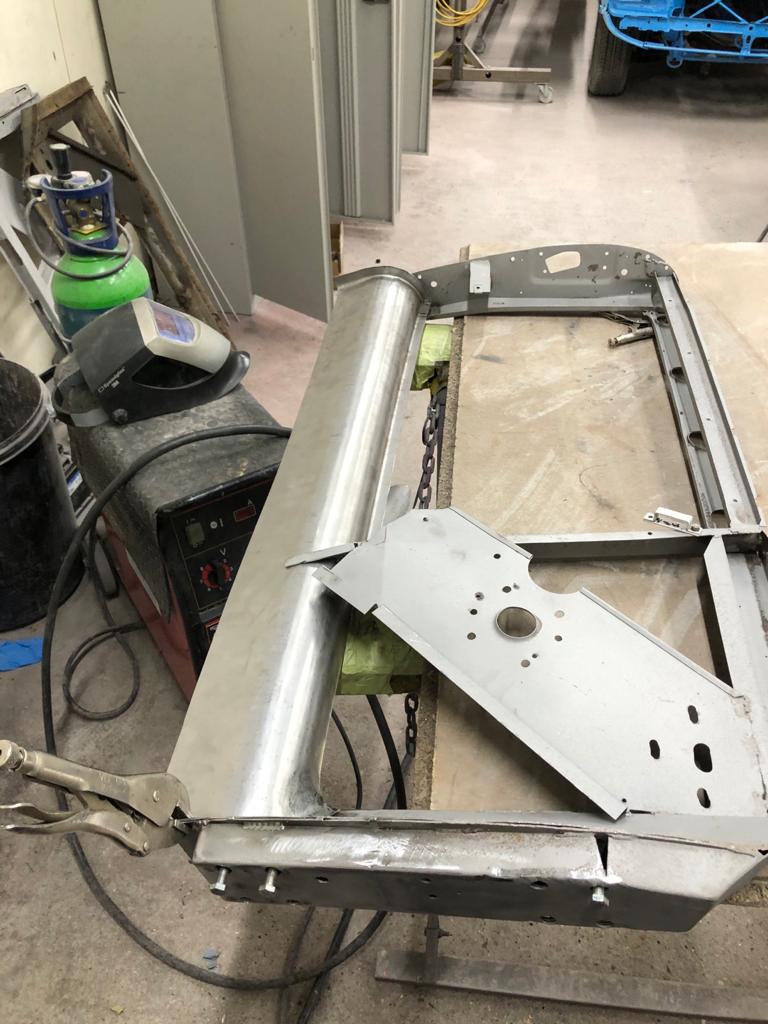
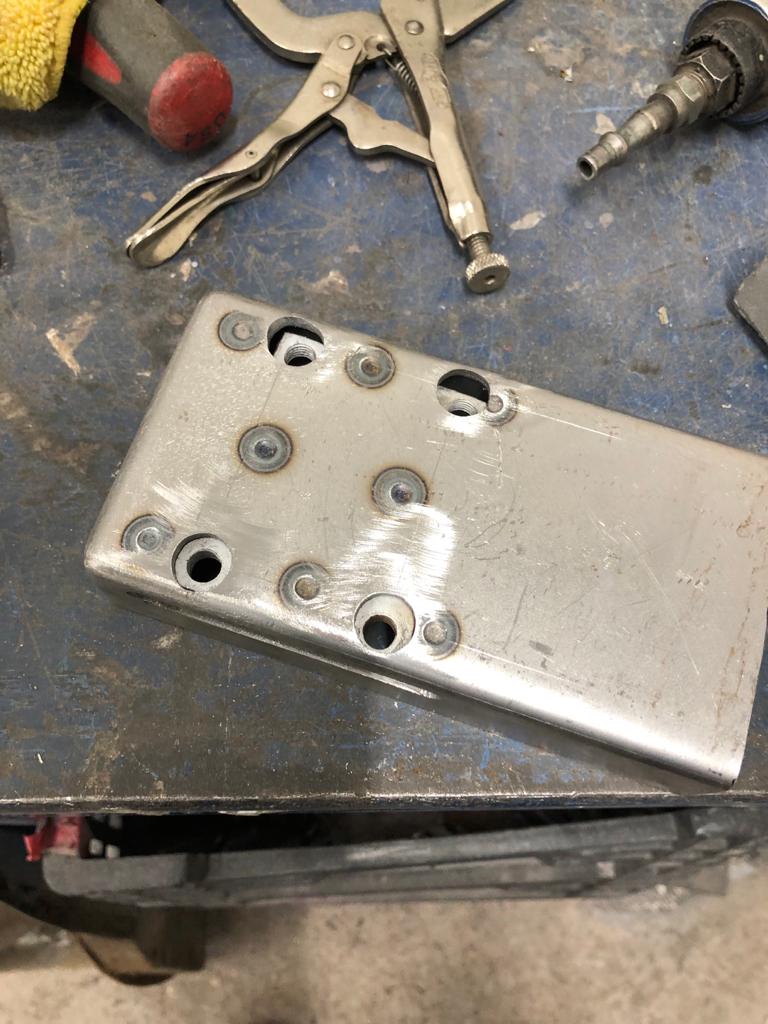
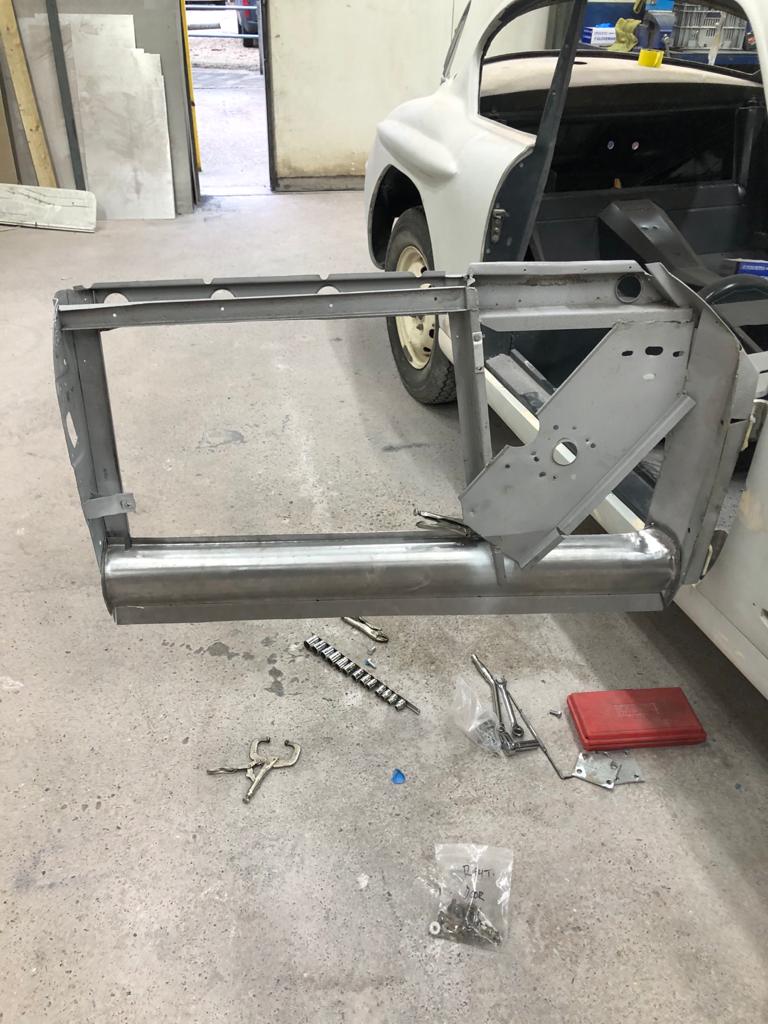
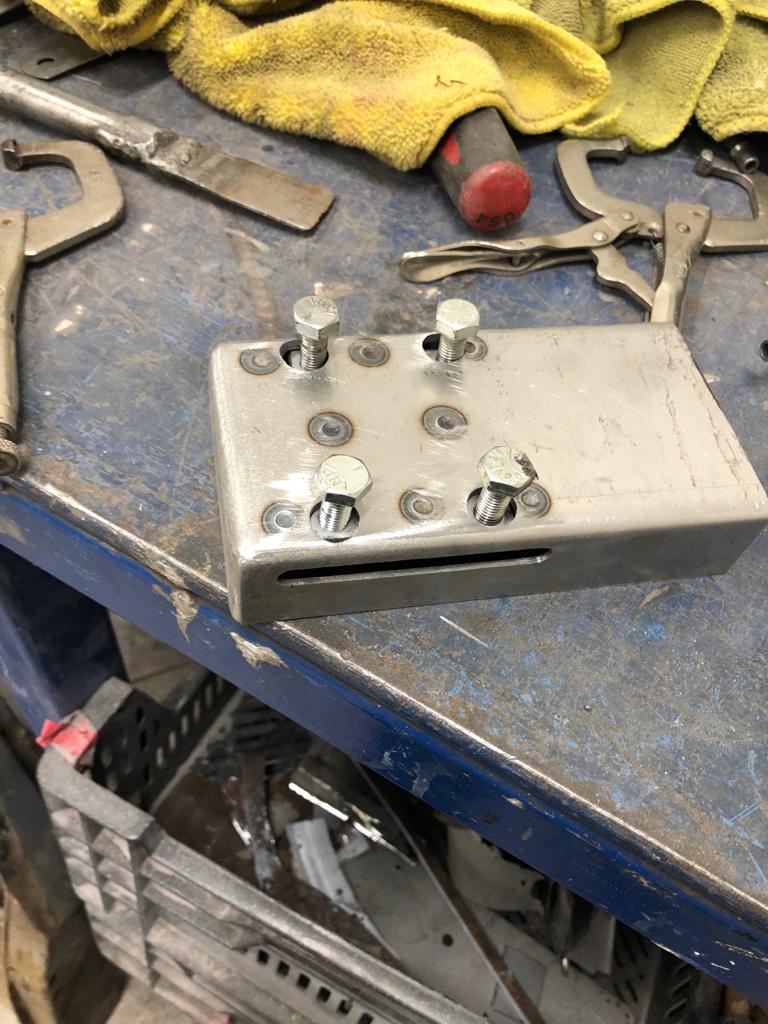
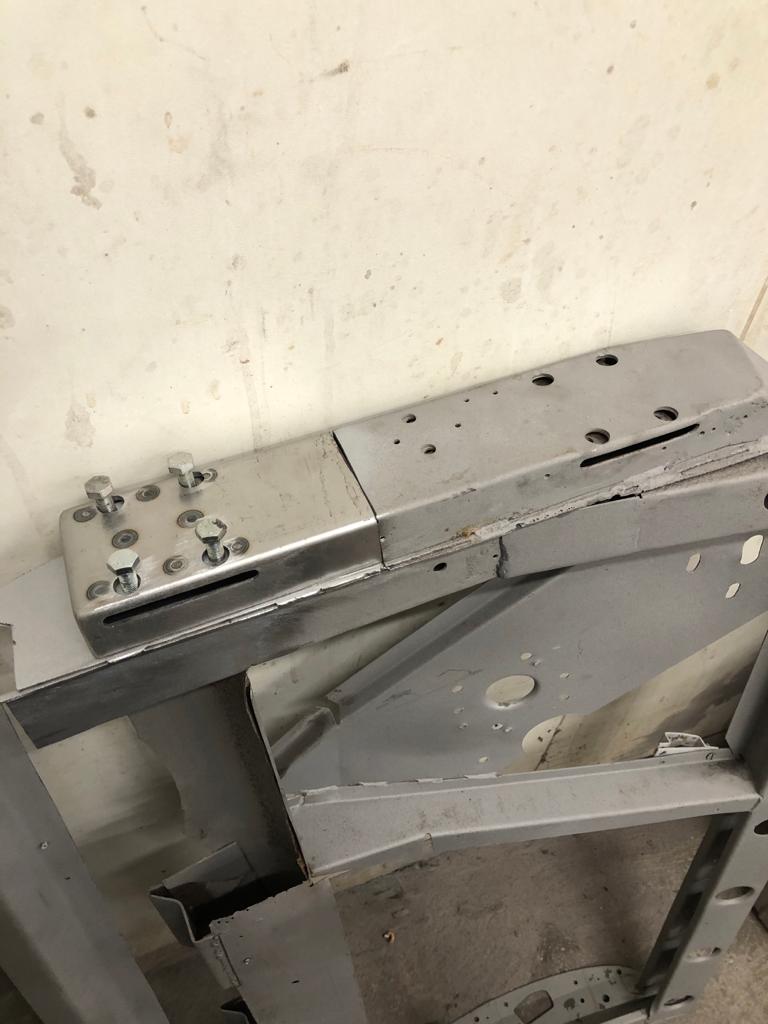
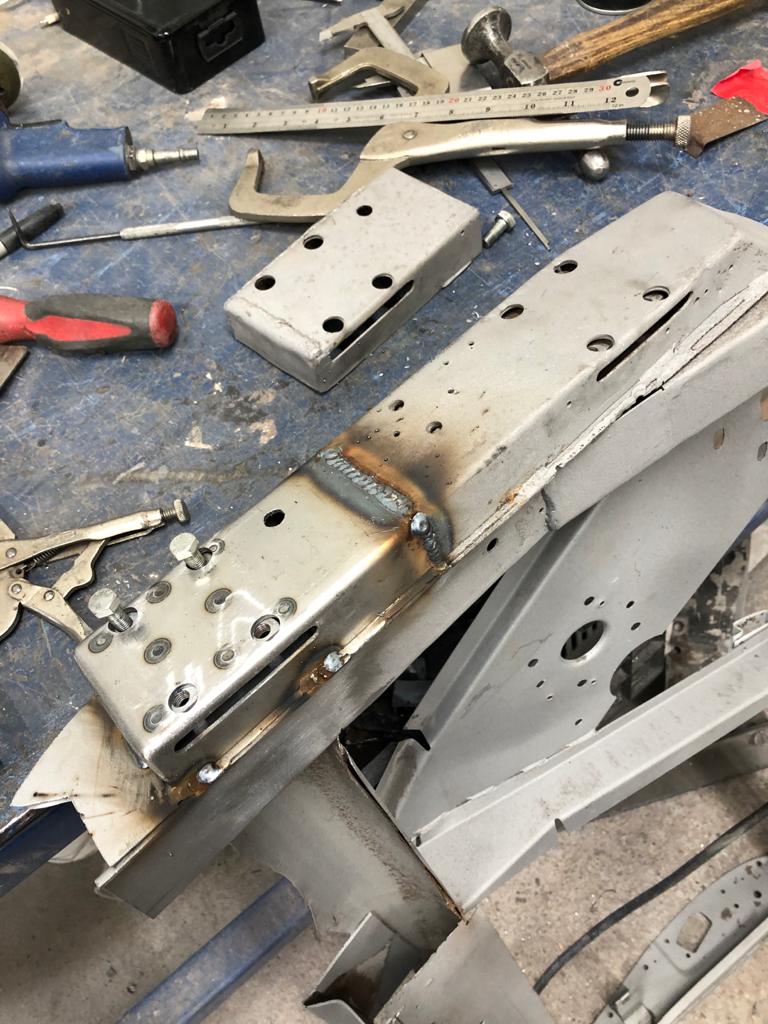
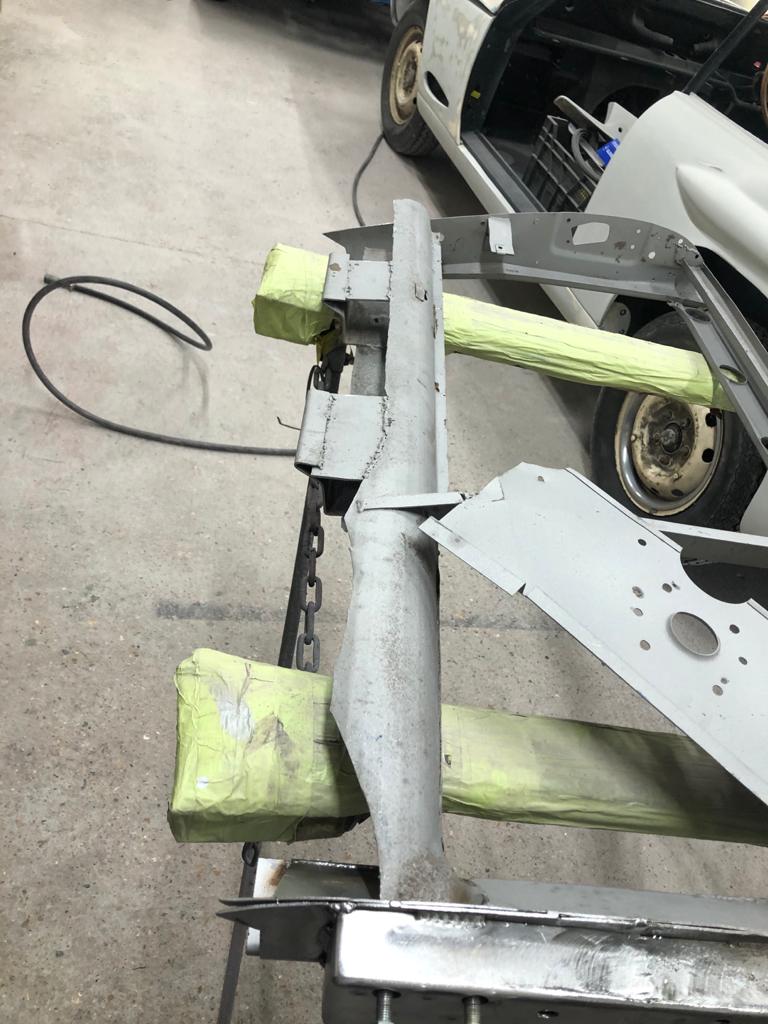
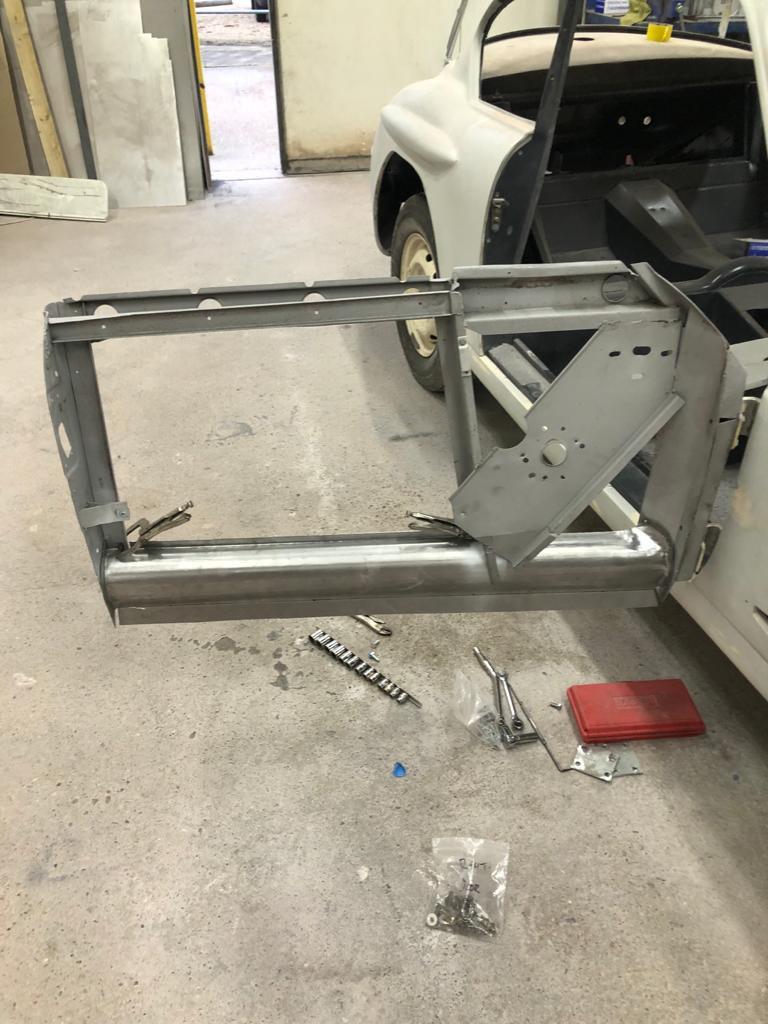
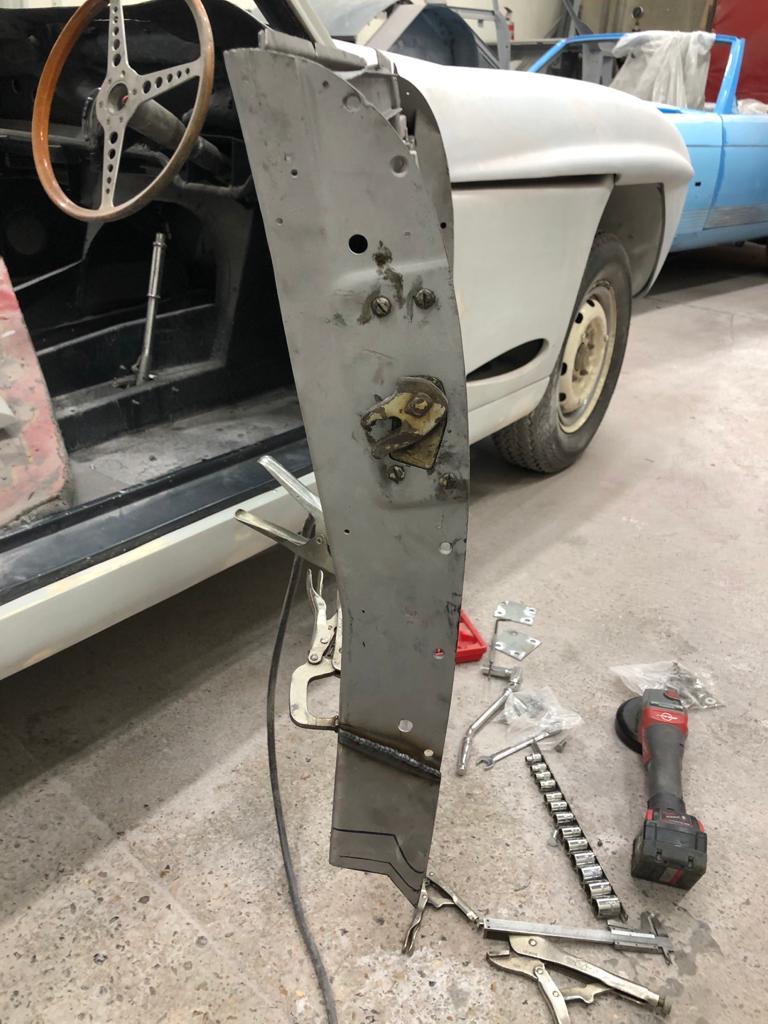
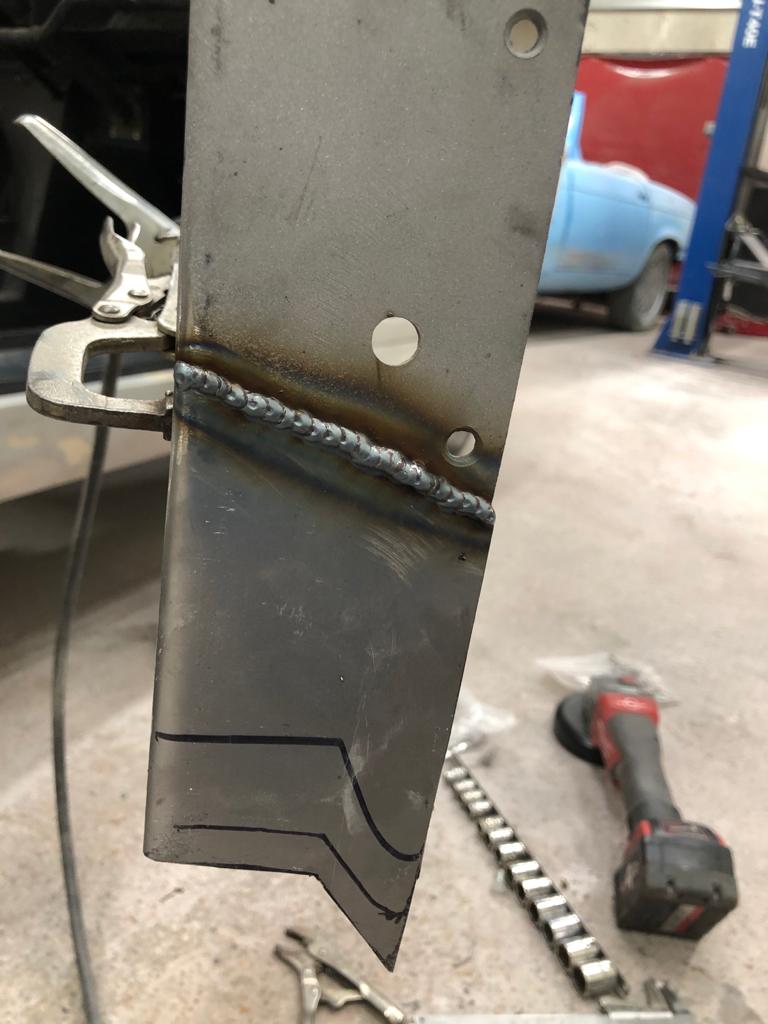
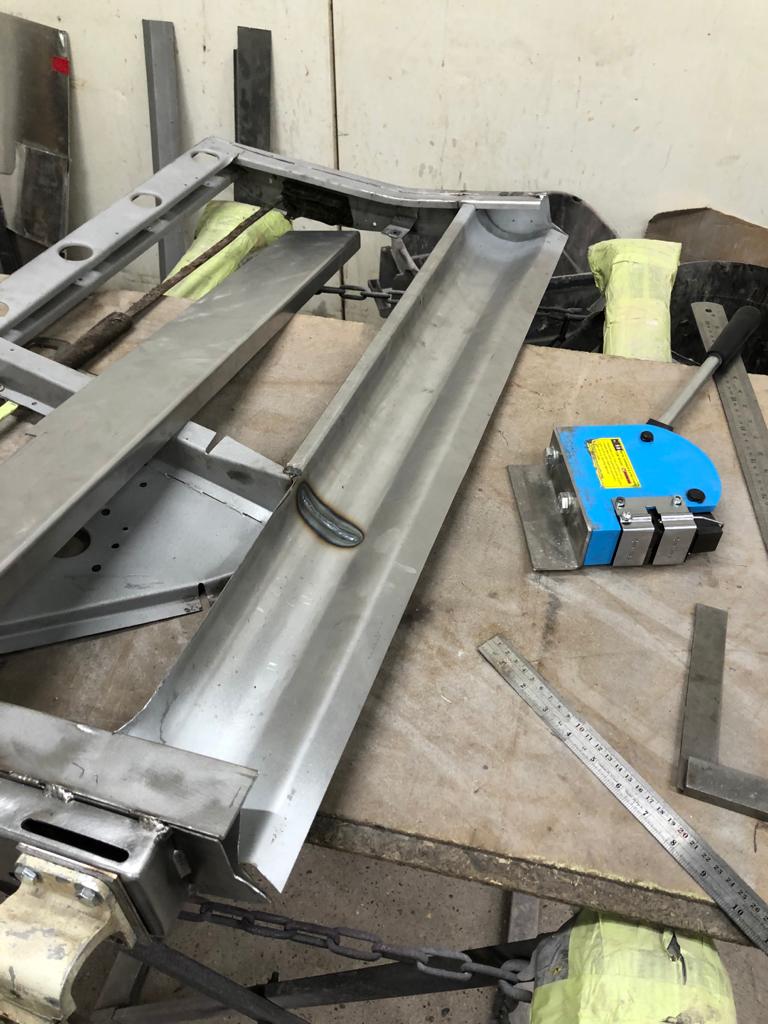
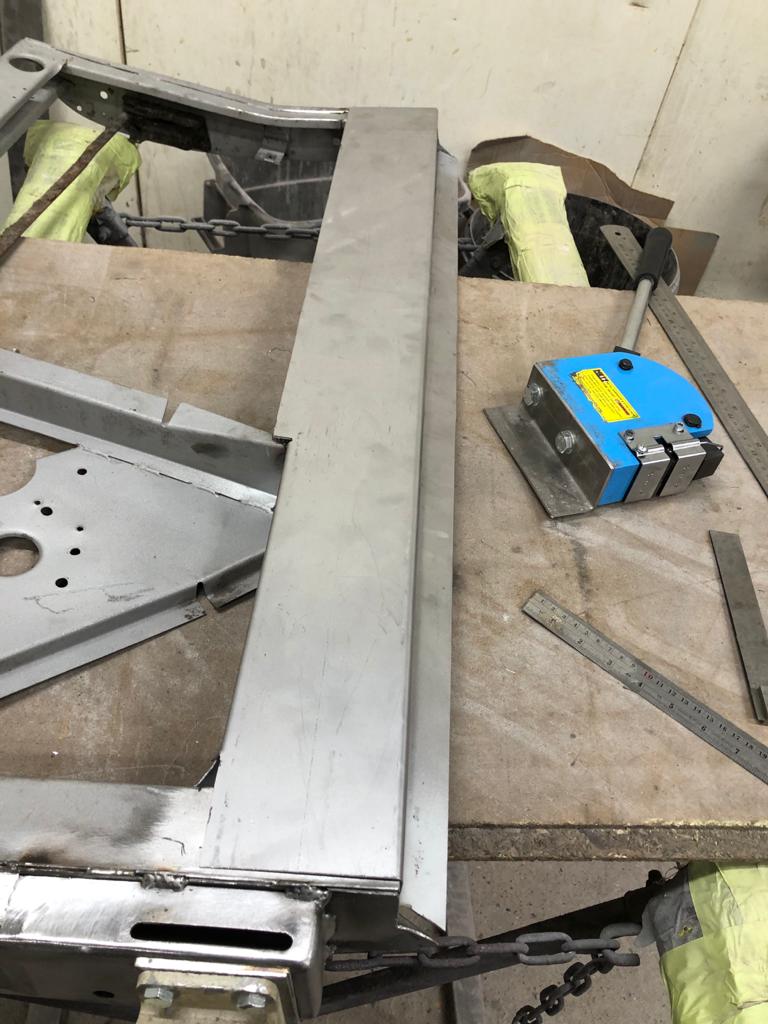
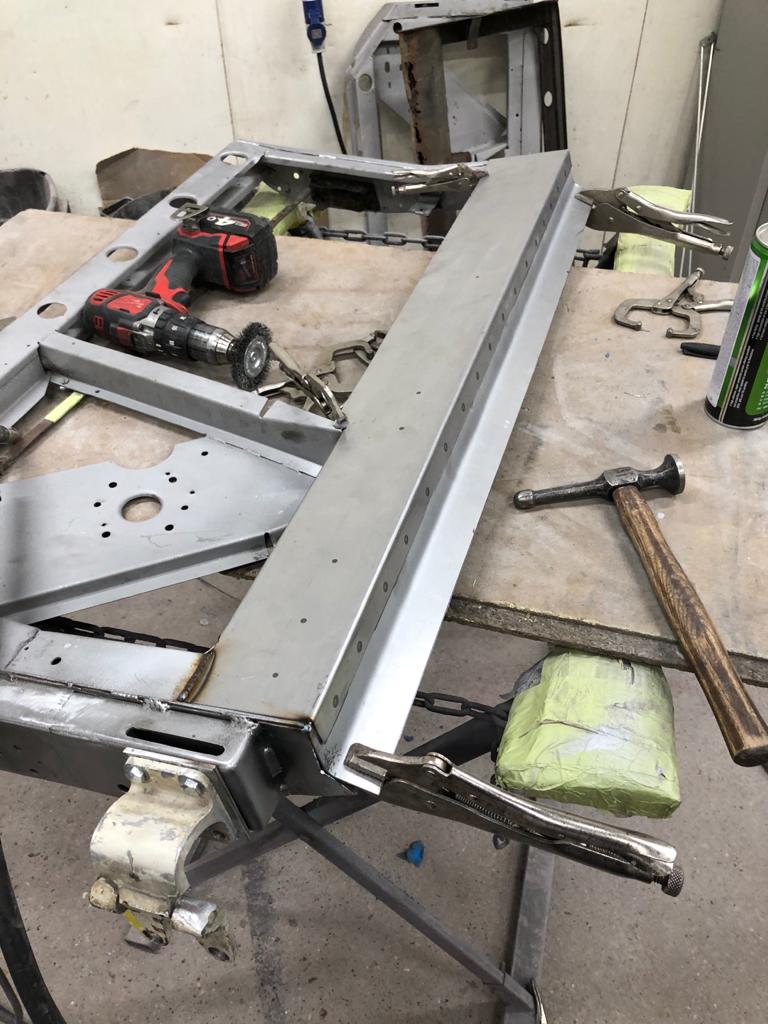
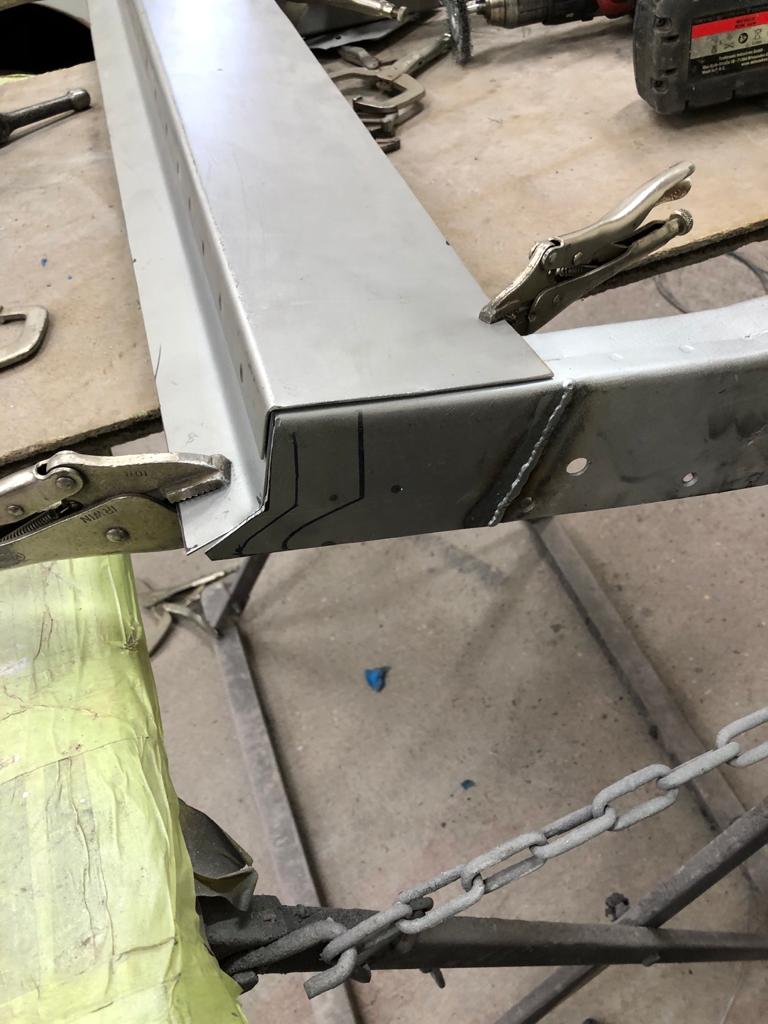
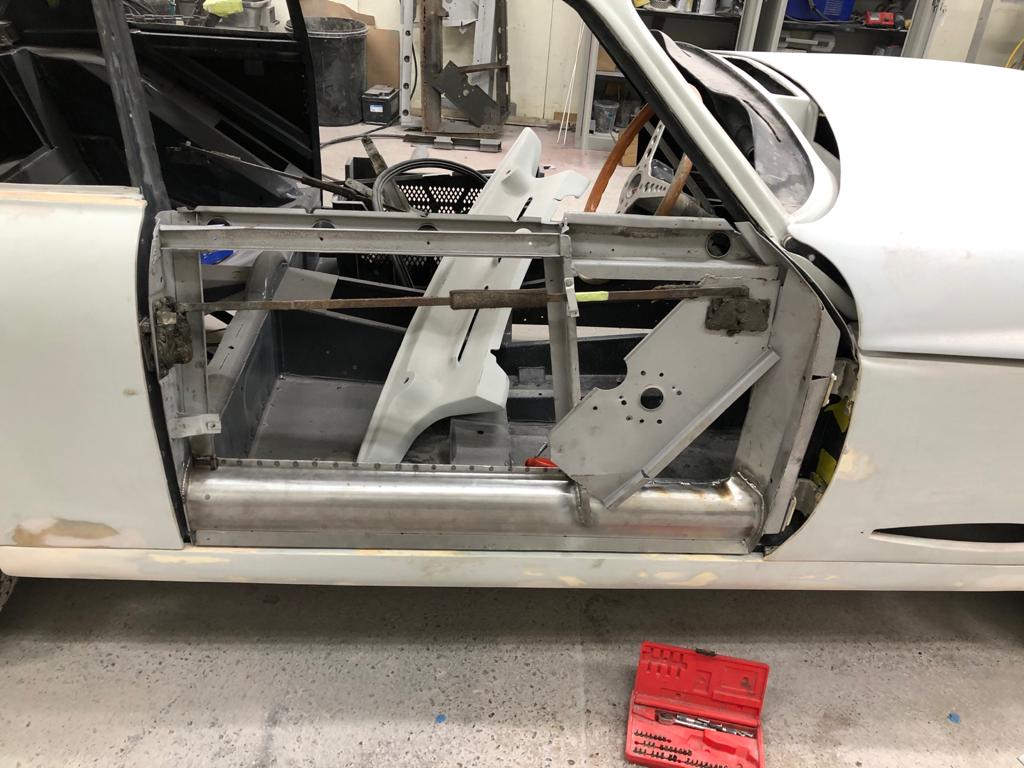
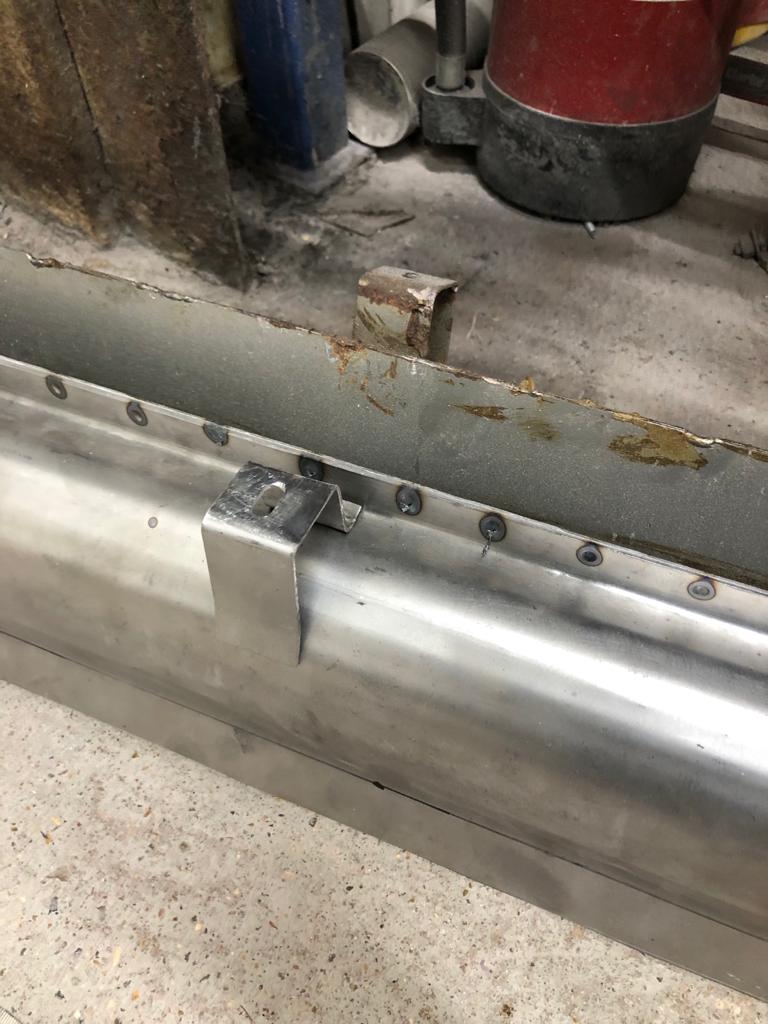
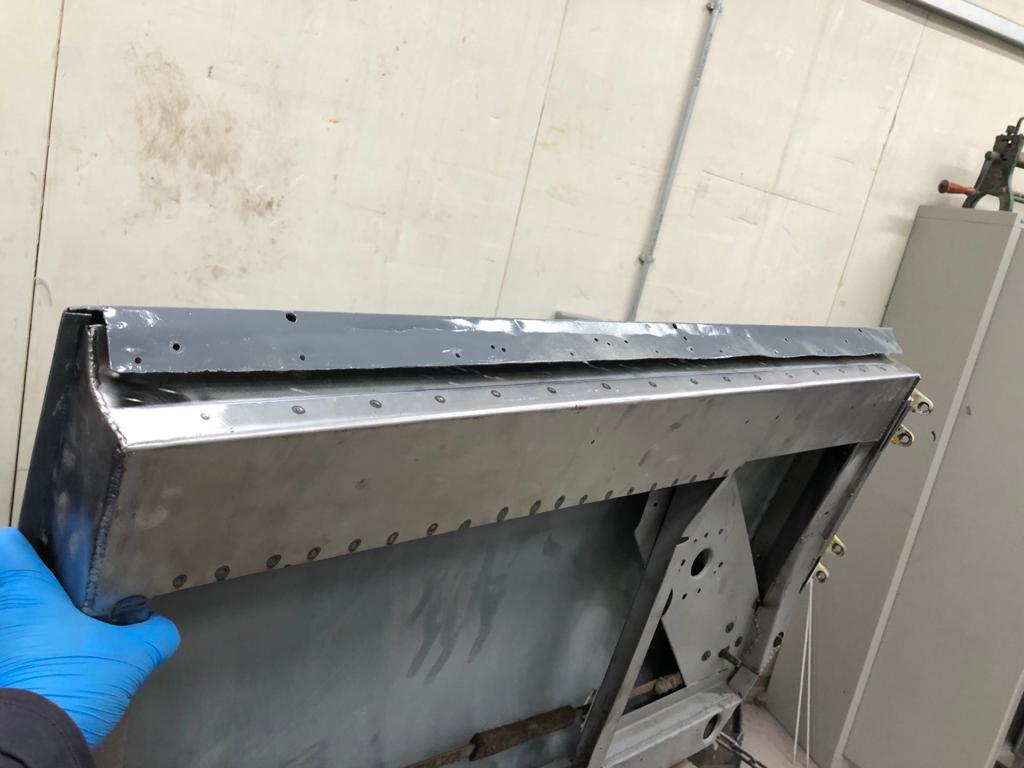
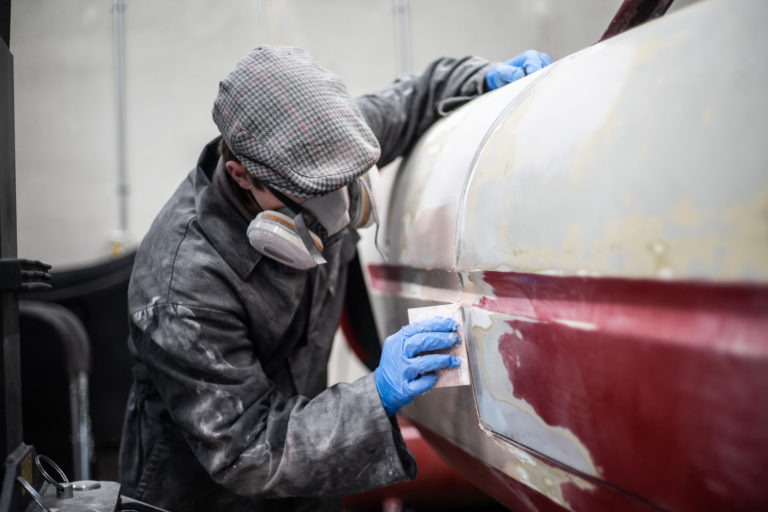
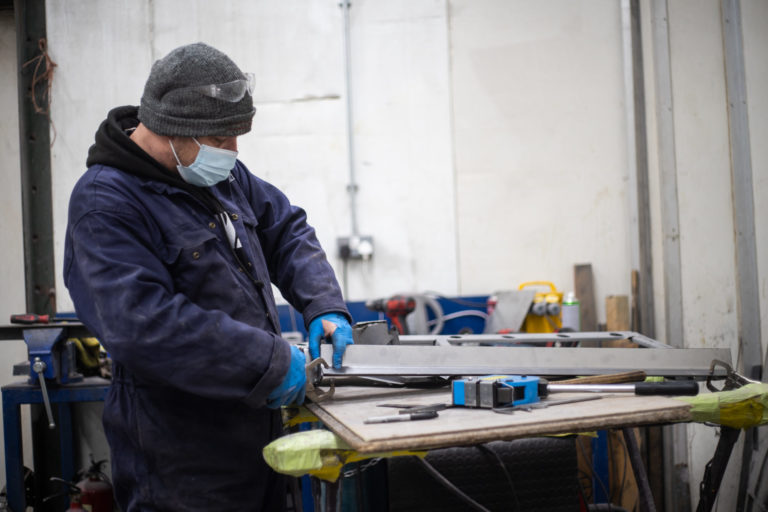
The restoration to the Peony Red Jensen’s doors continues. James is working on correcting the corrosion damage by welding and fabricating new parts to replace the corroded elements. Both doors are bespoke and custom to the car, so James, one of our classic car specialists, is having to make all his adjustments bespoke and unique to the car.
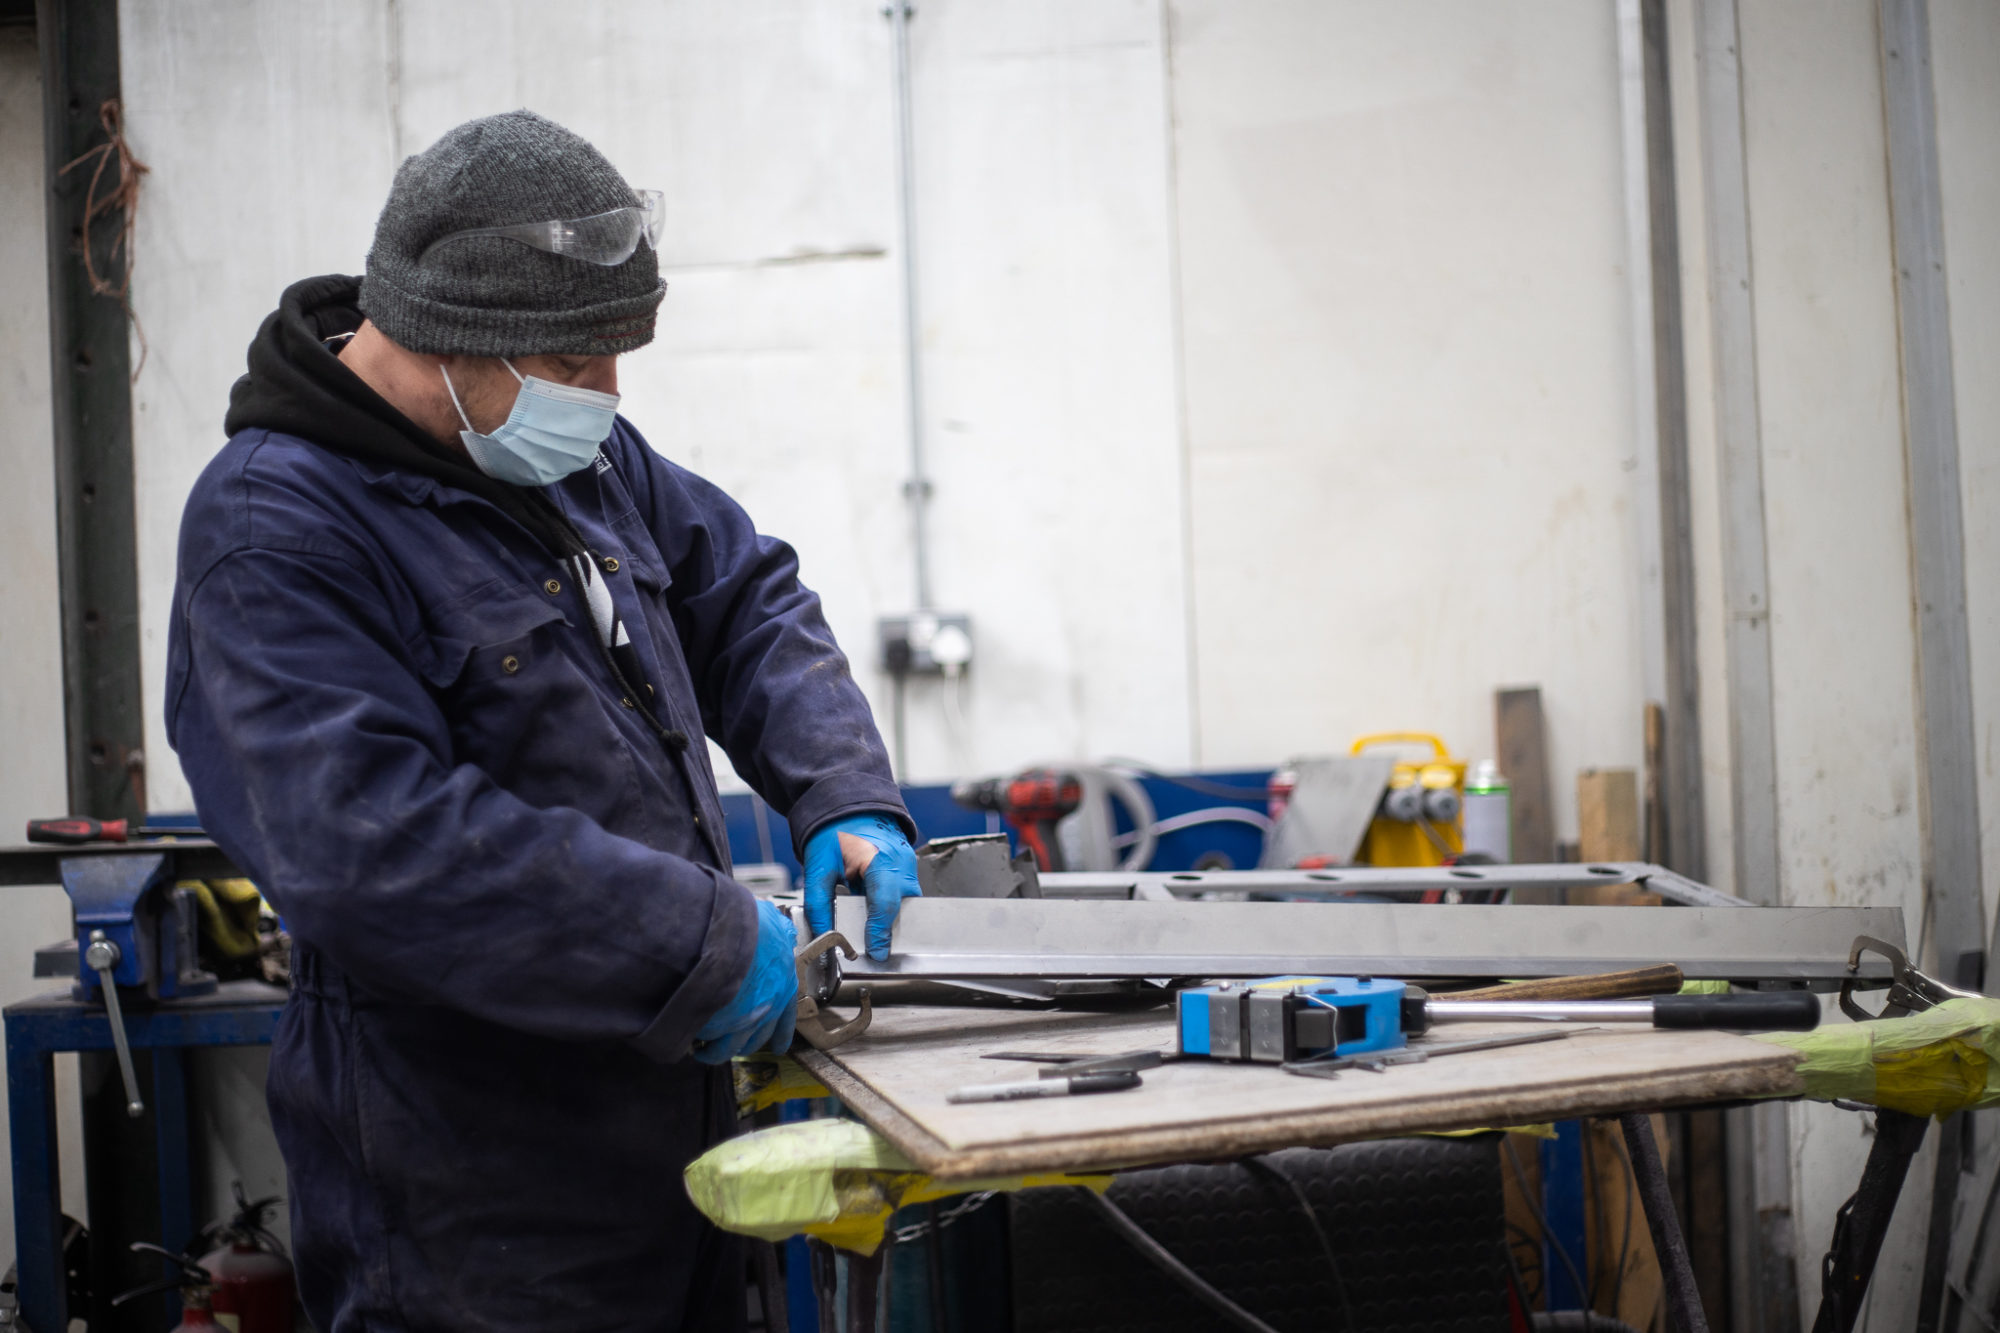
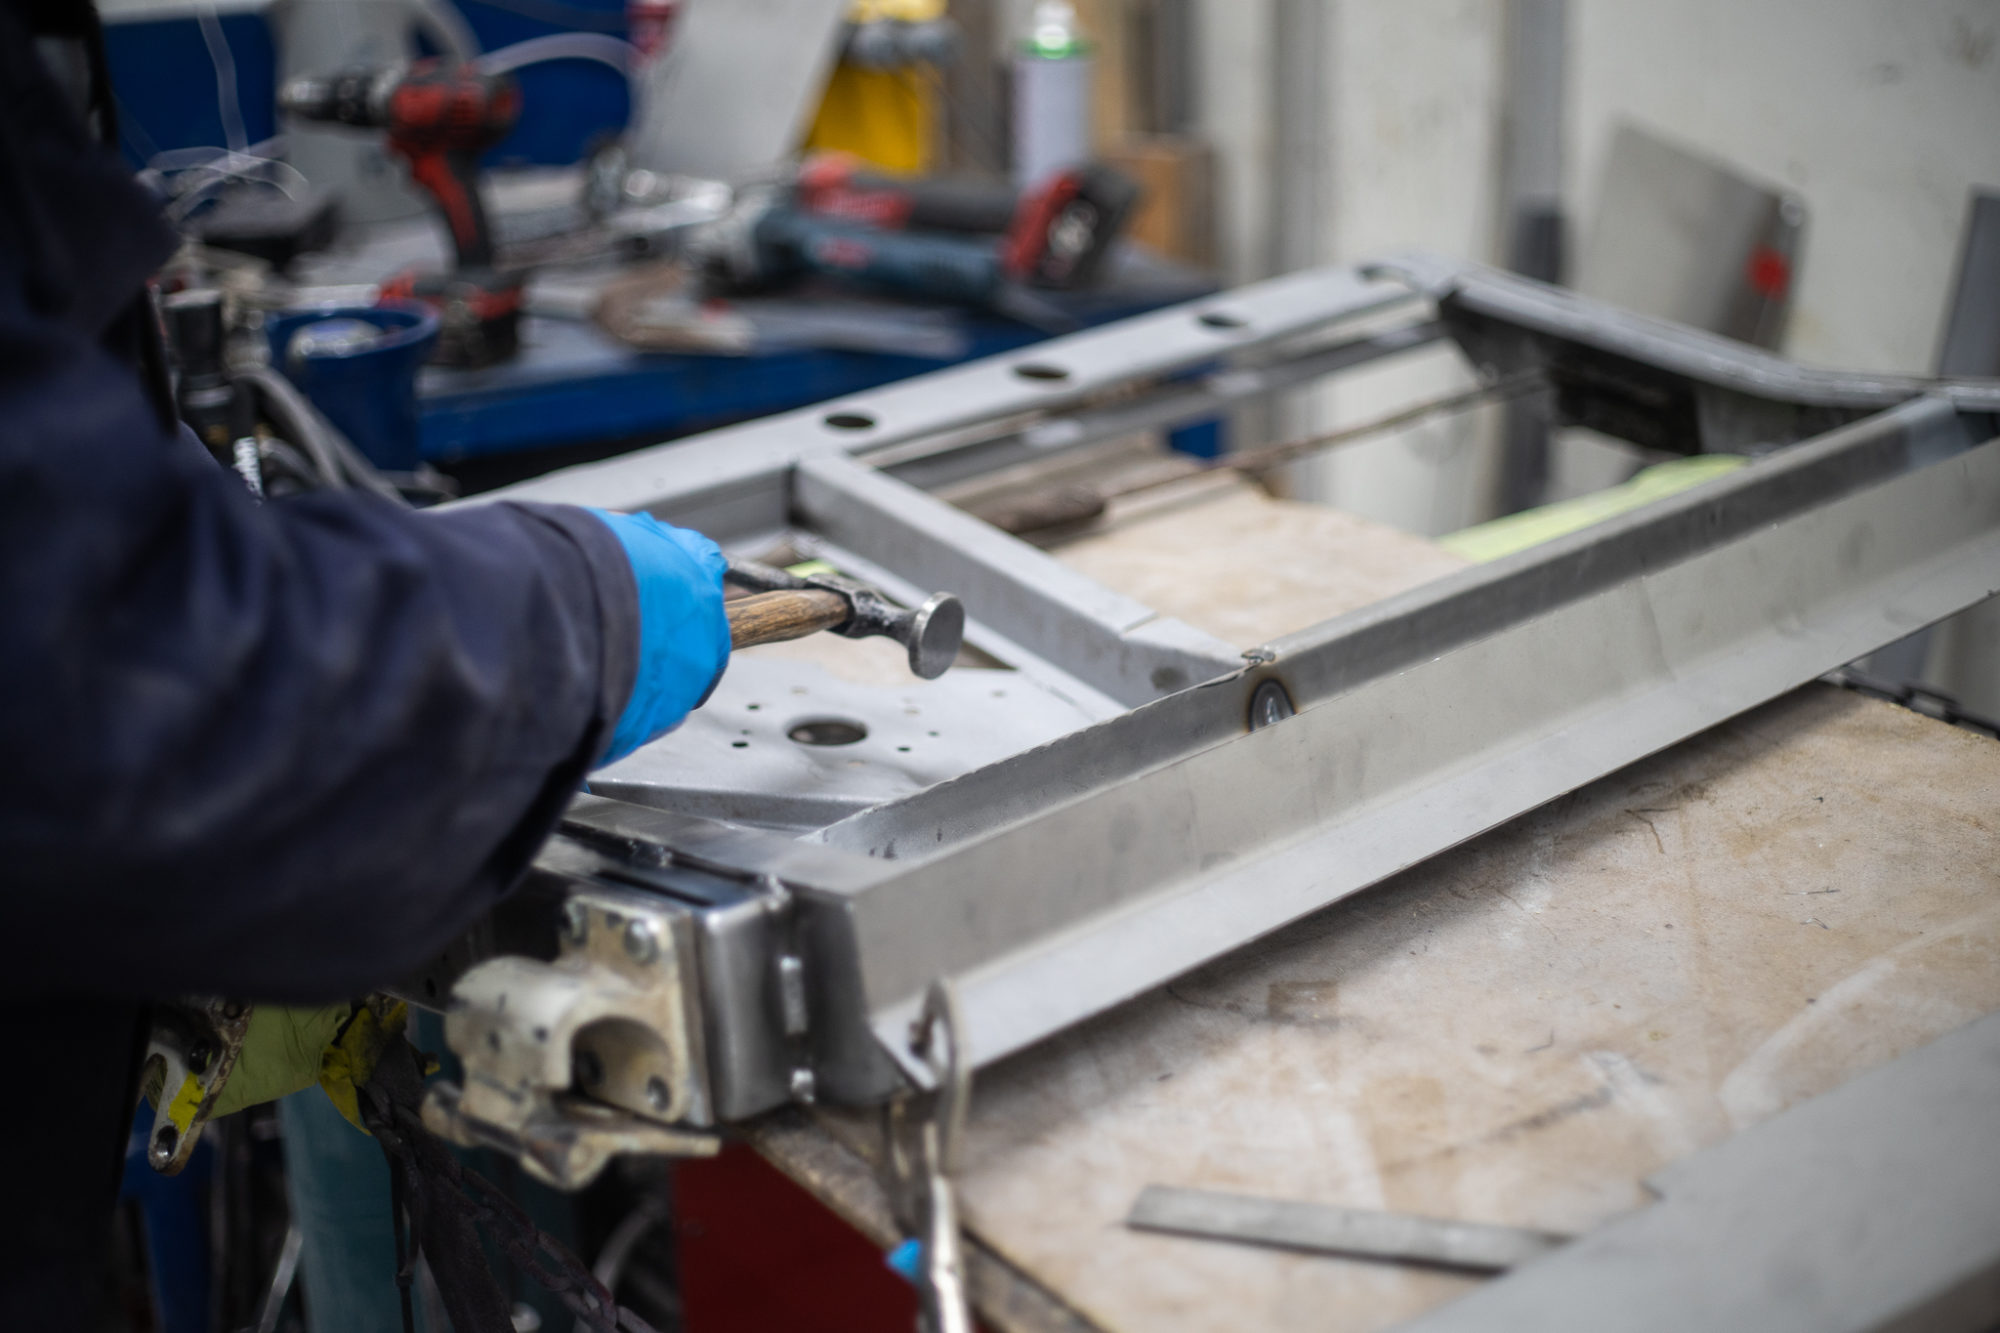
You can see the process here: