Behind The Scenes: Rolls Royce Silver Spirit II Photoshoot
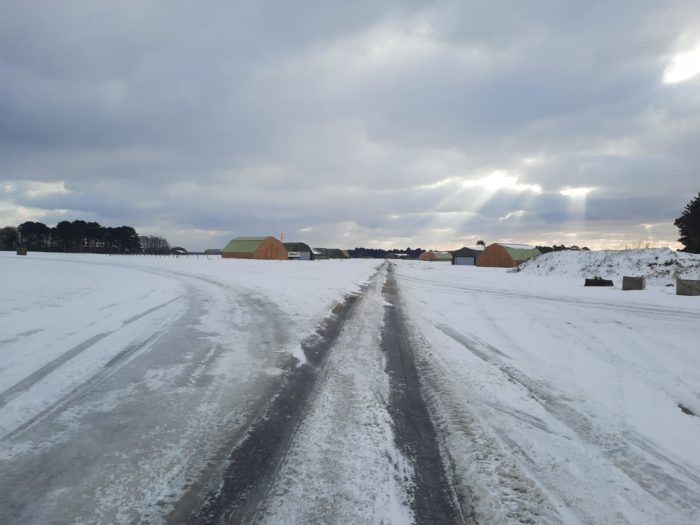
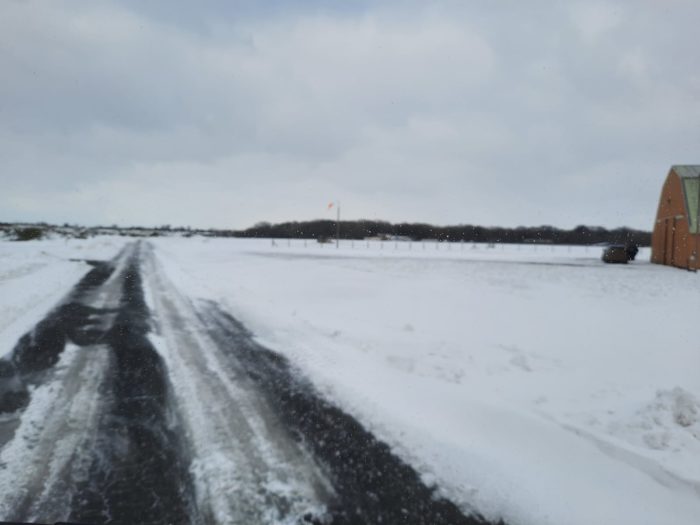
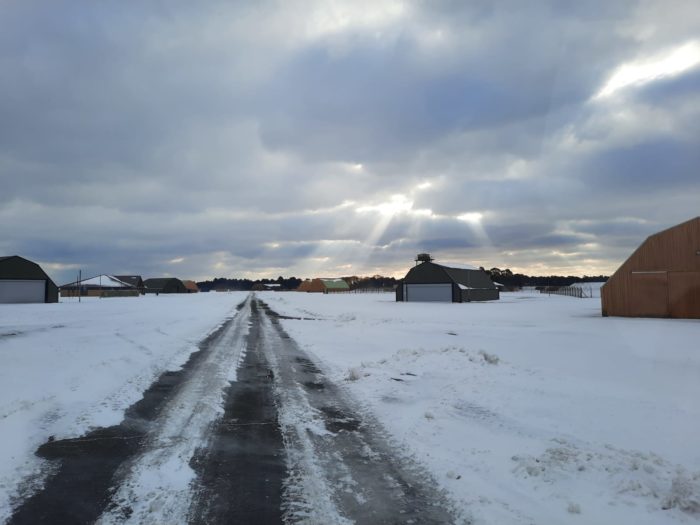
A few weeks ago our marketing team and our friend Jack, headed over to Bentwaters early one morning to film and shoot the latest competition


A few weeks ago our marketing team and our friend Jack, headed over to Bentwaters early one morning to film and shoot the latest competition
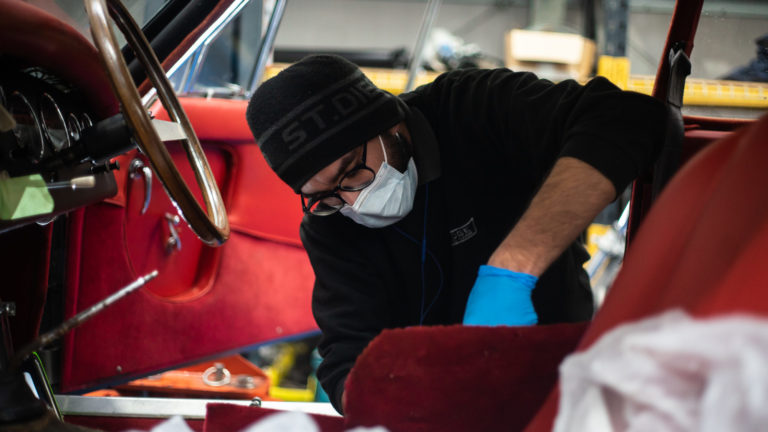
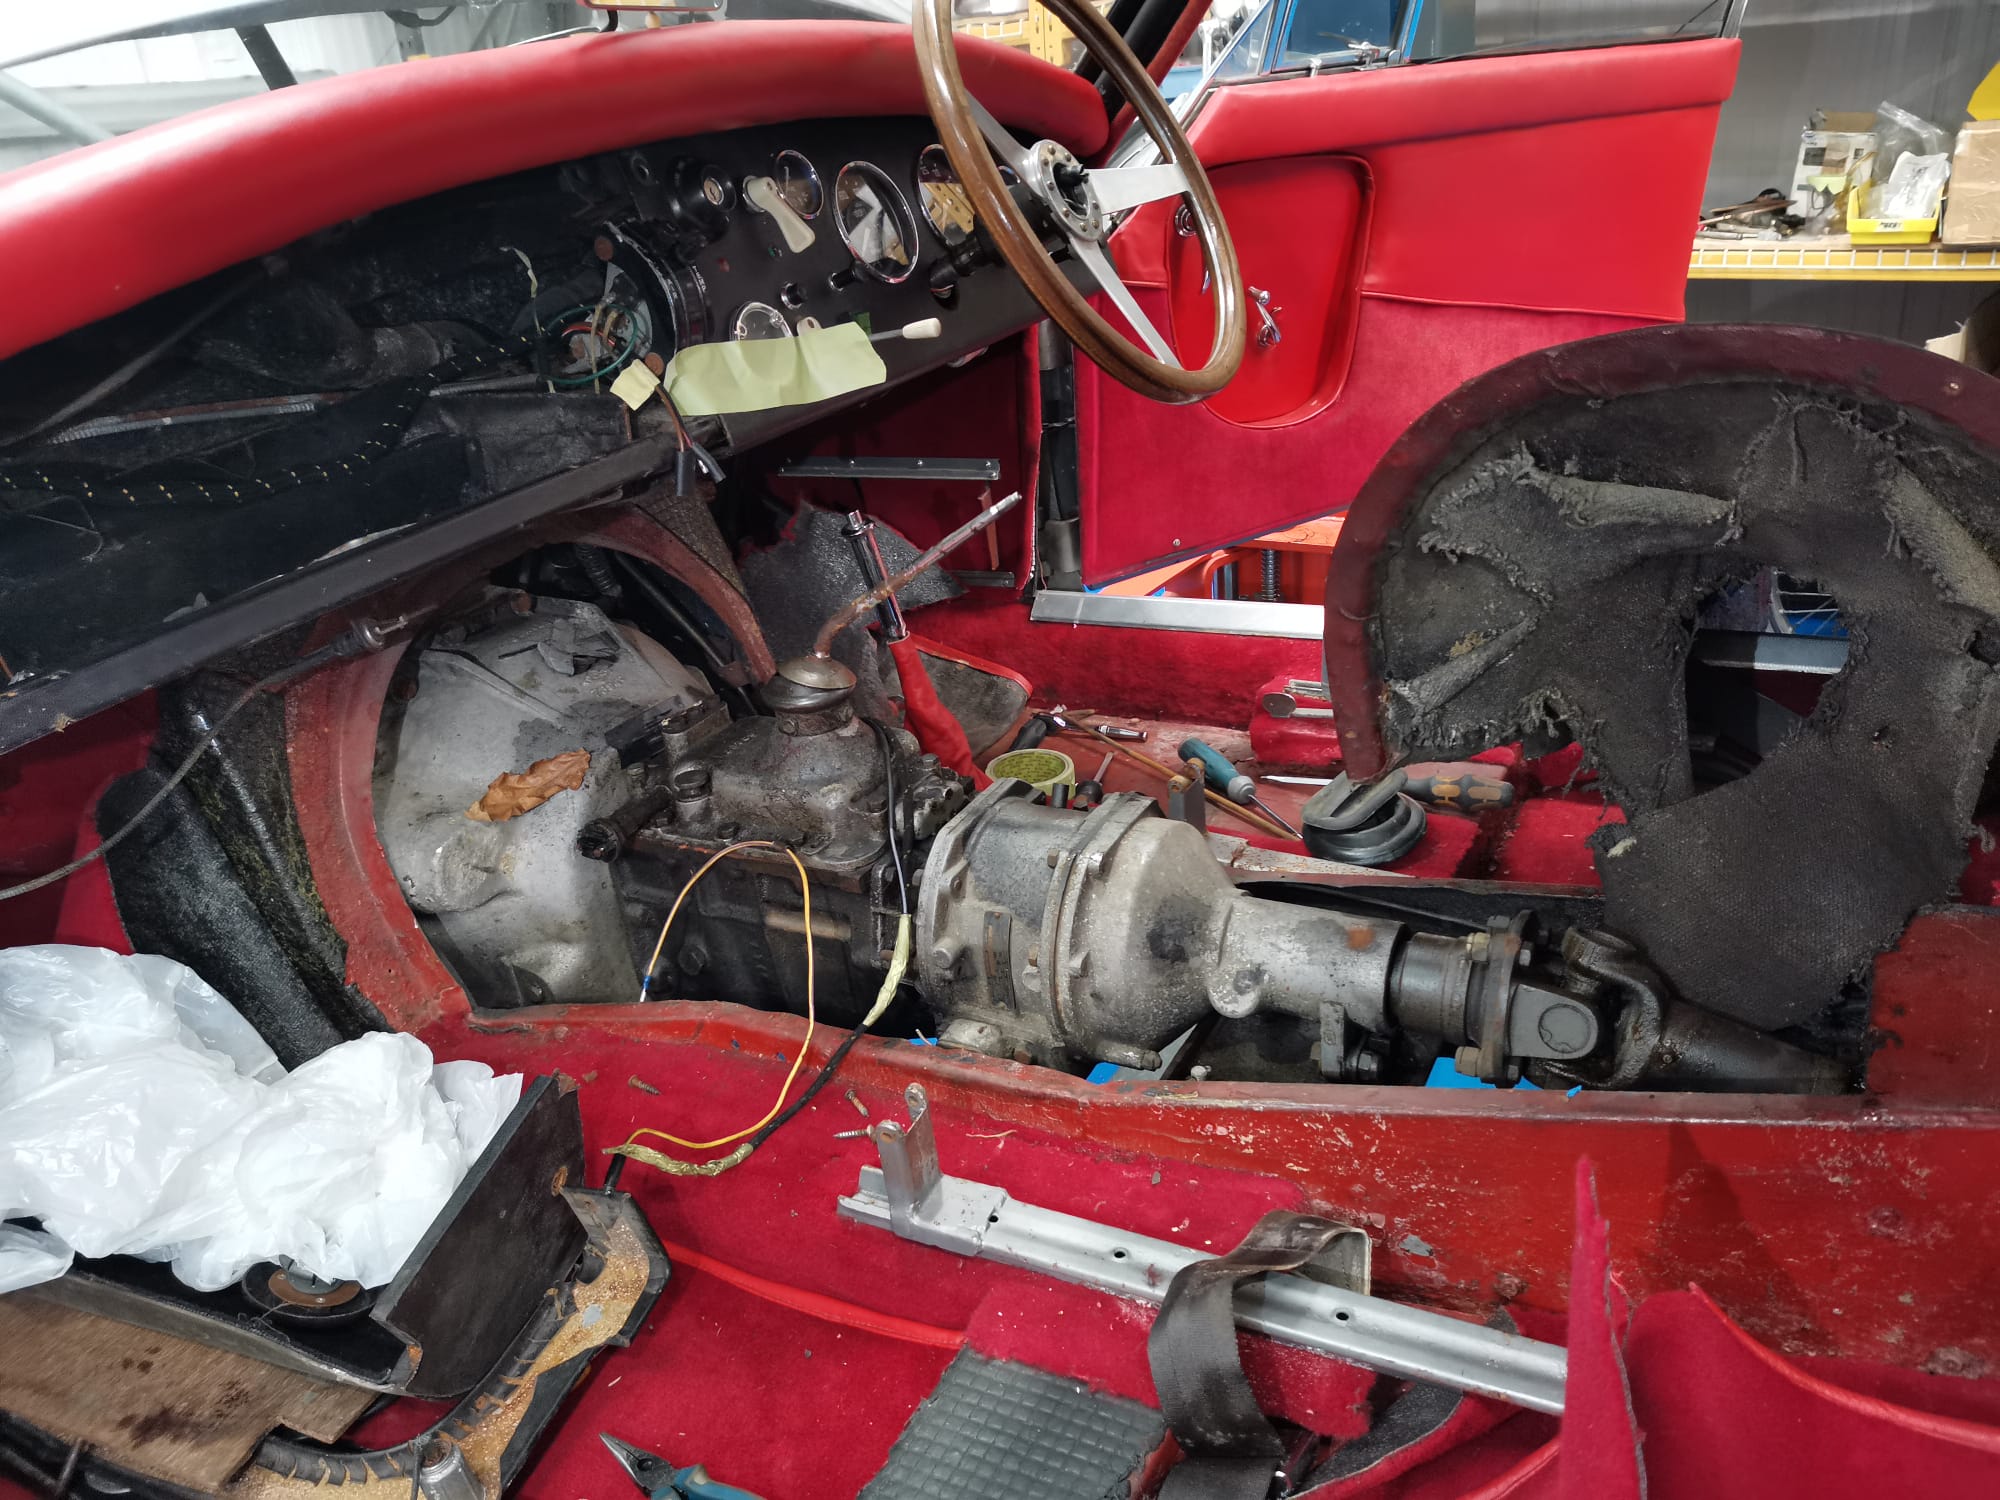
Tom has been concentrating on re-wiring all the wiring looms in our 1959 Jensen 541R. Currently he is working on the rear and middle looms,

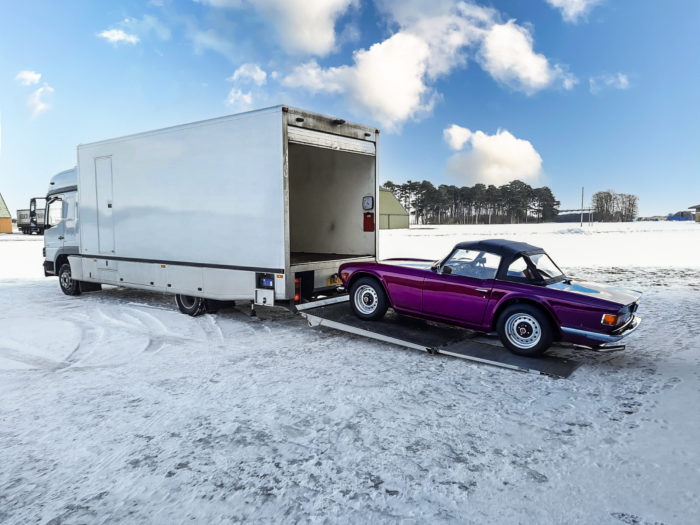
We’re delighted to announce the completion of our beautiful magenta 1973 Triumph TR6 which has now be sent into storage with us. It headed over
Craig’s Suzuki GSX 400T has been pressure tested to check it can withstand the correct pressure with its new modifications. The seat frame is also

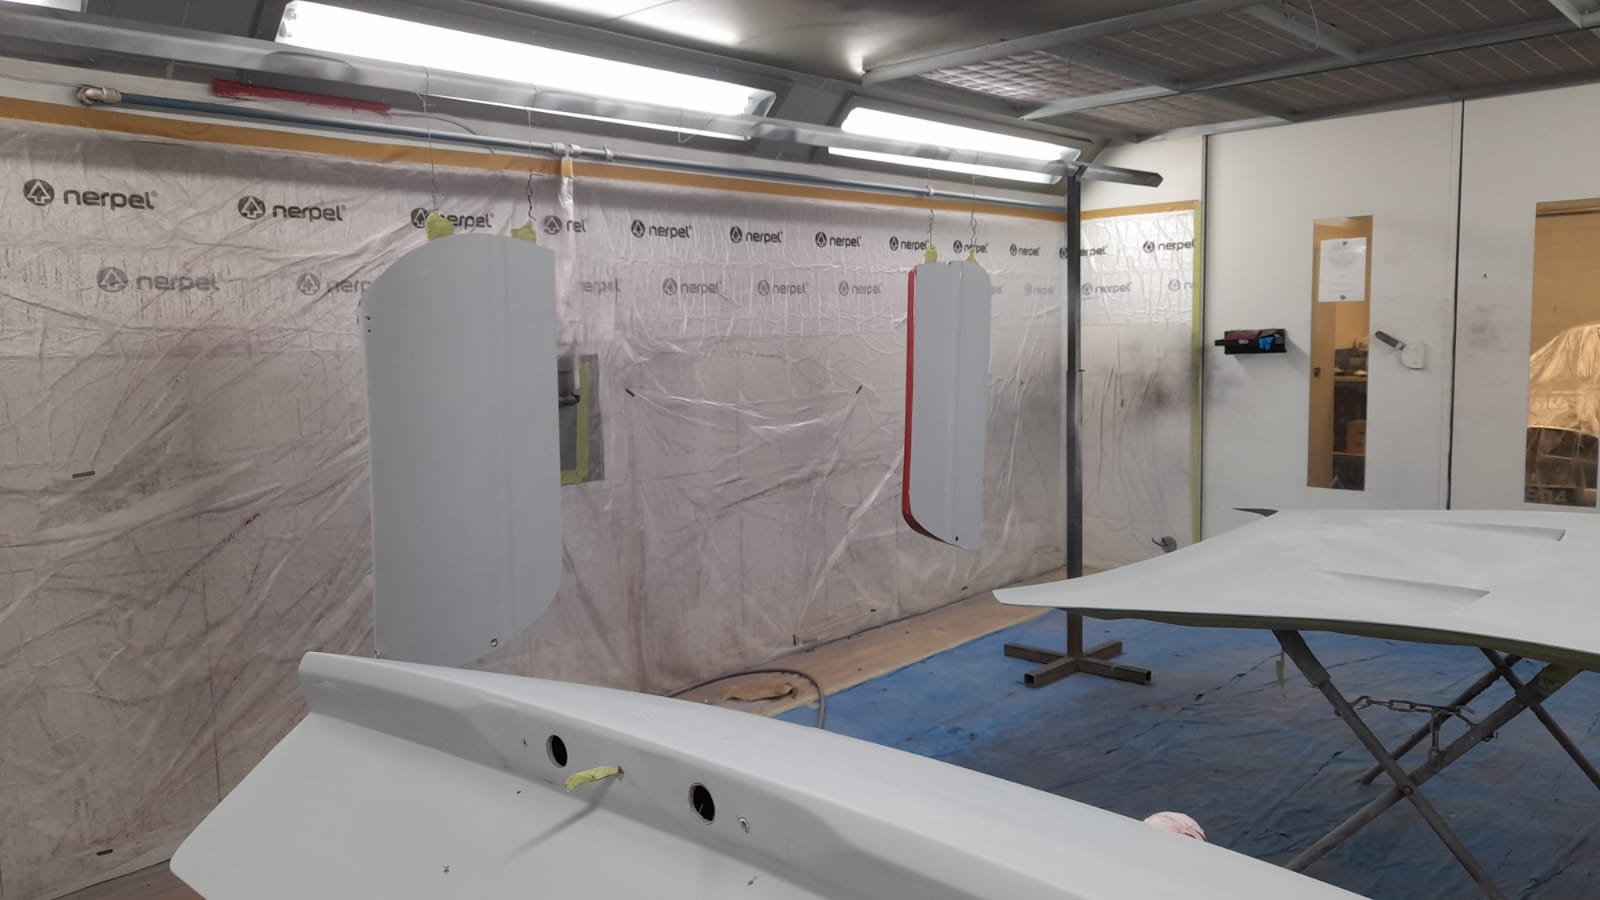
Our oldest Jensen, the 1957 541R has had some issues with its left side front passenger door. We’ve been working to modify it to allow

Our 1961 541S Jensen was having issues with over-heating, but luckily, our classic car technician Paul, put his mind to investigating the issue. He found
Lydia has been focusing exclusively on Craig’s 500SL Mercedes interior restoration. Over the last week or so shes been working on the seat covers, re-working
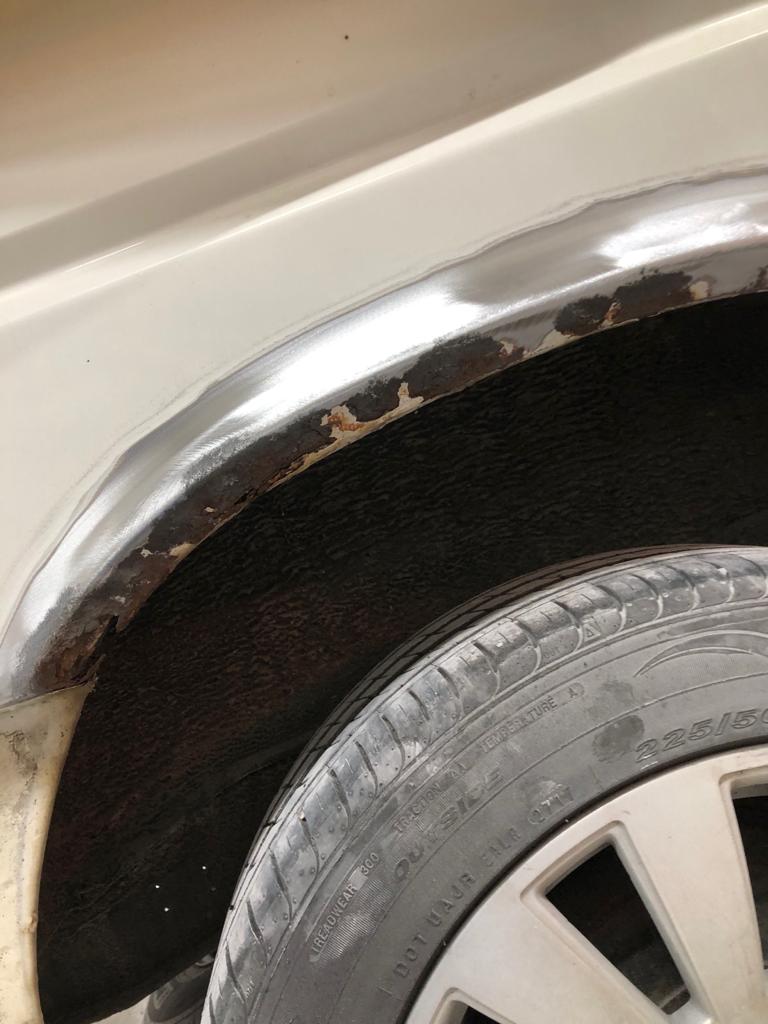
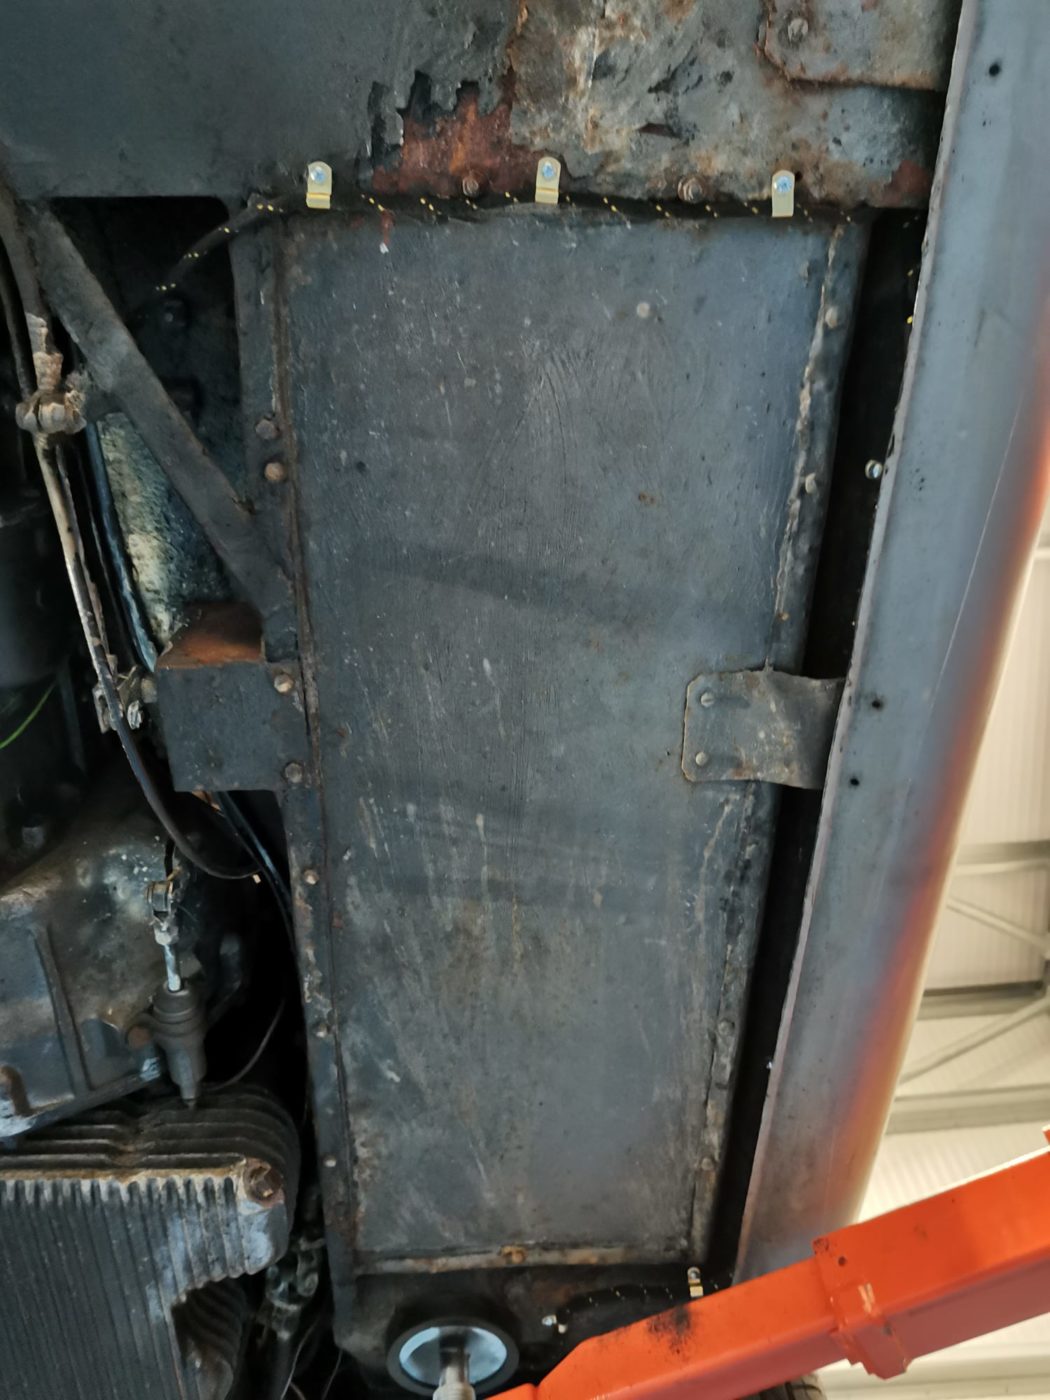
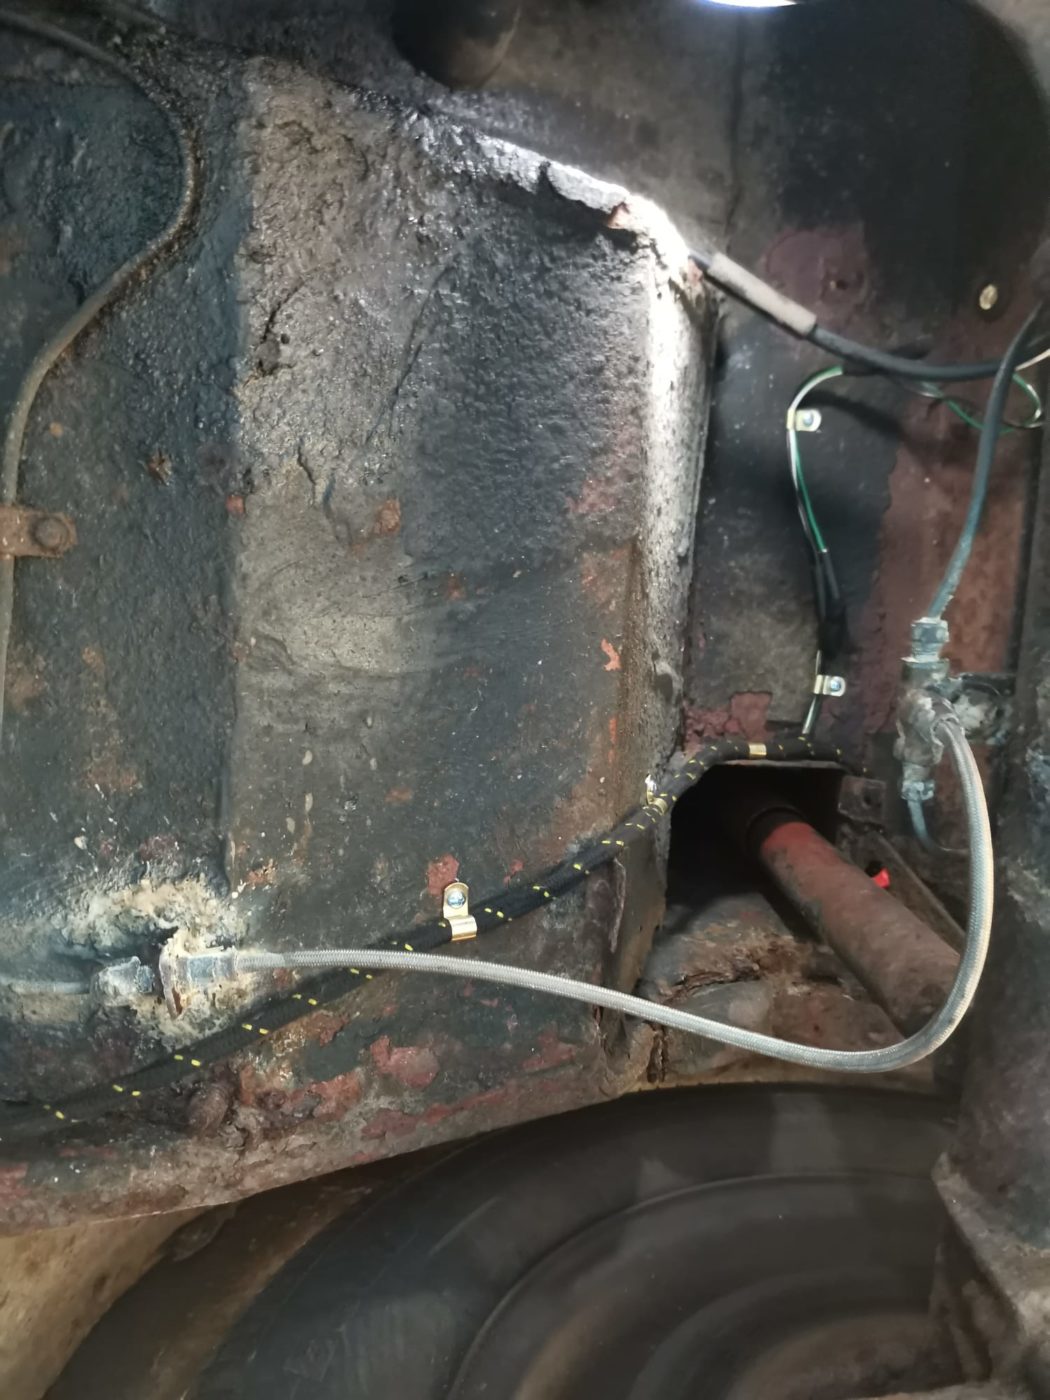
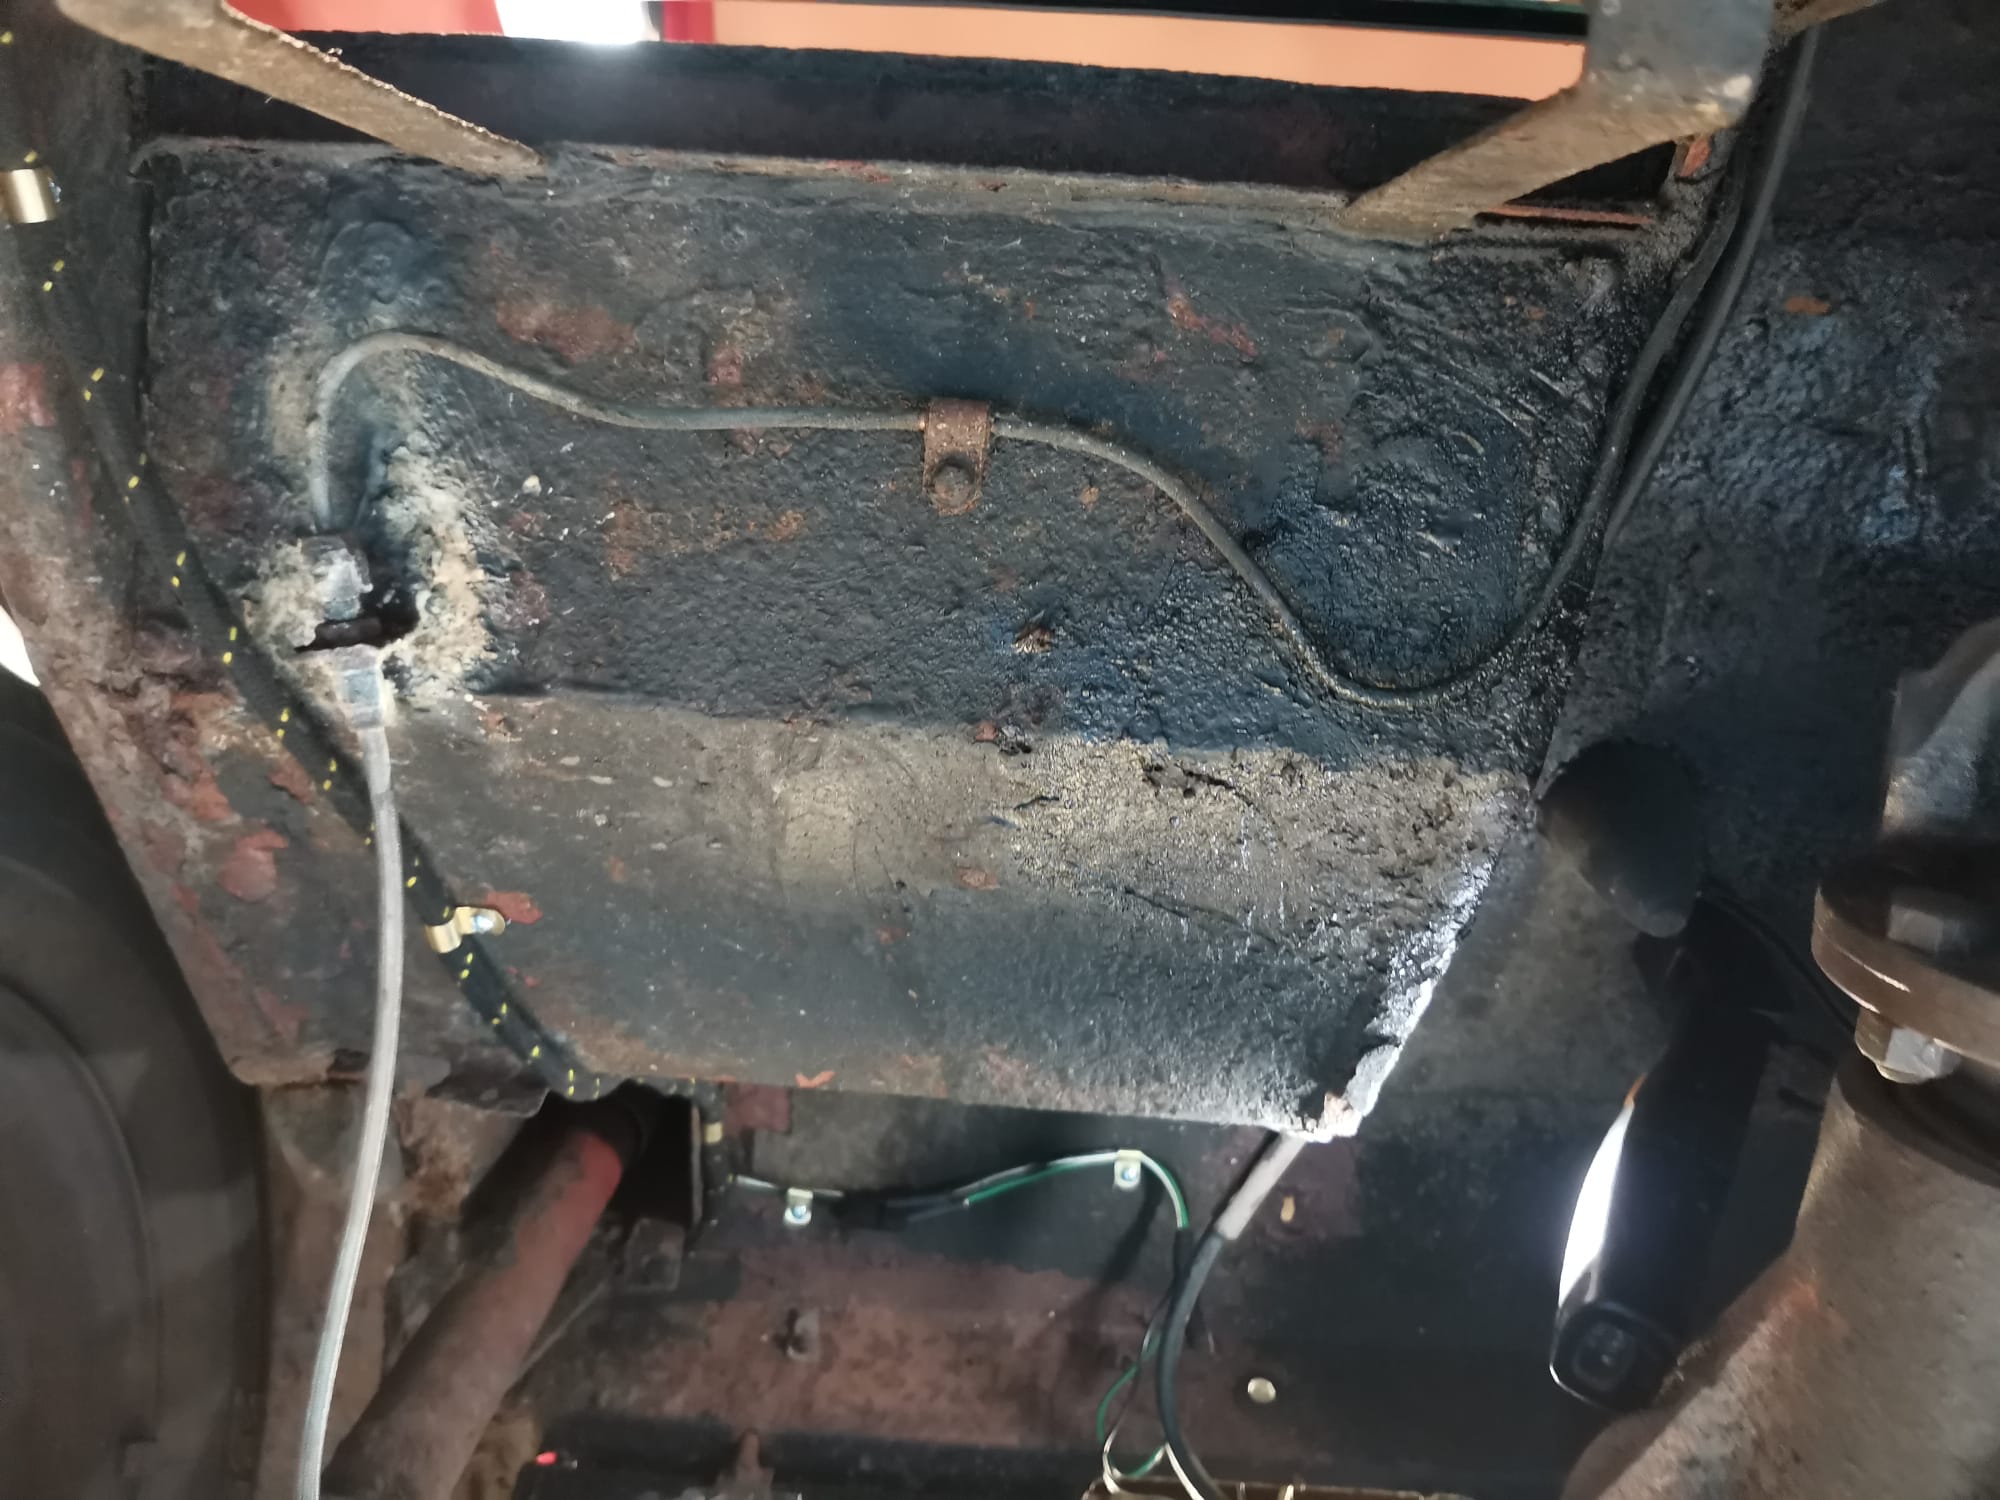
James has been working on the corrosion damage of our 1991 VW T4 Transporter Campervan. He’s been focusing on finishing off the sliding door and
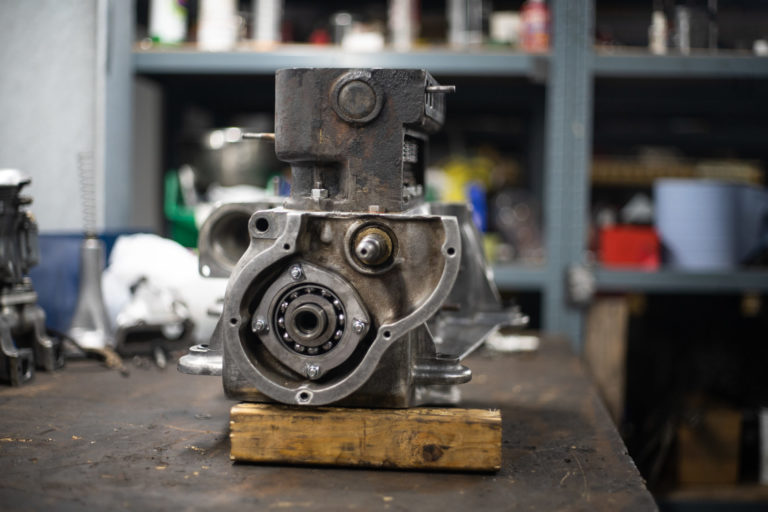
We’ve received our 1934 Austin Seven Nippy engine back and can now begin reinstalling the engine back into the Austin. This little motor will be
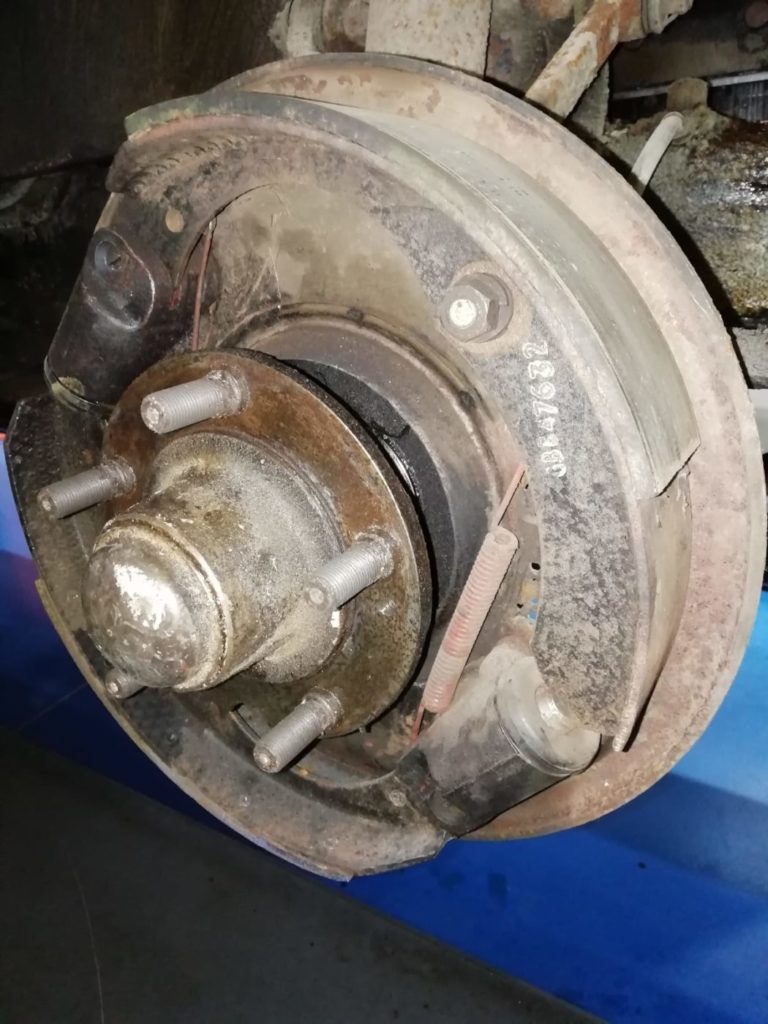
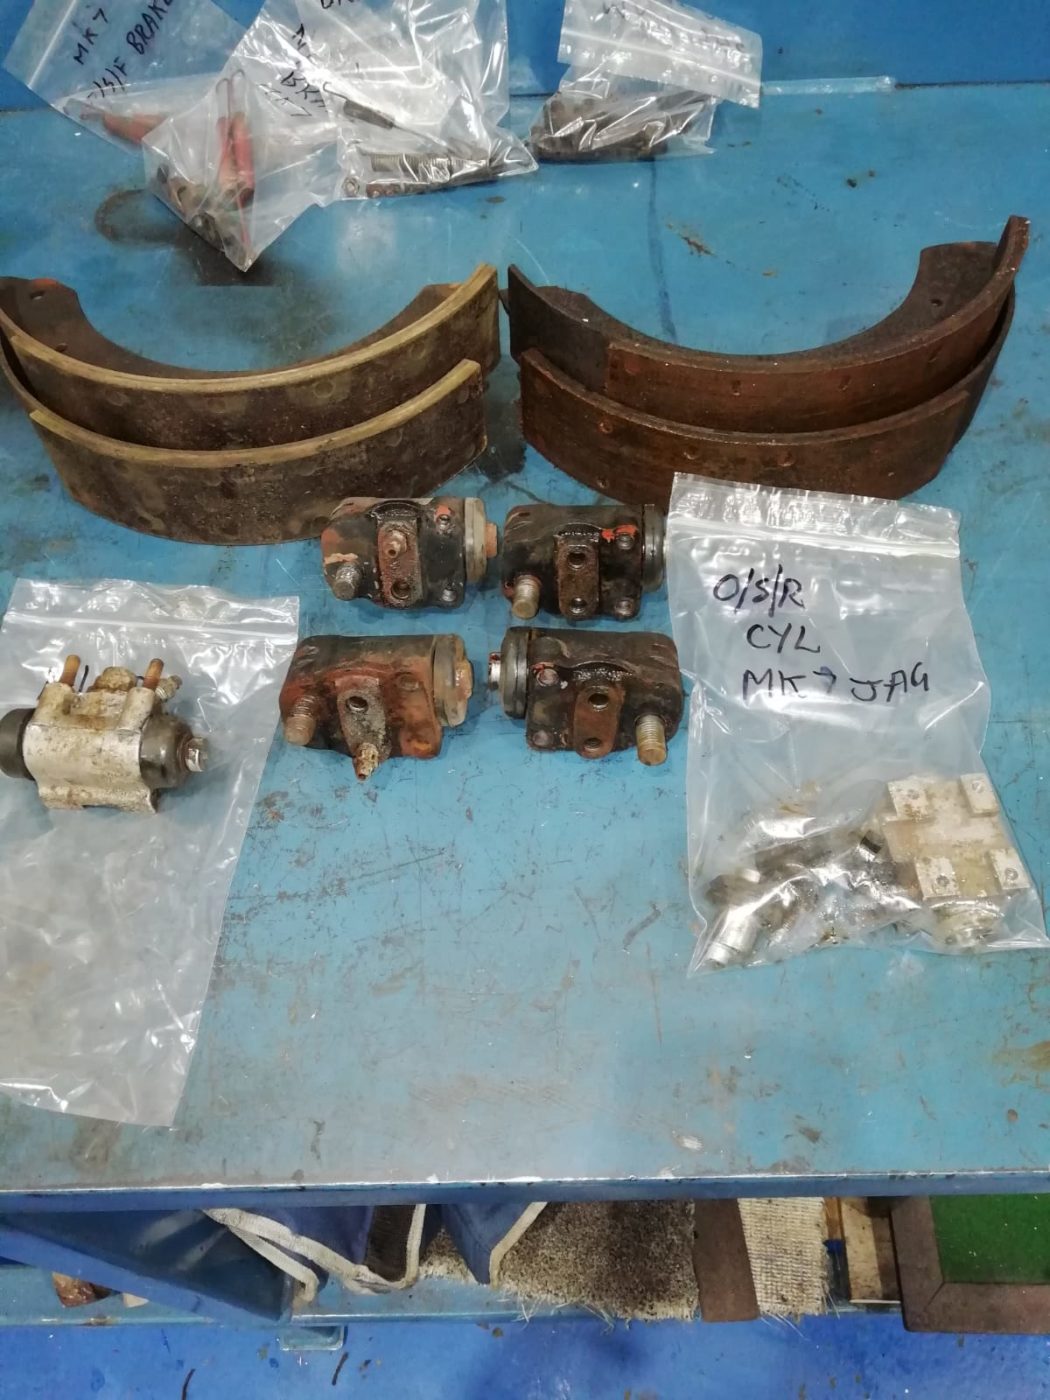
Paul has taken a look at our 1954 Jaguar MKVII and made sure all the brakes are stripped down and ready to be overhauled. The
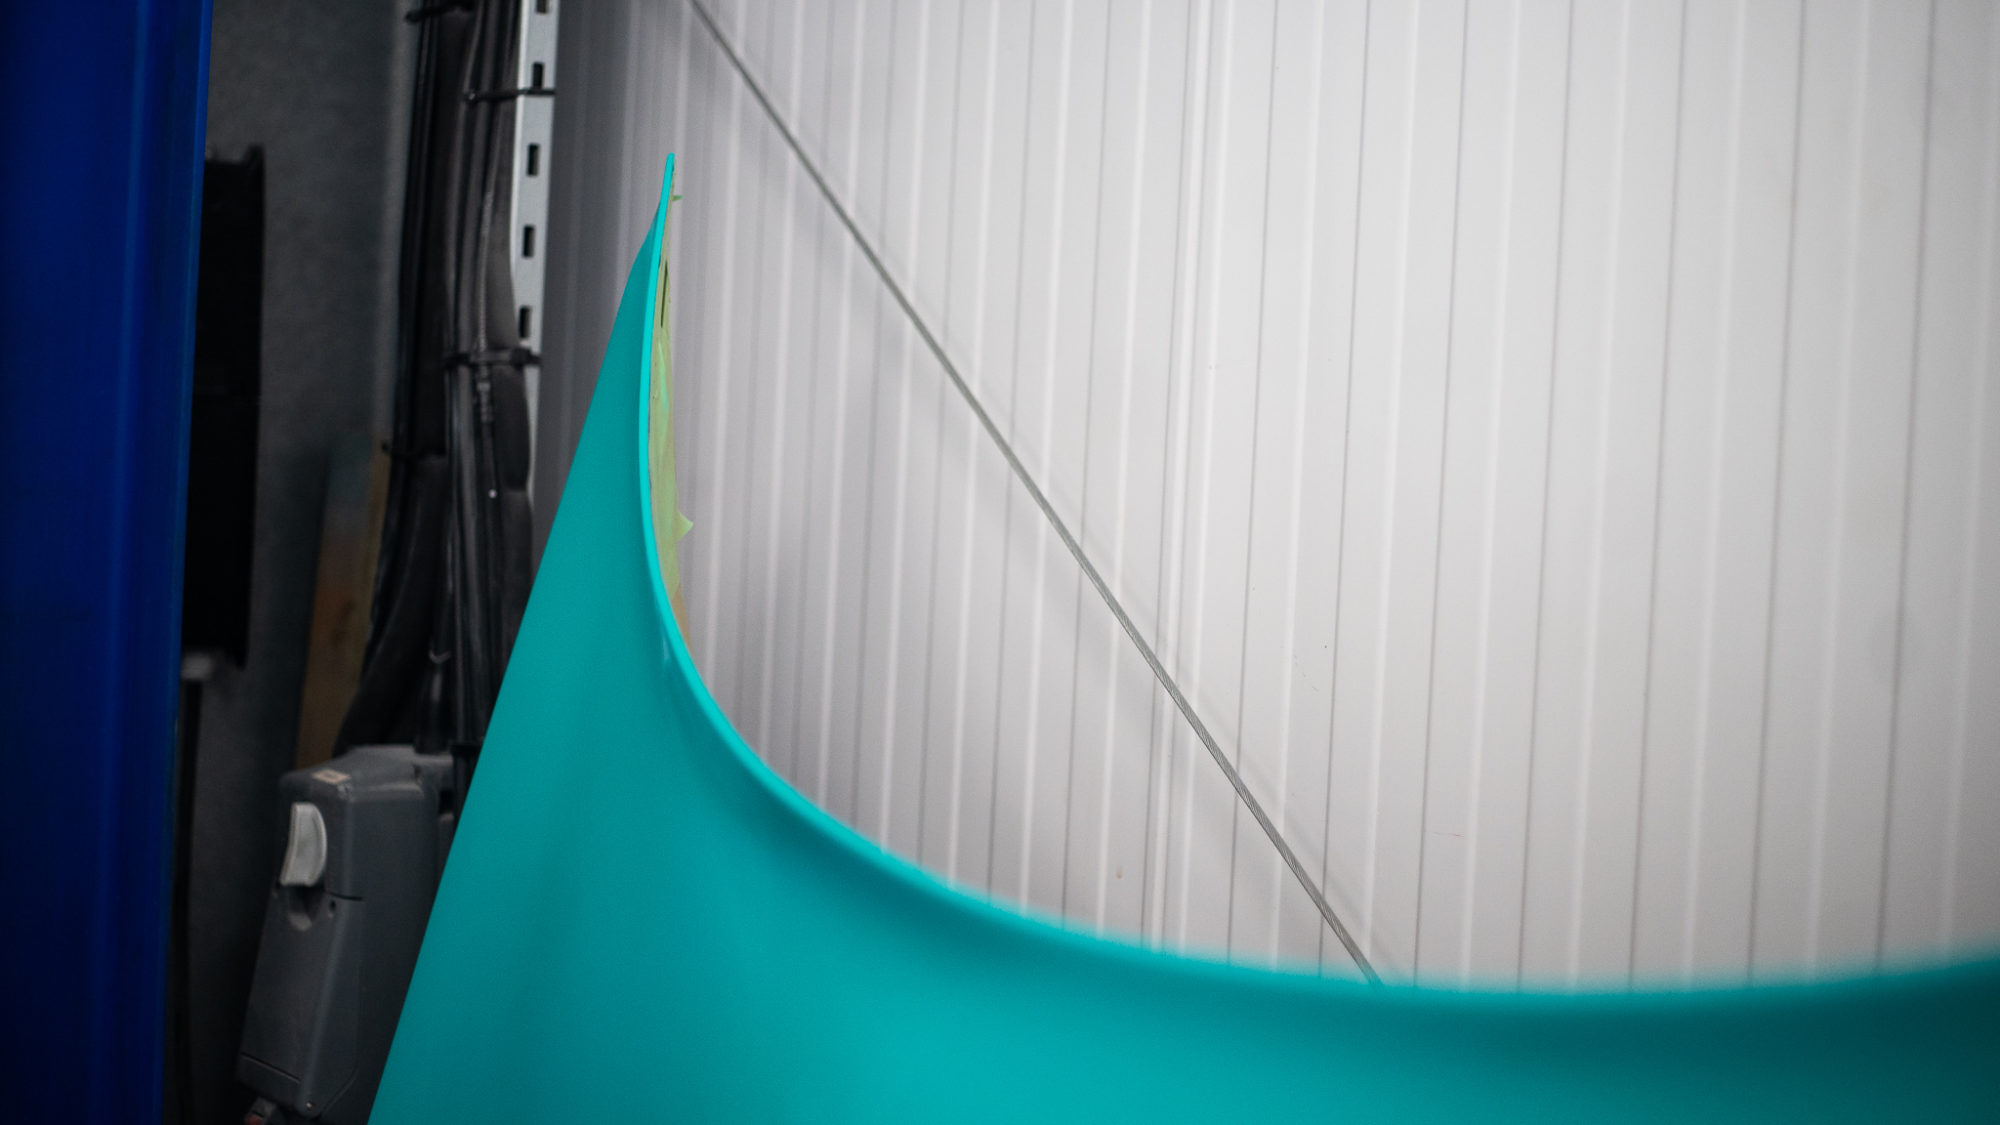
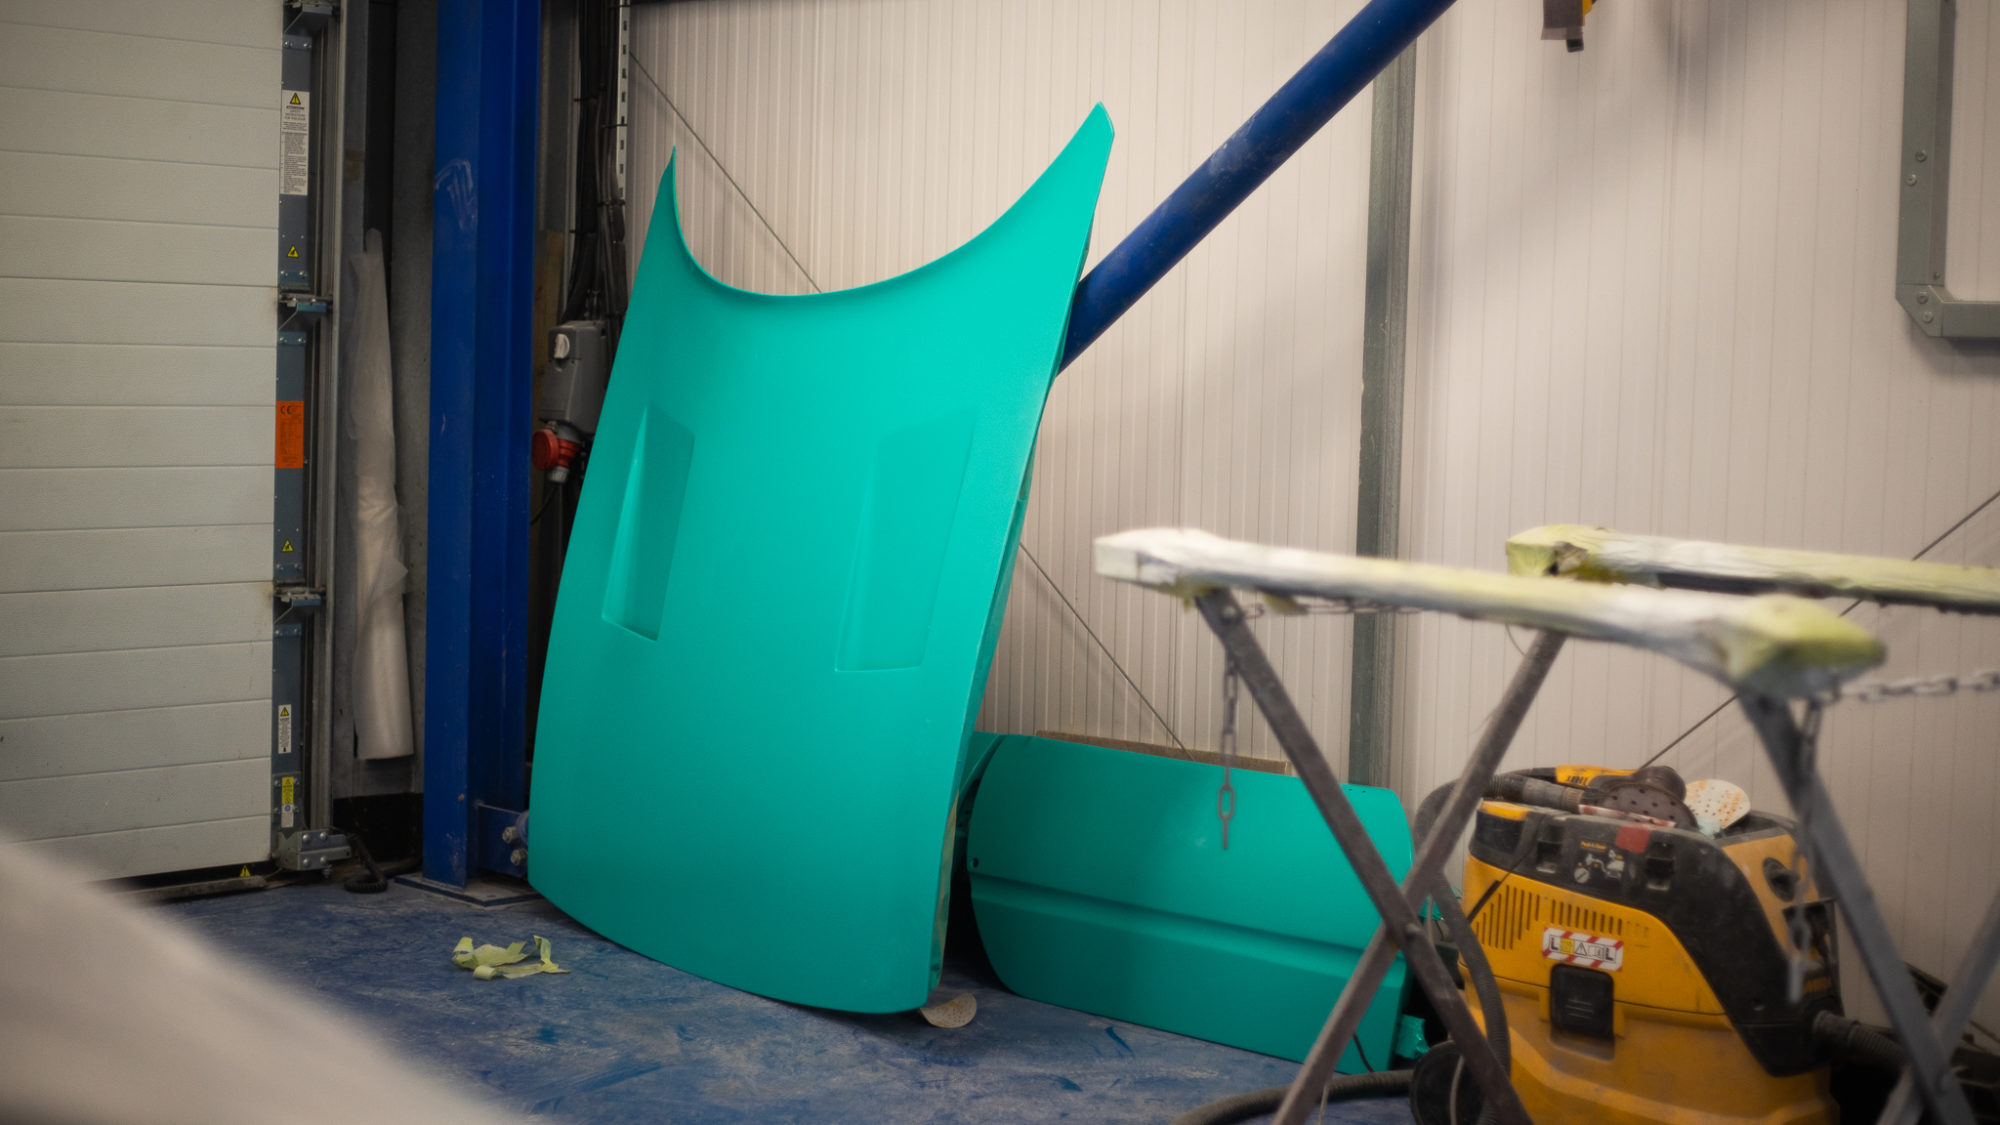
The bonnet and doors have finished their blocking stage and been sent back into the paint bay to be primed. When the rest of the
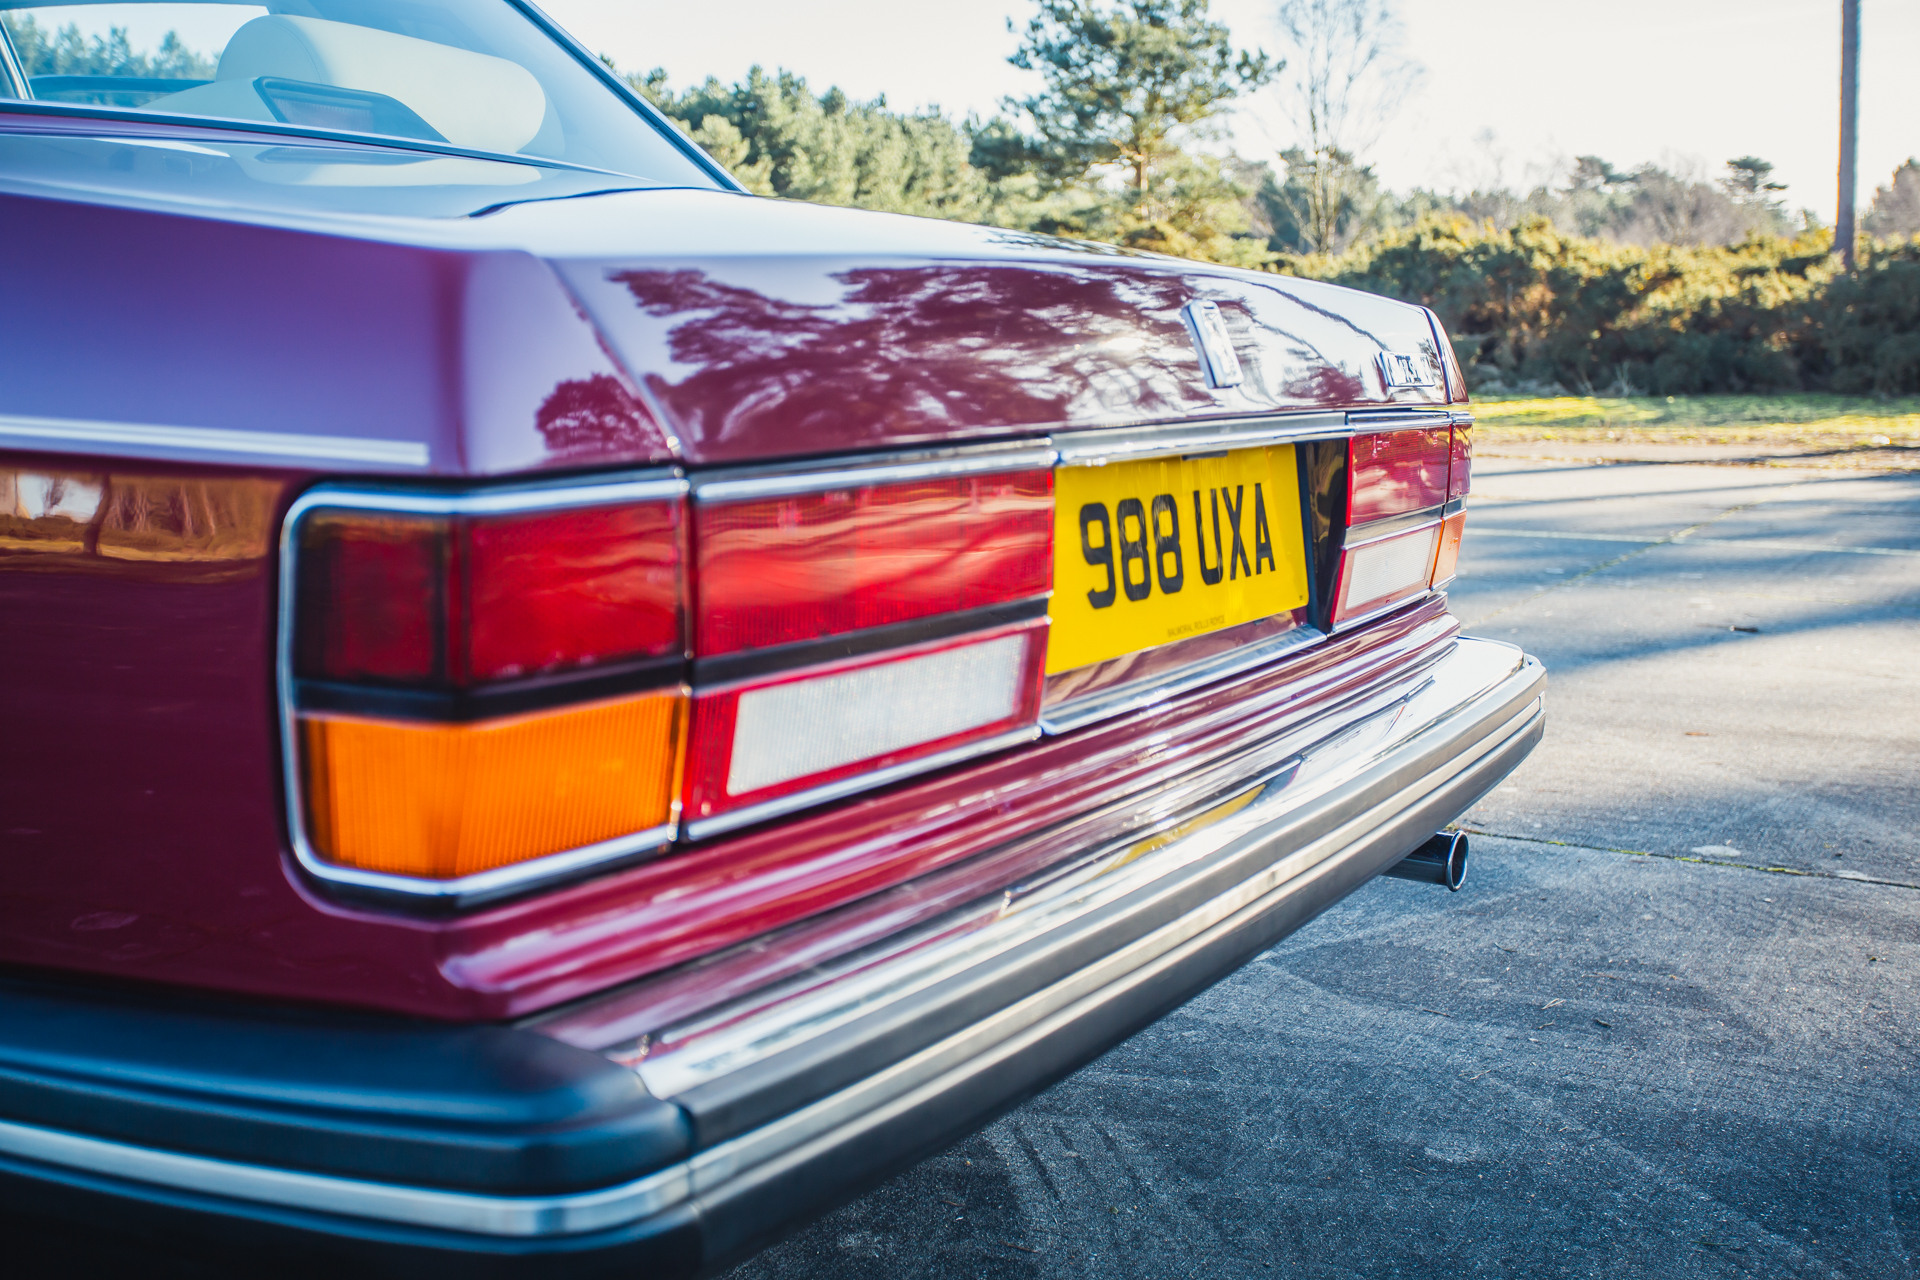
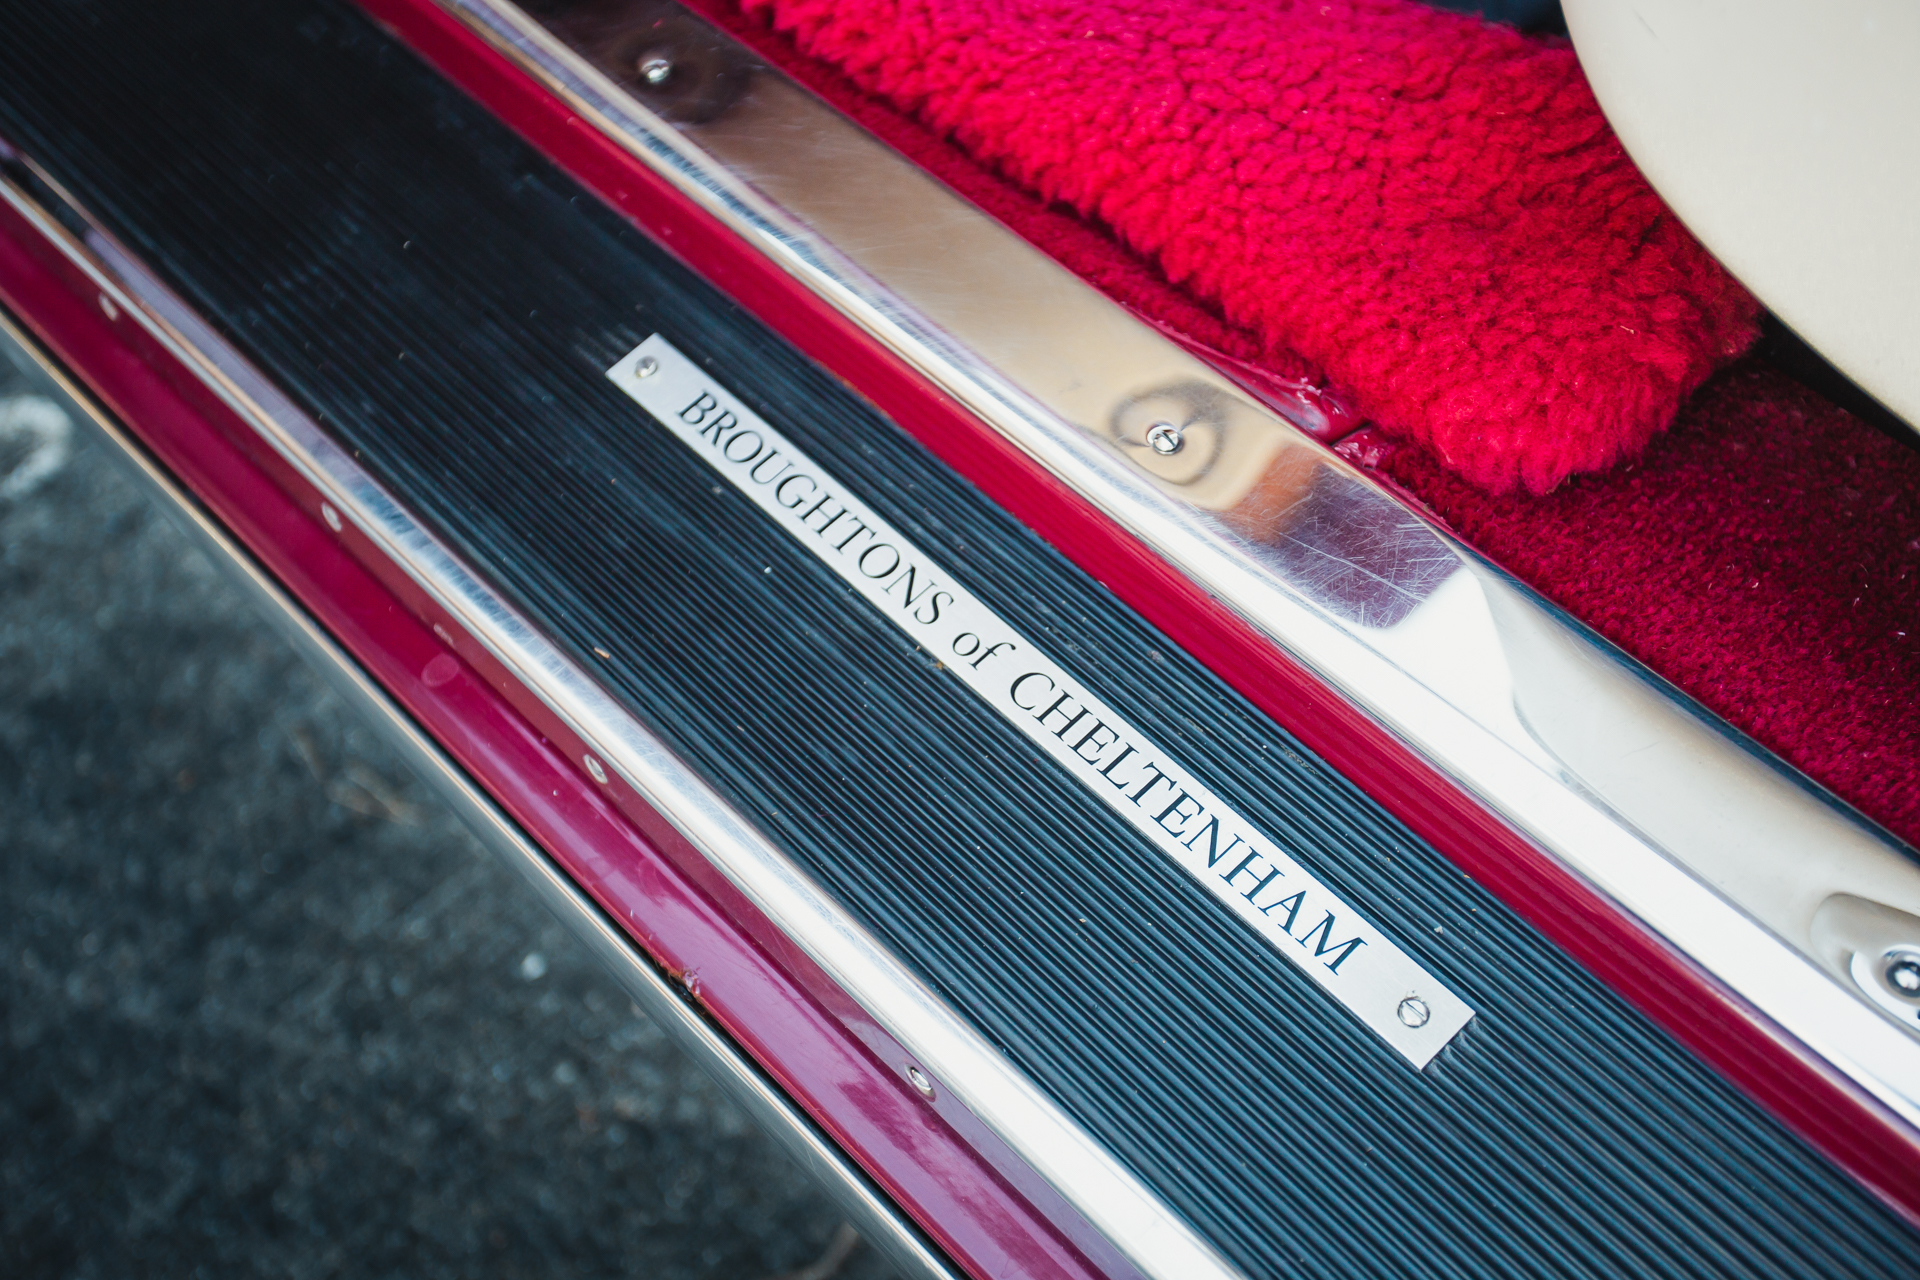
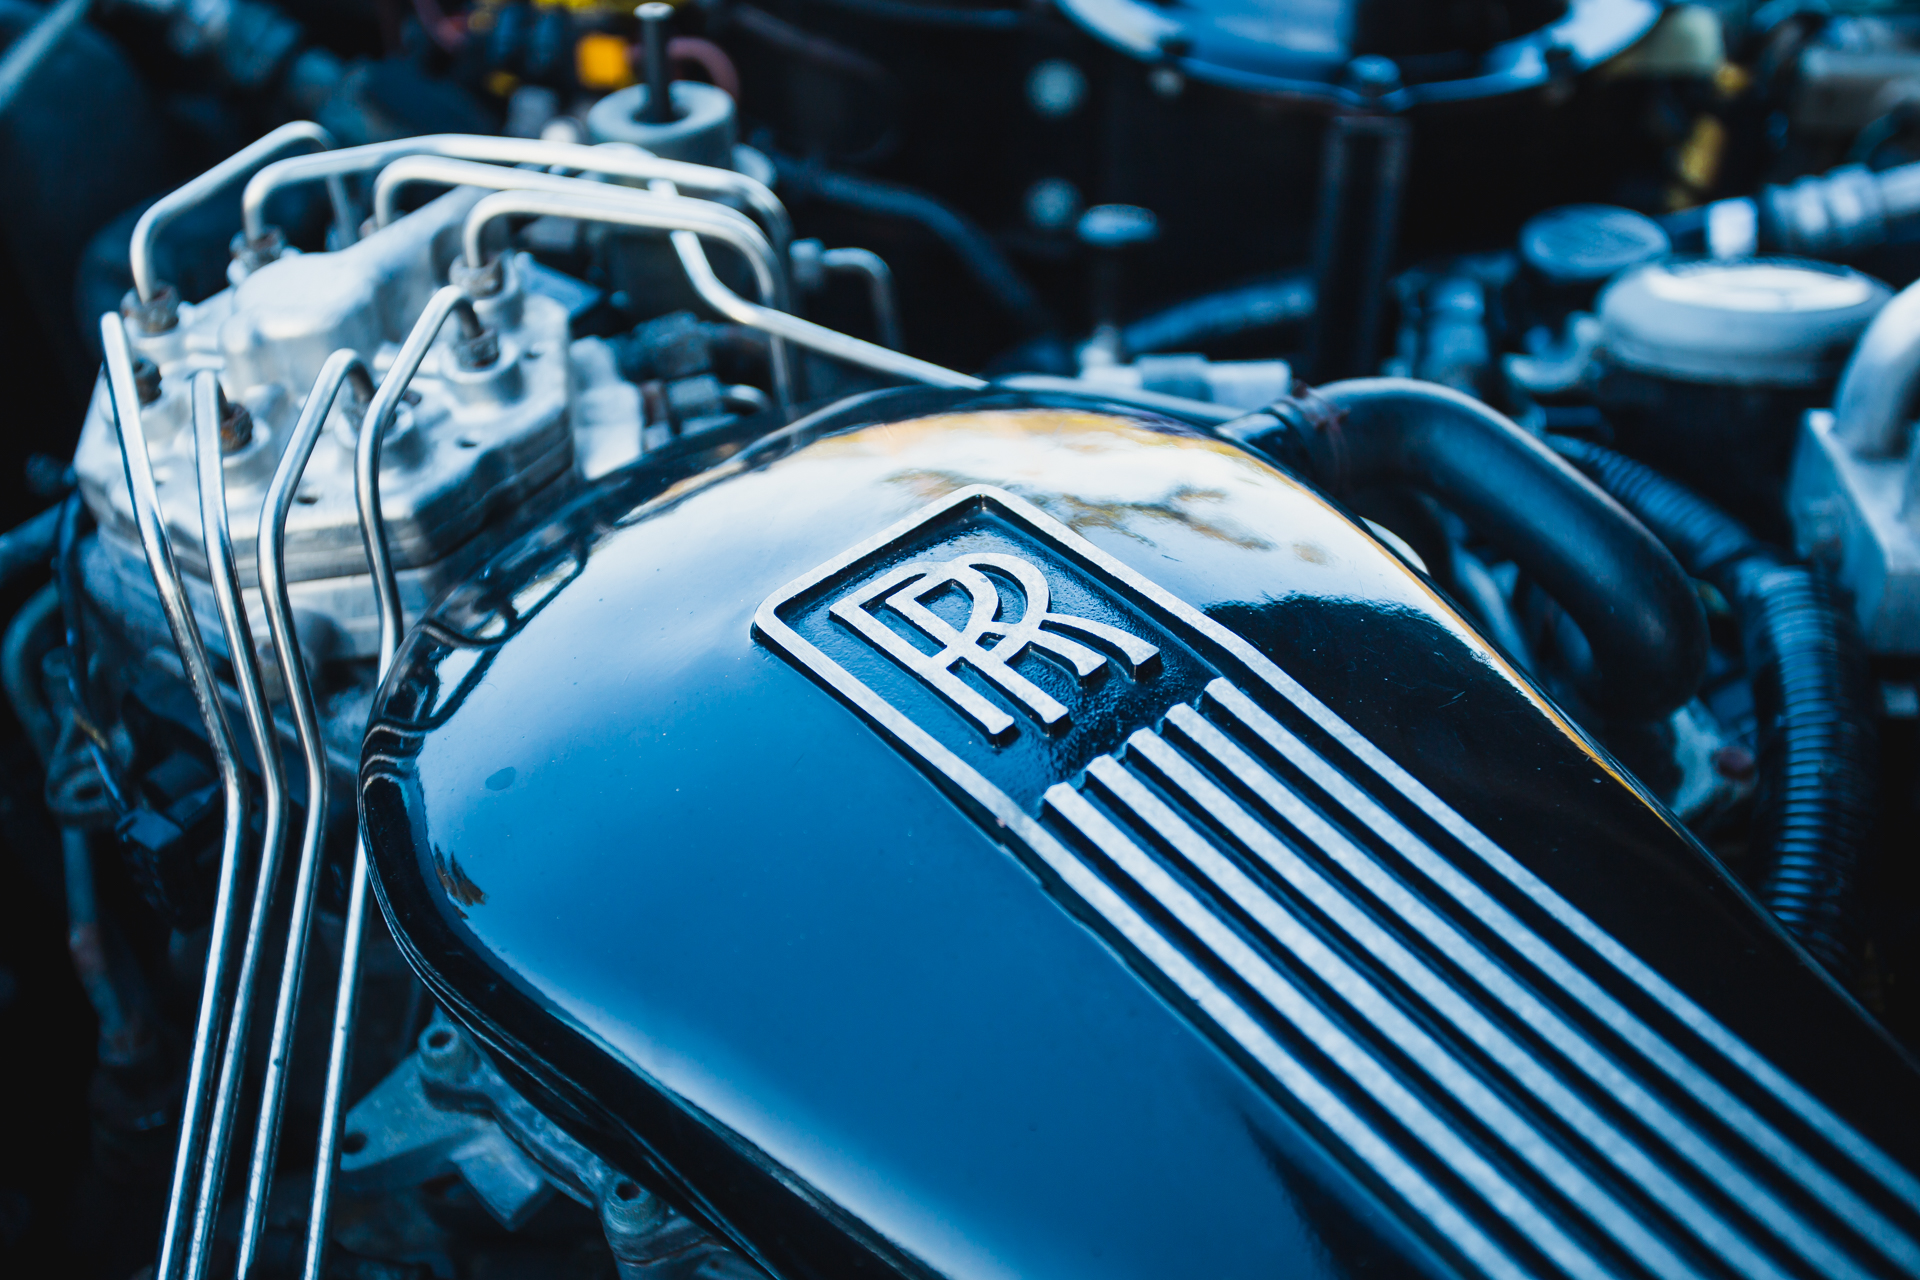
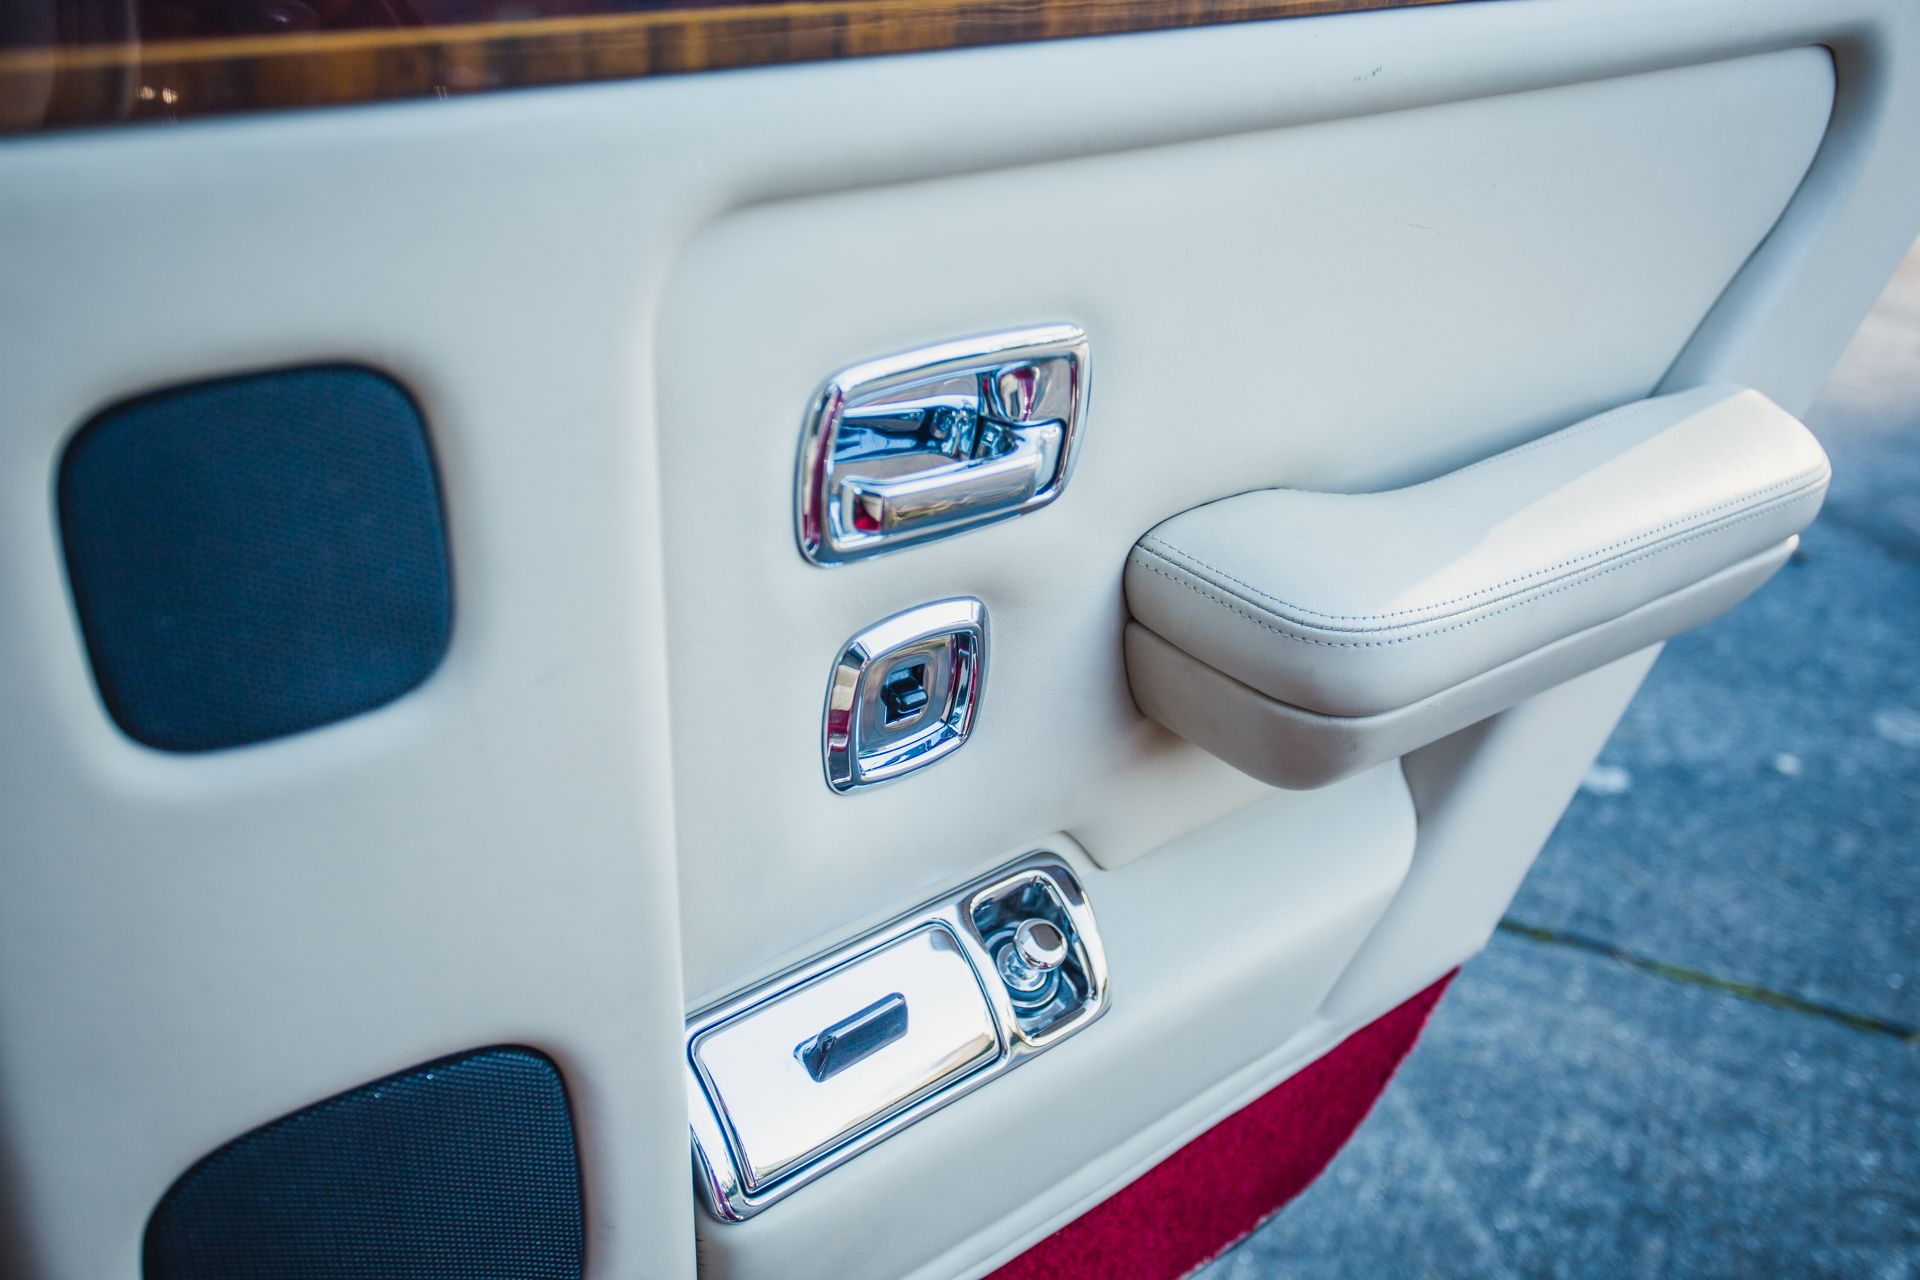
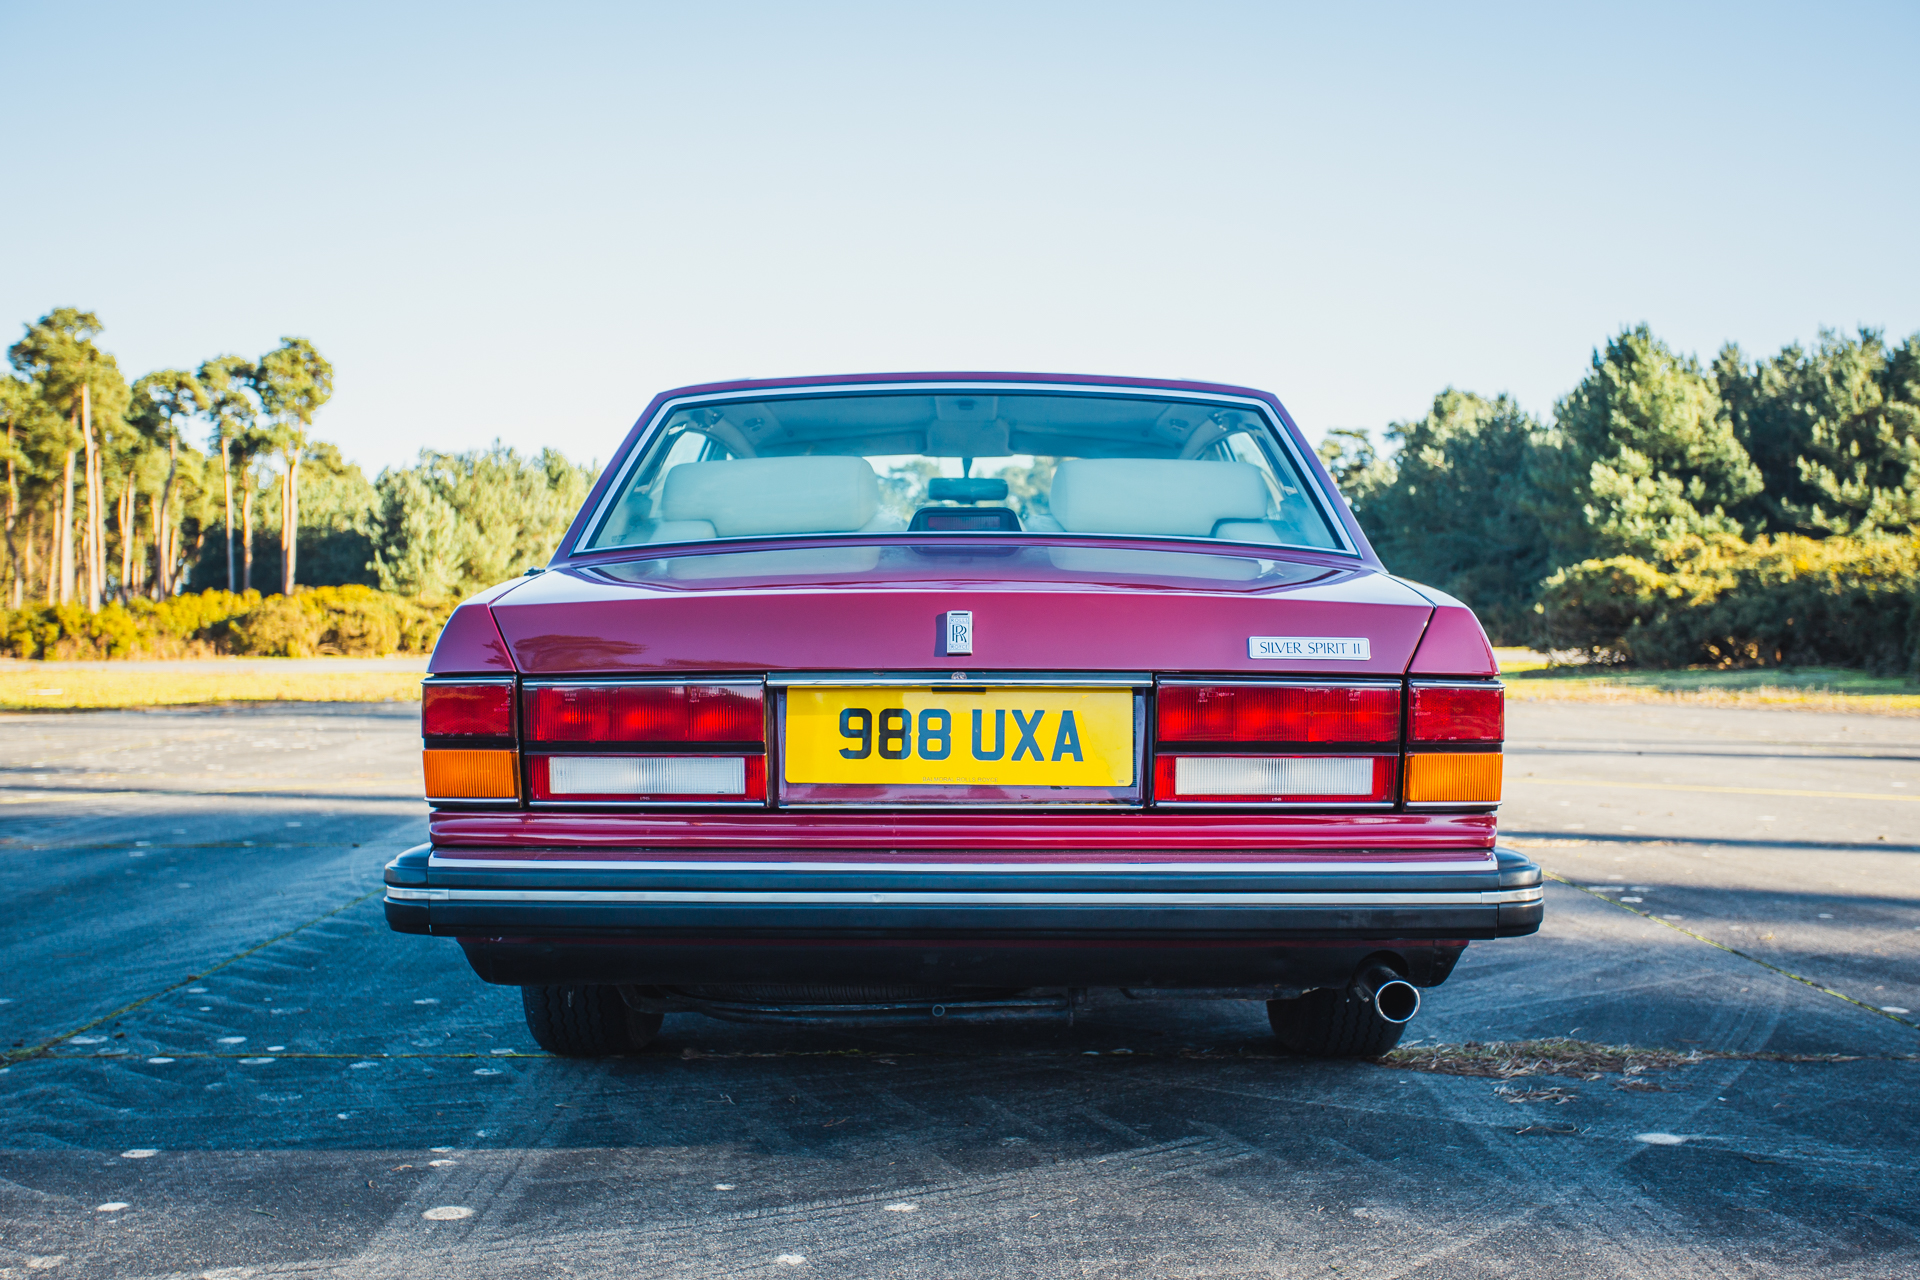
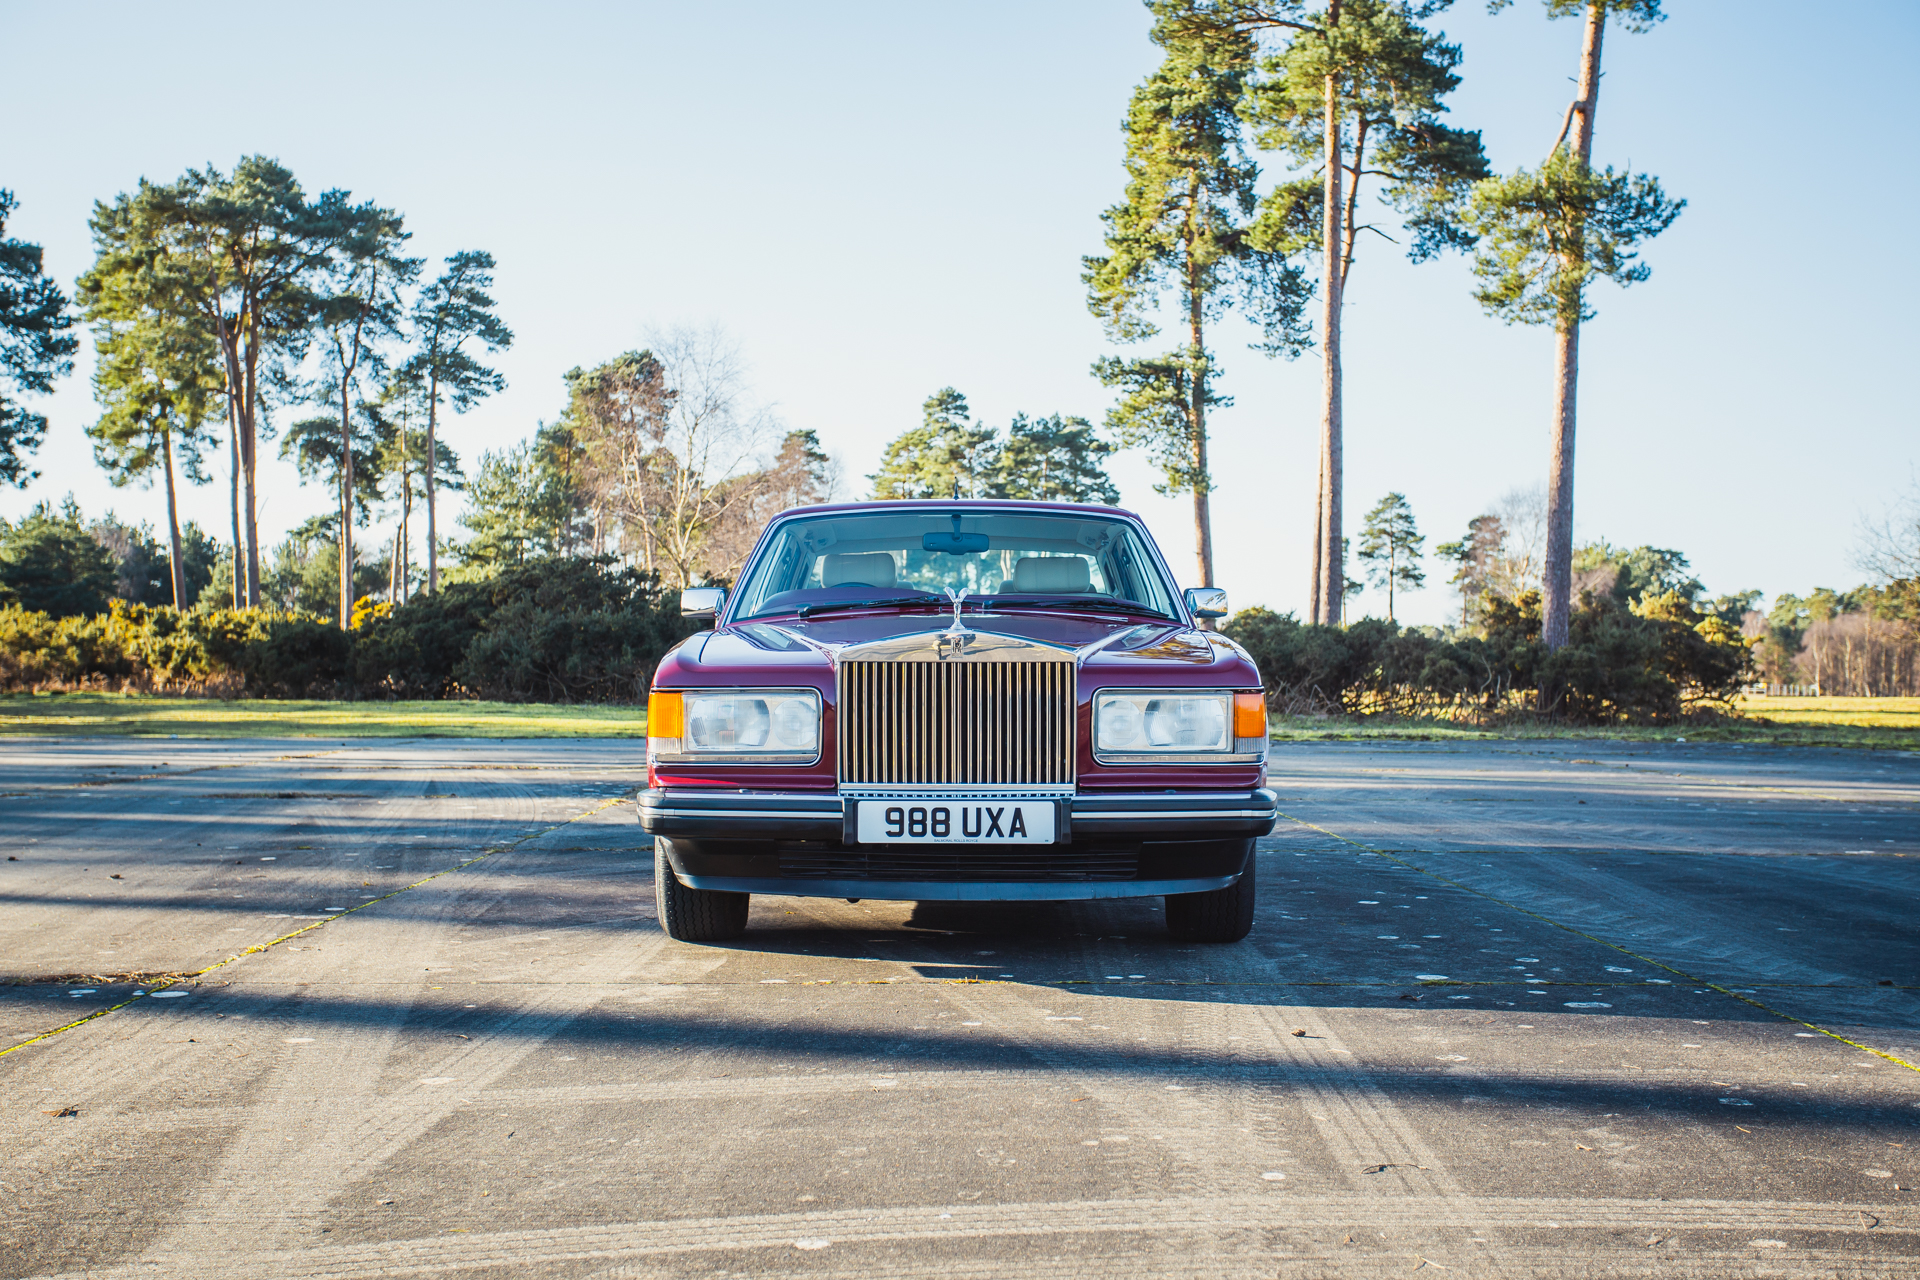
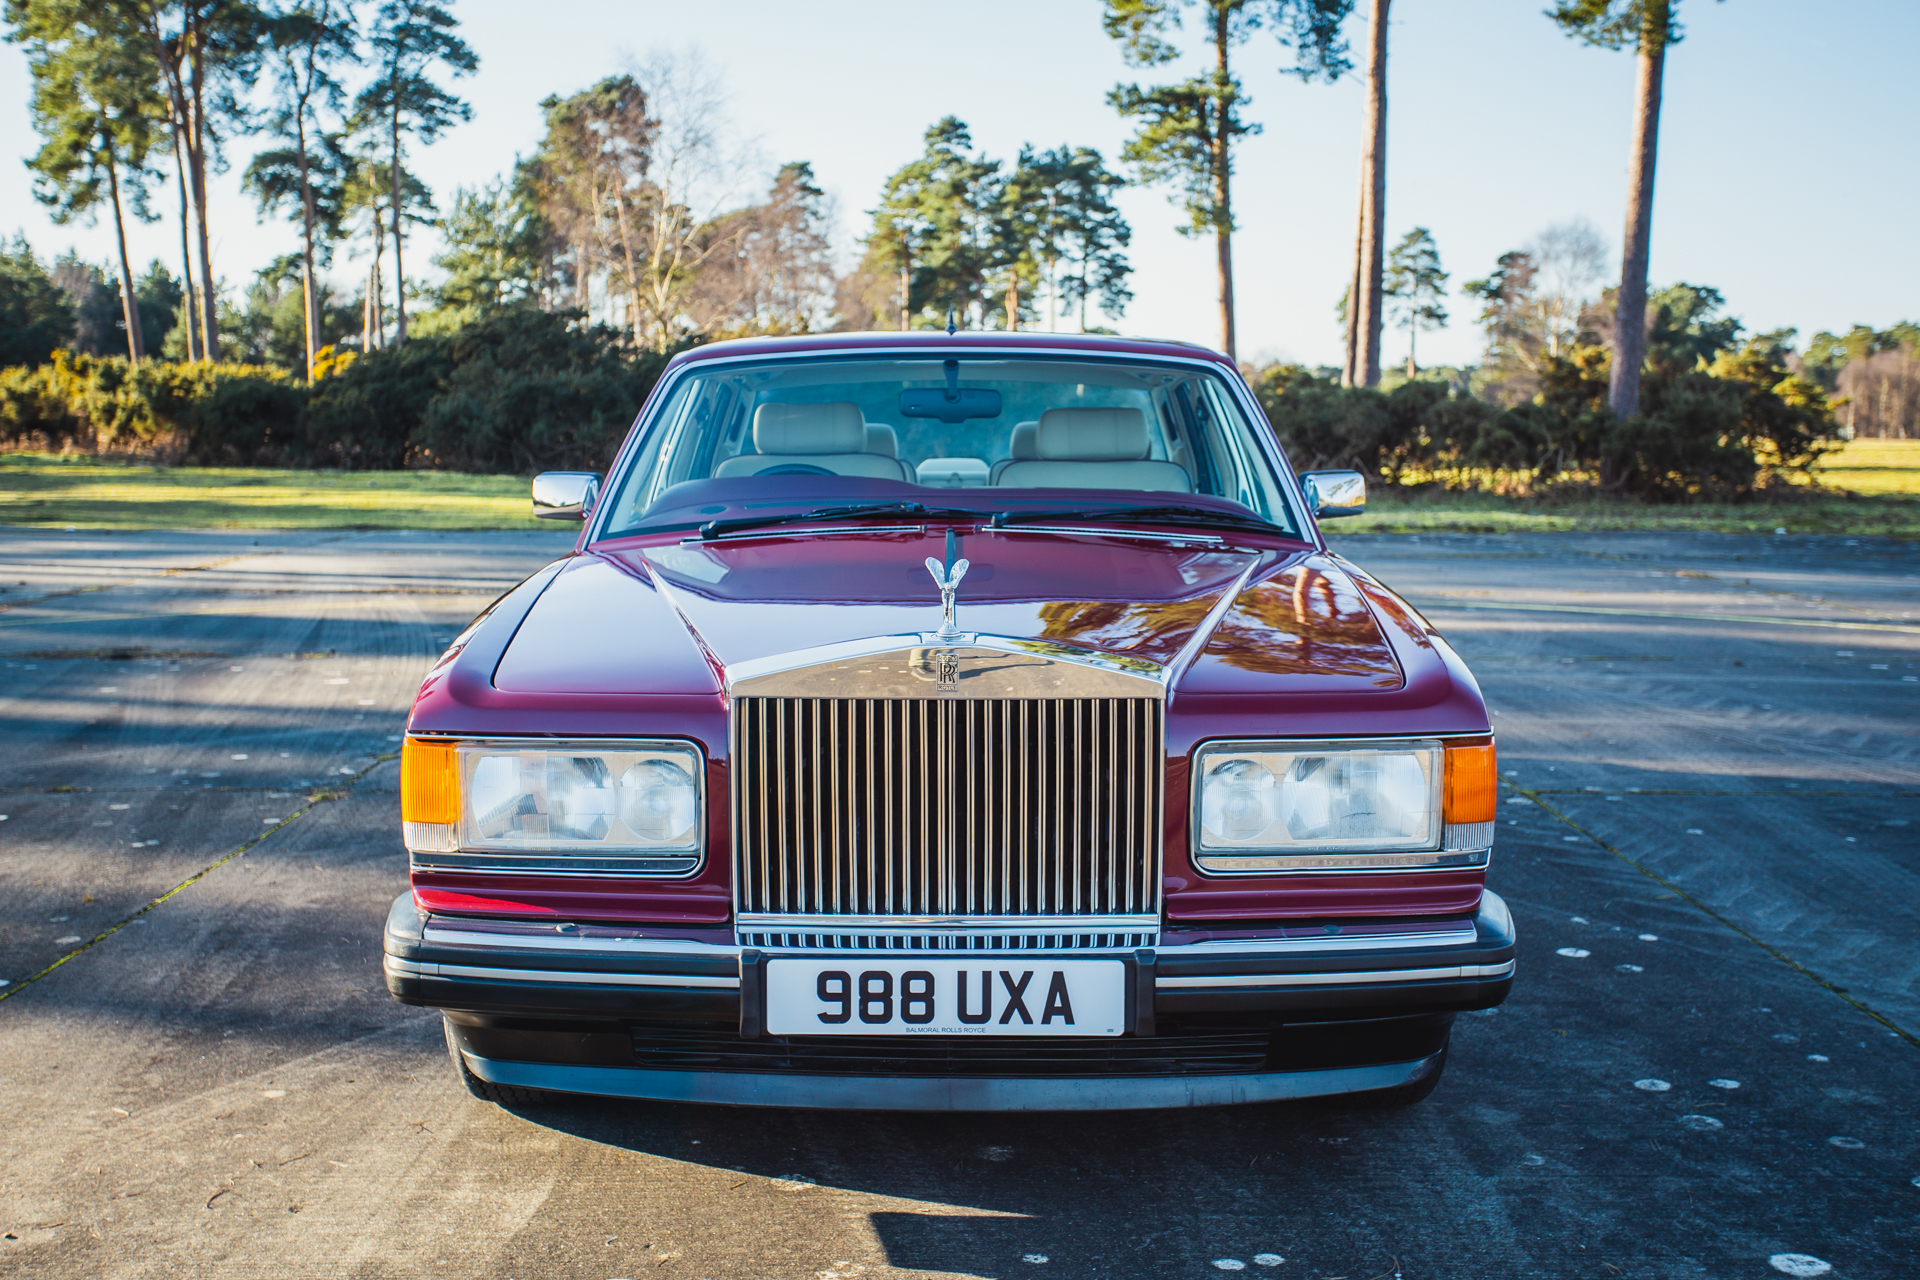
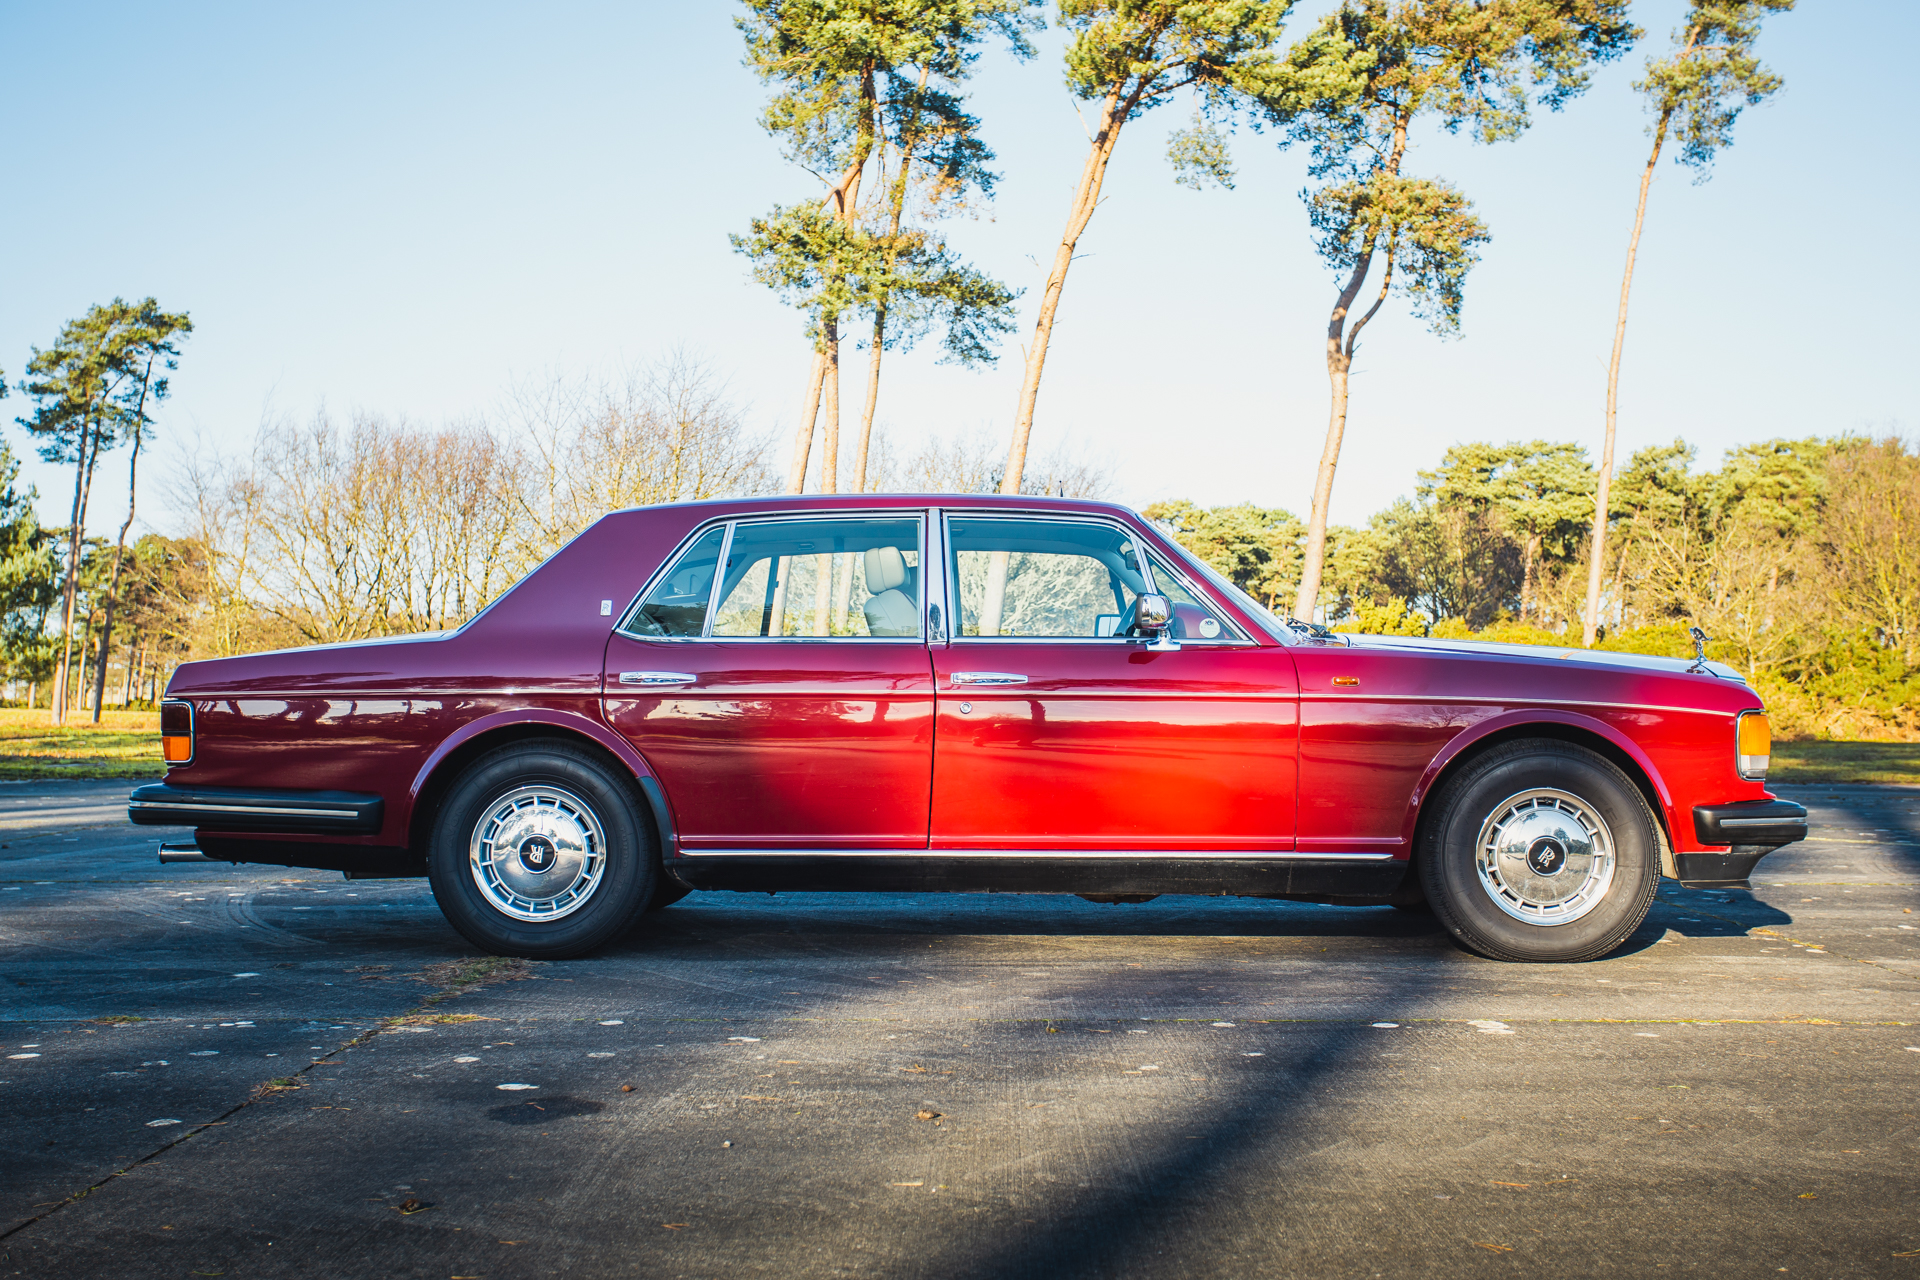
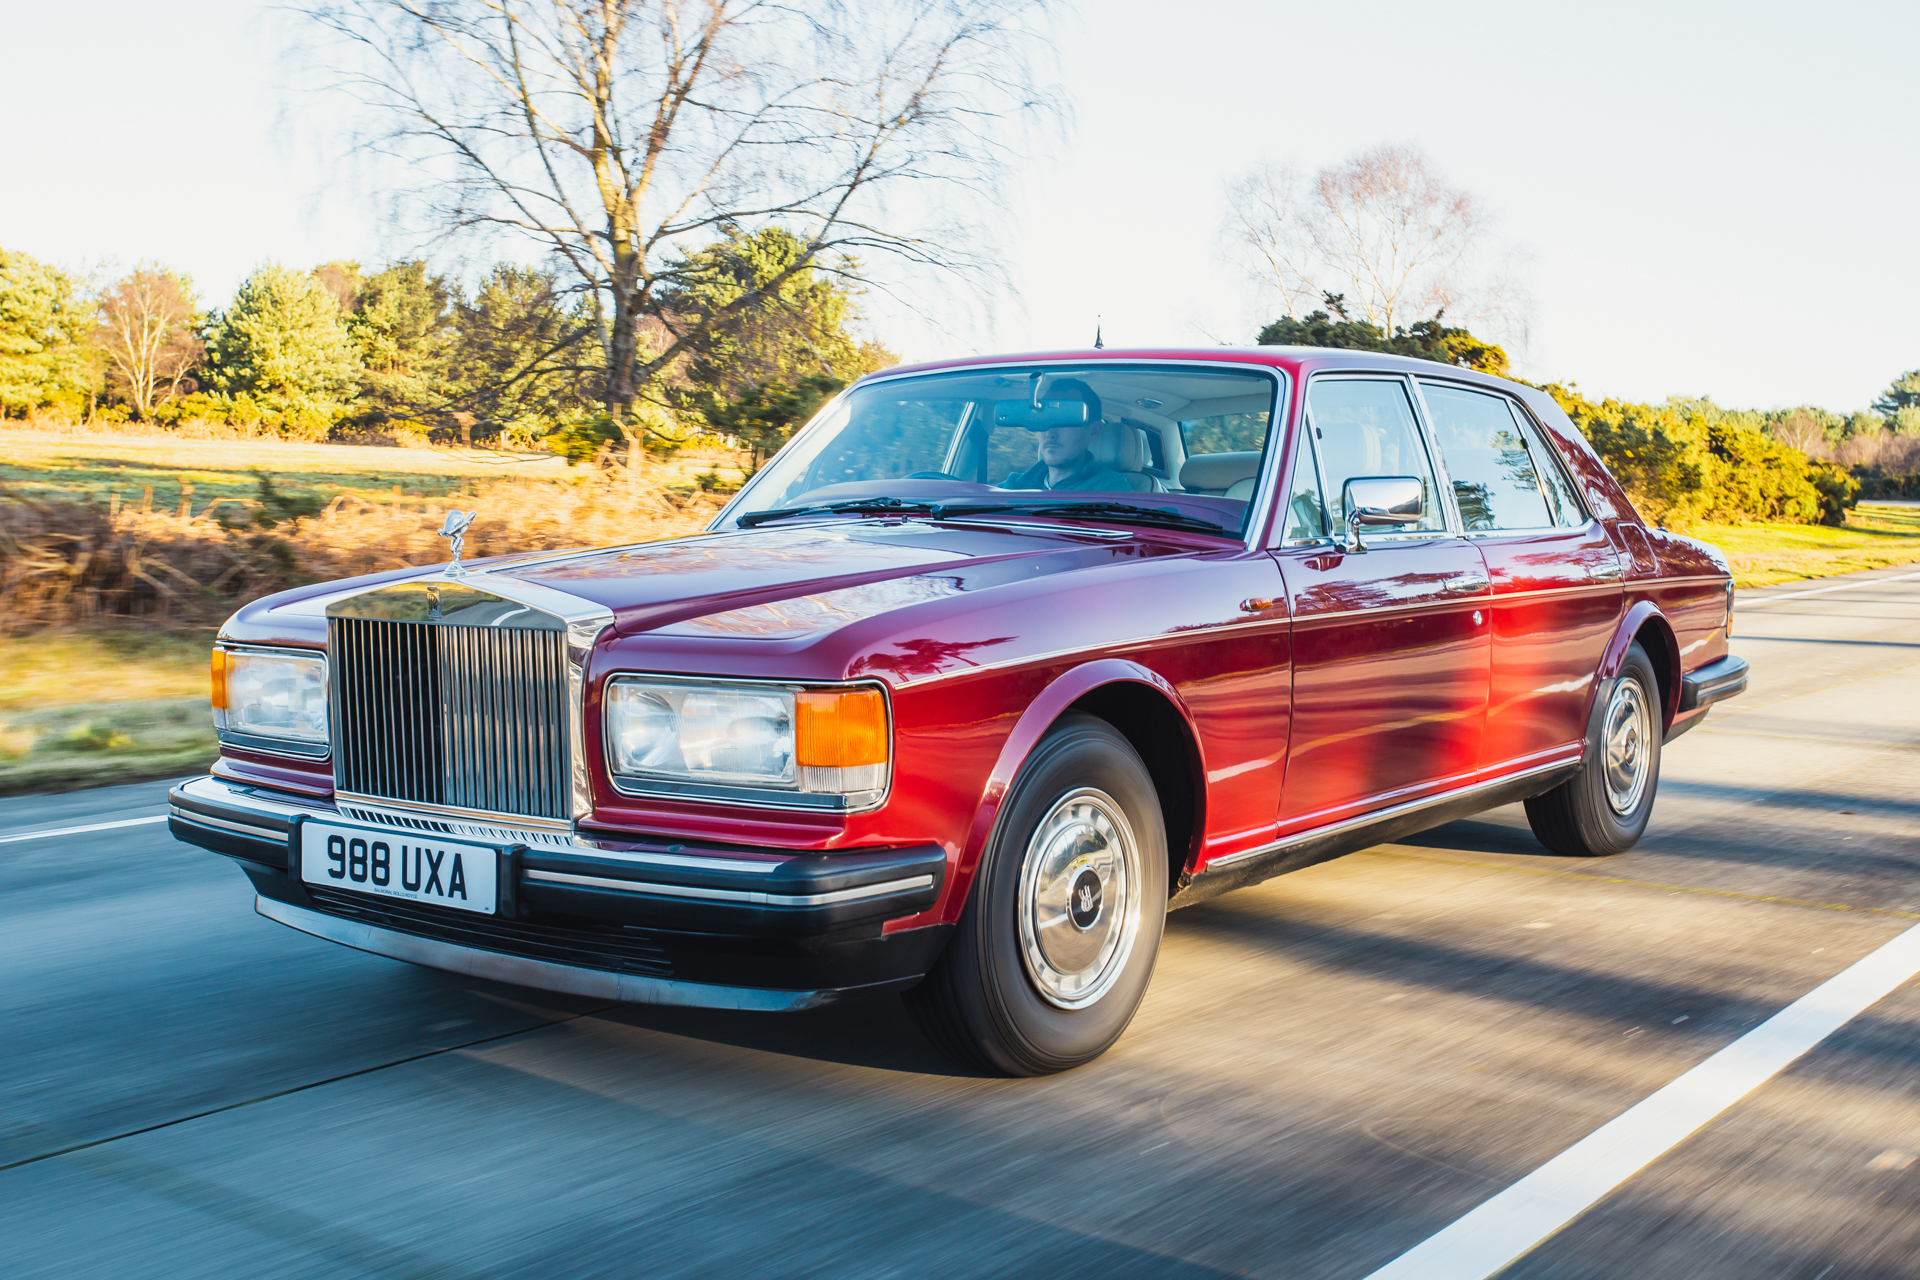
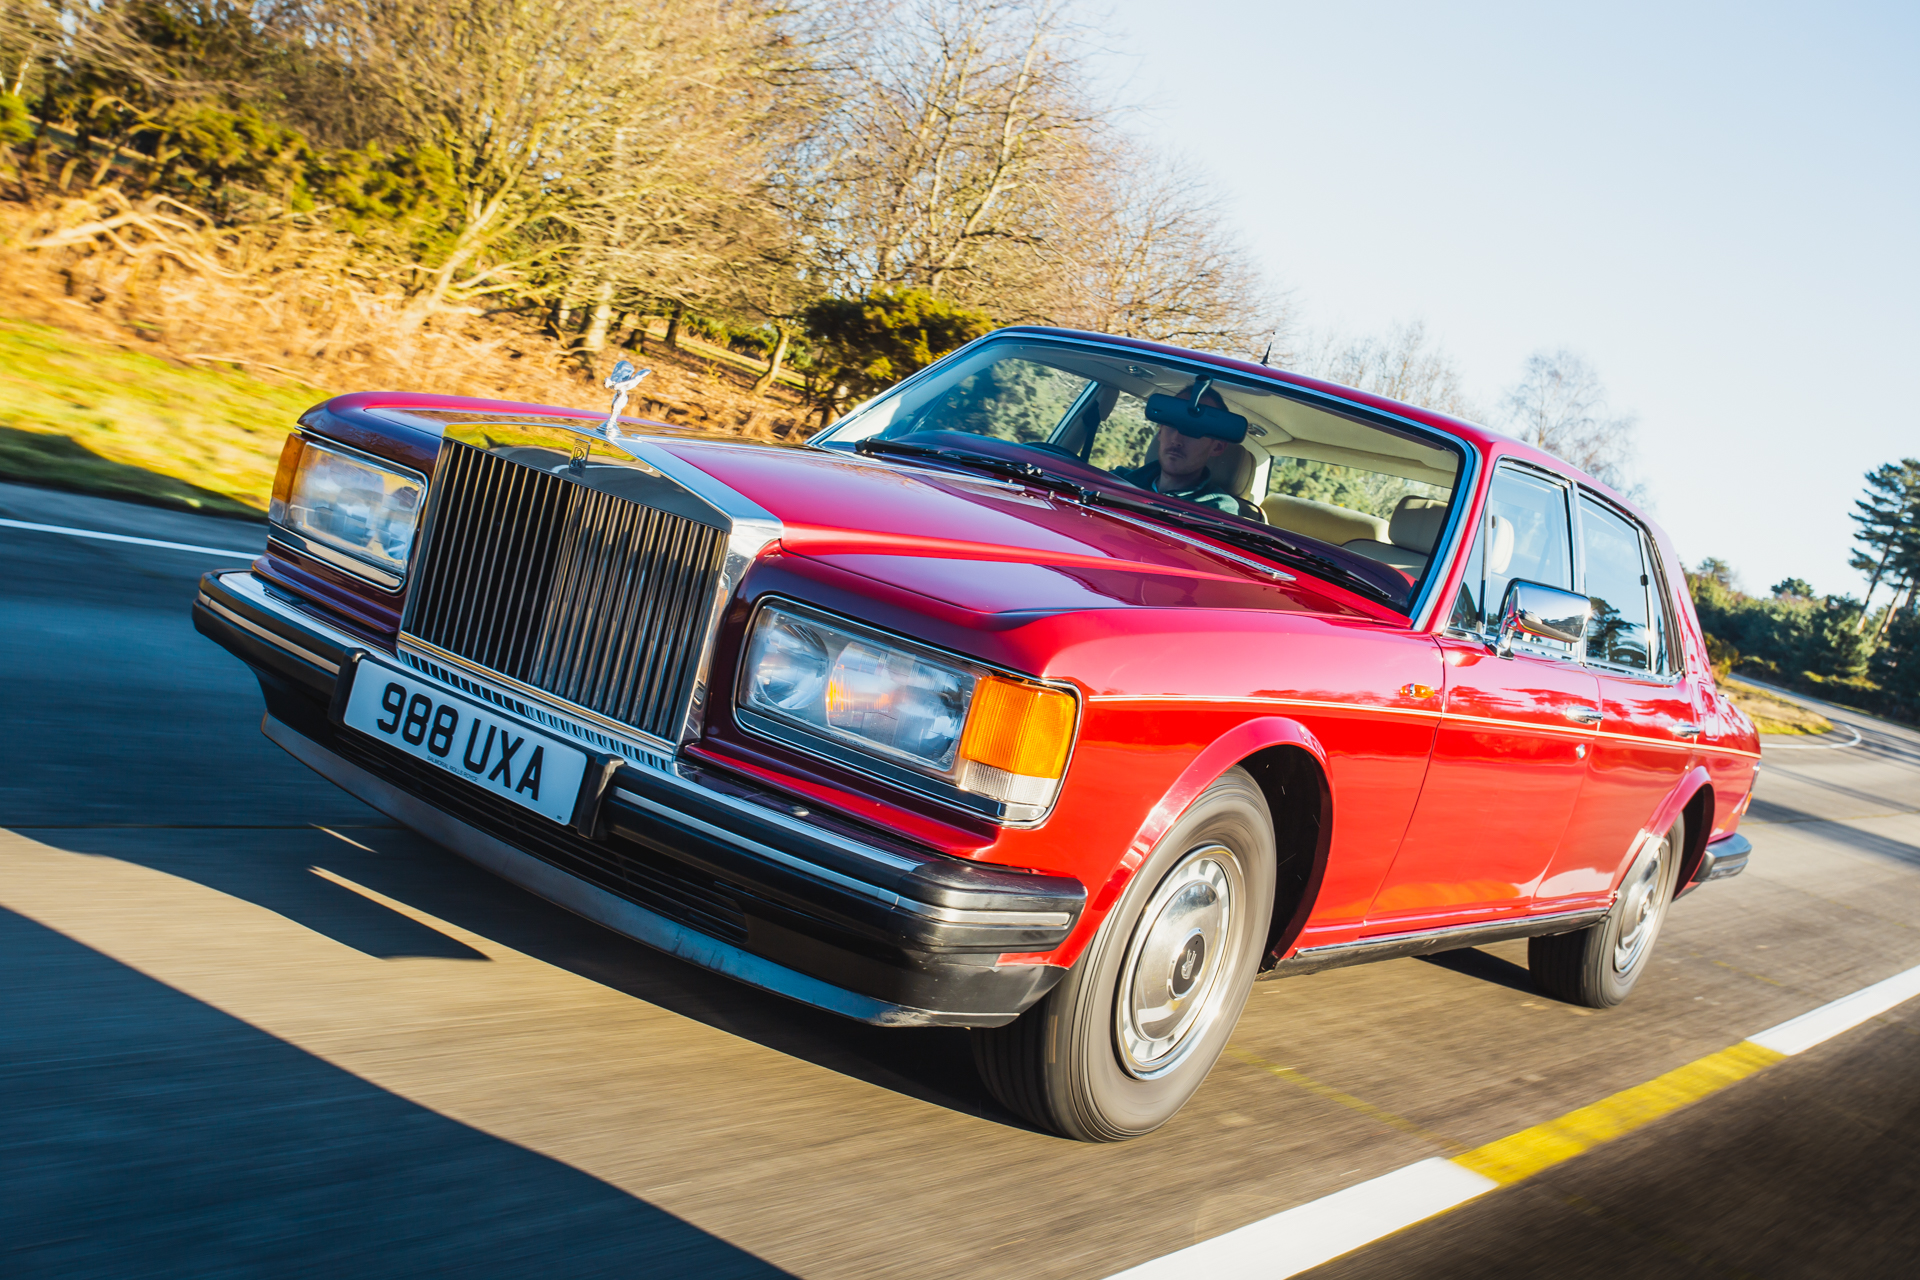
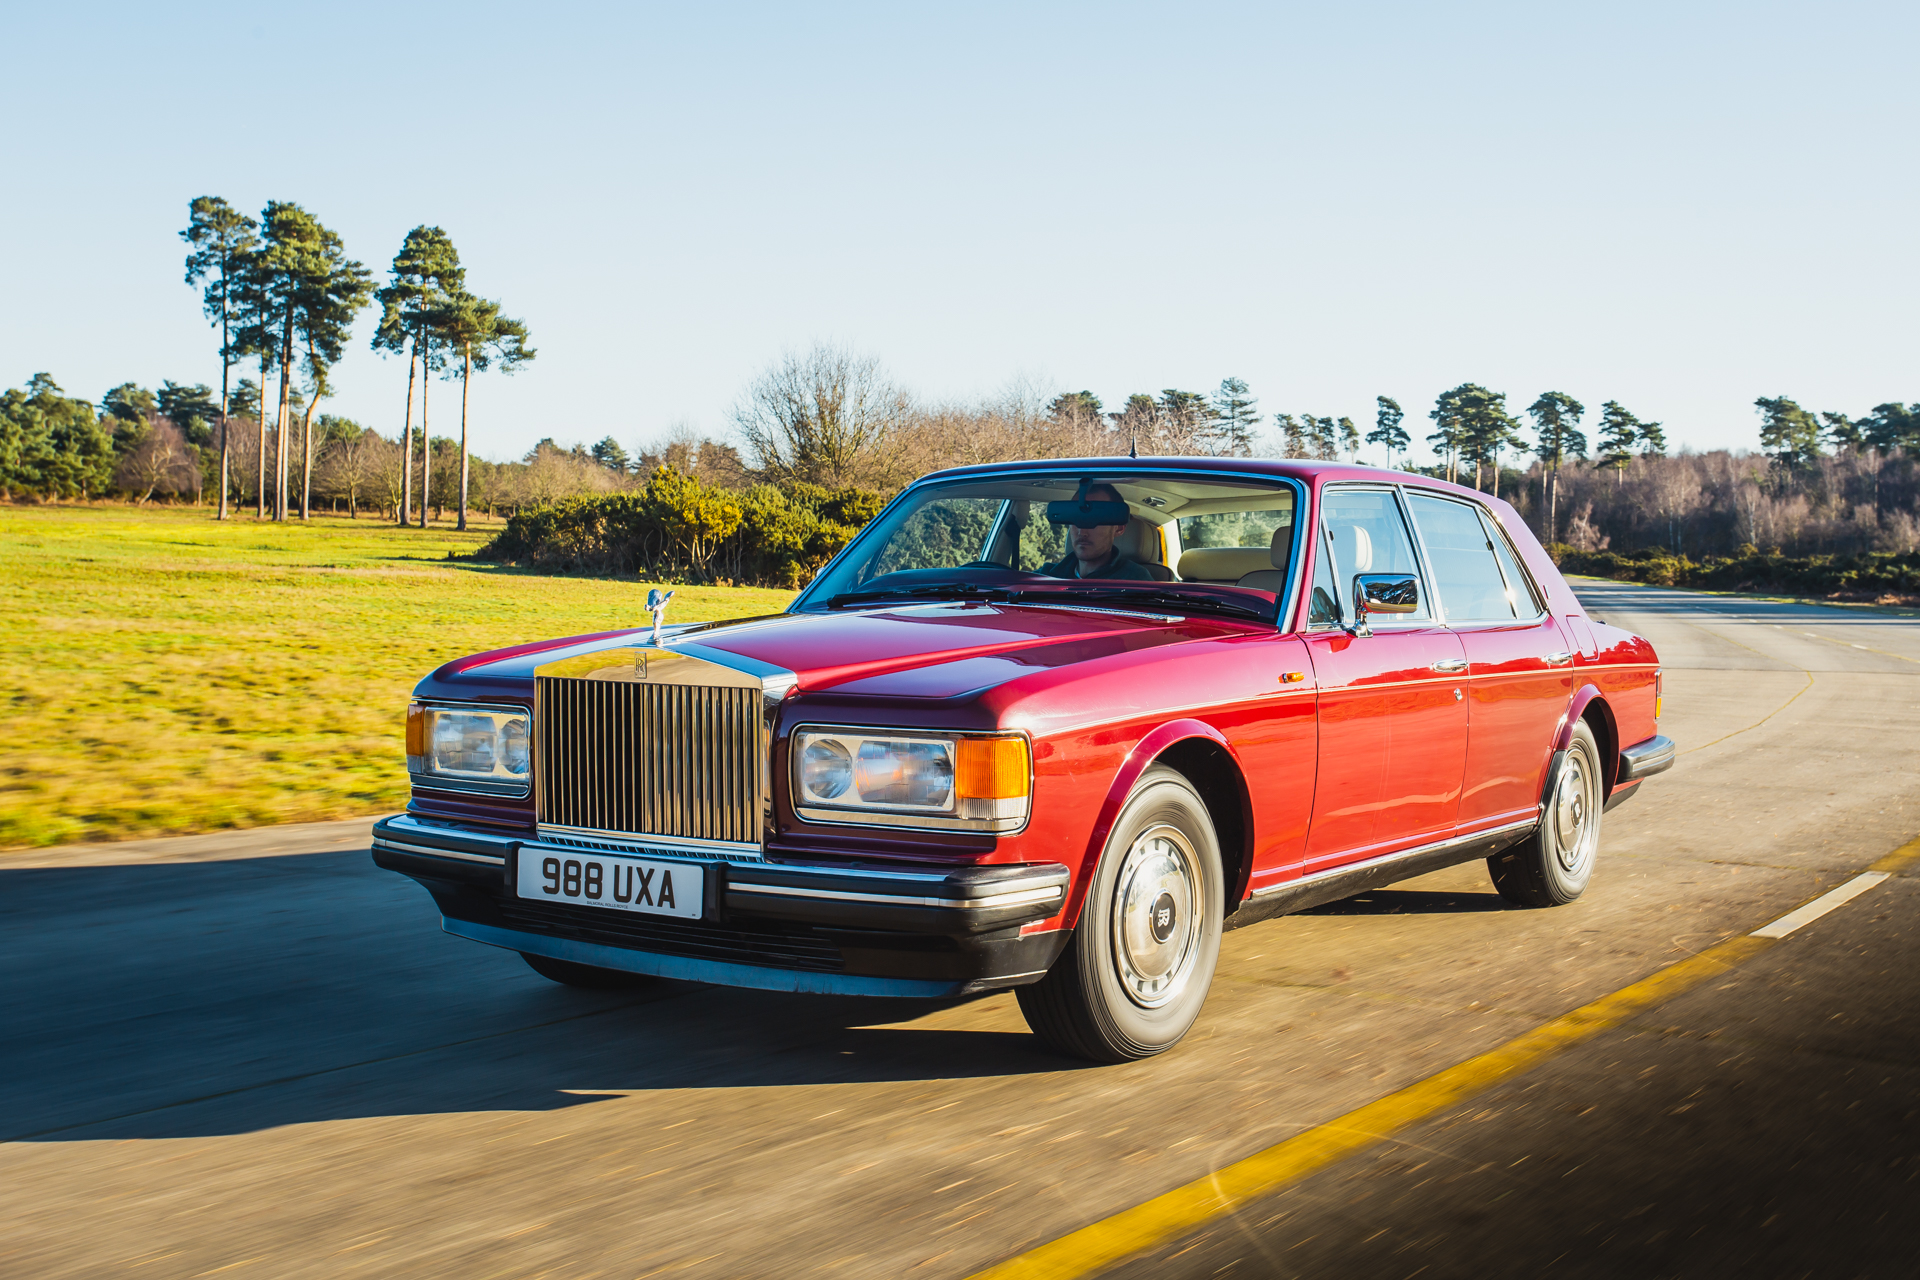
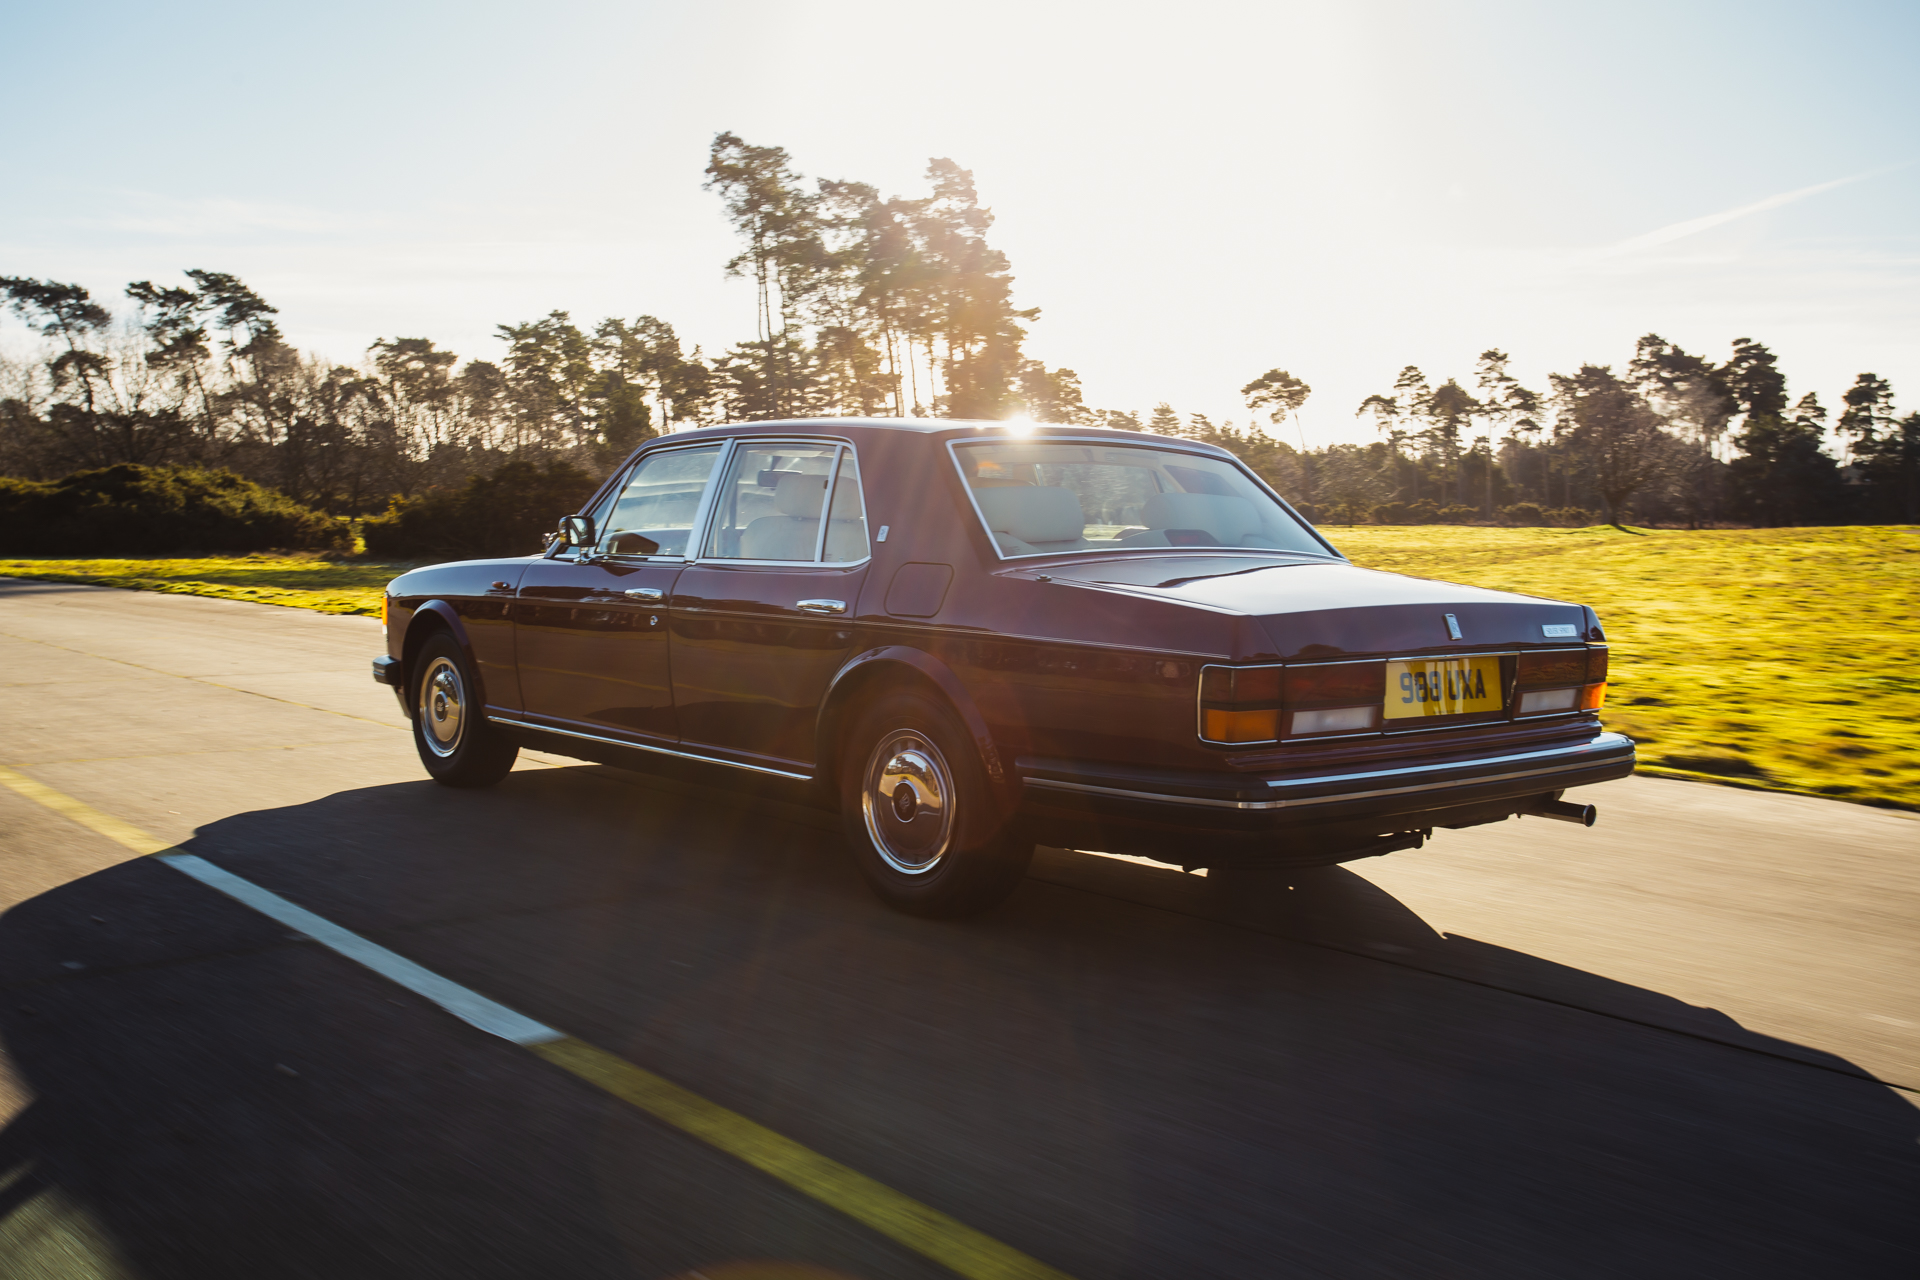
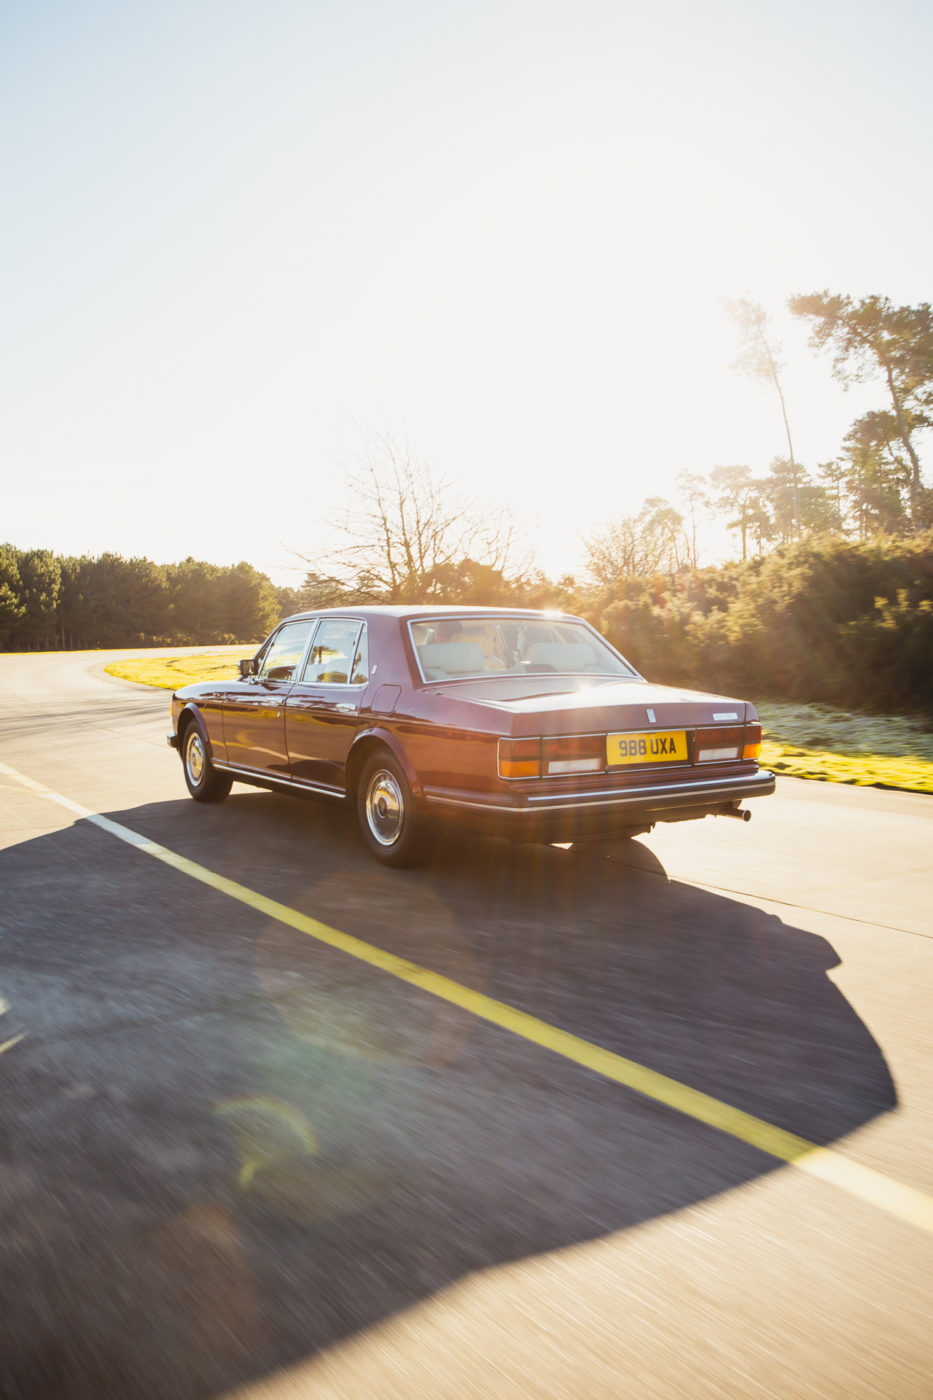
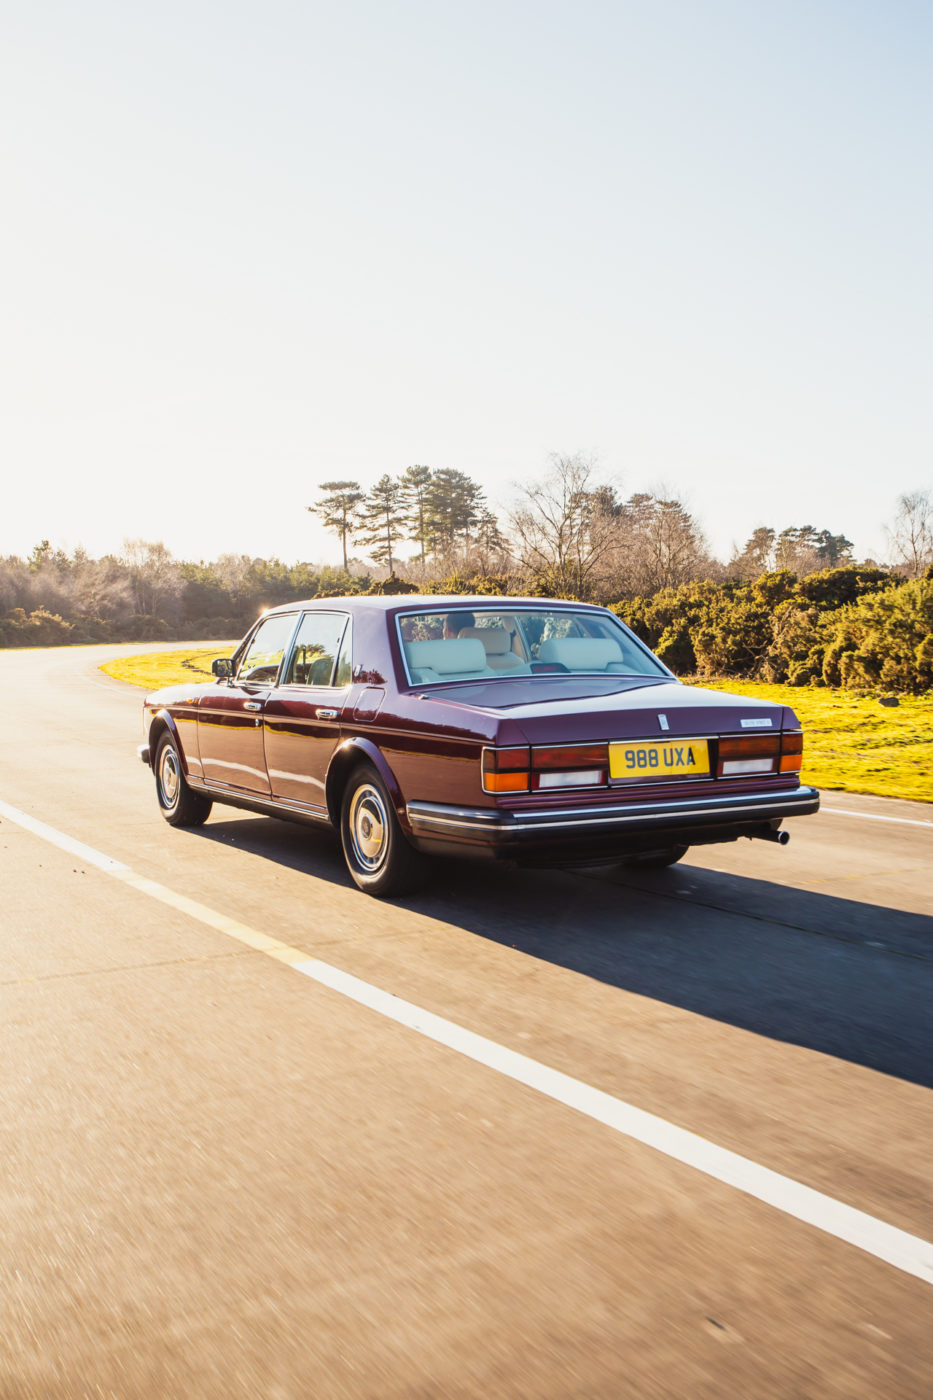
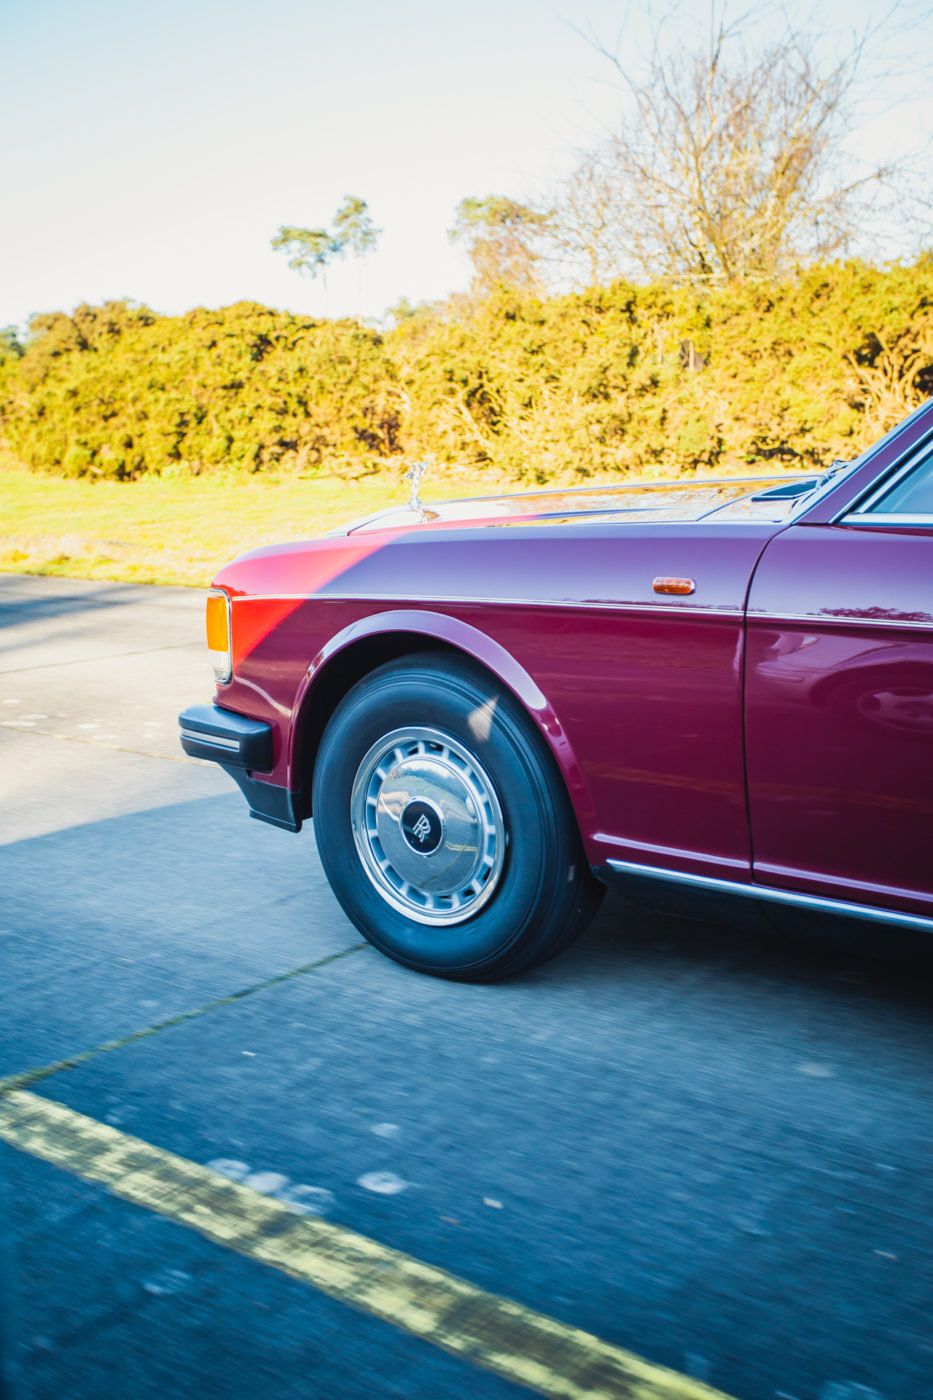
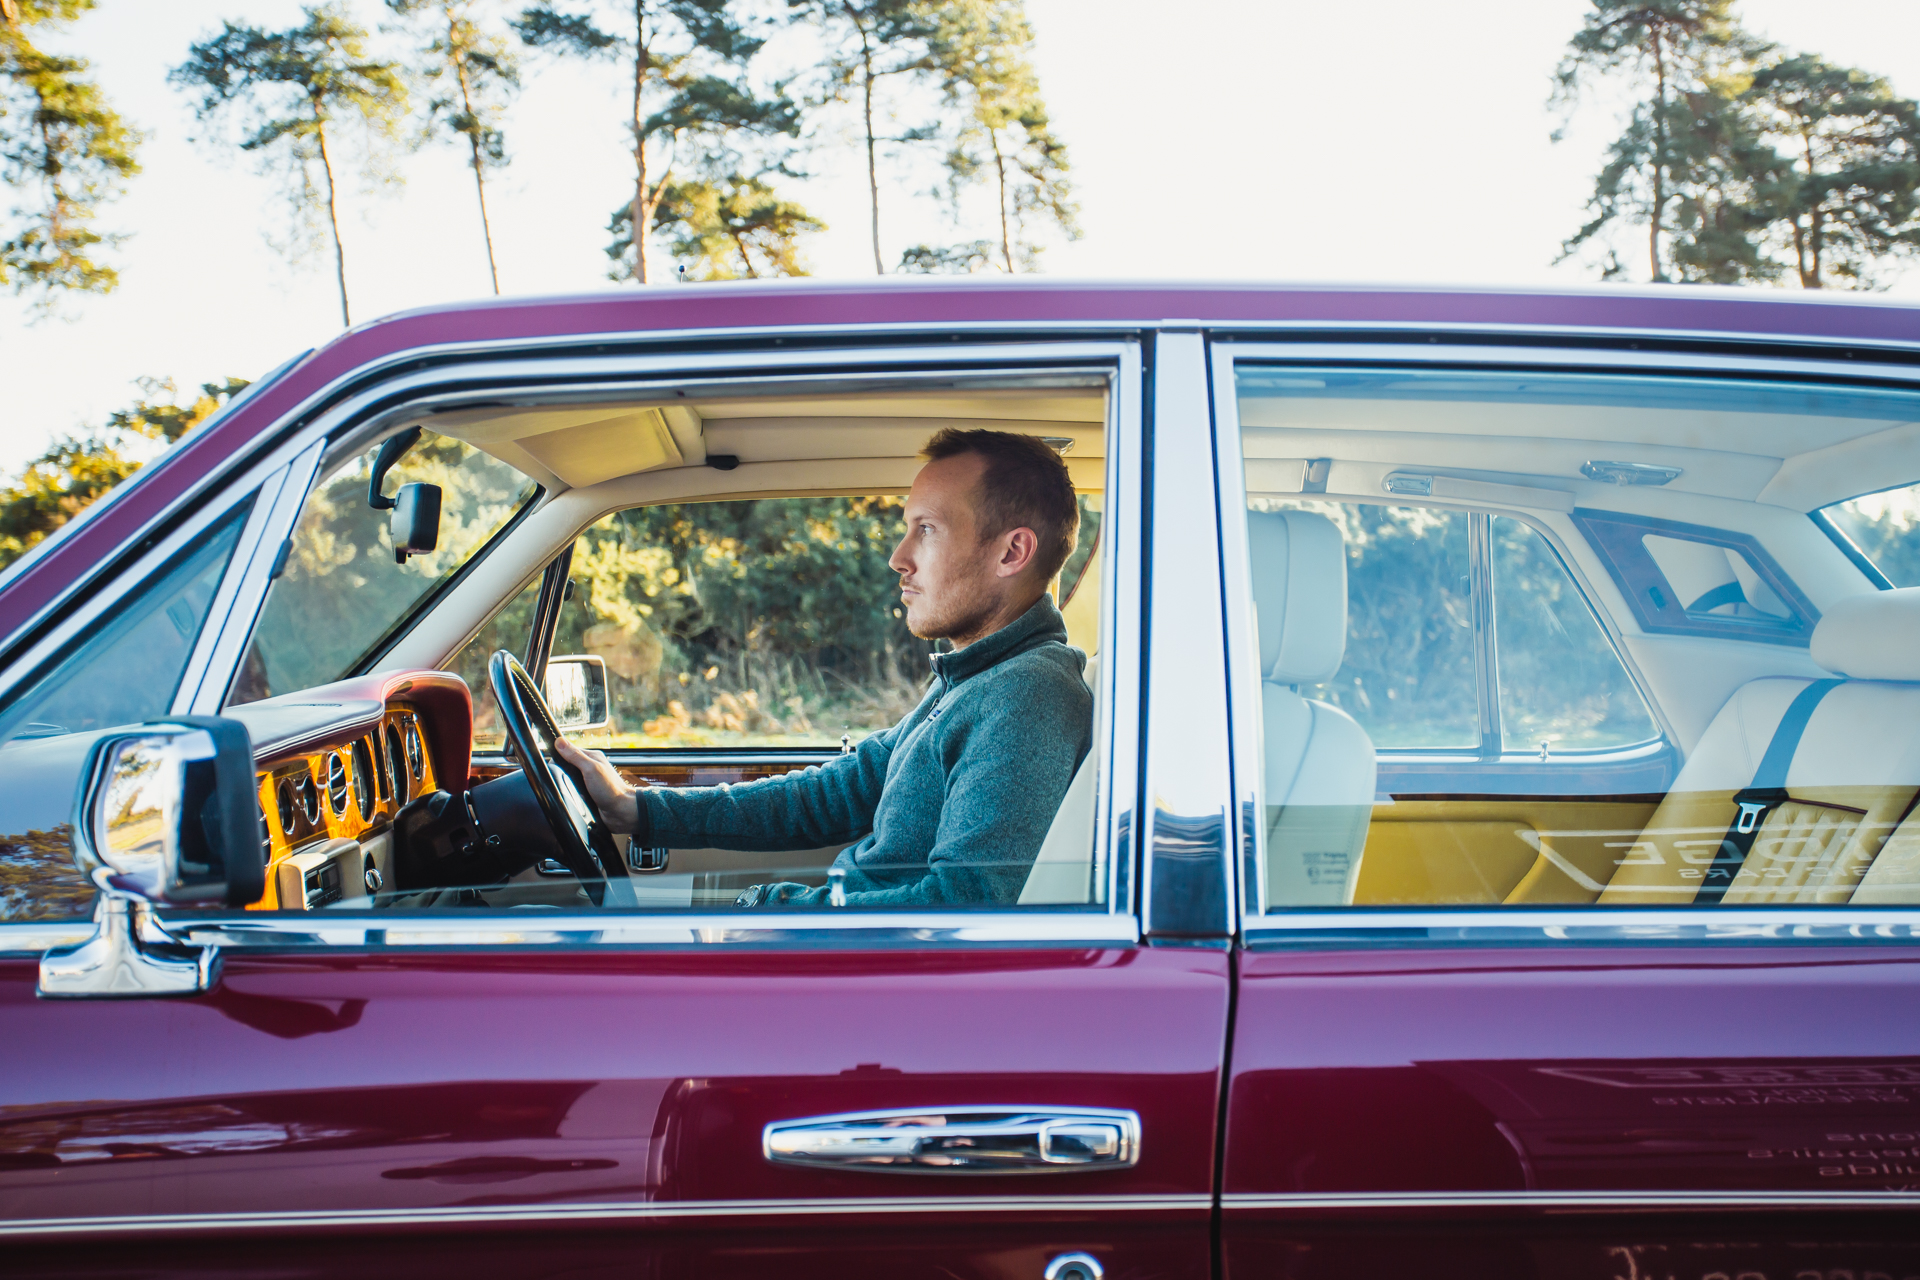
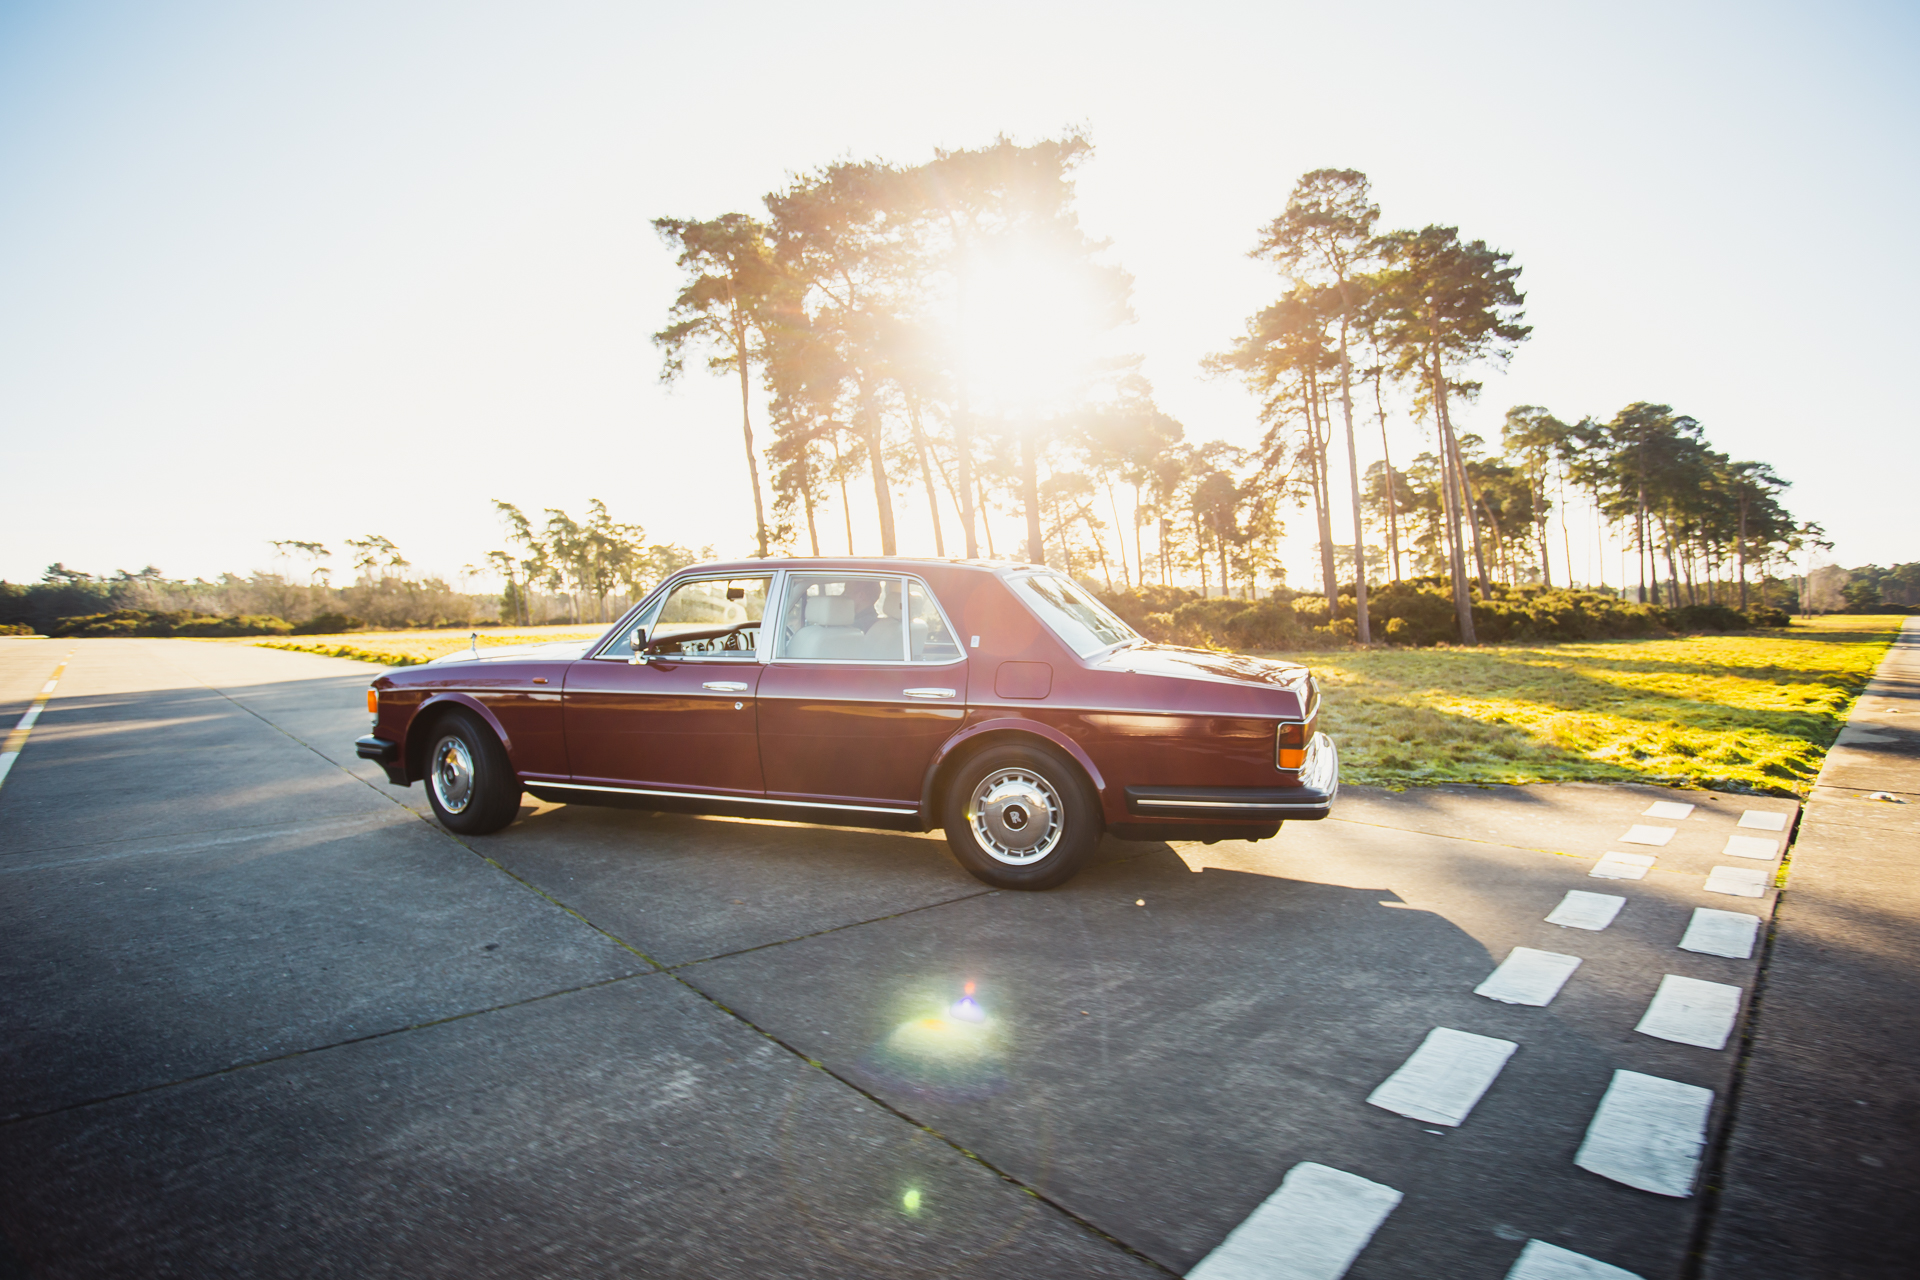
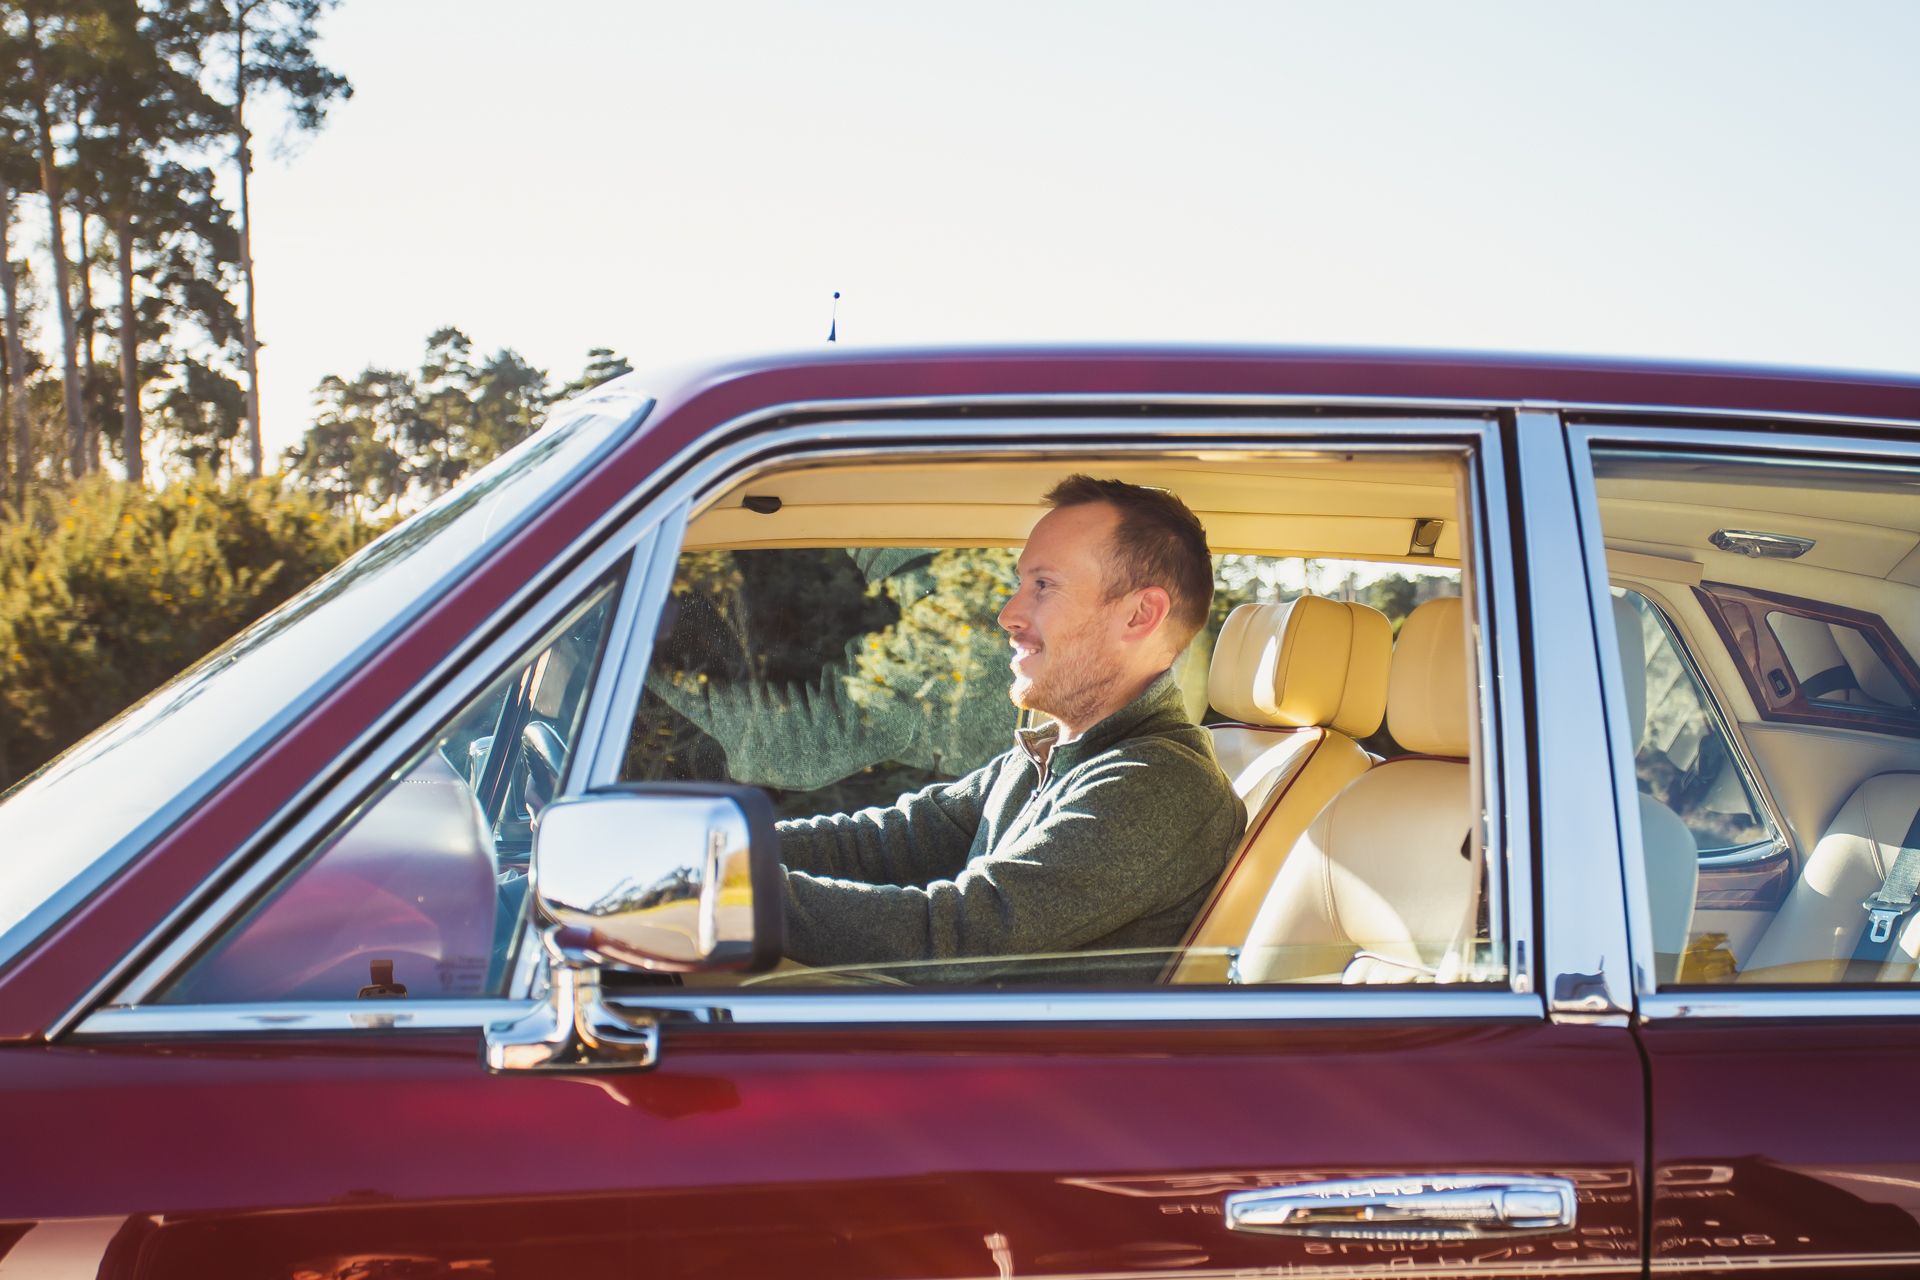
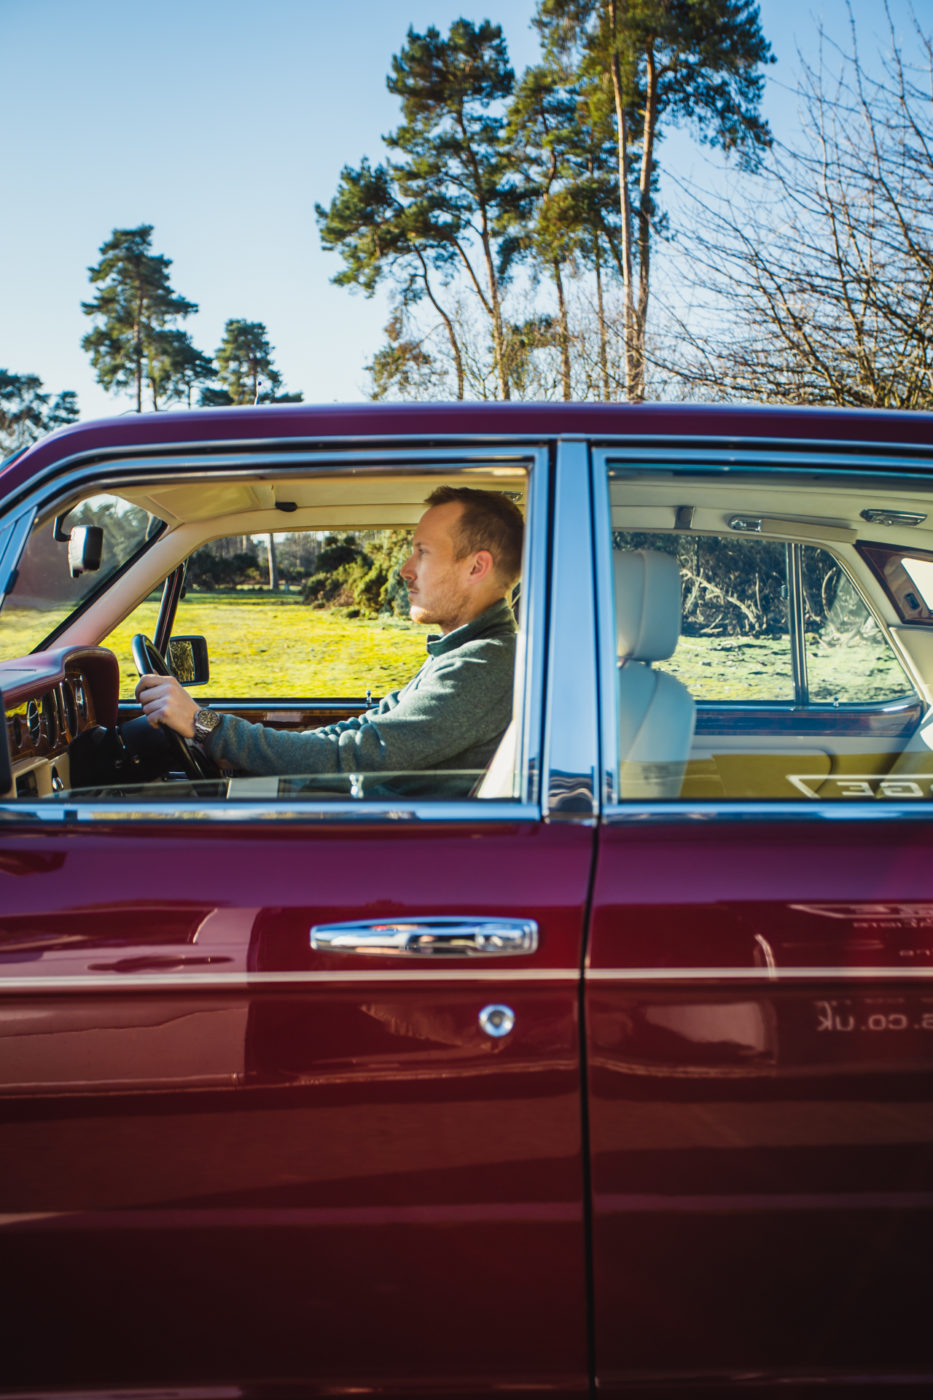
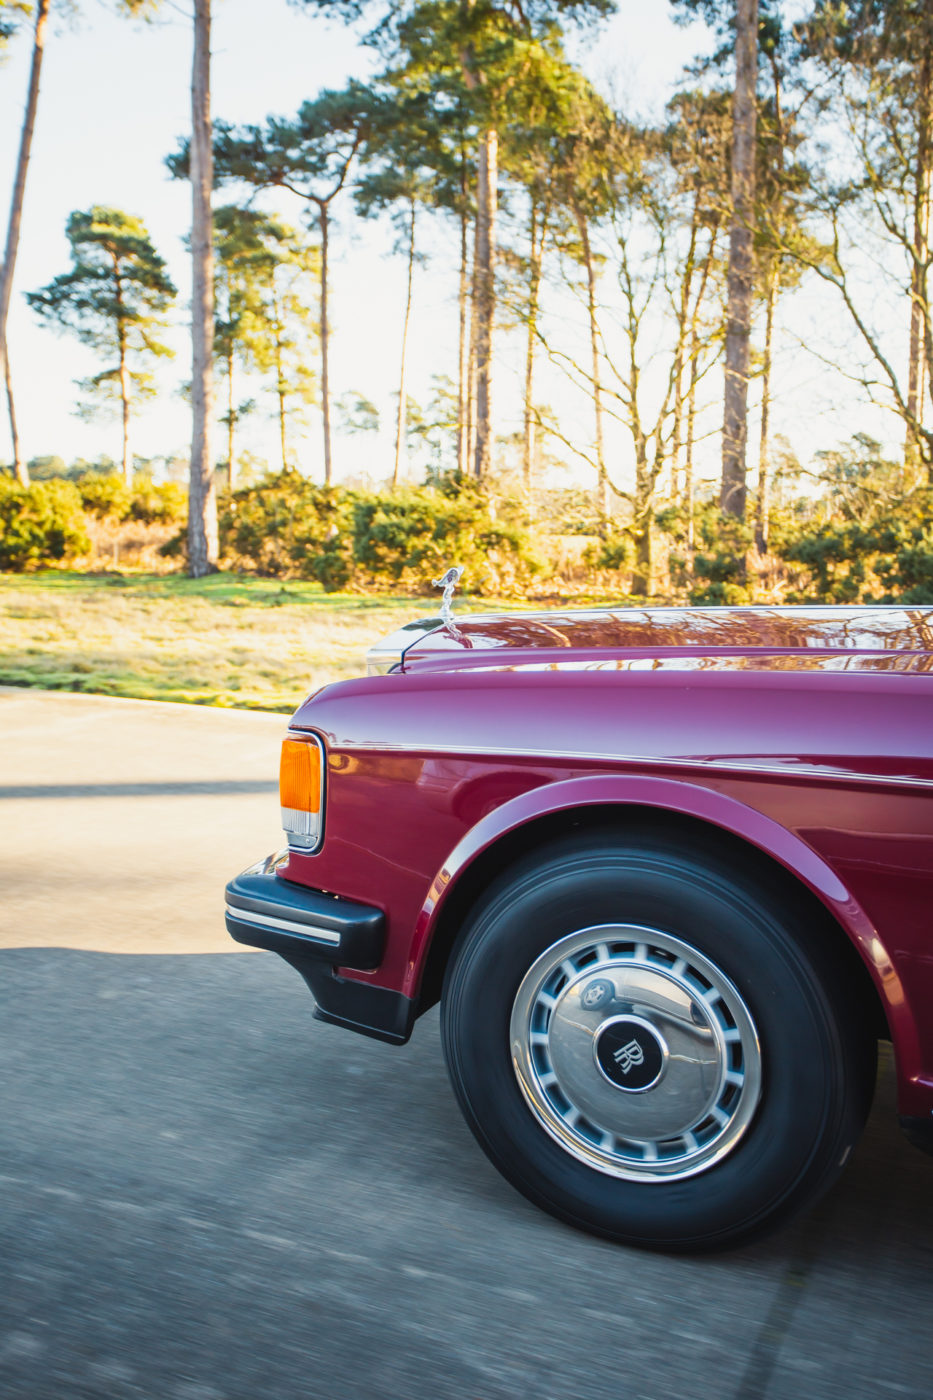
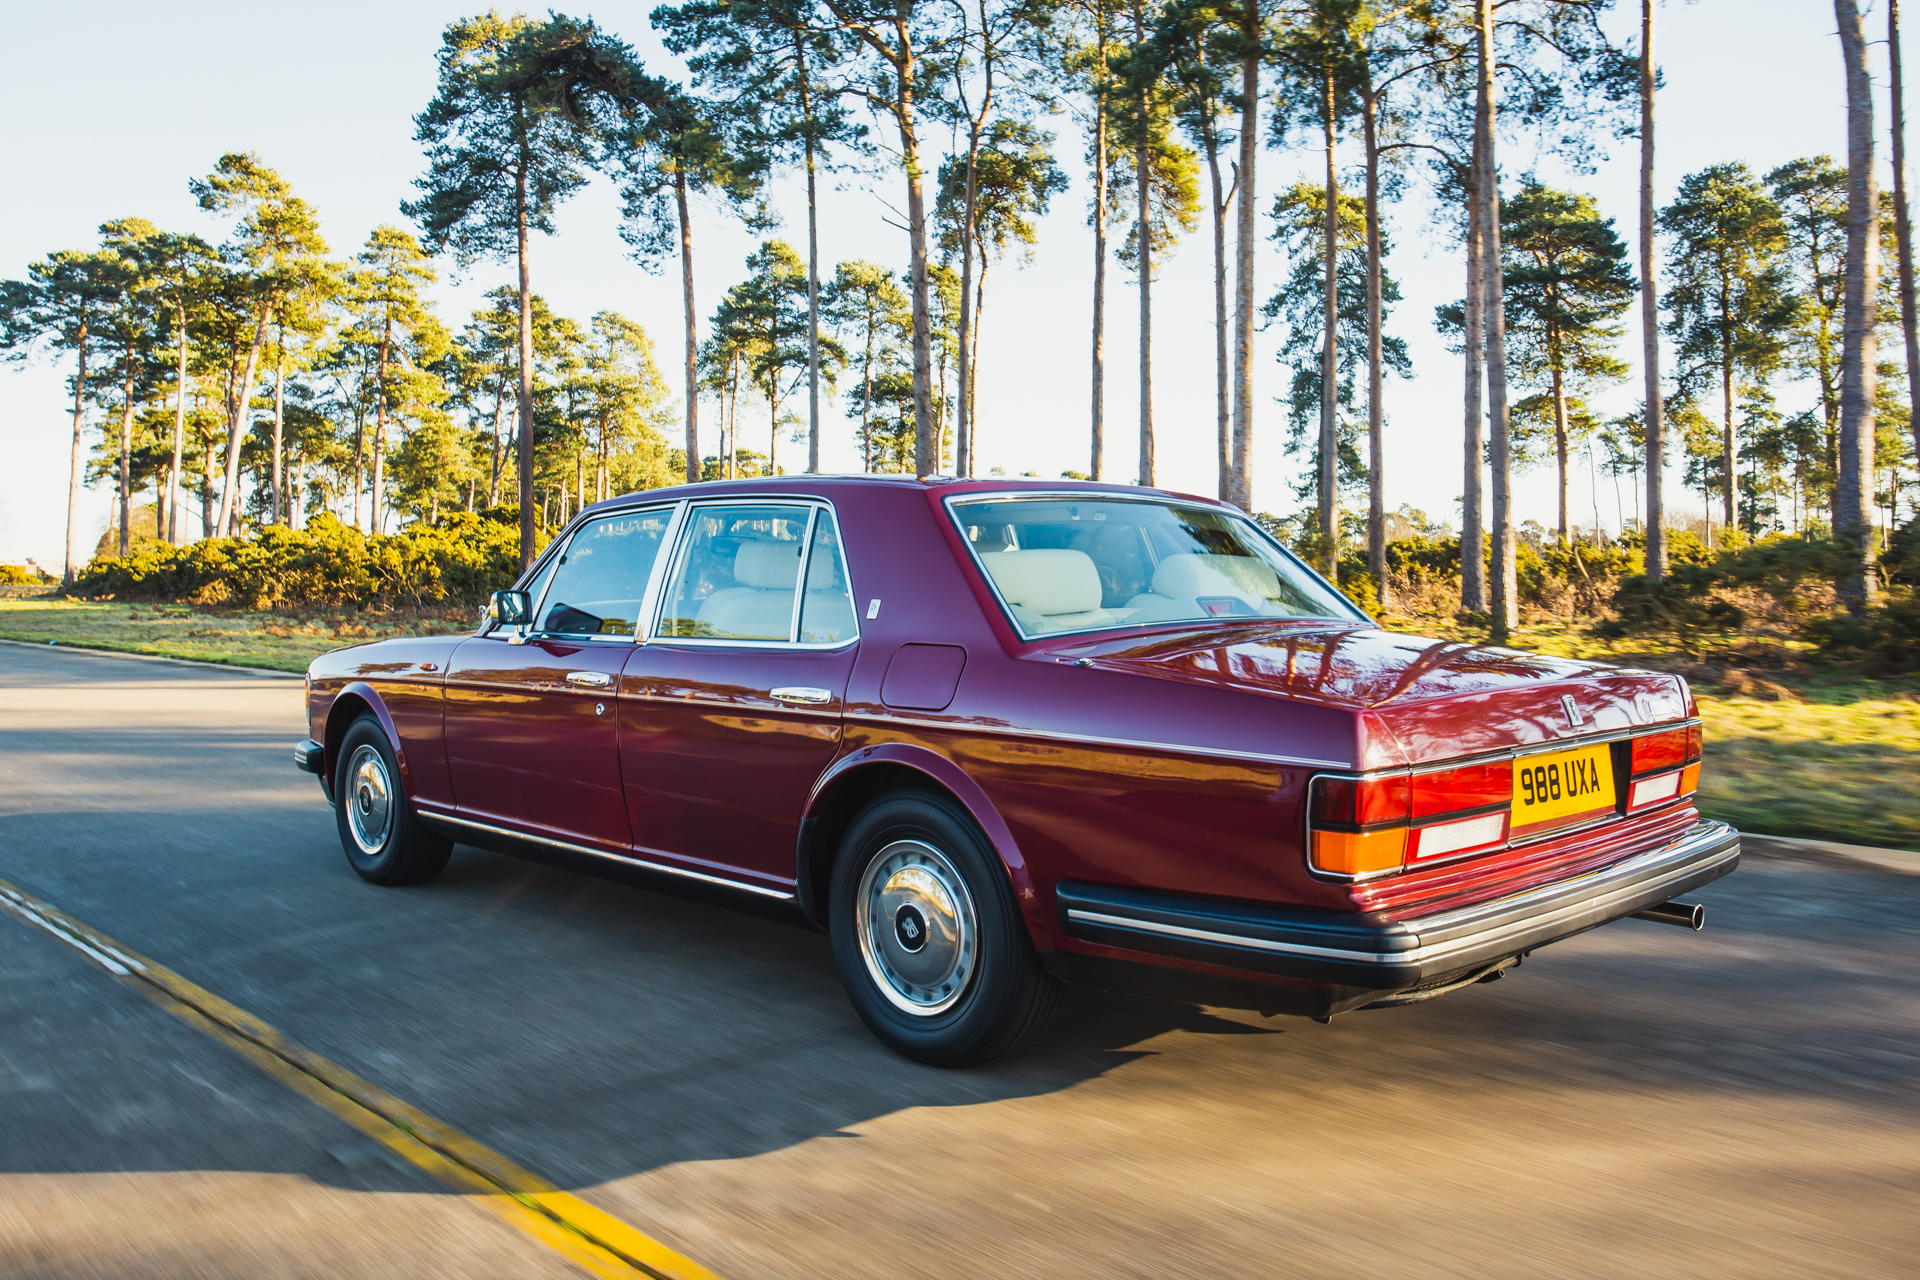
A few weeks ago our marketing team and our friend Jack, headed over to Bentwaters early one morning to film and shoot the latest competition car. With sunshine streaming through the trees, you could easily overlook how brisk the weather was. Crisp blue skies and dreamy dappled sunshine provided the perfect Suffolk set up to show off our classic Rolls Royce.
Now available, this car could be yours to win for just a few pounds! We’ve got plenty more photoshoots coming up soon so keep your eyes peeled!
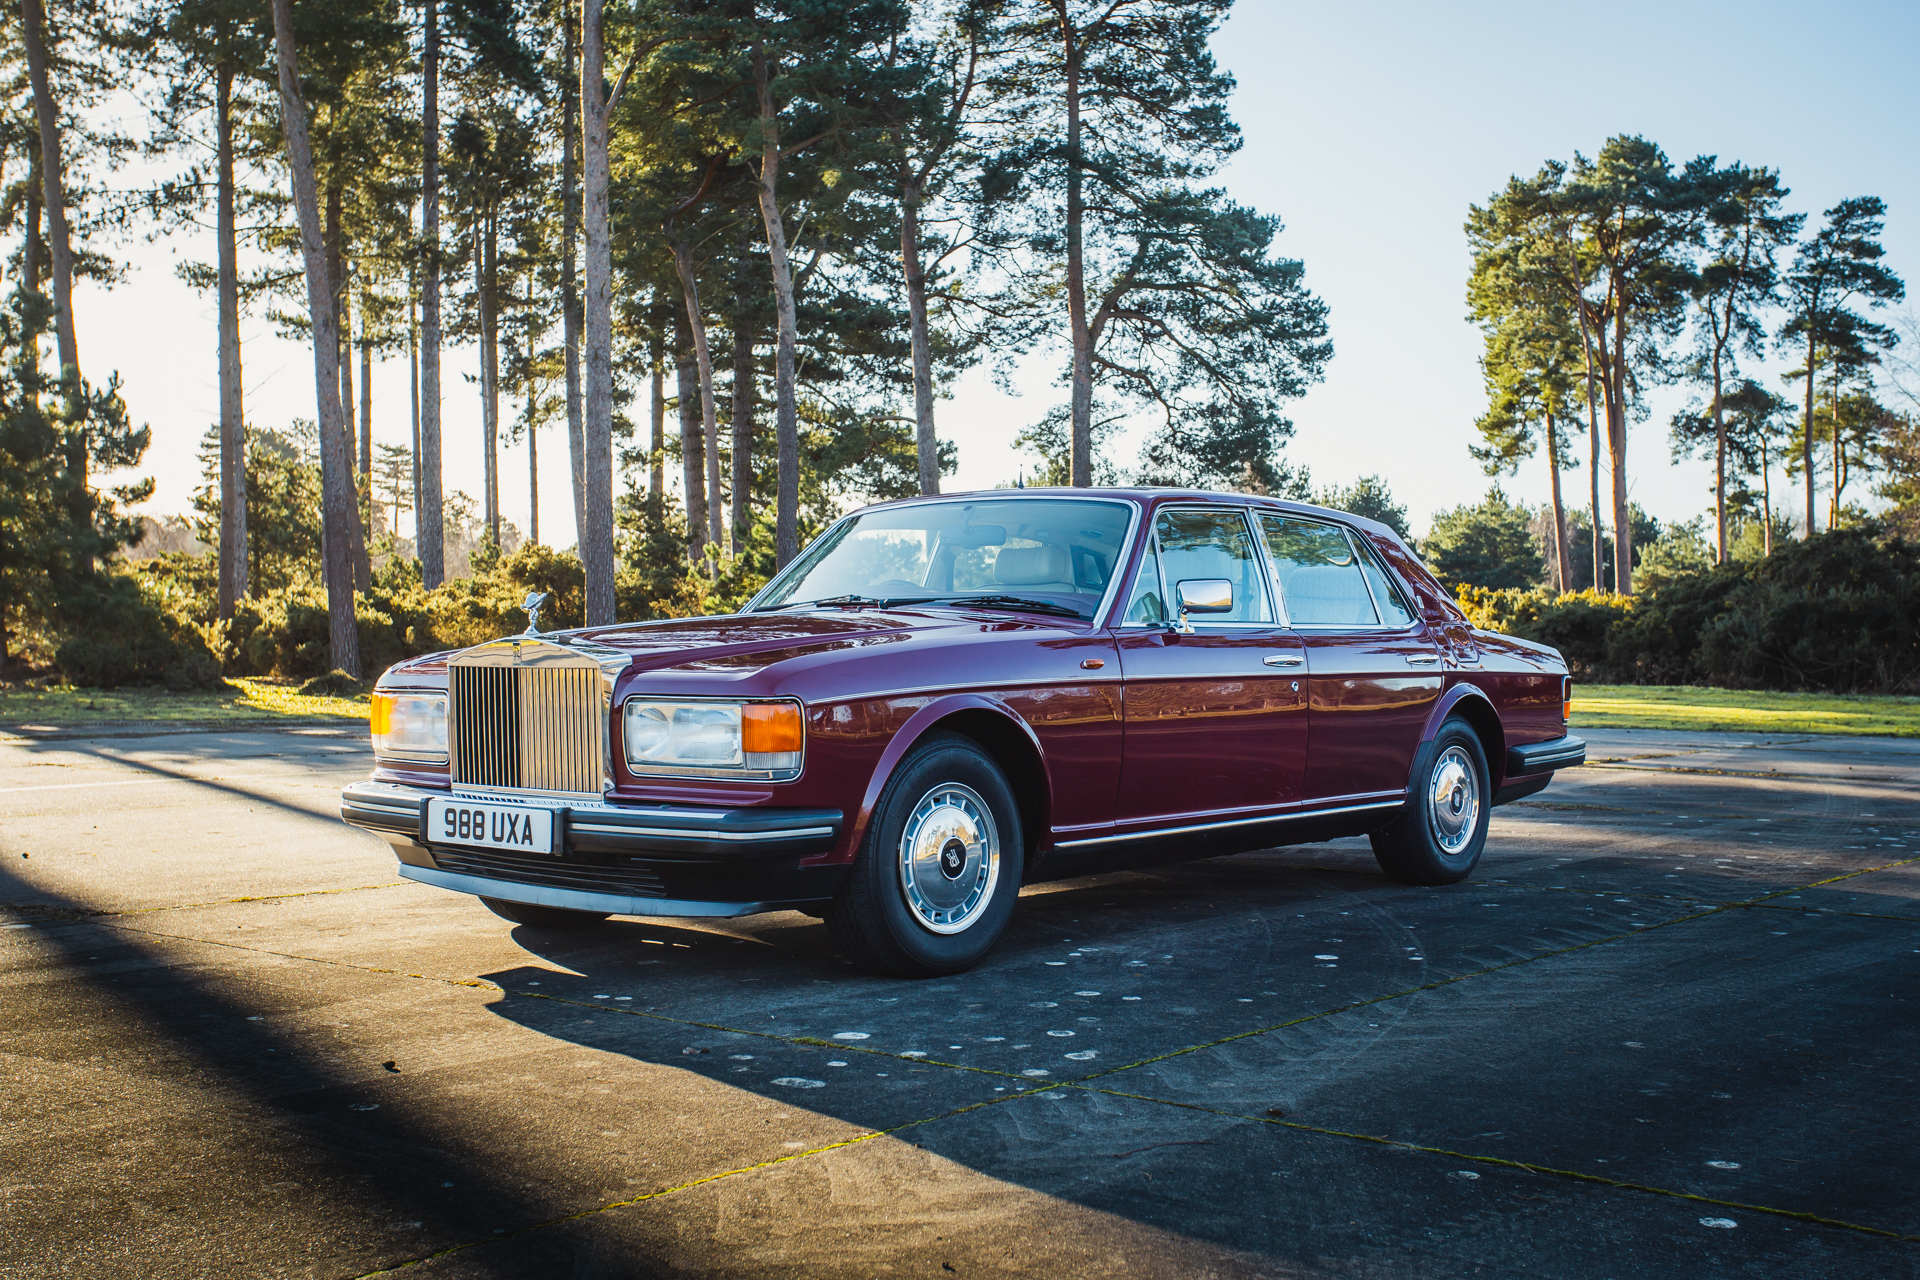
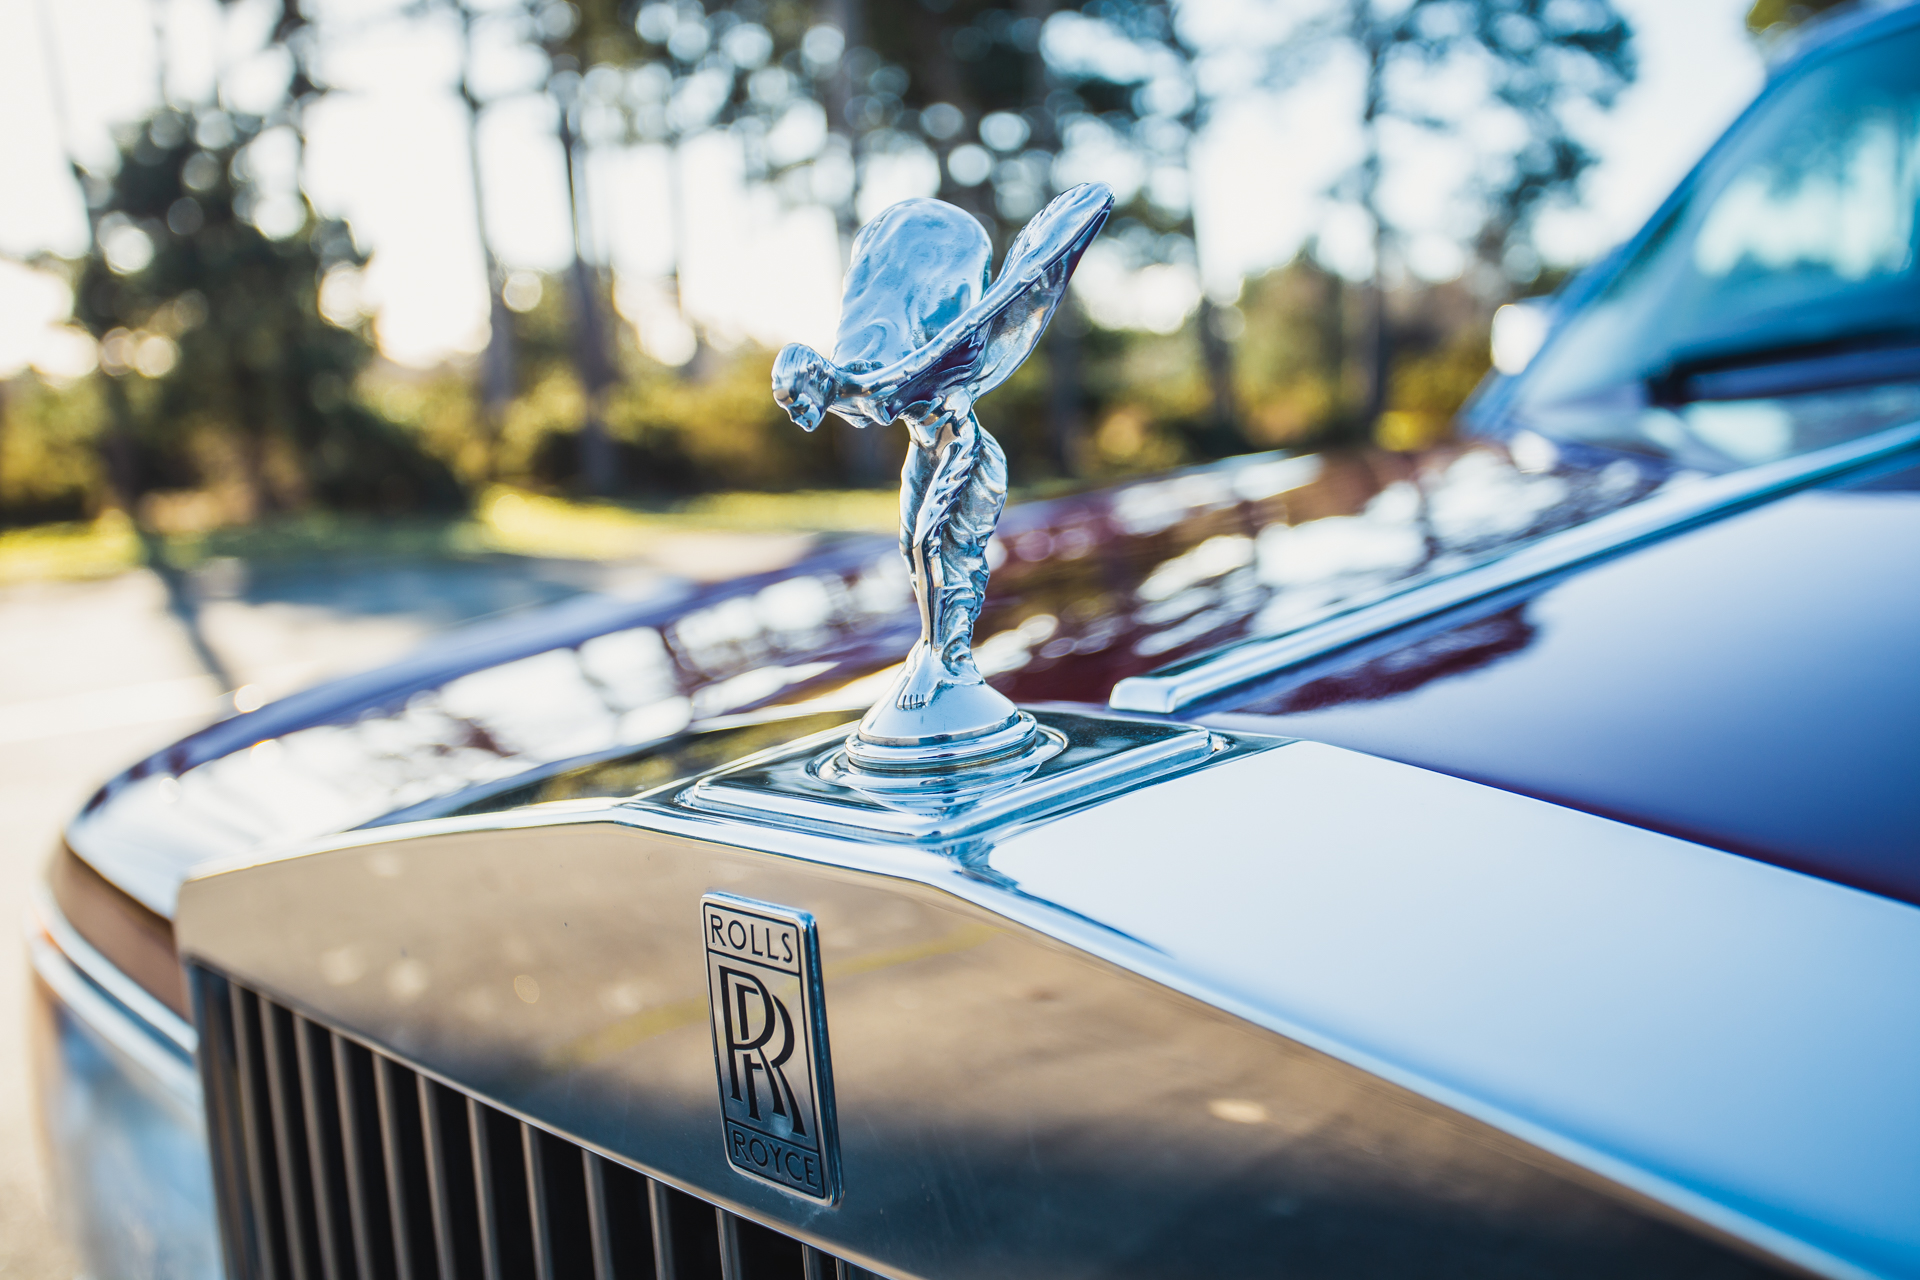
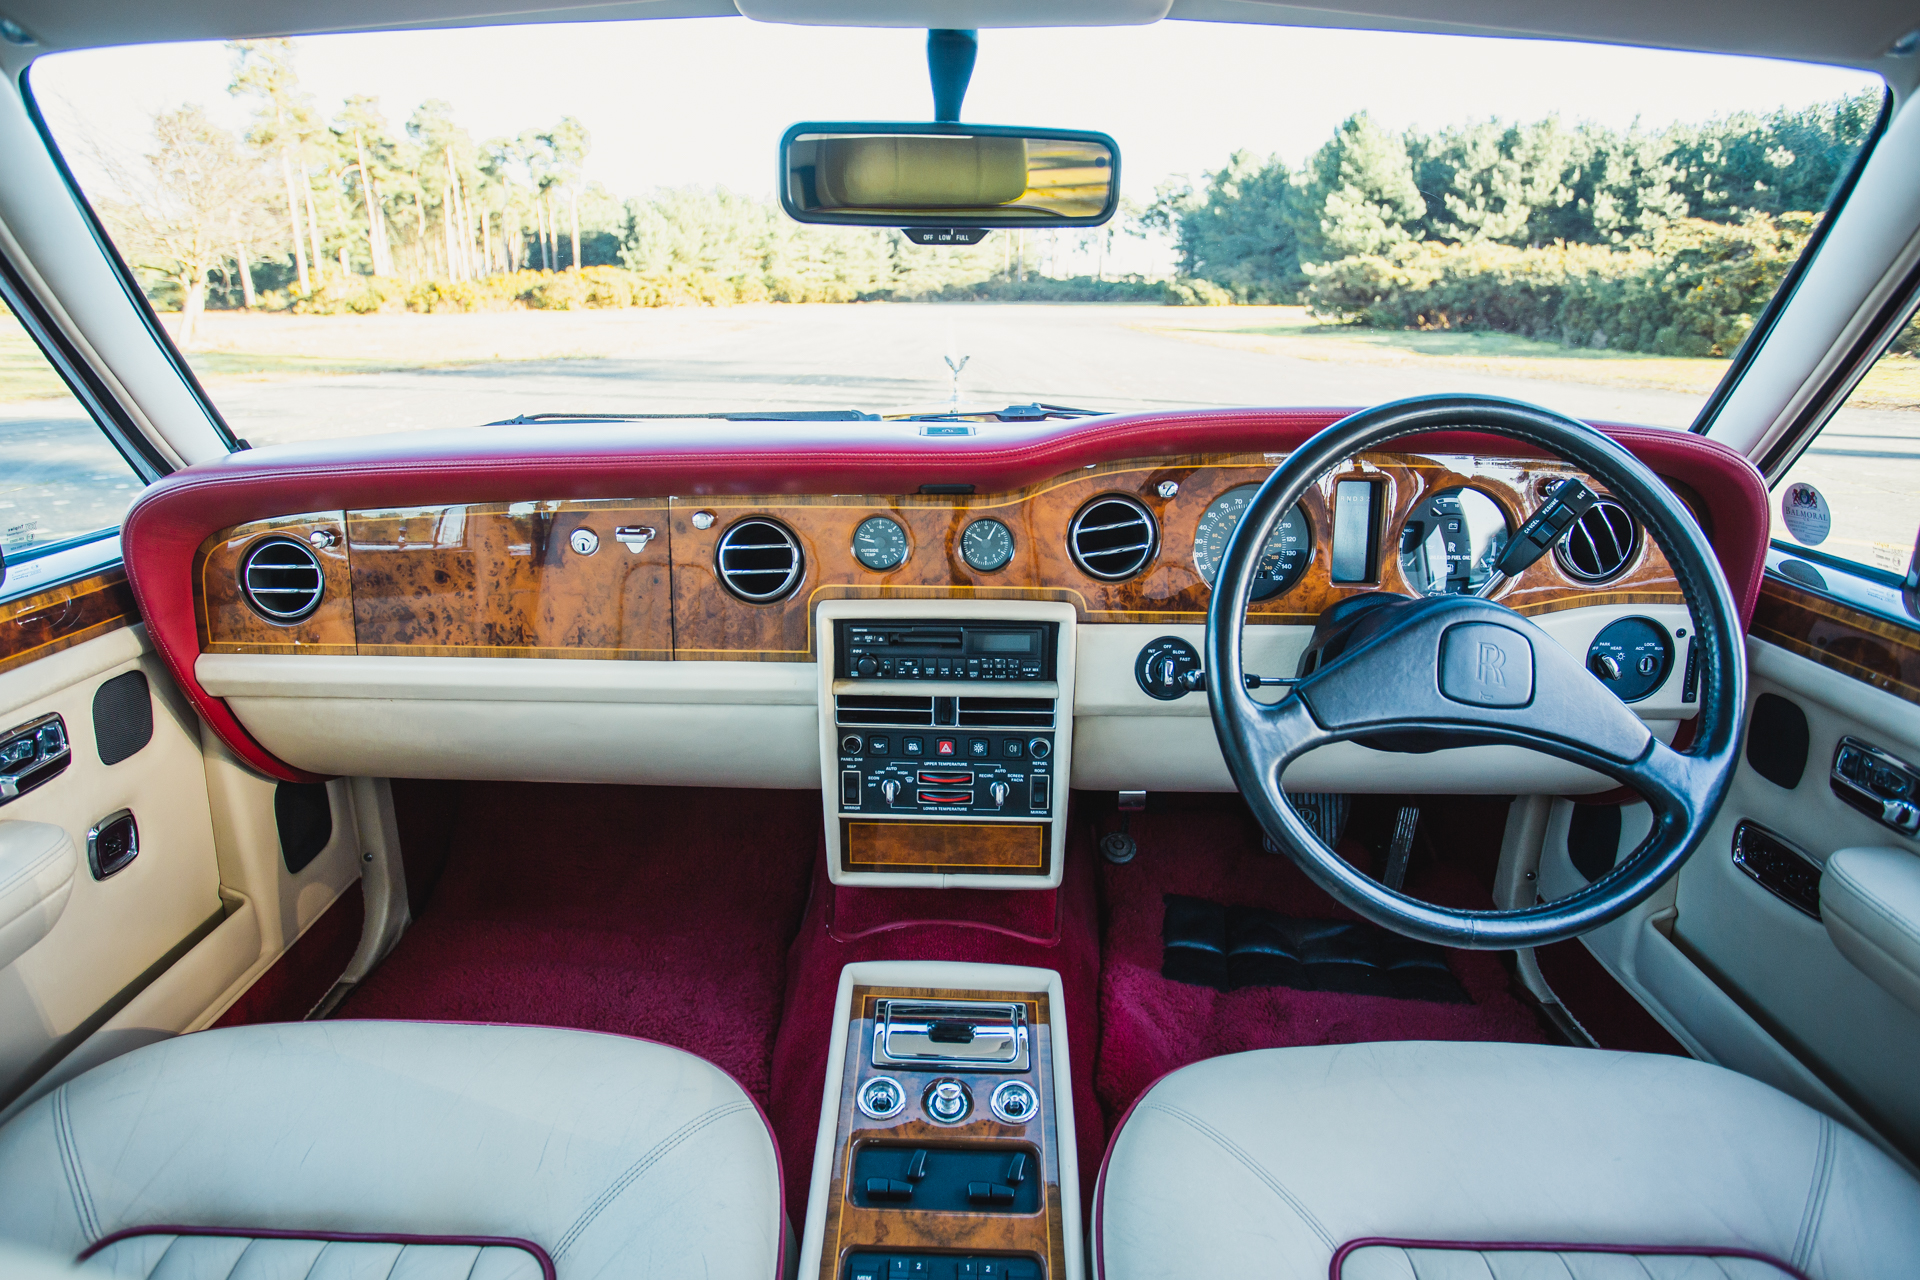
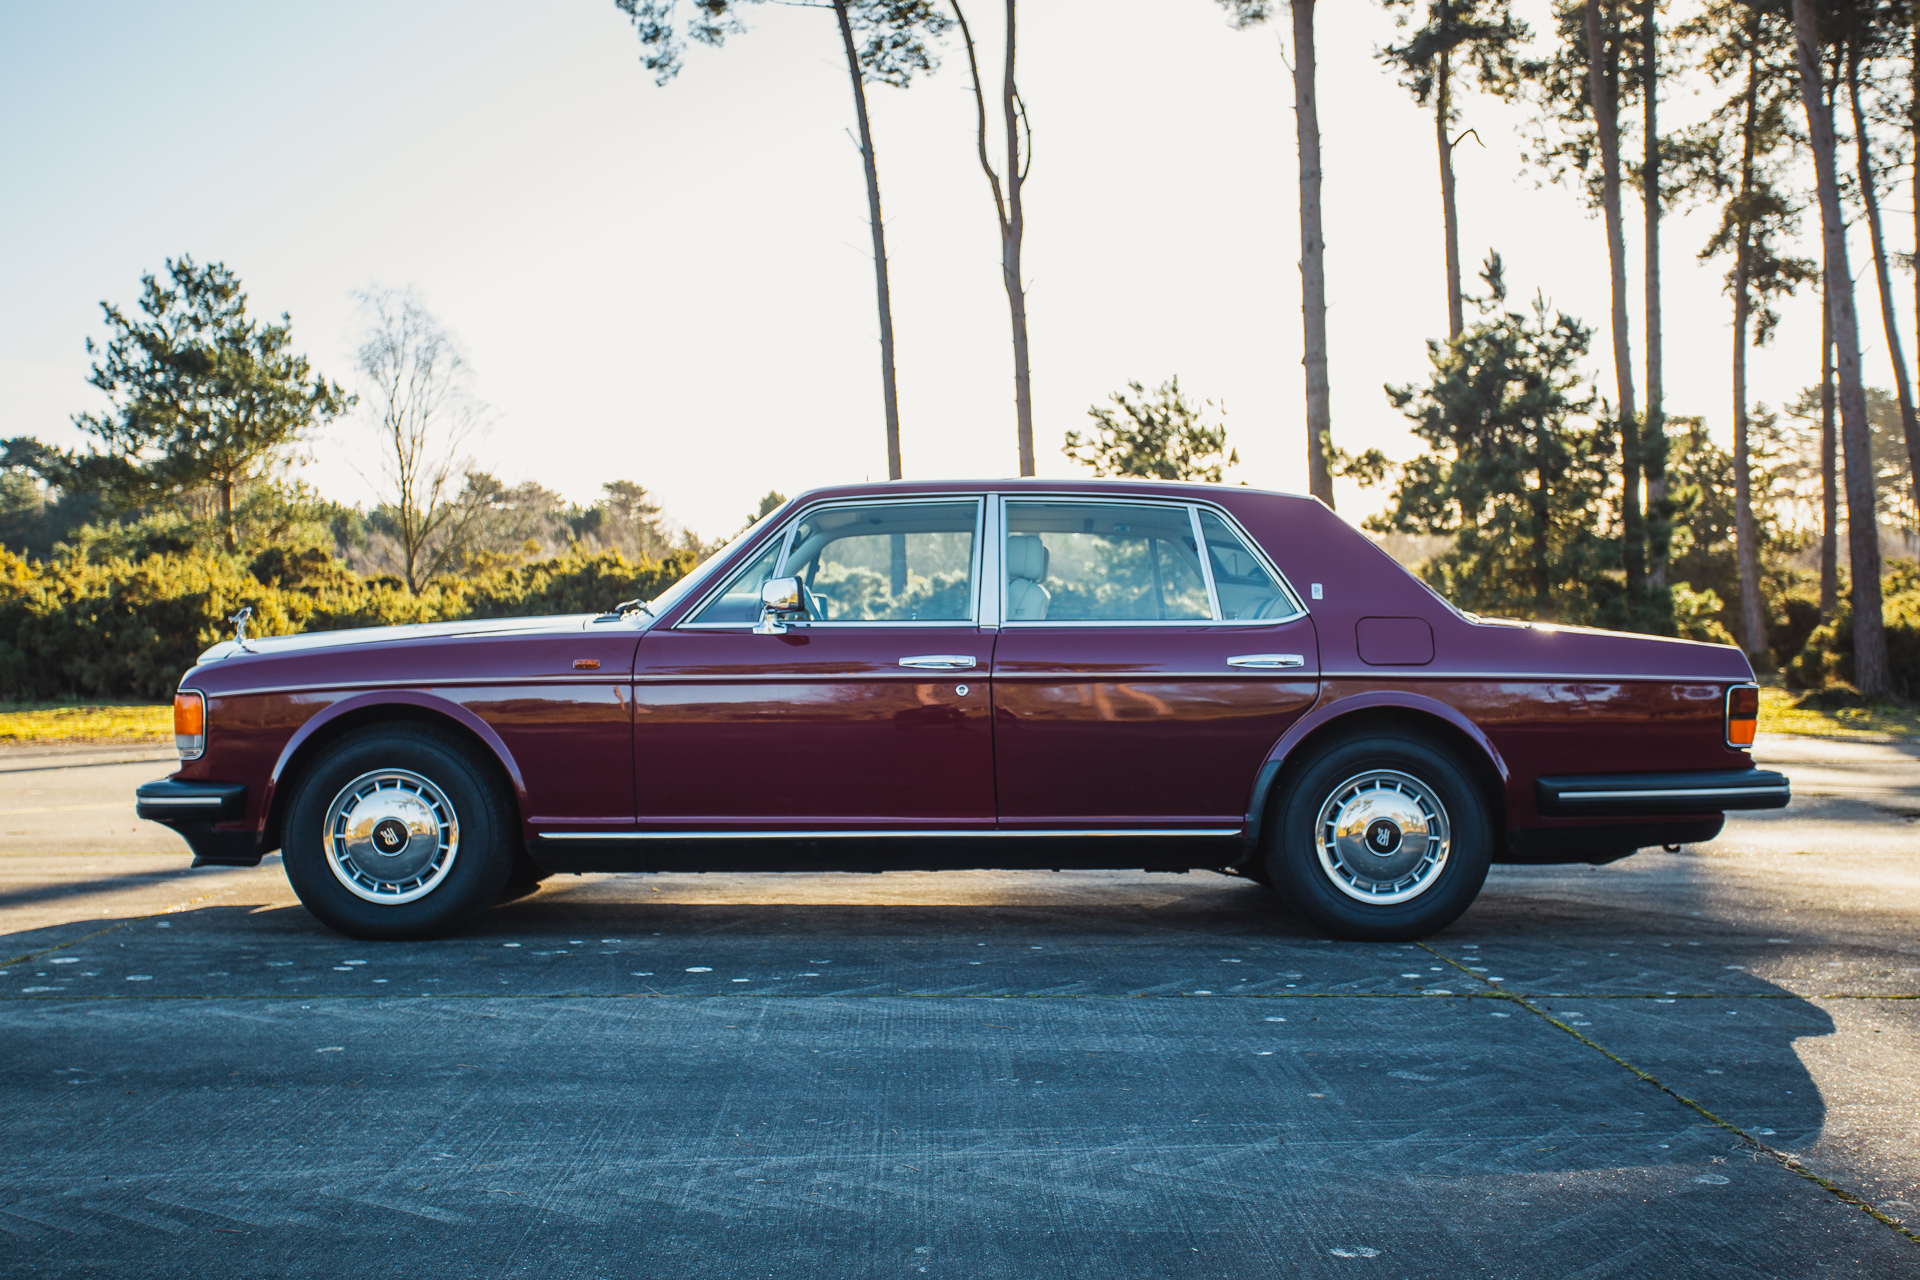
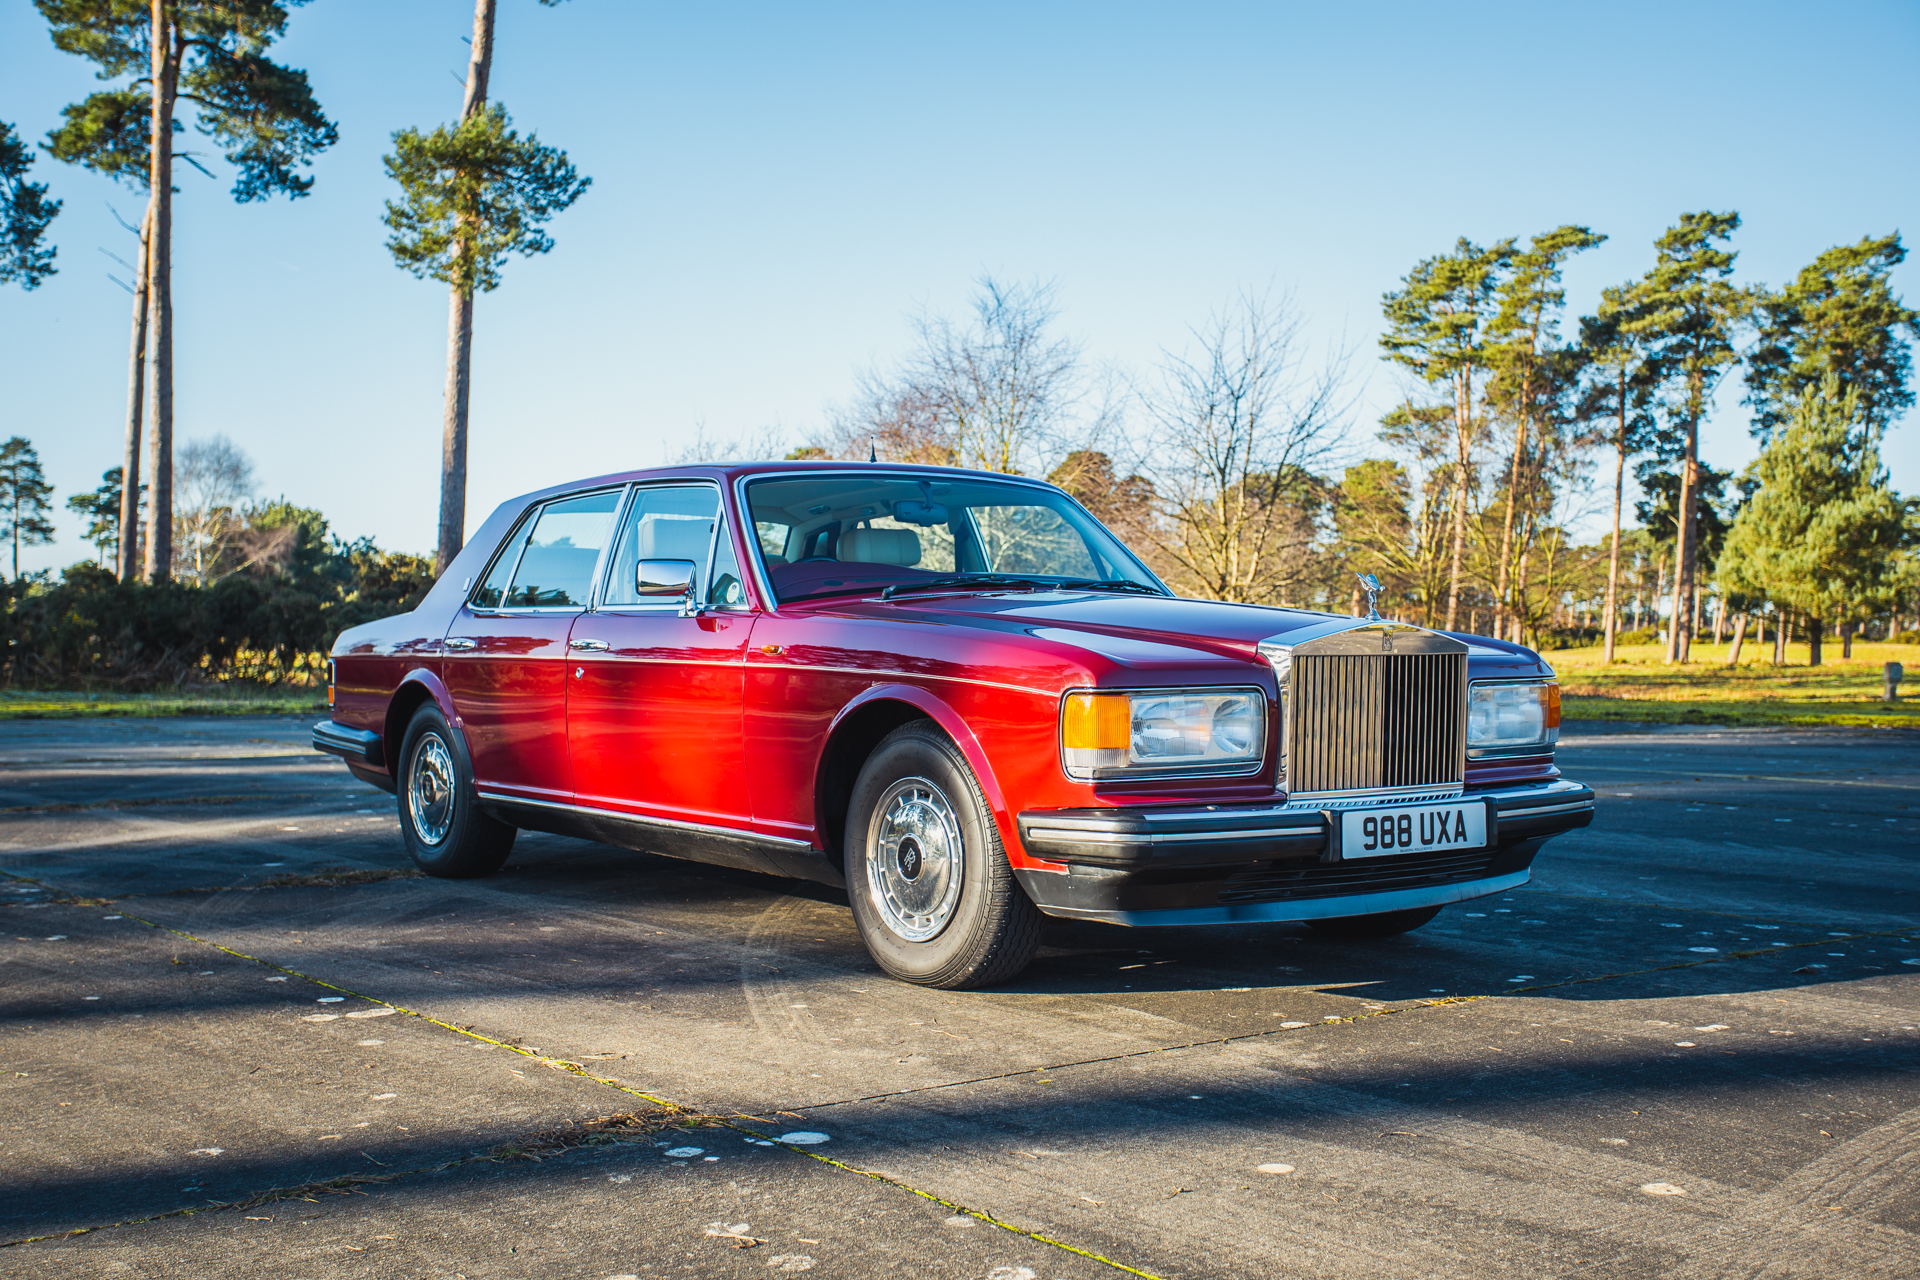
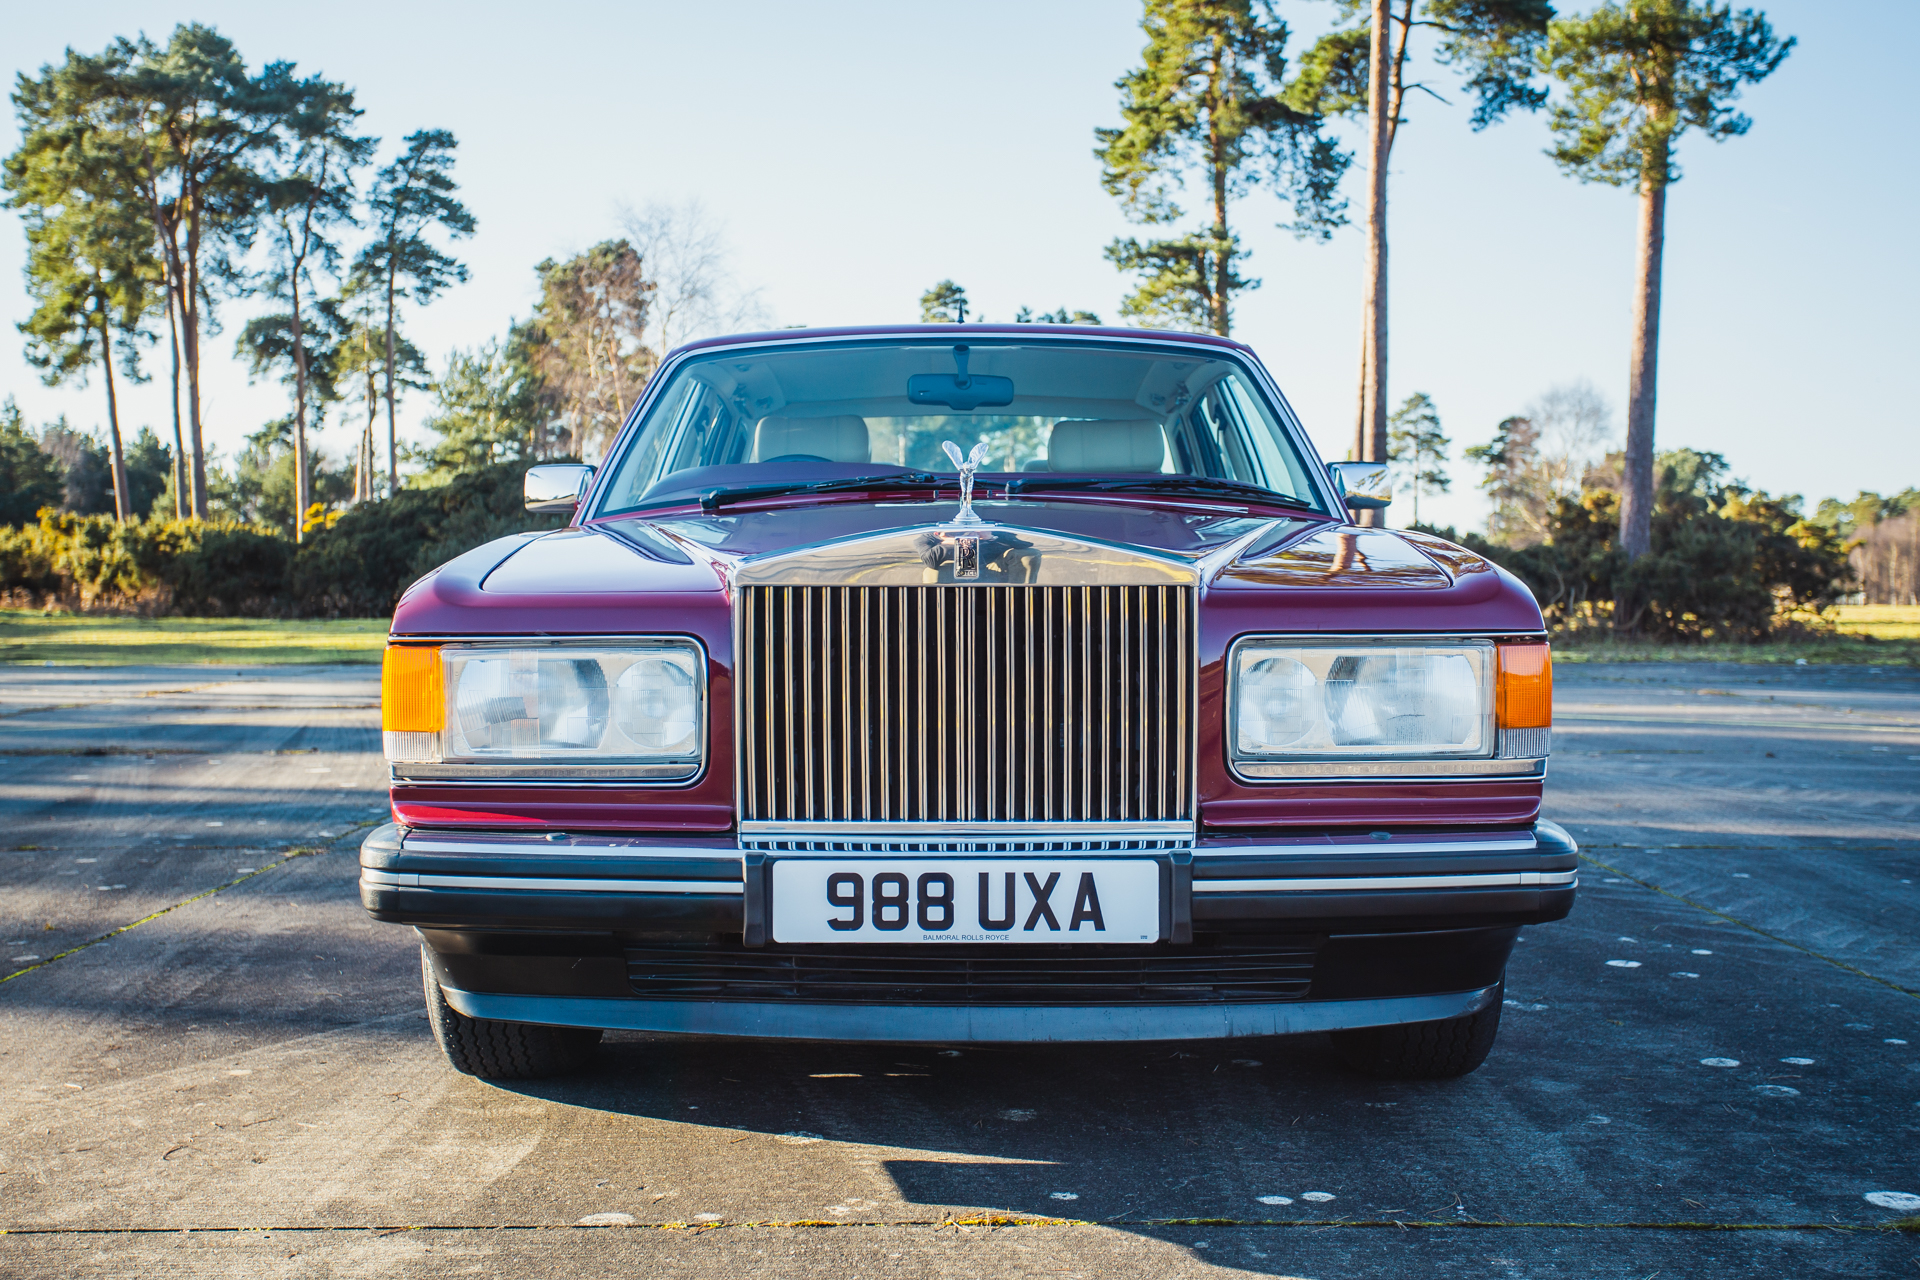
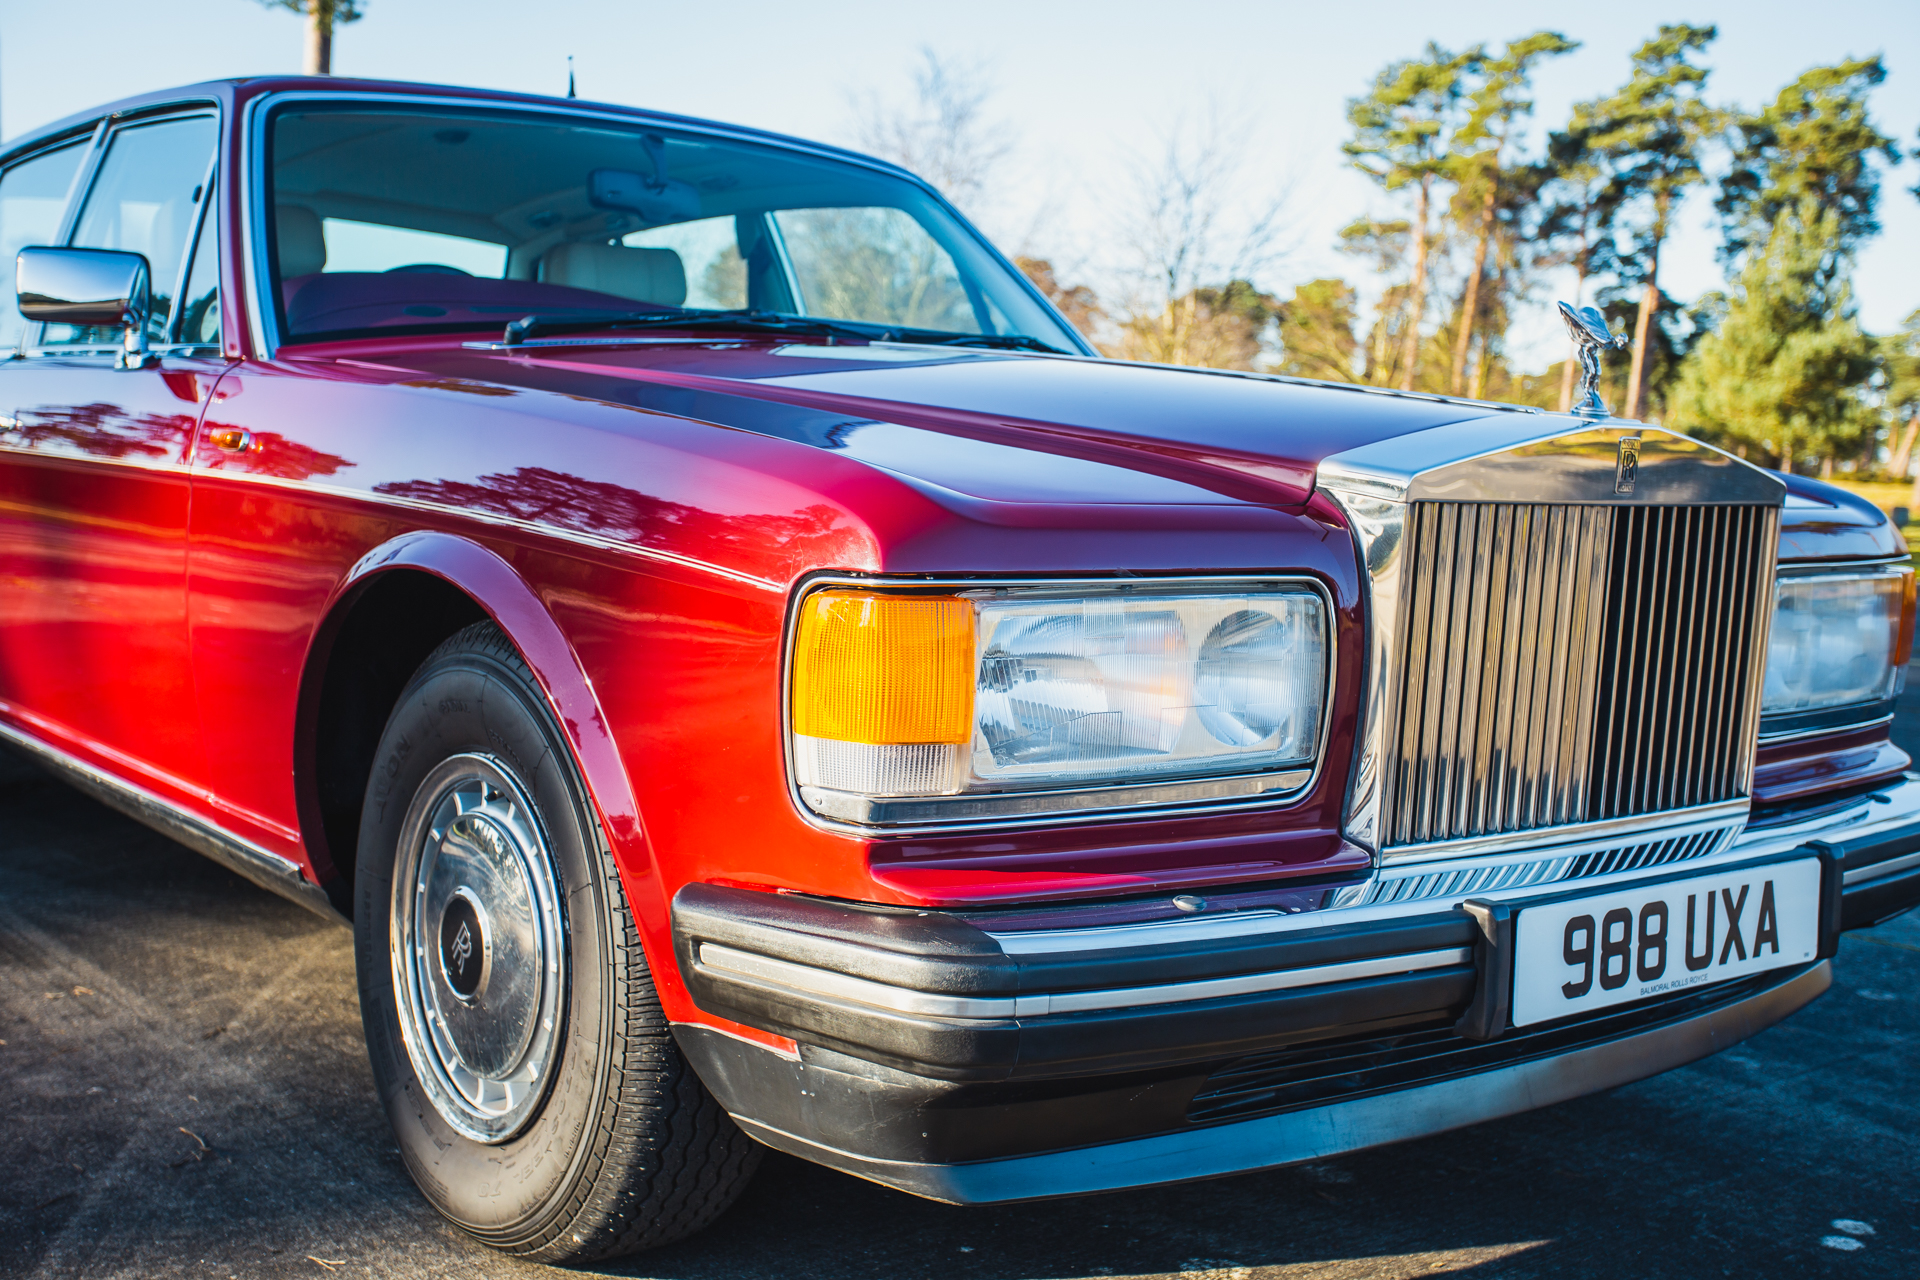
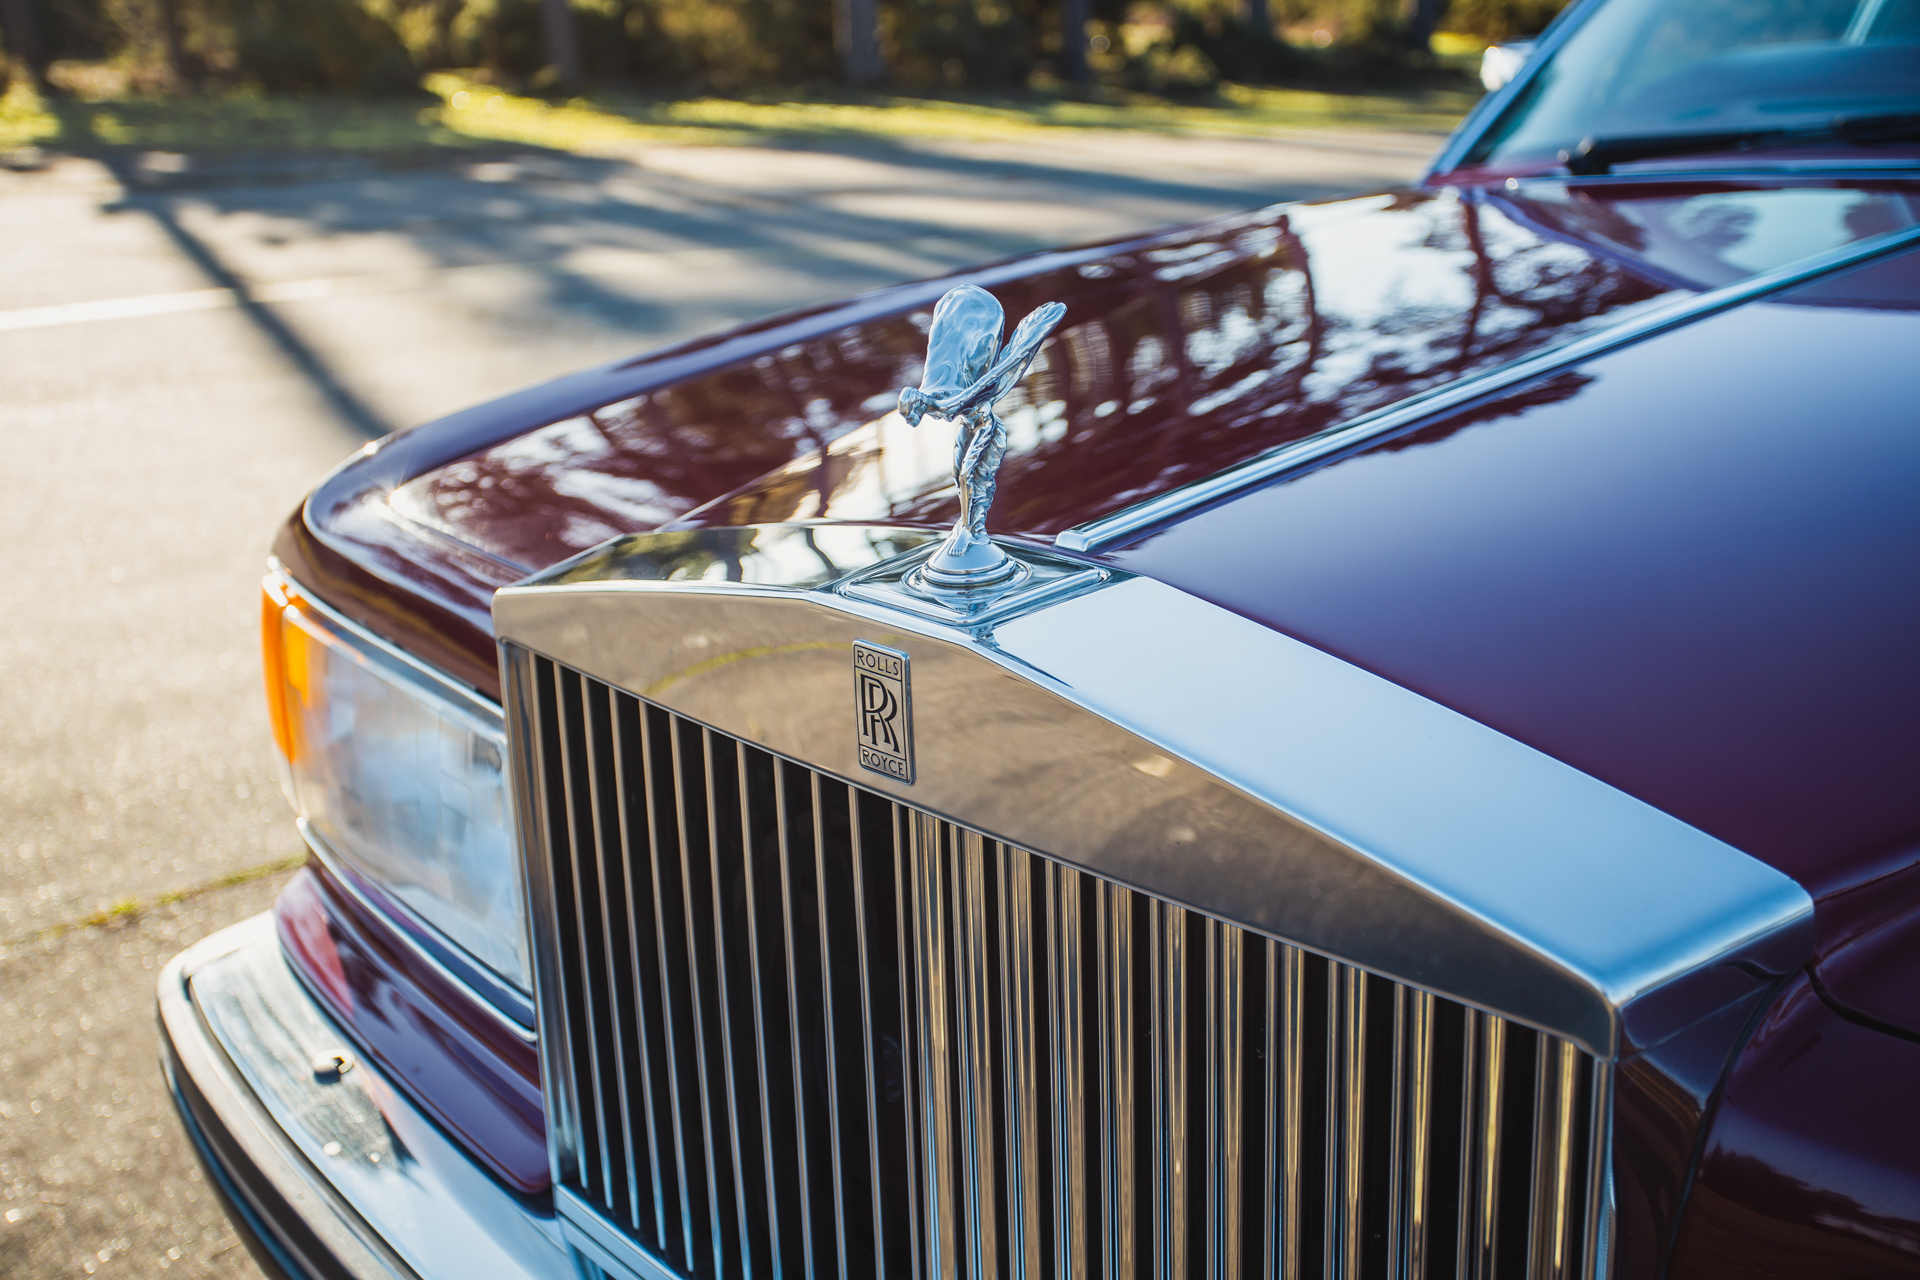
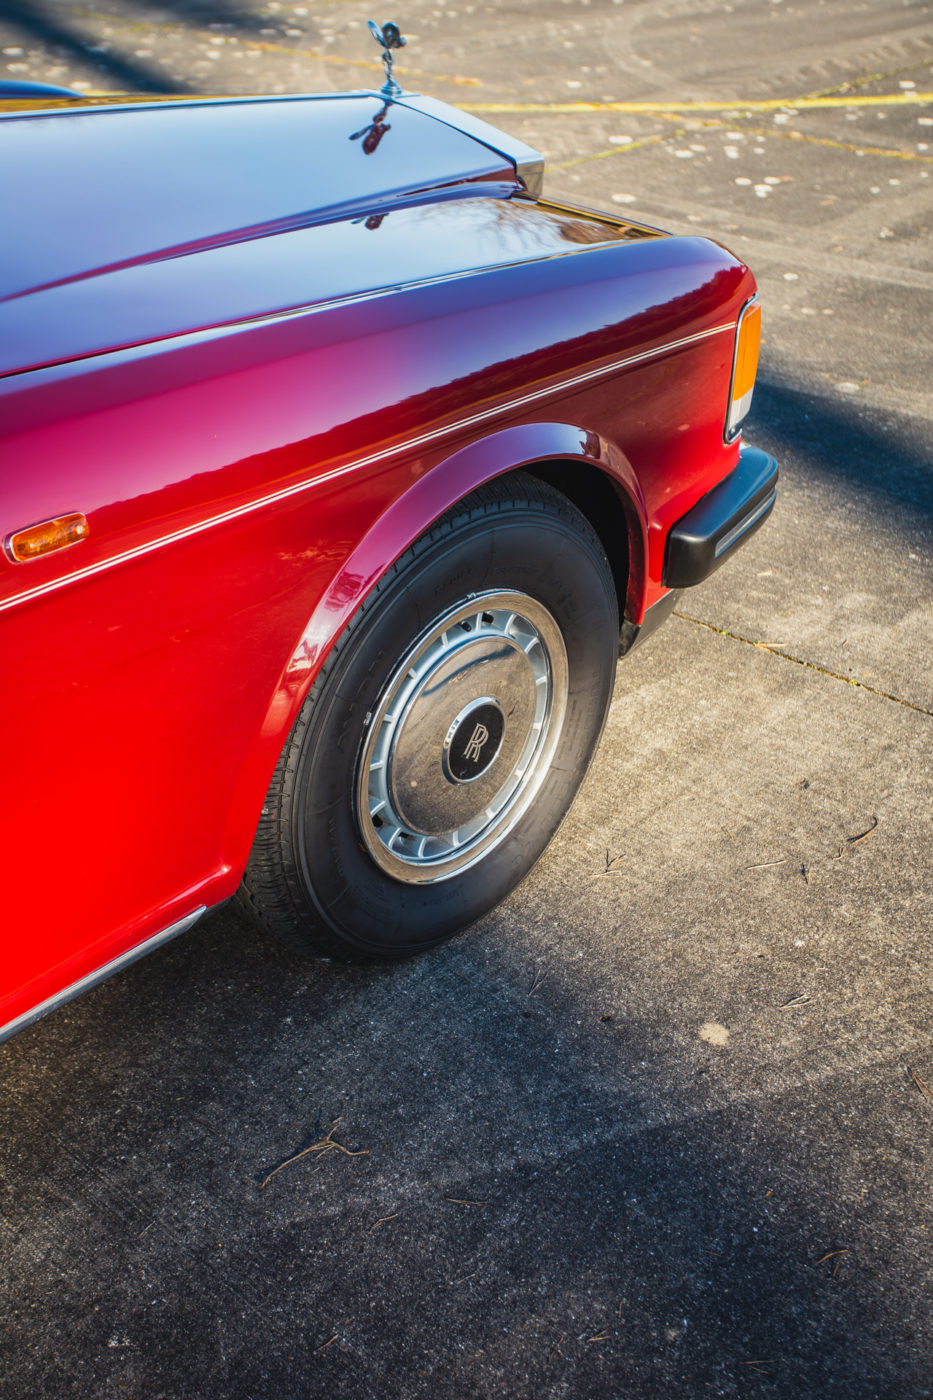

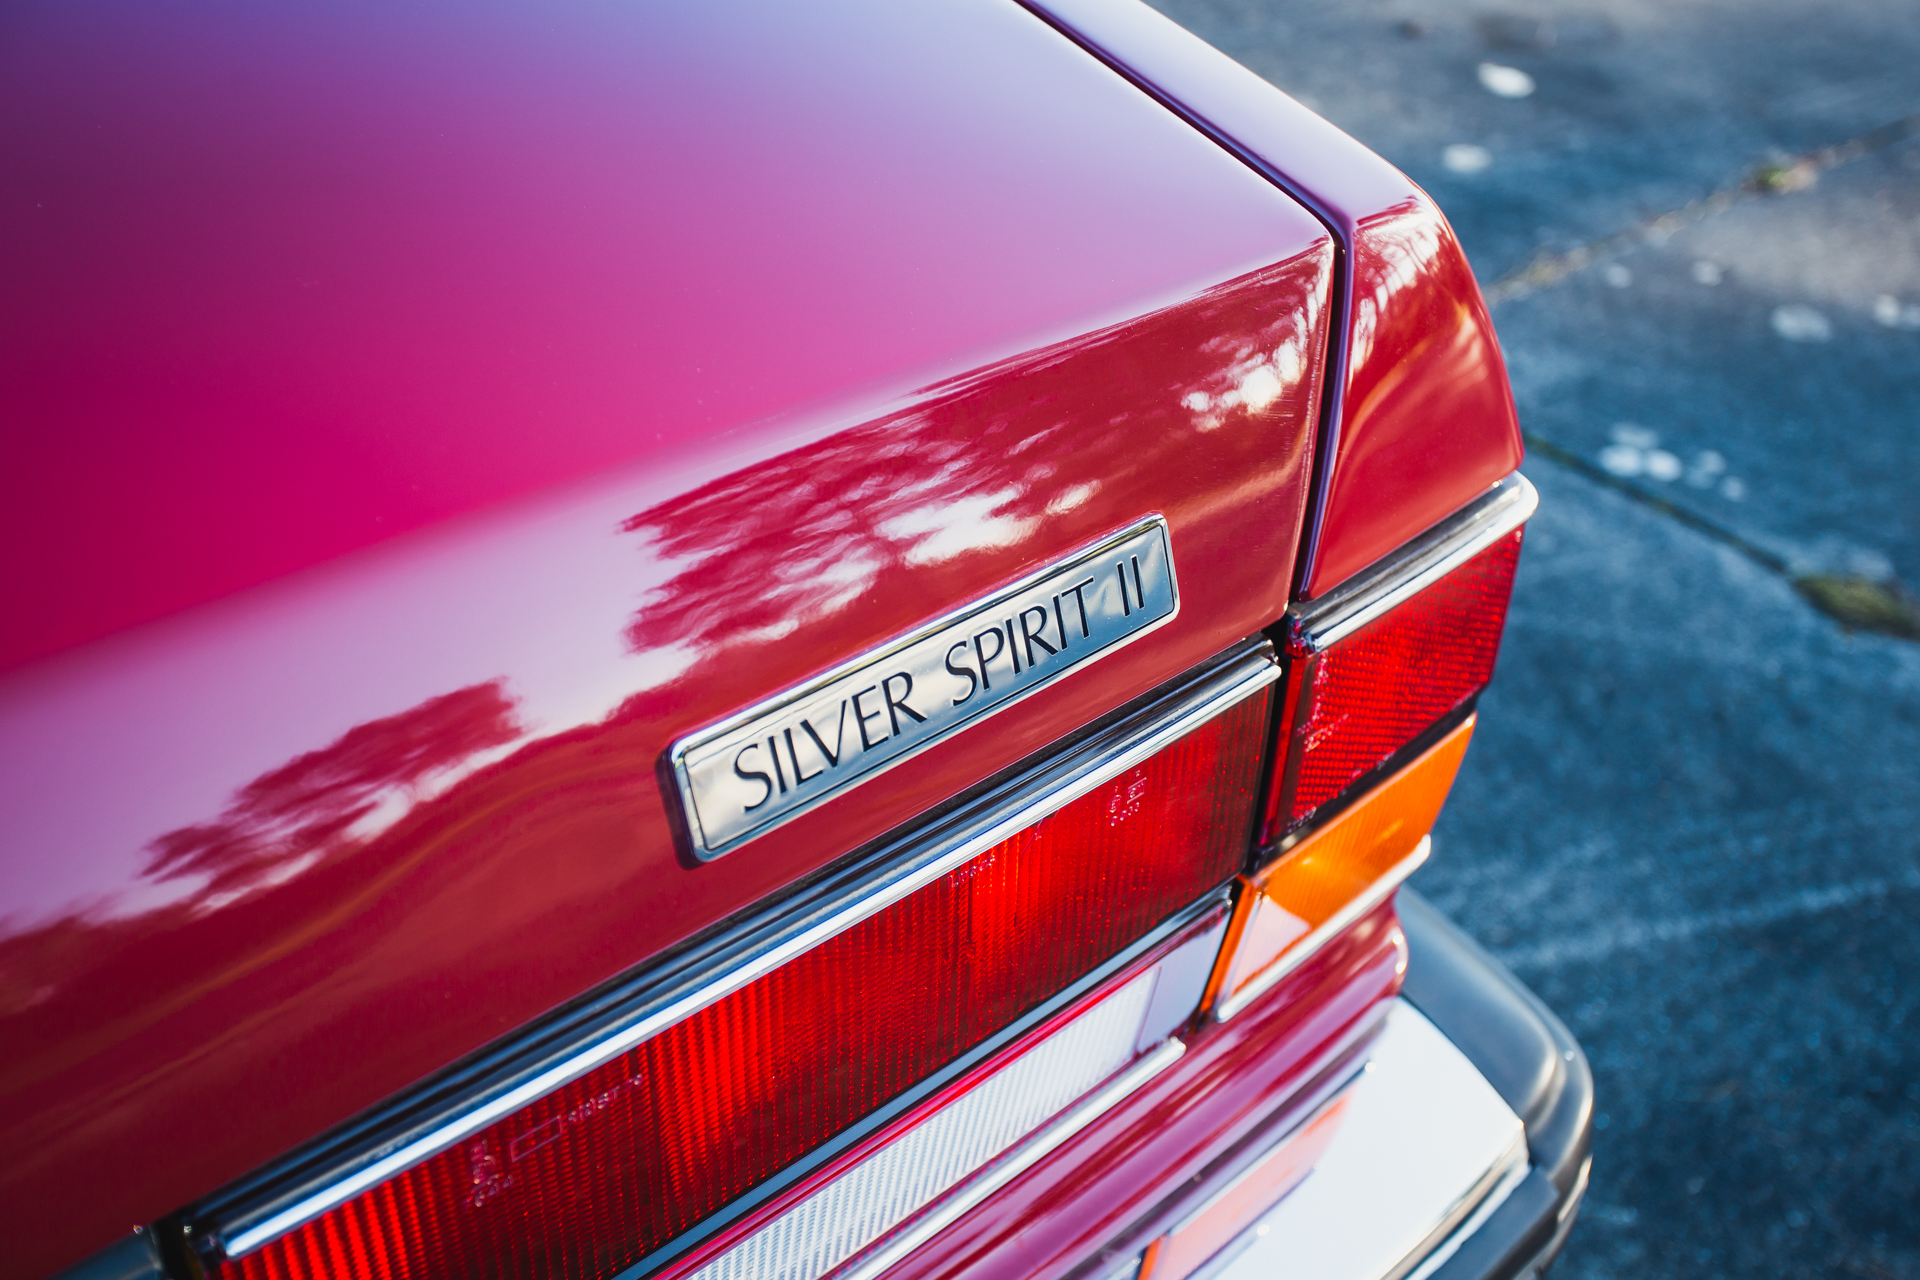
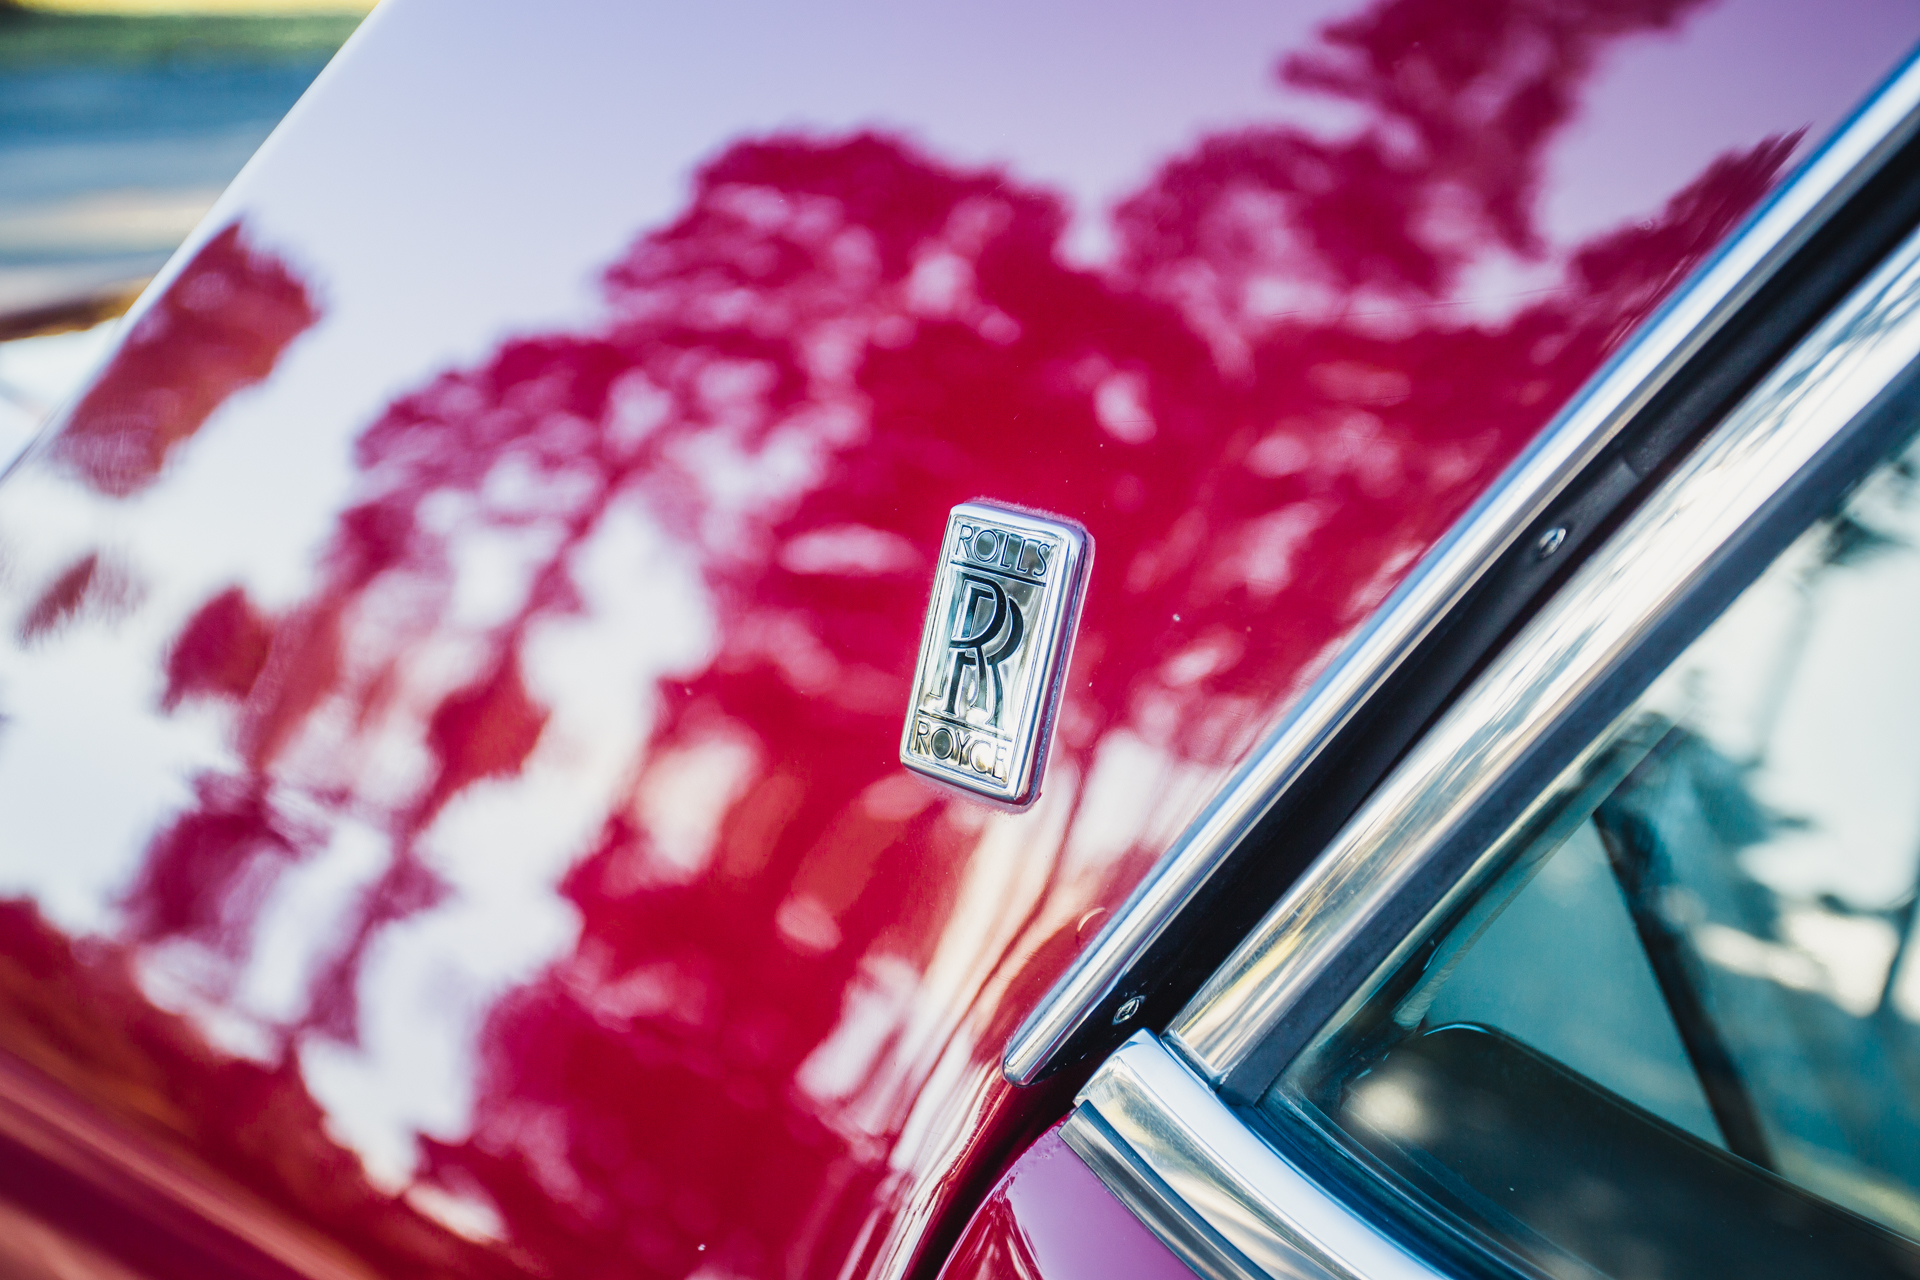
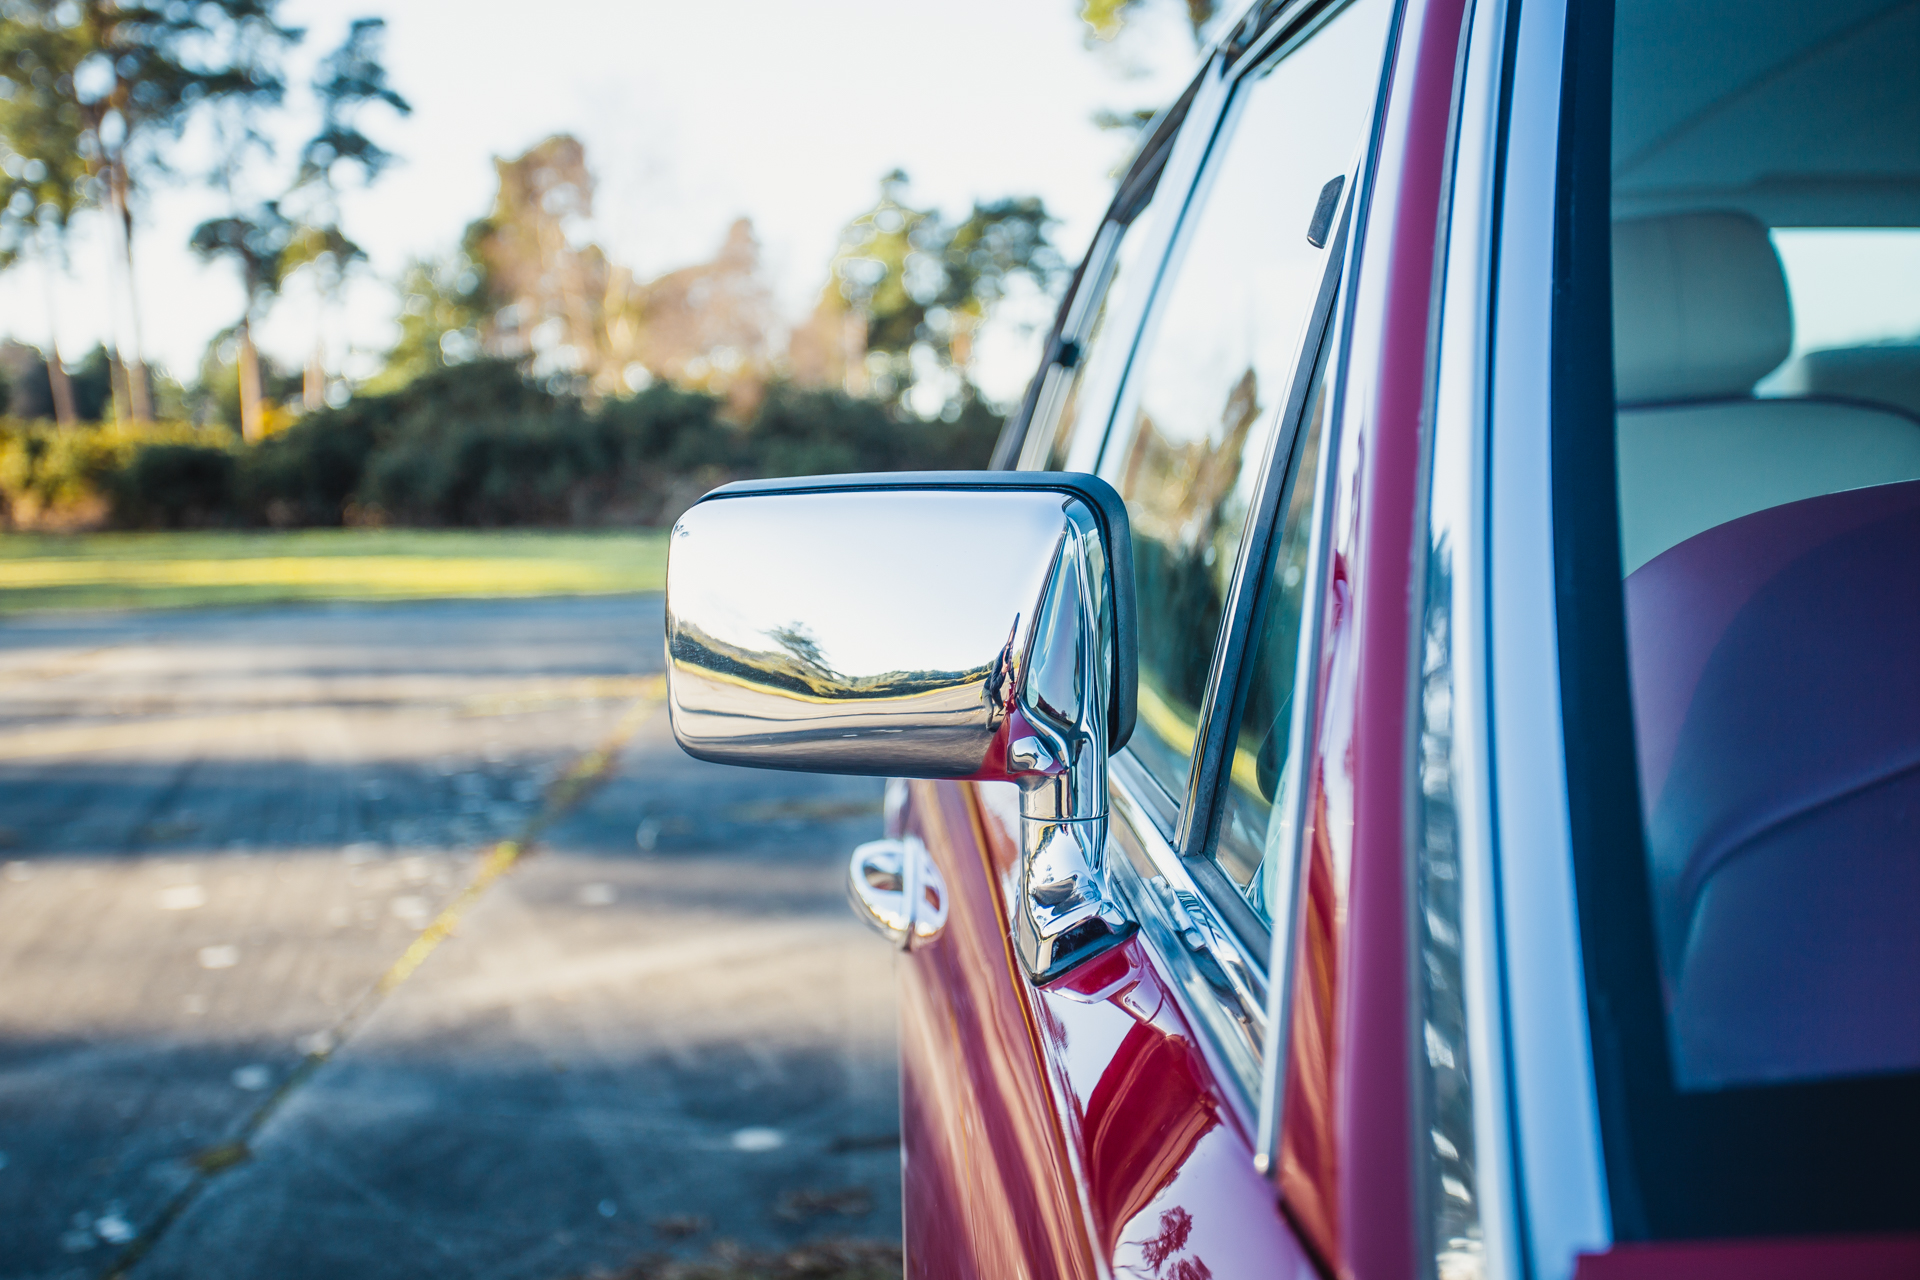
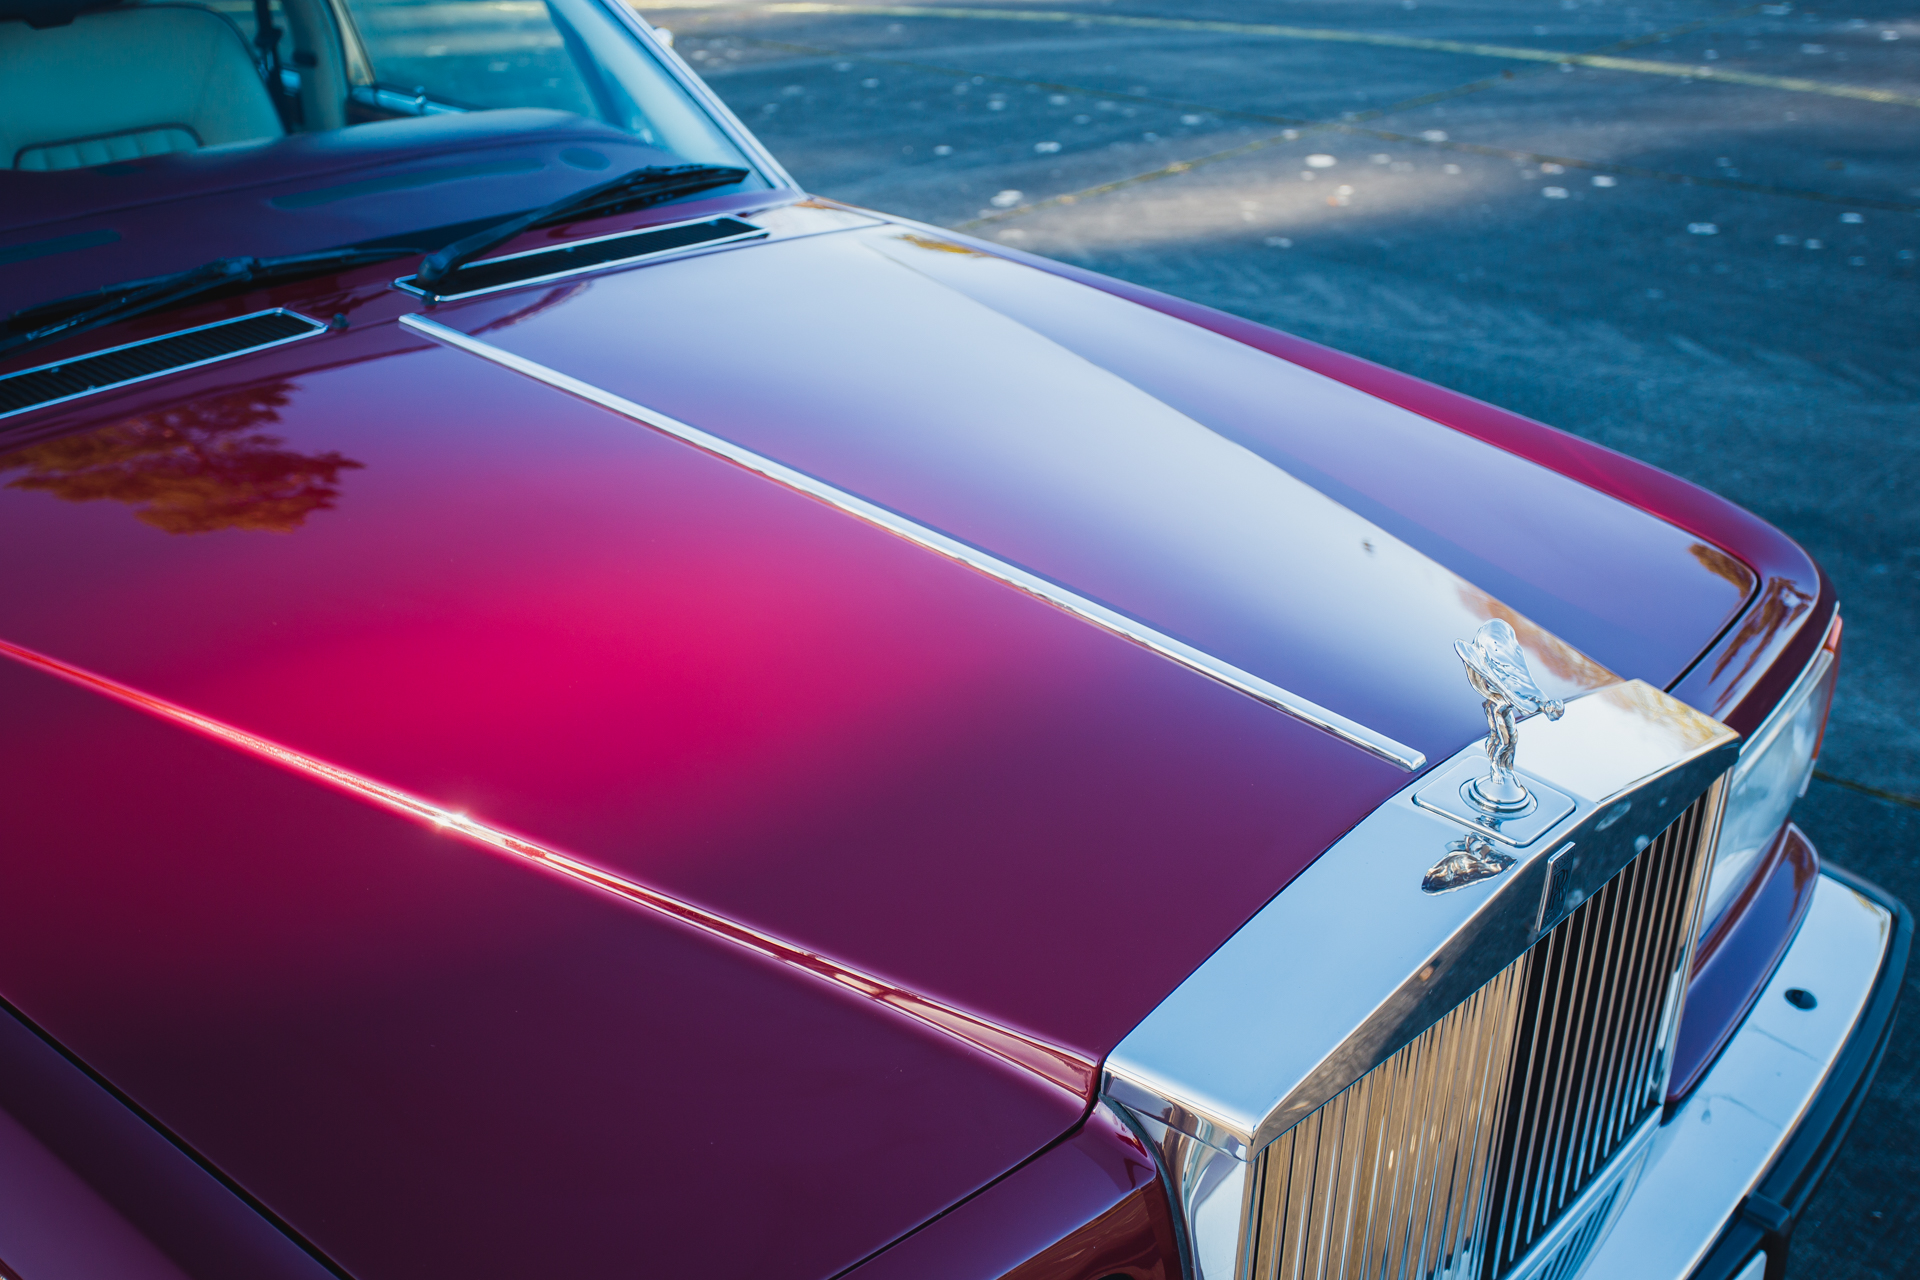
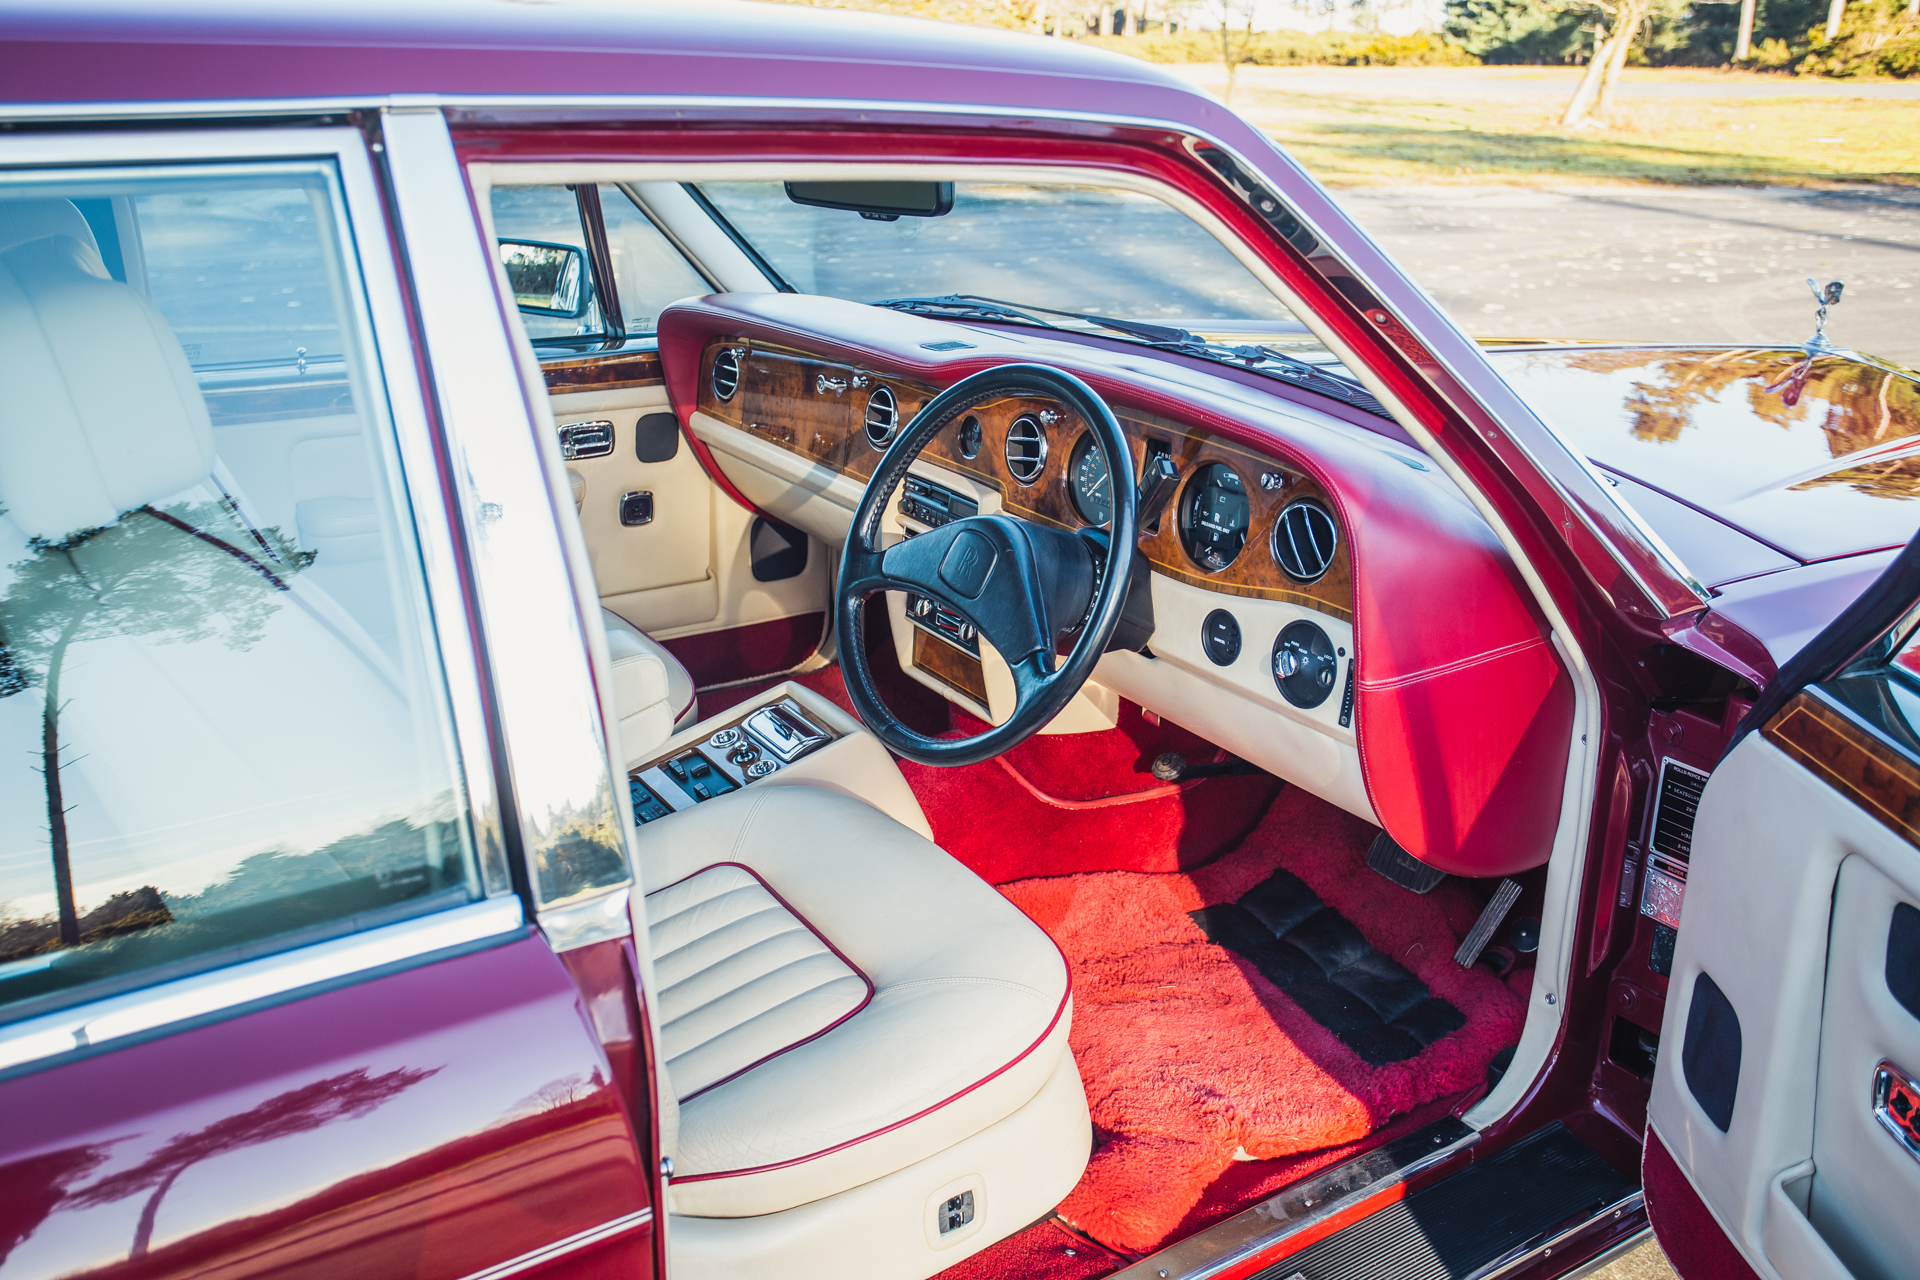
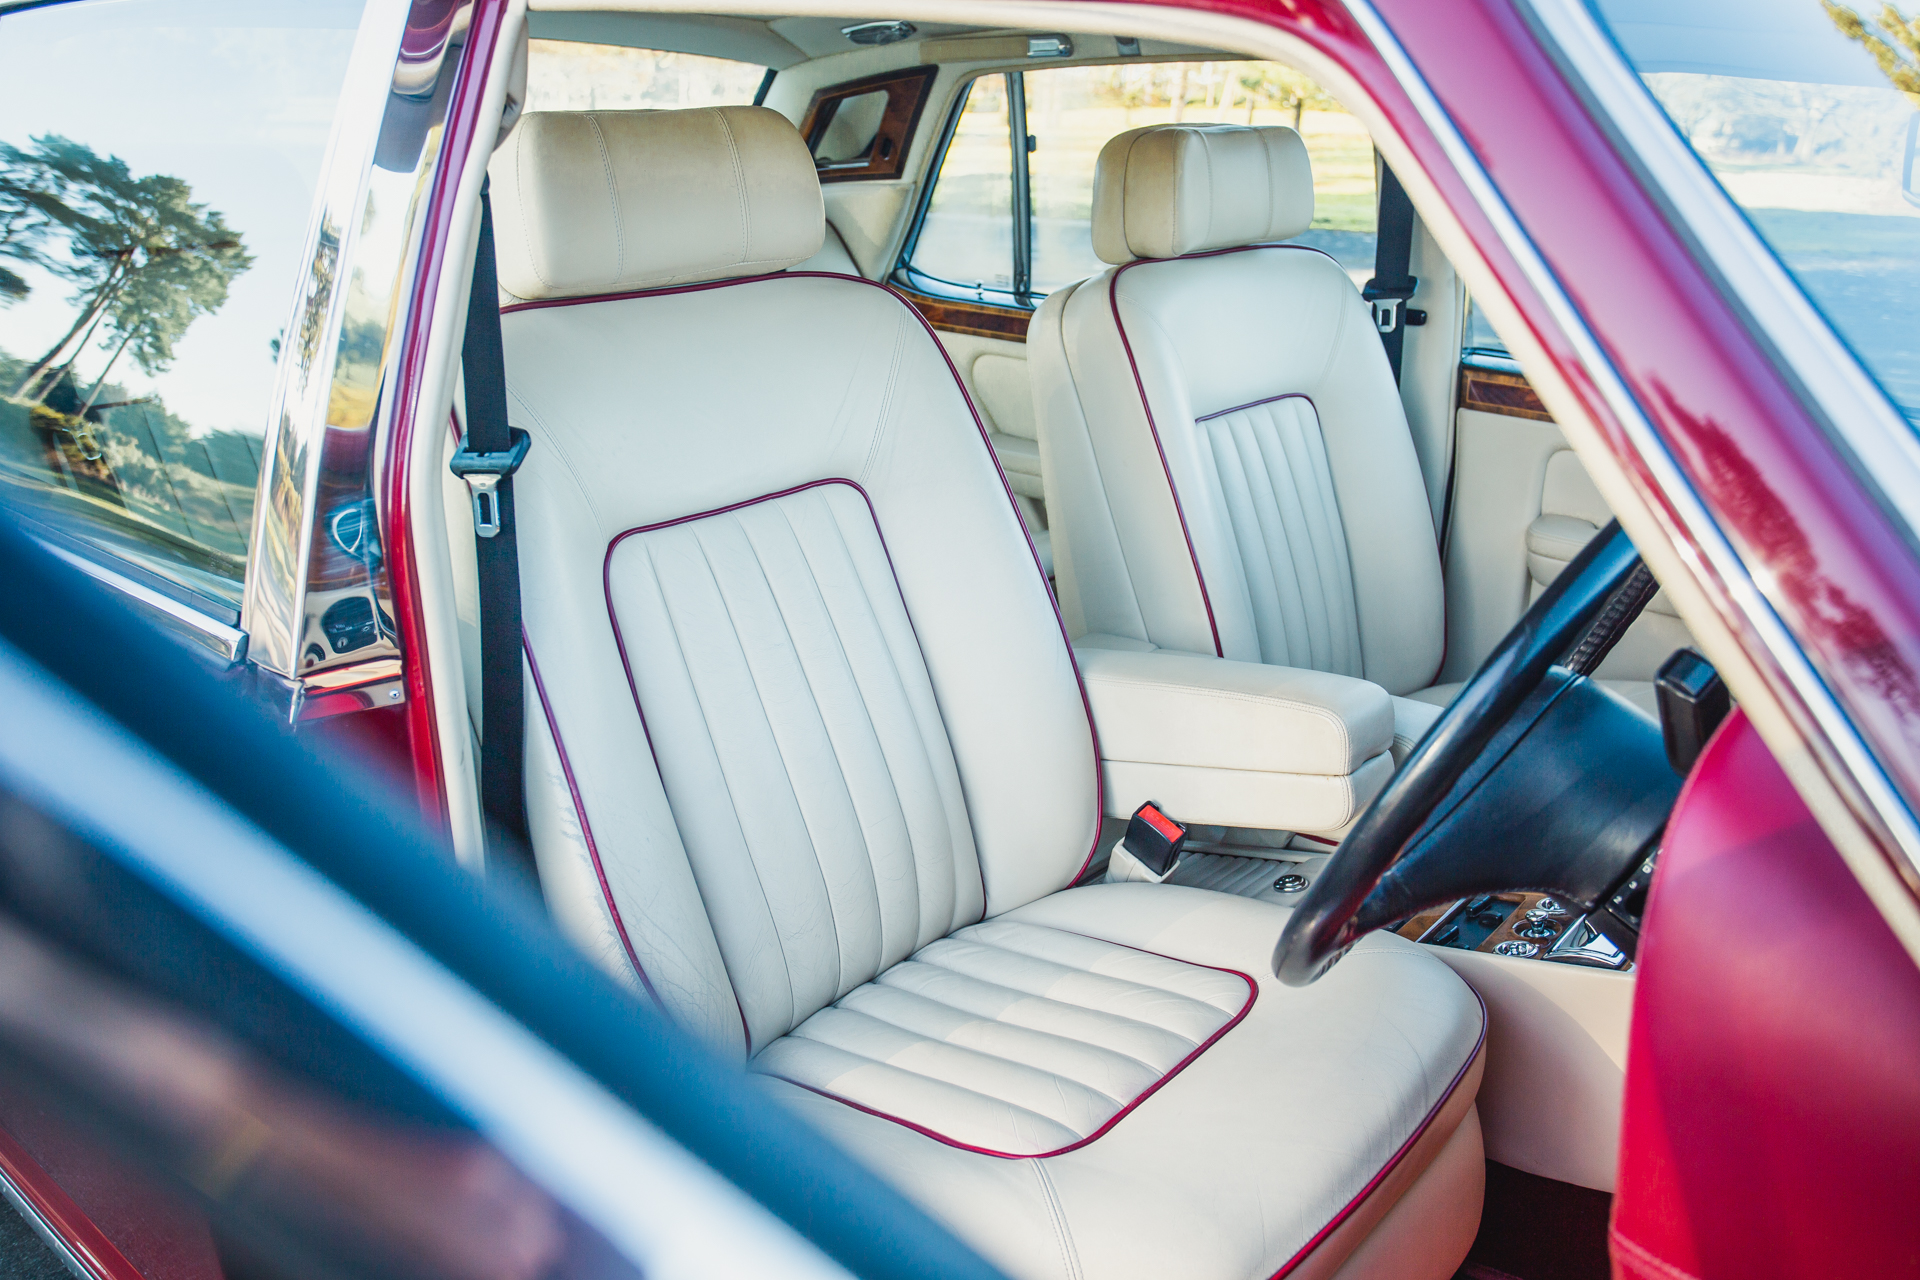
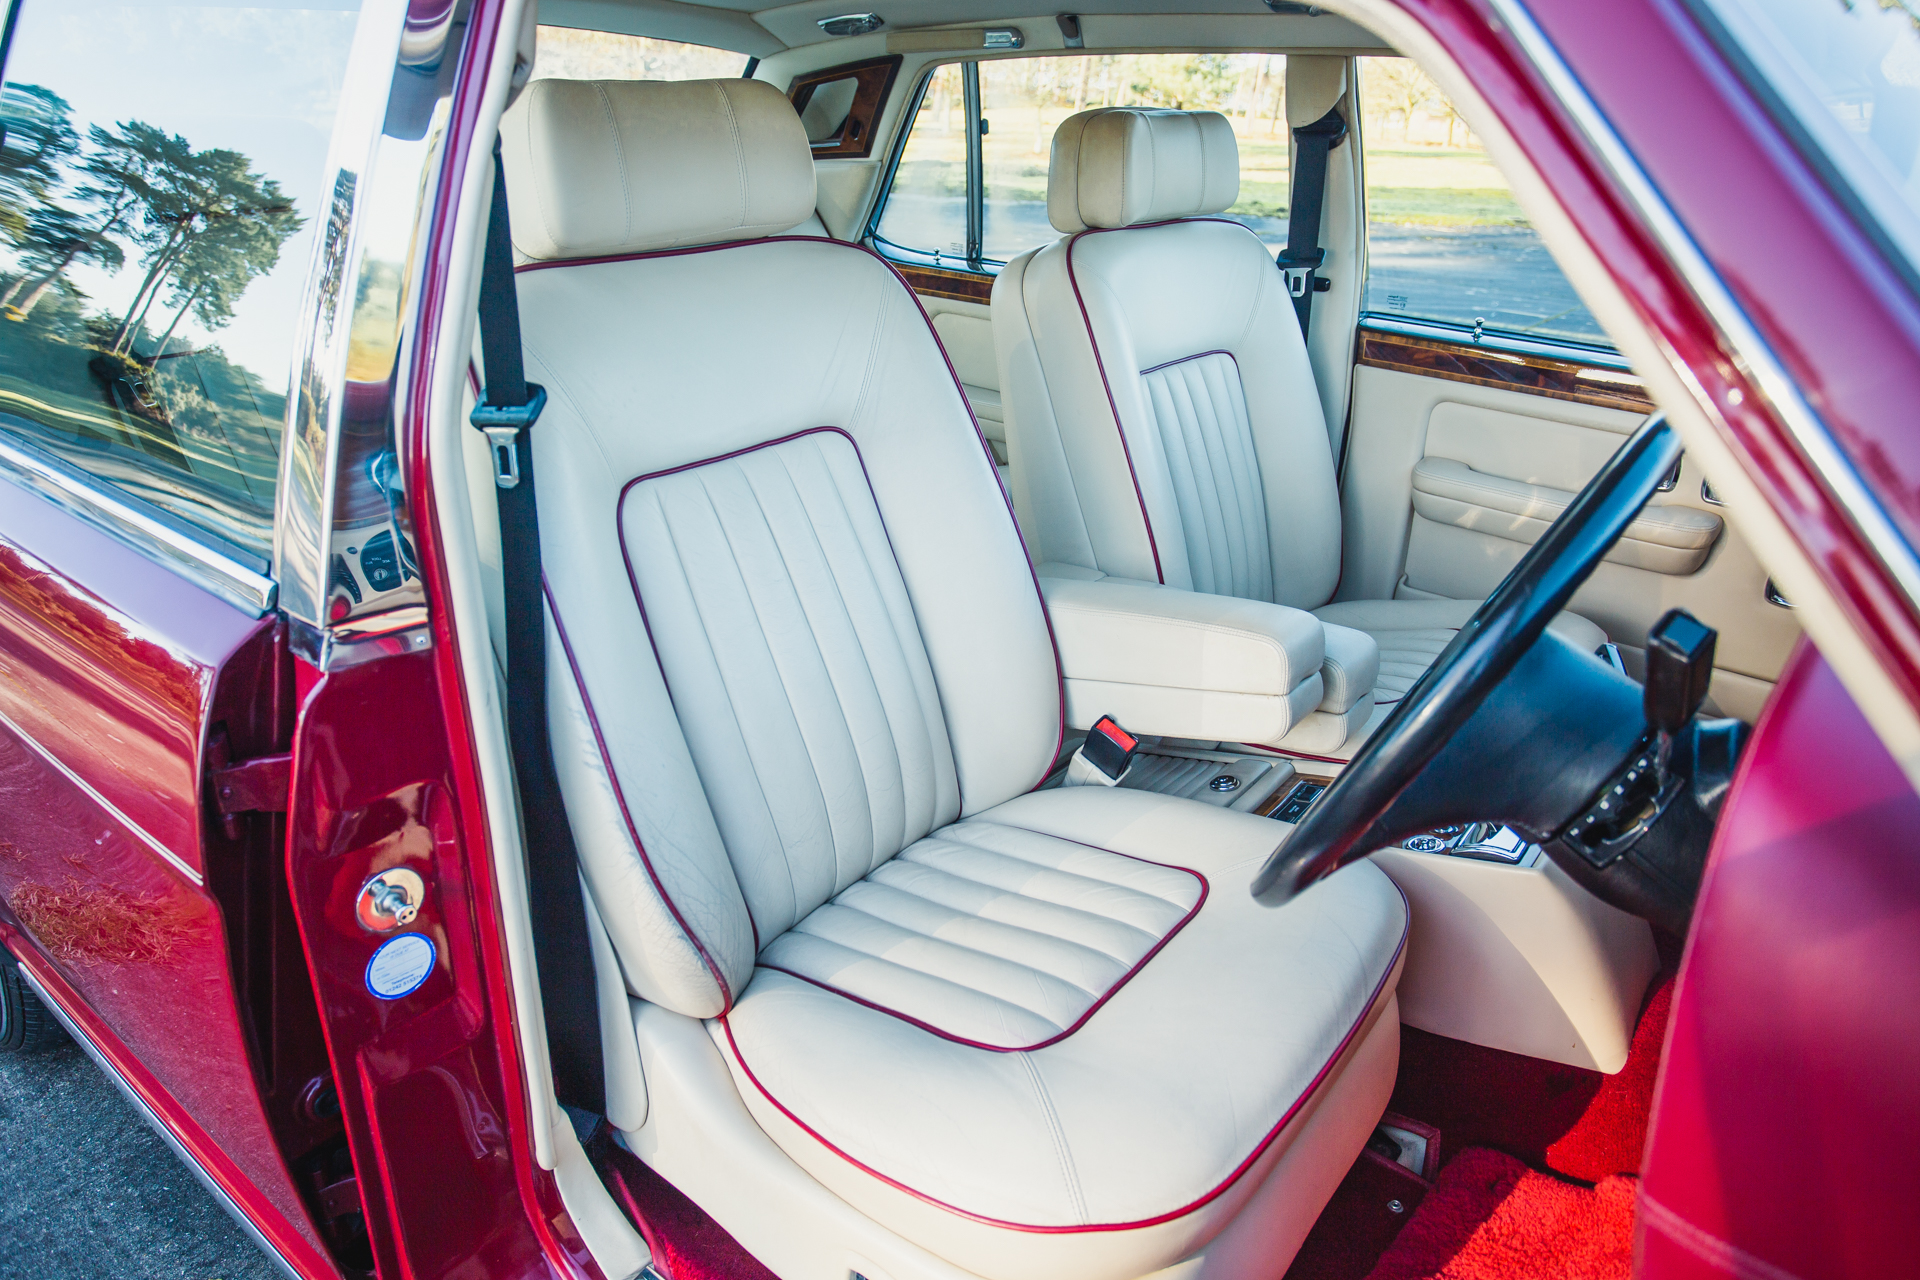
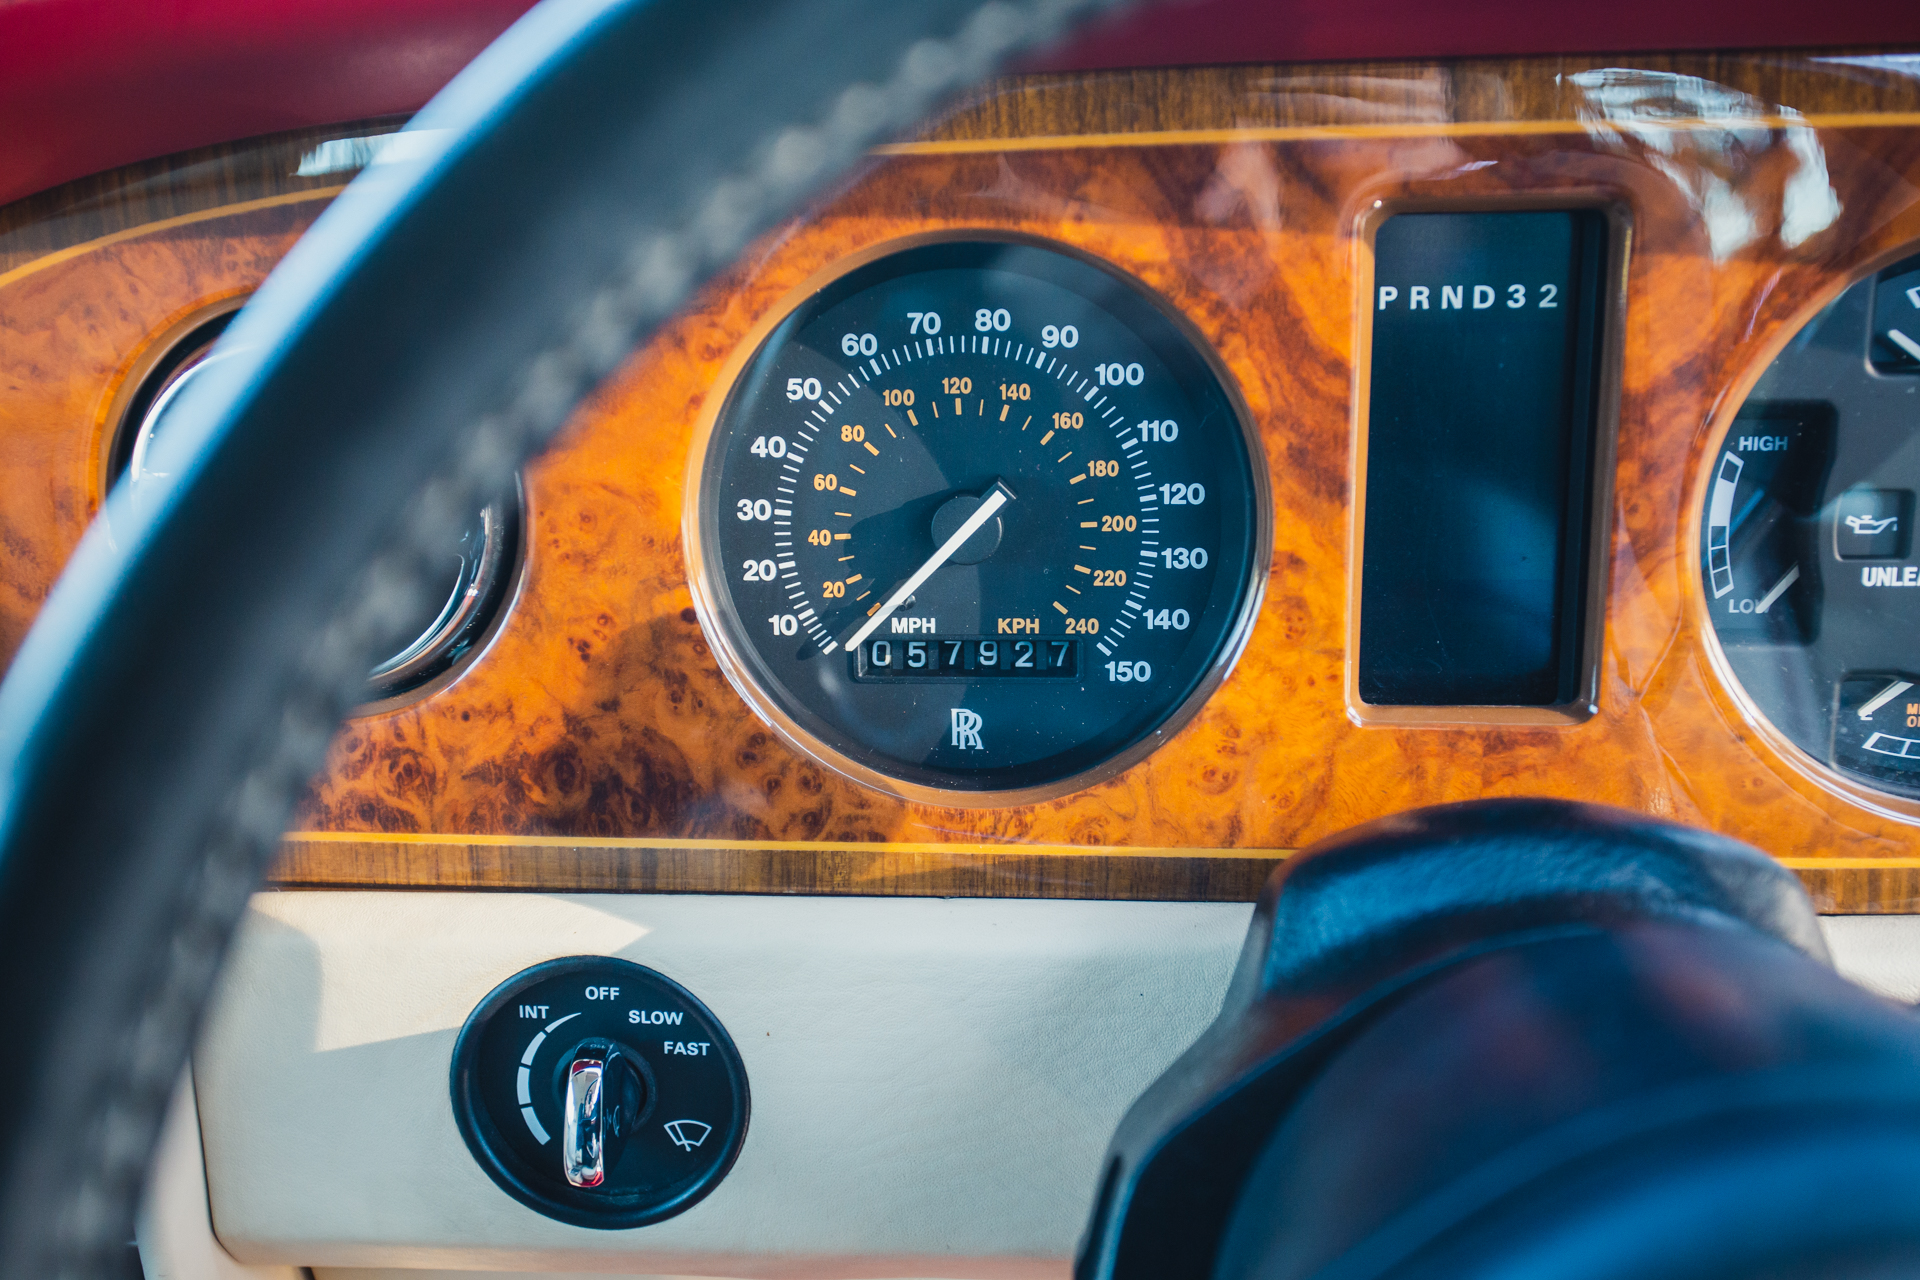
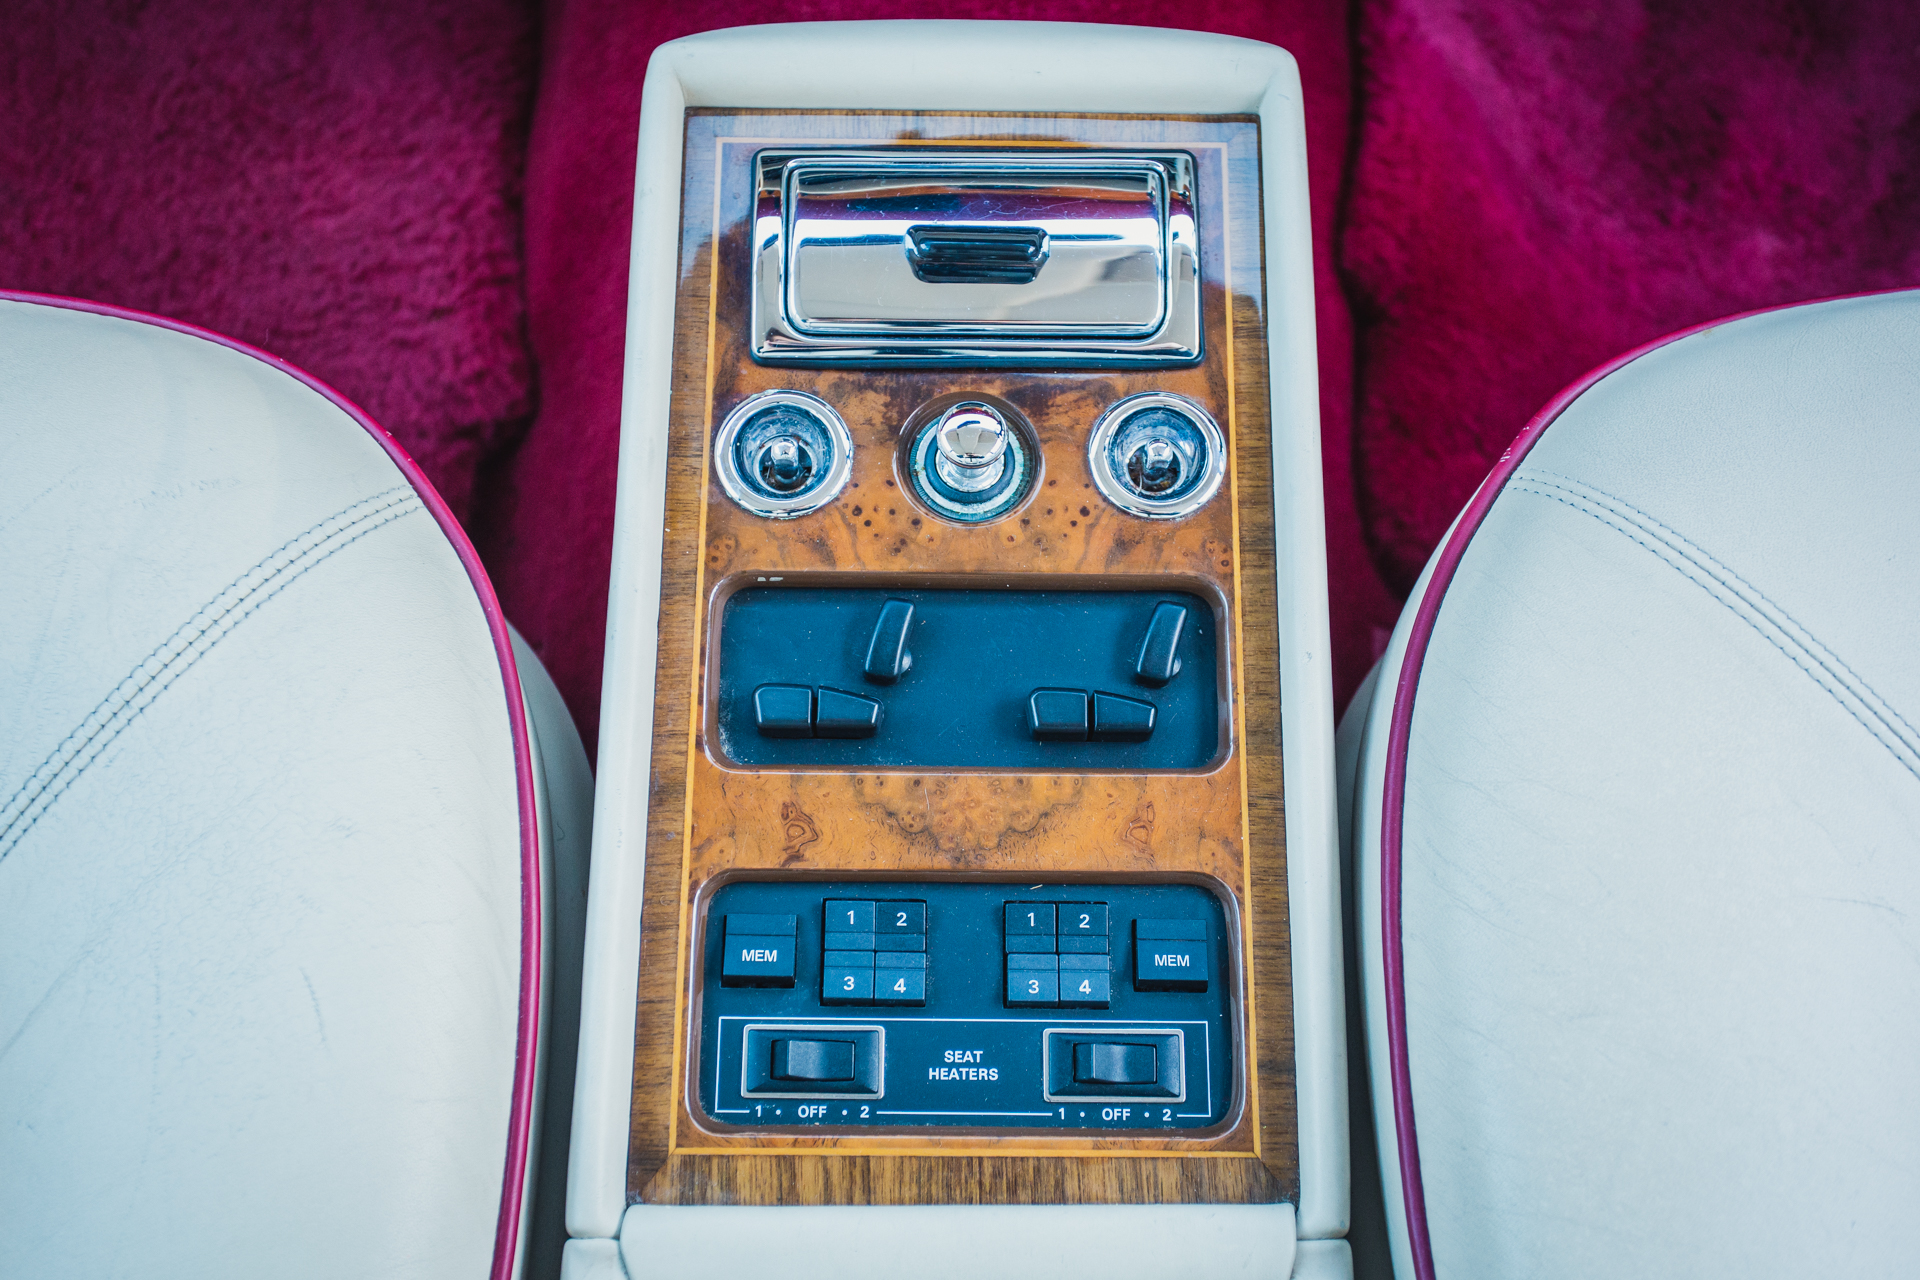
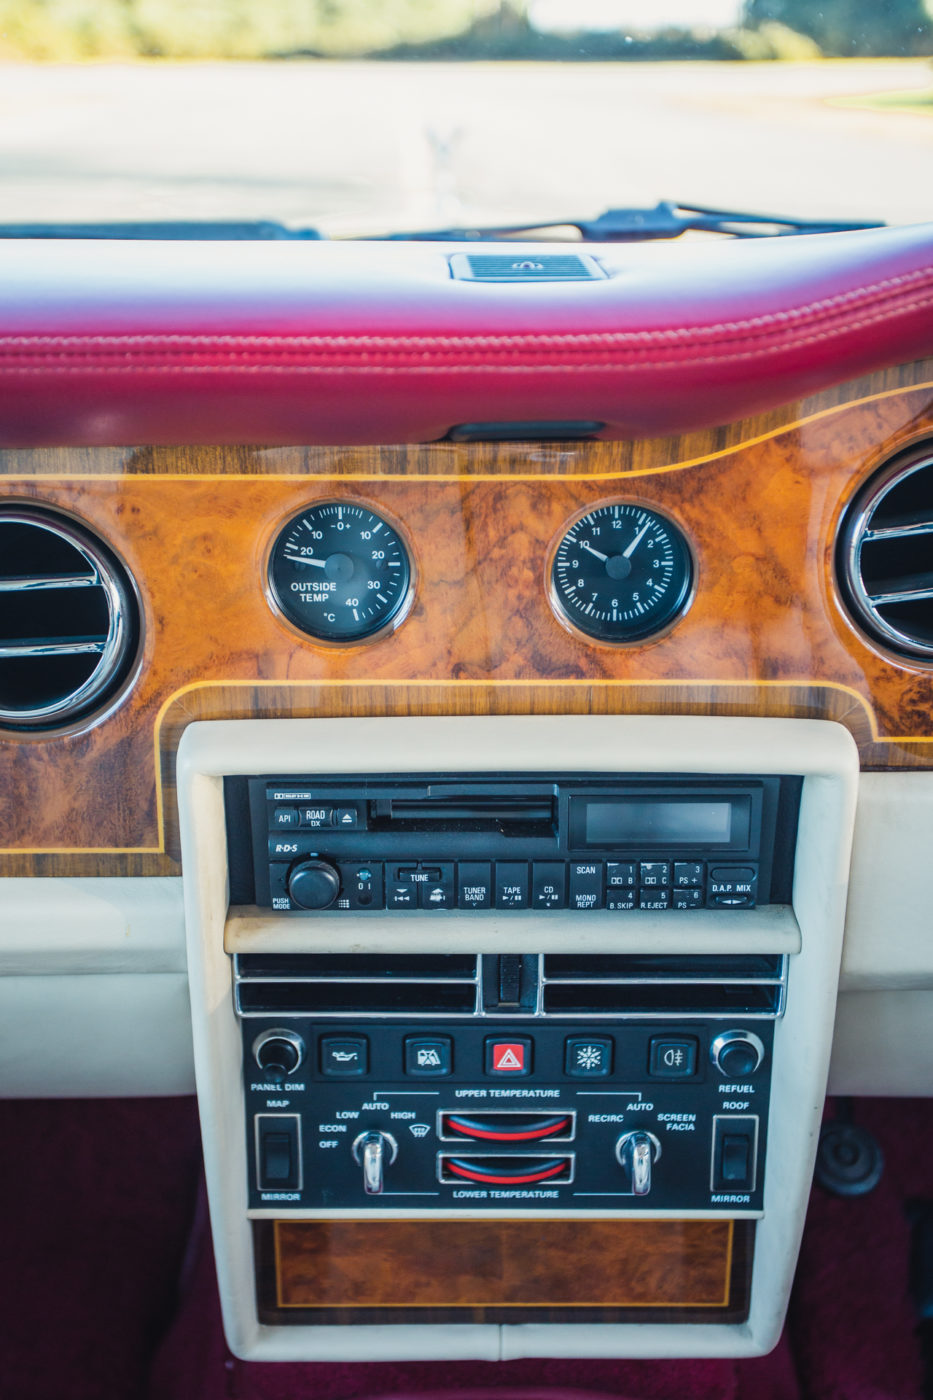
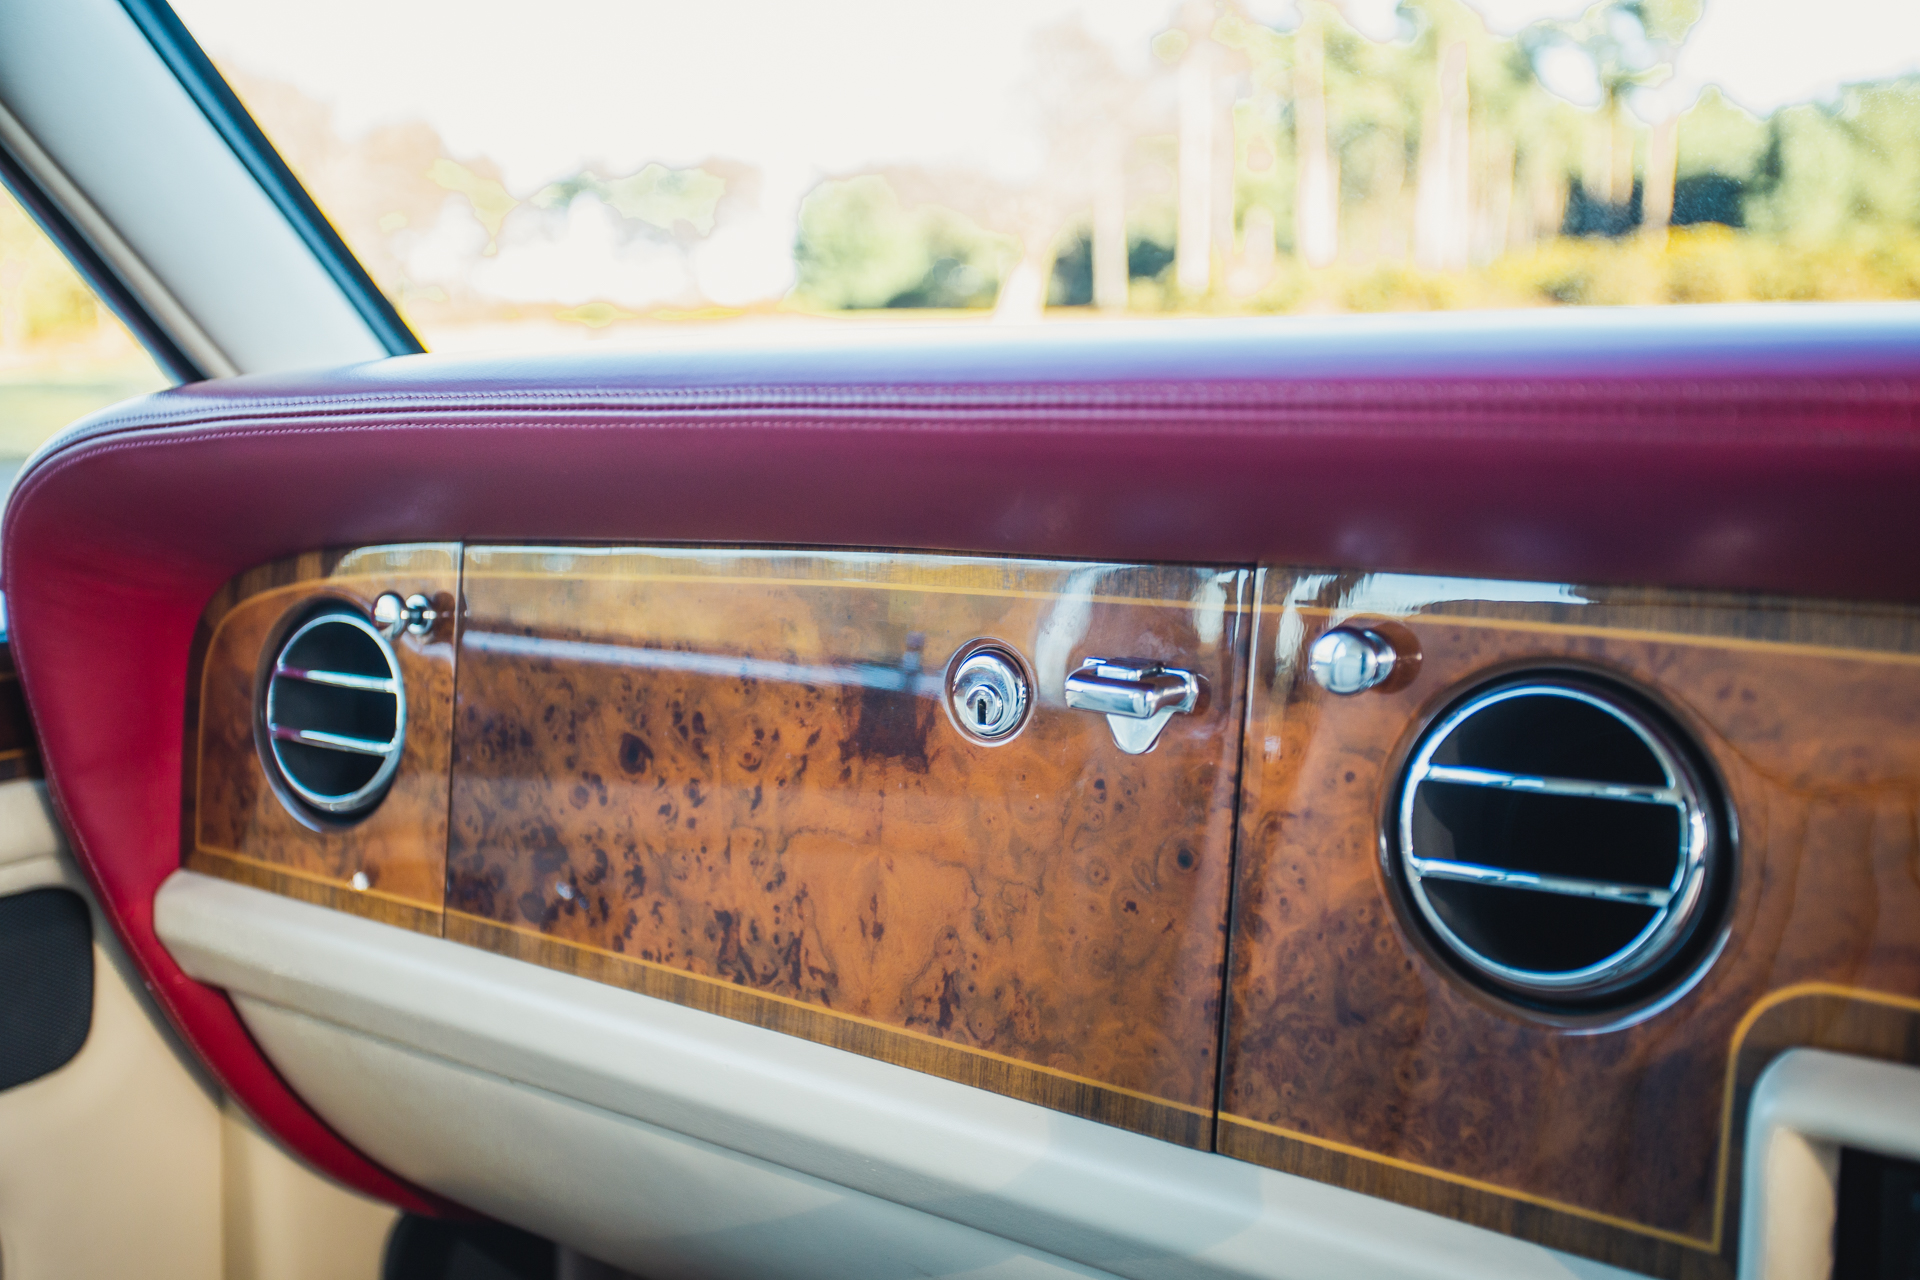
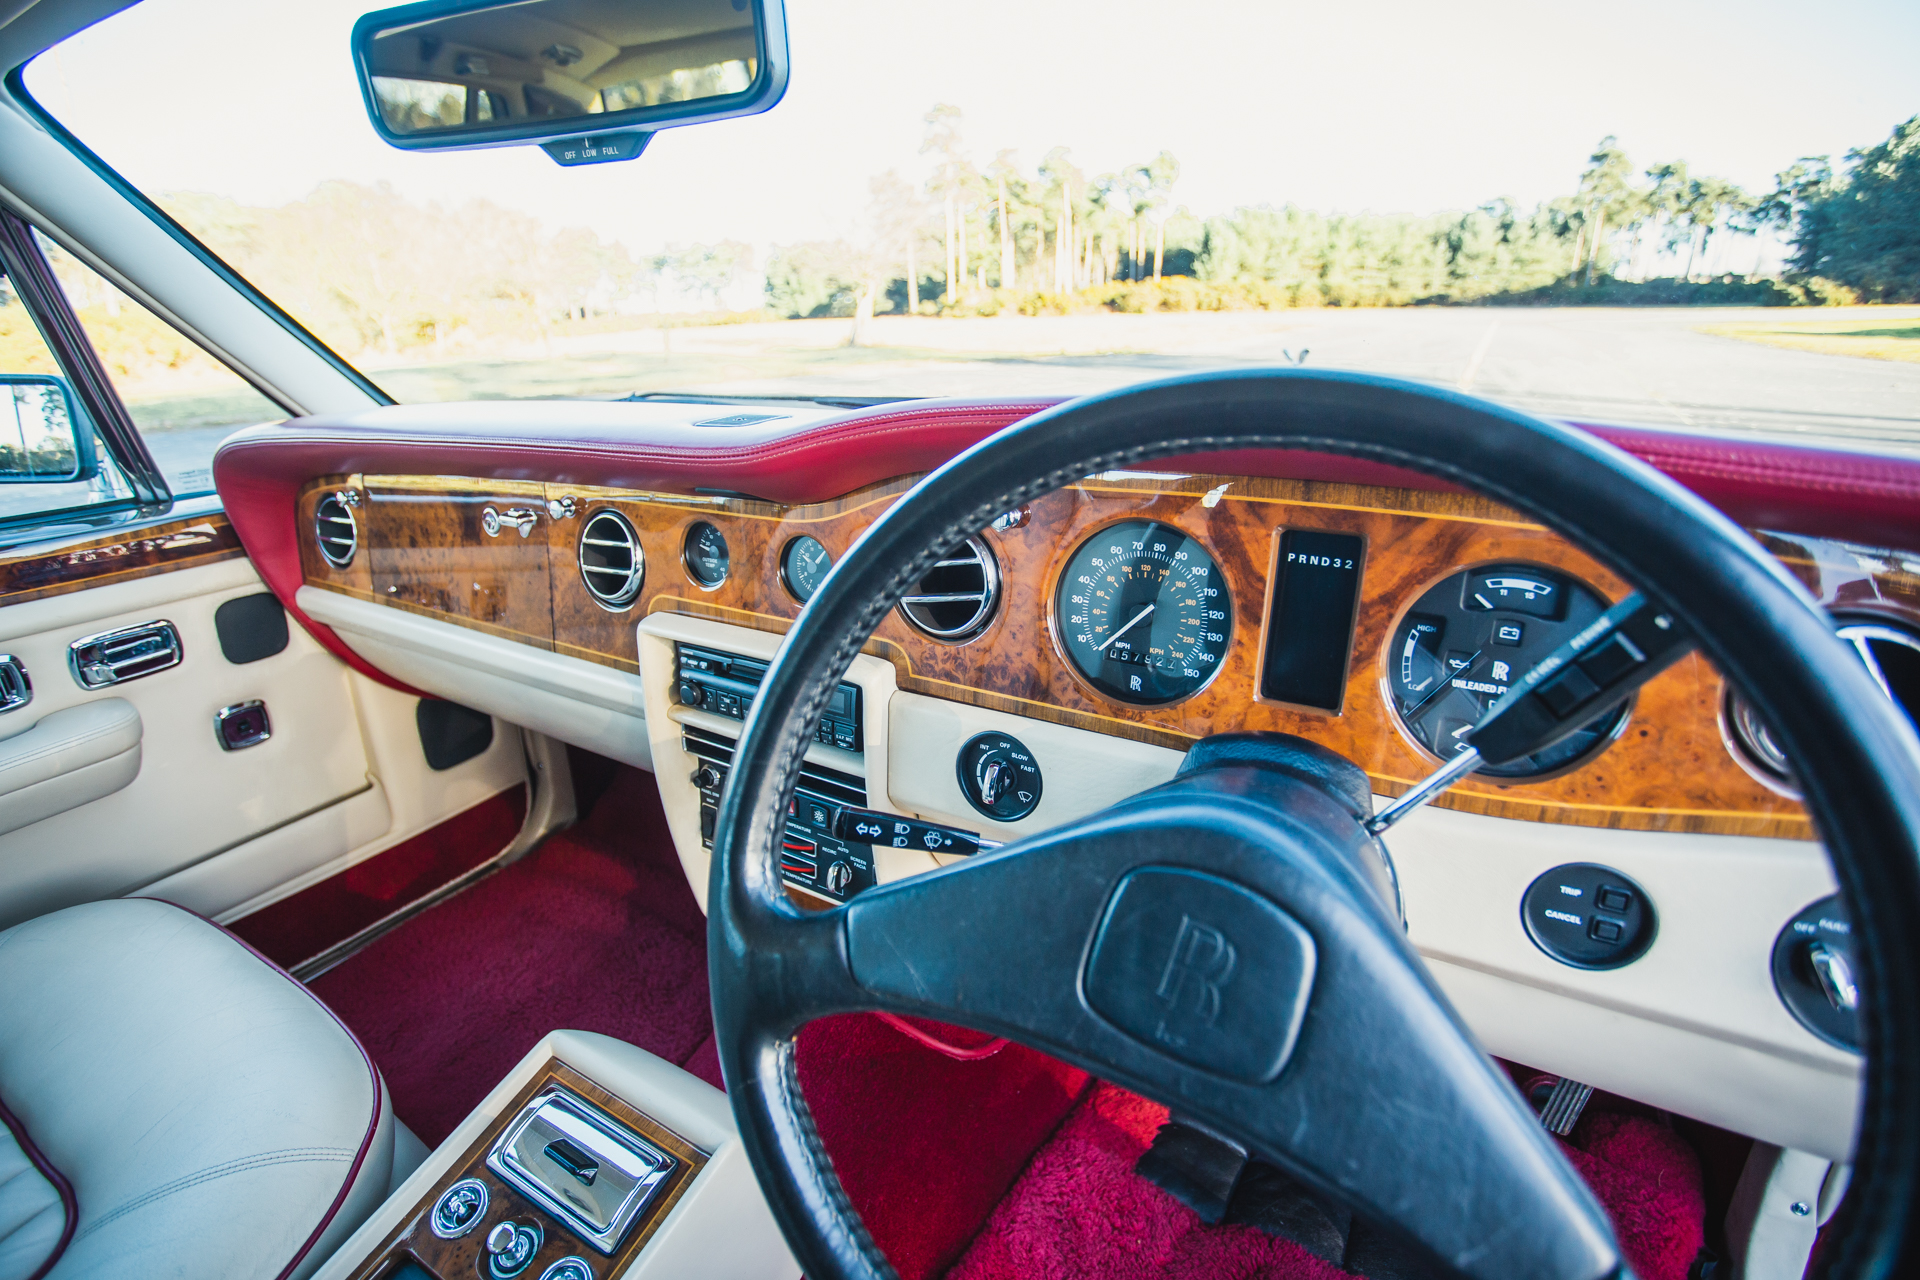
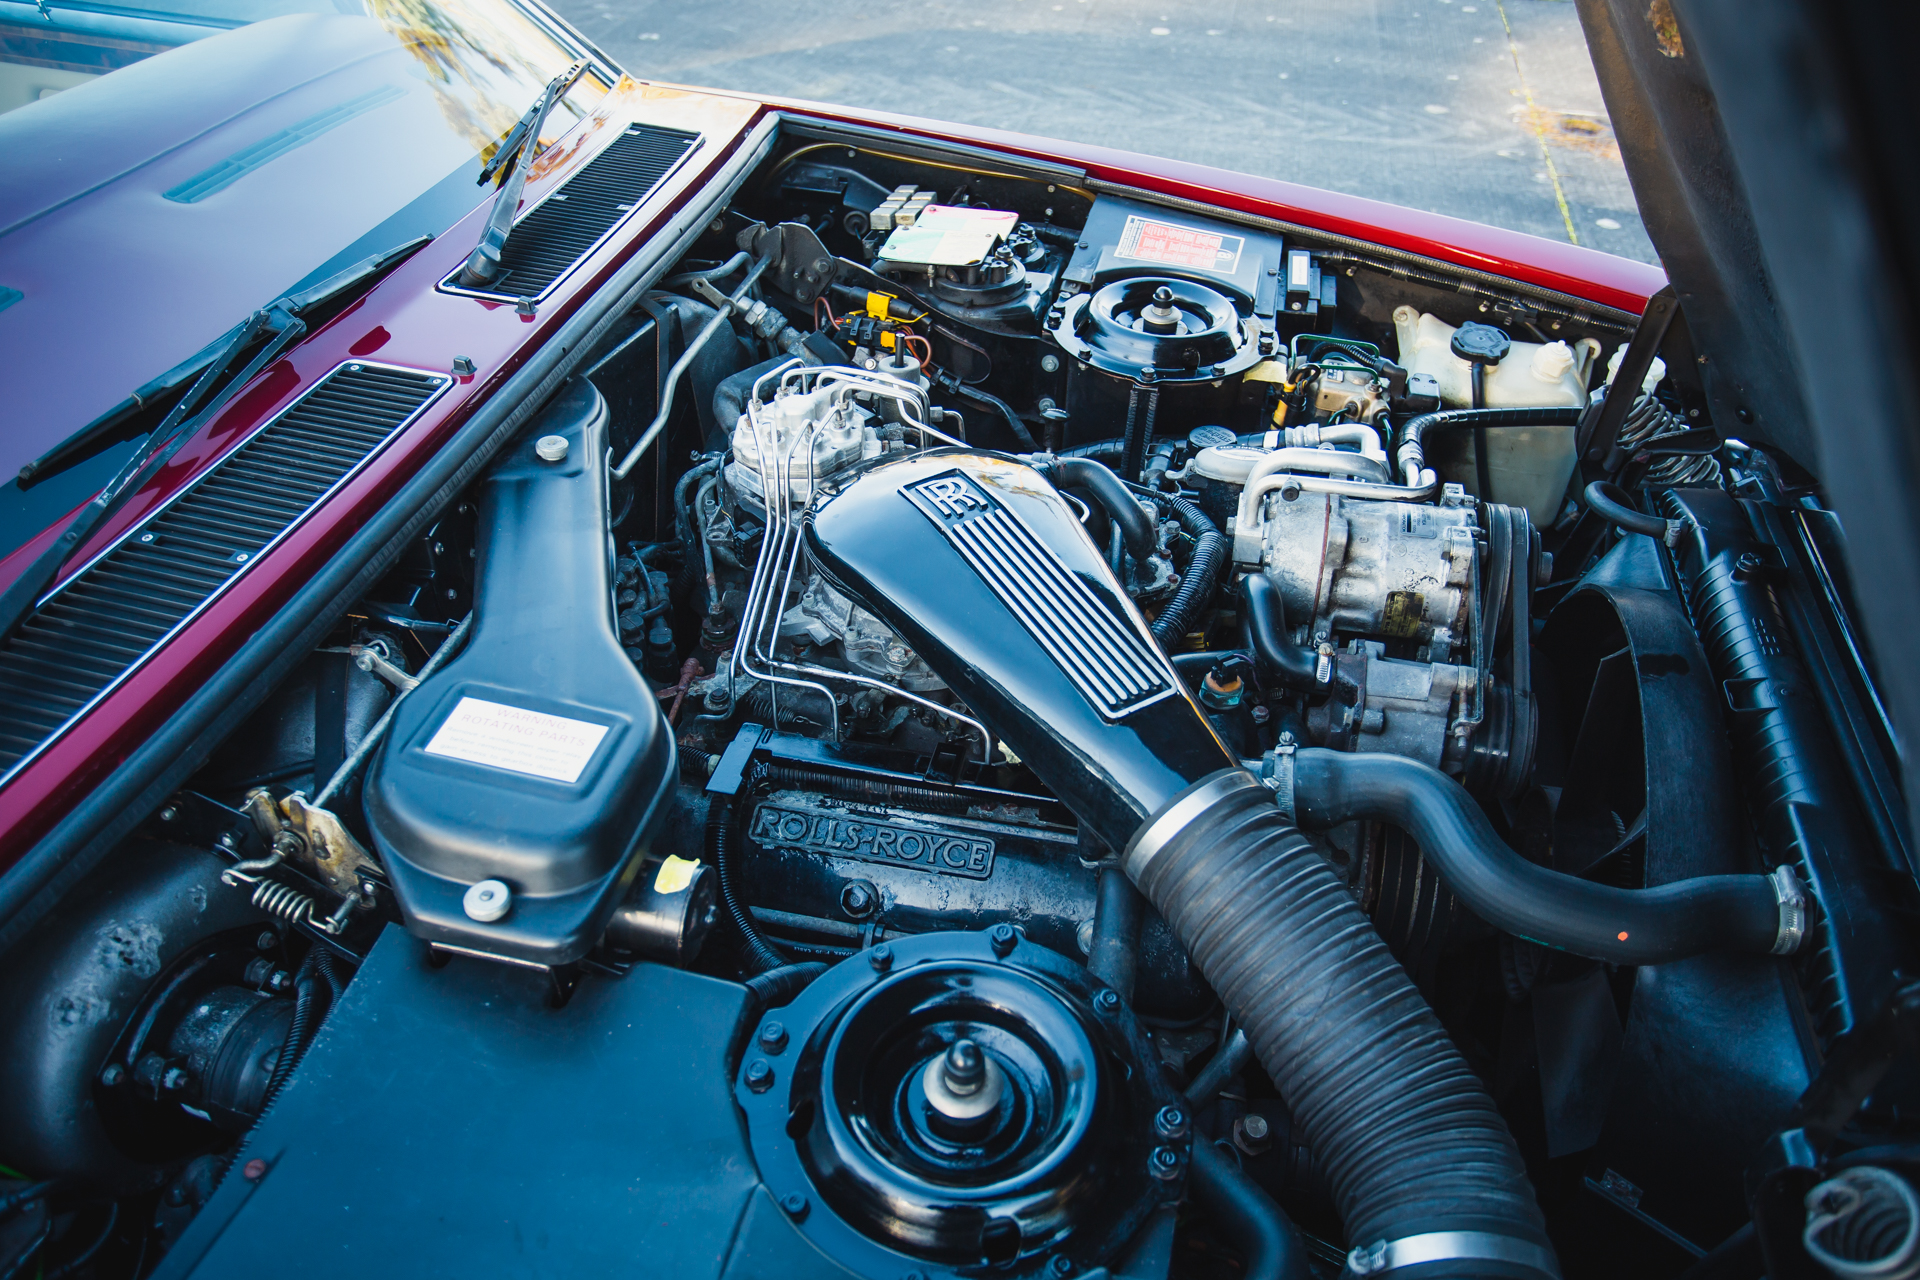

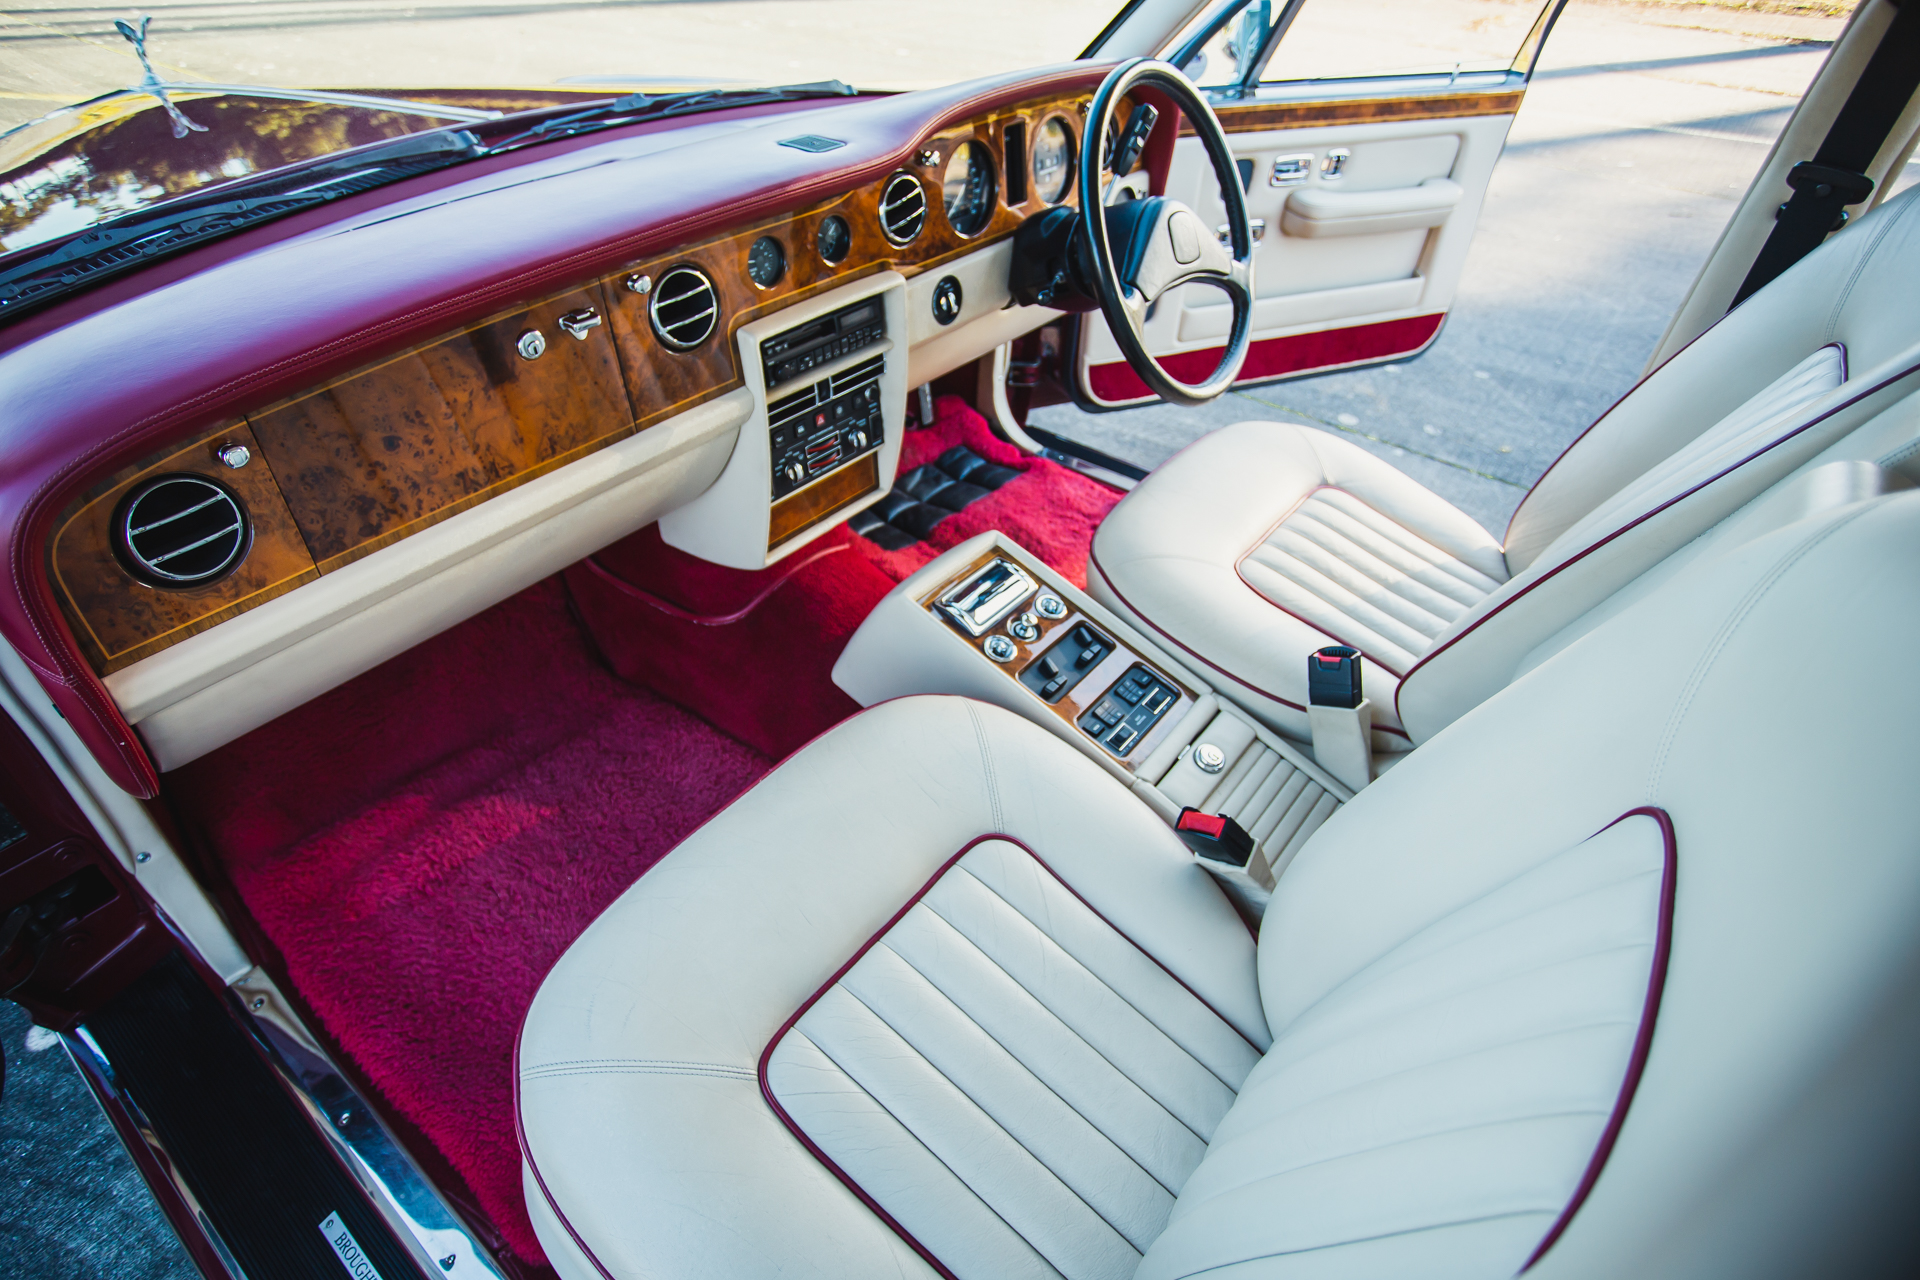
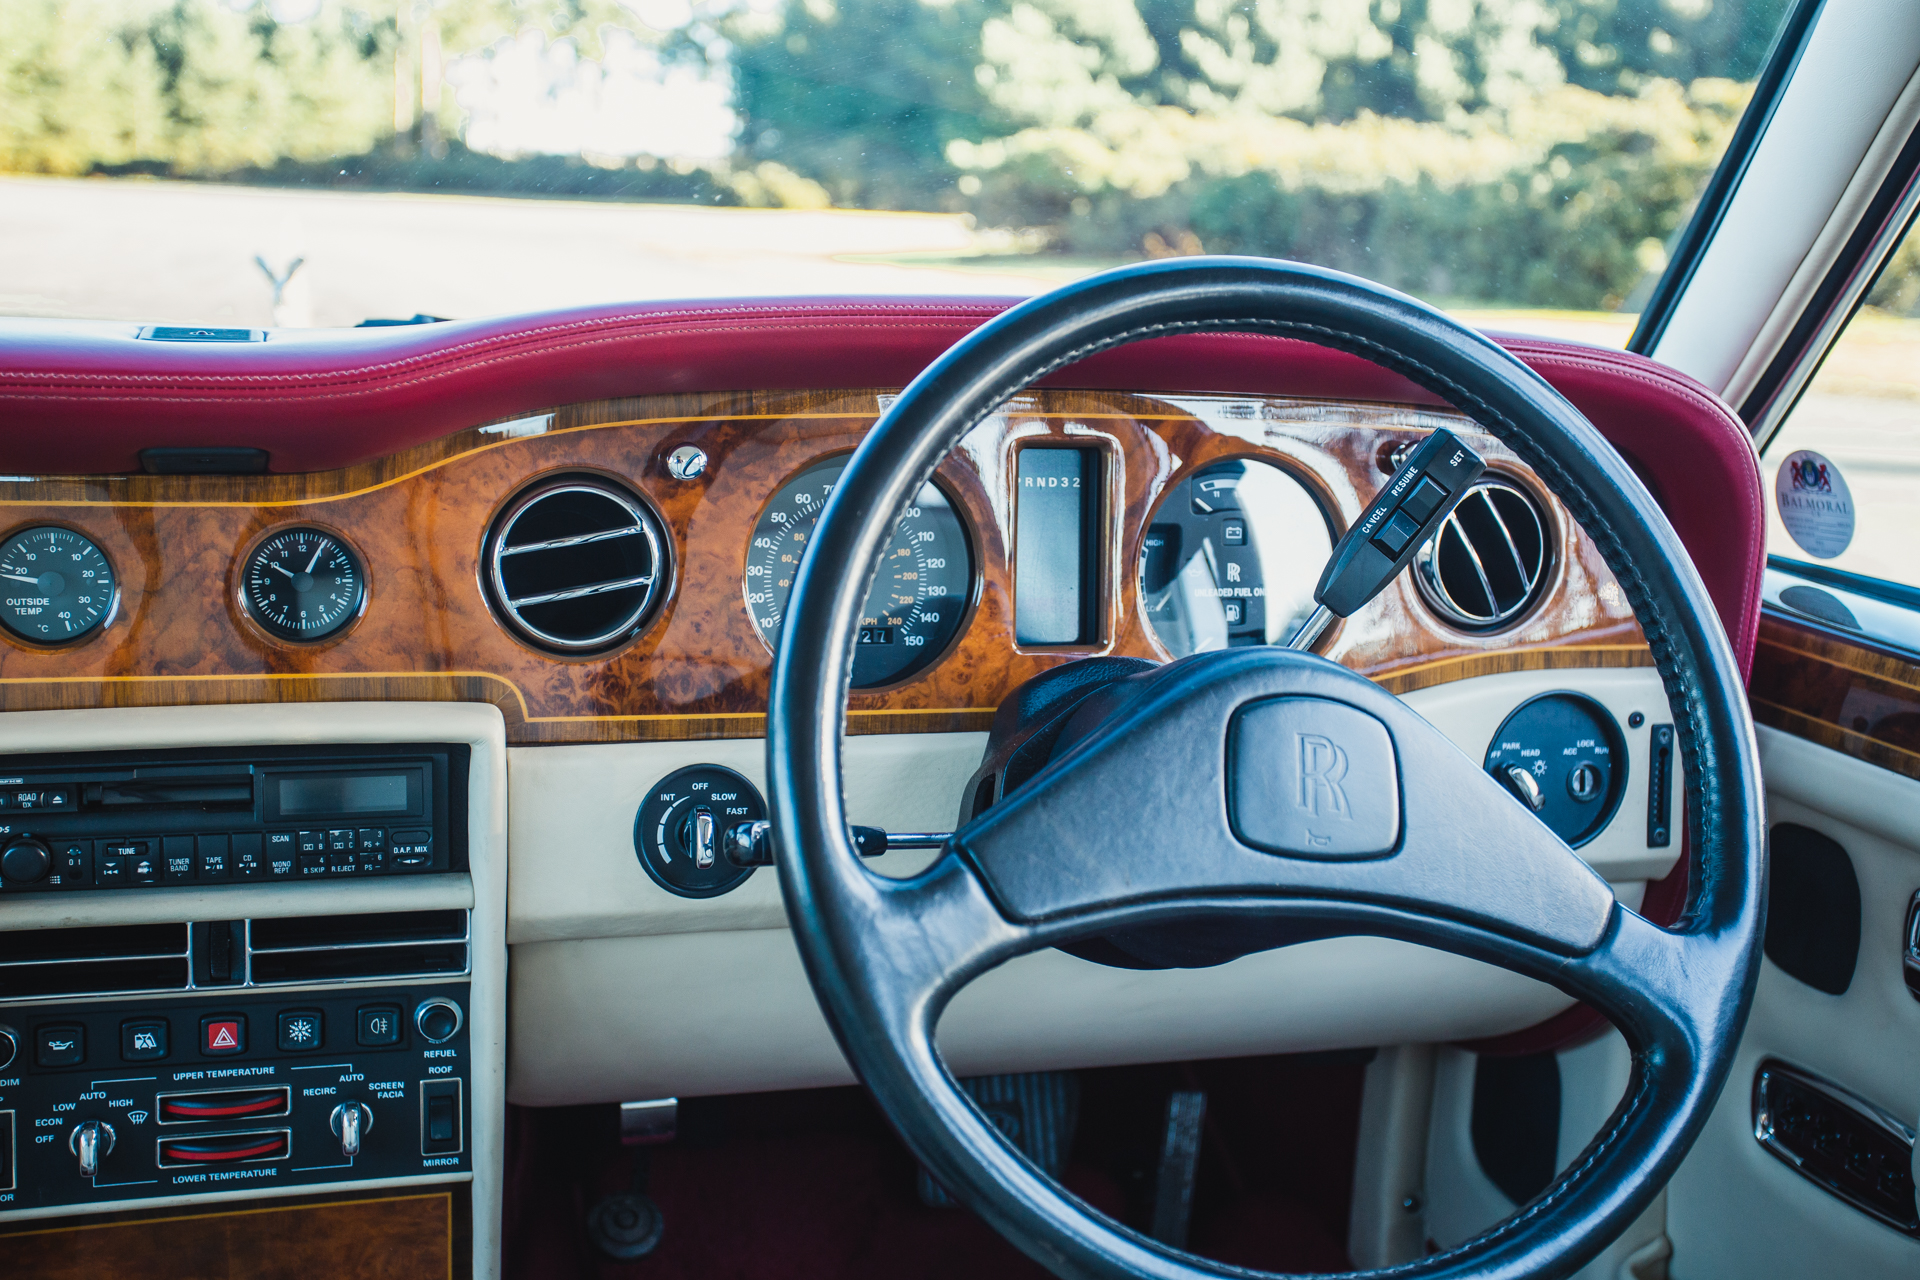
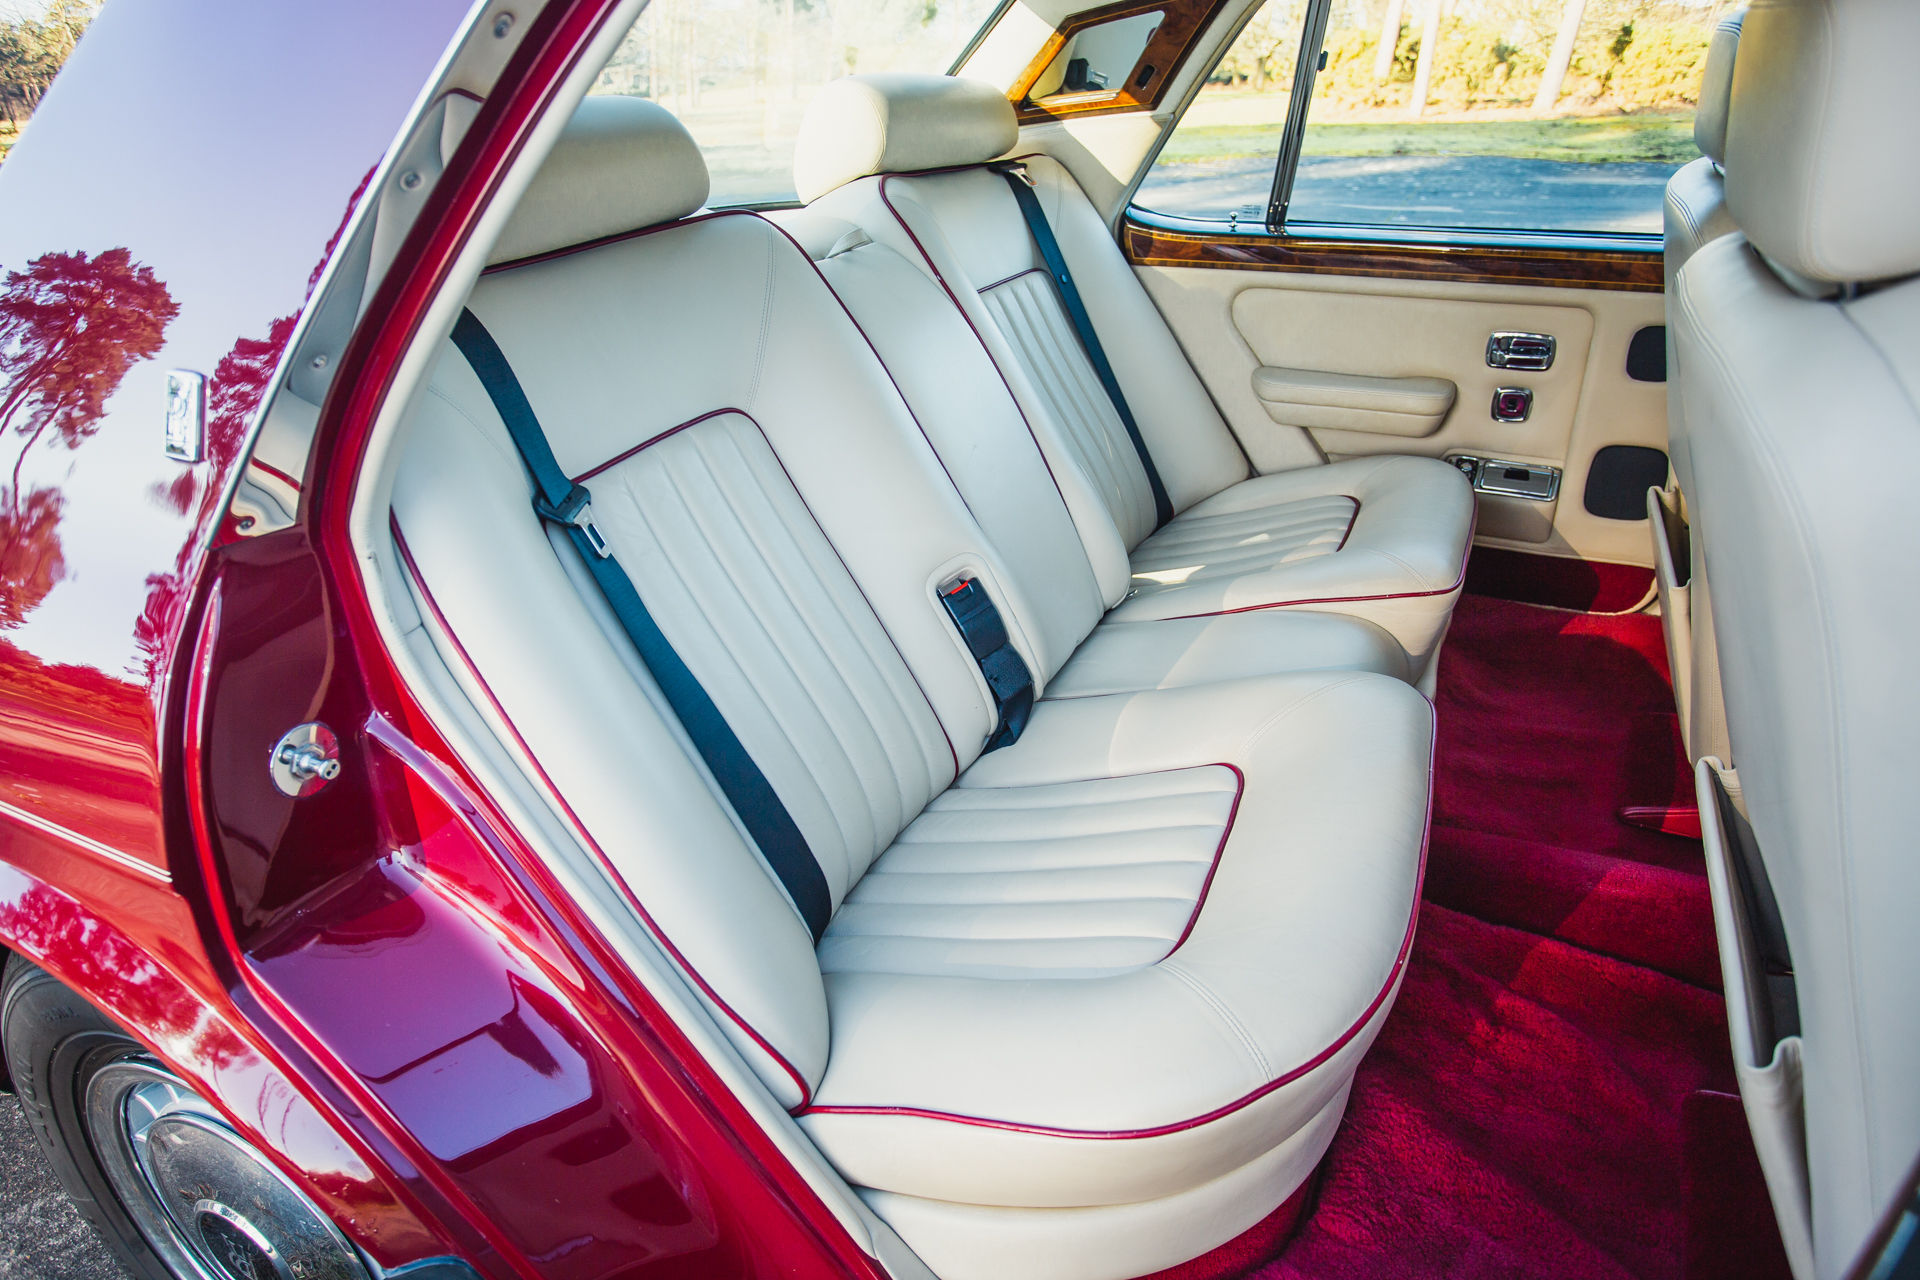
As well as stationary shots, we also focus on moving shots and videos that capture the beast in motion.

Tom has been concentrating on re-wiring all the wiring looms in our 1959 Jensen 541R. Currently he is working on the rear and middle looms, laying down fresh wires to link the two underneath.
We’re delighted to announce the completion of our beautiful magenta 1973 Triumph TR6 which has now be sent into storage with us. It headed over this morning and we felt very lucky to have such an expert lorry driver at our disposal as Bentwaters looked like a scene from the Arctic Circle. Mauro is one of our talented and hard-working technicians but also has a history as a lorry driver and is in charge of driving our lorry. We always know our lorry and cars are in safe hands with him at the wheel.
We’re expect to shooting this TR6 for its final celebratory photoshoot soon. Watch this space!


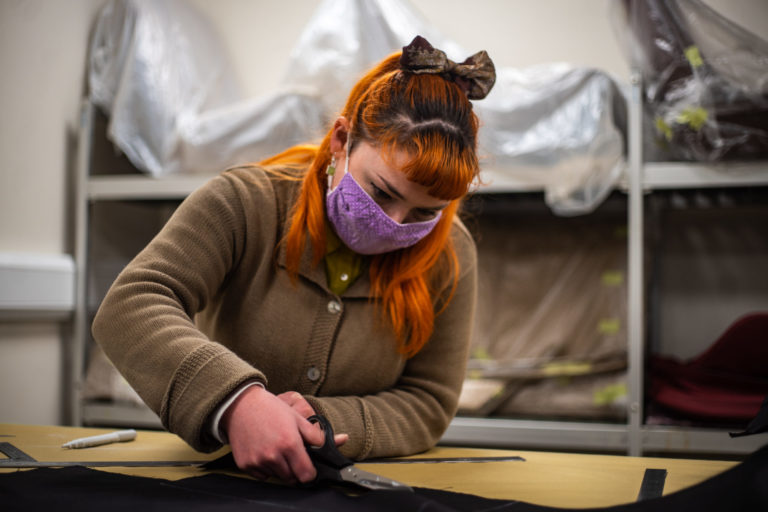
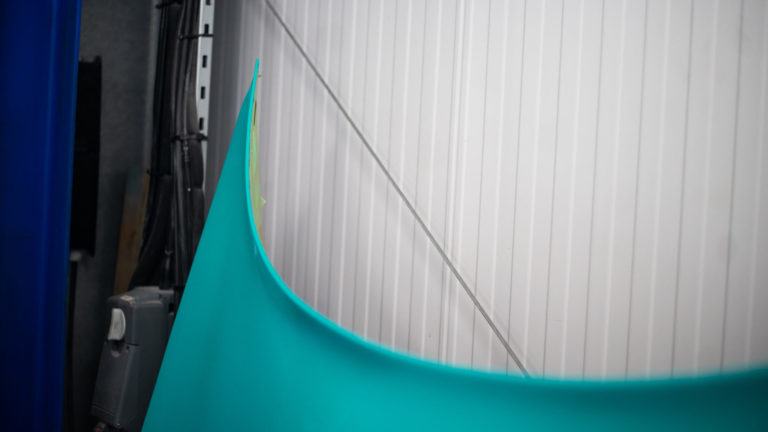
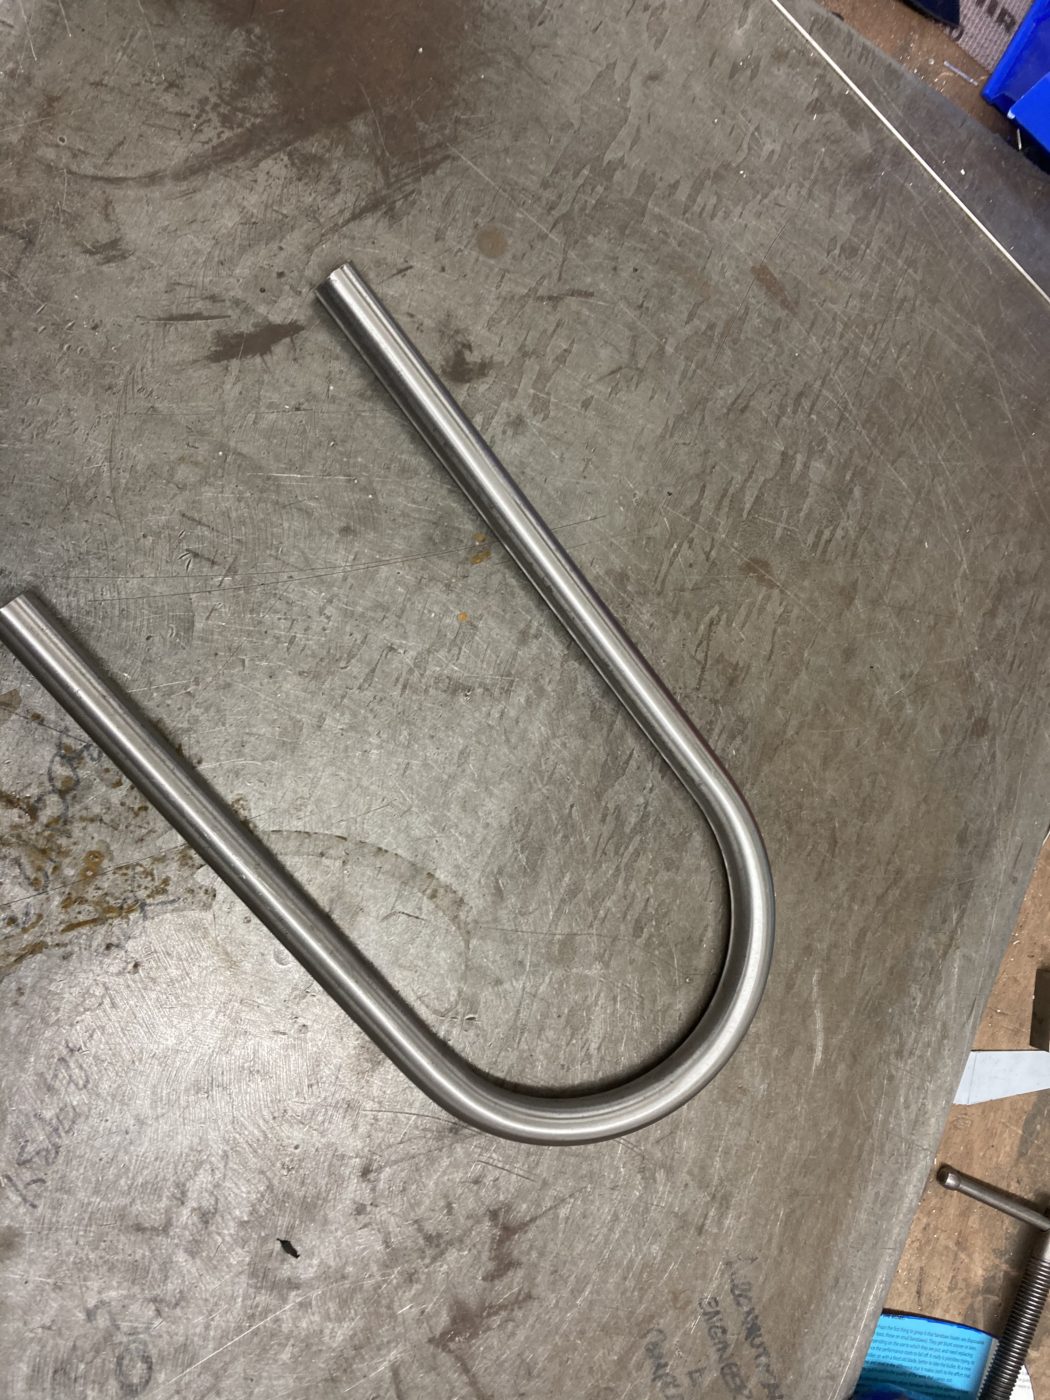
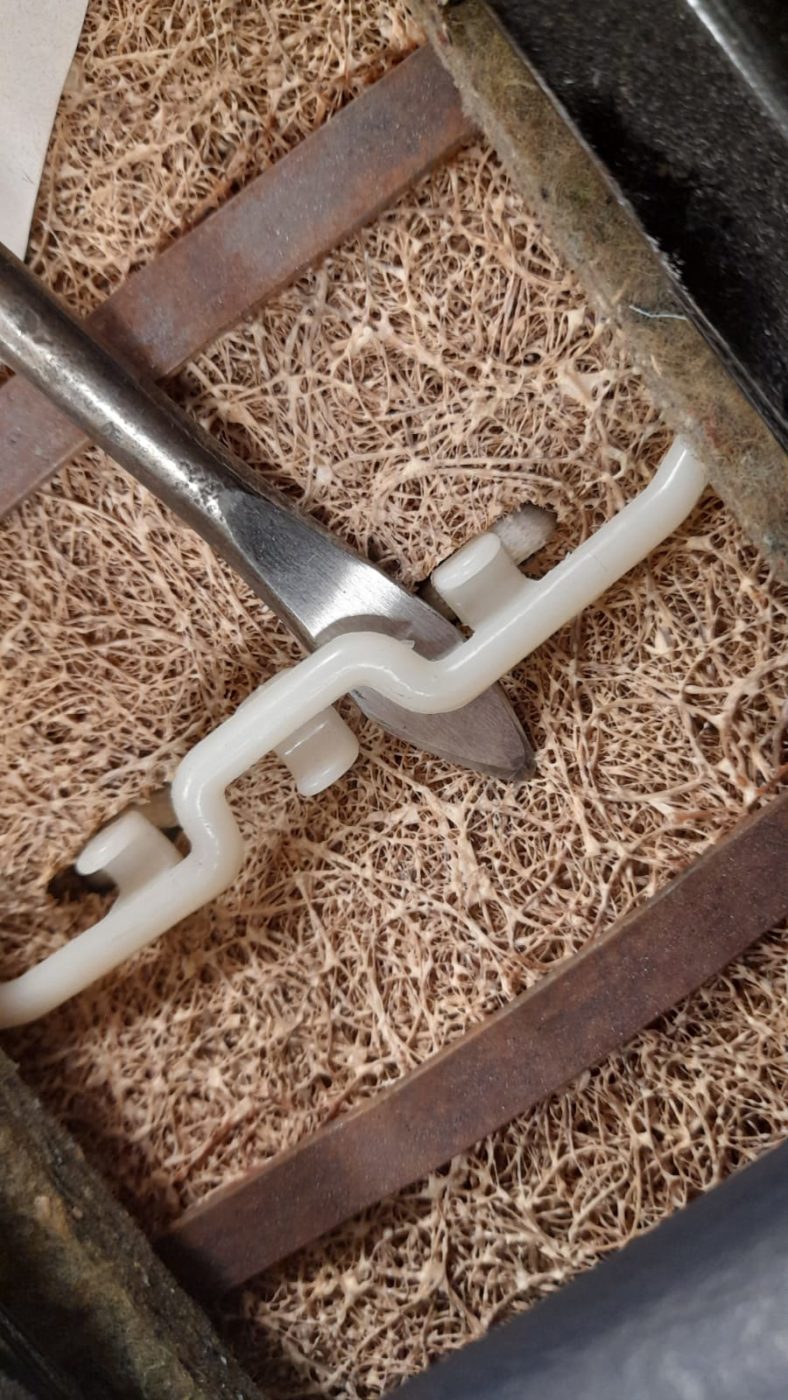
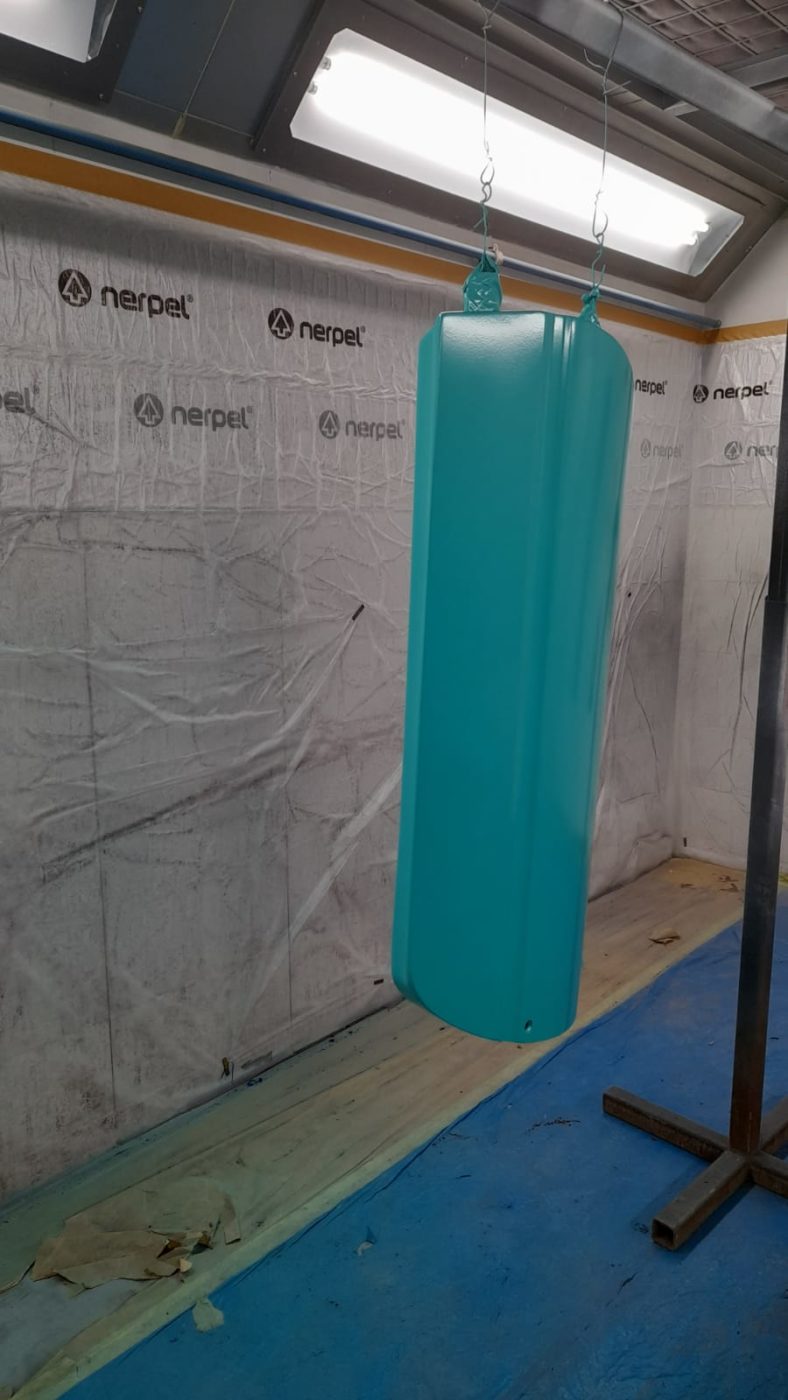
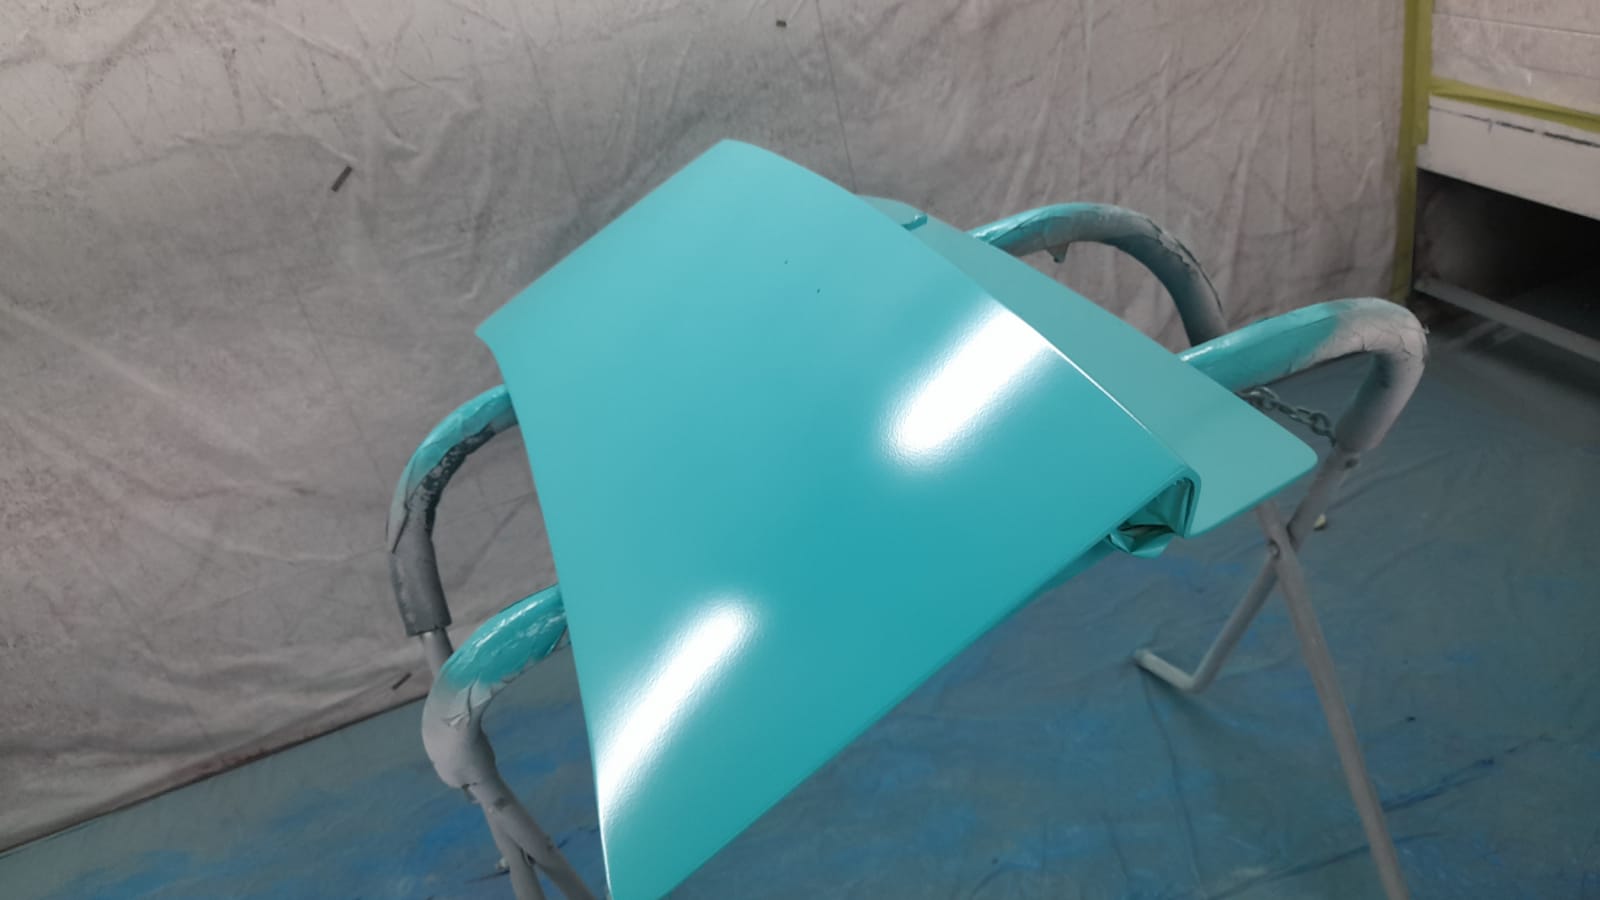
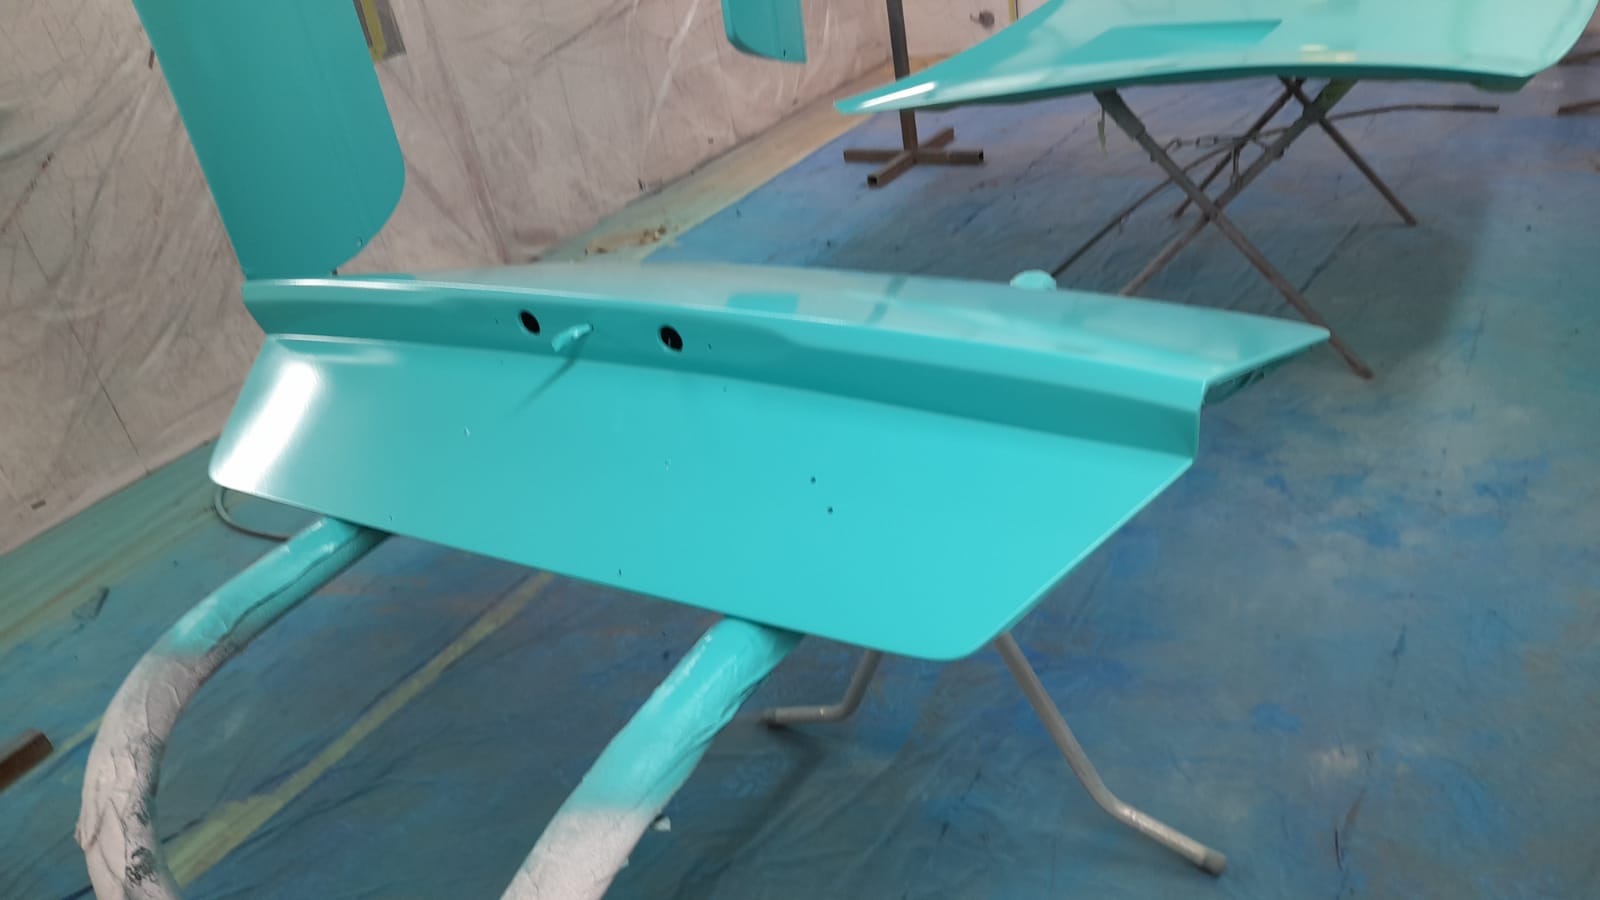
Craig’s Suzuki GSX 400T has been pressure tested to check it can withstand the correct pressure with its new modifications.
The seat frame is also being modified so that the curved piece of metal seen below will make up the new smaller seat frame, leaving the majority of the bike exposed for a more rugged and raw dirt bike appeal.

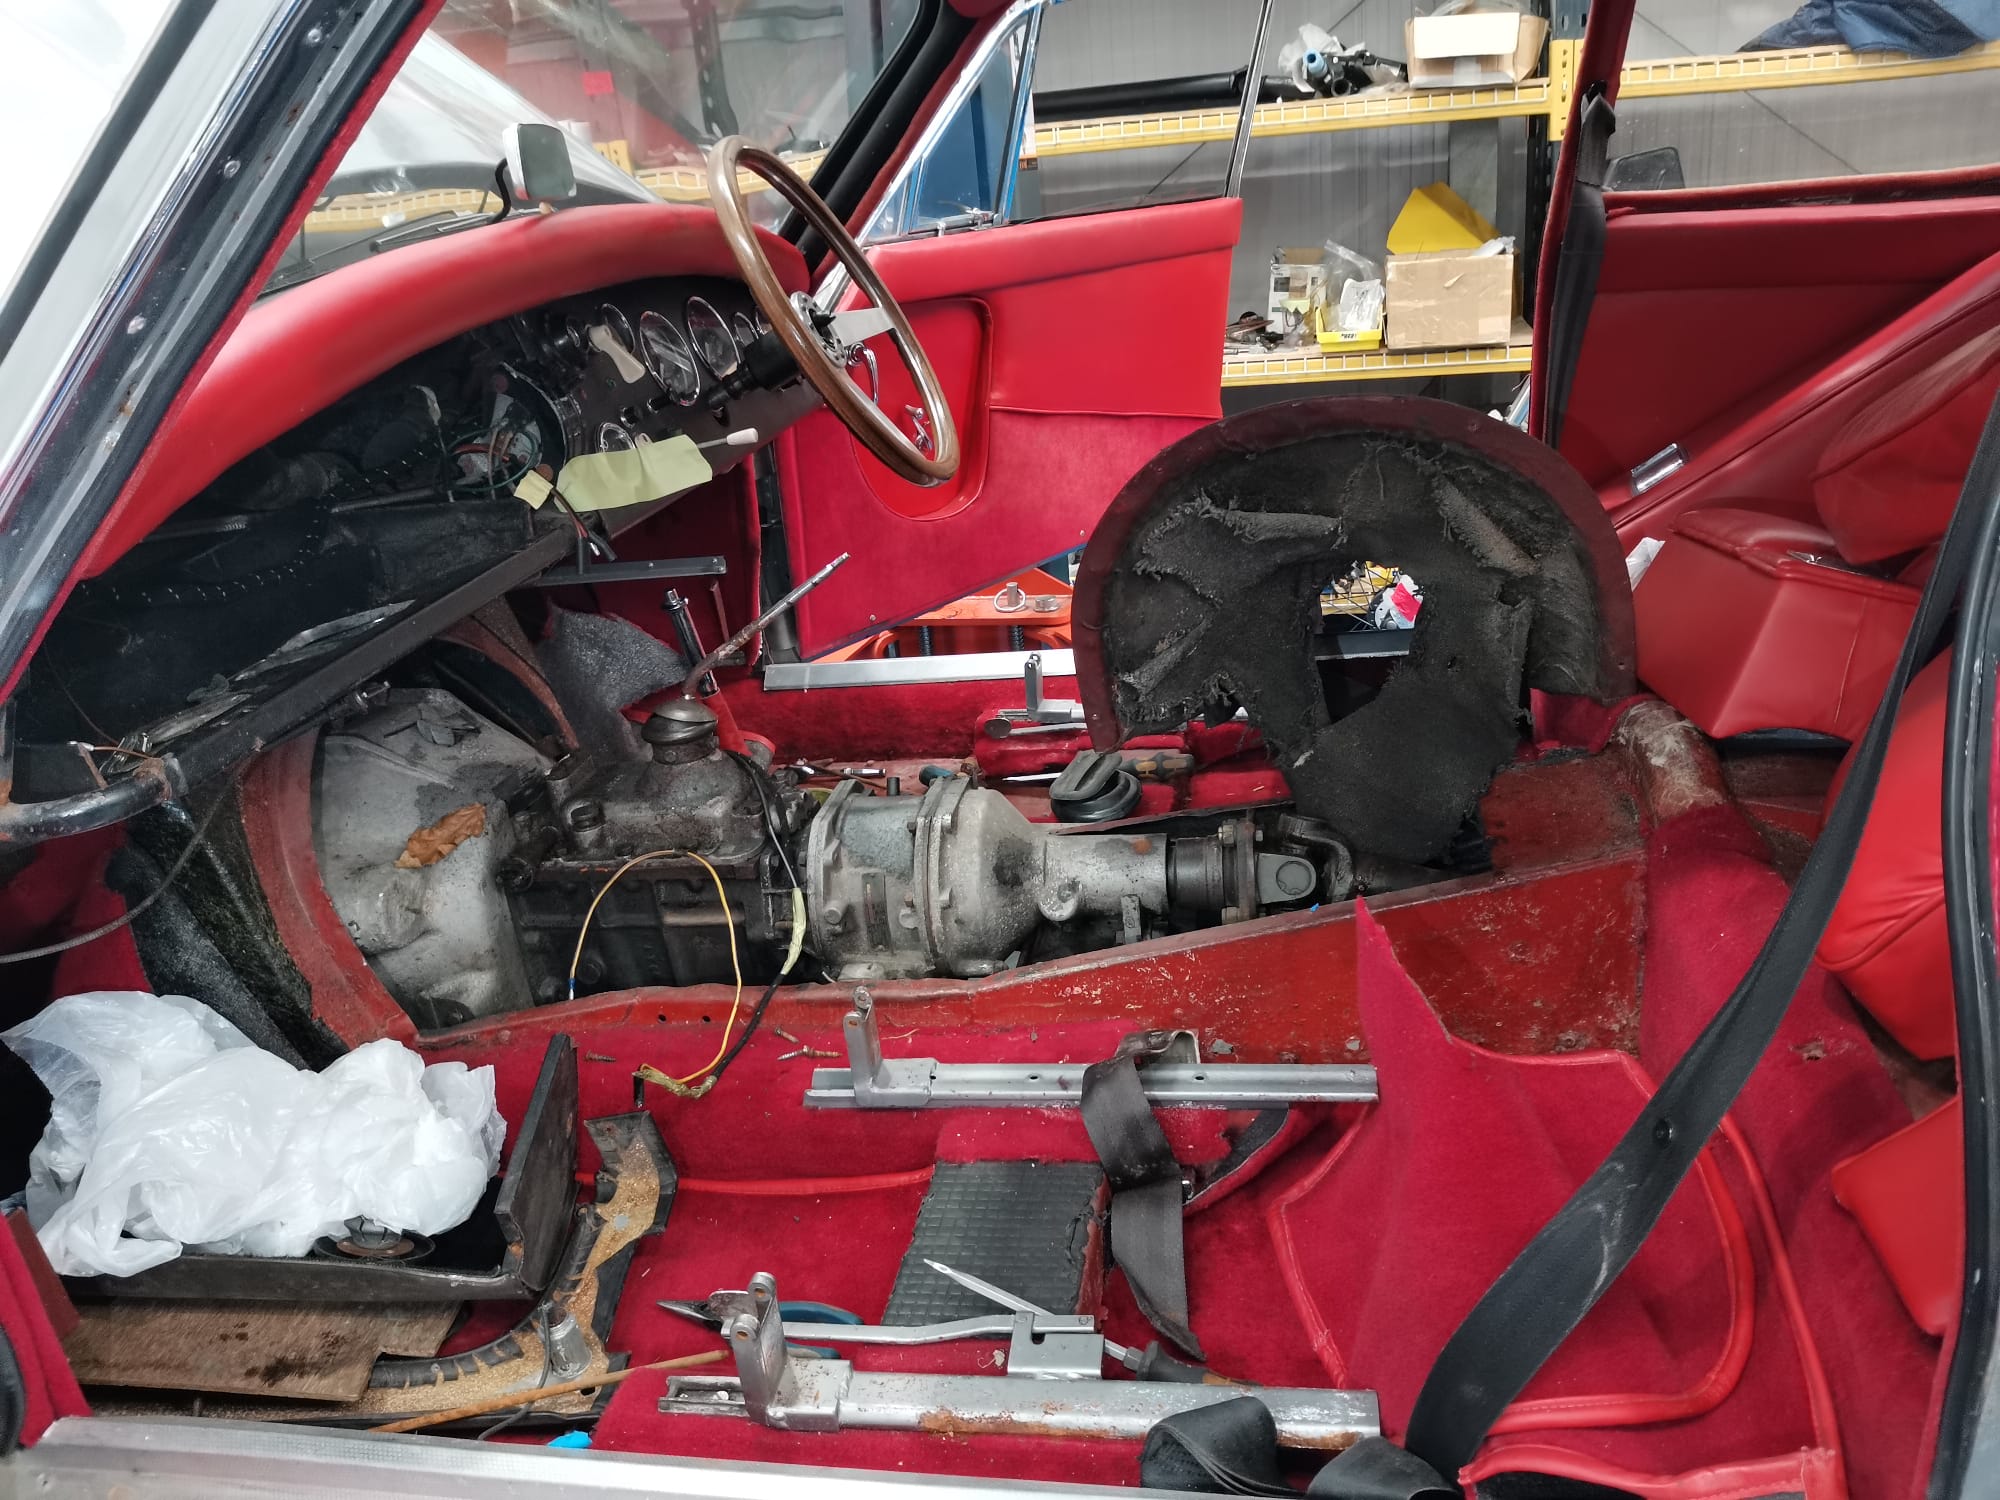
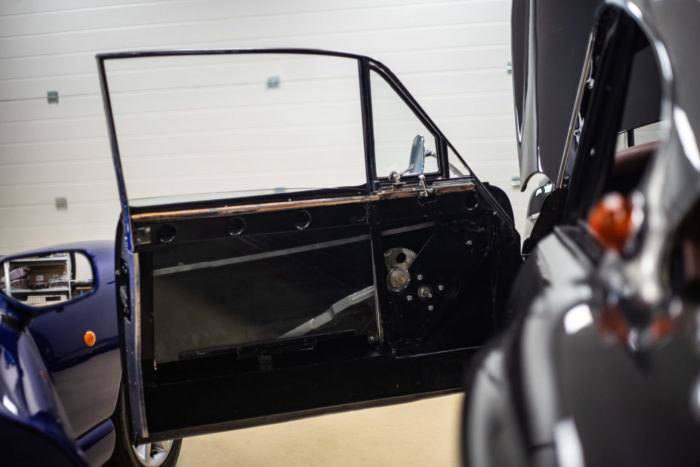
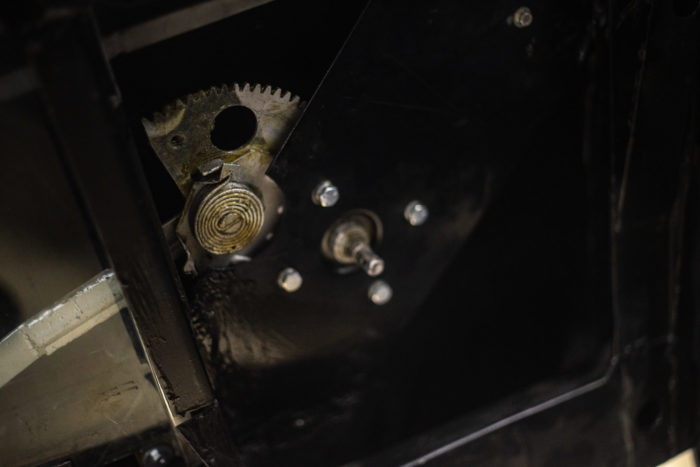
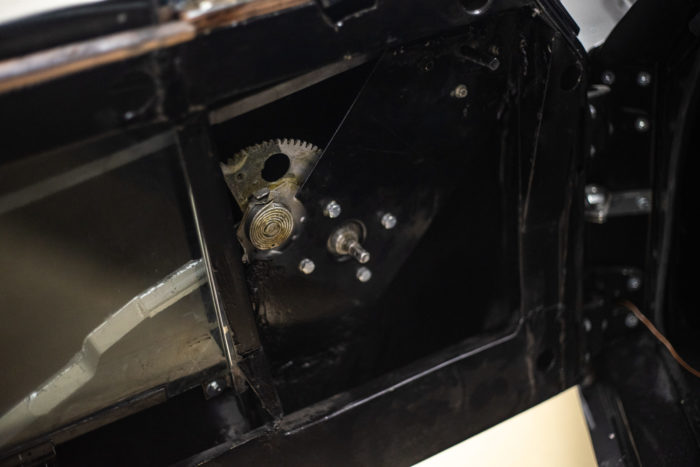
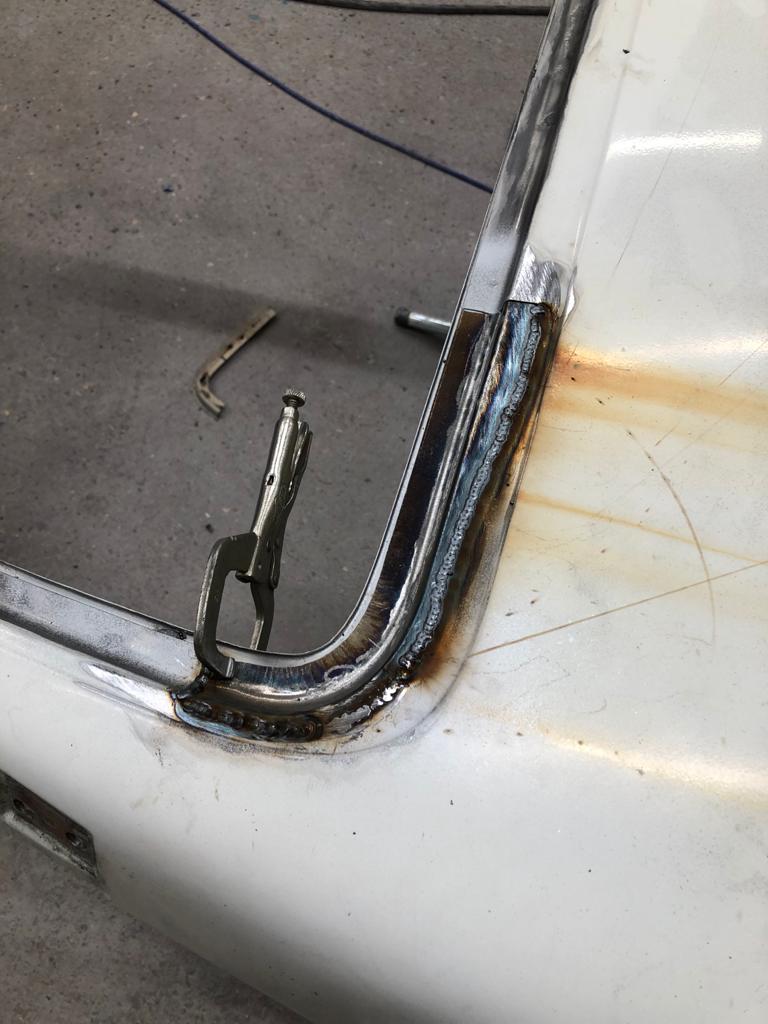
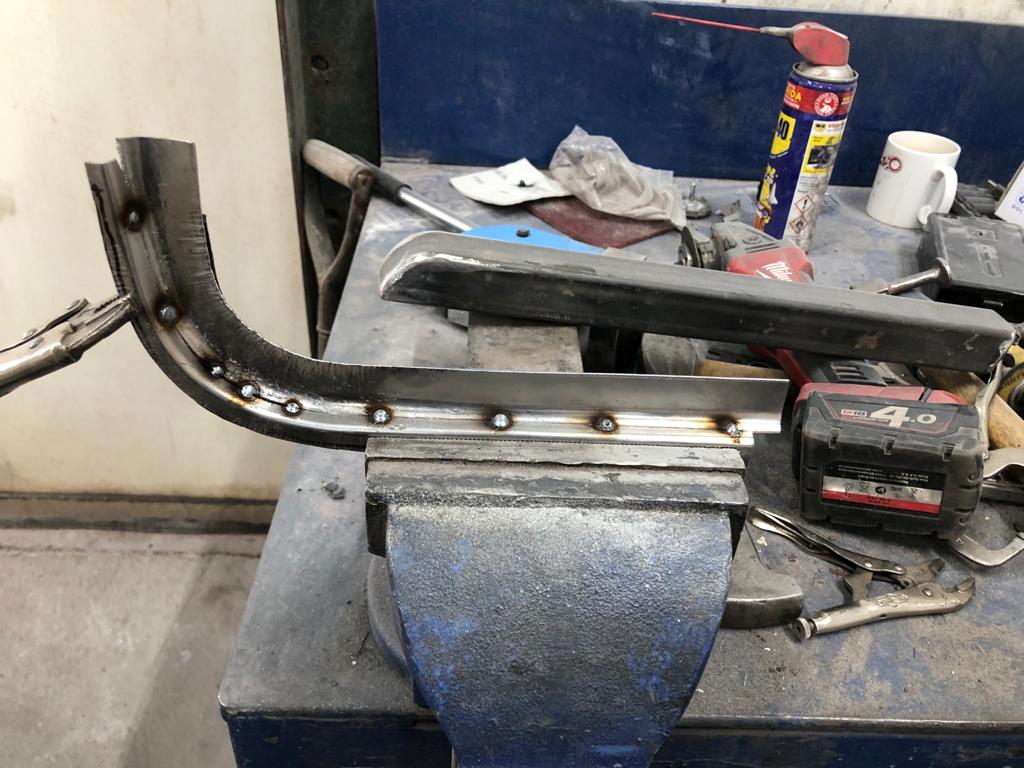
Our oldest Jensen, the 1957 541R has had some issues with its left side front passenger door. We’ve been working to modify it to allow it to sit more comfortbly in line with the rest of the body. With the alignment sorted, we also needed to address the ill fitting door car before it could be dressed.
One of our engineers has worked on making the inside of the door frame deeper so that the door car could fit inside.

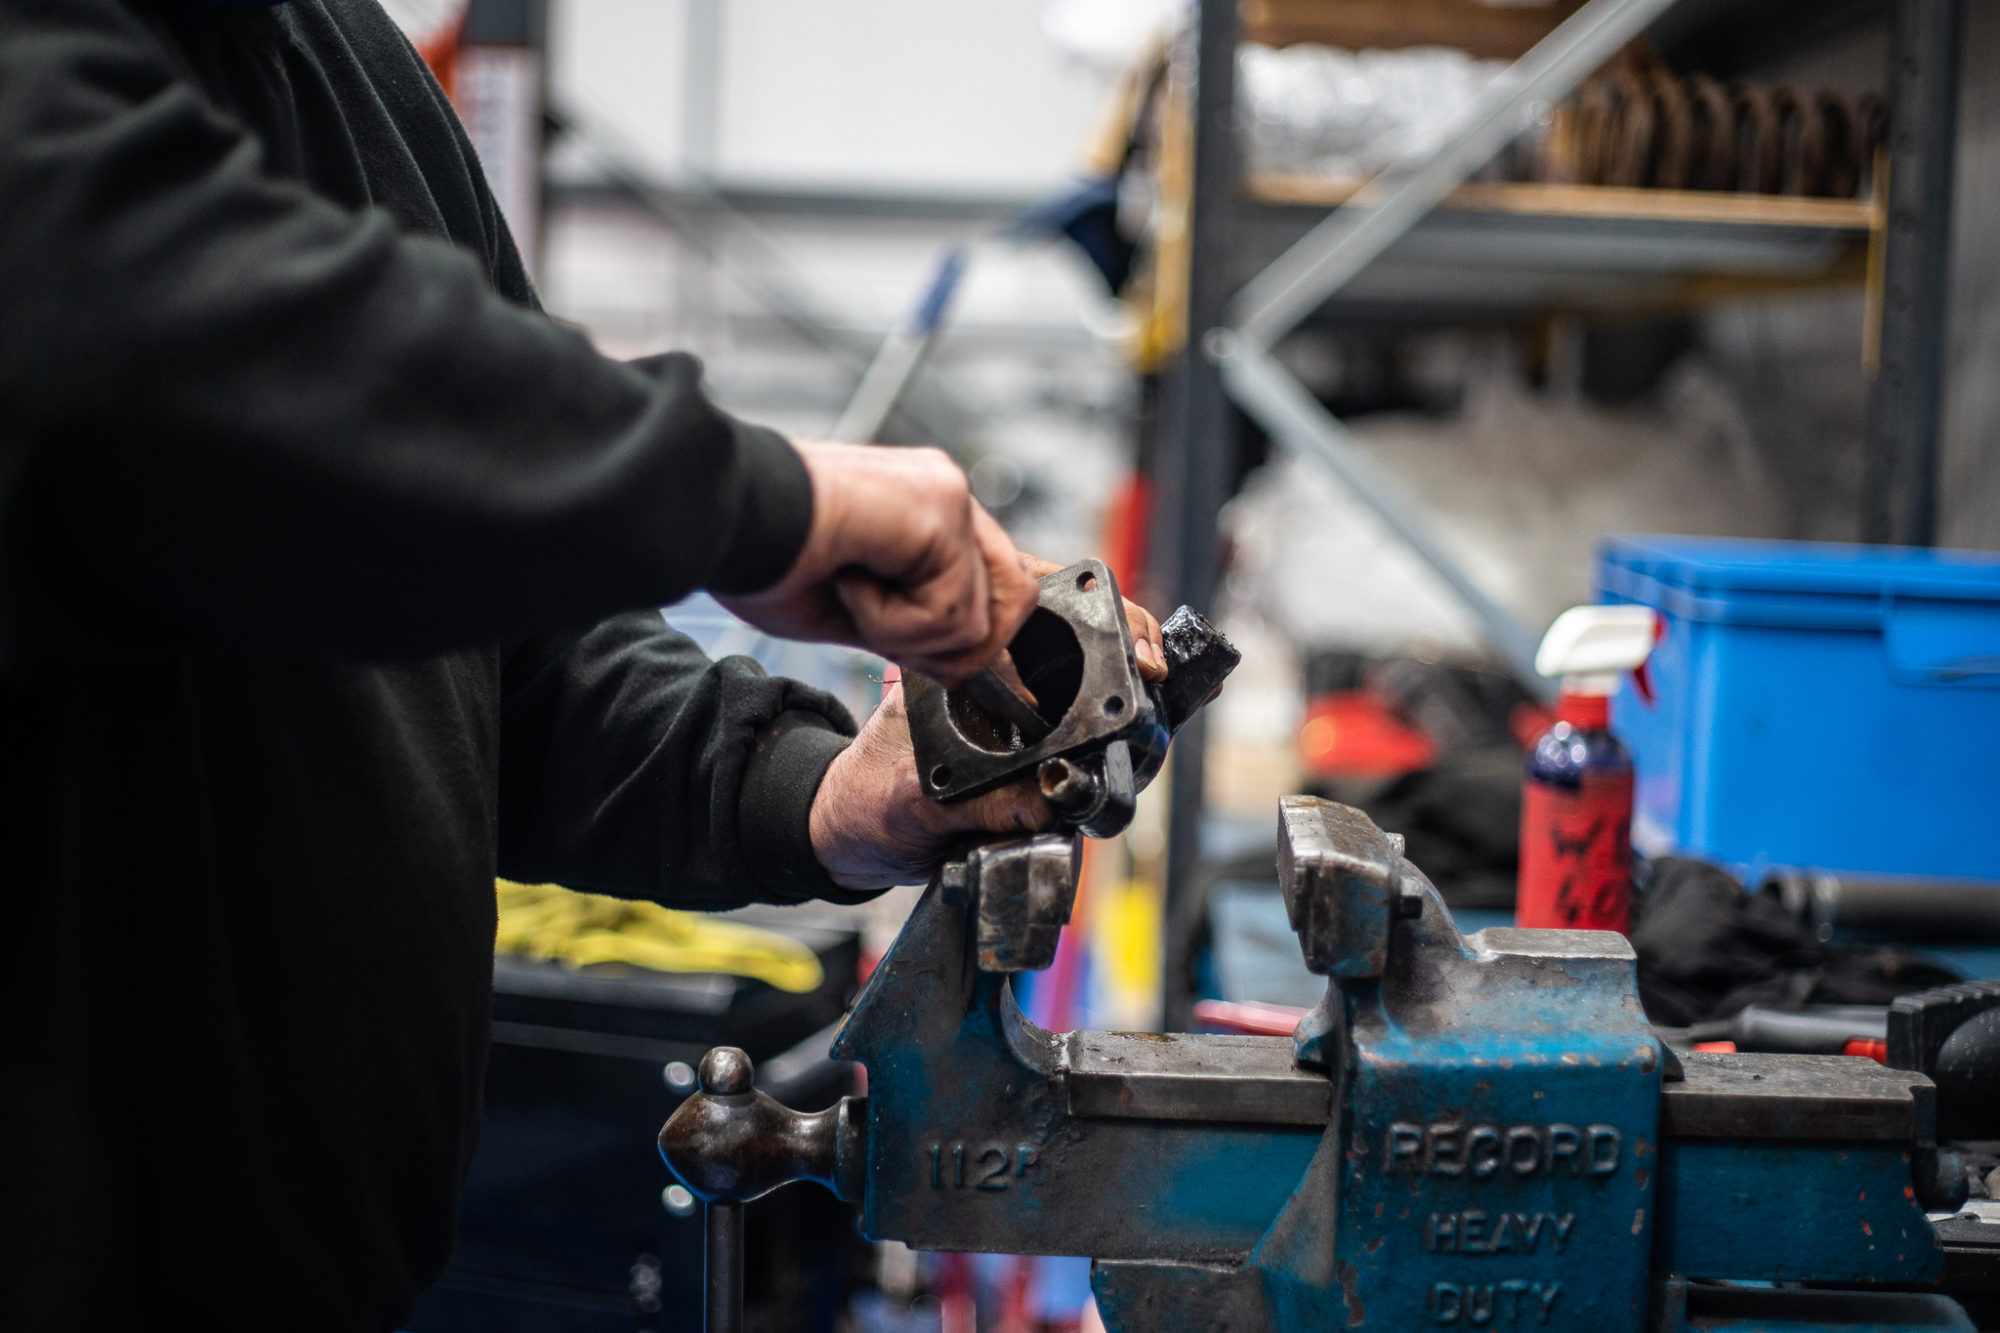
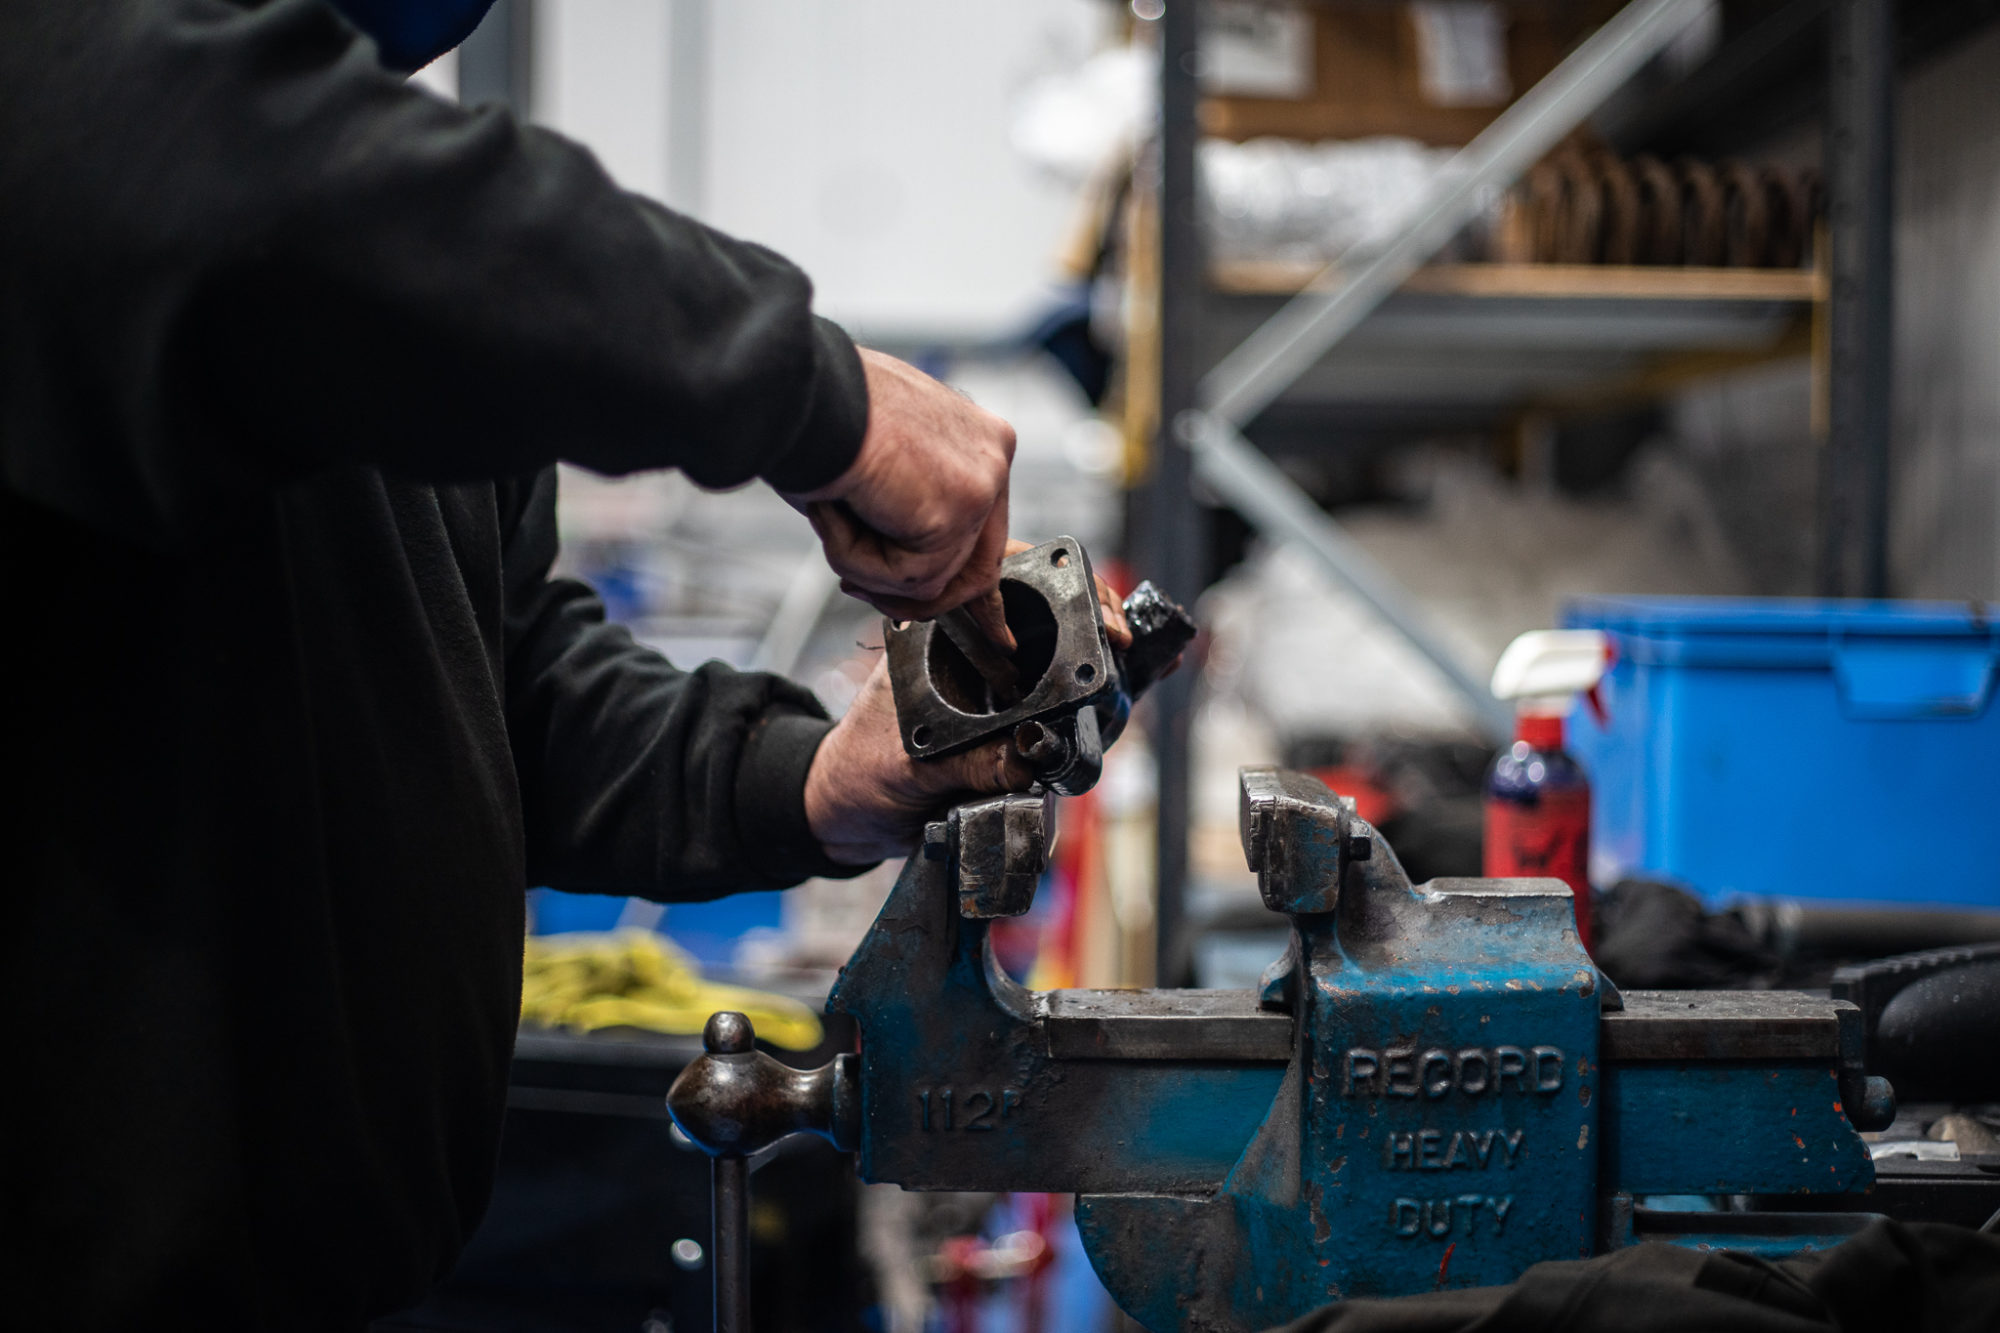
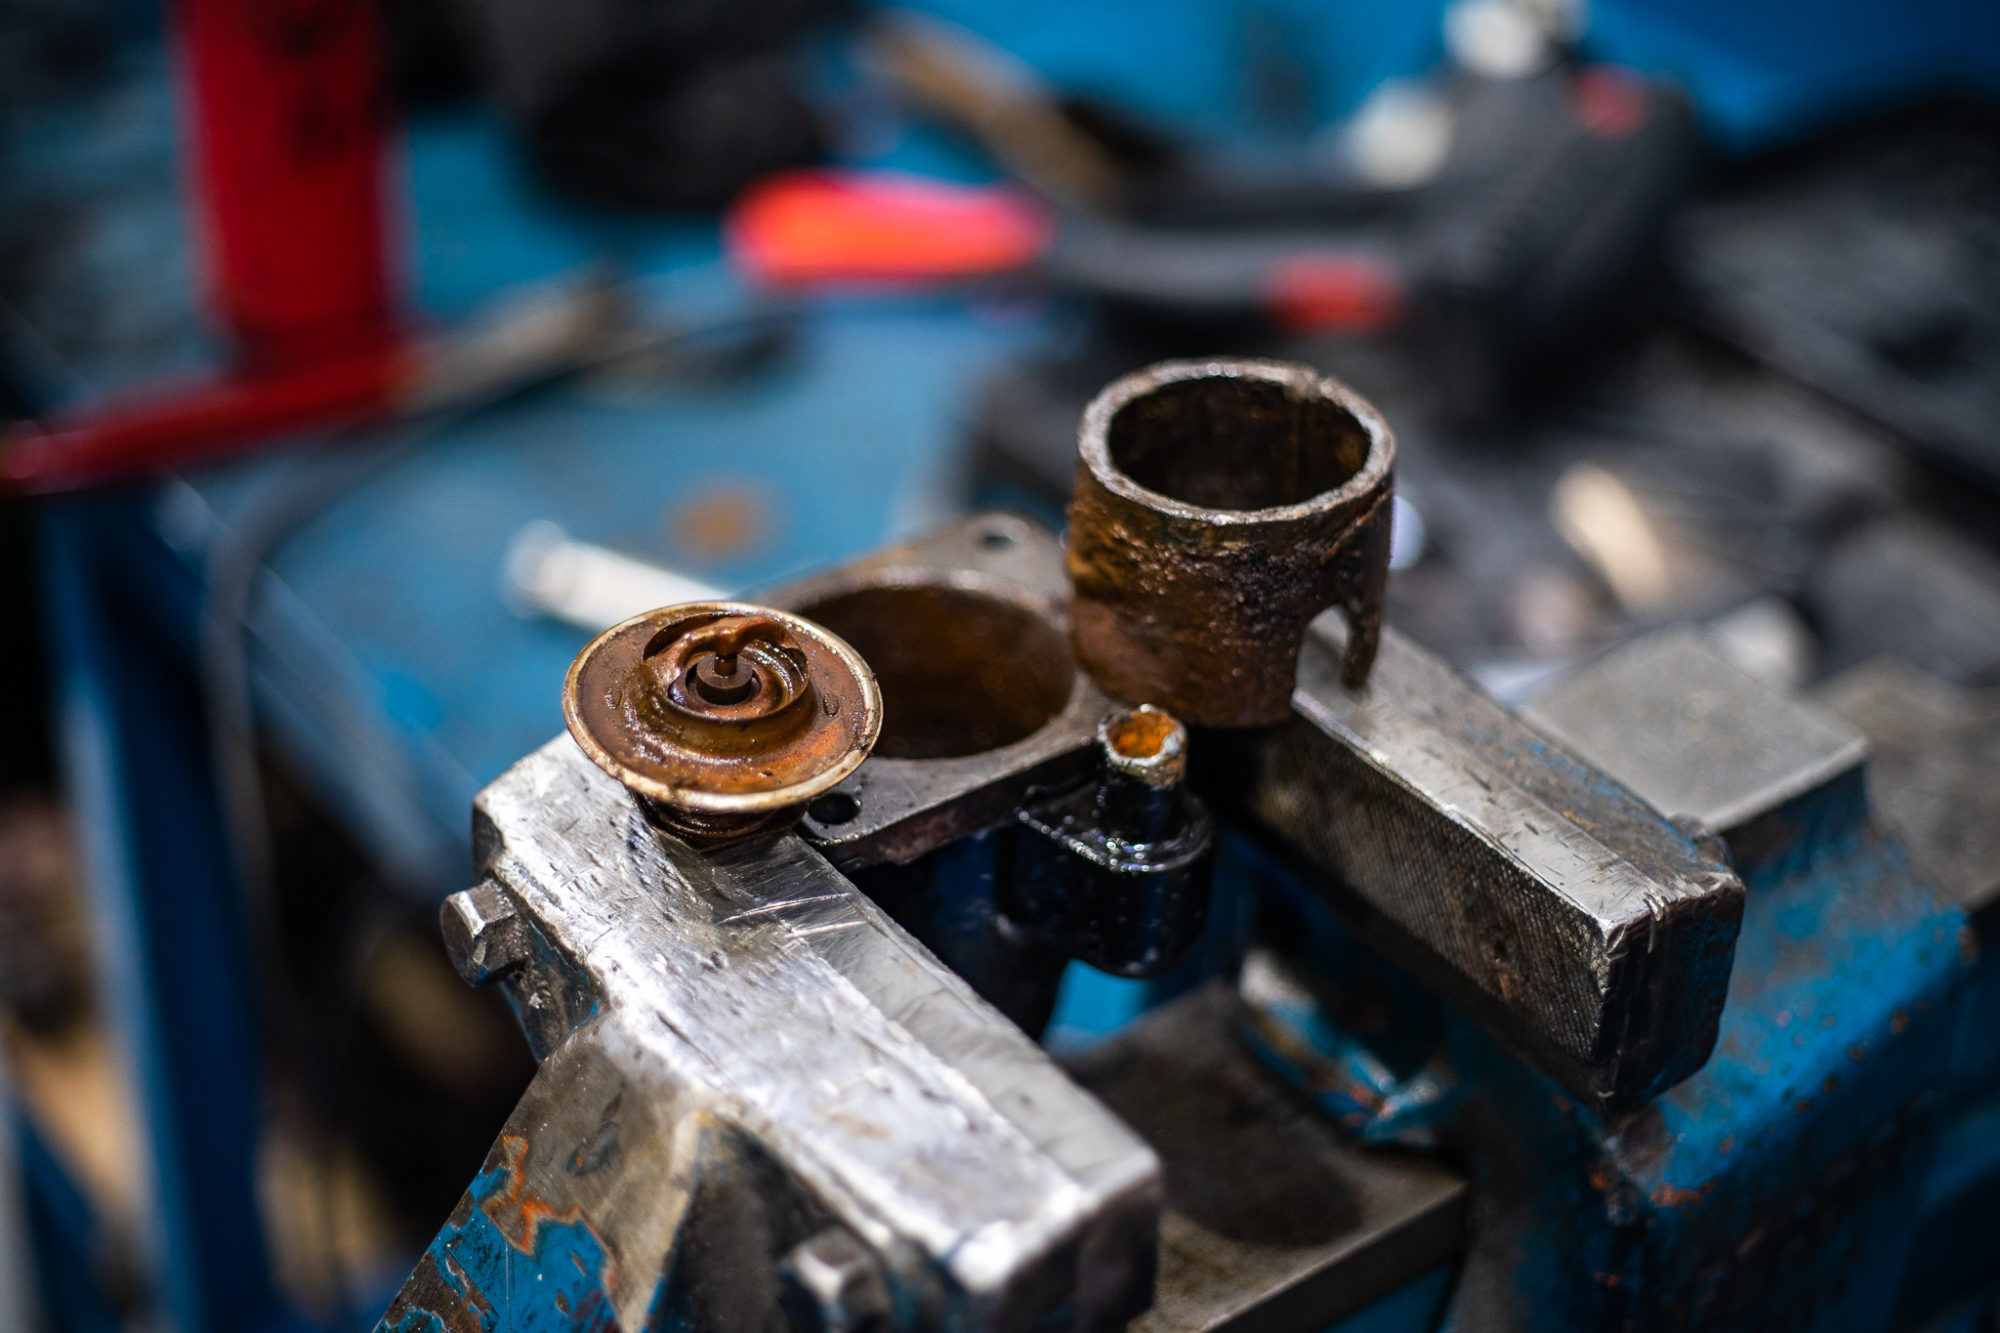
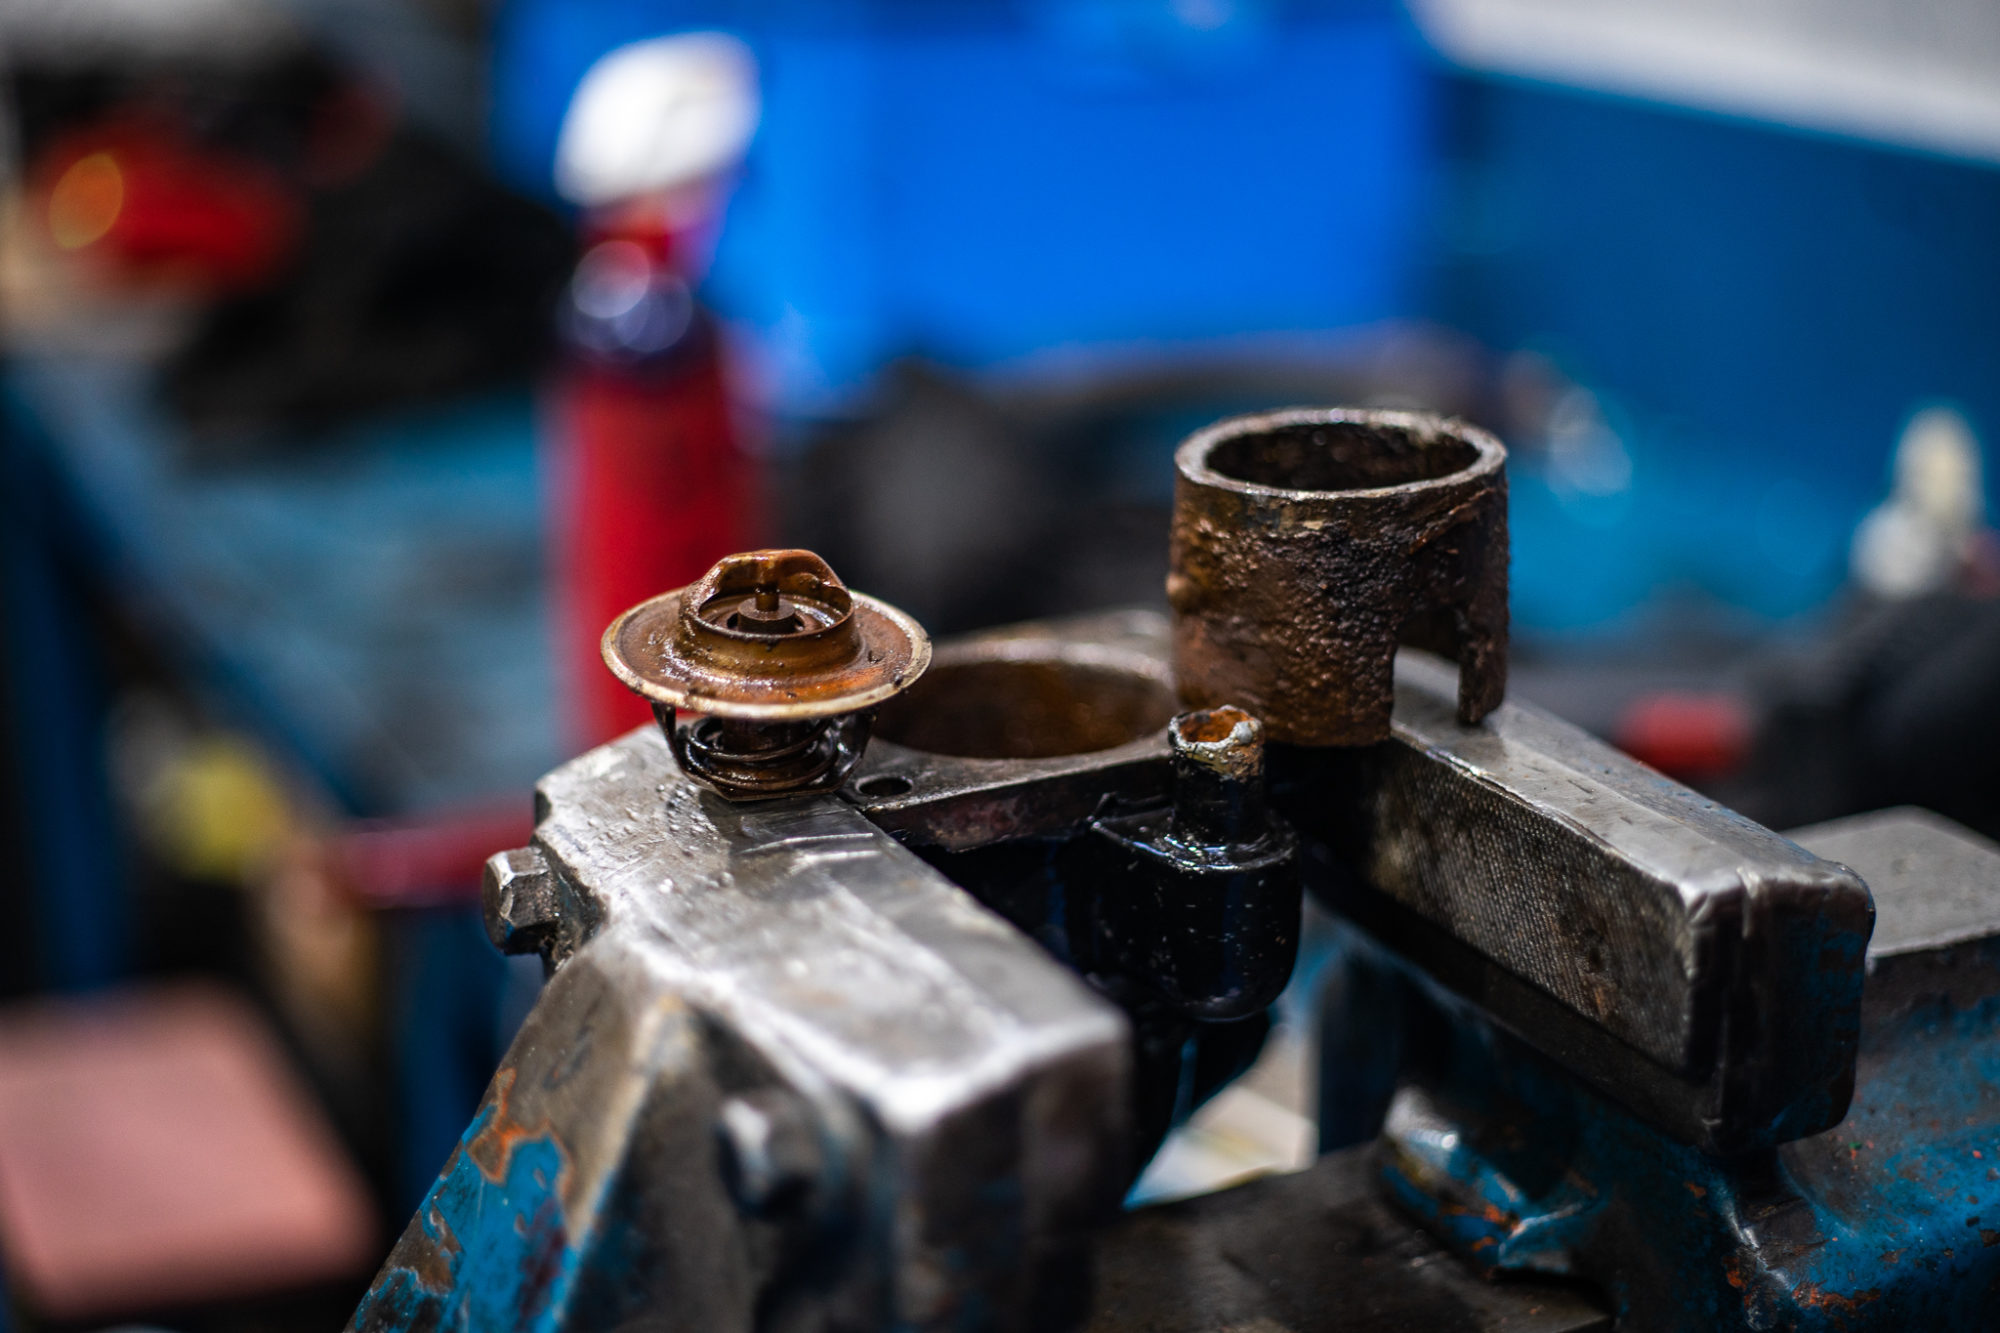
Our 1961 541S Jensen was having issues with over-heating, but luckily, our classic car technician Paul, put his mind to investigating the issue. He found that the wax seal in the thermostat had gotten stuck. To address this he applied a freeing agent that was left overnight so that he could ‘un-stick’ the seal the next day.
The thermostat opens to allow the engine coolant to flow through when it heats up, allowing for the cyclical movement up to the radiator, down through the radiator and round to the thermostat again. With the wax-seal seized closed, hot coolant couldn’t run through the engine, meaning it was overheating.
The thermostat works by regulating the engine temperature. As coolant flows around the engine, it collects excess heat. On leaving the engine, it travels to the radiator, where that excess heat is removed. It then makes a few more stops along its way through the cooling system and finishes back in the engine.
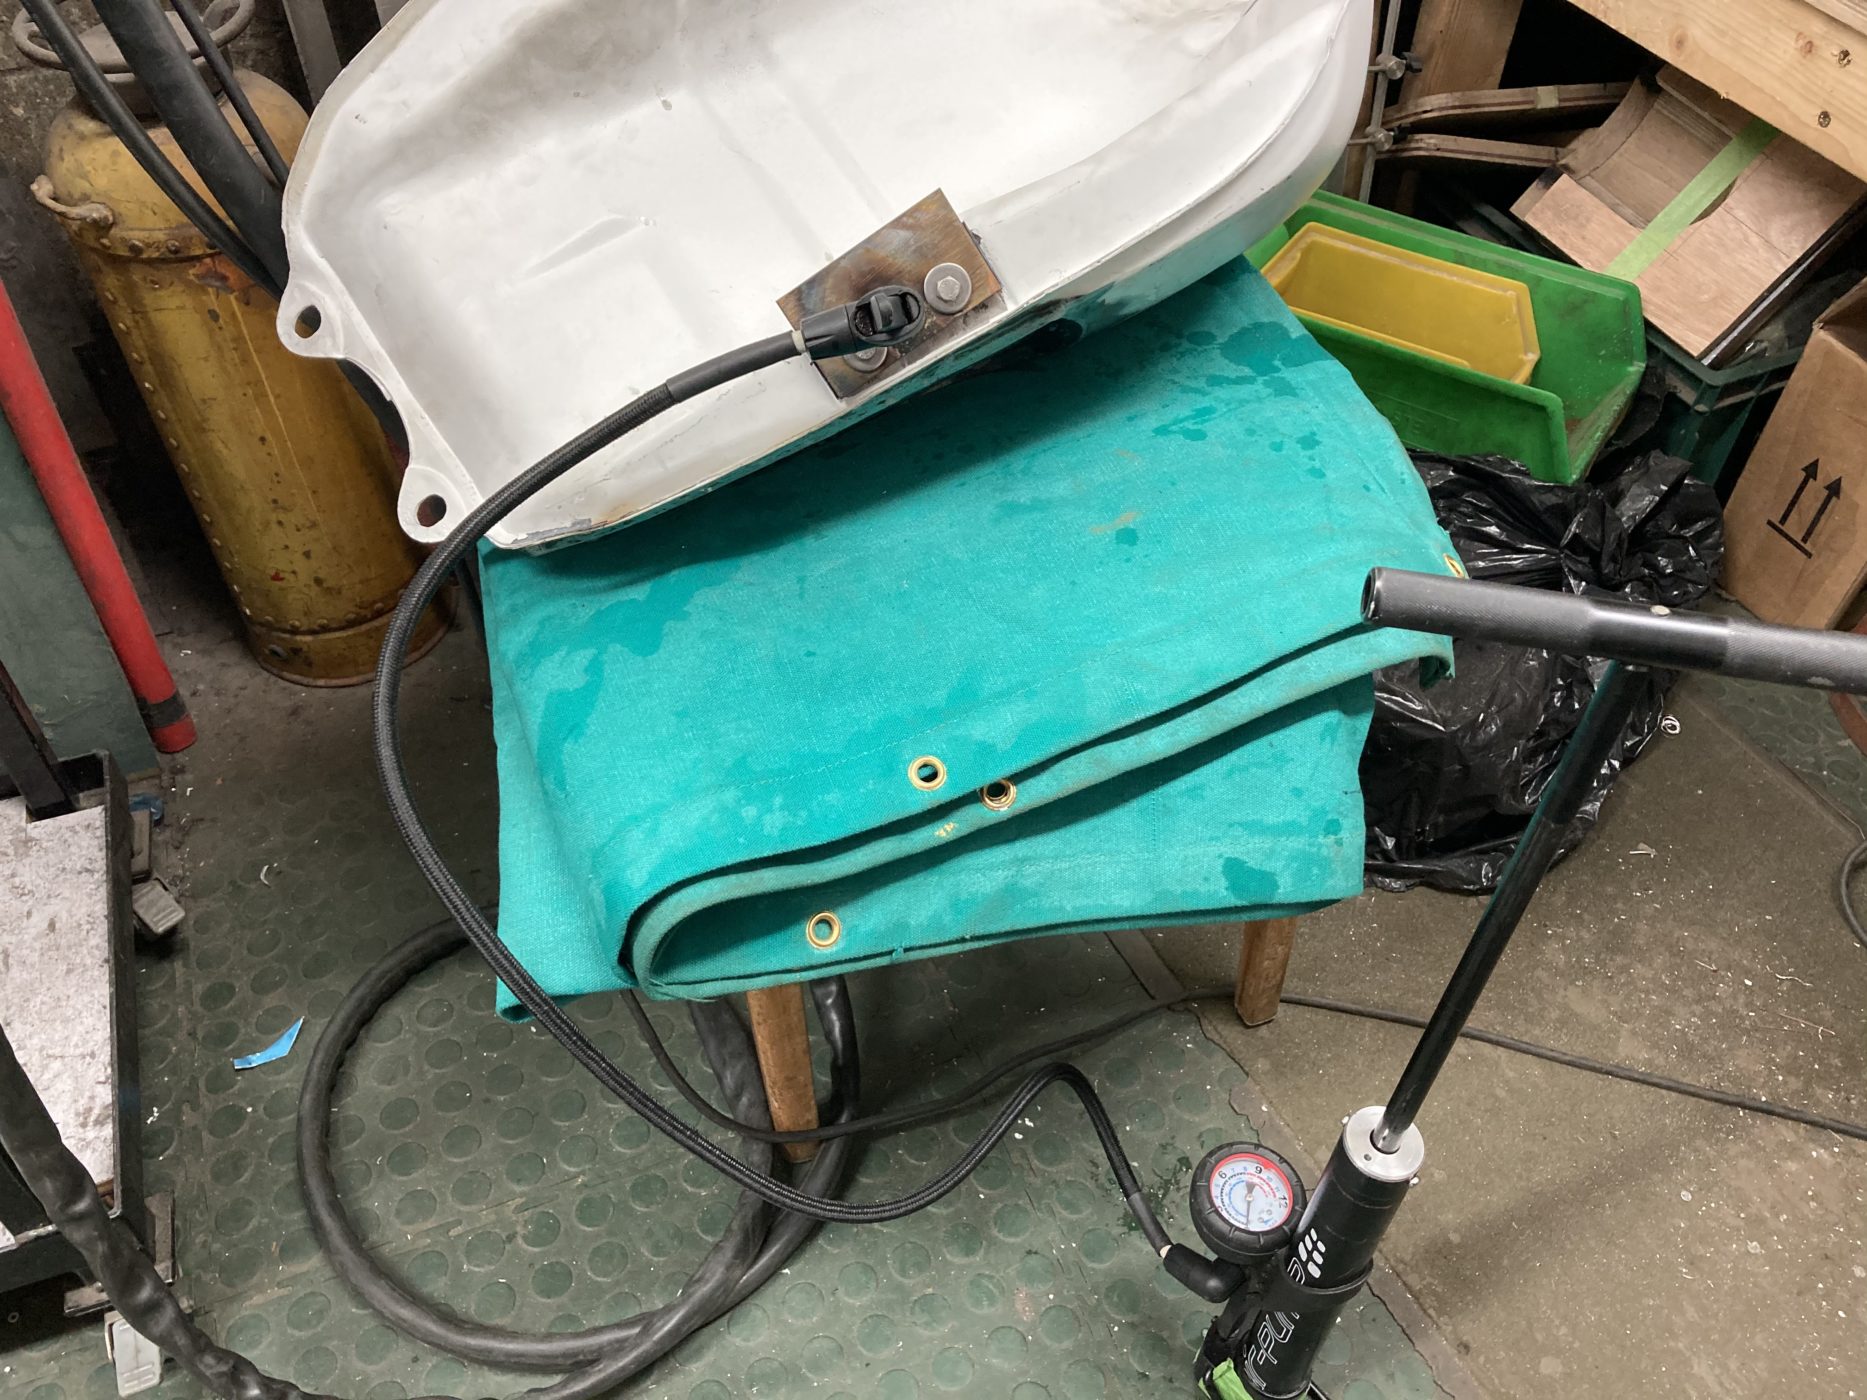
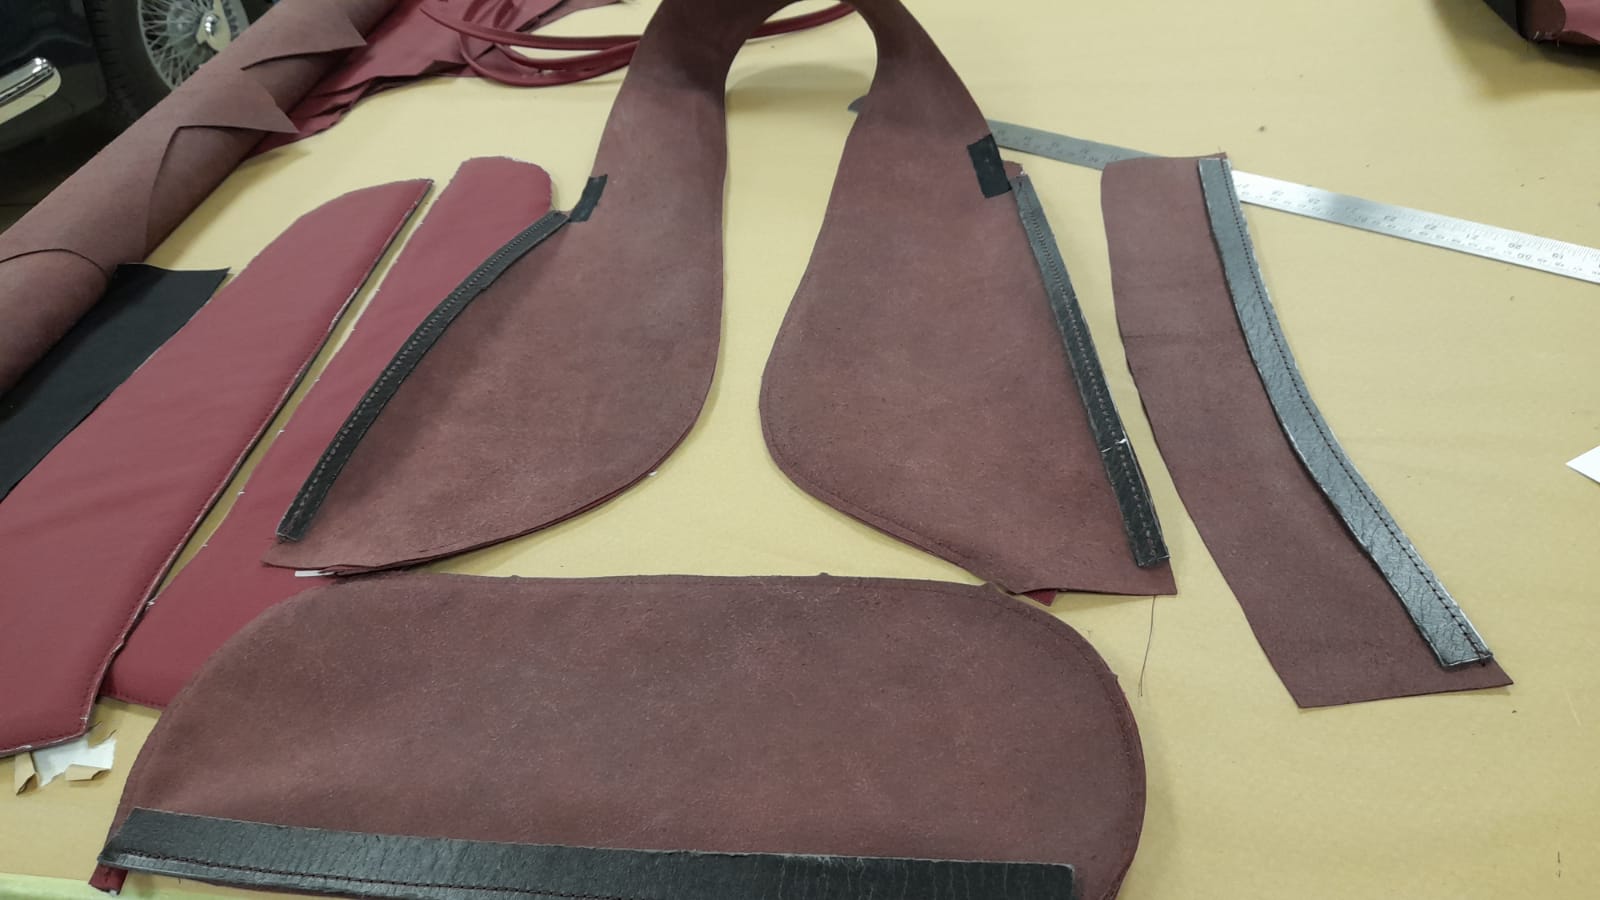
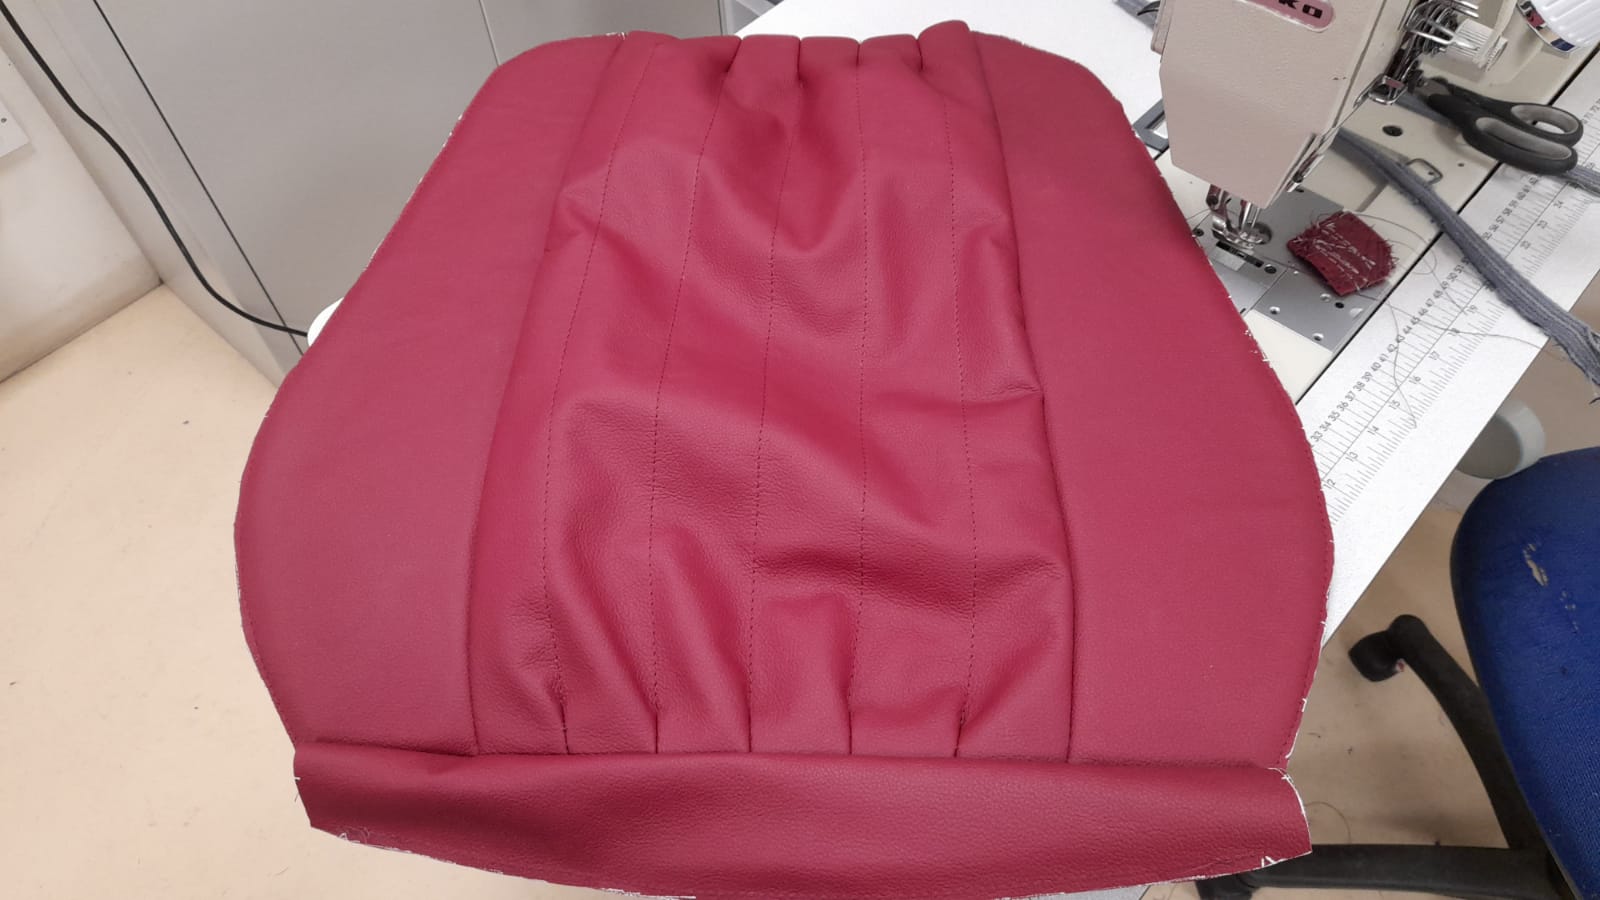
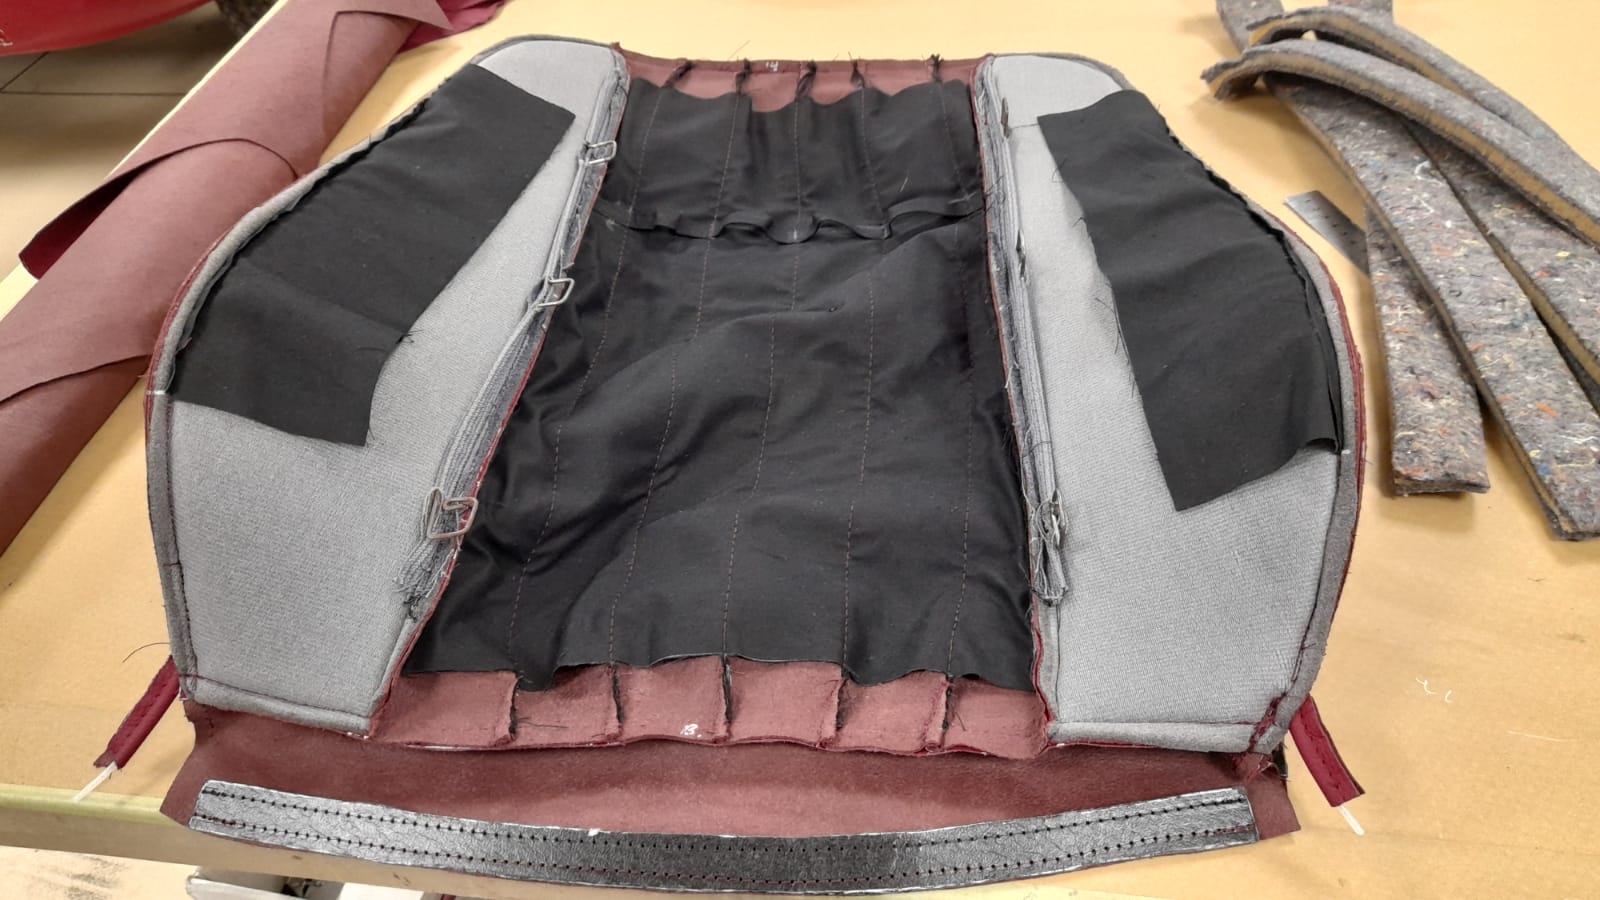
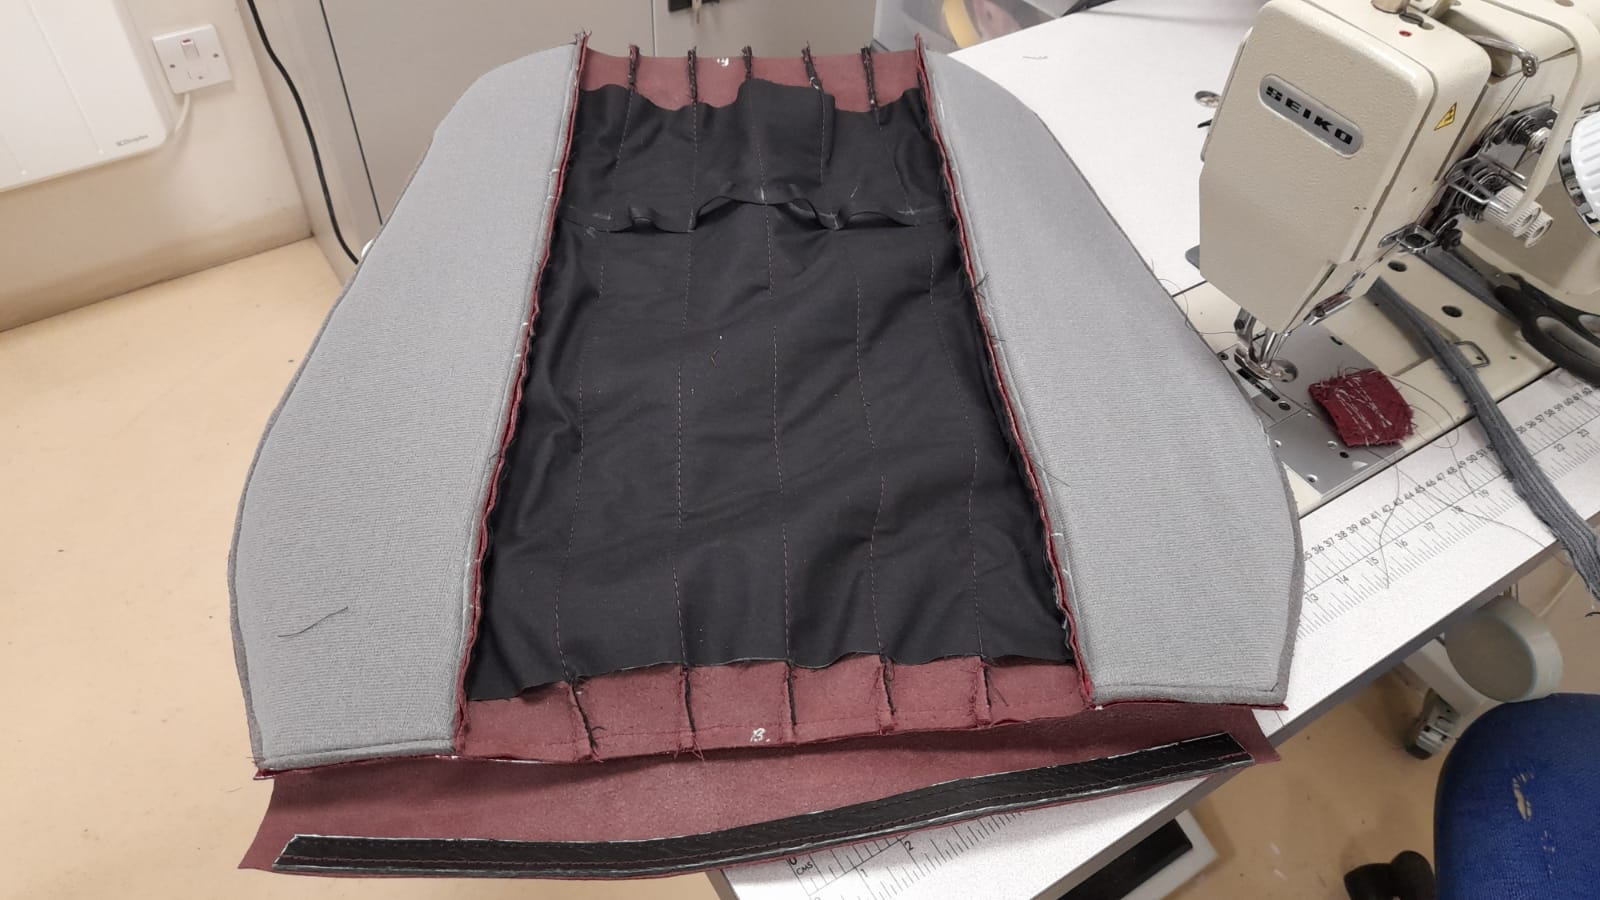
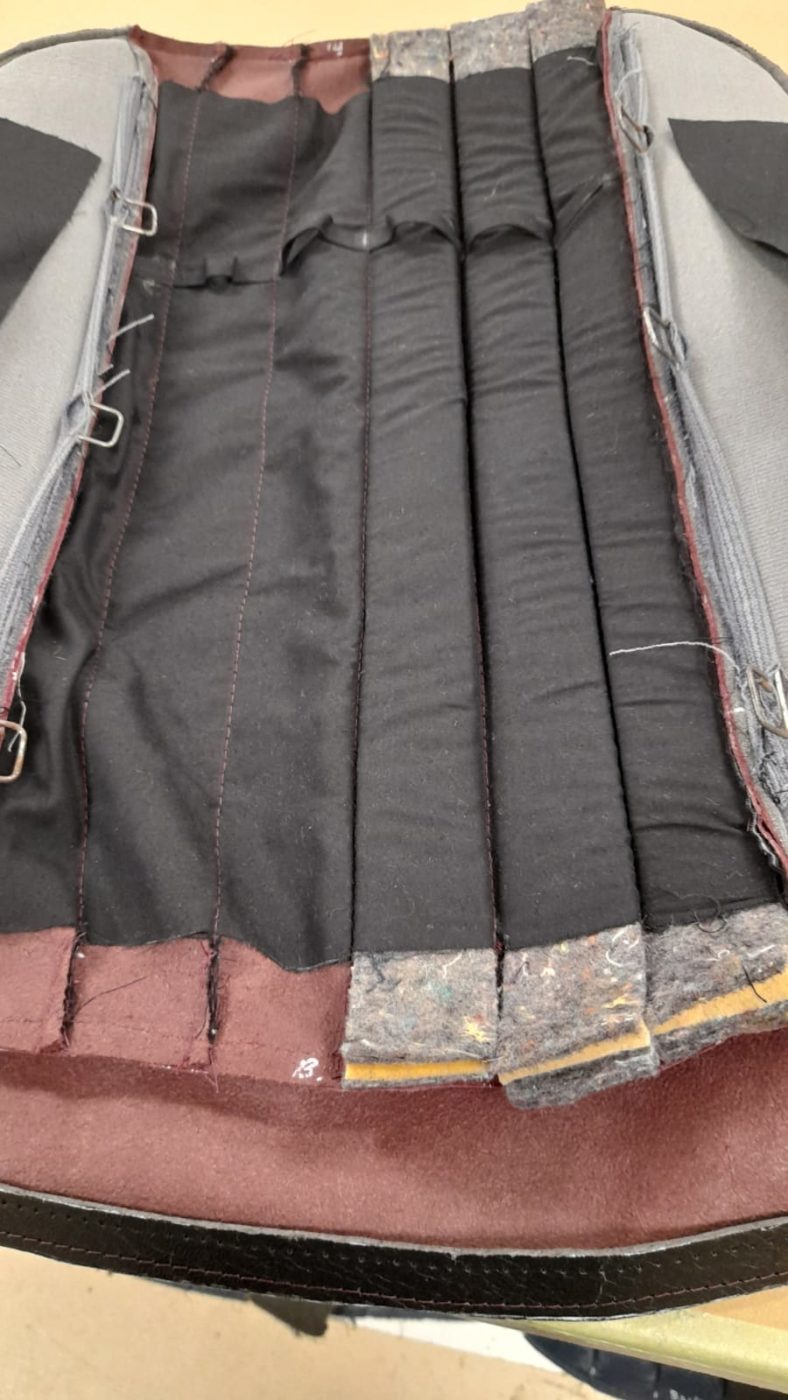
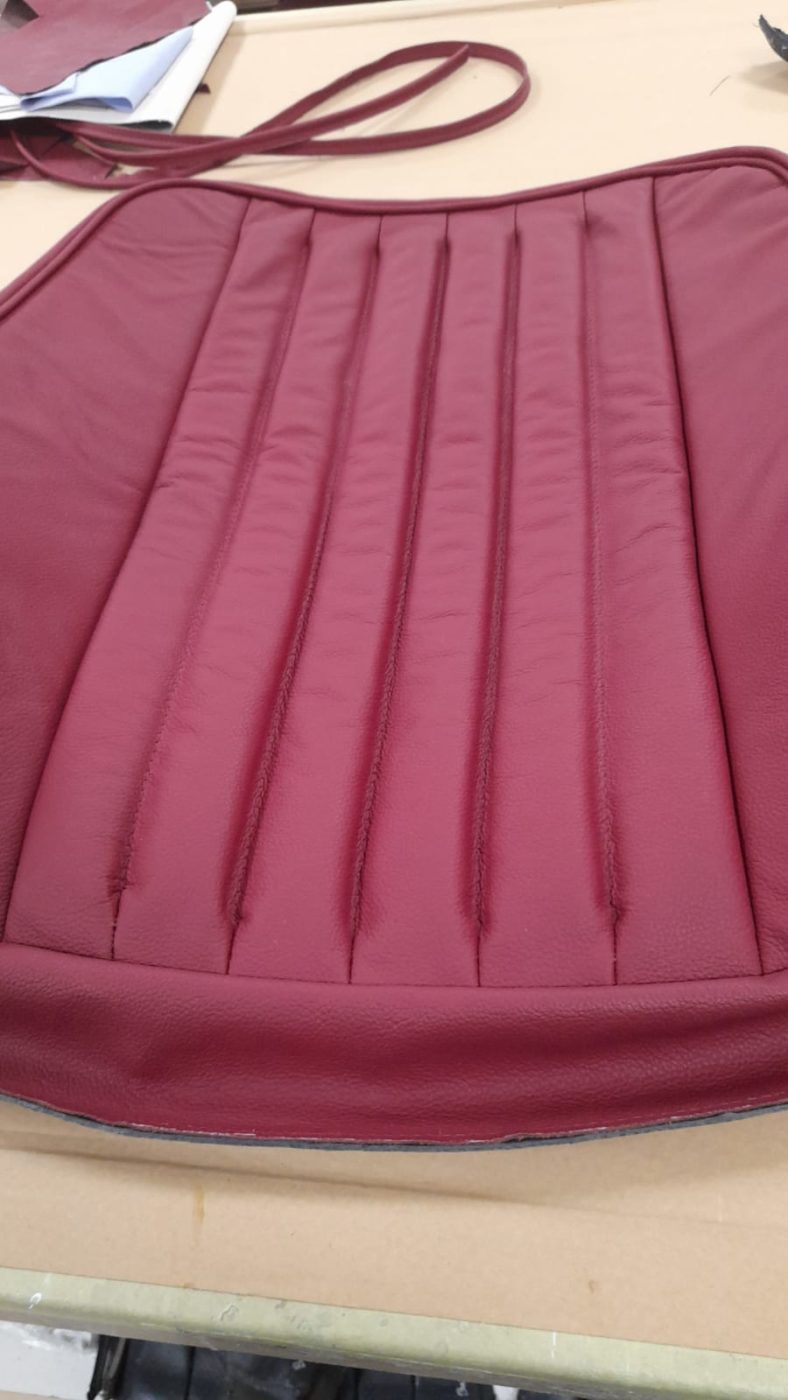
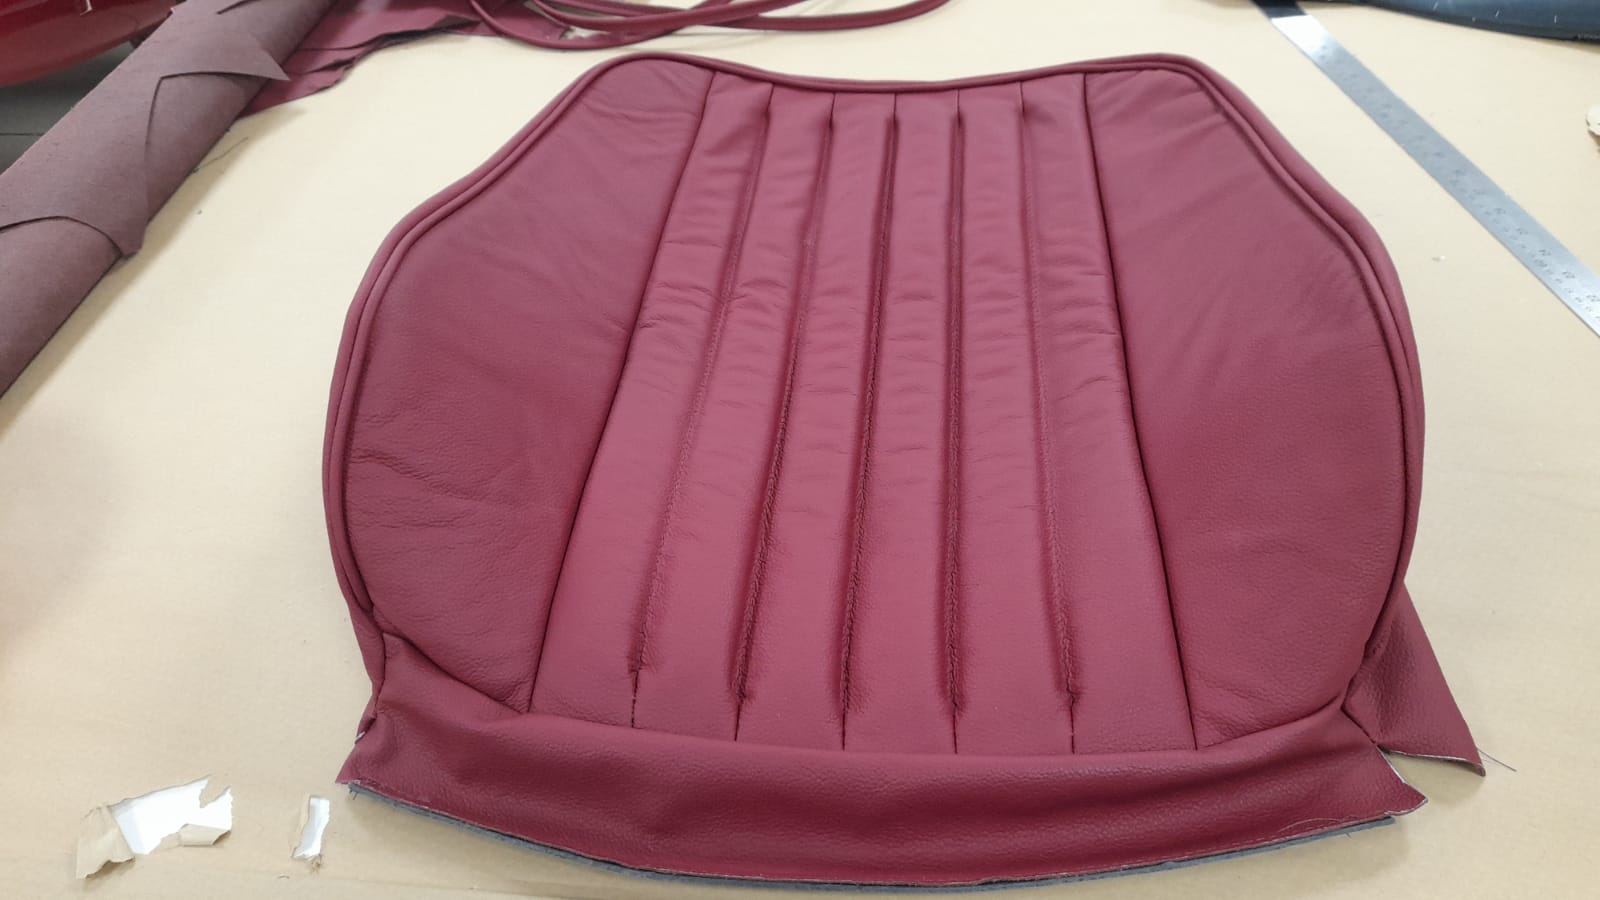
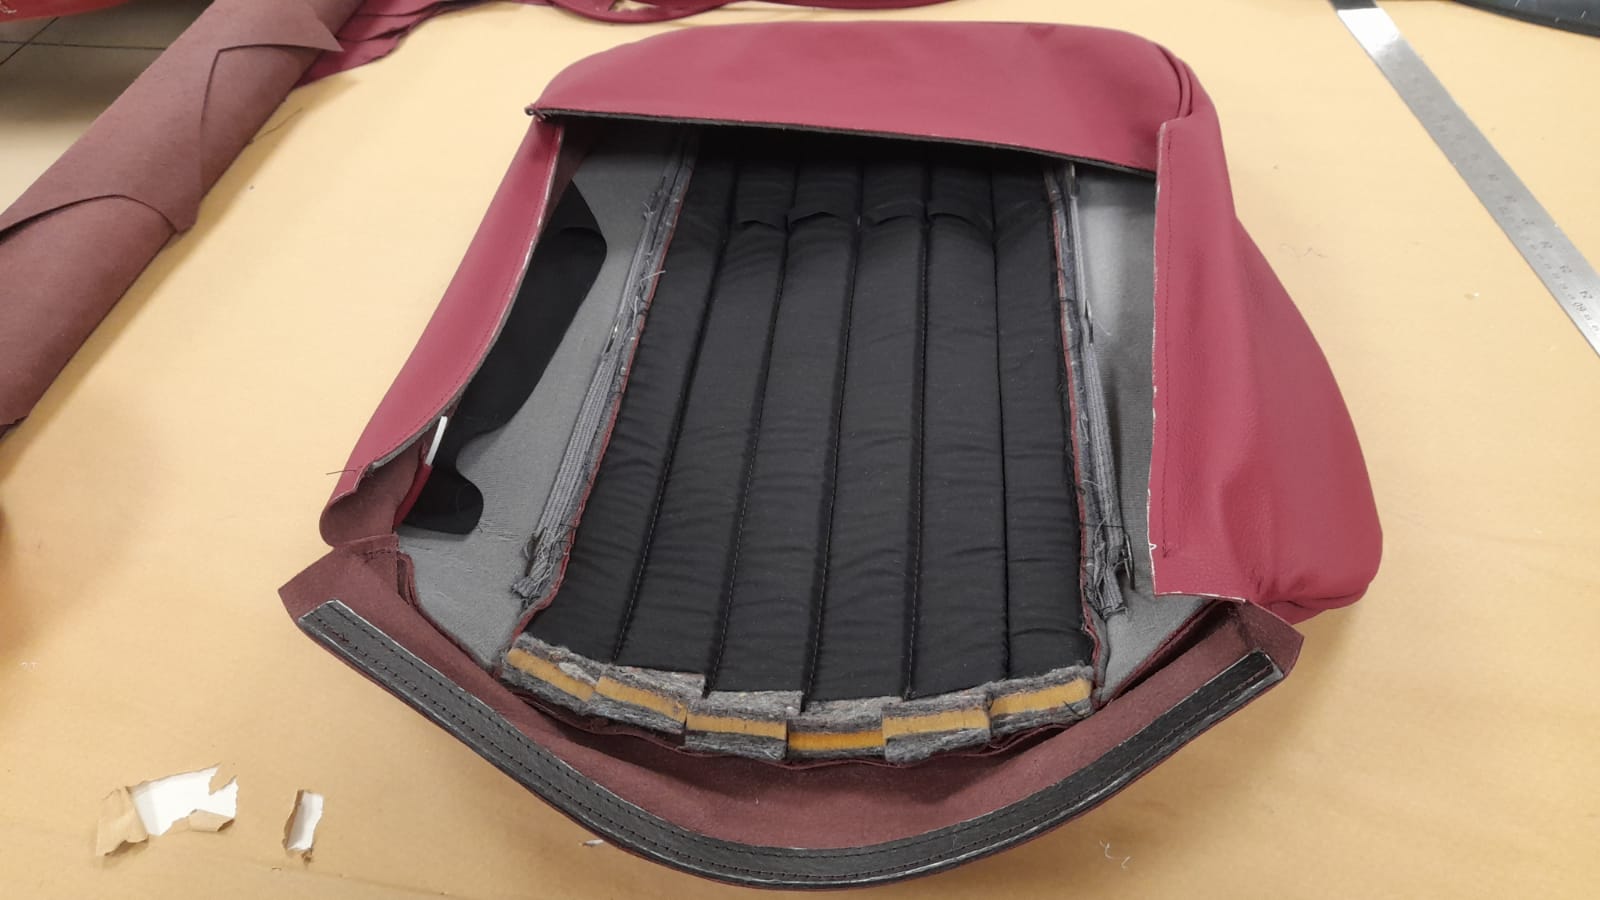
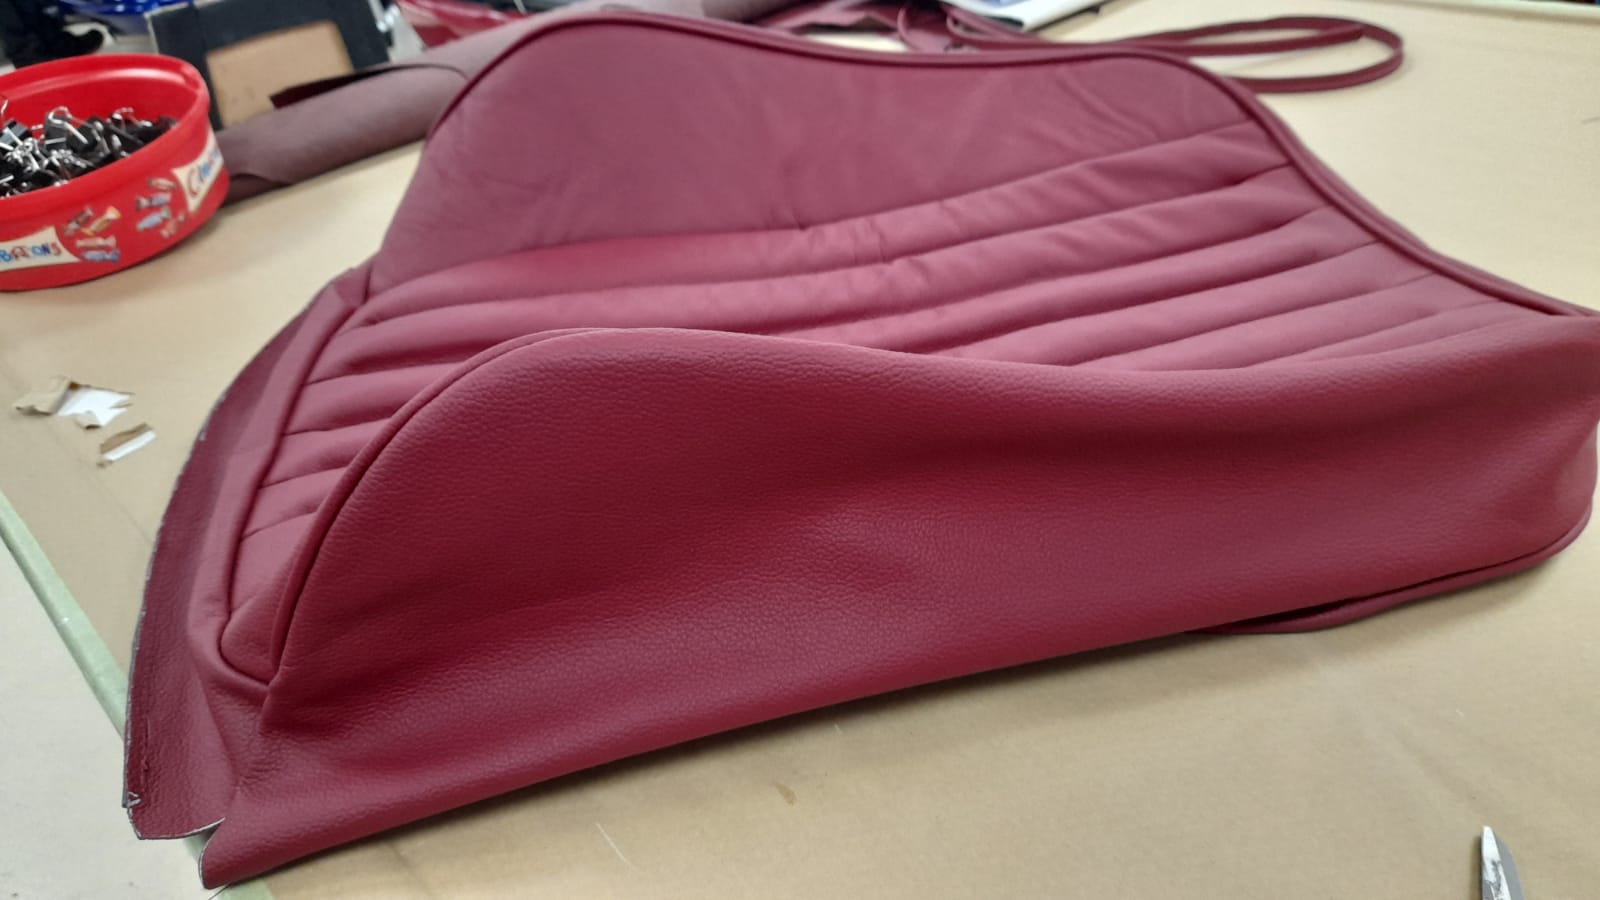
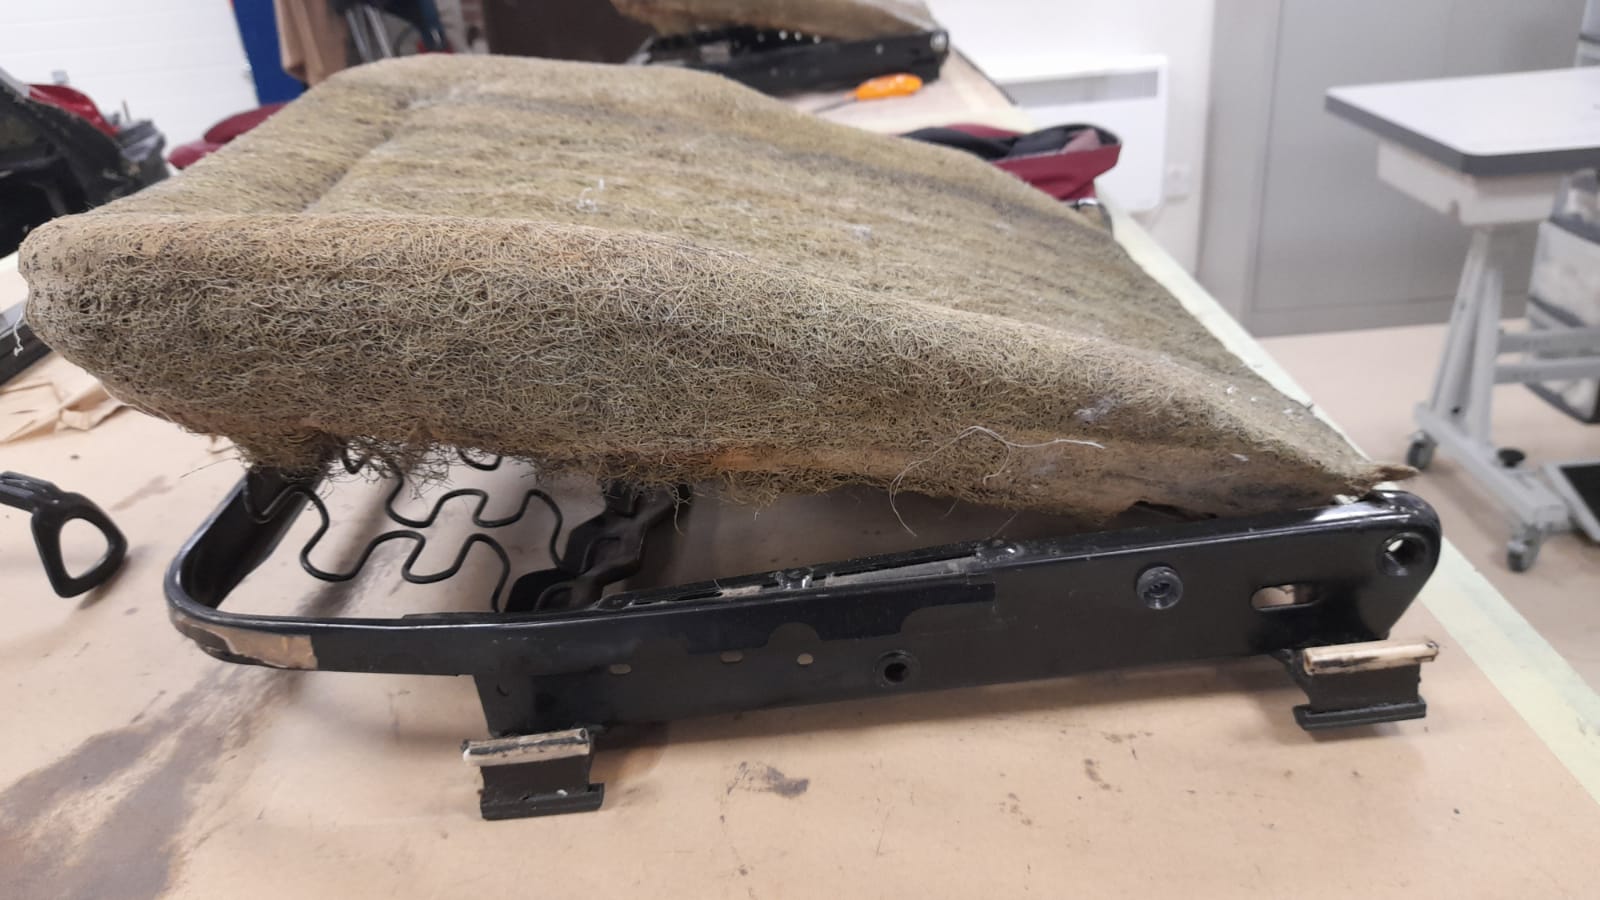
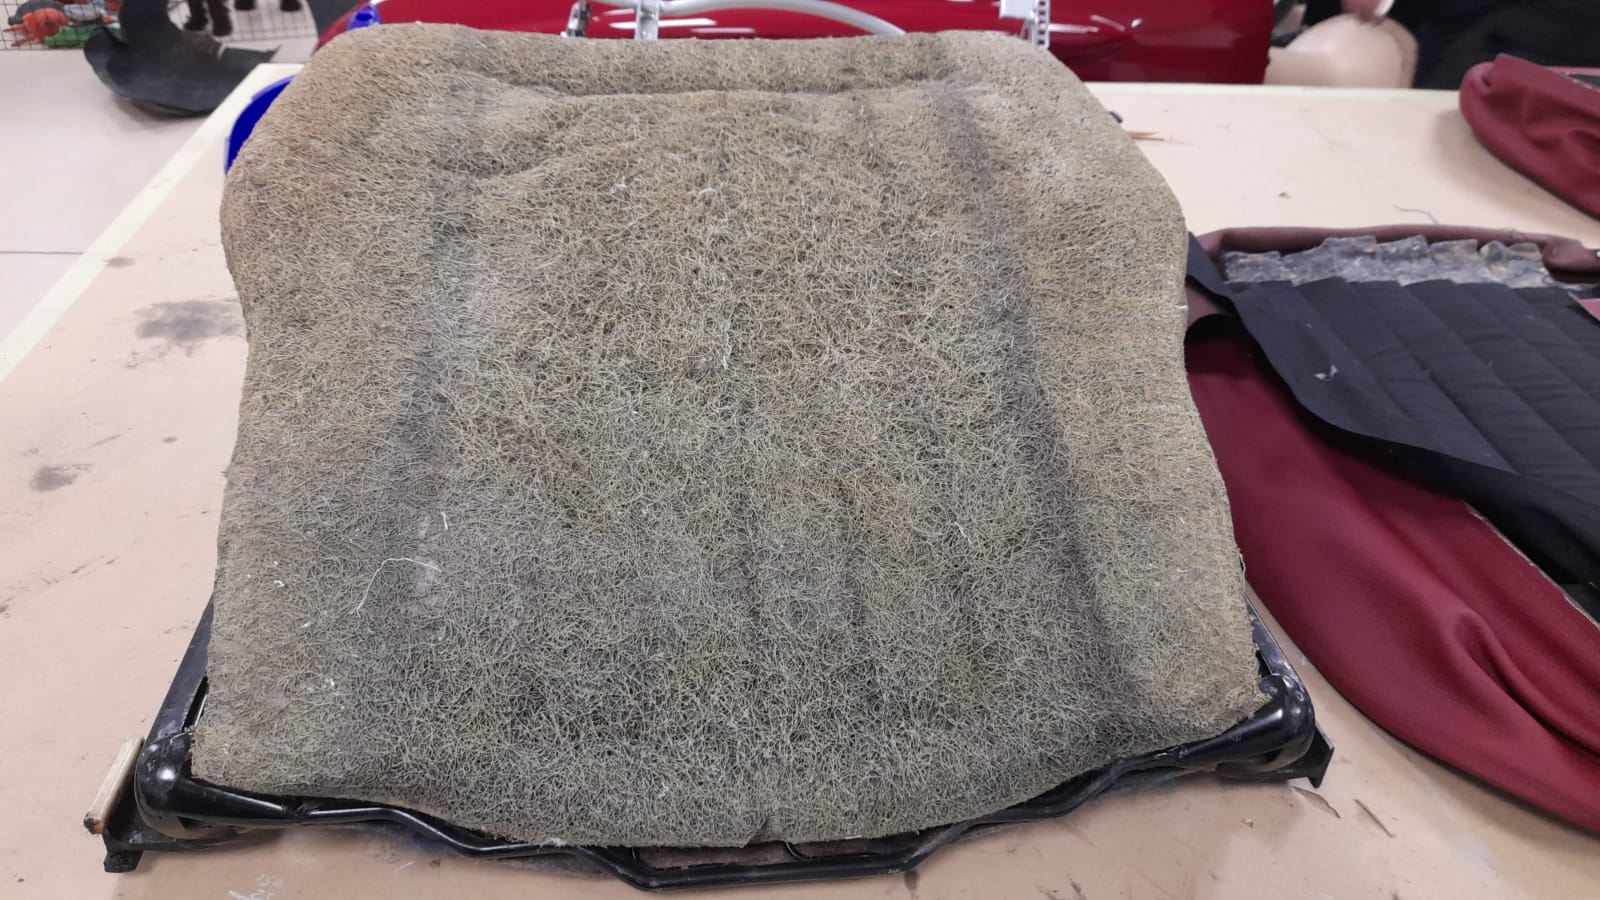
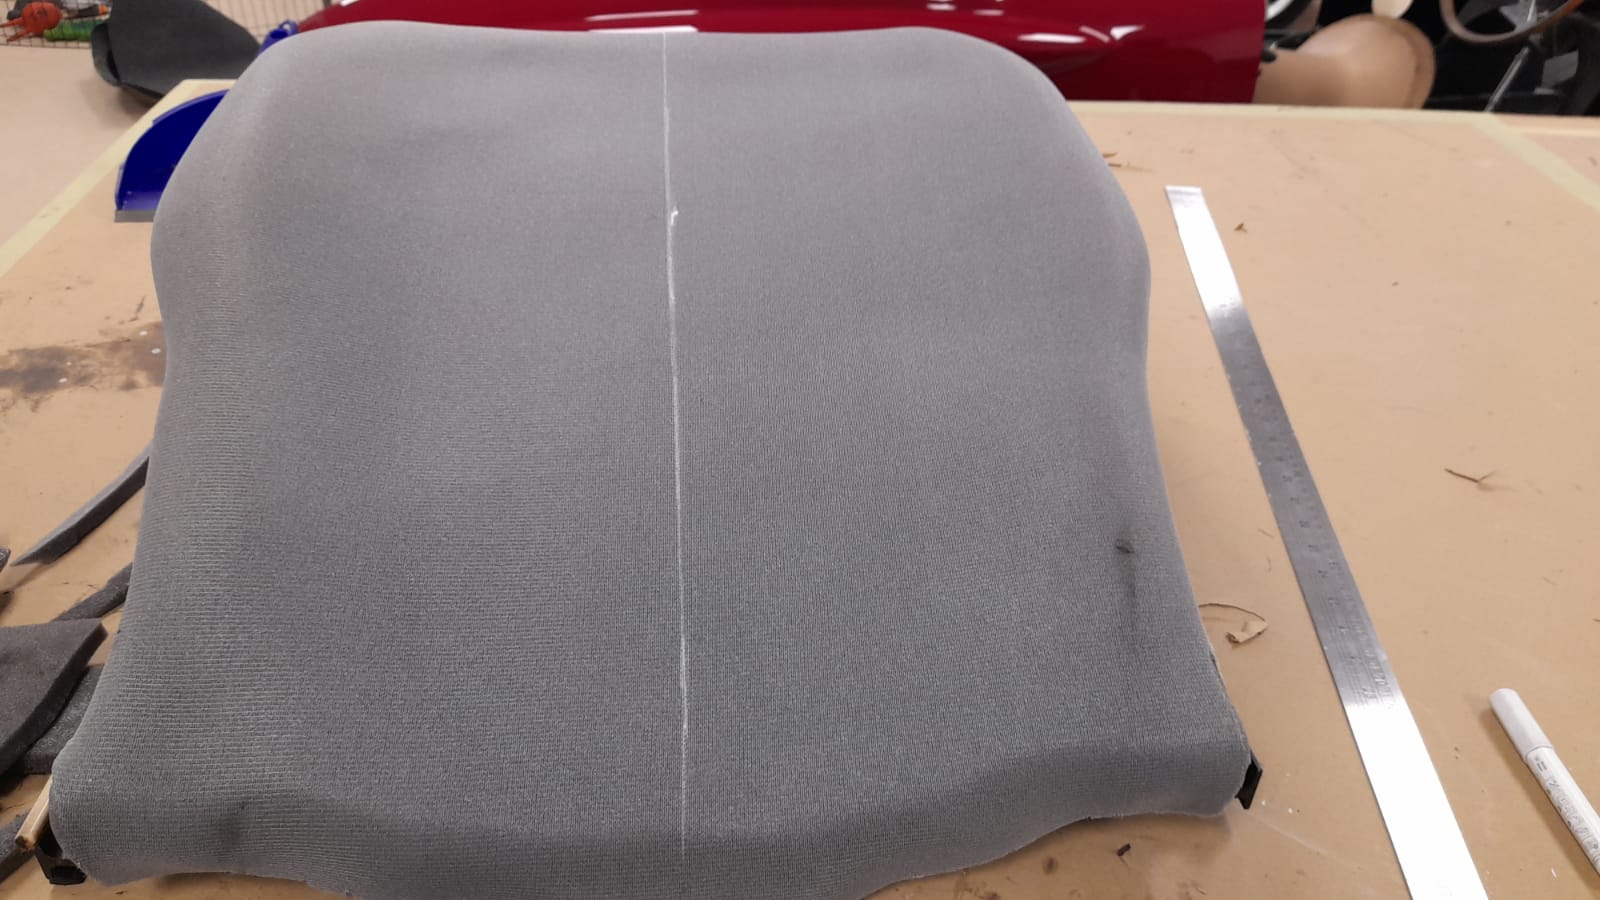
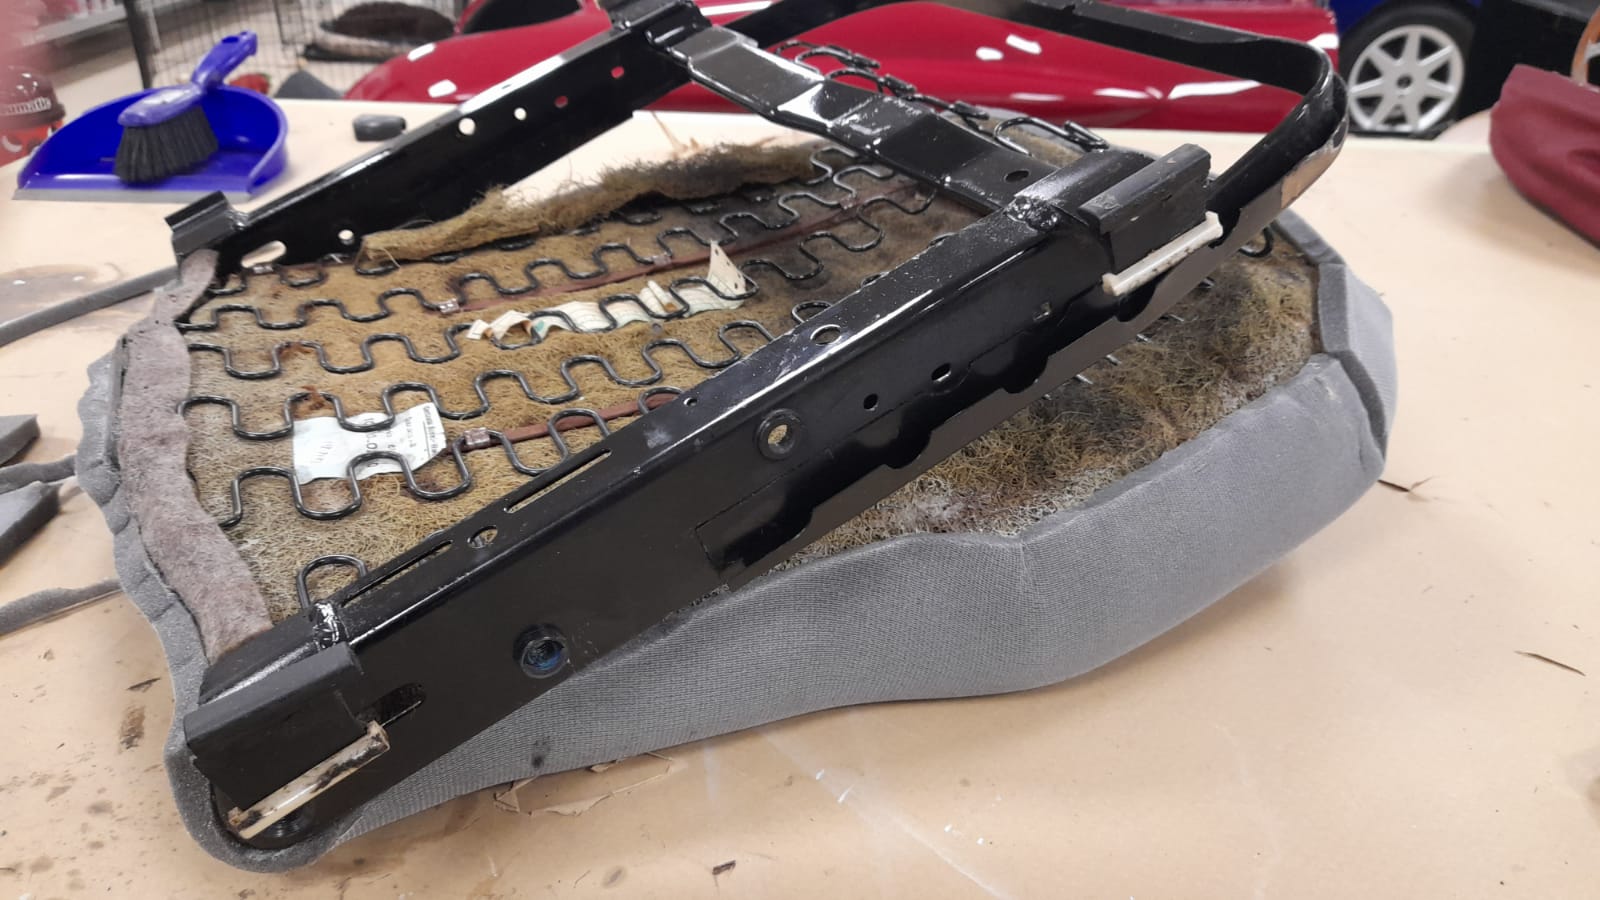
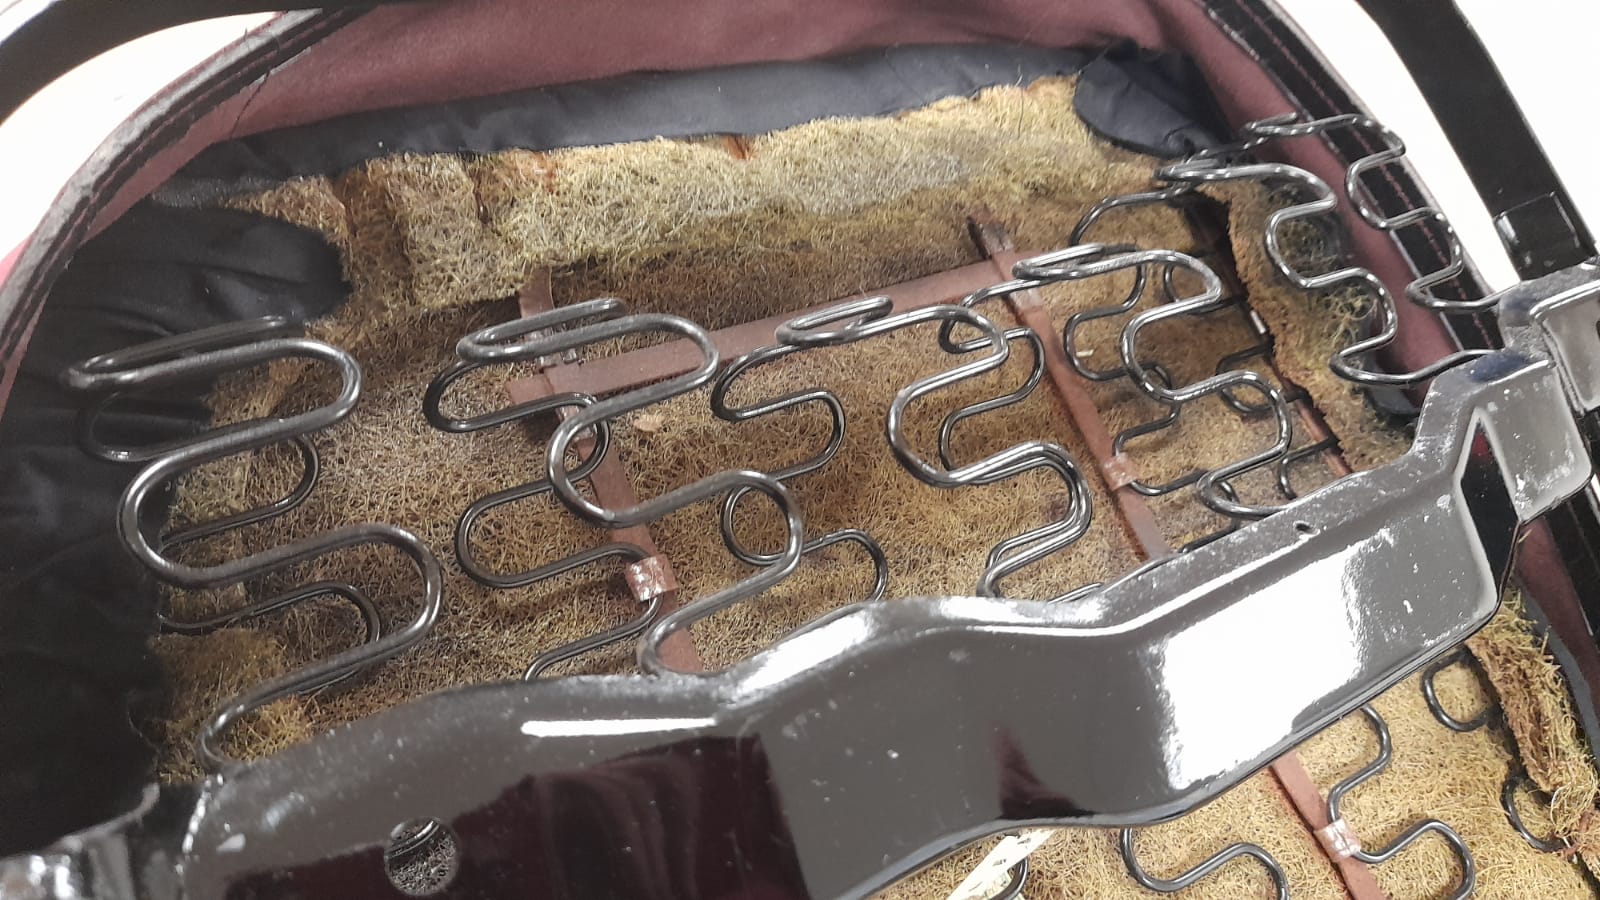
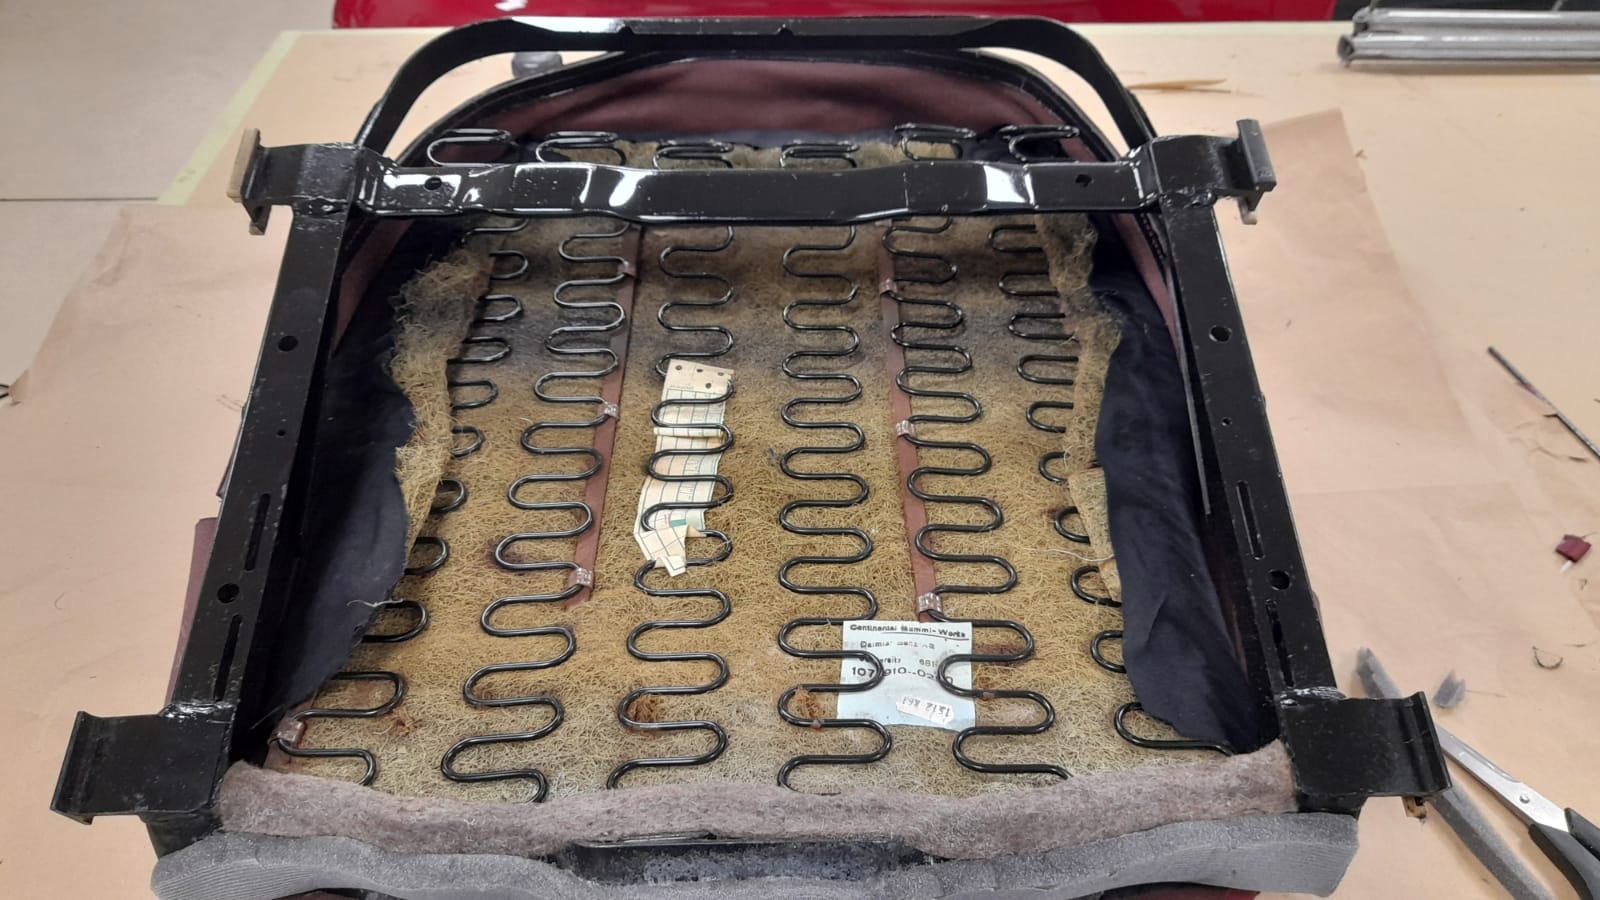
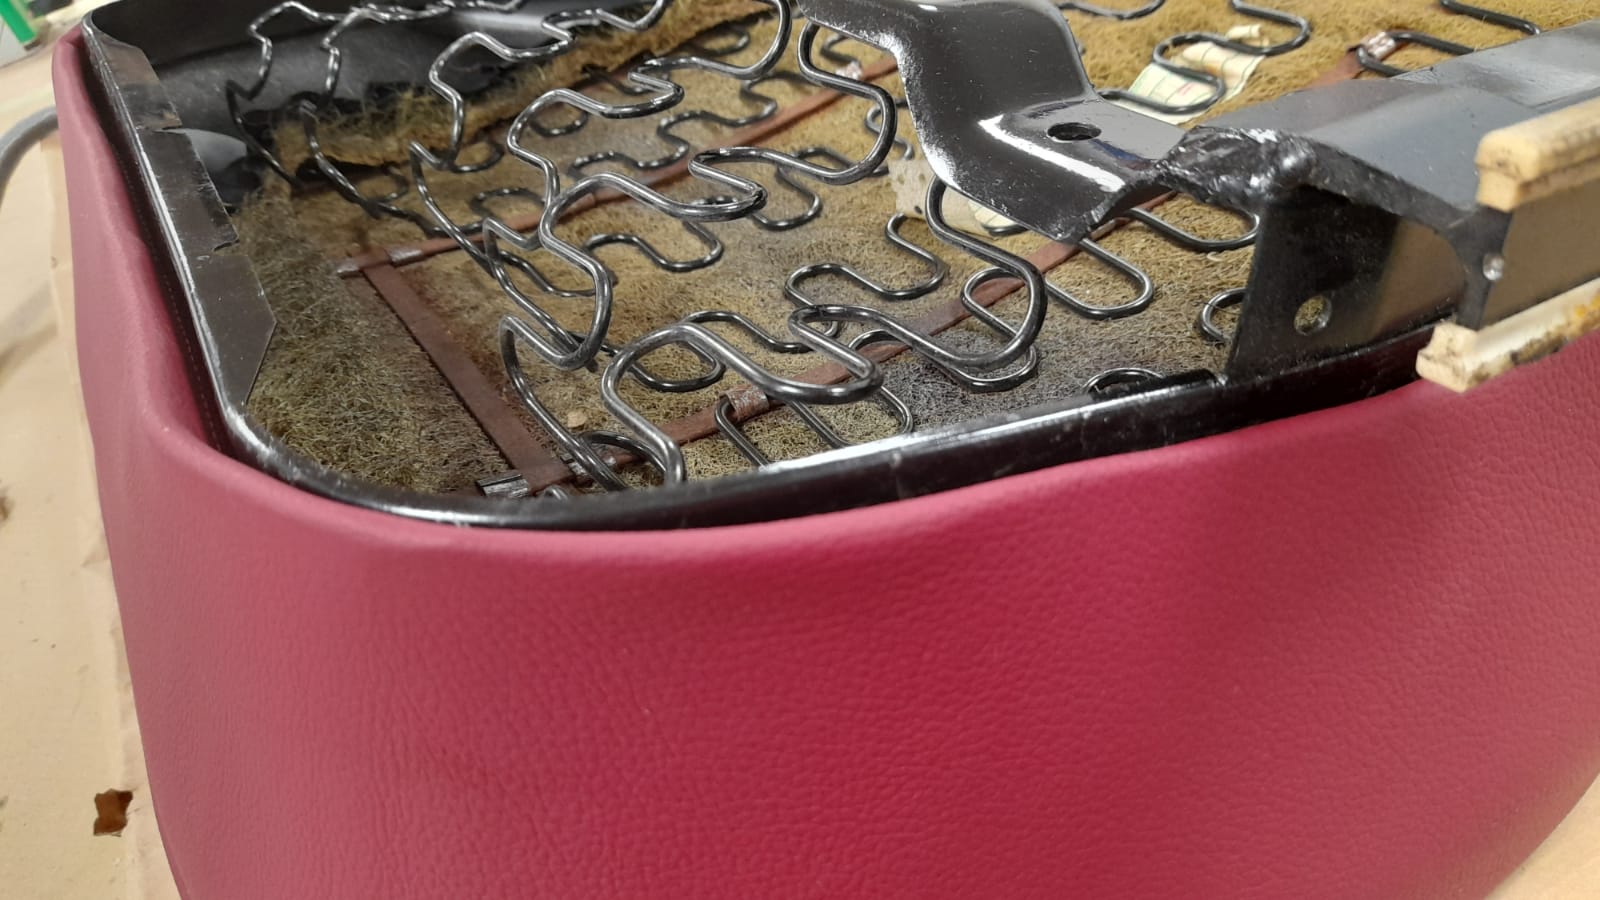
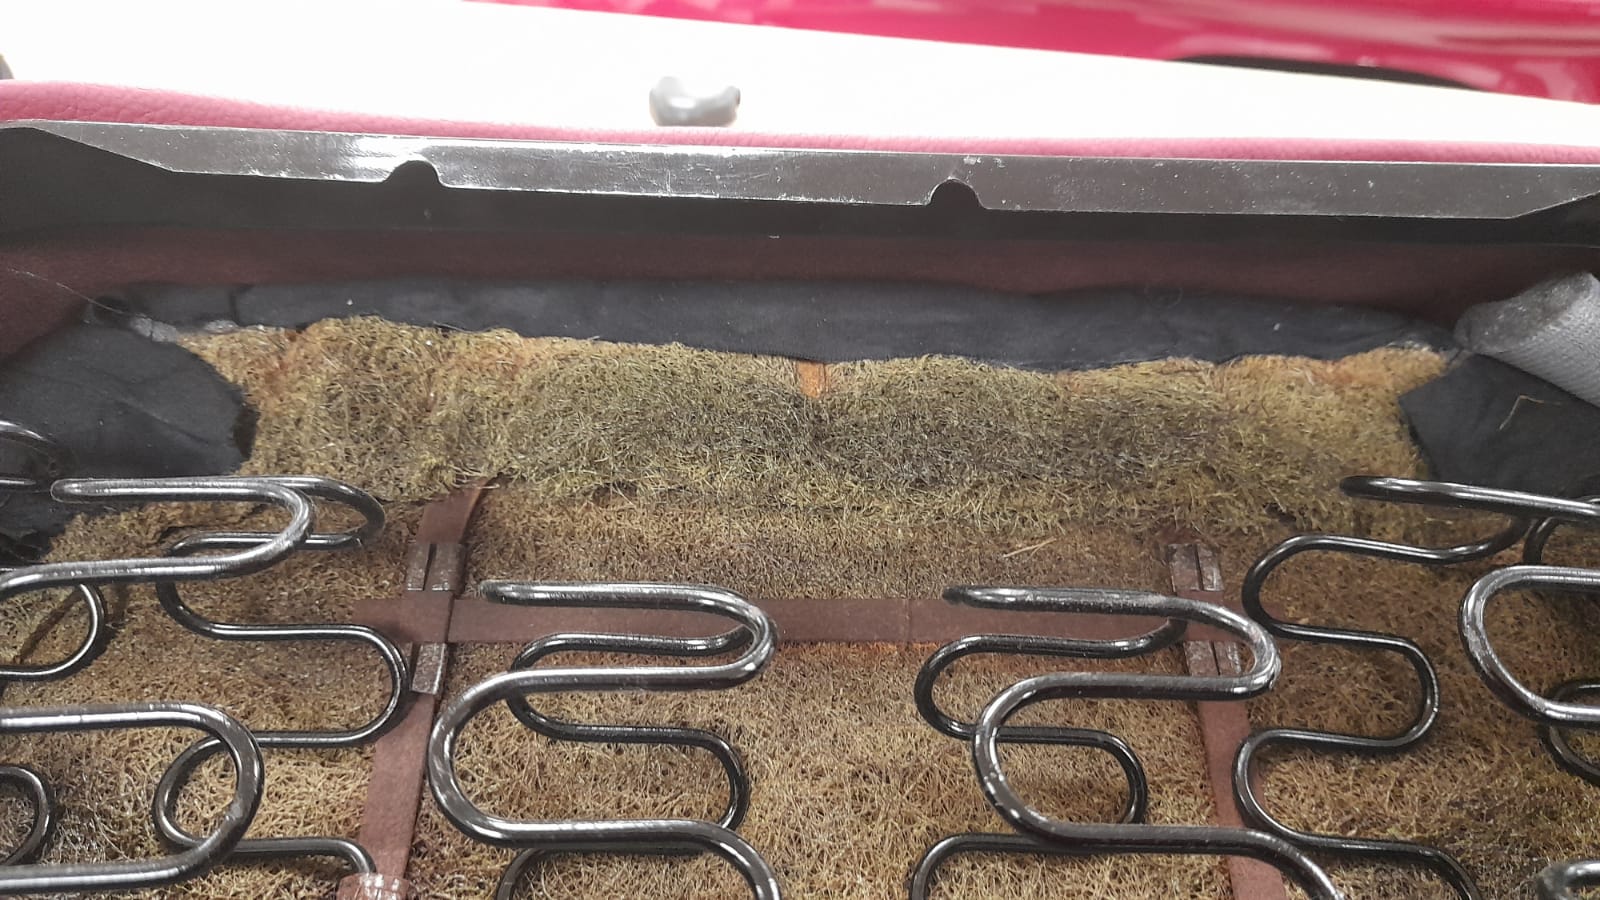
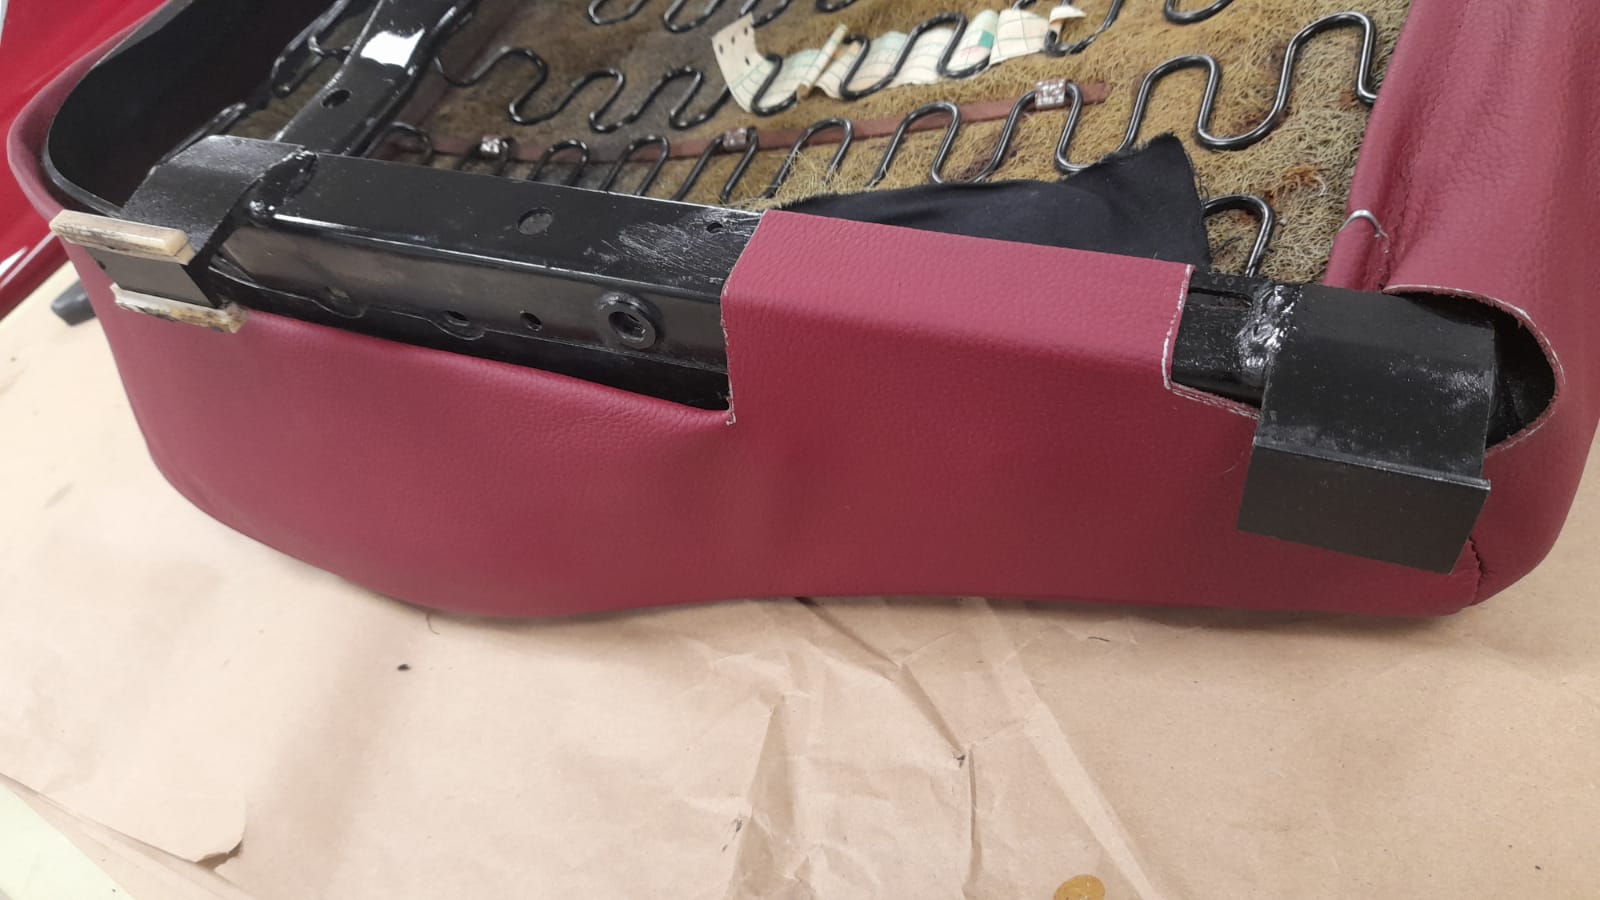
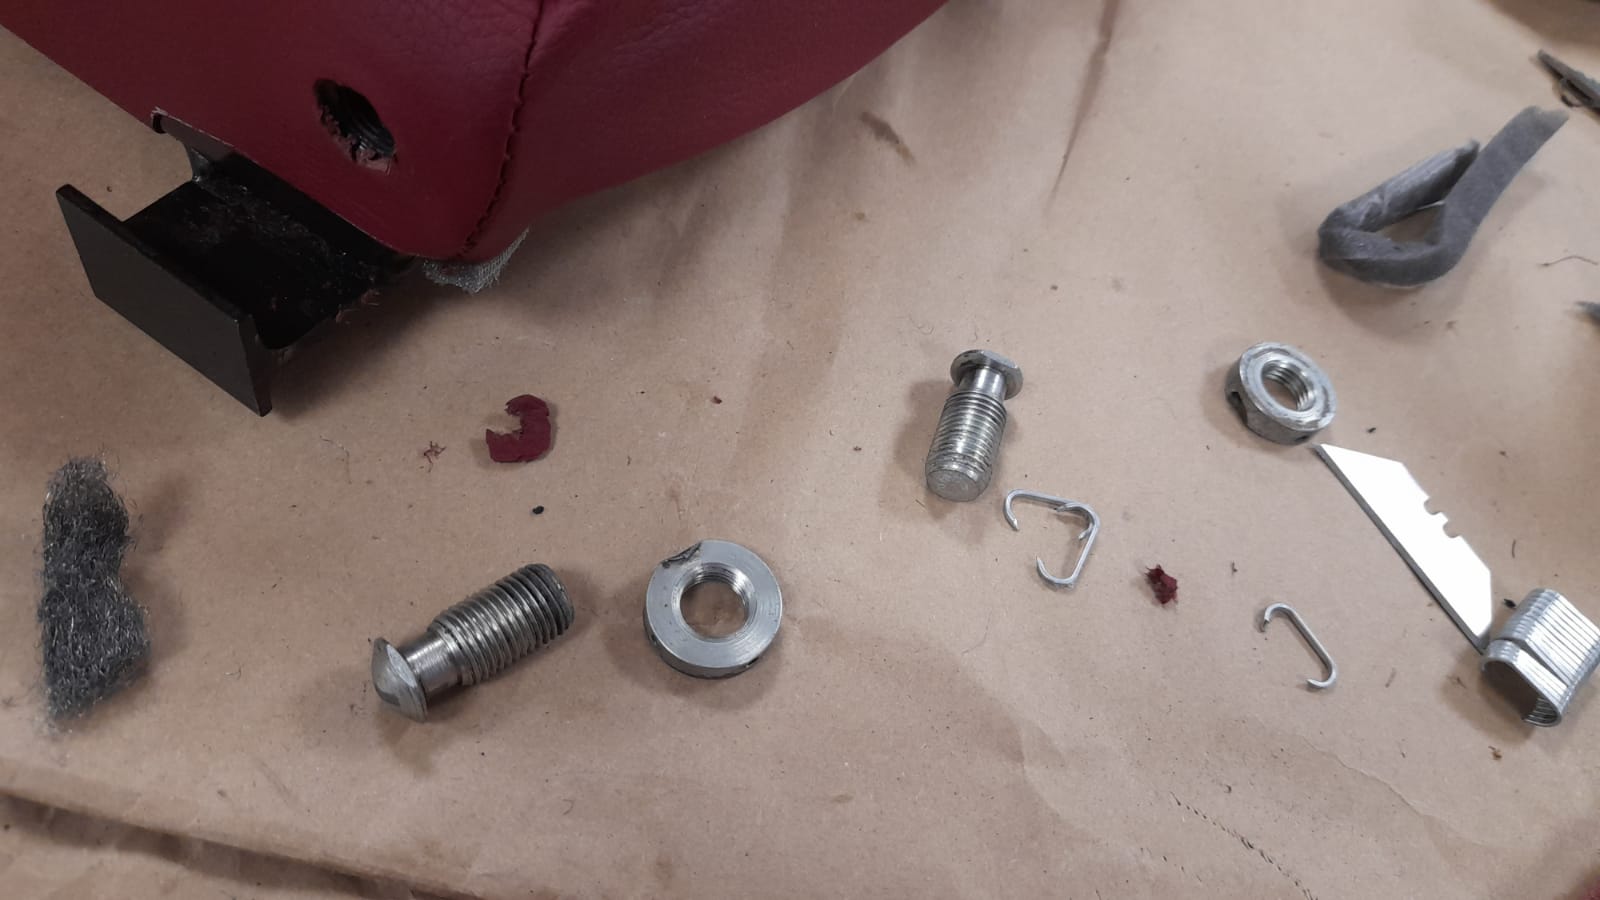
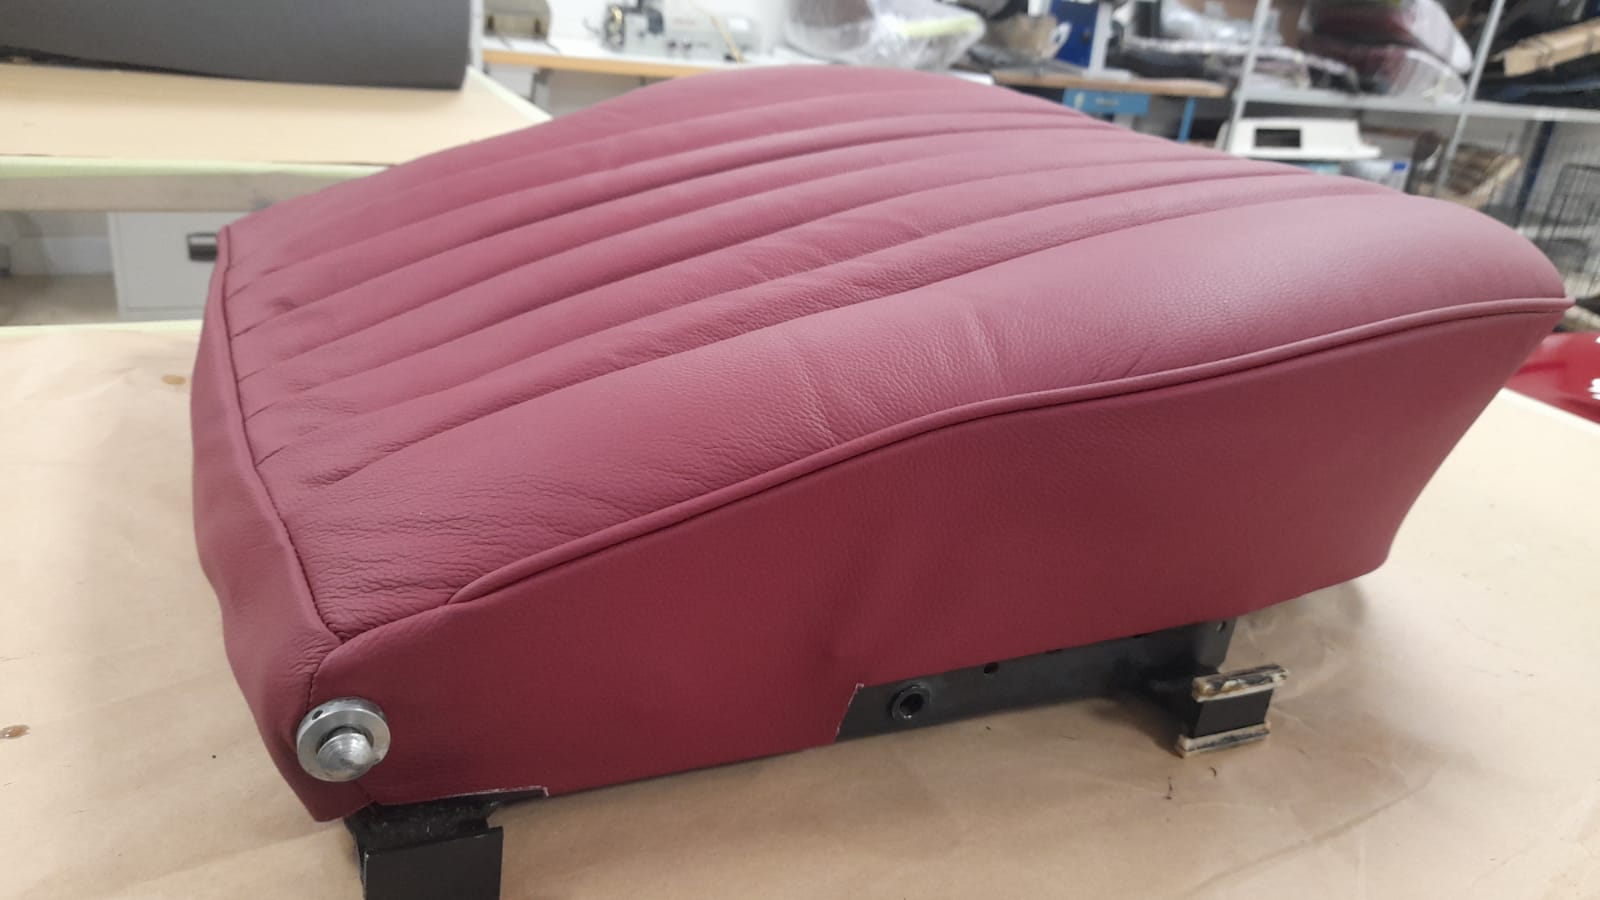
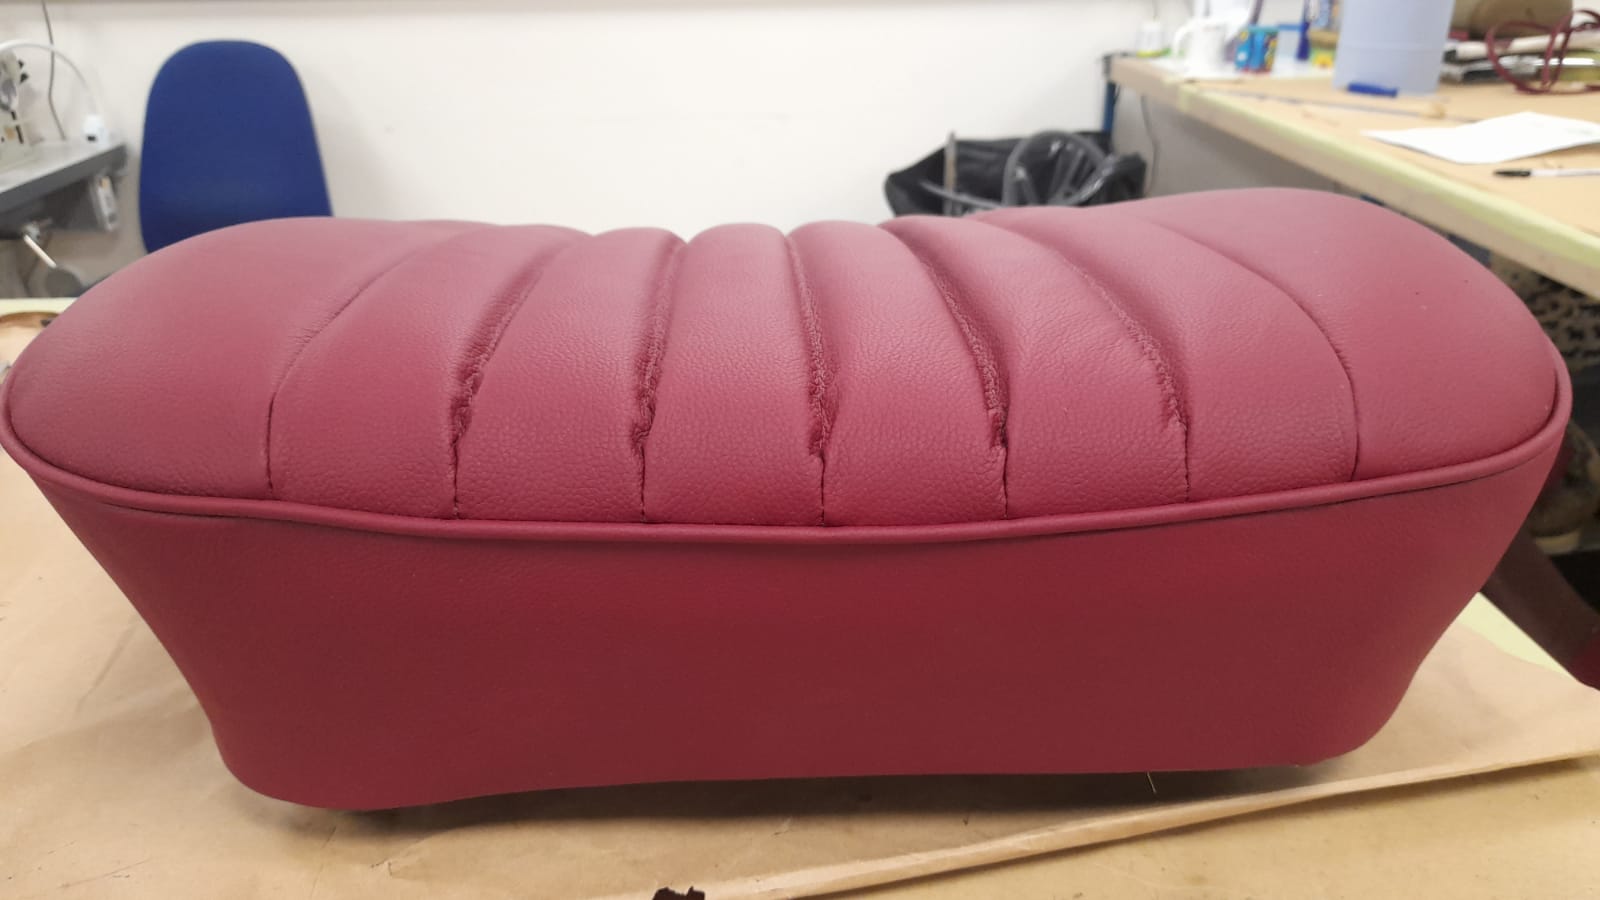
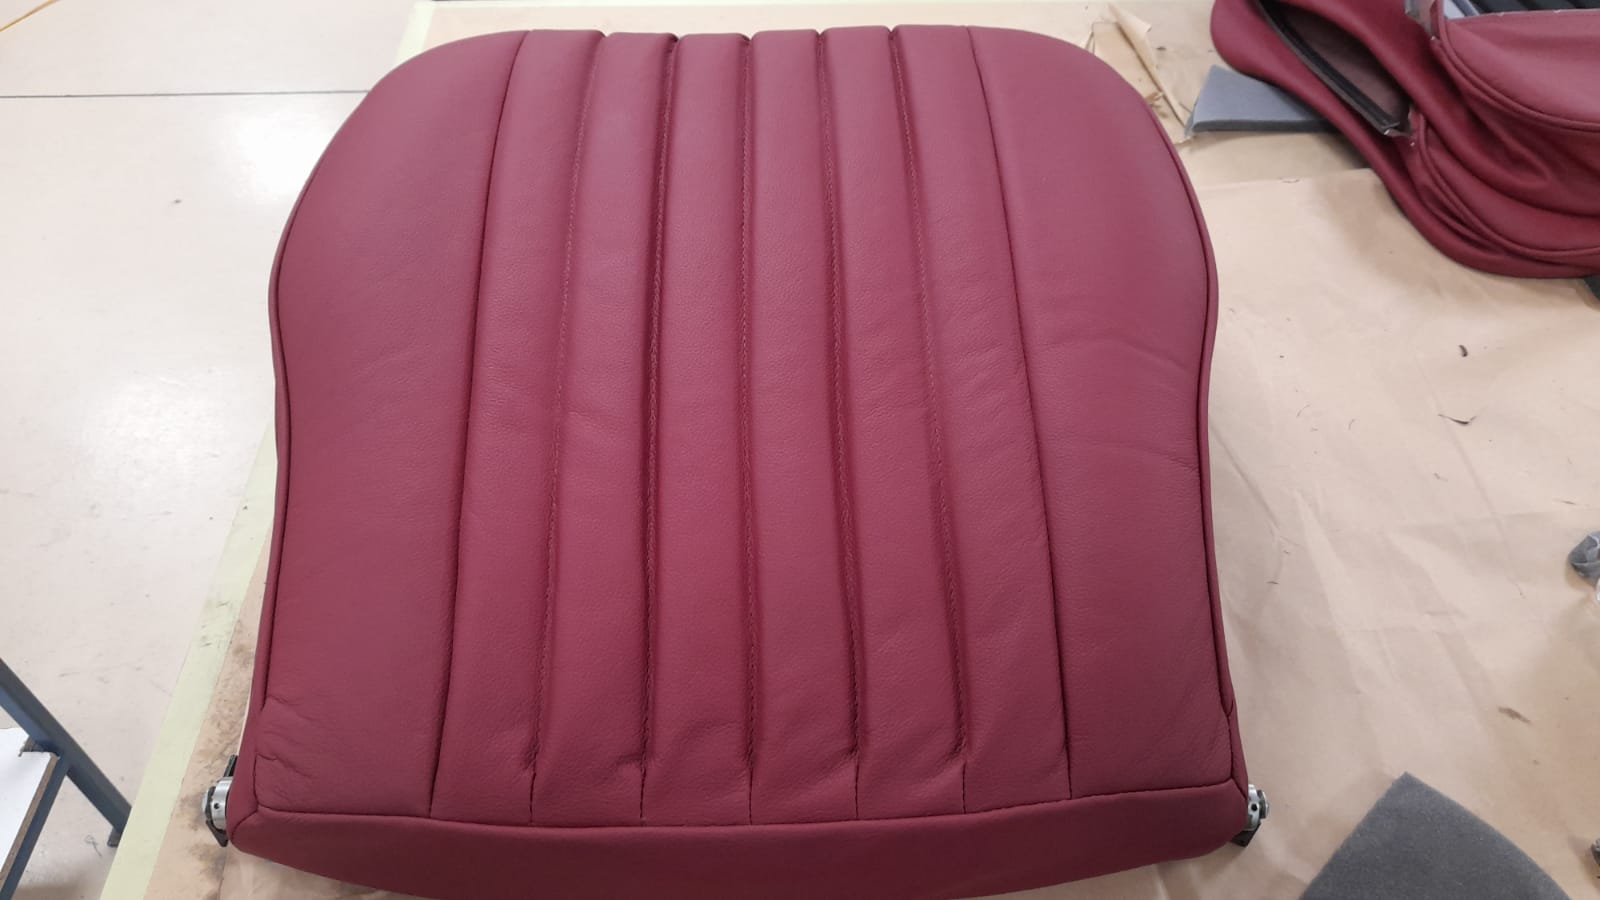
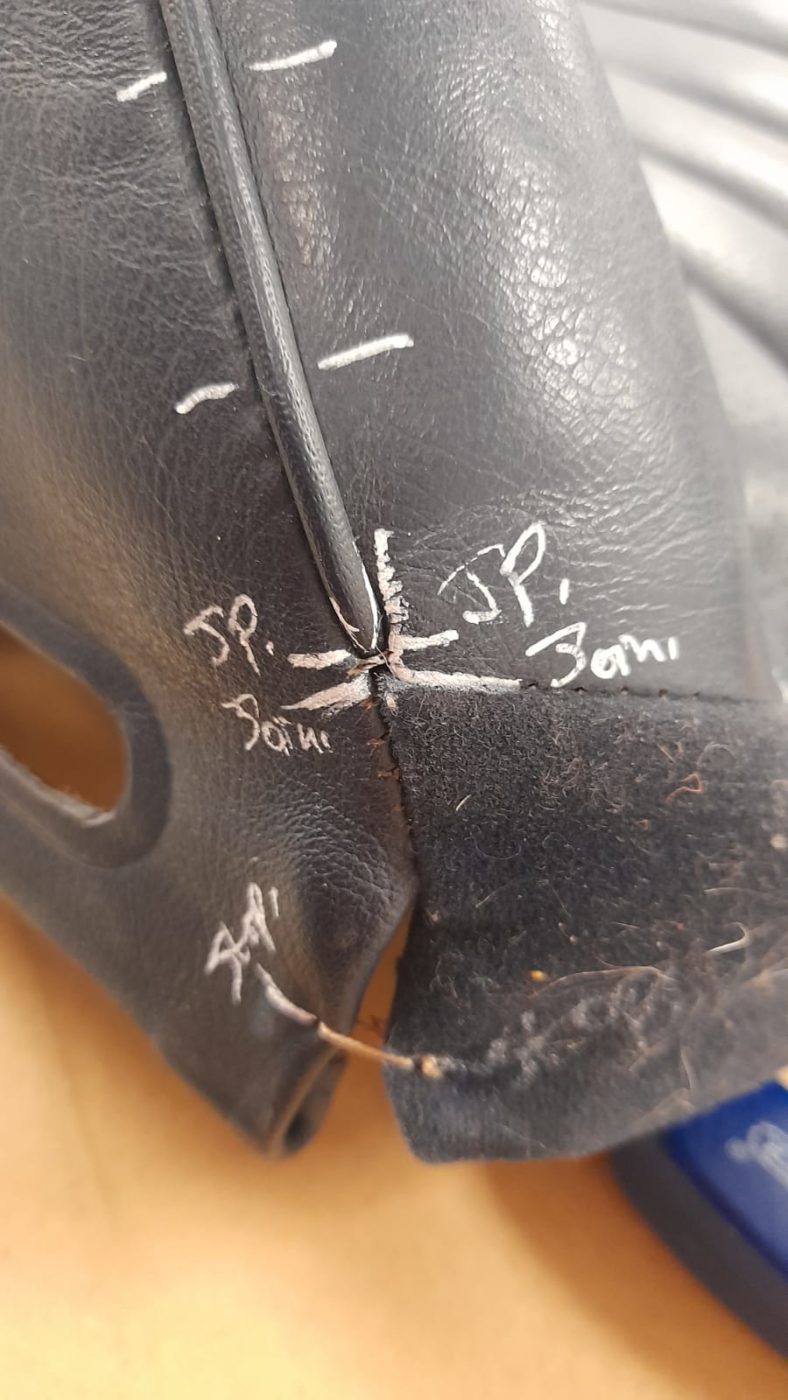
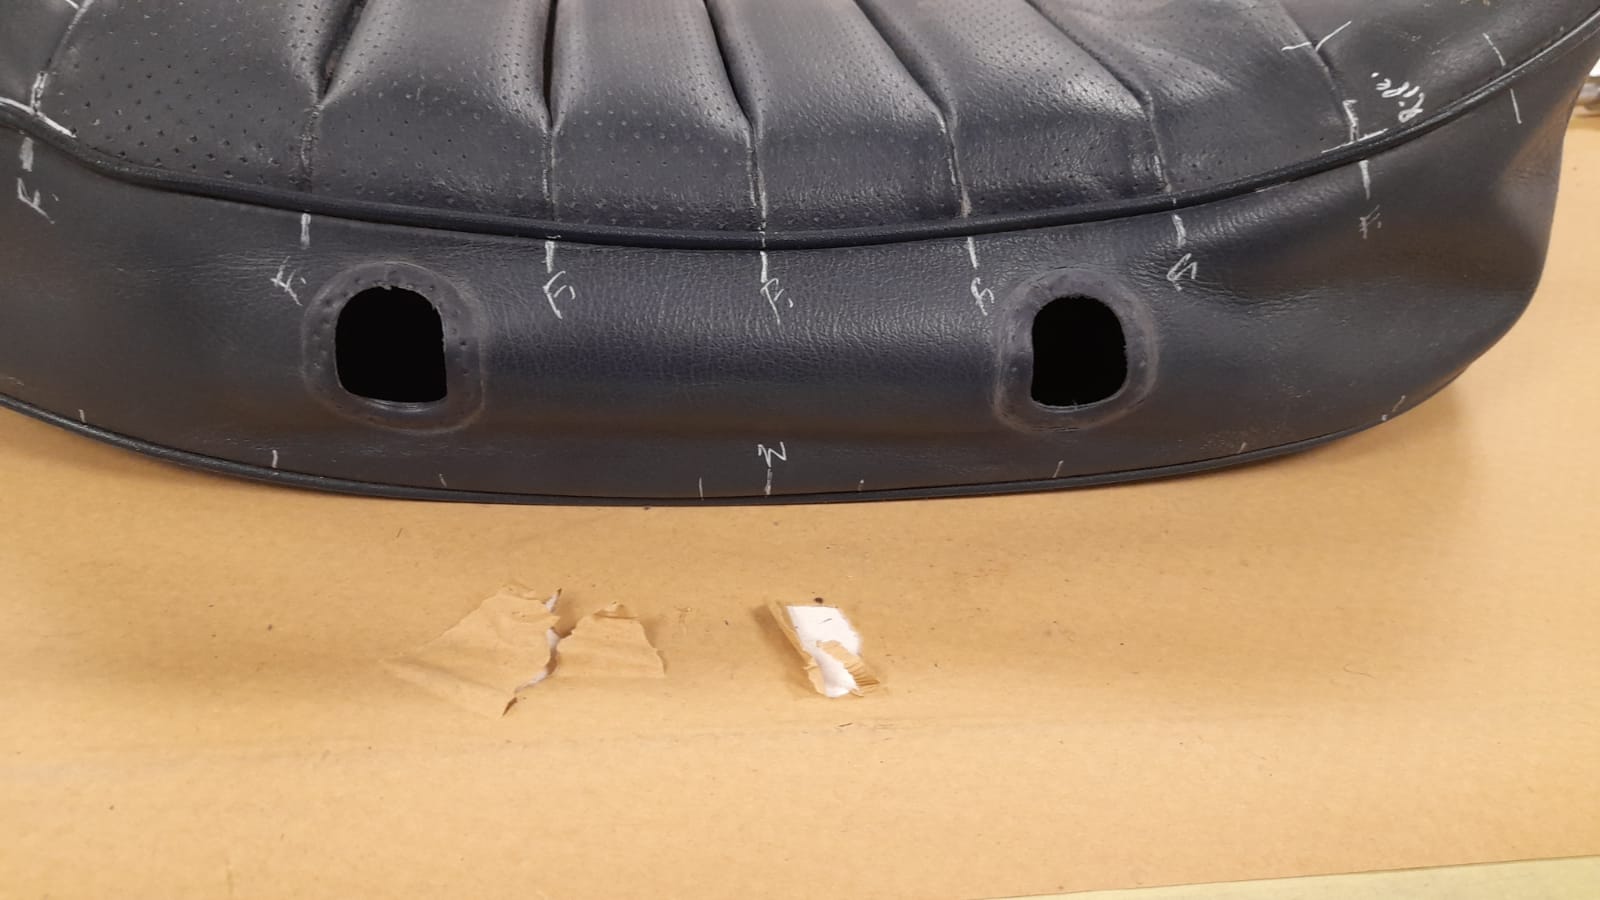
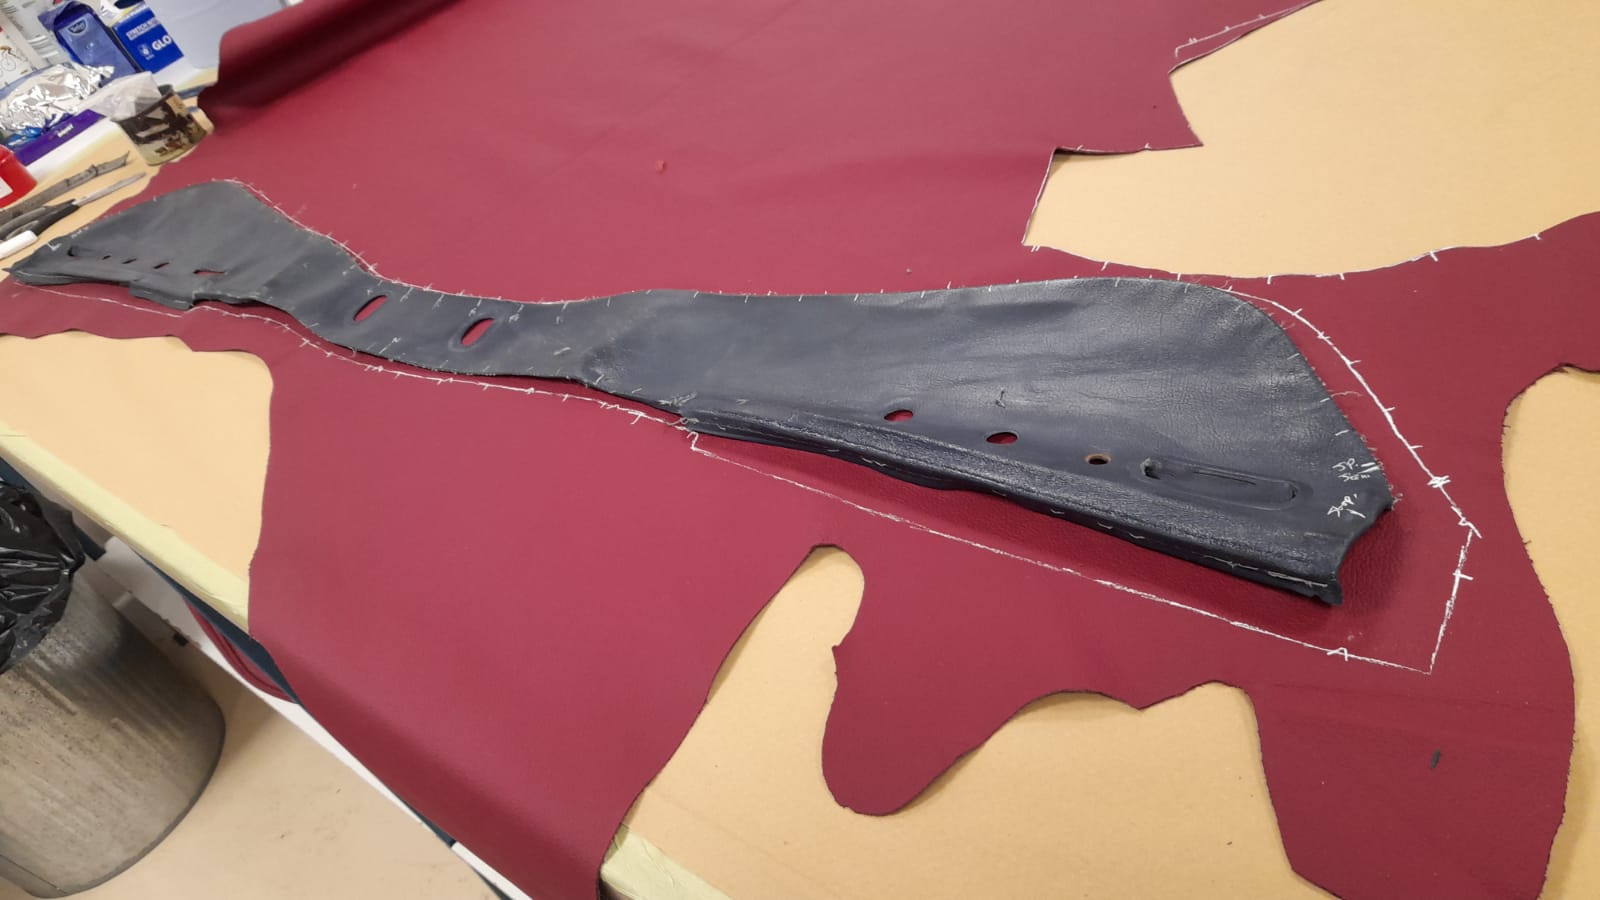
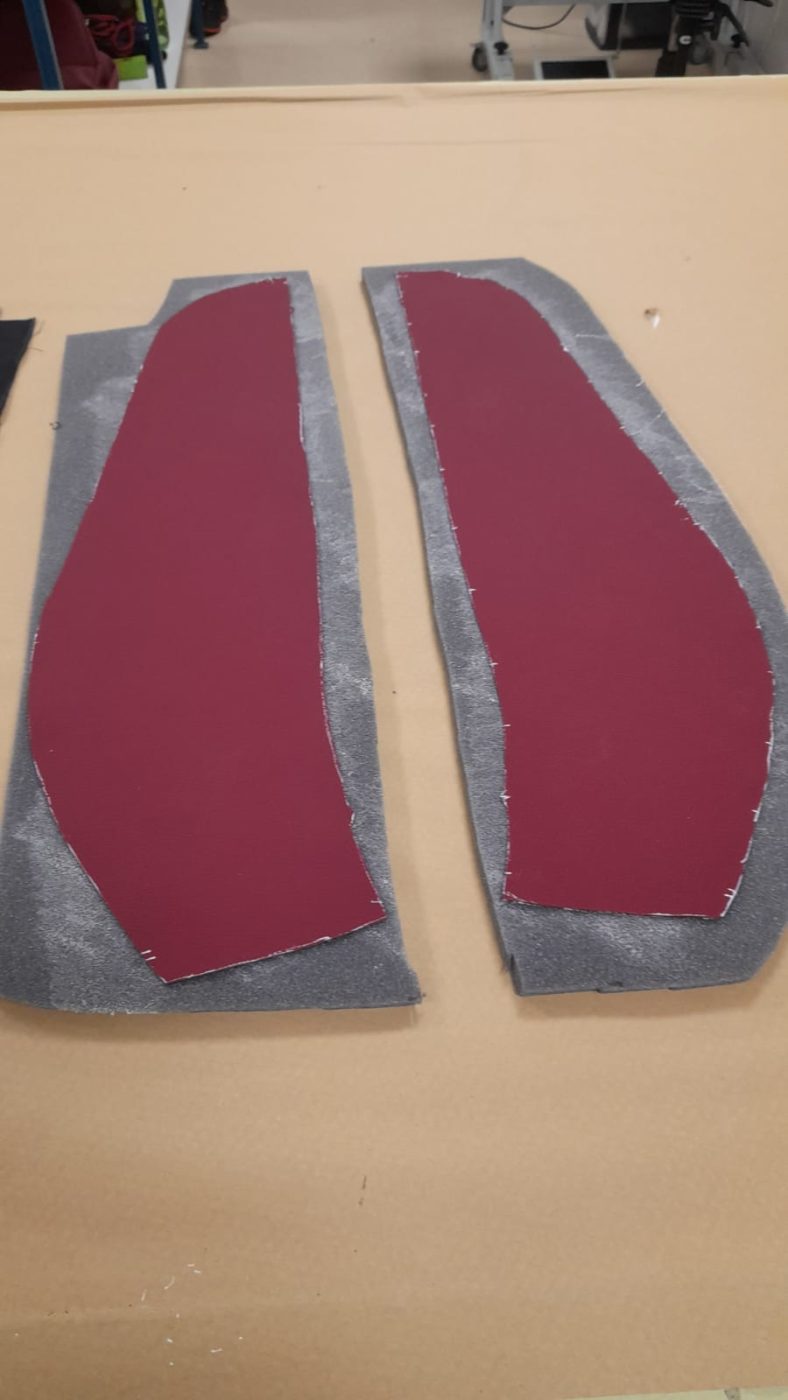
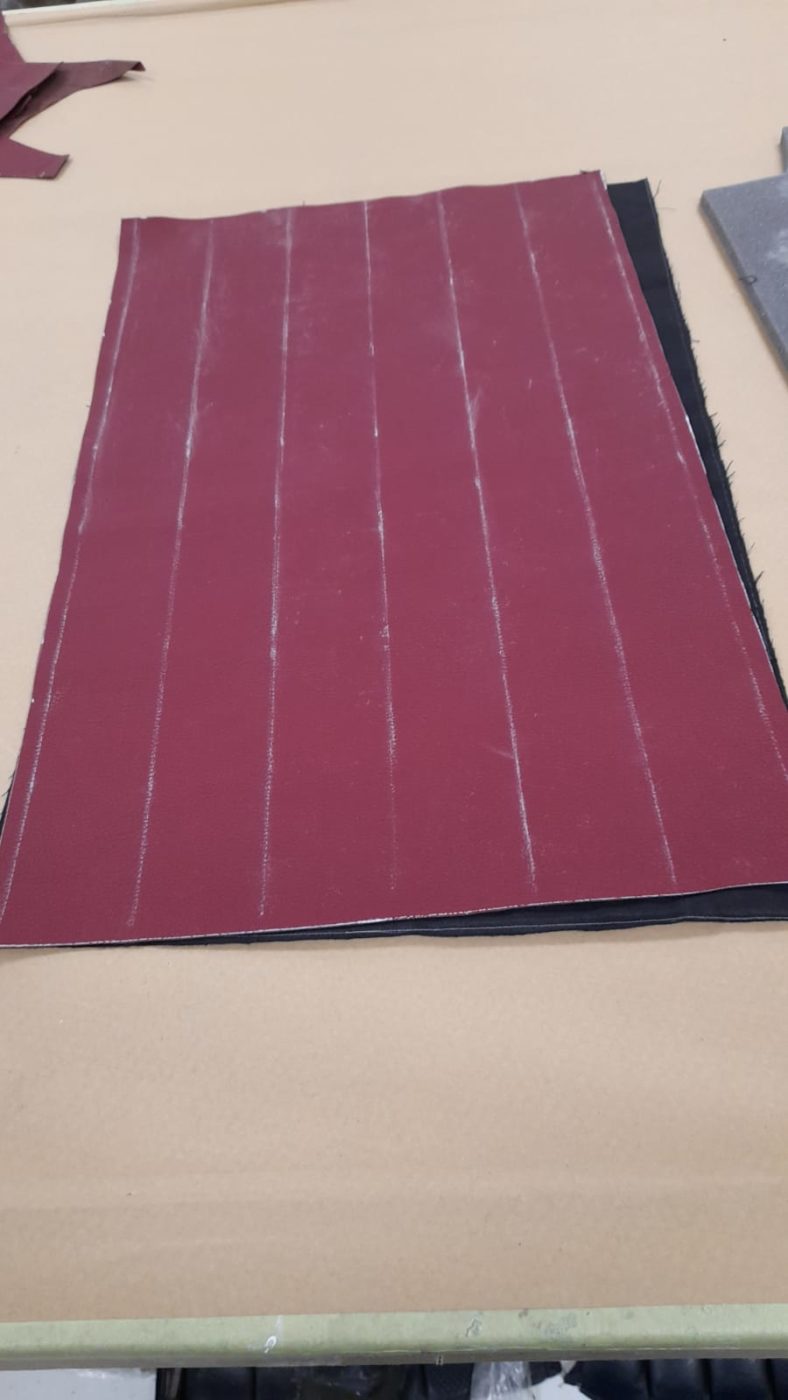
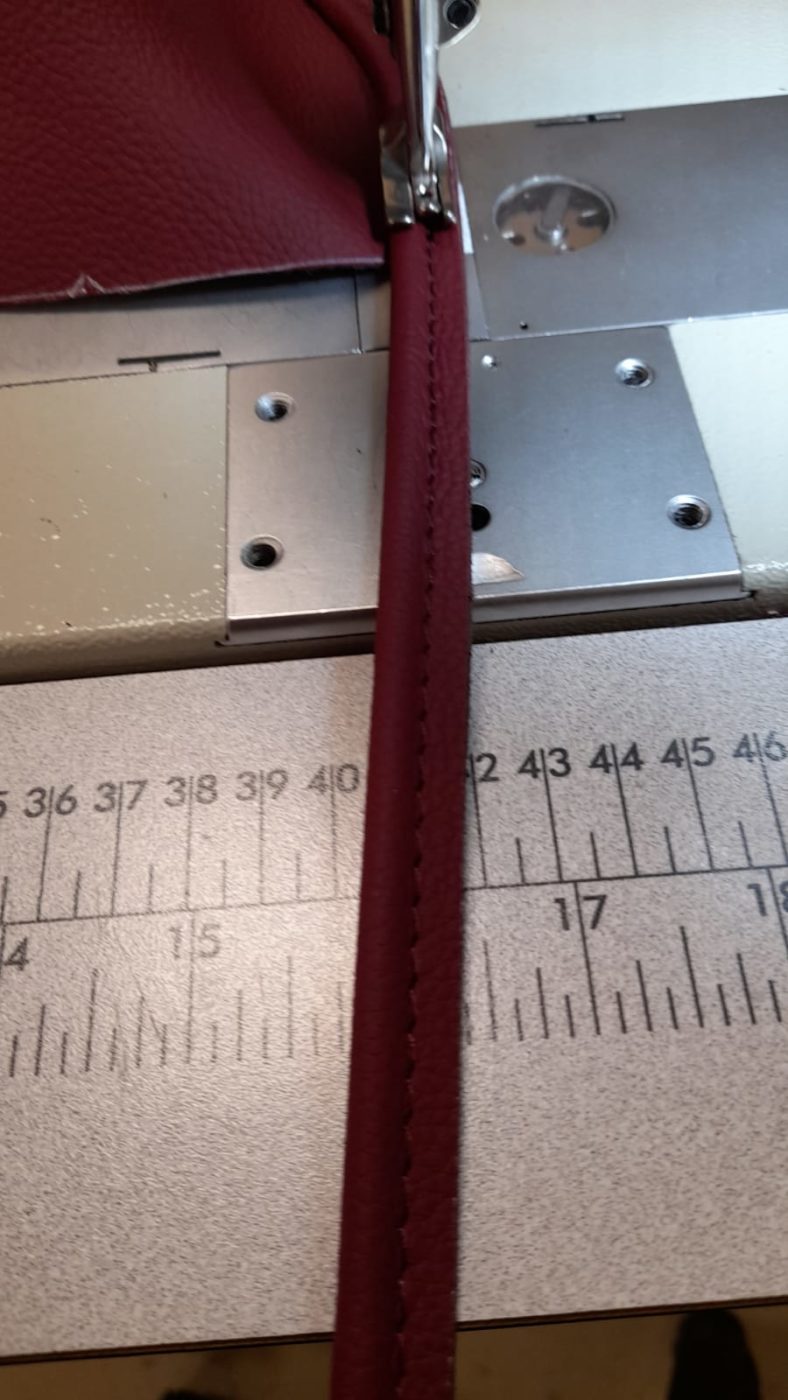
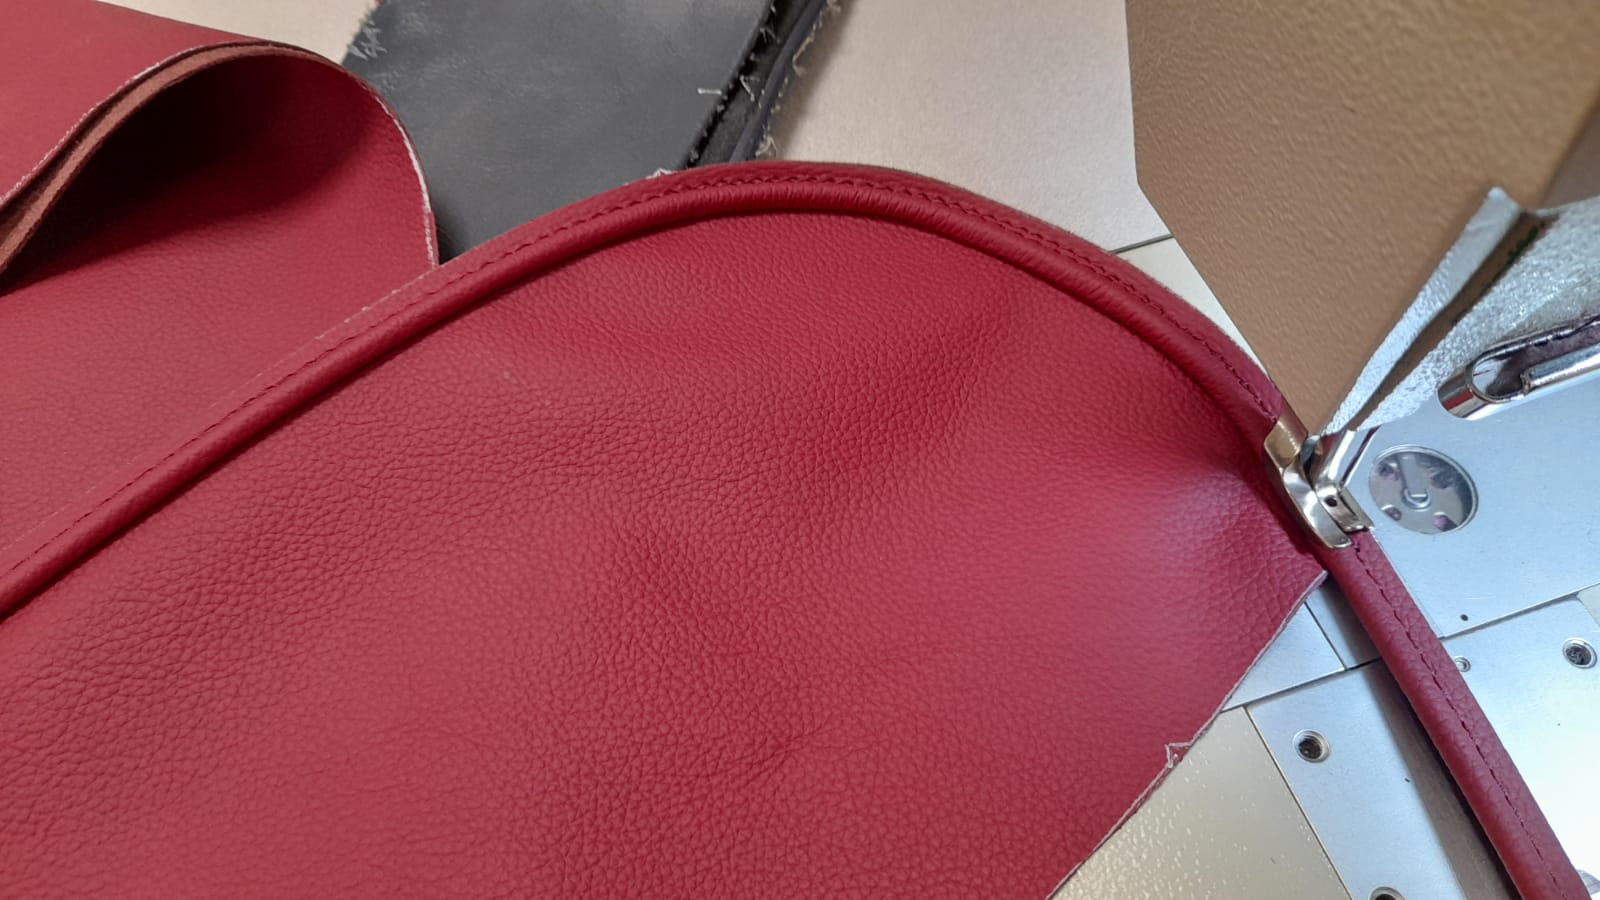
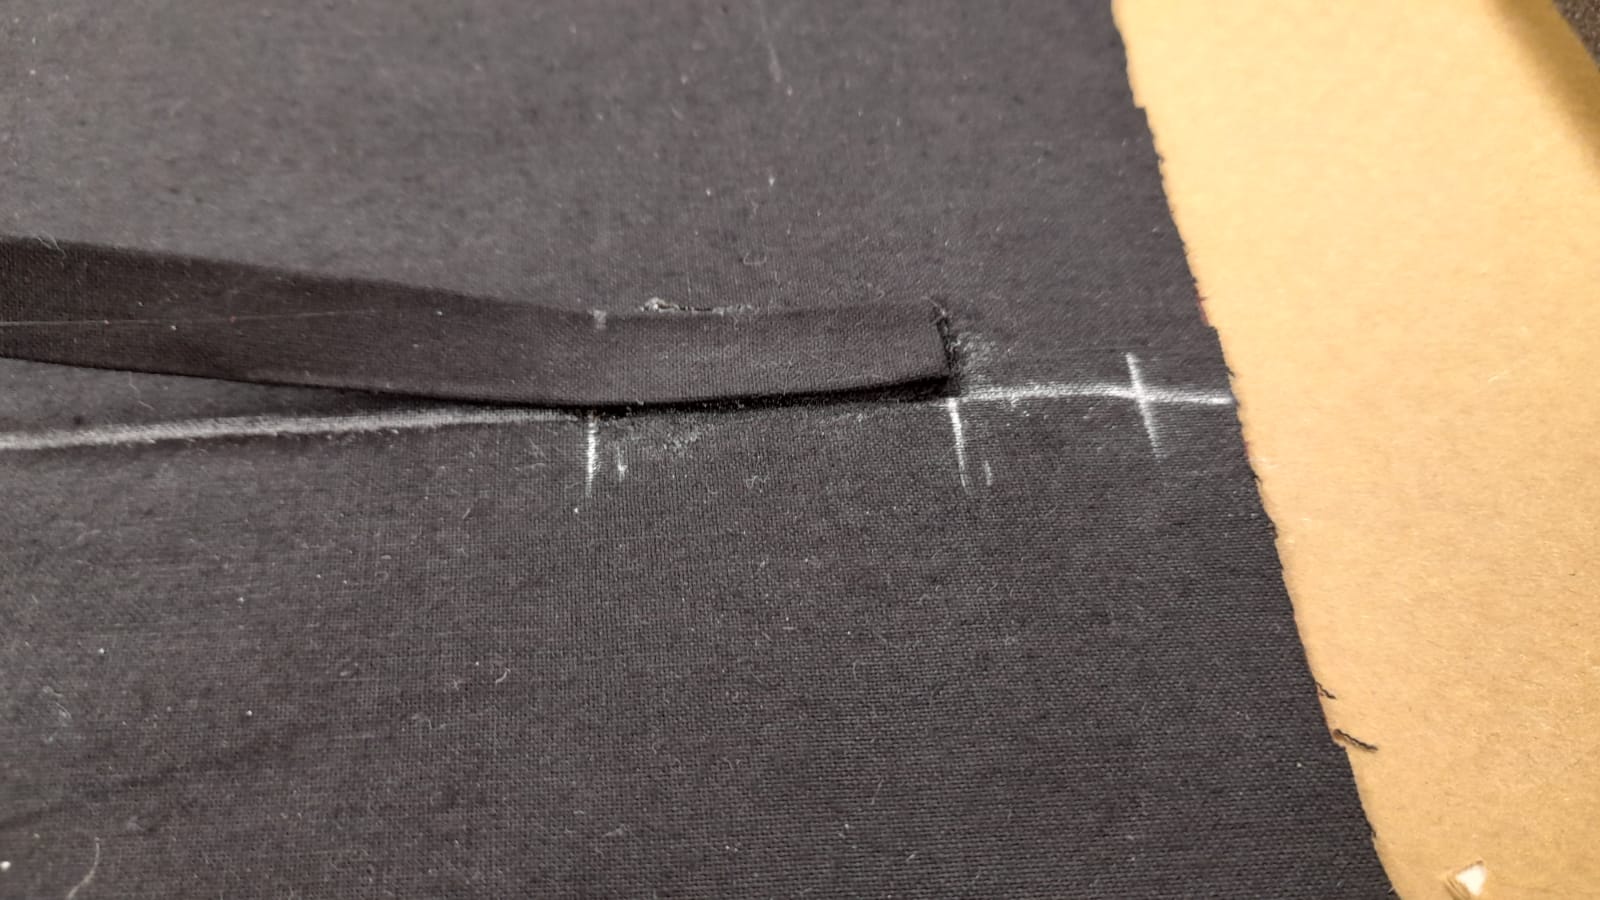
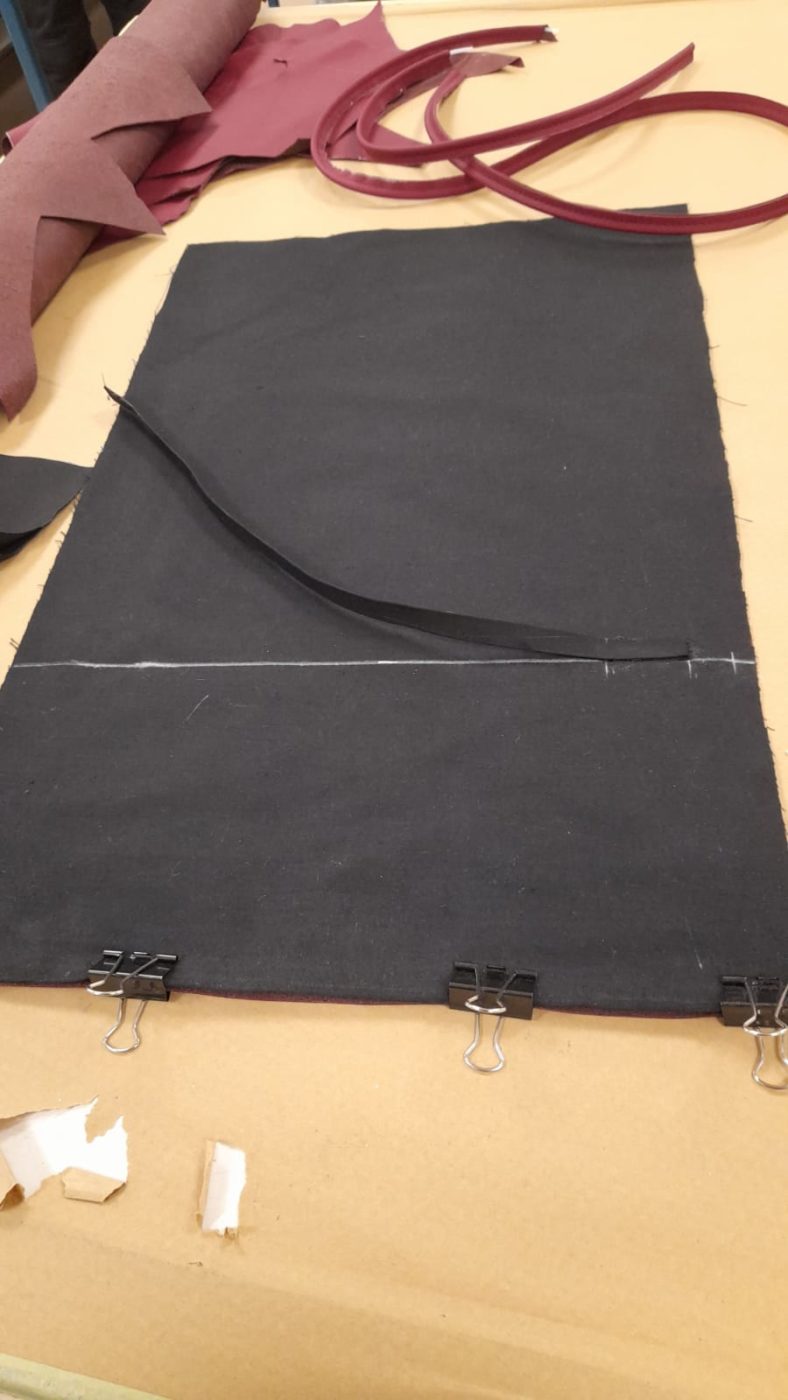
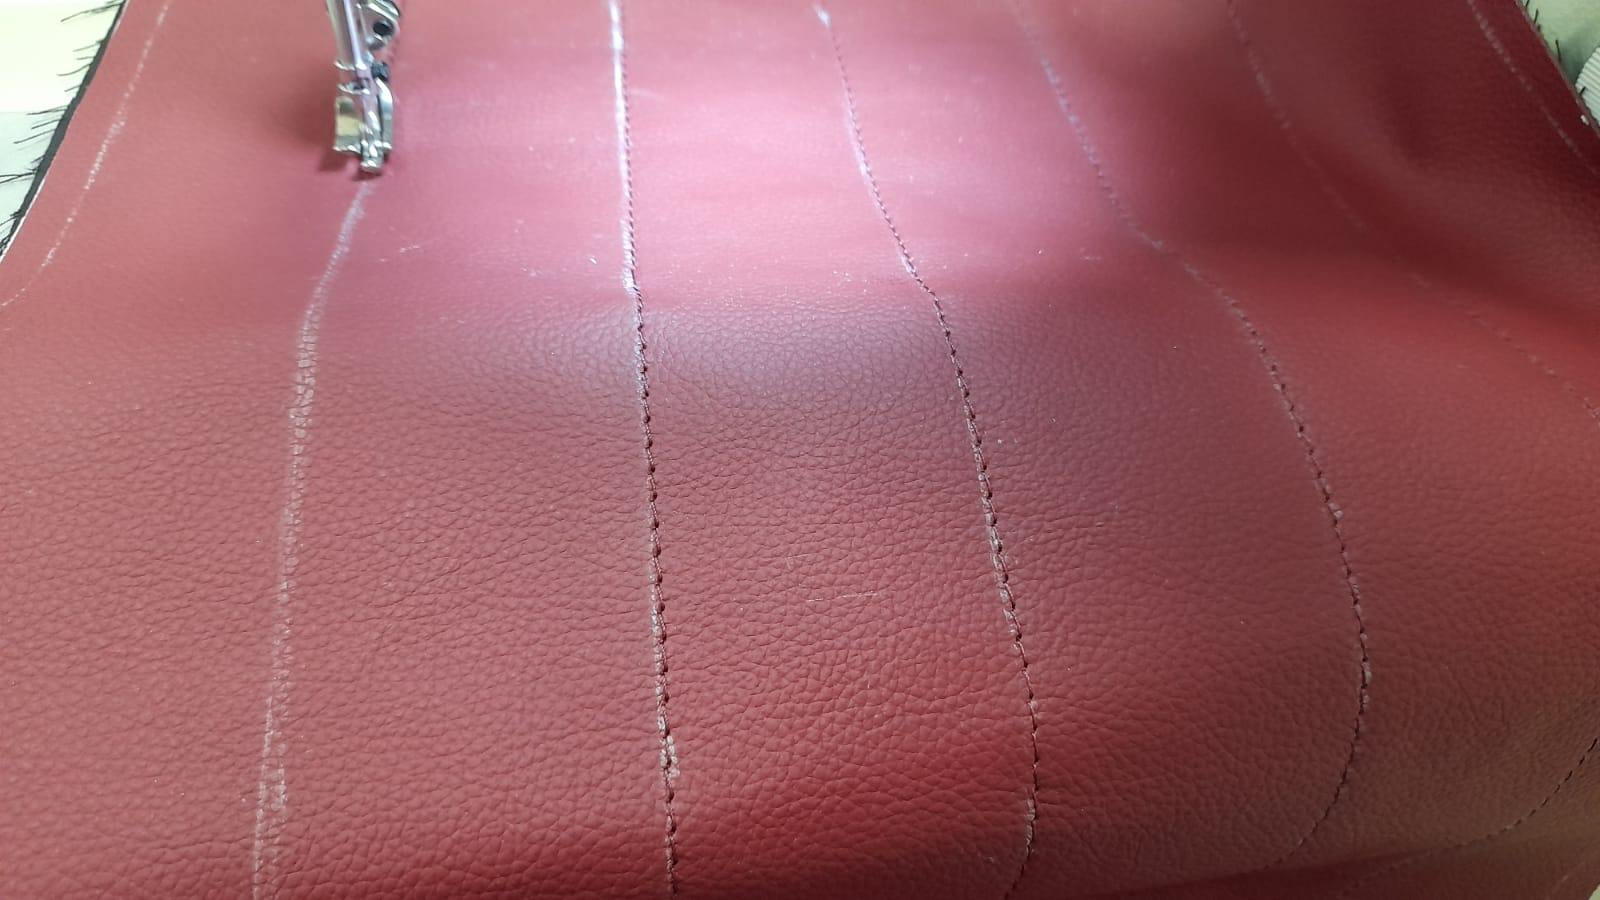
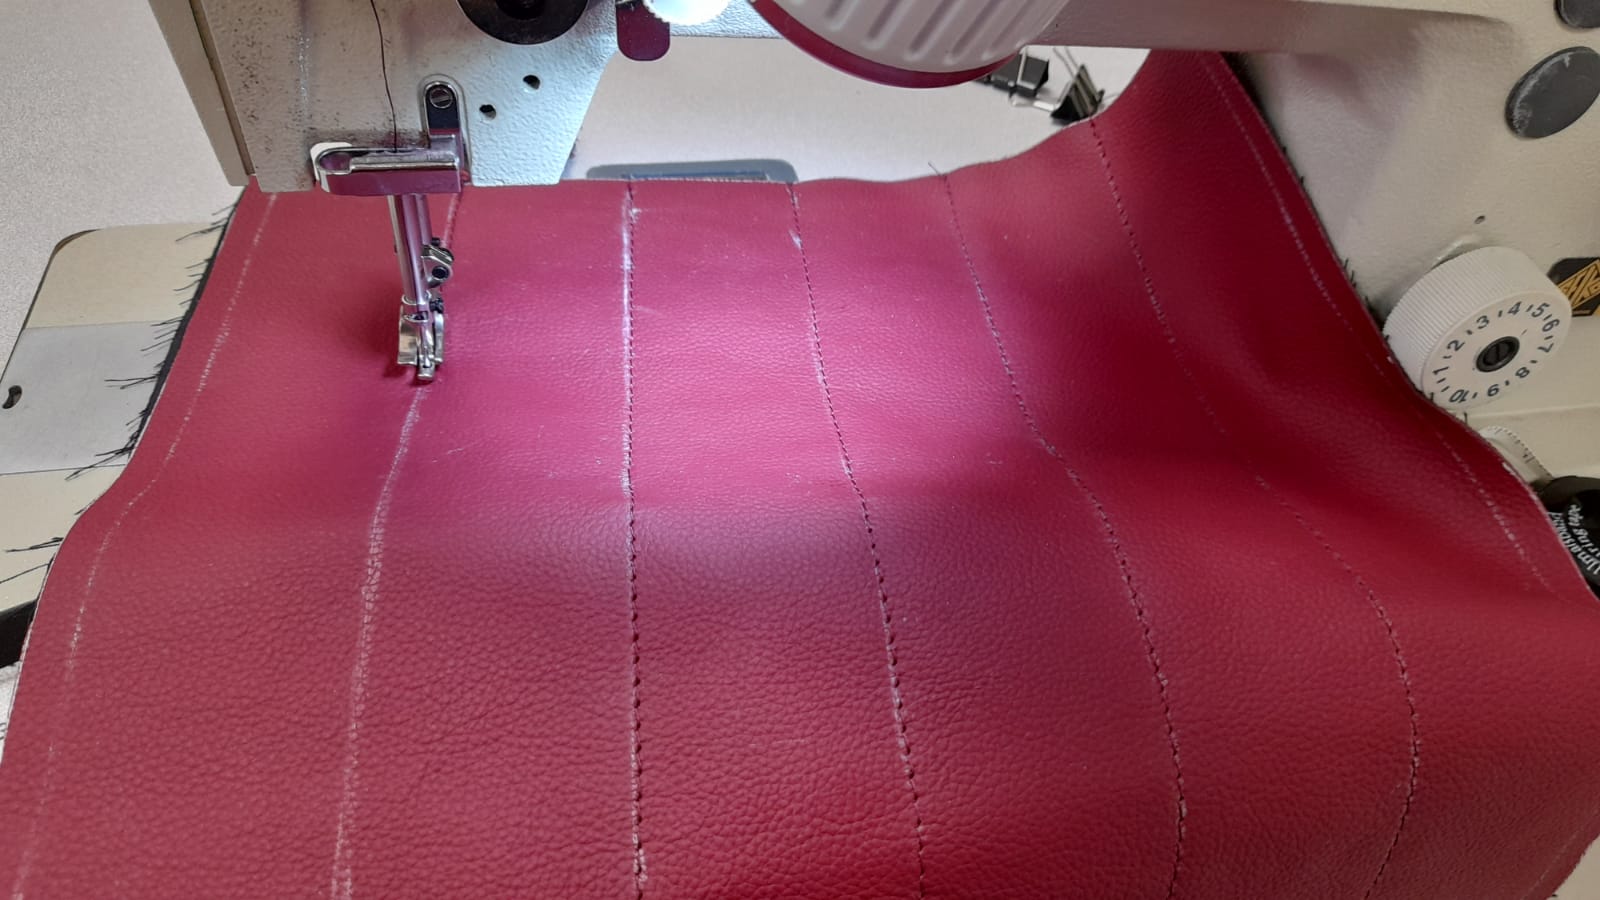
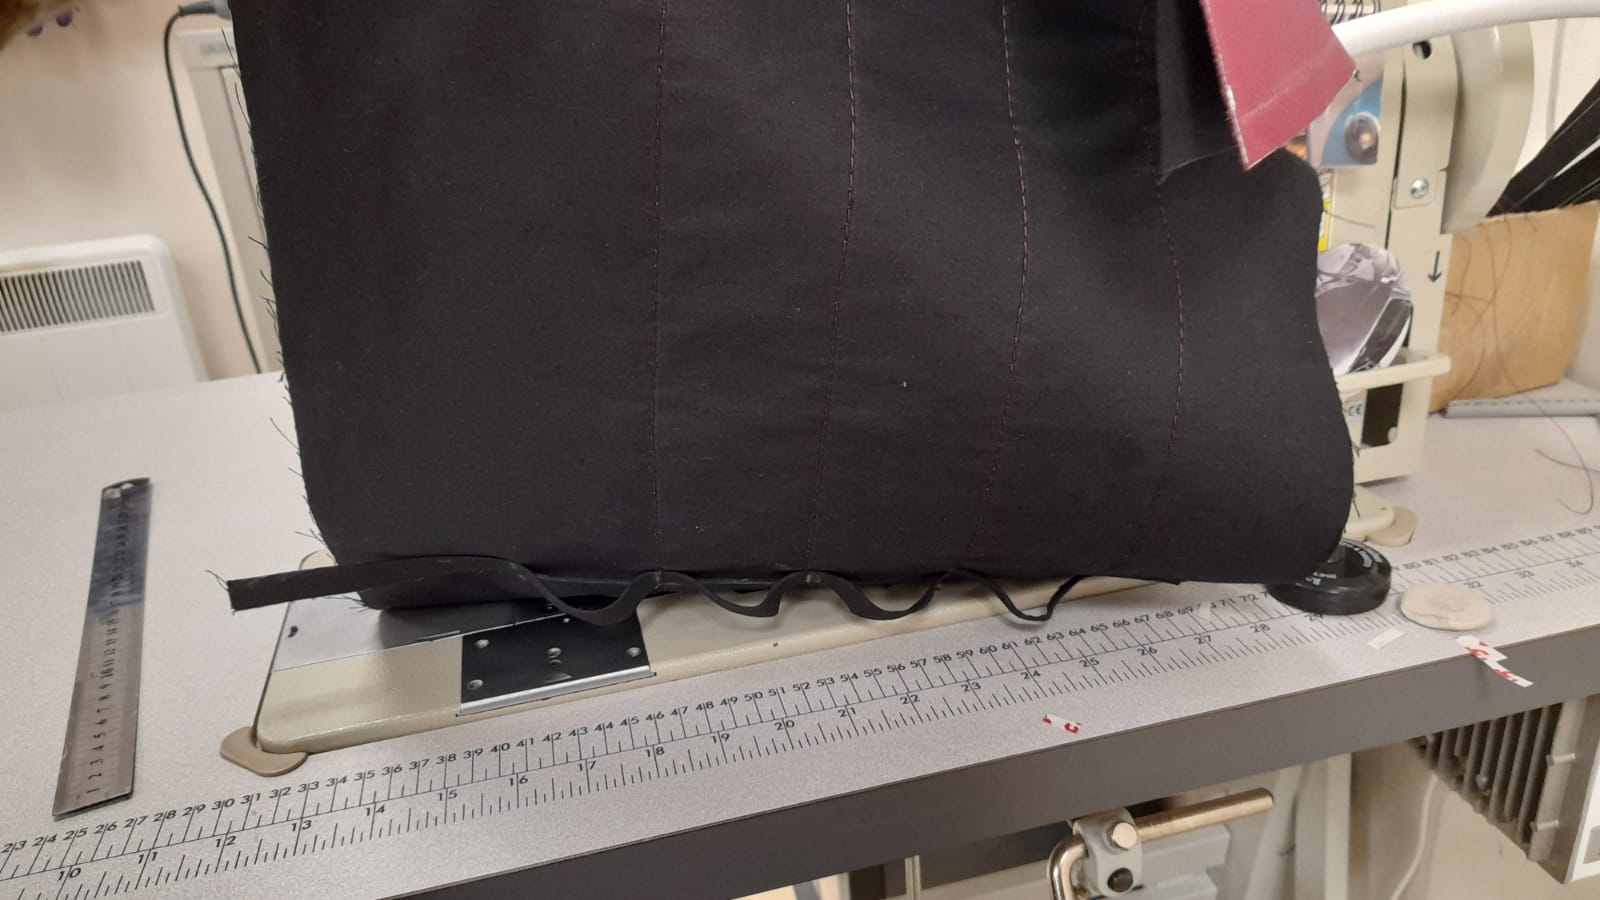
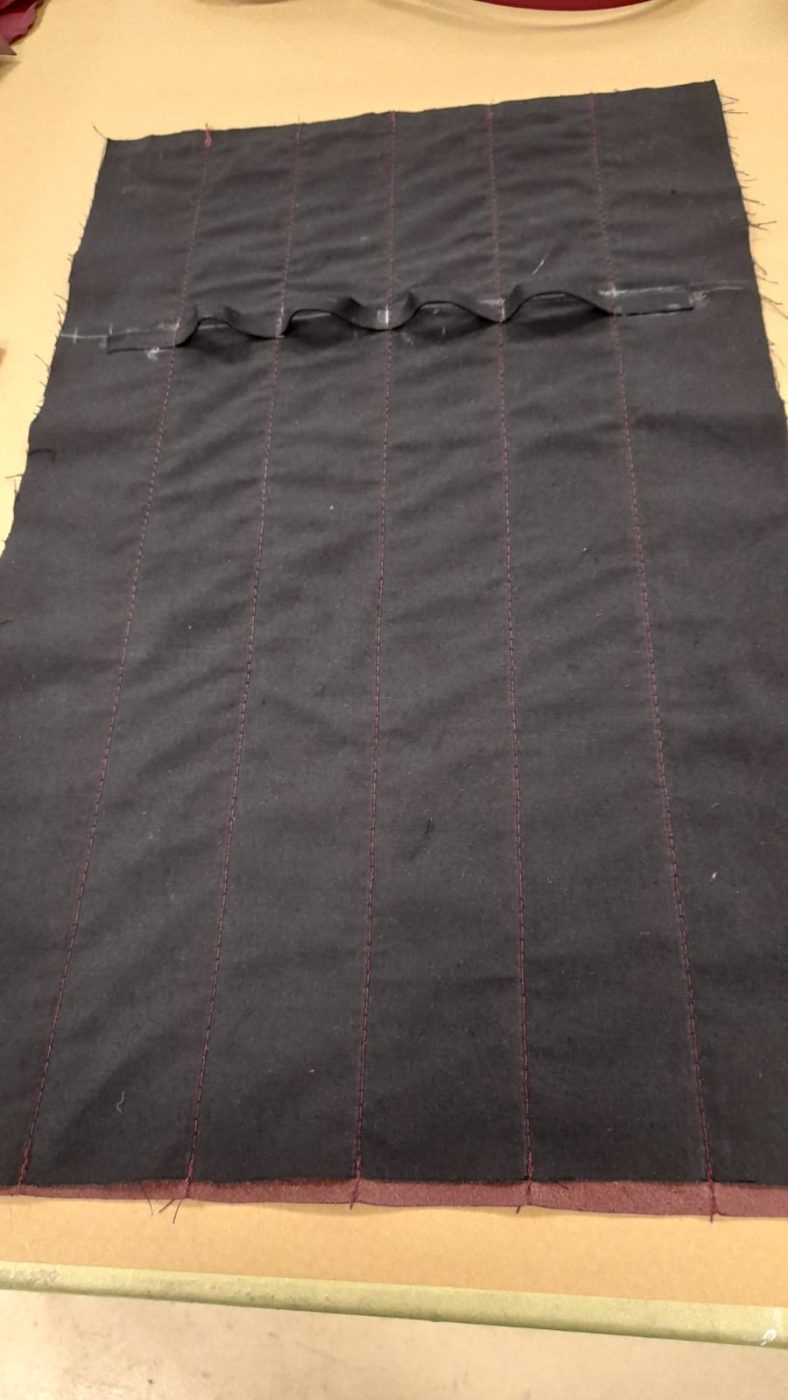
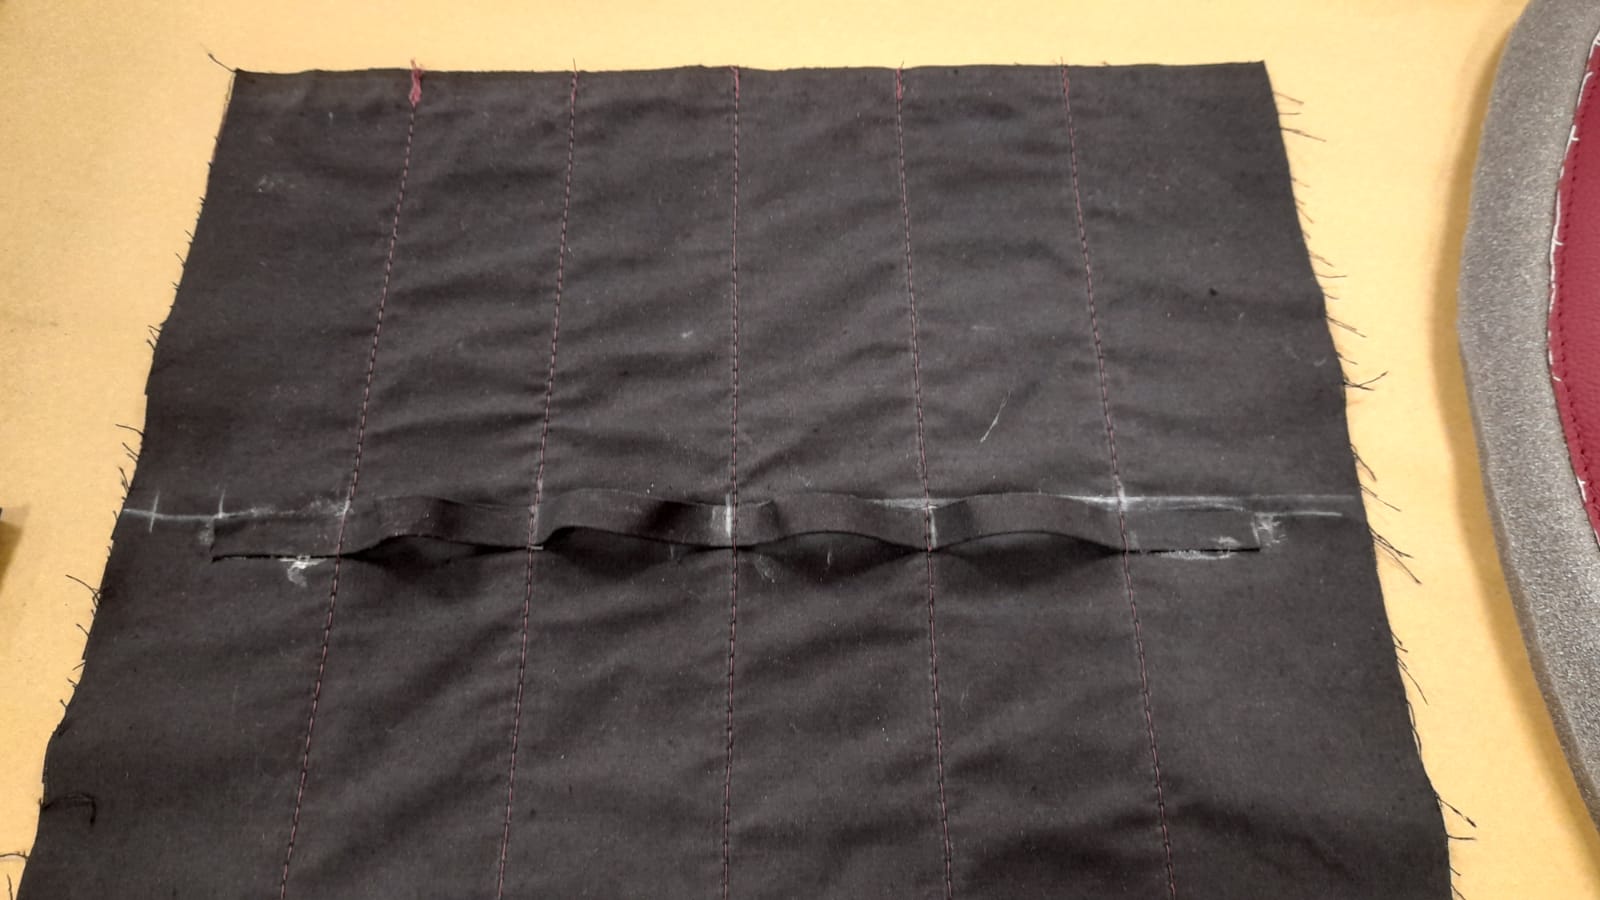
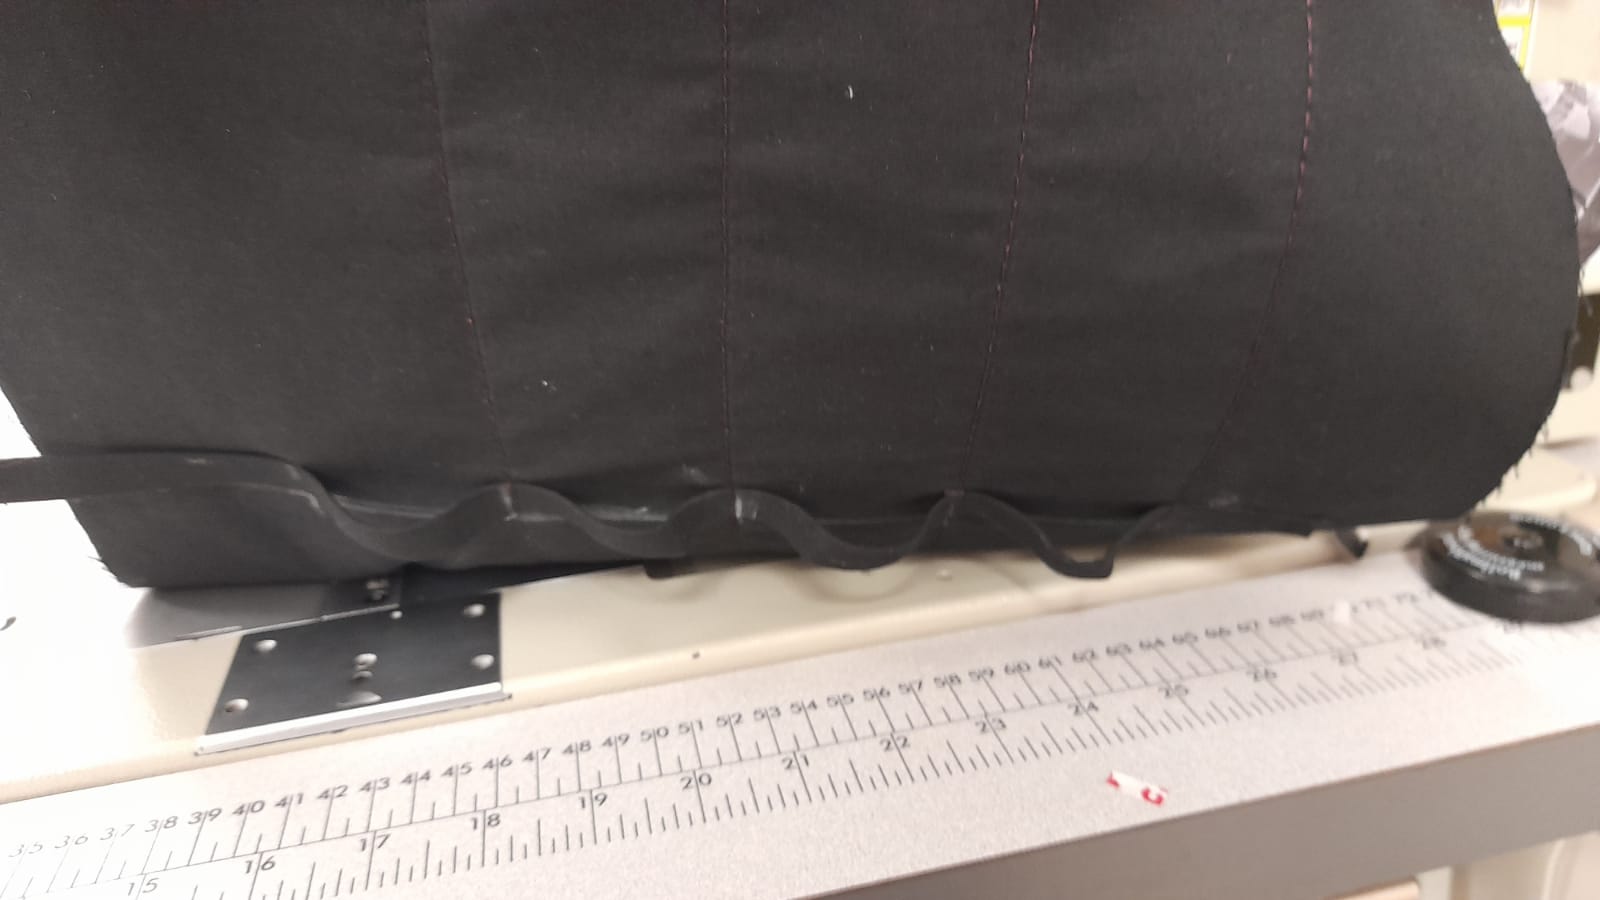
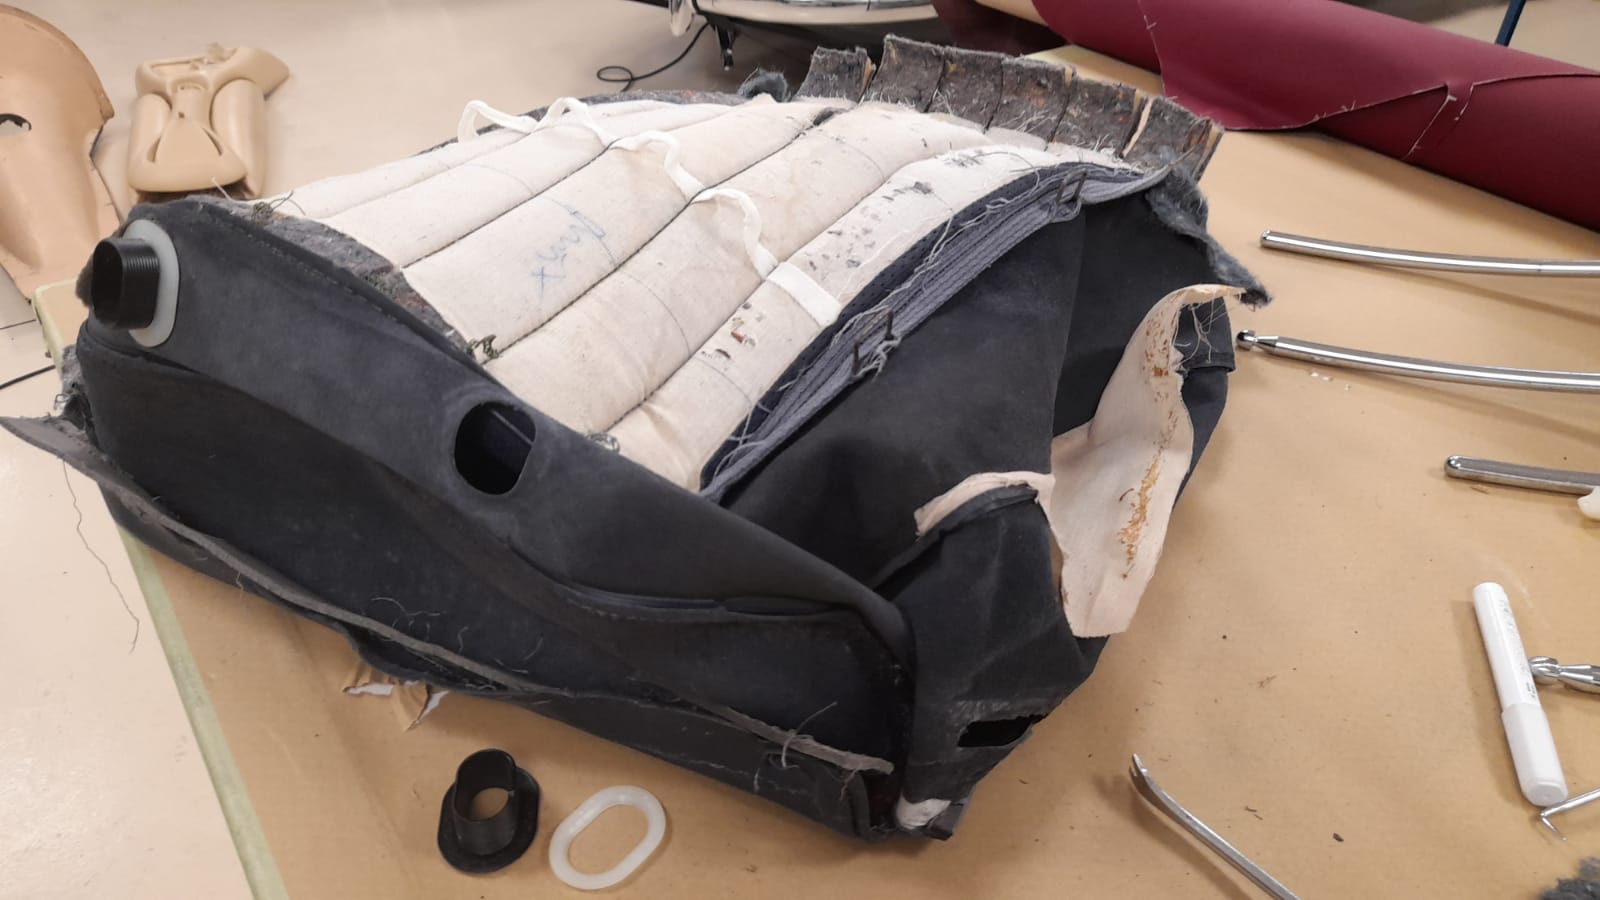
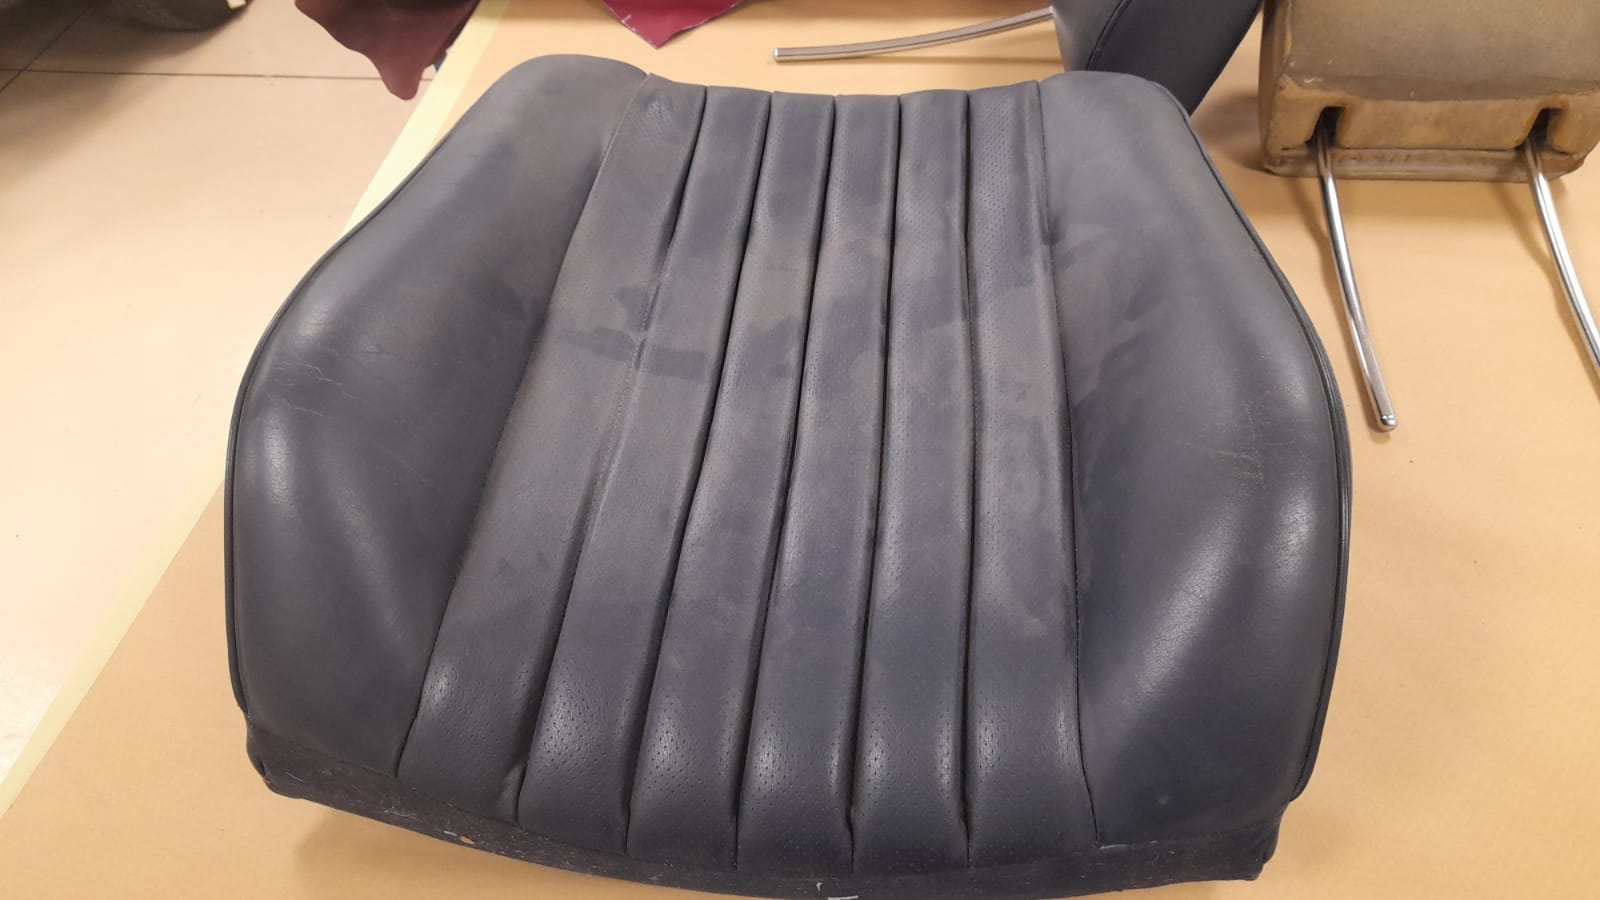
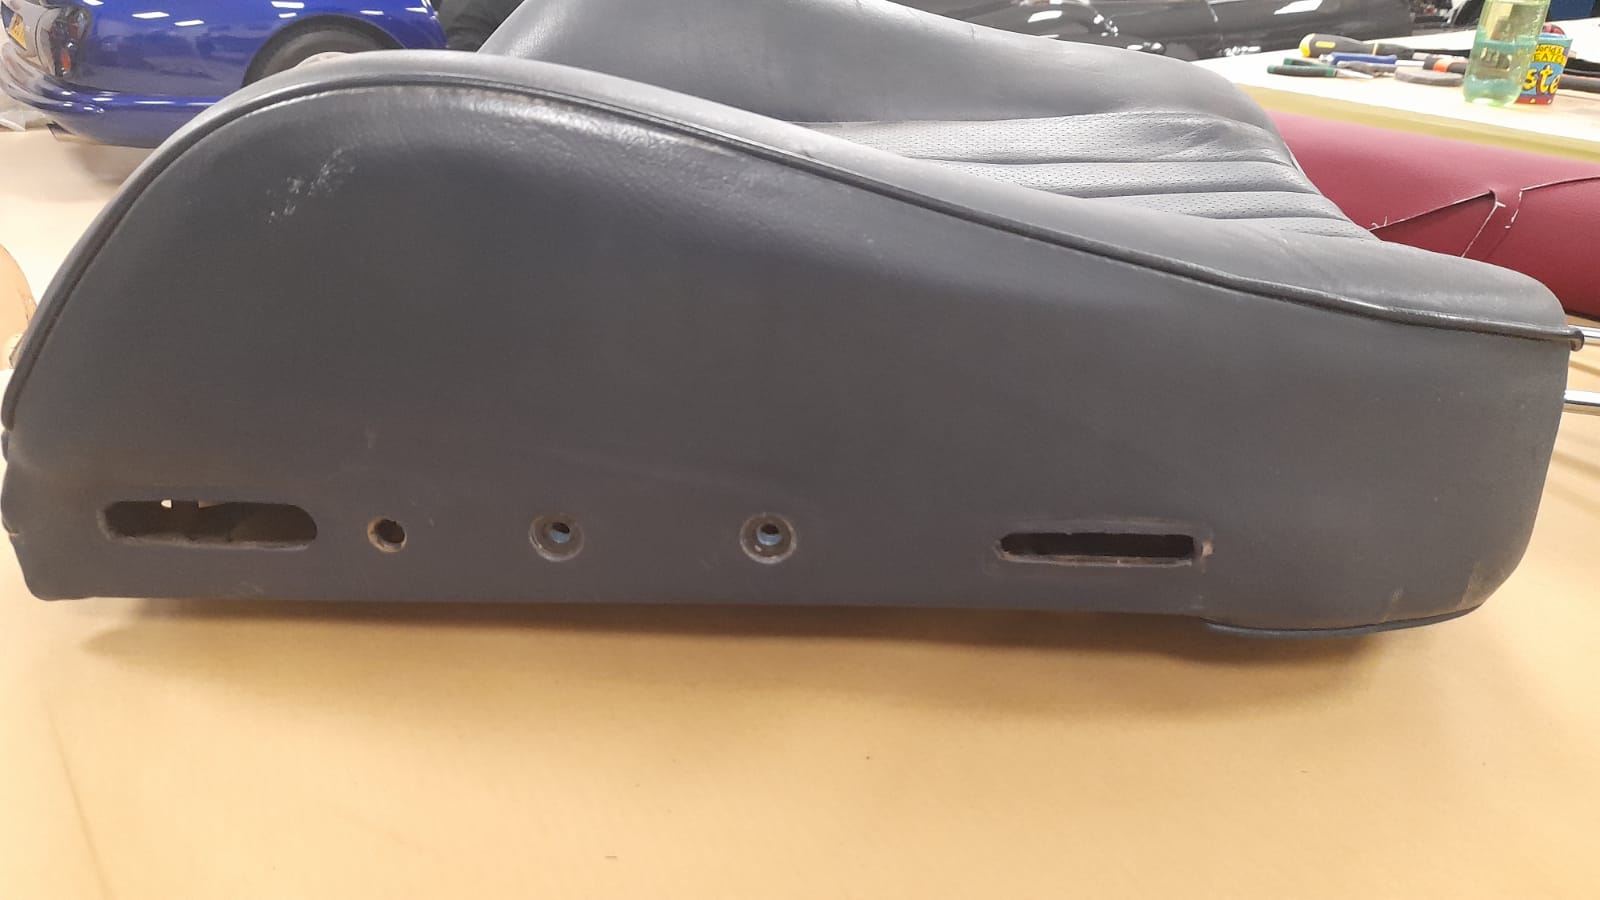
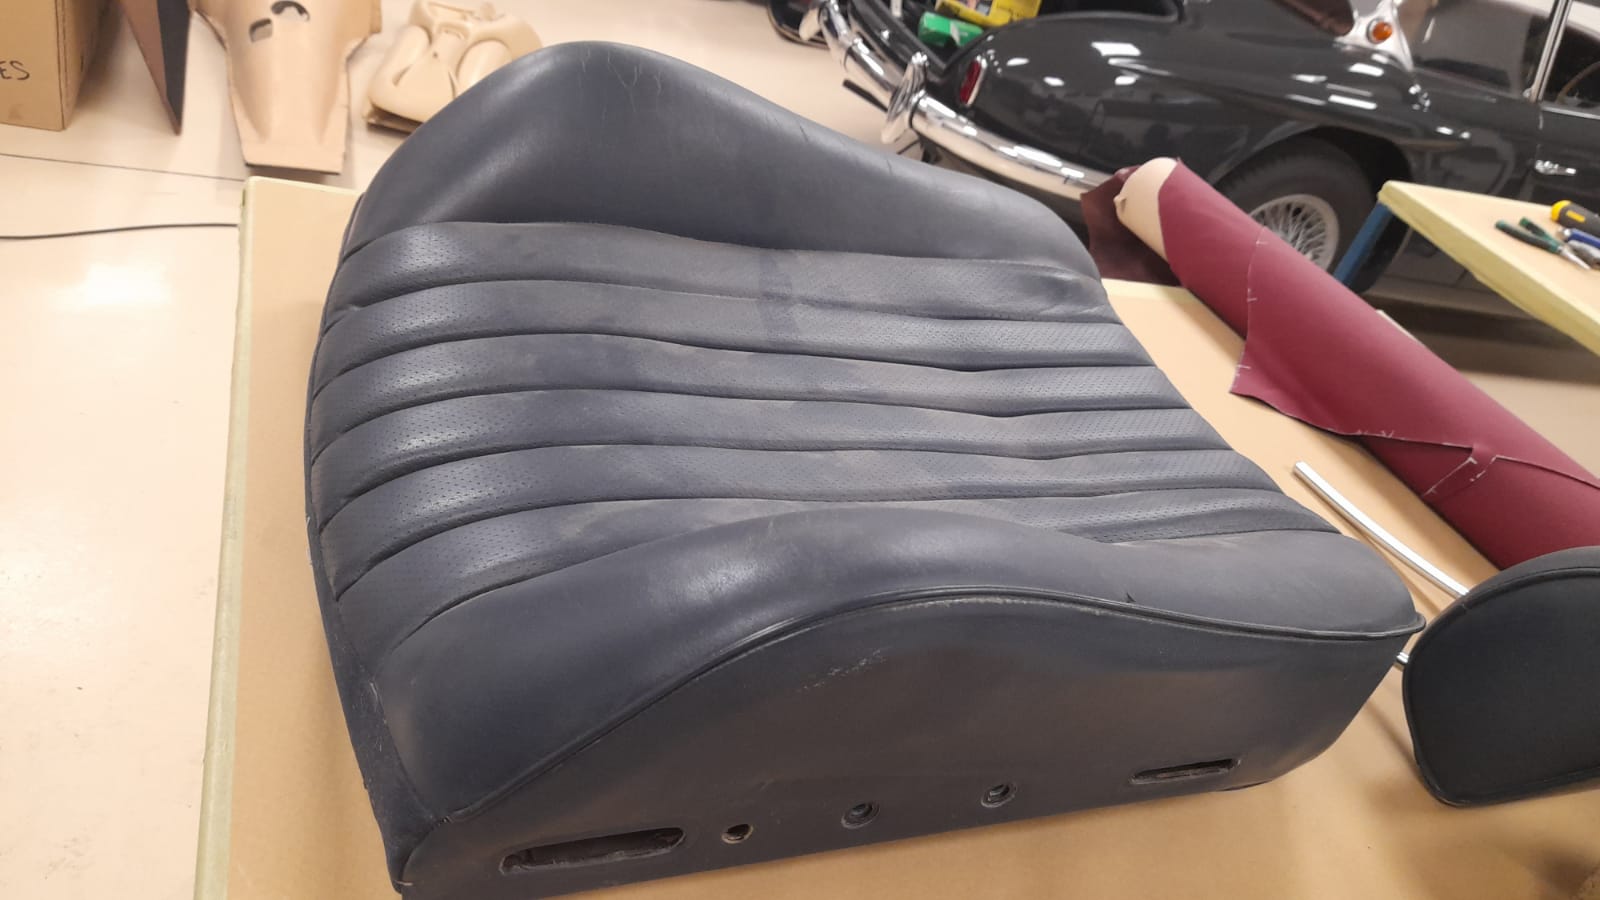
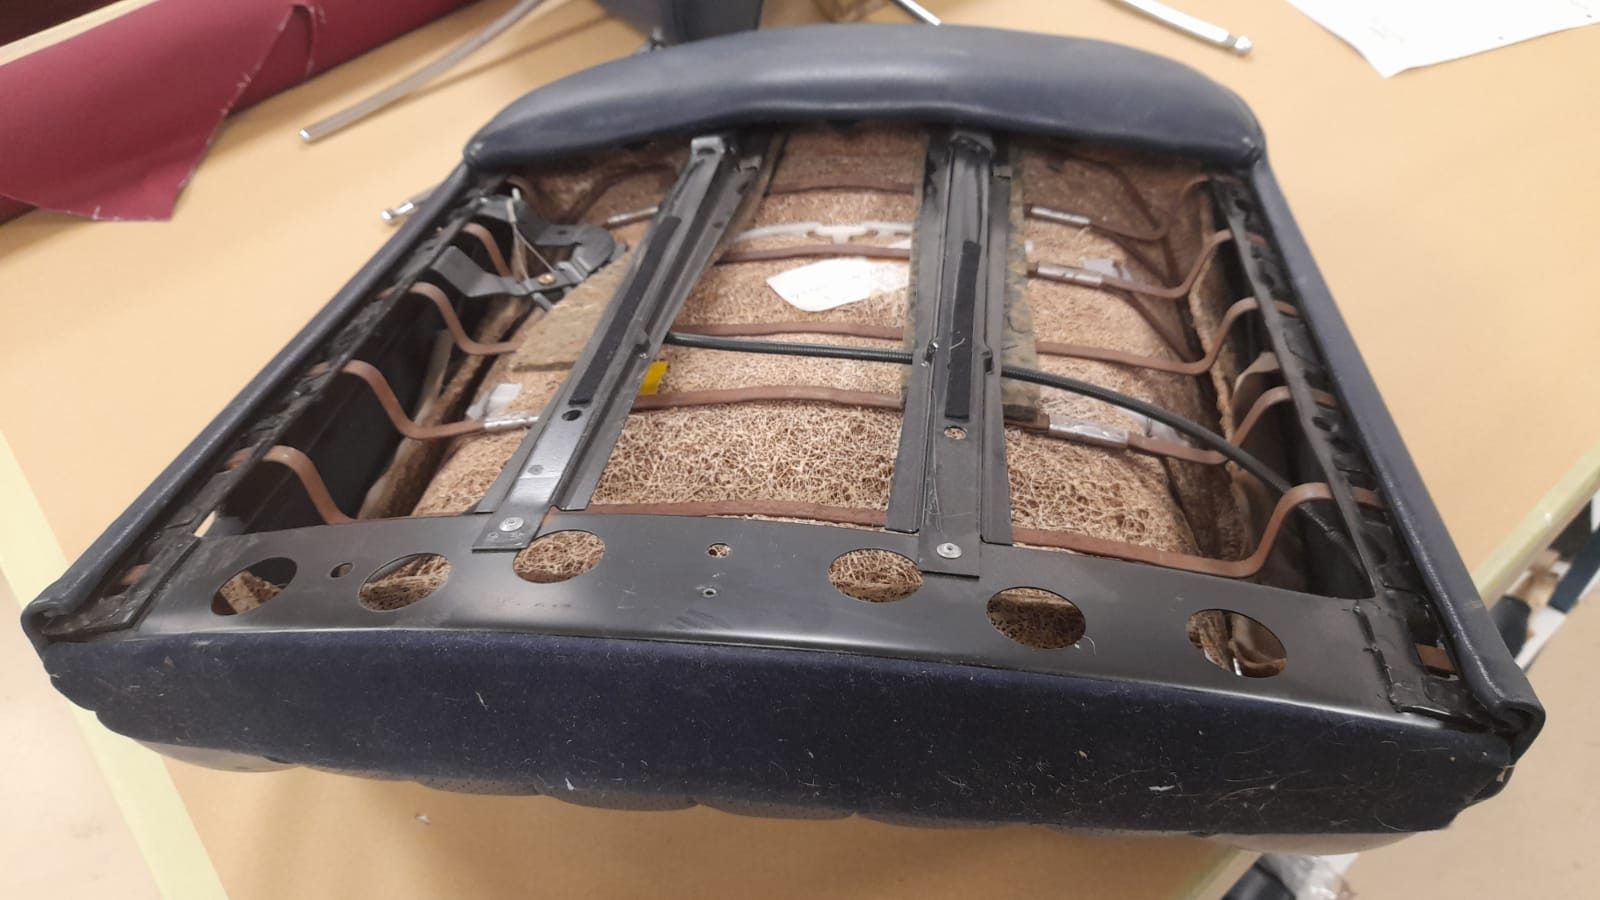
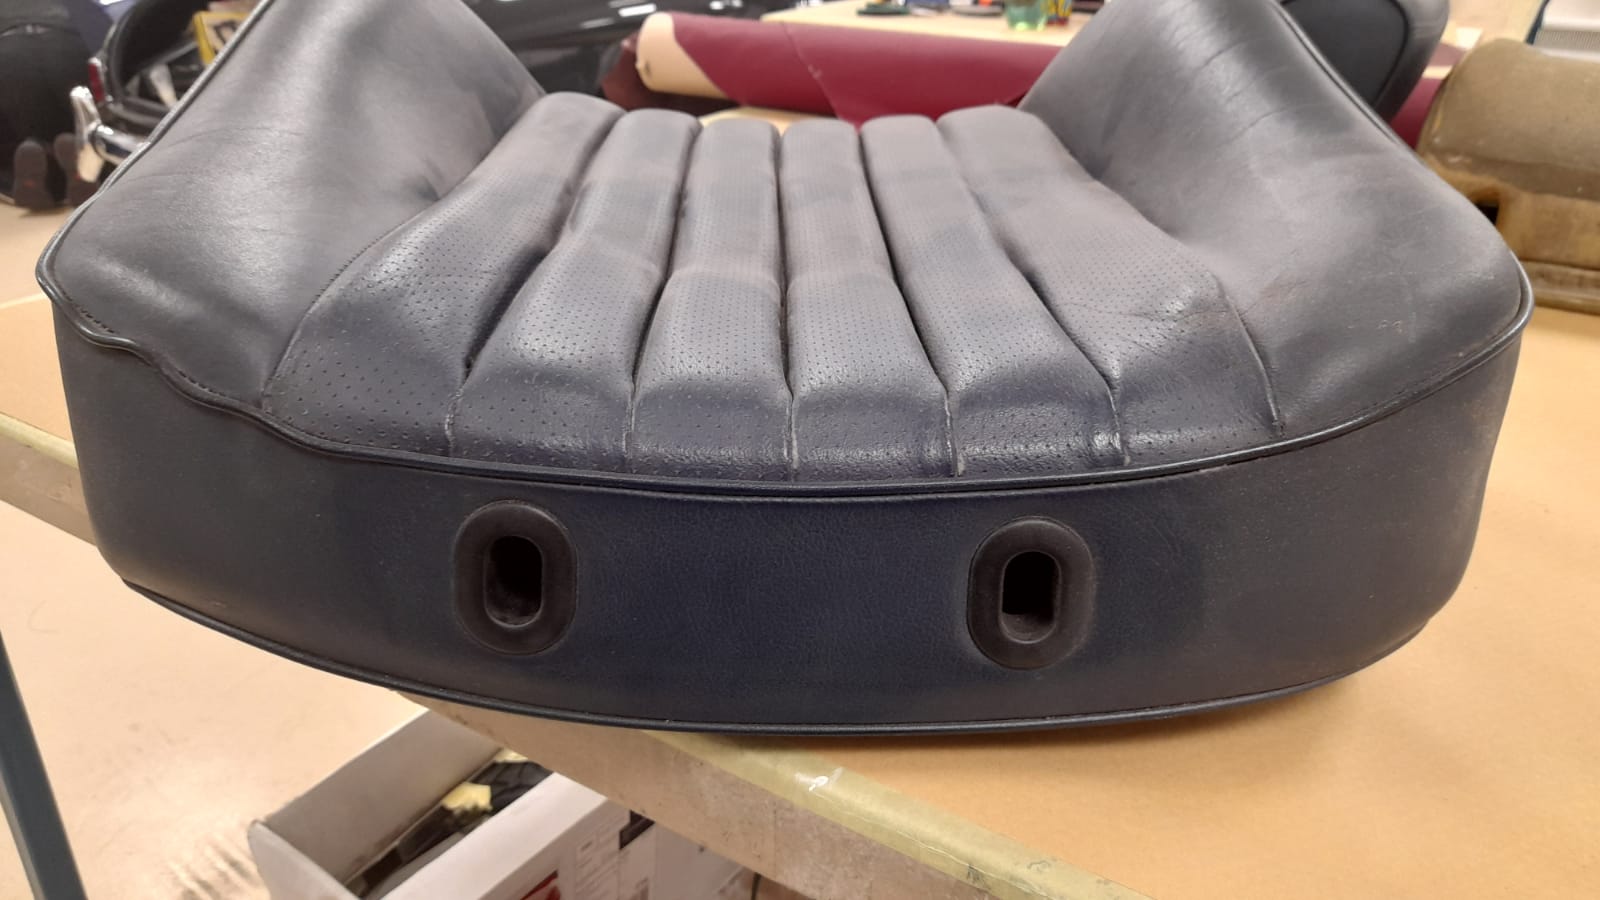
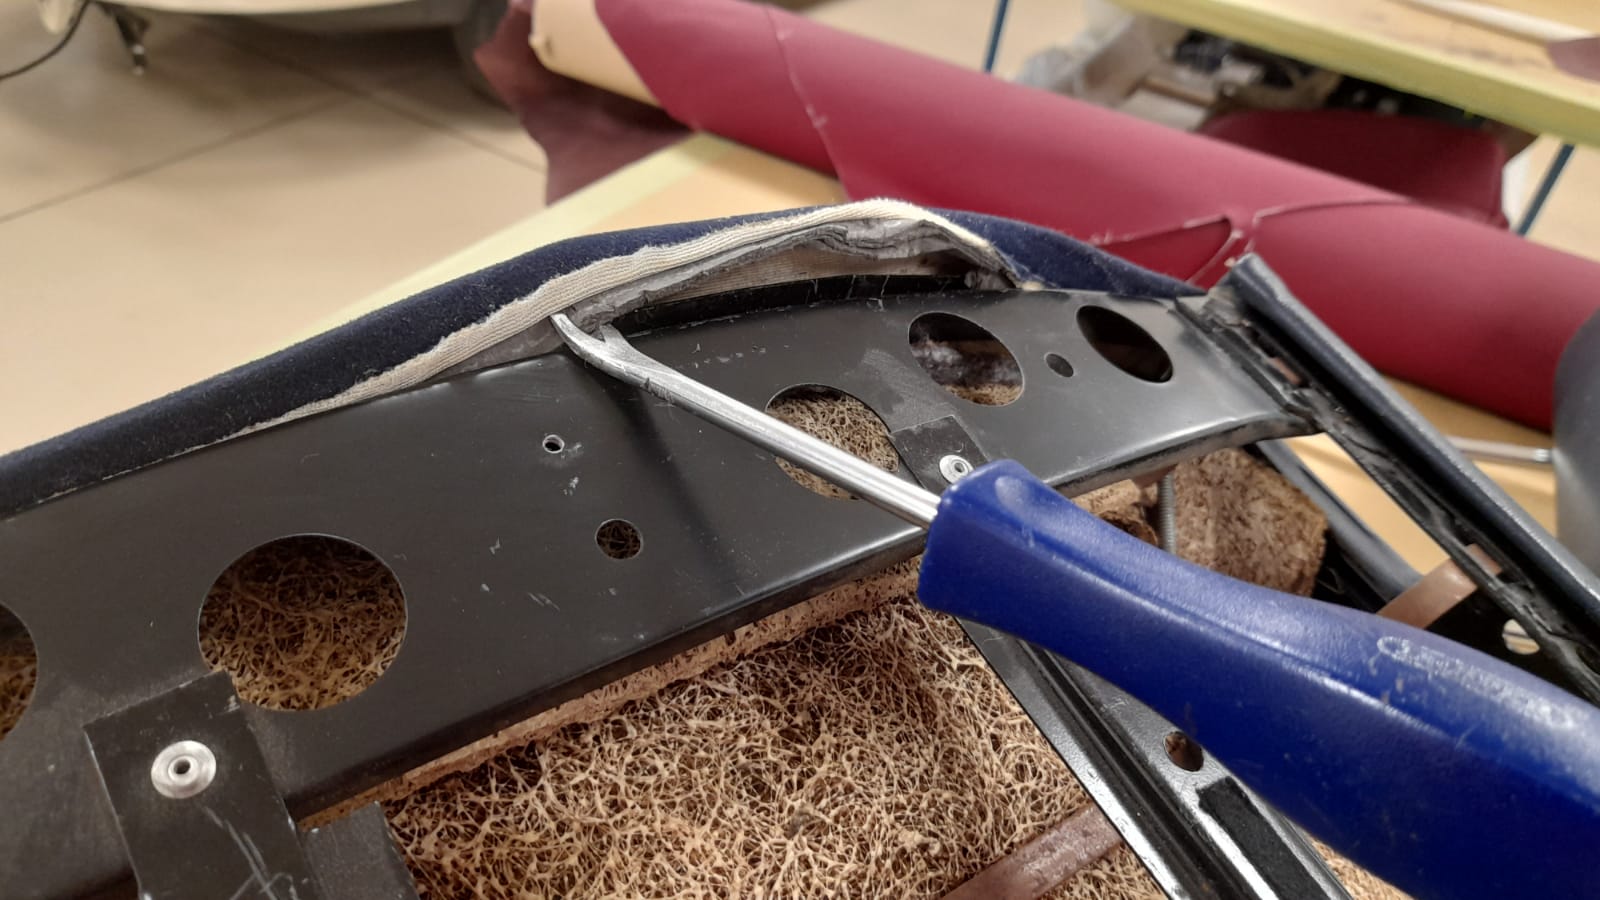
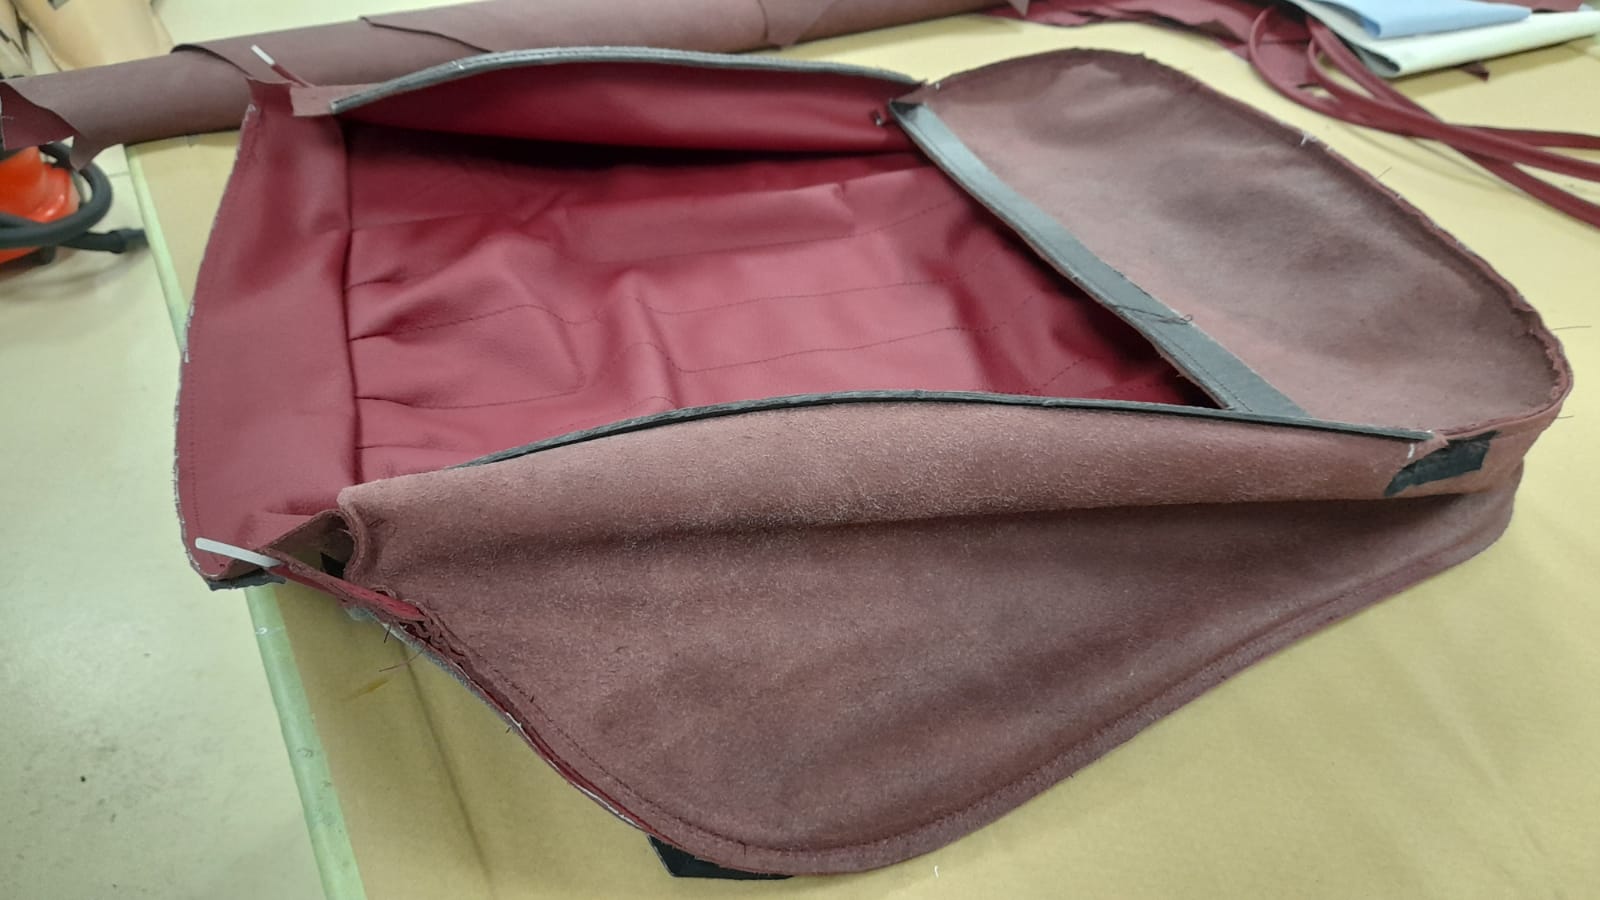
Lydia has been focusing exclusively on Craig’s 500SL Mercedes interior restoration. Over the last week or so shes been working on the seat covers, re-working the original material and creating new covers.
Lydia began by adding a layer of scrim foam over the top and sides of the frame to replace the old worn out padding which had turned hard. She then drew a line down the centre of the seat to make it easier to identify the middle of the cover. Once this is done, Lydia placed the cover over it and pull the calico inside it. Once fitted, she could pull it tight and glue it in place.
Lydia then applied weight to the frame springs and pulled the other edges of the cover over and under the frame. She then glued down the side flaps around the frame, cleaned up the bolts that screw into the bottom of the seat, and made a hole on each side for them.


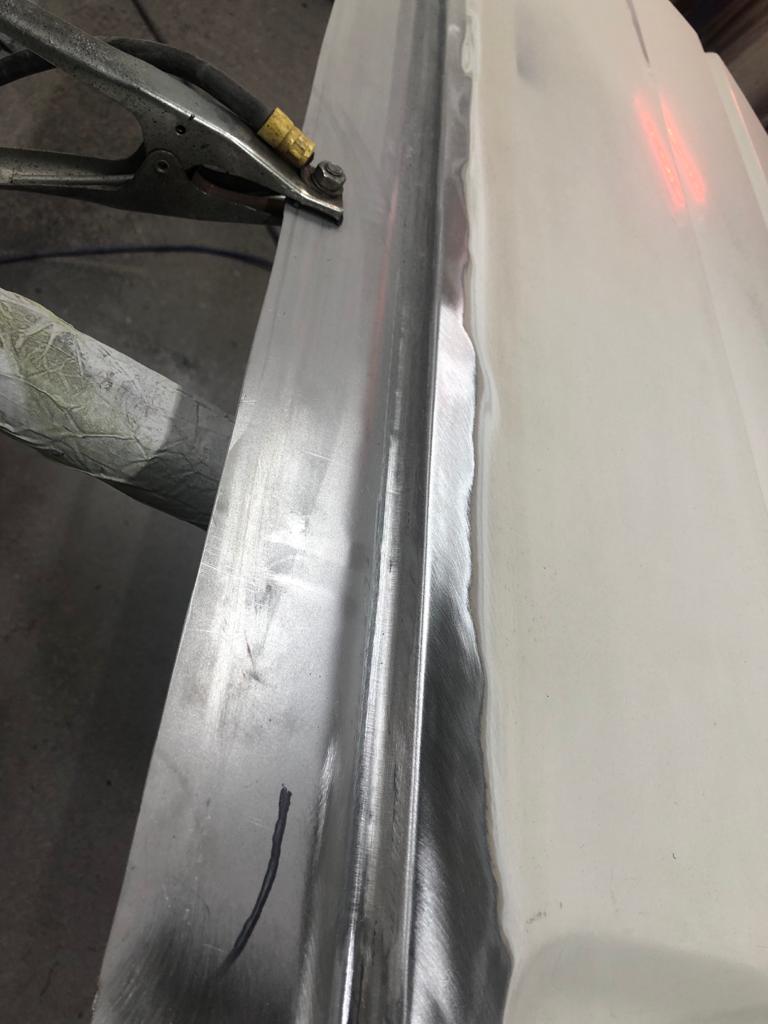
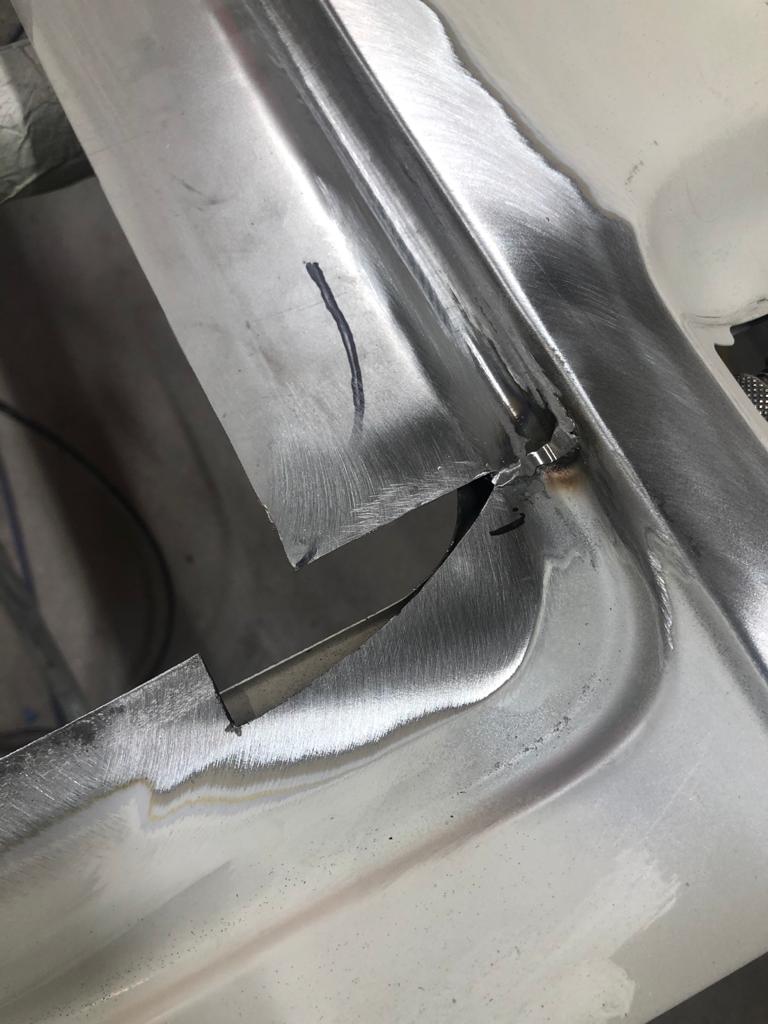
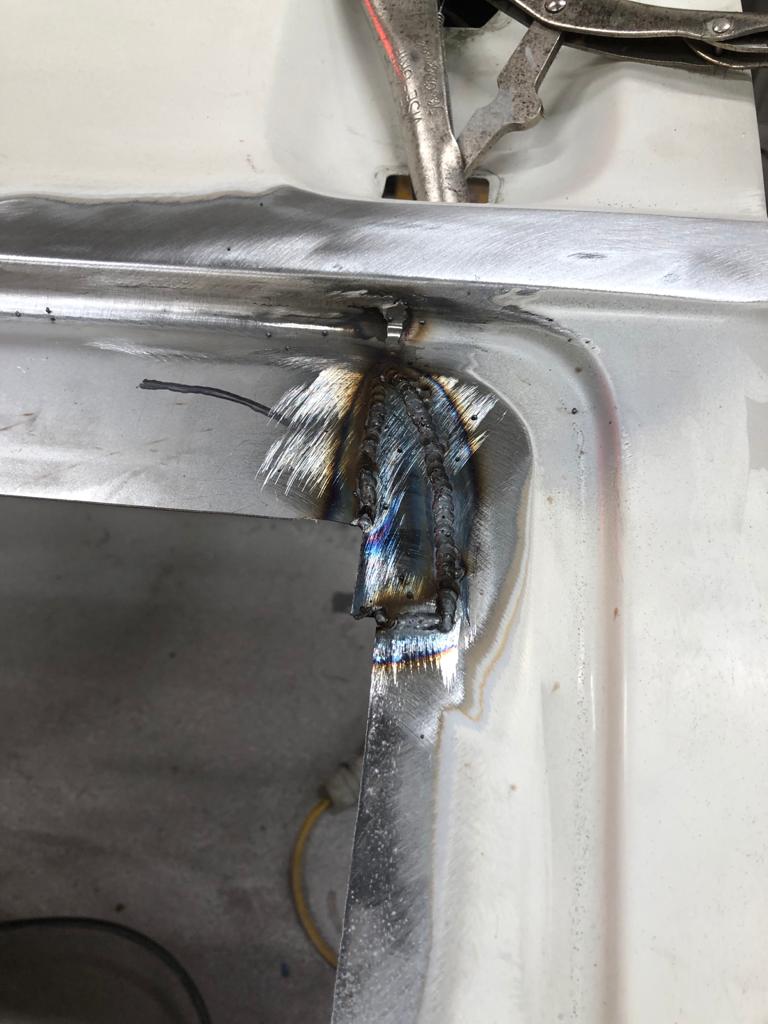
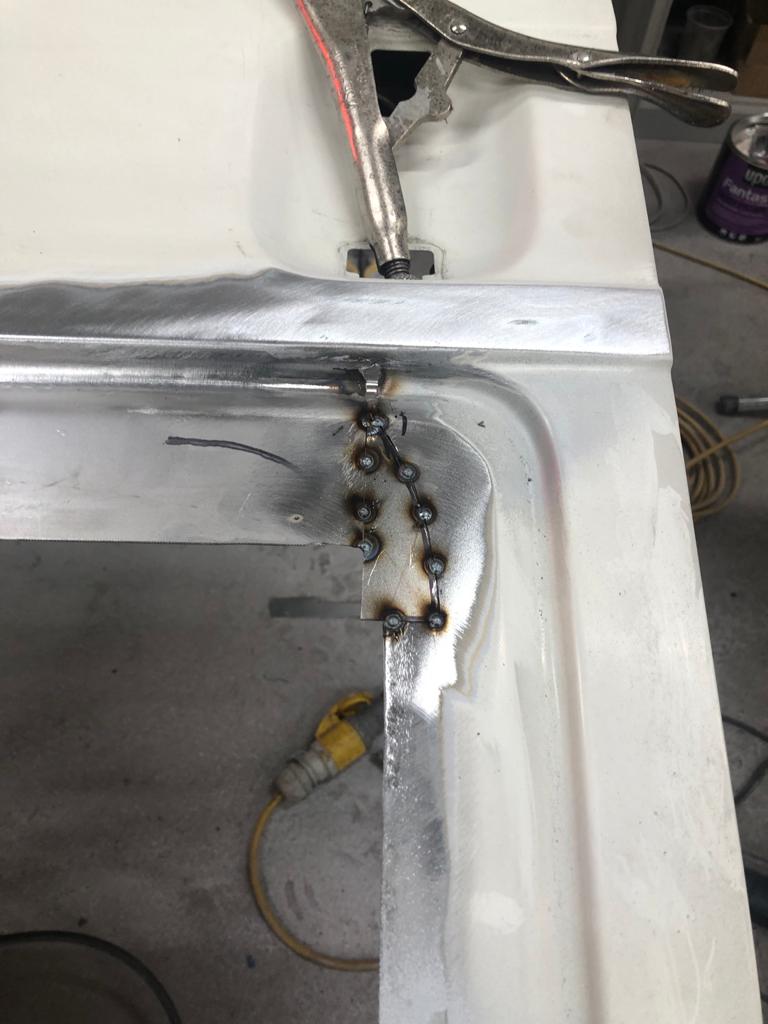
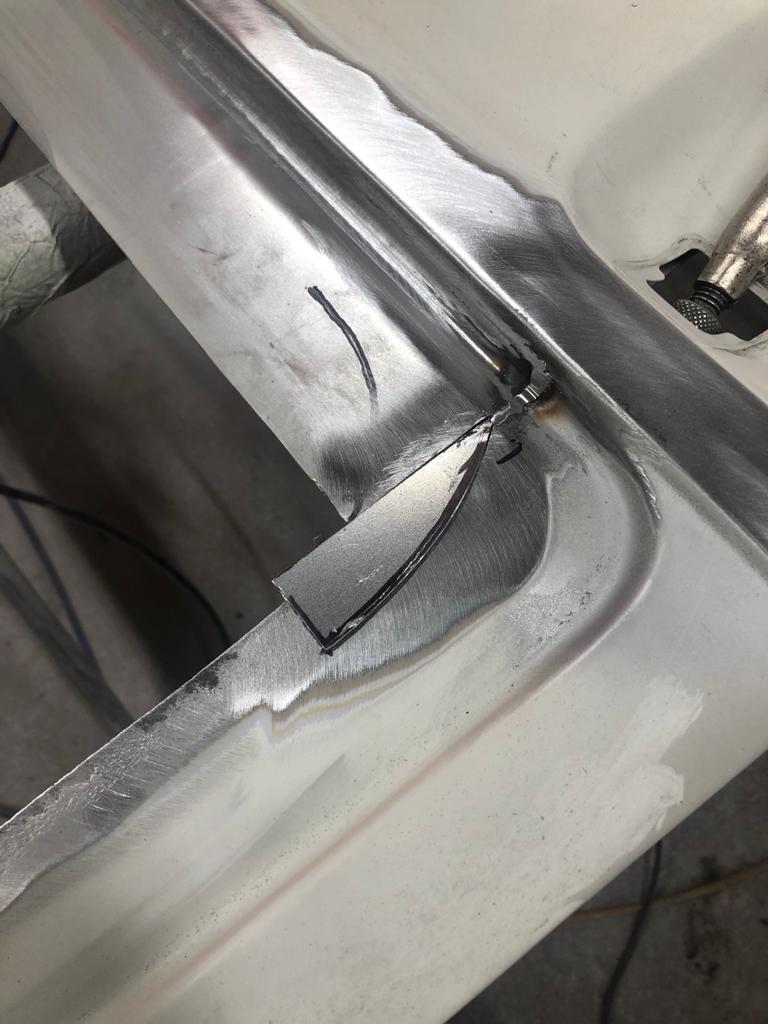
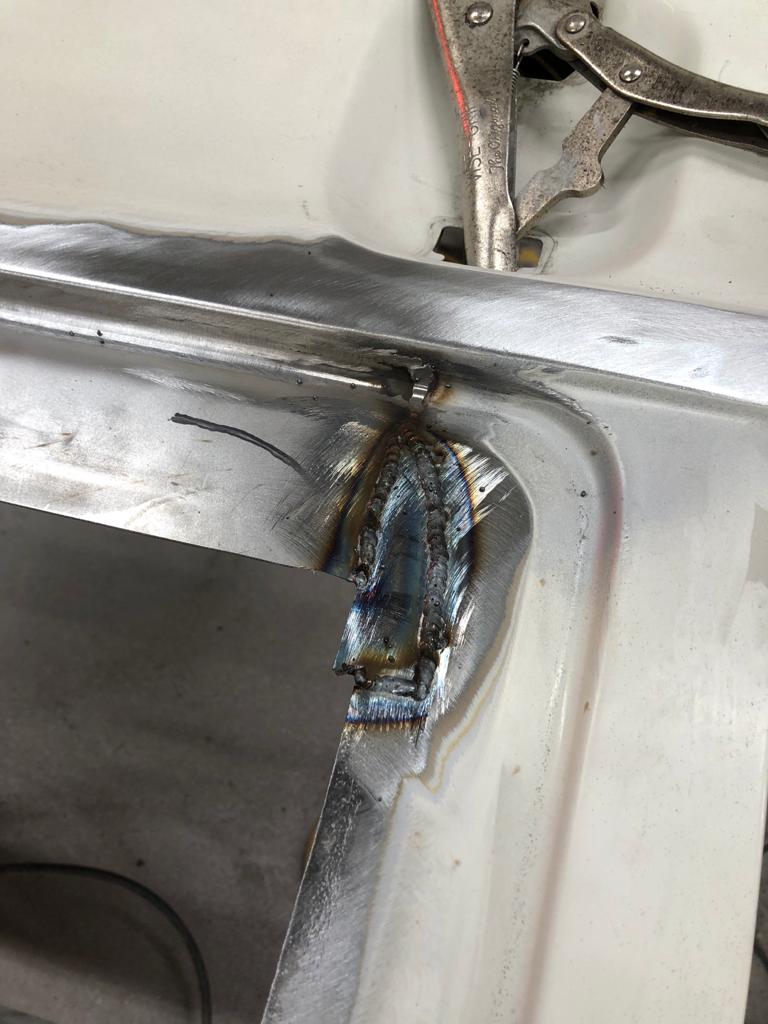
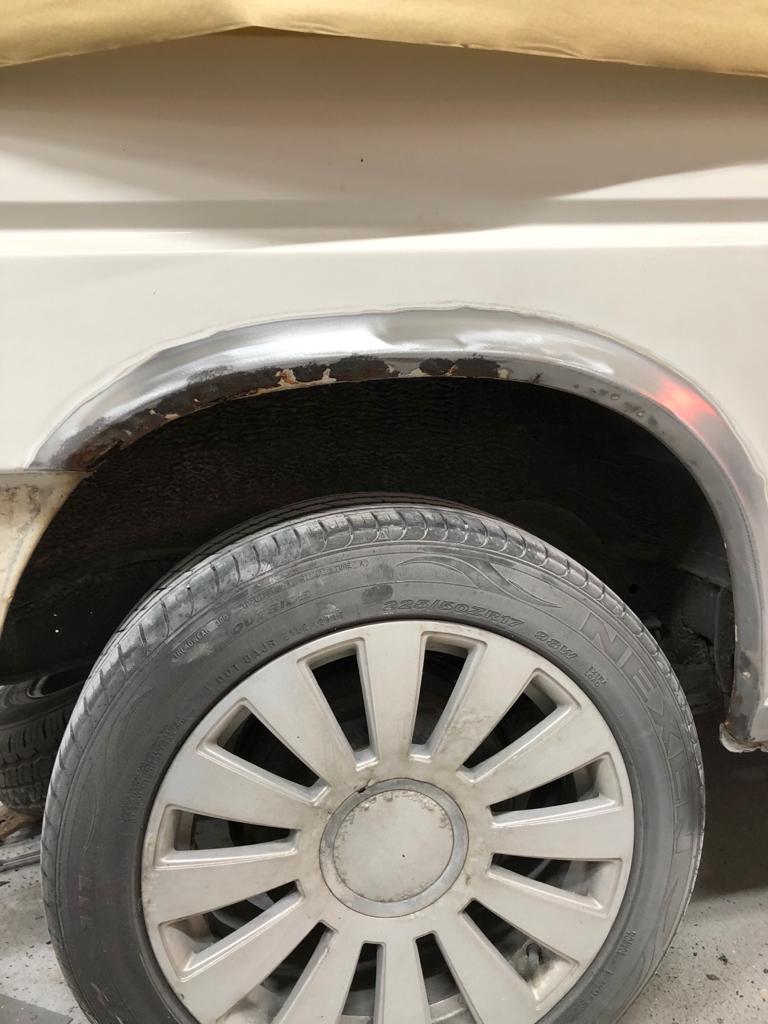
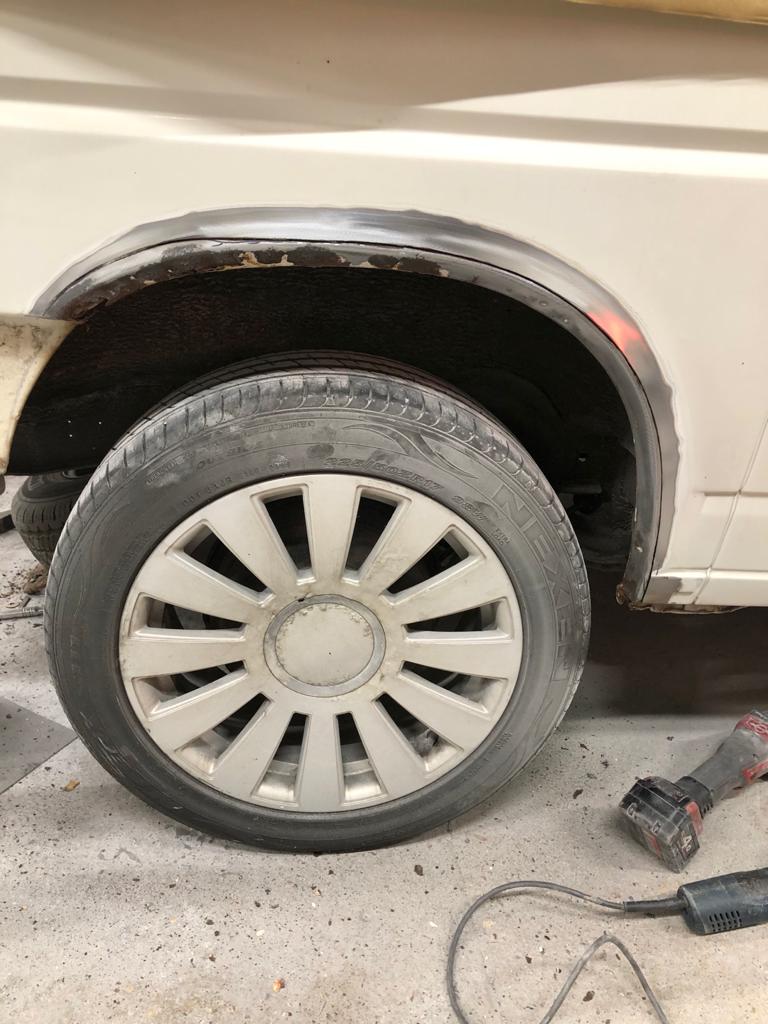
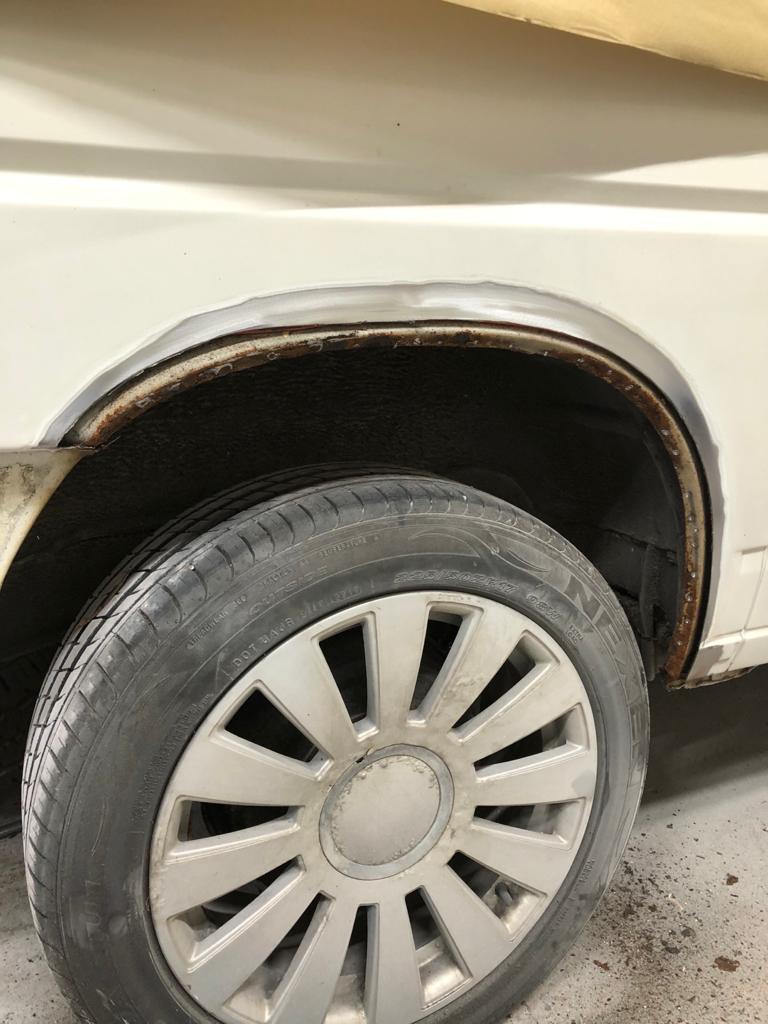
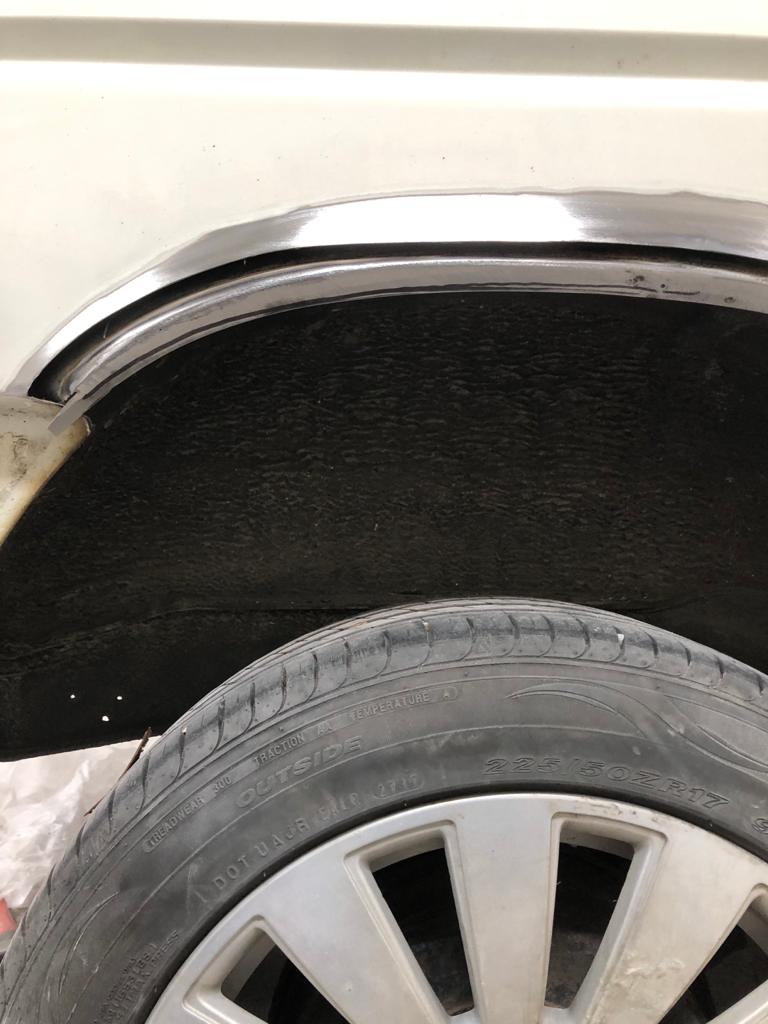
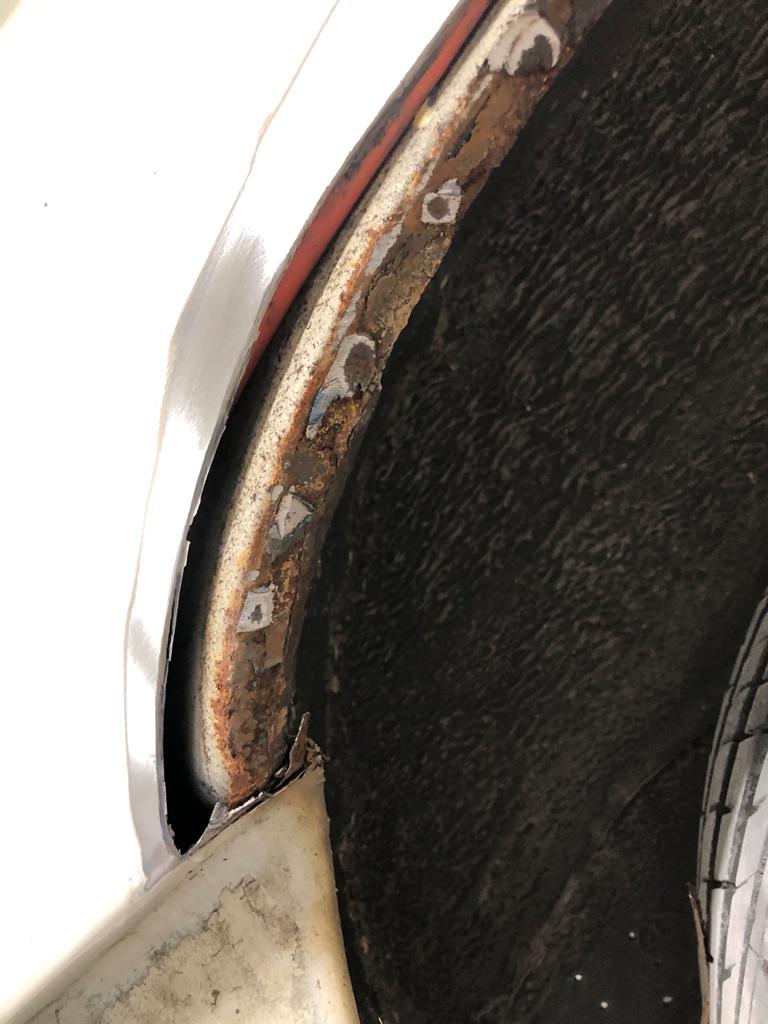
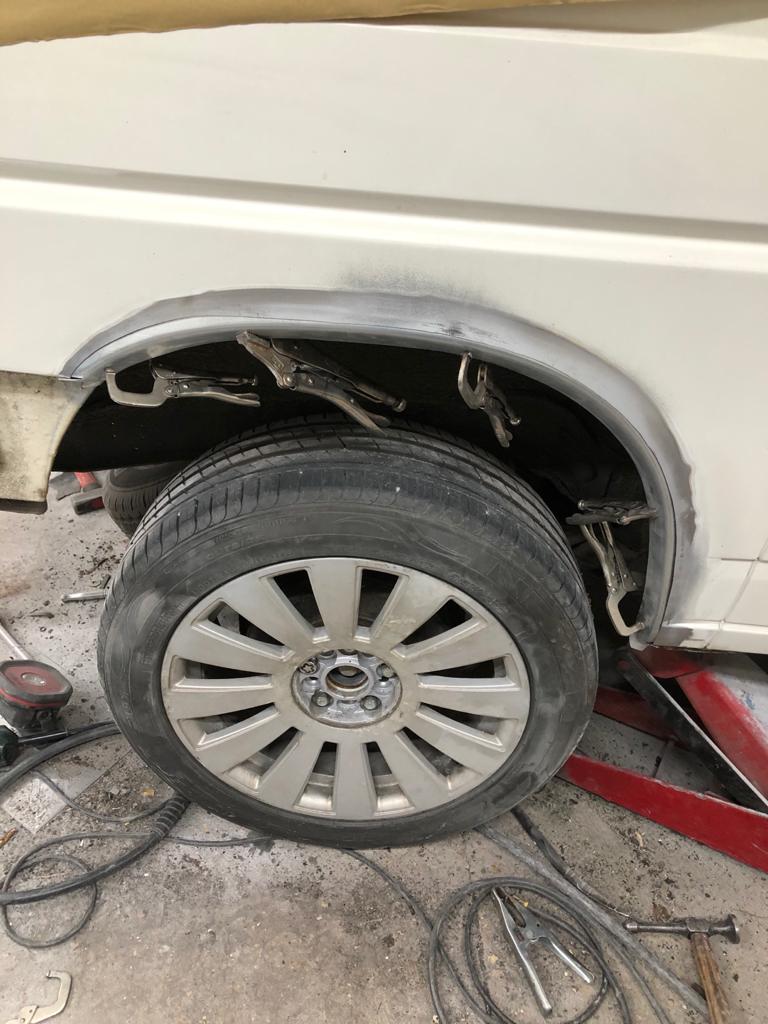
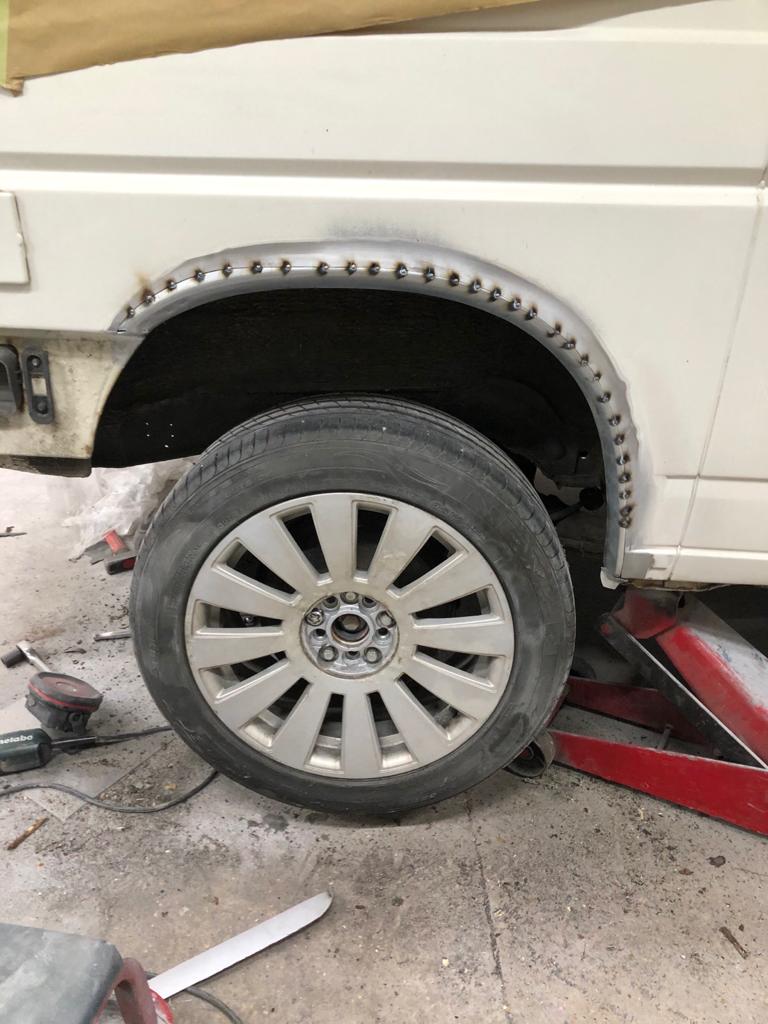
James has been working on the corrosion damage of our 1991 VW T4 Transporter Campervan. He’s been focusing on finishing off the sliding door and rear left door repairs. He’s cut out the right-hand side rear wheel arch, repaired the inner arch and tacked the new outer arch in place to make it ready for welding.


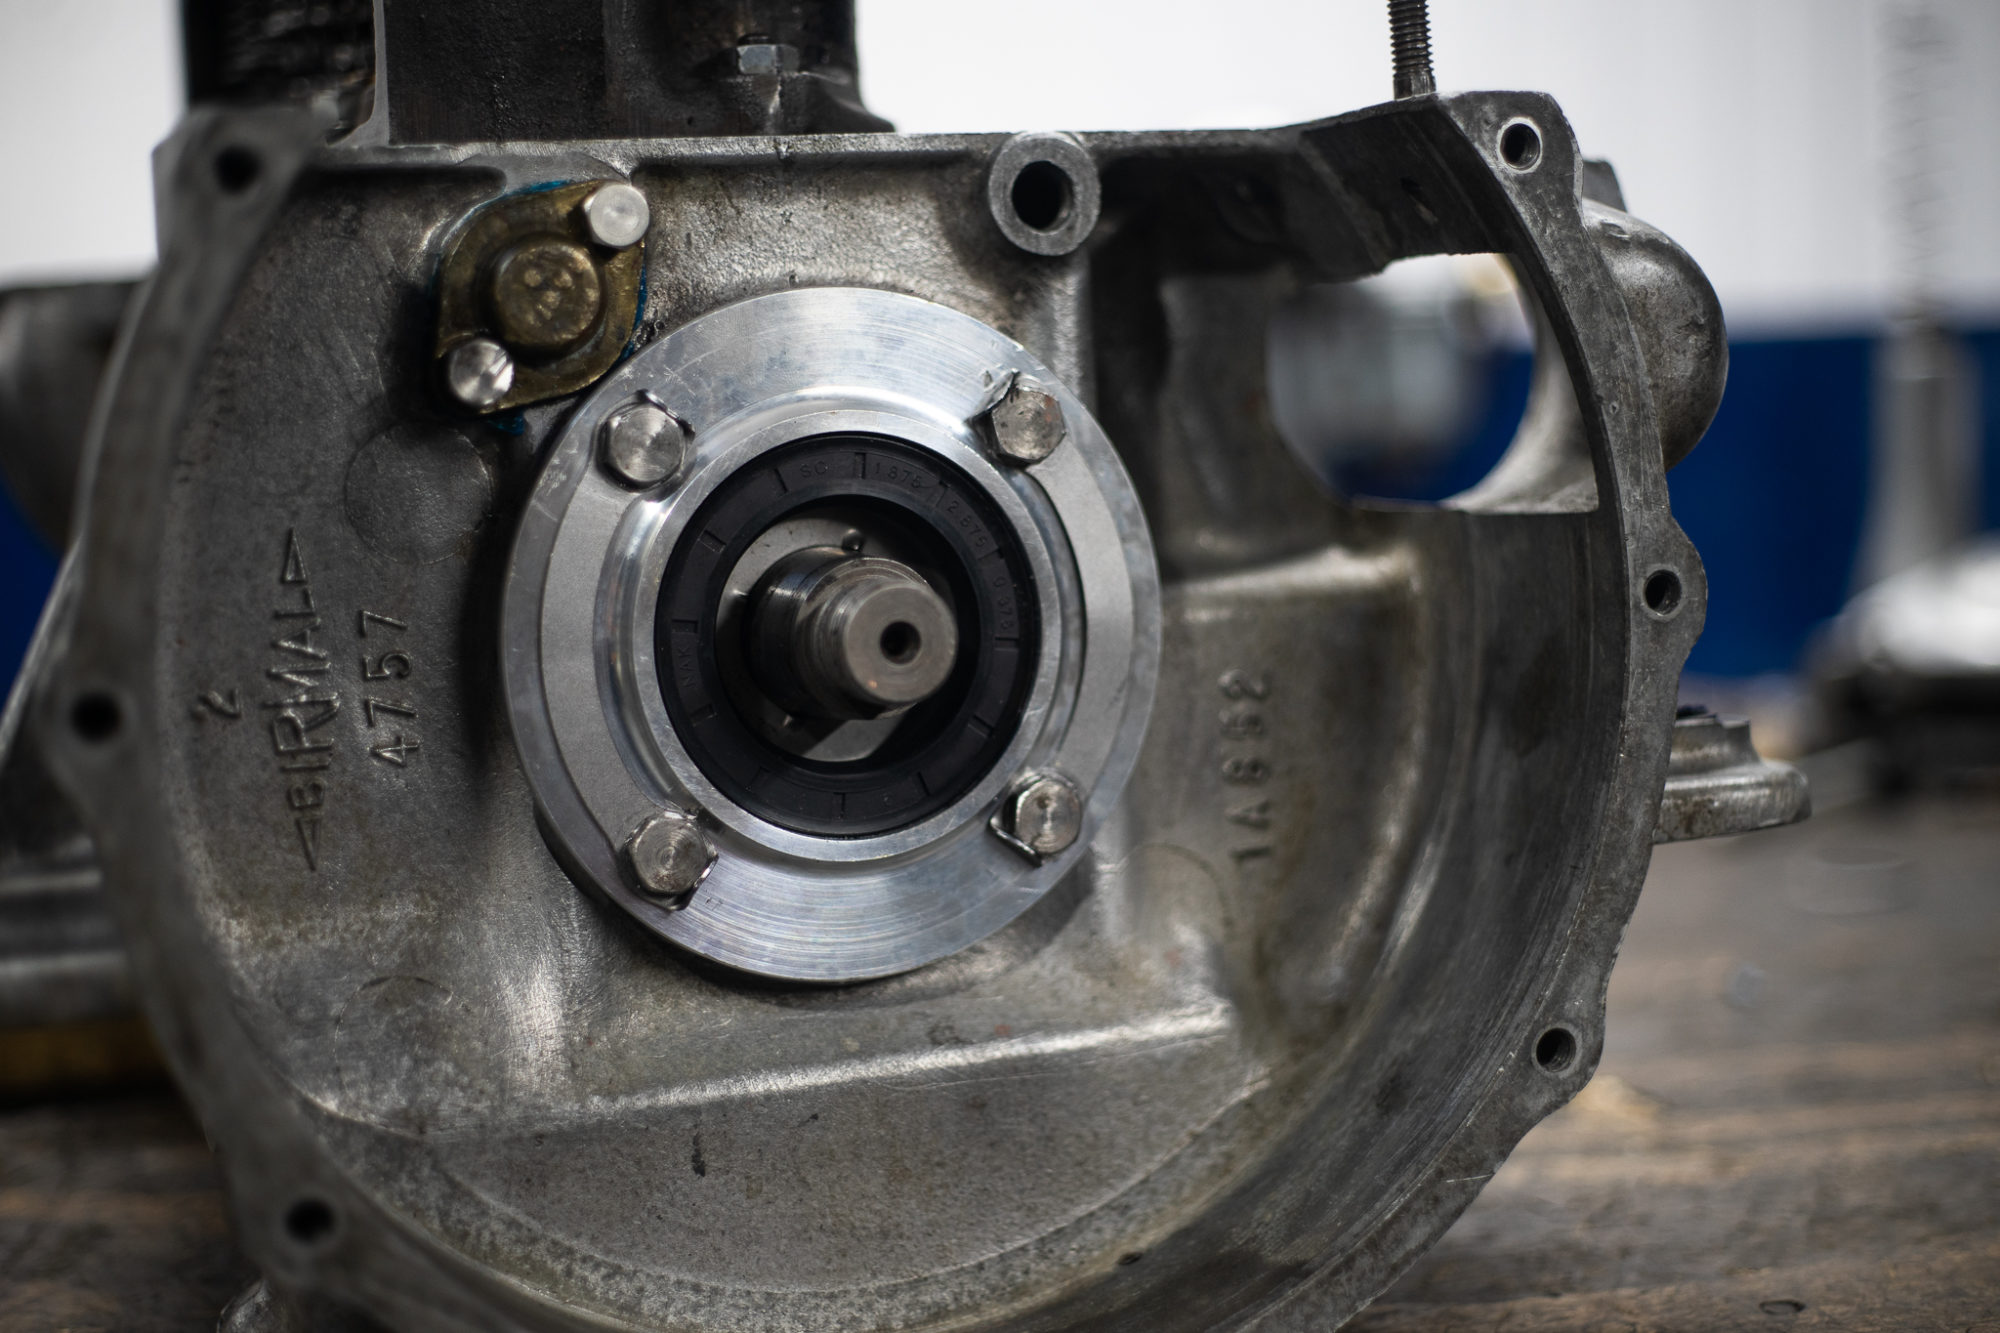
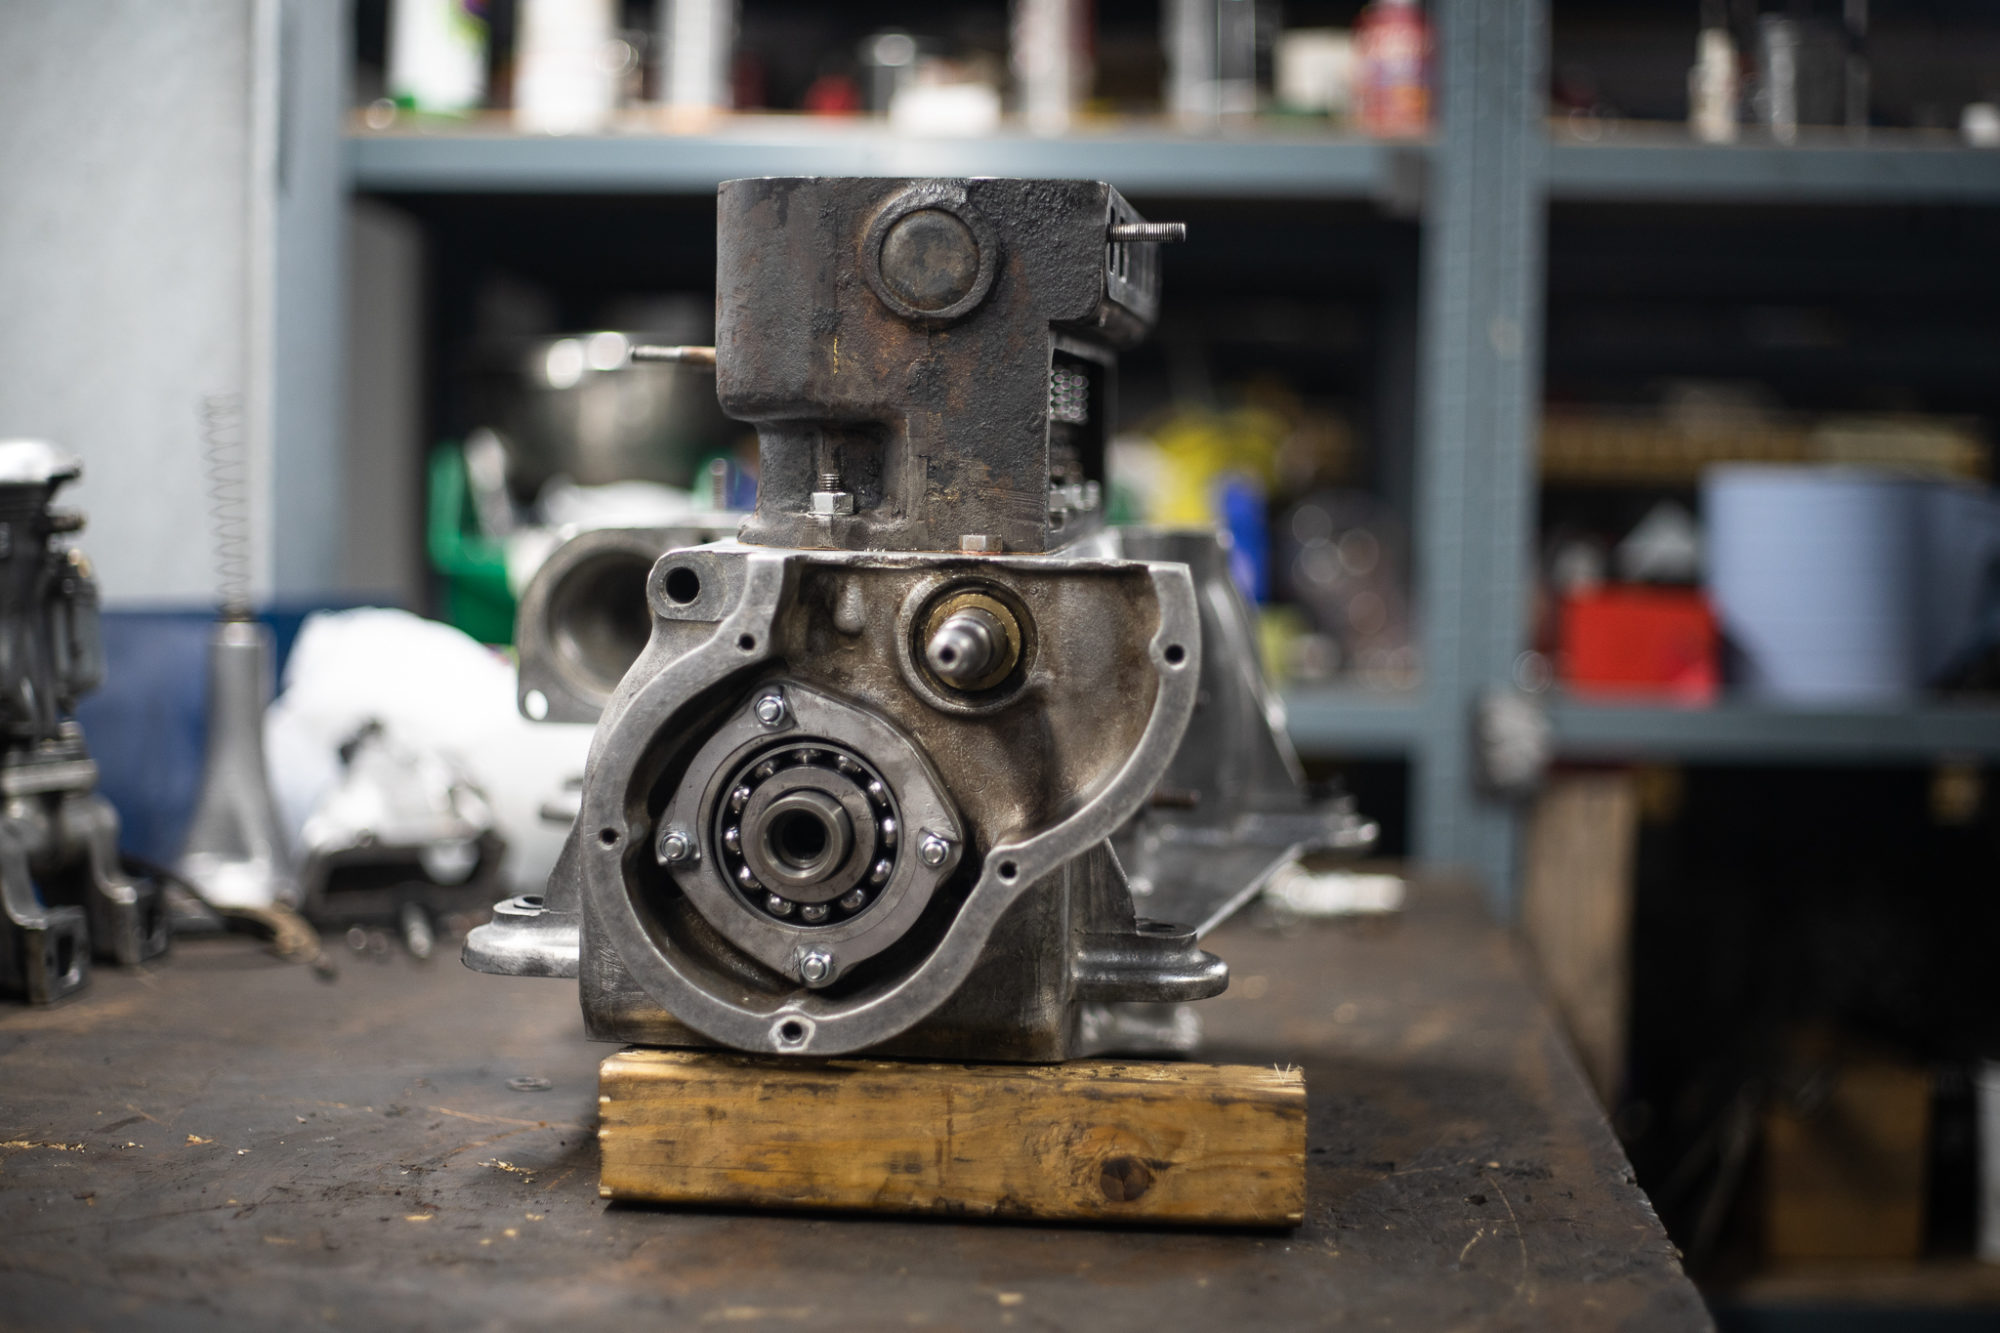
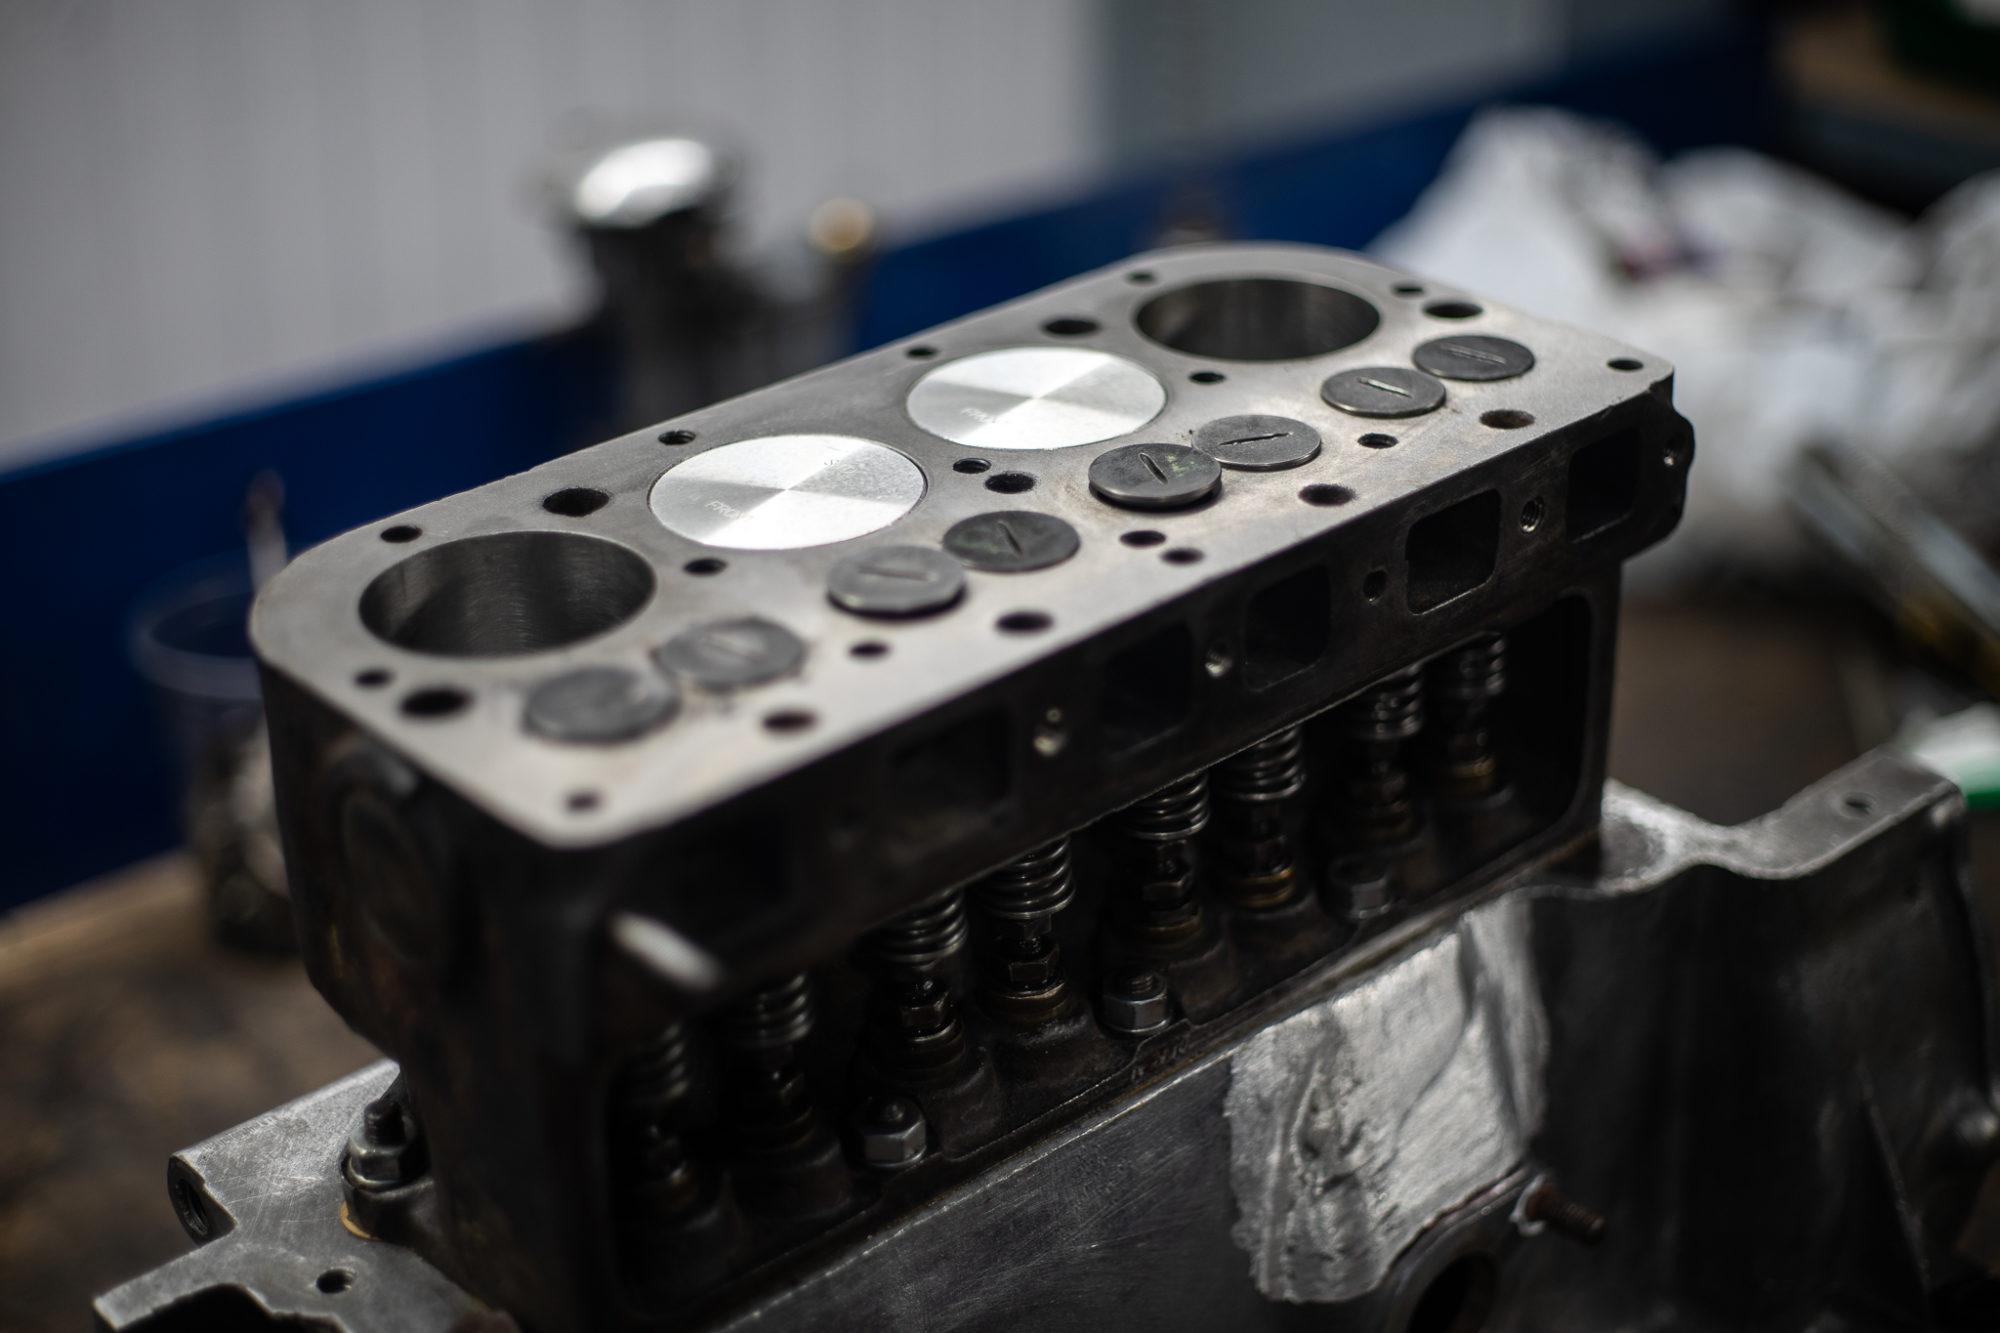
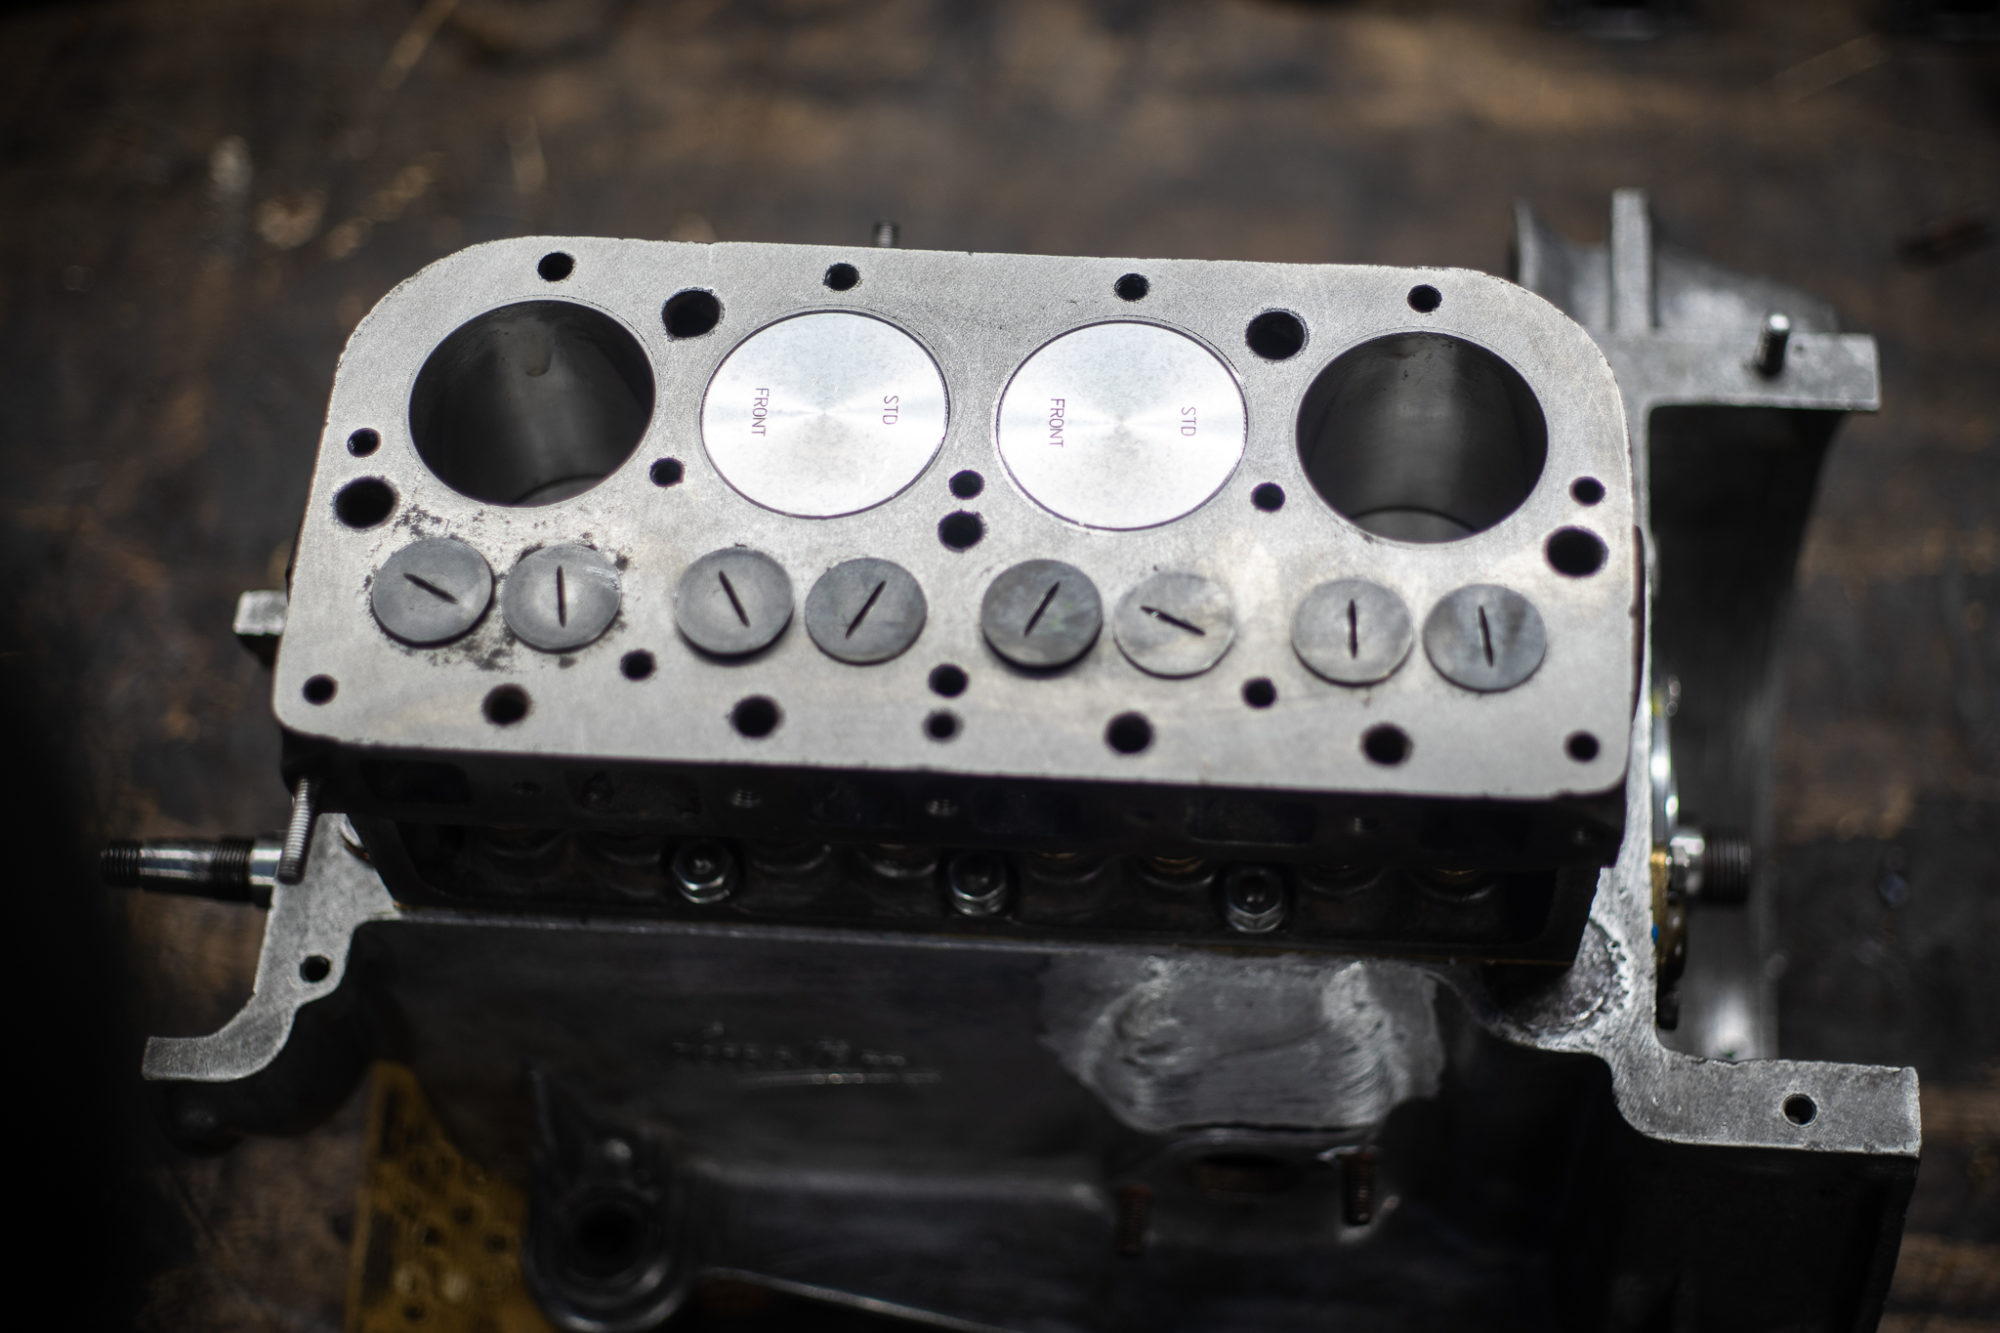
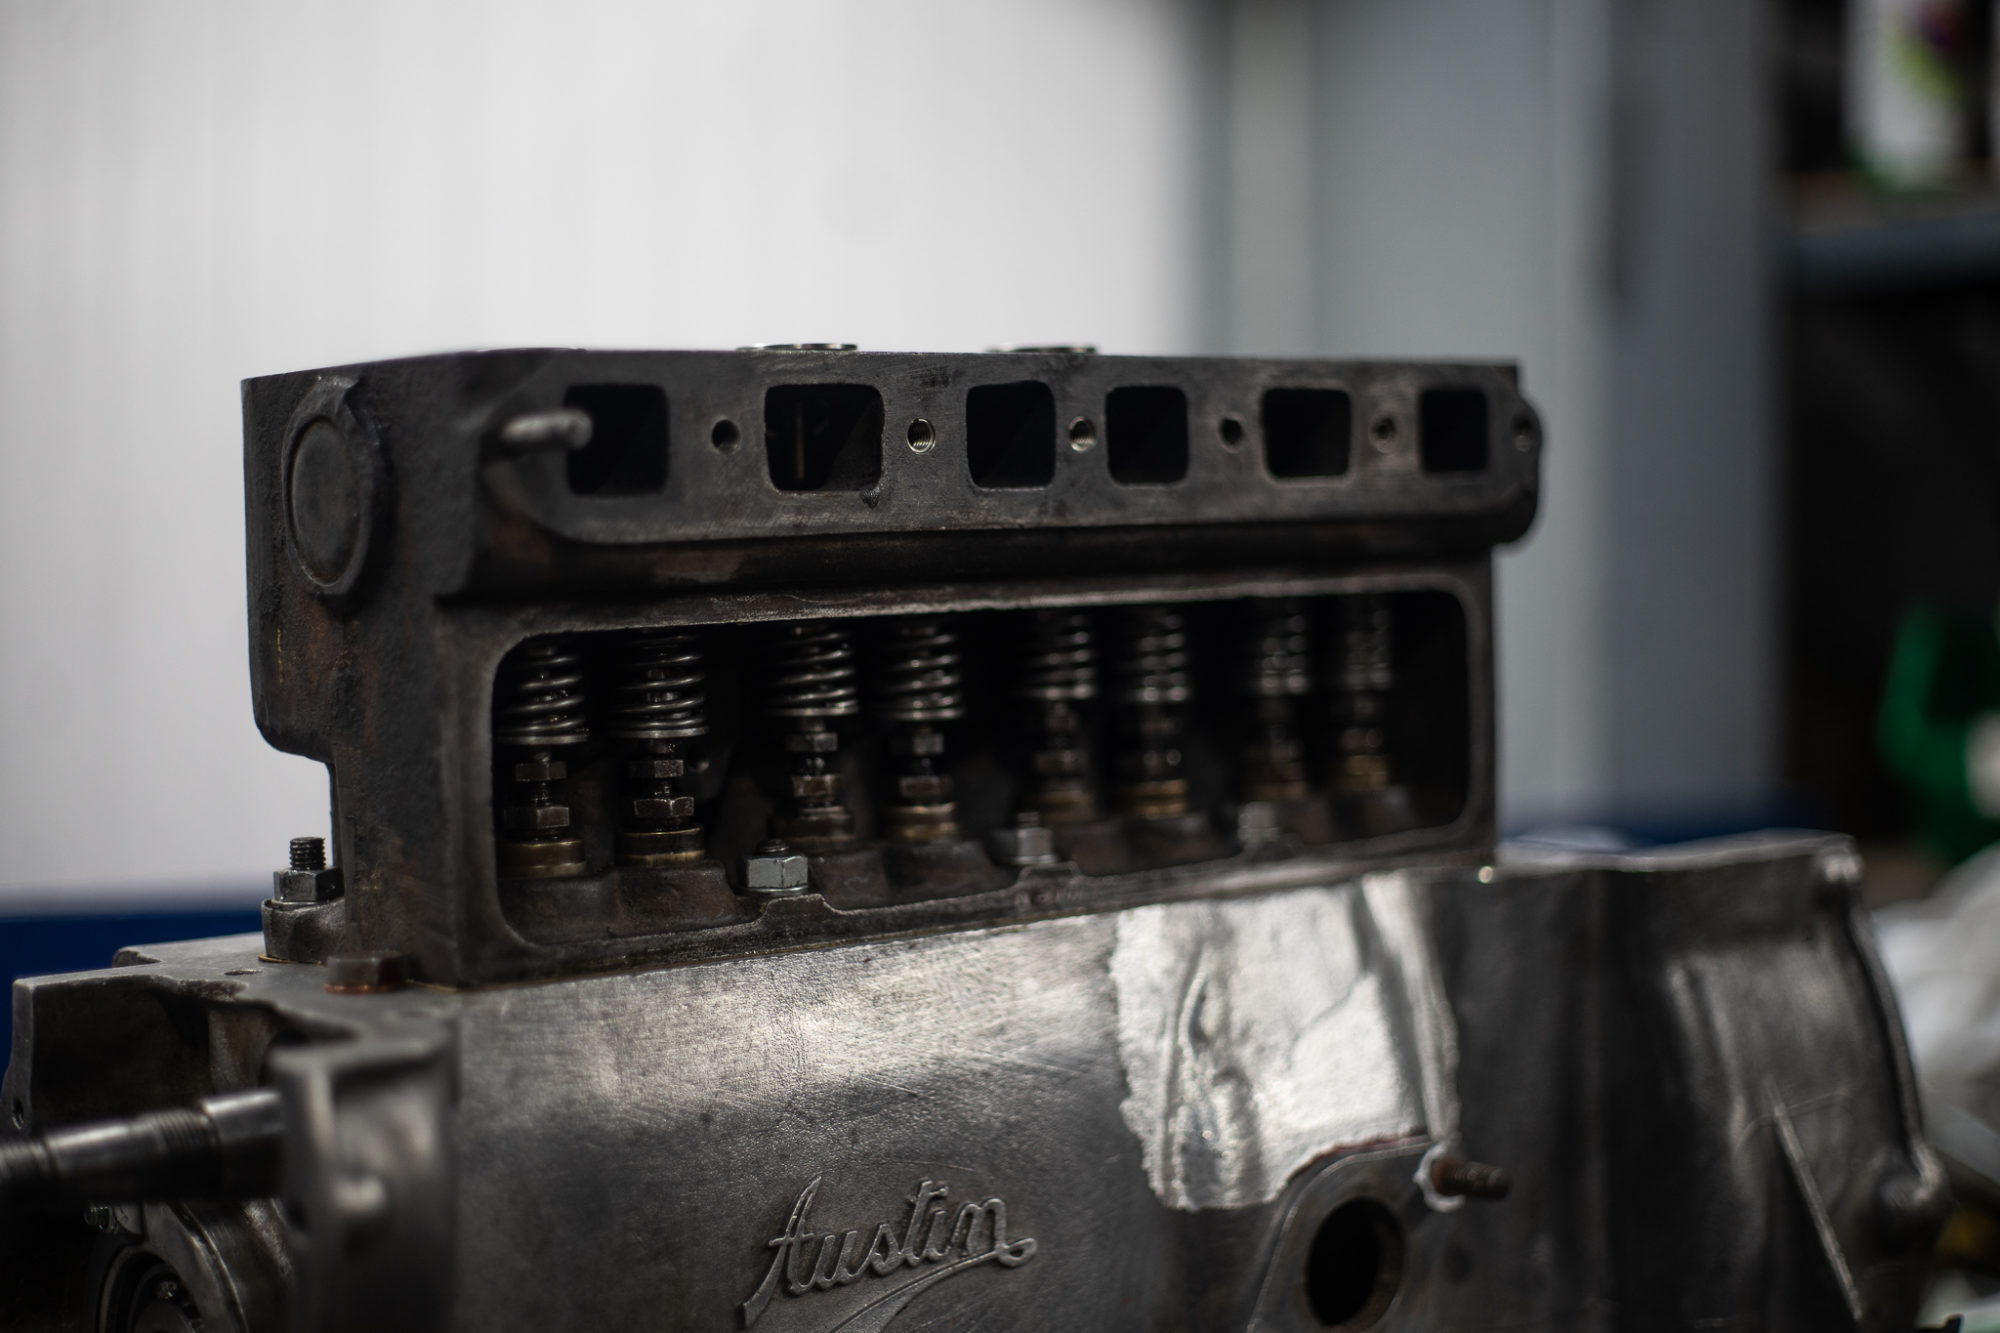
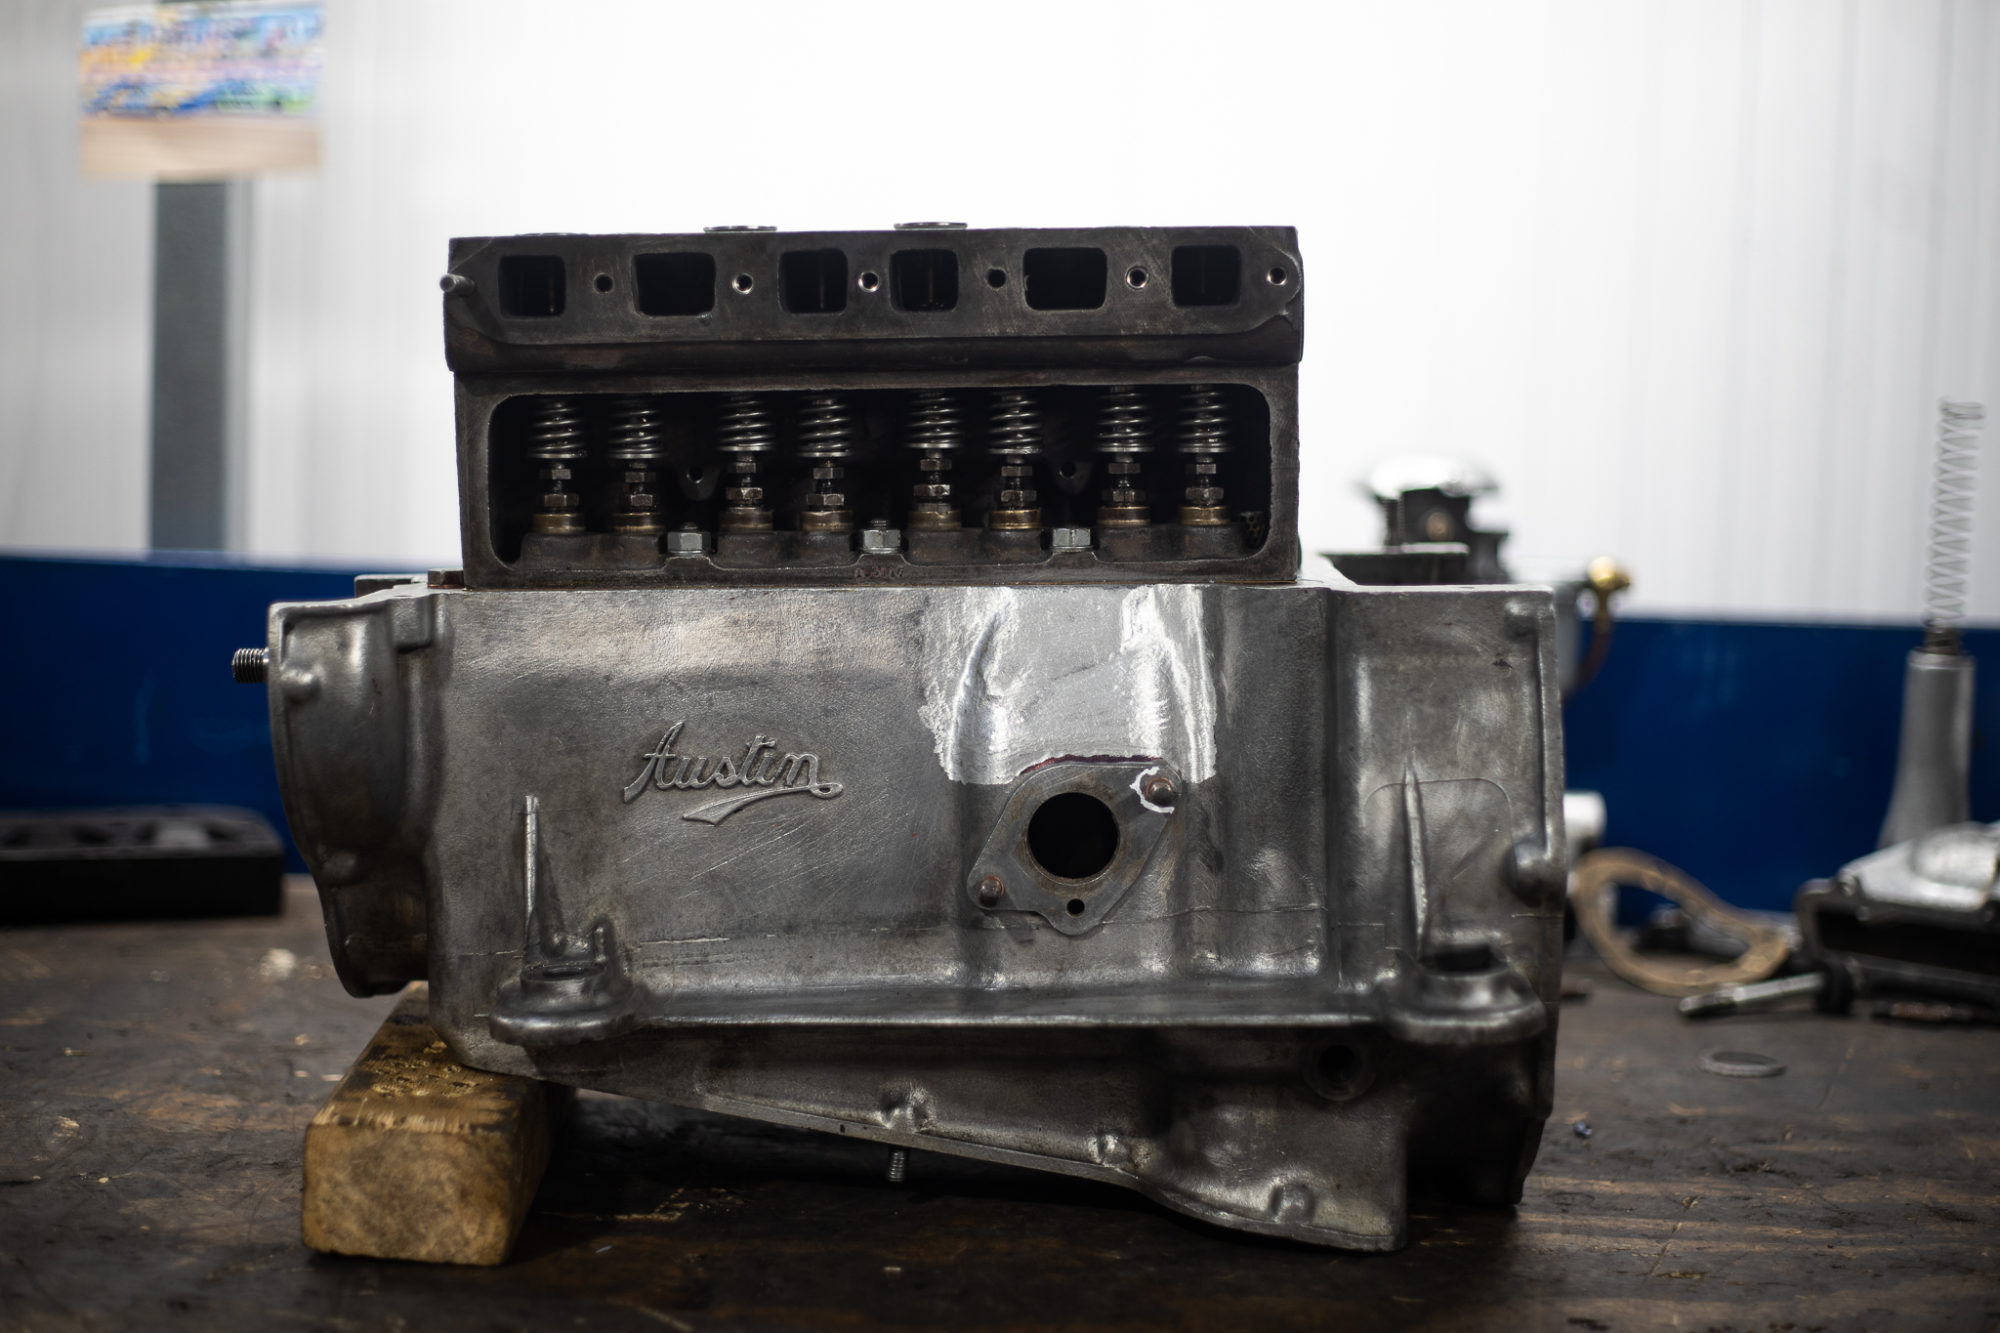
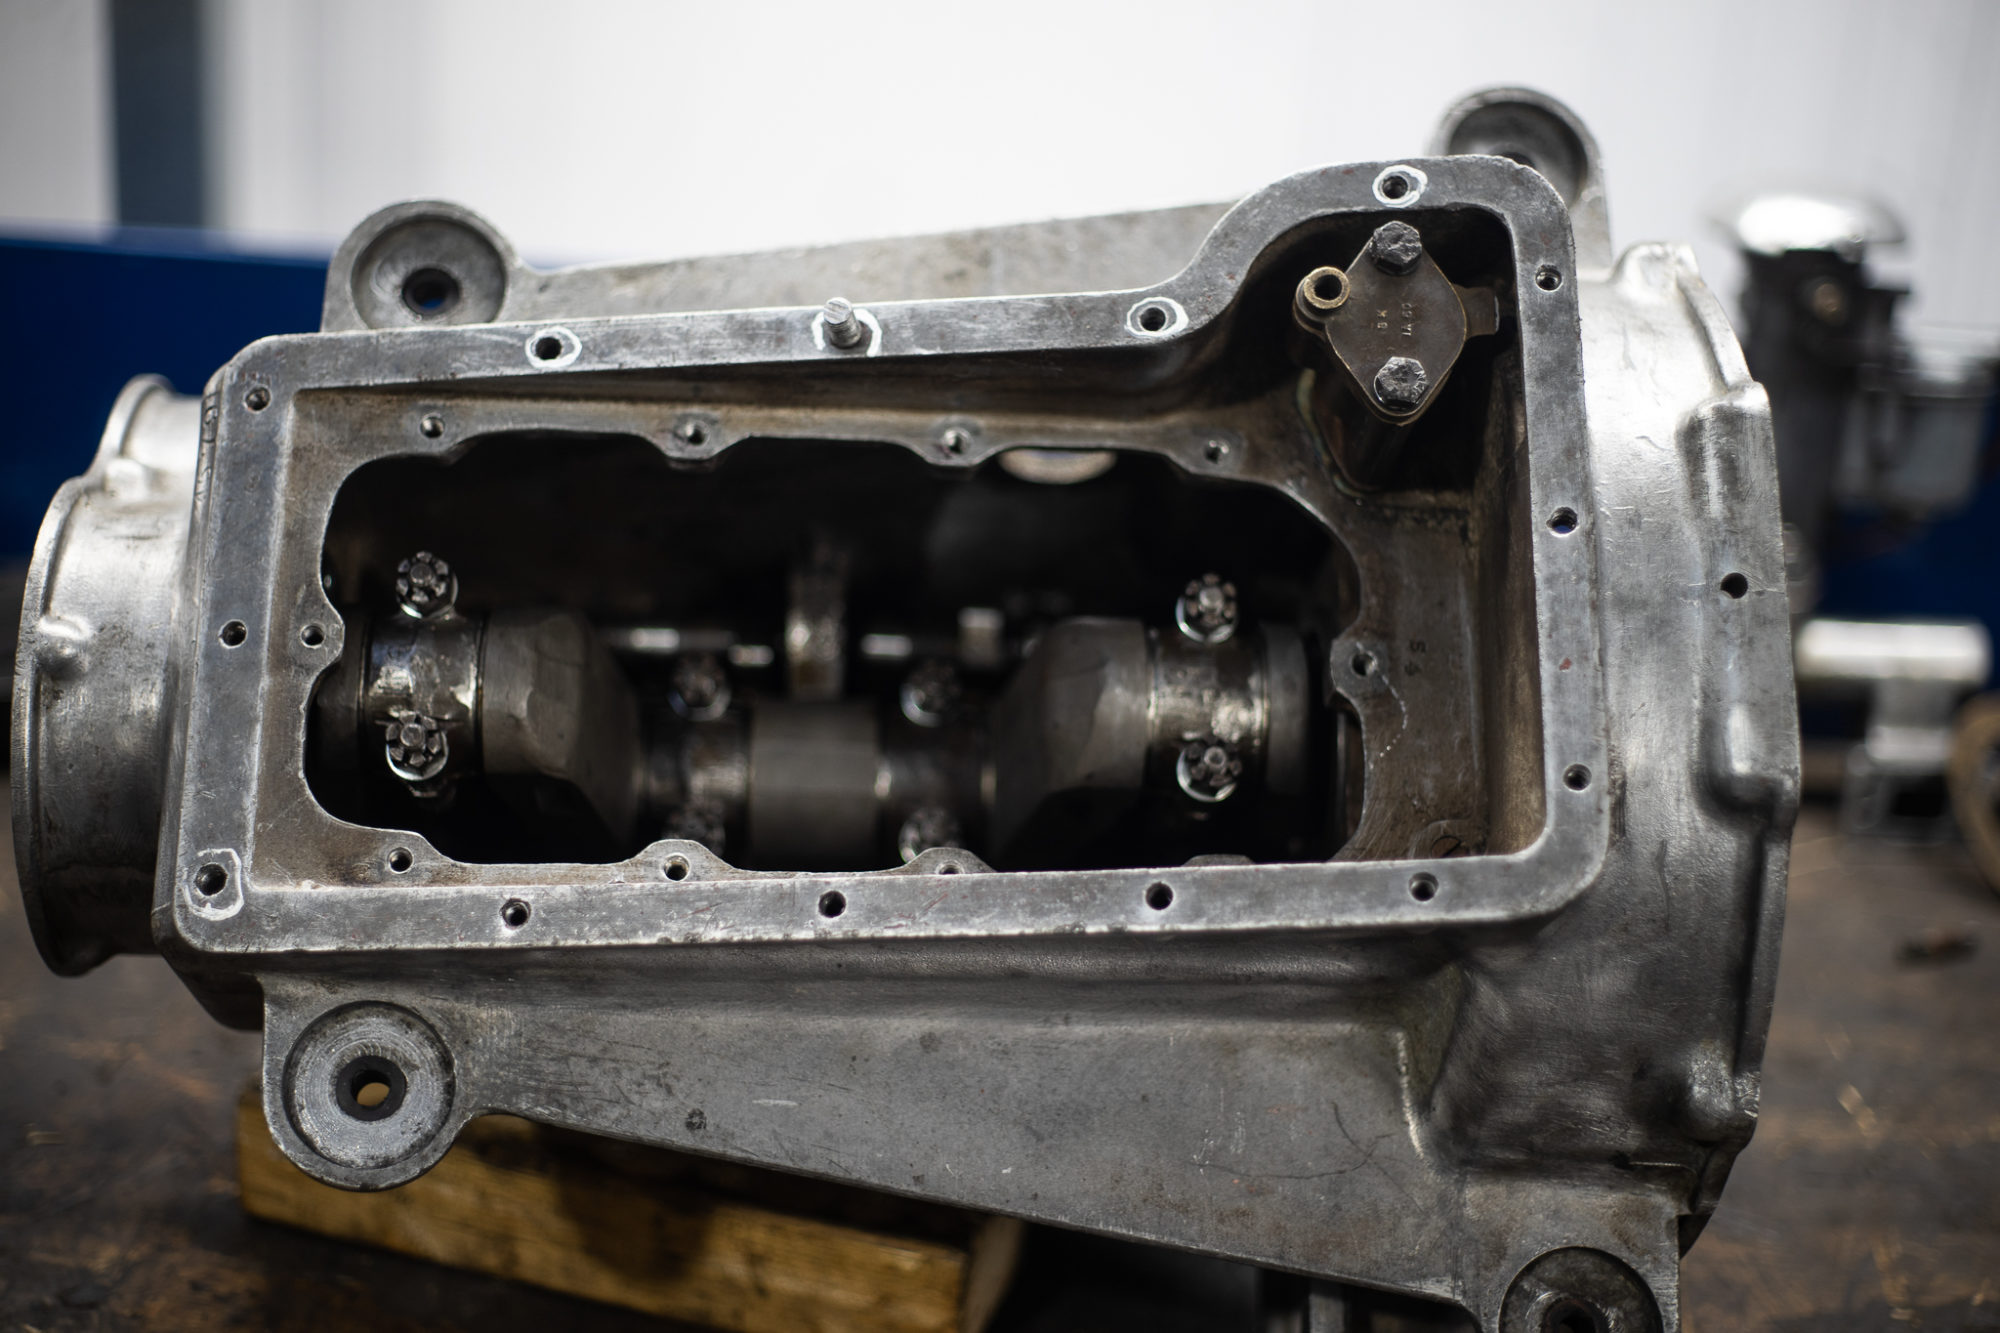
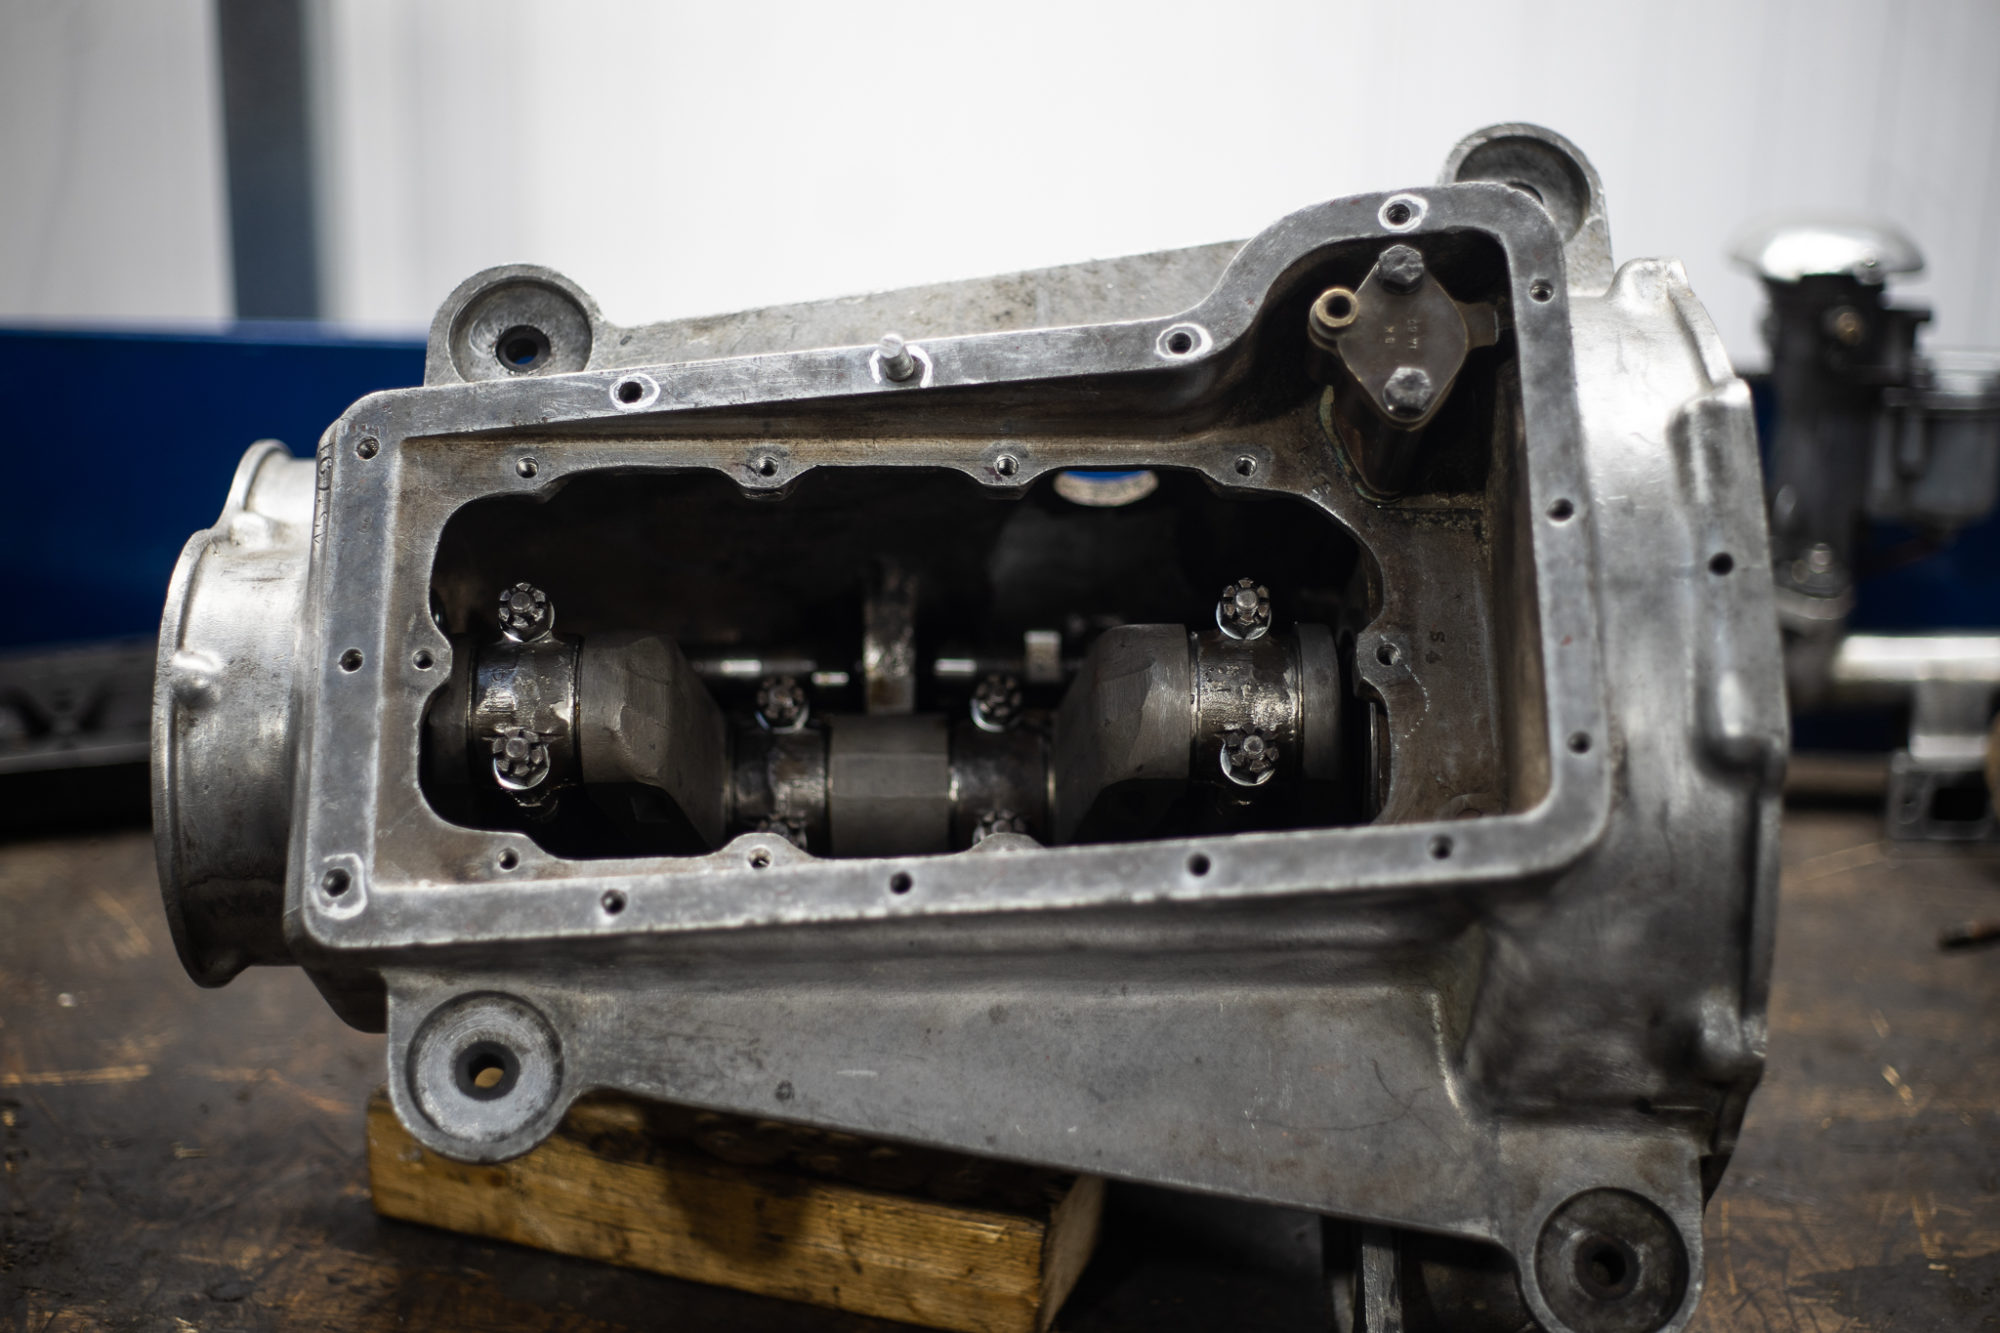
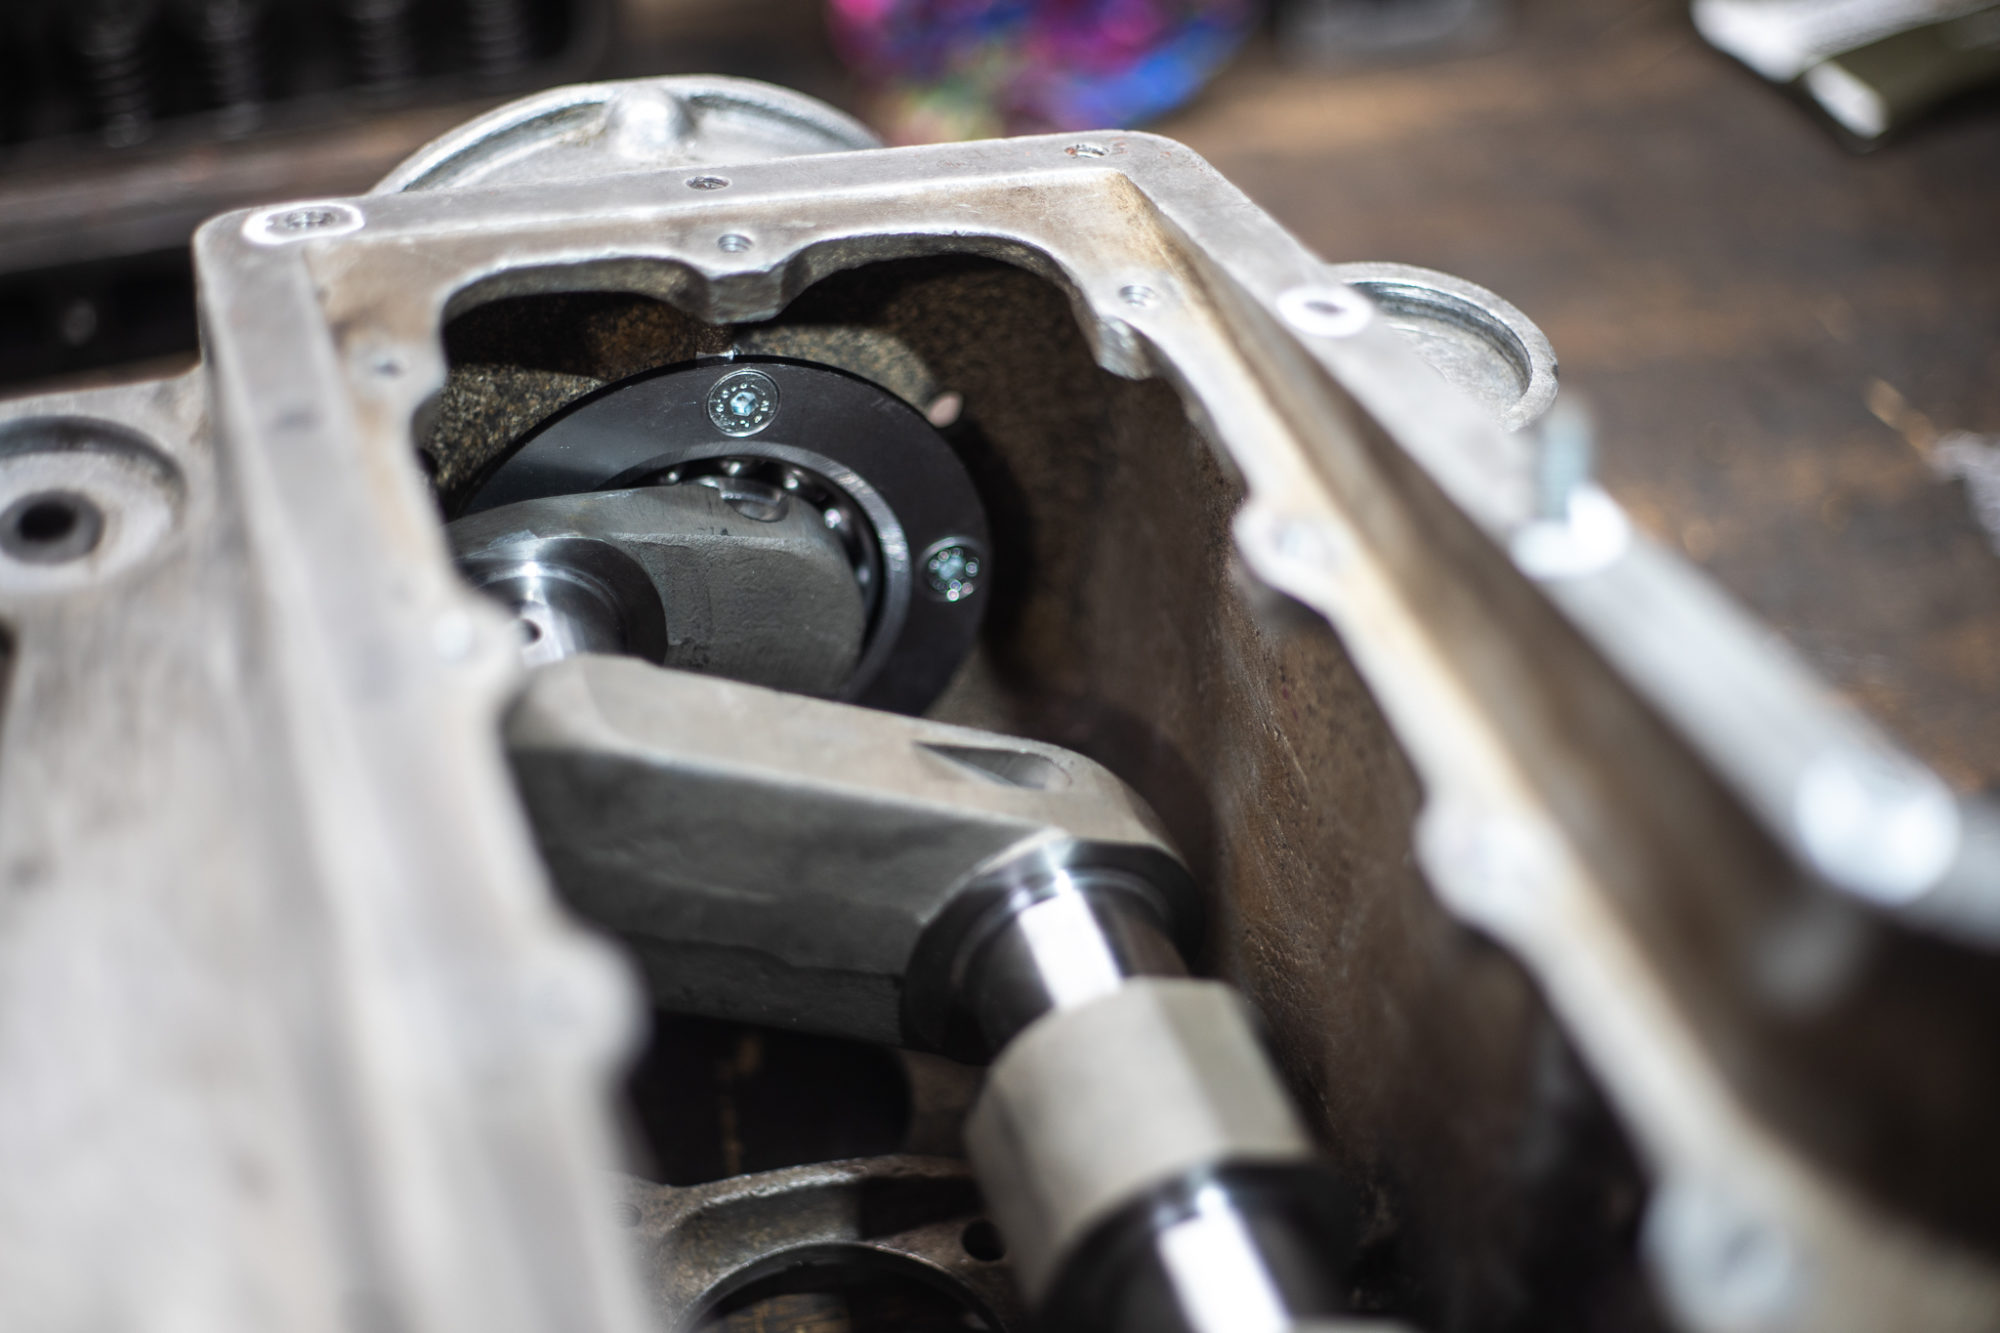
We’ve received our 1934 Austin Seven Nippy engine back and can now begin reinstalling the engine back into the Austin. This little motor will be nippy in no time!
Below you can see the re-conditioned engine with its new crank case from Ian R Bancroft Restorations:


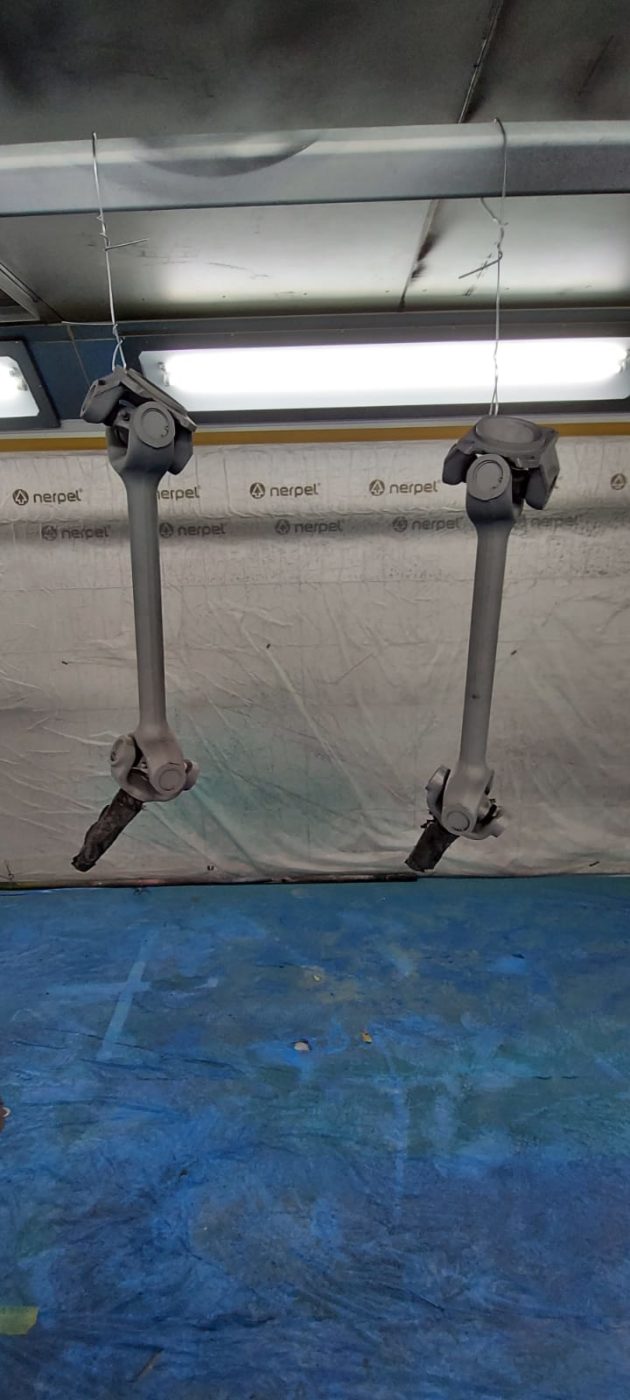
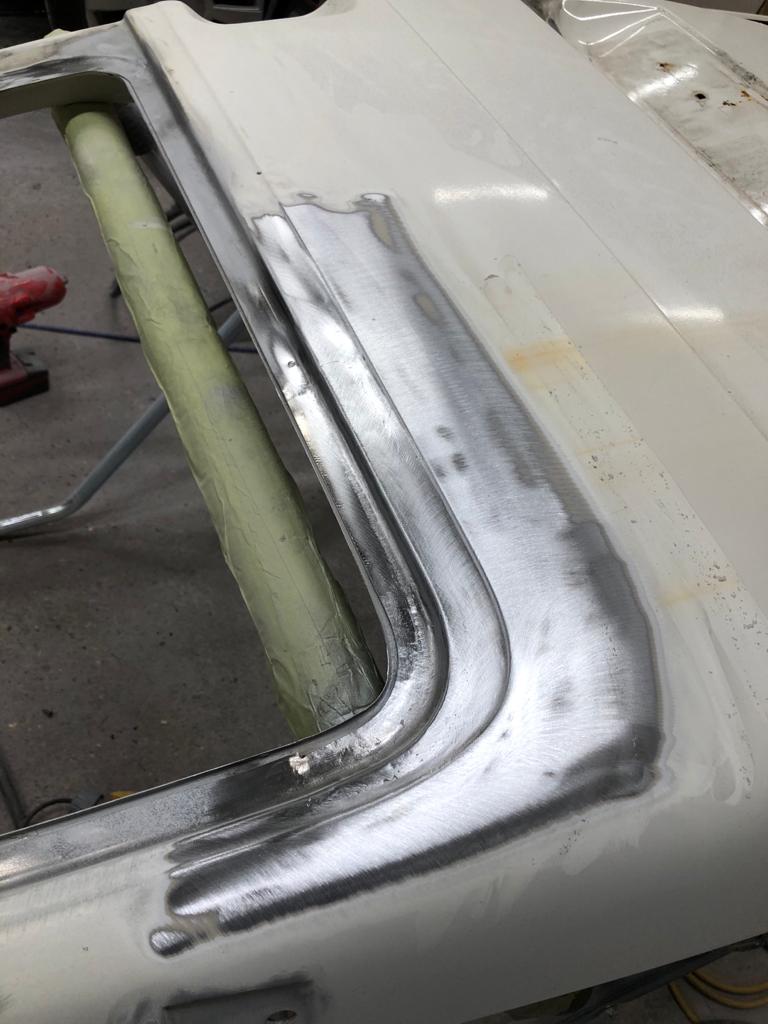
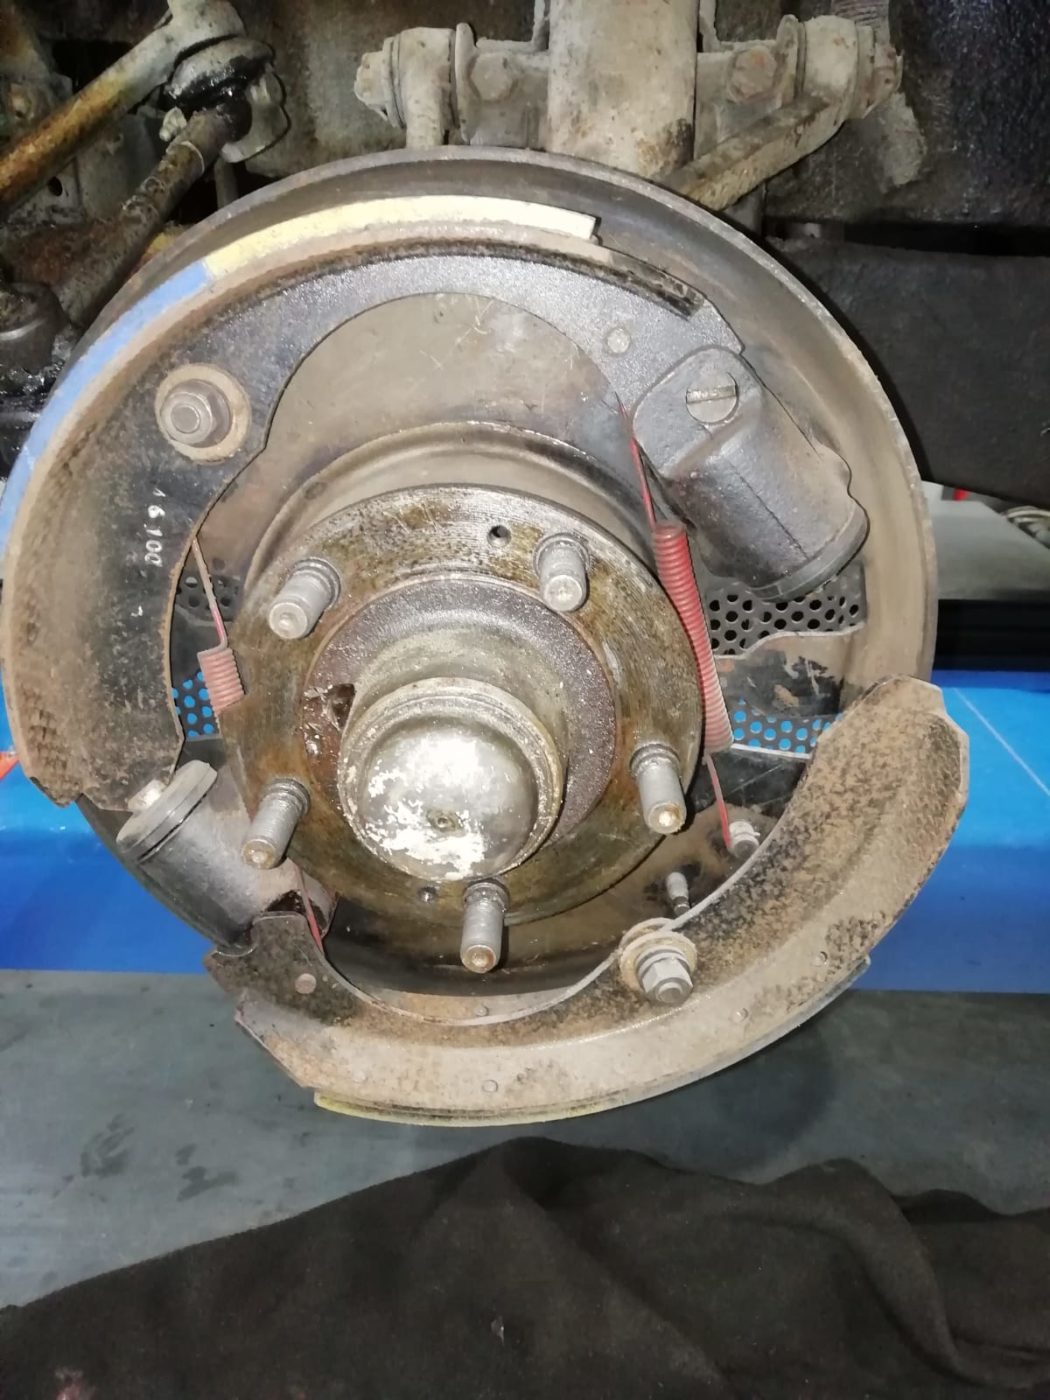
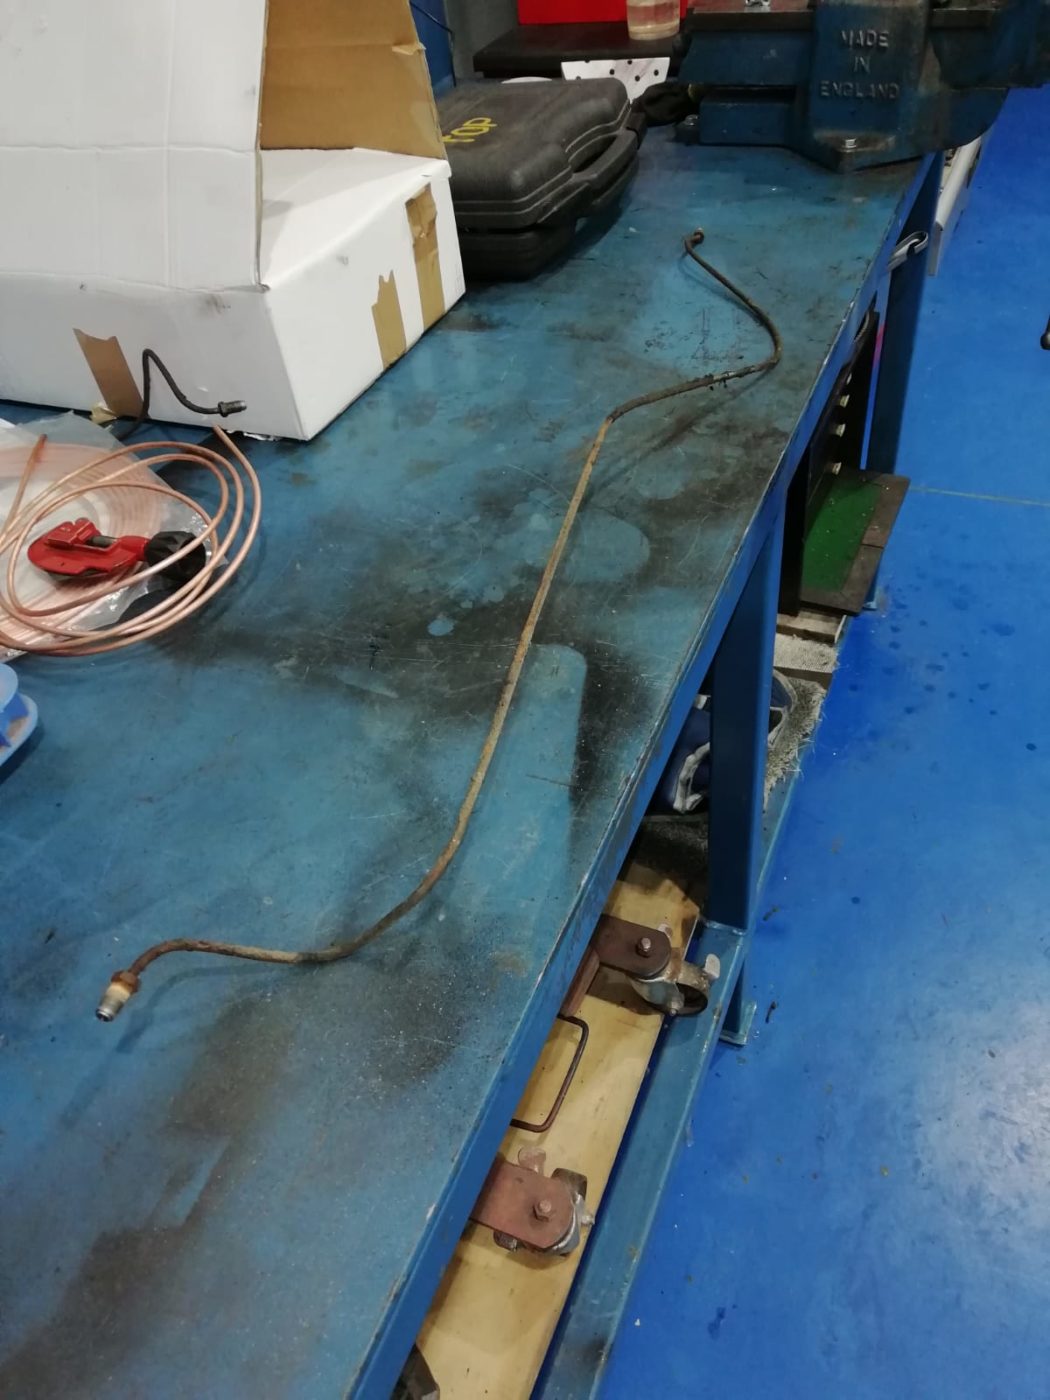
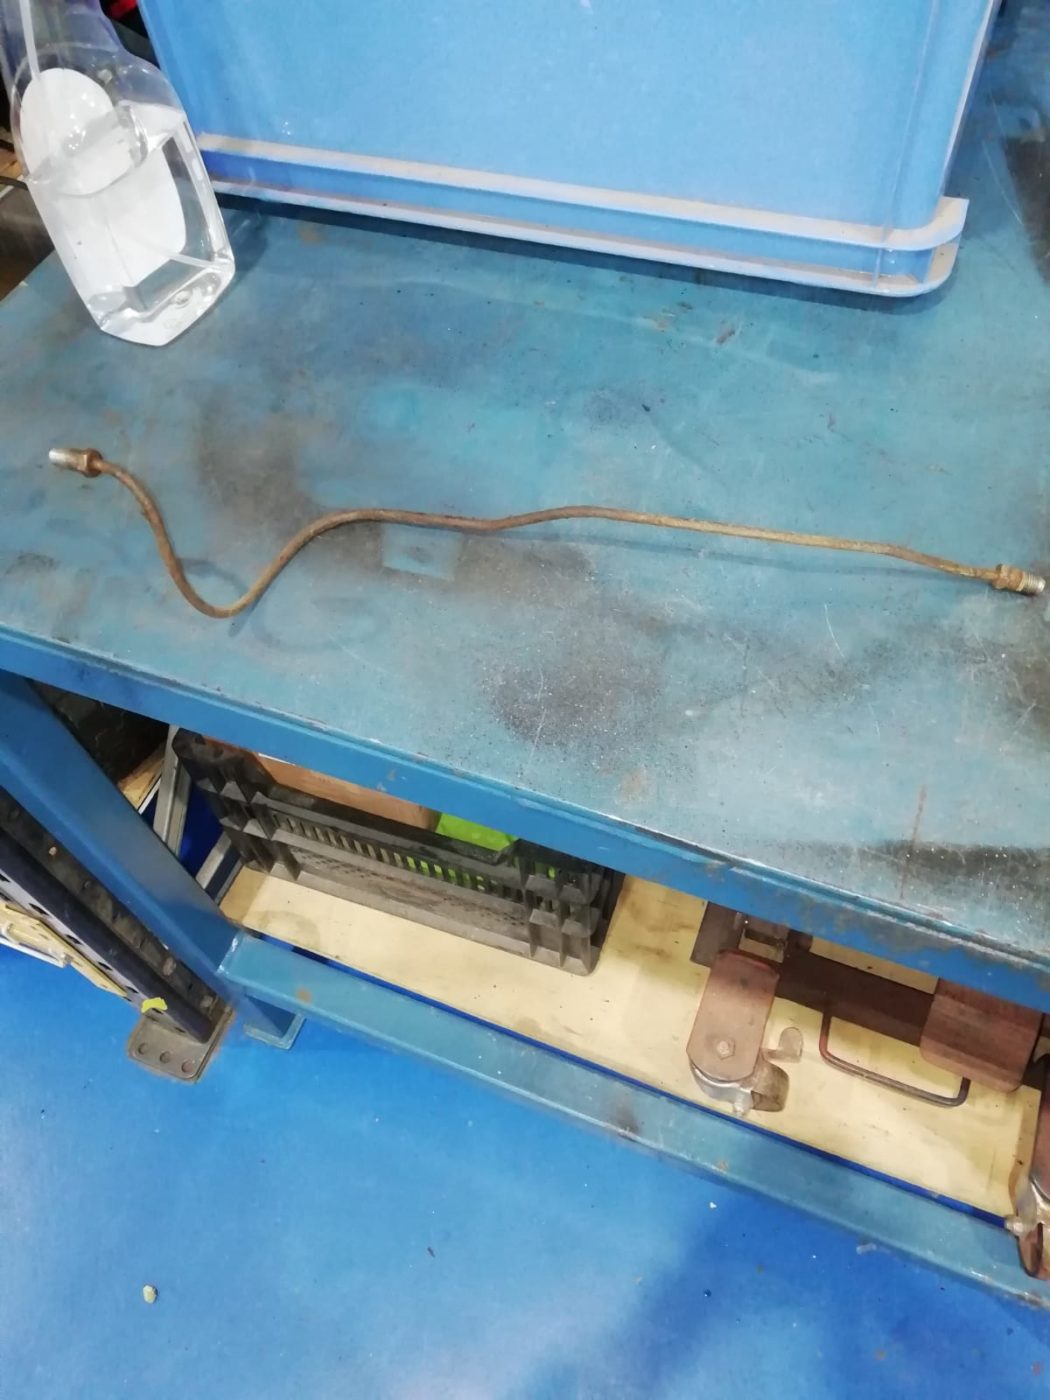
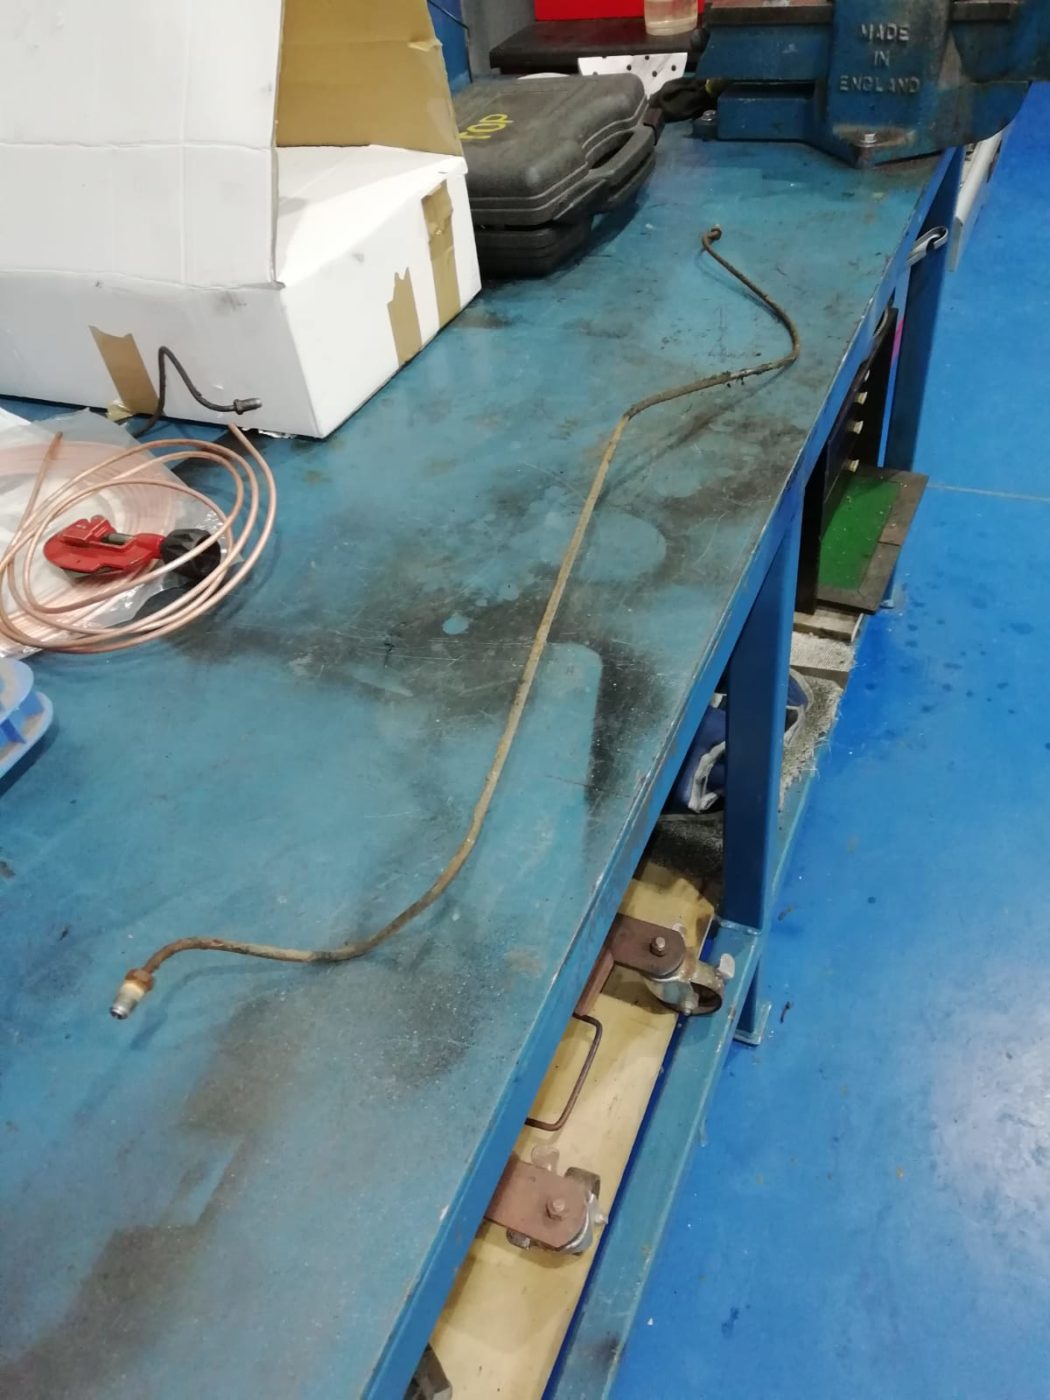
Paul has taken a look at our 1954 Jaguar MKVII and made sure all the brakes are stripped down and ready to be overhauled. The rear brake pipes have been removed and replaced with new components.


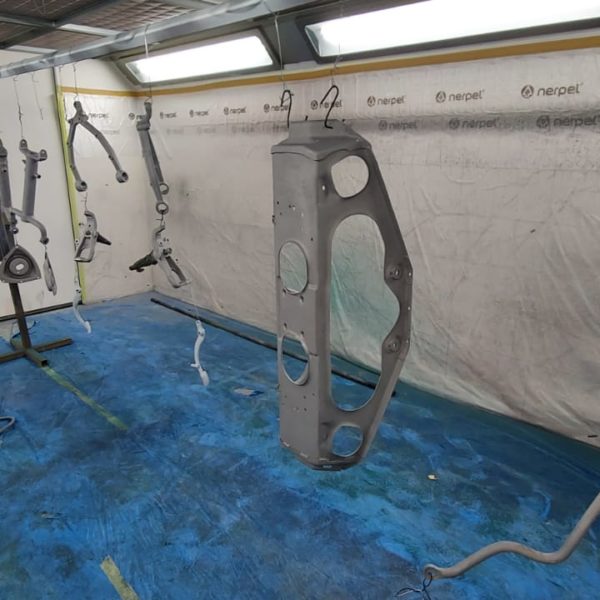
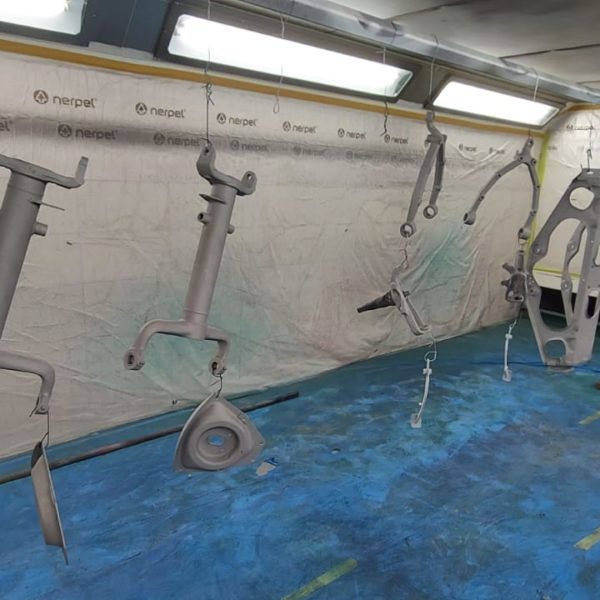
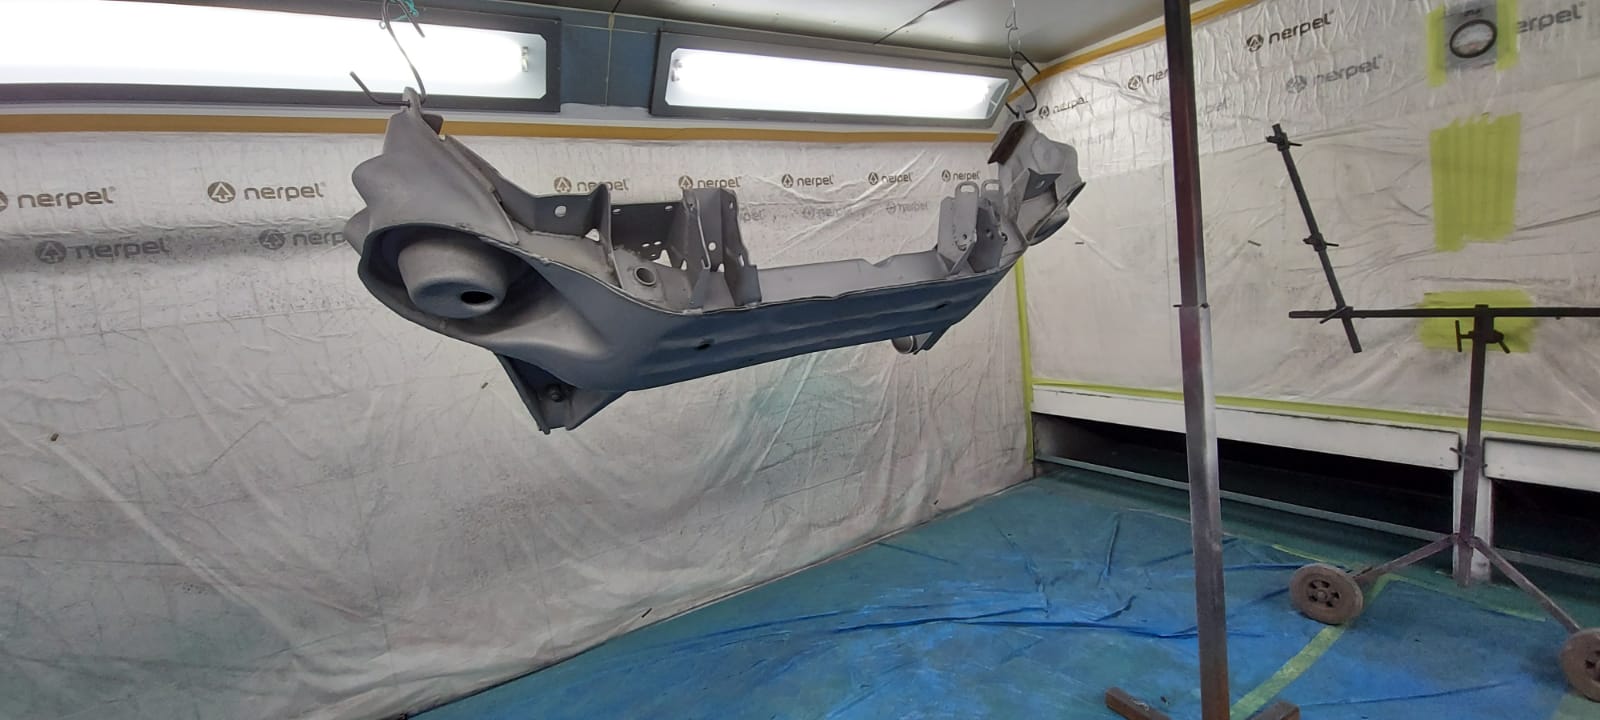
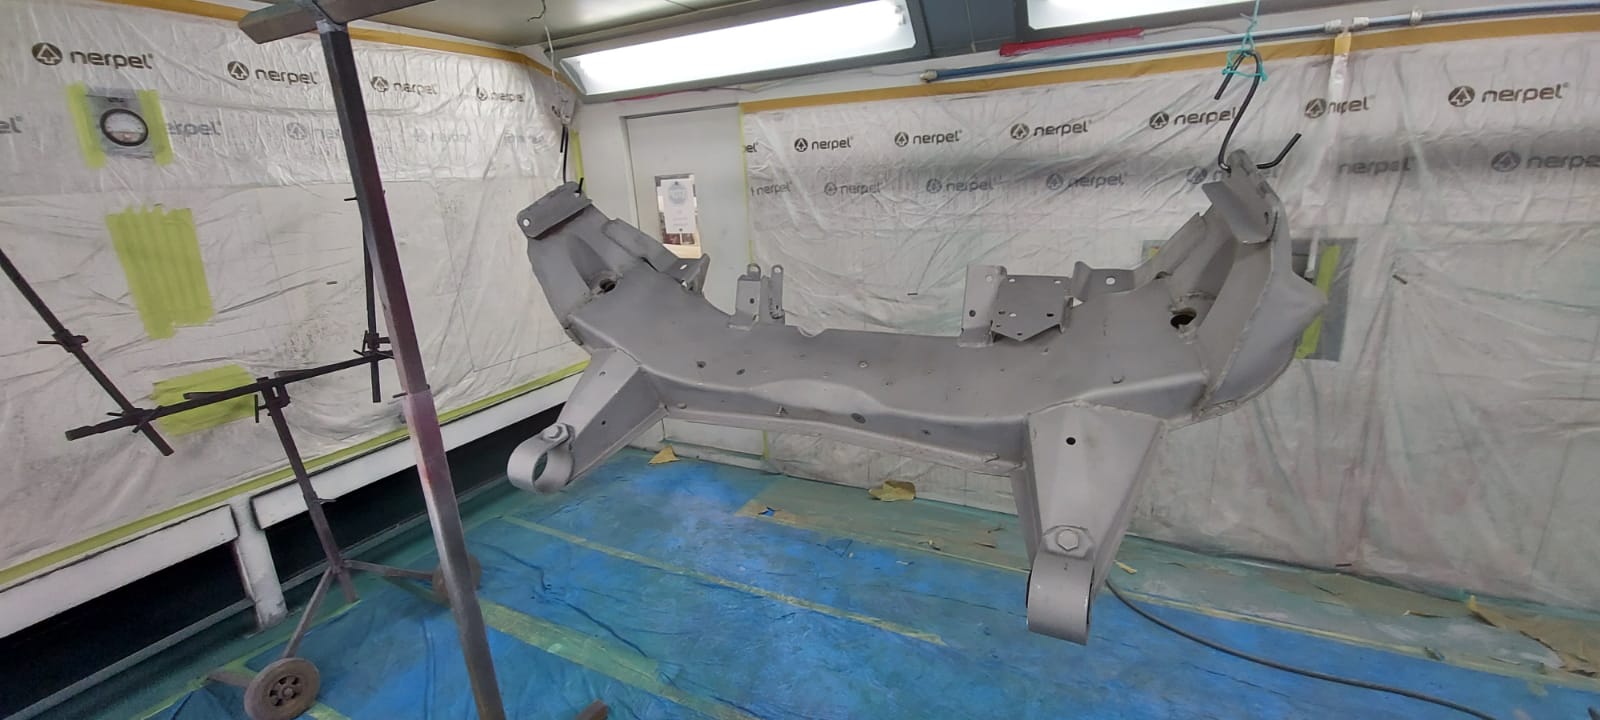
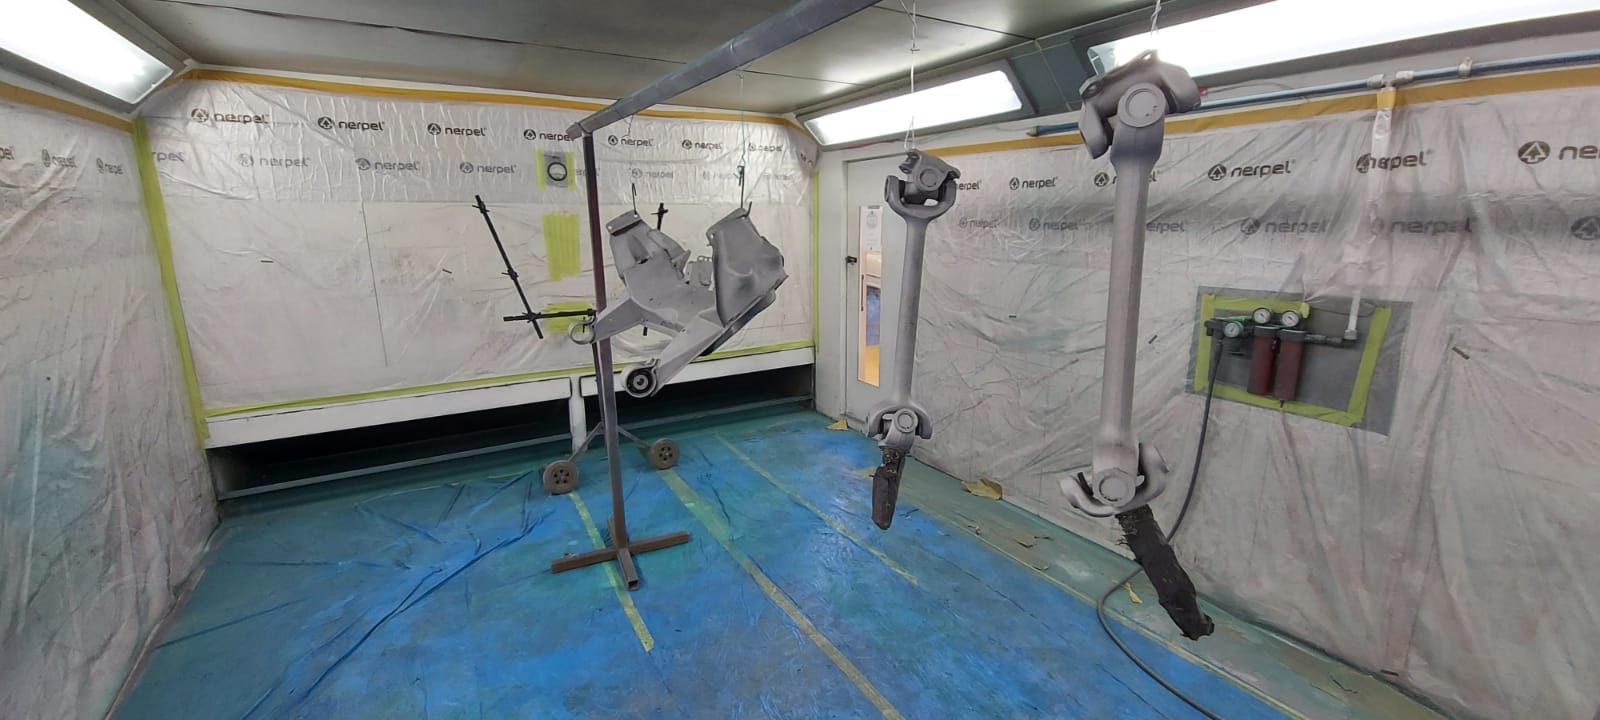
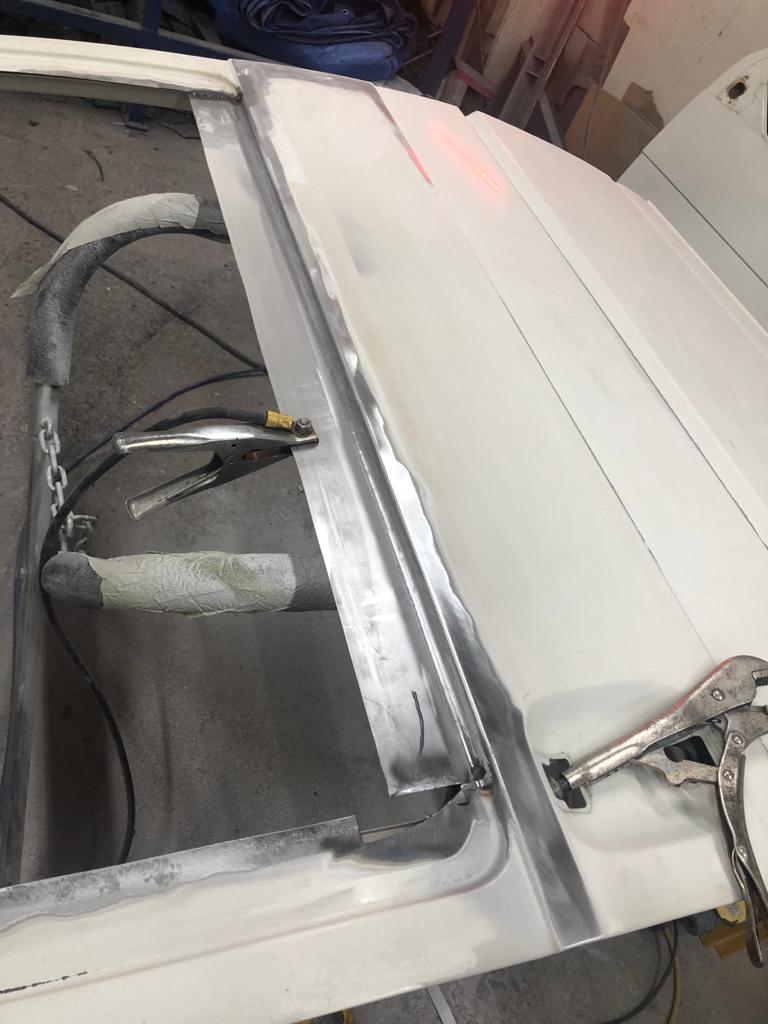
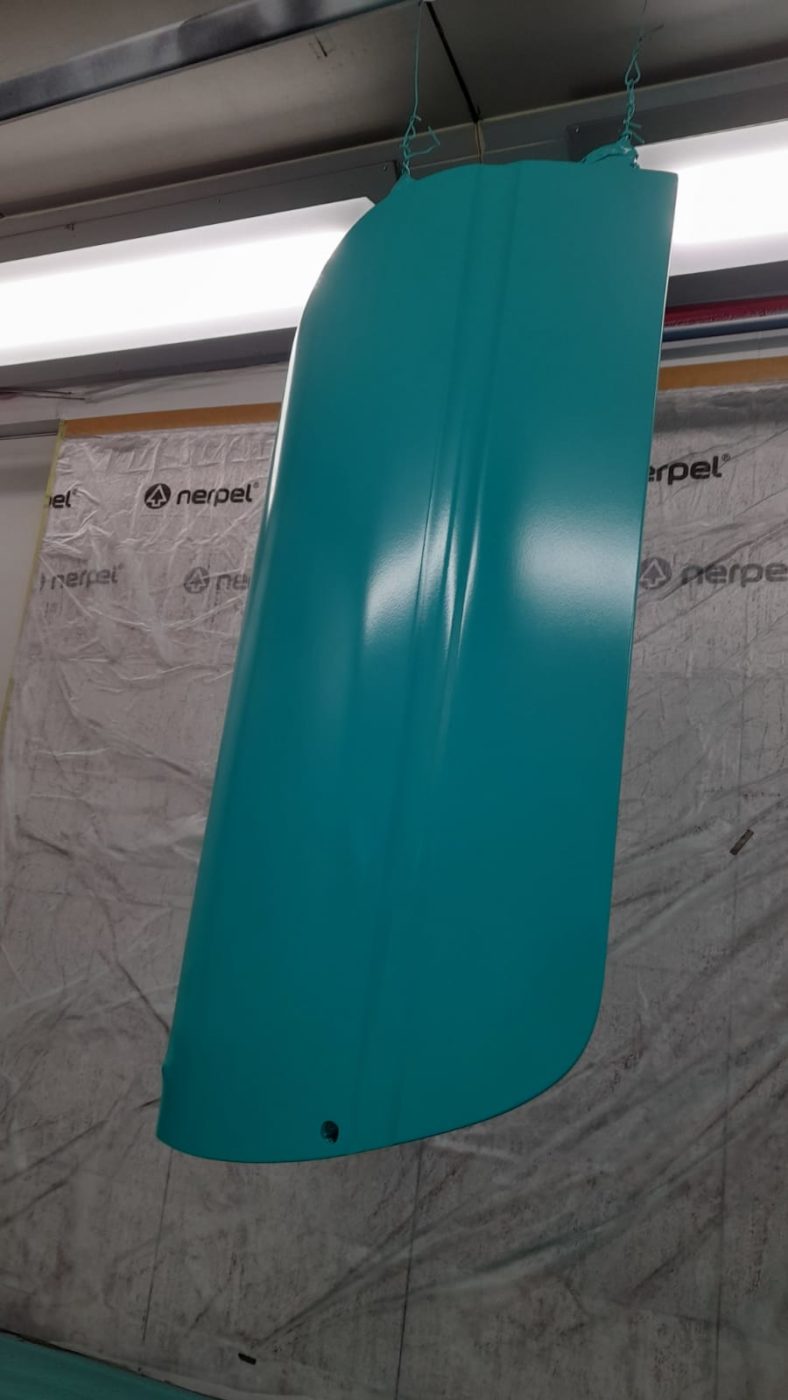
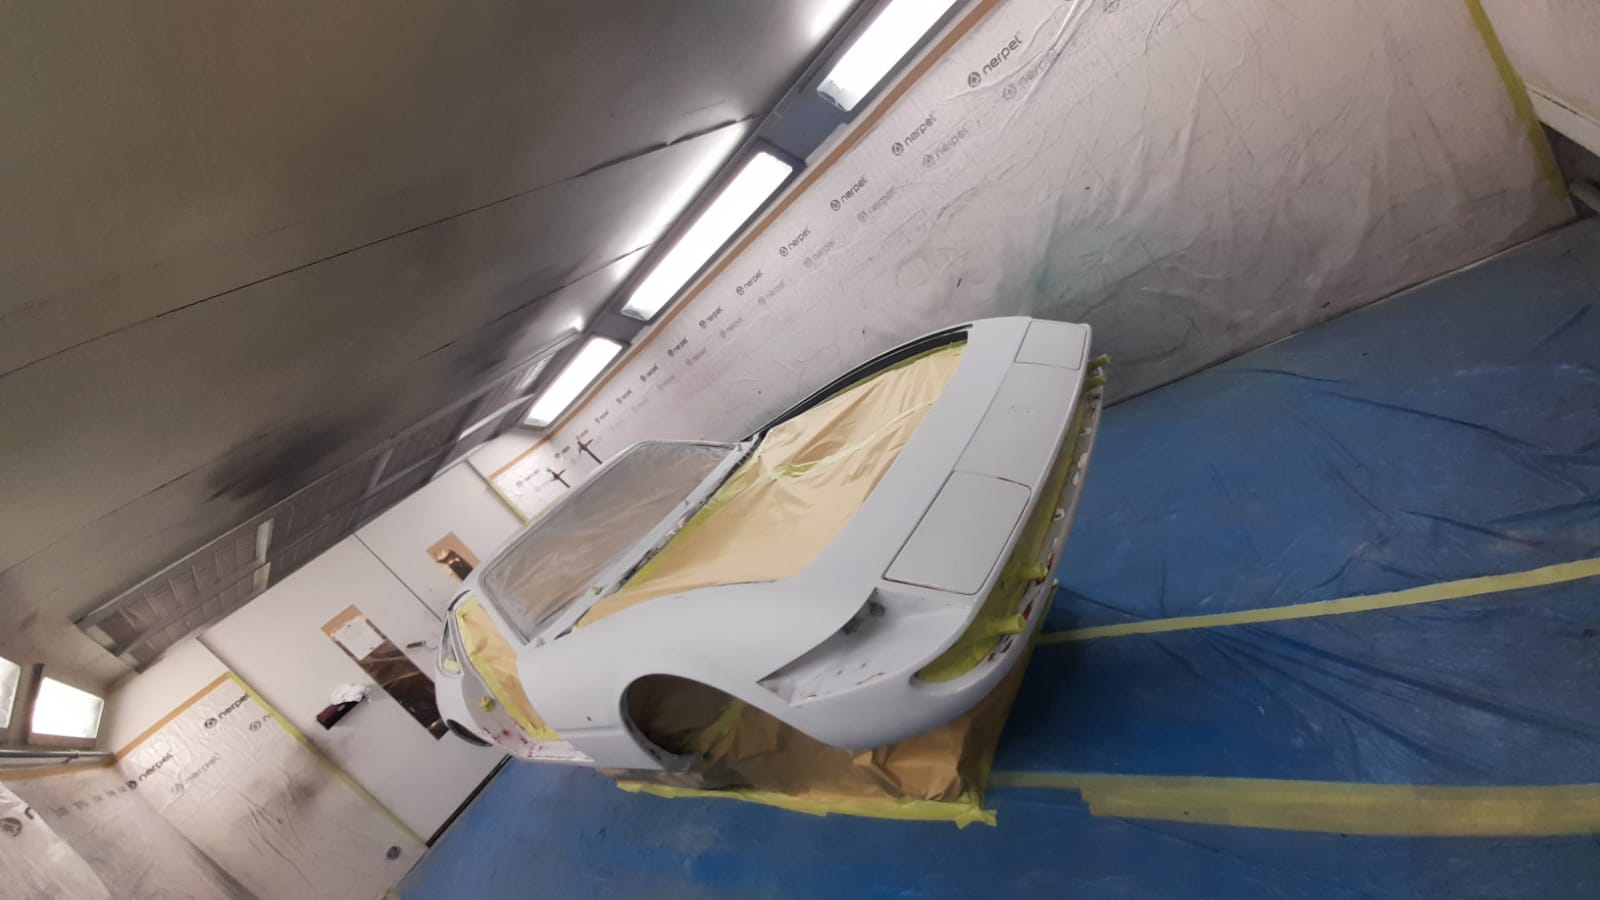
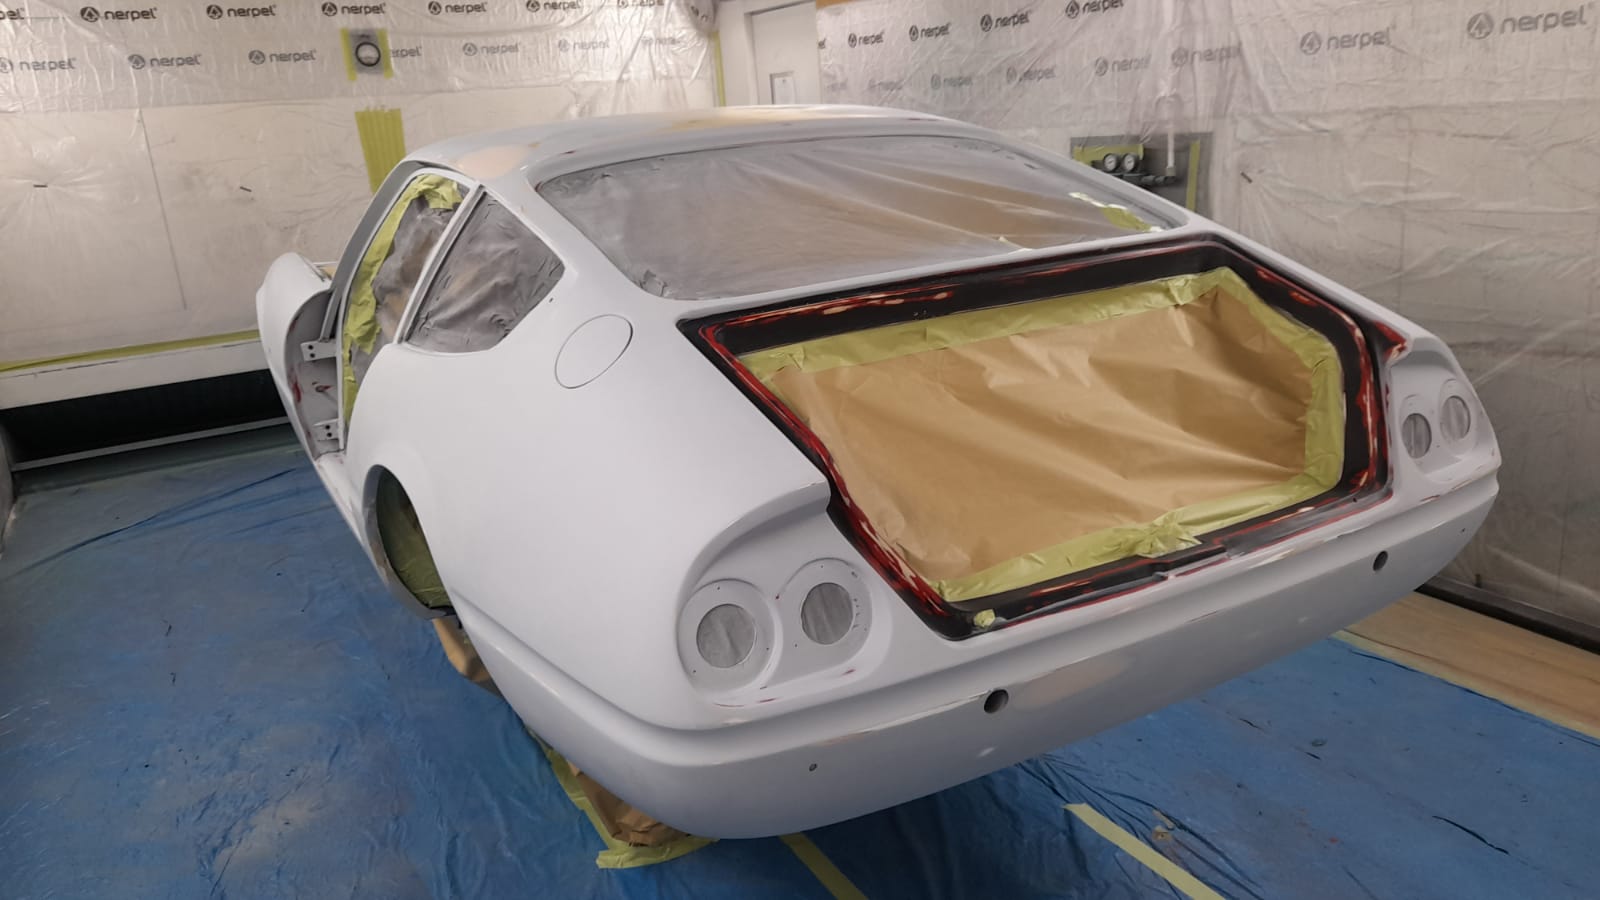
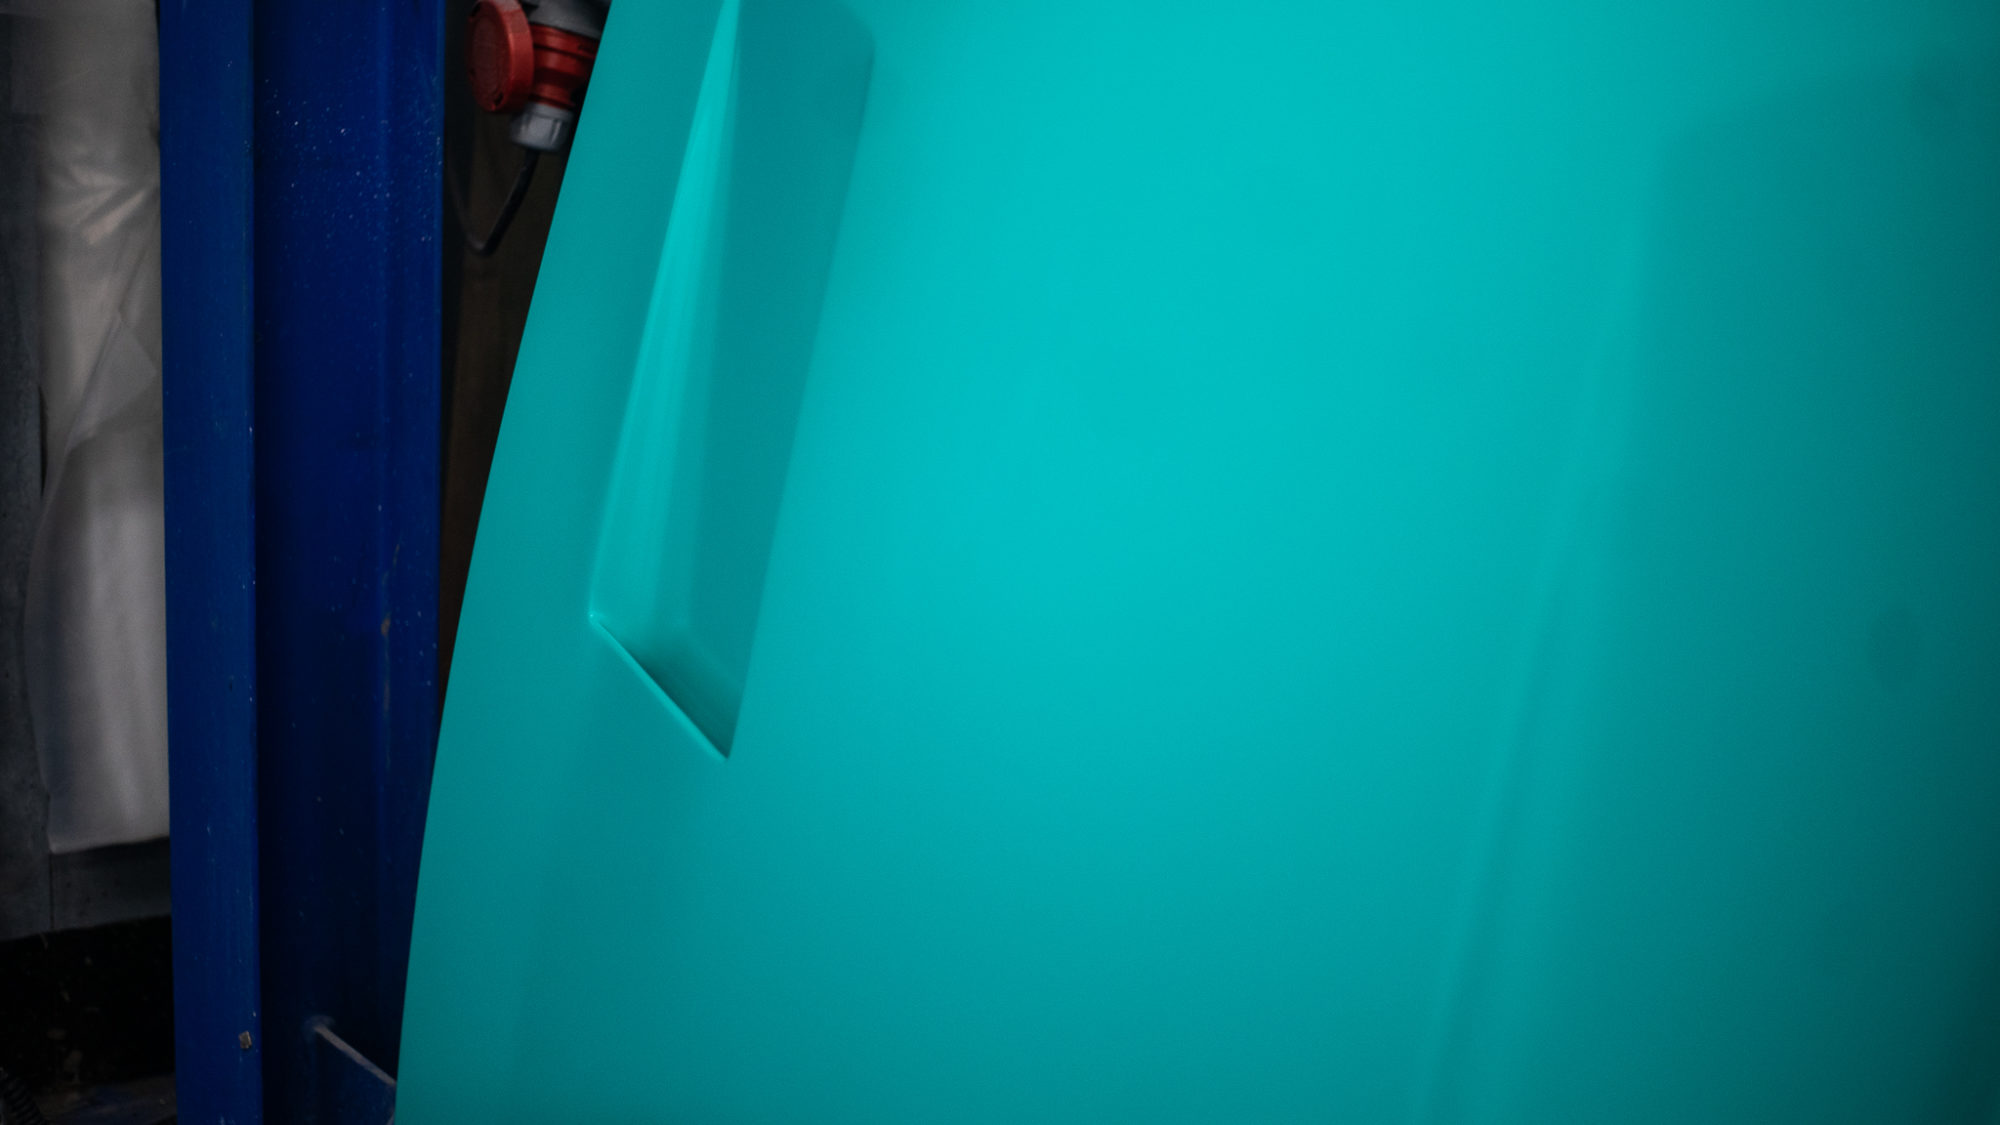
The bonnet and doors have finished their blocking stage and been sent back into the paint bay to be primed. When the rest of the body is finished, Scott and Chris will do the same to the body which has been masked.
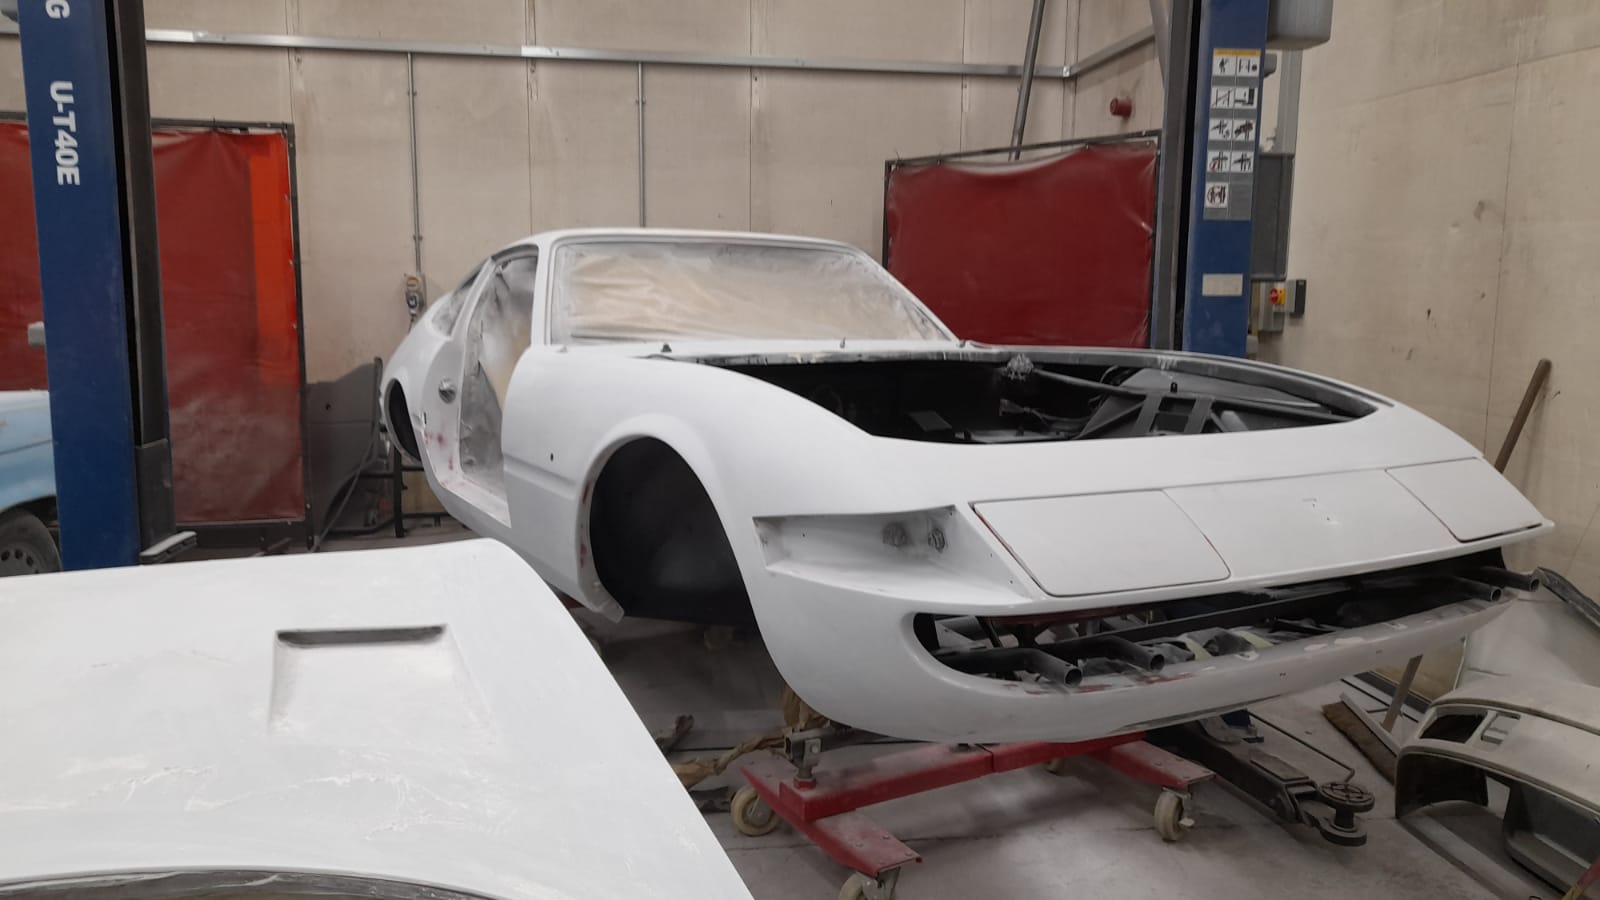
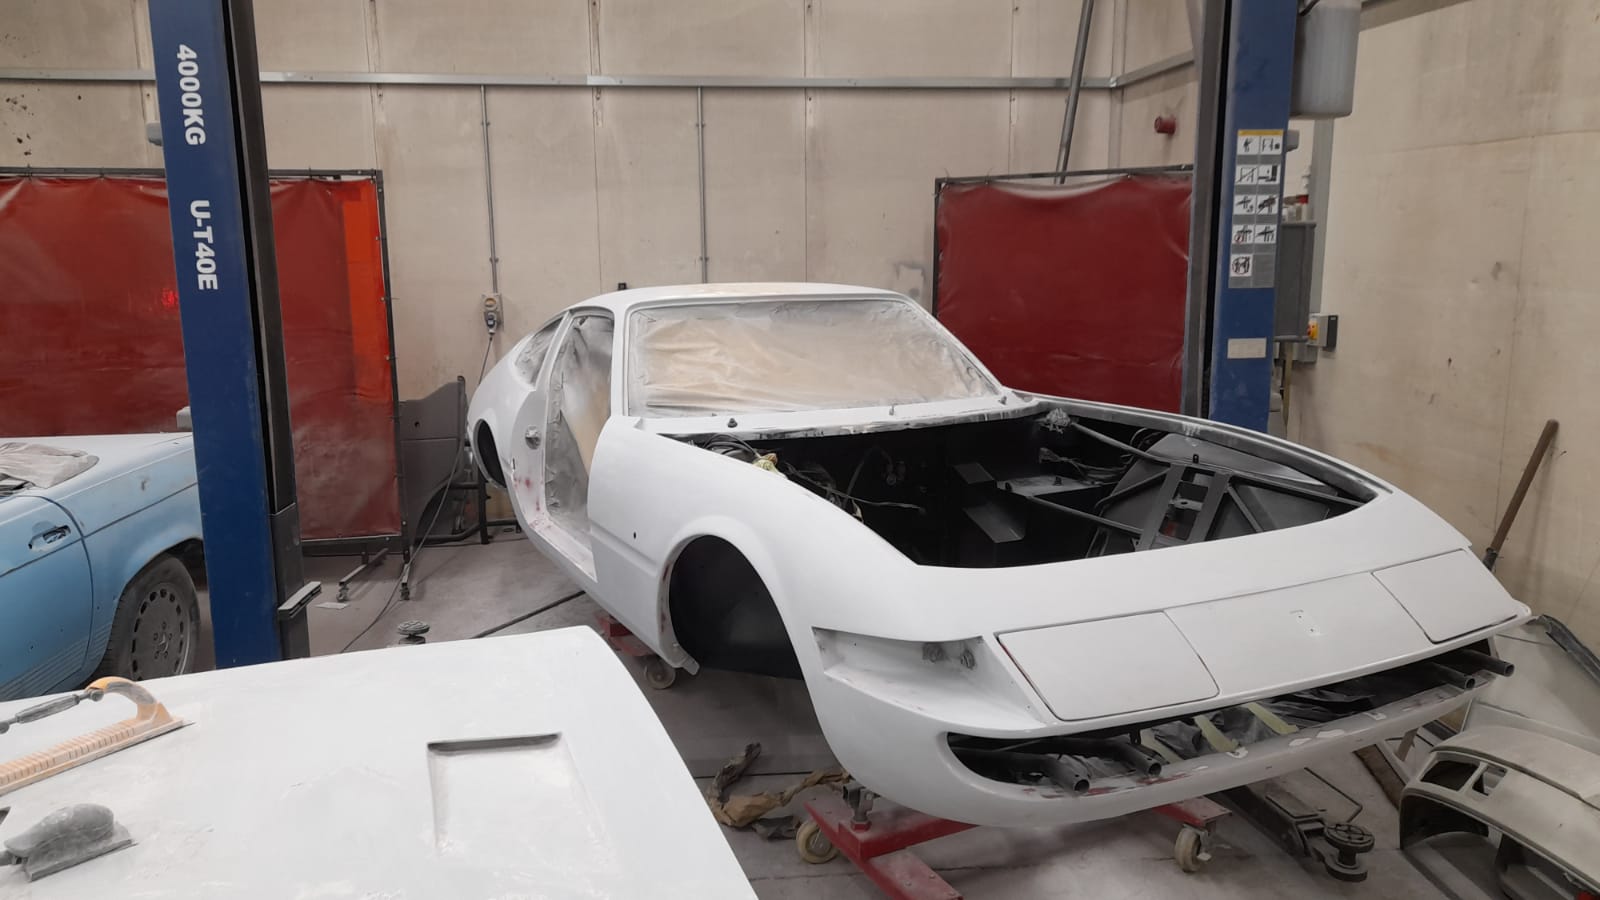
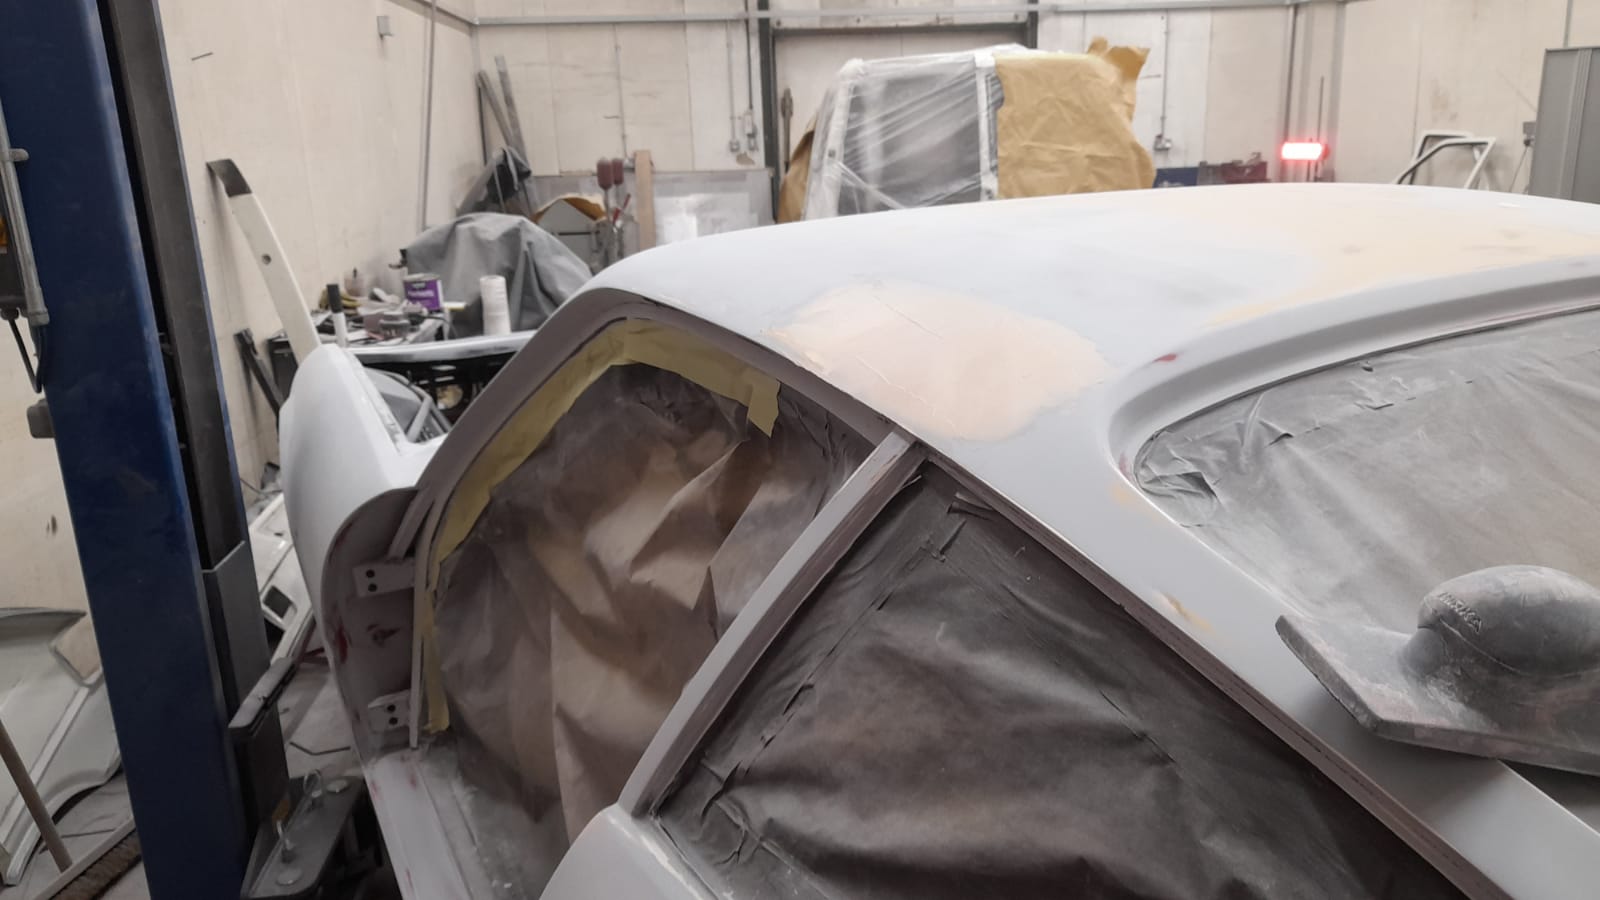
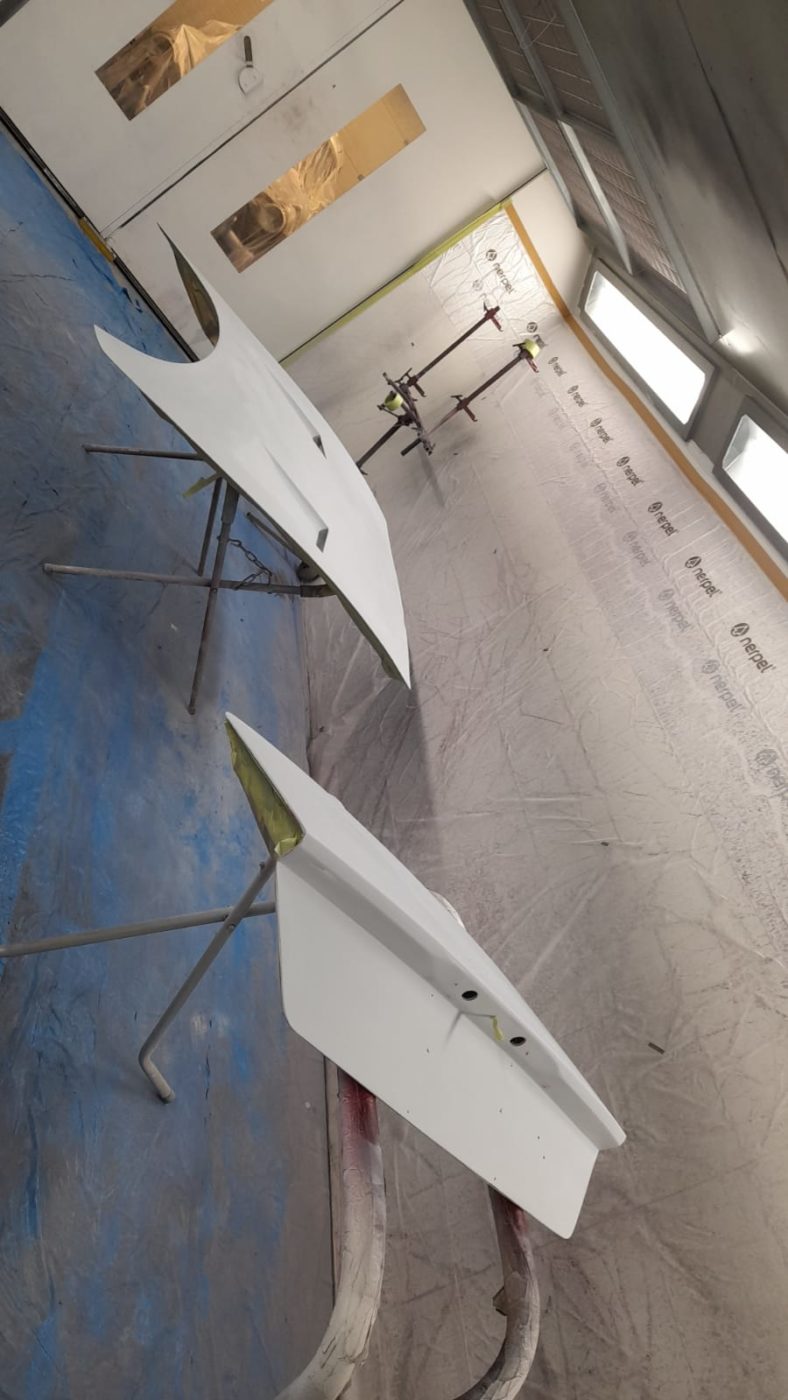
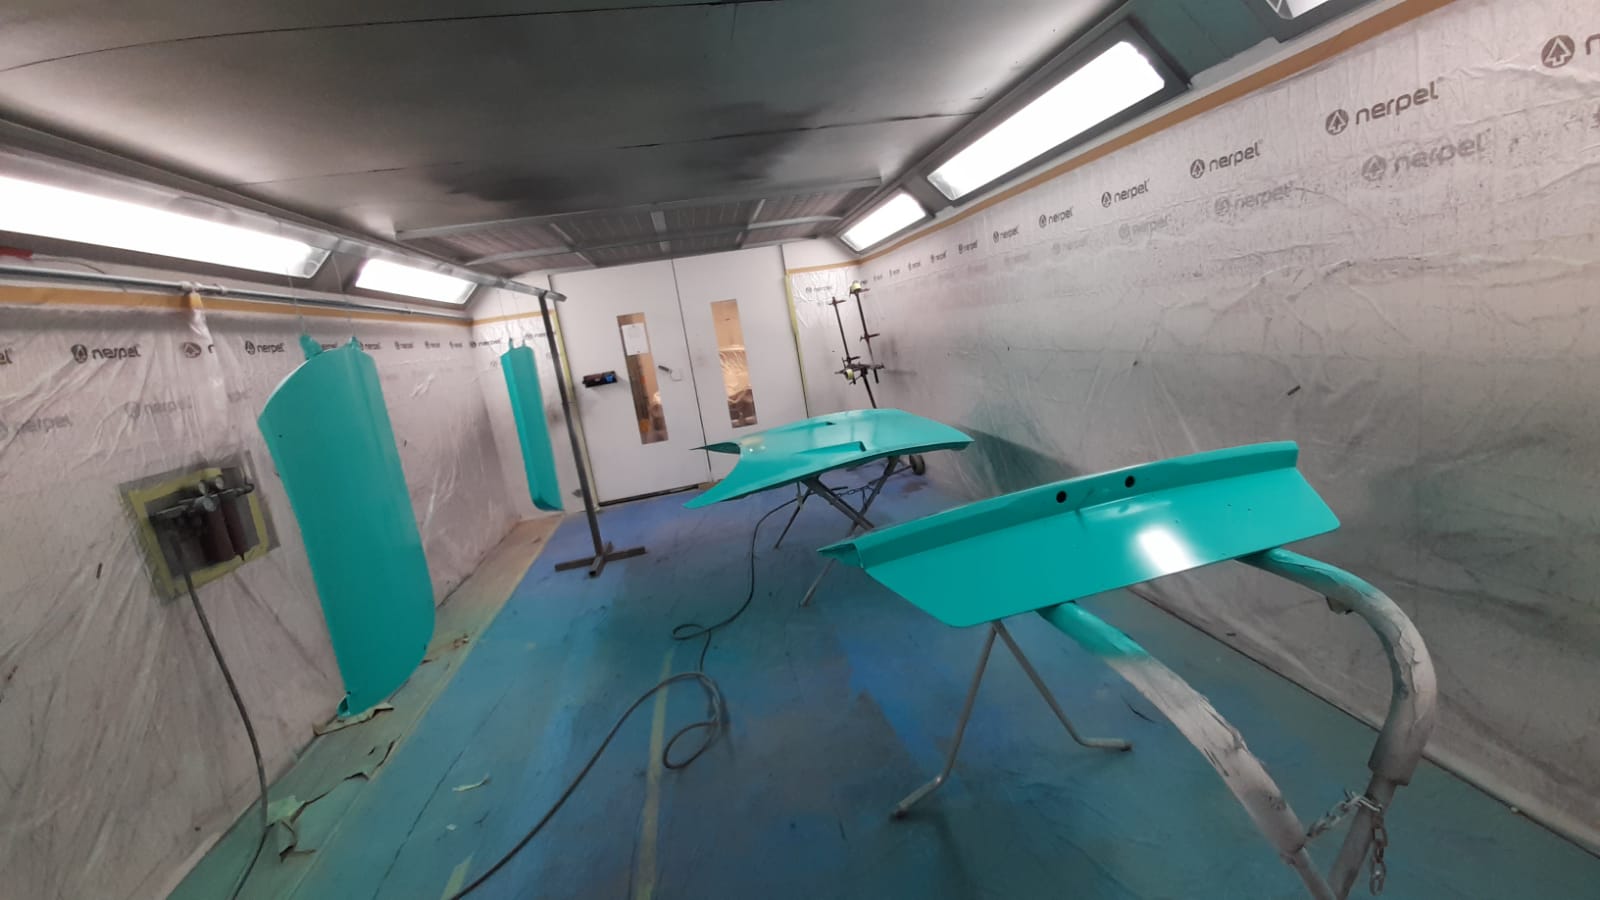
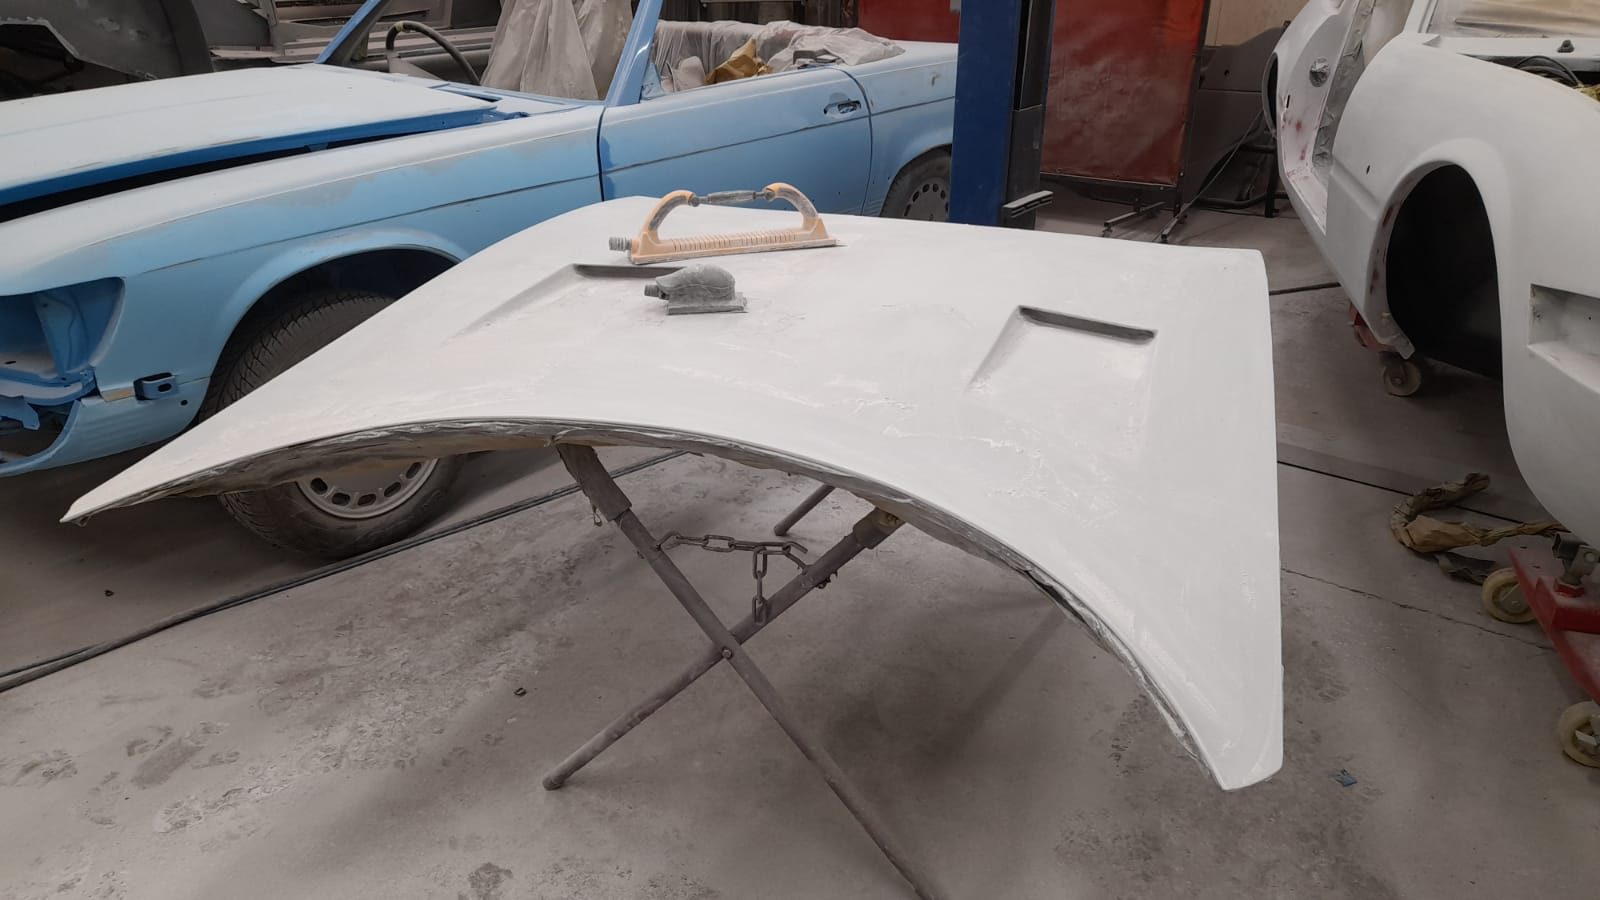

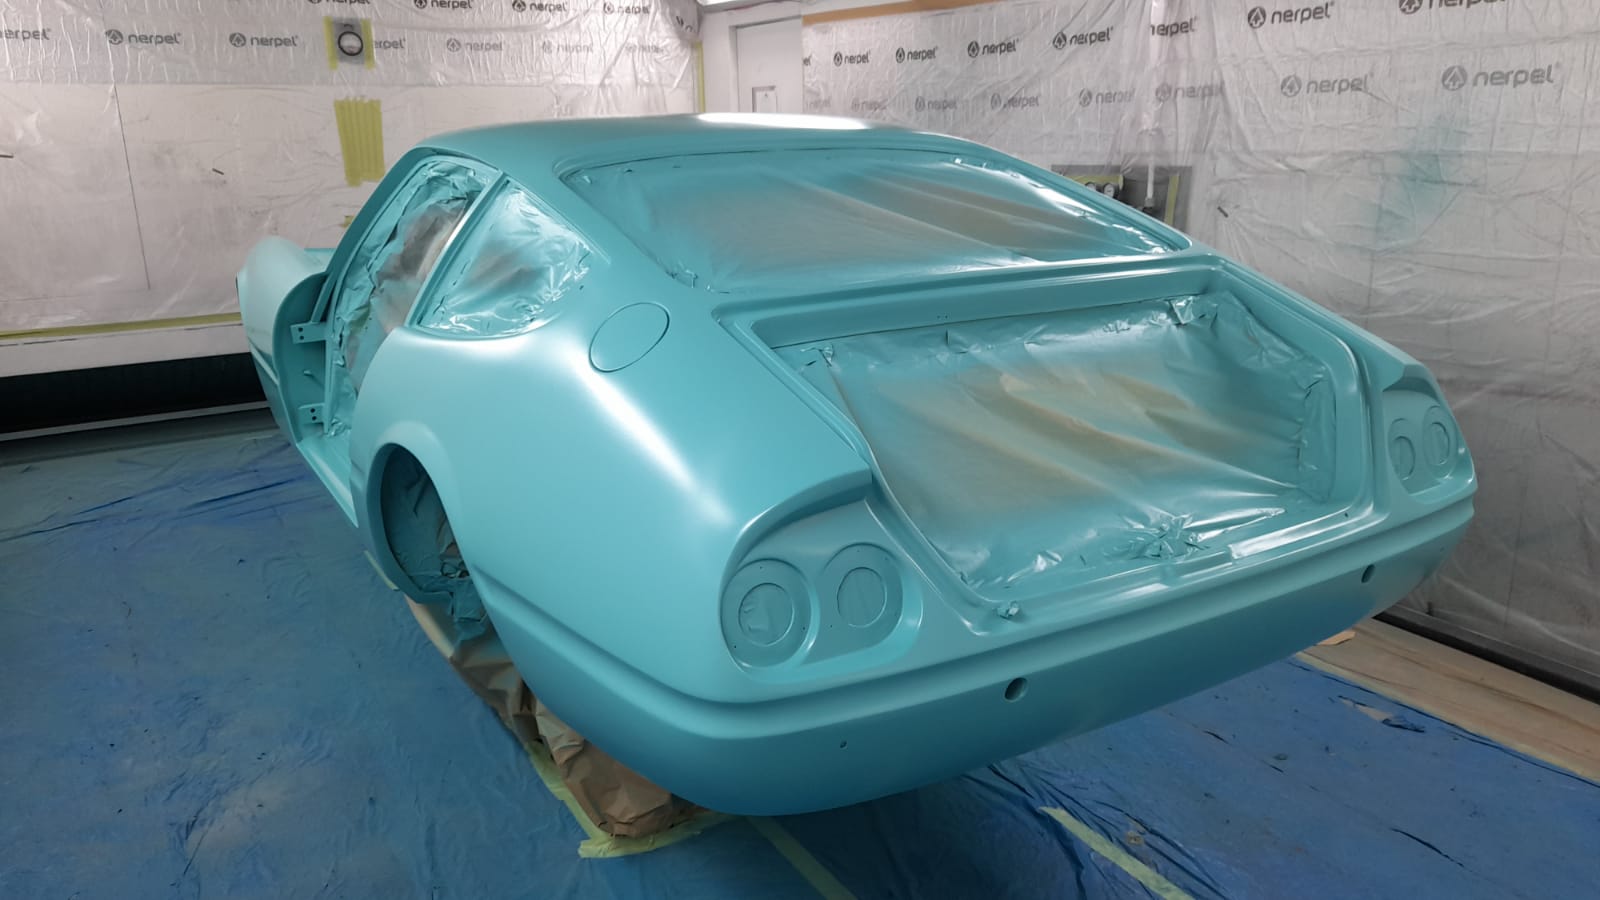
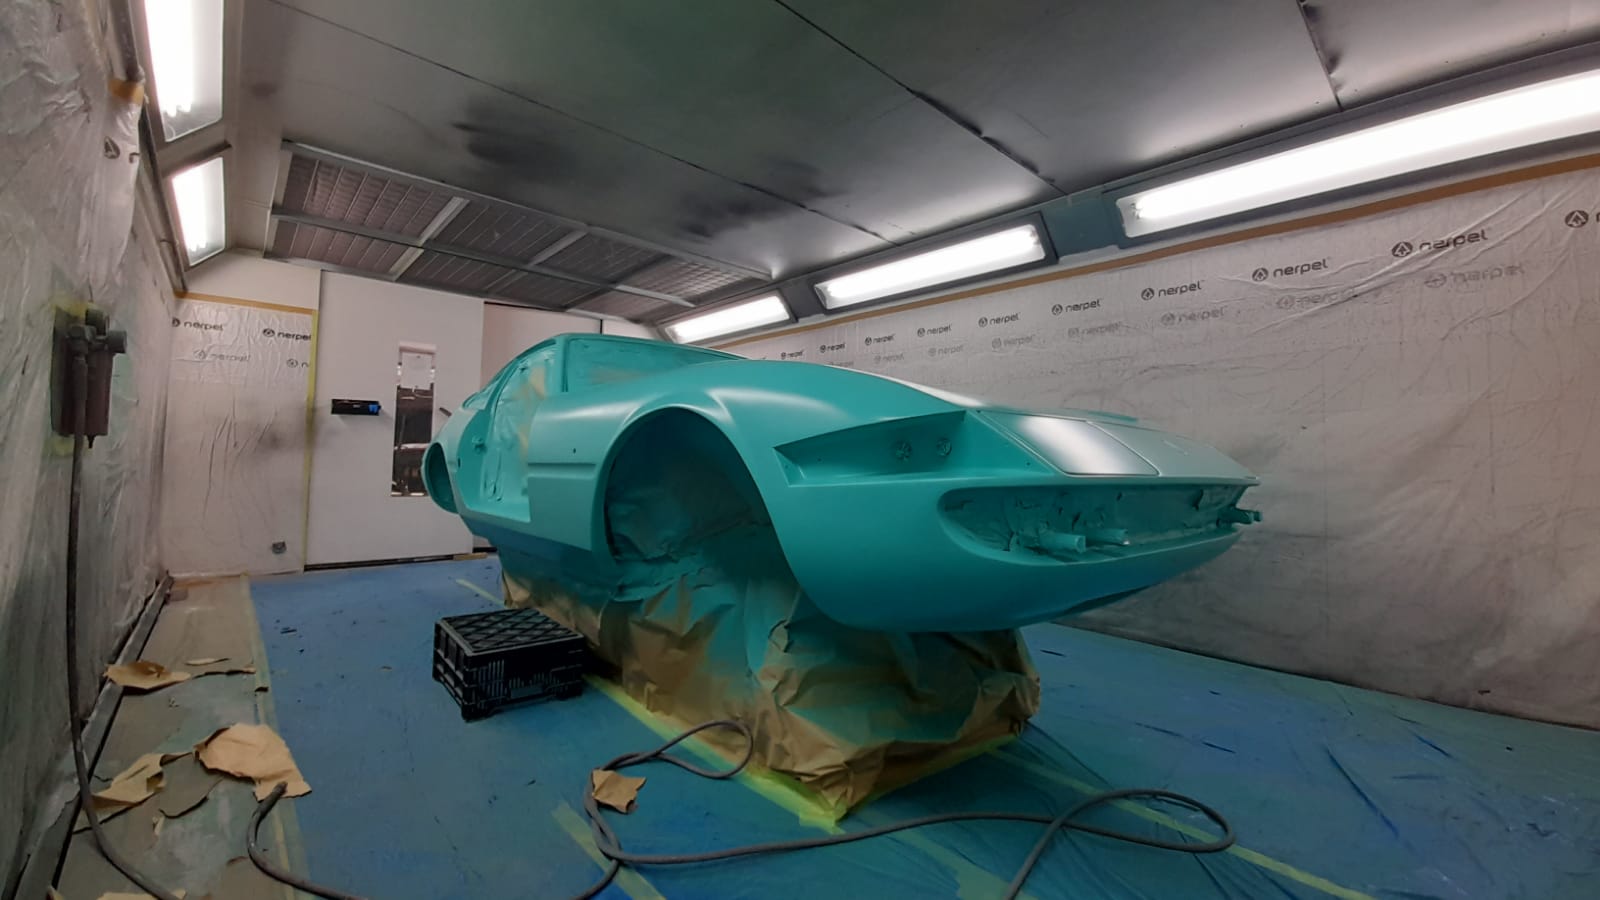
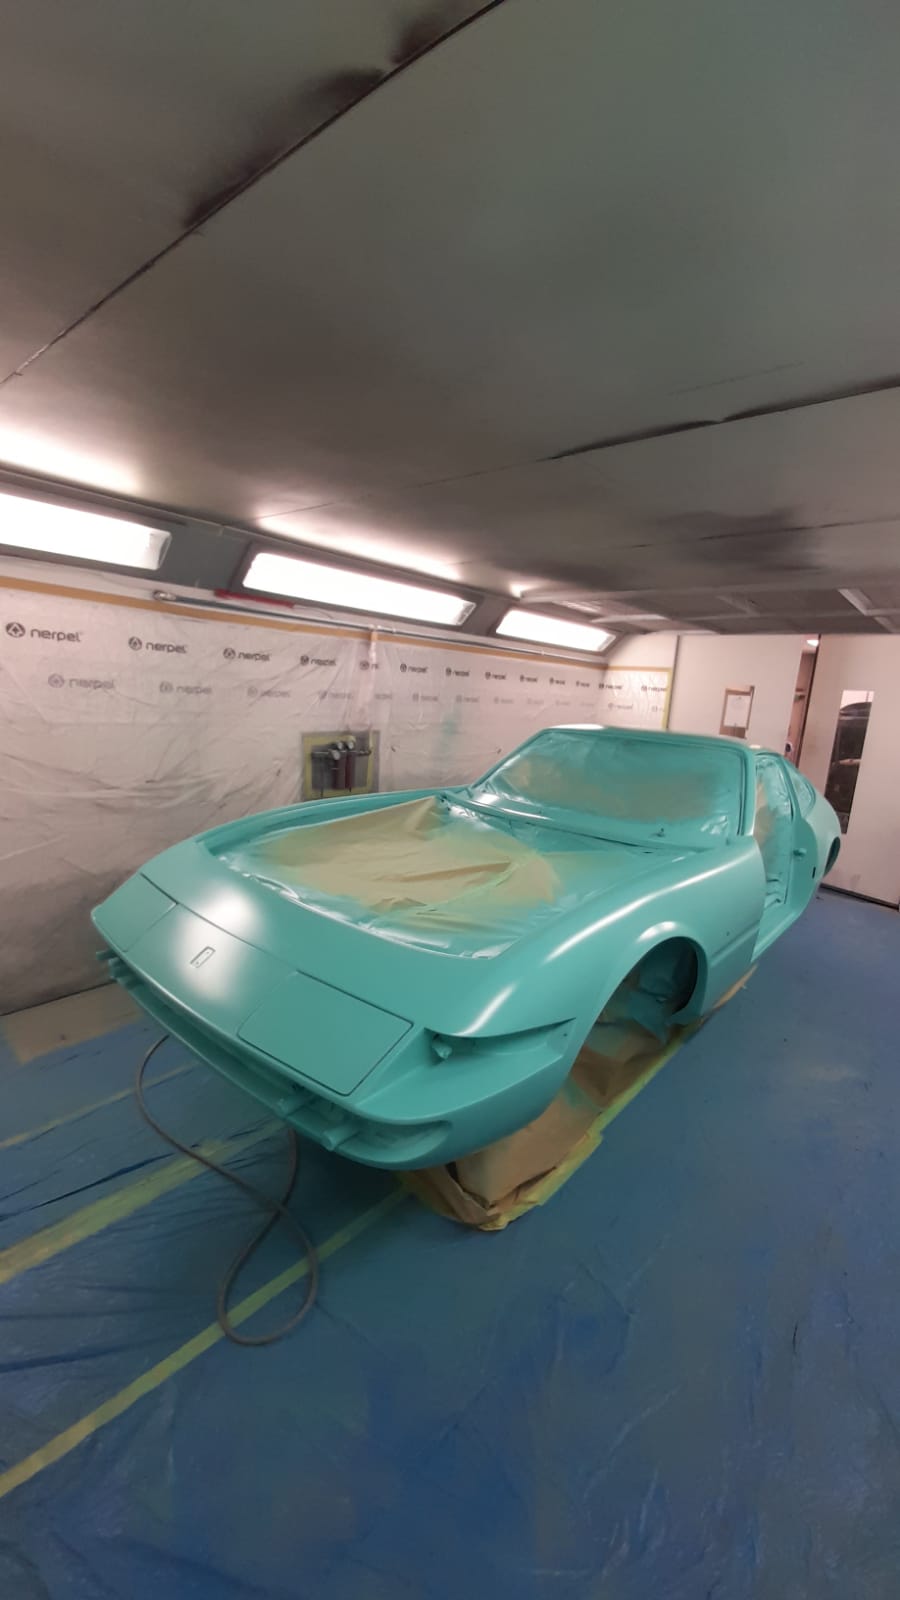
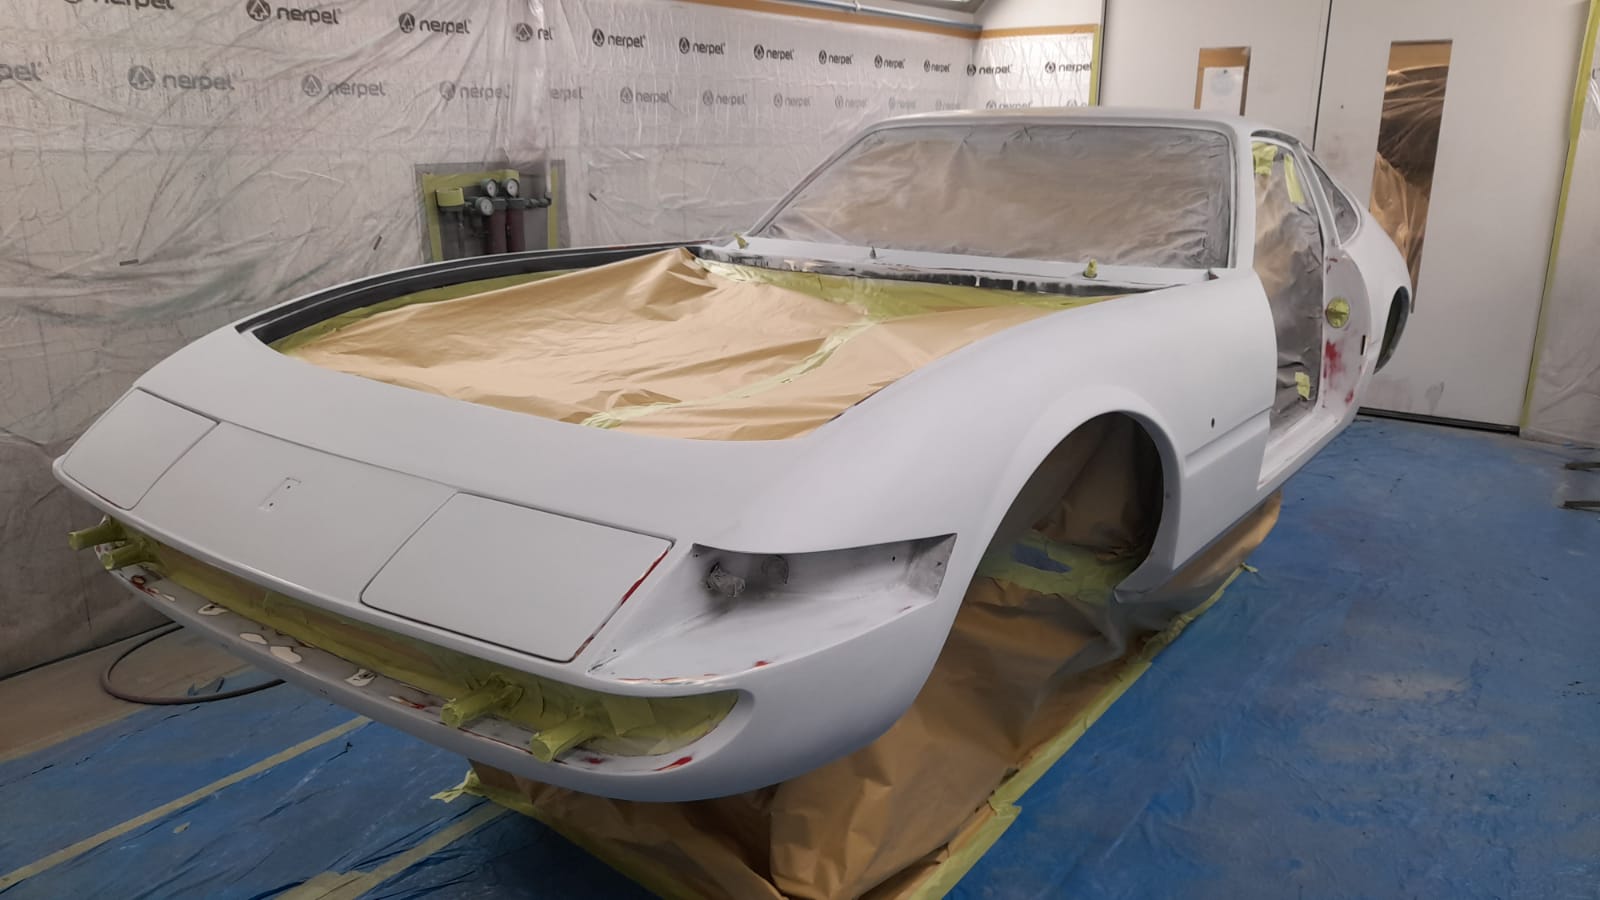
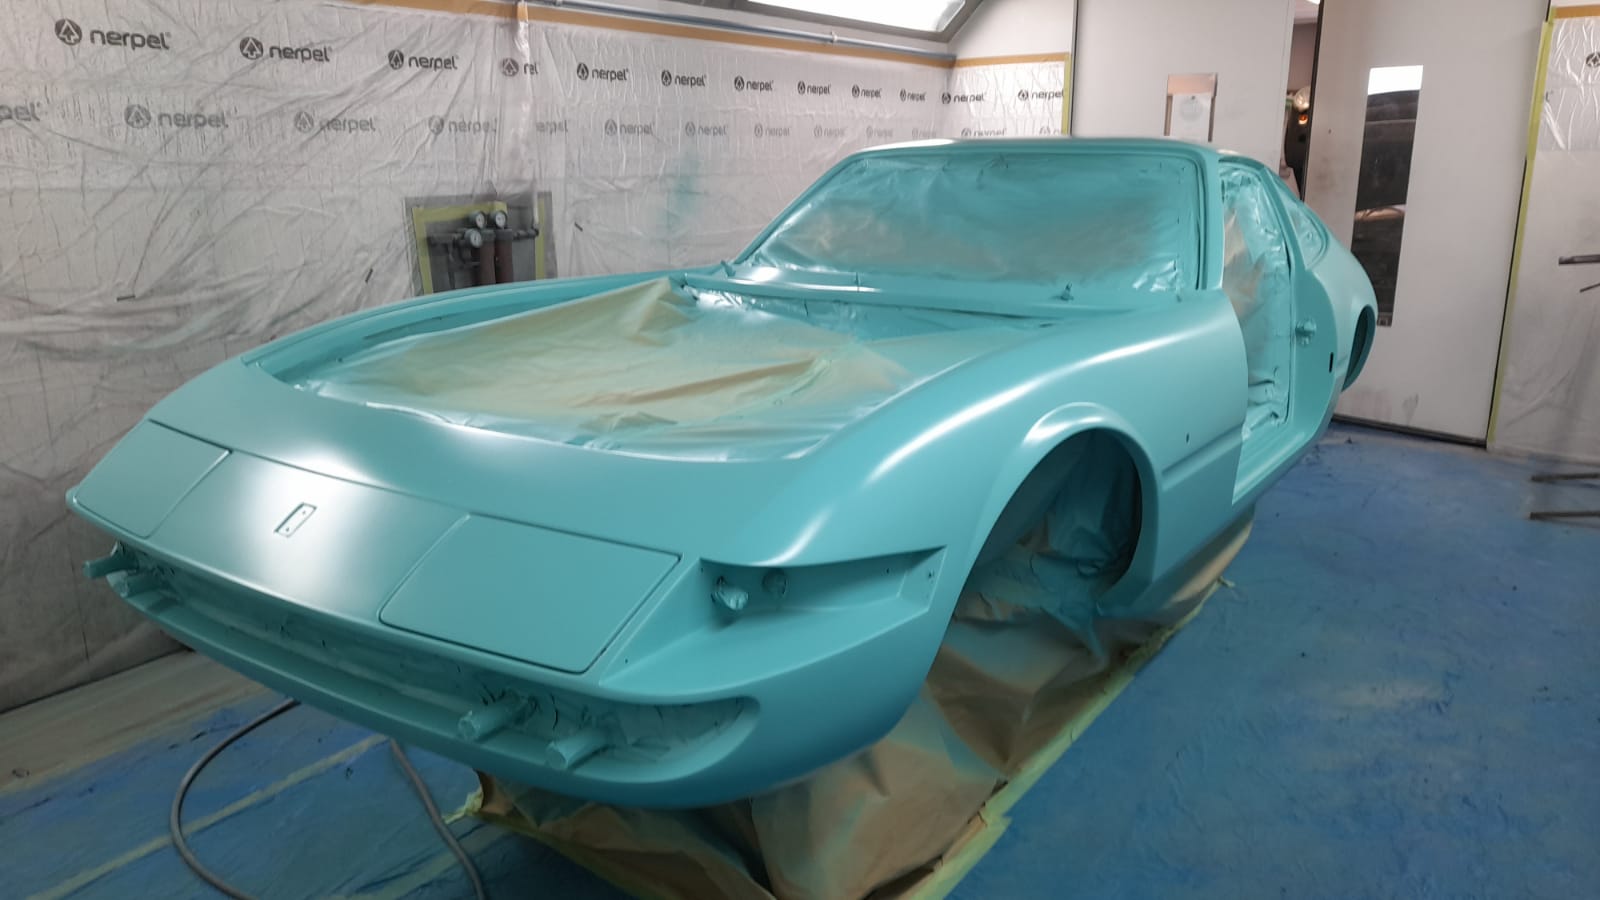


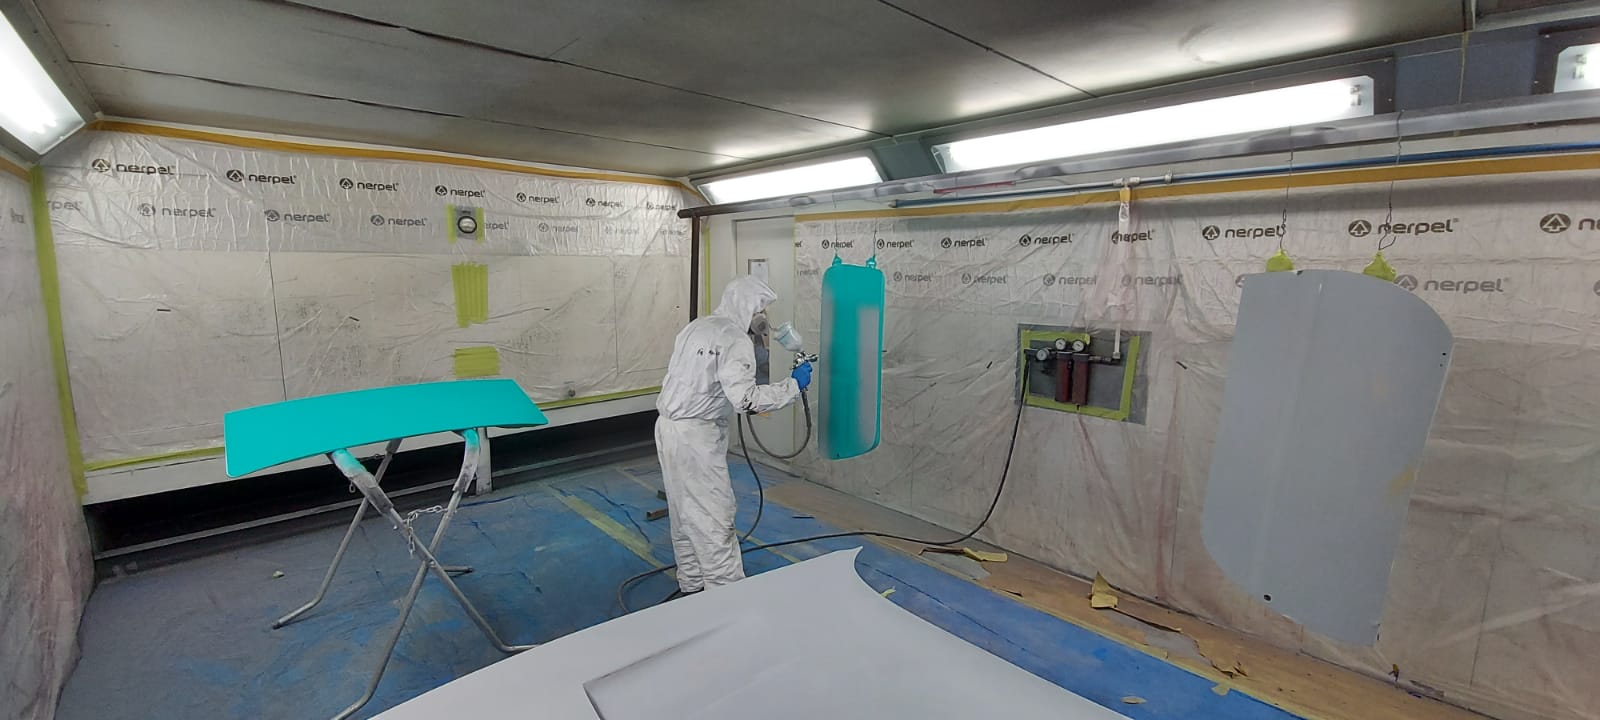
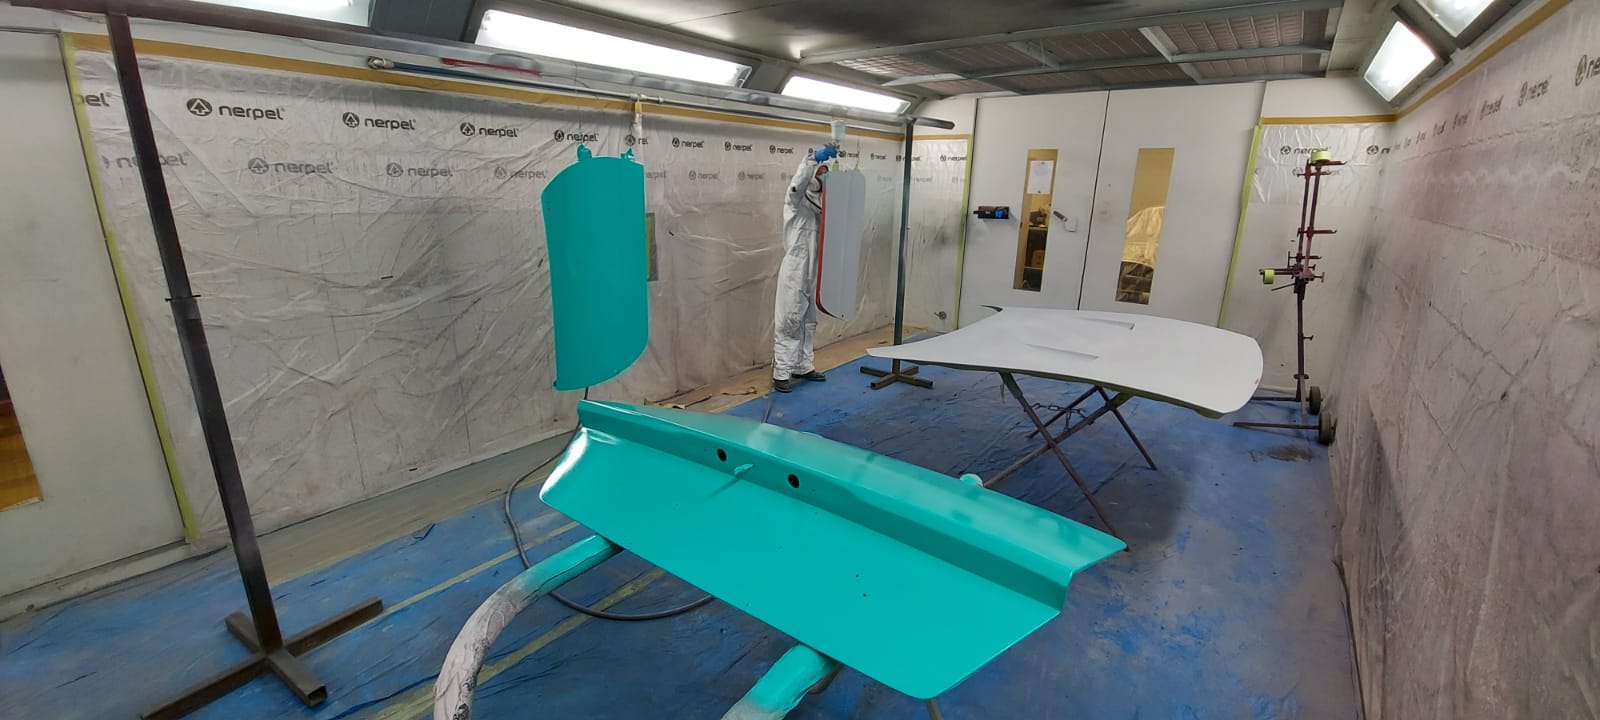
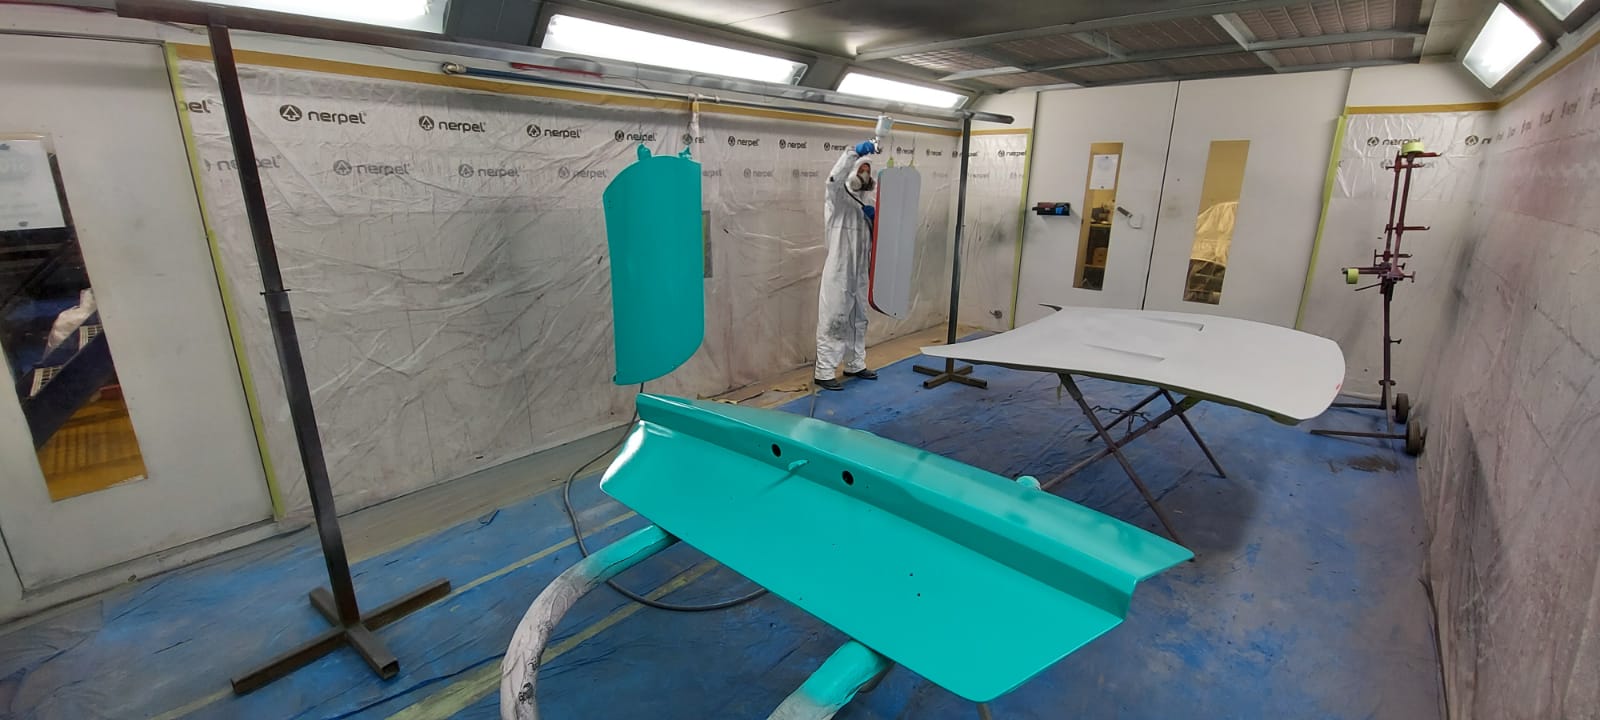
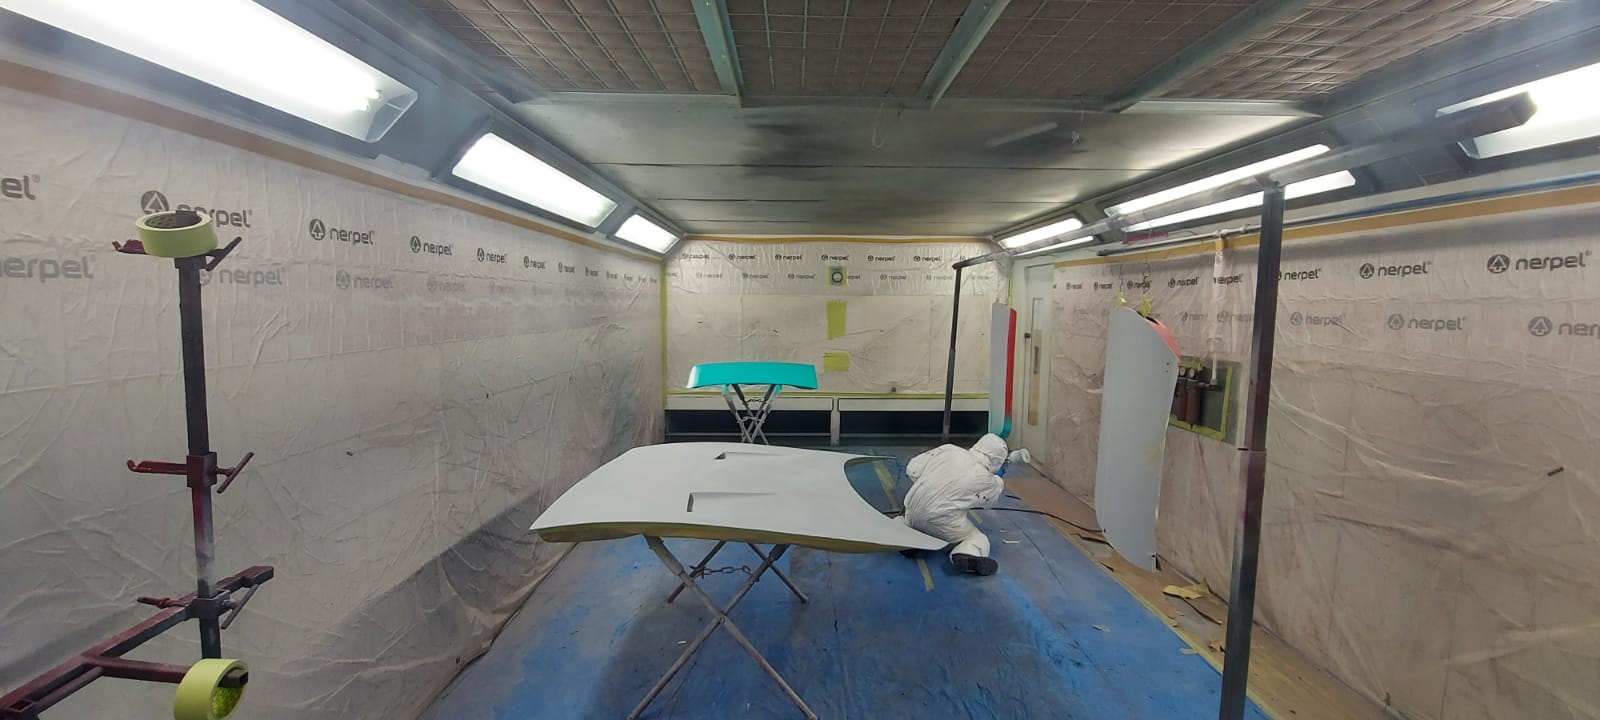
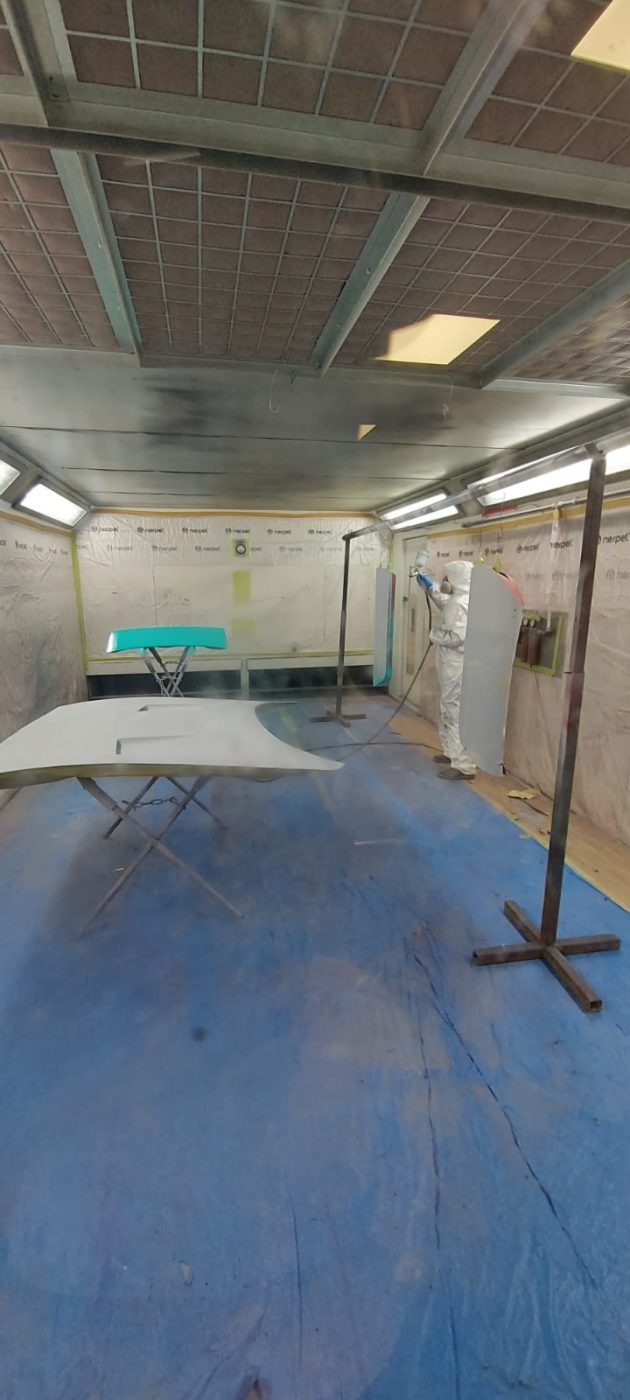

Chris has also added epoxy onto some of the components and primed them for black DTM (direct to metal).