
Out & About – Calm Indian Cow in Cornwall
Our dear friends at Calm Indian Cow have been in Cornwall recently! They were catering a wedding down in the West Country so of course,


Our dear friends at Calm Indian Cow have been in Cornwall recently! They were catering a wedding down in the West Country so of course,

The 1970 Morris Traveller 1000 has been revealed as our latest competition car! It is a smashing little car. It’s so quirky and full of
Bridge Classic Cars are soon going to be receiving a shipment of cars from South Africa. These have been sent to us by a collector

Our in-house trim team at Bridge Classic Cars have been working hard to get the interior of the 1970 Dodge Charger back together. One of

With a car as intricate and flowing as the 1951 Riley RMB, it’s important that our in-house metalwork craftsmen at Bridge Classic Cars apply all
After working so hard on the finish of the 1998 Honda Integra Type R, it is important to protect what has been done here at
Mauro, our in-house restoration technician, has been working on the 1967 Ford Mustang that we have in the Bridge Classic Cars workshop. As part of

Our dear friends at Calm Indian Cow have been in Cornwall recently!
They were catering a wedding down in the West Country so of course, they took their gorgeous blue truck with them.
Some of you may remember a while back when we helped to build this amazing 1971 Bedford J Type into the mobile home of Calm Indian Cow. So, it’s always lovely to see it and Mahesh out there spreading the love.
Safe trip!
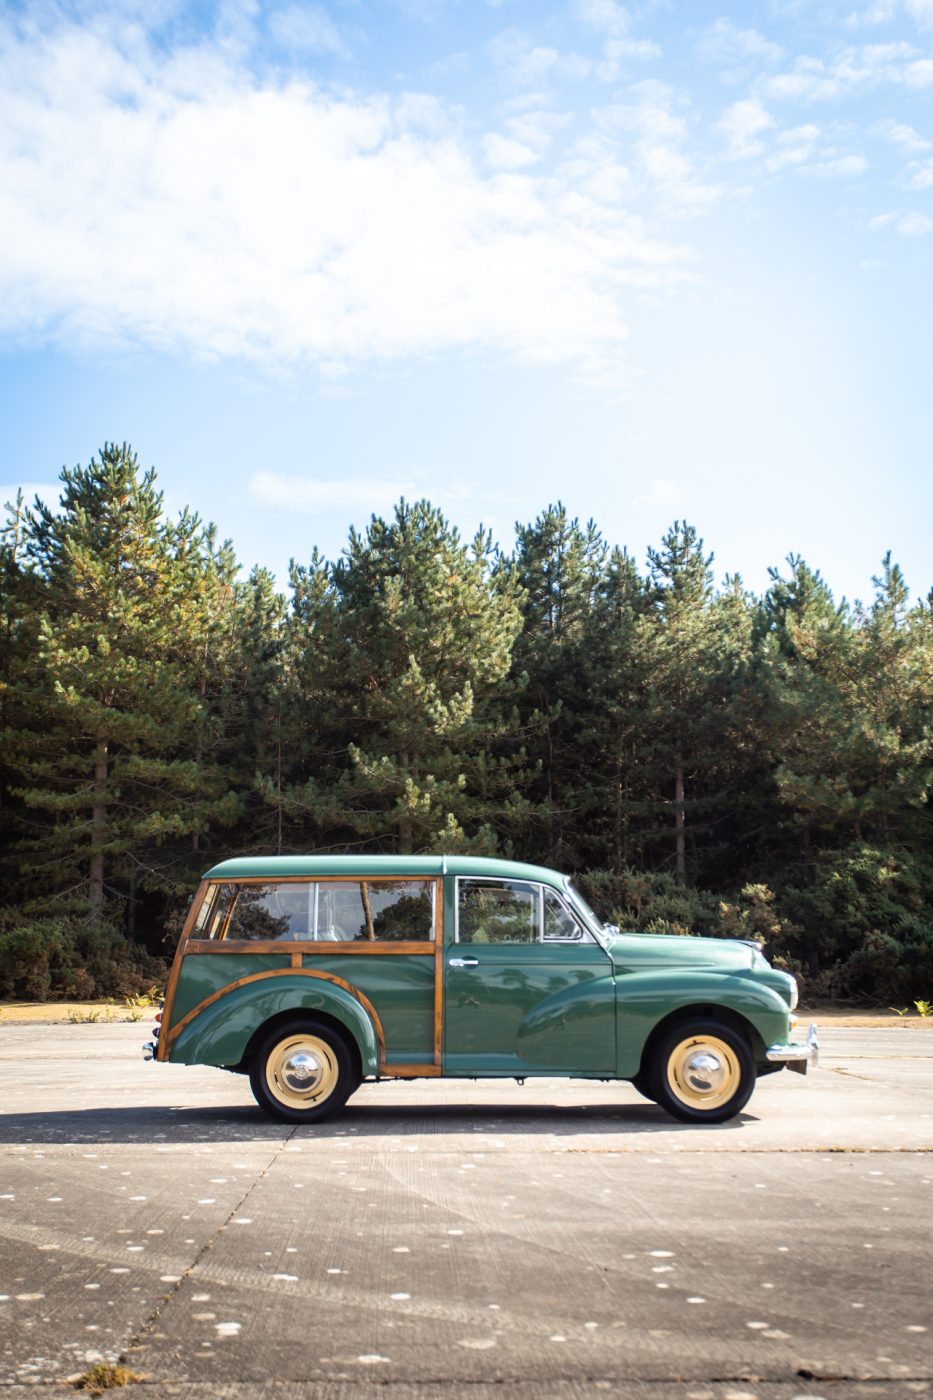
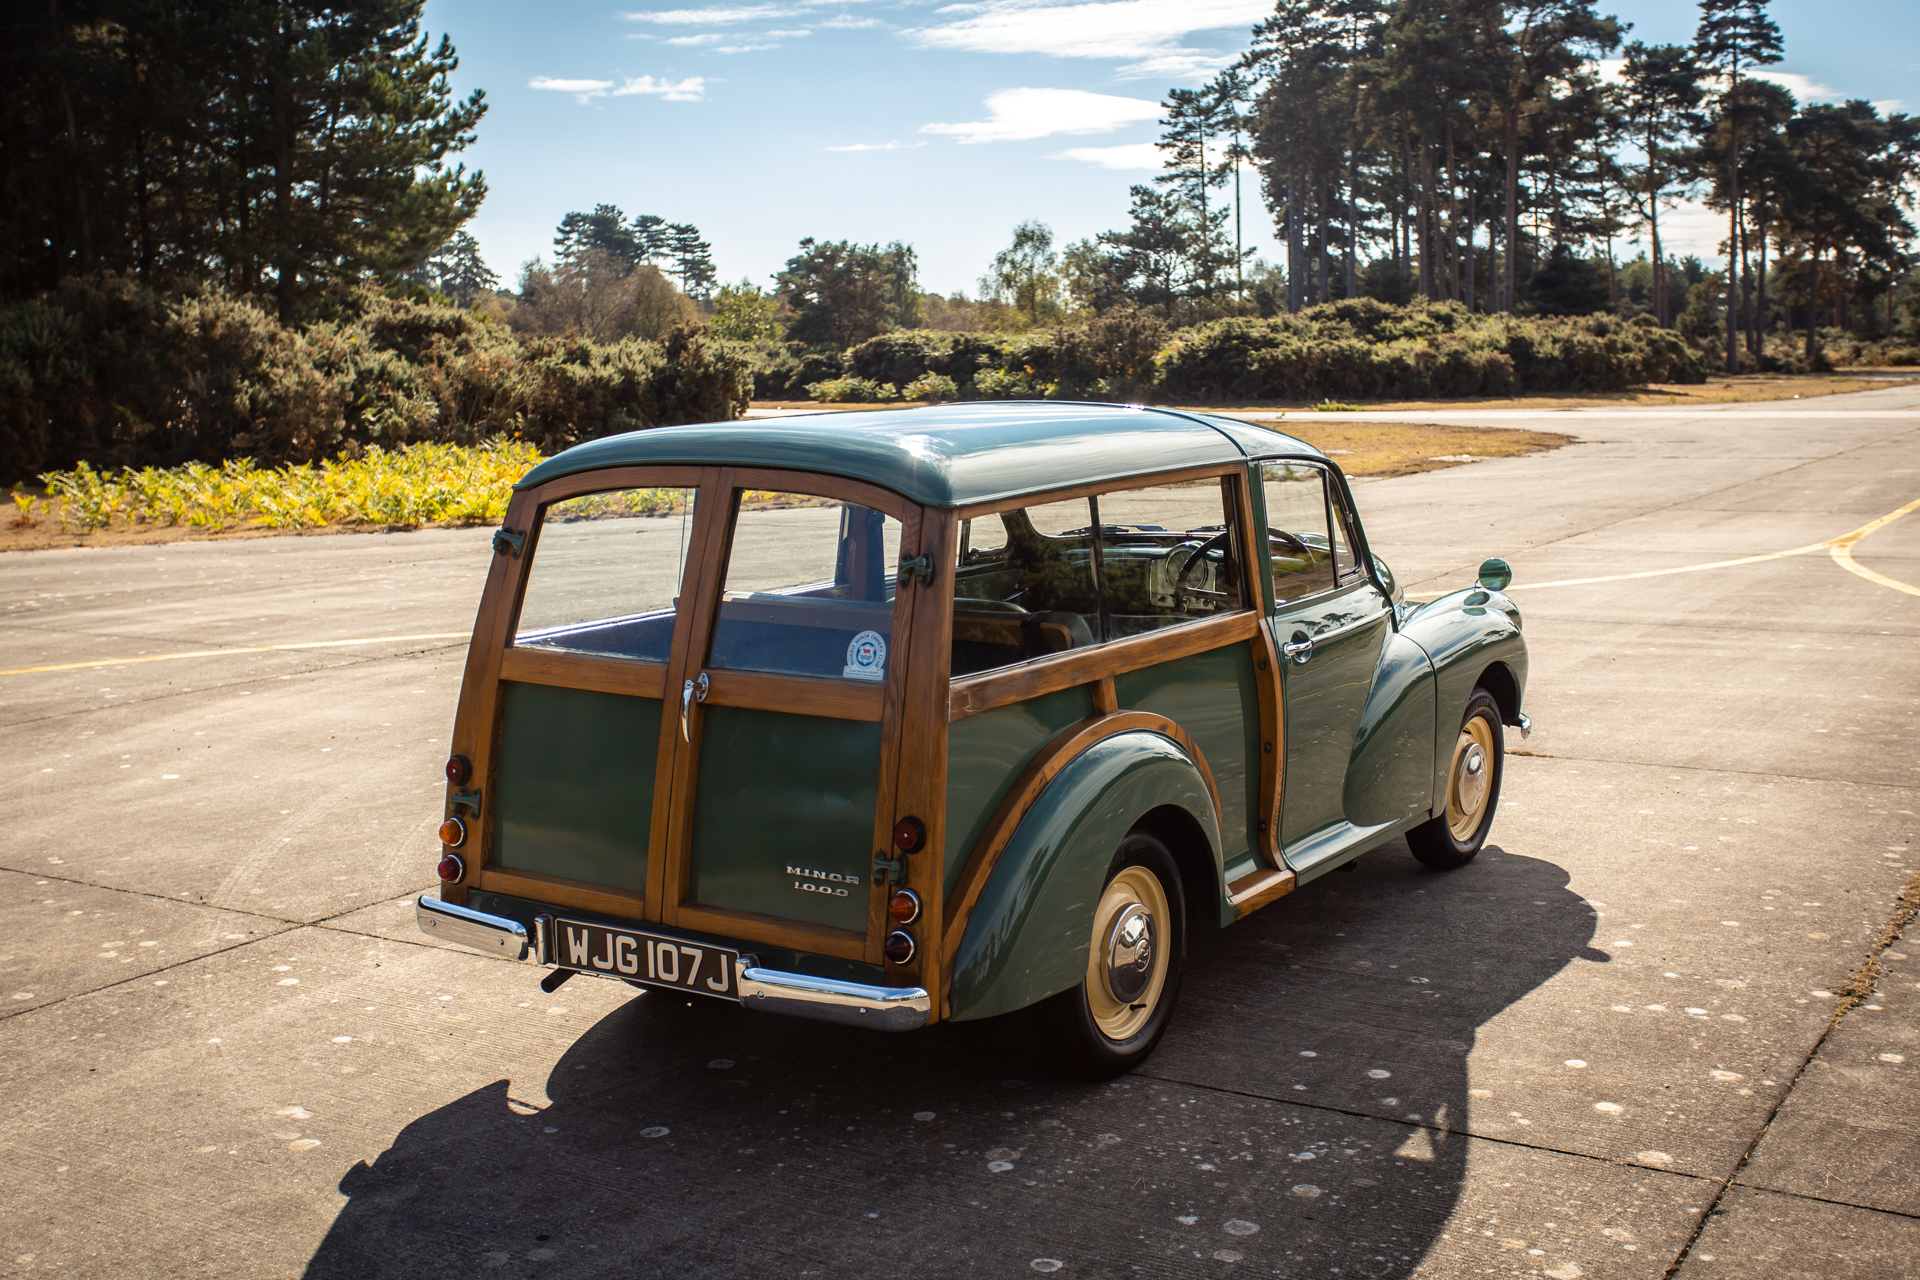
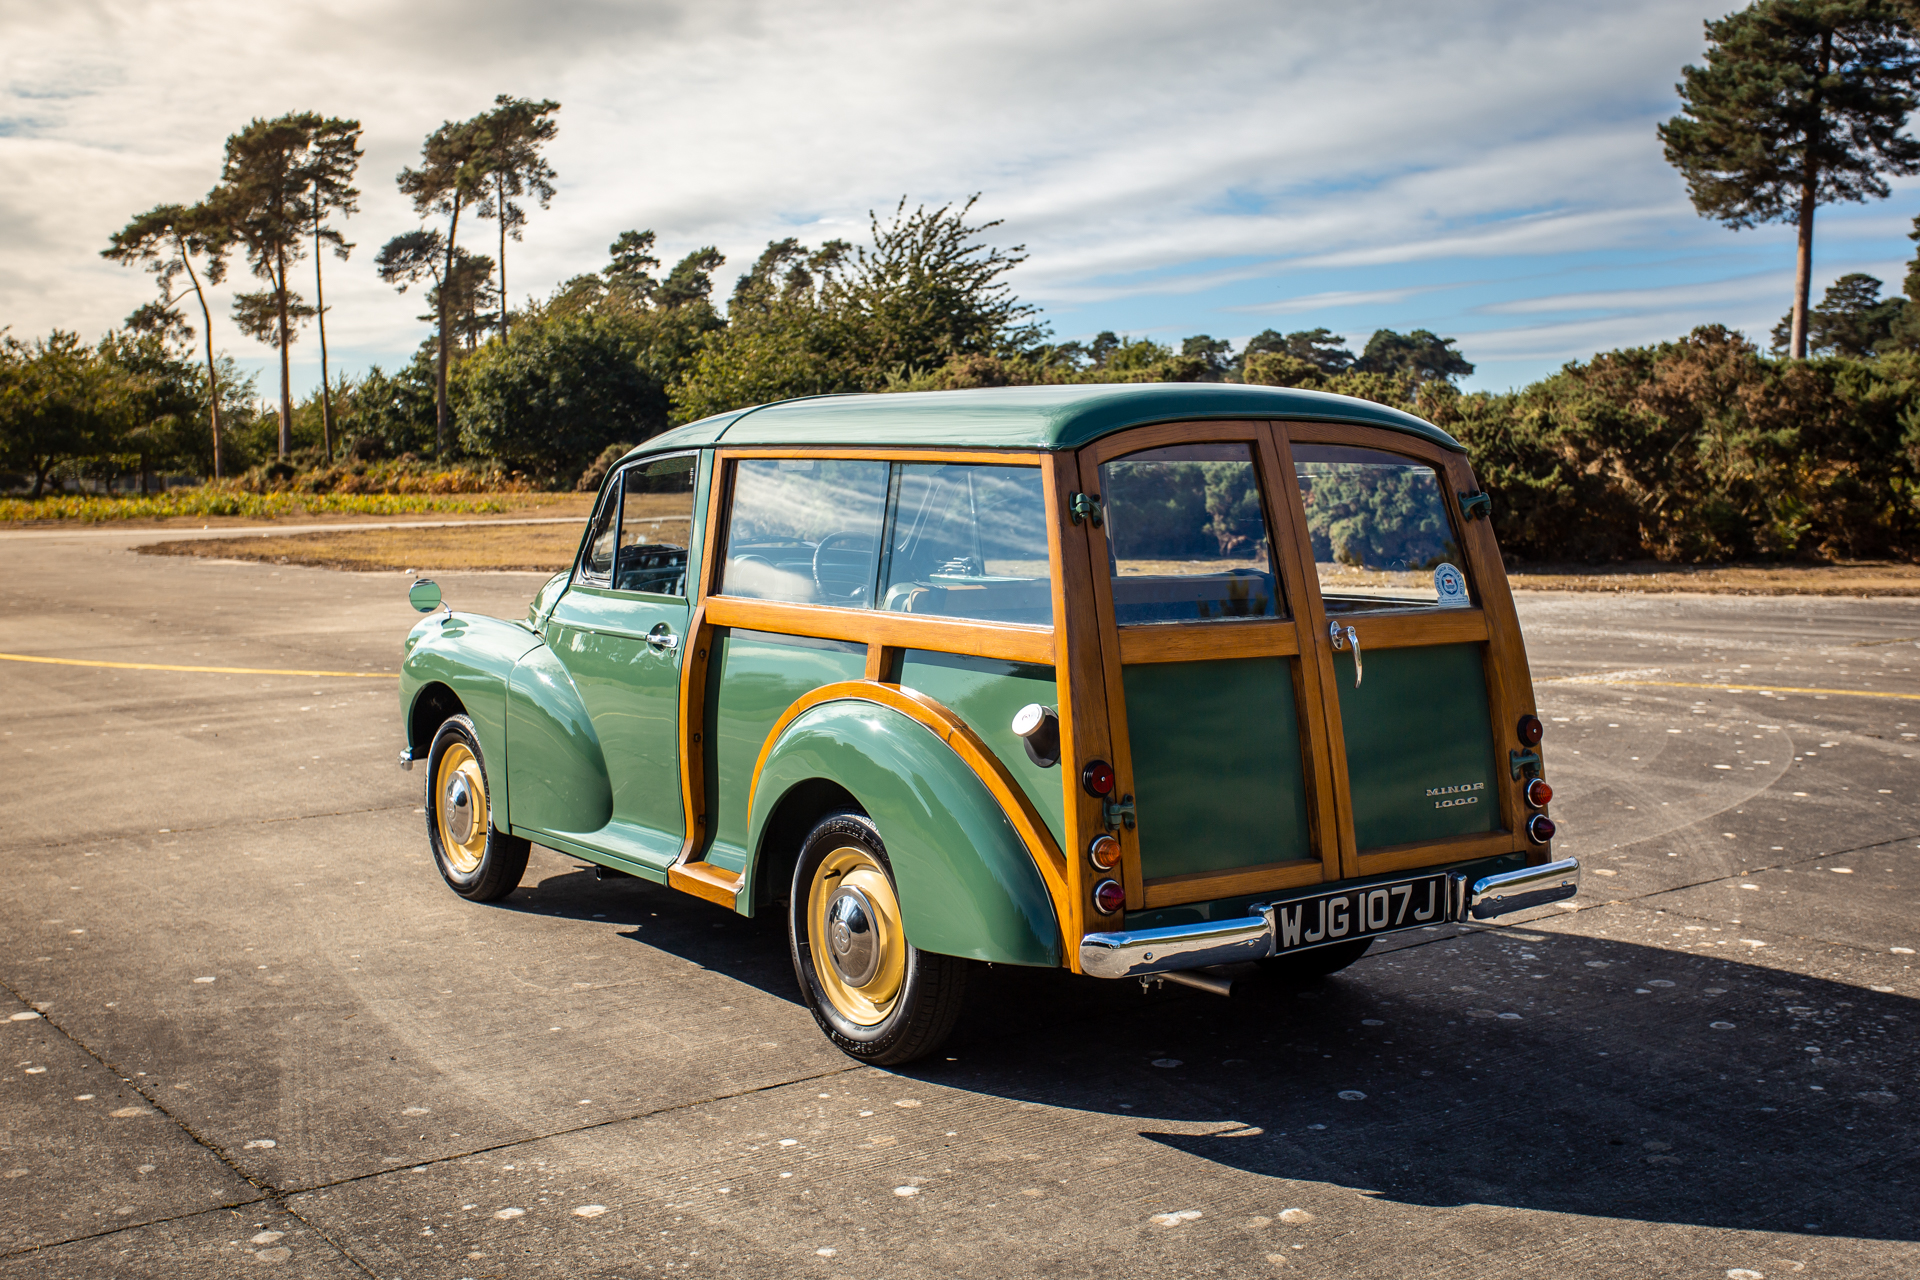
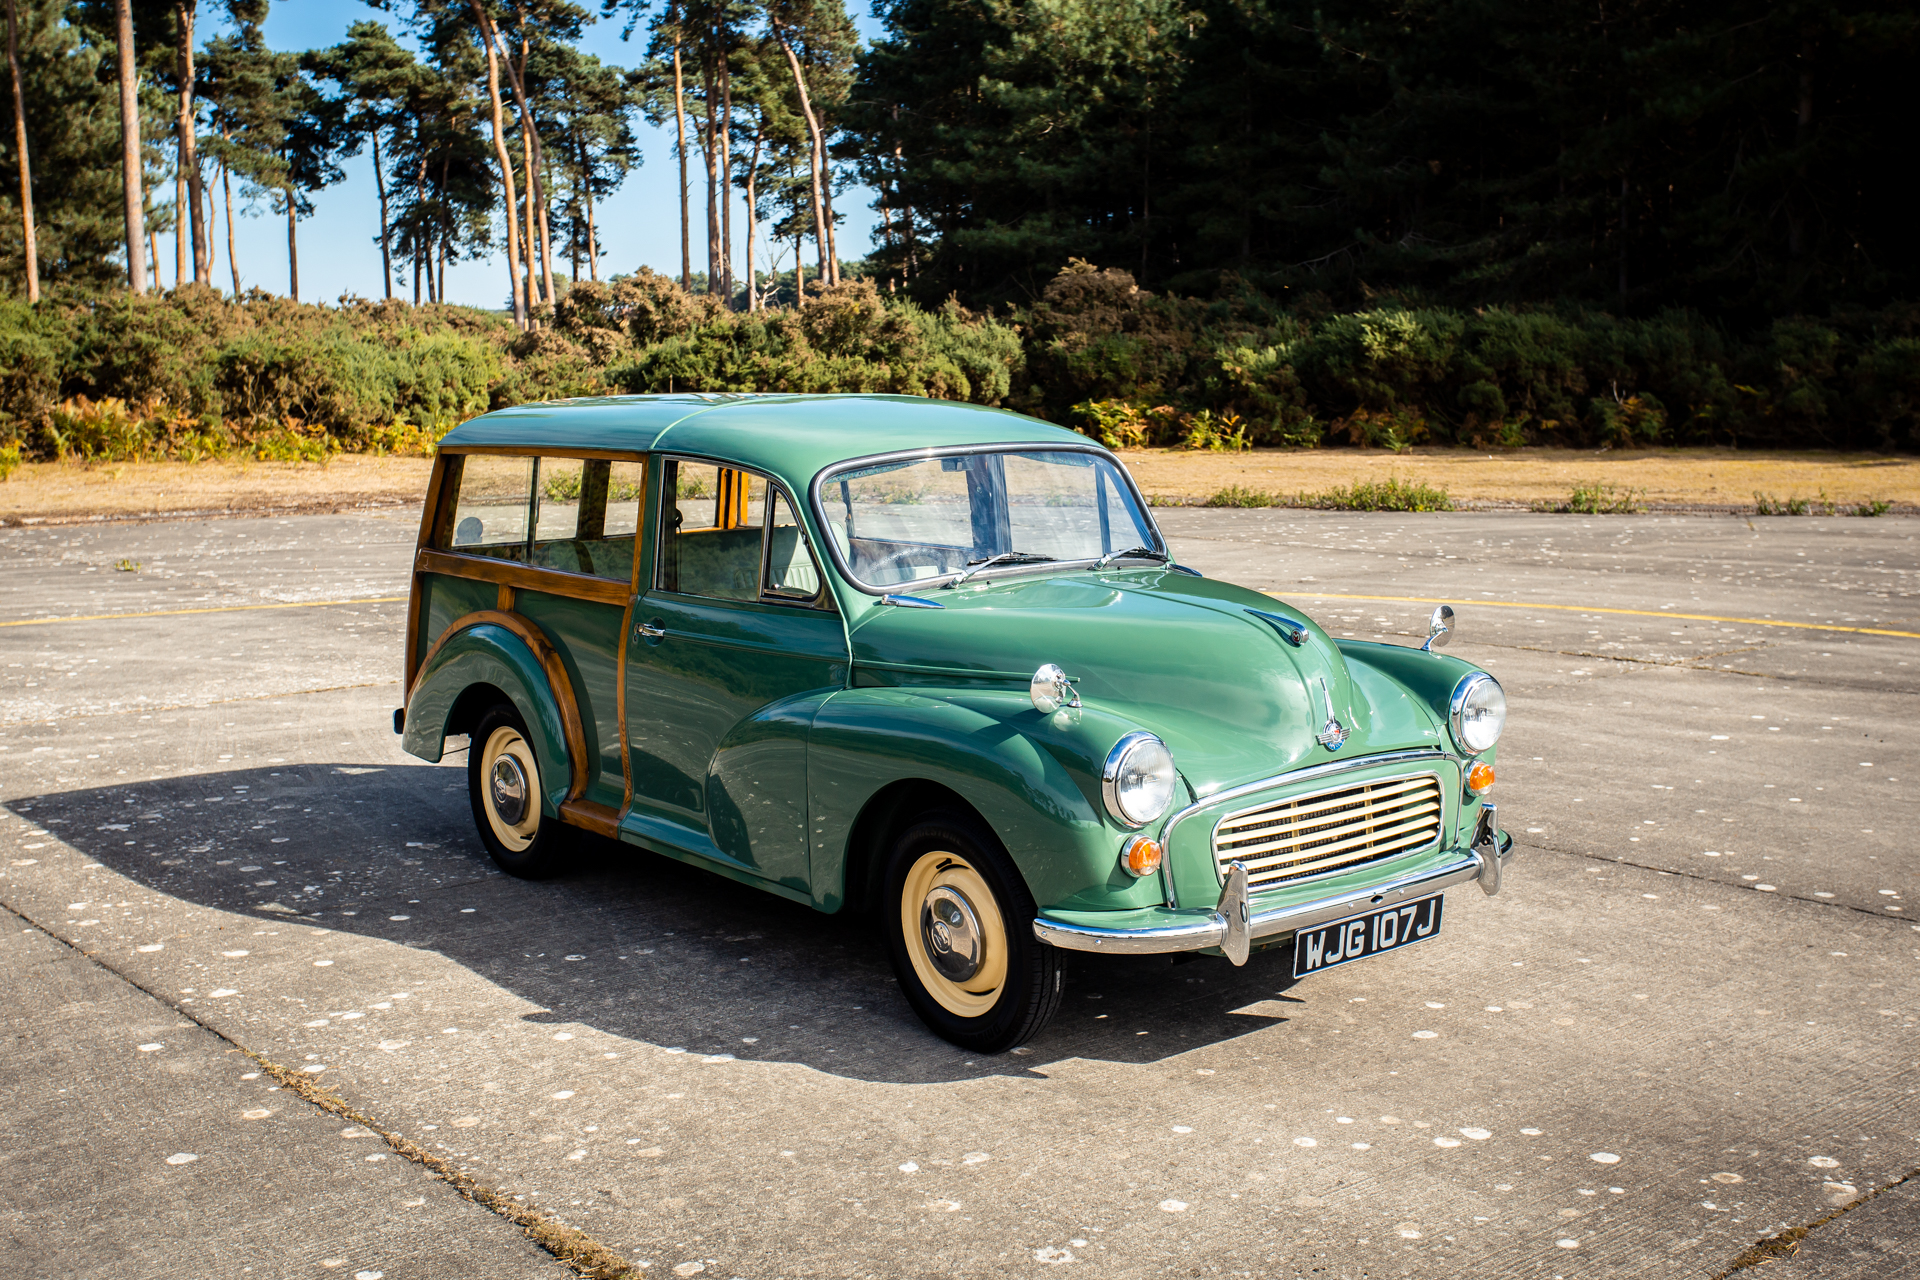
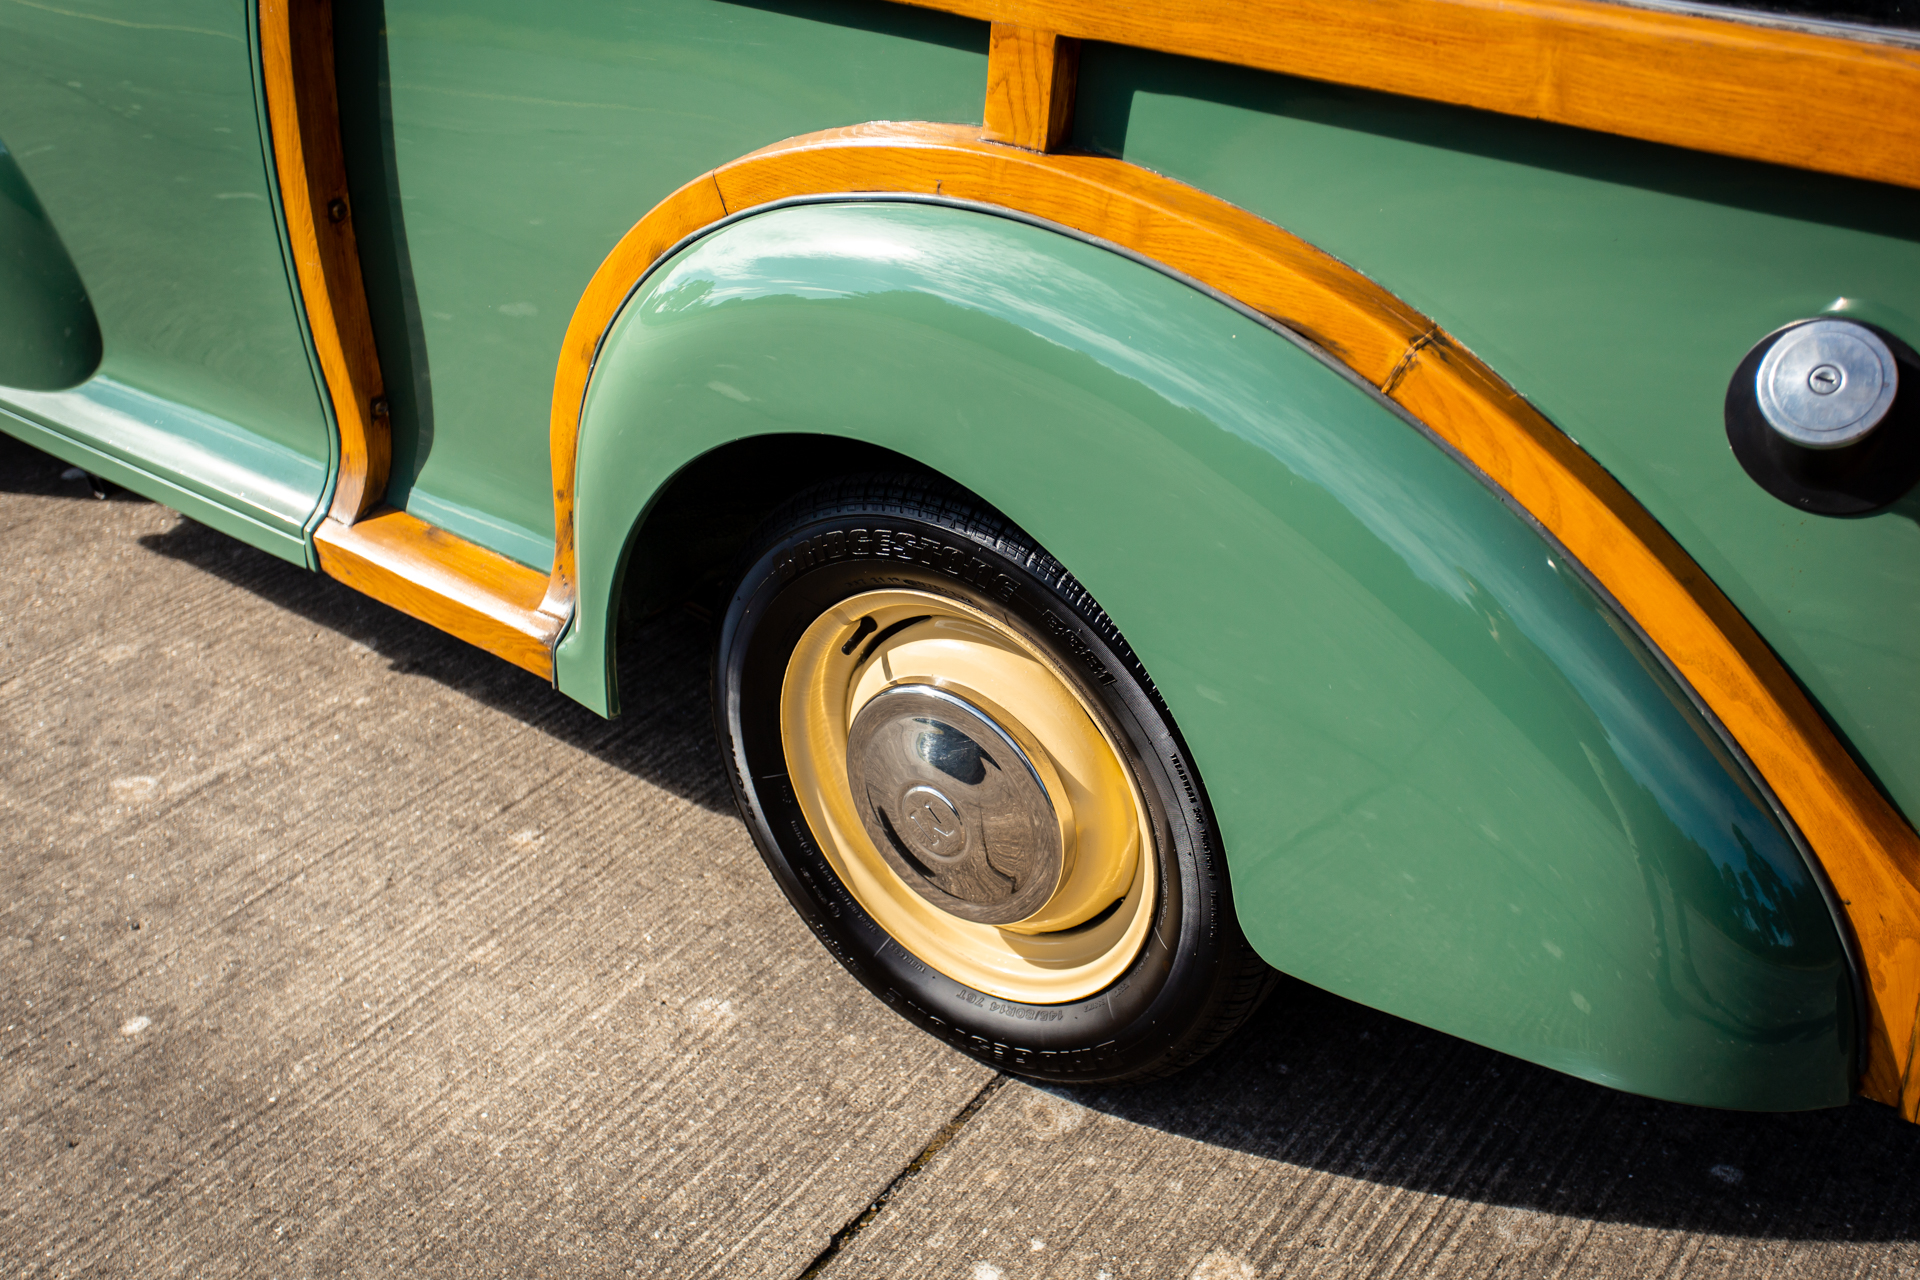
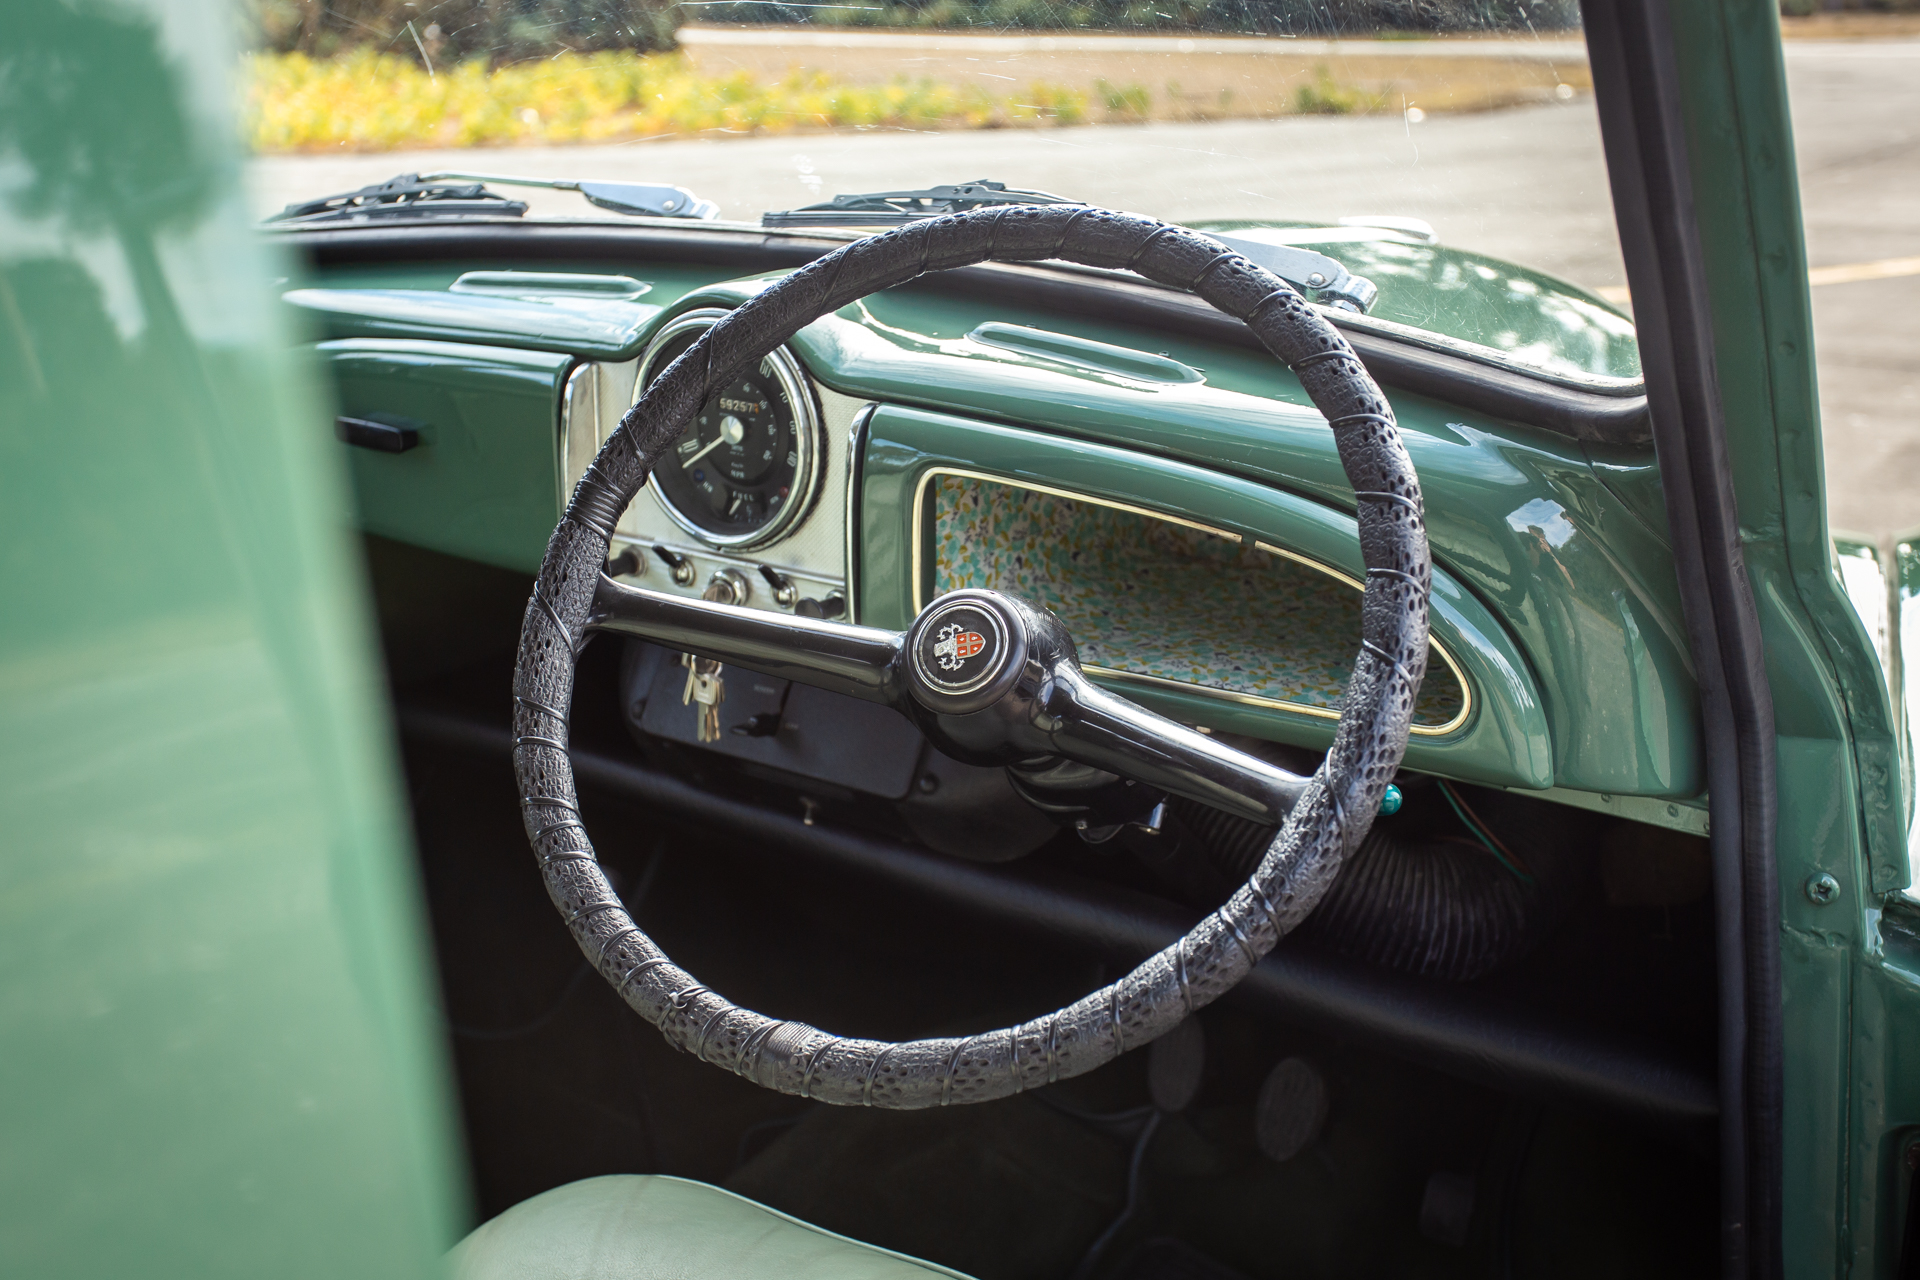
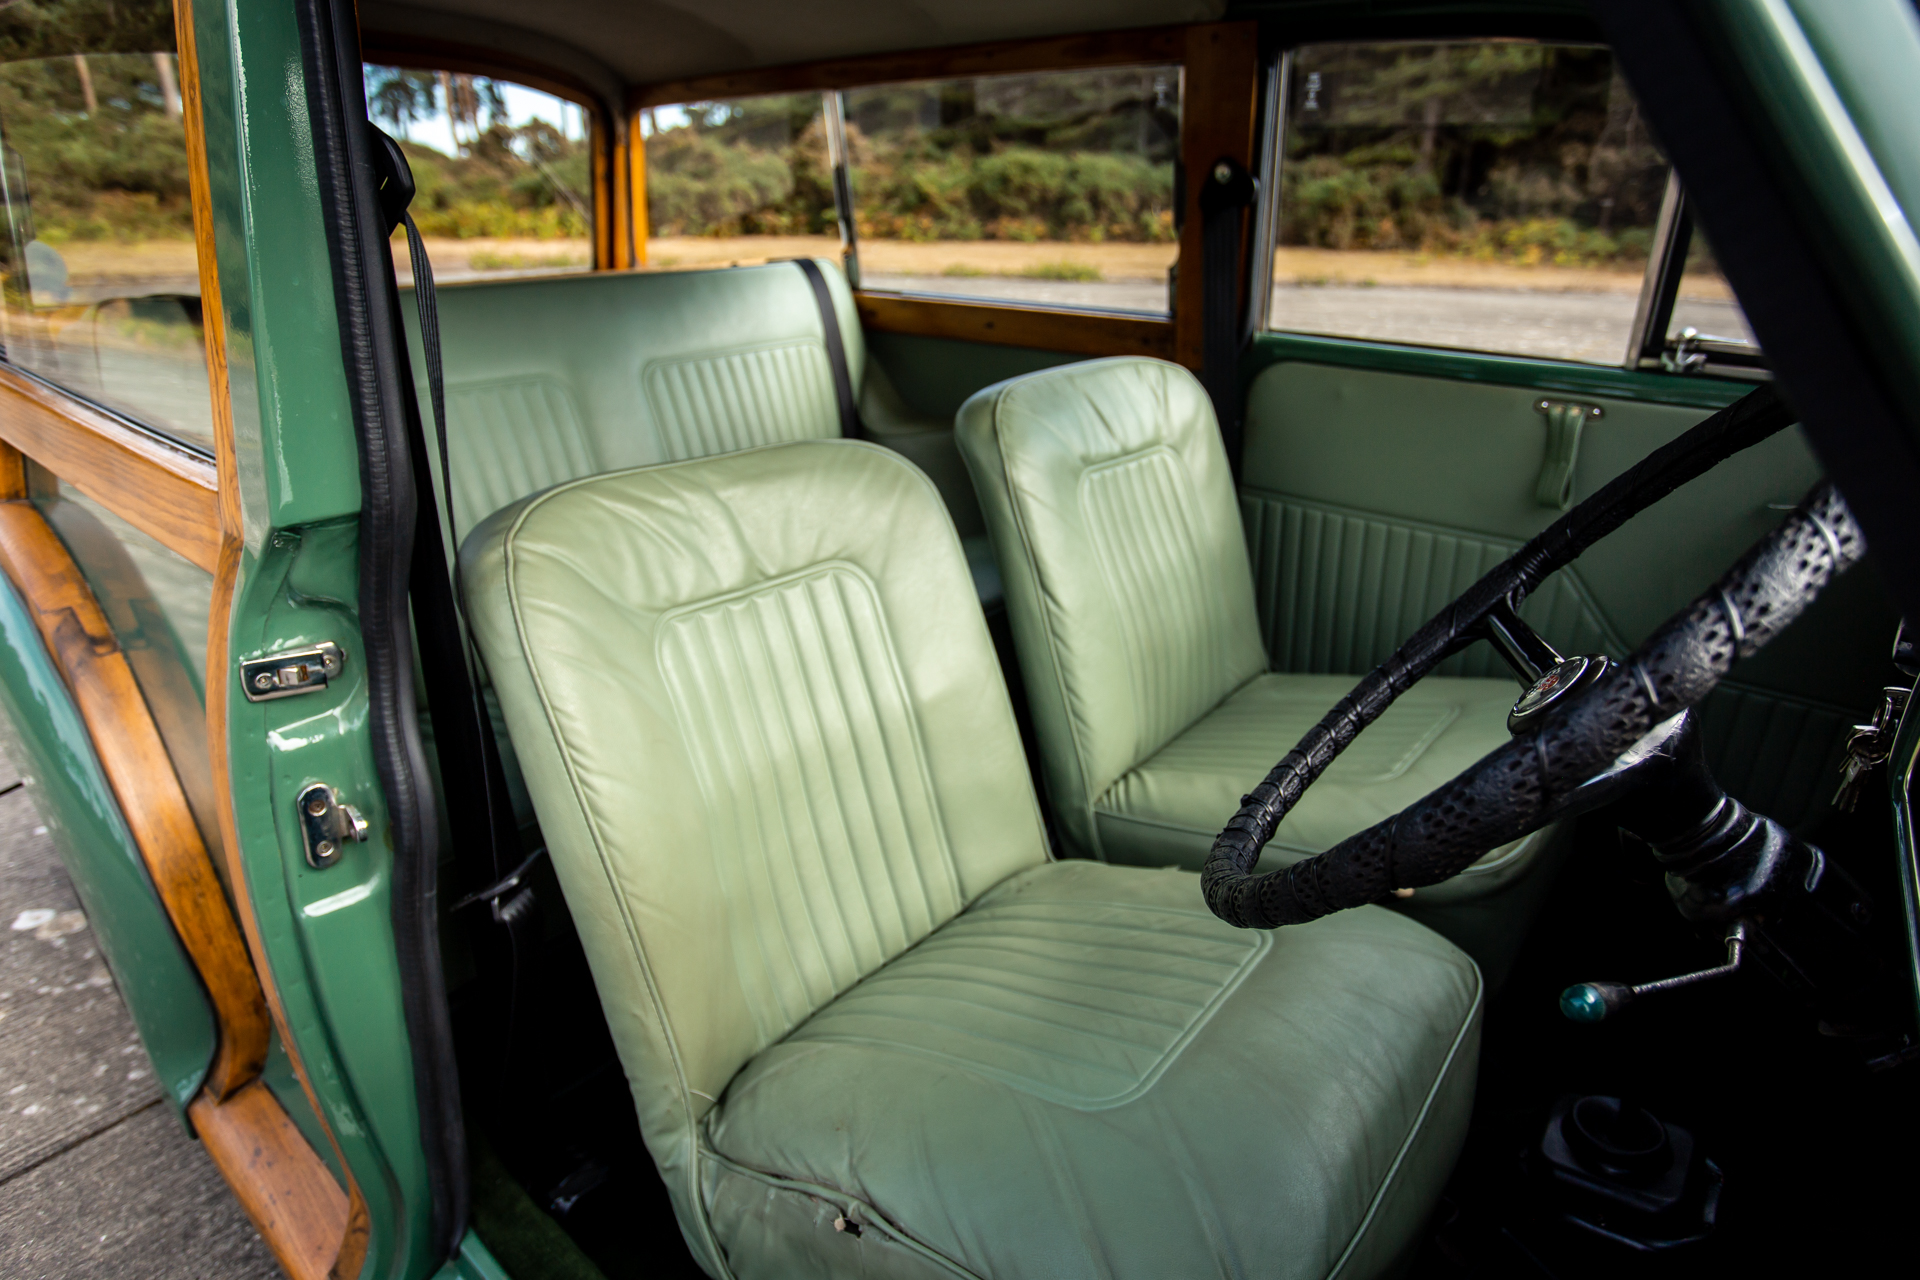
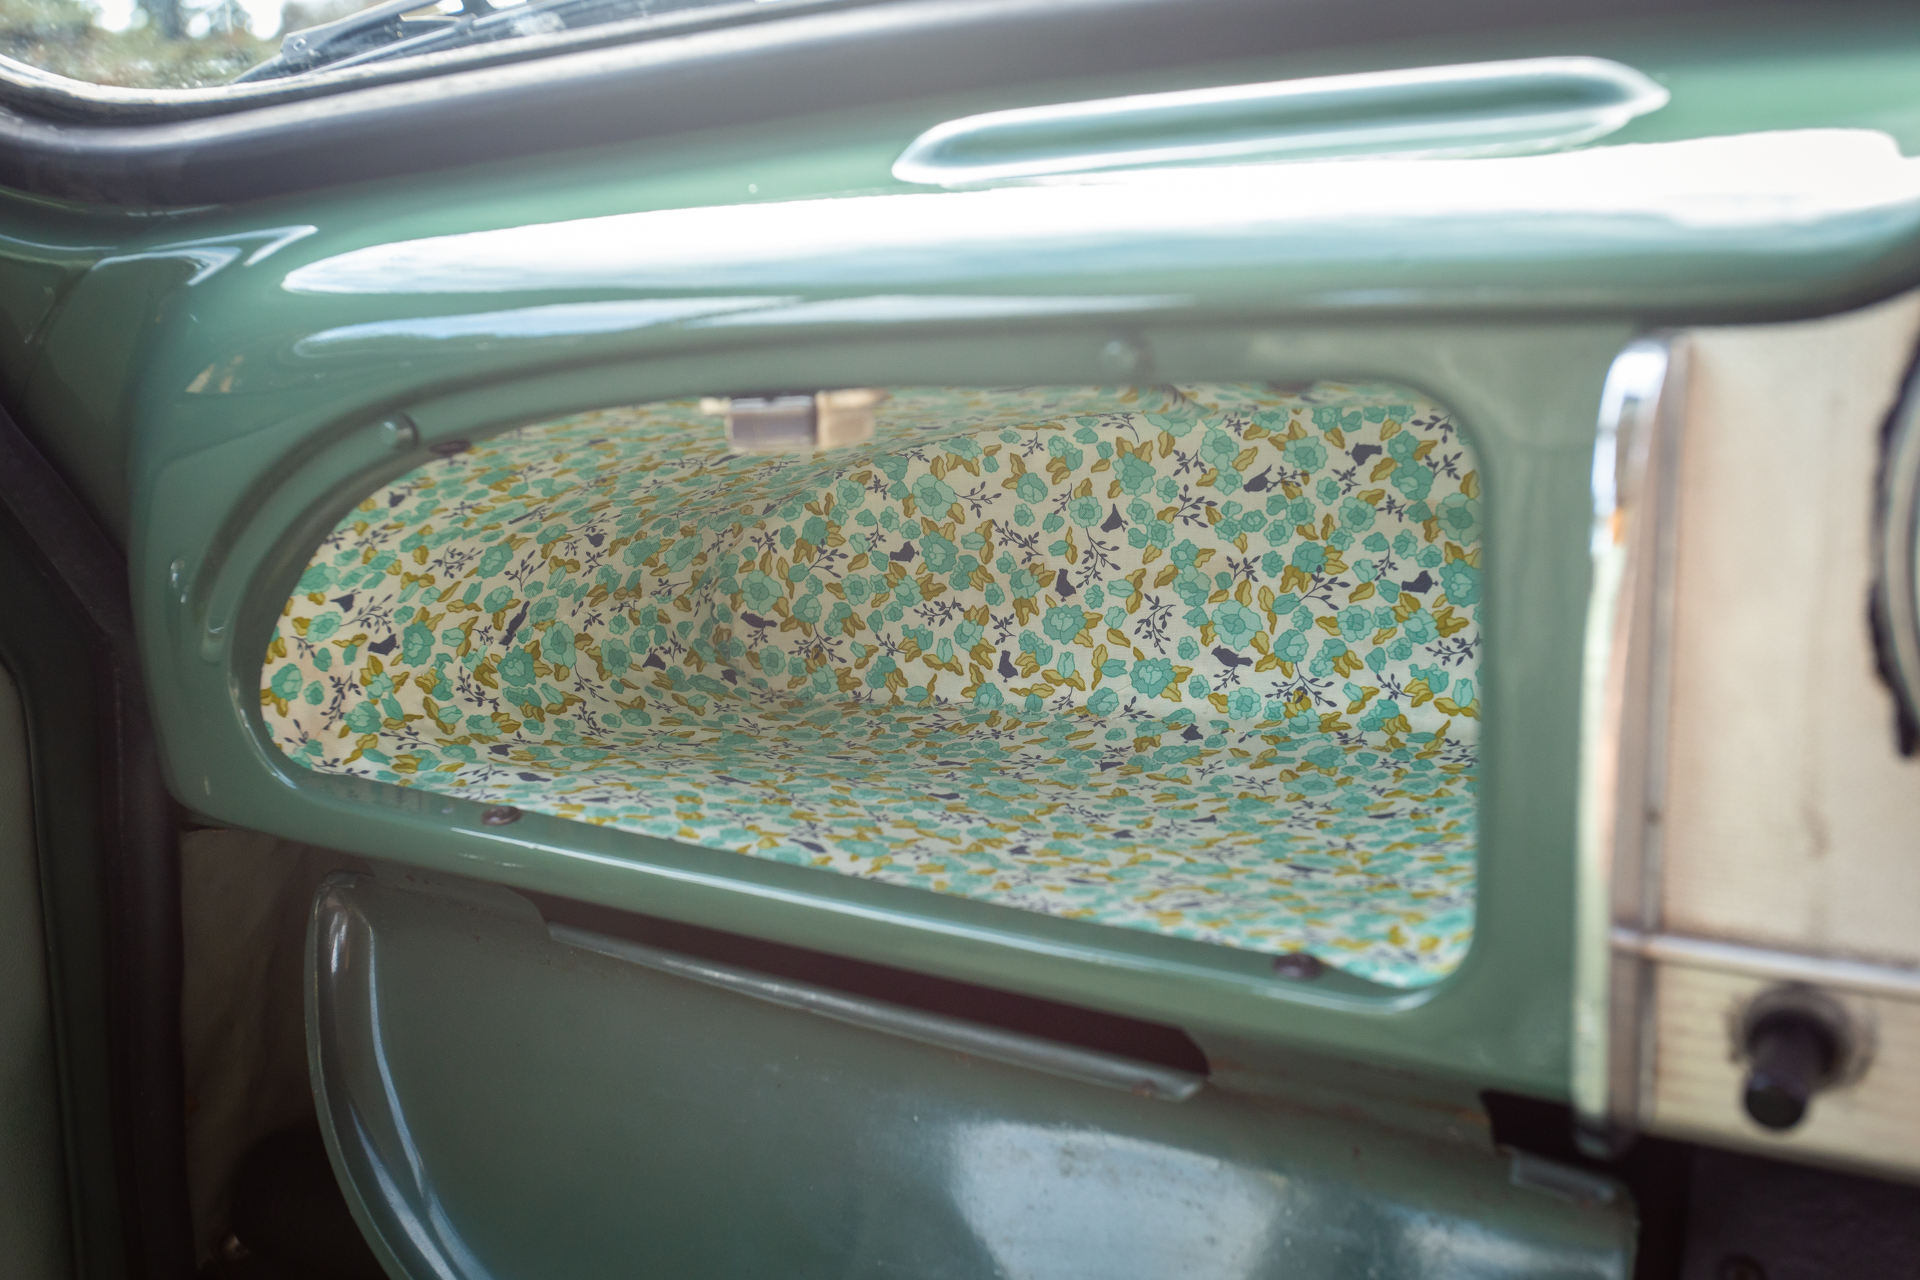
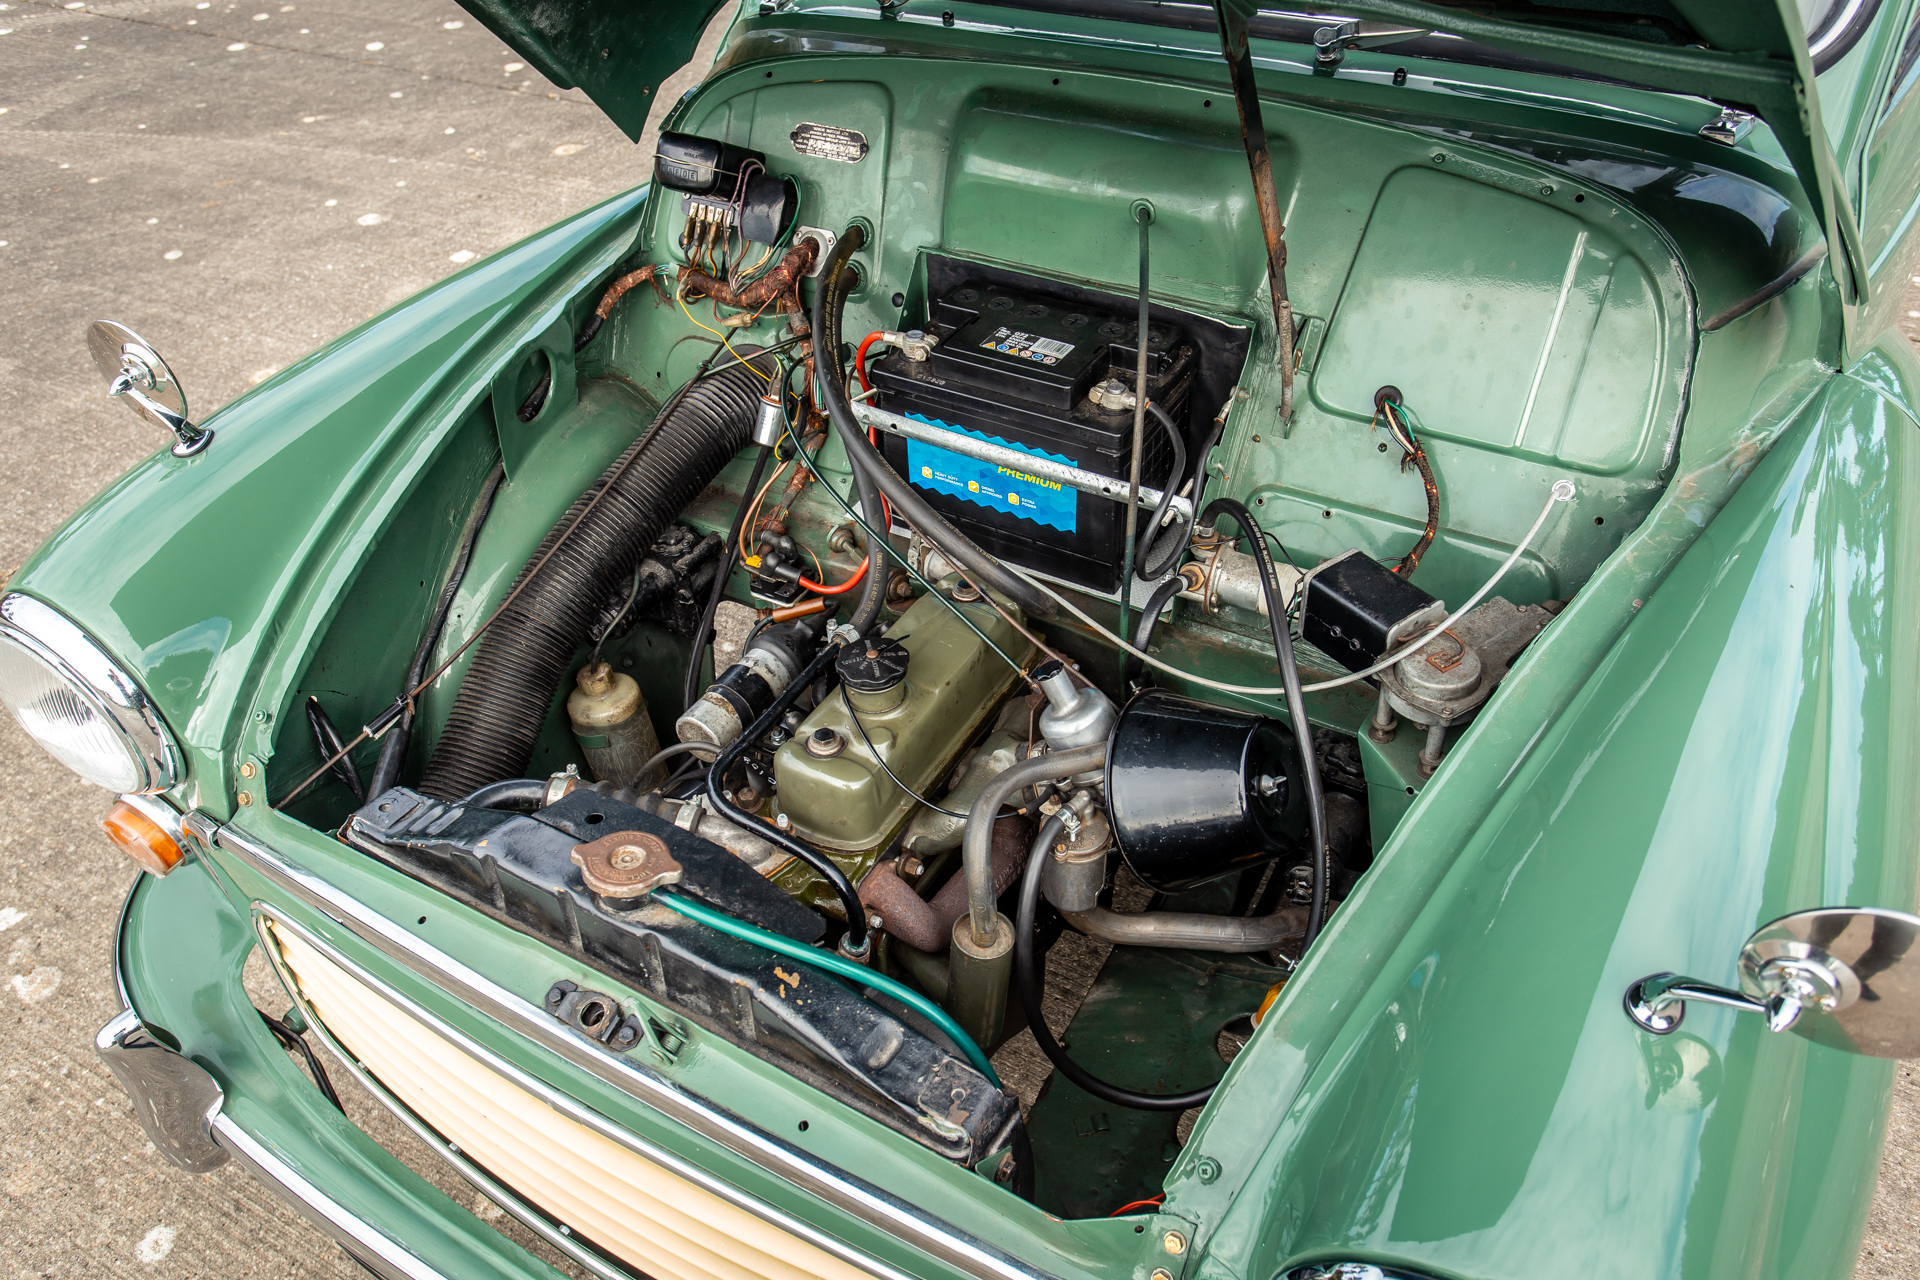
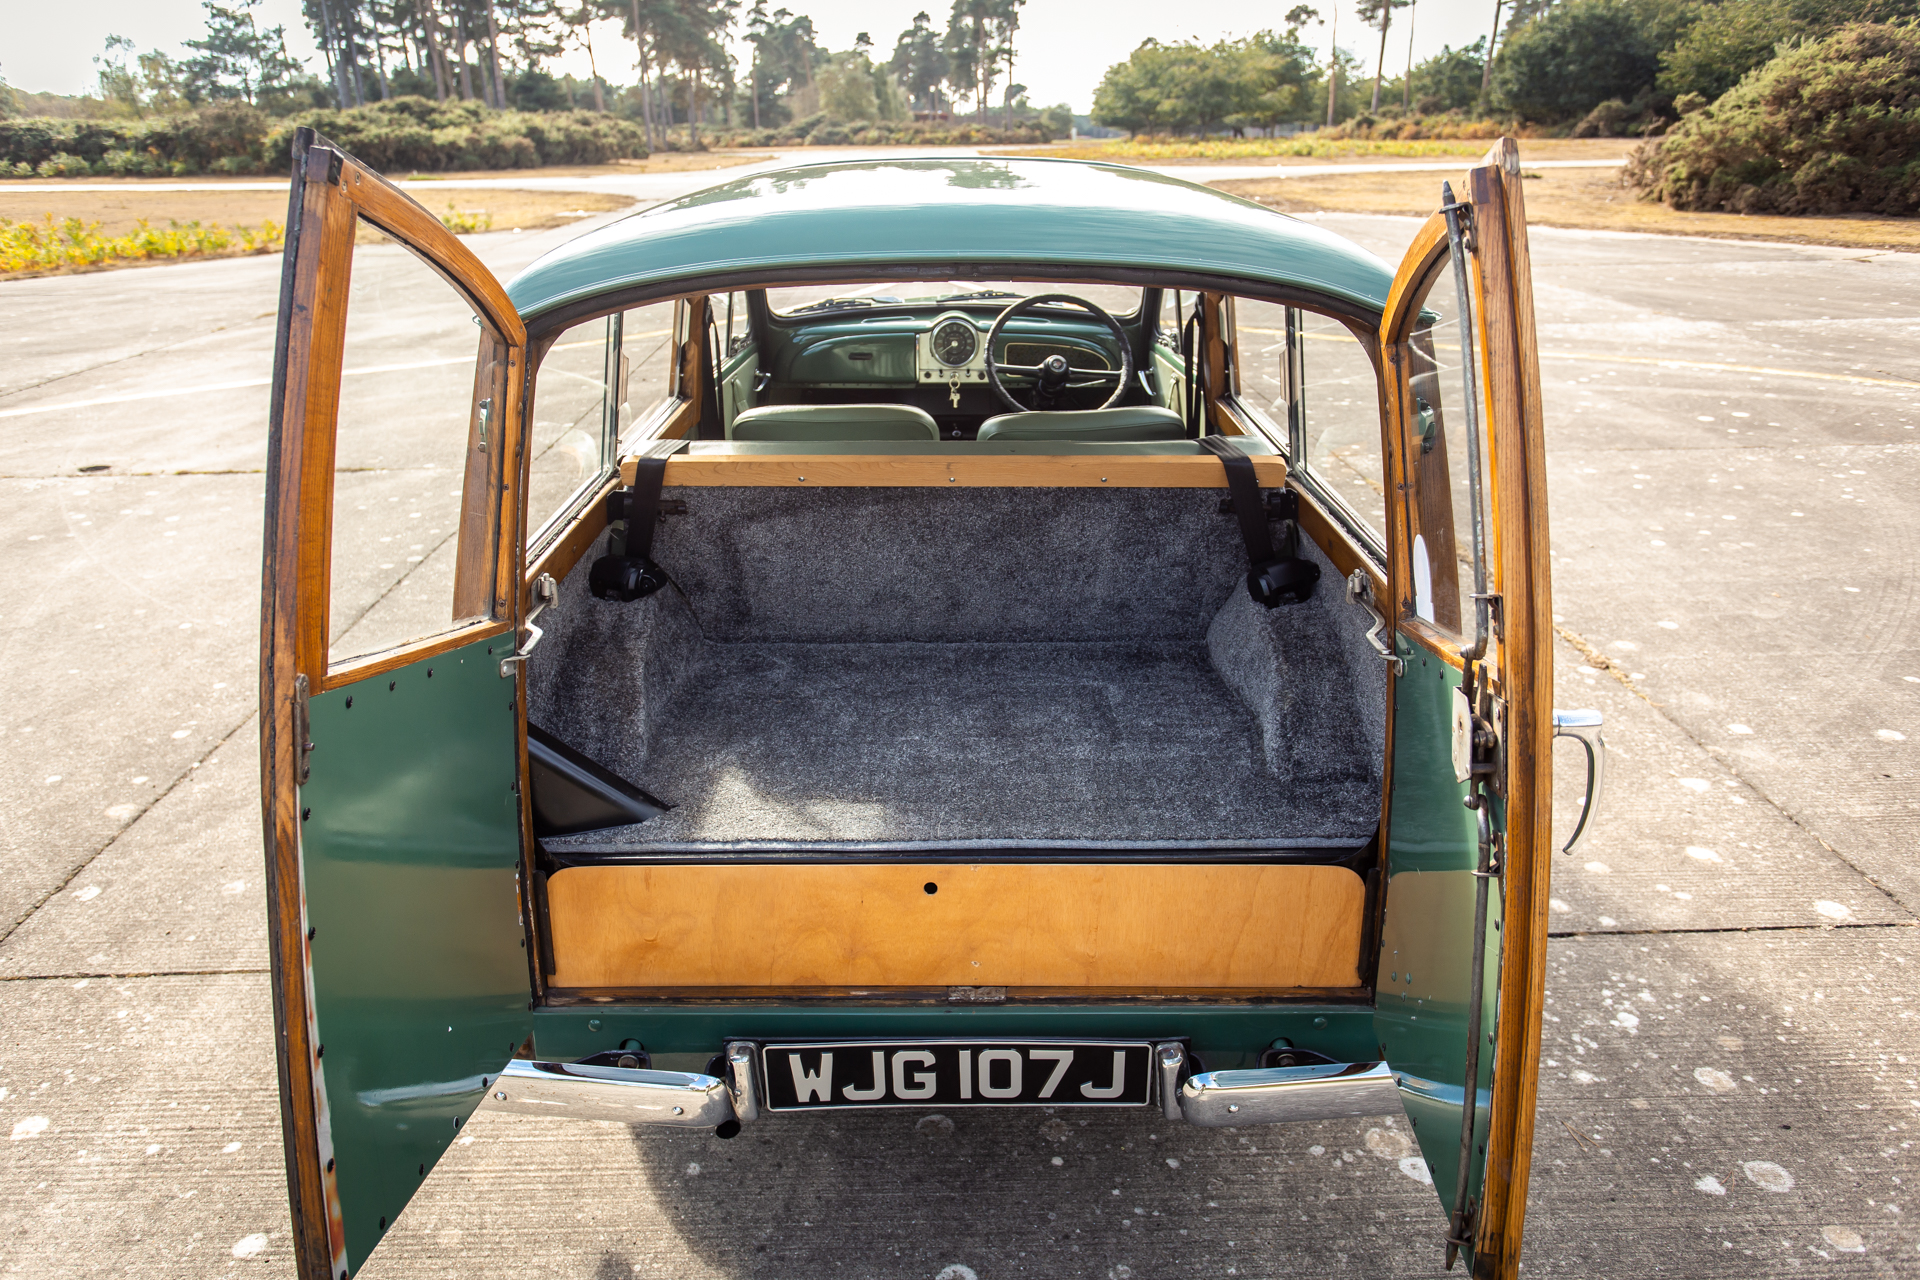
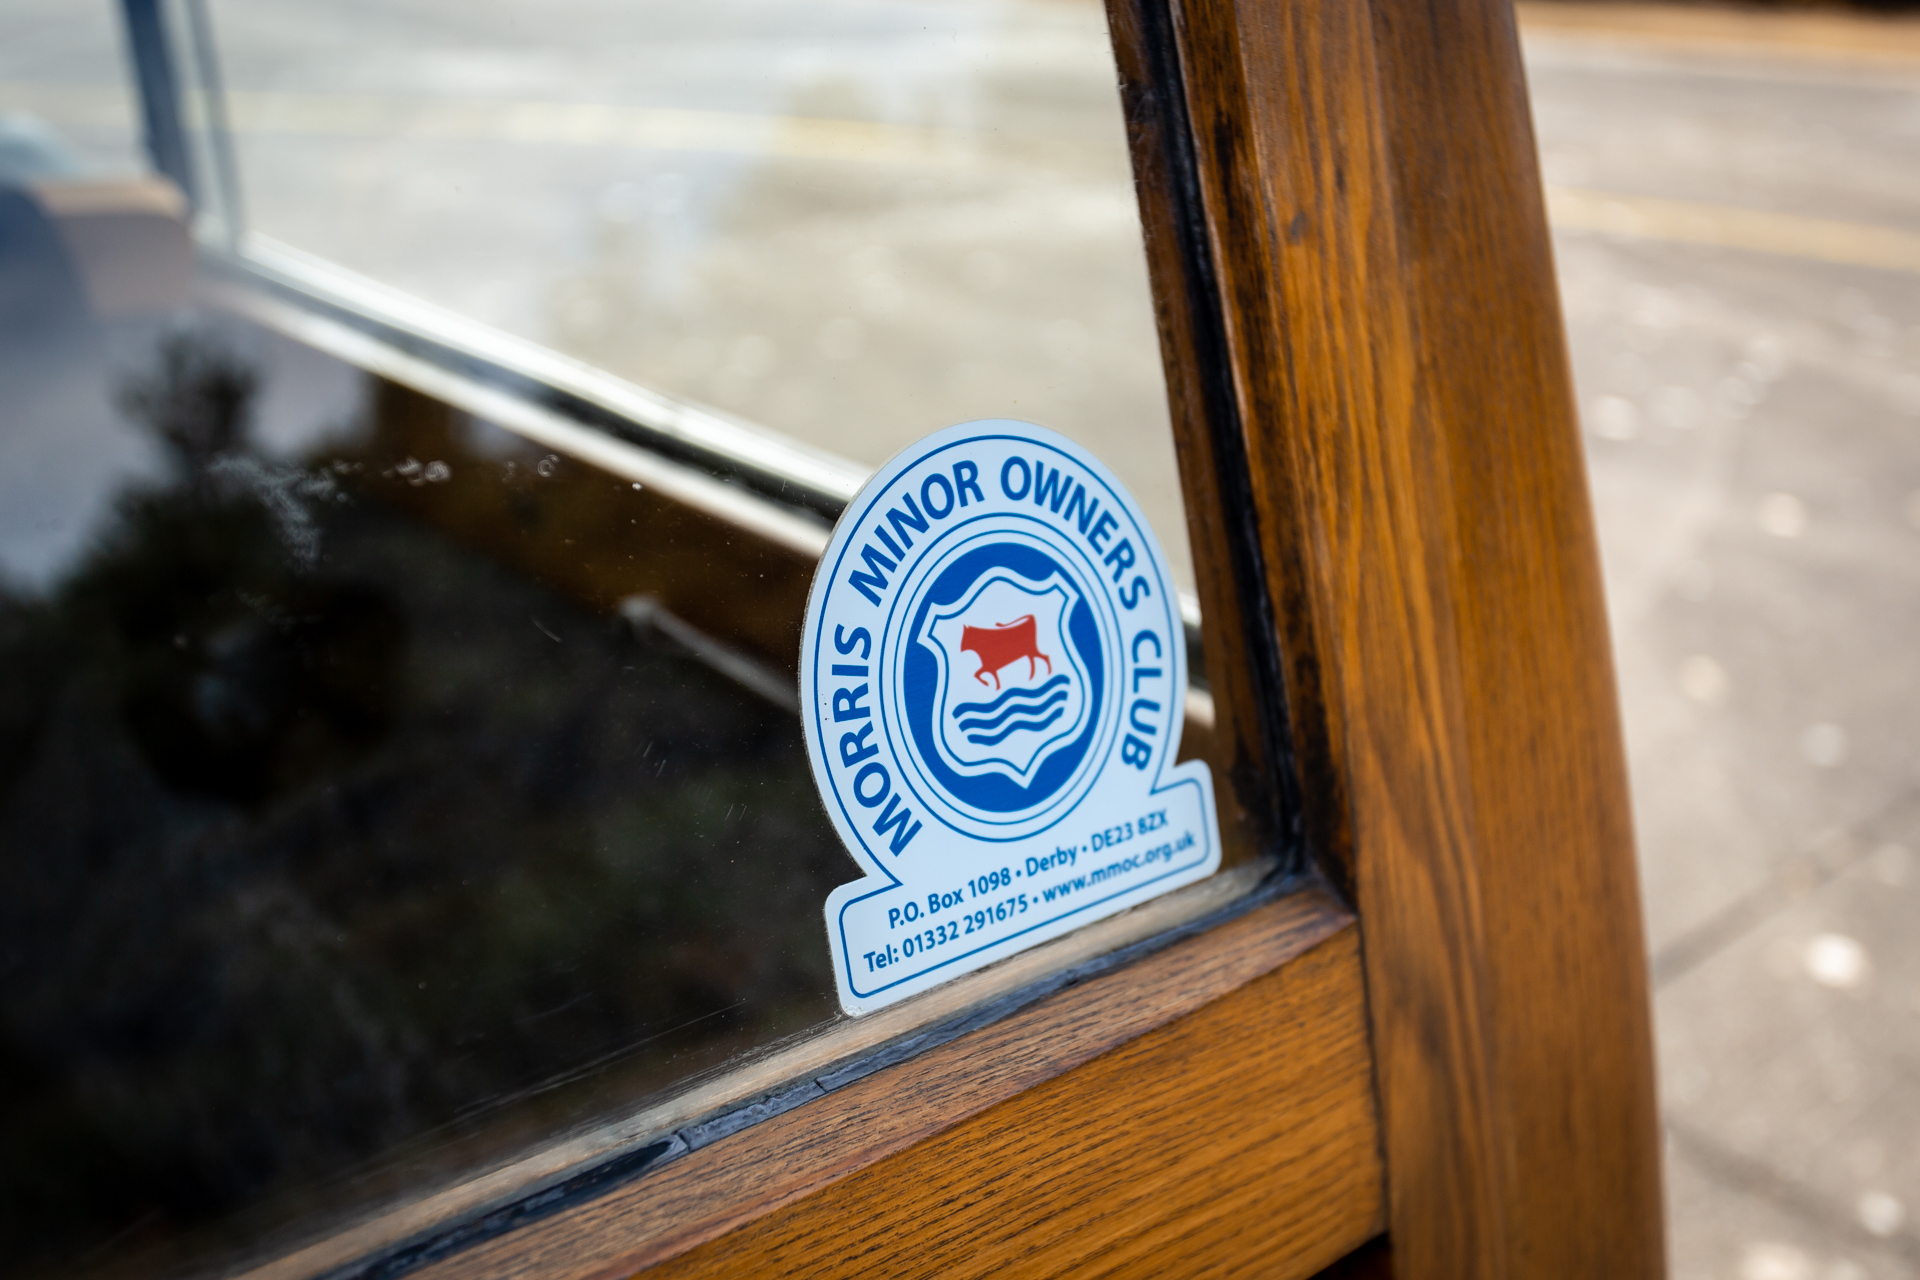
The 1970 Morris Traveller 1000 has been revealed as our latest competition car!
It is a smashing little car. It’s so quirky and full of character that you can help but smile and be happy when you’re around it. Who doesn’t love a Moggy Traveller!?
This particular car has been kept in amazing condition but has been loved and used by its previous owners. It has a massive file of history and paperwork that goes along with it. But, you could become the new lucky owner of this stunning Morris Traveller…
Just head over to the Bridge Classic Cars Competitions by clicking the link below and entering the draw.
Click here to enter the draw for this 1971 Morris Traveller 1000

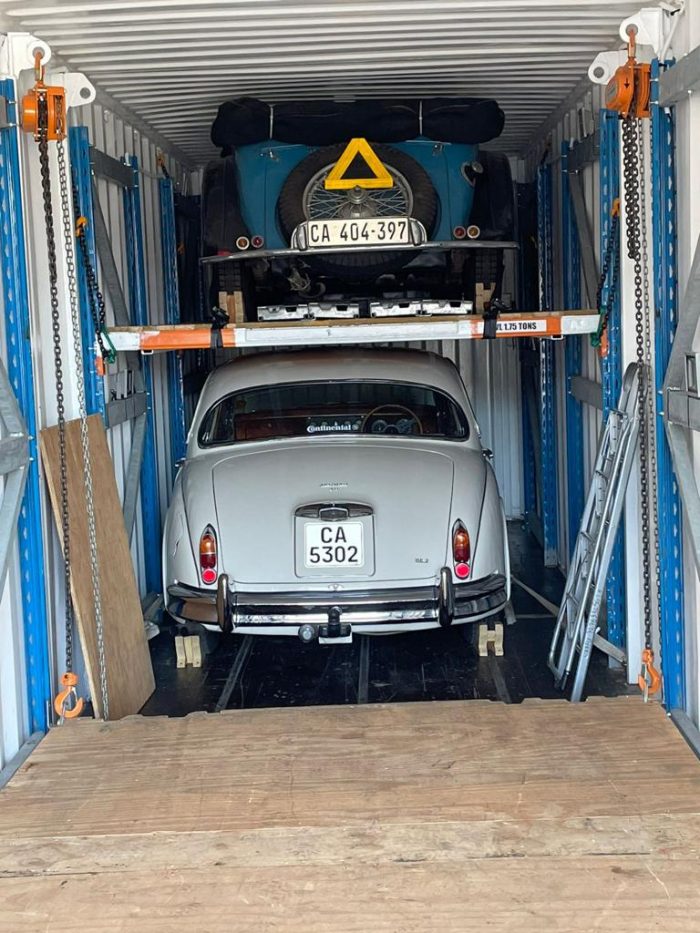
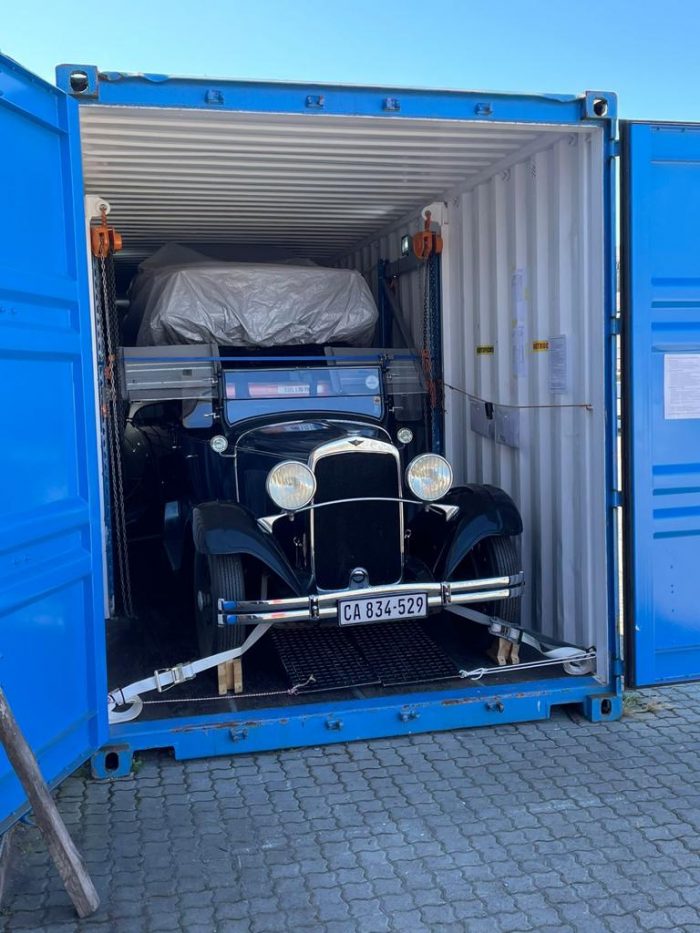
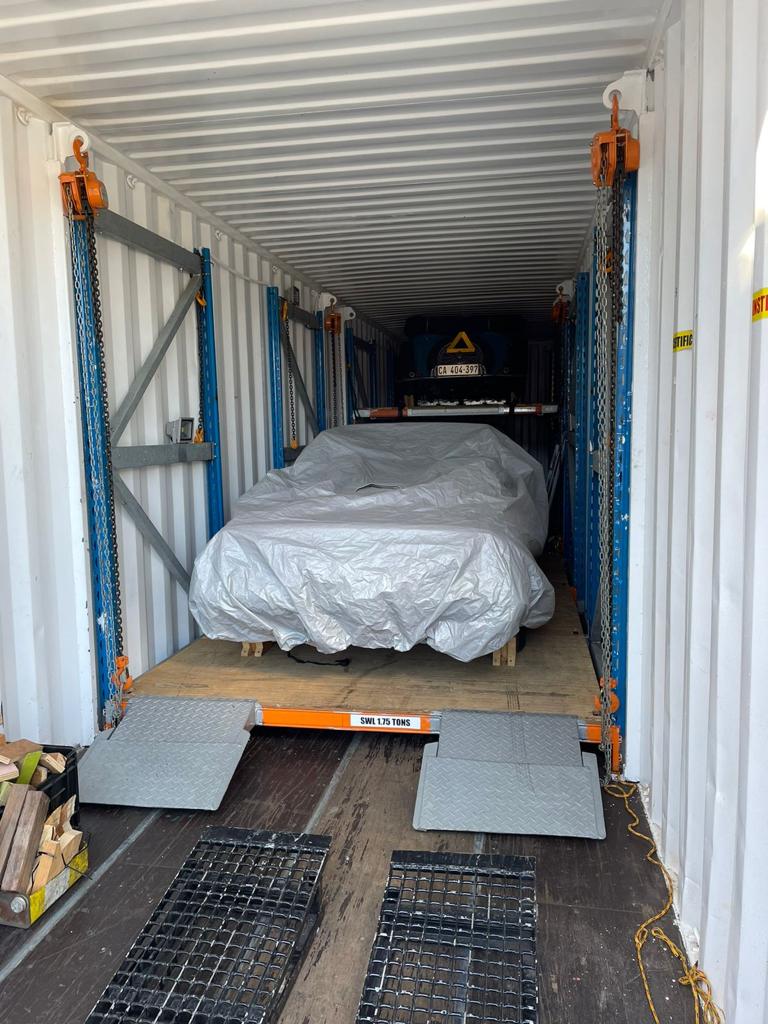
Bridge Classic Cars are soon going to be receiving a shipment of cars from South Africa.
These have been sent to us by a collector in South Africa to be assessed and looked into. Here you can see them being loaded into a specialised container for their voyage halfway across the world to get to us here in Suffolk.
Expect to see more bits in the future about this amazing collection when it reaches the shores of the UK.
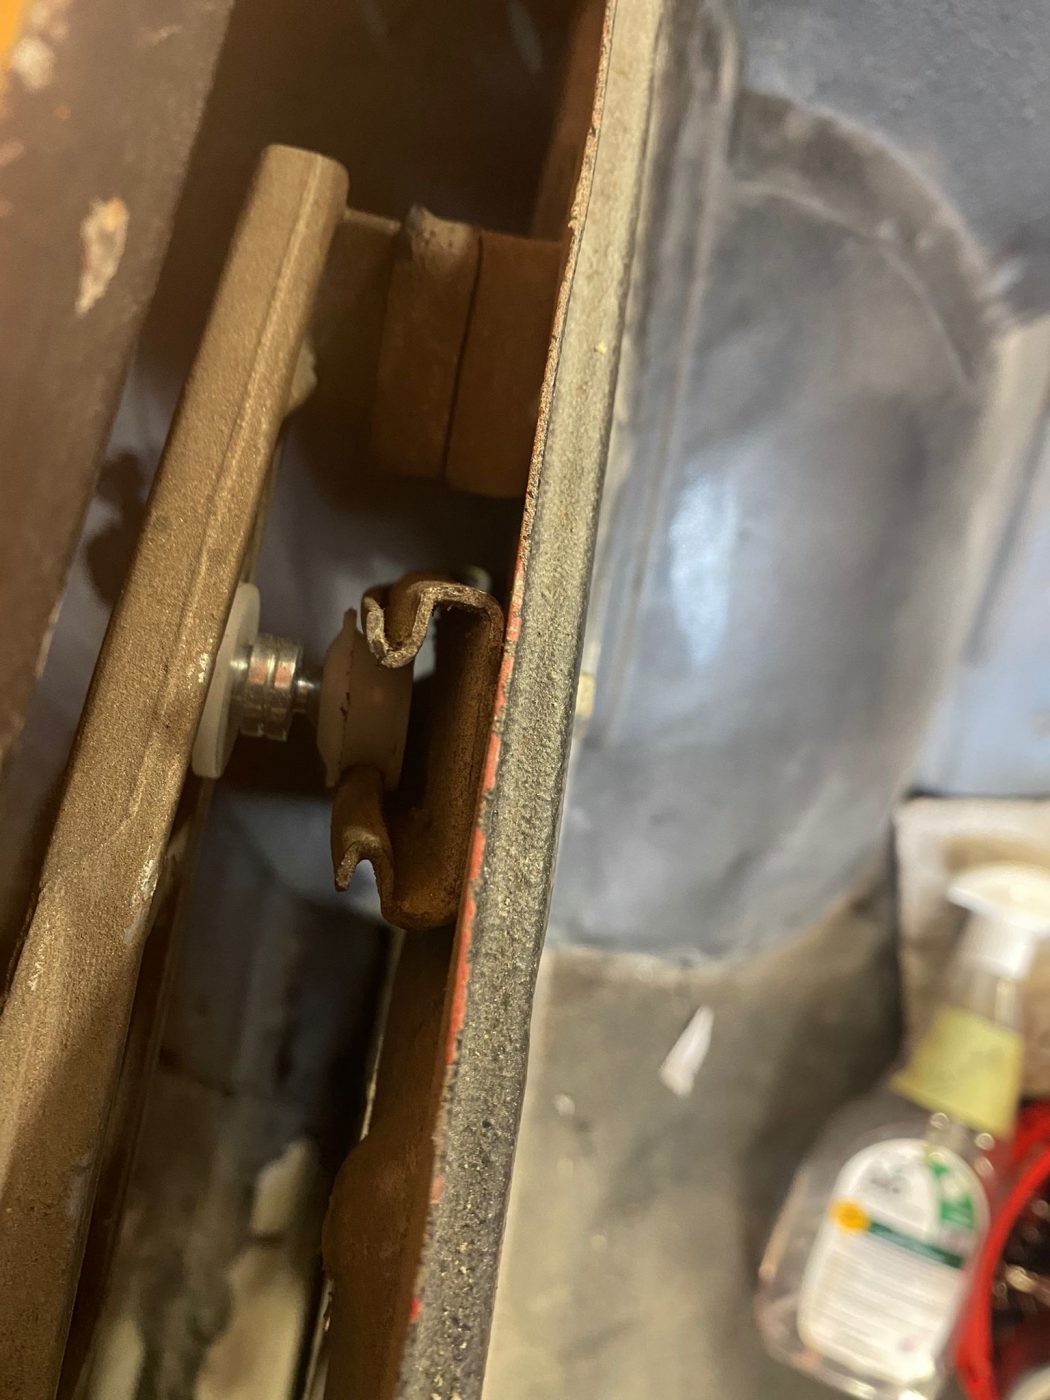
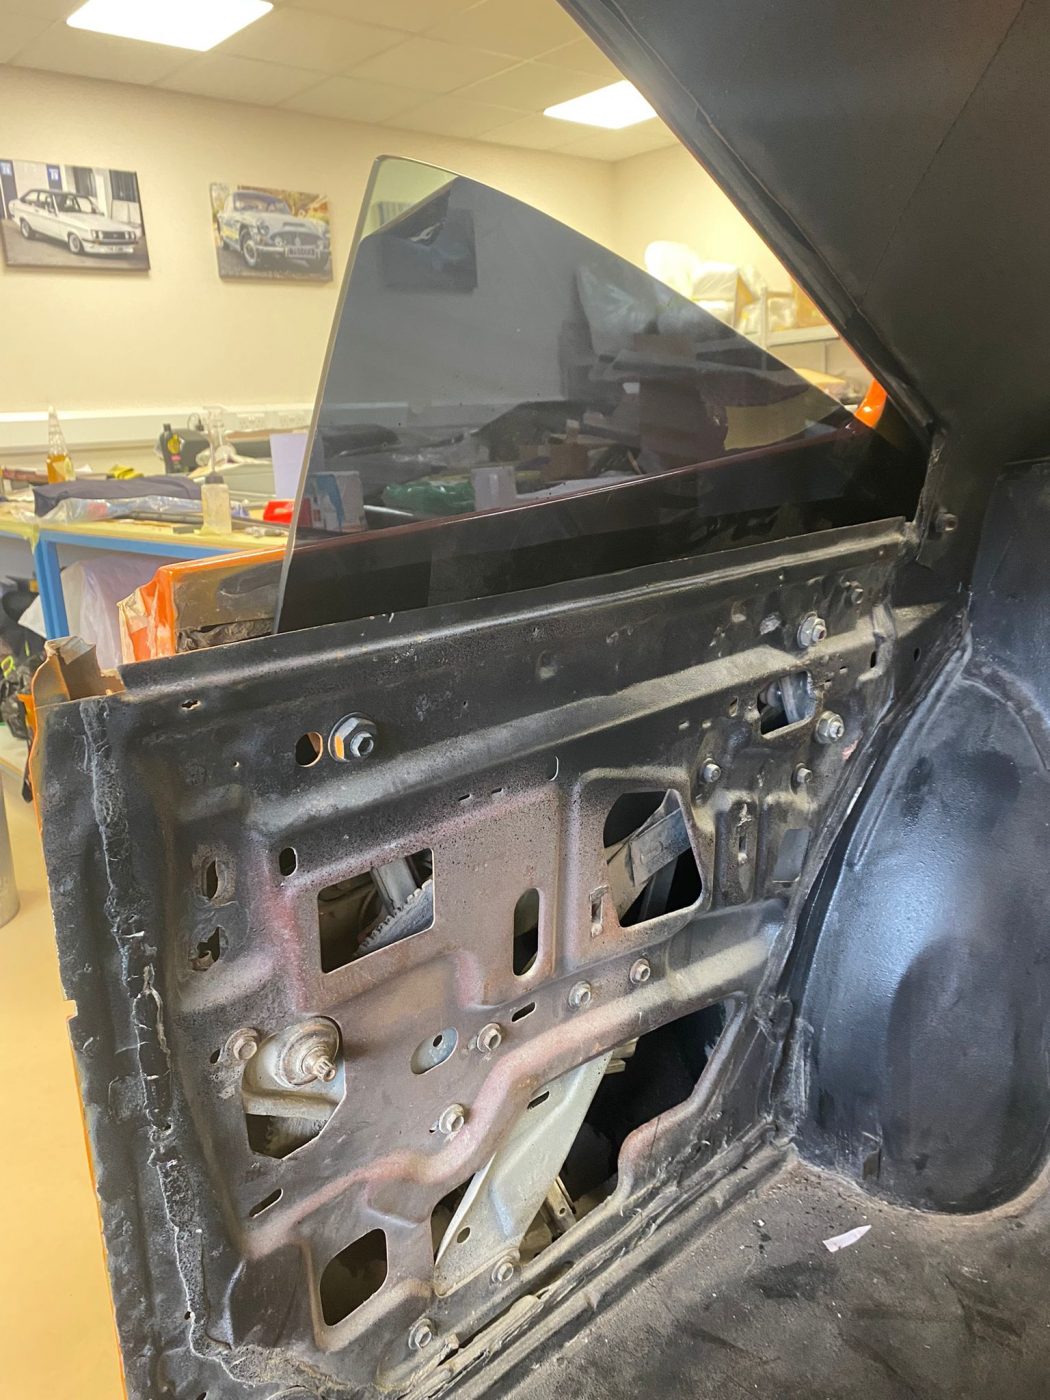
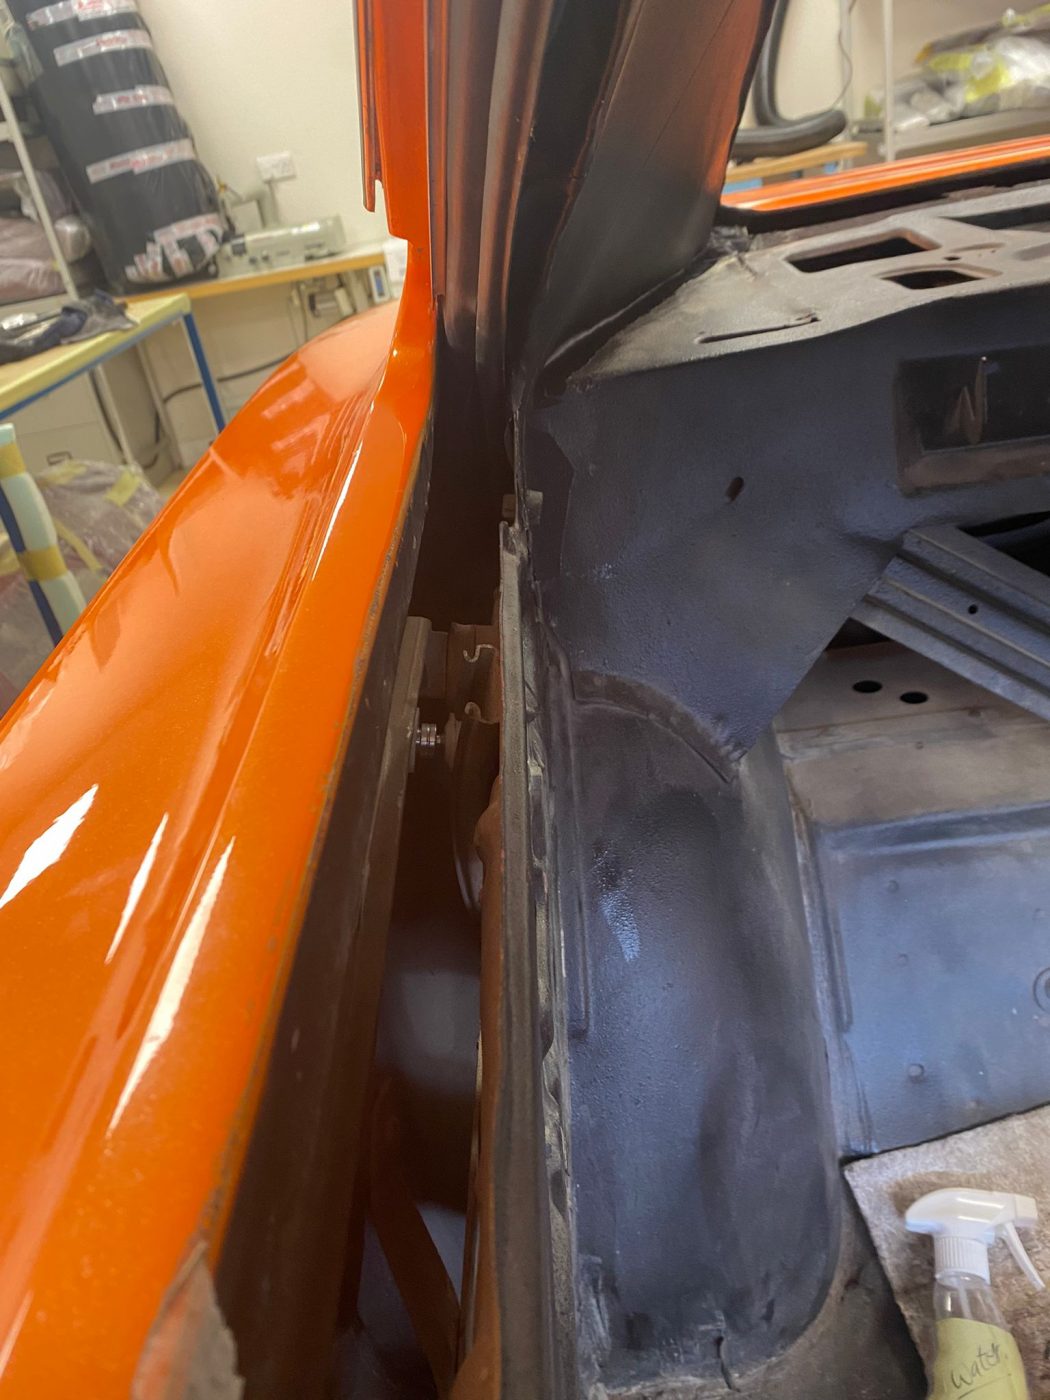
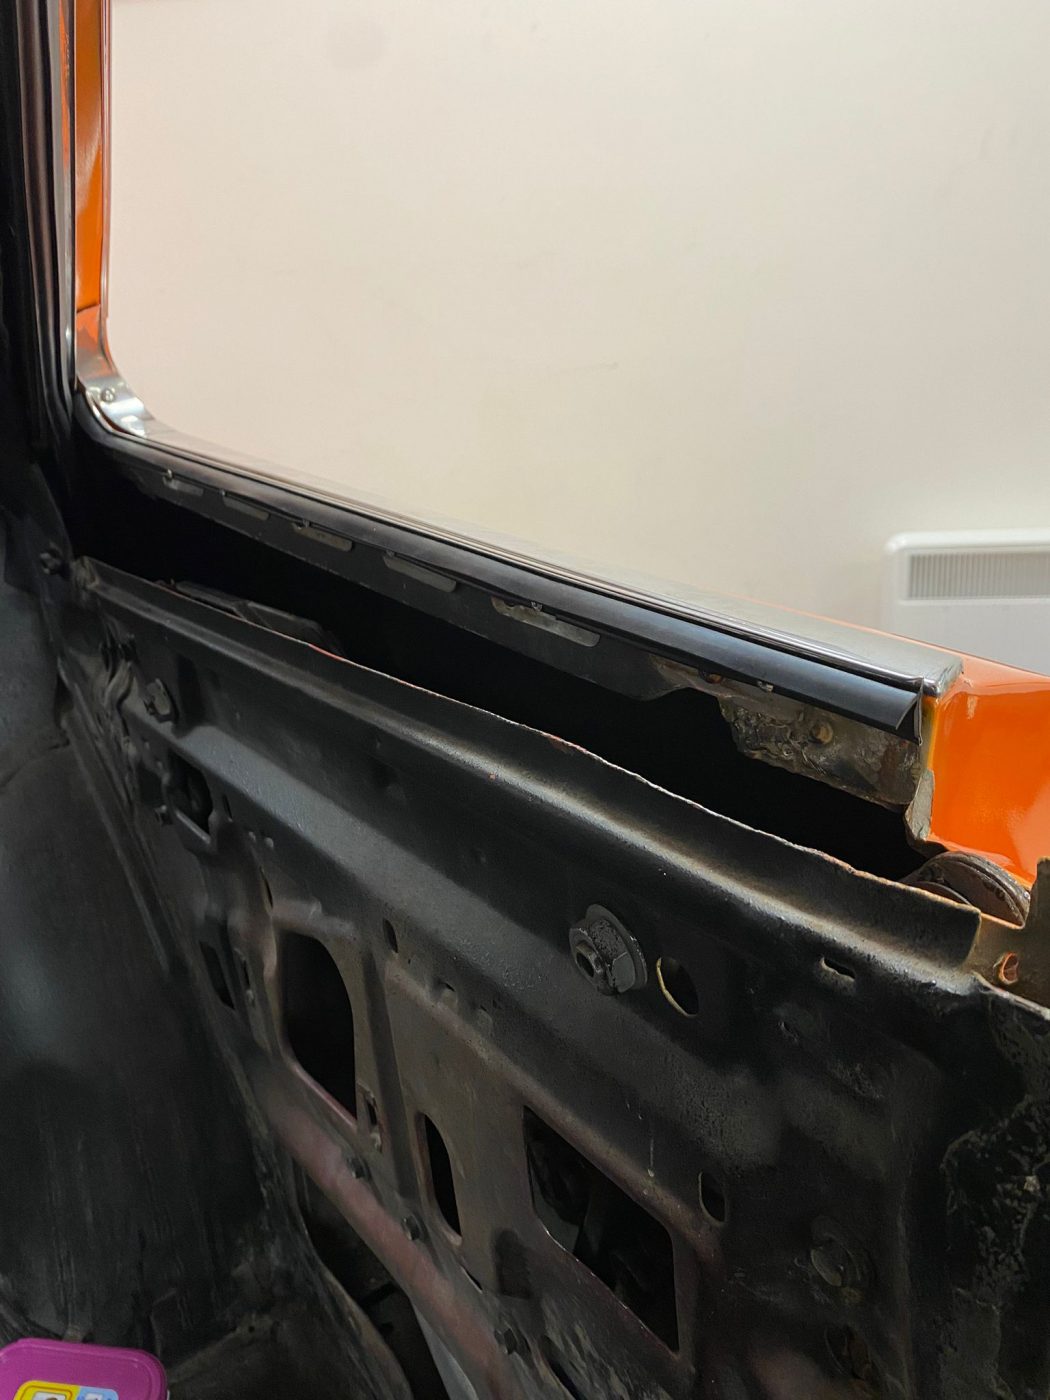
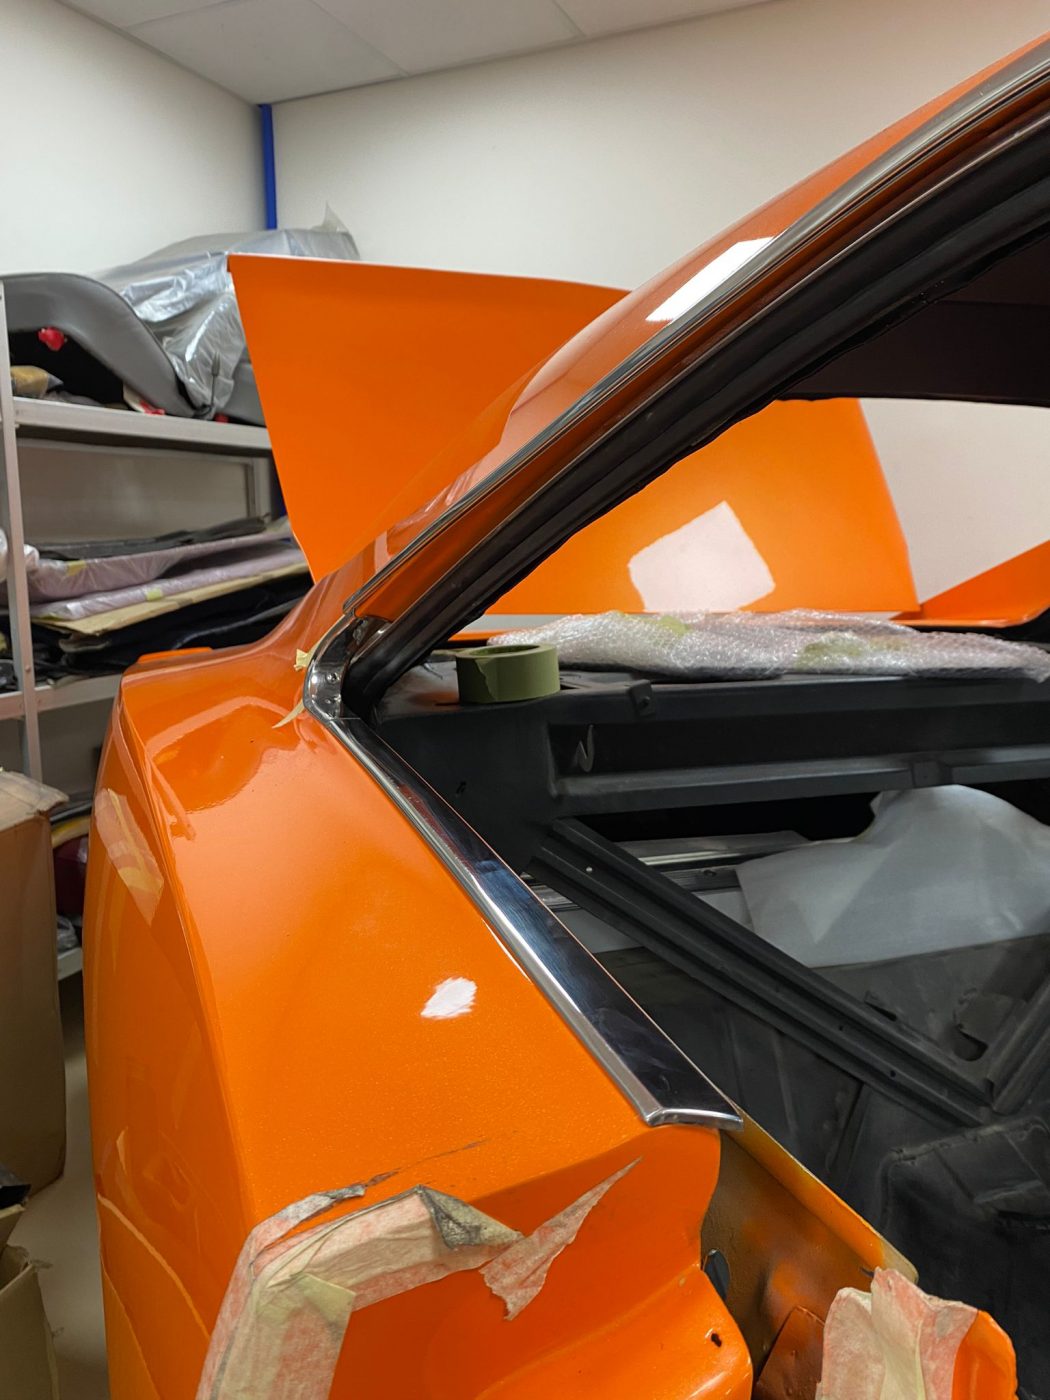
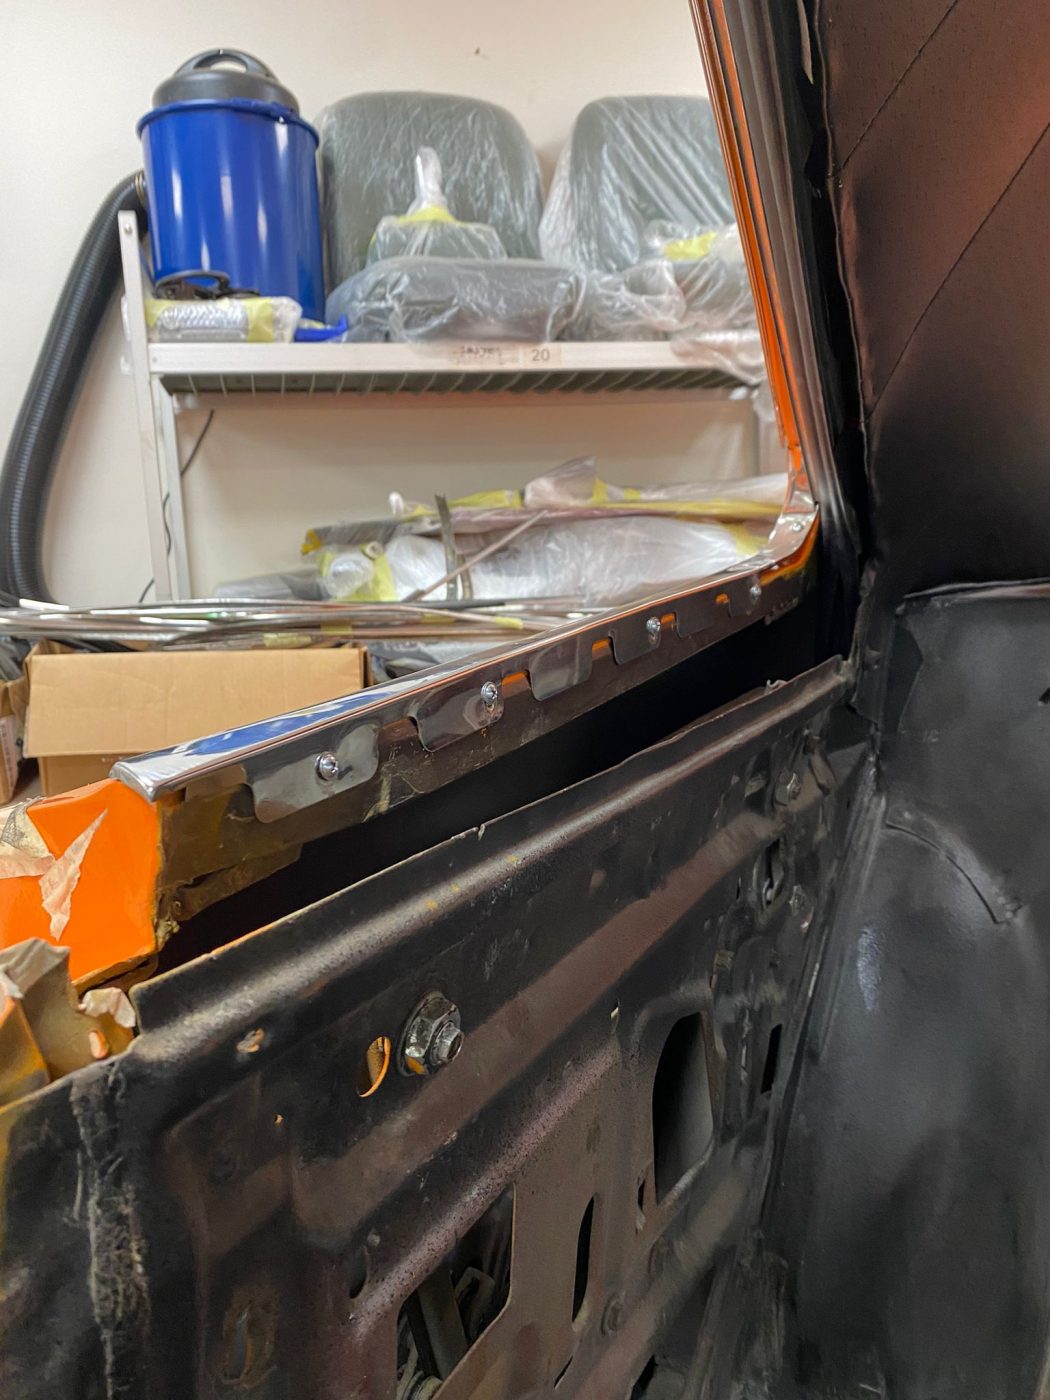
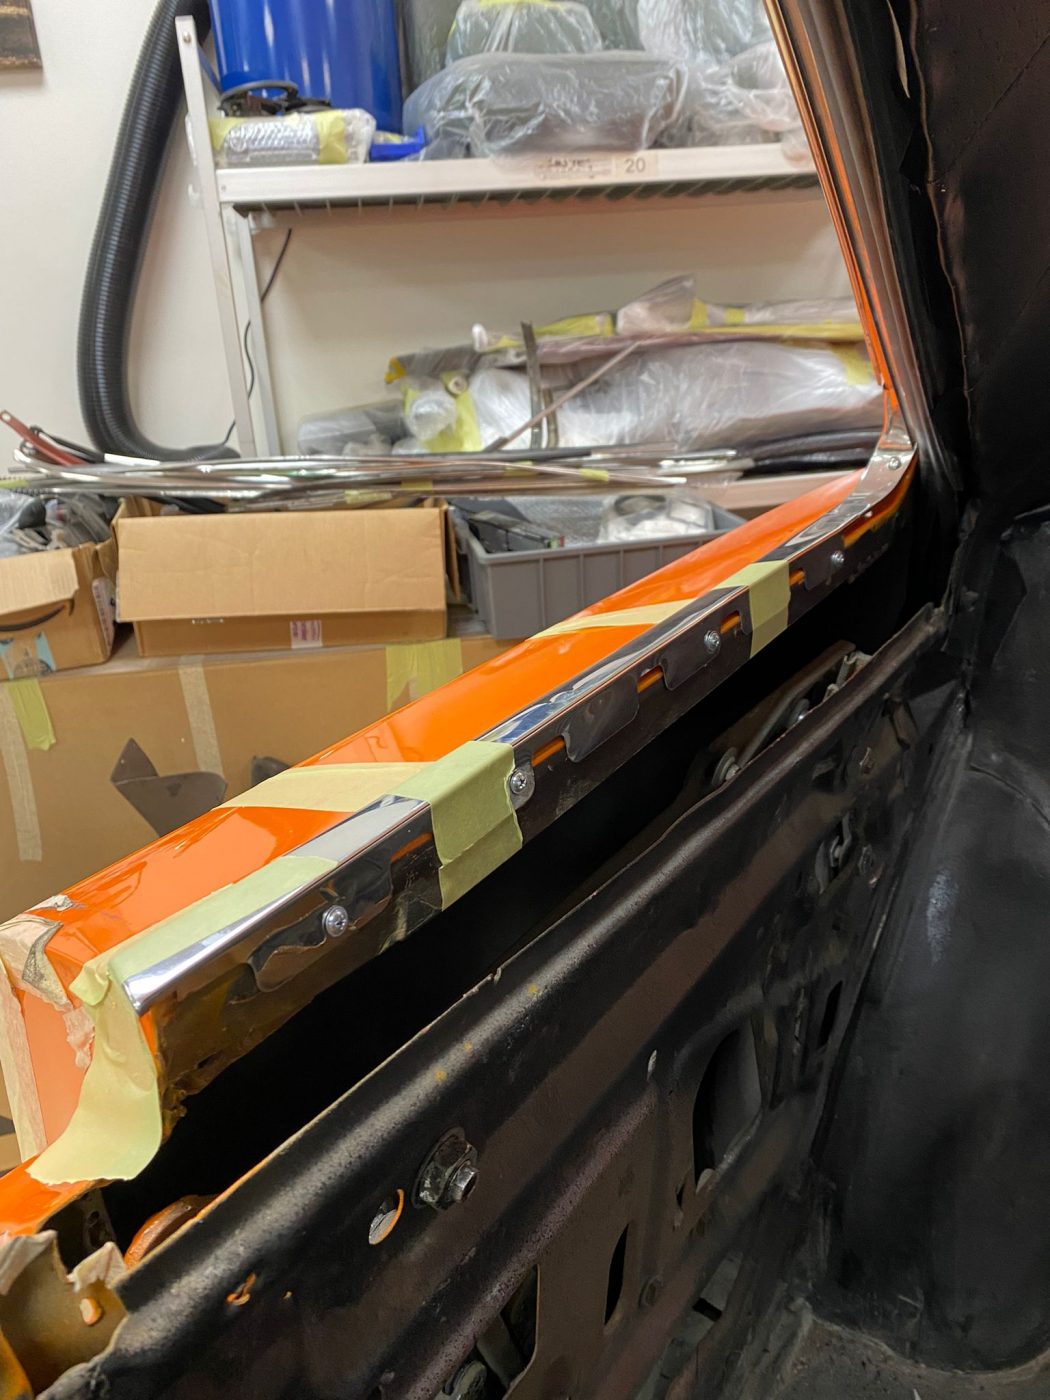
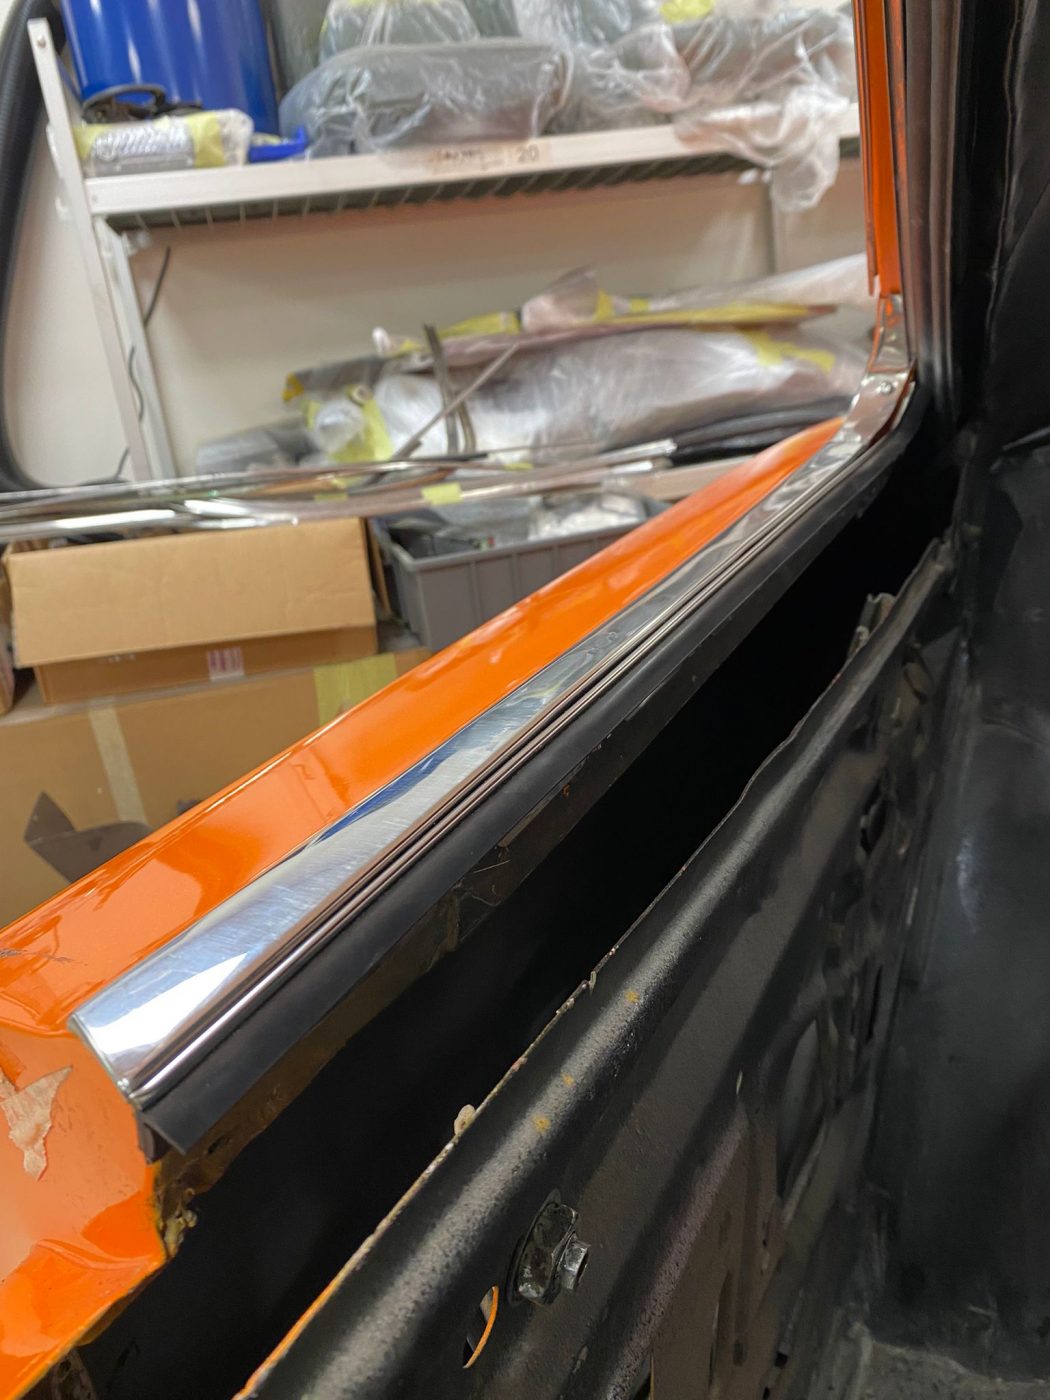
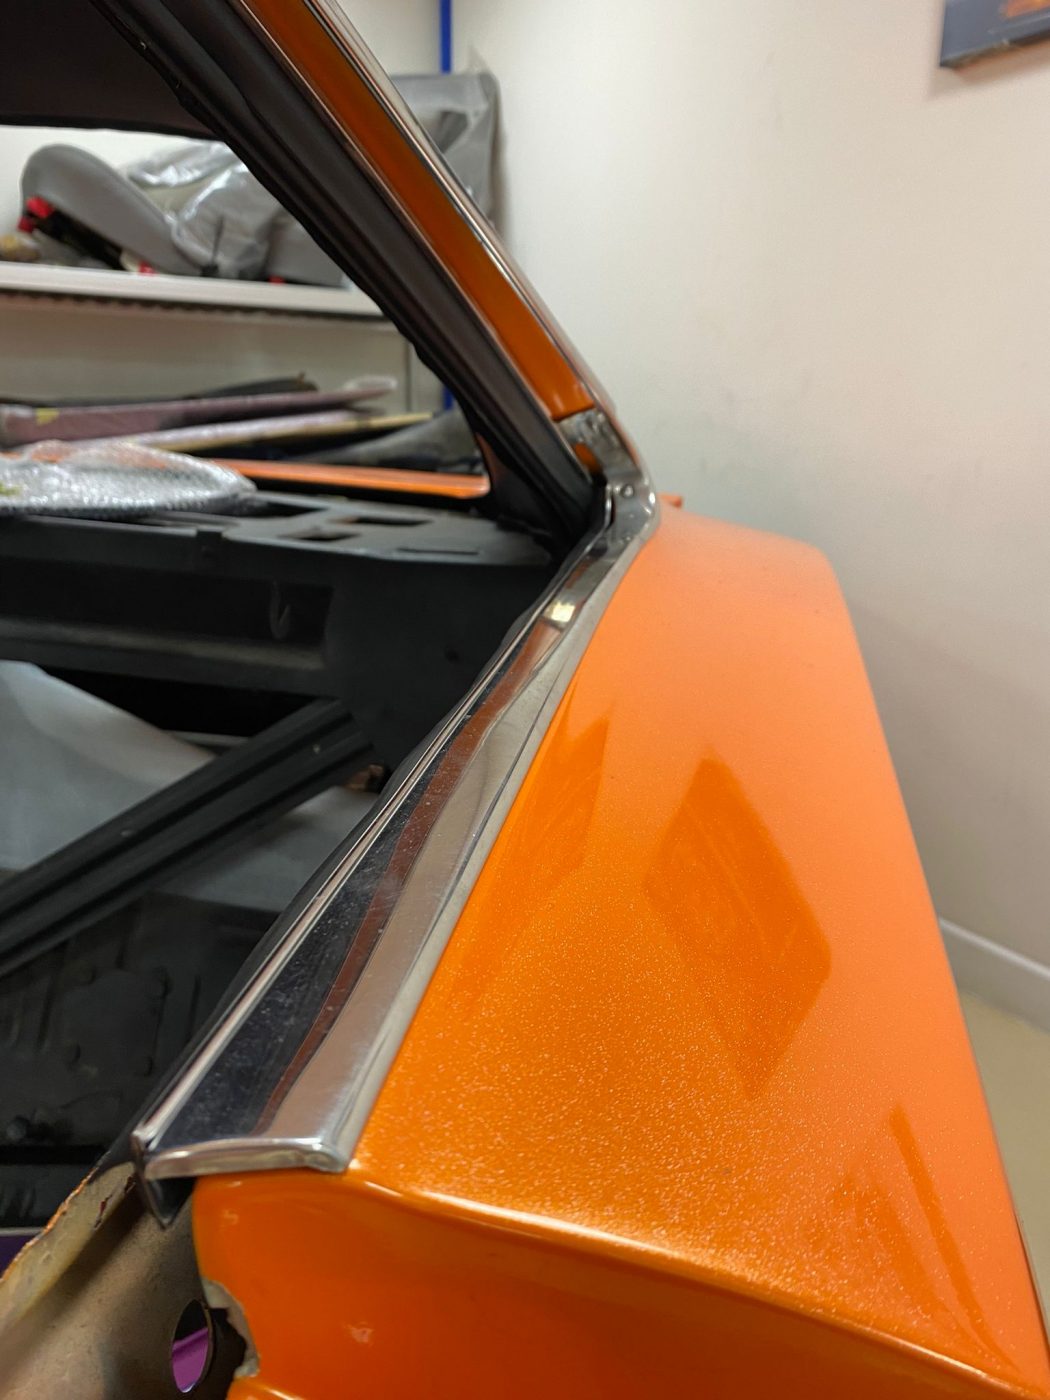
Our in-house trim team at Bridge Classic Cars have been working hard to get the interior of the 1970 Dodge Charger back together. One of the key points of the cars looks is the brightwork and the window lines.
The rear quarter windows are pillarless. They must fit up and move perfectly to the window in the door, so they give the best overall look to the car. It’s the speciality of the Bridge Classic Cars trim shop, the fit and finish which completes the look of the car.
Brian has been working on getting the rear quarter windows in the car so all the trim that accompanies it can be fitted. It’s important with these Mopars that the window components are set just right. Thankfully, everything that was needed was in the car. So, with the windows perfectly in place, Brian could now start to work on the trim.
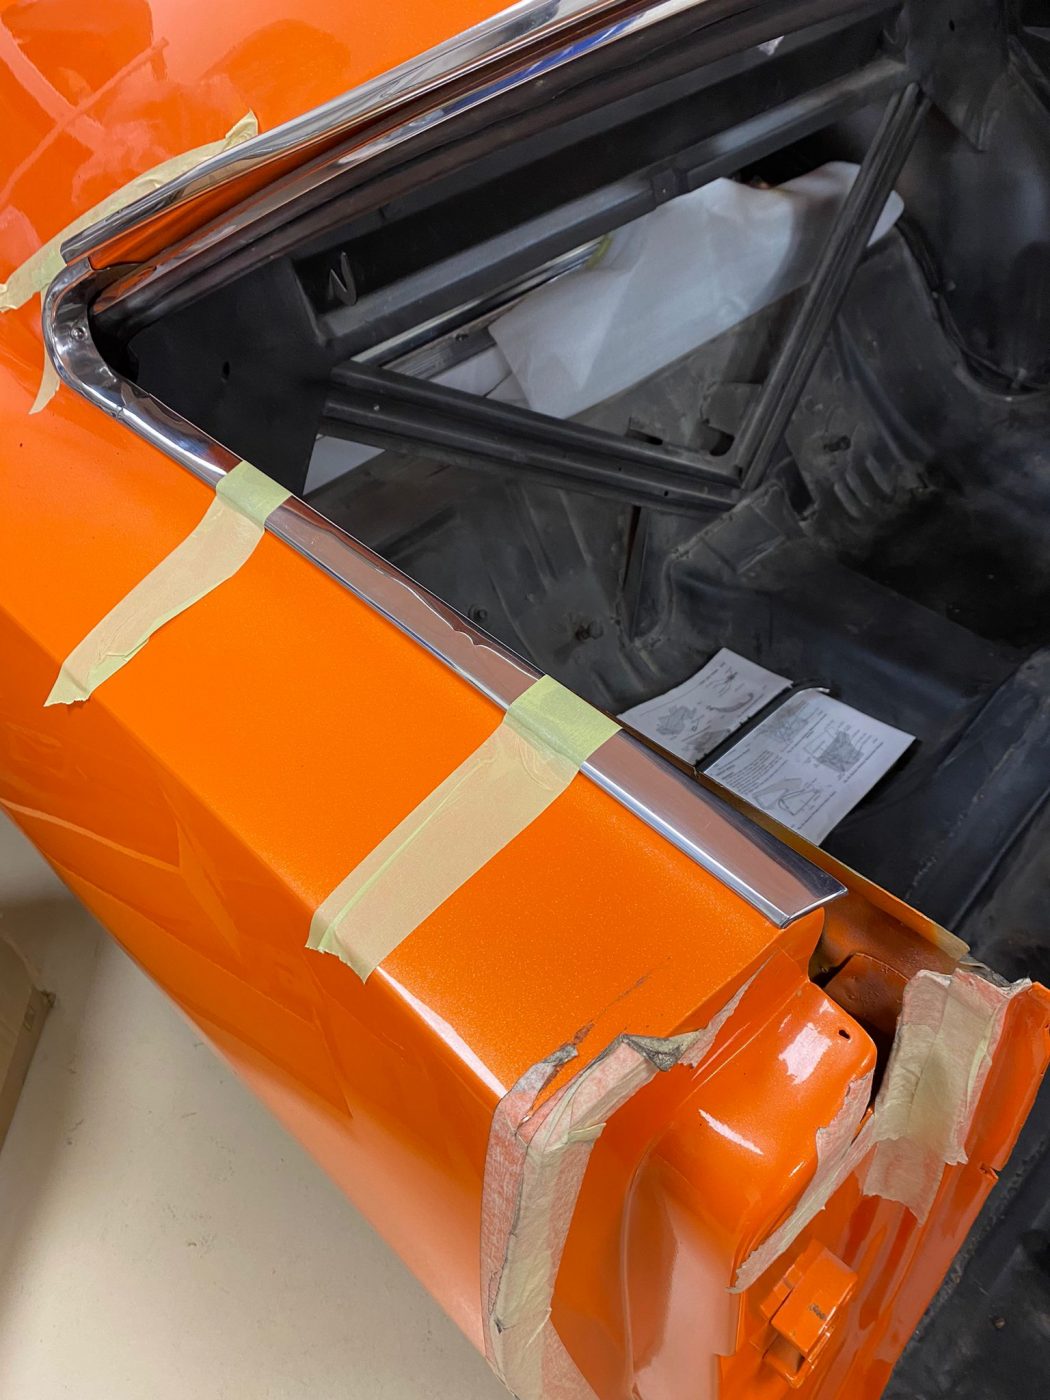
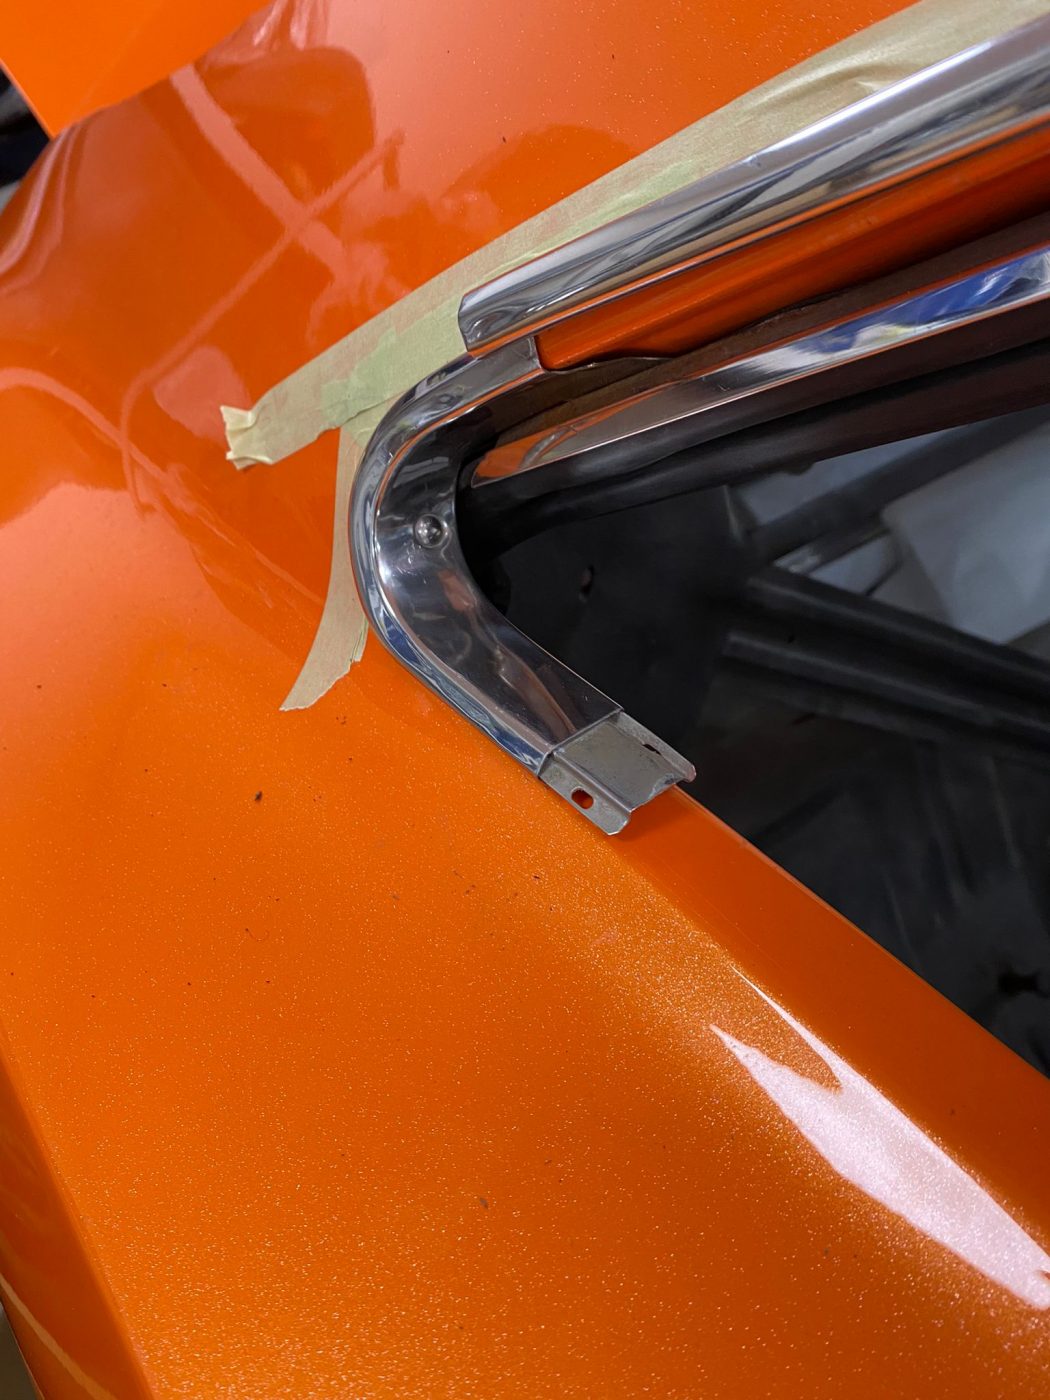
The trim pieces on the Charger come in multiple pieces which all need to be meticulously dry fit in such a way as to not damage either the pieces or the car. After test fitting, Brian then began the process of attaching them permanently onto the car.
Parts of the inner trim structure actually need riveting to the body. Then the covers are put over them to hide the hardware, this takes some time and a steady hand.
Over the course of an afternoon, Brian managed to get all the rear trims and windows in place so it’s time to move on to the next job on the list for the interior of the Charger.
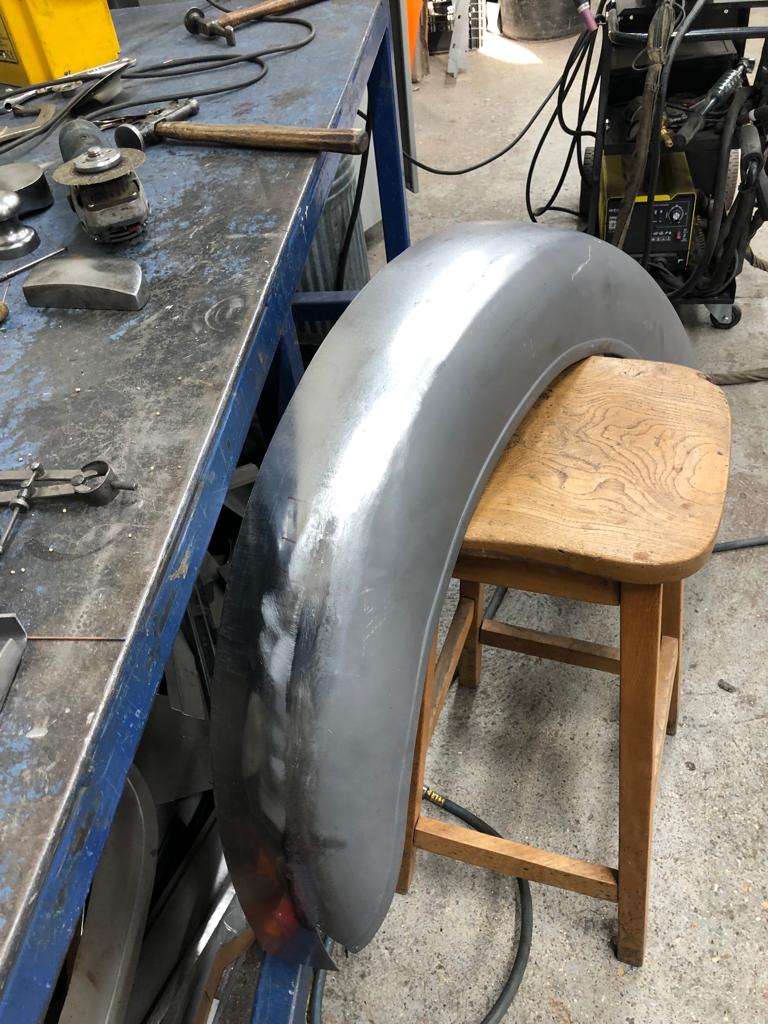
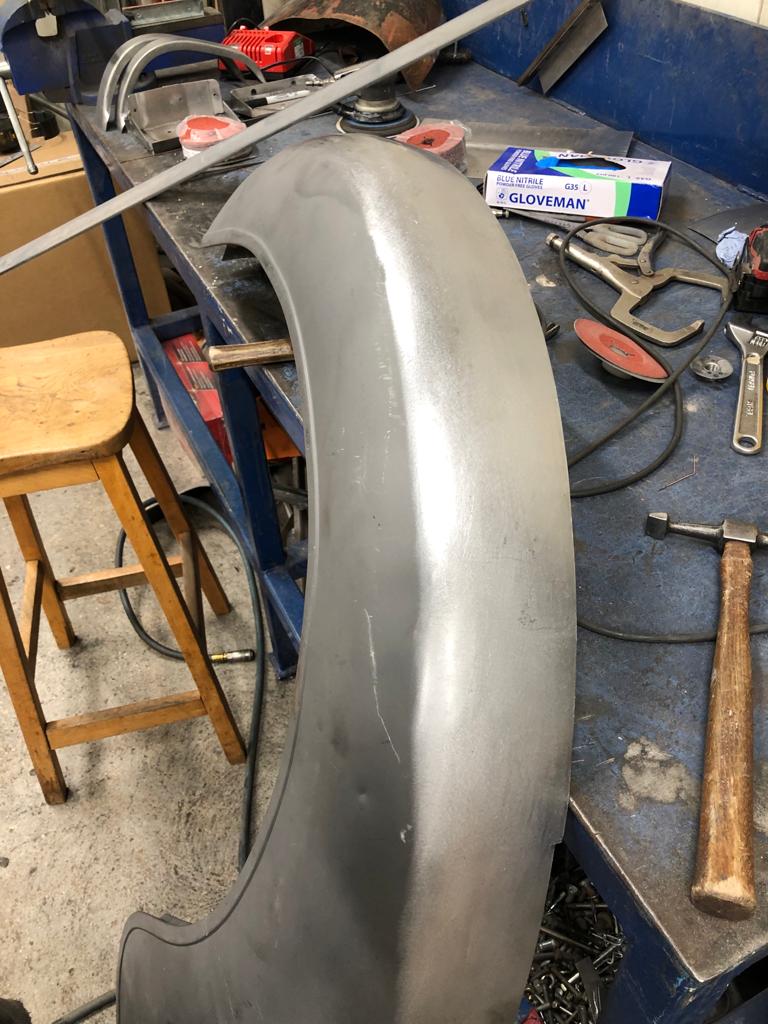
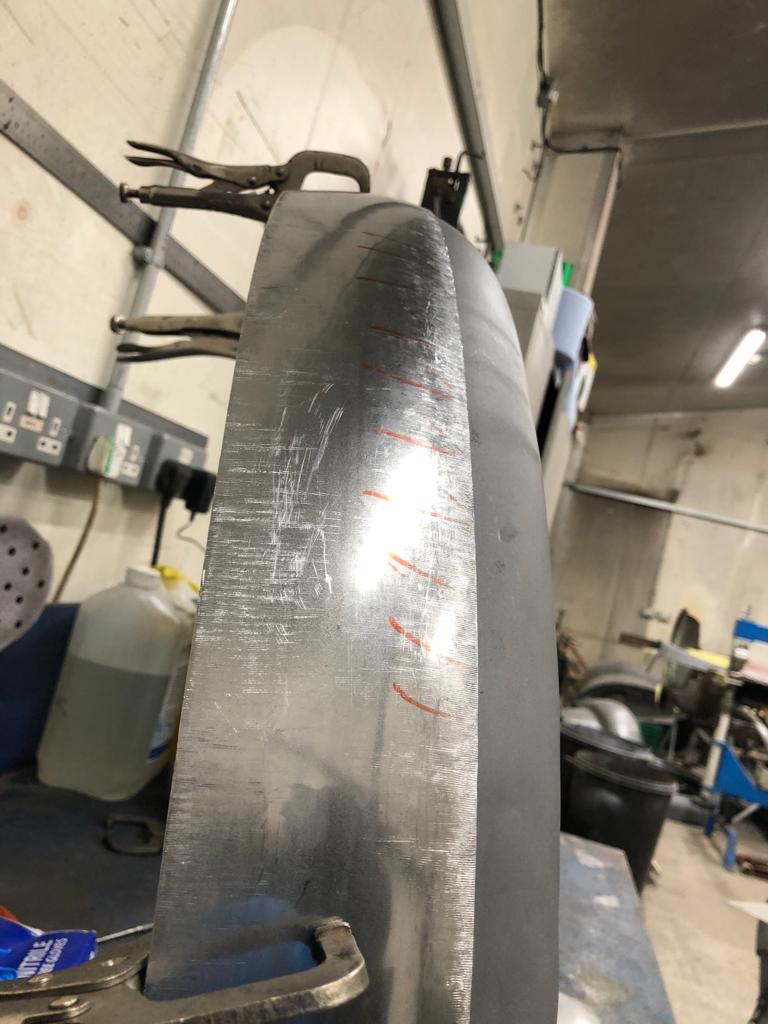
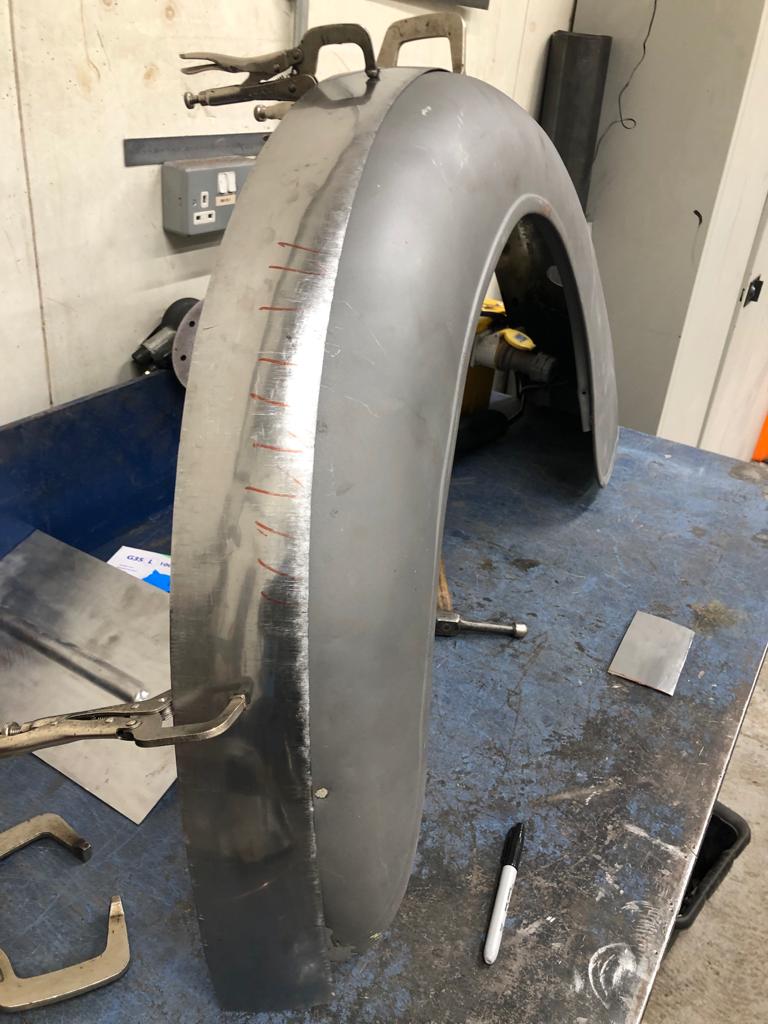
With a car as intricate and flowing as the 1951 Riley RMB, it’s important that our in-house metalwork craftsmen at Bridge Classic Cars apply all their skills and knowledge to ensure each flow, curve and line are exactly right on the car.
Highlighted in this post is the extensive work our fabricator James has done on the rear wing of the Riley RMB. Much of the original material had pitted in places, and in some places to the point of allowing holes to grow in the metal itself especially along the rear flange. This piece has been replaced before as can be seen by the various patches and pieces along the length of the panel.
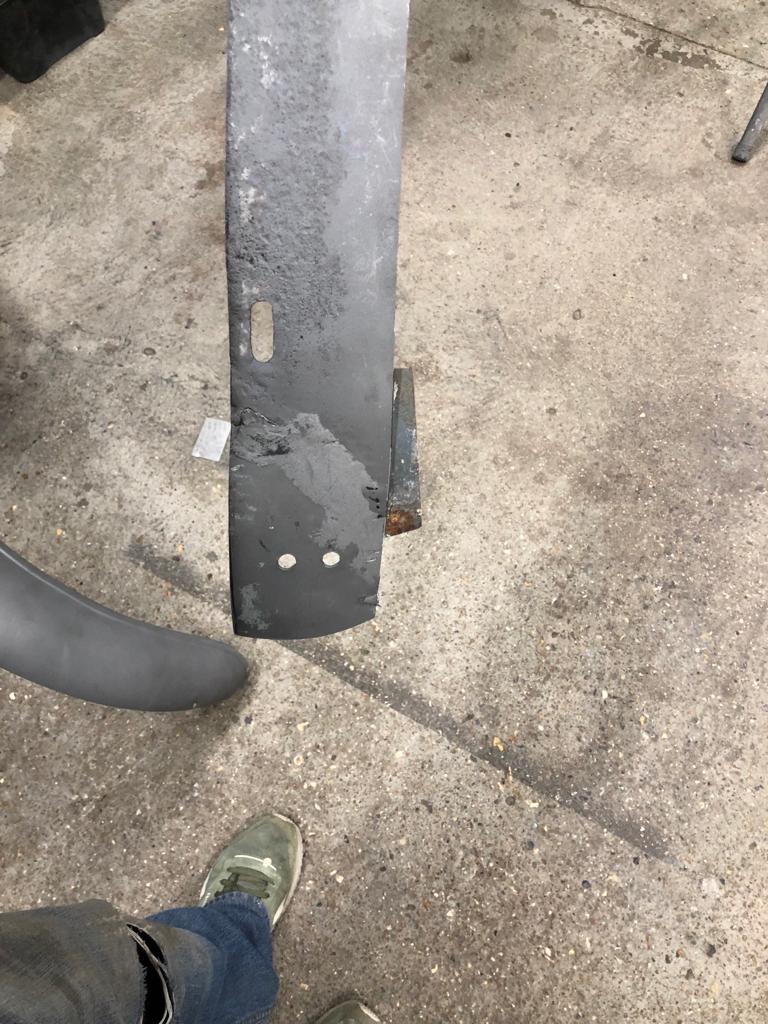
Carefully and with much reserve, James began to remove the affected piece from the panel. Removing only what needed to be and keep as much of the original piece as possible. The new section would have to be entirely handmade for this wing but that is no problem for our fabrication shop.
James measured not only the length but the thickness of the piece that would be needed to replace the original flange. Then, using the English wheel, James skillfully began to give the piece its shape and form. Constantly offering up the new piece and referring to the shape of the original. A combination of shrinking and stretching key areas of the panel allowed it to blend into the original piece.
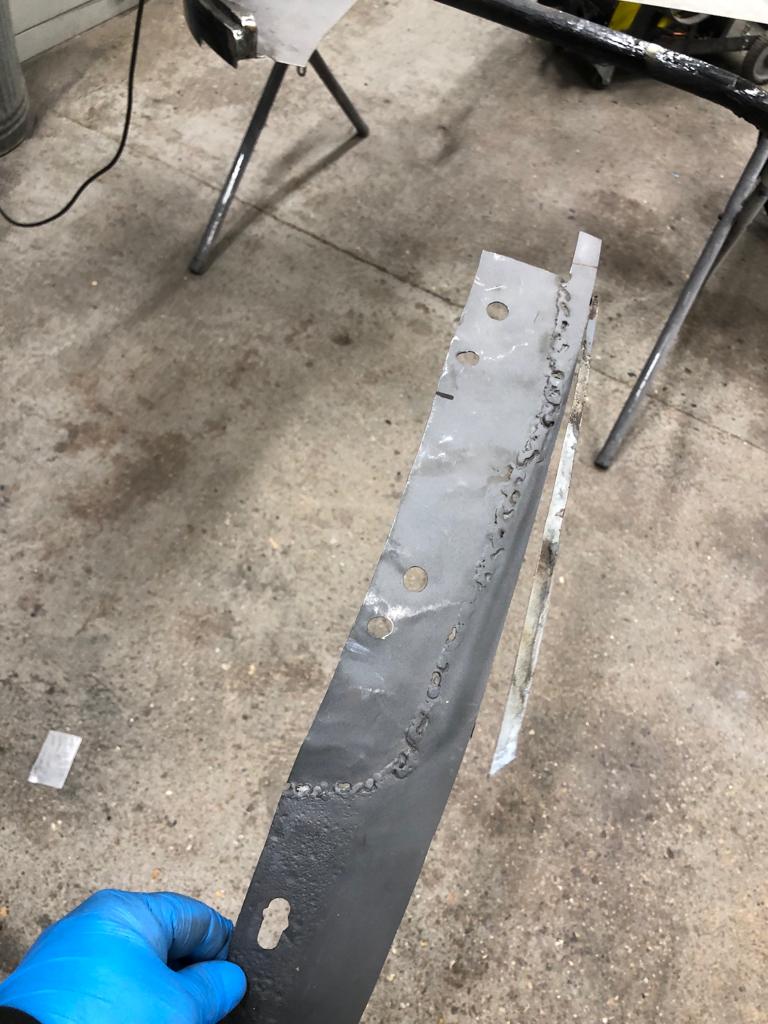
Then, it came time to join the two parts together. Slowly and precisely James TIG welded the parts together at strategic points, allowing the piece to cool at the correct rate and distributing the heat in such a way as to minimise the warp caused to the panel from the process. Once completely married up, James then began to finesse the join.
Using a planishing hammer and a selection of dollies, James began to smooth the joint between the two panels together until there little to no signs they had never been together their entire lives. That is craftsmanship…

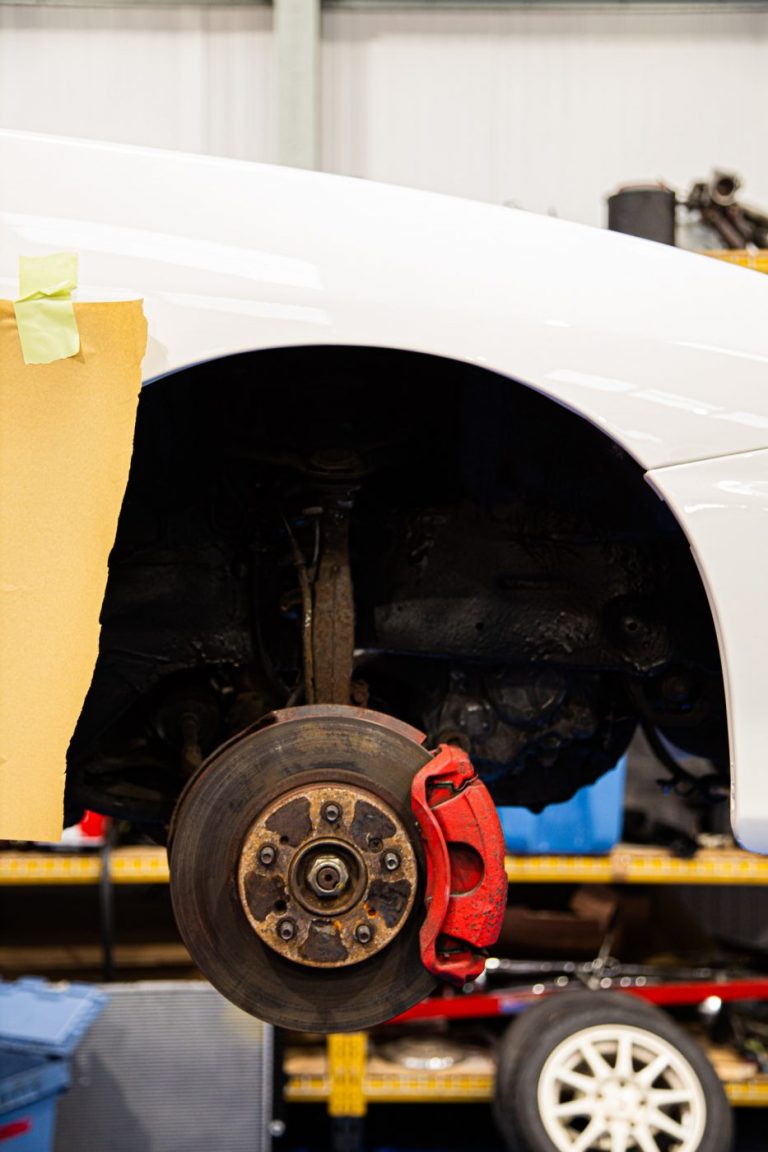
After working so hard on the finish of the 1998 Honda Integra Type R, it is important to protect what has been done here at Bridge Classic Cars.
Chris, our in-house paint expert, has been applying arch liner protection to the wheel arches of the Integra DC2. Chris has put many hours into ensuring that the finish on the paintwork we have done to the DC2 Integra is world-class. The front wings, as well as the engine bay, have been worked on for rust repair and paint so a few coats of arch liner will help to protect not just the paint but the metal work underneath.
This was also done by the factory when the car was new so it makes sense to redo the coating to make sure this Integra lasts for many years to come.
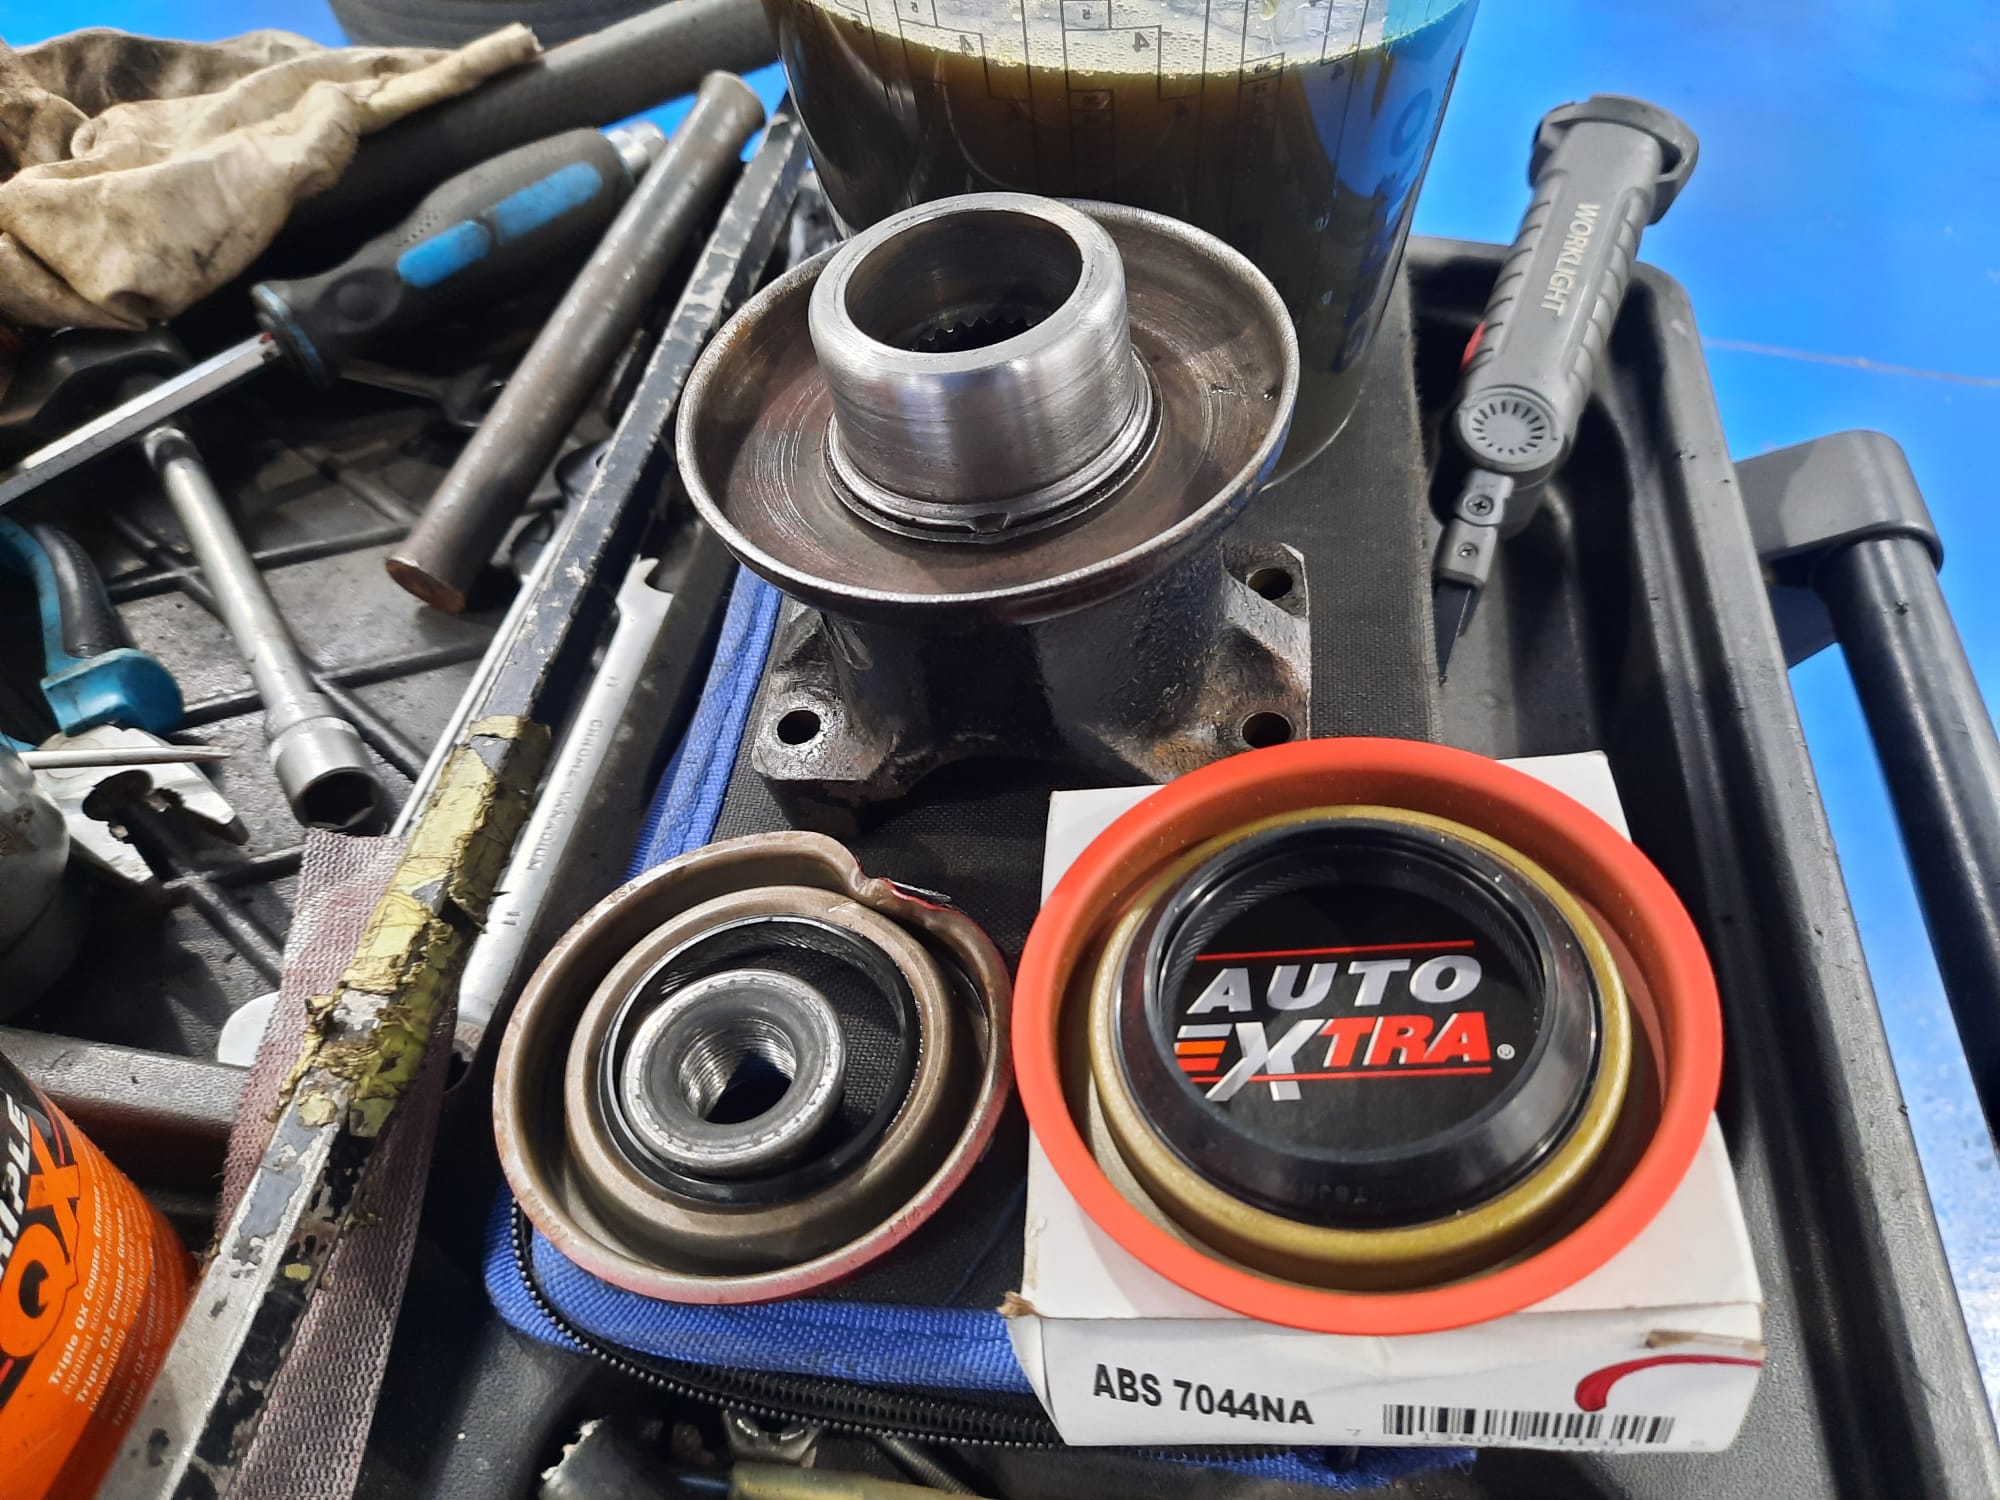
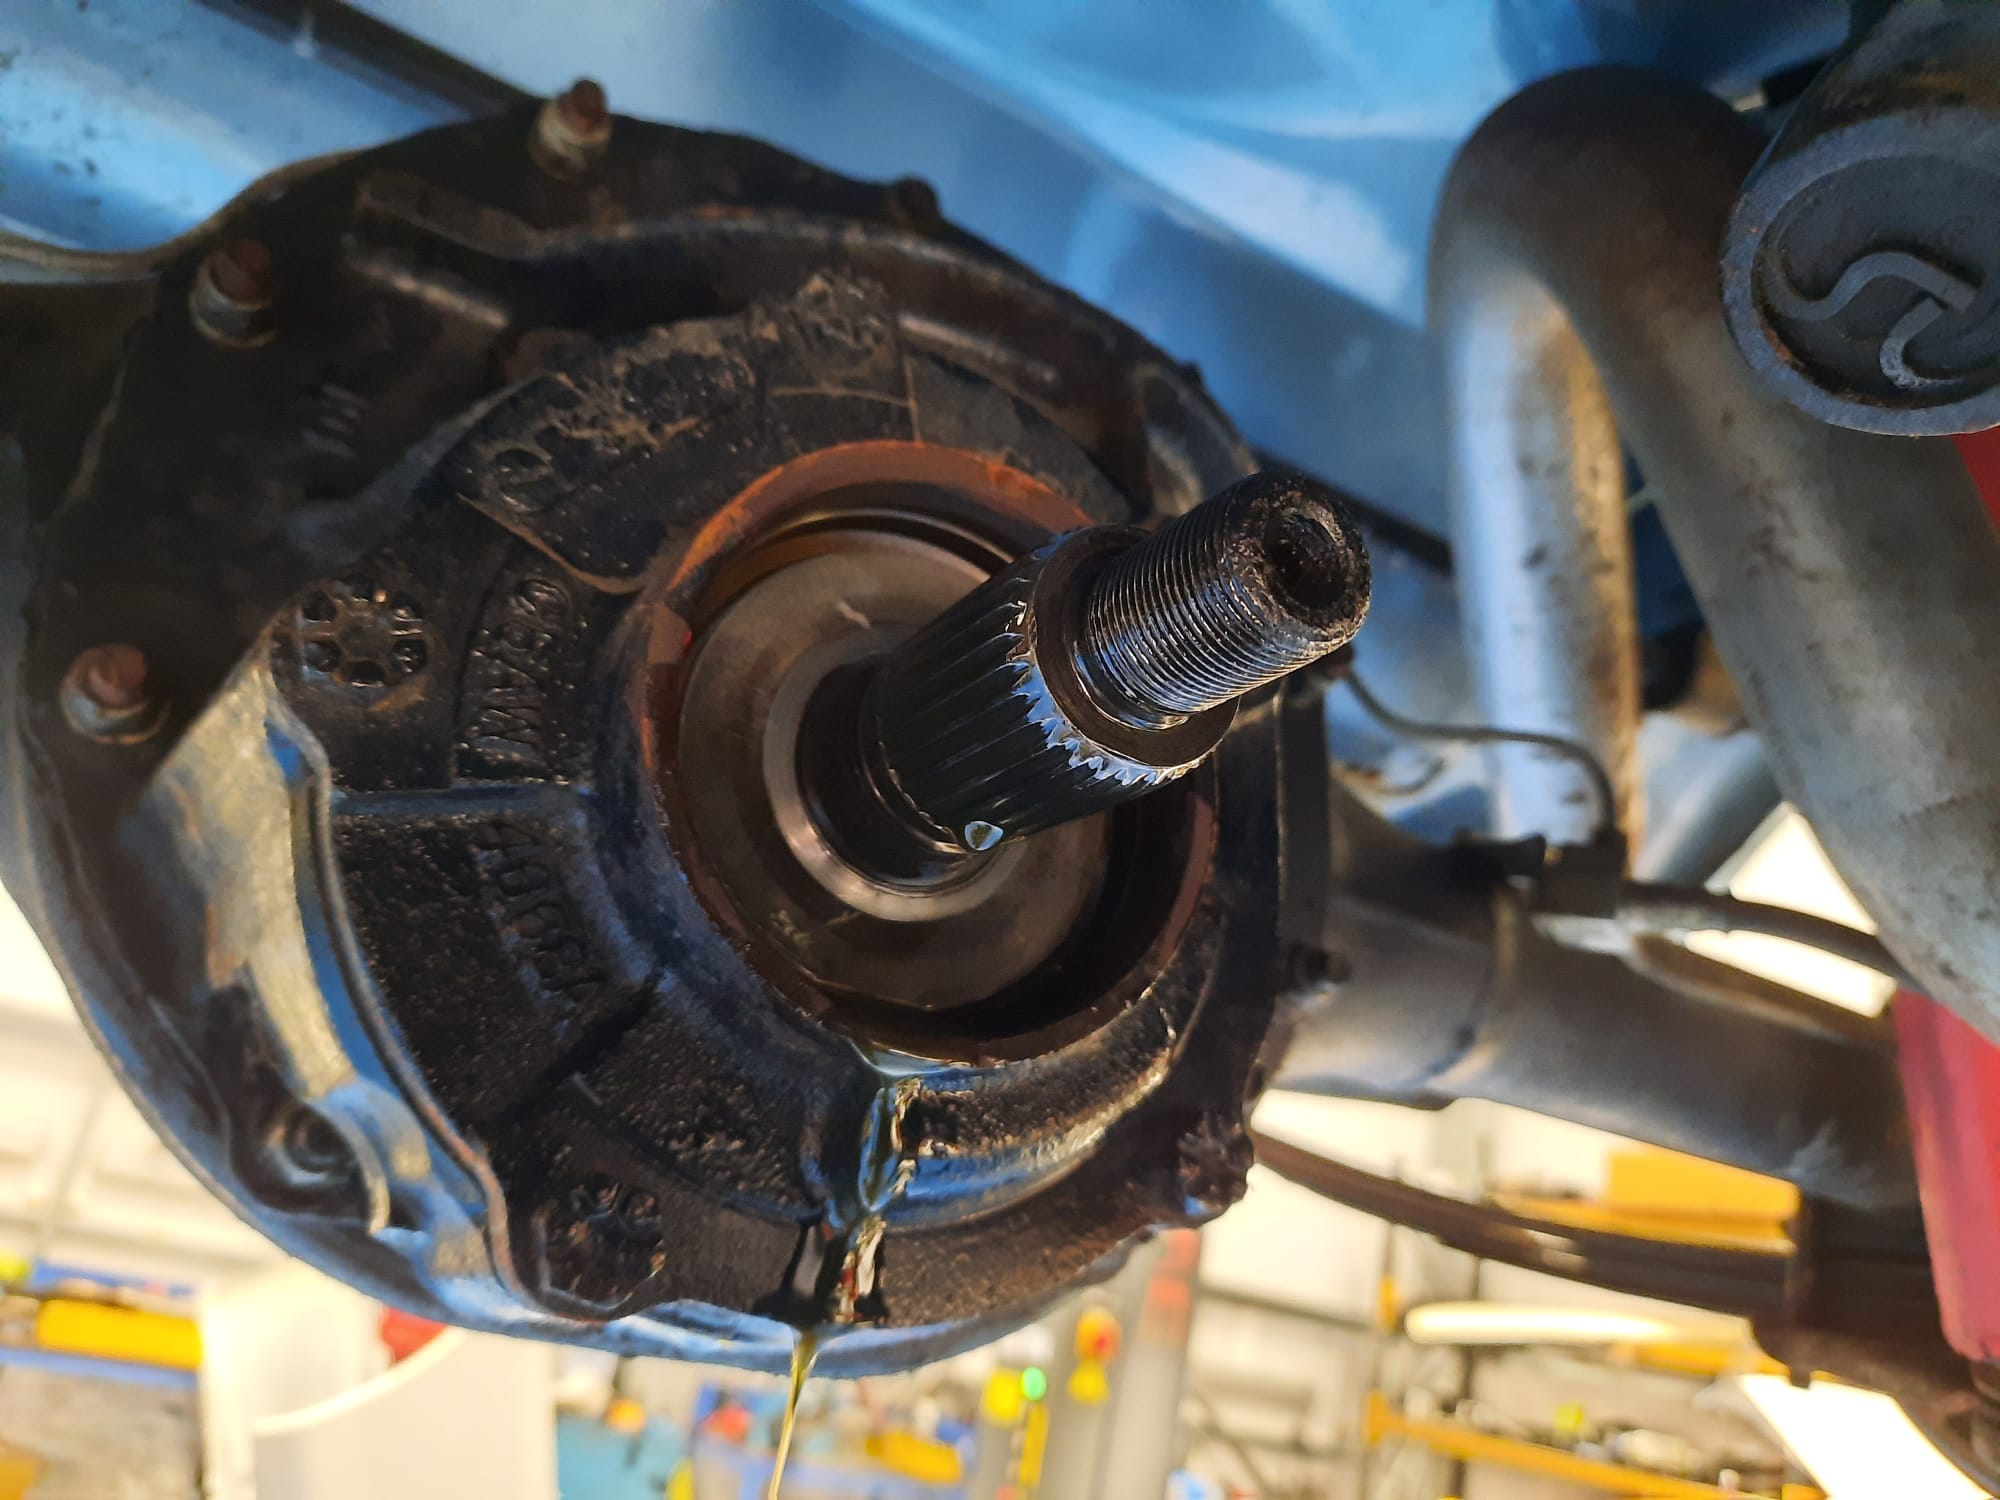

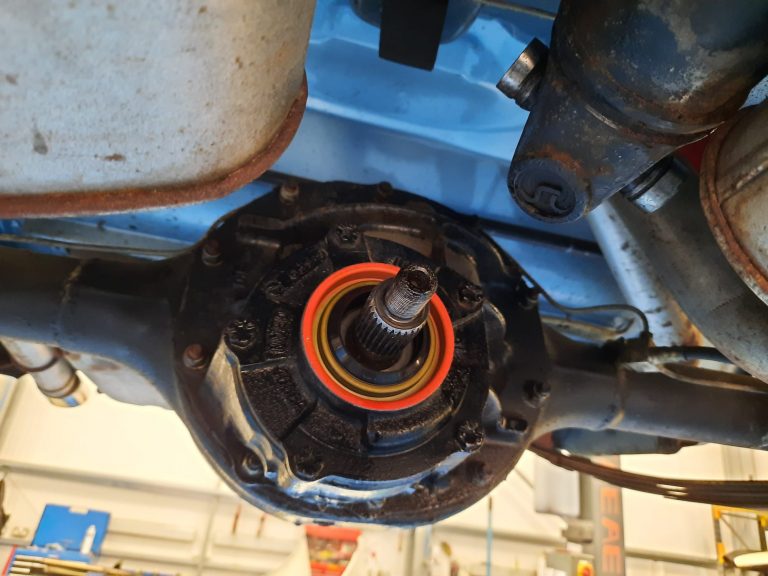
Mauro, our in-house restoration technician, has been working on the 1967 Ford Mustang that we have in the Bridge Classic Cars workshop.
As part of its mechanical refresh recently, Mauro replaced the rear axle seals and now it’s time to renew the rear pinion seal. A key part of the well being of any rear-wheel drive car.
After removing the old seal and inspecting the mounting surfaces, Mauro then put the new seal in place and check the pinion worked correctly. It all worked perfectly. So with that, the driveshaft and coupling were put back in place and it was time to move on to the next job on the list…
