More Jensens?!
It shouldn’t be news to our readers that we’re a bit mad about Jensen’s here…With a total of 8 Jensen’s in recently, and about 6


It shouldn’t be news to our readers that we’re a bit mad about Jensen’s here…With a total of 8 Jensen’s in recently, and about 6
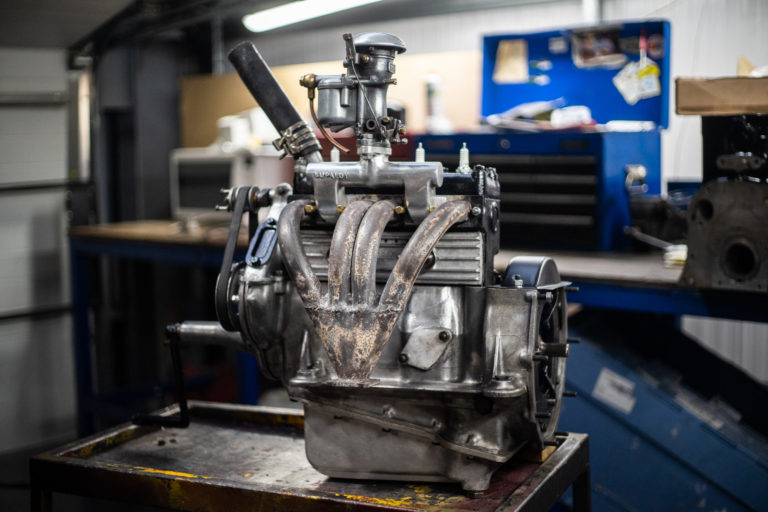
We’re delighted to announce that our little 1934 Austin Seven Nippy engine has been fully restored. We’re currently awaiting the fly wheel and clutch to
We’ve entered the finishing stages for our 1957 Jensen 541R. John is currently carrying out a thorough wiring check as we’ve had to modify the

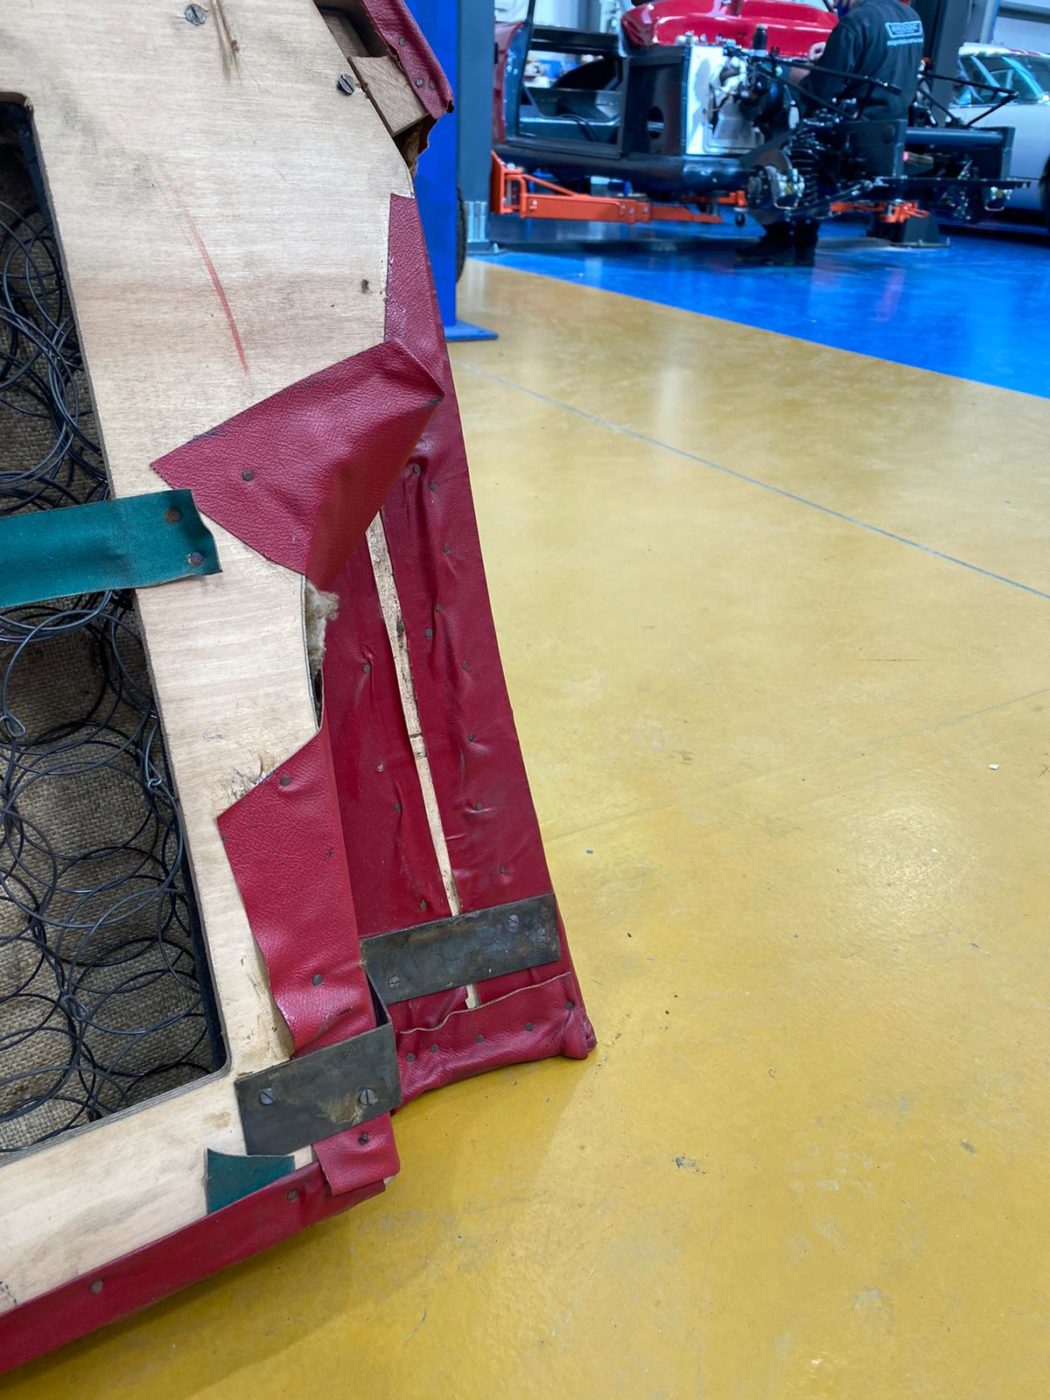
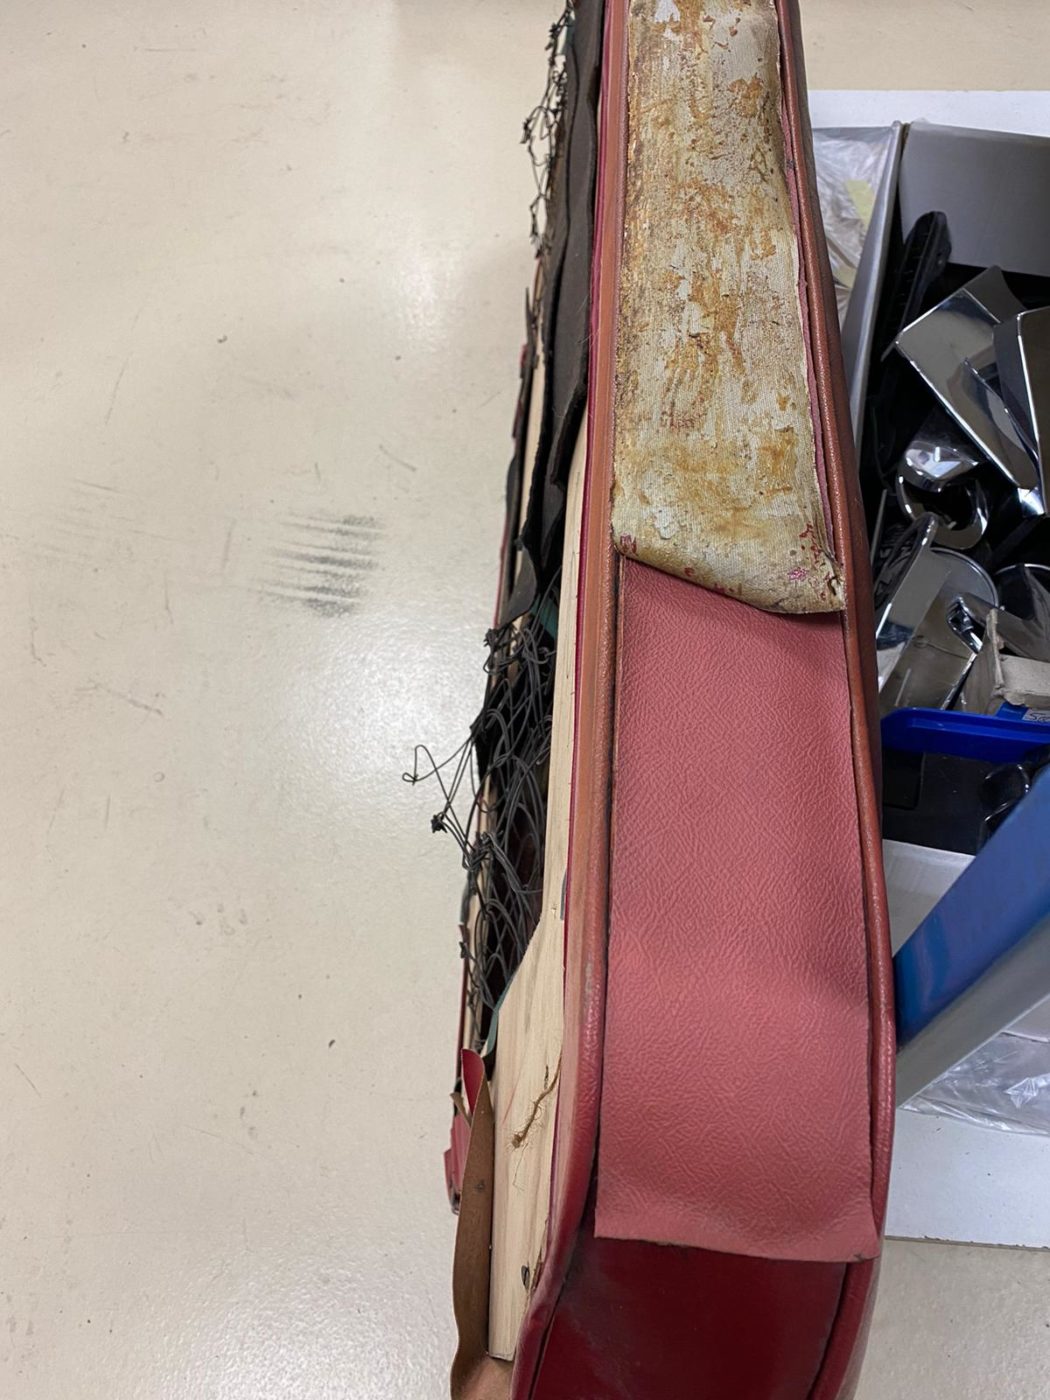
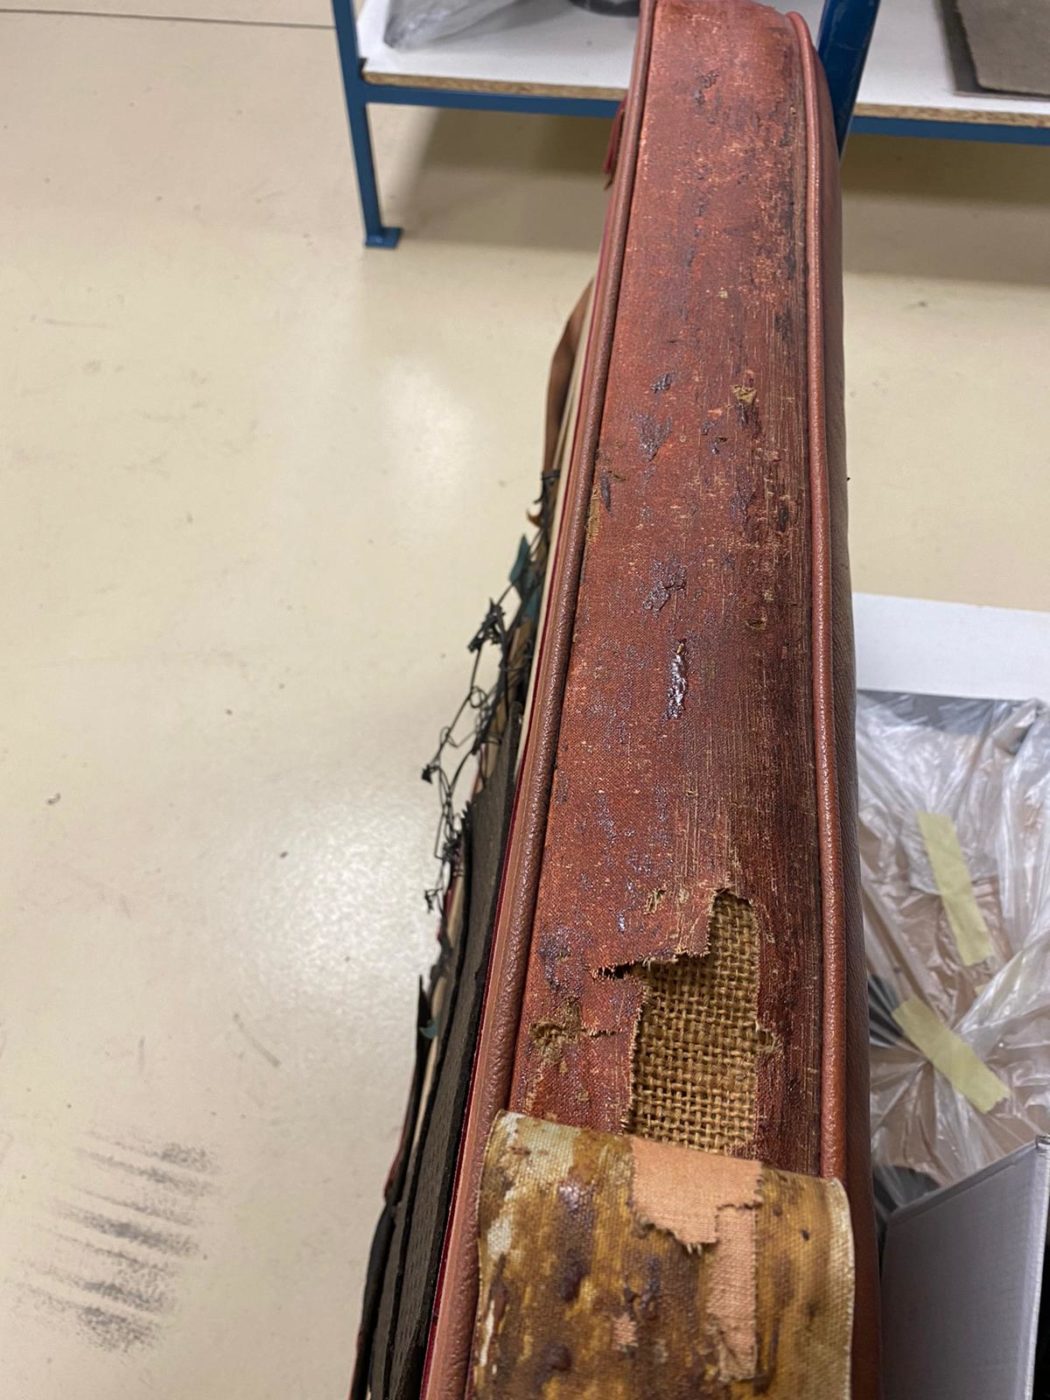
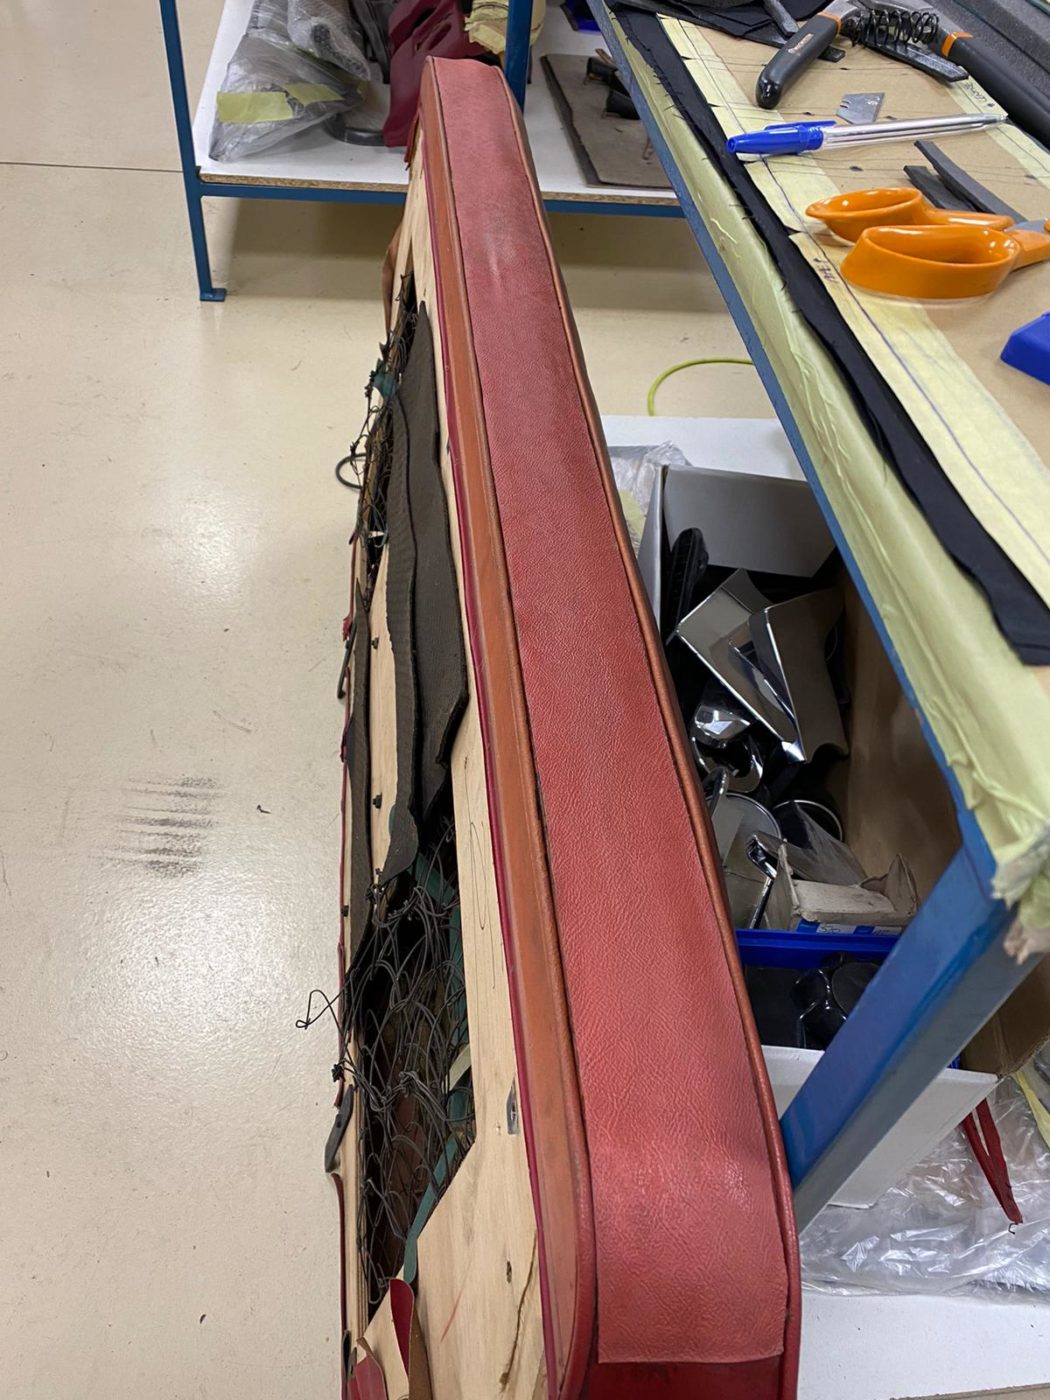
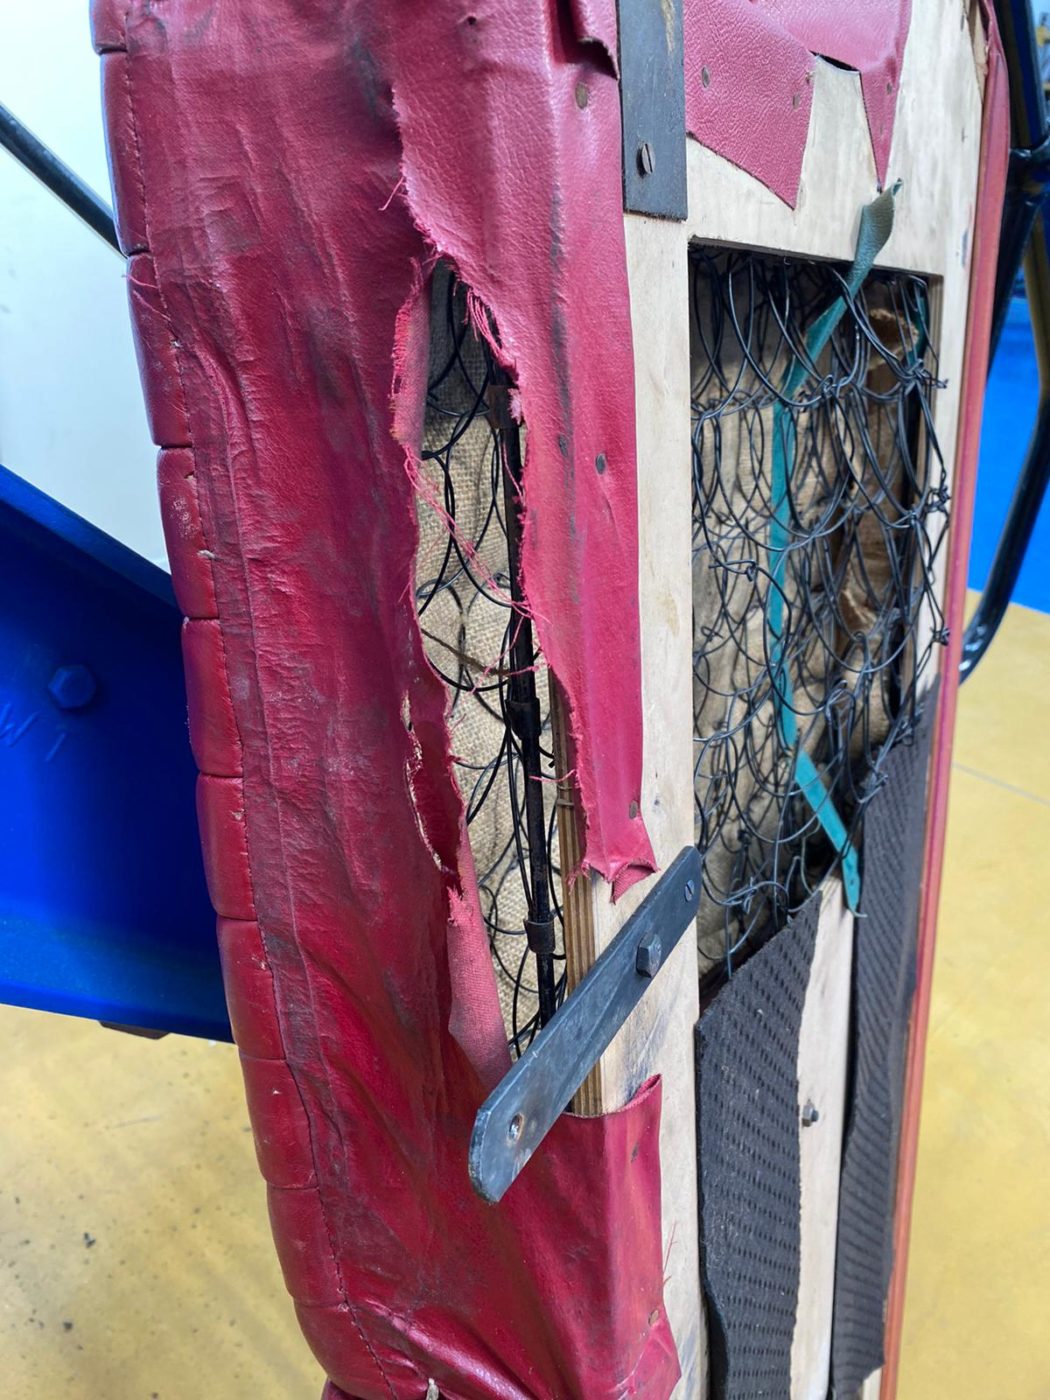
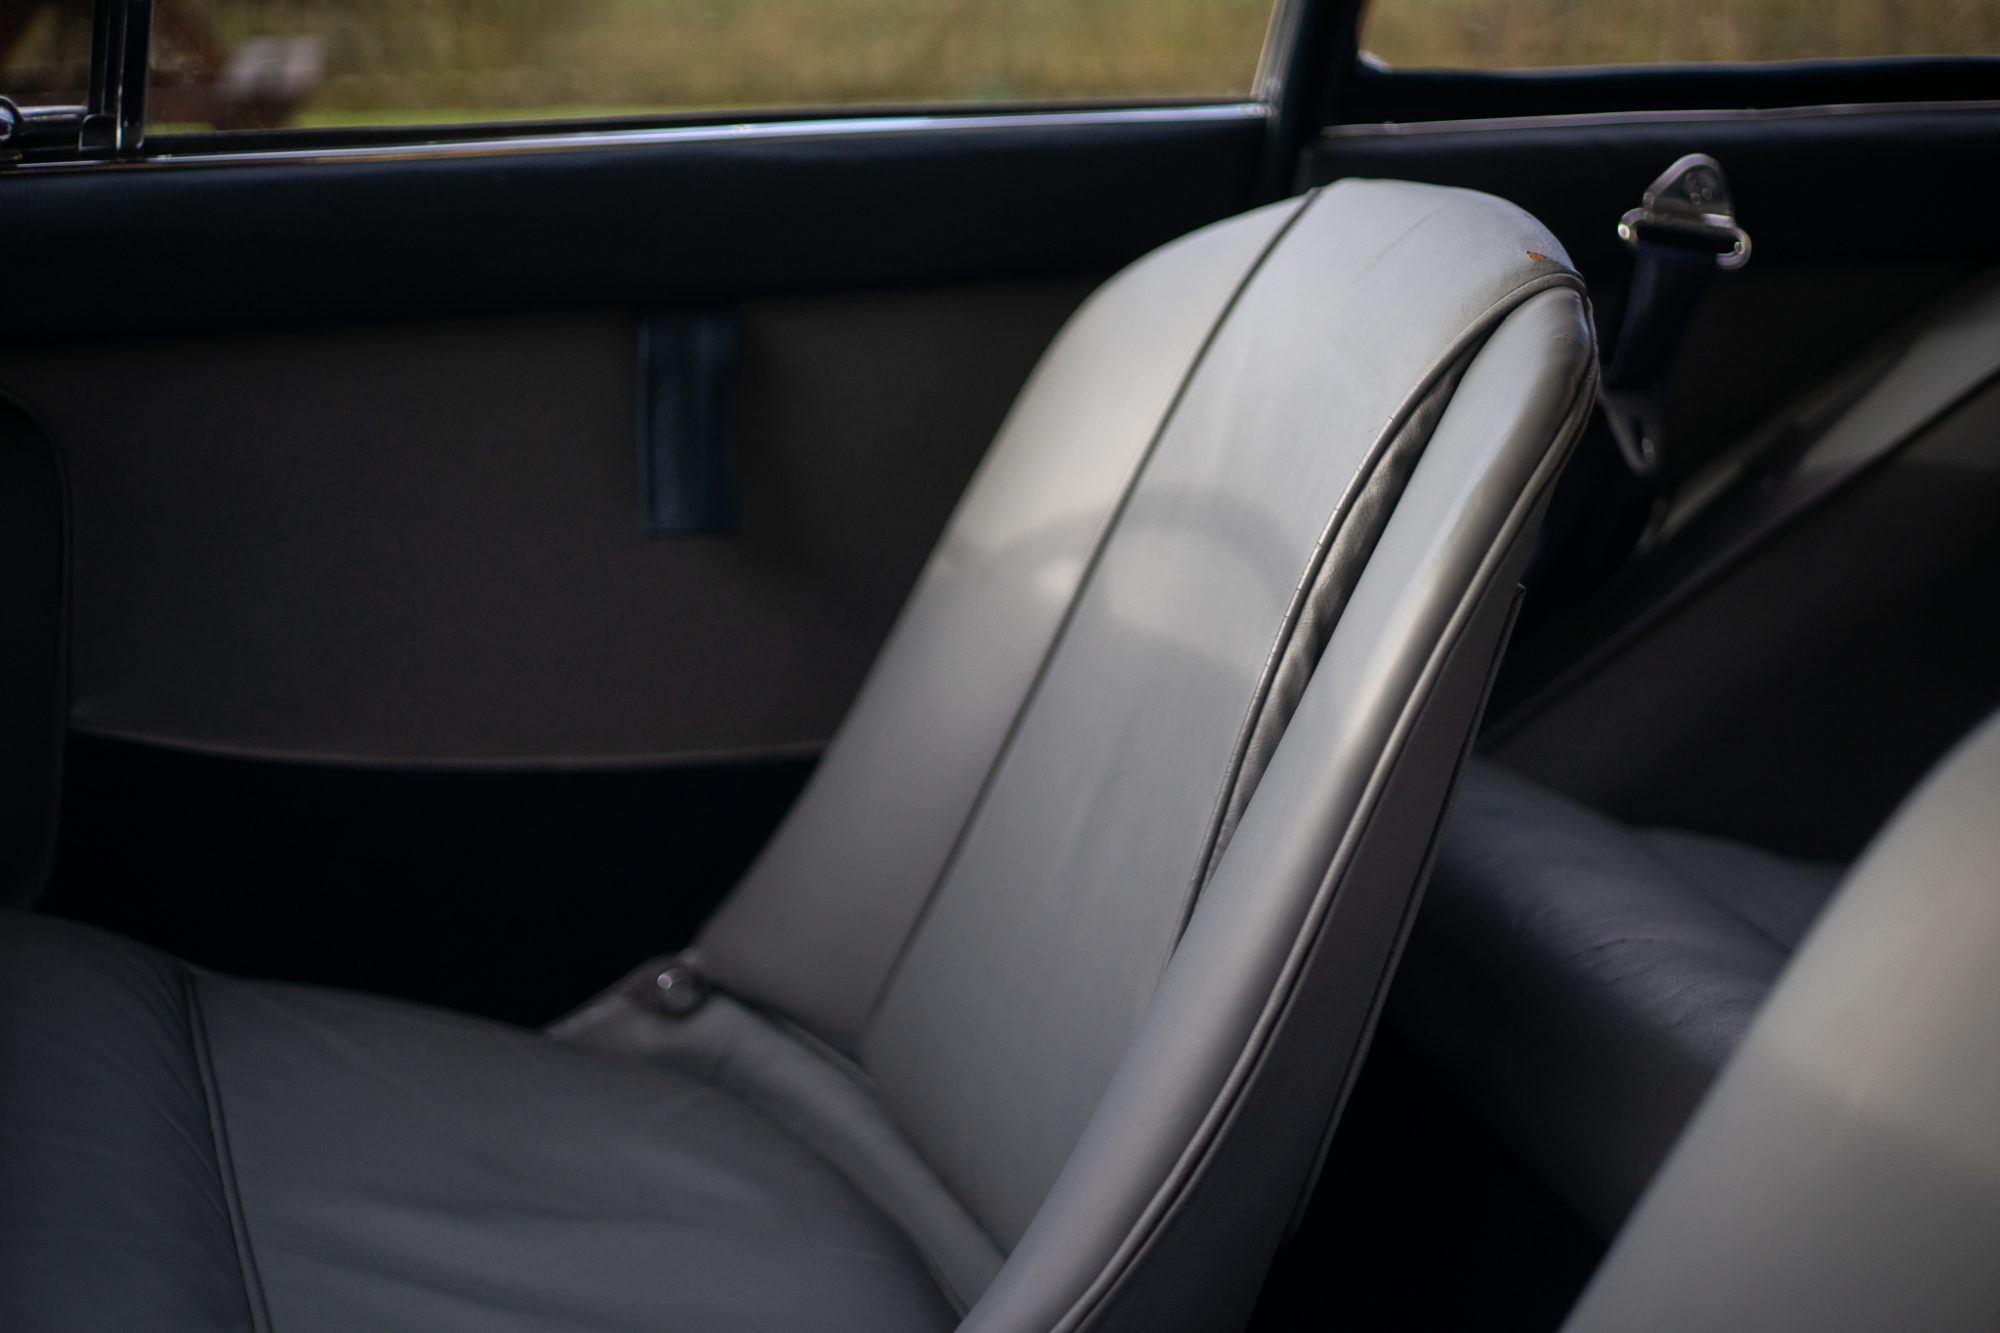
Kath has been working on repairing the seat squabs on our 1954 Jaguar MKVII. She has repaired the rear seat squab as the vinyl had
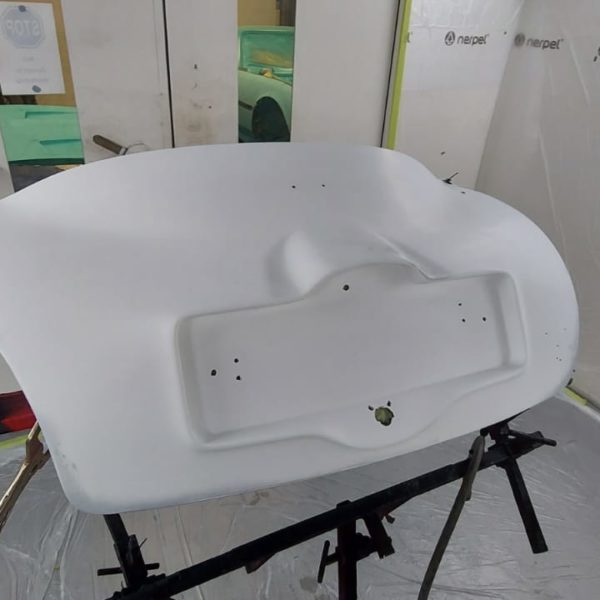
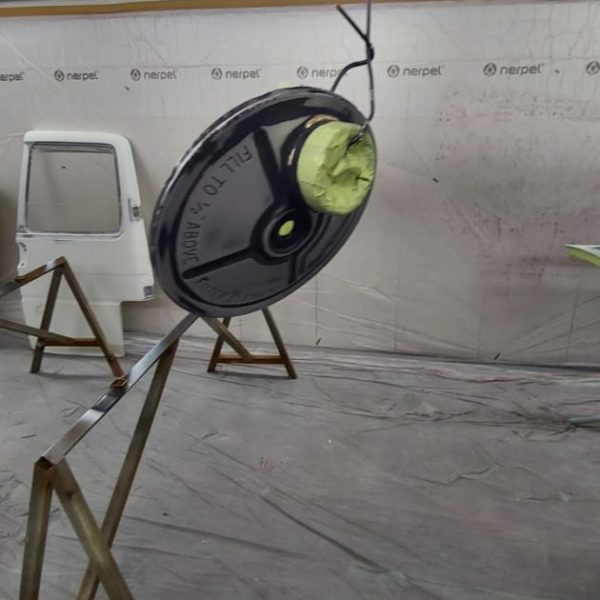
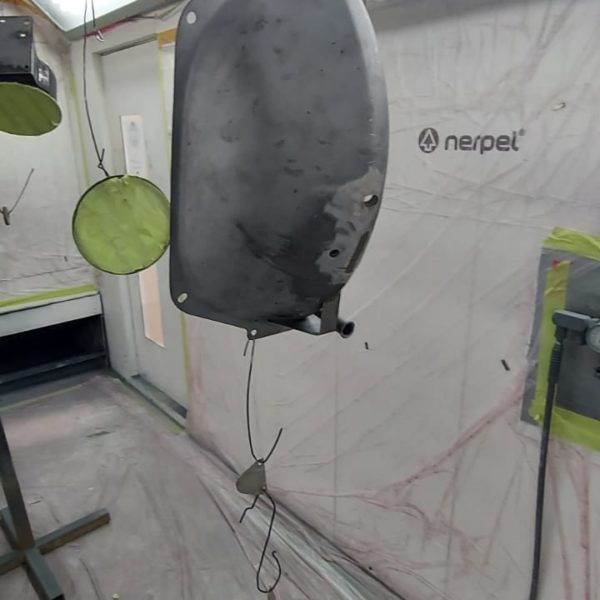
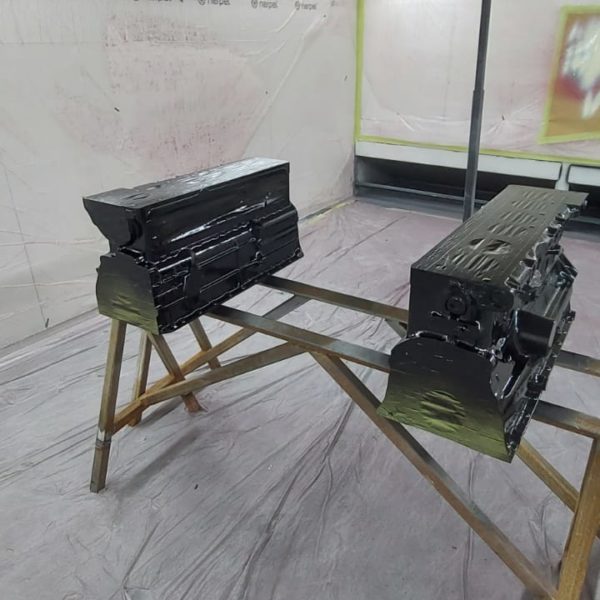
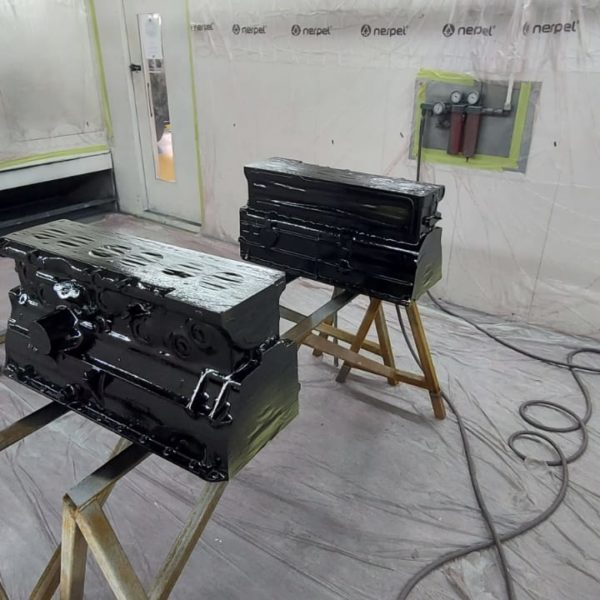
The bonnet, boot and internal components have been painted for our 1960 Jensen 541S. The parts sat in primer and a base coat before having
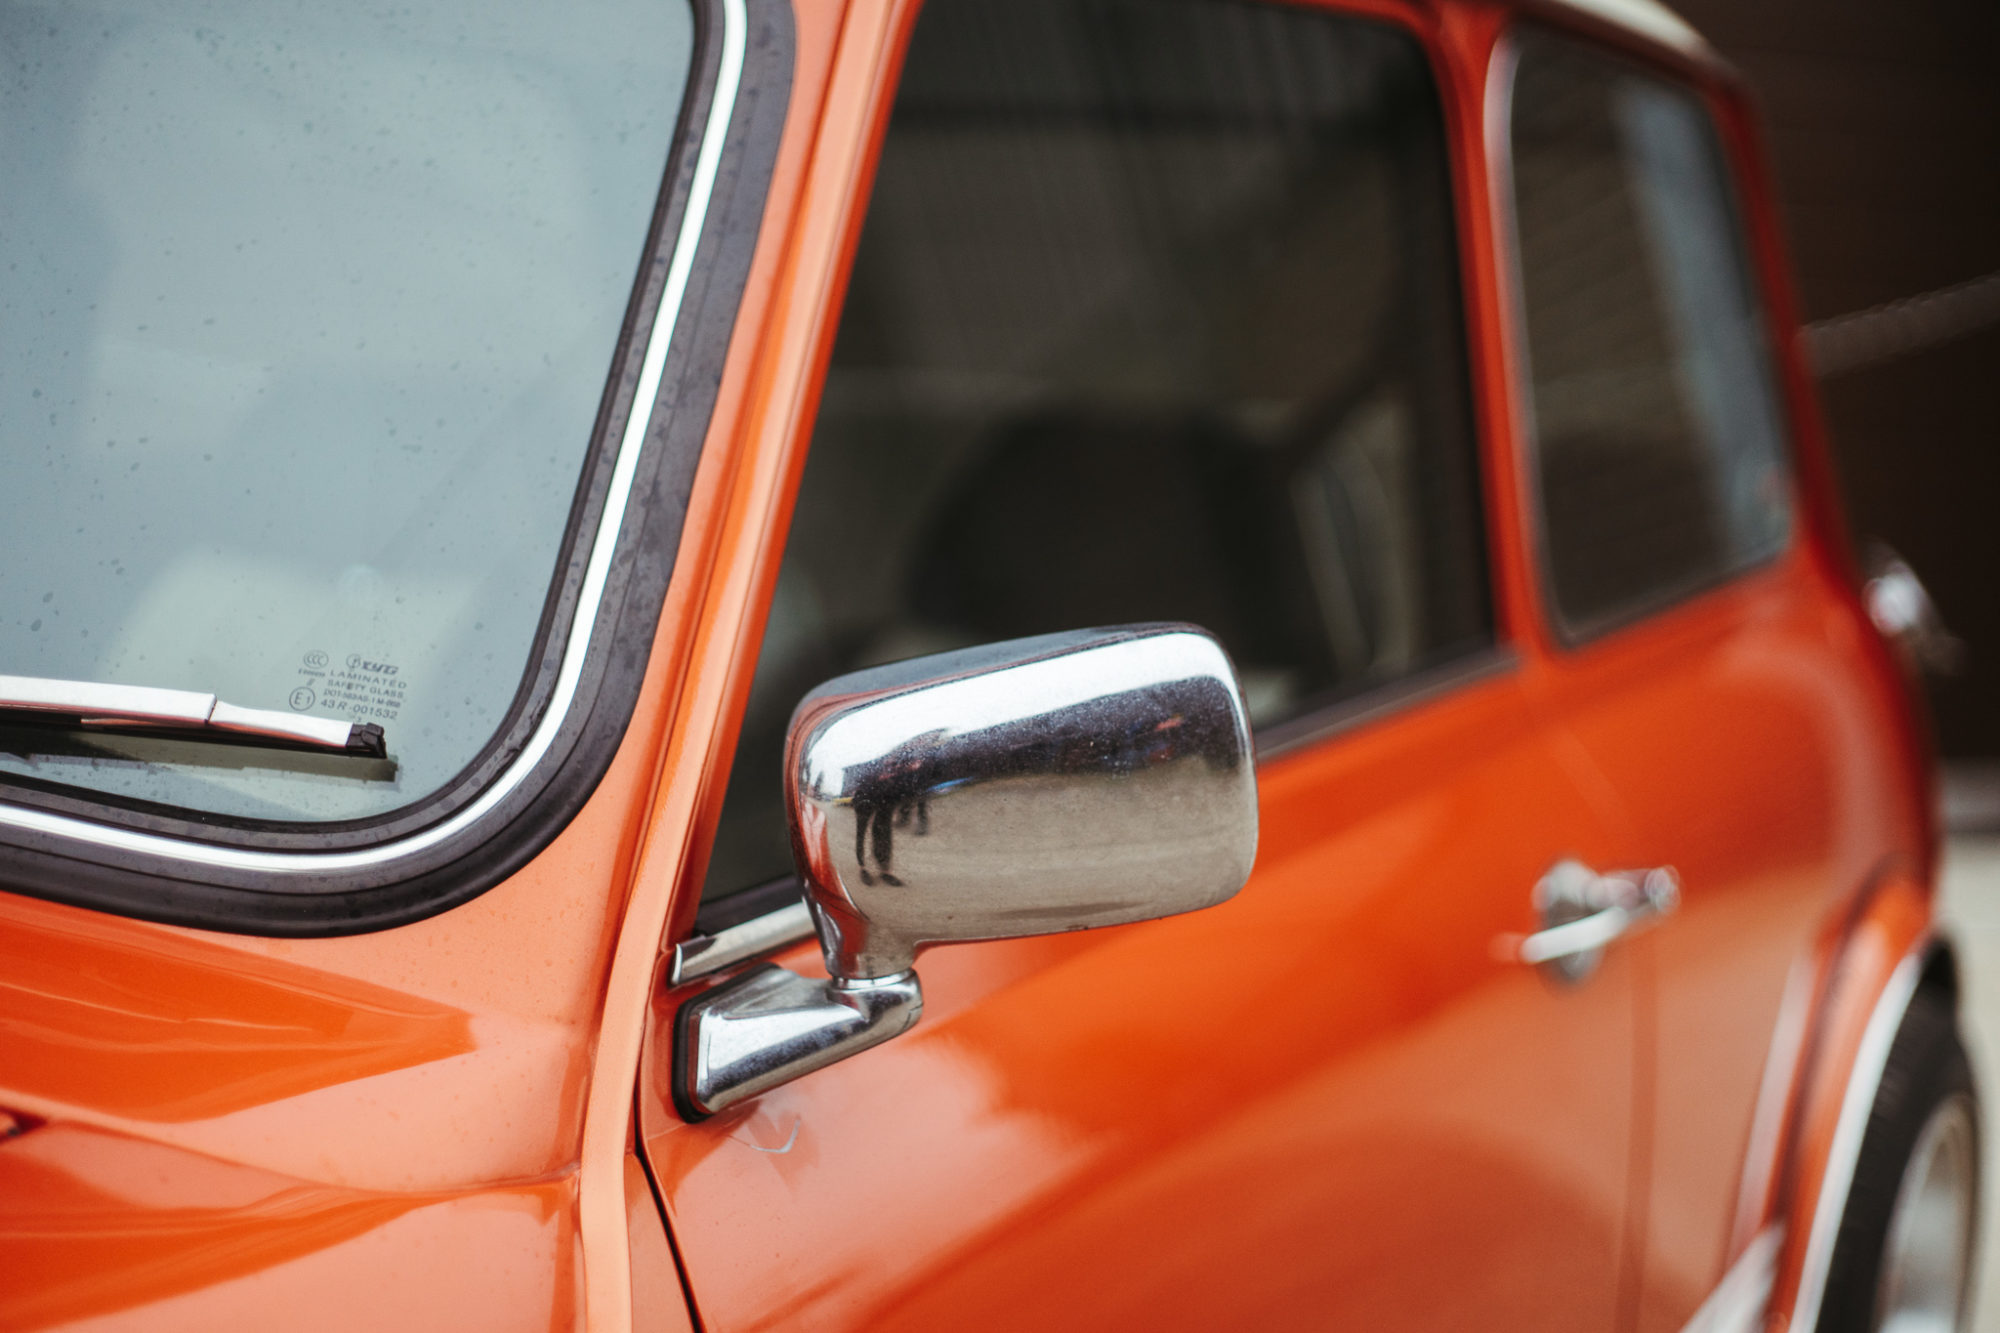
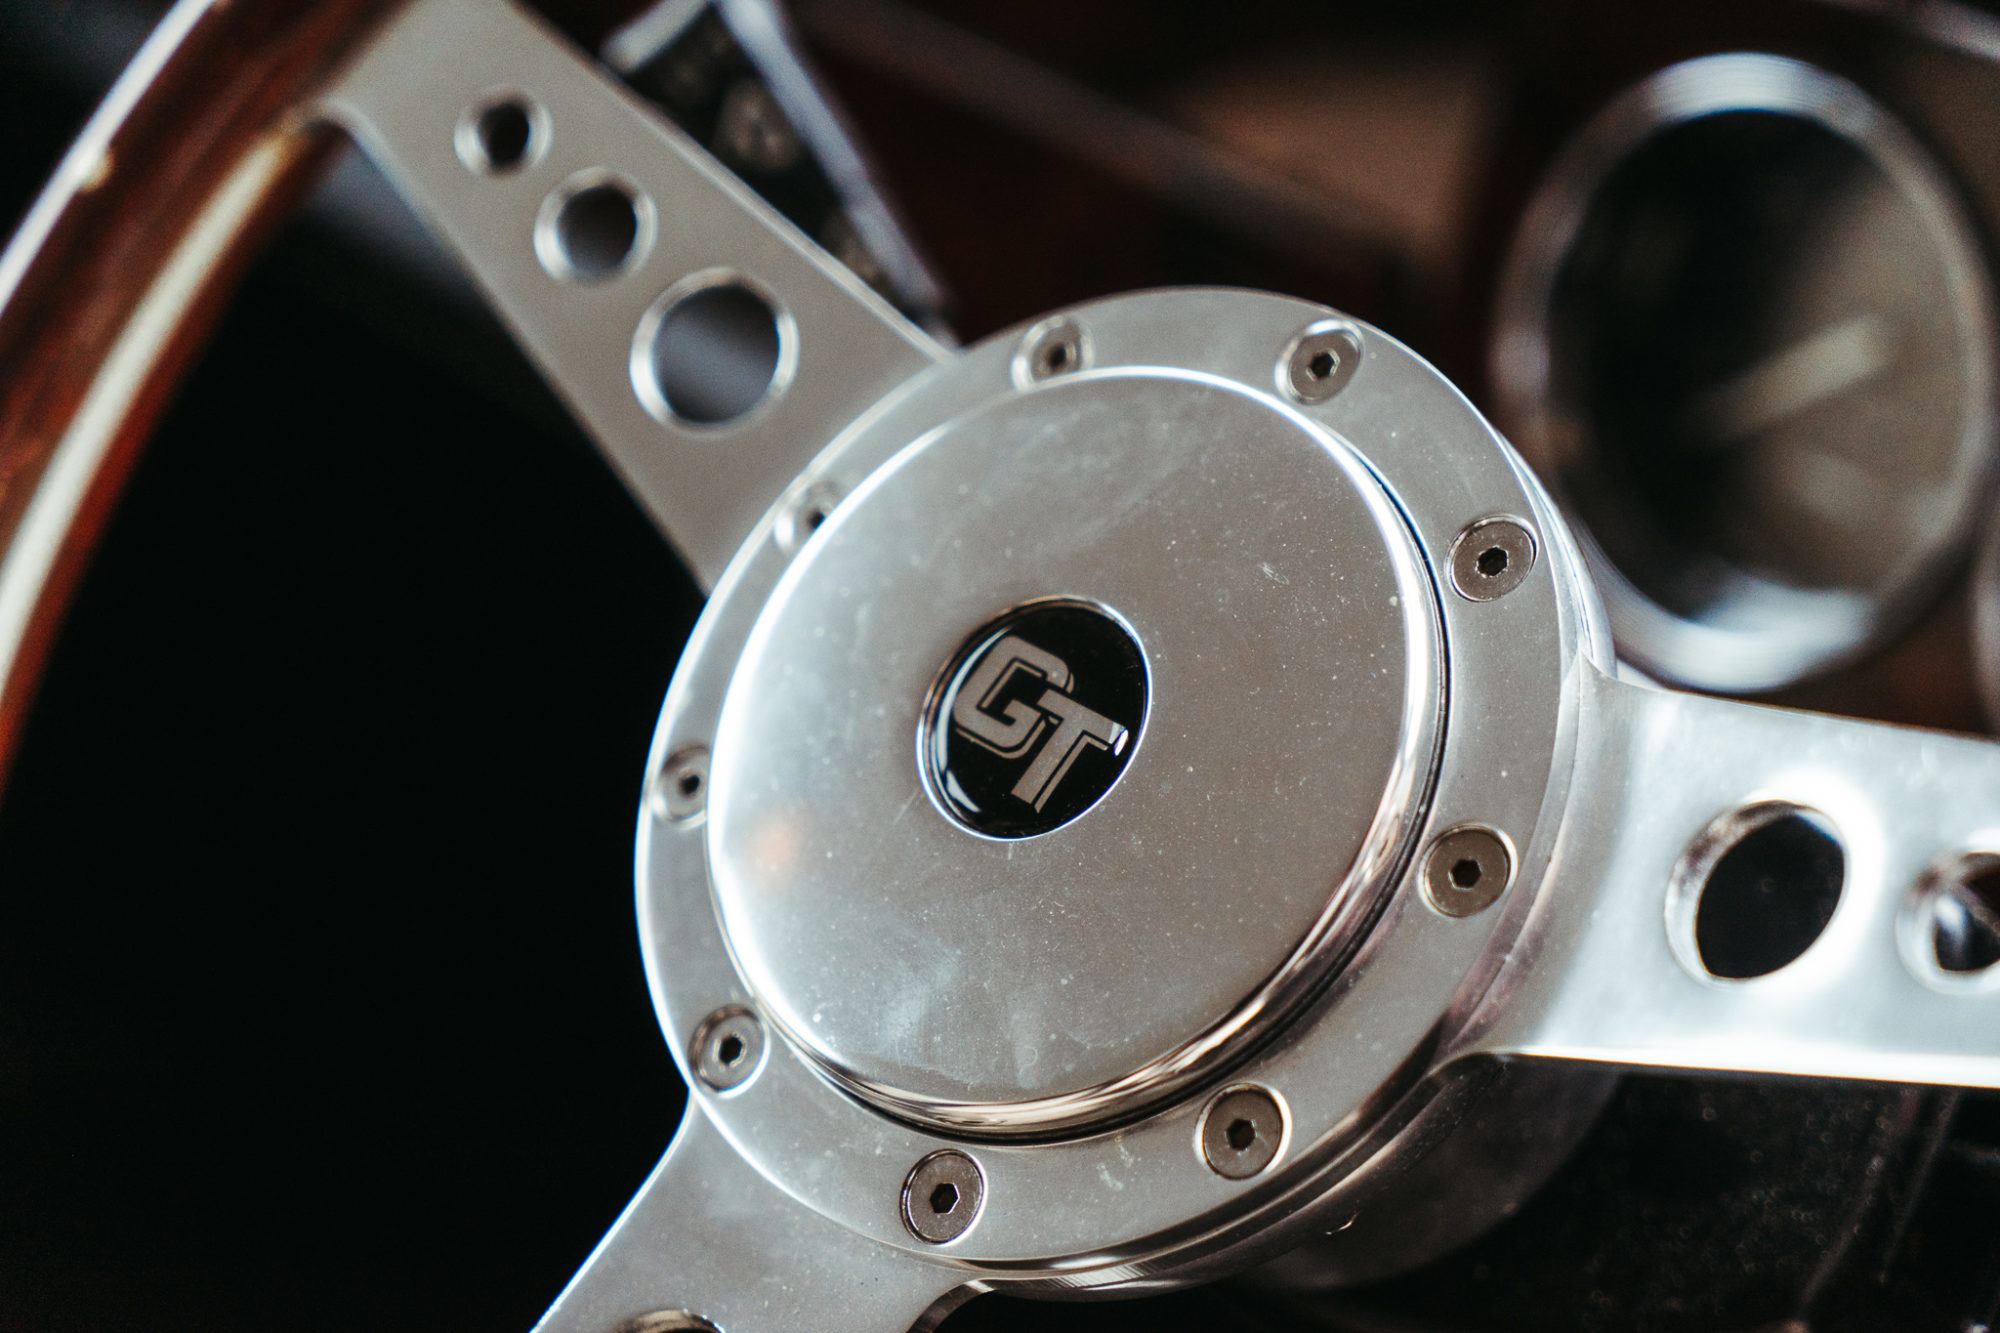
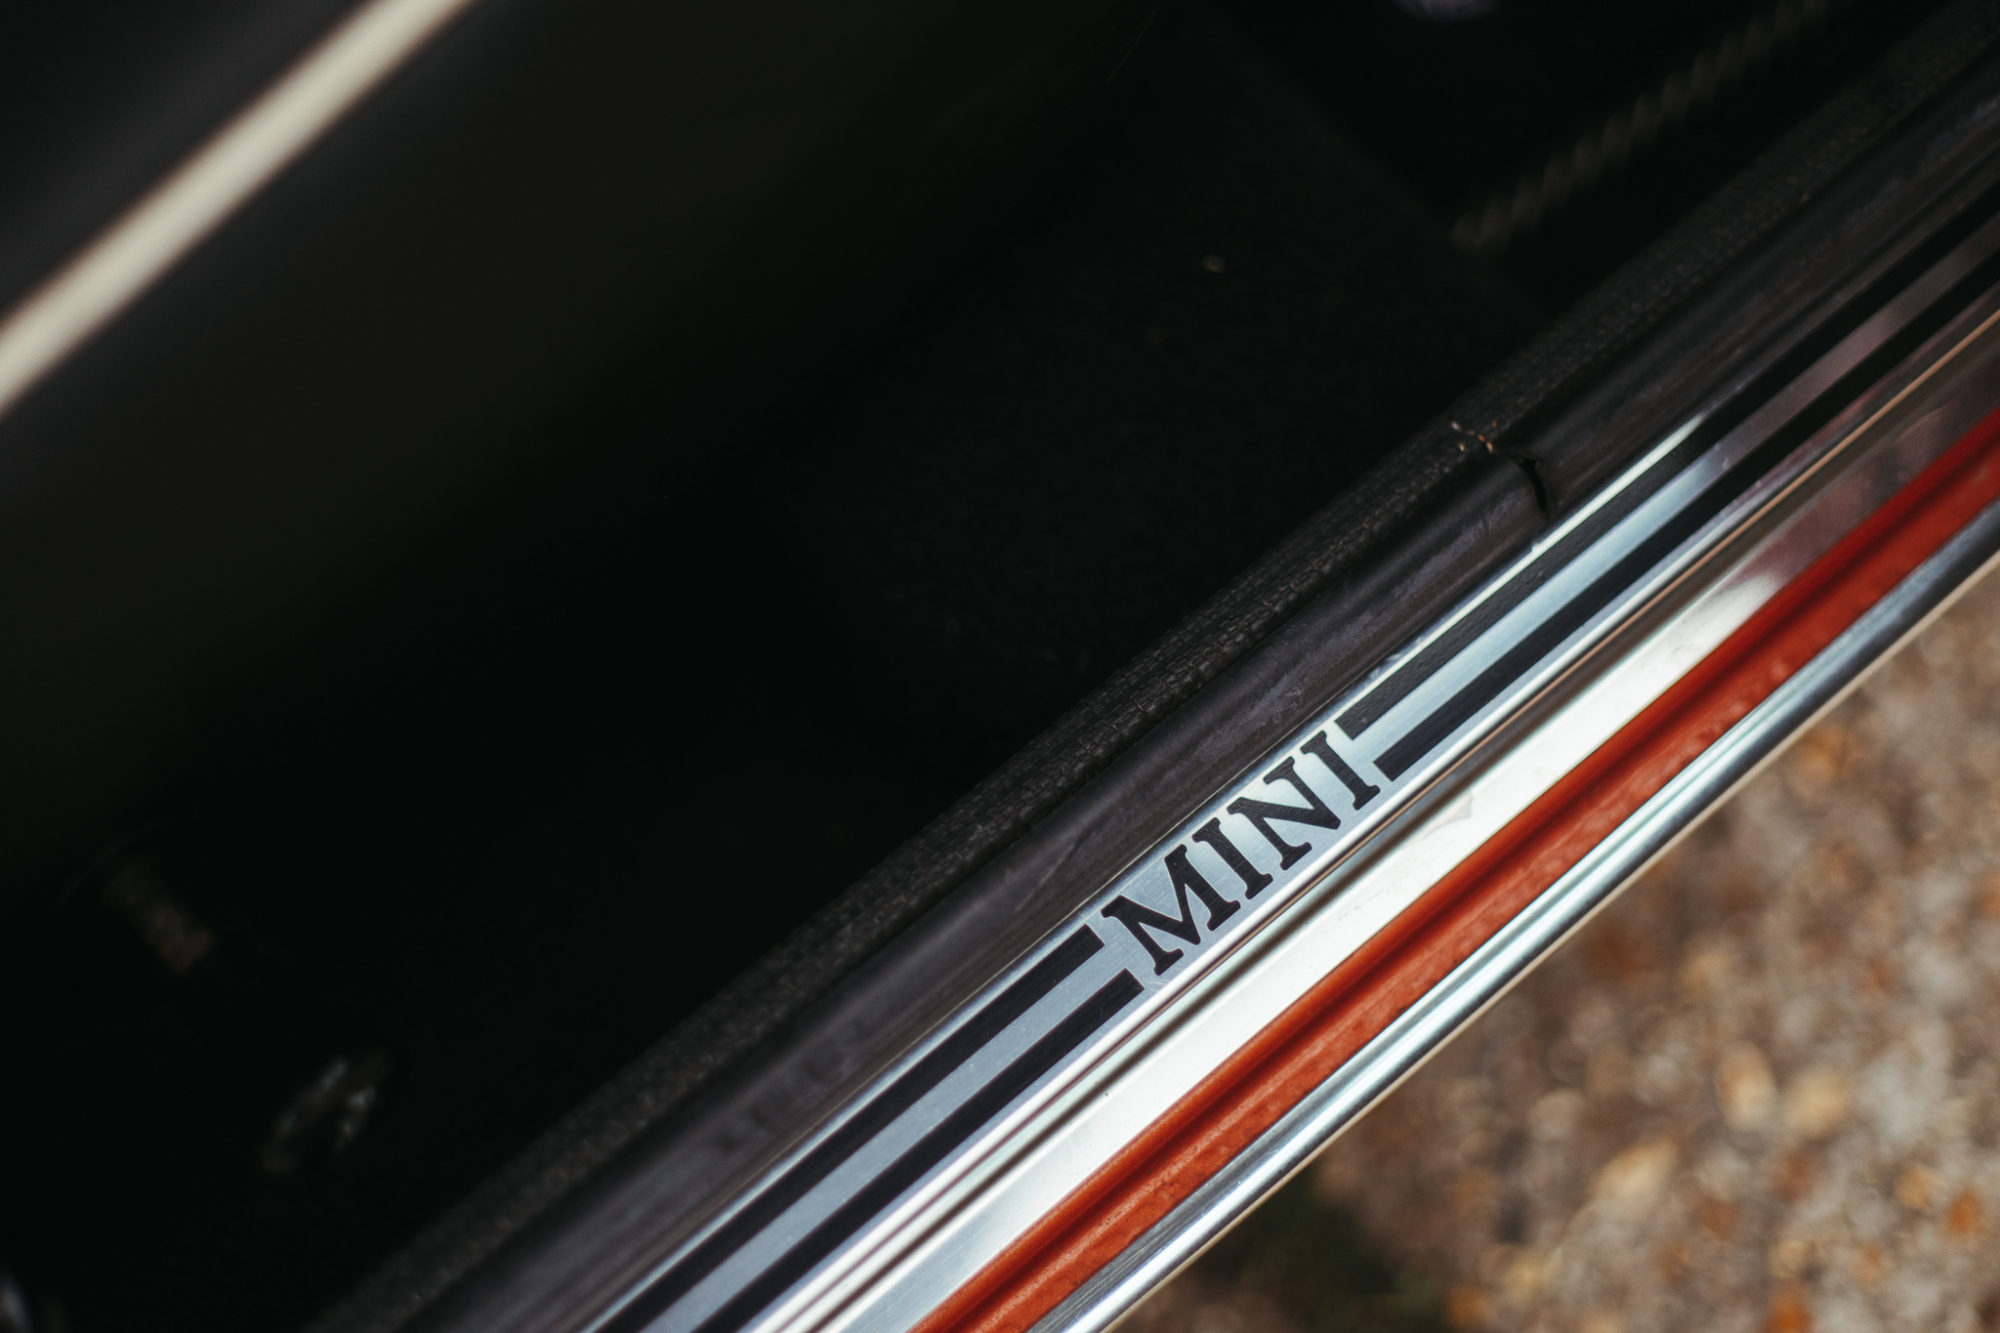
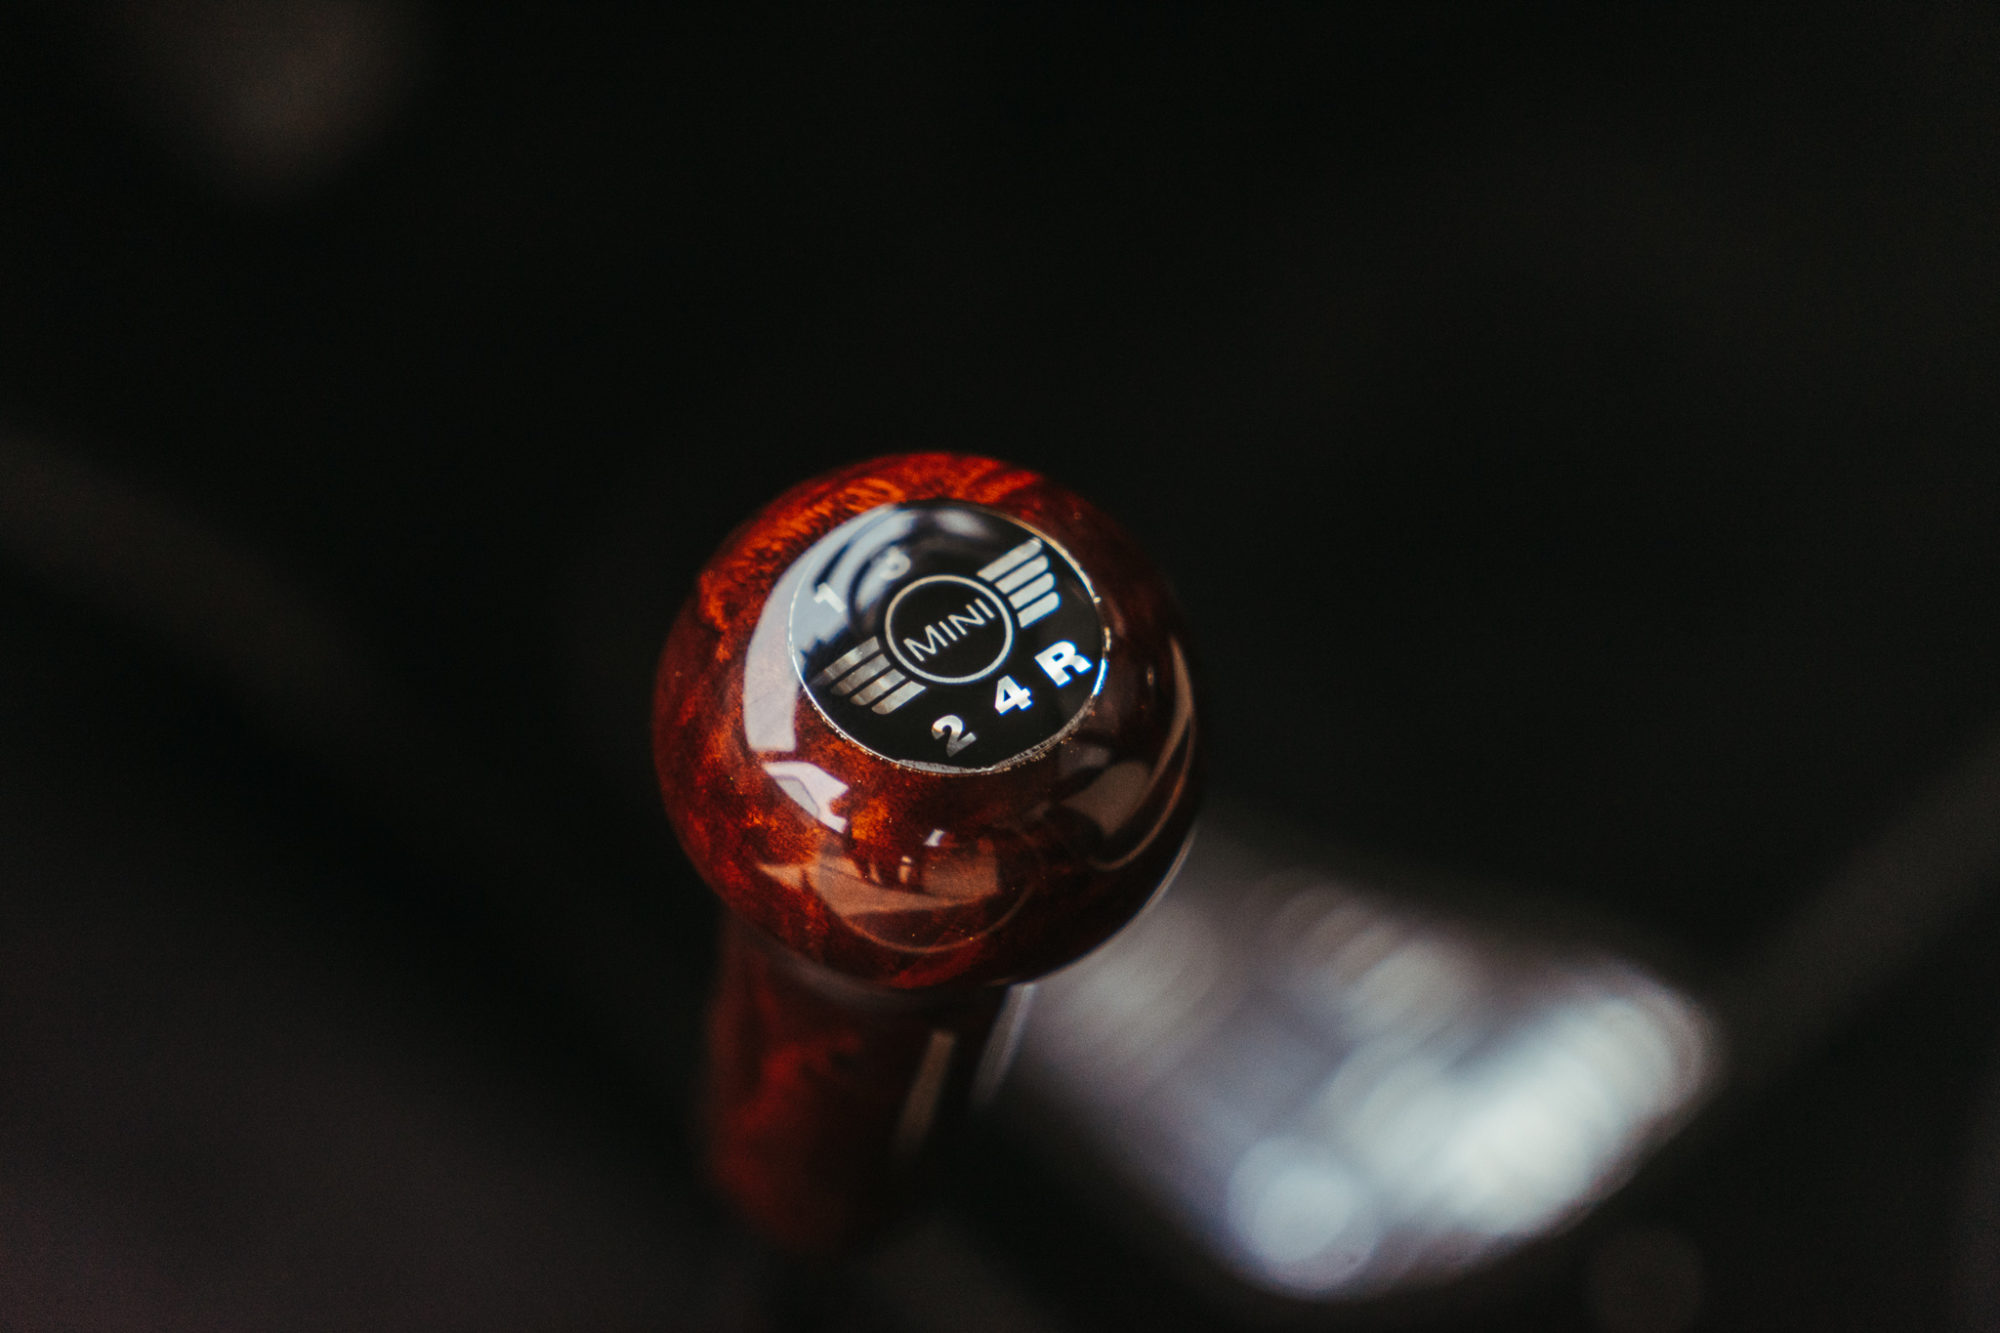
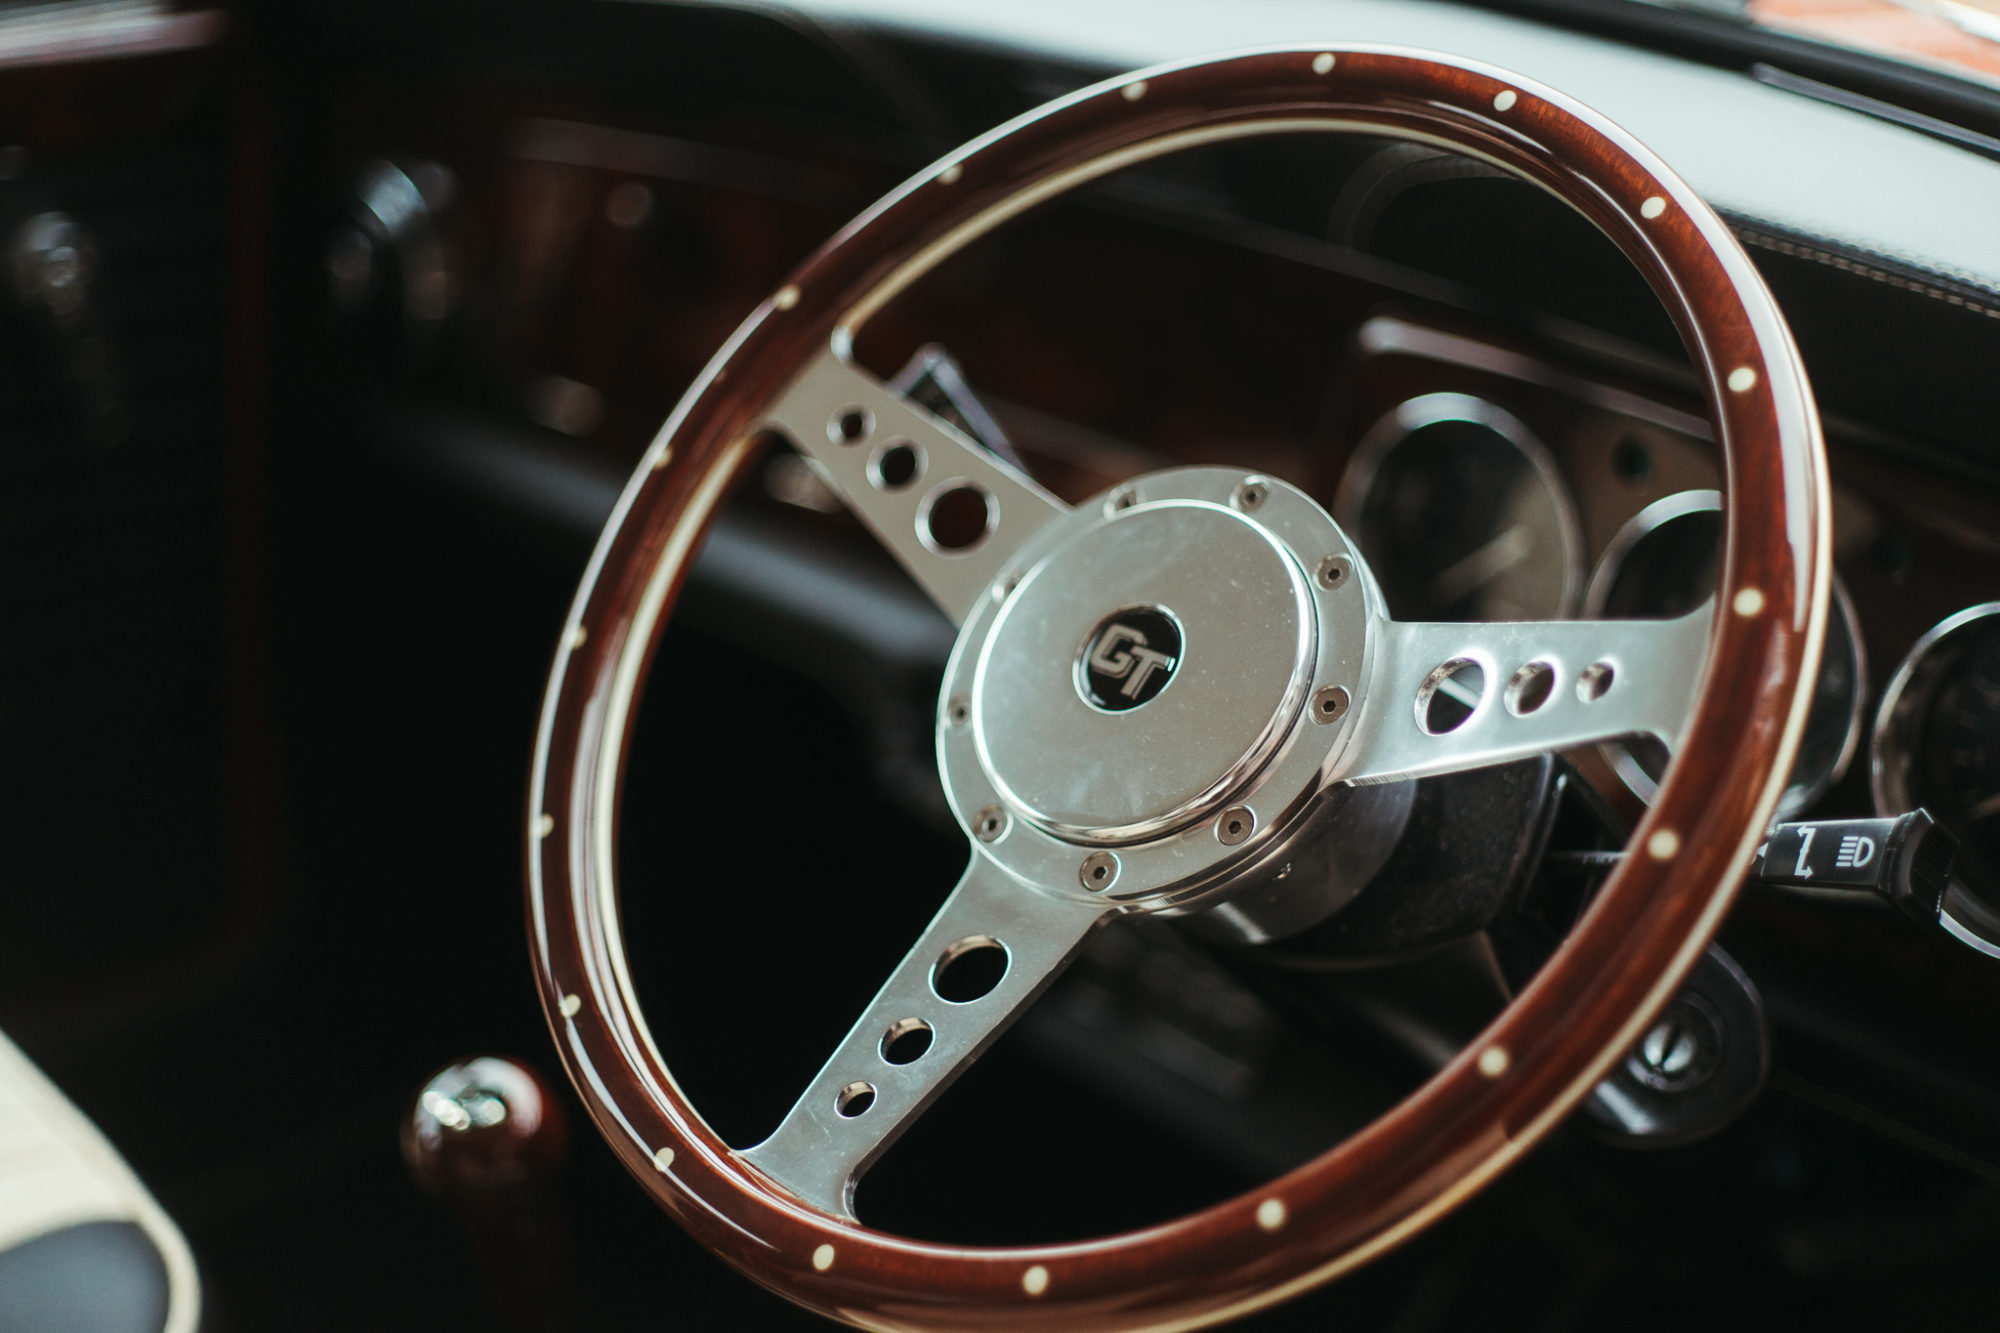
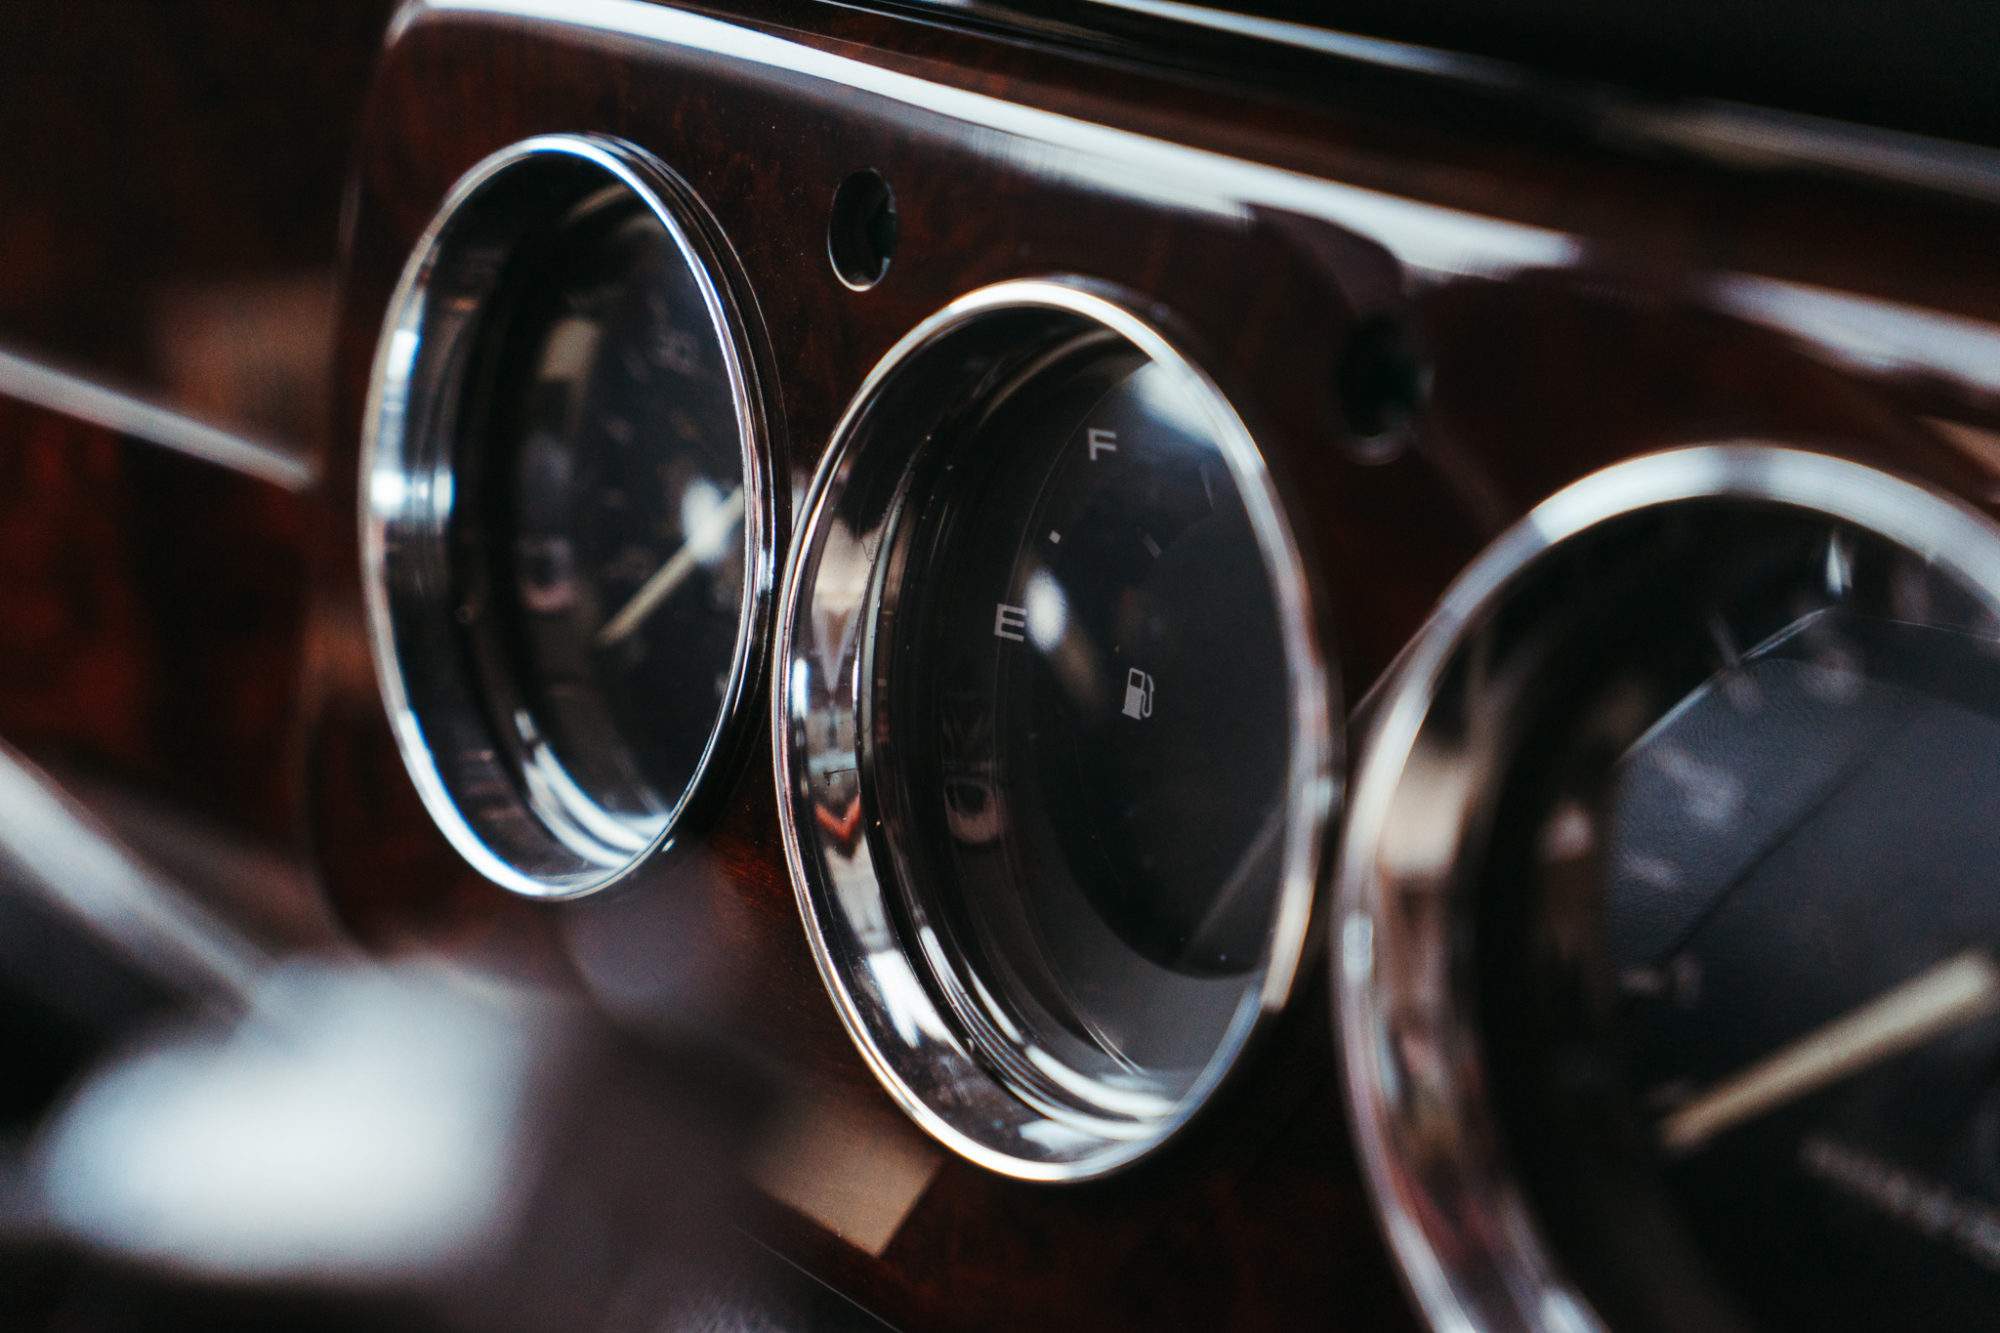
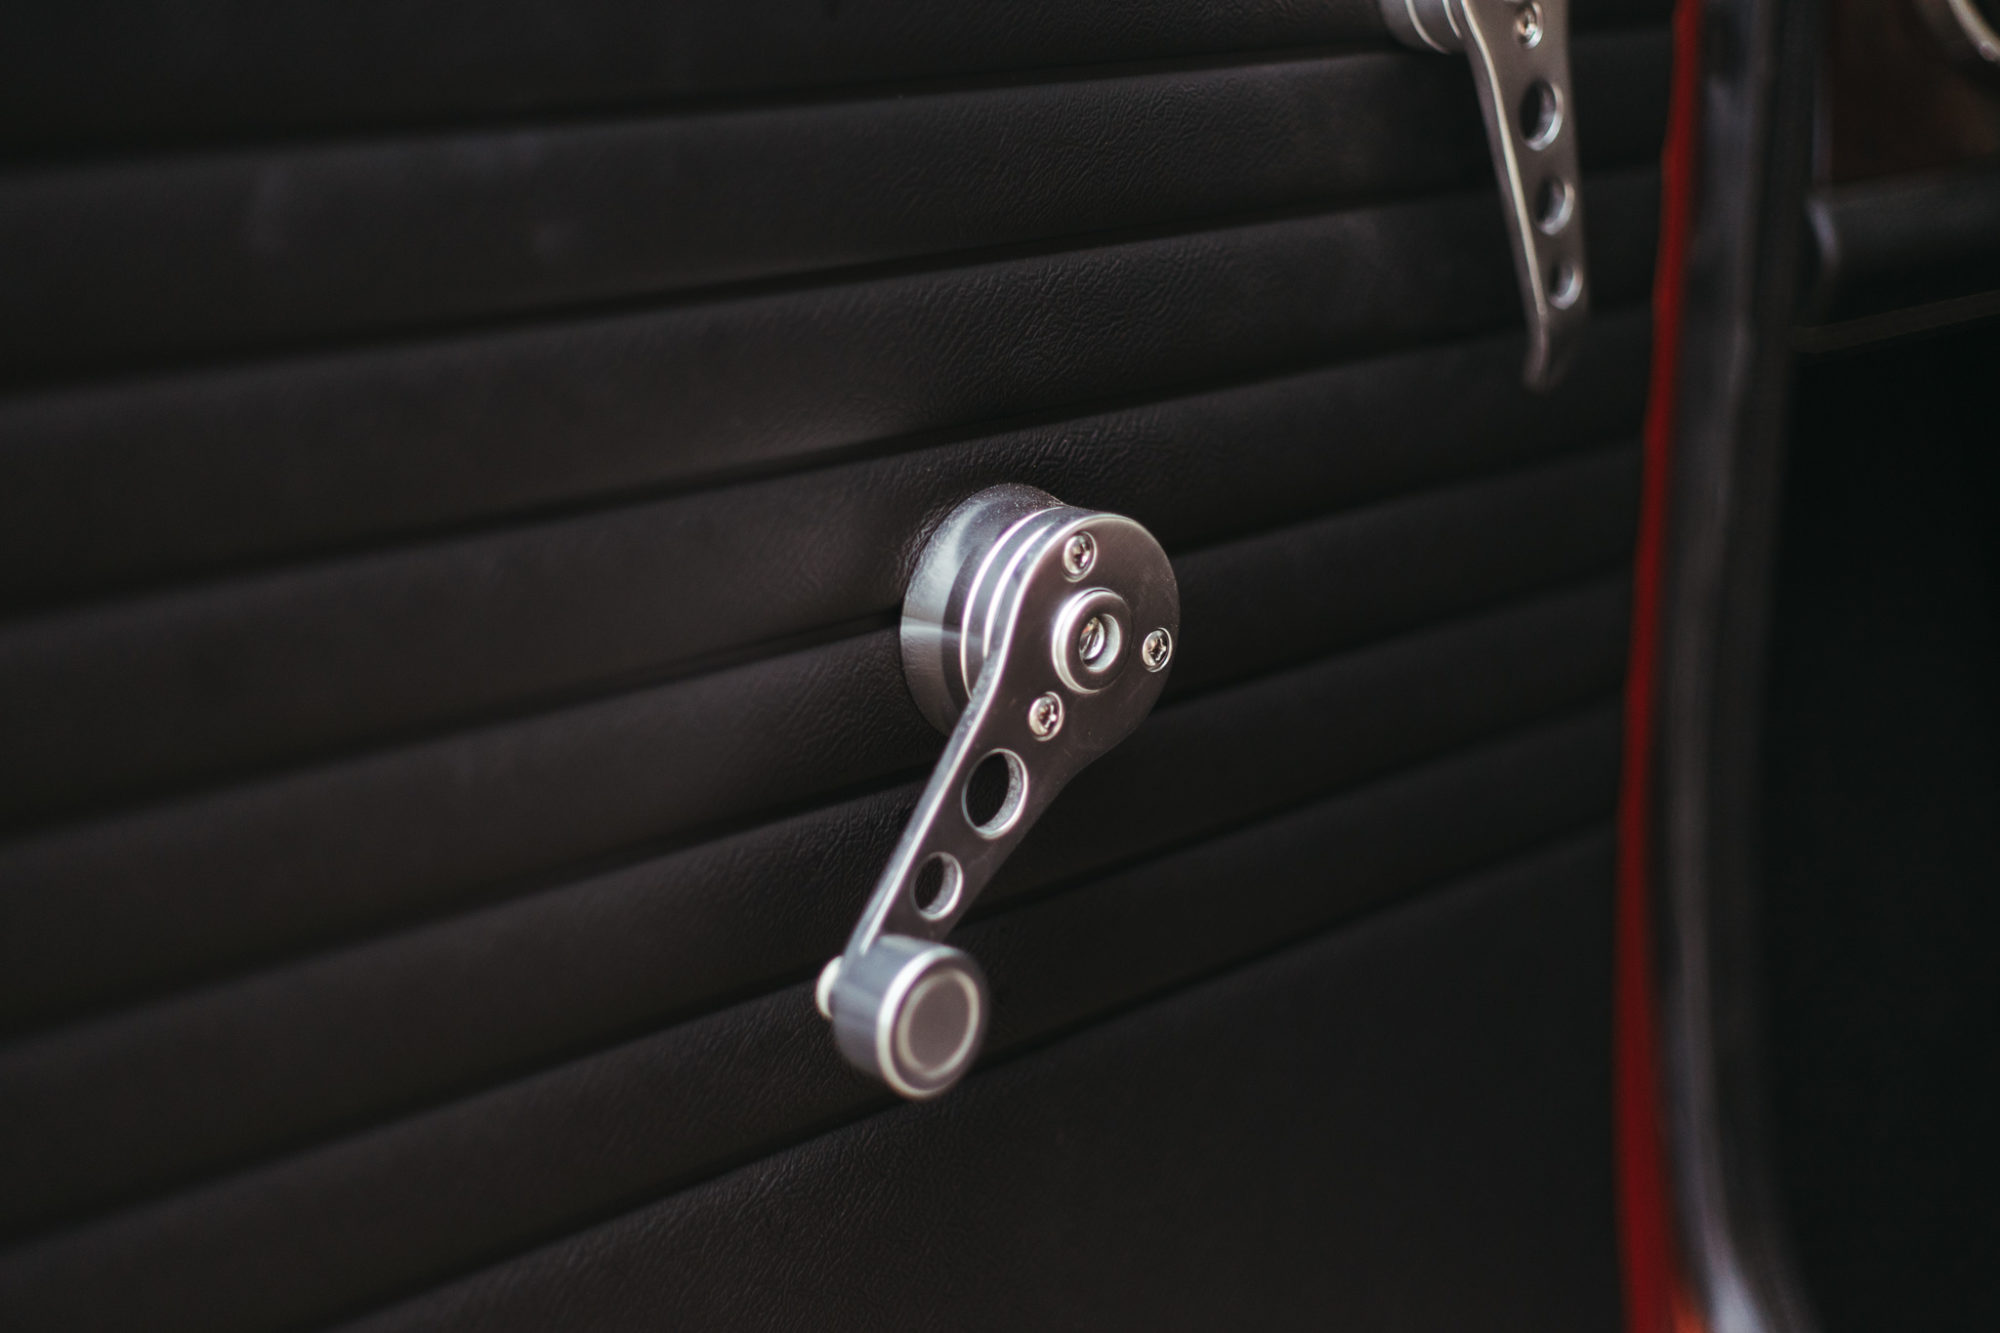
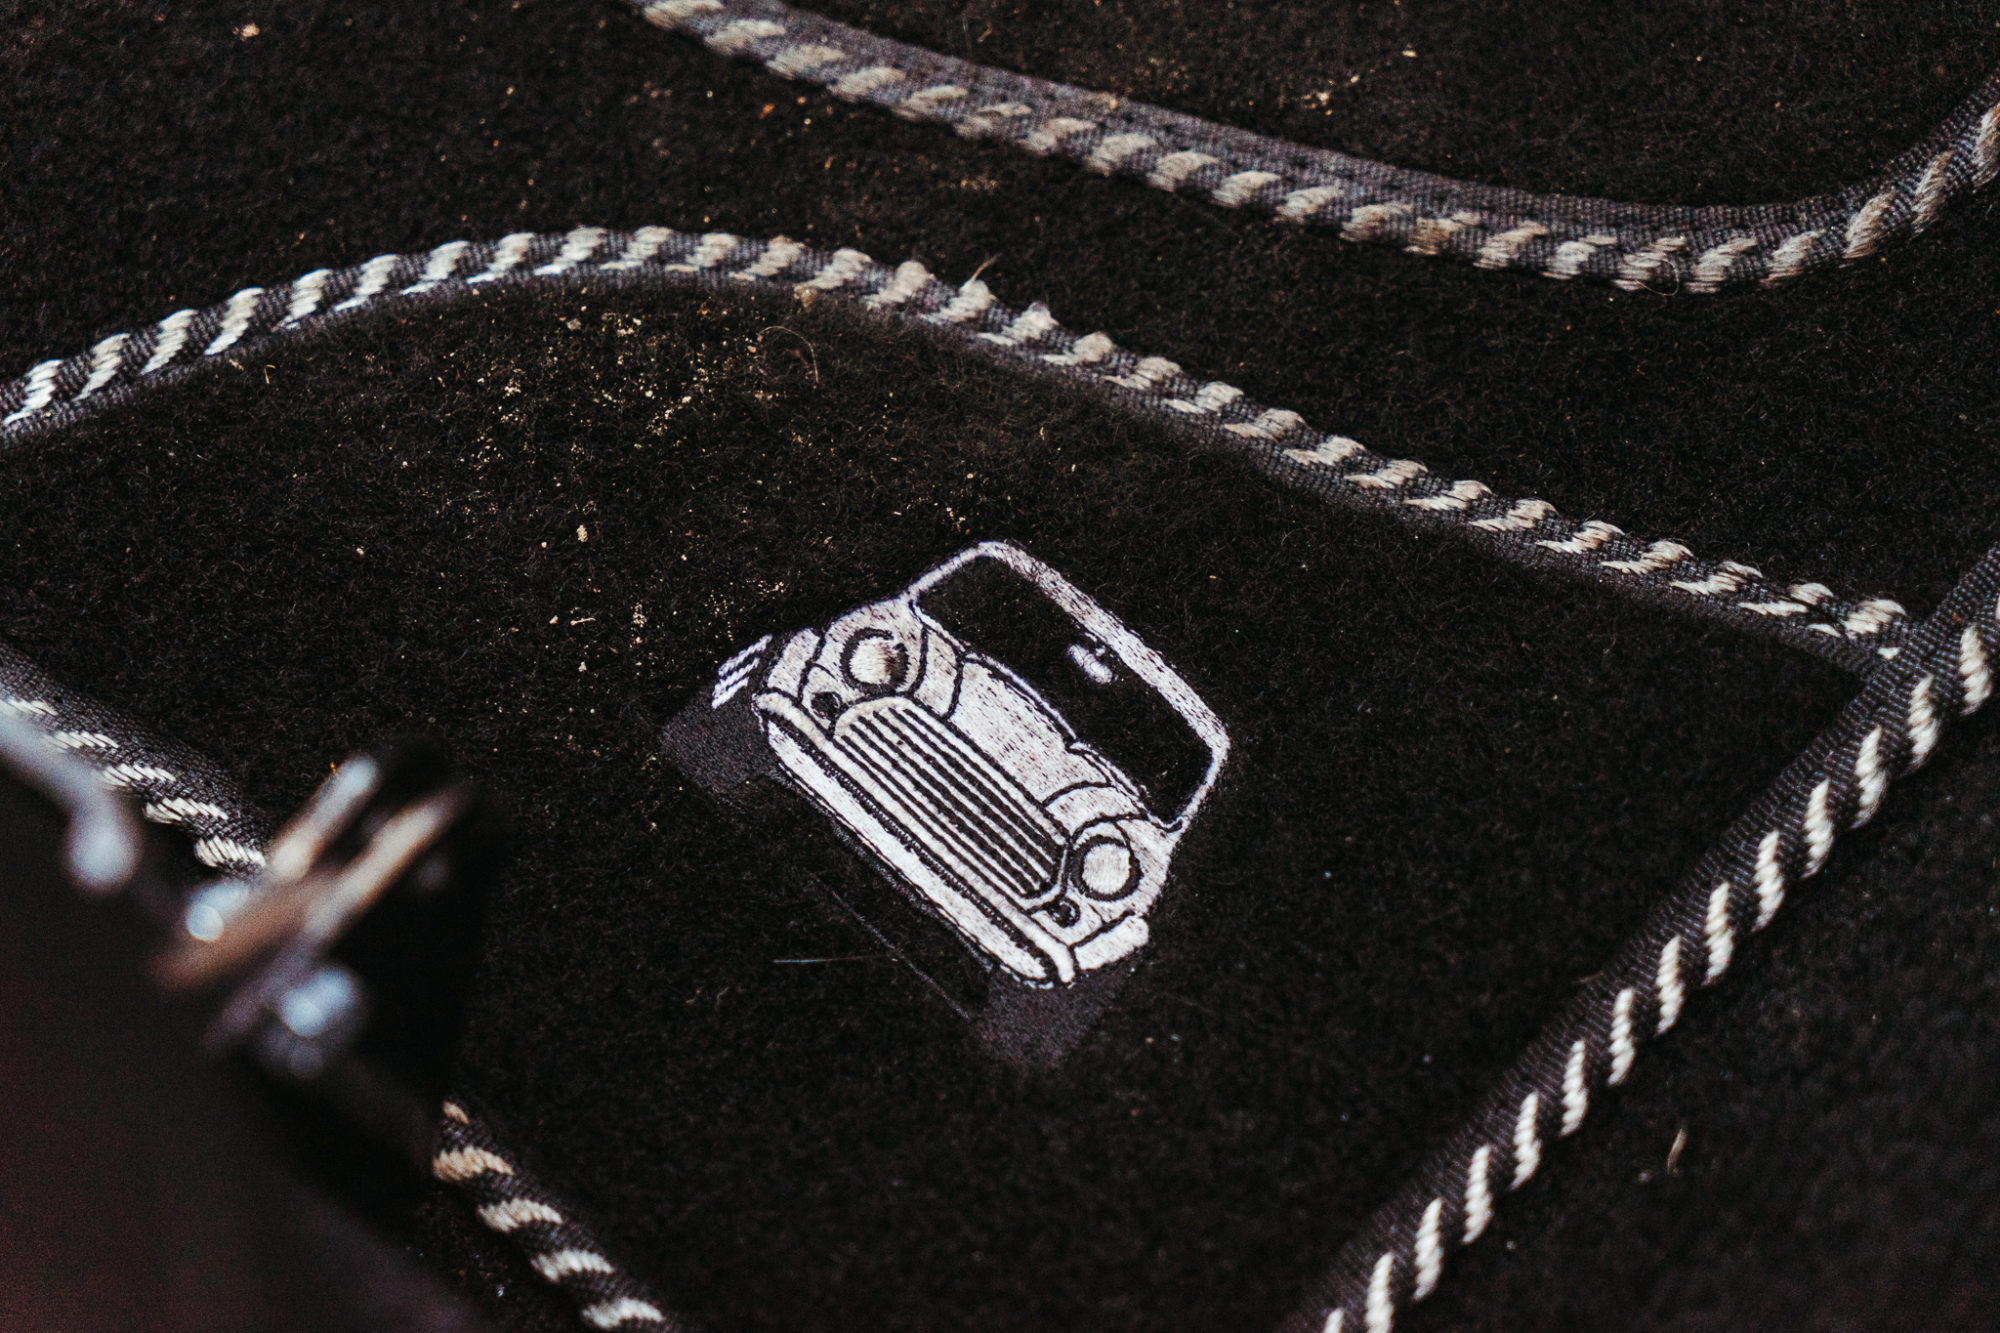
On Monday we had an exciting orange delivery… This characterful 1980 Austin Morris Mini 1275 GT has arrived and will be one of our next
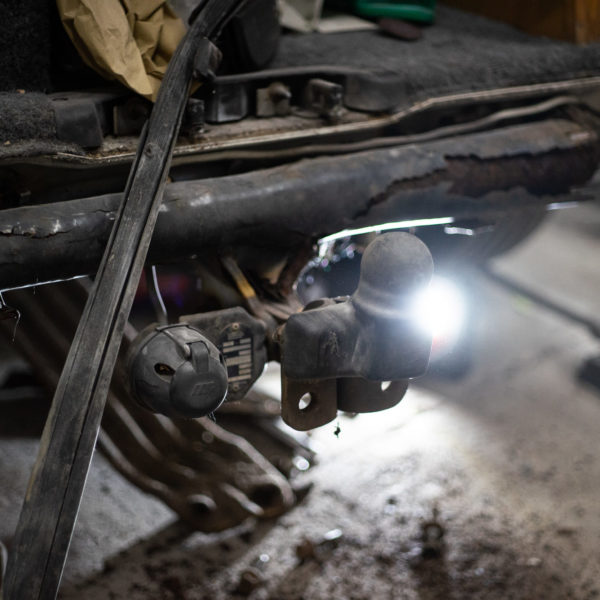
James has been working on removing the old tow bar on our 1991 T4 transporter as the owners don’t need it anymore. He aims to

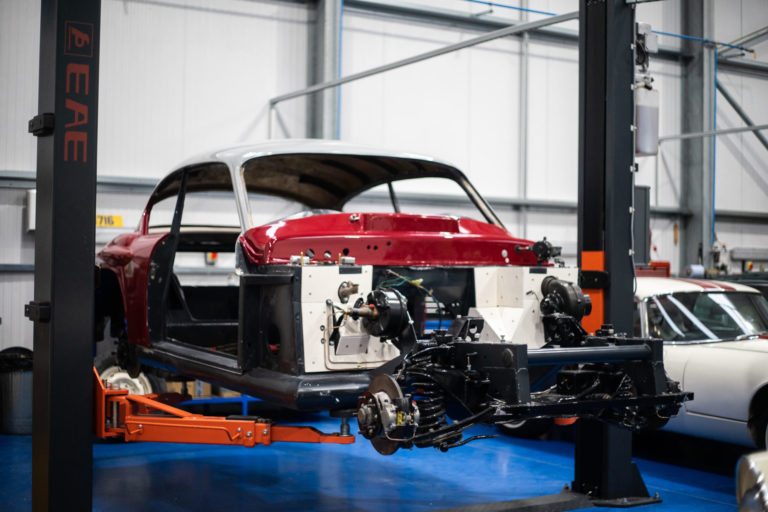
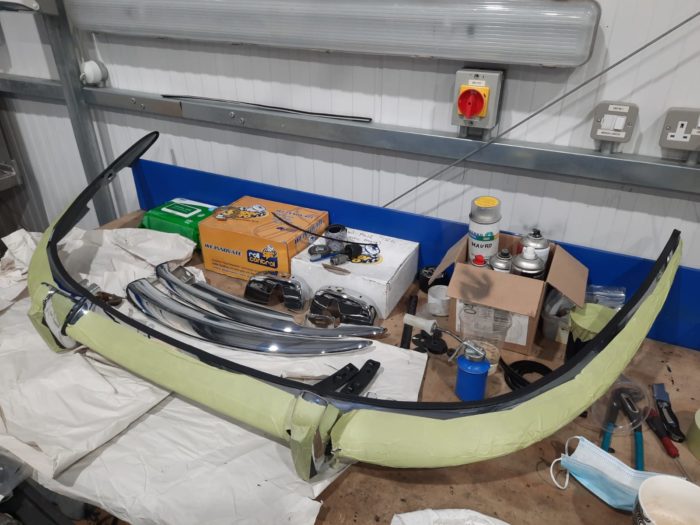
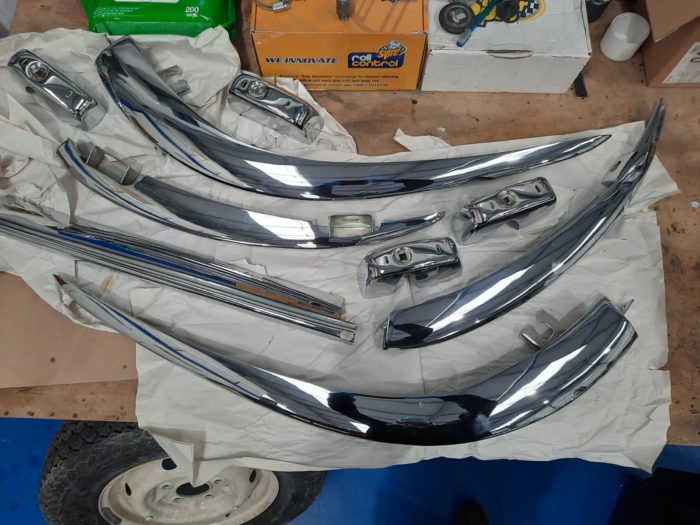
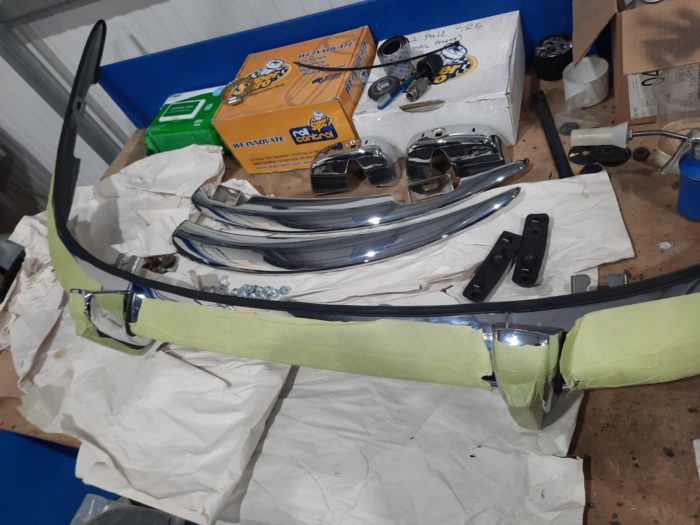
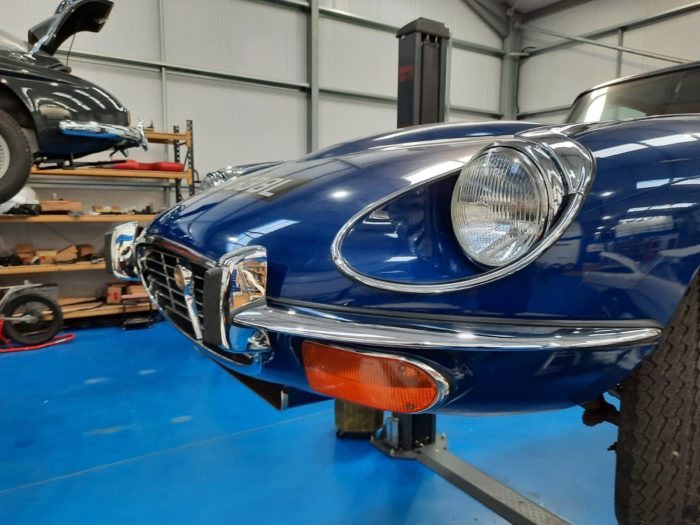
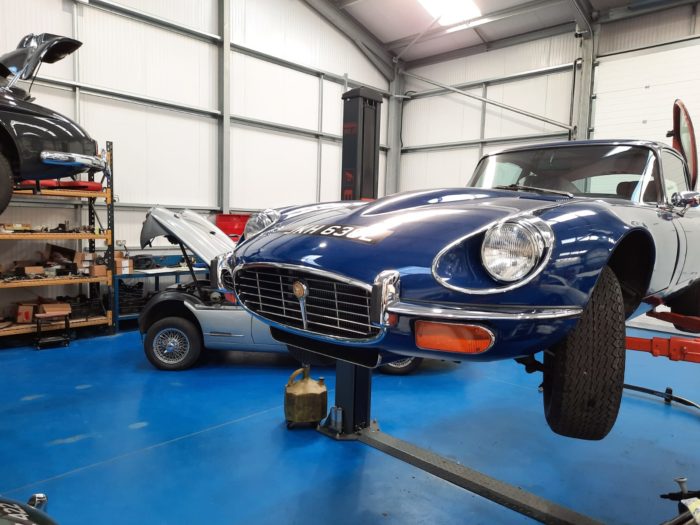
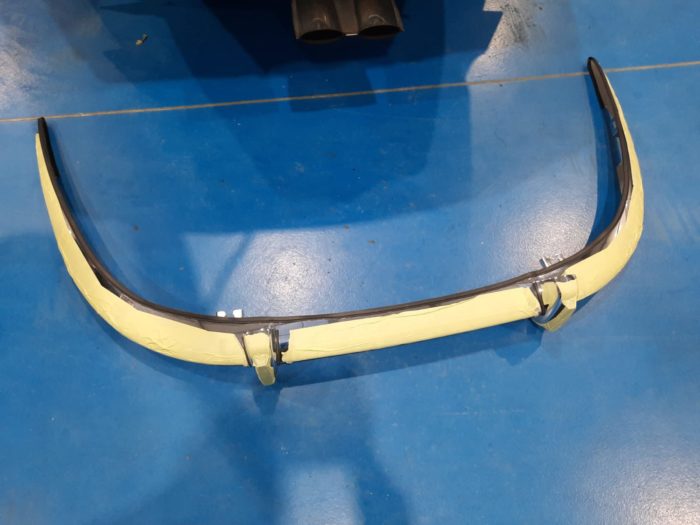
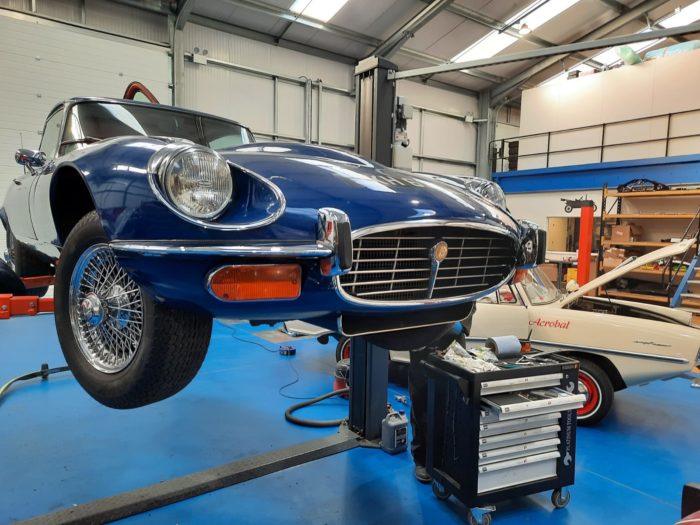
Our 1970 Jaguar E-Type V12 is back in the workshop after its hiatus at Bentwaters whilst we waited for the chrome bumper to come back.

Brian has completed restoring the frame of our Triumph TR5 seats and has installed a reclining hinge joint. He made this element by hand out
We recently celebrated a year since our Golden Rolls Royce Silver Shadow found its new home with Michael, who’s been keeping us thoroughly updated with
Another delivery to one of our competition winners! A big congratulations to Steven Lambe with lucky ticket number 950. We delivered our 1996 Mercedes 320SL
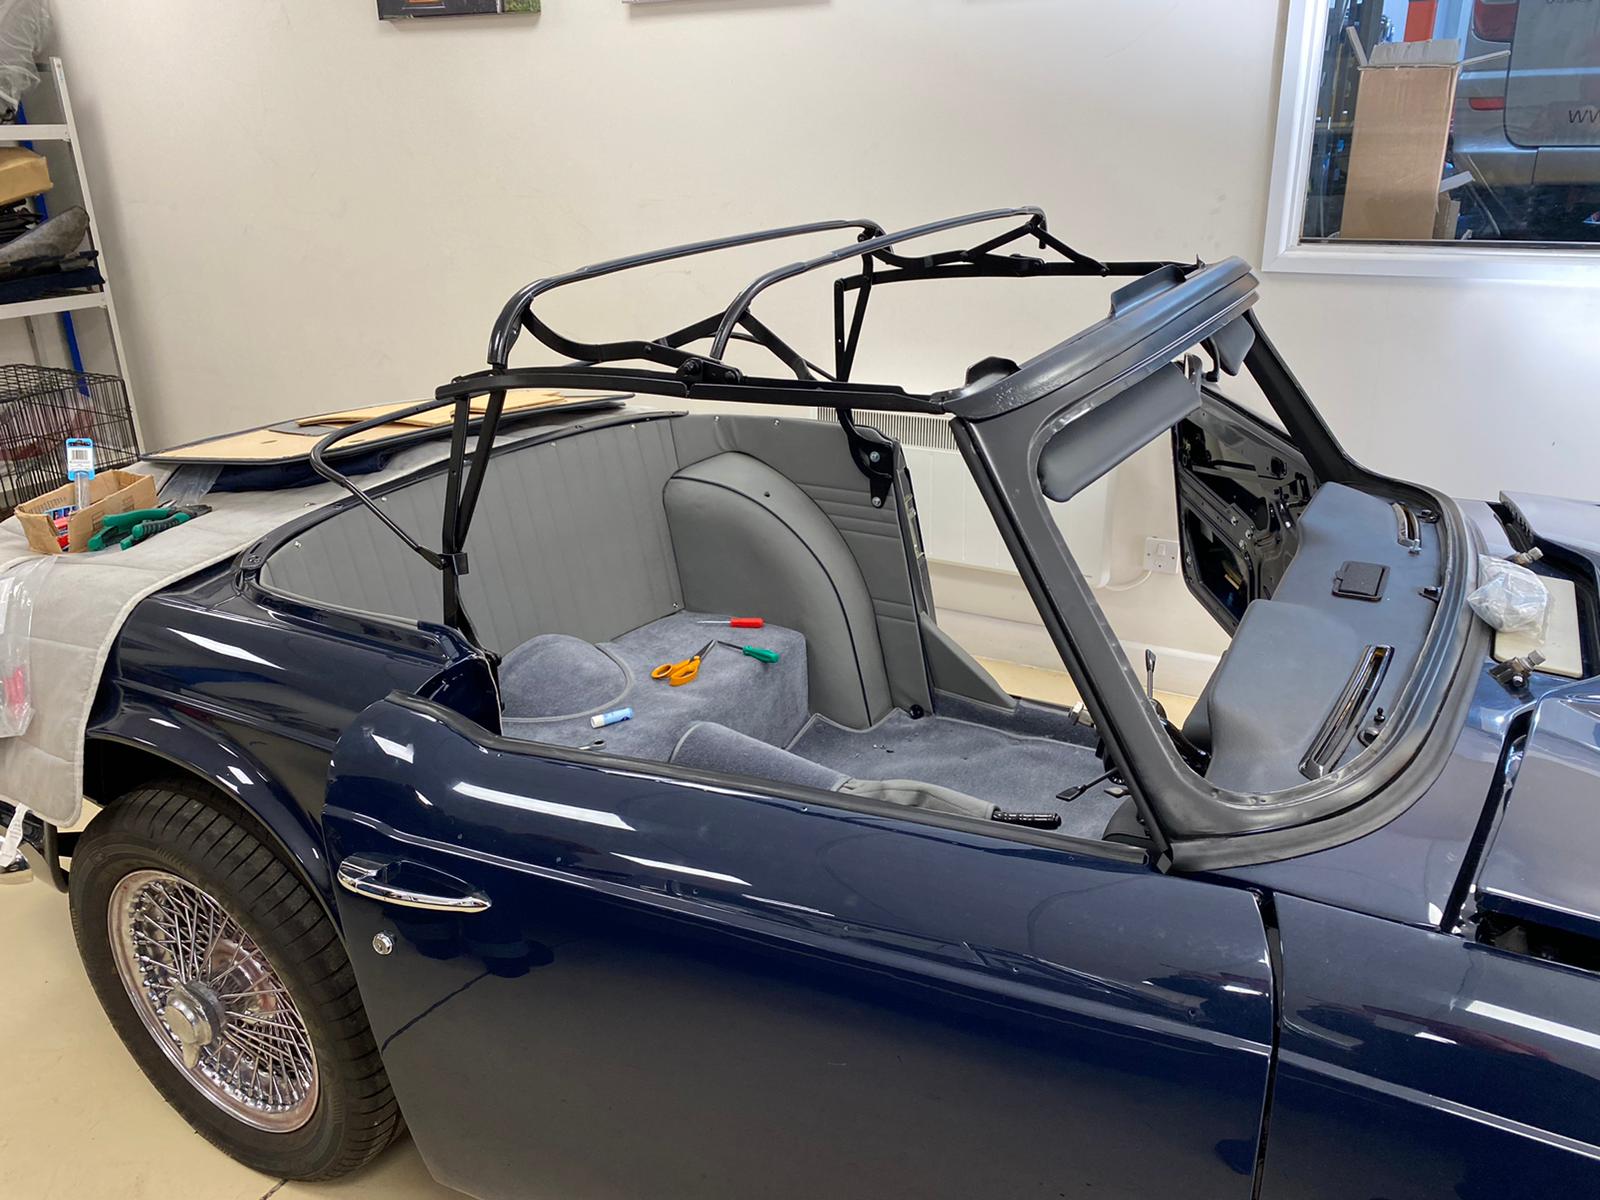
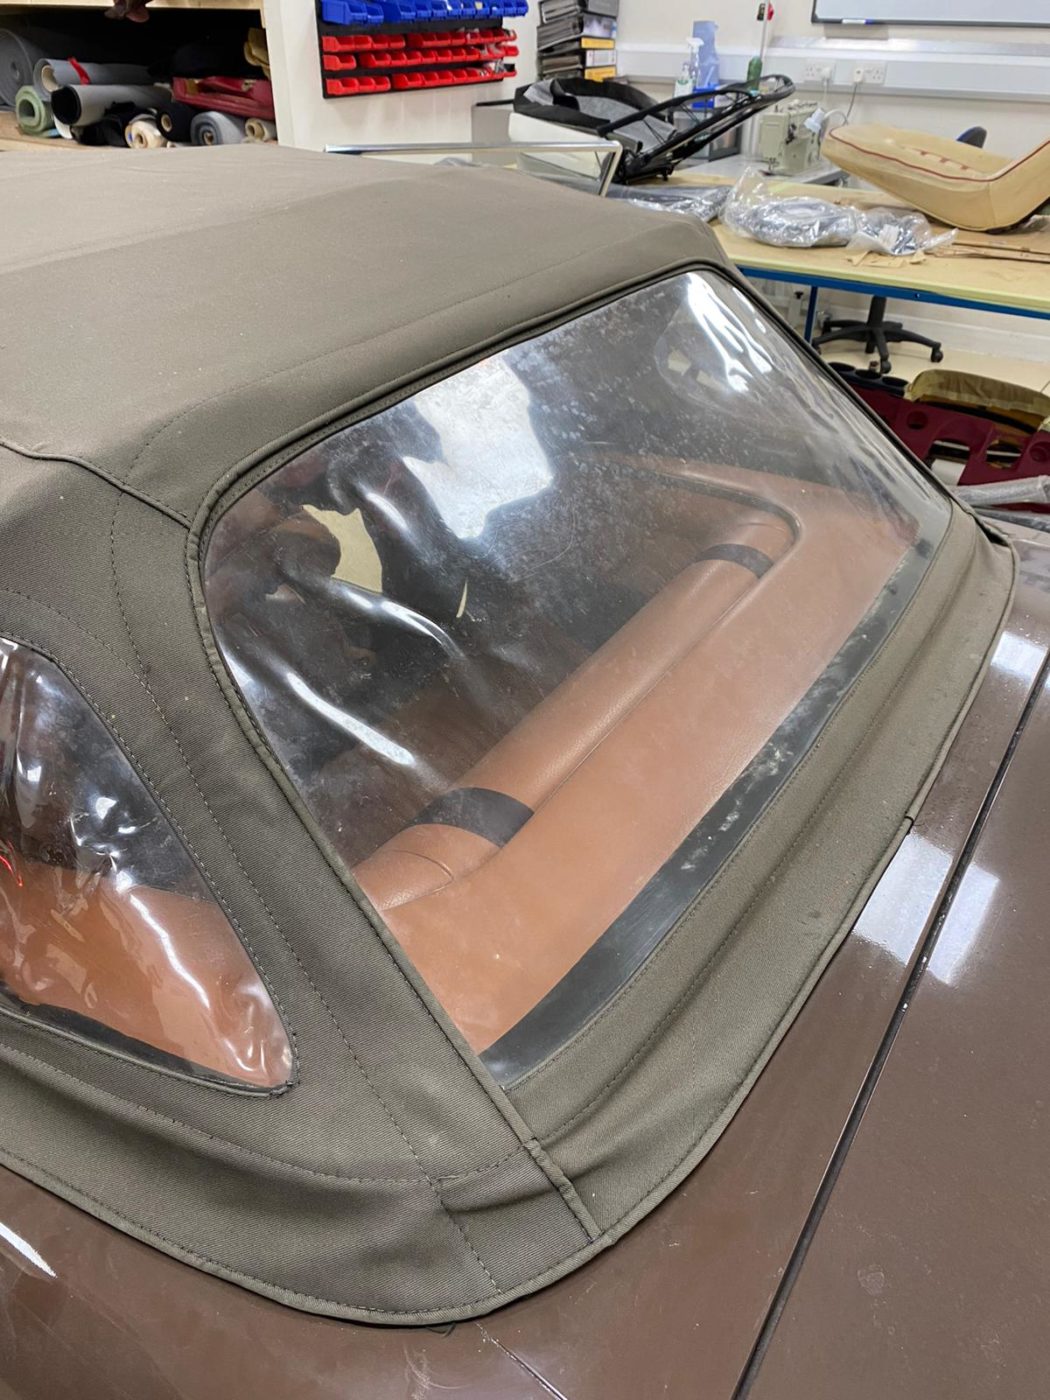
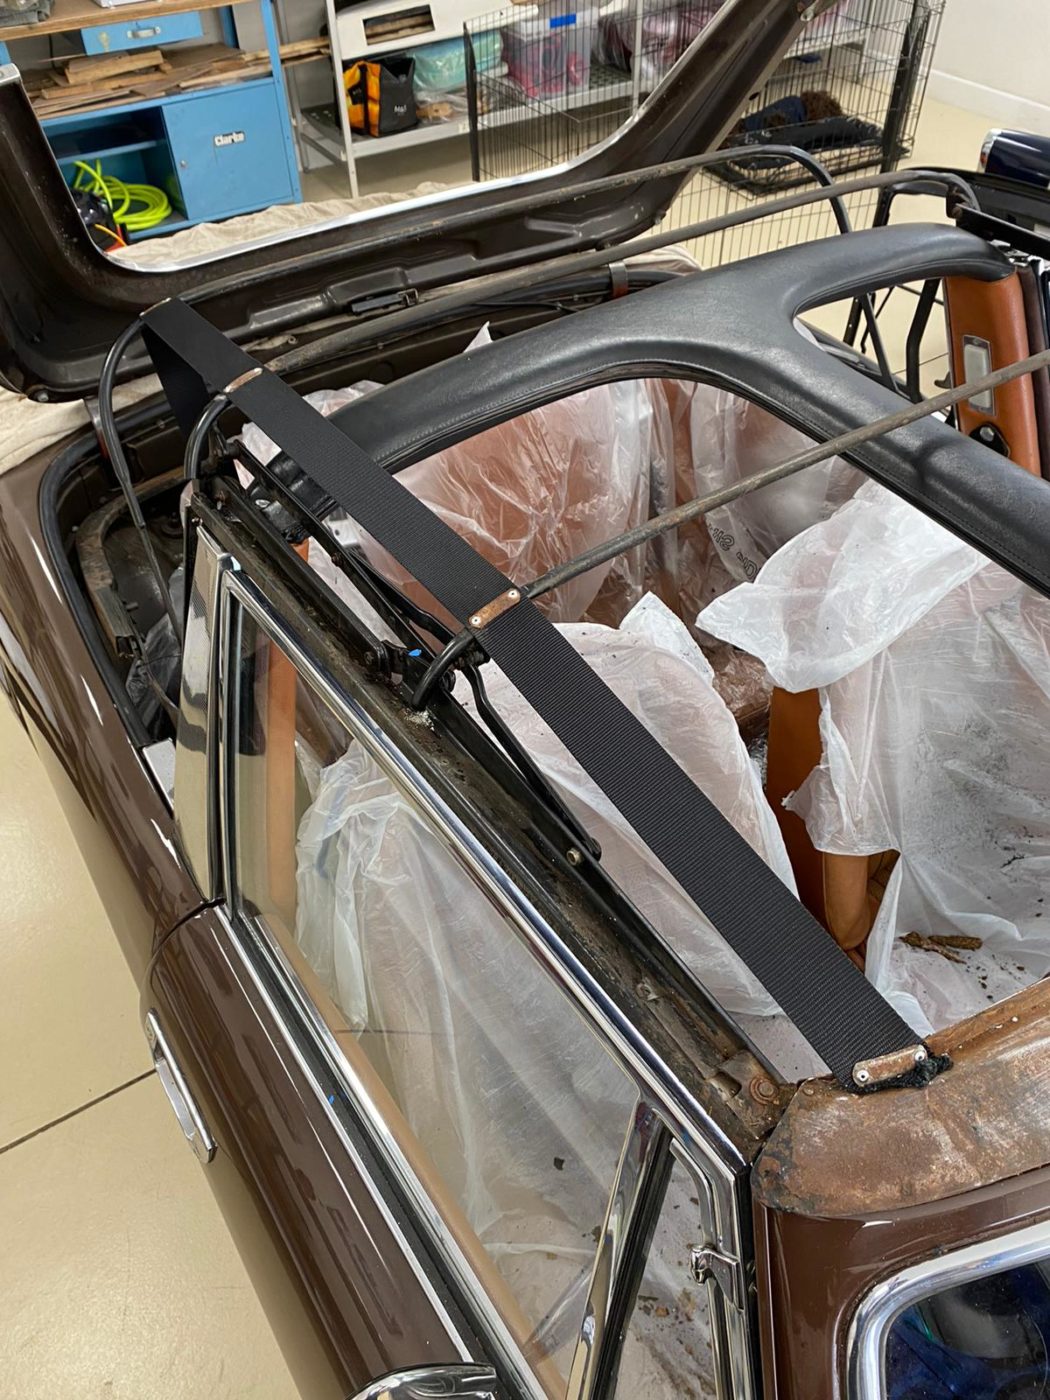
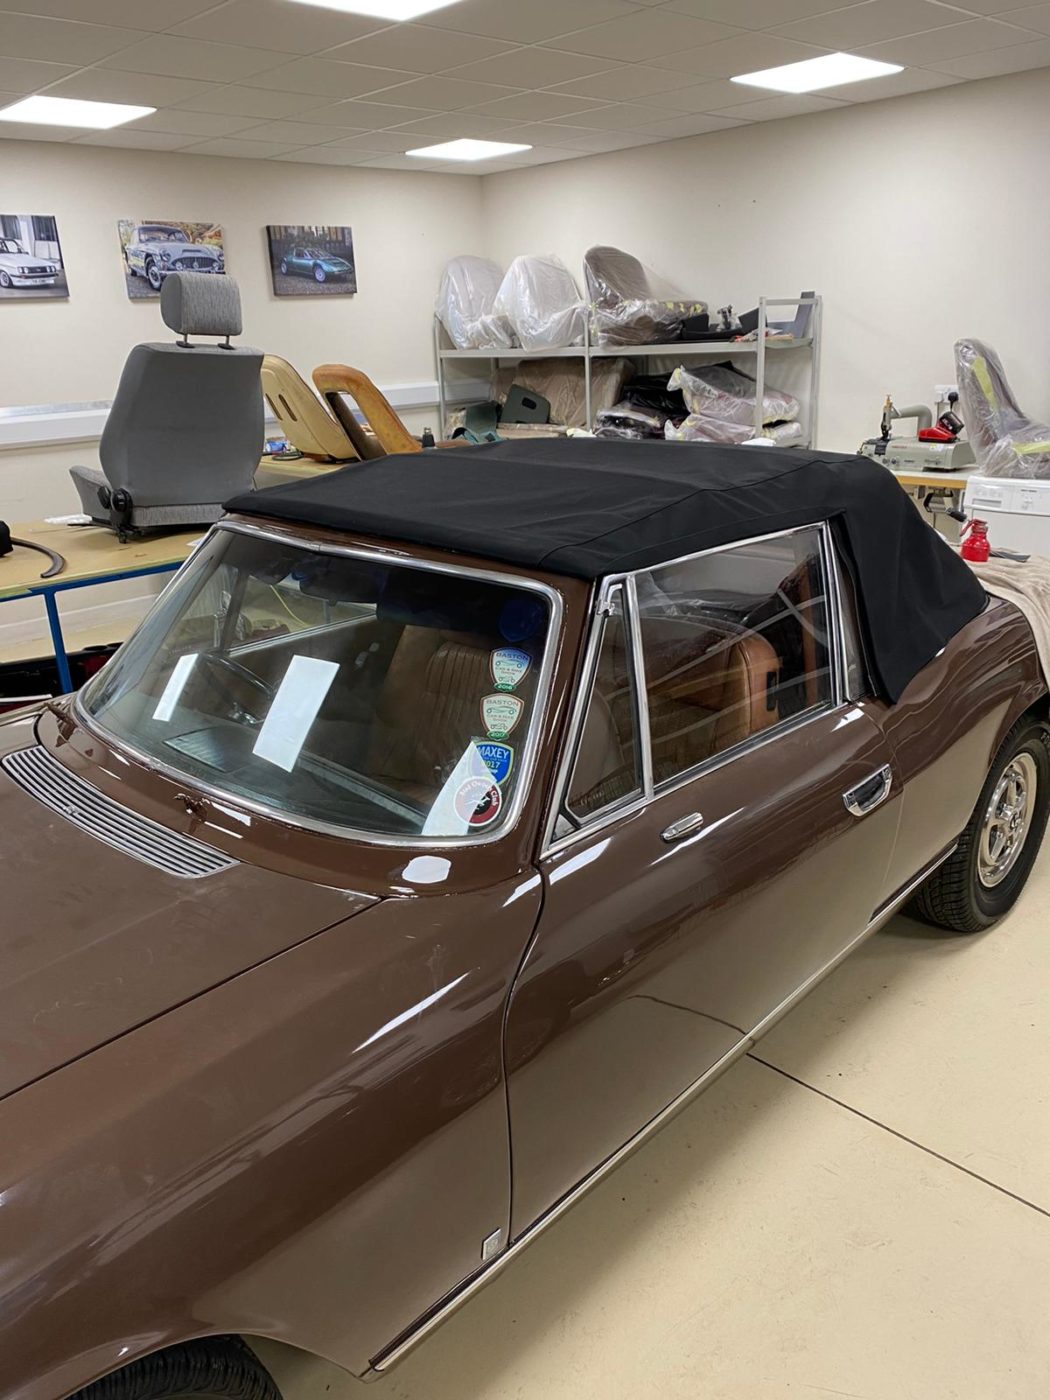
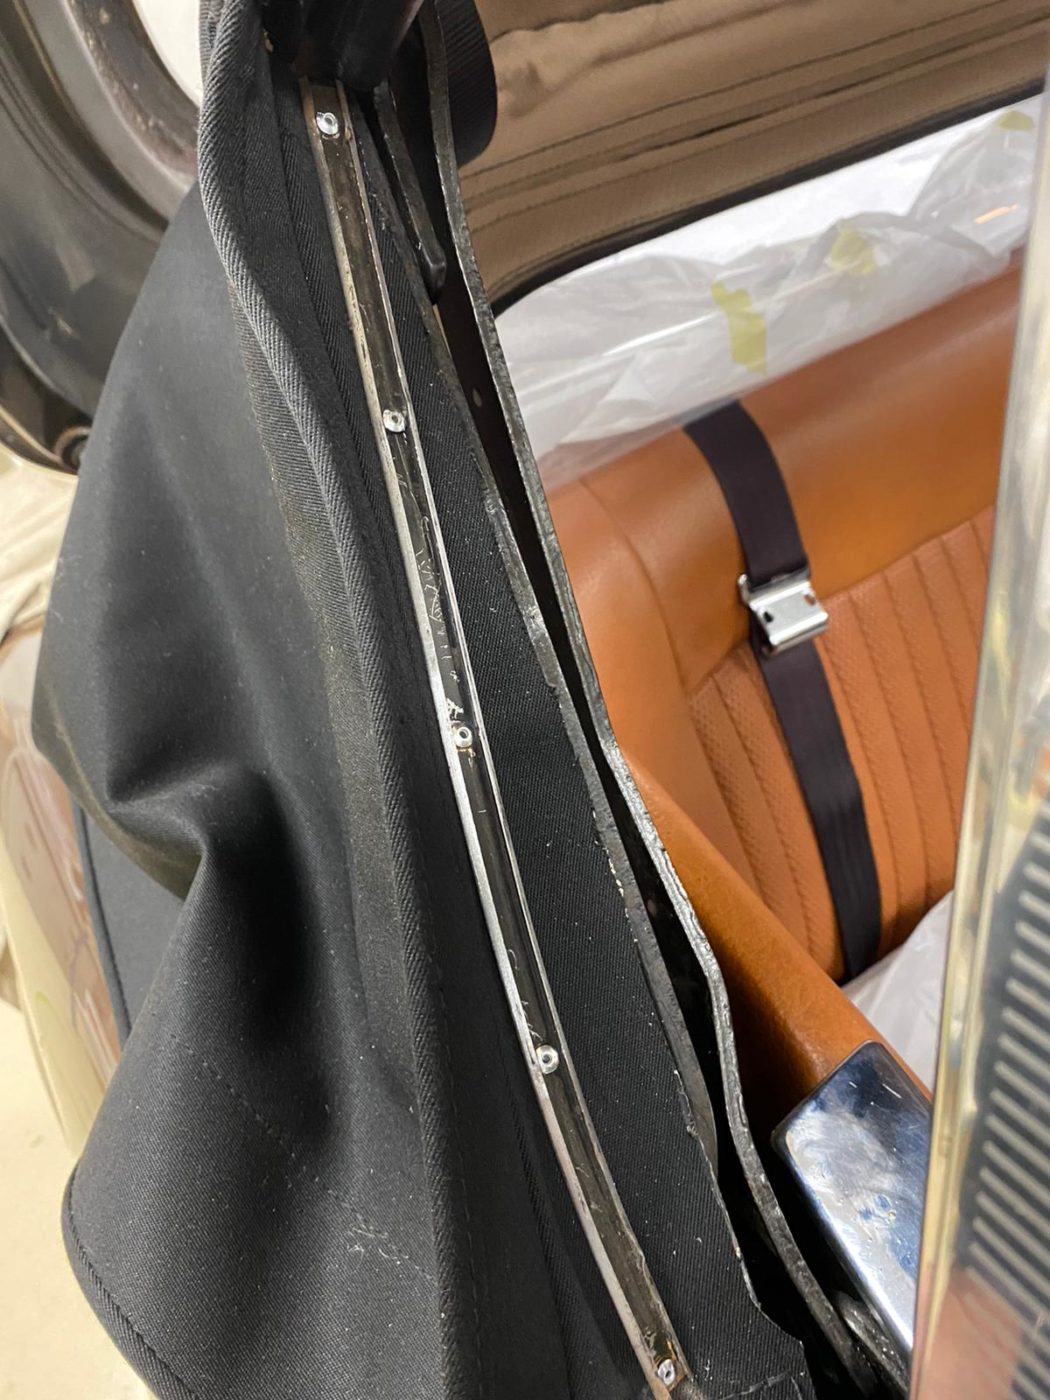
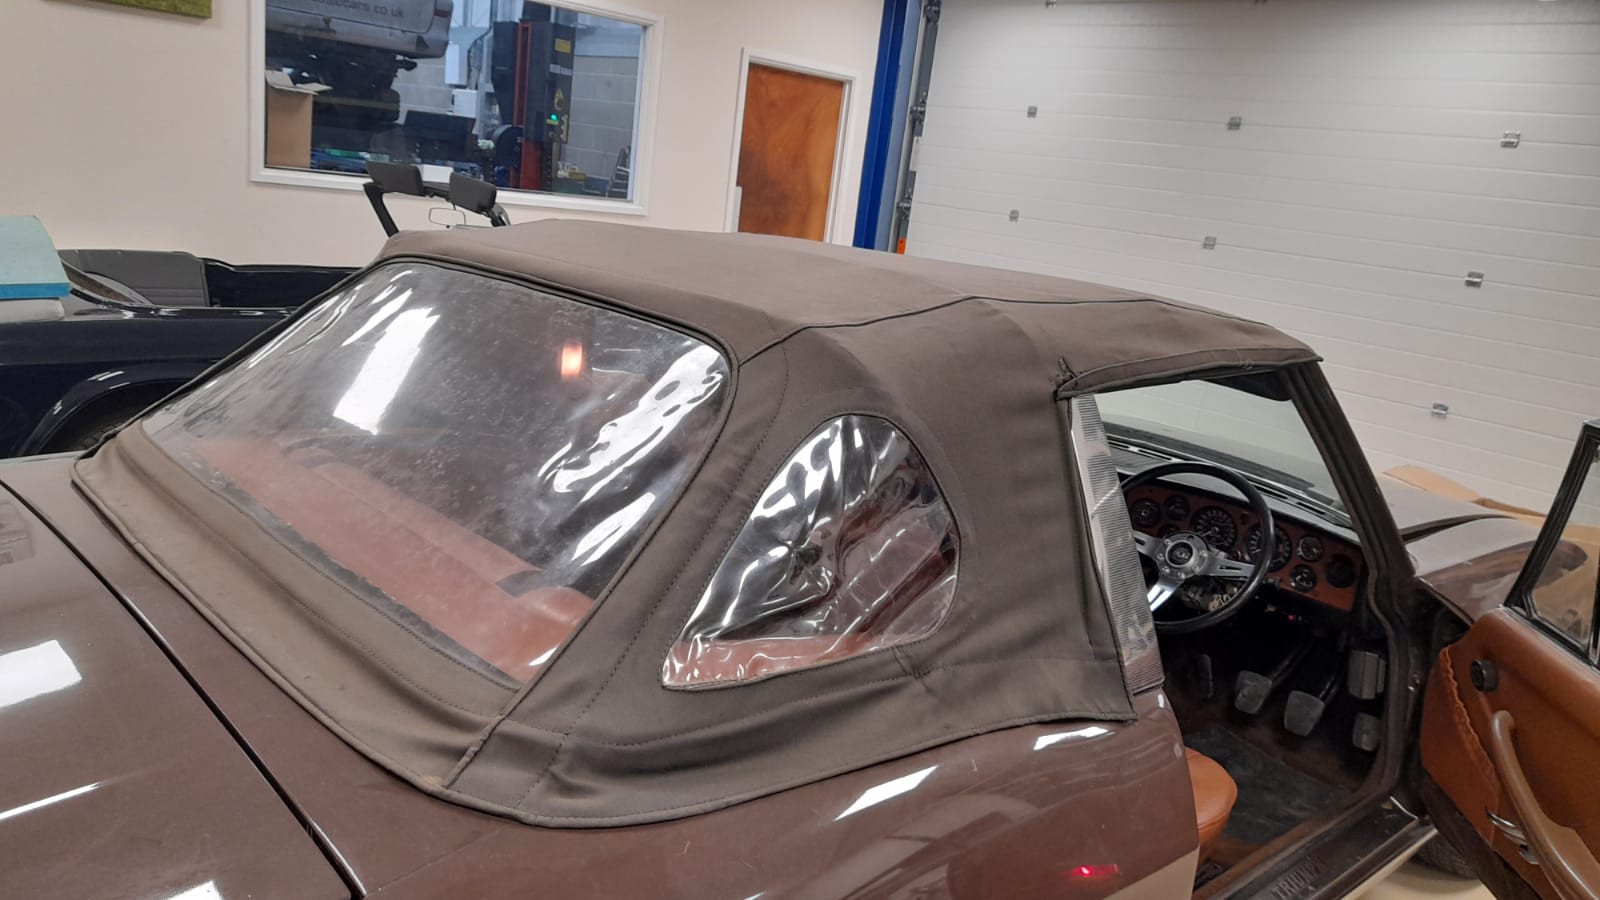
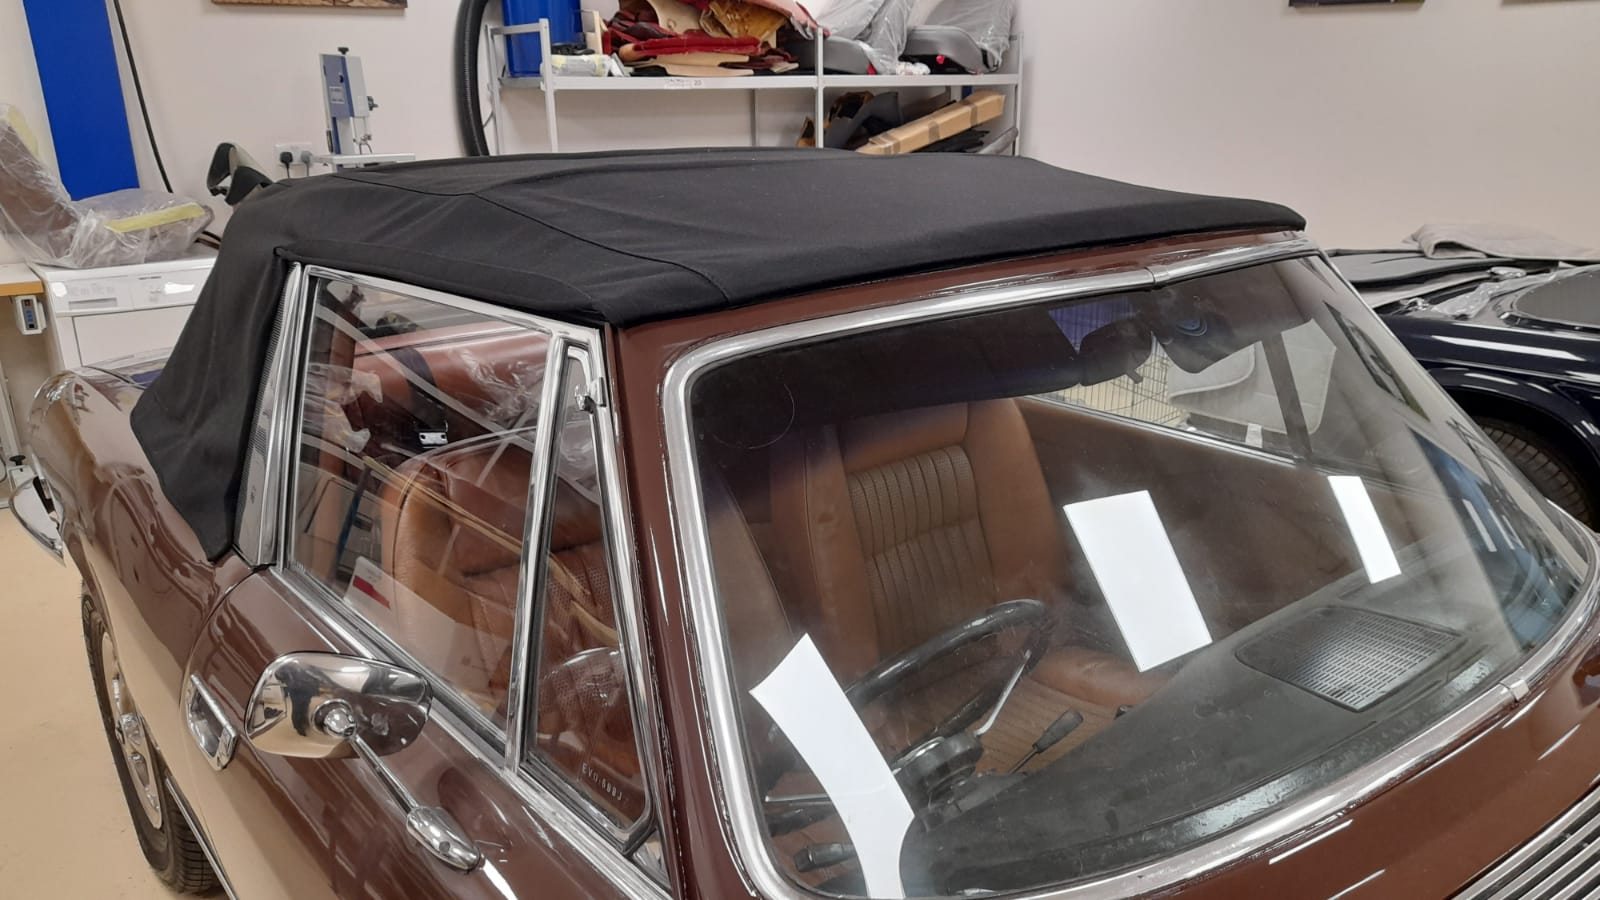
Our trim shop has been working hard to replace the soft top on our Triumph Stag. The original soft top was a rather tired-looking brown
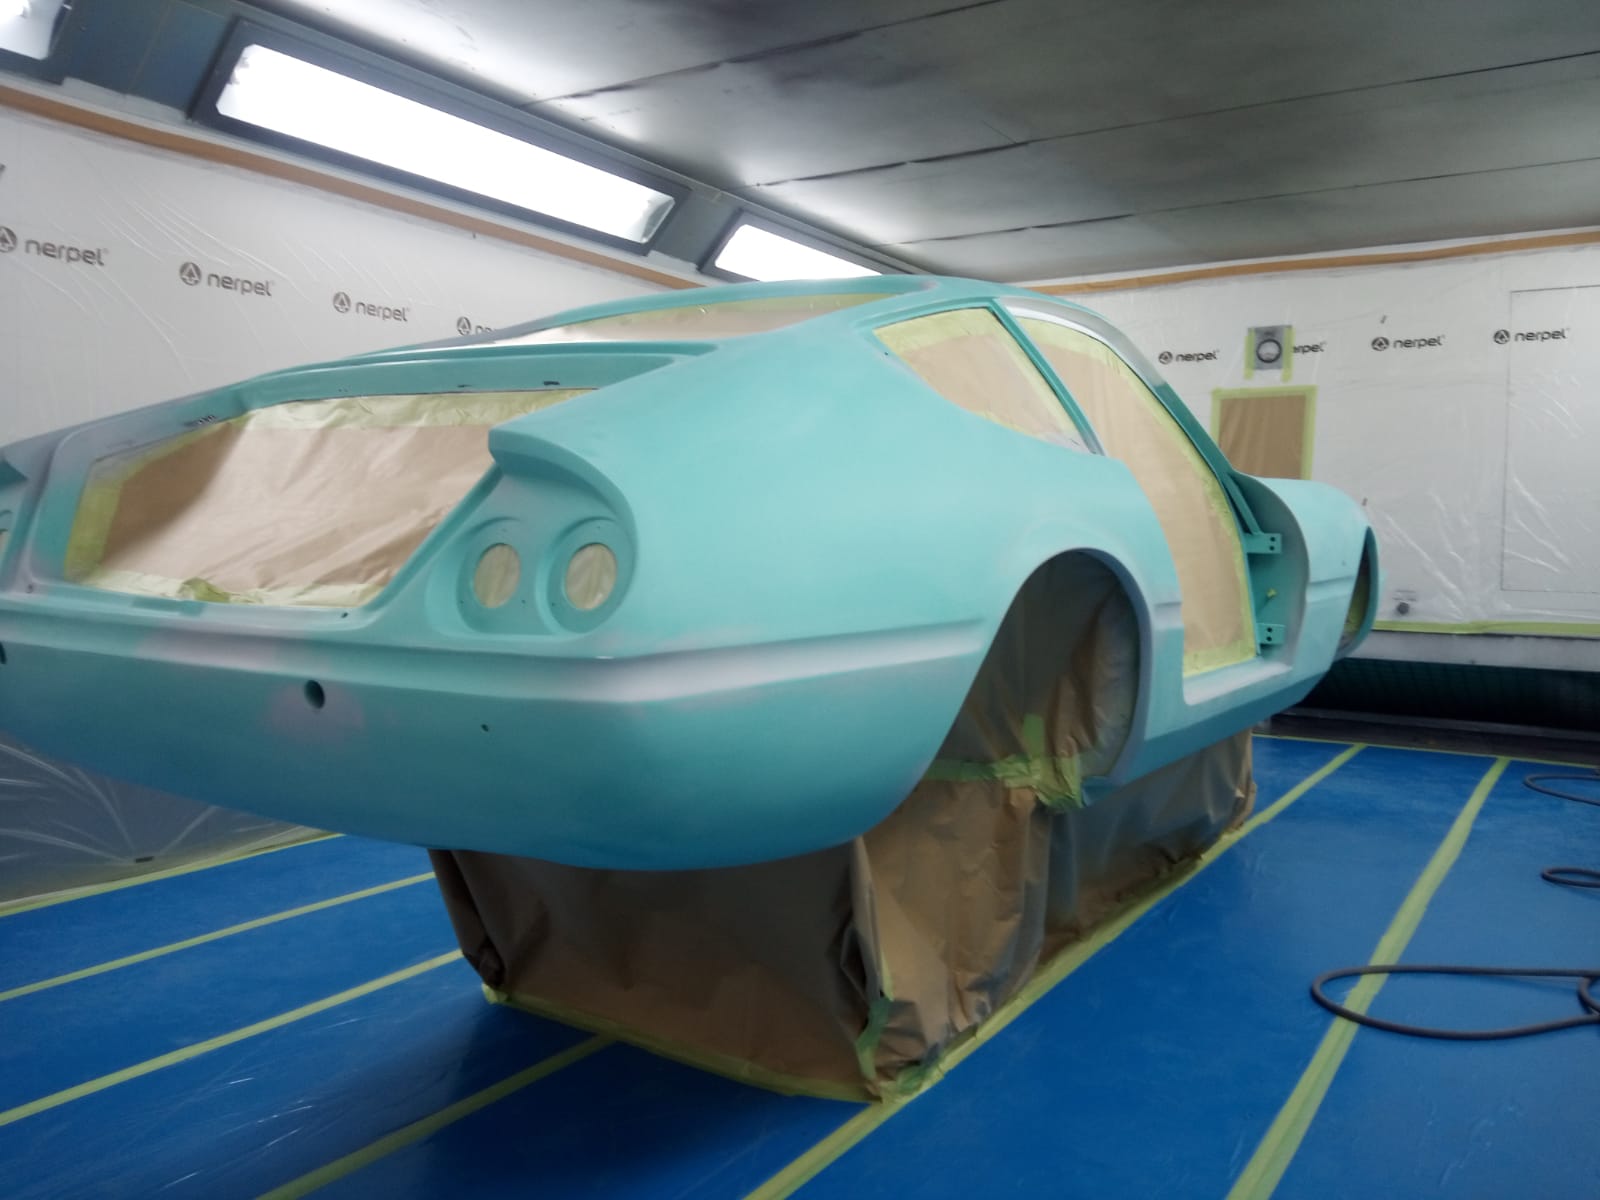
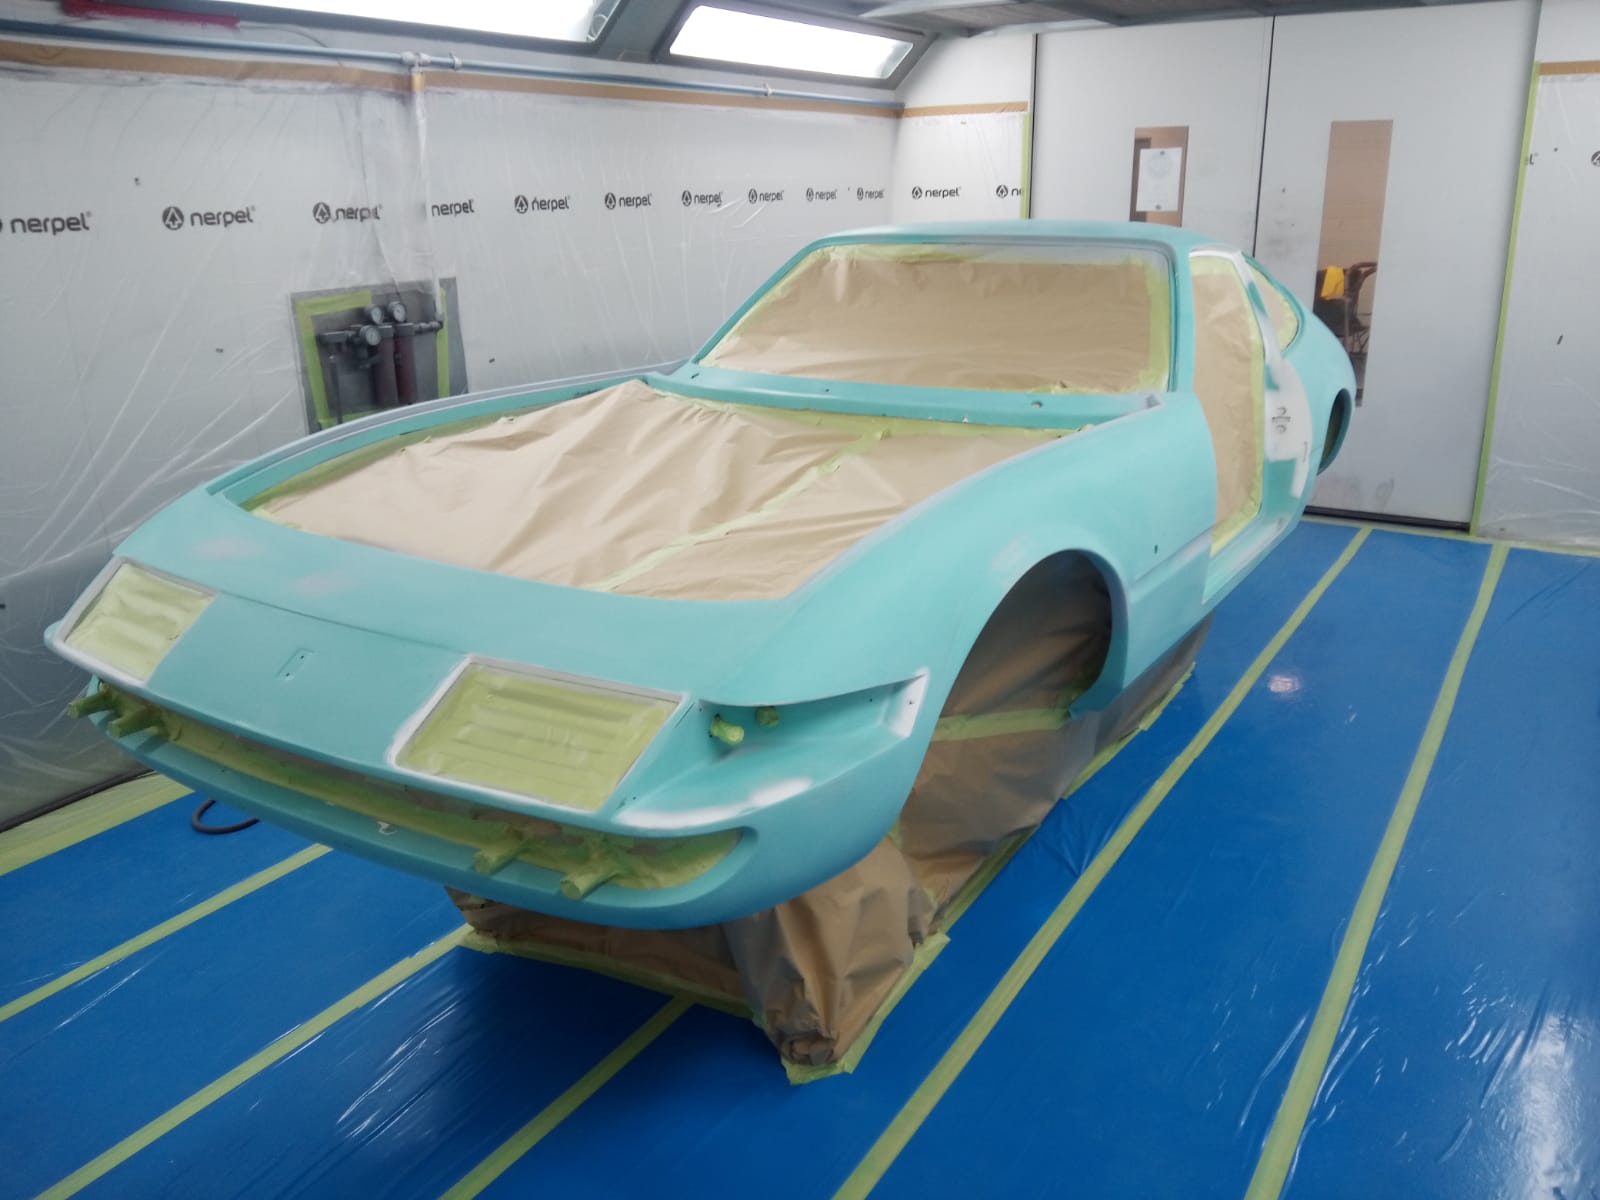
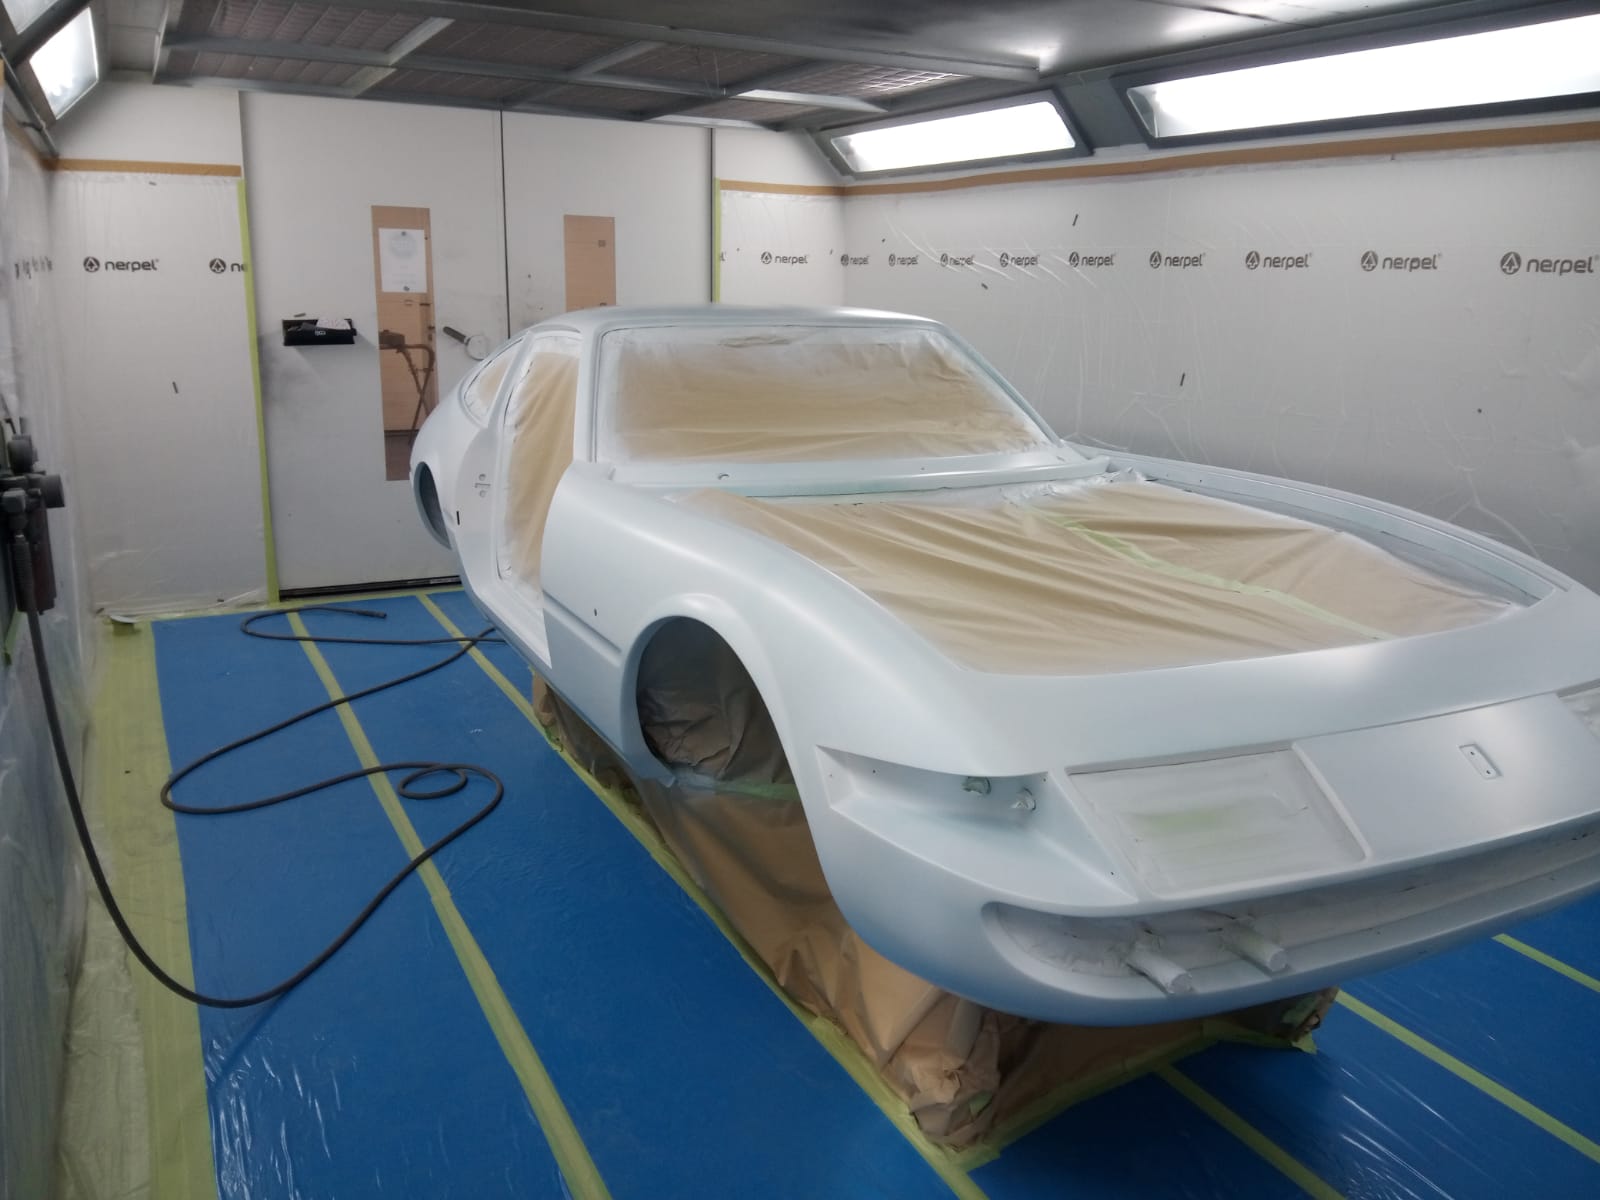
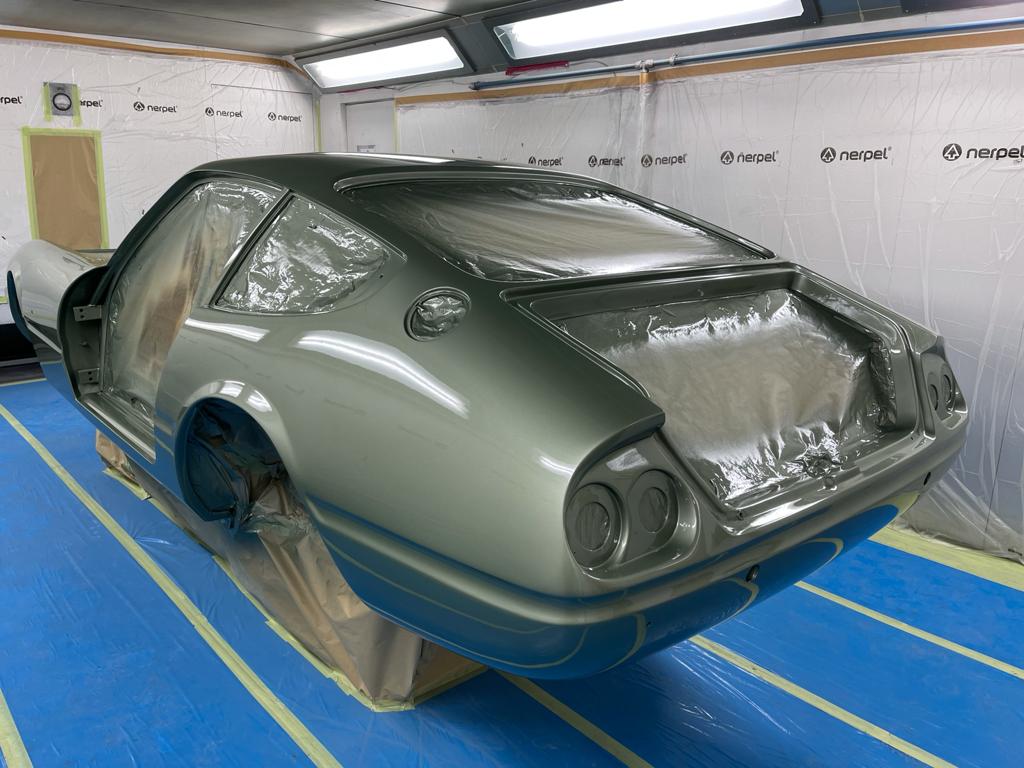
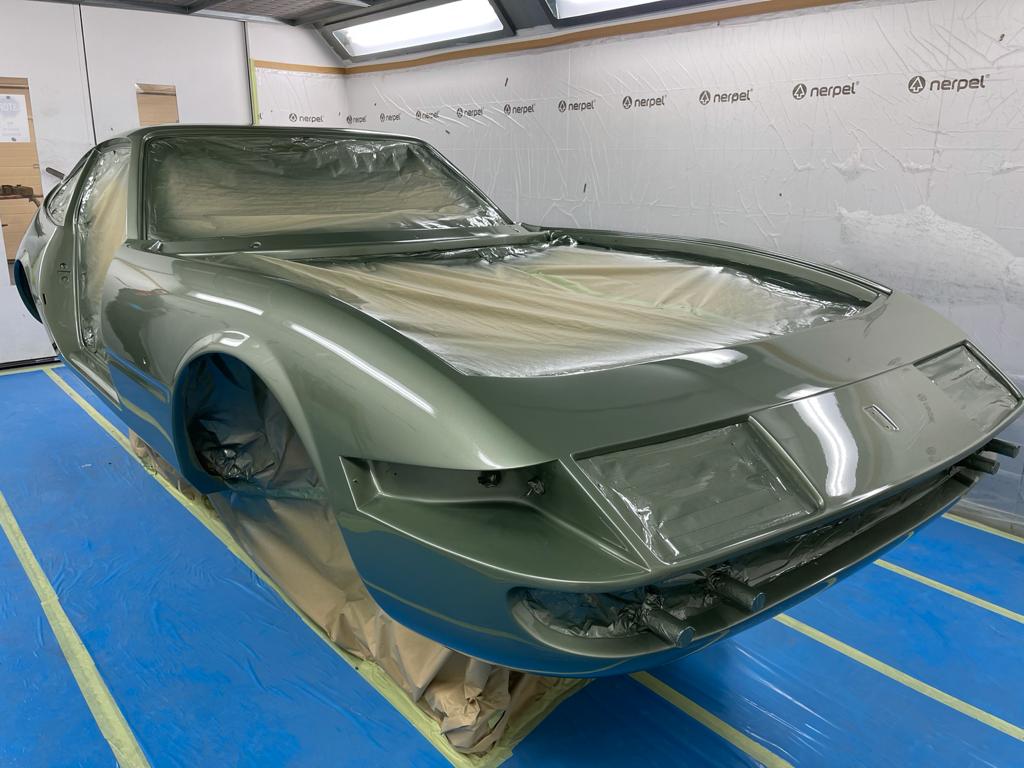
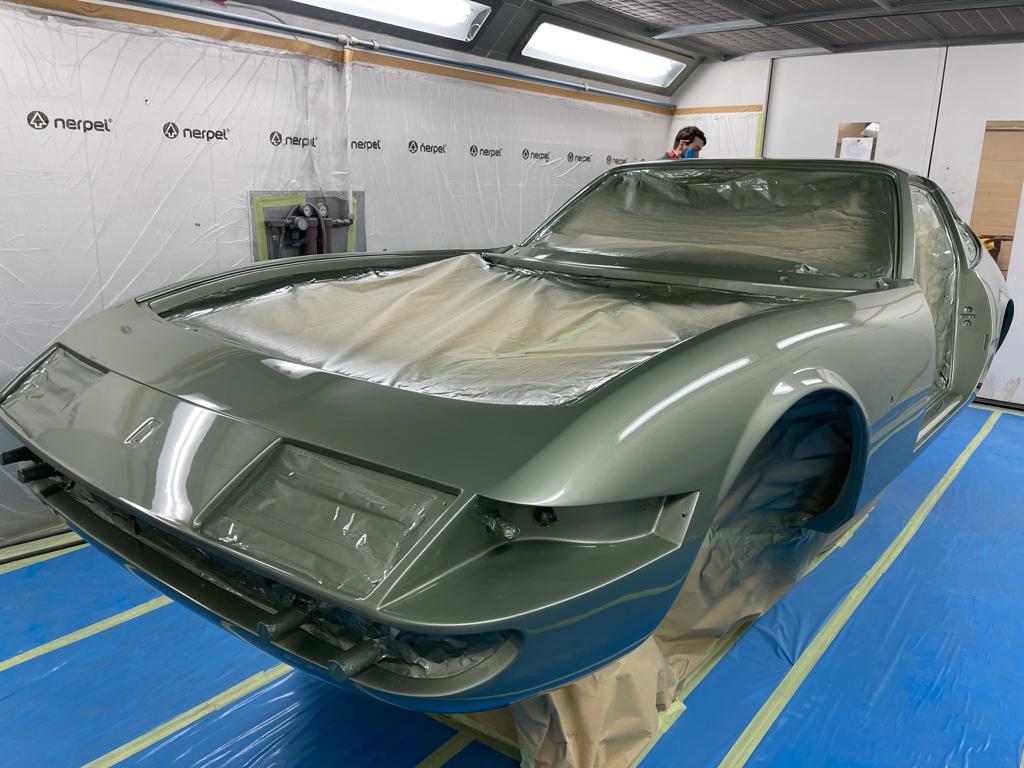
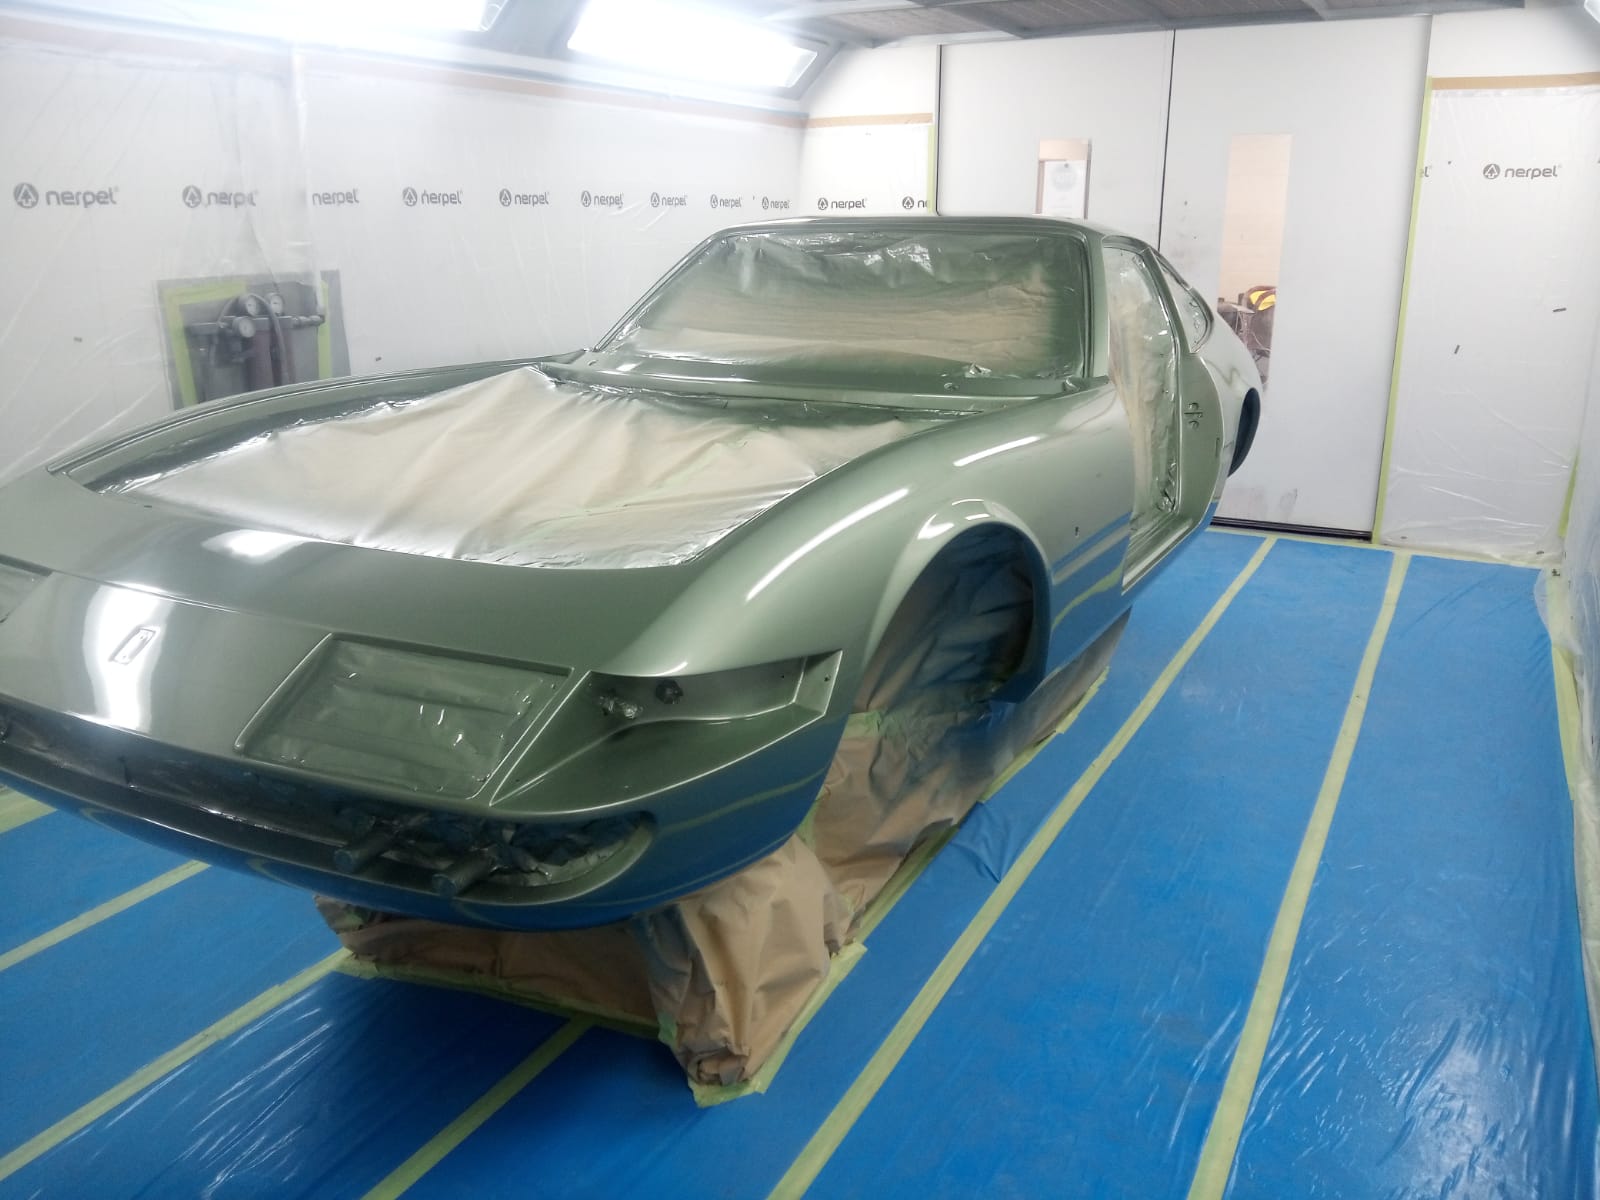
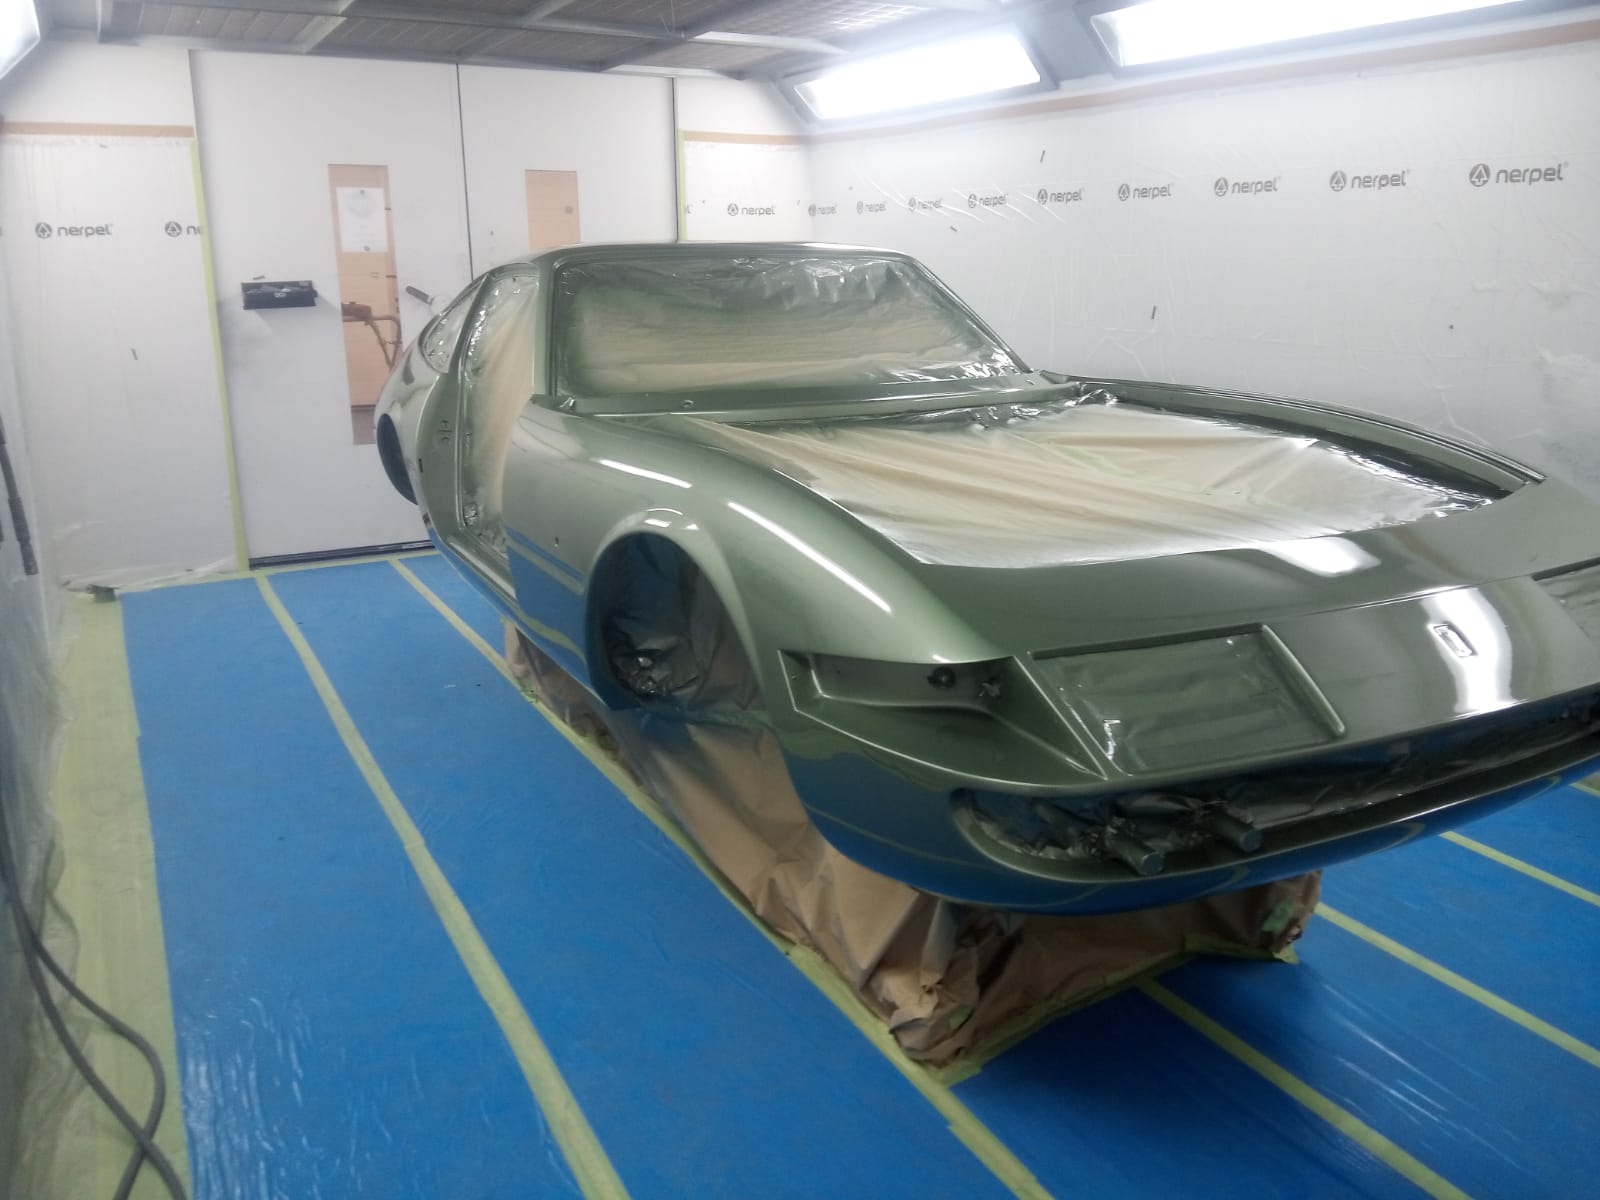
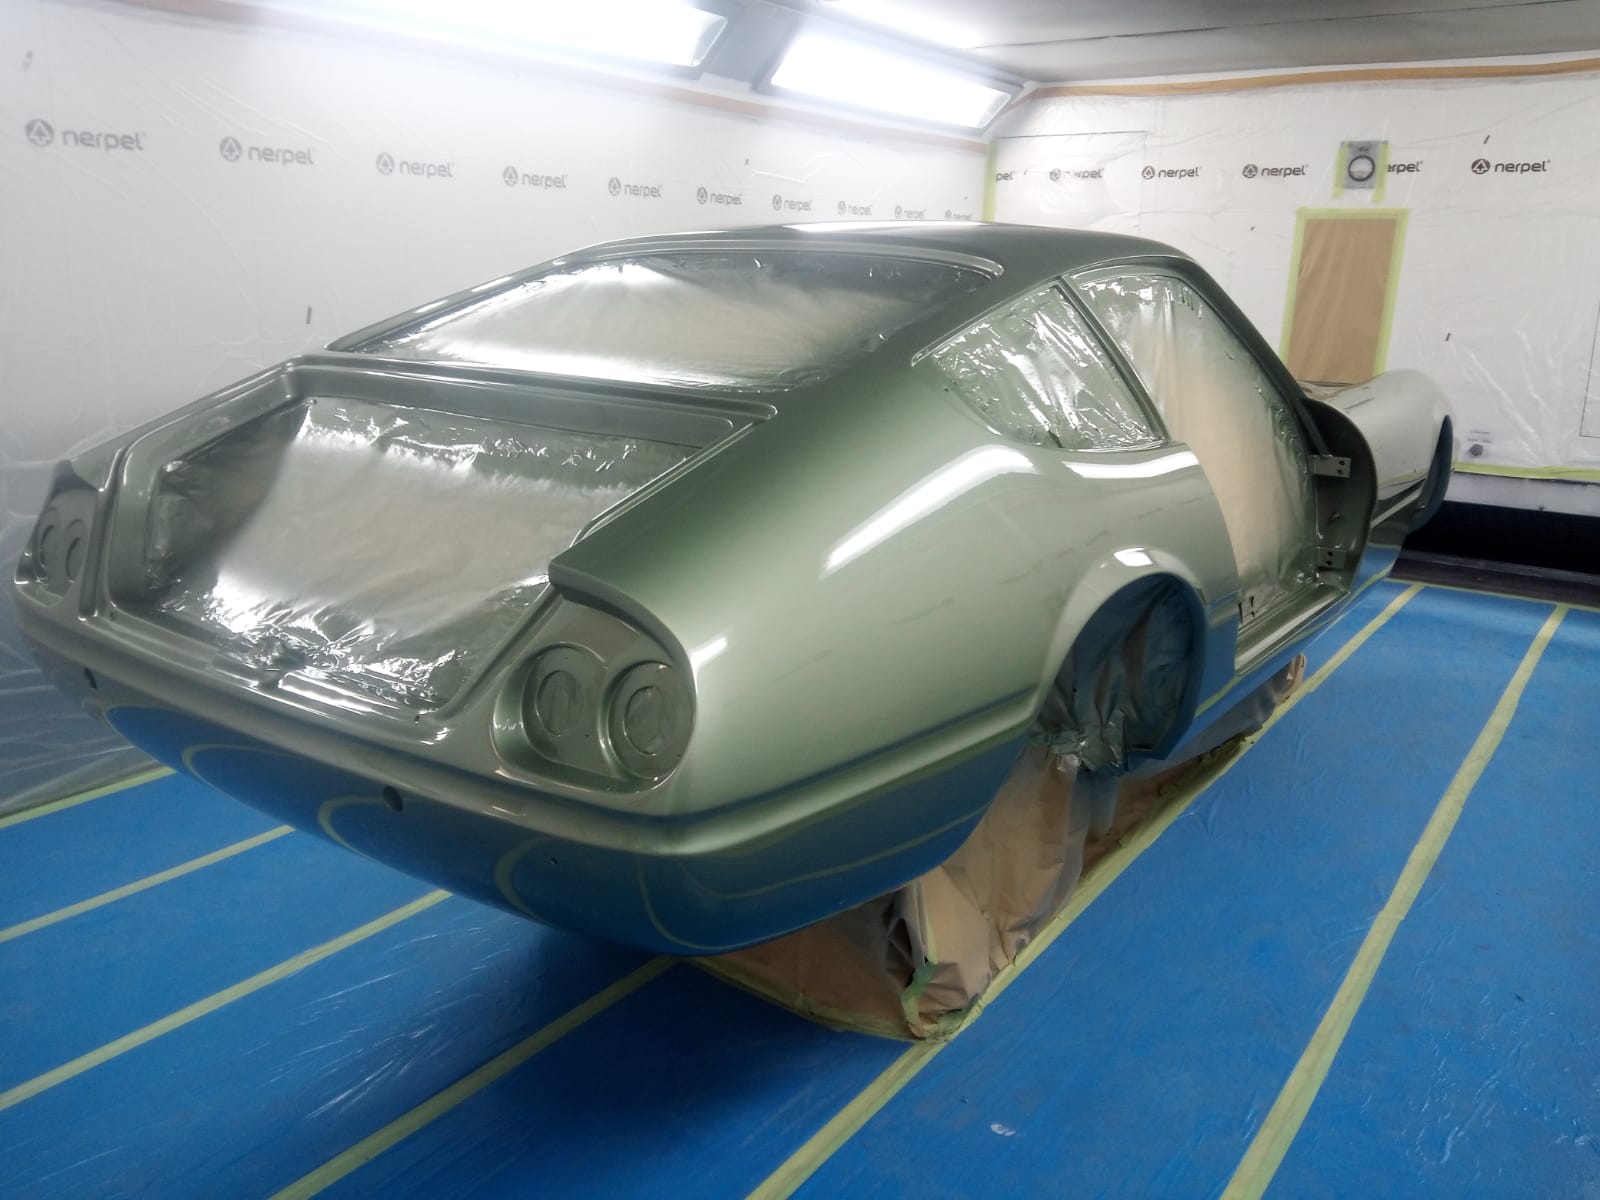
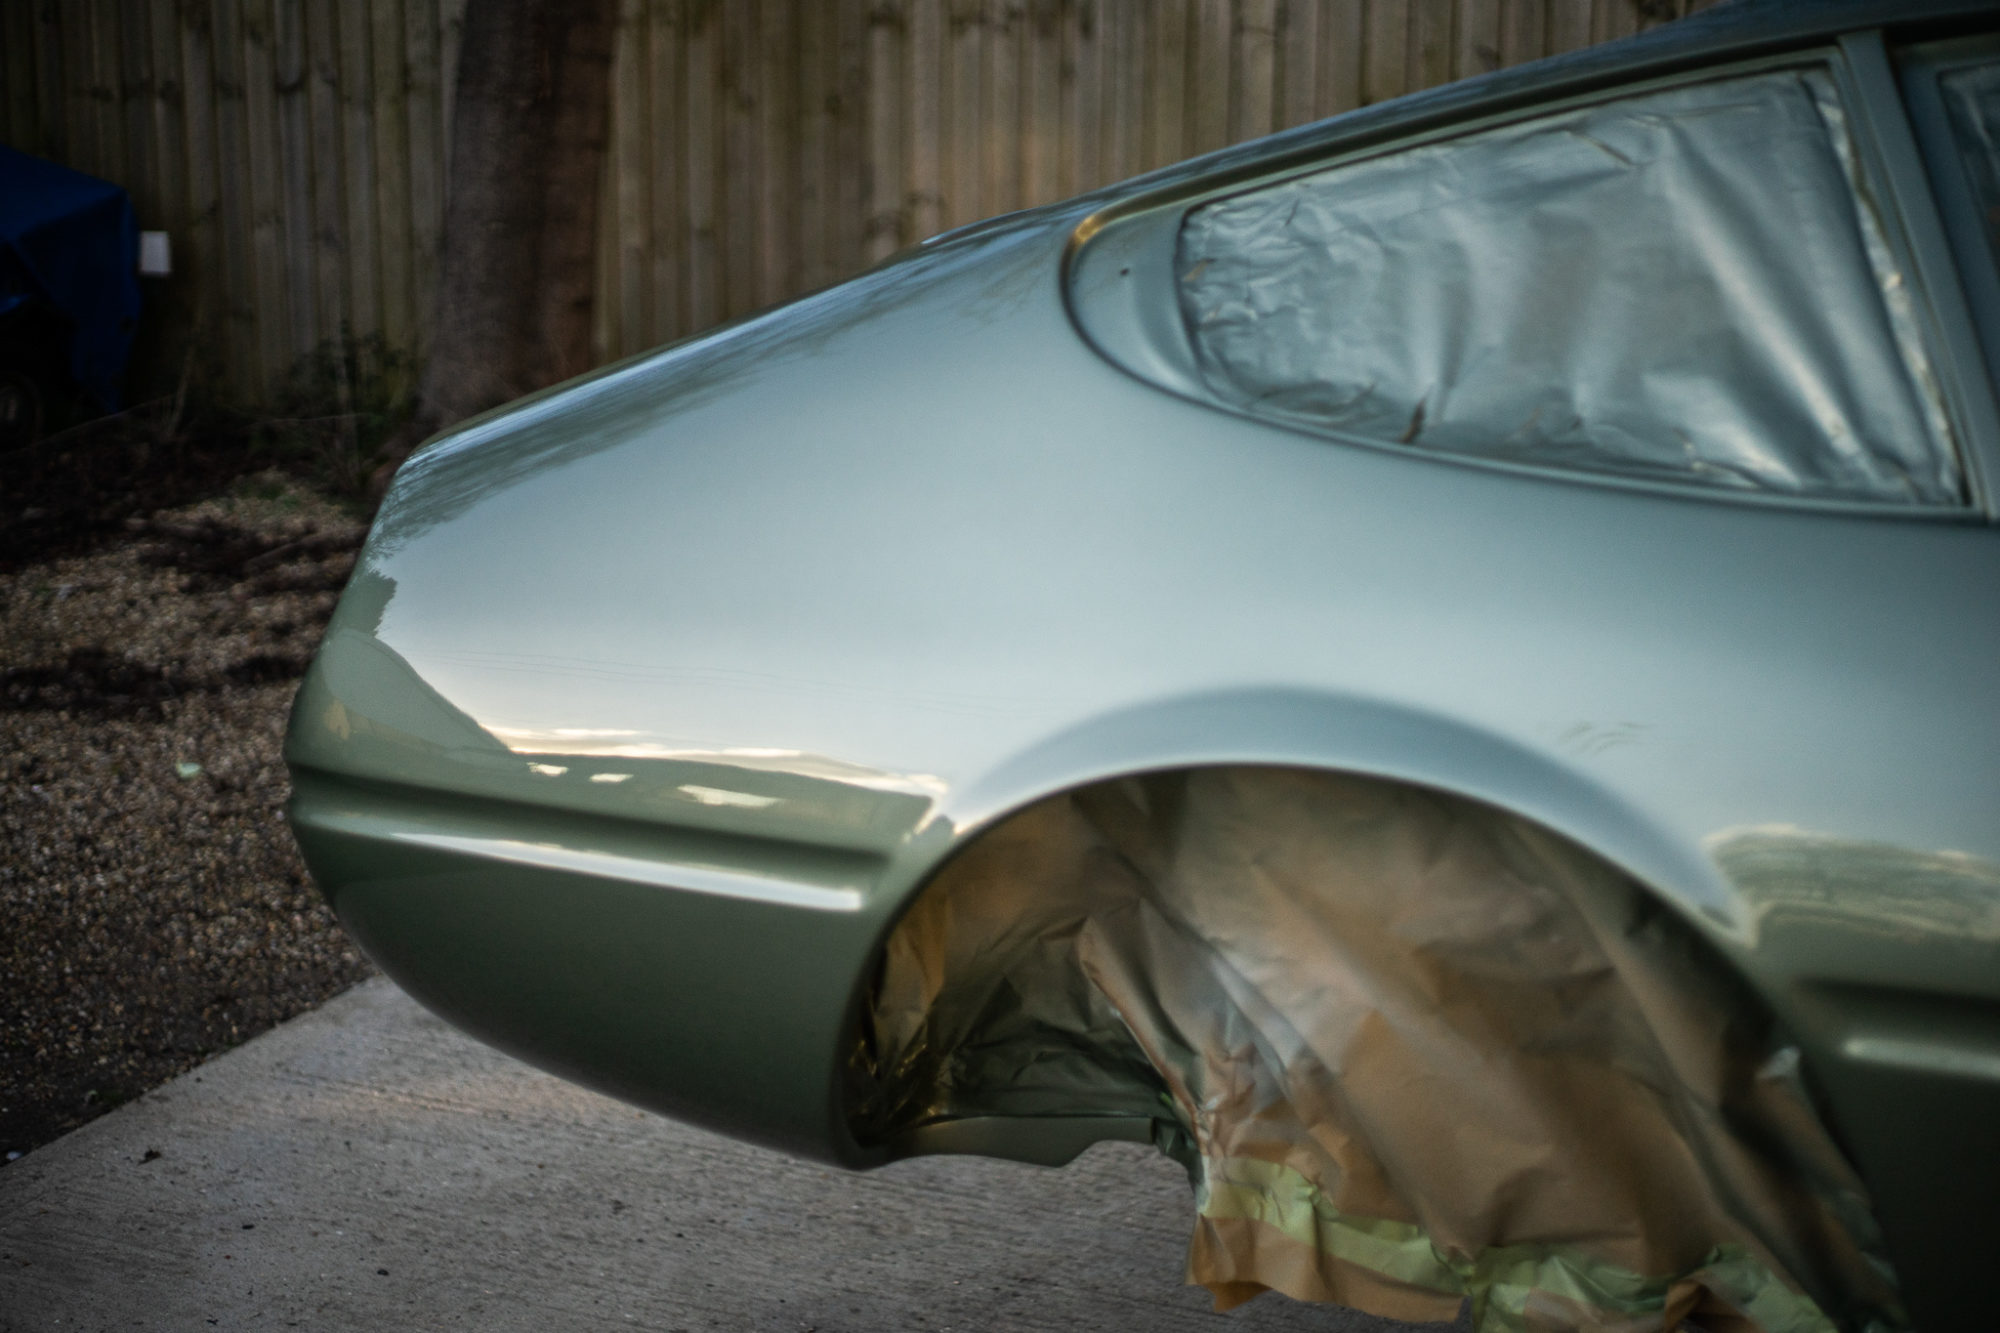
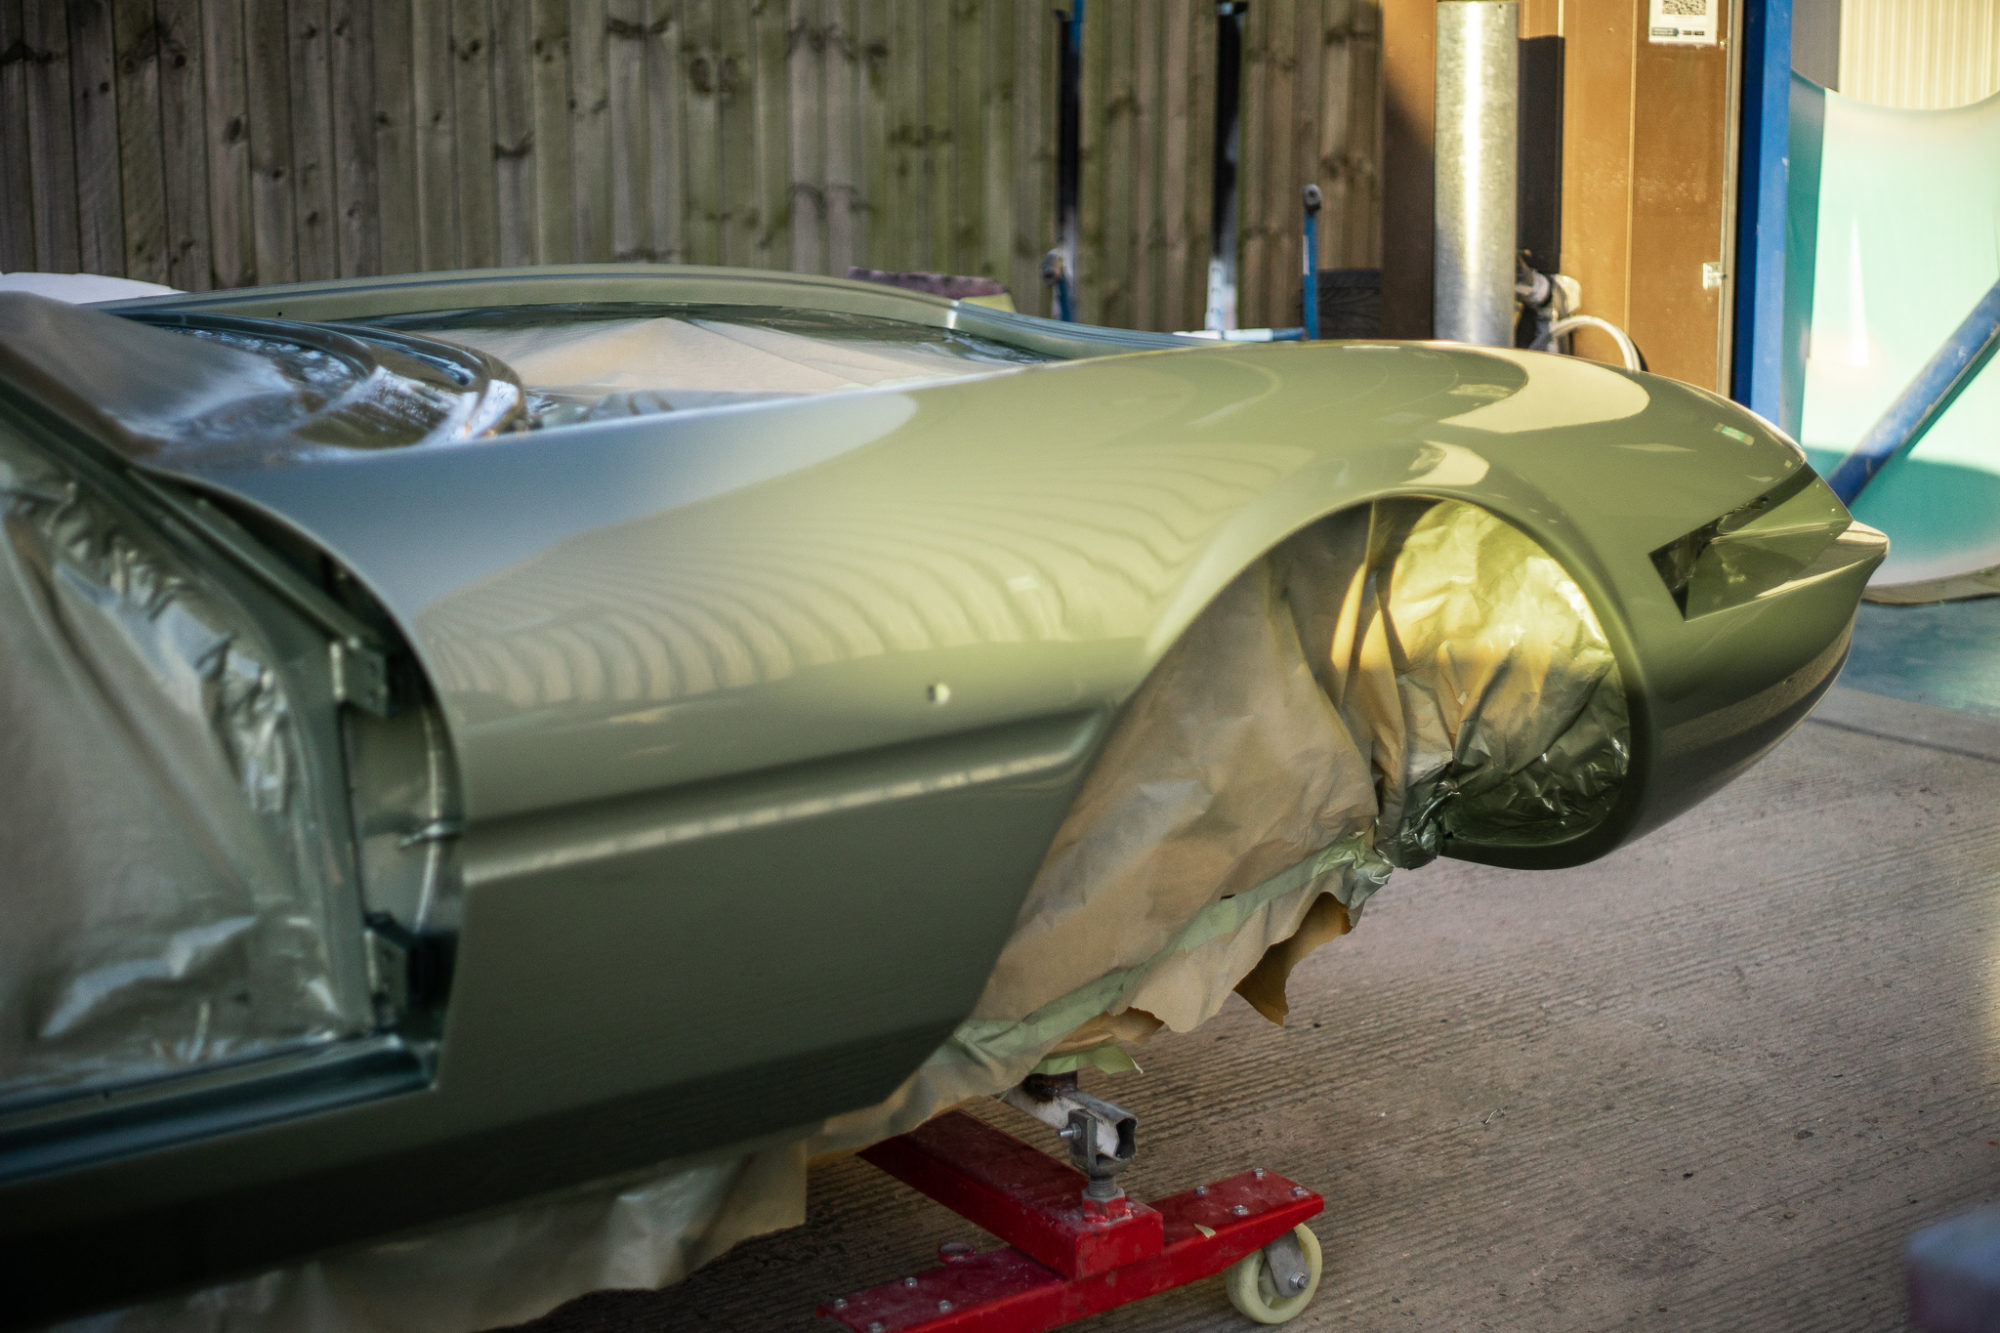
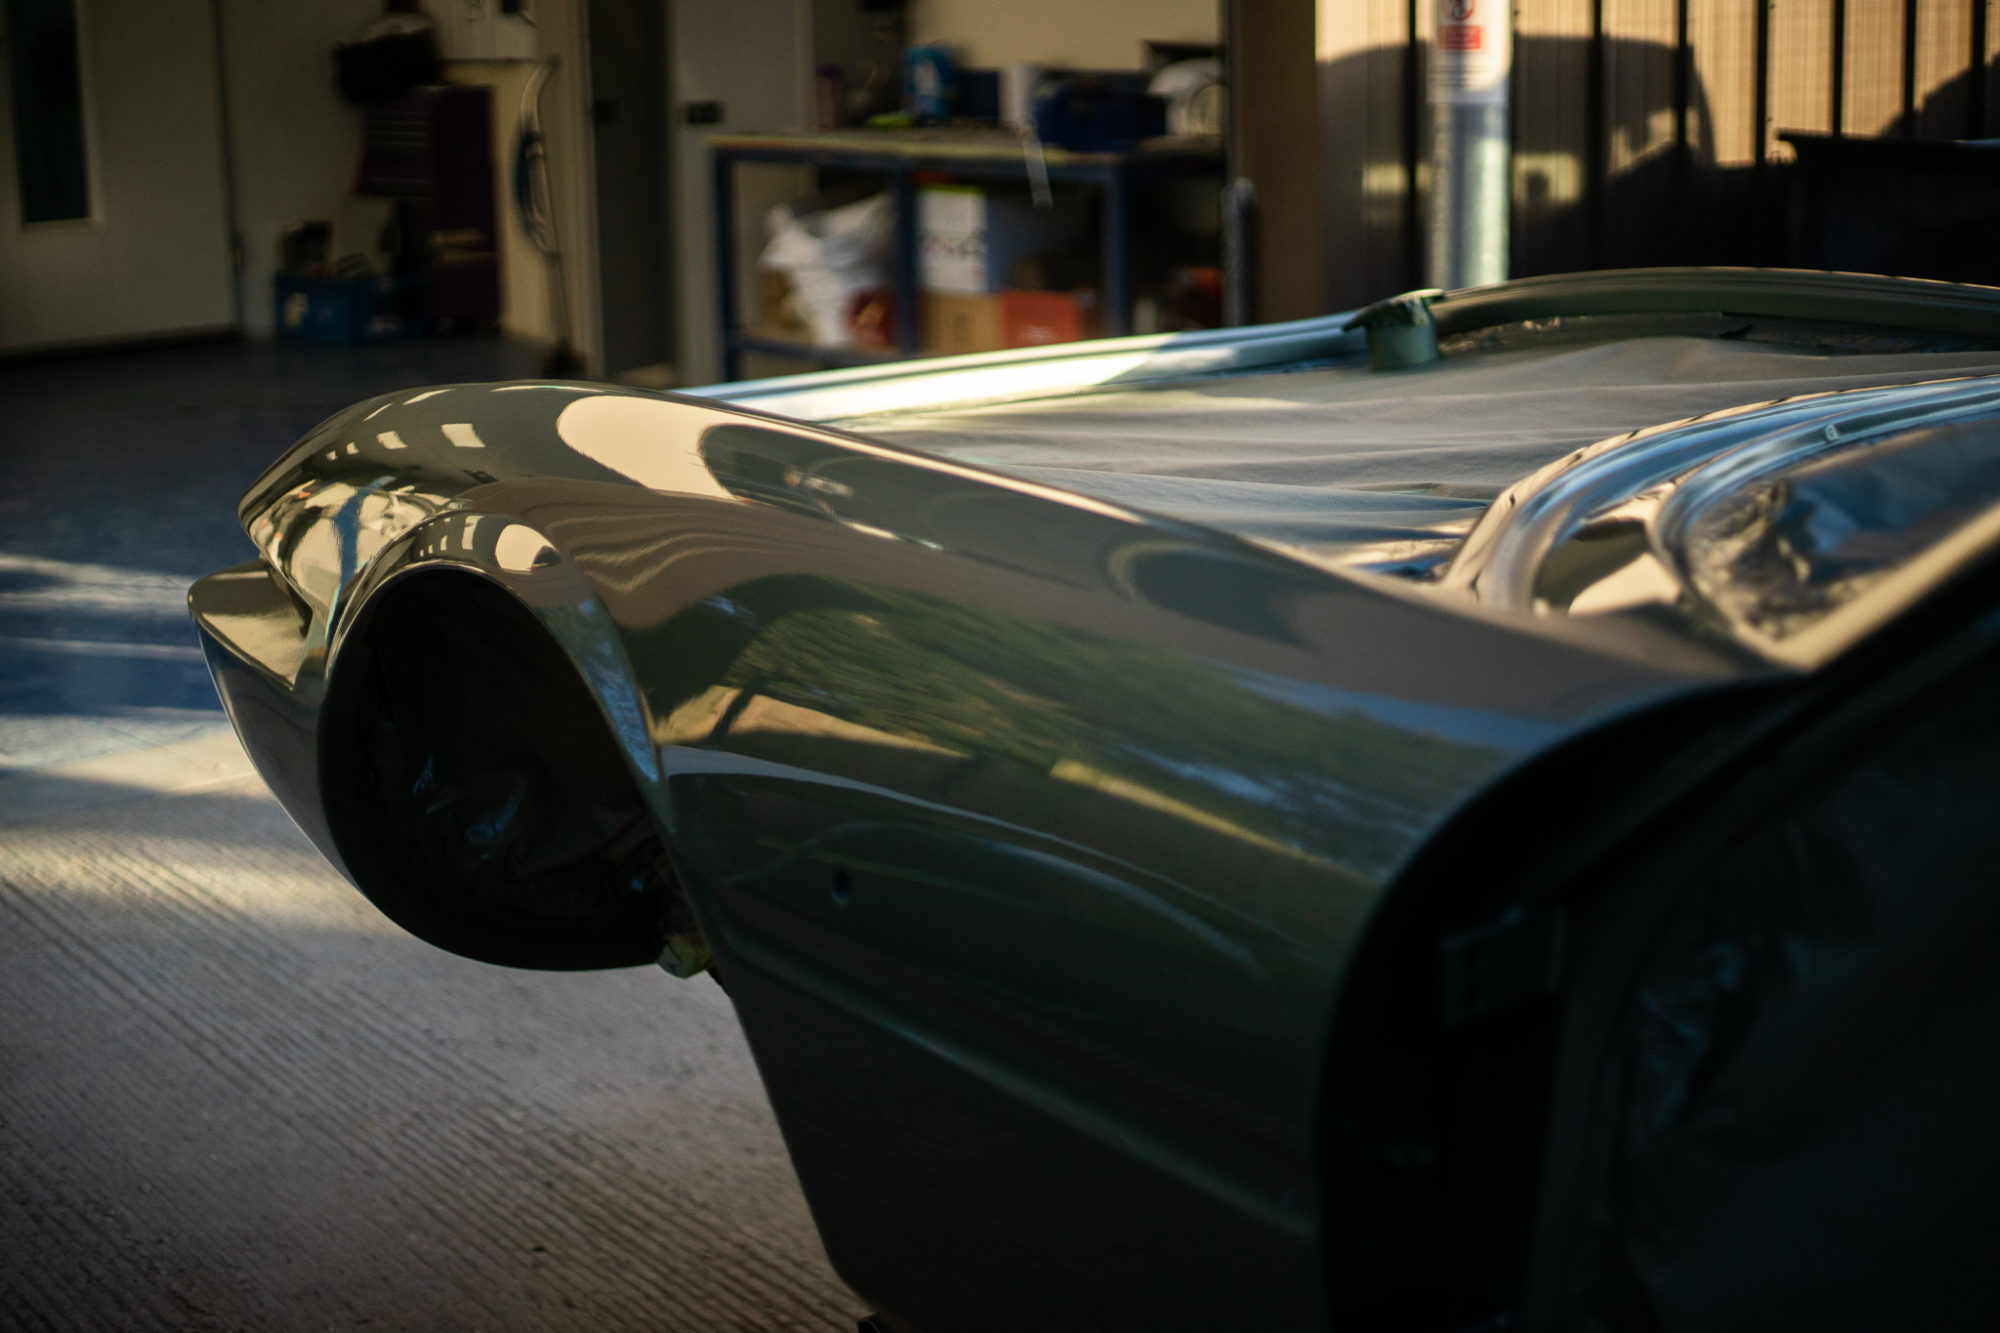
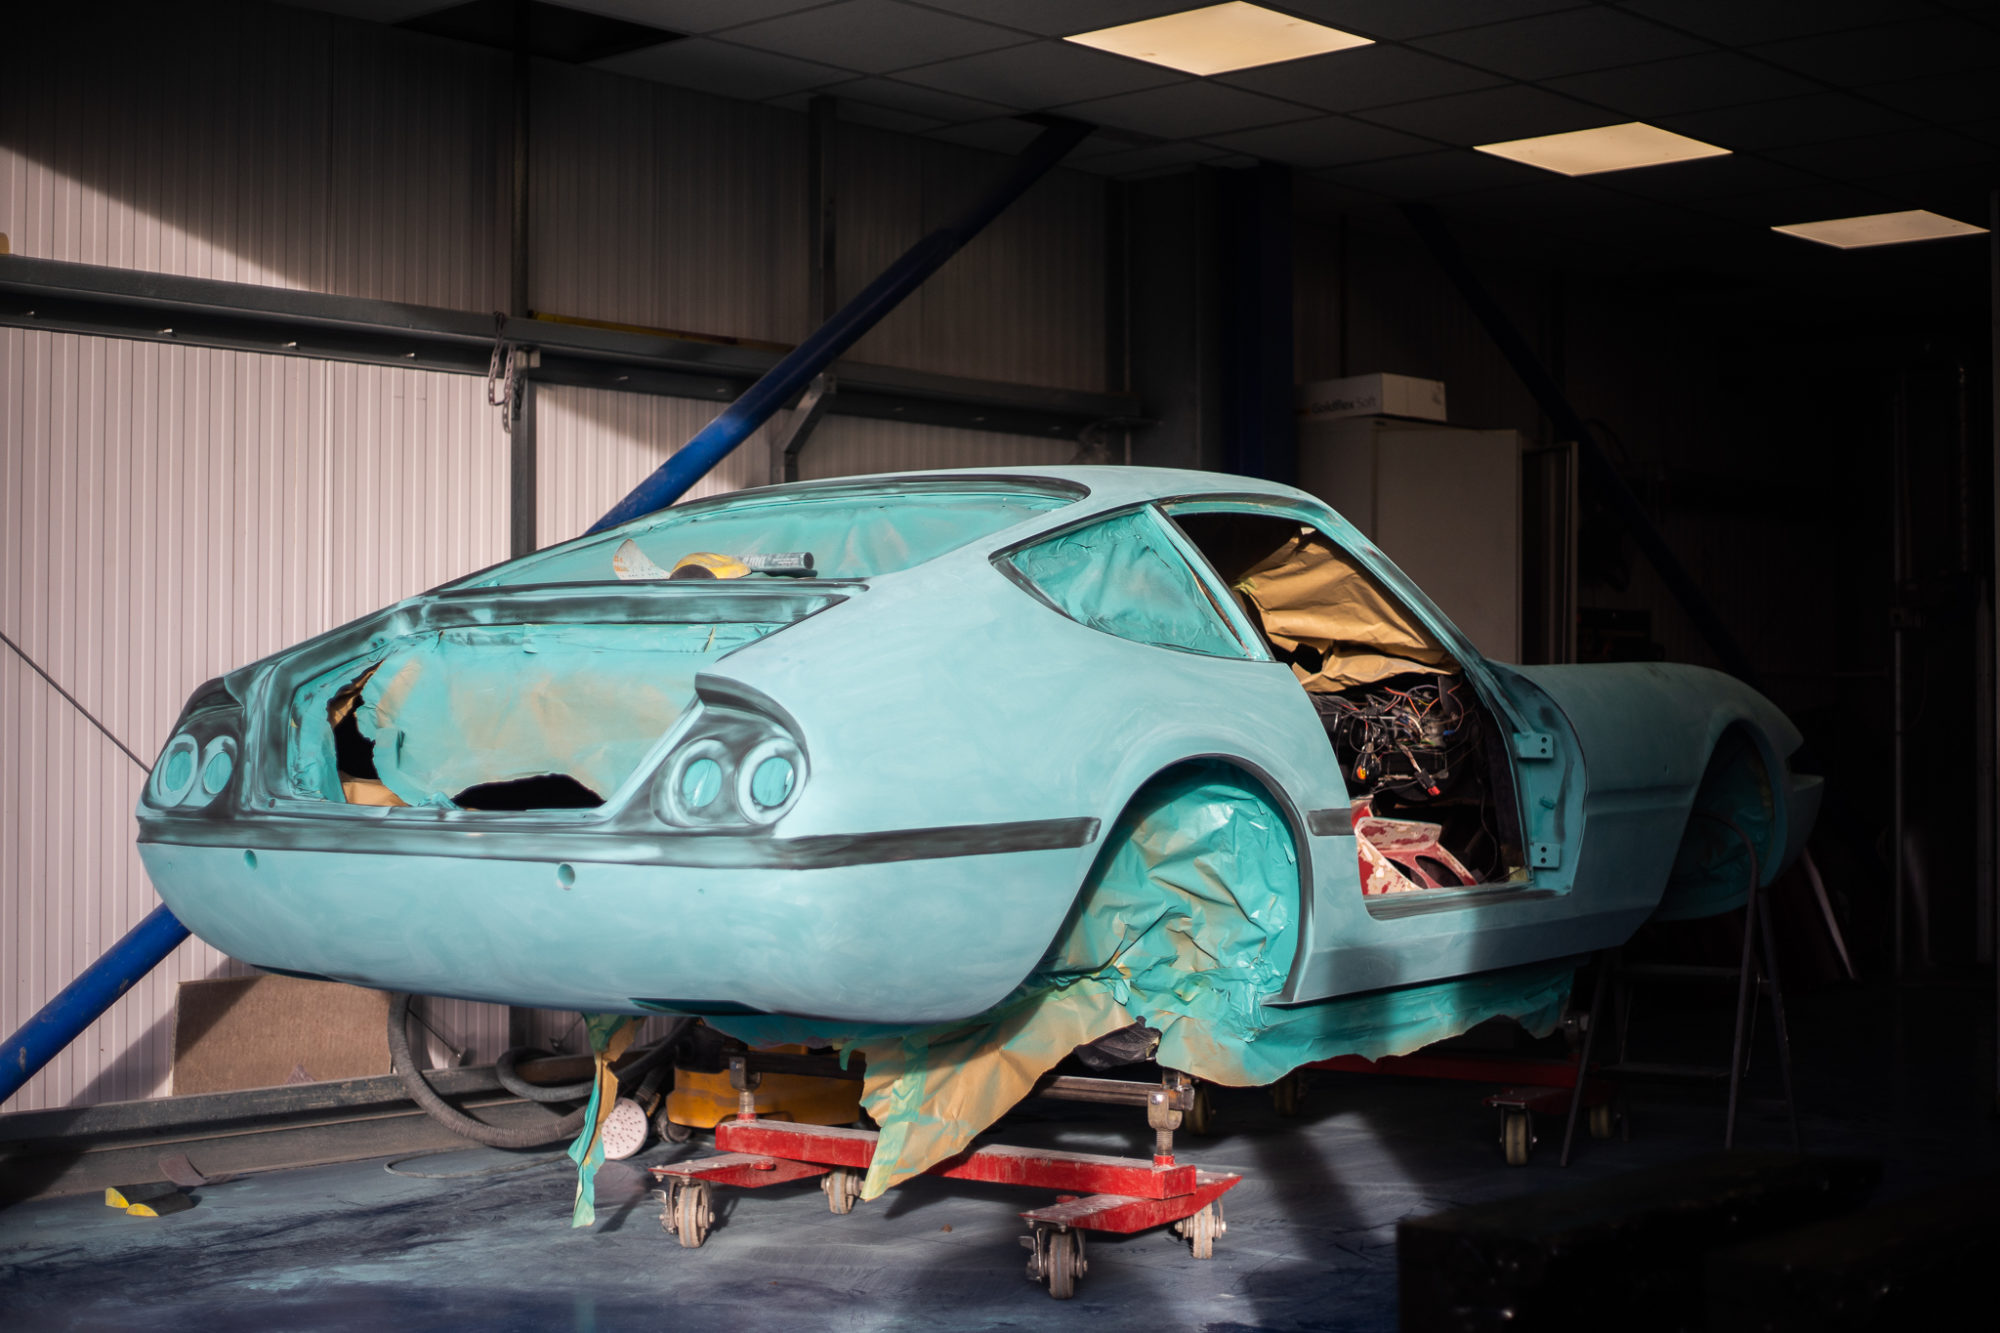
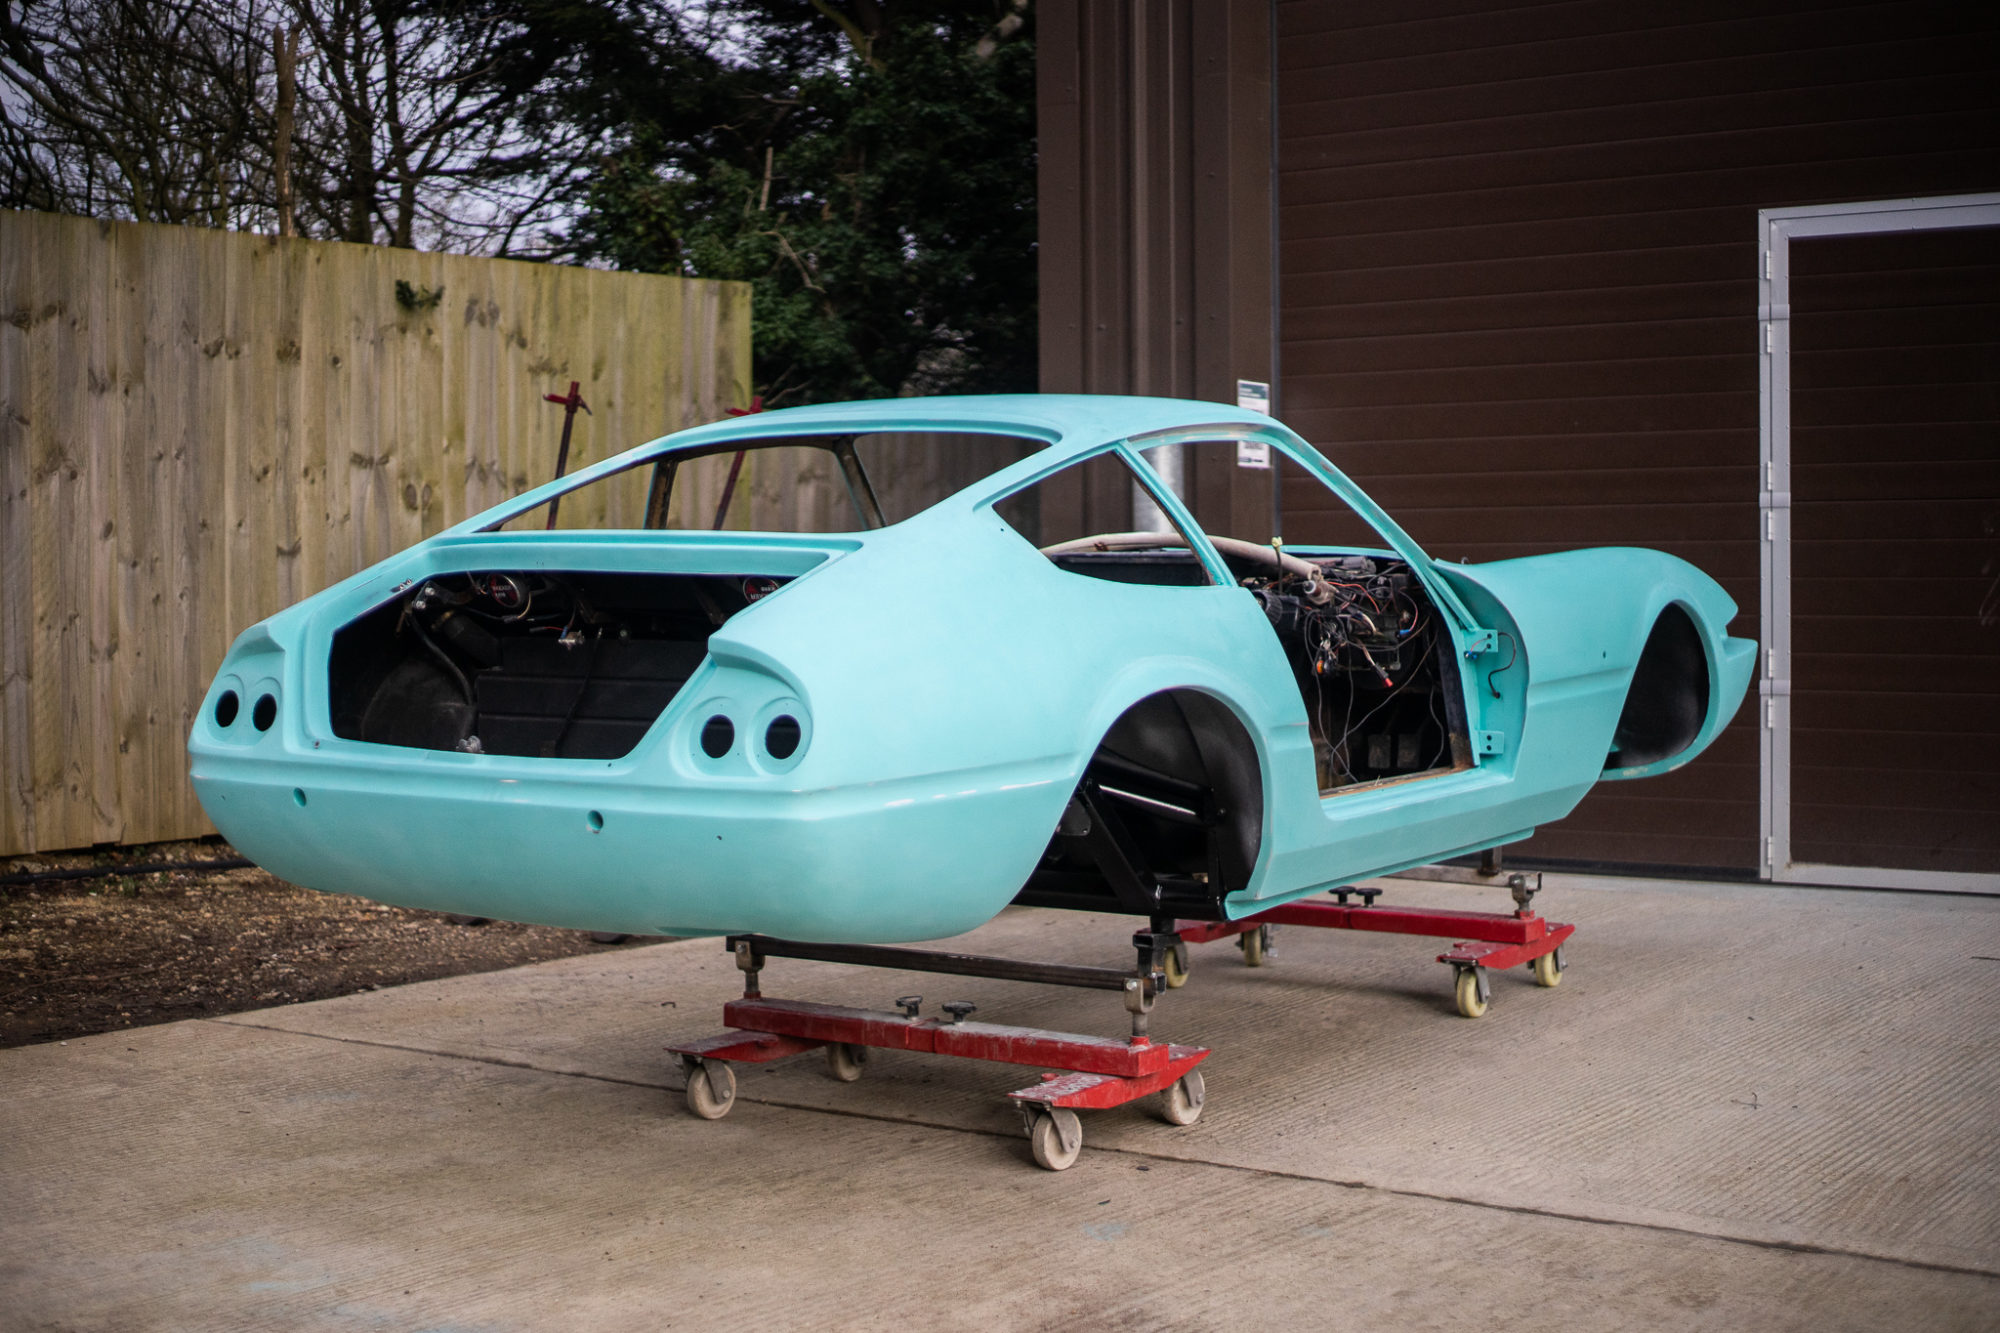
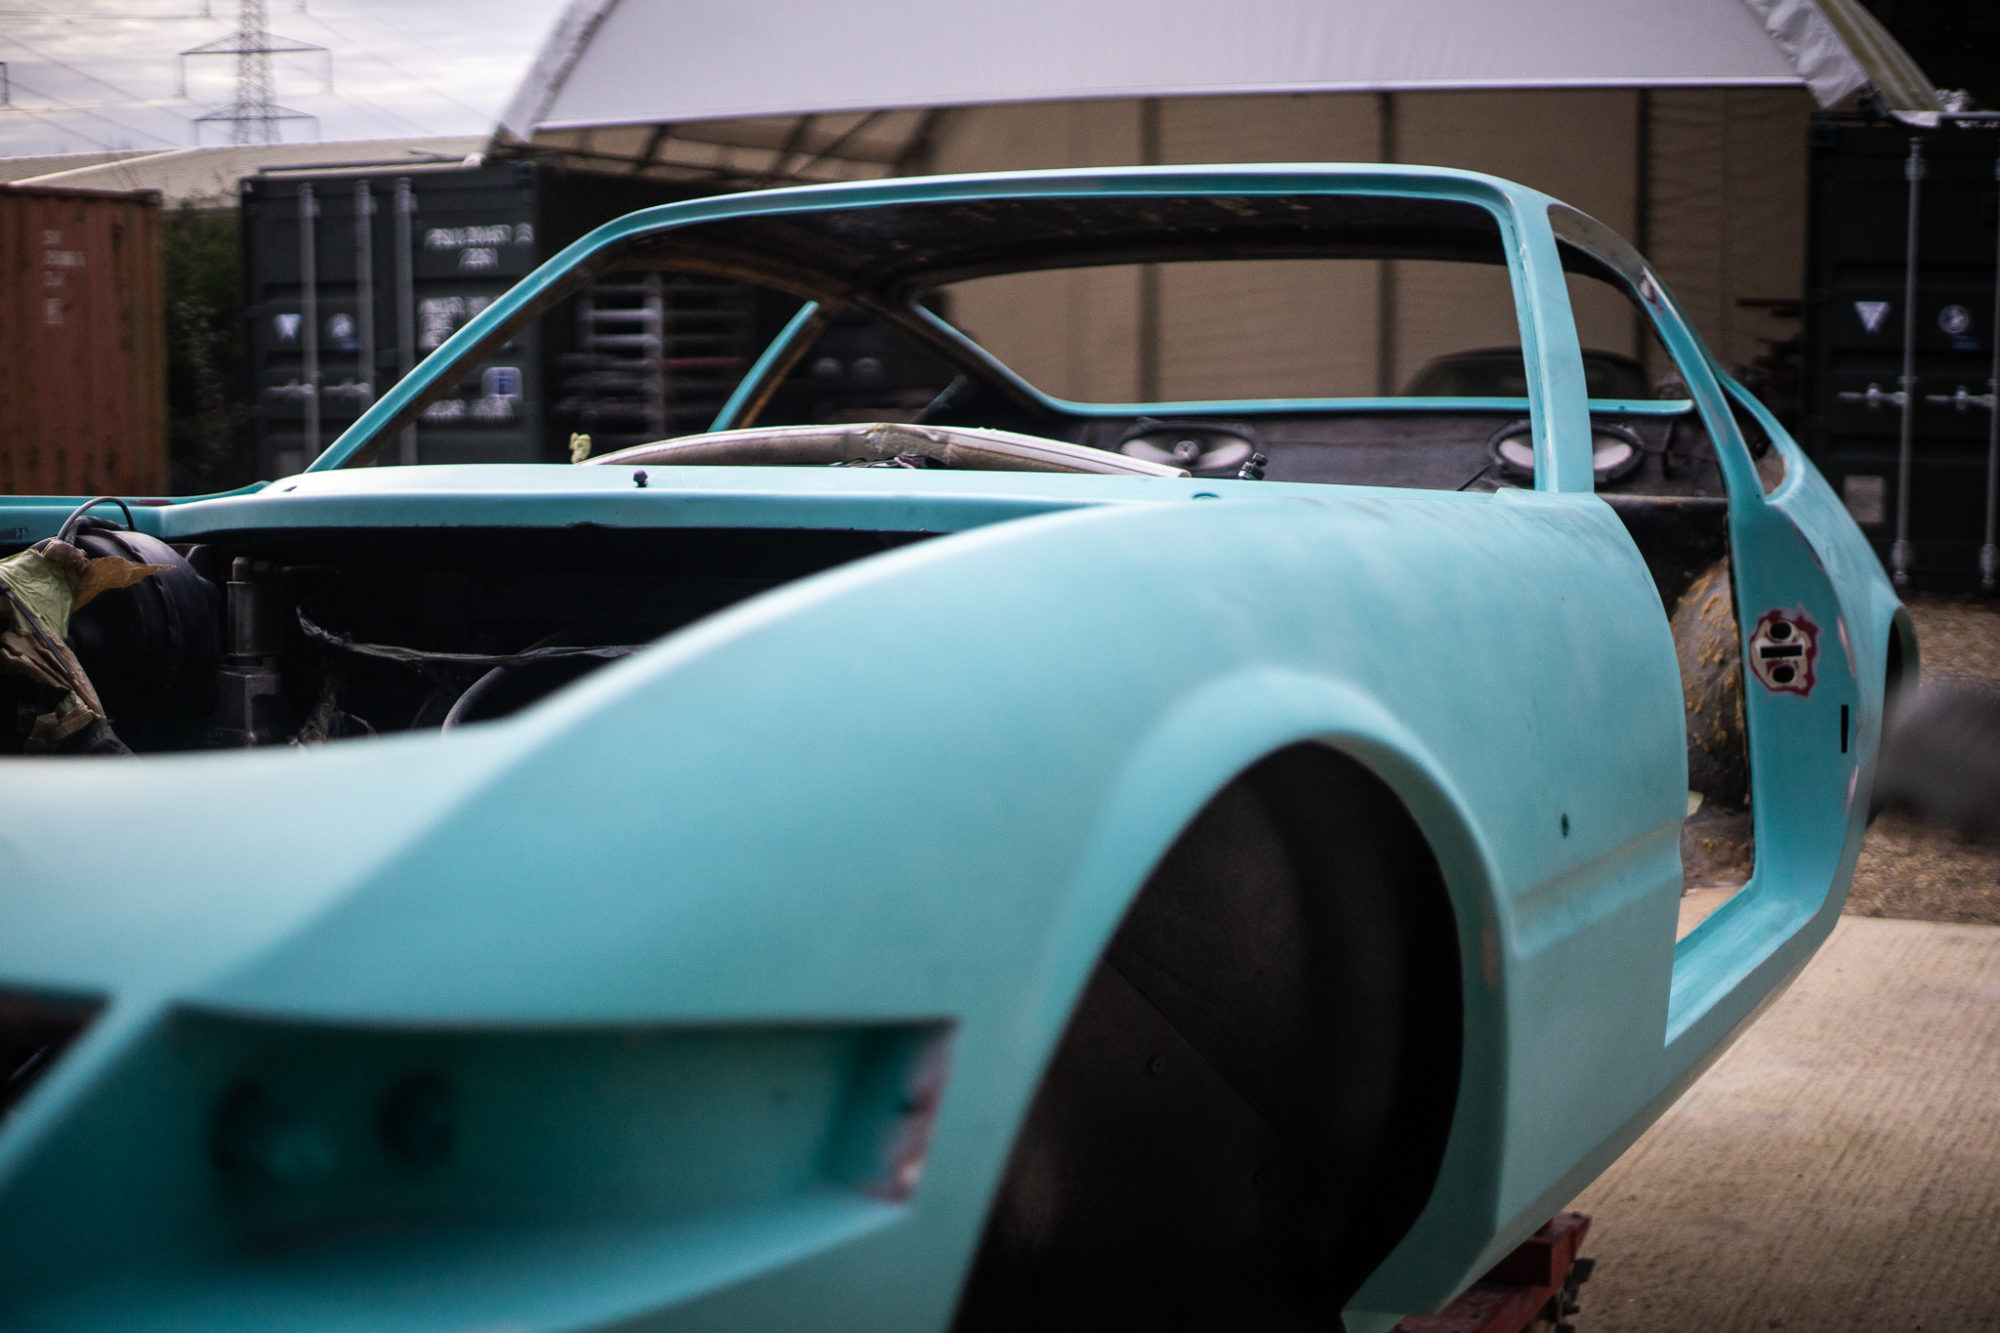
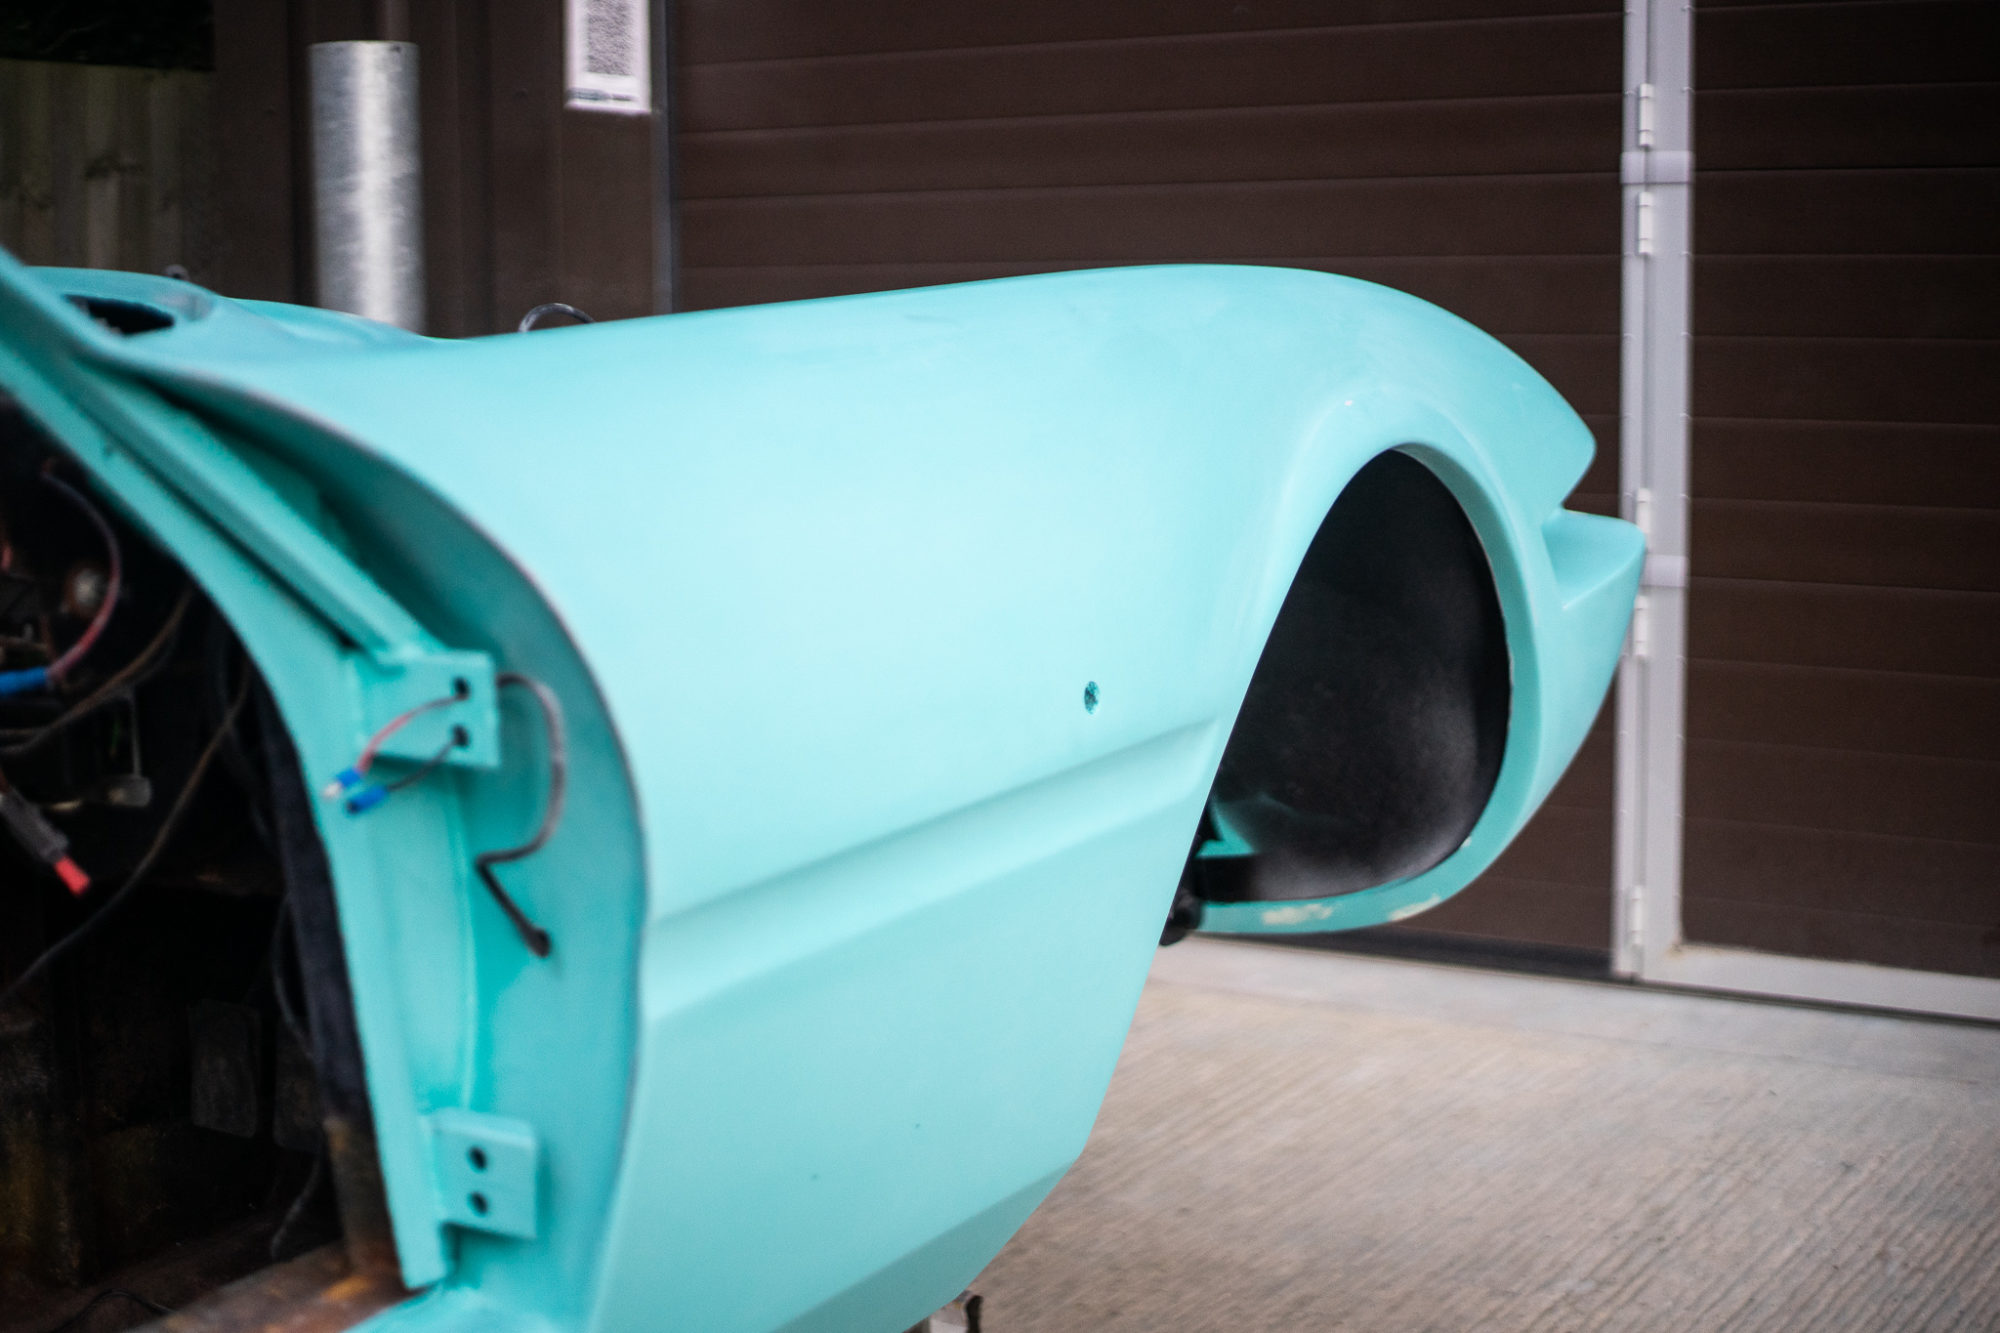
Our specialist classic car painter, Matt, has been working on spraying our Ferrari Daytona its new green colour. Having sat in primer, Matt could then
Some of you may remember we mentioned our busy Jensen workshop last year, and it hasn’t slowed down in 2021. We’ve become the Jensen Specialists
On Friday we welcomed our 1977 Honda Goldwing GL1000 into HQ. Bought by Gordon as a restoration project, we’re looking forward to seeing this Goldwing
We’re delighted to announce that the winner of our gorgeous 1992 Rolls Royce Silver Spirit II was delivered safe and sound on Friday afternoon. As

By pure coincidence, we’ve had both of our TR winners send us photos of their TR3 and TR4 out on the road yesterday! We love

We all remember building snowmen and making snow angels as children in the snow but few of us can claim we’ve built a snow car.

Our newly finished Triumph TR6 and its friend, the Tundra 1975 MGB have been stored up in Bentwaters whilst we work on the third in
Kath has been working on the Daytona seats again. The face of one of the seats wasn’t sewn straight originally, so Kath found that all
One of our technicians, Pauls, has made and fit a heat shield for our 1960 Peony Red Jensen 541R. Paul has cut out, measured up
our 1960 Jensen 541R has had its rolling road test from Hangar 111. The test has come back incredibly positive. Often these rolling road tests
On Monday, Mauro and Ellie took the lorry and our 1958 Jensen 541R over to Glevering Mill to shoot it for our website. This stunning
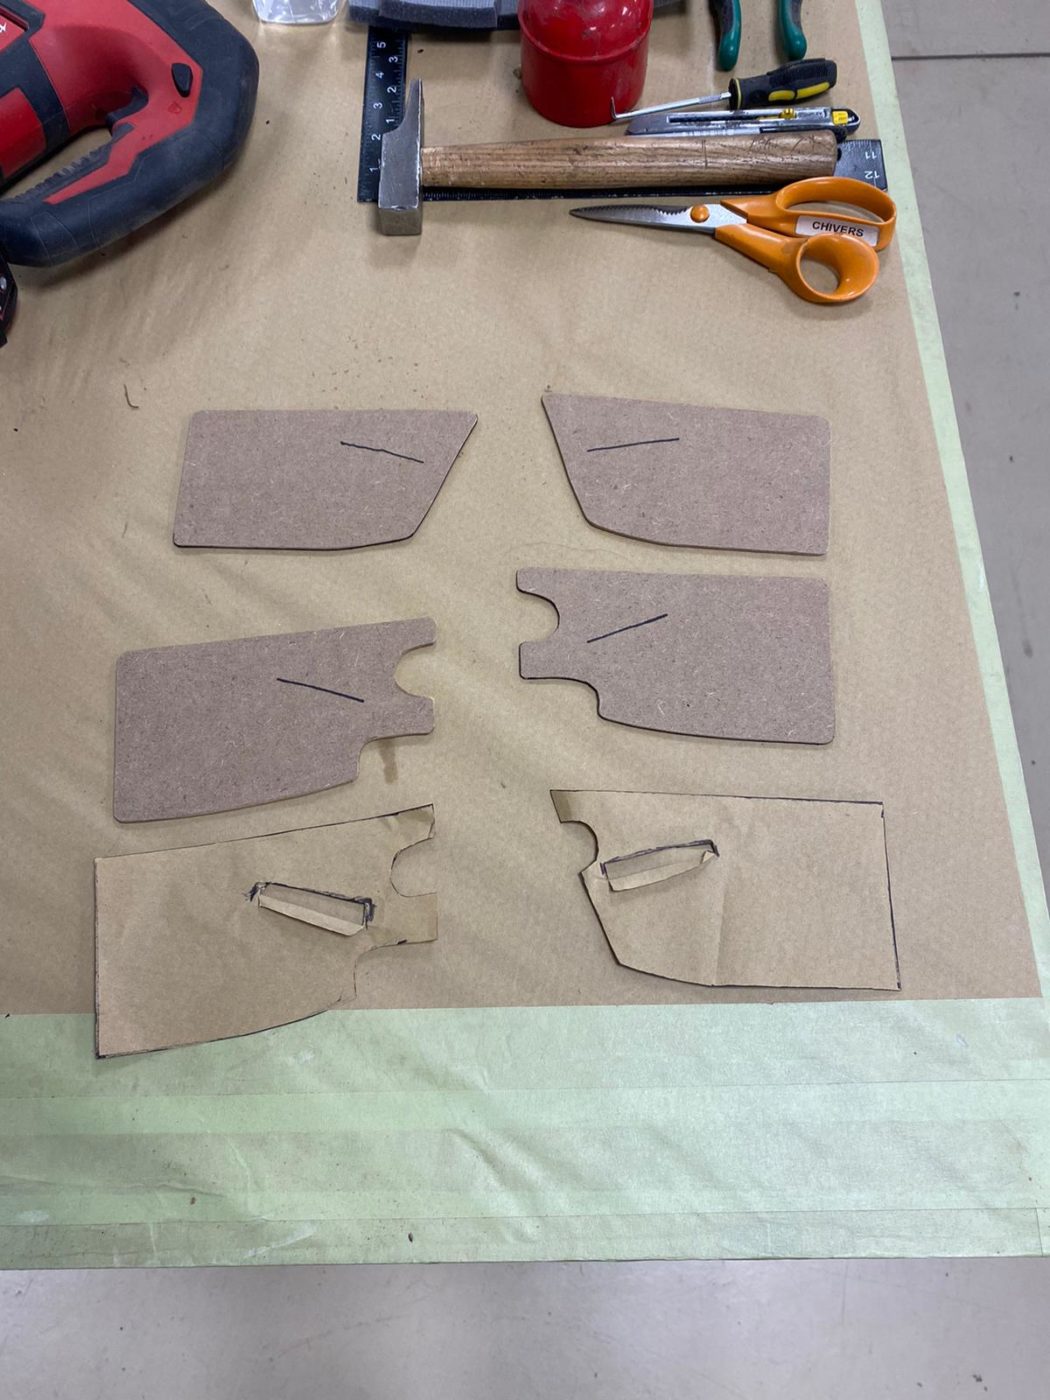
James has continued with correct the rust and corrosion on the chassis of the 1949 Morris Minor Lowlight. James made a template and then cut
We are delighted to announce that we’ve teamed up with Car and Classic to share our Bridge Classic Cars’ services and competitions across their website.
Pictured below is the Silver 1959 Jensen 541R recent wiring ammends. John had found that when wiring up, the overdrive didn’t engage. After an investigation,
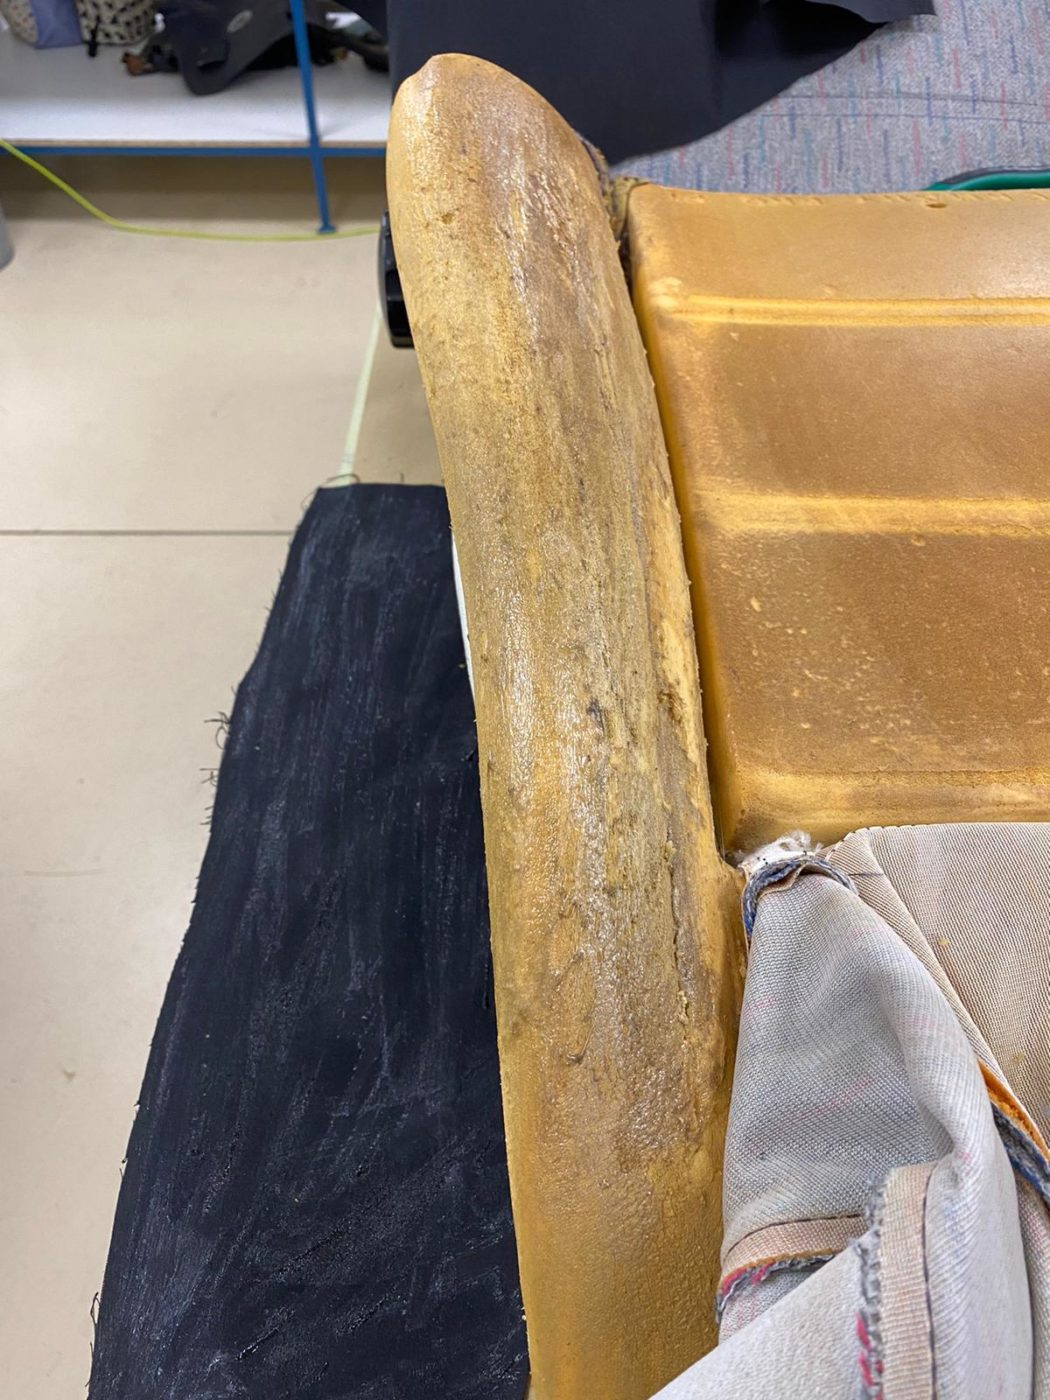
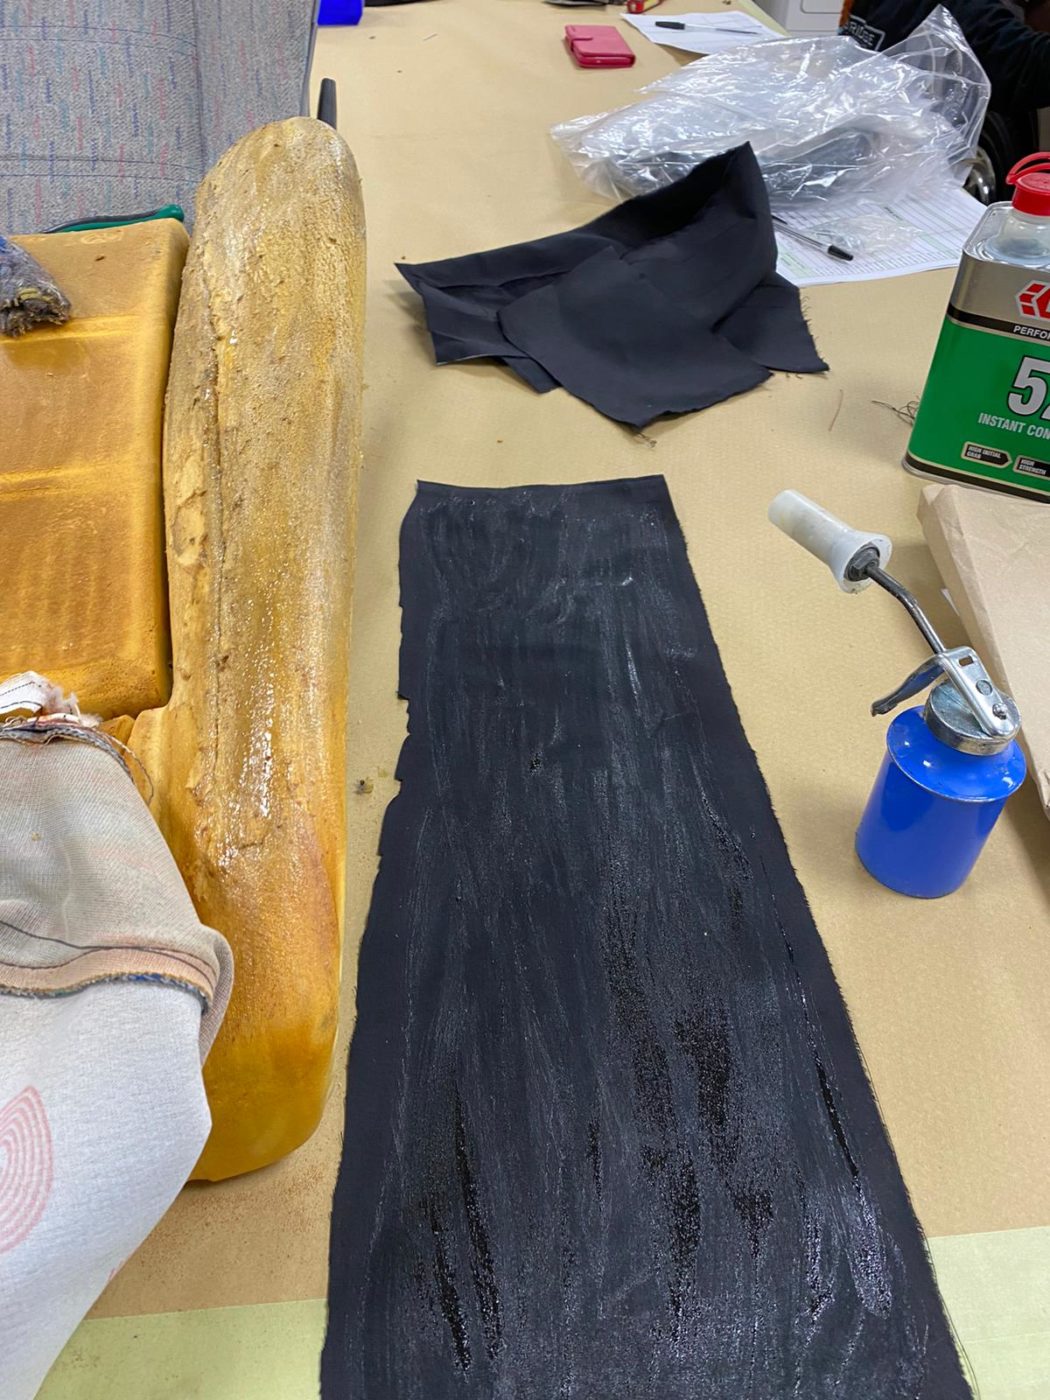
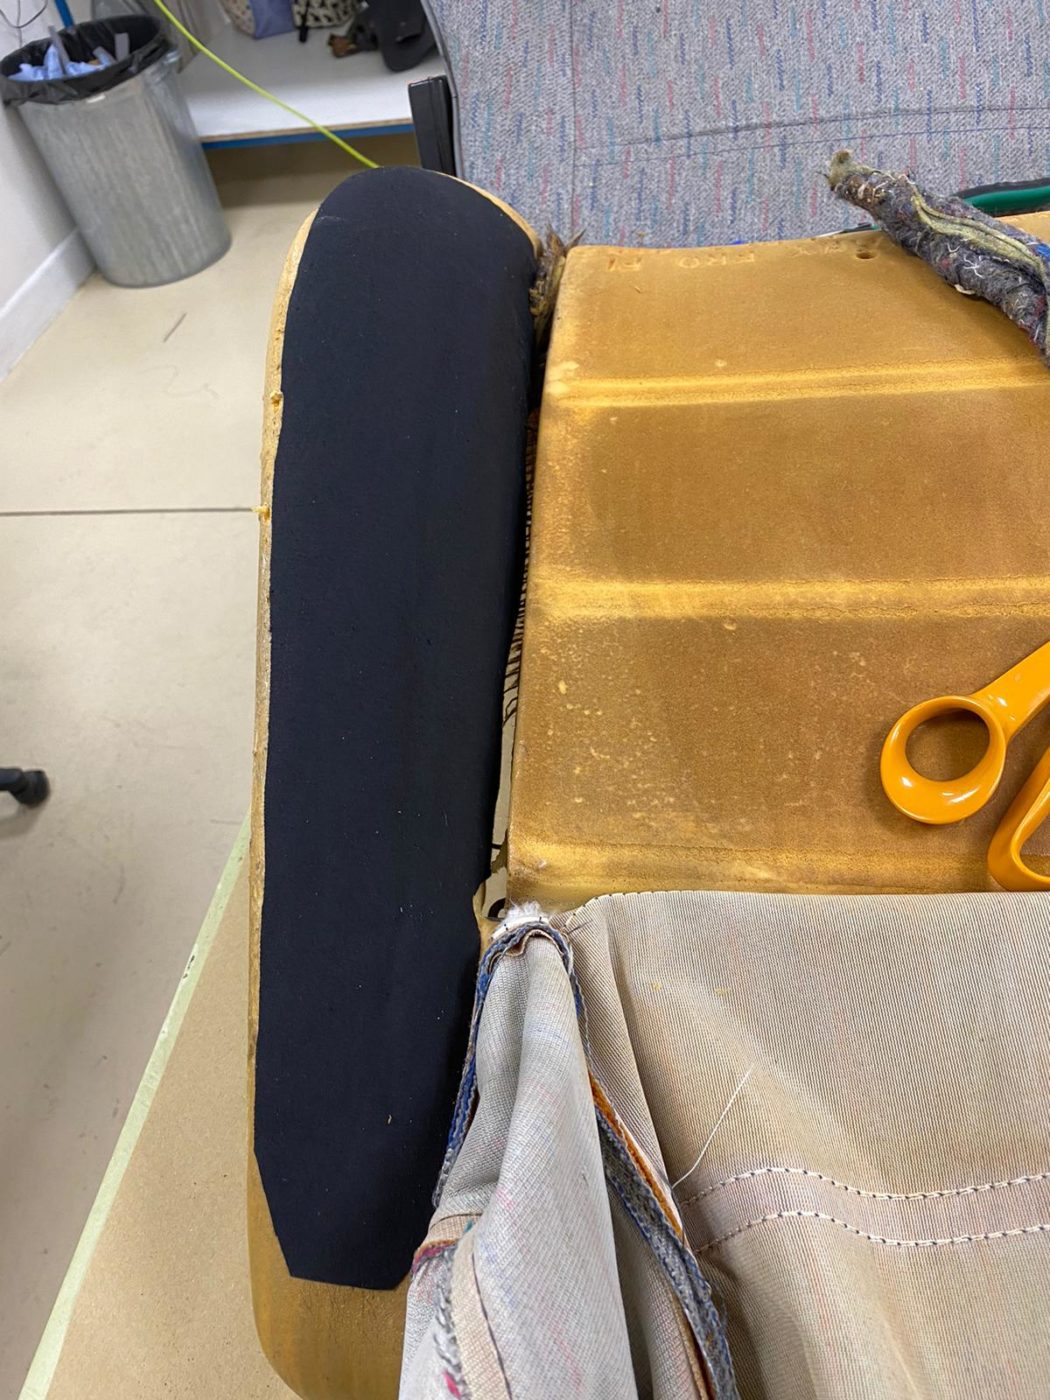
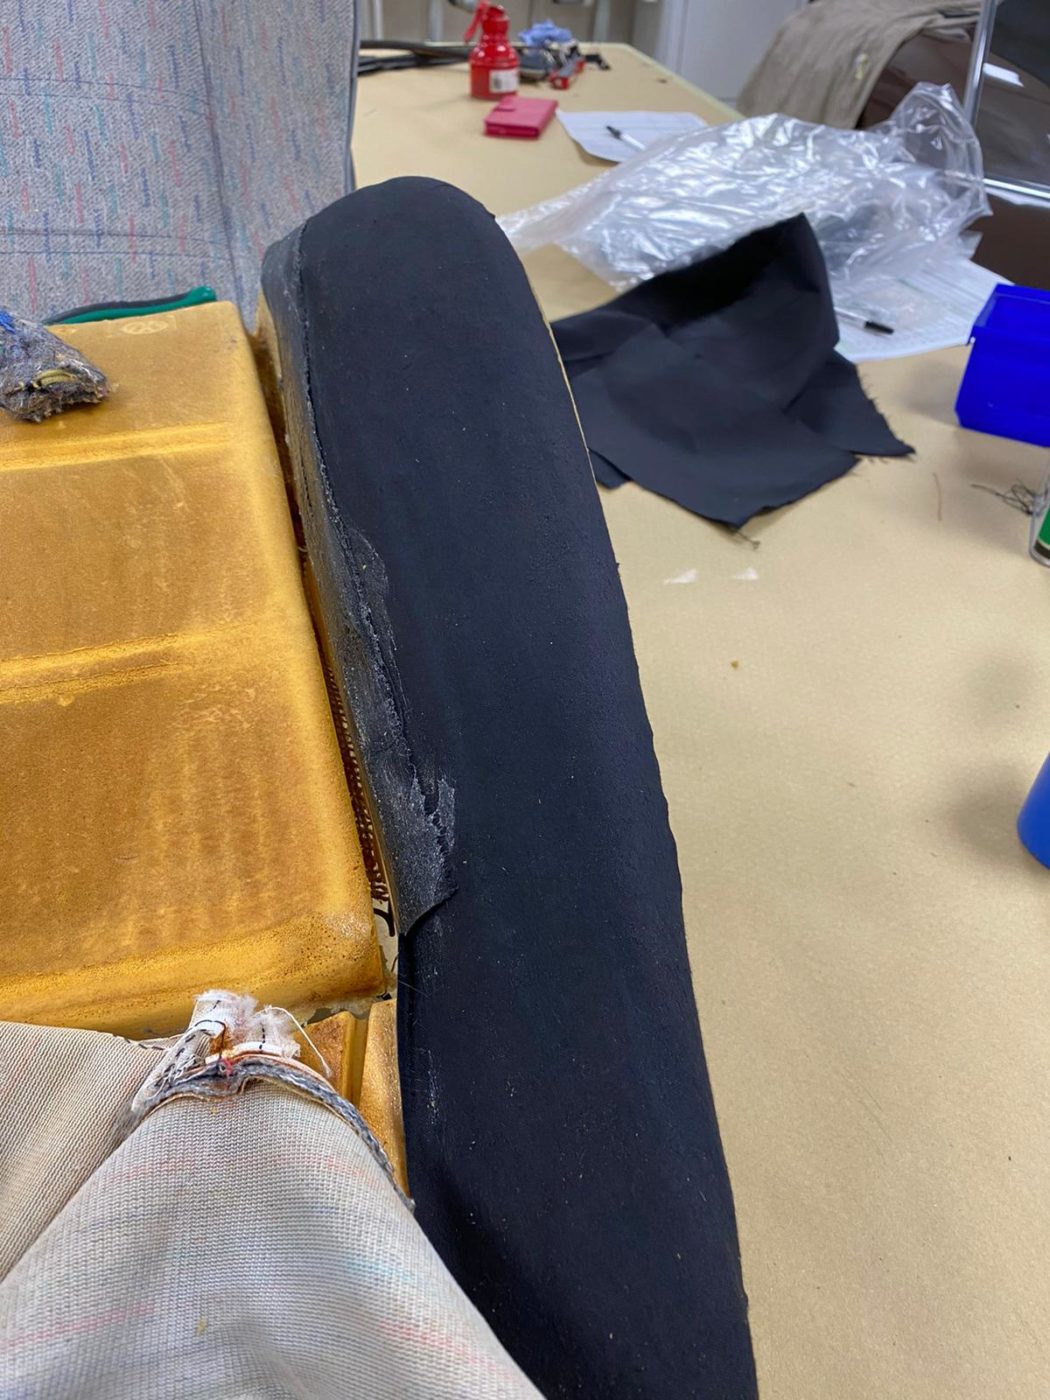
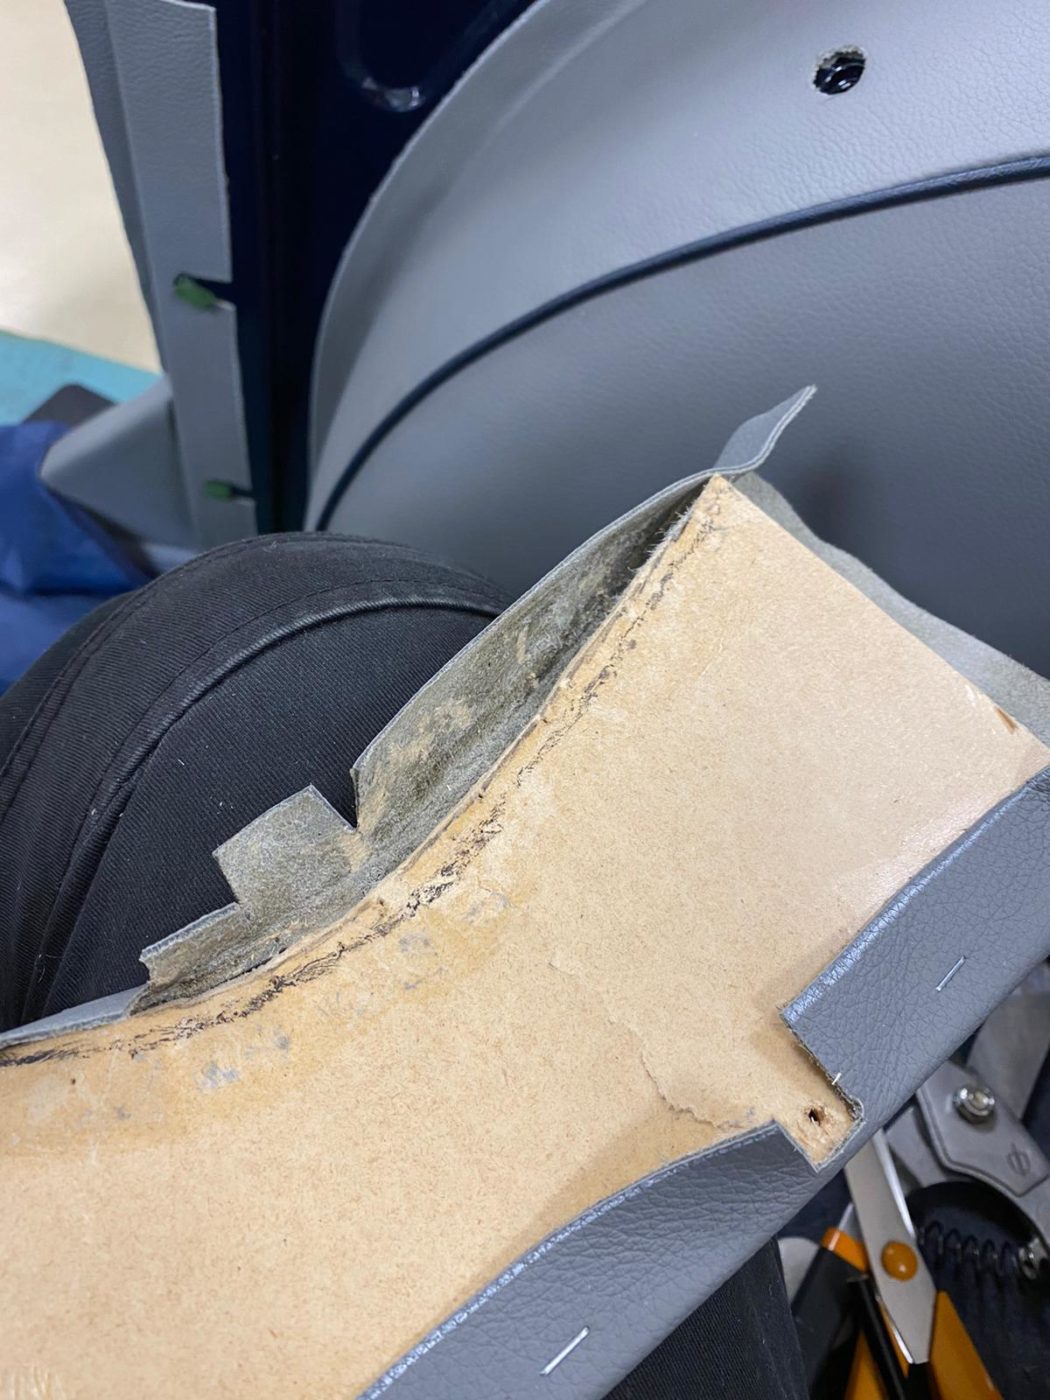
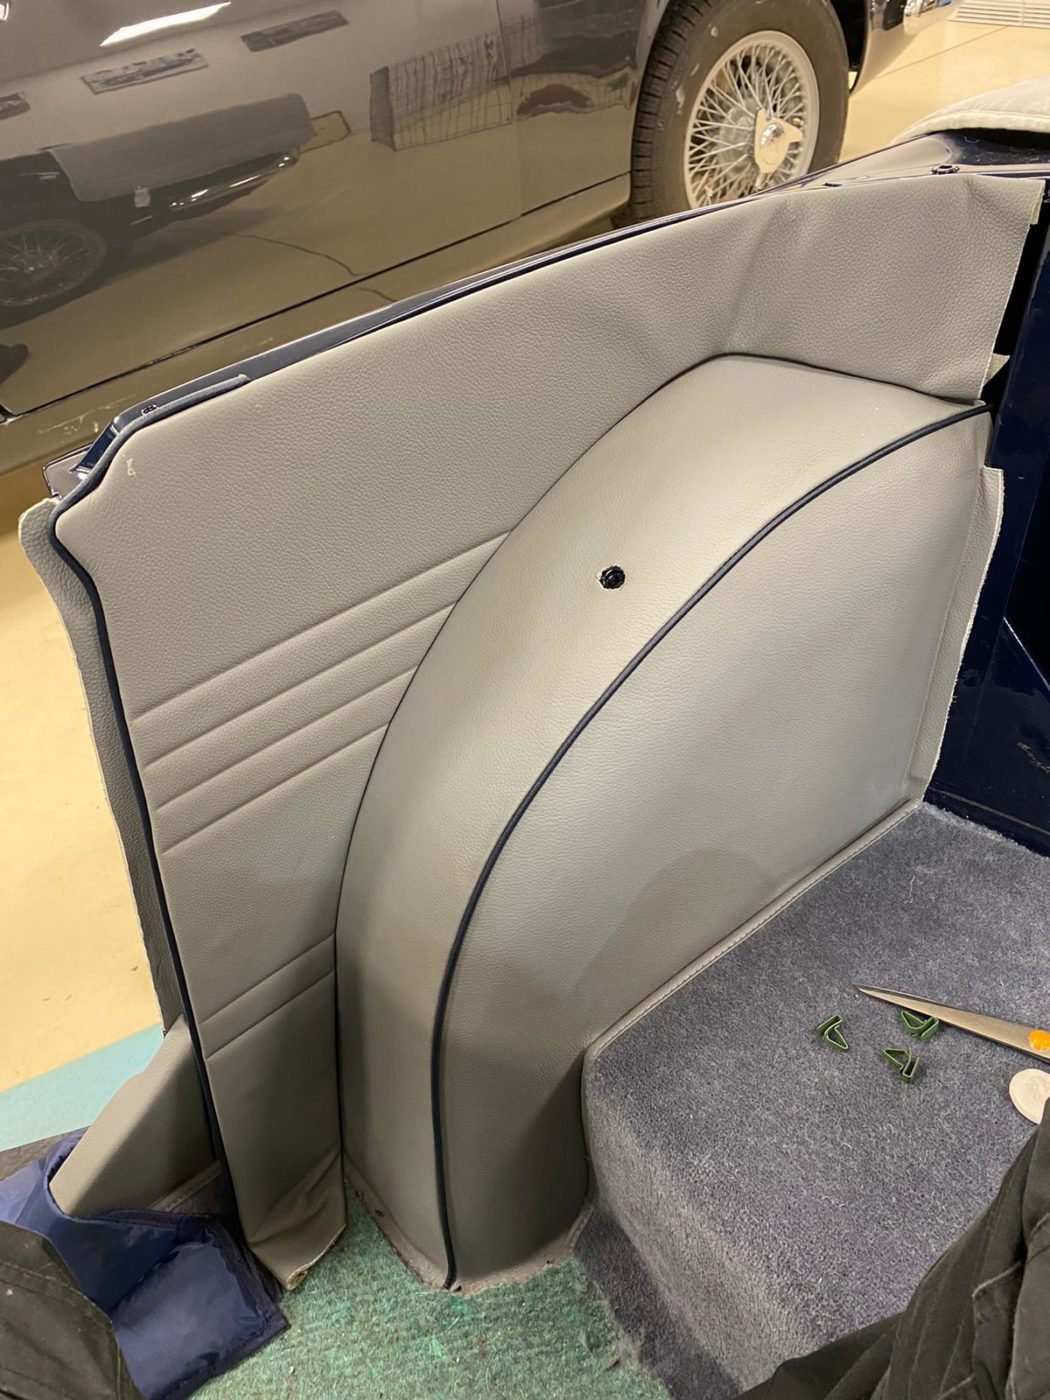
Kath and Brian have continued their work with the 1968 Triumph TR5 and are now tackling the rear quarter. Kath has added foam over the

The paint shop have added the finishing touches to our 1964 Land Rover Series 2a by painting the wheels cream. The injector fuel pump has

James has been sanding and smoothing the door frame window sill using the wire wheel on the grinder. Four out of five doors have been

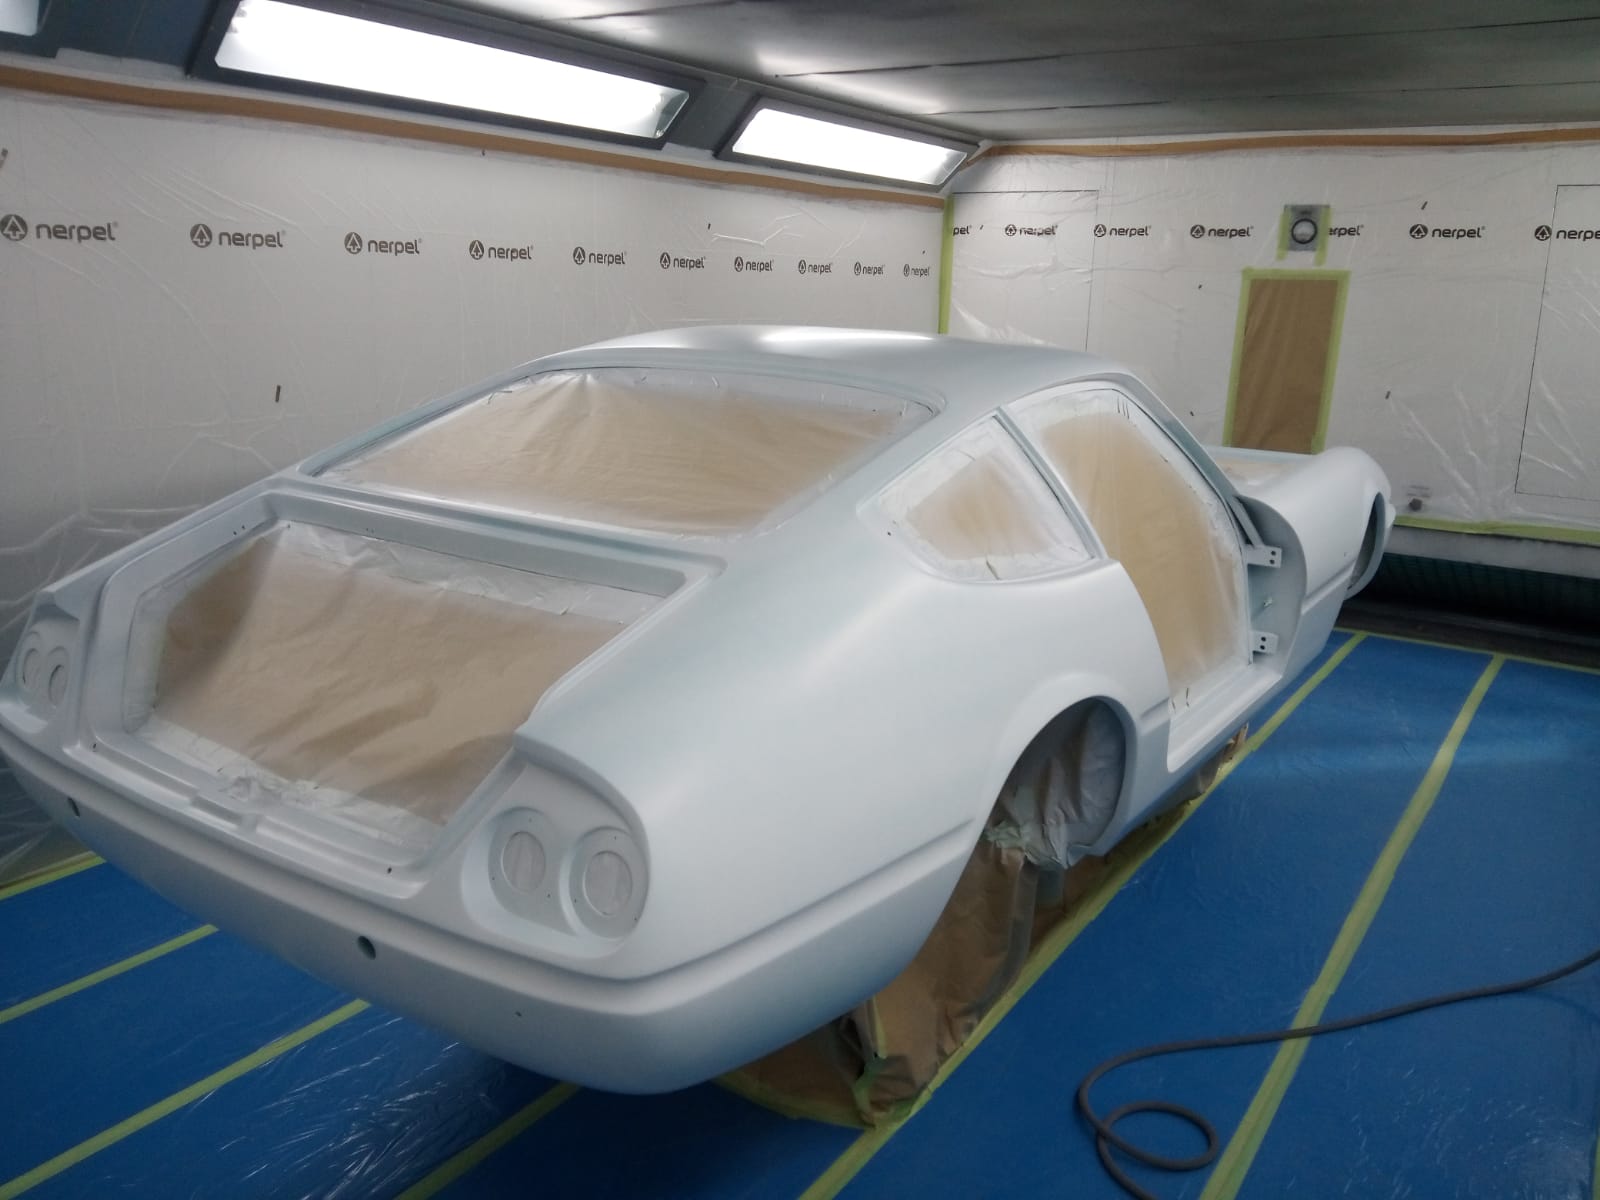
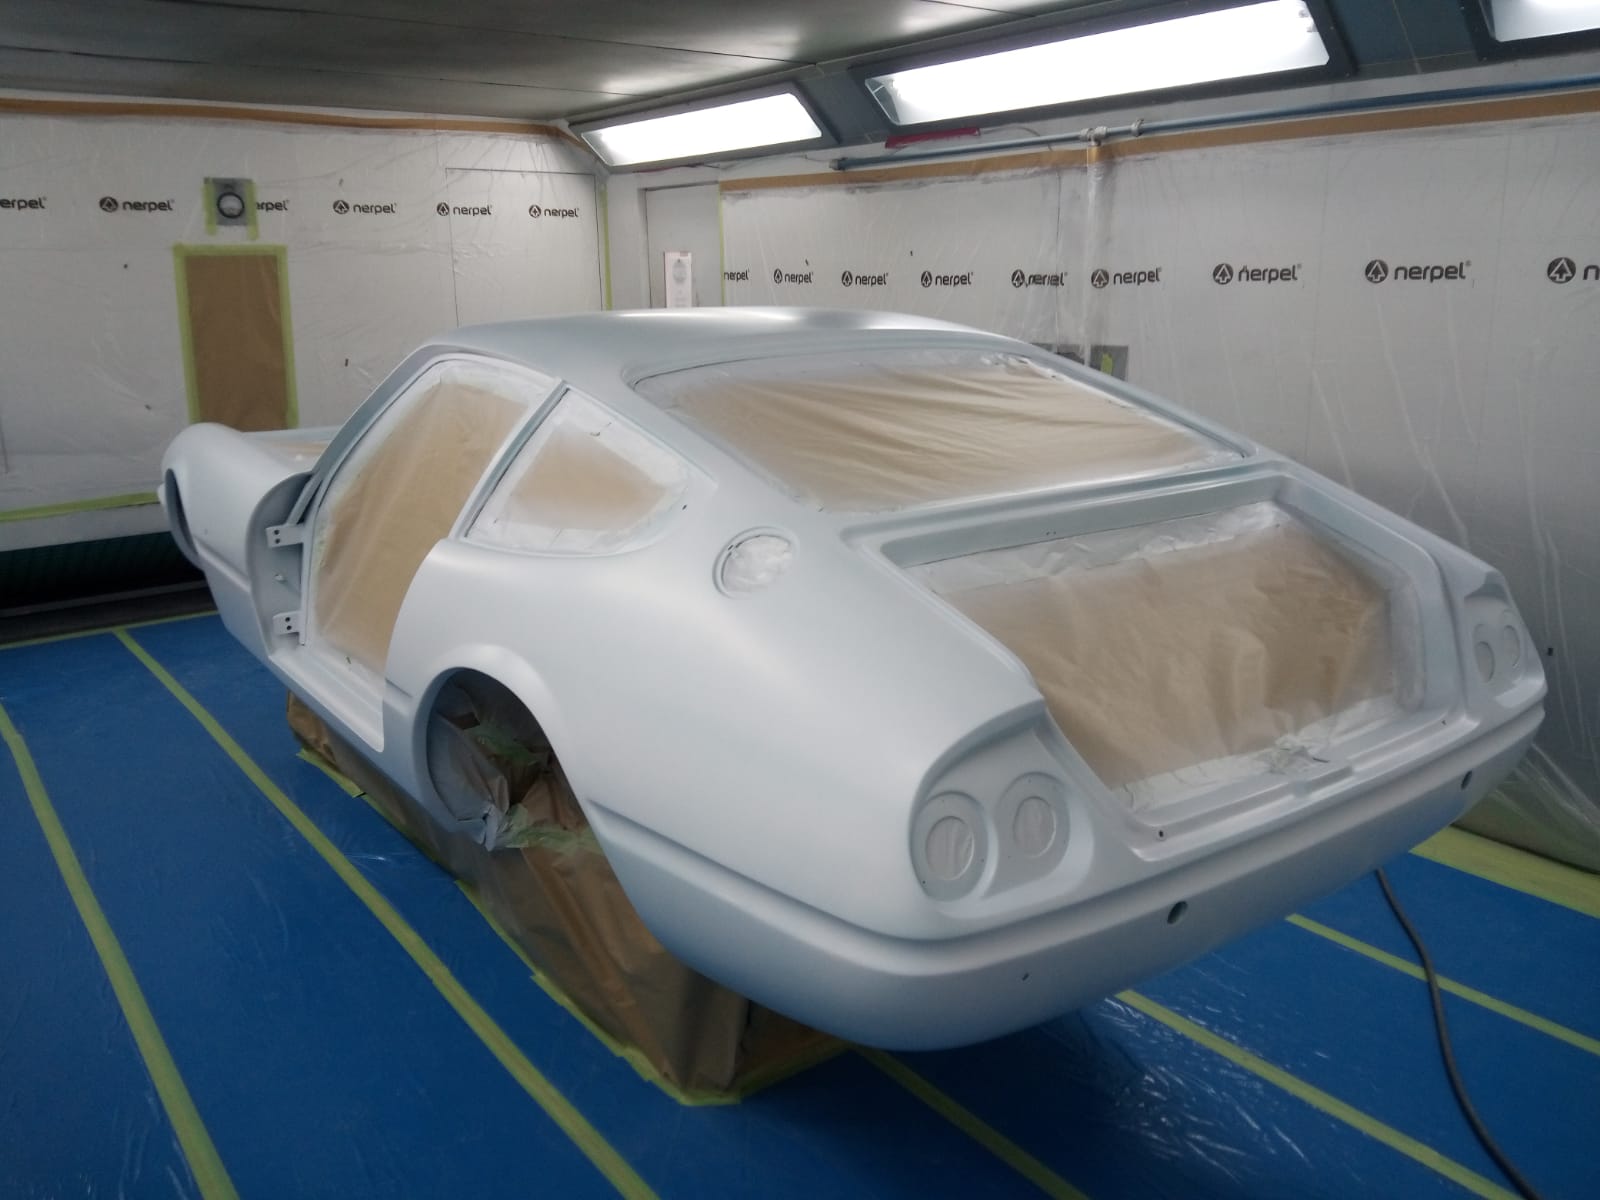
The Ferrari Daytona is currently sat in primer and is being smoothed and prepared for its final paint step: the official colour. Before it can
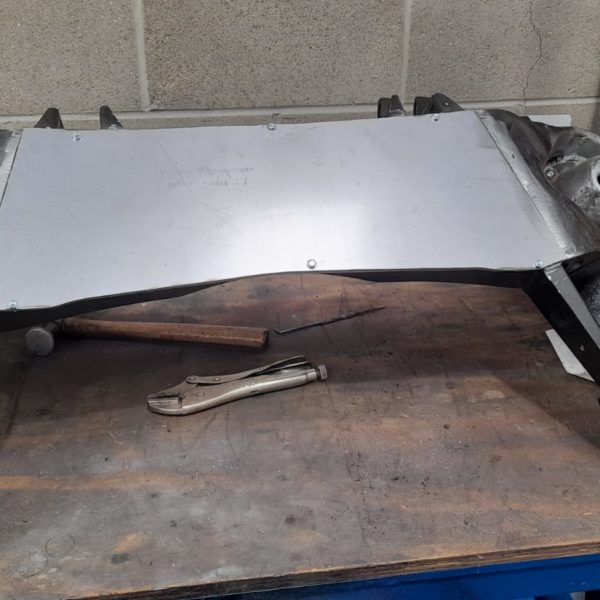
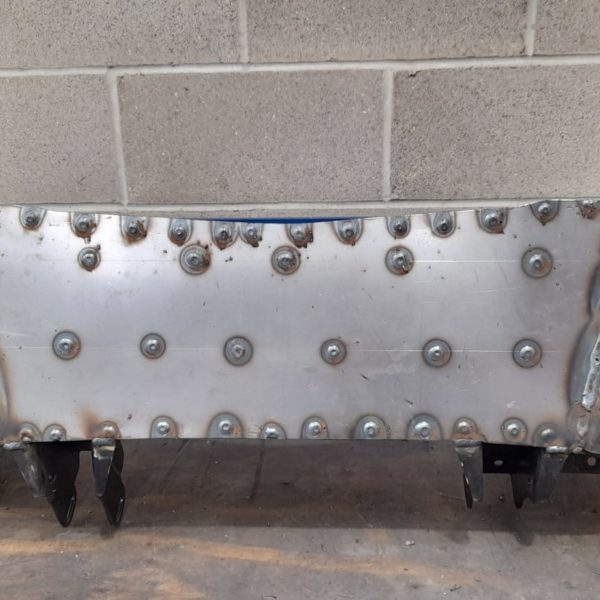
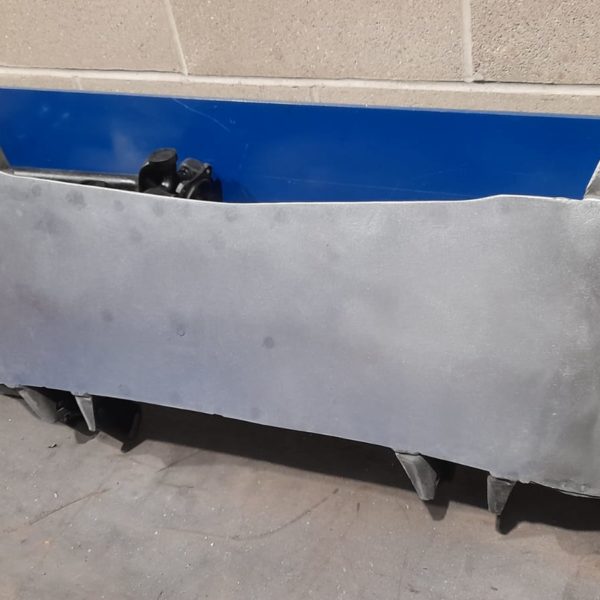
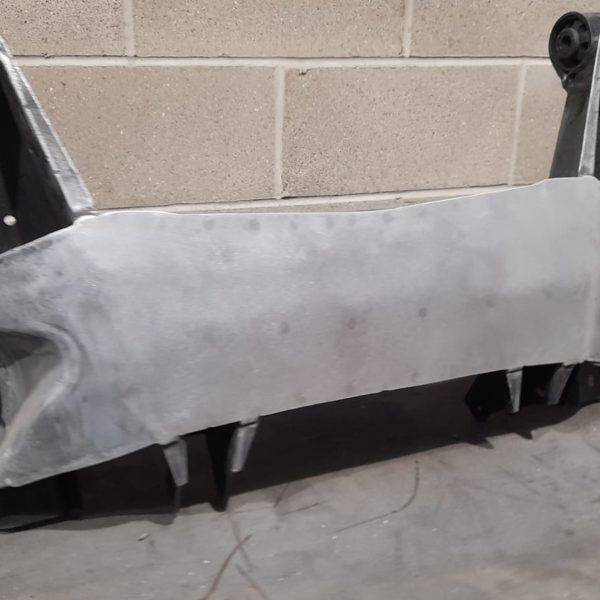
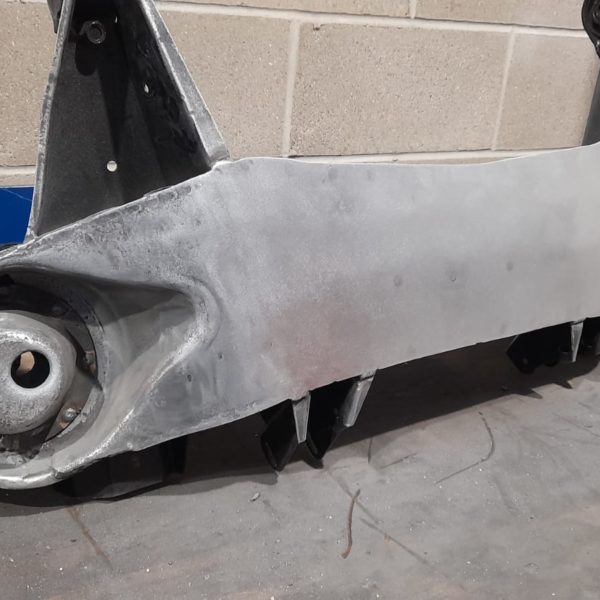
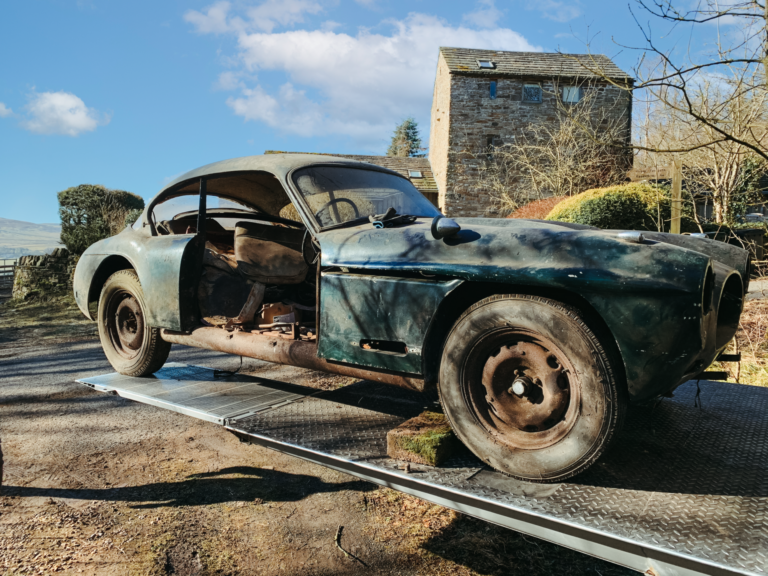
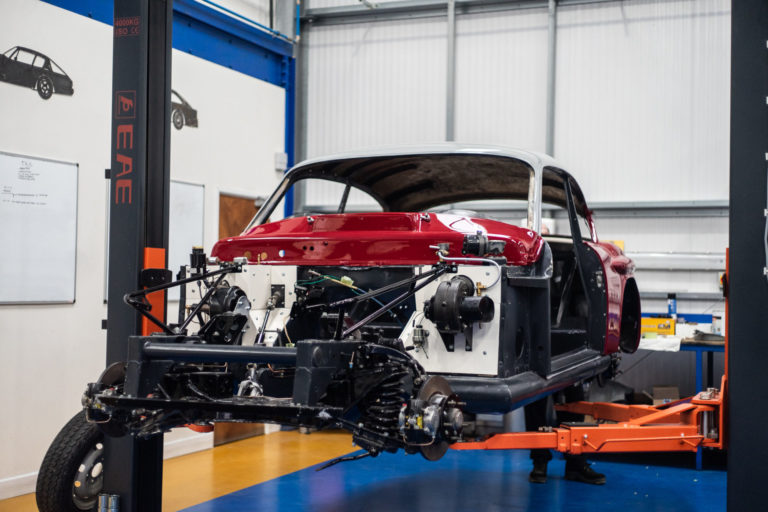
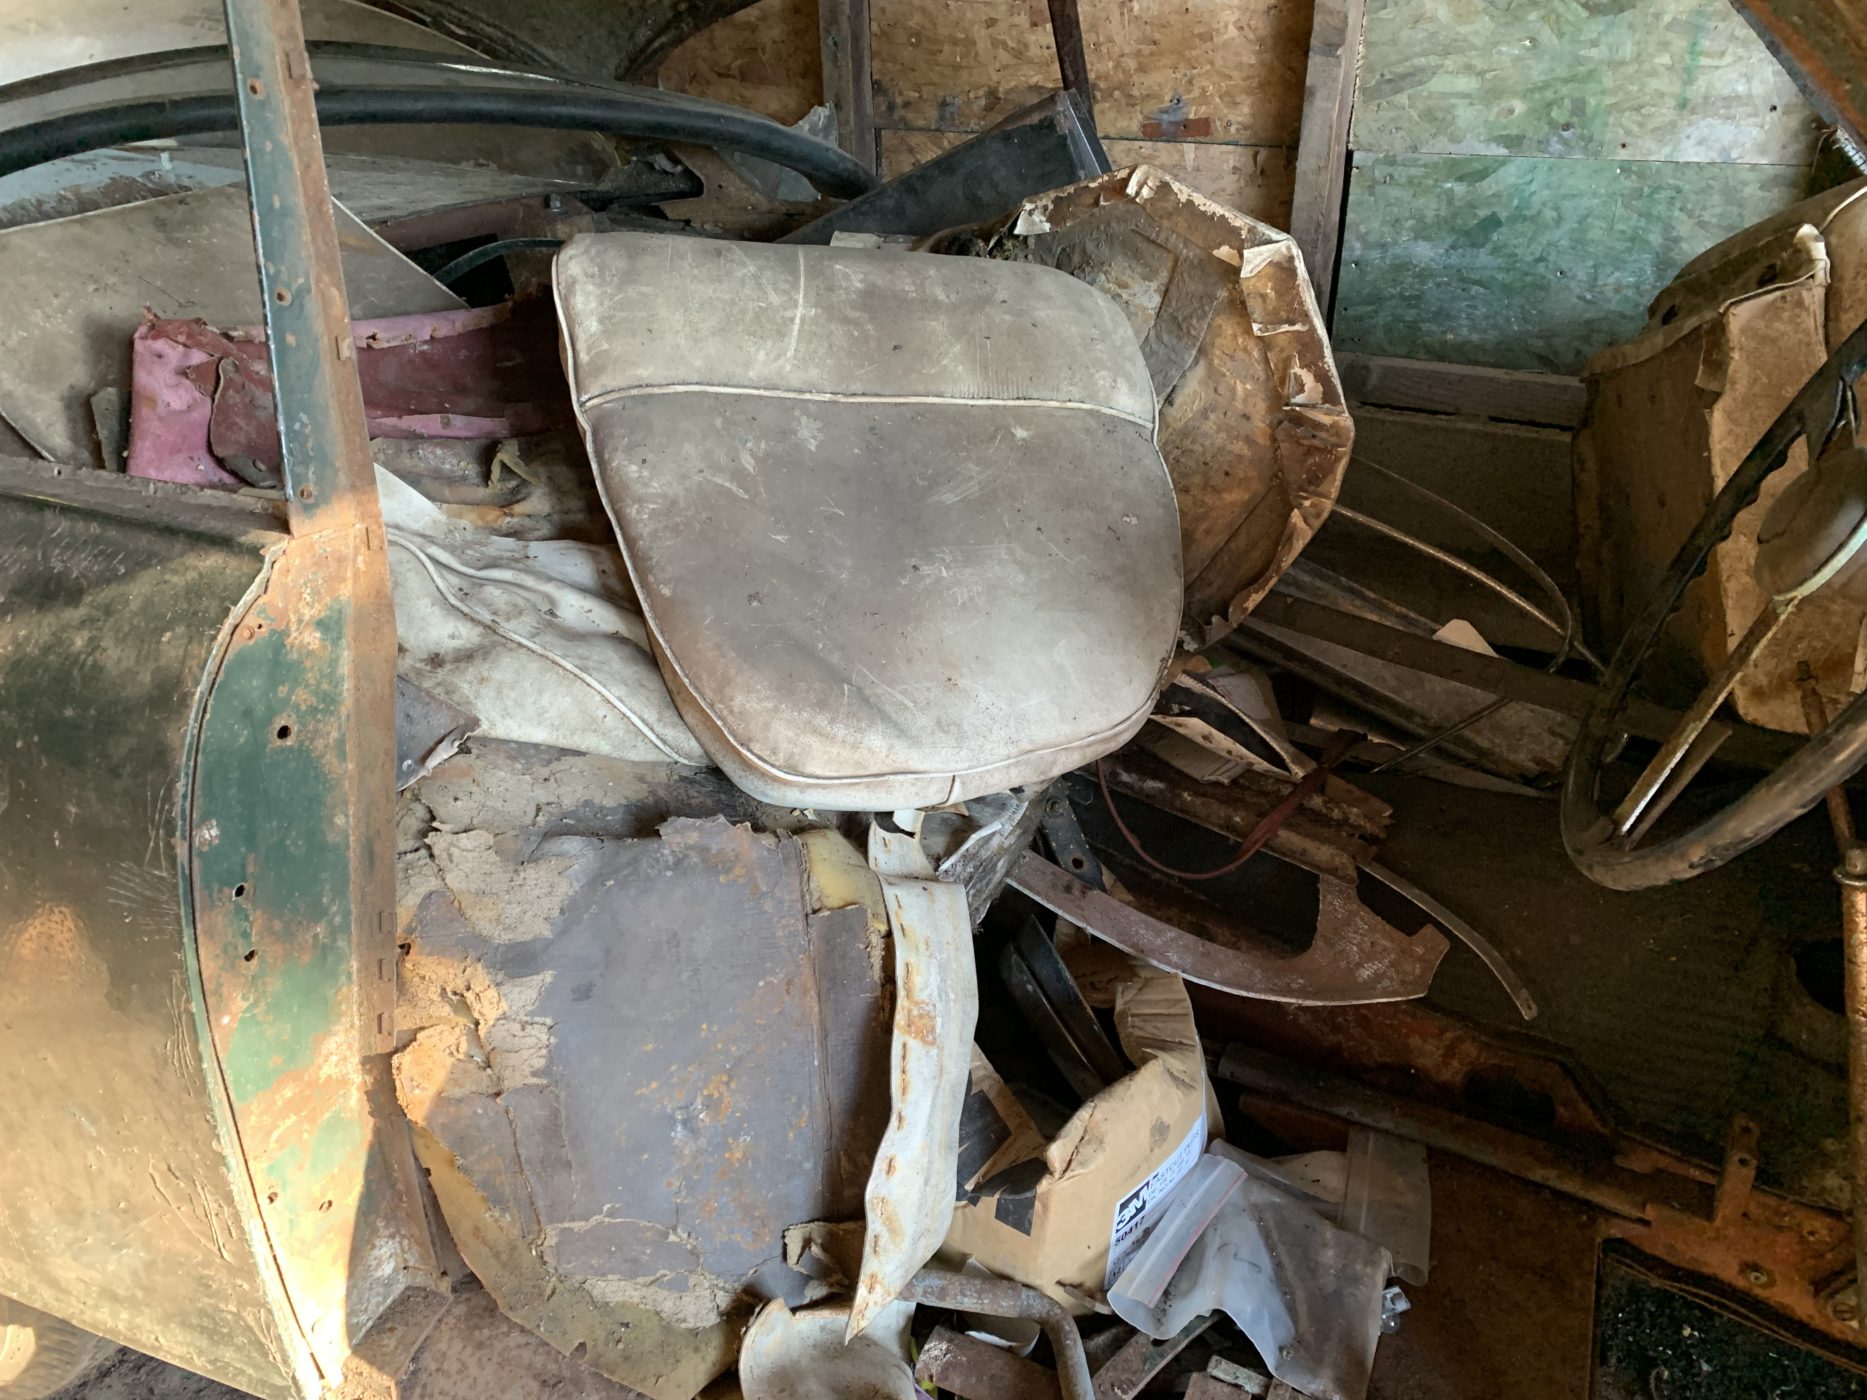
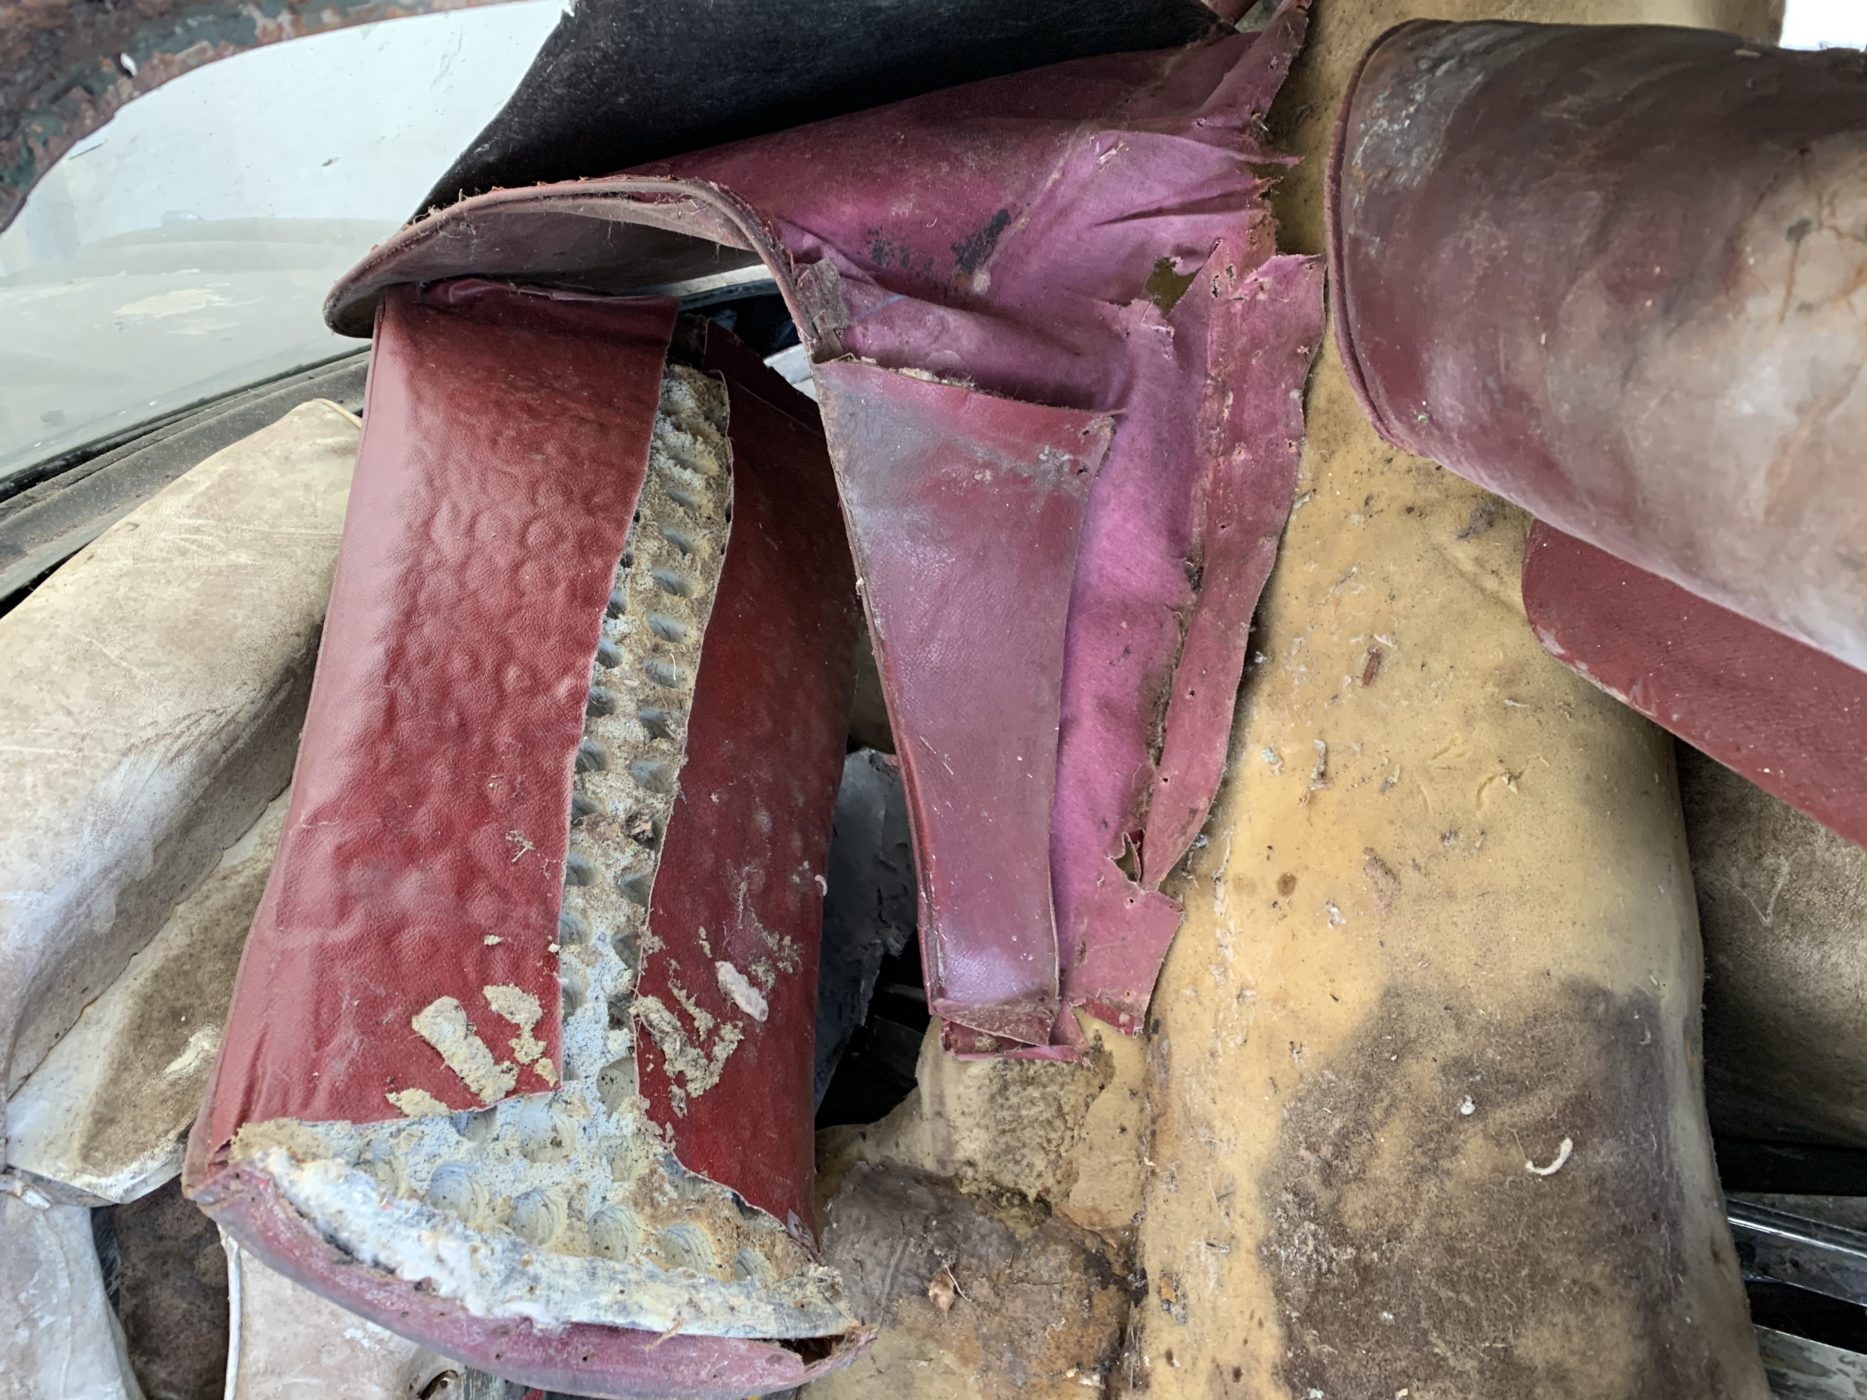
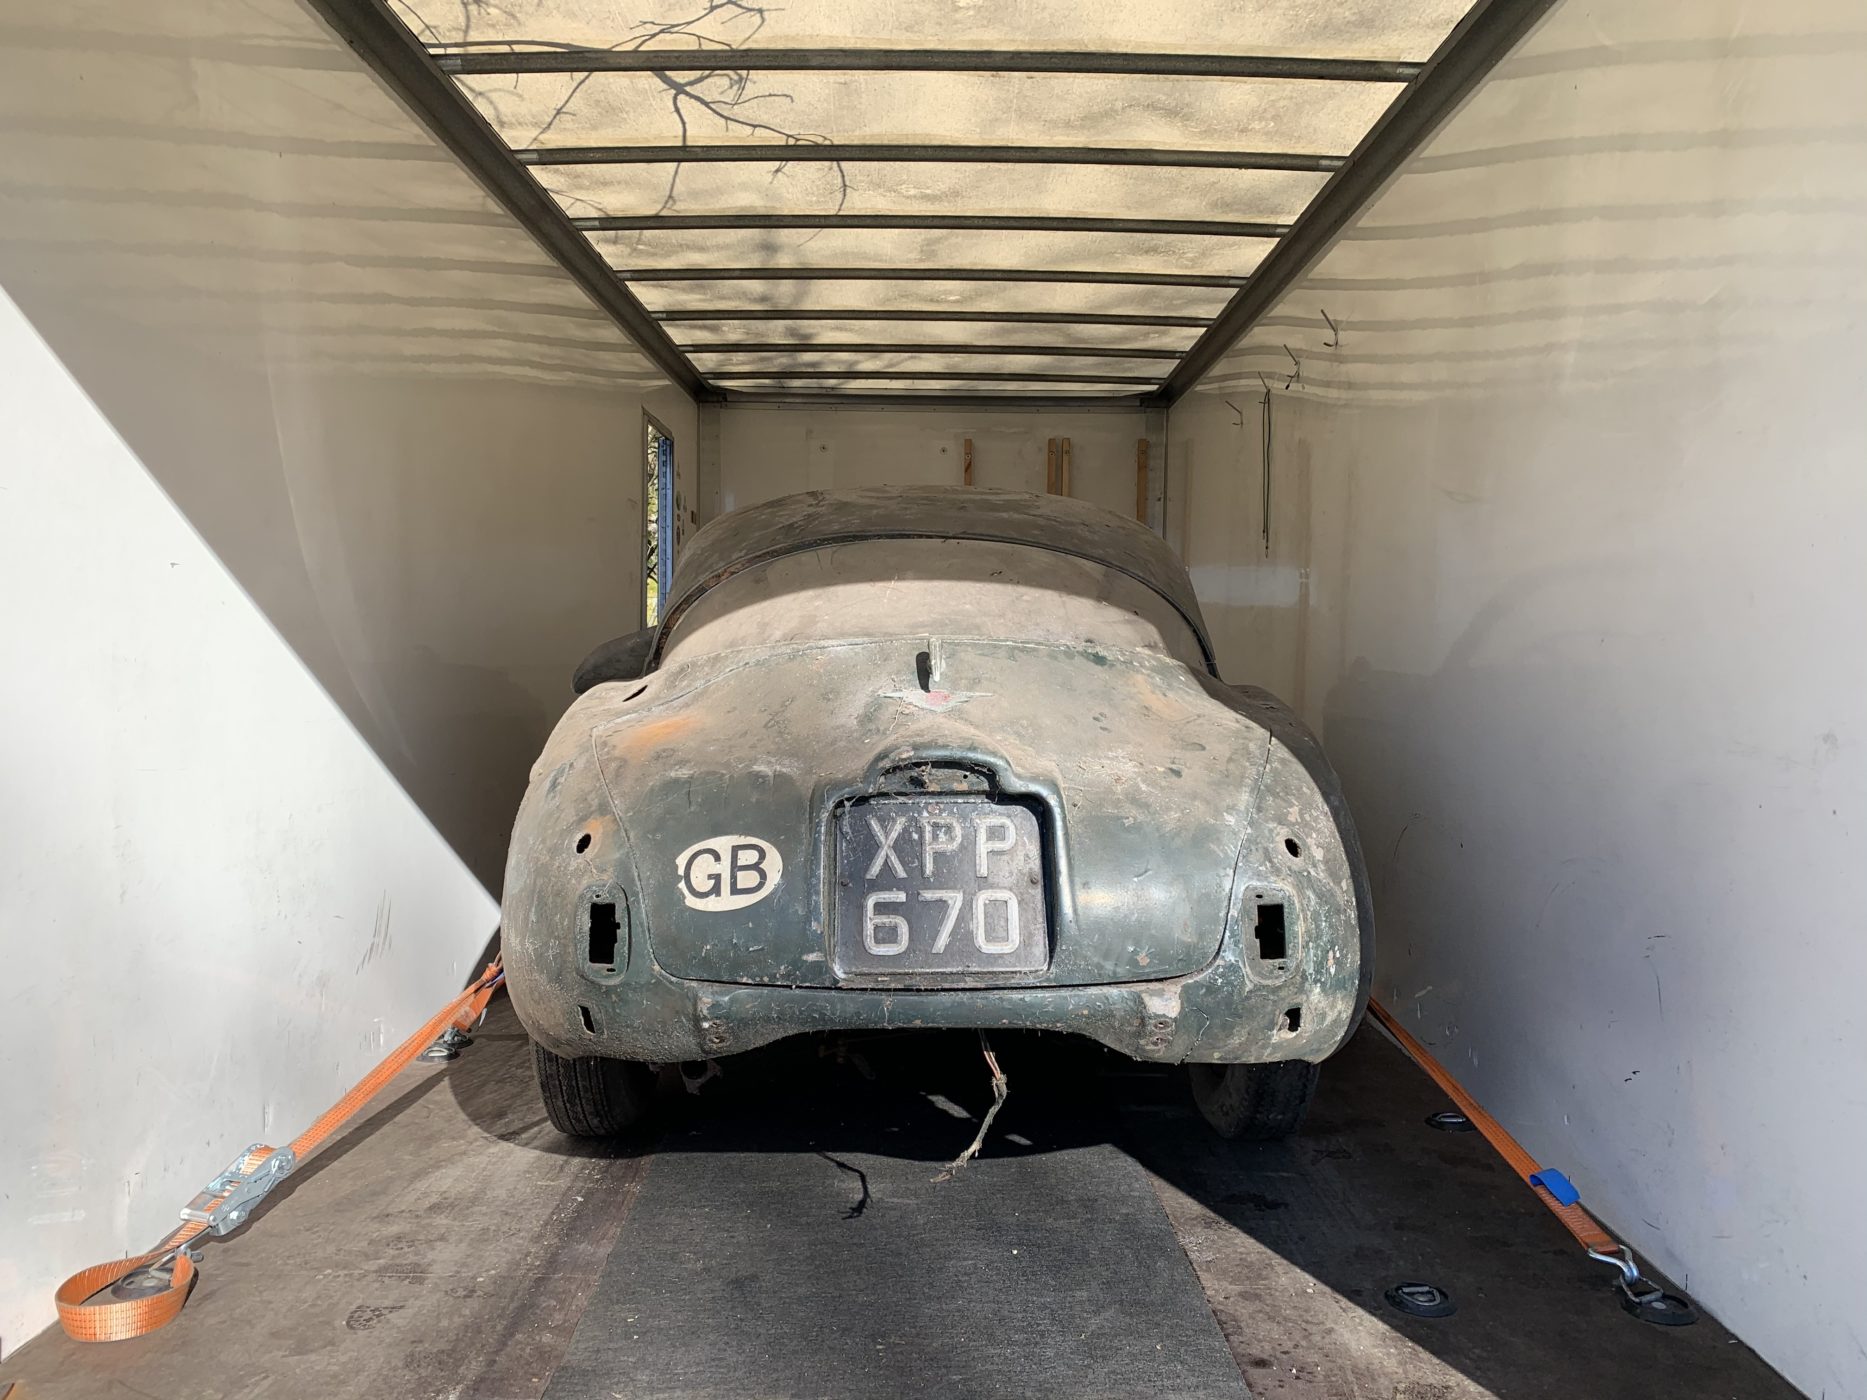
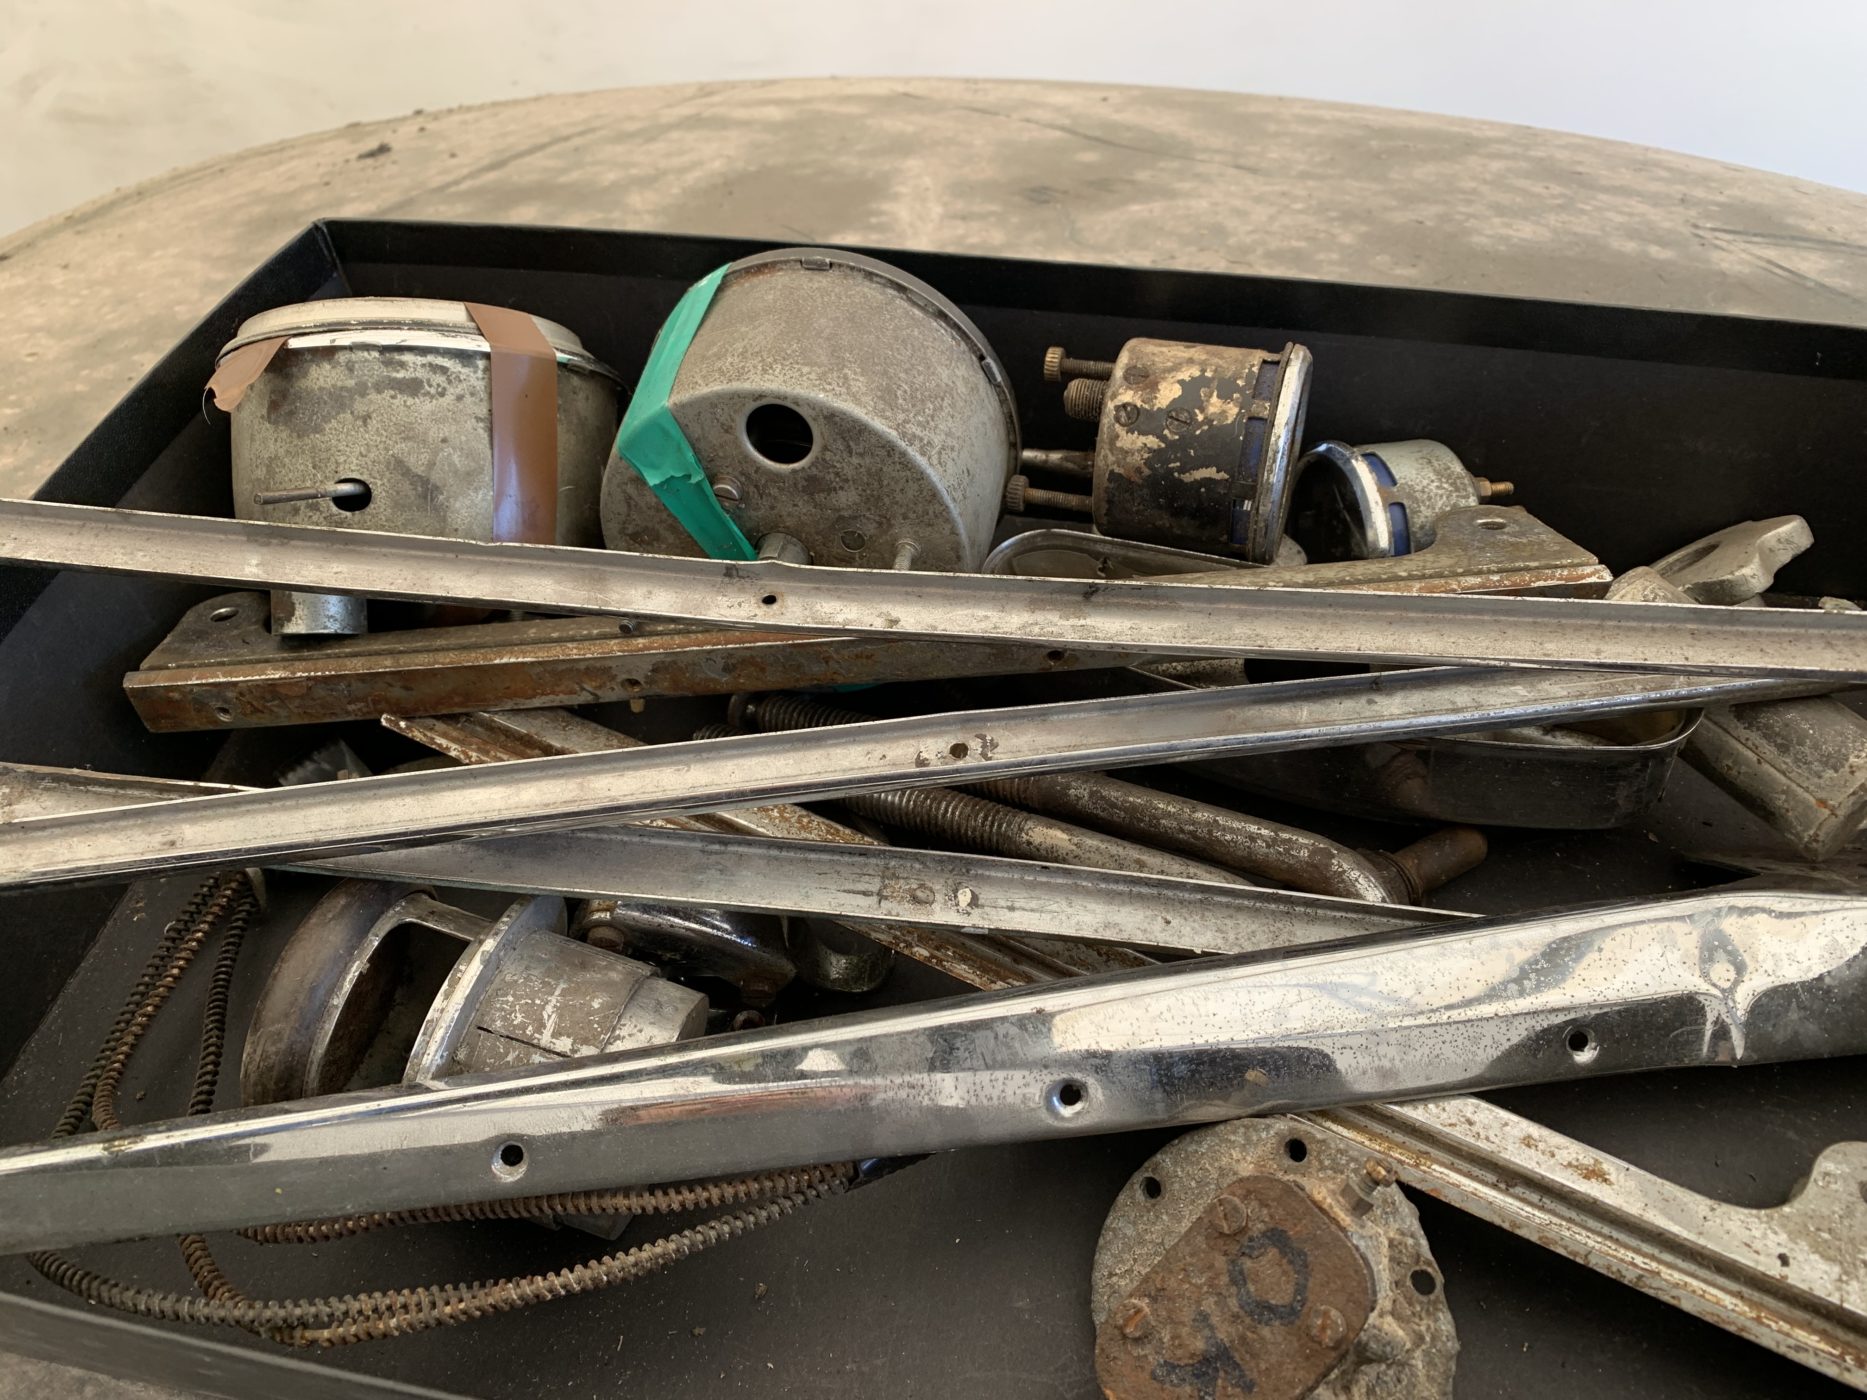
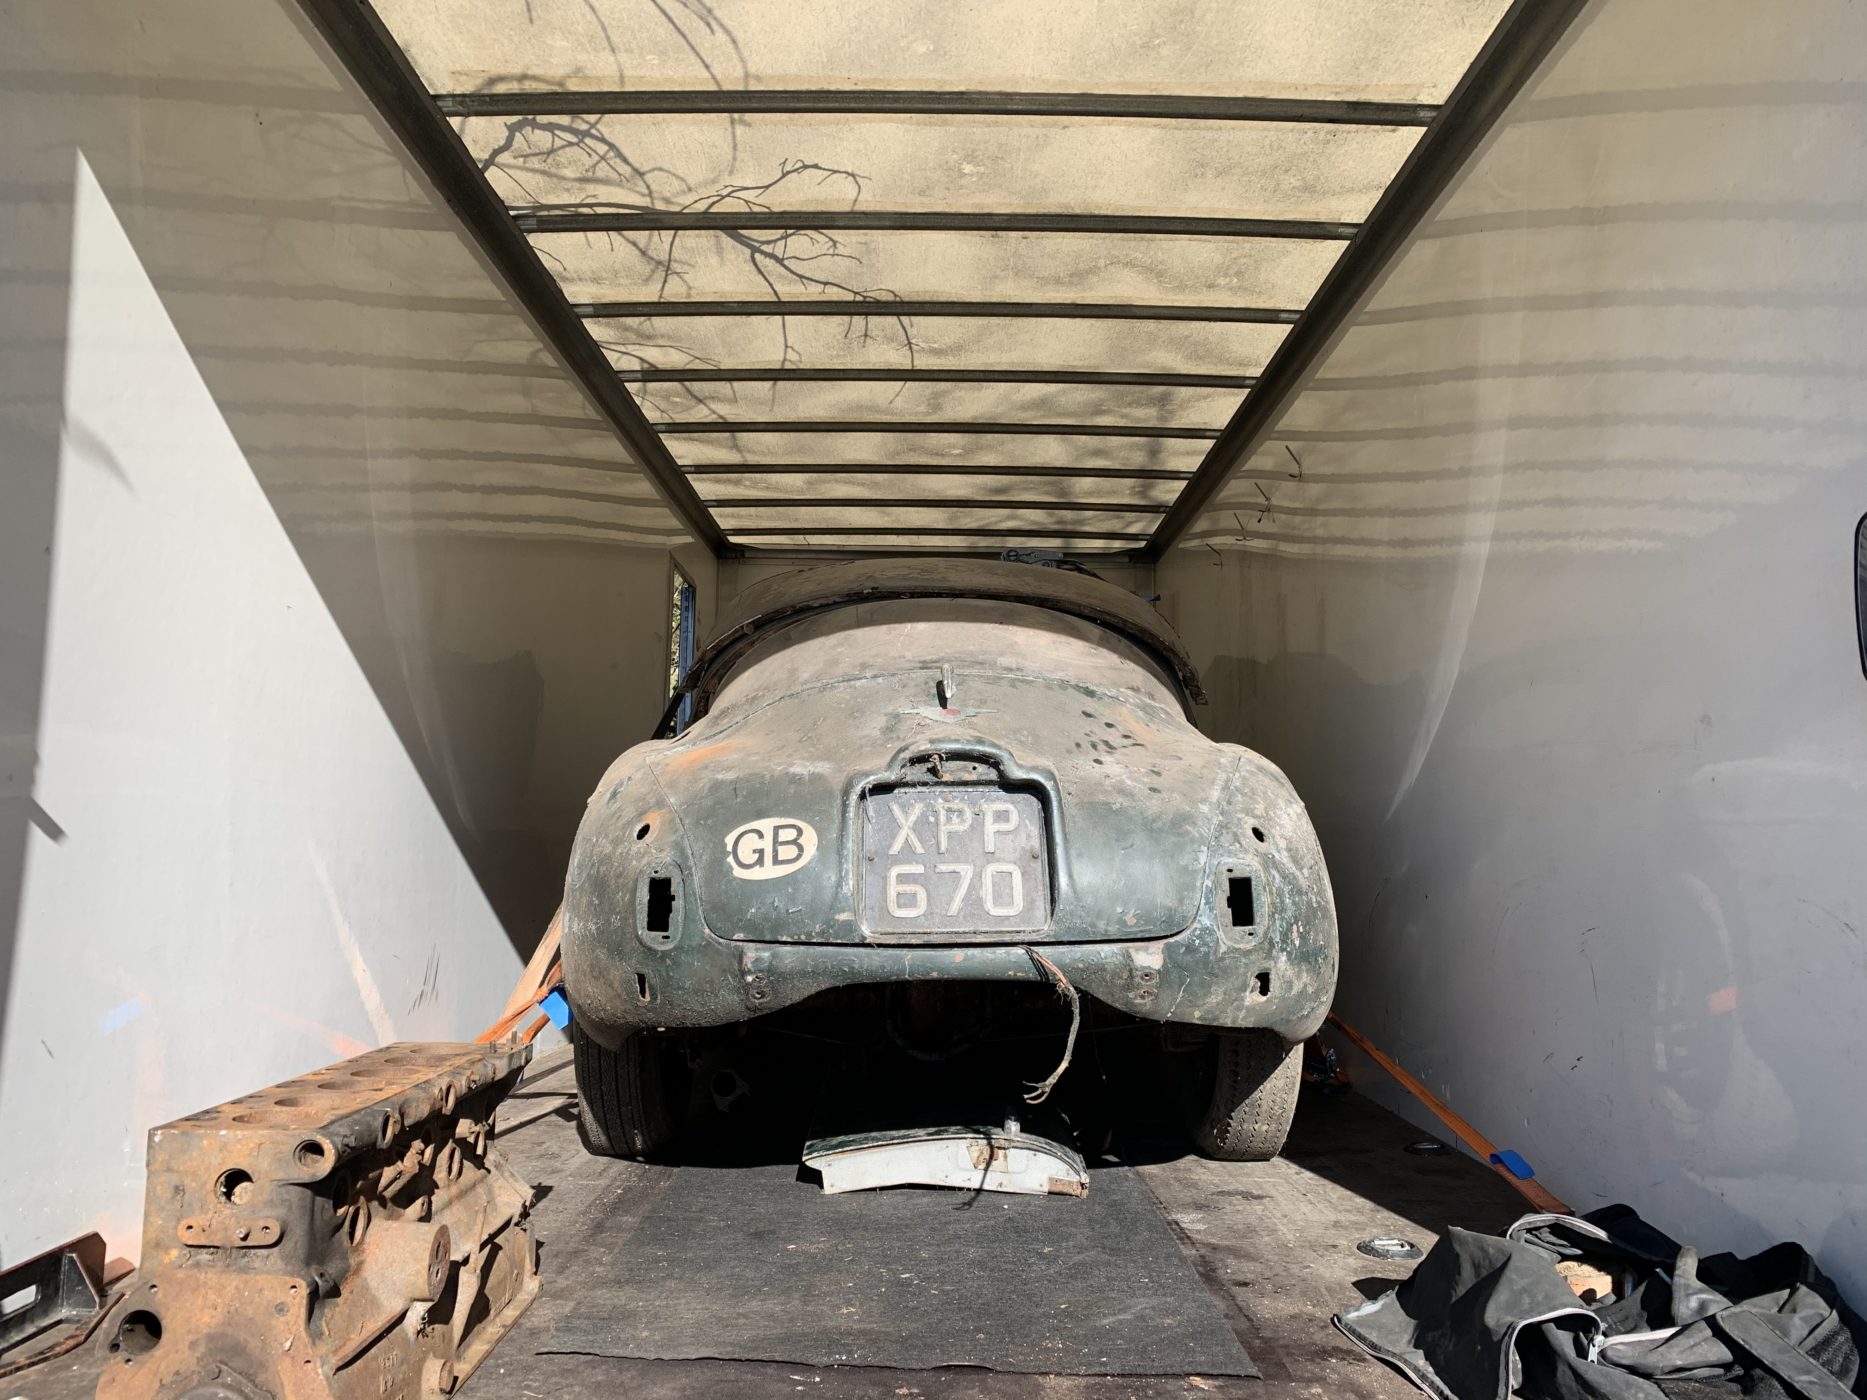
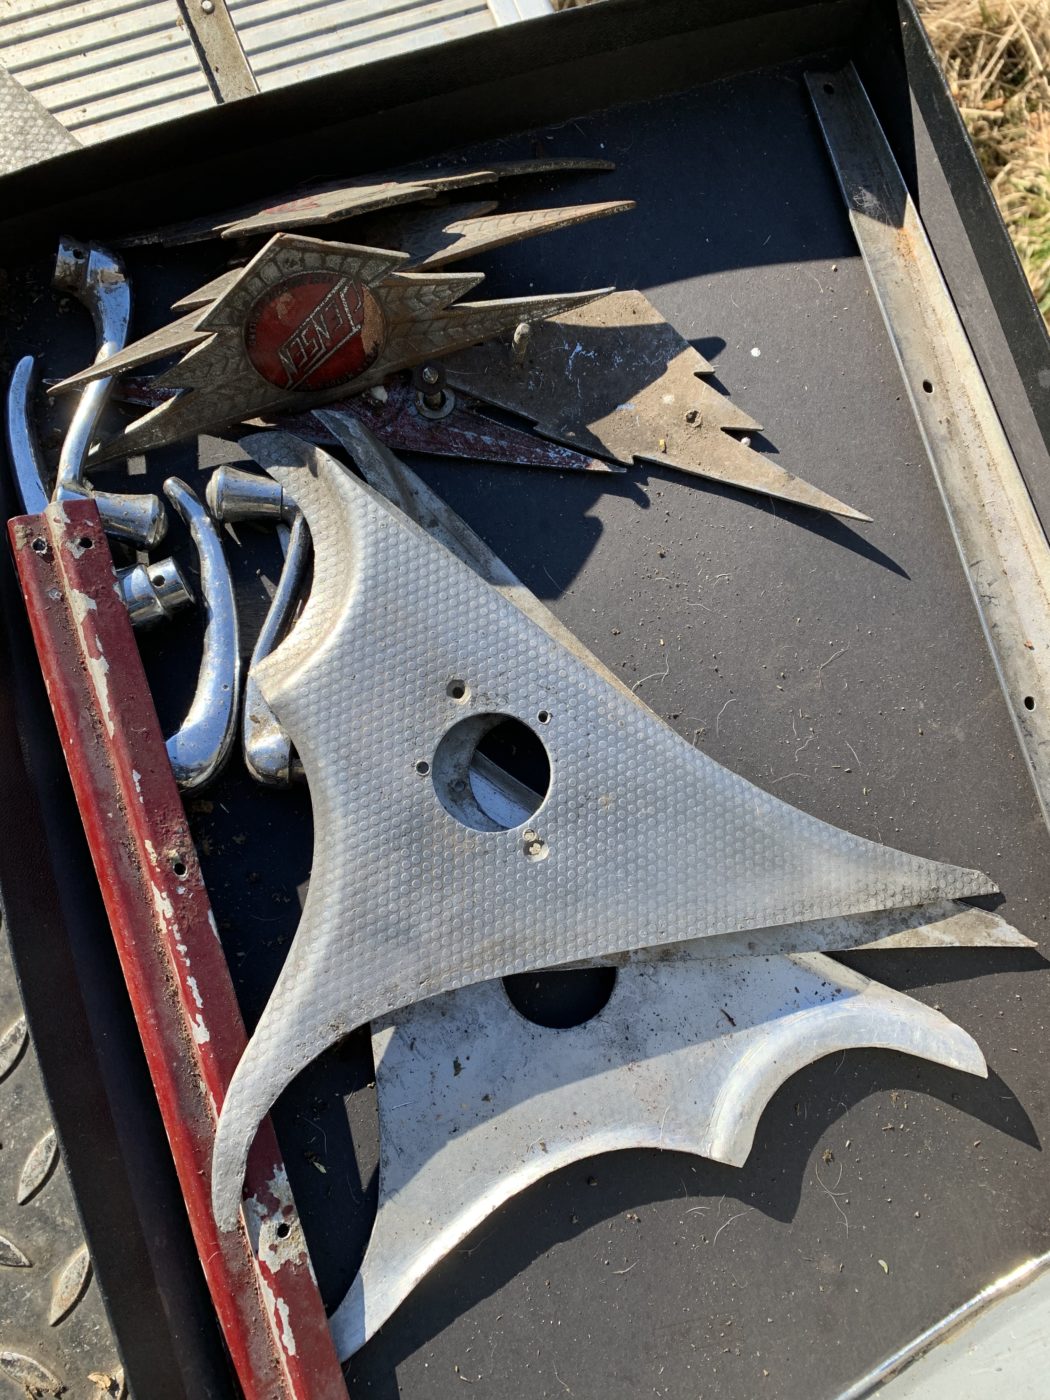
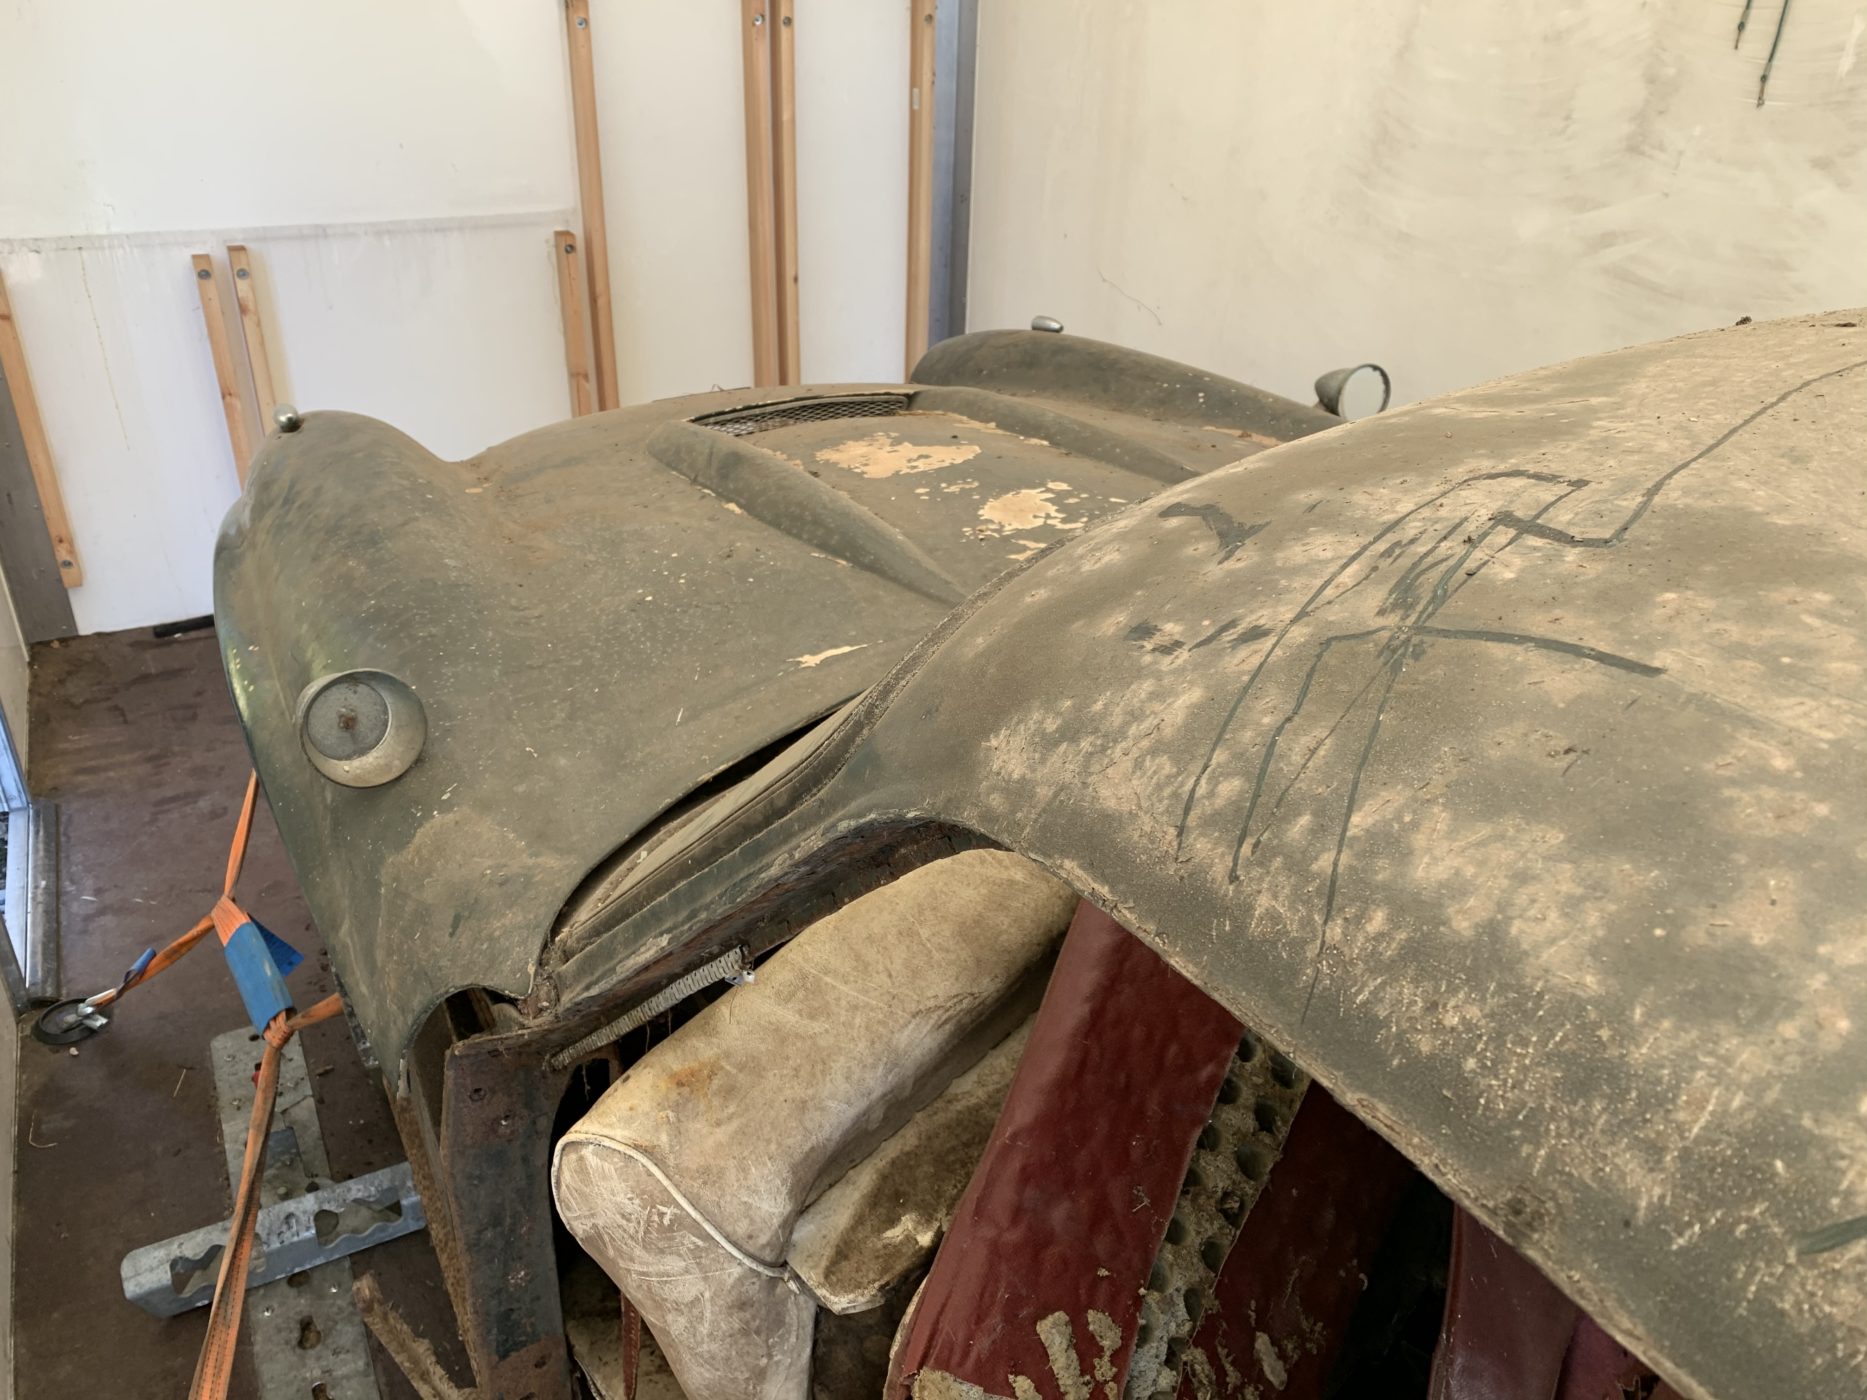
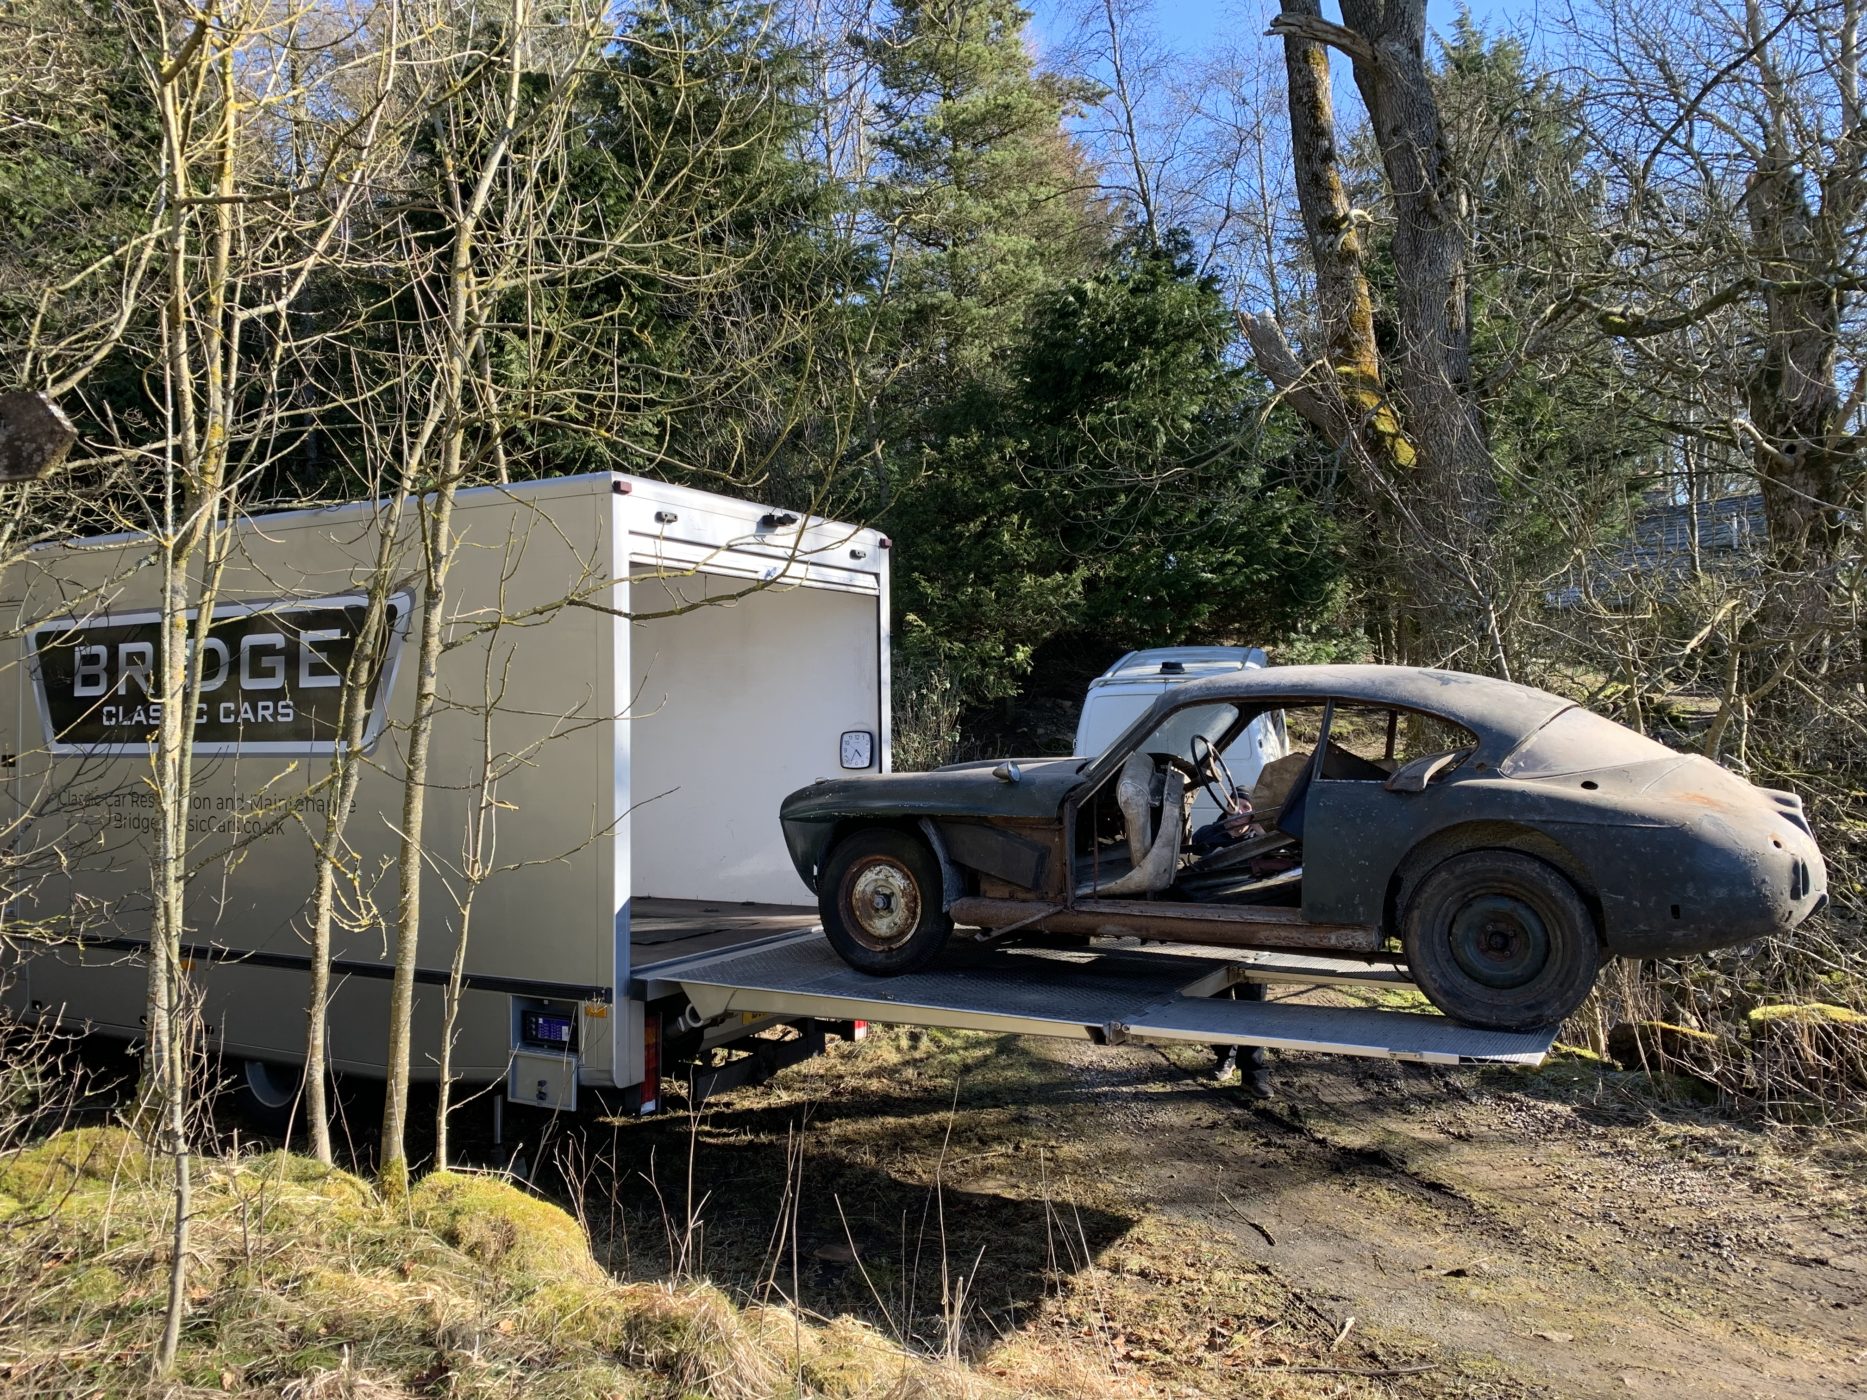
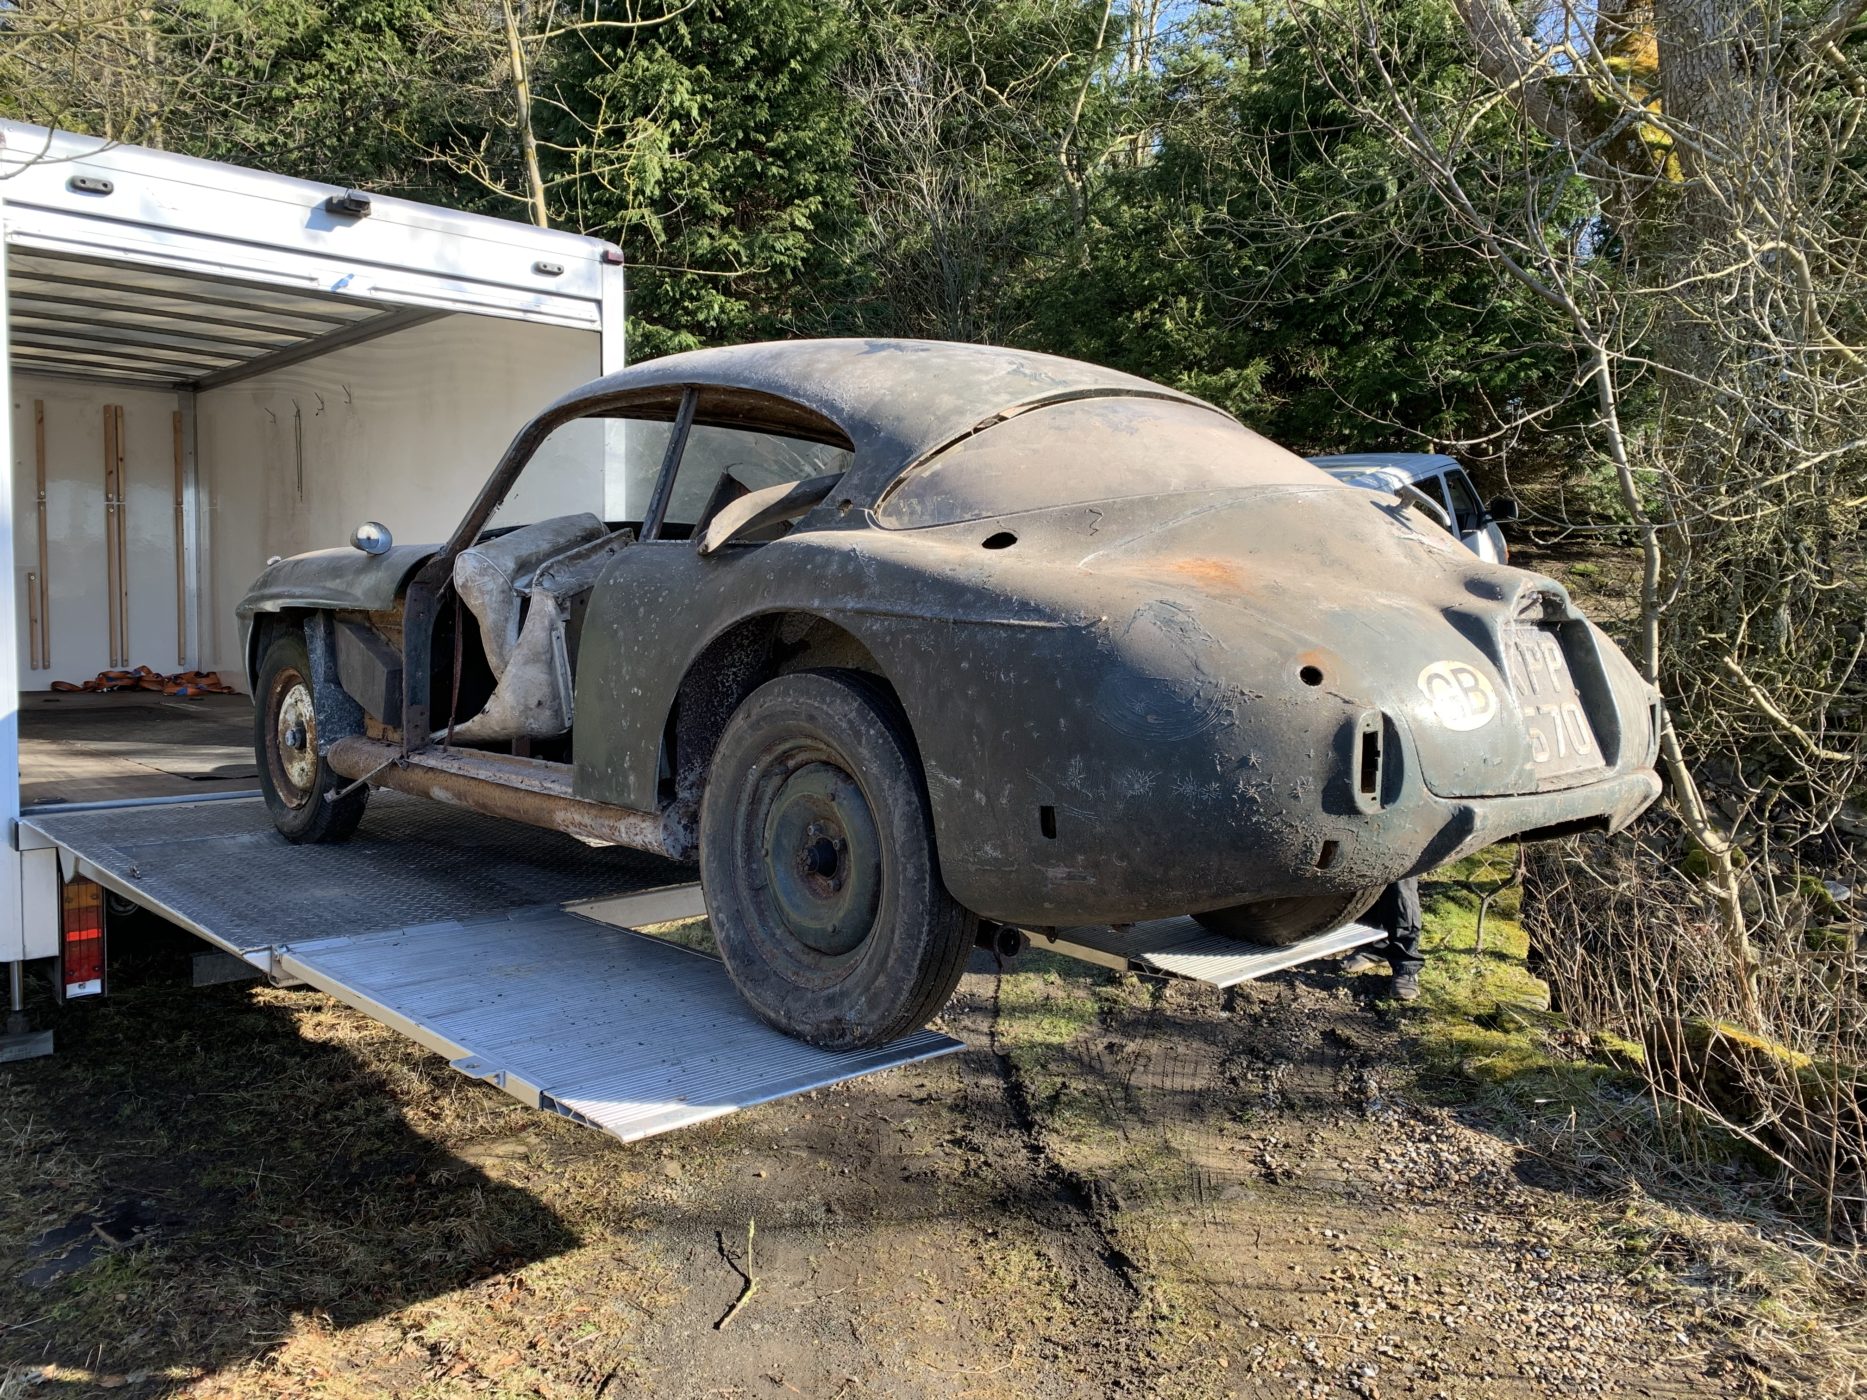
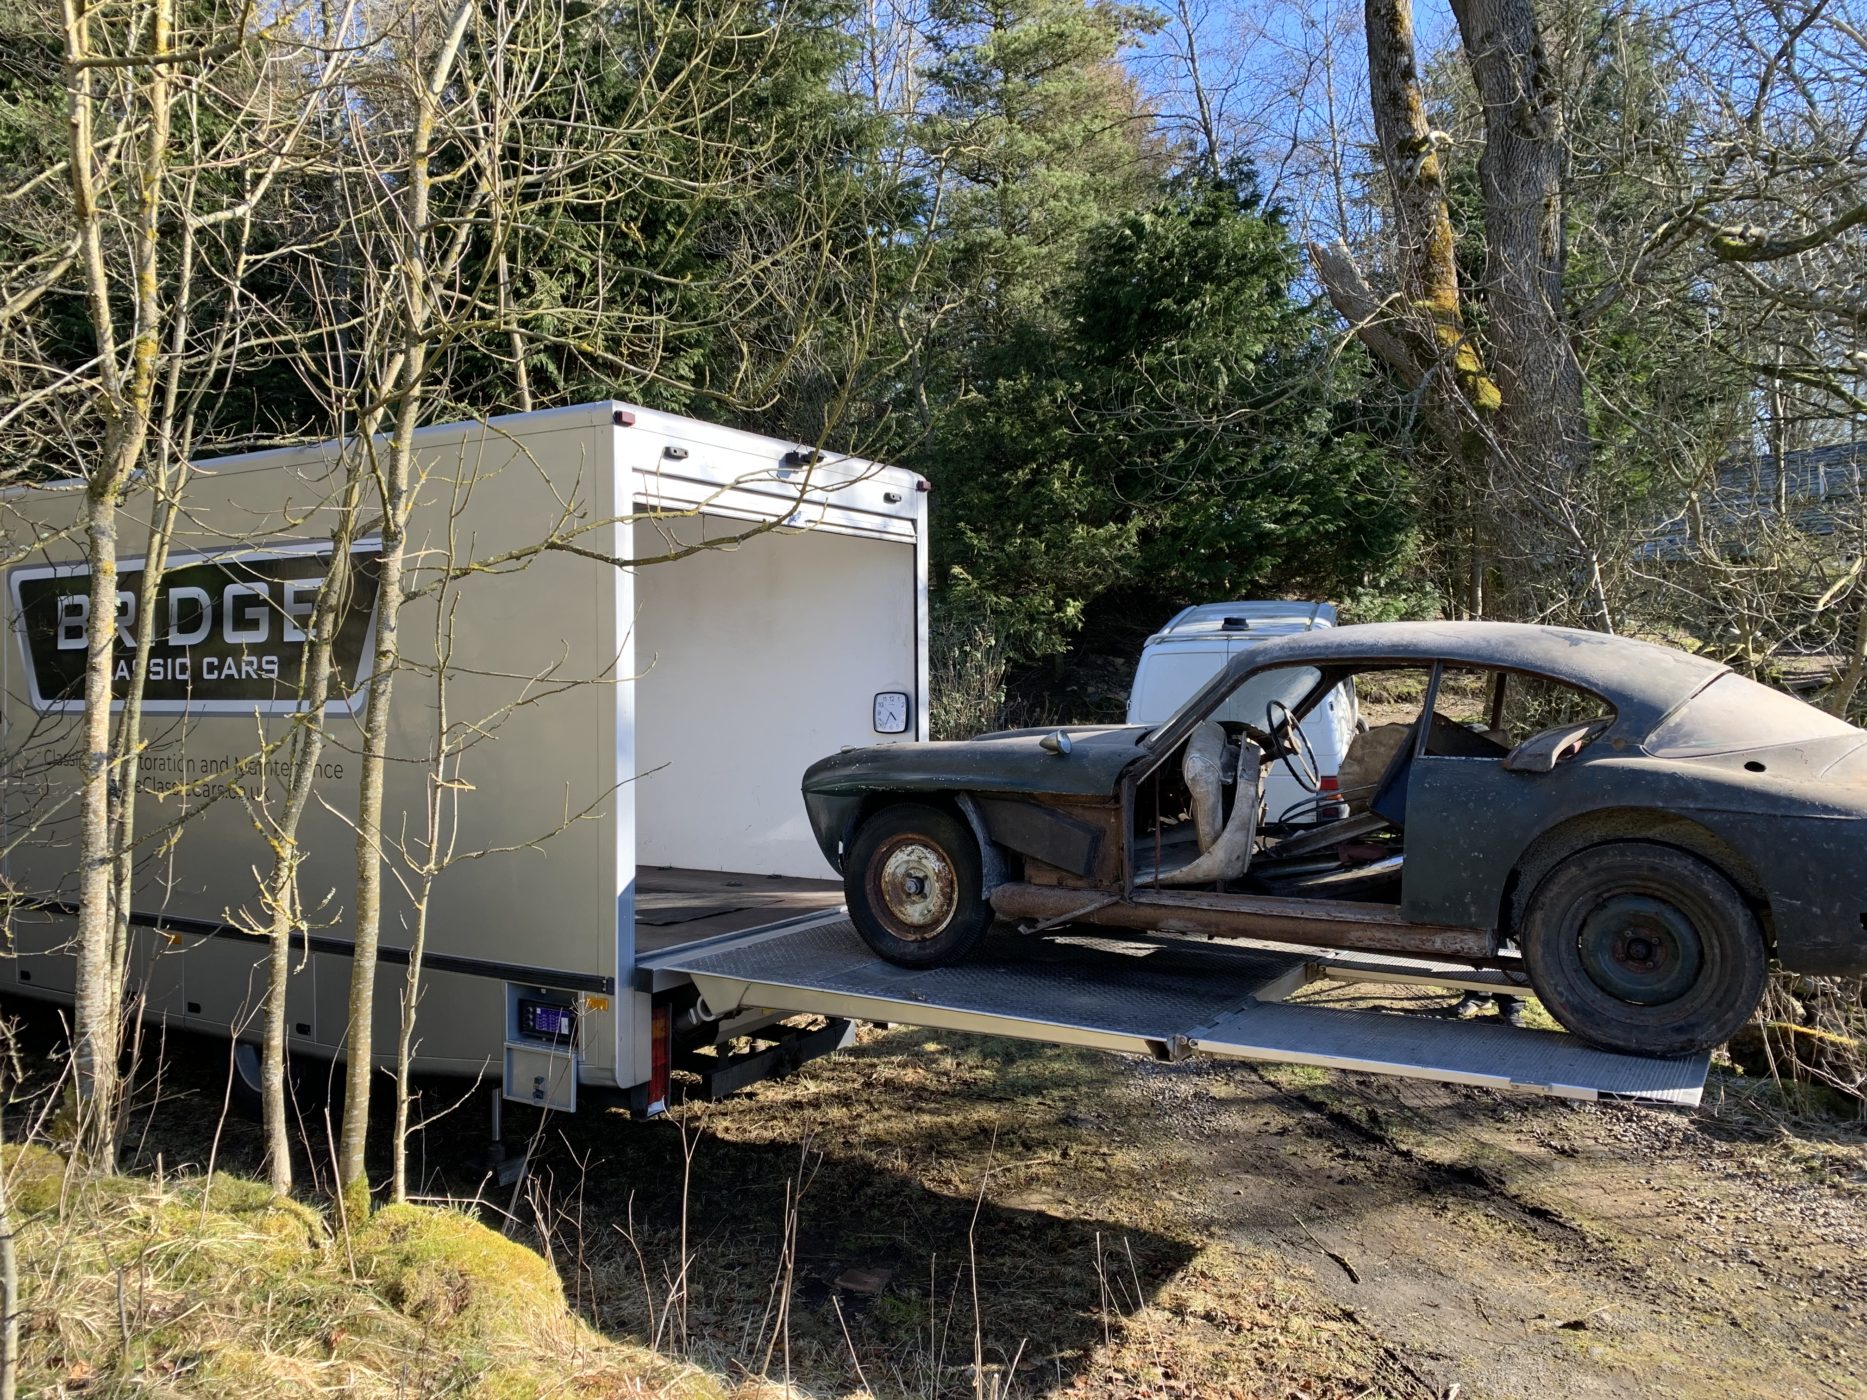
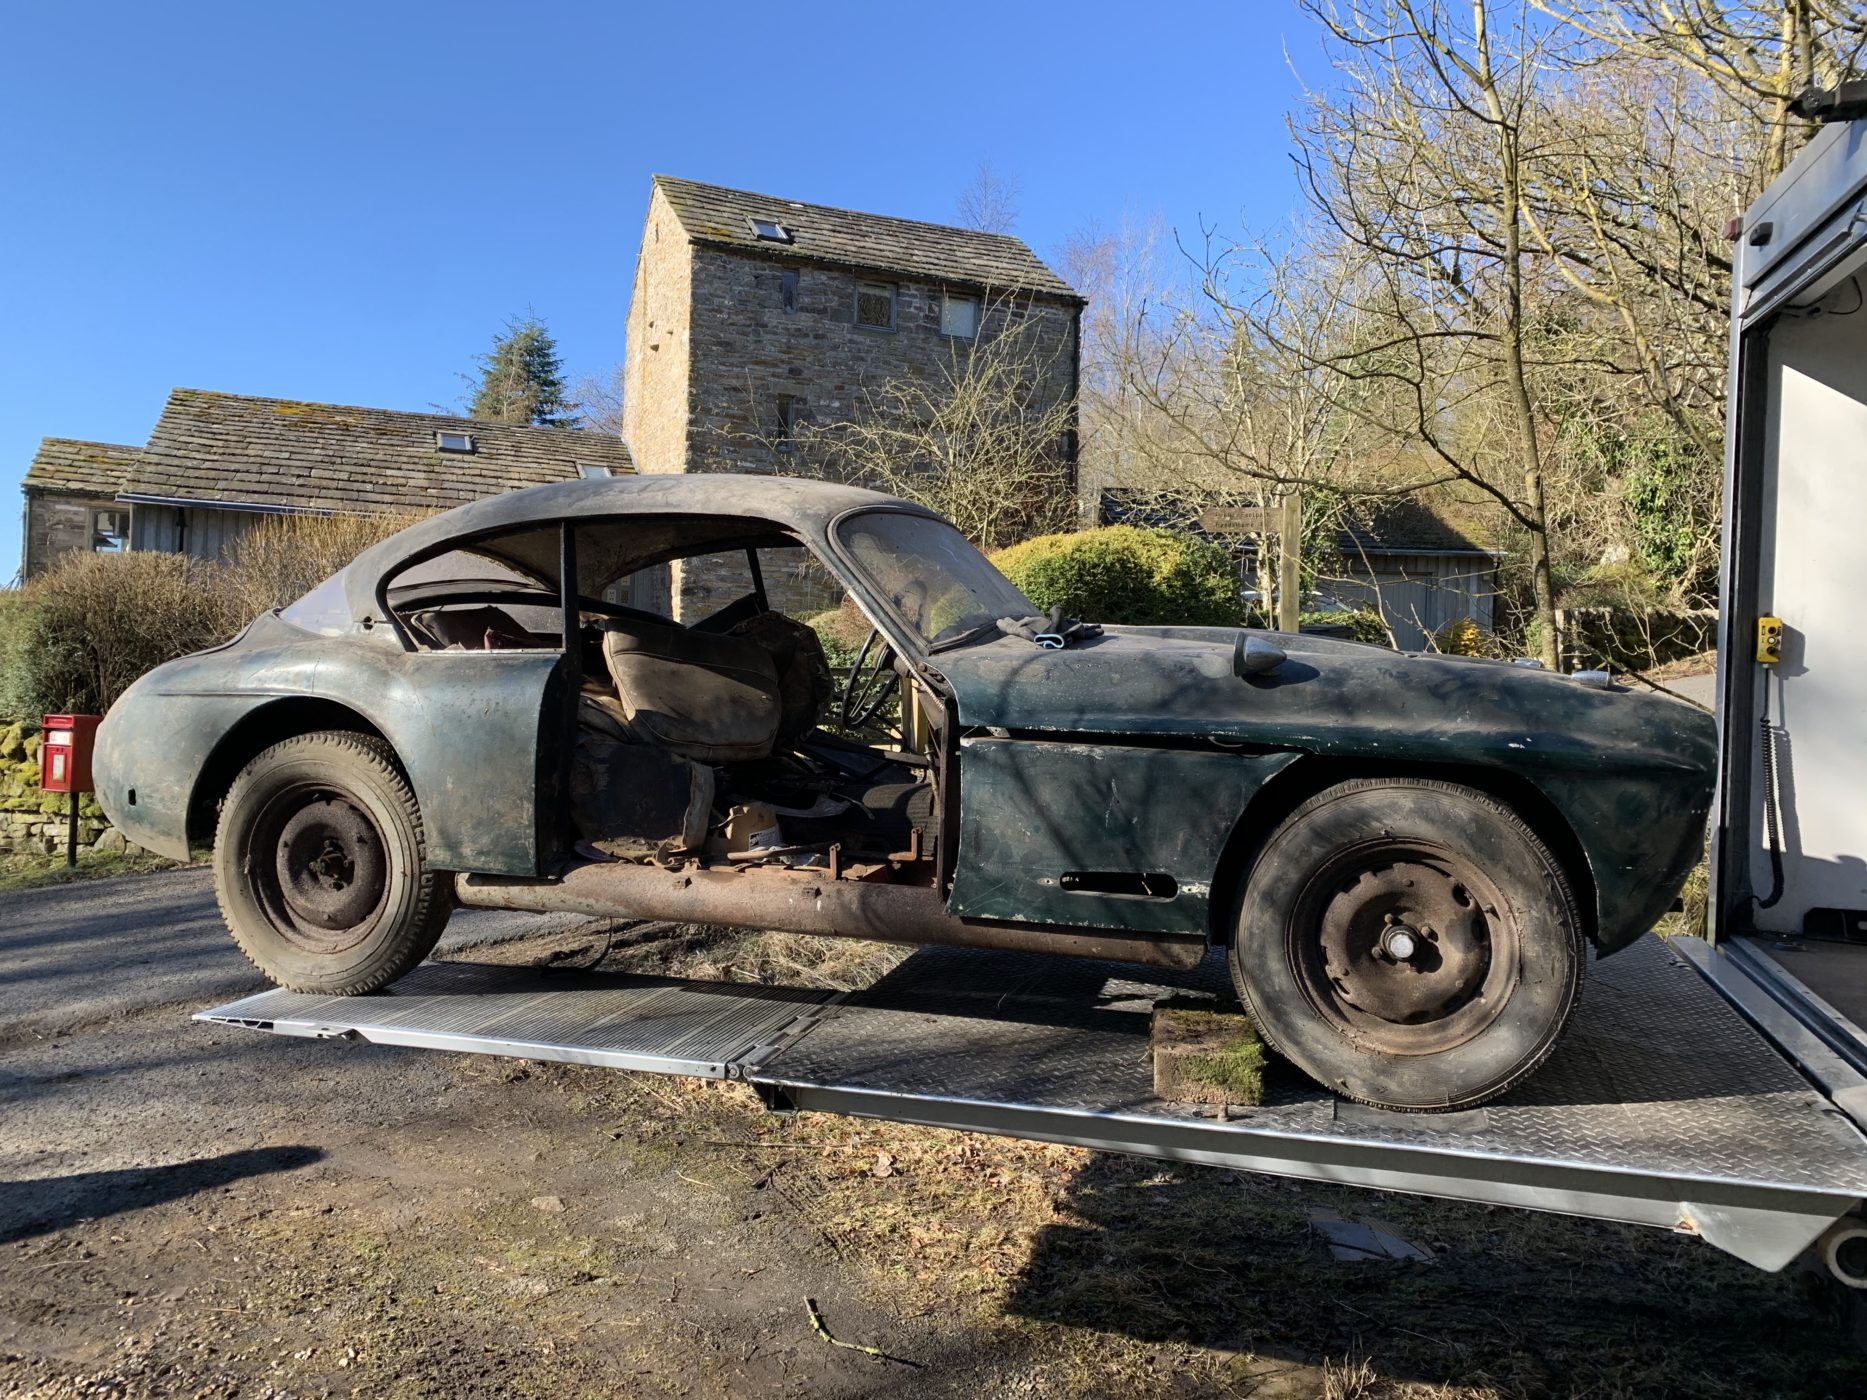
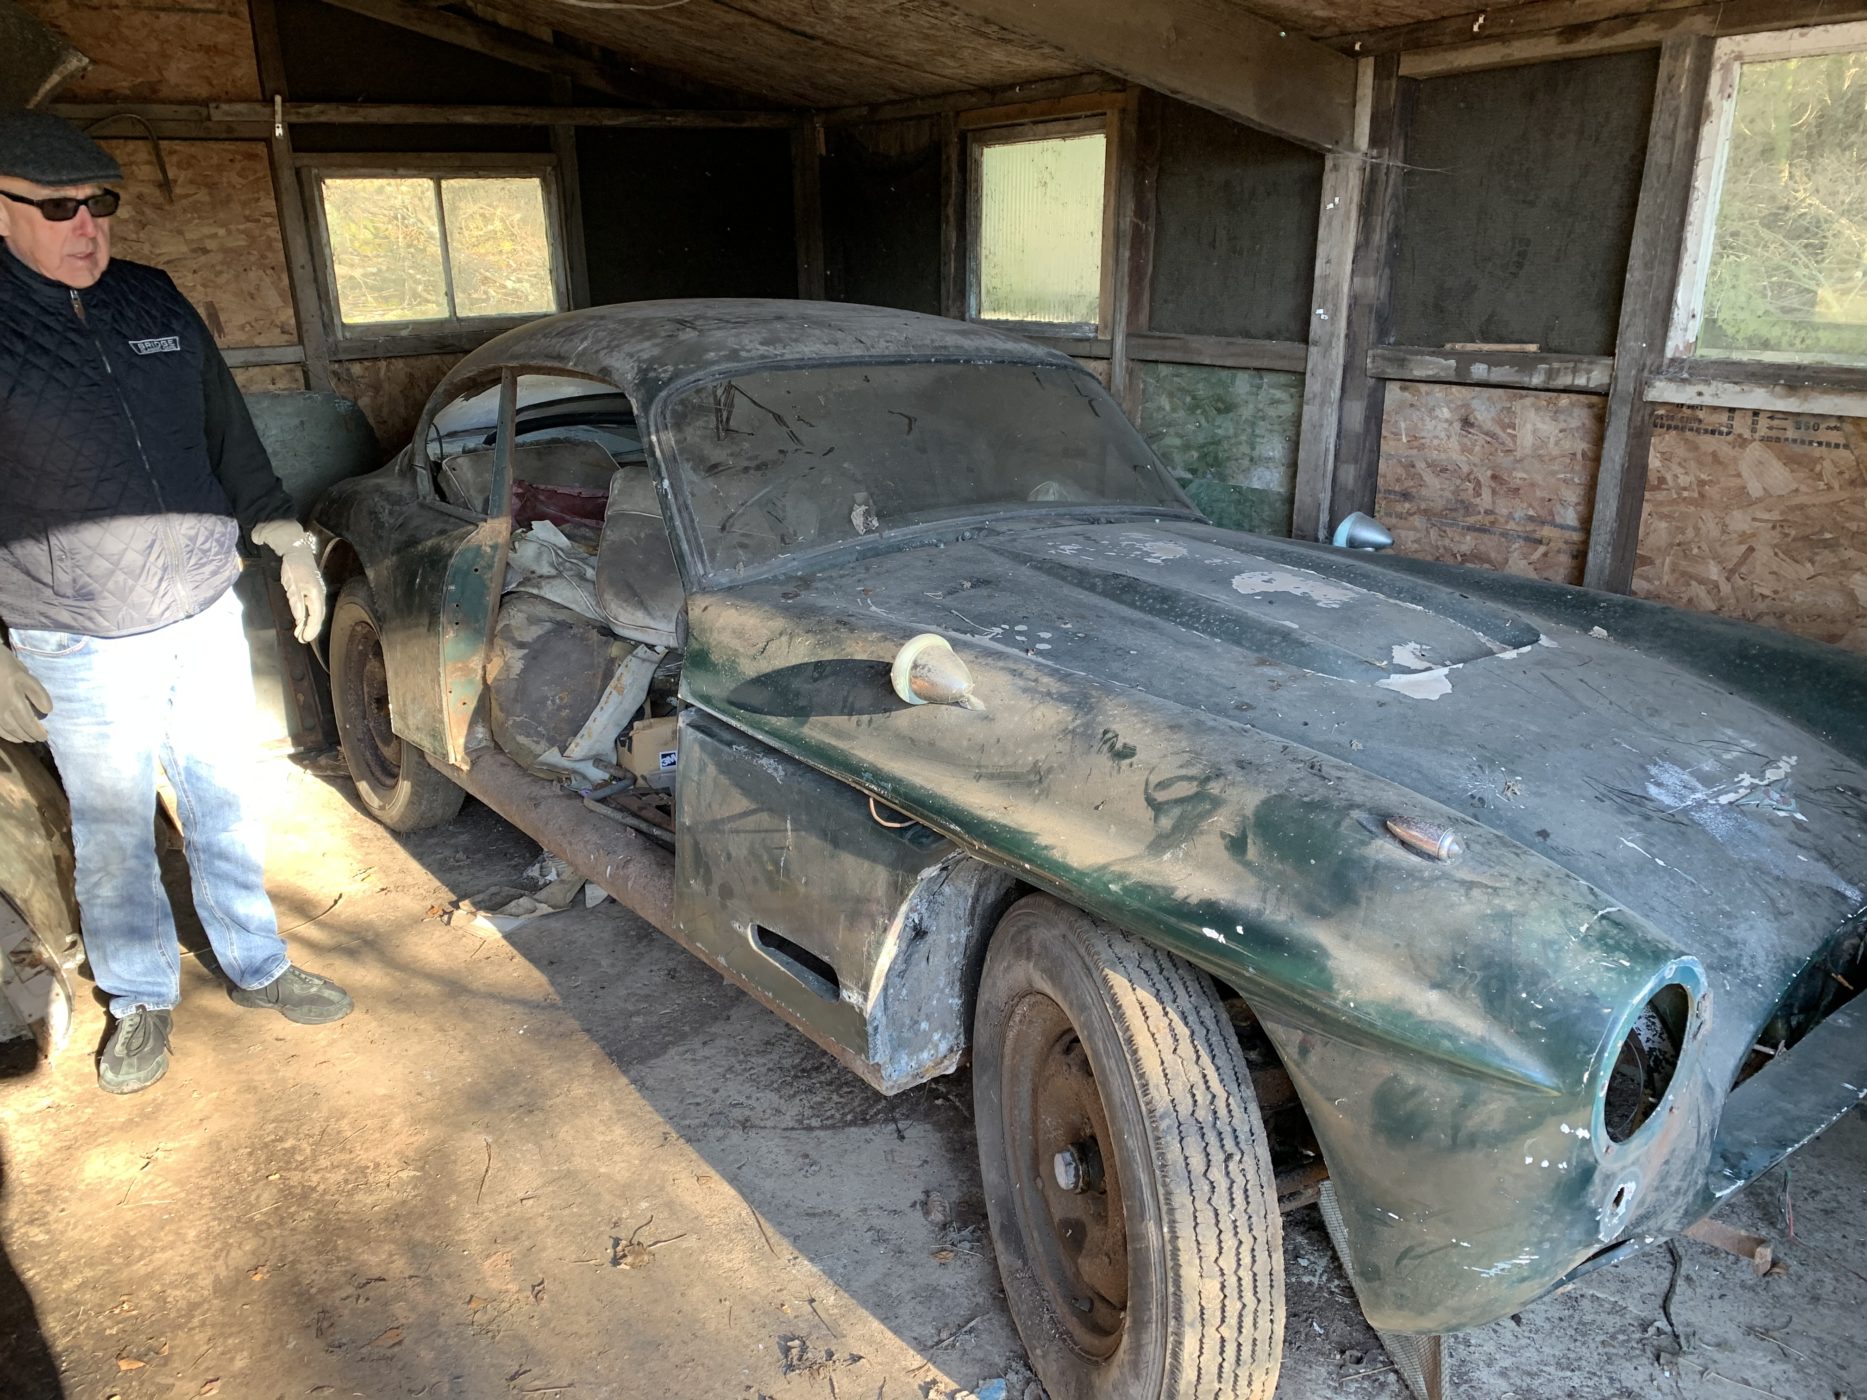
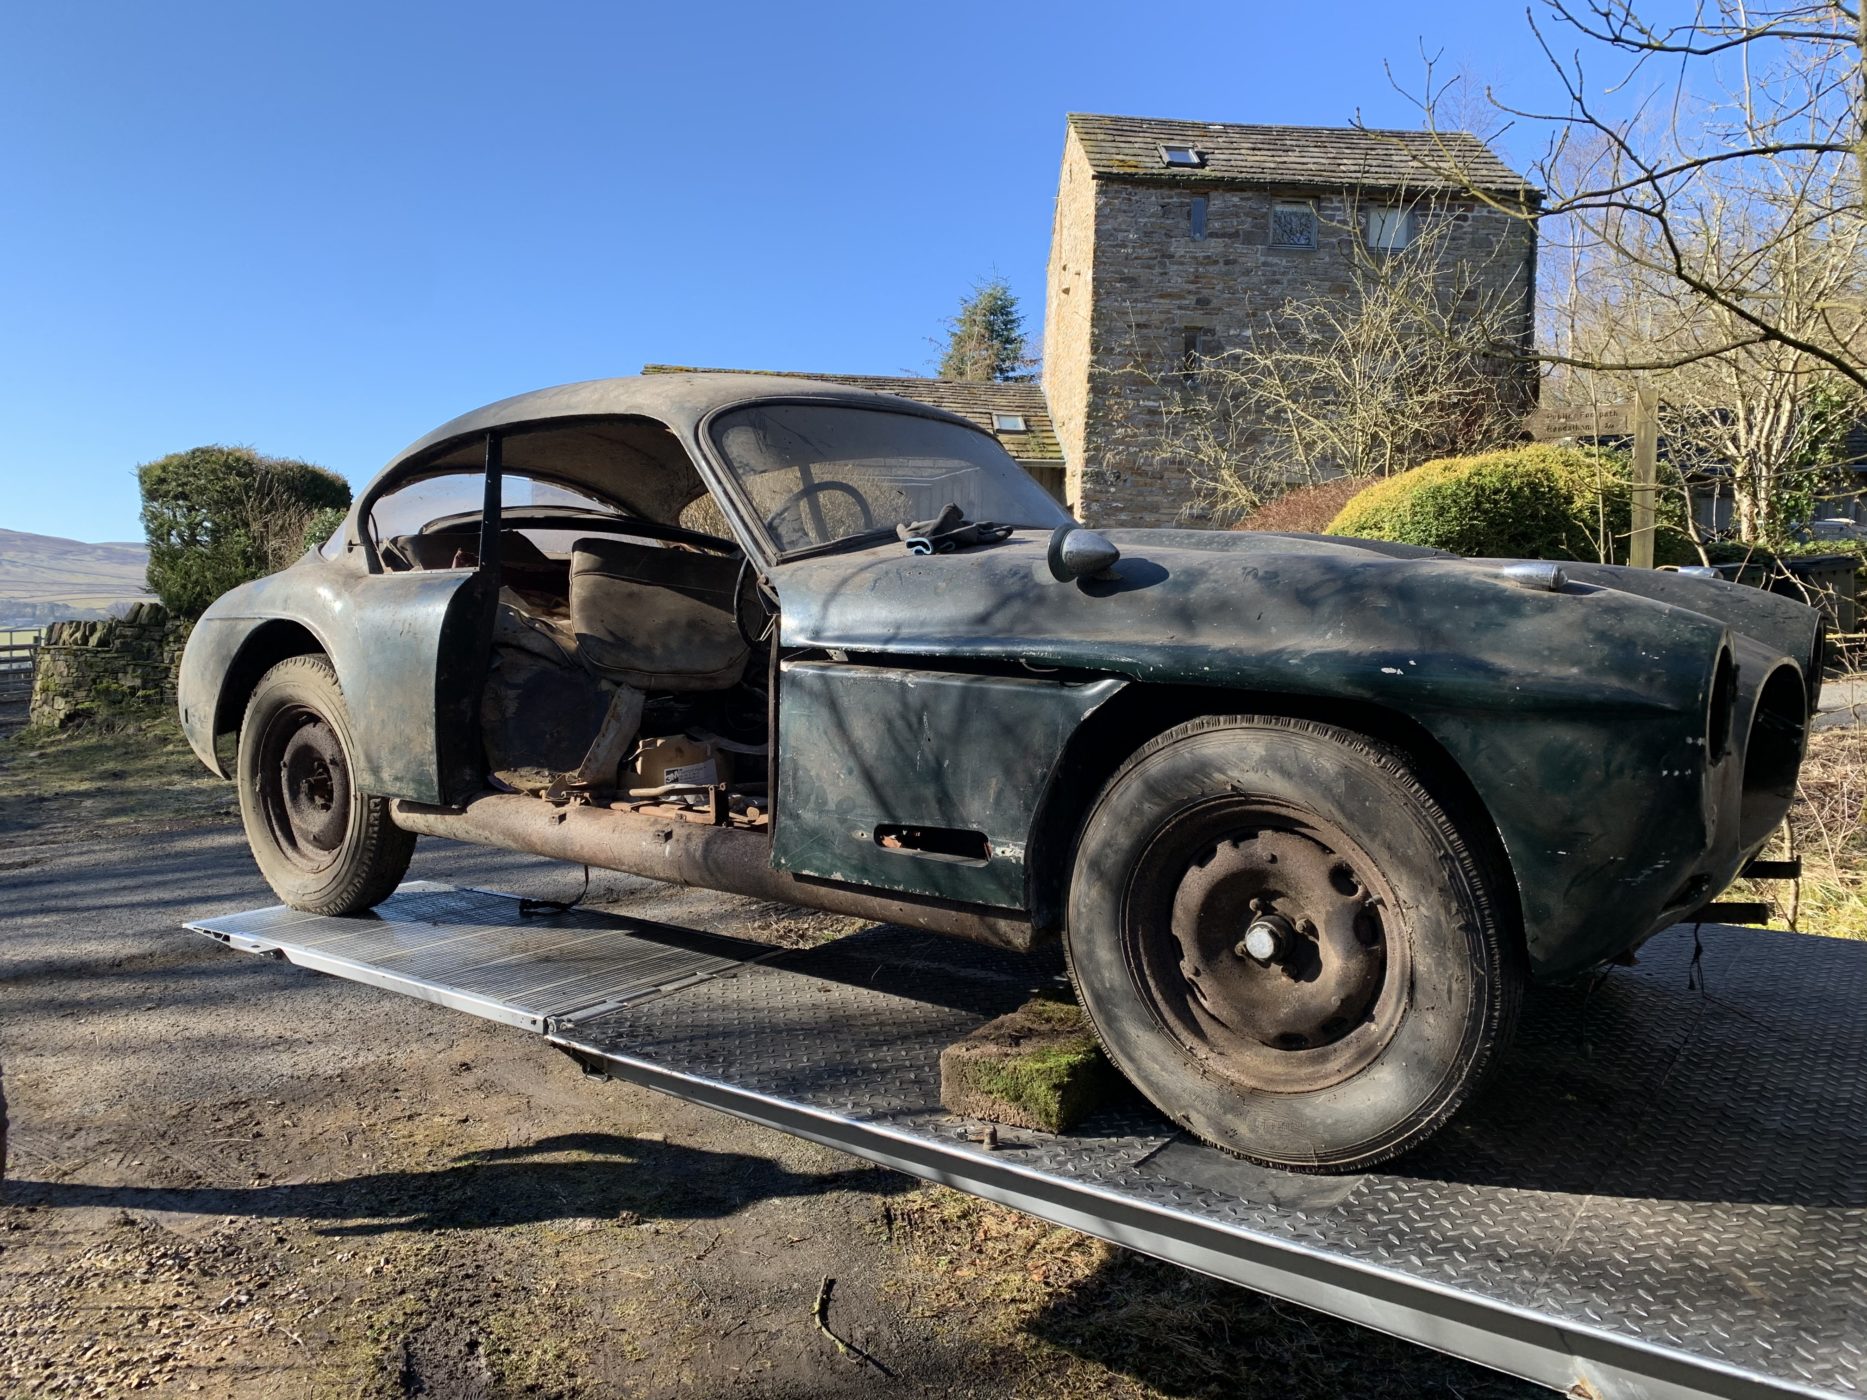
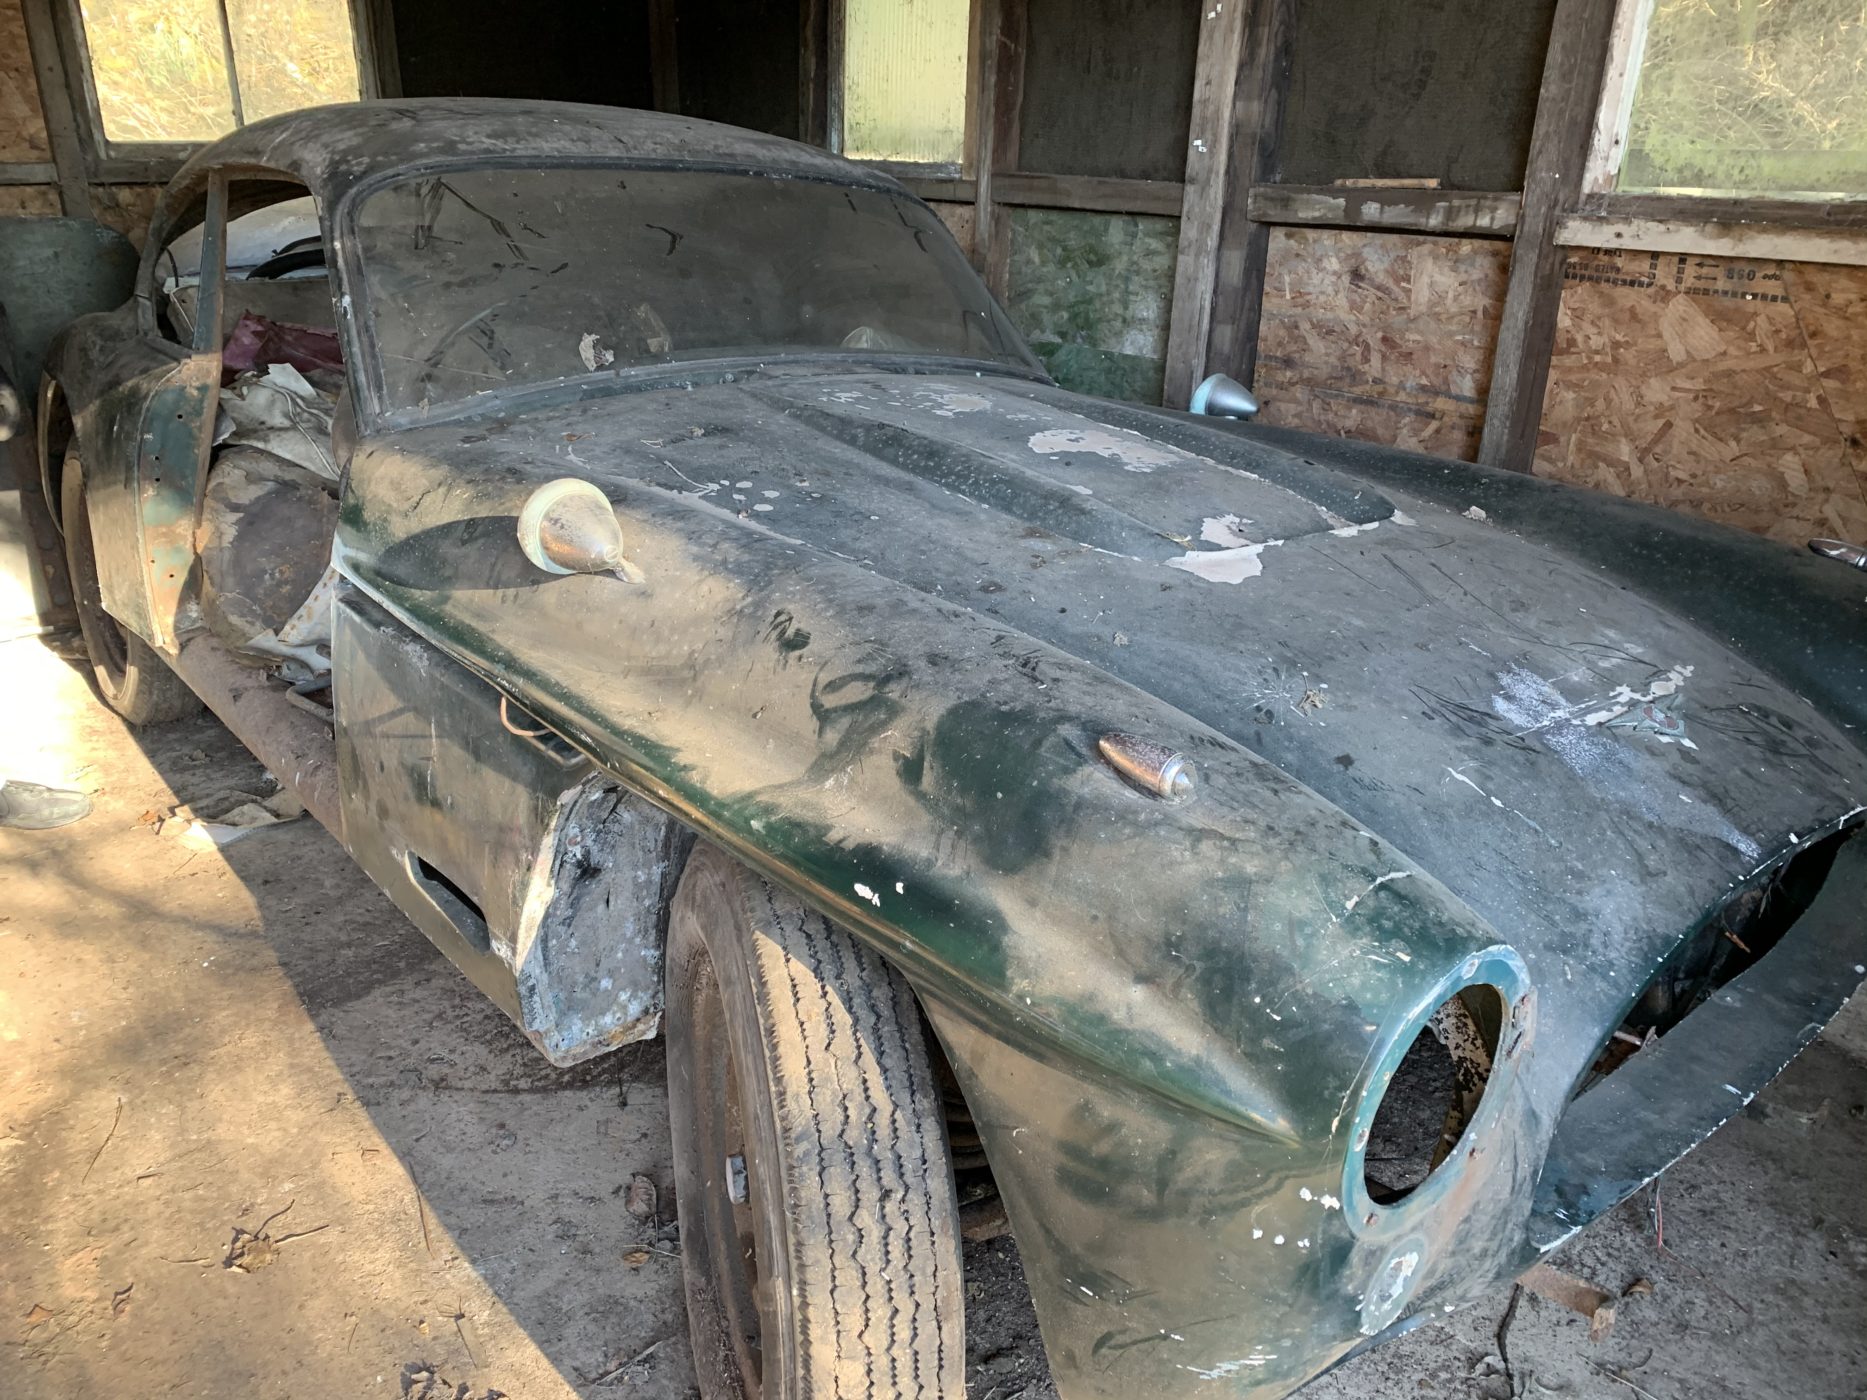
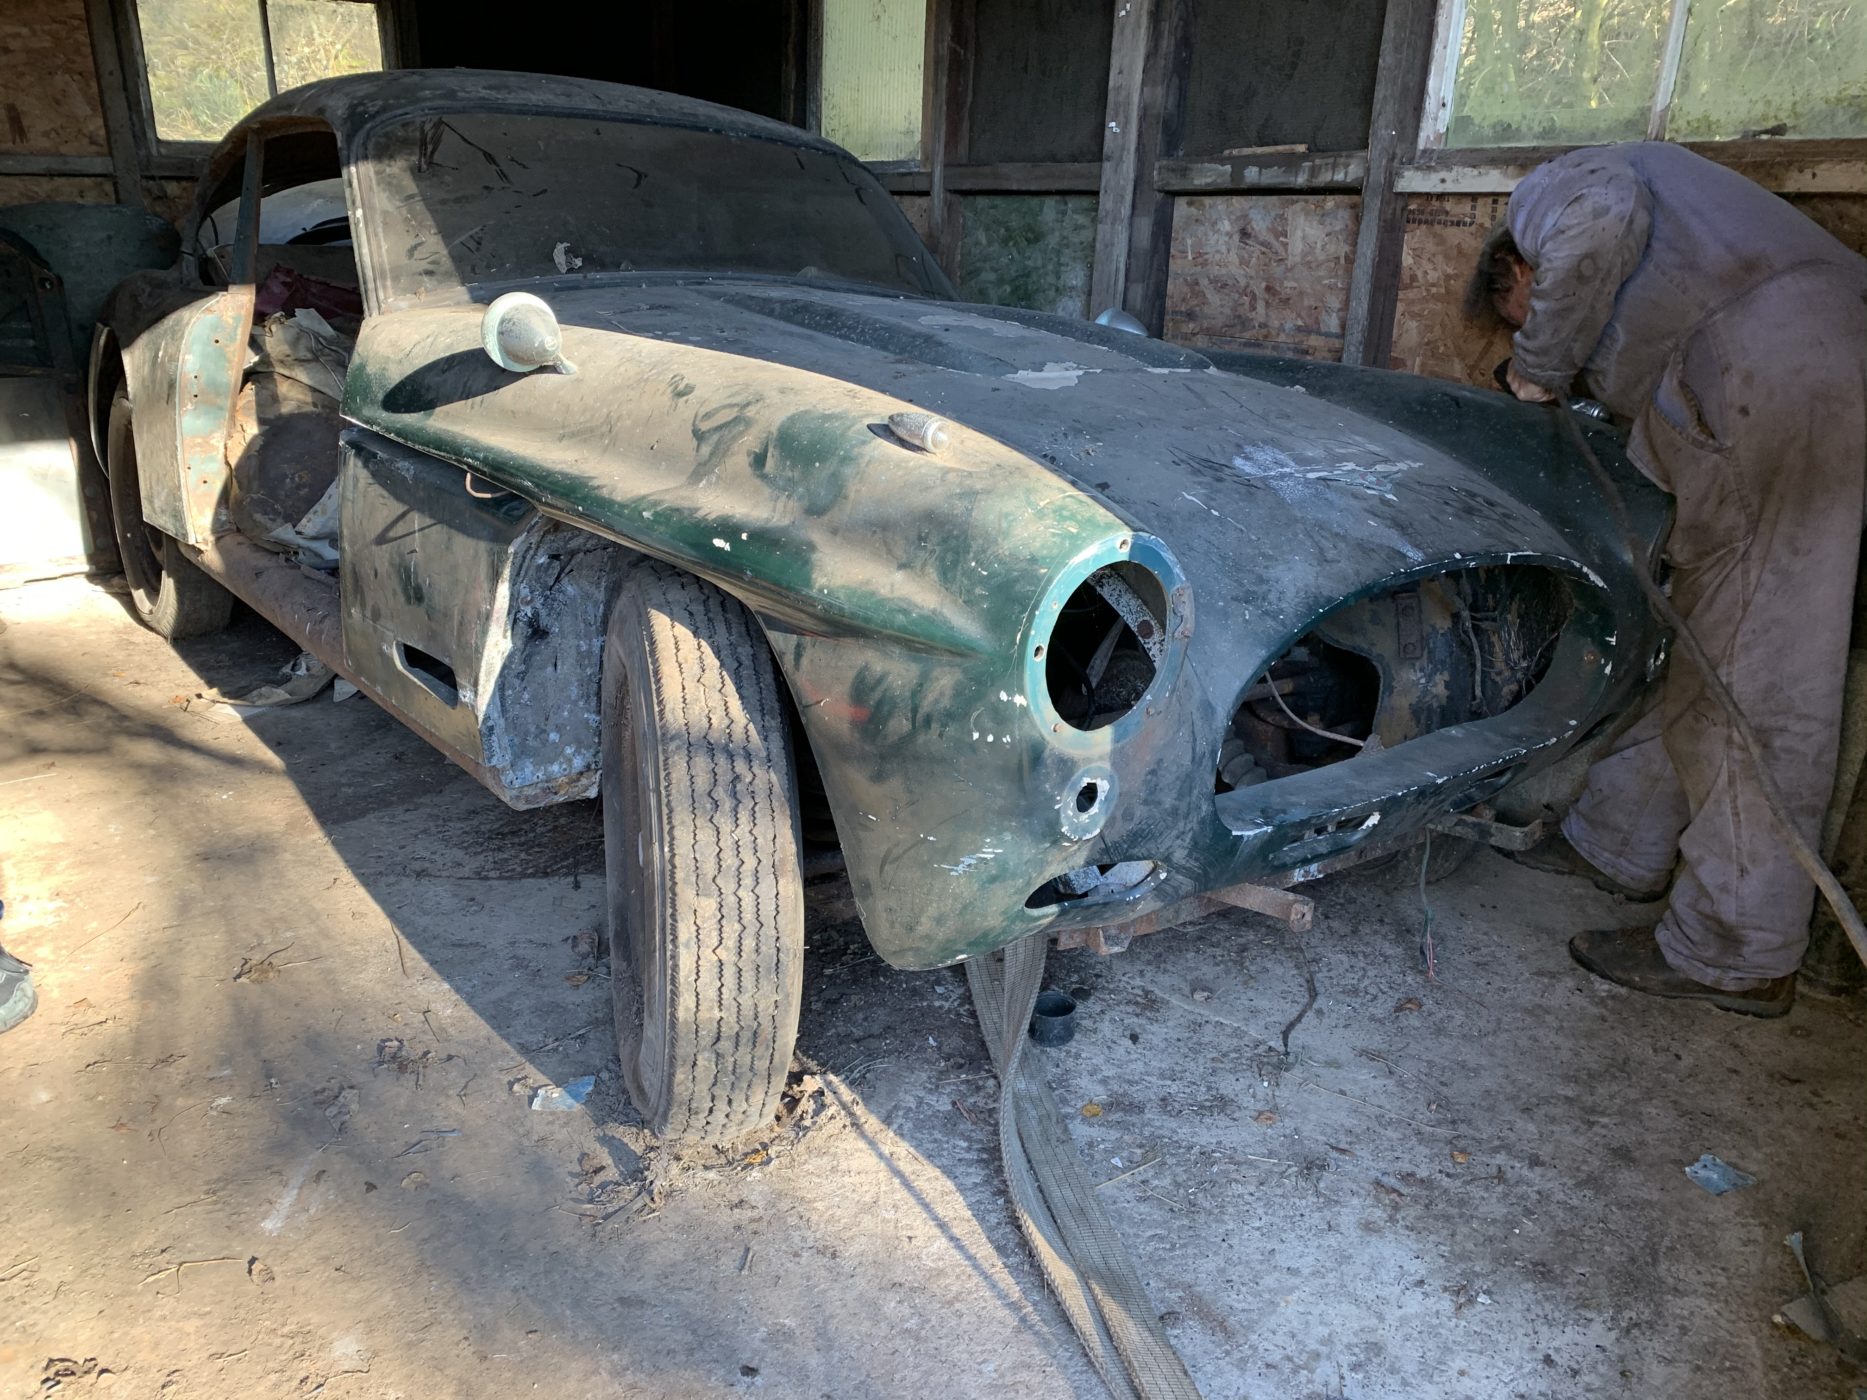
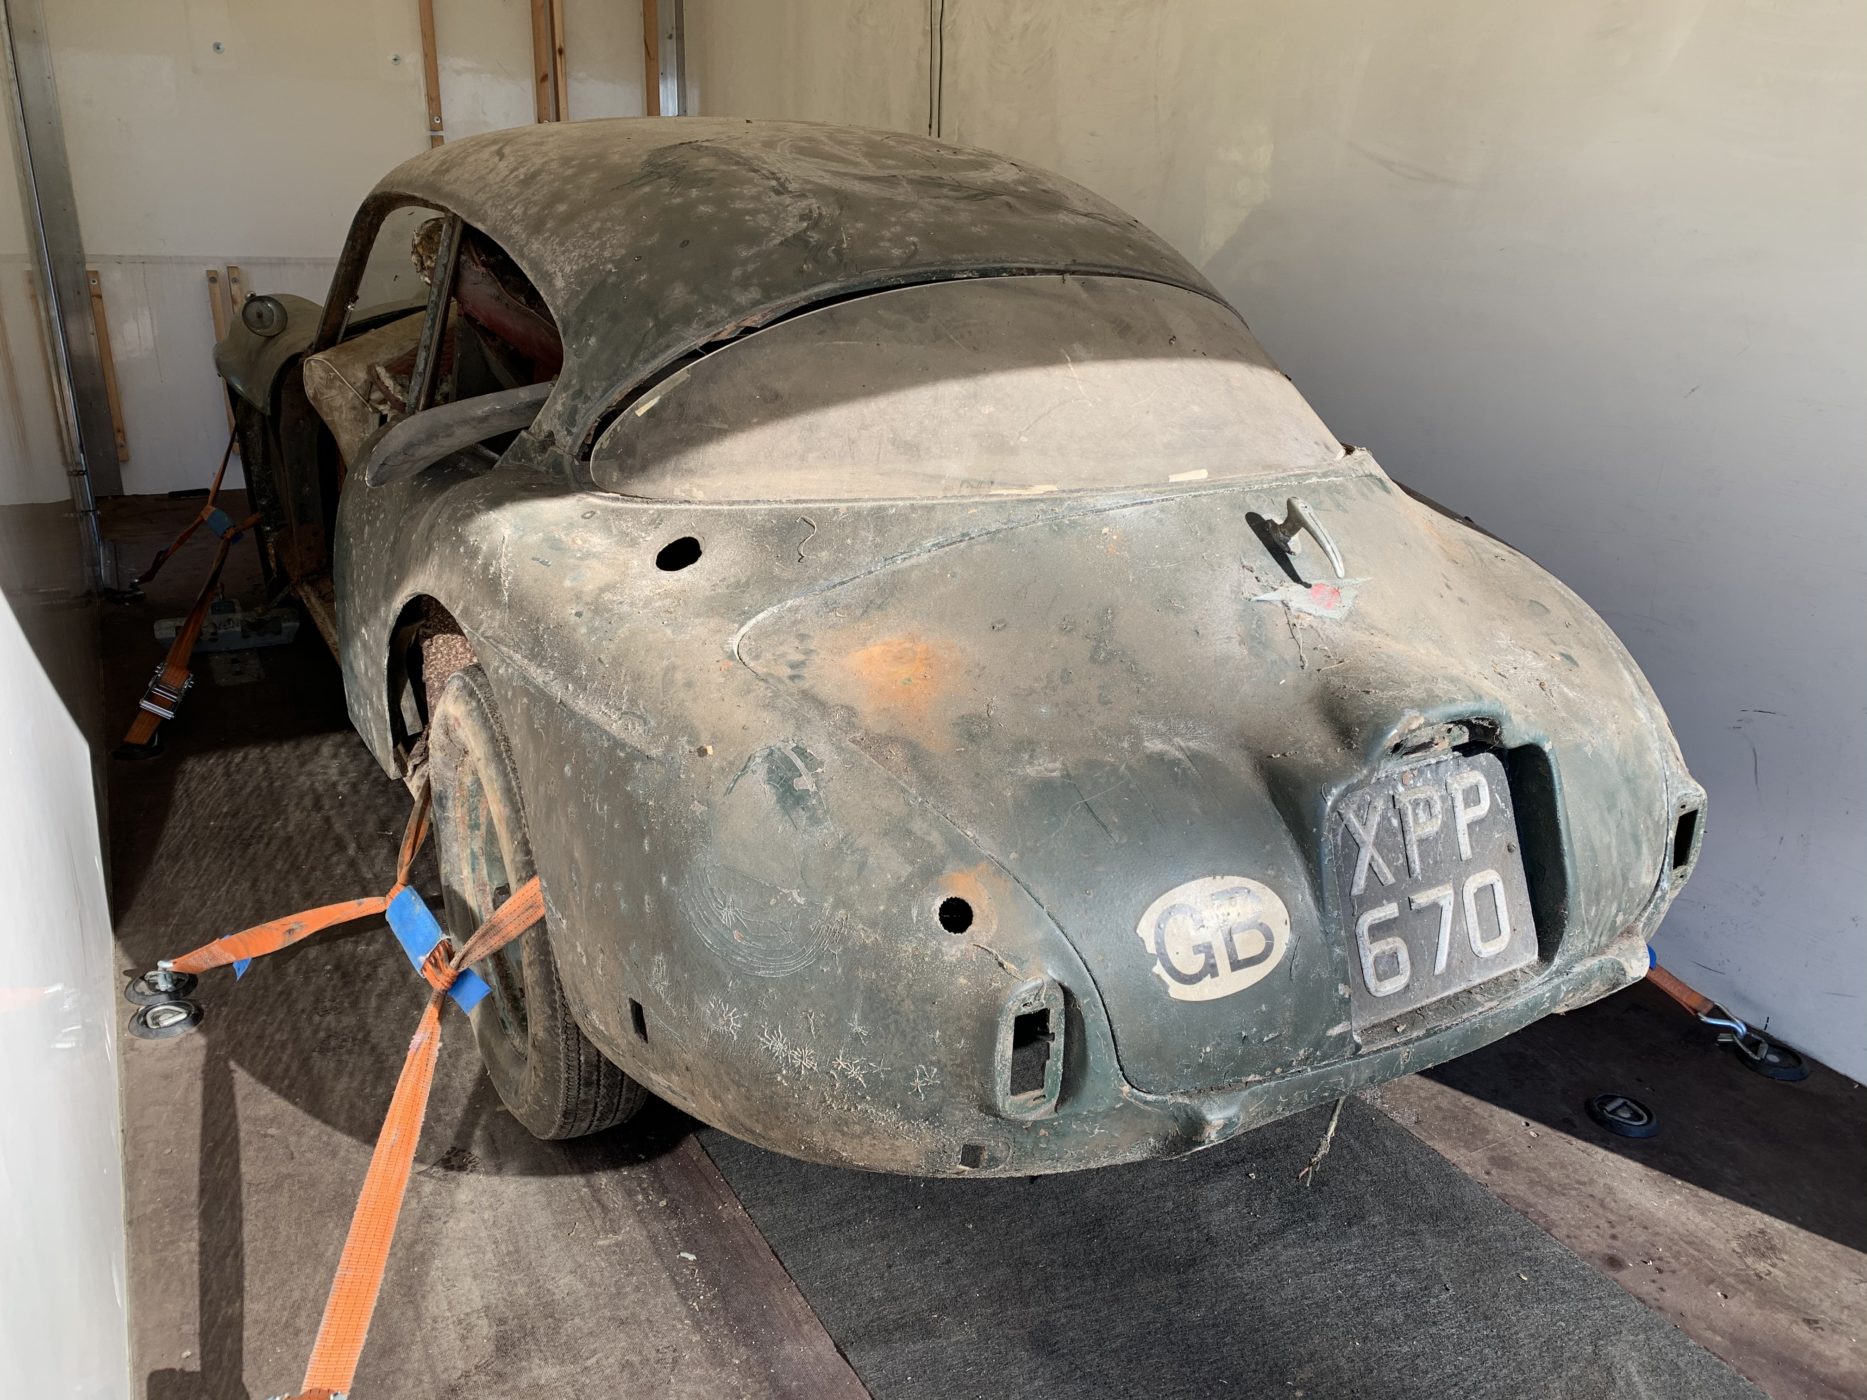
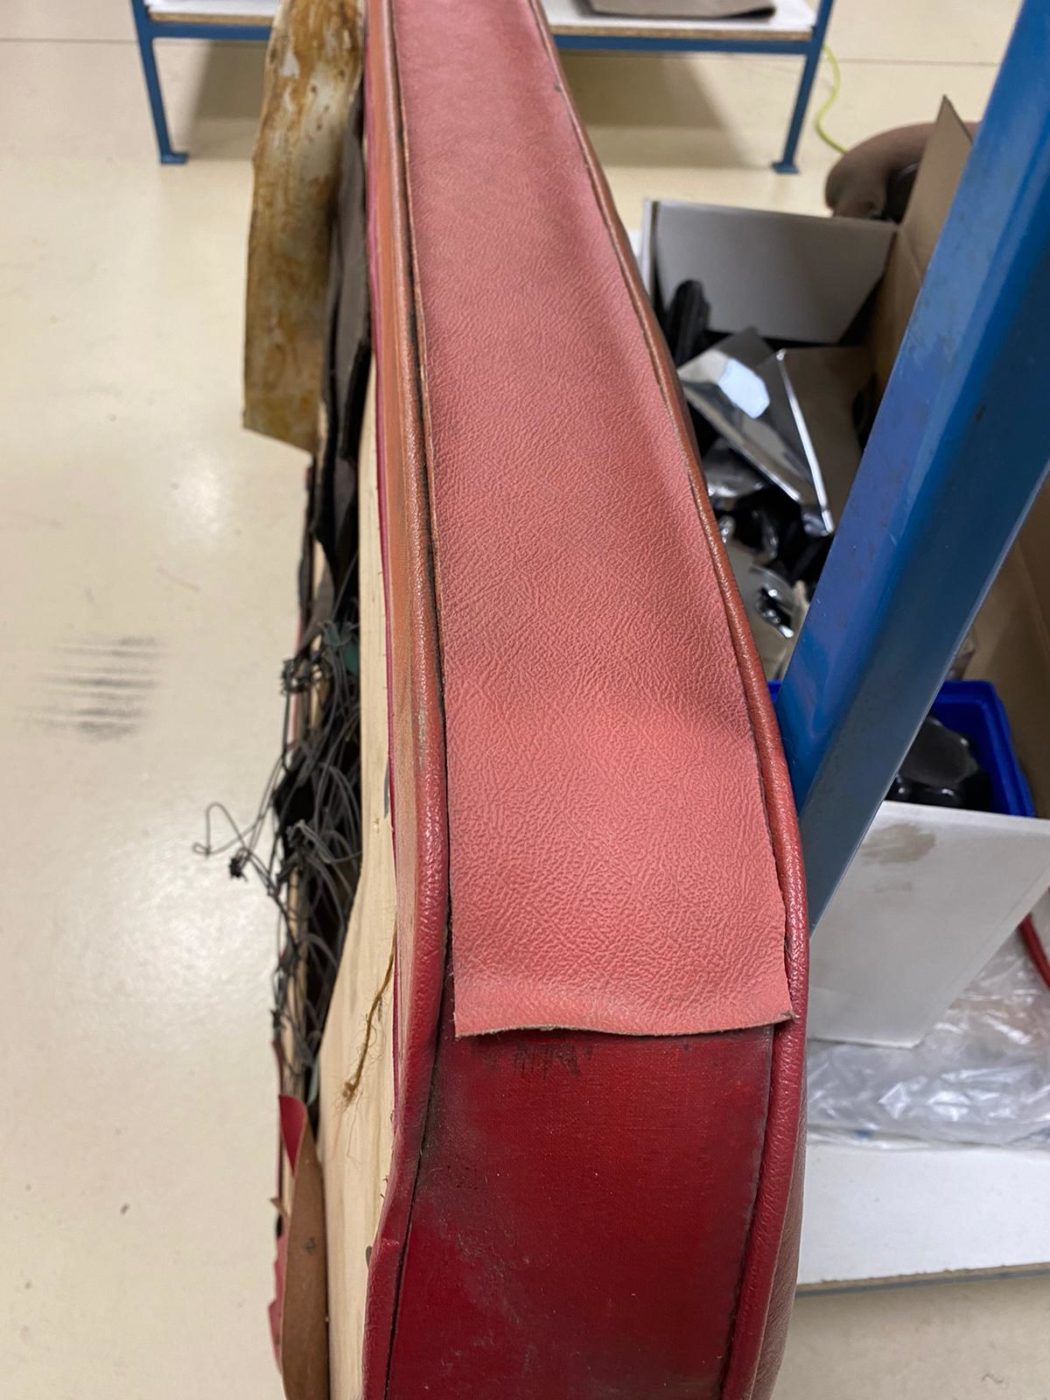
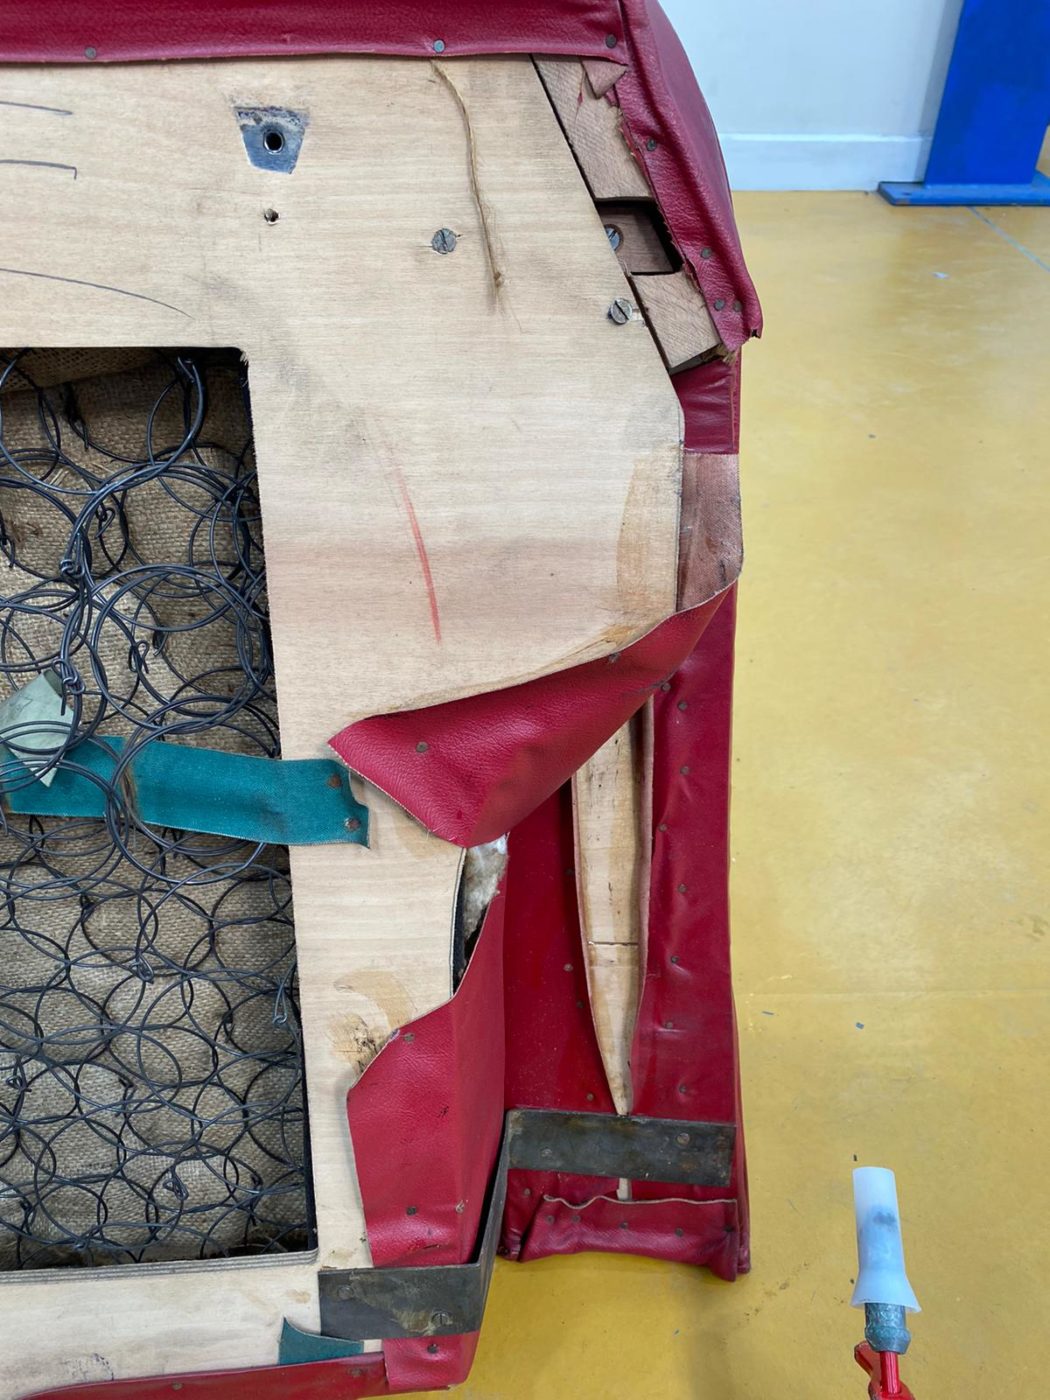
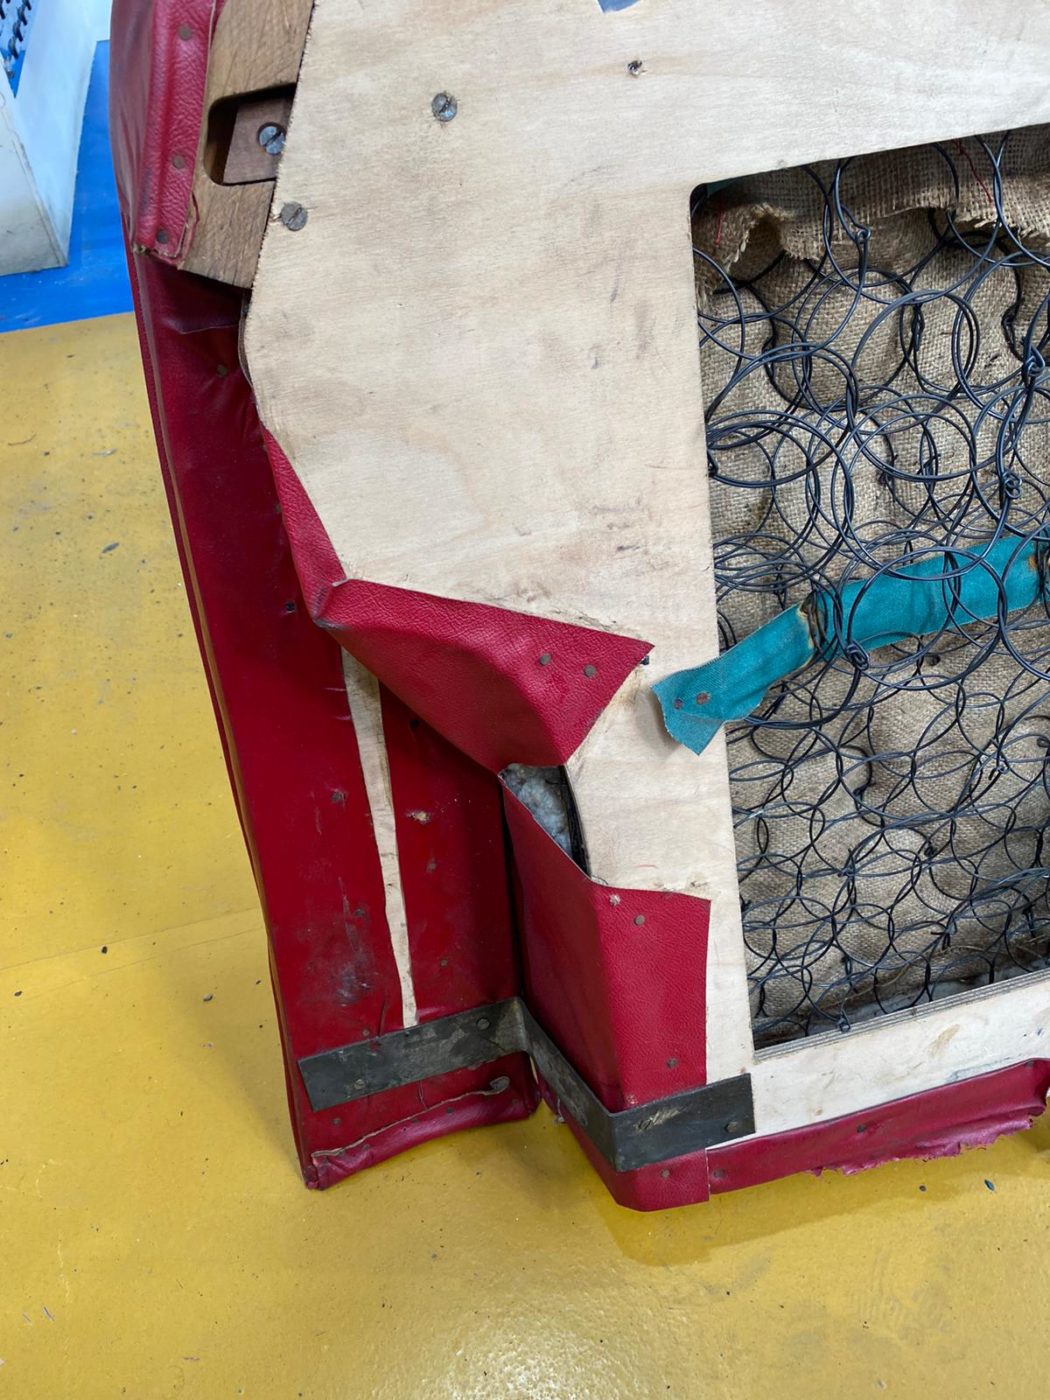
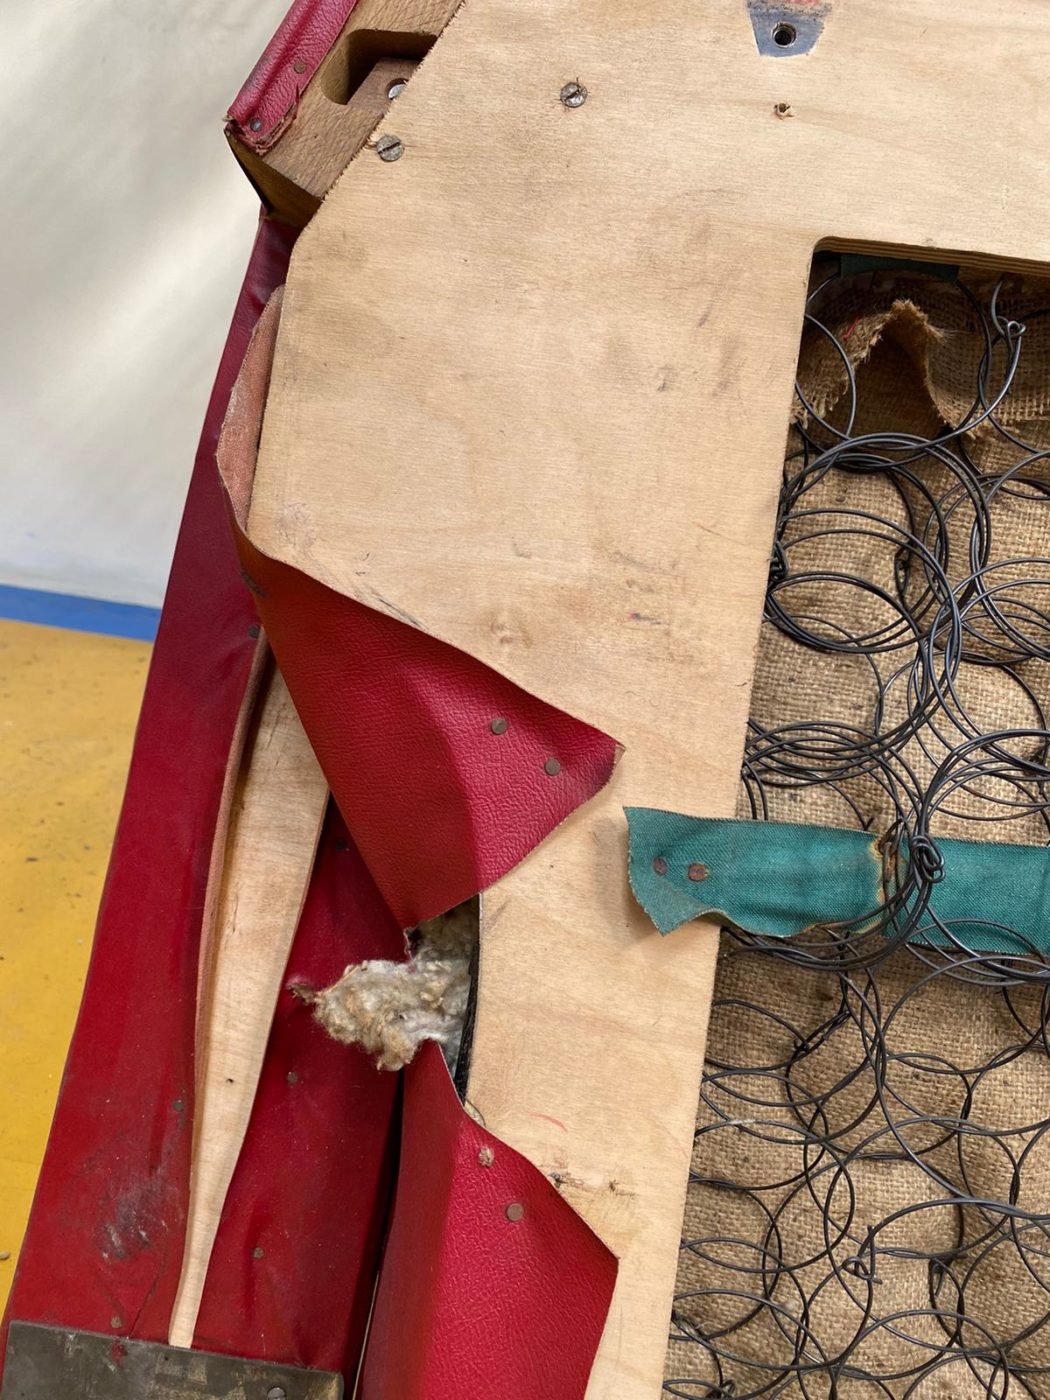
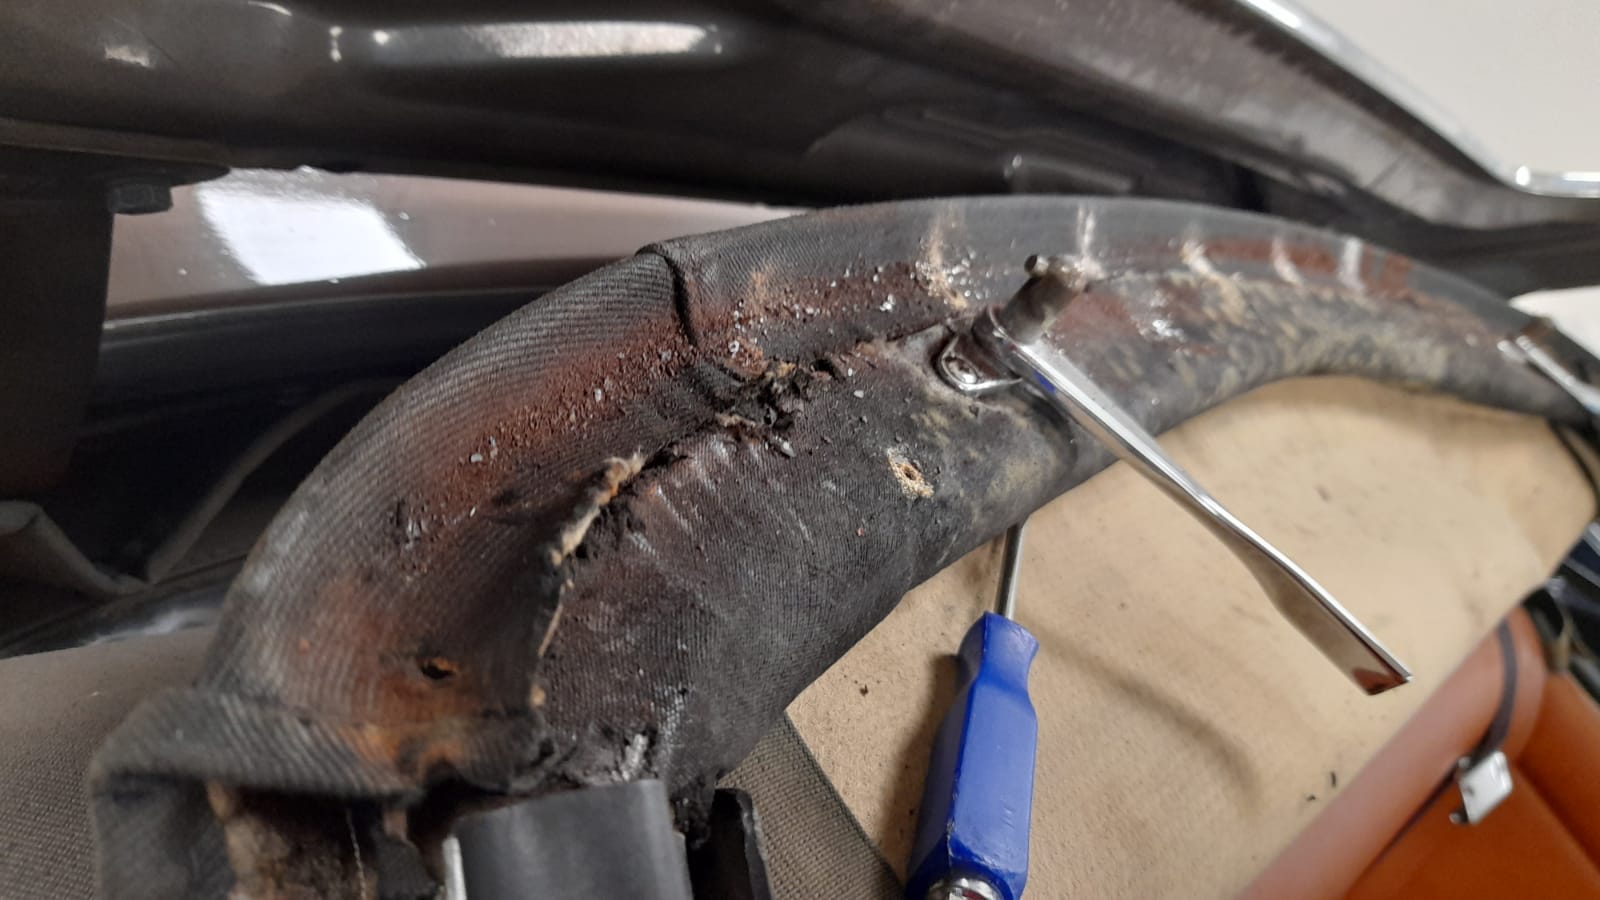
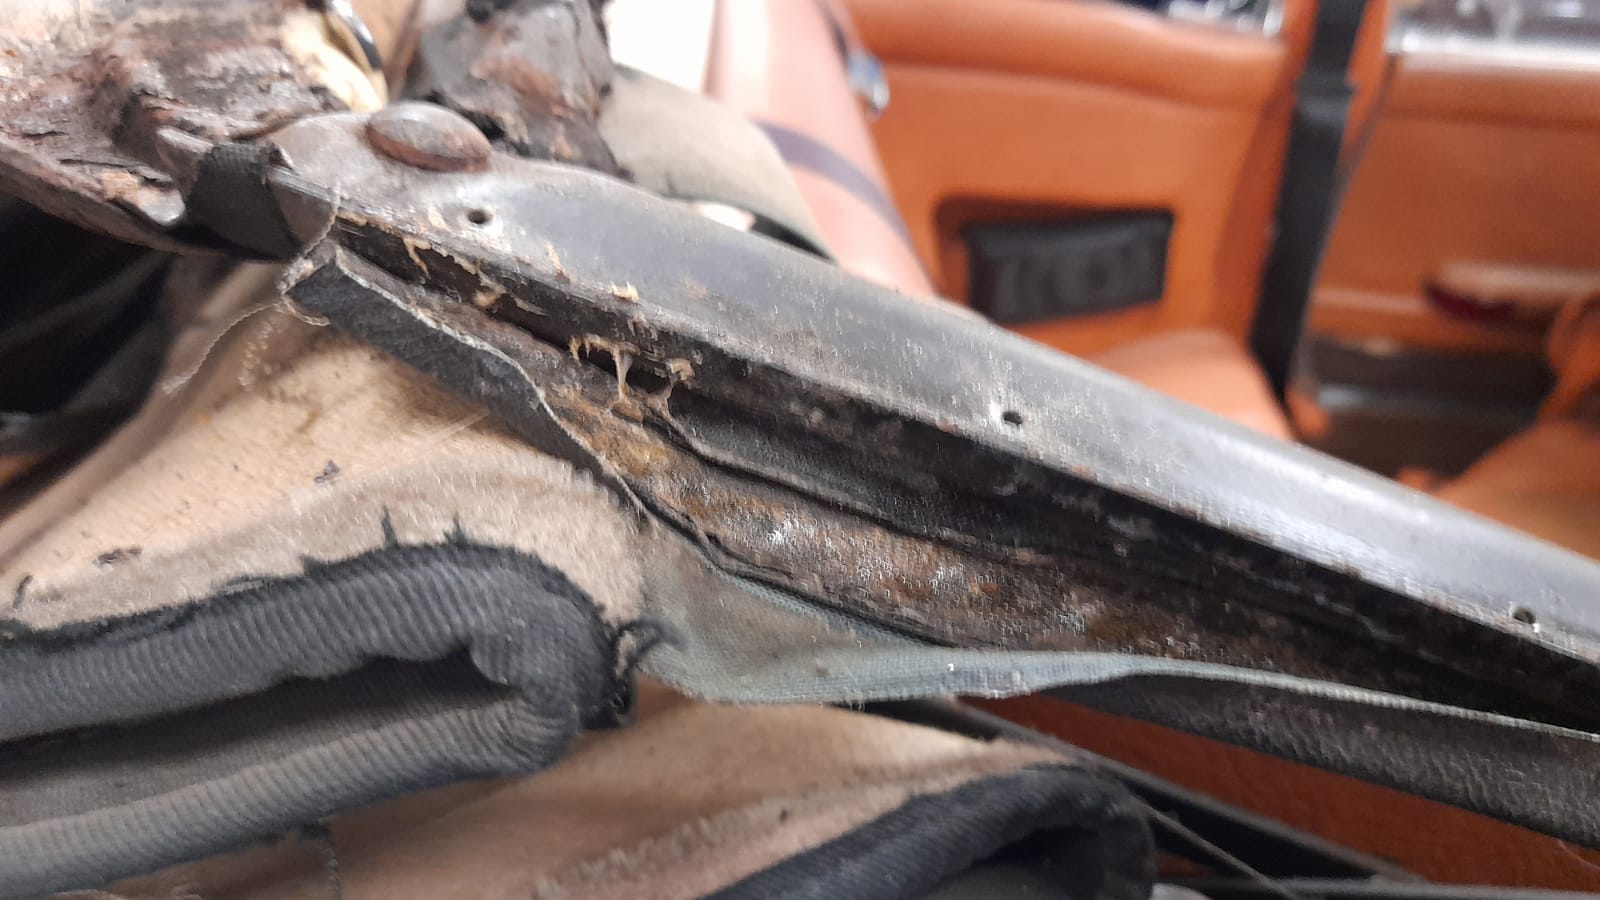
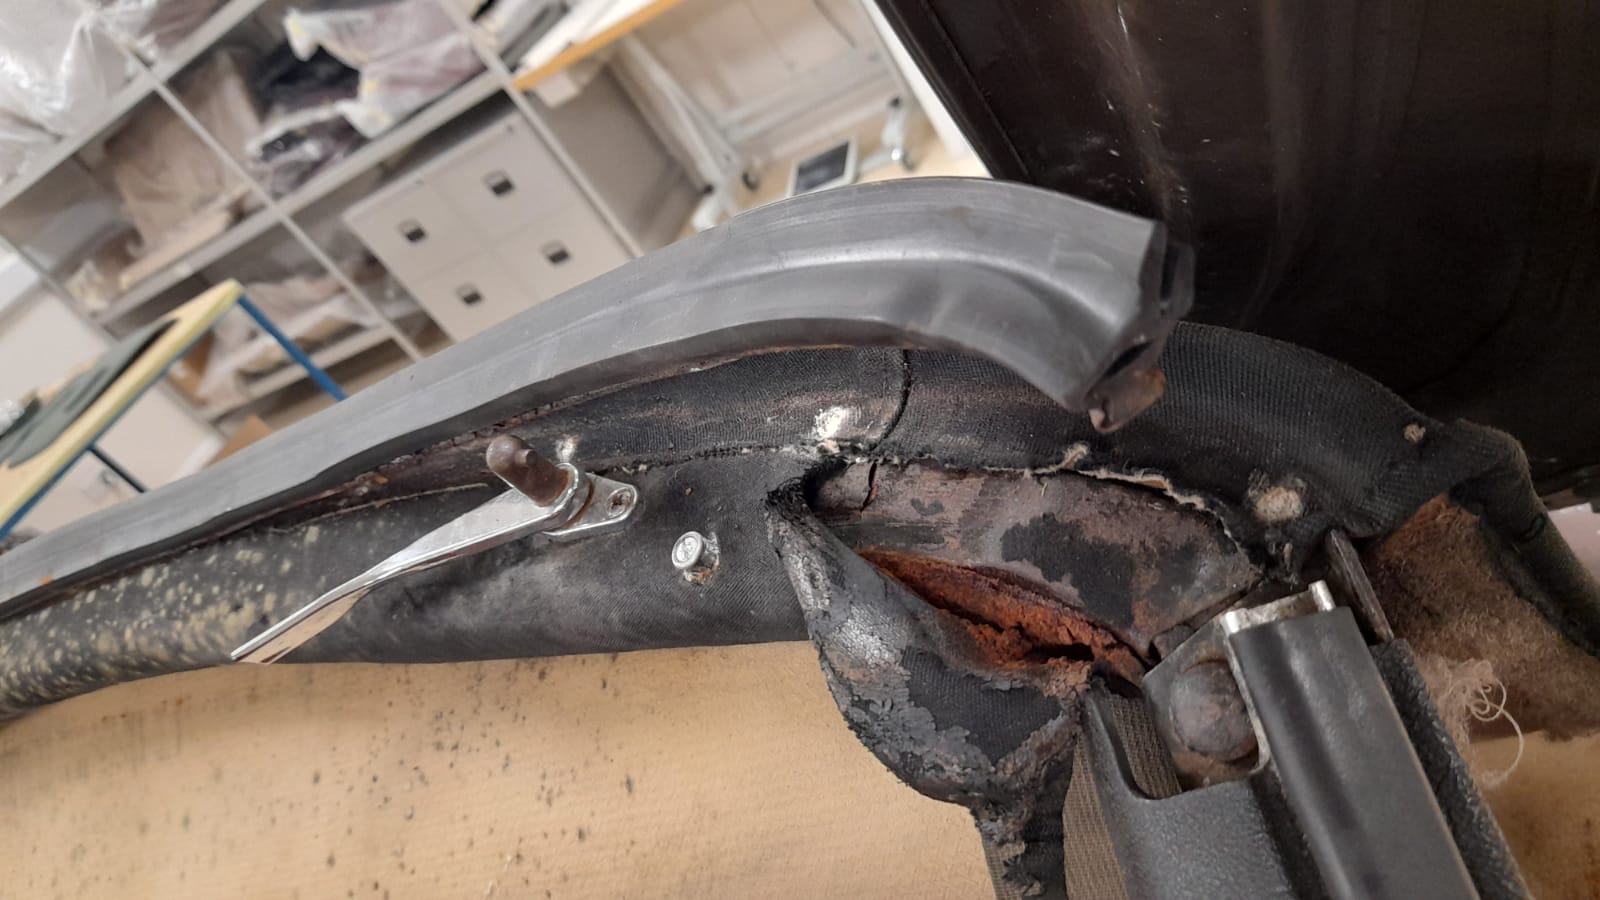
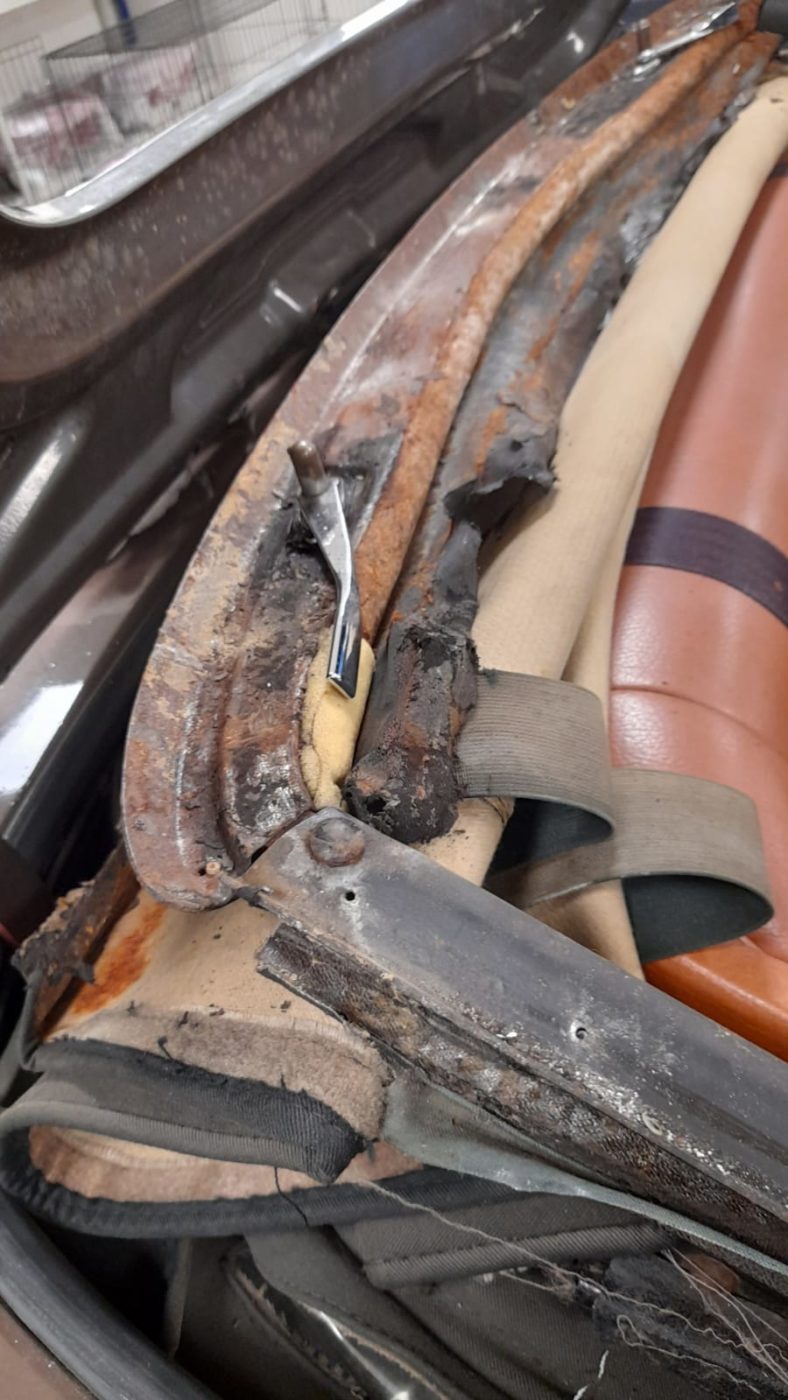
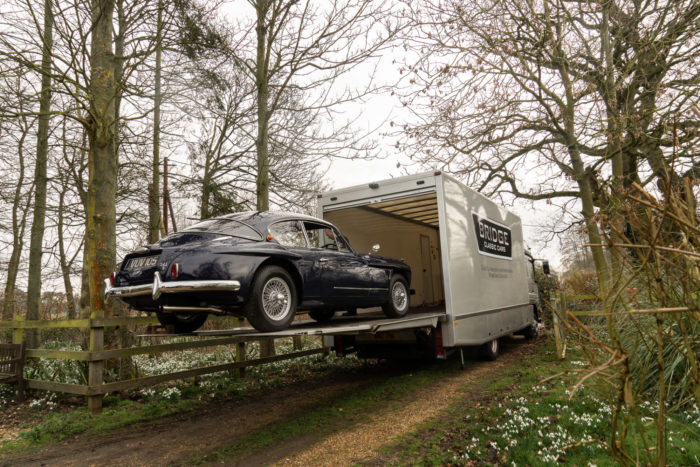
It shouldn’t be news to our readers that we’re a bit mad about Jensen’s here…With a total of 8 Jensen’s in recently, and about 6 of them still being with us, Gordon and Craig thought that we may as well get some more in, so that’s exactly what we’ve done! On their way back from Newcastle, Craig and Gordon rescued these two vehicles from a barn in Cumbria. There’s nothing more exciting in the restoration world than a good barn find.
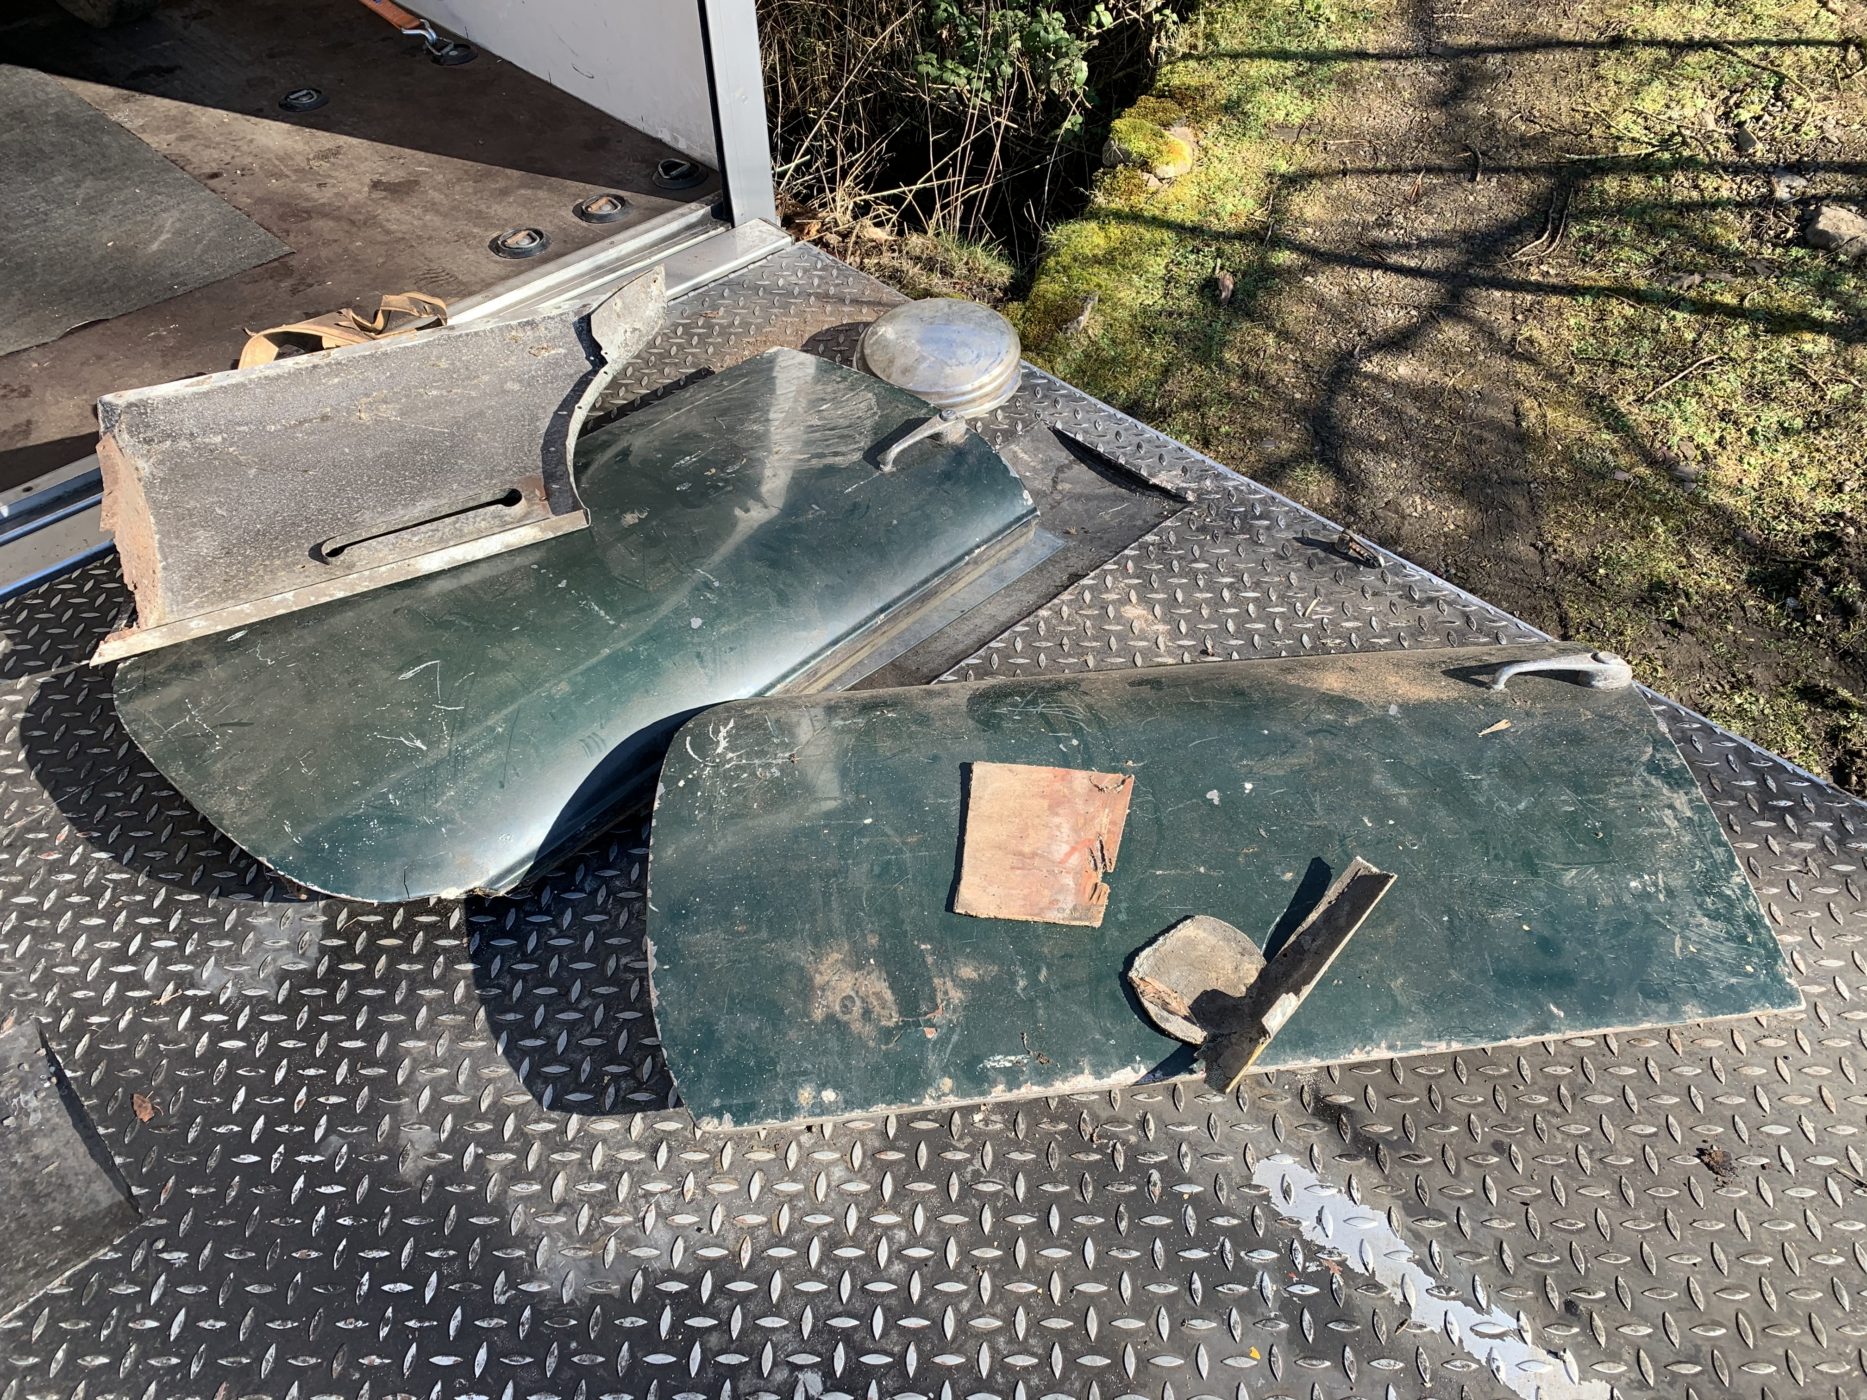
You’d be forgiven for getting confused about it being a collection of ‘two’ Jensen’s, but we assure you, there are definitely two cars there! One is a slightly dusty shell and the other resembles more of a box of parts, but once fitted all together, it’ll make two stunning classic early Jensen 541’s! We’ve got a large majority of the components however there’s still a lot we’ll need to fabricate ourselves.
Although the final plan of action for these restorations is undecided, we’re fairly certain we’ll market these two projects for sale, with the aim for it to be bought and subsequently restored in-house. These Jensens are likely to be much like the Peony red Jensen that also arrived with us in a less desirable state and was later bought by a client to be restored in house.
If you’re in search of a Jensen, we have multiple options for you. We have our early 1958 Jensen 541R up for sale, which comes in working condition, ready to drive. Or if you fancy more of a bespoke project, we have a restoration project to be bought that was formerly Gordon’s and is lovingly referred to as our ‘lilac’ Jensen, as this was originally the colour chosen by our director Gordon. This is awaiting an ambitious new owner to continue the restoration. Likewise, we also have our recent Jensens 541 which will also be marketed as bespoke restorations for someone who fancies themselves not only an early Jensen but would also like a bespoke project built to their exact requirements.
Watch this space for more information coming soon!


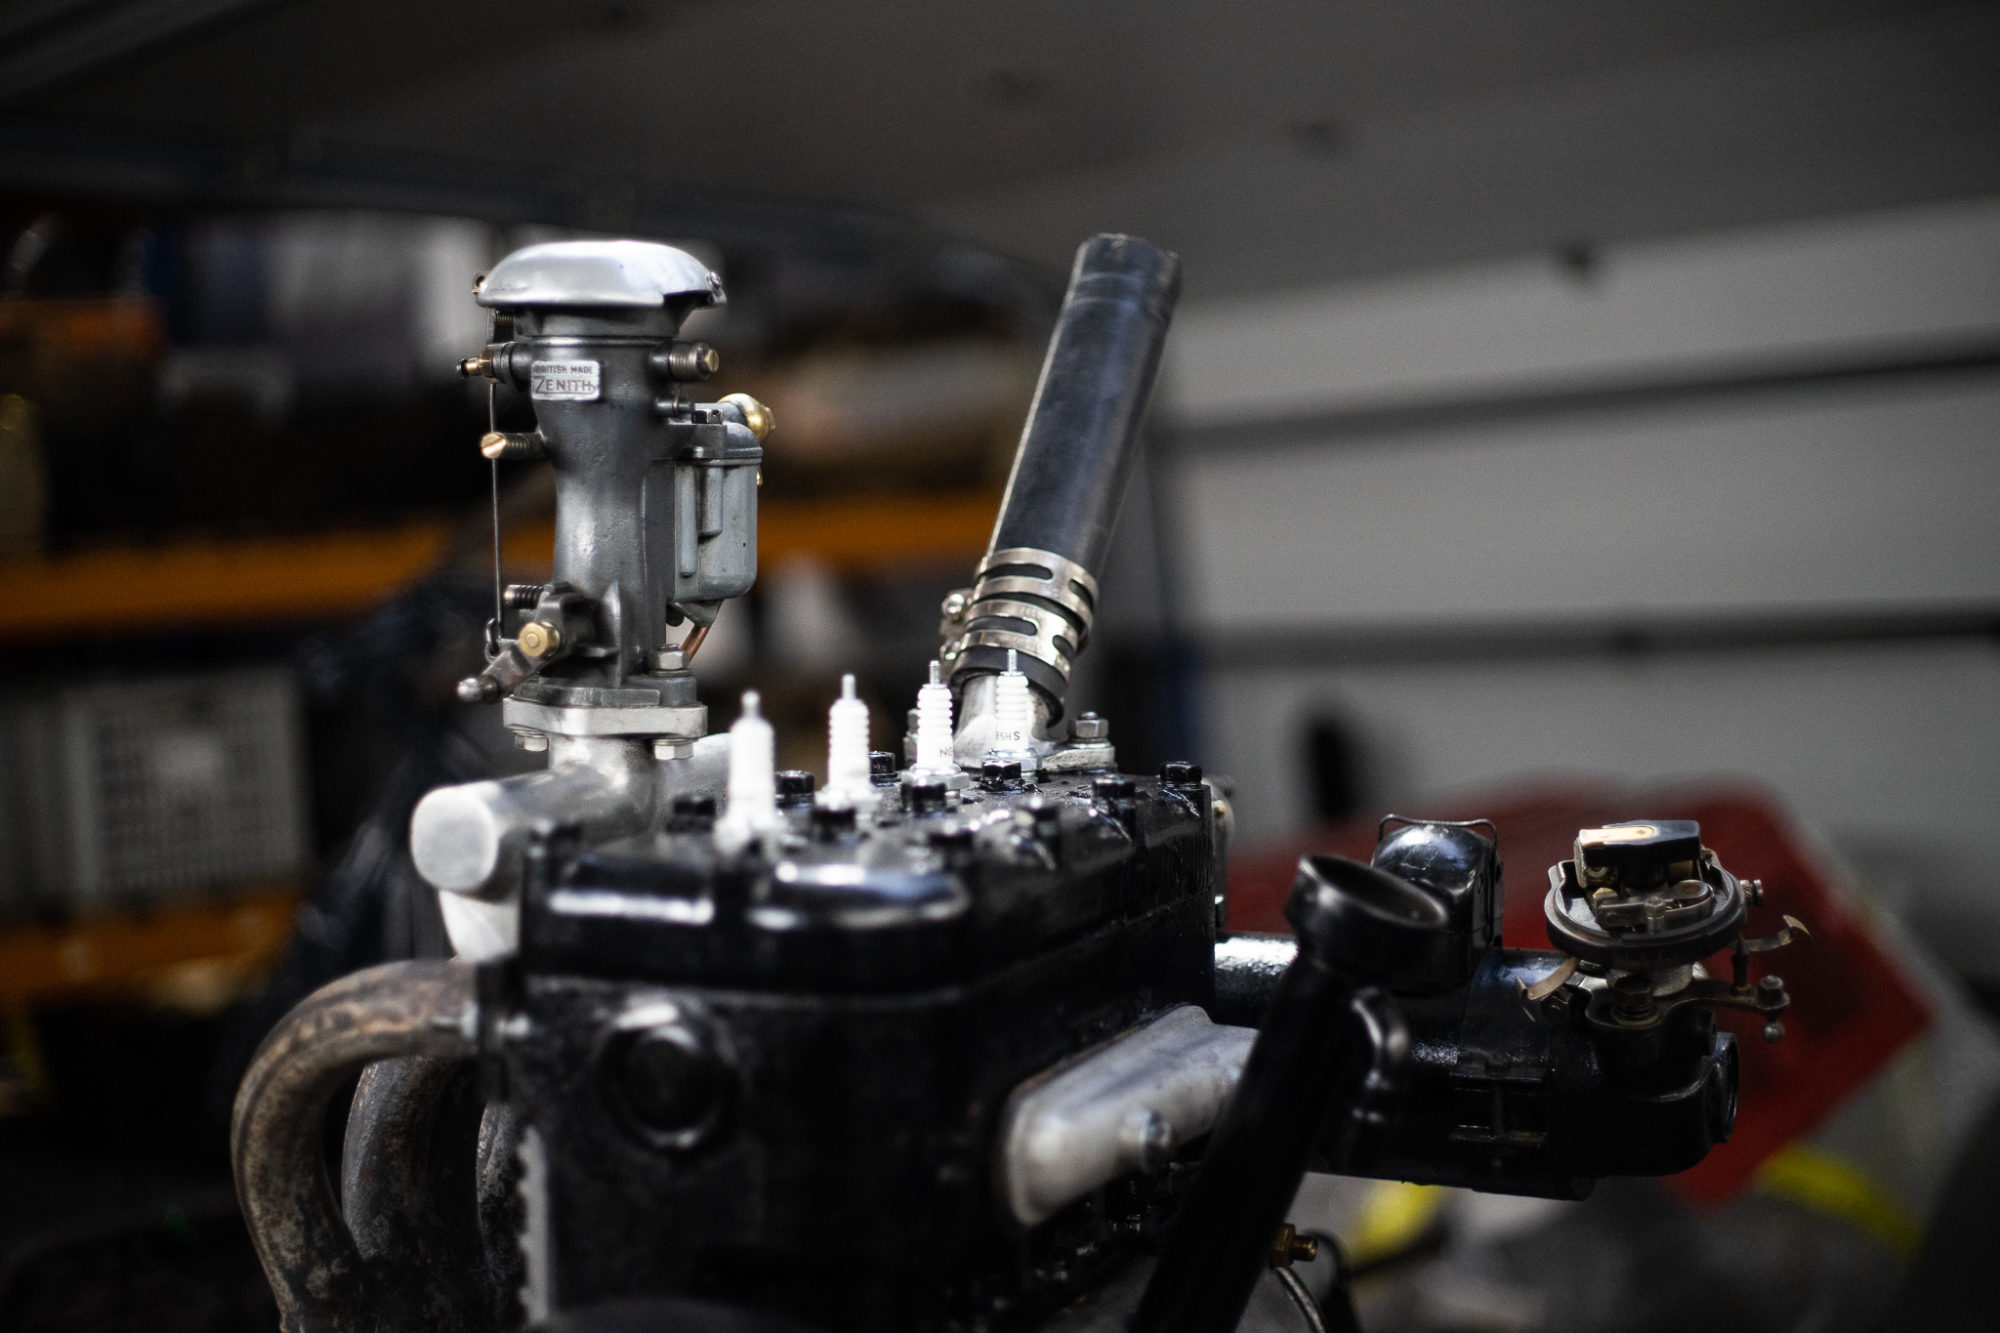
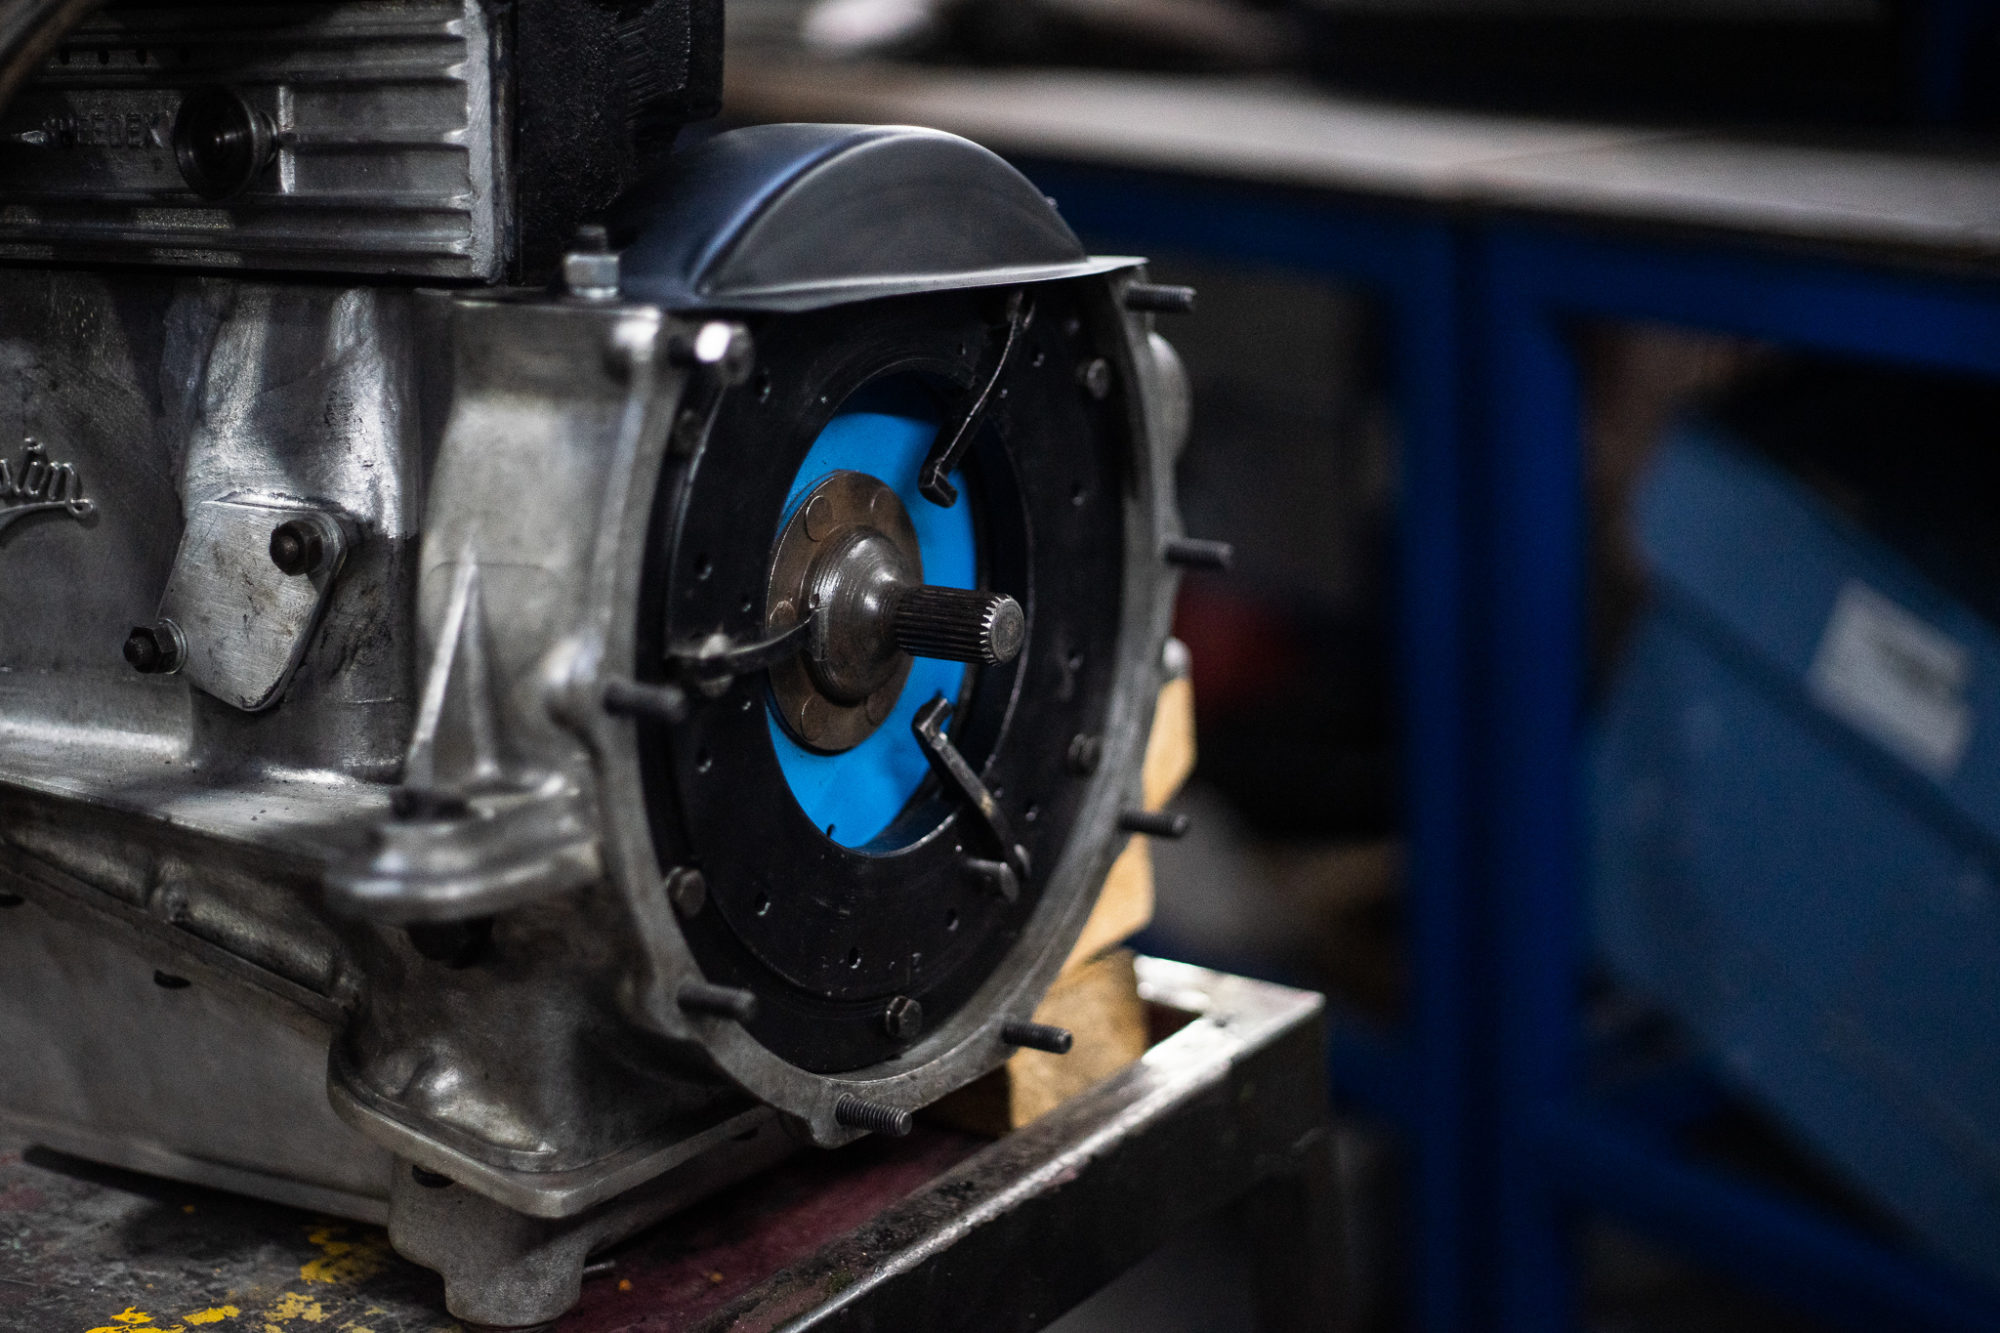
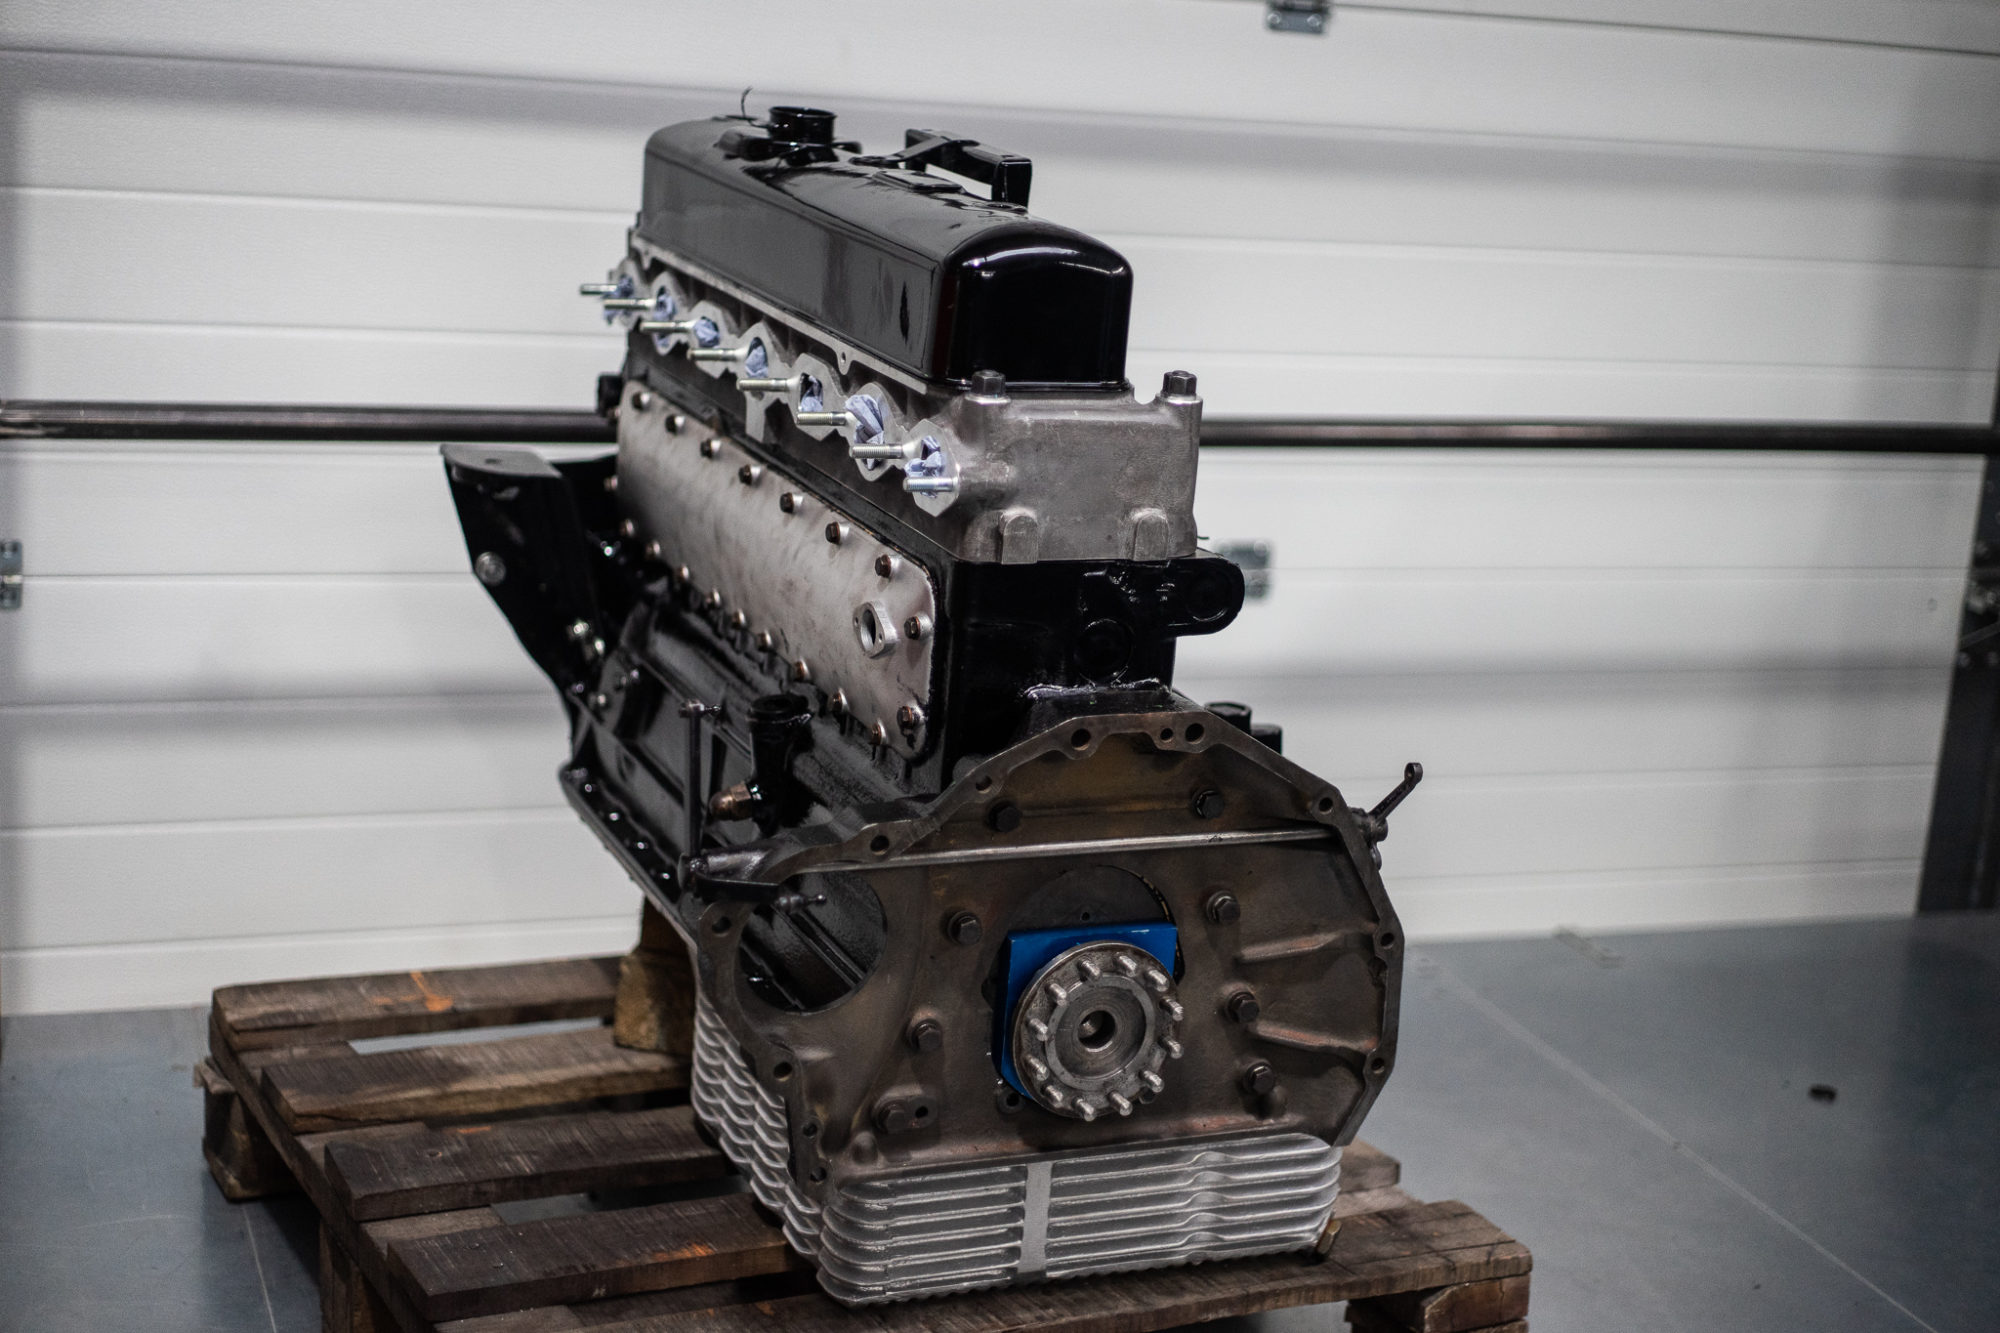
We’re delighted to announce that our little 1934 Austin Seven Nippy engine has been fully restored. We’re currently awaiting the fly wheel and clutch to arrive but otherwise the engine is ready to be fitted back in!


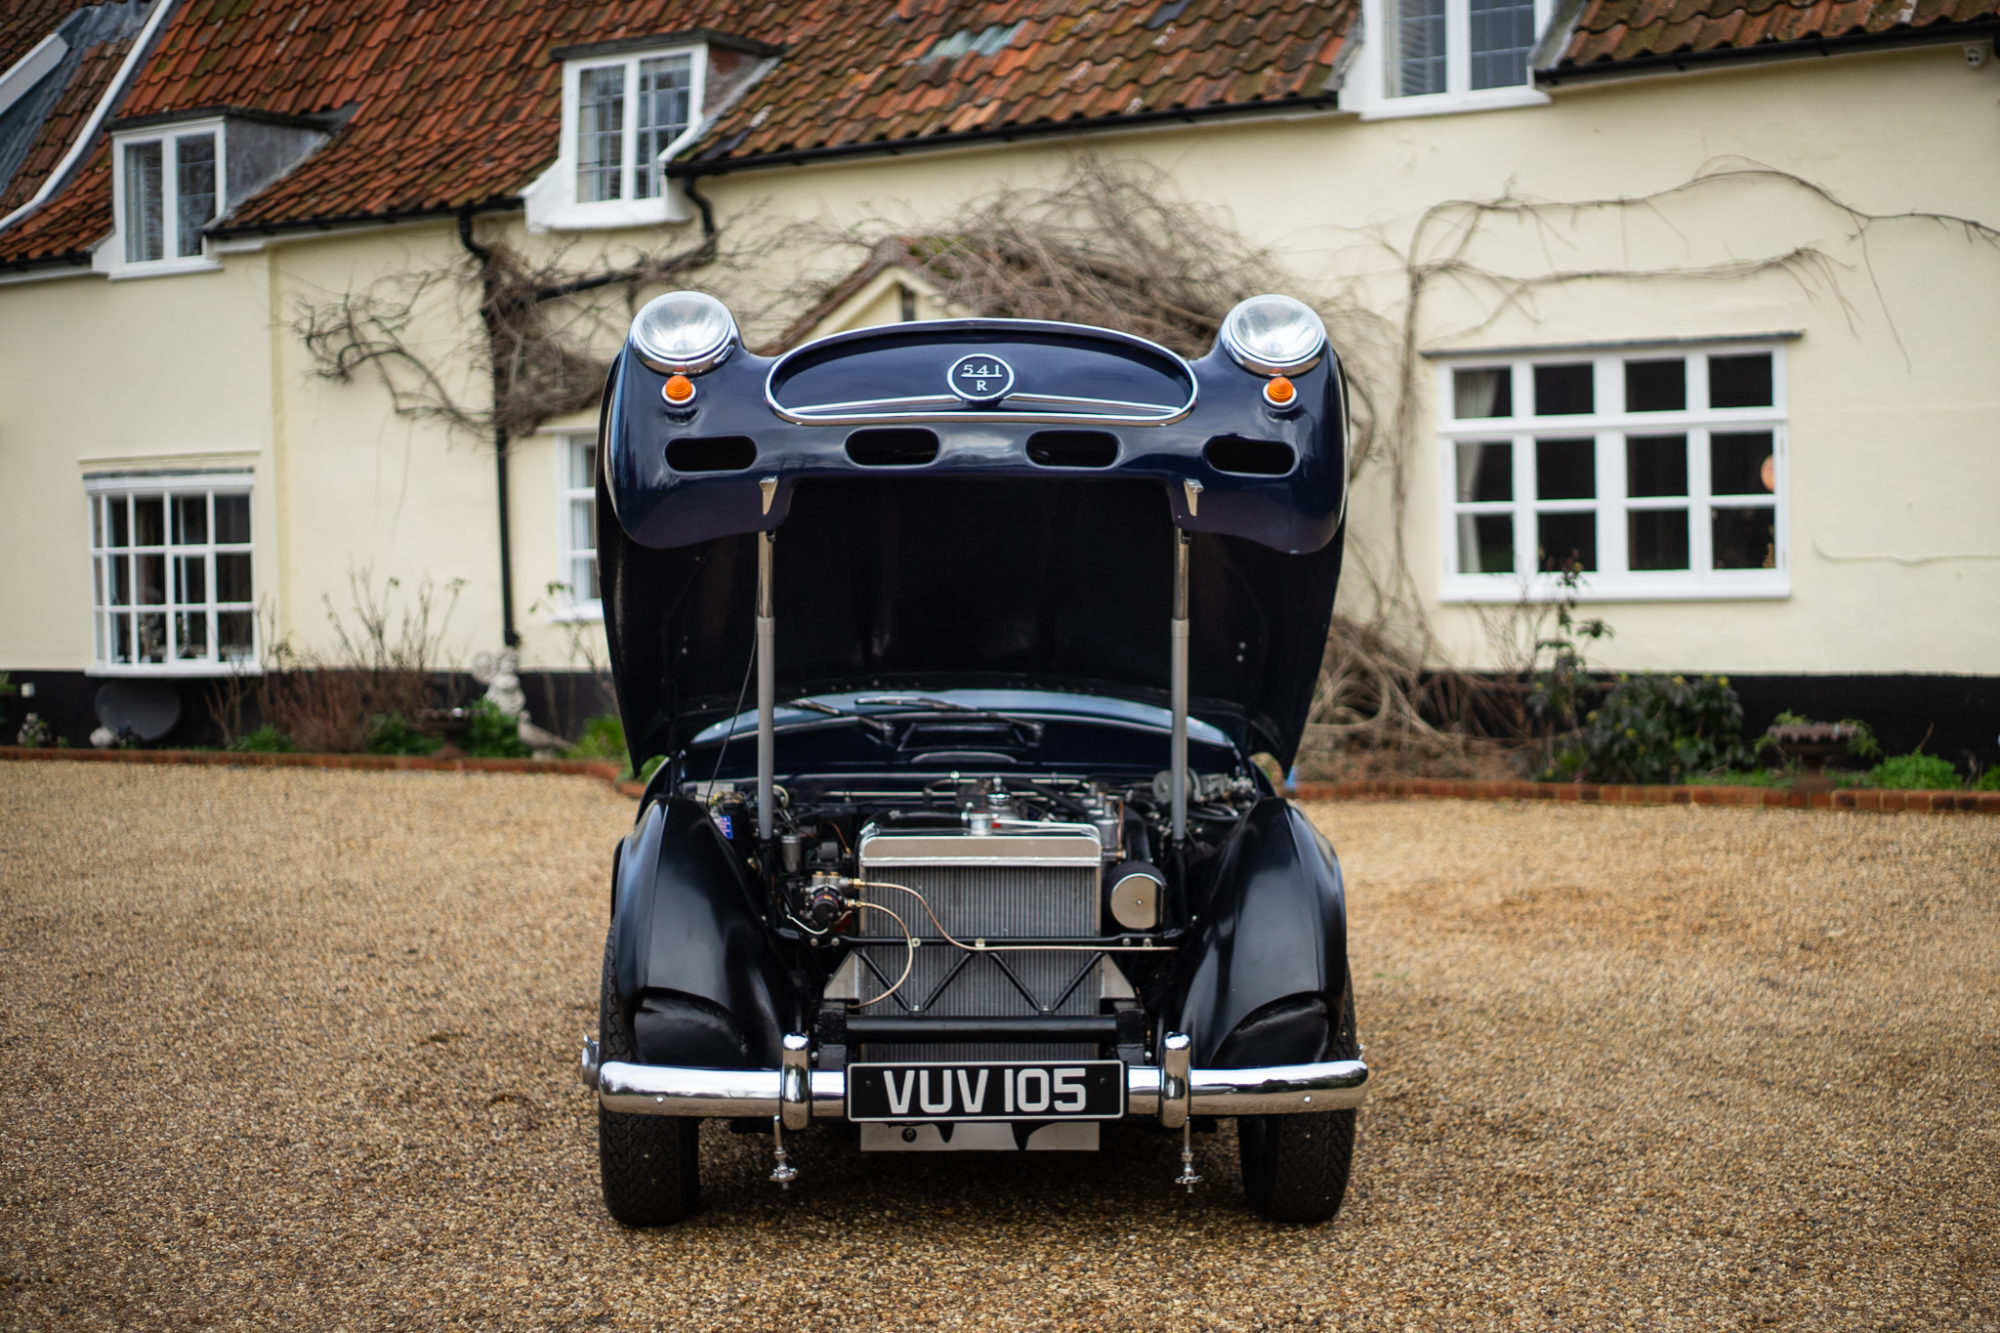
We’ve entered the finishing stages for our 1957 Jensen 541R. John is currently carrying out a thorough wiring check as we’ve had to modify the wiring to compensate for the V8 Corvette engine. We’re assembling the last bits such as the fuel pump which we’re waiting to arrive before we carry out a last service and test for teething problems.

Kath has been working on repairing the seat squabs on our 1954 Jaguar MKVII. She has repaired the rear seat squab as the vinyl had started to come away from the squab. She applied contact adhesive and stuck it back down in place, making sure that the vinyl was sticking neatly around the edges. Kath also had to rip underneath the seat to fit a piece of calico on to the material to stop it from getting any worse.

Ady has also been carrying out a thorough engine service which includes replacing the spark plugs and spark plug leads as well as the oil filter, oil and a new water hose.
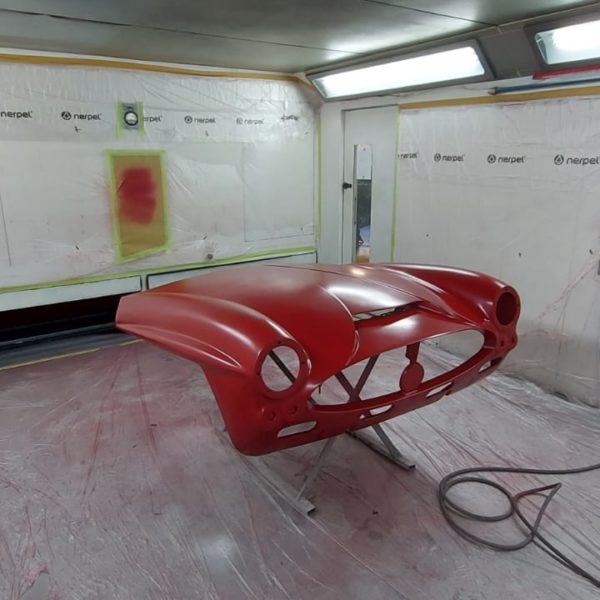
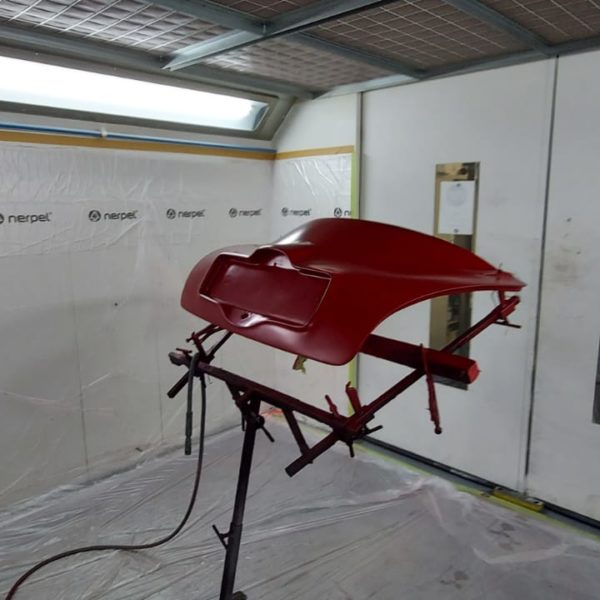
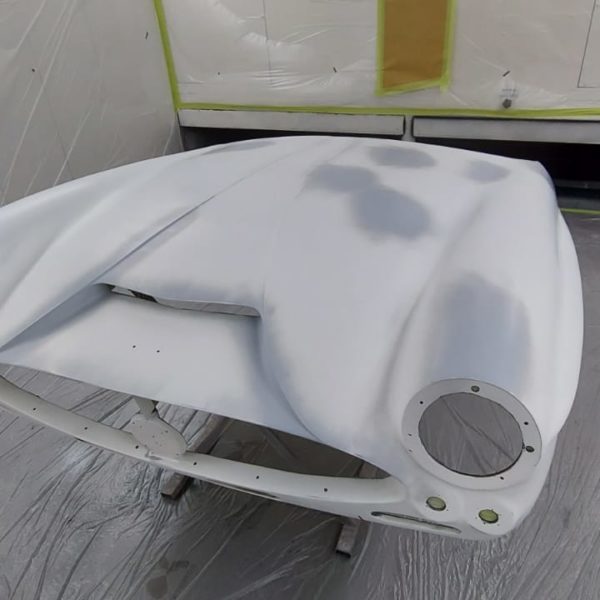
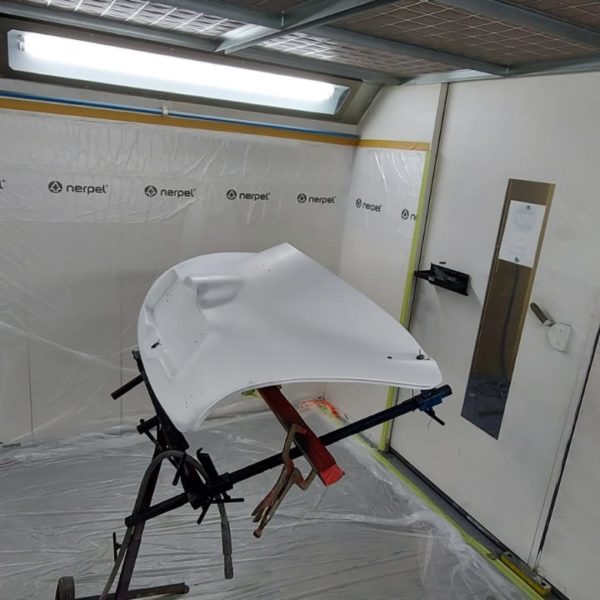
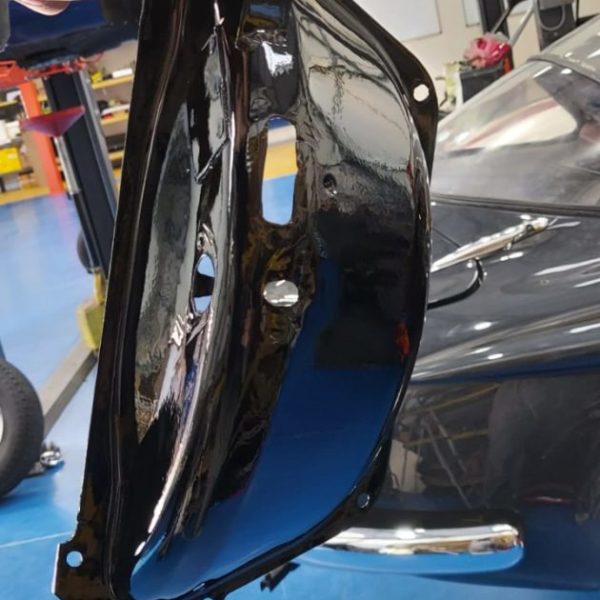
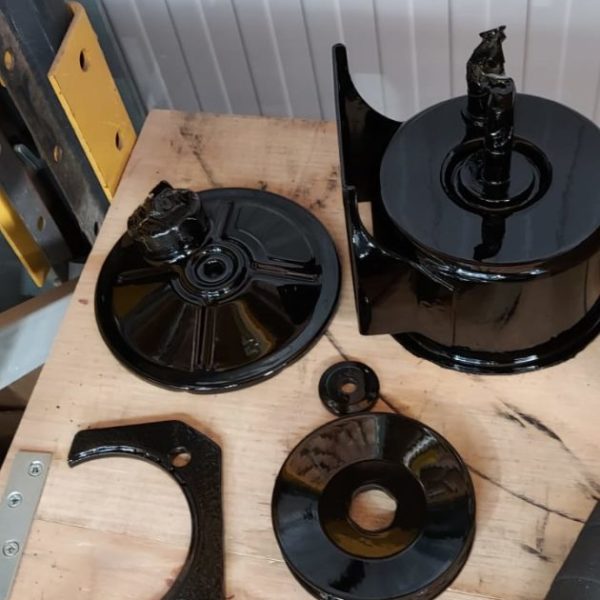
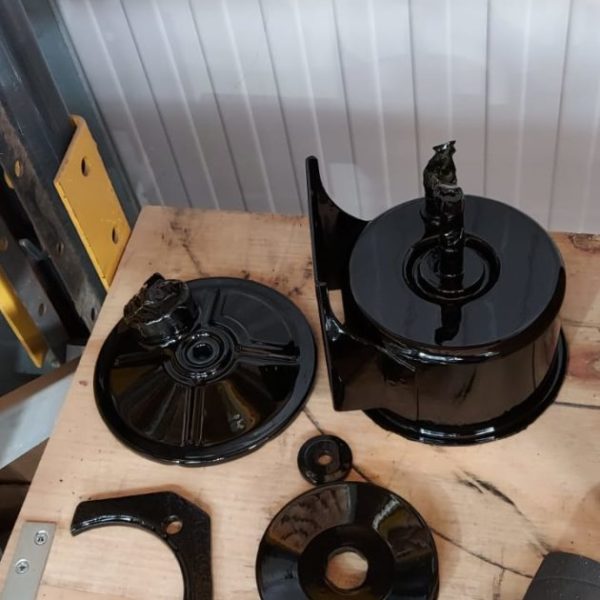
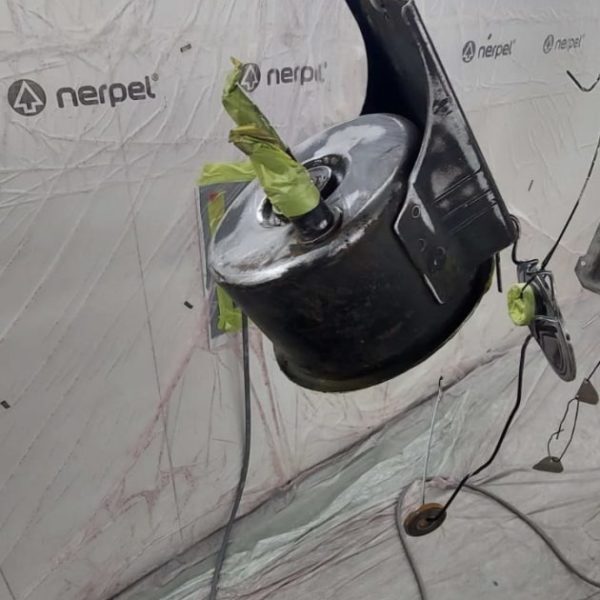
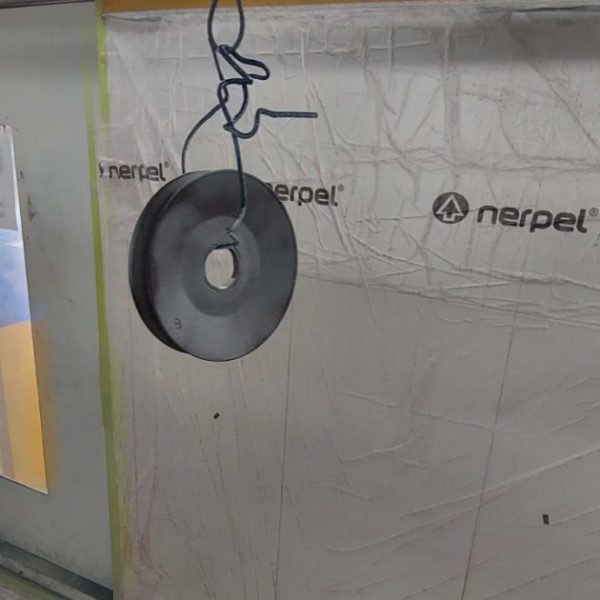
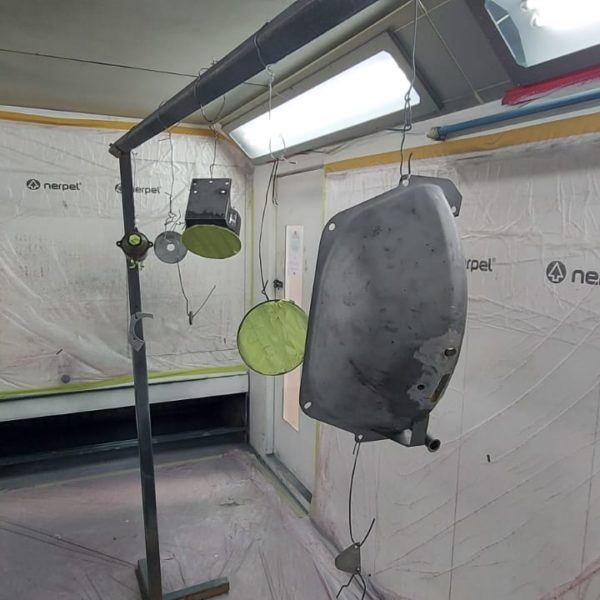
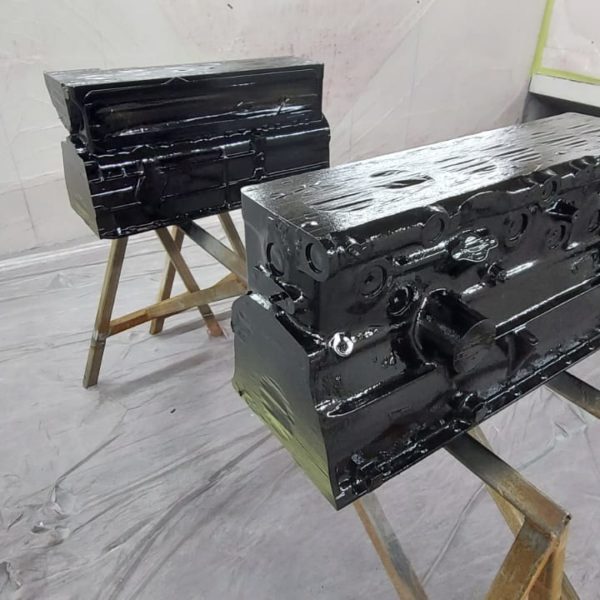
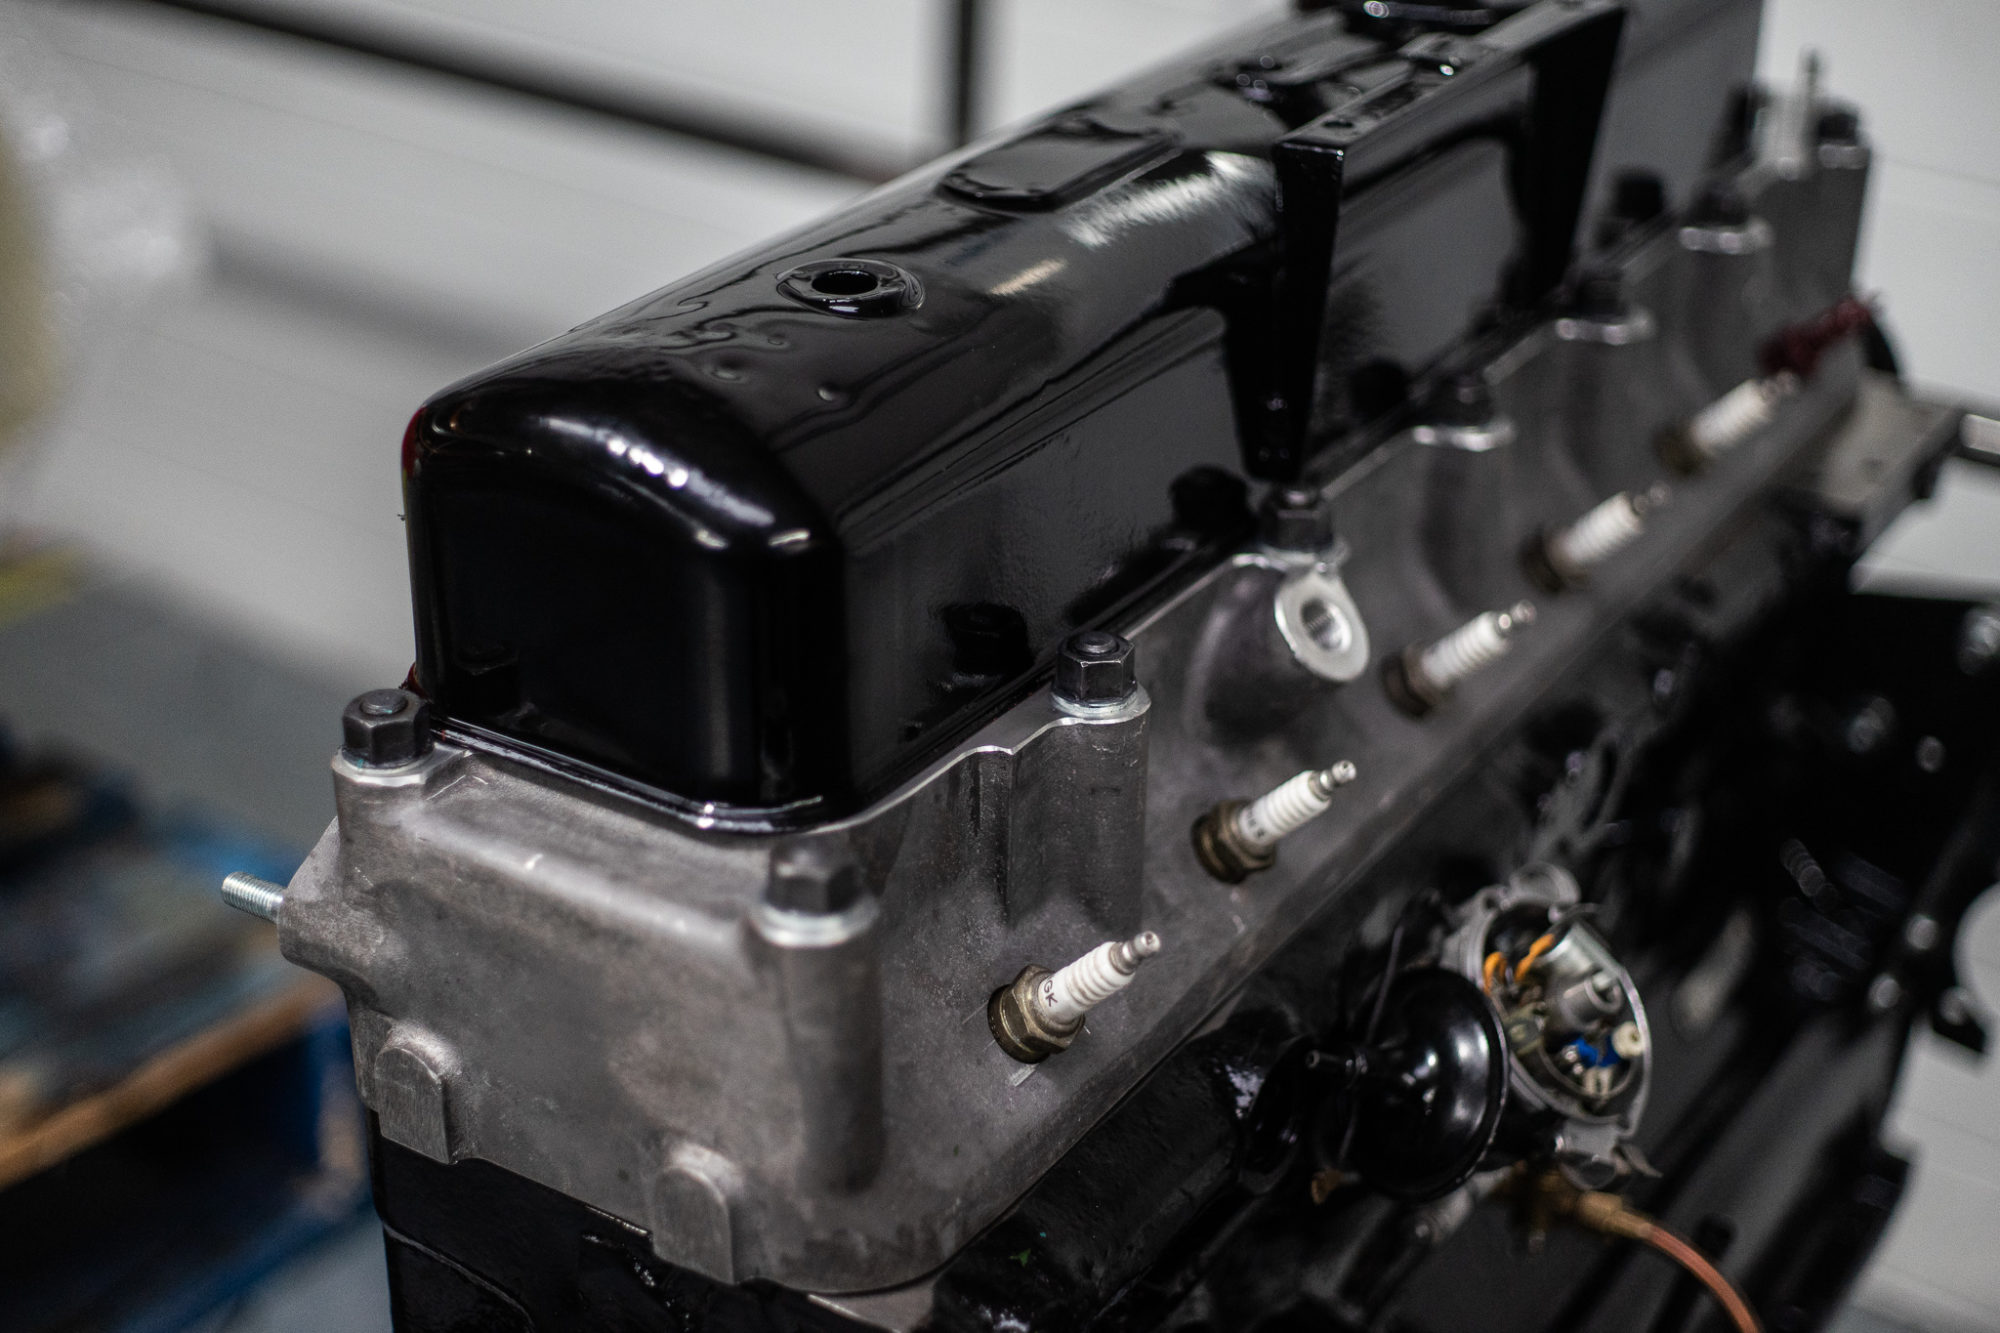
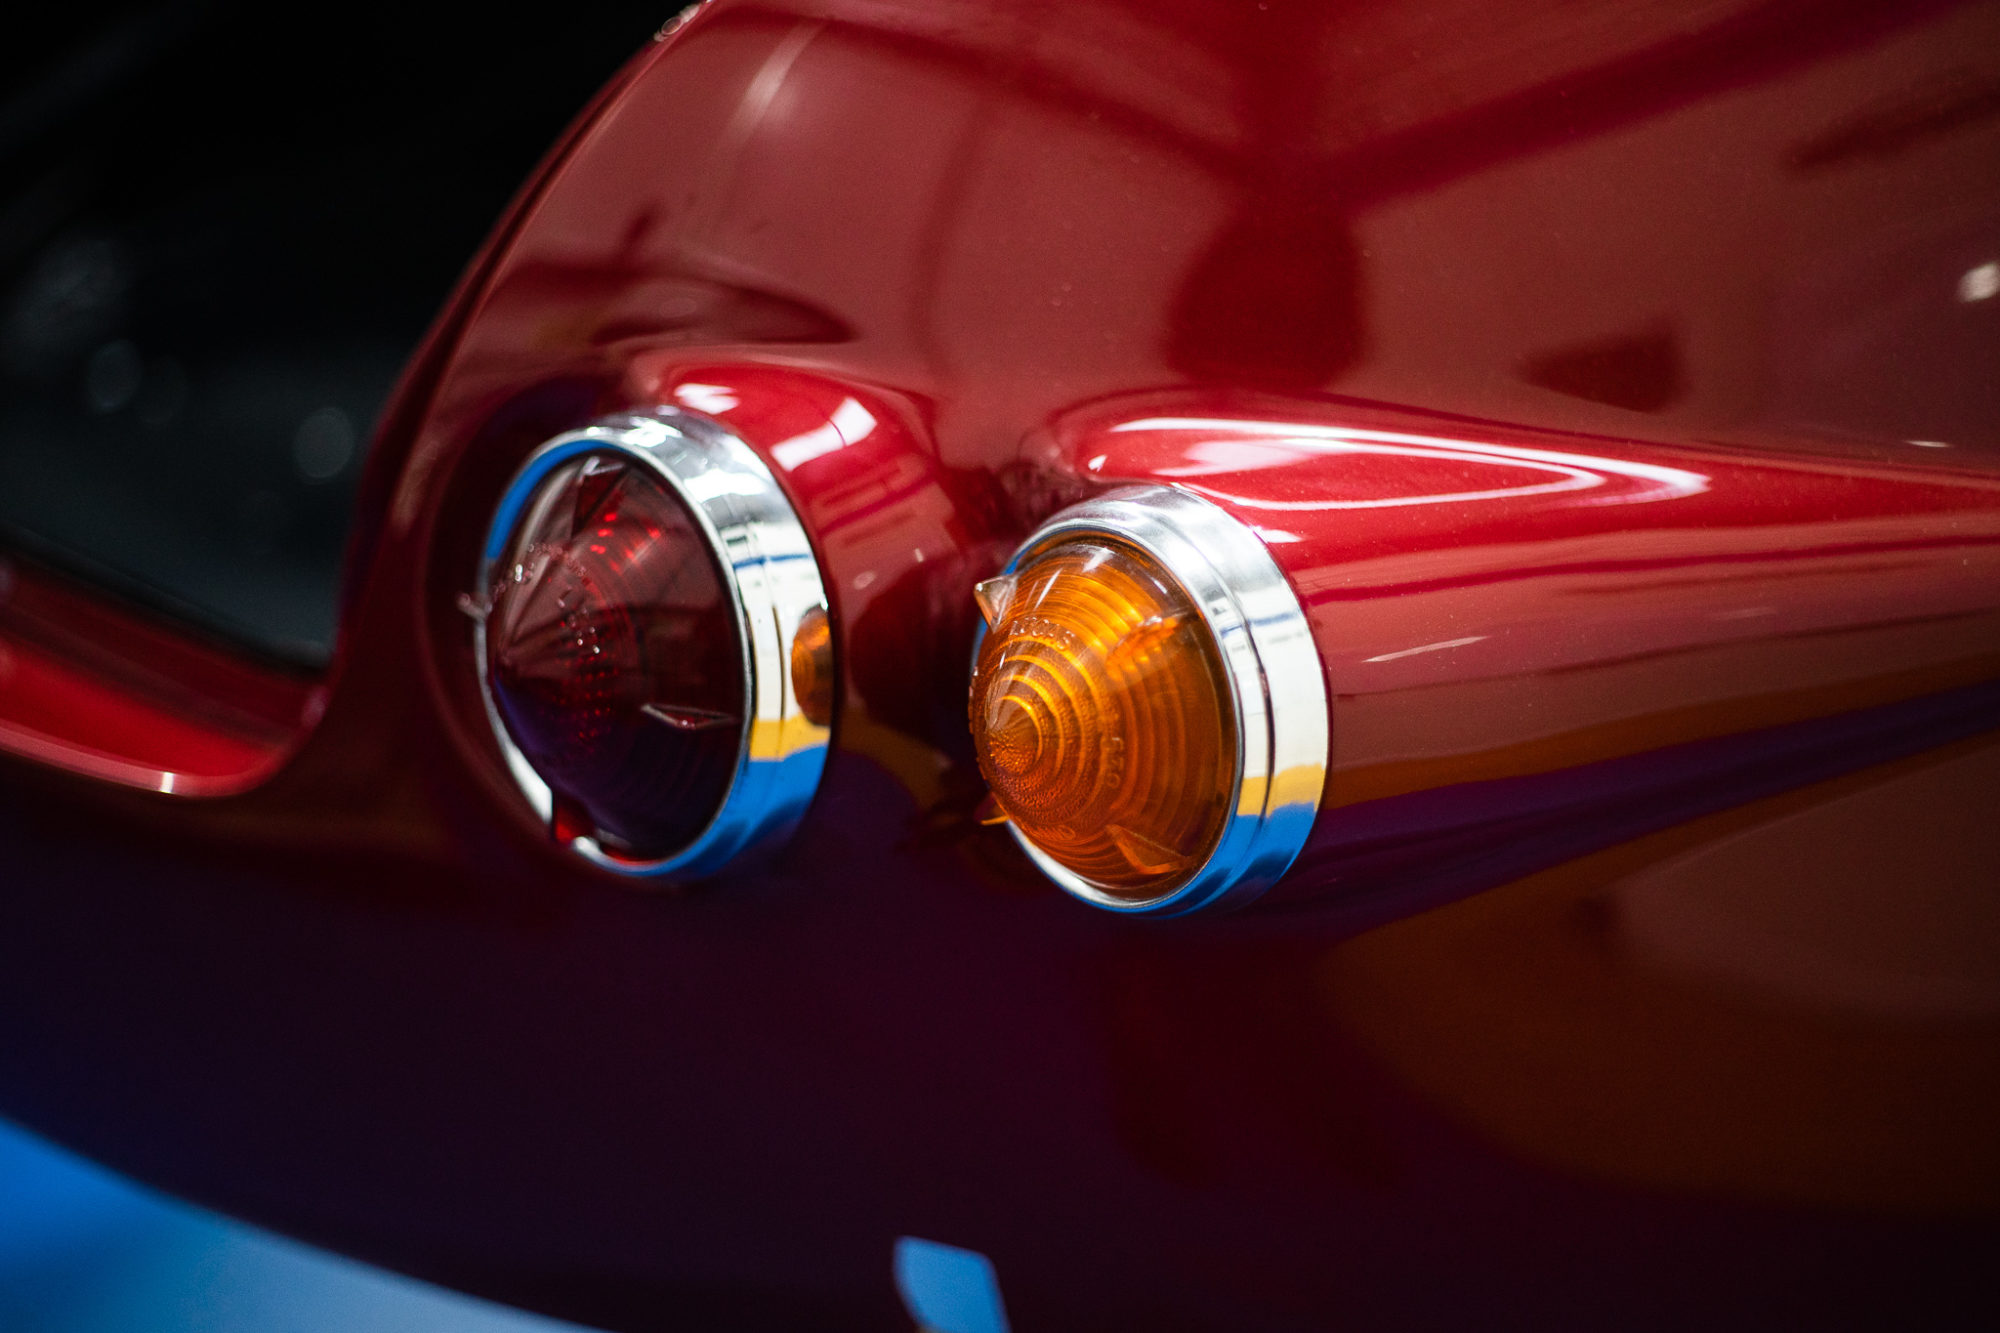
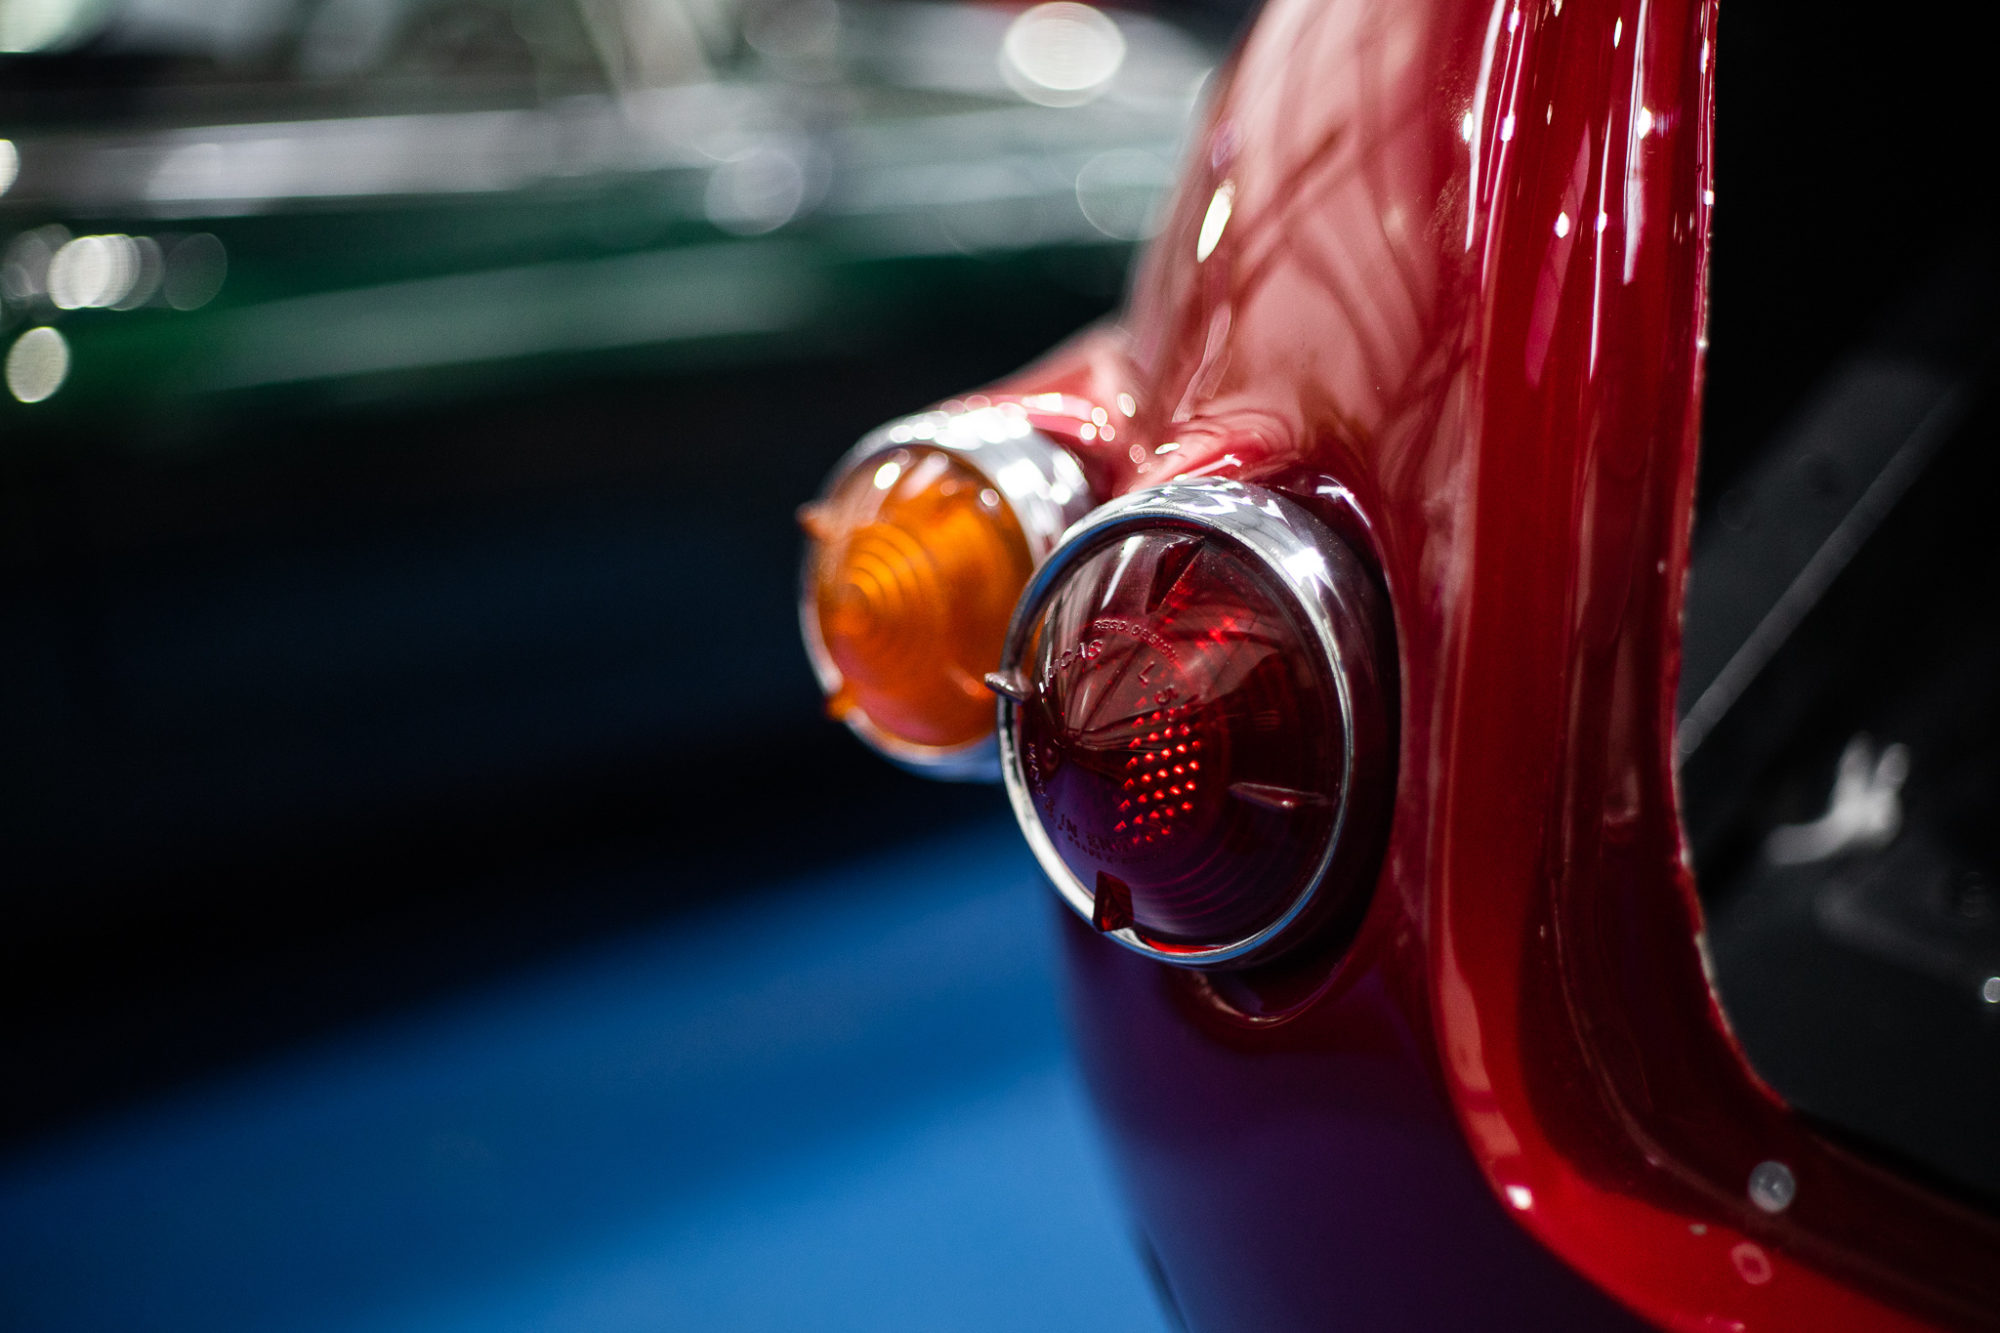
The bonnet, boot and internal components have been painted for our 1960 Jensen 541S. The parts sat in primer and a base coat before having their iconic Peony Red paint applied. The internal parts and engine block have been painted black to keep them uniform with the rest of the internal elements.

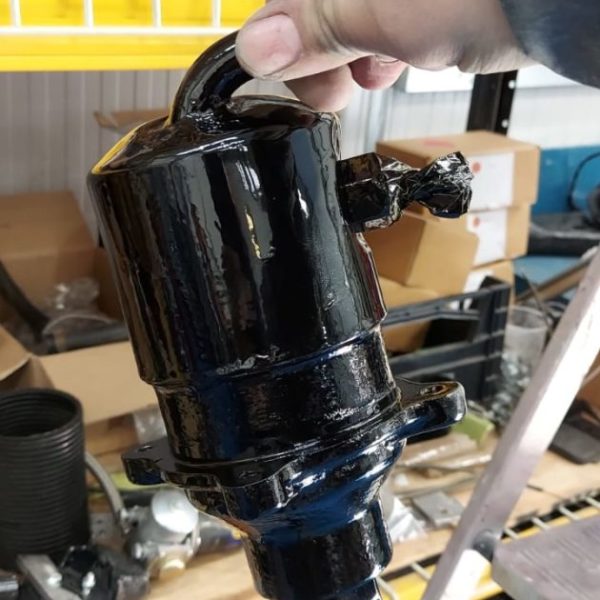
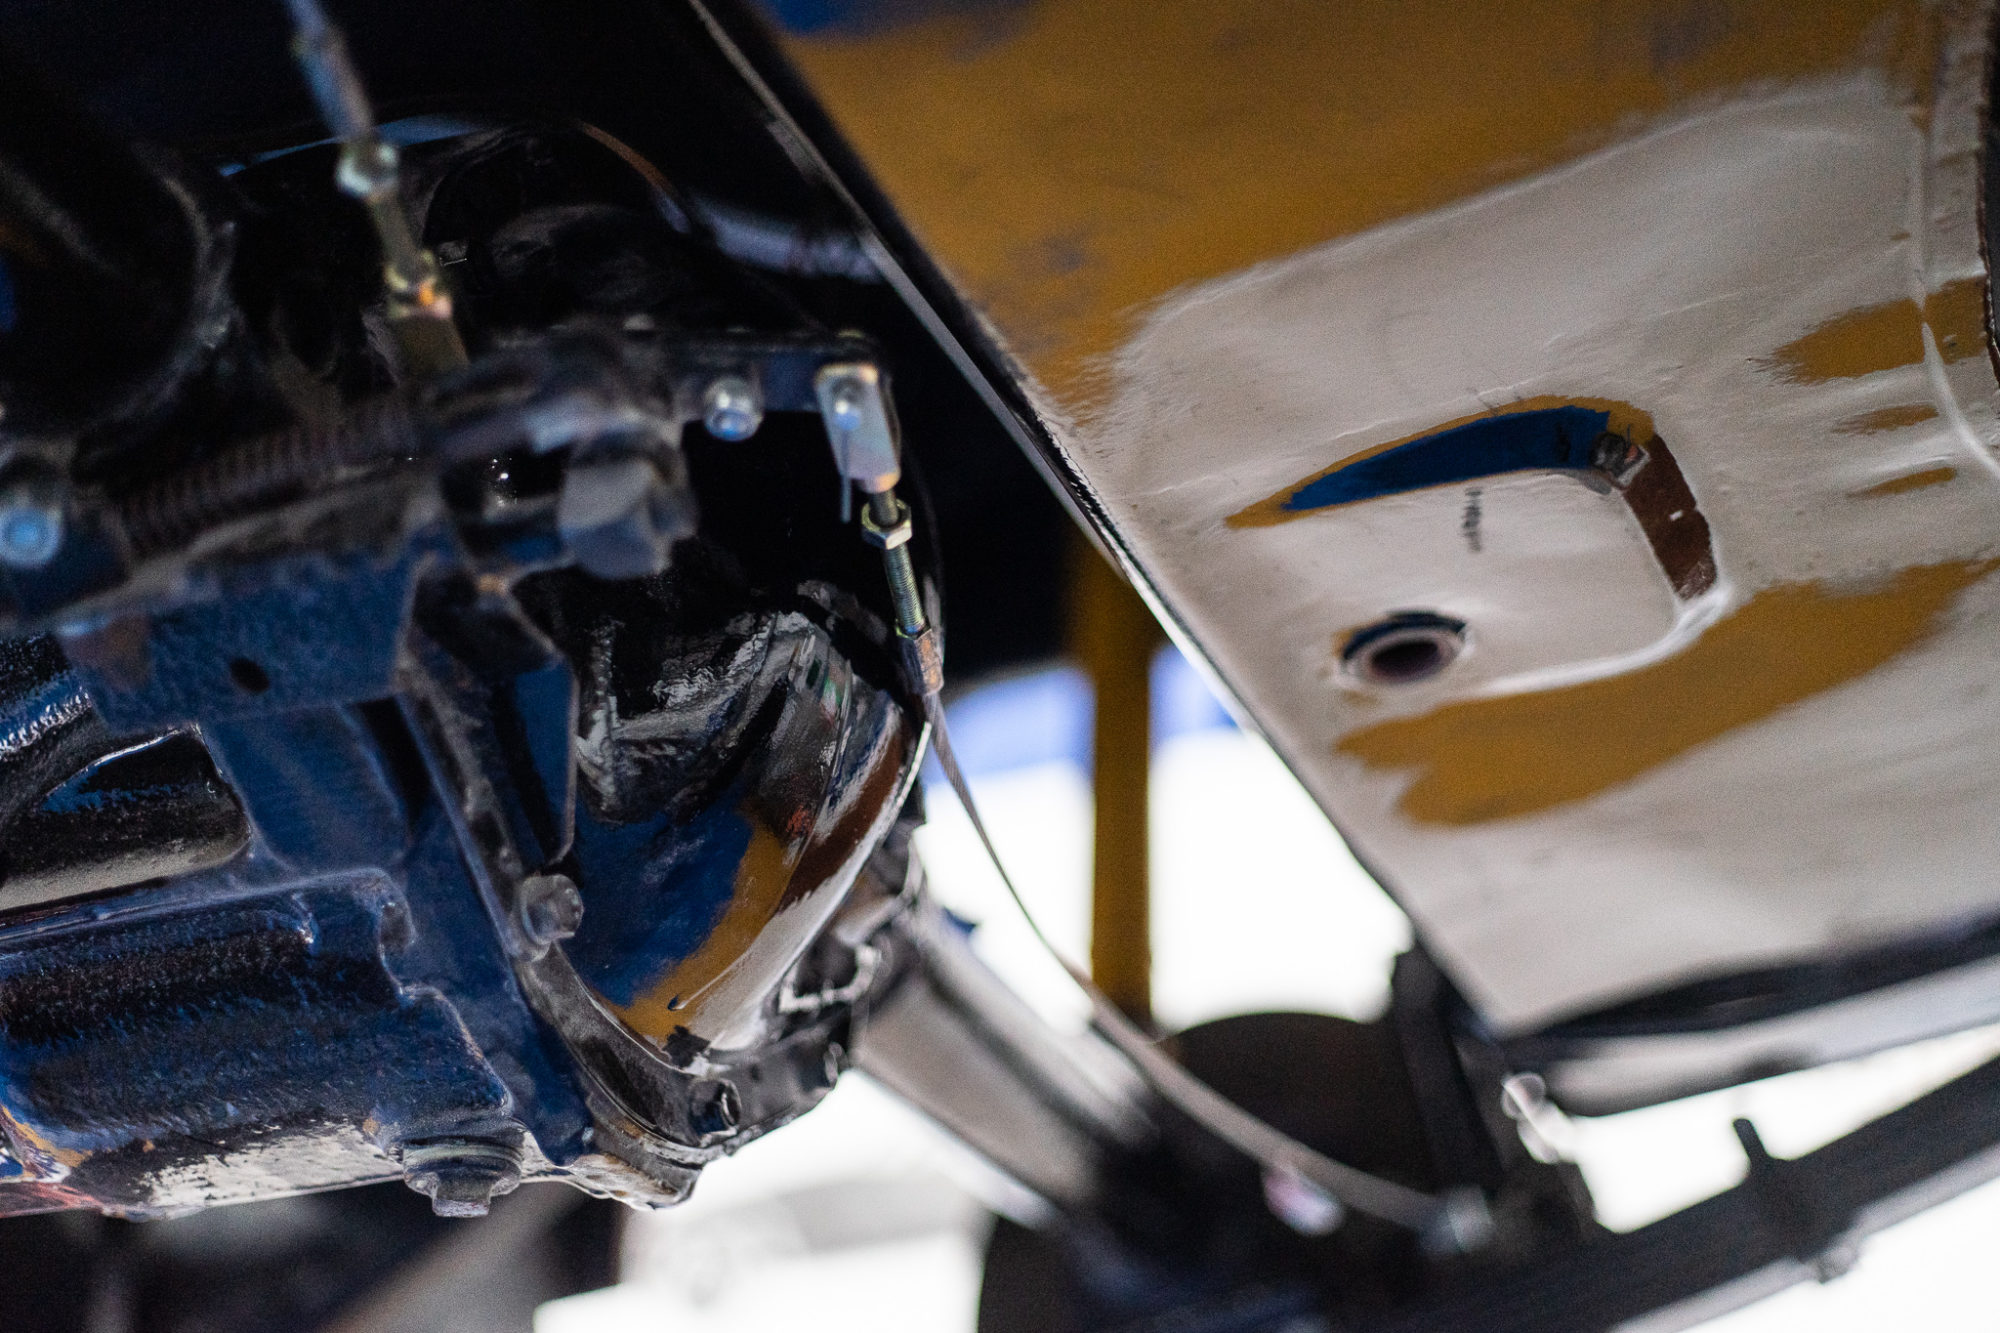
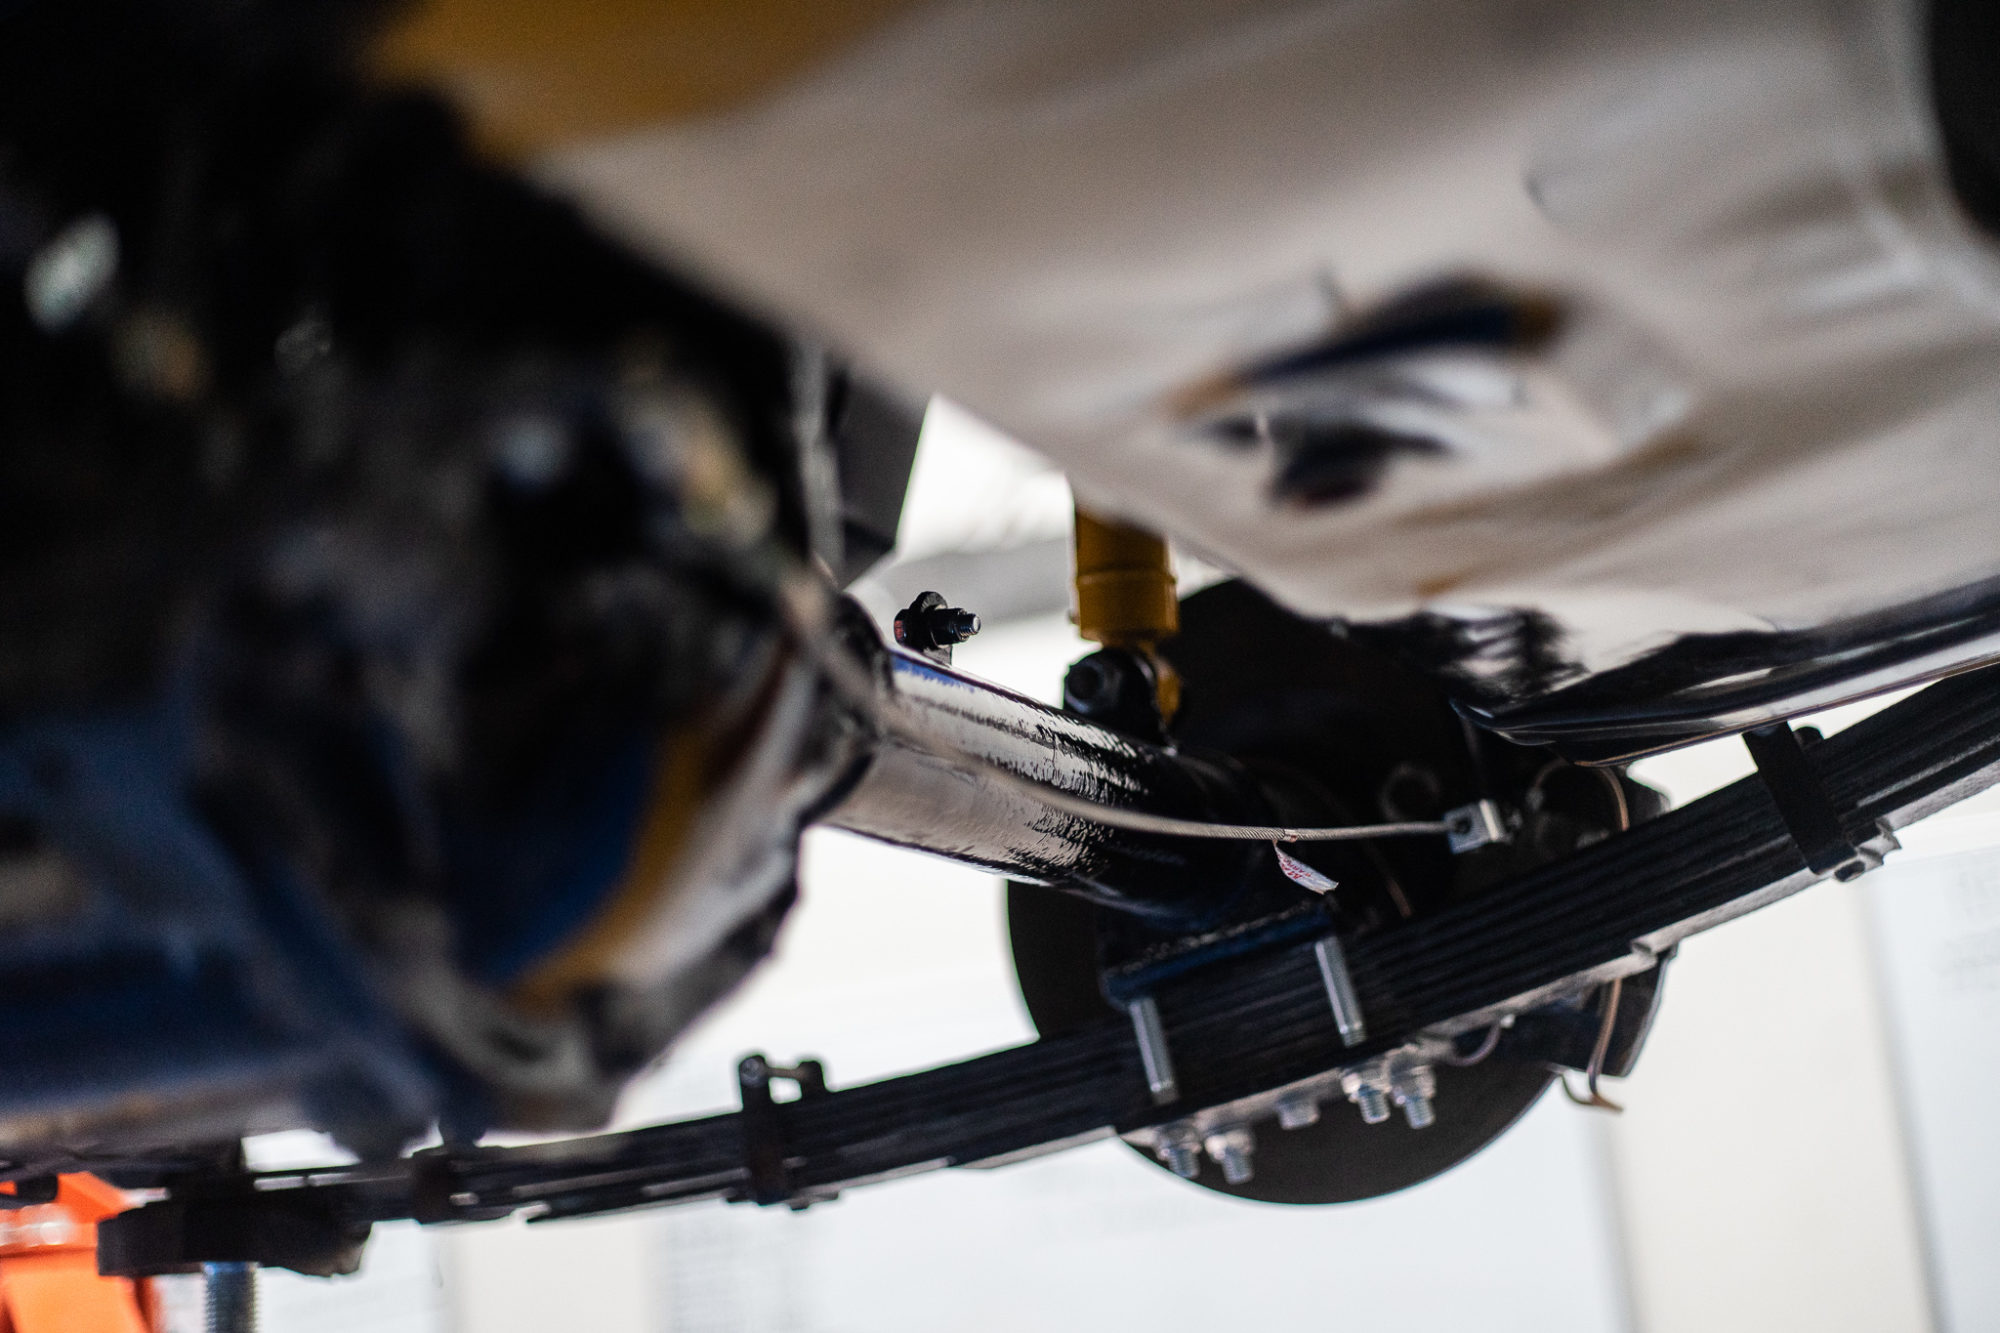
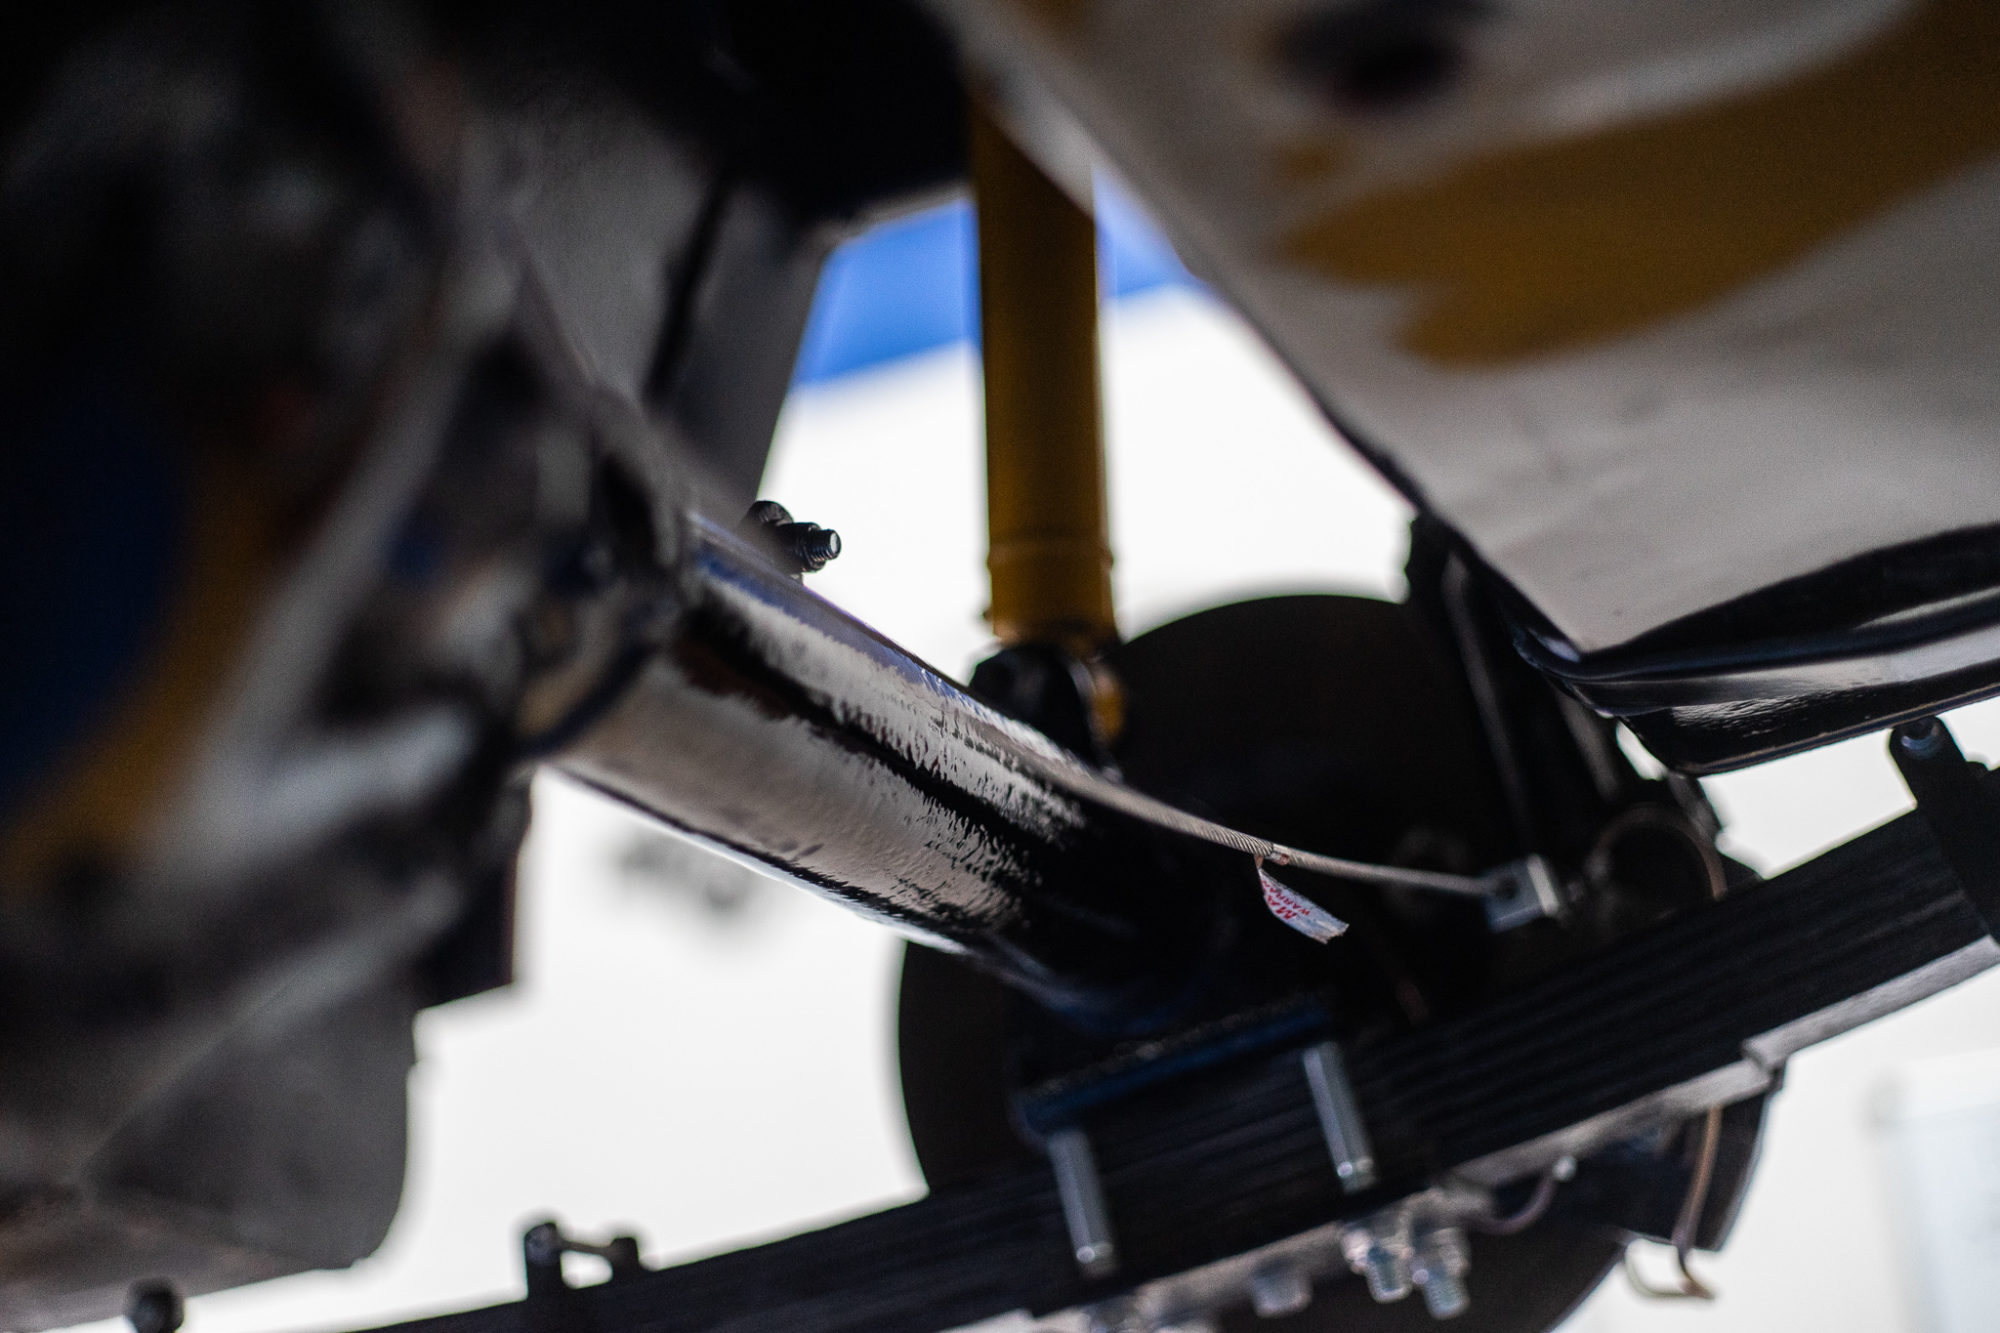
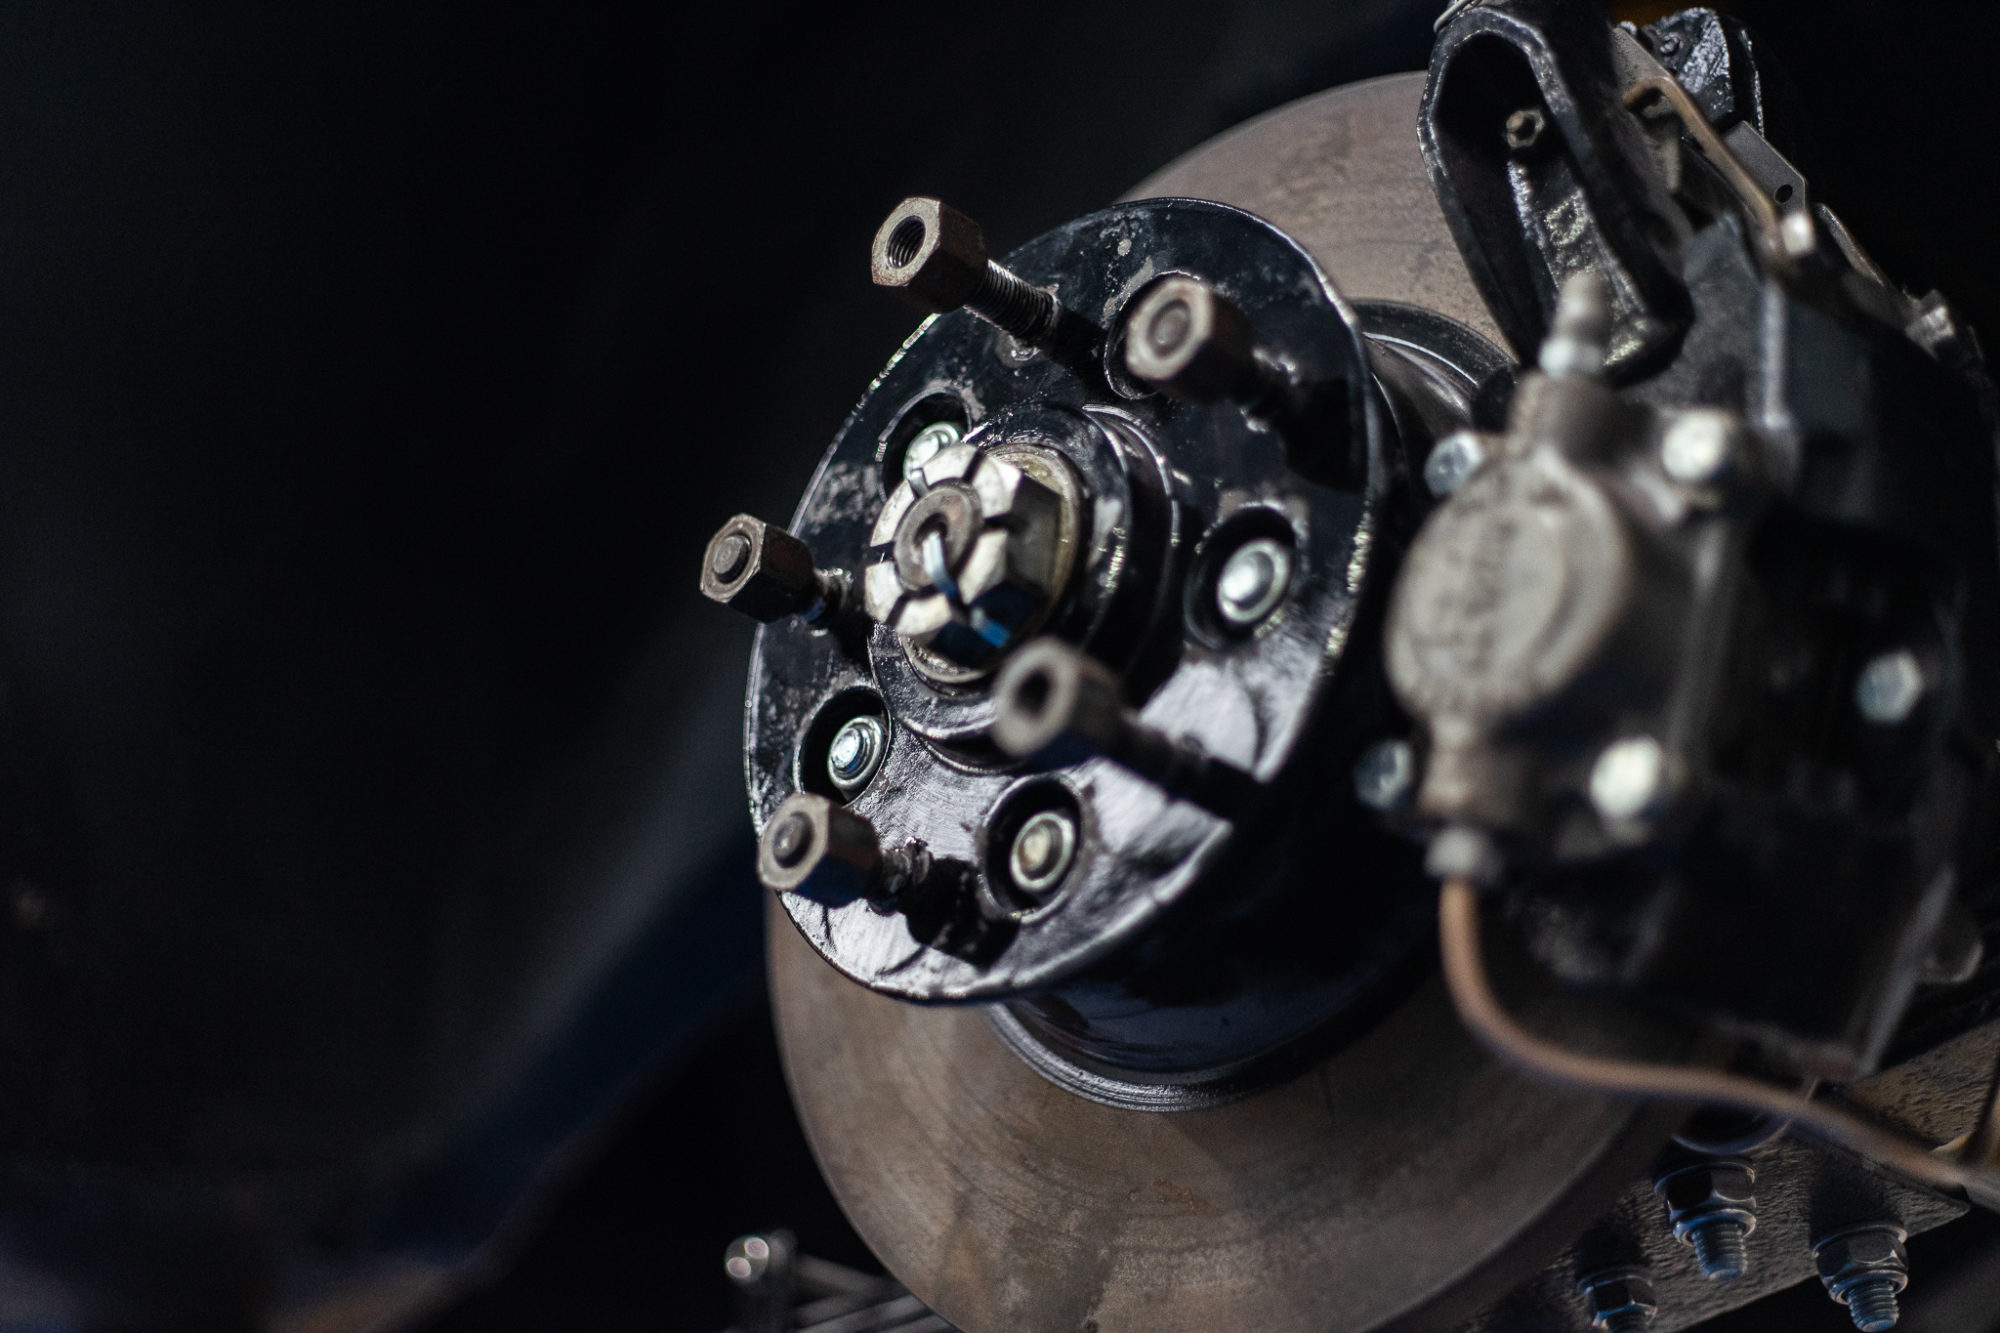
Paul has been working on the mechanical elements for our Jensen, which has included fitting the rear section boot floor, new hand brake cables, and re-manufactured the bolts on the rear axle half shaft.


Ady has been working on refurbishing the engine by attaching a new rear seal conversion and replacing the bolts that hold it in and fitting a new cylinder head with new valves spring and valve guides. The engine has also been rebored to take new pistons, the crankshaft has been reground and new bearings fitted. A new timing chain, cam followers and gaskets have also been fitted.
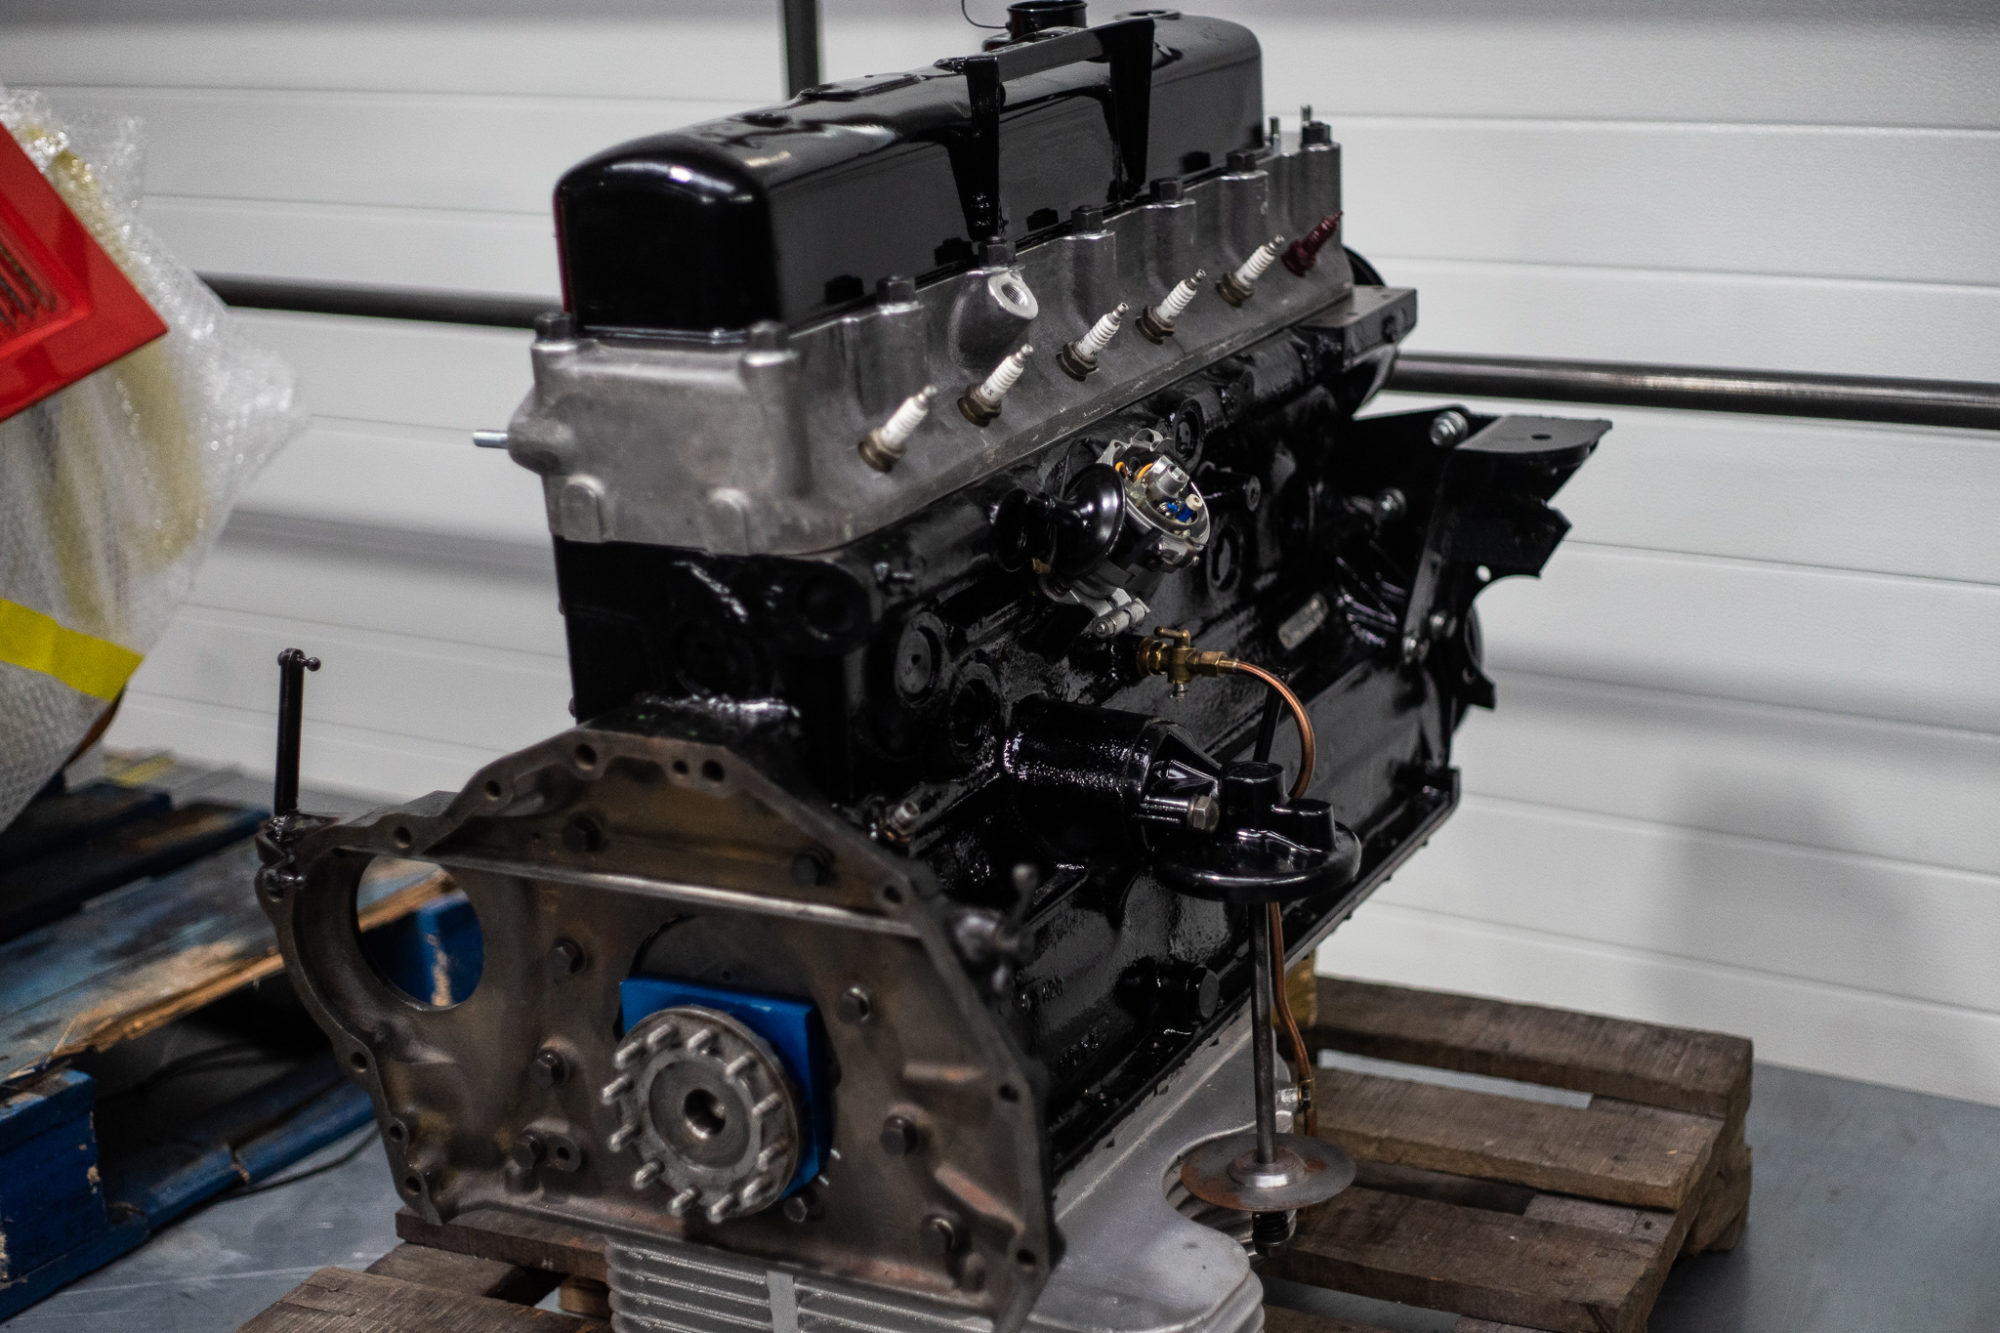
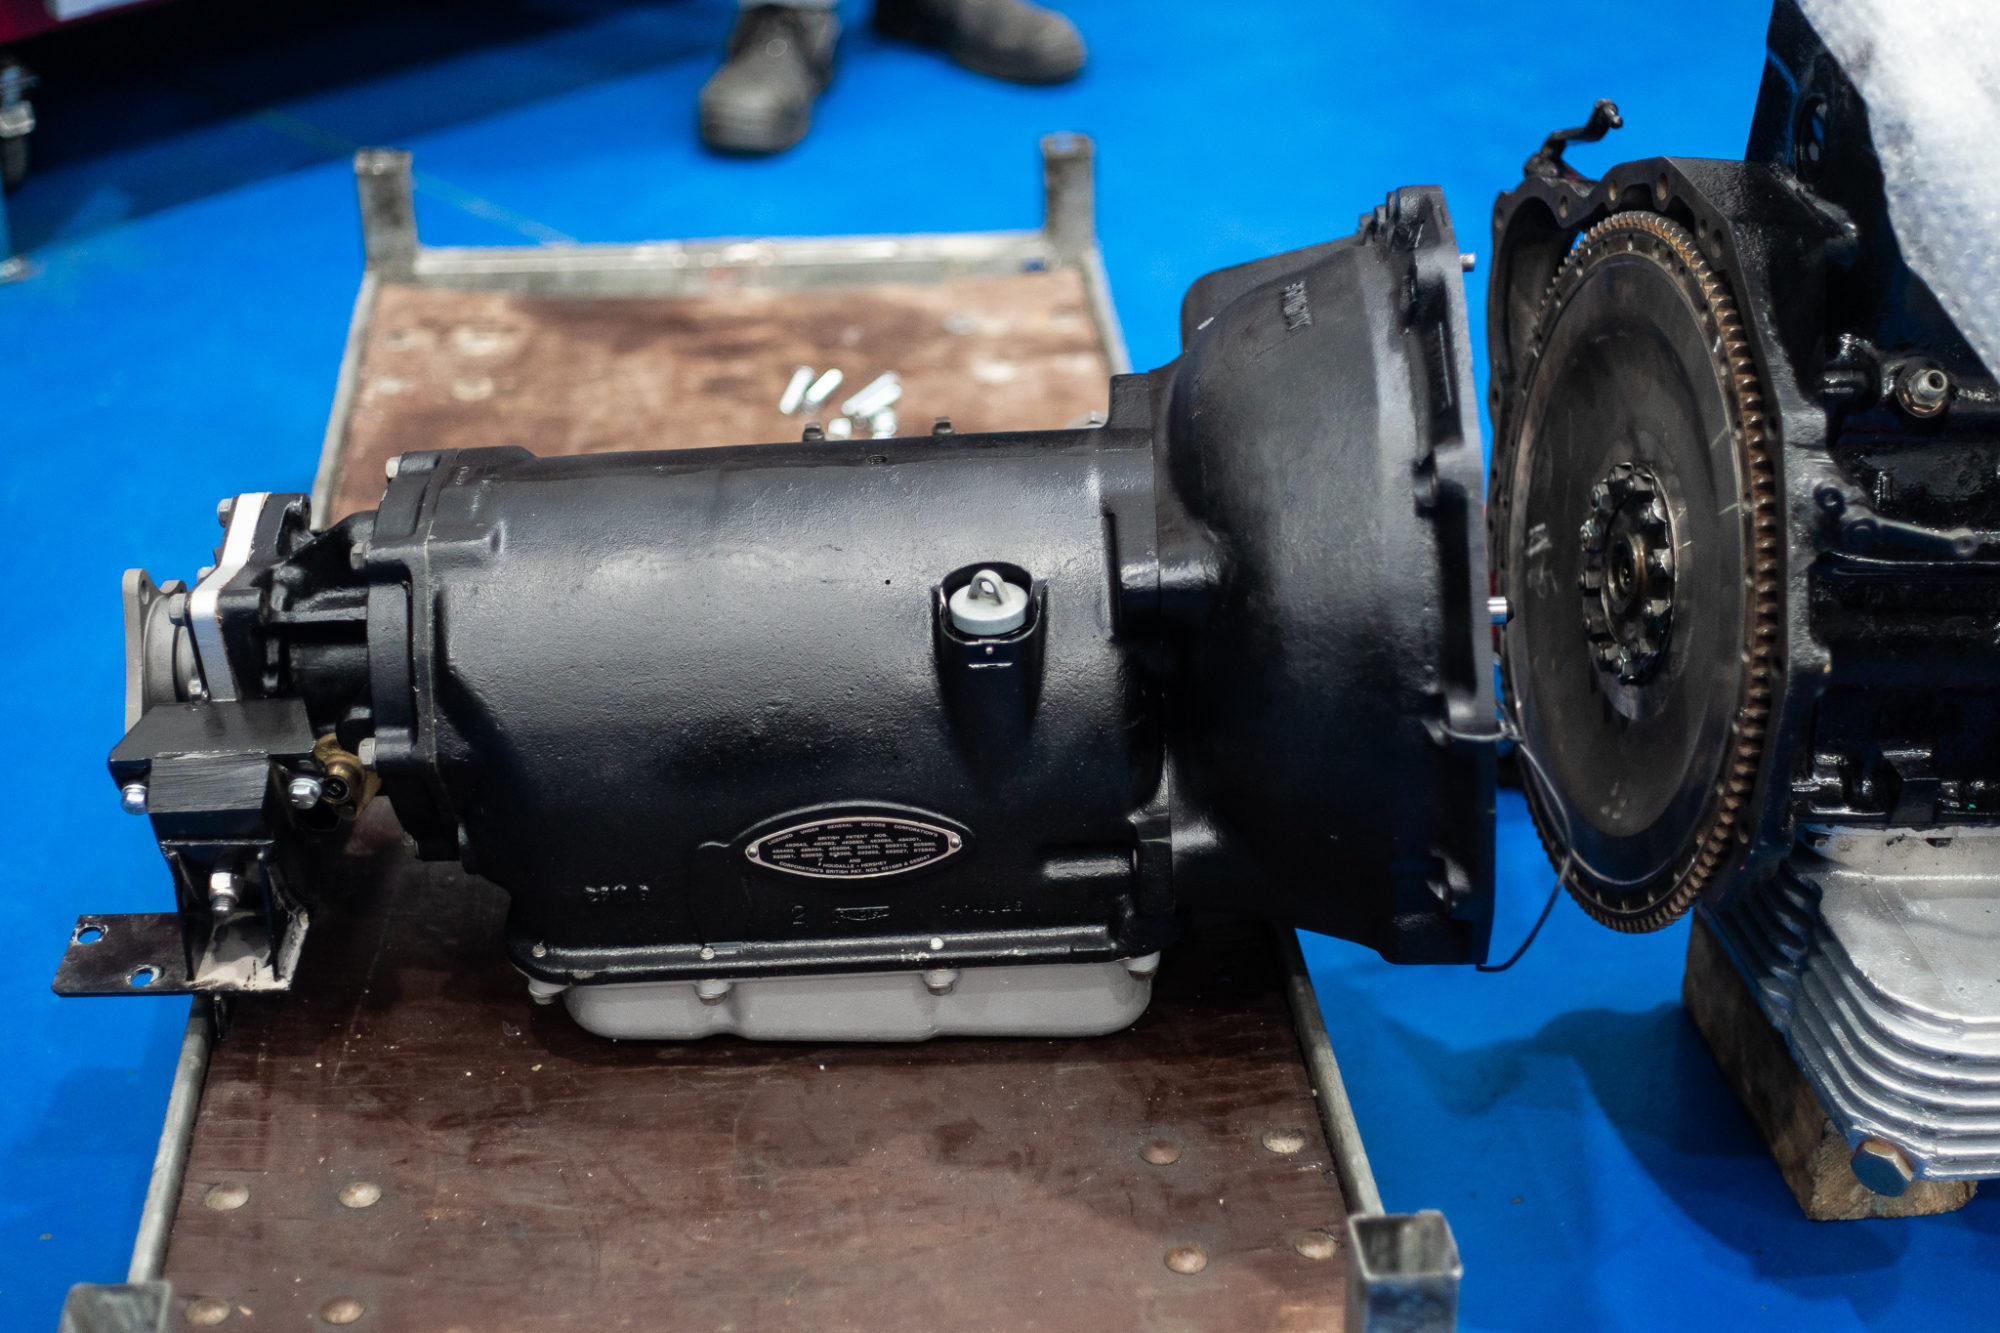
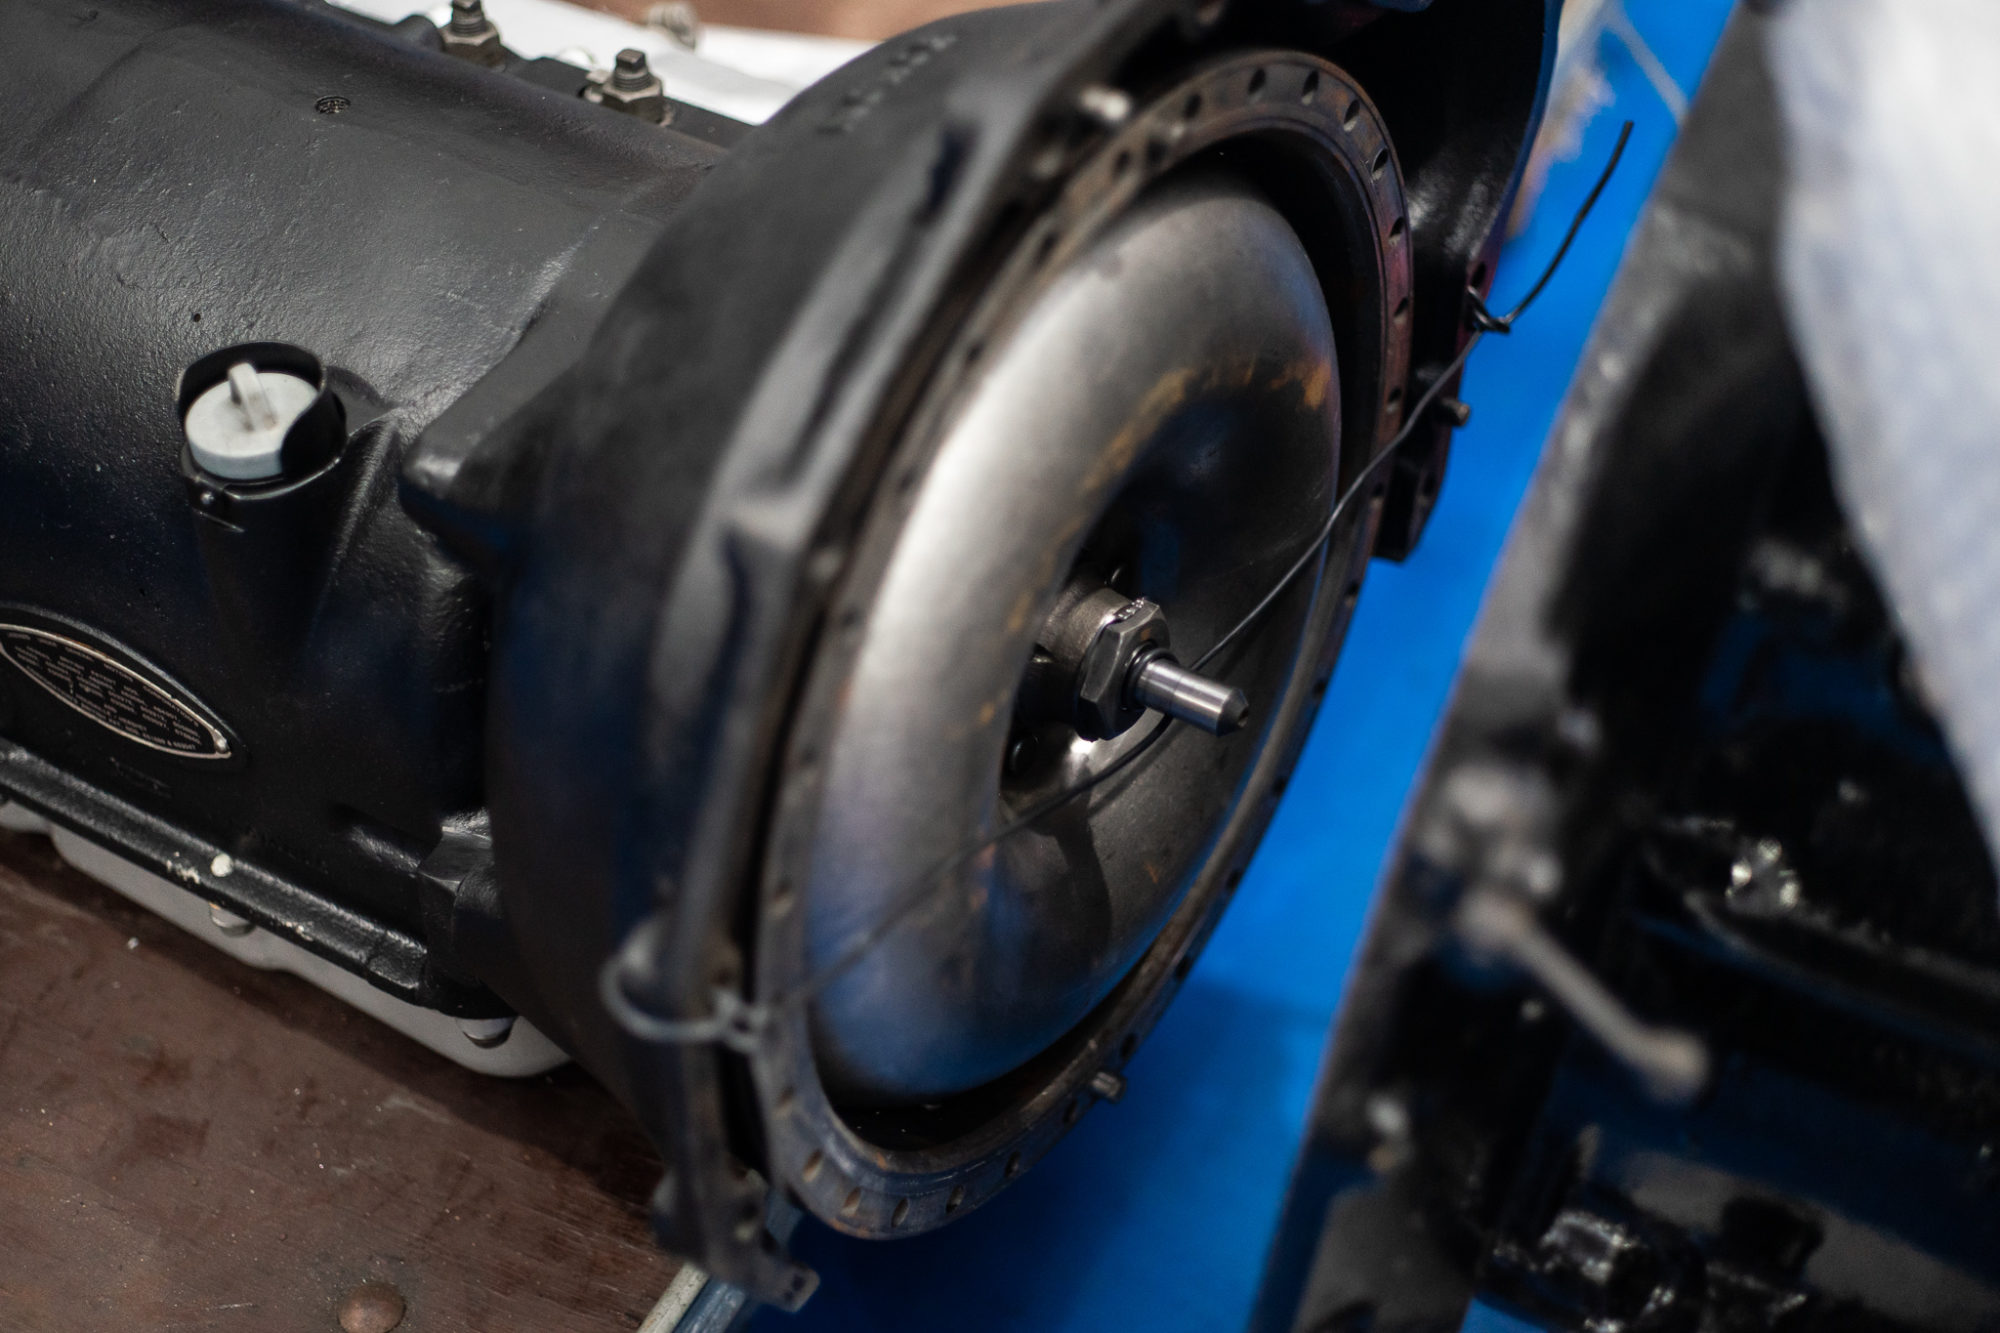
Ady and Paul are have also been working on fitting the re-conditioned gear box to the engine.

We’ve also fitted the rear lights this week, ready to be wired in.

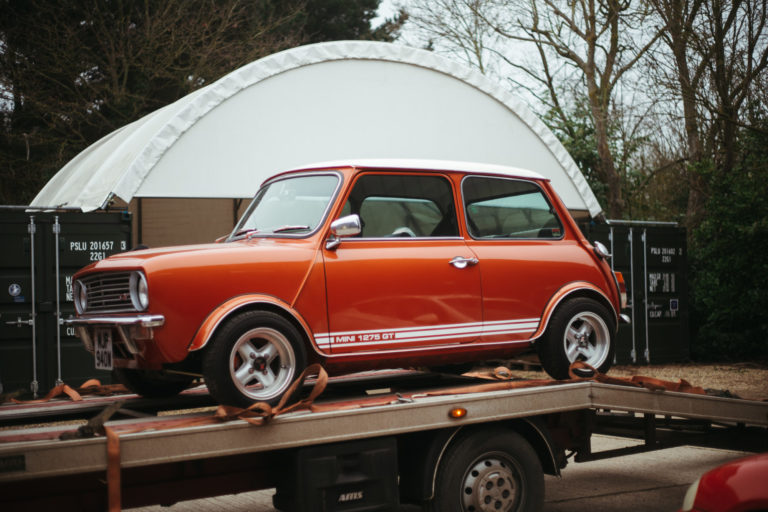
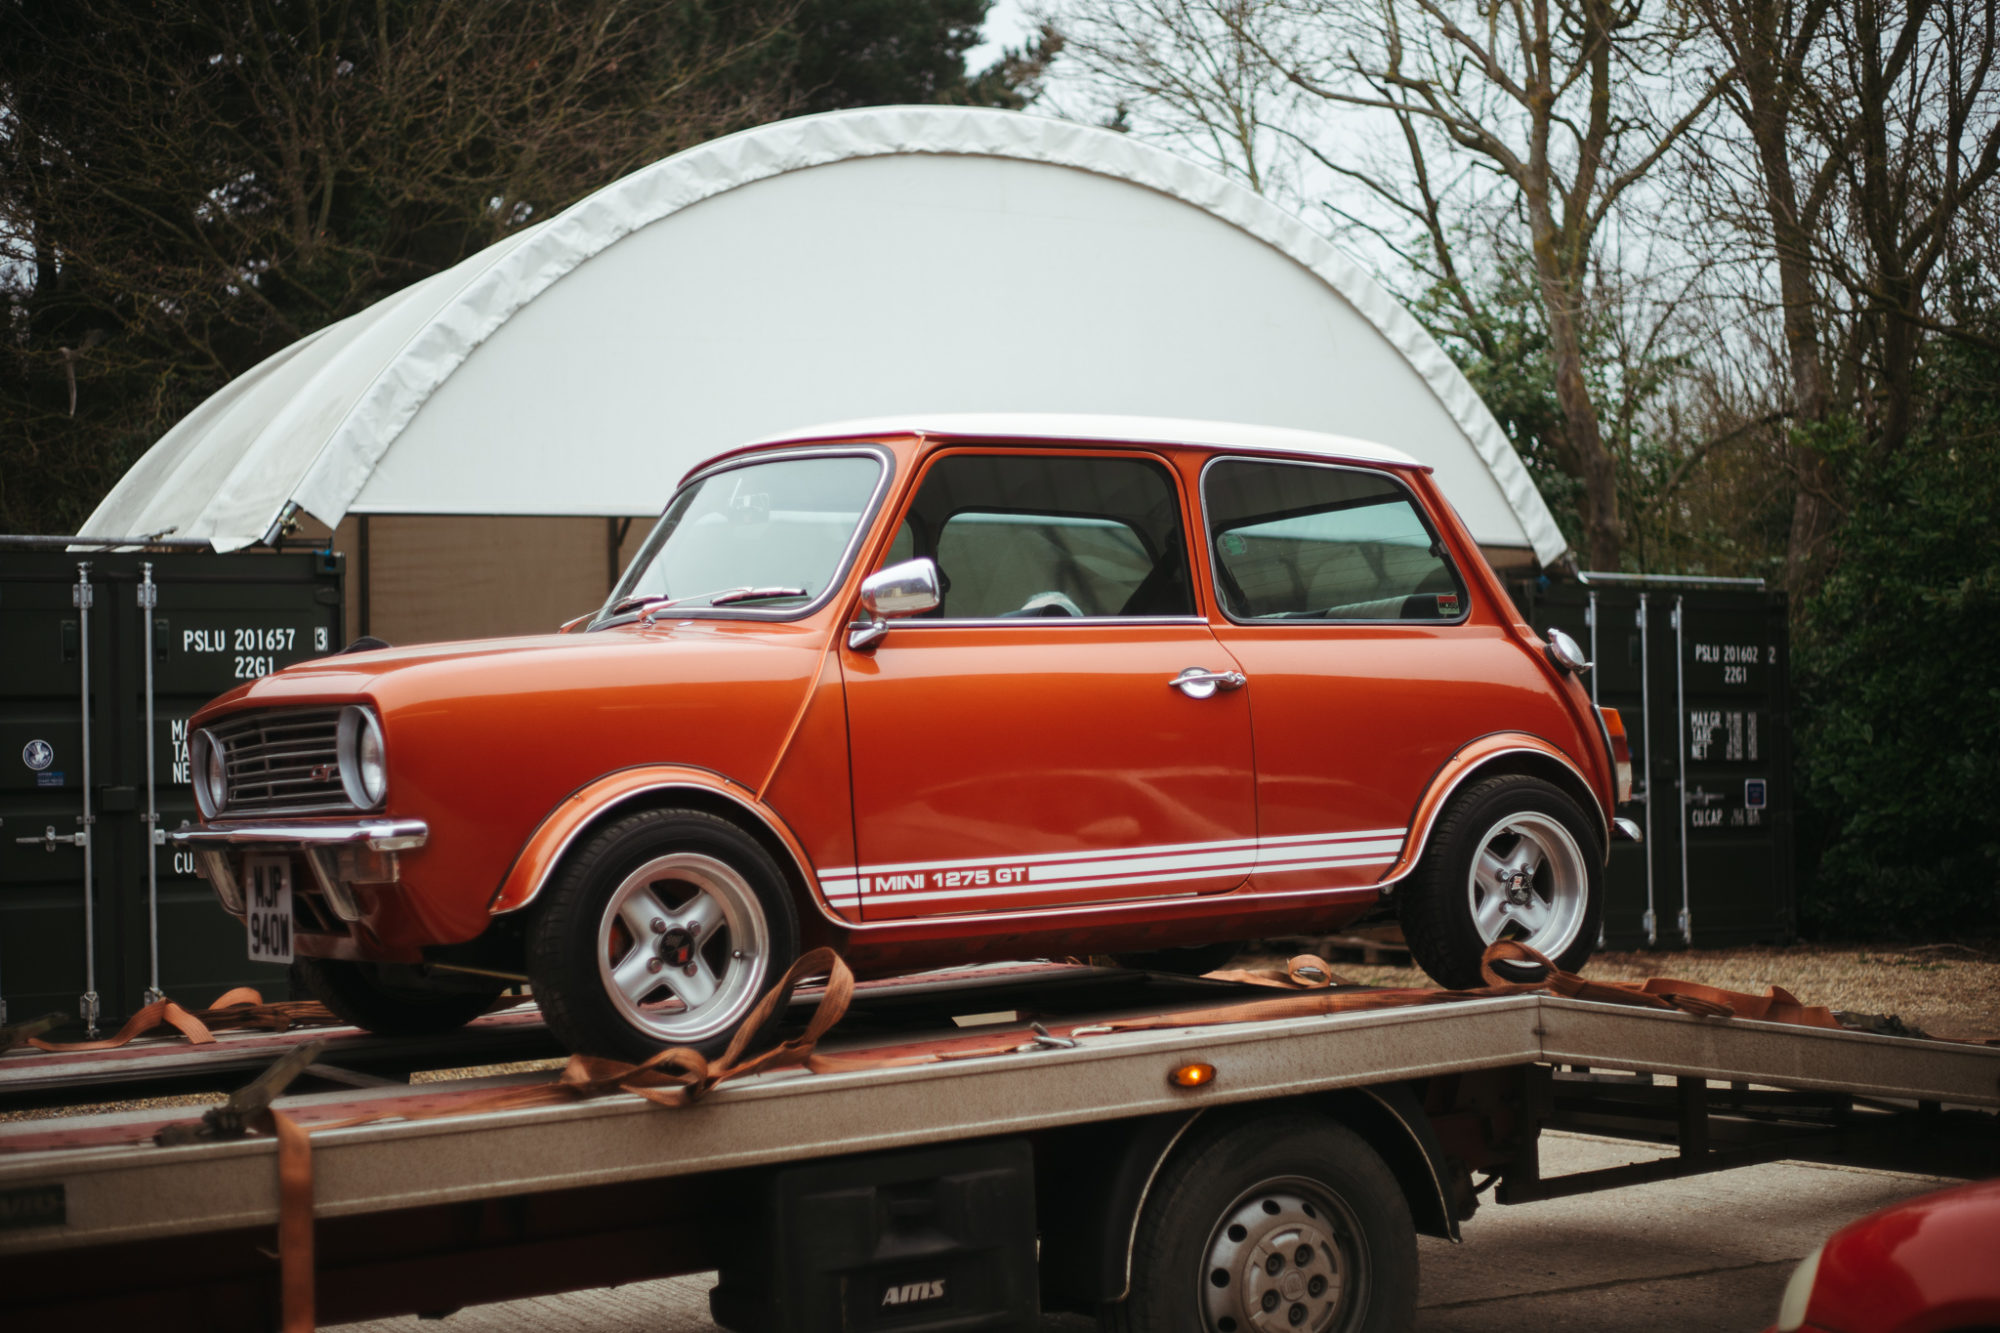
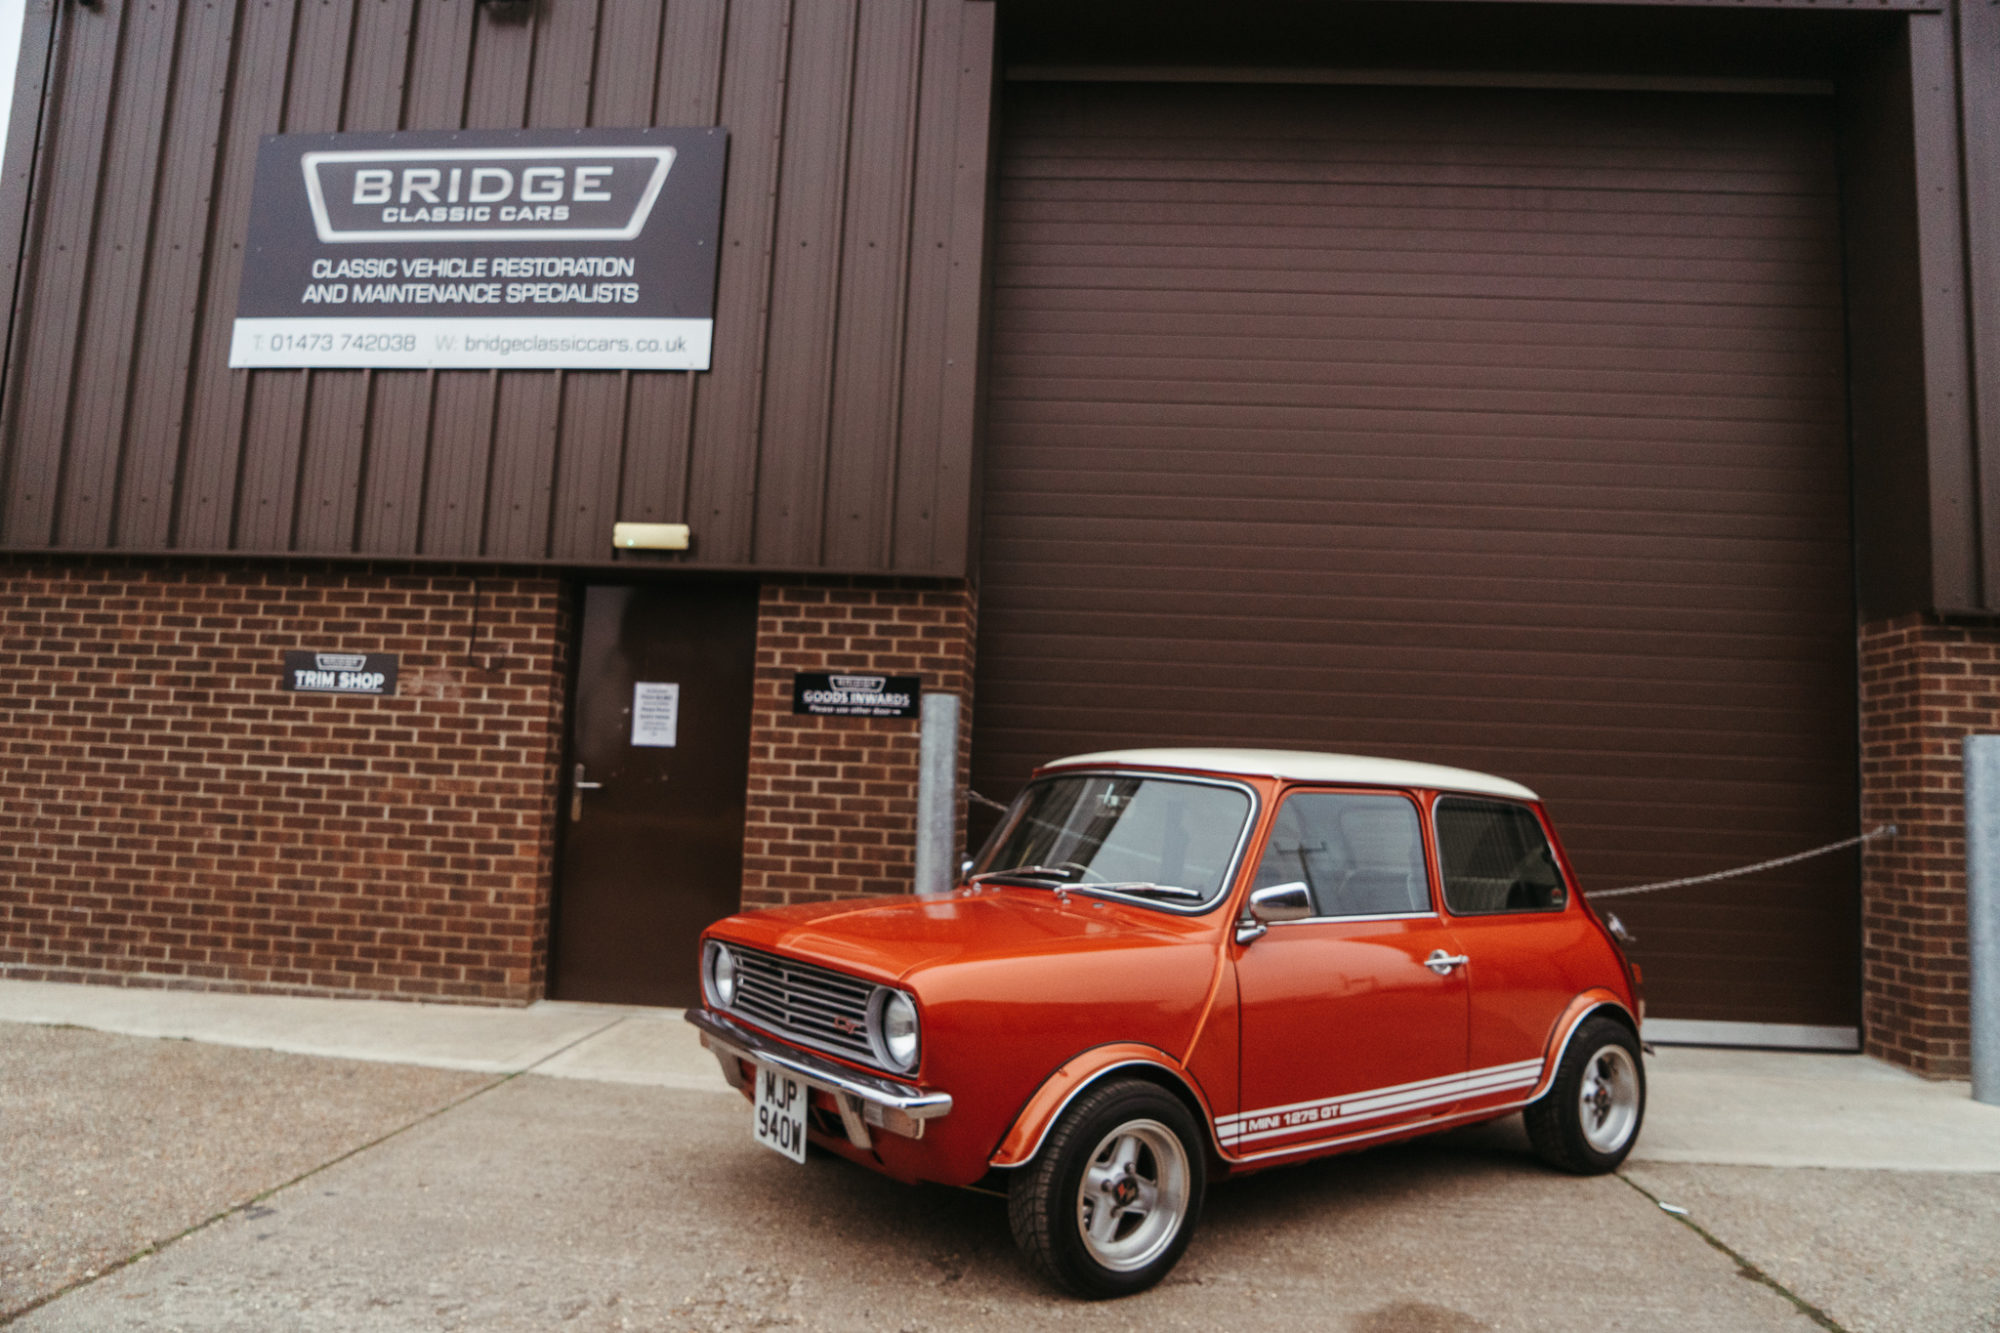
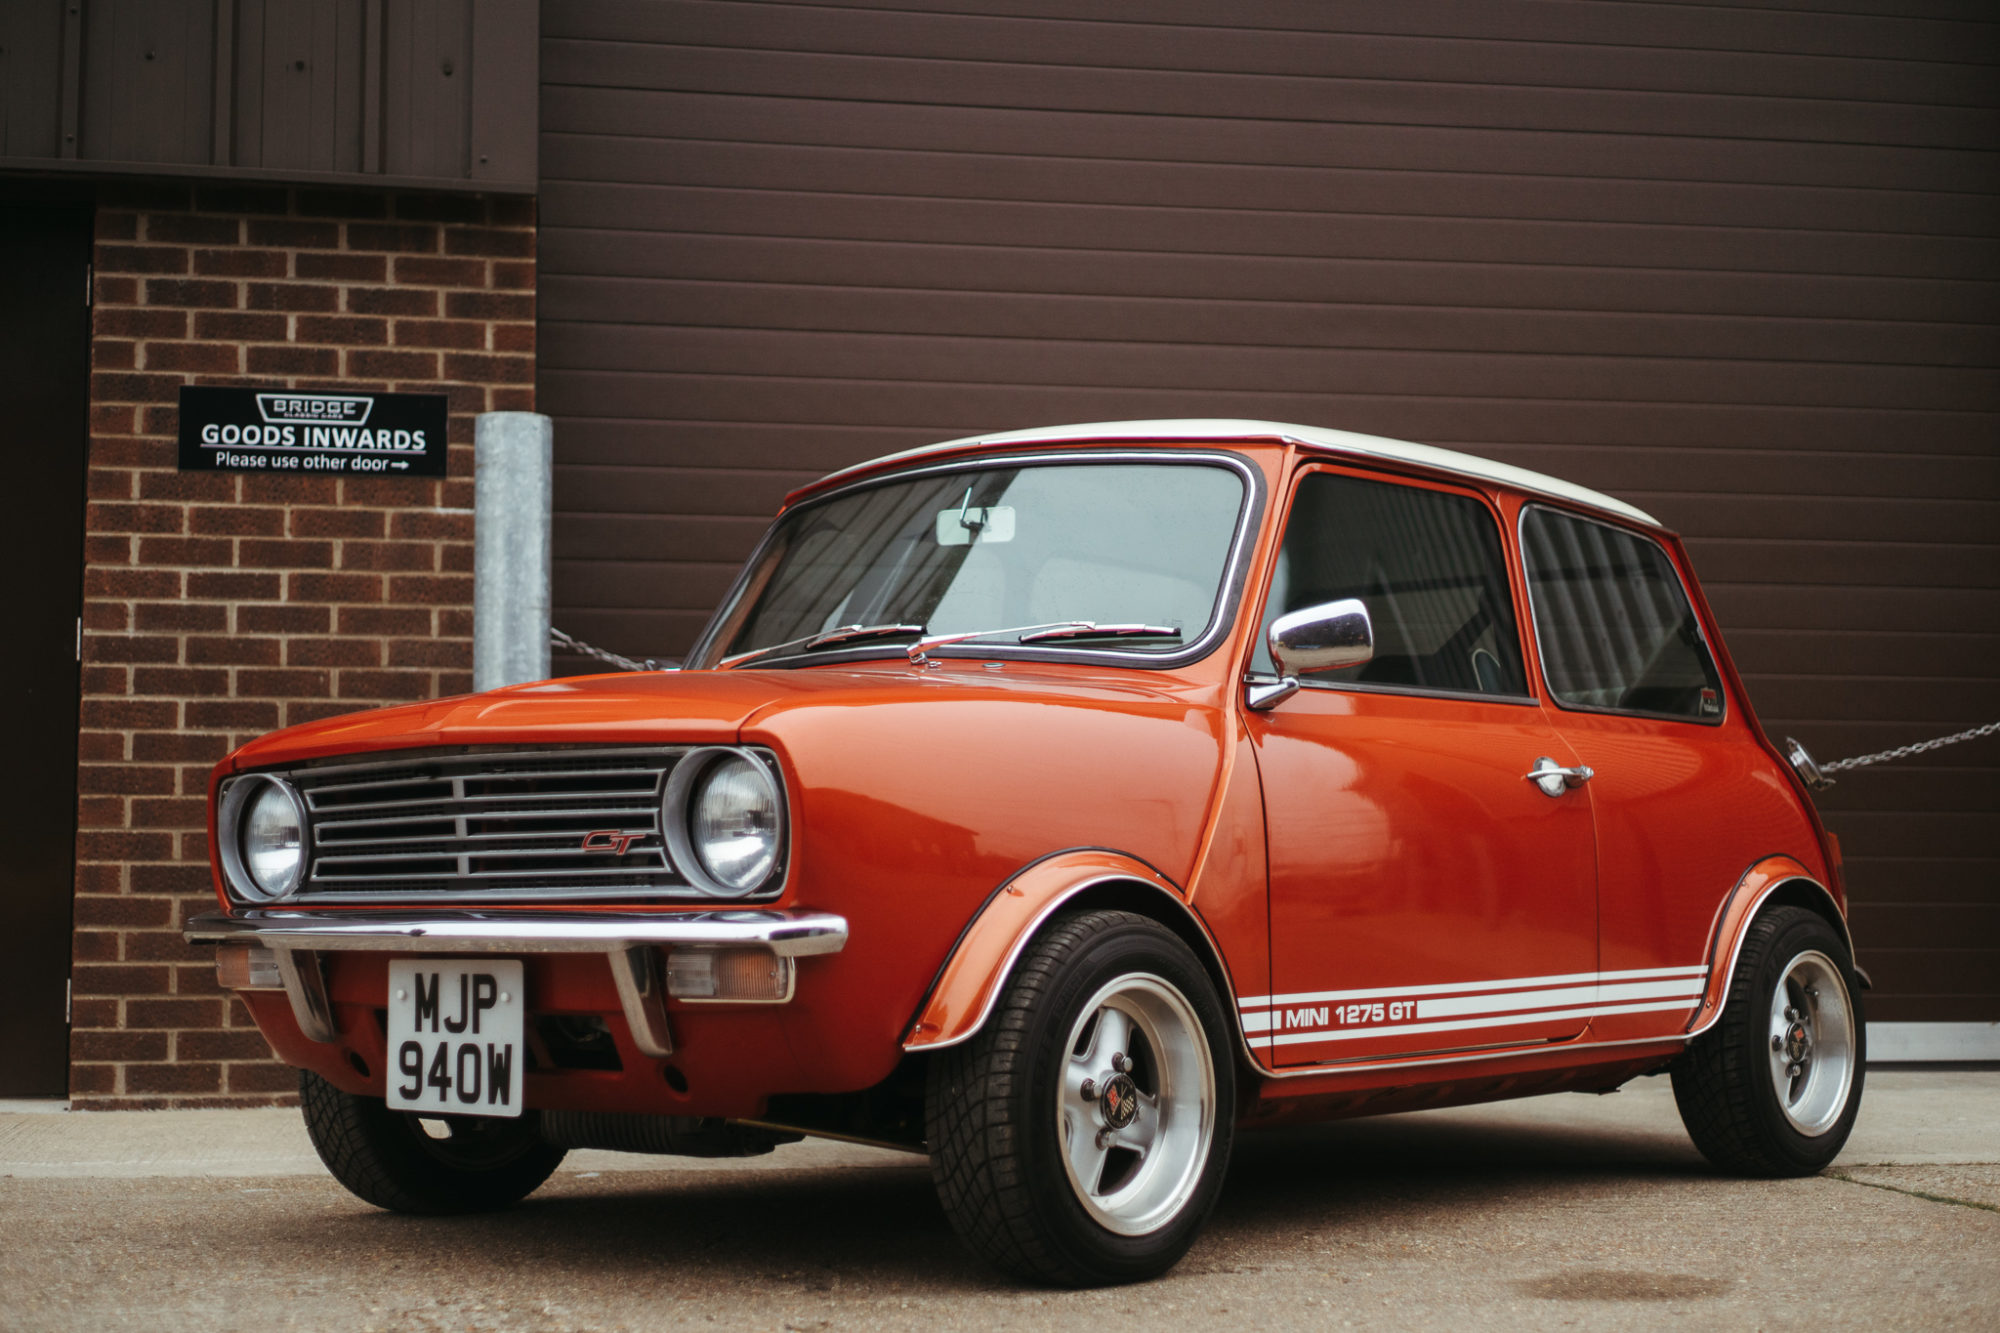
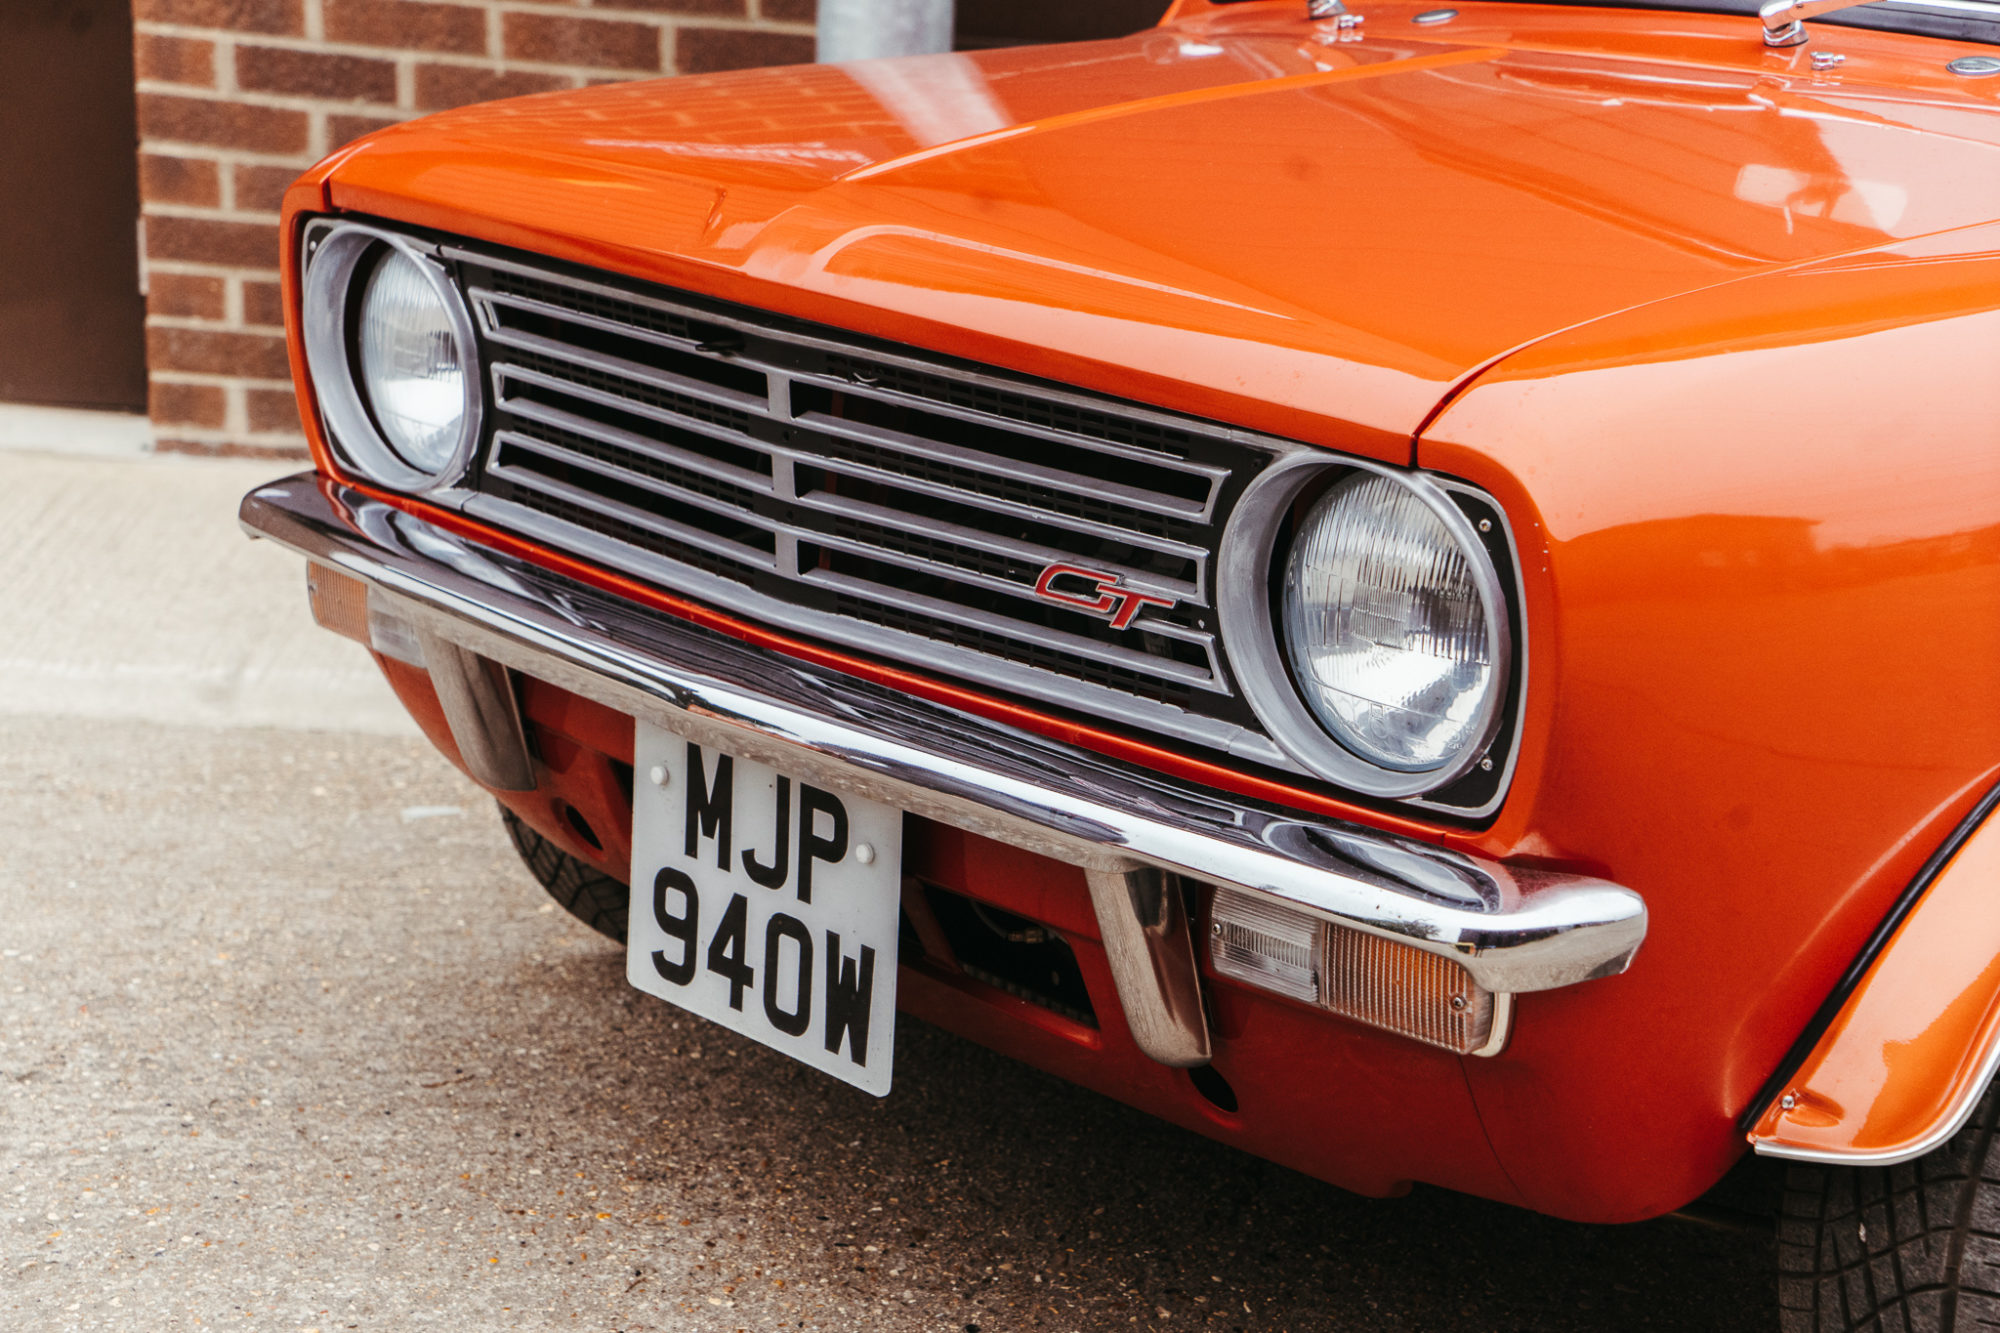
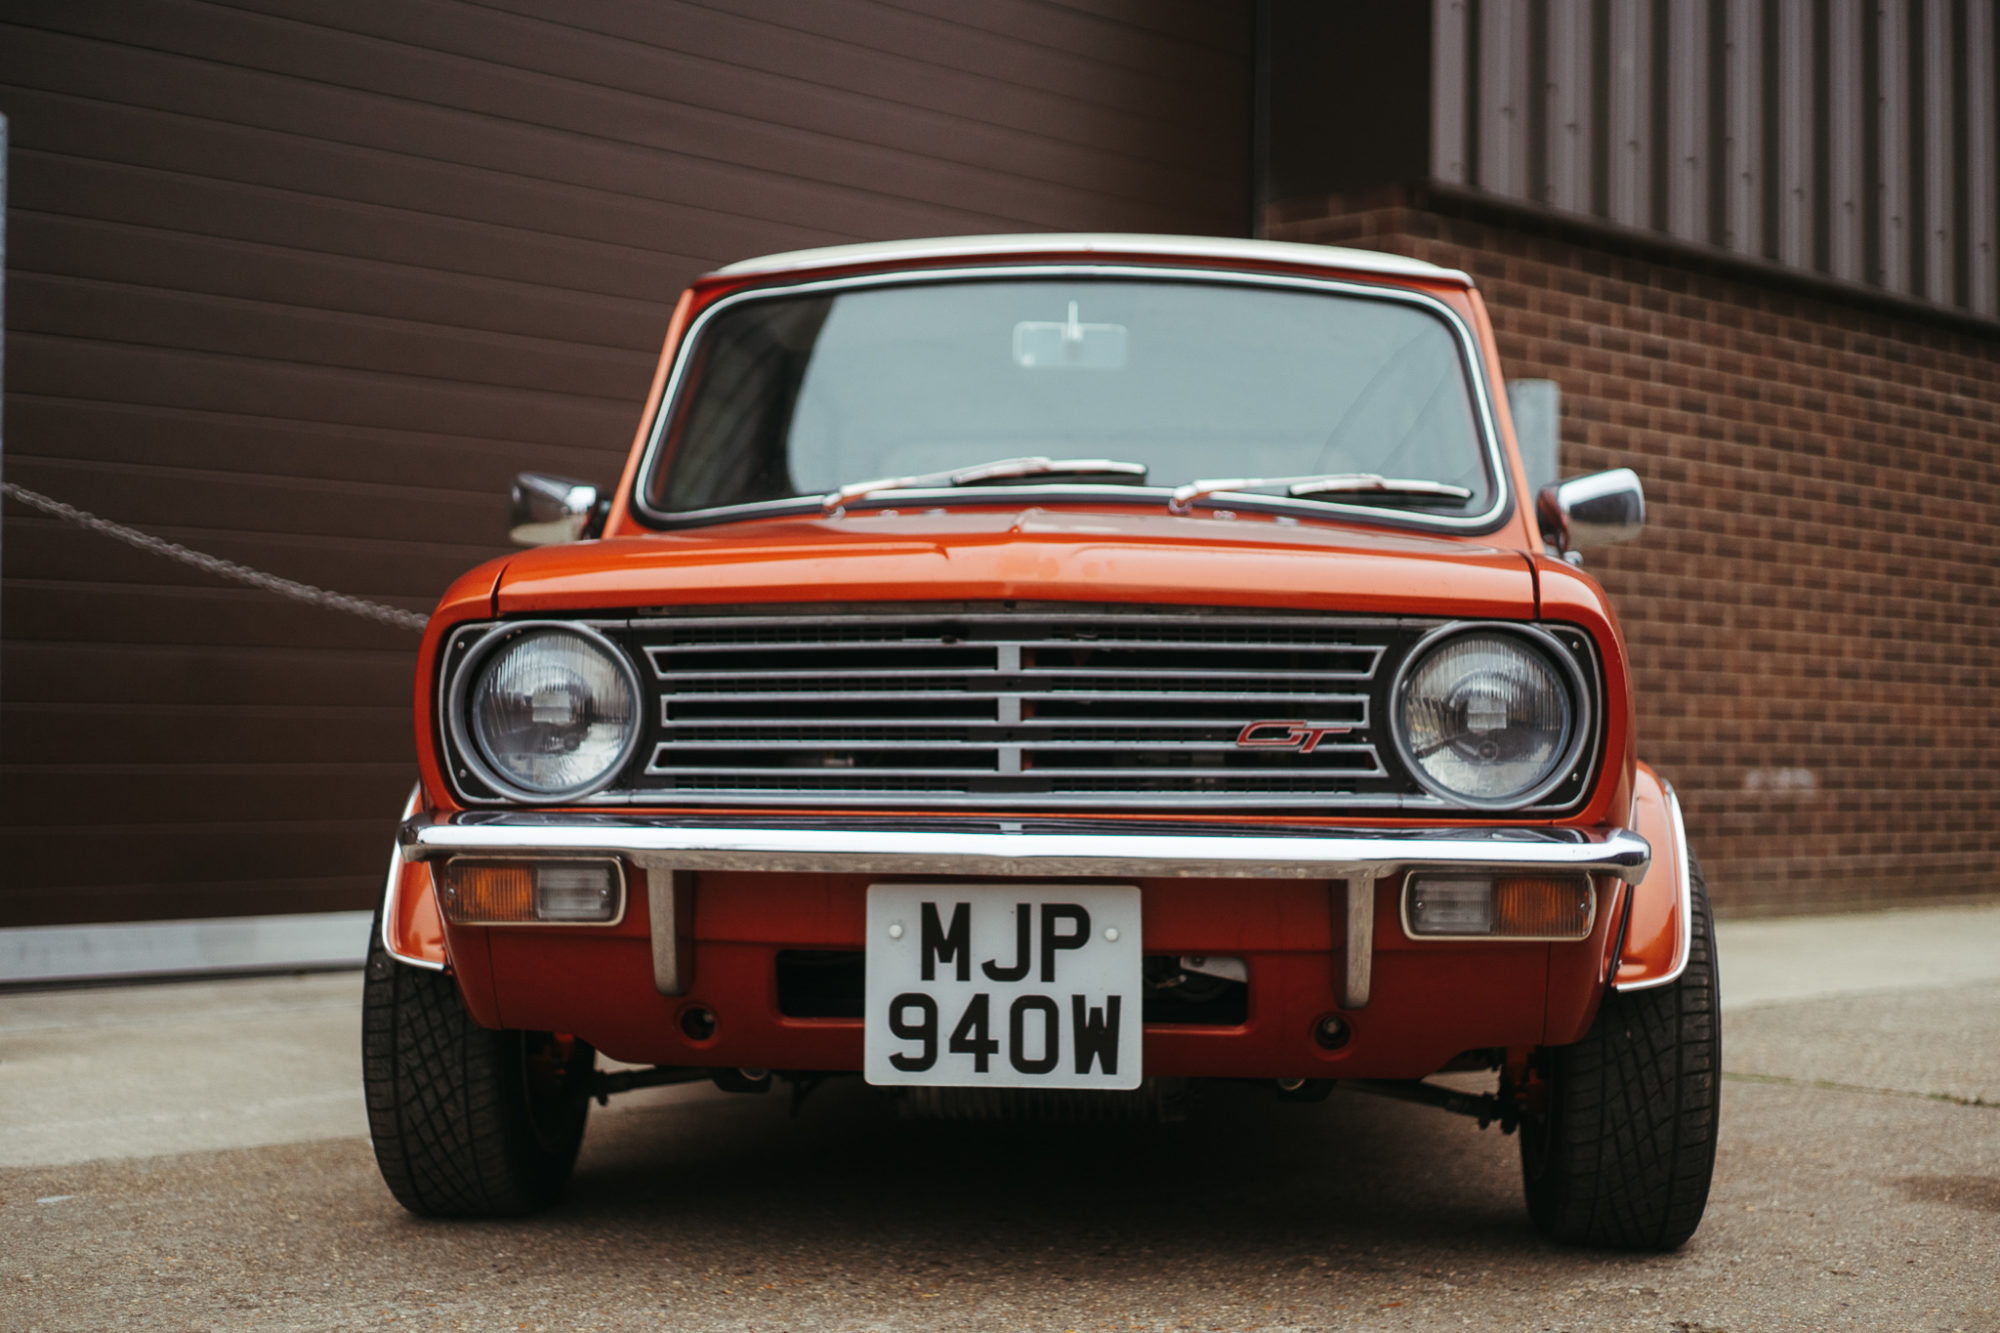
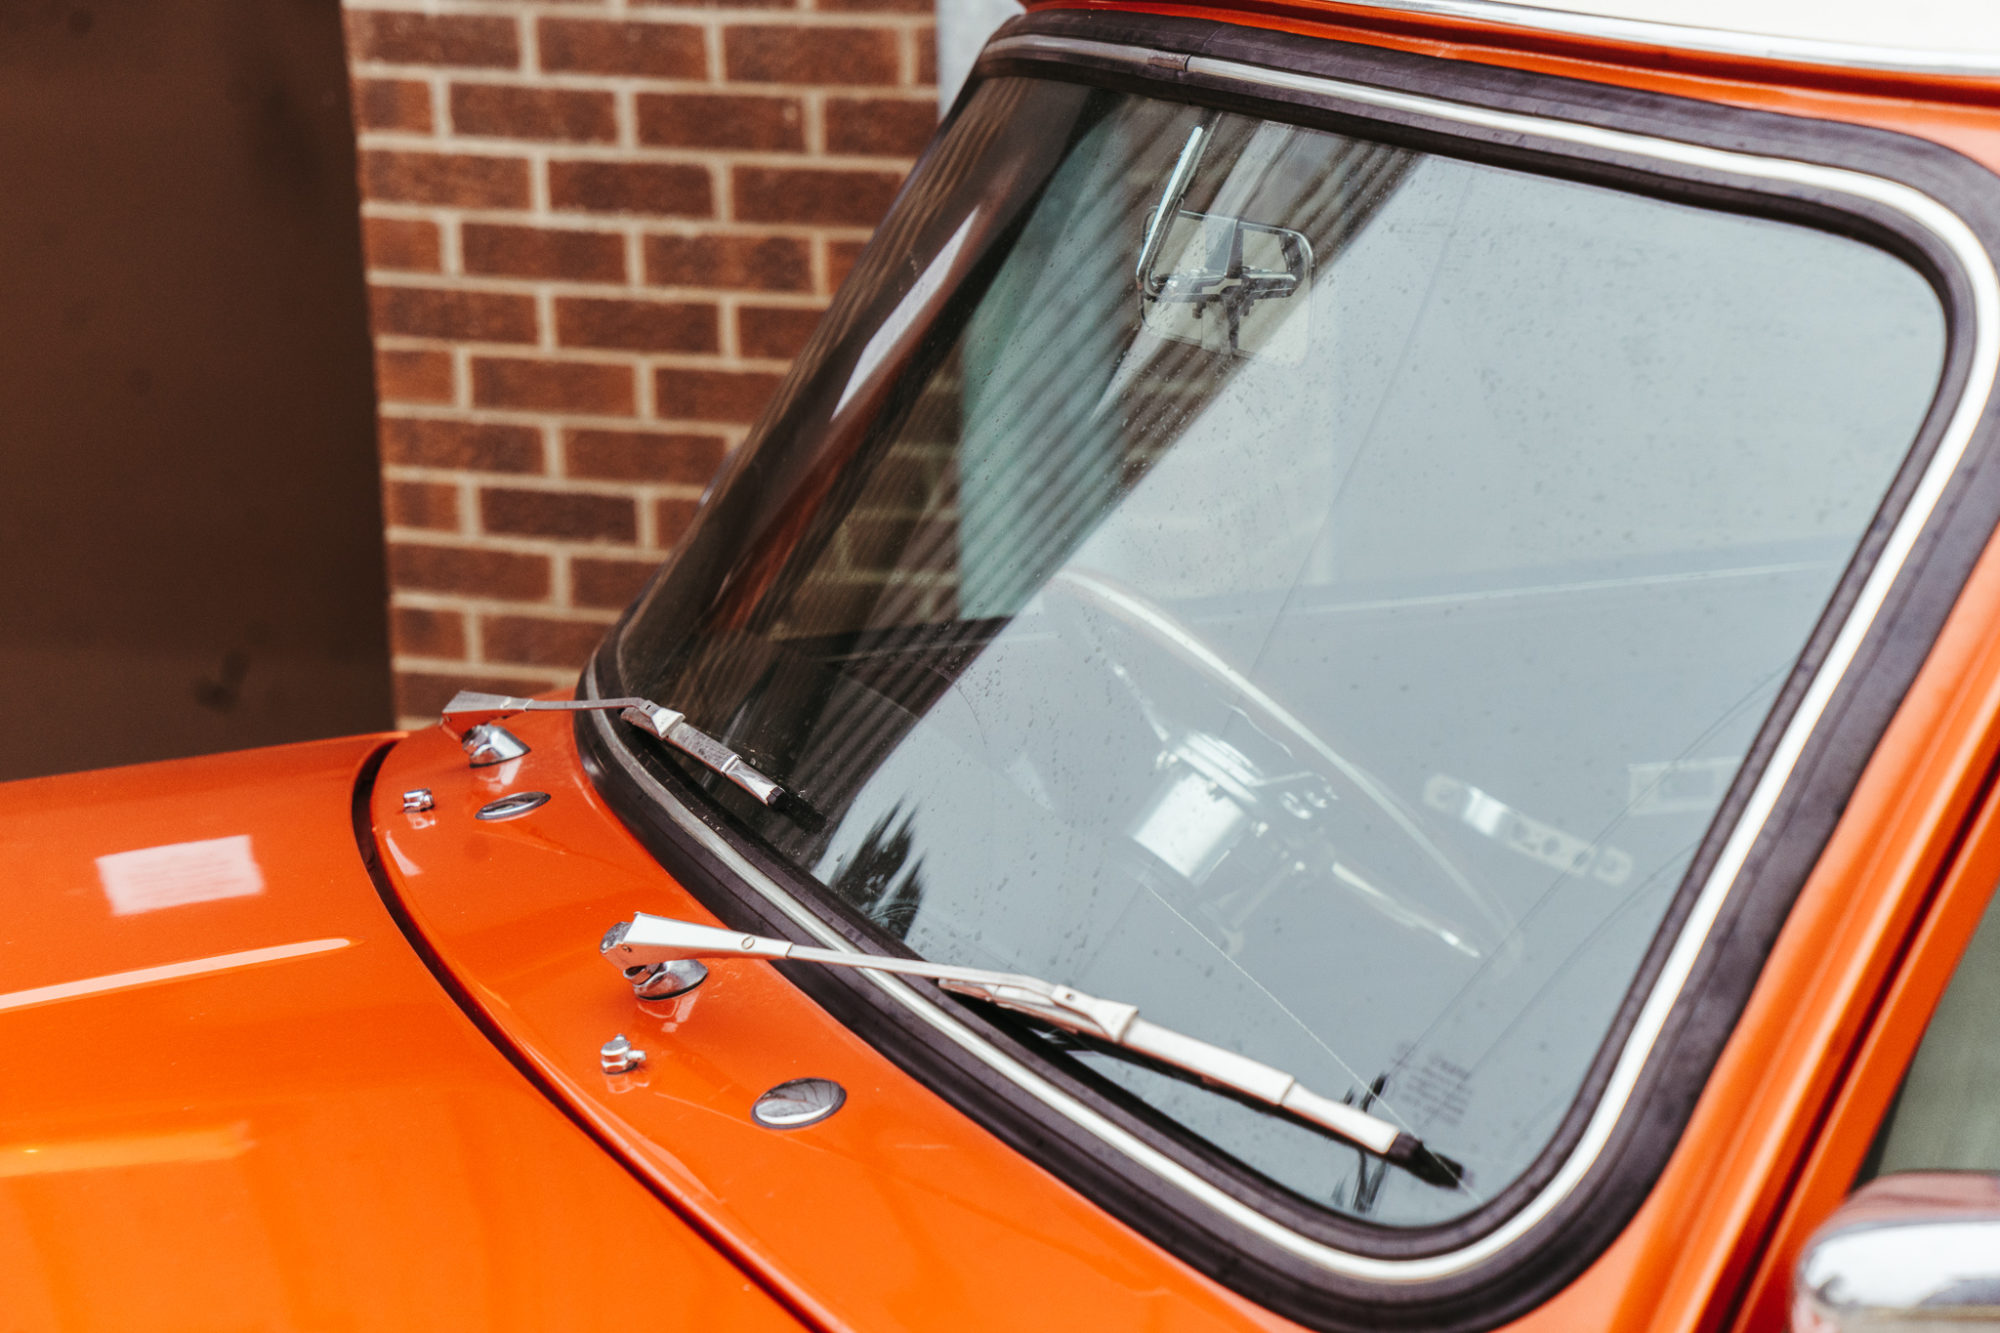
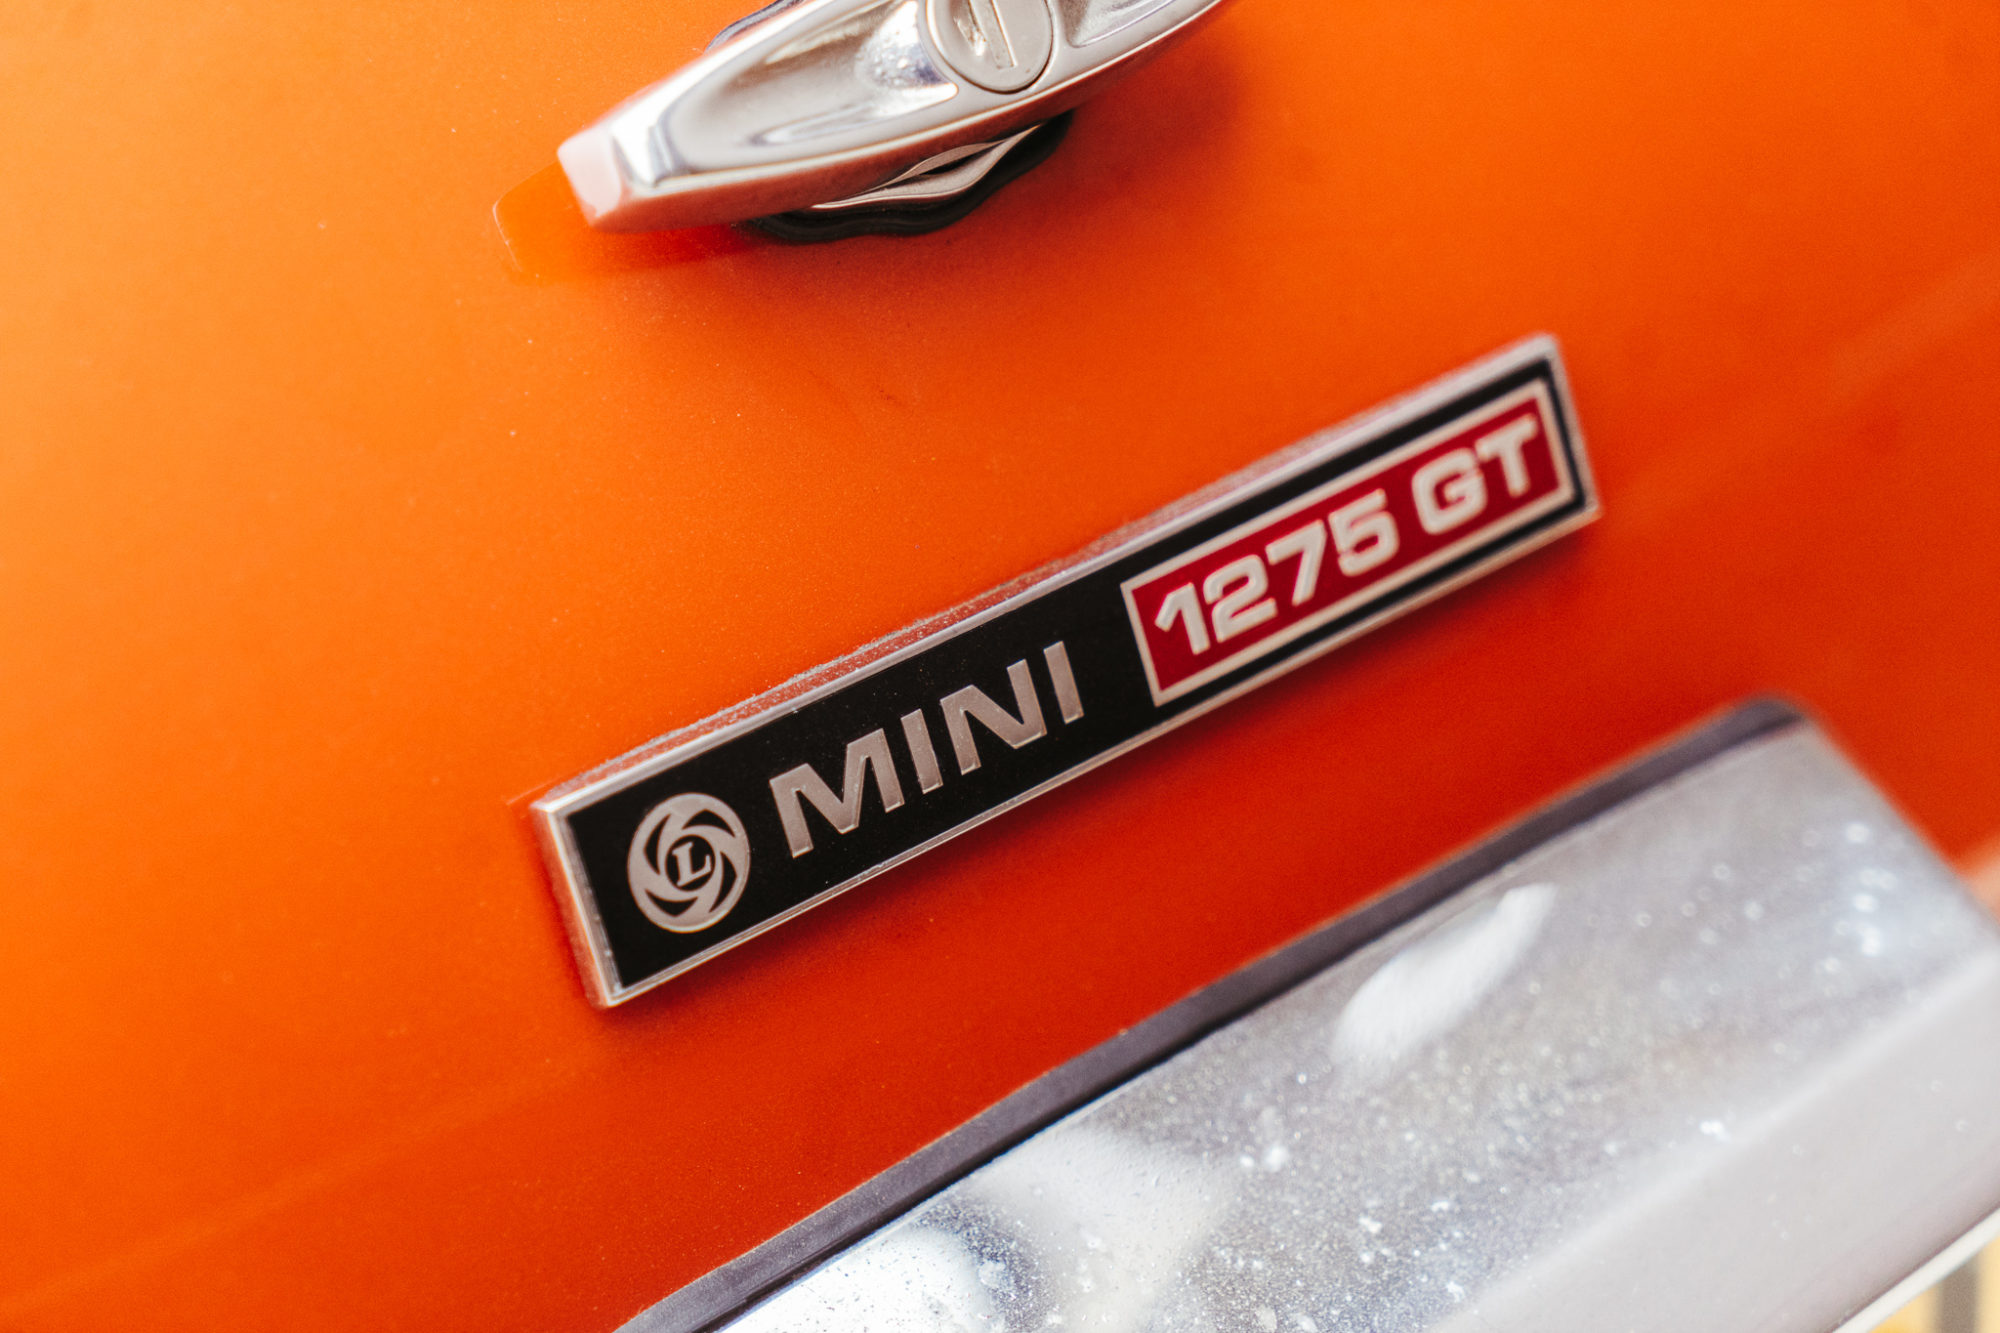
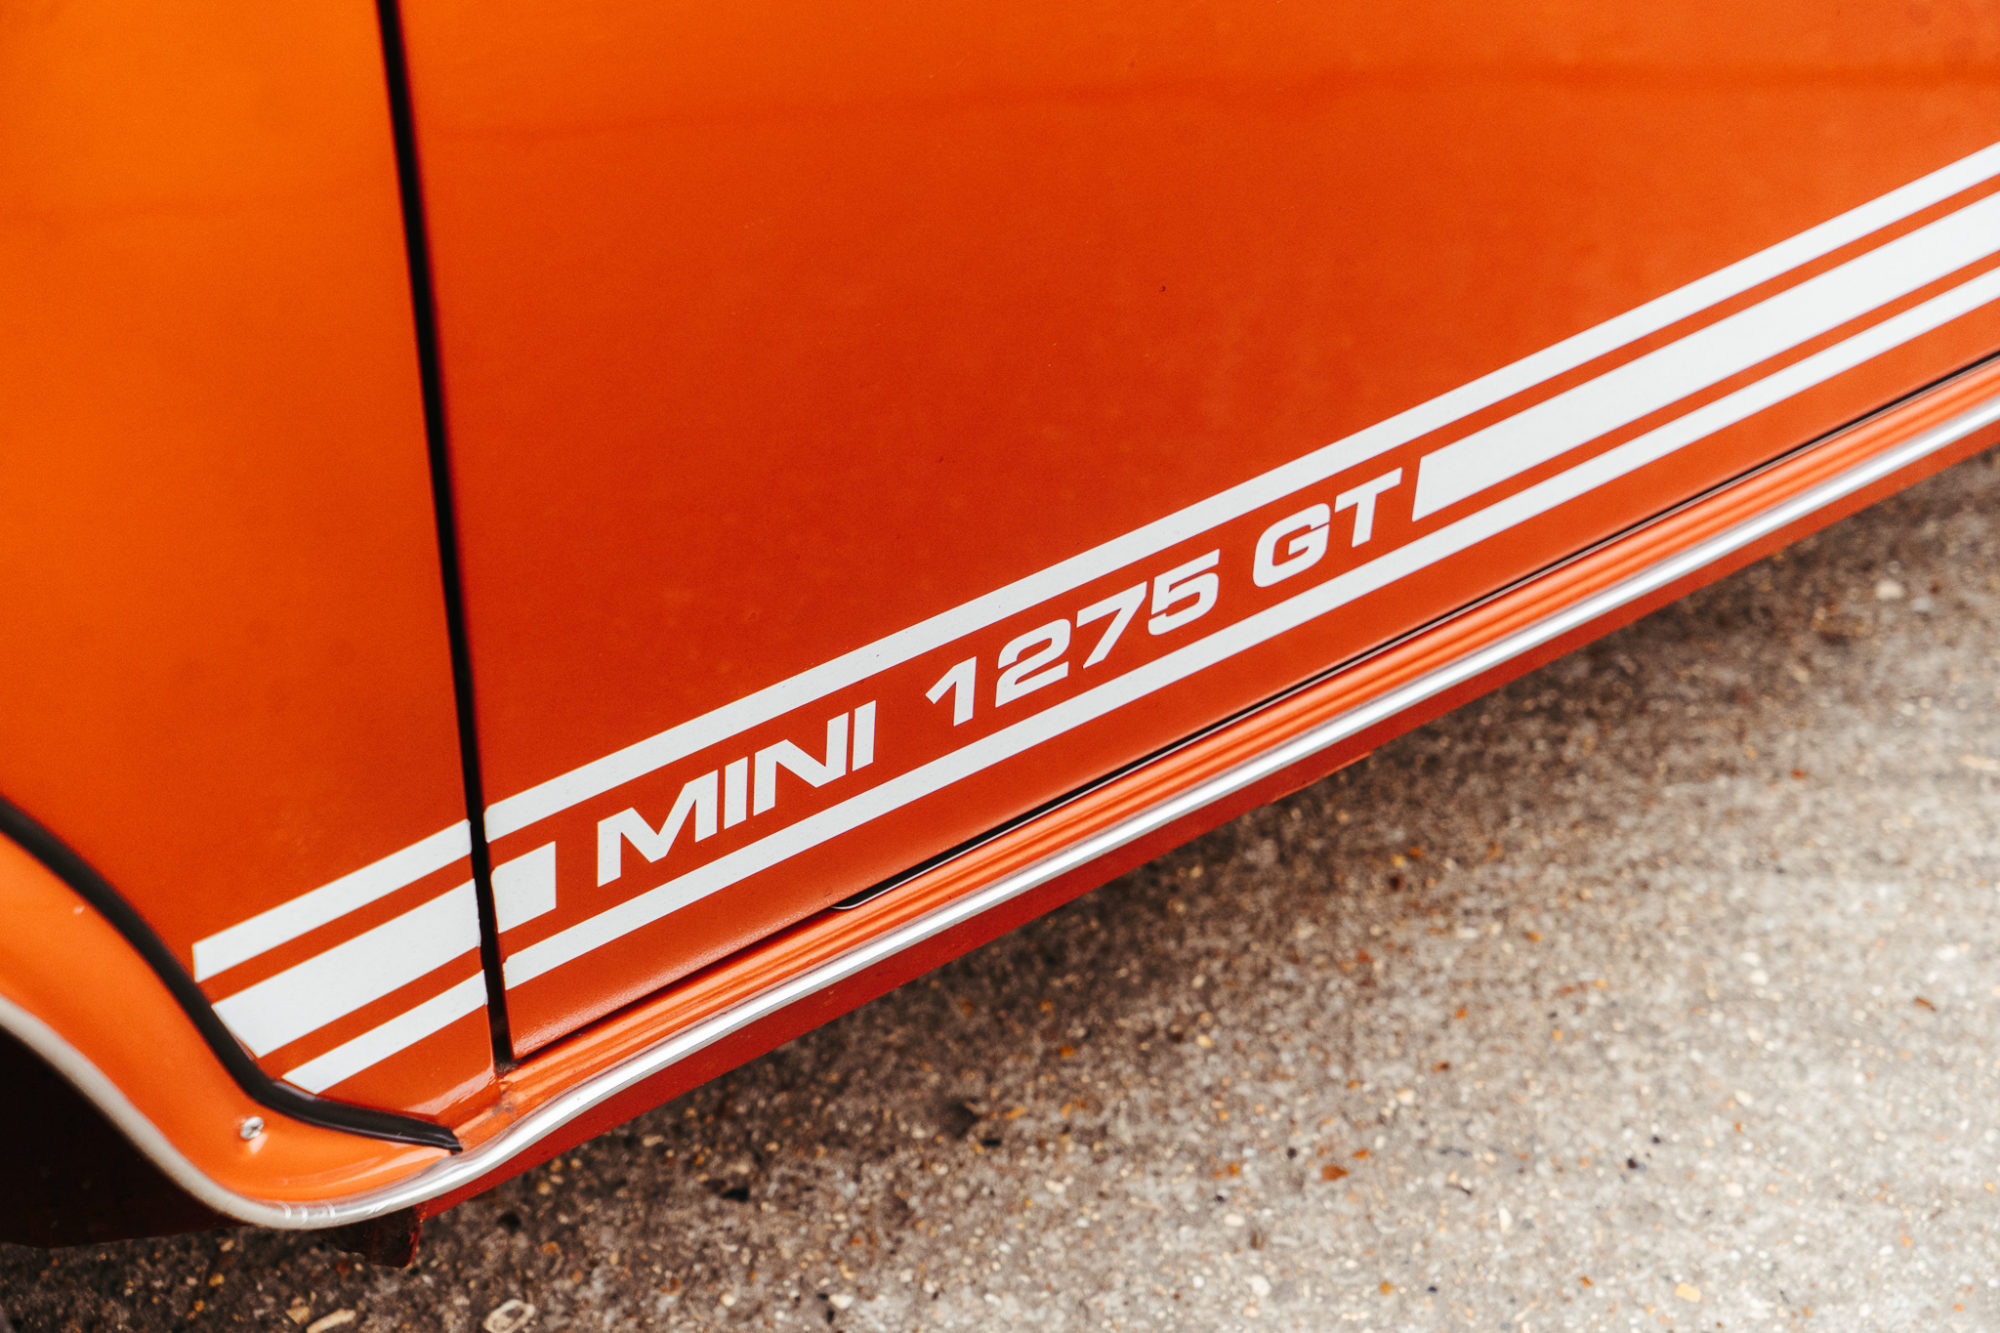
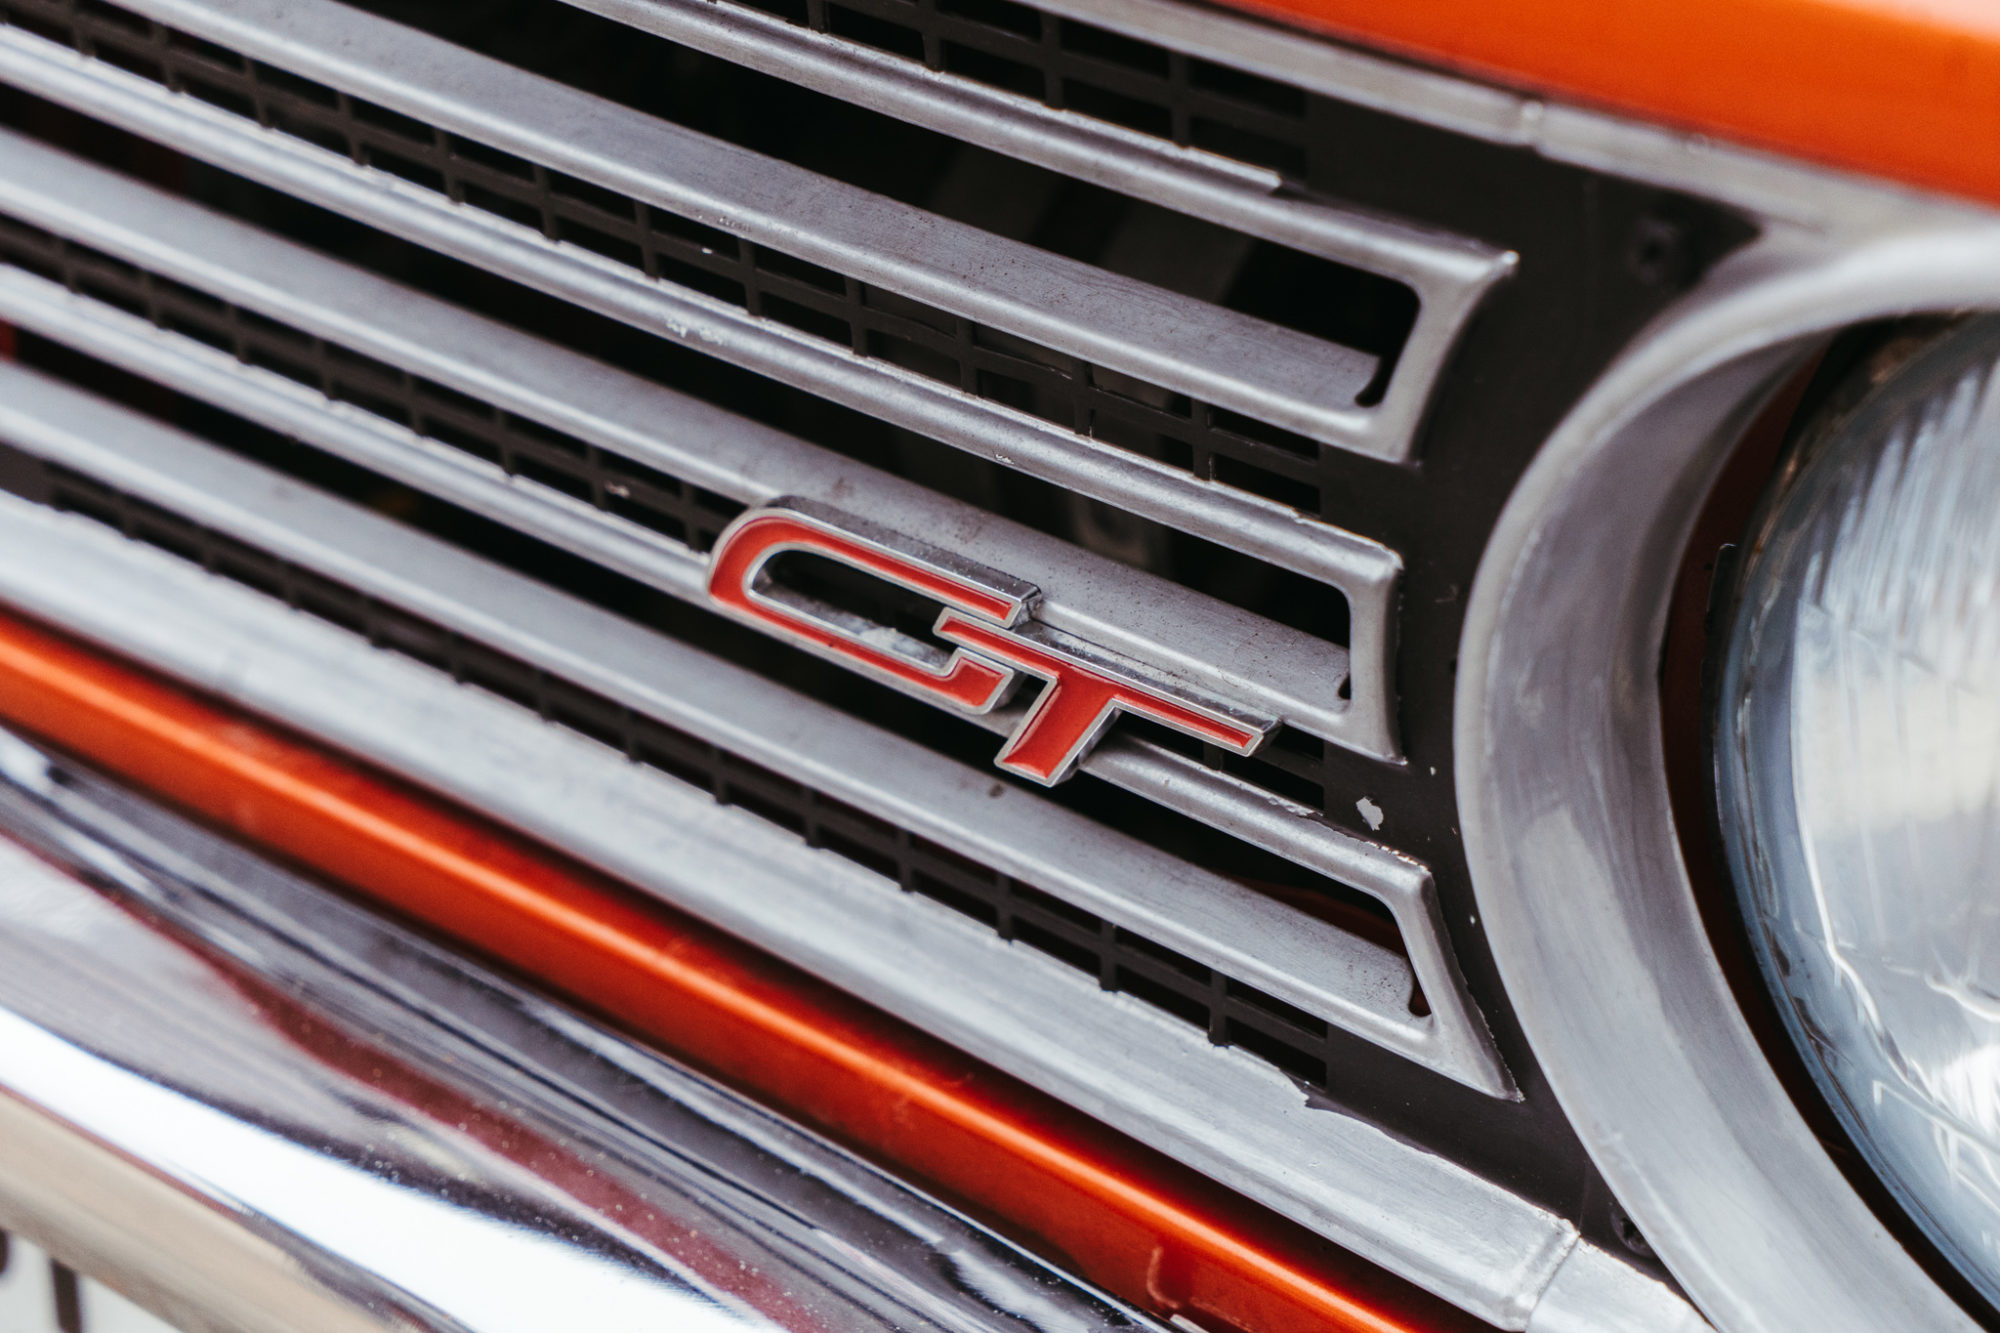
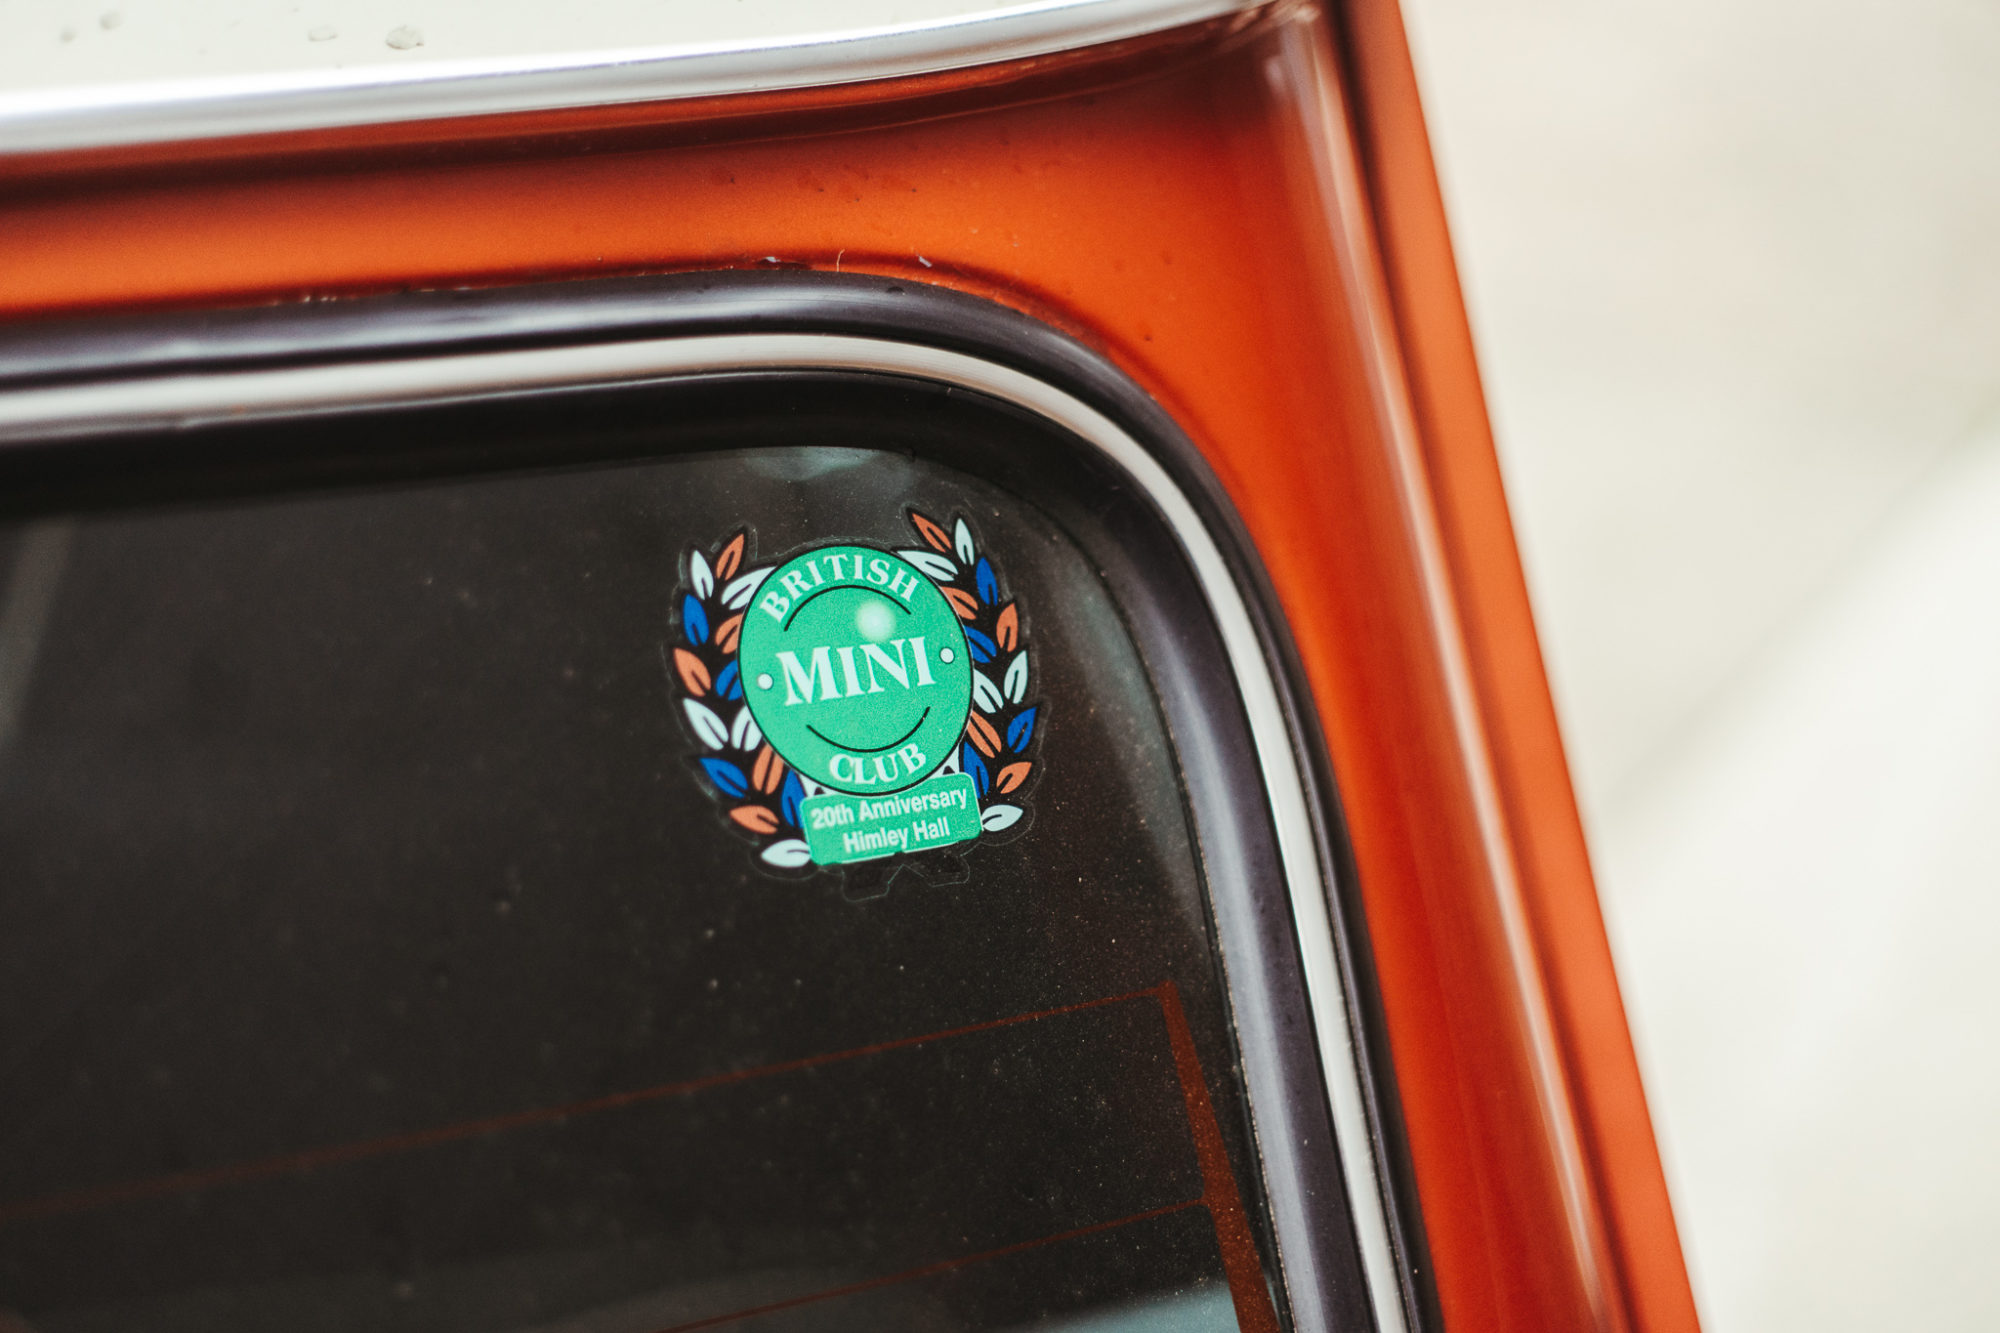
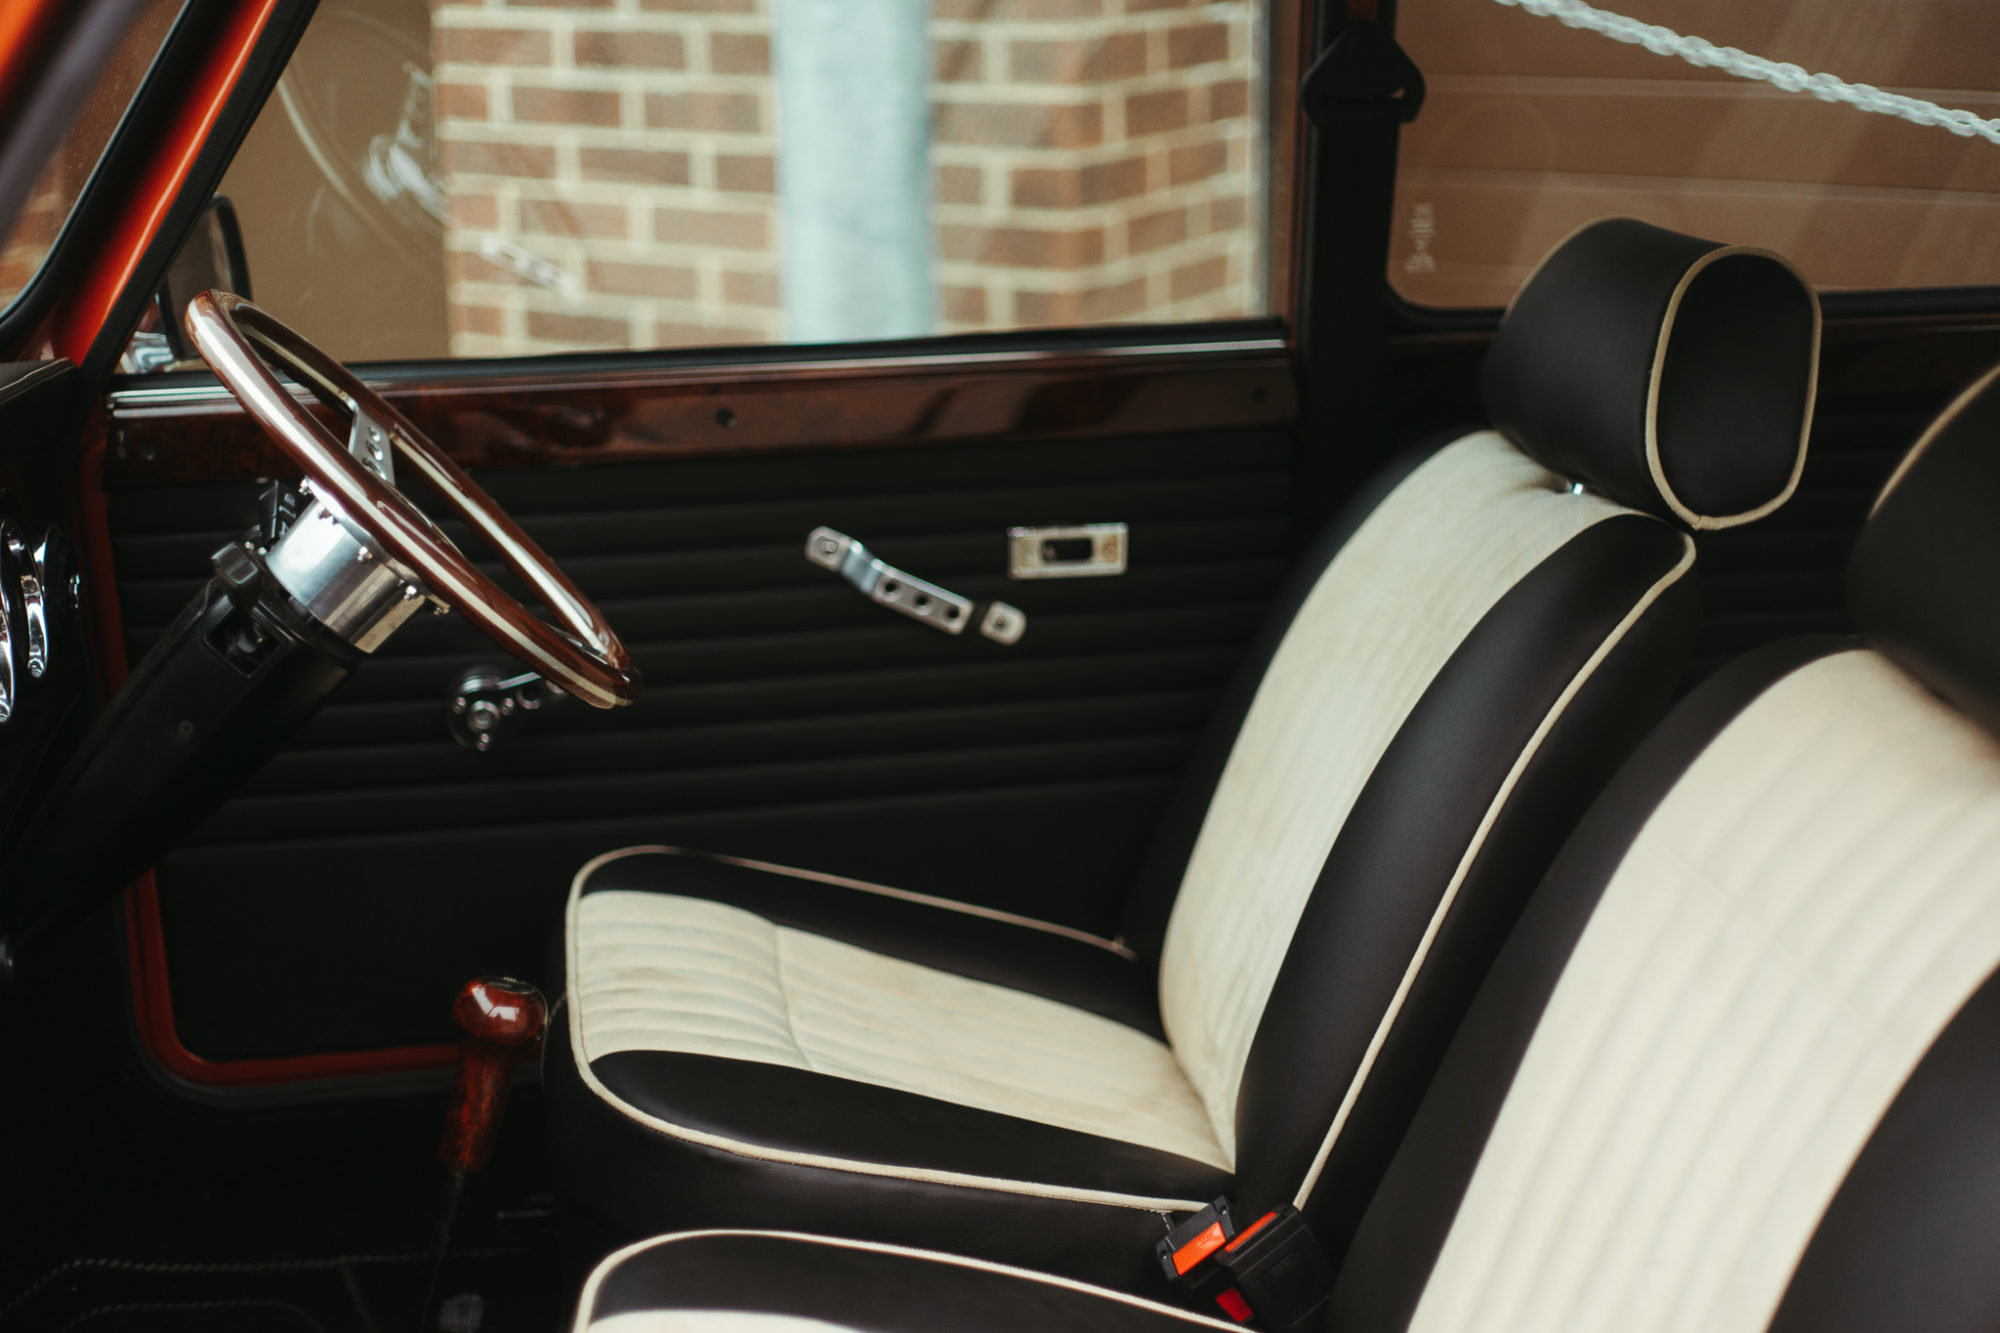
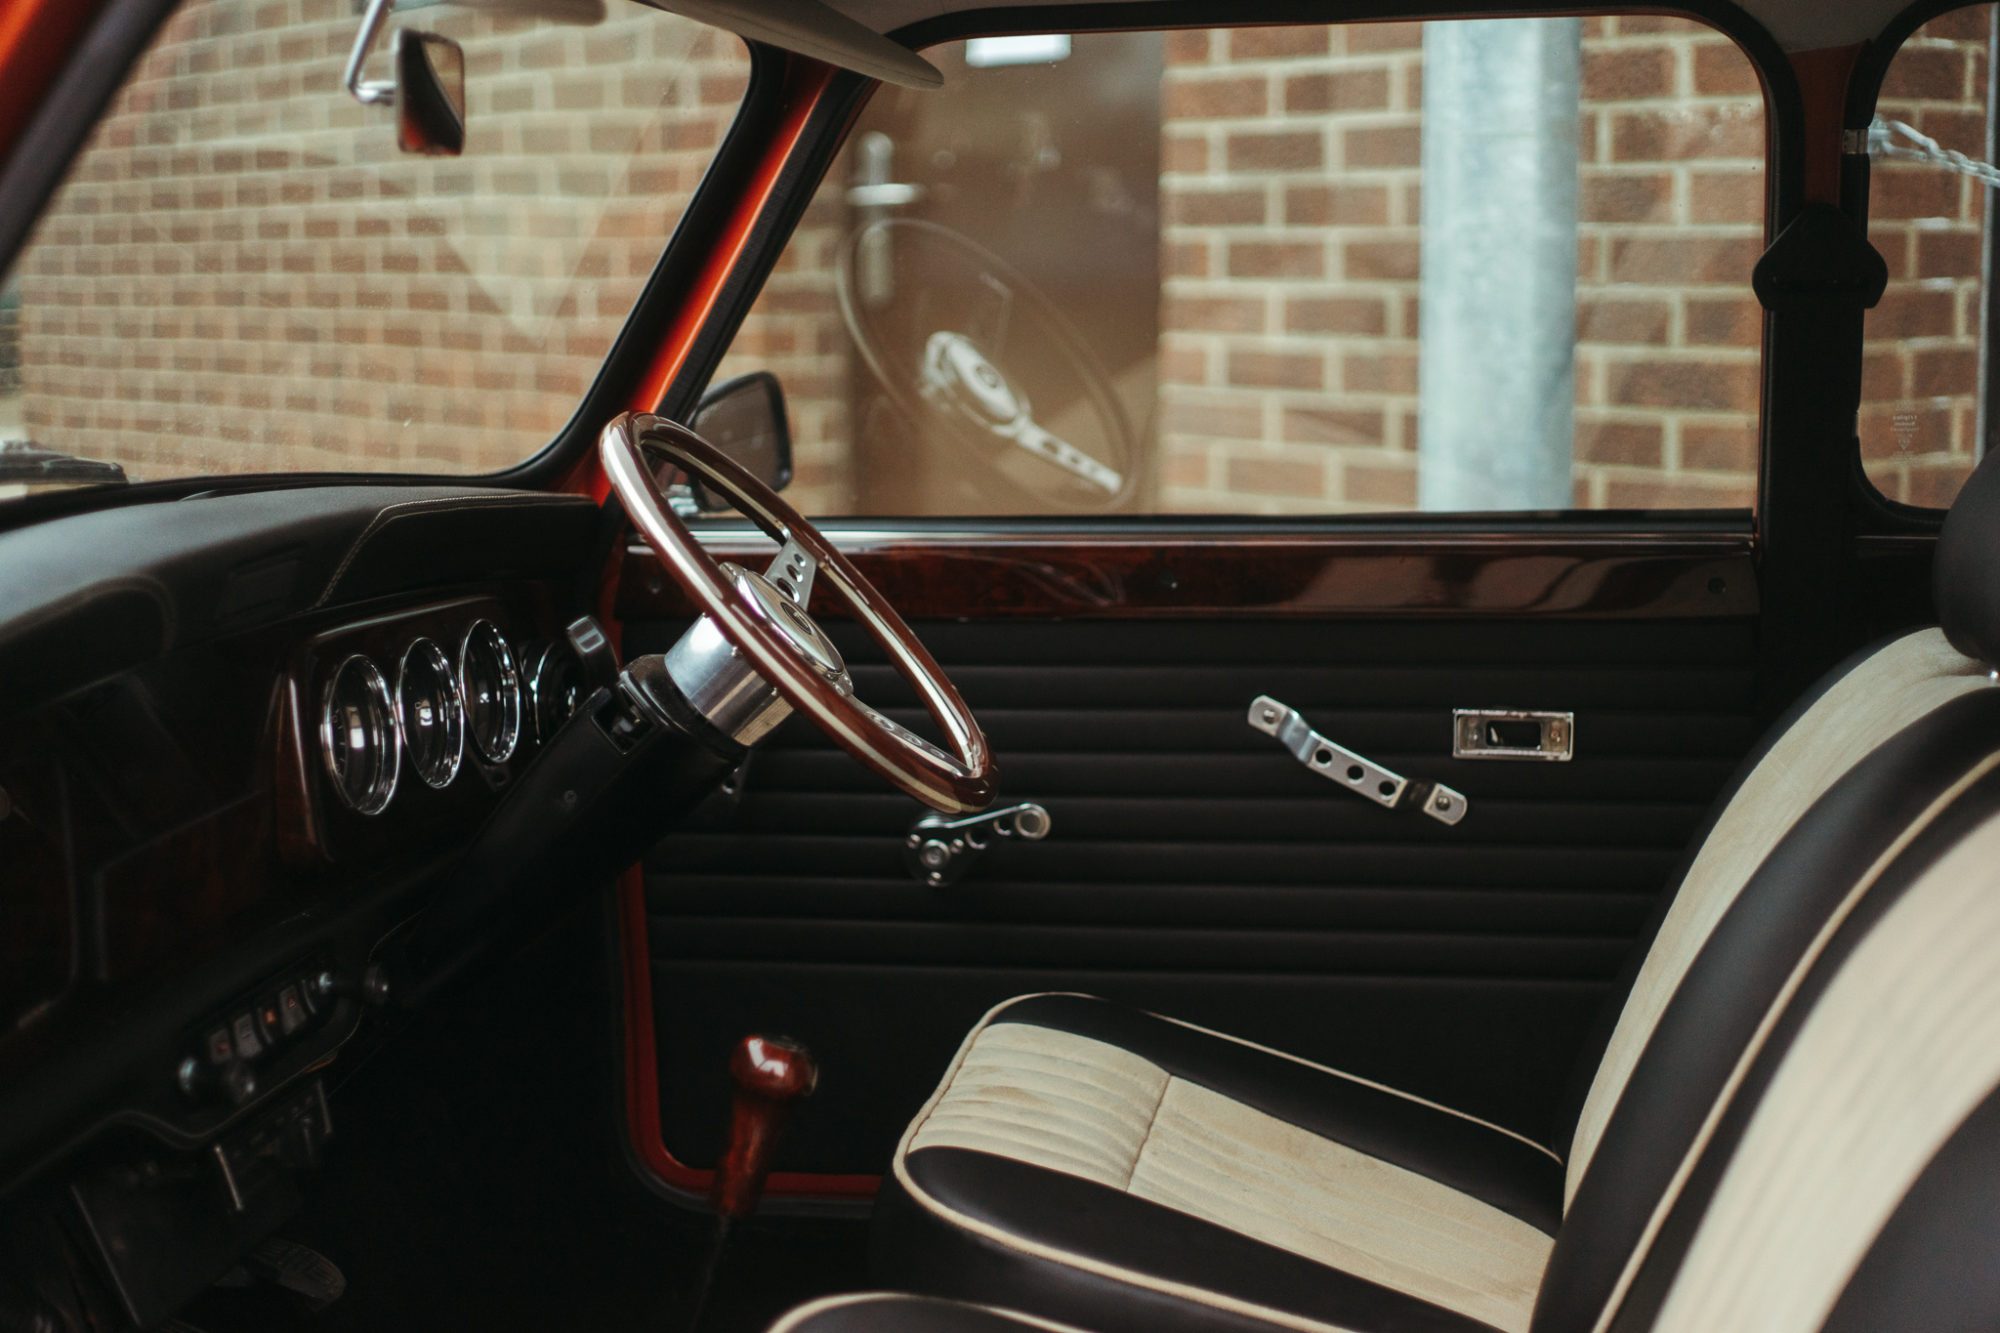
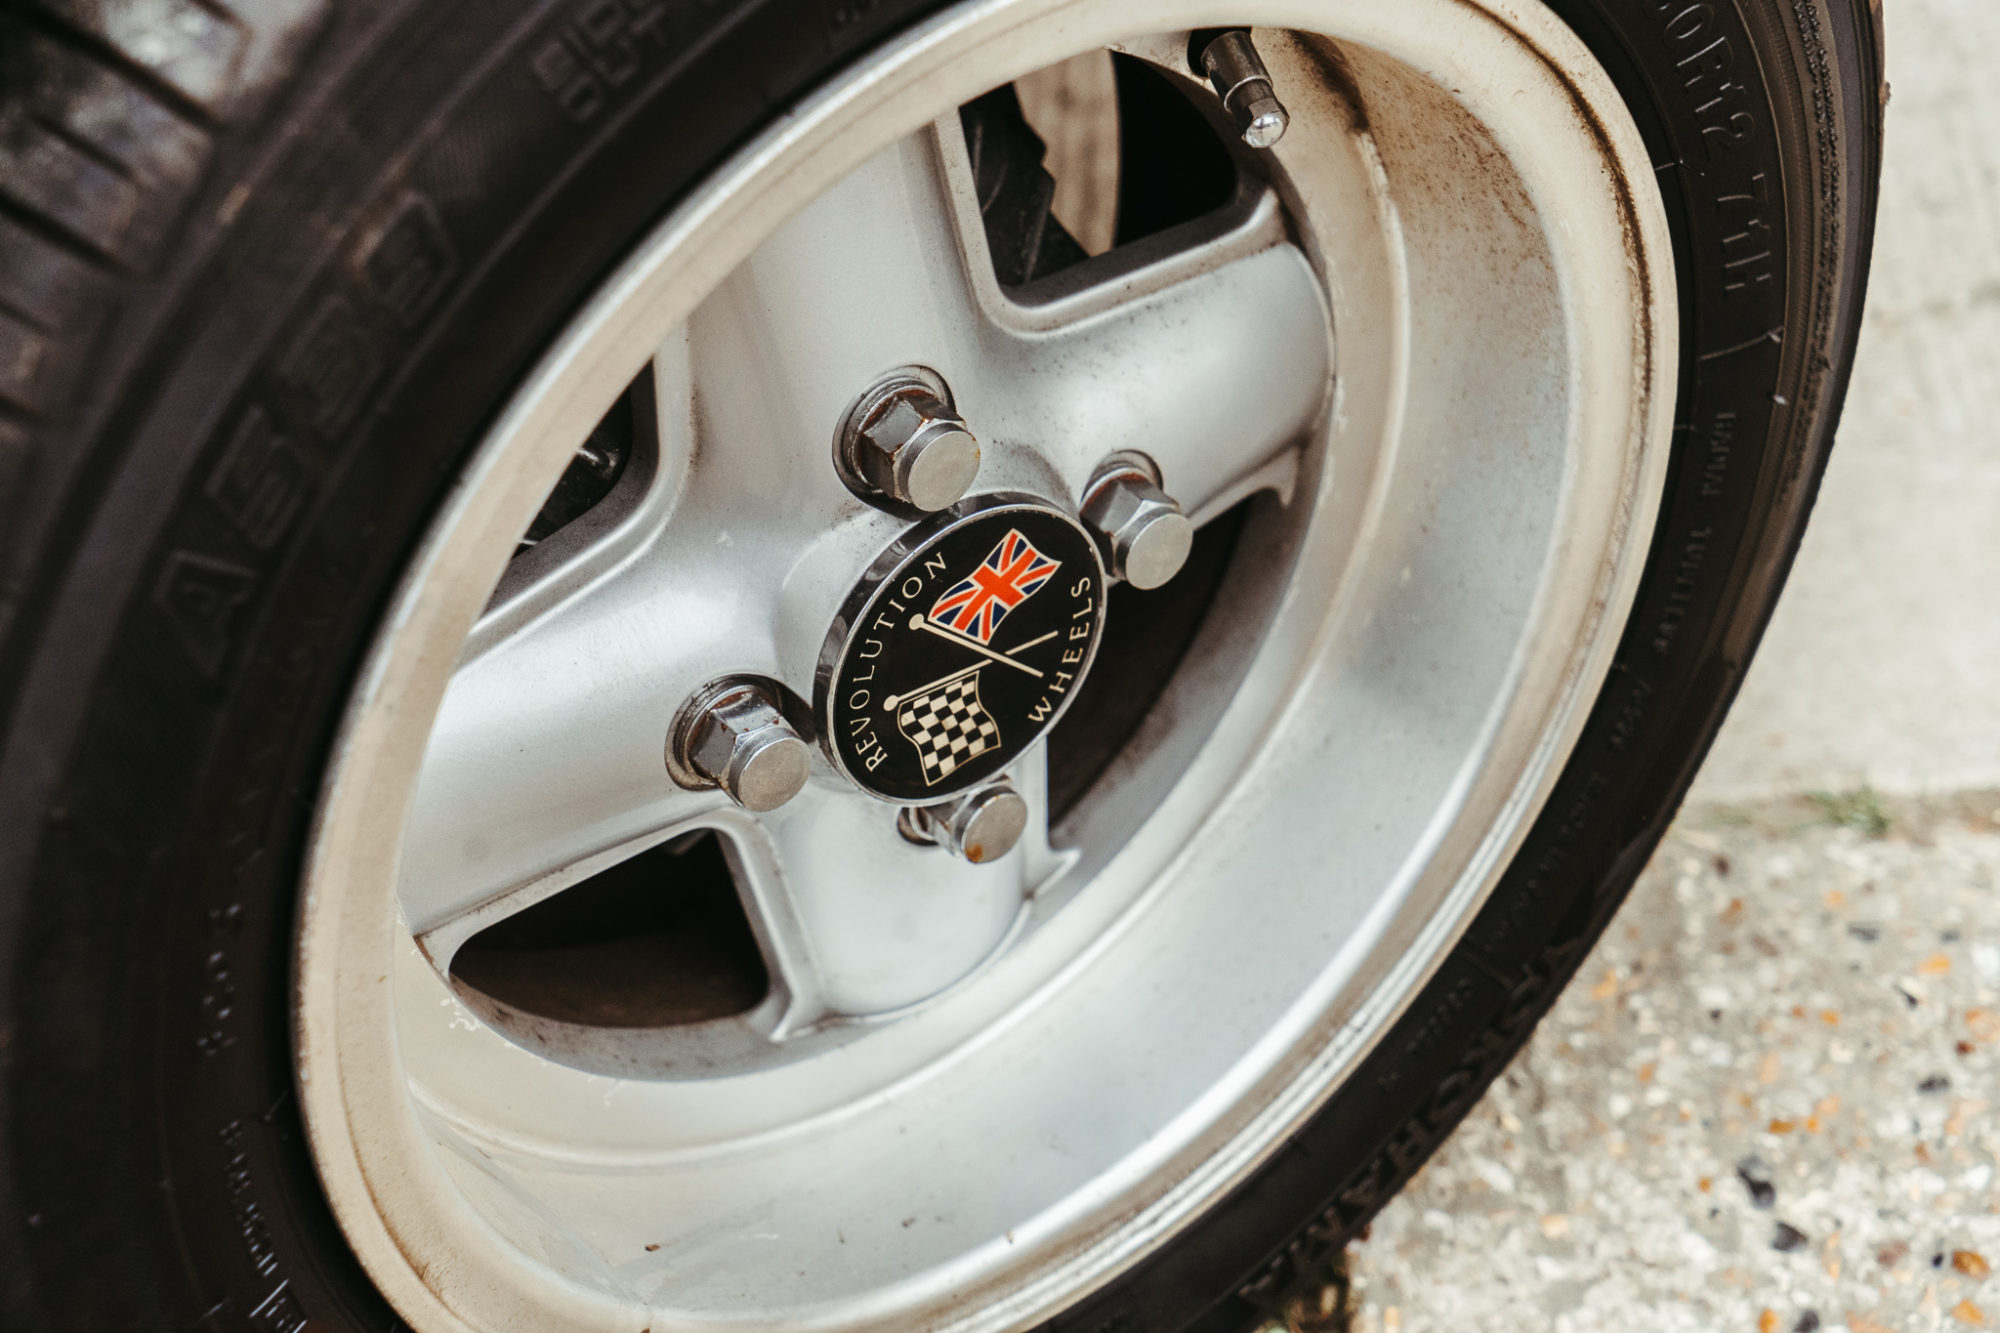
On Monday we had an exciting orange delivery…
This characterful 1980 Austin Morris Mini 1275 GT has arrived and will be one of our next competition cars. With only a few minor cosmetic imperfections, this Mini is in perfect condition and looks like its just left the factory!
We’re looking forward to photographing this charming little motor and launching it on our competition site! Watch this space!
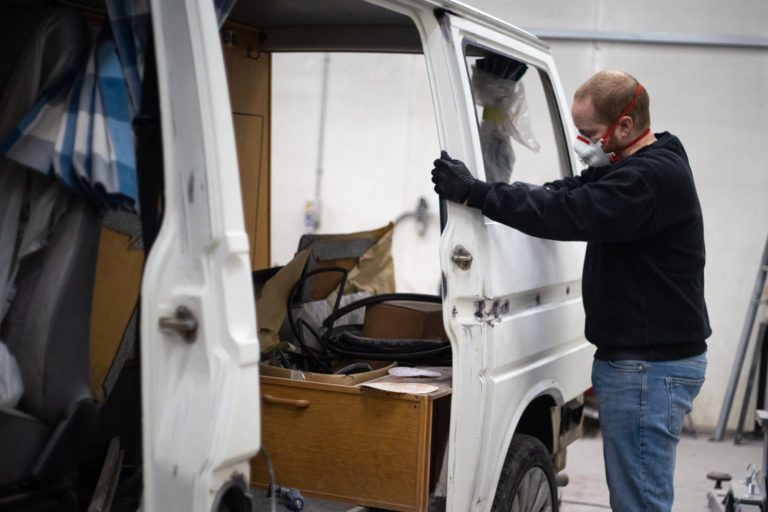
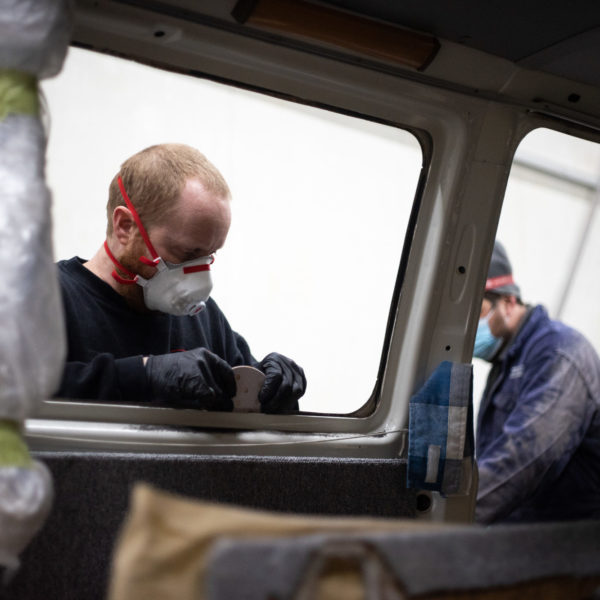
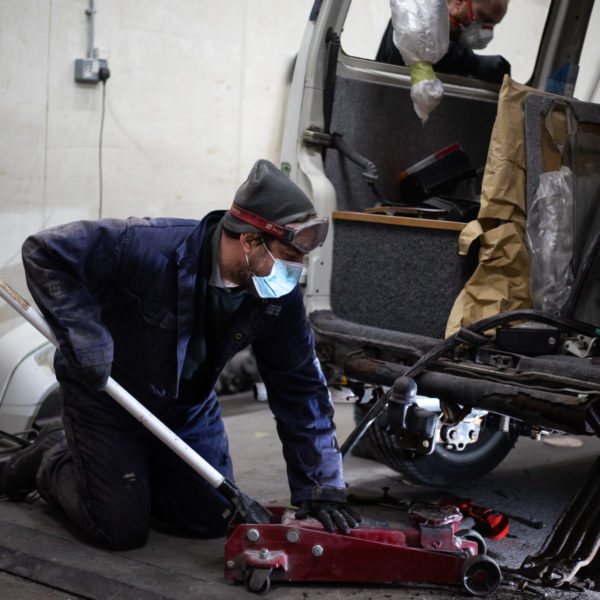
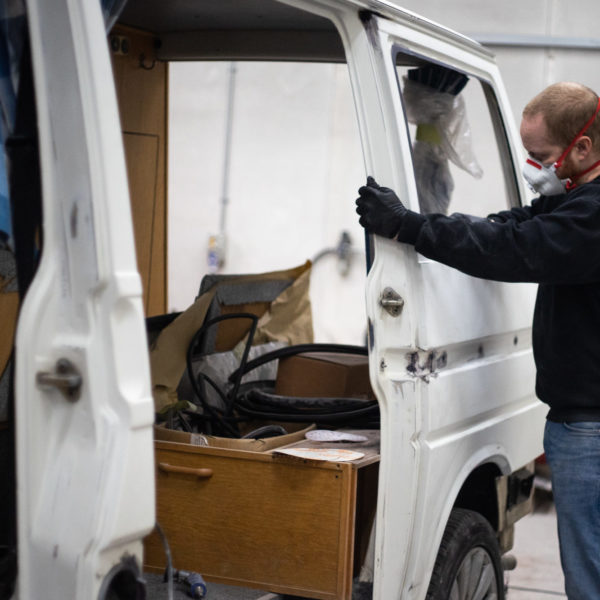
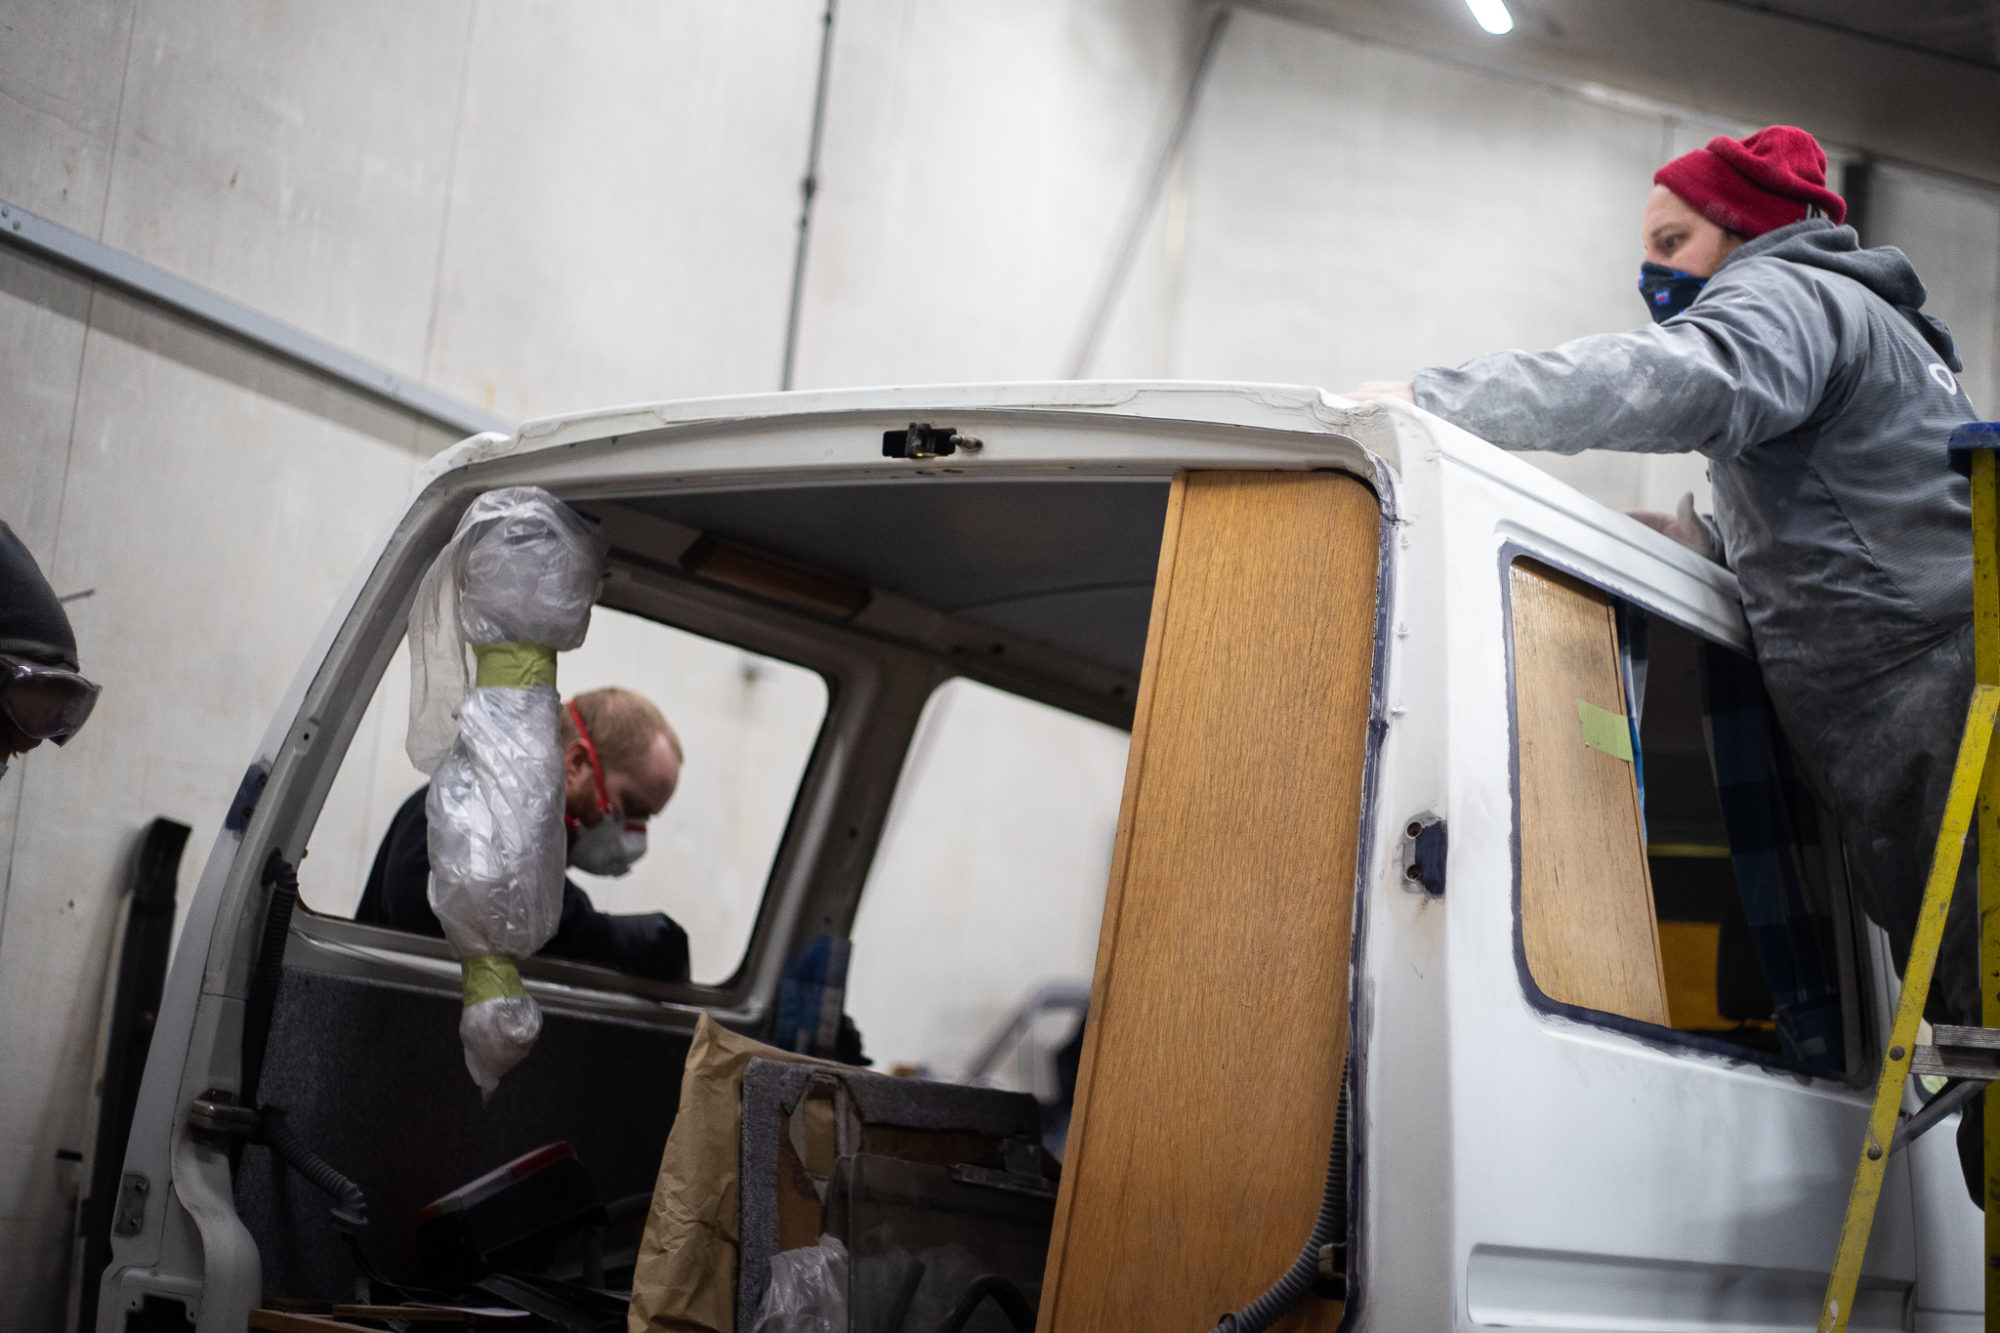
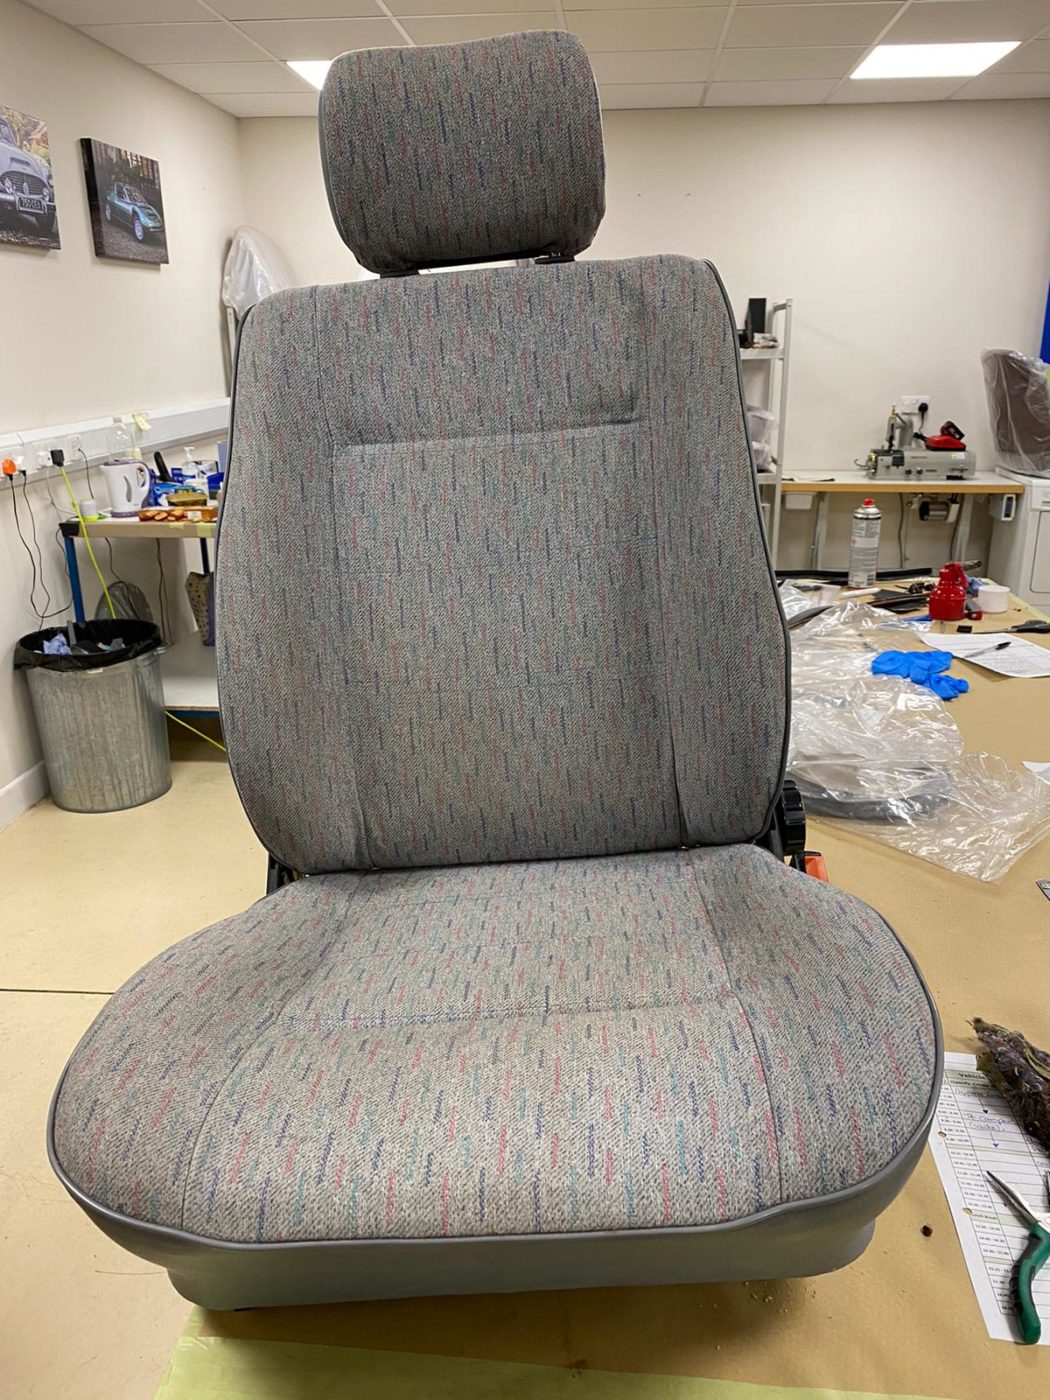
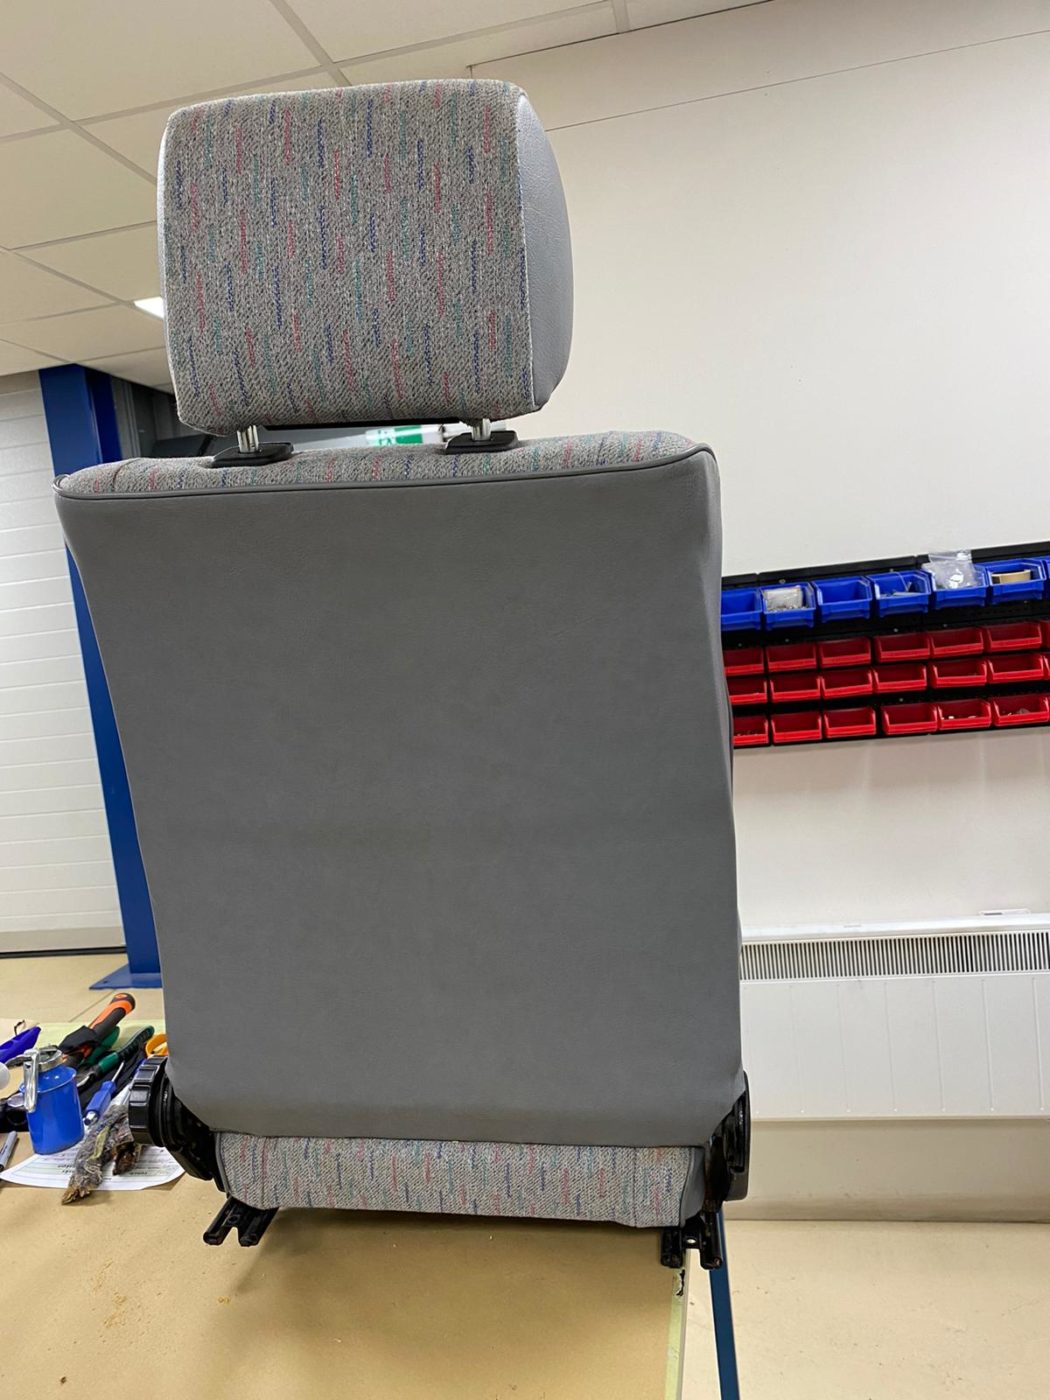
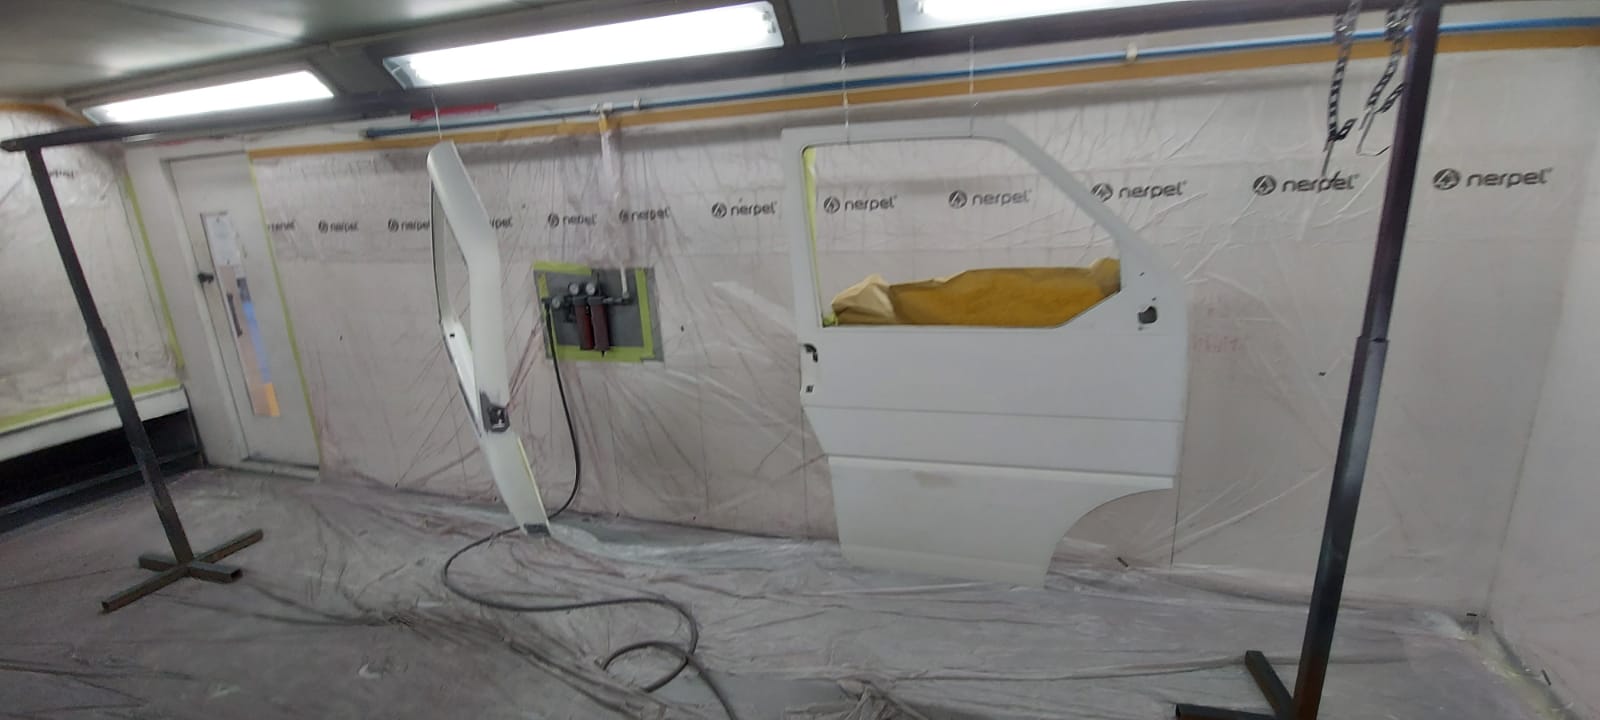
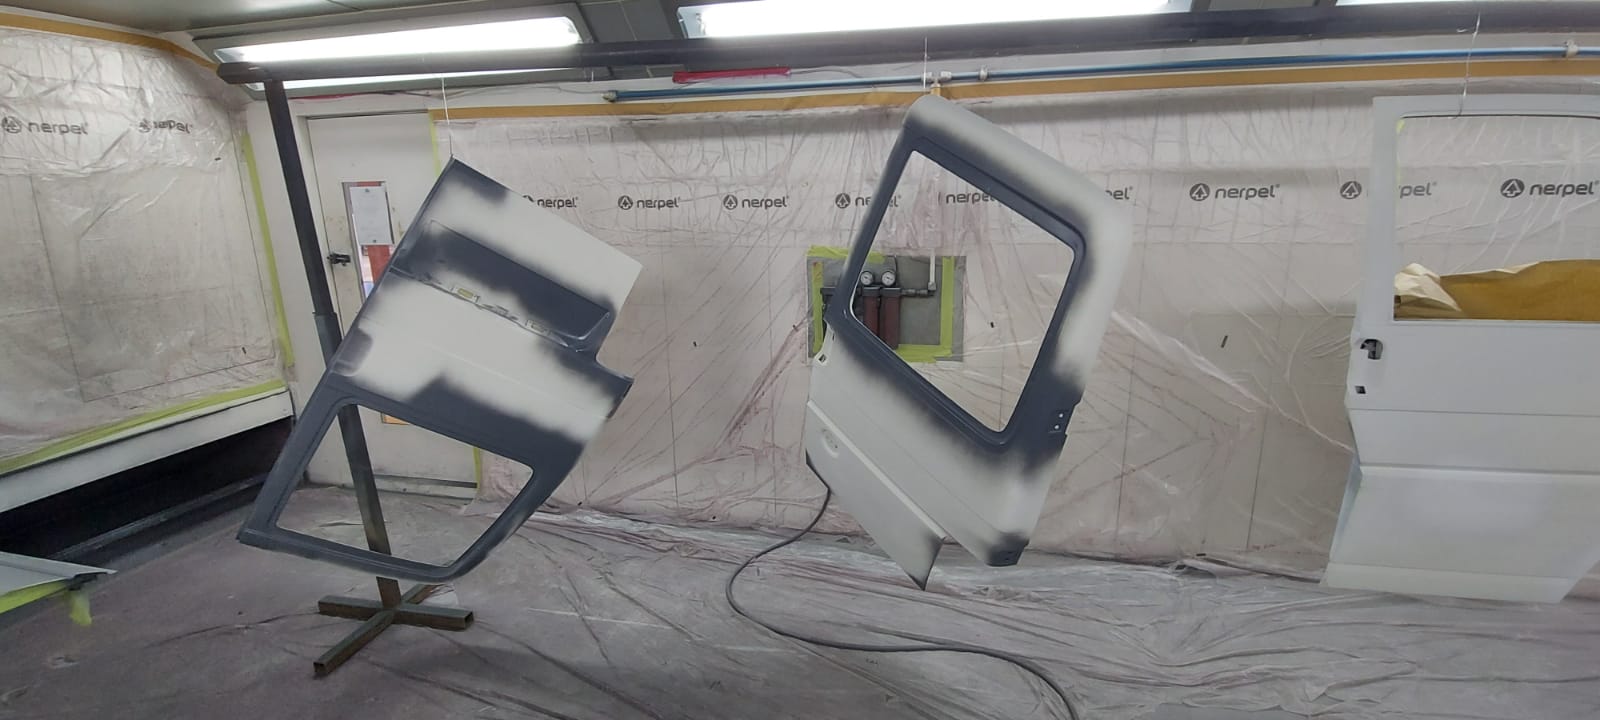
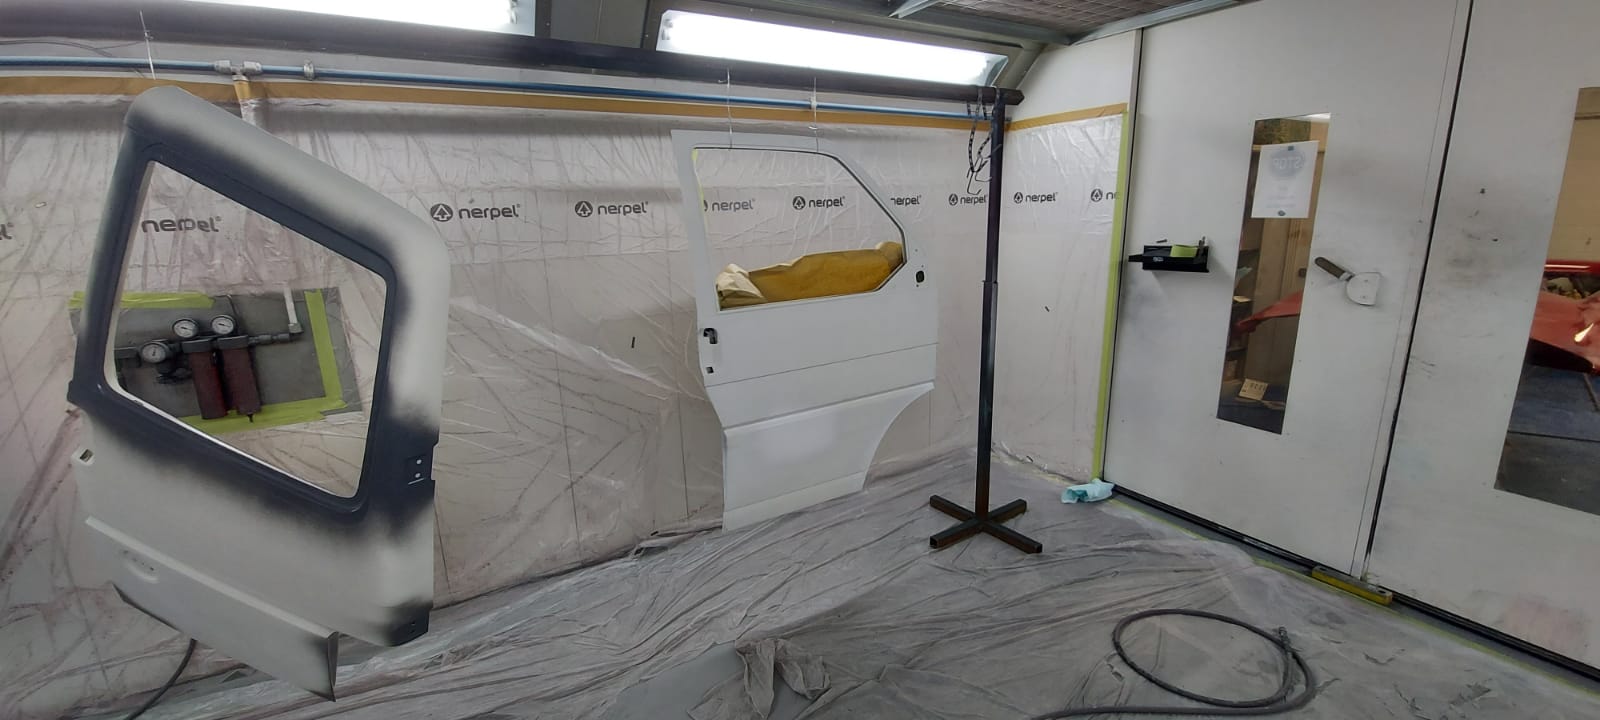
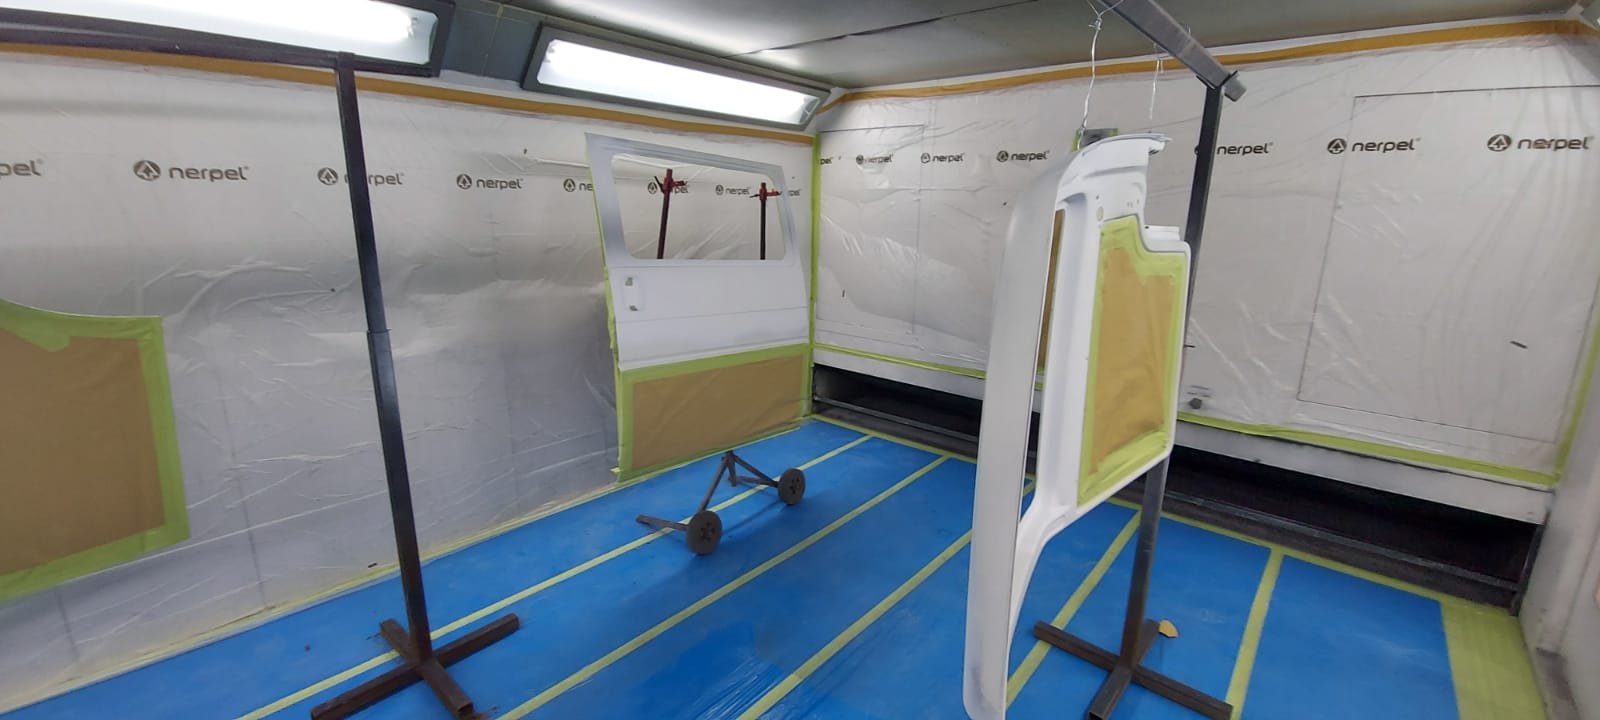
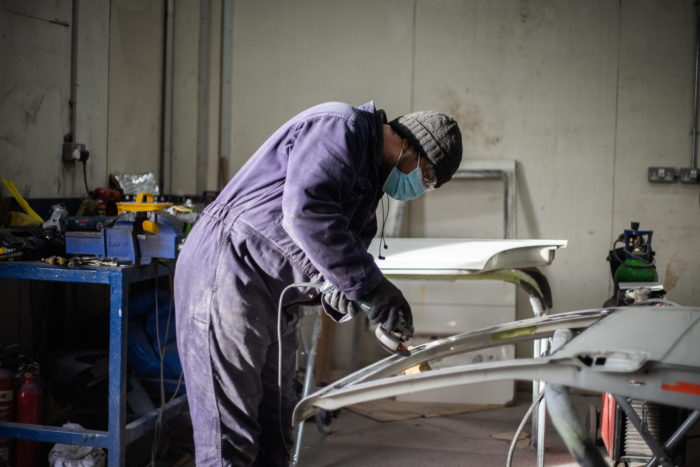
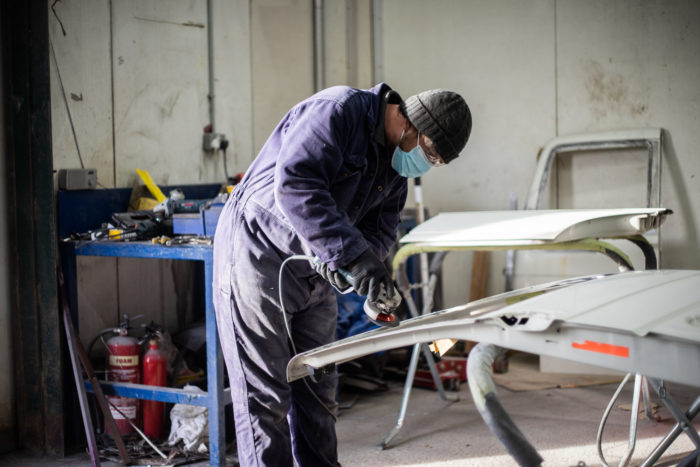
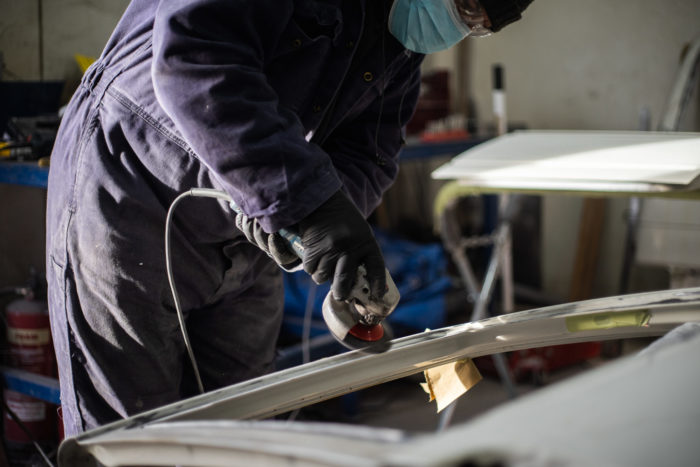
James has been working on removing the old tow bar on our 1991 T4 transporter as the owners don’t need it anymore. He aims to renovate the original bumper to neaten up that area. Chris has been working on sanding and smoothing down the body of the T4 in preparation for paint.
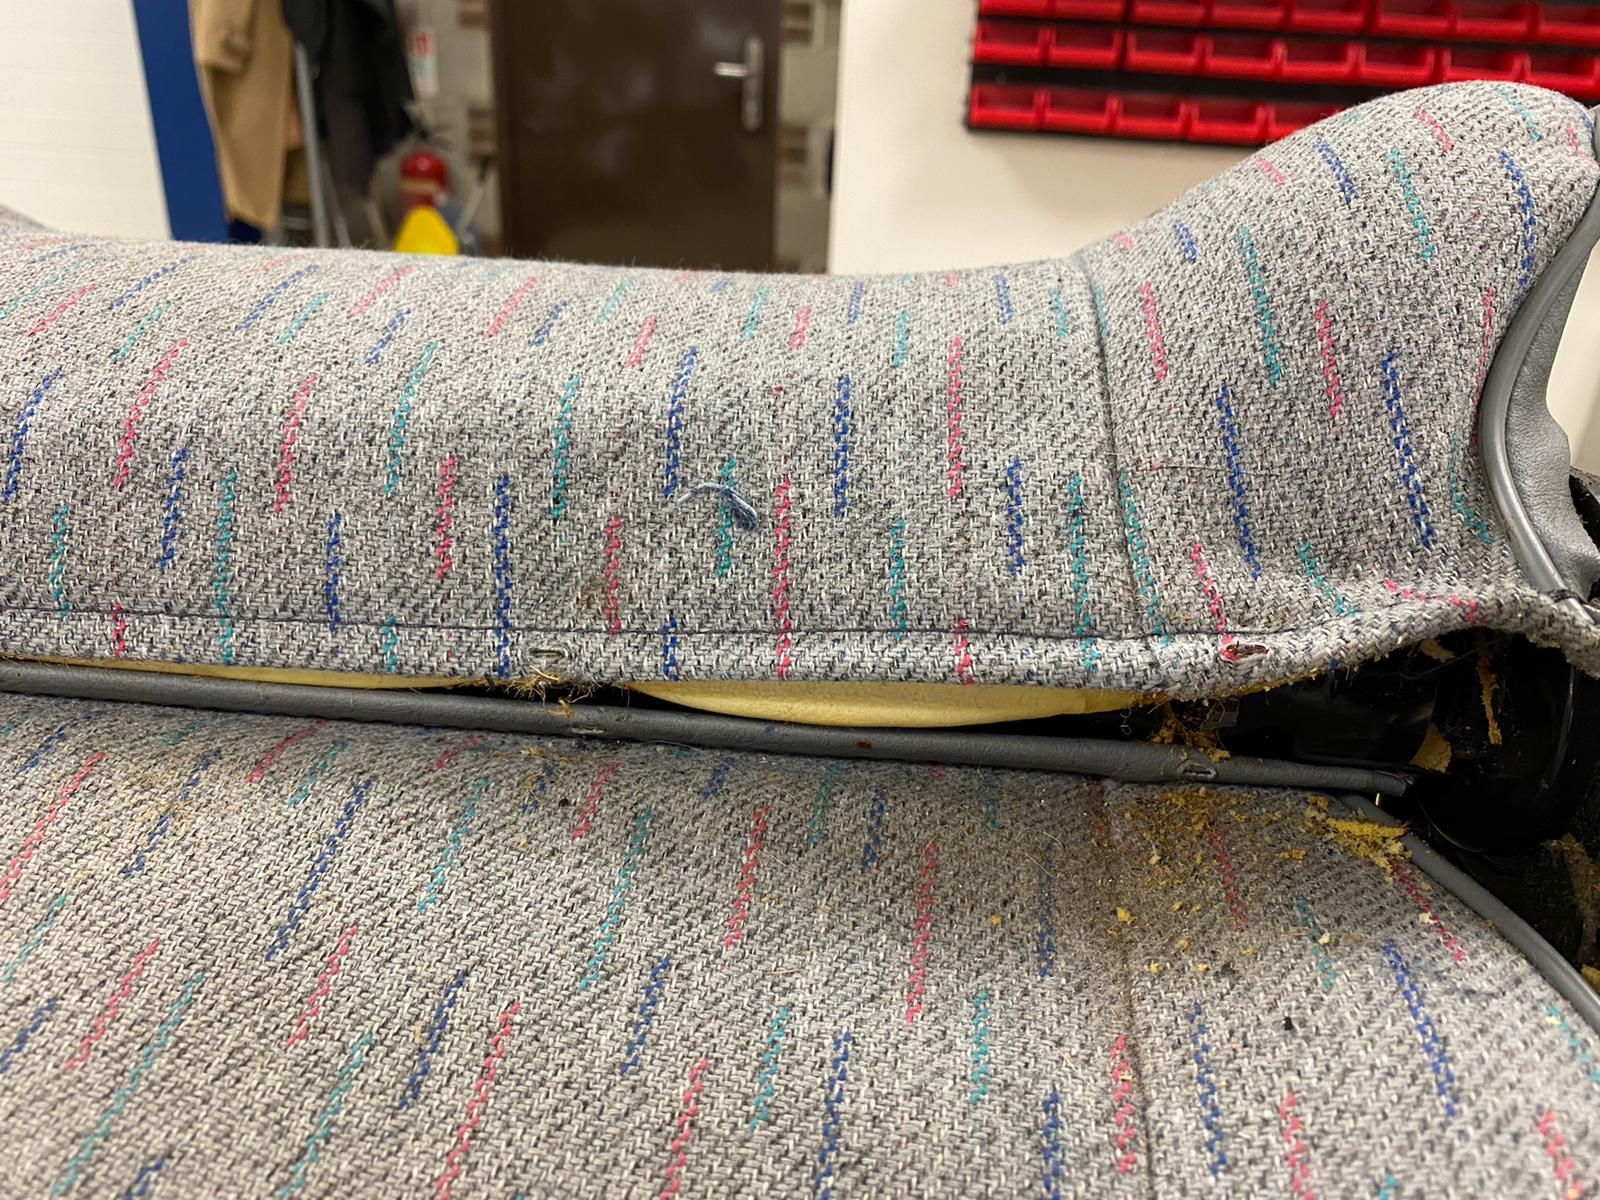
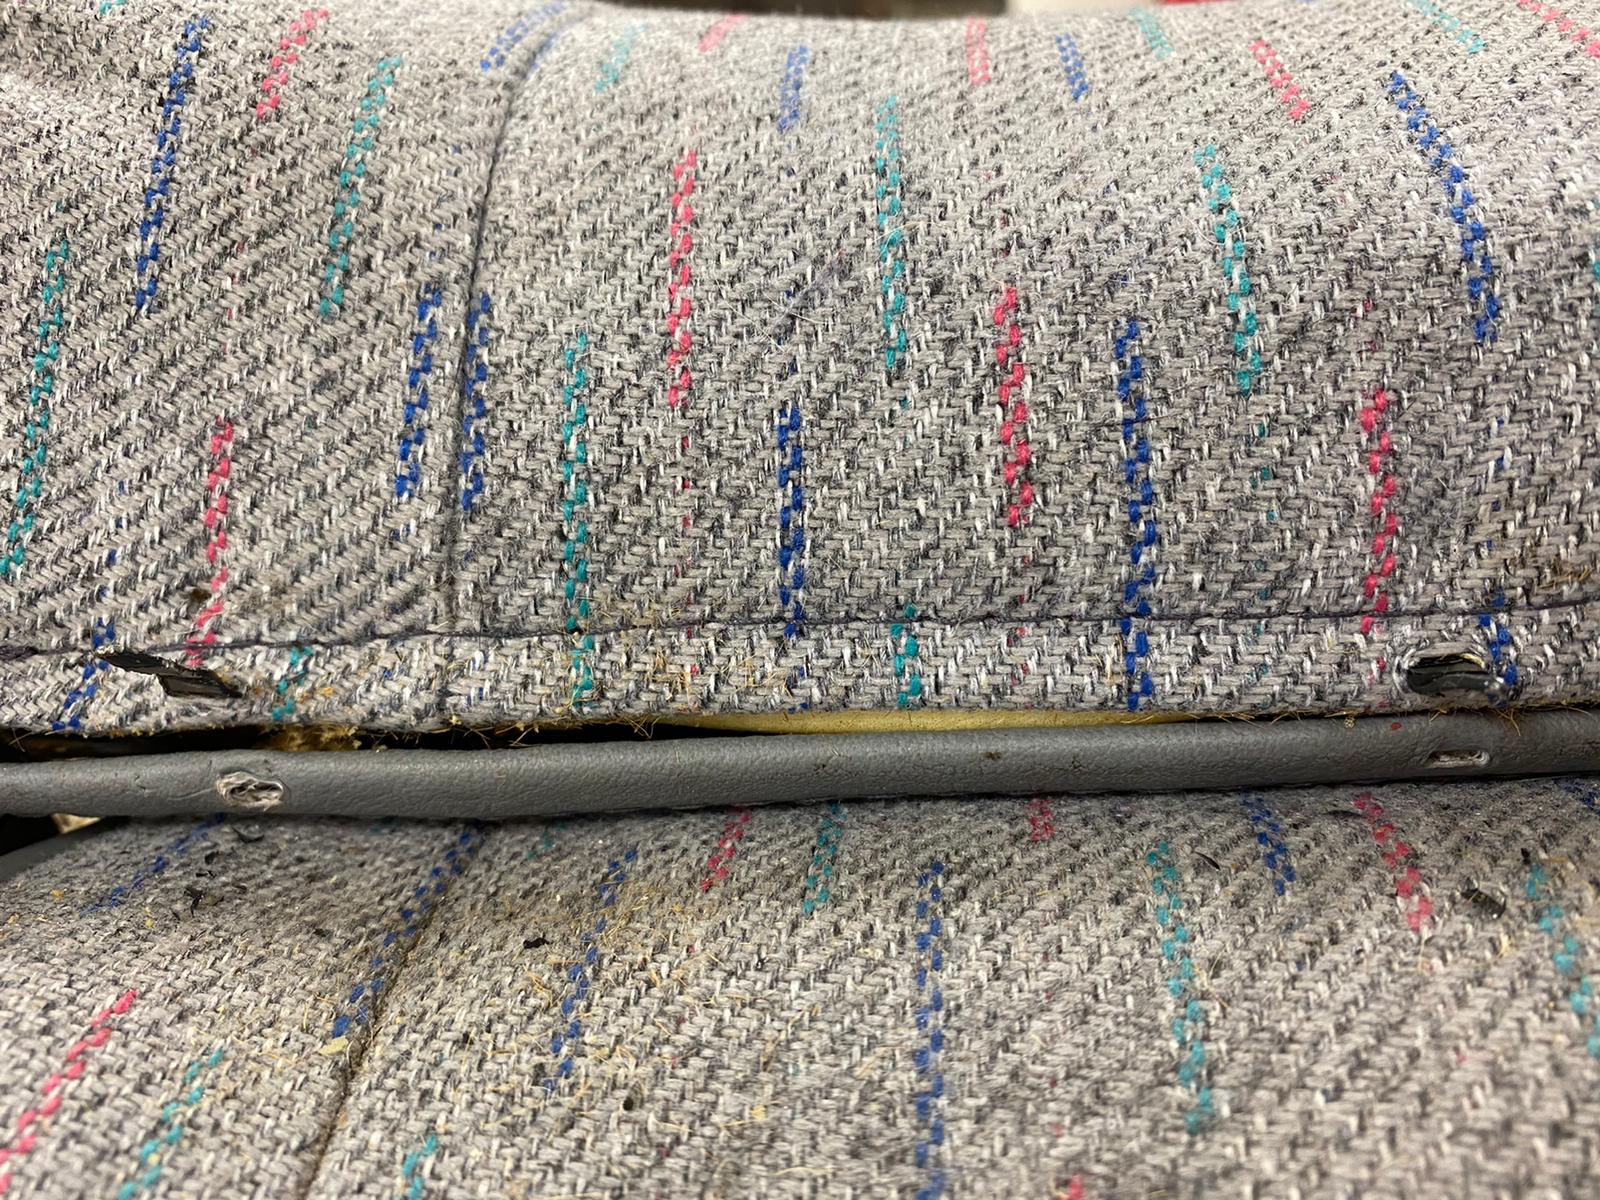
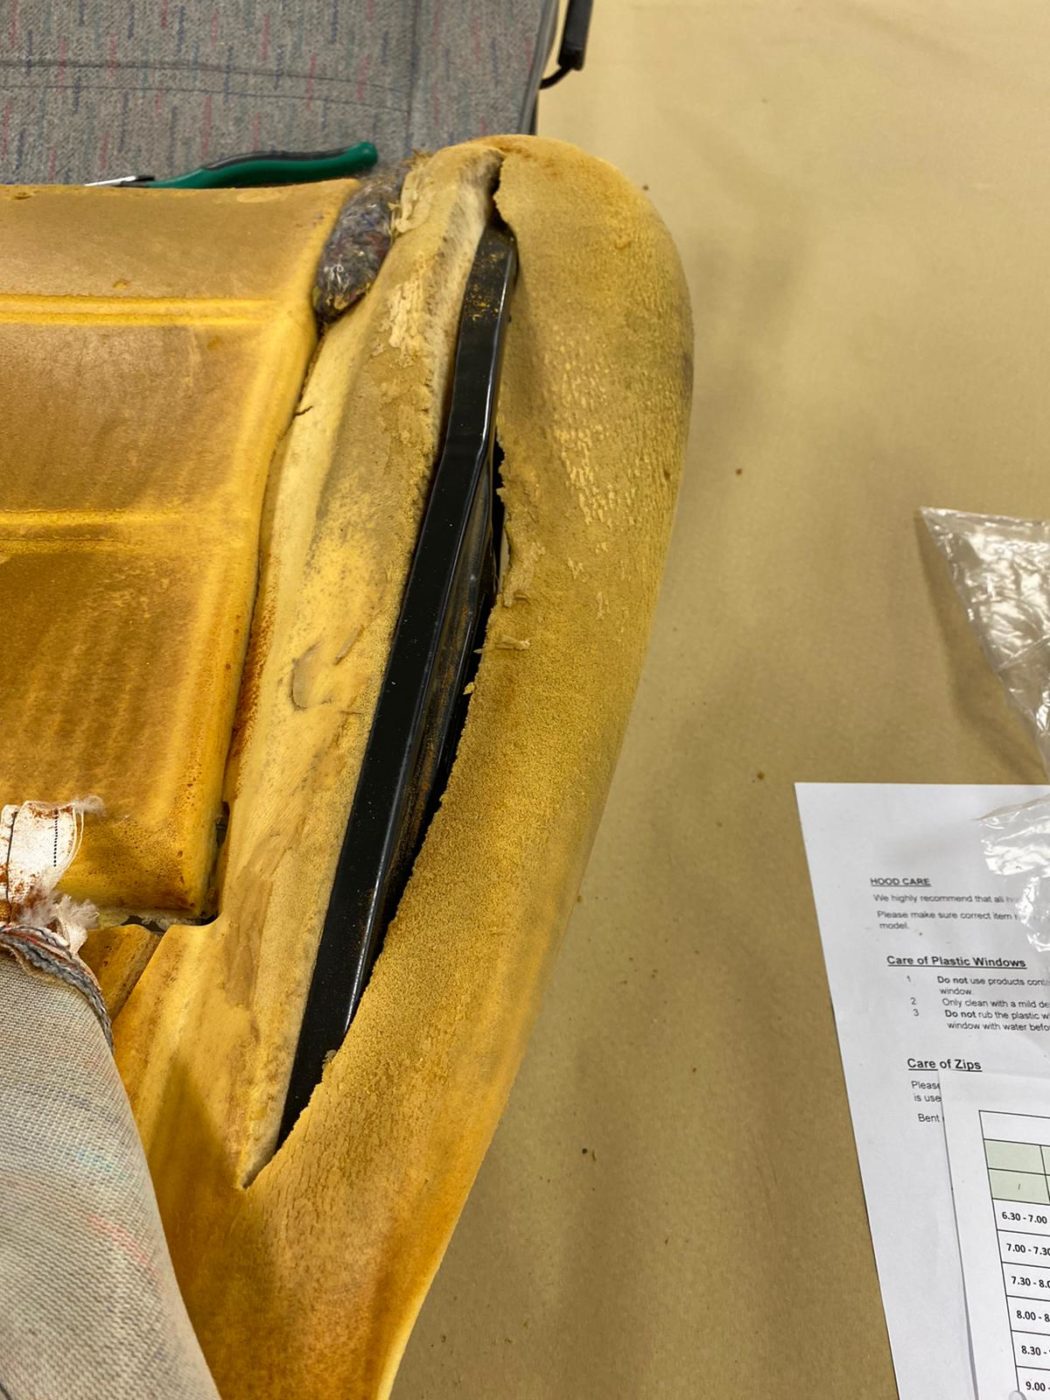
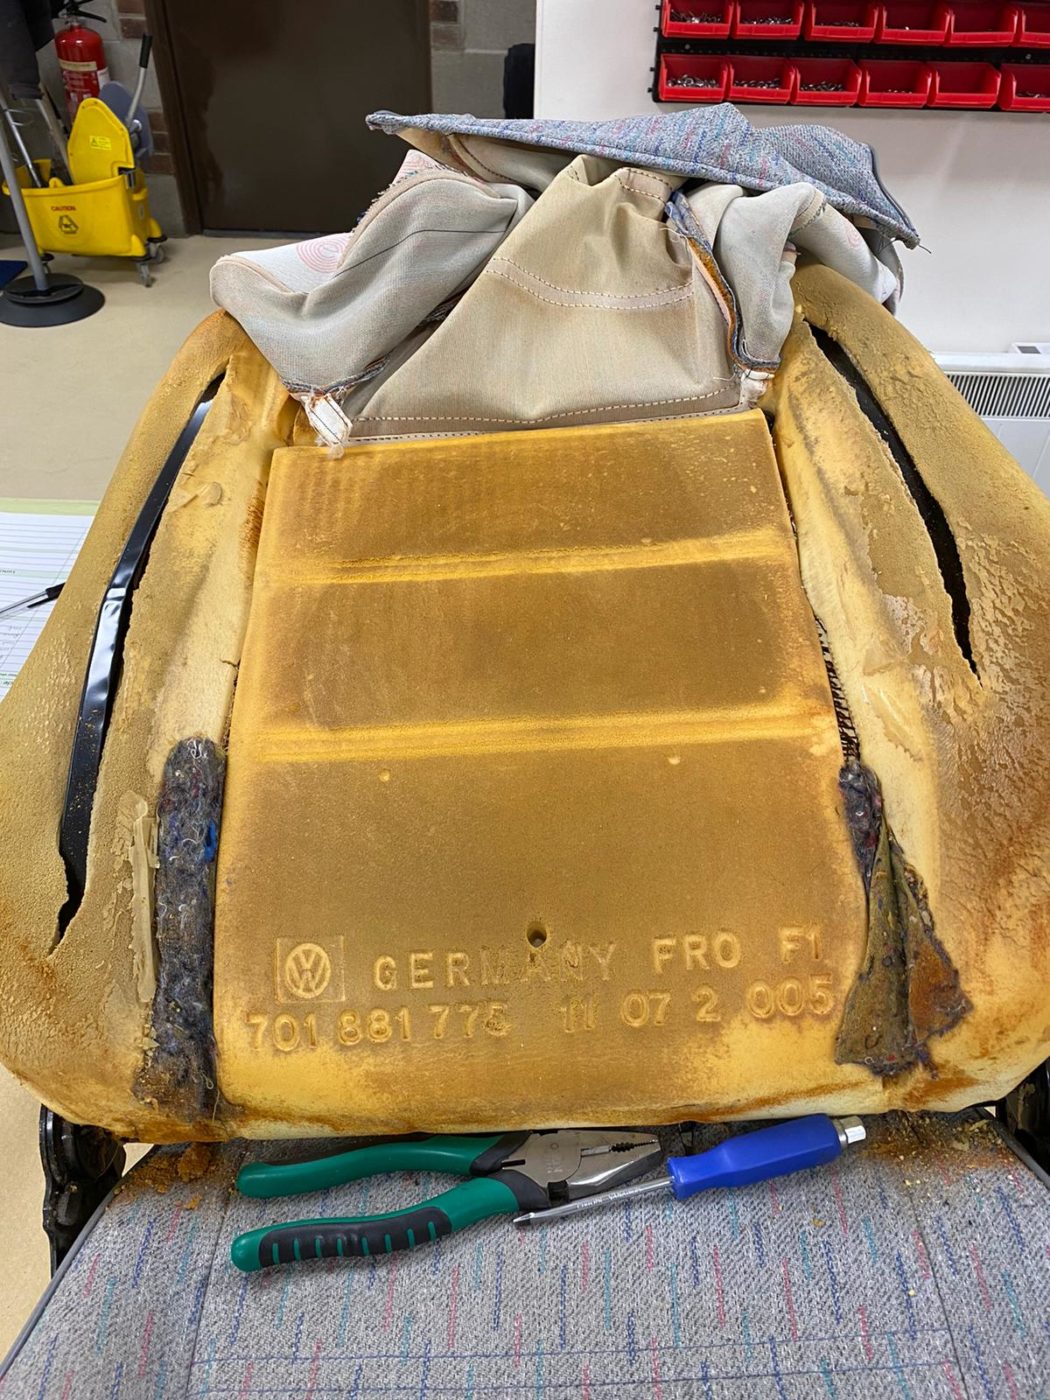
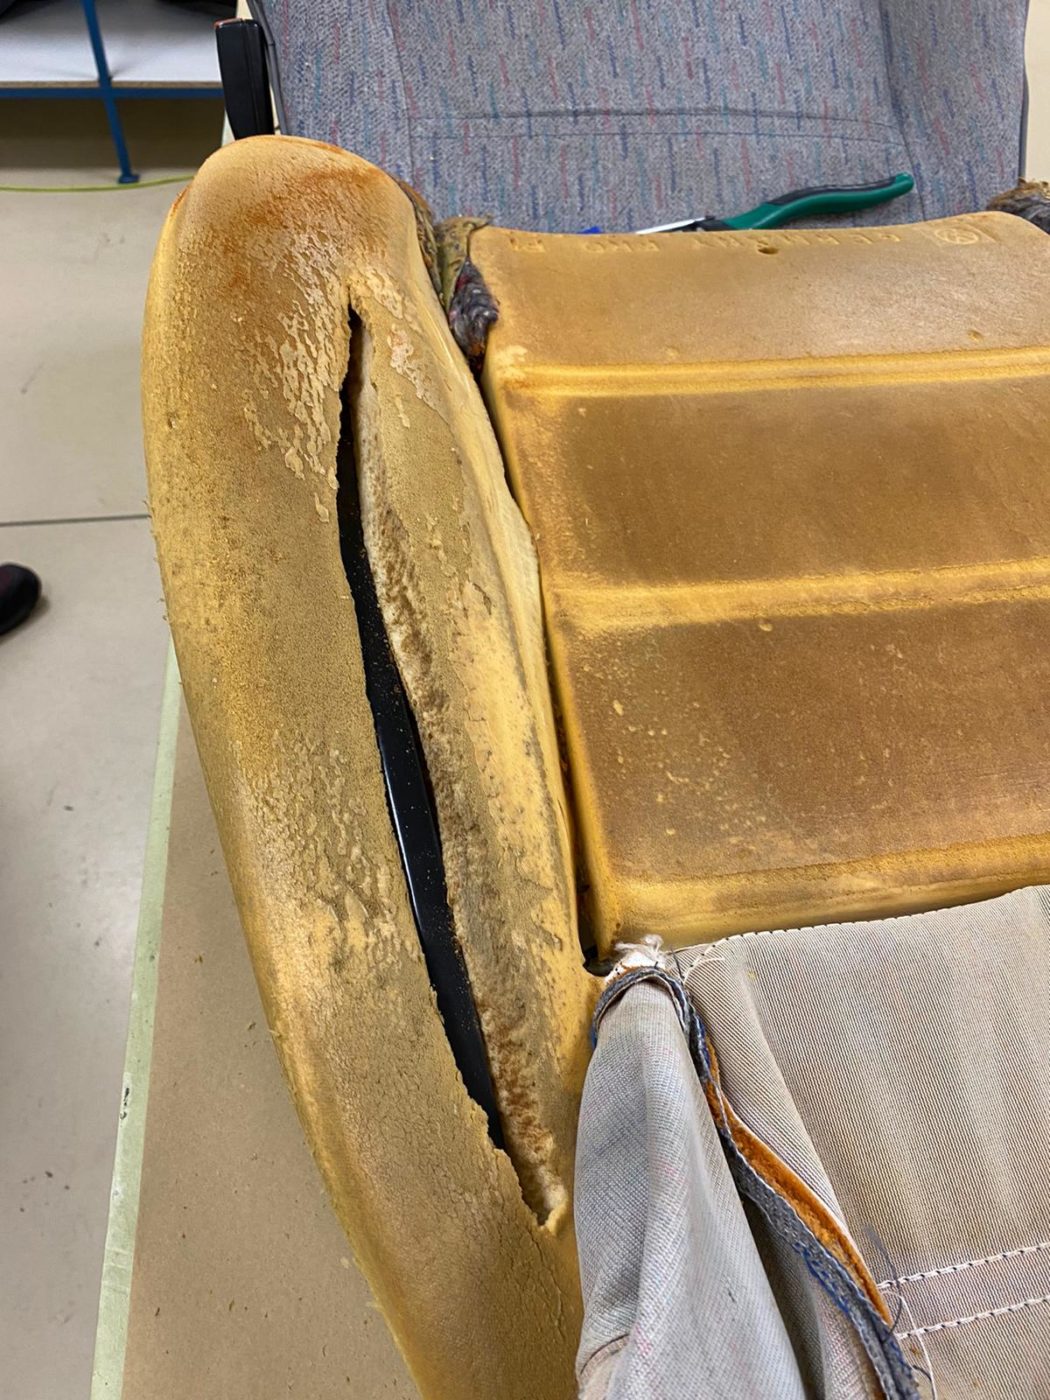
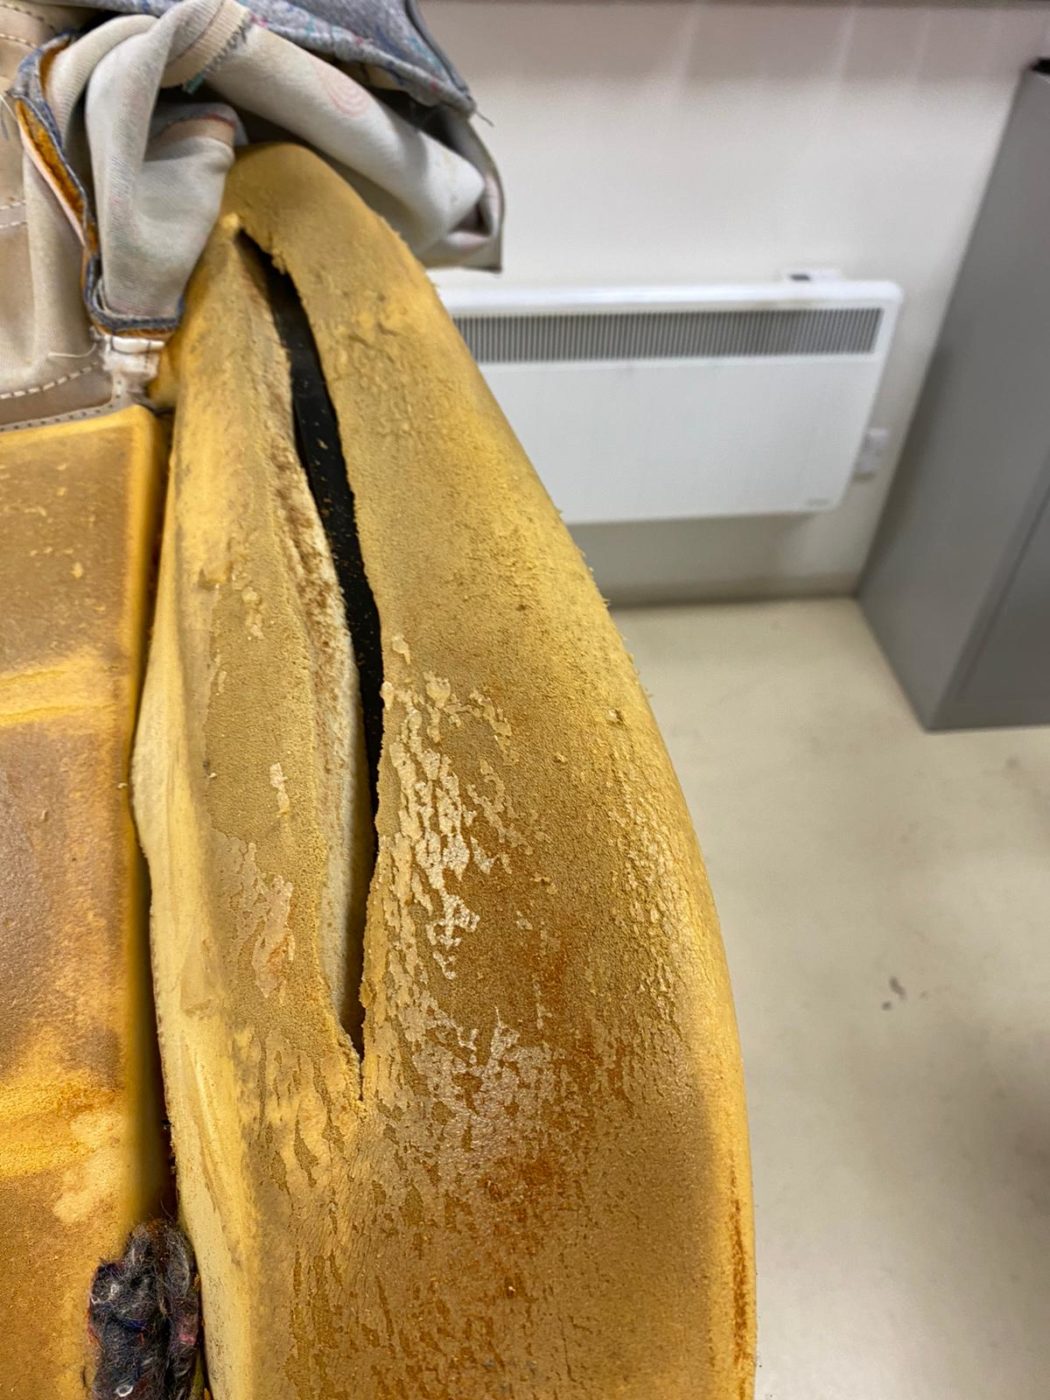
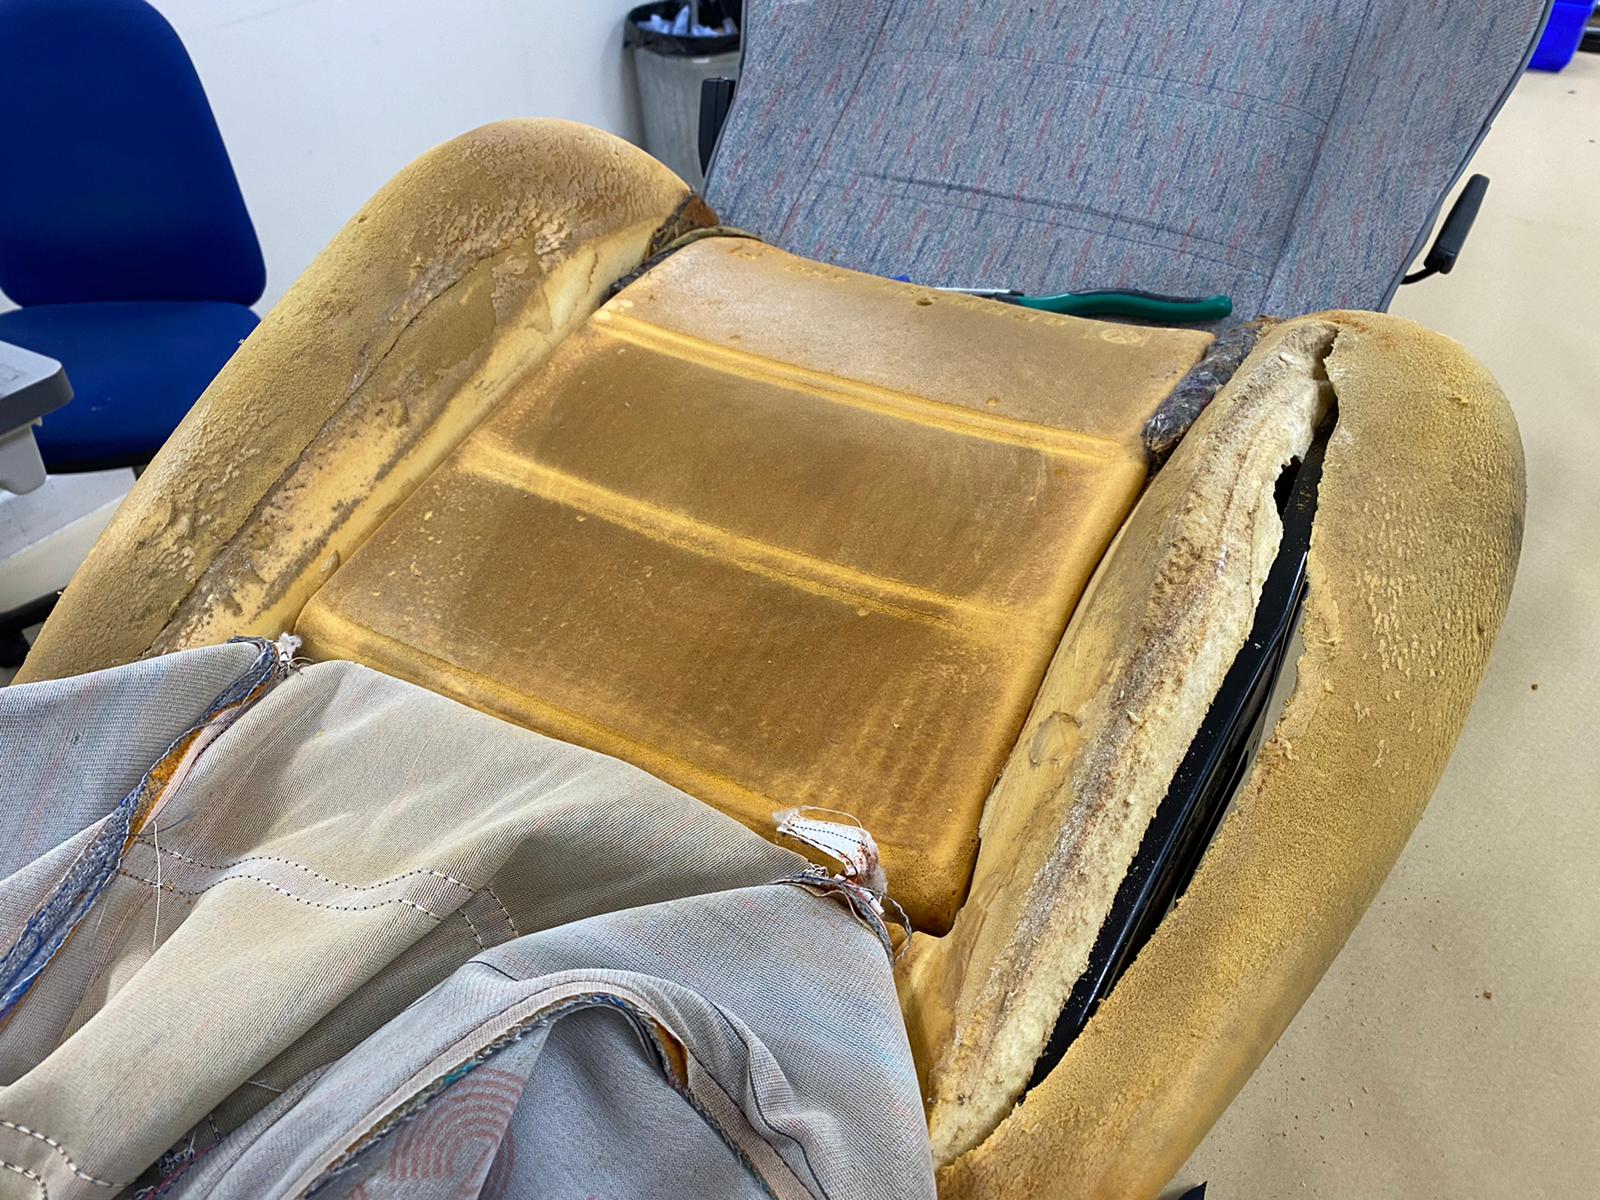
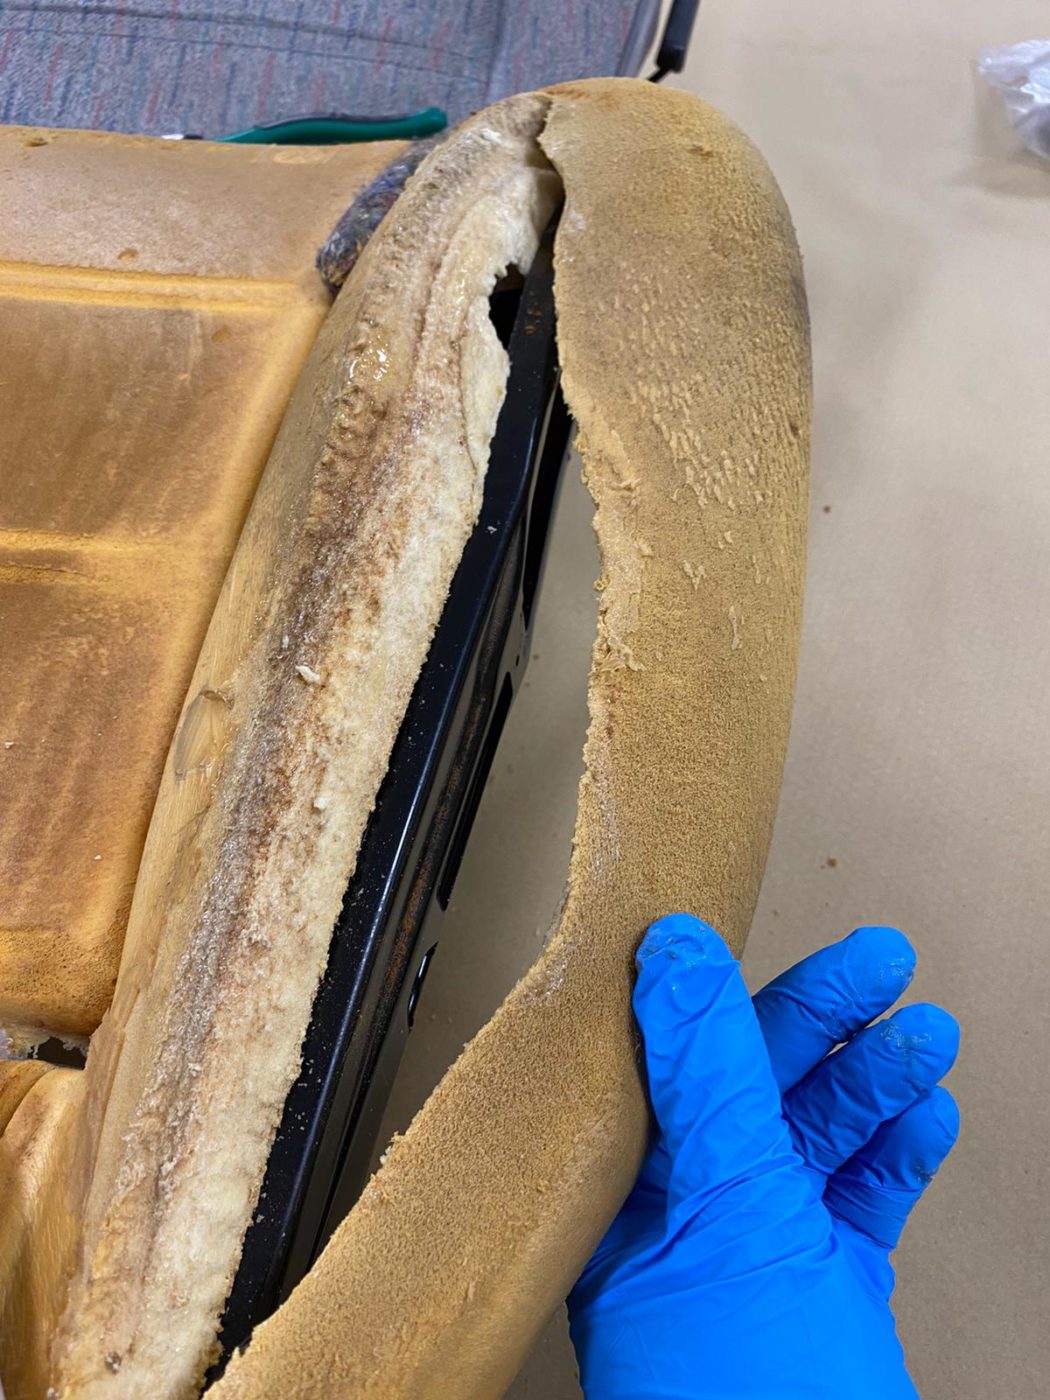
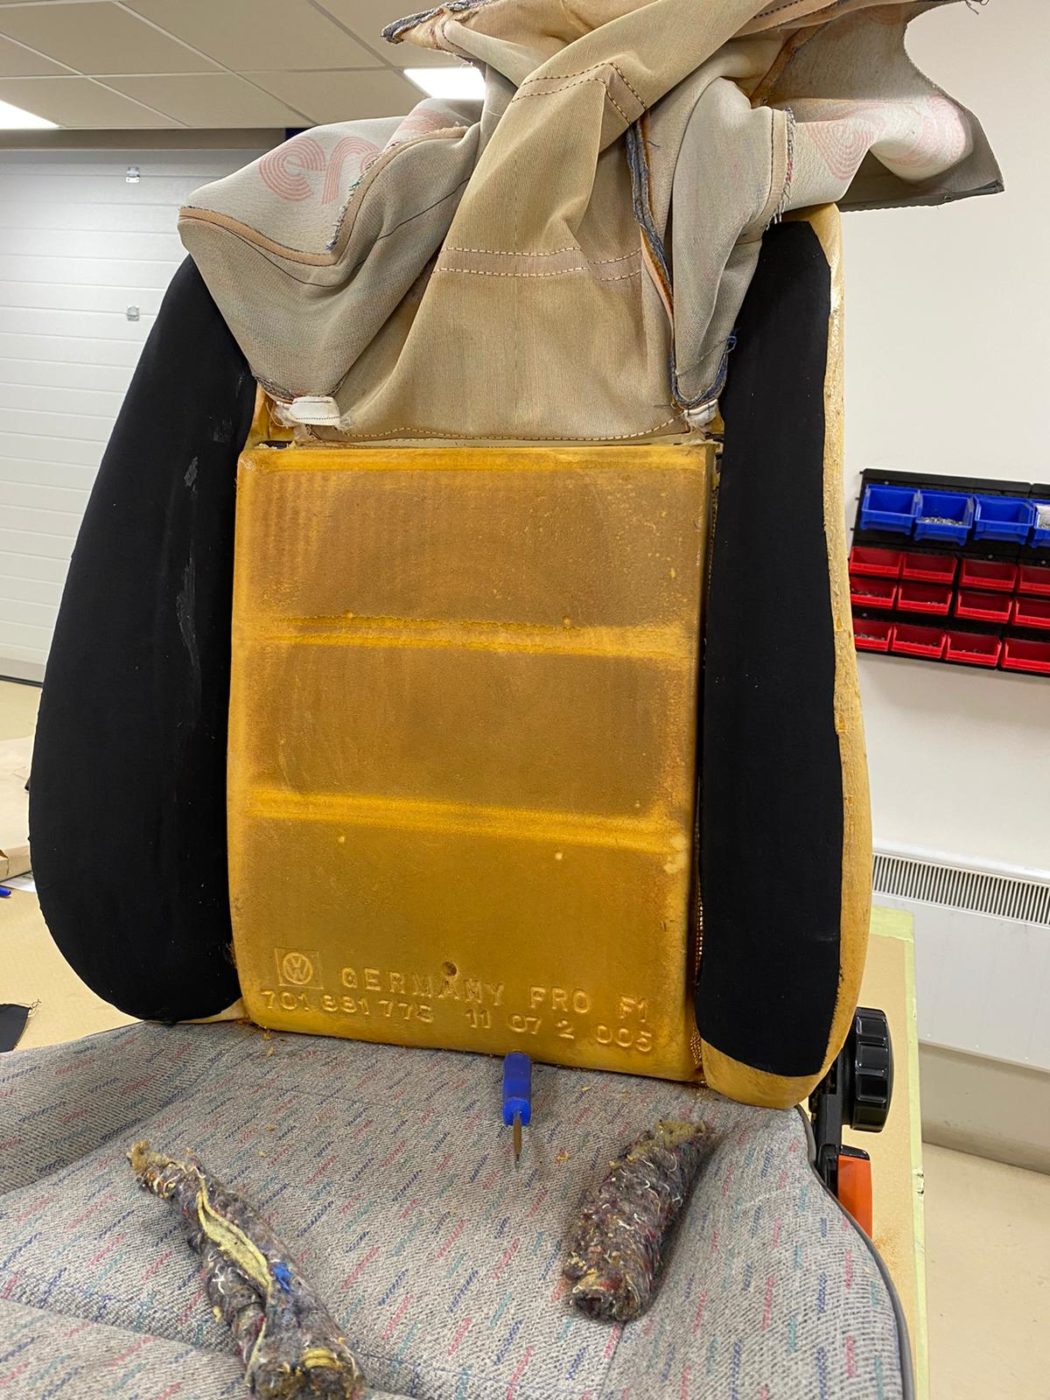
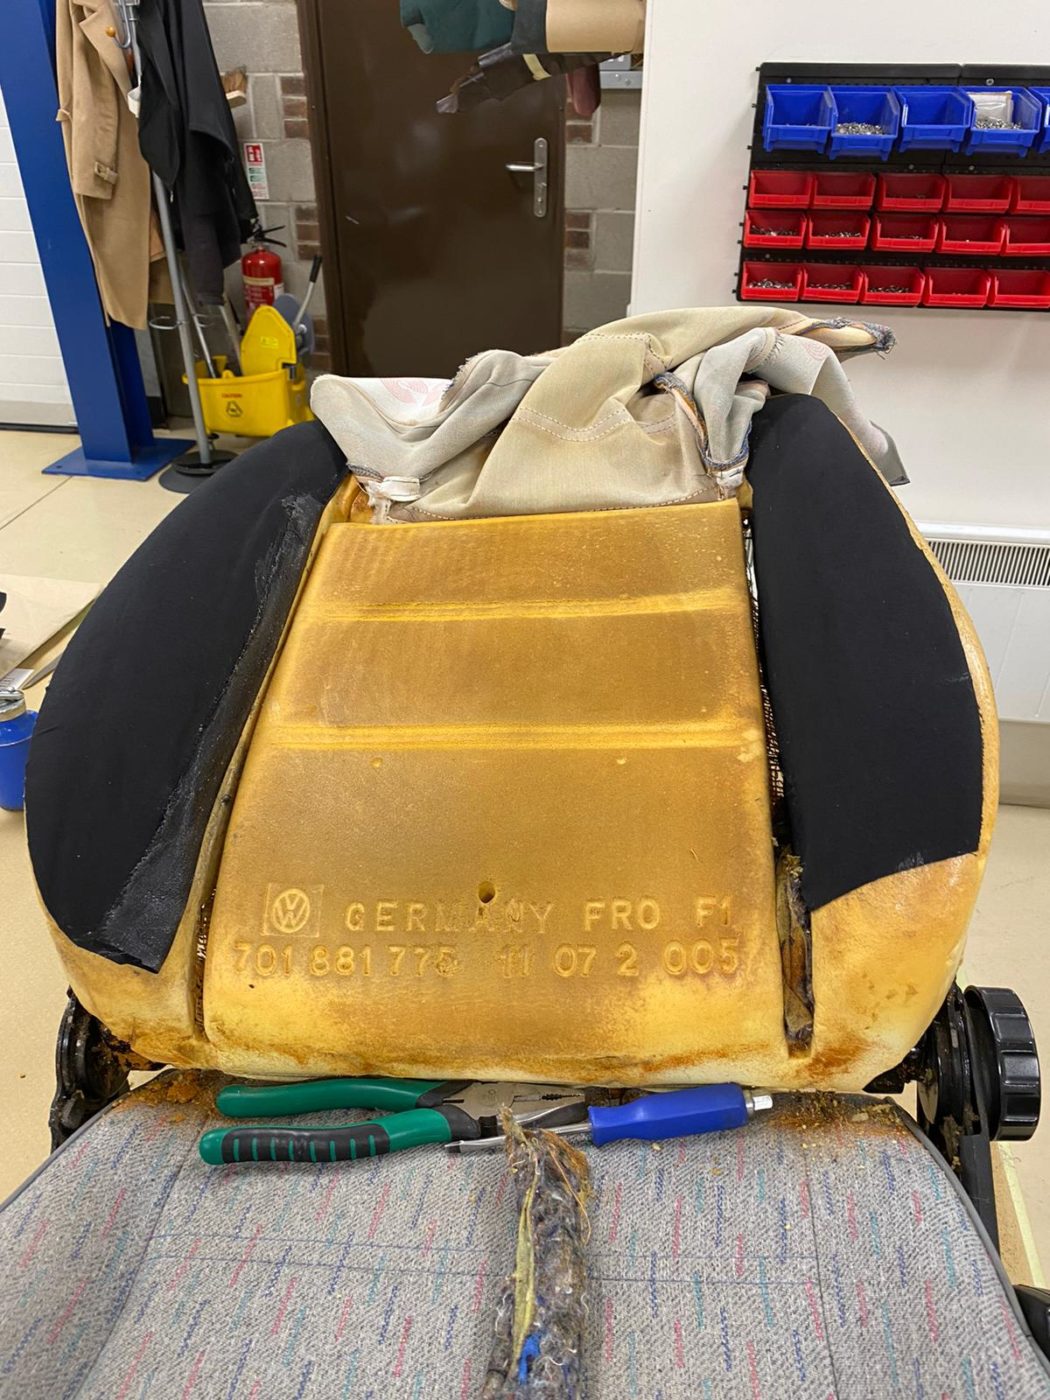
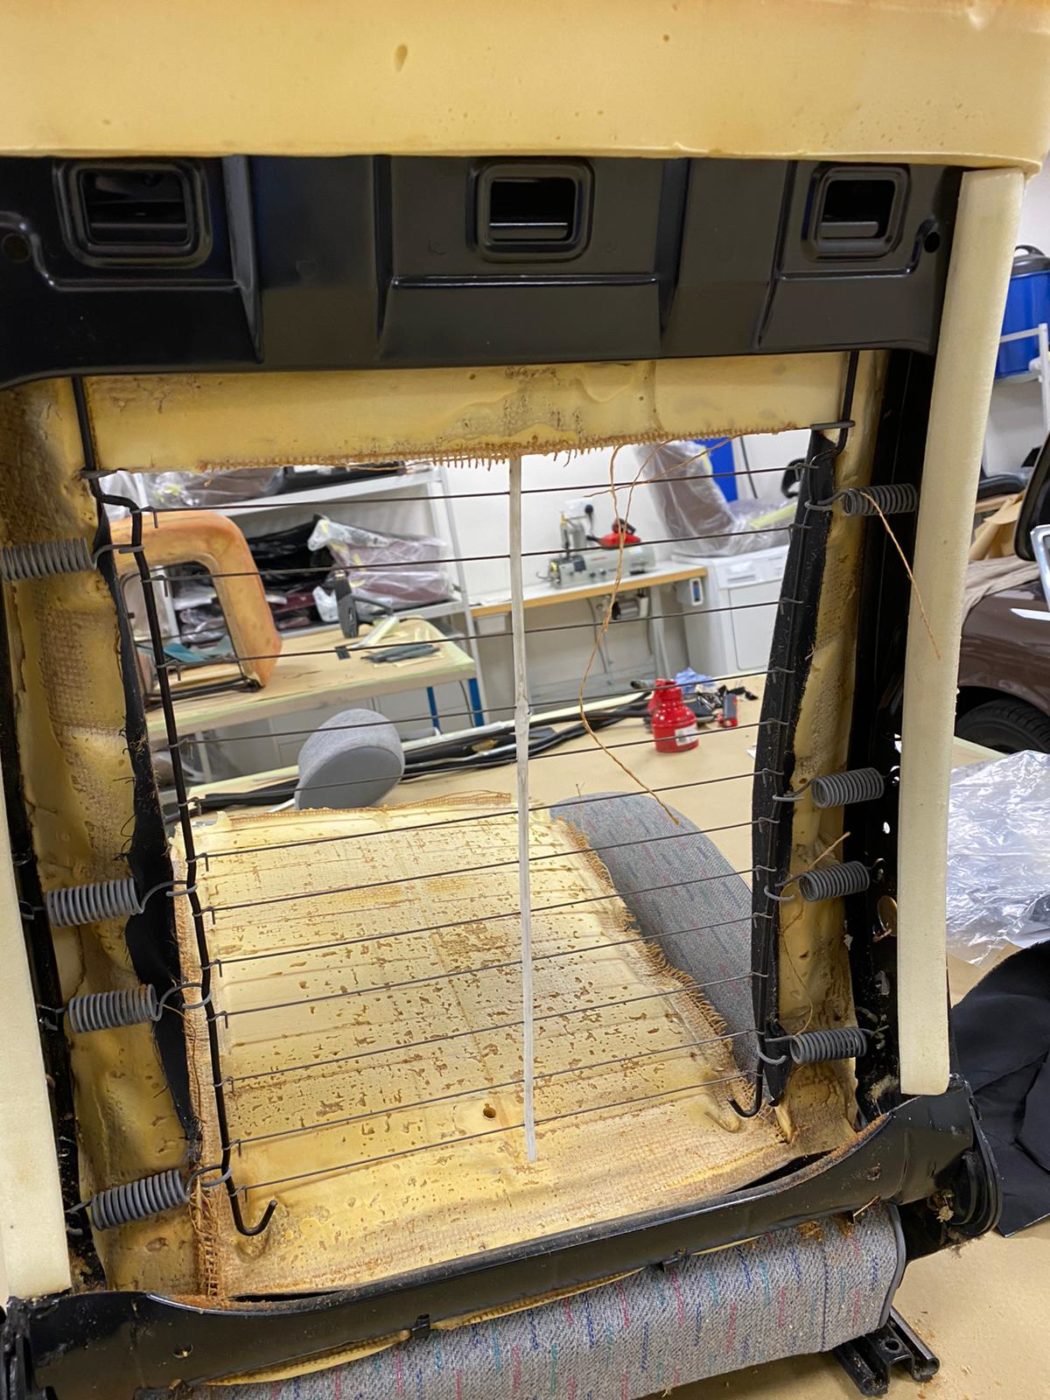
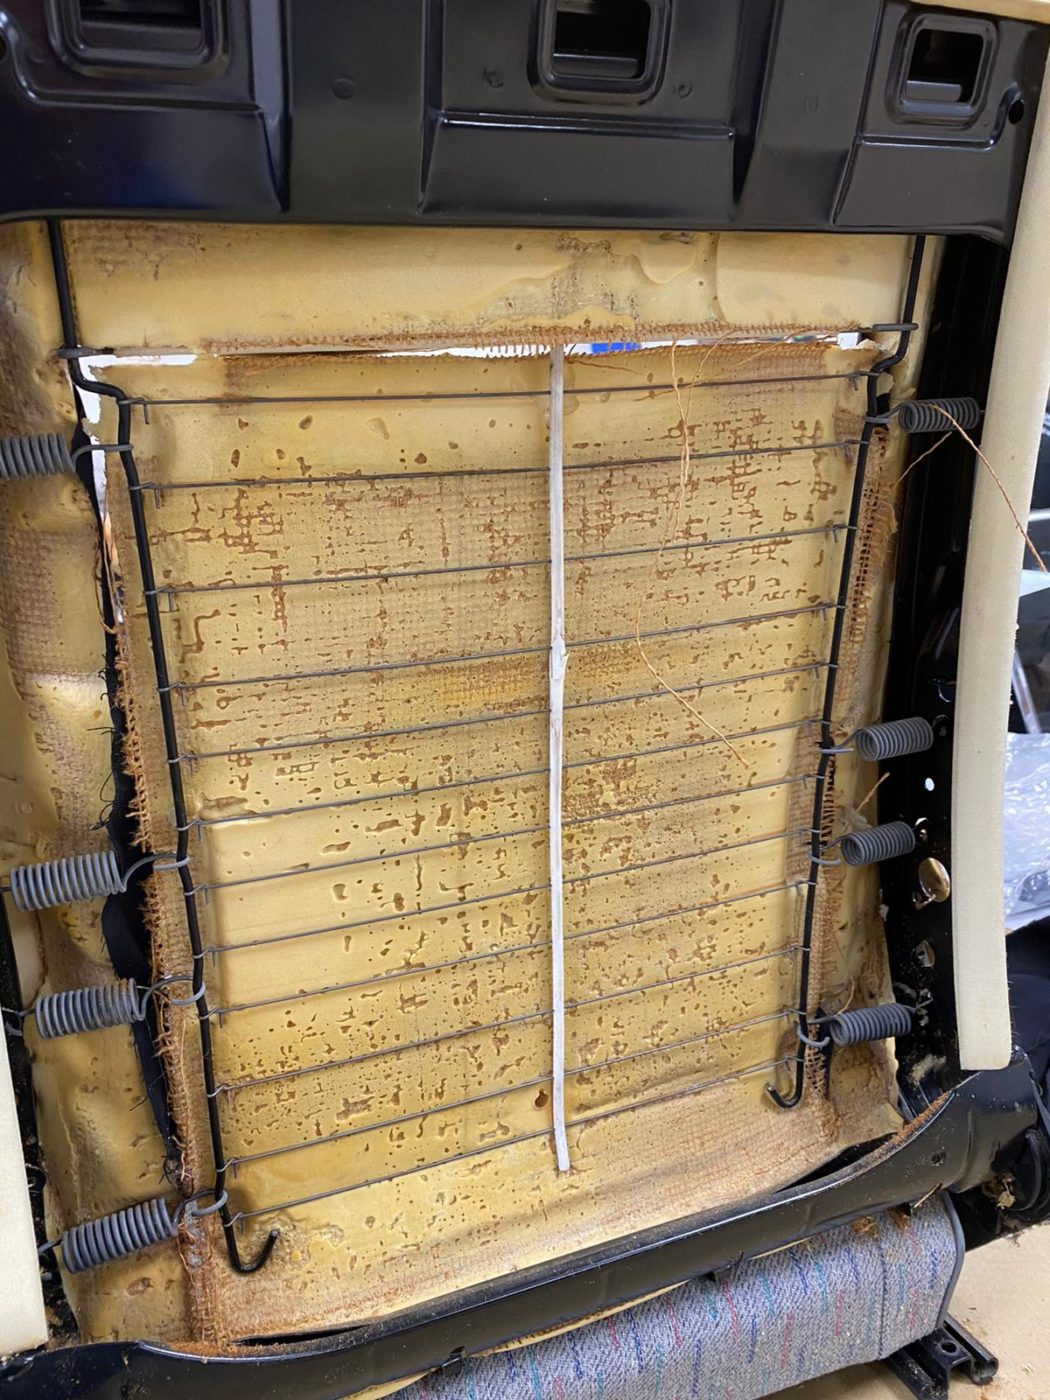
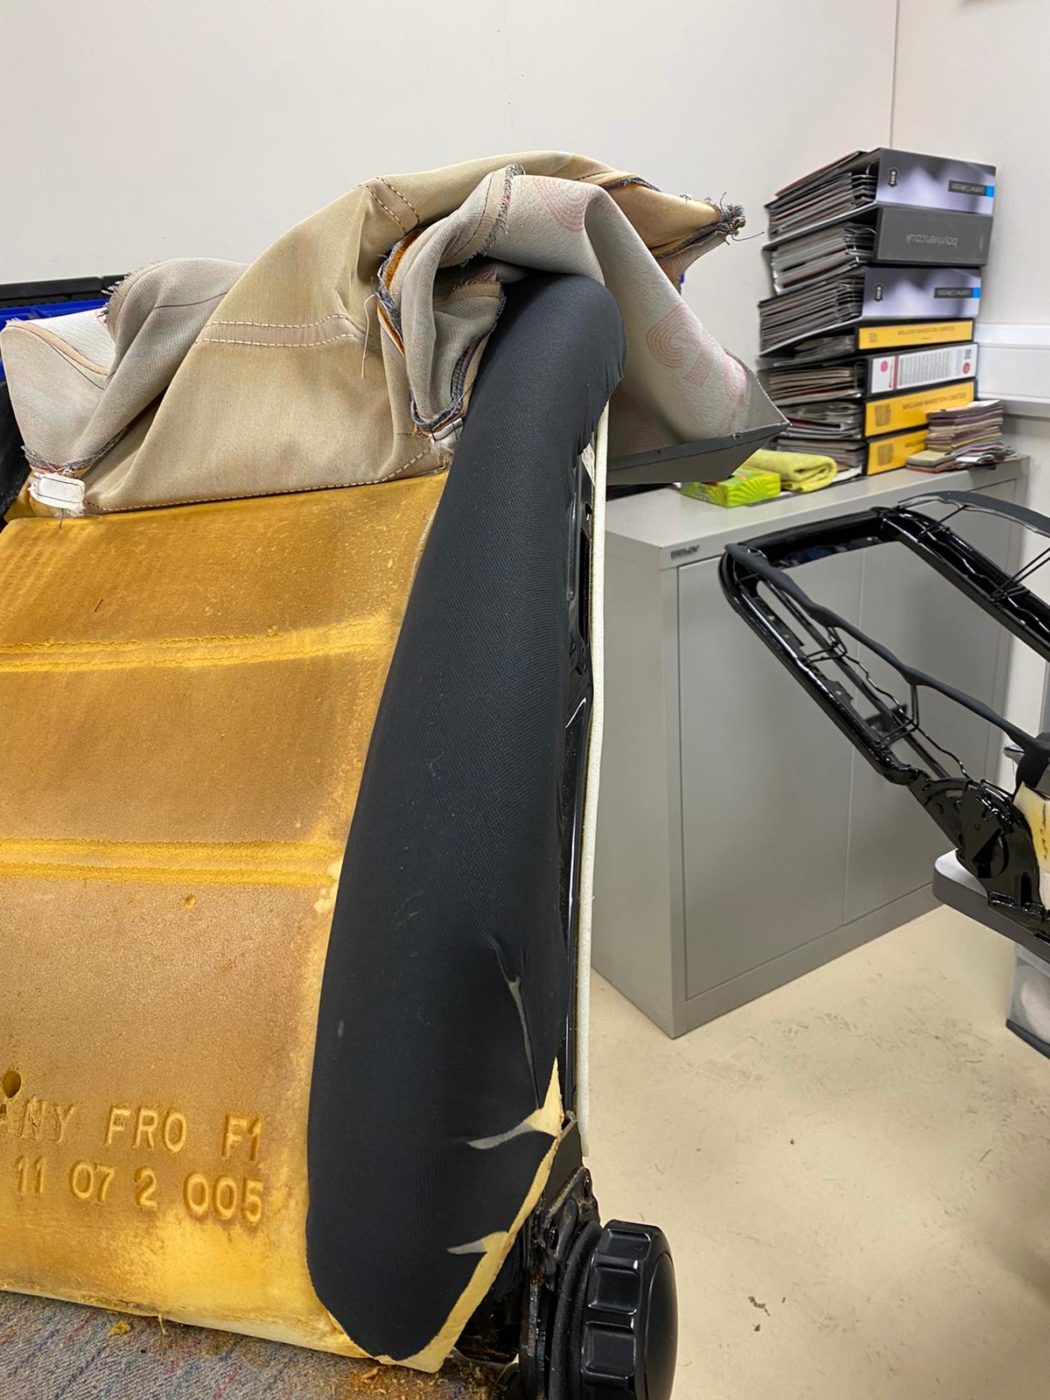
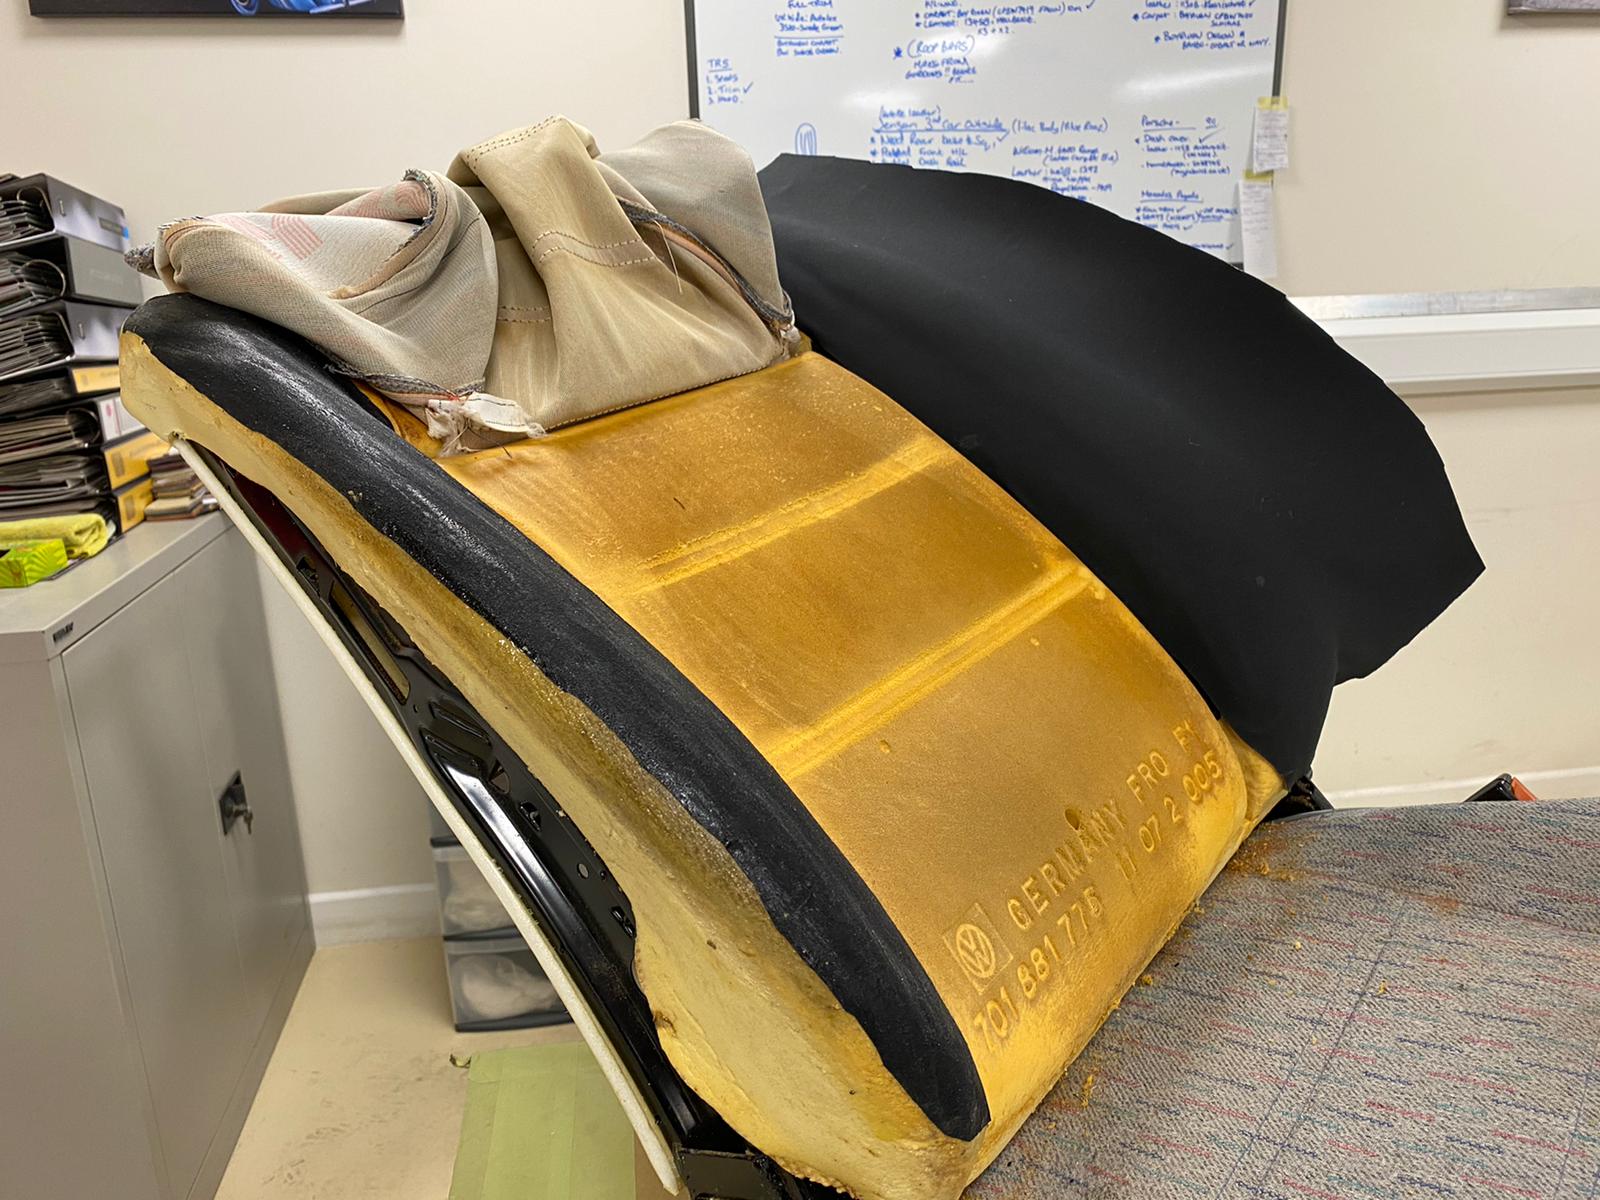
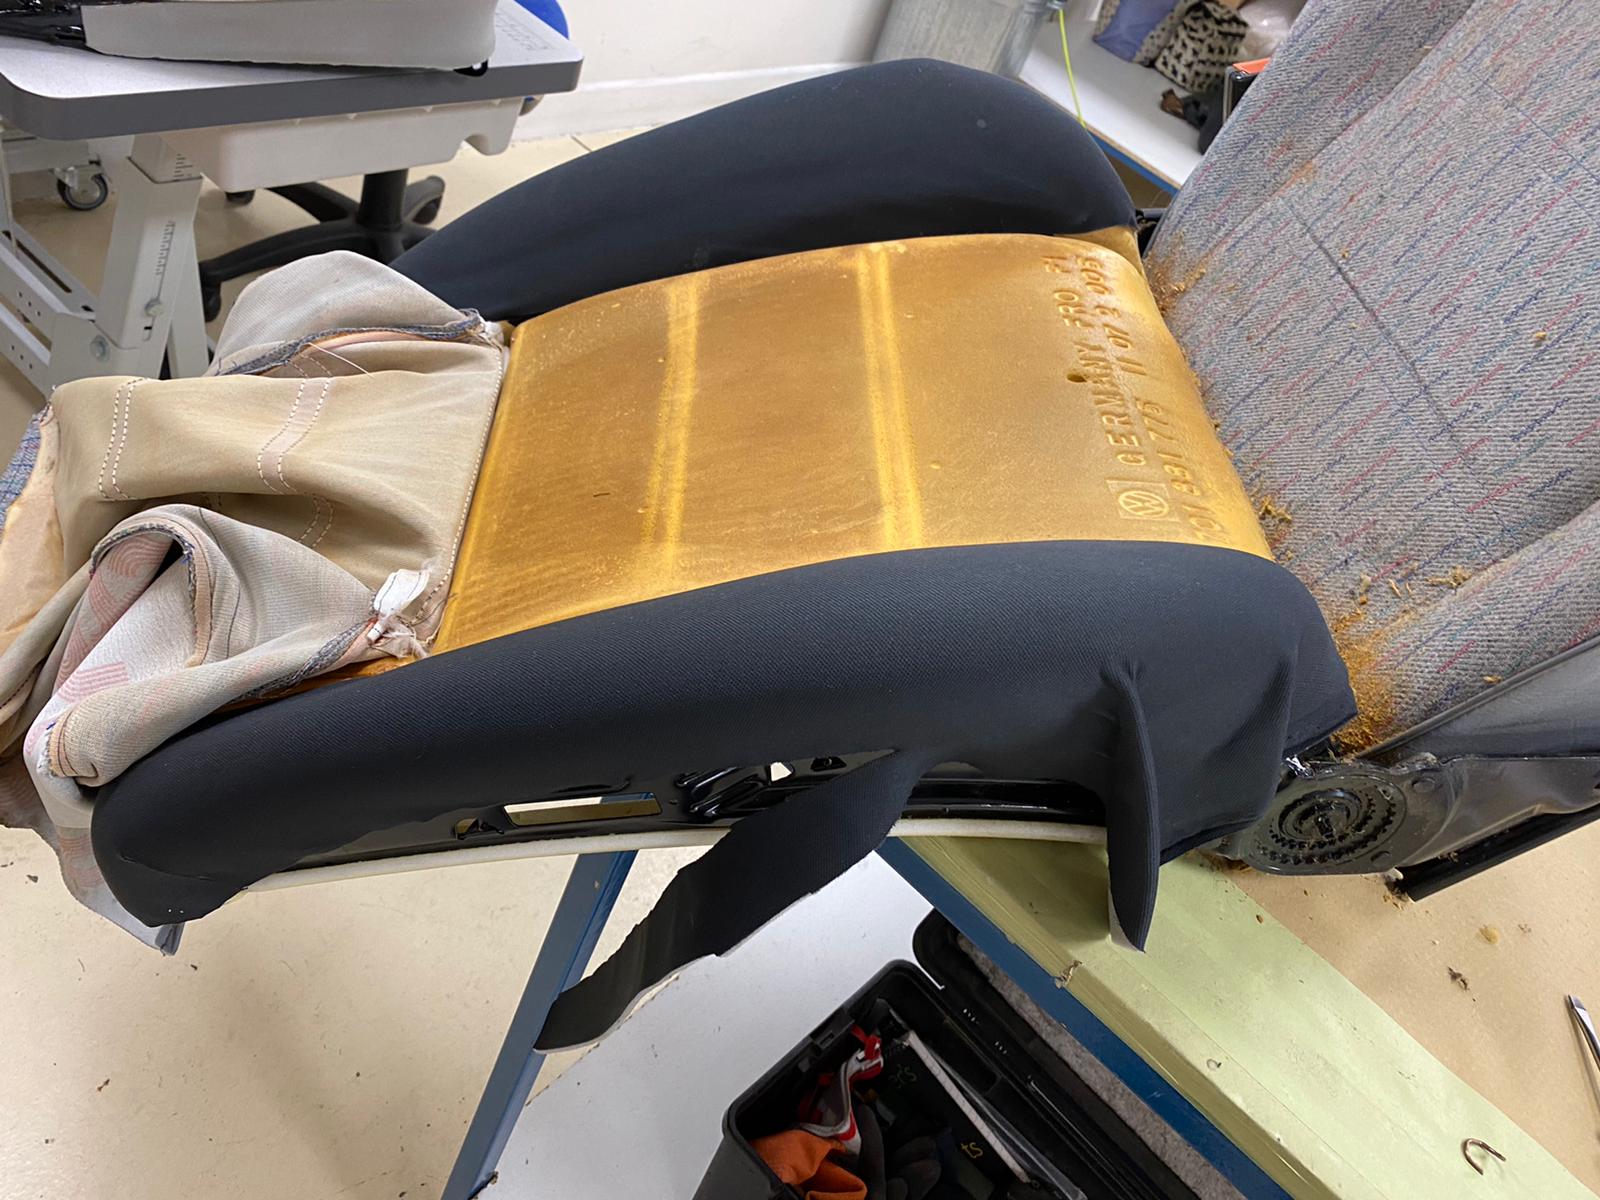
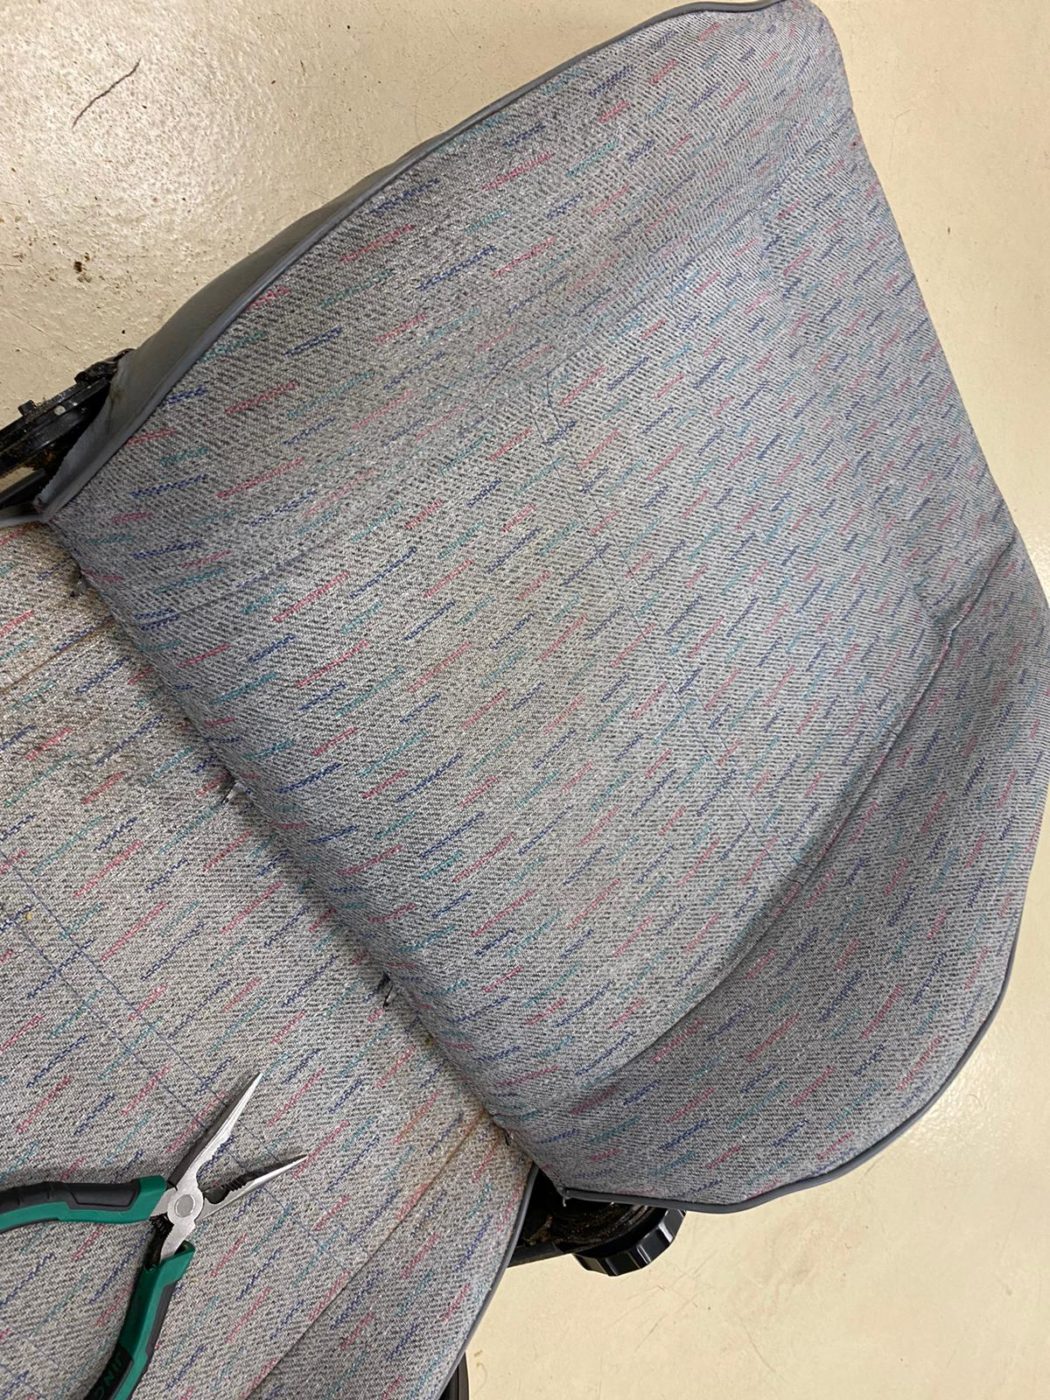
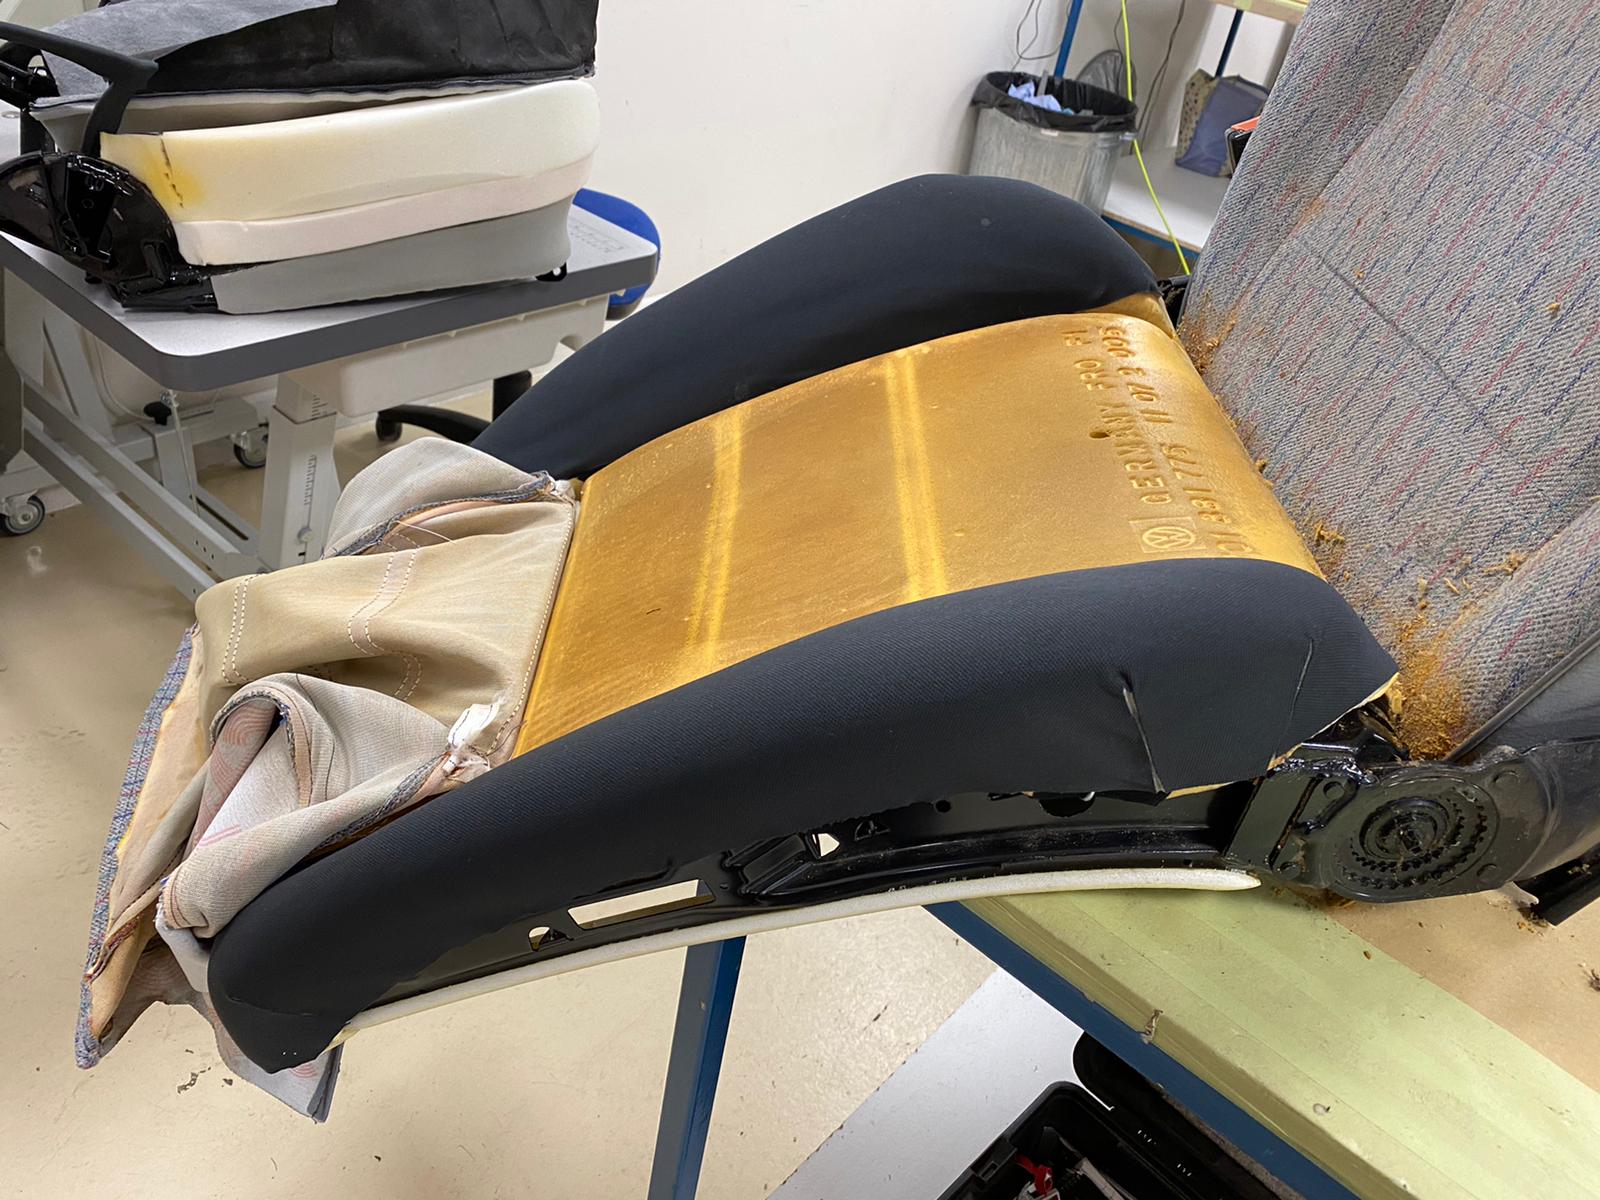
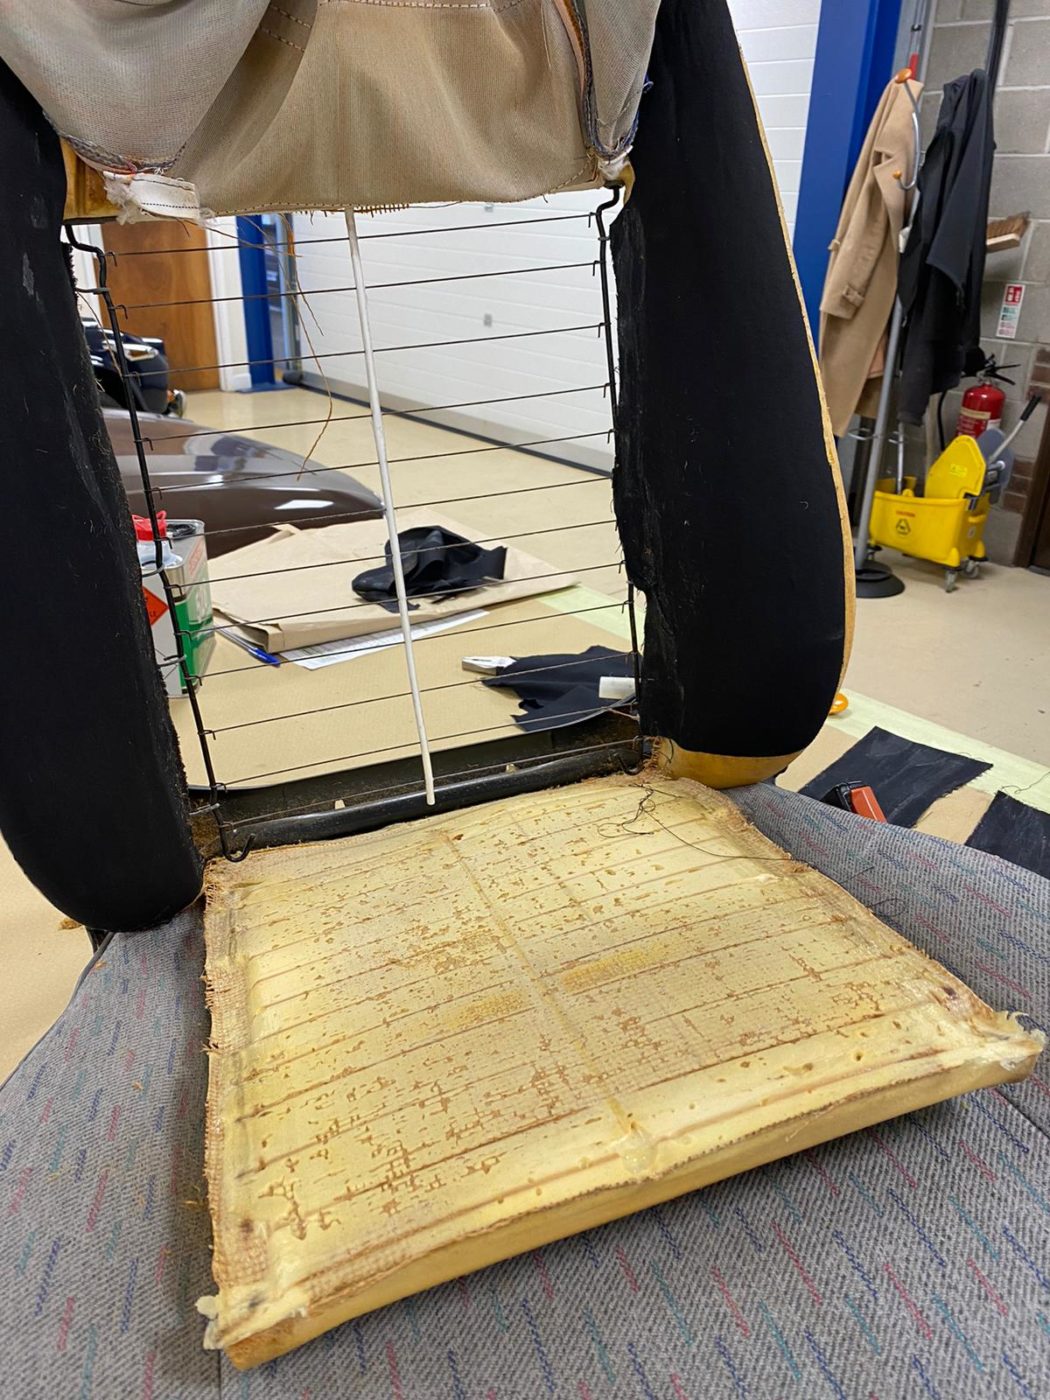
The seats have also been recovered and re-padded with new foam. Kath began by removing the cover, glueing splits foam back together to improve comfort and adding a piece of calico to stick over the top of the foam to reduce splits in the future. Kath also added 3mm of foam to the frames for added comfort on those long road trips.
Kath also discovered the centre of the seat foam has split so she added calico to it and stuck it around three sides. The next step was to stick the foam back in place before refitting the cover. To ensure the cover fit back on neatly, Kath had to push and mould the cover back into shape. She then needed to hook the bottom back into place, pull the back section through to front and hook it onto the same spikes as the front section. Once fitted, Kath could hammer the spikes back to secure the cover.


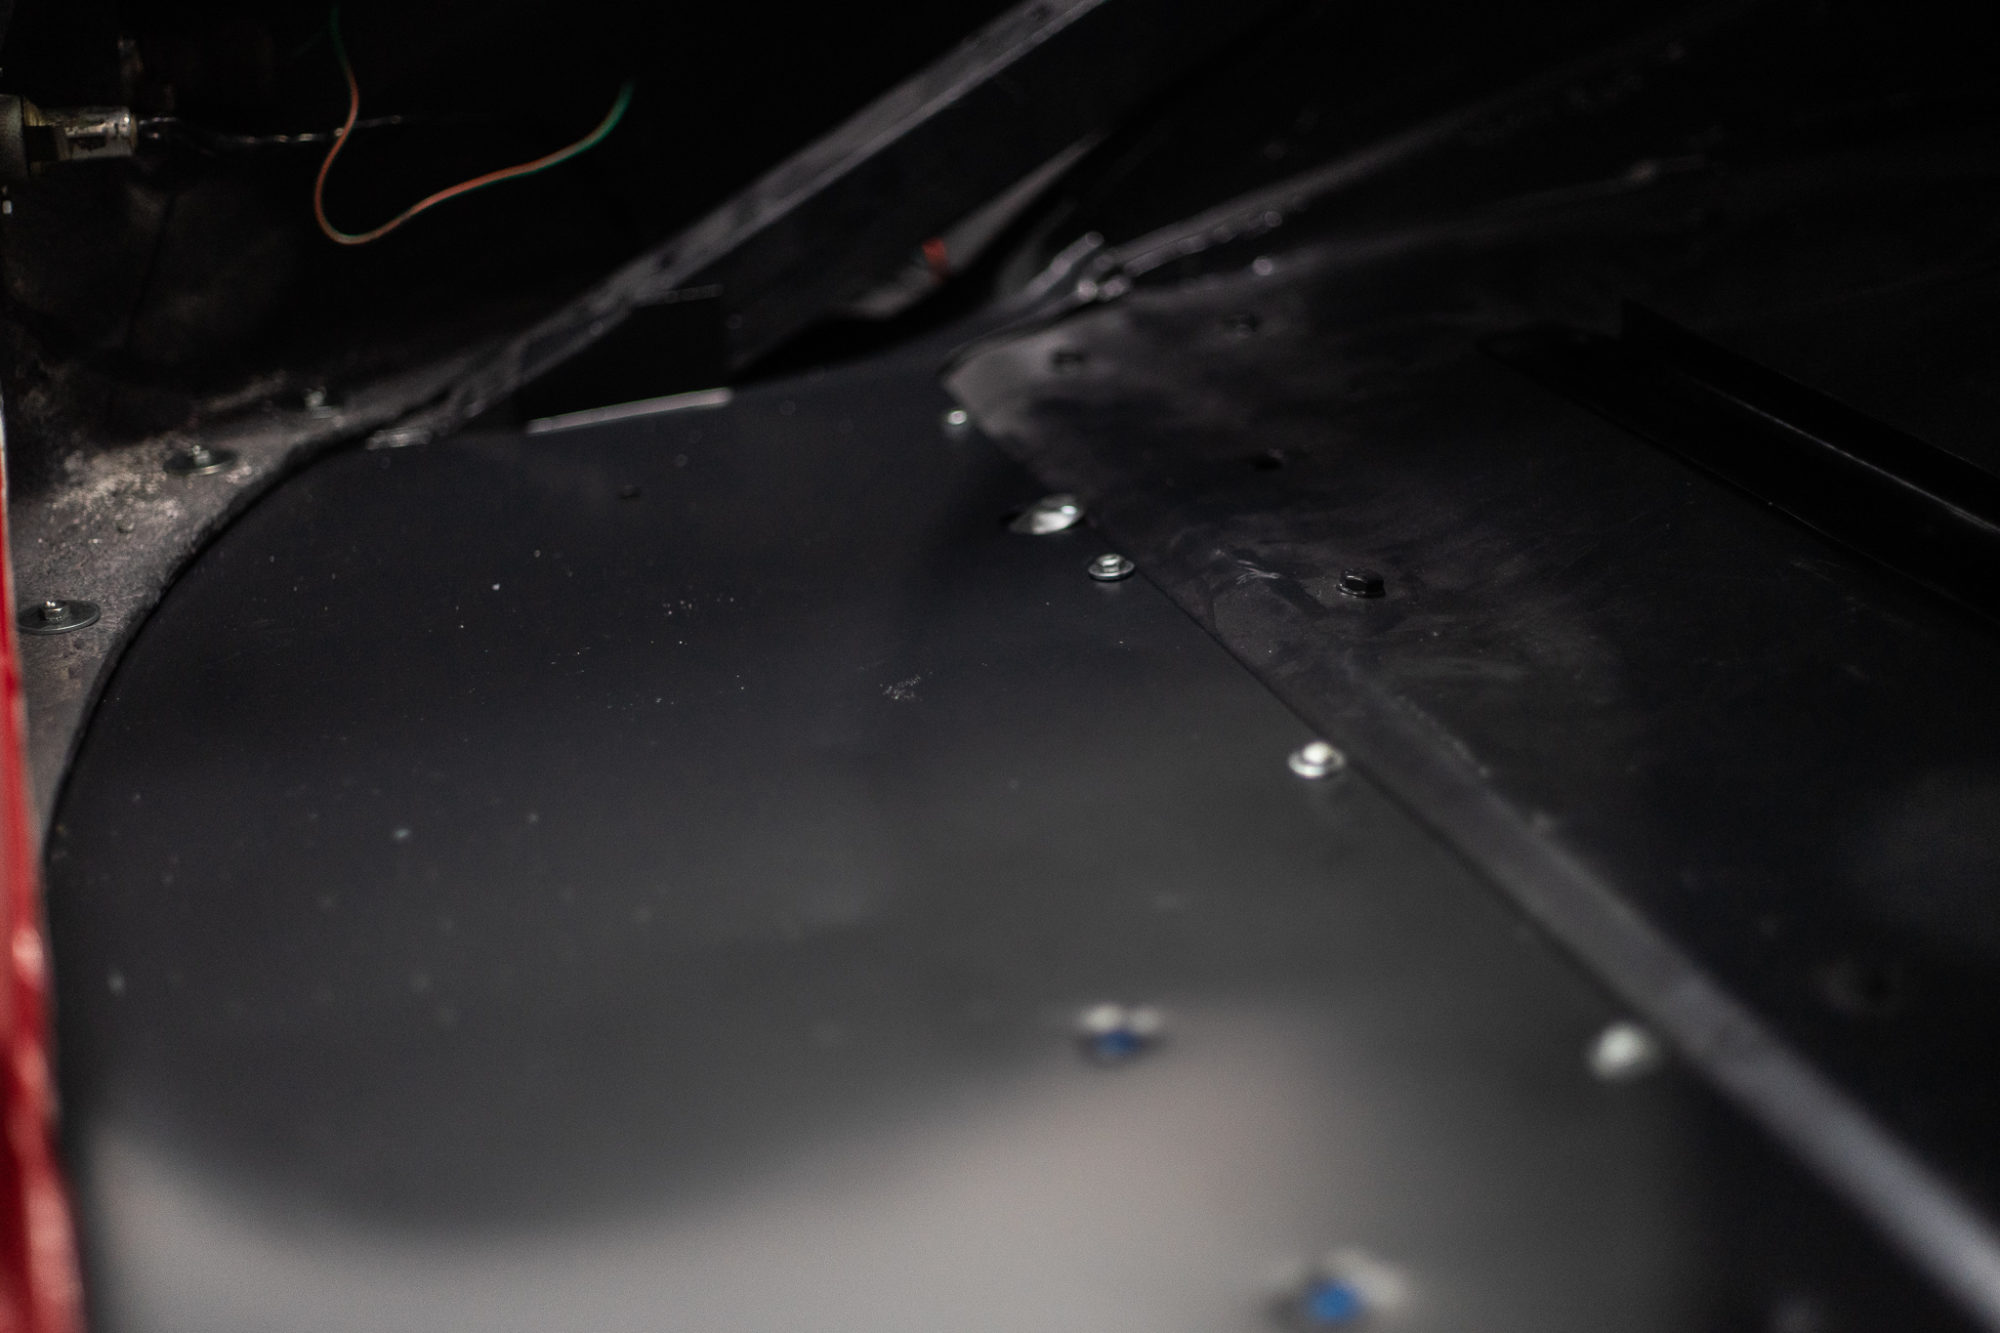
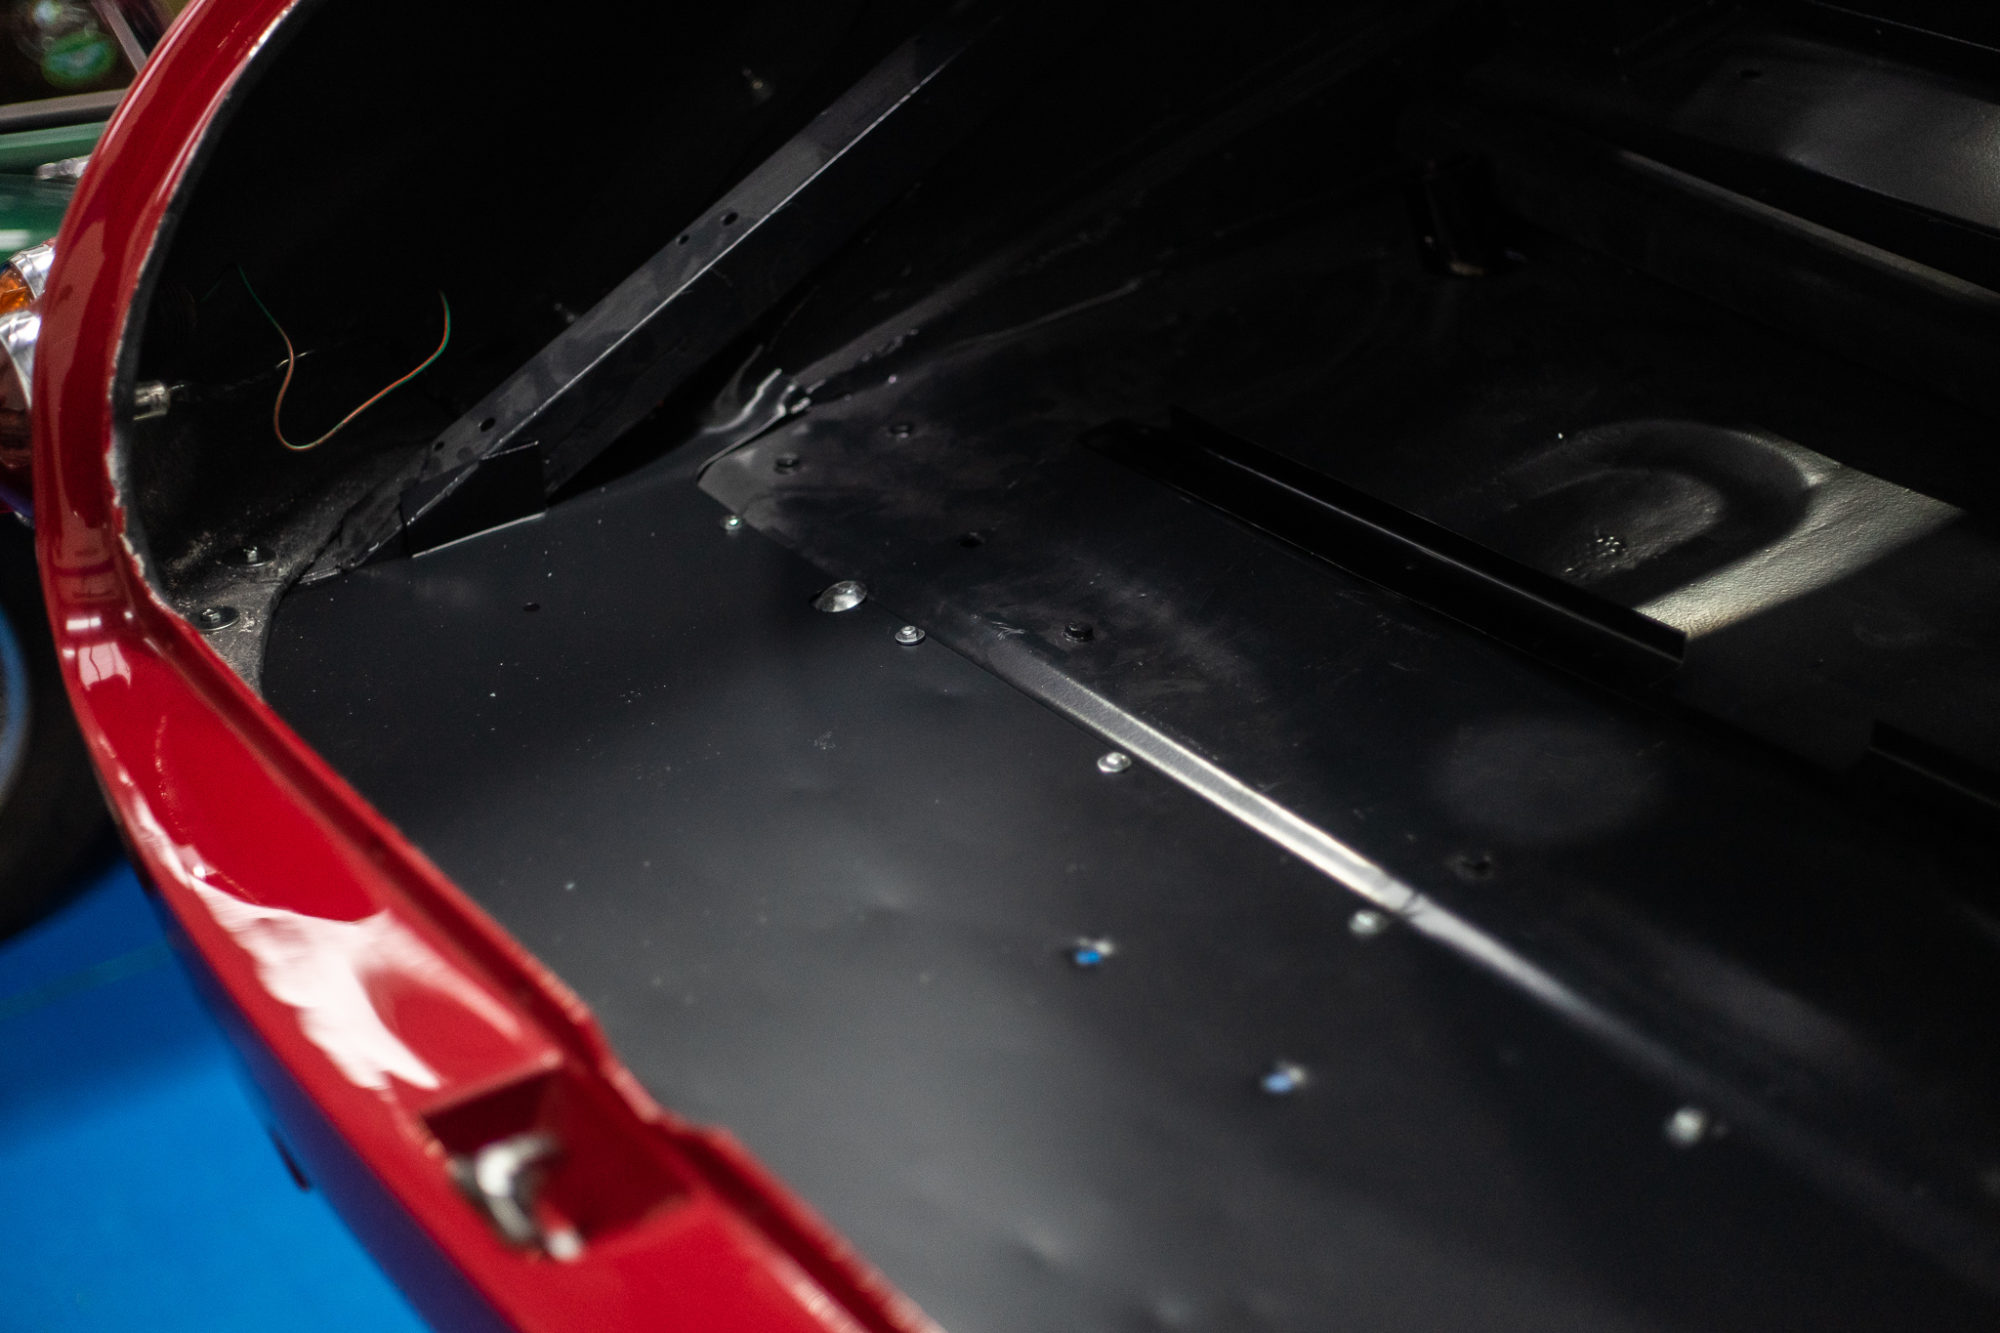
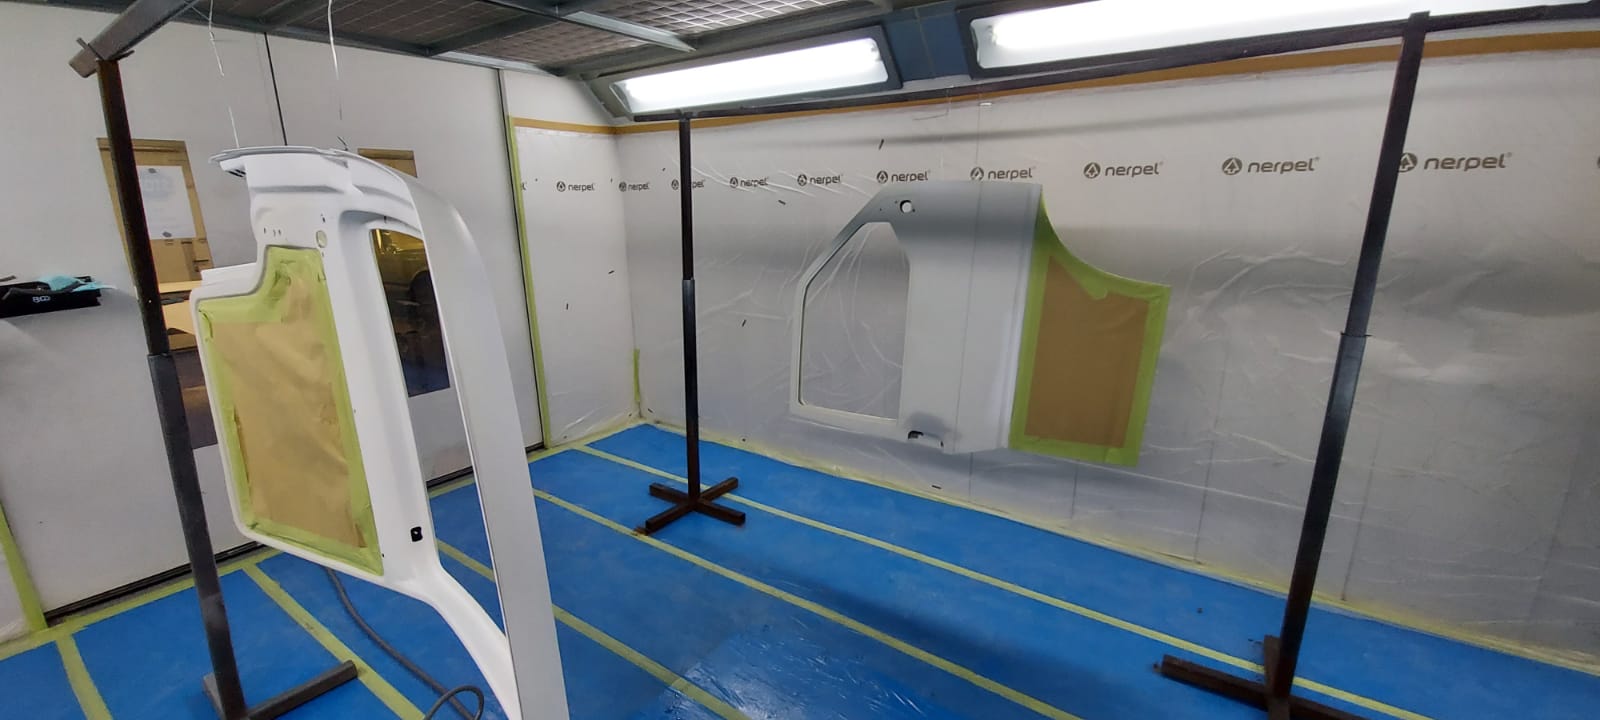
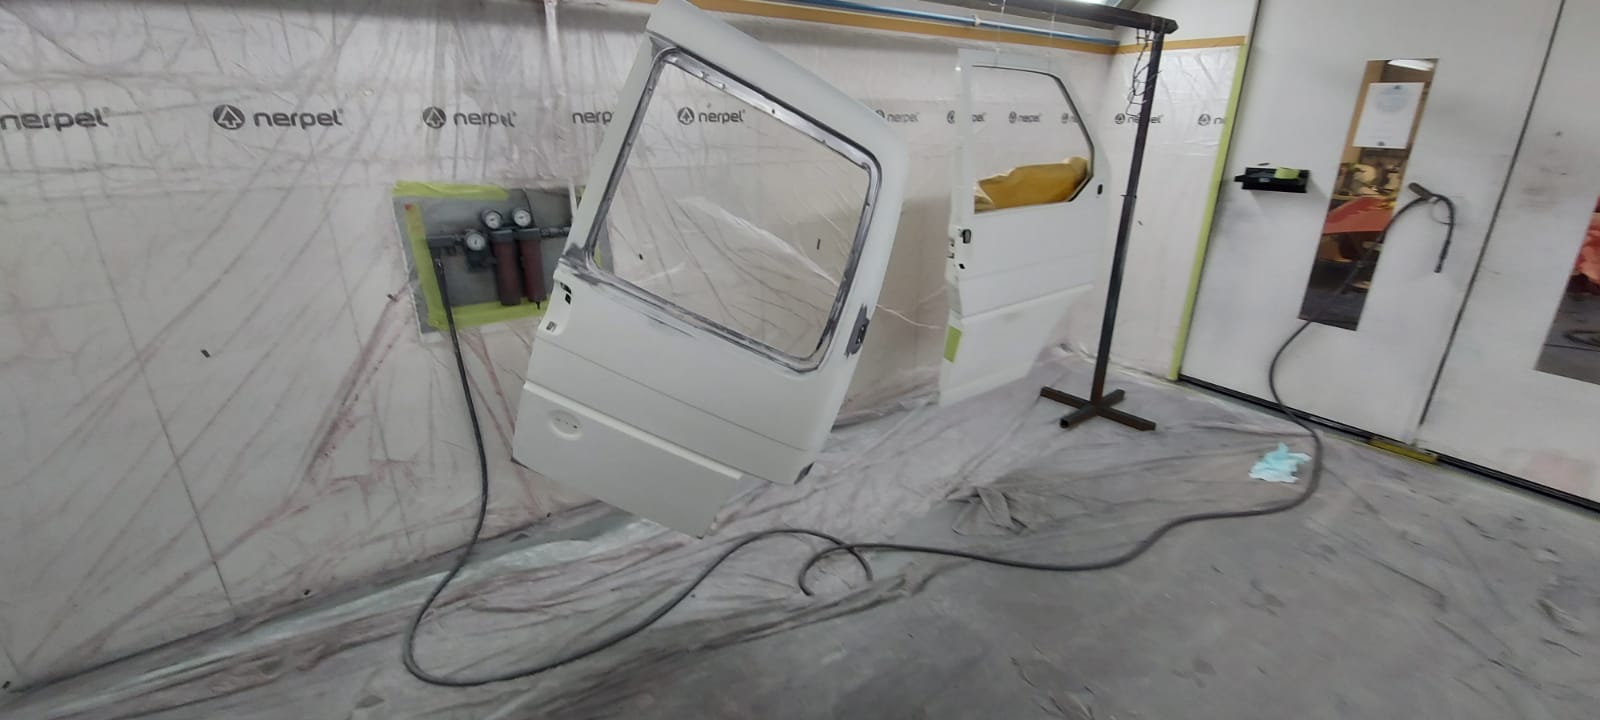
The doors and side panels have been masked, primed and repainted, ready to be fitted back onto the shell later down the line.

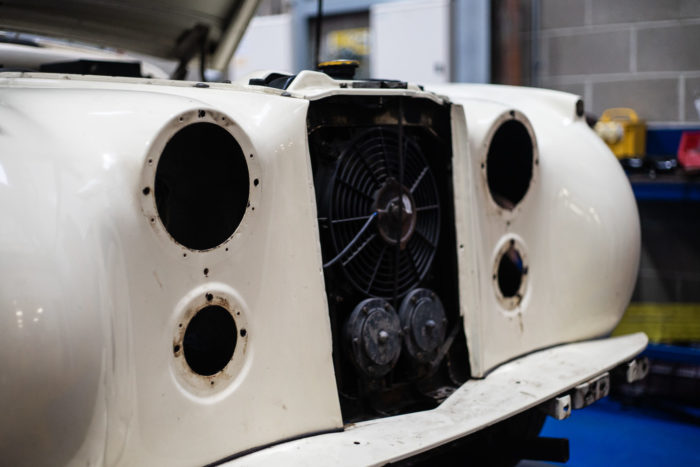
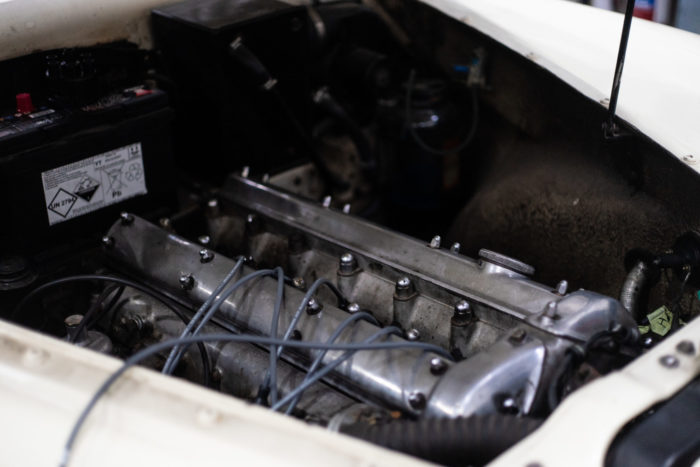
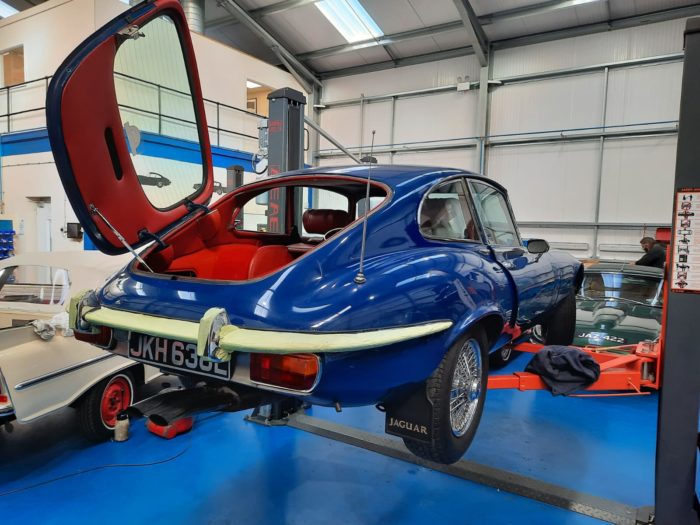
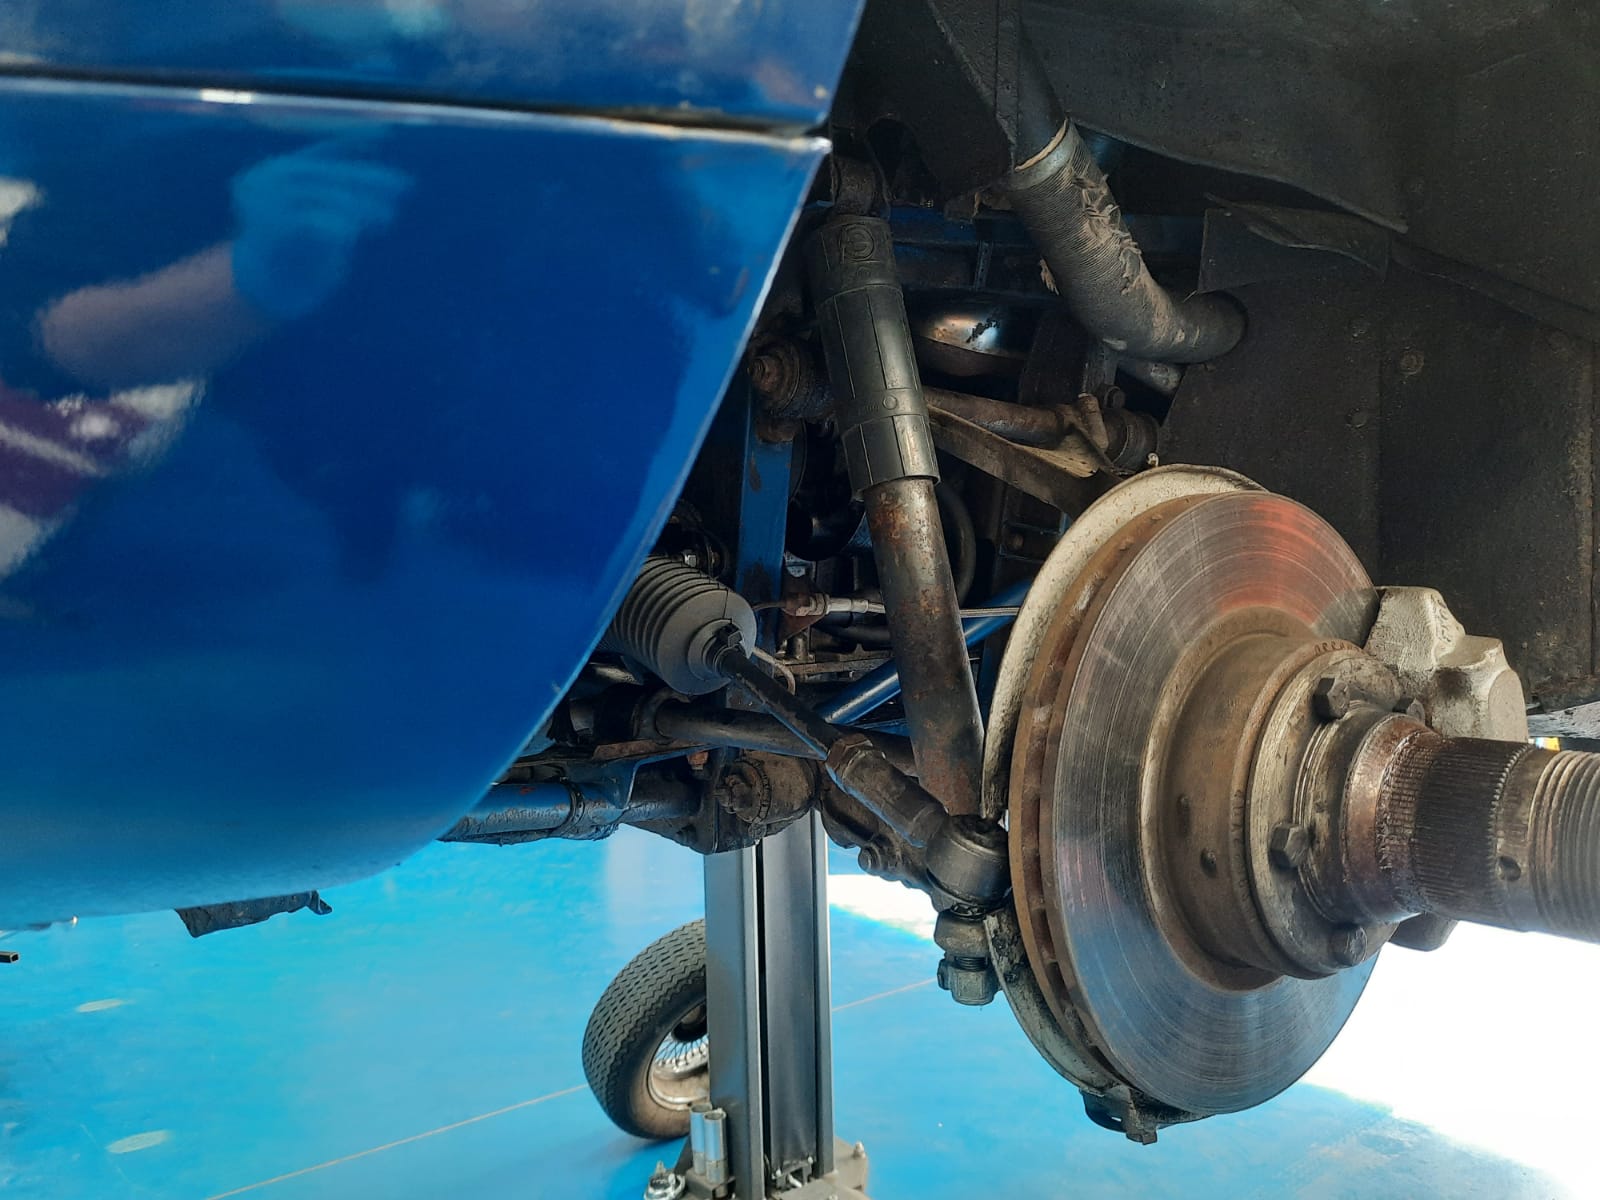
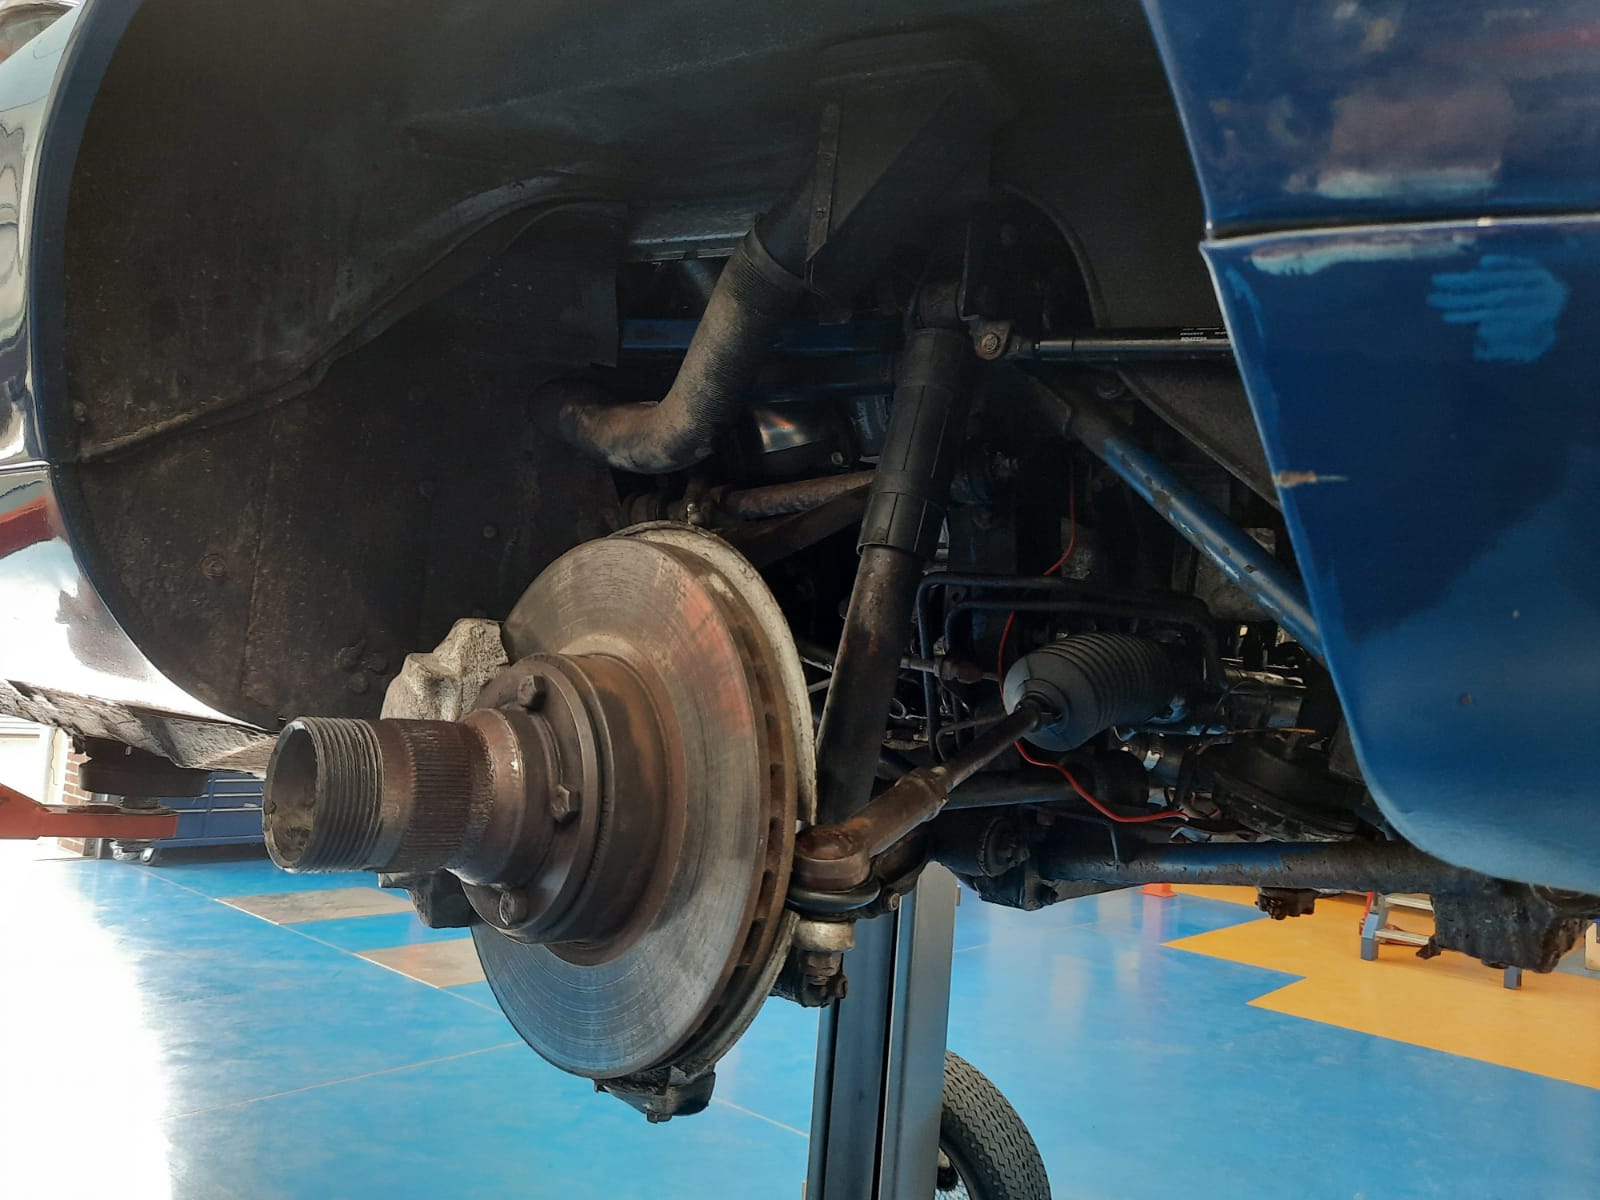
Our 1970 Jaguar E-Type V12 is back in the workshop after its hiatus at Bentwaters whilst we waited for the chrome bumper to come back. Mauro has dedicated his morning to carefully applying the chrome bumper, making sure it fits and it’s perfectly cleaned.
The next step is to run the E-Type through a general service and send it back home!
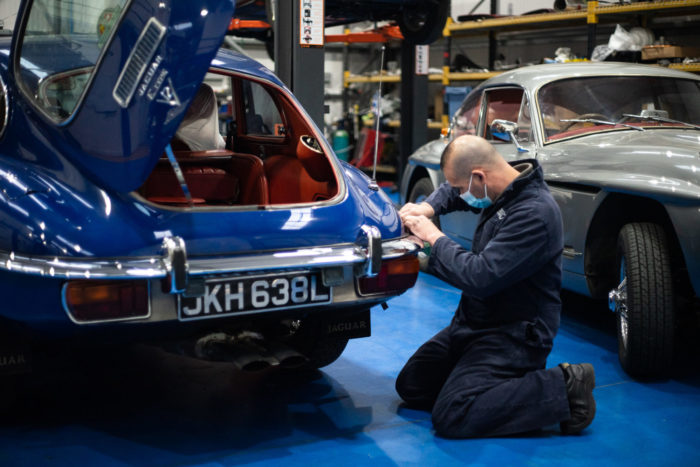
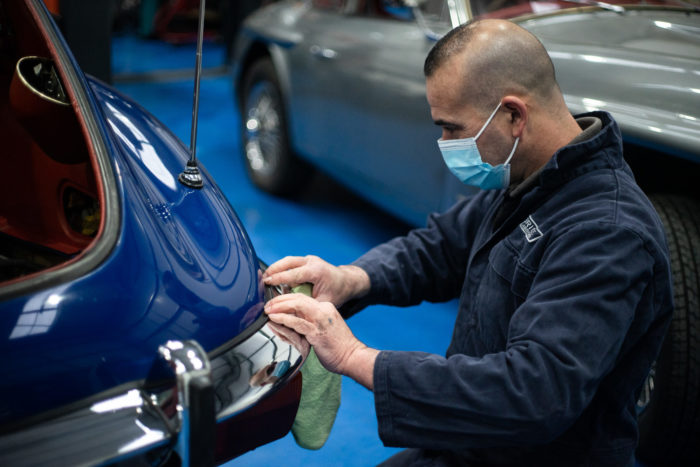
Along with the bumper, we also received other chrome parts back for our Jaguar such as the front grill surround which Mauro has also fitted.
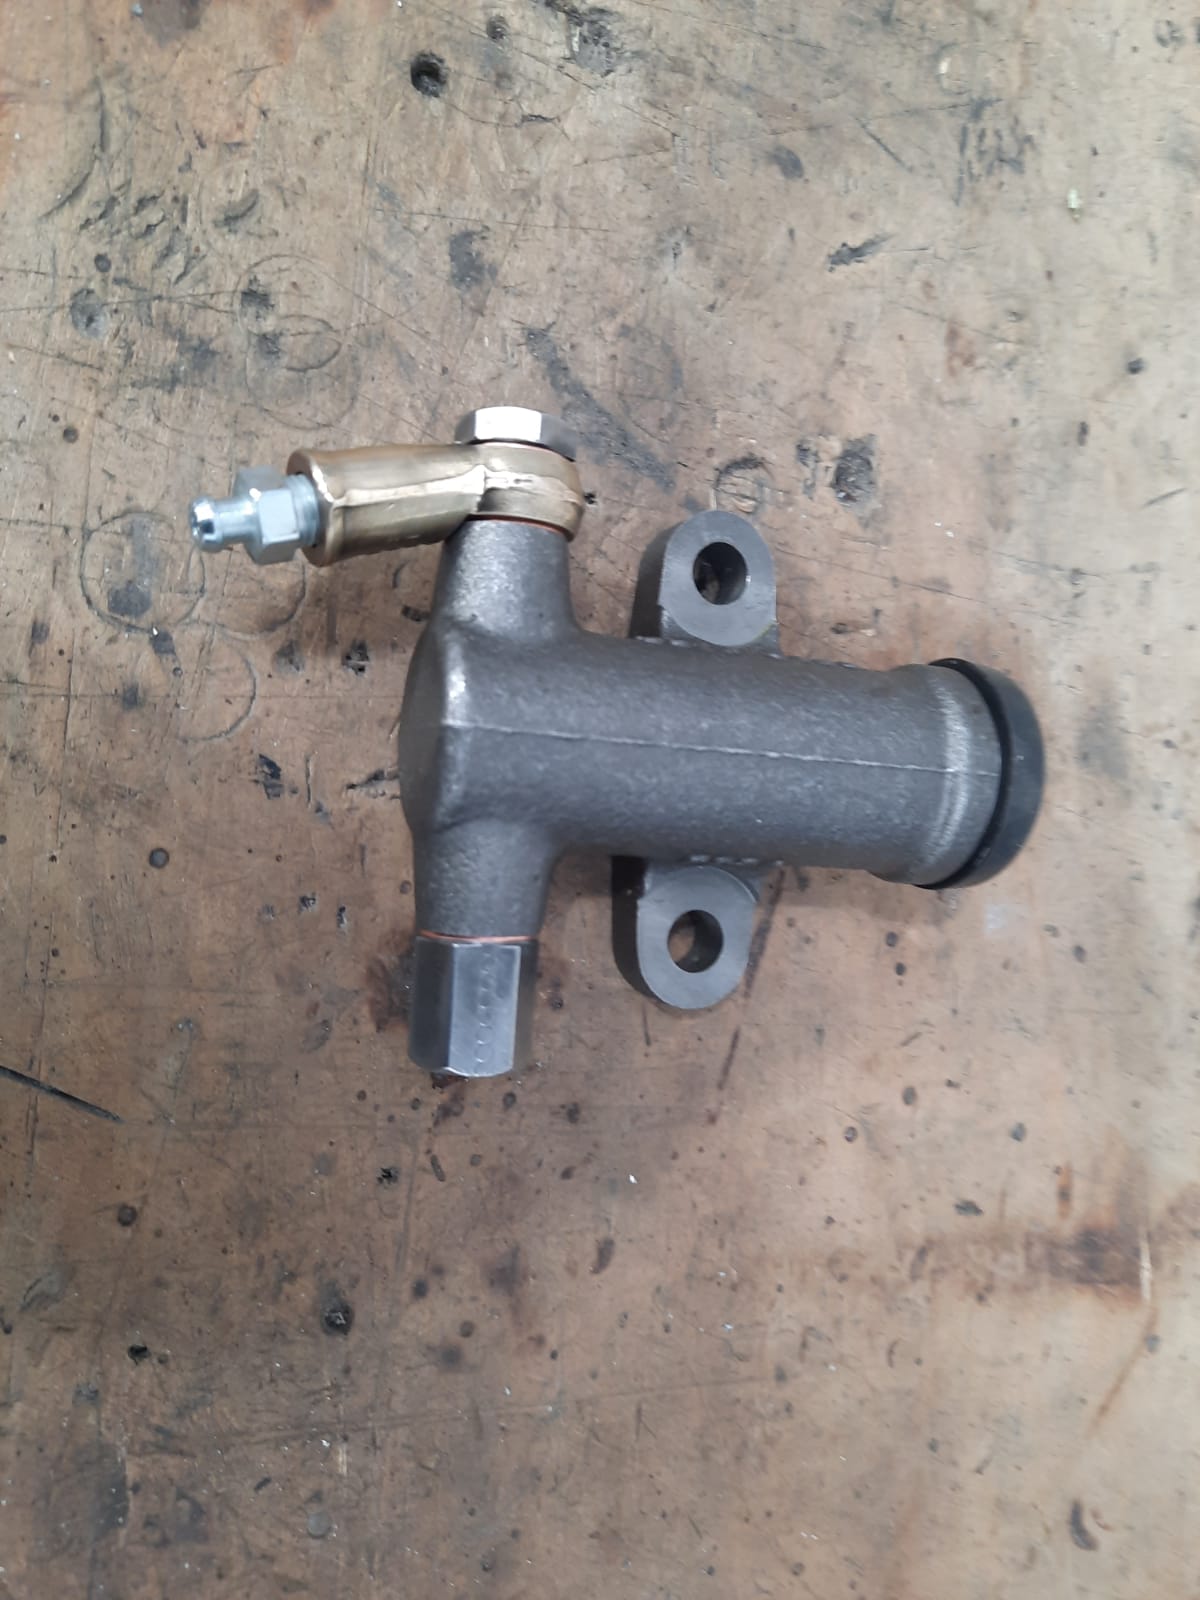
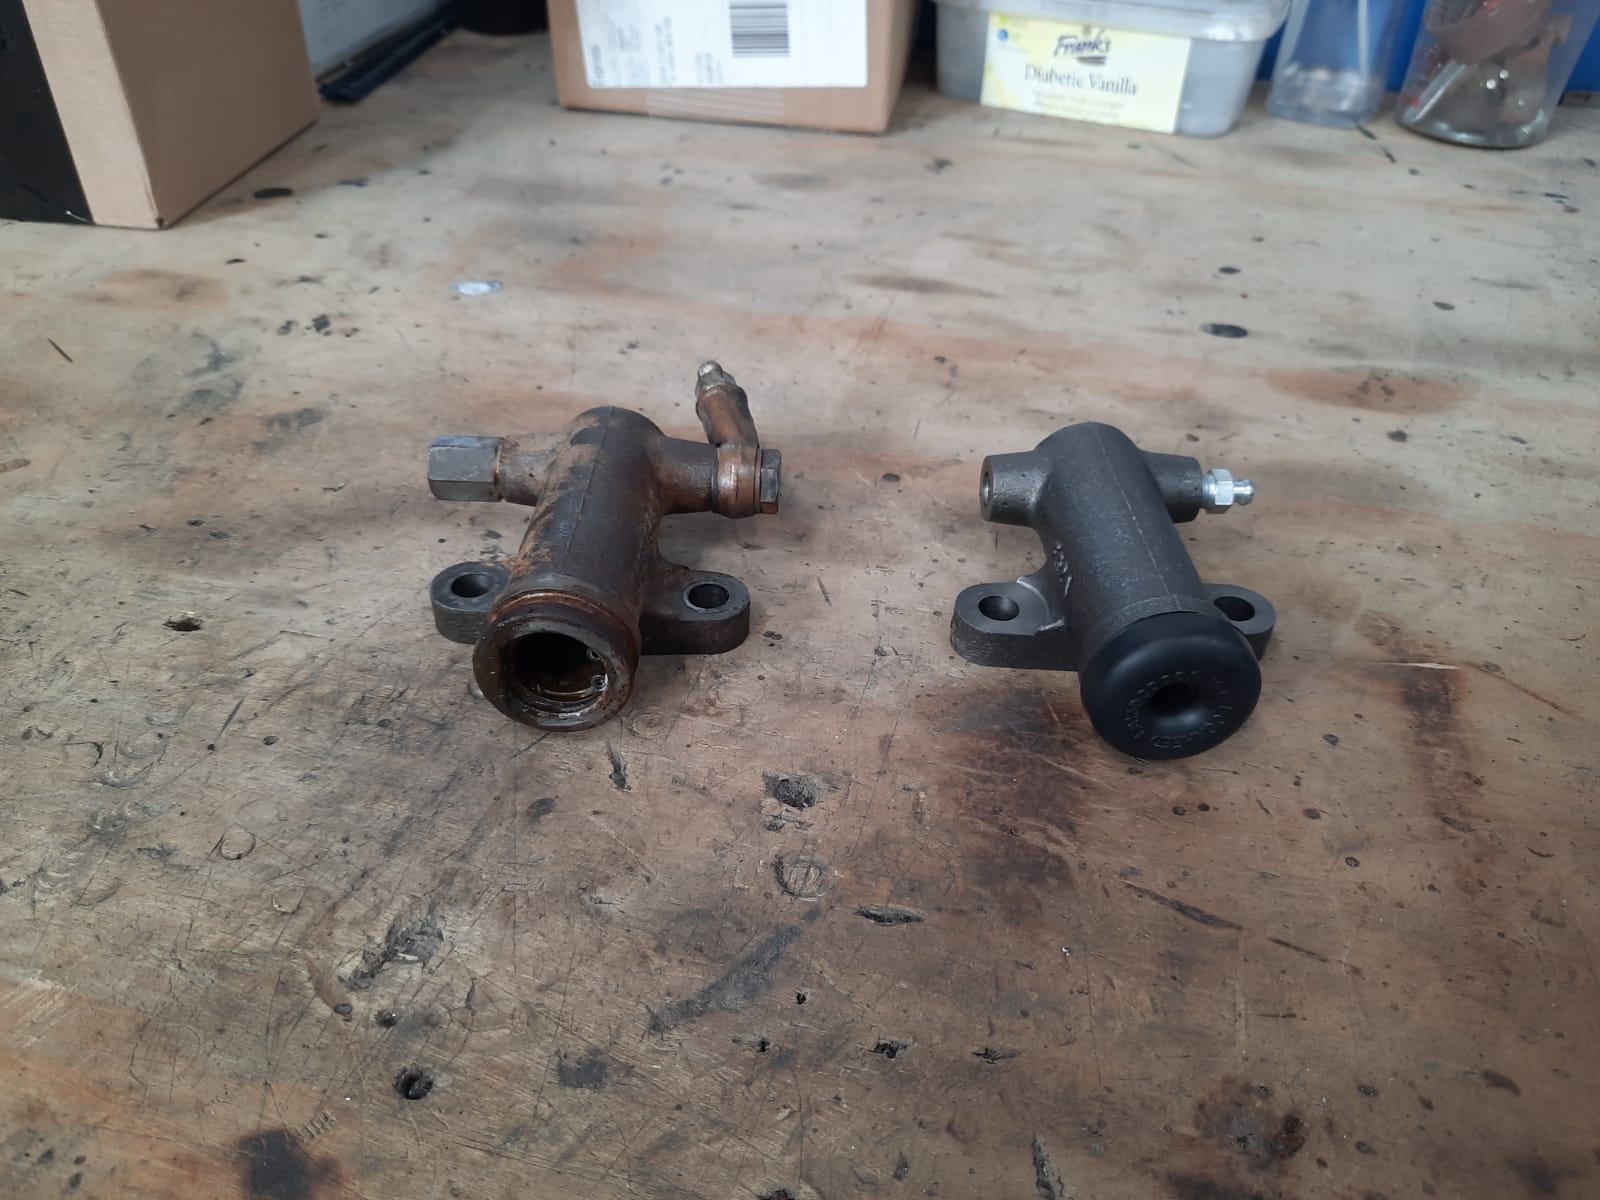
Mauro has also installed the steering rack tie rod ends which had been replaced as well as a new clutch slave cylinder.
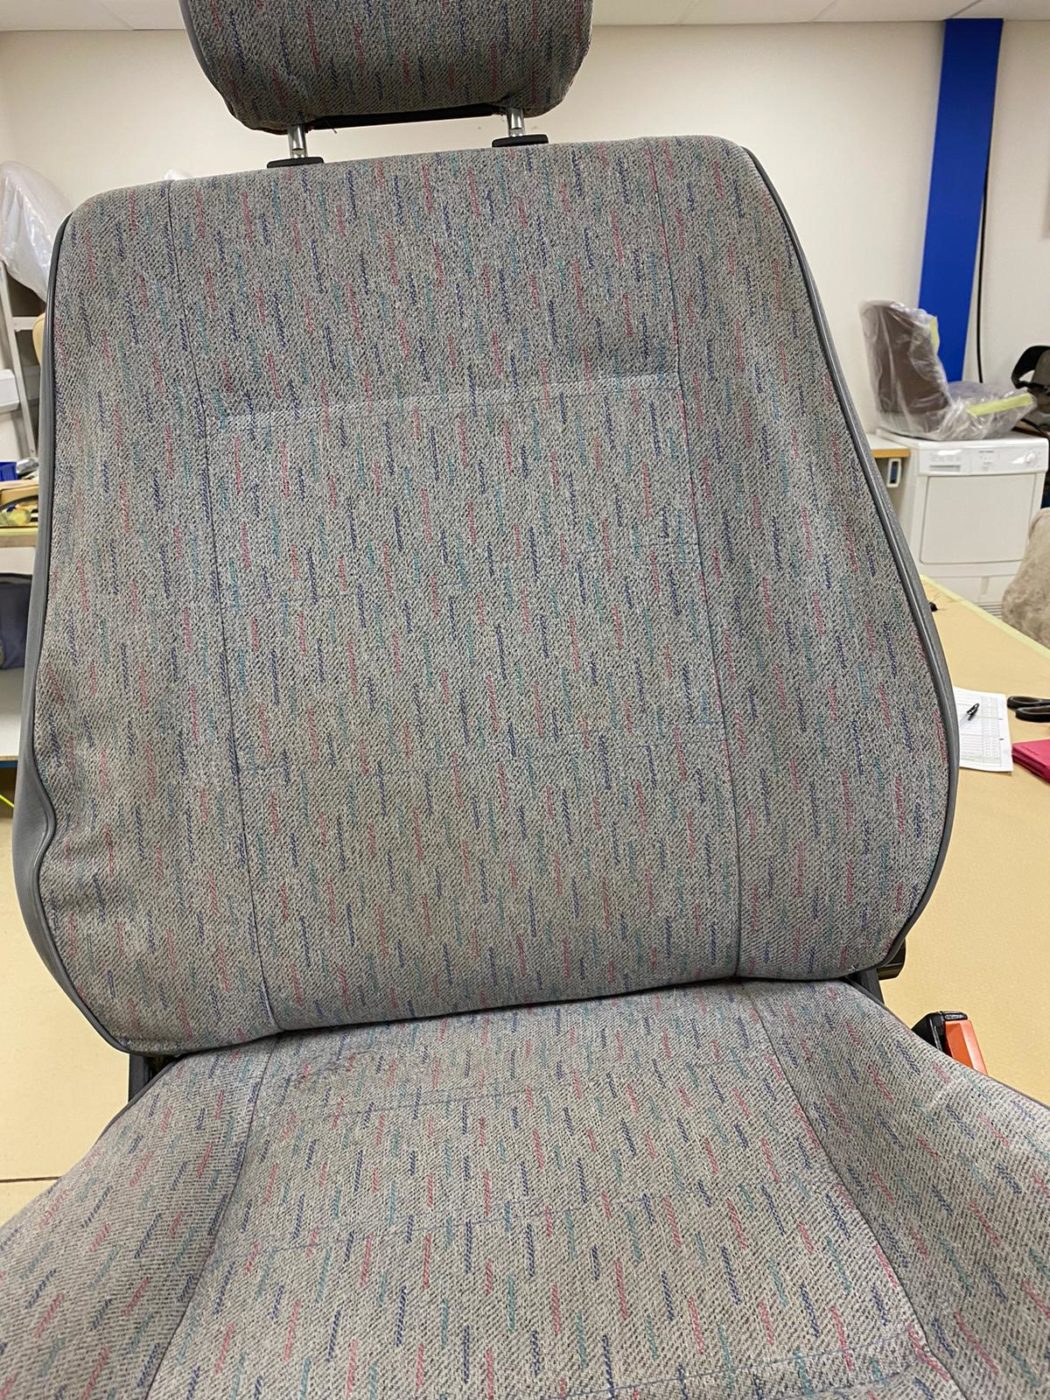
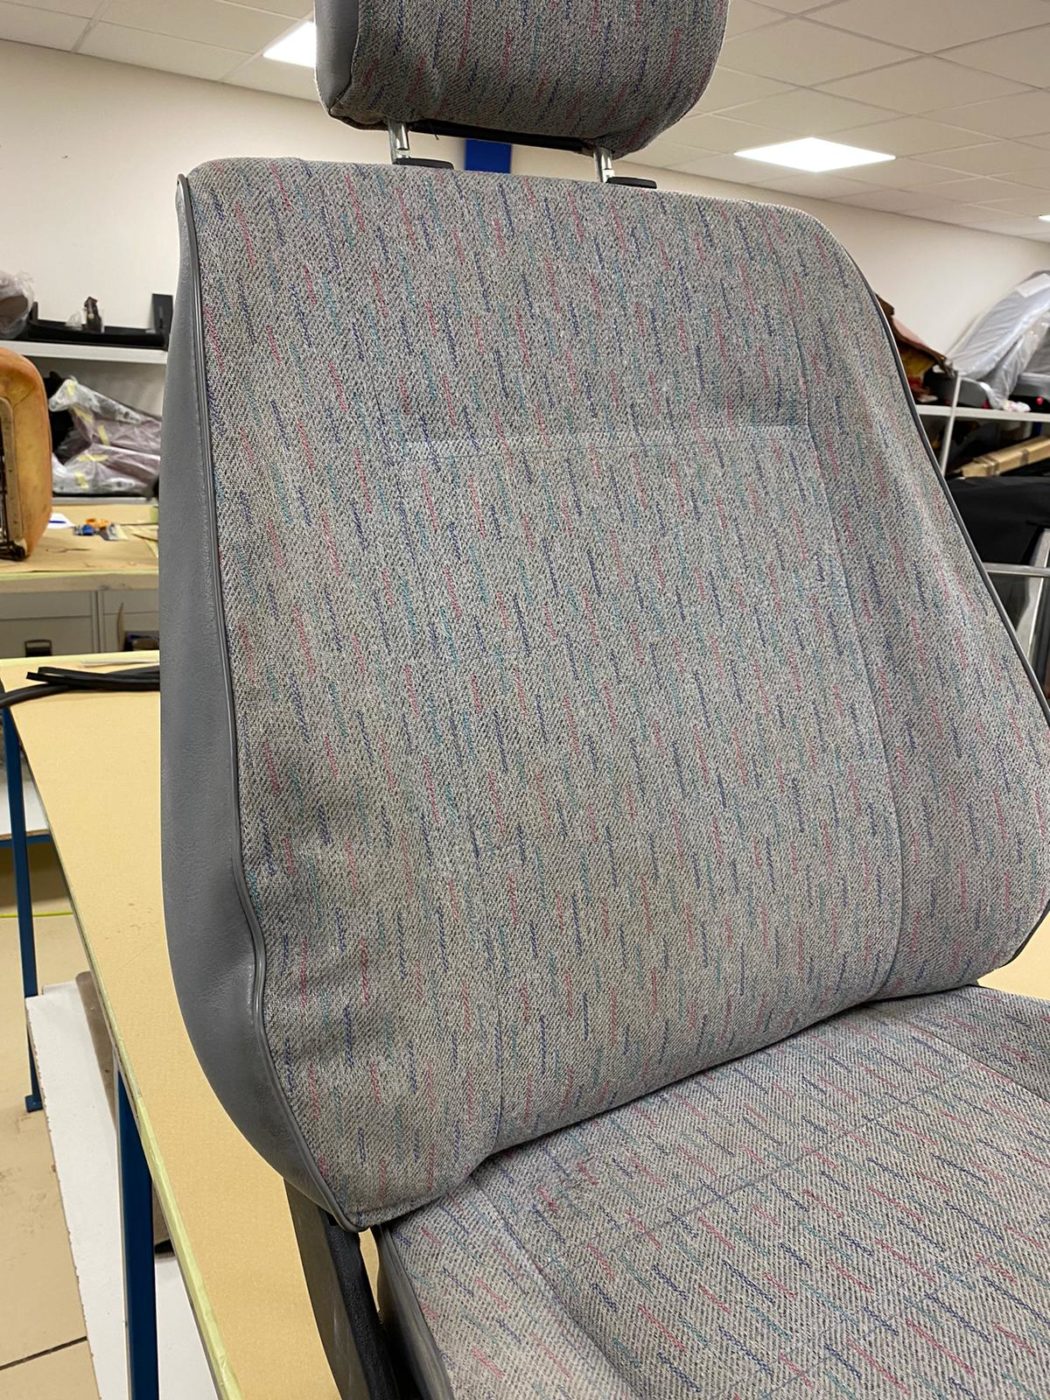
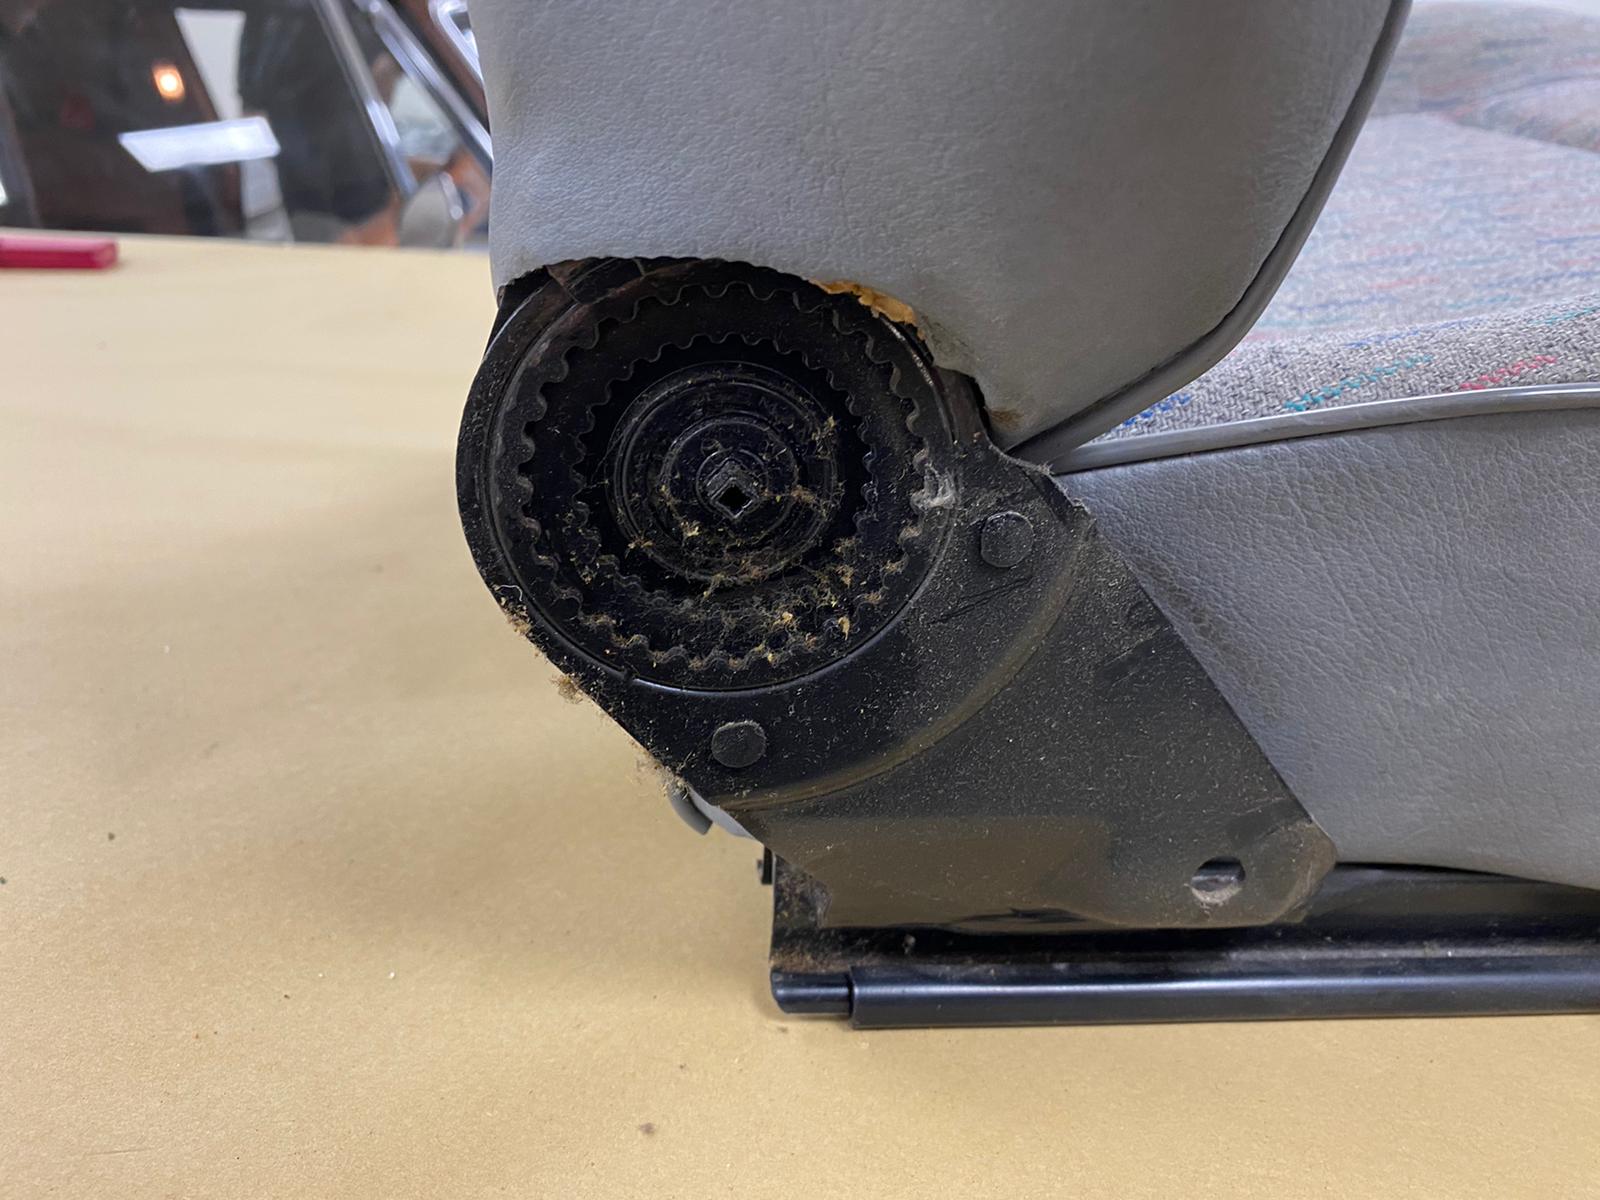
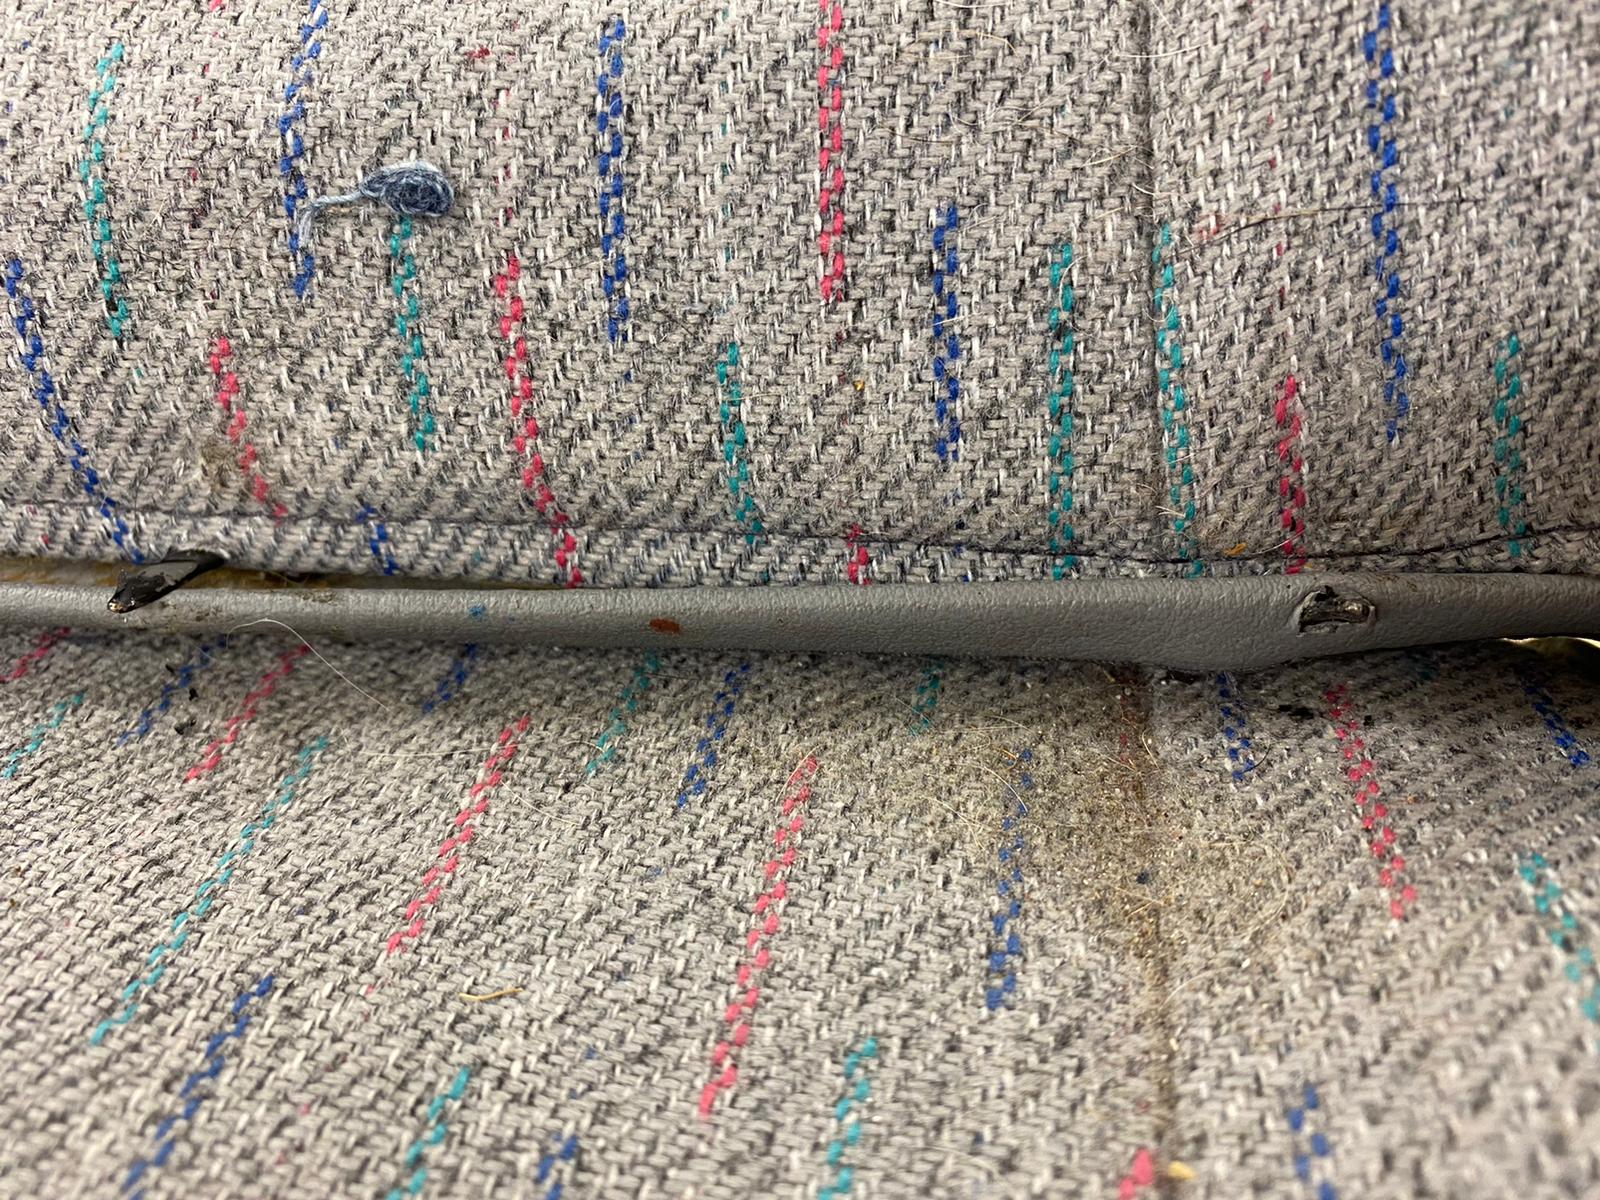
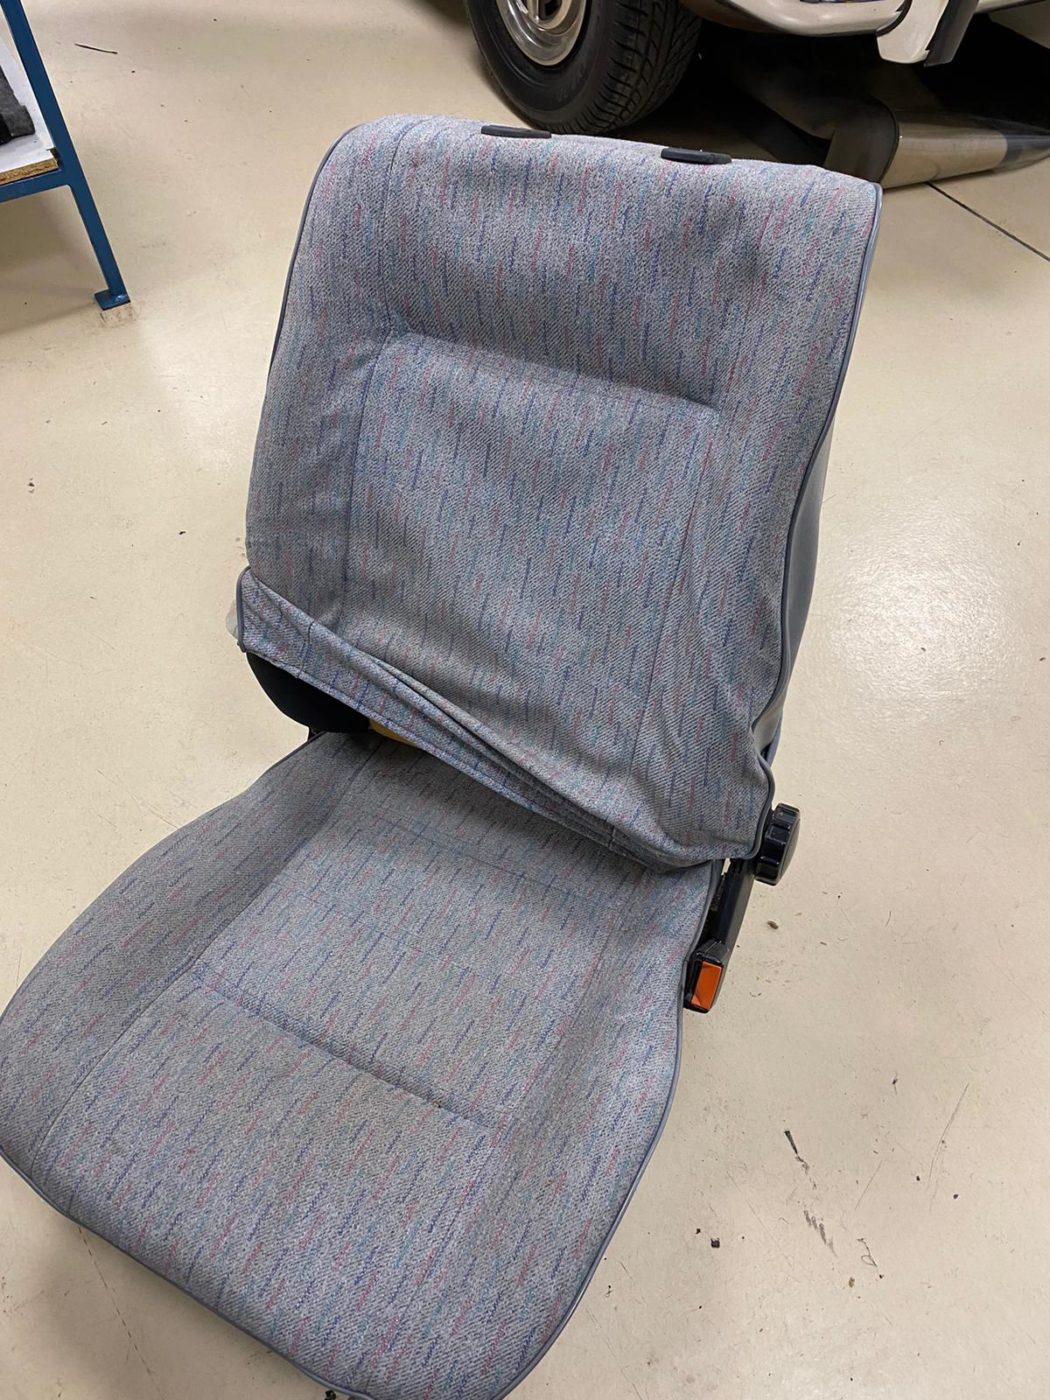
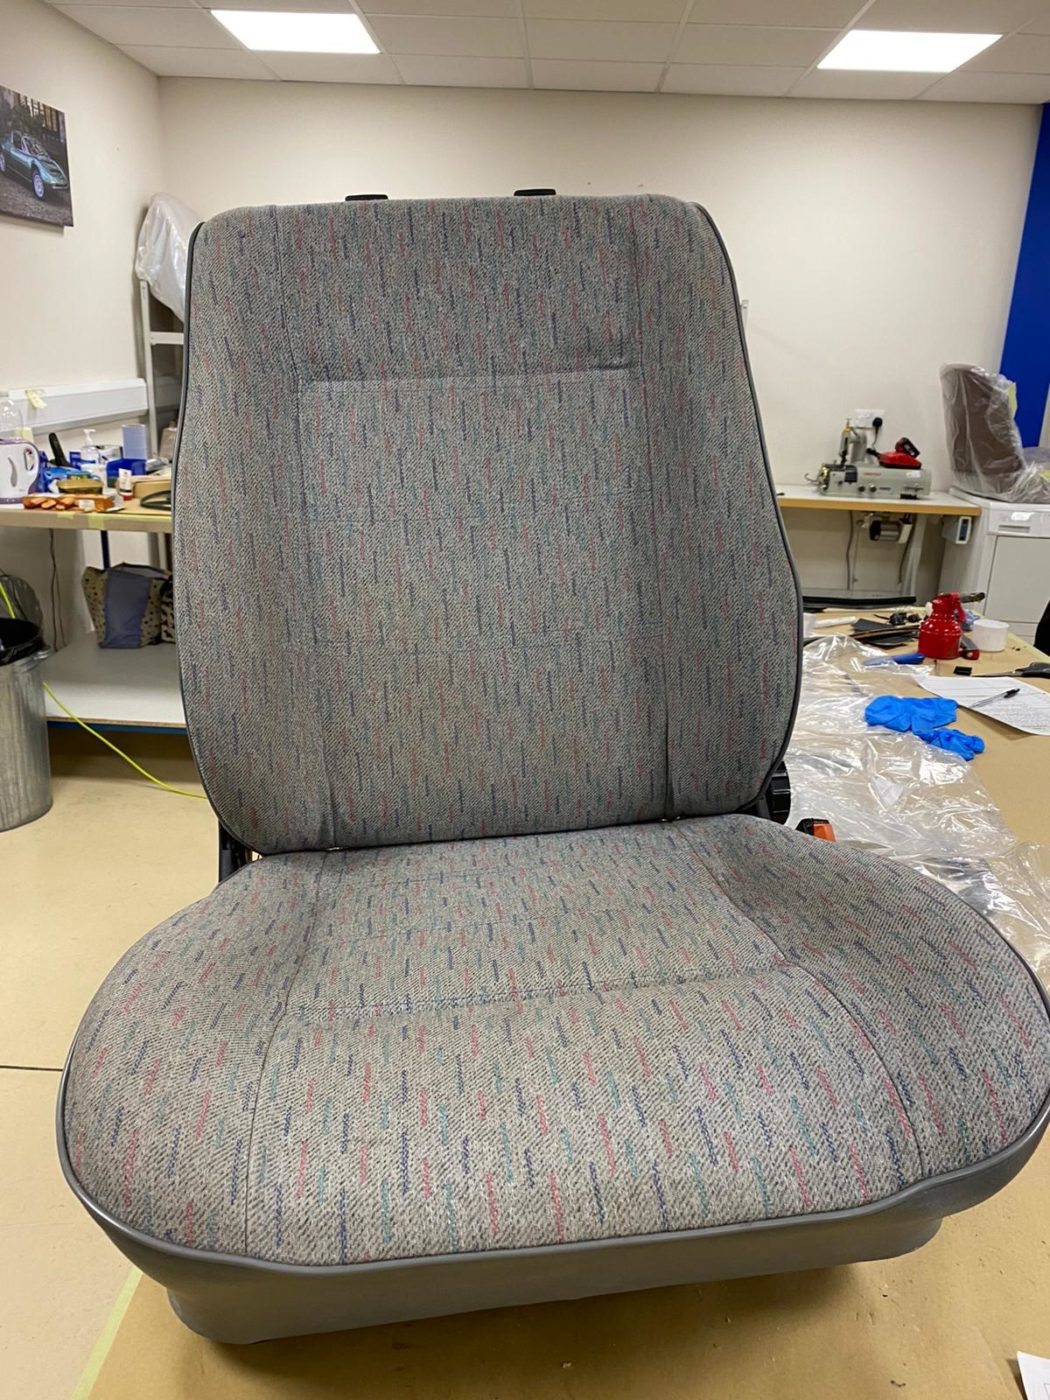
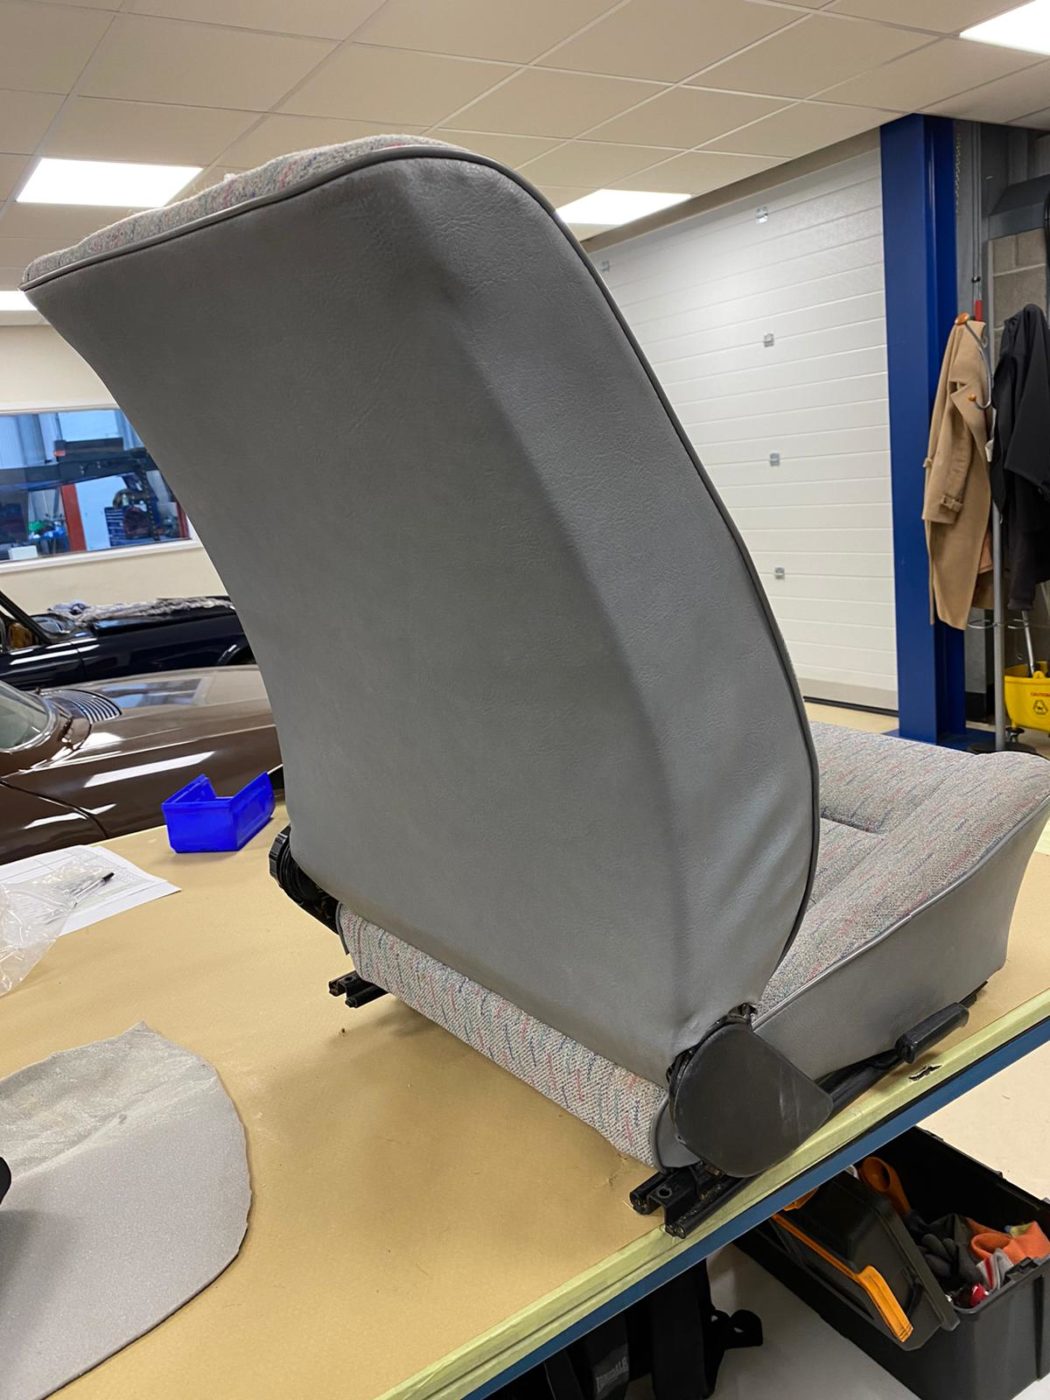
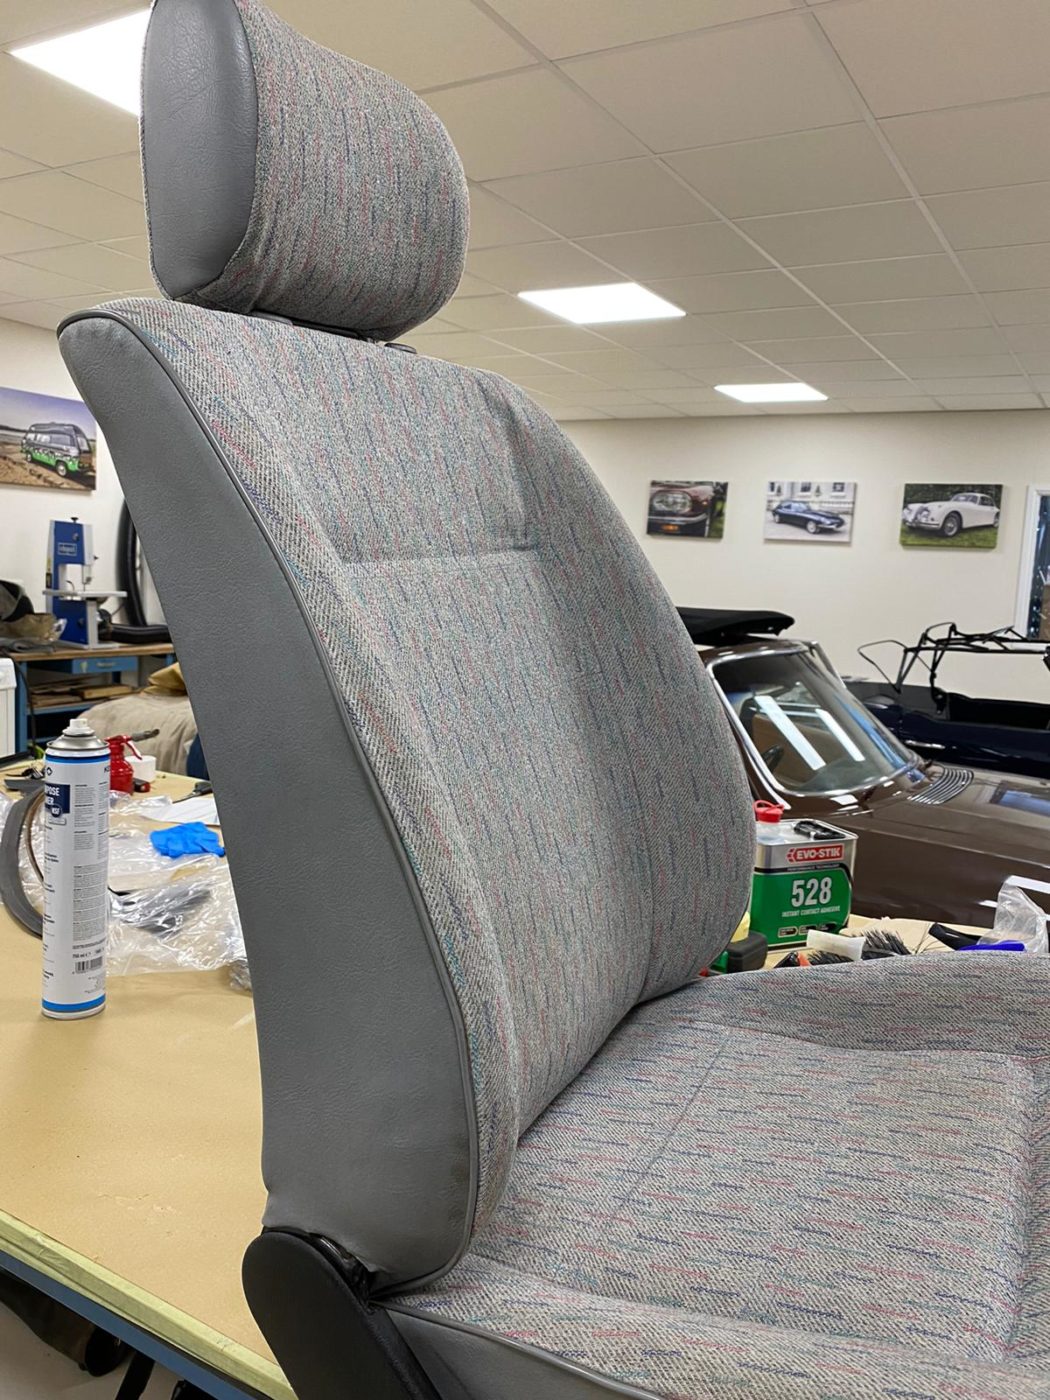
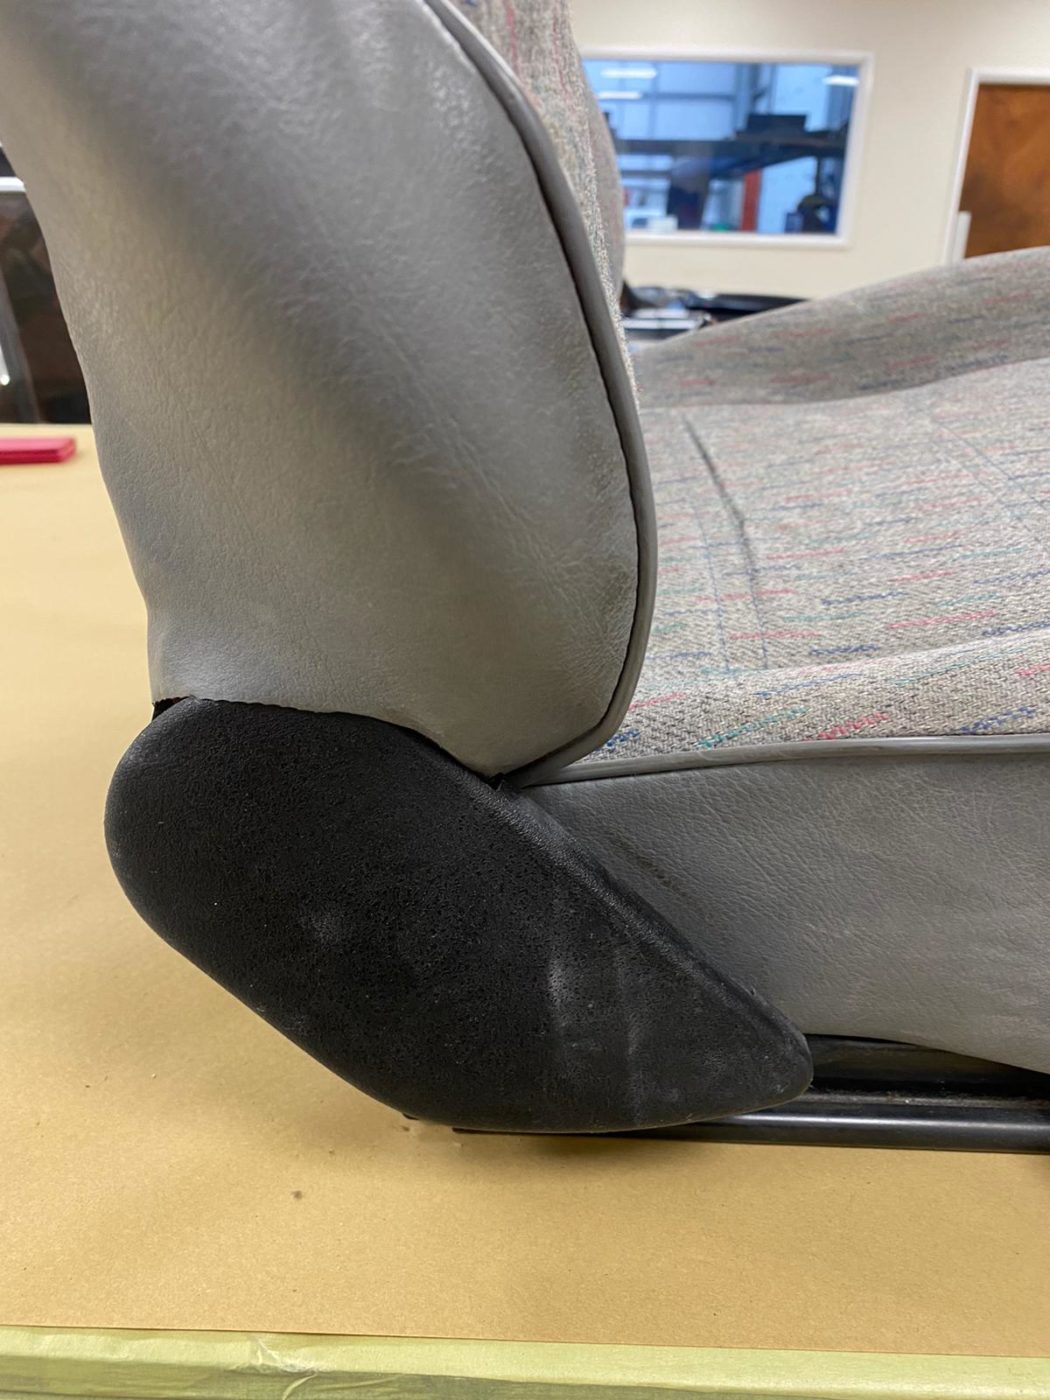
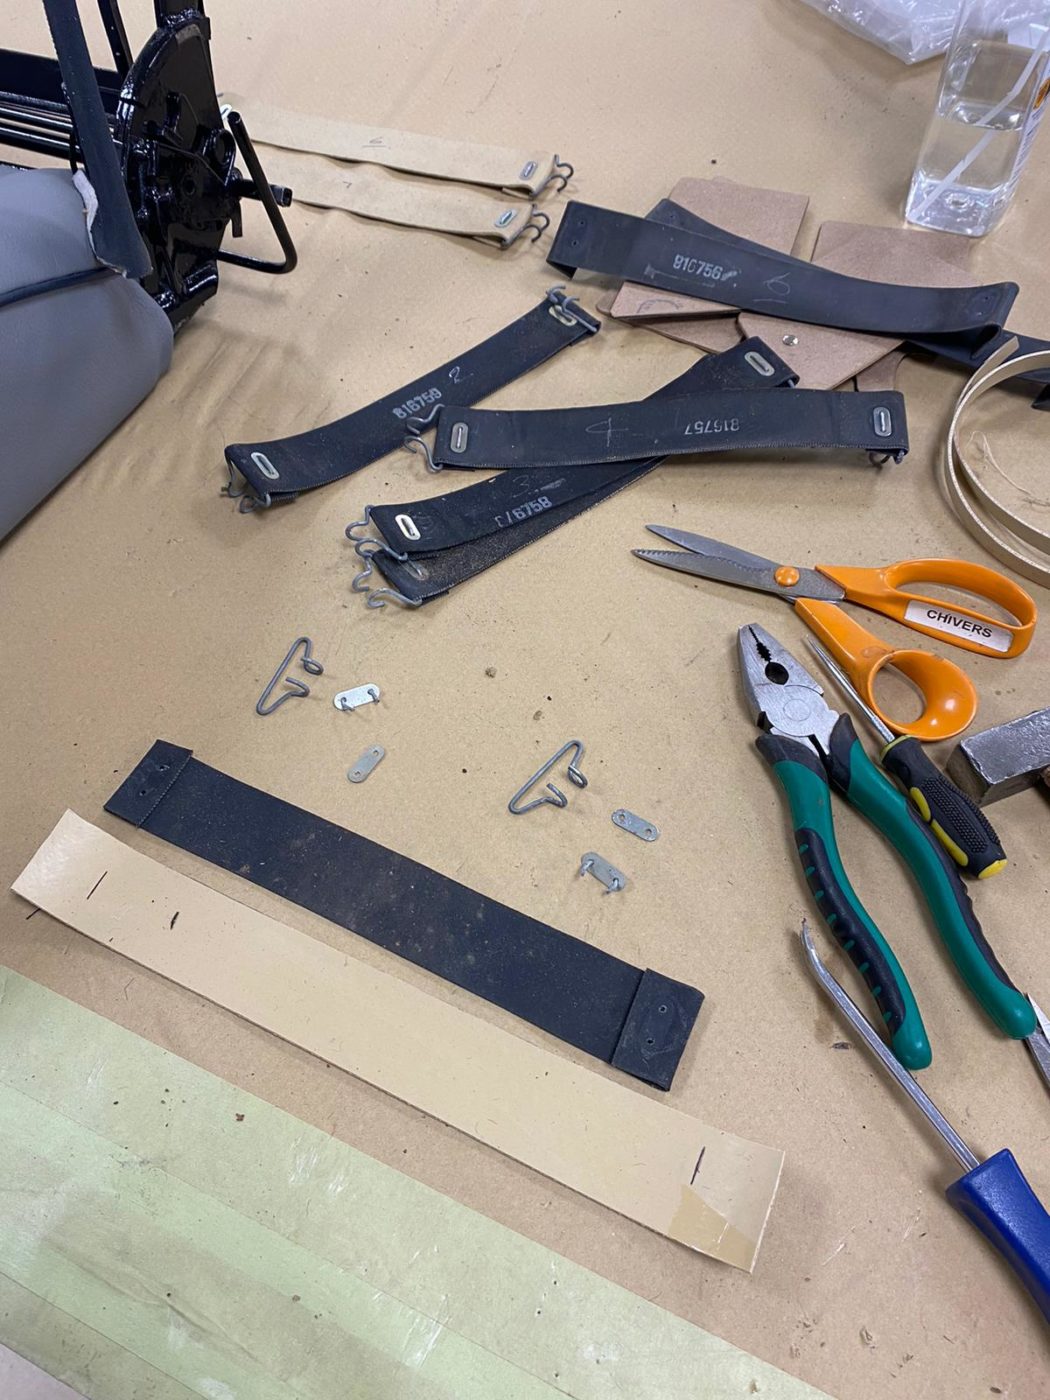
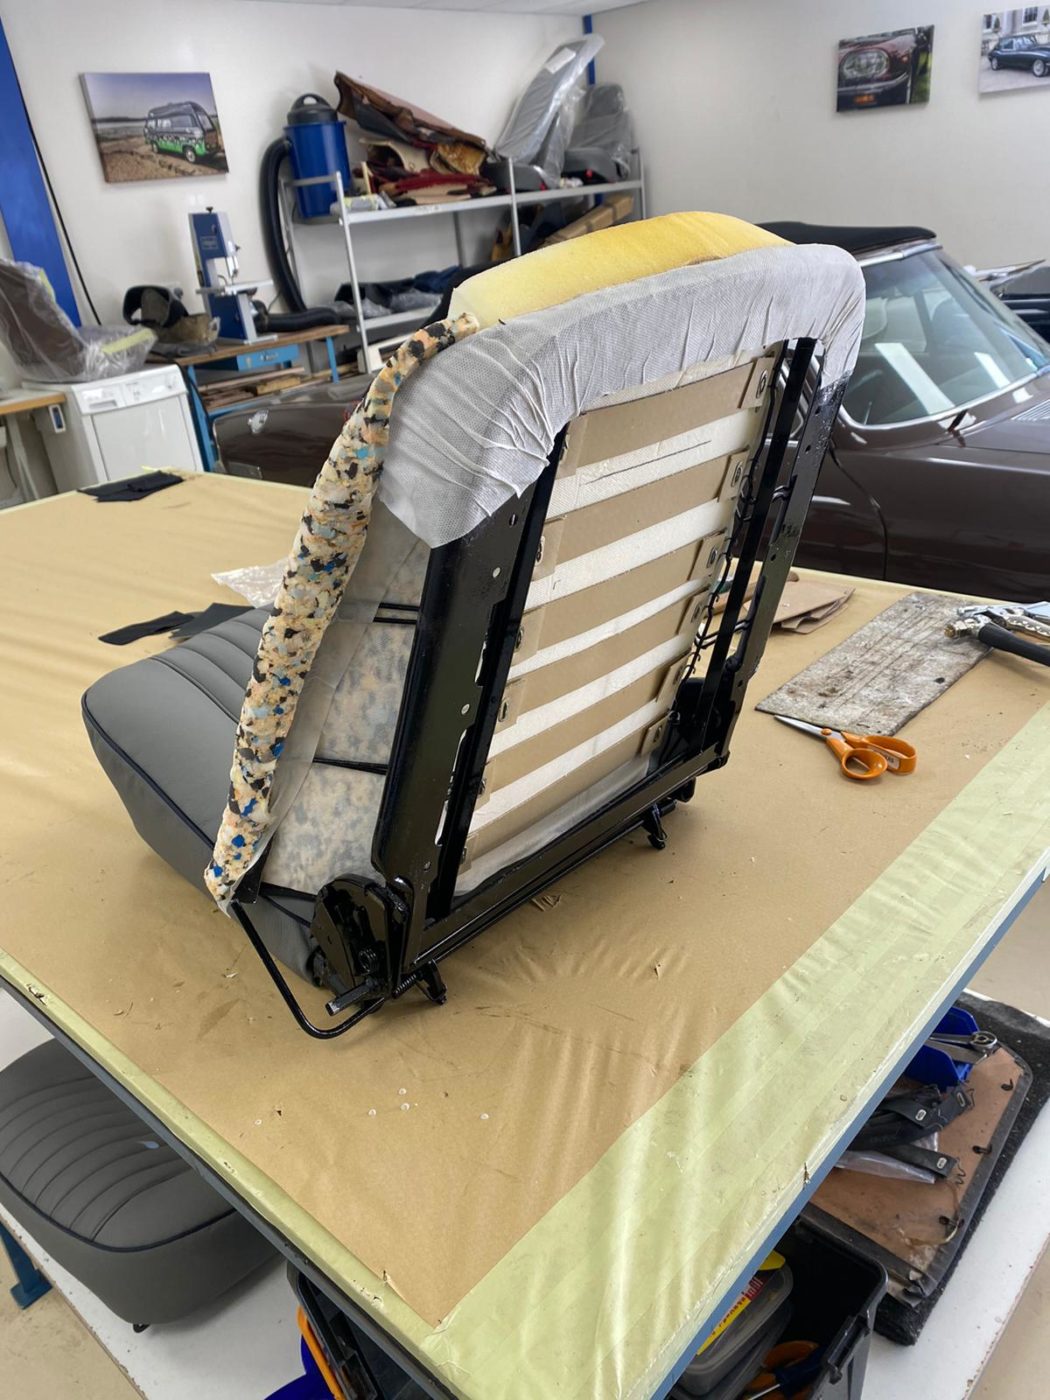
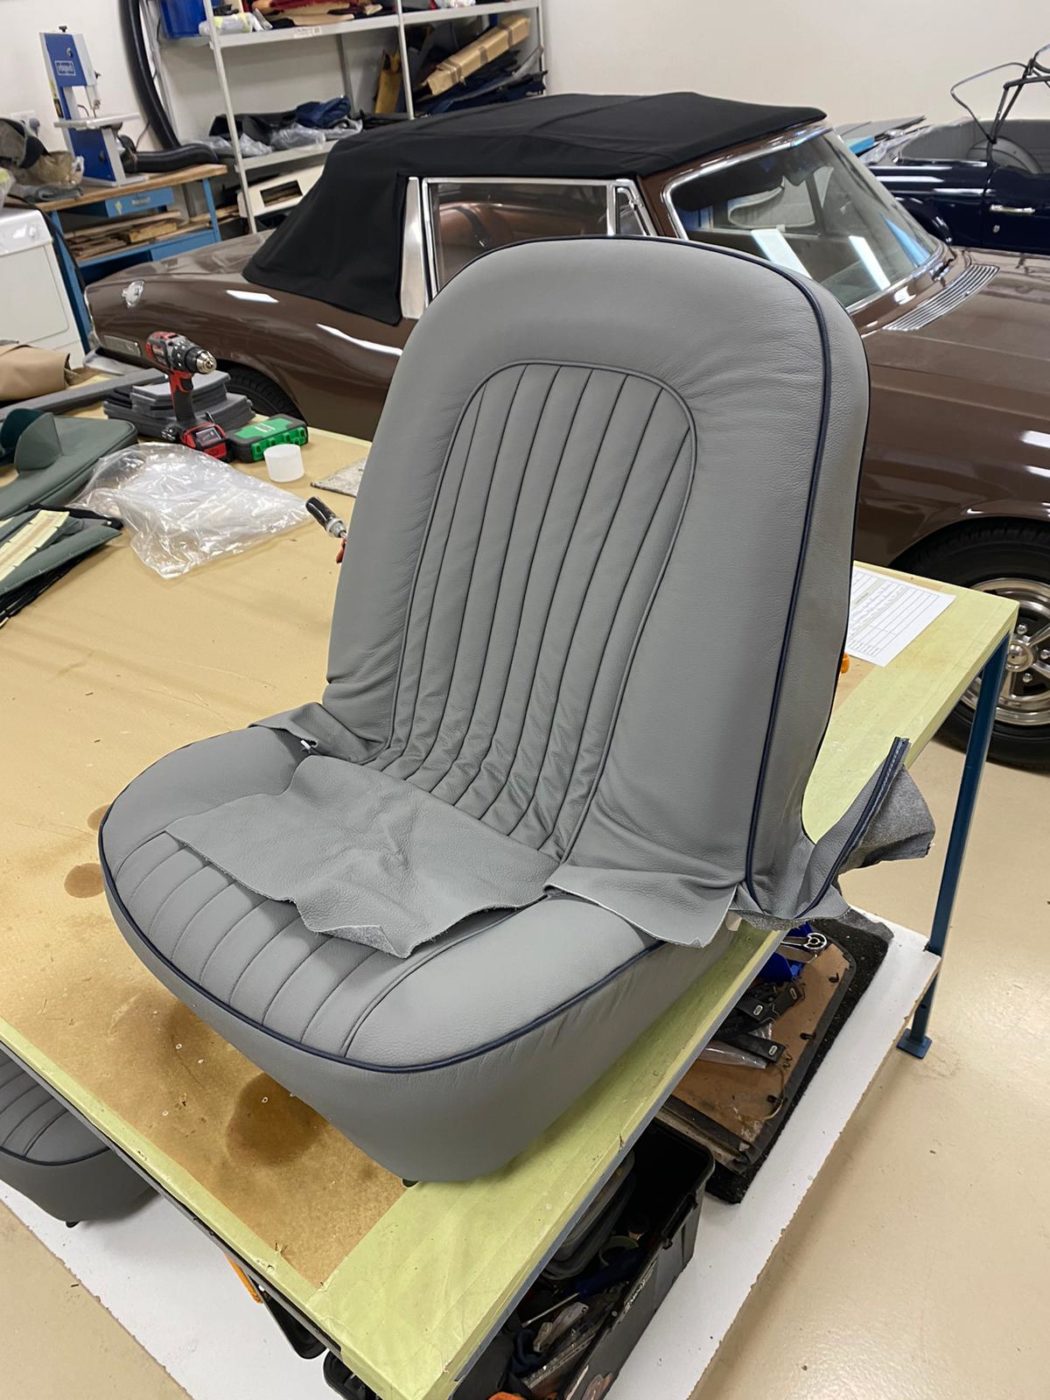
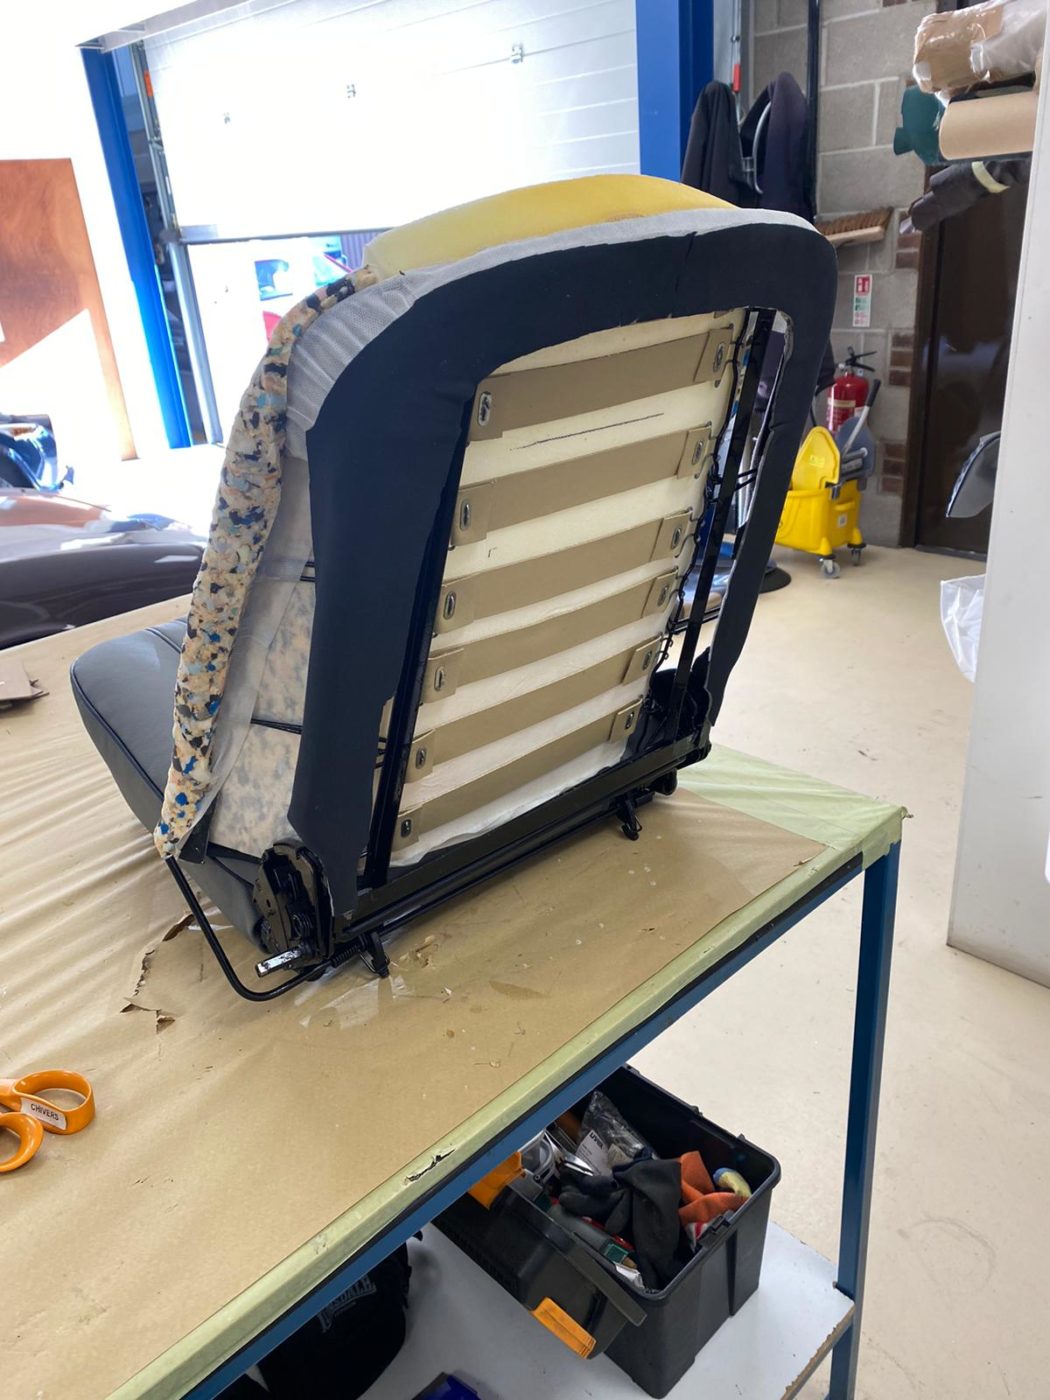
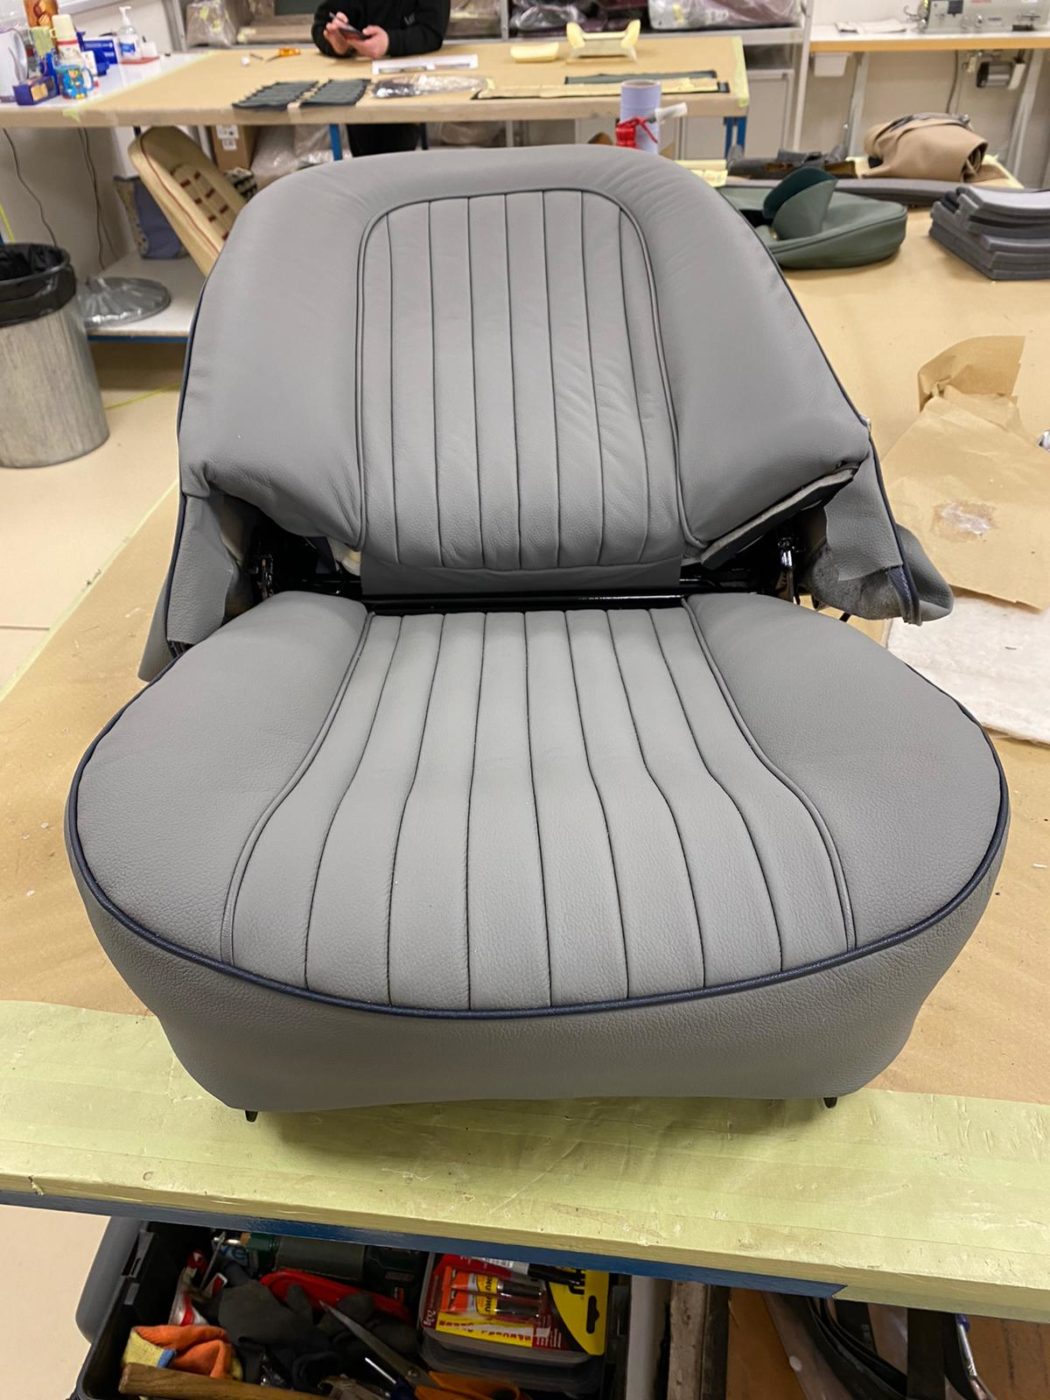
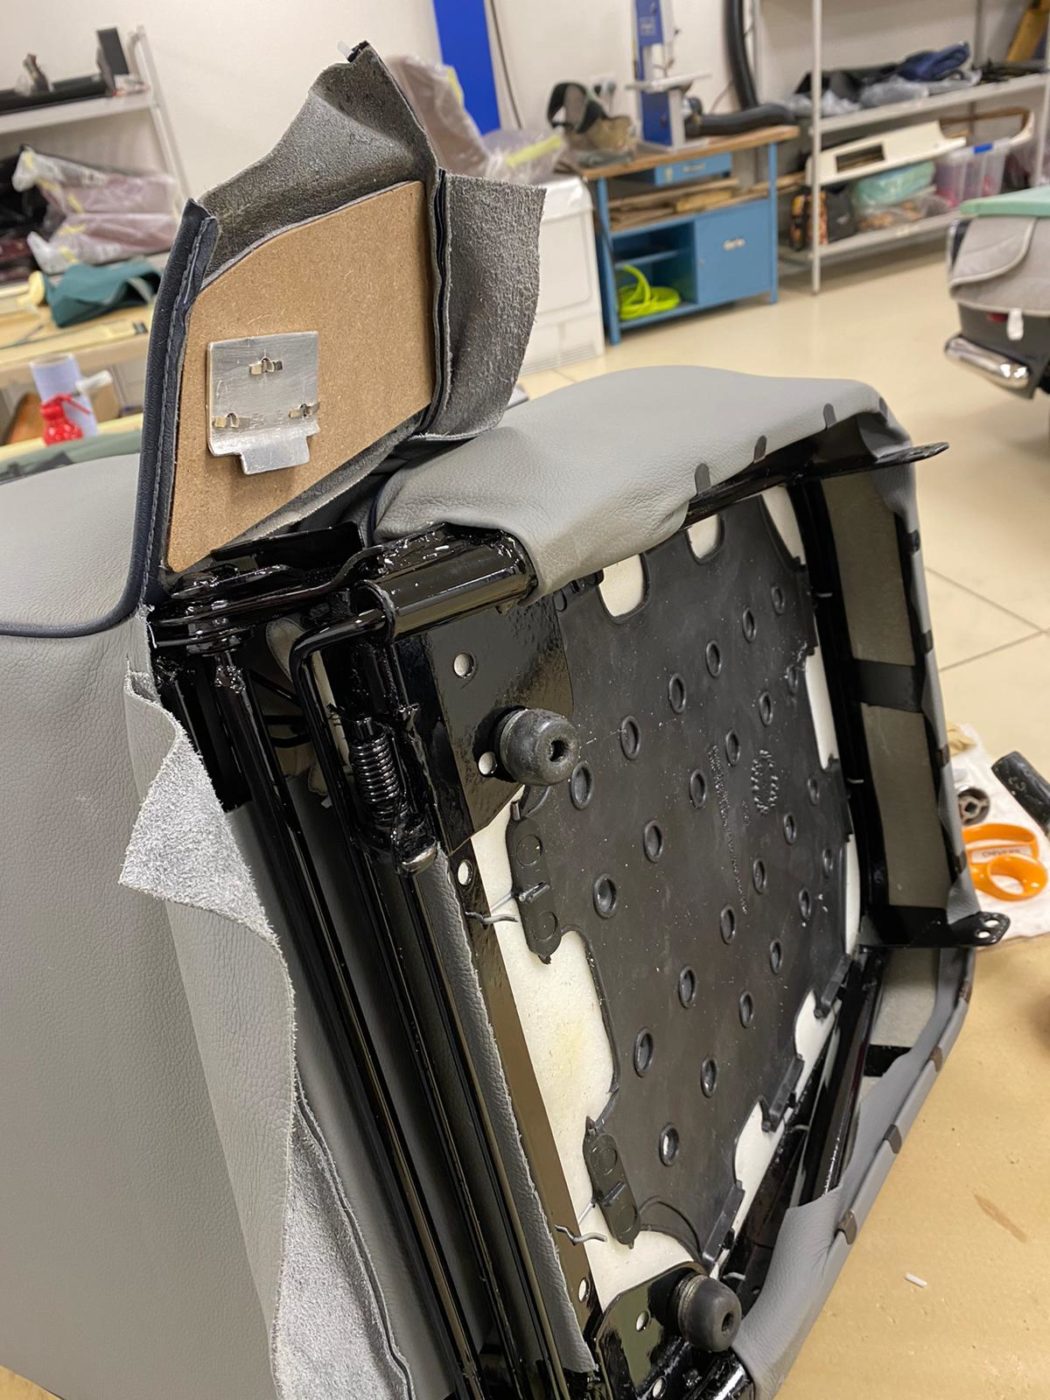
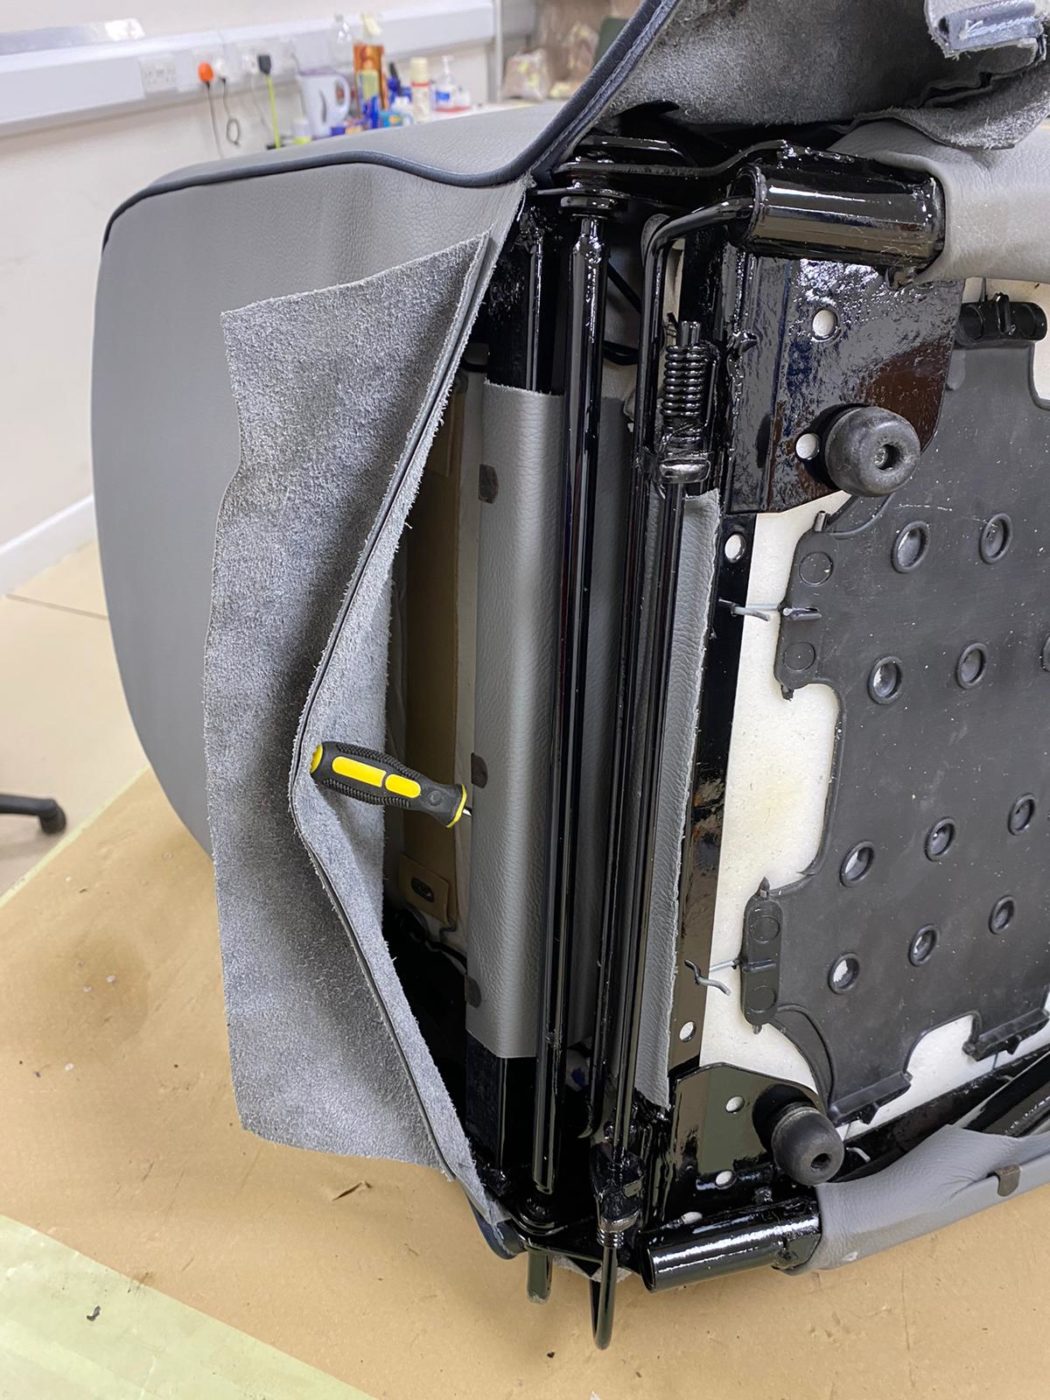
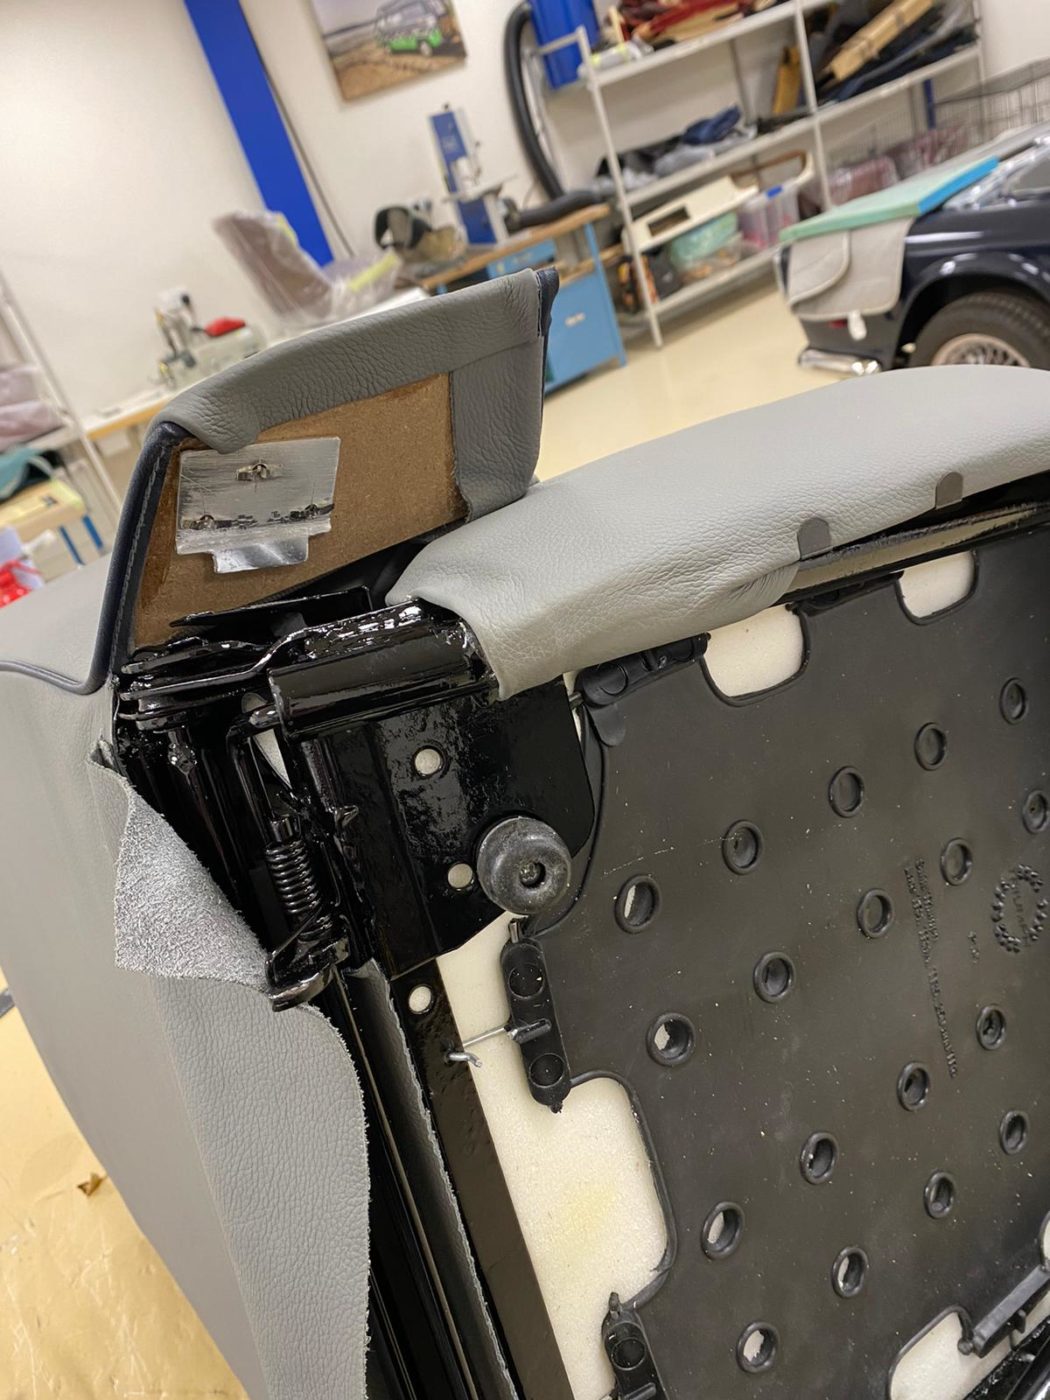
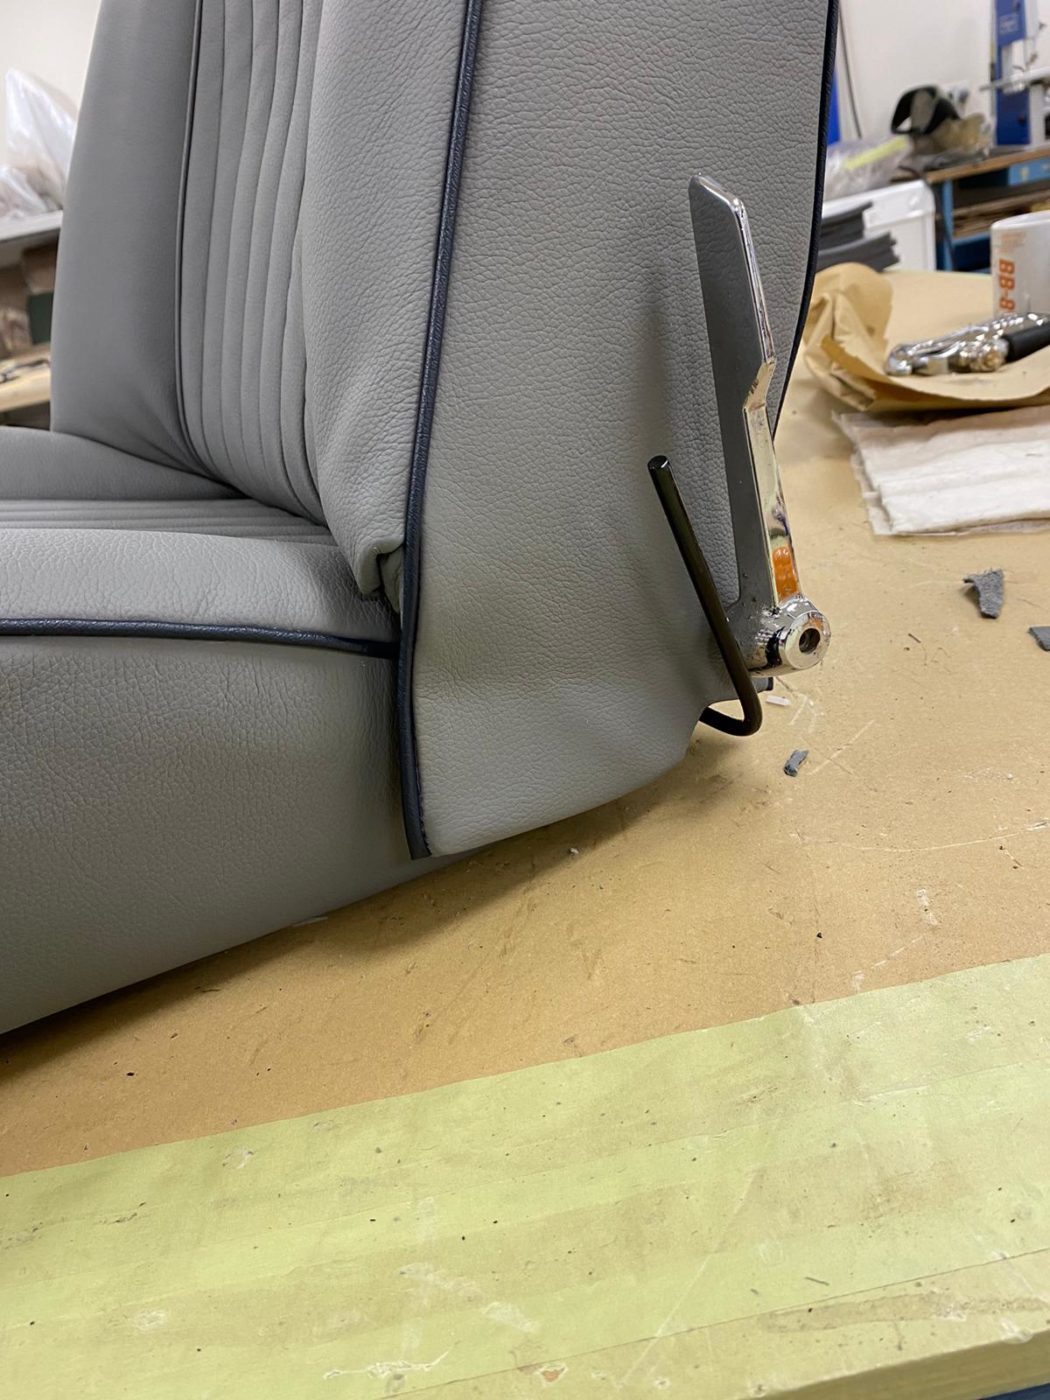
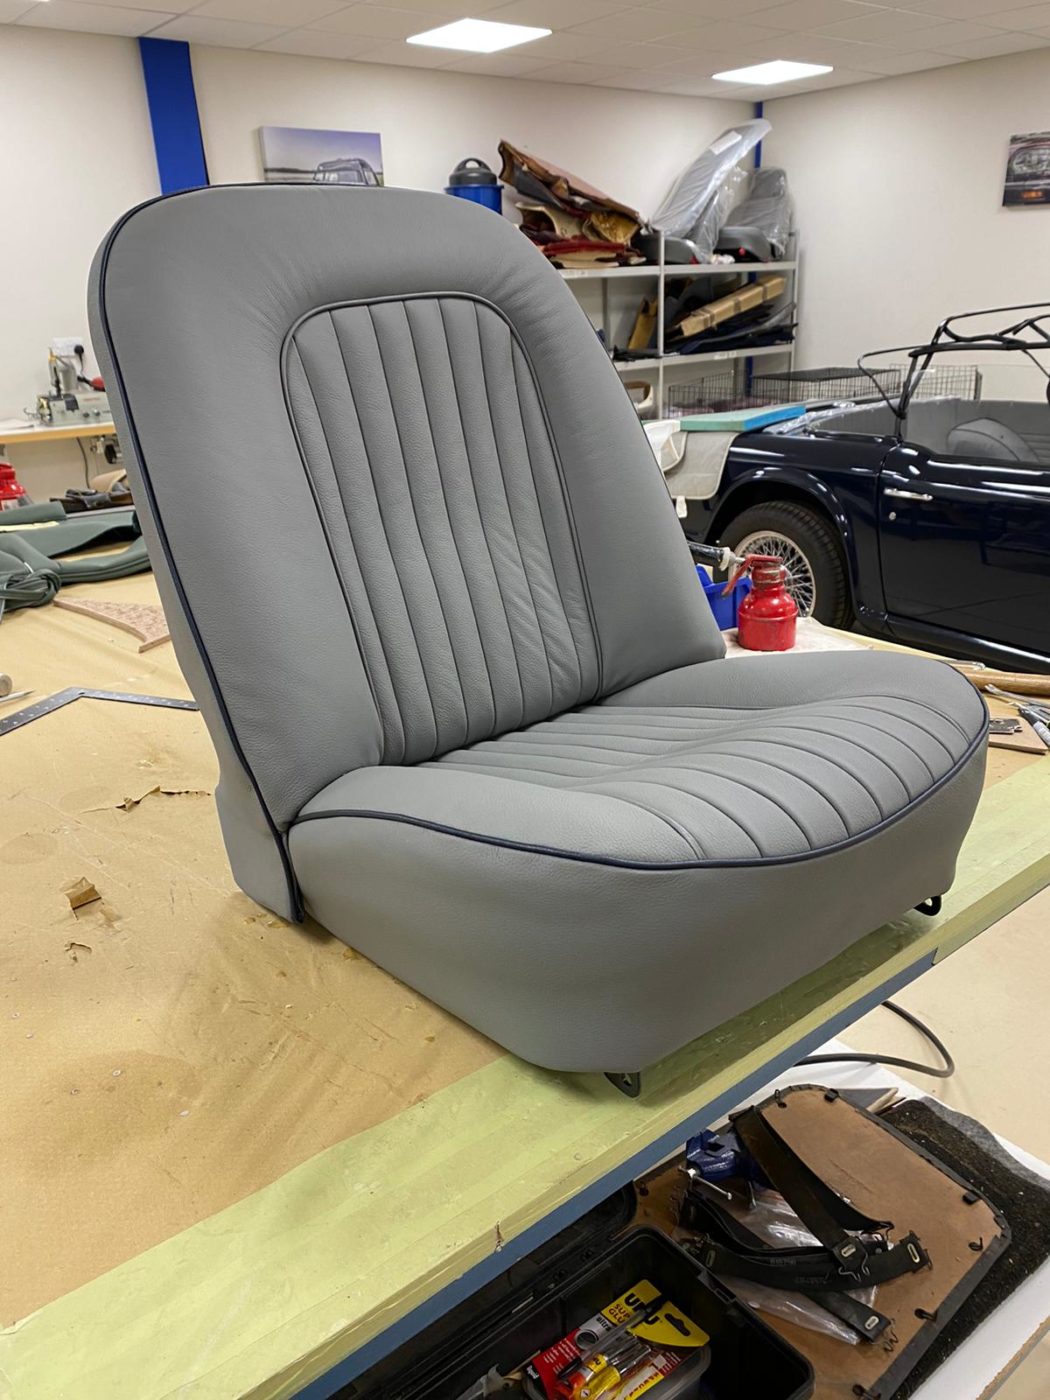
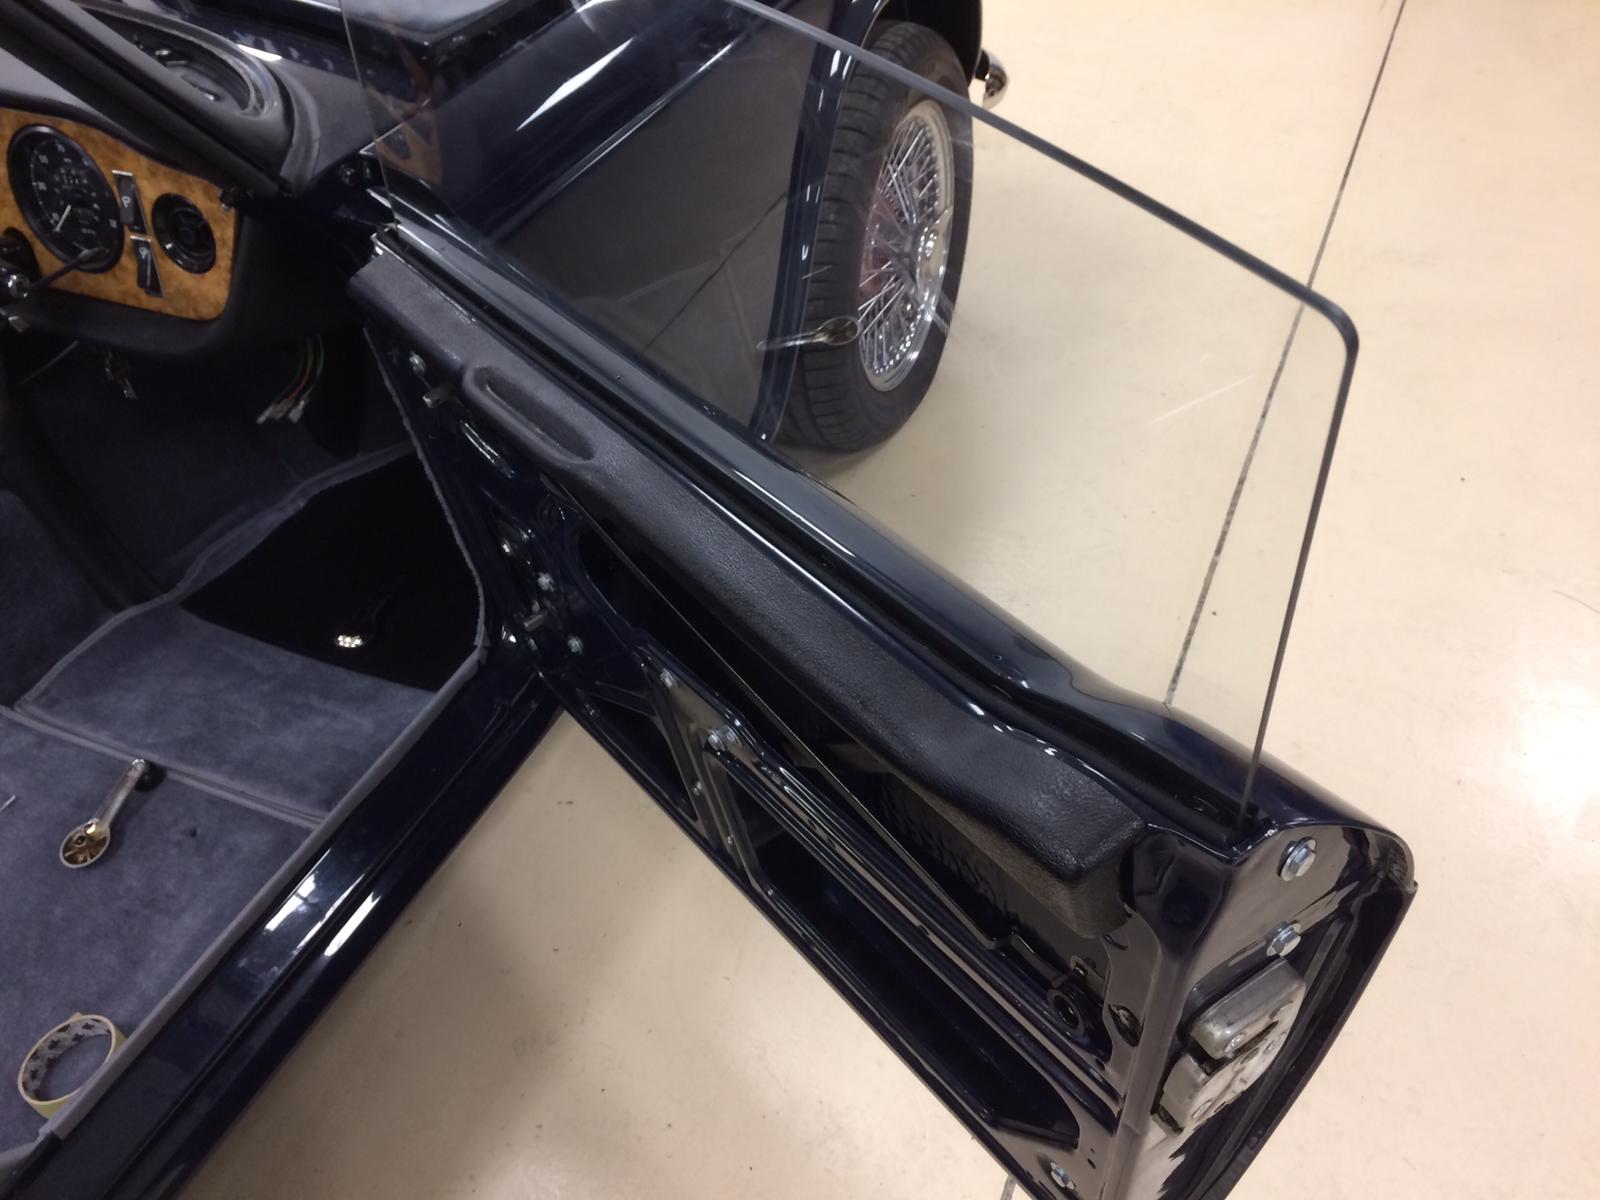
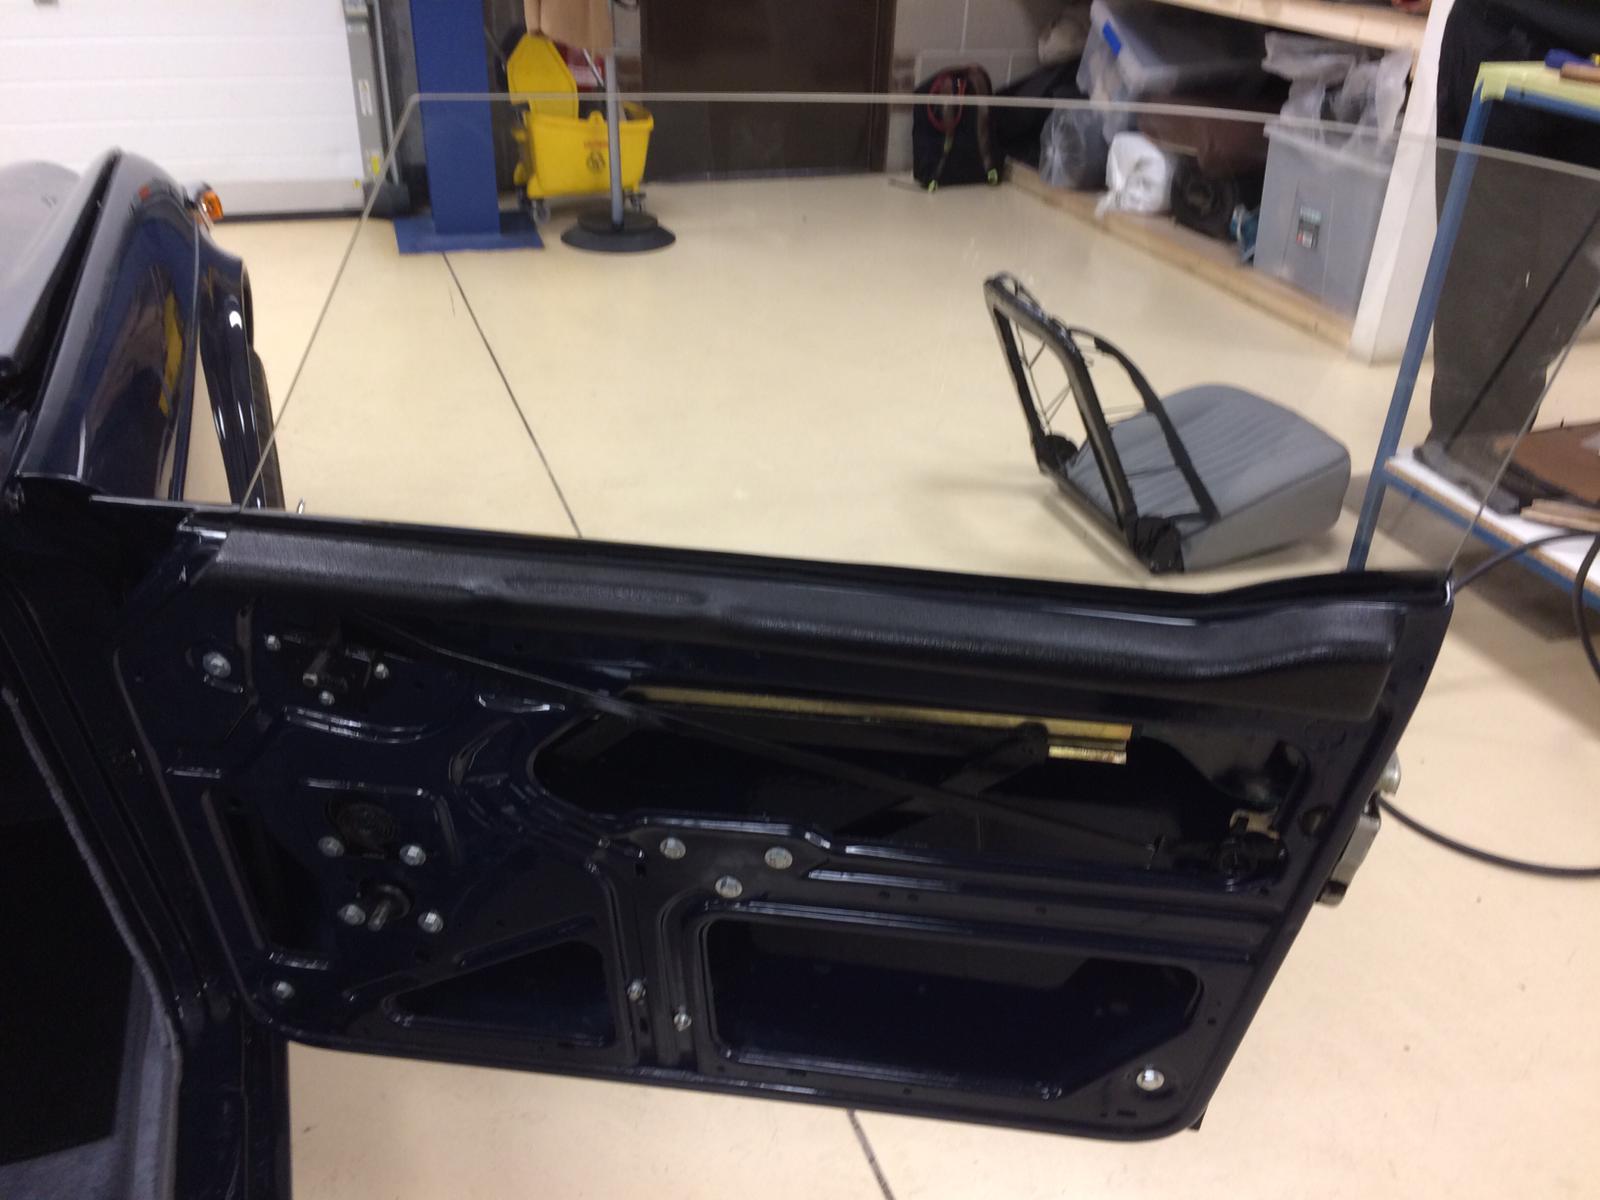
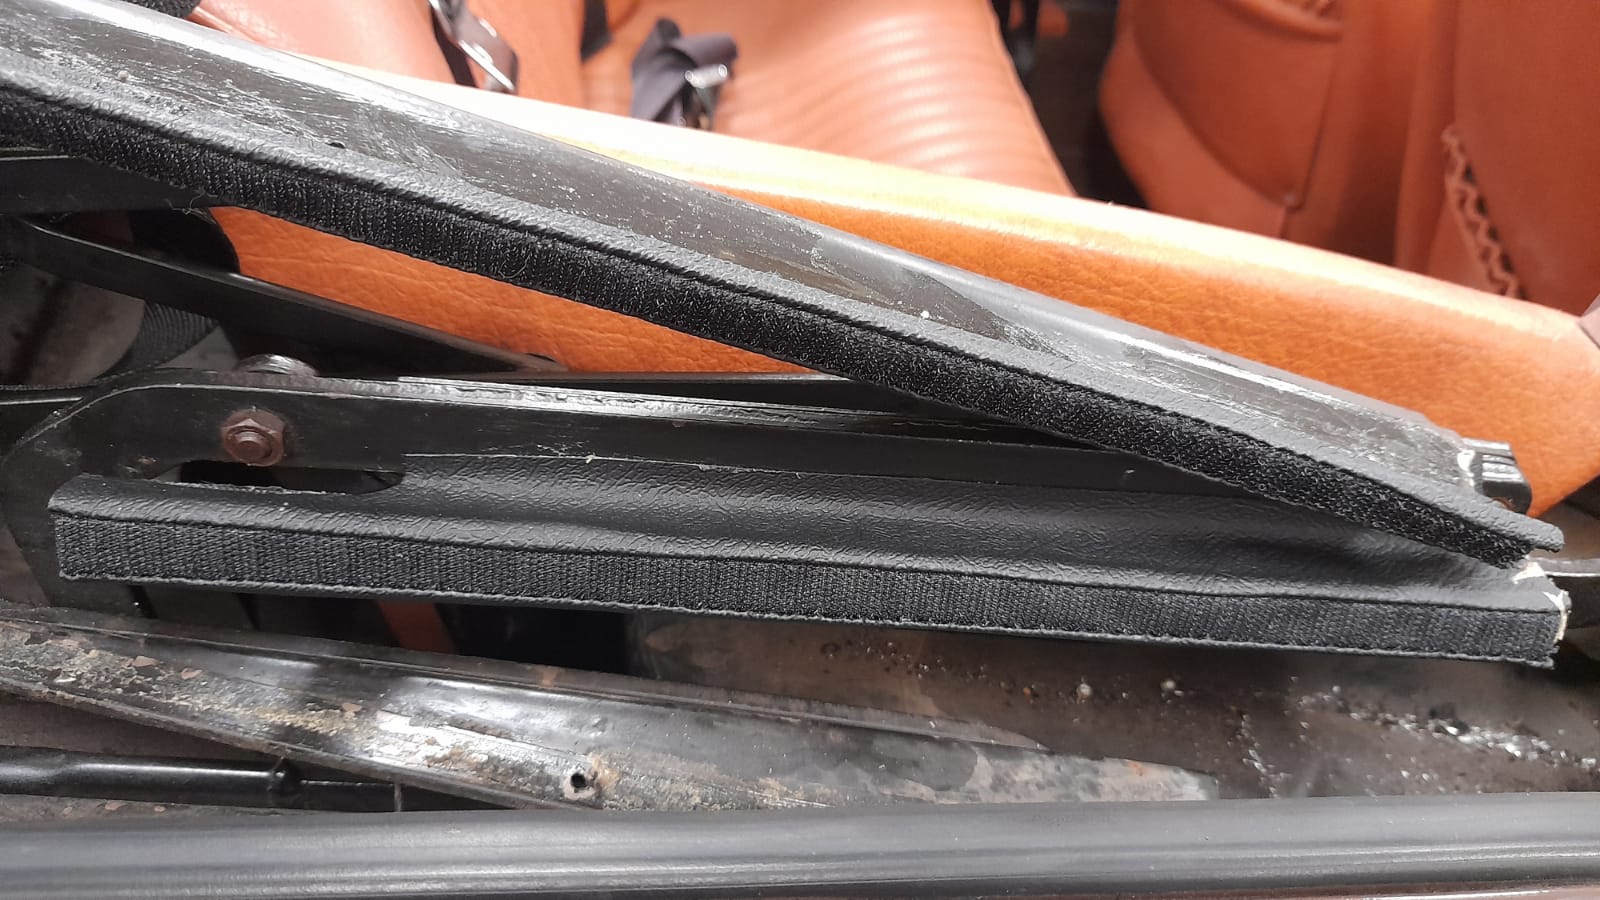
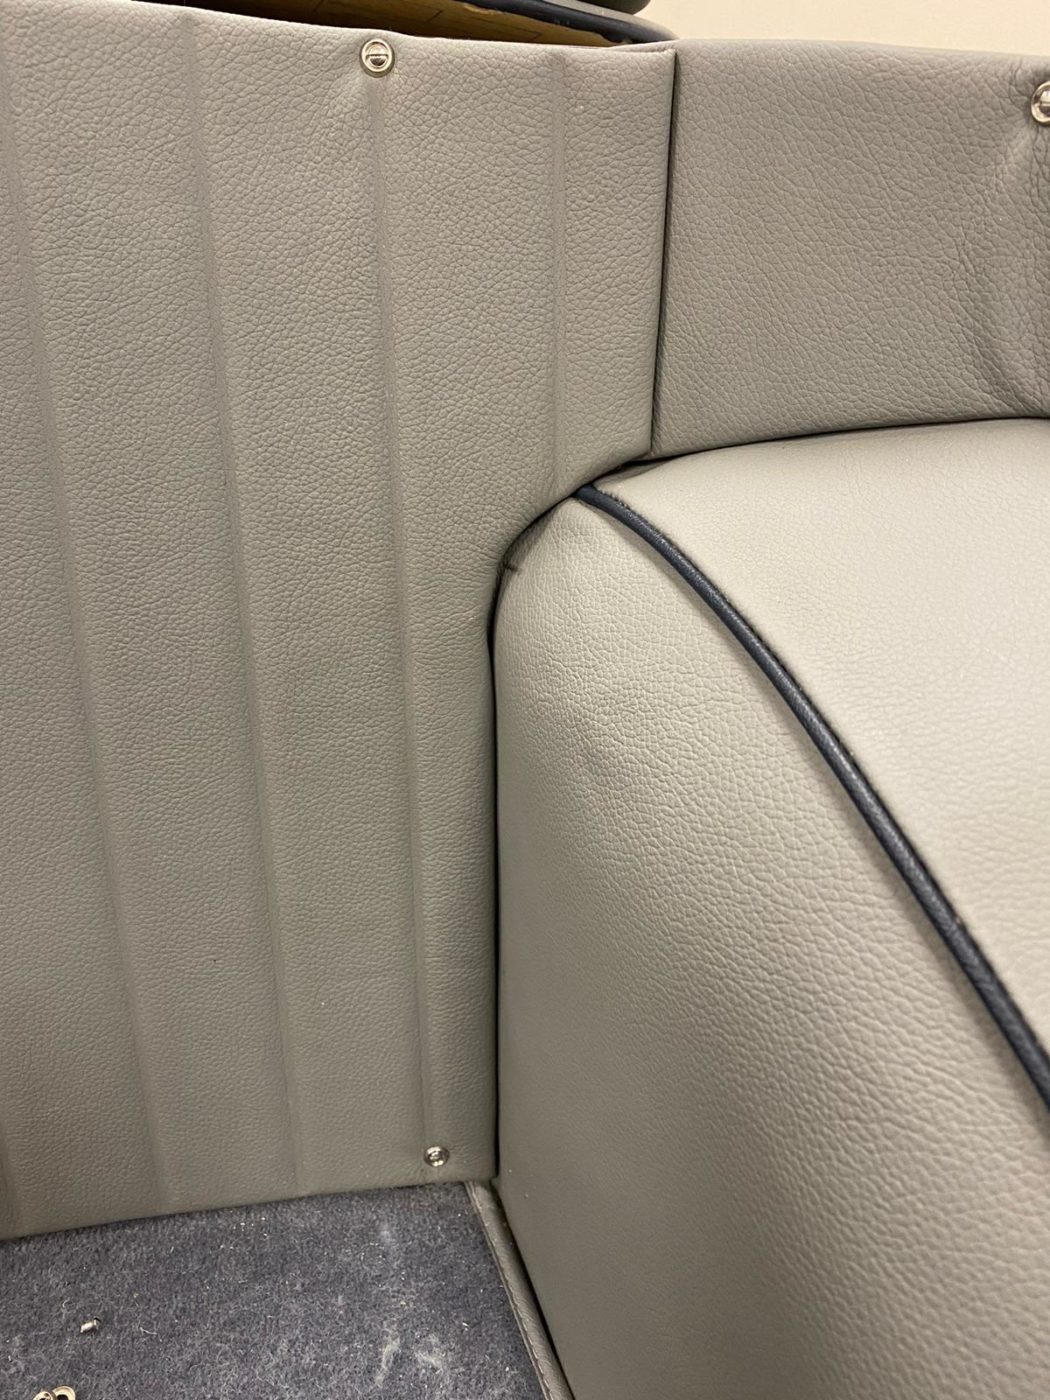
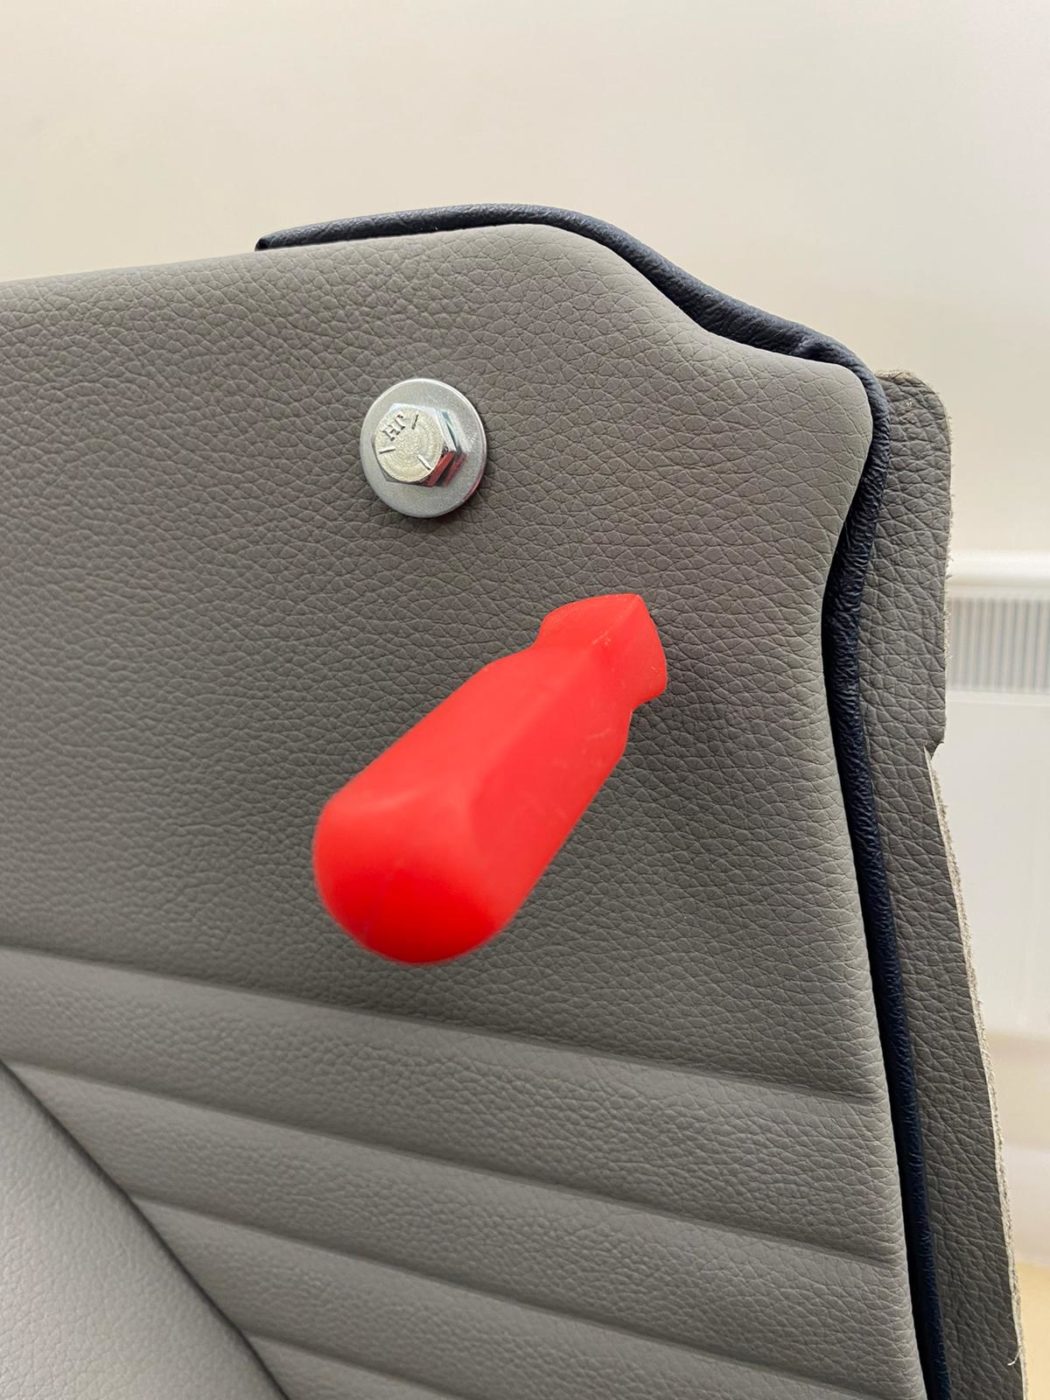
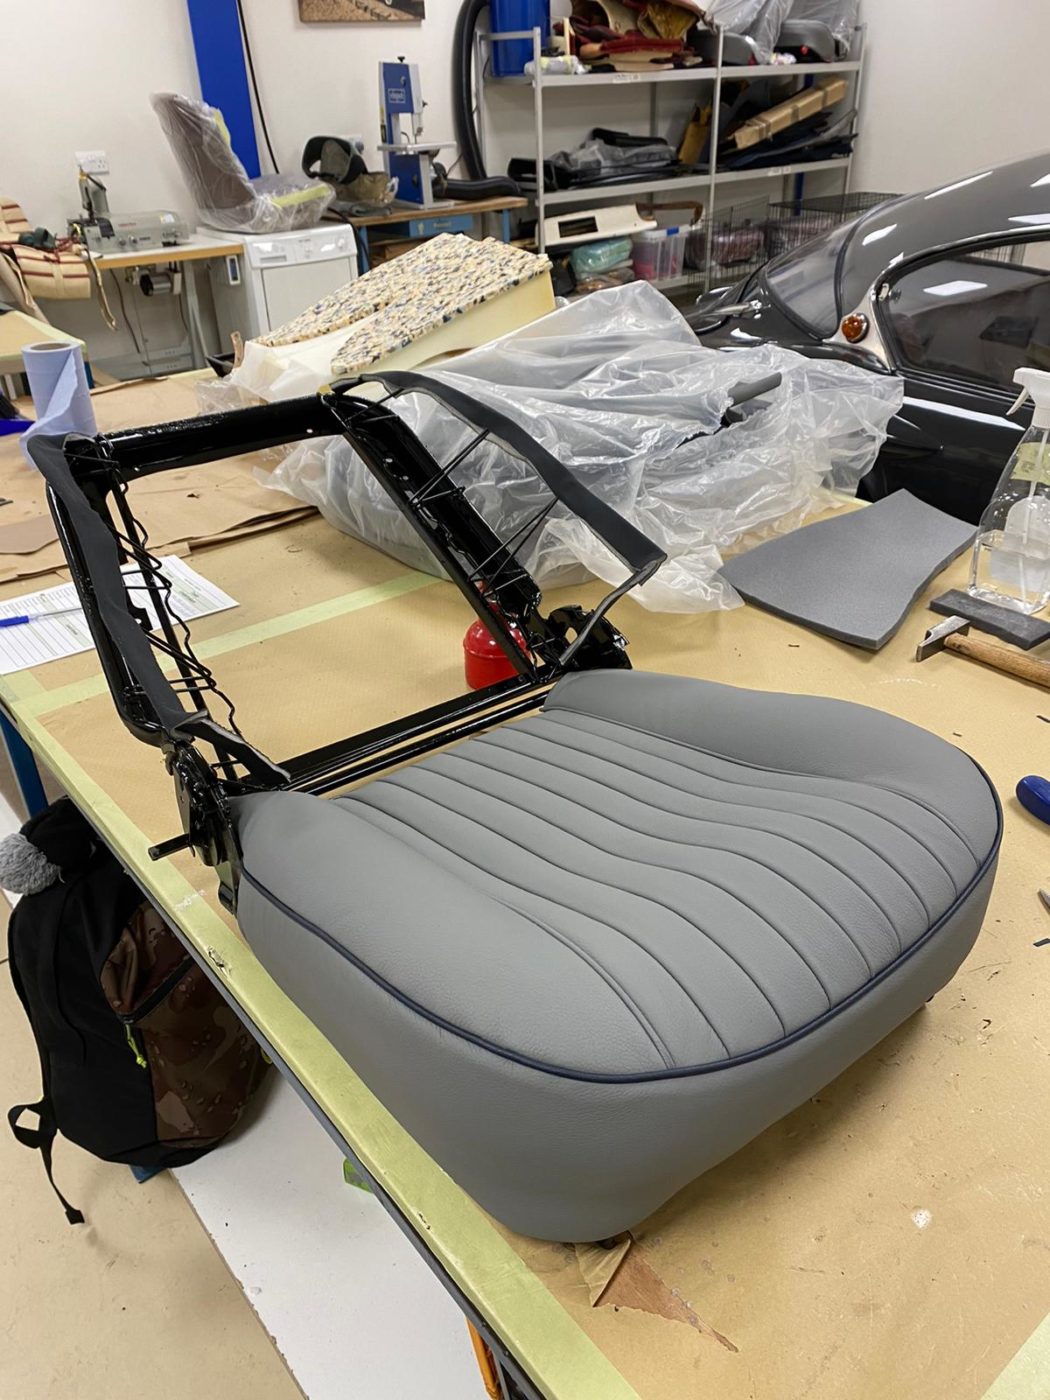
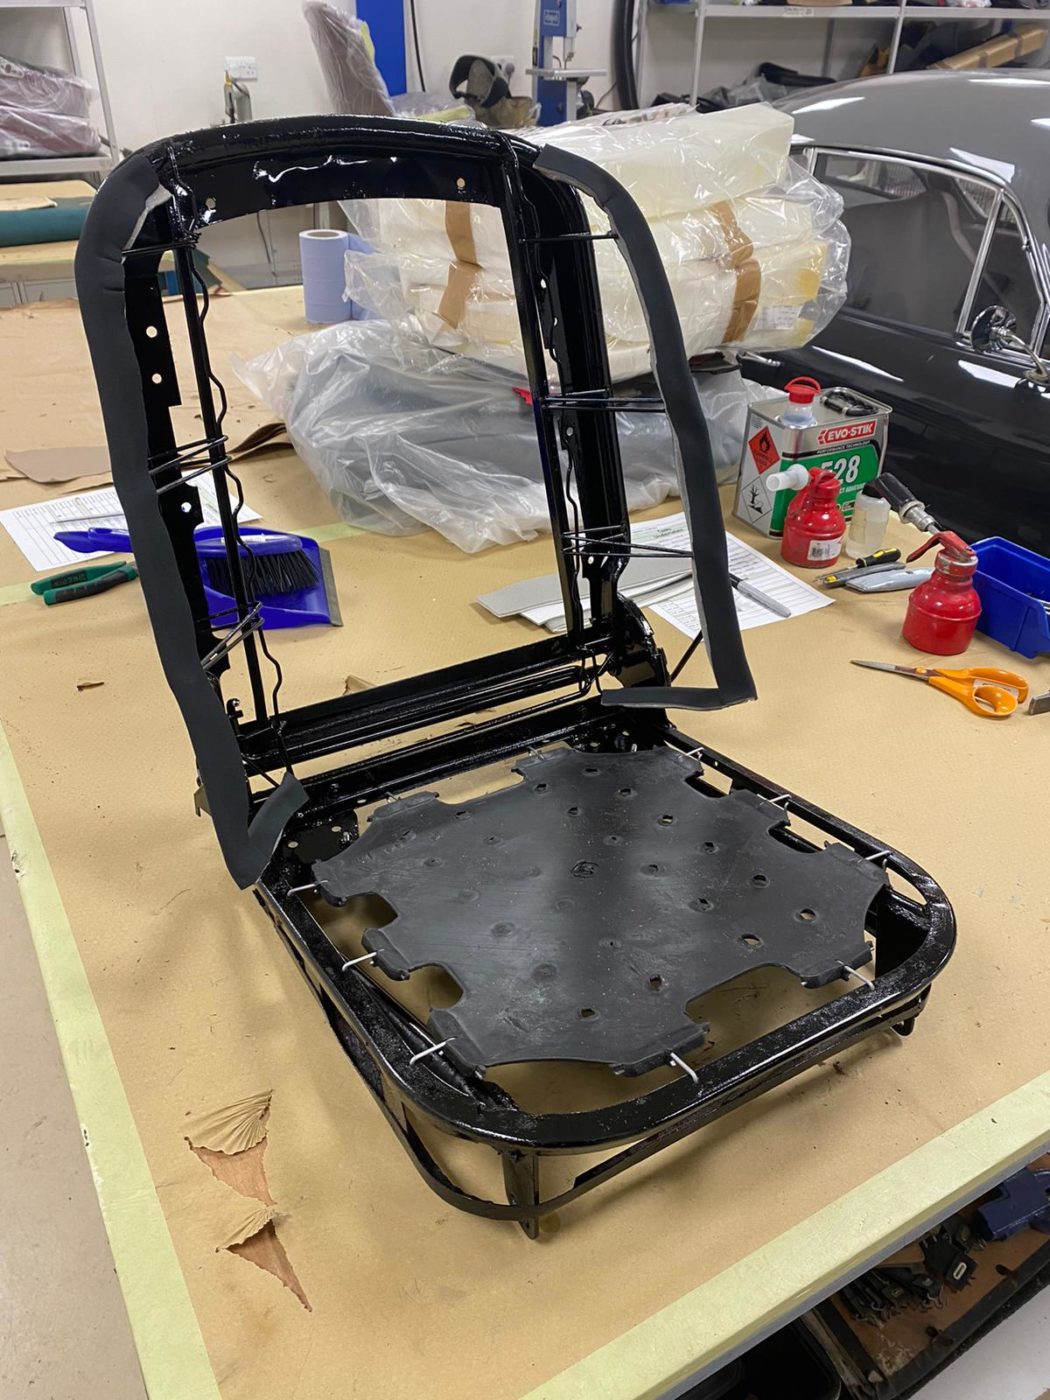
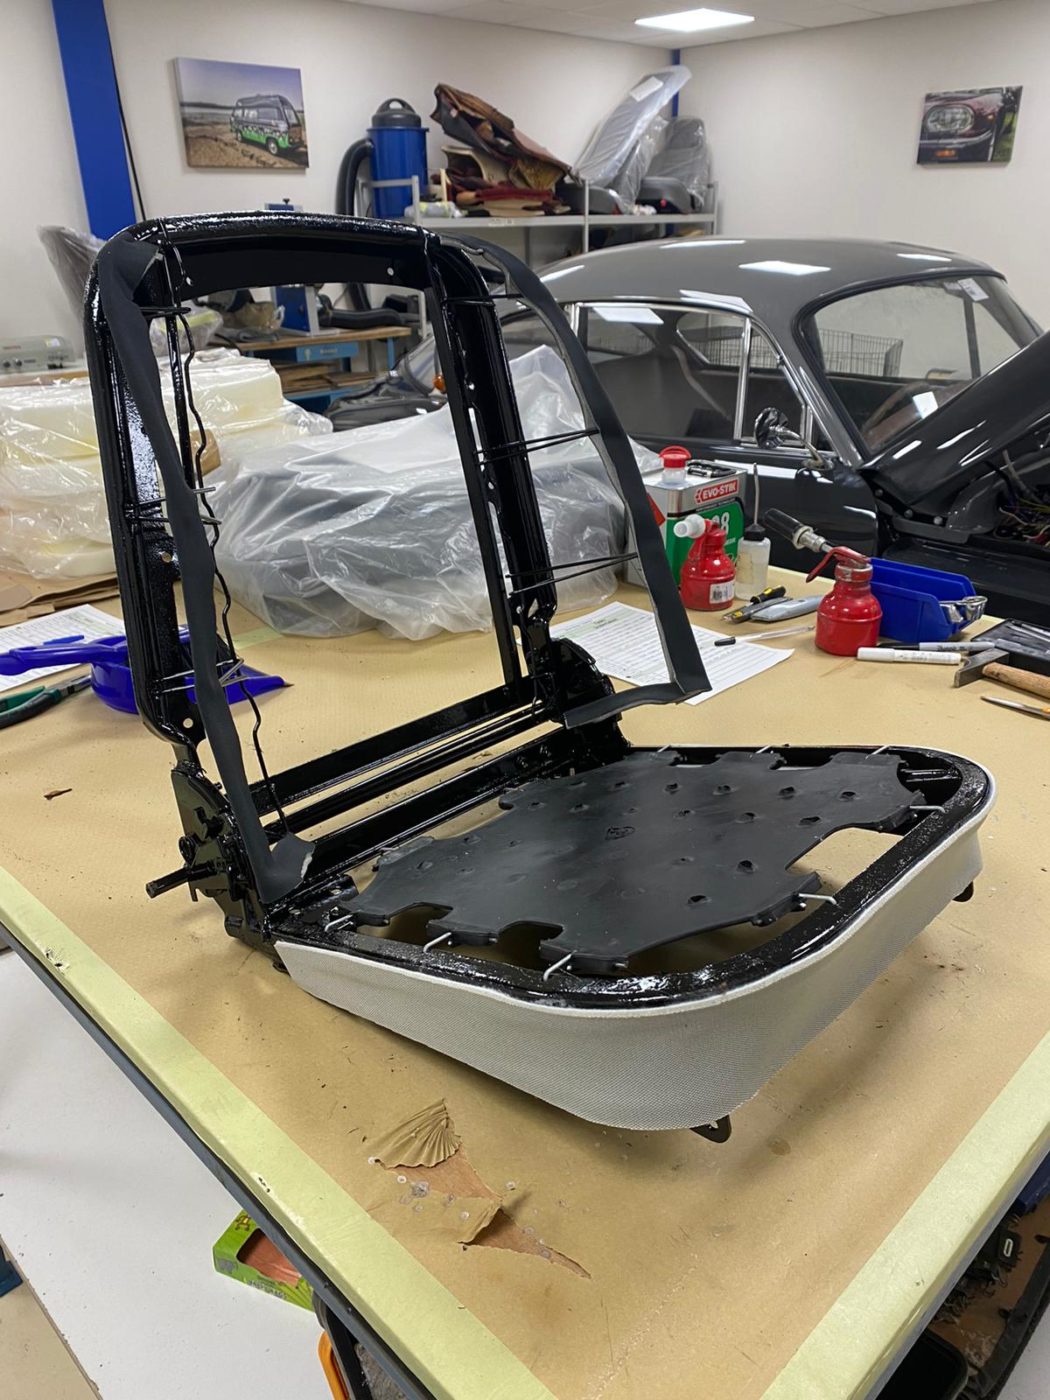
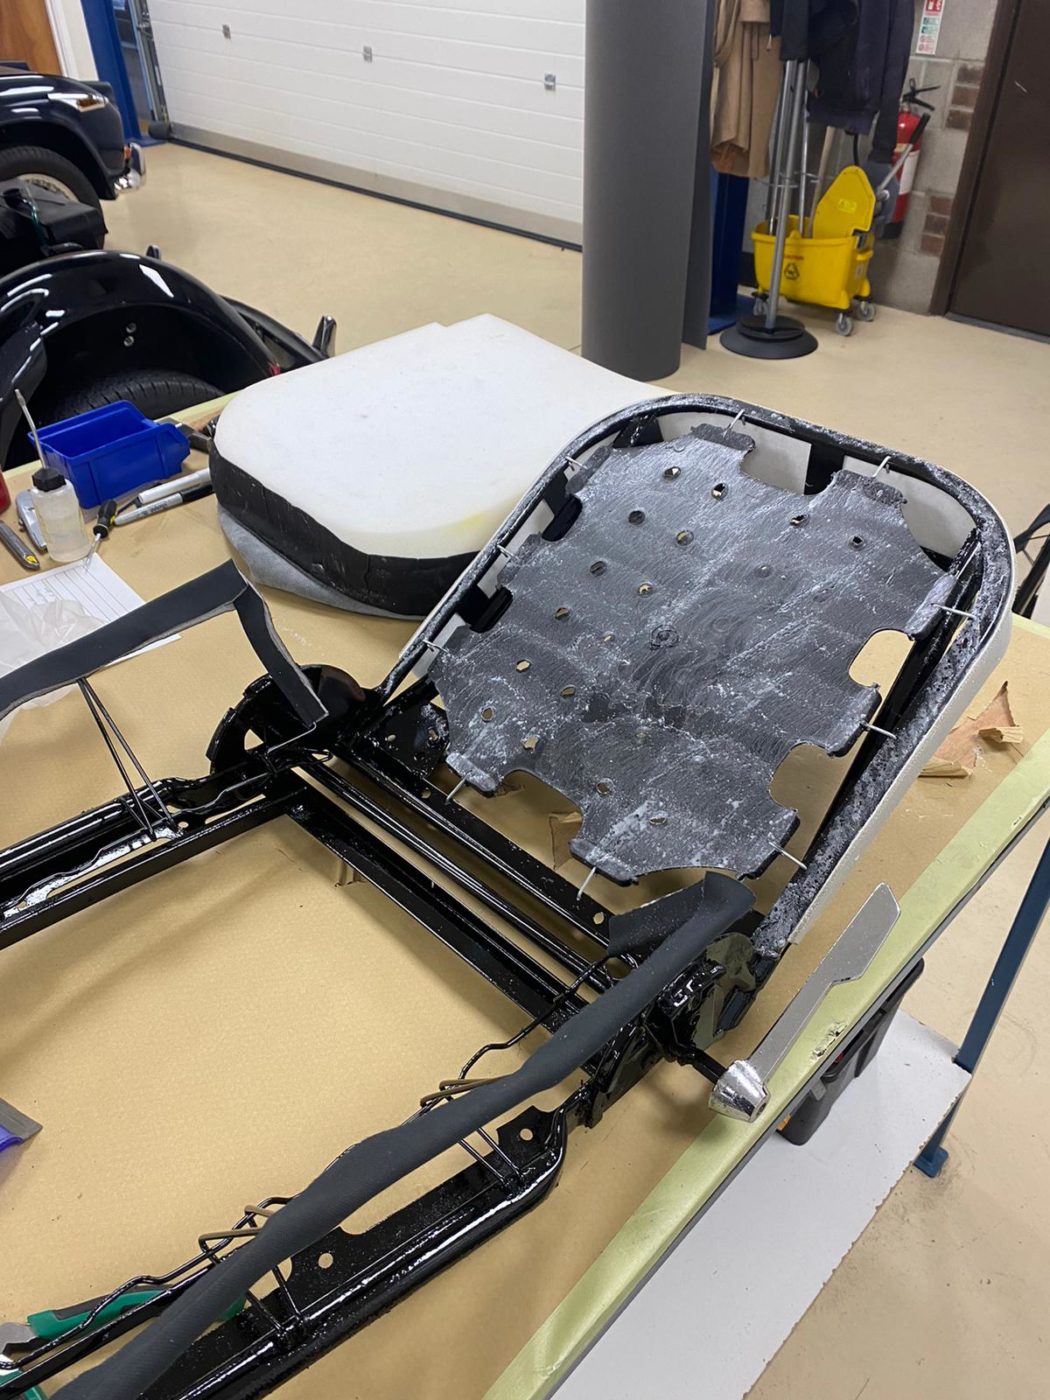
Brian has completed restoring the frame of our Triumph TR5 seats and has installed a reclining hinge joint. He made this element by hand out of plywood and fitted it inside the chair. The fabric was then glued, heated to make the glue go tacky, and pulled over the new joint,
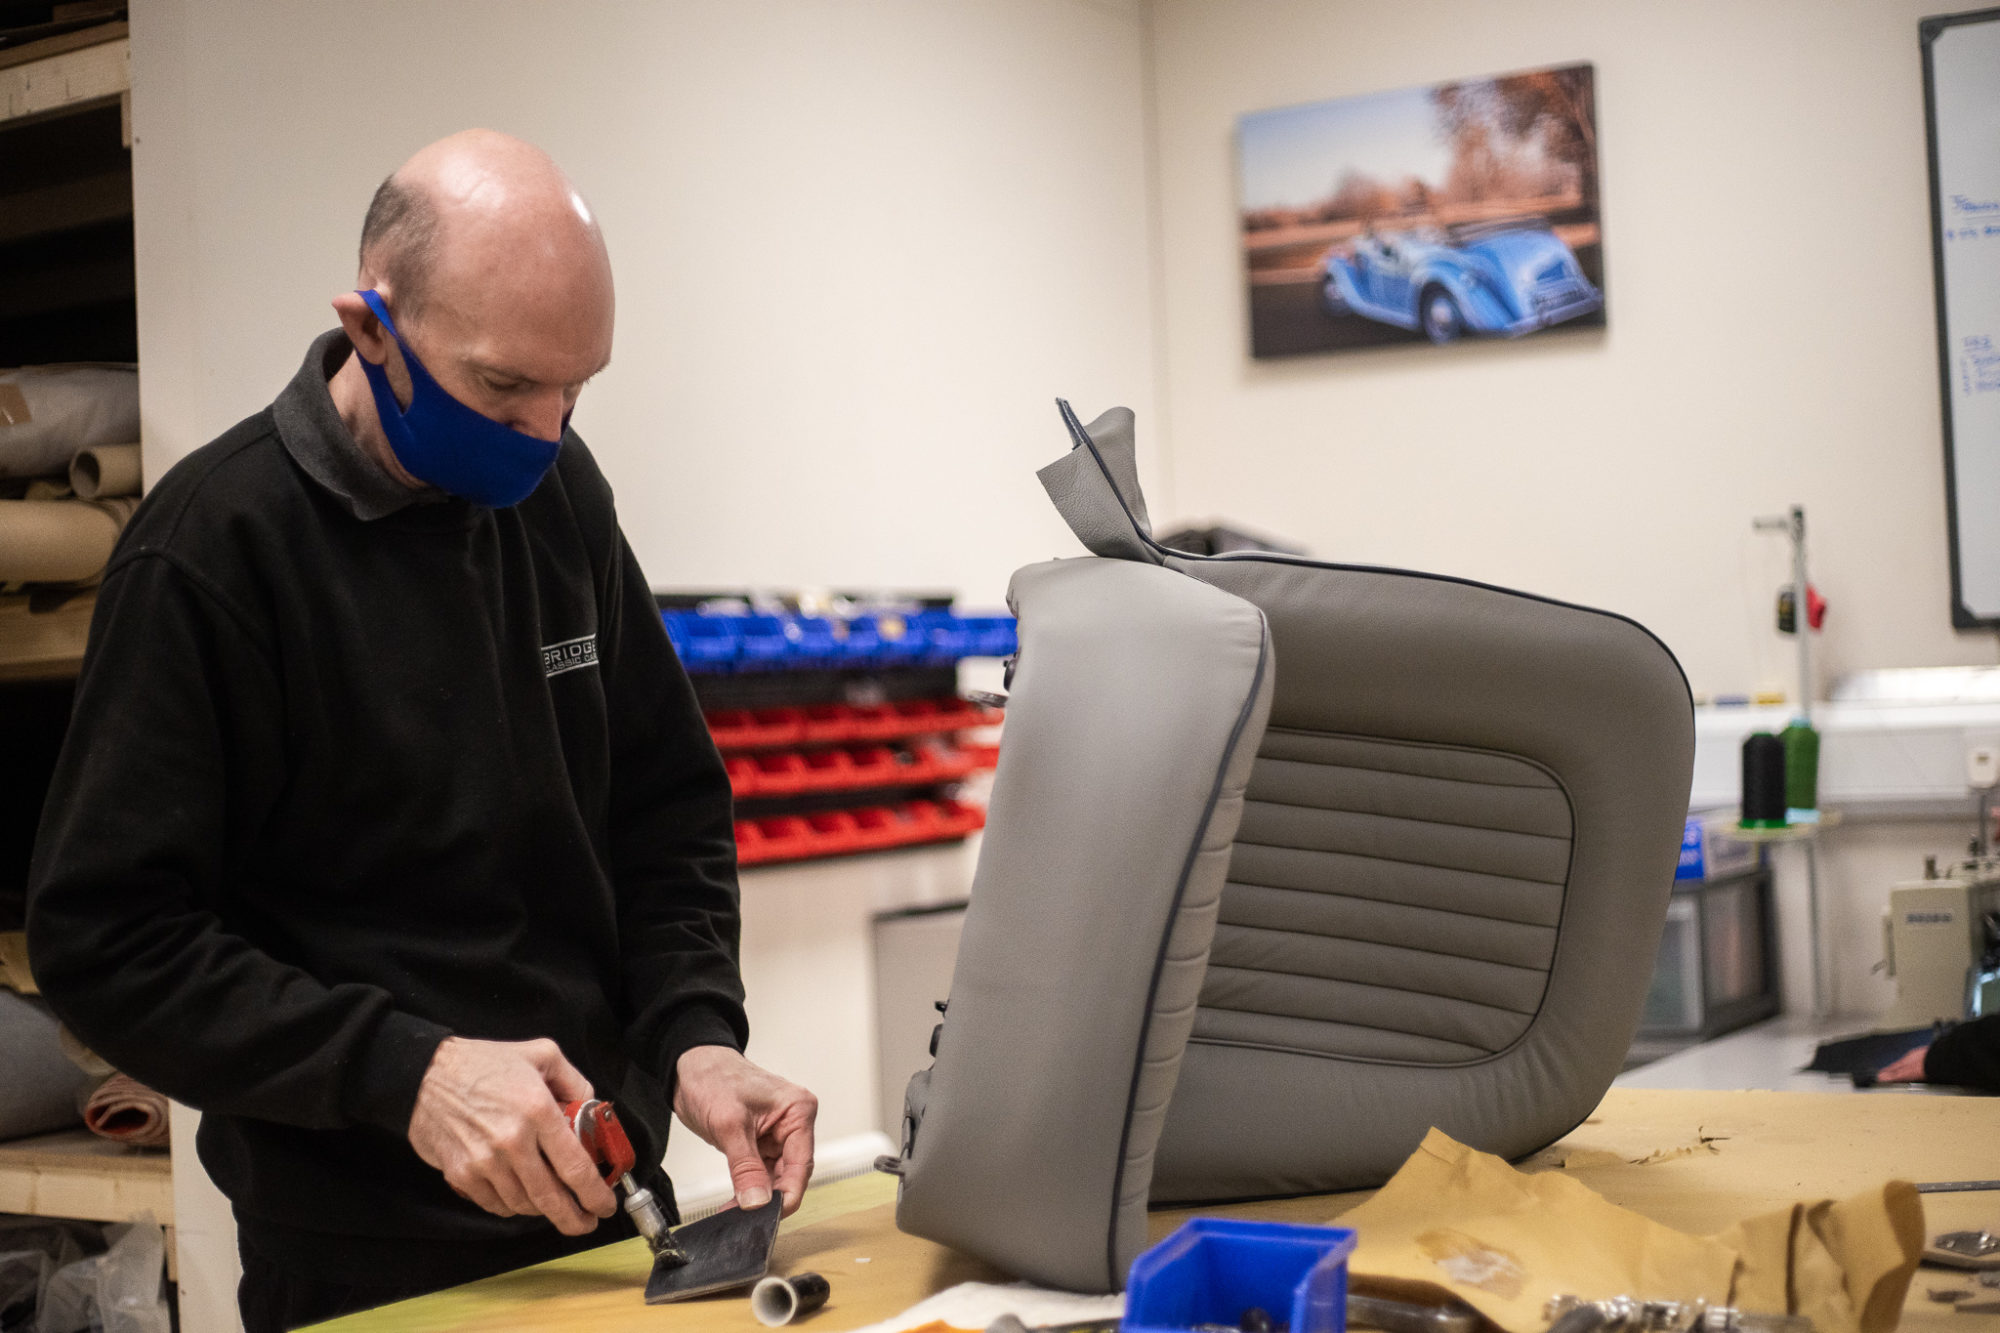
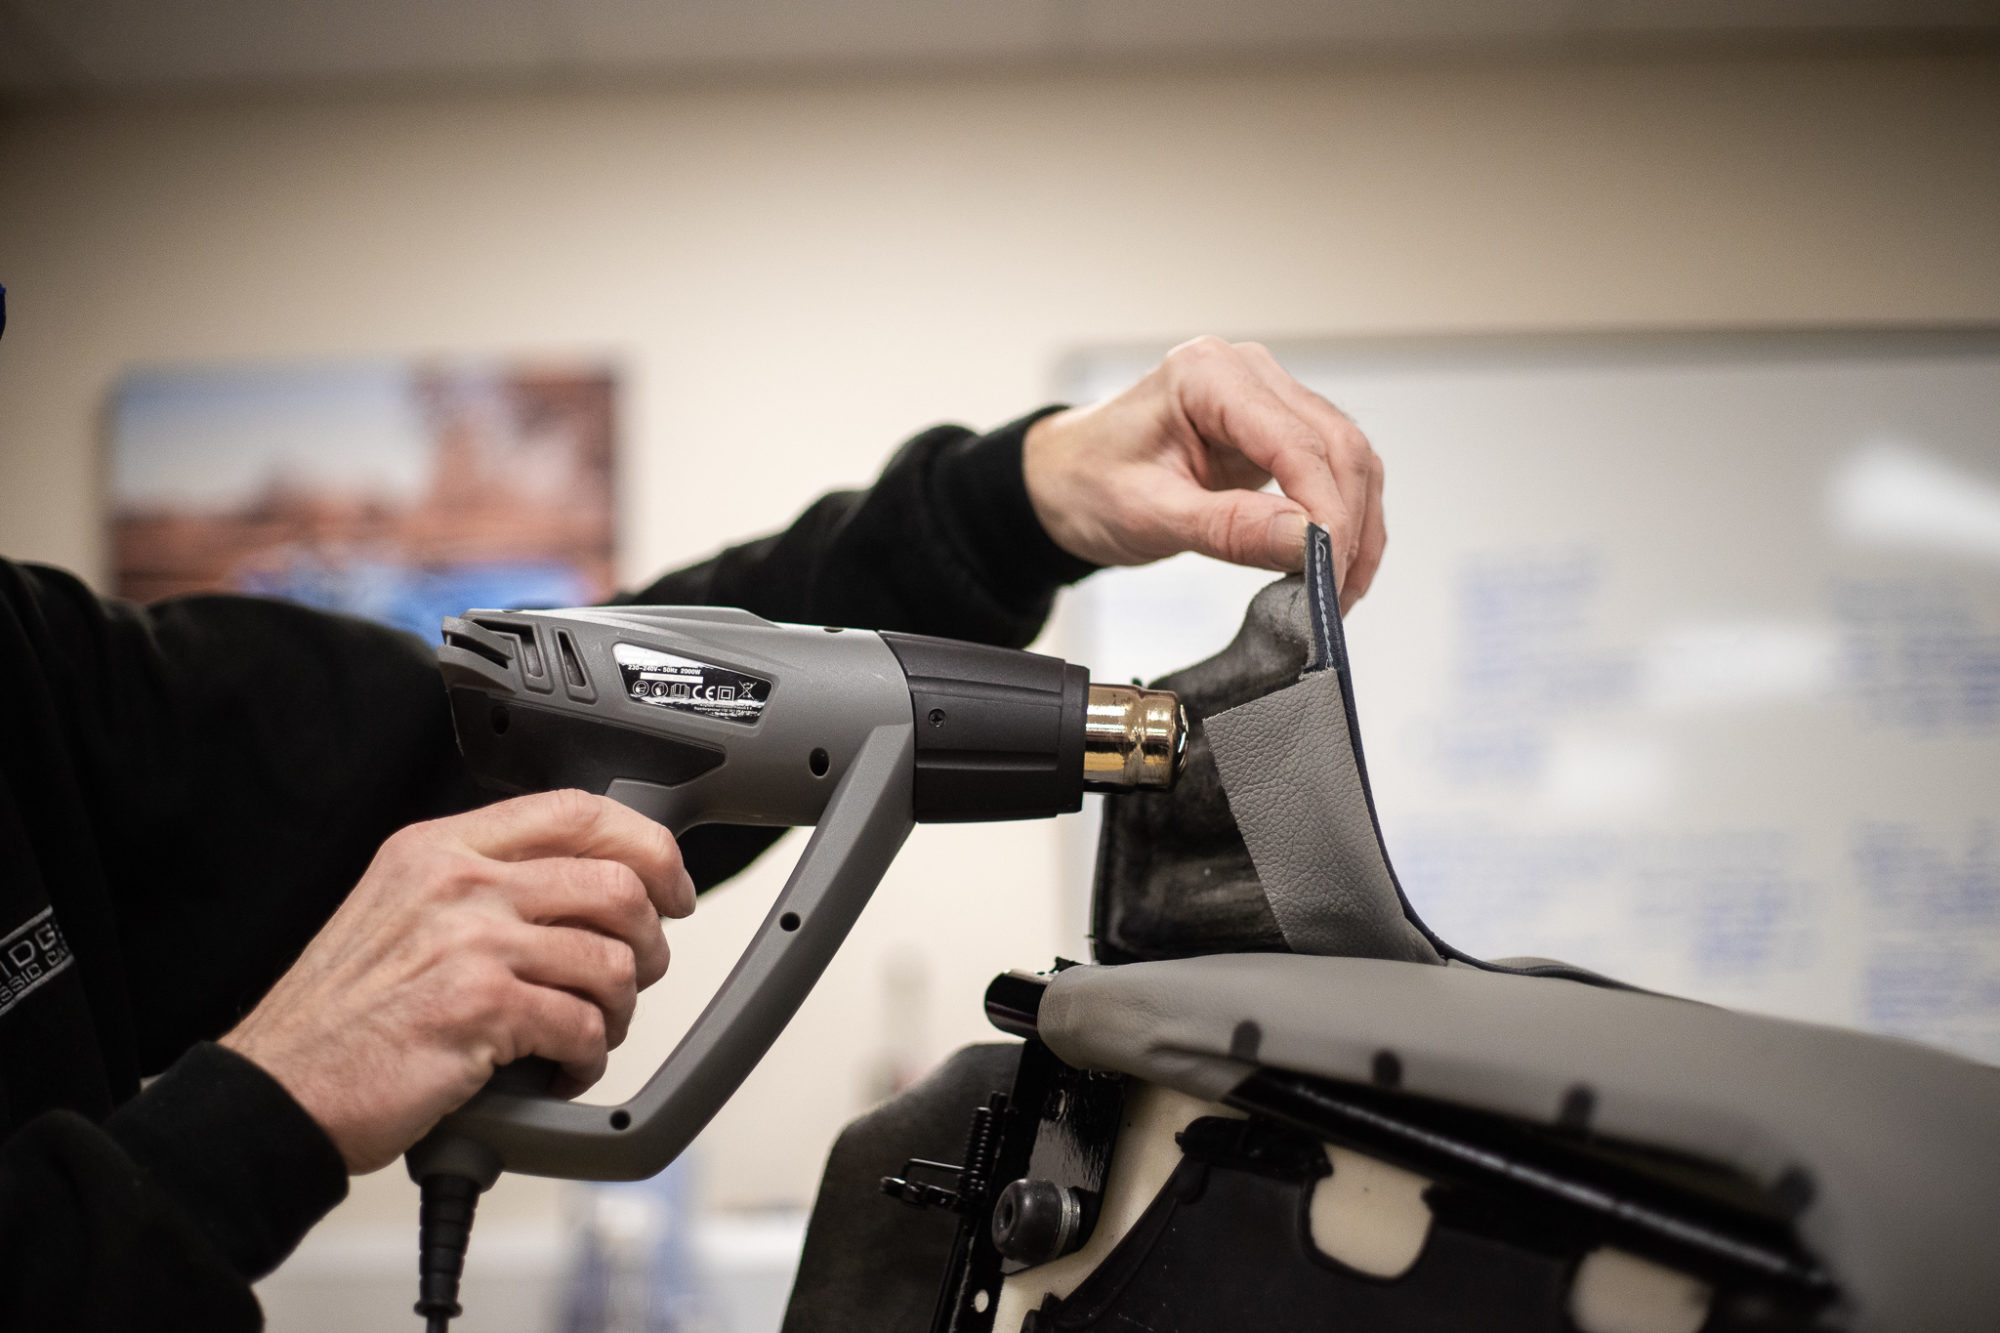
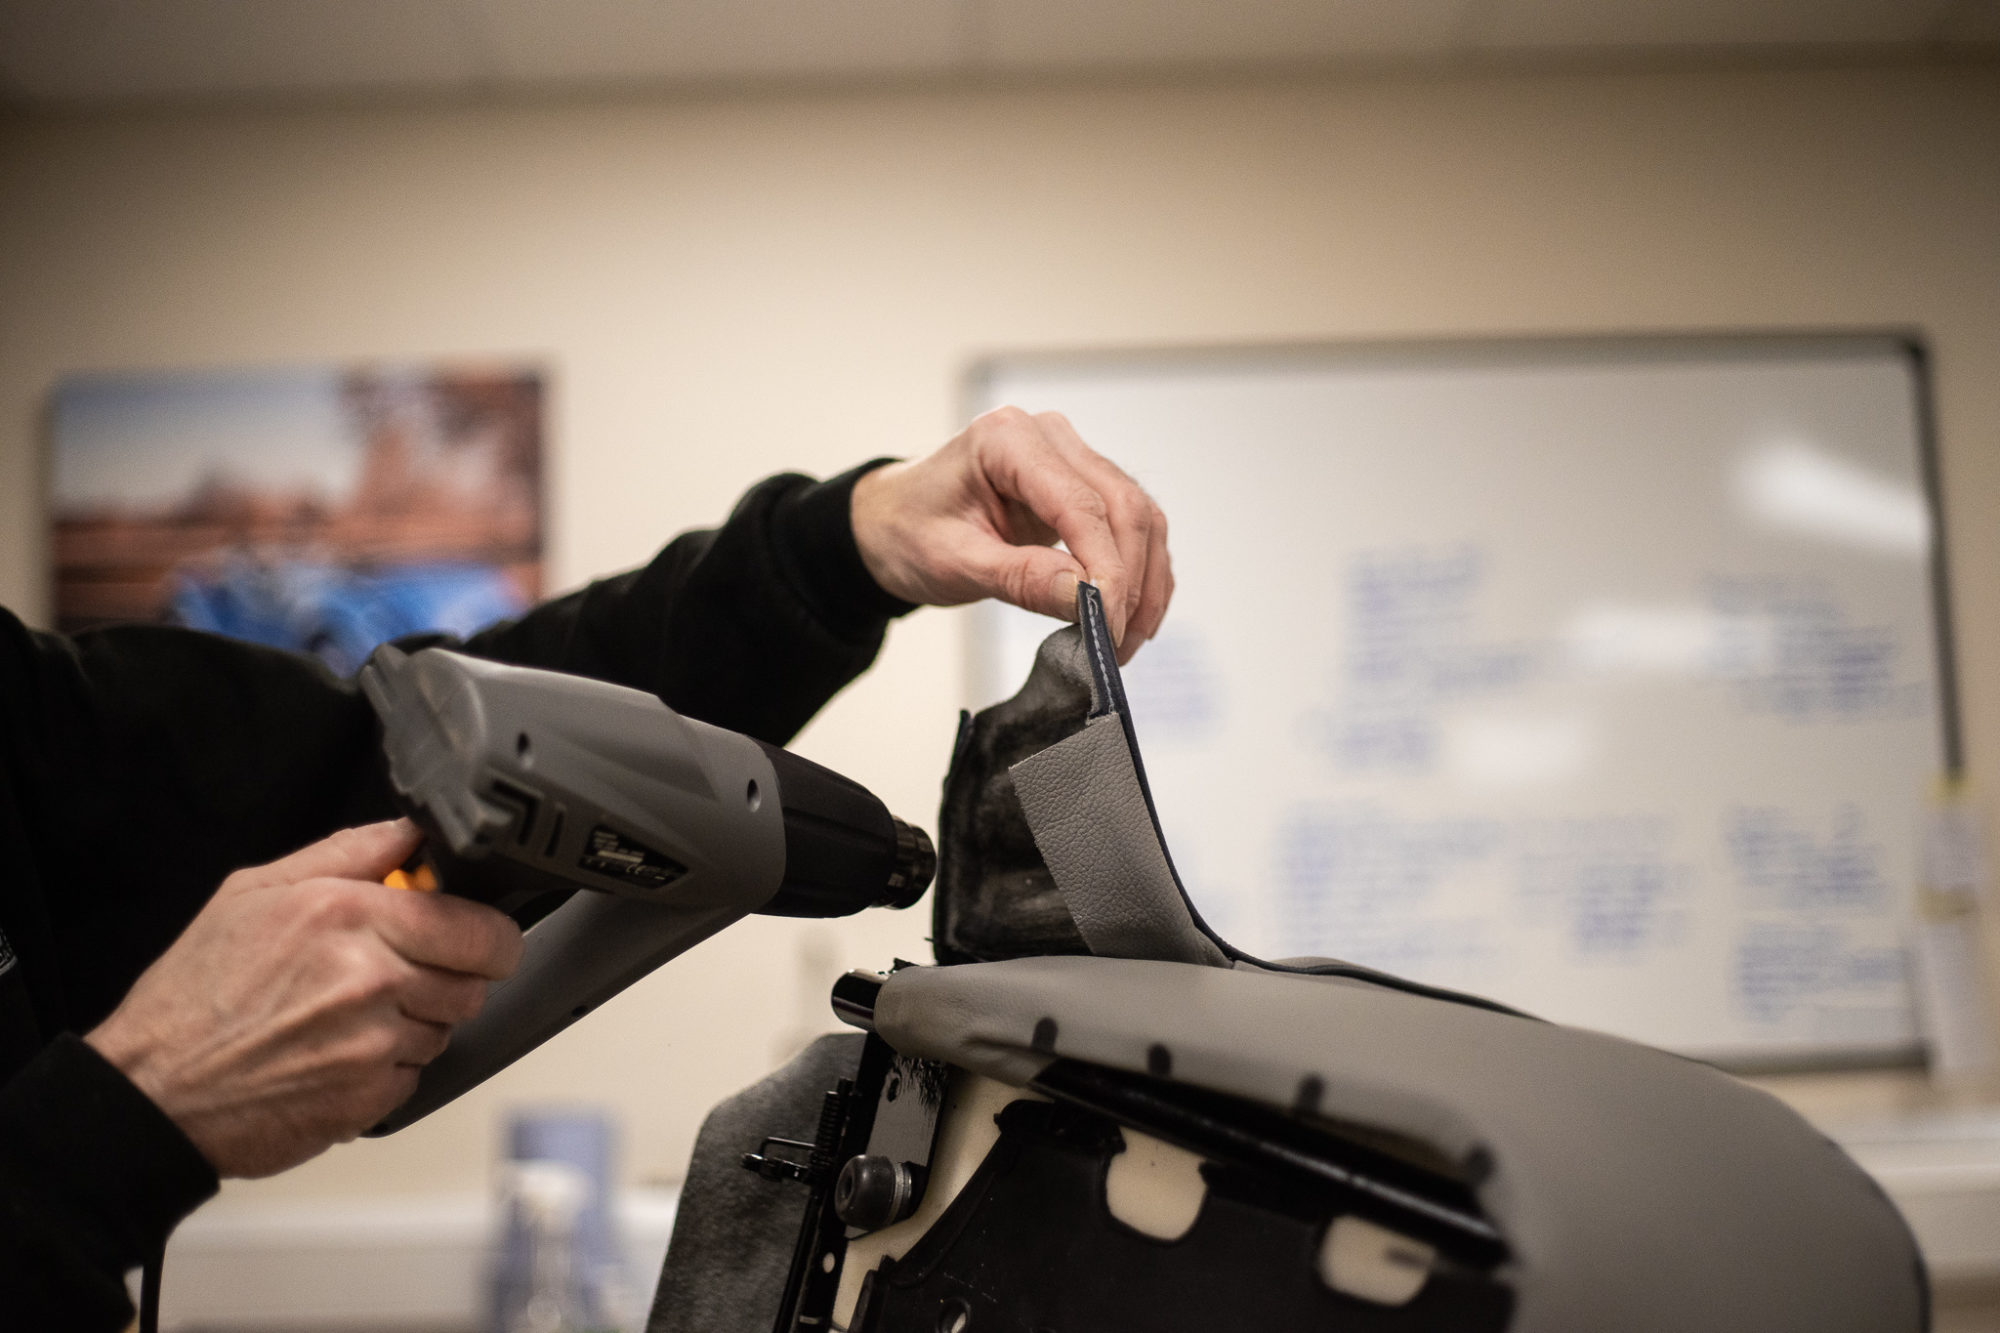
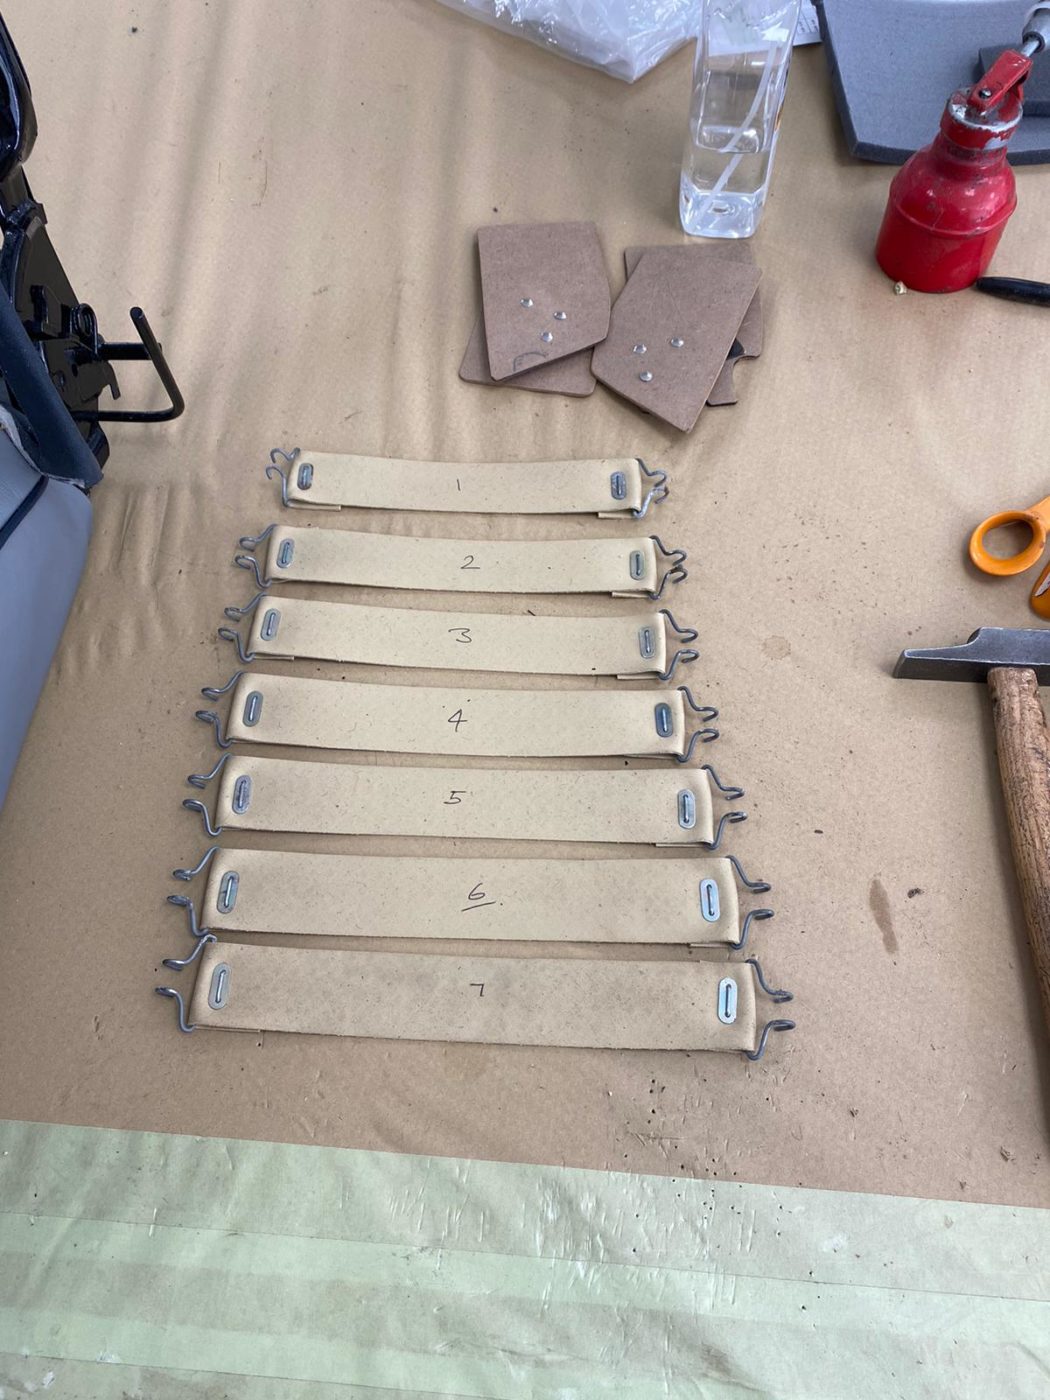
Brian explains how he made new side band boards to allow cover to fit around recliner mechanism as well as making new rubber straps using the original hooks and fitting it all to the frame.
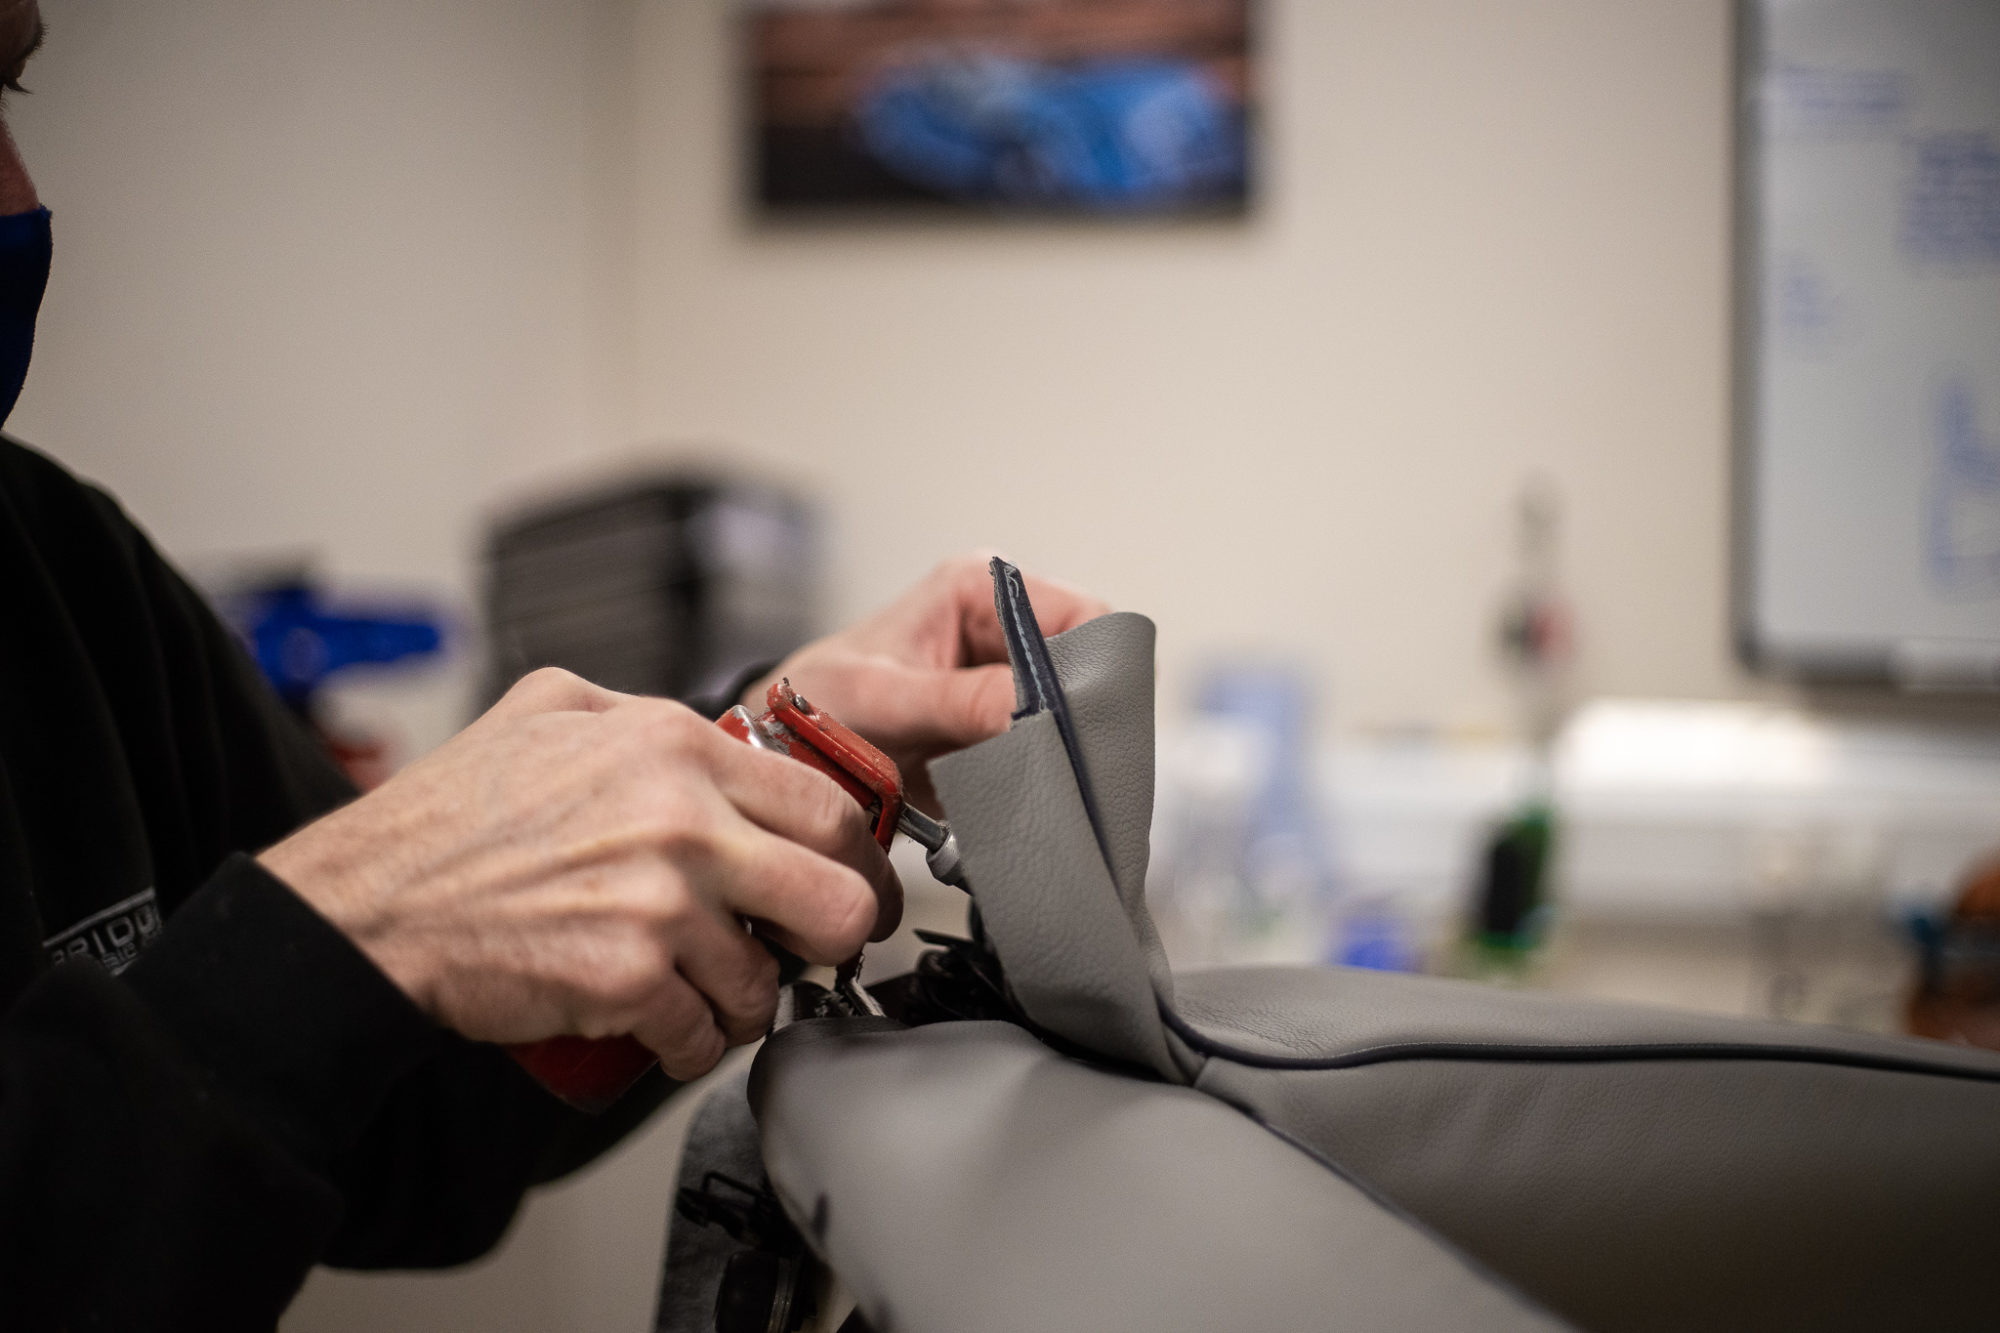
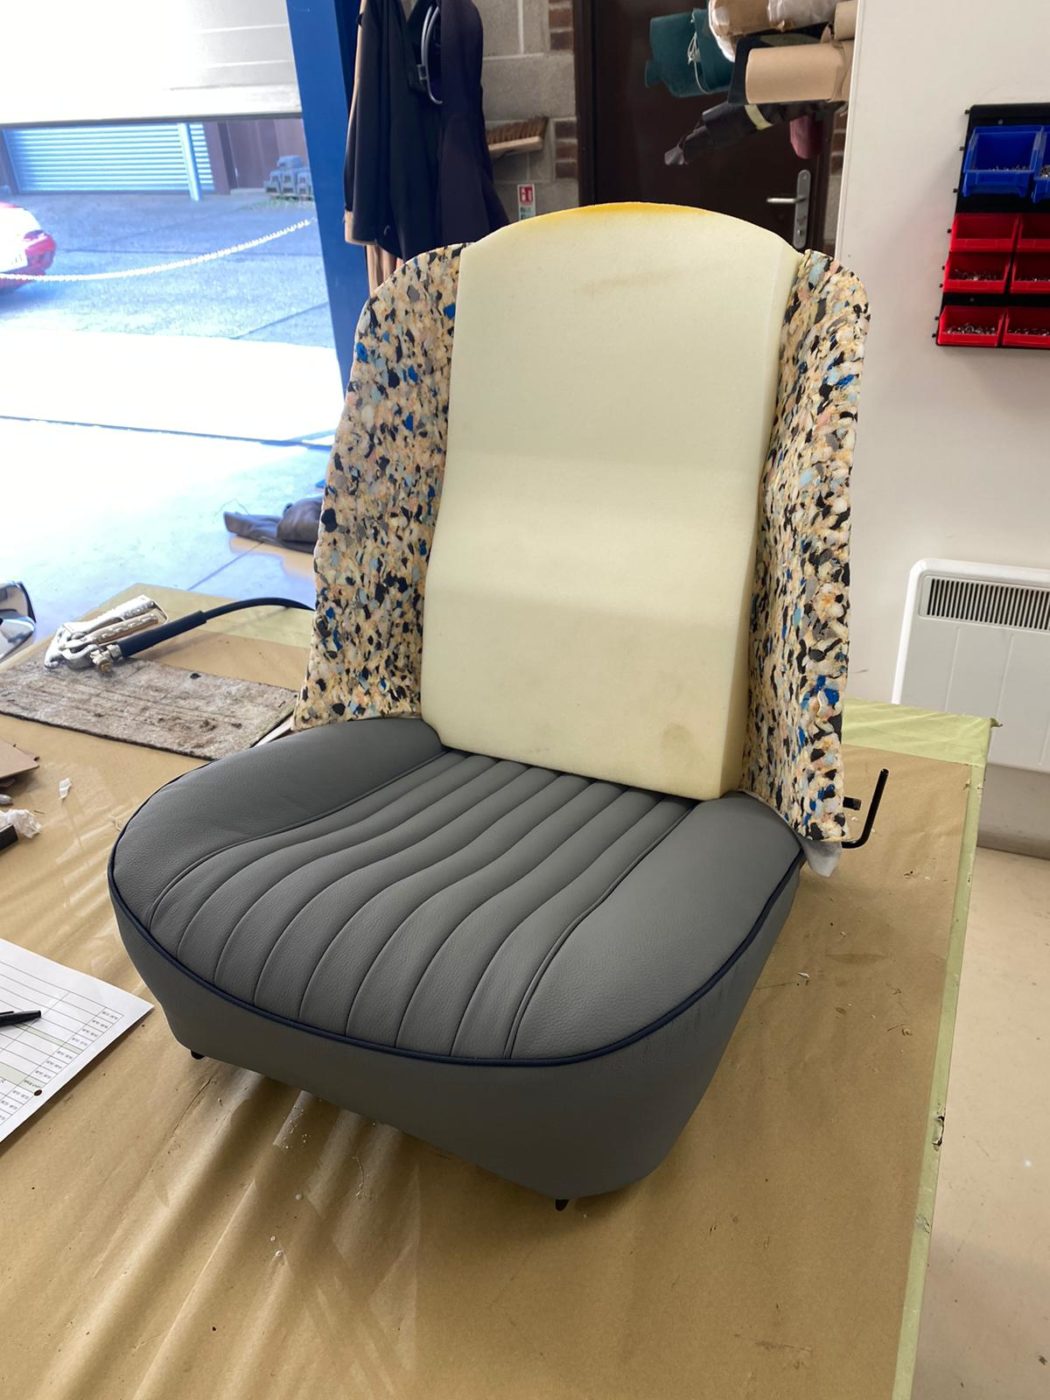
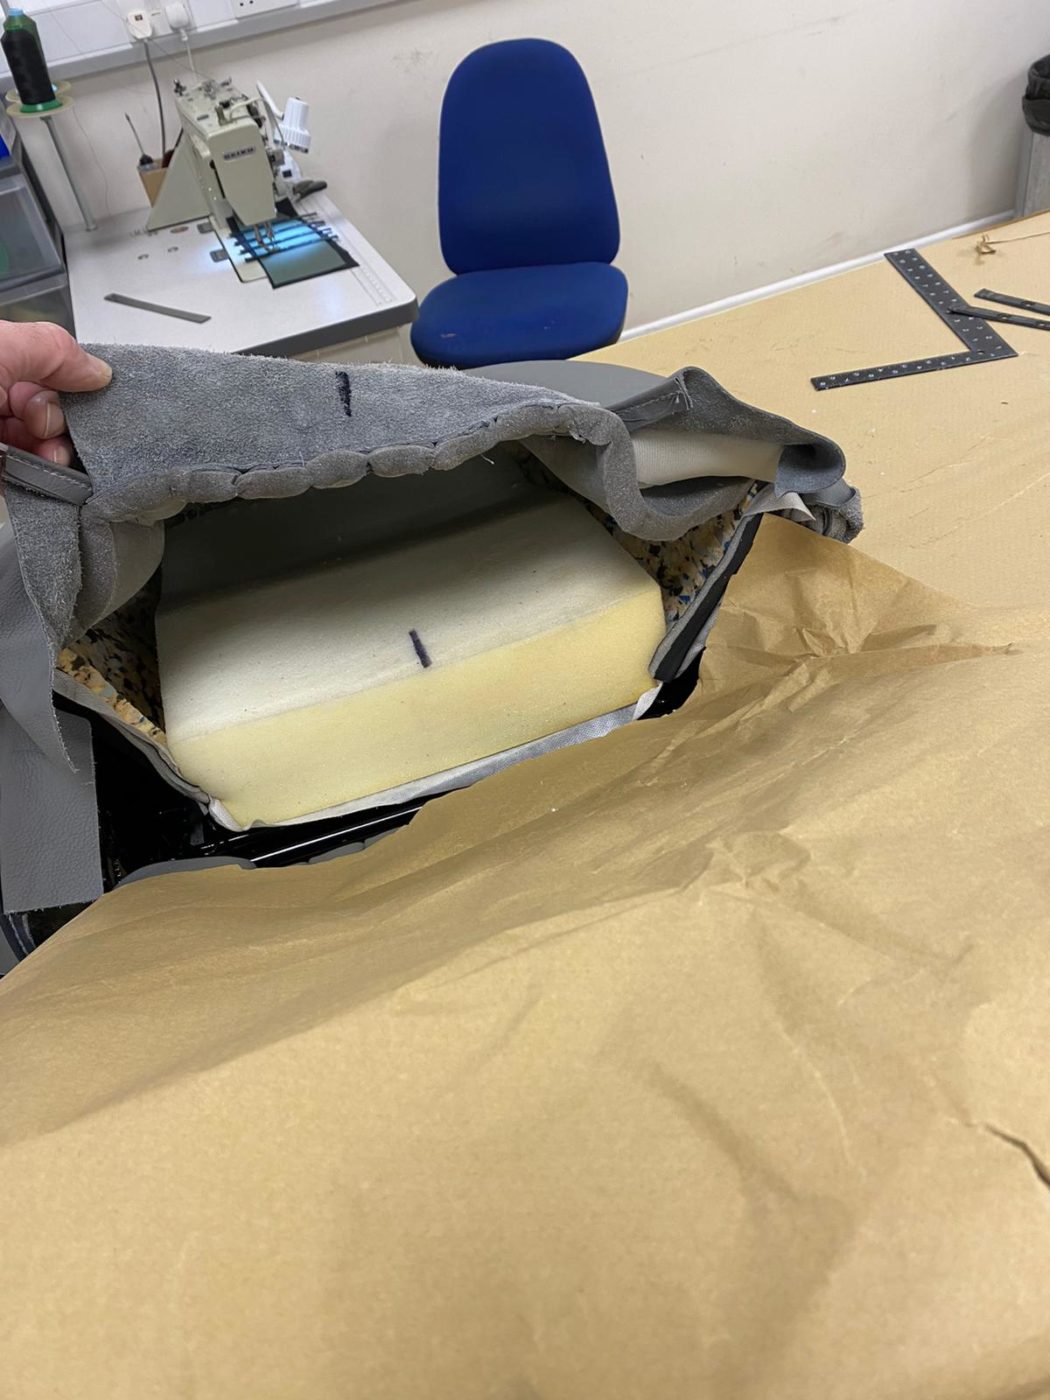
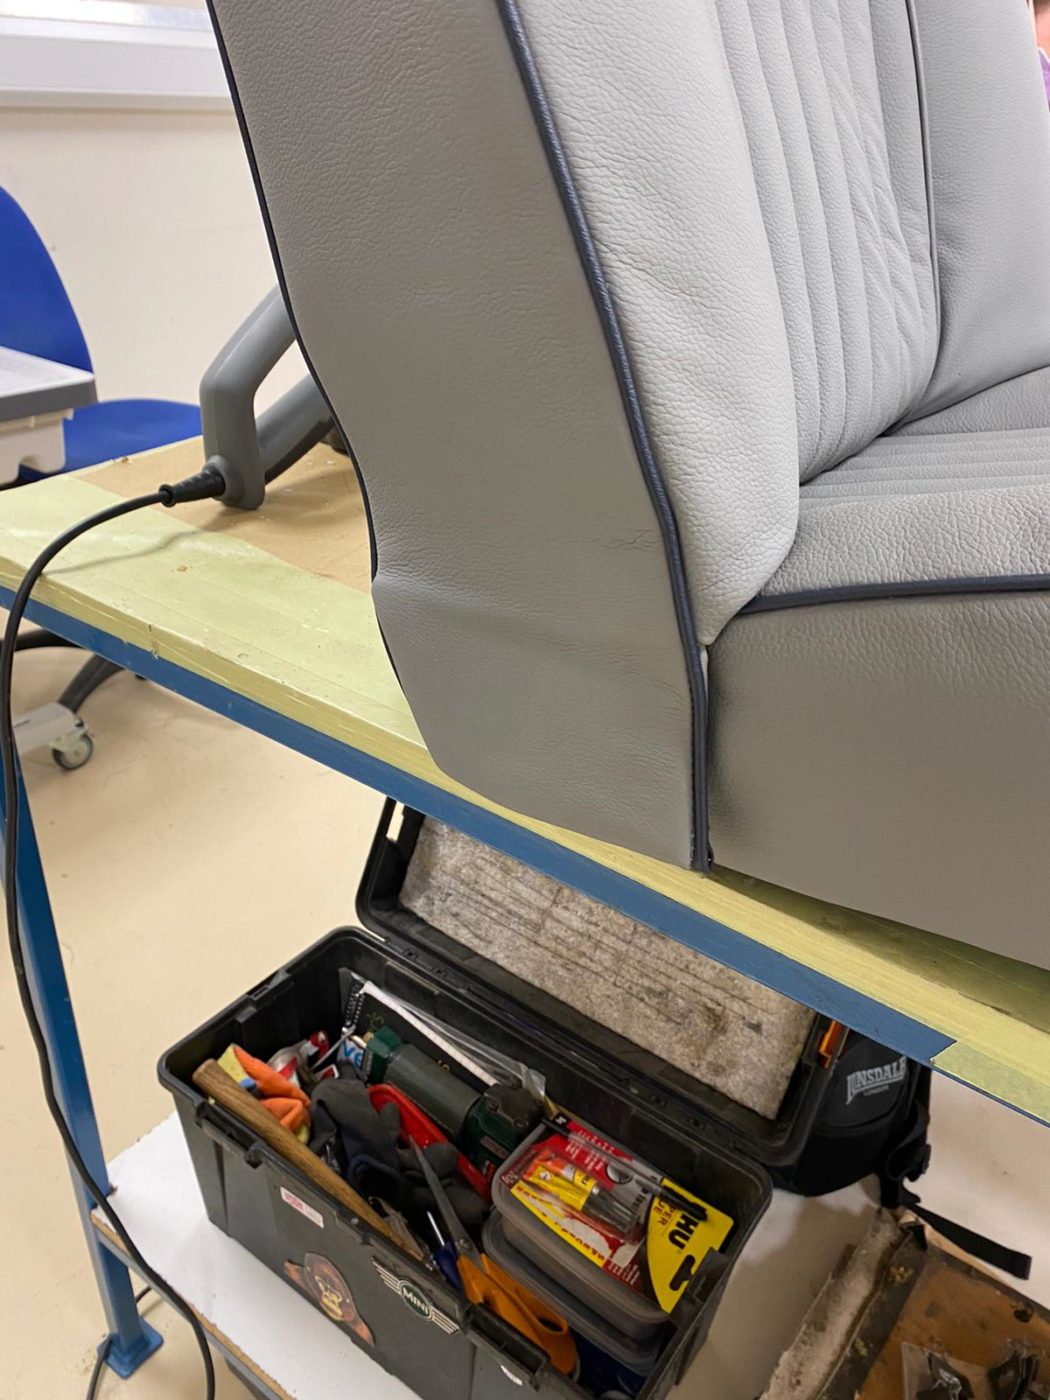
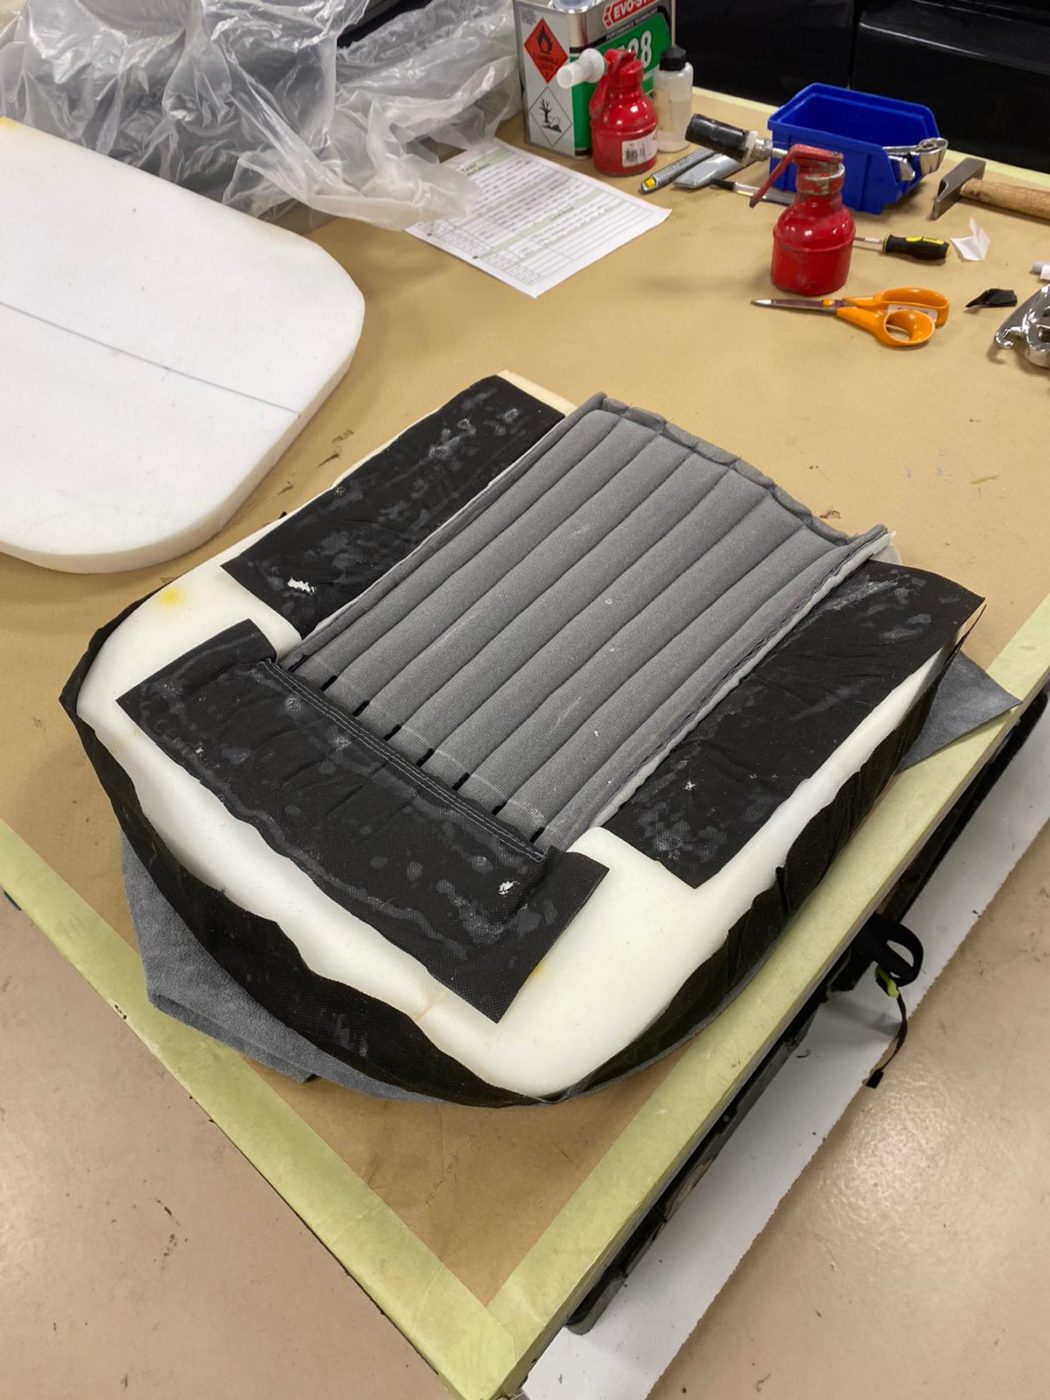
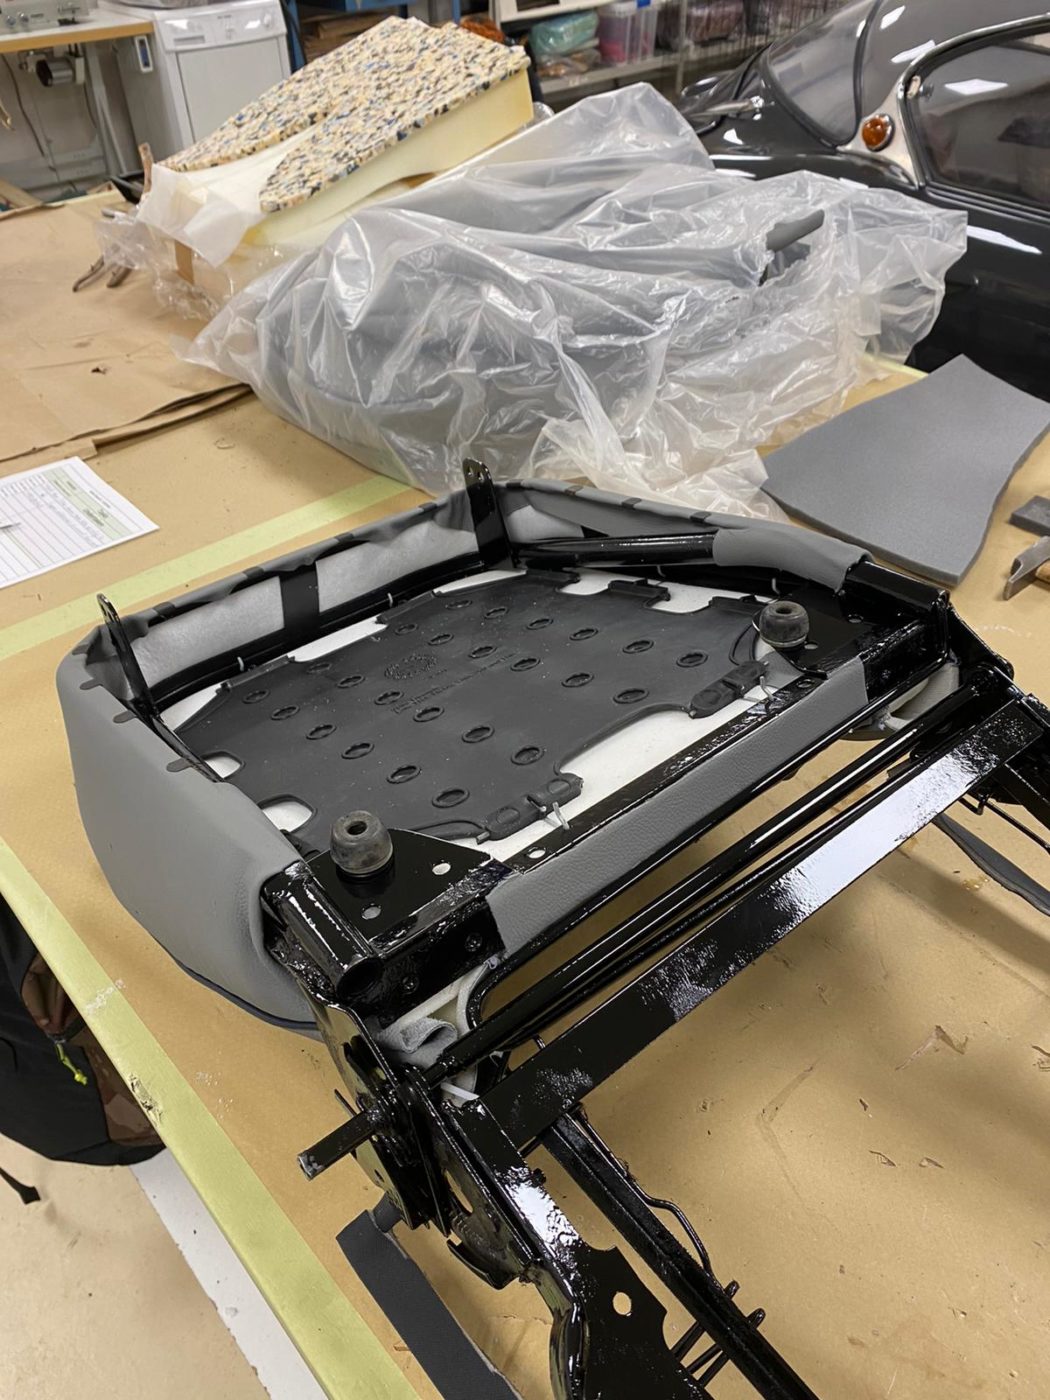
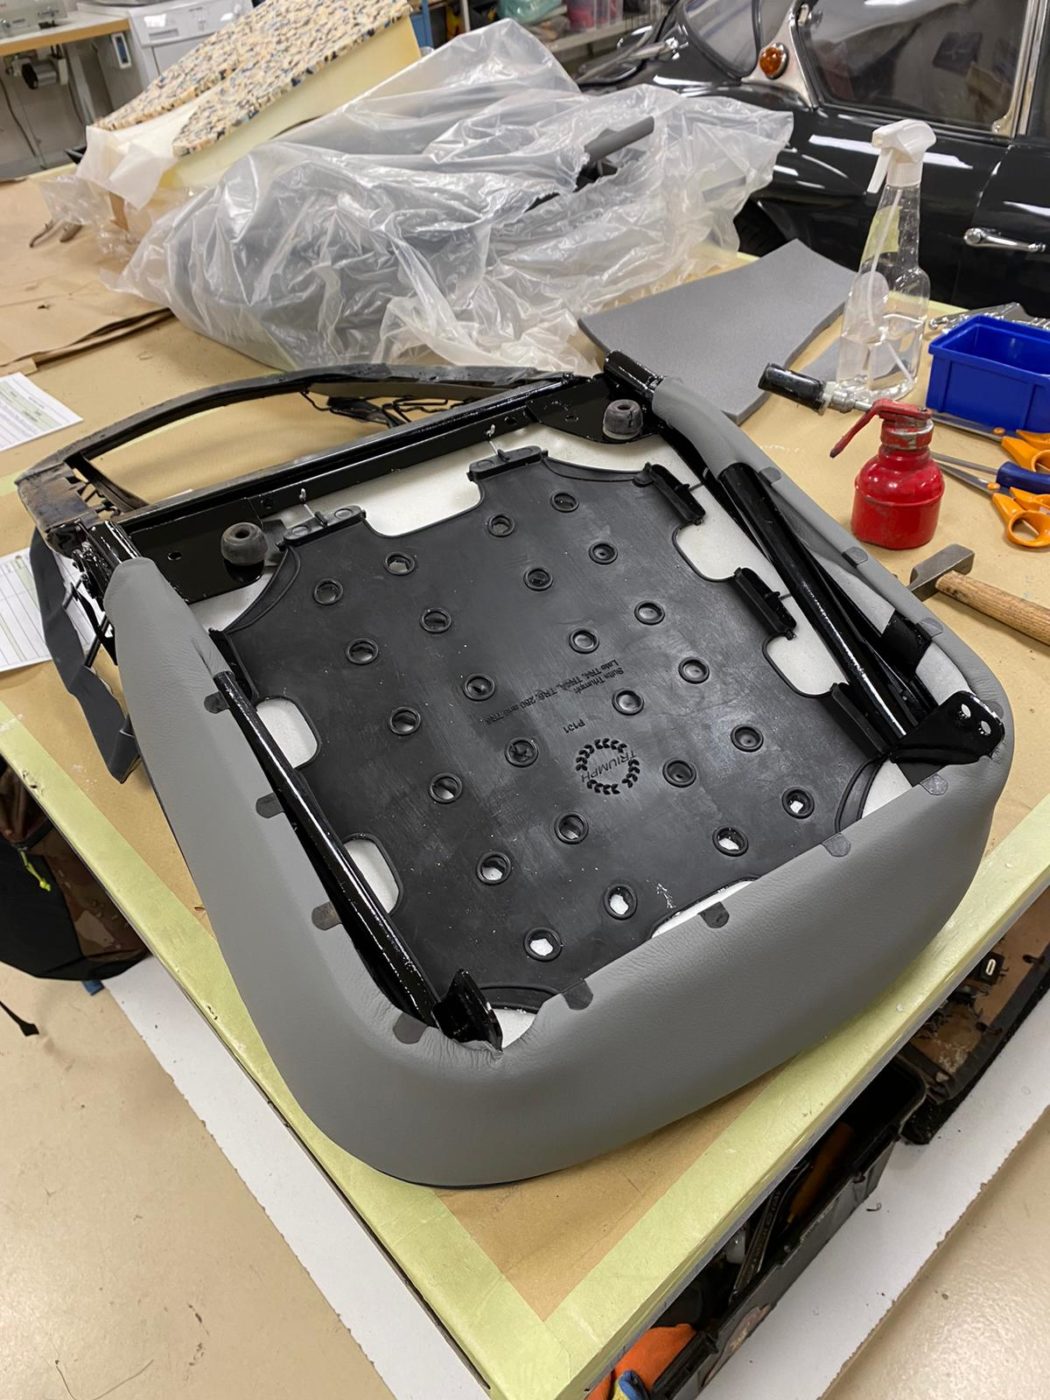
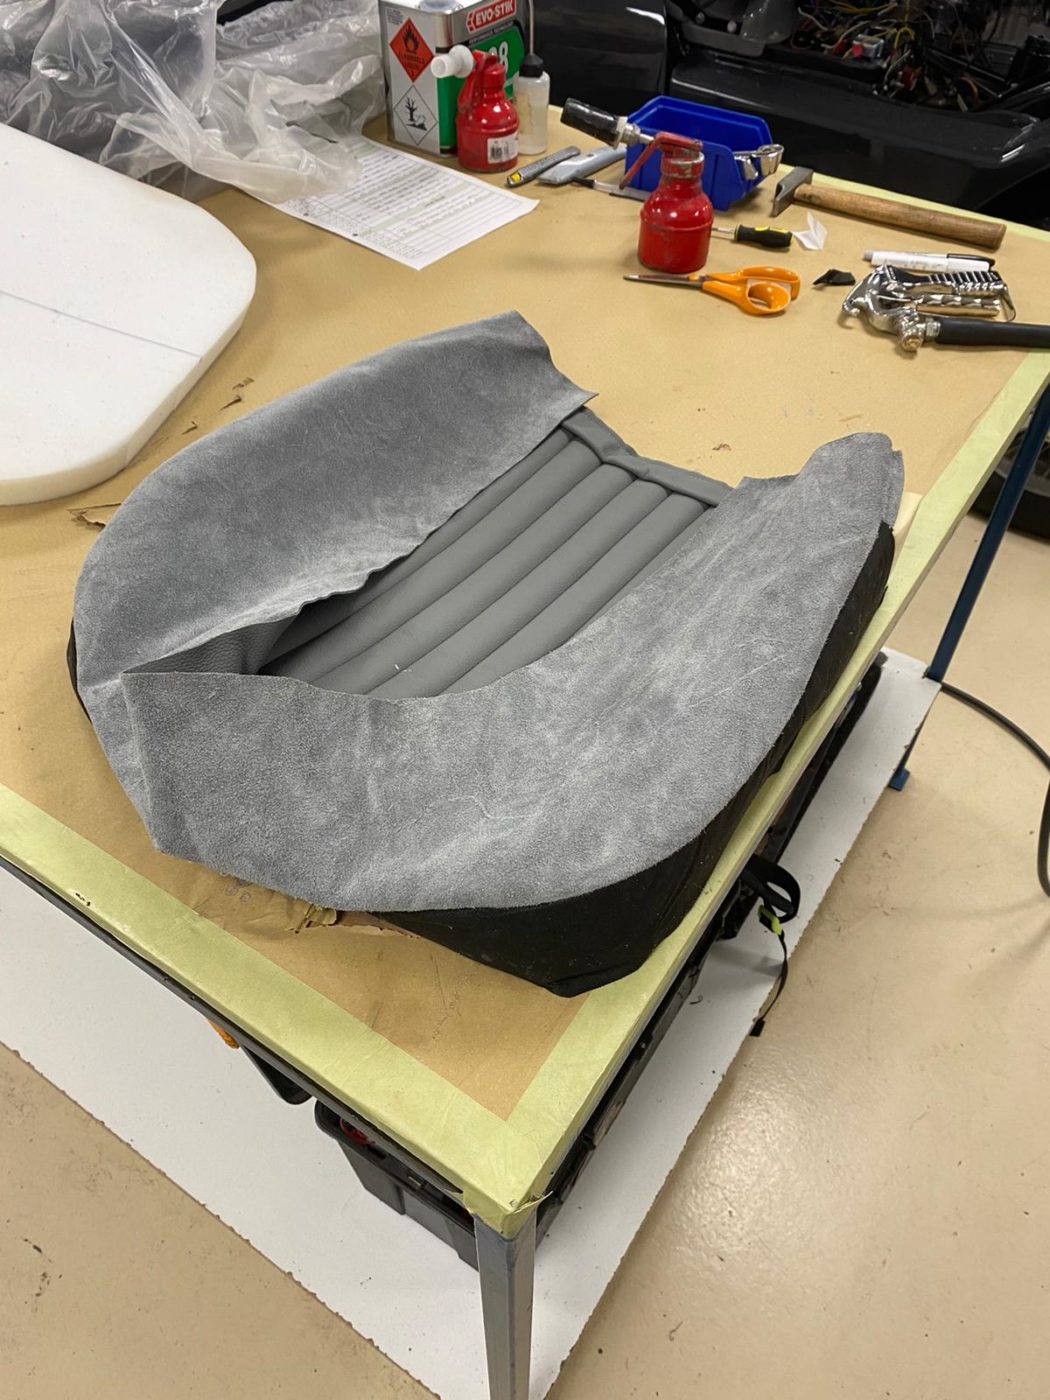
Brian has then fitted the squab foam in place and added new foam to the back of the frame. He managed to slide the cover over the frame and glue the centre section to foam. Brian then glued the centre section in place, and tucked in the flaps on the side sections. Once fitted, he could pull the centre flap through and clip it down to the frame. To finish, Brian fitted the side board mechanisms in place and glued them down.
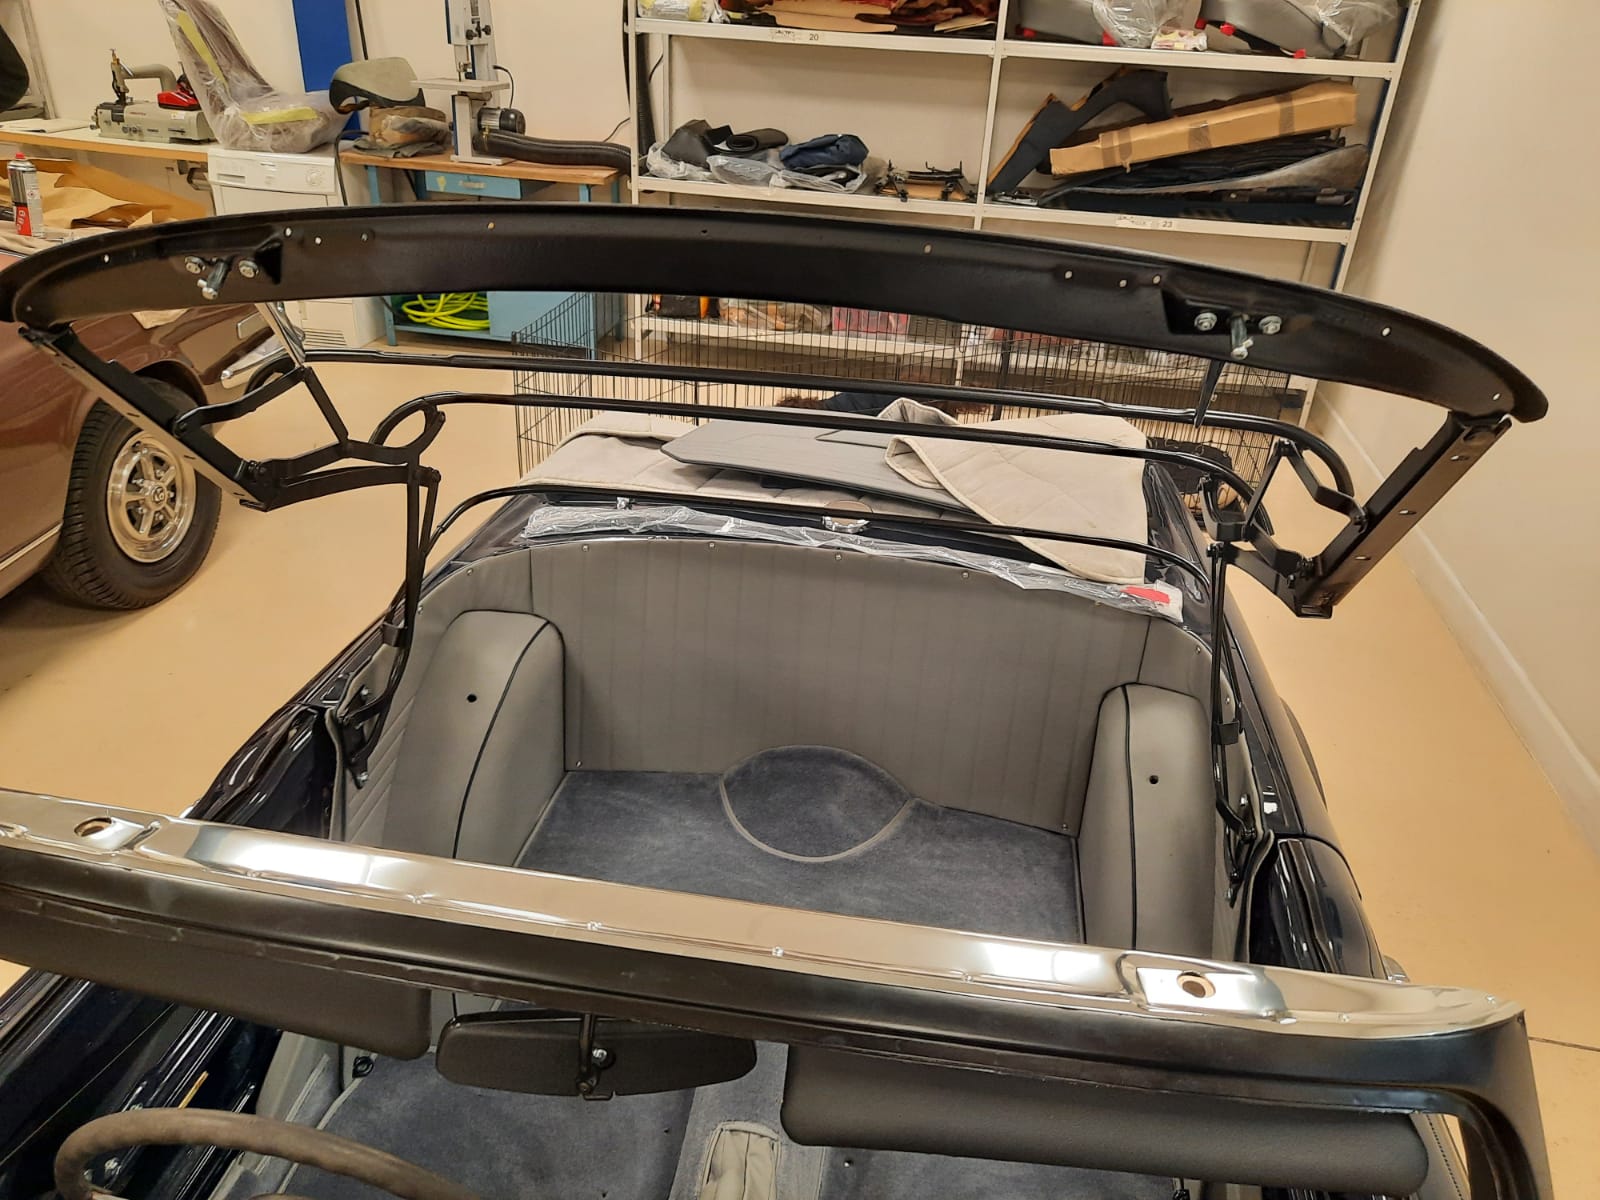
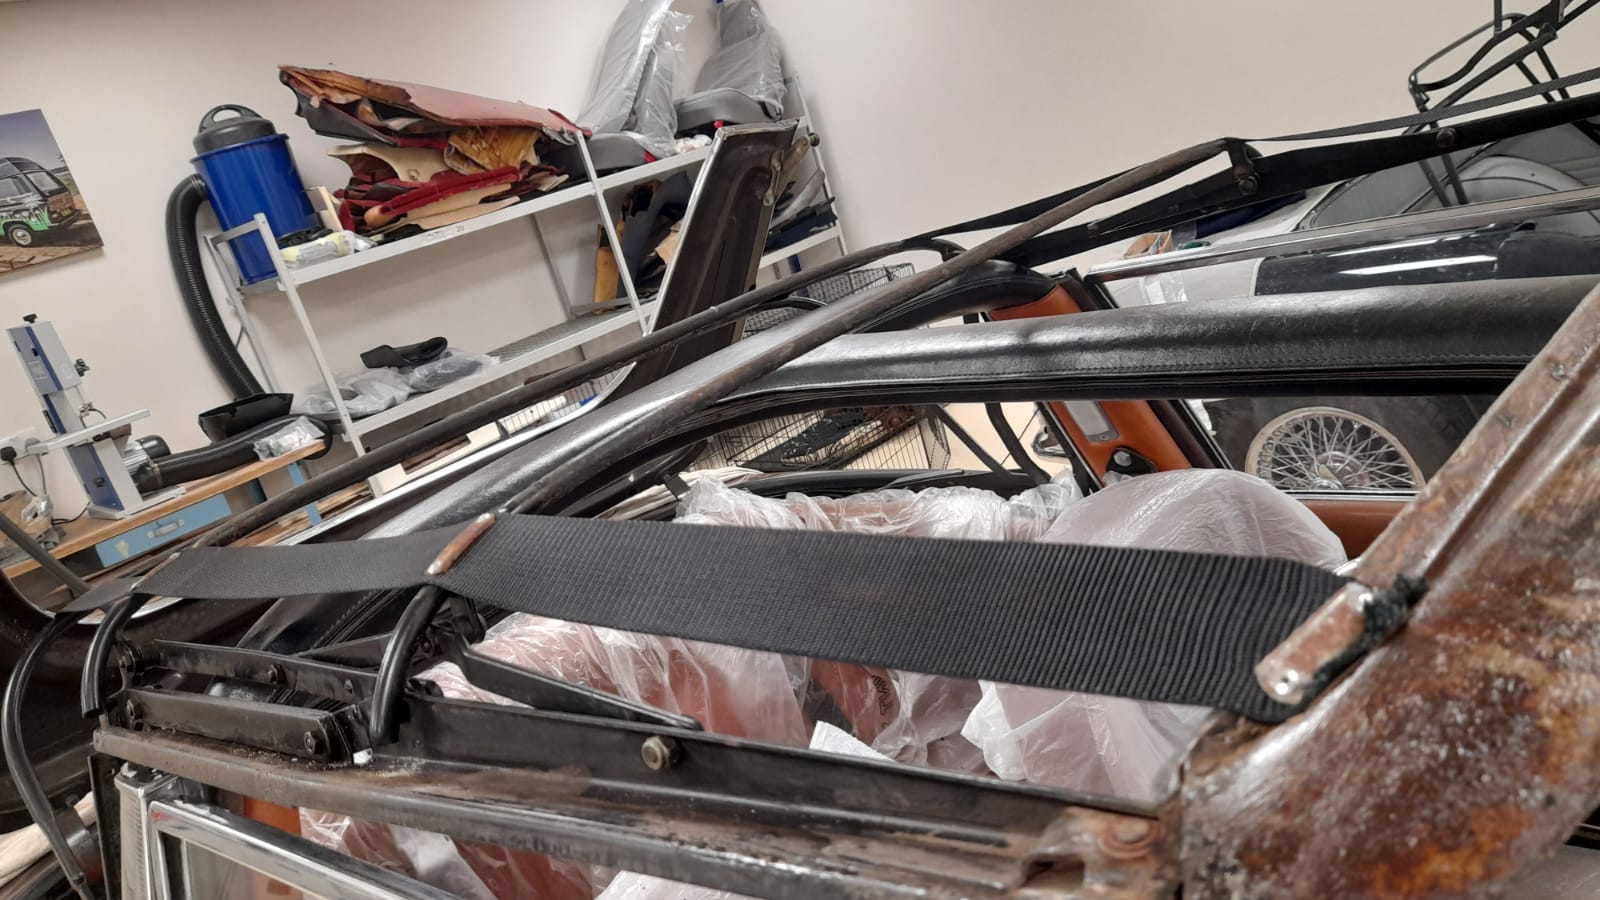
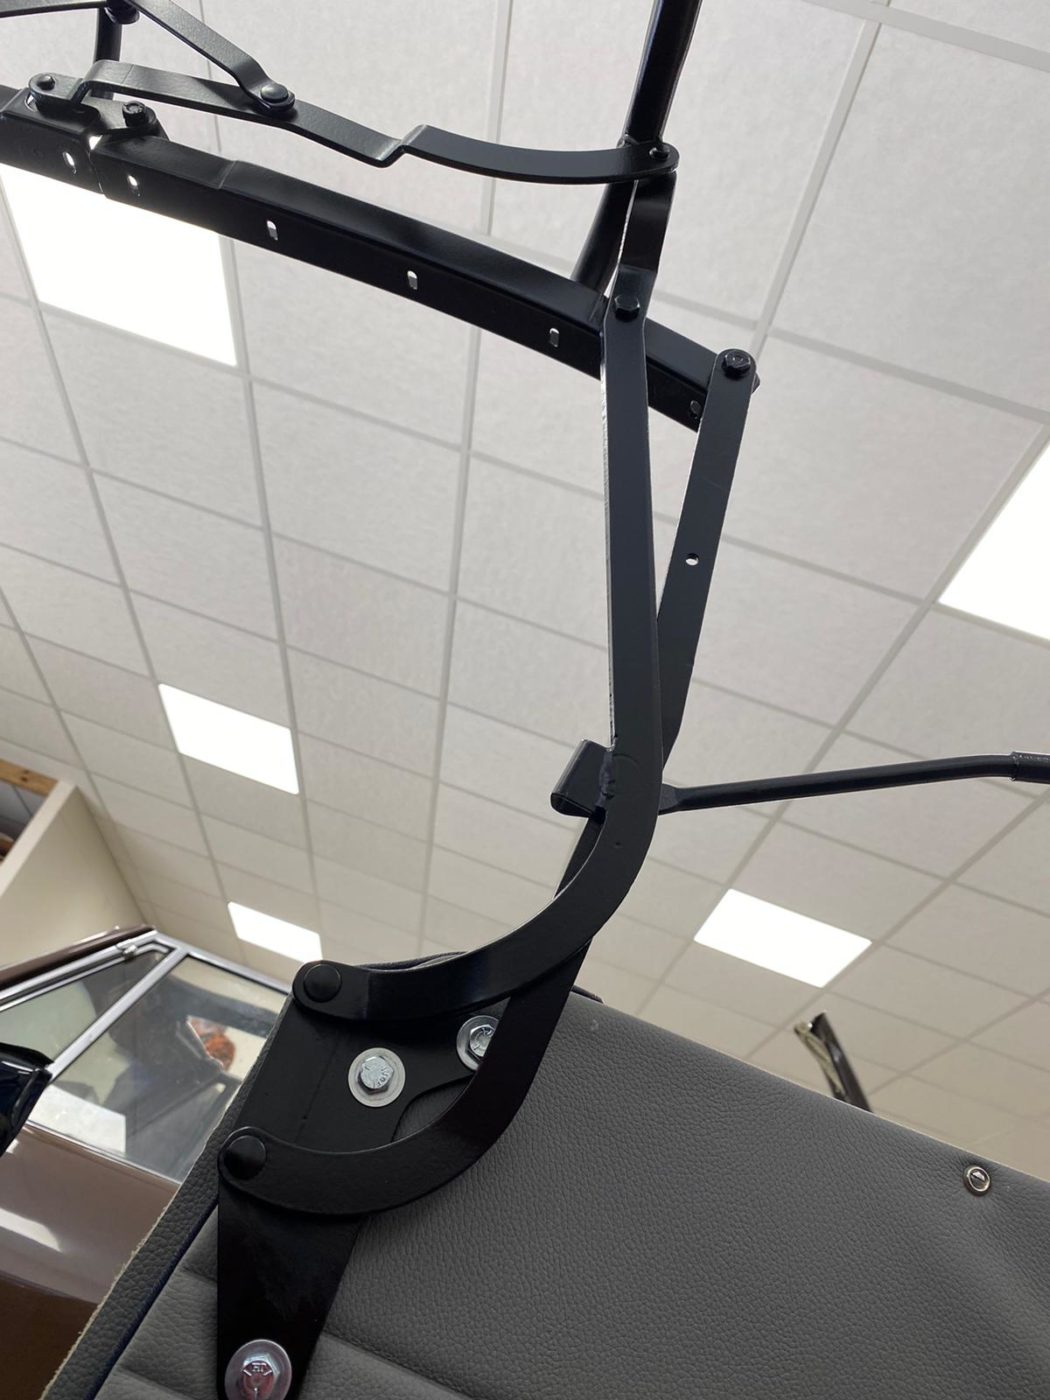
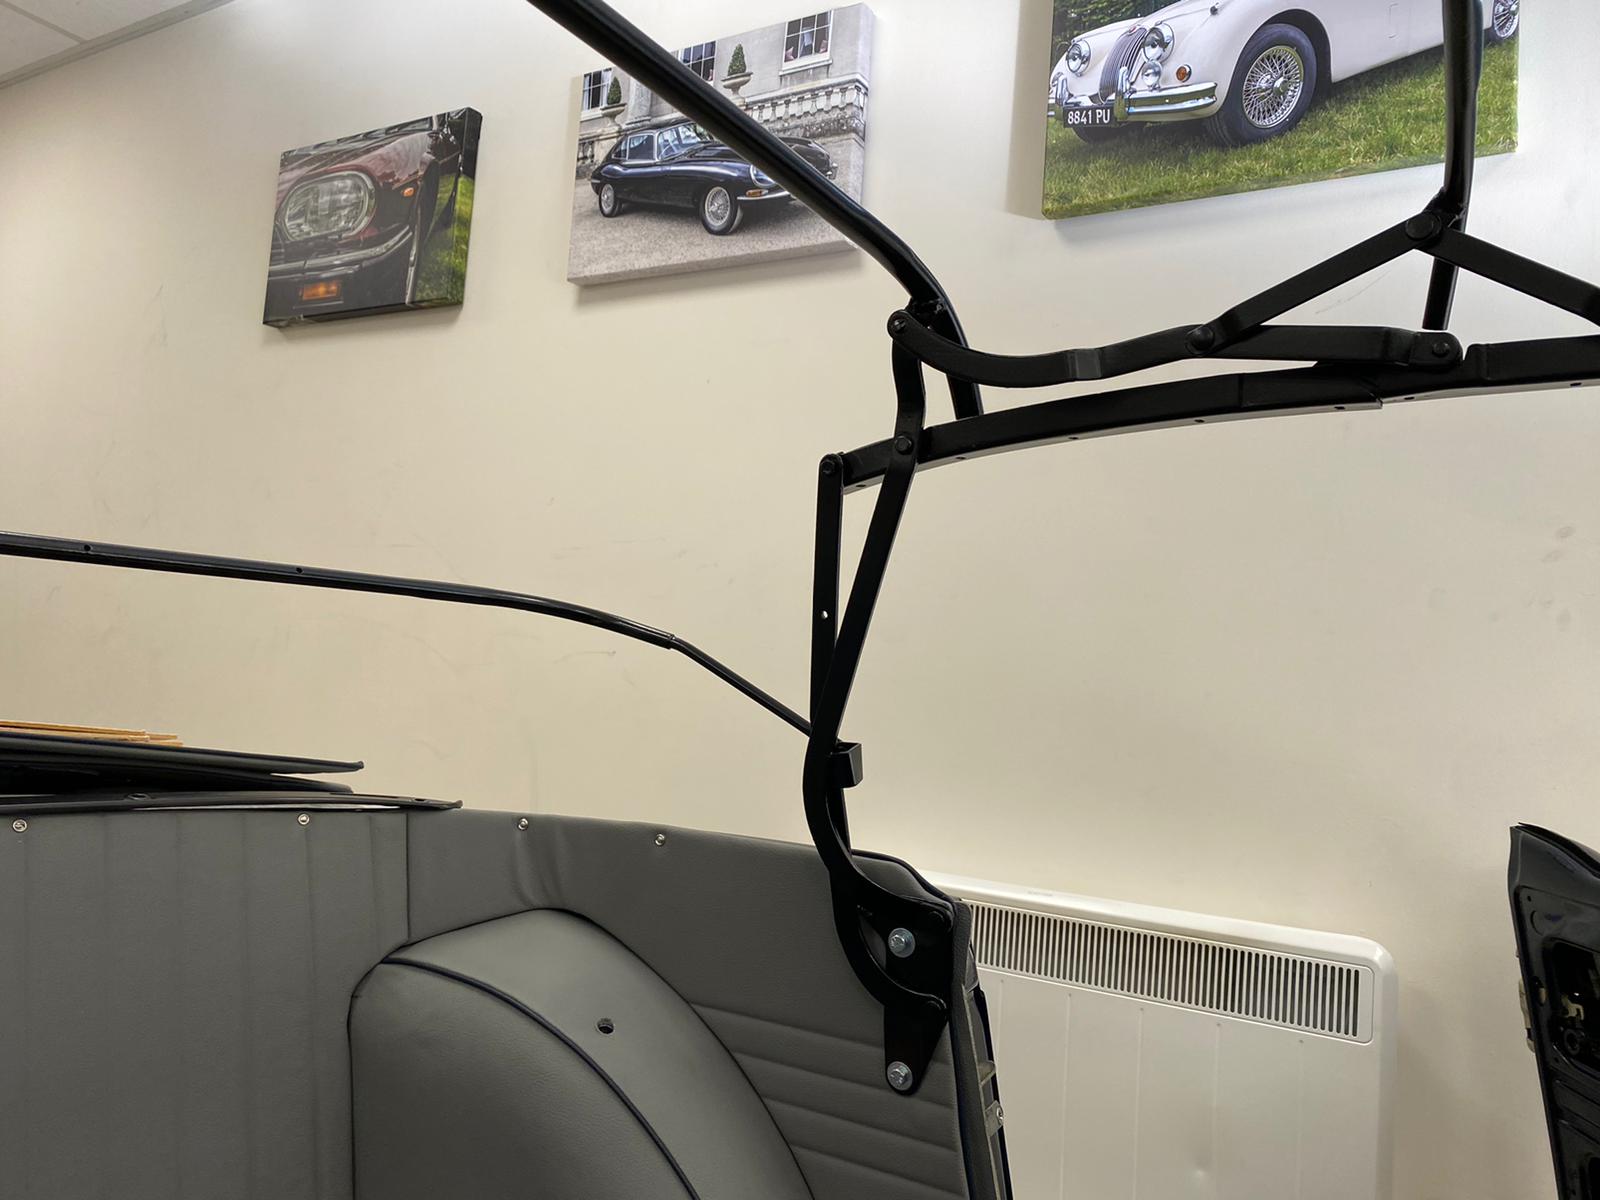
The hood frame has been completed for our 1968 Triumph TR5 and is now ready for it’s hood to be fitted.
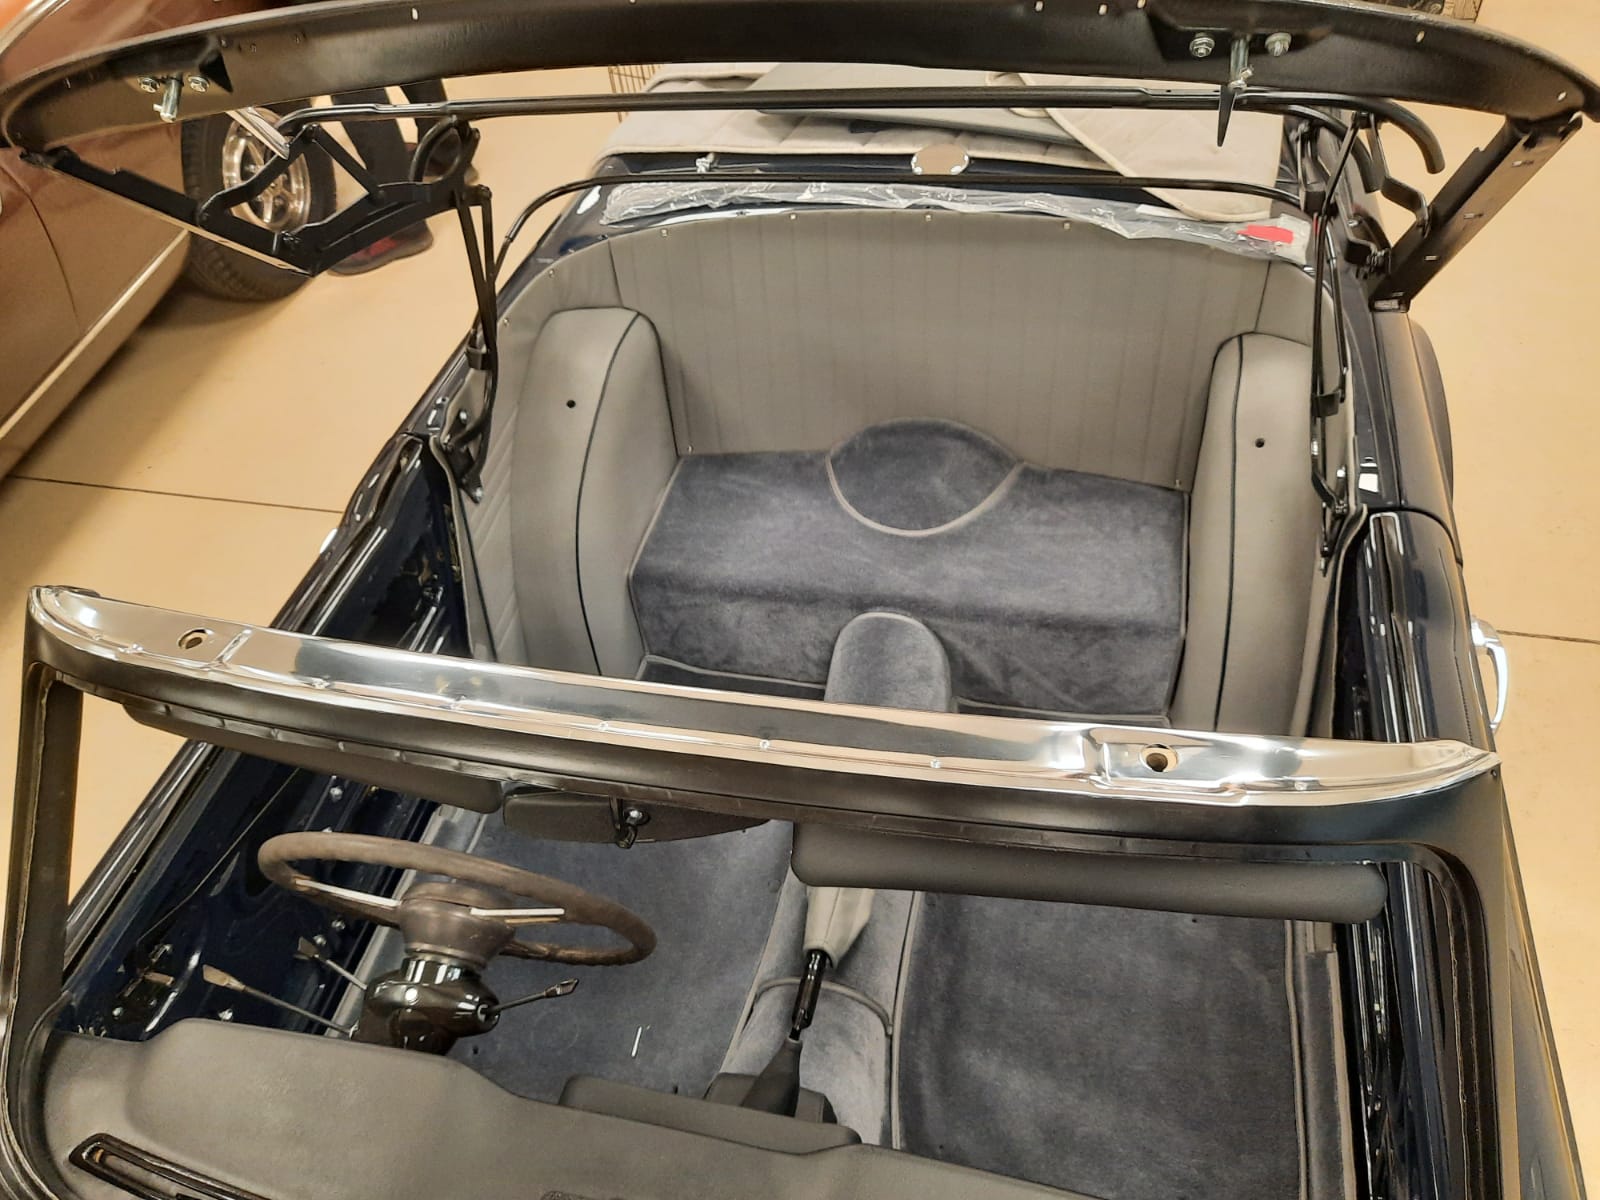
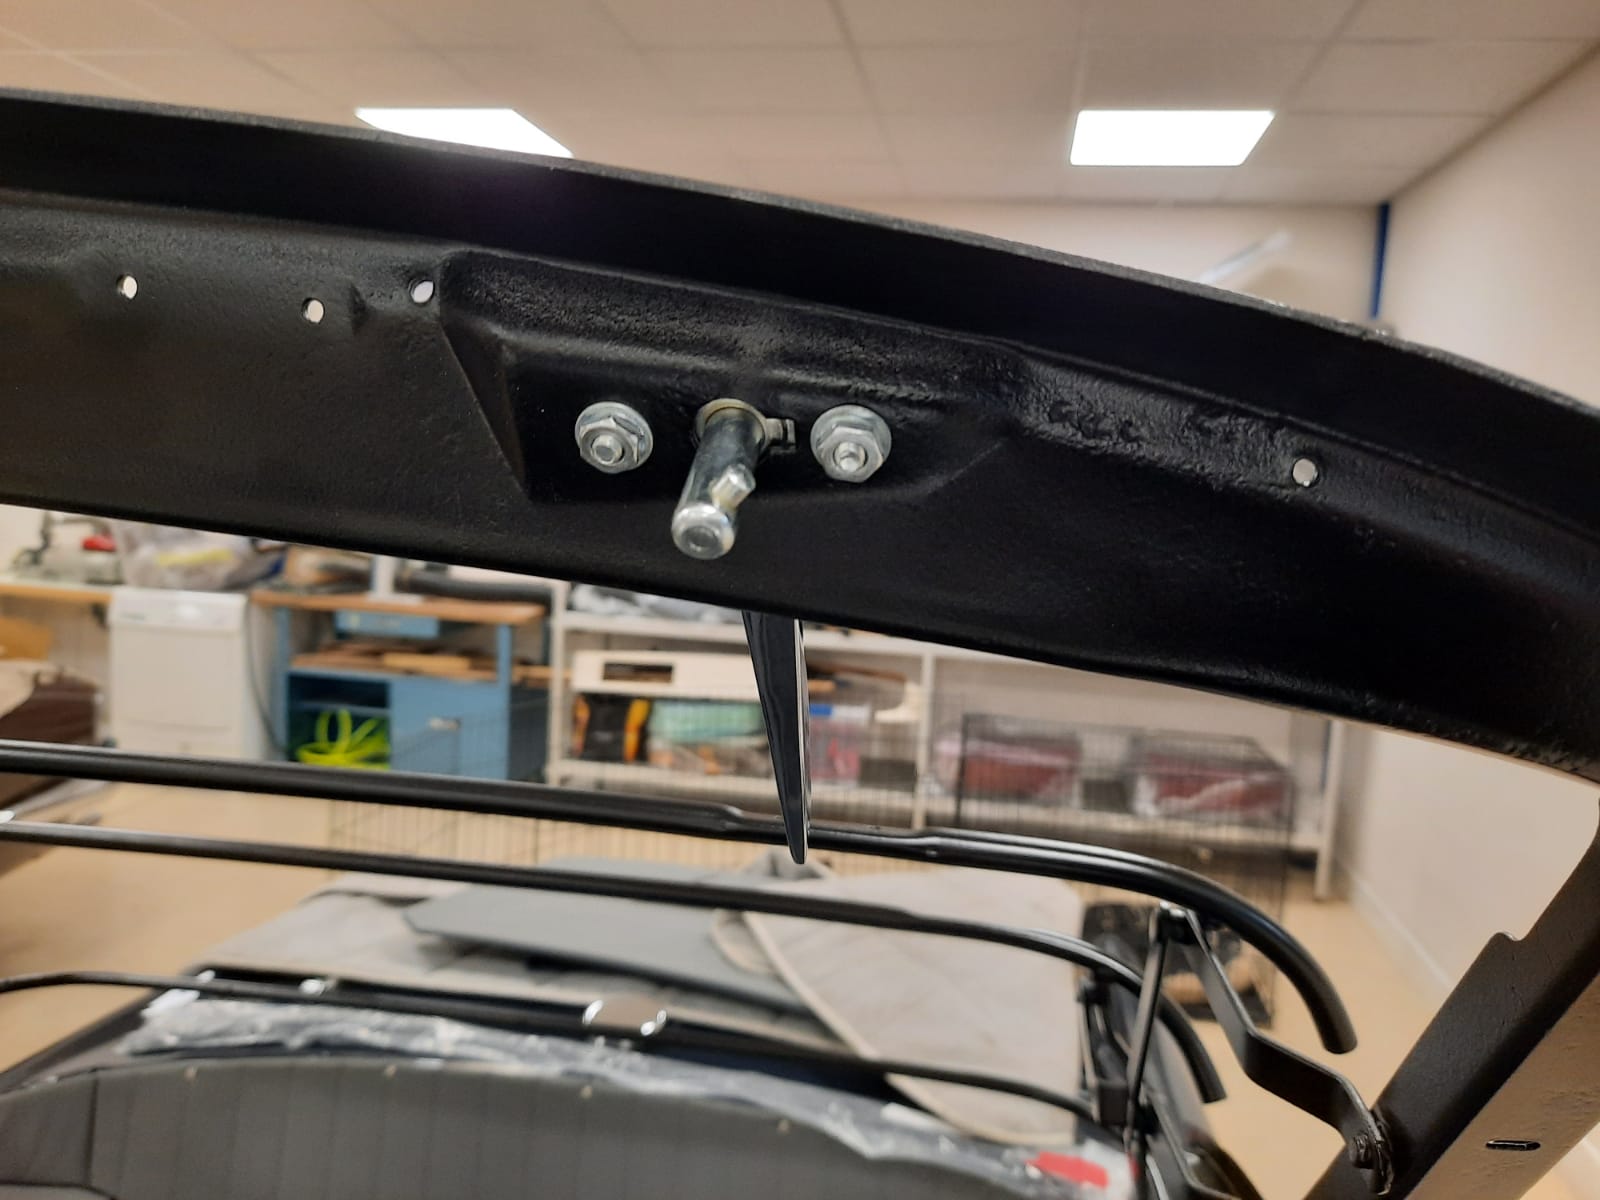
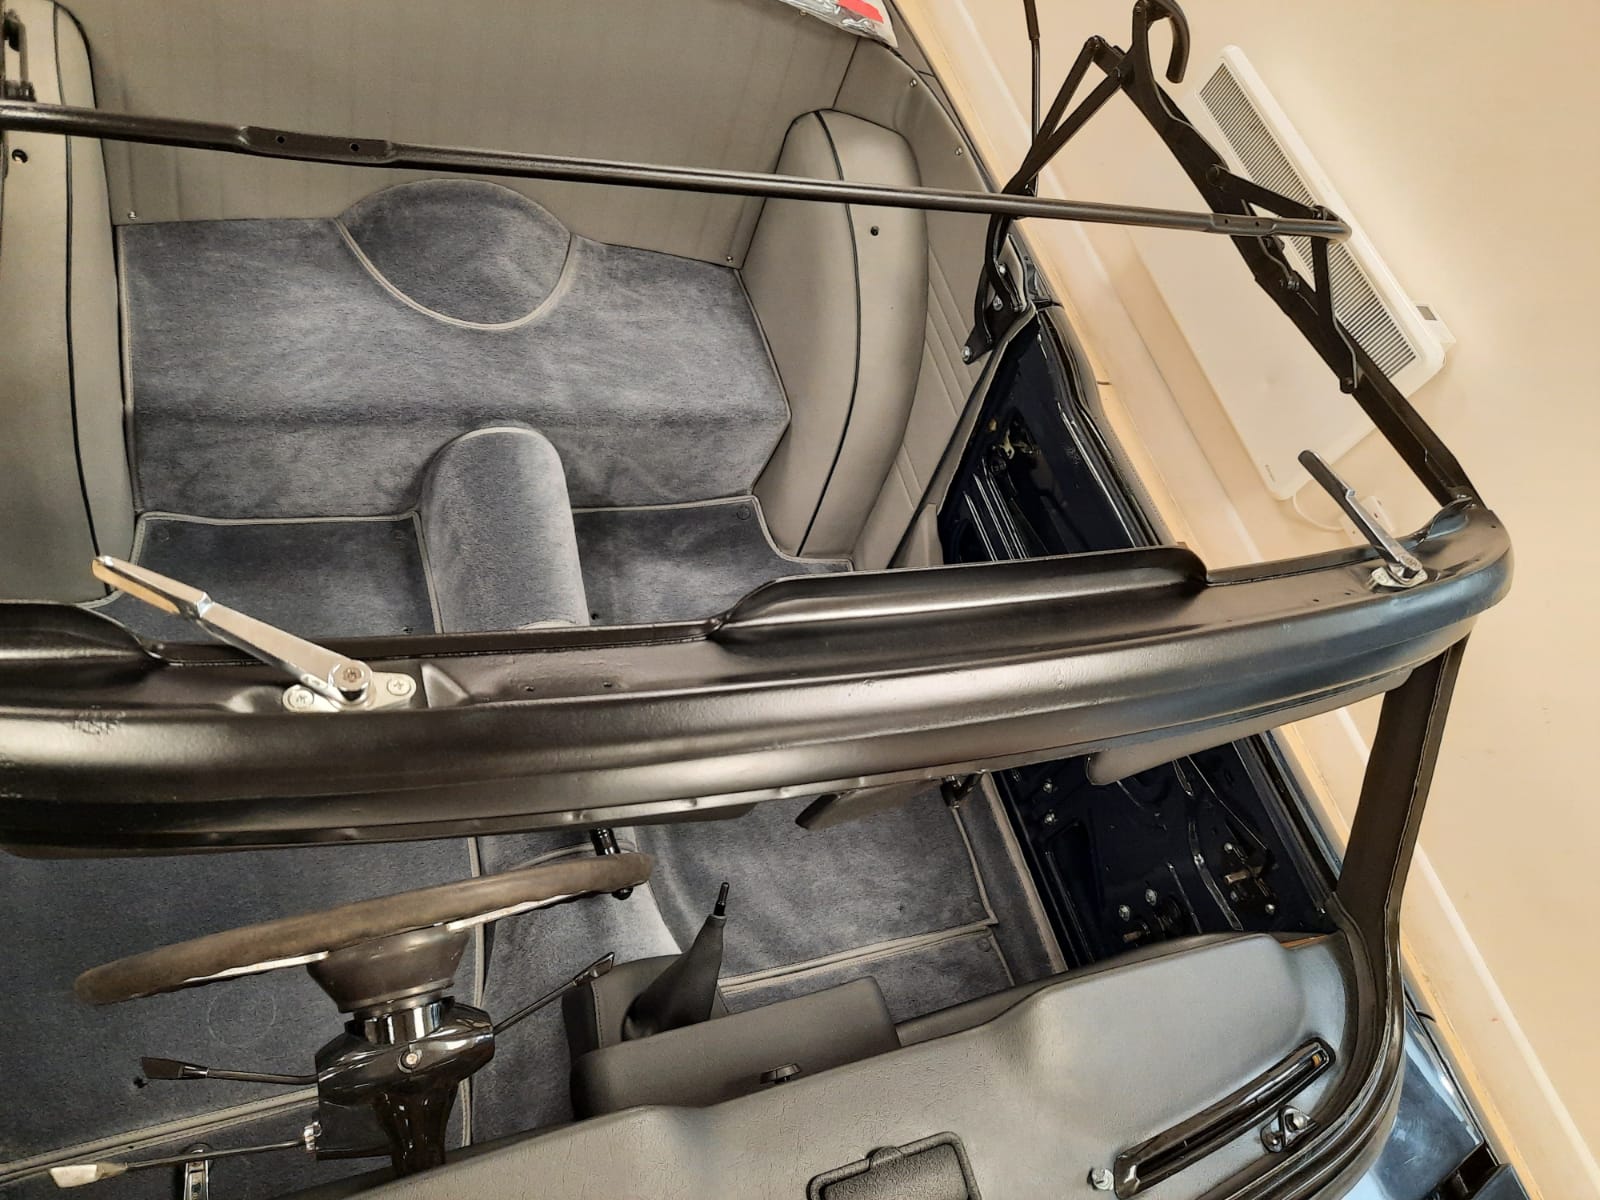
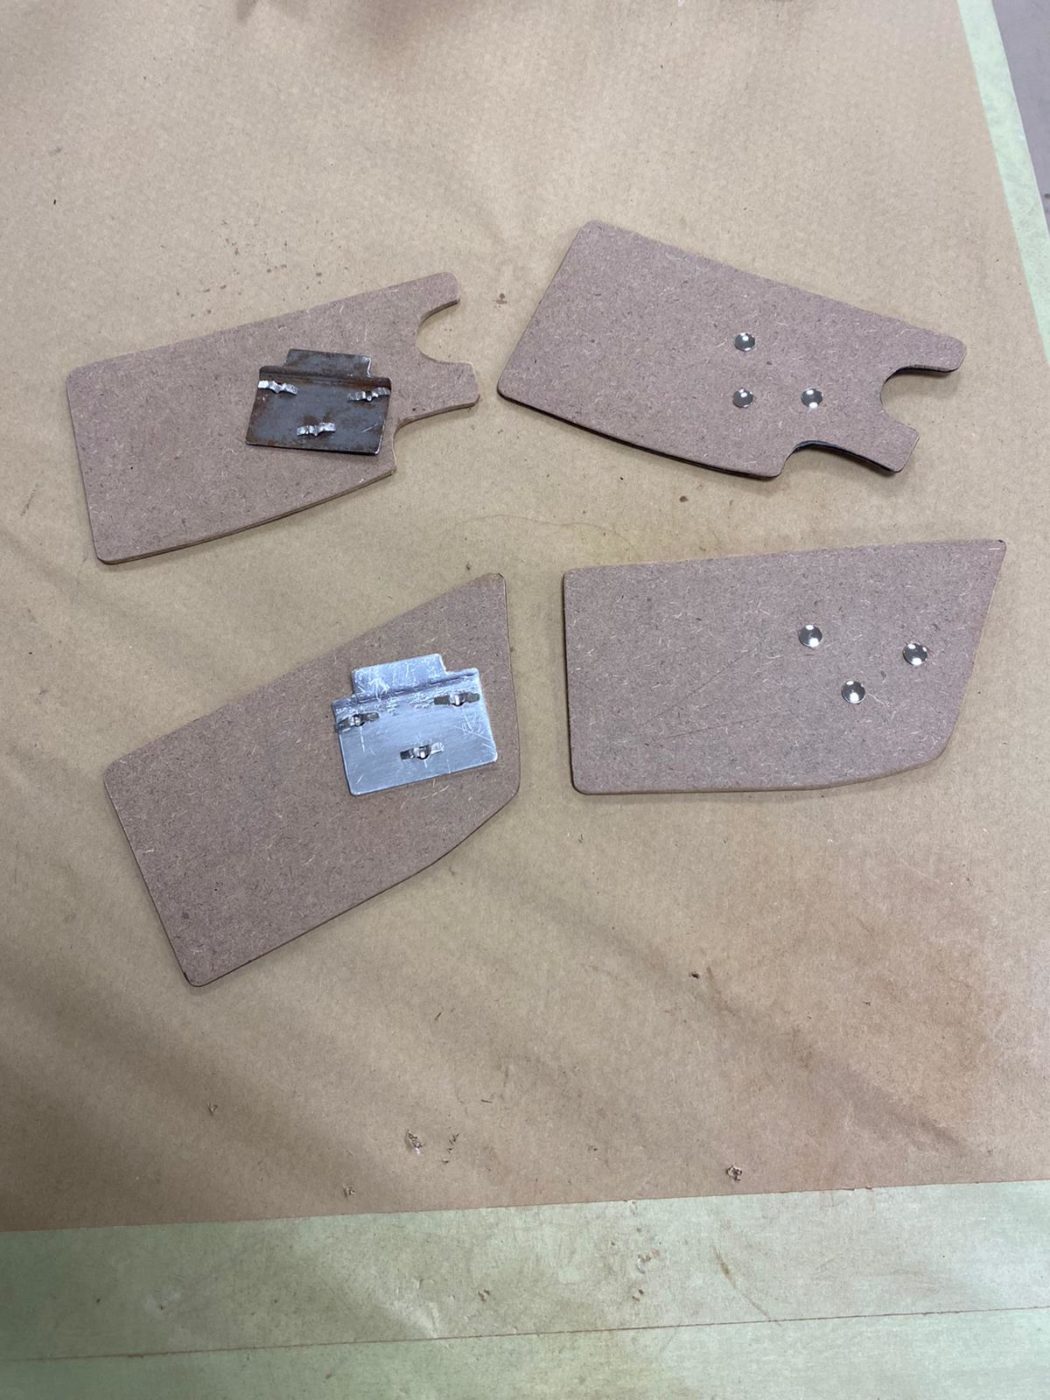
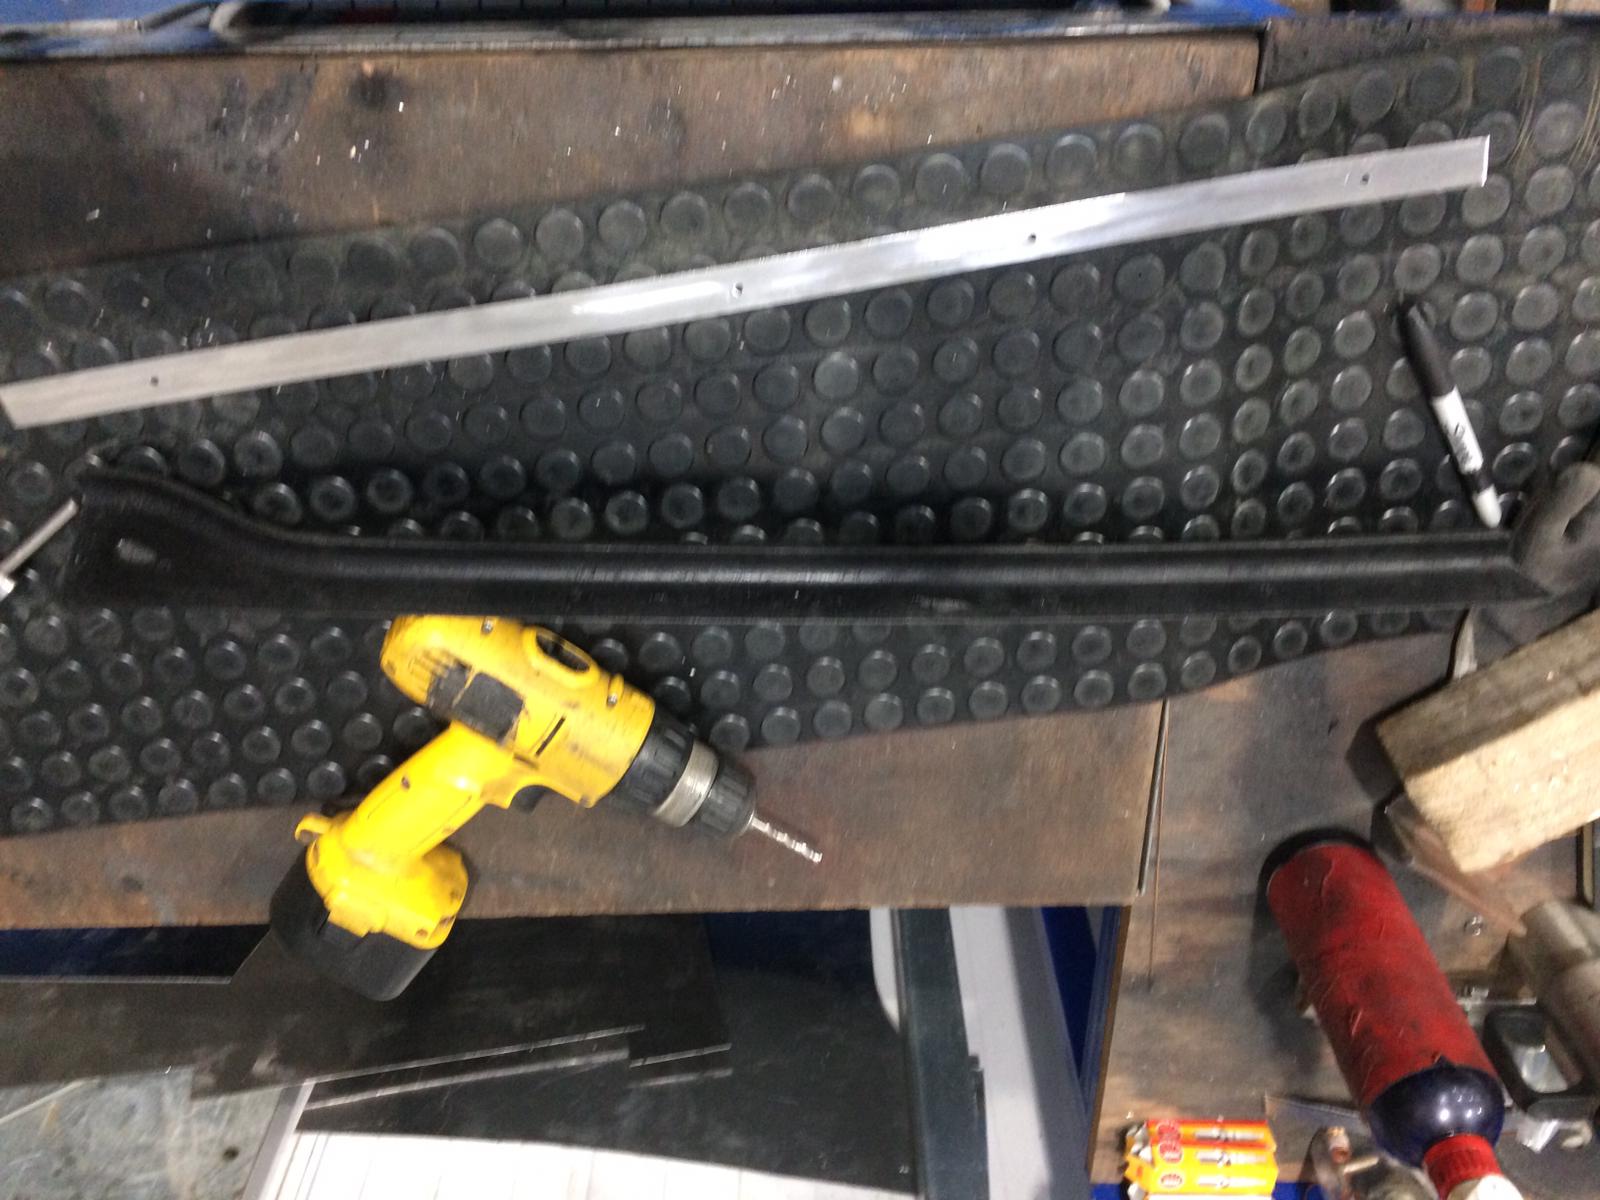
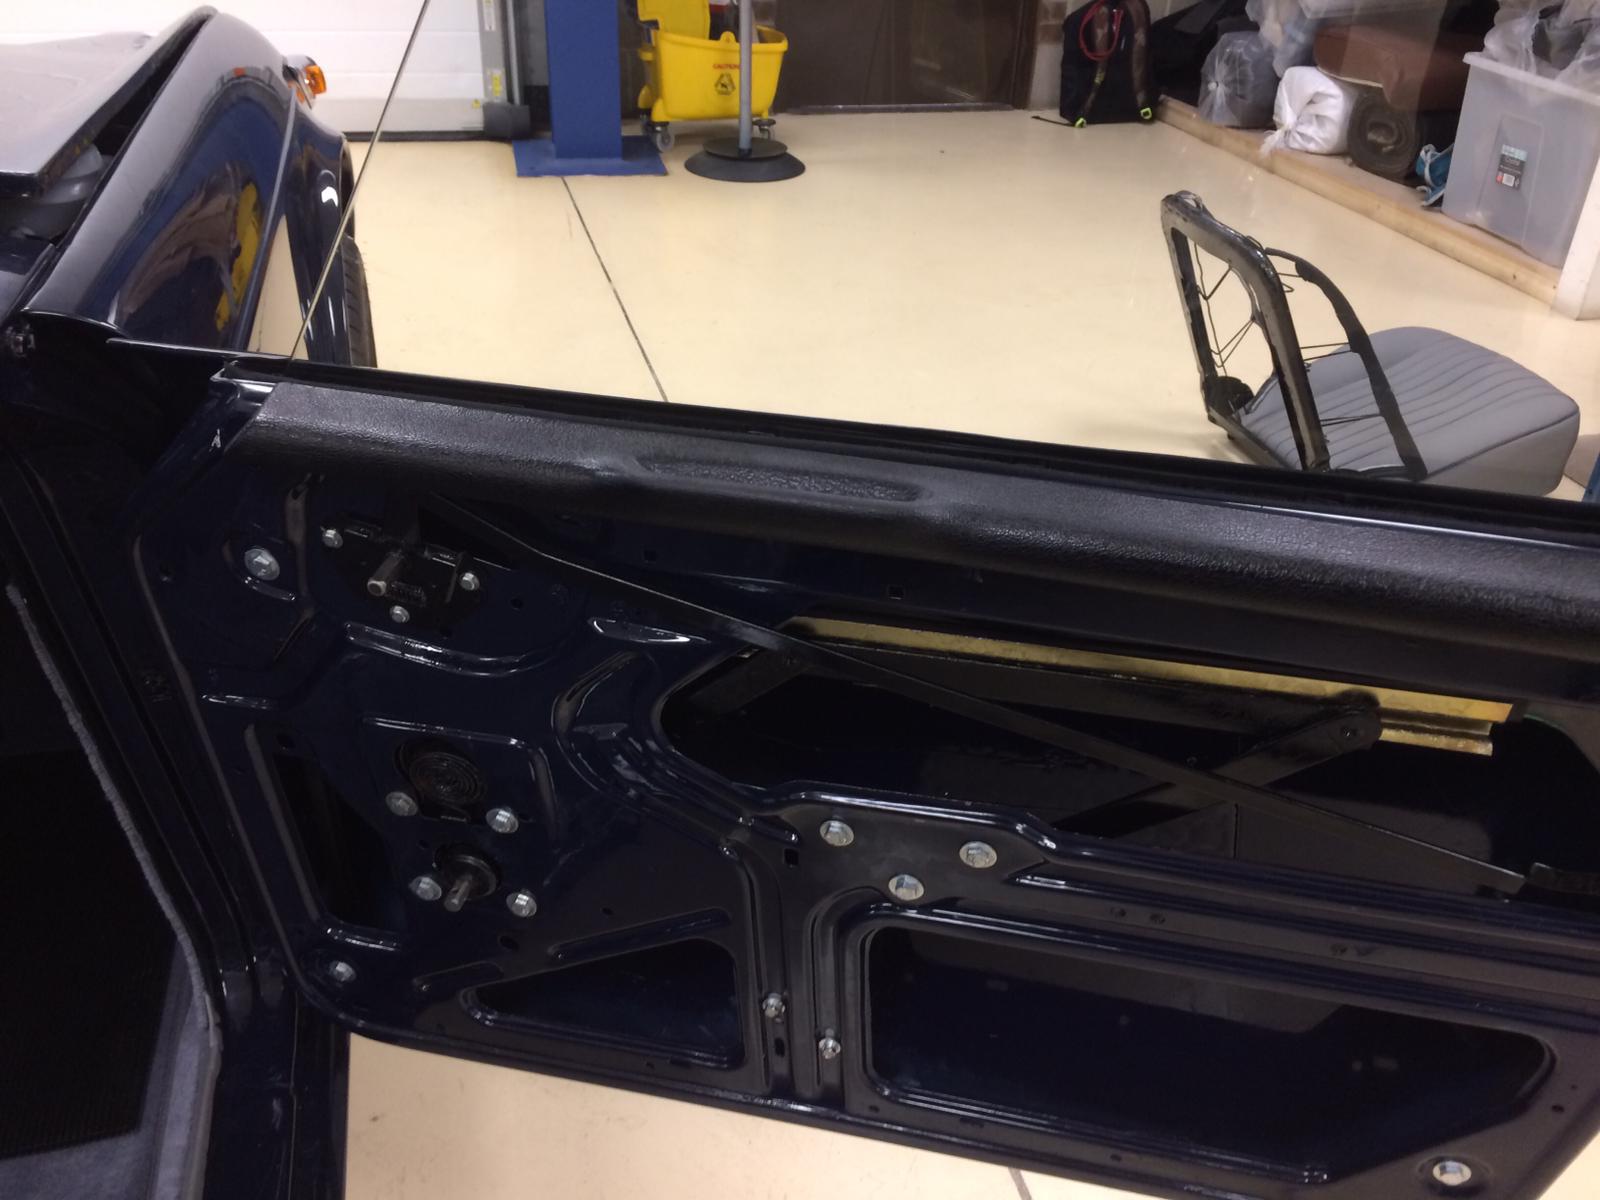
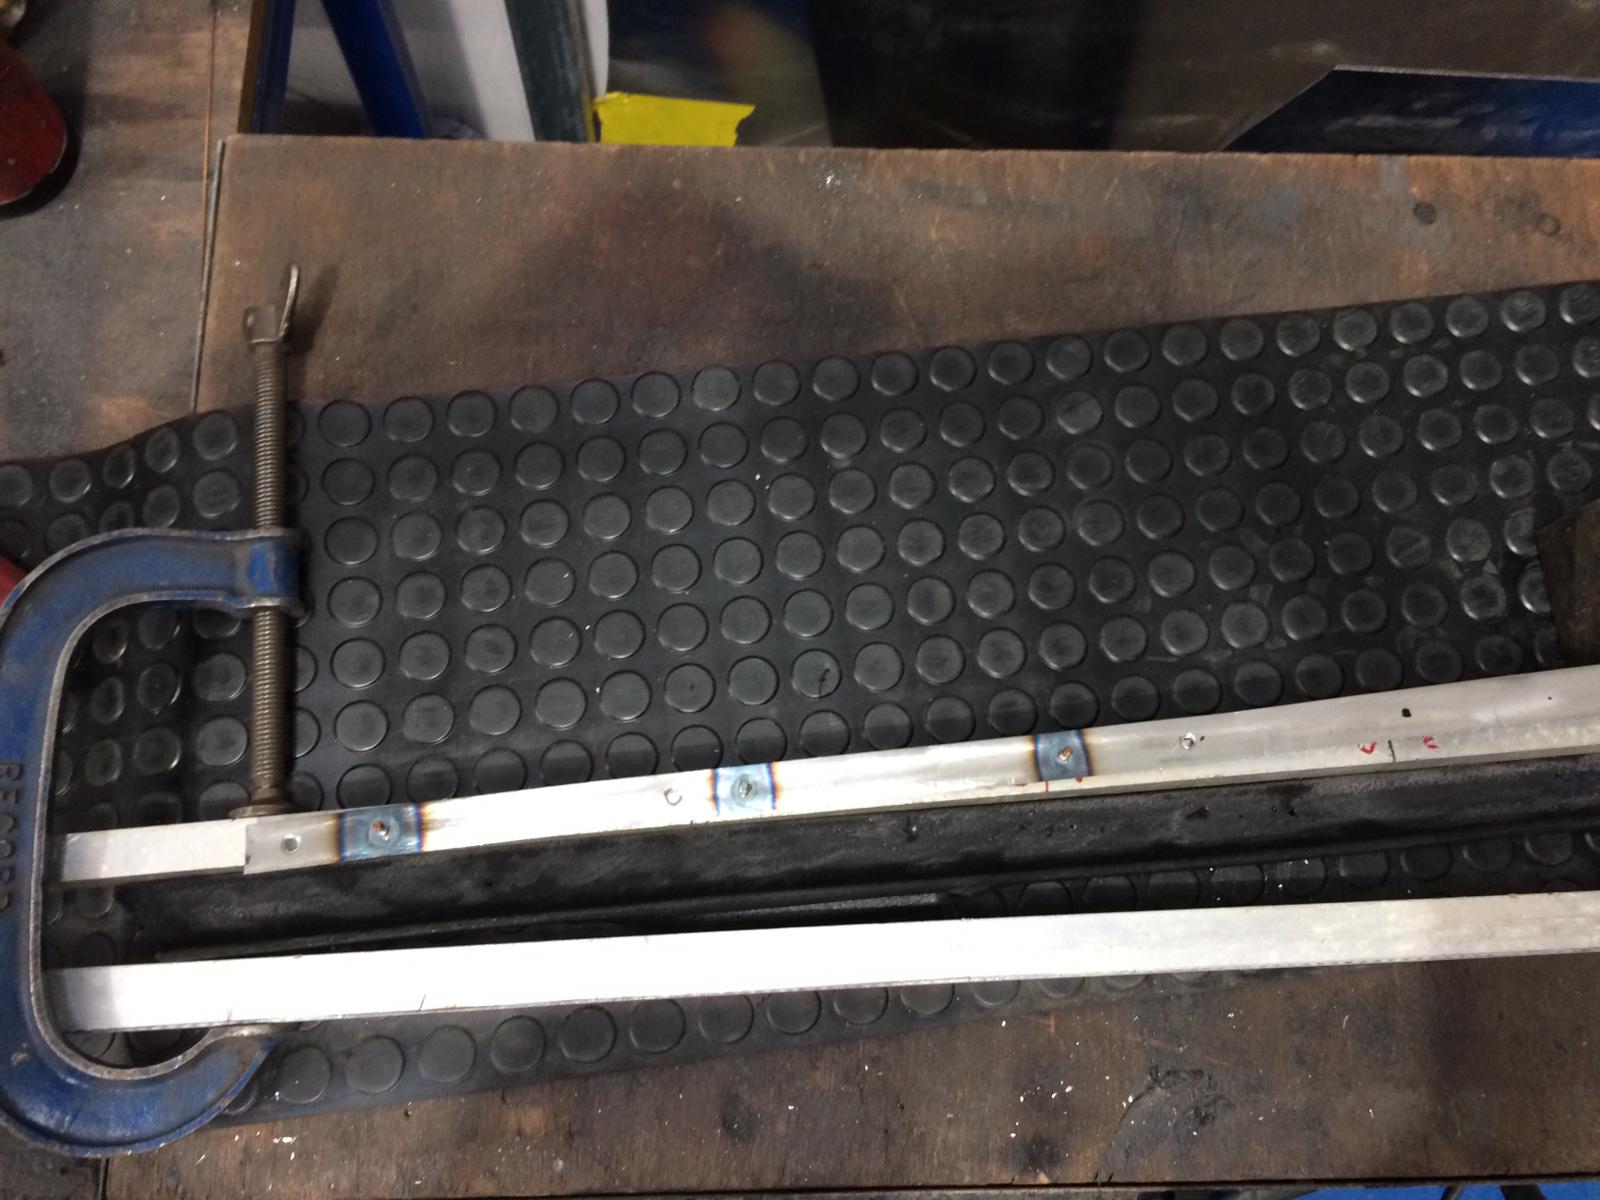
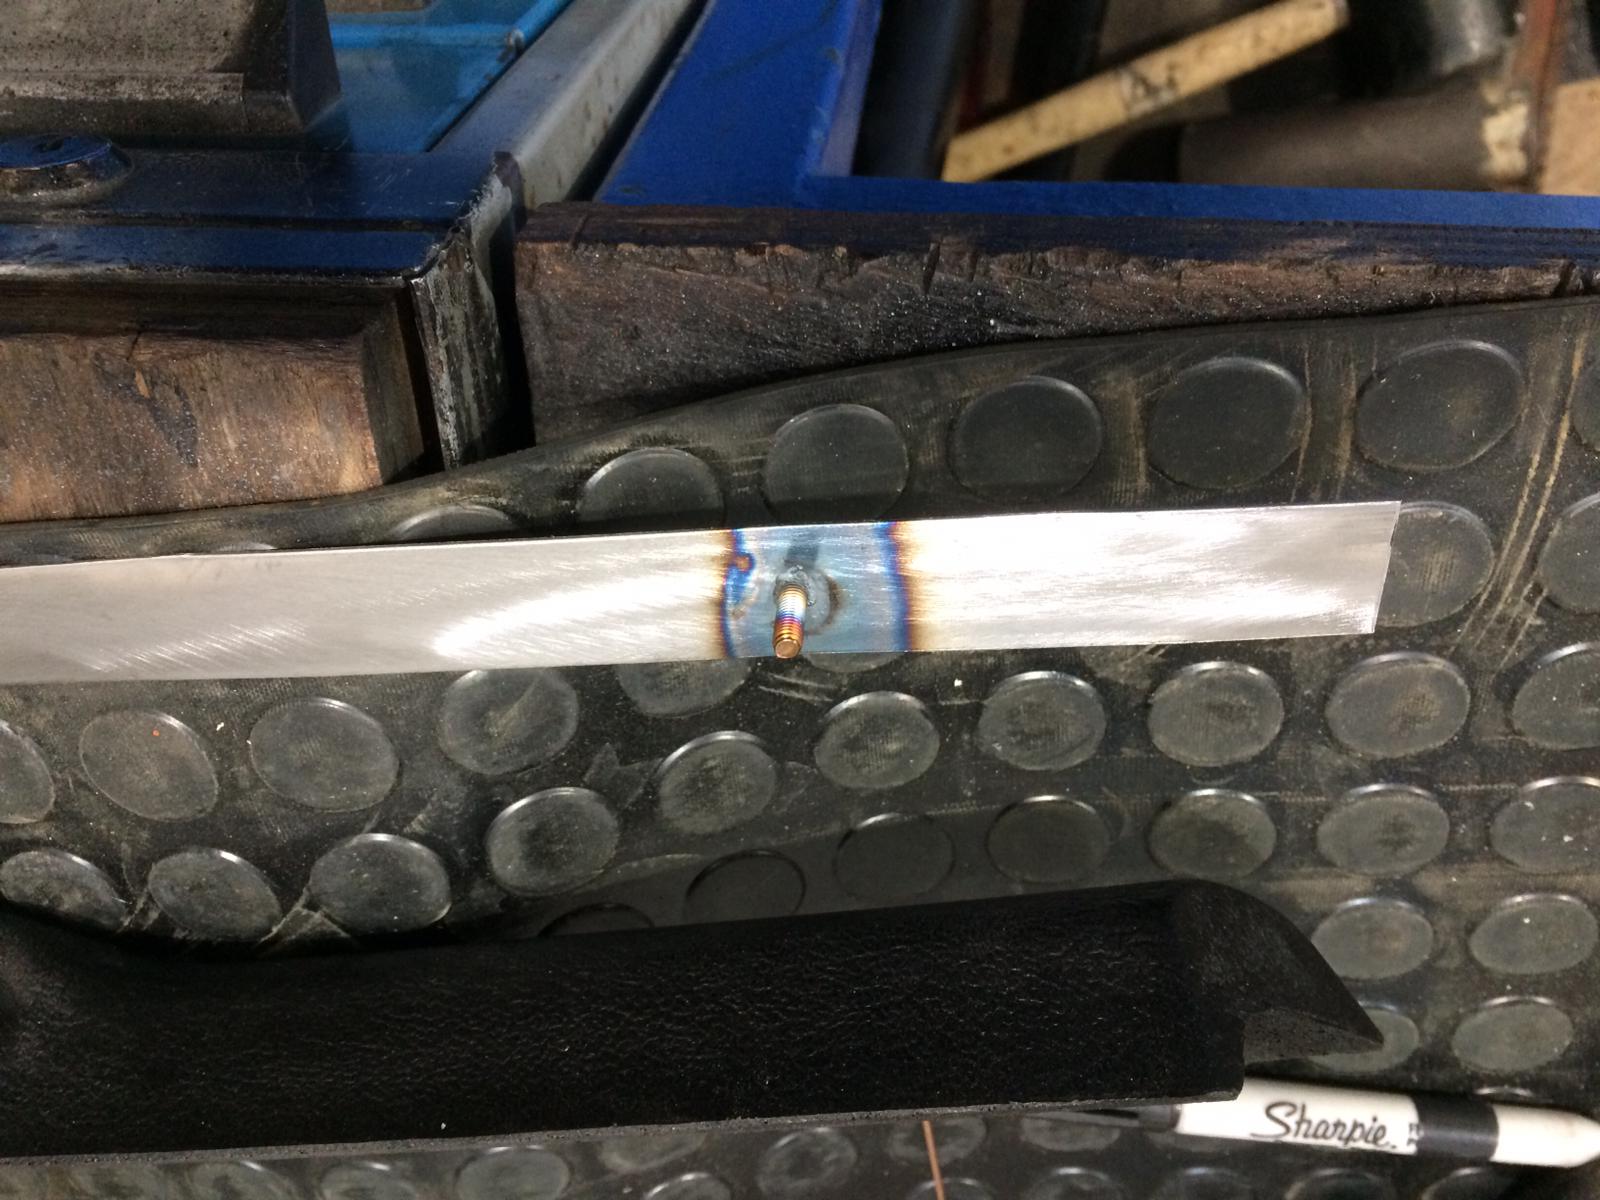
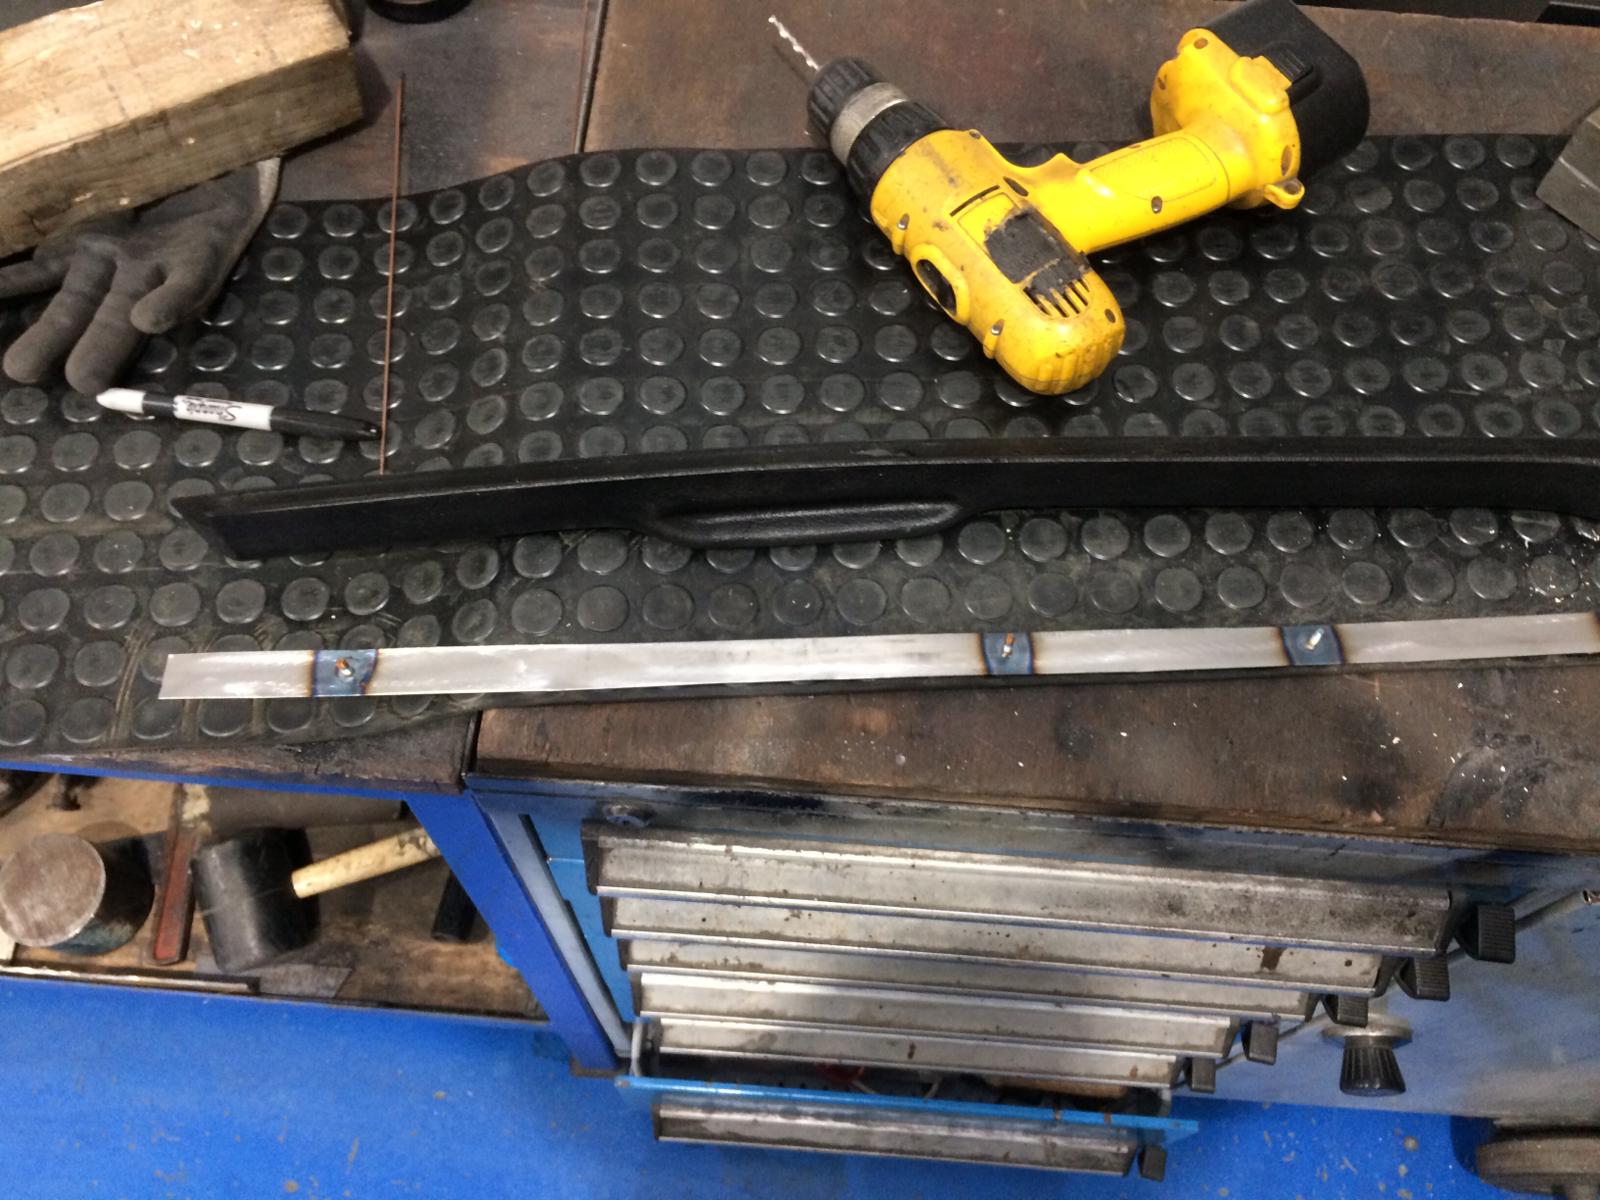
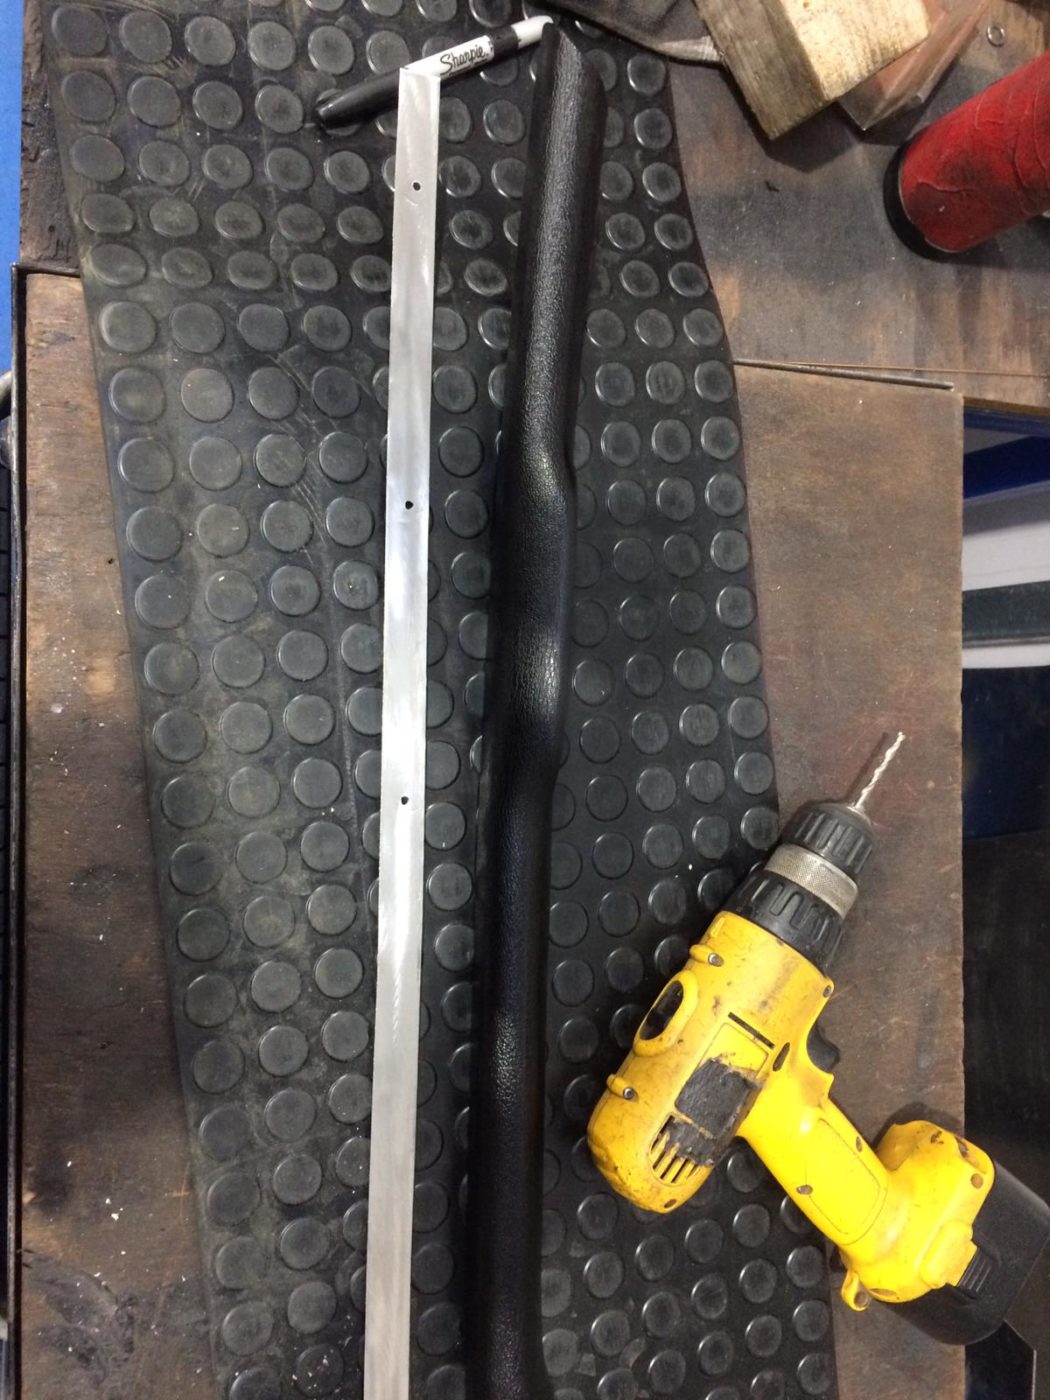
We’ve also fitted the crash padding into the door of our TR5. Originally, there was no way of fitting padding so we had here is means of fitting this to make a backing plate which involved cutting a strip of steel welding in studs and glueing and screwing the steel strip to the crash pad. We then located the position on the door to drill and bolt to the top of the door.
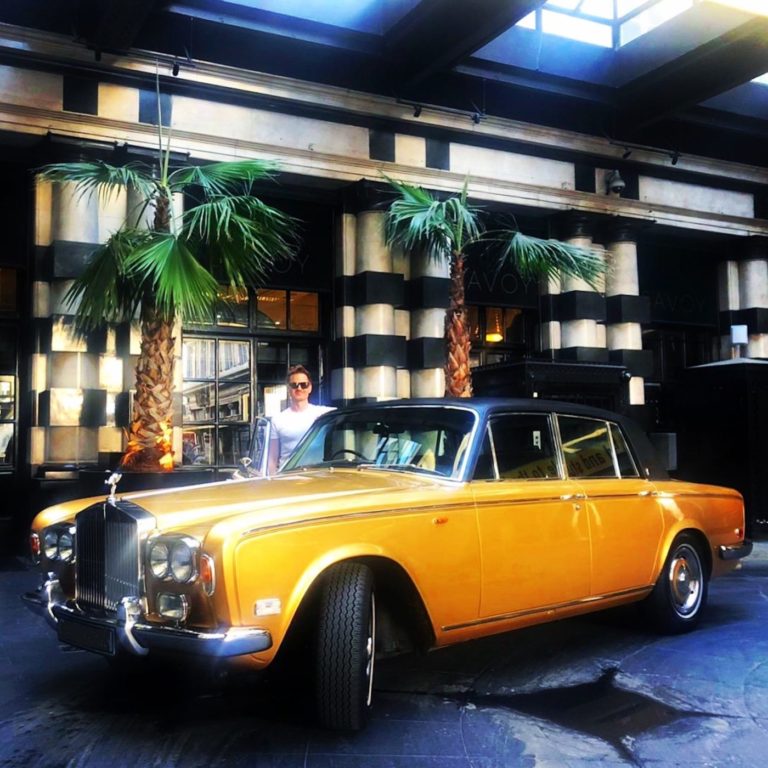
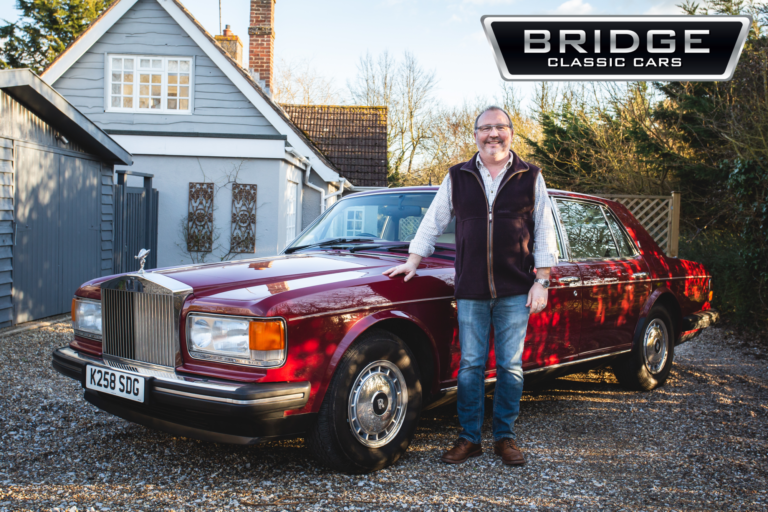
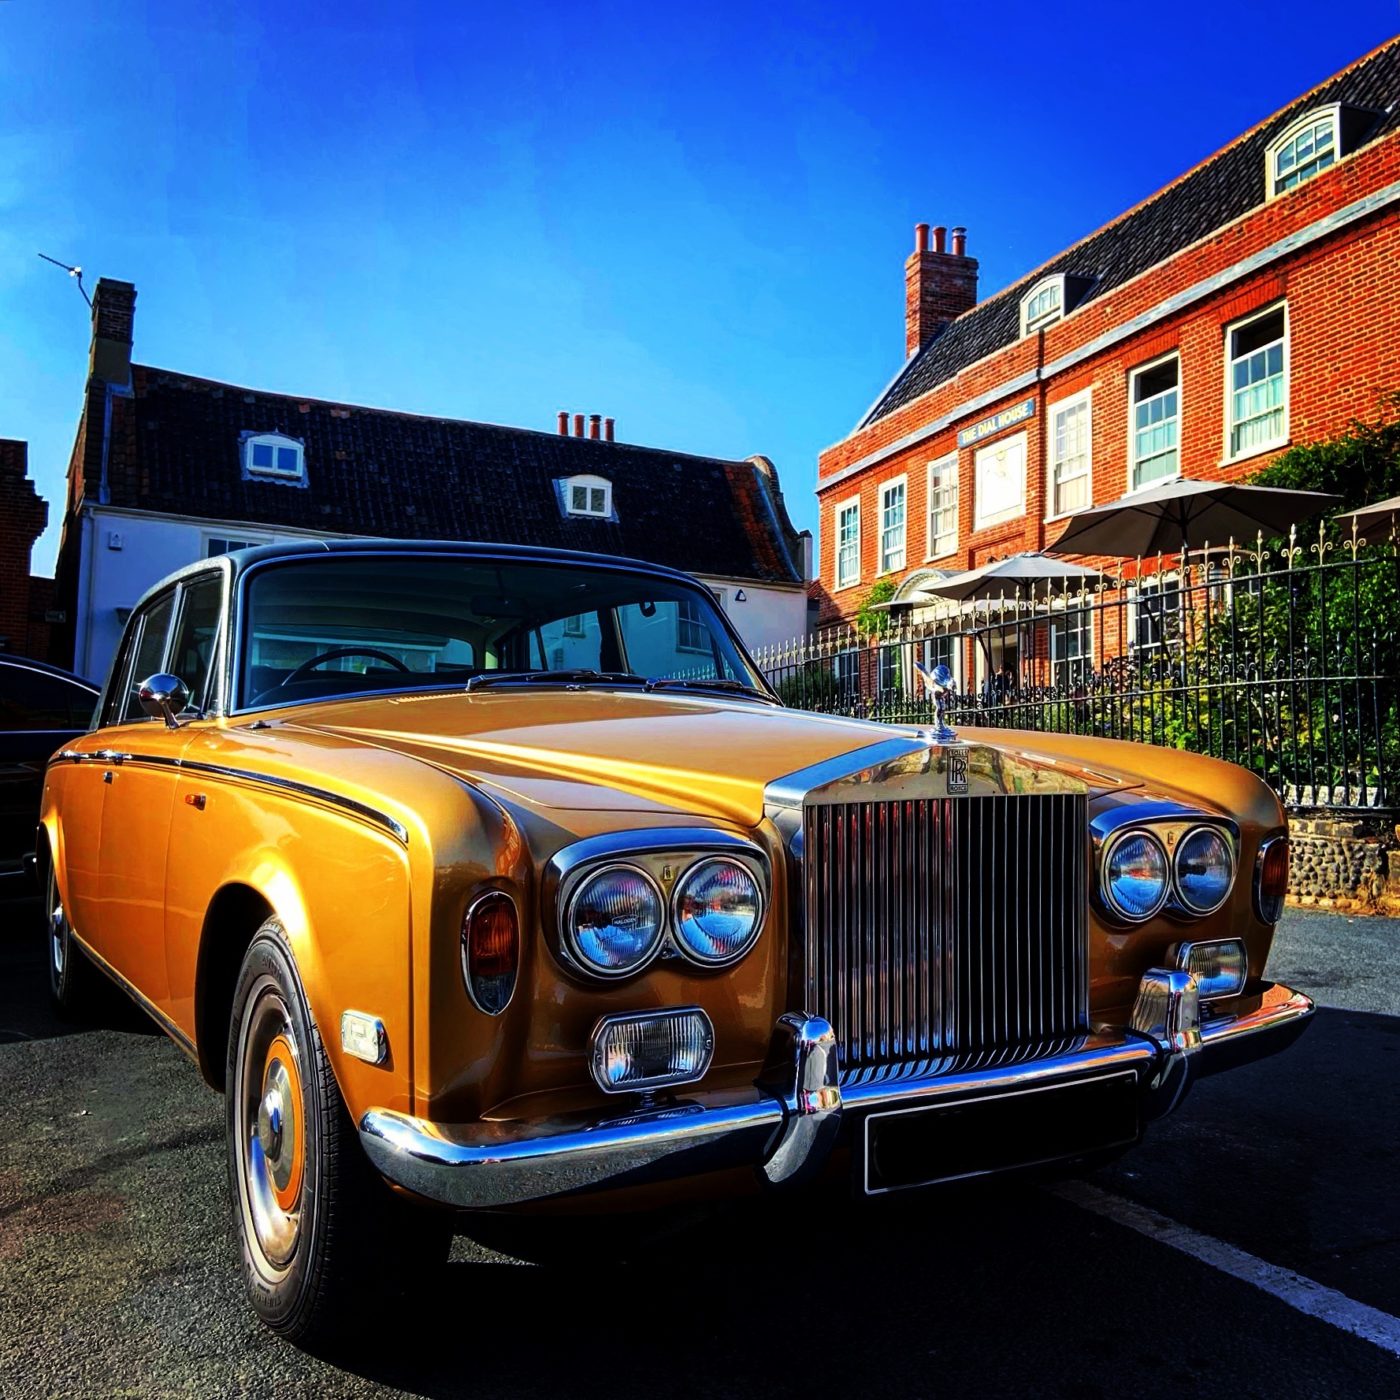
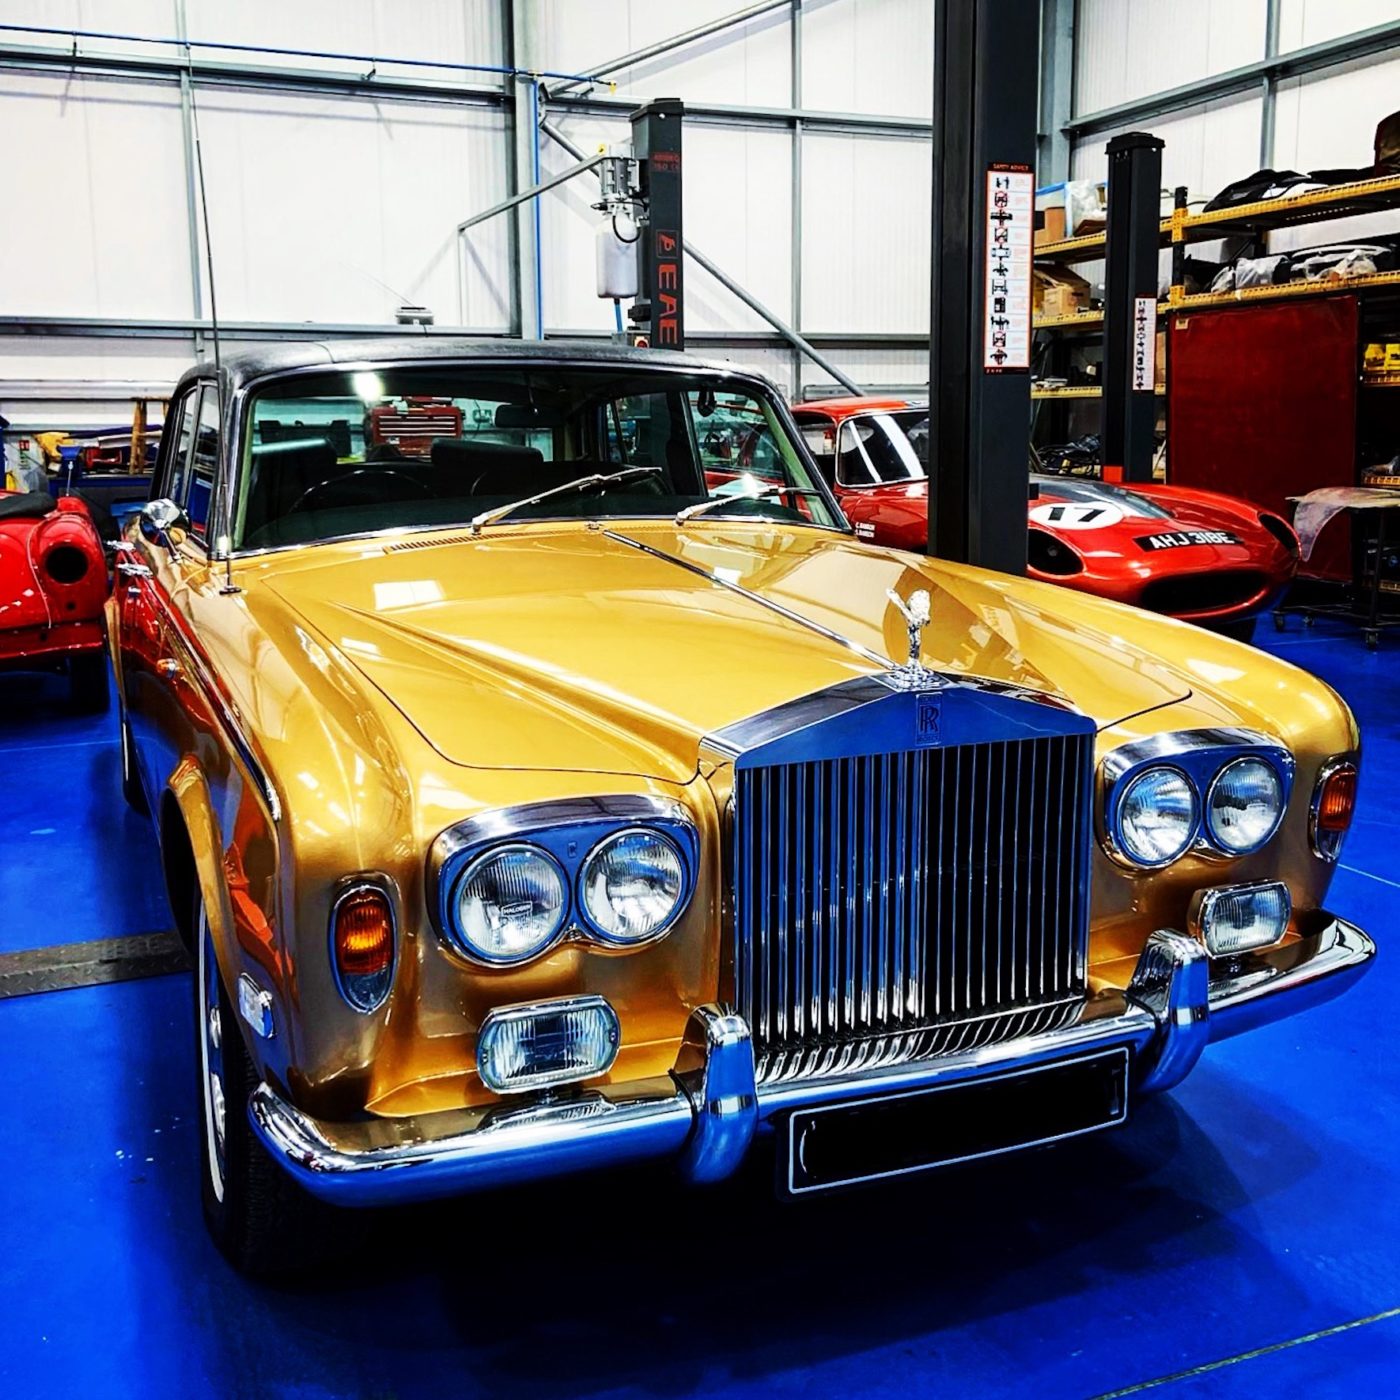
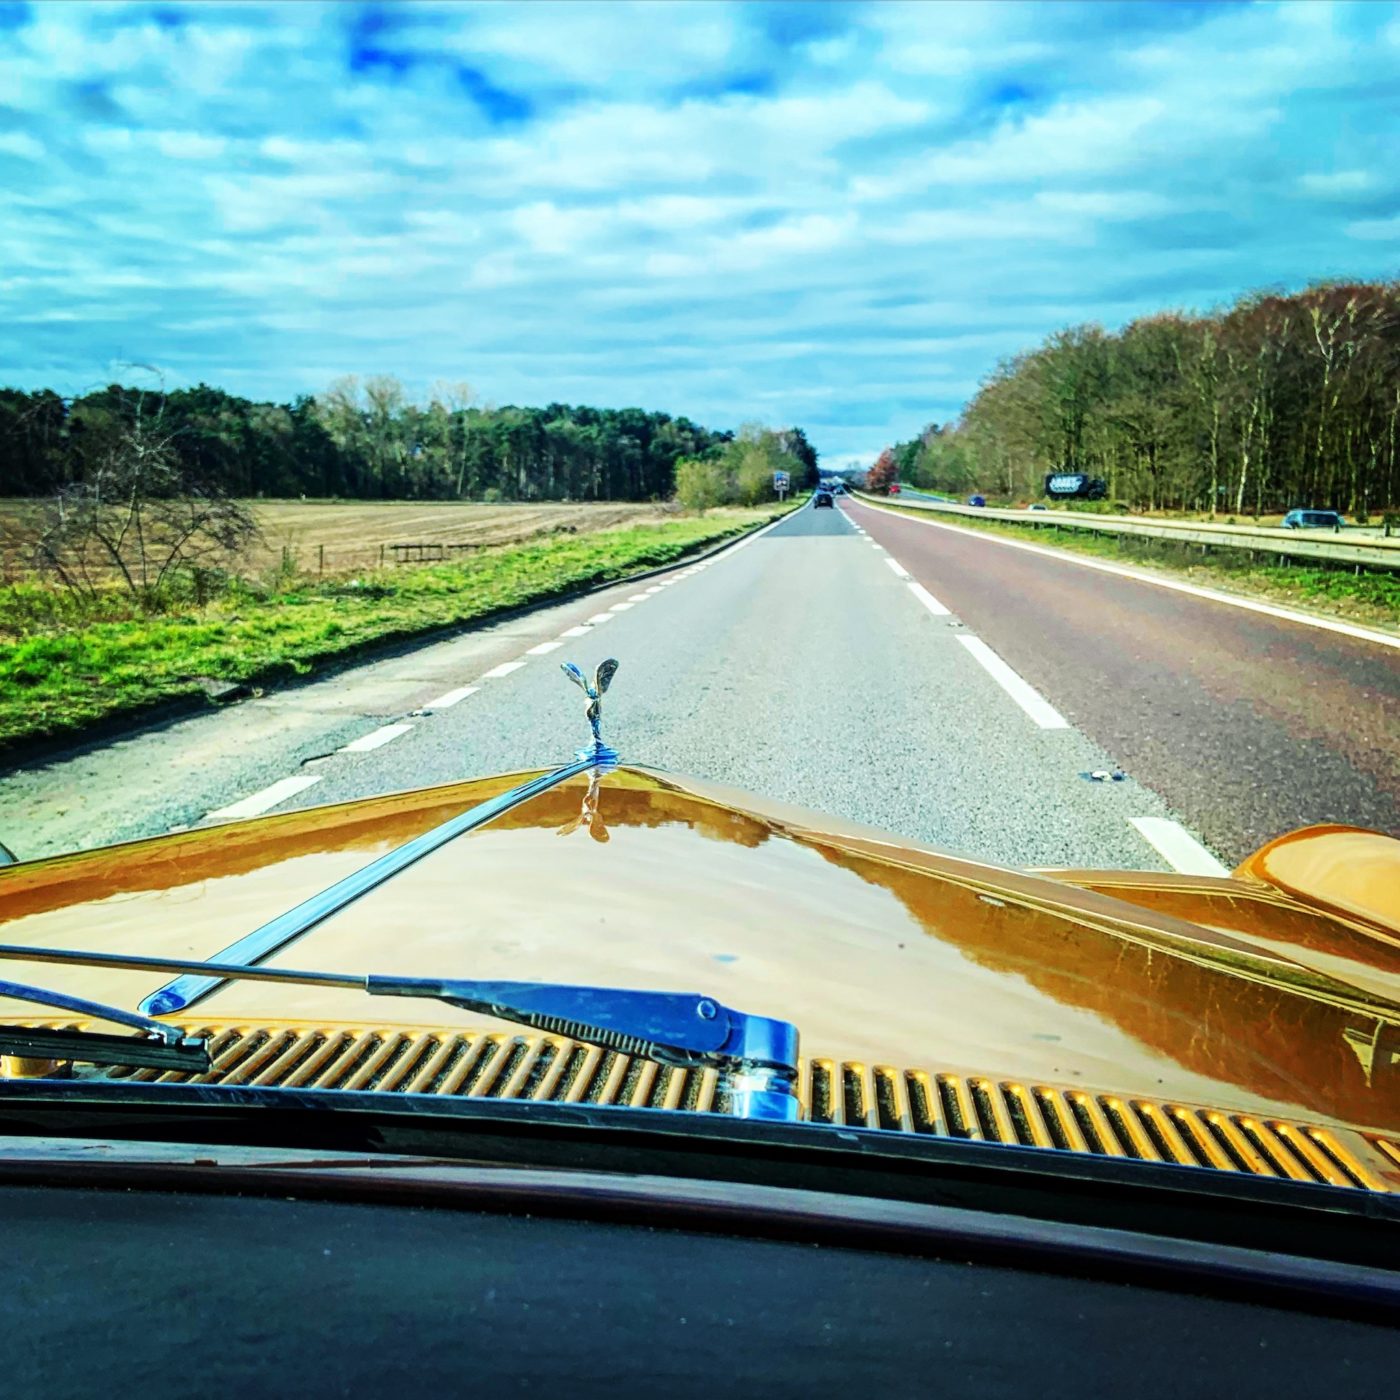
We recently celebrated a year since our Golden Rolls Royce Silver Shadow found its new home with Michael, who’s been keeping us thoroughly updated with his adventures via Instagram. Michael recently wrote us this article about the last year which we’re delighted to share, along with some photos he’s provided. If you fancy having your own golden Roller, check out our golden Rolls Royce Corniche.
It’s now a little over 12 months since I became the 3rd custodian of SRH20091 – a 1974 Rolls-Royce Silver Shadow – bought from Bridge Classic Cars, and despite COVID-19’s best efforts to prevent us we’ve had quite a few adventures over the last year.
As a perfectionist and ex-car designer myself I’ve always admired Sir Henry Royce’s automotive achievements and, as a child of the 70s and 80s, grew up lusting after Rolls-Royce Silver Shadows seen in numerous Roger Moore Bond films, episodes of Lovejoy, To The Manor Born and Don’t Wait Up. They epitomised success and excellence to that small boy and he promised himself that one day he would own one.
In 2014 I had a first brief, if slightly bitter, taste of Silver Shadow ownership with an early example from 1968. Her bodywork was a bit tatty and her 46 year old 6.25 litre engine and mechanicals had been somewhat neglected over the preceding decades, meaning that she frequently, in Rolls-Royce parlance, ‘failed to proceed’! However, far from dampening my interest in Shadow ownership, it well and truly rekindled that childhood yearn and so the search for my ideal car began.
Over the next 6 years, after much trawling of classifieds online and visits to classic car auctions in all weathers, I saw a number of Shadows – including some horrors that would have made Sir Henry’s blood curdle. As a purest, it always had to be a chrome bumper Series 1 car, but now I’d narrowed that down to a late model flared wheelarch Shadow with the wider track and larger 6.75 litre L-Series powerplant – meaning a ’74 – ’76 car.
In September 2019 the Shad that I would come to own caught my attention in an online advert. For sale by Bridge Classic Cars – a very reputable restorers, the right age, model, spec and by the look of the photos, in very good condition – she stood out in her eye-catching Regency Bronze and black Everflex roof. I vowed to go and see her, but life got in the way and by the time I got around to making an appointment she’d been sold. So the search continued.
4 months later I was in the USA and one evening by the fireside while surfing the net the advert from Bridge Classic Cars popped up again. Miraculously the golden car I’d been bewitched by back in September had reappeared for sale. This had to be fate! I couldn’t believe this second chance and quickly arranged a viewing.
On that cold February morning – the day after Valentine’s – I drove up from London, through the torrential rain and high winds of Storm ‘Dennis’, to see this beguiling motor car in-the-metal for the first time. It was love at first sight! The car was just as stunning in reality as she was in her photos. Craig and Gordon Ranson were both there to meet me and their friendly, honest approach, expert knowledge and infectious enthusiasm for classic cars gave me immediate confidence. After a thorough inspection I knew that I wanted her and after a test drive in the tornado-like winds of the storm, a deal was done. I drove home happy, albeit with a much lighter bank balance!
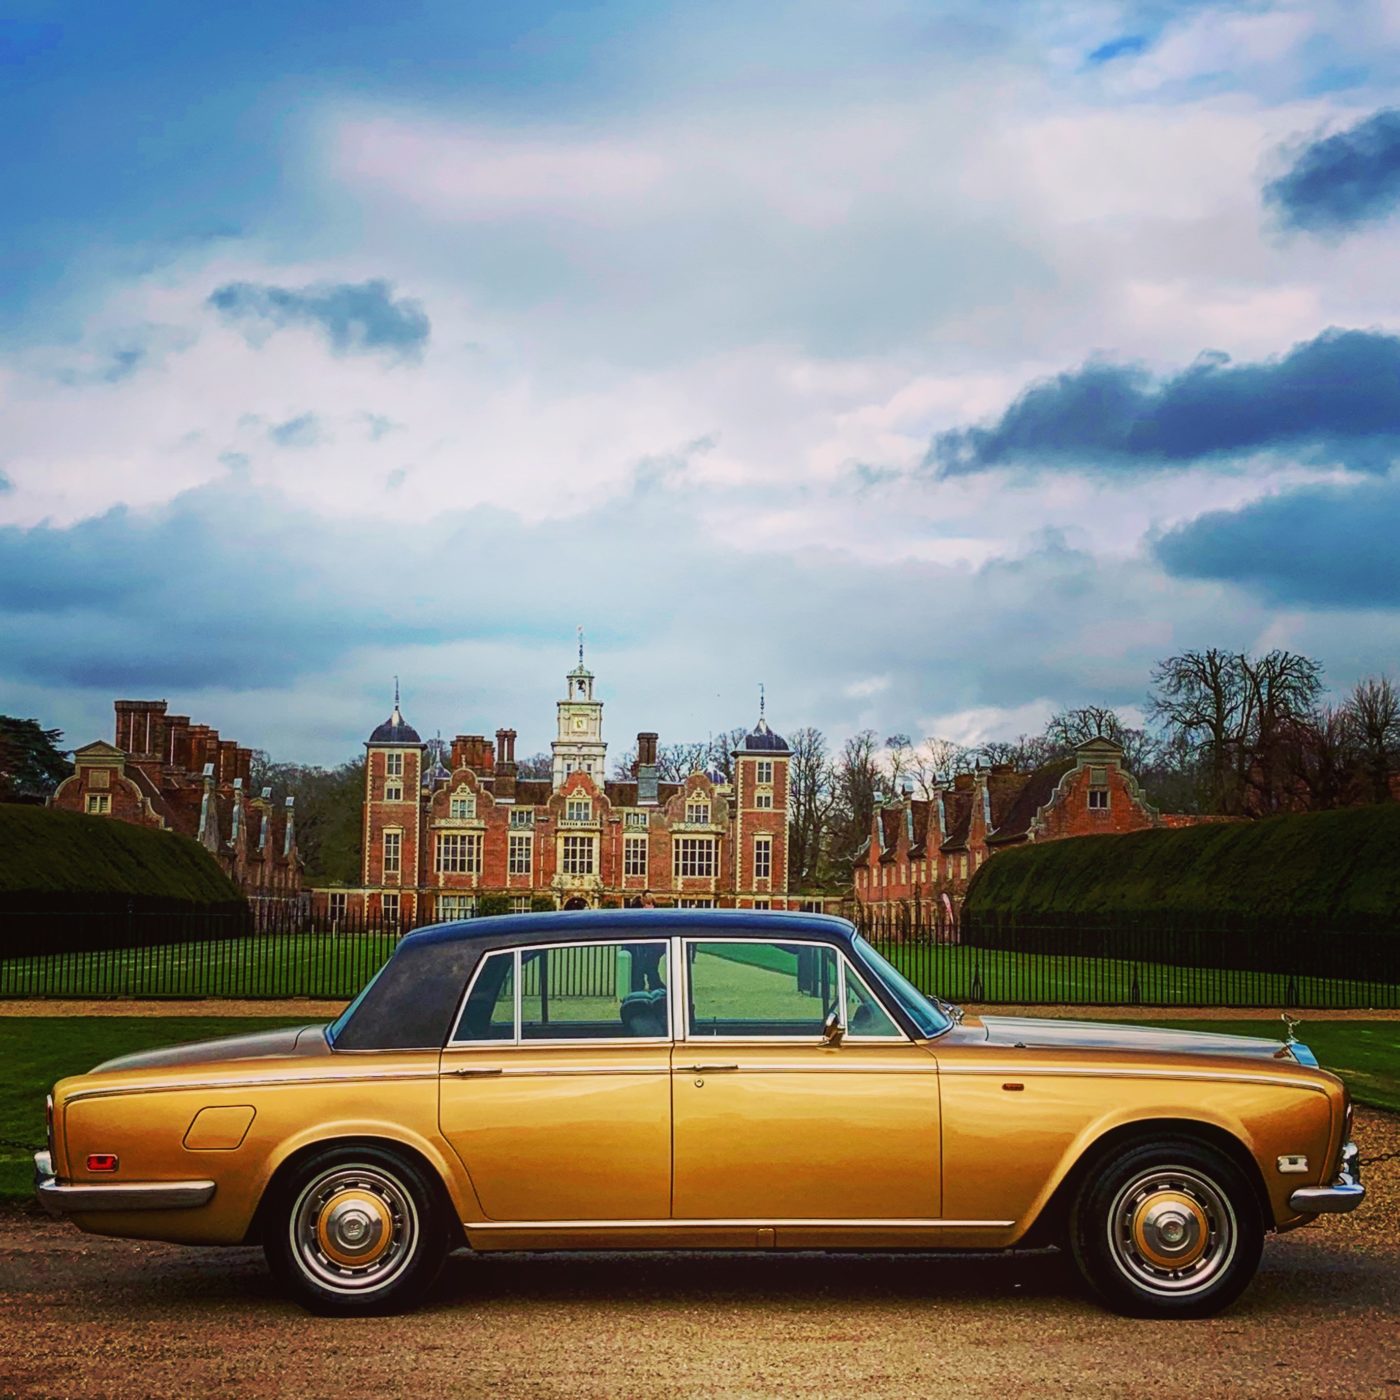
And so I became ‘The Man With The Golden Roller’. Officially she’s R-R Chassis No. 20091, in (ICI M 151-3898) Regency Bronze with (VM 8500) black Connolly Leather interior, Sundym glass and (5218 DH) black Everflex roof, but I’ve christened her ‘Auric’. I’m a big Bond fan so her name is a nod towards classic 007 film ‘Goldfinger’, but also something that is described as “auric” : is of, relating to, or derived from gold, so it seemed wholly appropriate for my ‘Golden Roller’, which rolled off the Crewe production line in the autumn of 1974.
To me, part of the joy of owning a classic car is to research it’s back story. Provenance being just as important for a venerable car as it is for fine wine or celebrated works of art. So, since she became mine, as well as enjoying Auric on the road, I’ve been tracing her 46 year history – consulting DVLA records, the Rolls-Royce Enthusiasts Club archives and piecing together information from the bundle of papers and clues like service stickers that came with her.
I’ve also managed to acquire Auric’s original factory Build Records. Every Rolls-Royce built at Crewe had it’s own multi-page book that followed the car, from metal pressing to finished vehicle, on it’s journey through production. Thanks to this fascinating and comprehensive document I now know that it took 35 days for her ‘body-in-white’ to reach the required standard to be sent to the paint shop, and that once there she spent 10 days having 15 coats of paint hand flatted between coats, before a thorough polishing and final inspection – in the words of Sir Henry, perfection cannot be rushed. It shines a light onto how these expensive, hand-built cars were made back in the ’70s and is an amazing addition to Auric’s history file.
She was delivered to R-R main dealer Appleyard Rippon Ltd, on Order No. R8678, for a corporate customer in Leeds who’d had the confidence, and cash, to order her in the middle of an oil crisis. She was registered GWW 480N on Armistice Day 1974, the plate she still bears today. As far as I know Auric then became the company MDs transport – covering over 28,000 miles (40% of her current, verified mileage reading) within her 1st year – and stayed with the him when he moved to Eastbourne sometime in the late 1970s. I’m assuming that this discerning gentleman may have taken early retirement from the Leeds-based business and kept the R-R he loved. However, this is pure speculation on my part, although while cleaning and feeding the Connolly leather last summer I removed the driver’s seat and found one of his business cards under the seat! It seems that at some point he was dabbling as an antiques dealer in Sussex, in true ‘Lovejoy’ style.
Like most of these majestic, but expensive to run, classic motor cars she appears to have been laid up for a number of years during the ’80s and ’90s then, in the summer of 2015 after the original owner died, she was sold at Kings Lynn’s Anglia Car Auctions. Auric’s second owner resided in Suffolk and so Auric swapped the balmy south coast for the rural idyll of East Anglia – residing just 50 odd miles away from where that small boy had dreamed of owning his own Rolls.

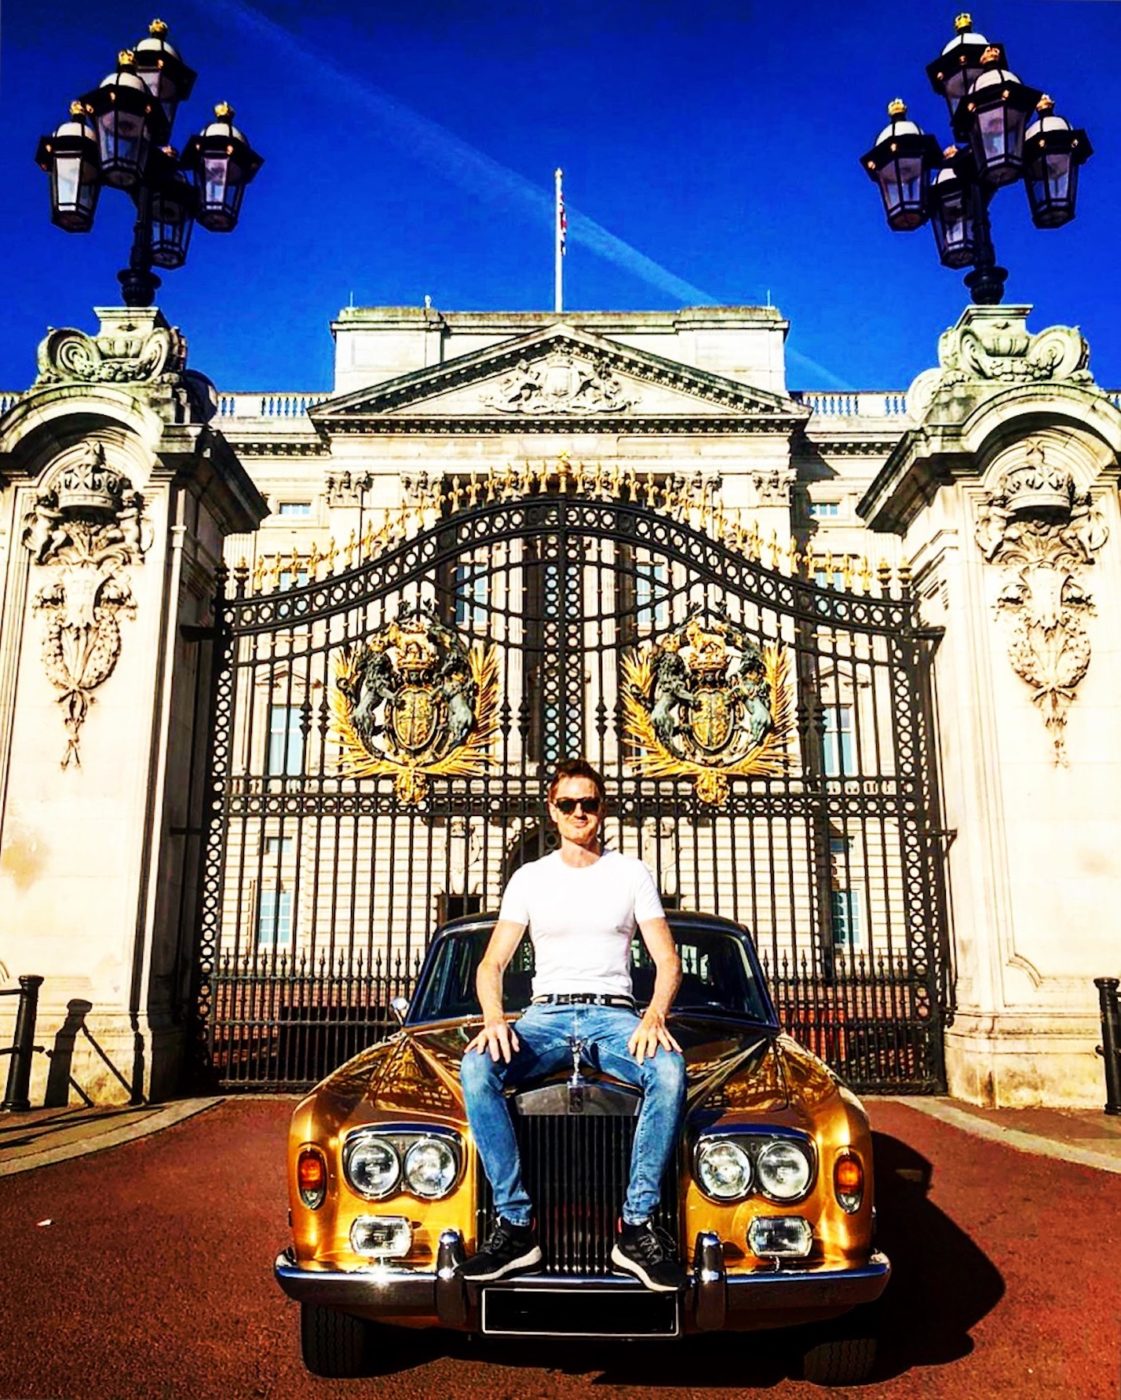
I believe that a car should be used, and most Rolls-Royce specialists will tell you that an R-R of this vintage gets better with use. There’s nothing I like better than nestling into the softly sprung comfort of the driver’s leather ‘armchair’ and wafting, yes wafting – there’s no other word to describe the magic carpet-like ride of a Silver Shadow – to a beauty spot, stately home, country pub or even the supermarket. So in the last 12 months Auric and I have covered the thick end of 2500 miles. Despite not being able to go to any major show events, due to the dreaded virus, we’ve had excursions to Hampshire, The Cotswolds, North Norfolk, Sussex, Surrey and Berkshire. Most memorable visits – and photo and video opportunities – last year were Buckingham Palace, Pinewood Studios, Cliveden and The Savoy. Everywhere we go we get noticed – people ask about Auric, take photos and are genuinely interested in her – which just makes my day as I love talking about her!
This year, restrictions permitting, we’re planning a little excursion onto the Continent, touring the Champagne region; an appearance at both the Rolls-Royce Enthusiasts Club’s South of England Rally at Stansted House and Annual Rally at Burghley House; and perhaps a pilgrimage to Monmouthshire, the birthplace of C.S. Rolls; as well as the normal weekend trips out to explore this glorious country in one of it’s finest ever automotive creations.
You can follow our continuing adventures on Instagram @themanwiththegoldenroller
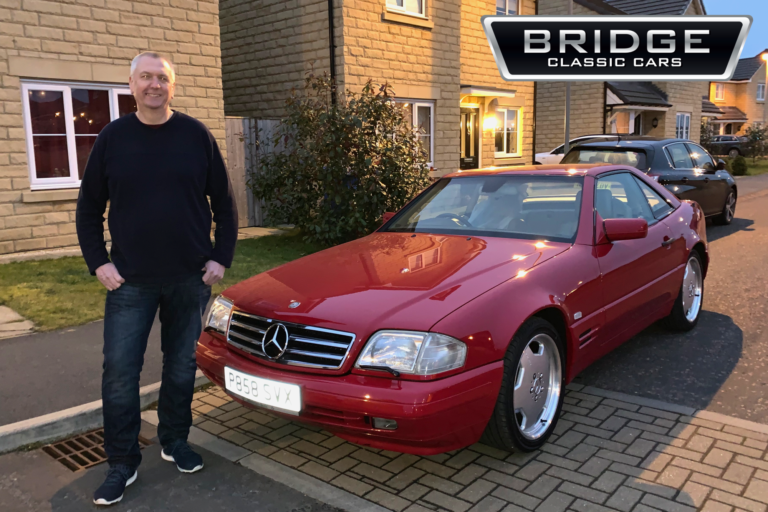
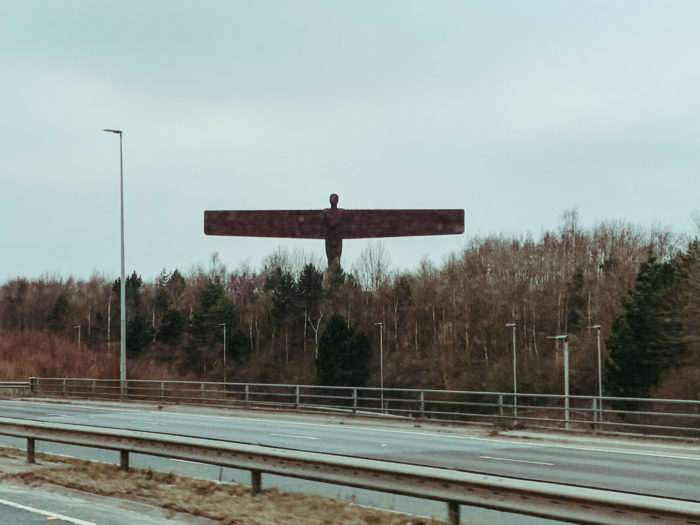
Another delivery to one of our competition winners! A big congratulations to Steven Lambe with lucky ticket number 950. We delivered our 1996 Mercedes 320SL up to his home north of Newcastle yesterday after Craig and Gordon took the long road trip up north.
Steven, a Mercedes enthusiast, only spent only £18 with us, meaning he bought just two tickets and managed to win with one of them! Although he used to race hot-rods Steven recently sold his last one to fund his current modern Mercedes. Steven is also part of the Mercedes owners club and now has two stunning Mercedes Motors he can take along to meets and greets!
We can’t wait to see what Steven gets up to with his new modern classic!

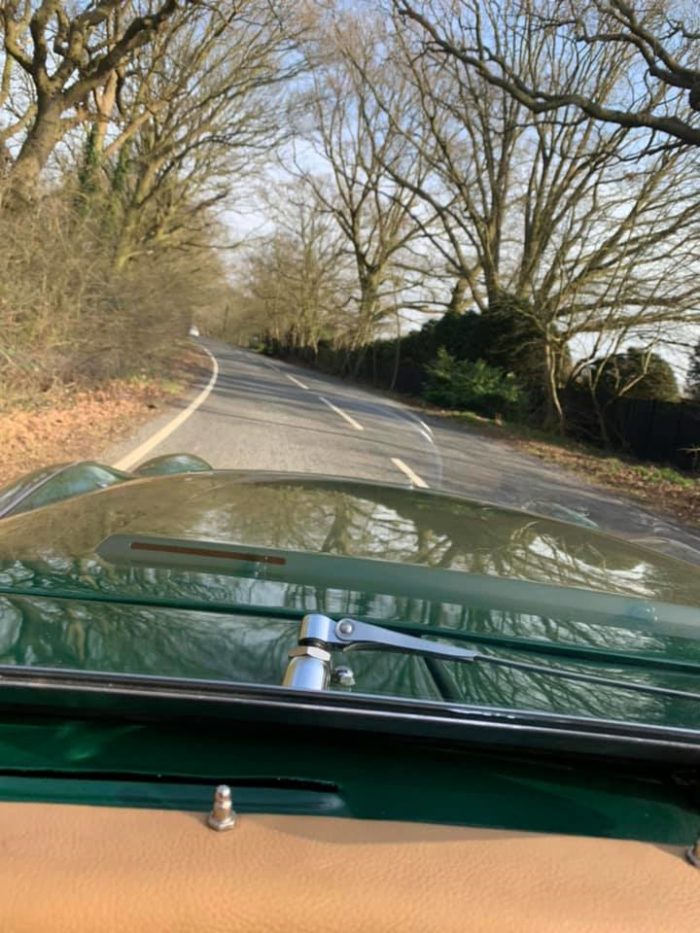
Here’s a snap of a true northern sight from the cabin on the way up north.
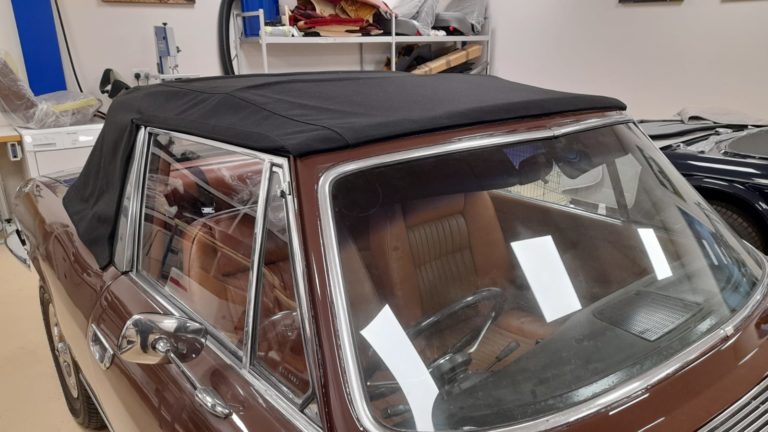
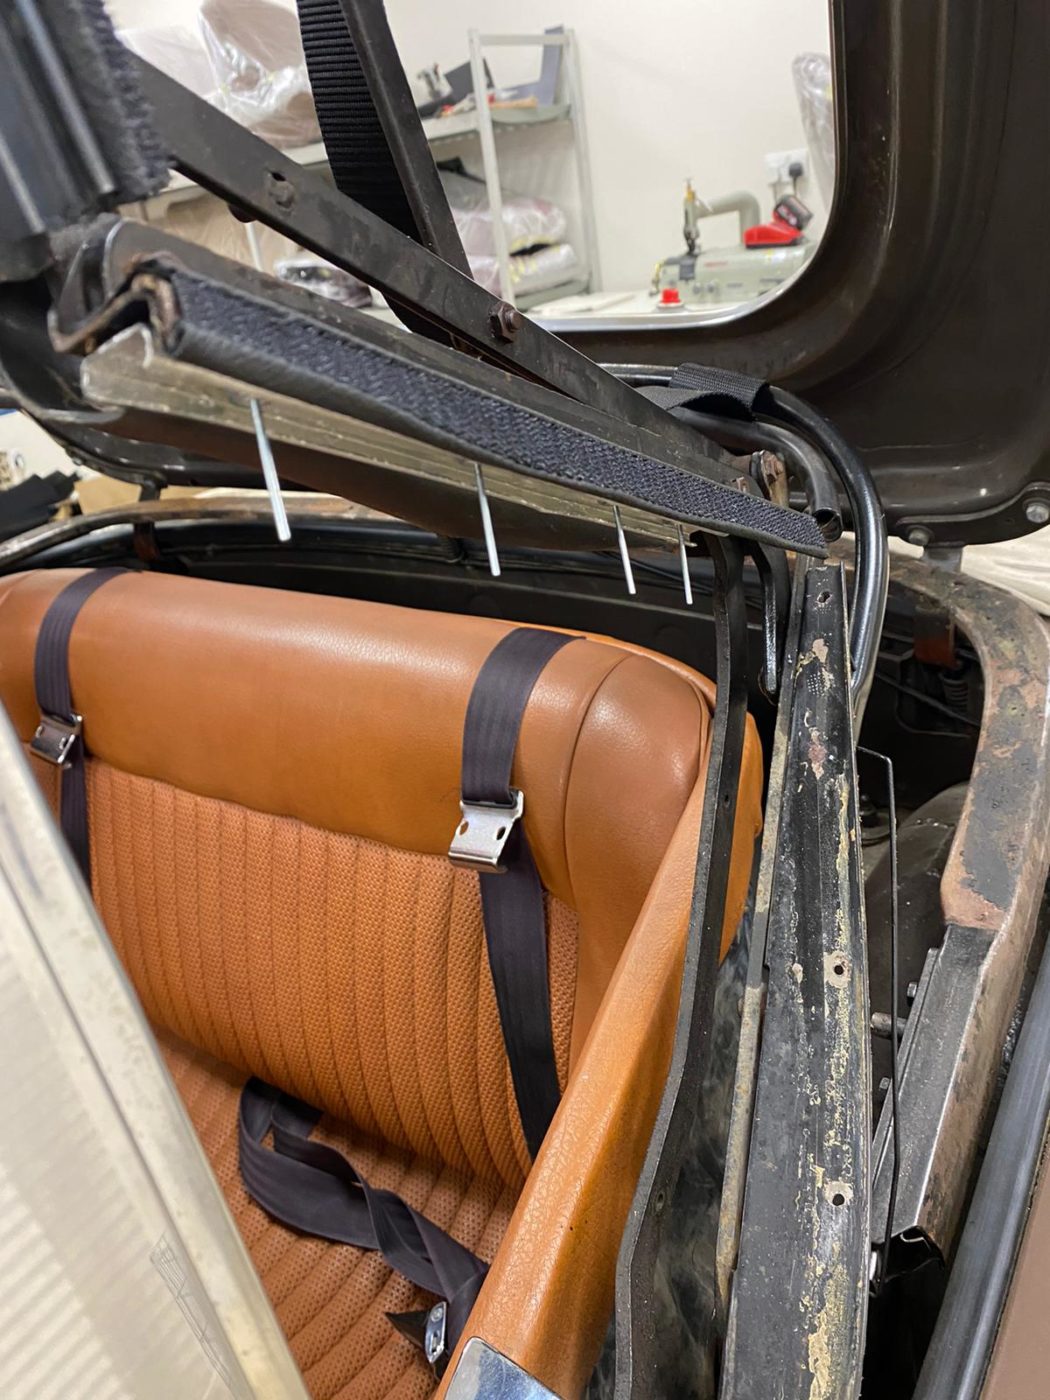
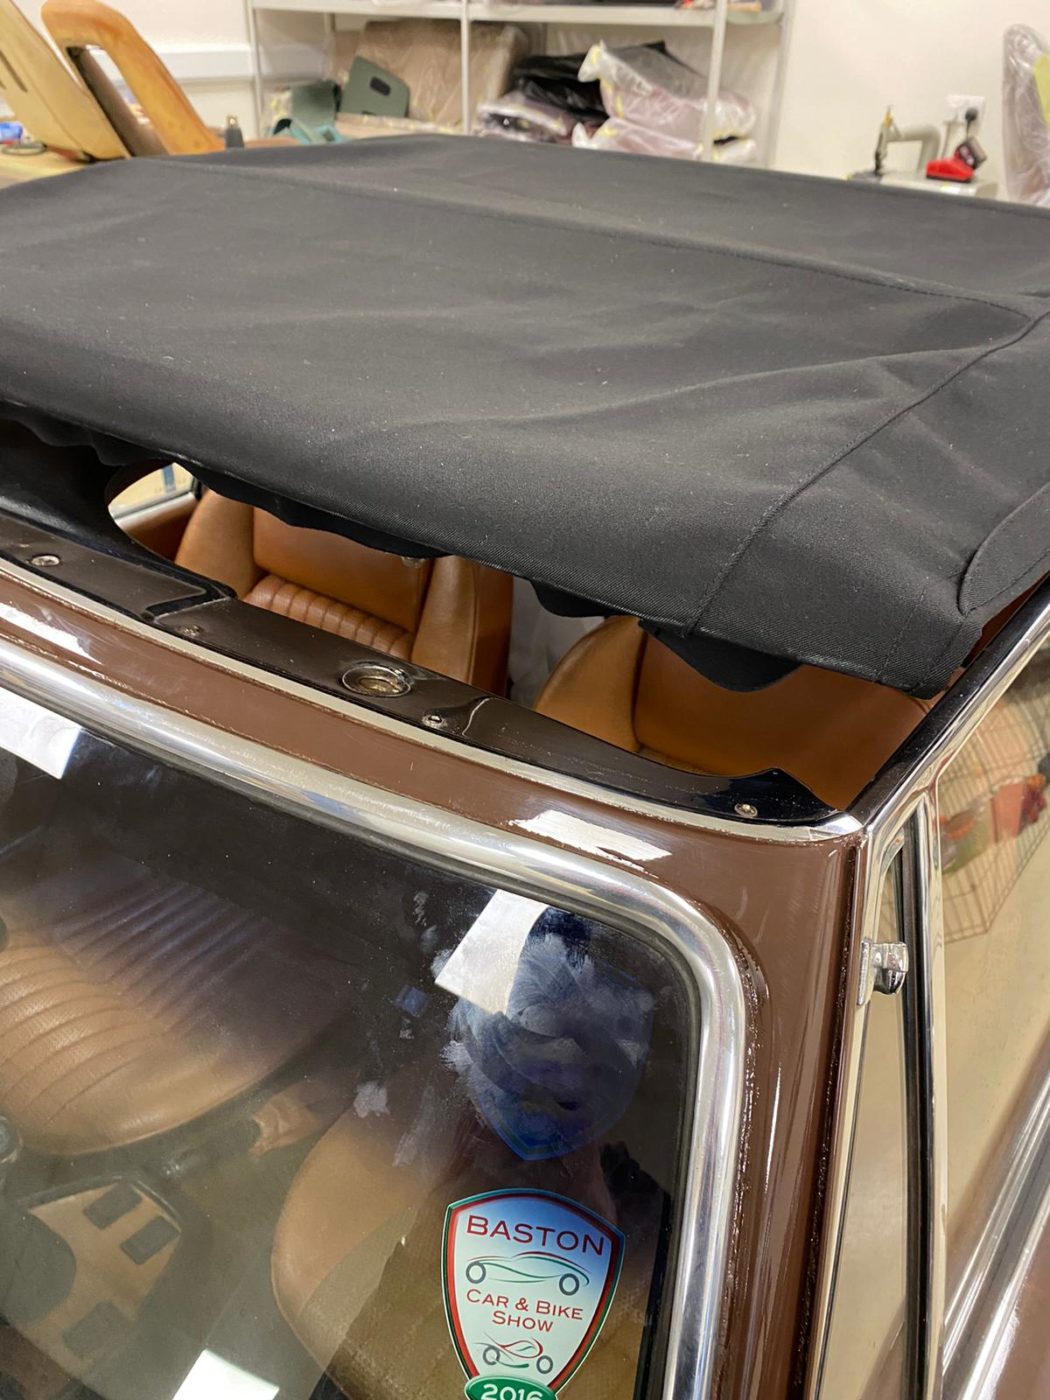
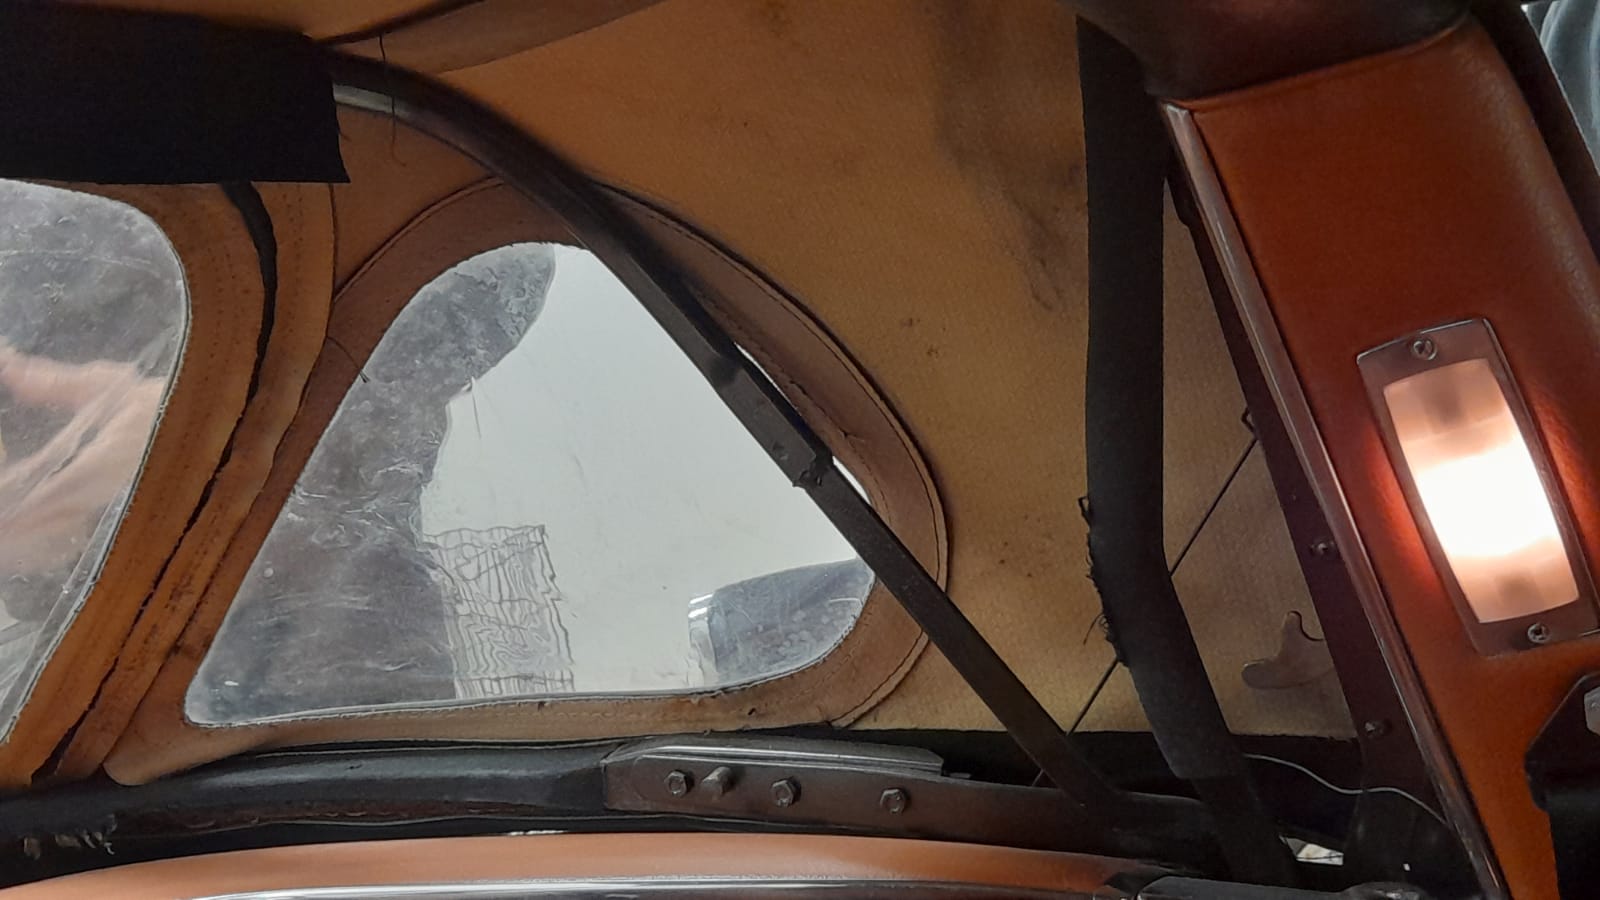
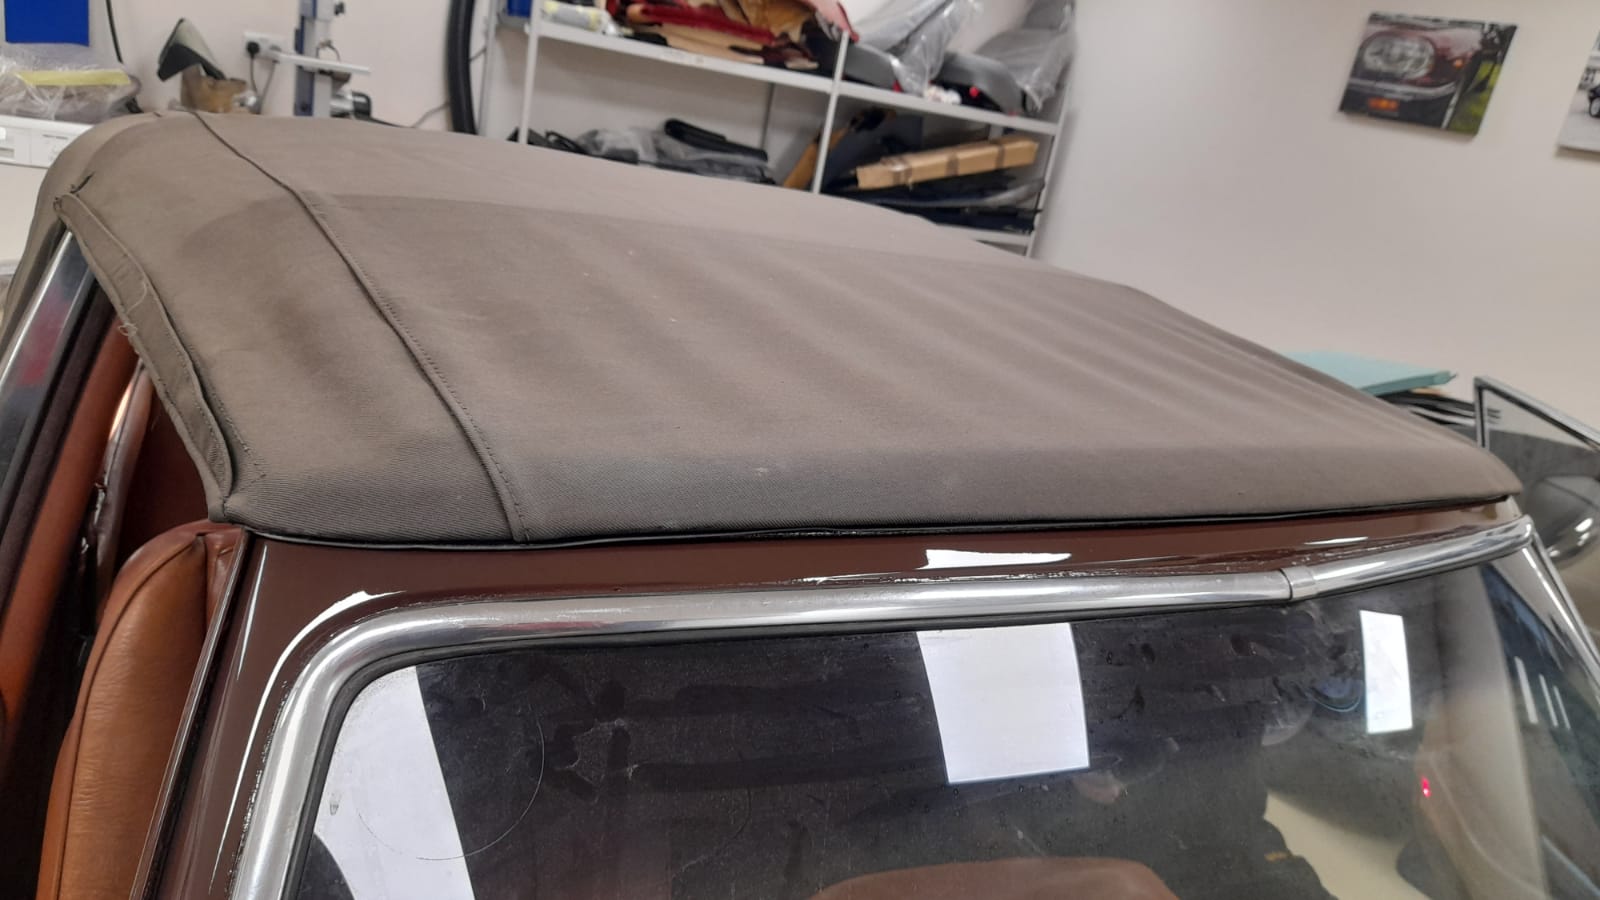
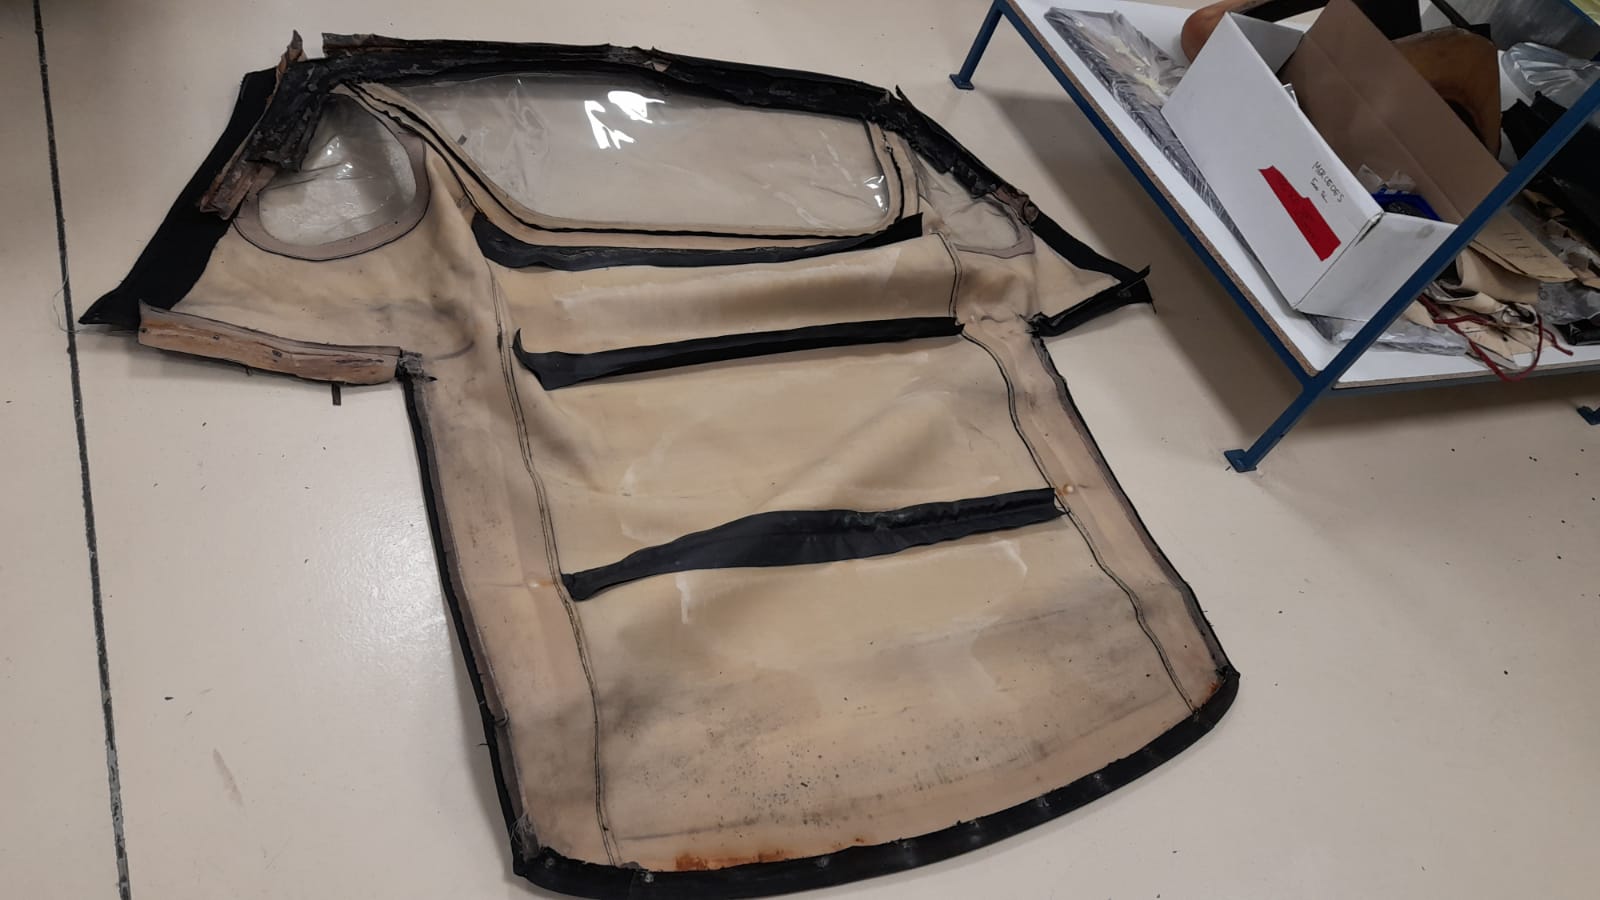
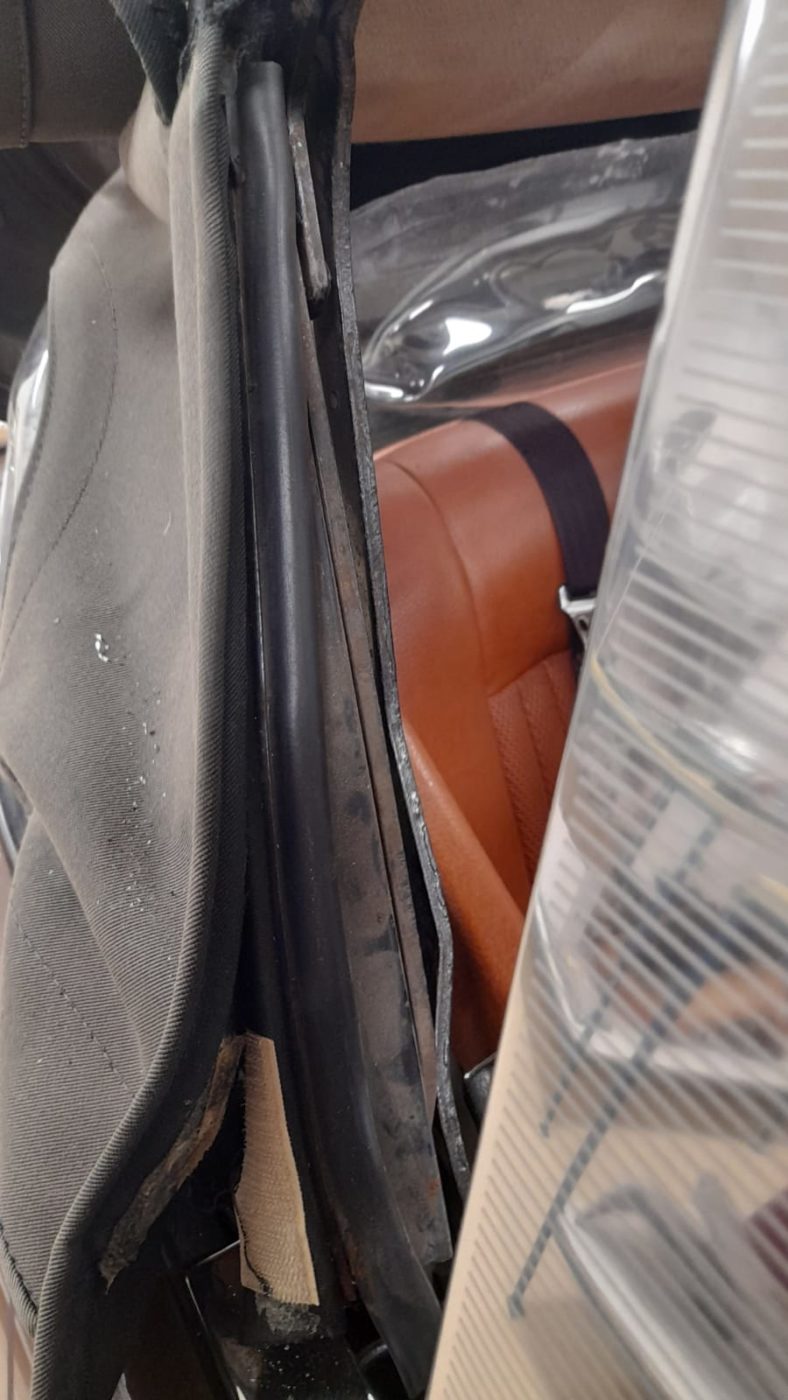
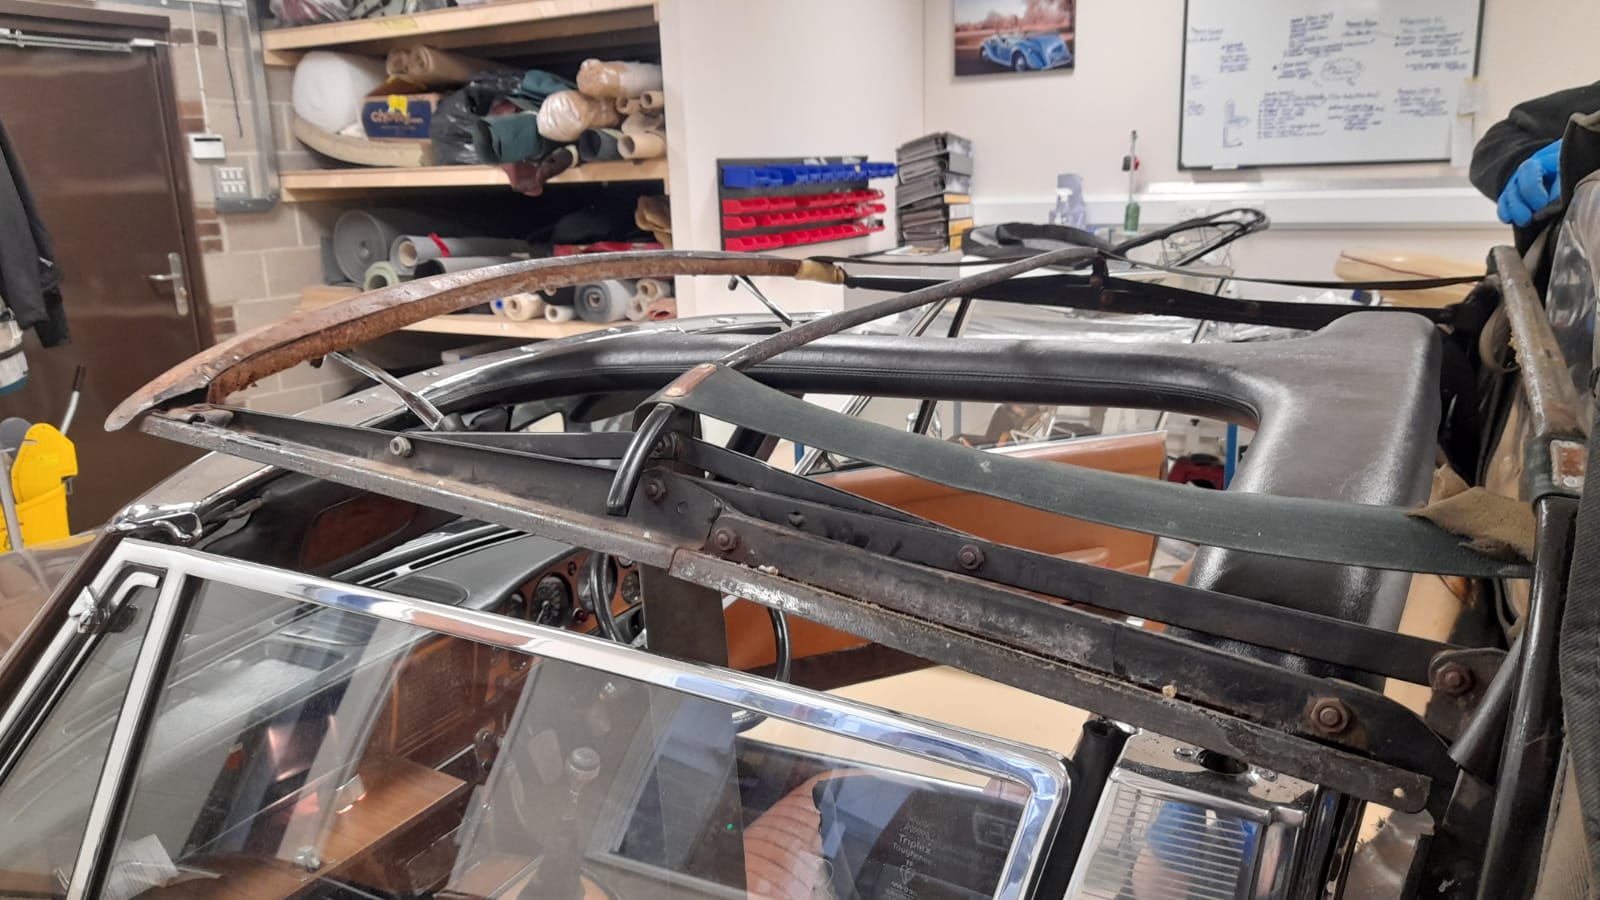
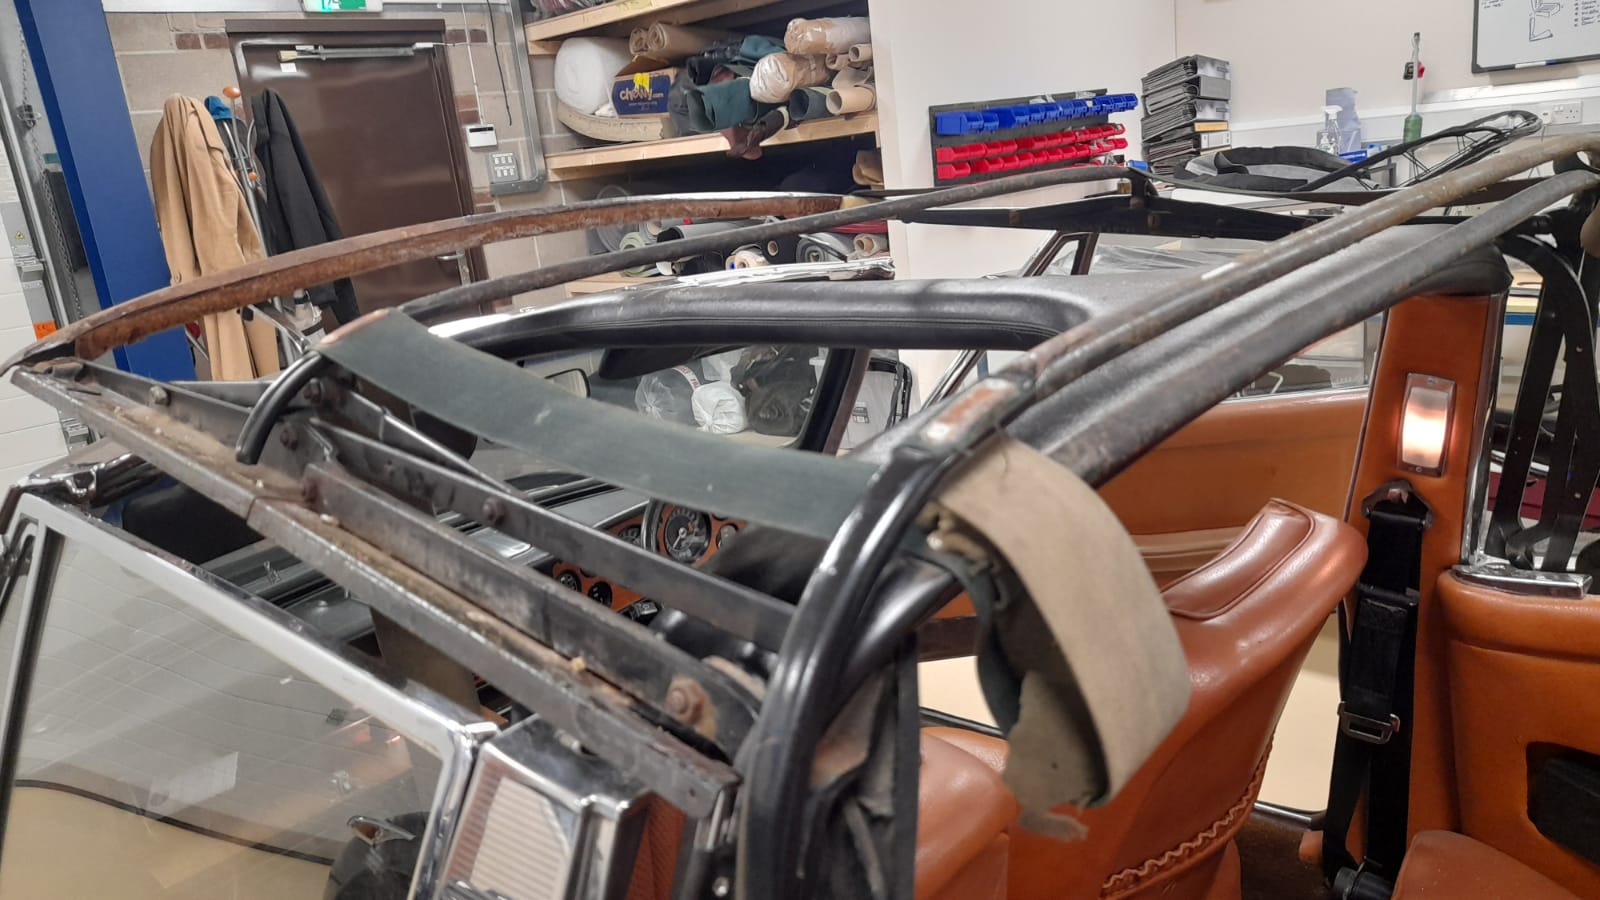
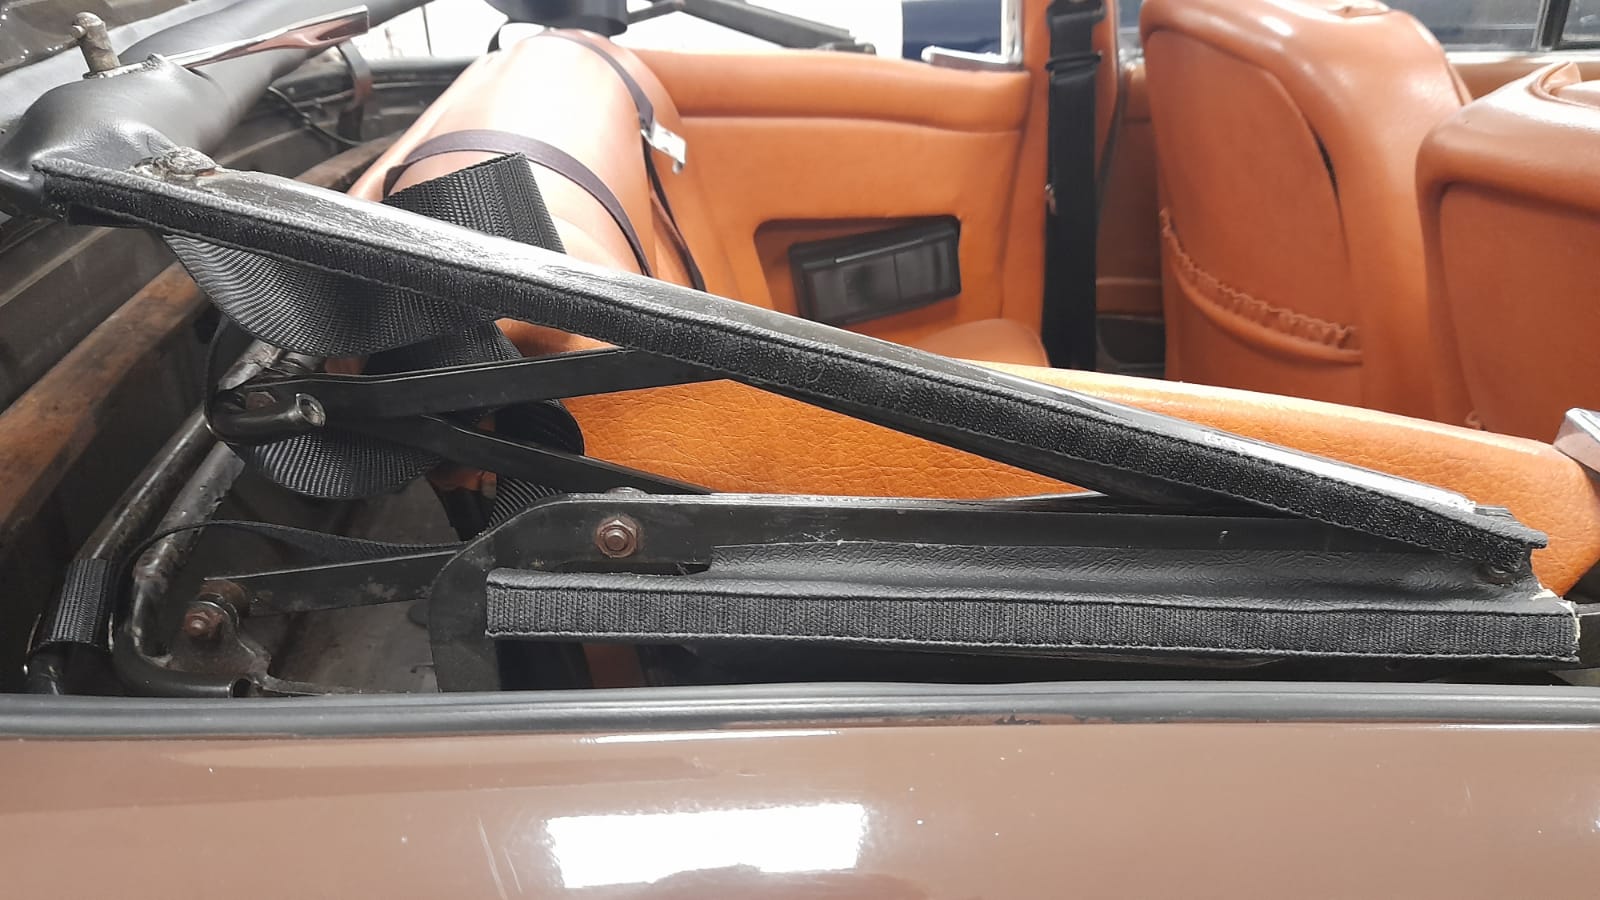
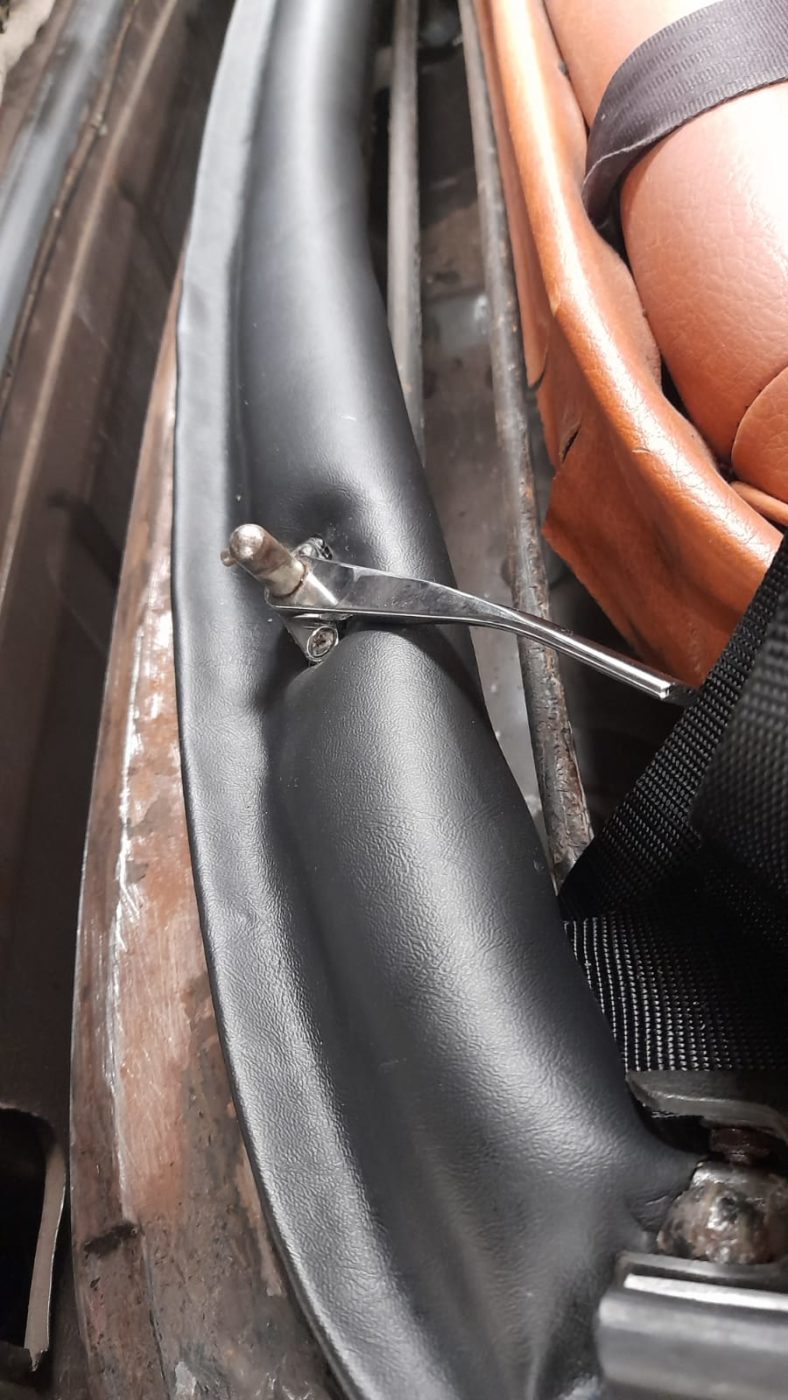
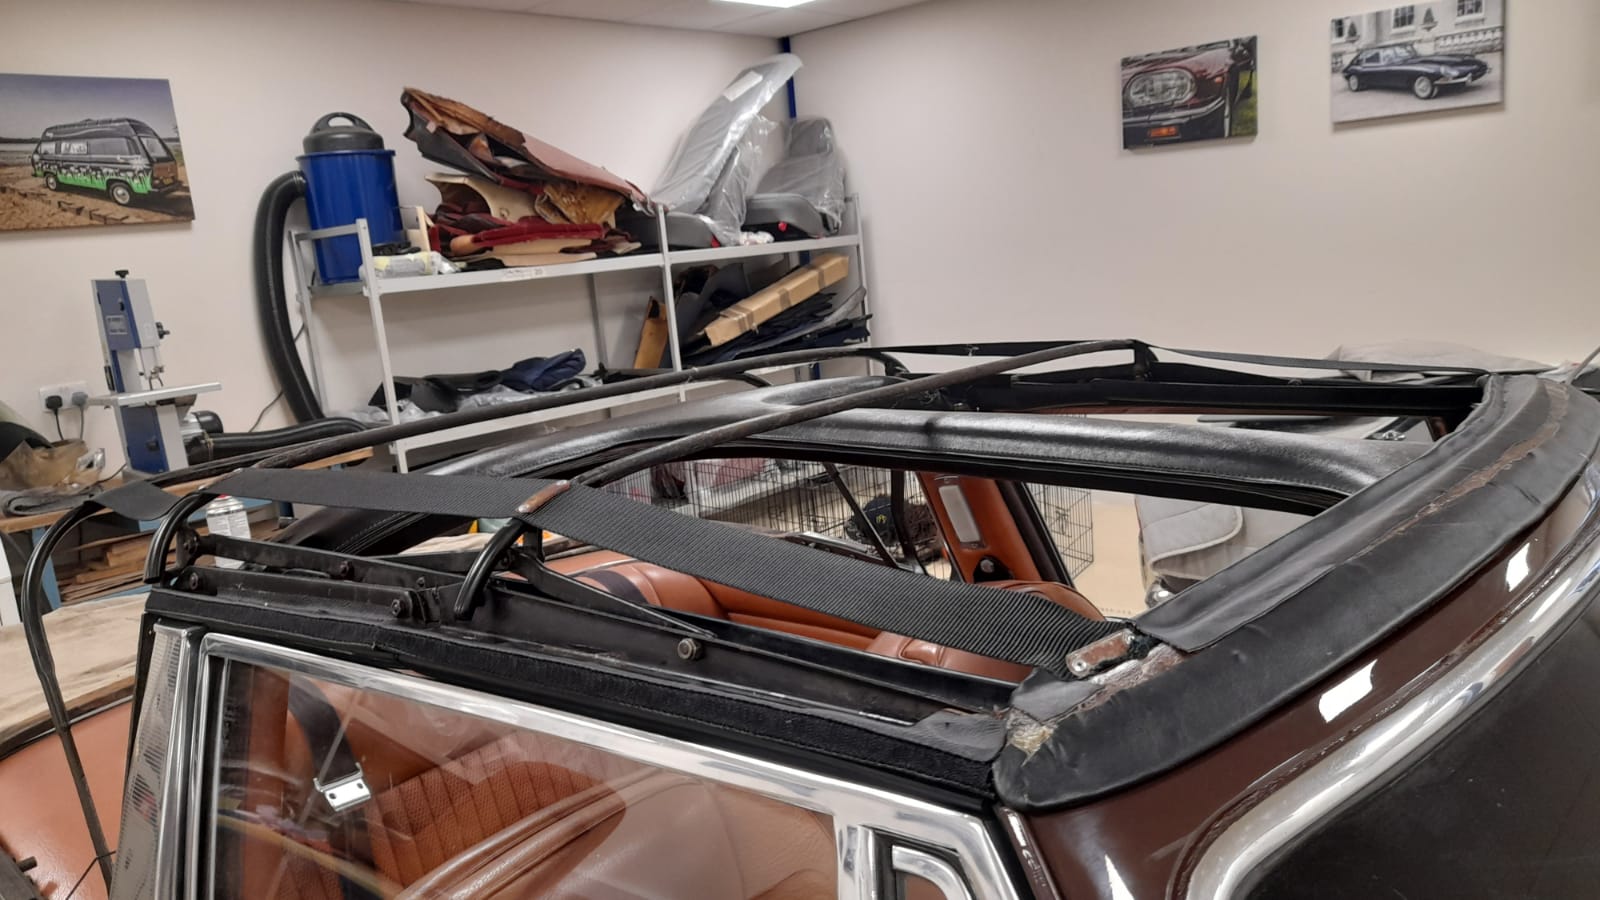
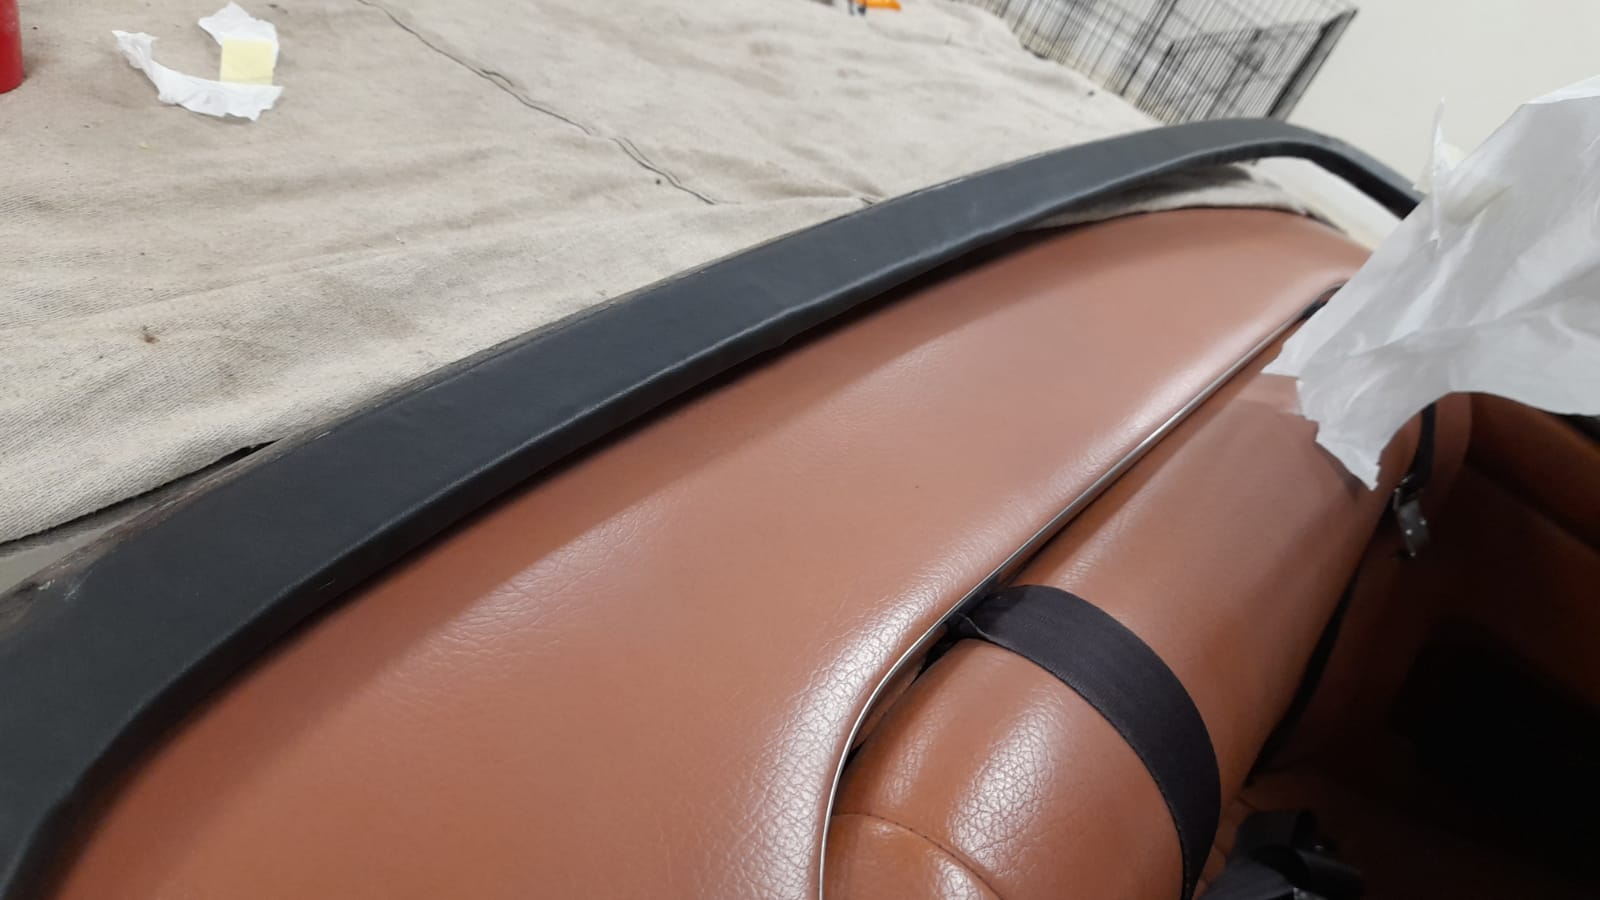
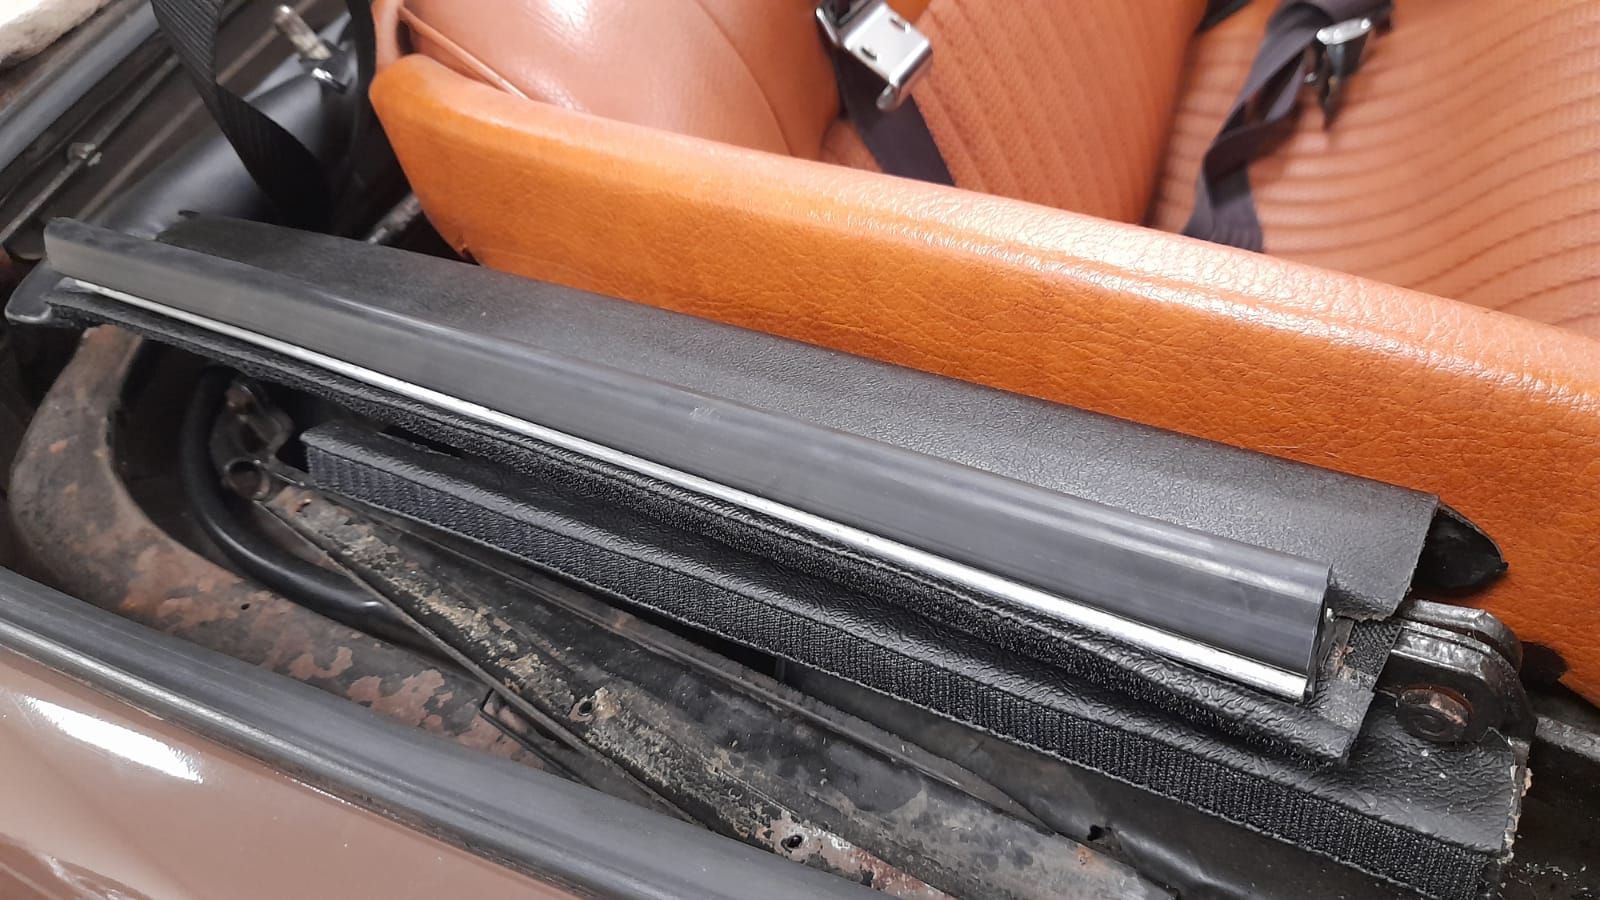
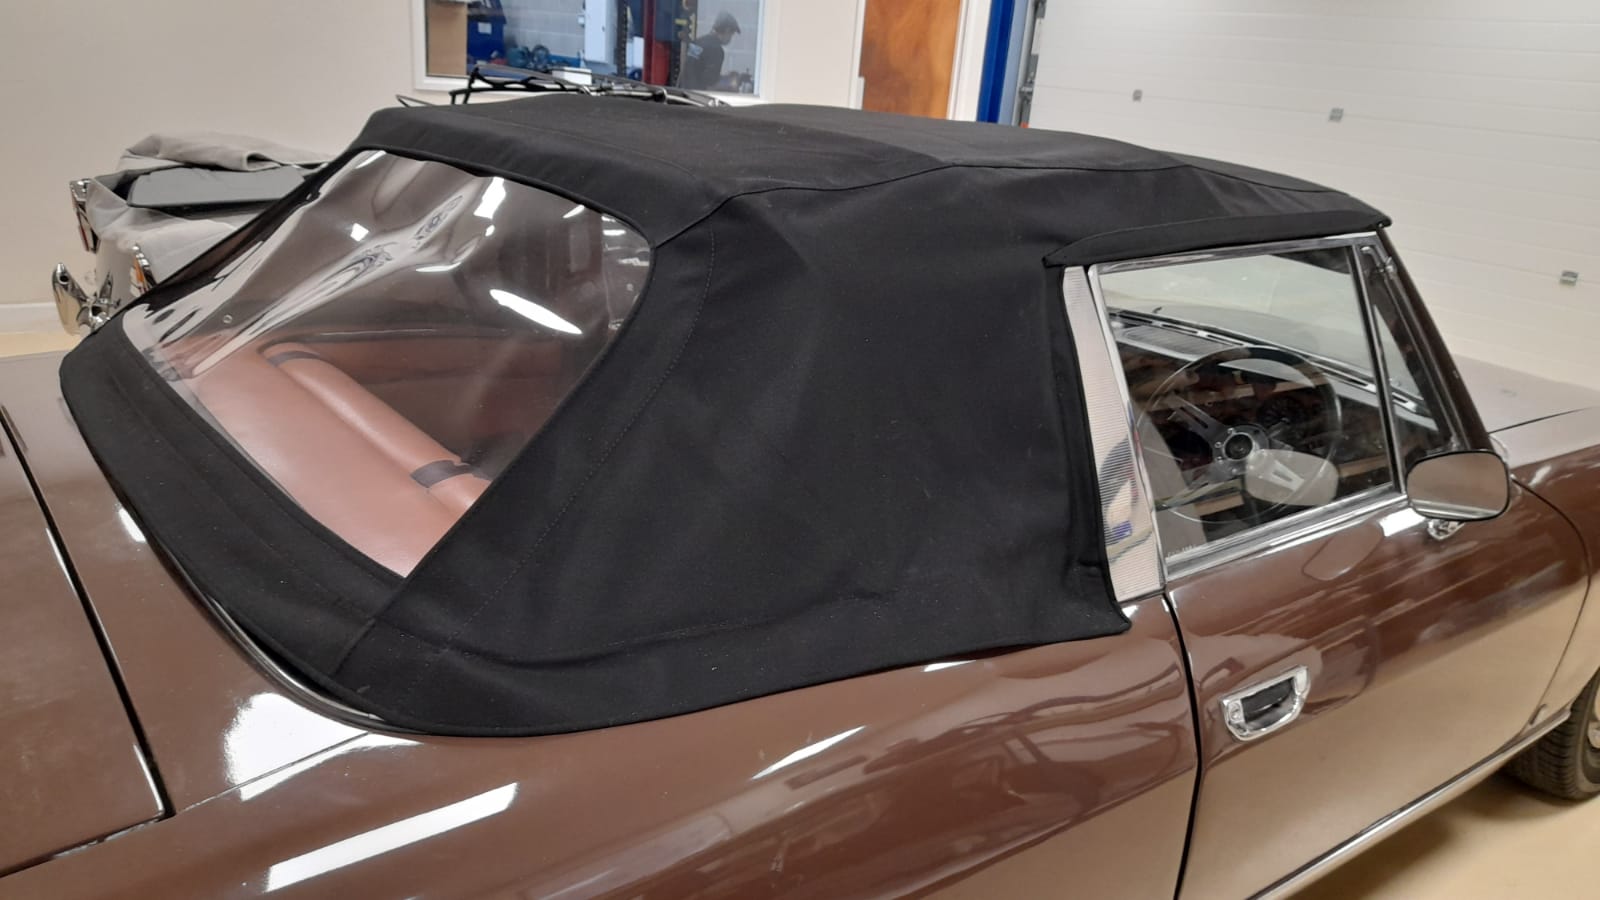
Our trim shop has been working hard to replace the soft top on our Triumph Stag. The original soft top was a rather tired-looking brown material that has been replaced with a new black material.
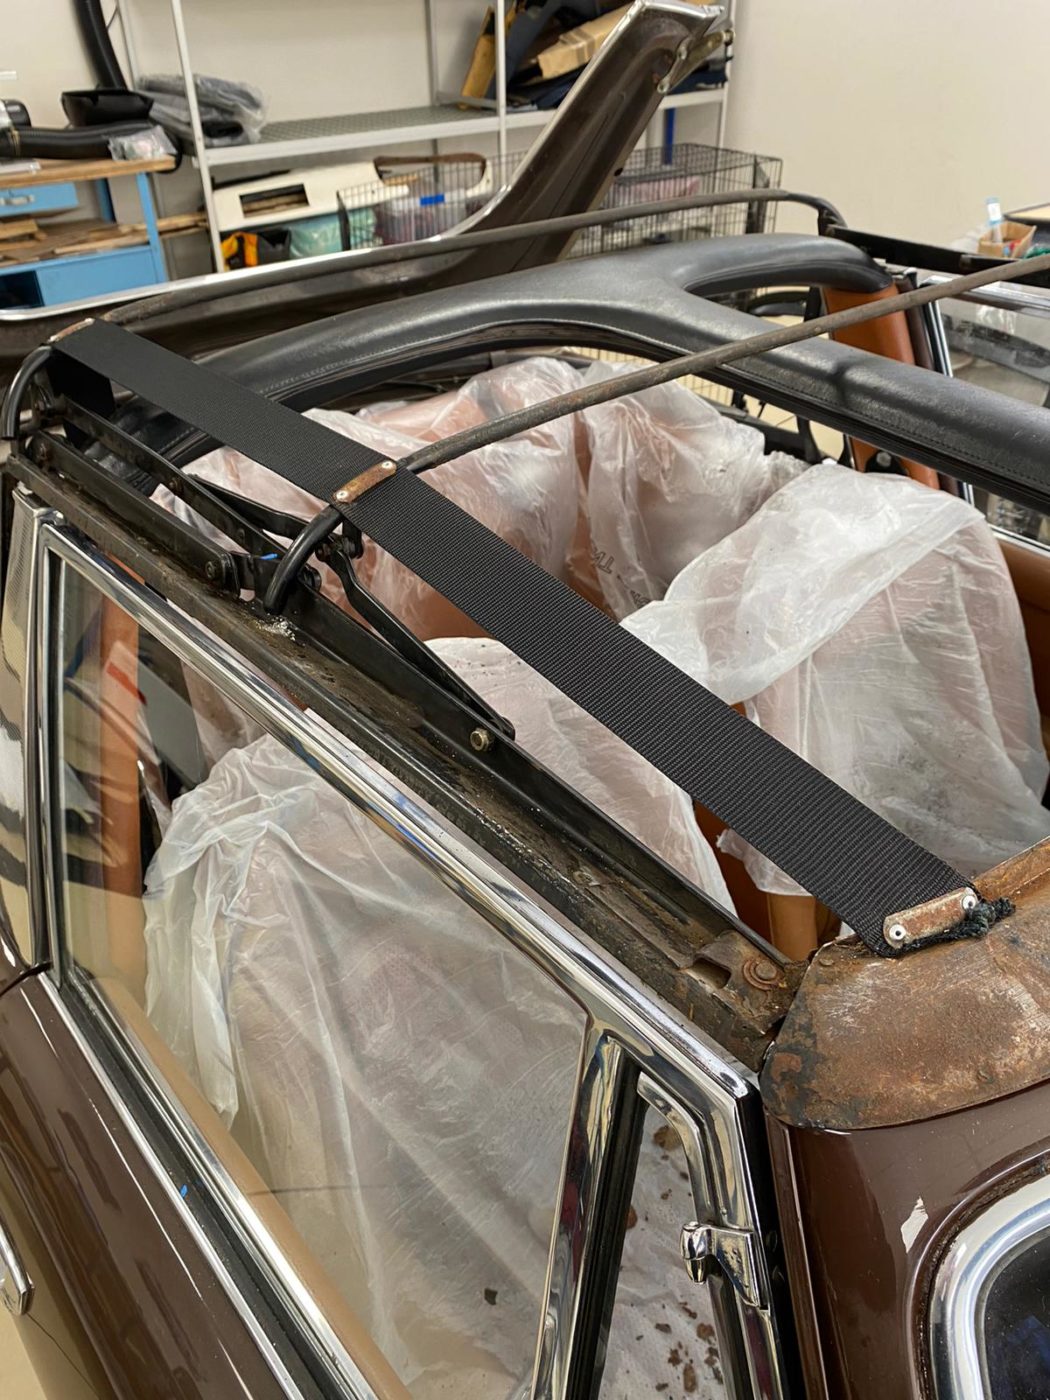
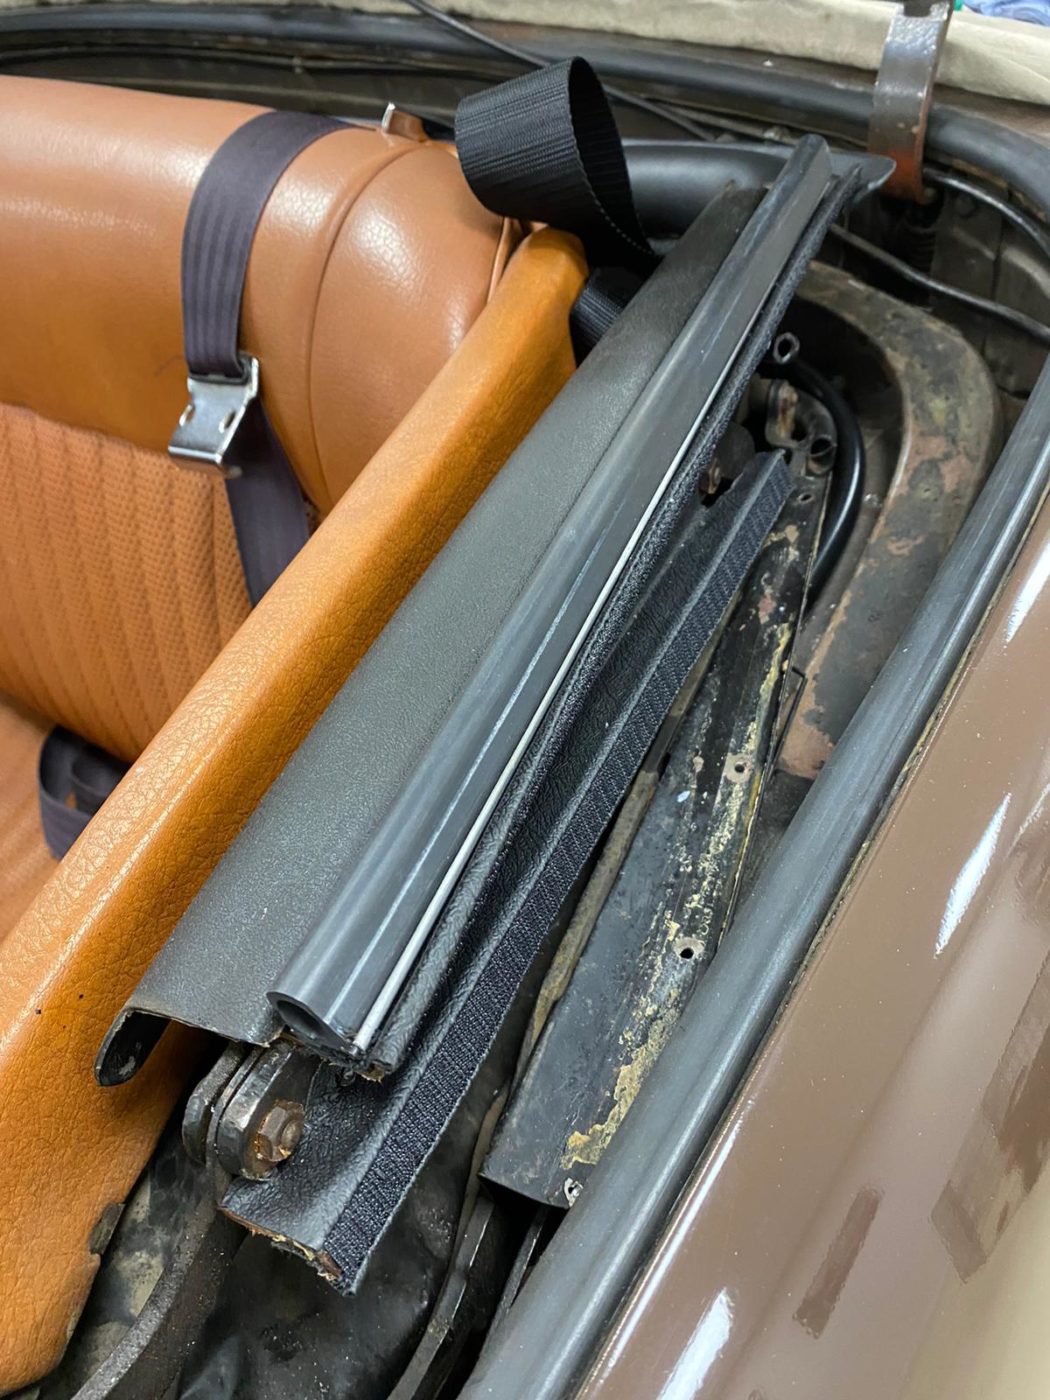
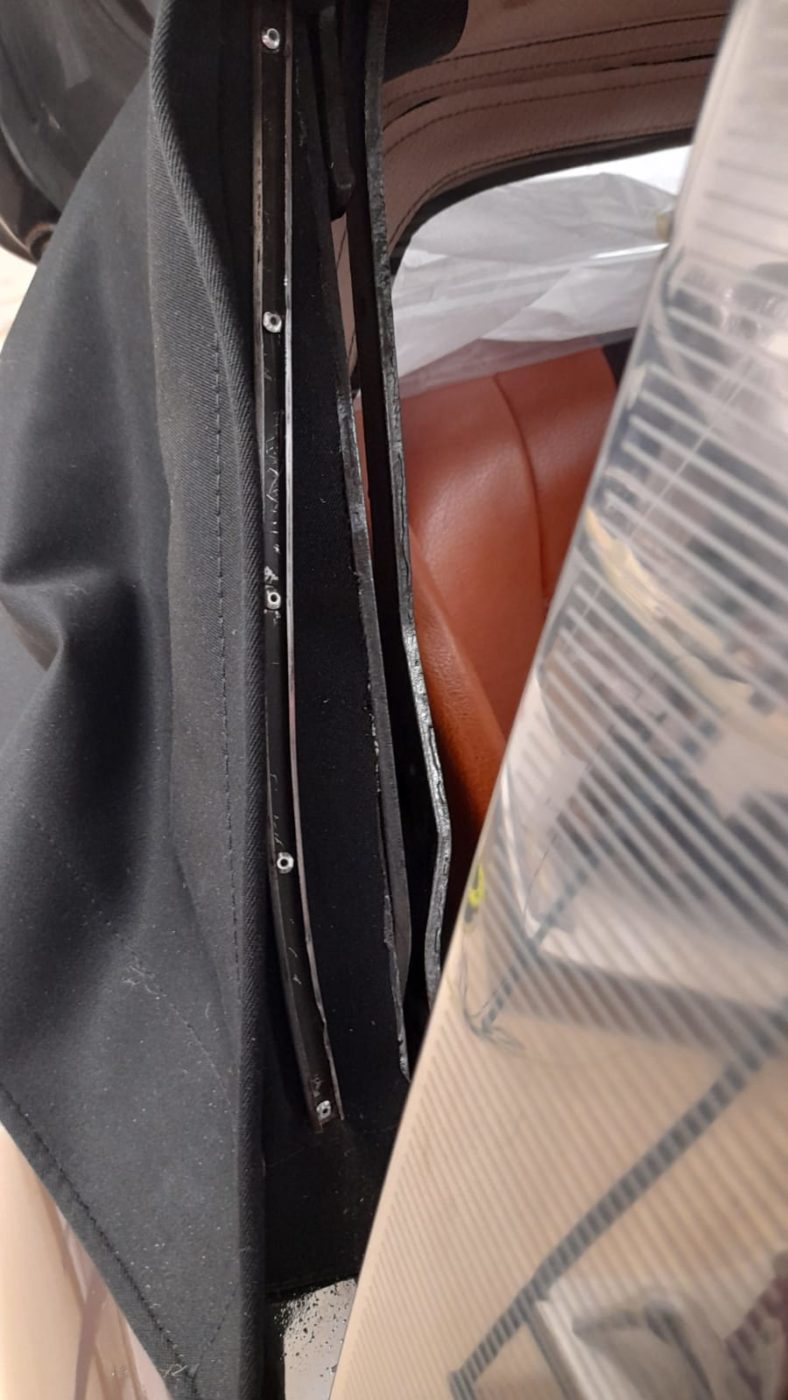
The process began by peeling off all the flaps that were holding the original fabric roof in place. Lydia then had to slide the rubbers out of all the metal slides around the edges and take off the old straps that went across the top of the frame which were held in by rivets. She then replaced the straps and rivetted them in place. After the straps had been replaced, Lydia could then glue on new Velcro to the sides of the frame. This is where the front sides of the fabric roof attach to. Then Lydia wrapped the front of the frame with vinyl and glued it all down, finishing the step by trimming around the mechanisms that push the roof into place and out again at the front.
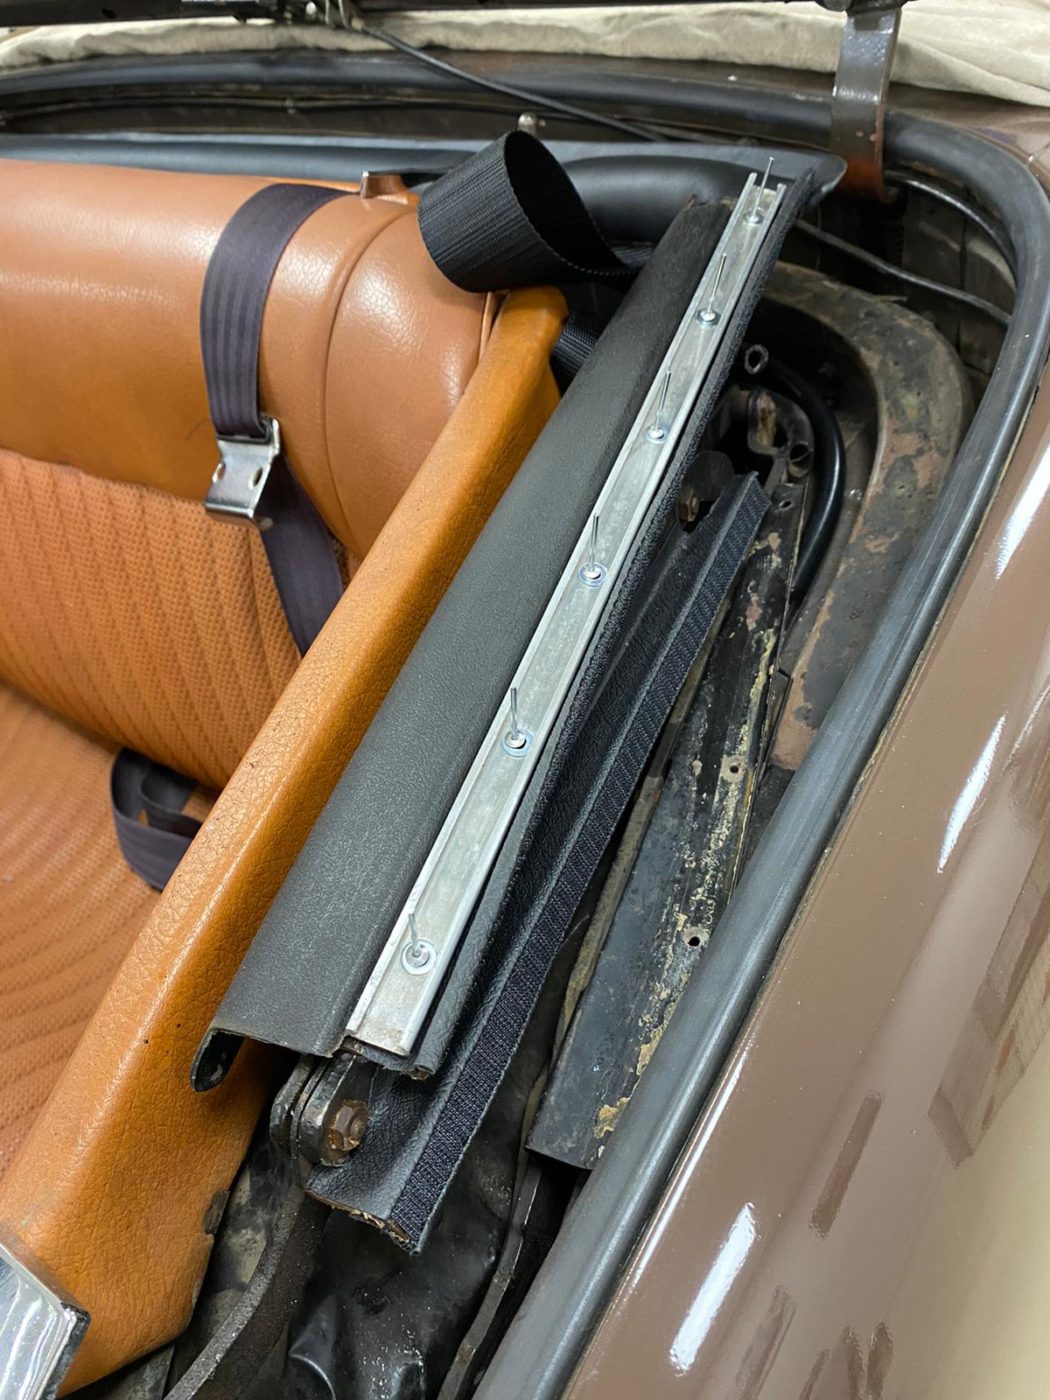
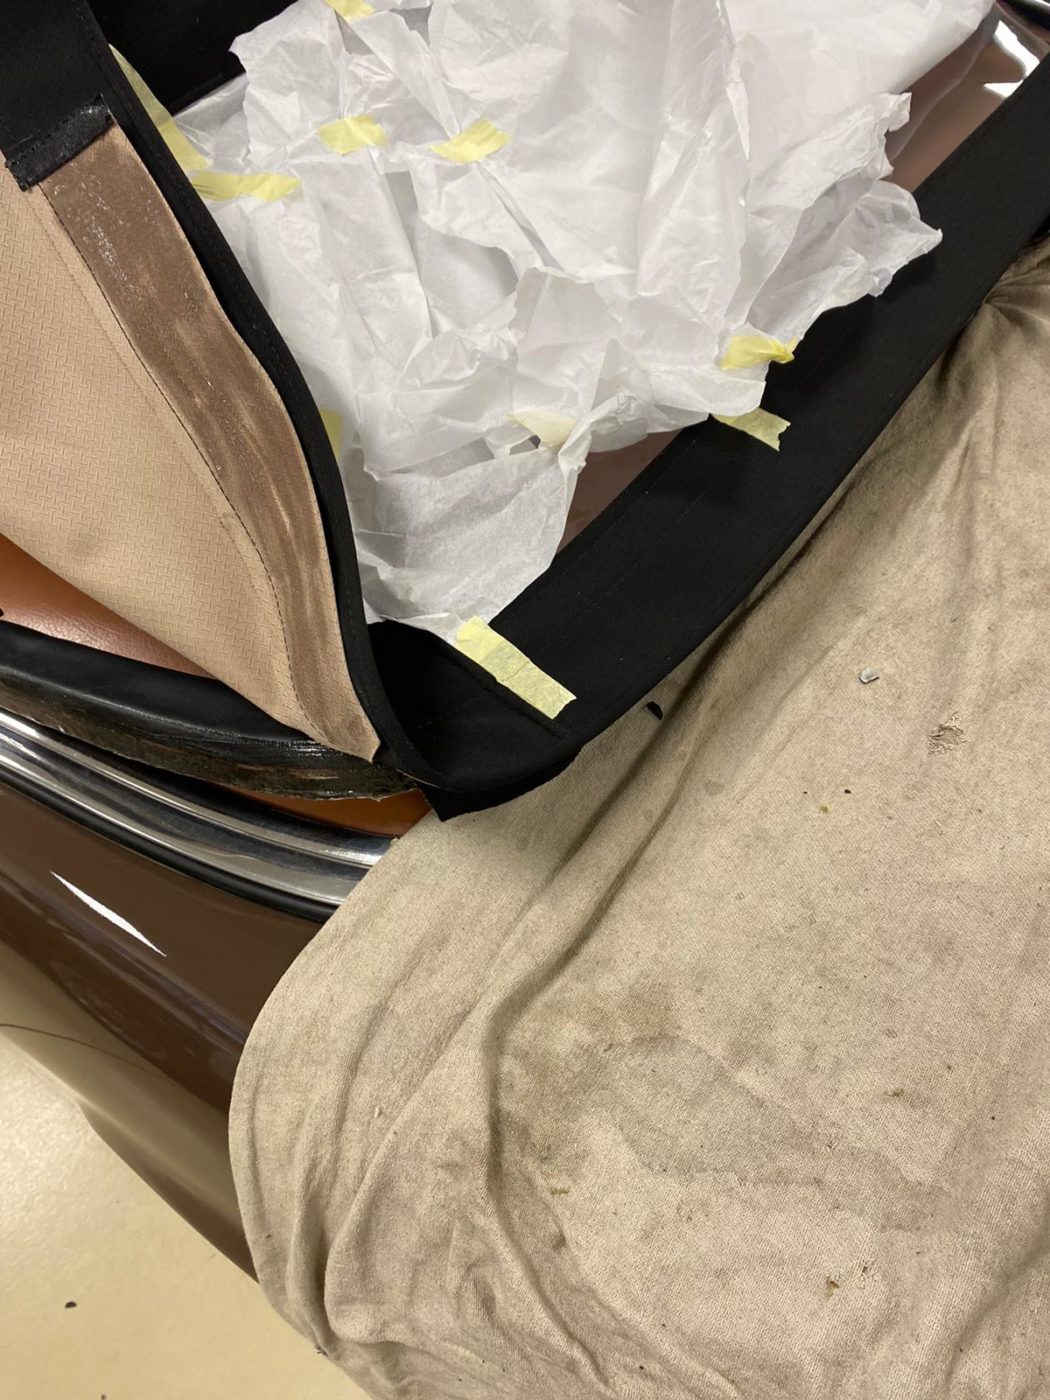
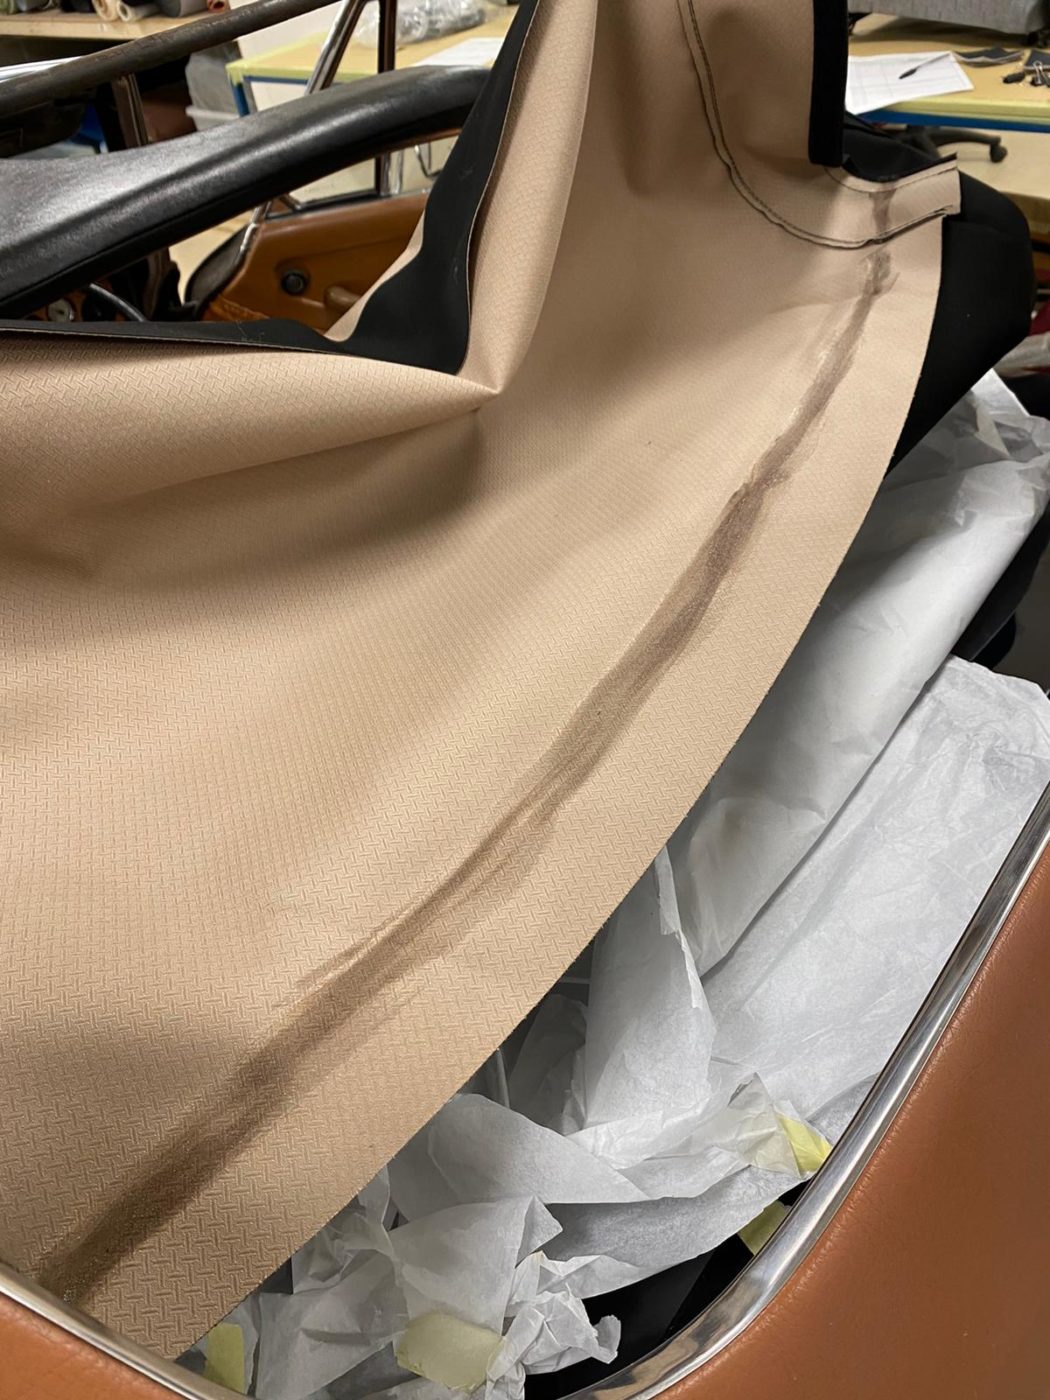
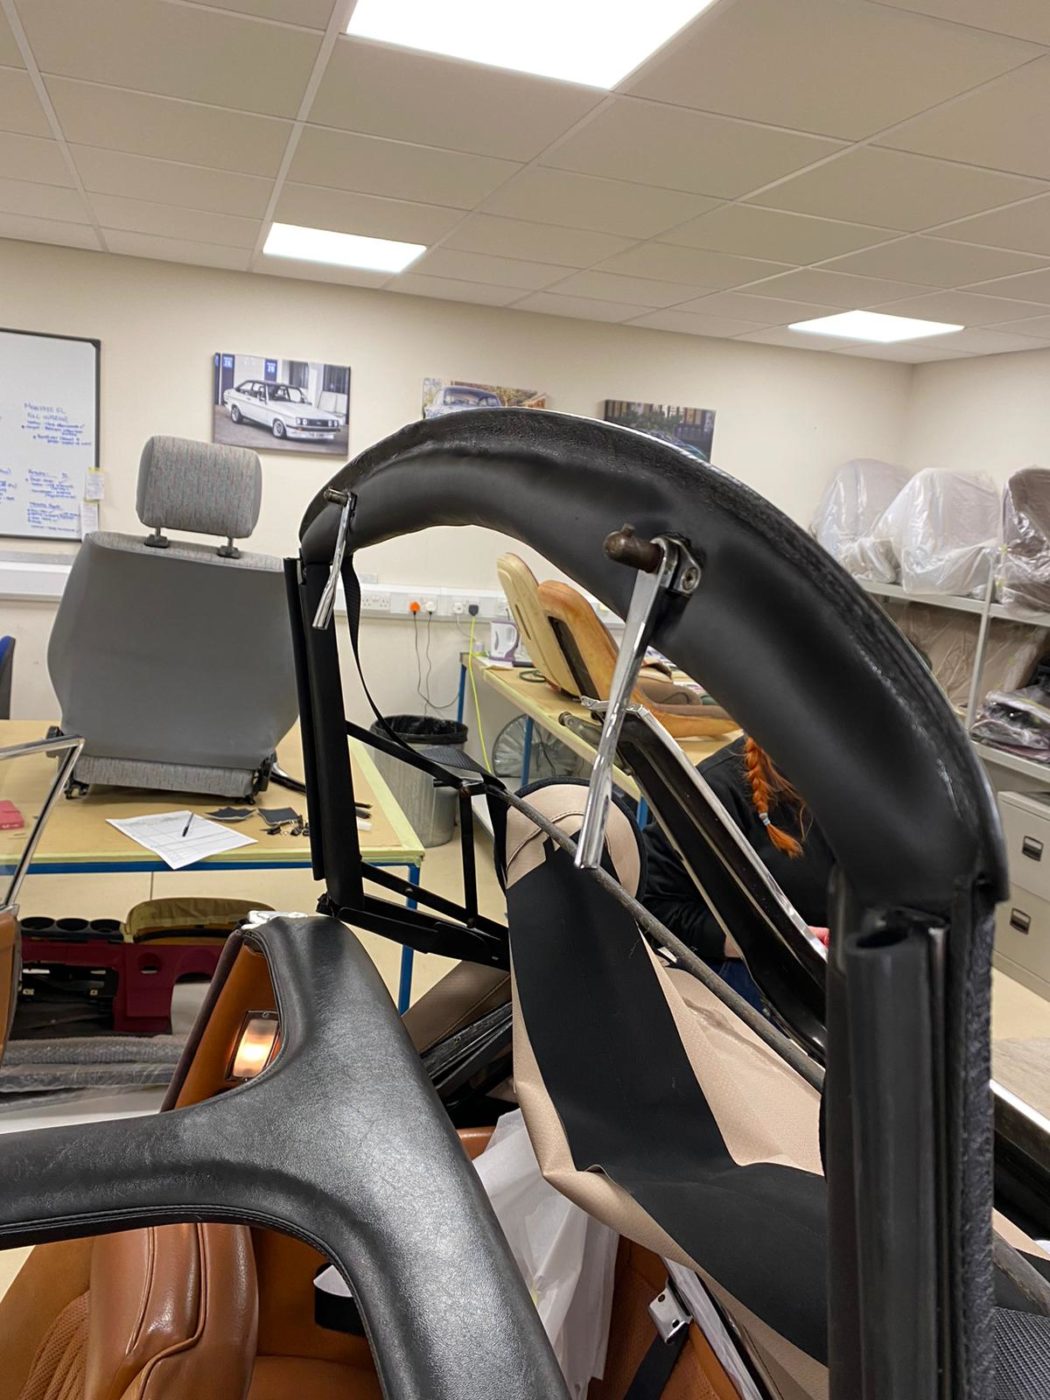
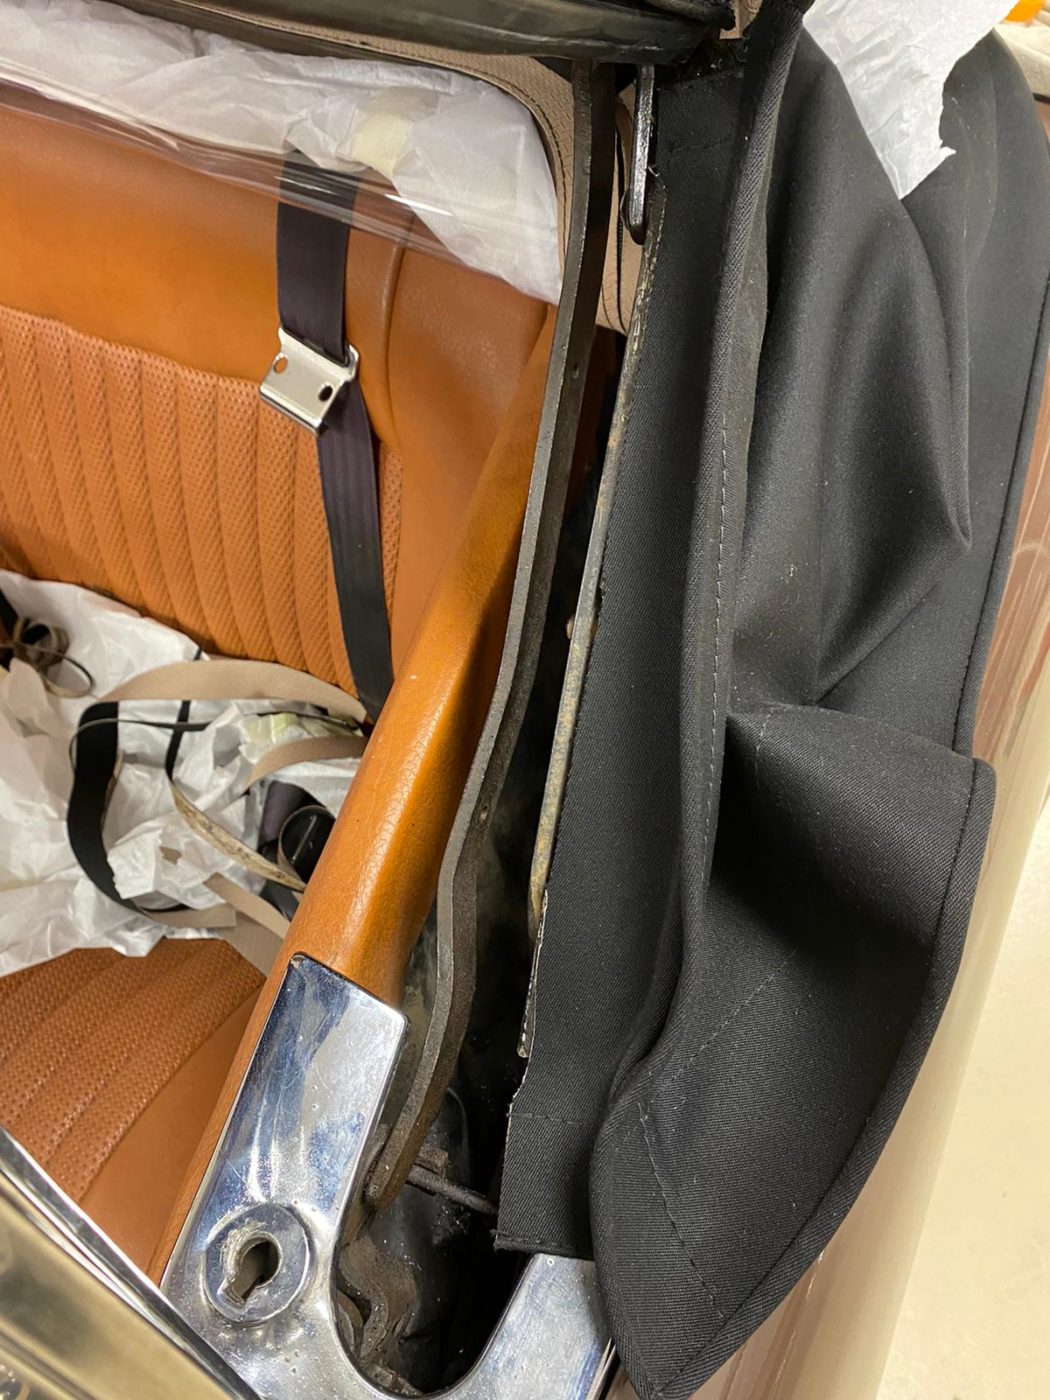
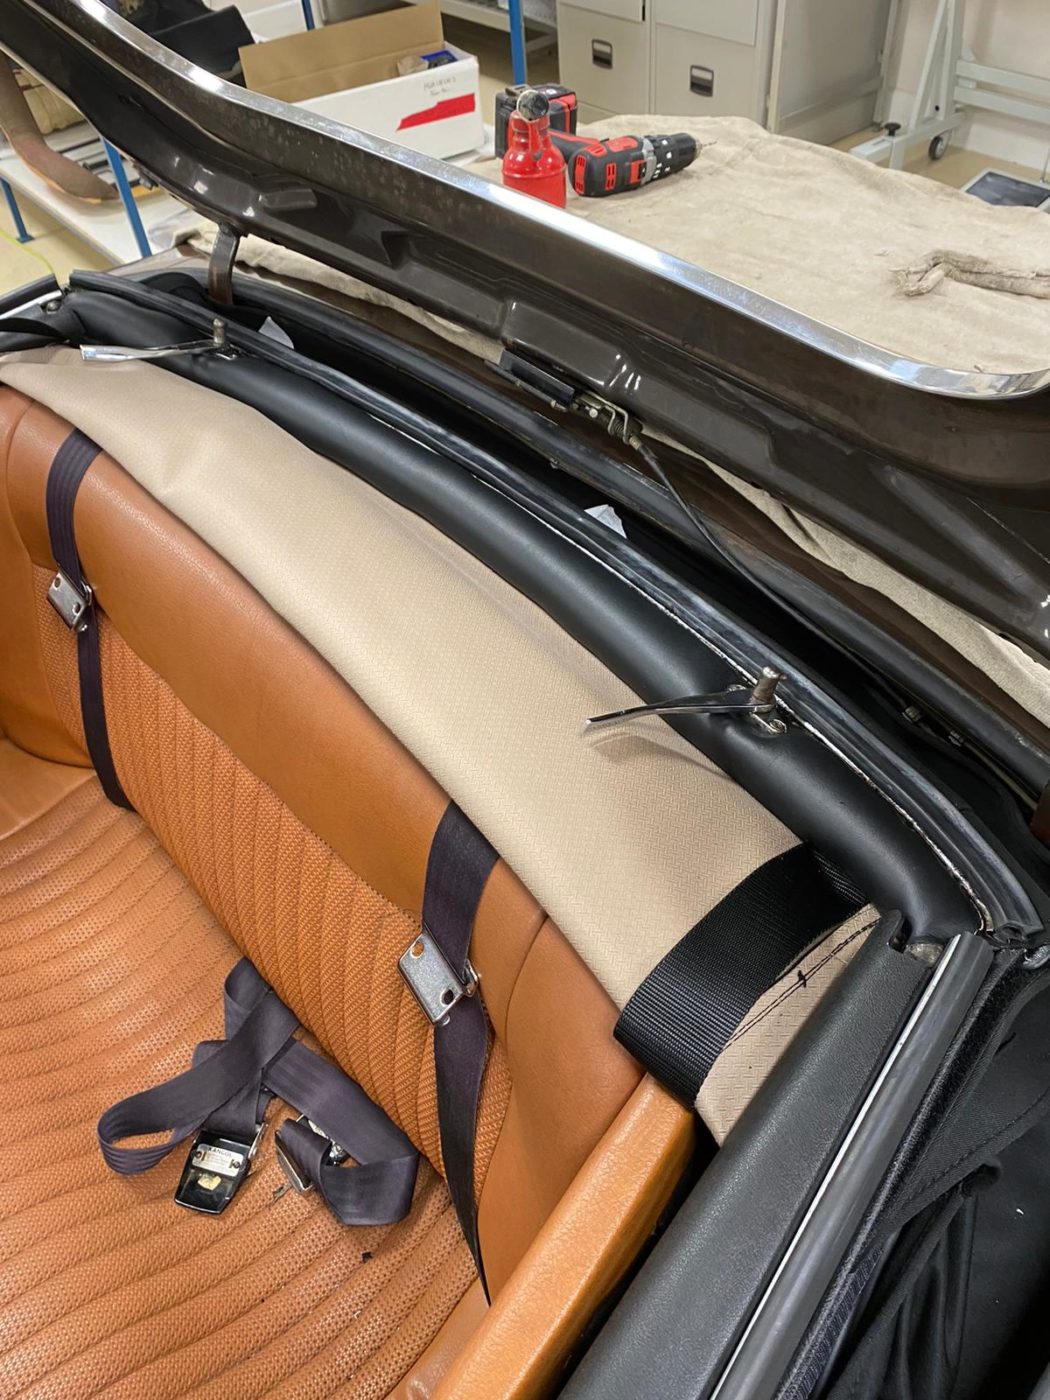
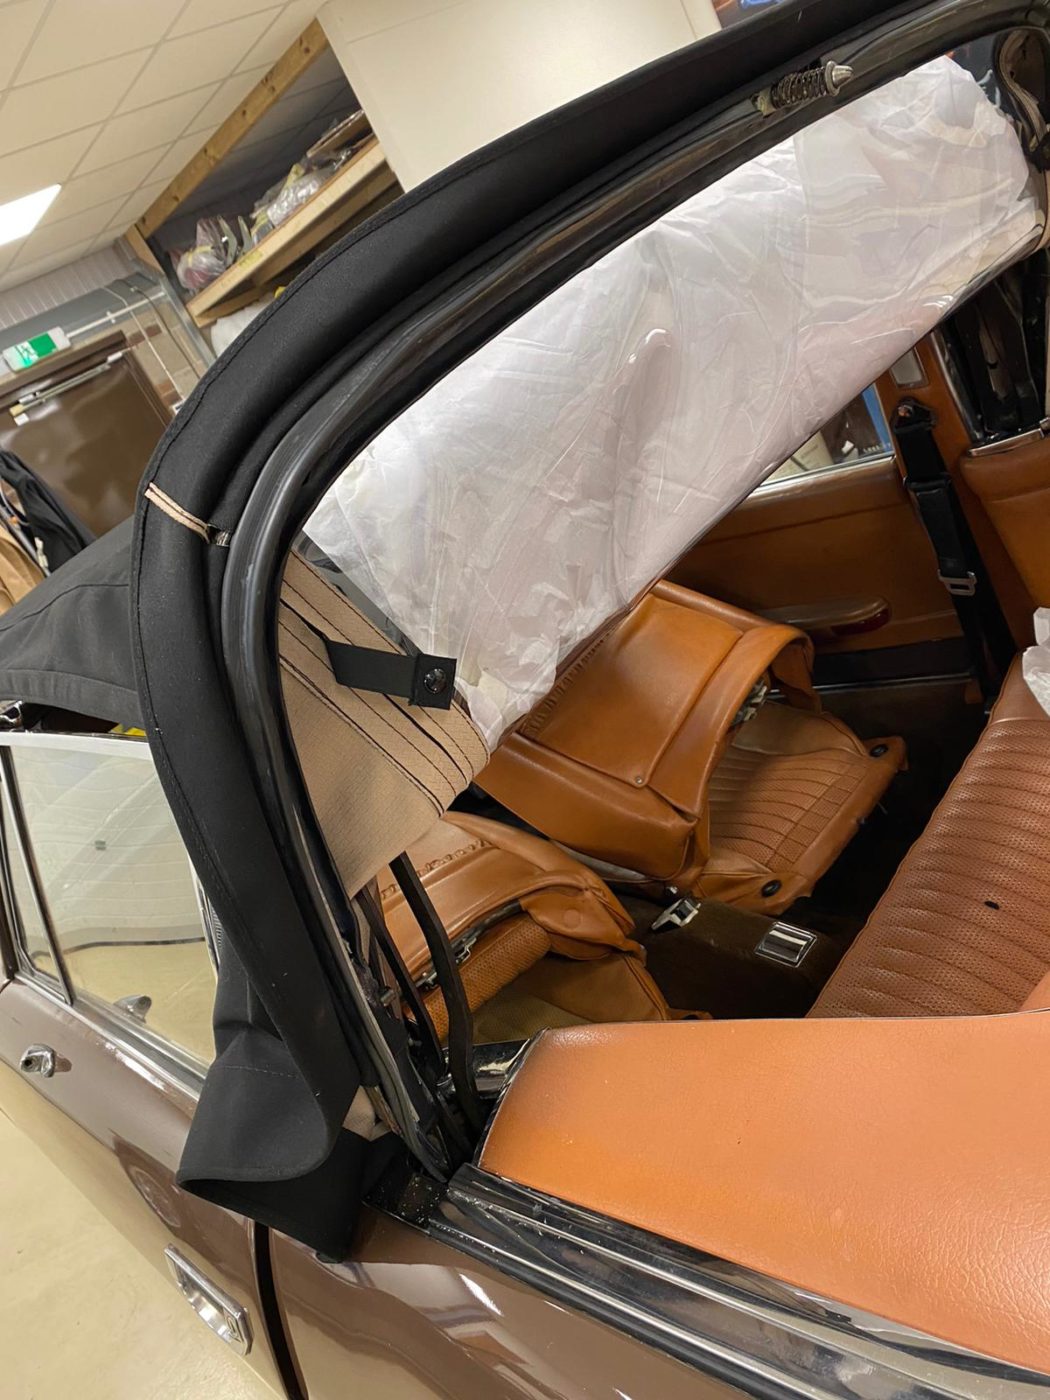
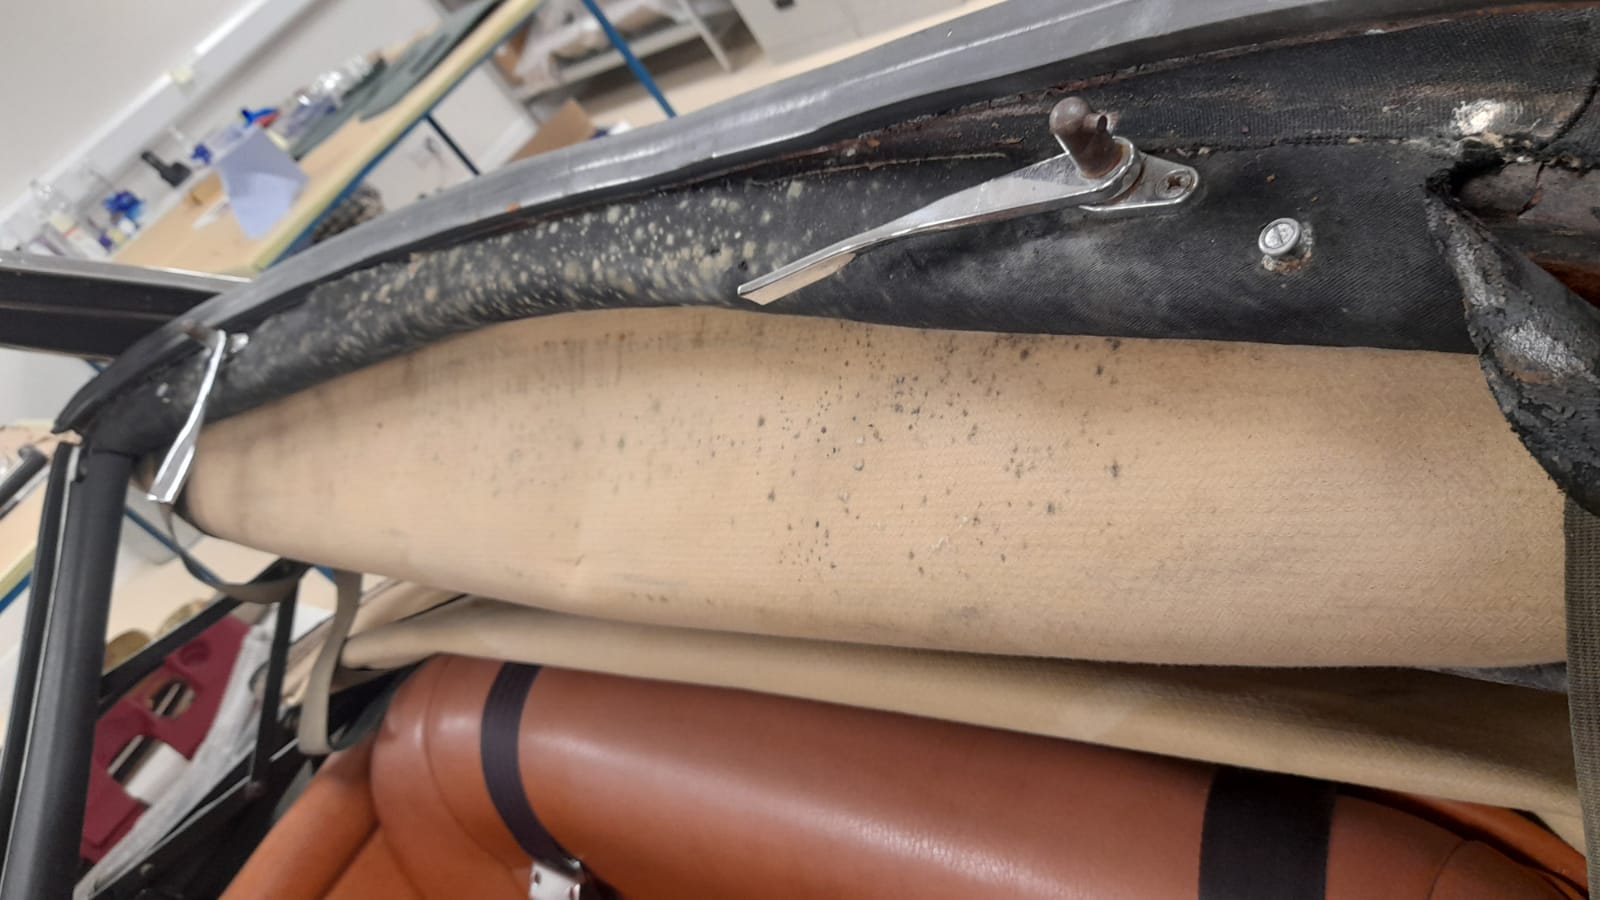
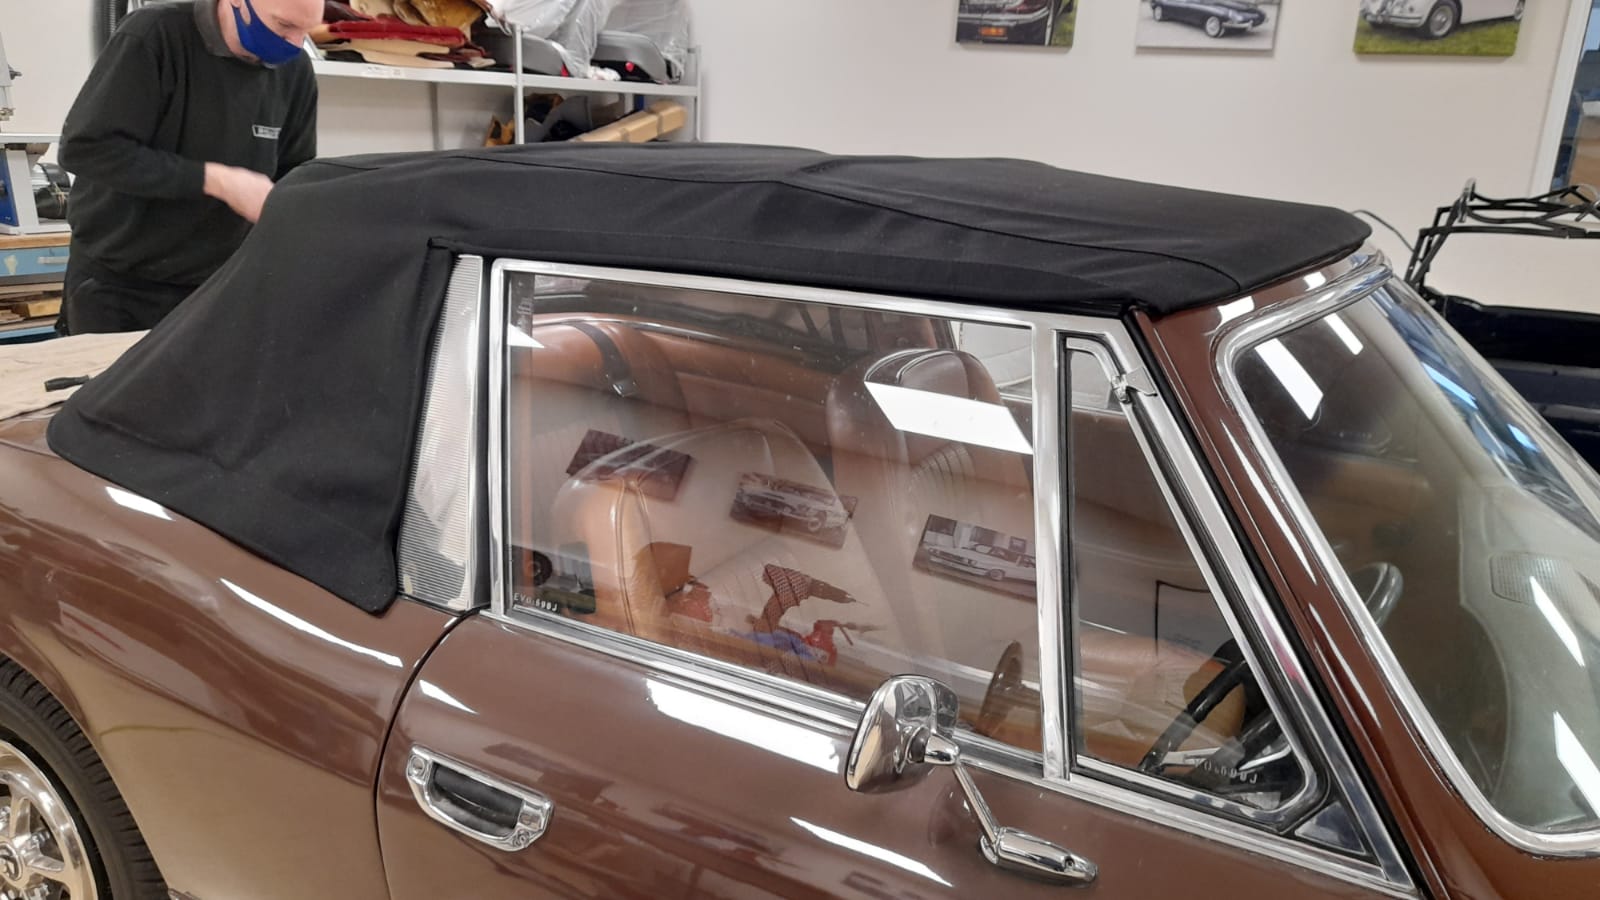
The next step was to wrap and glue the vinyl around the back frame, rivet the metal slides on the sides of the frame, back and front, before sliding the rubber seals into them. Brian had also fitted new rubbers and handled the gluing process of the new hood.
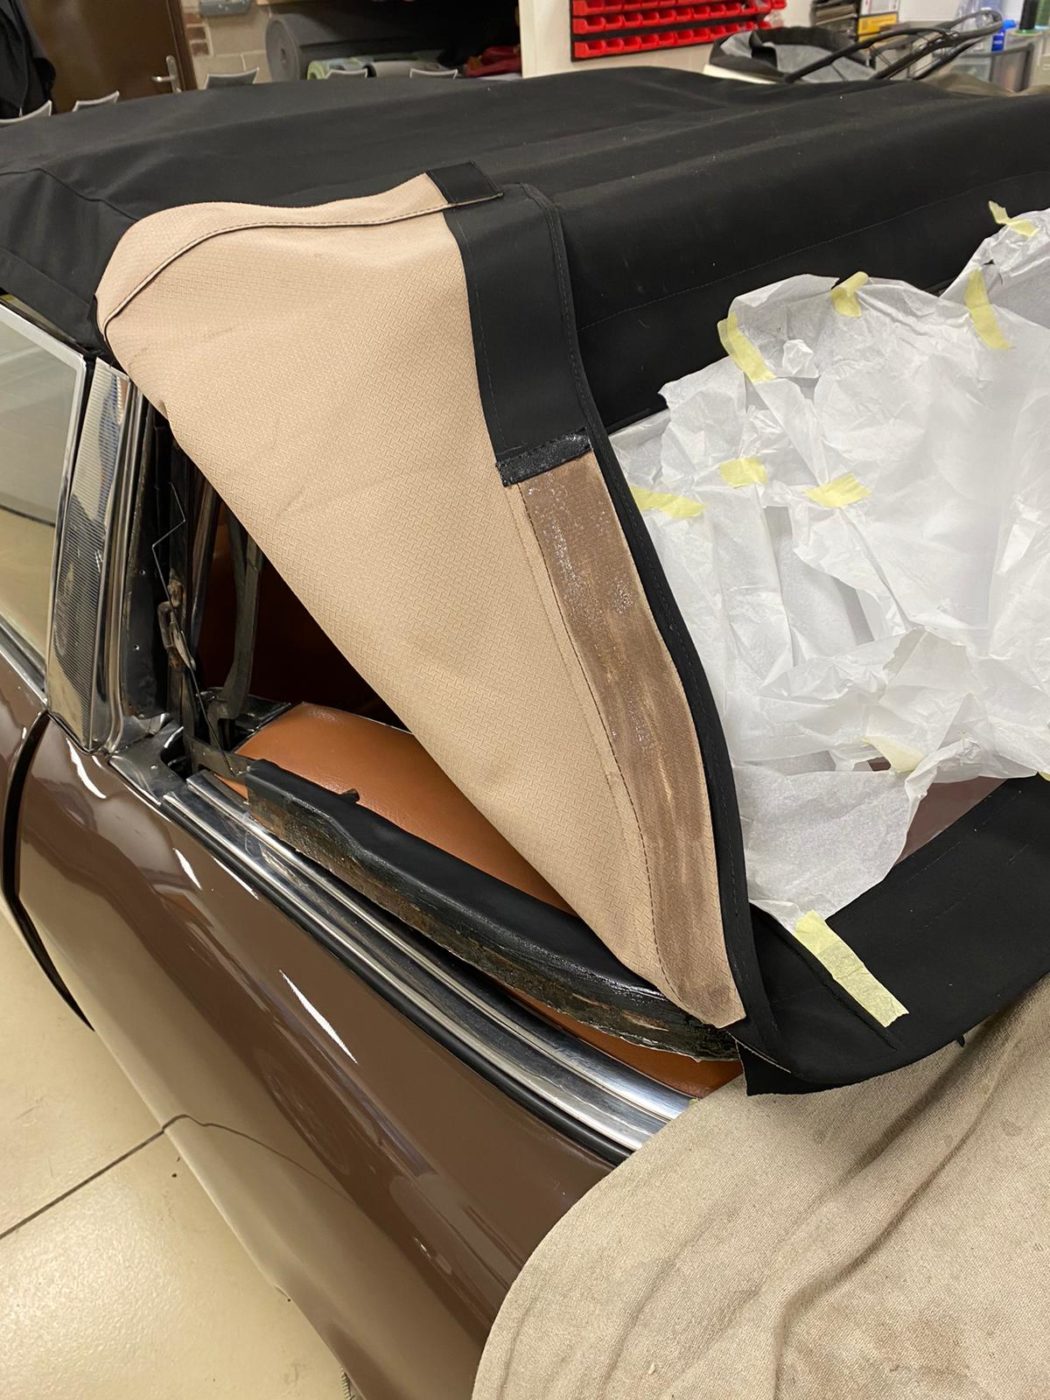
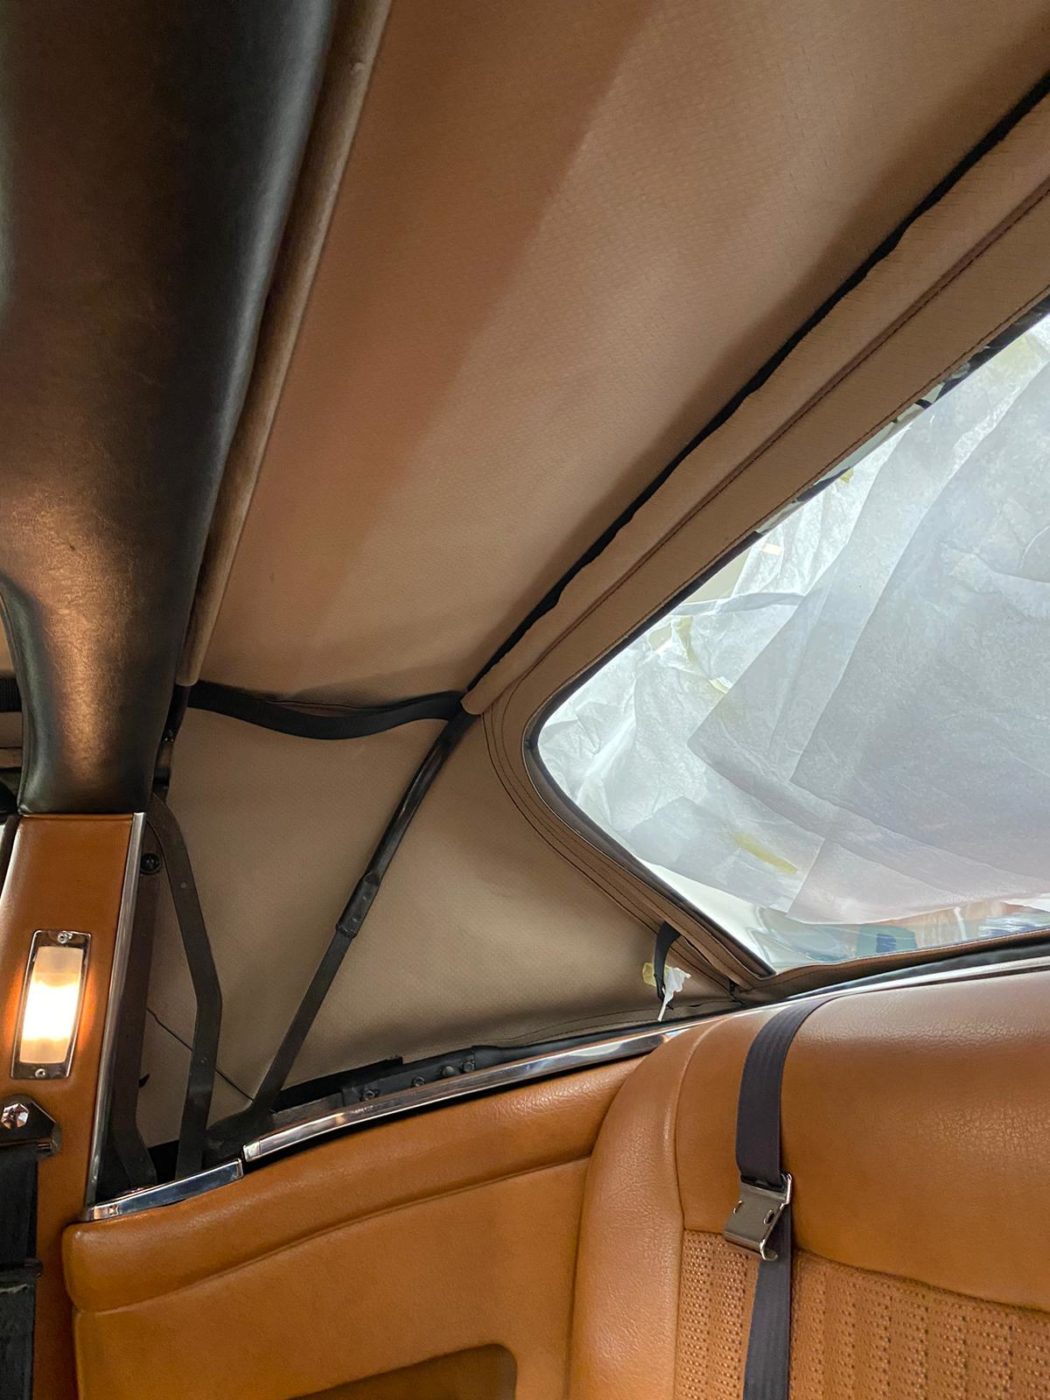
Brian glued the rear flap of fabric to the rear metal bar as well as the front edge of the hood to the front roof bar. Once fixed into position, he could then glue the inside fabric around the roof bars and fix the ‘b’ post to the frame.


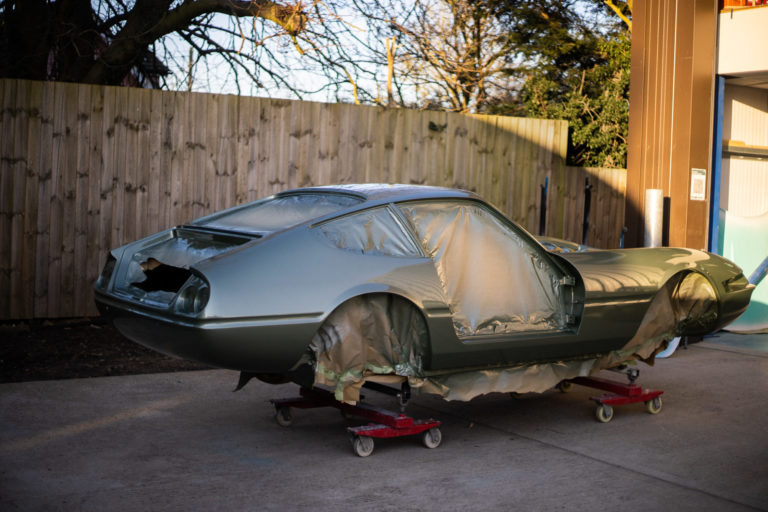
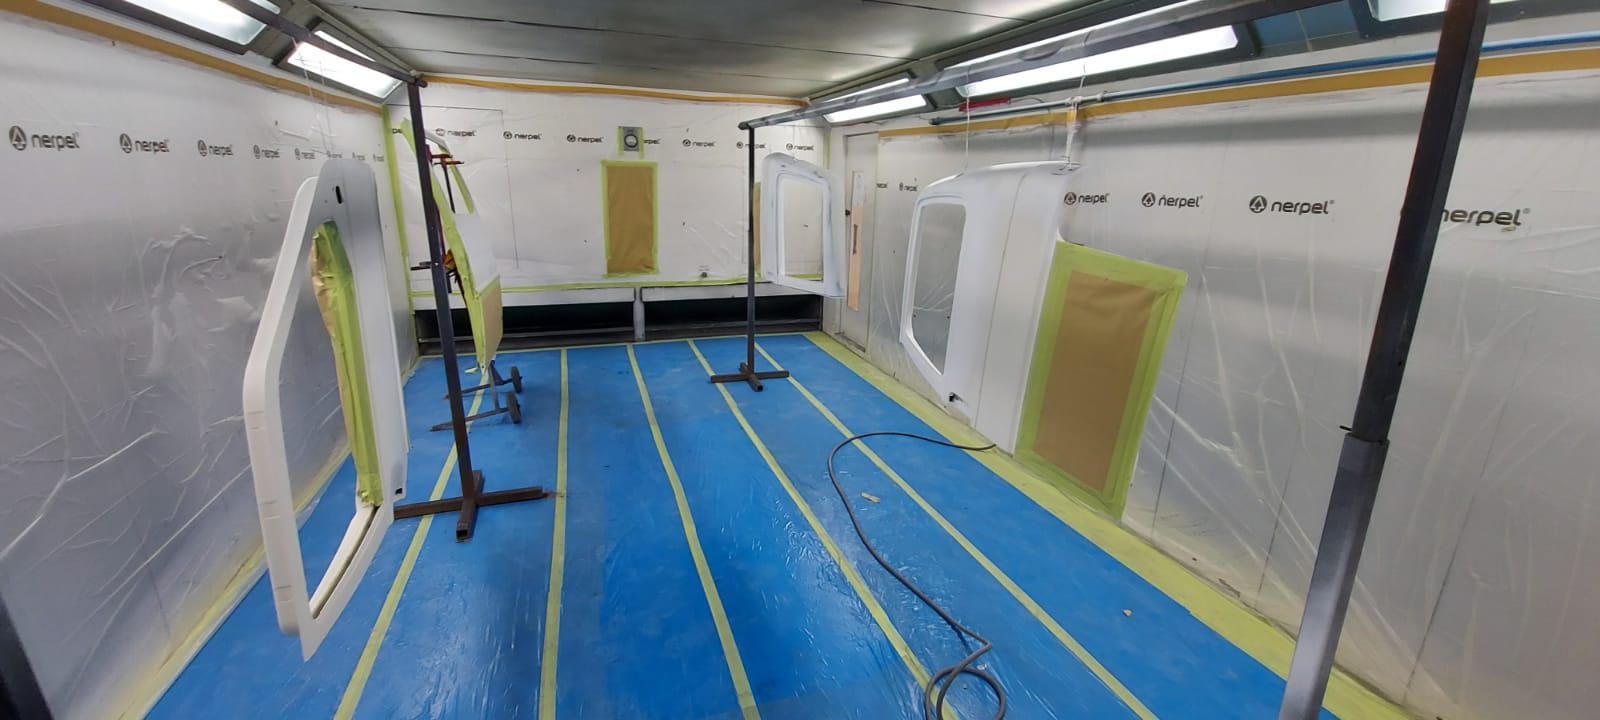
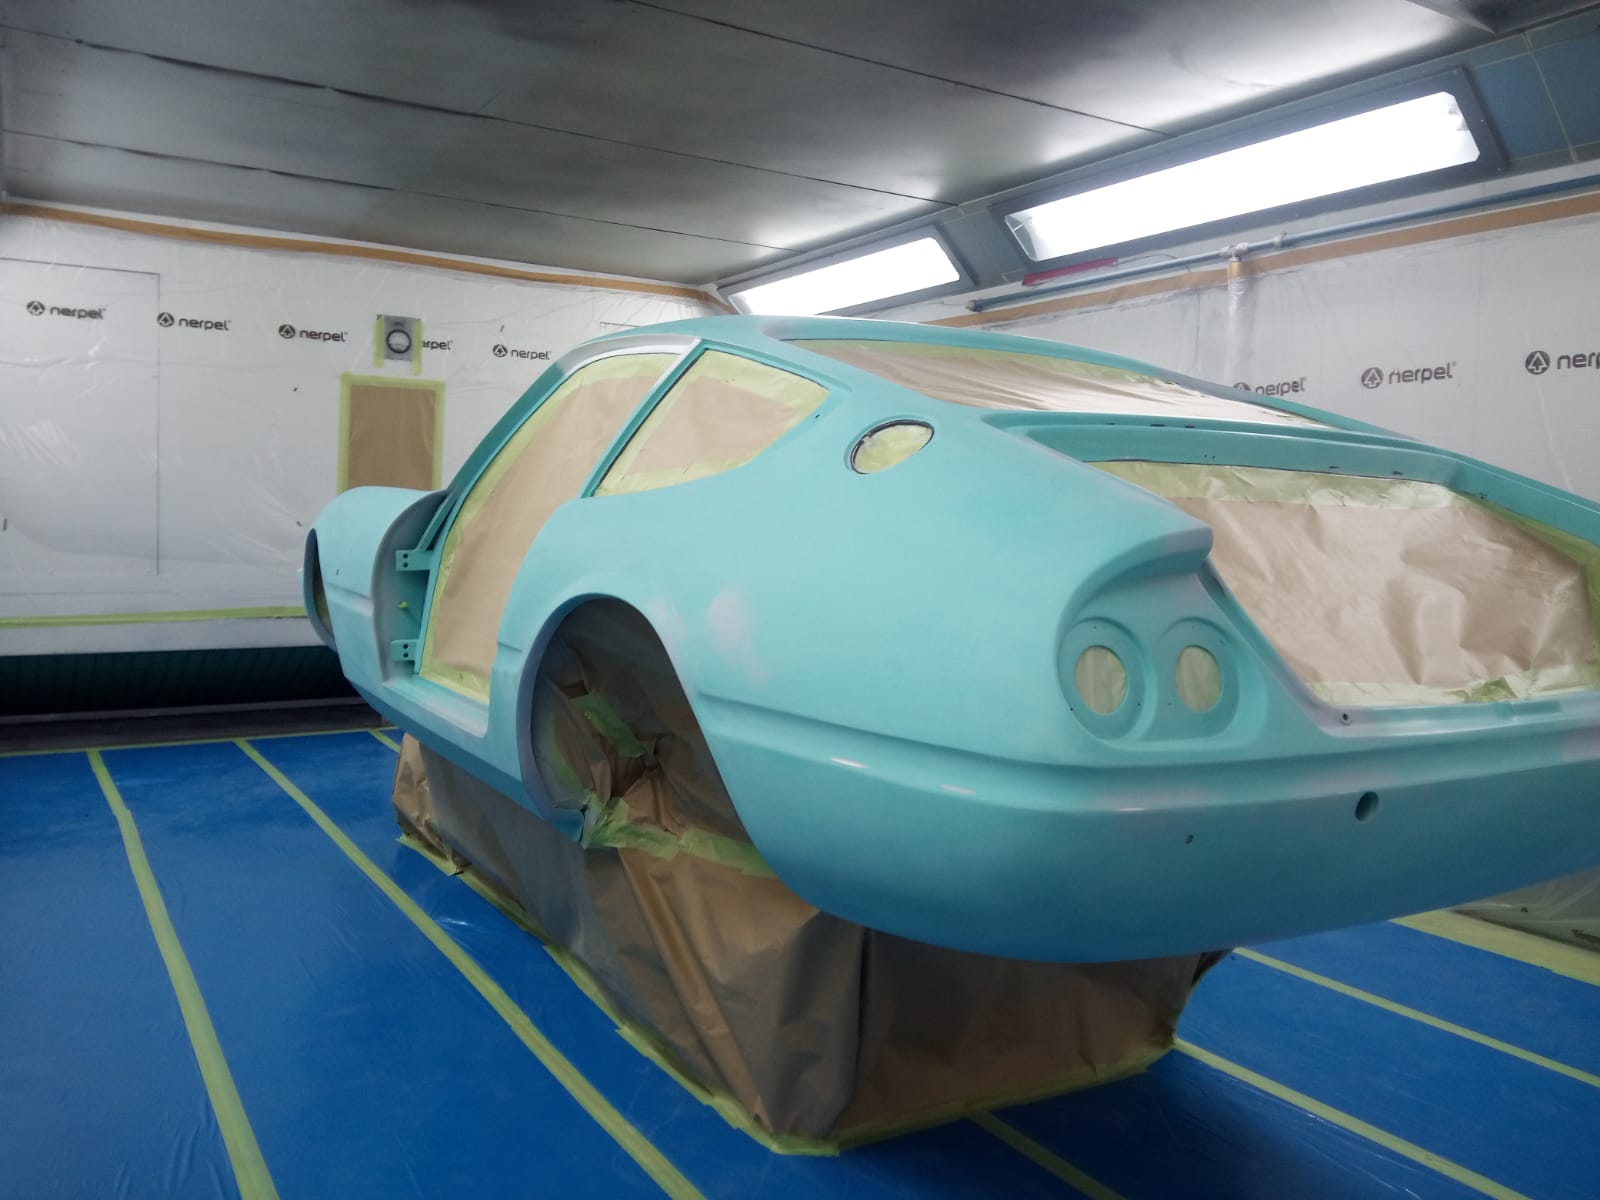
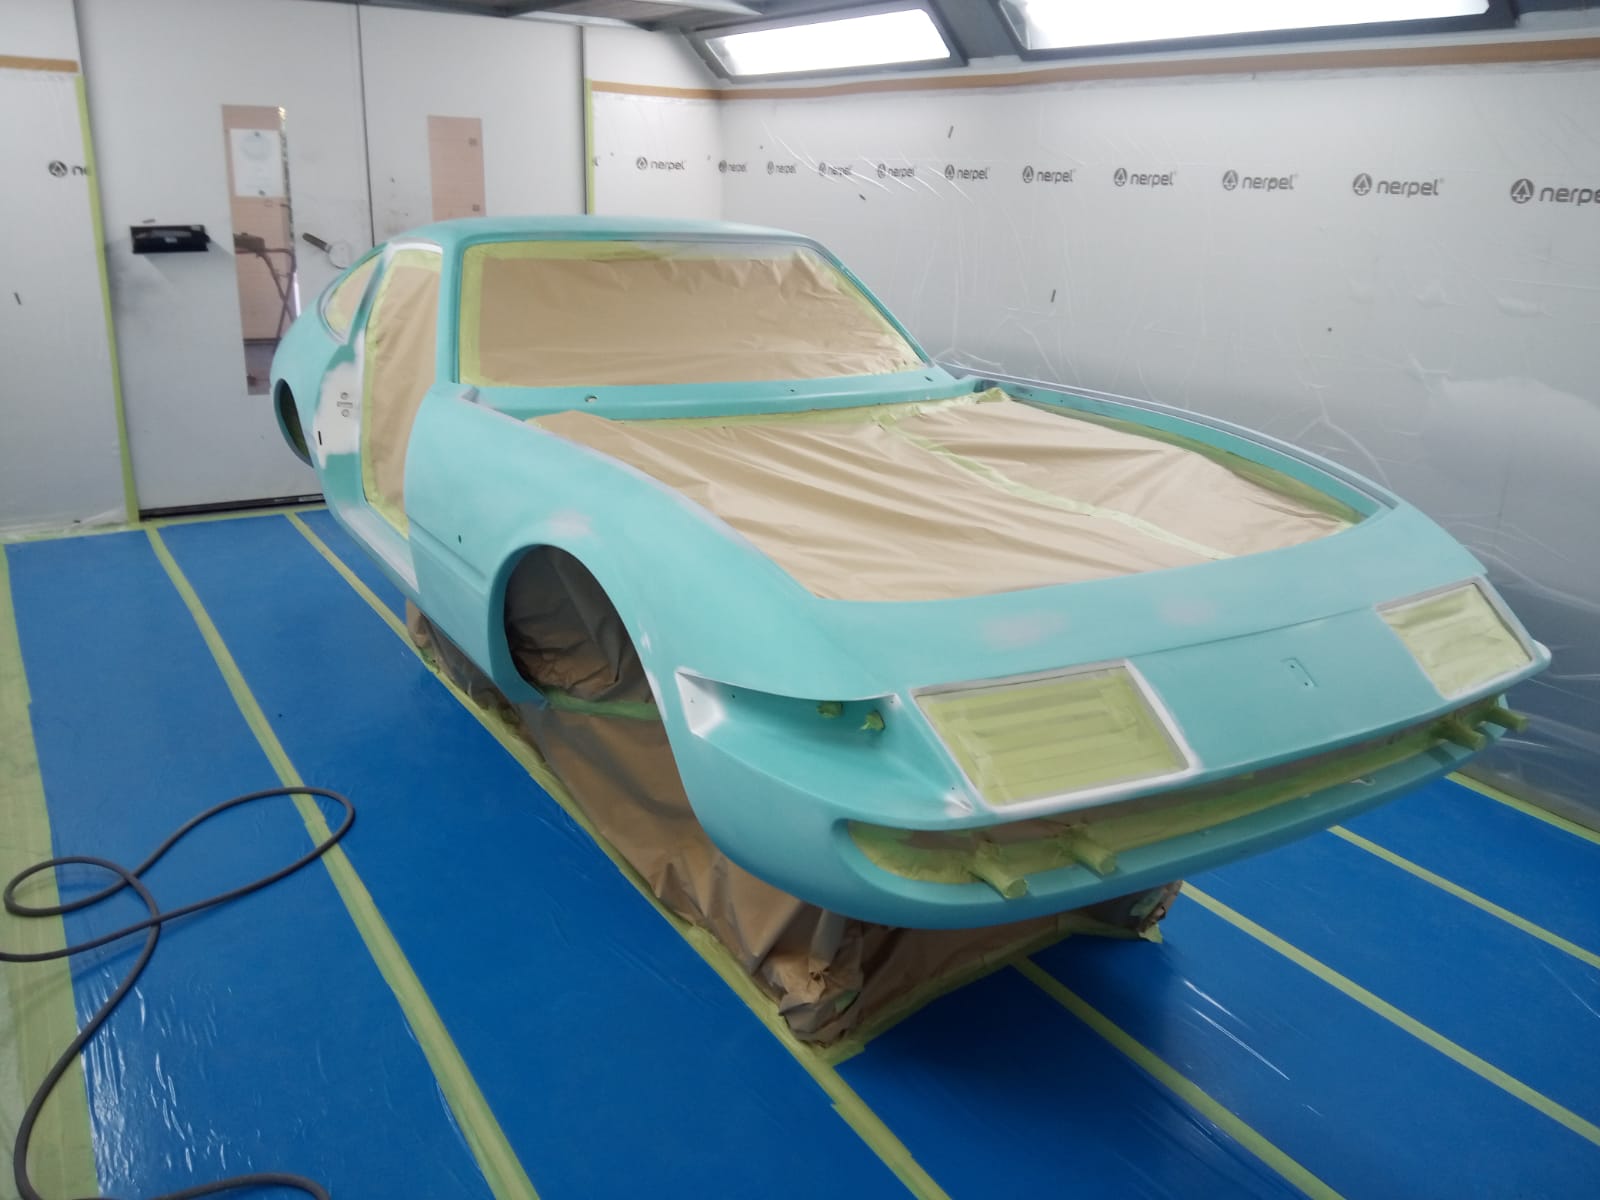
Our specialist classic car painter, Matt, has been working on spraying our Ferrari Daytona its new green colour. Having sat in primer, Matt could then mask up the body, apply a base layer and then finish by applying the final colour. The doors, bonnet and boot still need to be done separately however we’re very excited to see this major development in the Daytona’s restoration.


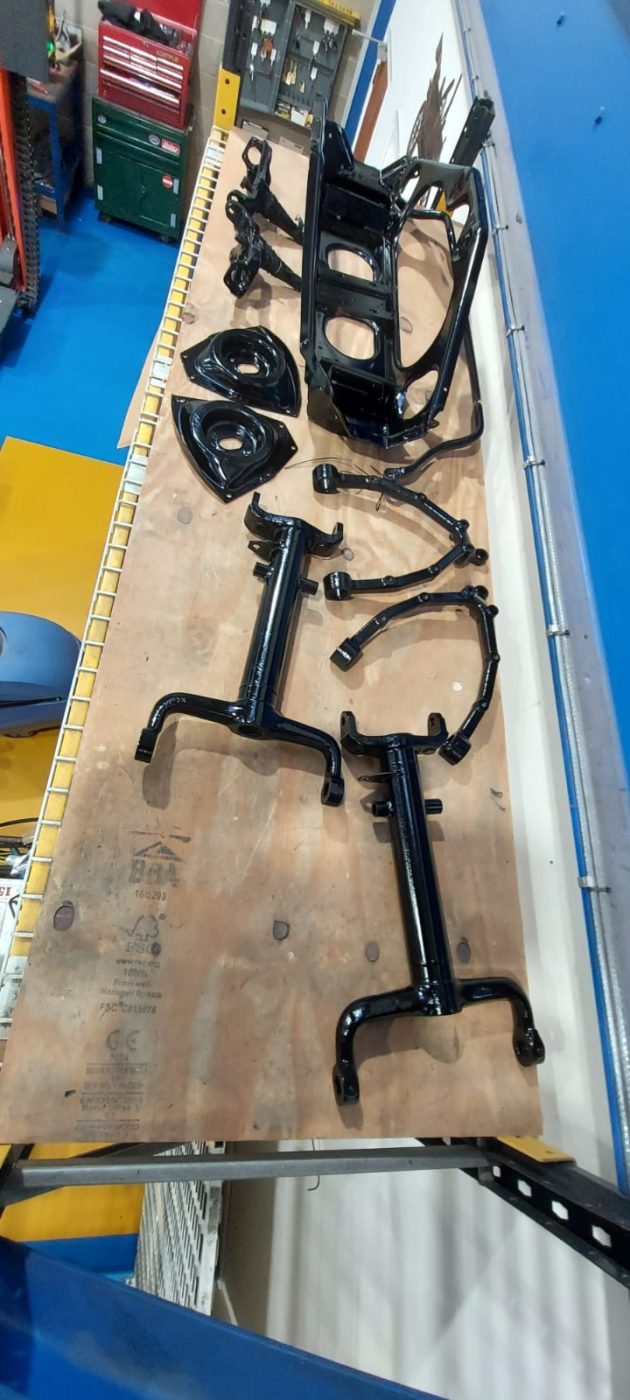
Chris has also been working on the Daytona paint work and has sprayed many of the internal components black.
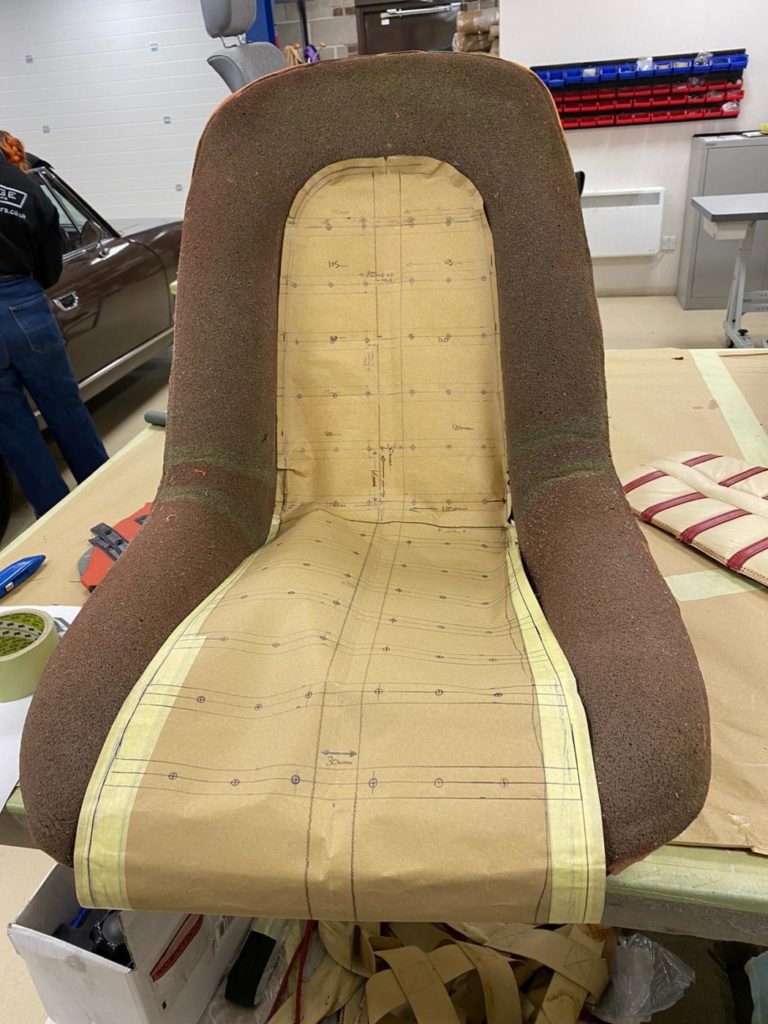
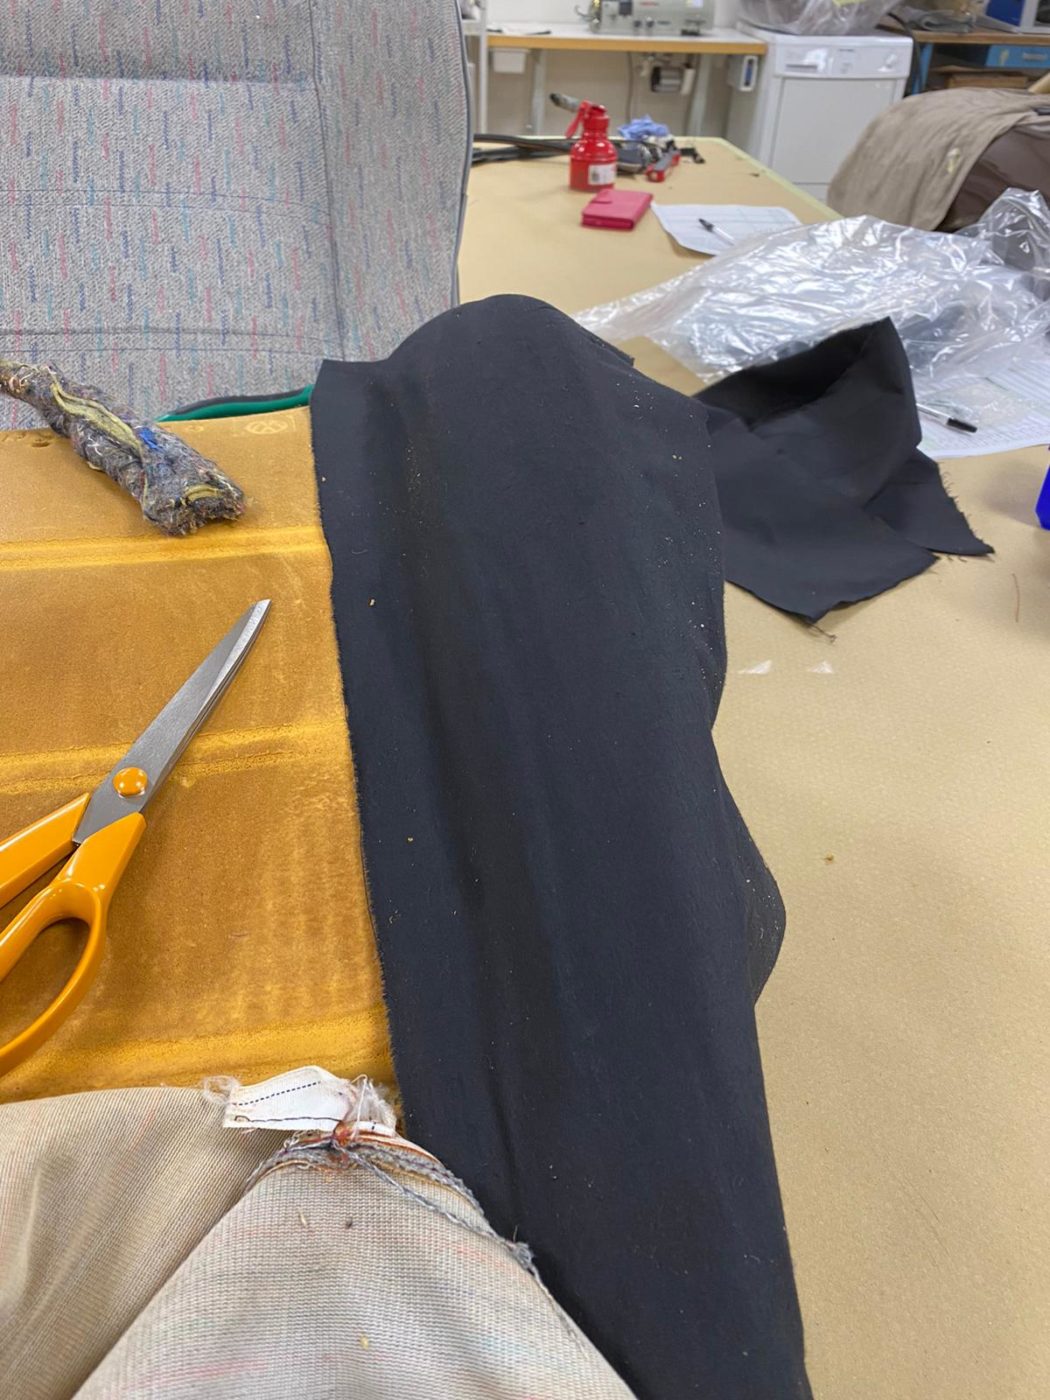
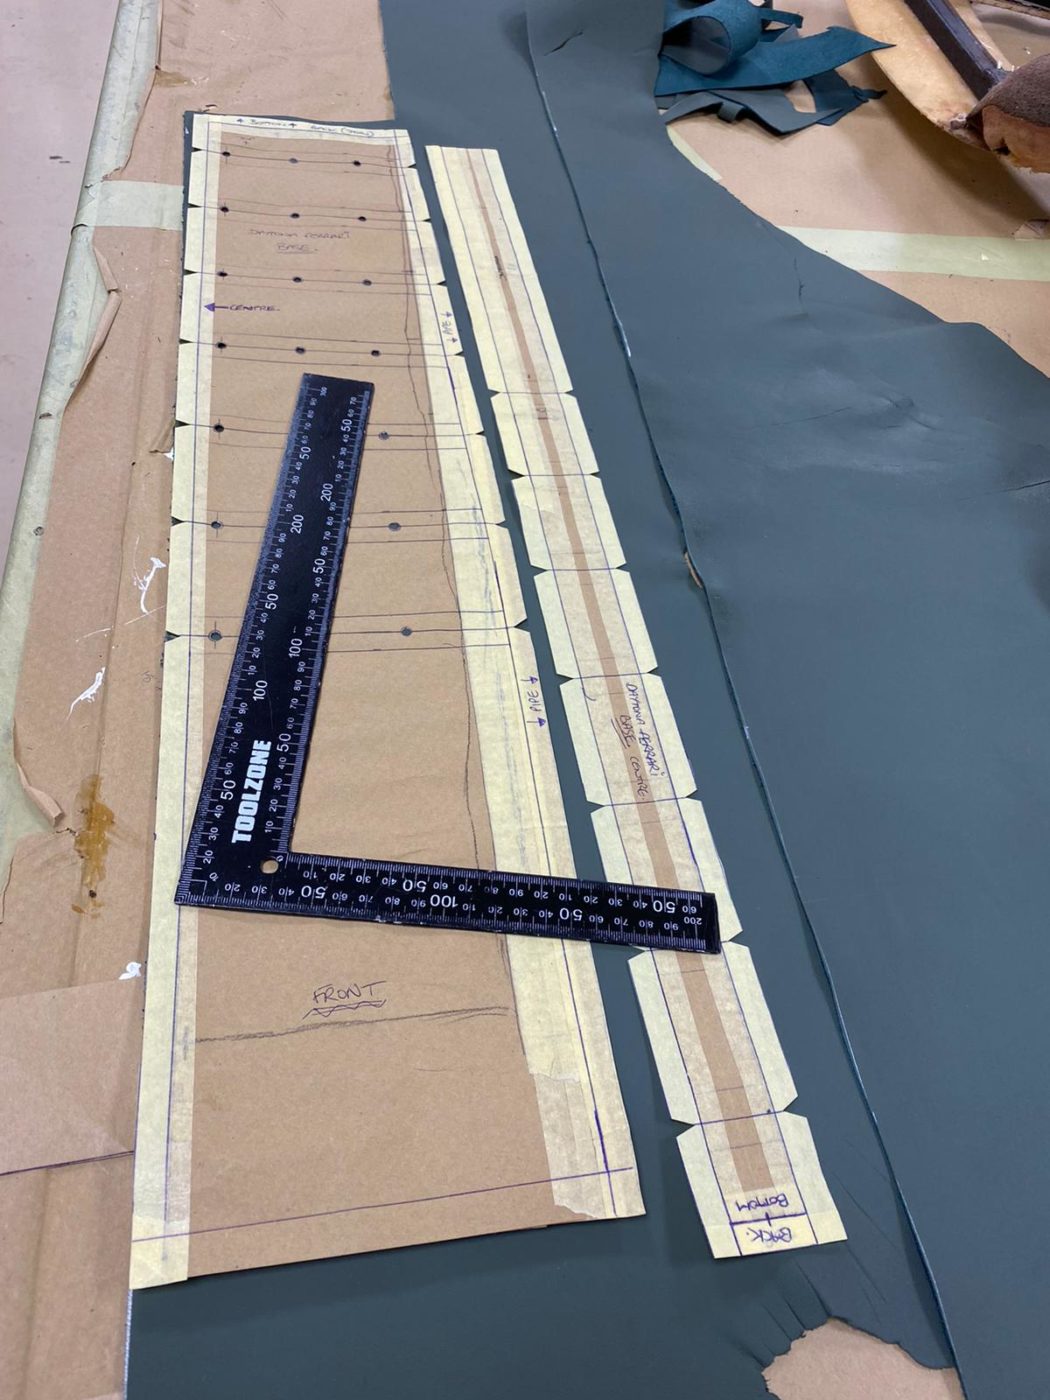
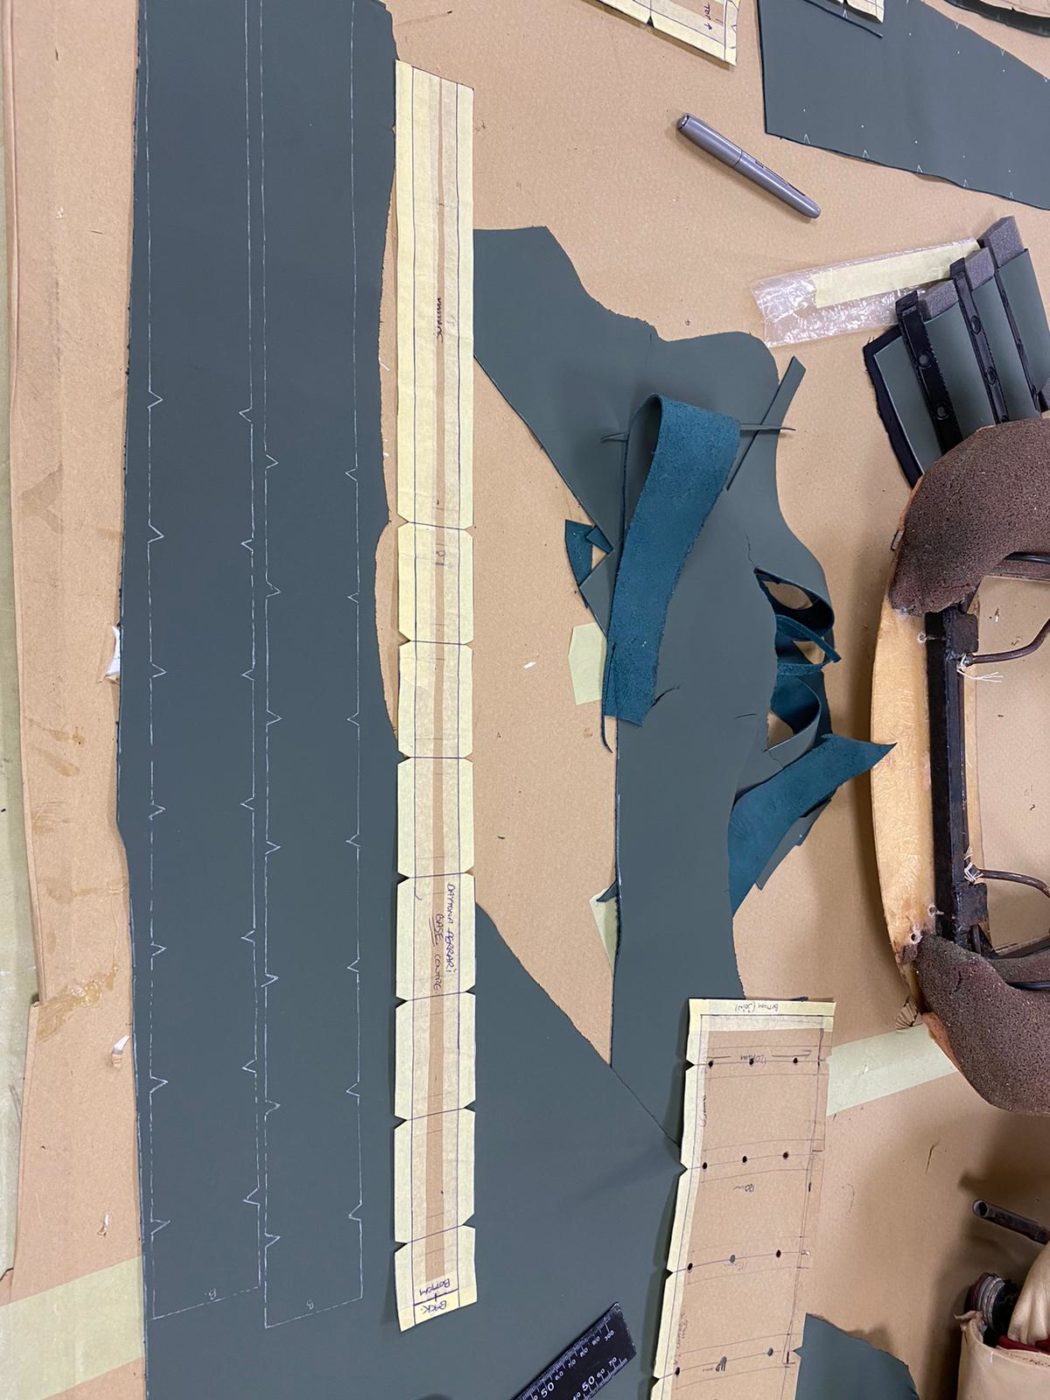
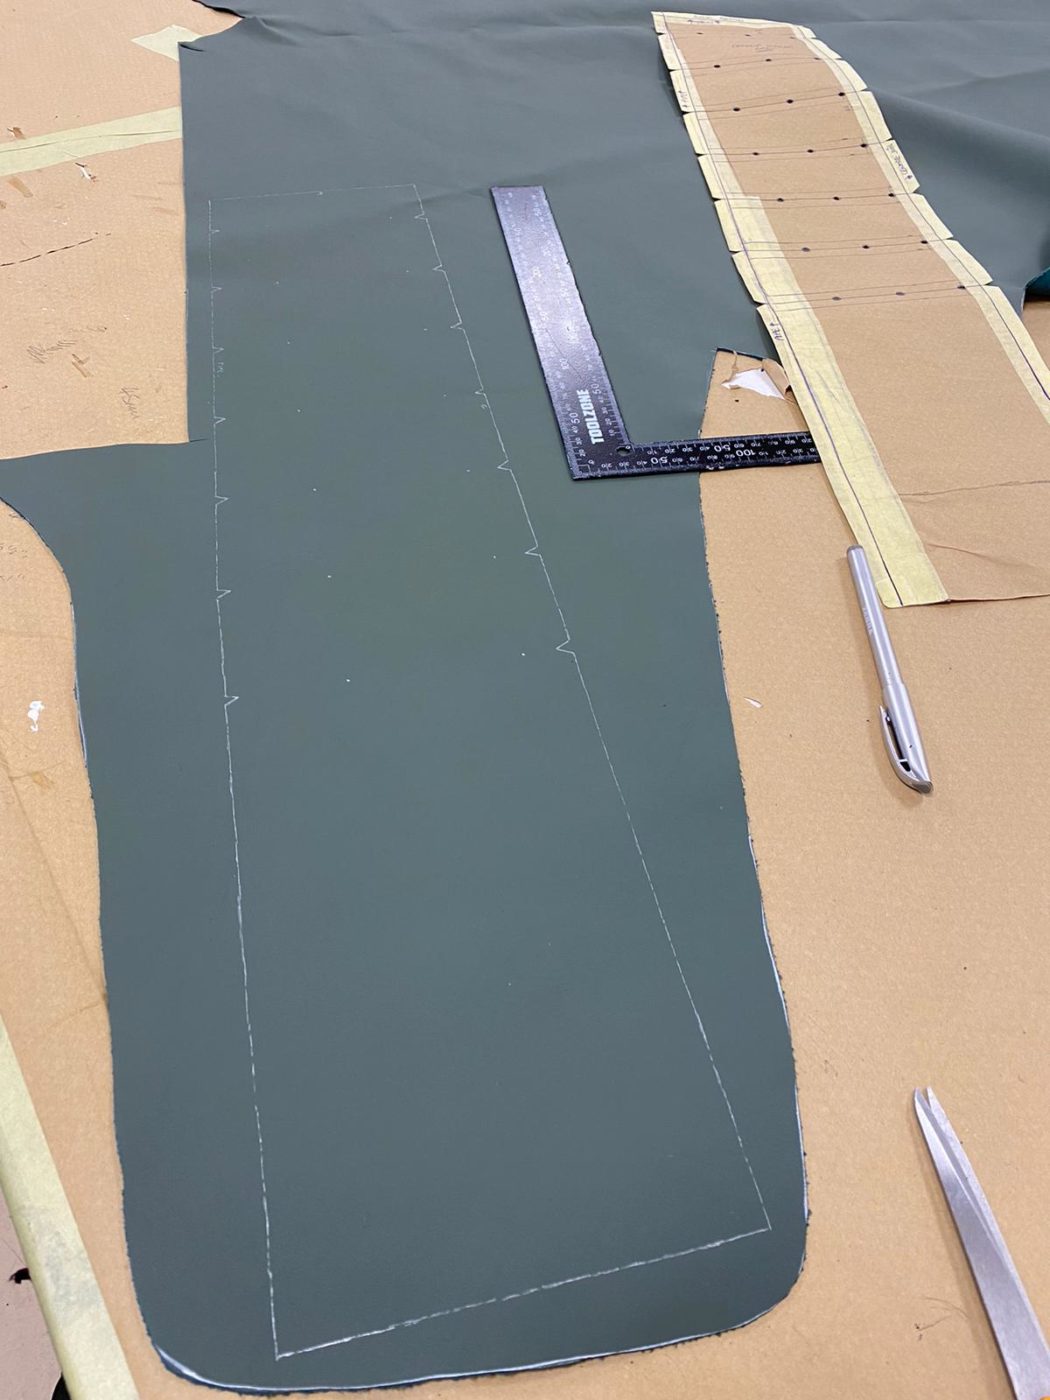
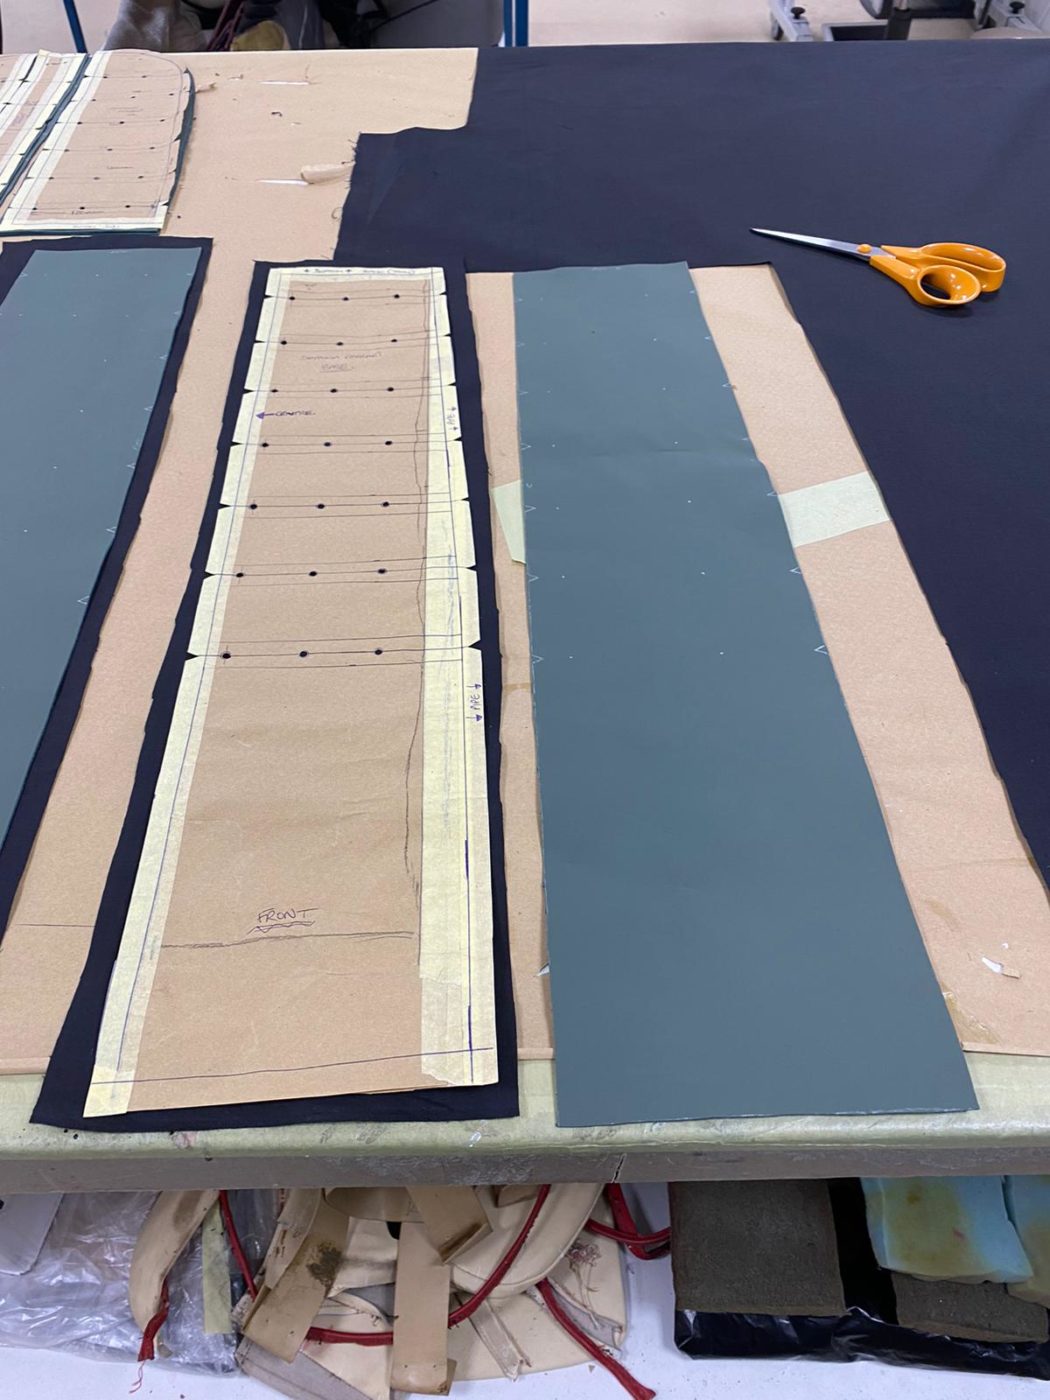
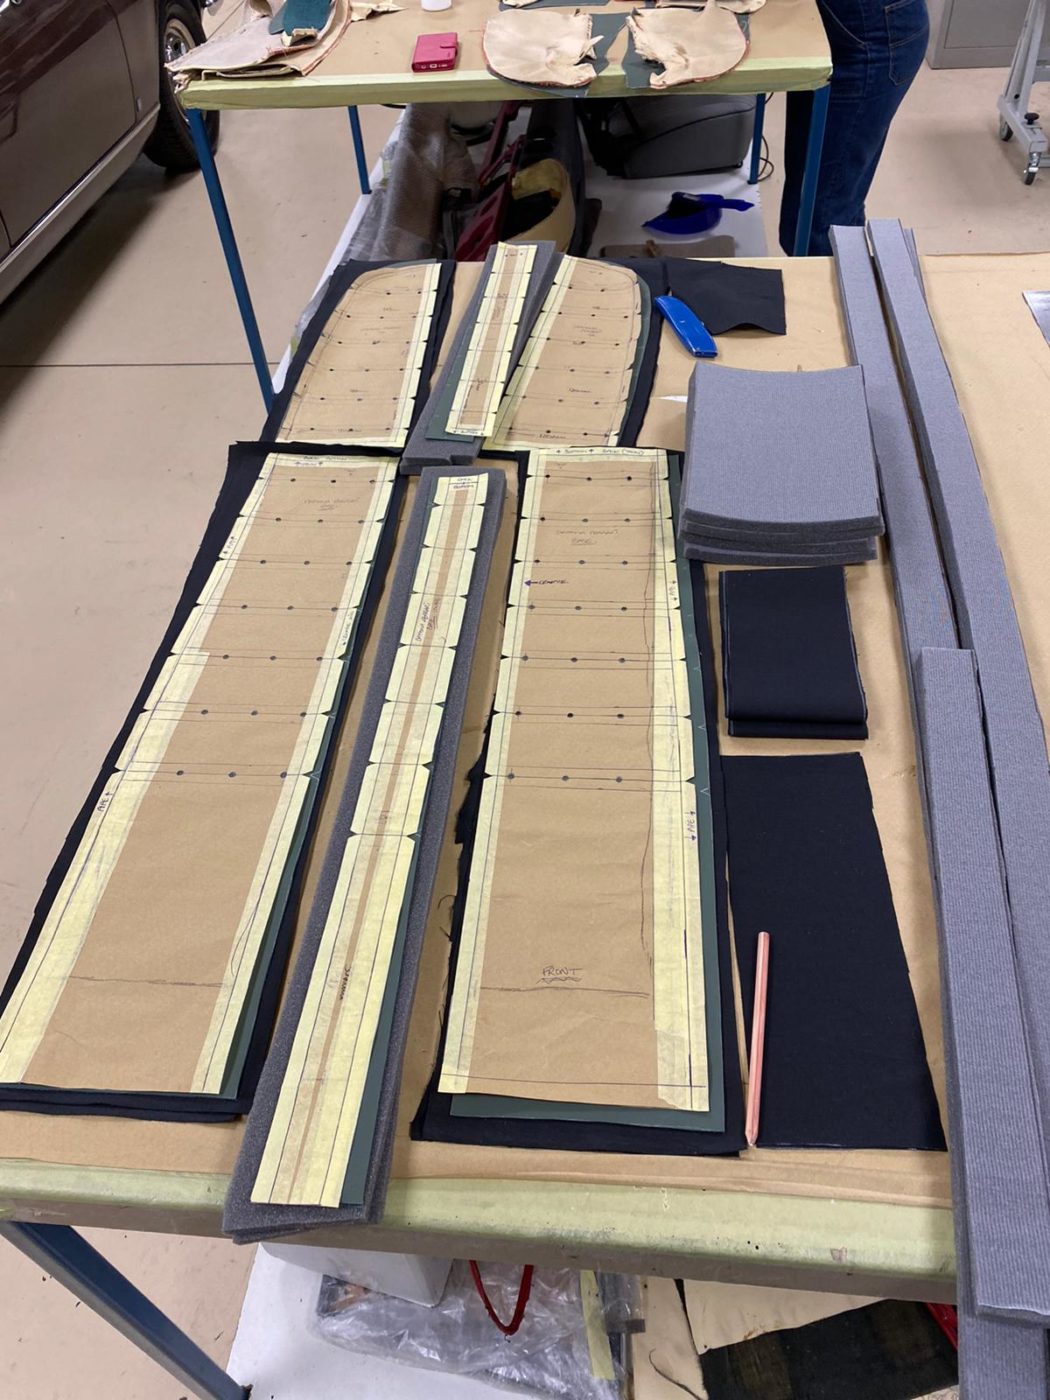
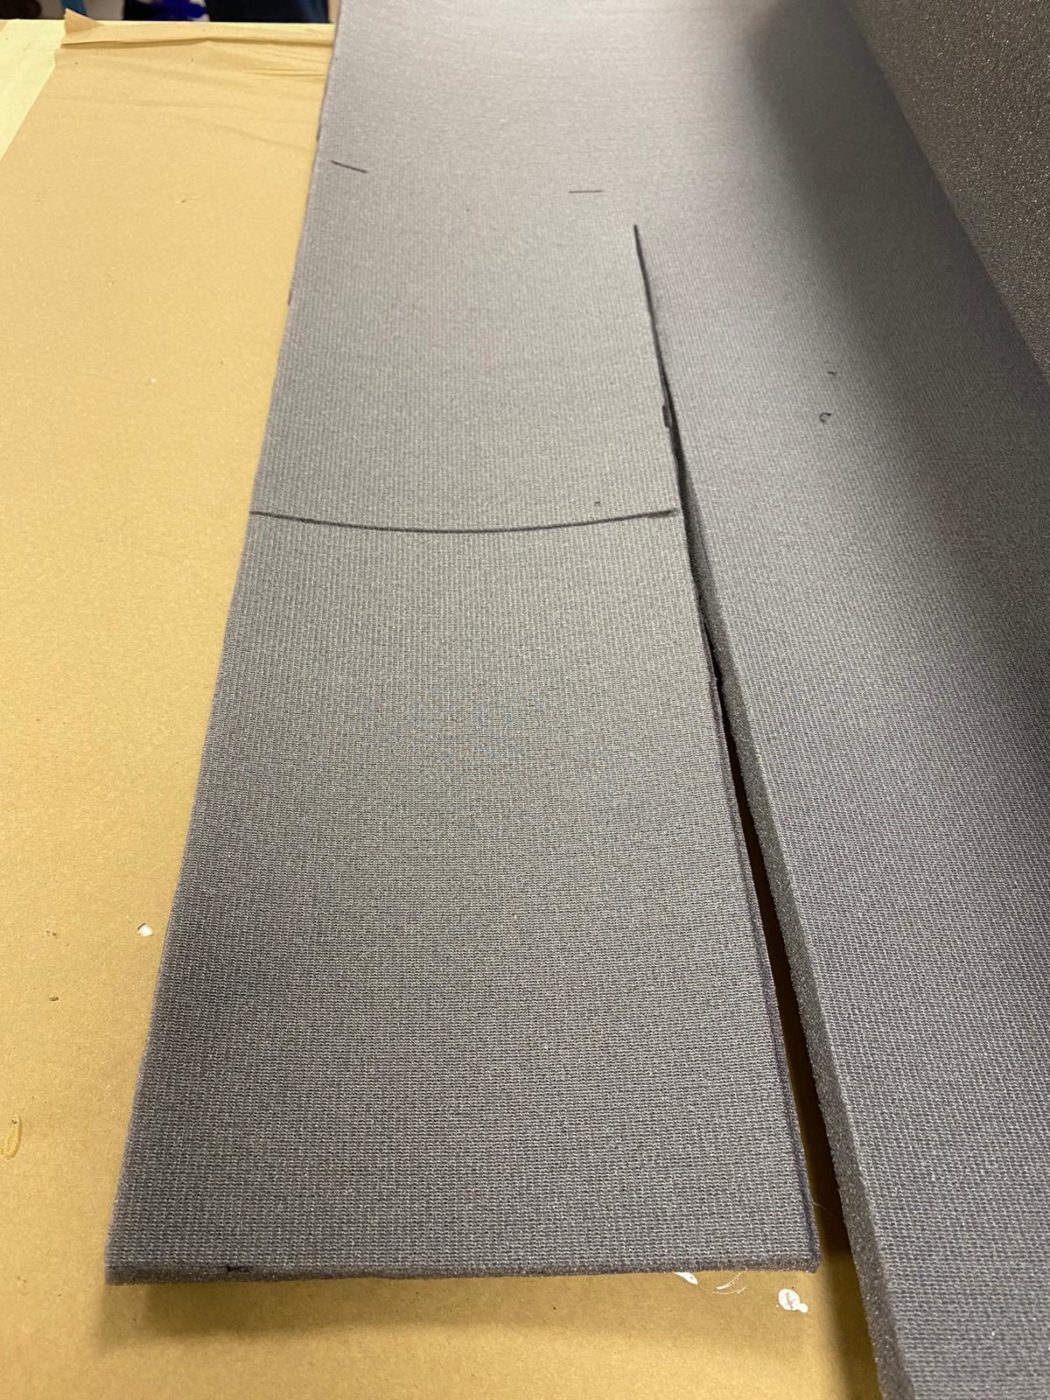
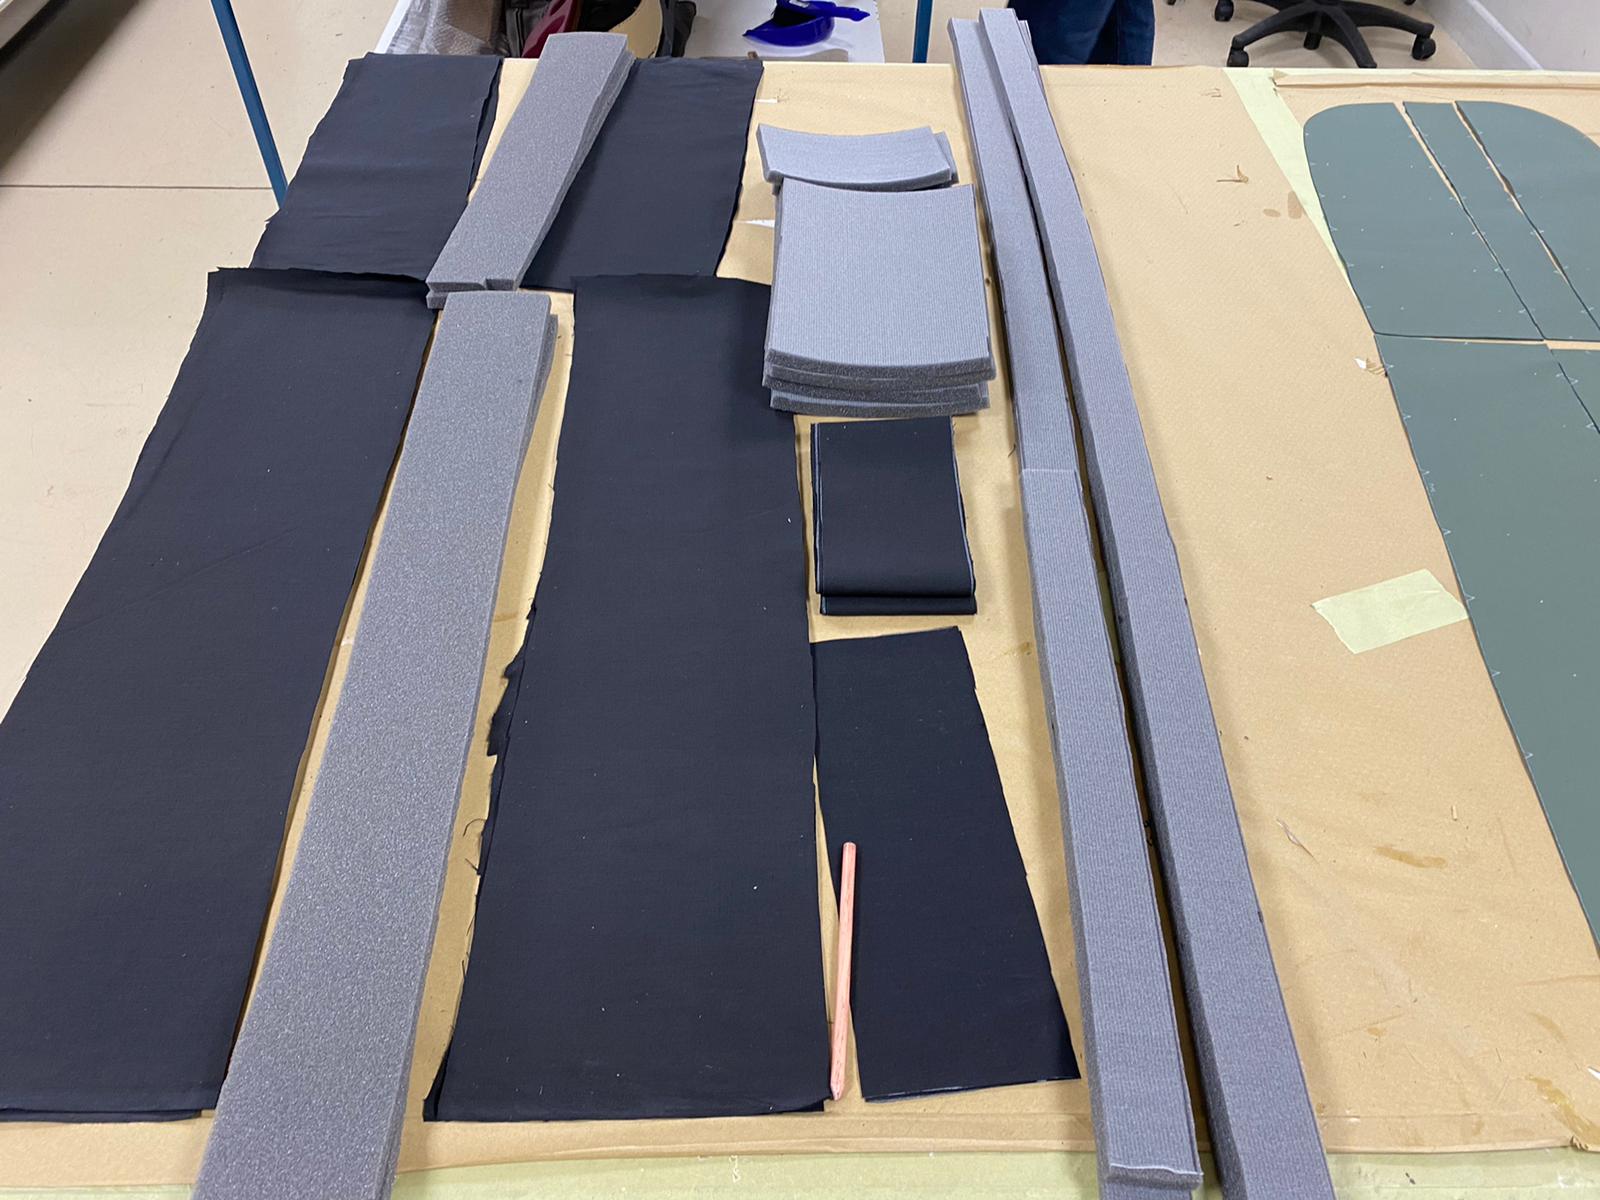
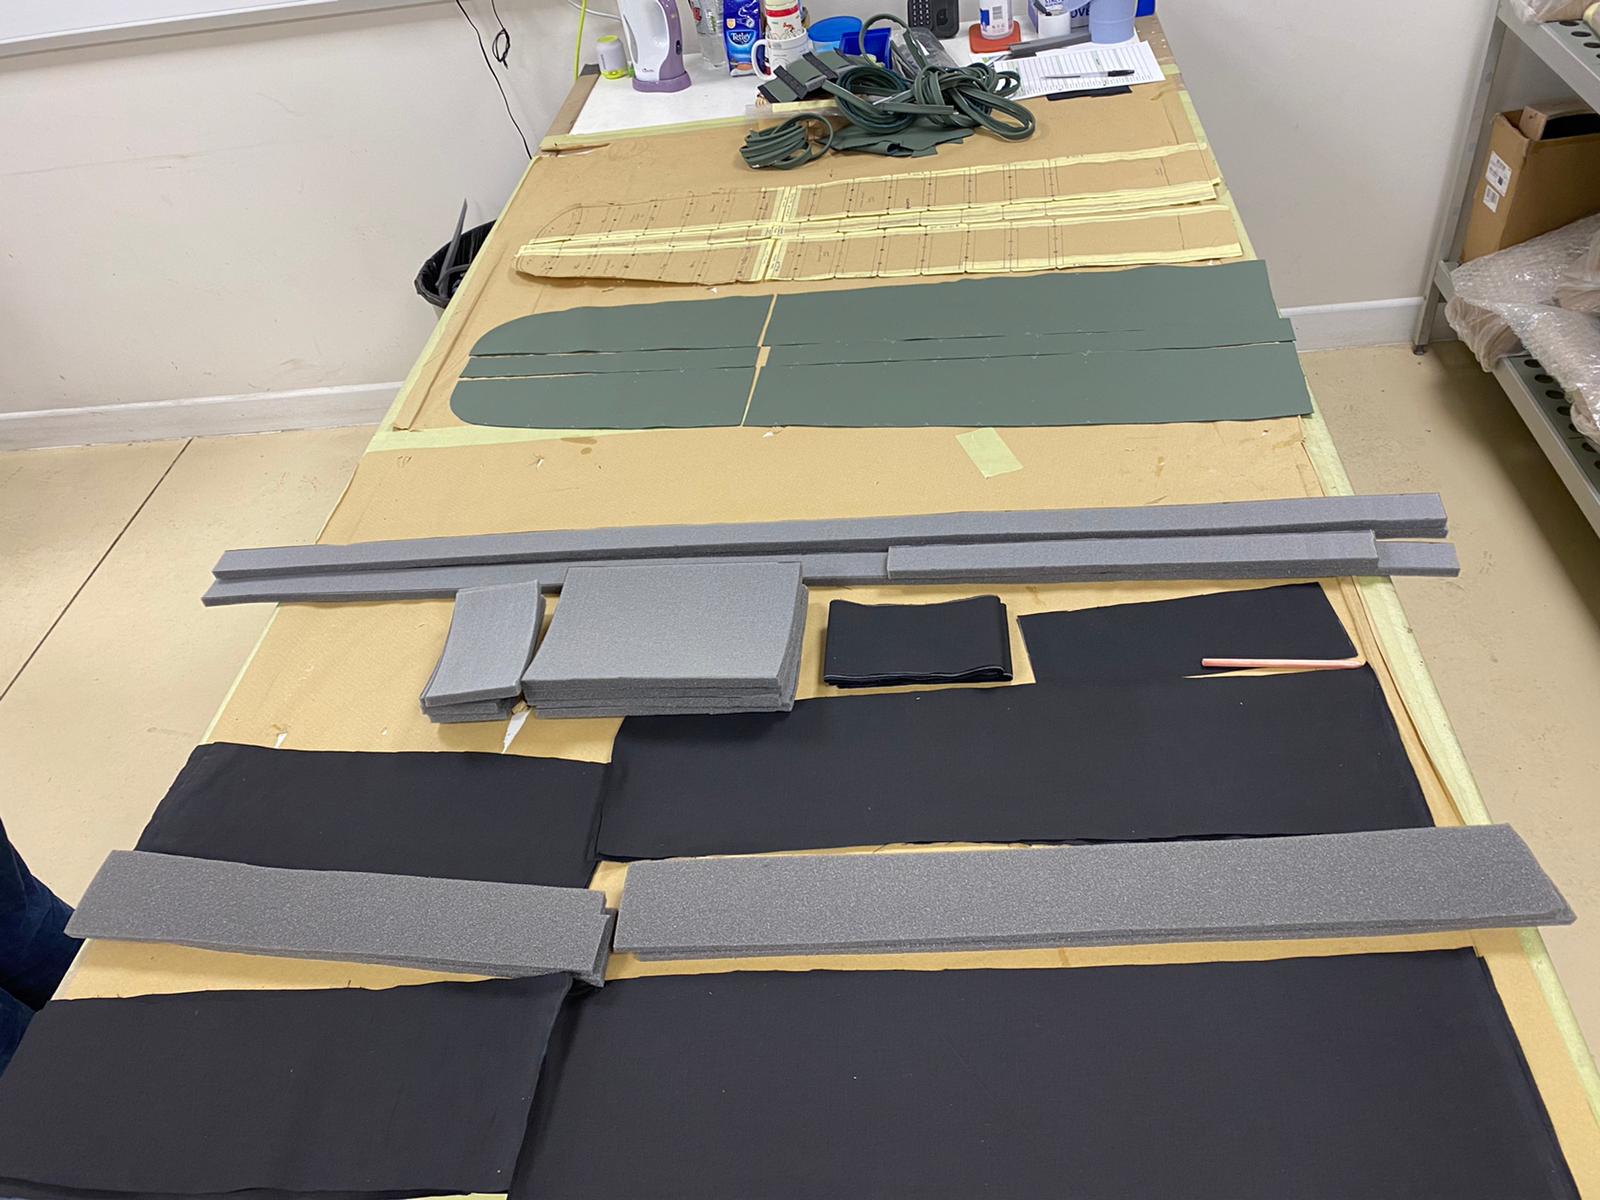
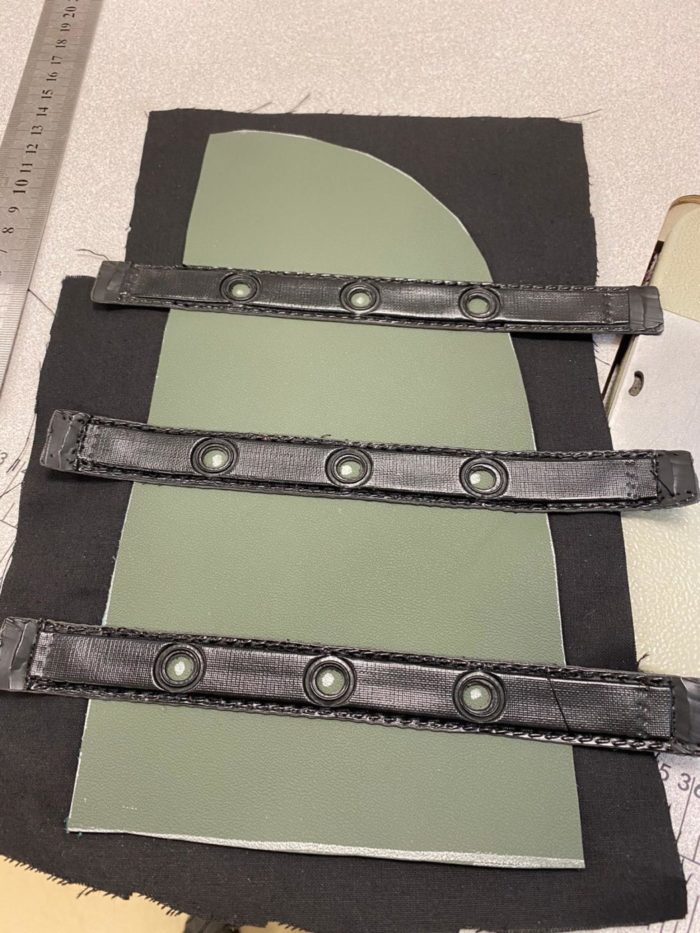
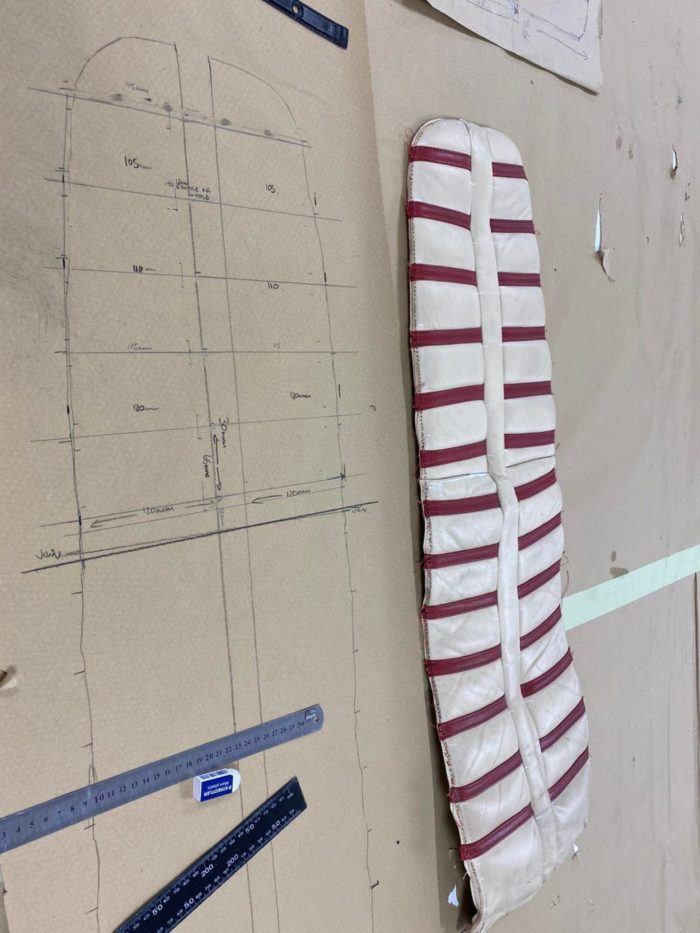
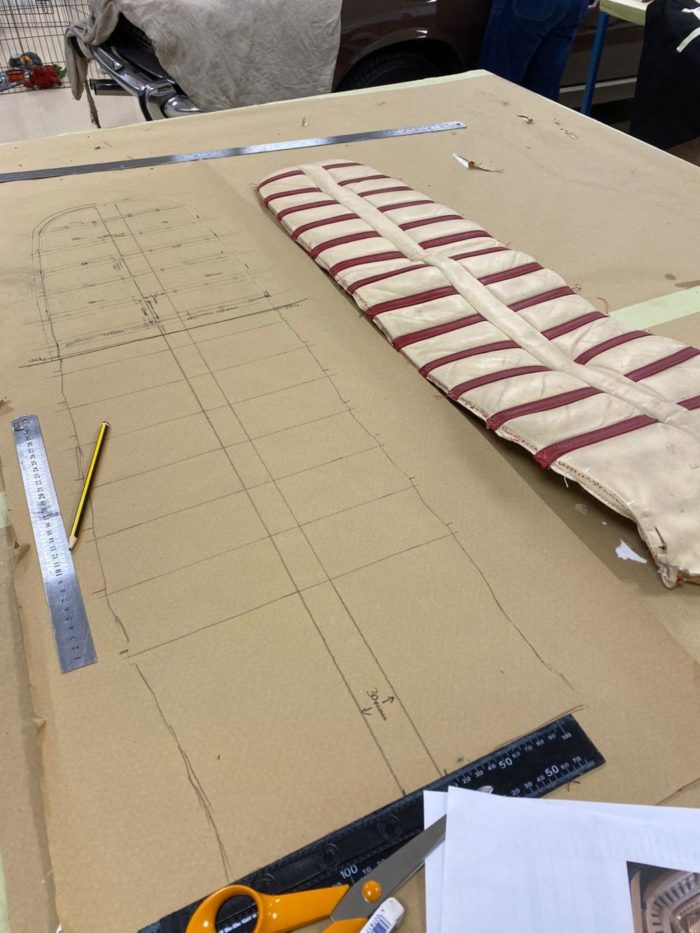
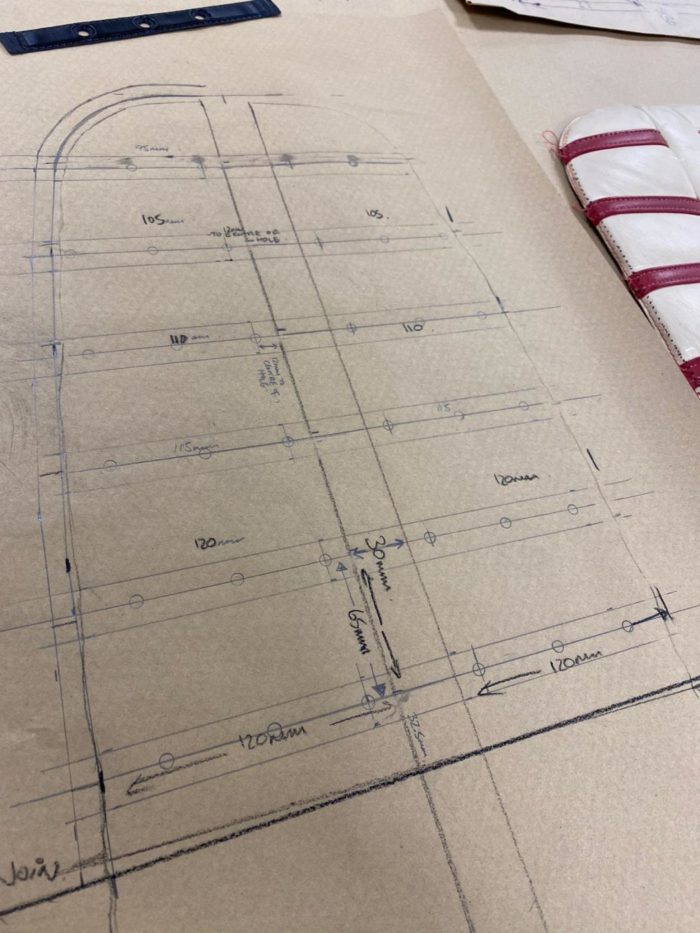
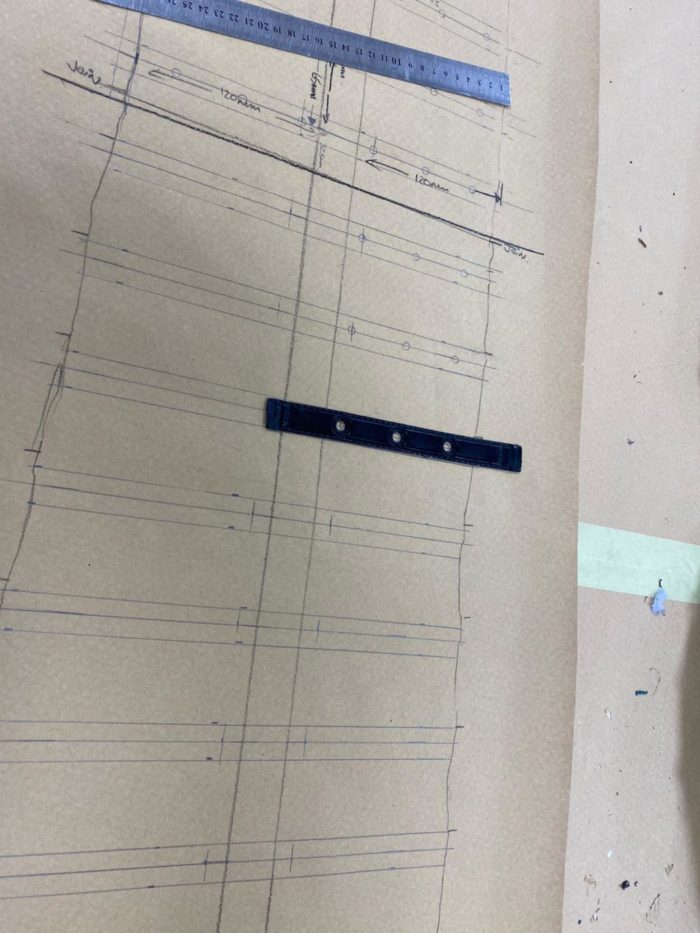
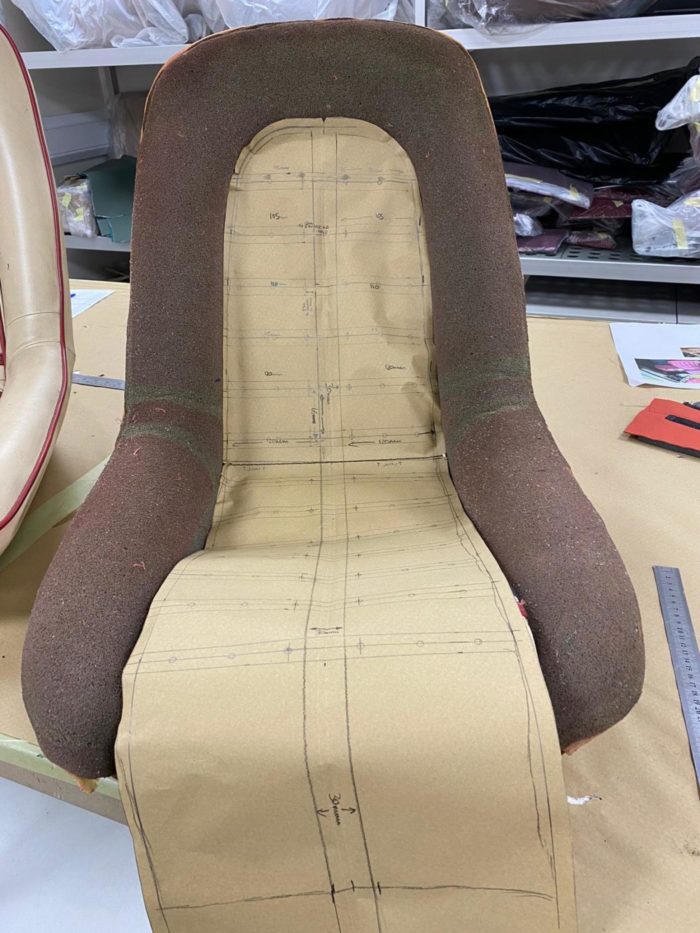
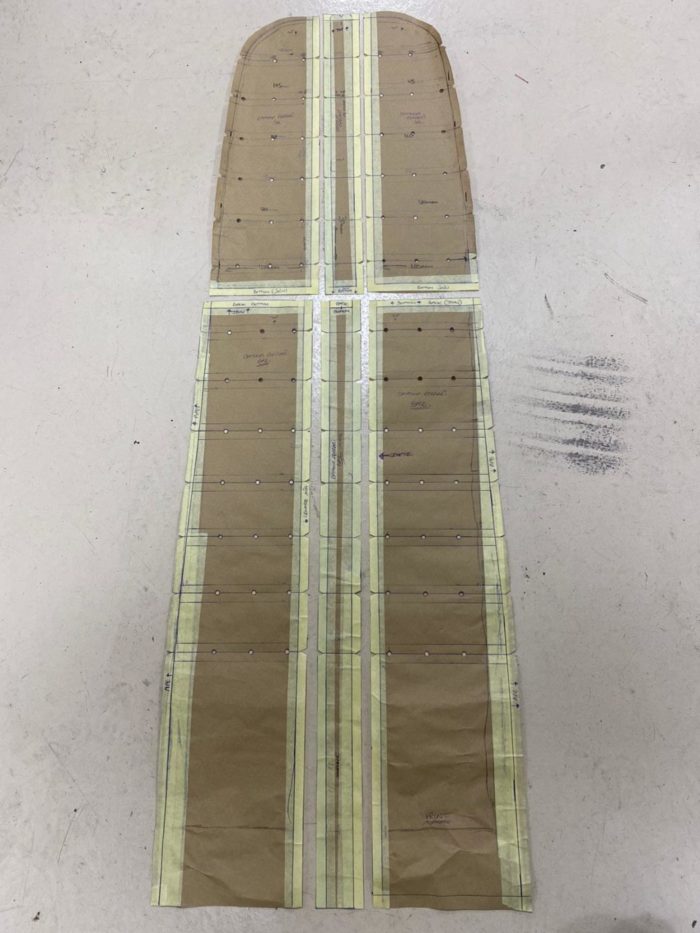
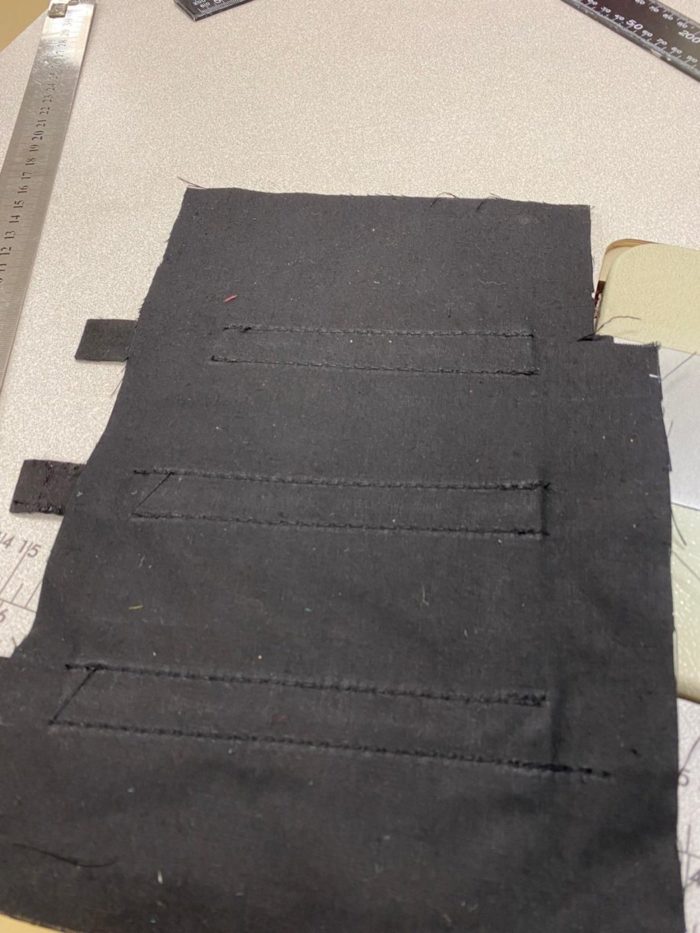
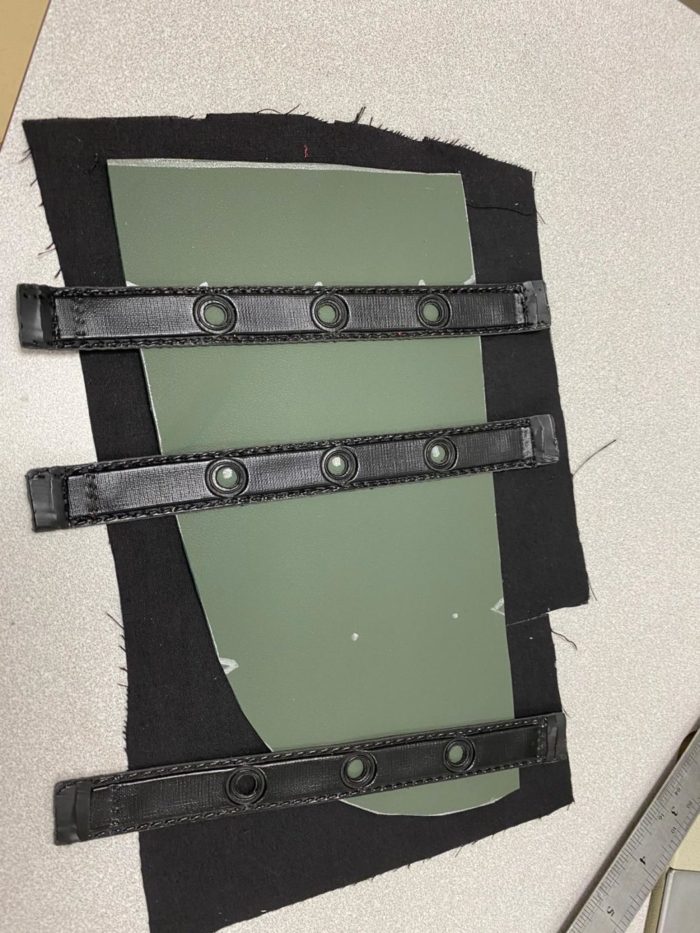
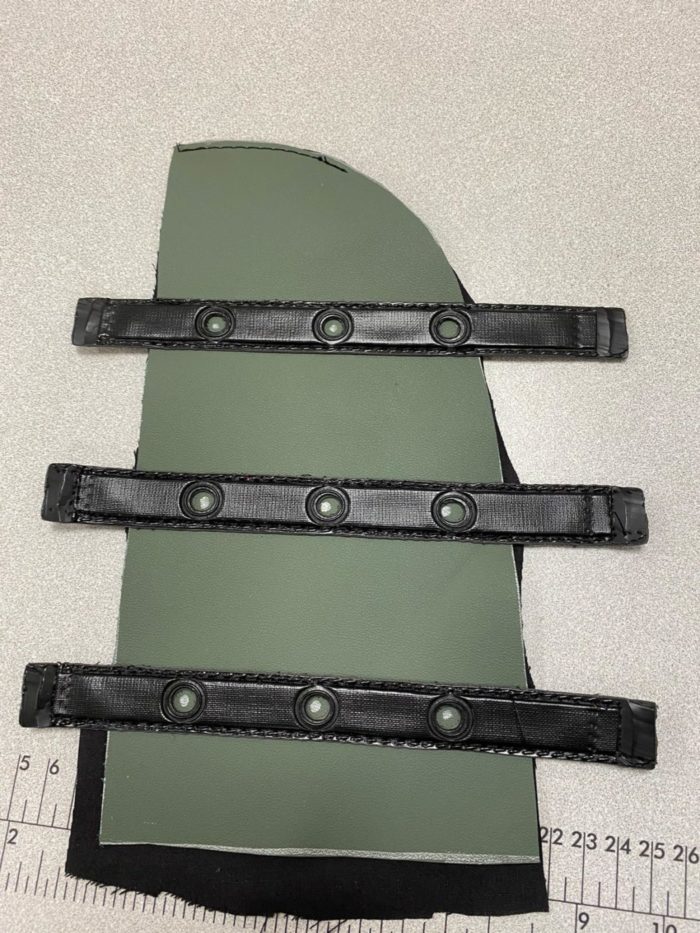
Kath has been working on the seats for the Daytona. Last week she rolled out and marked all the leather for two seat faces. Once she’d marked out the foam ready to stuff into the fluted panels, Kath cut the calico out so that all the seat faces were ready to be sewn together. All the parts for the seat face with the black strips were then laid out ready to be added to the frames.


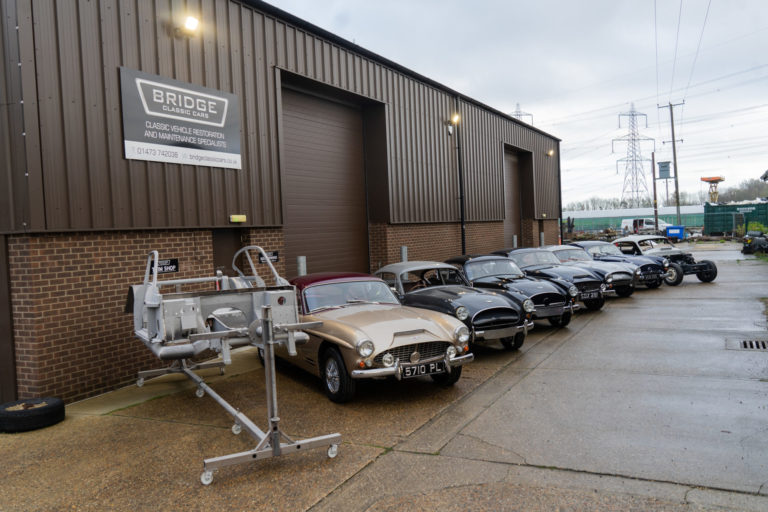
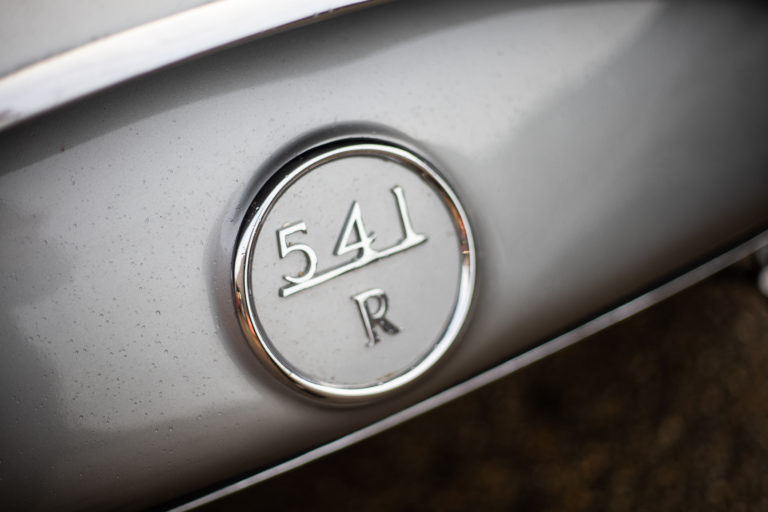
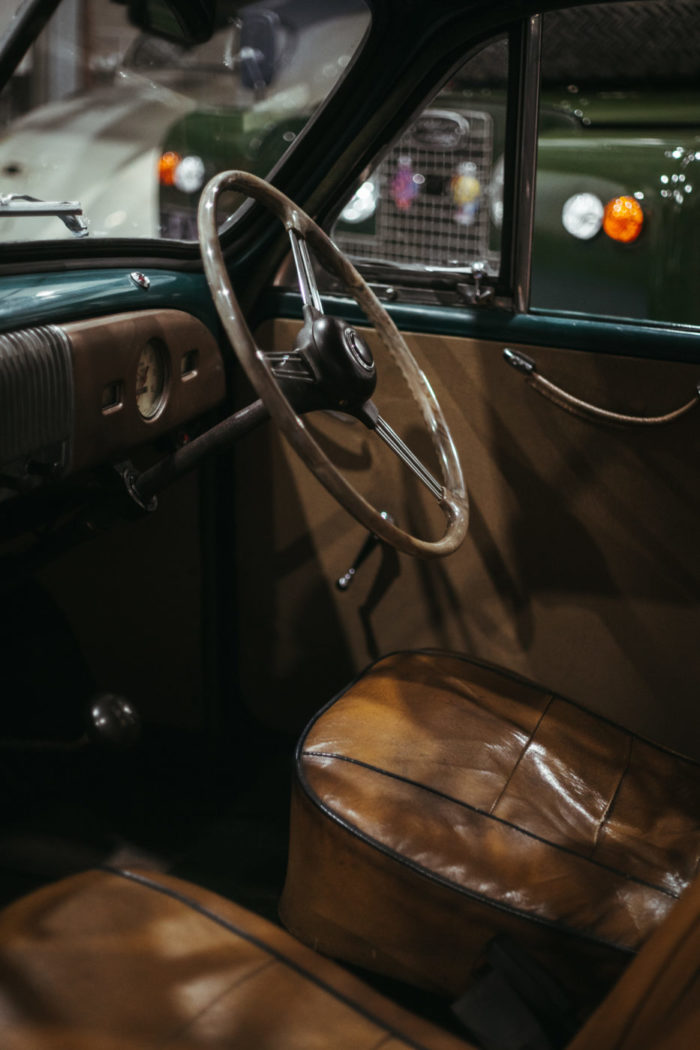
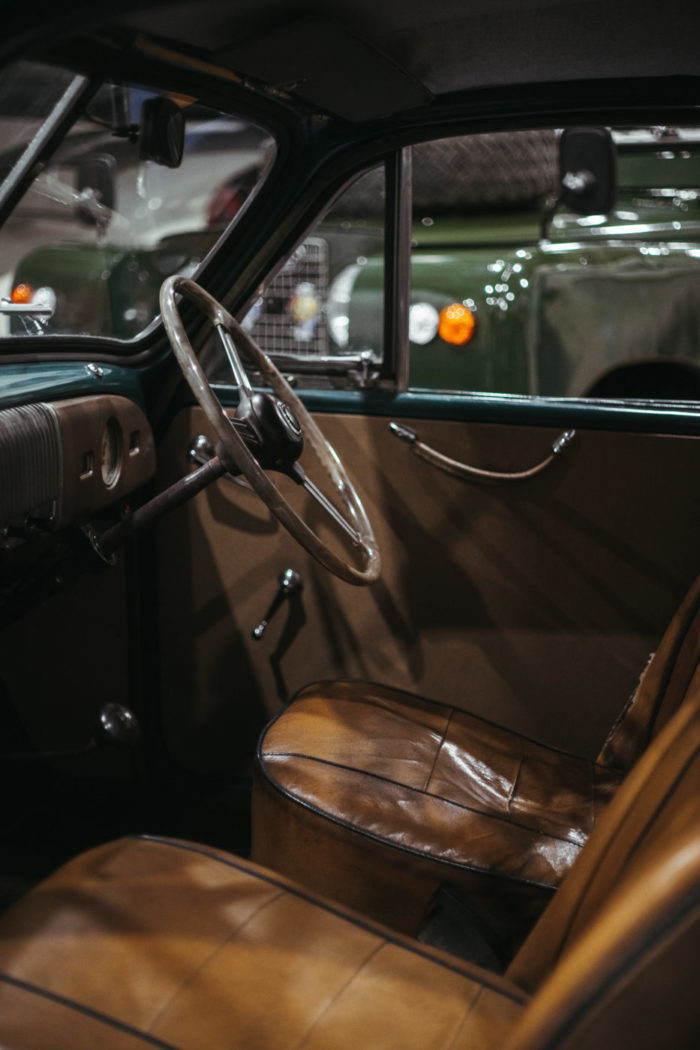
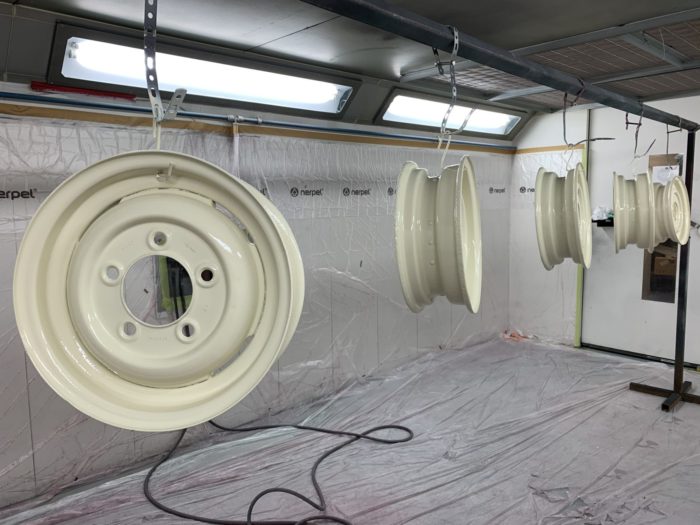
Some of you may remember we mentioned our busy Jensen workshop last year, and it hasn’t slowed down in 2021. We’ve become the Jensen Specialists of the UK with a constant set of Jensen 541R and 541S projects passing through our doors on a regular basis. With projects ranging from full nut and bolt restorations to small fixes and services, we’ve been inundated with Jensen’s, and we love it!
2020 saw 8 Jensen’s in at the same time, which led to this amazing shot of them all lined up. Our technicians are now well versed in Jensen mechanics, electrics and bodywork as we’ve still got 6 of them in the workshop plus another stored at Bentwaters waiting to find a new home.
With only 193 Jensen 541R’s ever made and 127 541S’s made, and even fewer still on the road, we’ve had a large quantity of them in the workshop.

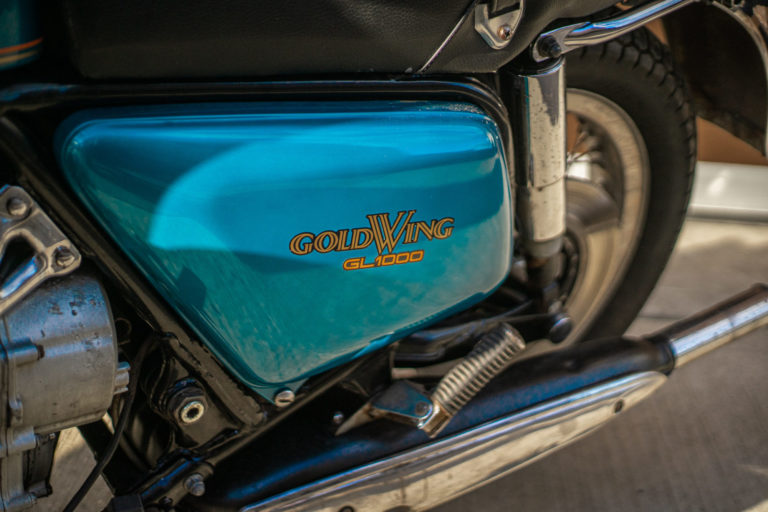
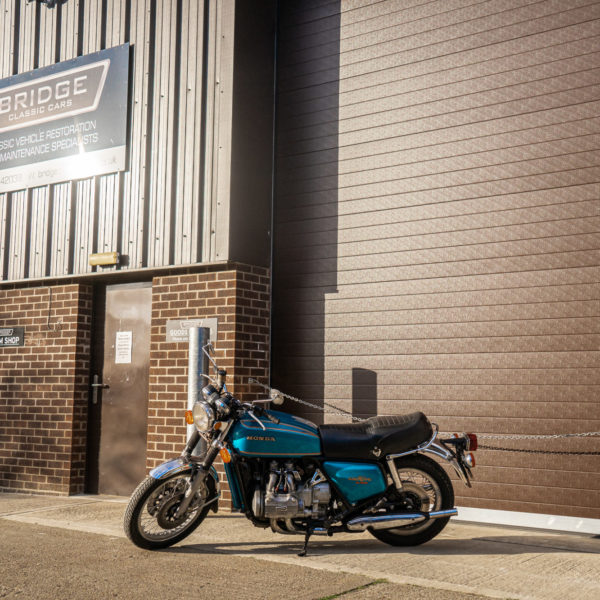
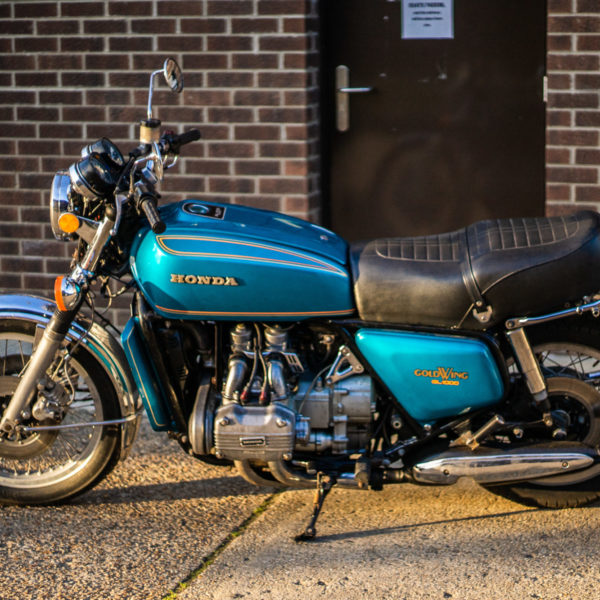
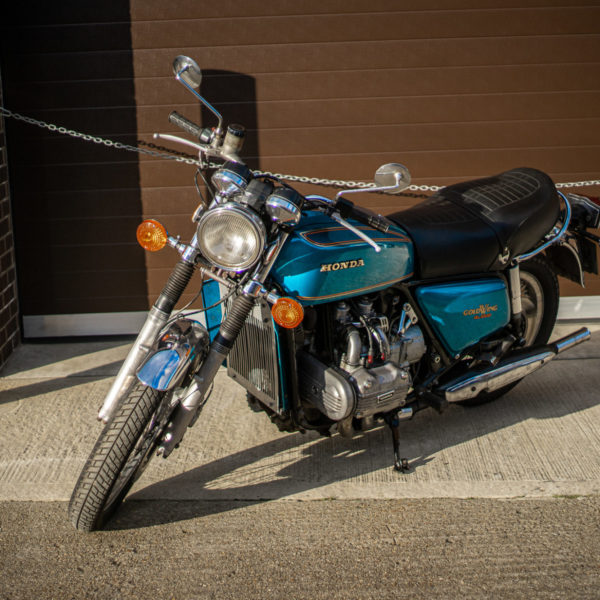
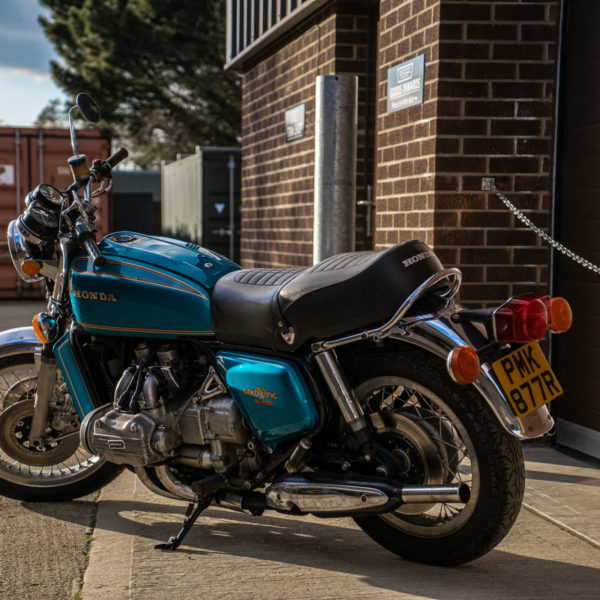
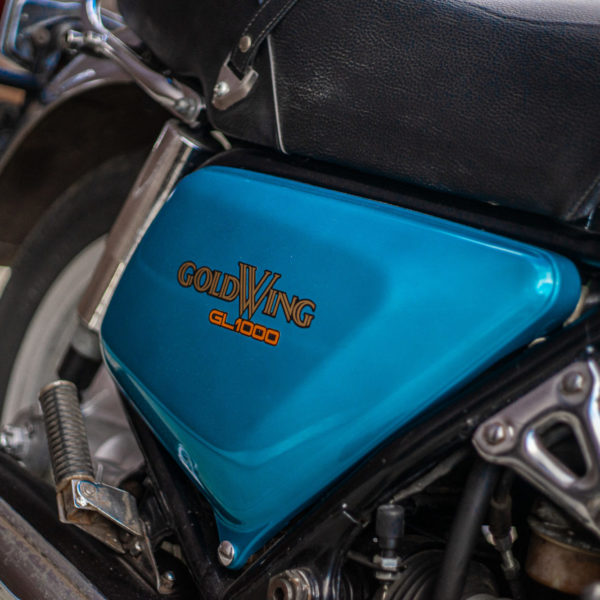
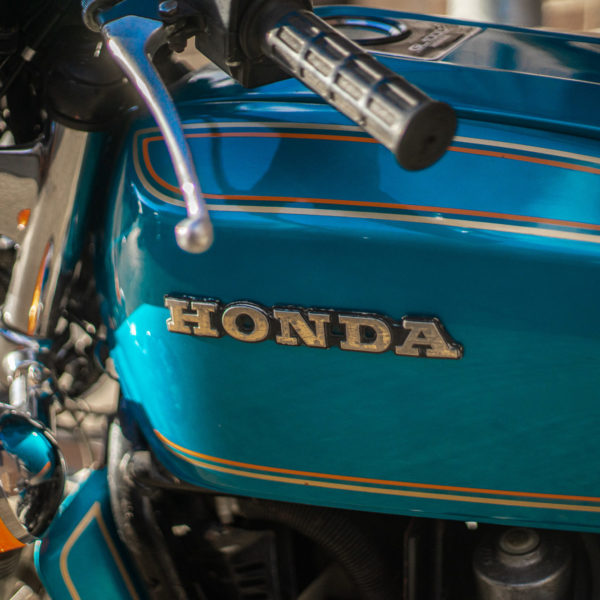
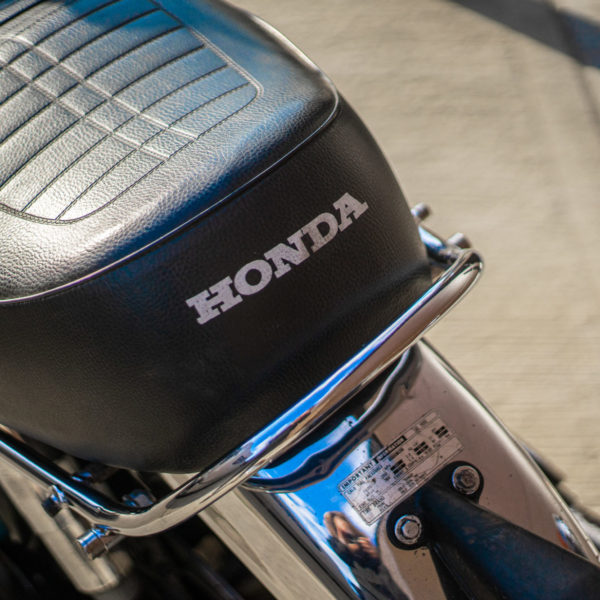
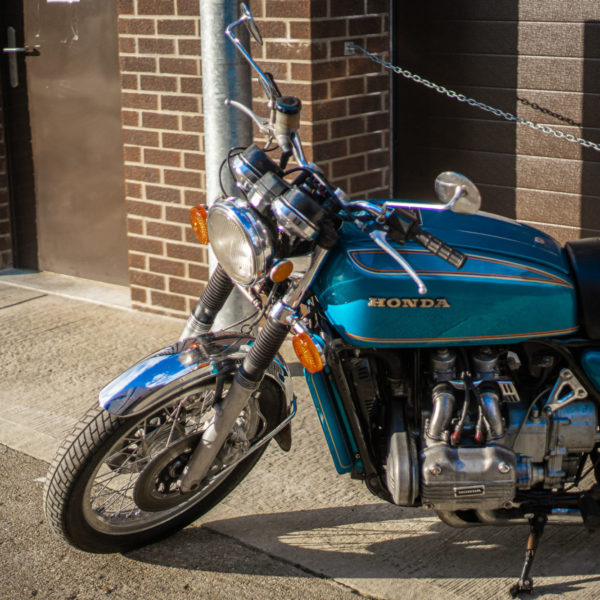
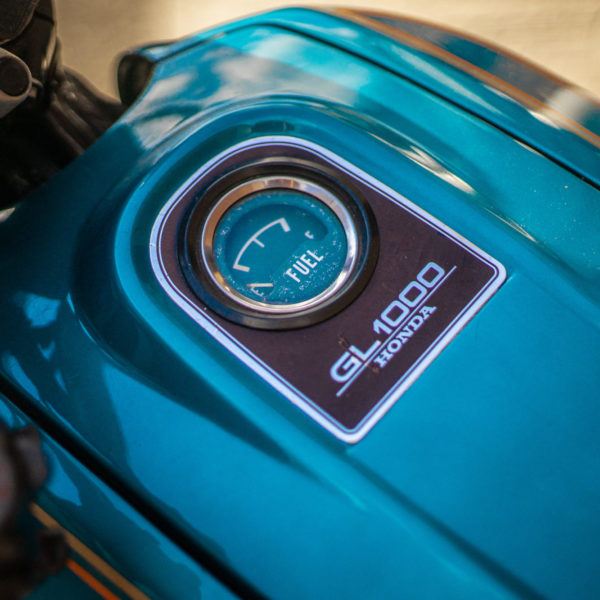
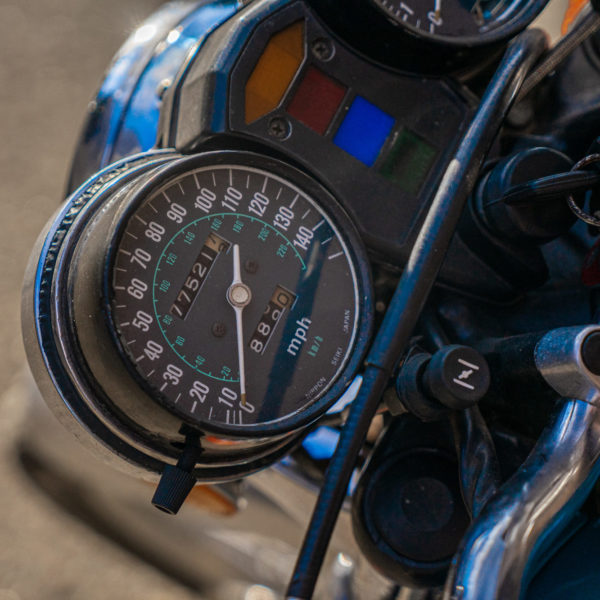
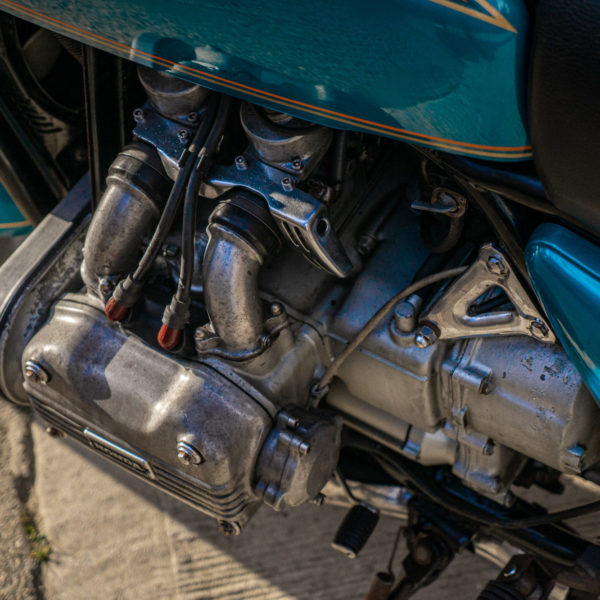
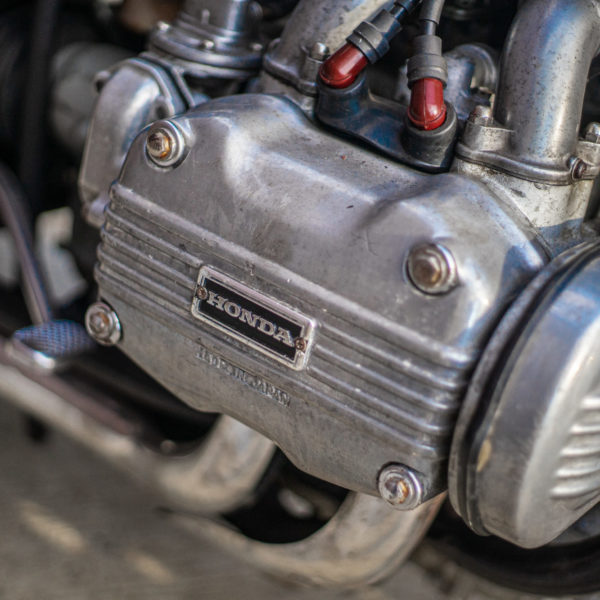
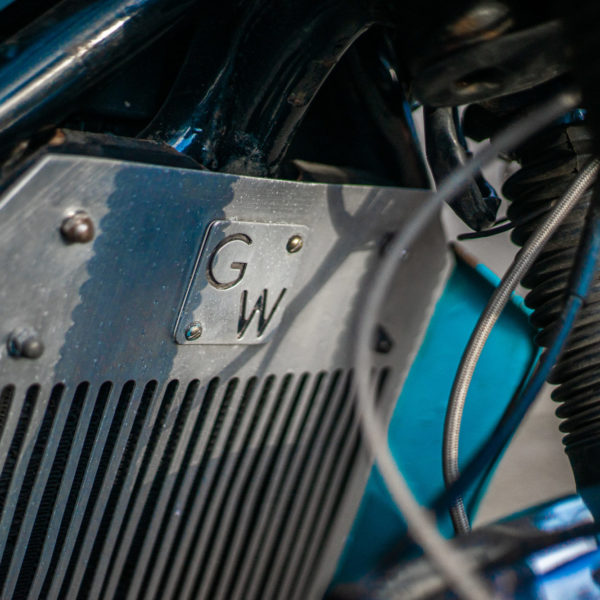
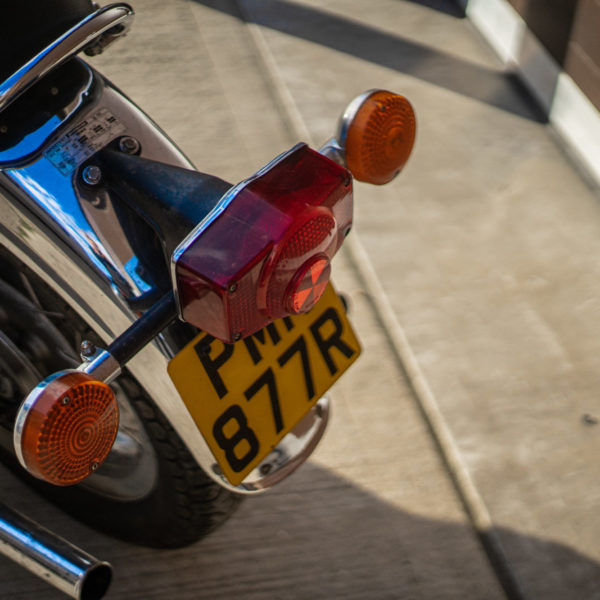
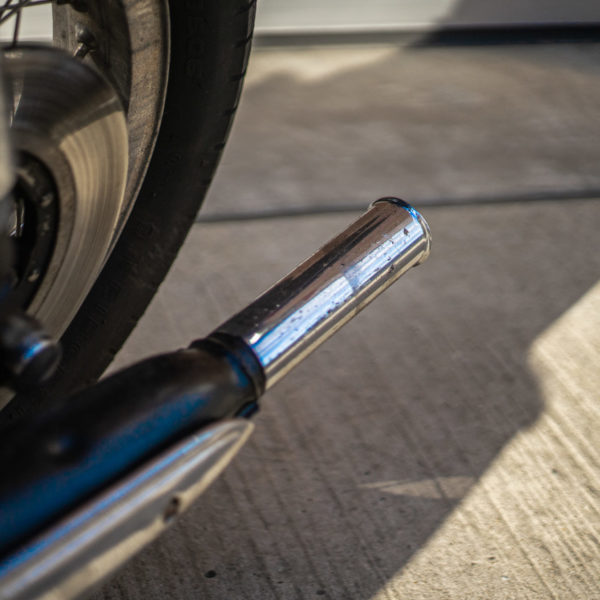
On Friday we welcomed our 1977 Honda Goldwing GL1000 into HQ. Bought by Gordon as a restoration project, we’re looking forward to seeing this Goldwing spreading its wings this summer.
This striking blue classic was originally designed to tackle the US cruising market of Harley Davidsons in the early 1970’s and would soon become a catalyst of change in the motorbike world. With the Honda Goldwing soaring into the cross-country cruising market, this desirable cruiser soon became a firm favourite of motorcycle enthusiasts everywhere.

We’re delighted to announce that the winner of our gorgeous 1992 Rolls Royce Silver Spirit II was delivered safe and sound on Friday afternoon. As the sunset, the Bridge Classic Car transporter lorry rolled up to Russ Warman’s home in North-East Suffolk on a sunny afternoon.
Russ won our Rolls Royce with lucky ticket number 499 which was selected by Google’s random number generator in last weeks draw. We couldn’t be happier that it’s gone to someone who loves Rolls Royces and hope to see it out and about once restrictions allow!

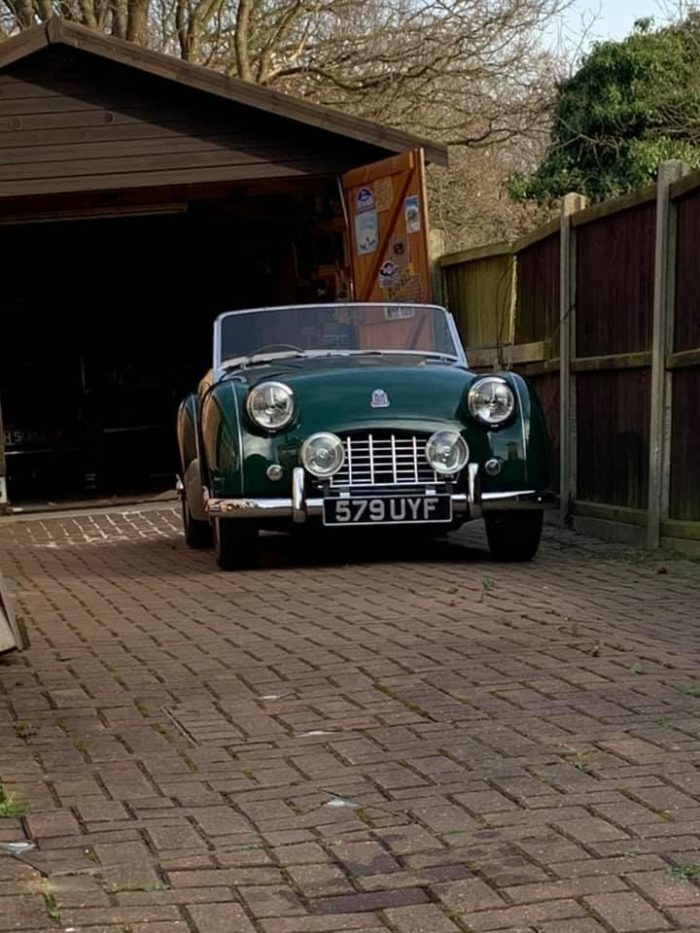
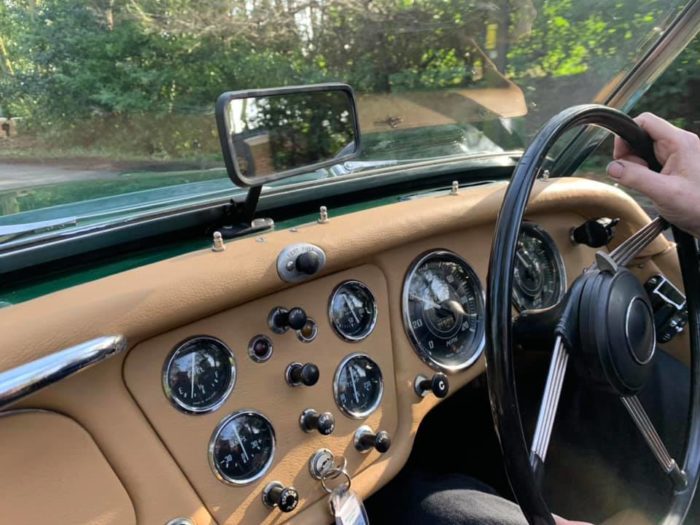
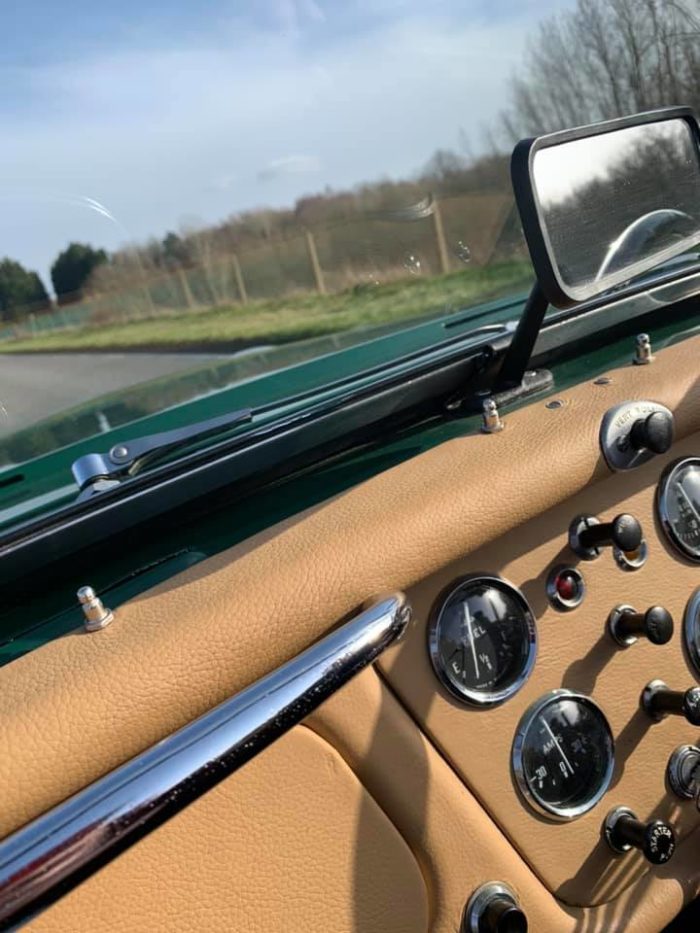
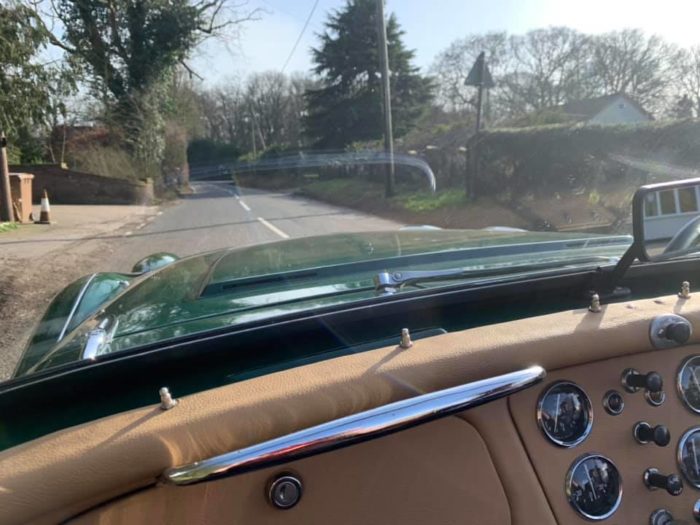
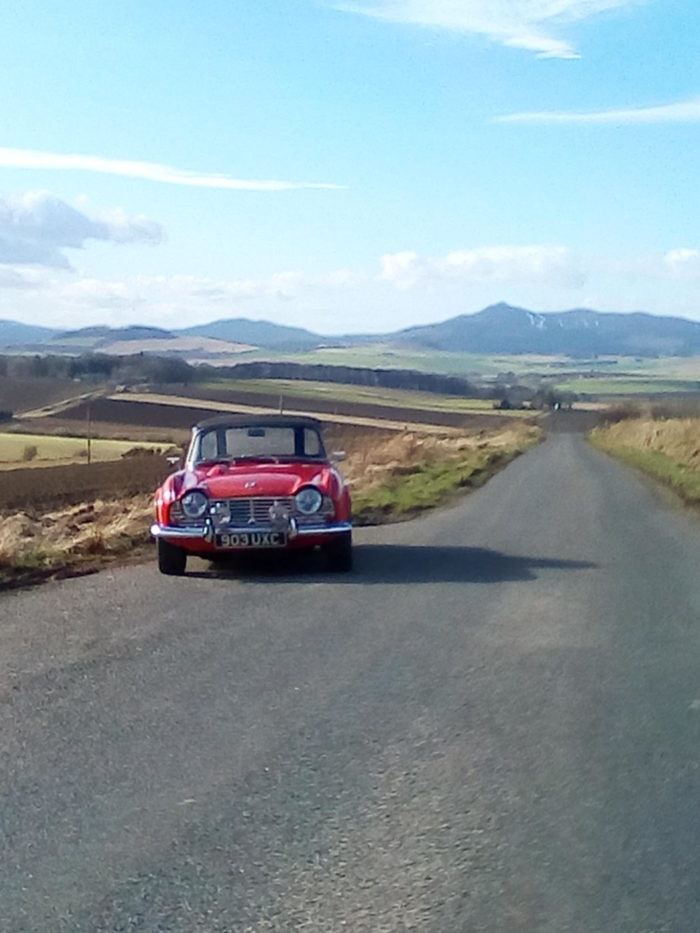
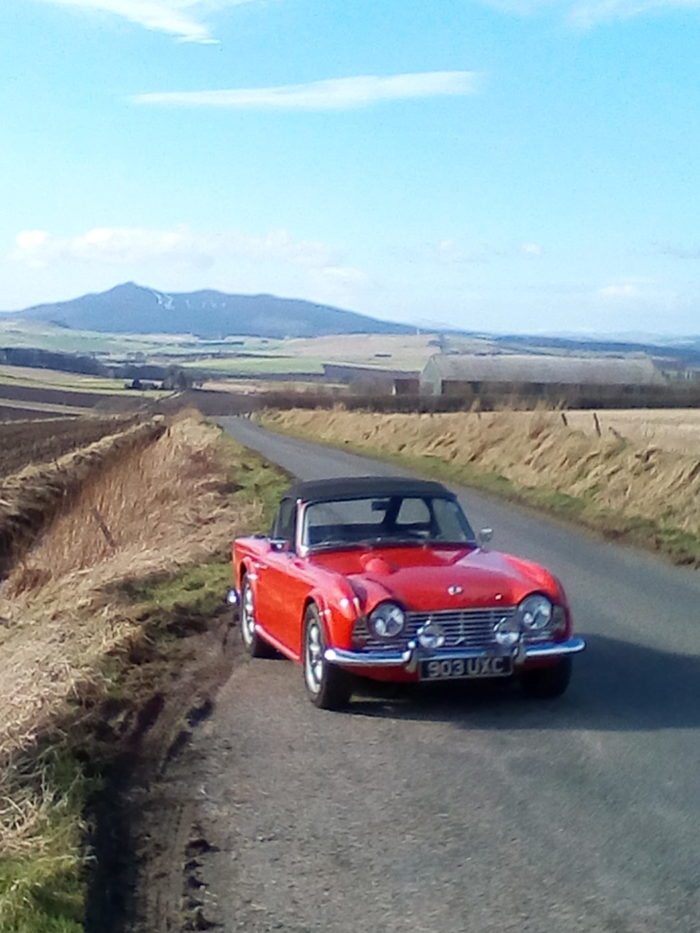
By pure coincidence, we’ve had both of our TR winners send us photos of their TR3 and TR4 out on the road yesterday! We love getting updates from winners about how they’re getting on with their new motors, its one of the best bits about gifting cars!
Karl Reilly has been driving his charming green TR3 around his local area in Essex. Now the weather is looking up, Karl can begin to enjoy roof down days in his iconic classic. As part of the Triumph Club, we hope to see more photos of him and his TR3 with other Triumphs.
We all remember building snowmen and making snow angels as children in the snow but few of us can claim we’ve built a snow car.
A husband and wife from Lithuania decided to re-create a Ferrari LaFerrari out of snow. Every detail was covered from the colour (done in an environmentally friendly paint) to the aerodynamic shape. It took two days of dedicated craftmanship from the couple to create the iconic red beast. At the end of the masterpiece, the wife, Donata Bugiene, said “Now no one can deny that there is a Ferrari in our yard.”
The Ferrari is a real size, made to the dimensions of the original Ferrari LaFerrari,” said Bugiene.

The life-size replica of Ferrari’s LaFerrari supercar (image taken Jan. 31, 2021. (Photo credit: Donata Bugiene)
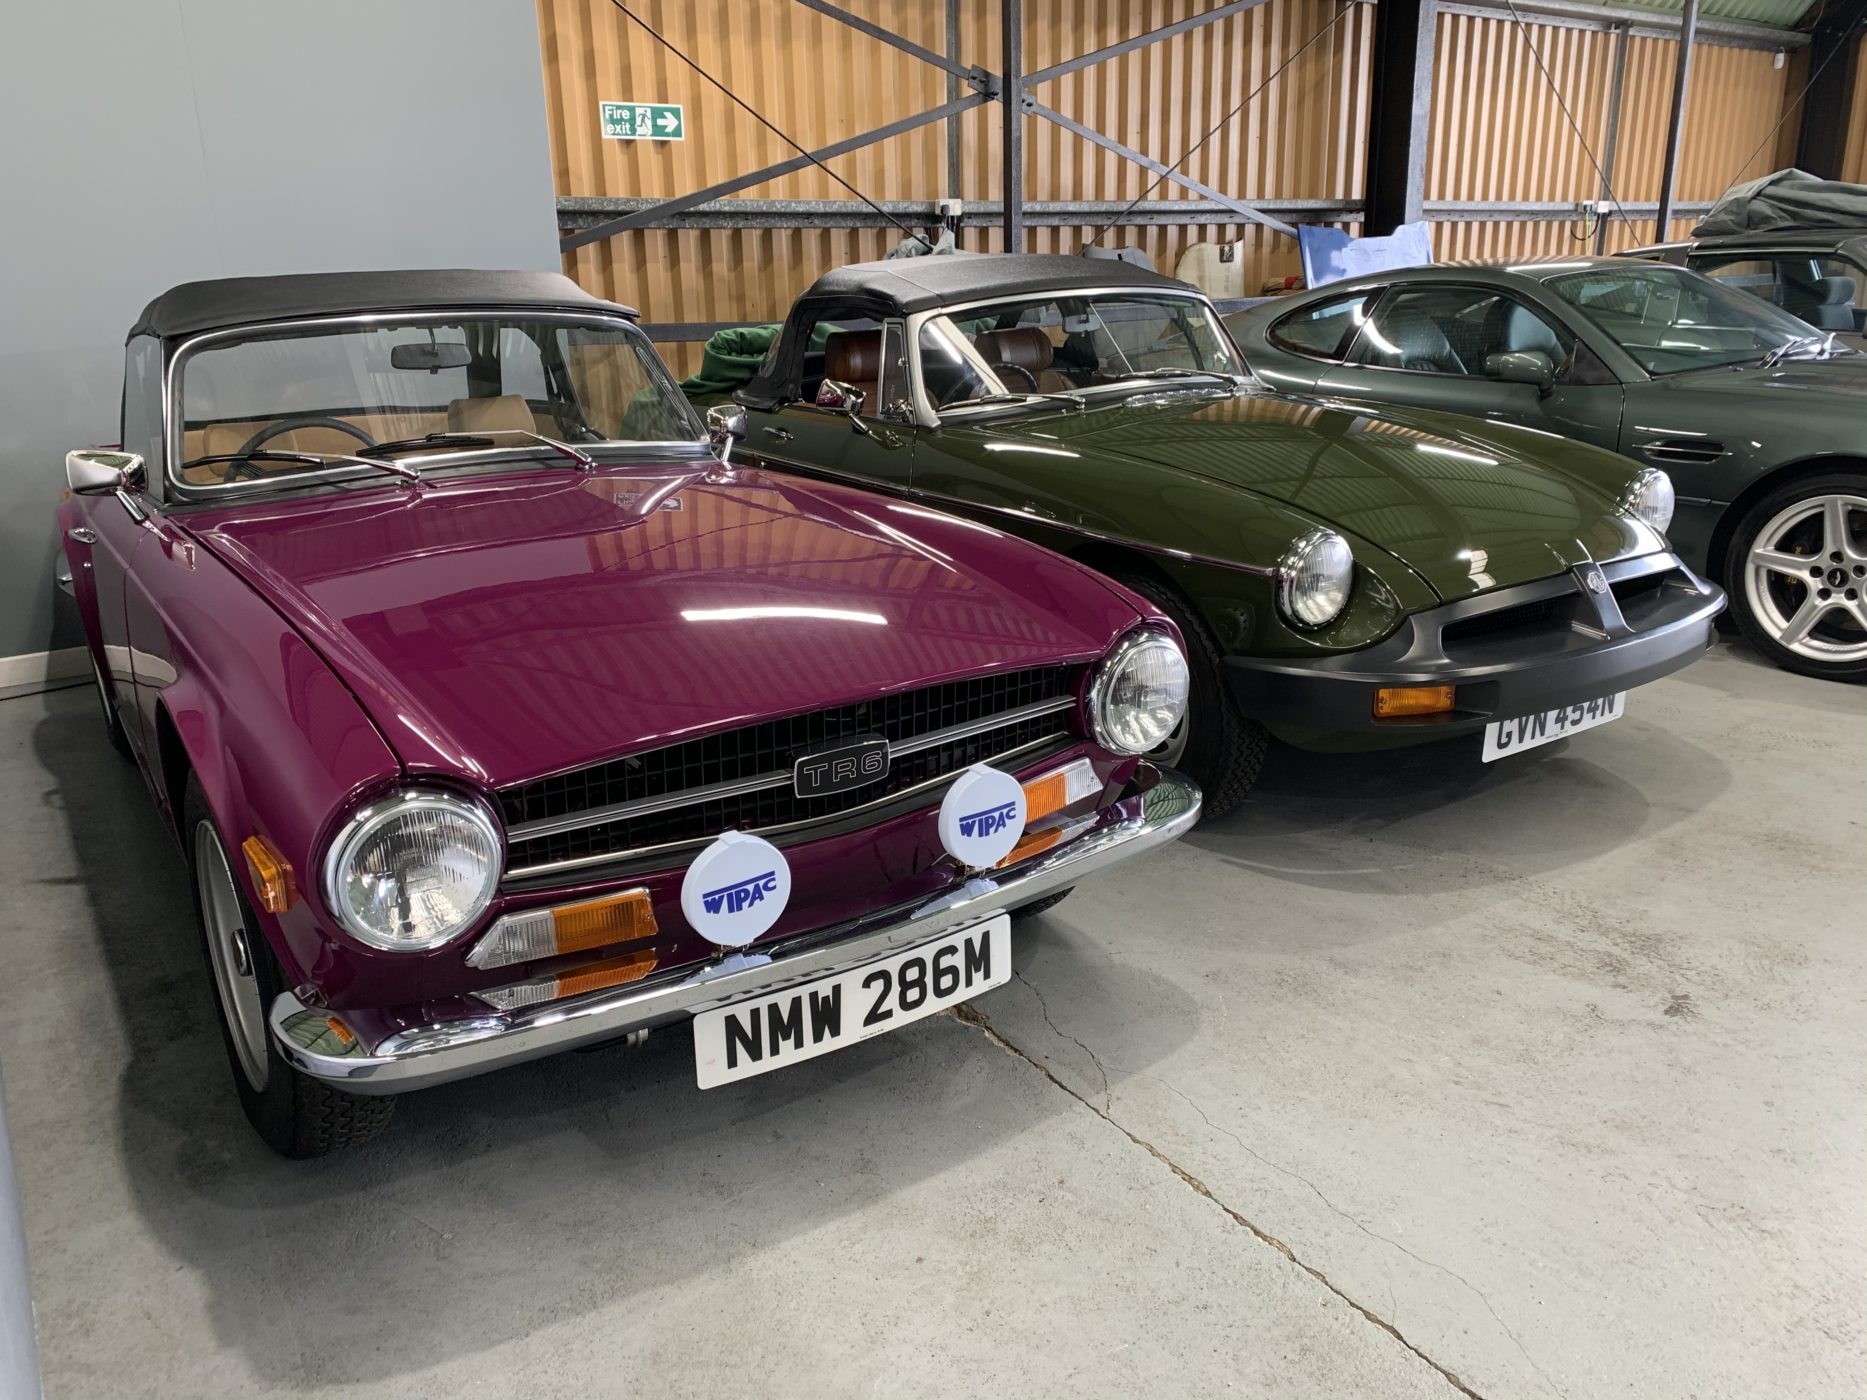
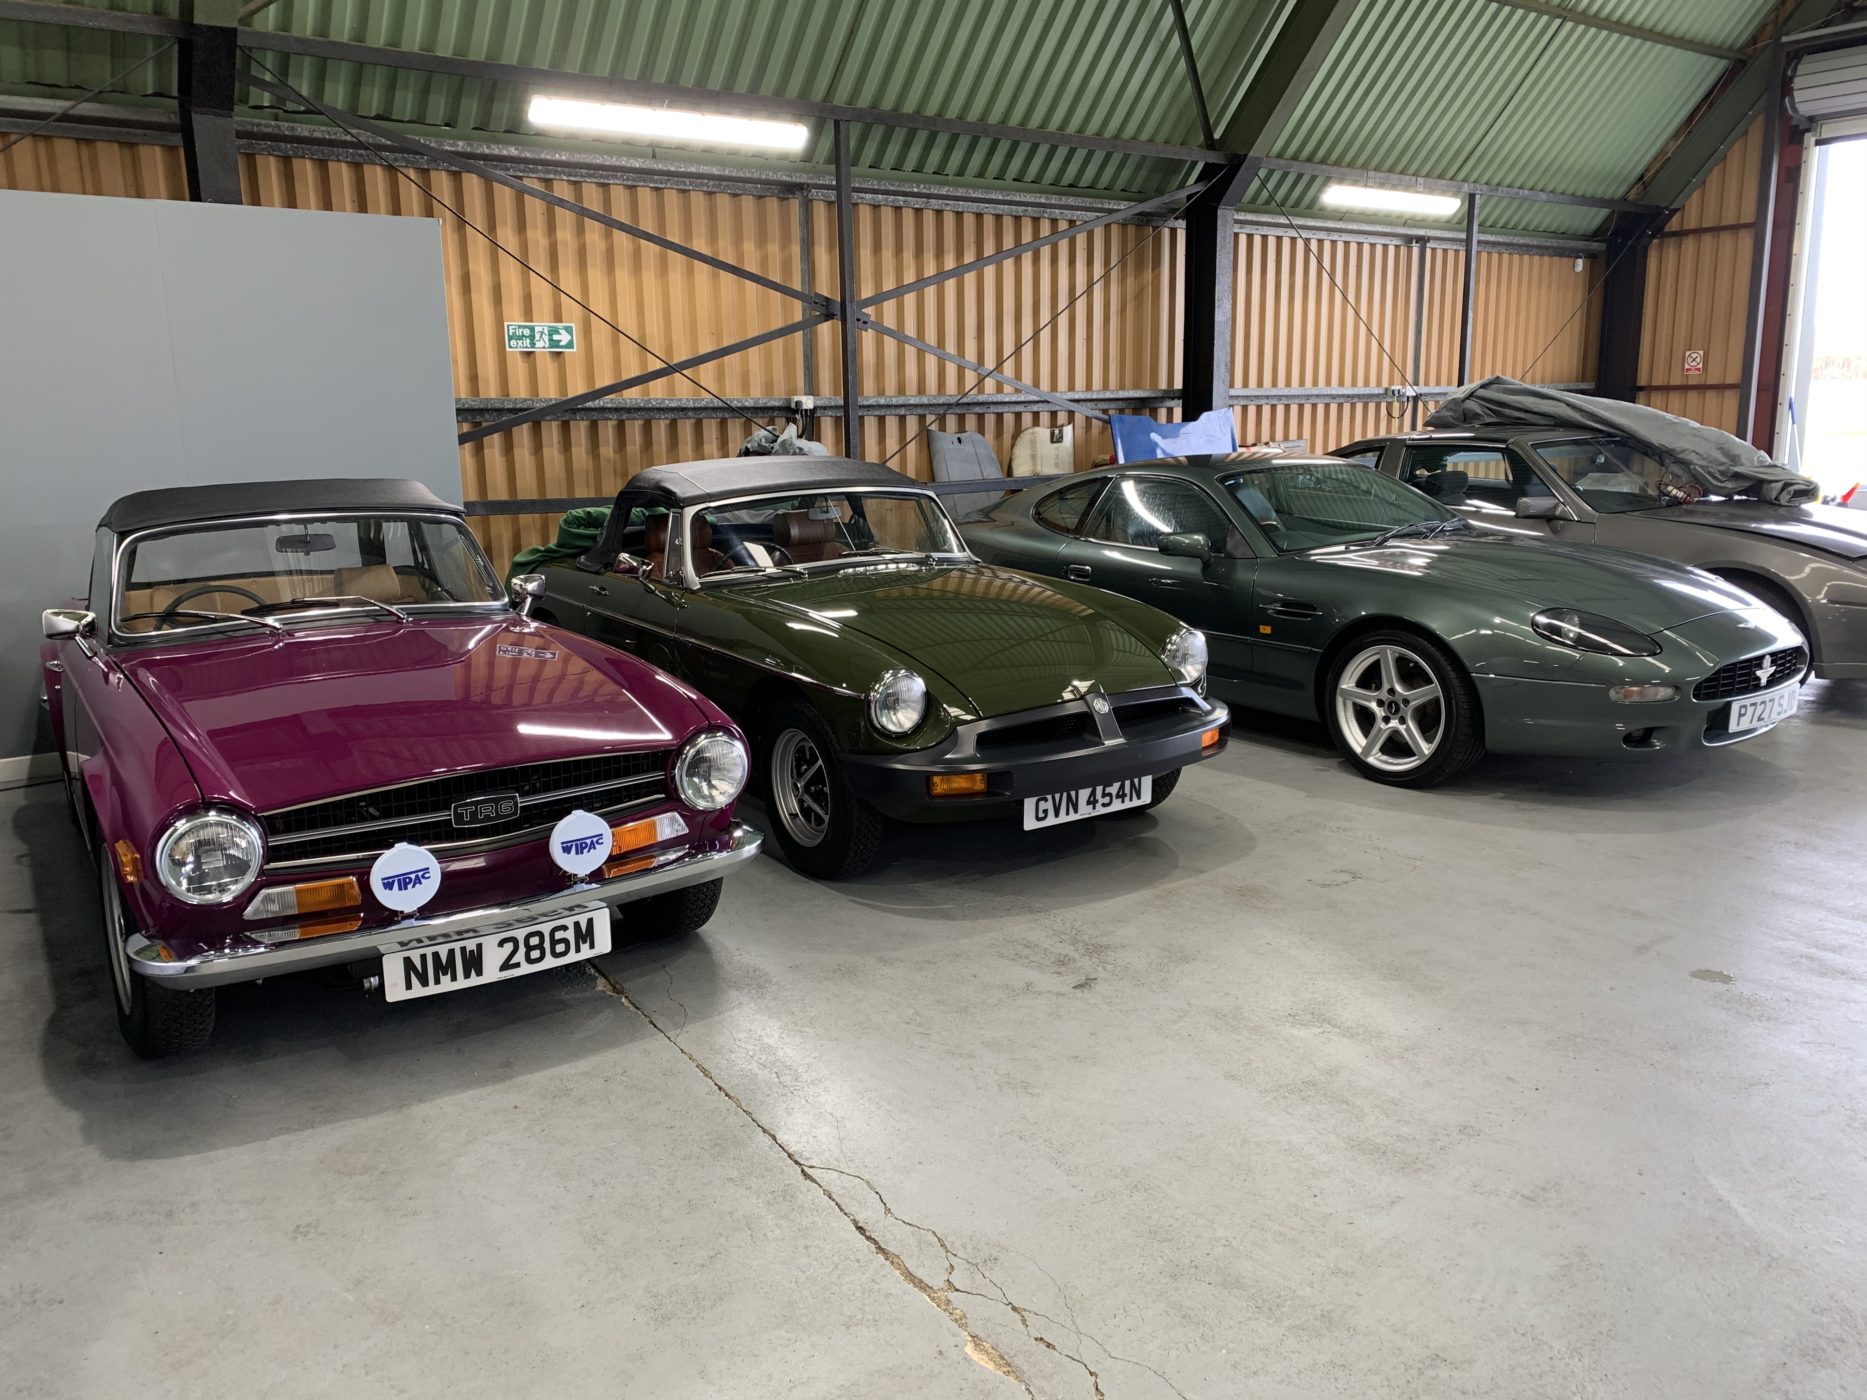
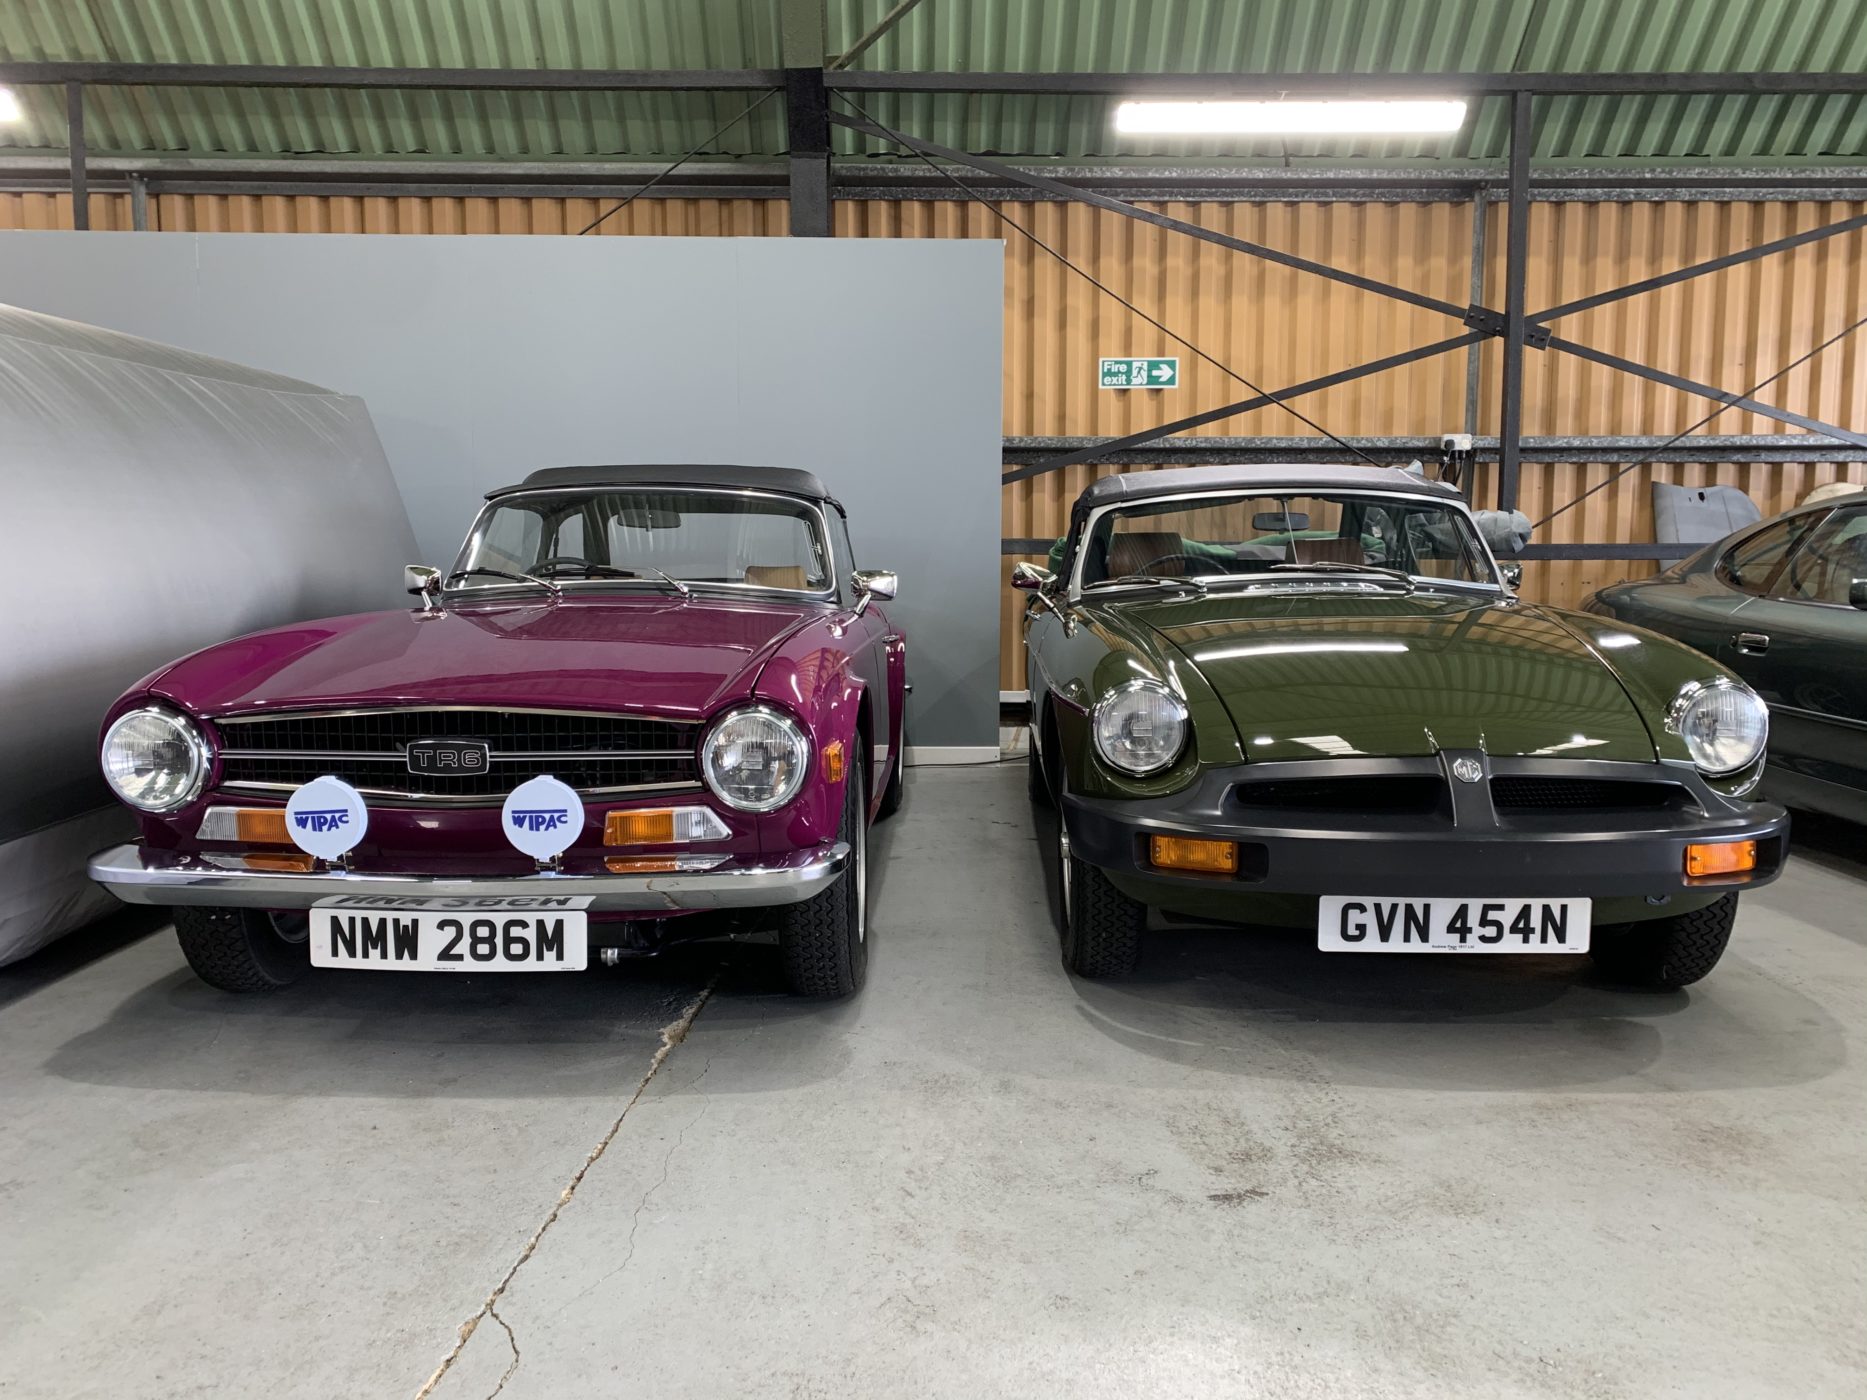
Our newly finished Triumph TR6 and its friend, the Tundra 1975 MGB have been stored up in Bentwaters whilst we work on the third in this trio, a Beverly Hills Jaguar E-Type that’s in for a full 180 transformation. All three cars are owned by the same clients, making it an exciting set of projects. With these two tucked away in our Hanger at Bentwaters, we can get cracking on the Jaguar.
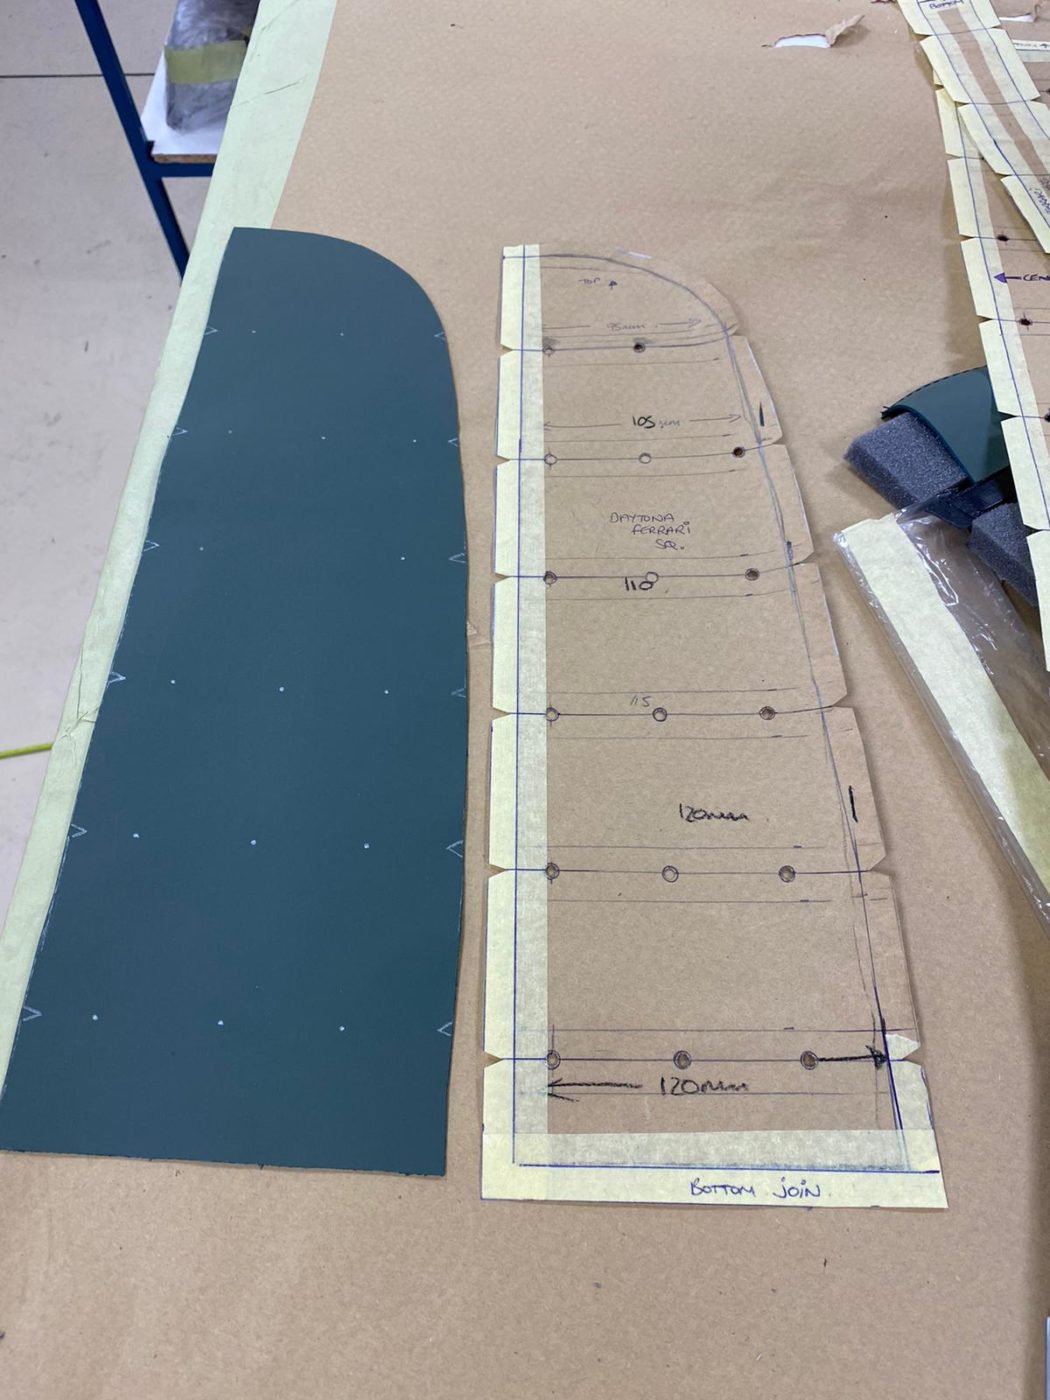
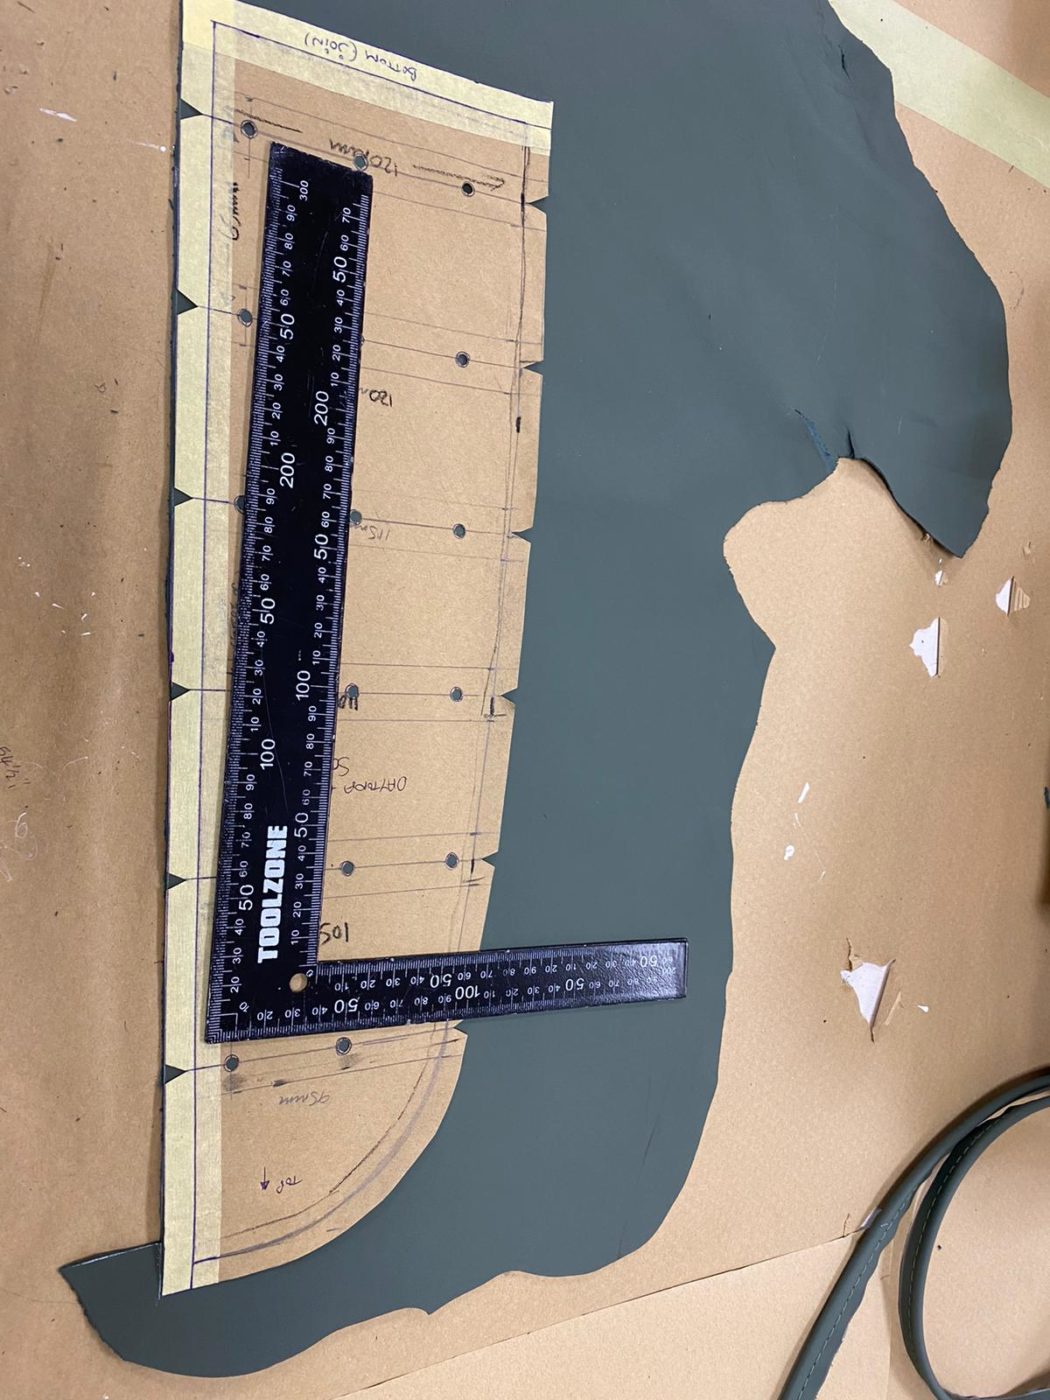
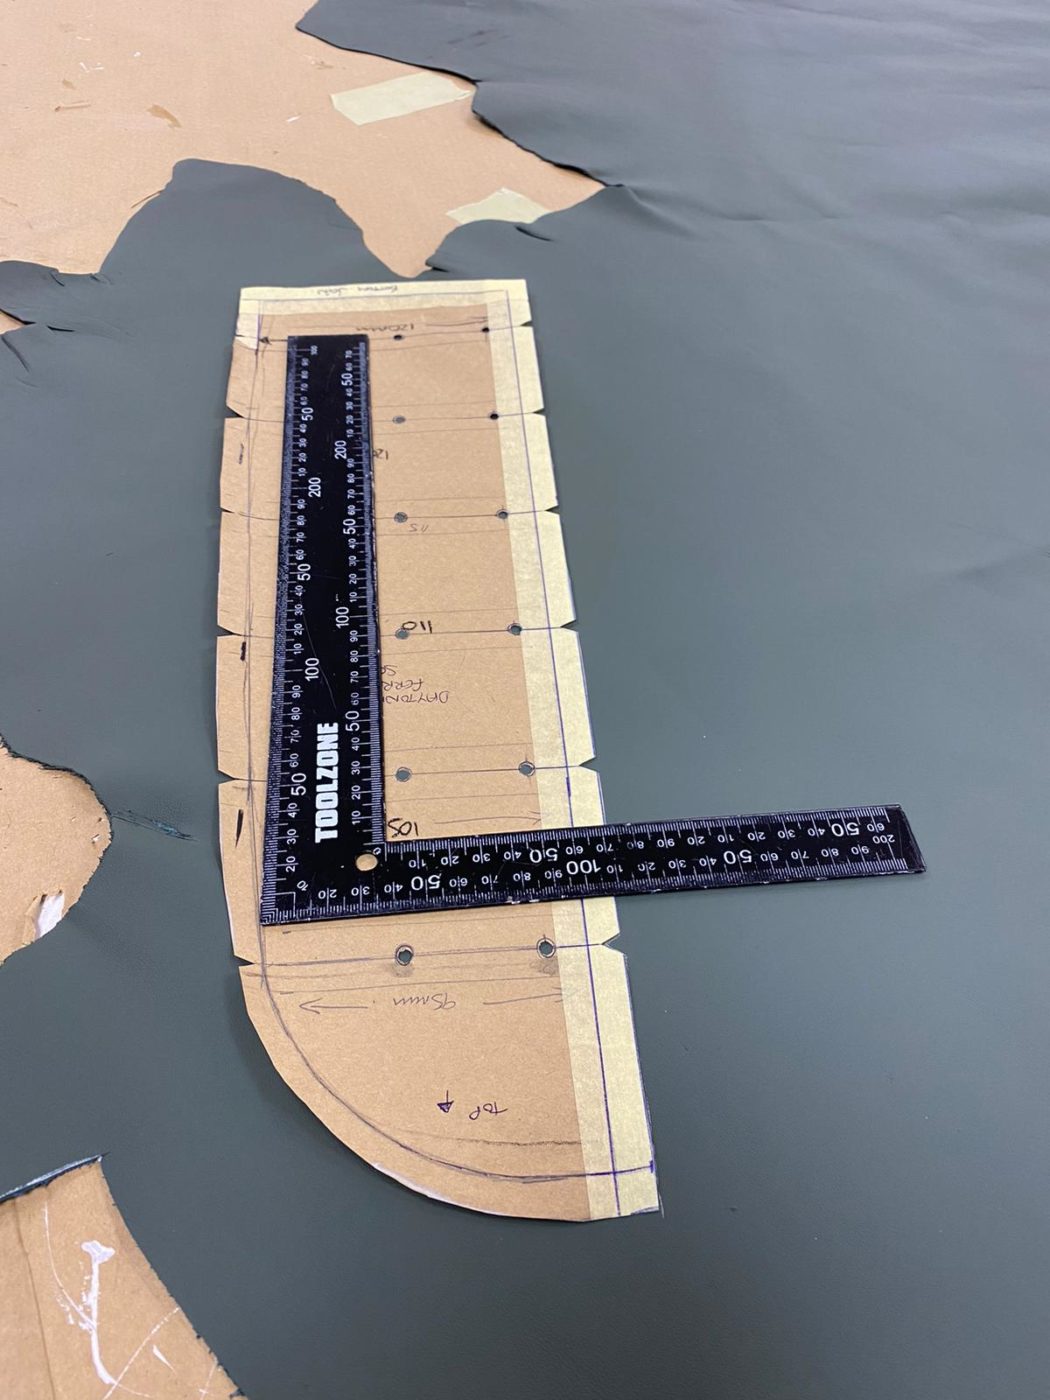
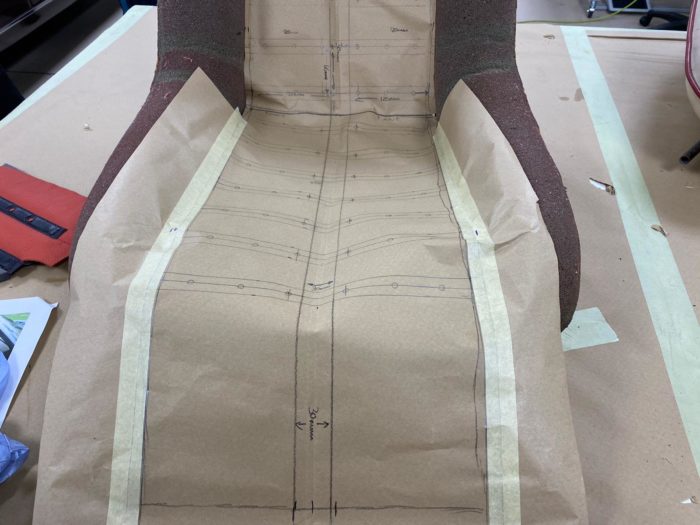
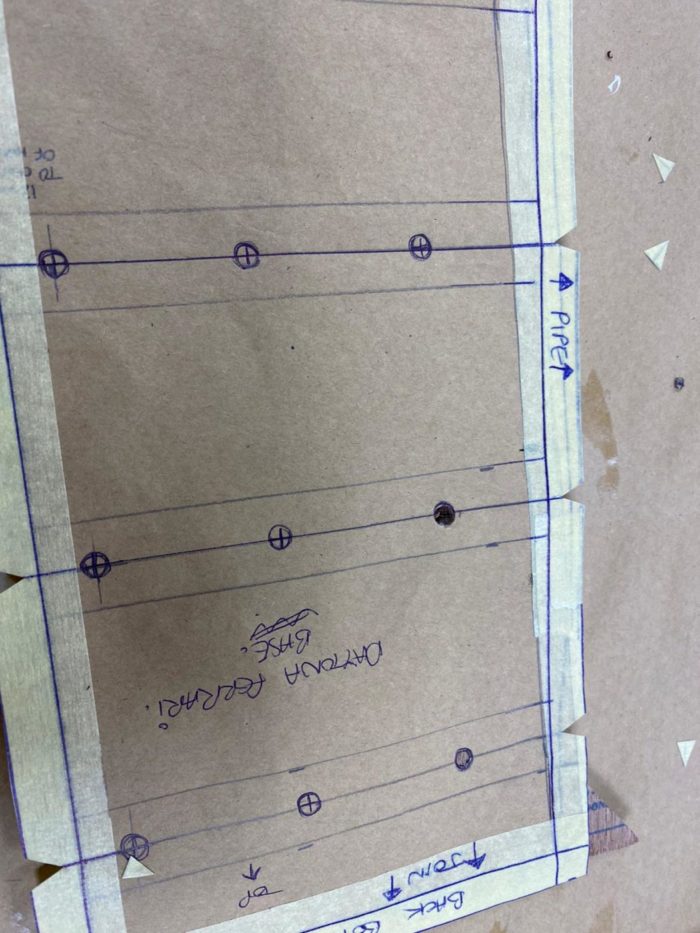
Kath has been working on the Daytona seats again. The face of one of the seats wasn’t sewn straight originally, so Kath found that all of the red strips were uneven, and the centre strip wasn’t centralised either. With this in mind, Kath roughly drew around the original to get a basic shape before then making a template. Kath had to work out the distance between the black strips to make sure all the holes in the strips are even all the way down each strip.
Once Kath had worked out the correct measurements, she cut out the template and laid it into the seat. She found that the sides needed more as the frame came out, so she amended it to run along the seat frame in a nicer fashion.
Once Kath was happy with it, she cut the template up to make individual parts, and worked out the seam allowance around the frame and punched holes.
The pattern was then ready with all the parts to be marked out now for the final trim. Lydia is up next to make the cover.

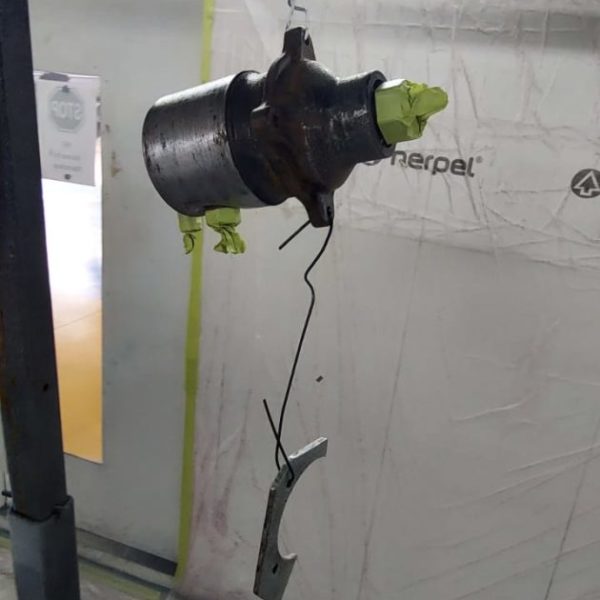
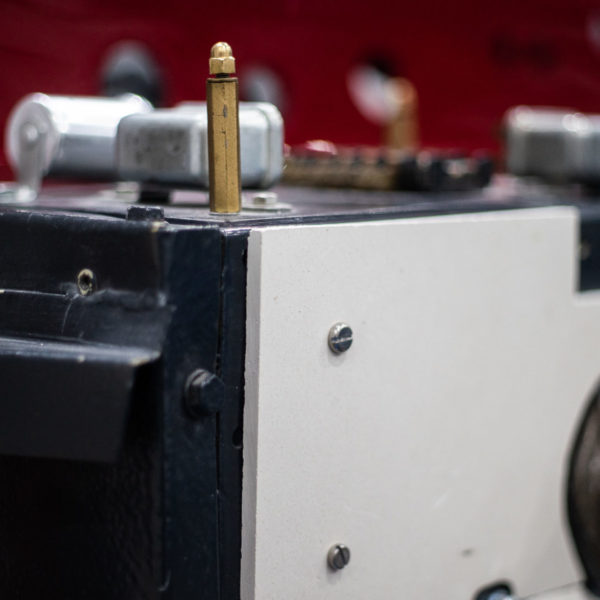
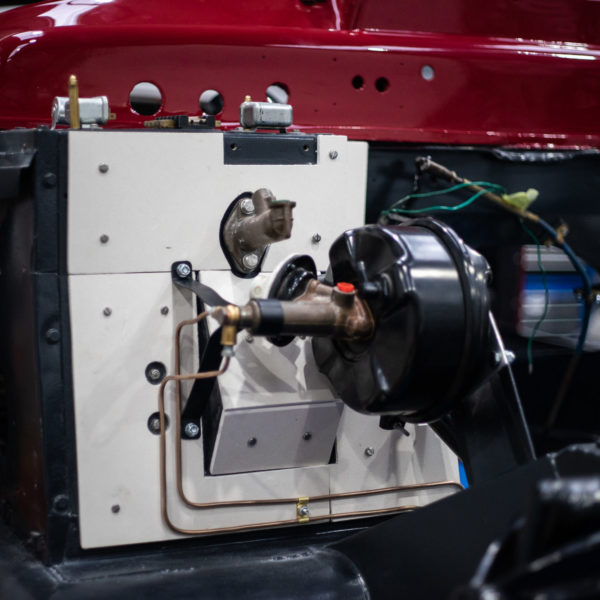
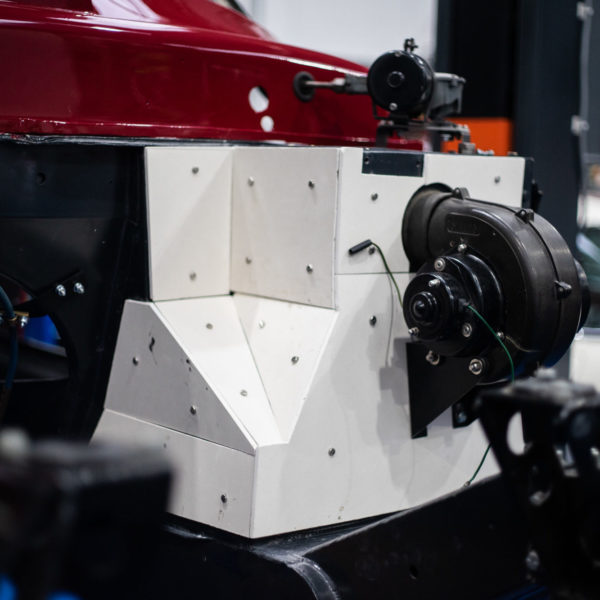
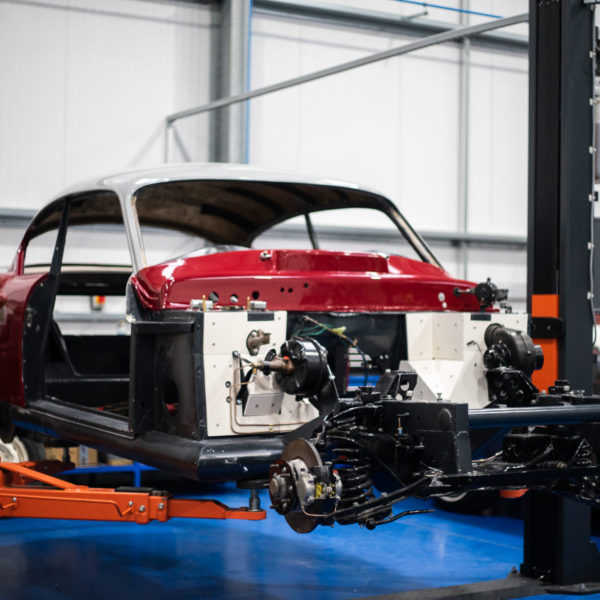
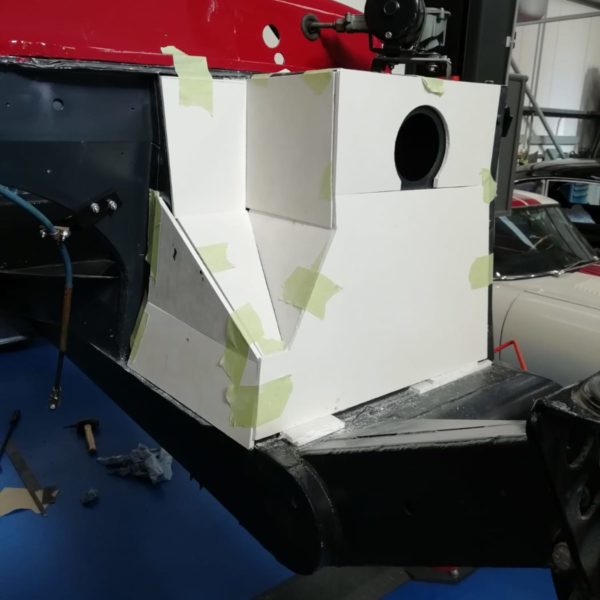
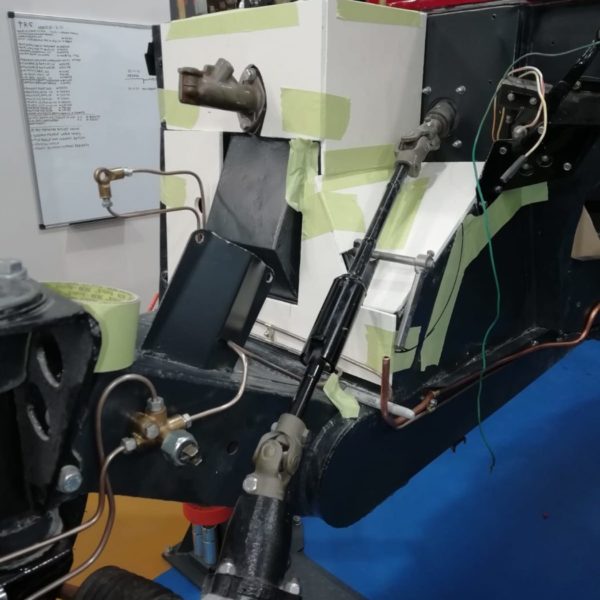
One of our technicians, Pauls, has made and fit a heat shield for our 1960 Peony Red Jensen 541R. Paul has cut out, measured up and fitted the panels which are made up of Asbestolux.

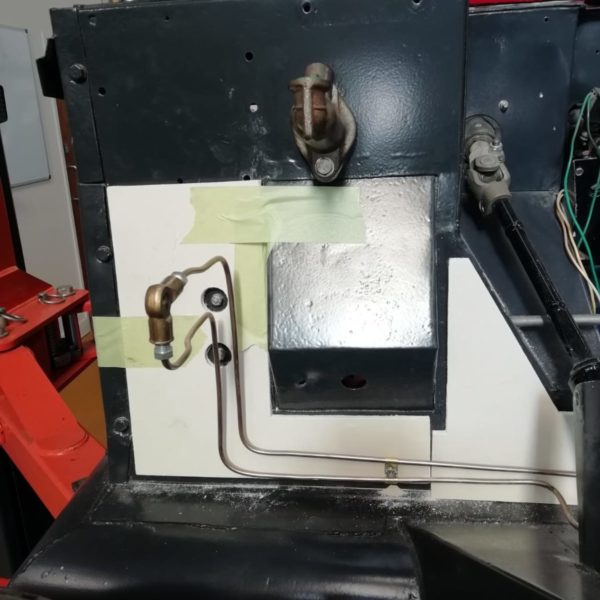
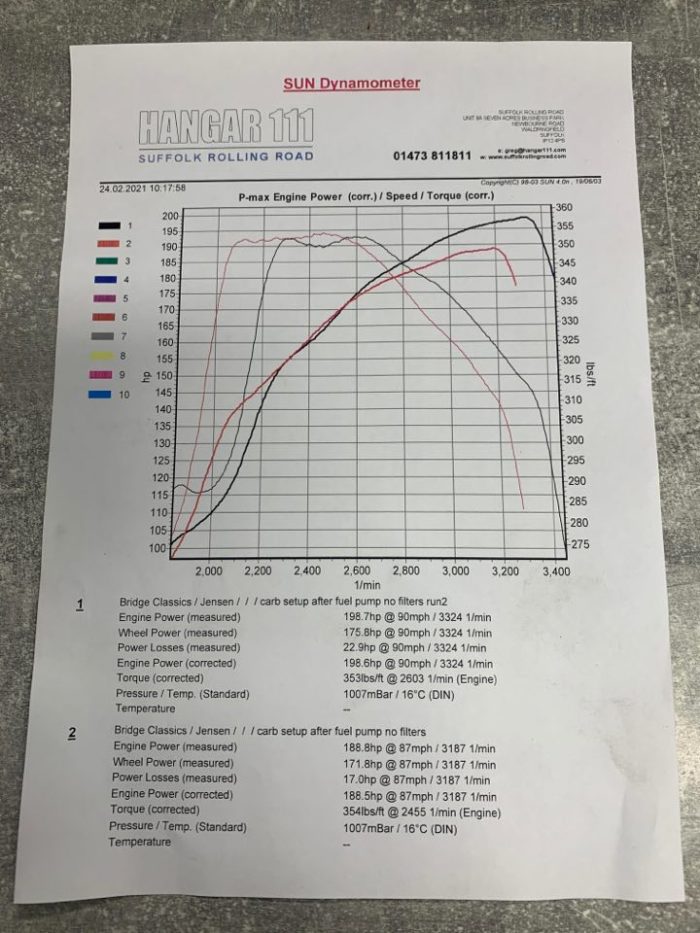
our 1960 Jensen 541R has had its rolling road test from Hangar 111. The test has come back incredibly positive. Often these rolling road tests flag more issues however on this occasion its come back perfect, and we’re delighted!
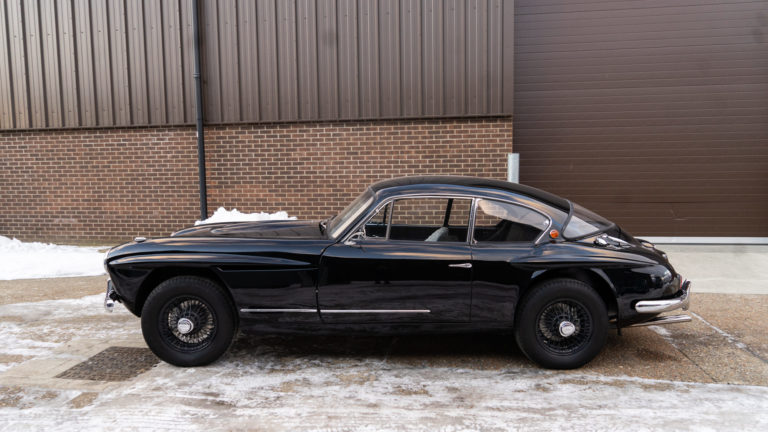
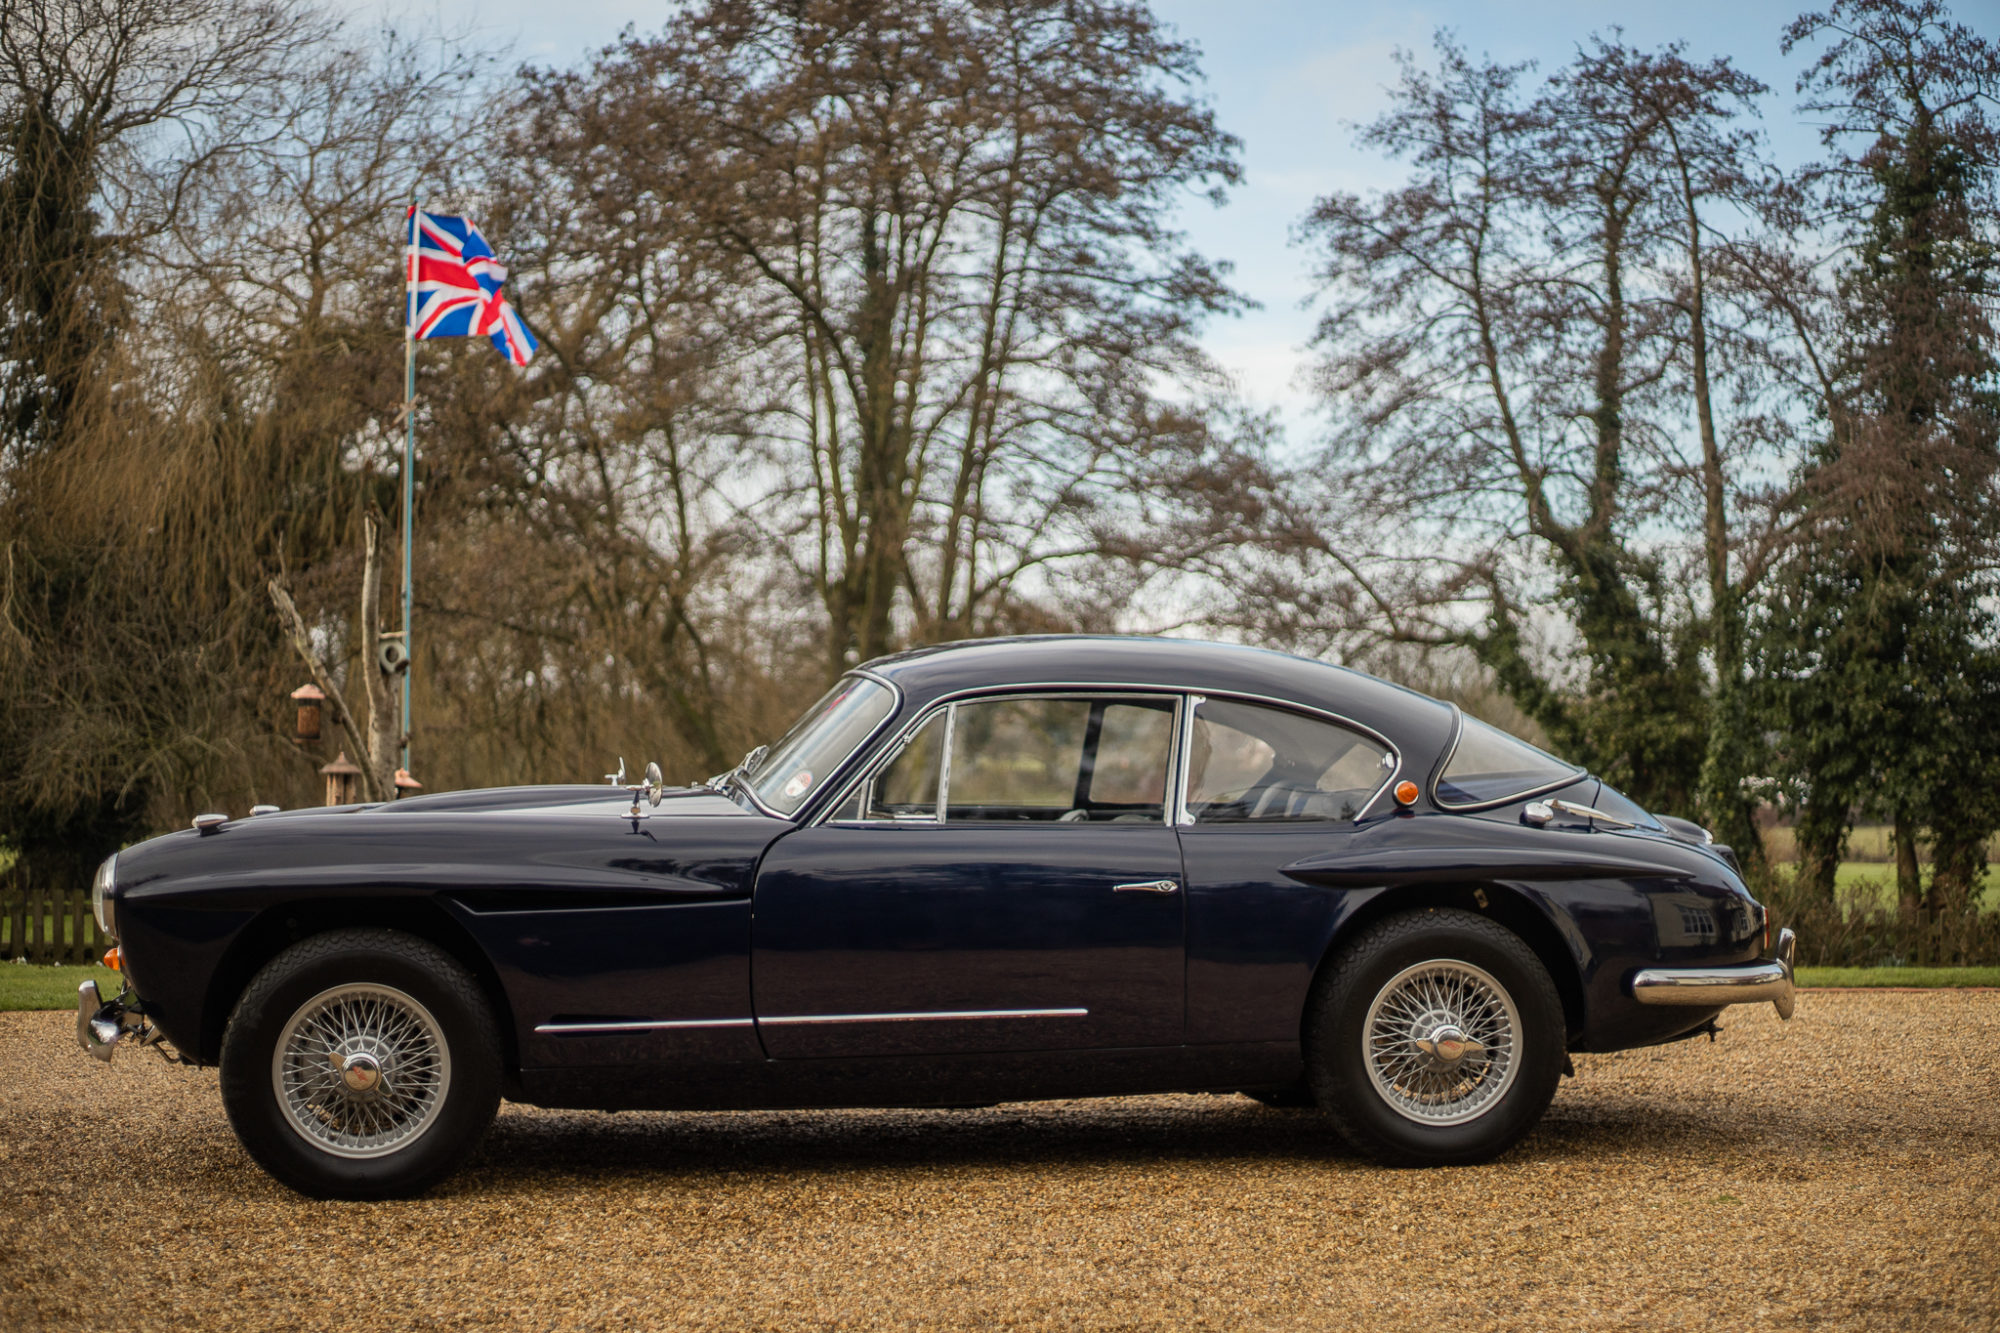
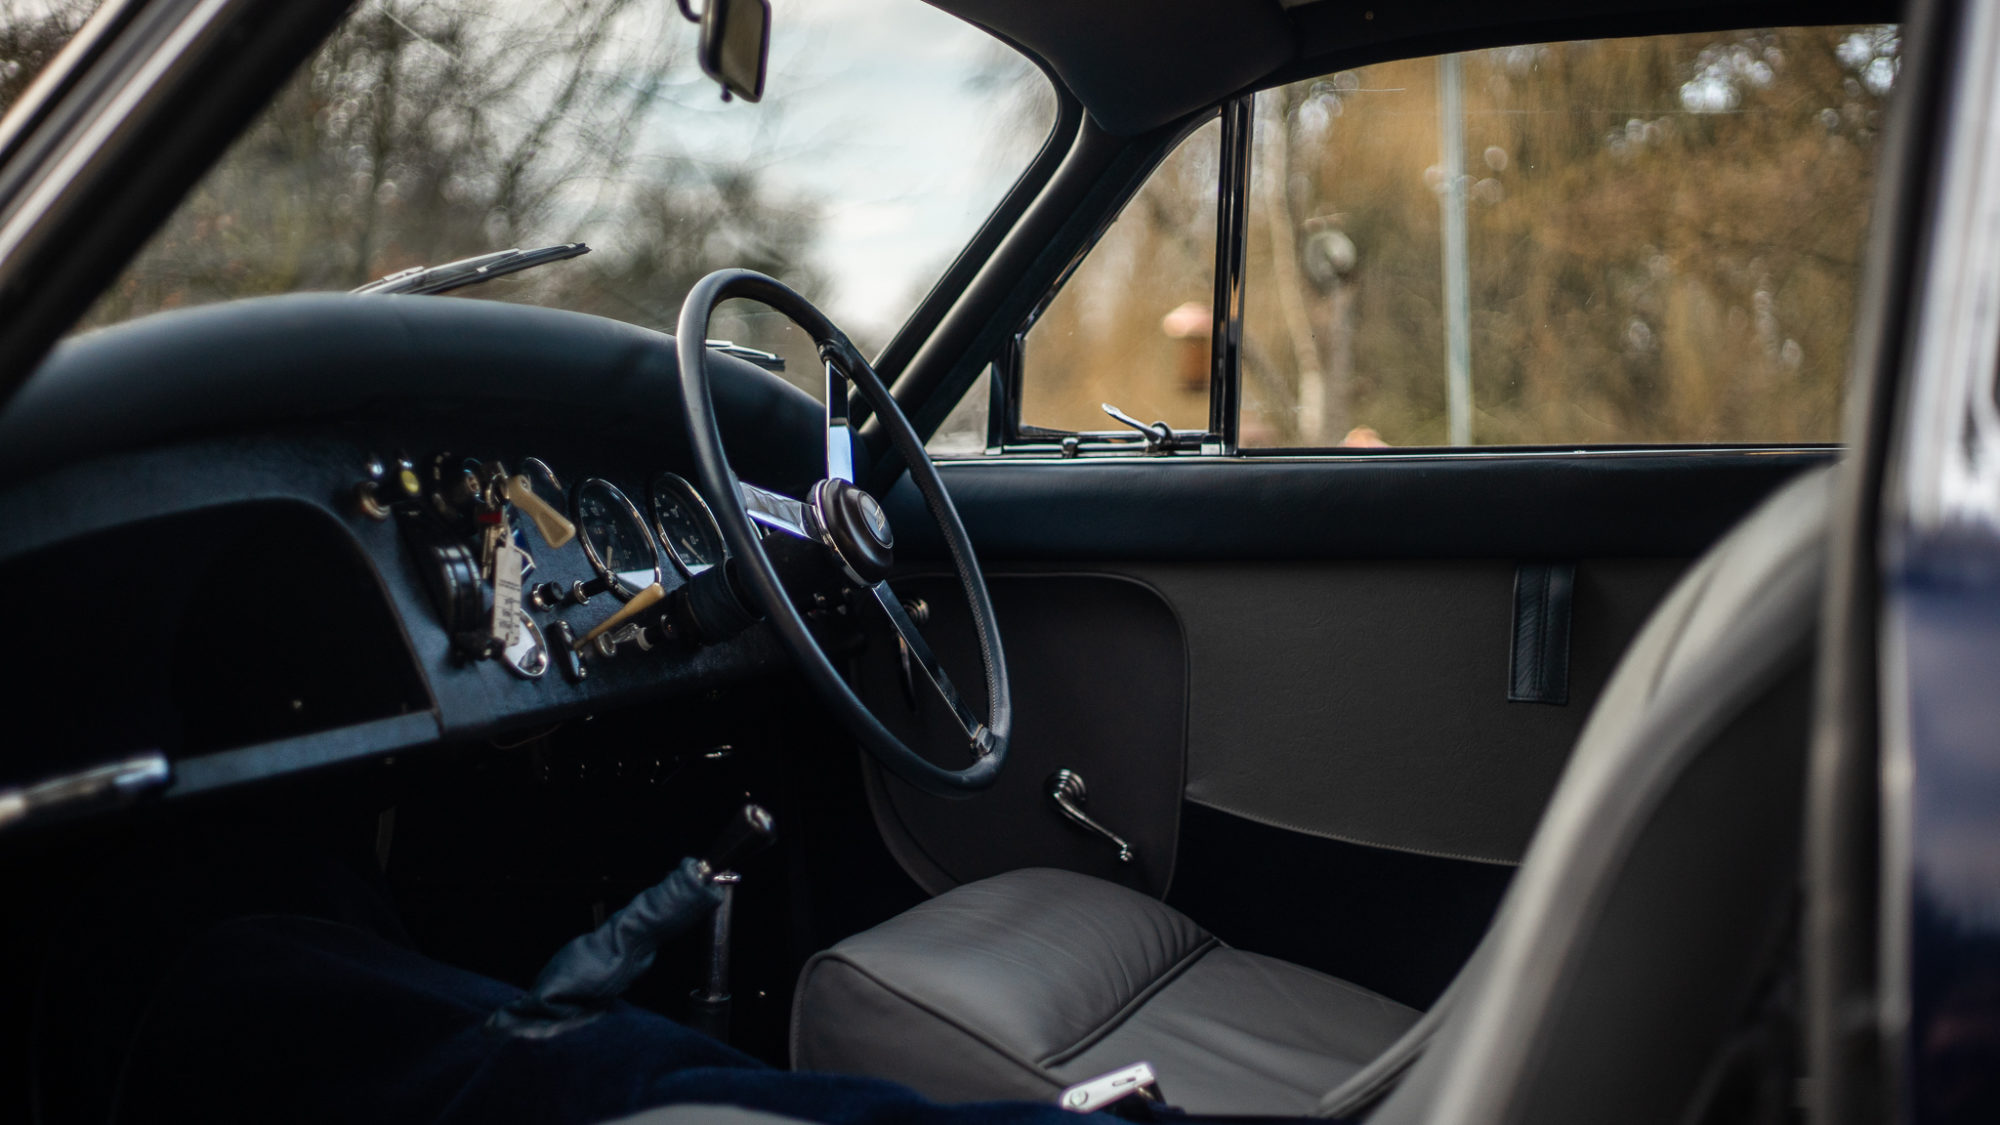
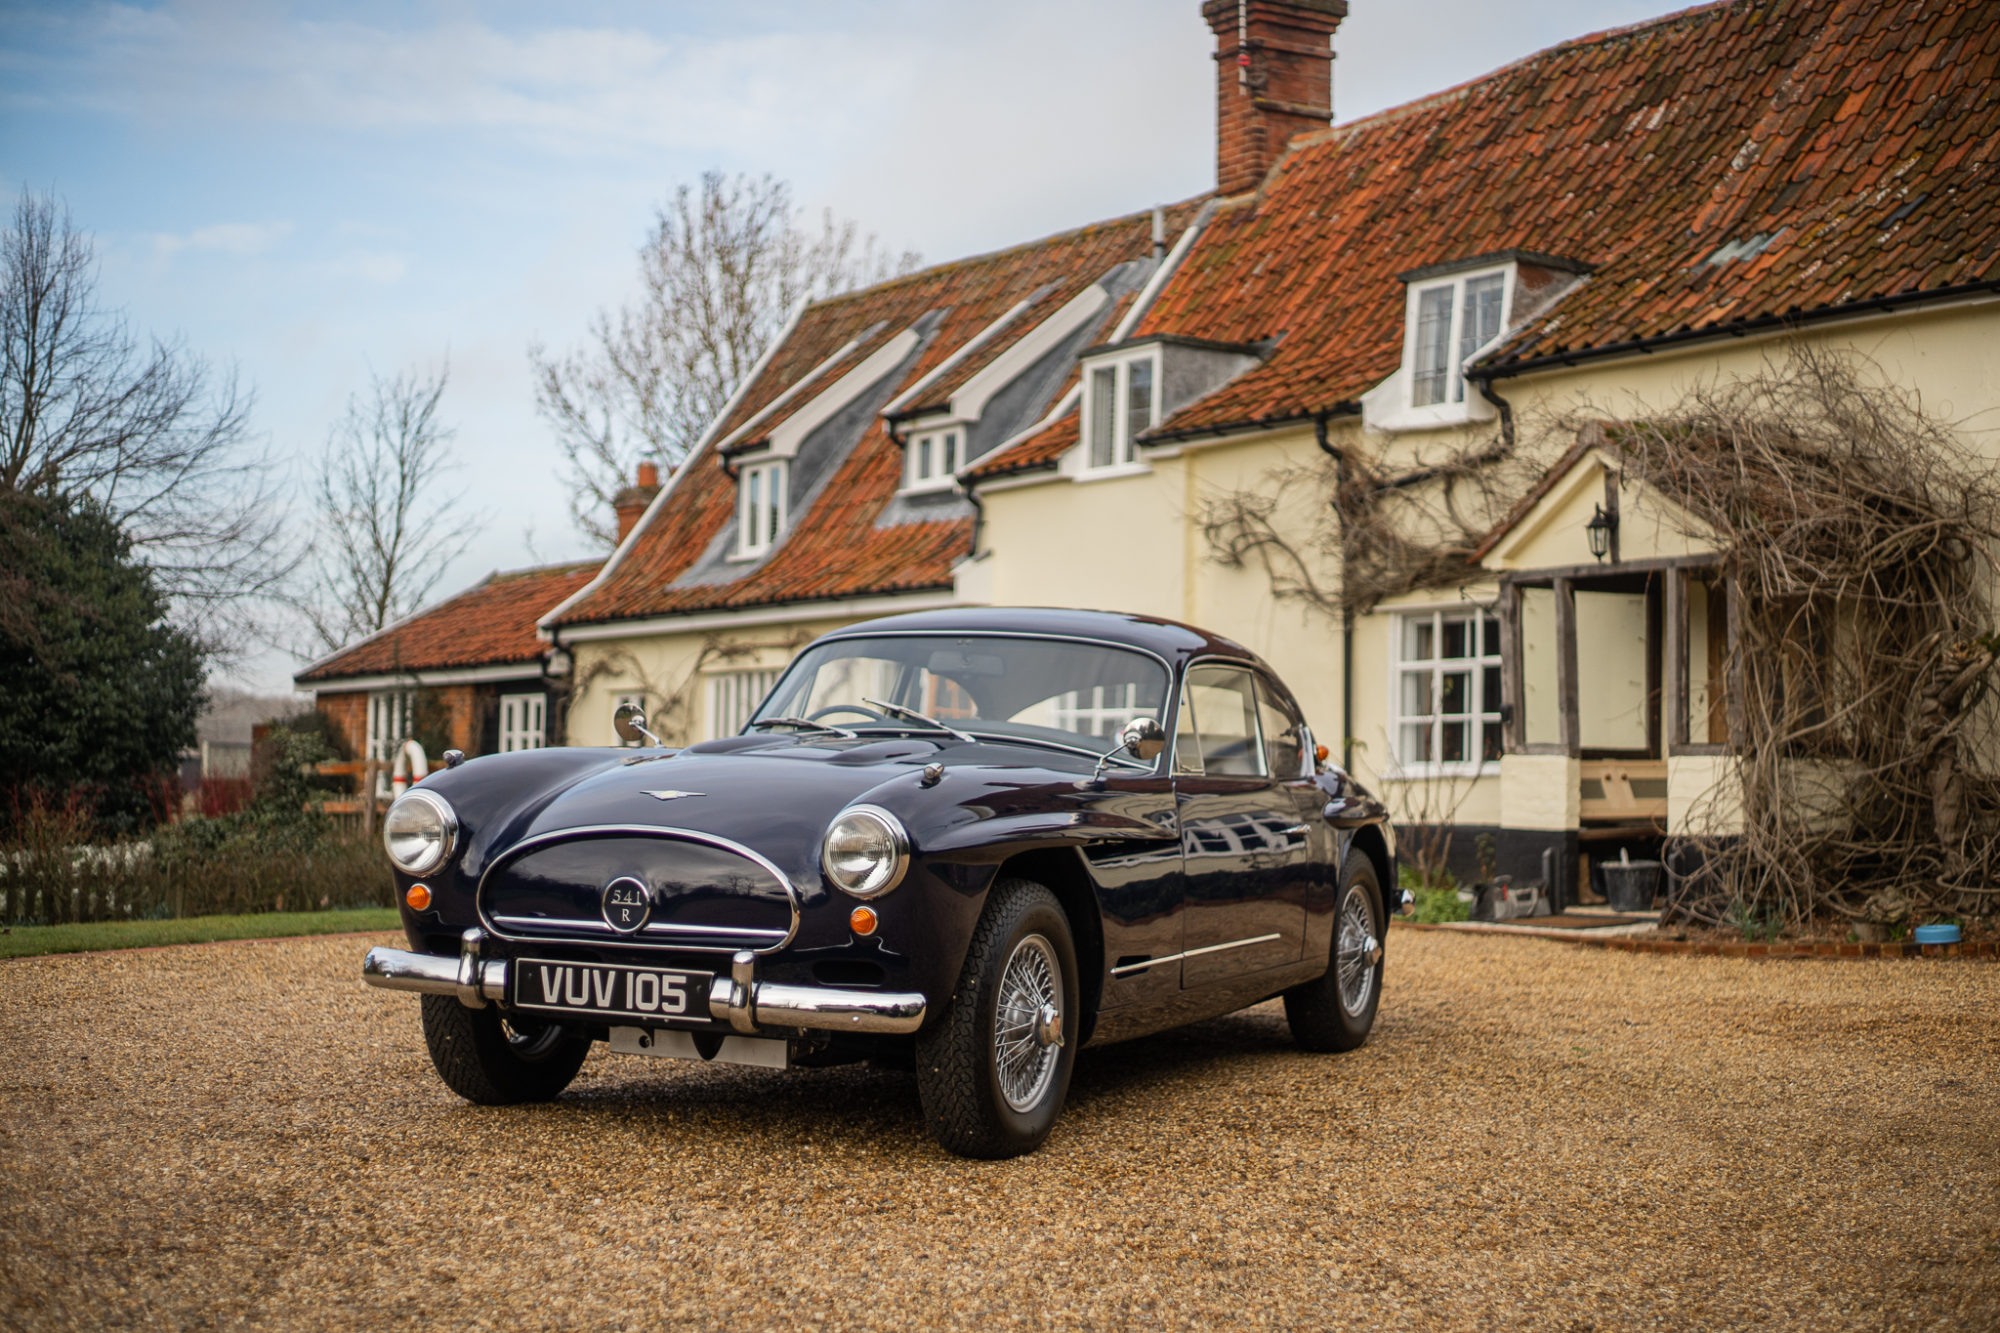
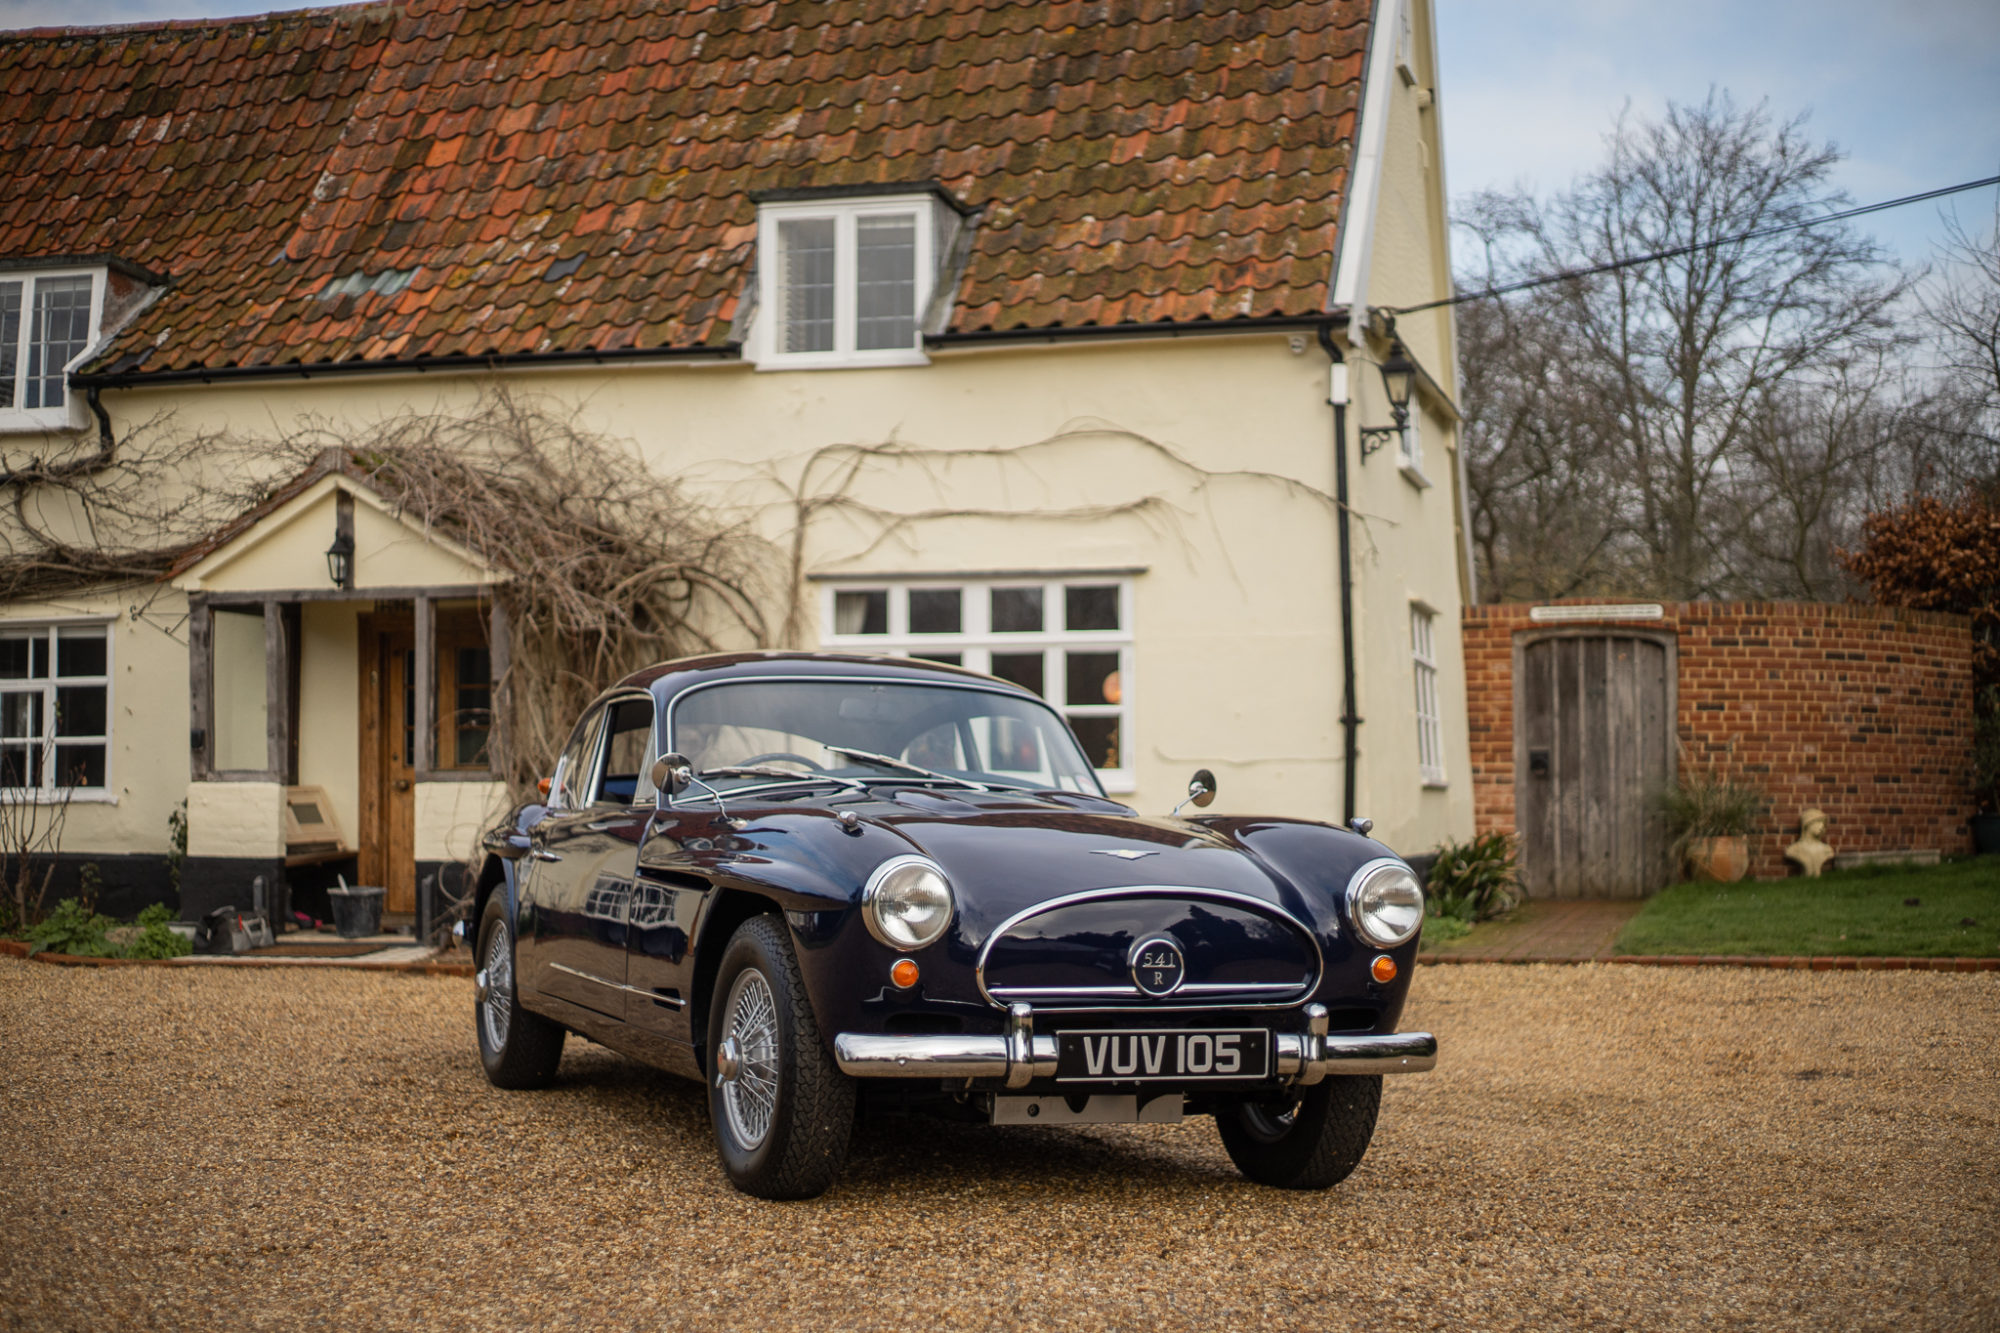
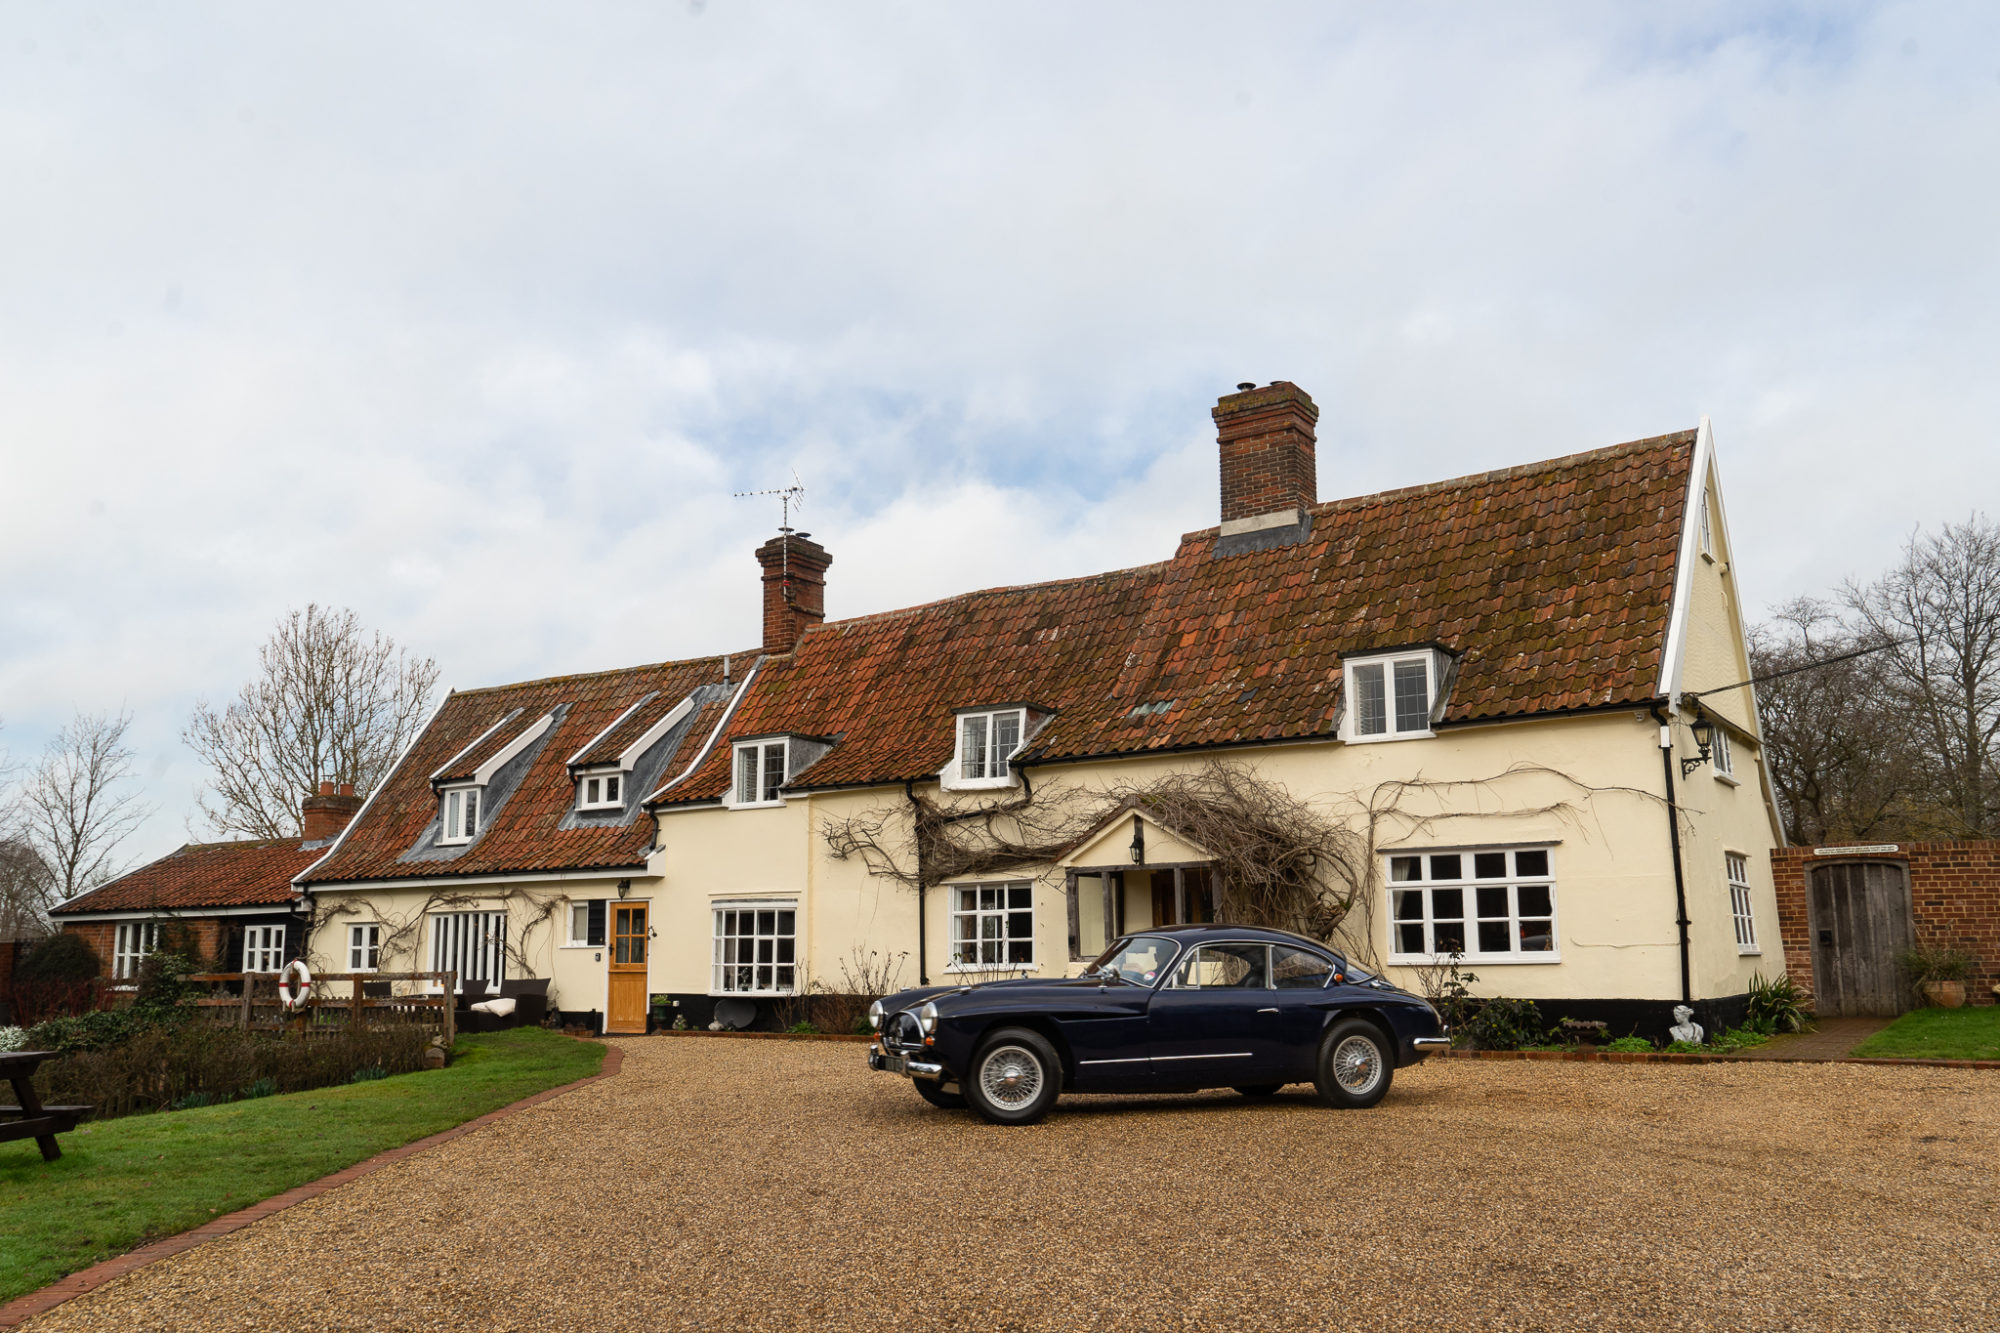
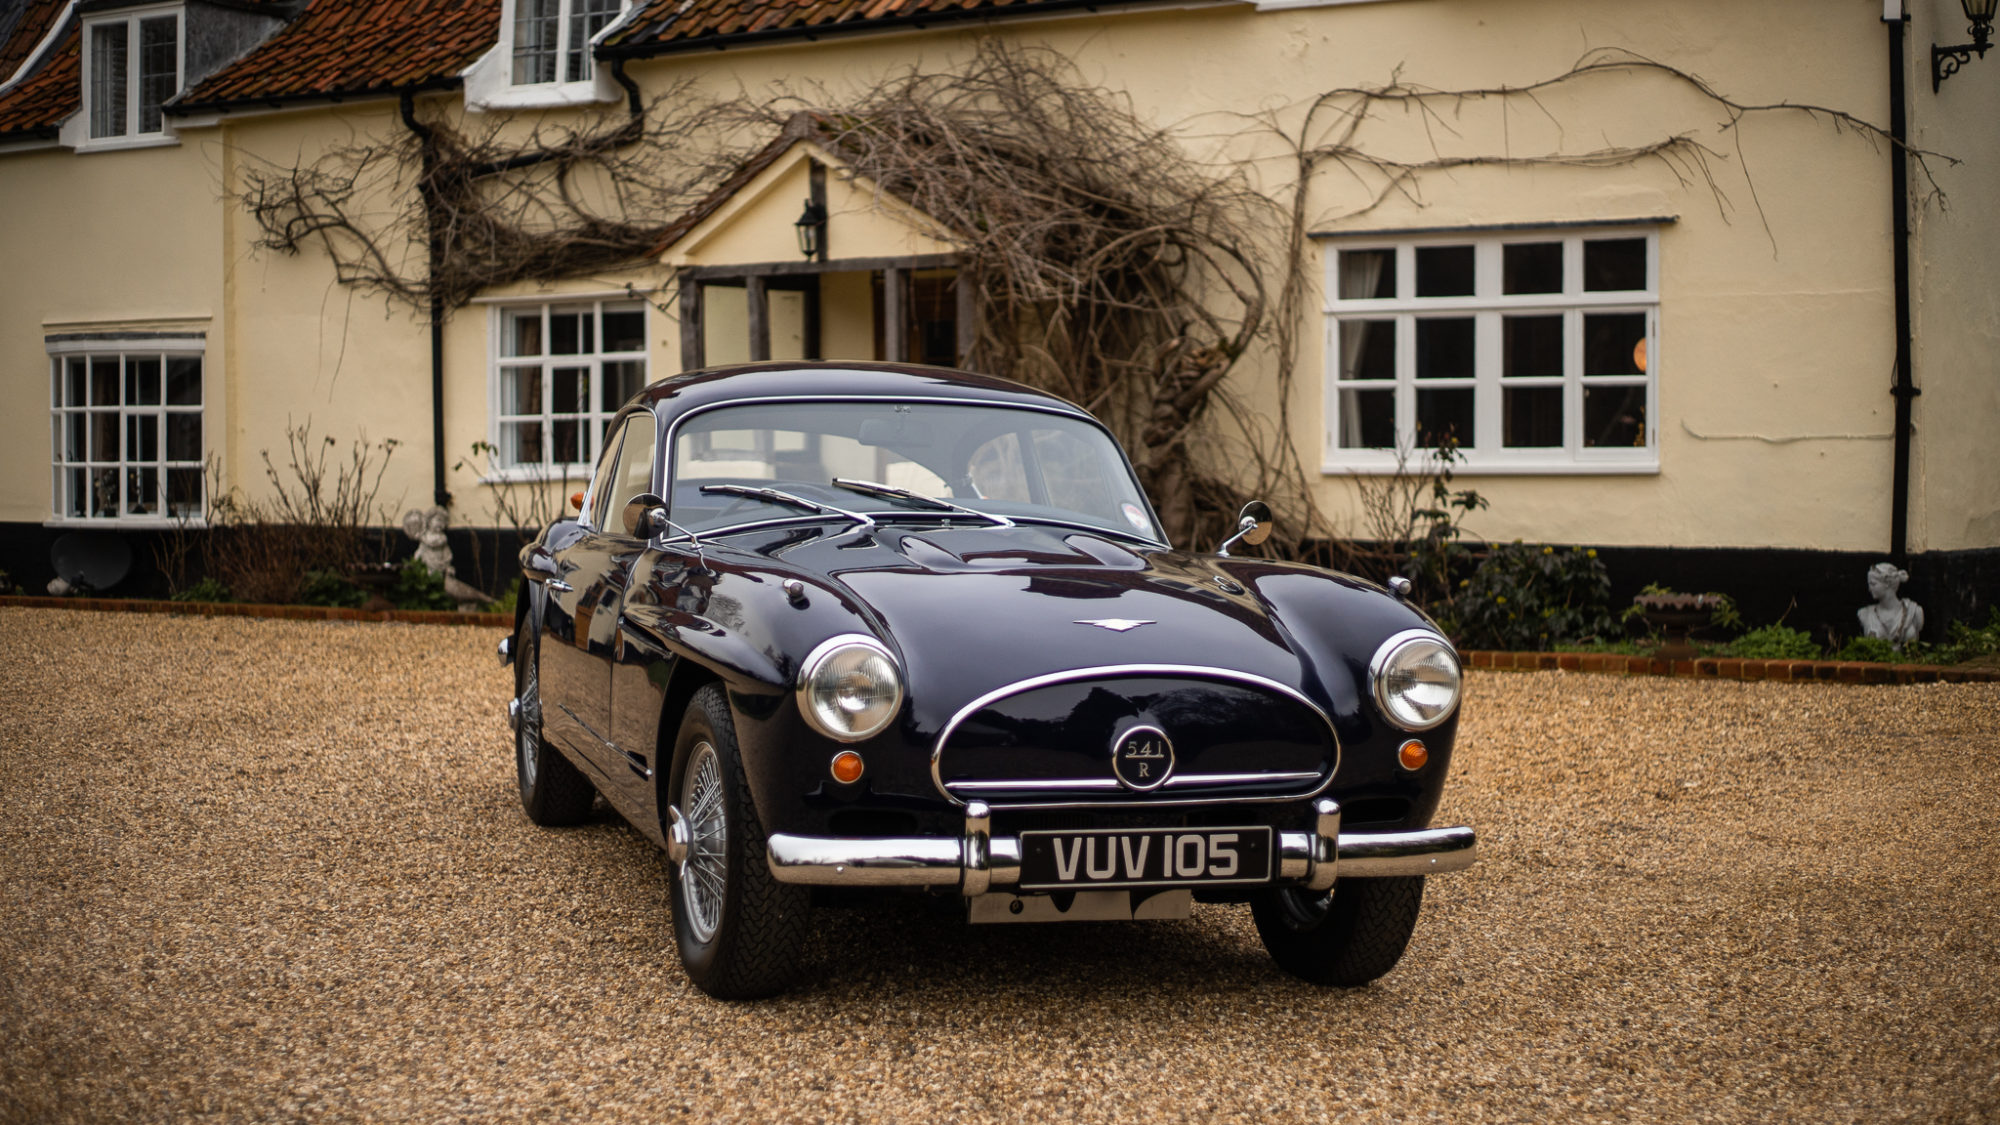
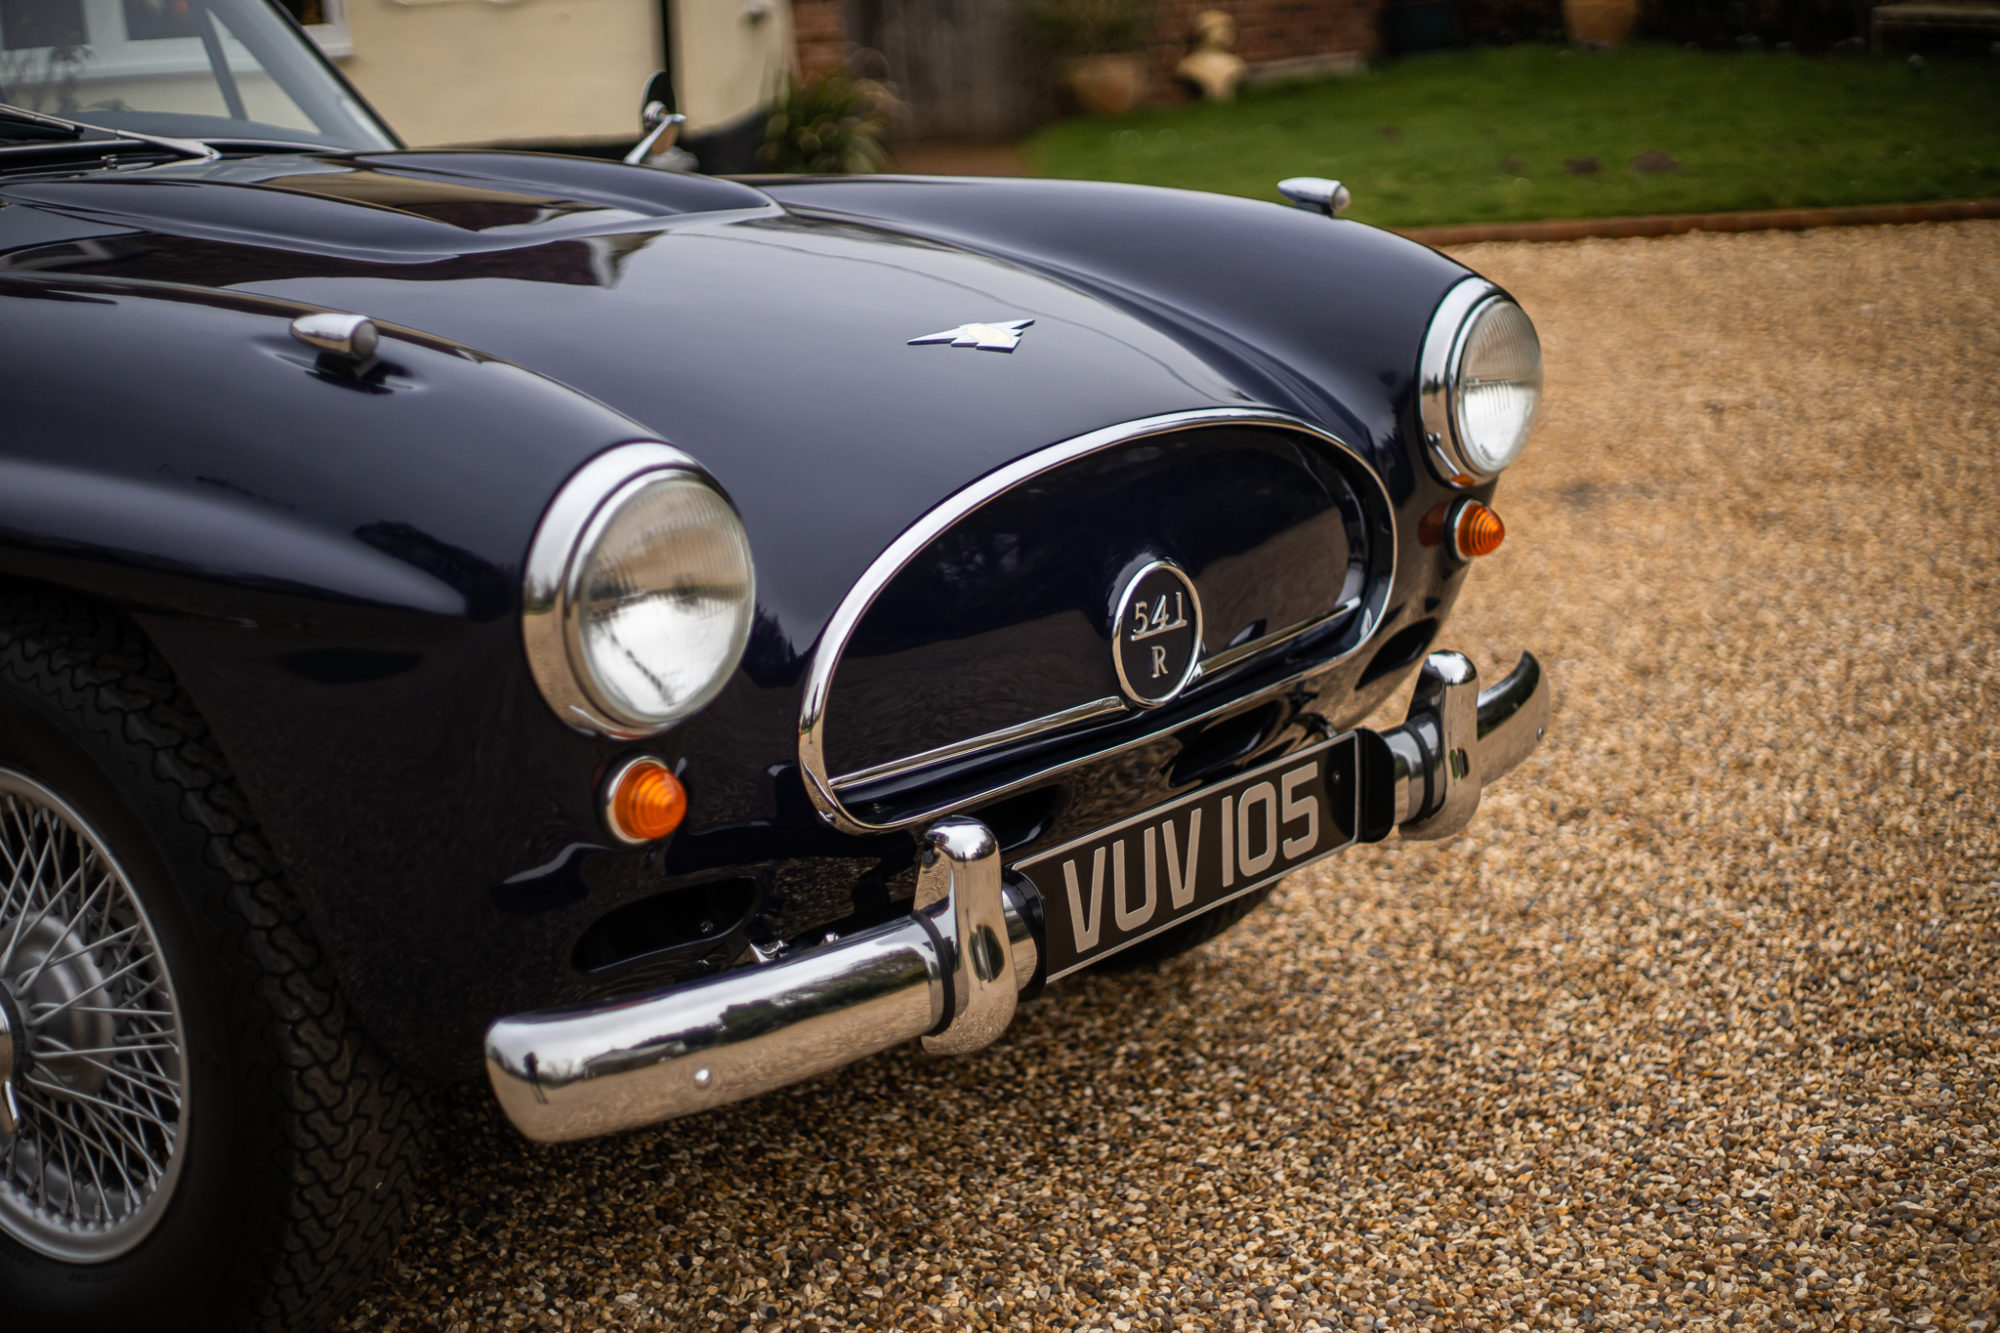
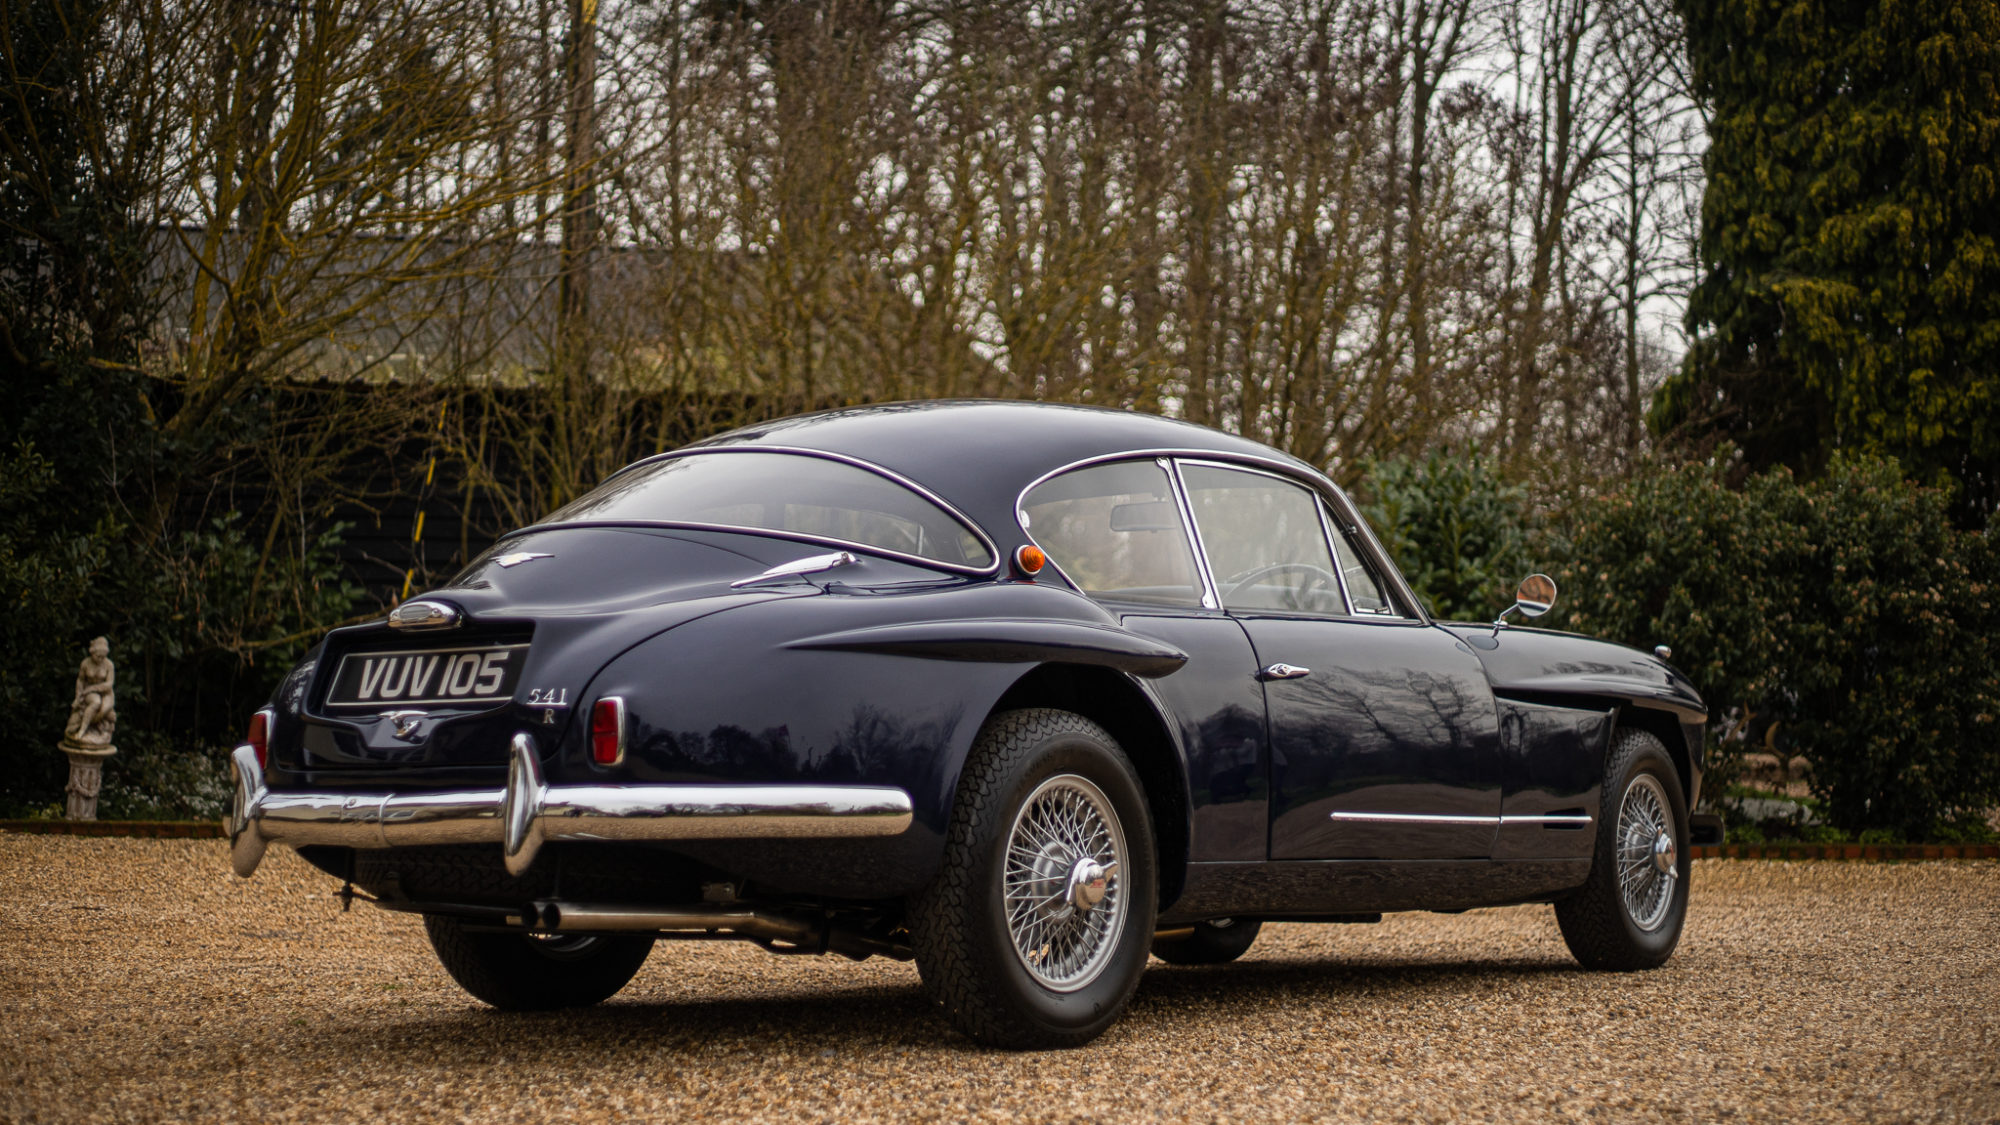
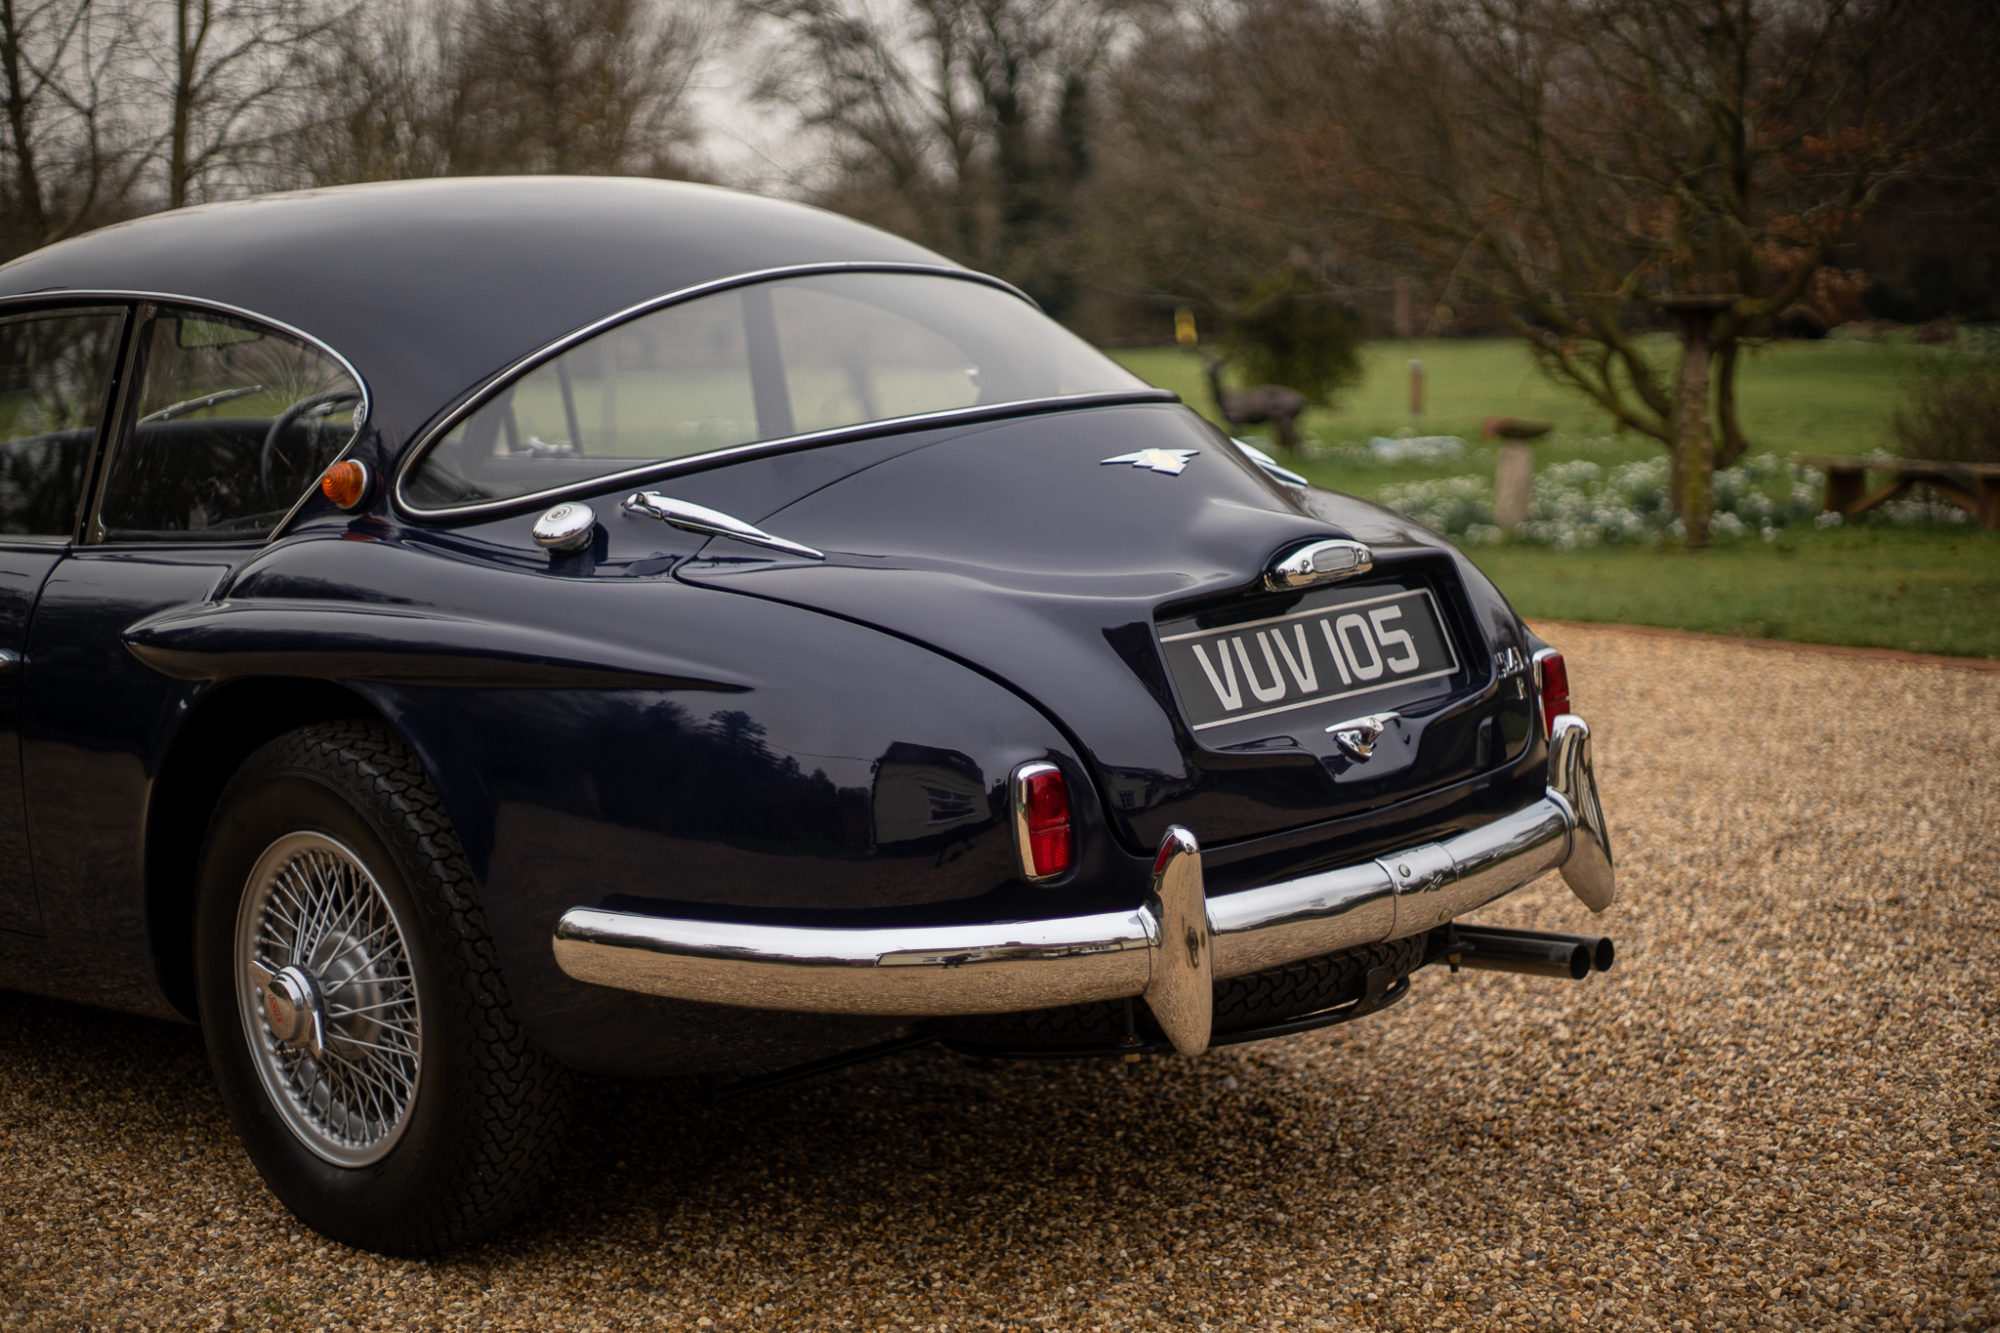
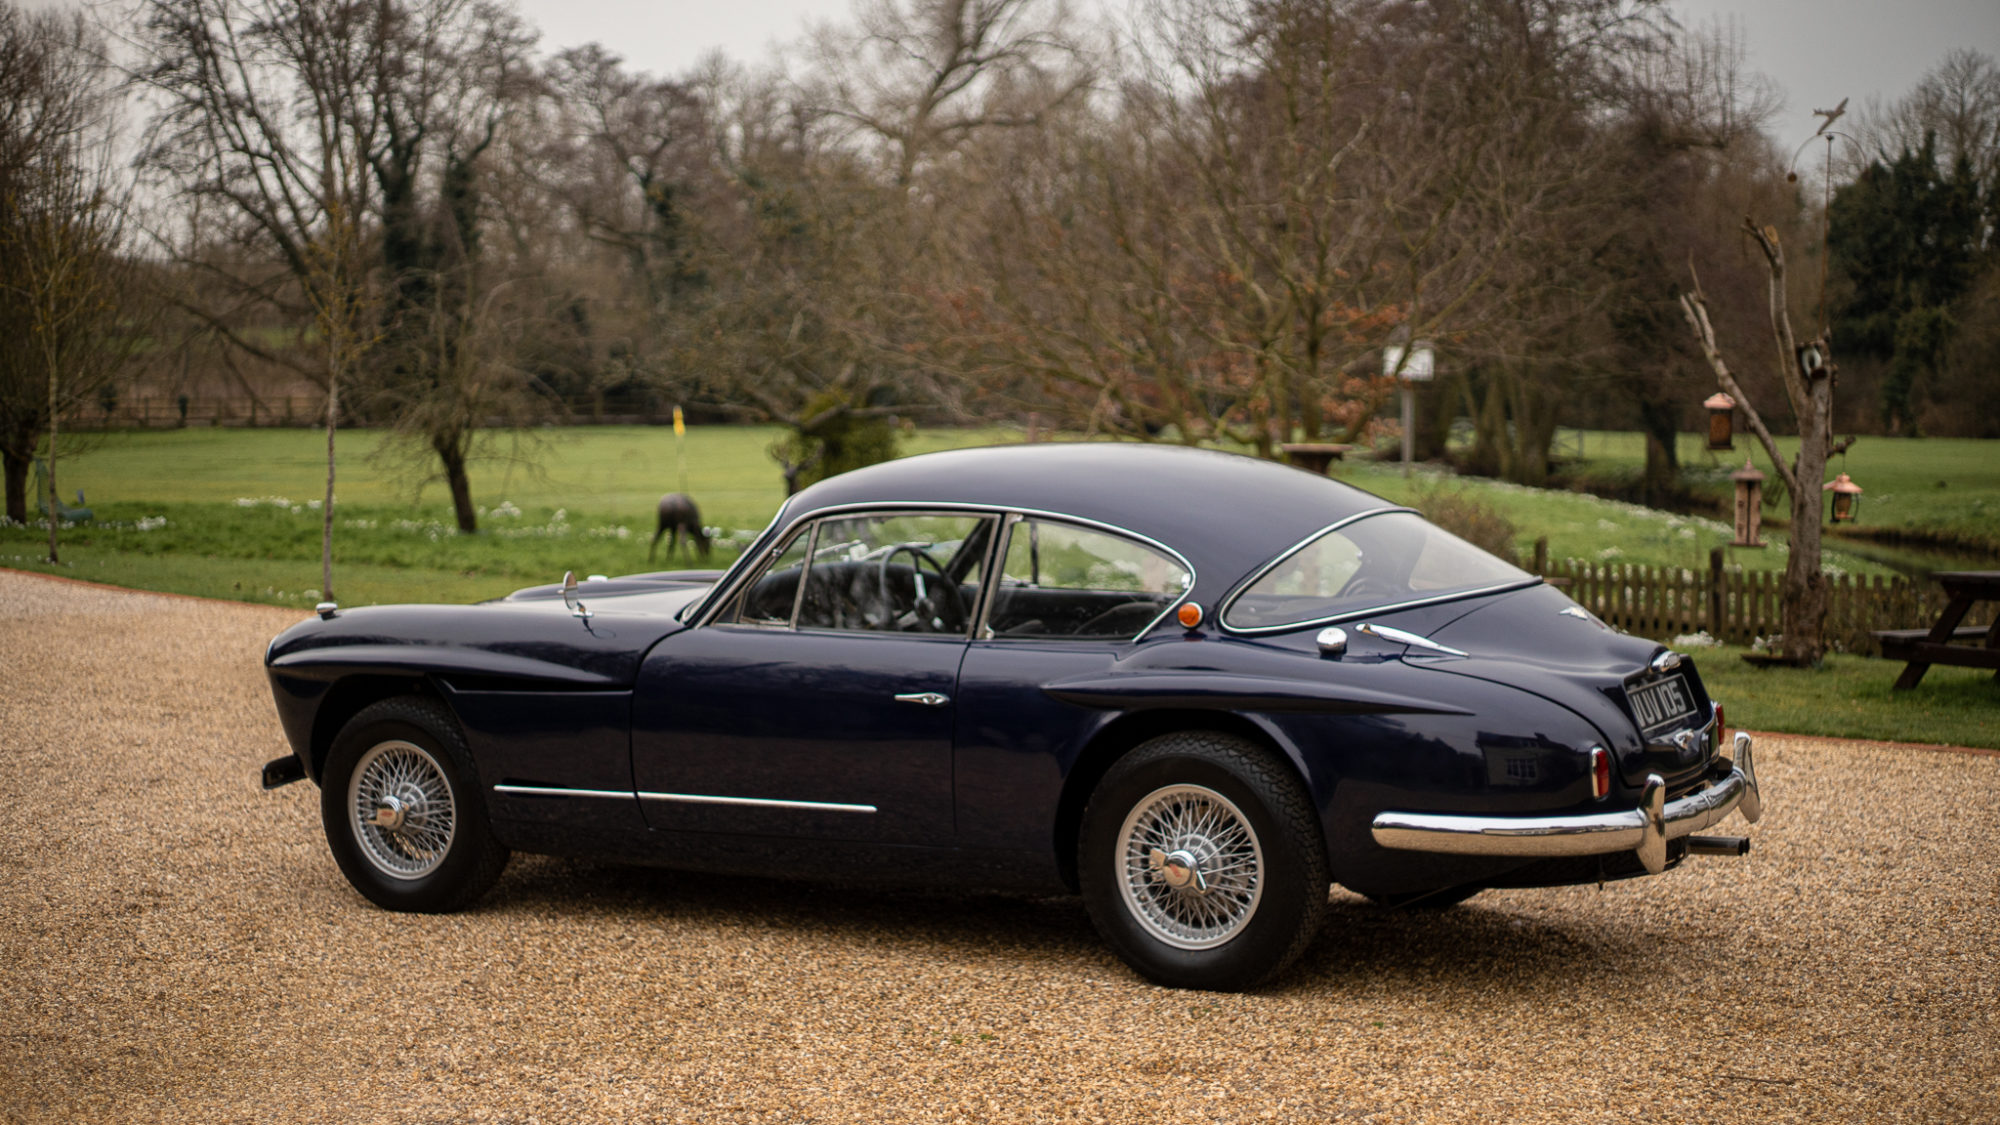
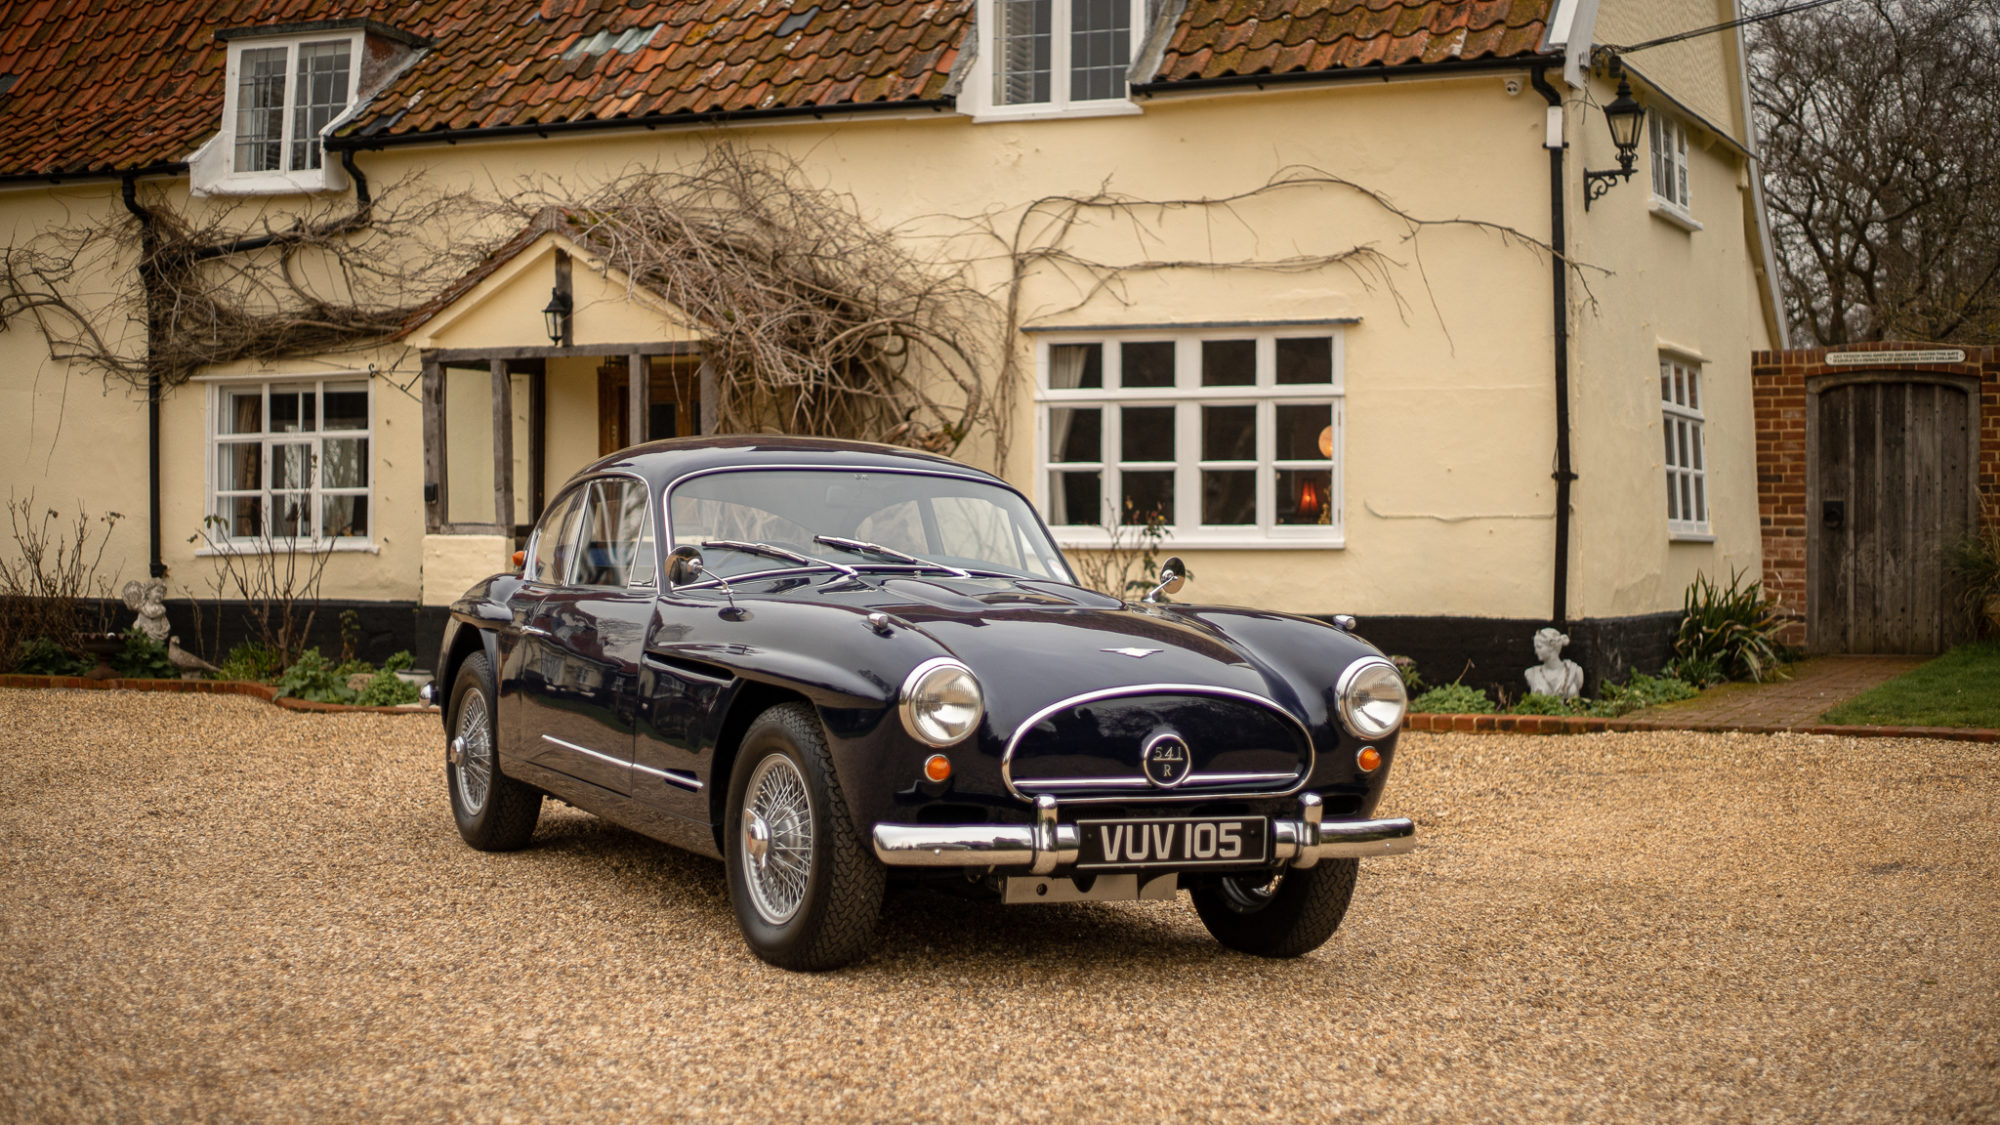
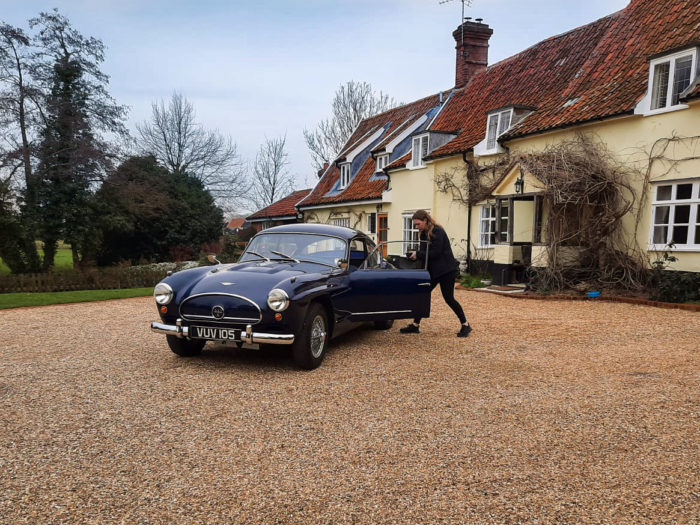
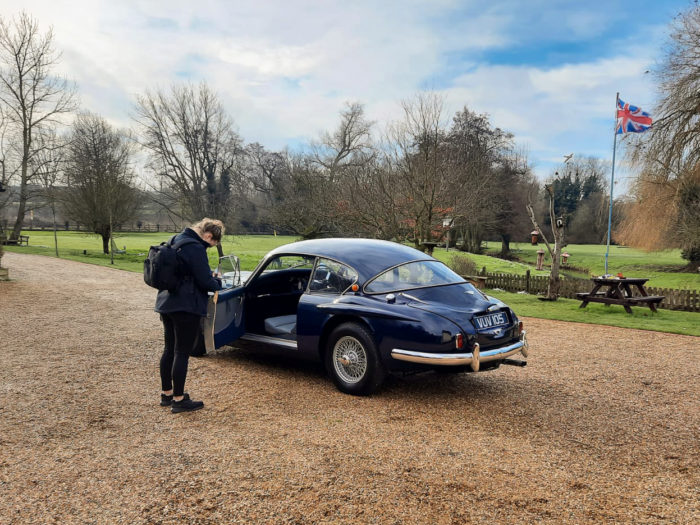
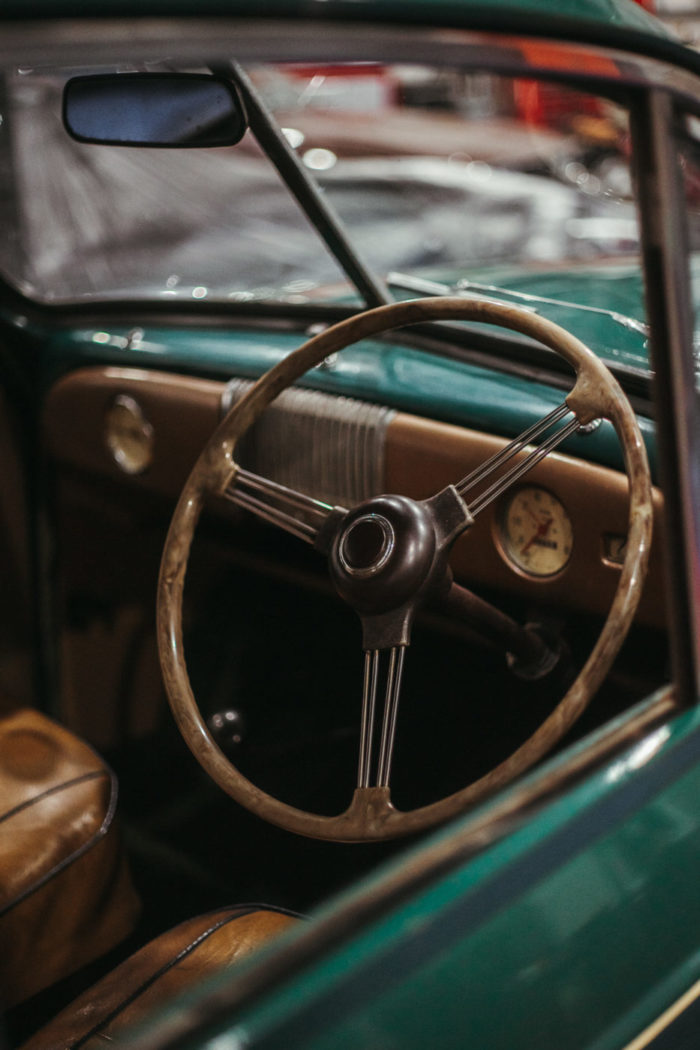
On Monday, Mauro and Ellie took the lorry and our 1958 Jensen 541R over to Glevering Mill to shoot it for our website. This stunning British classic is up for sale with us on our website, eBay, Car and Classic and Classic Car and Camper. In great condition, our Jensen is a stunning example of British engineering.
Monday turned from an overcast morning into rain and the shoot was halted early, however we were lucky enough to be able to come back the next day to continue to shoot. Denise and Allan, who live at Glevering Mill were enthusiastic and accommodating, working with us to help get the shoot done. Tuesday brought about blue skies and sunshine, making the paintwork really shine.
You can see this Jensen’s restoration story here.


Here’s some behind the scenes of Ellie shooting the Jensen on the sunnier second shoot.

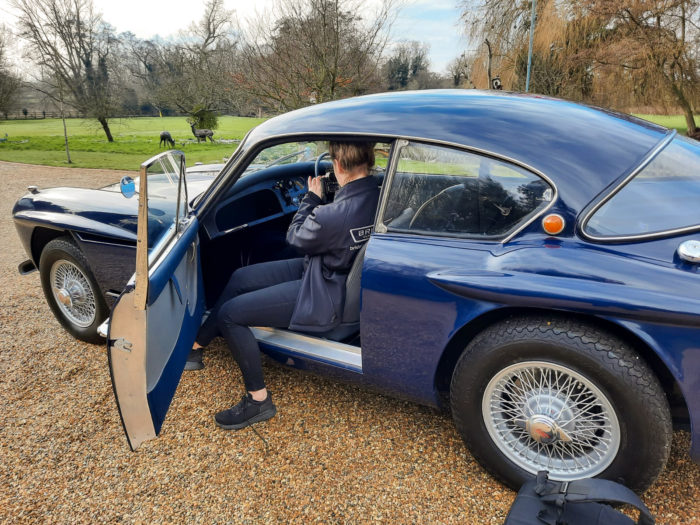
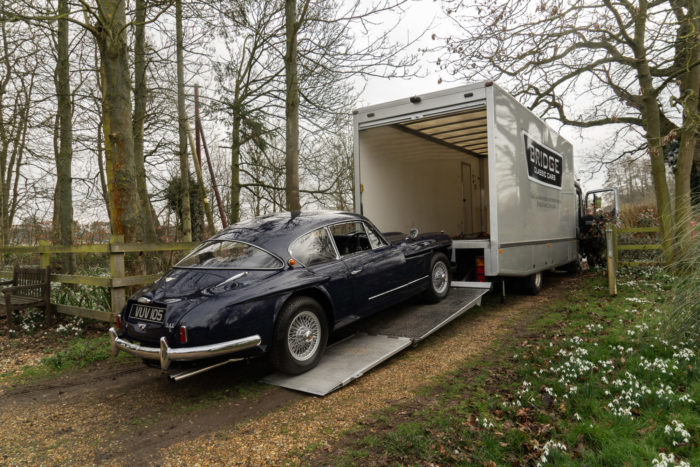
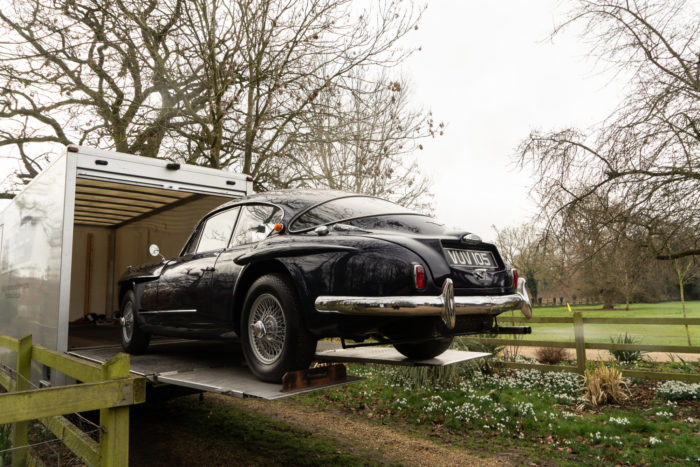
The Jensen also happened to be one of the first cars transported in the lorry with its new designs that were applied over the weekend!
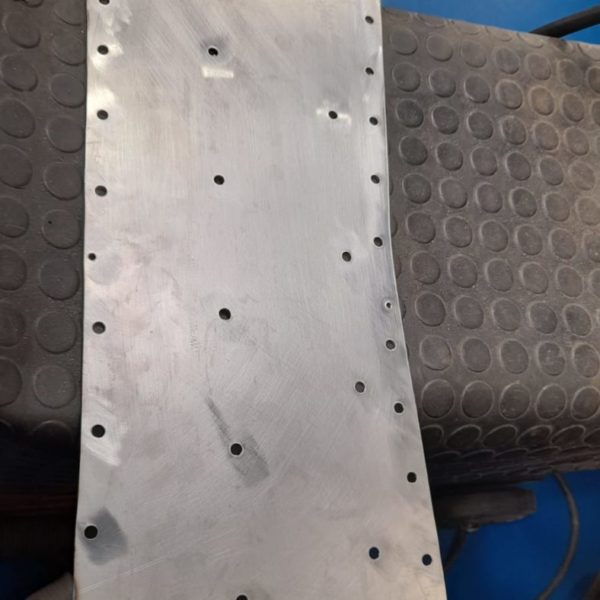
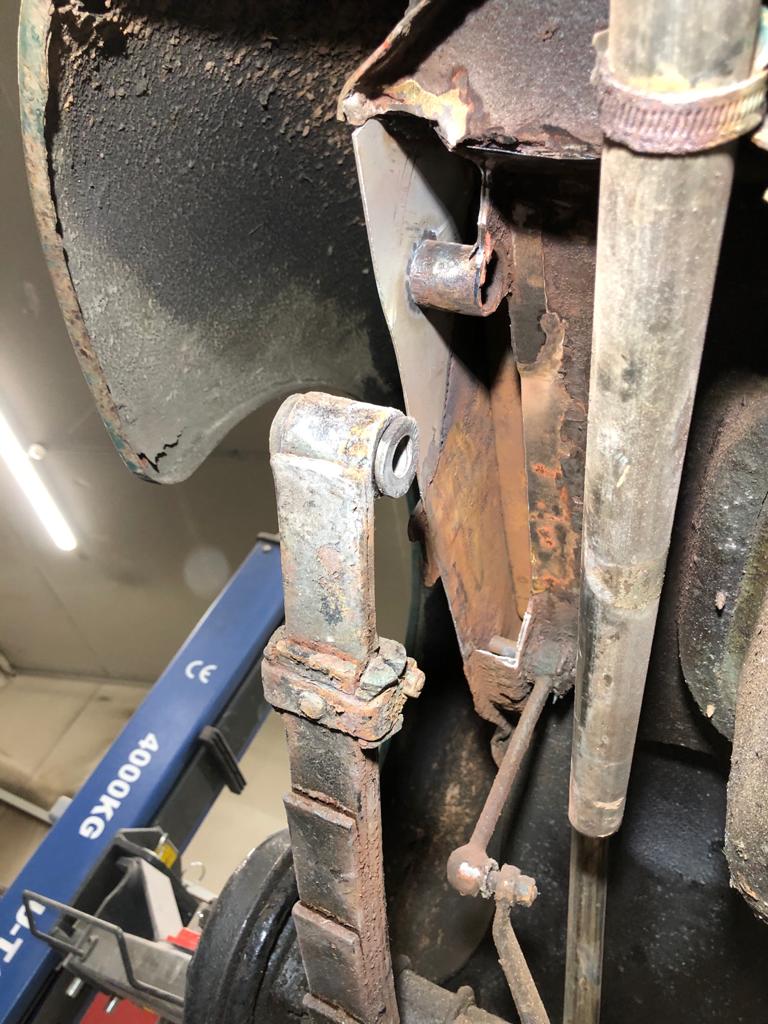
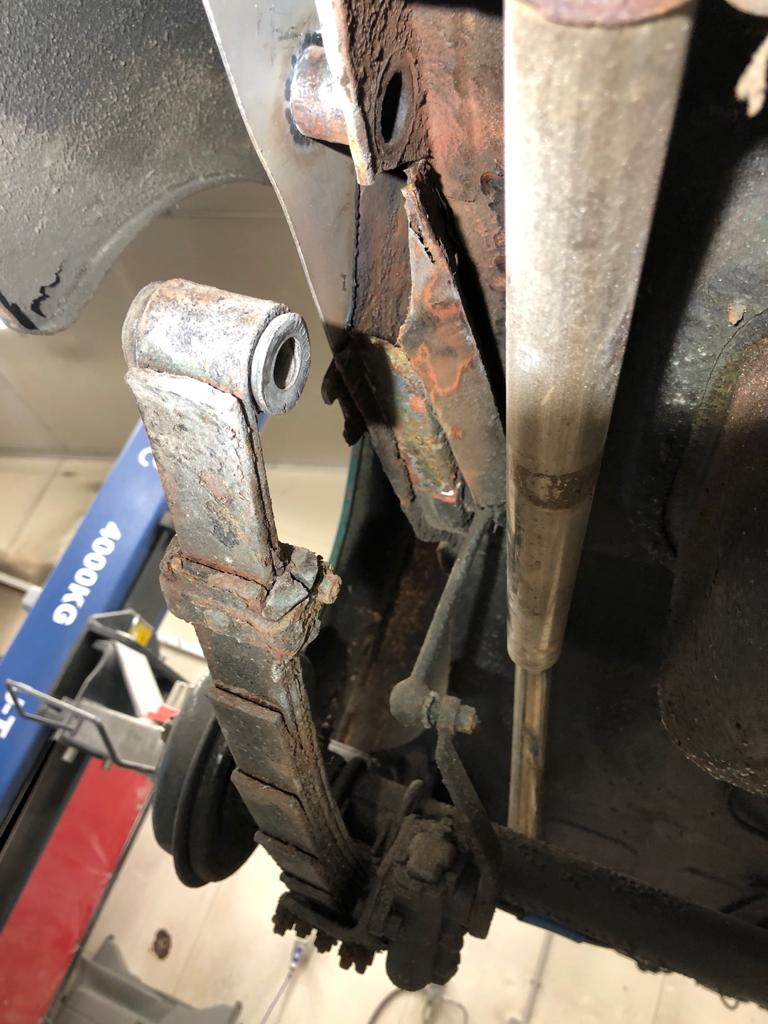
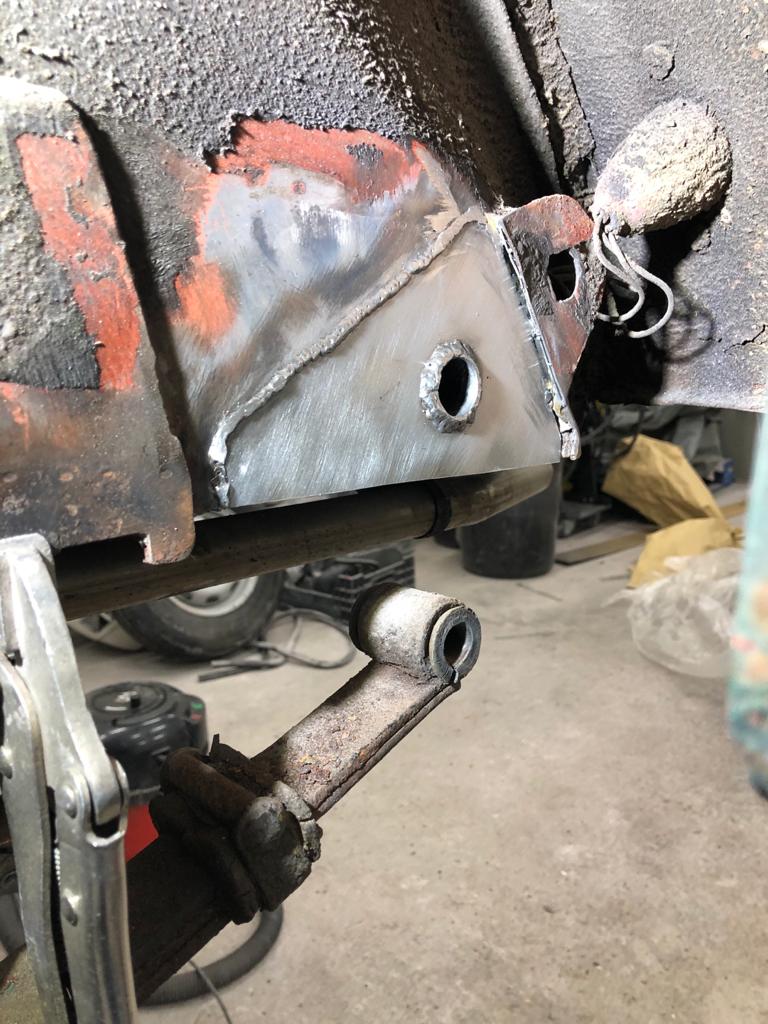
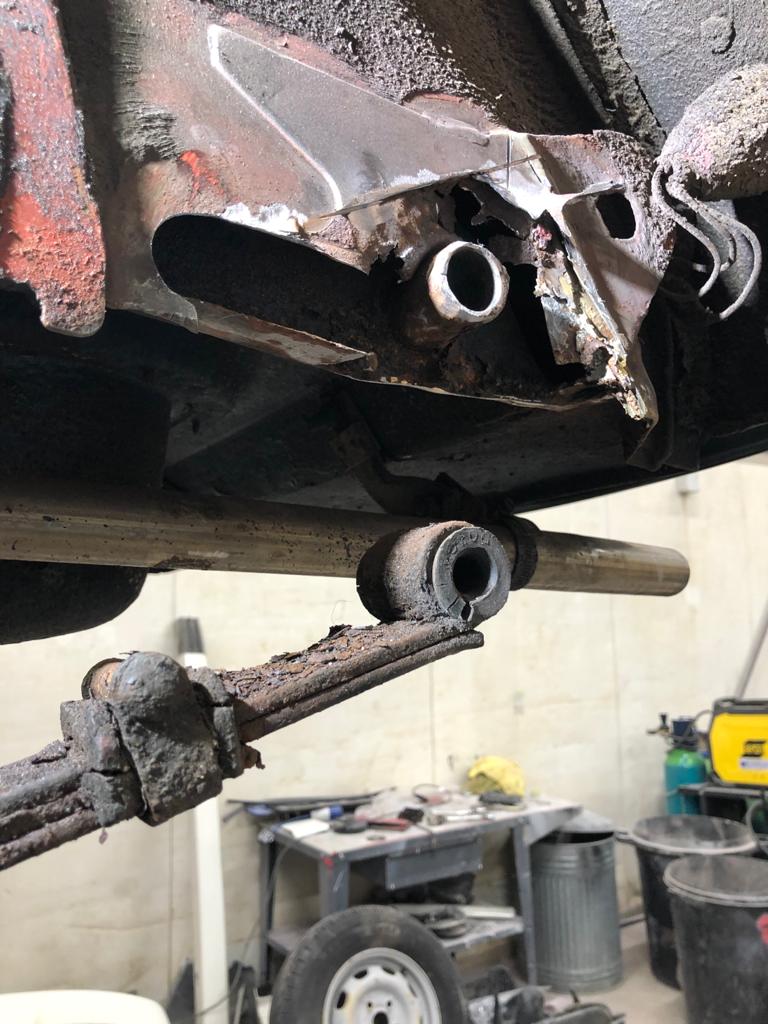
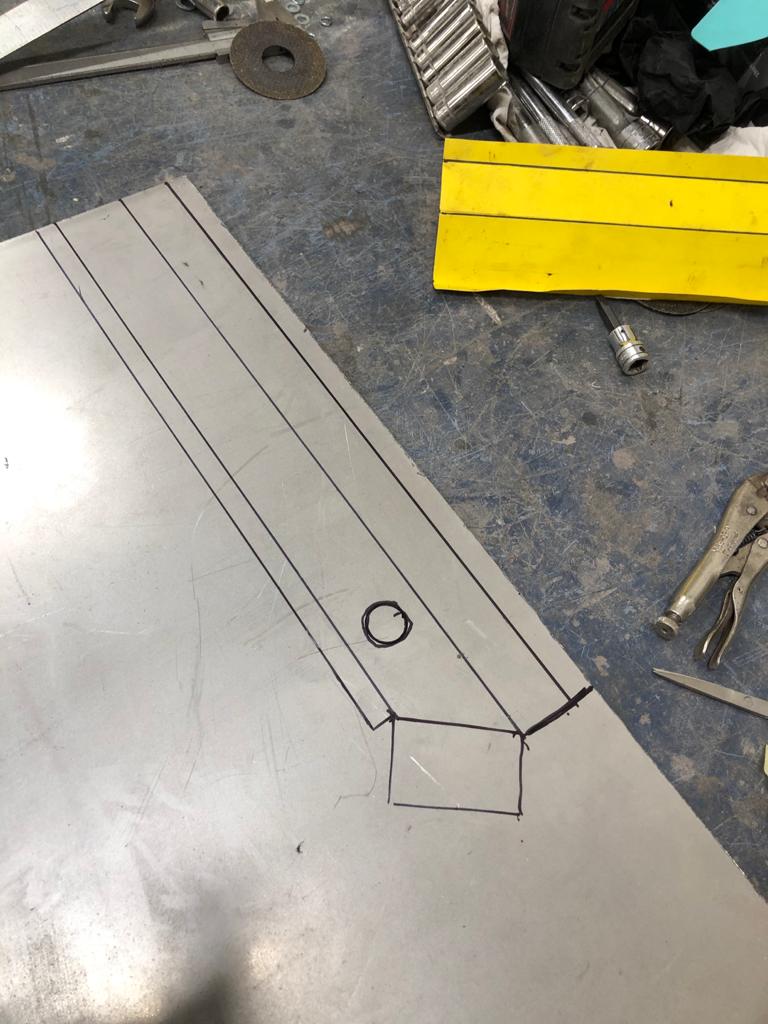
James has continued with correct the rust and corrosion on the chassis of the 1949 Morris Minor Lowlight. James made a template and then cut With the chassis now welded up, it has left the fabrication bay and made its way over to our hanger.

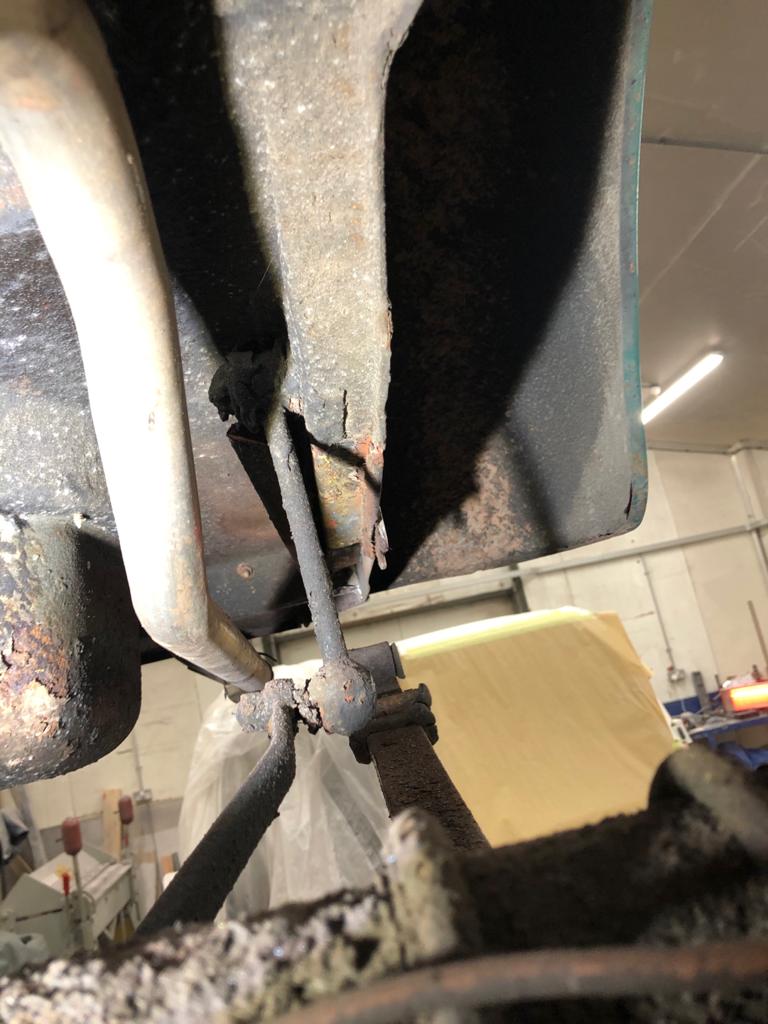
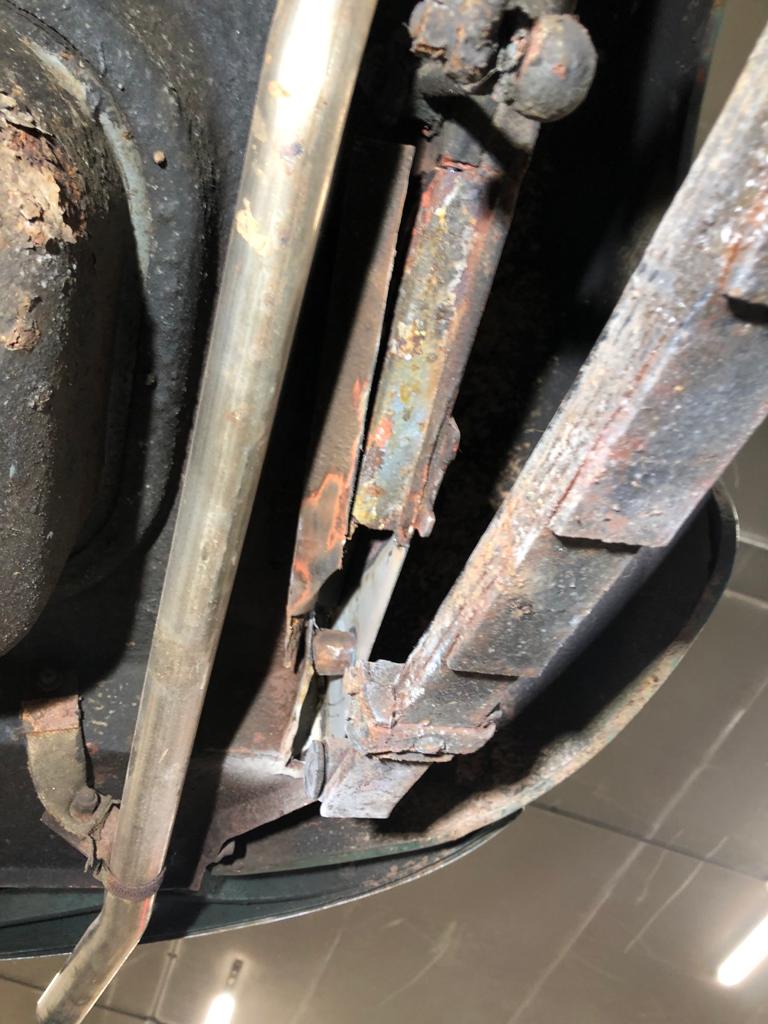
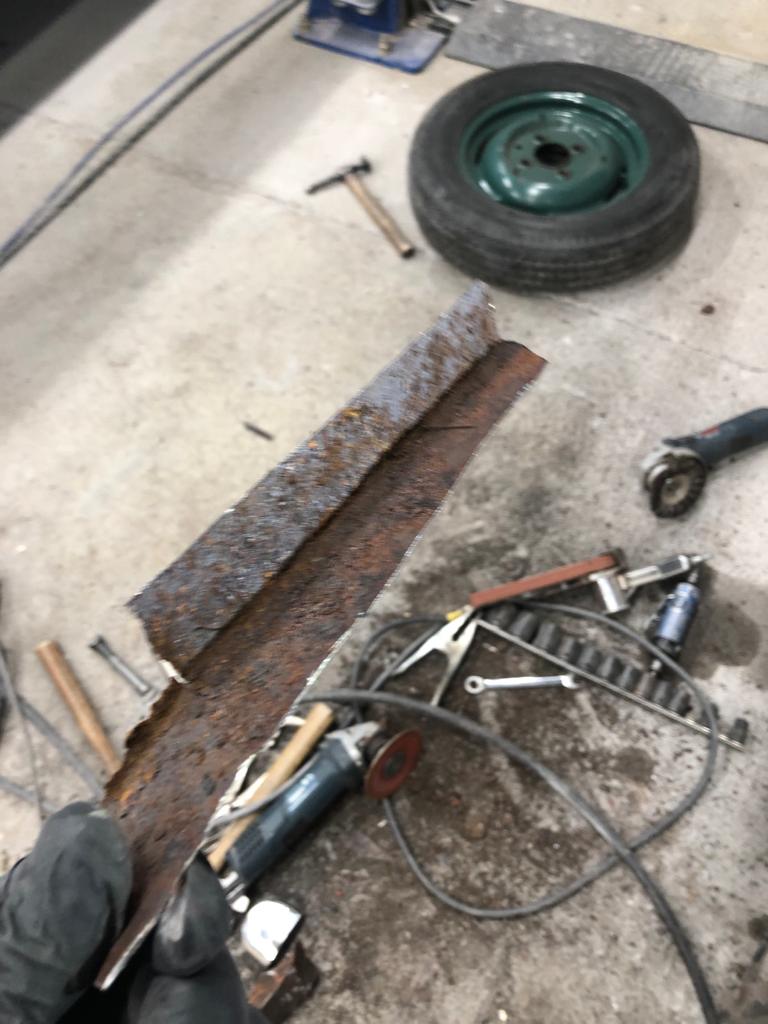
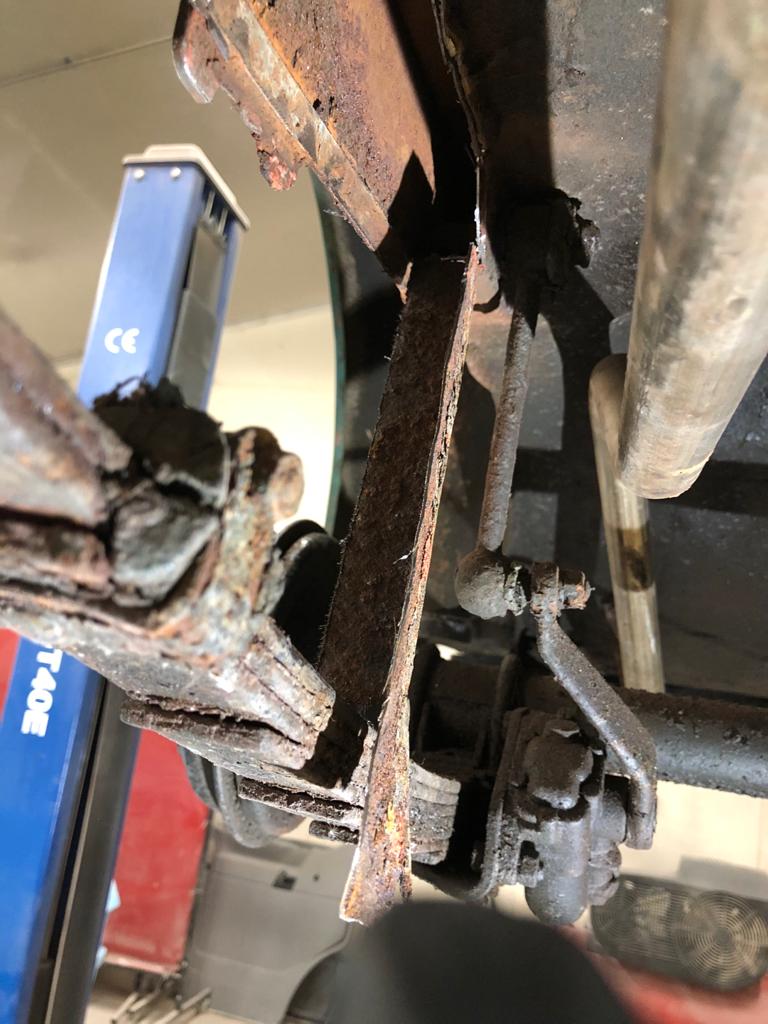
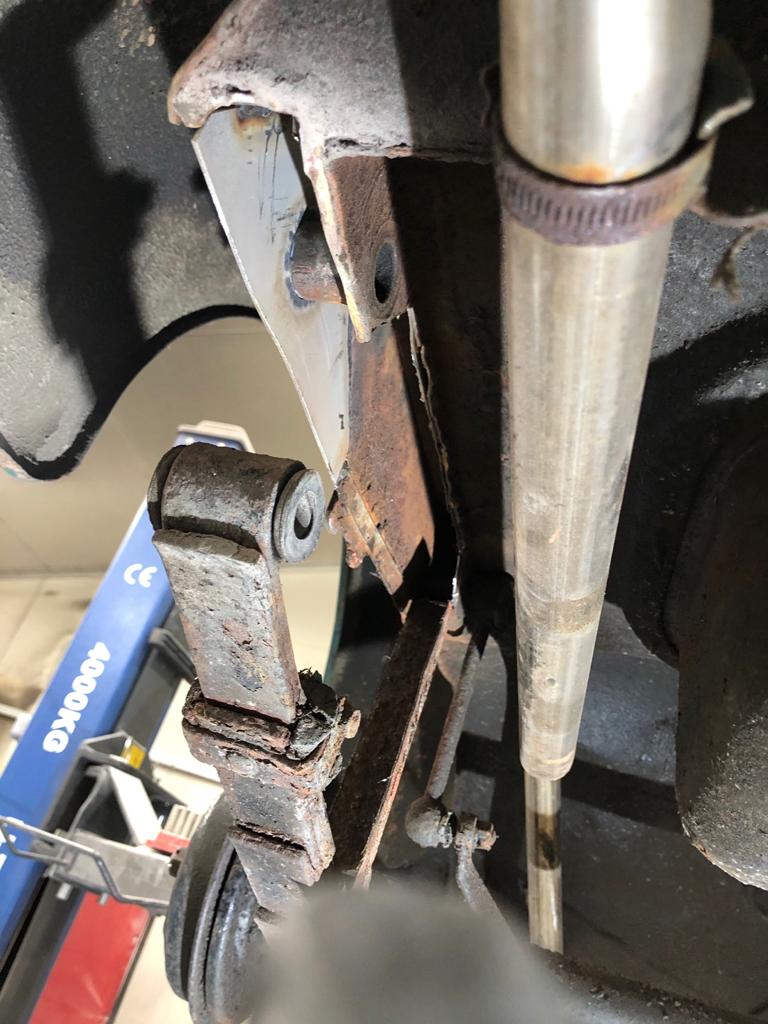
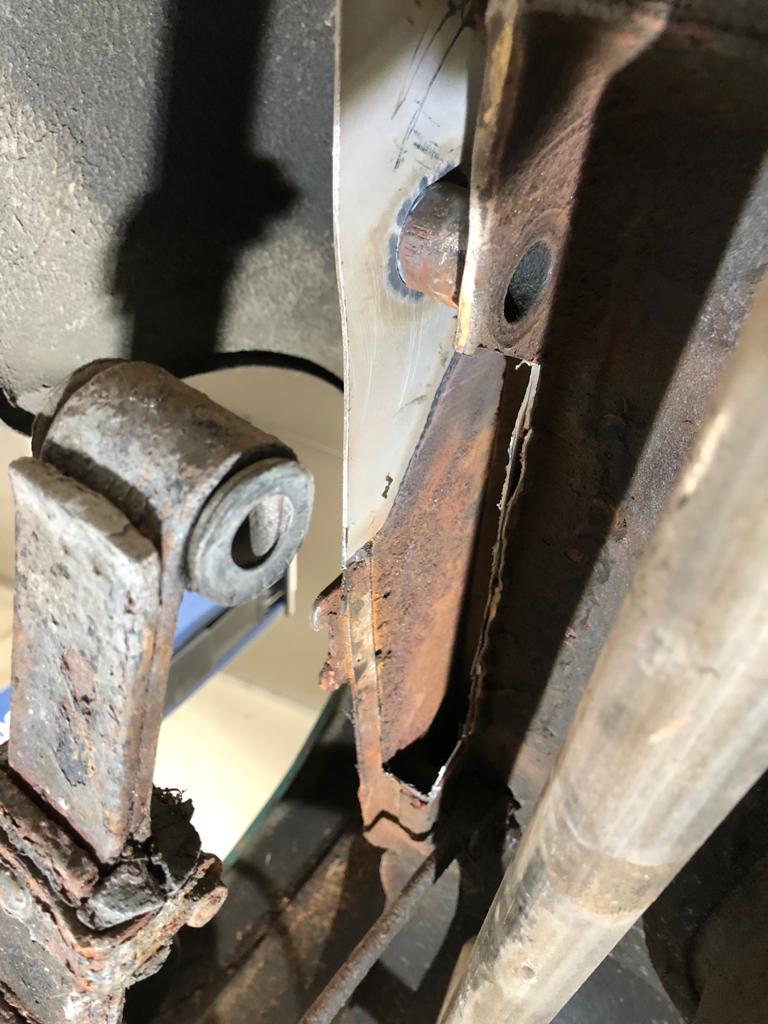
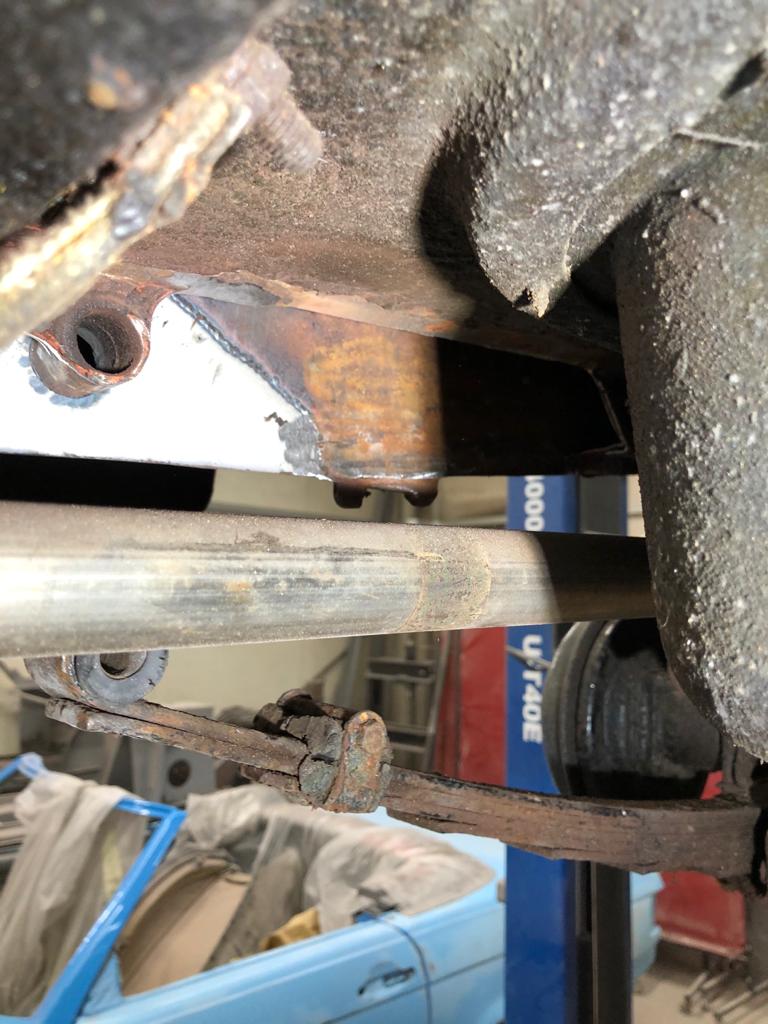


We managed to snap a few teaser photos of the Morris as it sat in our work shop before it went down to be stored at Bentwaters for the photoshoot. The interior is just stunning!

We are delighted to announce that we’ve teamed up with Car and Classic to share our Bridge Classic Cars’ services and competitions across their website. If you’re used to perusing the classifieds of Car and Classic, you’ll start to see our adverts popping up.
We’ve featured several times in Car and Classic’s Magazine. Most recently, our E-Type Racecar received a beautiful write up from Head of Editorial, Chris Pollitt. You can read Chris’ article here: https://www.carandclassic.co.uk/magazine/e-type-racer-built-for-the-thrill
We’re excited by this partnership and cannot wait to reveal more of our exciting plans with Car and Classic.
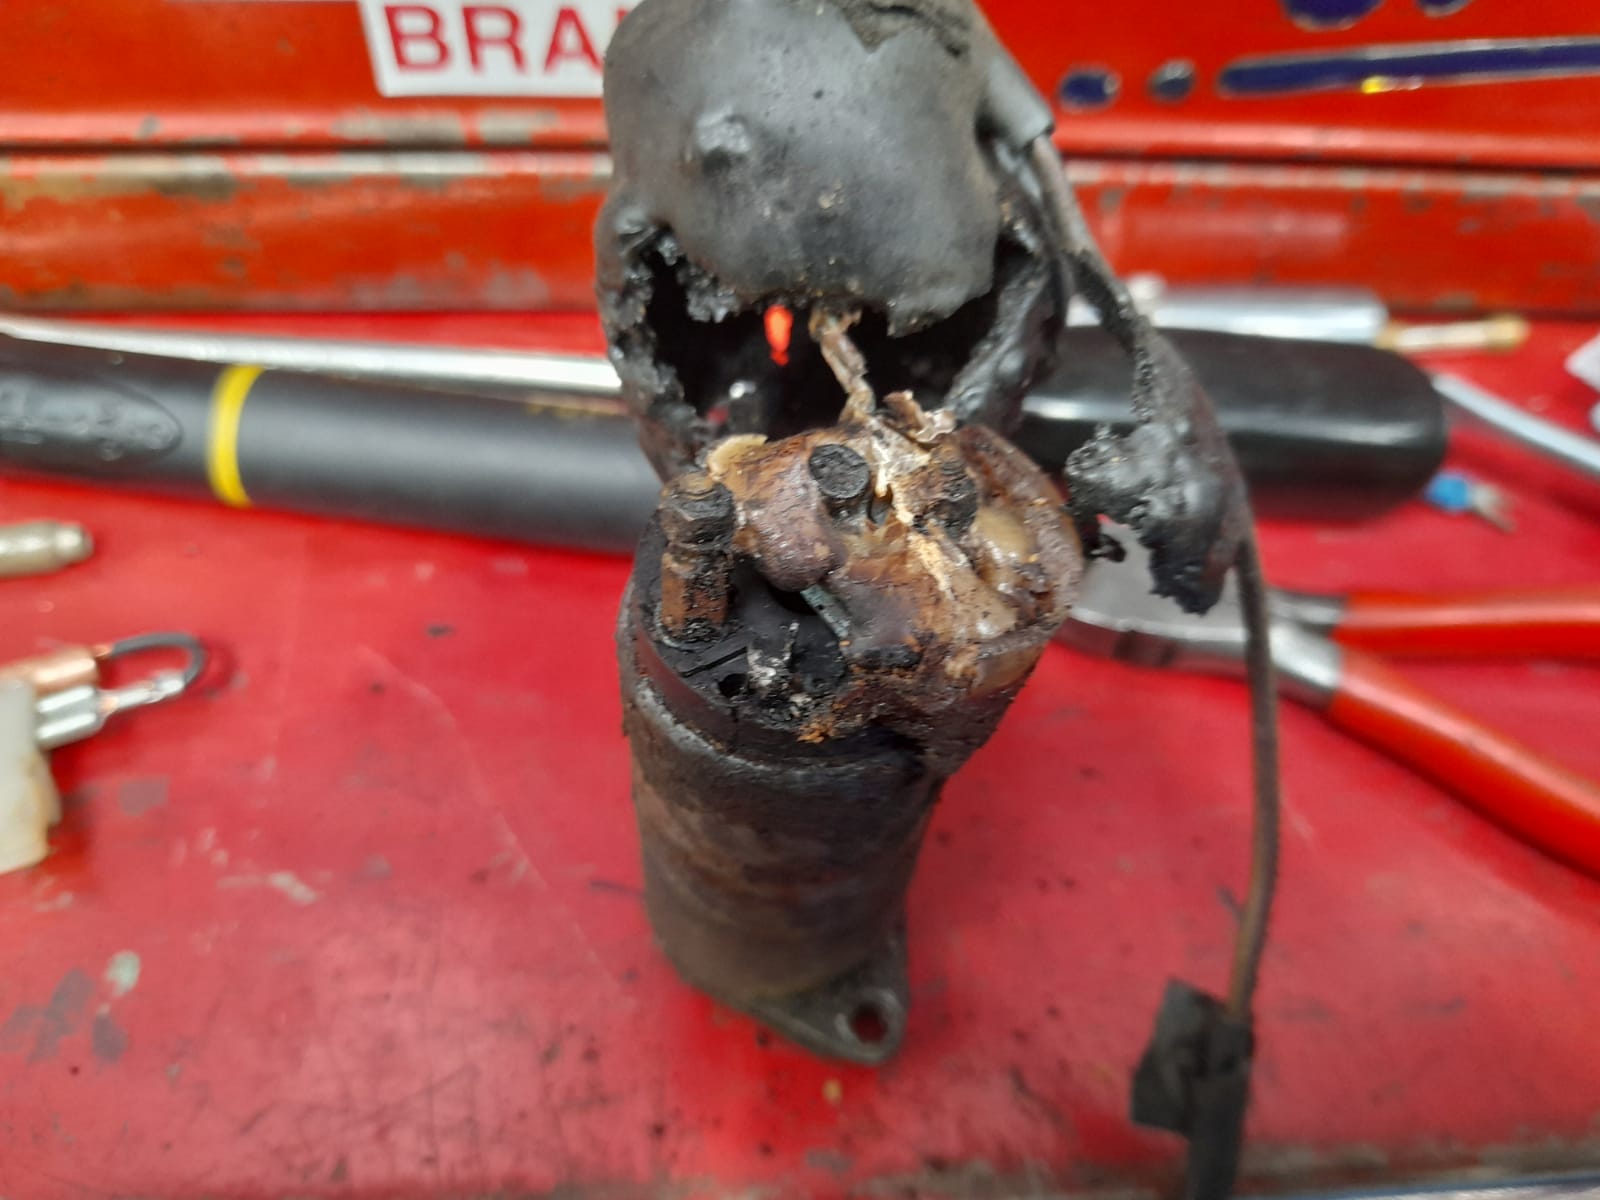
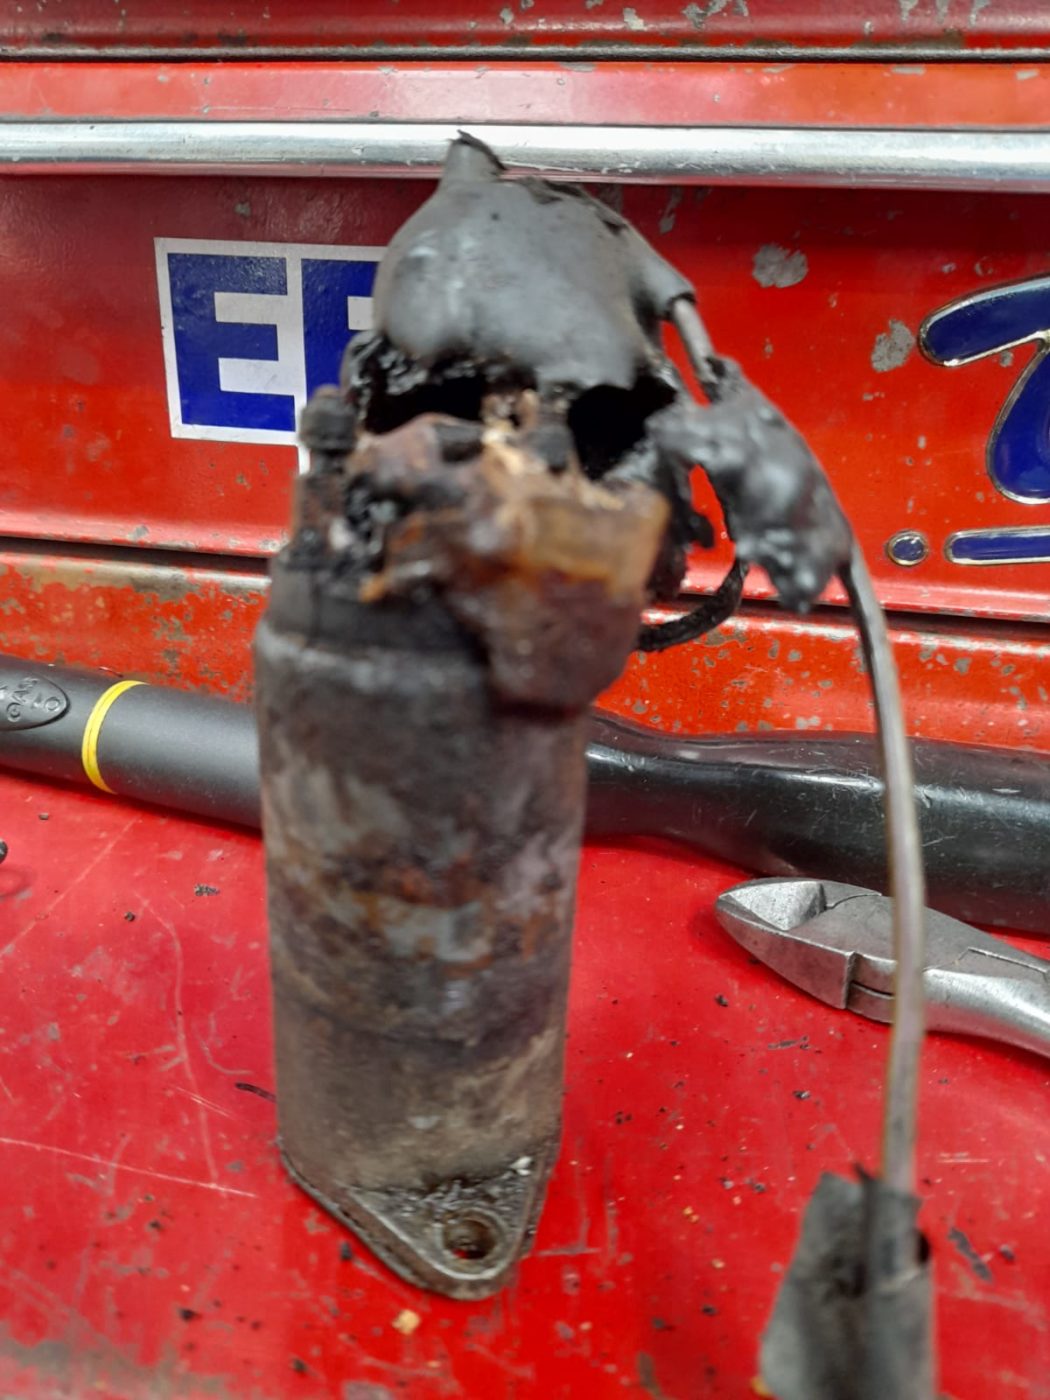
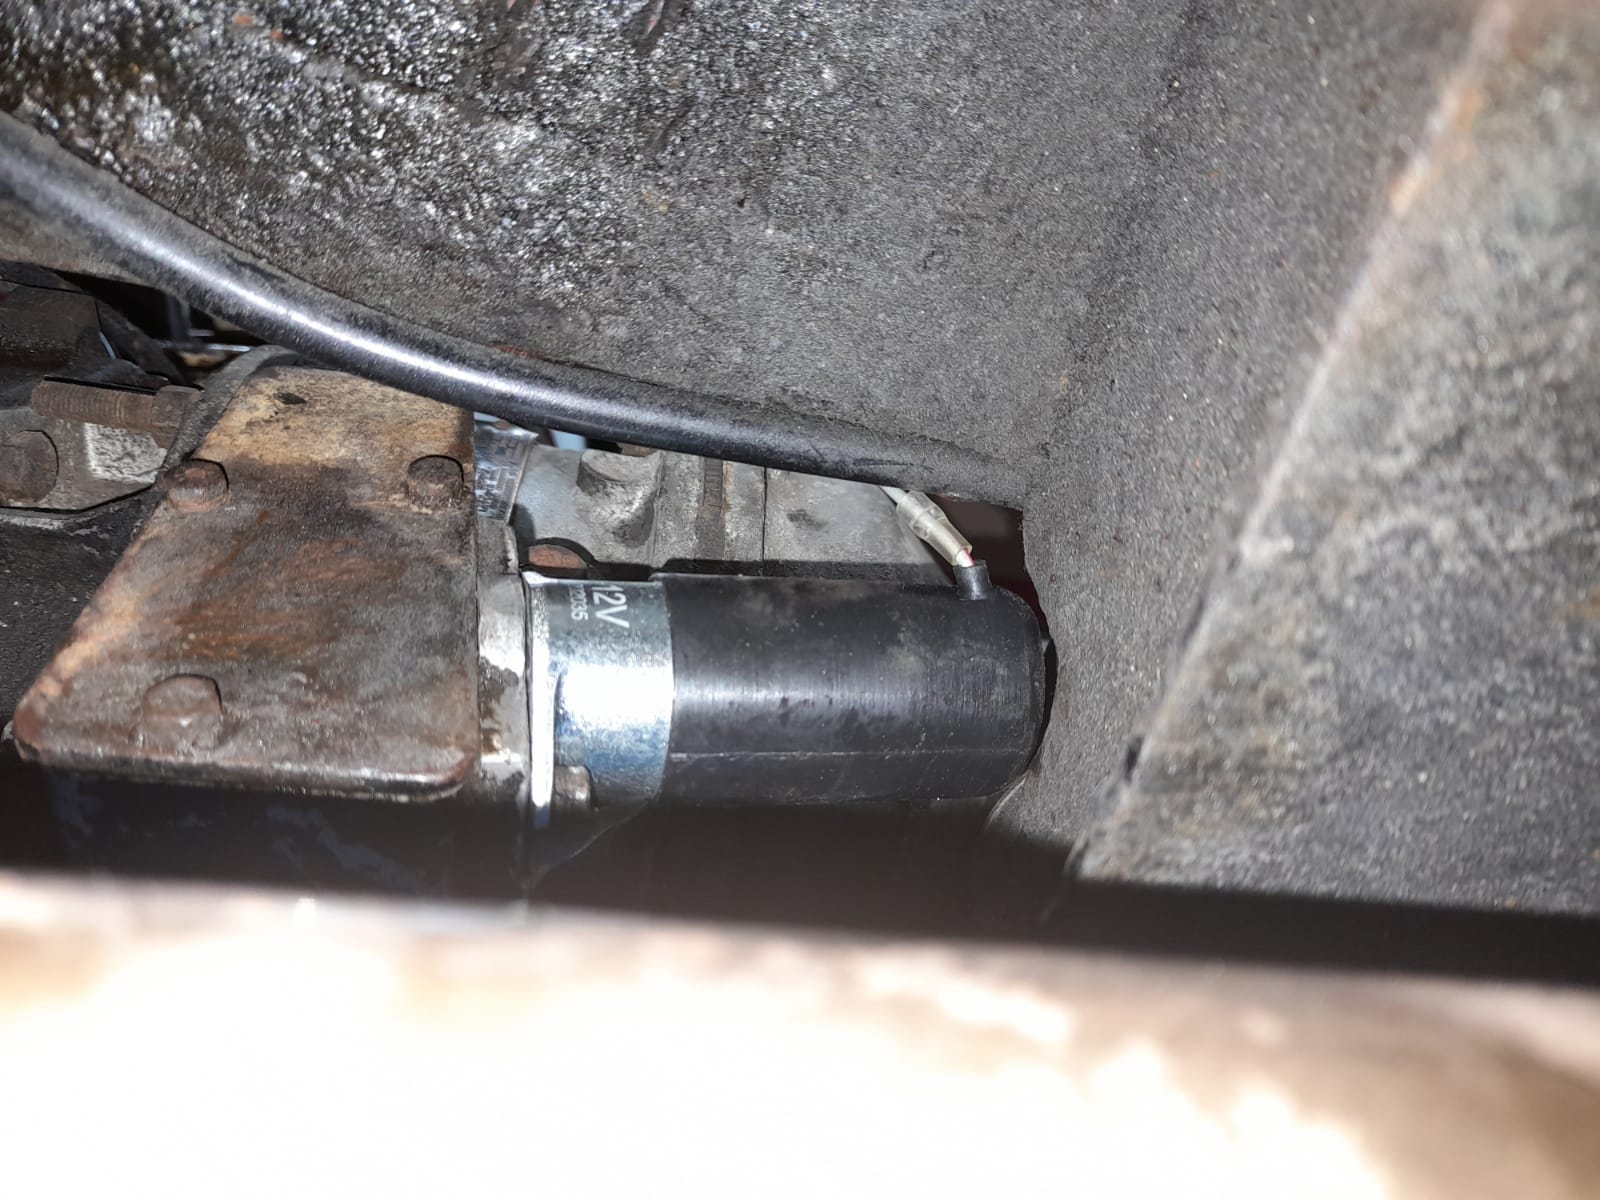
Pictured below is the Silver 1959 Jensen 541R recent wiring ammends. John had found that when wiring up, the overdrive didn’t engage. After an investigation, John found it was because the solenoid had overheated and melted the terminals, meaning a new solenoid was fitted.
A new stoplight switch has also been fitted because the old stoplight had seized and wouldn’t turn off.

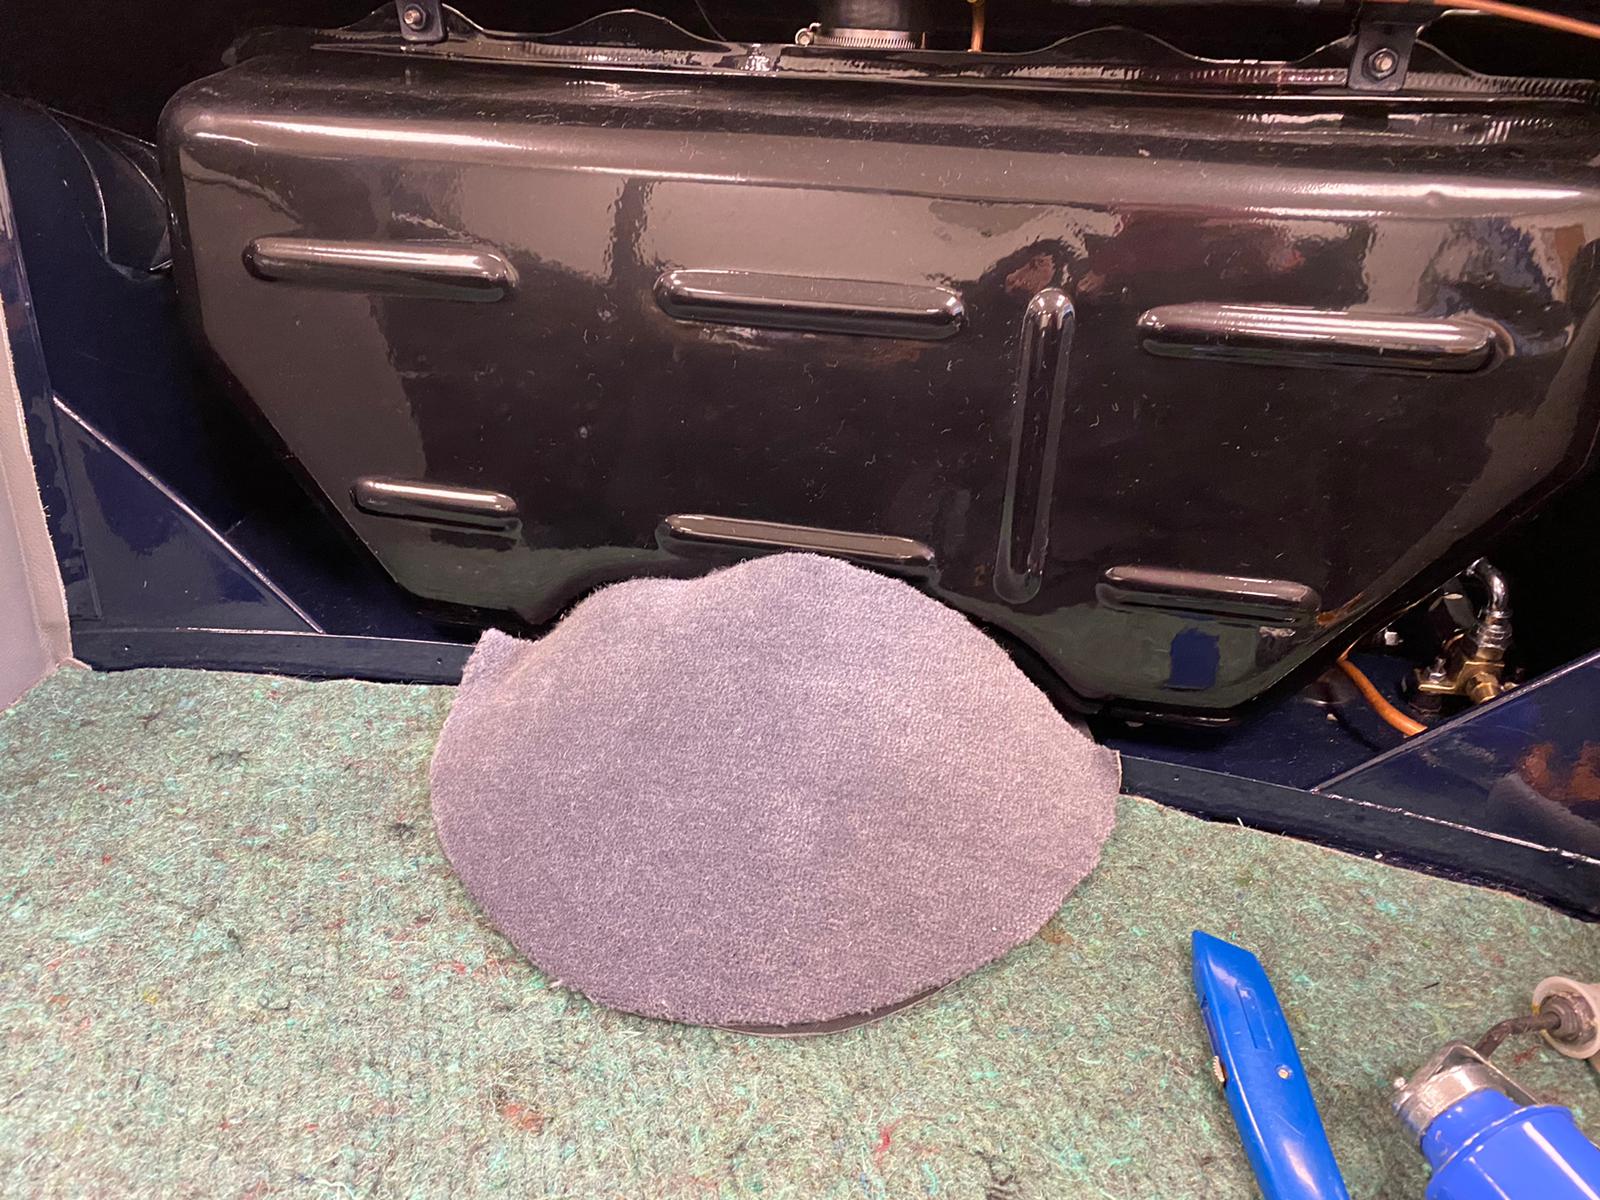
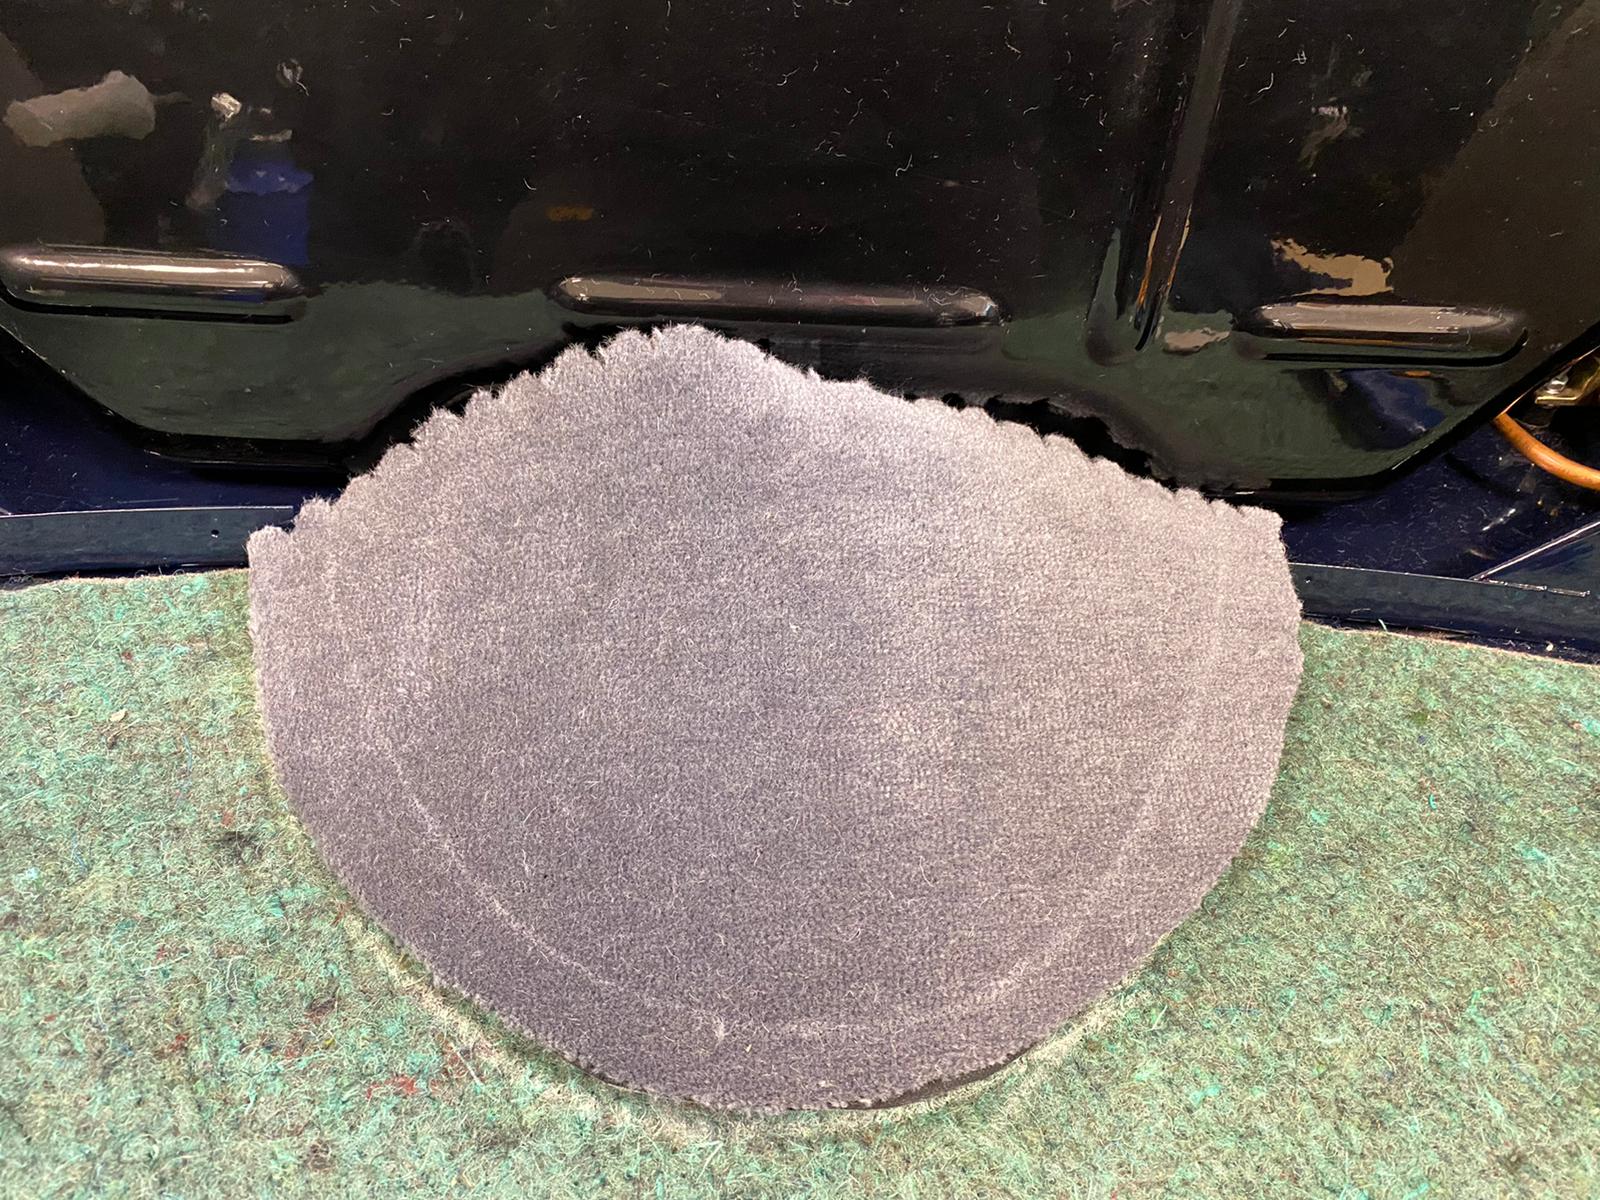
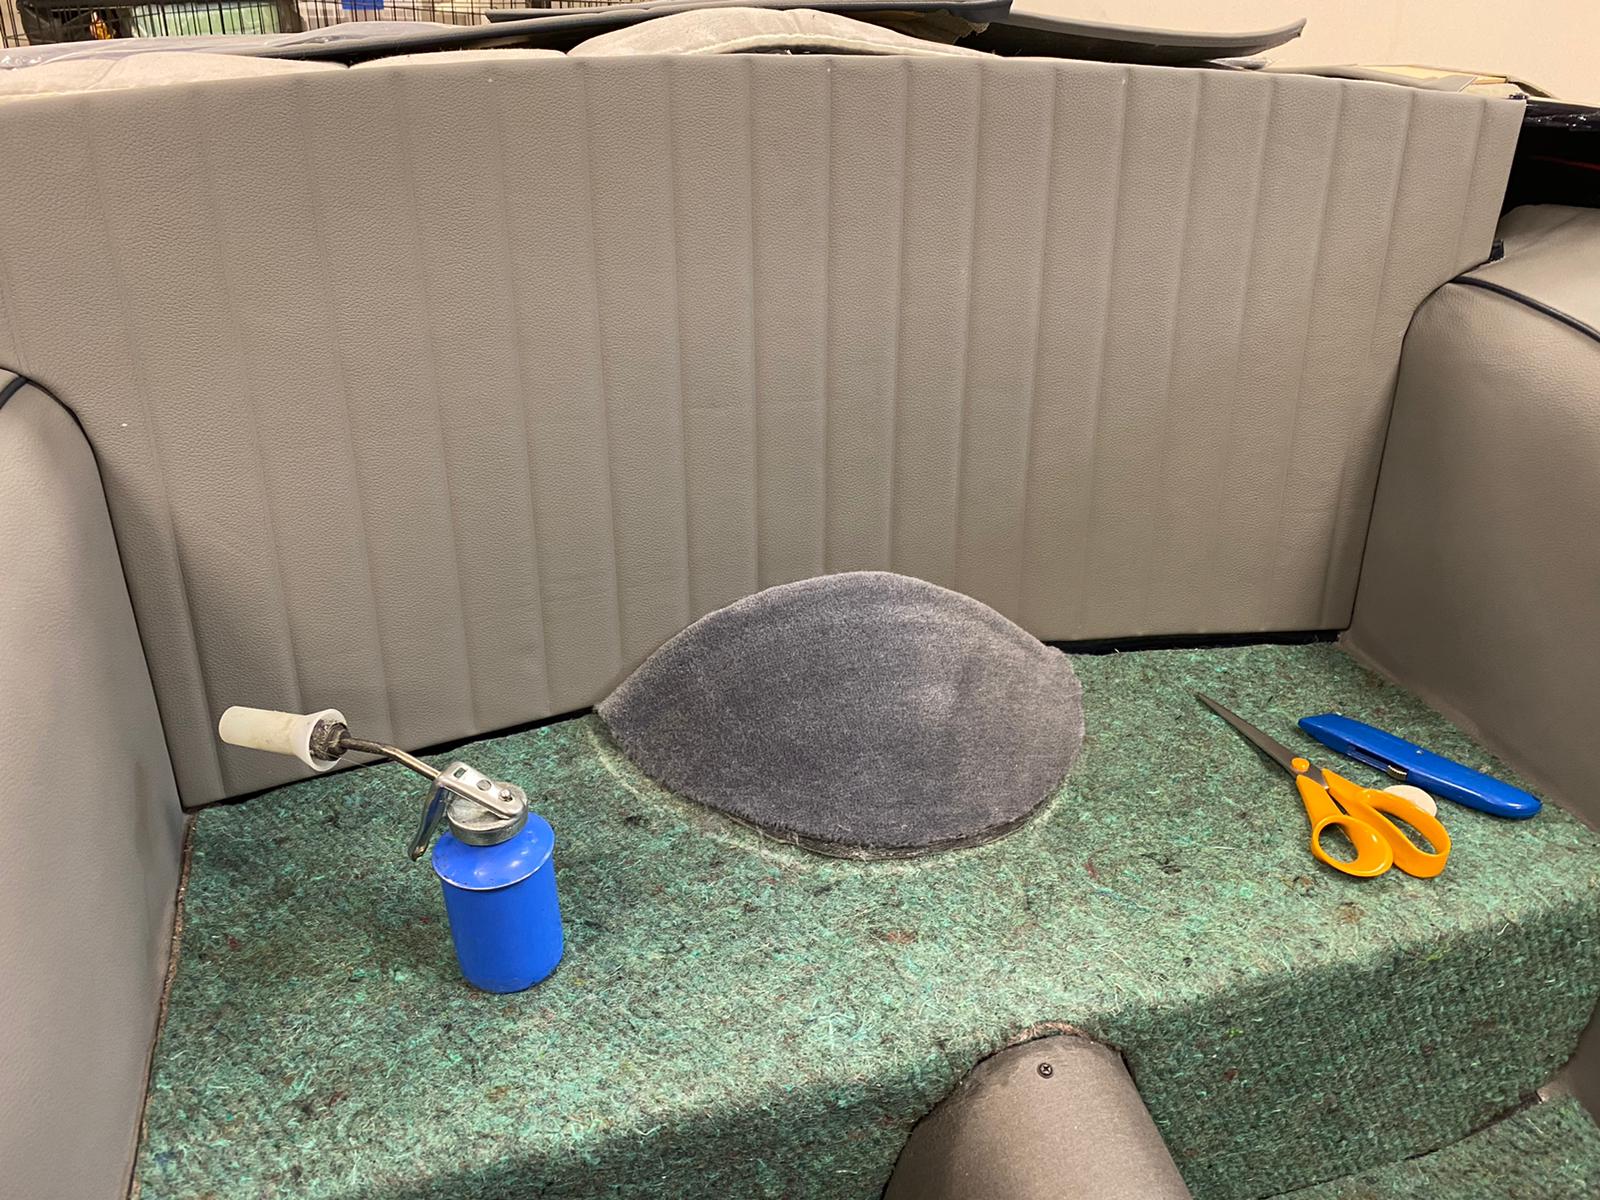
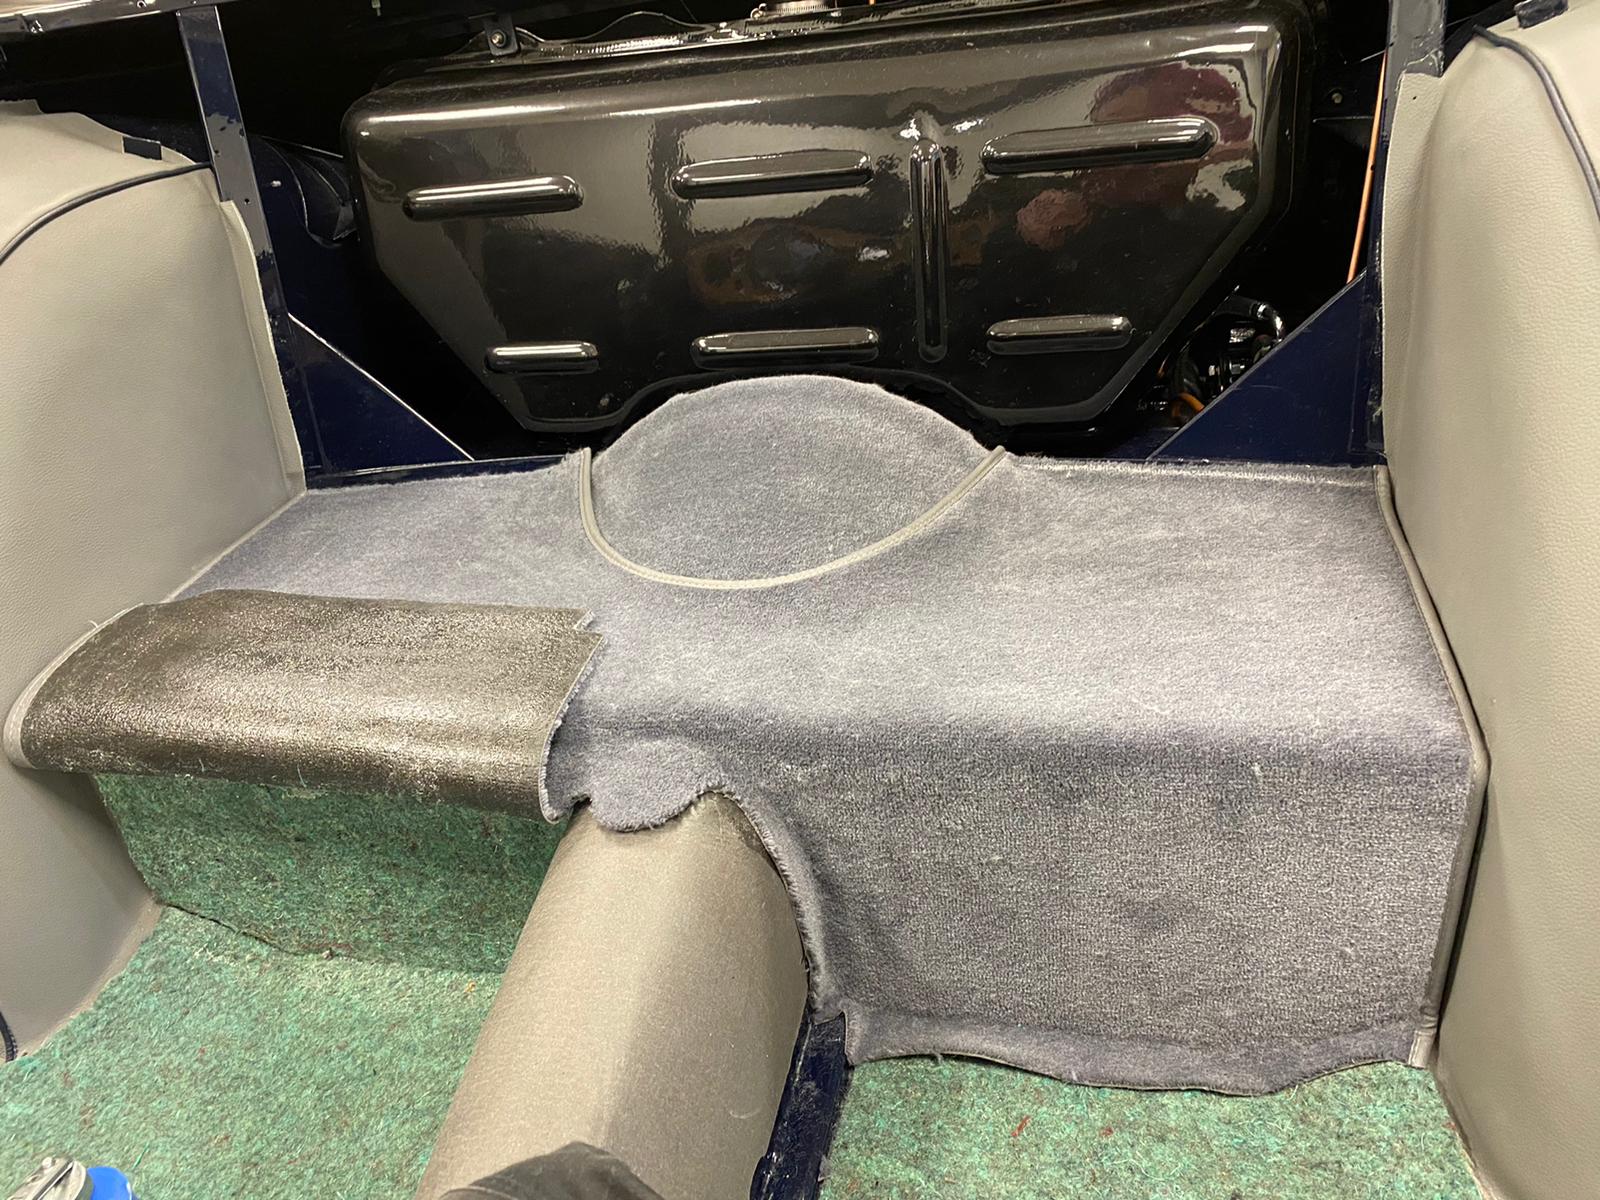
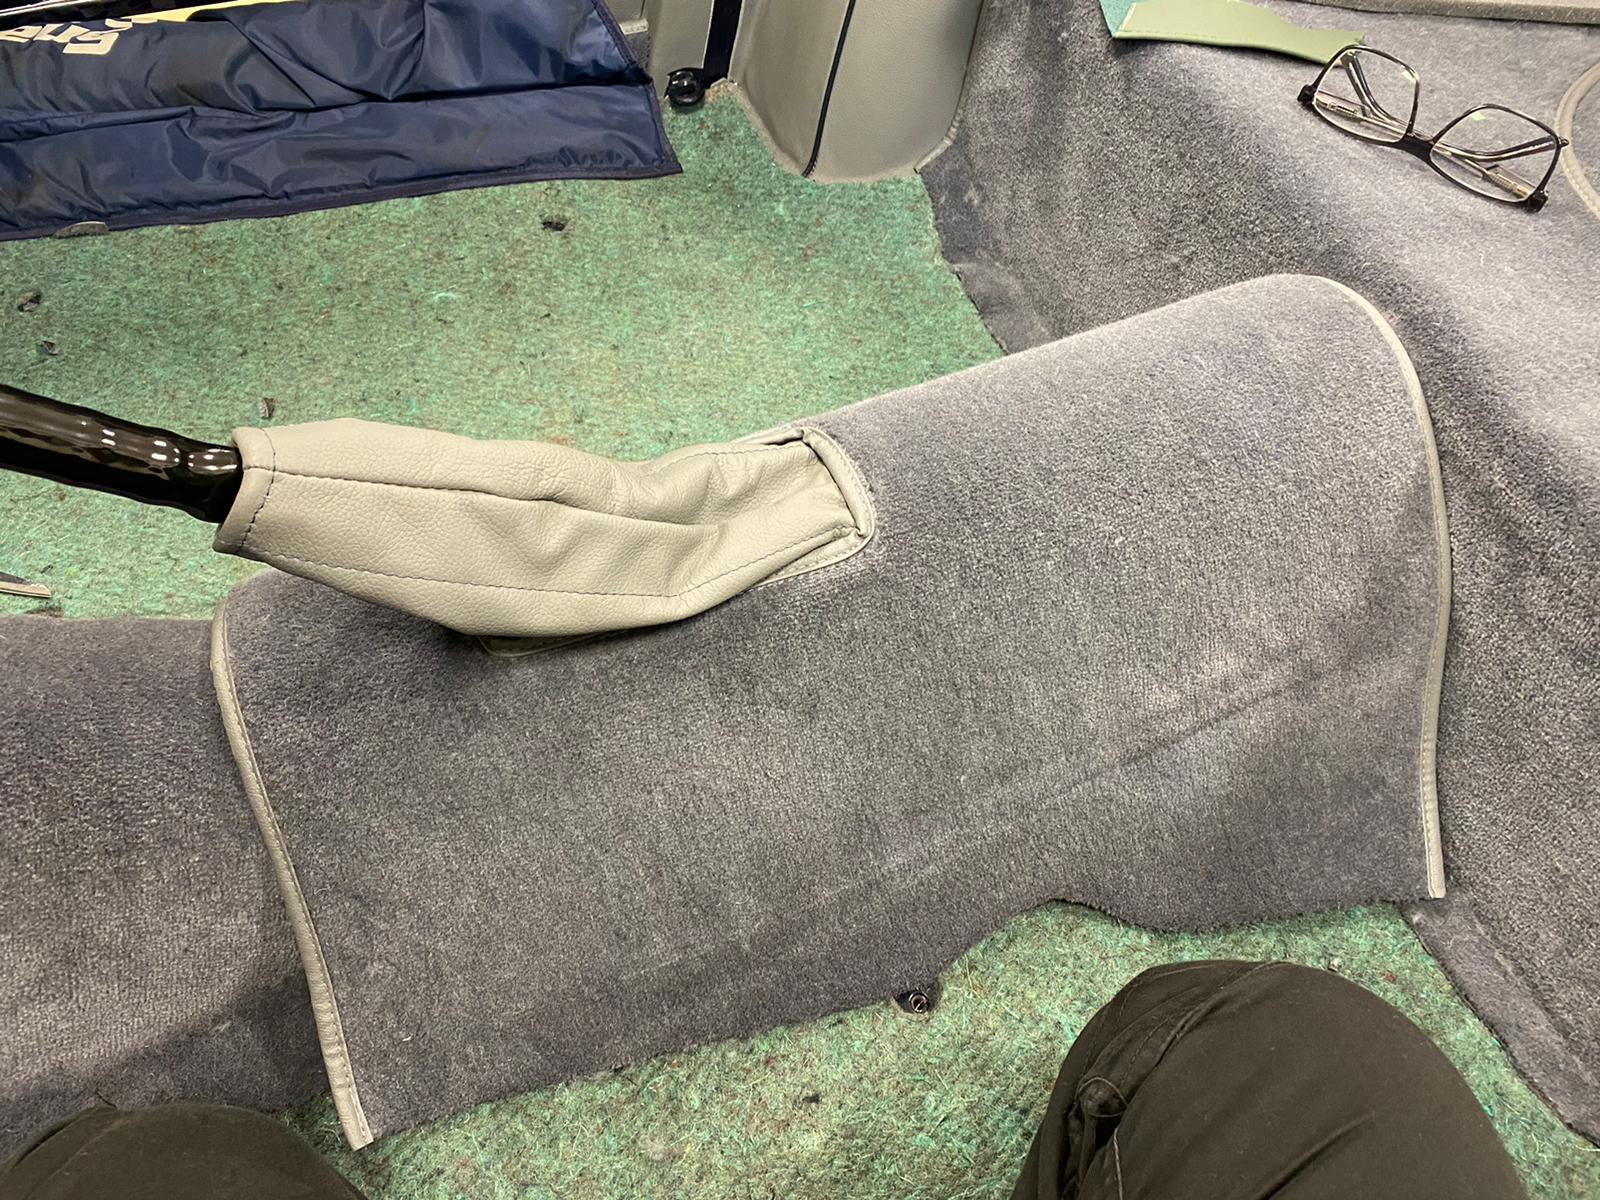
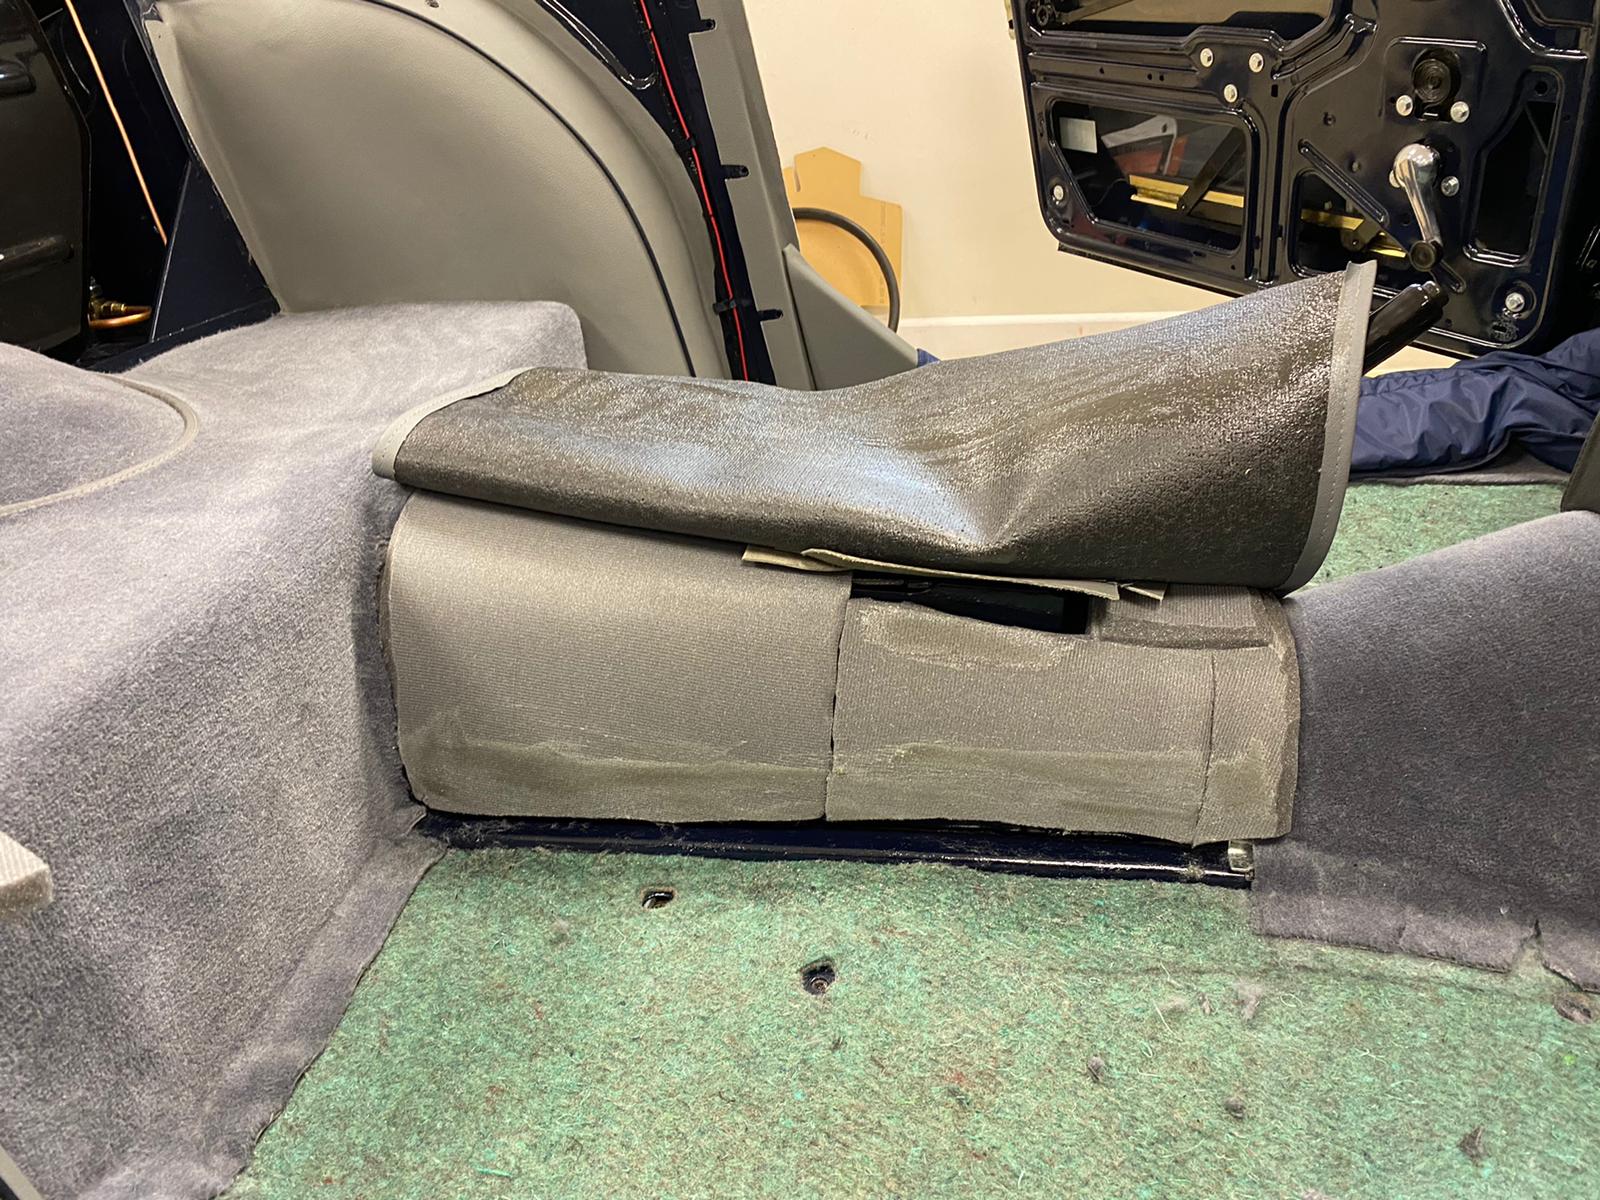
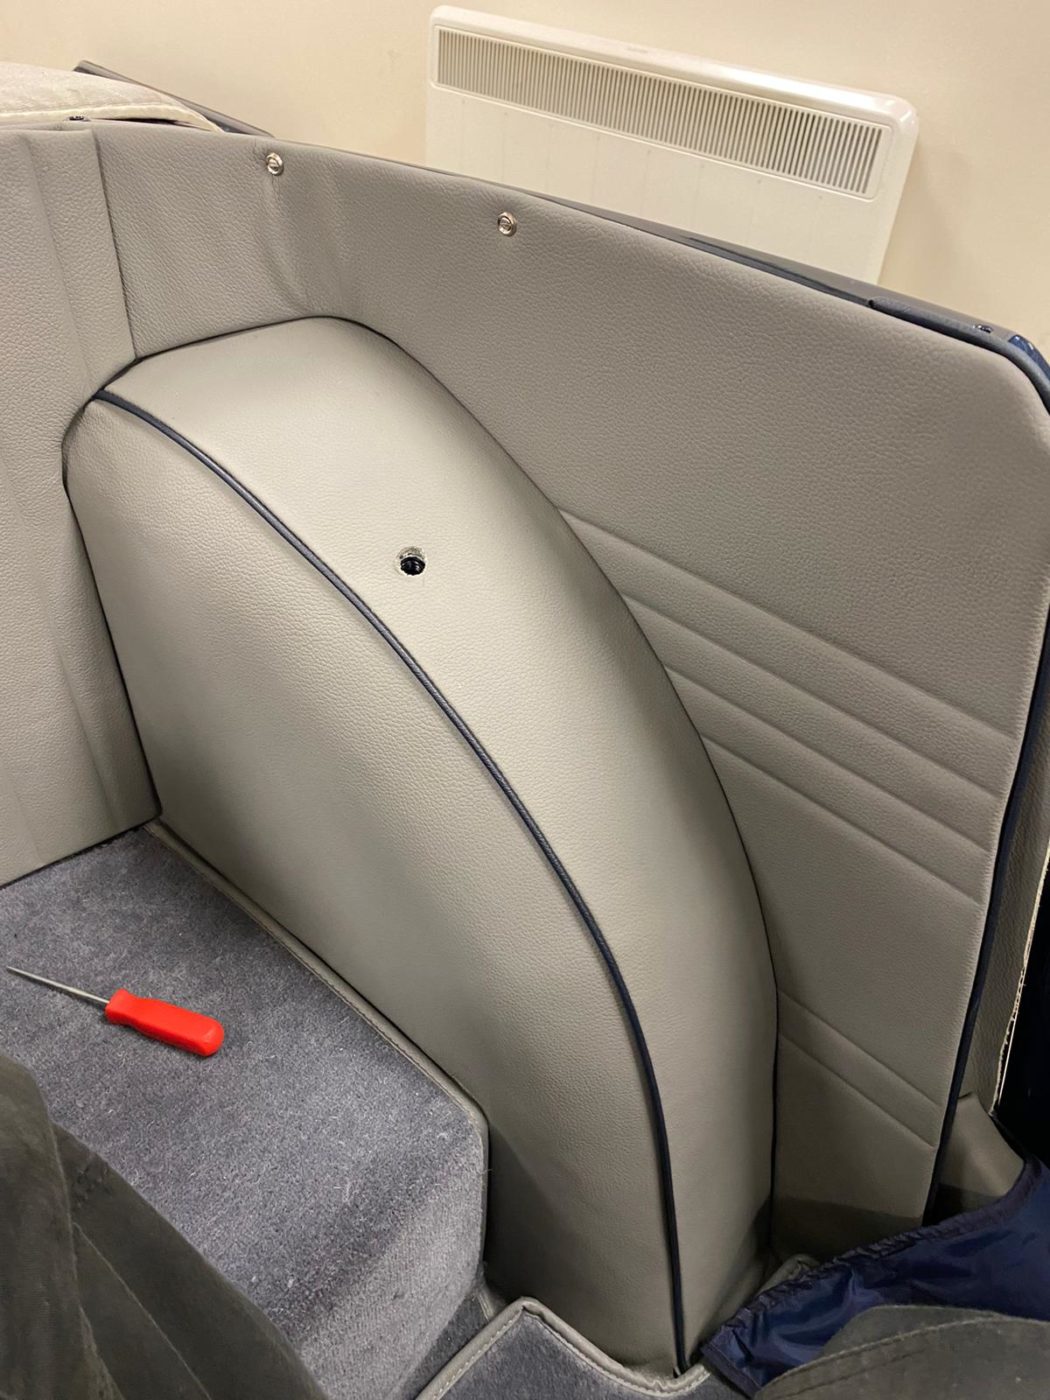
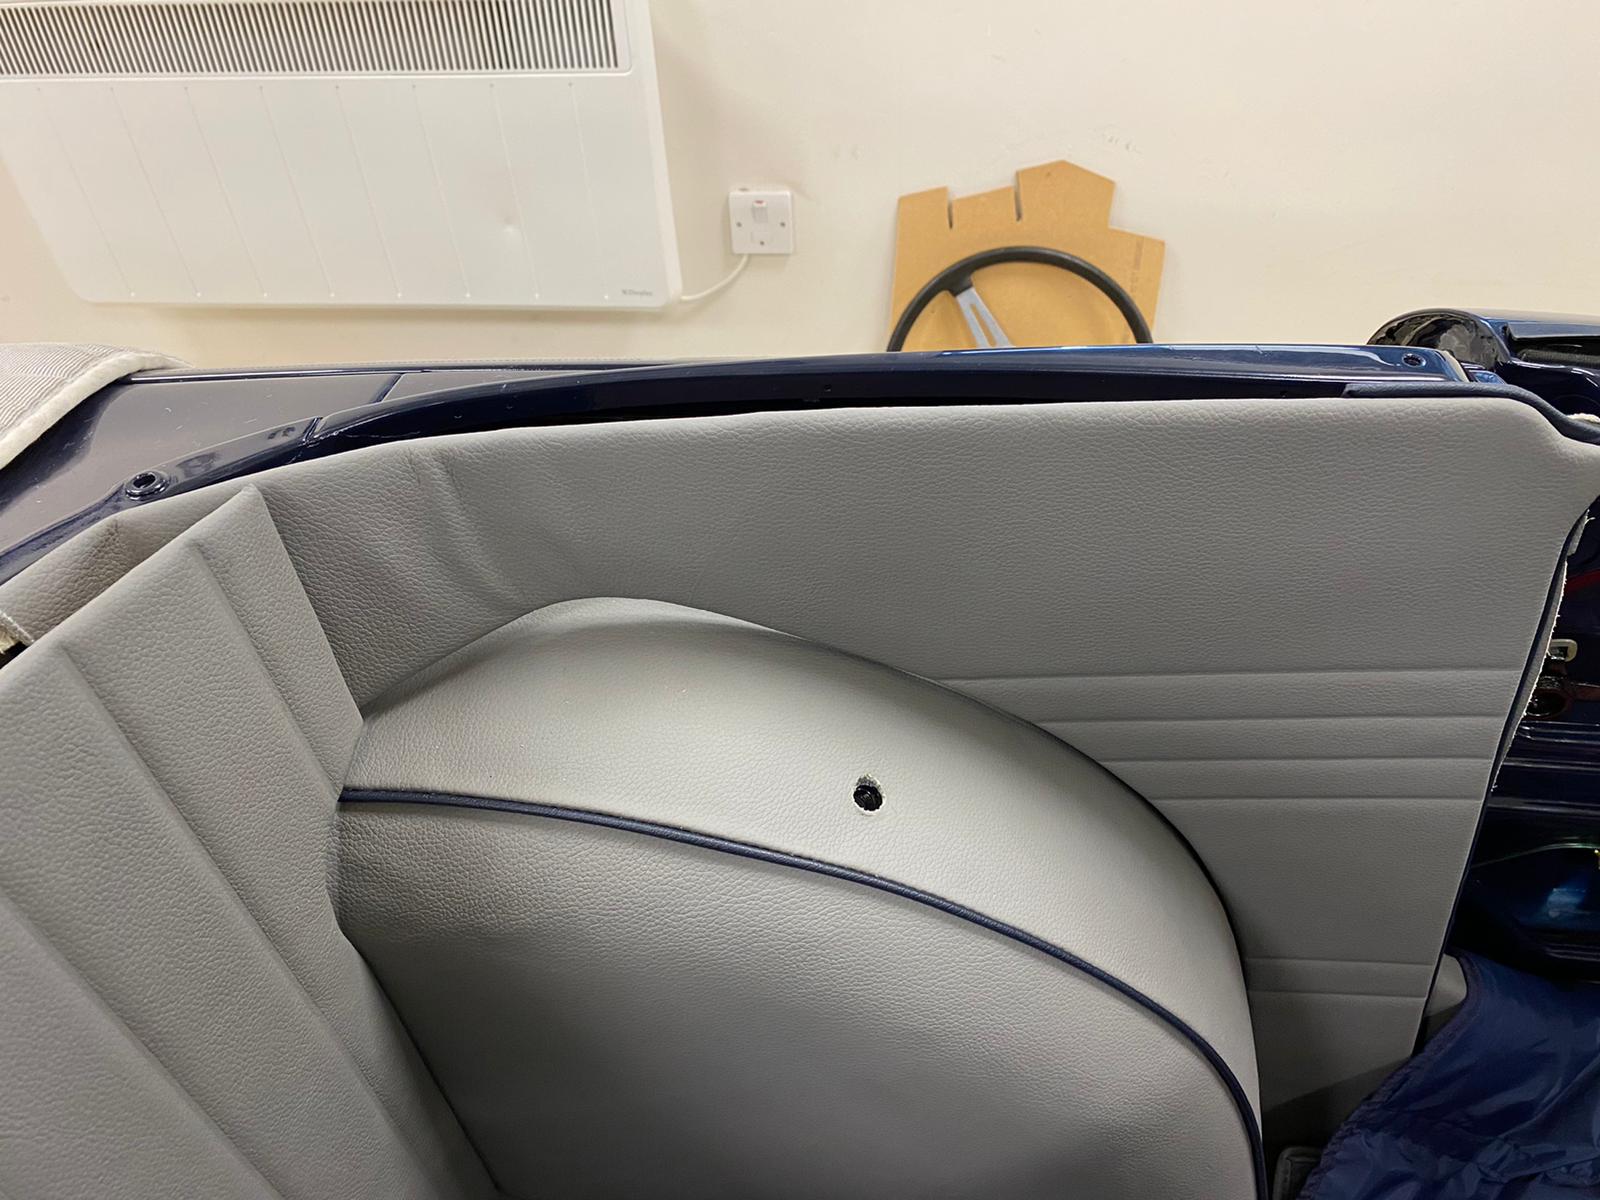
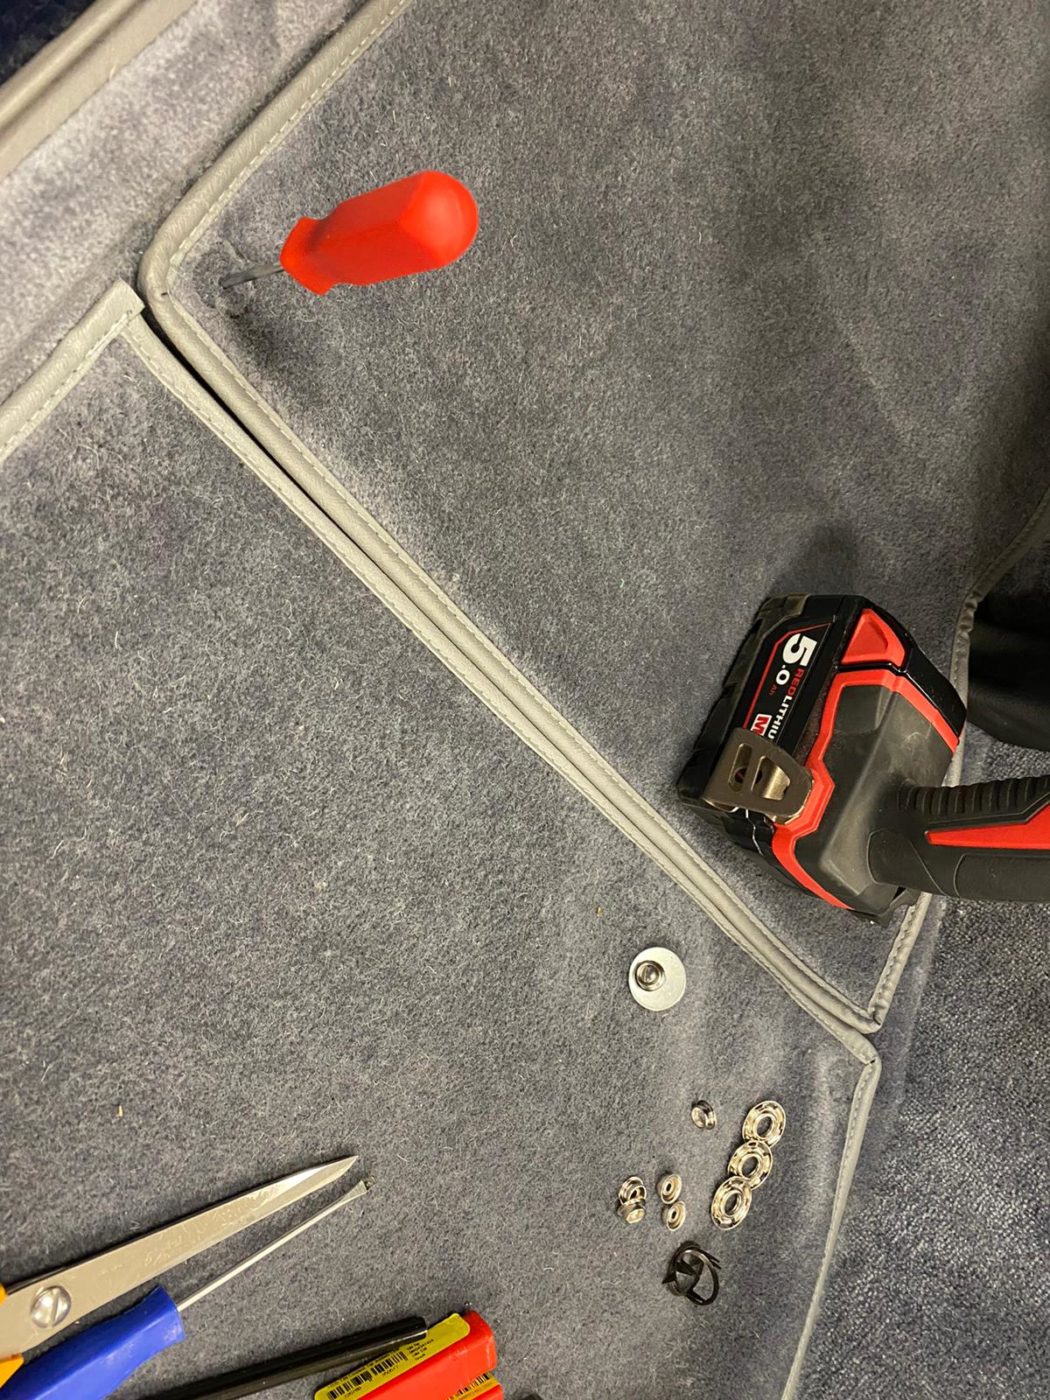
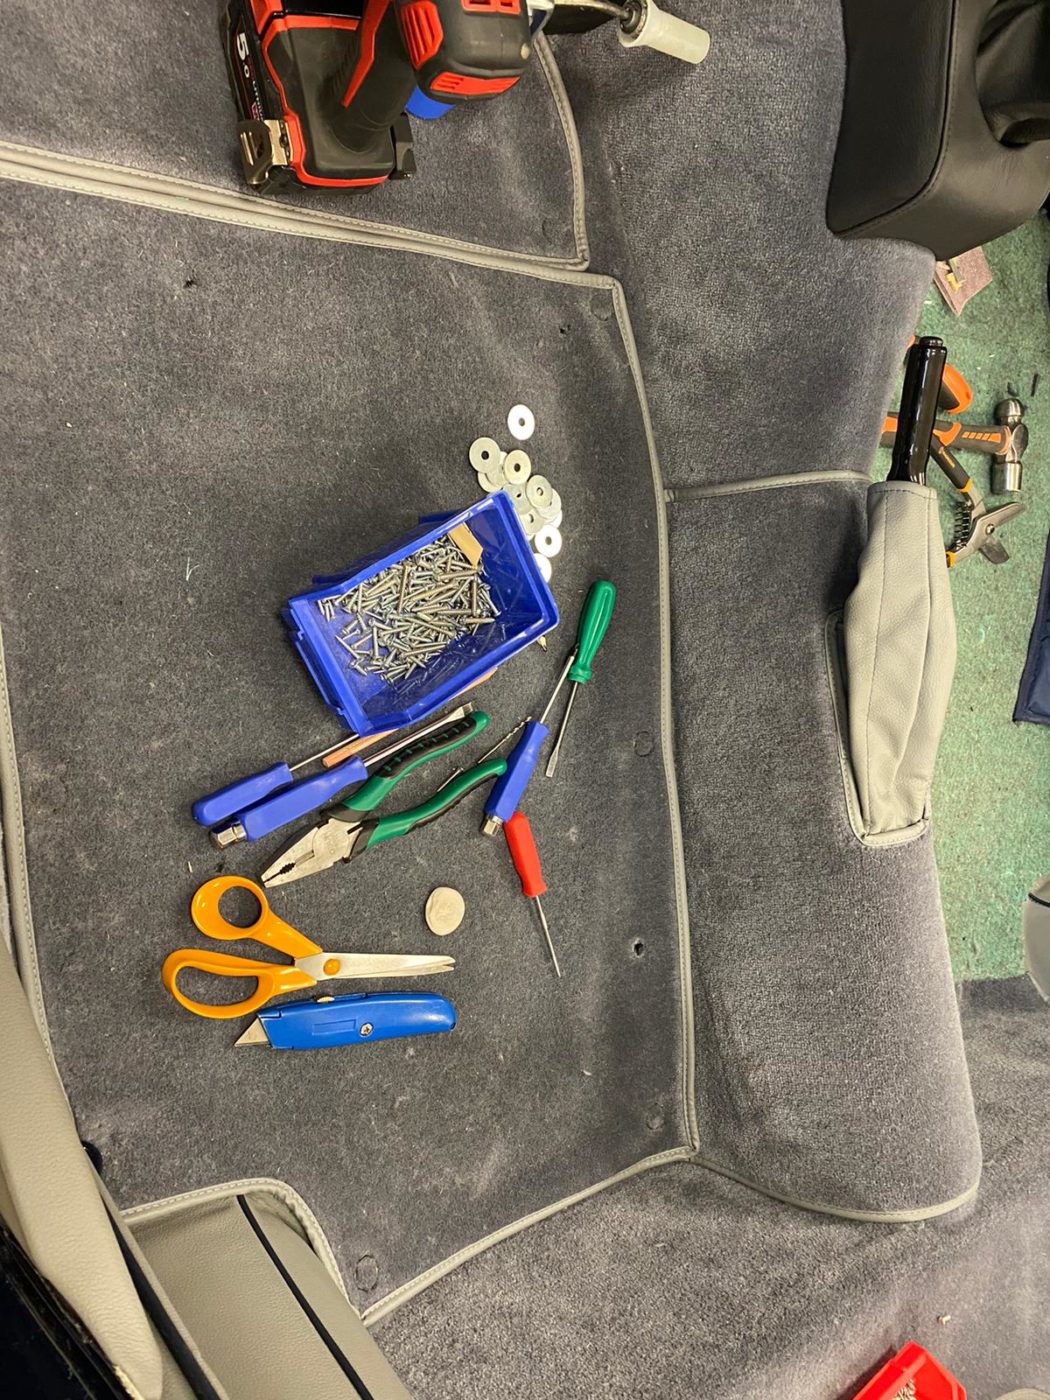
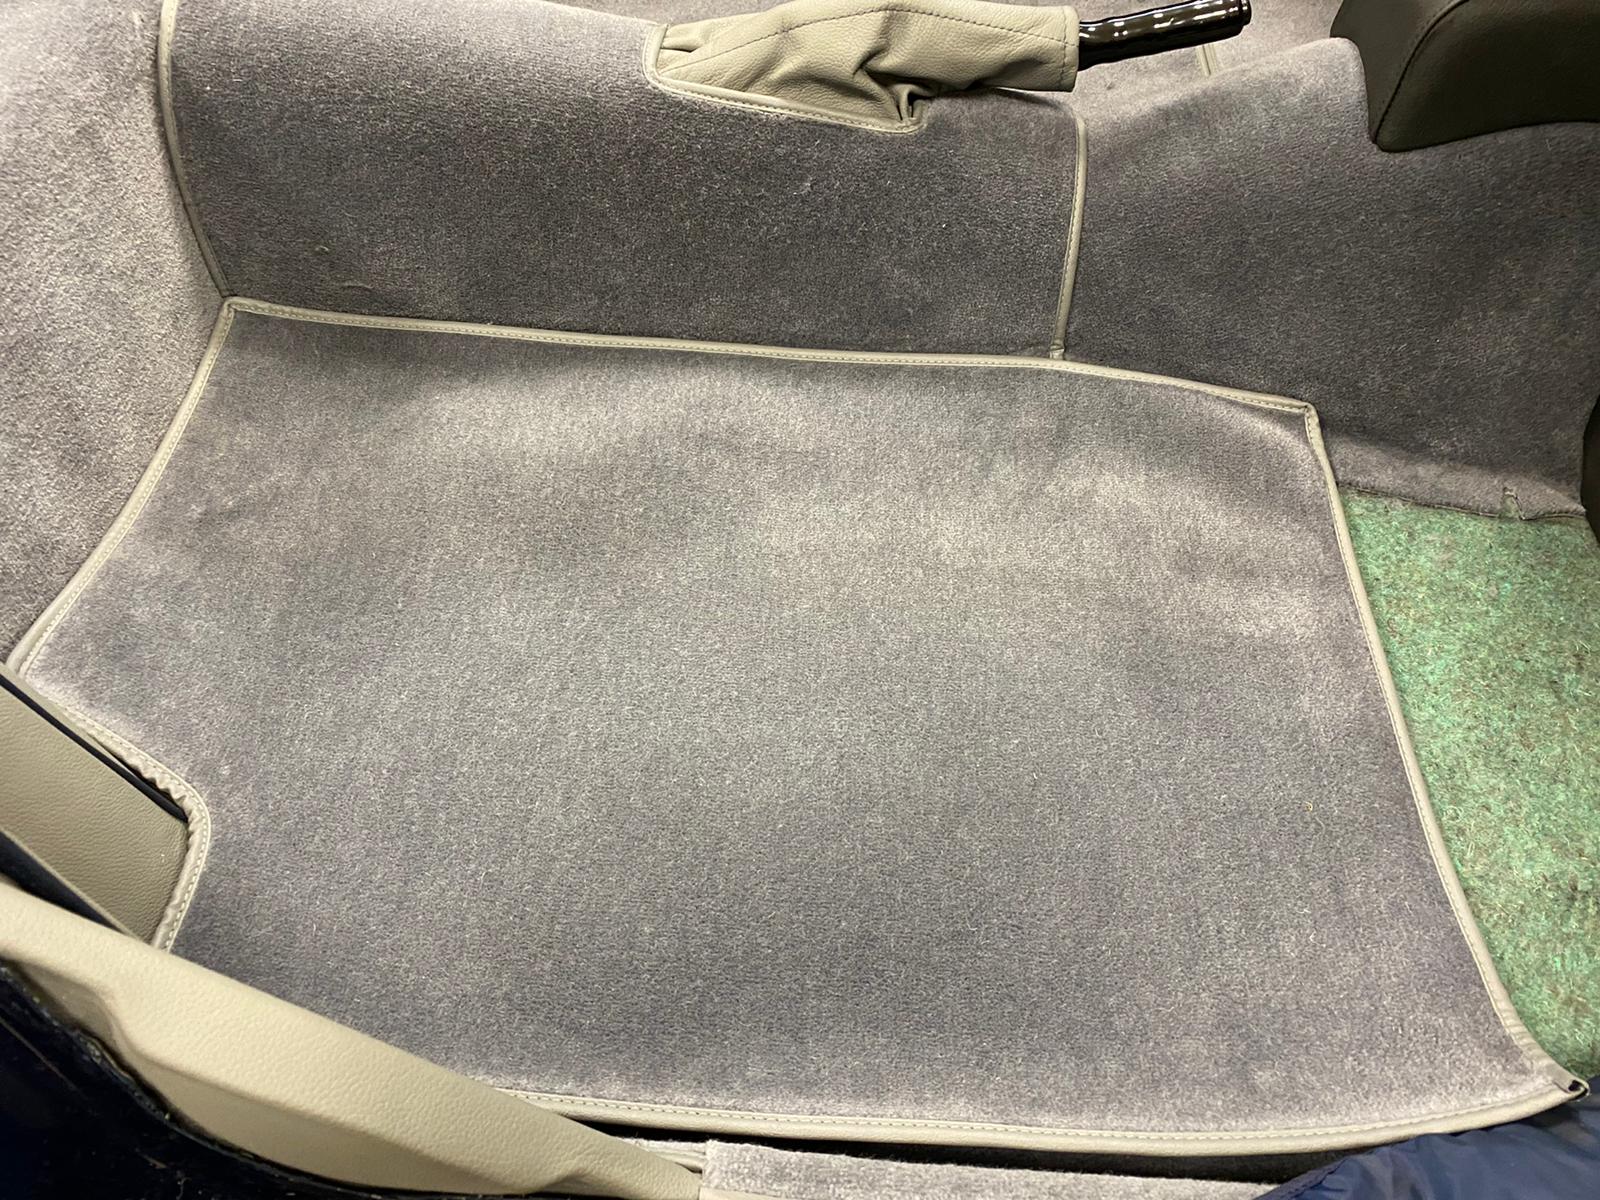
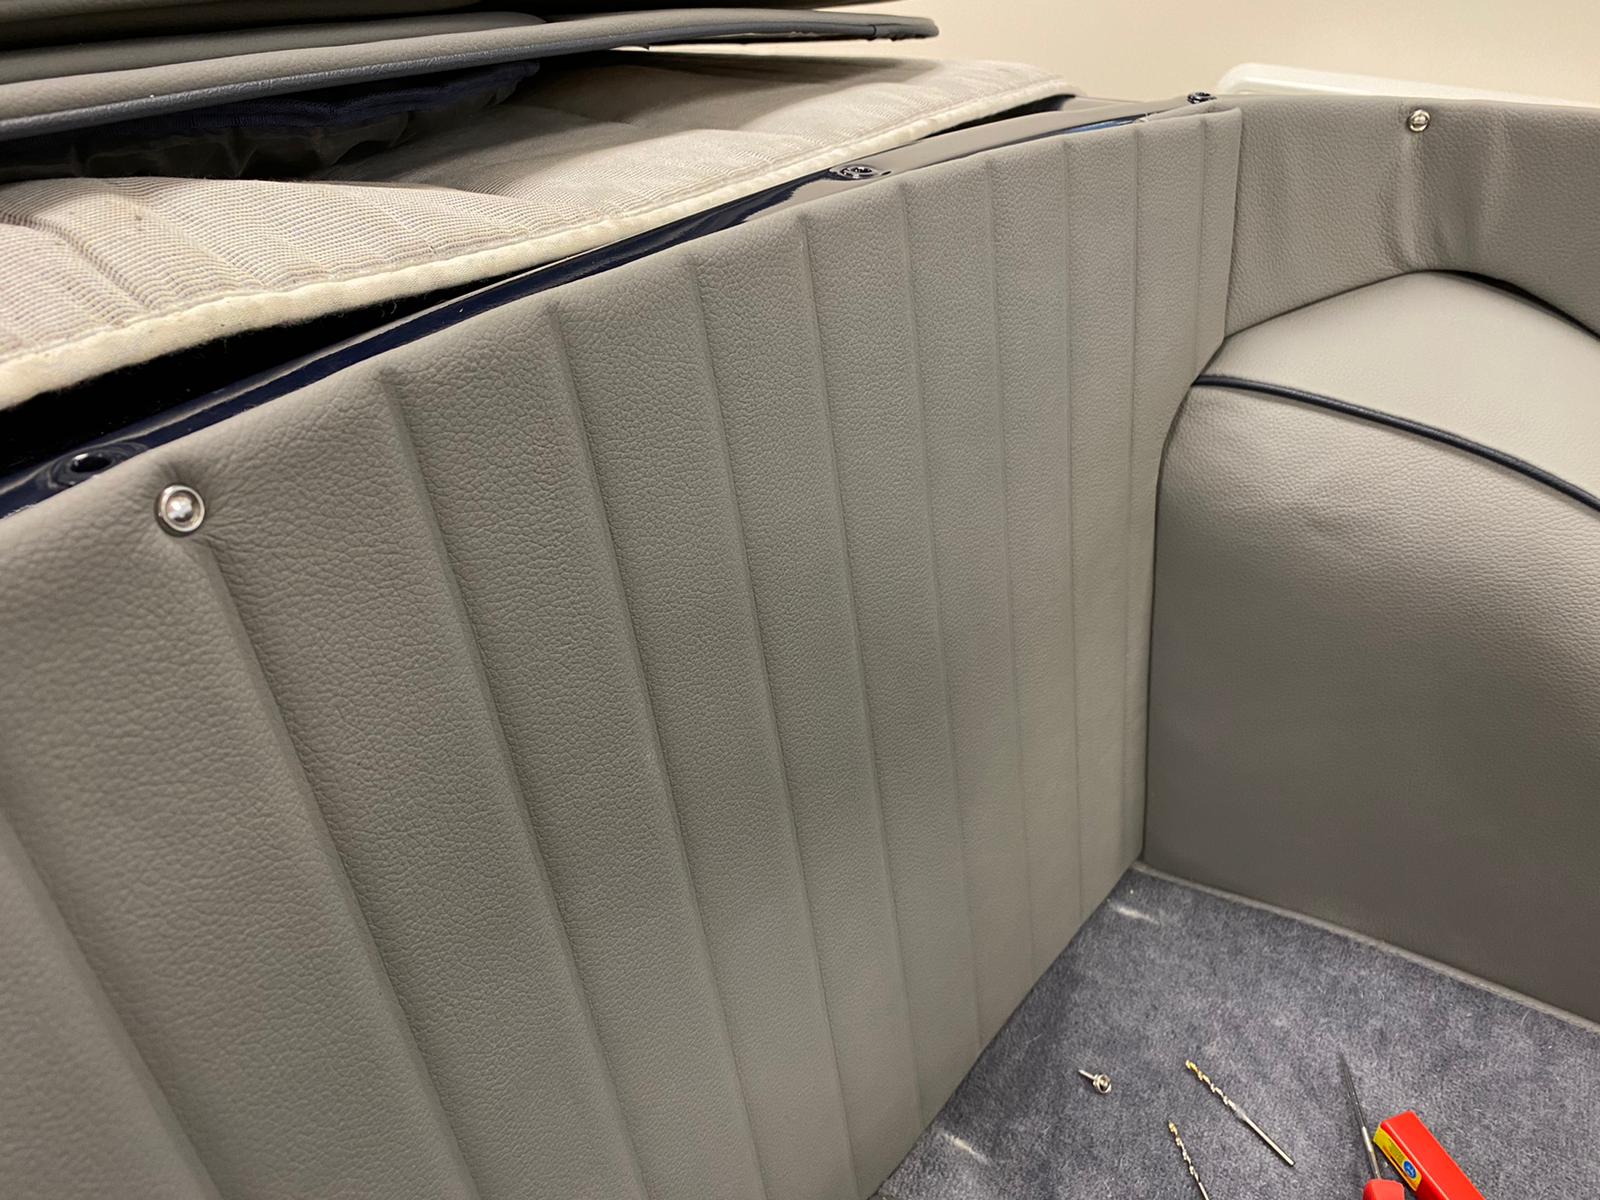
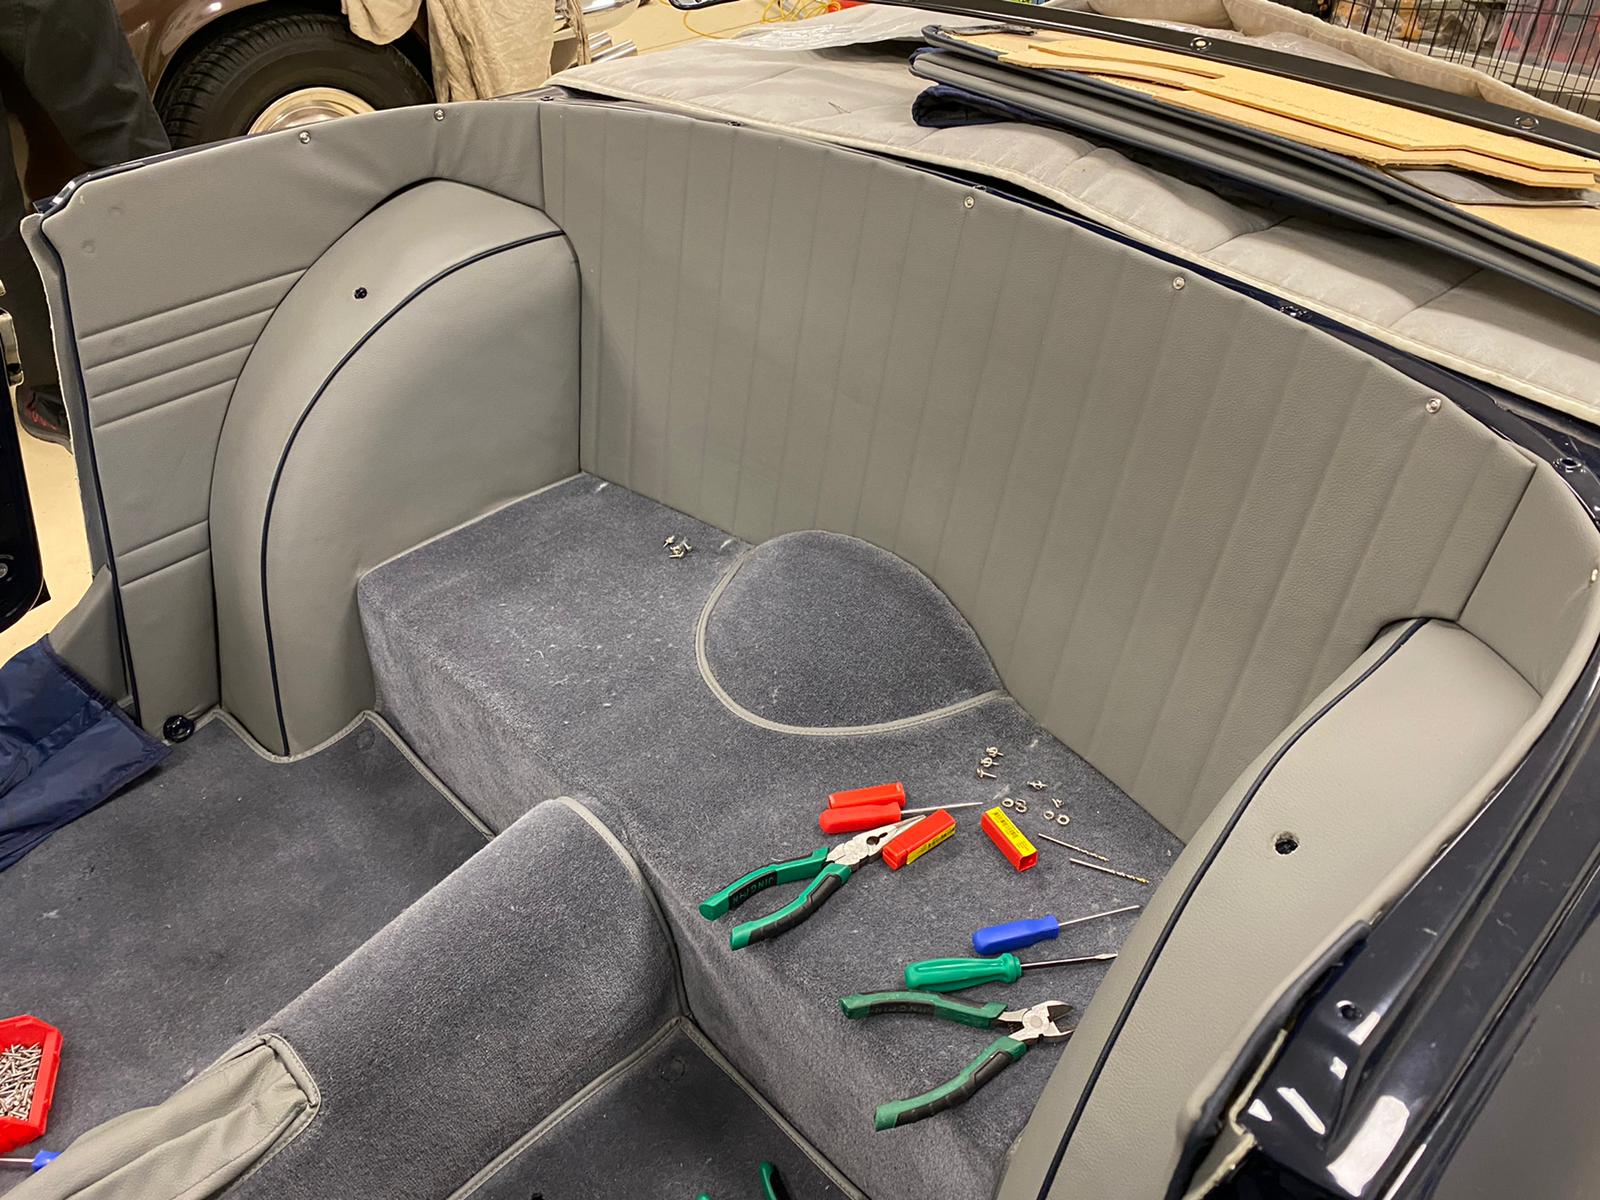
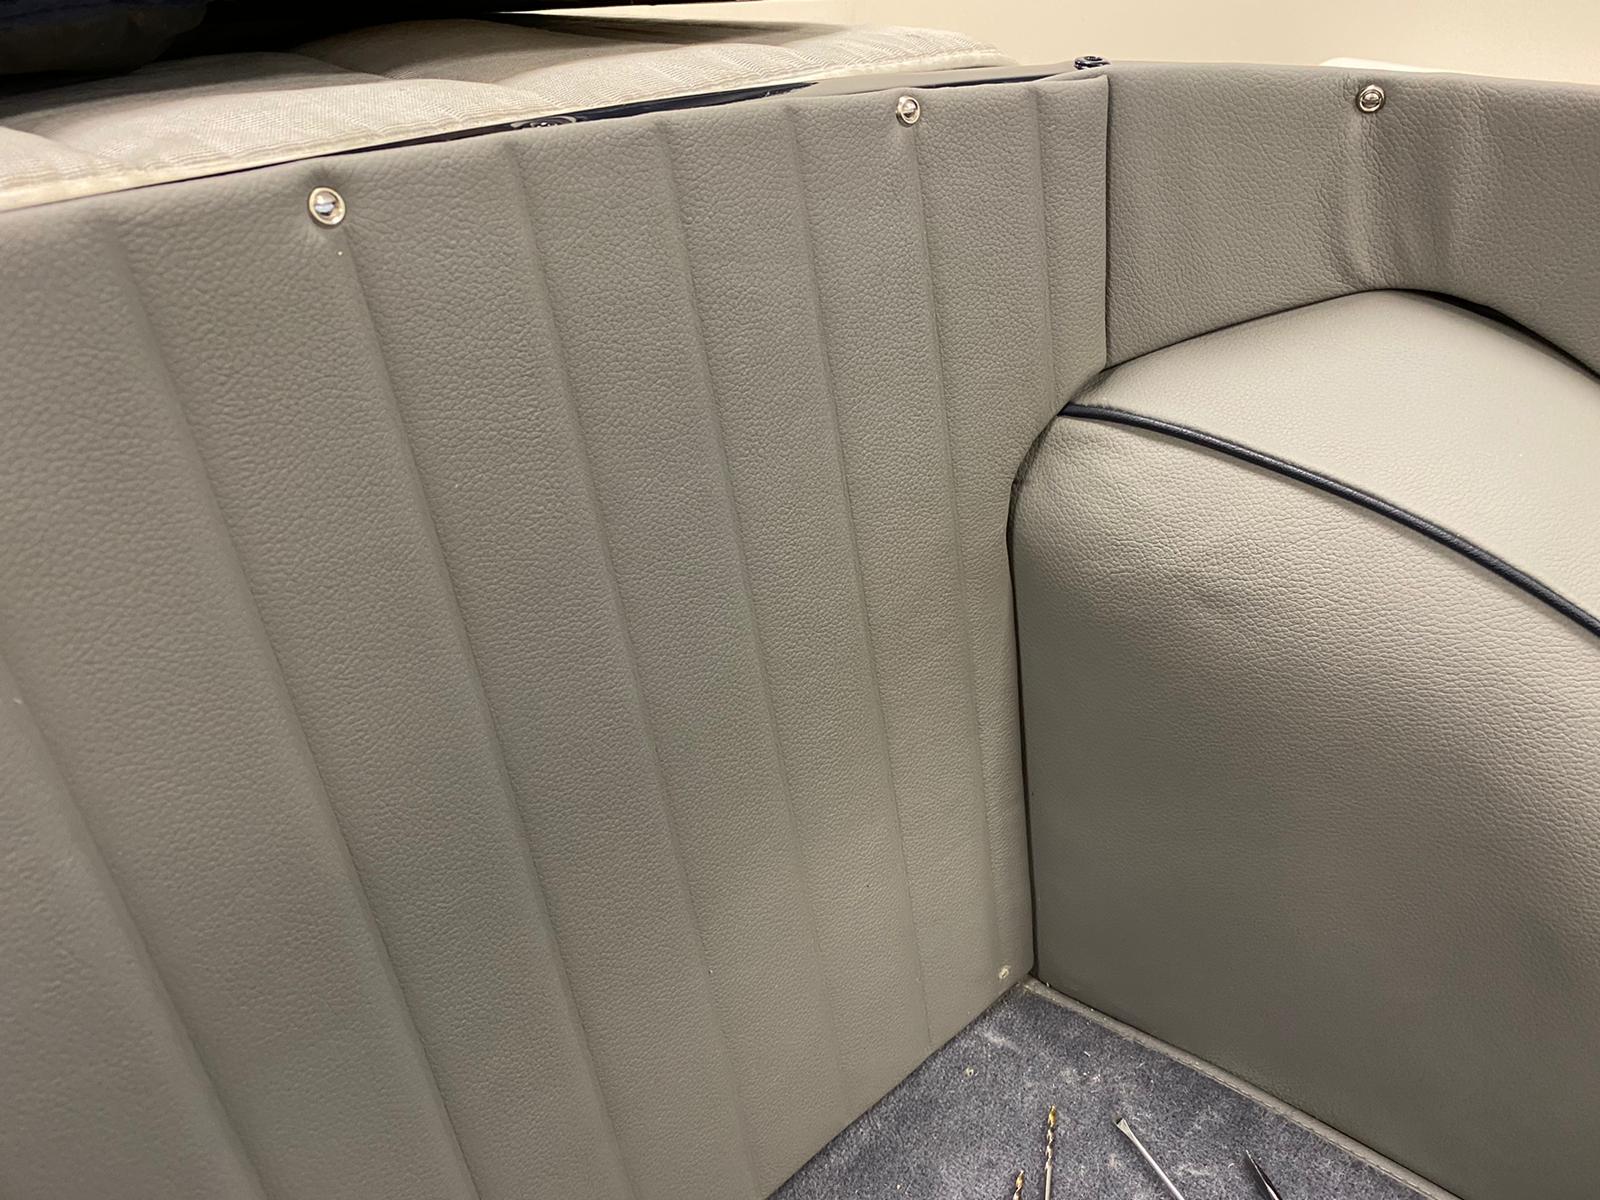
Kath and Brian have continued their work with the 1968 Triumph TR5 and are now tackling the rear quarter.
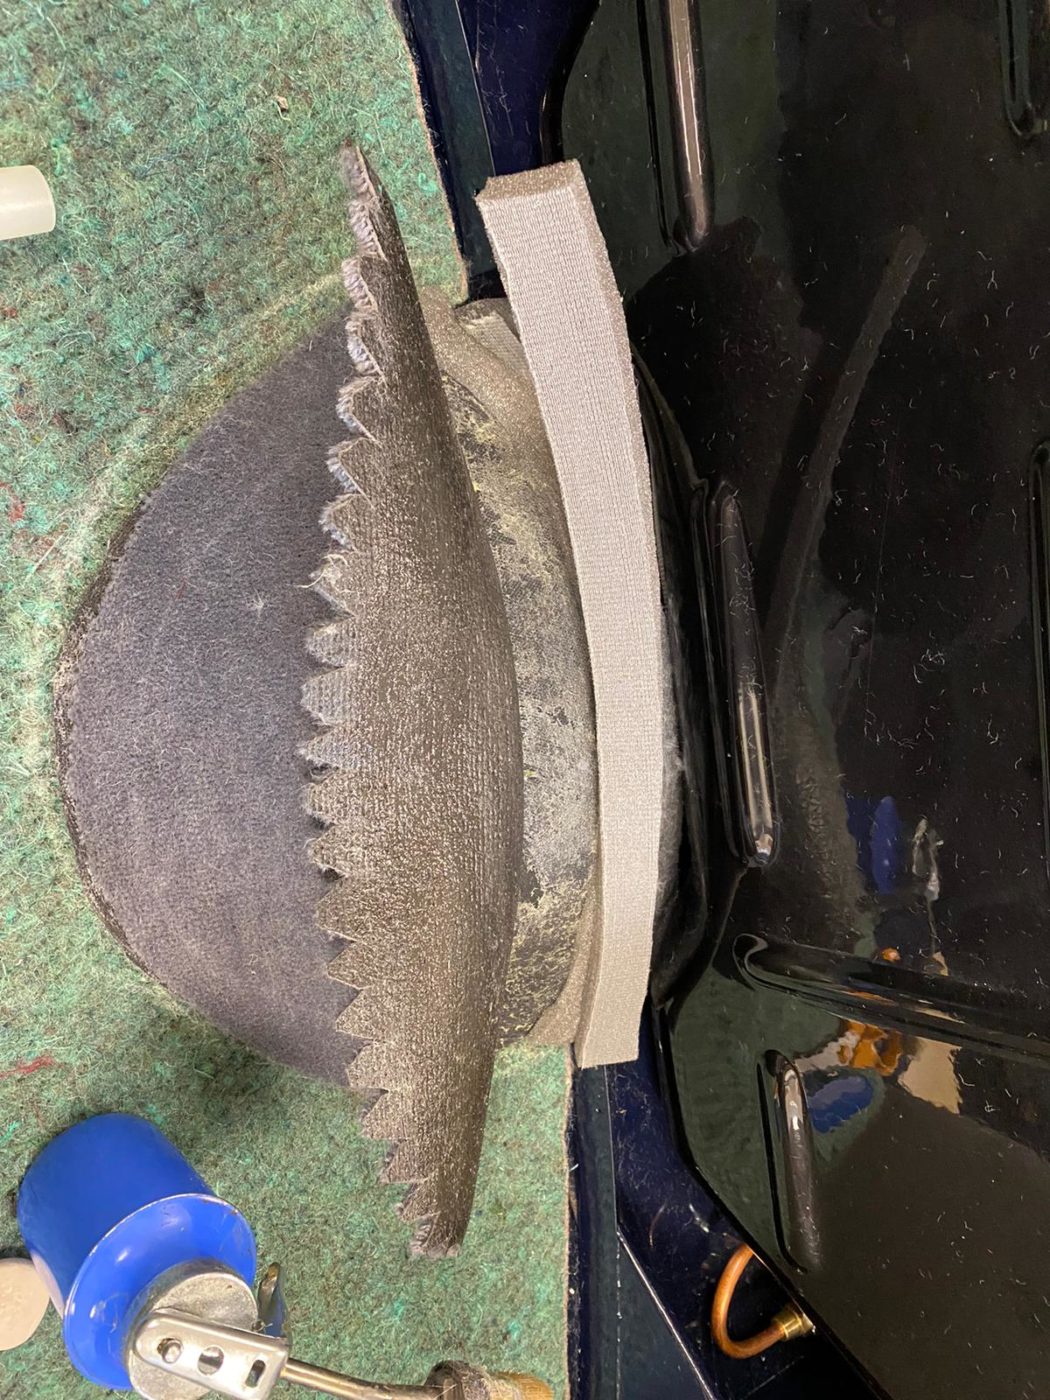
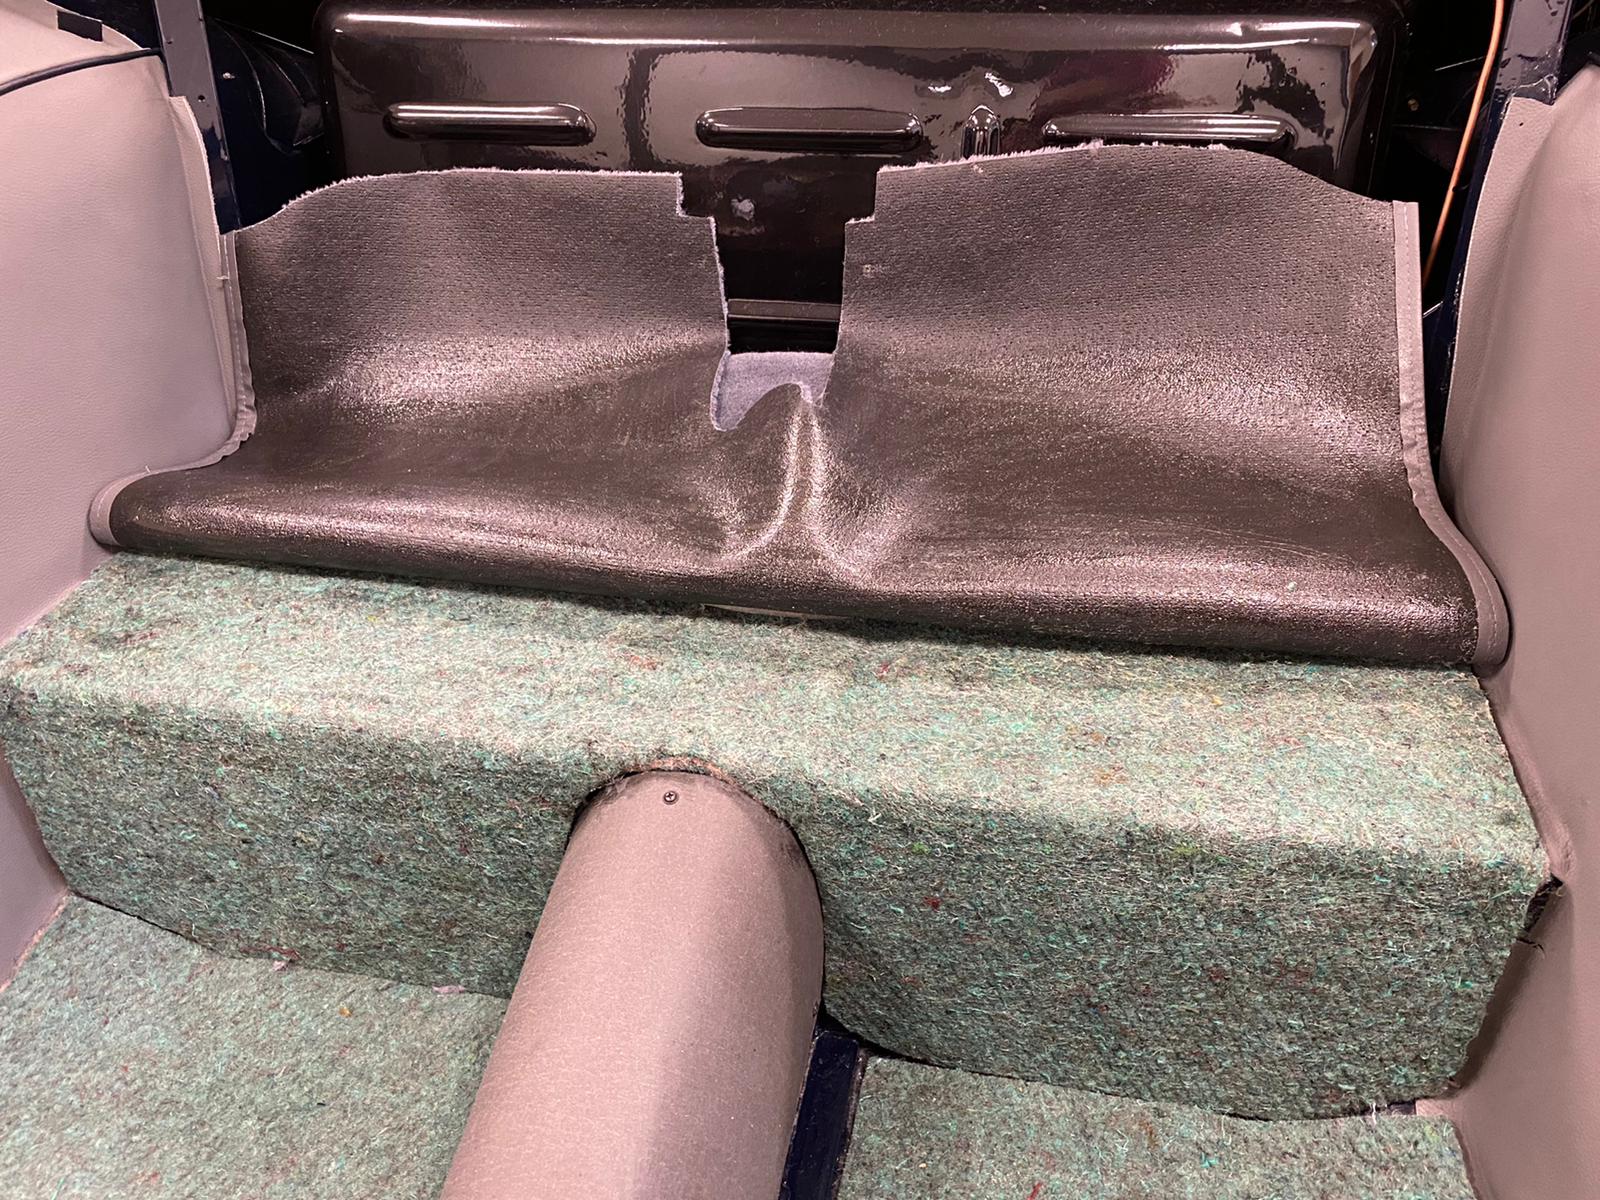
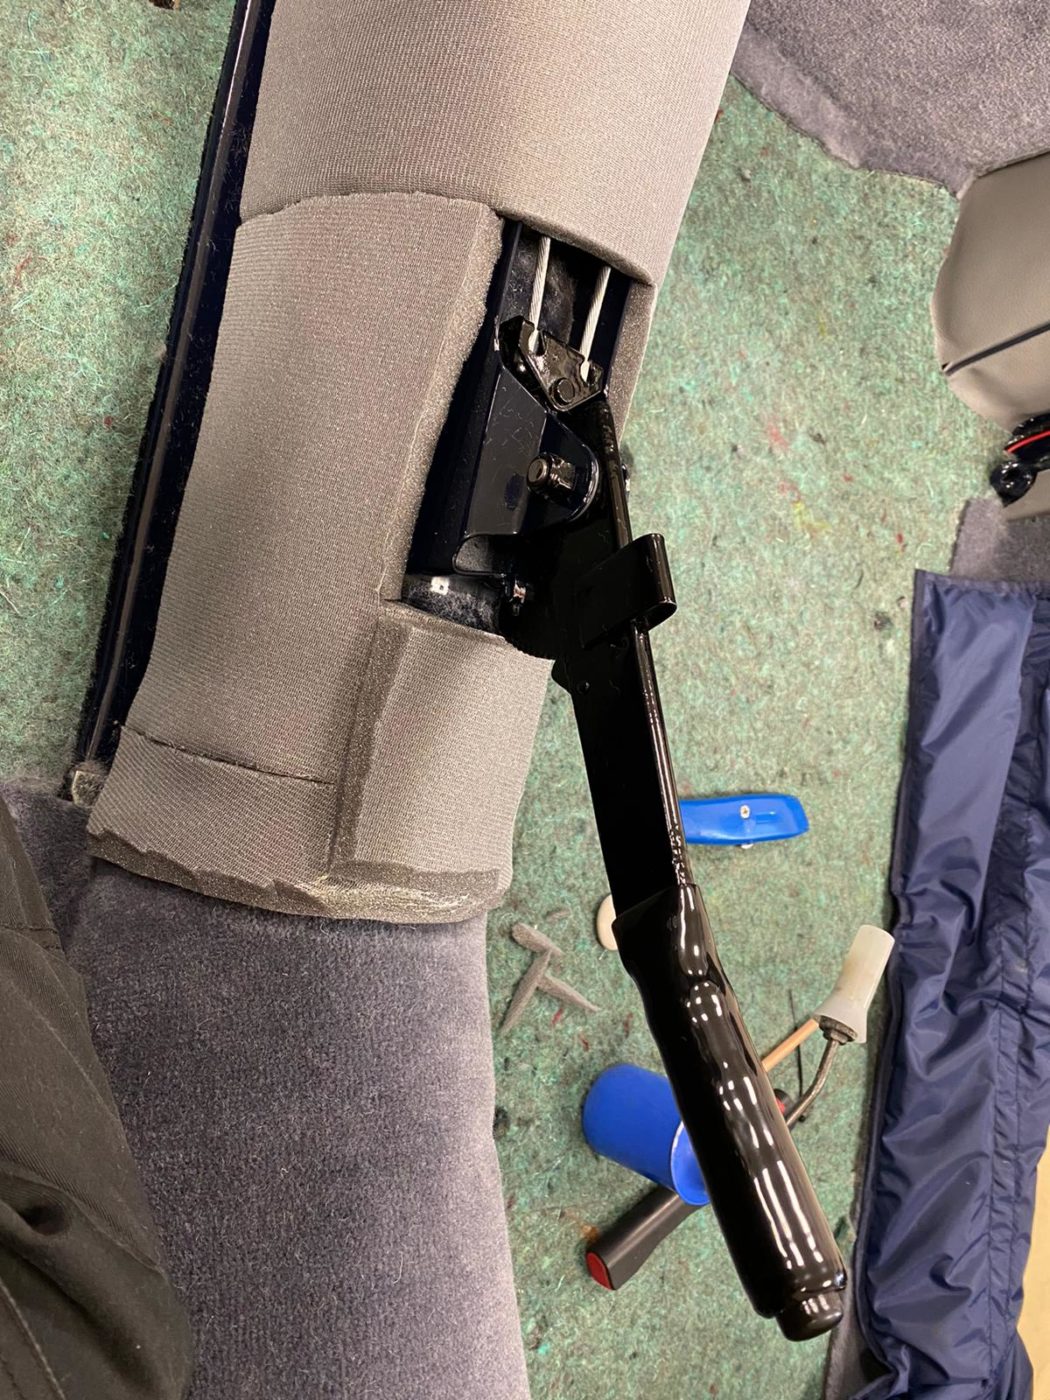
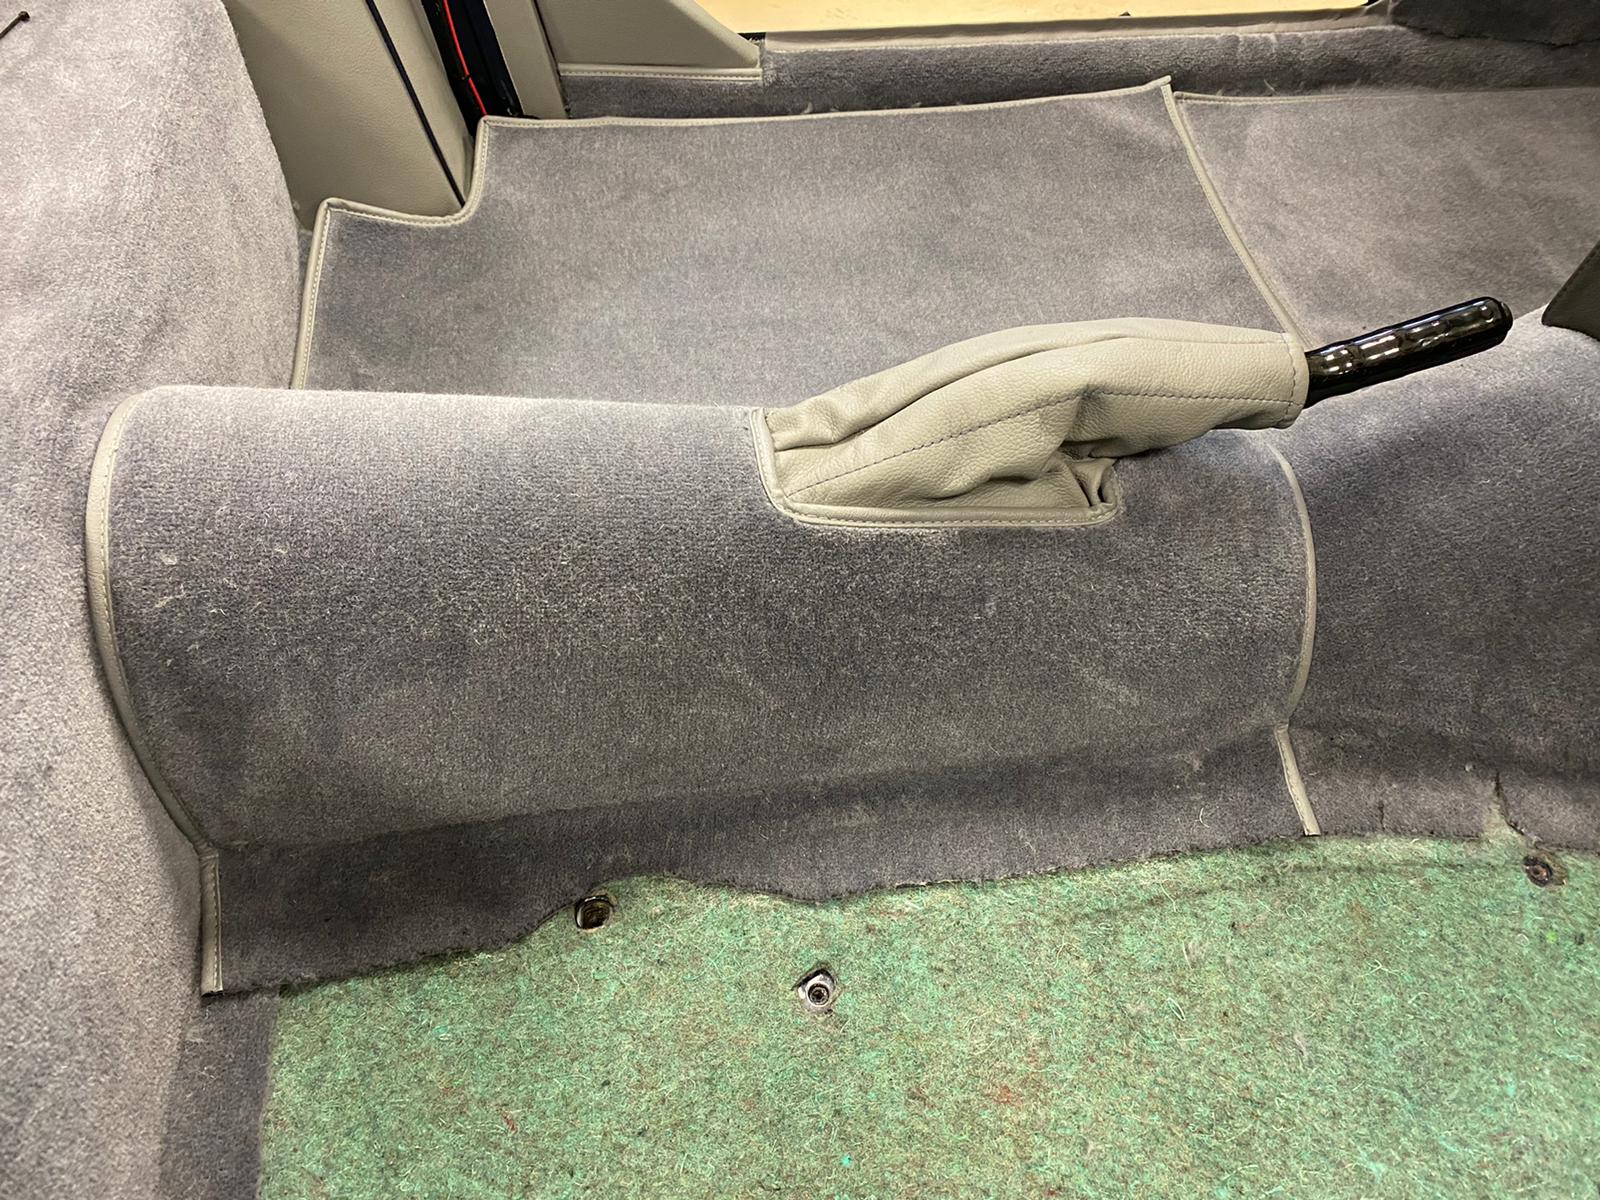
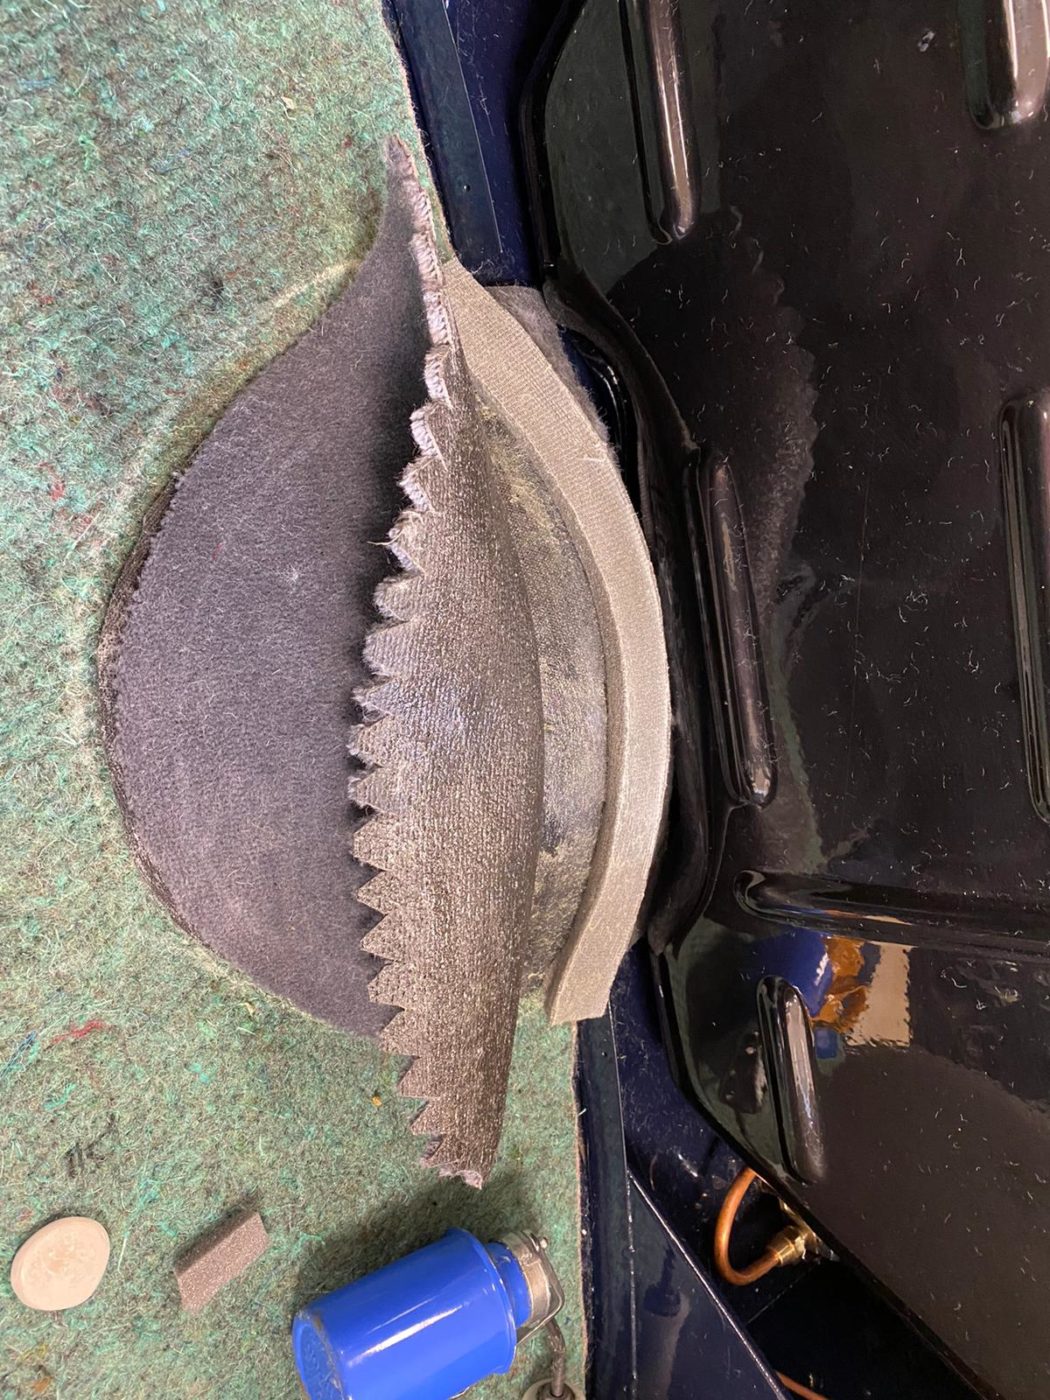
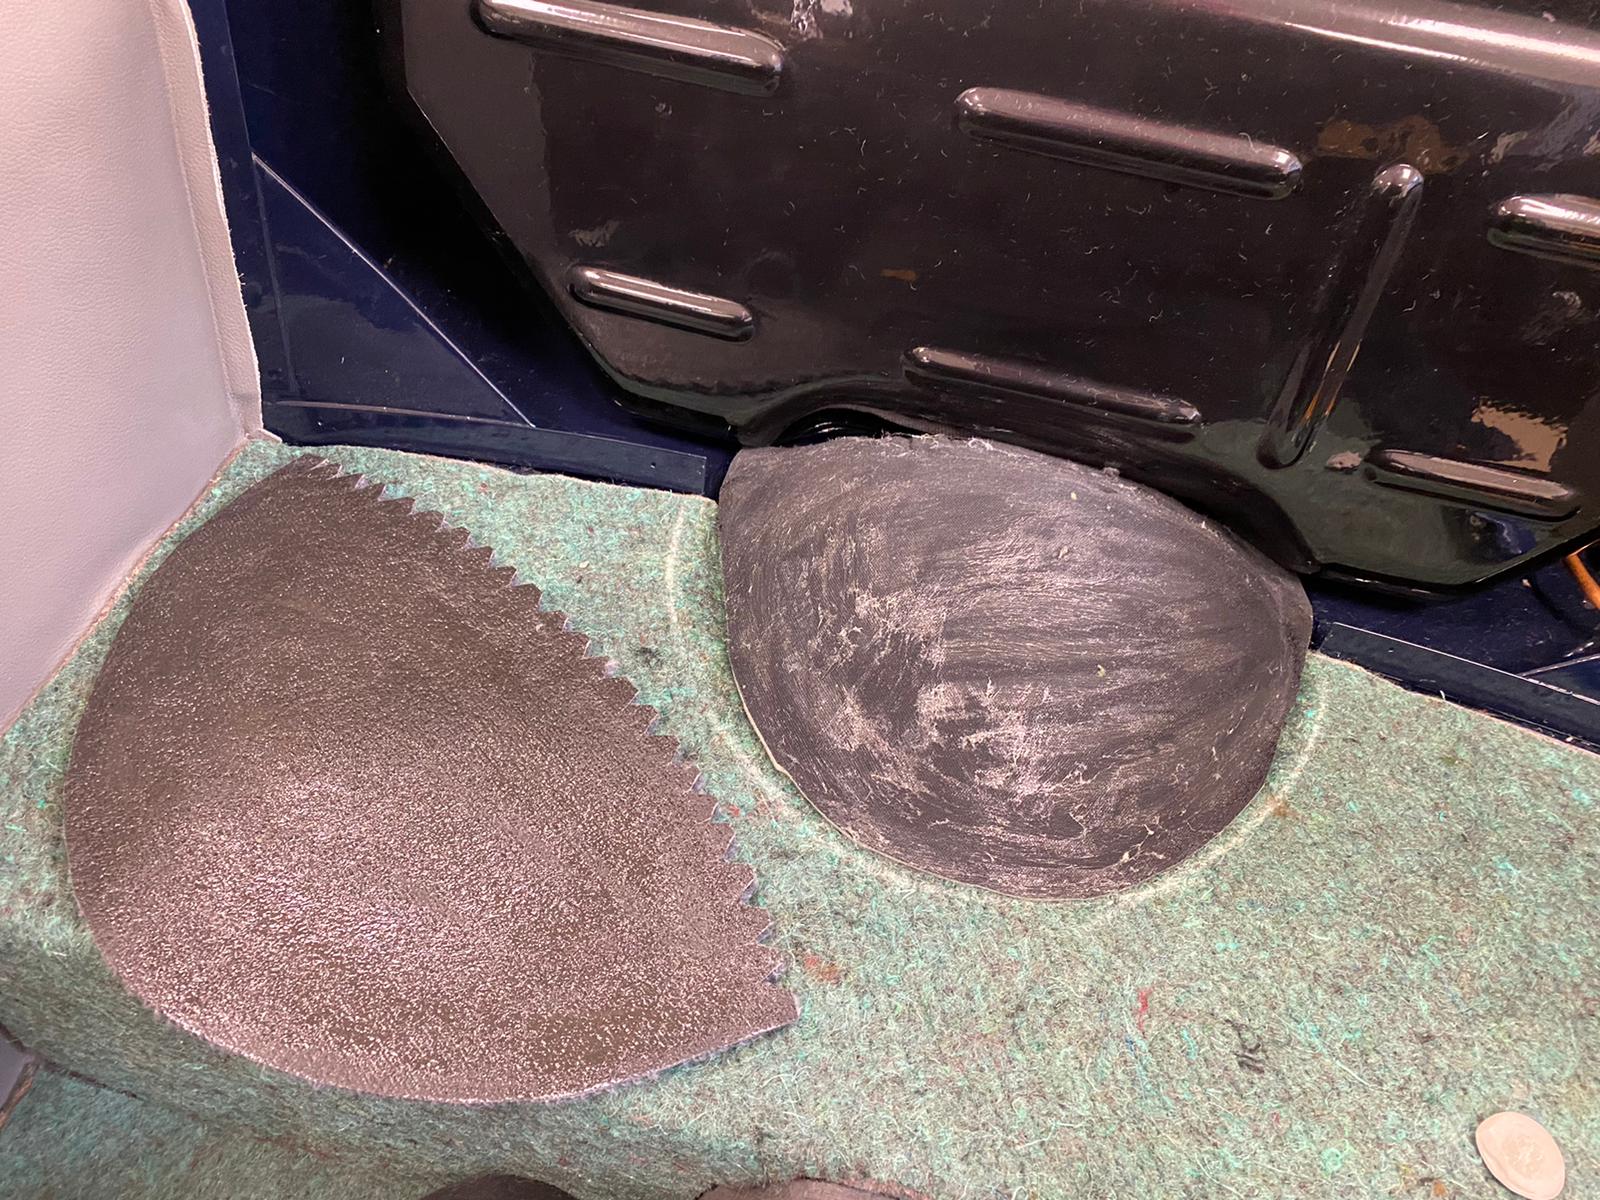
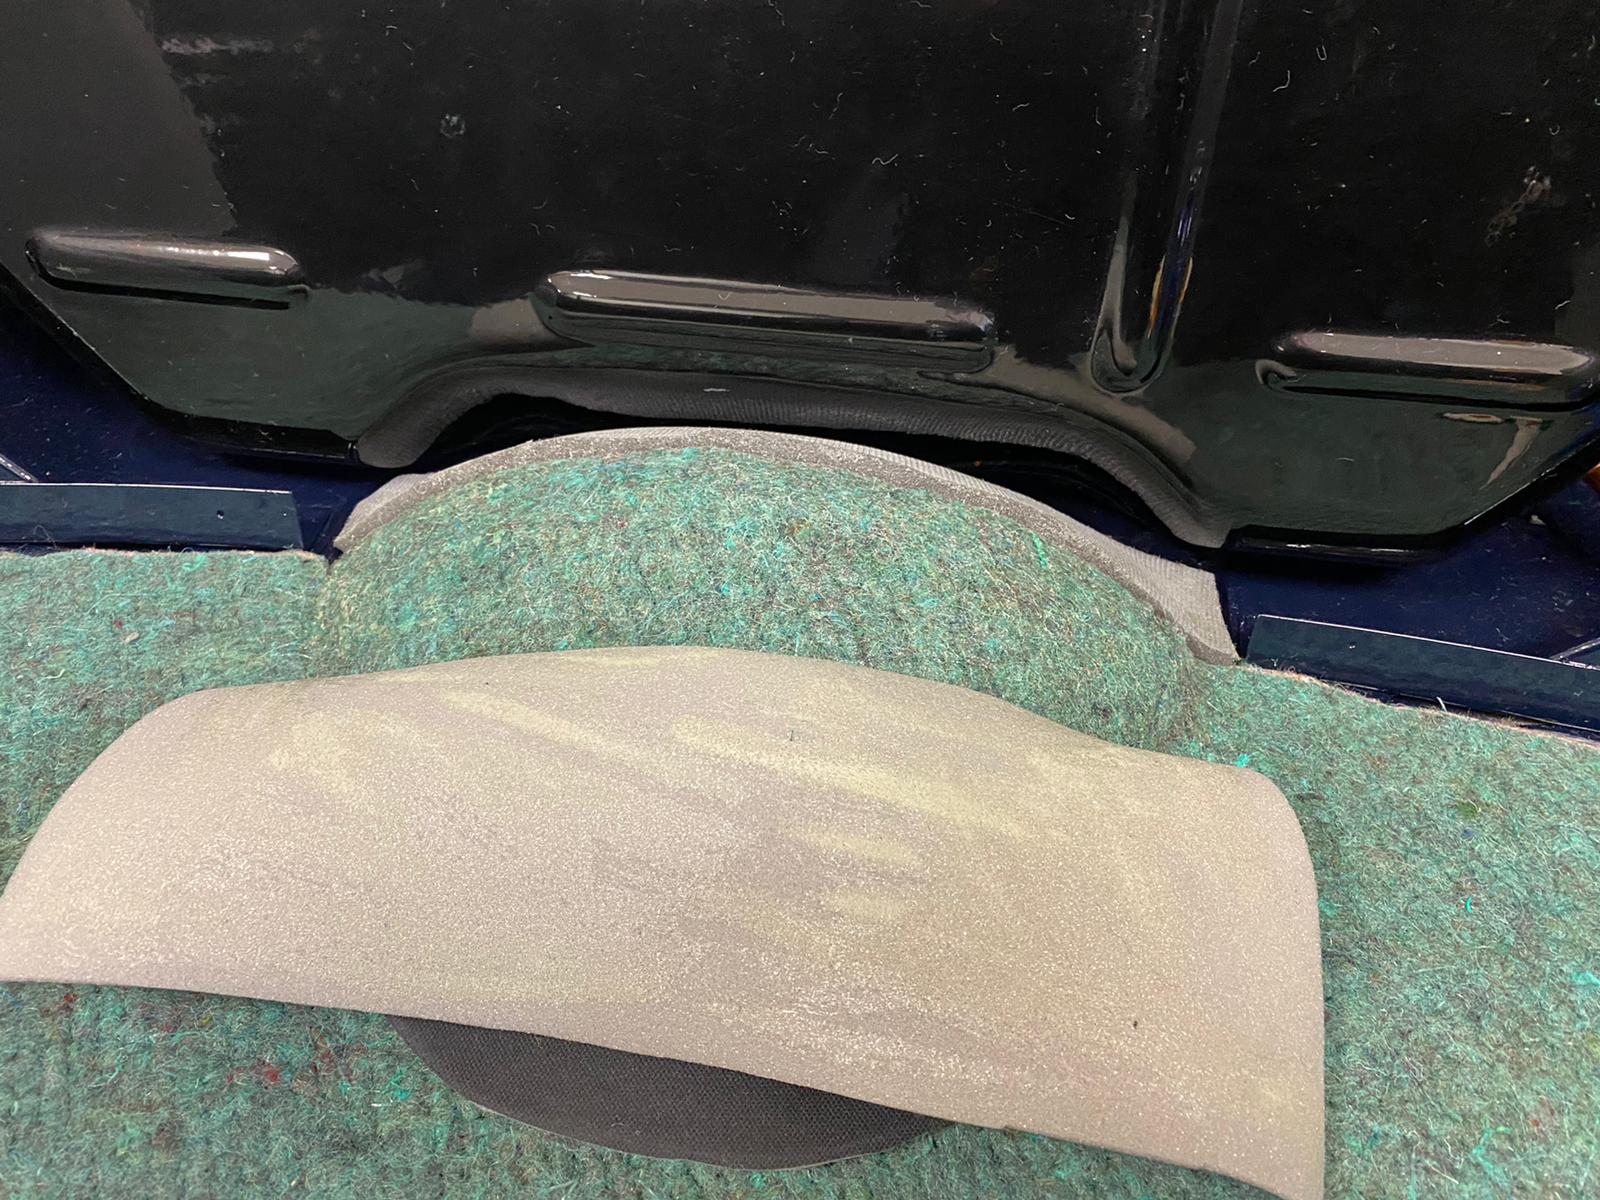
Kath has added foam over the raised section in the boot and positioned the carpet over the foam to get an idea of how it would fit. Once happy, Kath could then glue the foam sections down and pack it out around the fuel tank. Once the foam is stuck down, Kath could then lay in and glue down the carpet in sections, pulling the carpet over the edge and down into footwell so that it fits tight. Once in place, Kath could trim around the corners, and get started on the hand brake gaiter section.
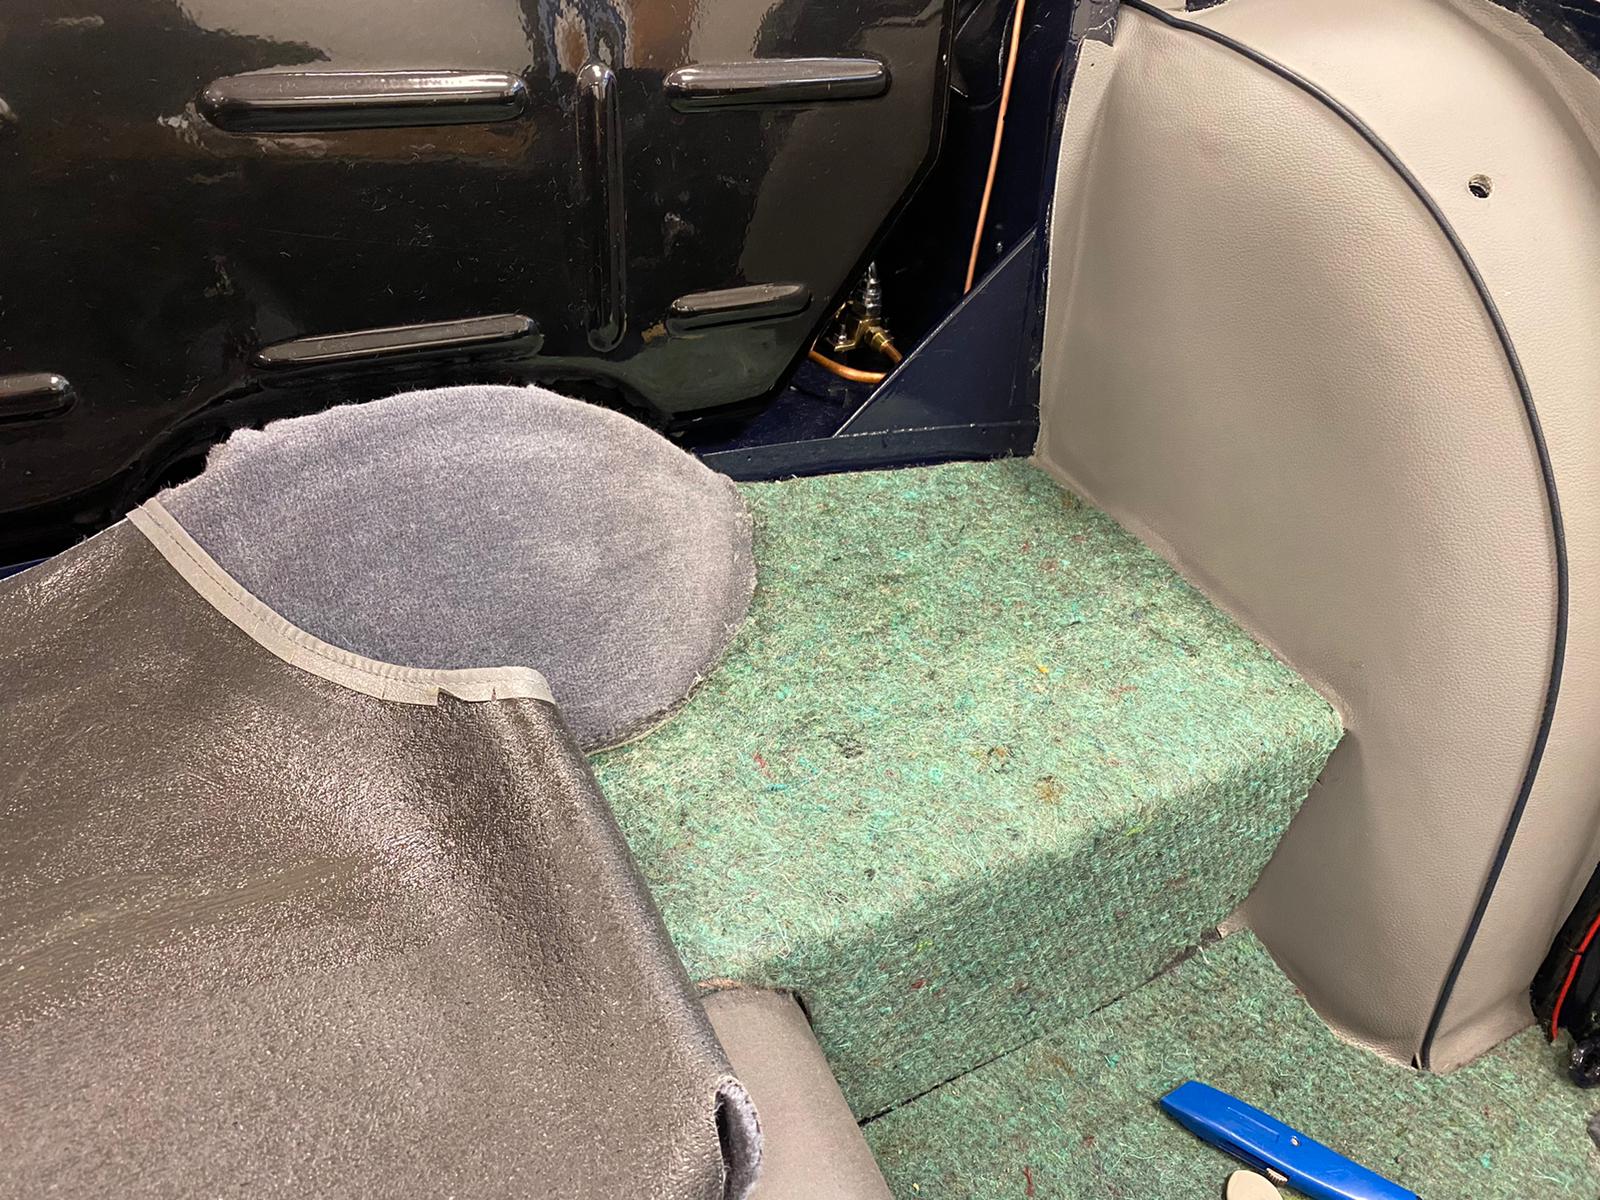
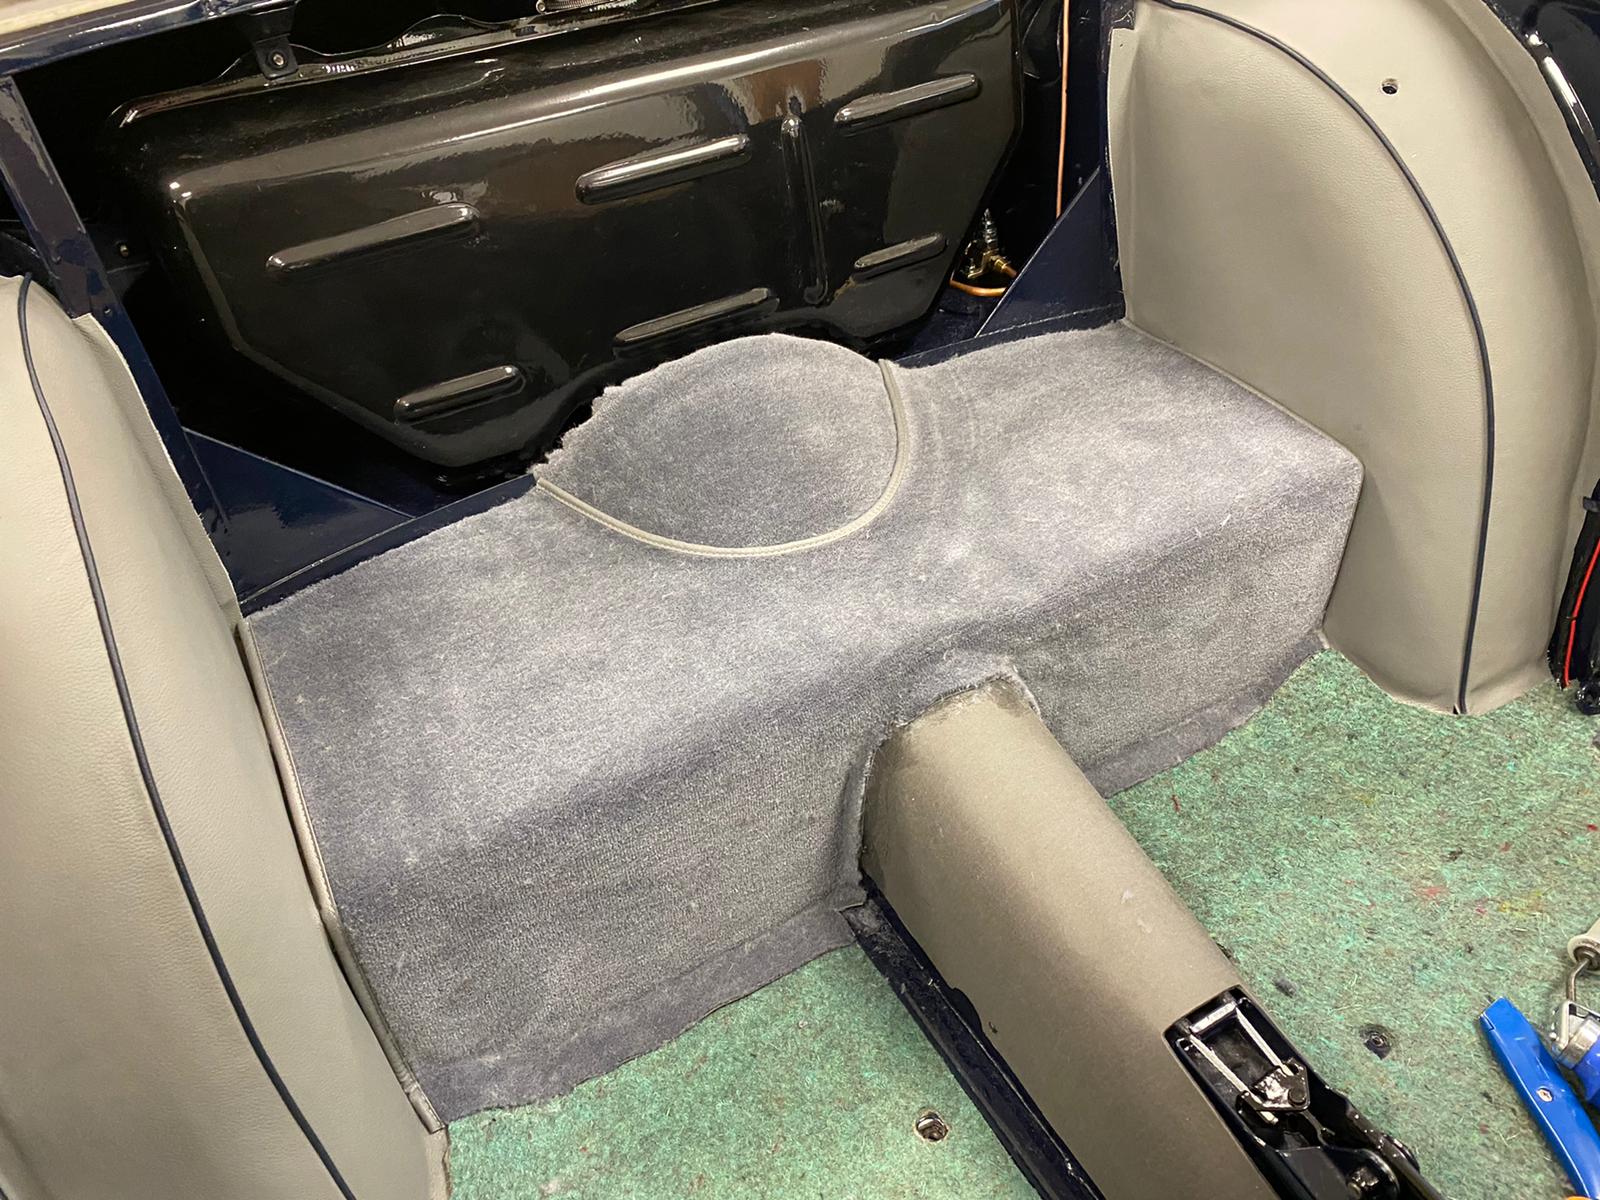
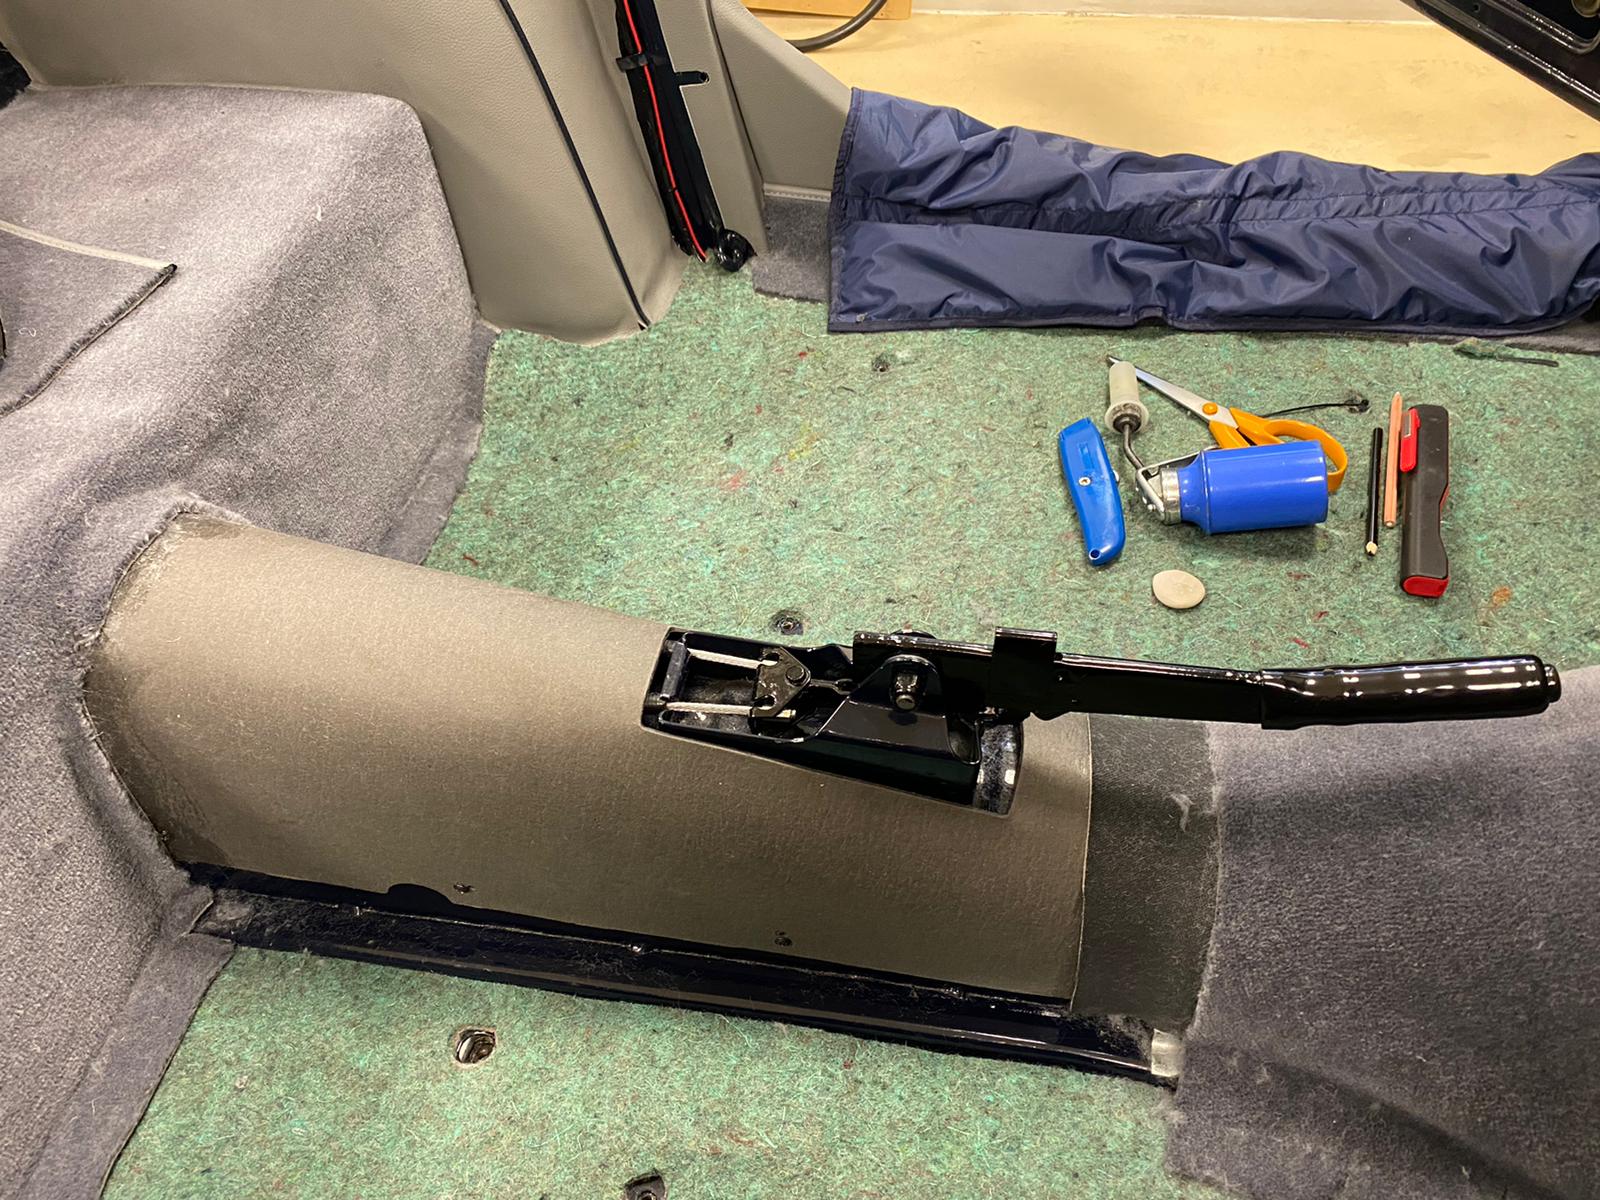
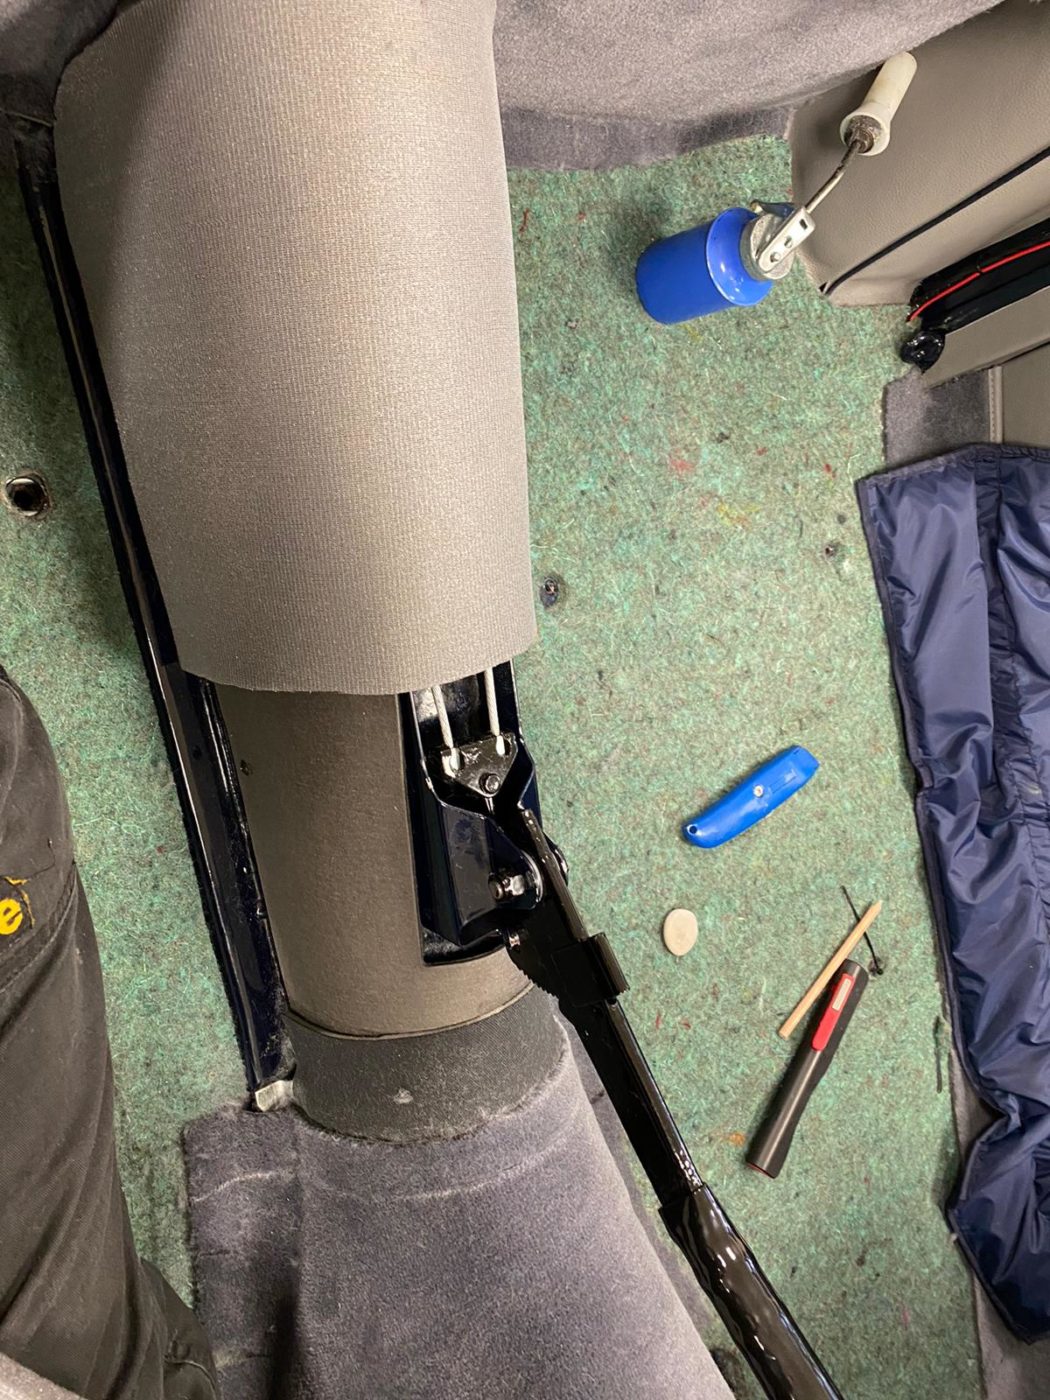
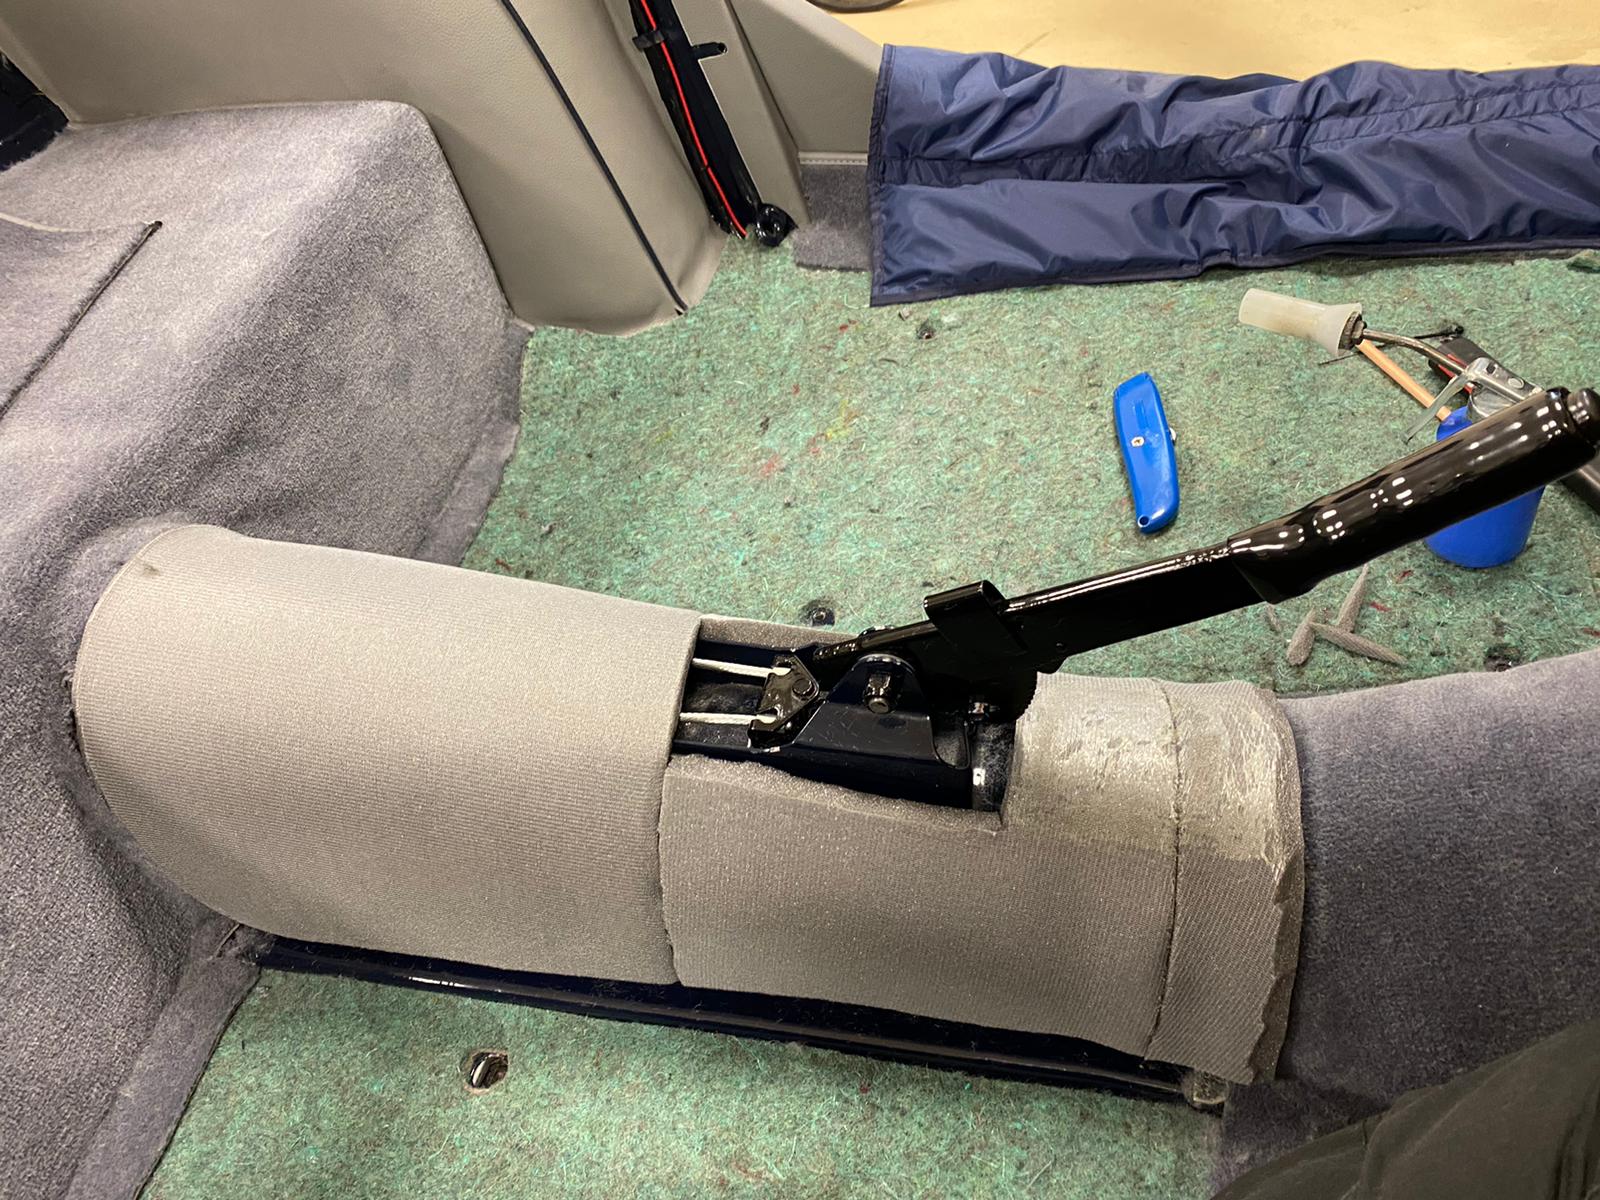
The hand brake gaiter section needed to have foam packed around the hand brake with an 11mm scrim foam piece so that the get carpet fits nicely. Once in position, the carpet can be glued down, making sure the fabric is pulled taught to ensure a fitted finish.
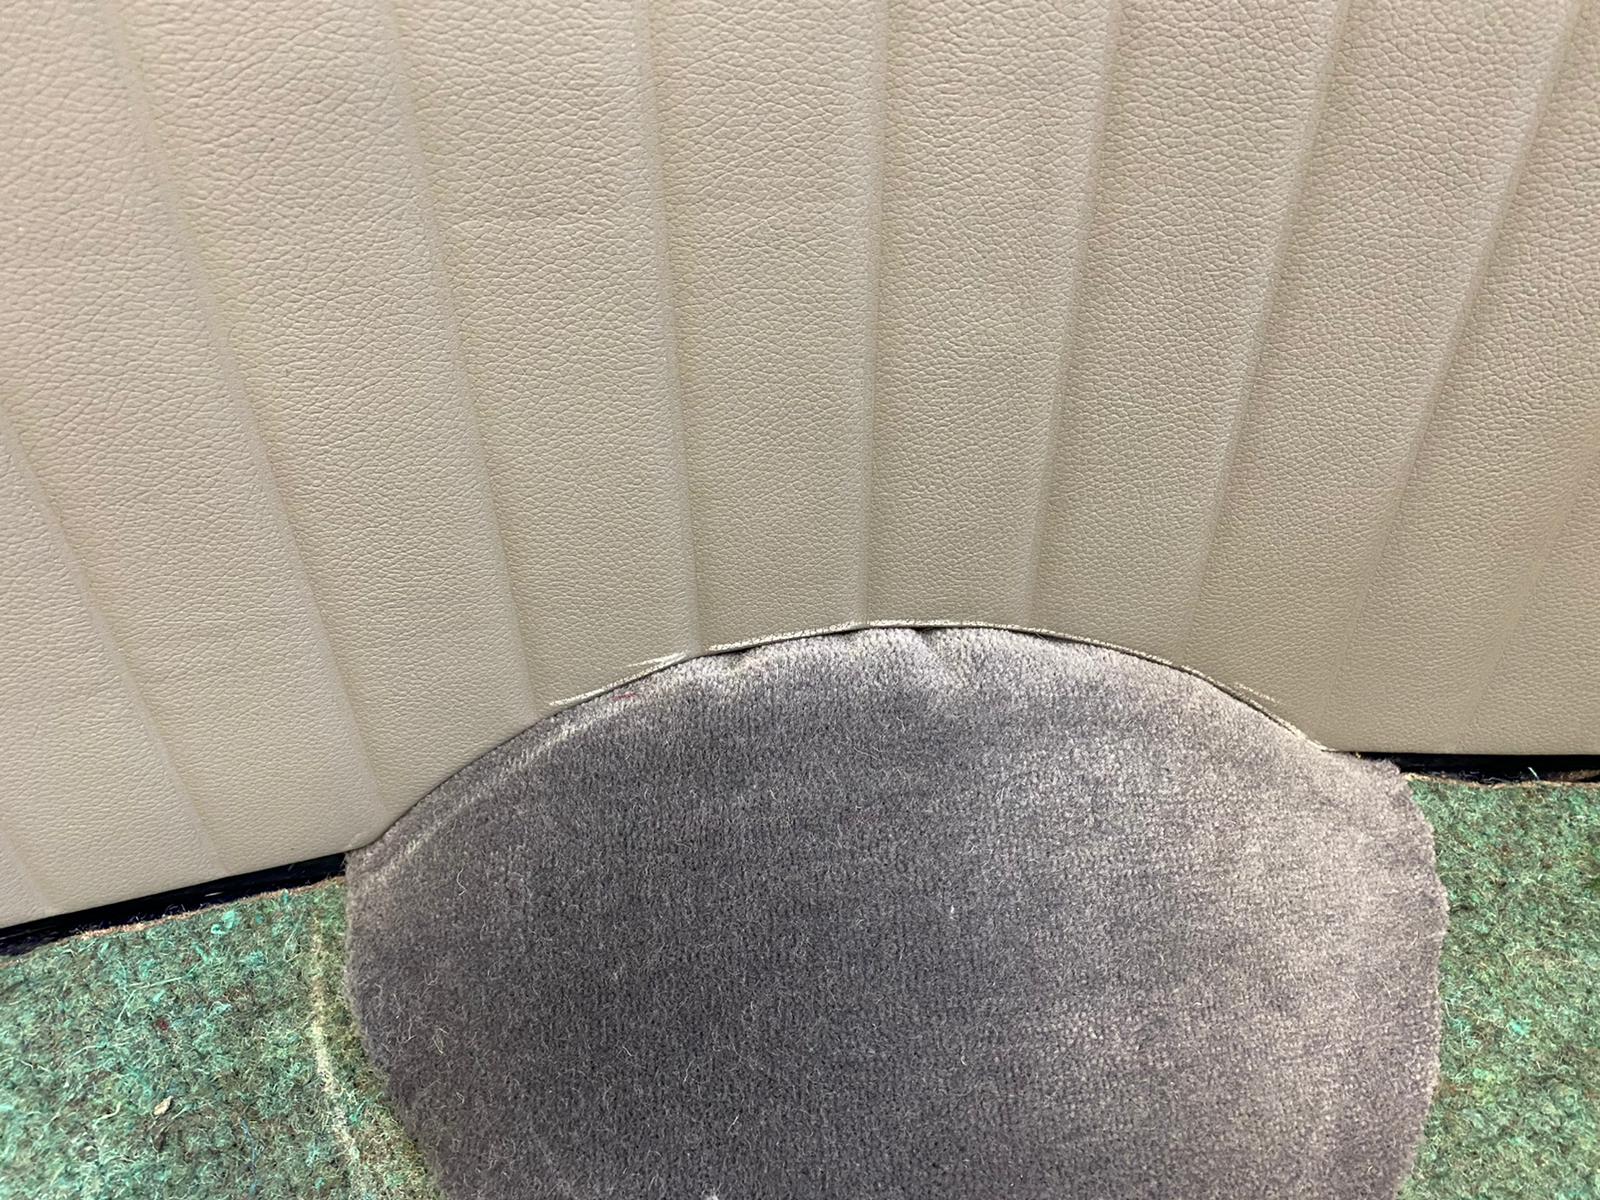
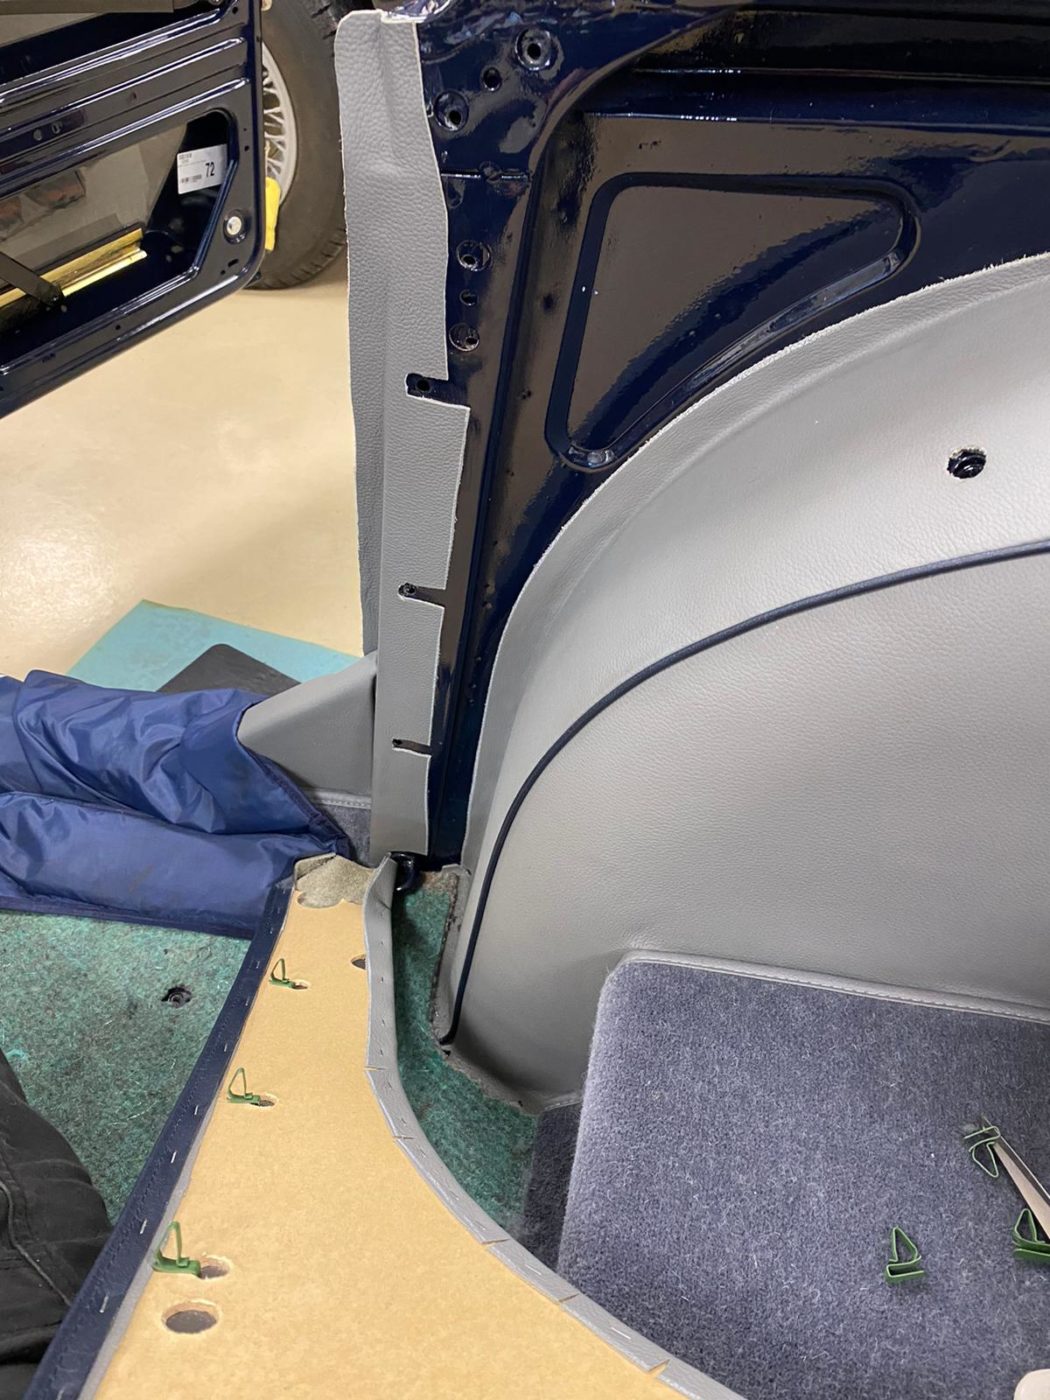
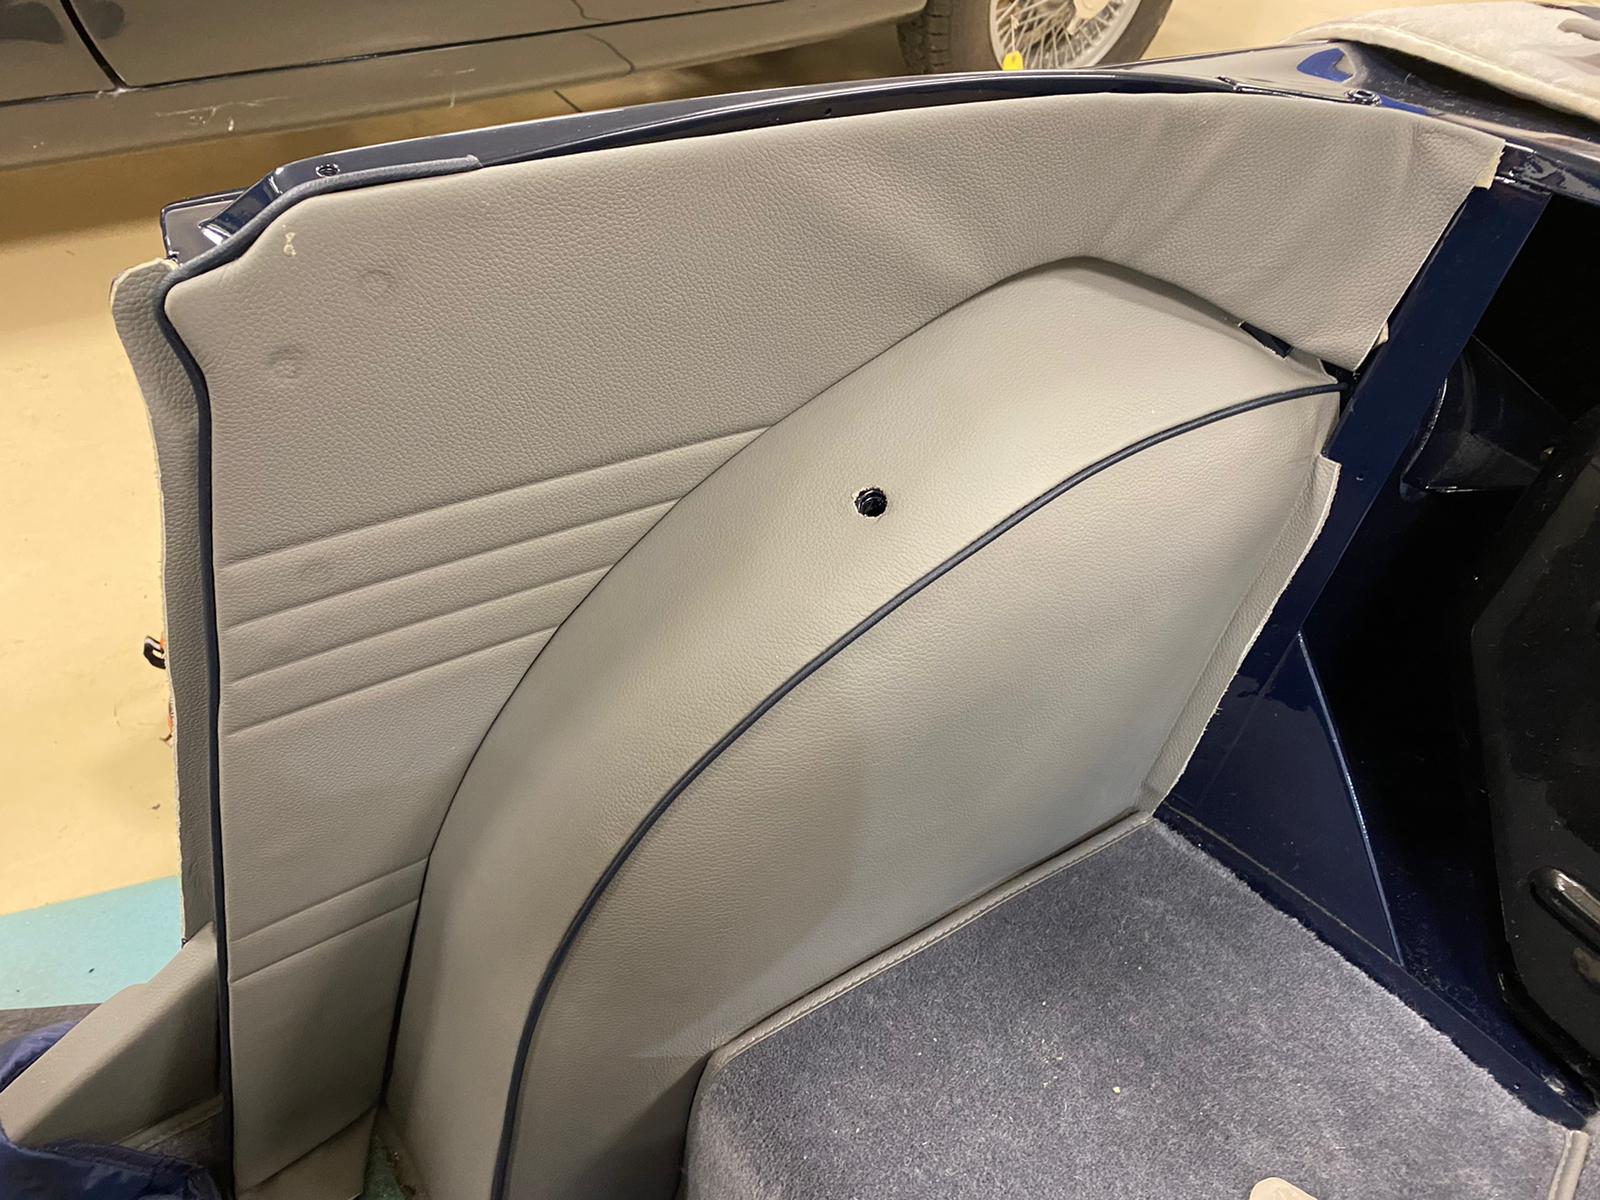
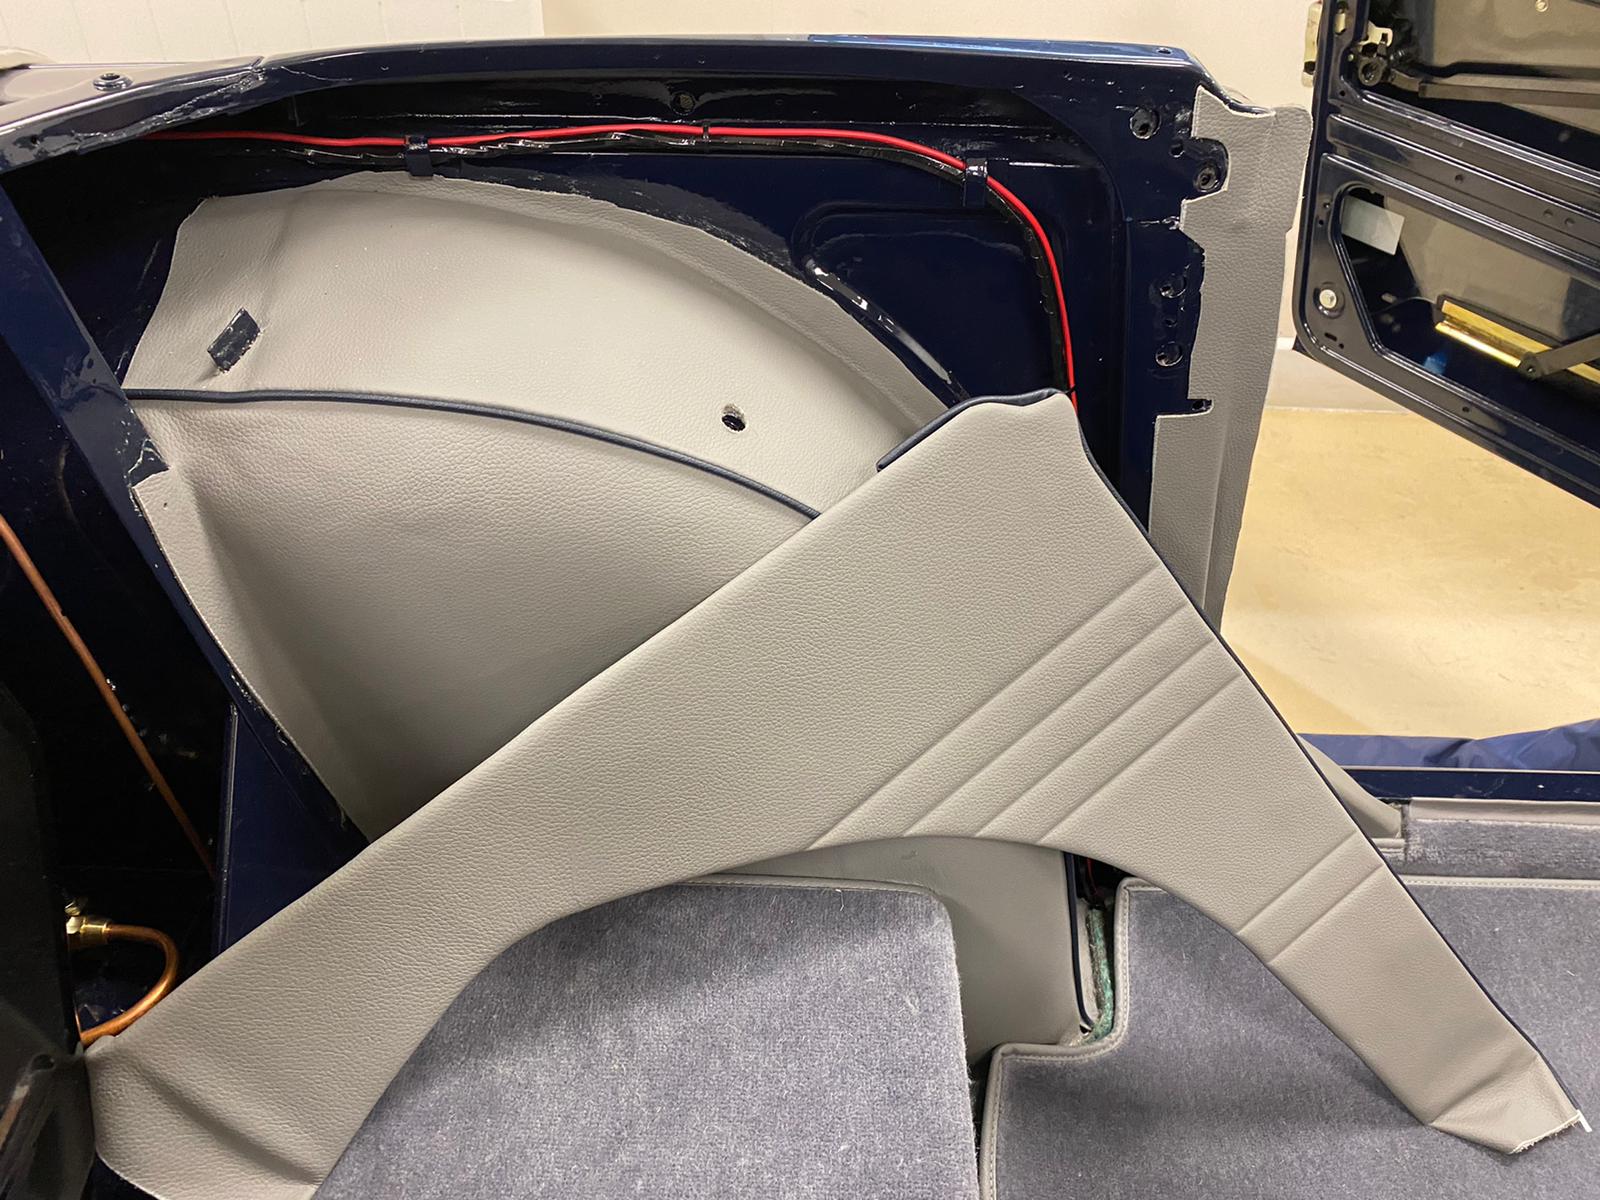
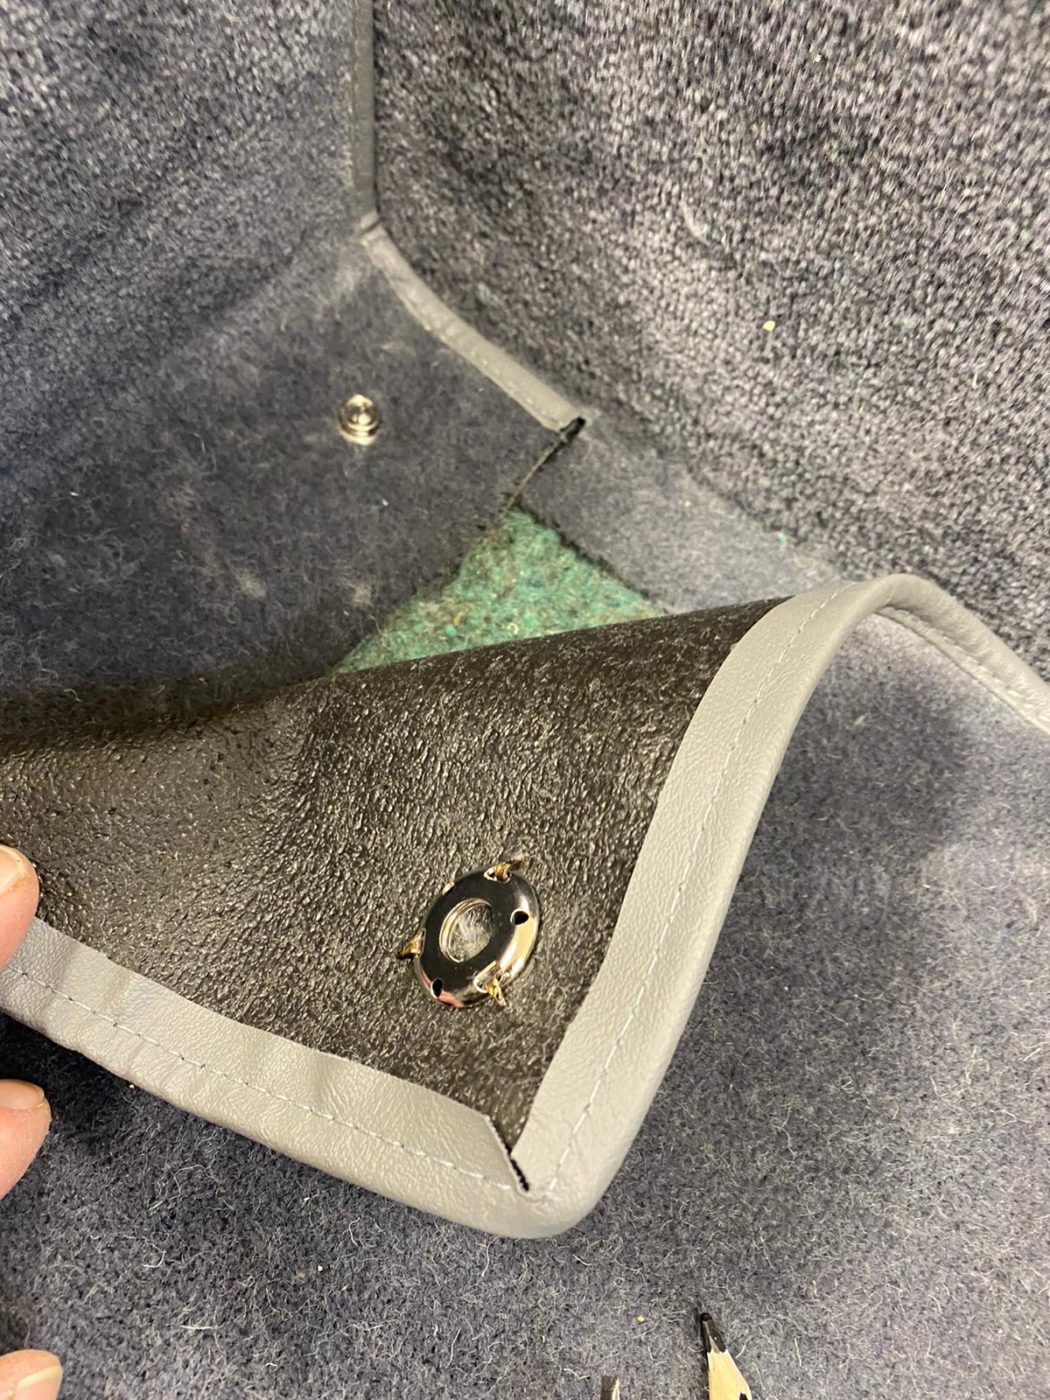
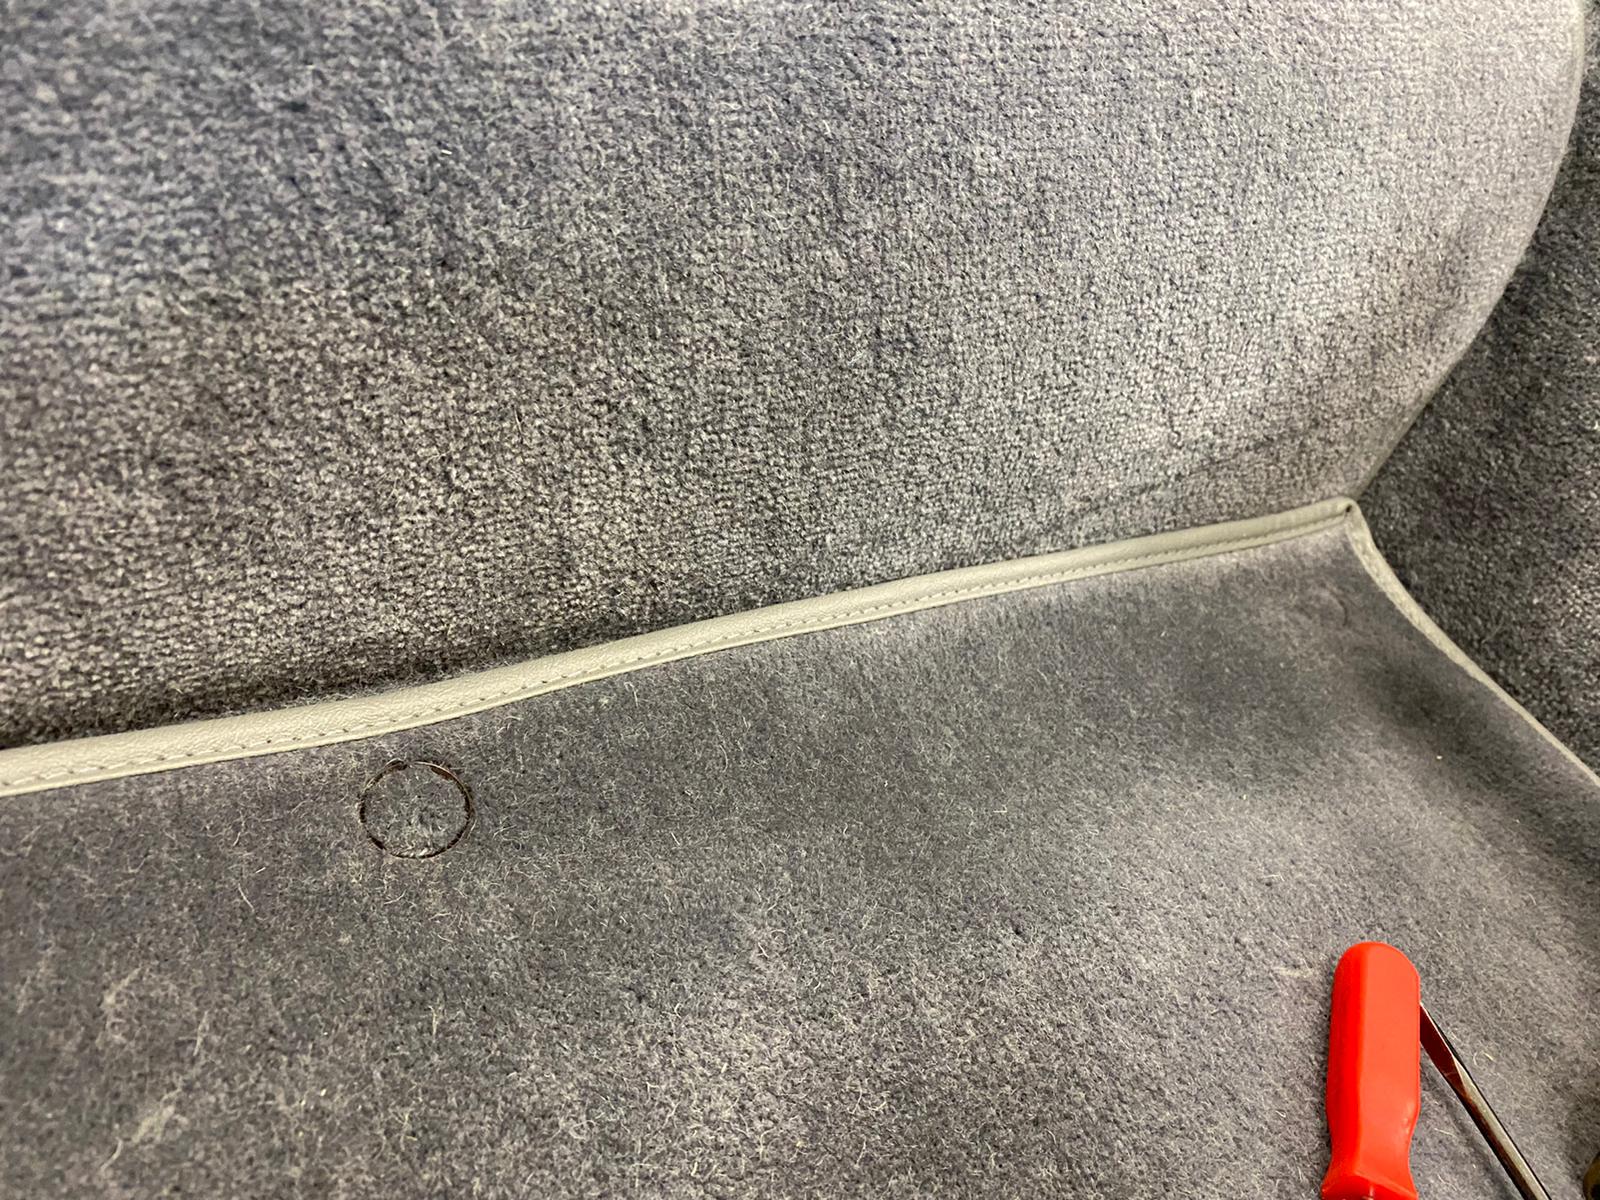
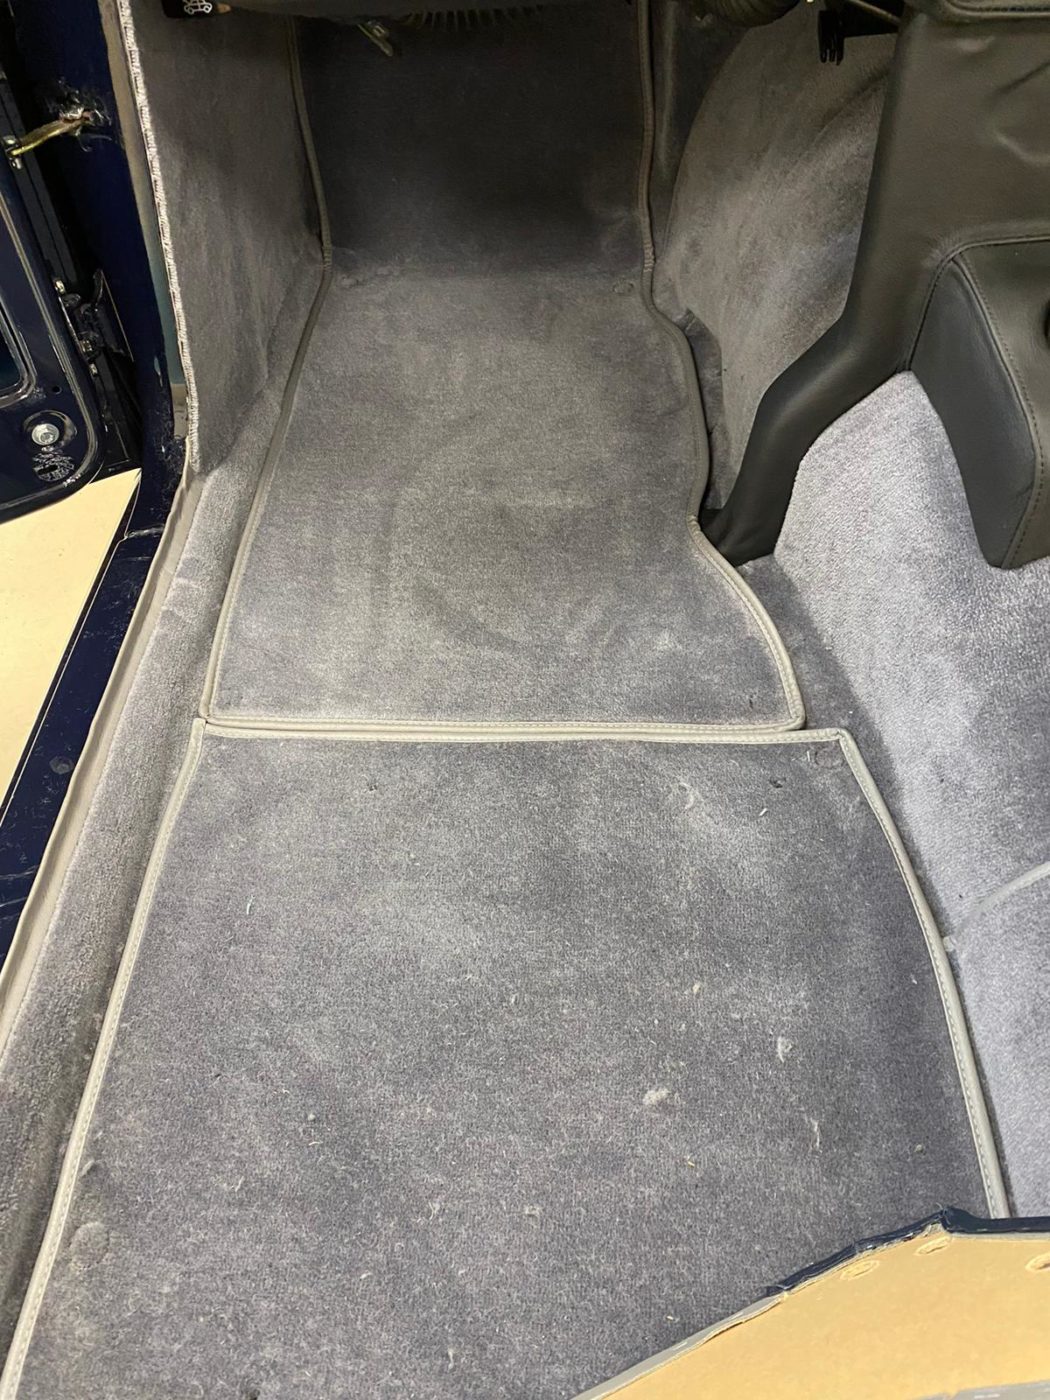
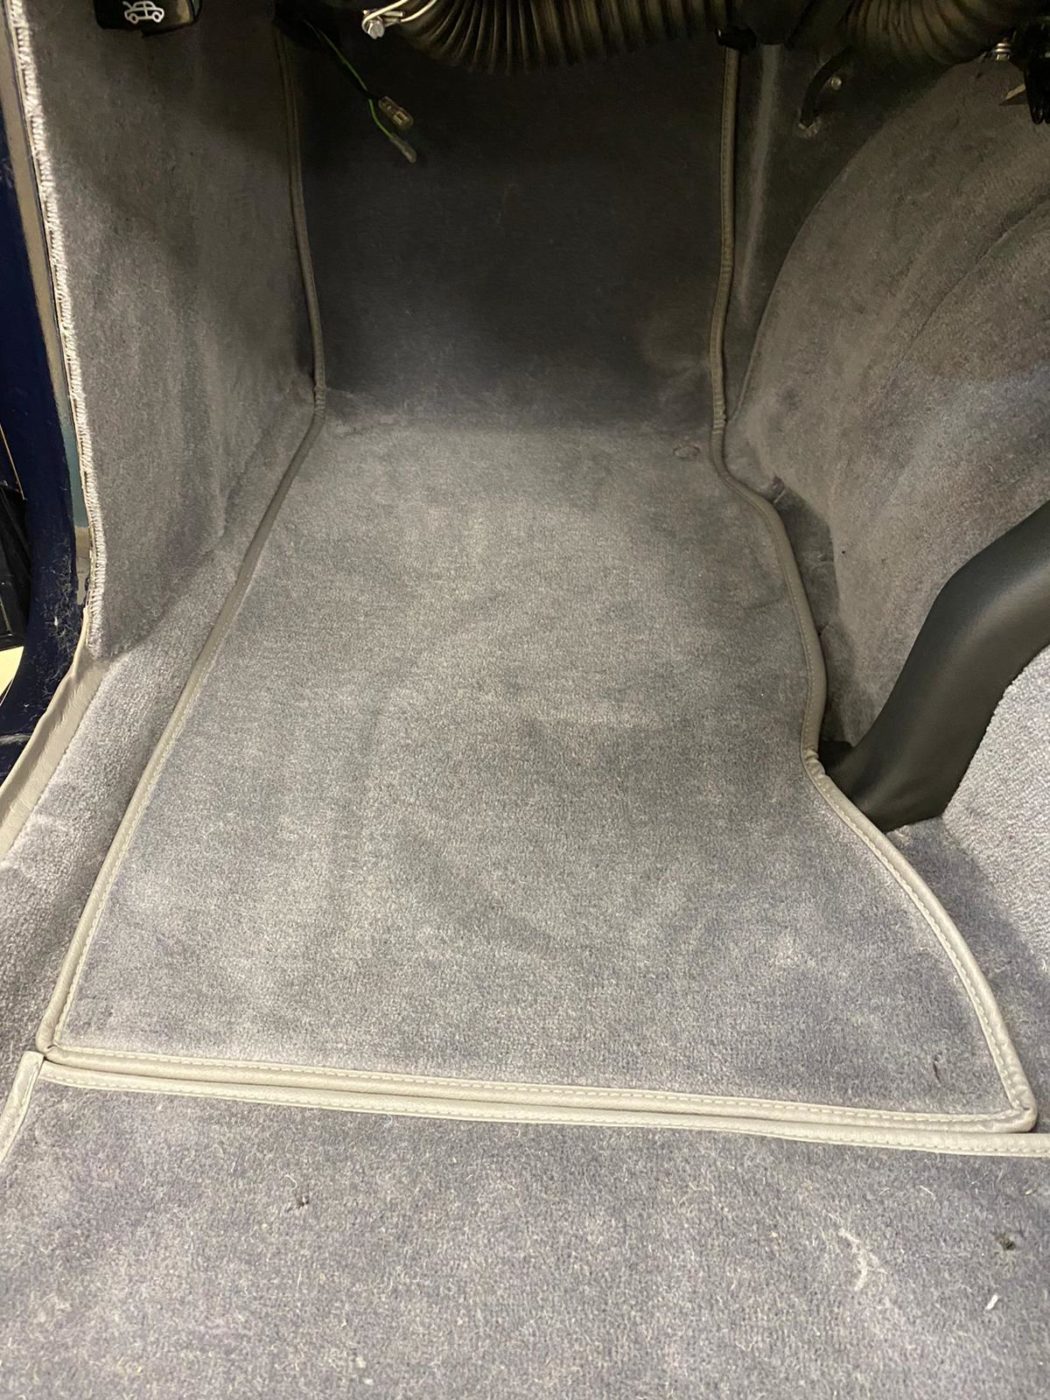
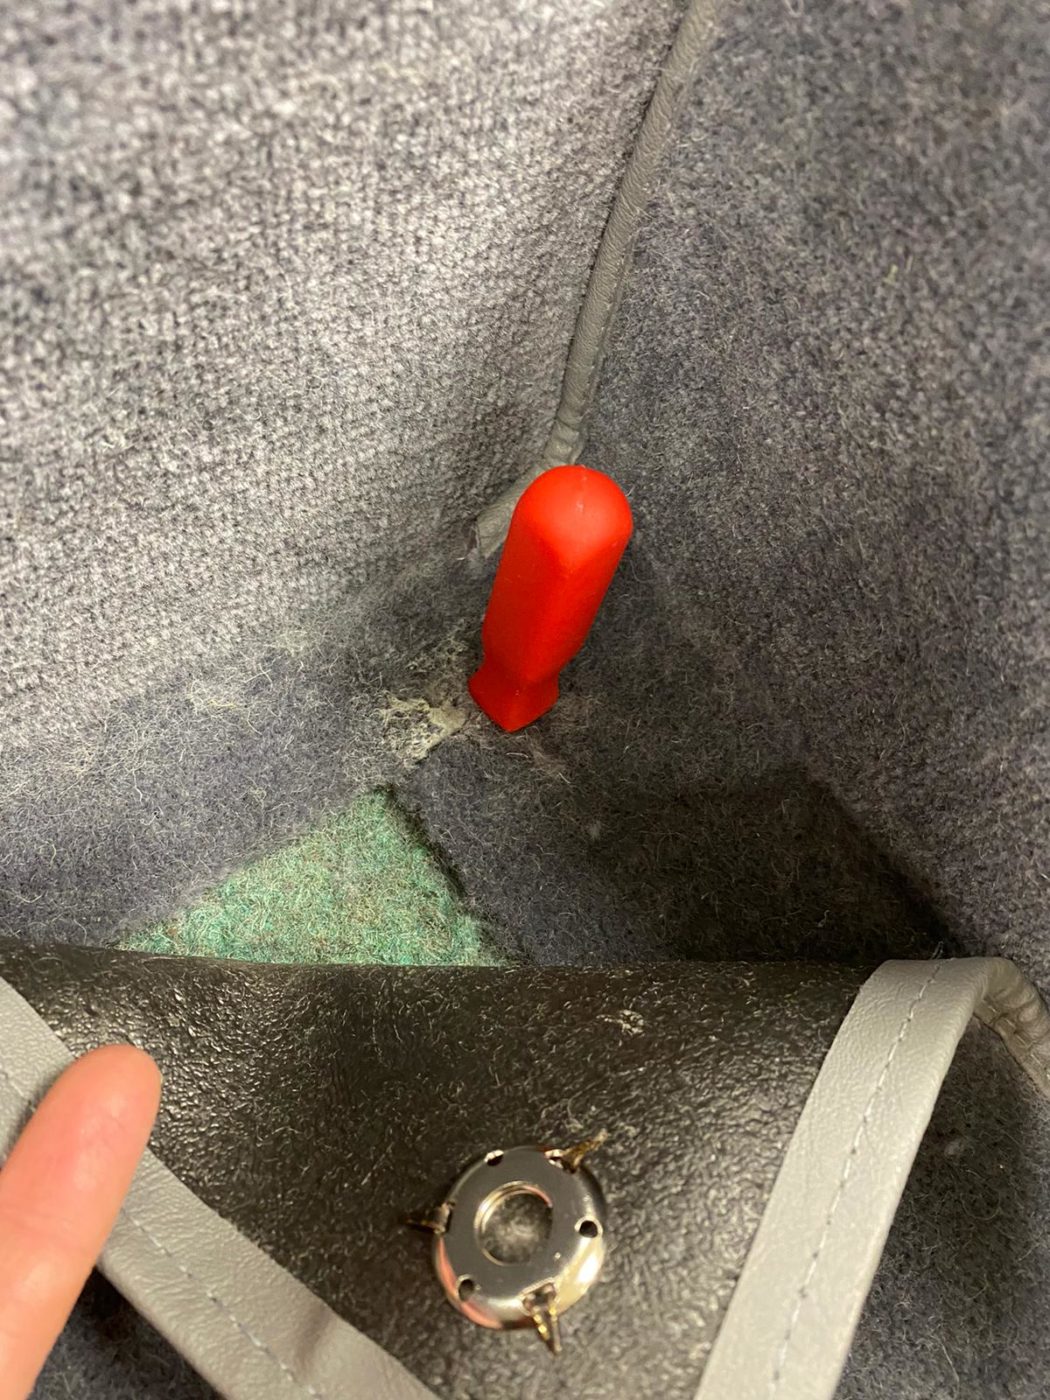
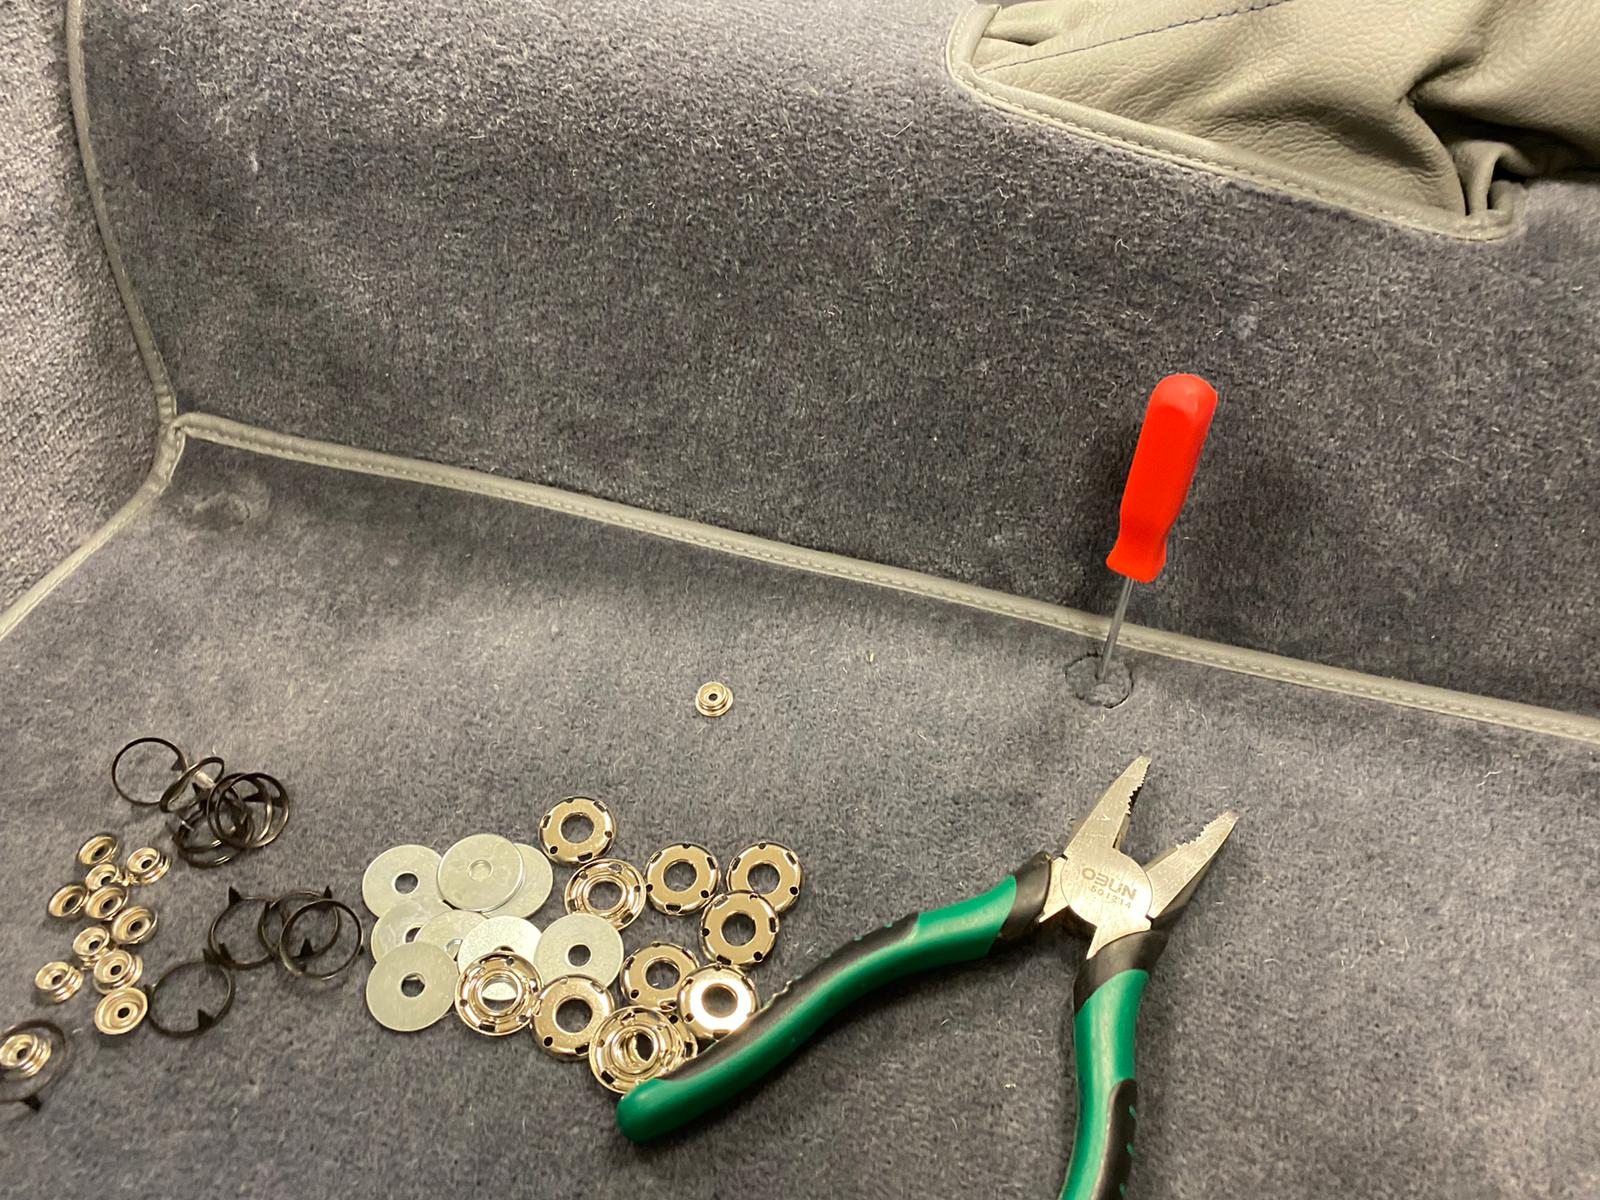
The next step was to fit the rear quarter panels and the door panel which clips onto a board. Kath found that she needed to adjust the panel around the wheel arch and the bottom section for seat belt eyelet first before fitting the sections. Once she had fitted the drivers side rear, Kath could then fit the passenger side and attach the carpet fasteers to footwells so that the mats don’t move about.
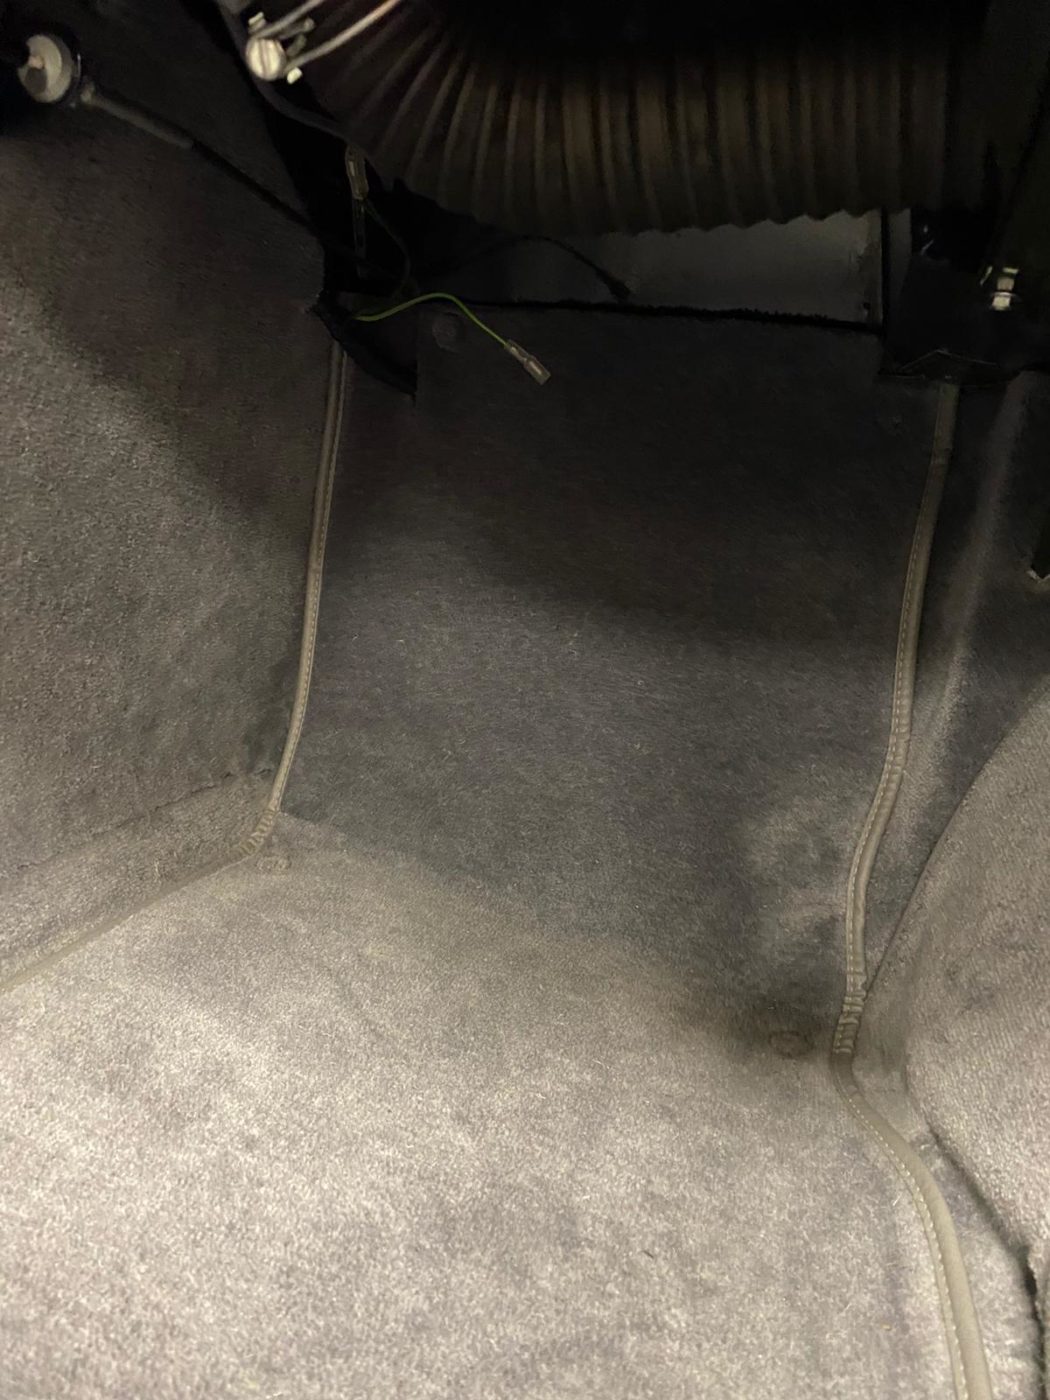
Finally, Kath could secure the carpet down in the upper foot well around the pedals and focus on the rear cockpit panel which needed to be screwed into place. Kath cut holes out for the hood mechanism and fit the hood mechanism in place so that it’s ready for the hood.


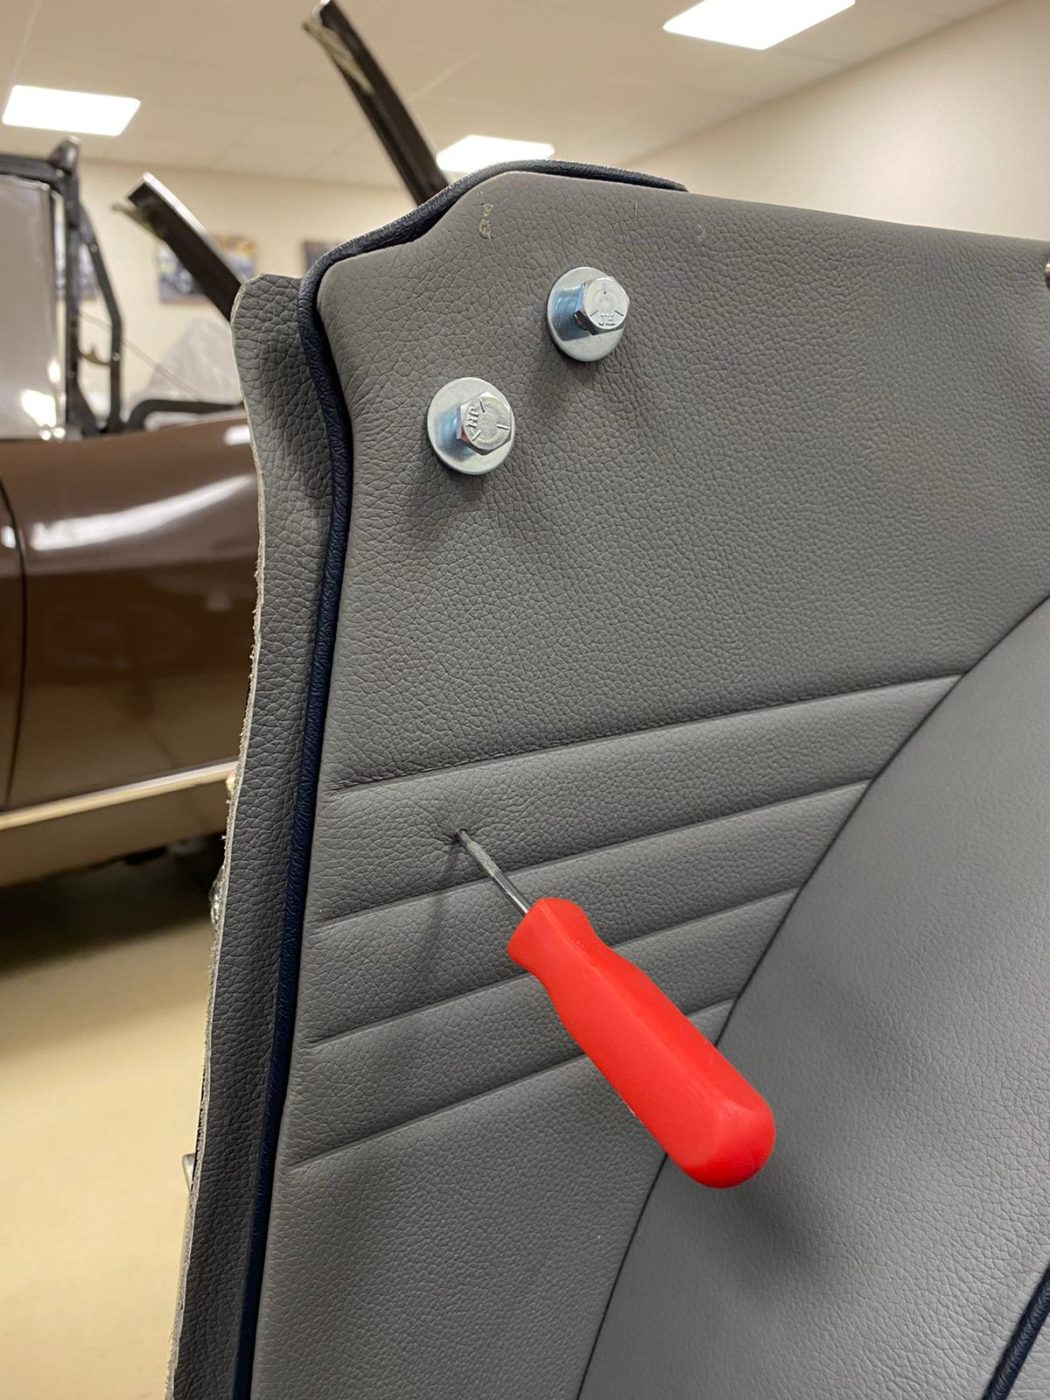
Brian started on the seats and their frames. He began by fitting the rubber diaphragm to the base seat and added foam around the front edge. He then glued the base cover to the upper foam and secured the lower foam in place underneath. The next step was to glue the base foam and cover to the seat frame and add extra foam around the front edge. By pulling the cover tight around the frame and clipping it in place, Brian could then glue the rear flap to the frame.
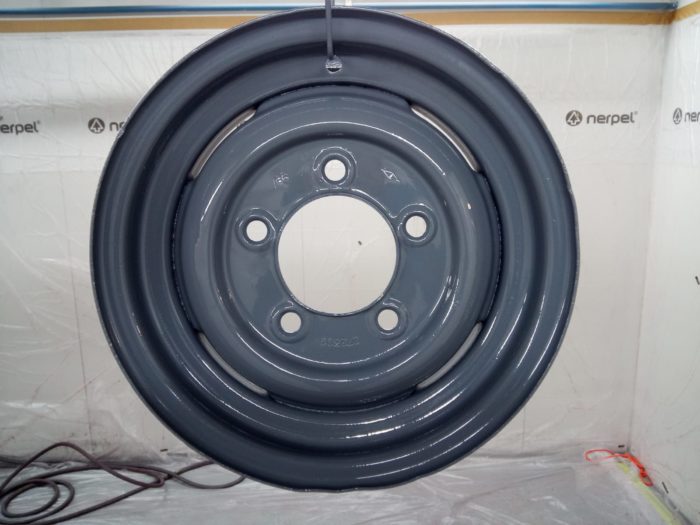
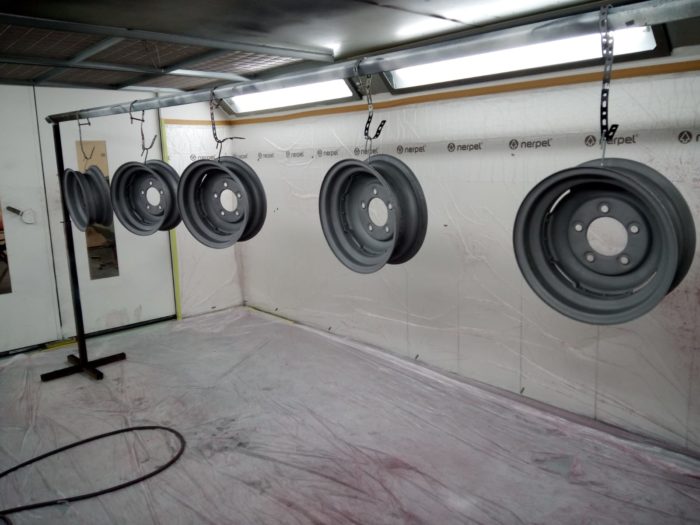
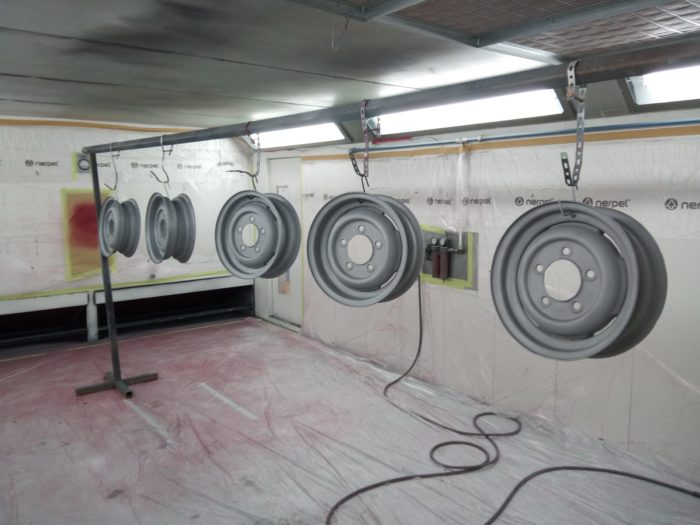
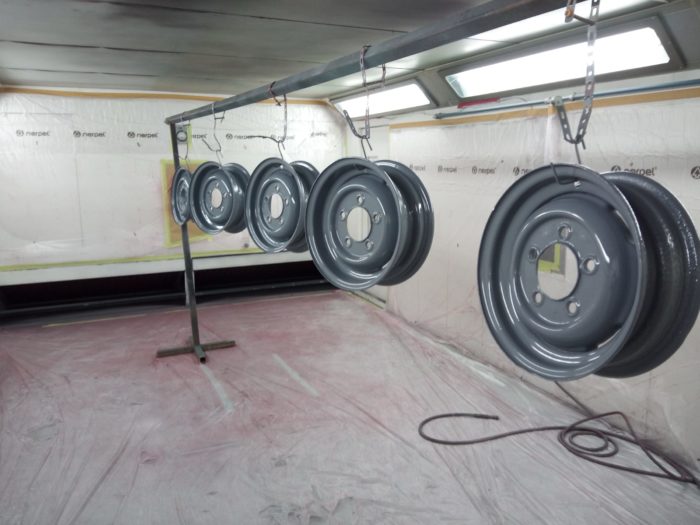
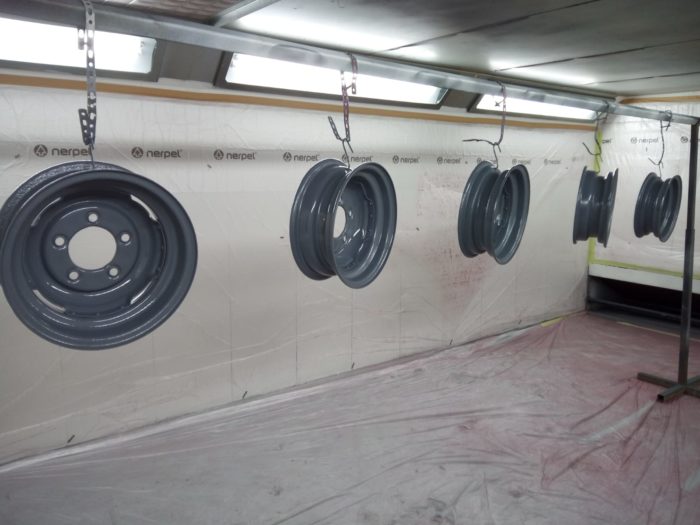
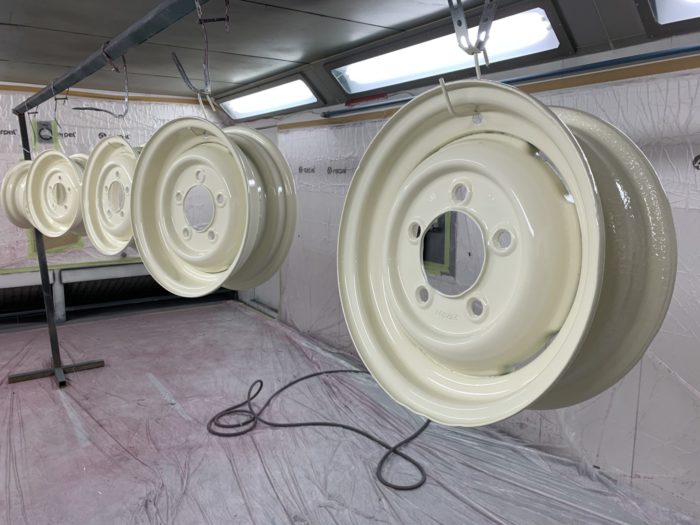
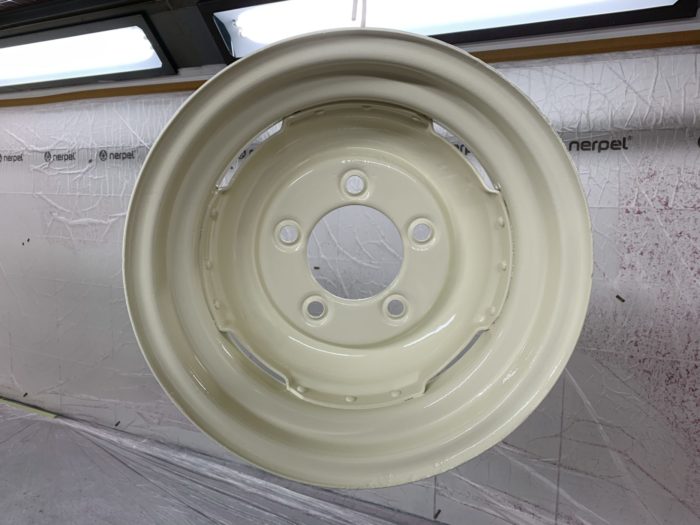
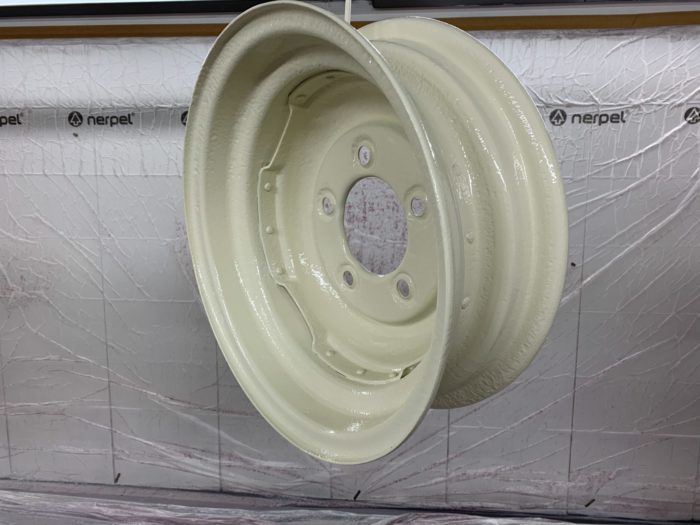
The paint shop have added the finishing touches to our 1964 Land Rover Series 2a by painting the wheels cream. The injector fuel pump has also arrived and been fitted, making it photoshoot ready for its editorial on friday!
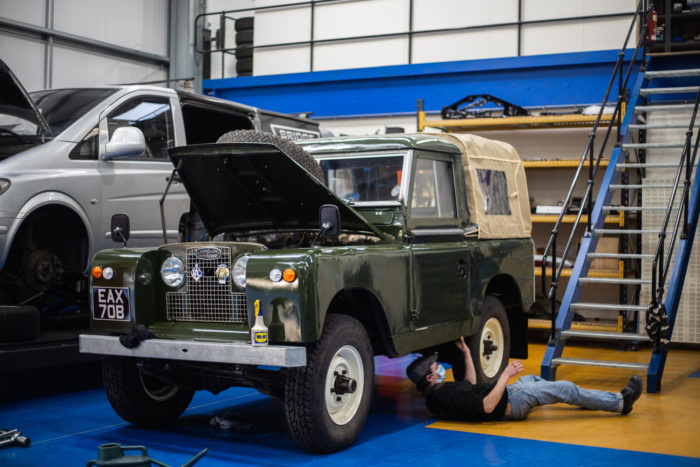
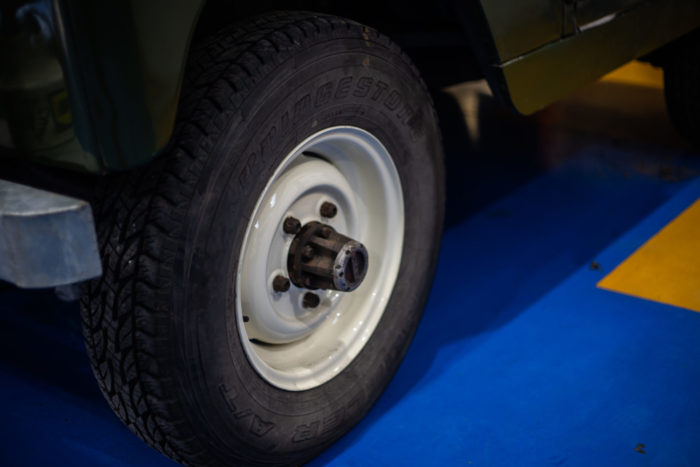

The wheels were first coated in an epoxy primer and then painted over in an originally land rover ‘off white’ cream finish.

James has been sanding and smoothing the door frame window sill using the wire wheel on the grinder.
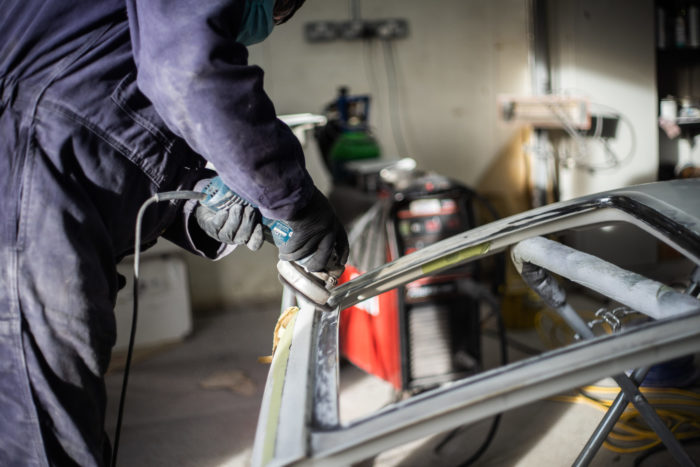

Four out of five doors have been prepared and are now ready for primer. James has discovered that the 5th door doesn’t need such extreme work meaning its ready to go to Chris tomorrow after its been lined up on the van to make sure it still fits straight.
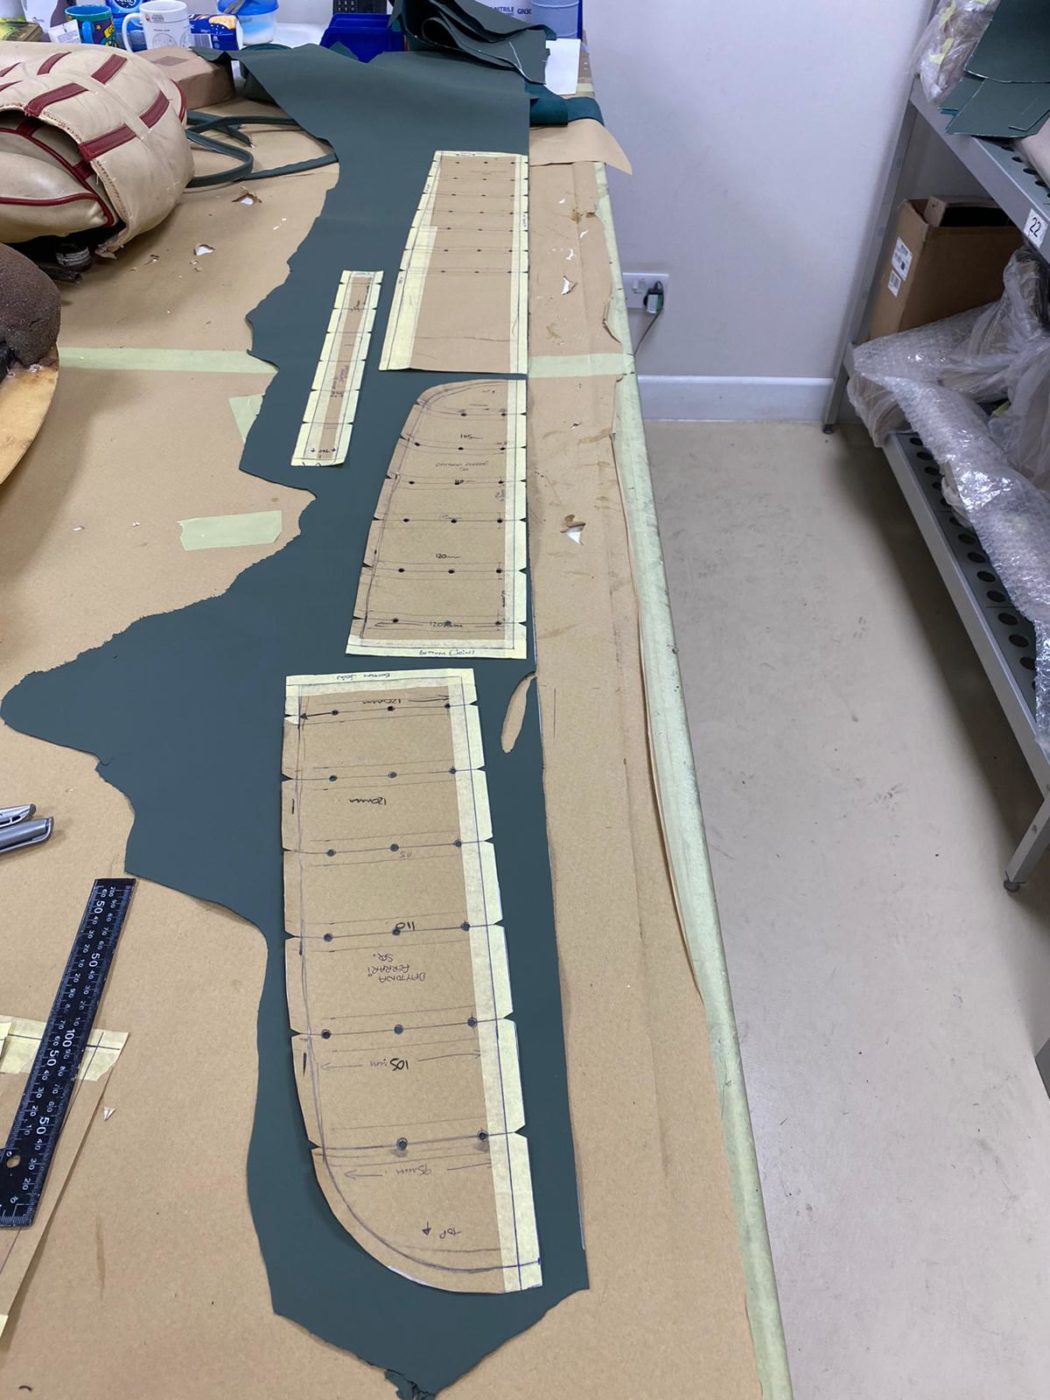
The Ferrari Daytona is currently sat in primer and is being smoothed and prepared for its final paint step: the official colour. Before it can be painted, it needs to be masked. We hope to see the shell painted by the end of the week which will mark an exciting milestone in this restoration.

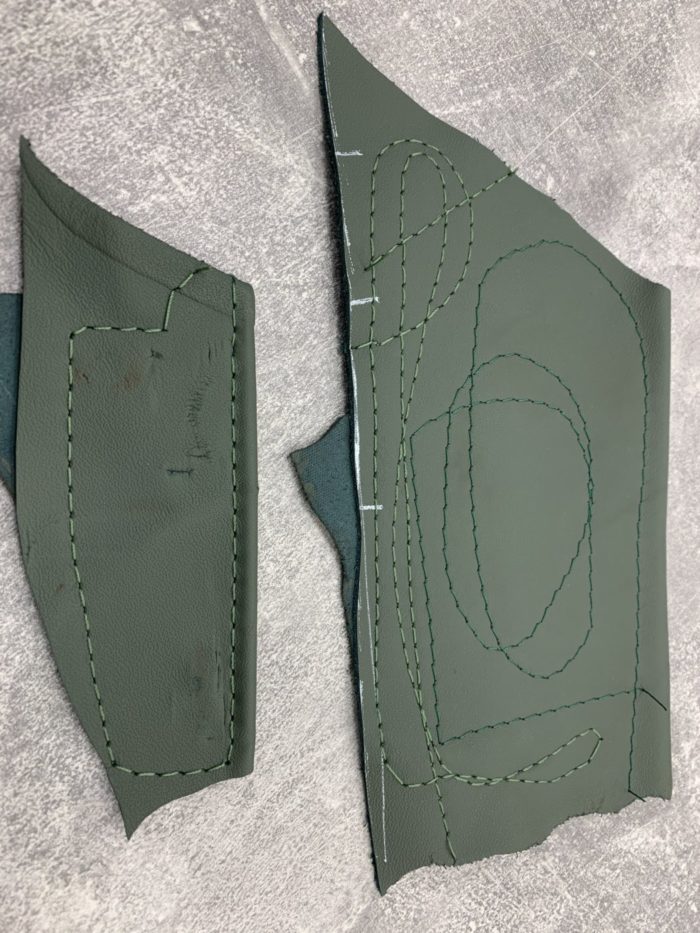
Here are some examples of different stitching options for the interior of the Daytona. The trim is set to be a similar tone of green to the exterior.
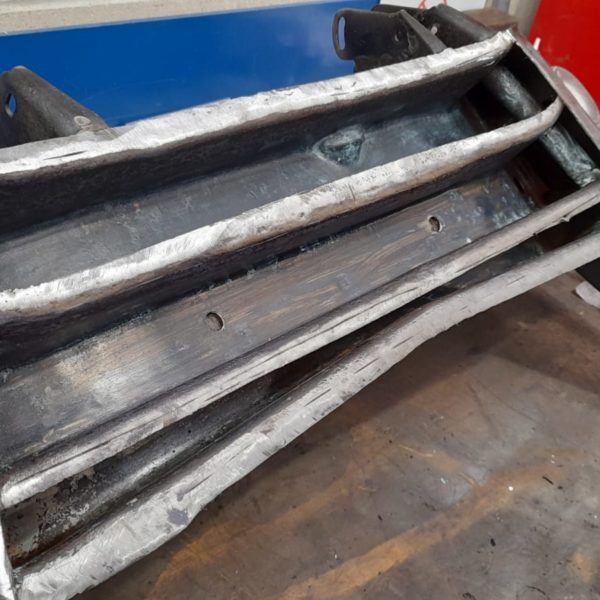
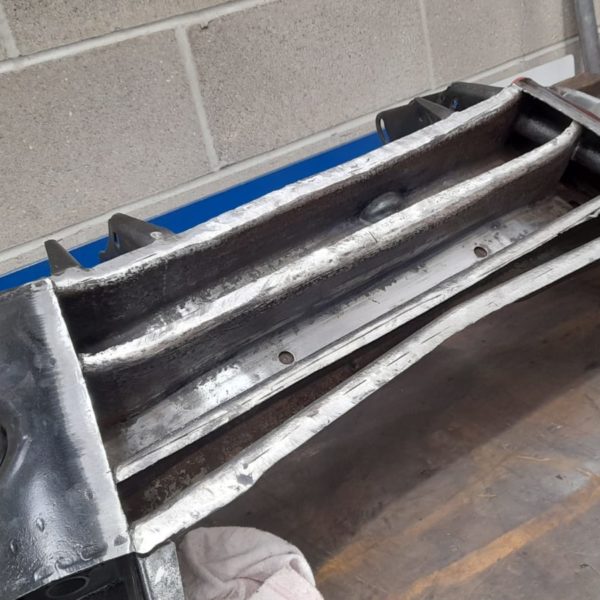
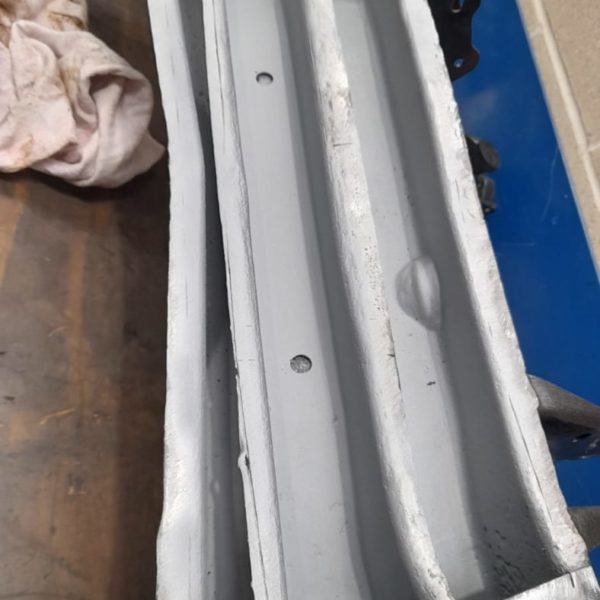
Scott has also been continuing his welding to the front subframe of the Daytona. The bottom of it was heavily damaged so he cut the damaged area out and straightened the supports inside. He then, cleaned up the rust inside and treated it by applying a zinc primer. Scott then fabricated a new panel and welded it in. Finally, he dressed the welds so it was ready to go to paint.