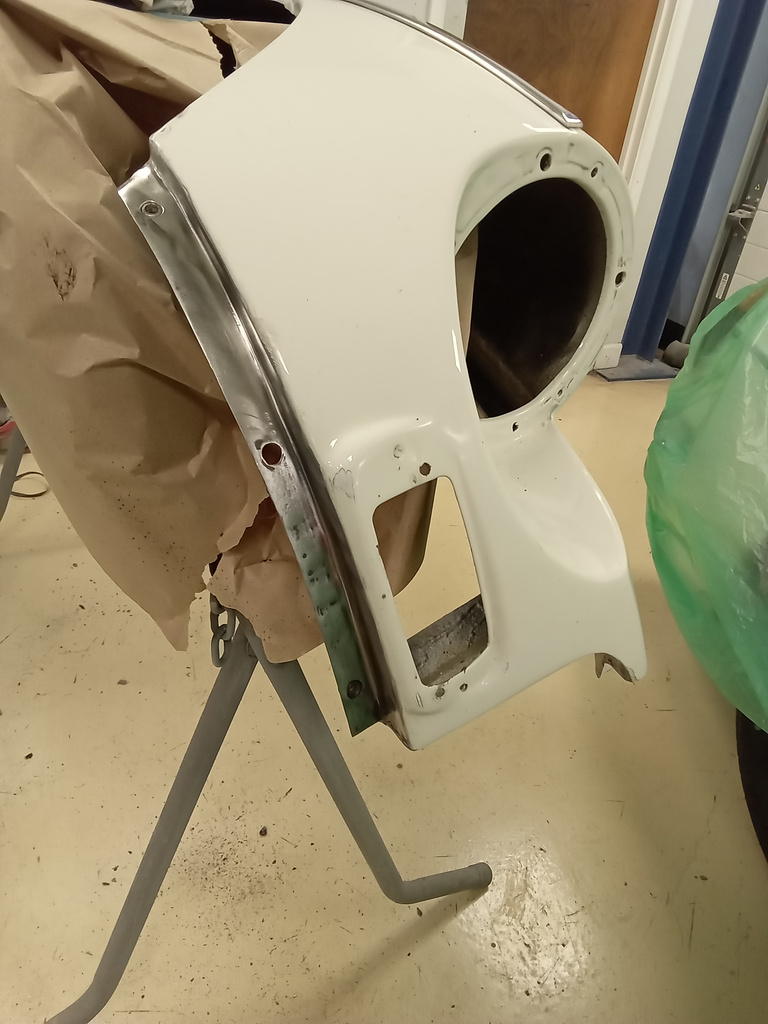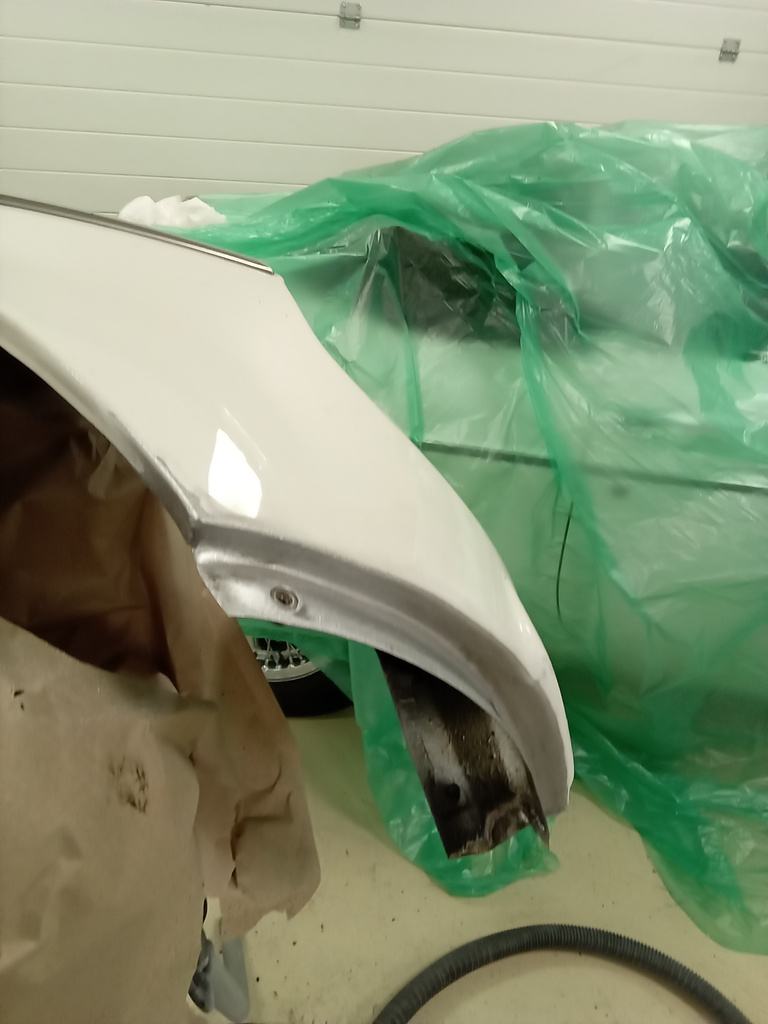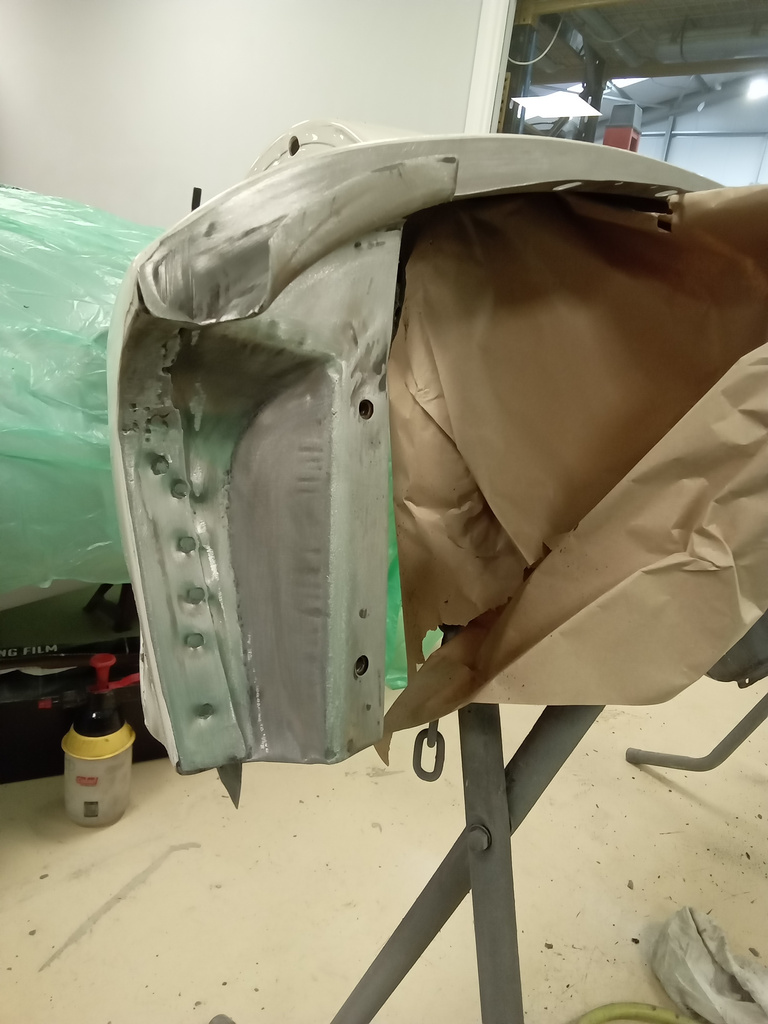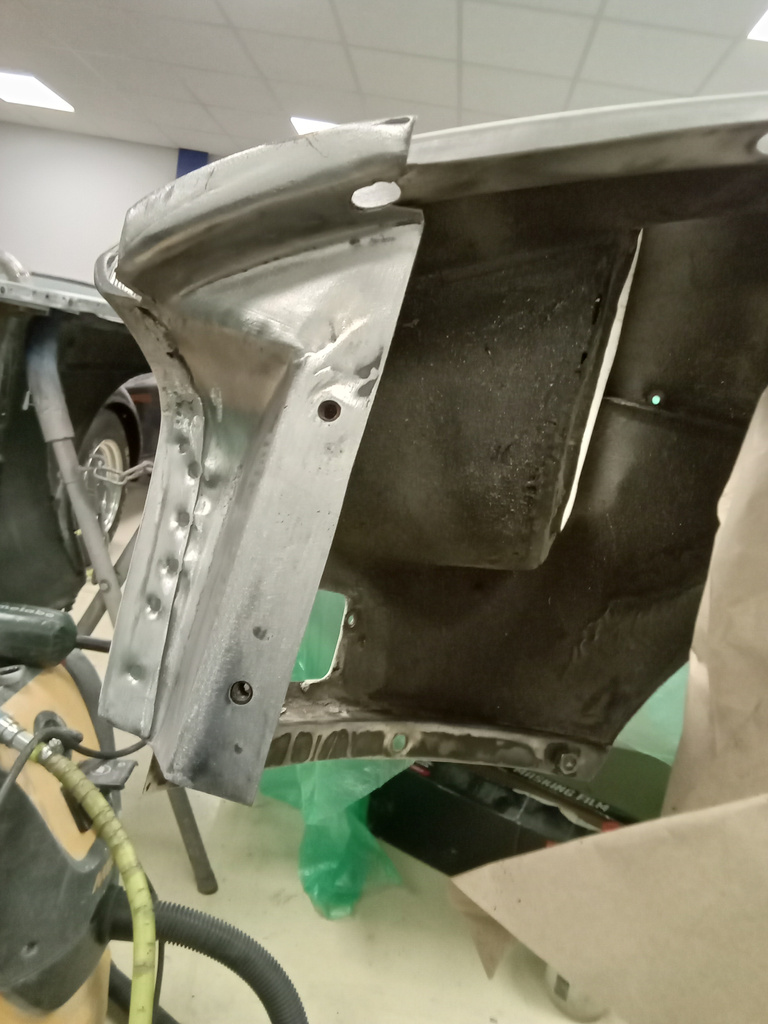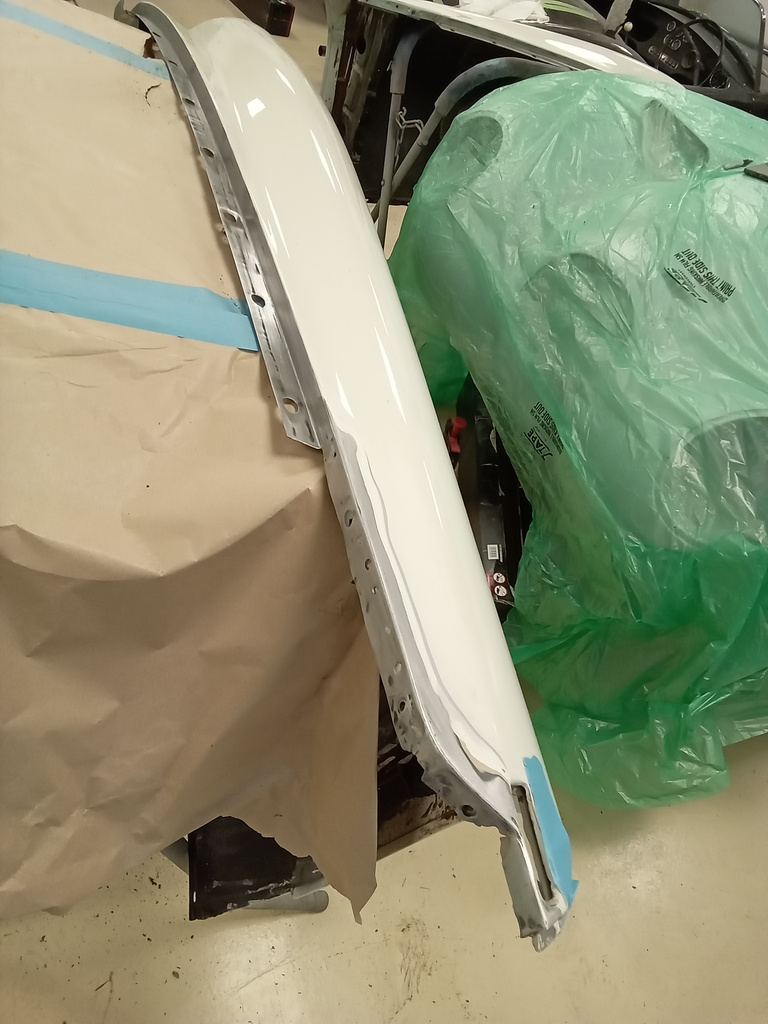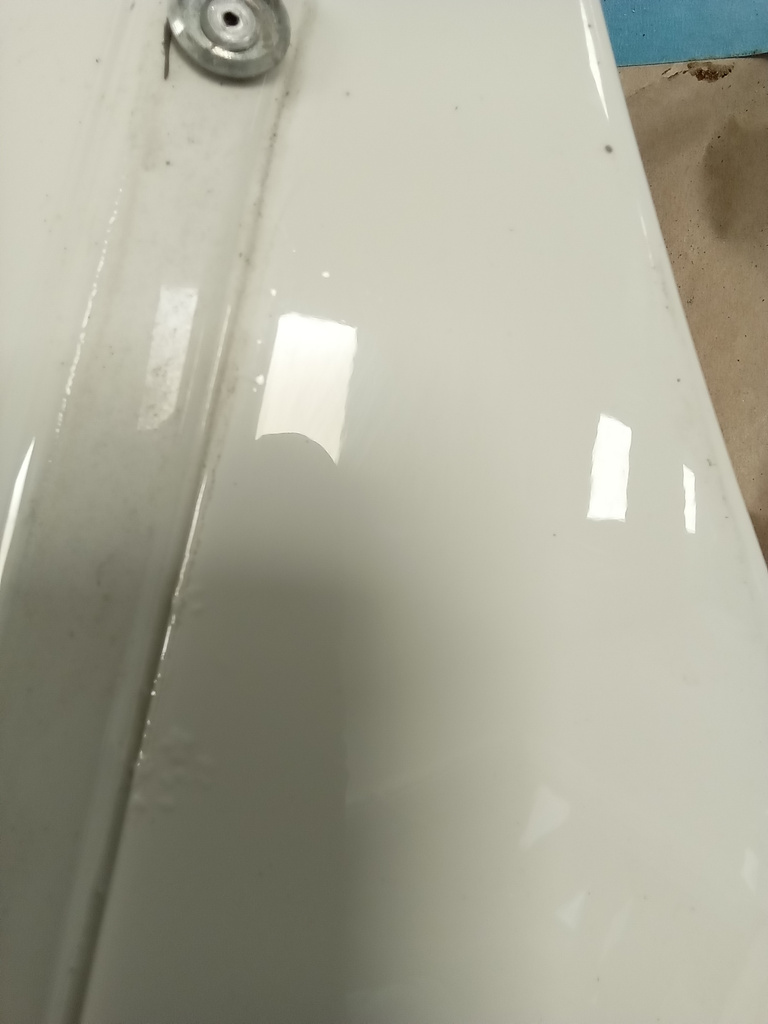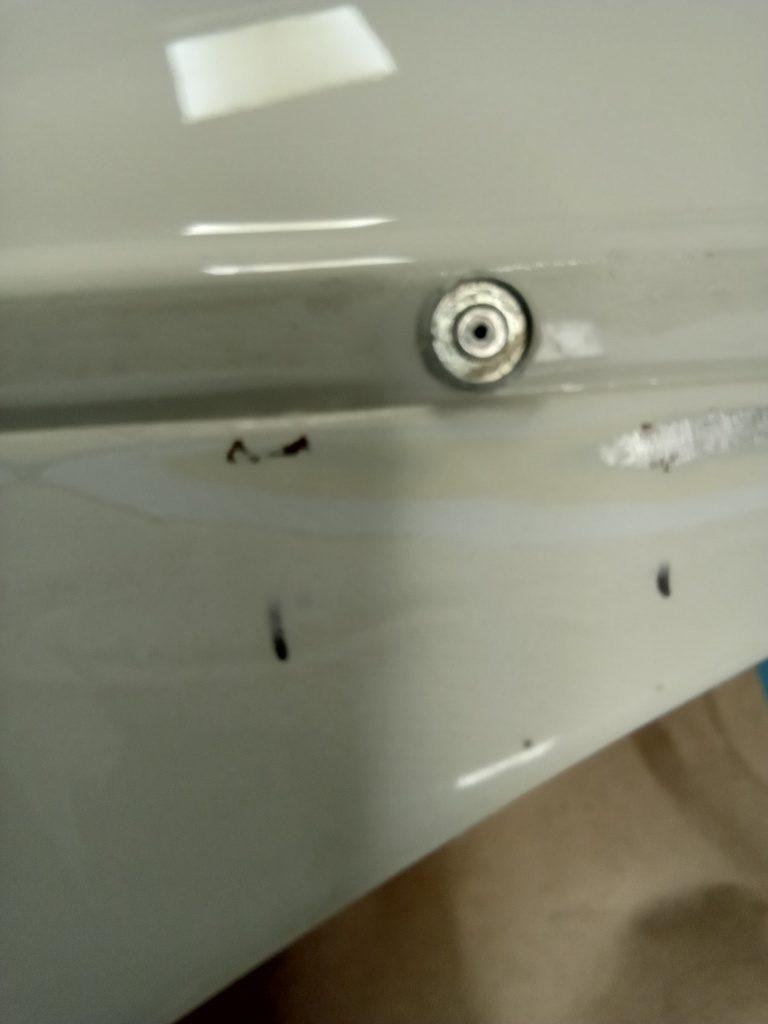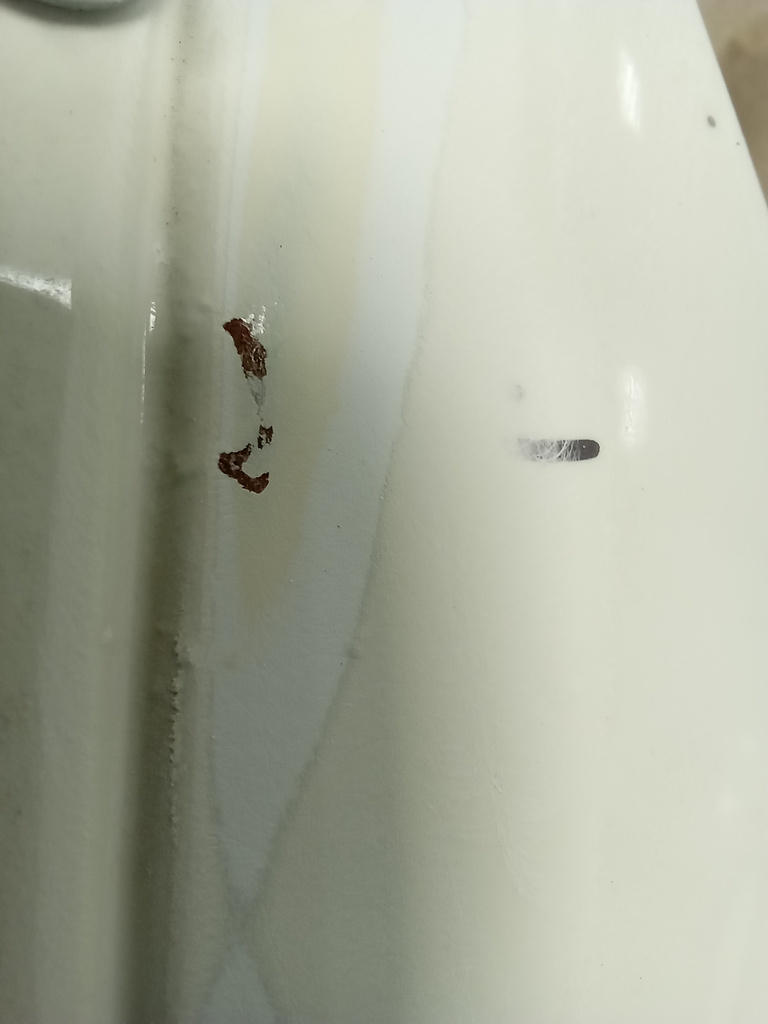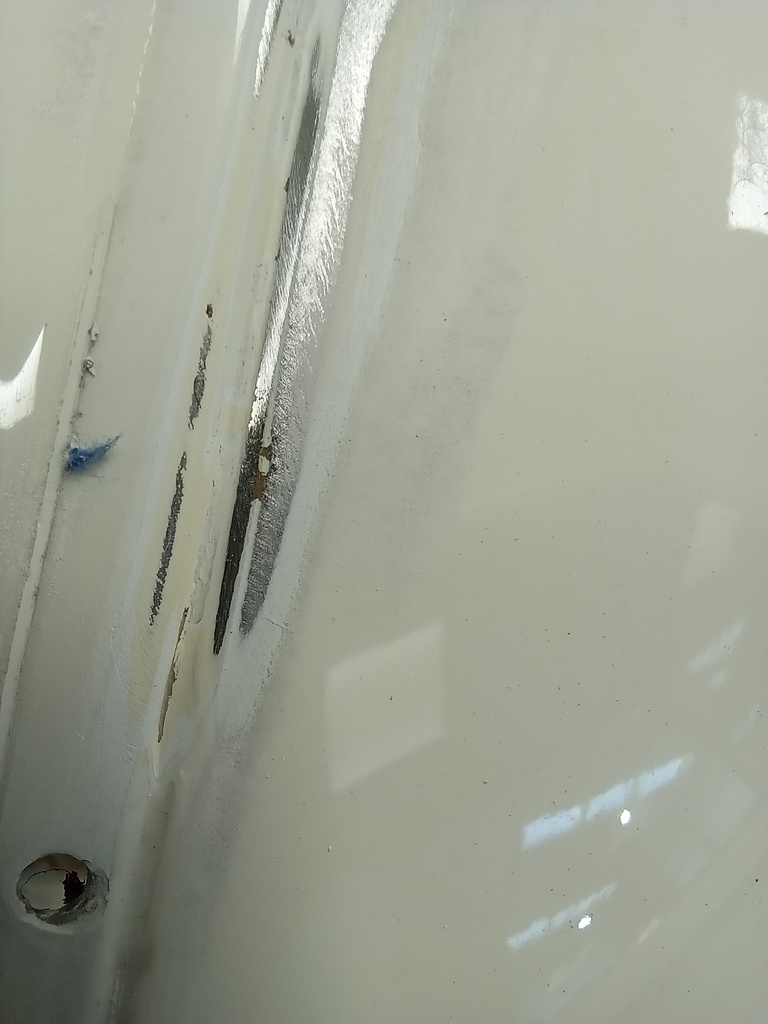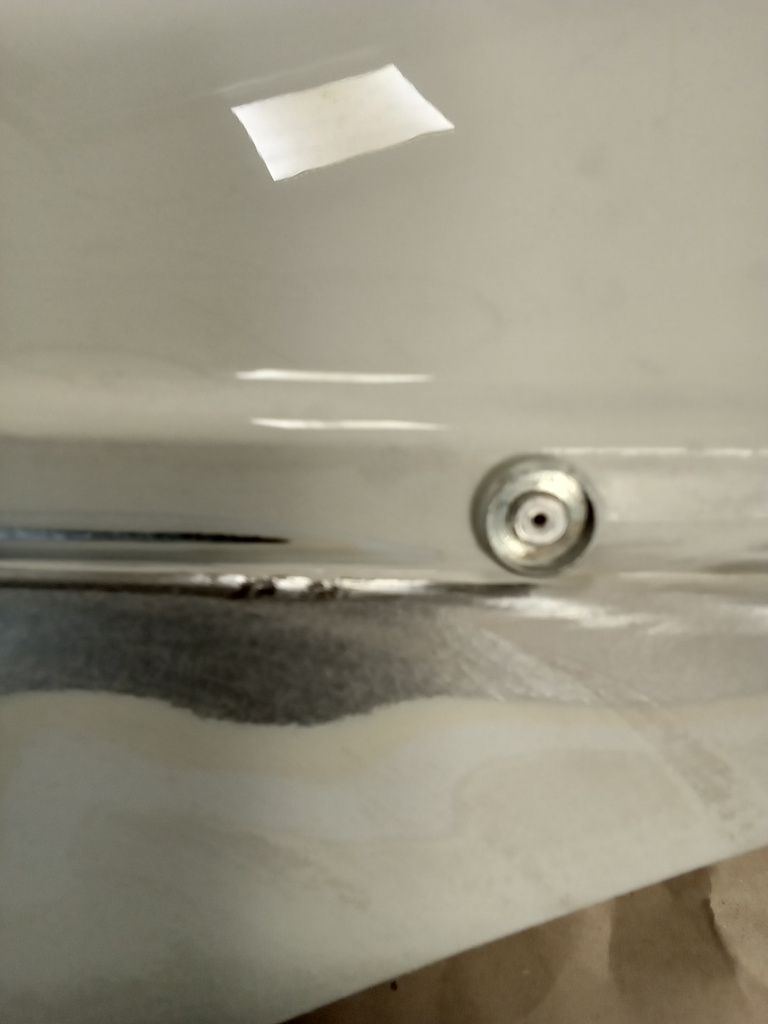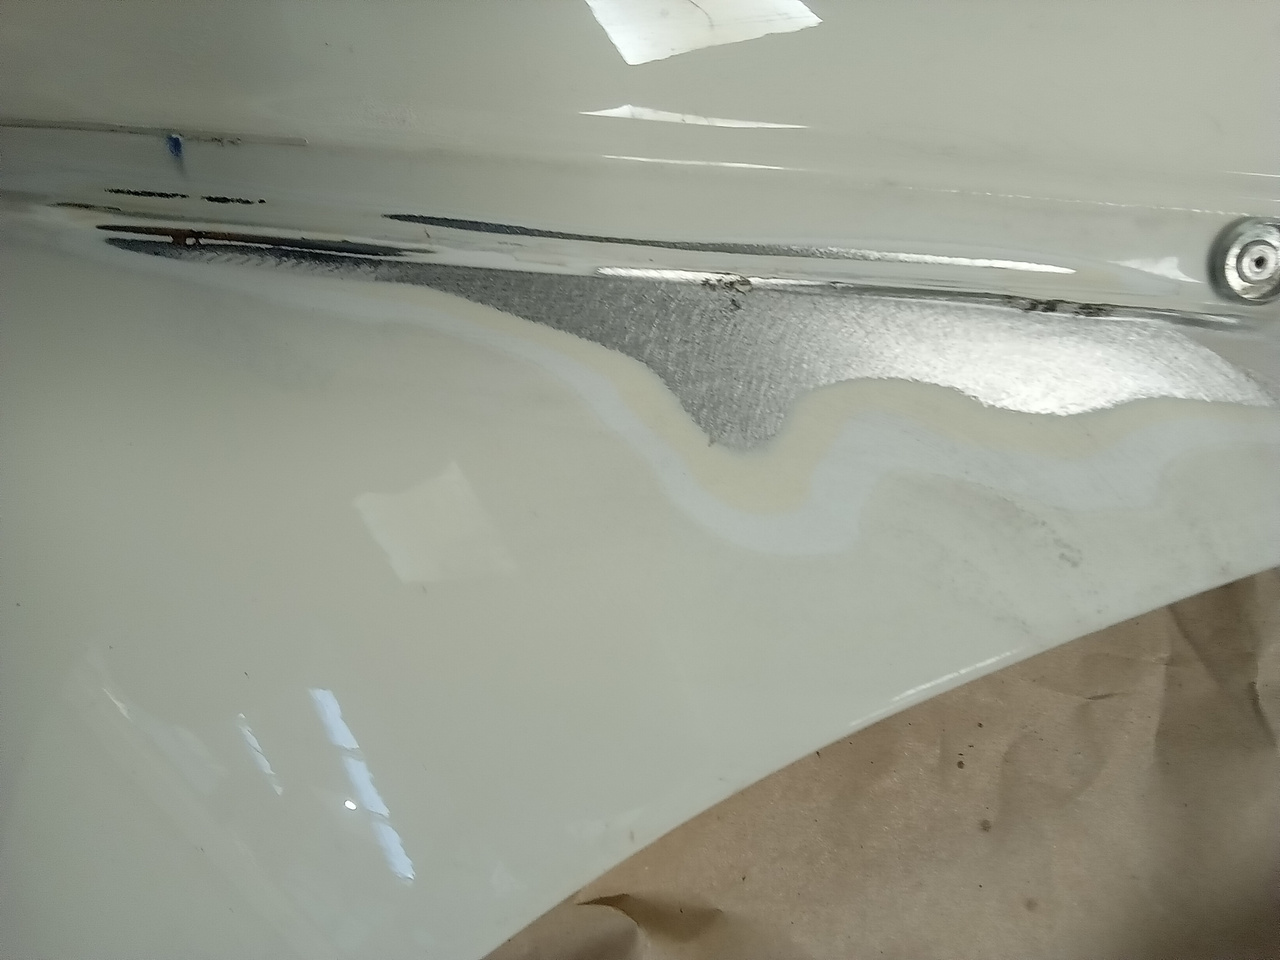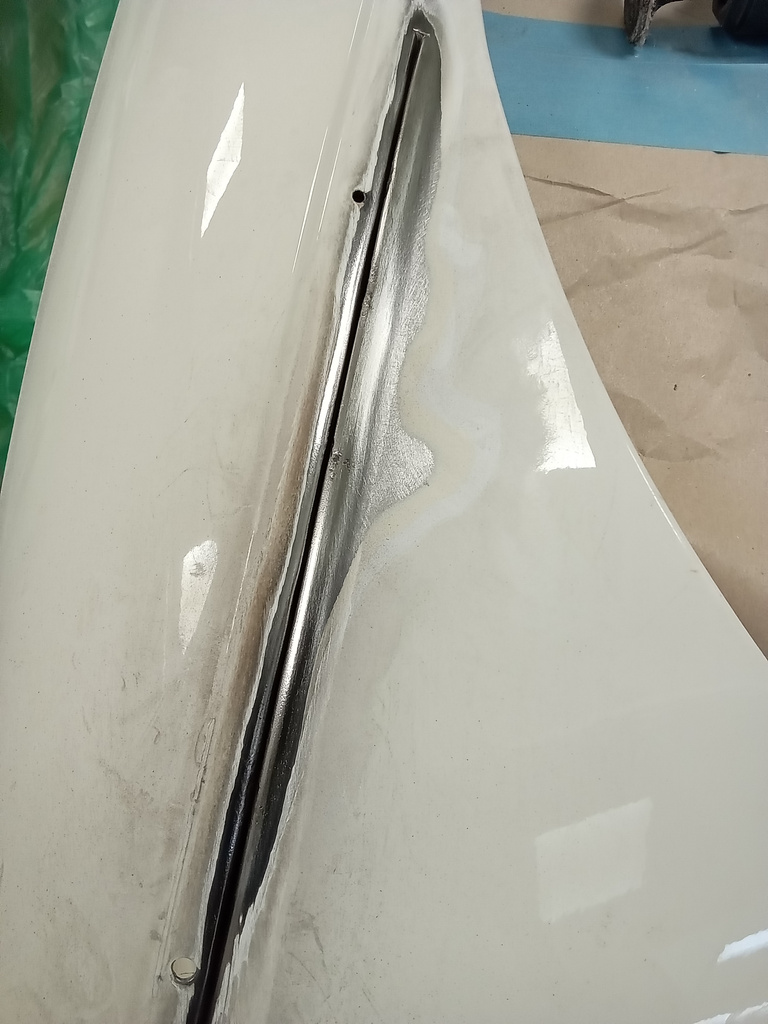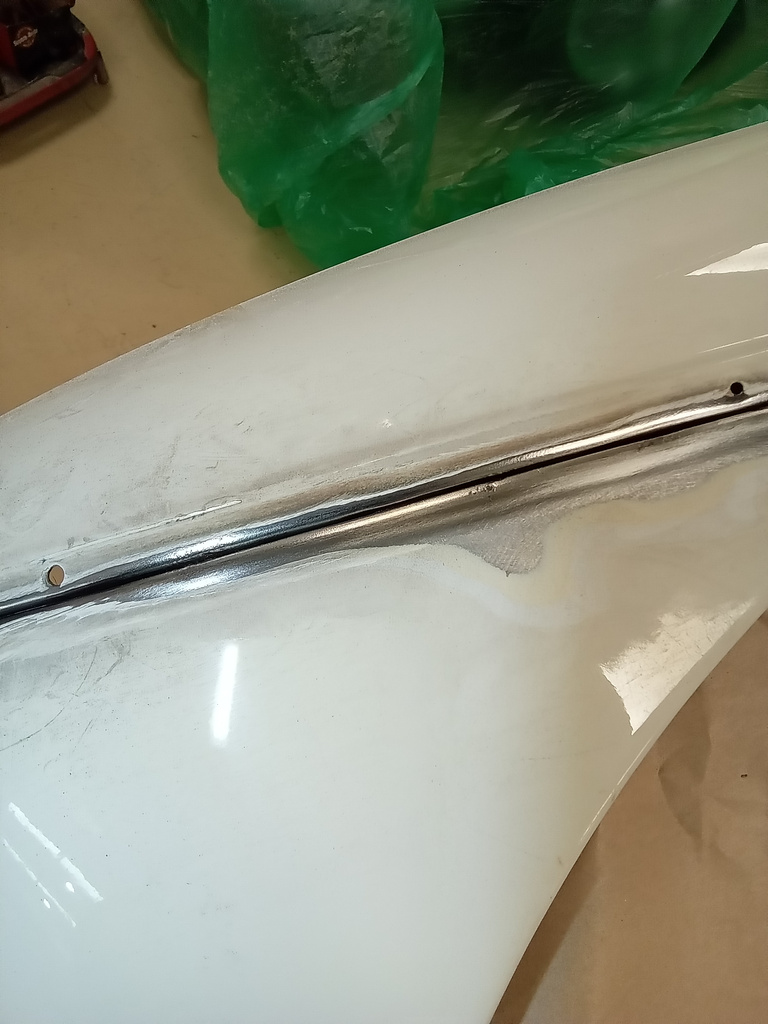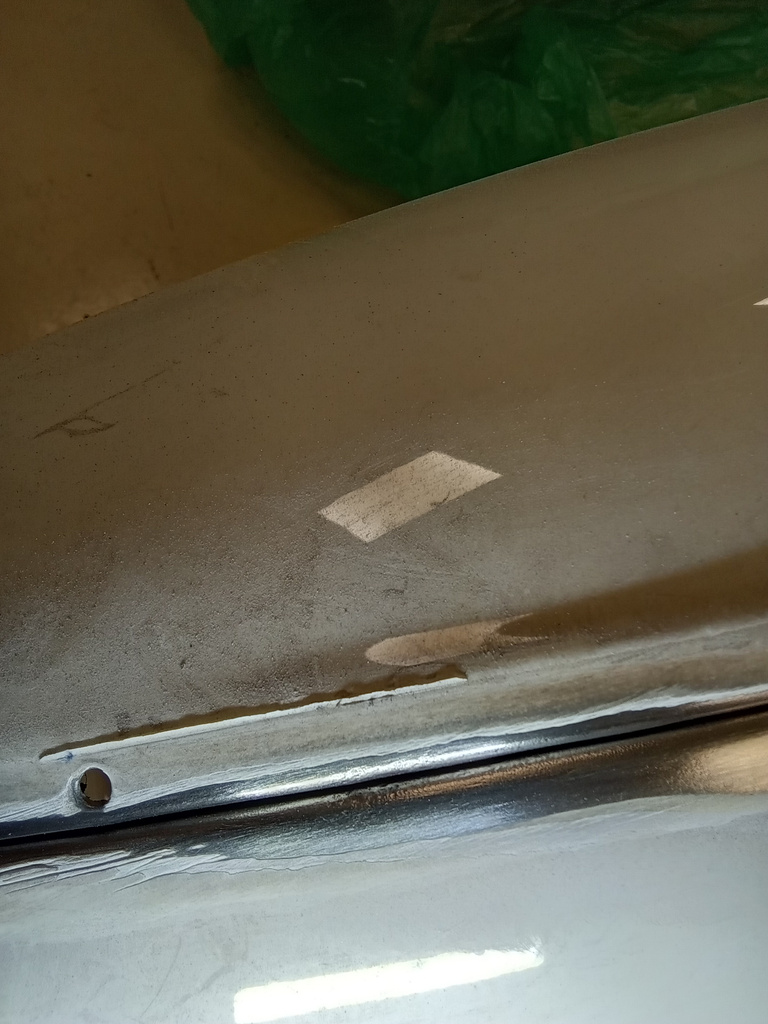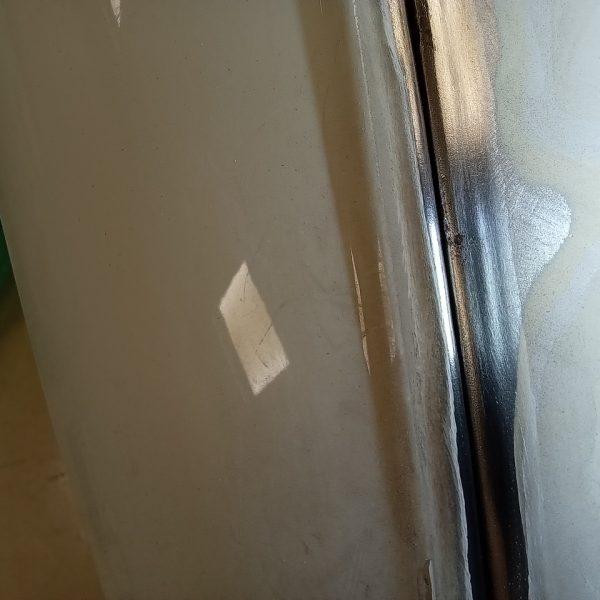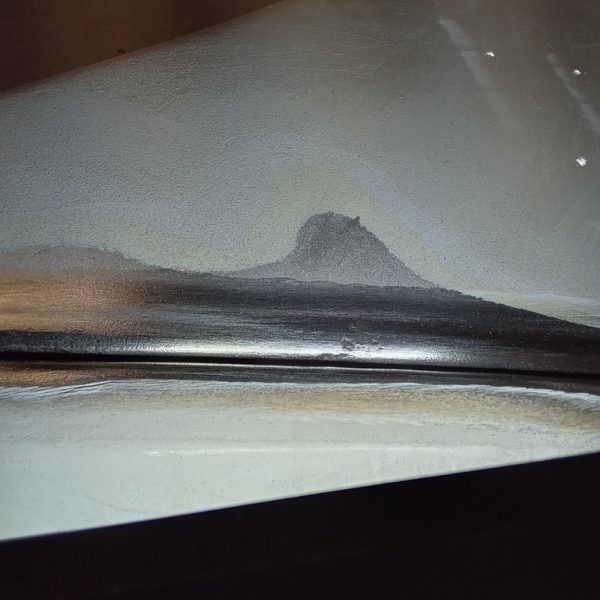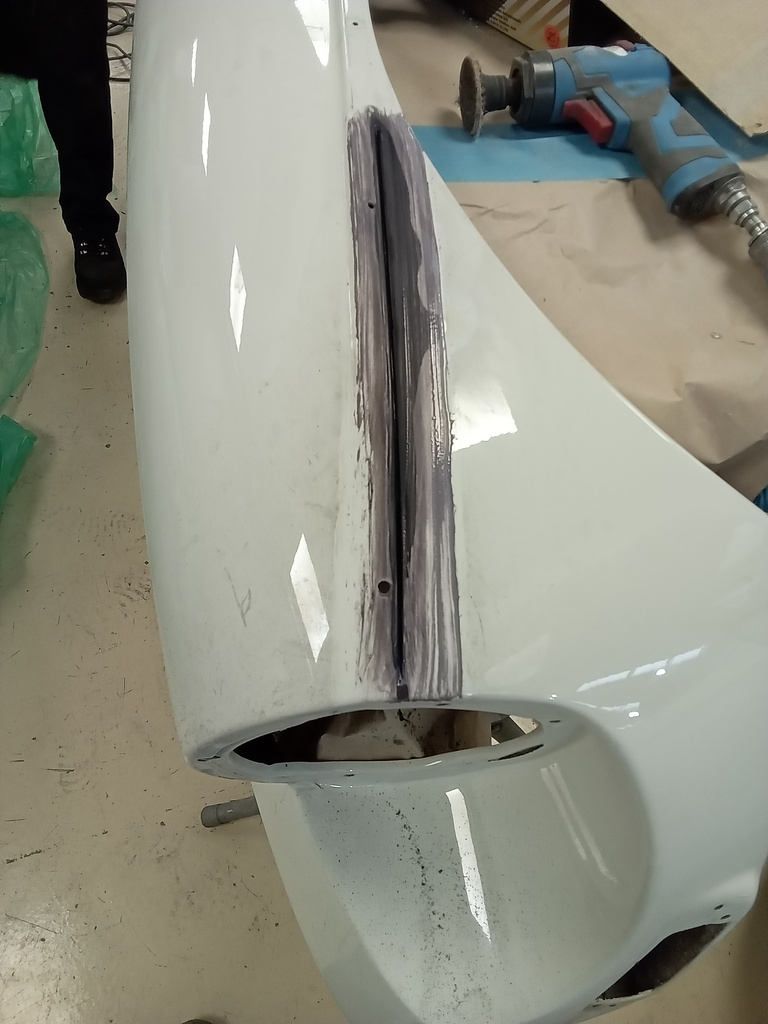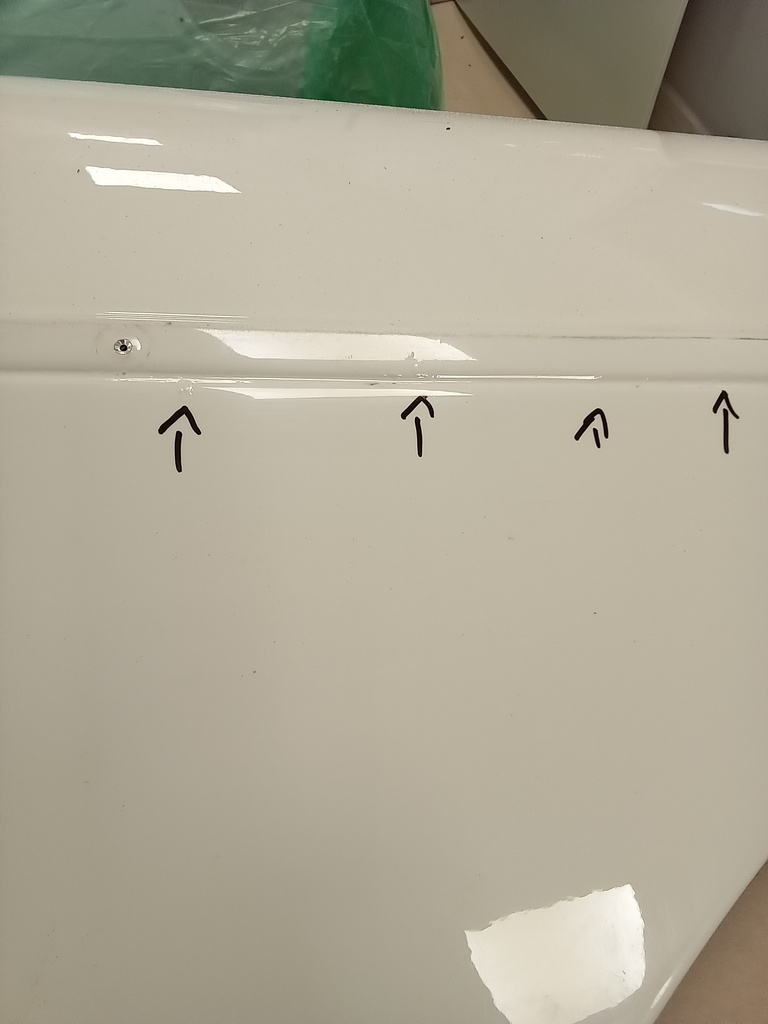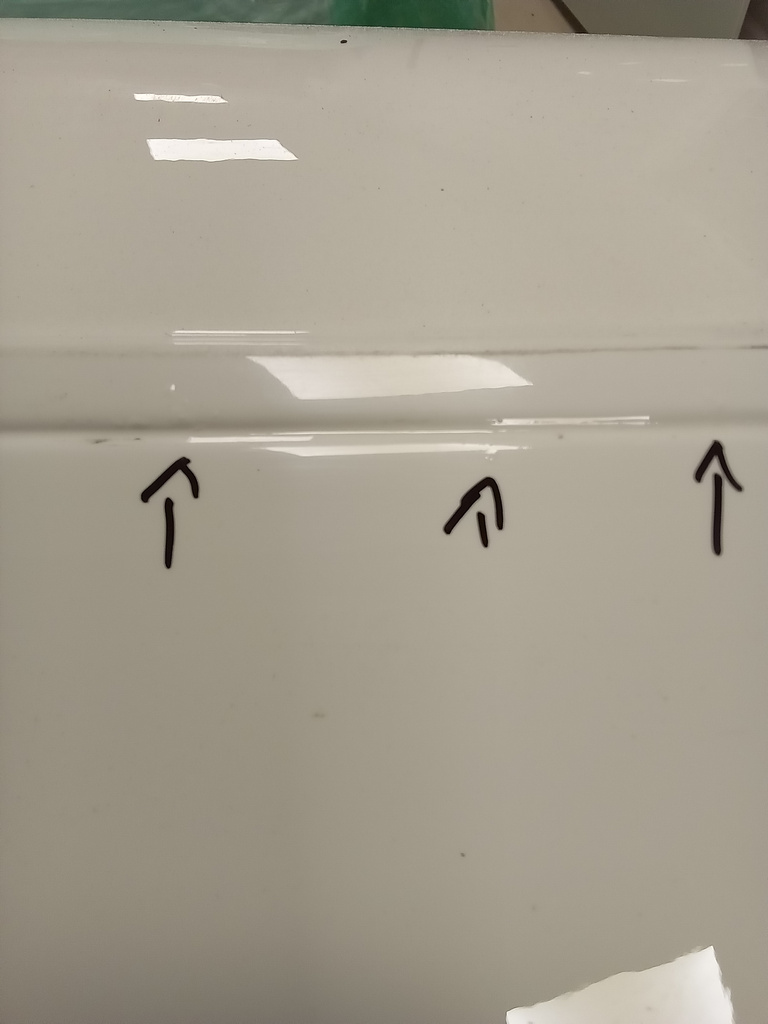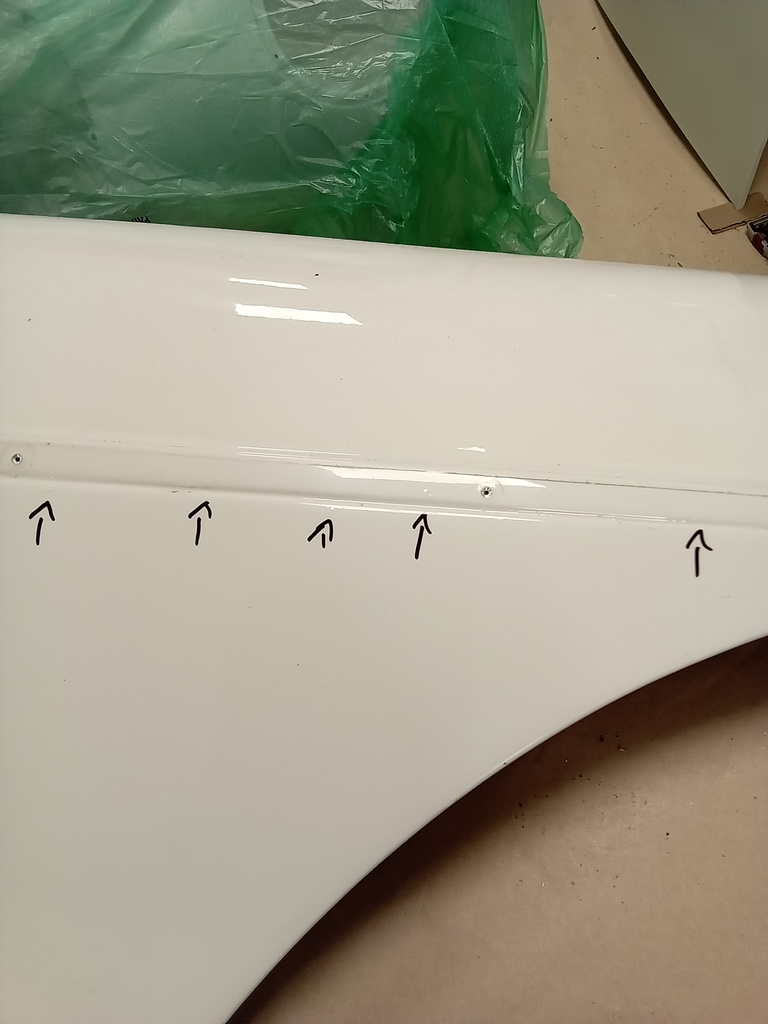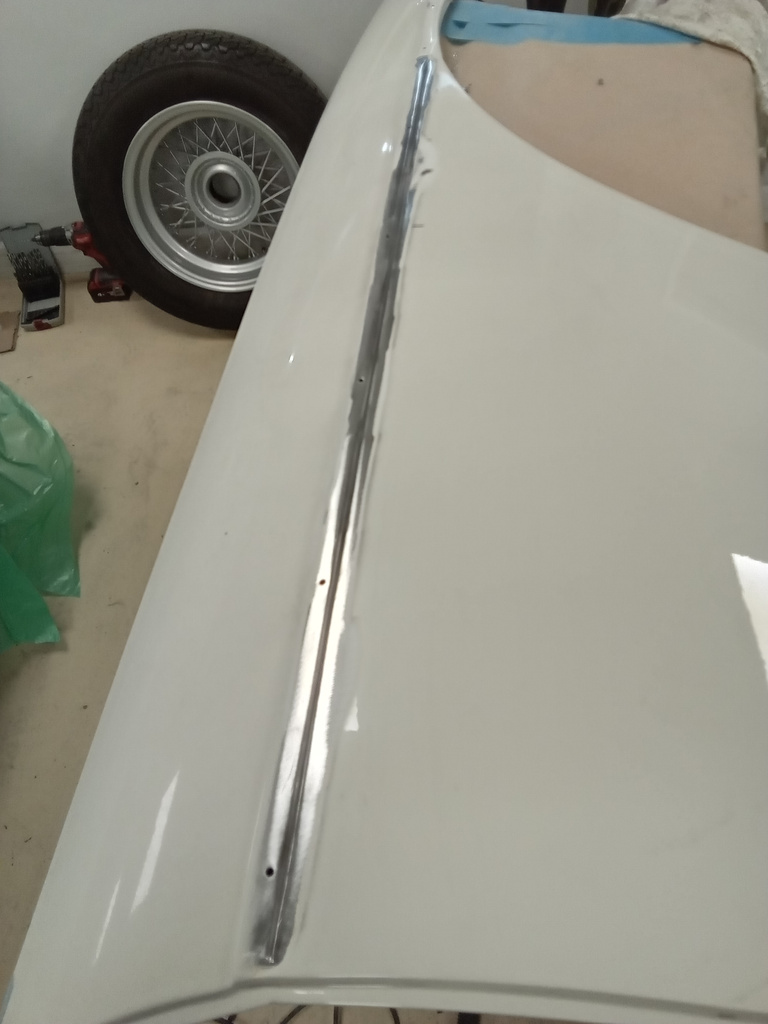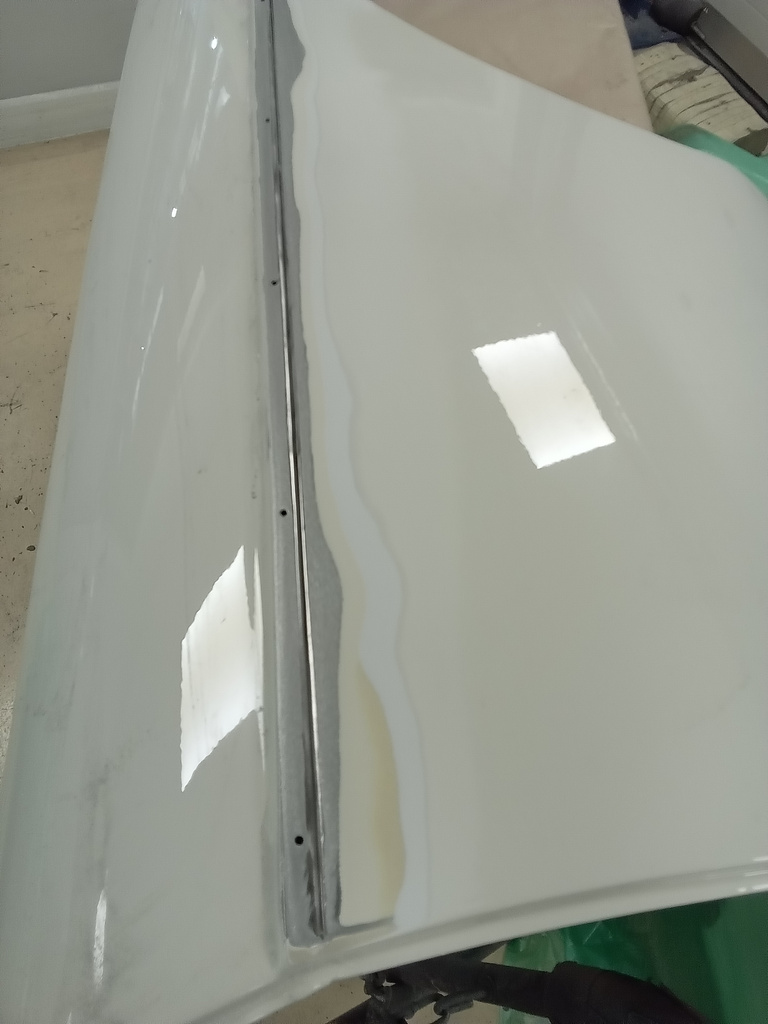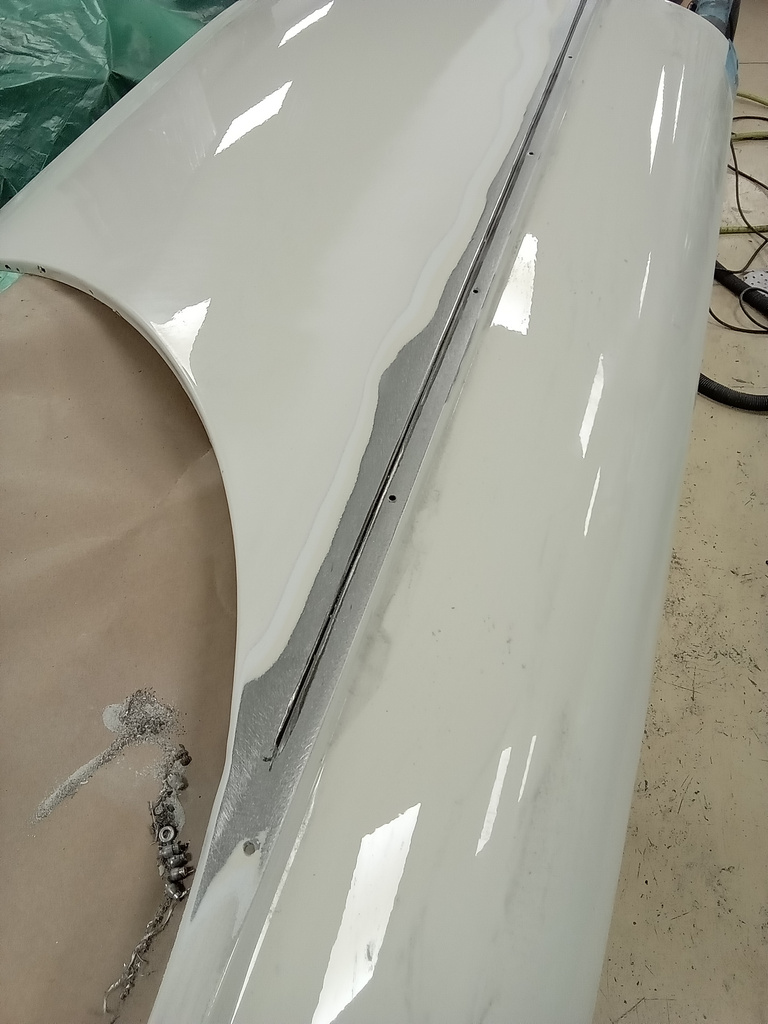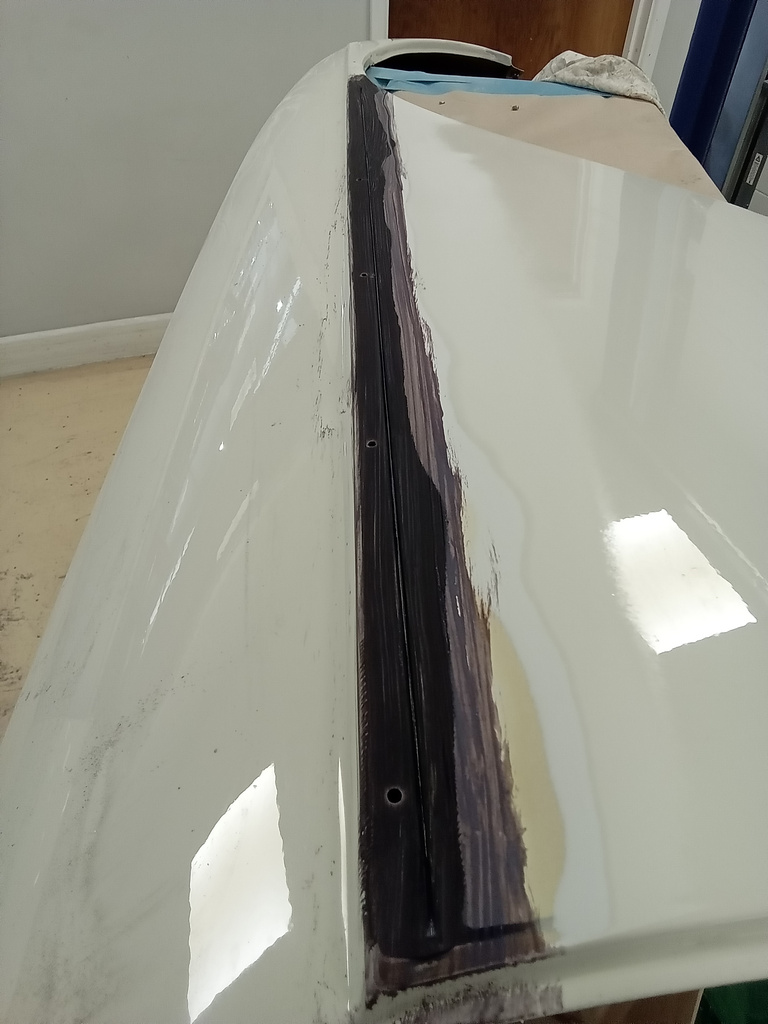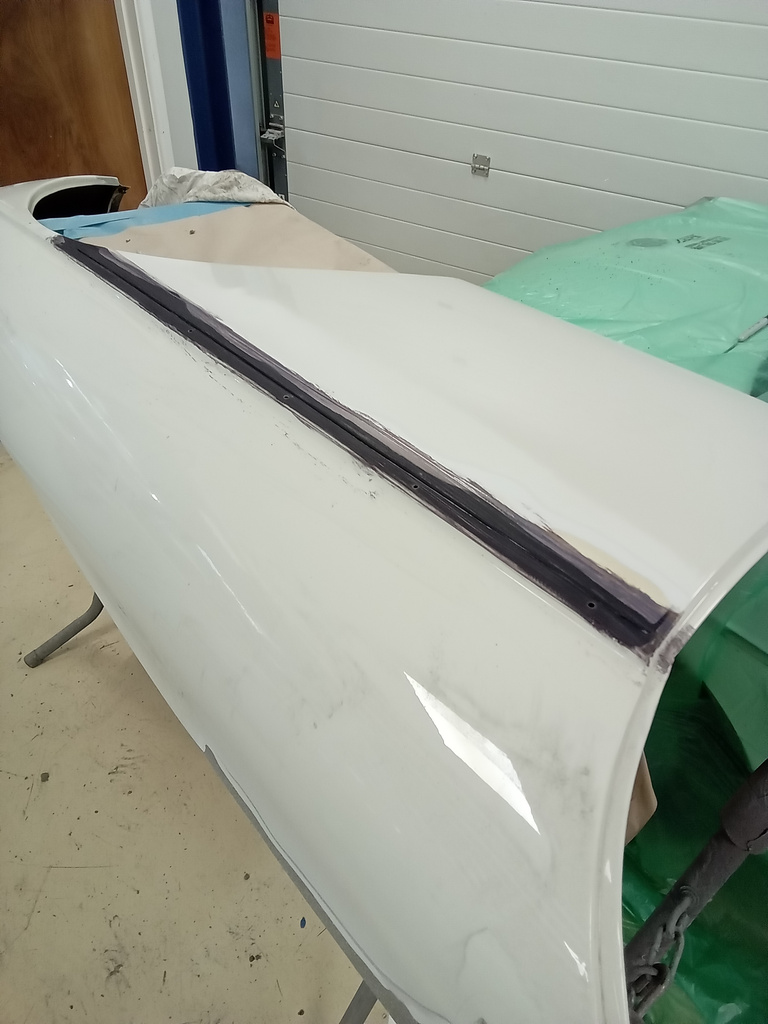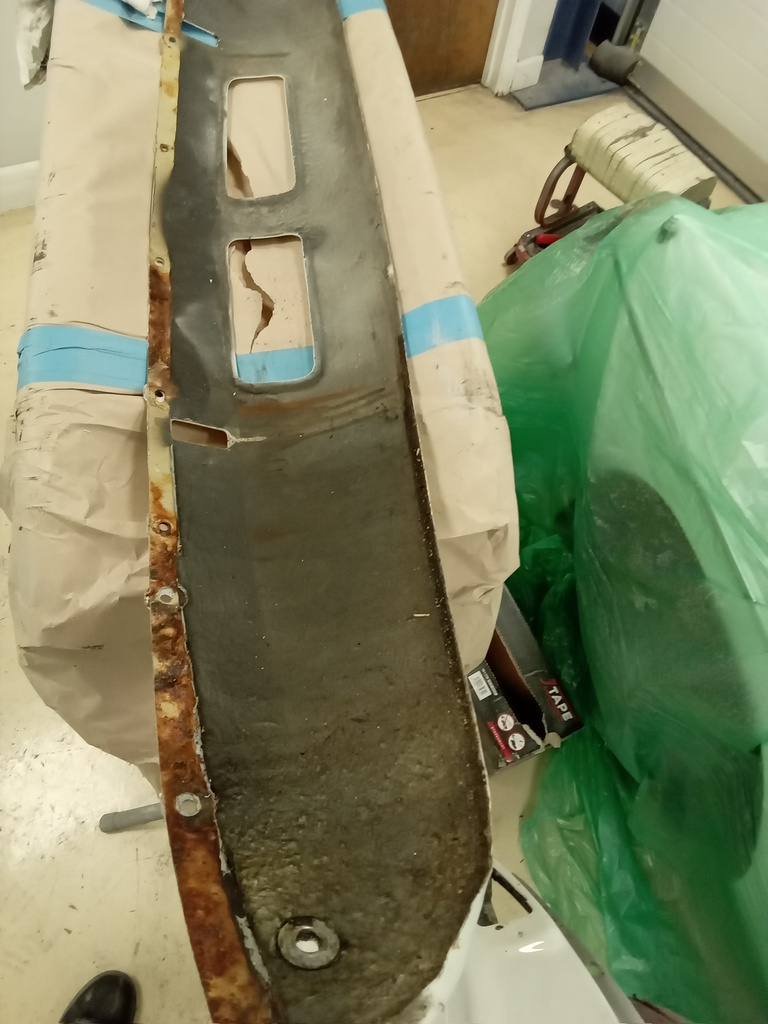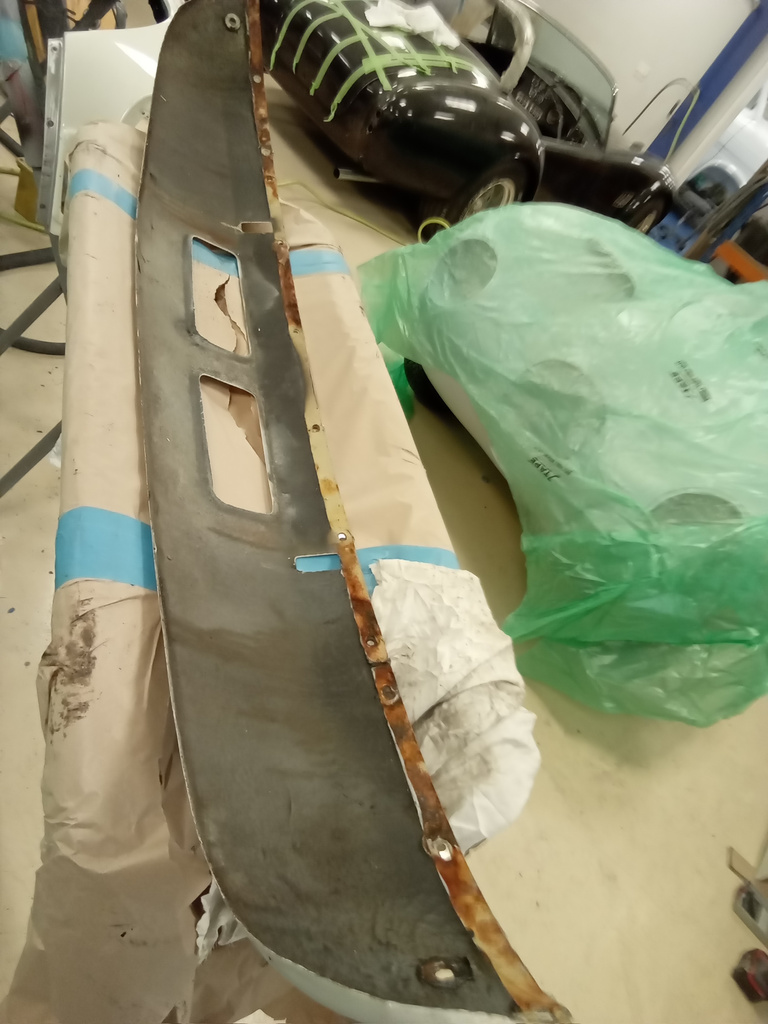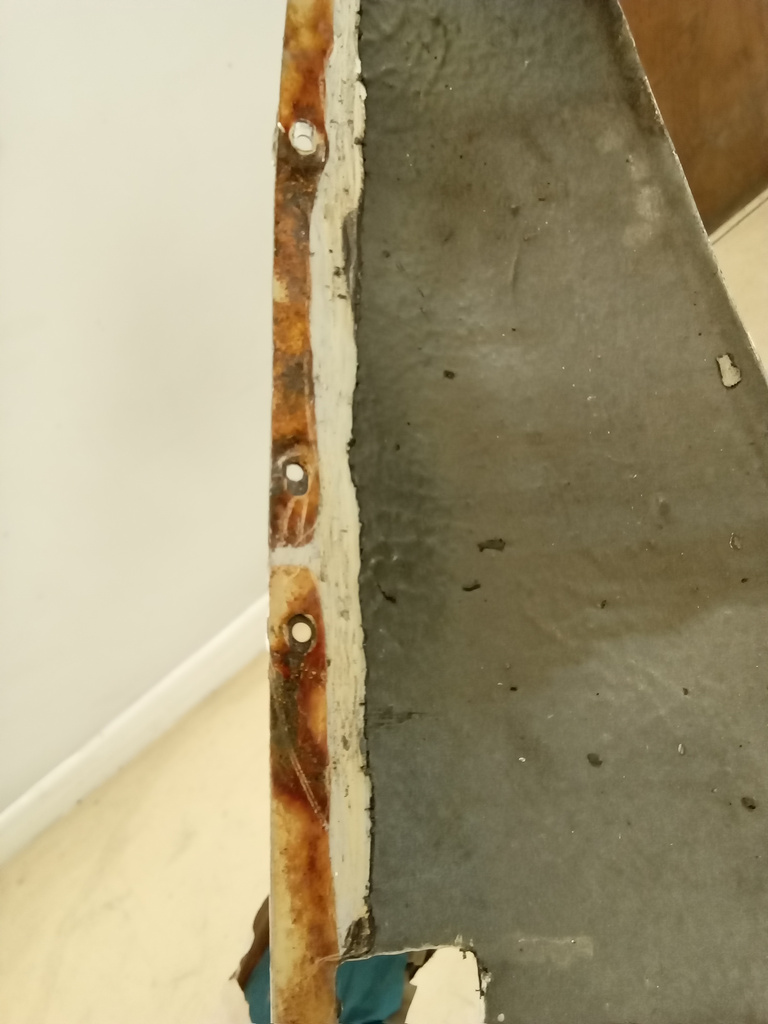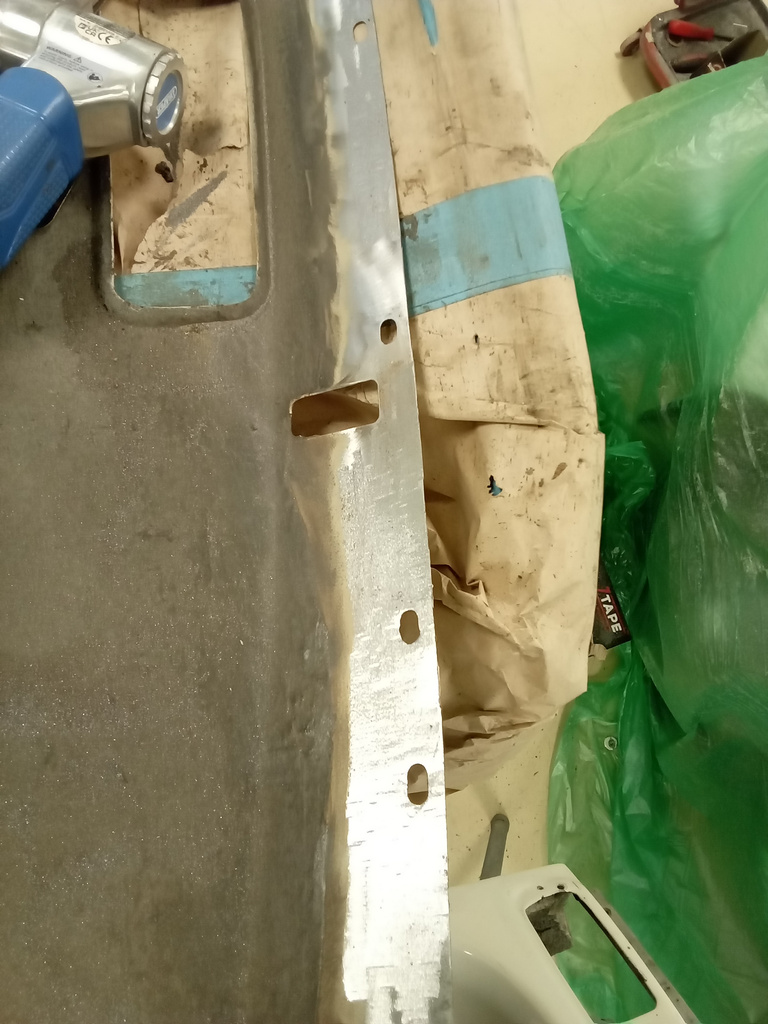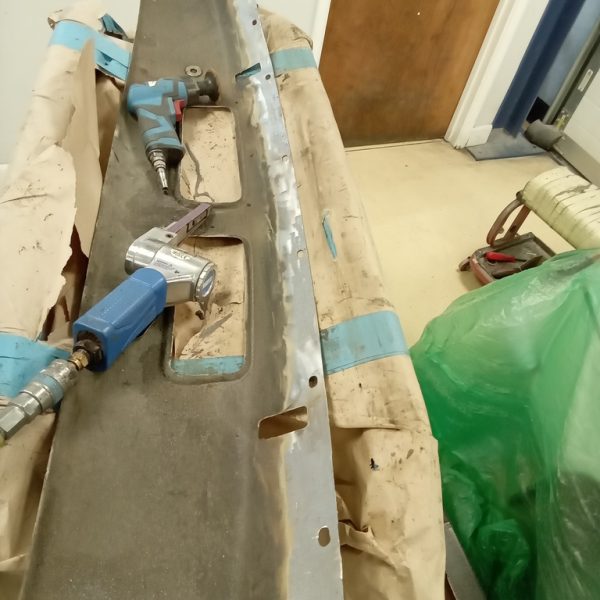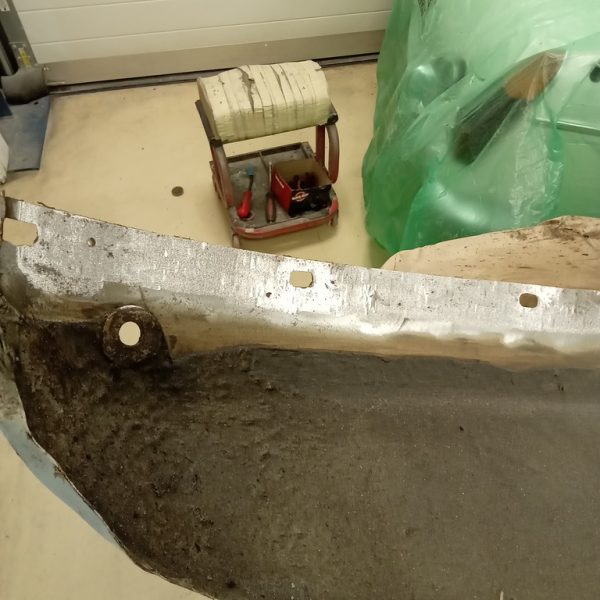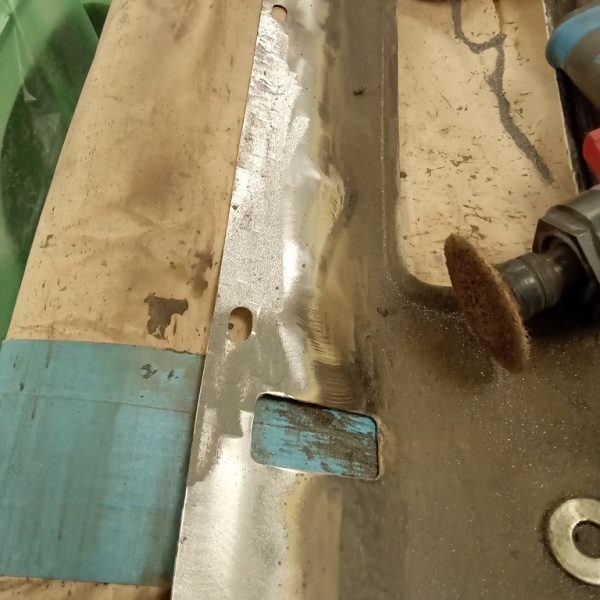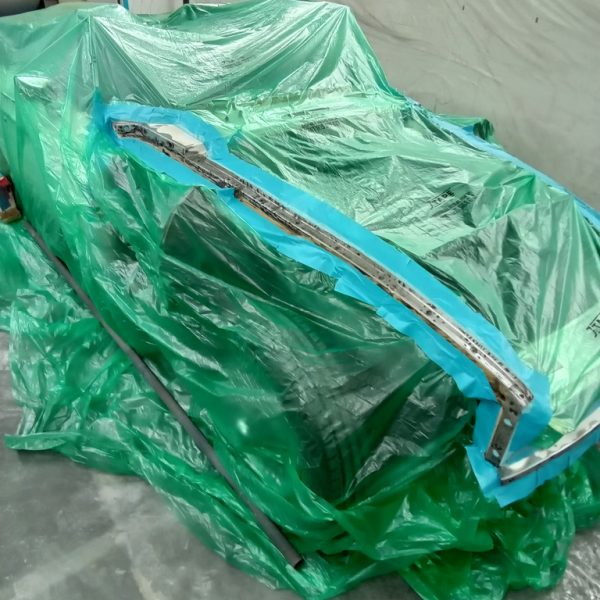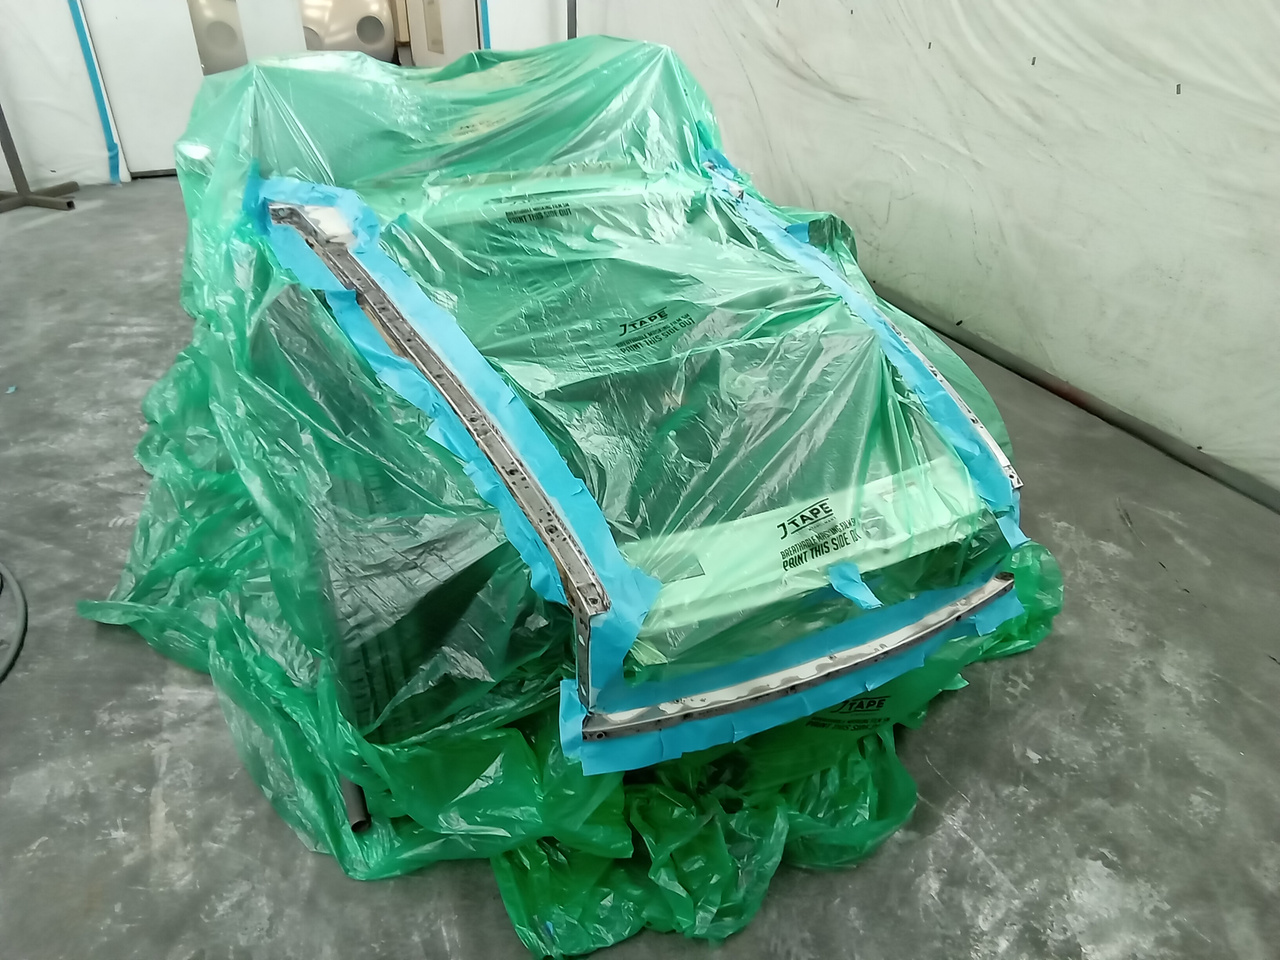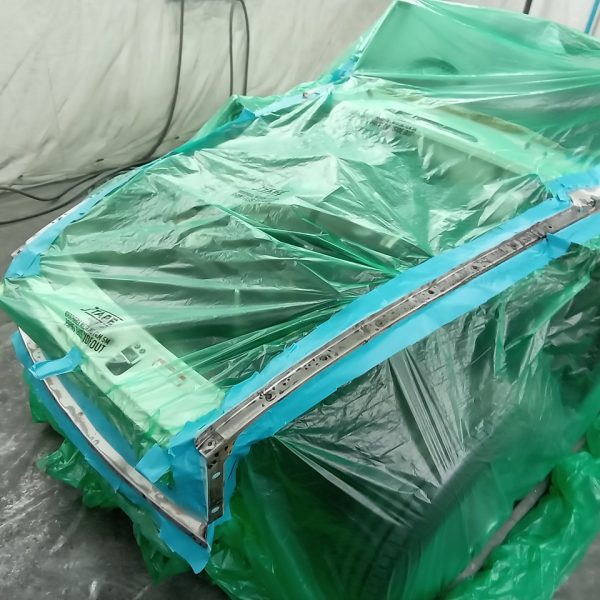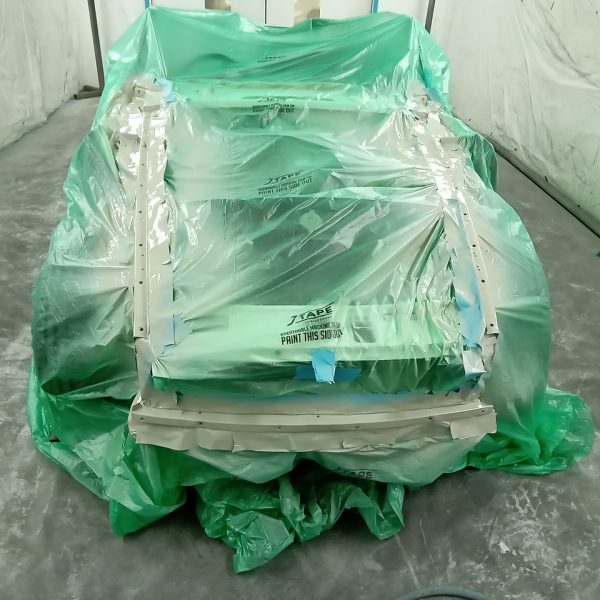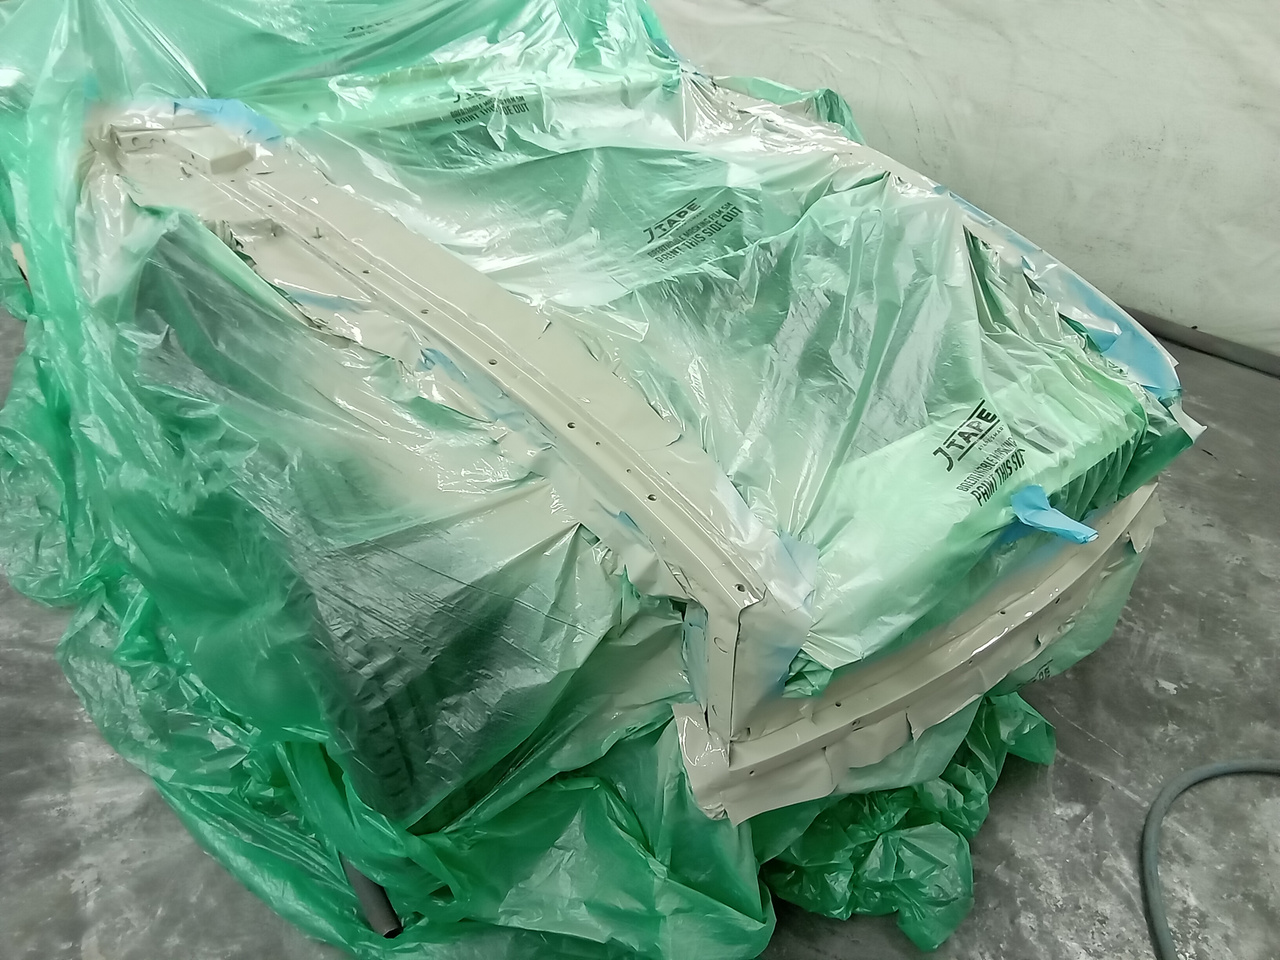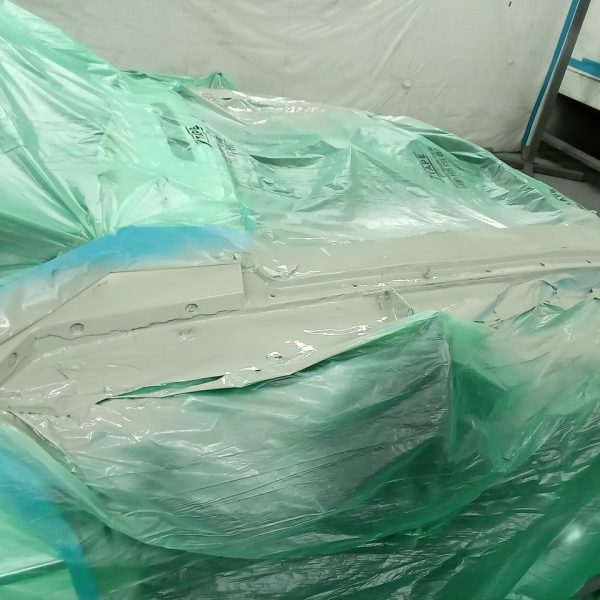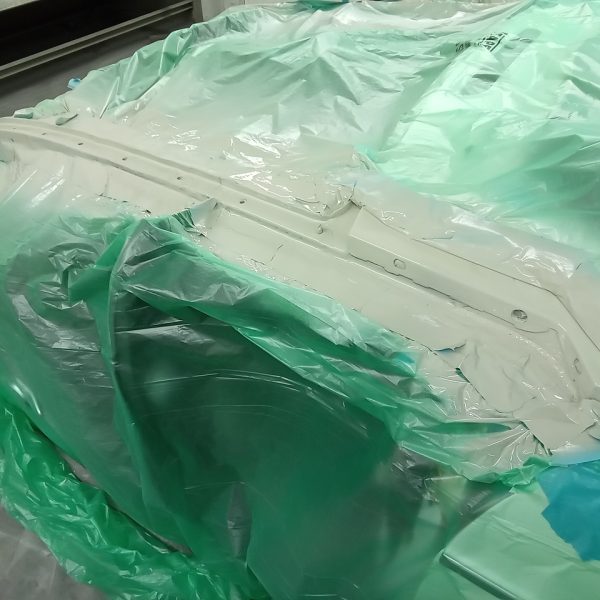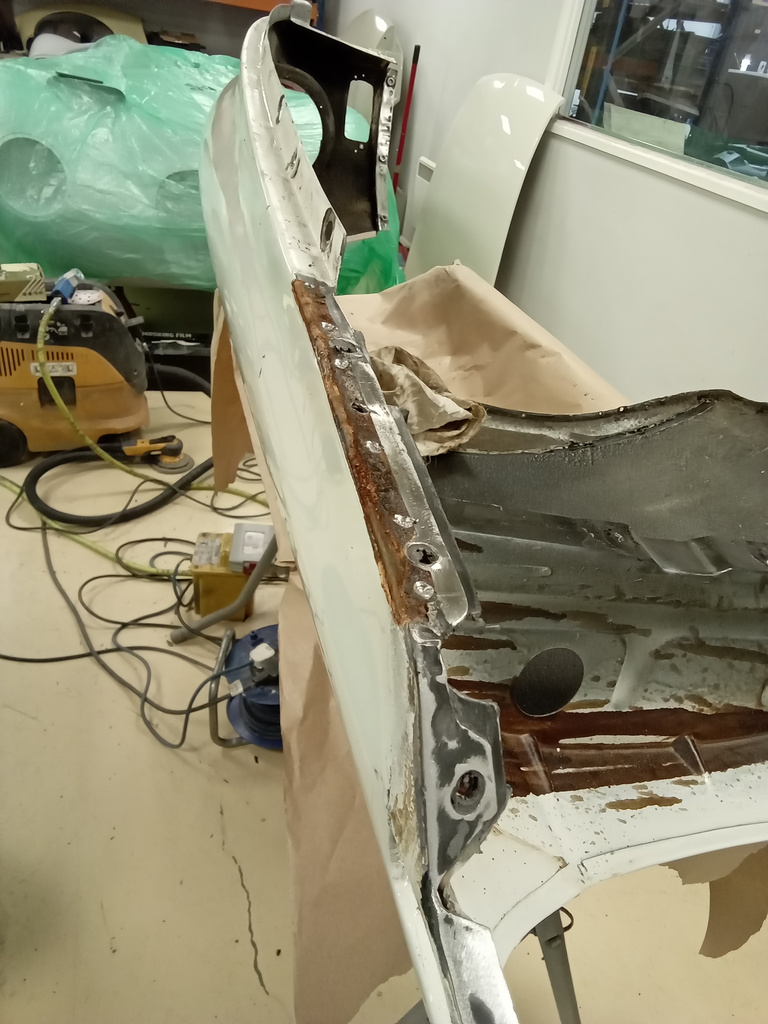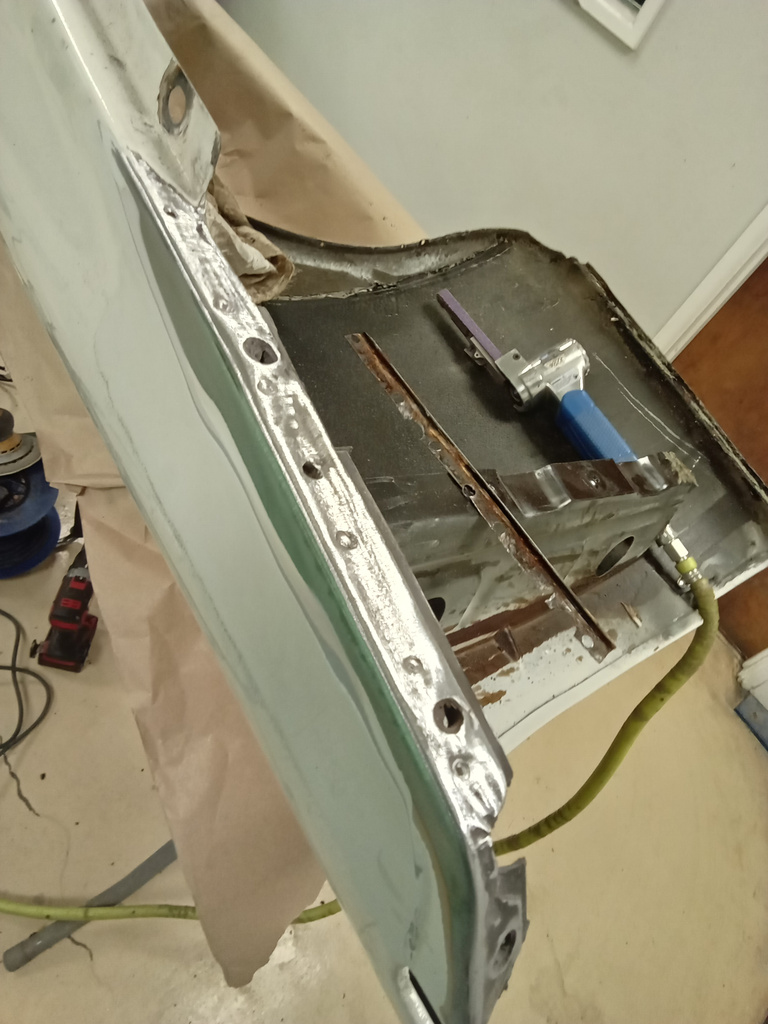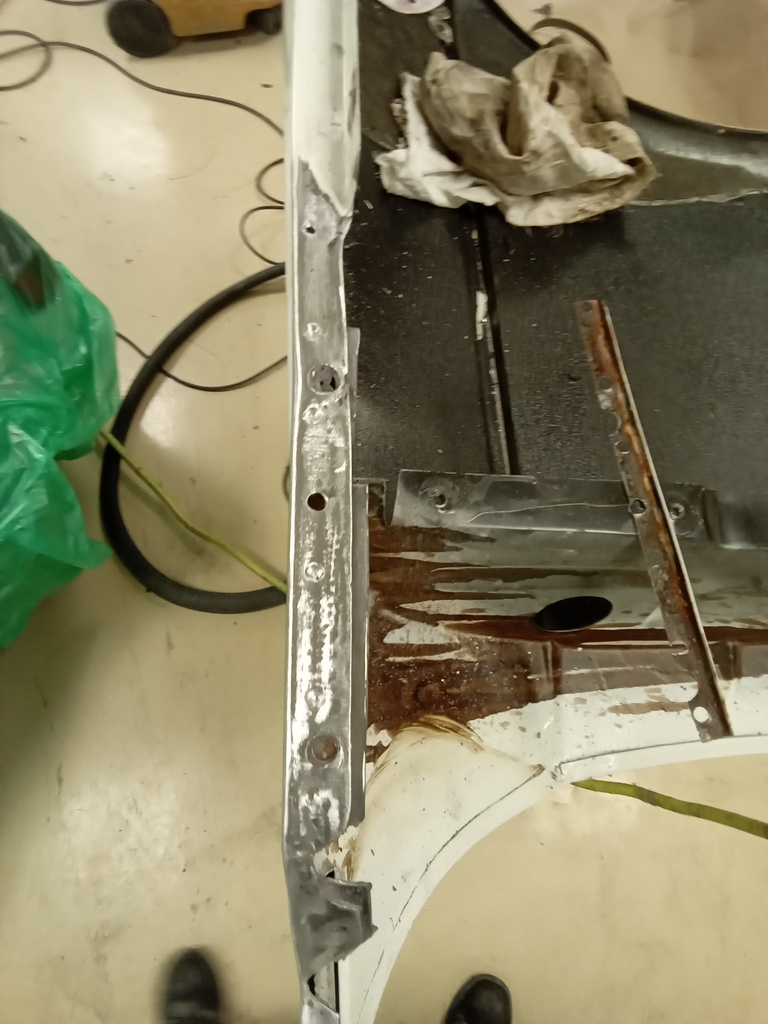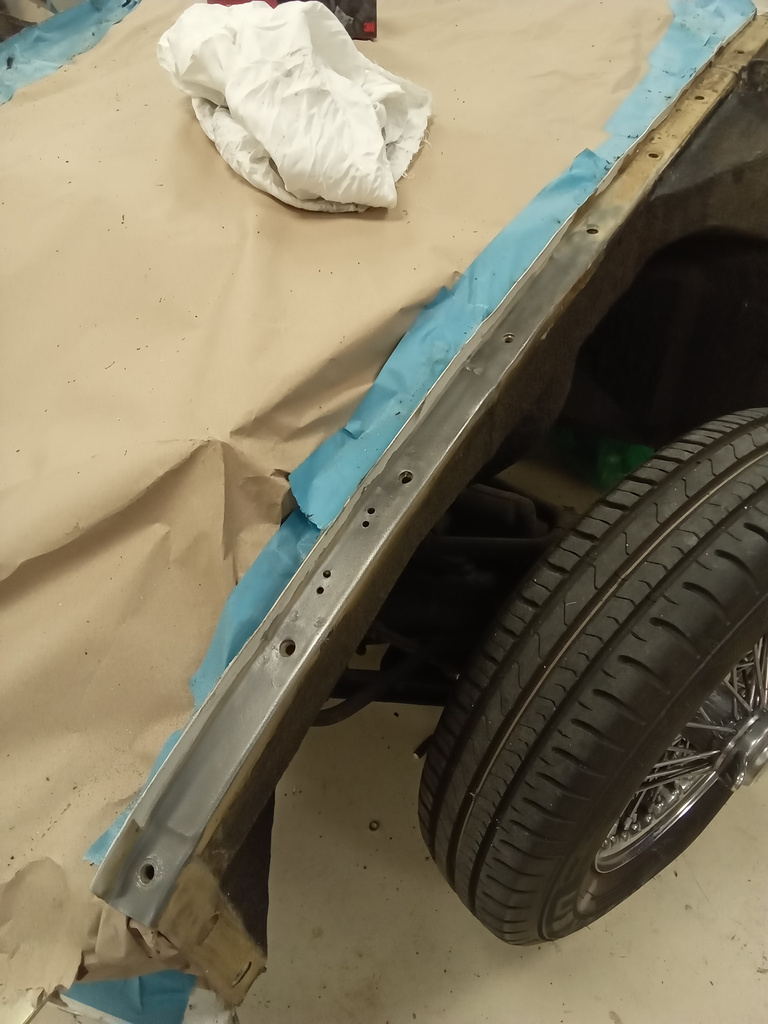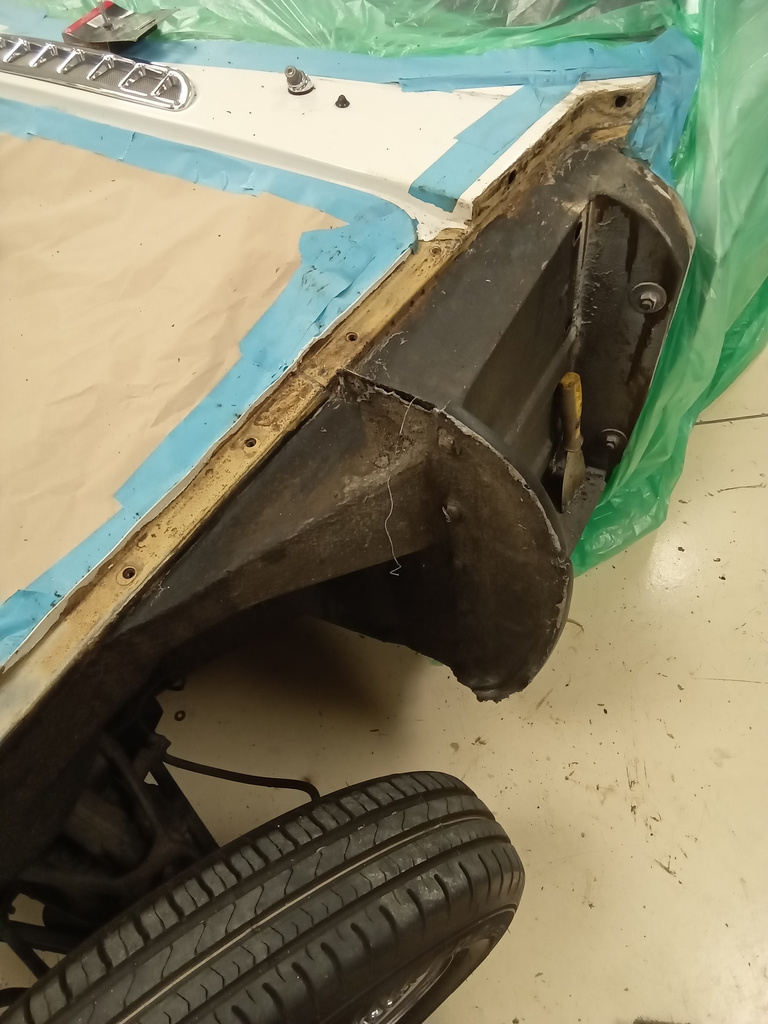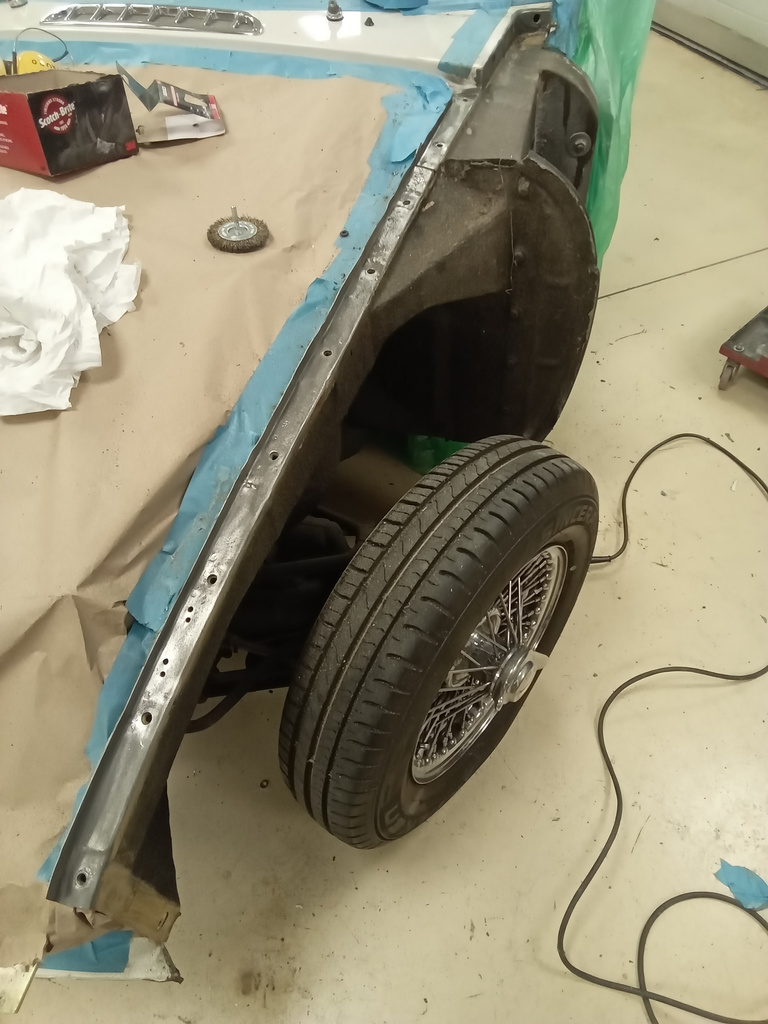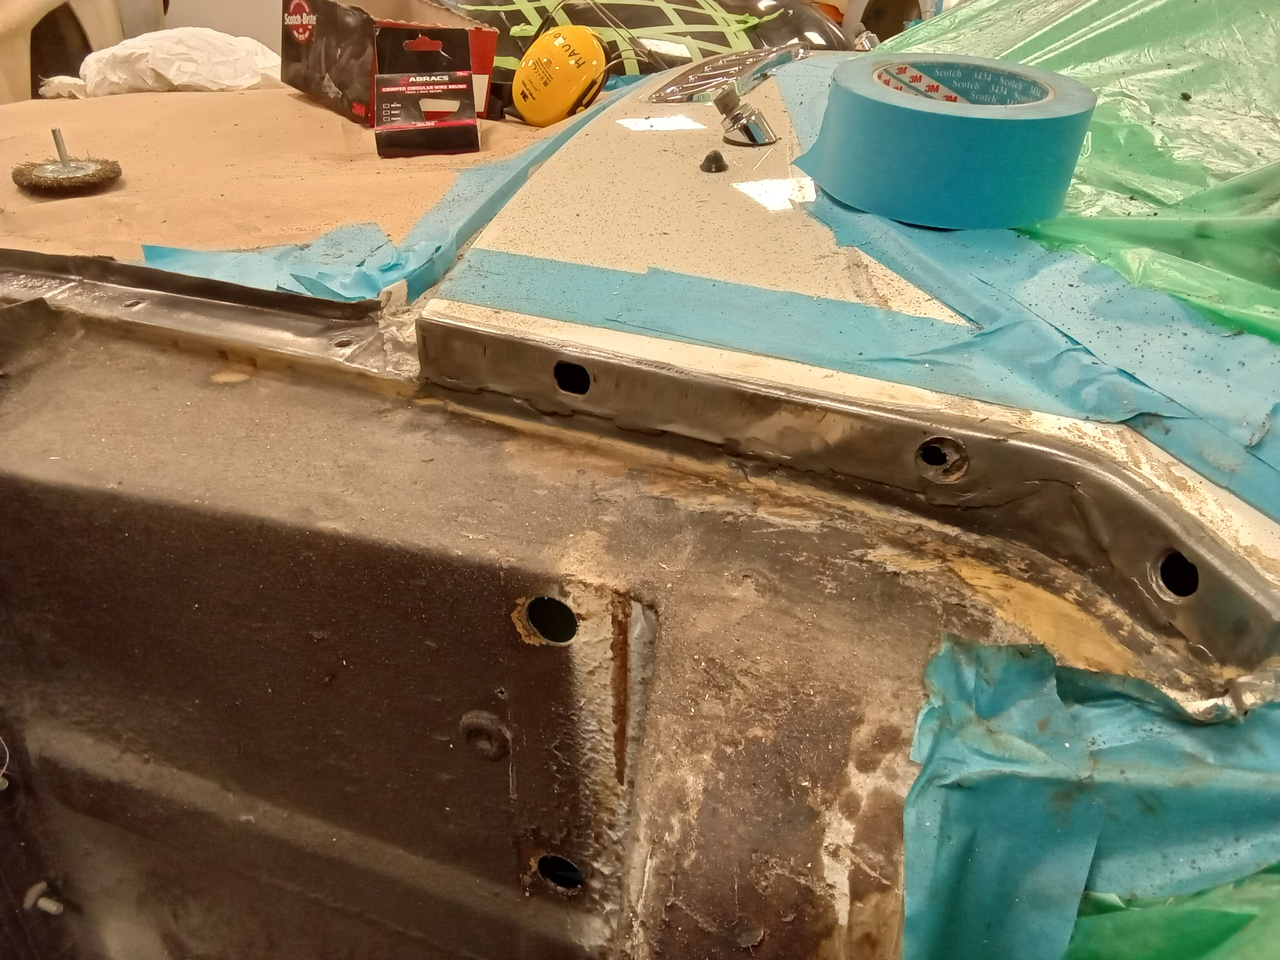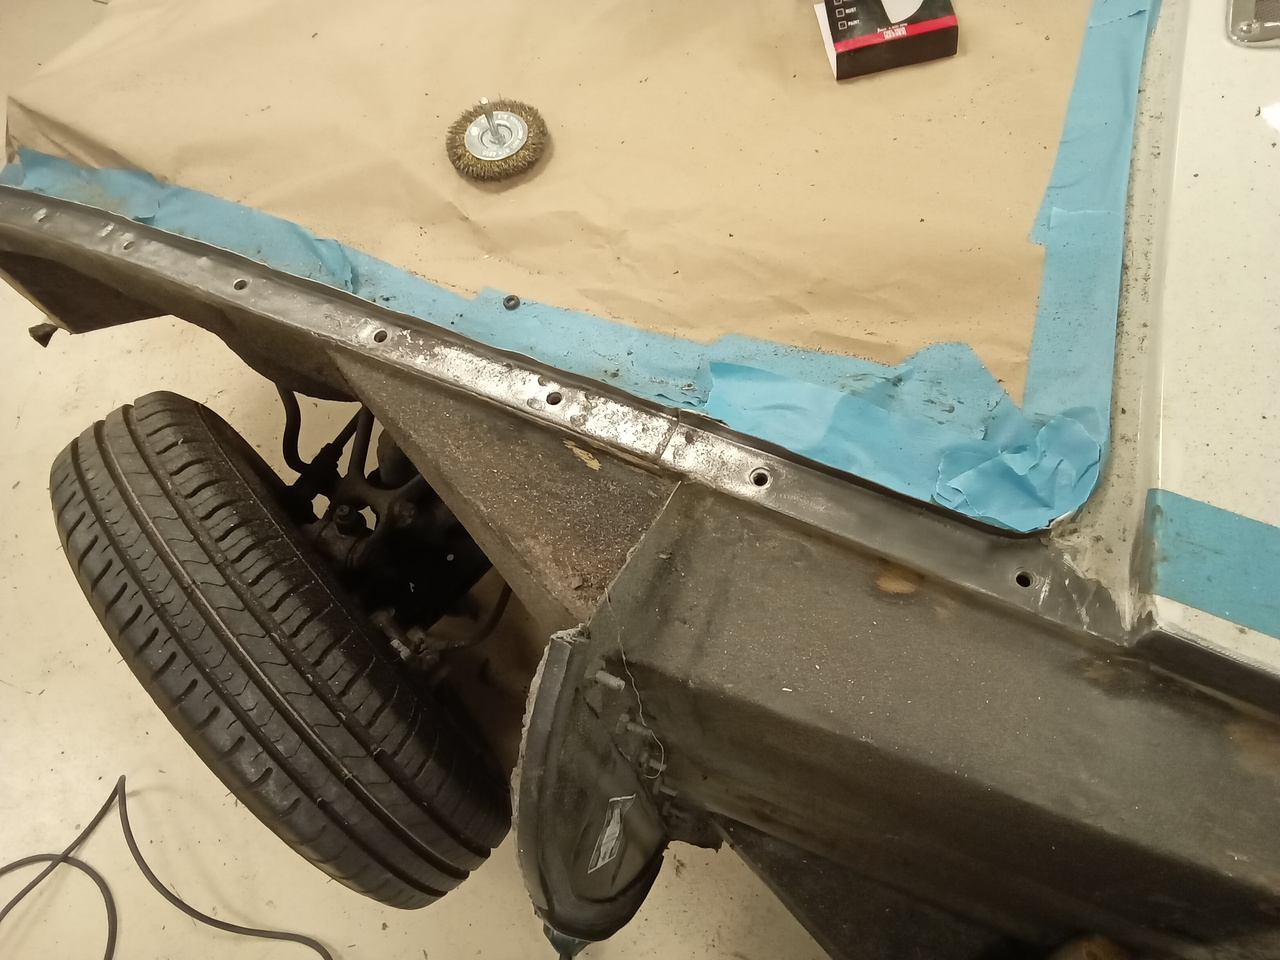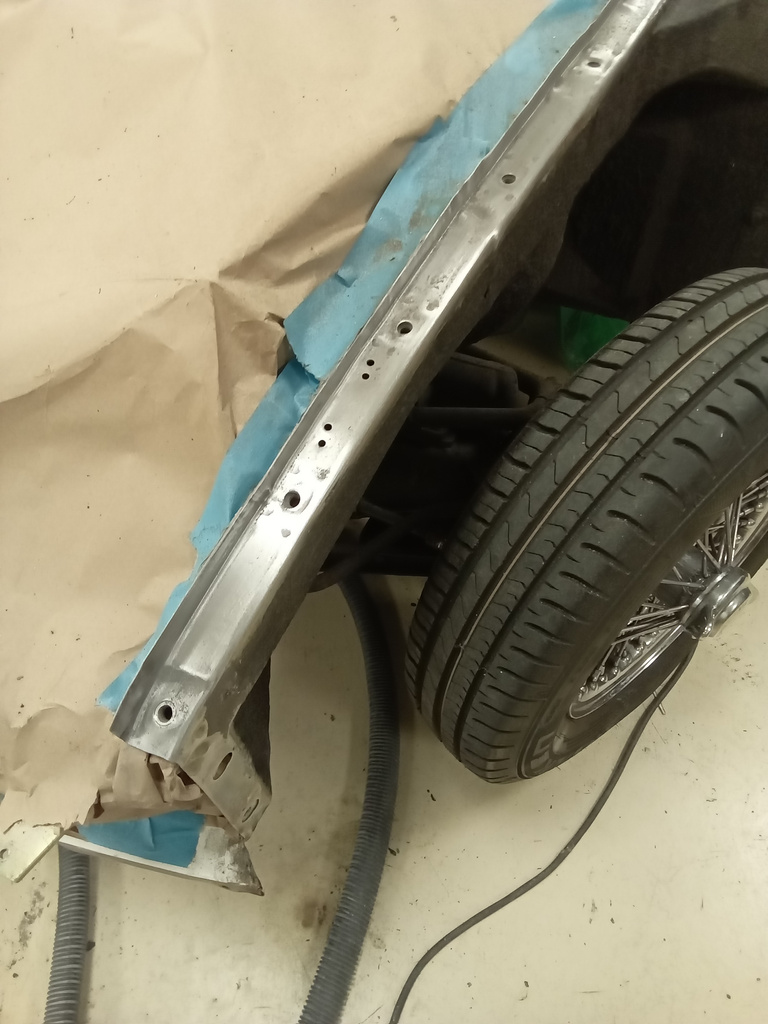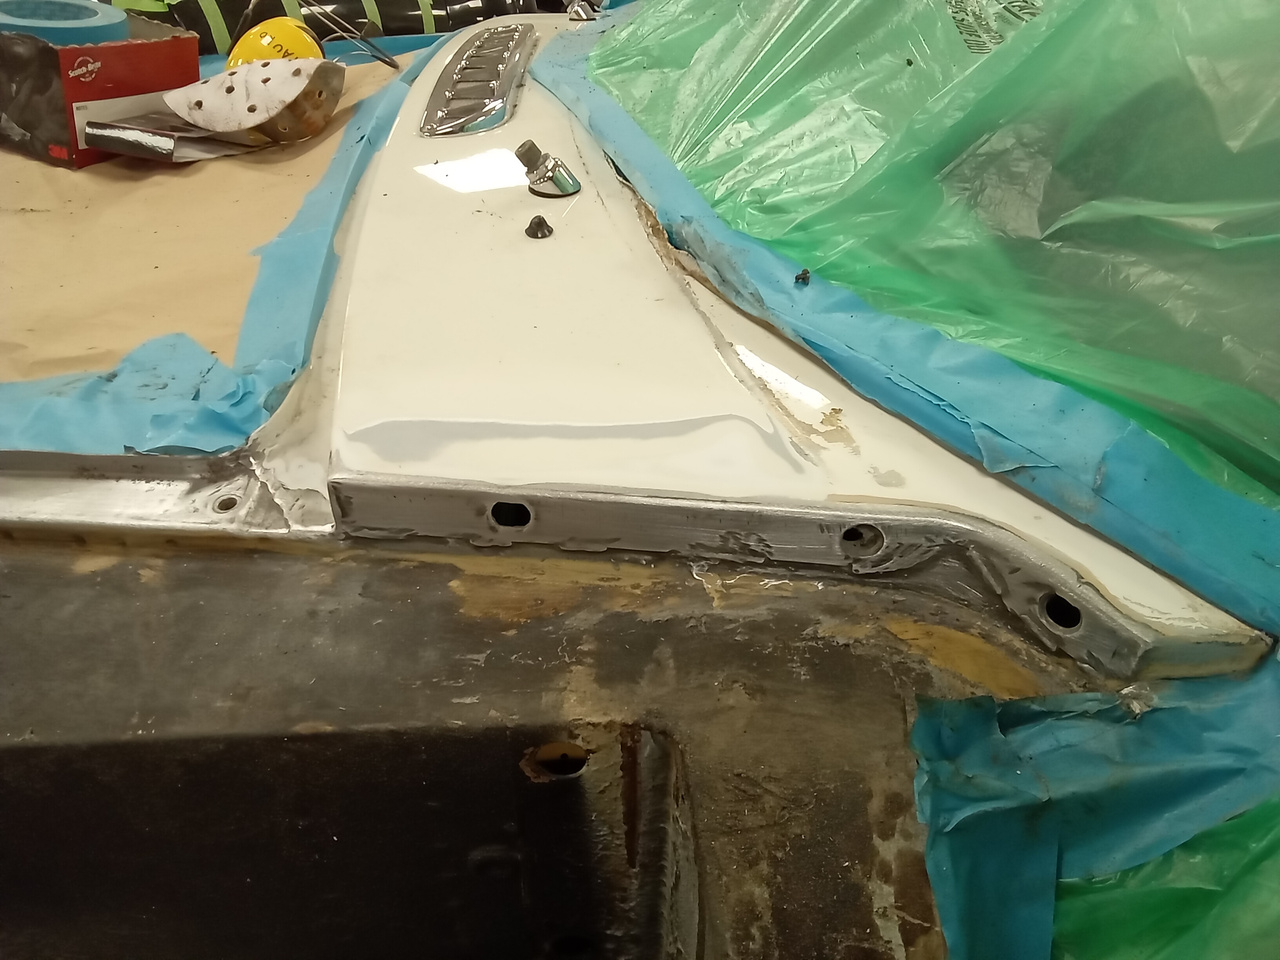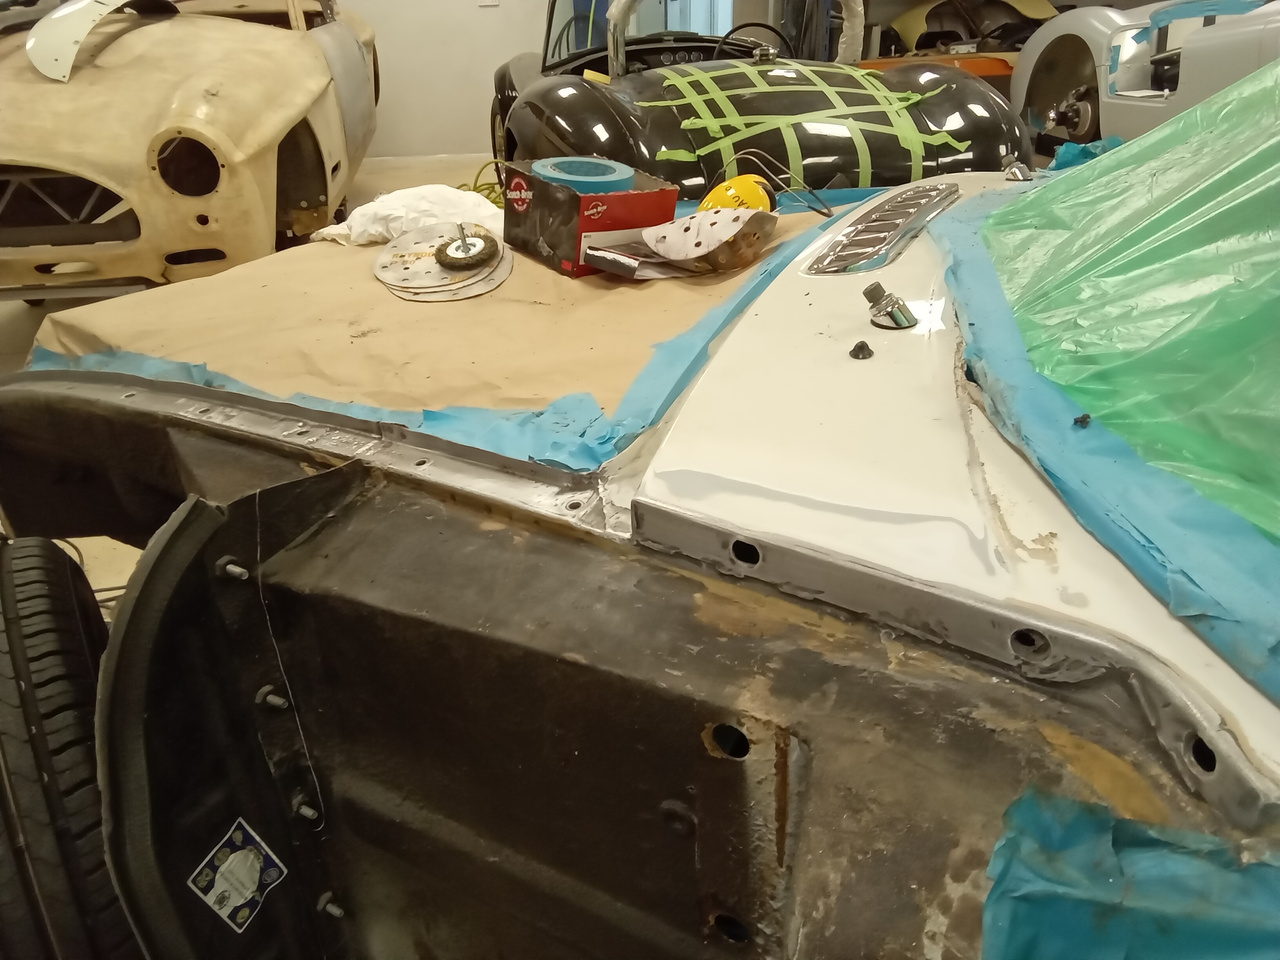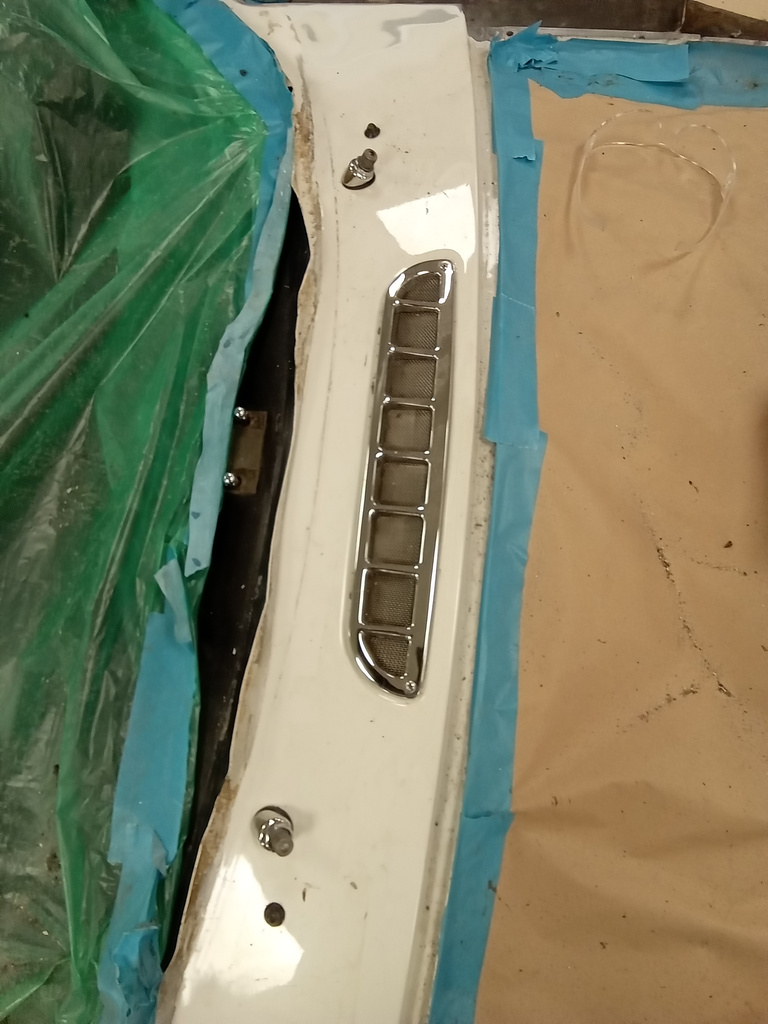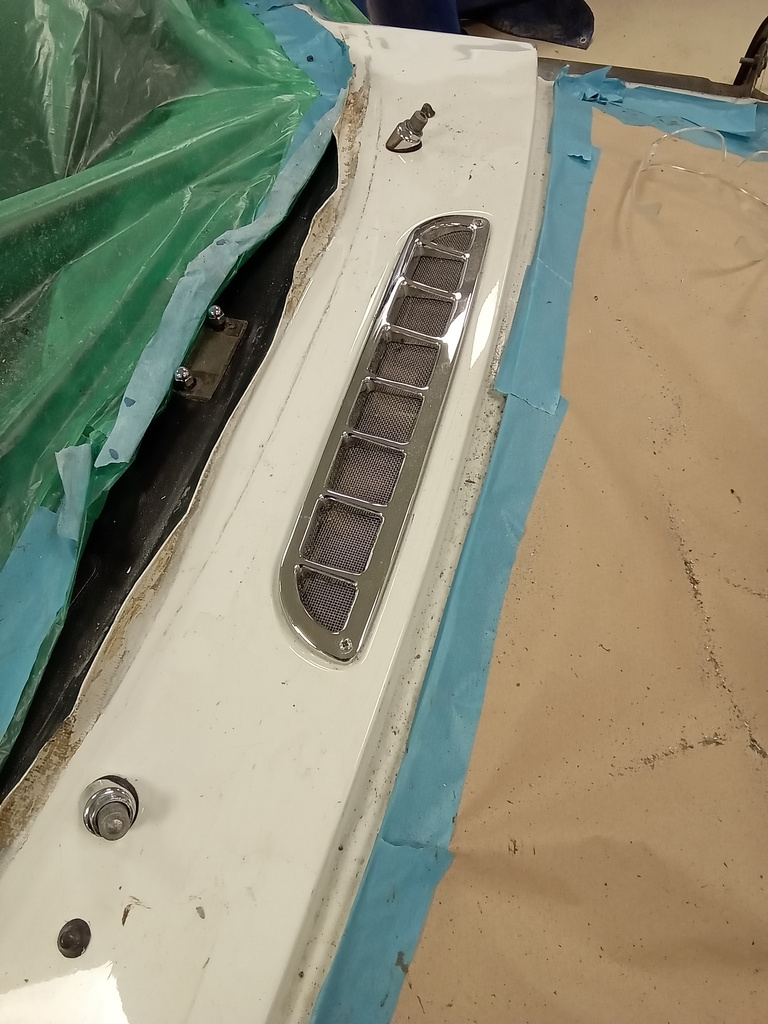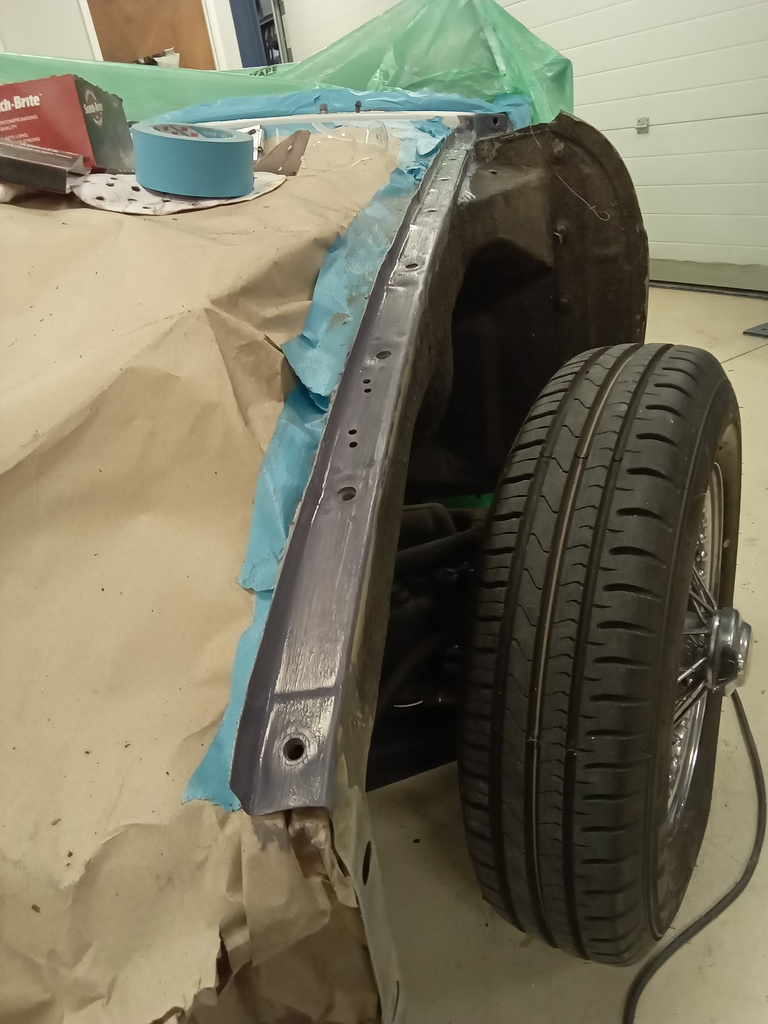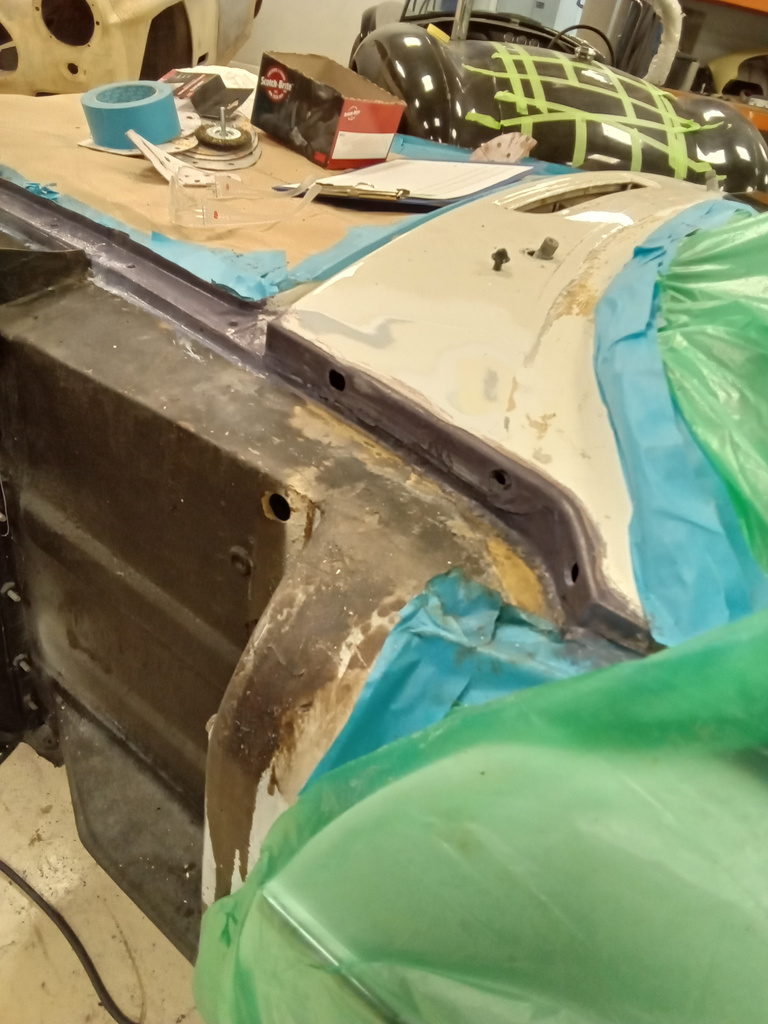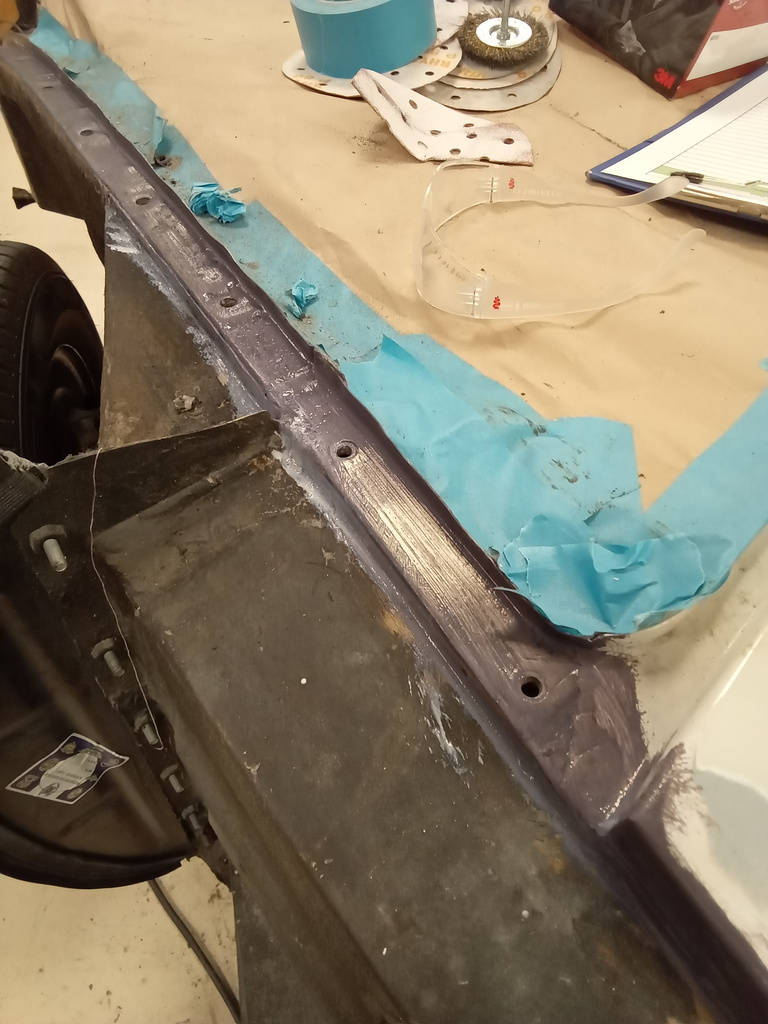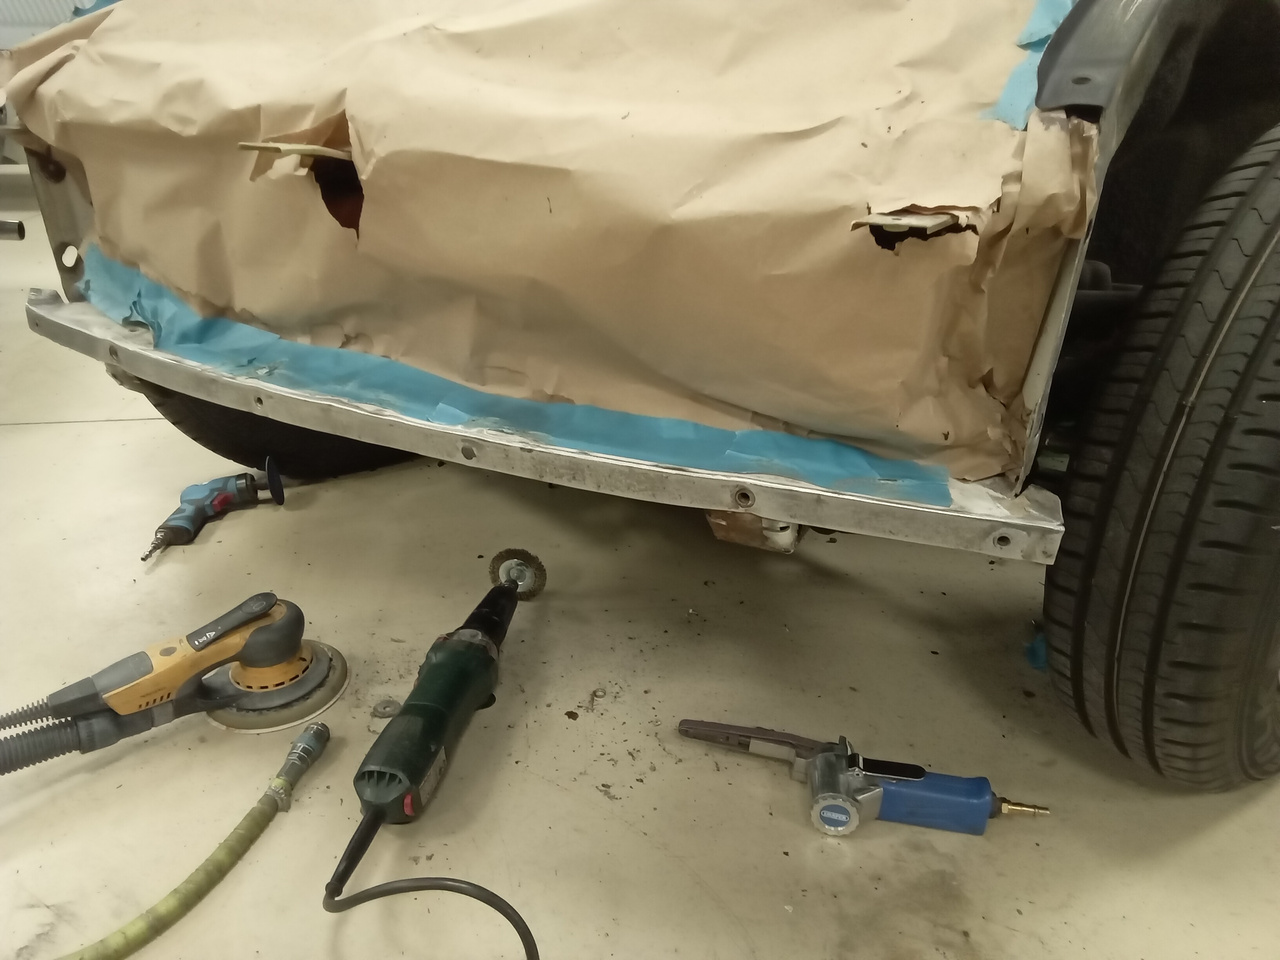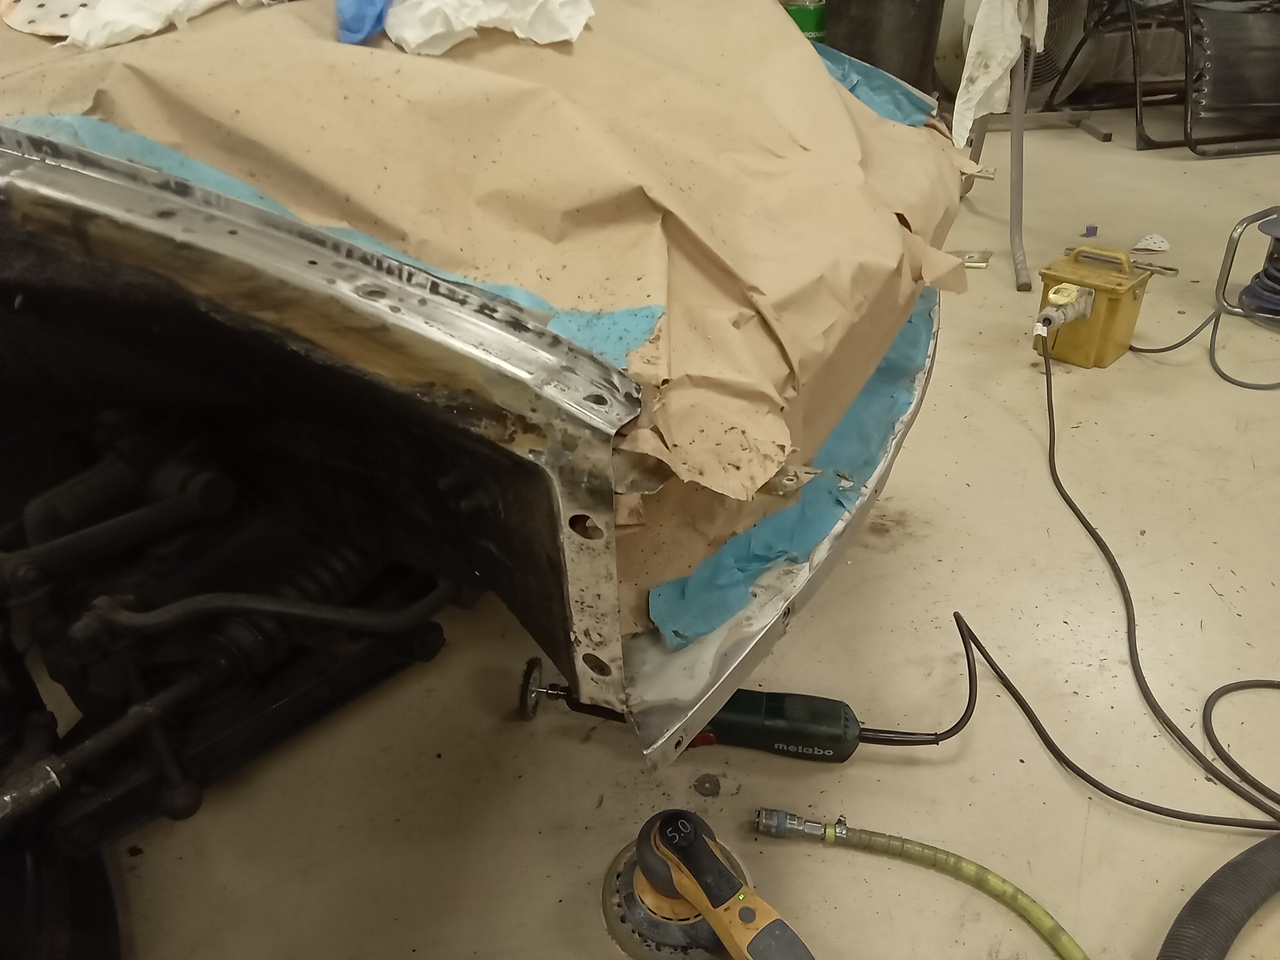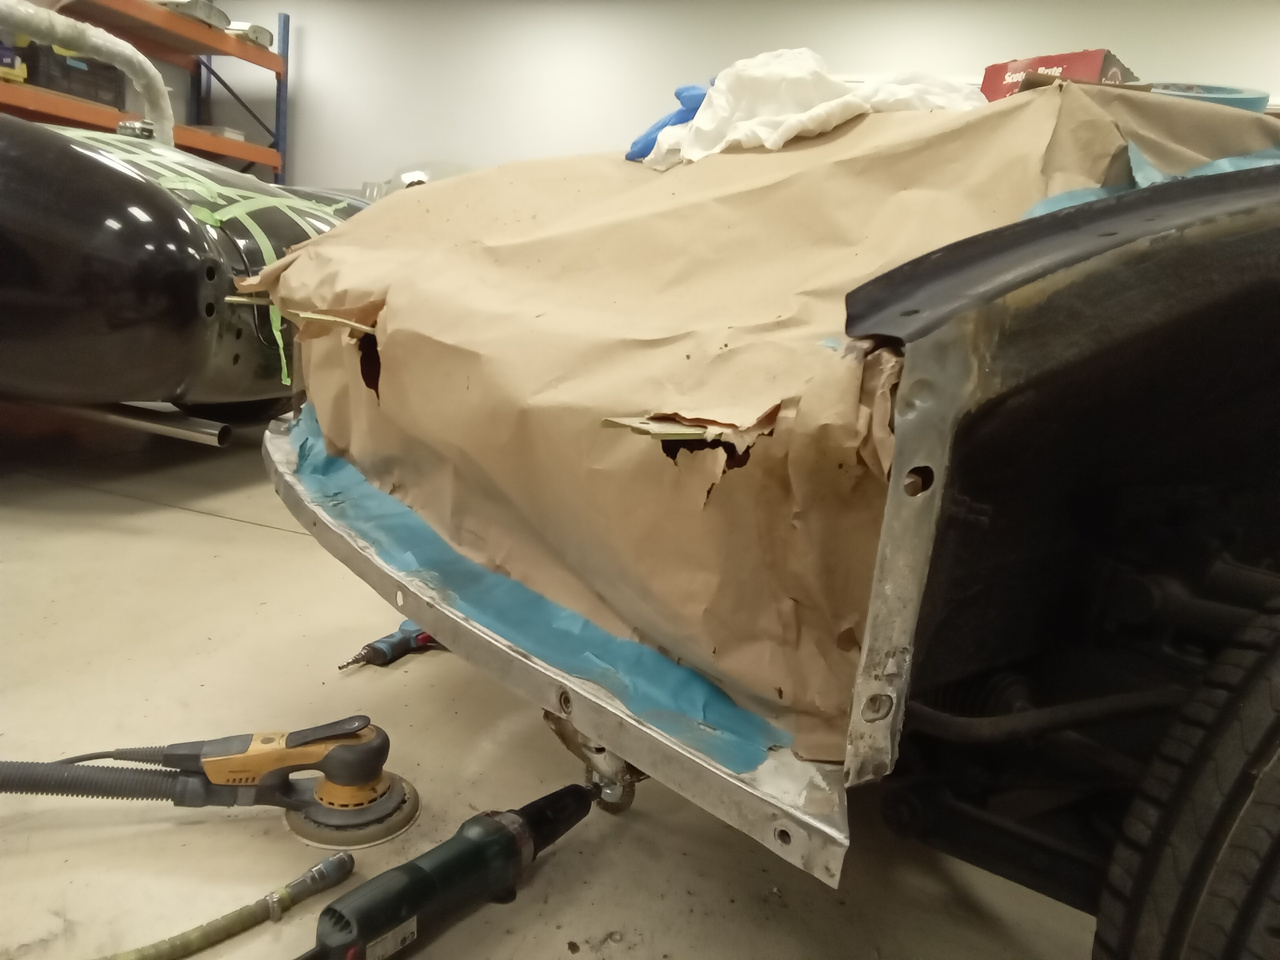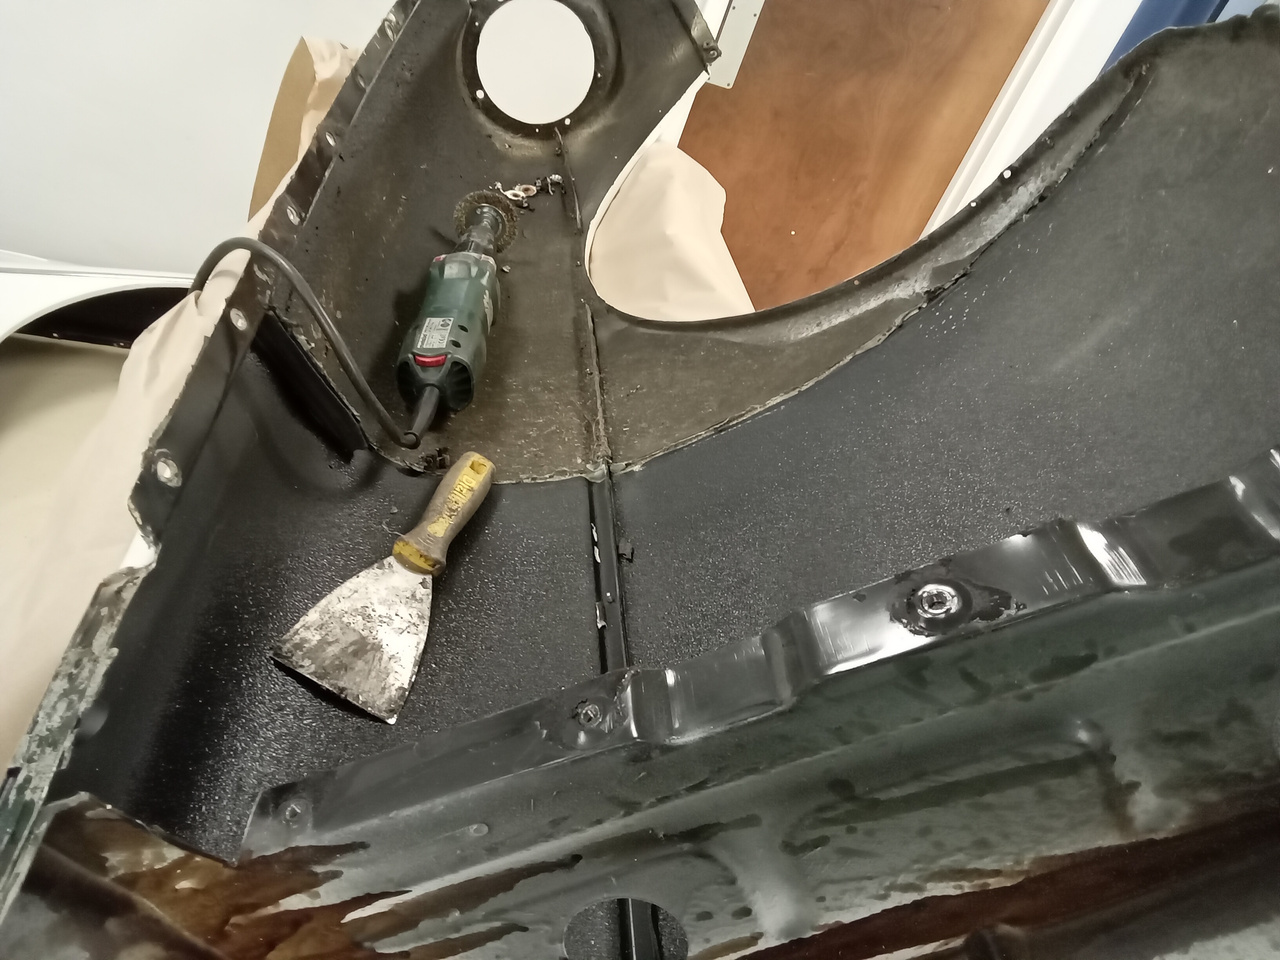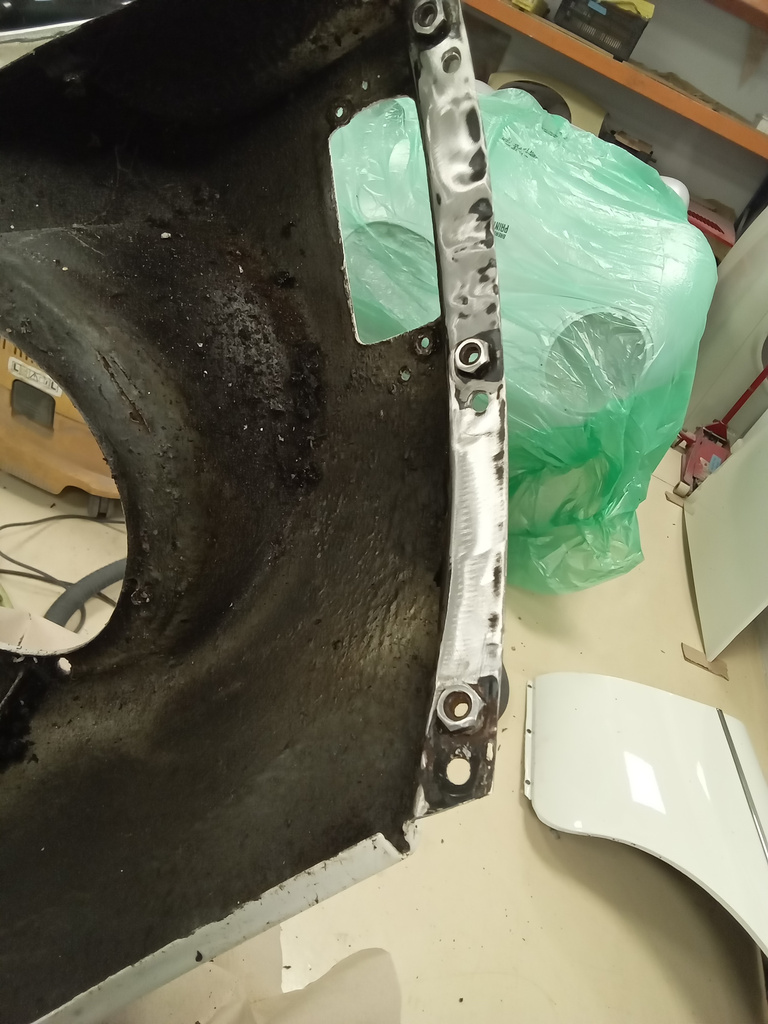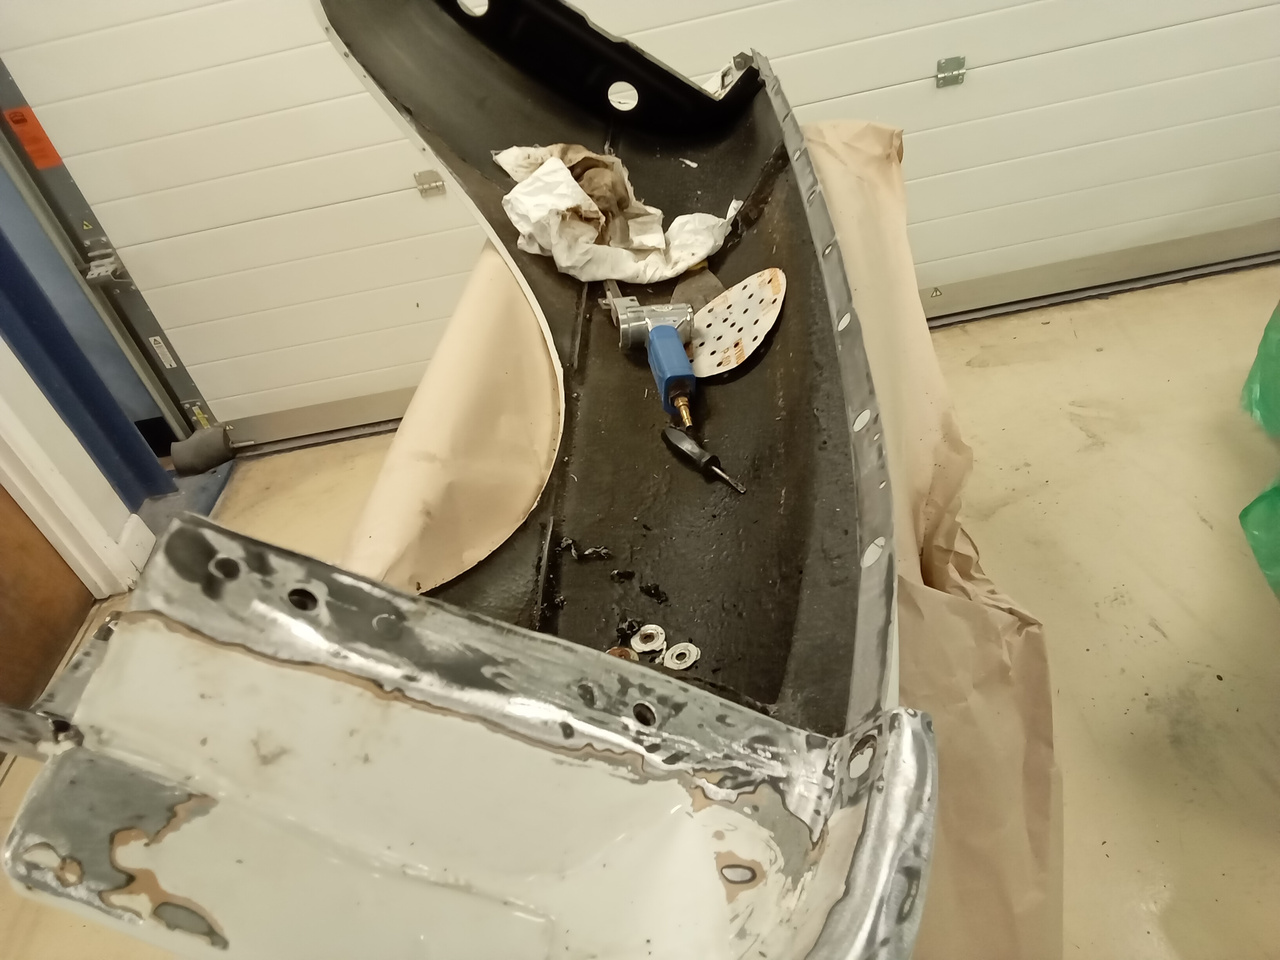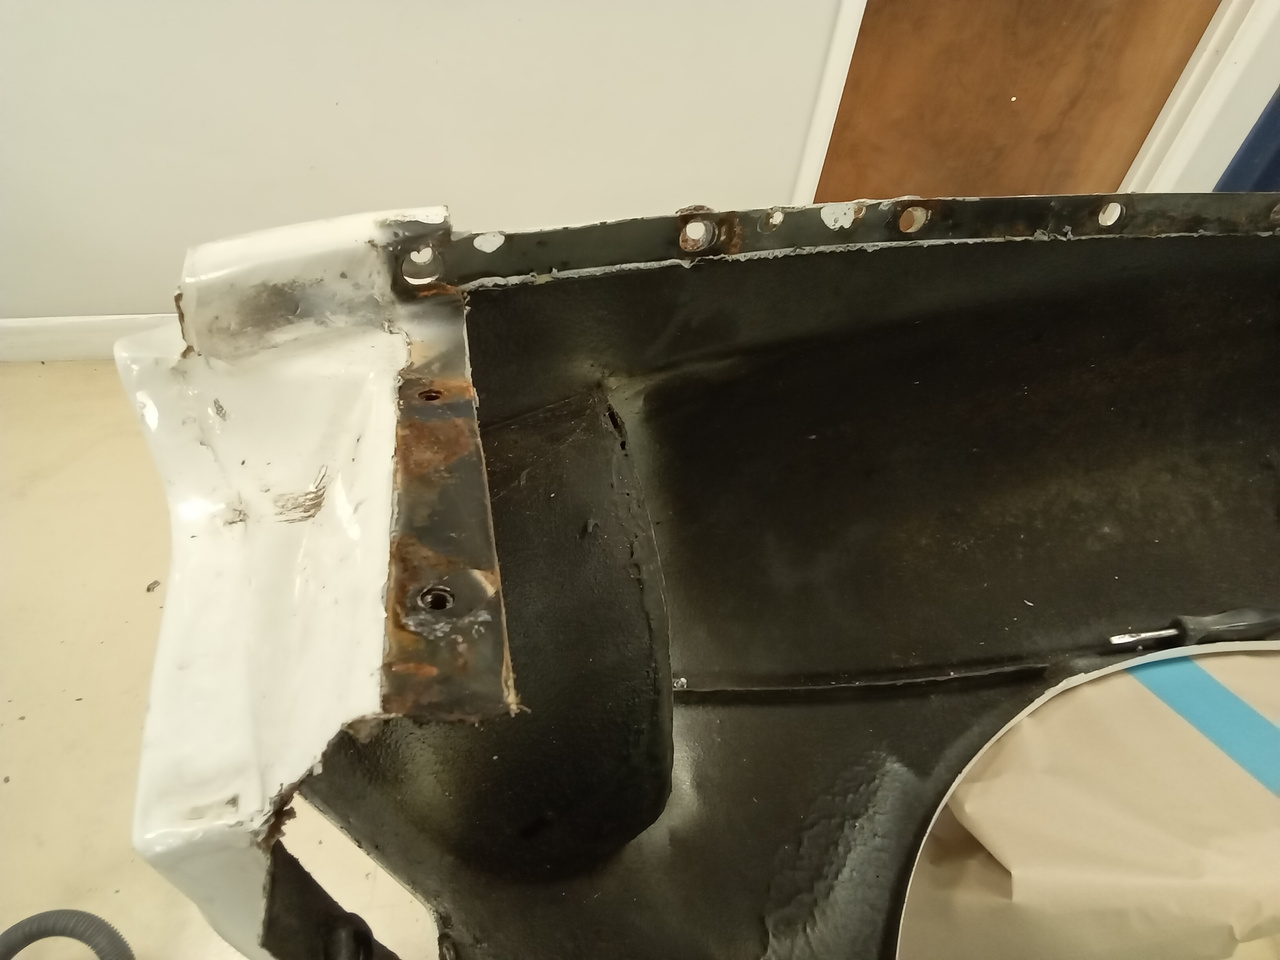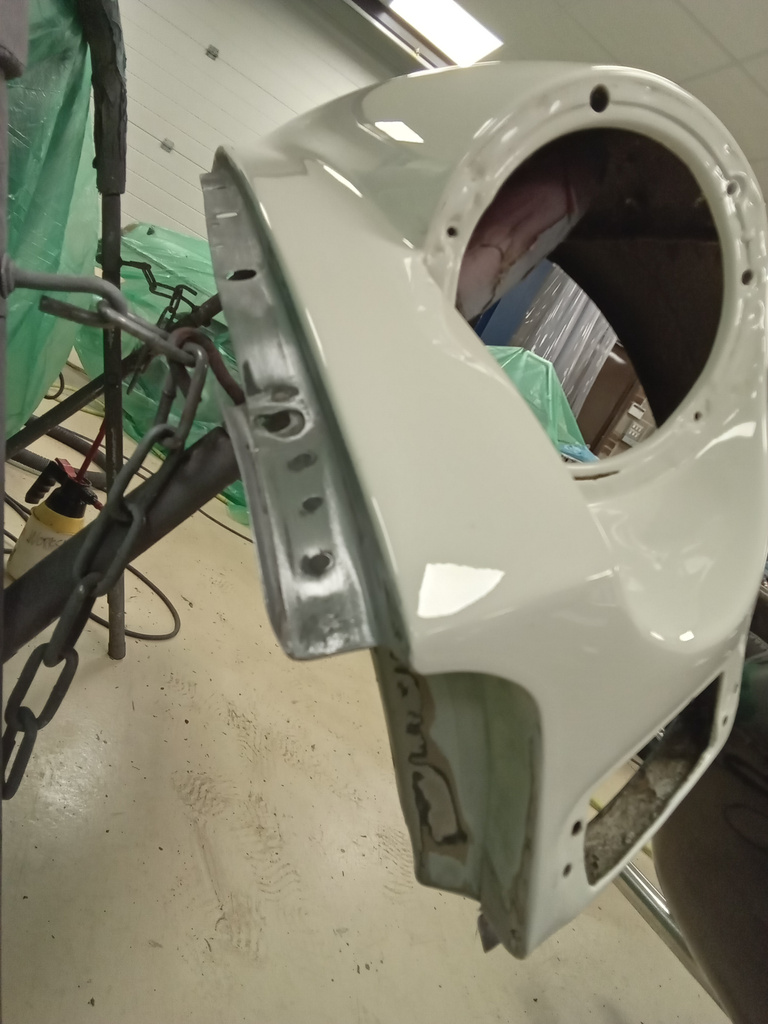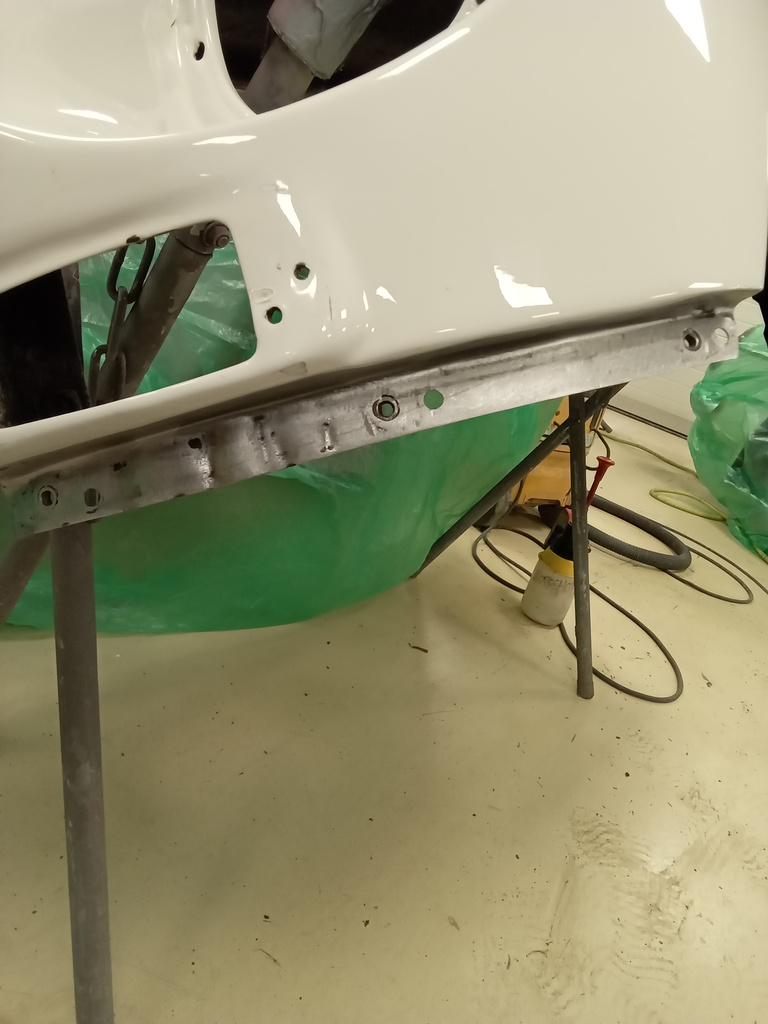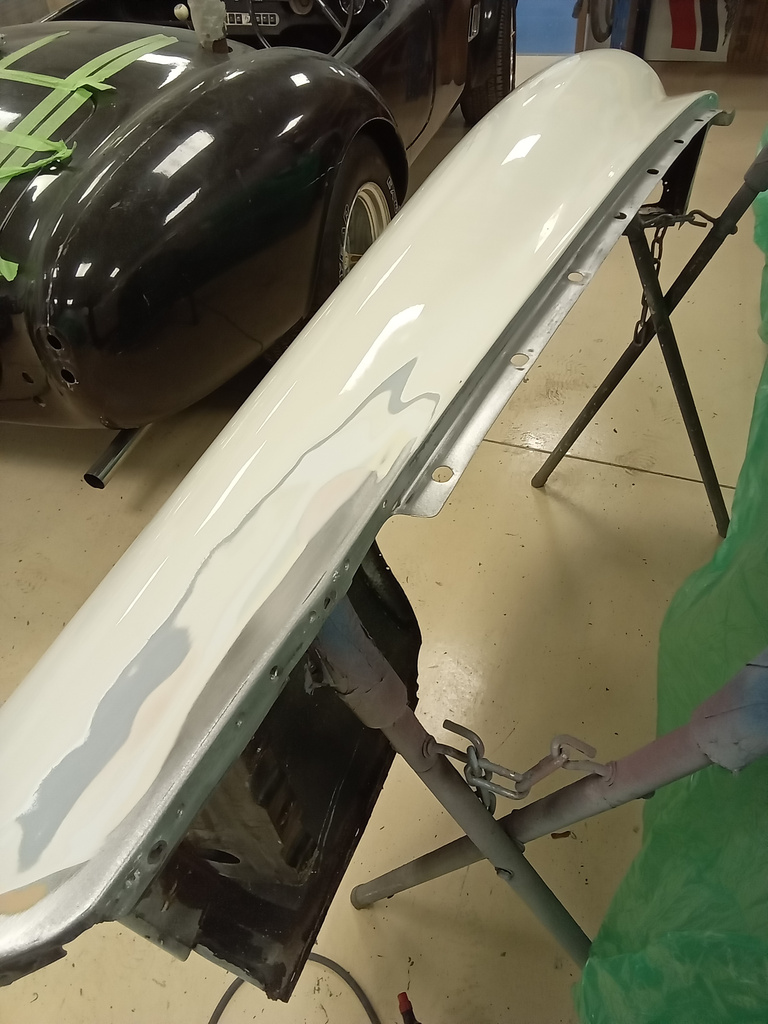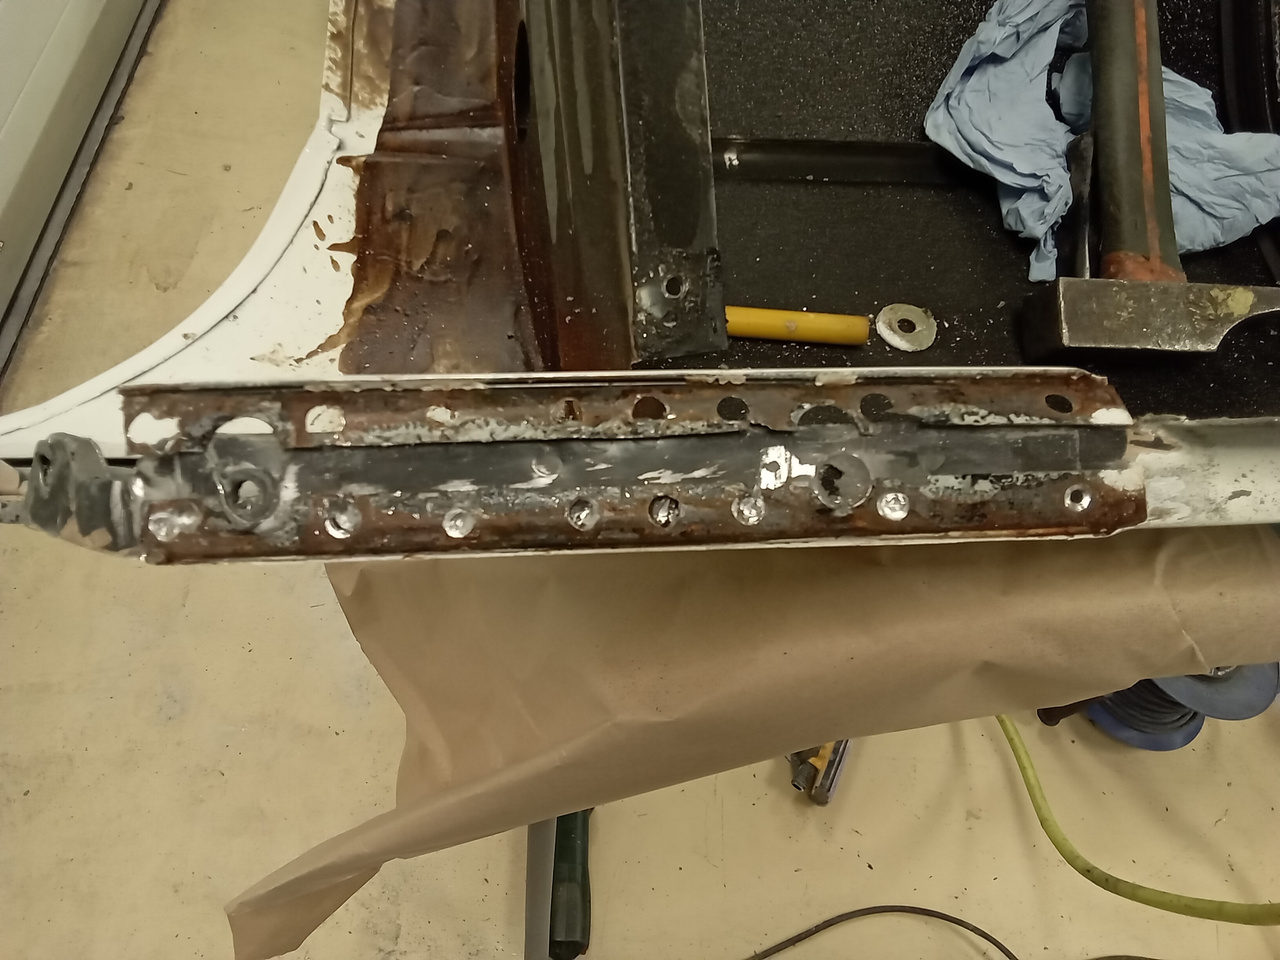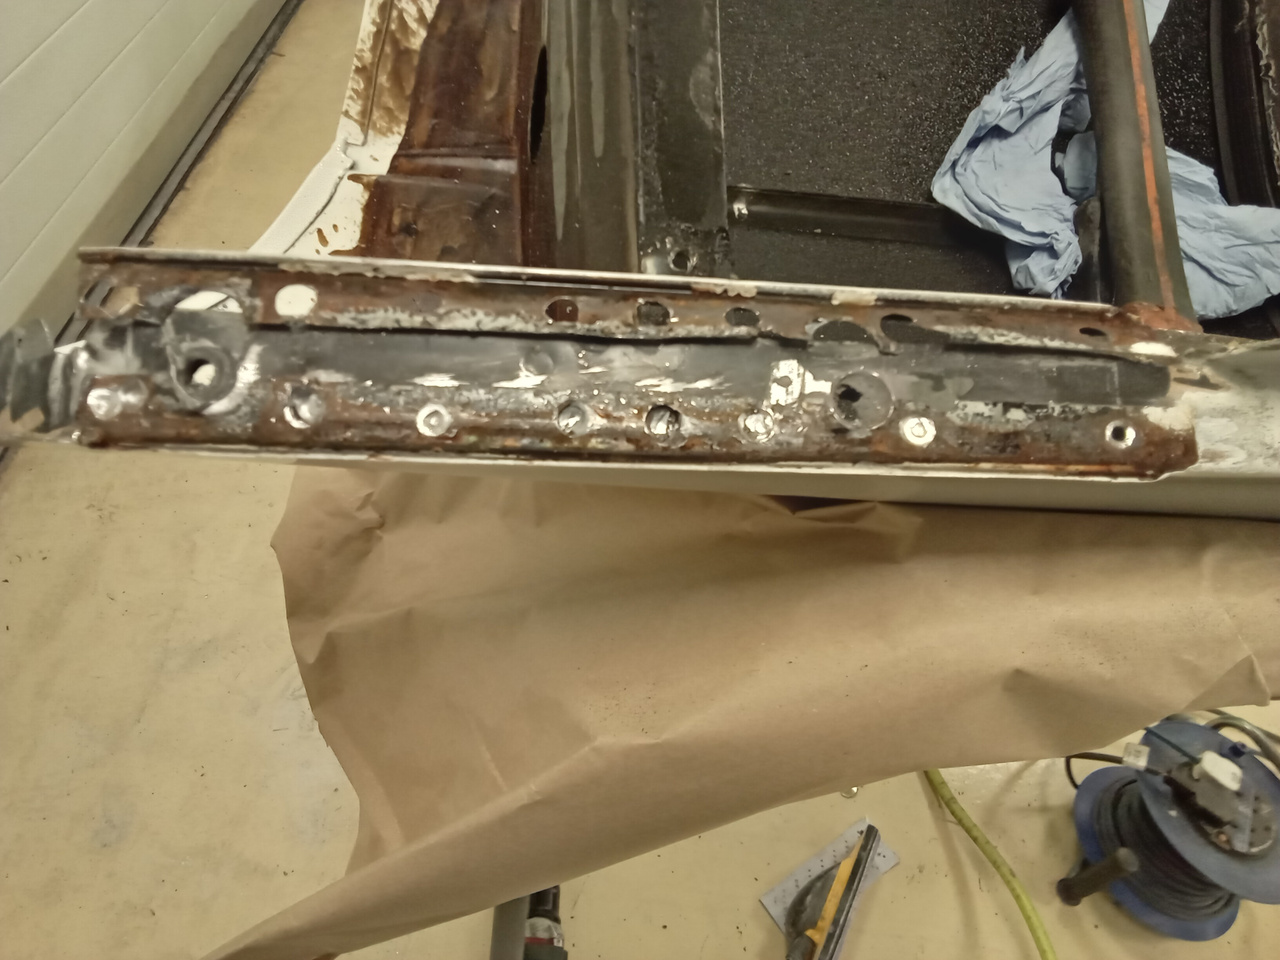
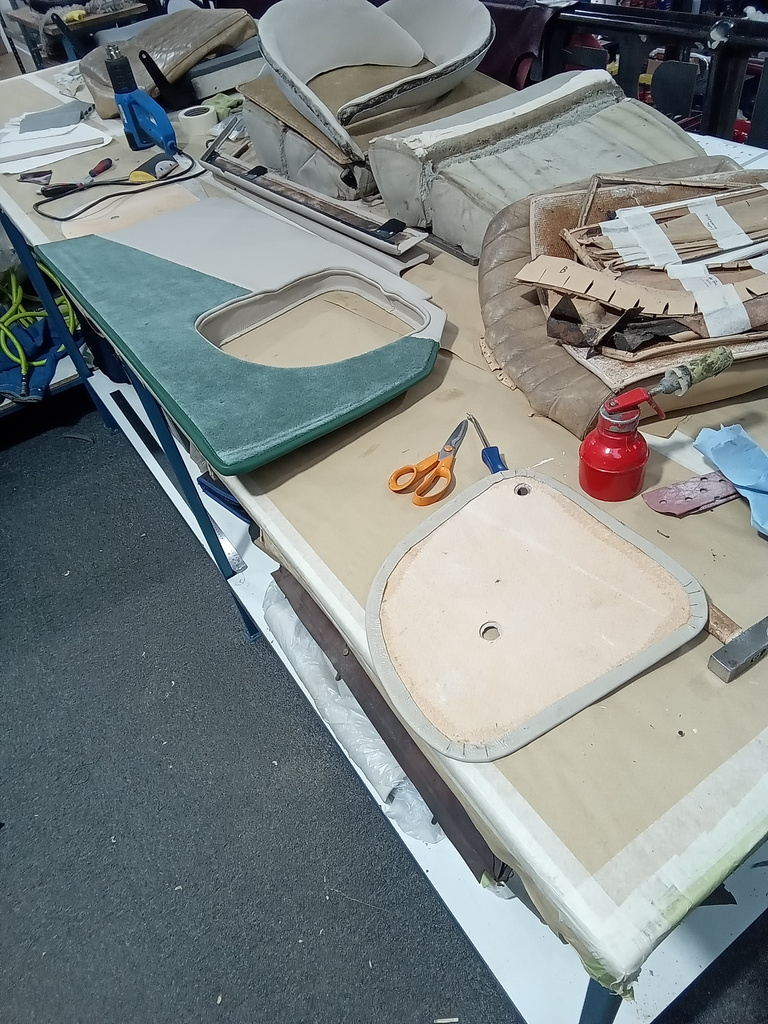
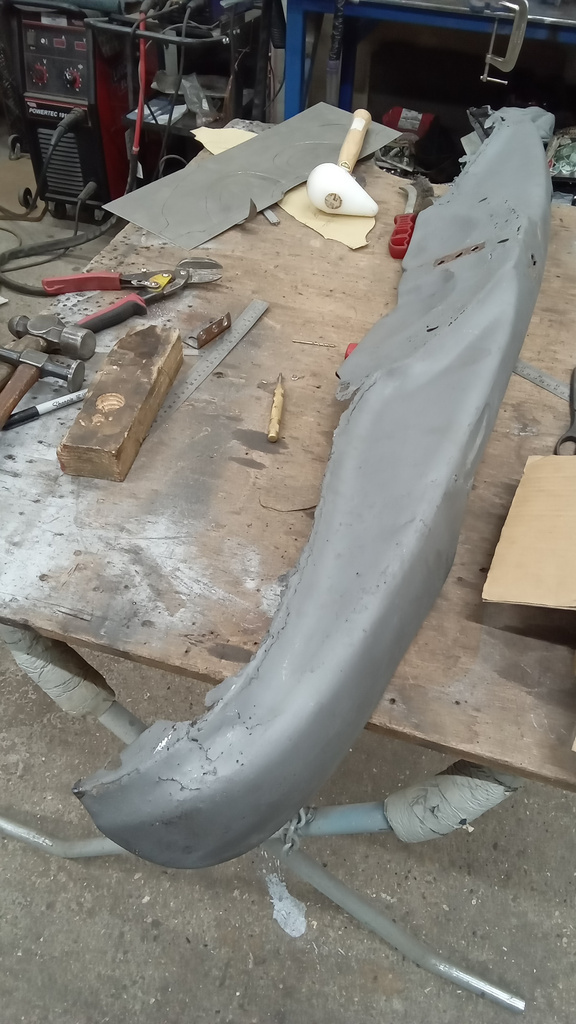
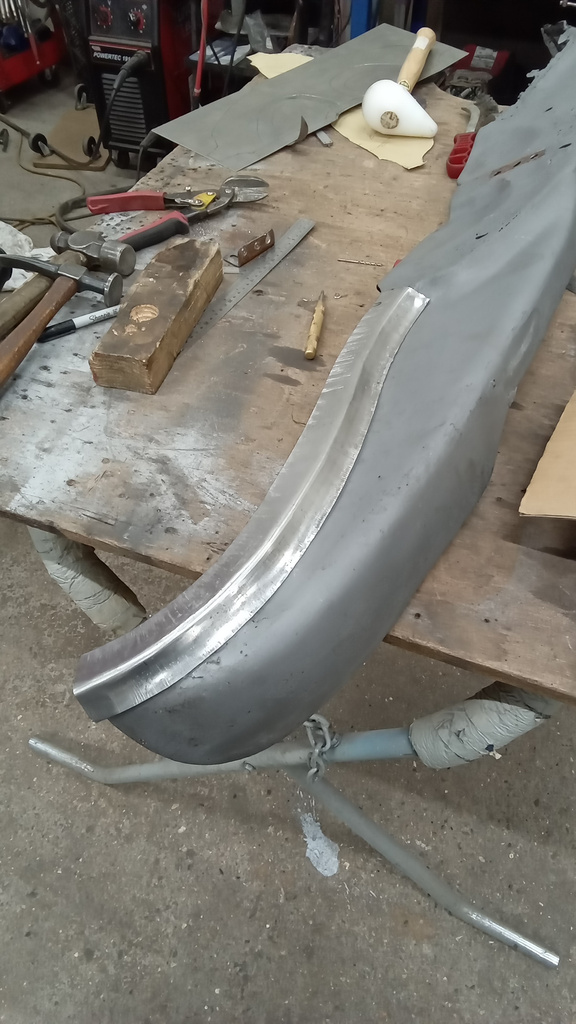
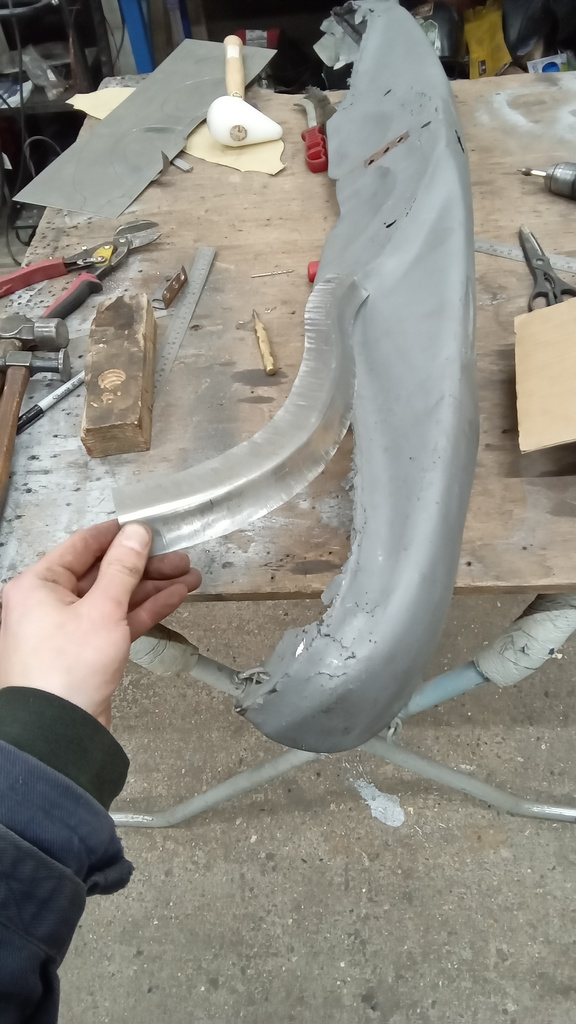
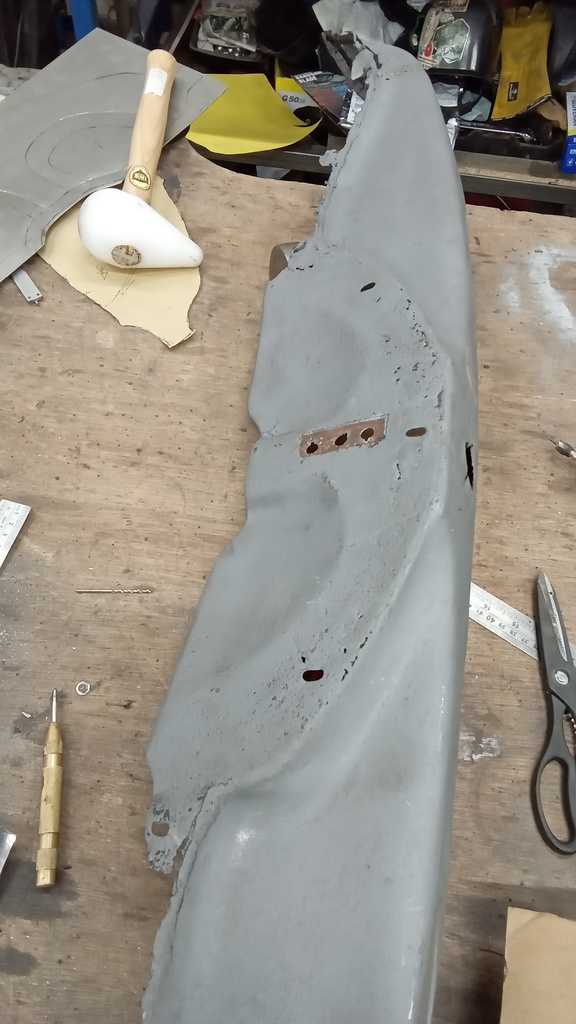
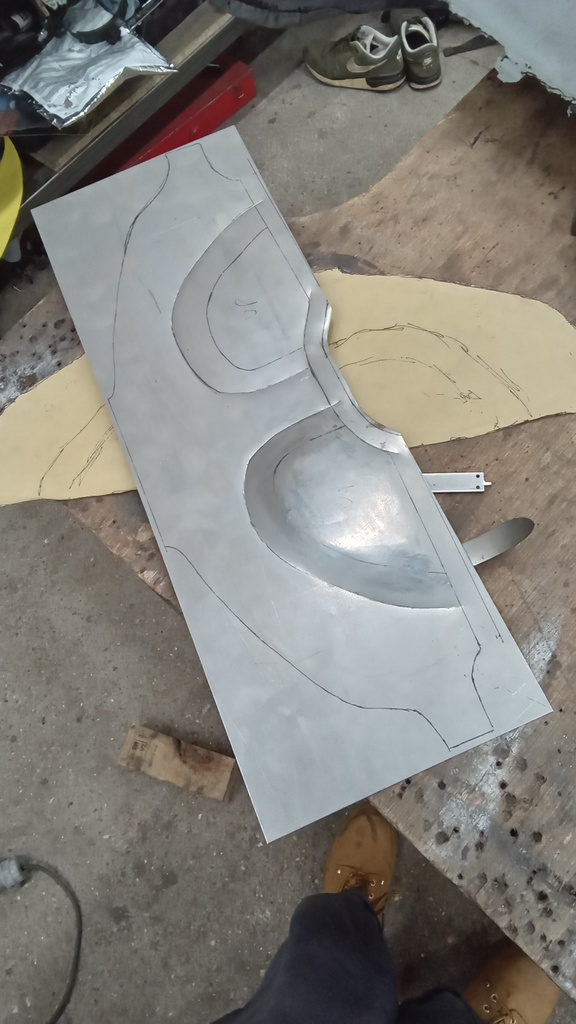
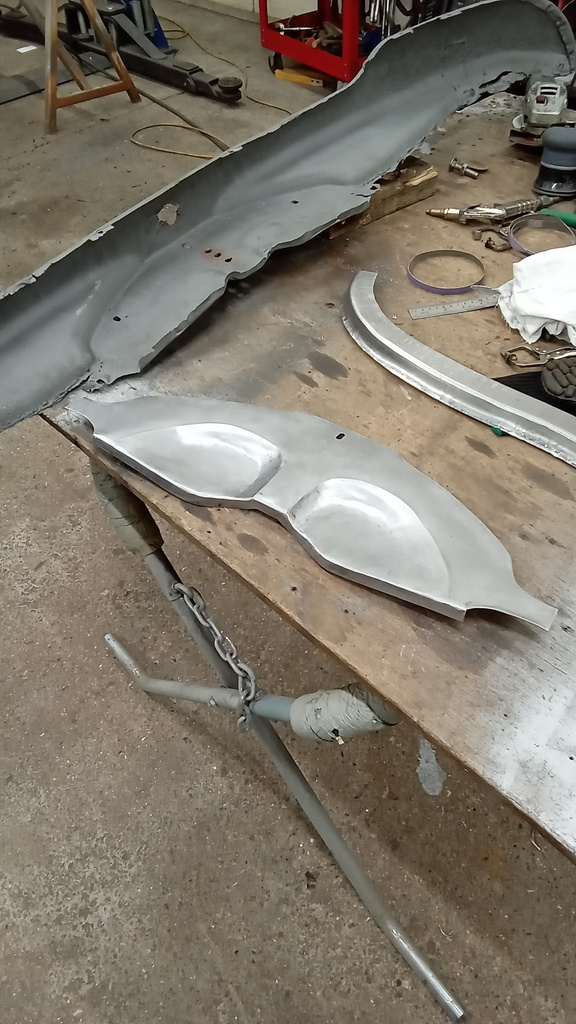
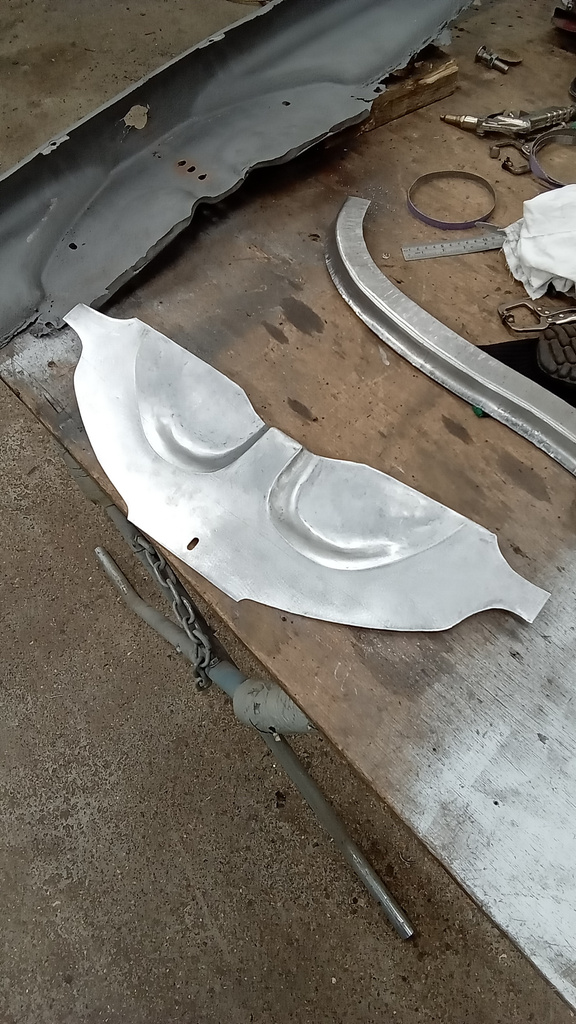
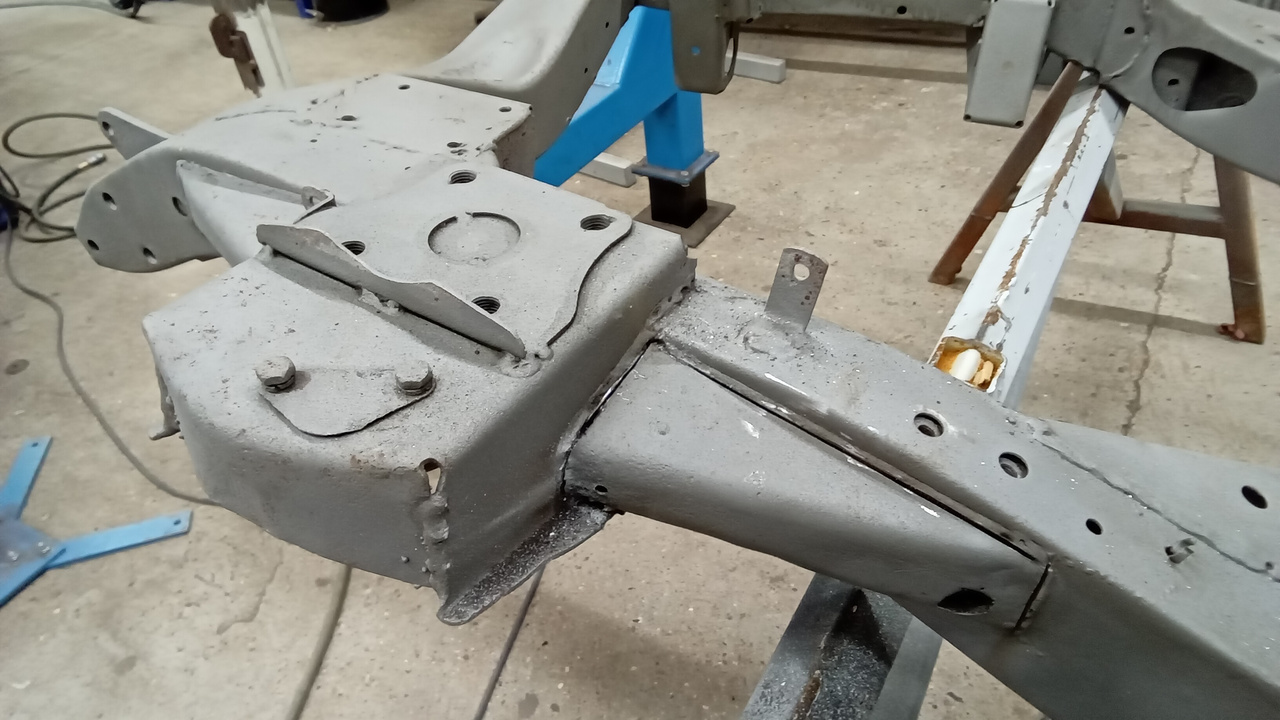
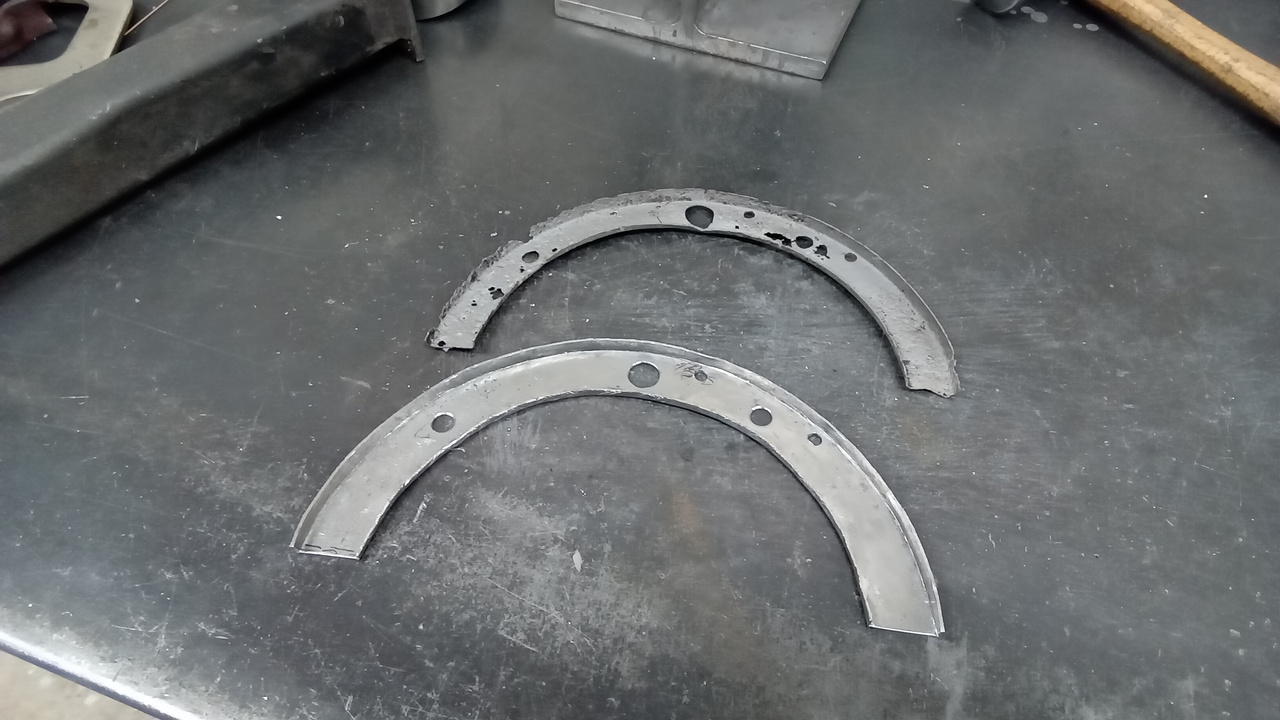
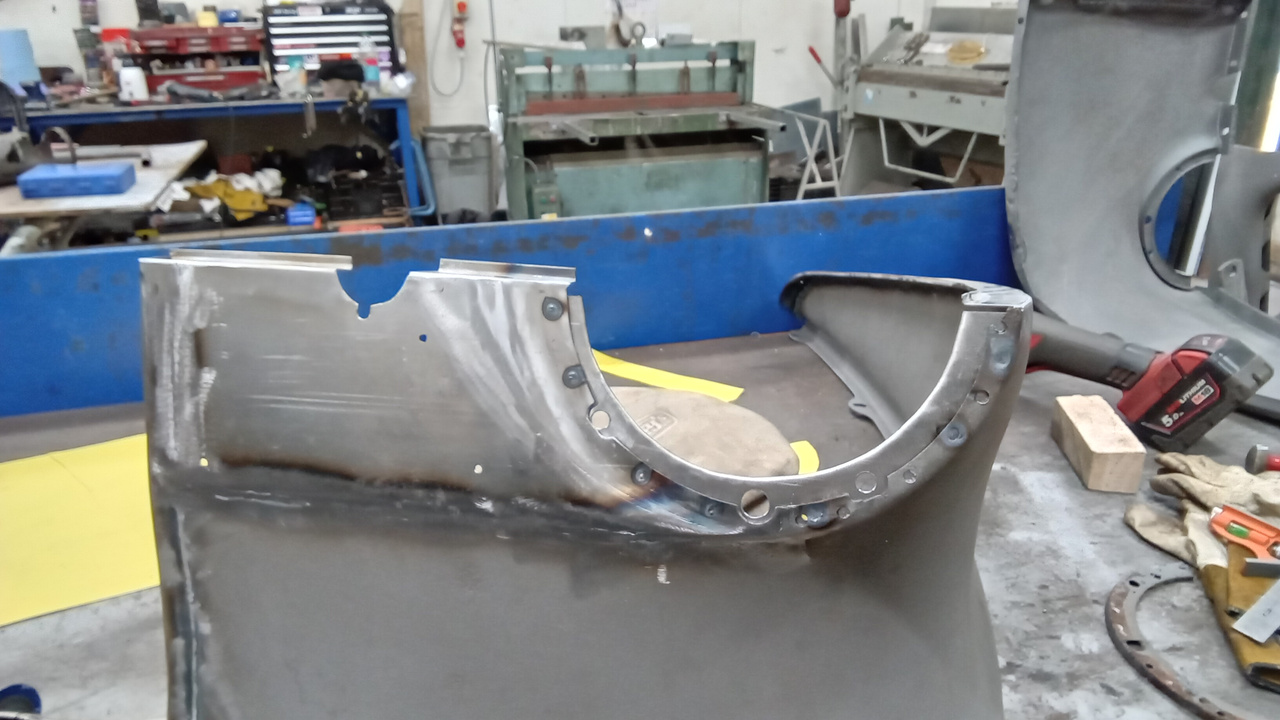
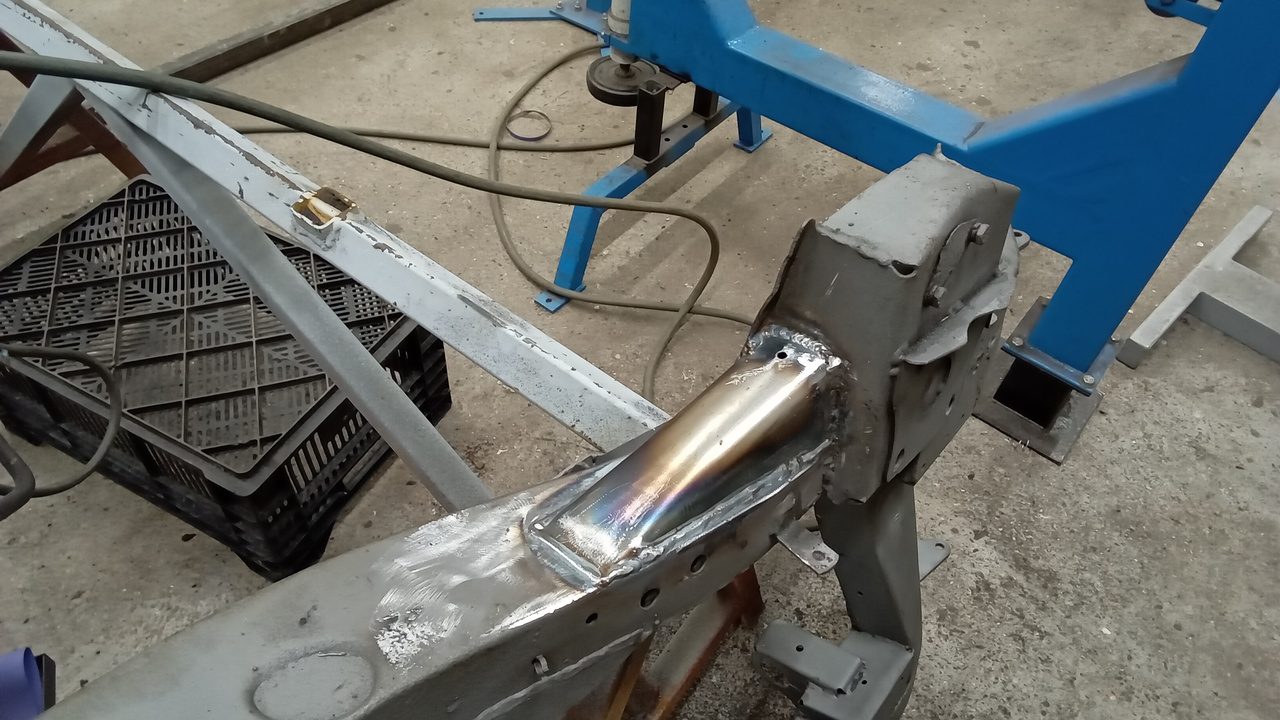
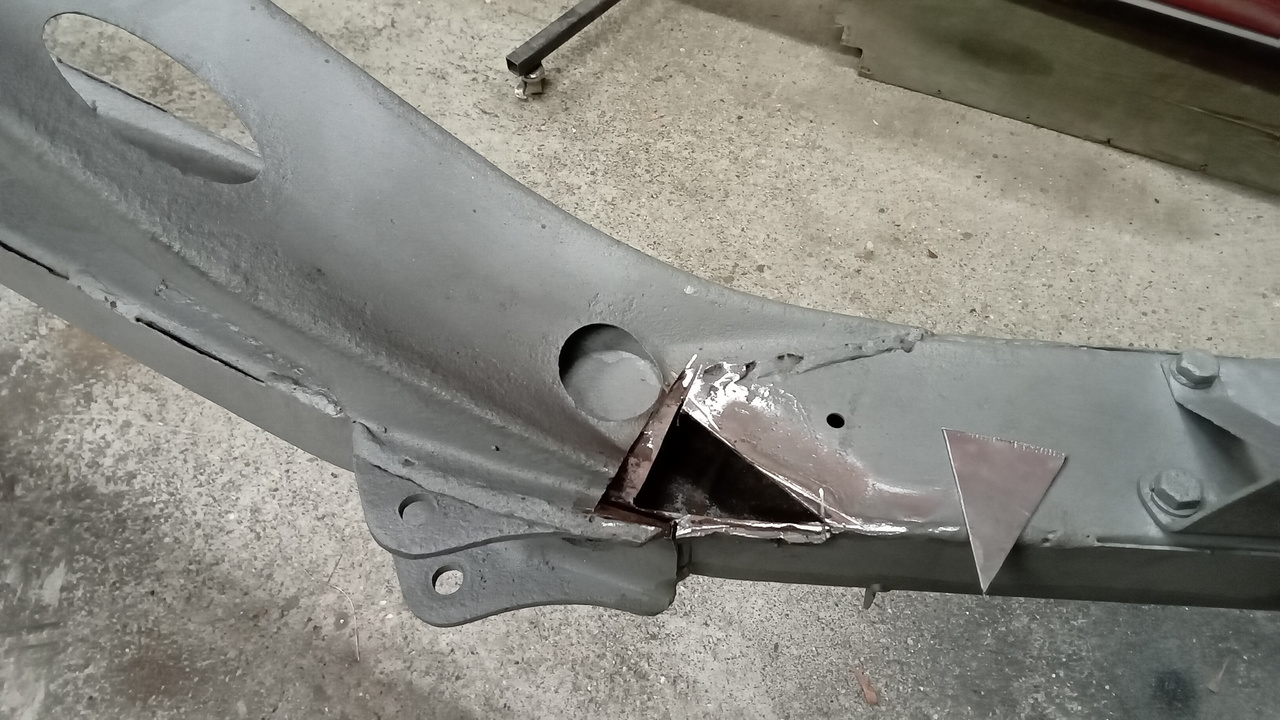
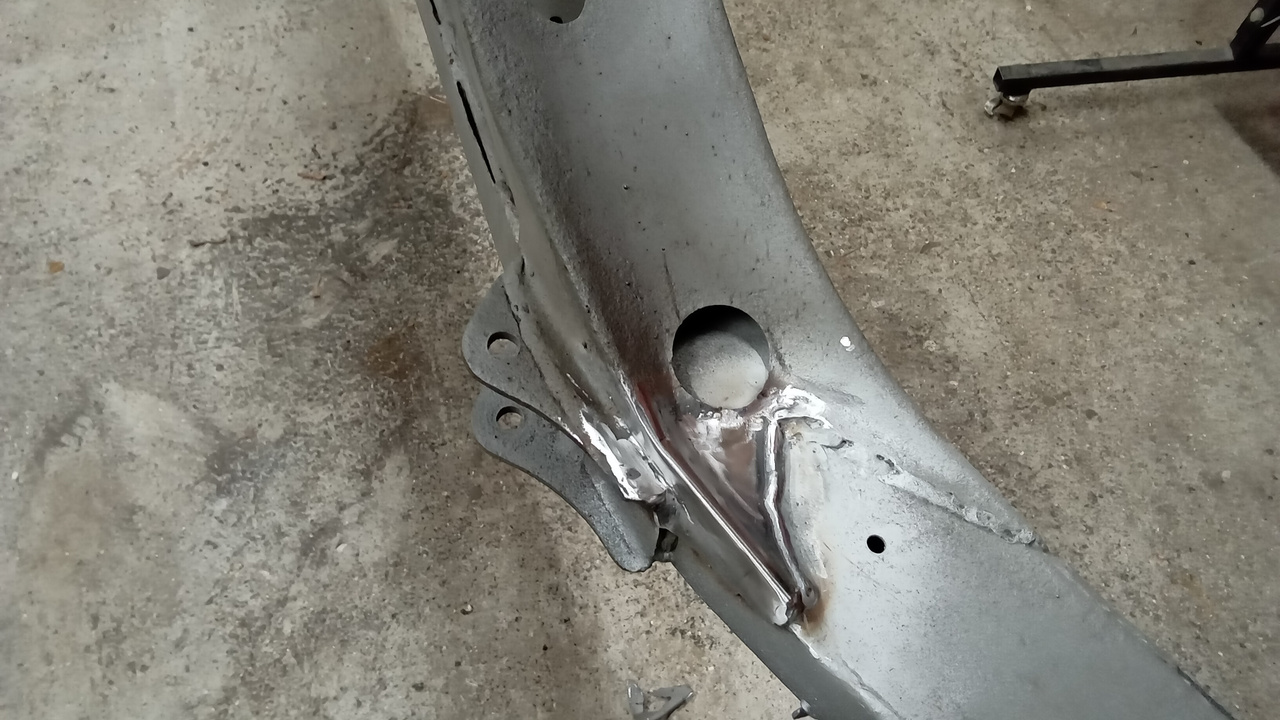
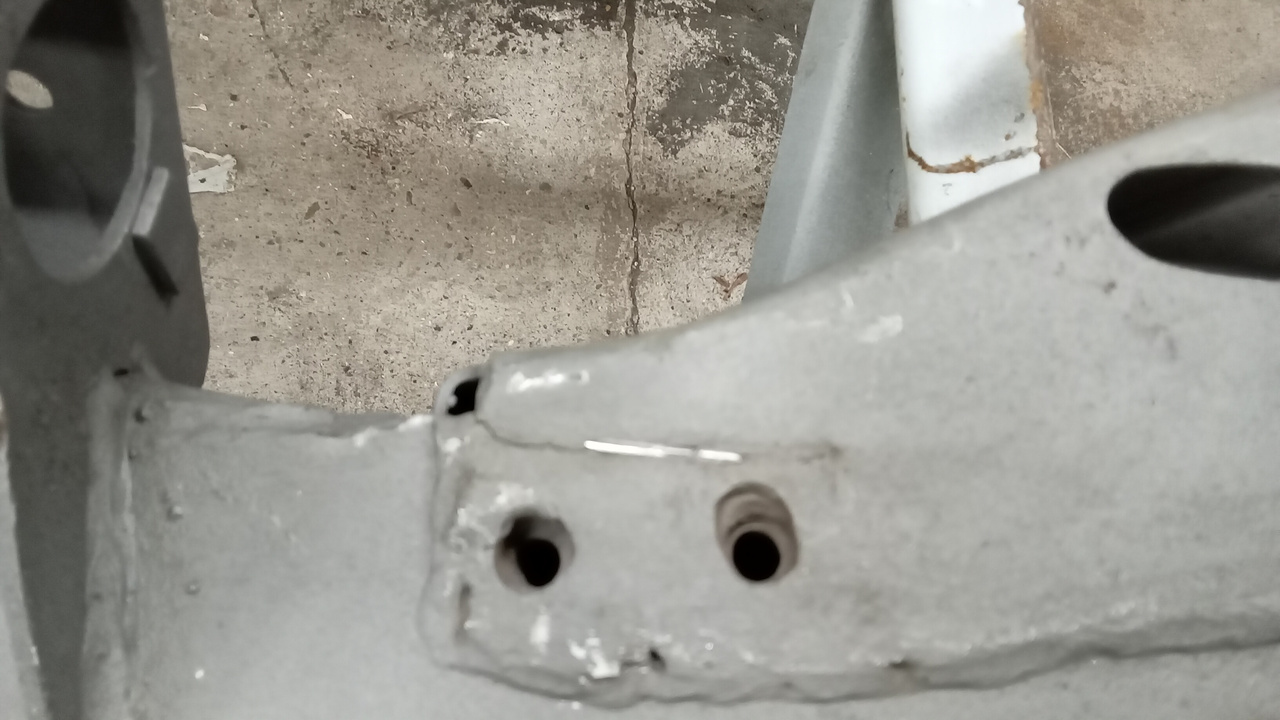
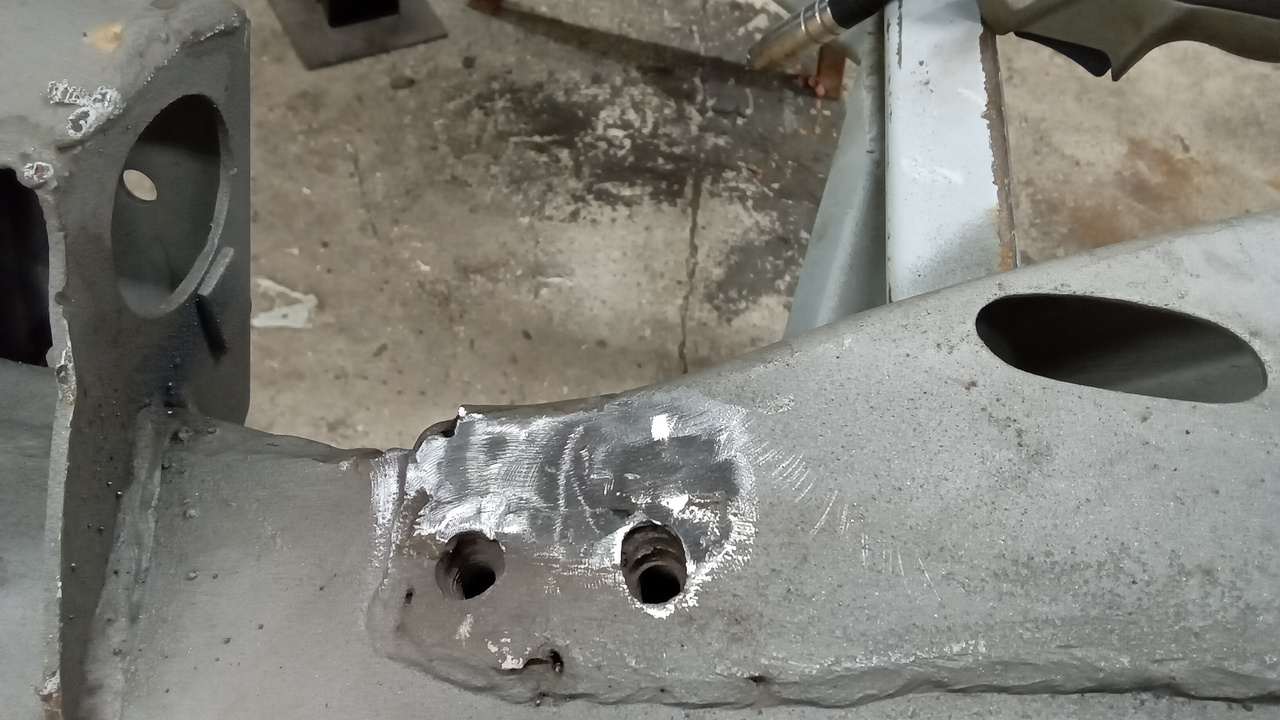
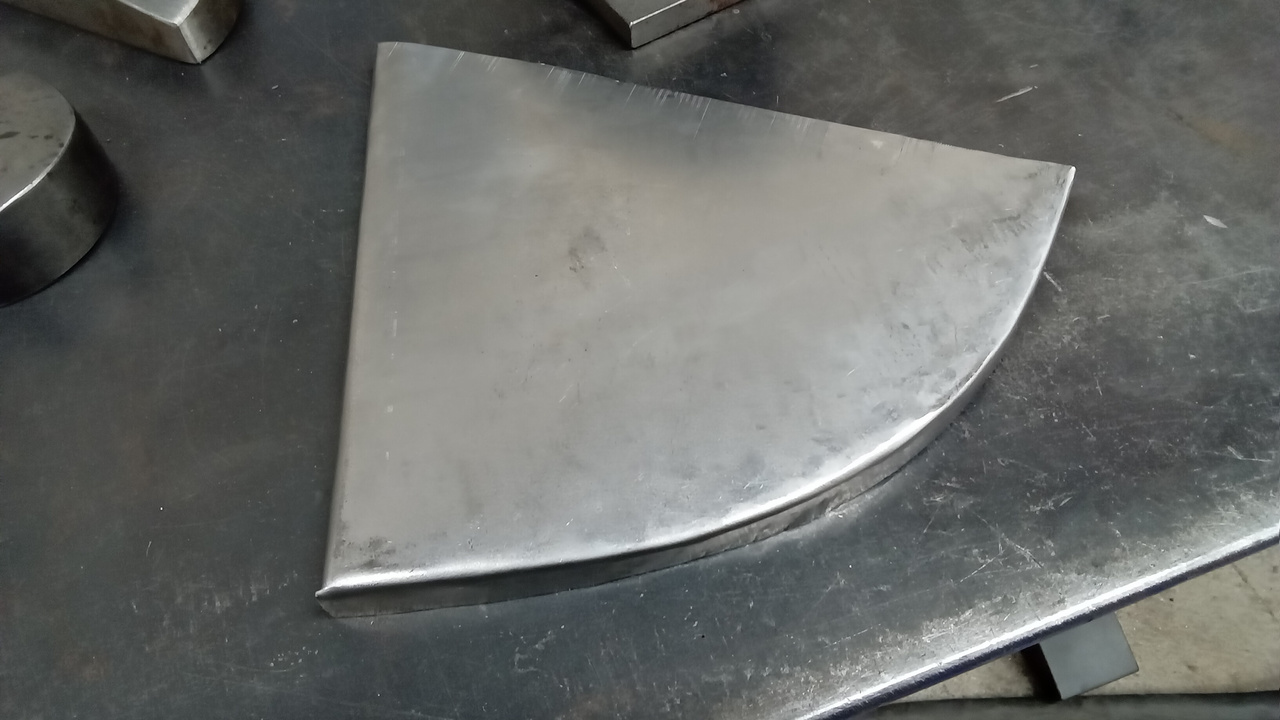
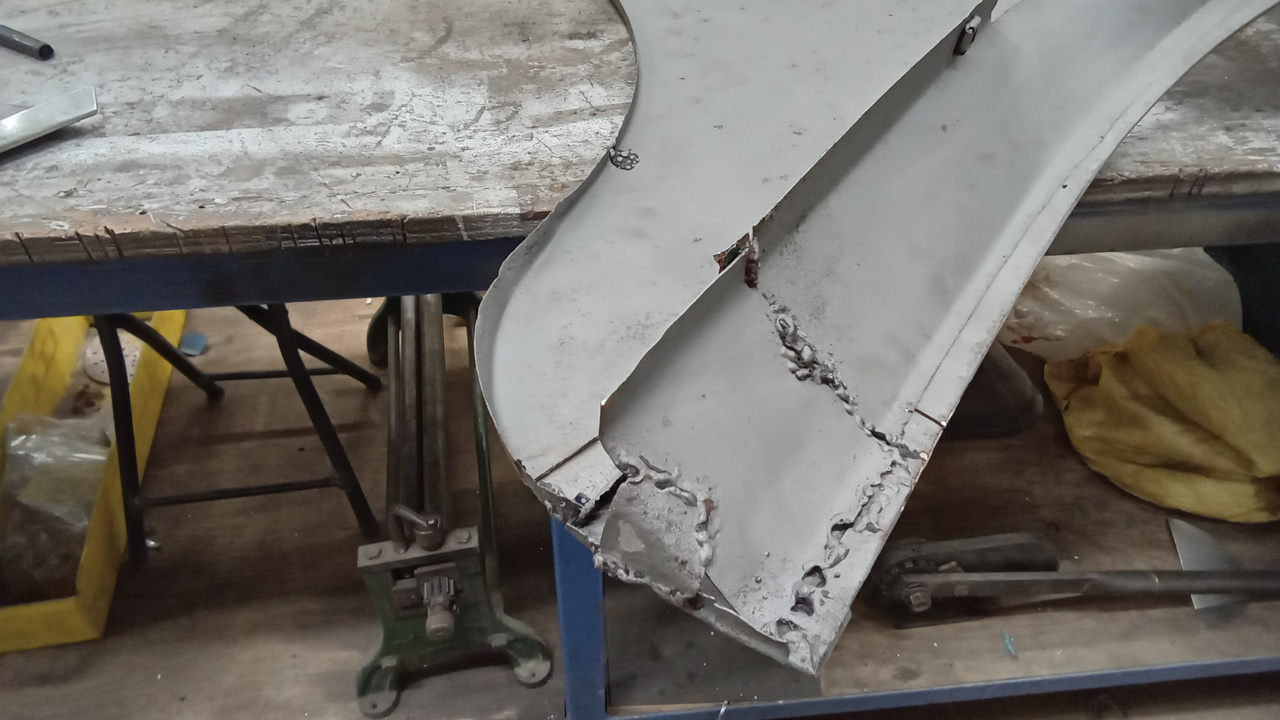
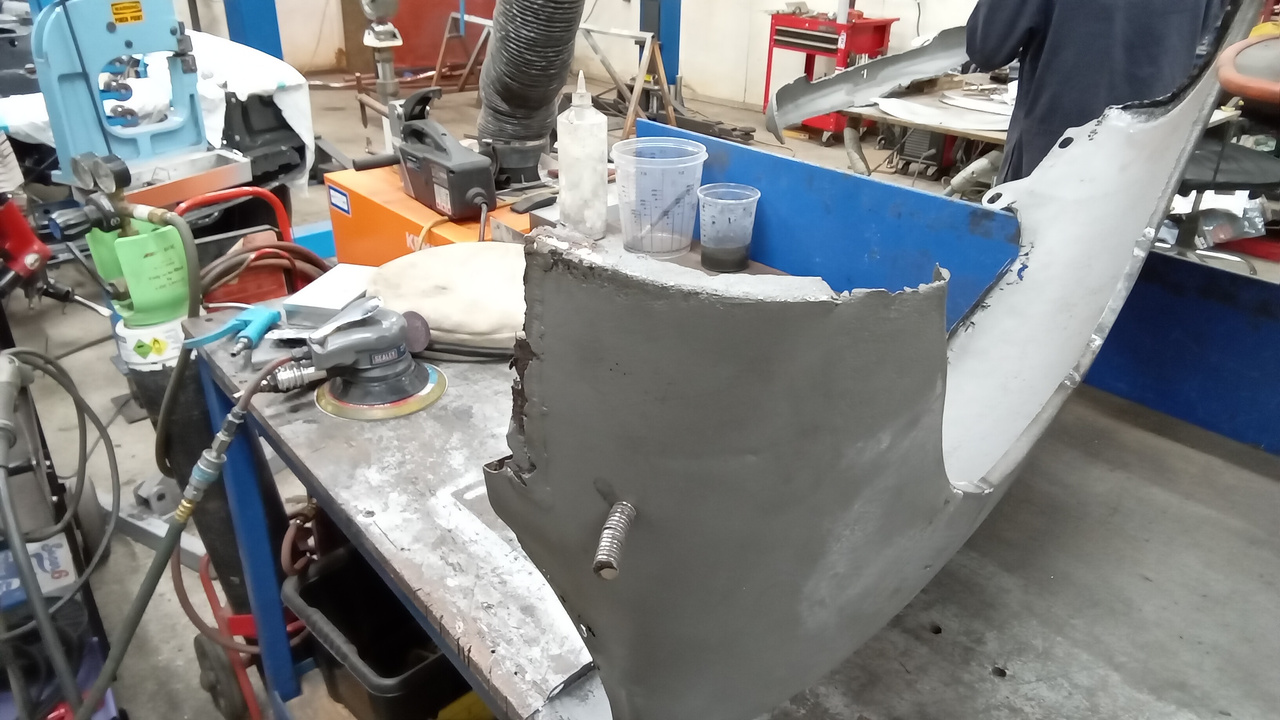
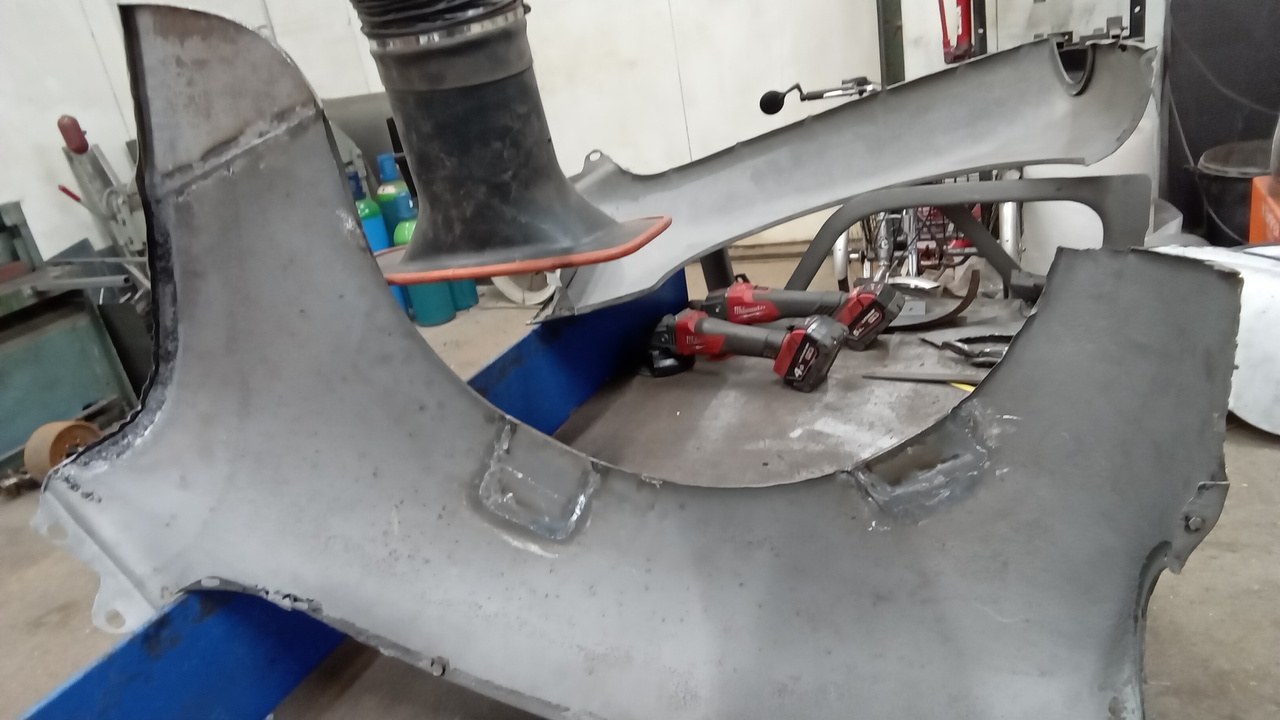
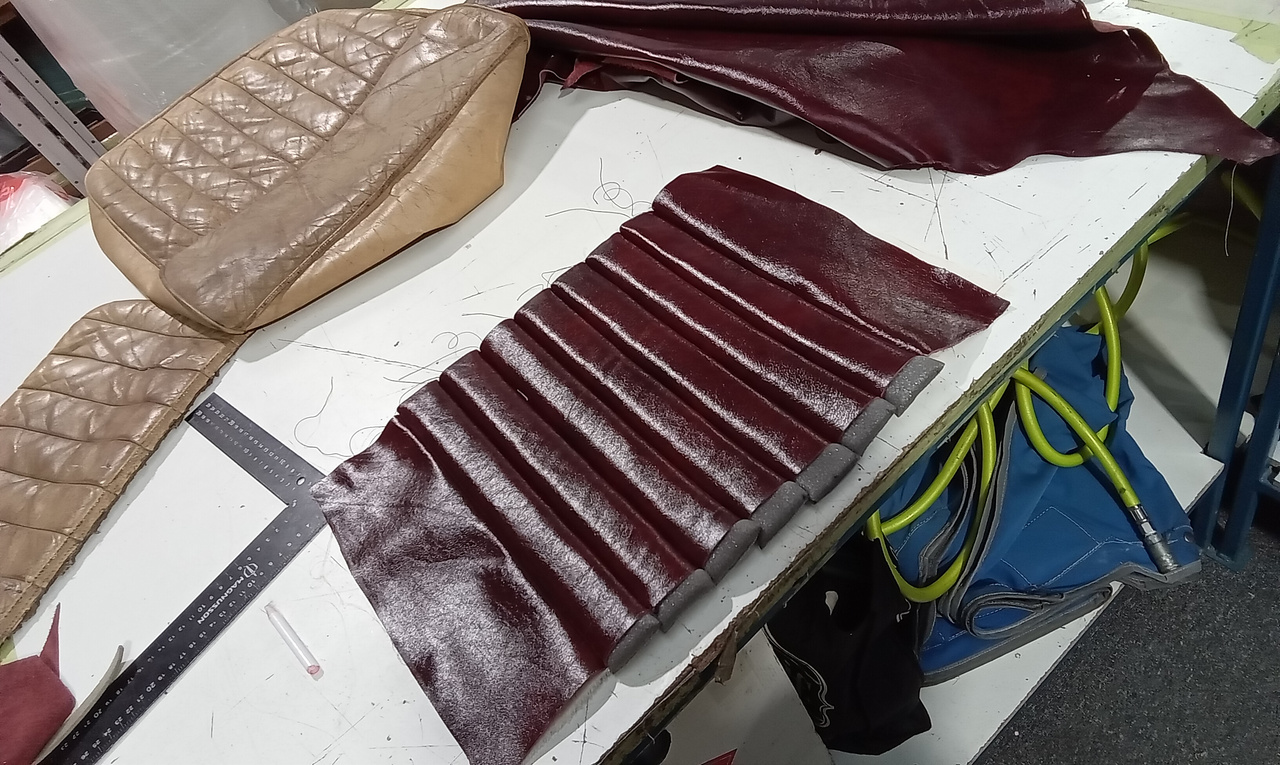
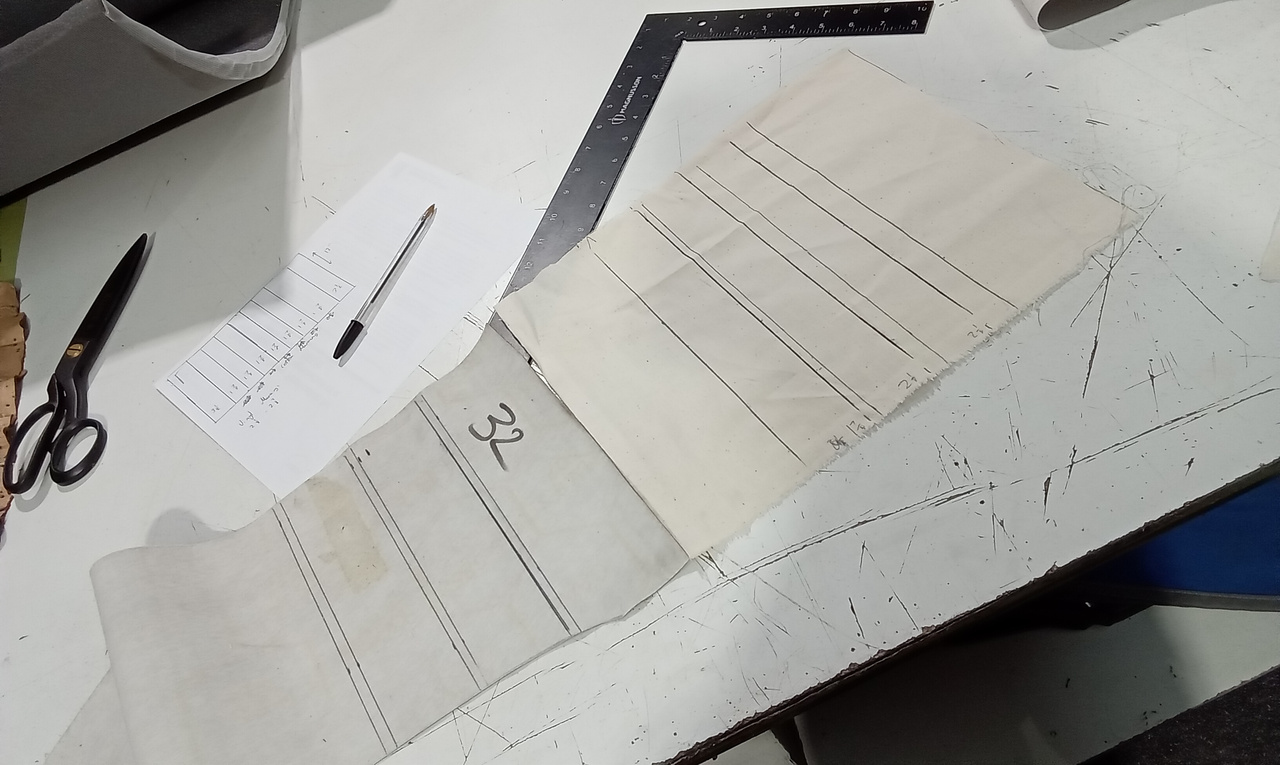
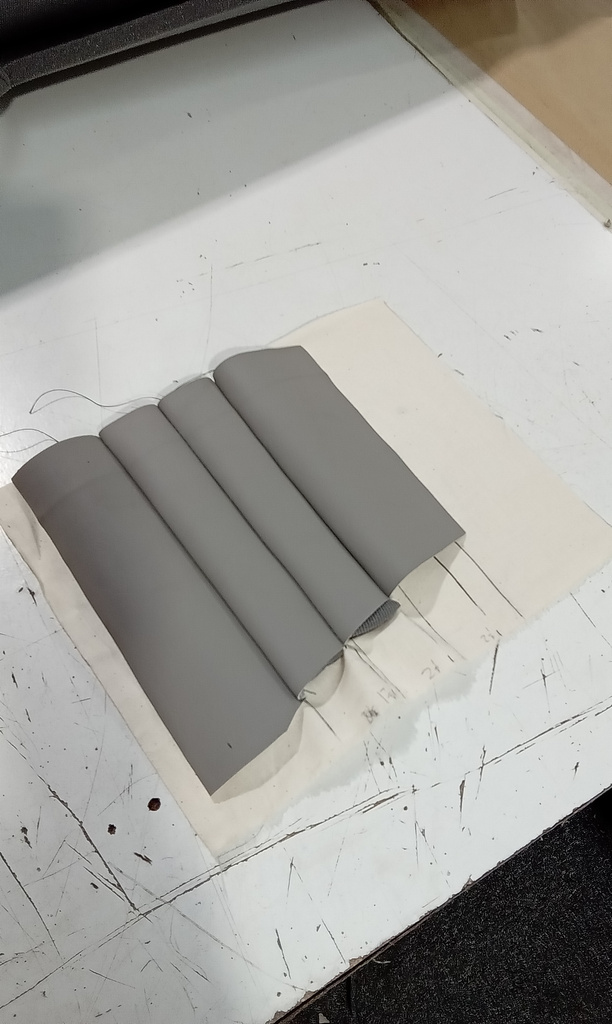
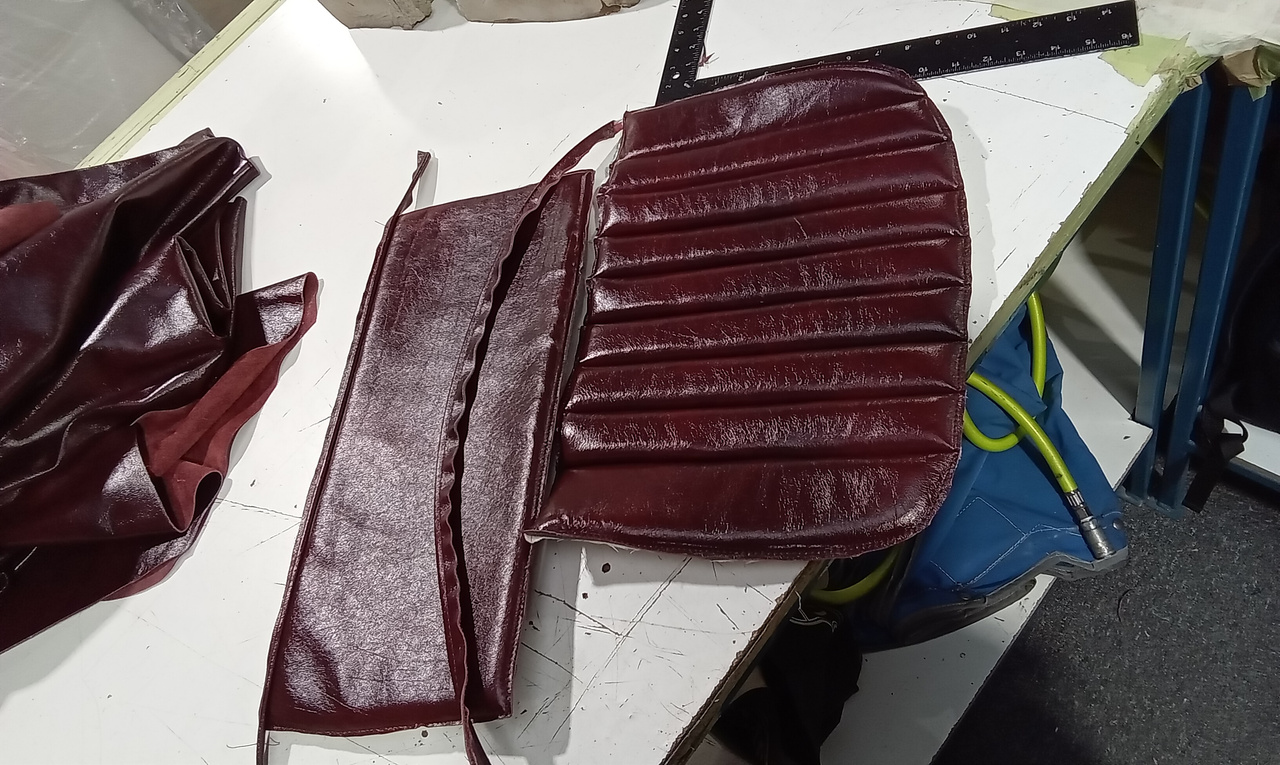
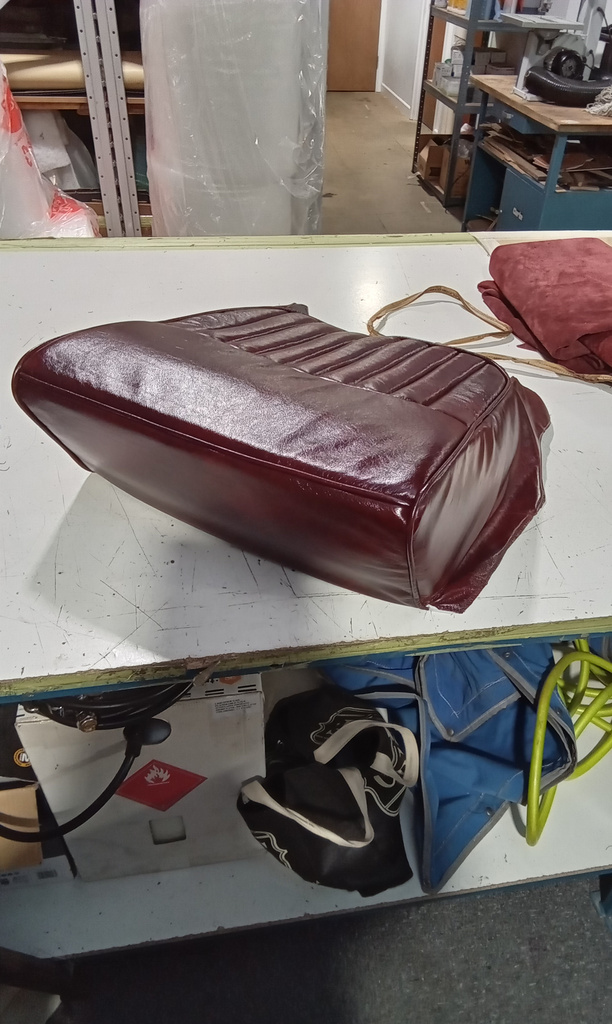
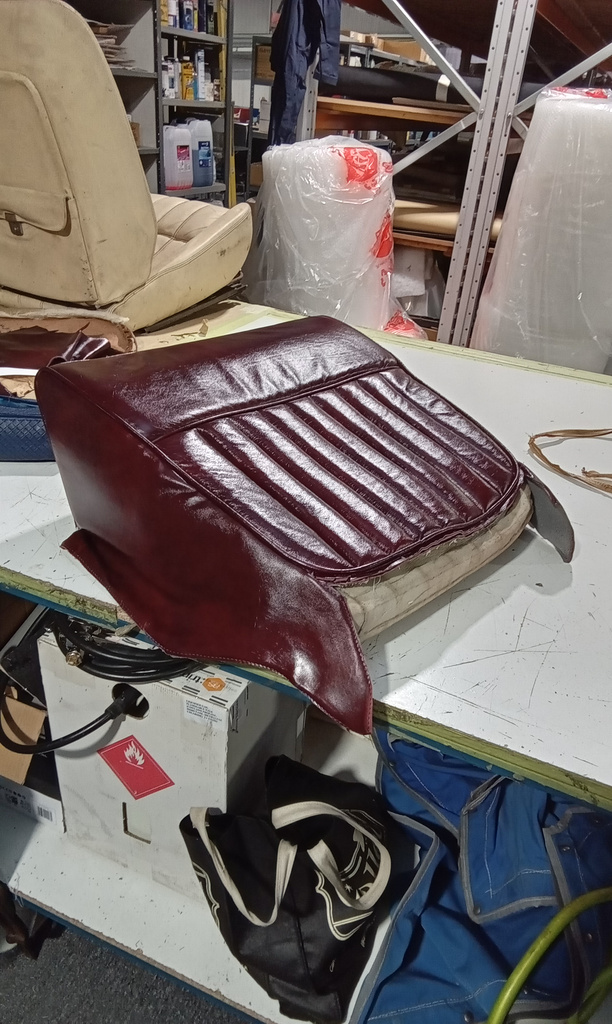
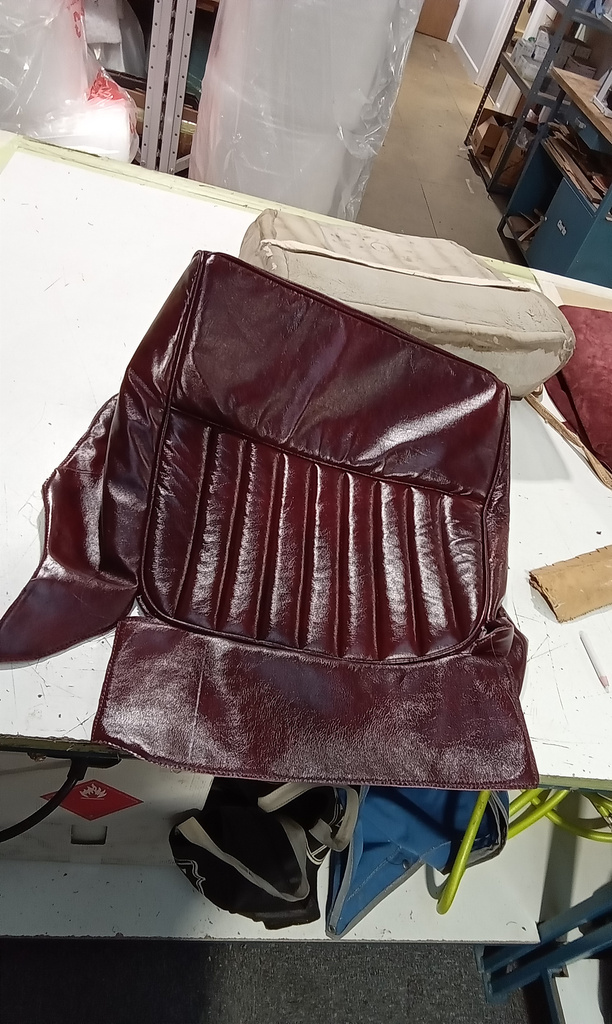
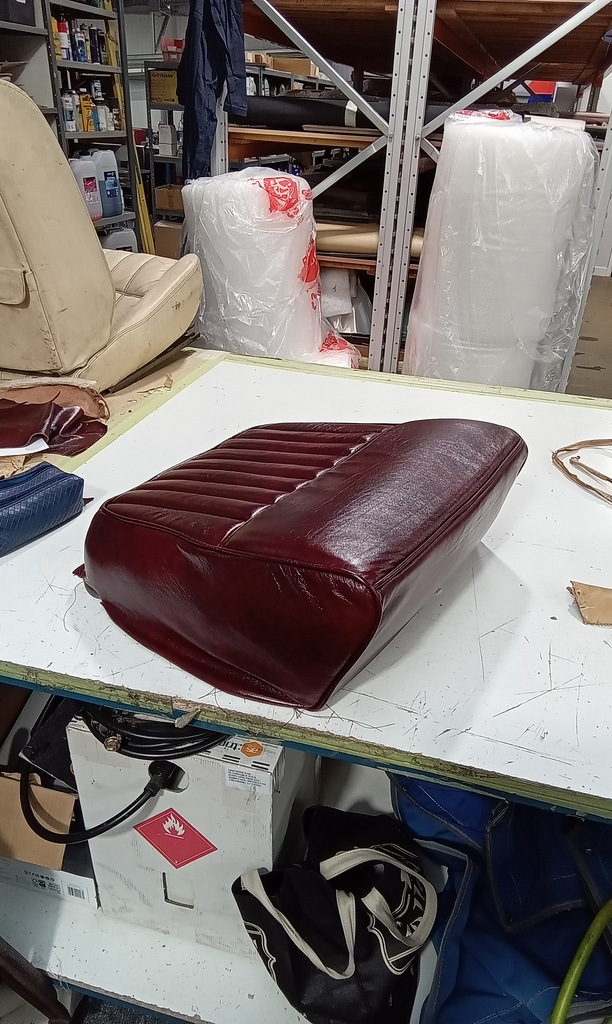
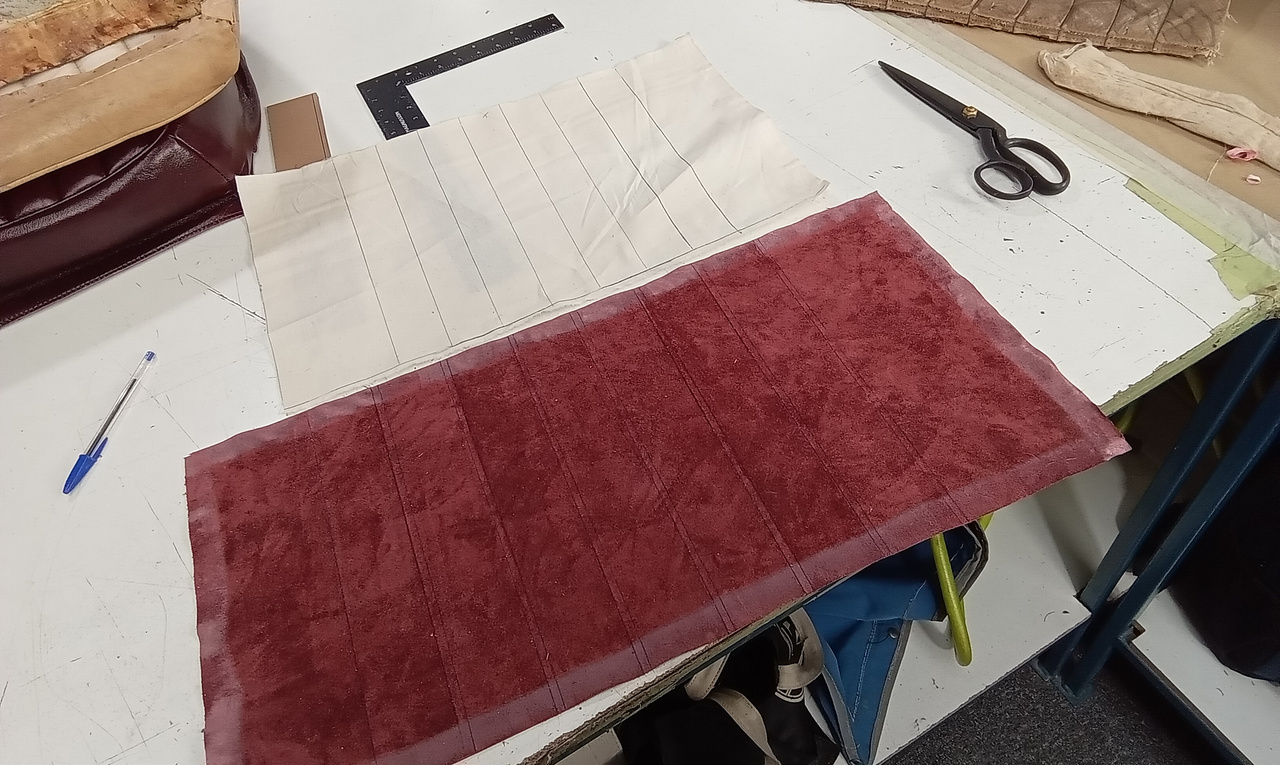
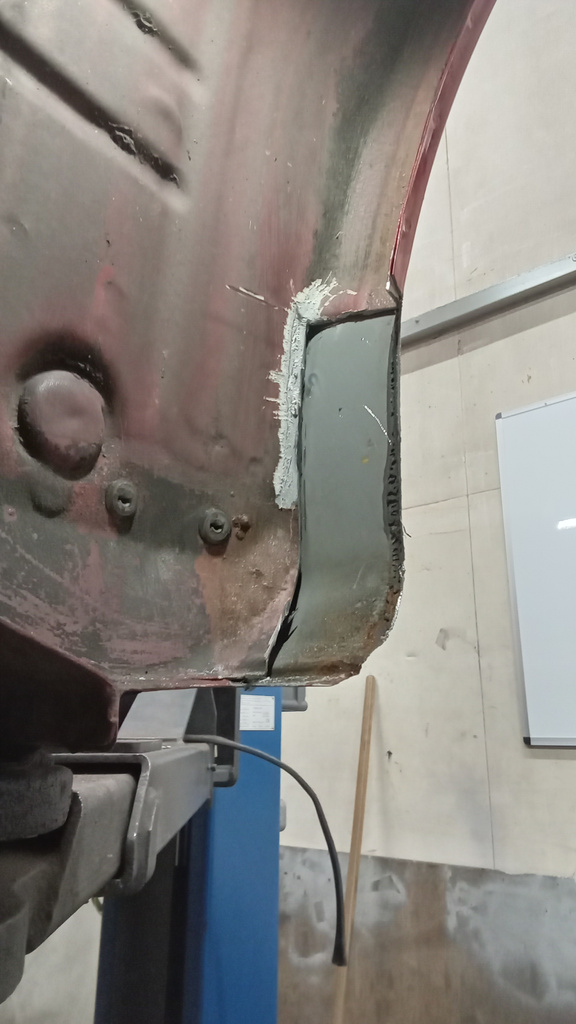
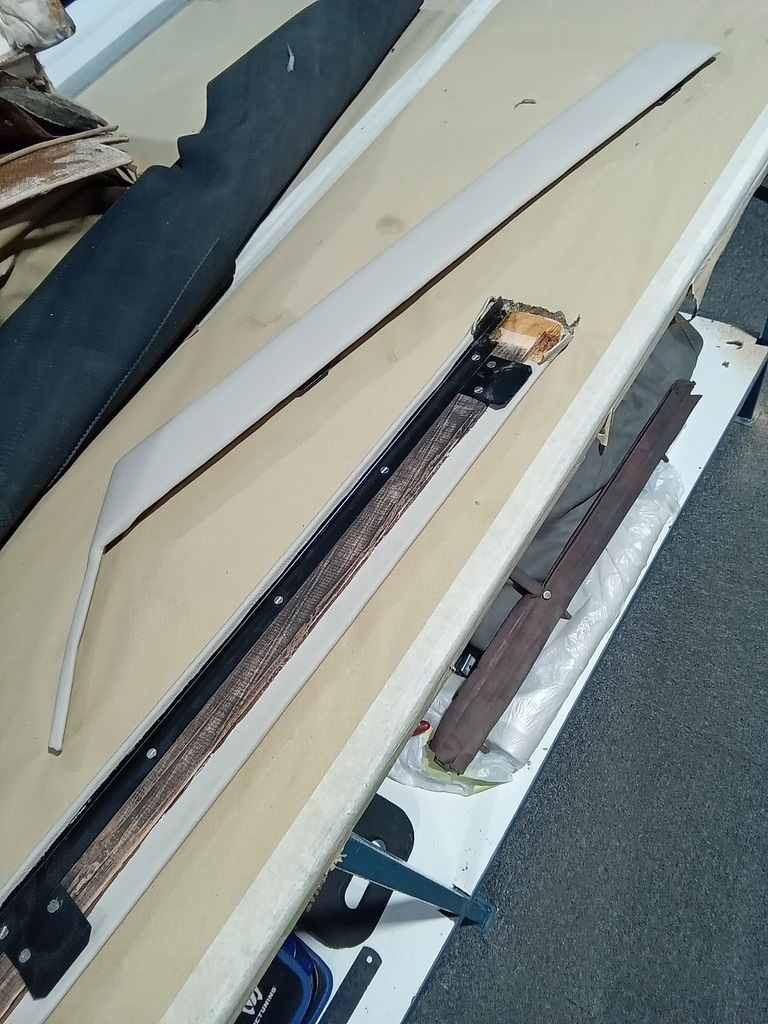
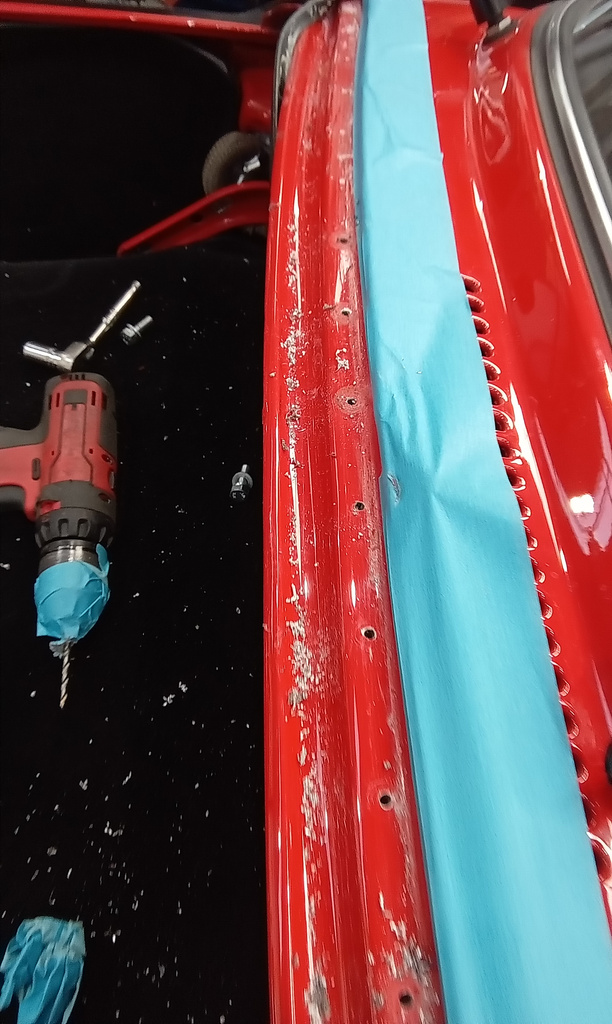
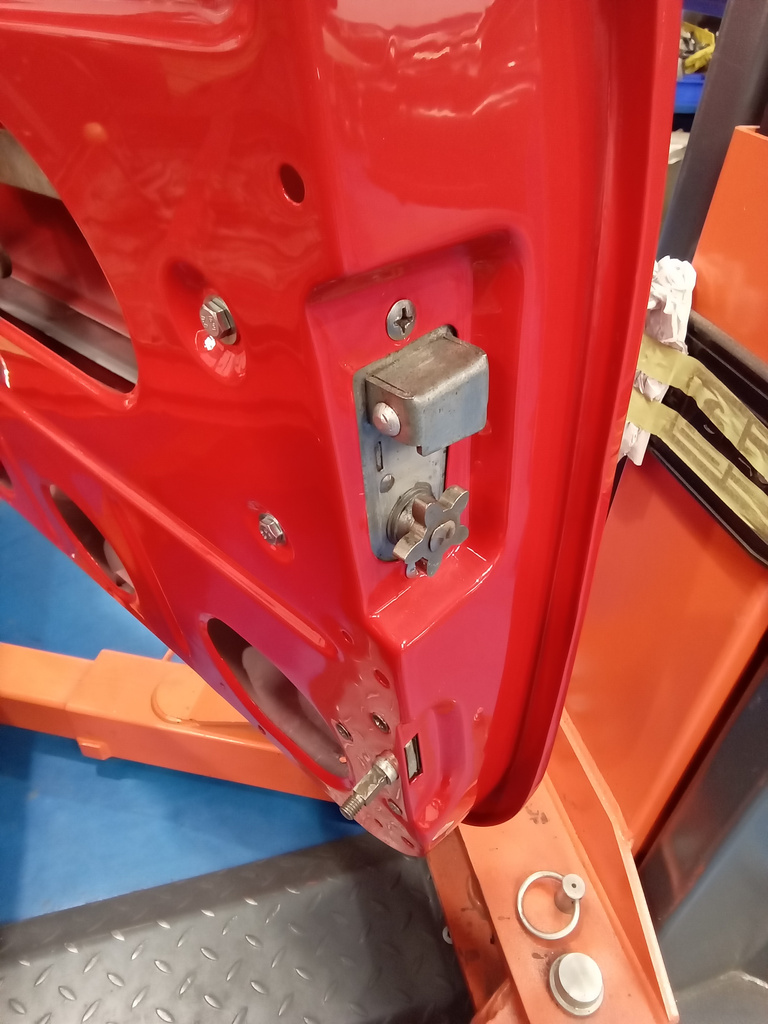
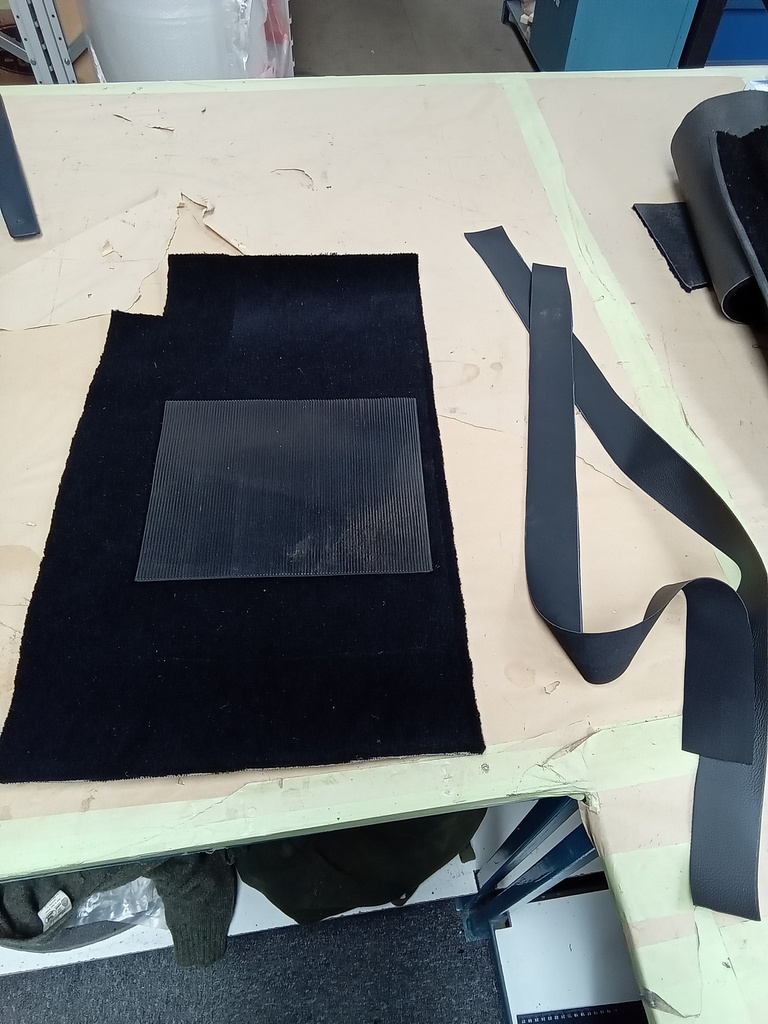
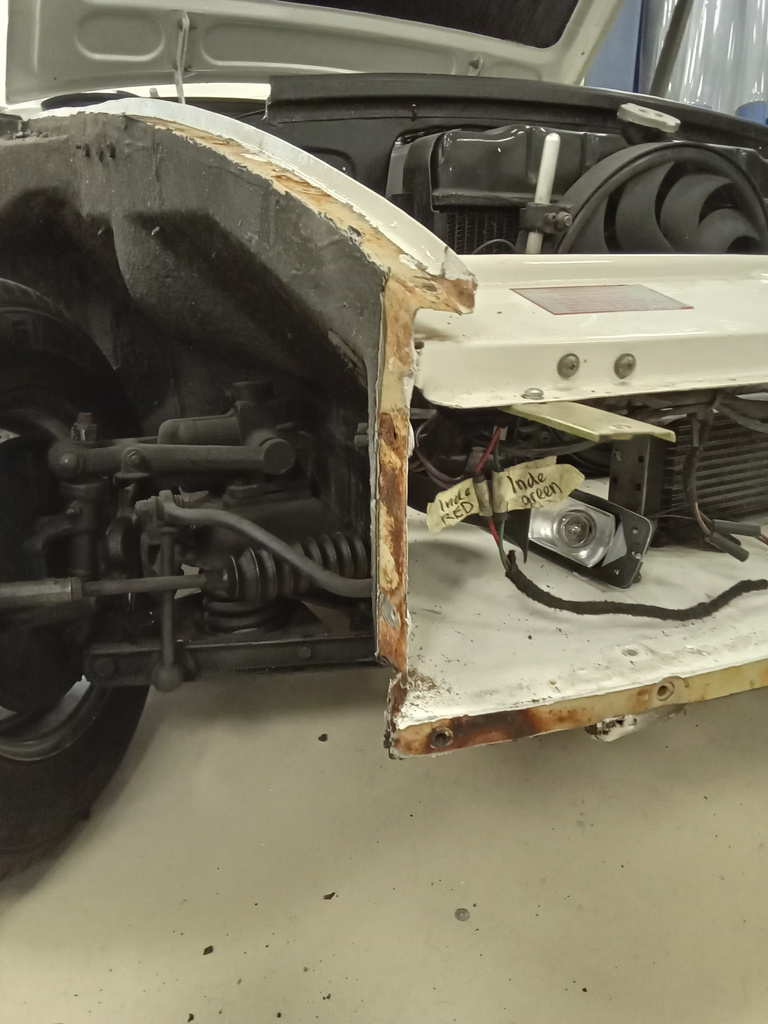
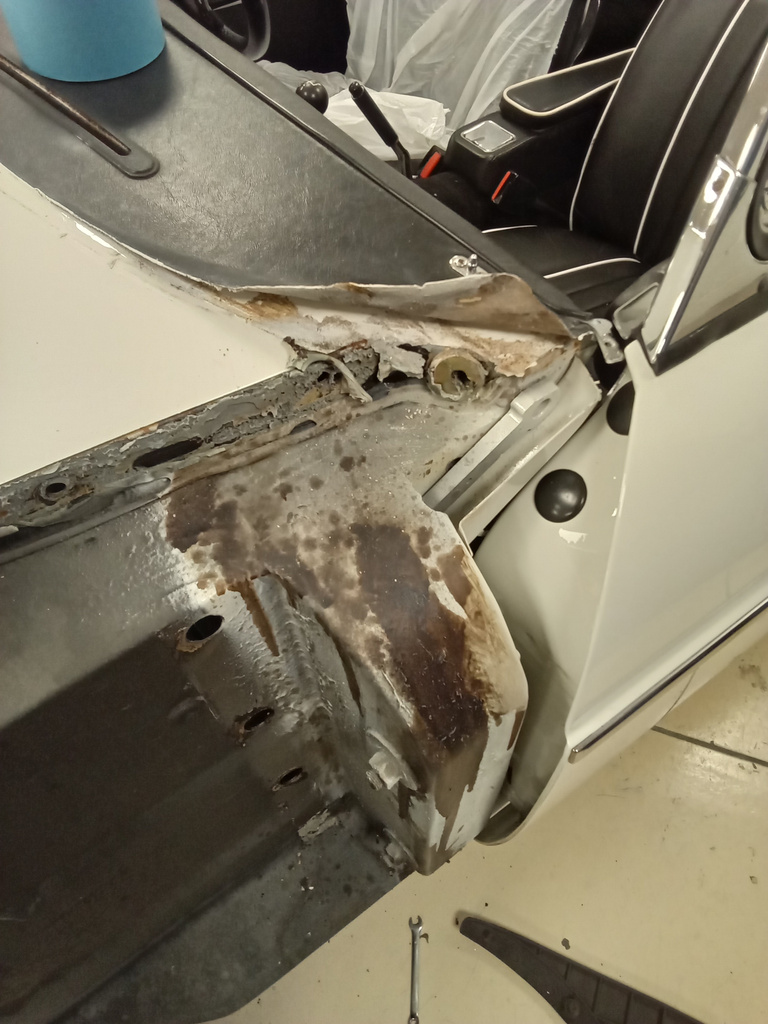
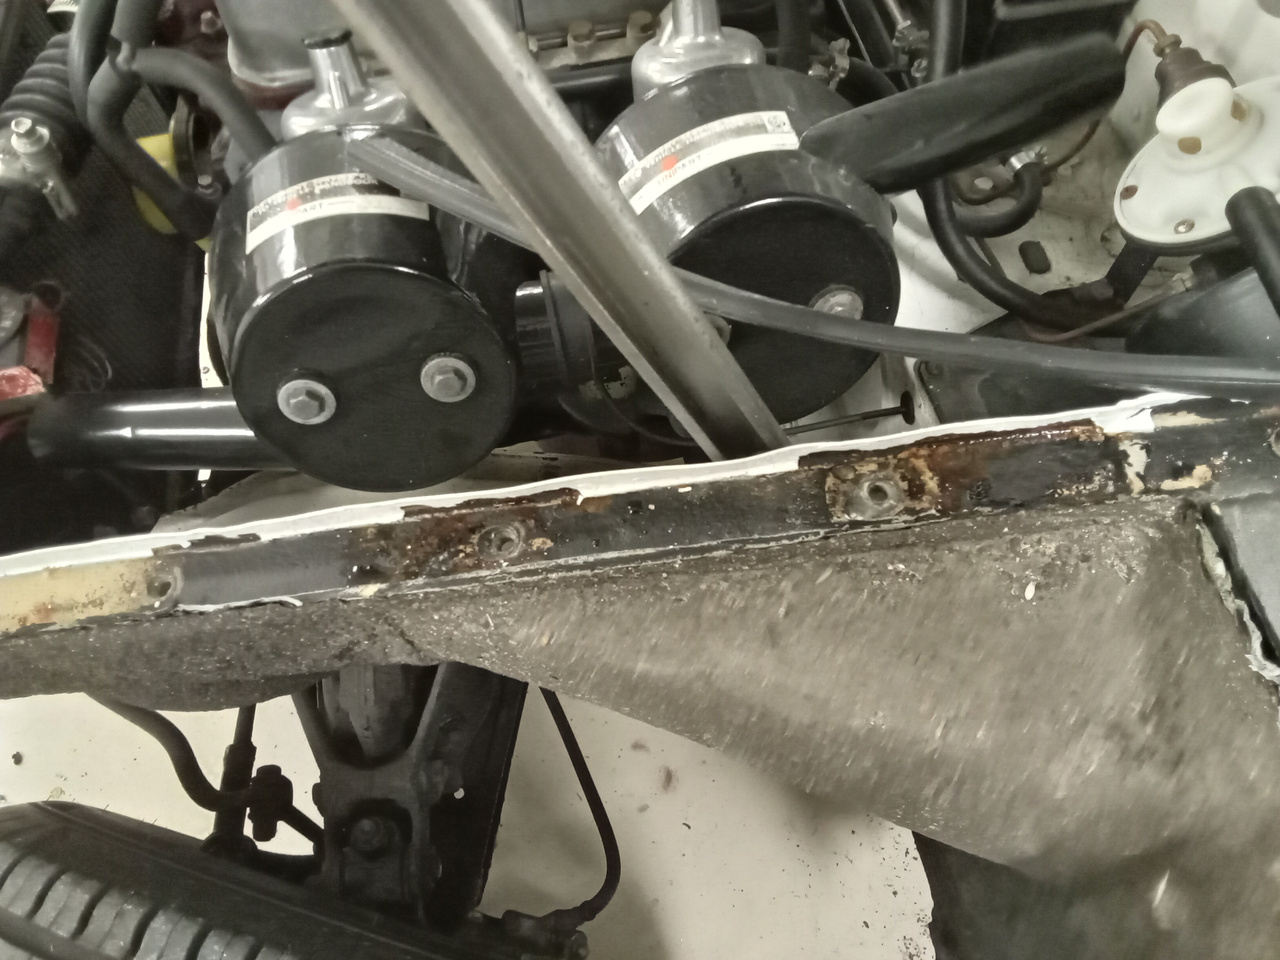
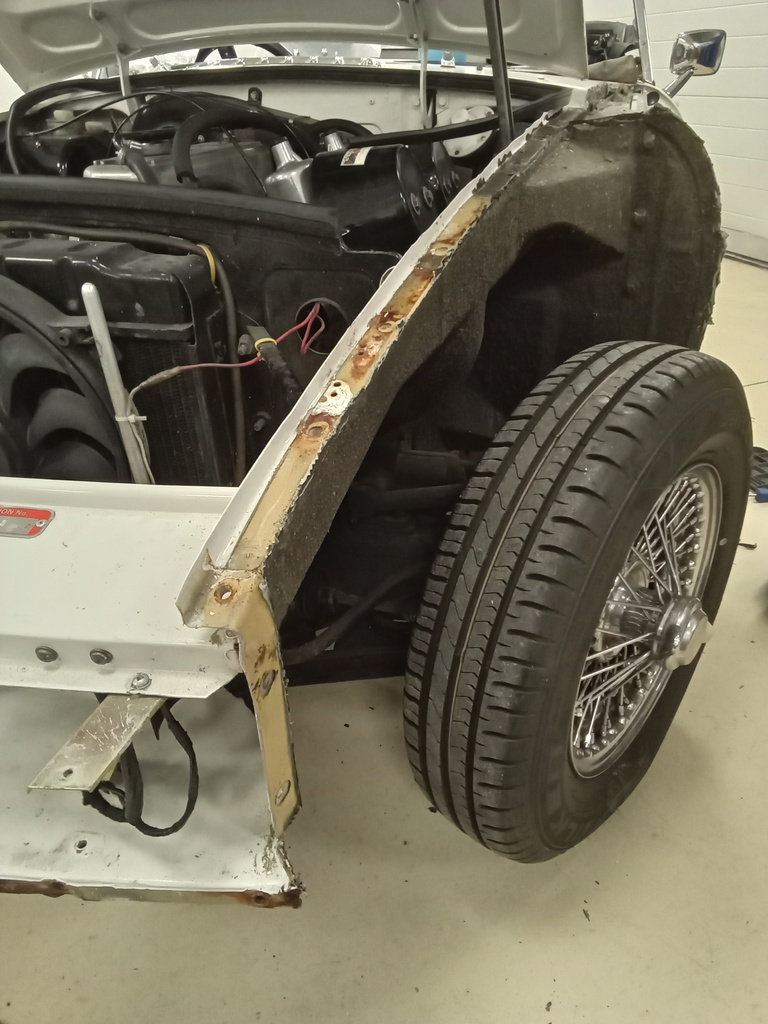
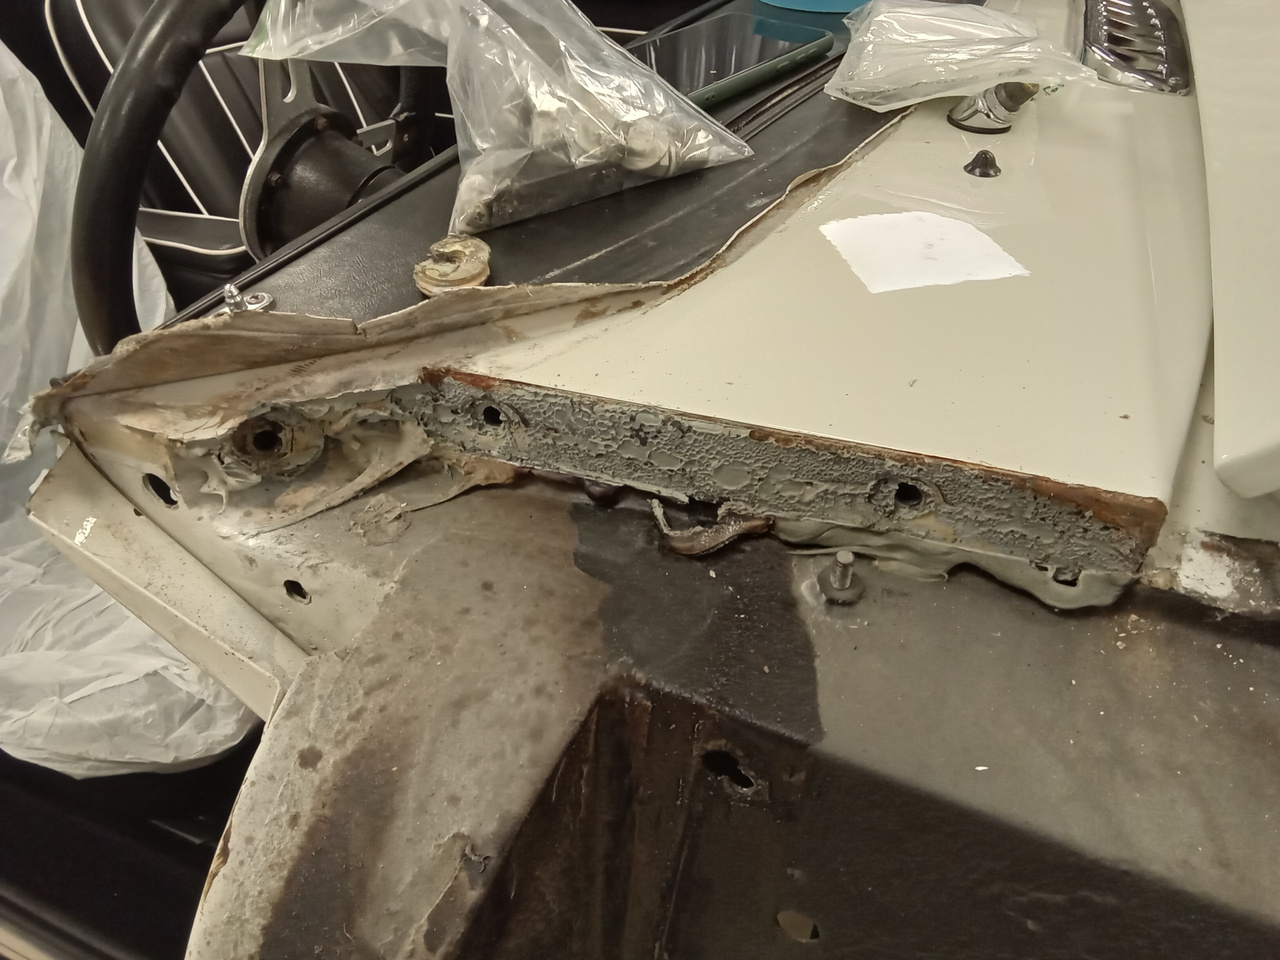
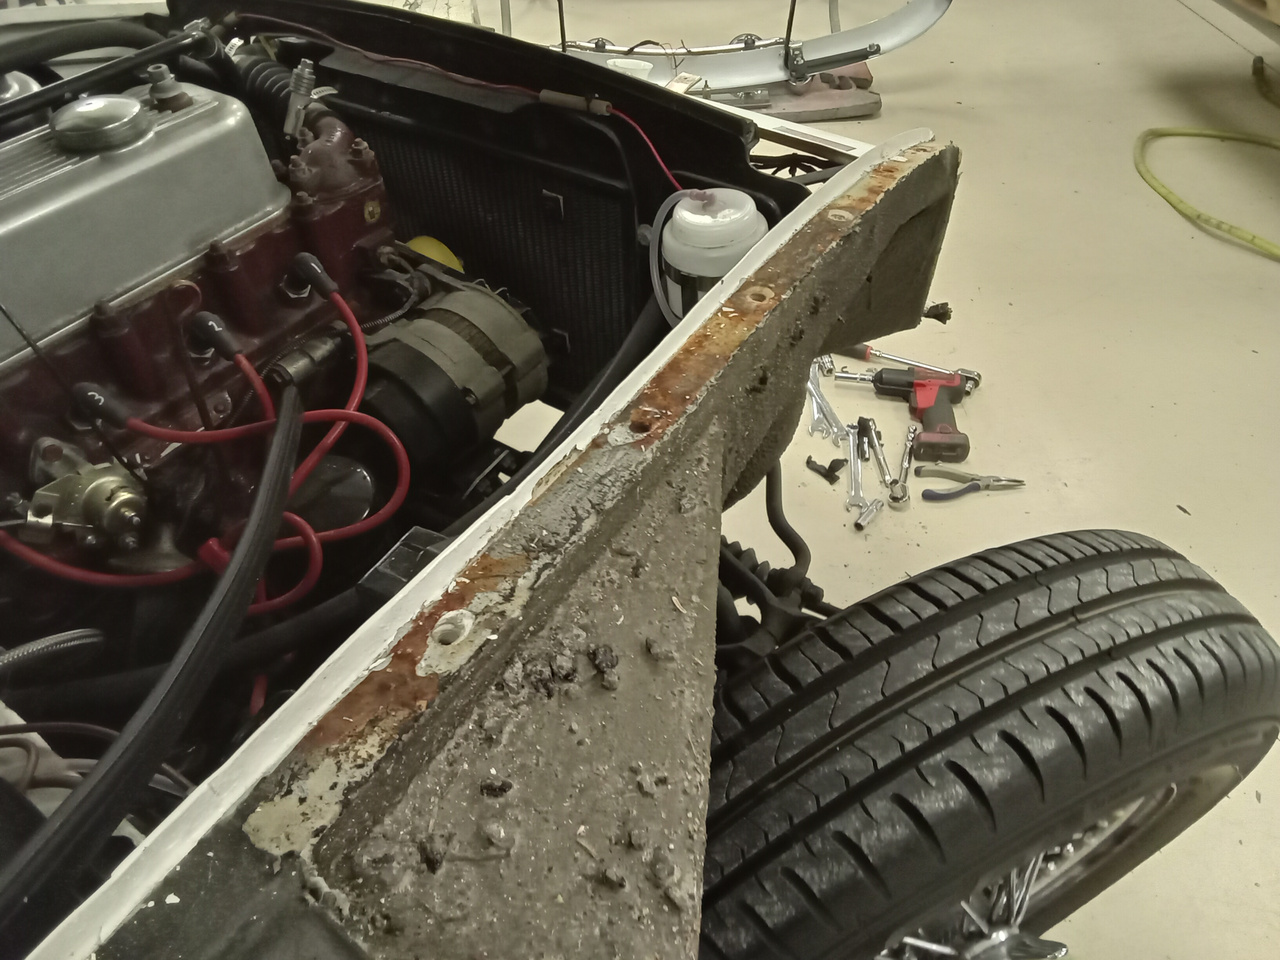
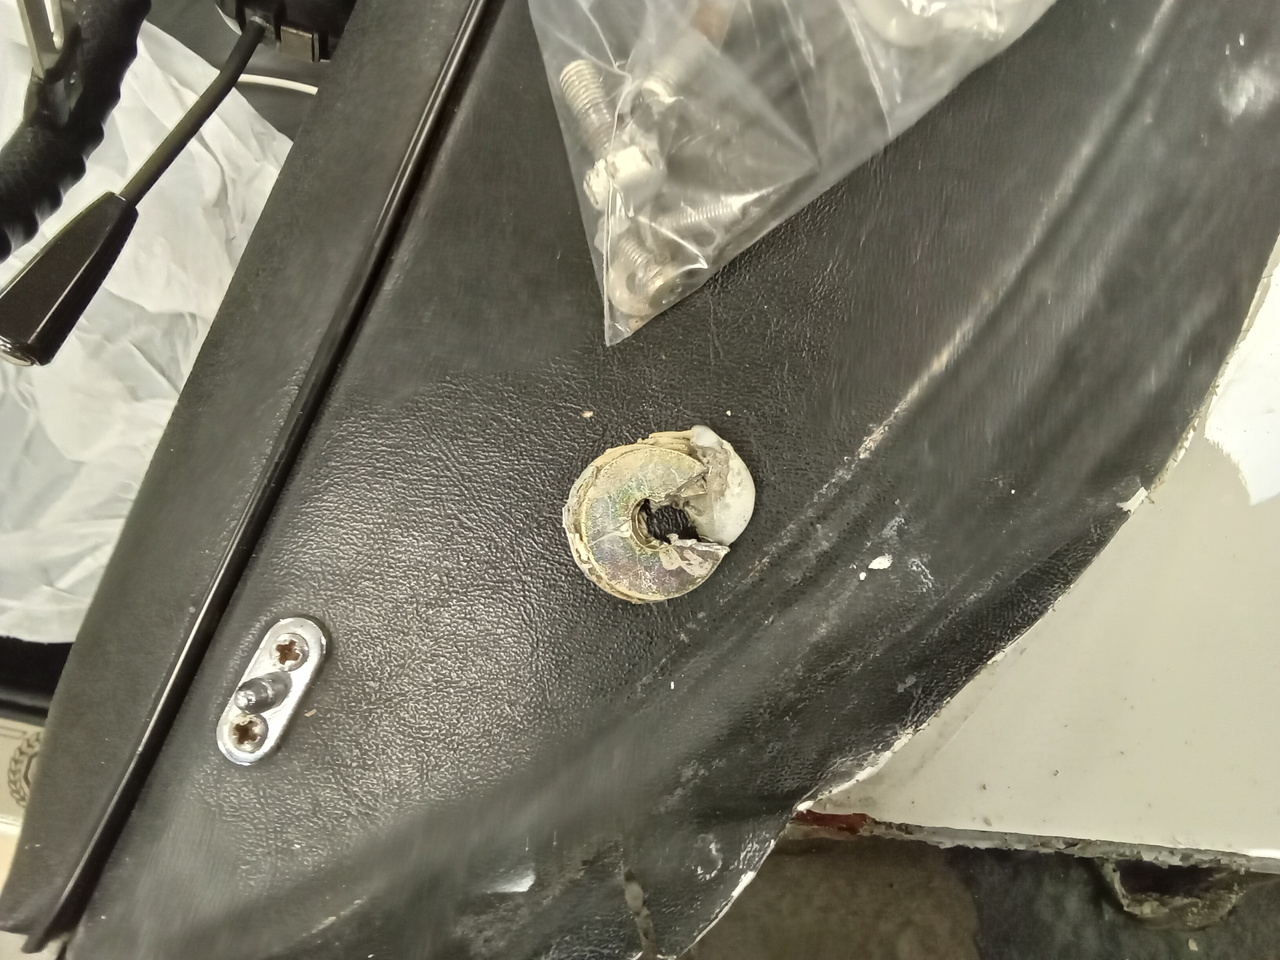
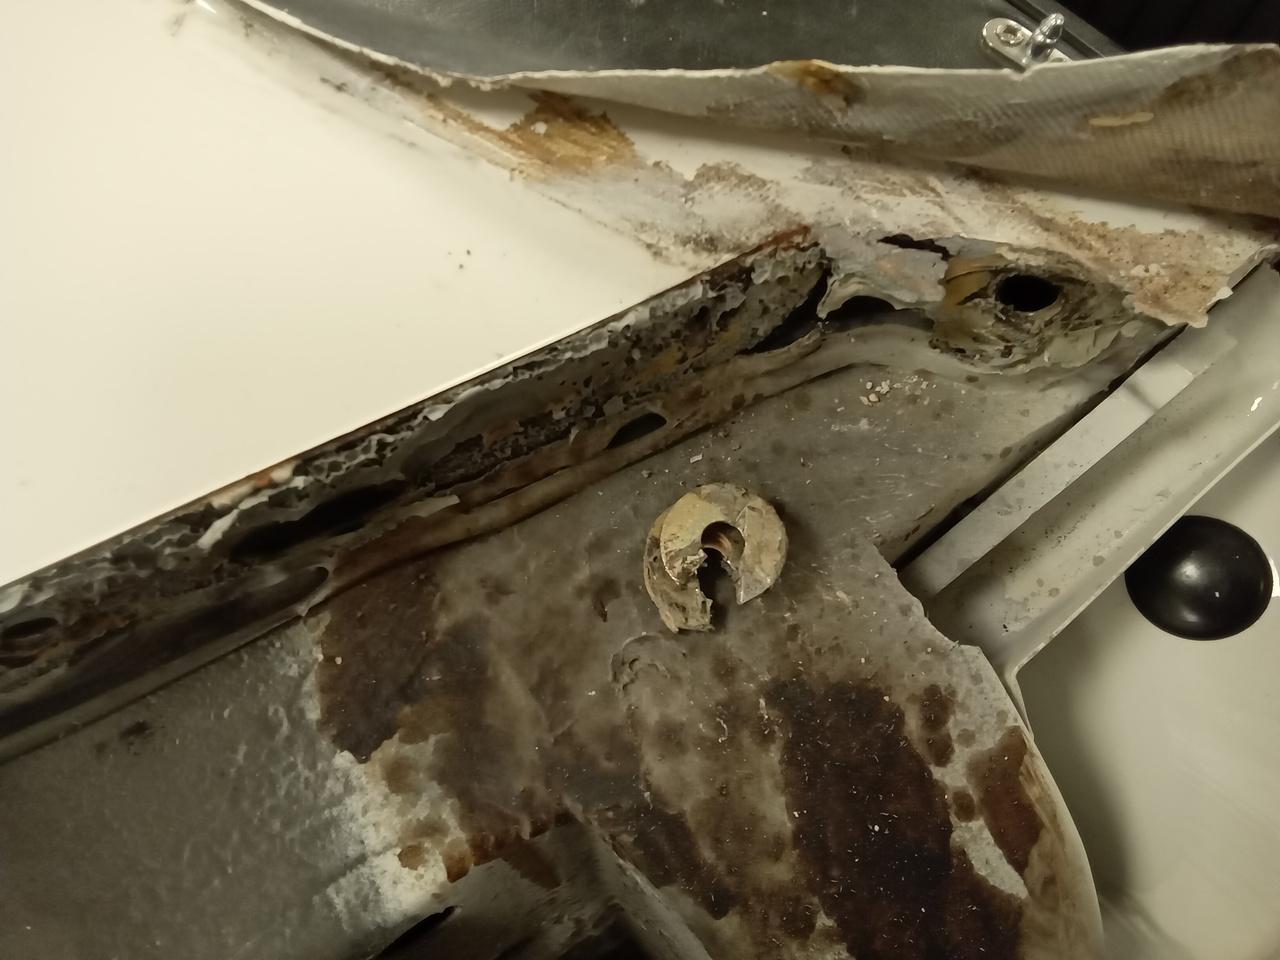
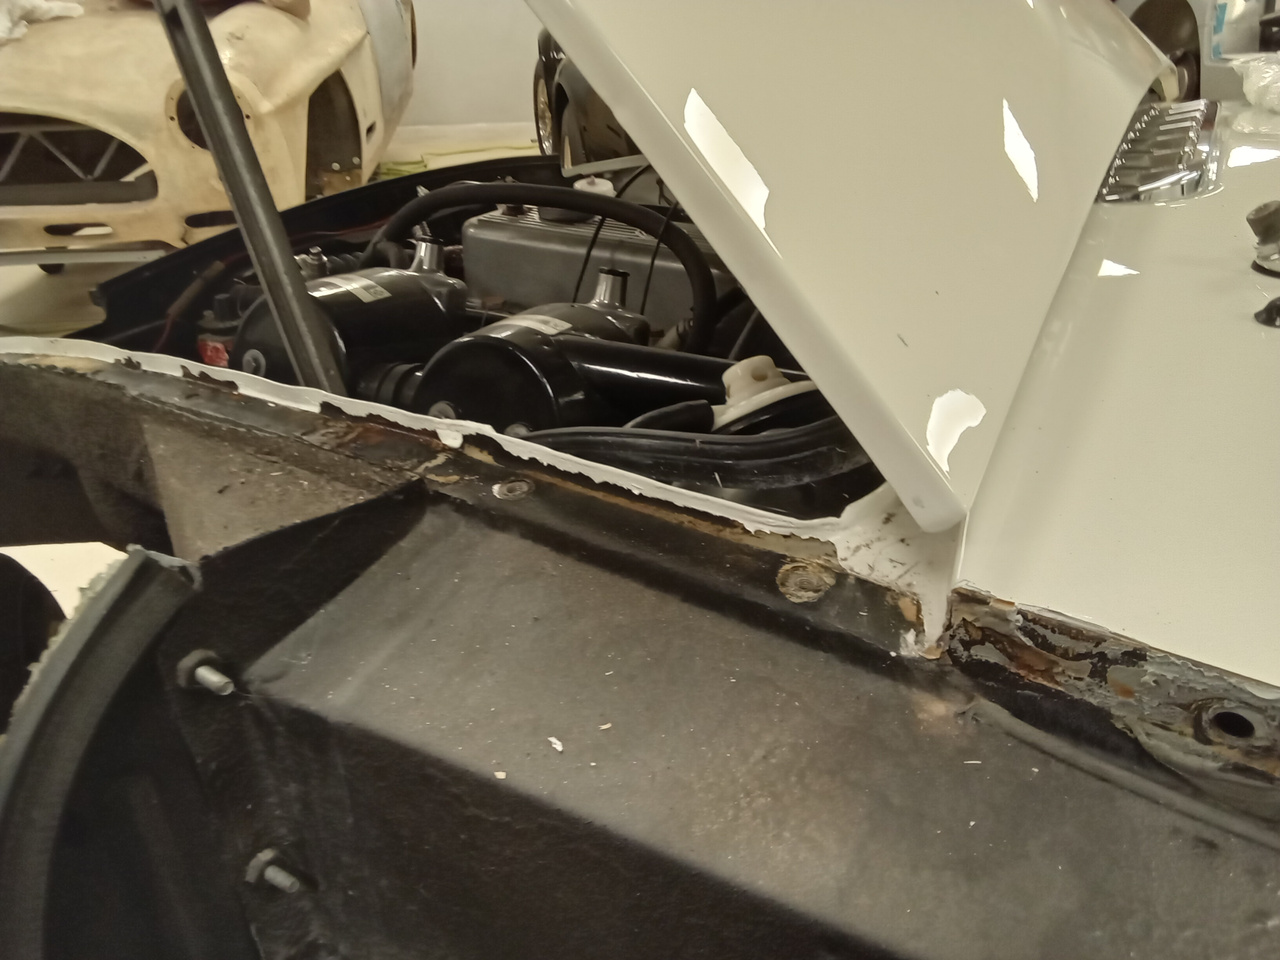
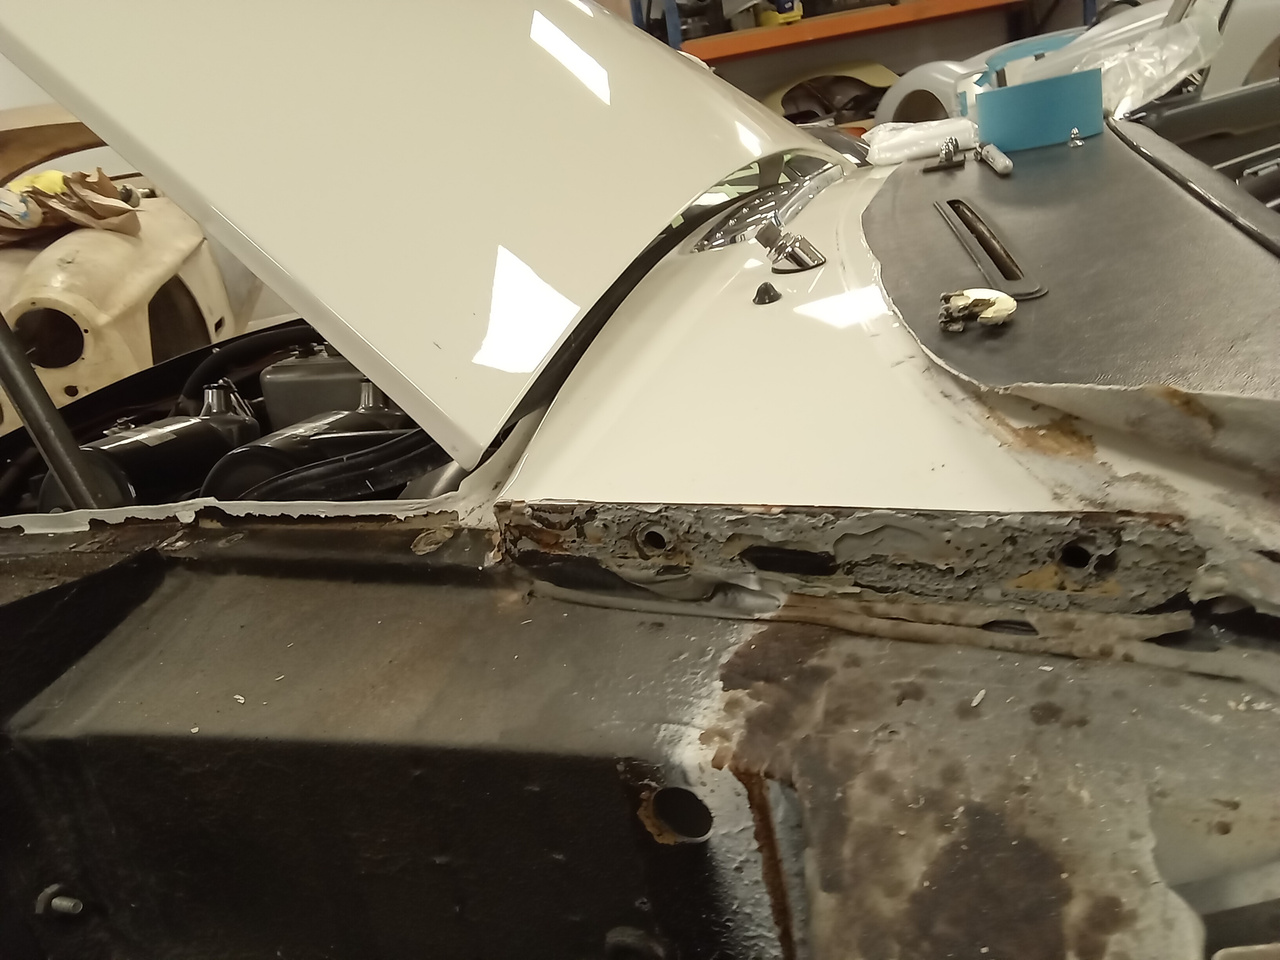
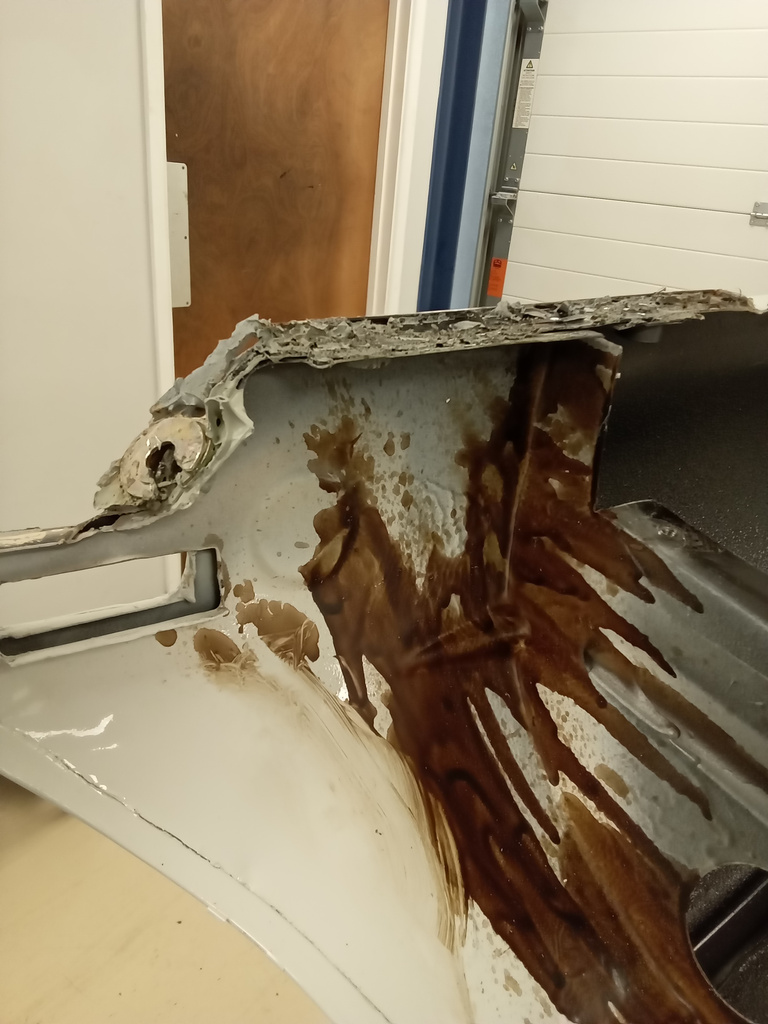
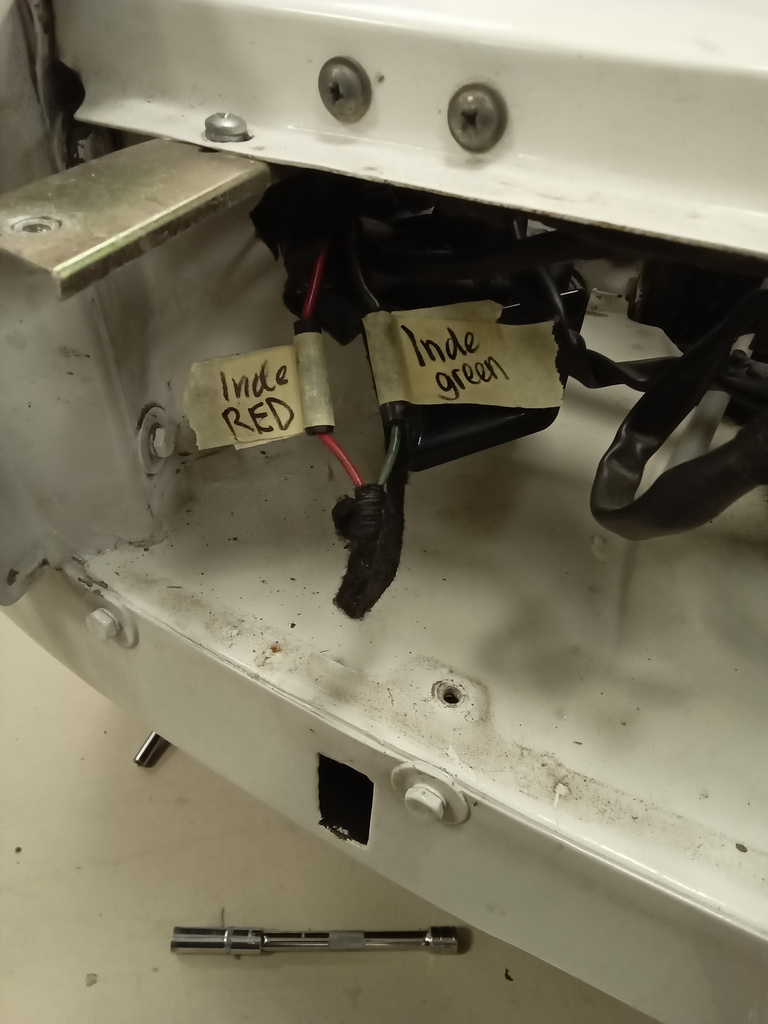
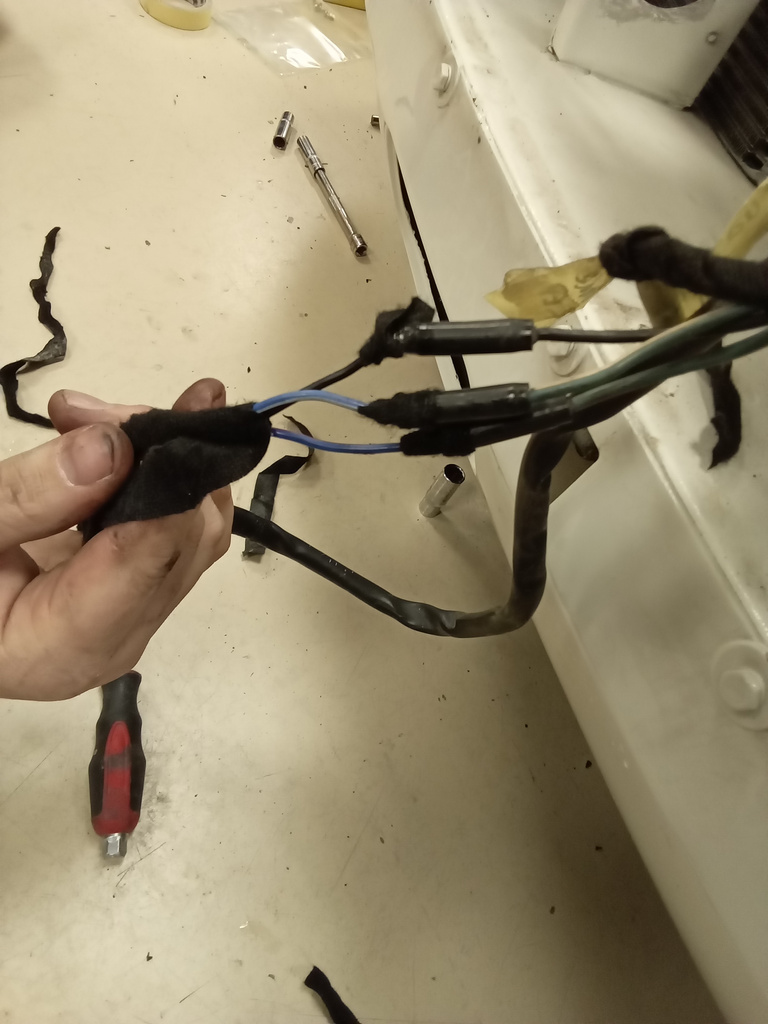
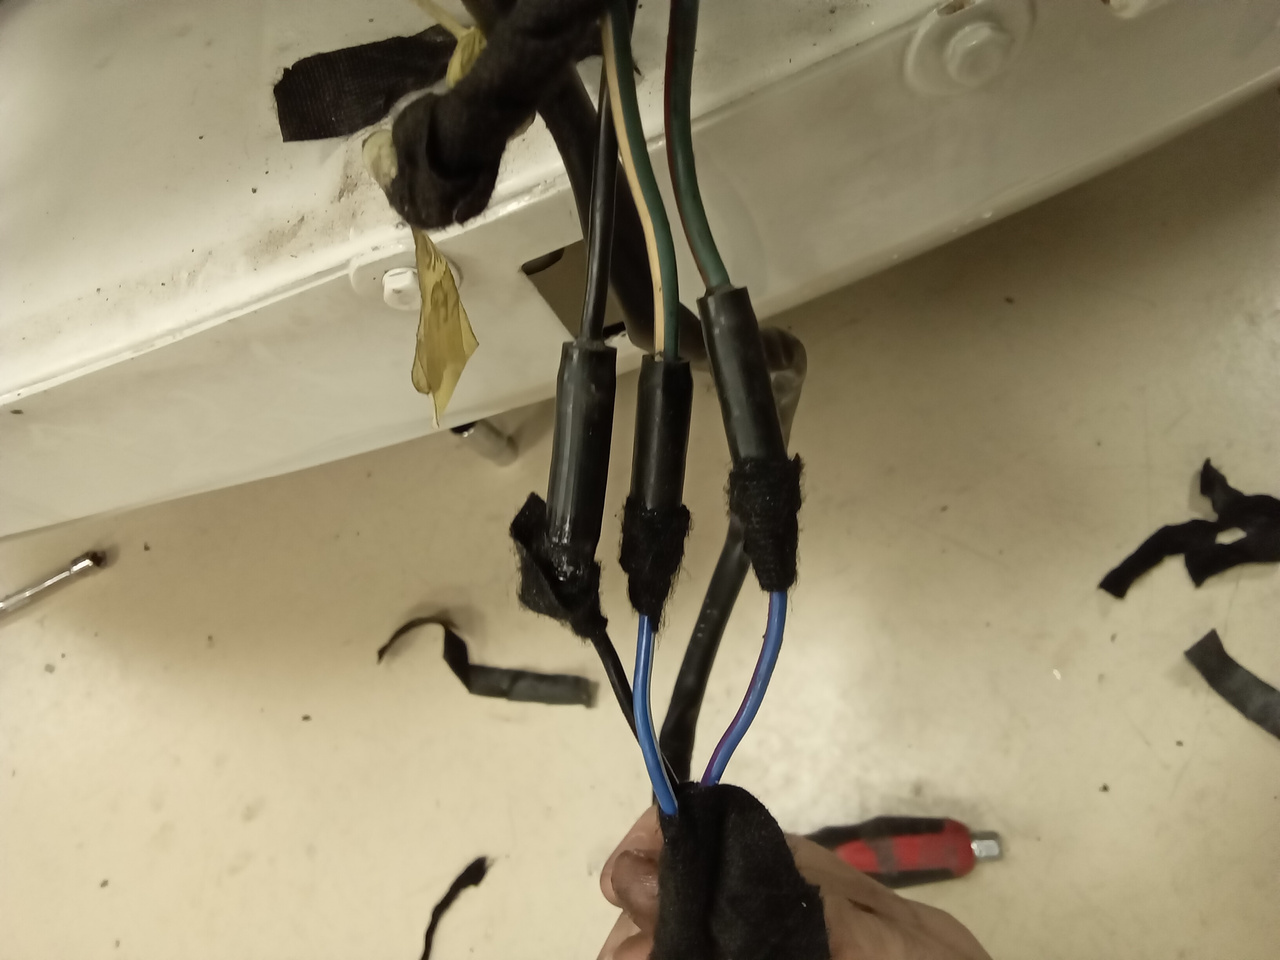
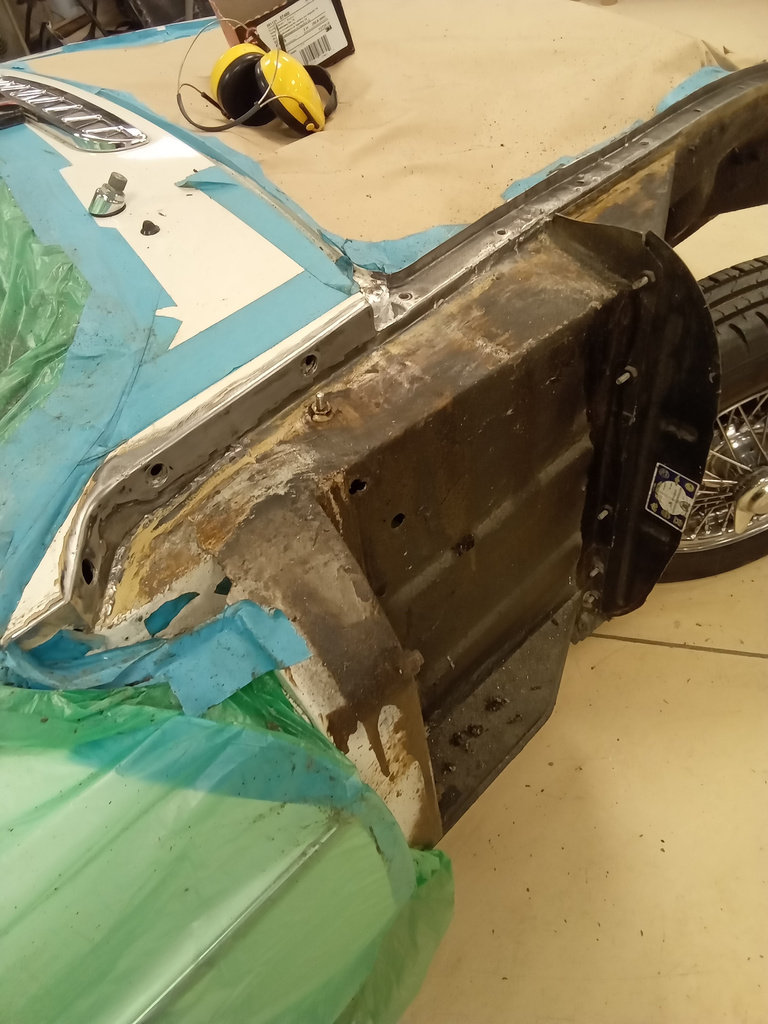
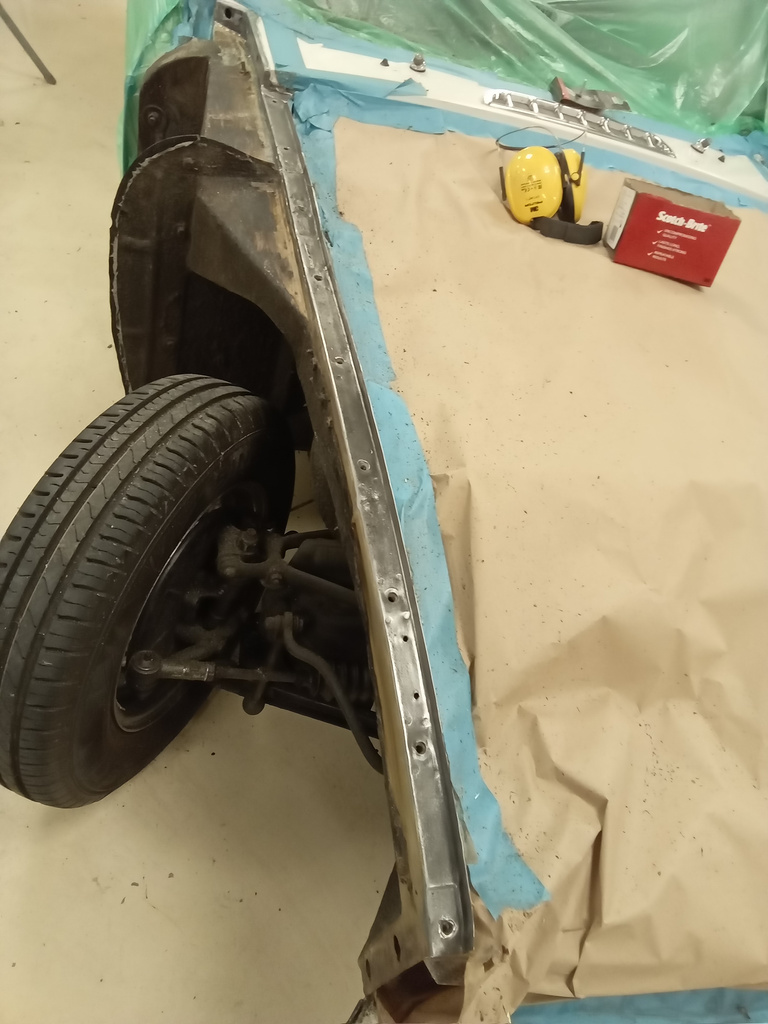
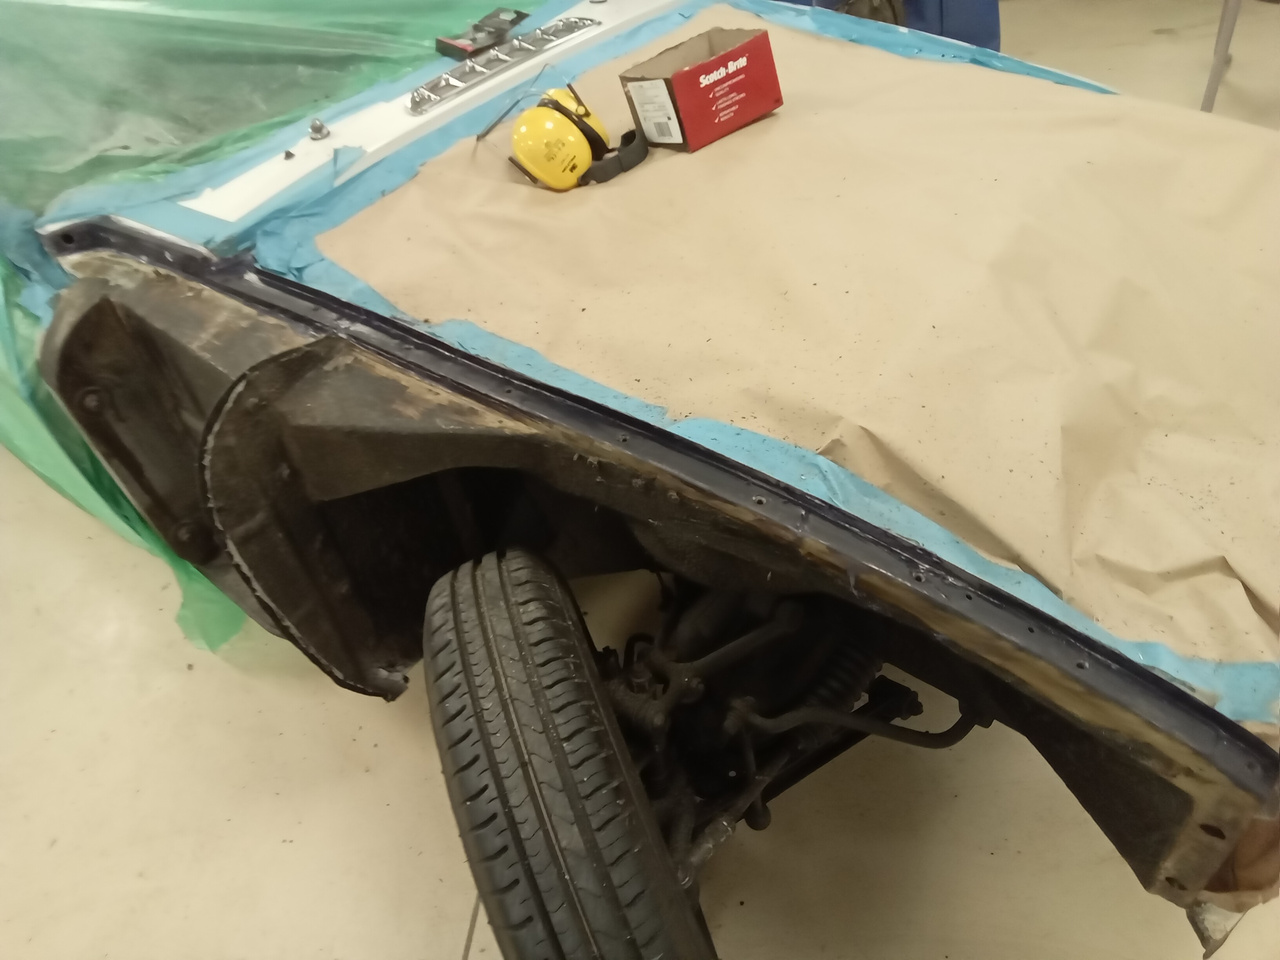
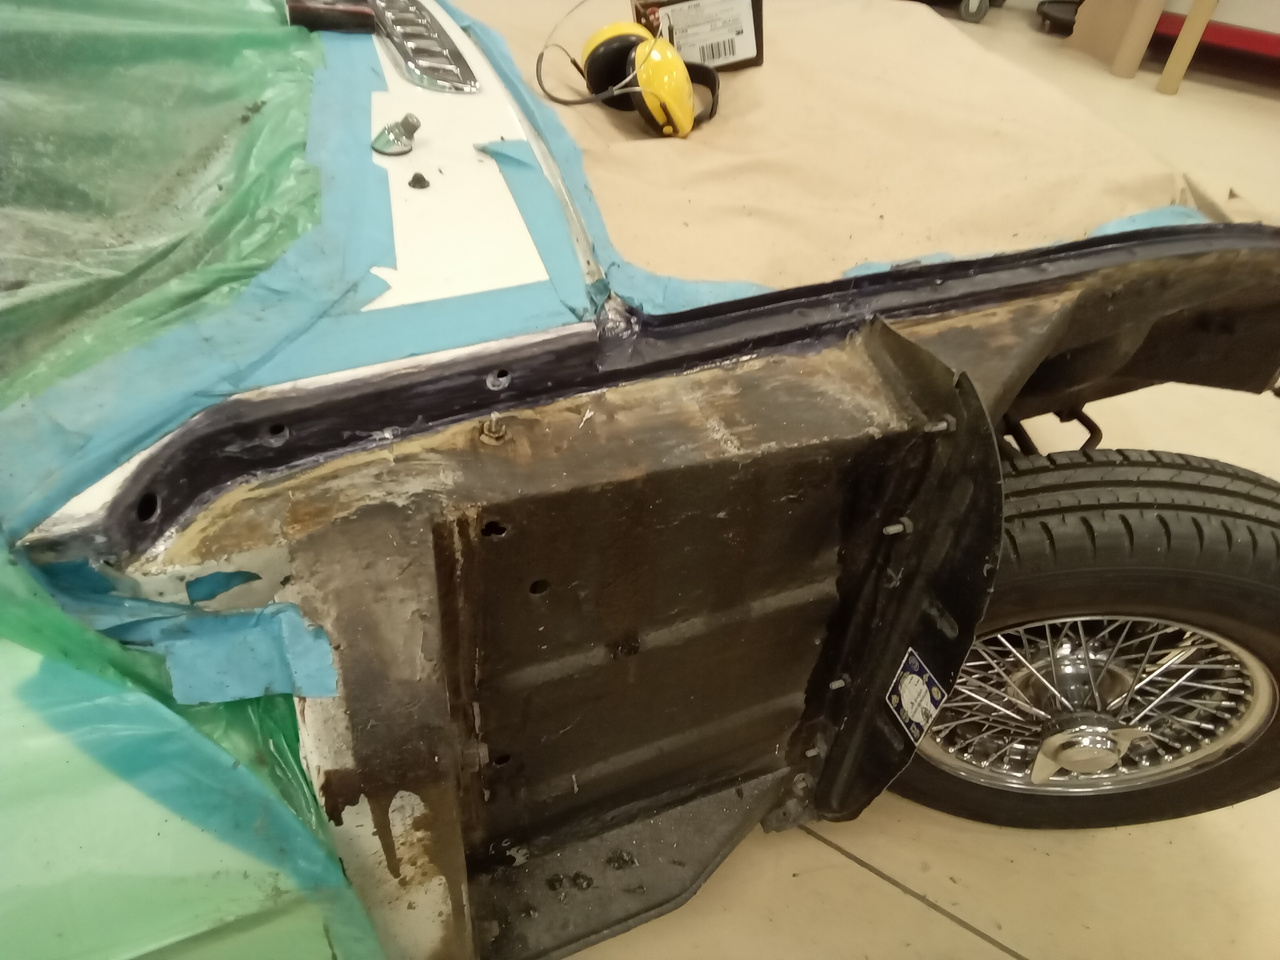
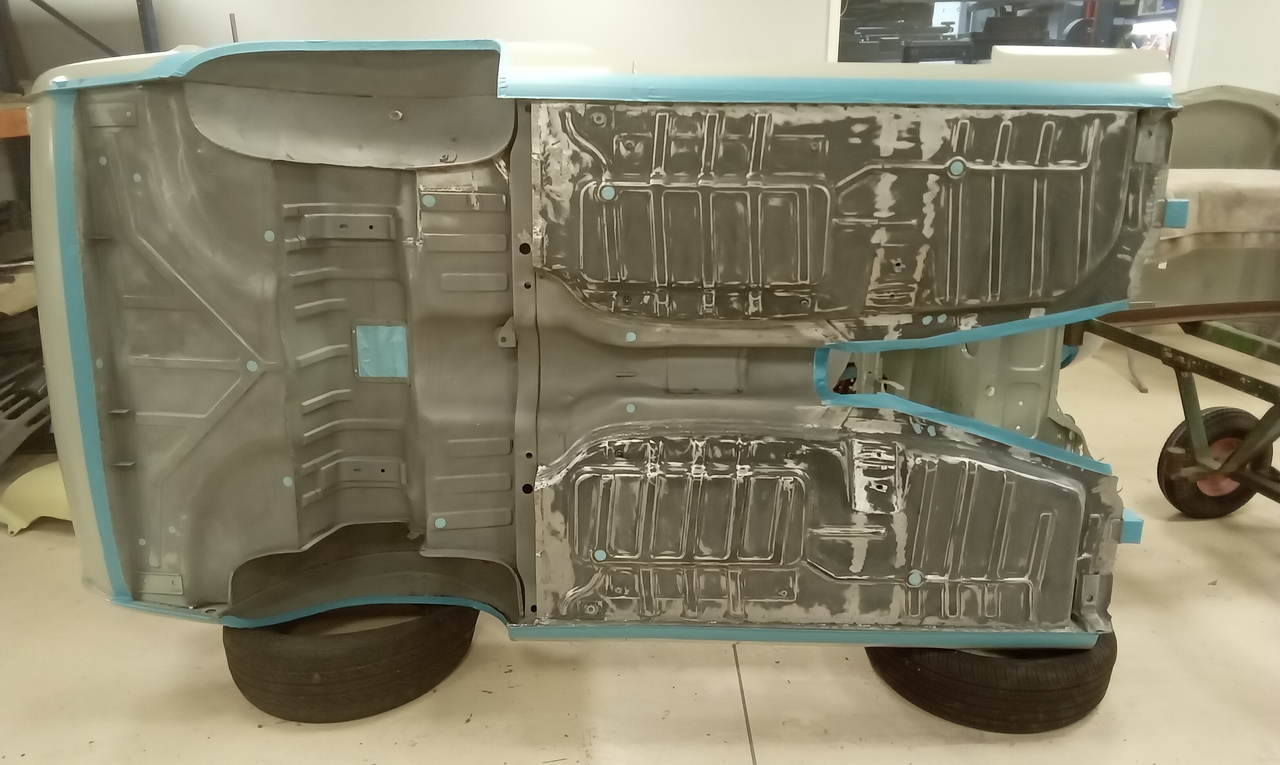
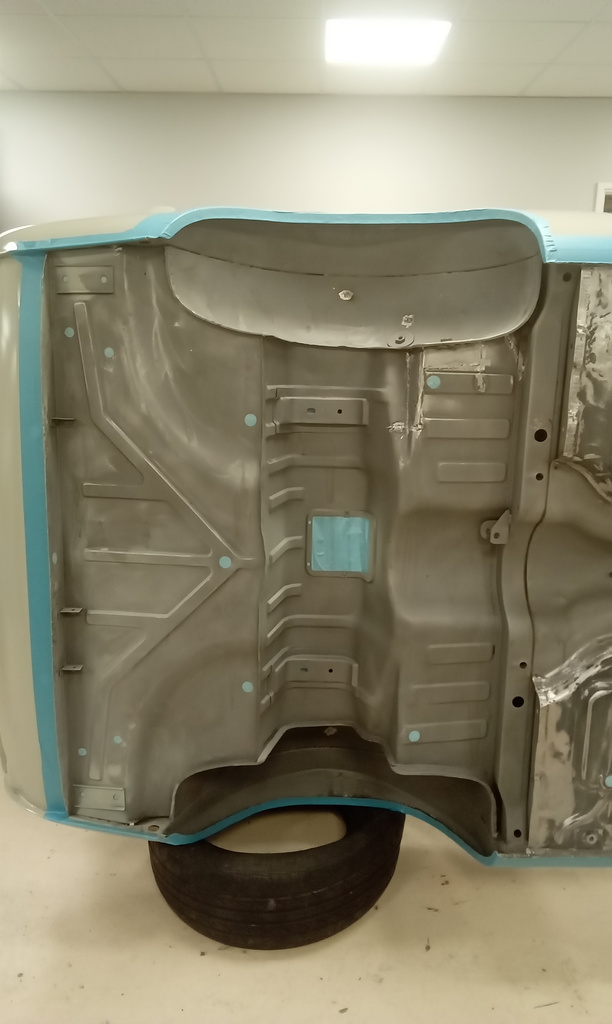
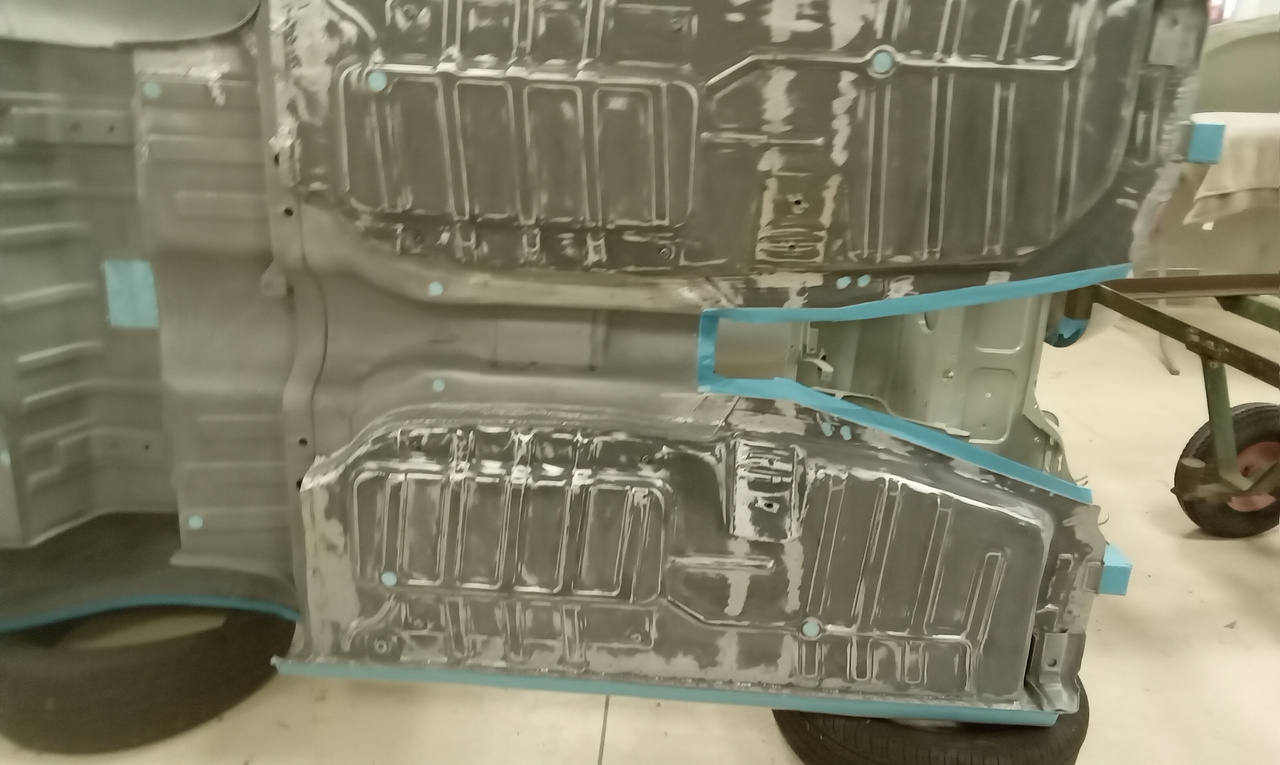
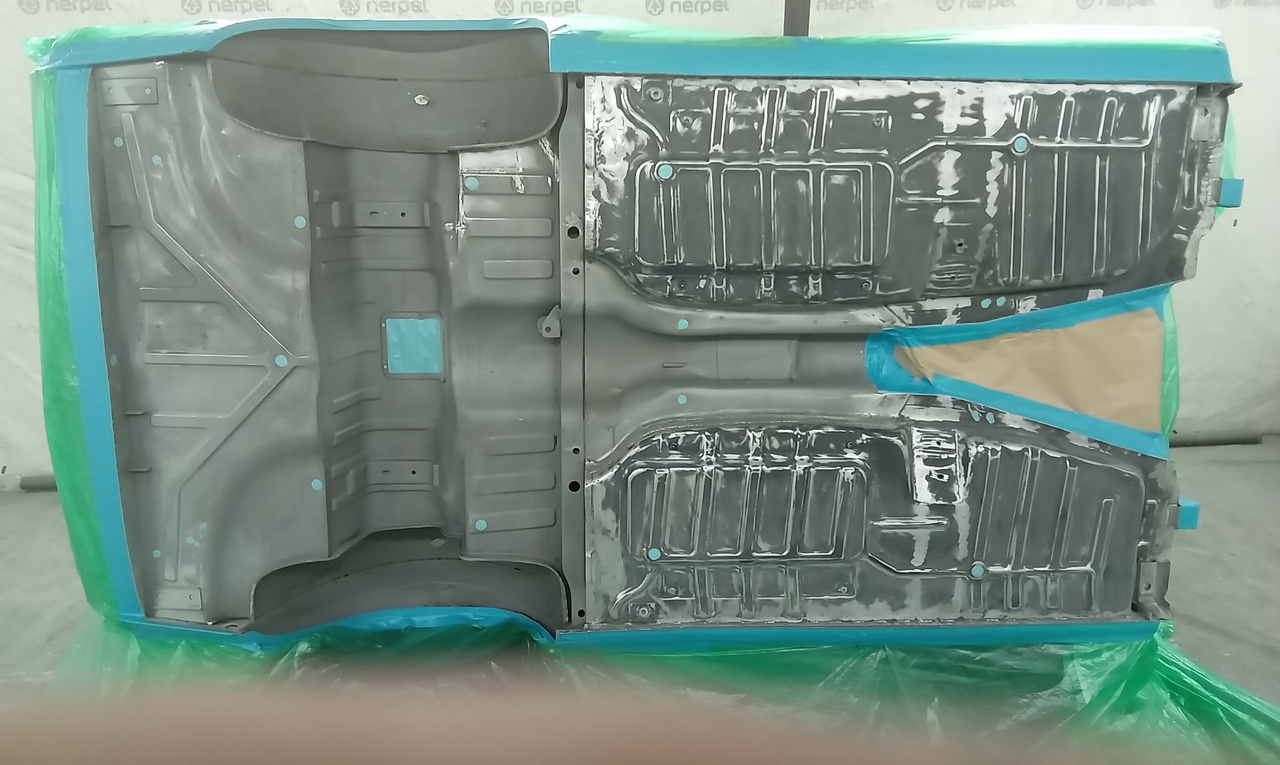
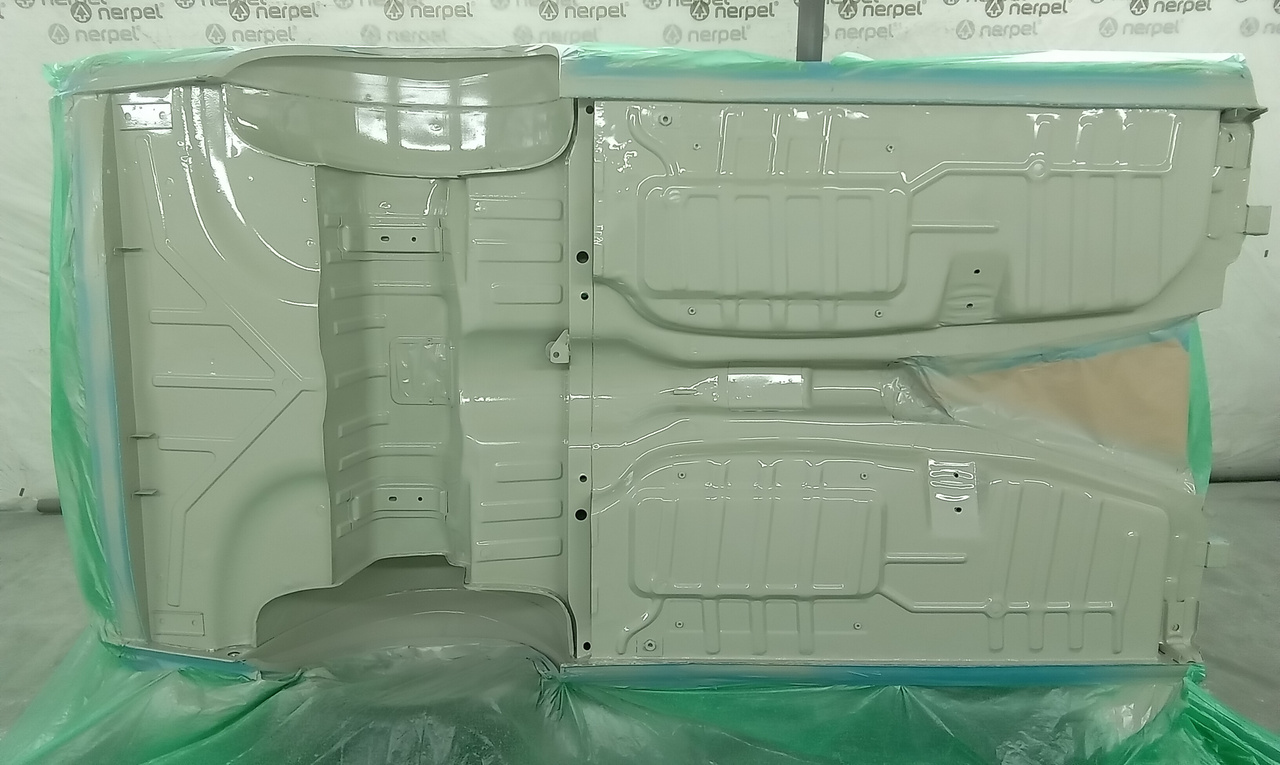
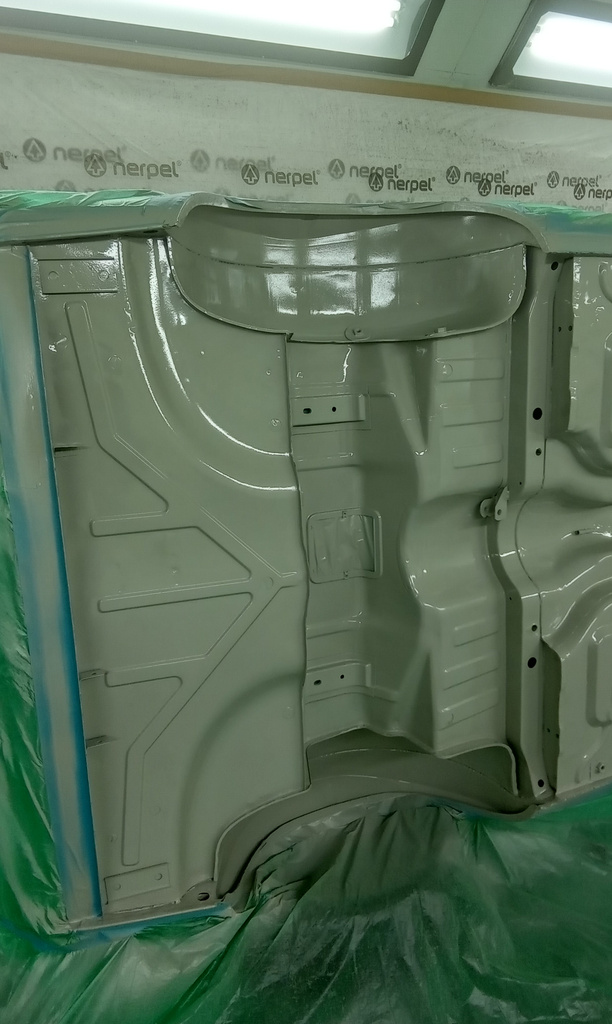
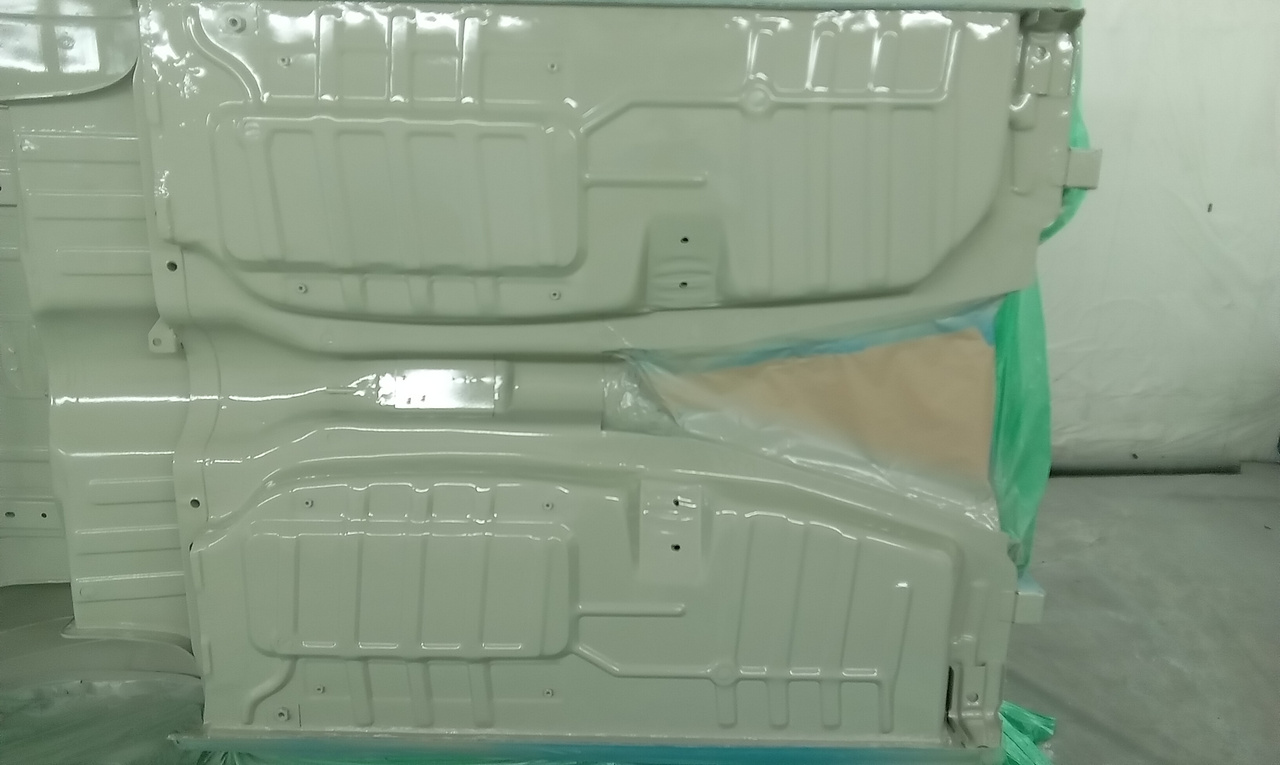
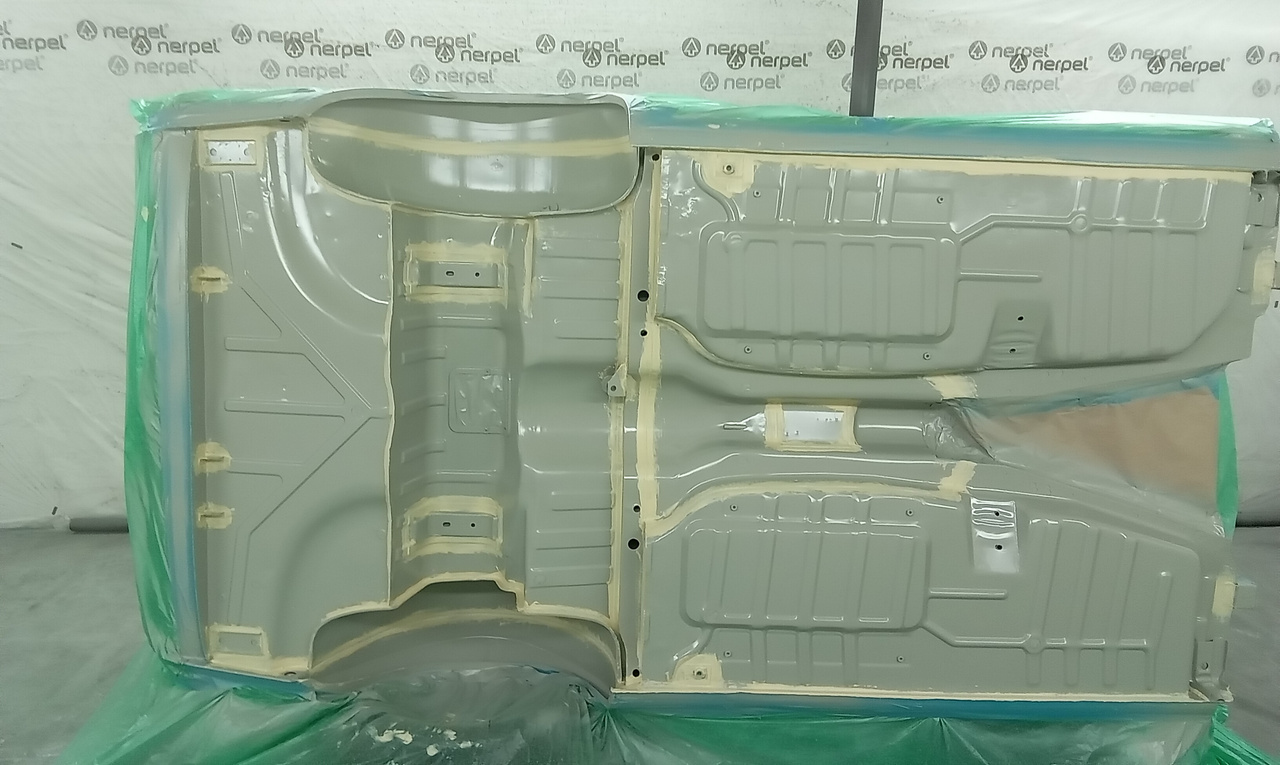
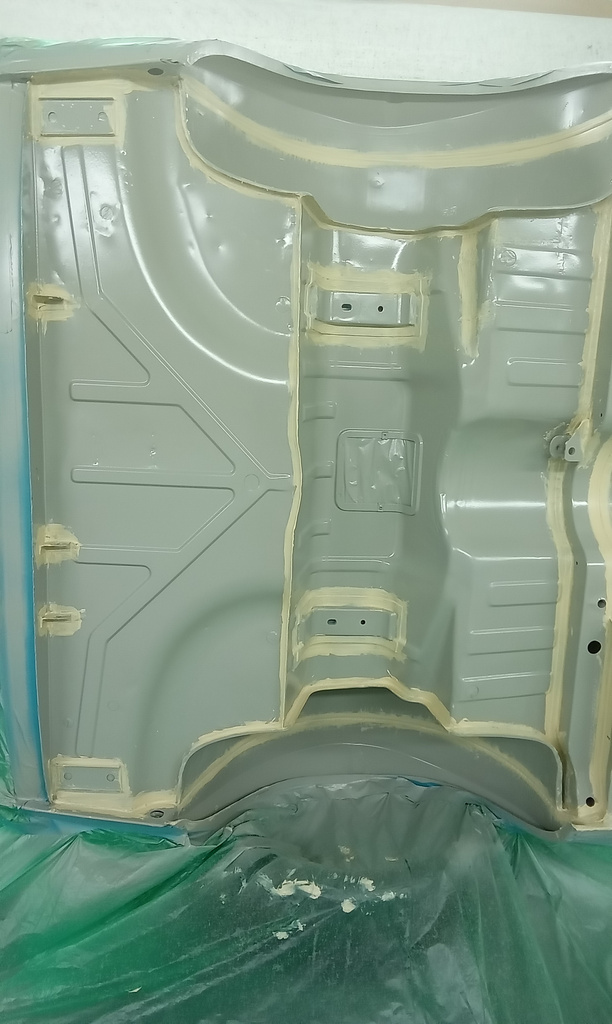
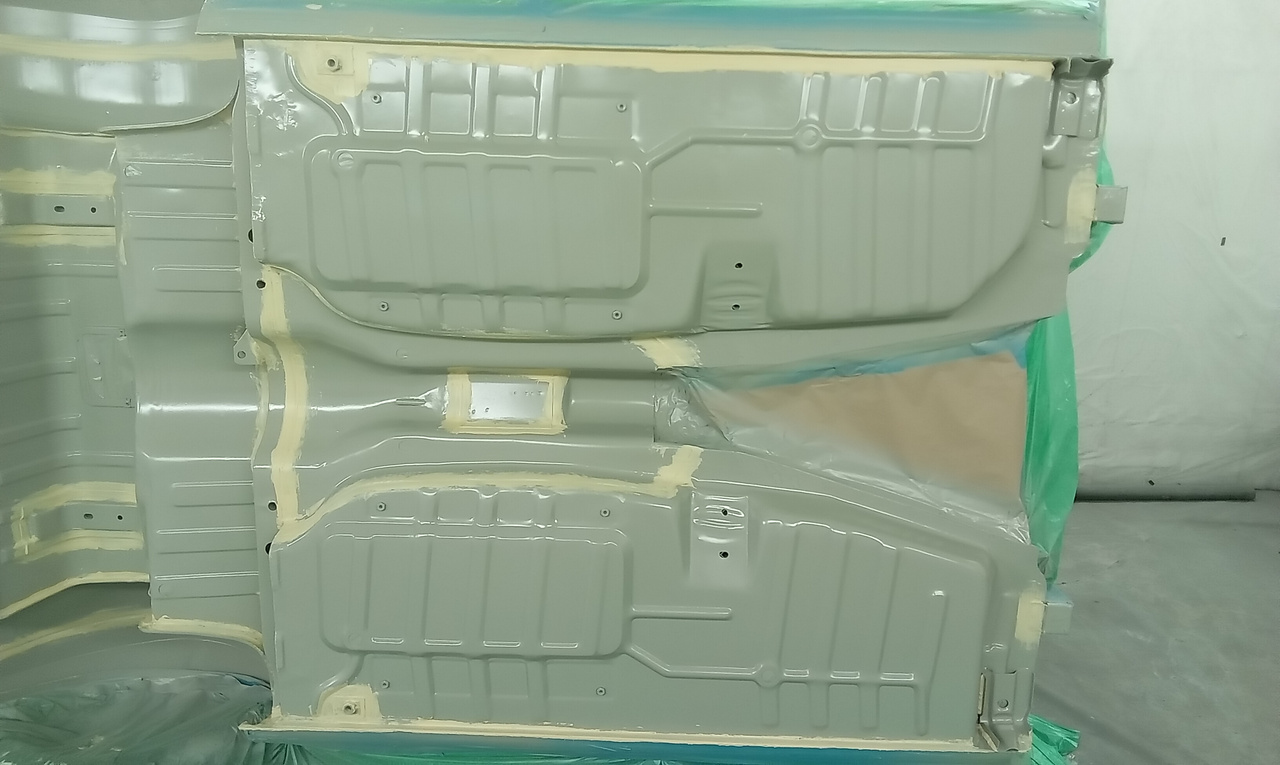
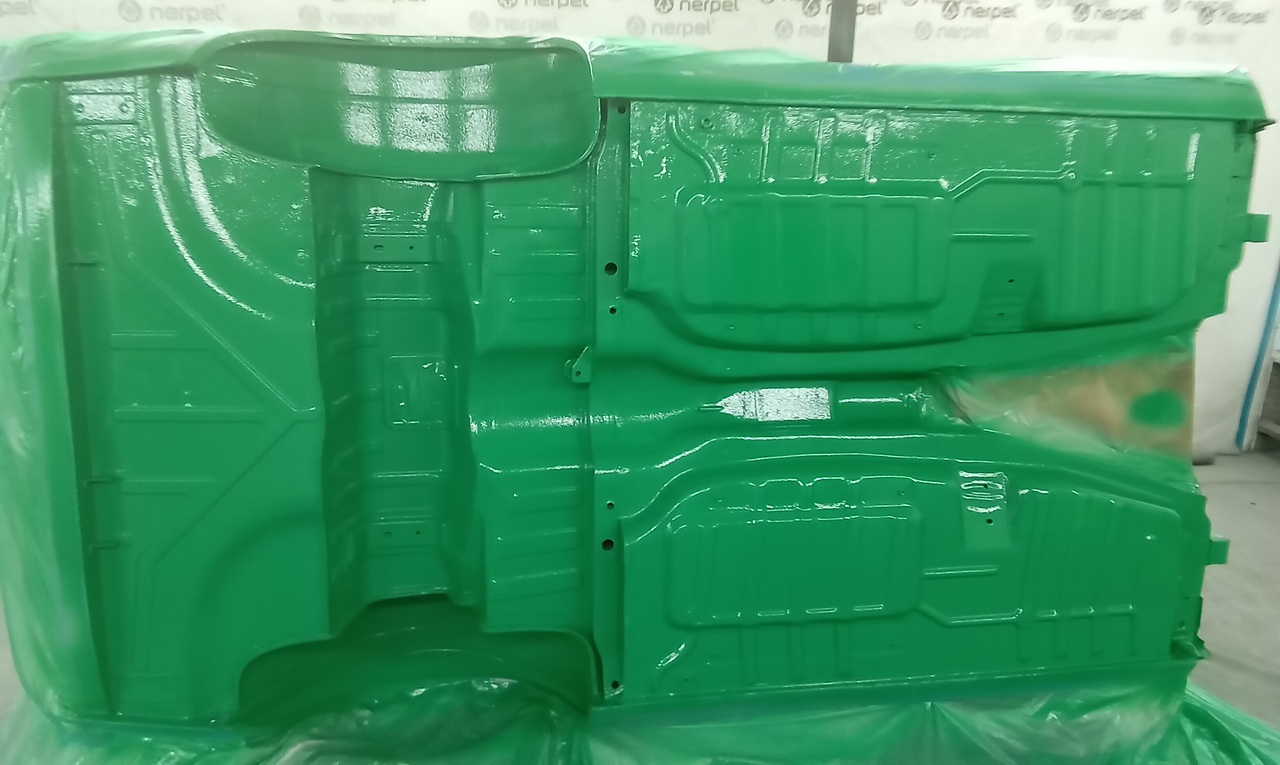
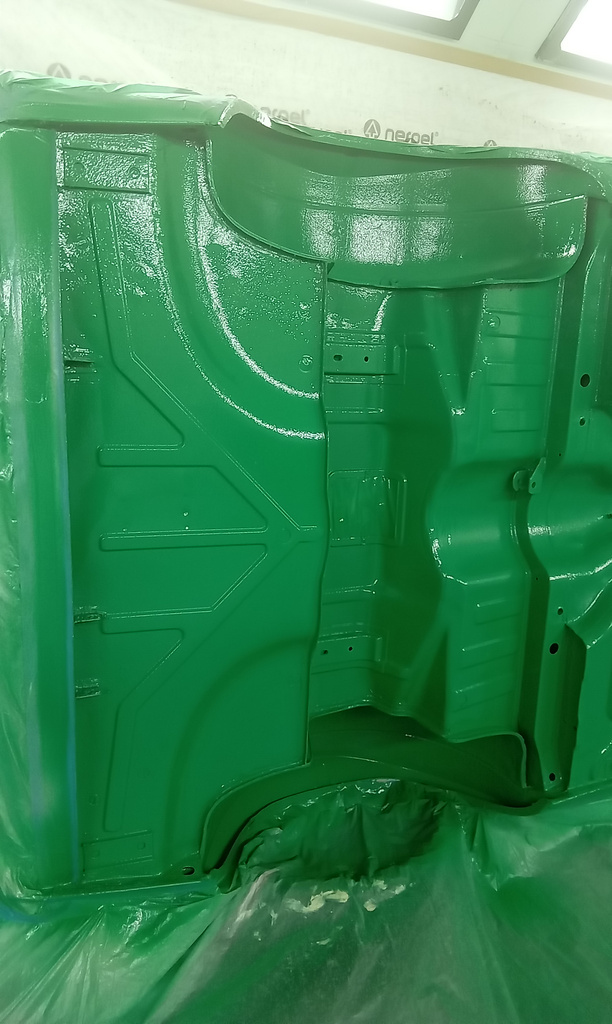
Christian is continuing with the Austin Devon body panel fabrication.
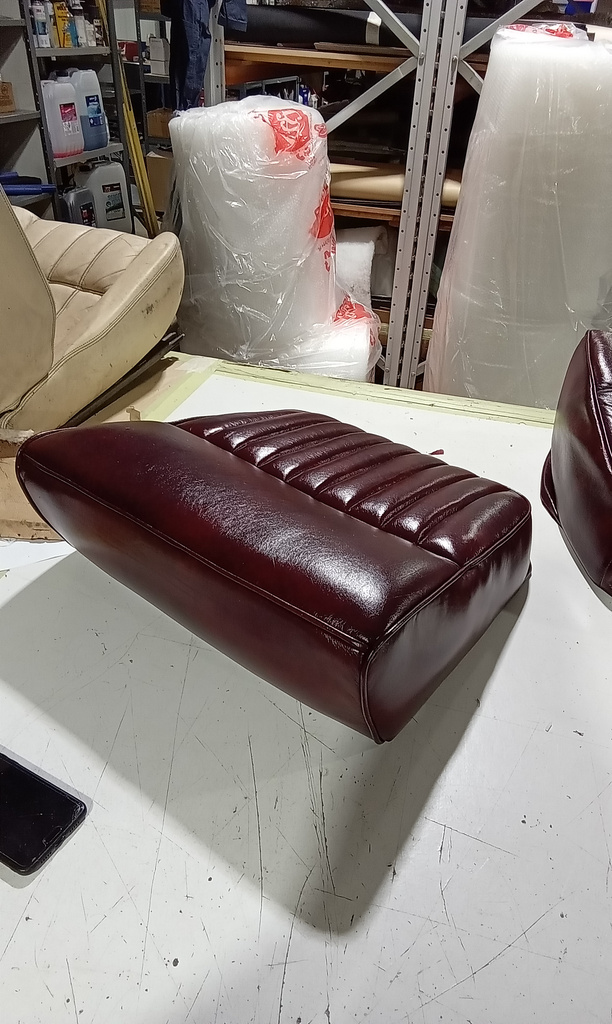
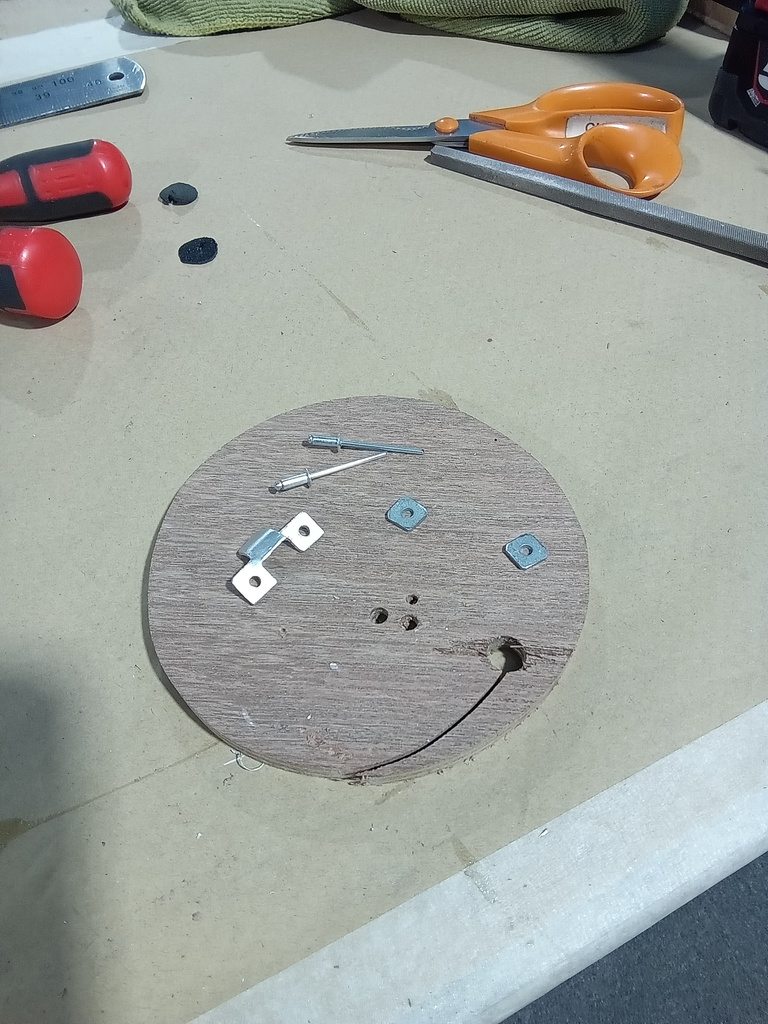
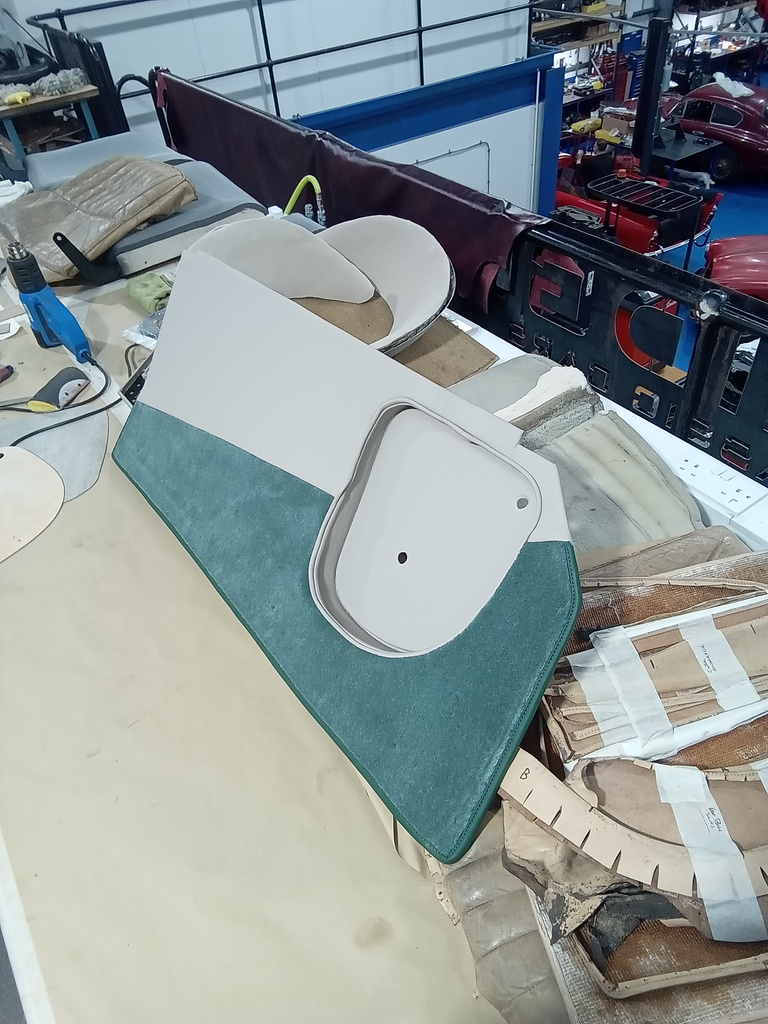
To begin with, Lydia has made a mock-up panel to test the measurements for the tuck and roll flutes. This requires precise measurement and calculation
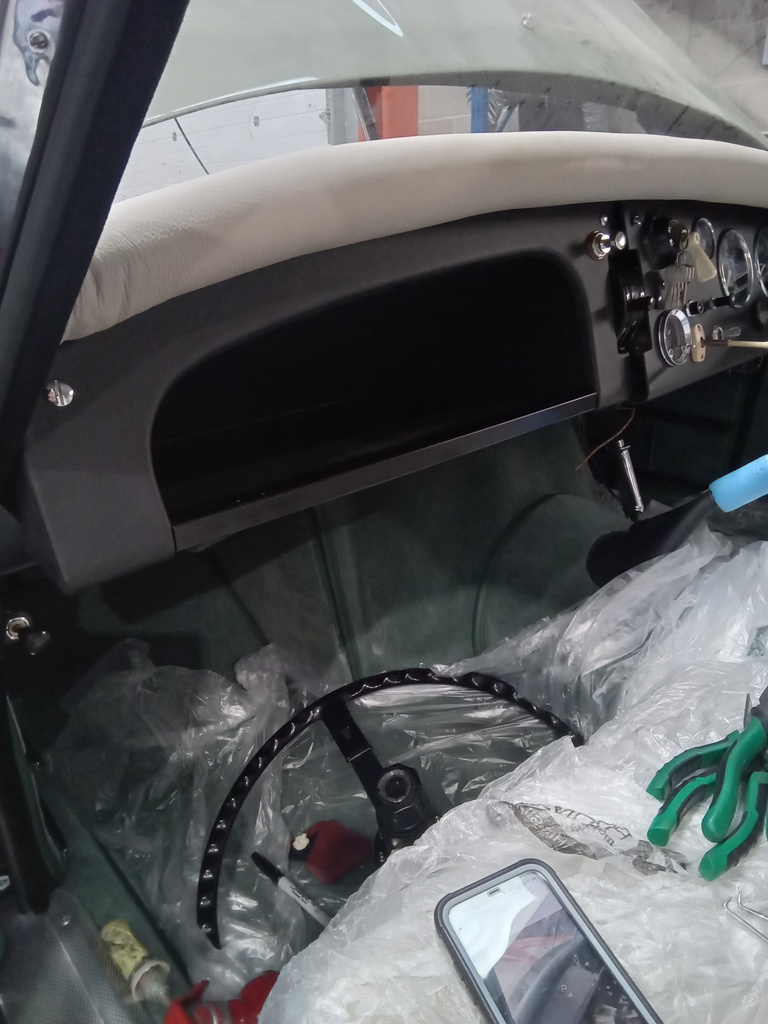
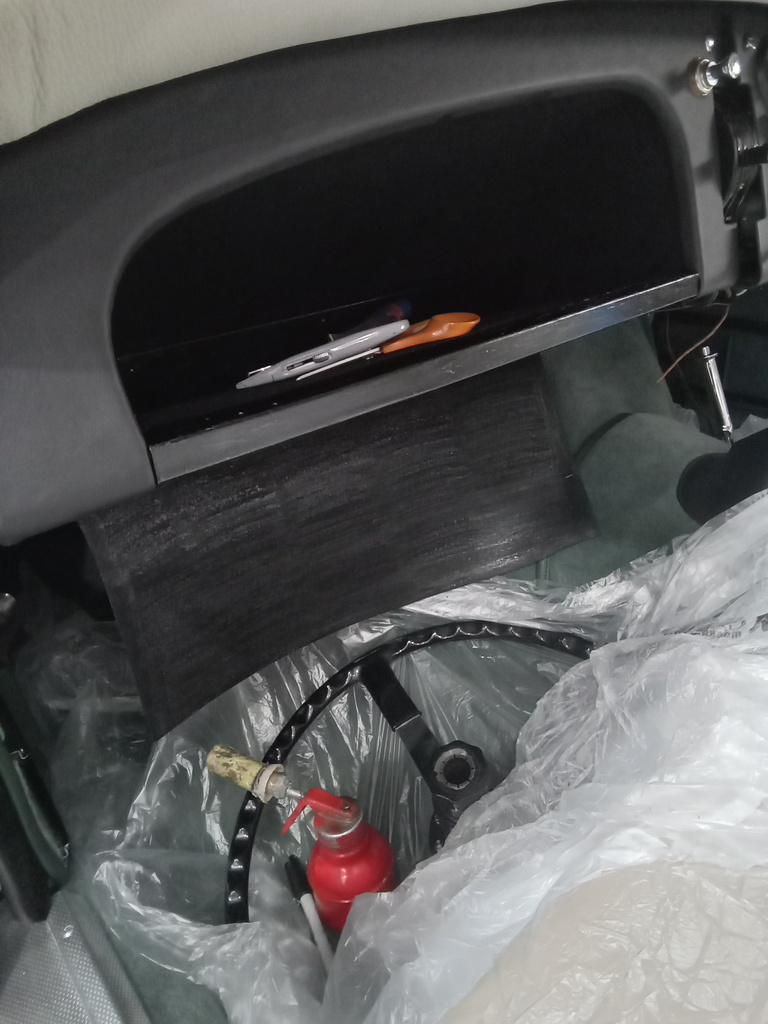
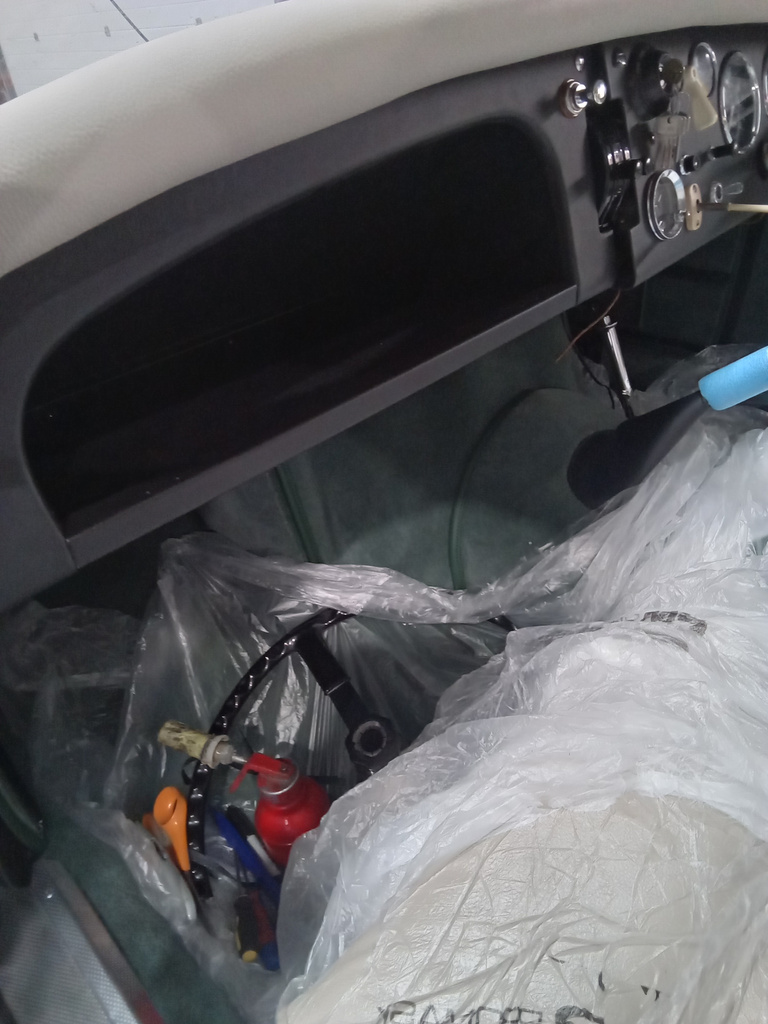
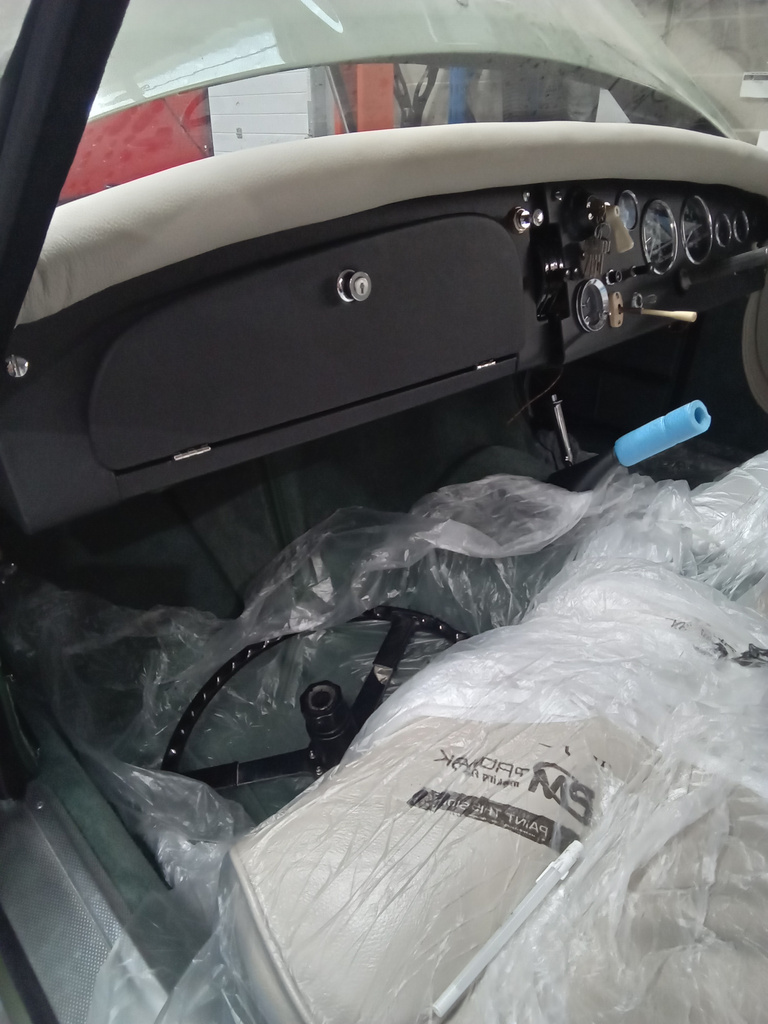
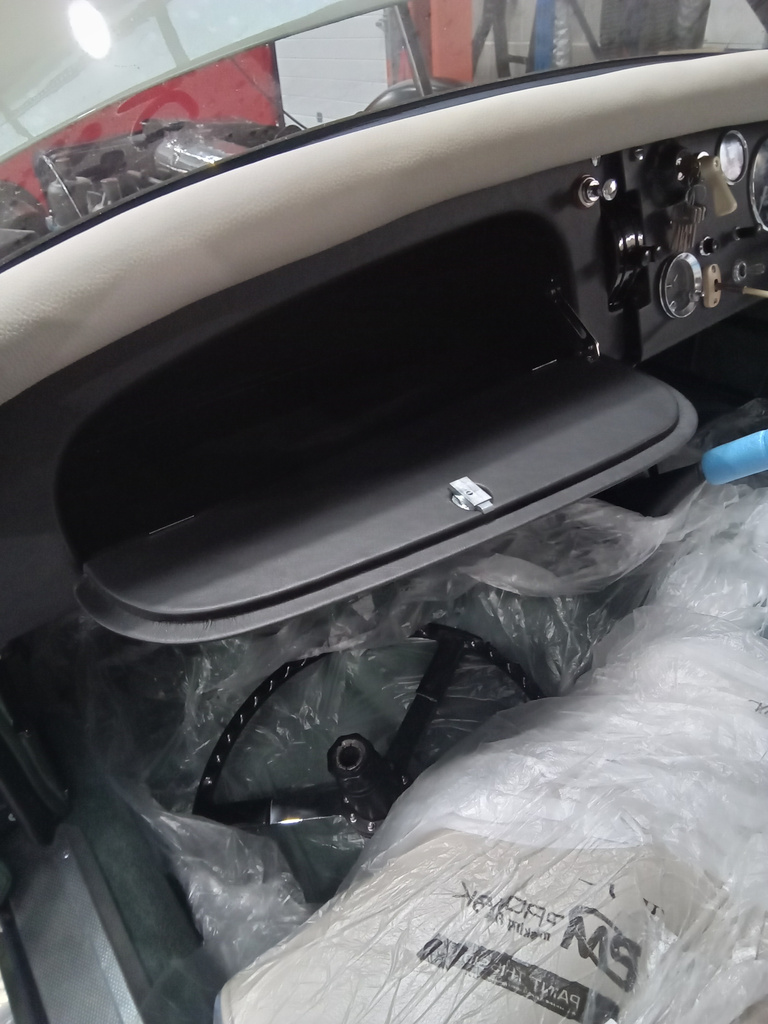
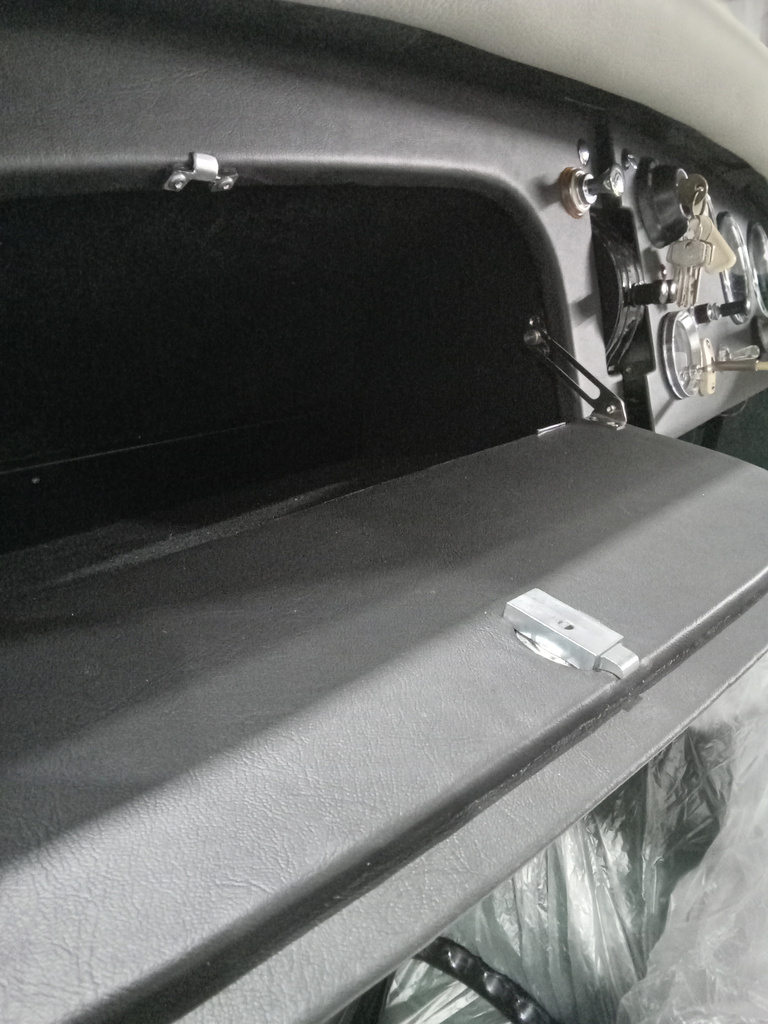
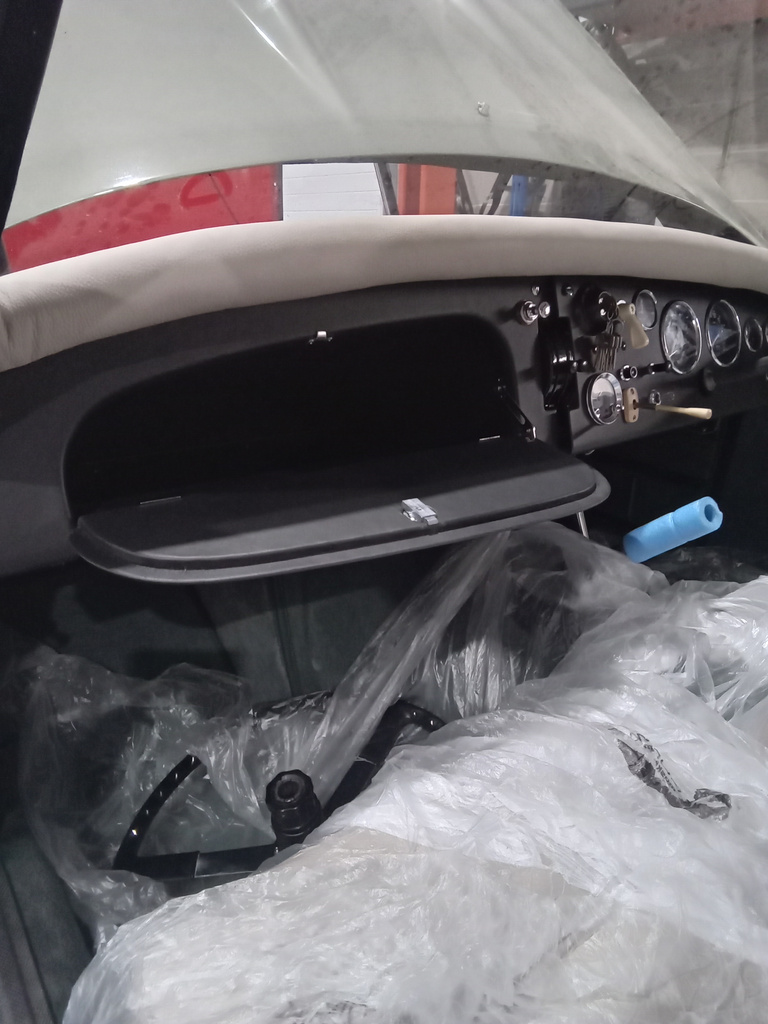
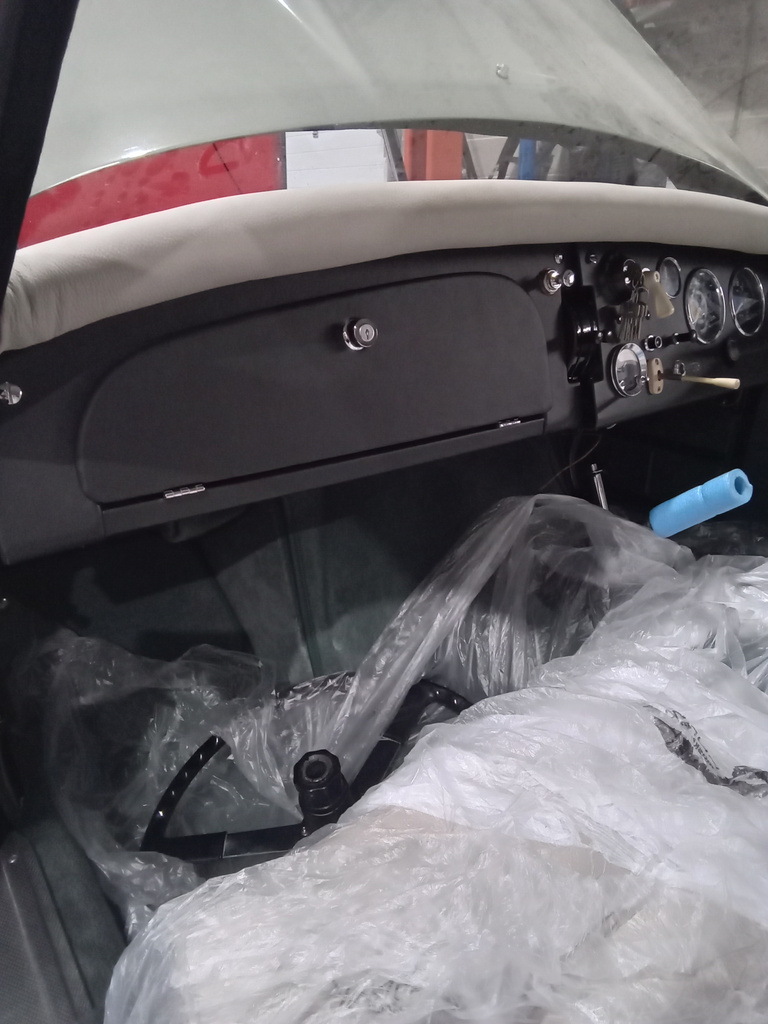
Fitting inner glovebox top section and outer panel. We have glued the vinyl to the bottom section, fitting hinges to the glovebox lid, fitted lock
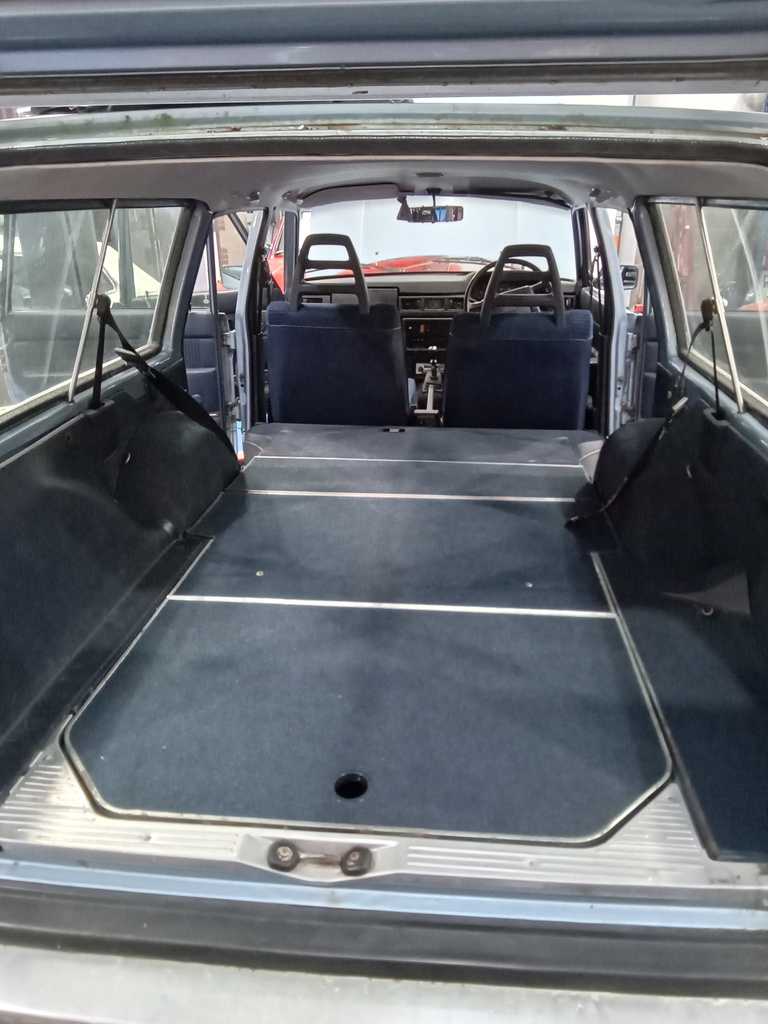
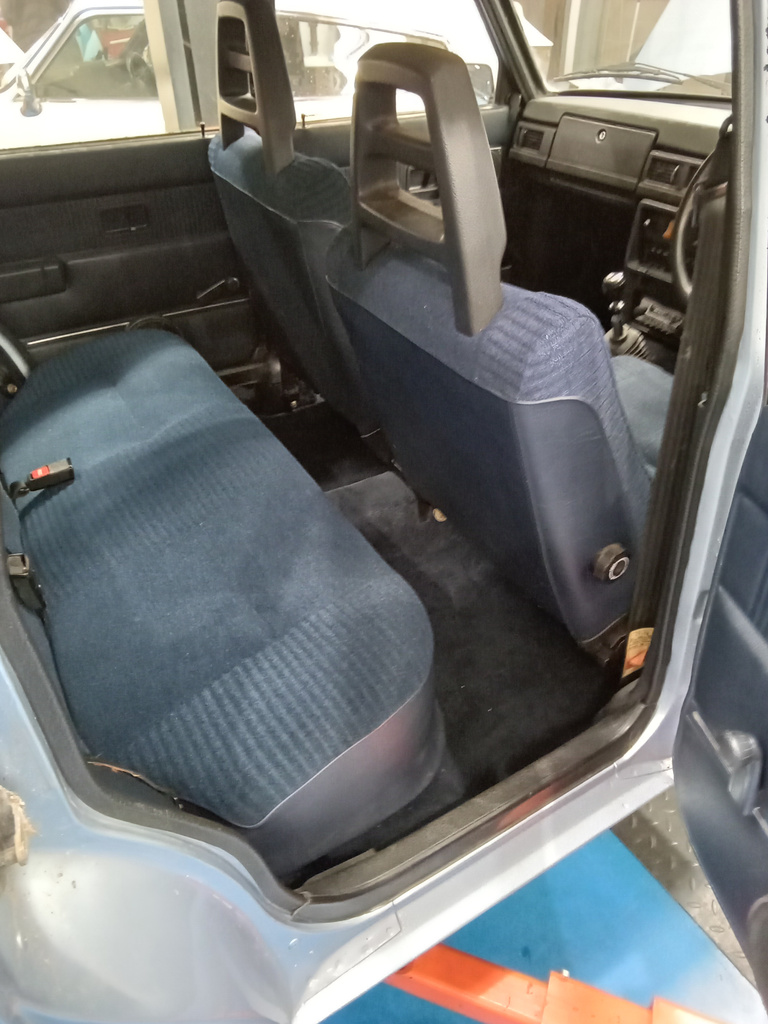
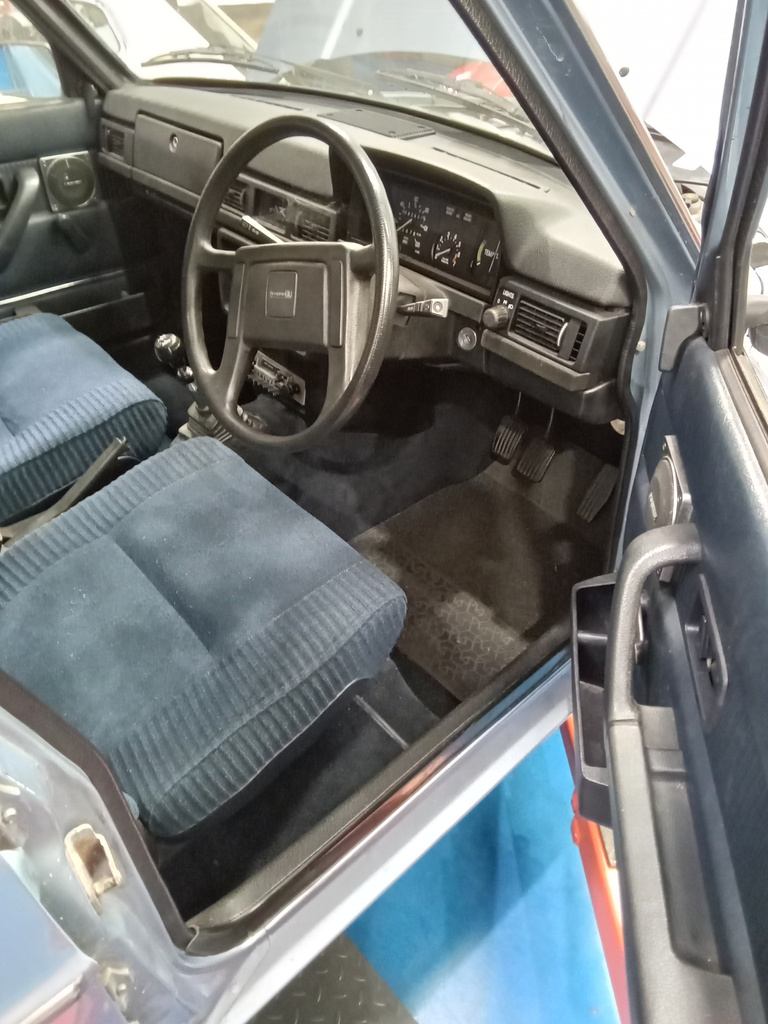
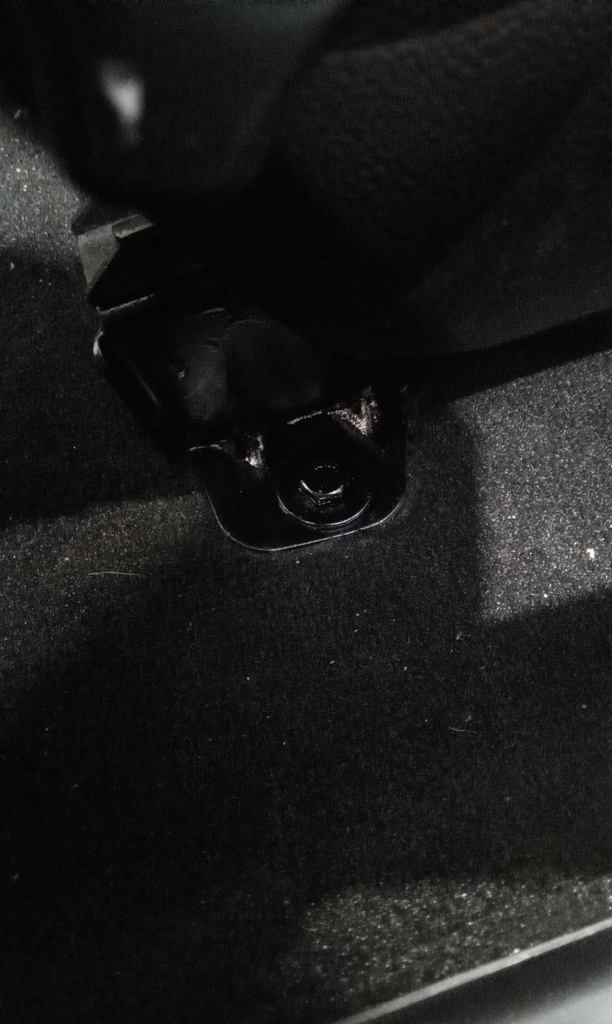
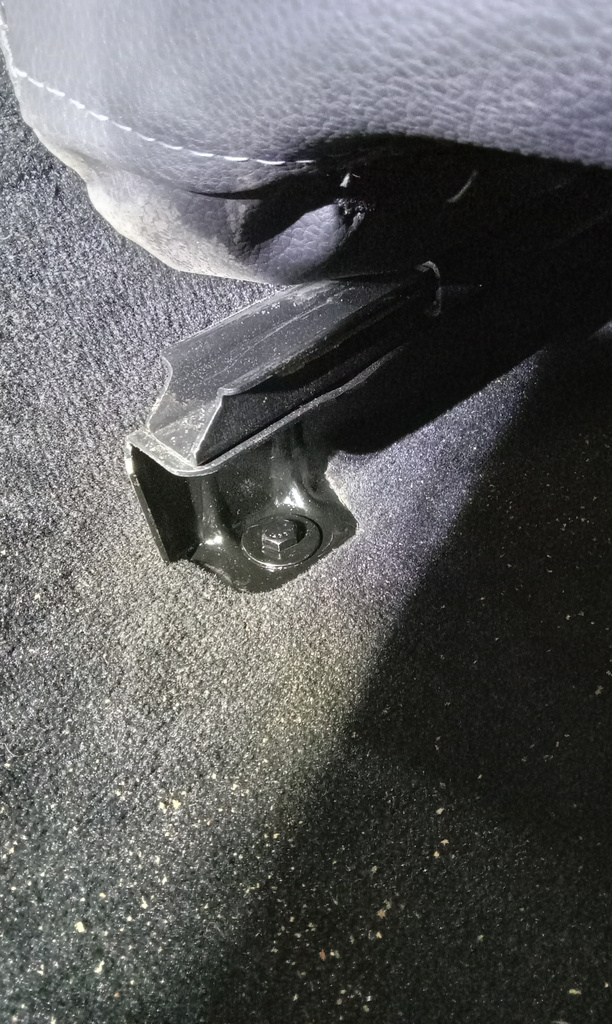
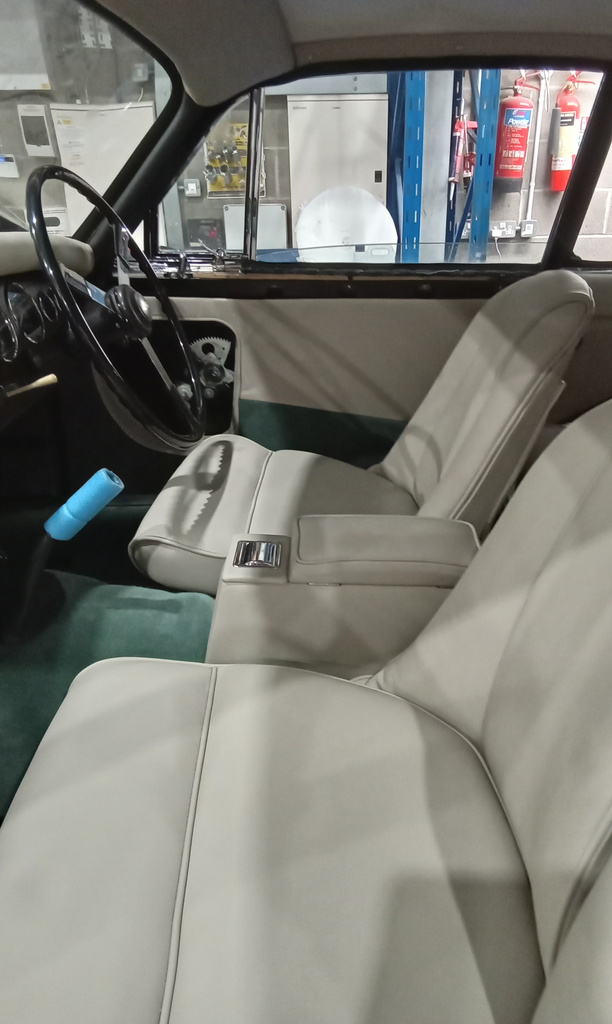
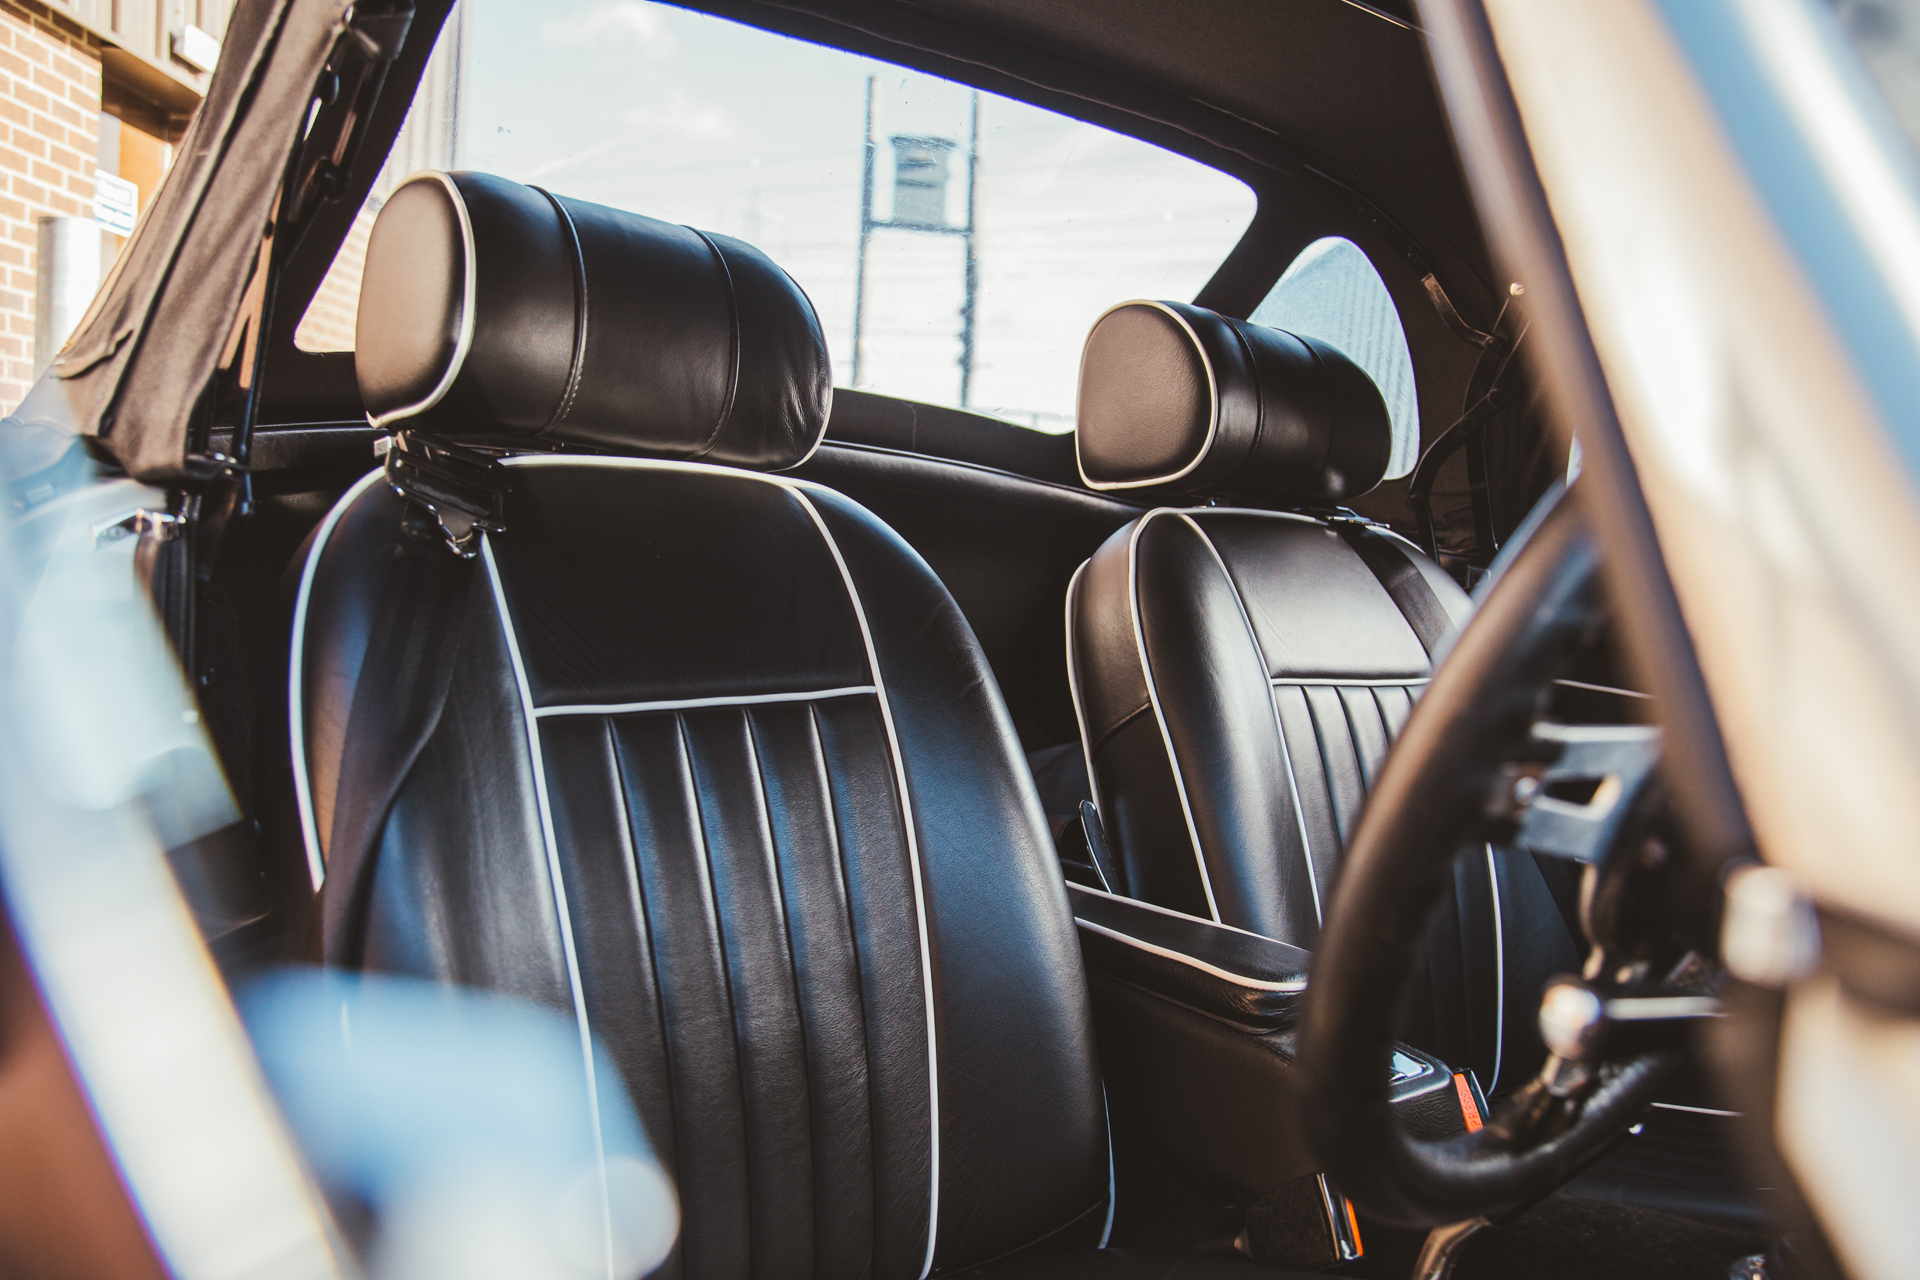
Today the interior was refitted; seats, seat belts and boot areas that were removed for metalwork/welding. On refitting the passenger seat, we found the back
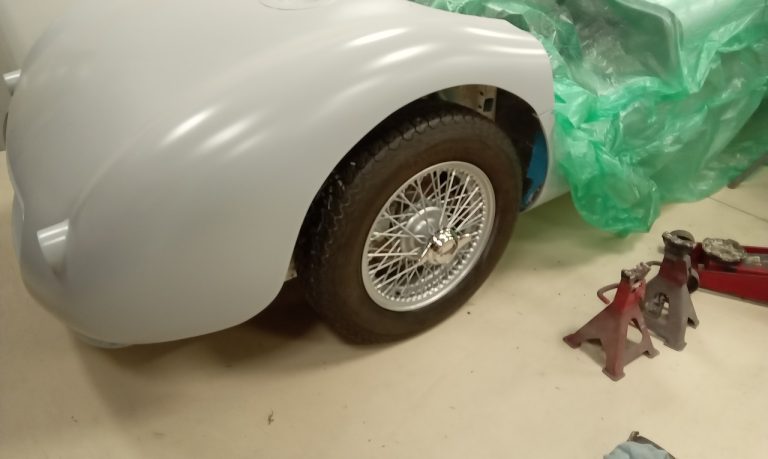
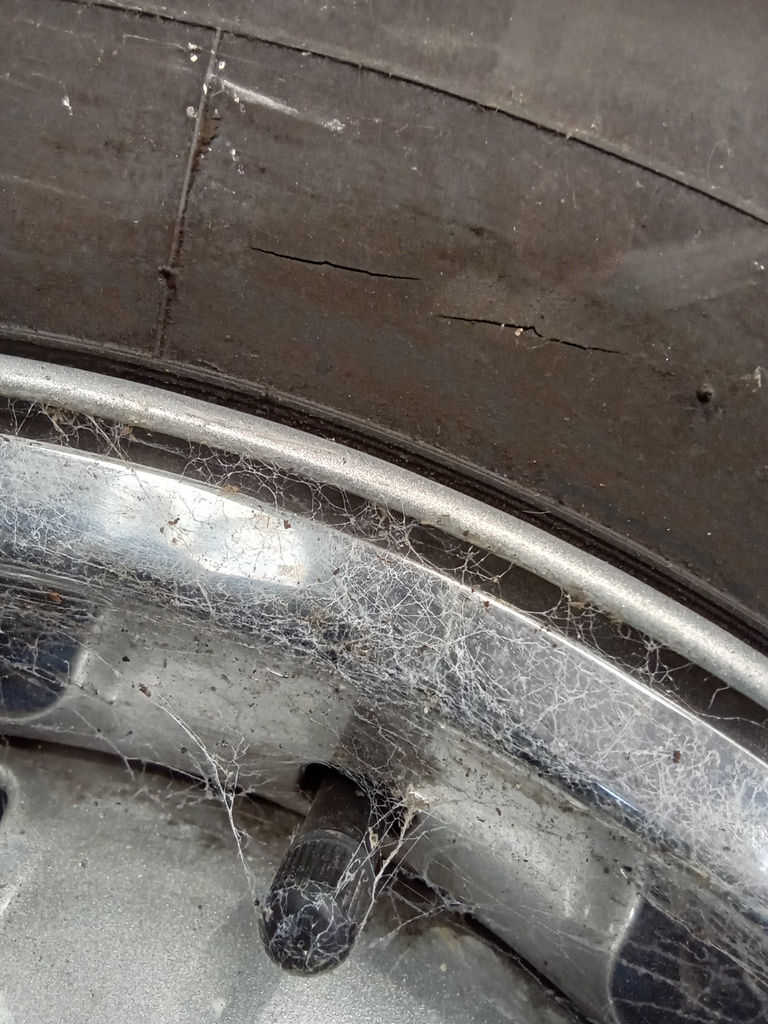
Now that the wheels have returned from our good friends at Wheelworx having been re-coloured from red to silver, Jon has refitted them to make

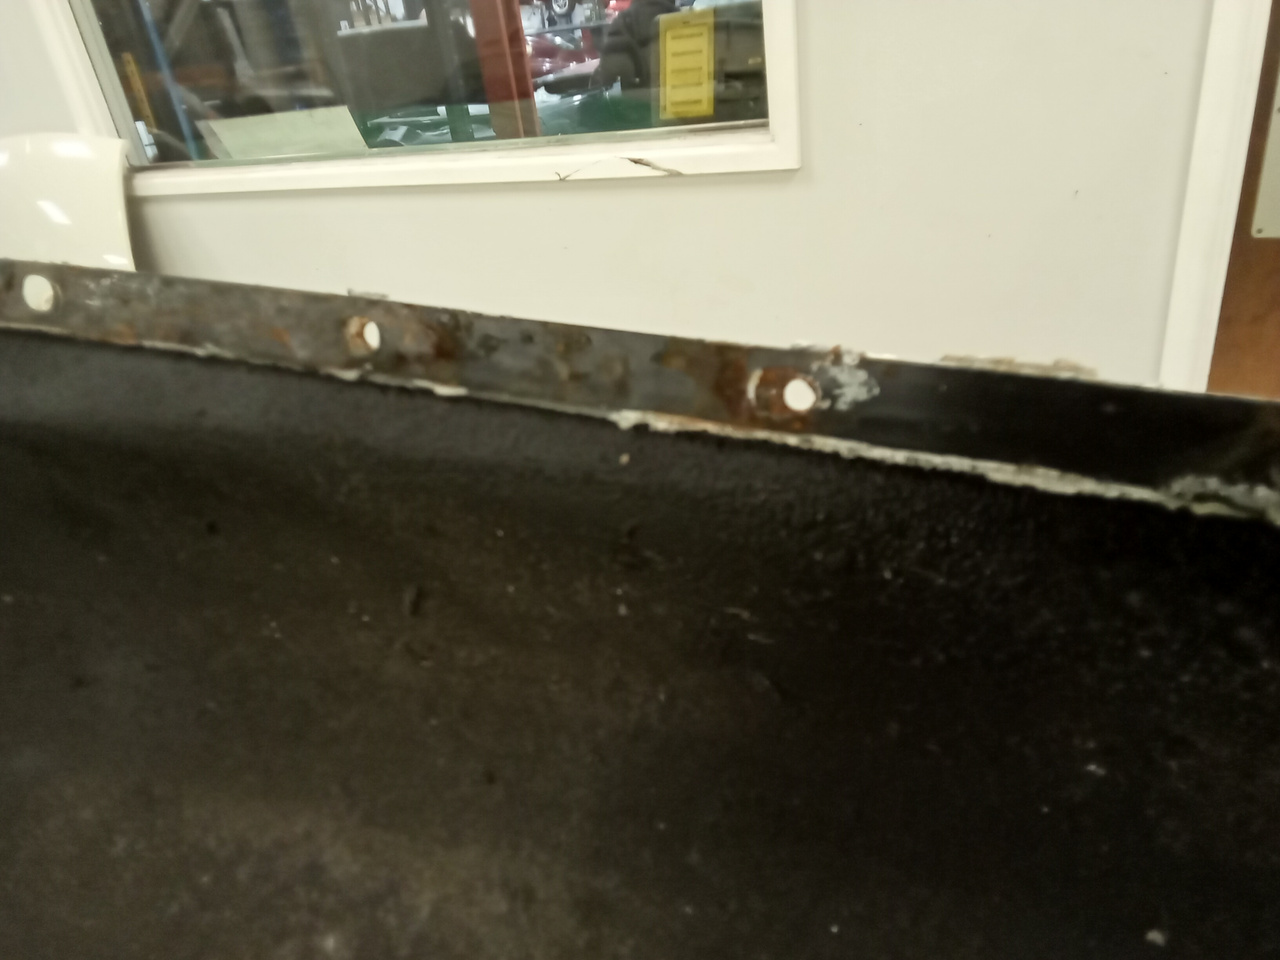
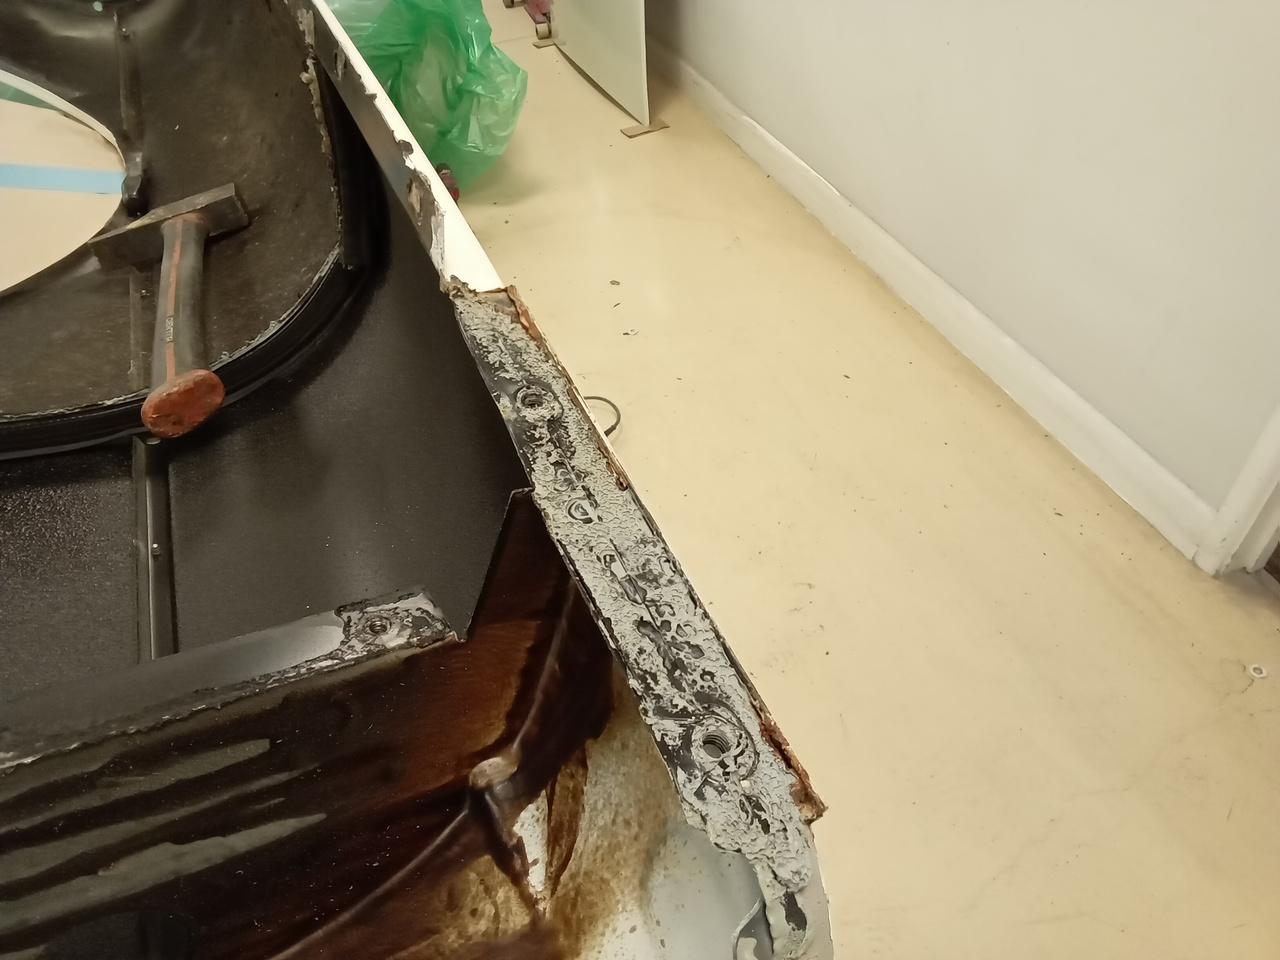
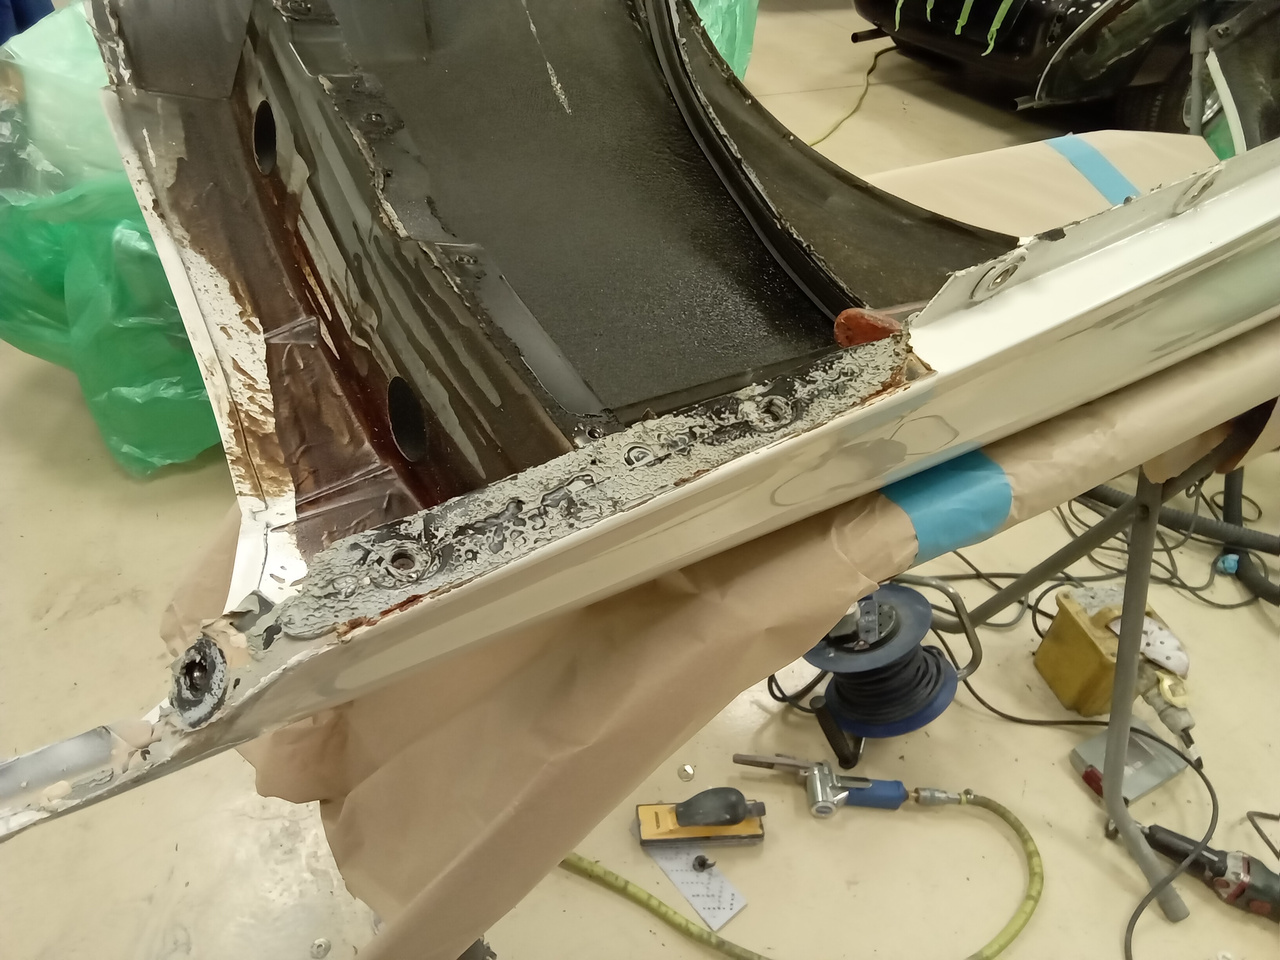
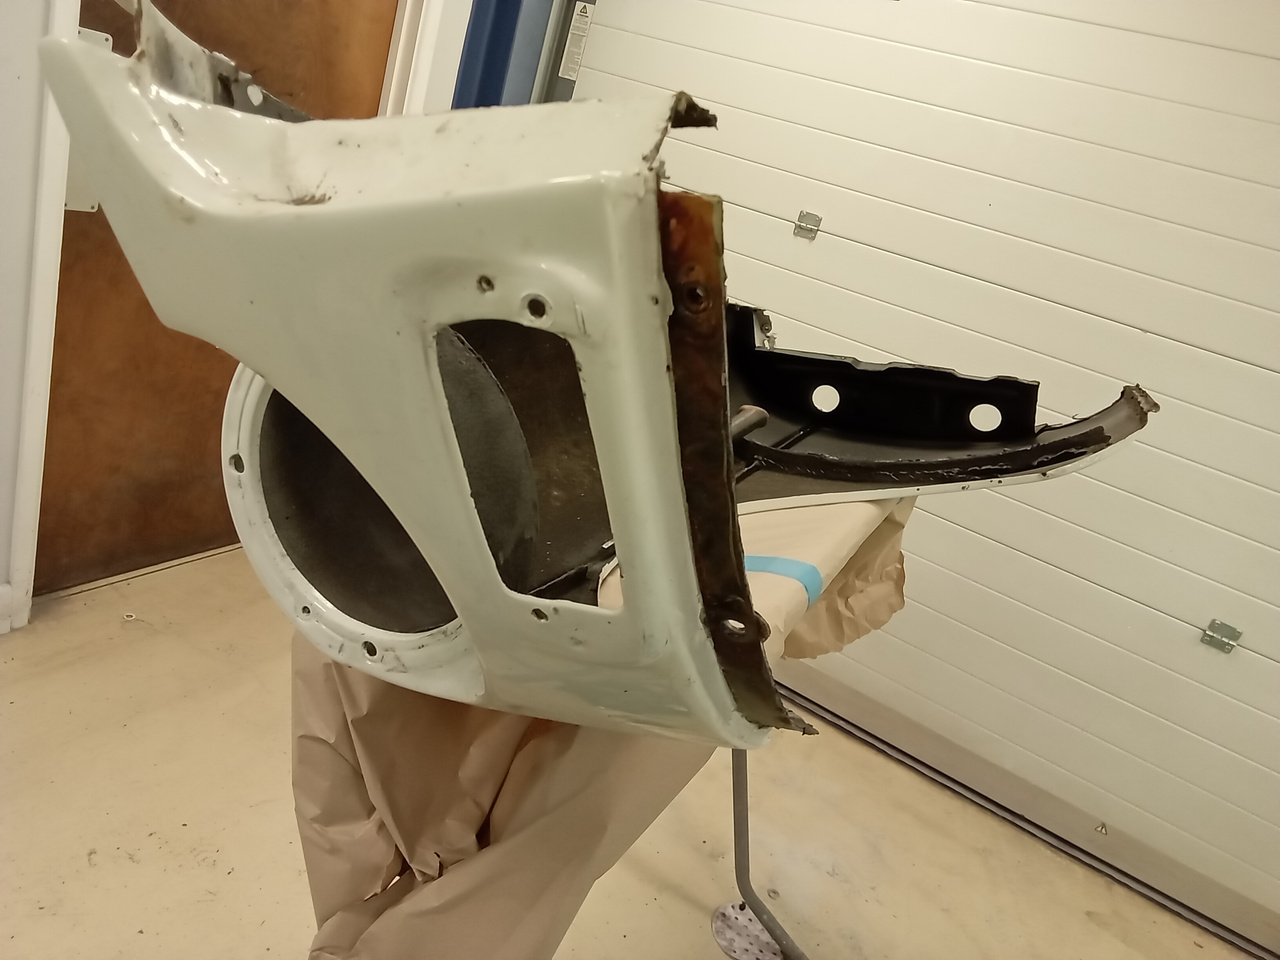
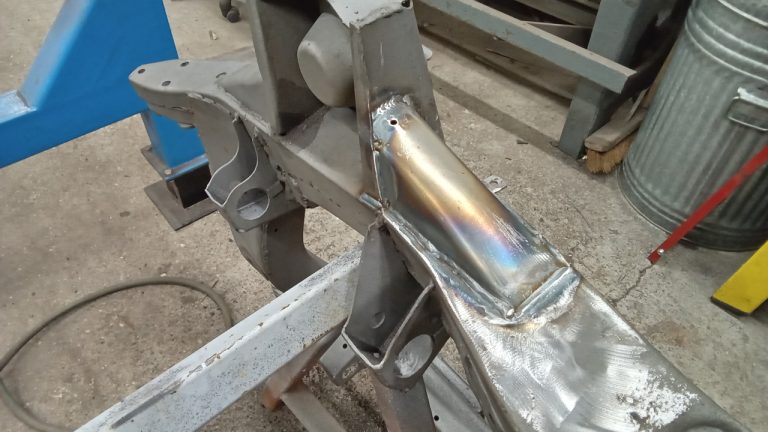
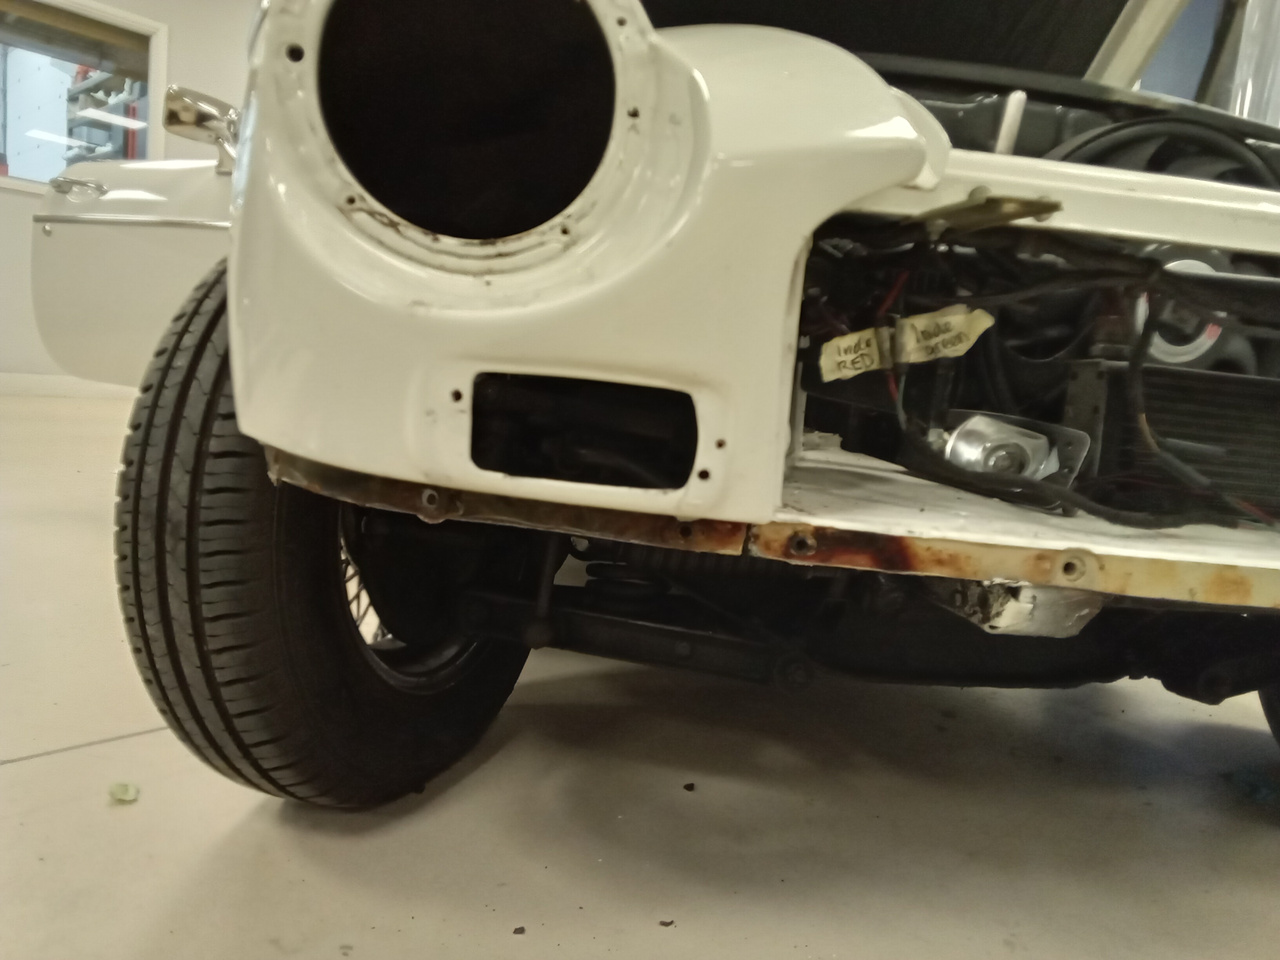
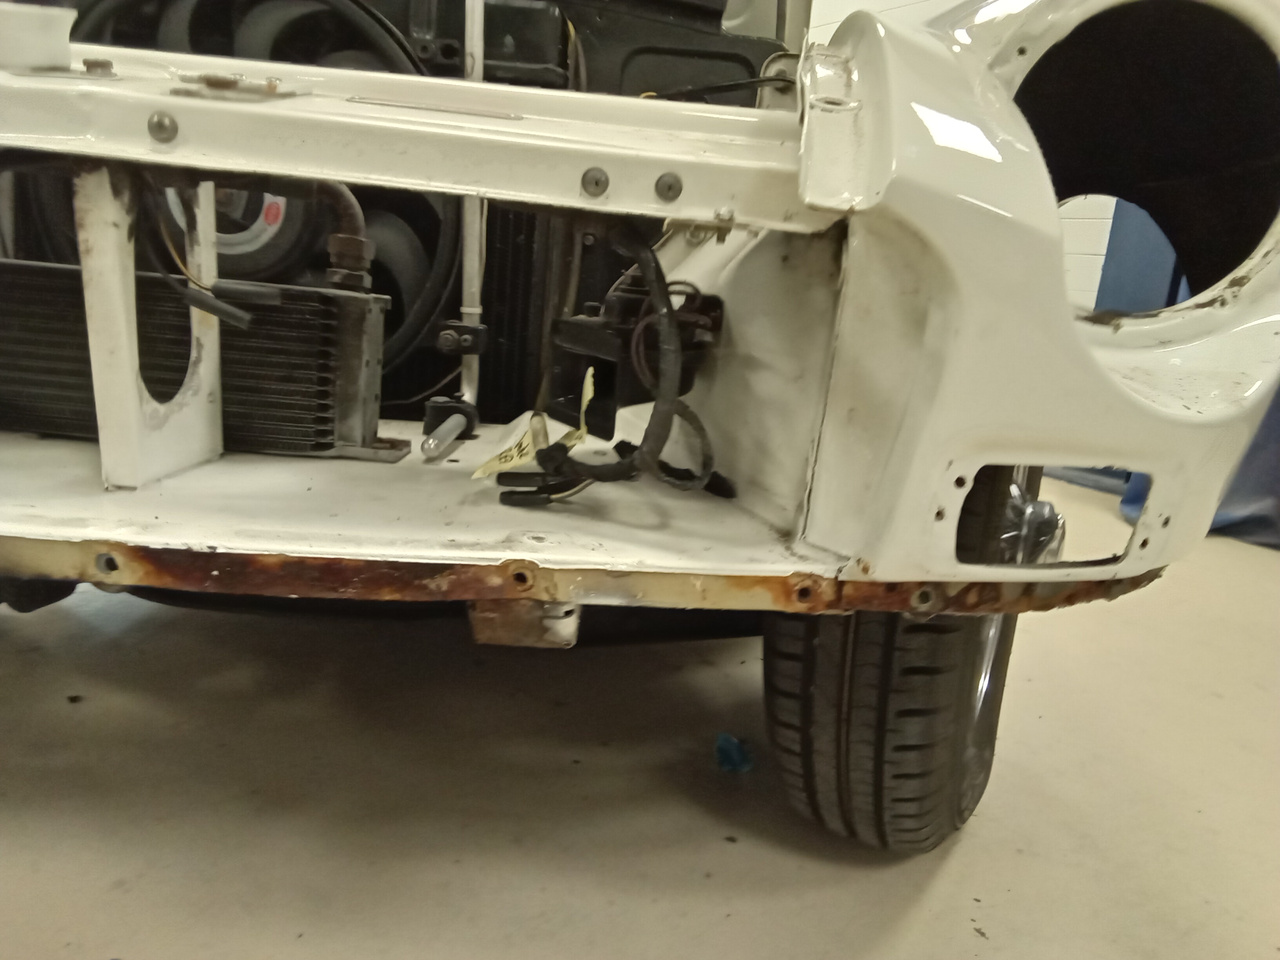
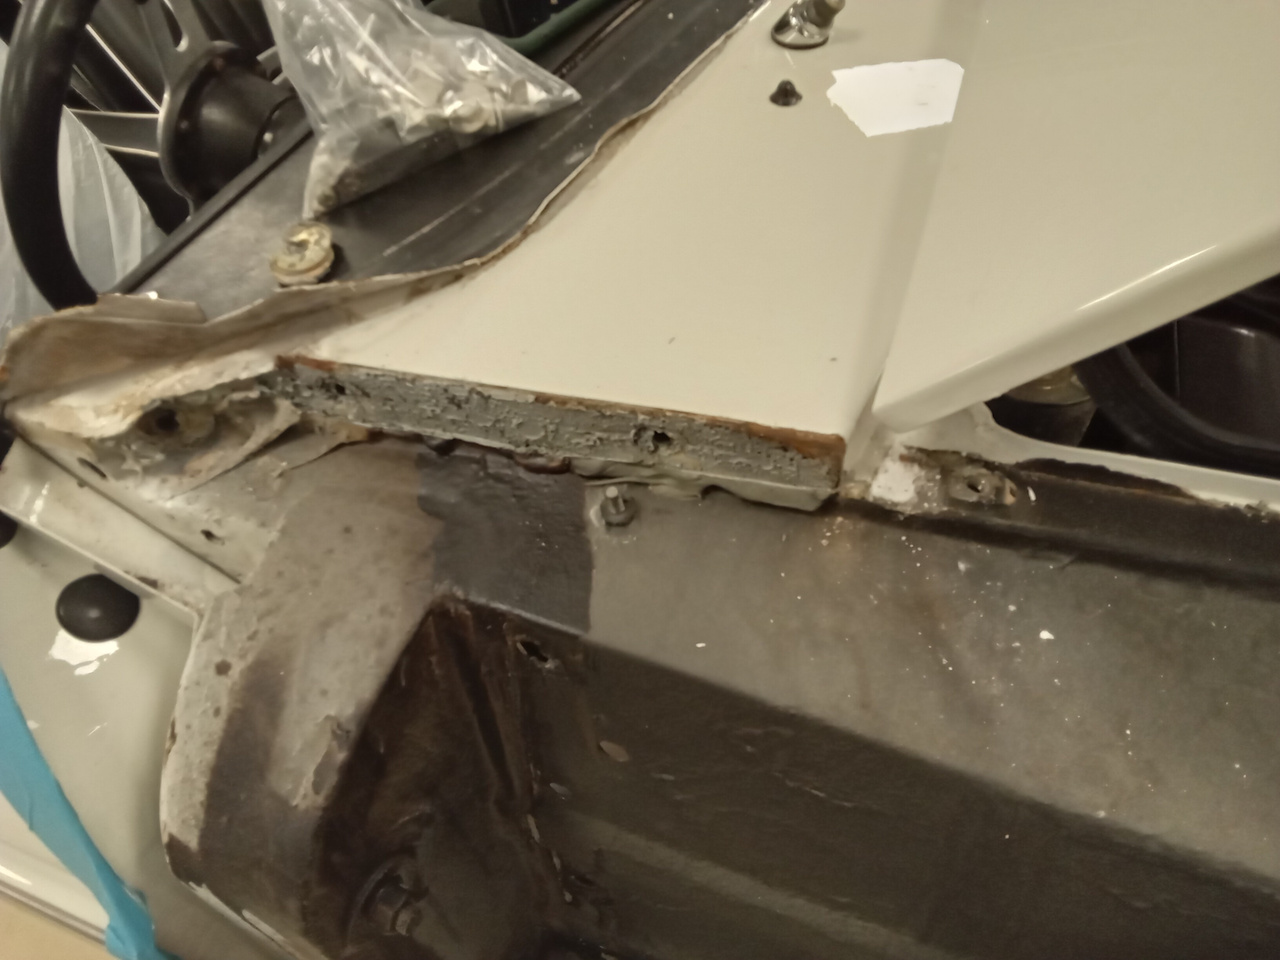
Mauro is continuing on with the MG B Roadster rust removal.
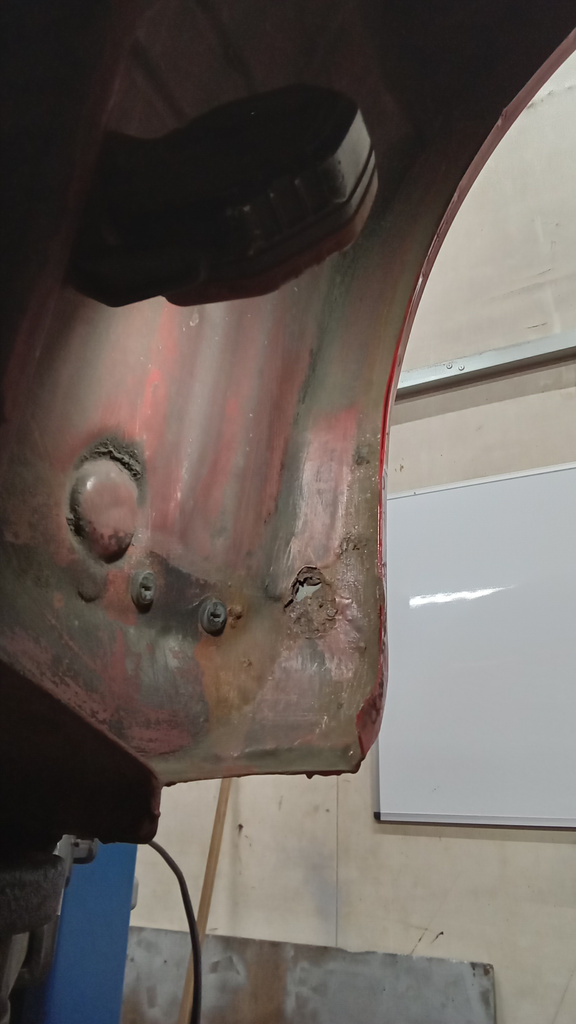
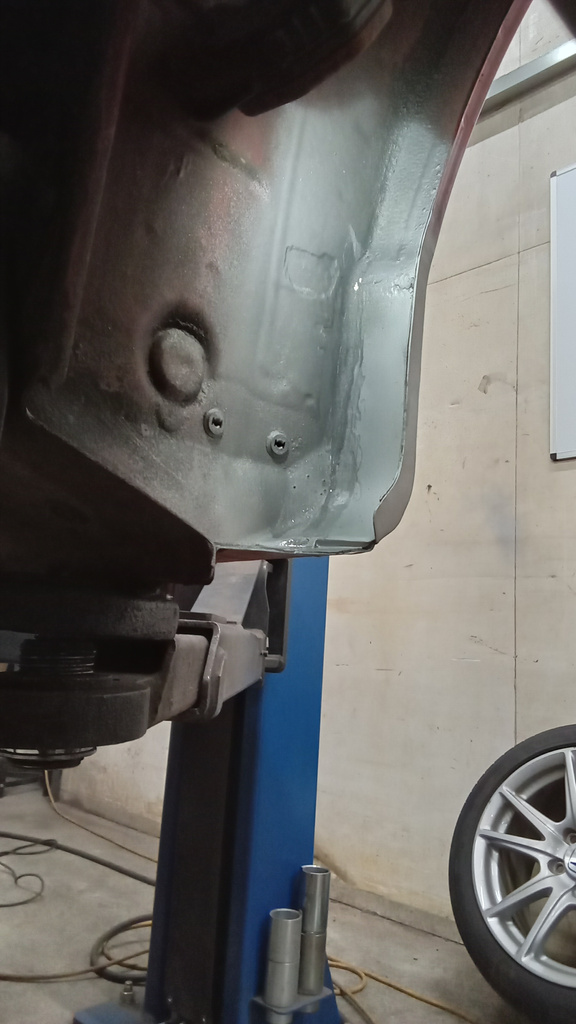
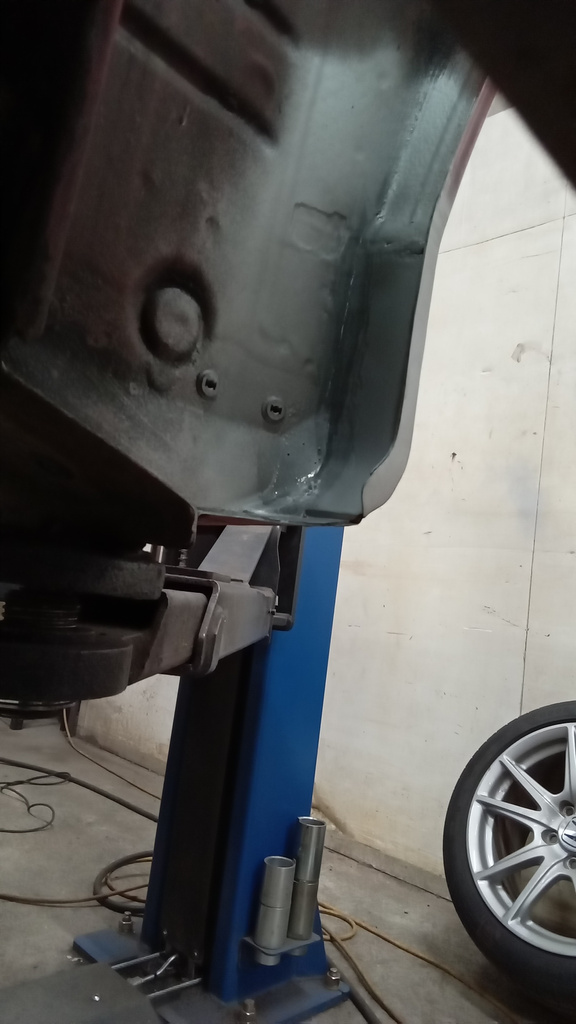
Monty has started on the corrosion repairs on our S2000 this week. As you can see, the rear inner arch requires some fabrication and welding
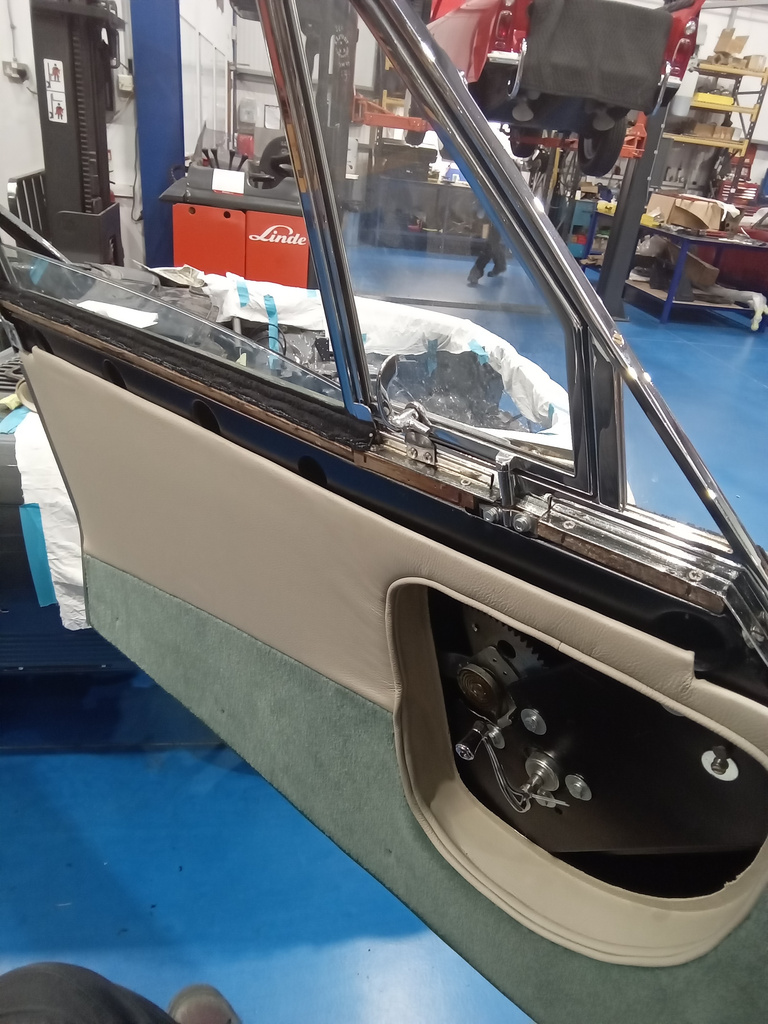
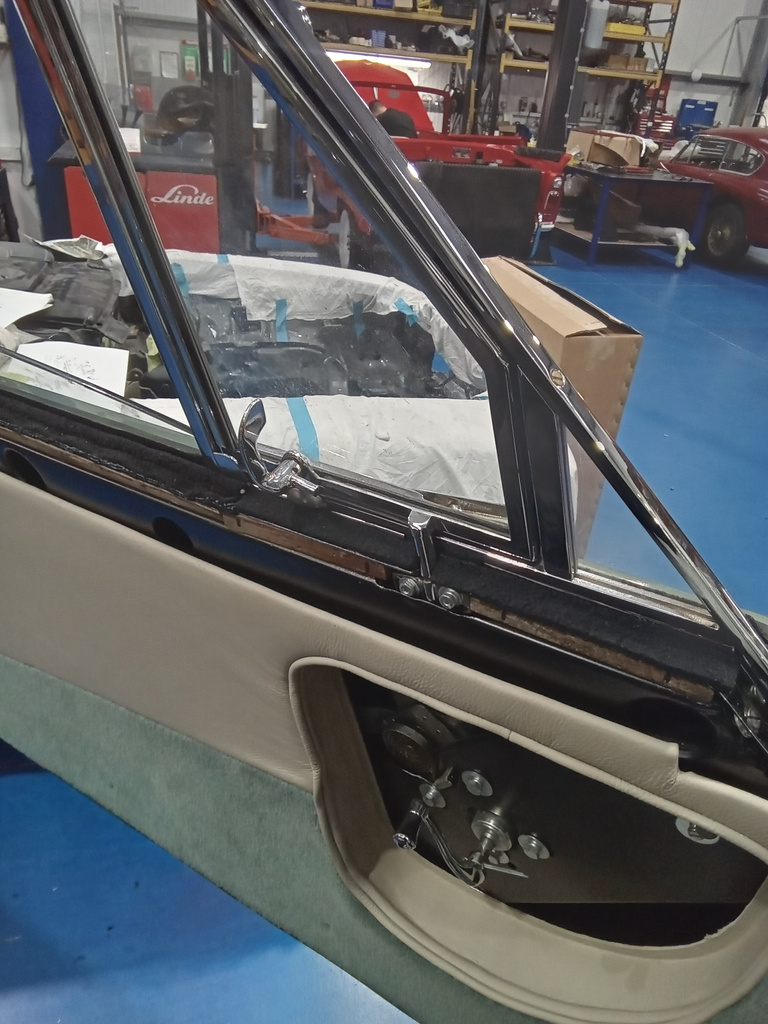
Brian has fitted weather strips to the top of the doors, adjusting the ends of the door cappings to let the doors close properly./ He
Our Christmas line up is being prepared as we speak. We have an amazing selection of competitions coming up between now and Christmas. Something for

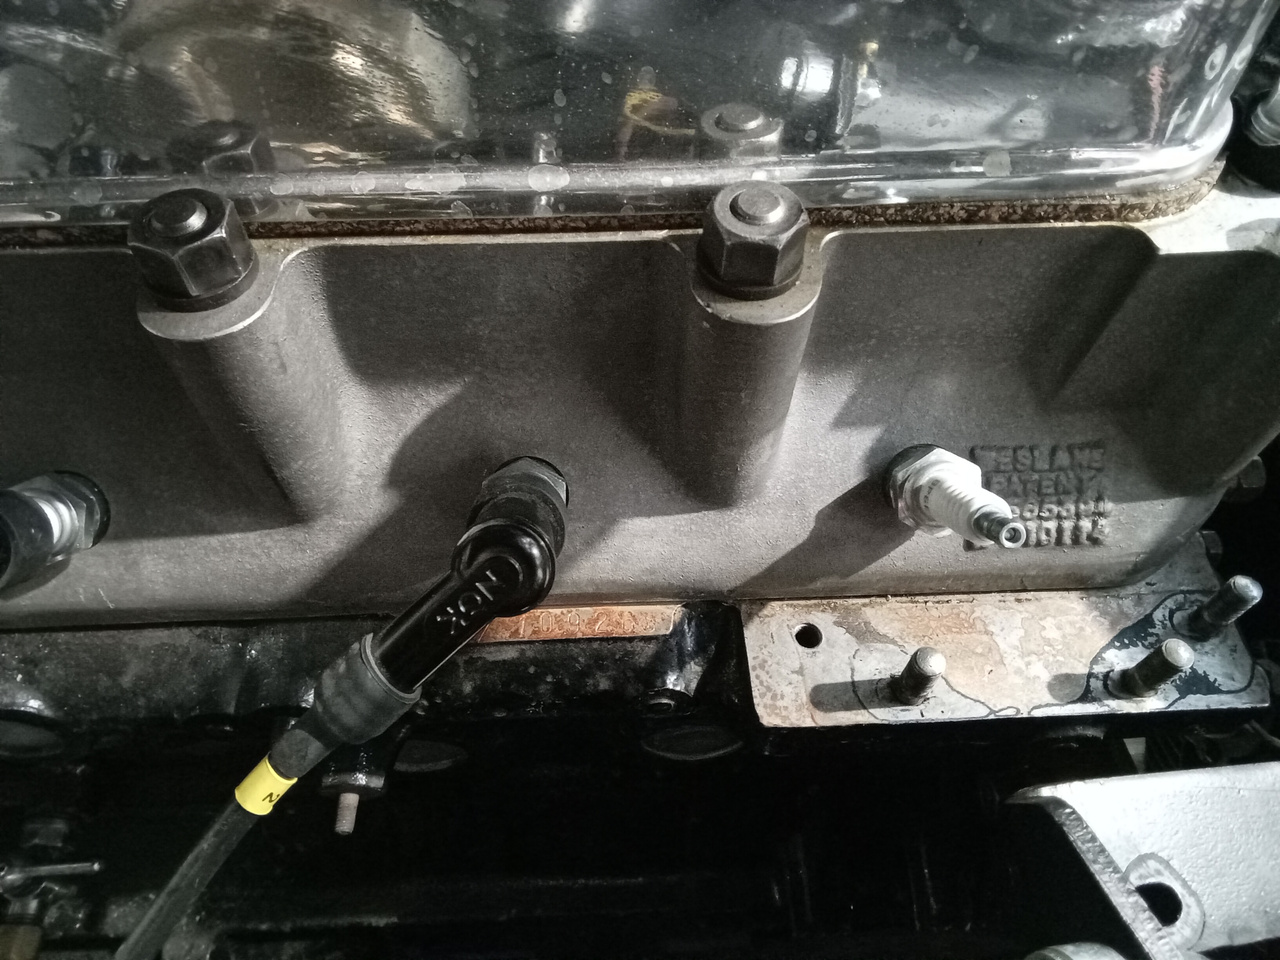
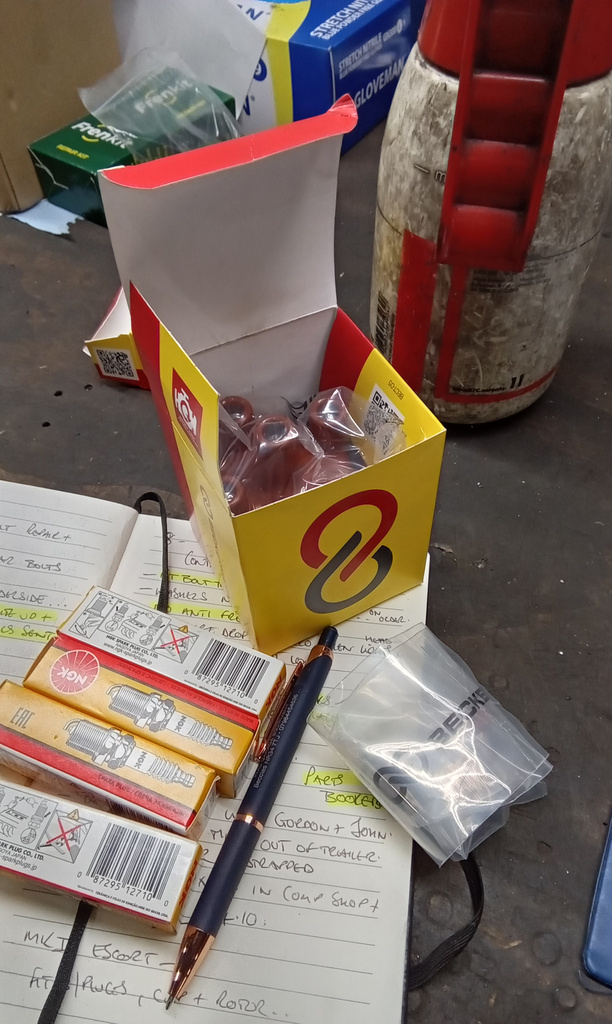
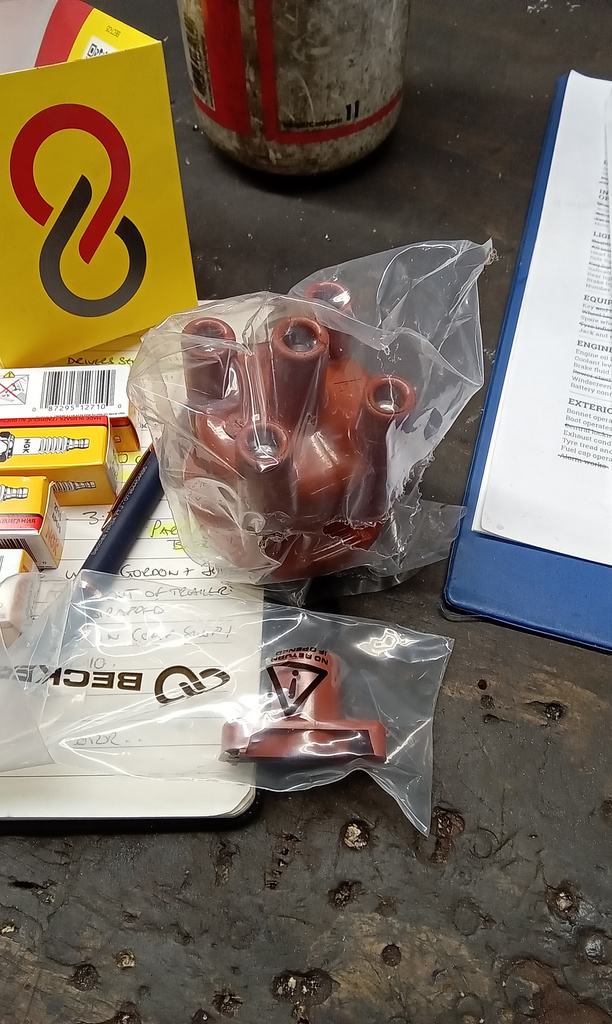
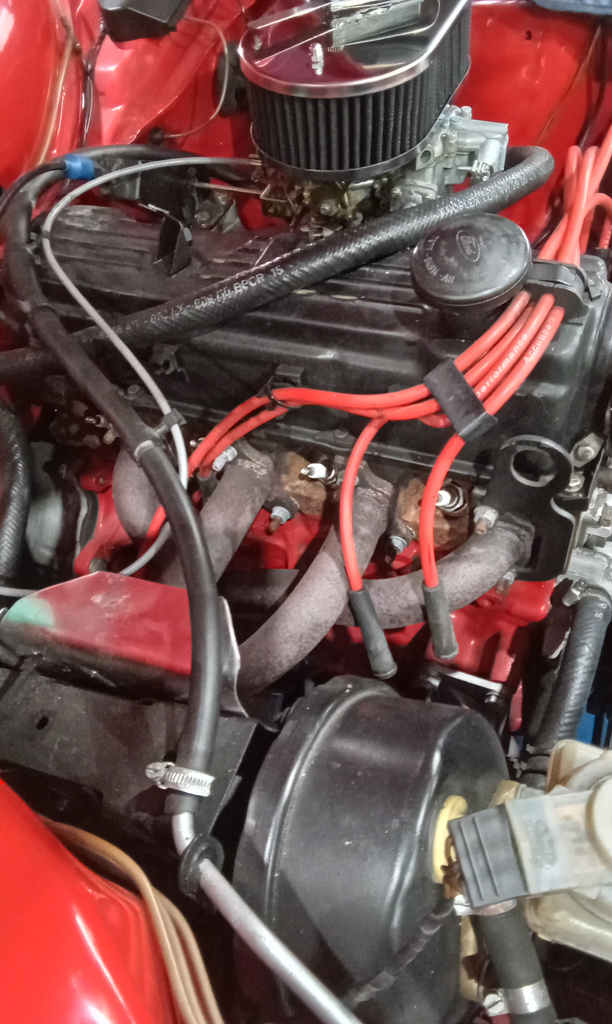
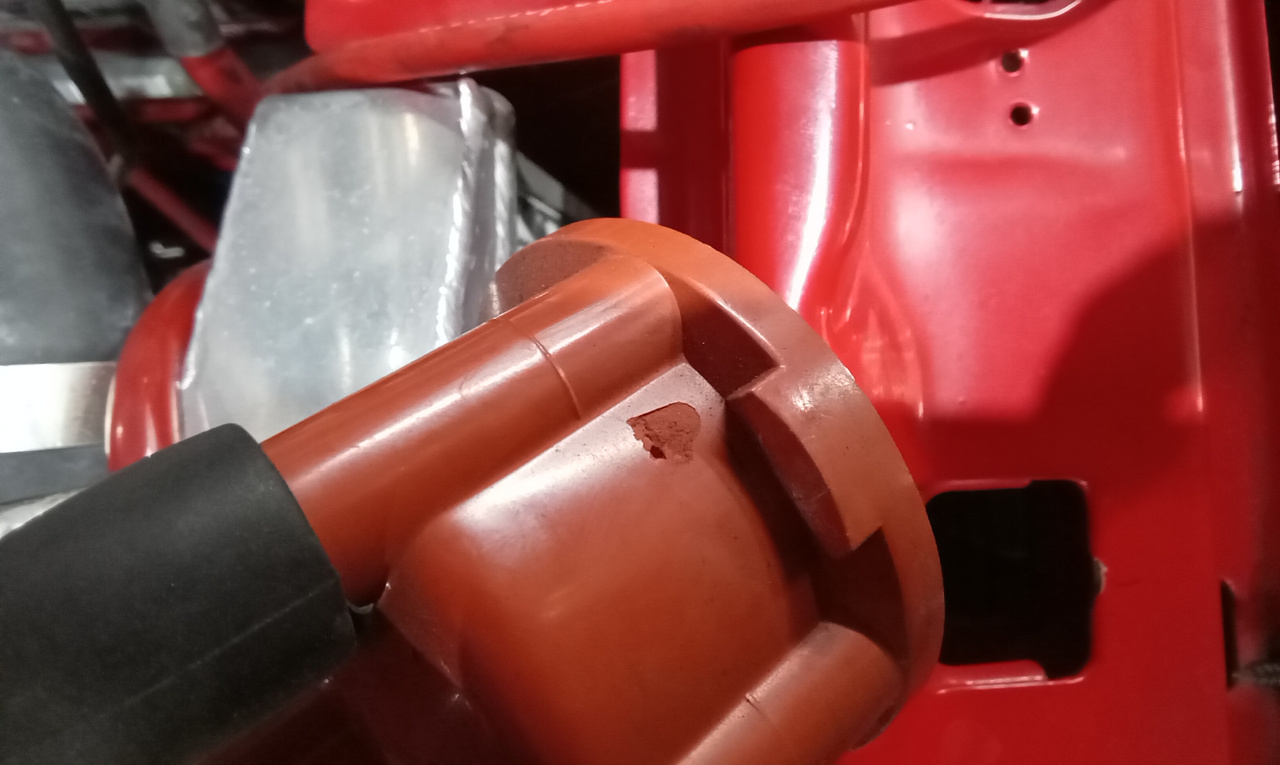
Fitted new distributor cap and rotor arm. Gap and fit new spark plugs, run and test briefly, all ok. Ready for full road test and
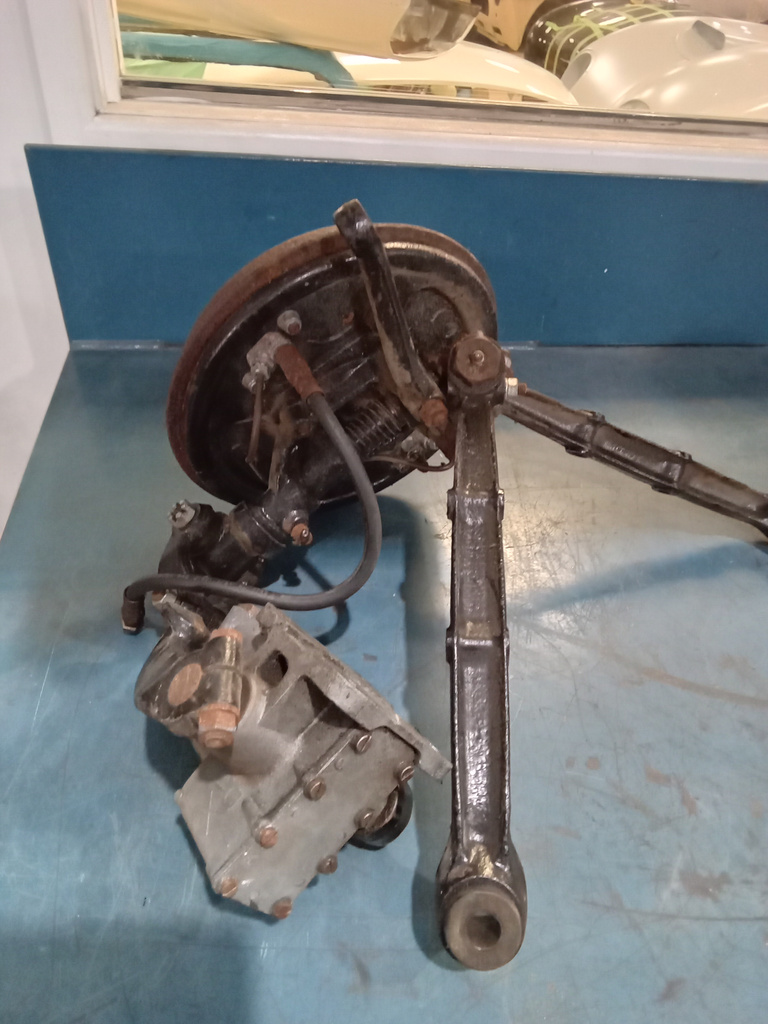
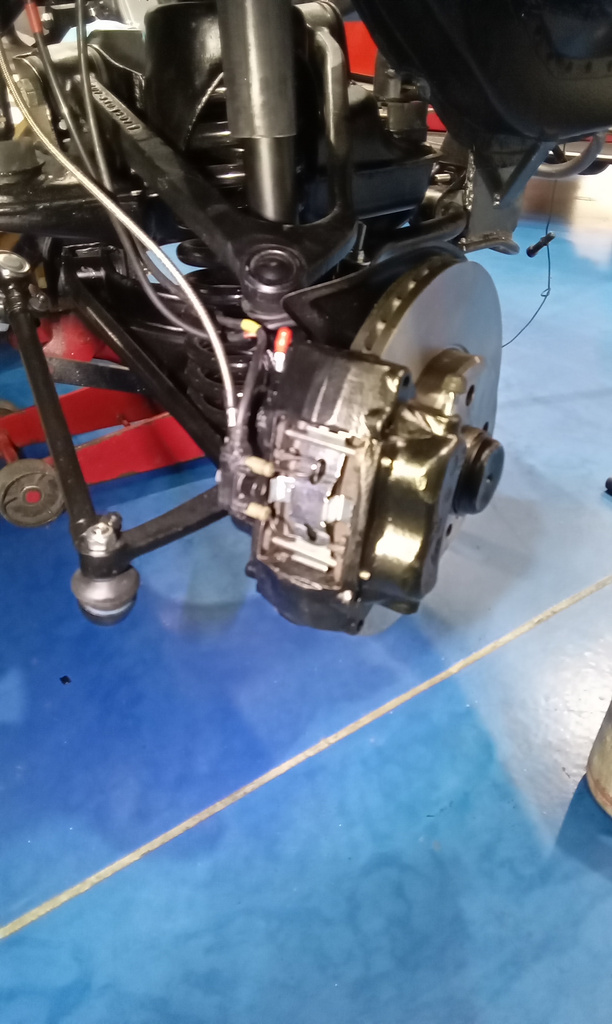
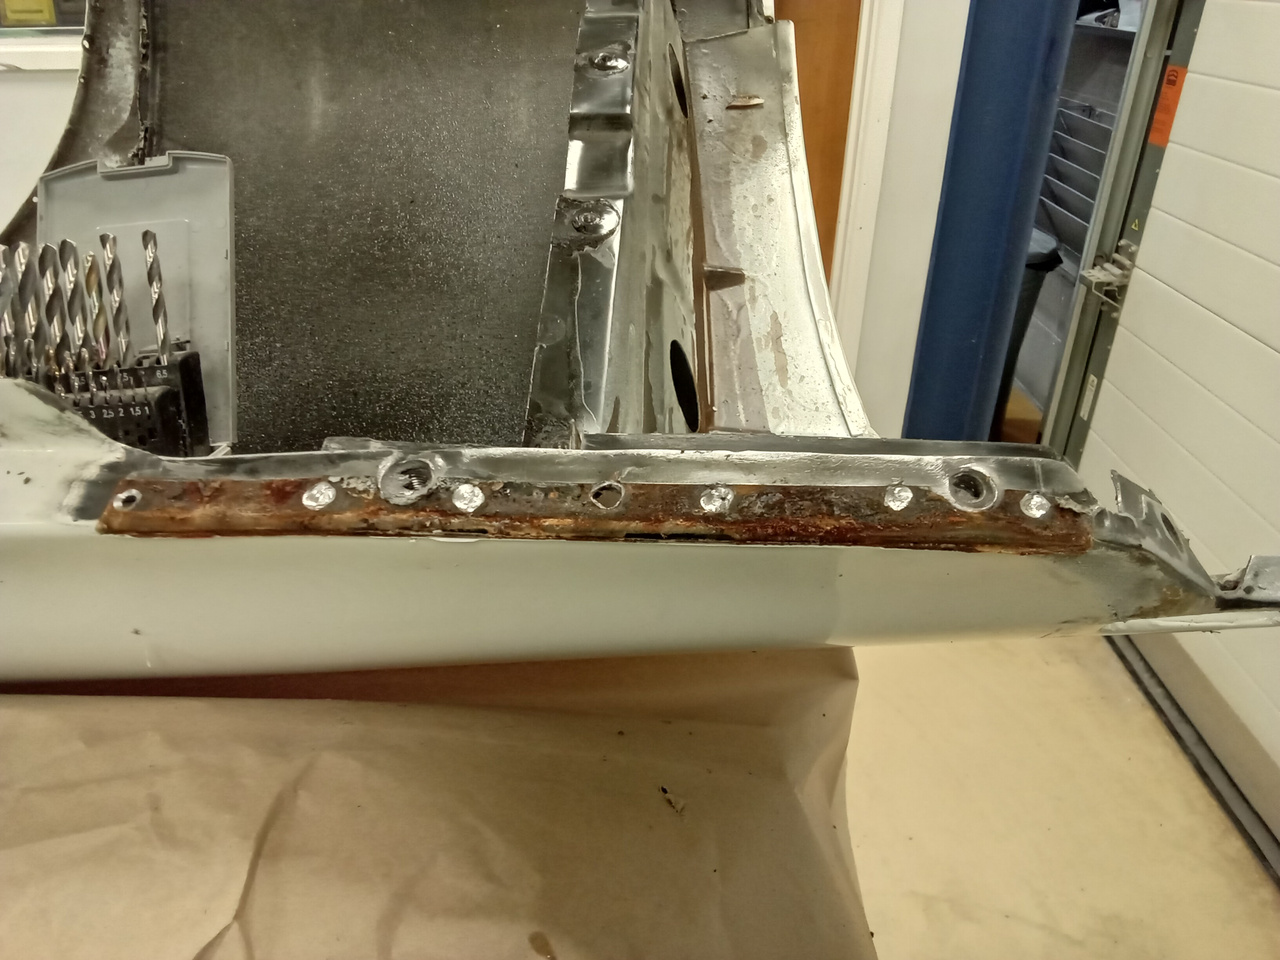
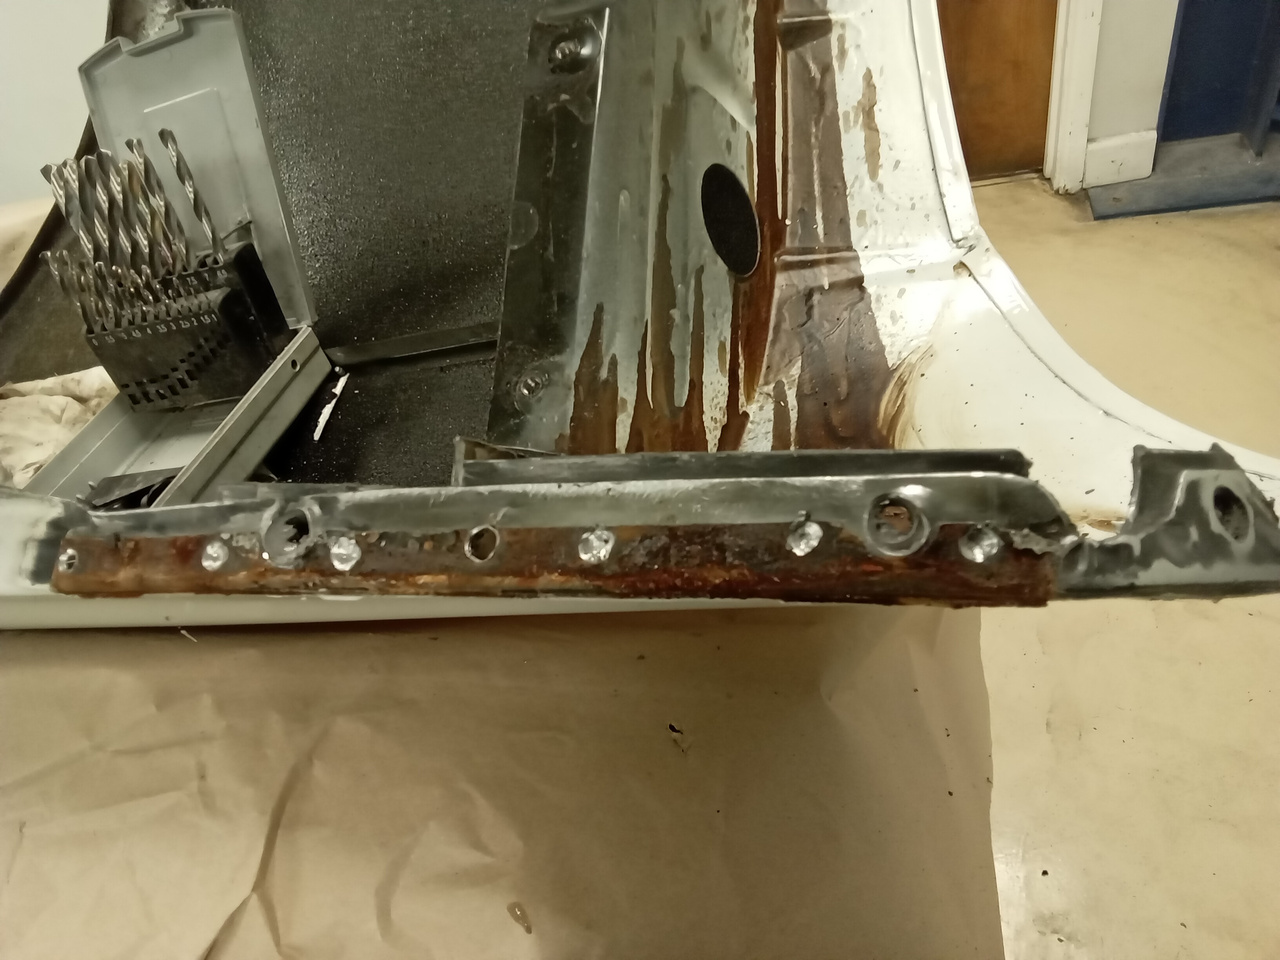
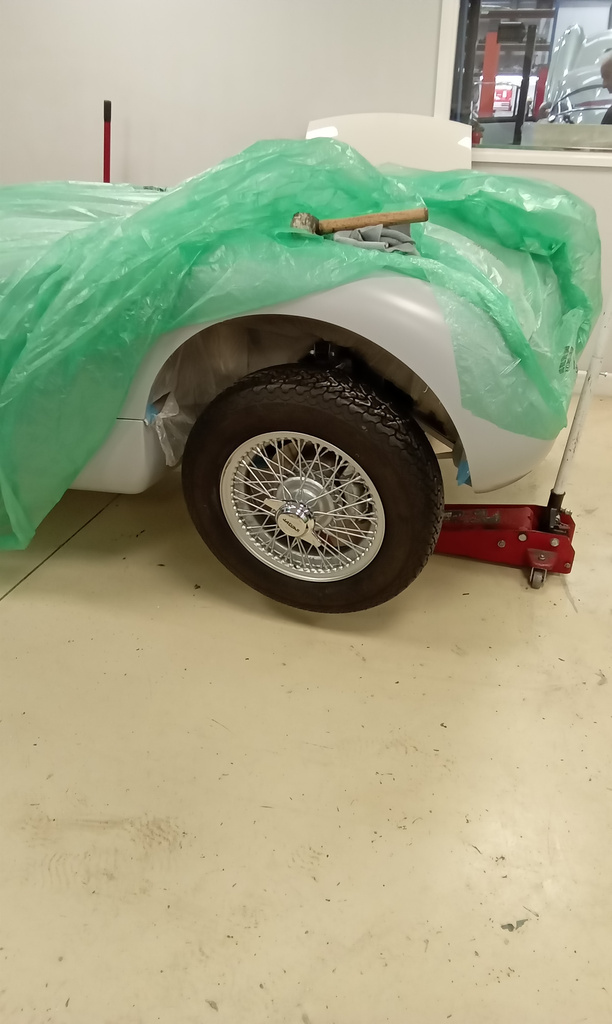
Terry is already getting his teeth stuck into things here at Bridge Classic Cars. He is busy stripping down the front suspension of our Austin
The bumper of our Ford Transit Tipper MKII is all painted and now finished in a satin clear. The rear suspension springs have also been

Jon is currently carrying out the pre delivery inspection on our 1958 Austin Healey 100-6. He has secured both front seat bases as the bolts
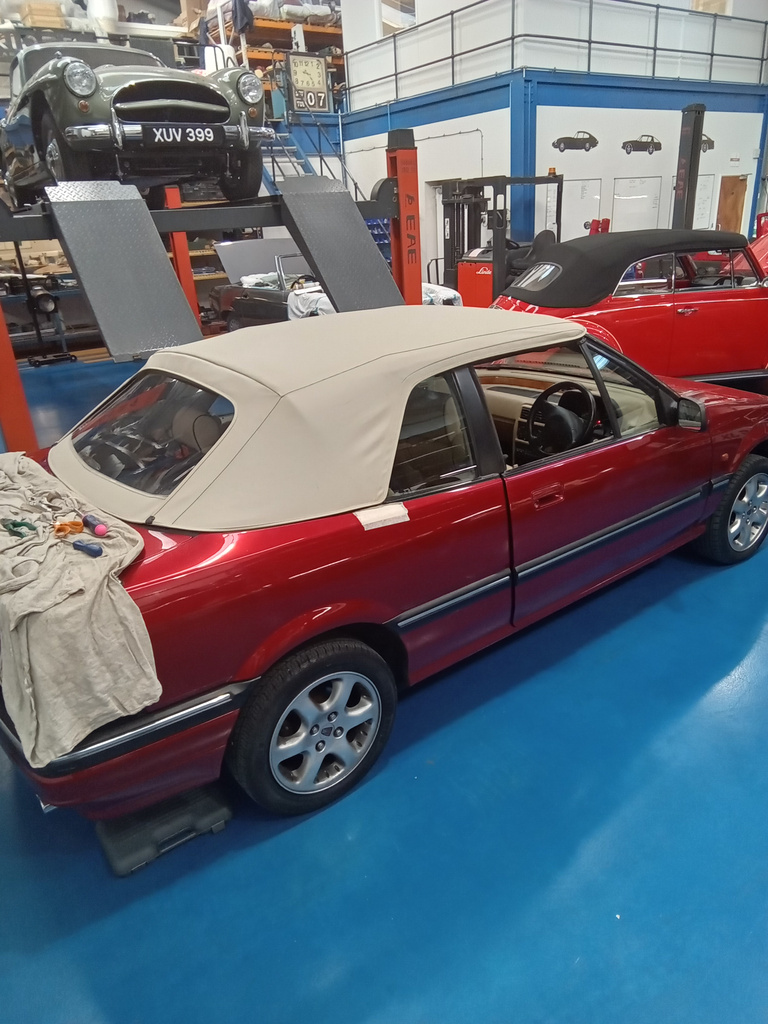
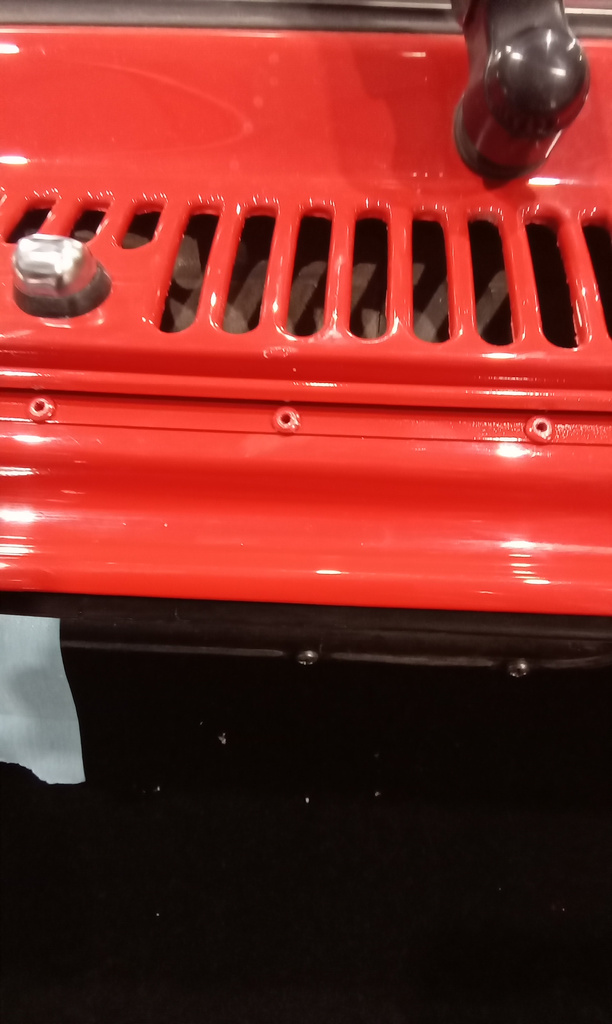
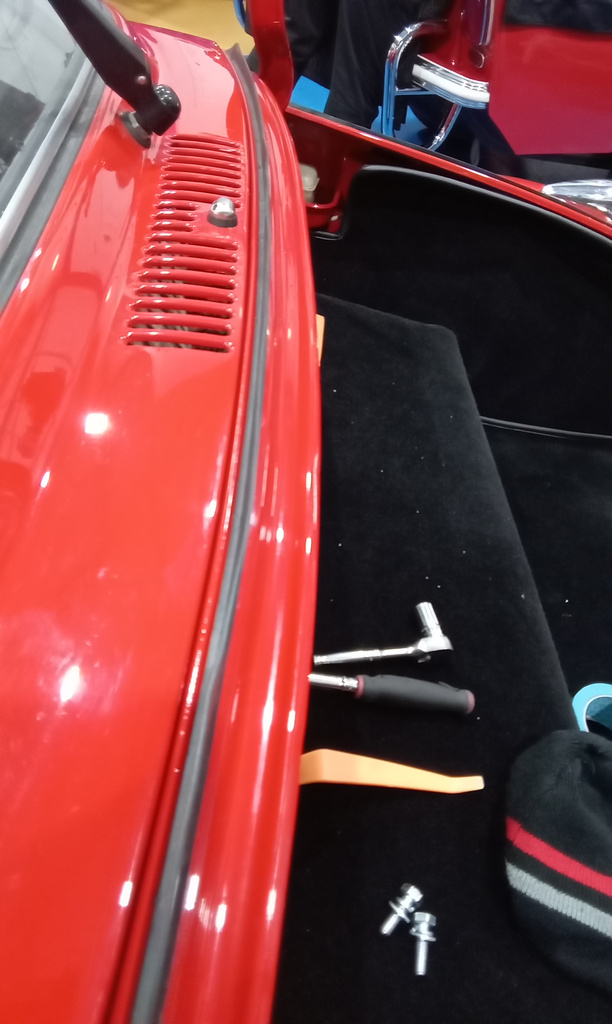
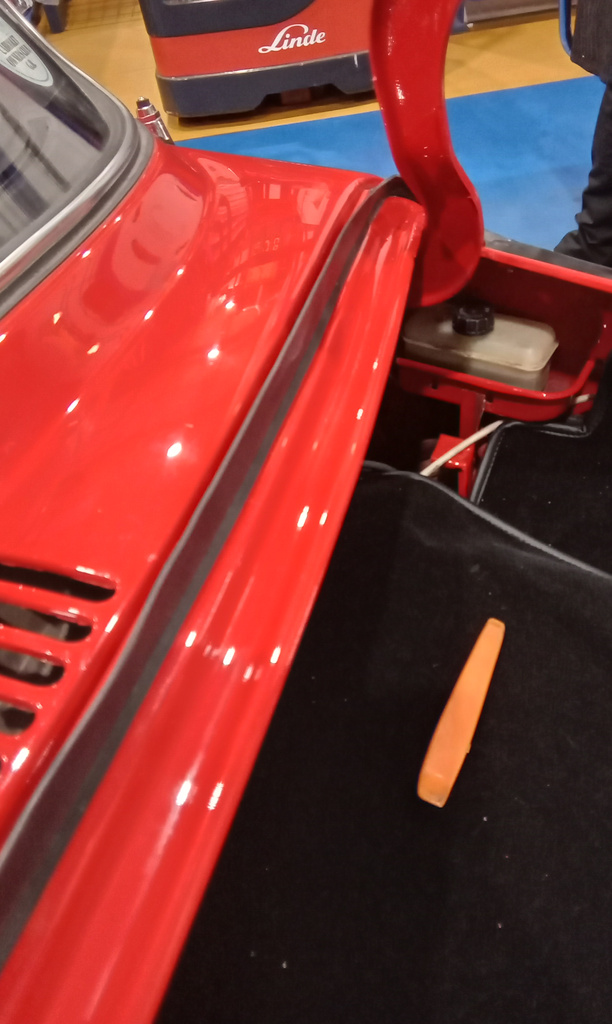
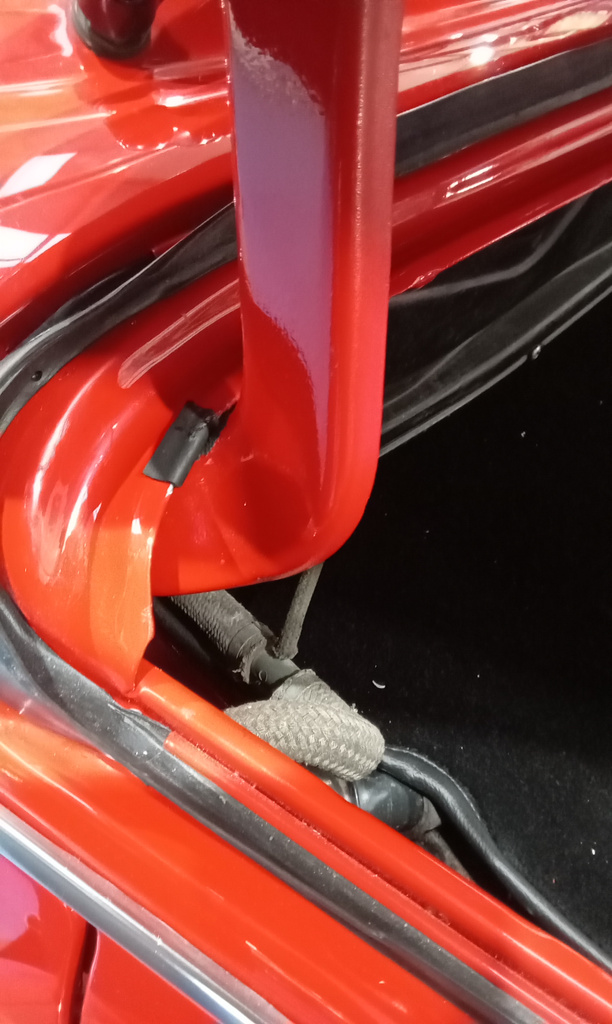
We are so so close now with our Volkswagen Beetle completion. Jon has attended to the bonnet seal at the bulkhead. Align and cut to

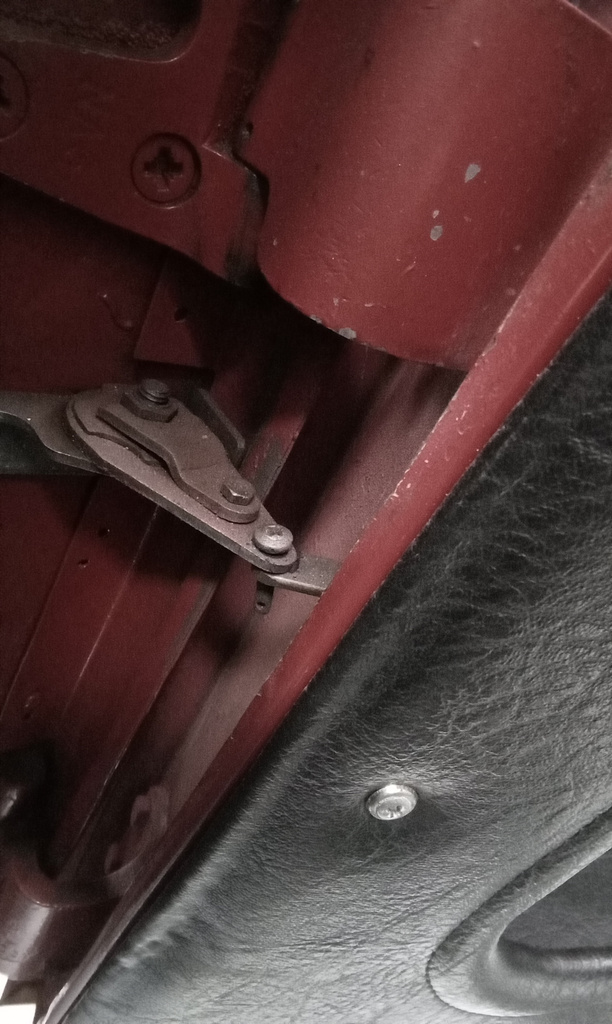
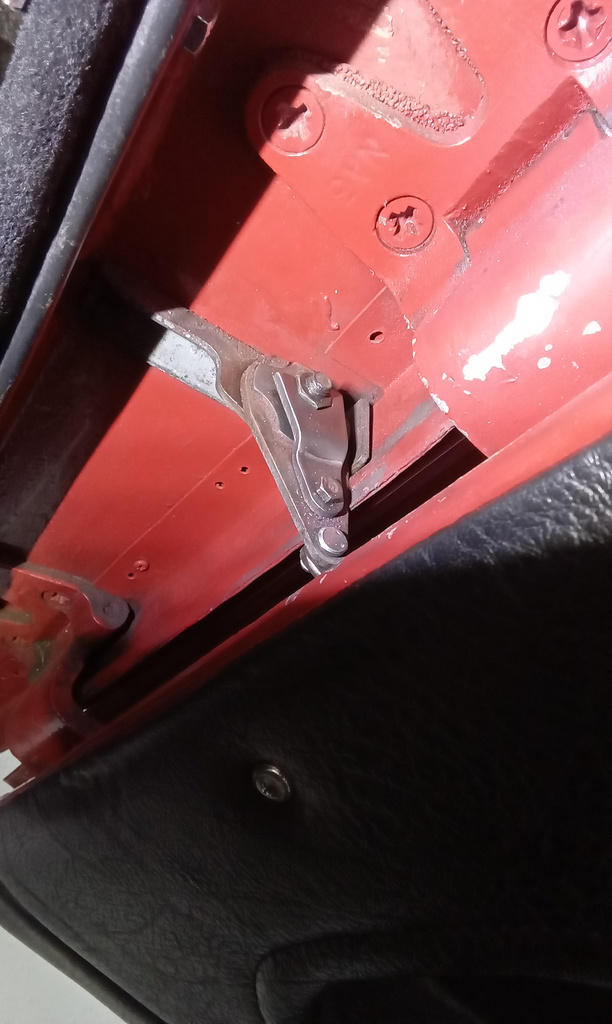
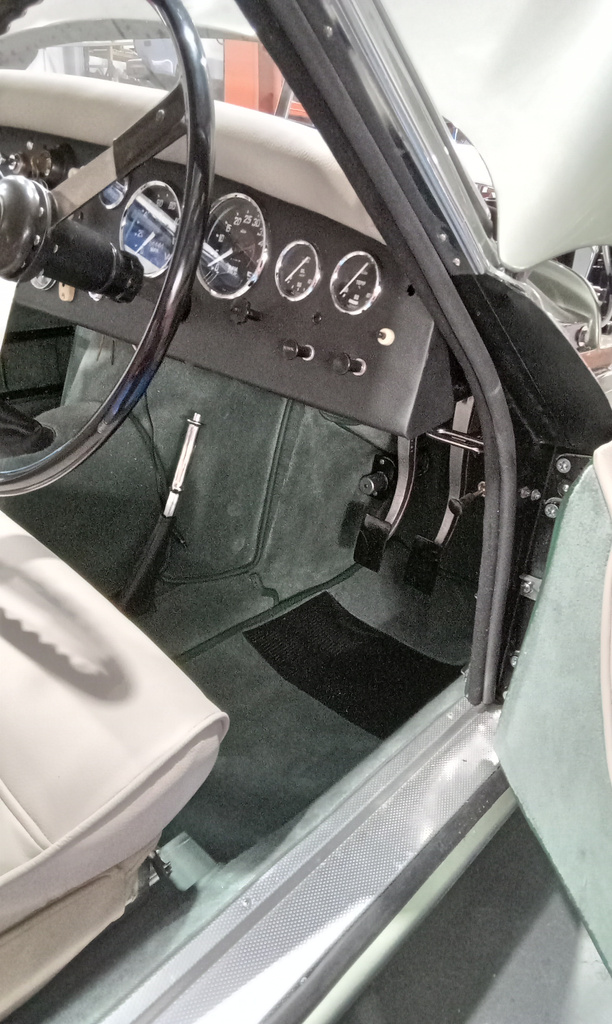
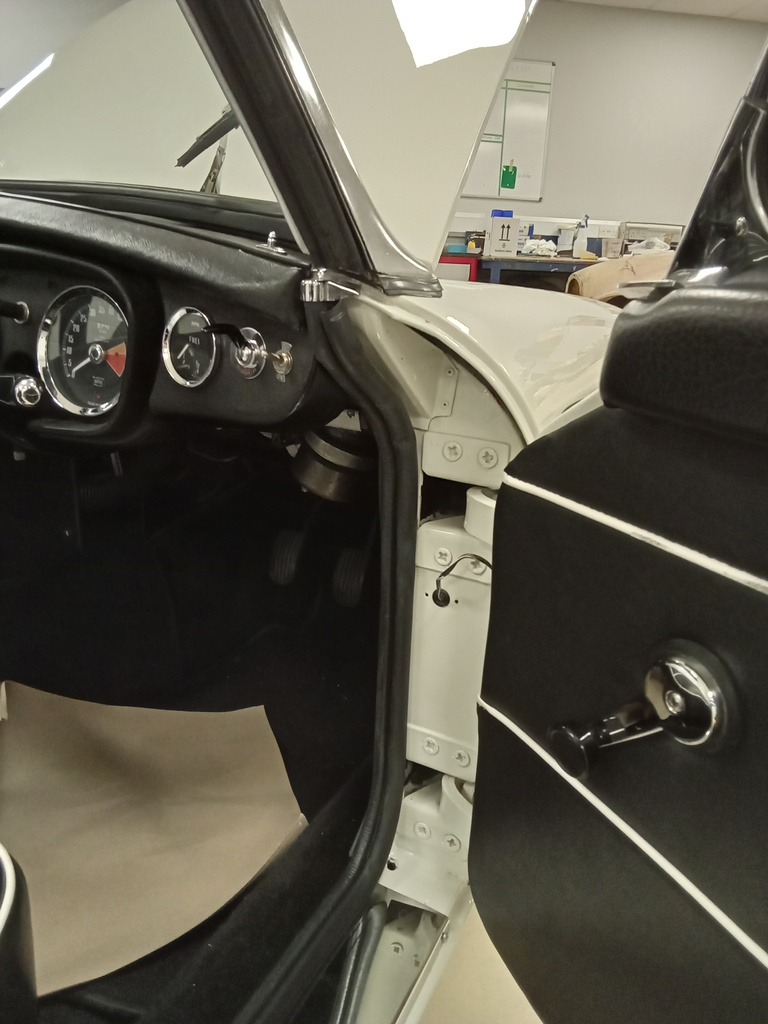
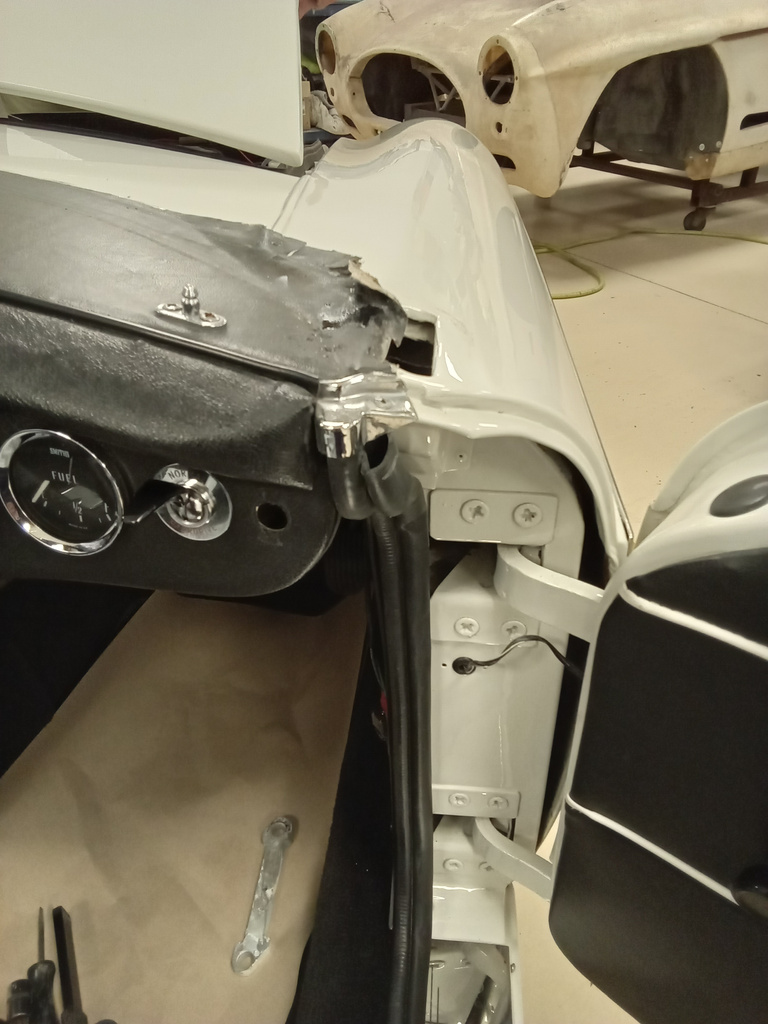
More progress fitting the doors and locks, bonnet catches and lock covers, final assembly of the dashboard and controls including cables. The front and rear
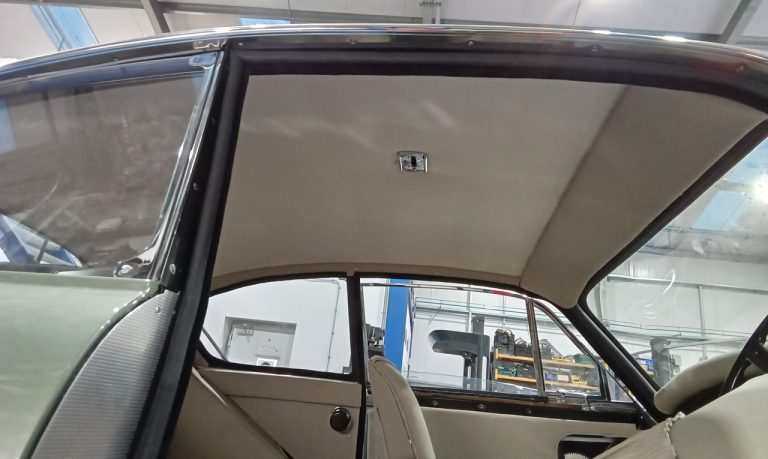
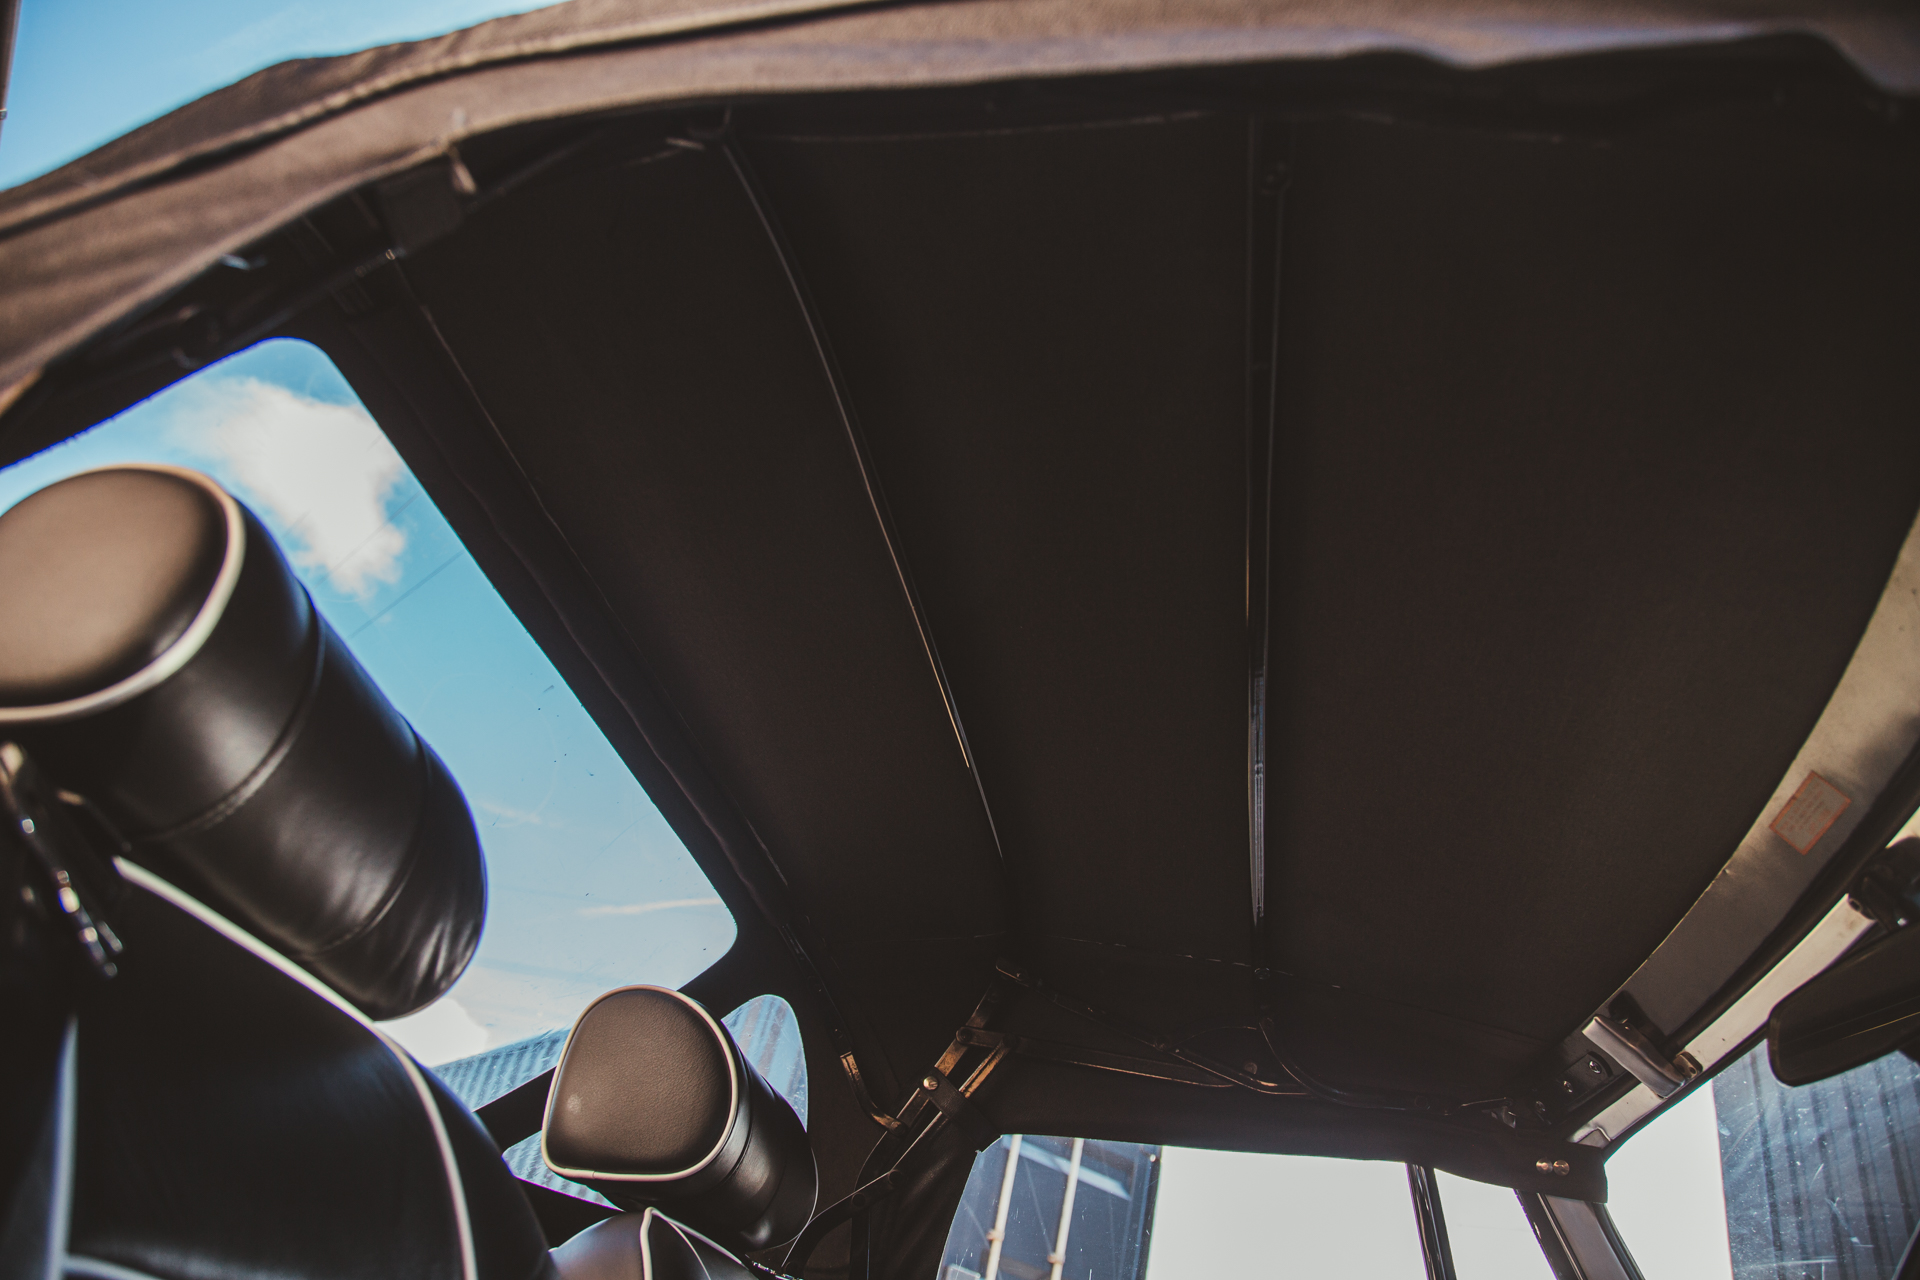
Brian has glued the flaps around the rear side window area of the frame, fitting rubber seals, fitting rear of headliner to the parcel tray.

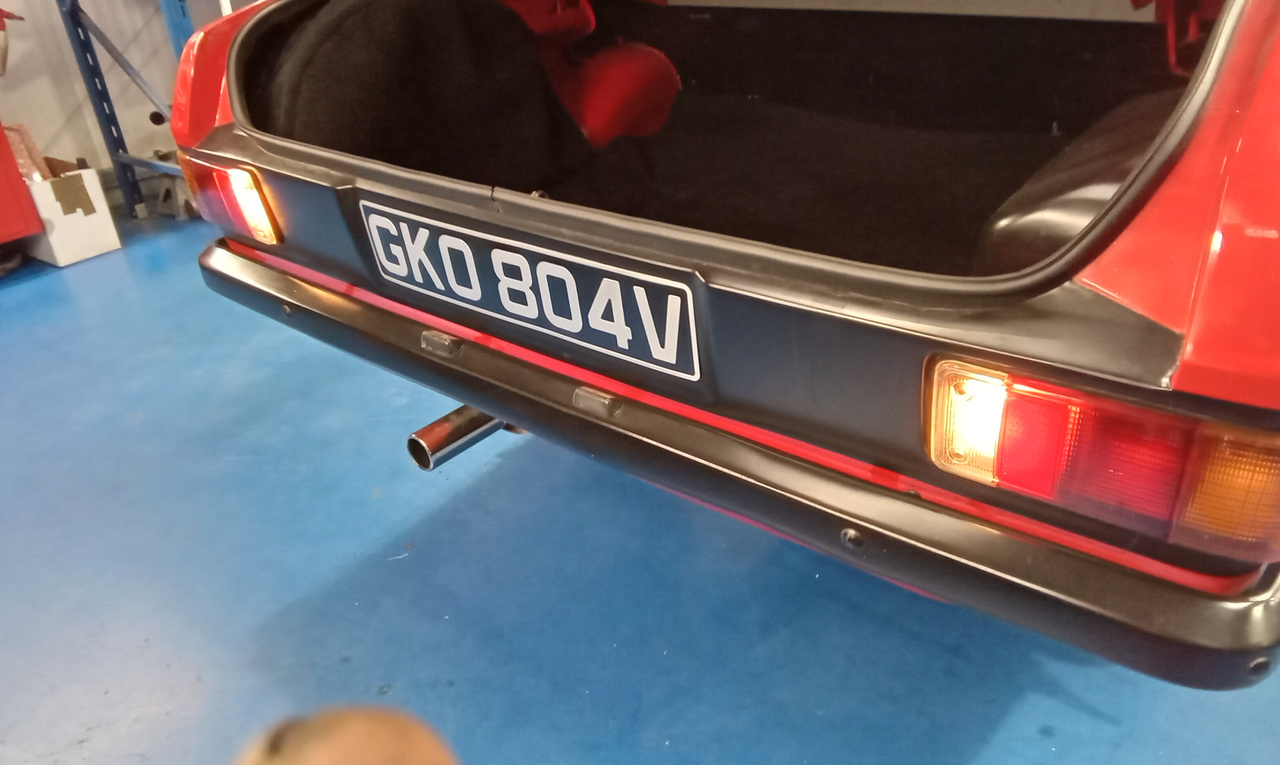
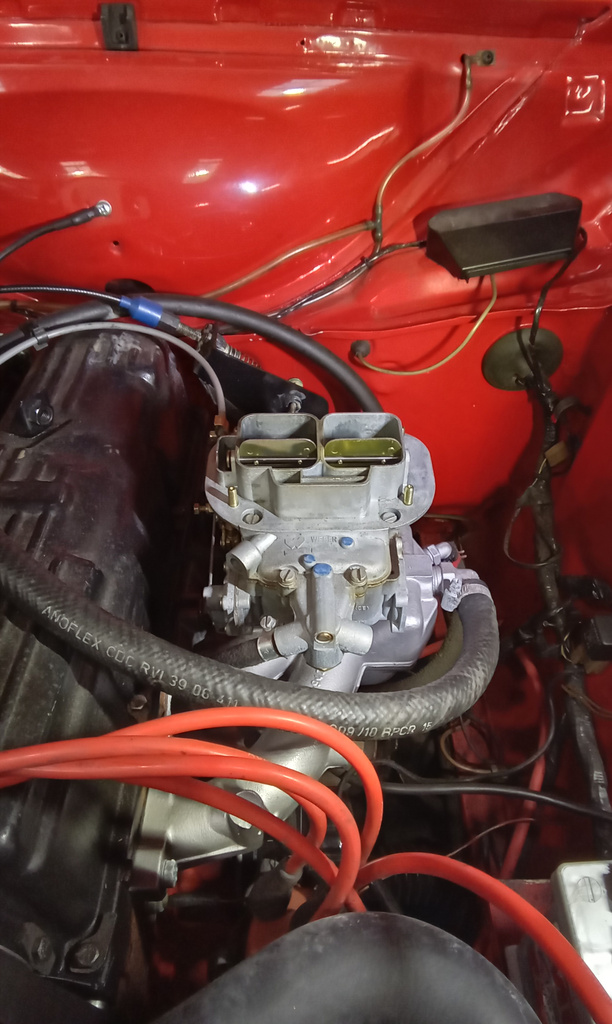
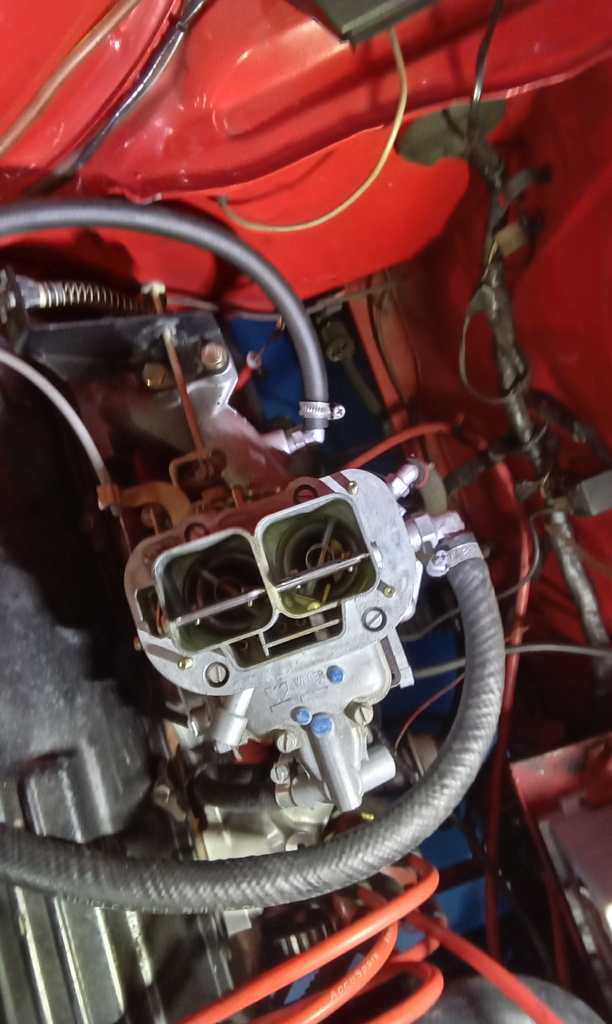
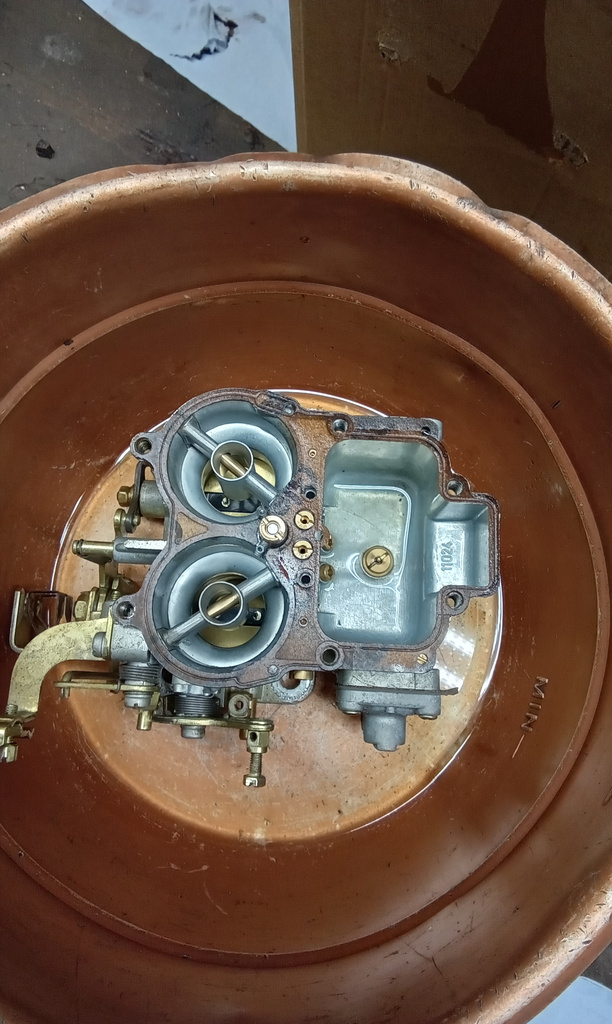
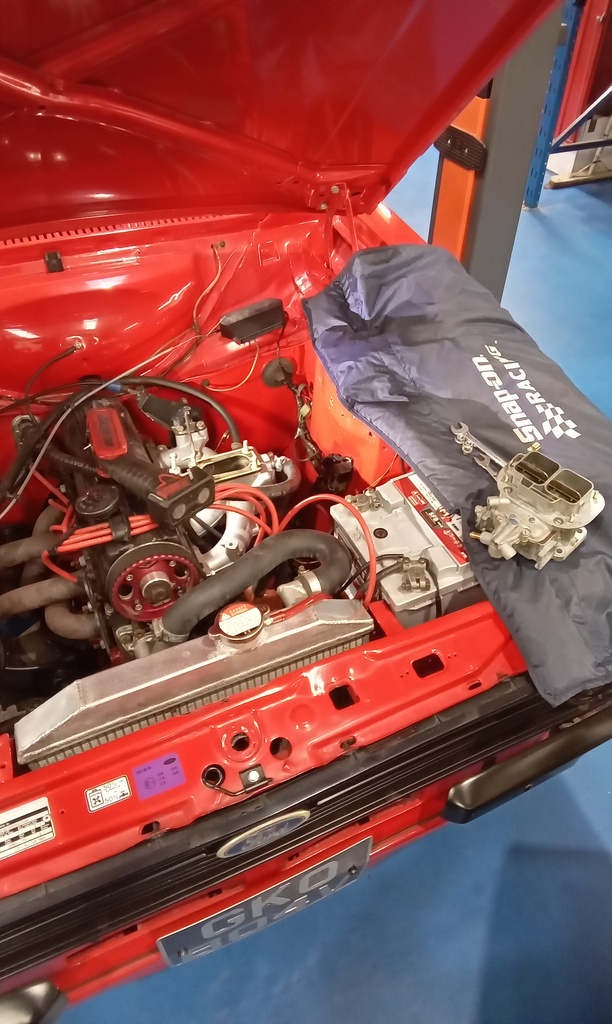
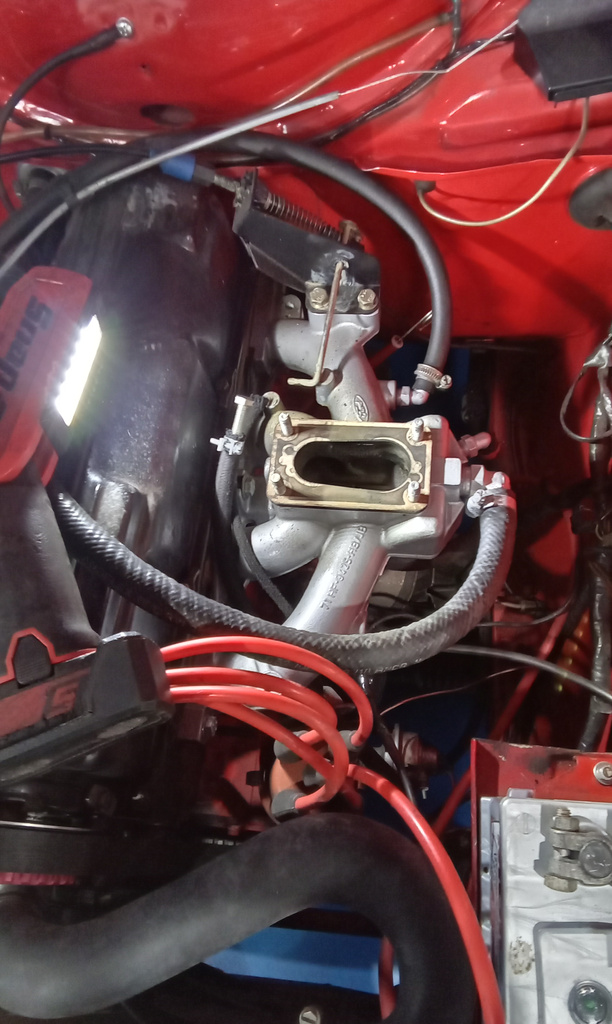
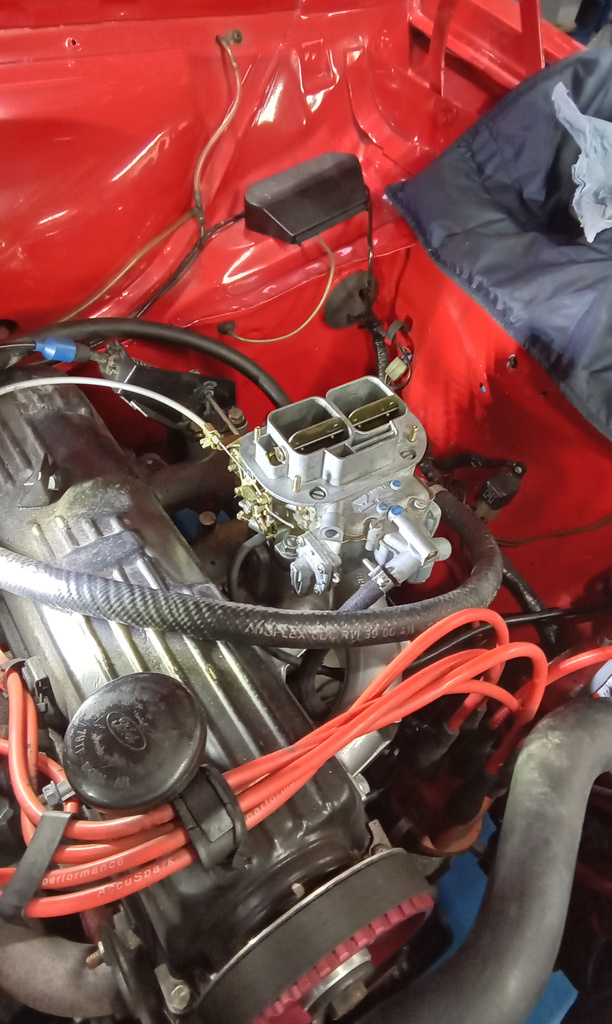
Jon is preparing the Escort for next week’s competition draw. He has stripped and removed the carburettors. Stripped and checked that the jet sizes correspond
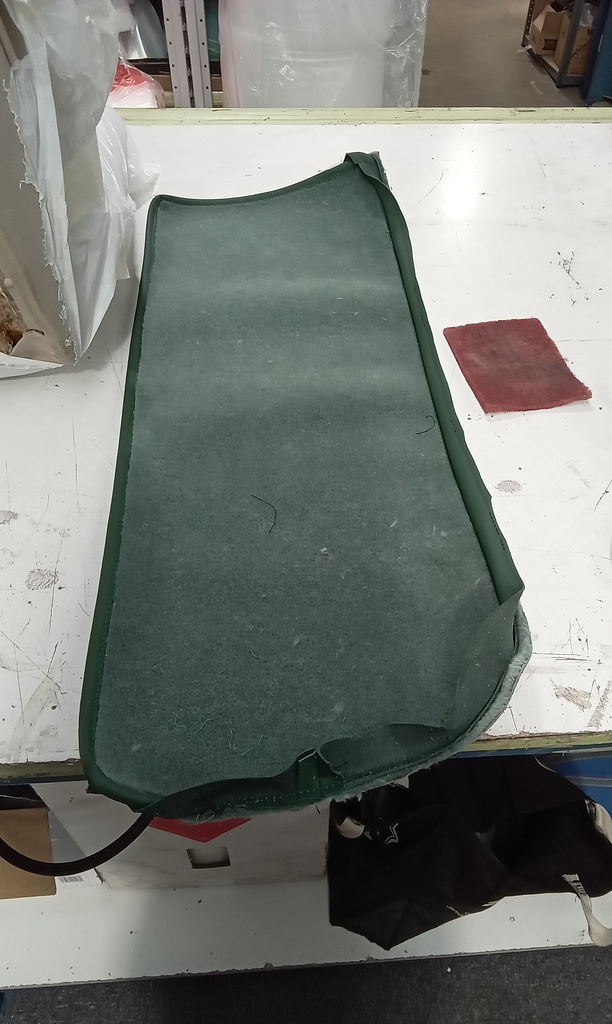
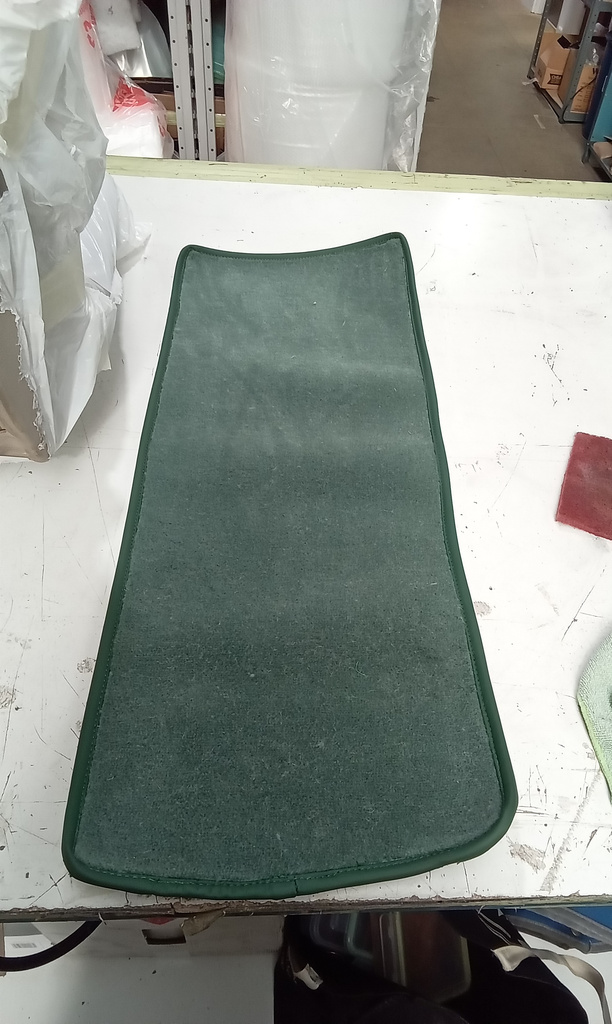
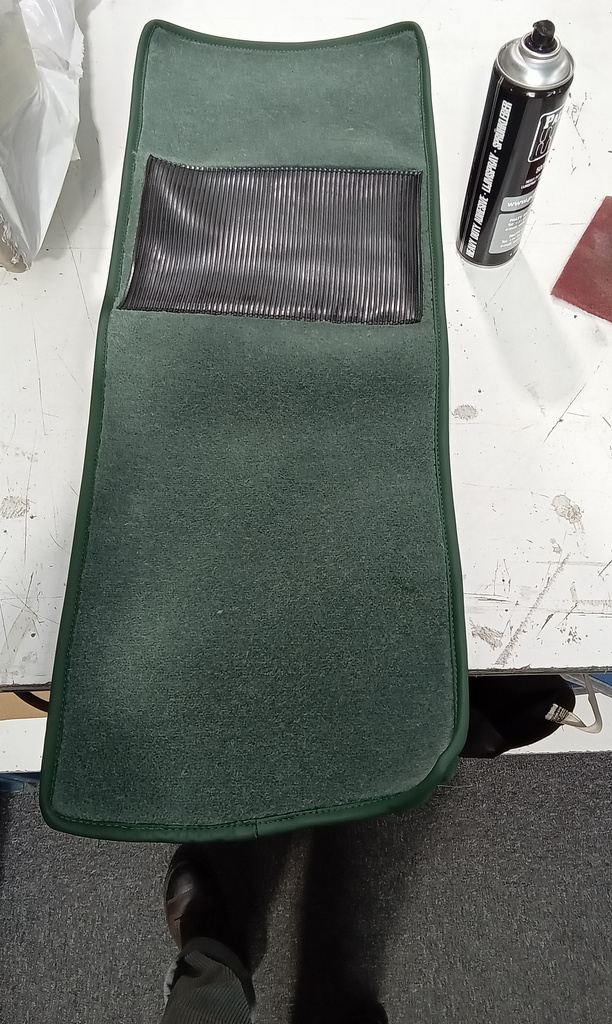
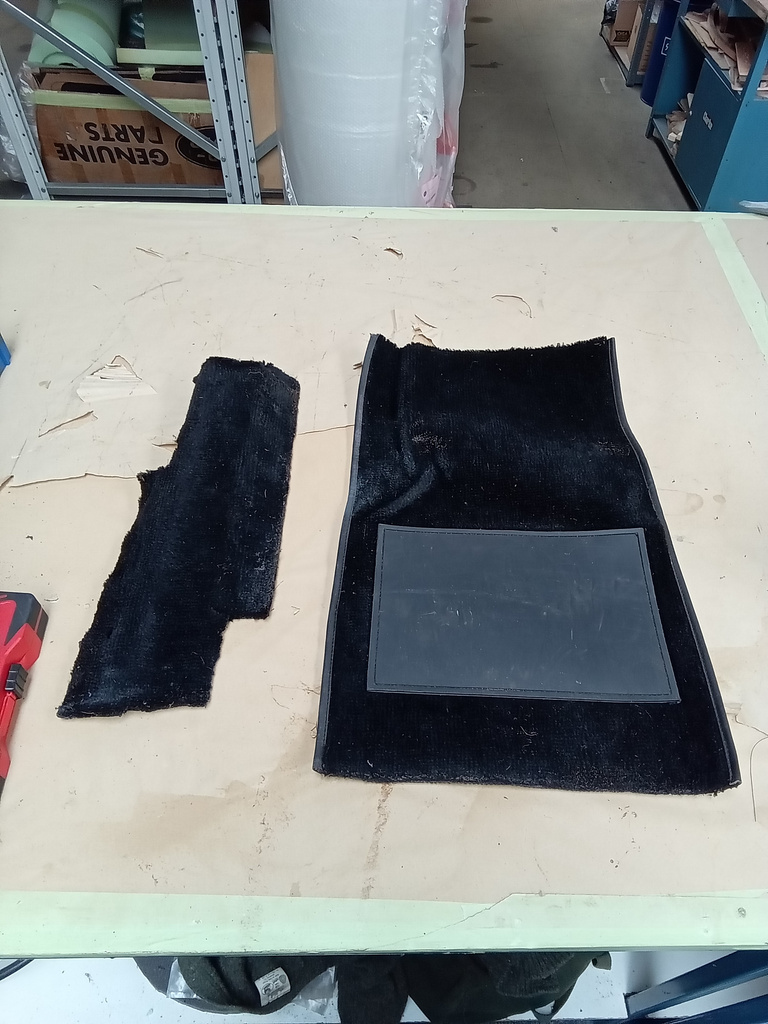
Some additional shaping was needed to the floor mats upon inspection. Lydia cut down the sides slightly and shaped the back edge. She added a
Steve has fitted new points and condenser to the Volvo as well as a new cambelt, tensioner pully and spring. Both near side and one

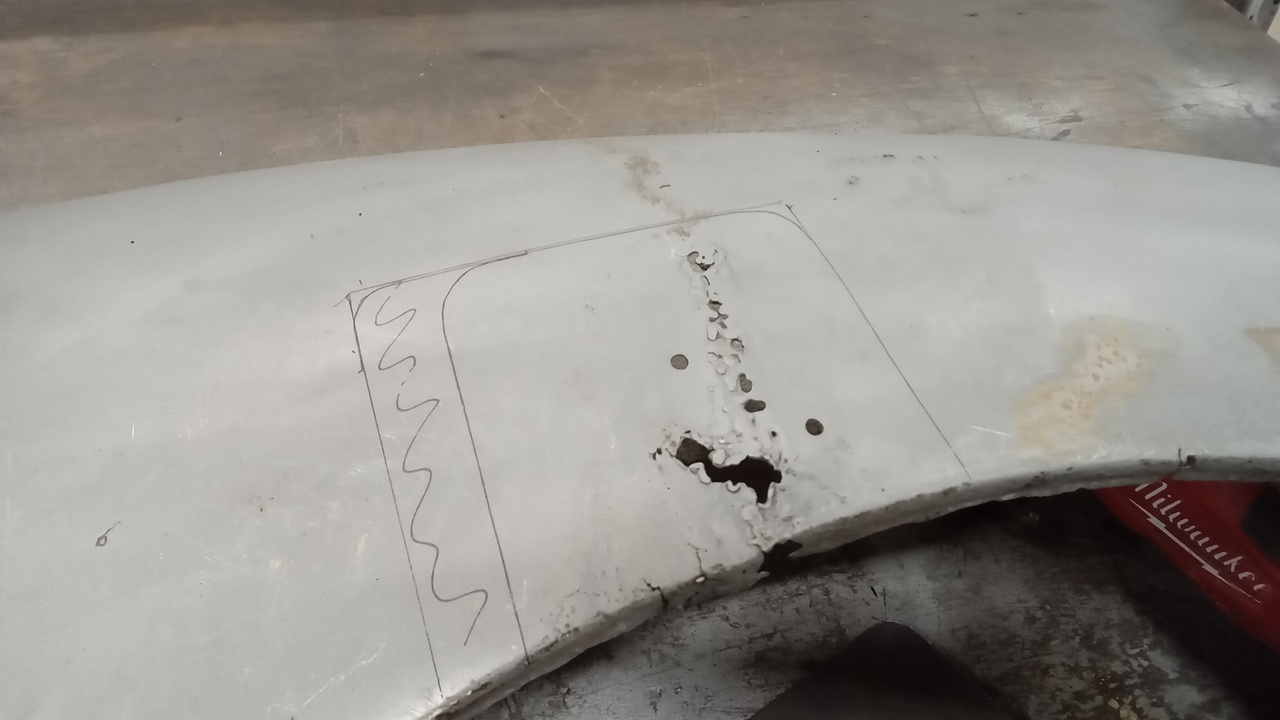
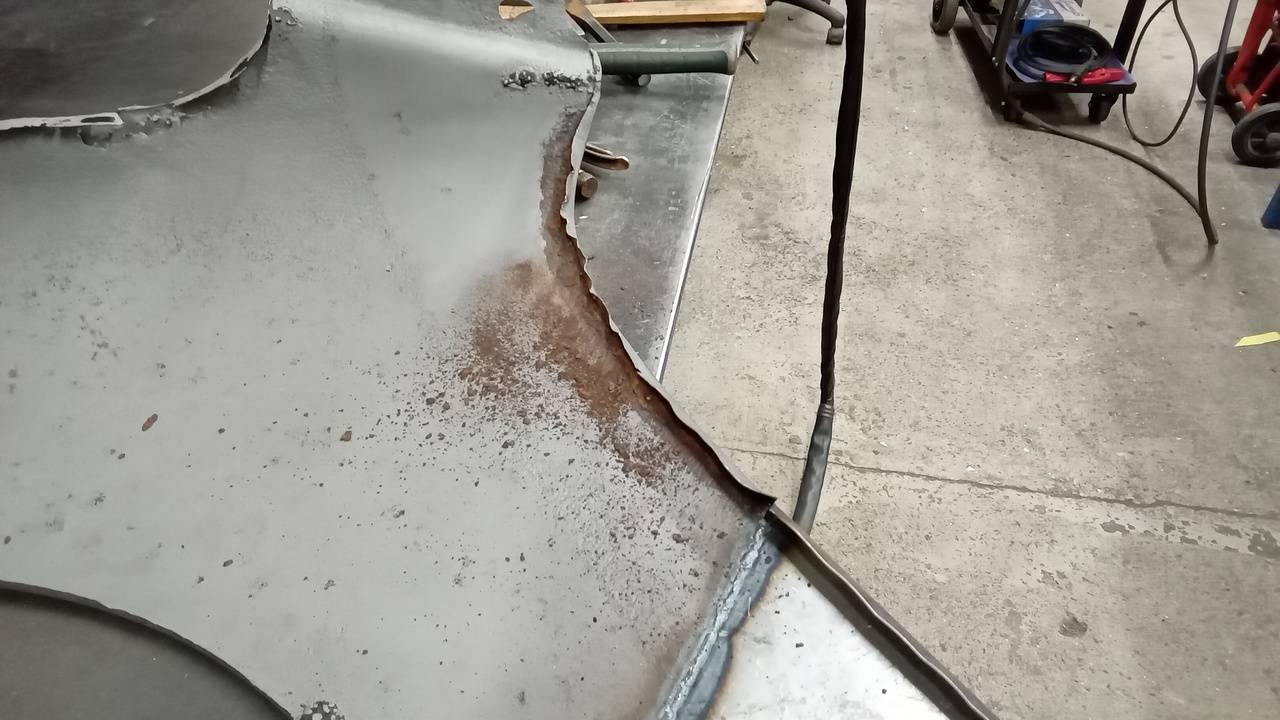
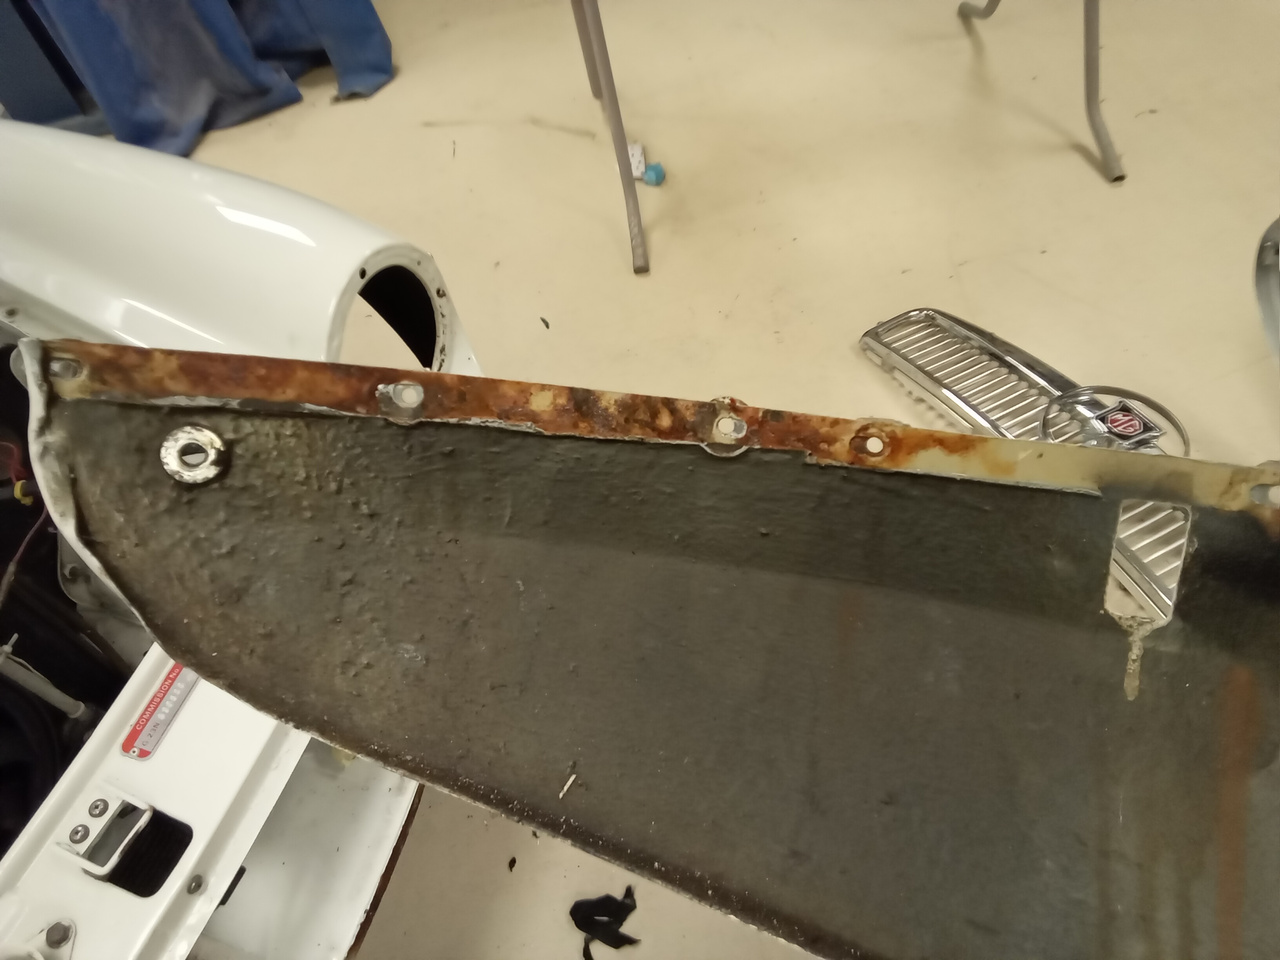
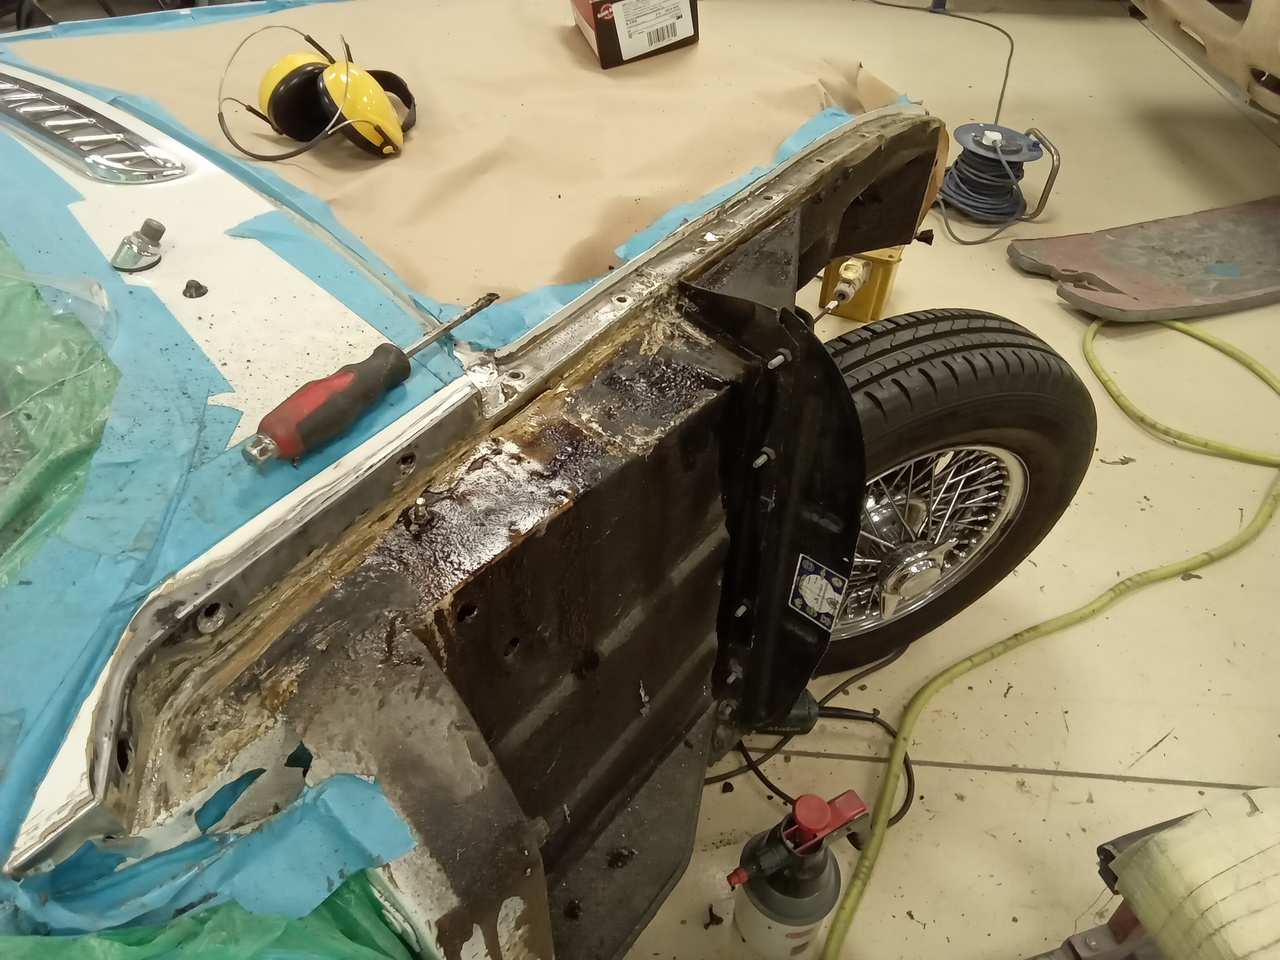
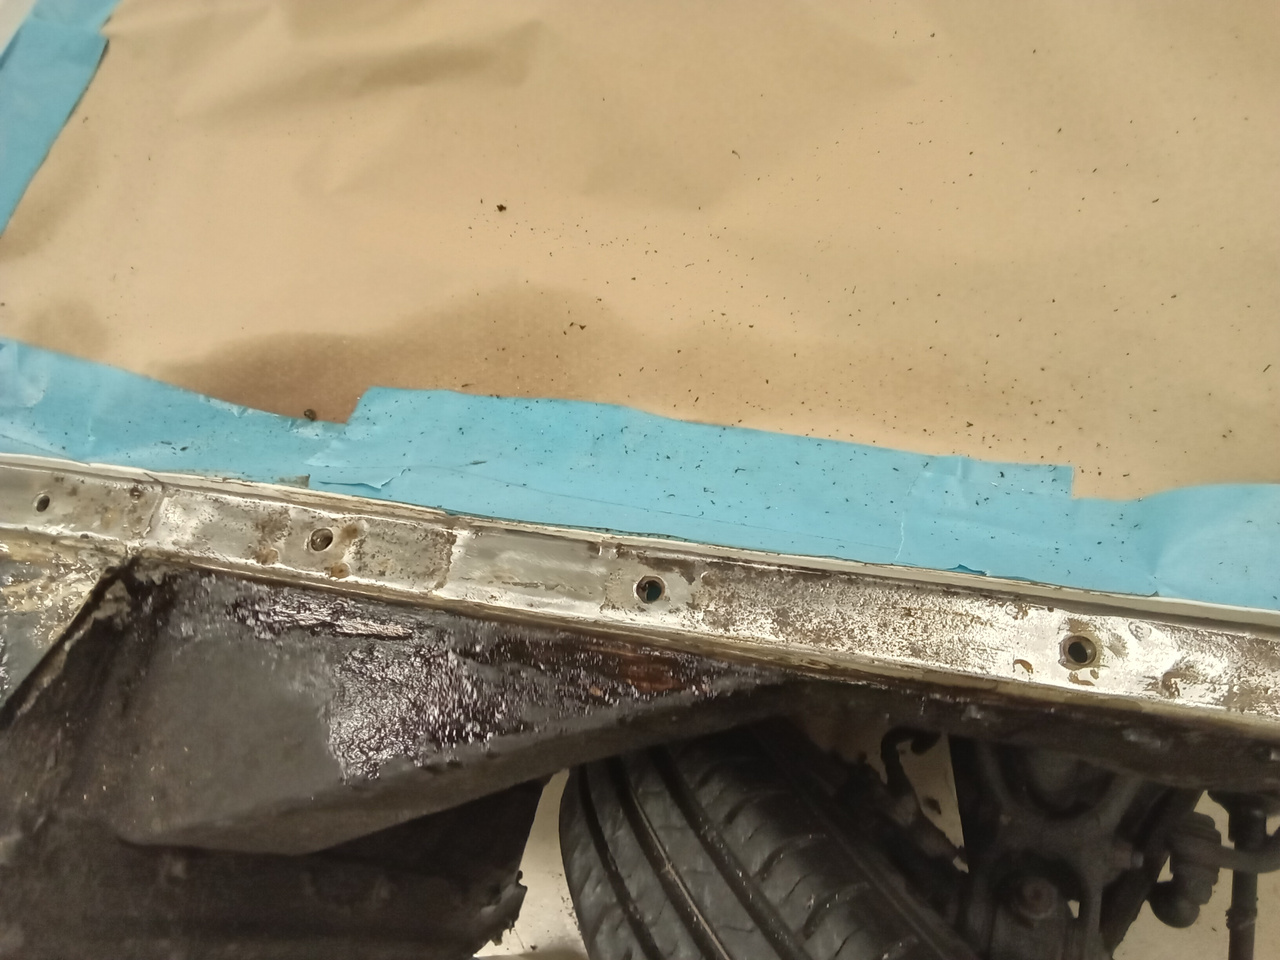
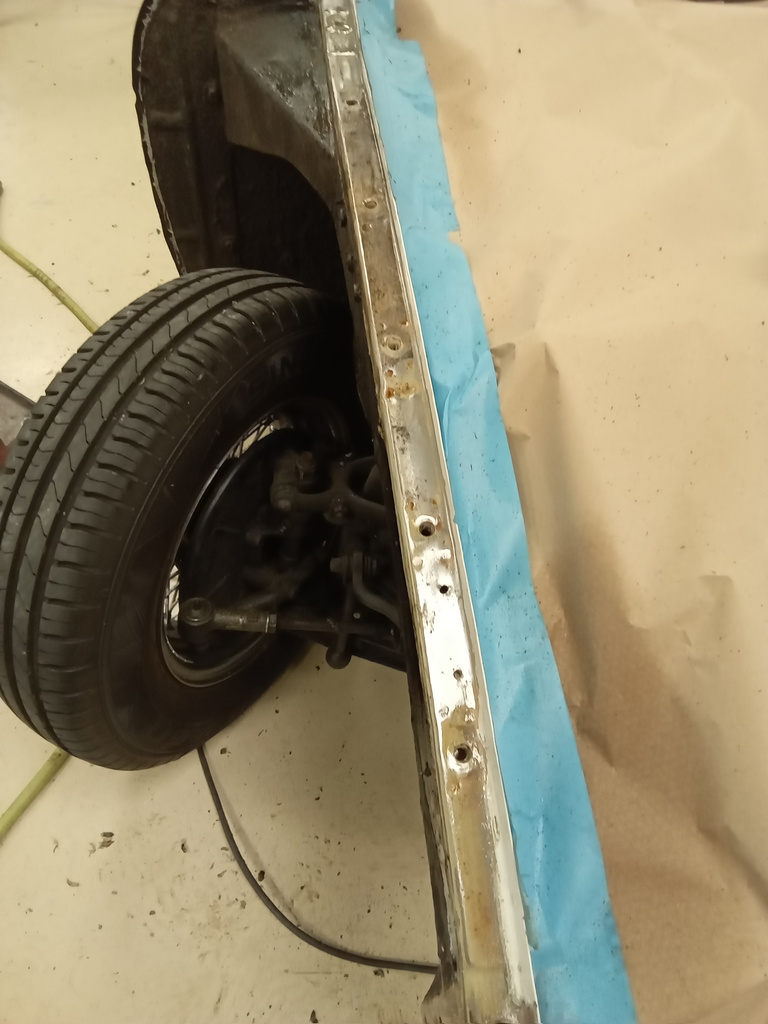
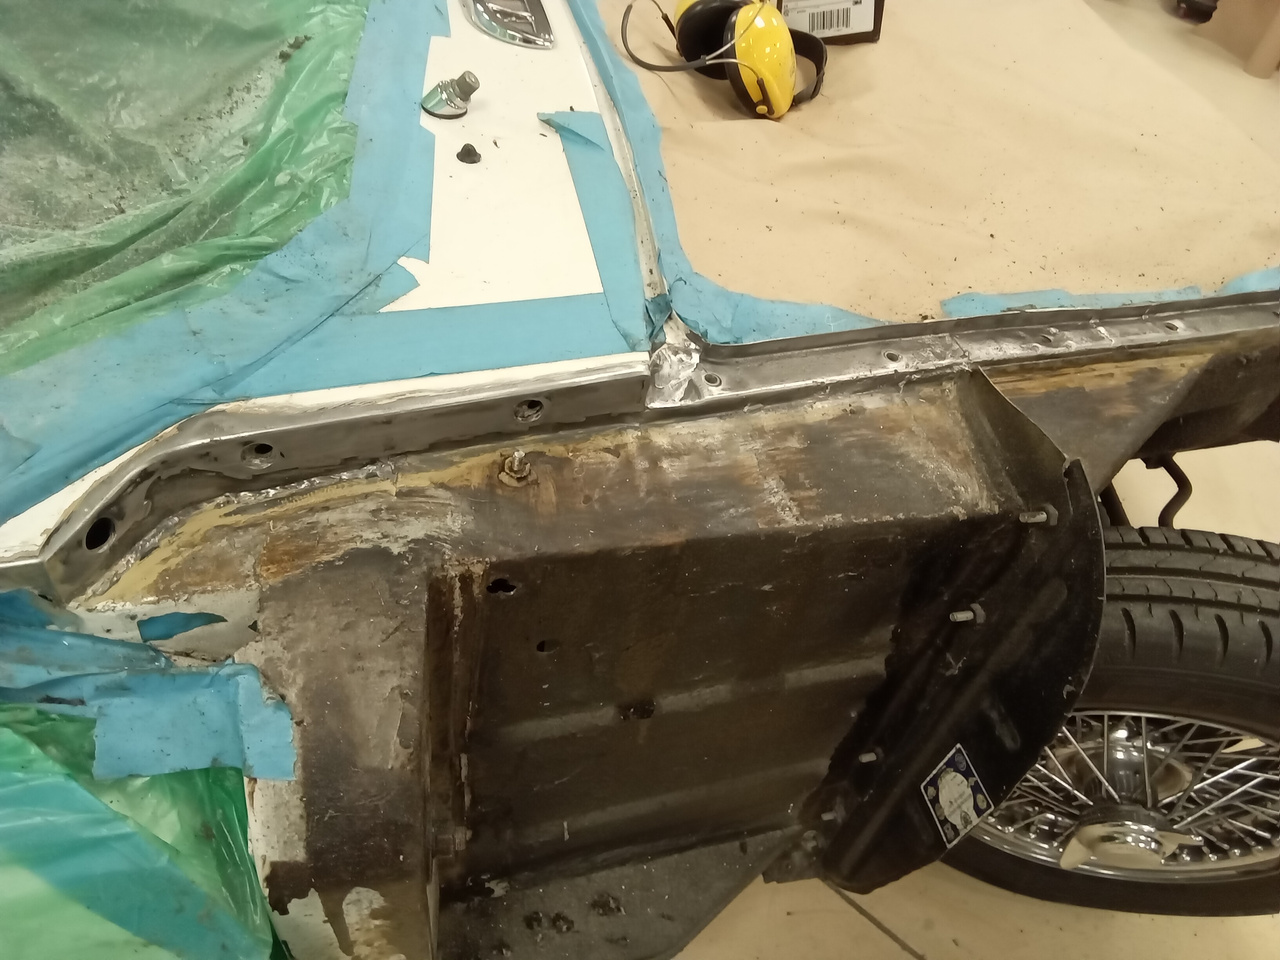
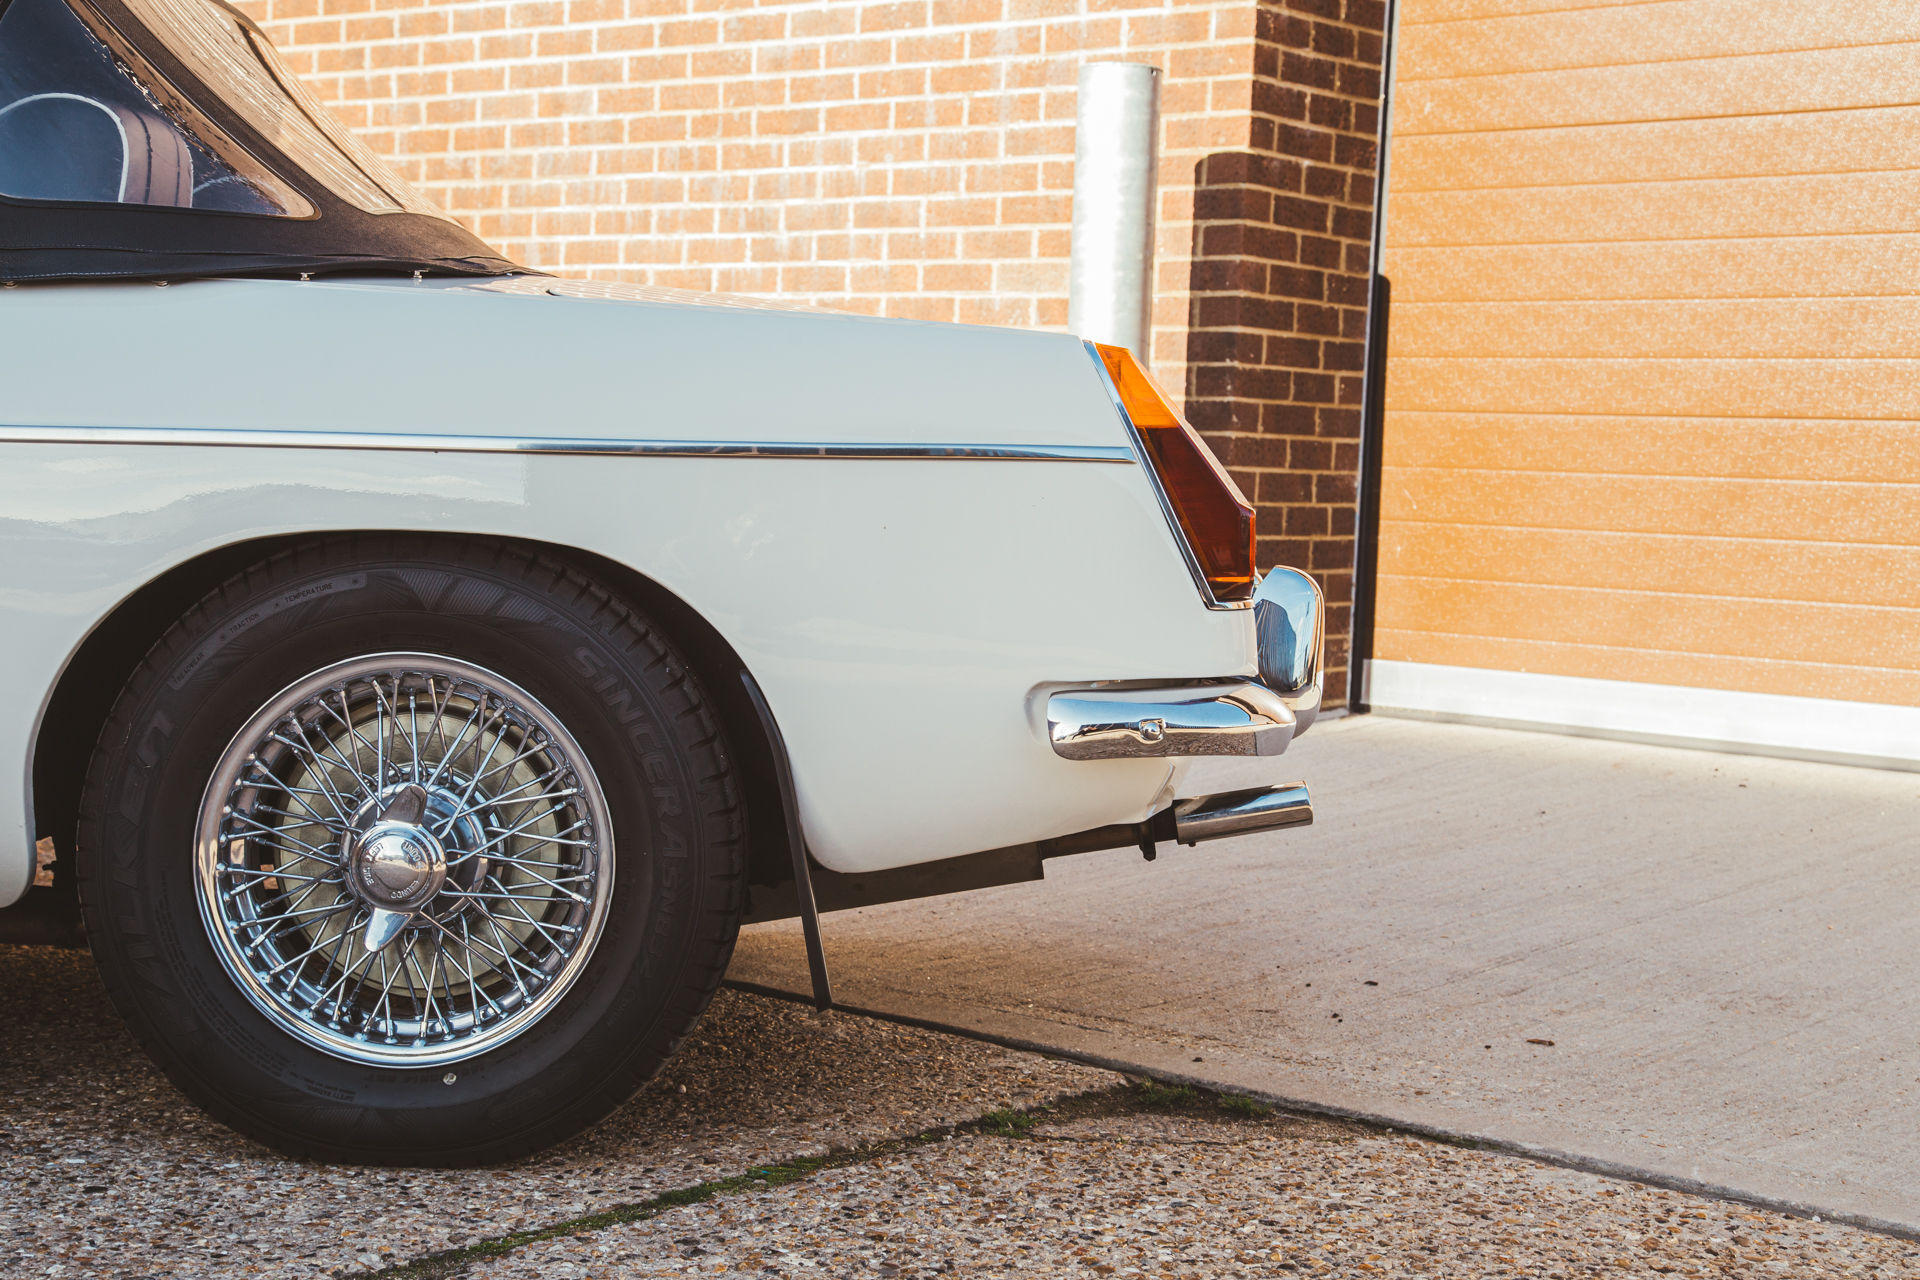
Work begins on the front wings of our 1970 MG B Roadster project. Mauro has removed the wings to reveal some corrosion.
This weekend Gordon was delighted to attend the London to Brighton Veteran Car Run once more, the spectacle never failing to make an impression on

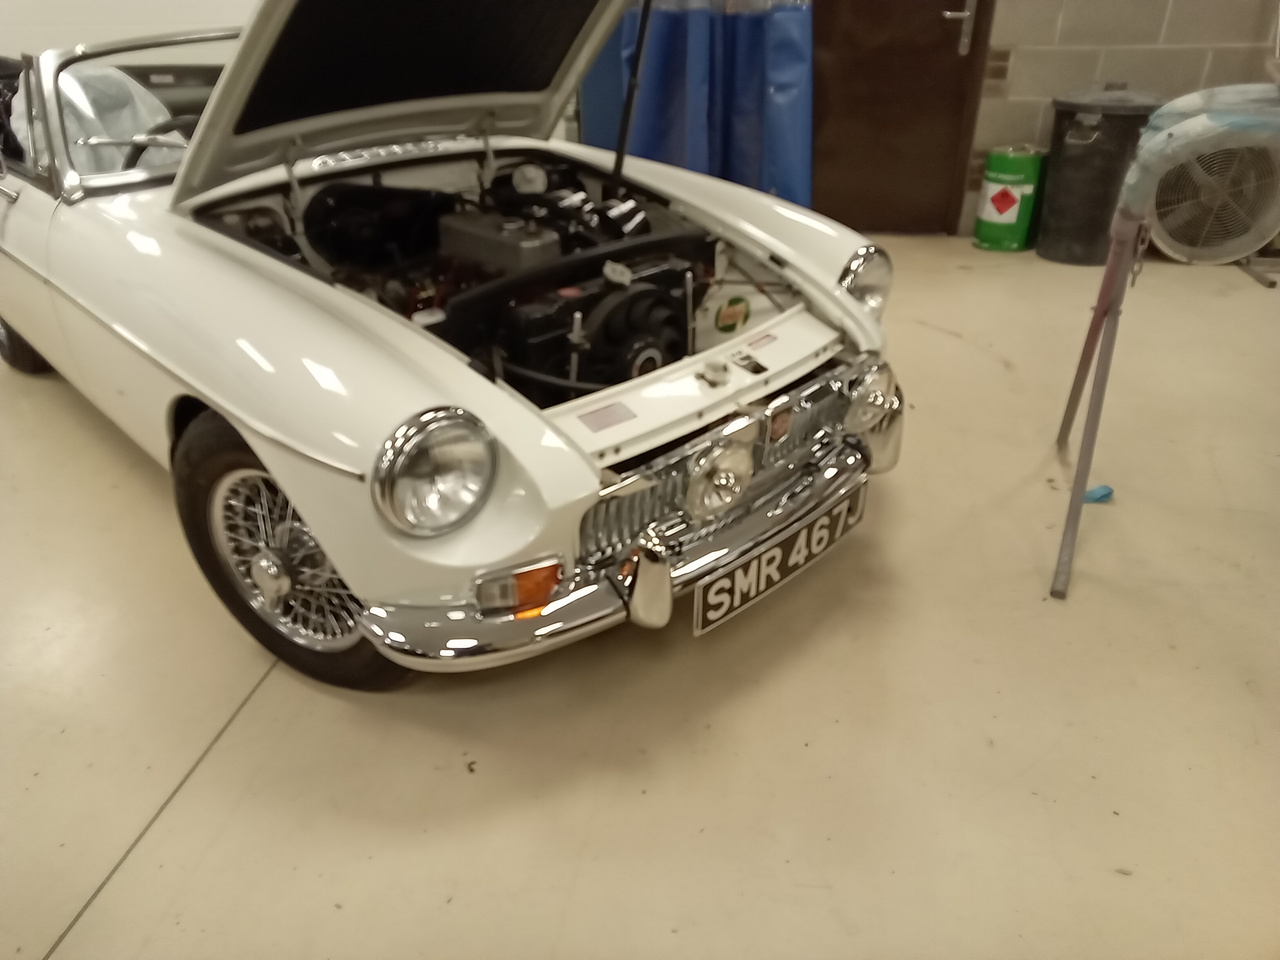
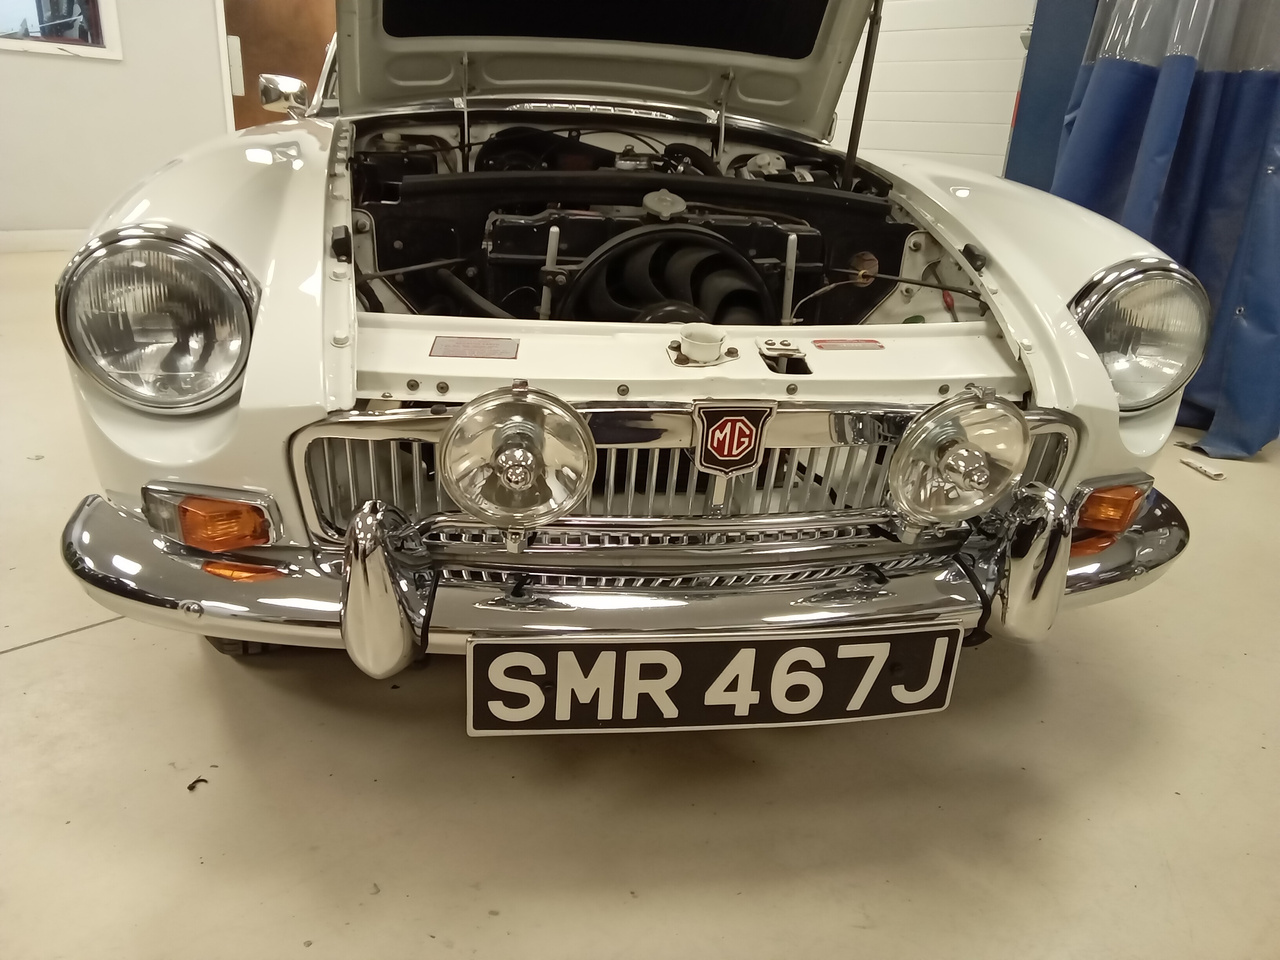
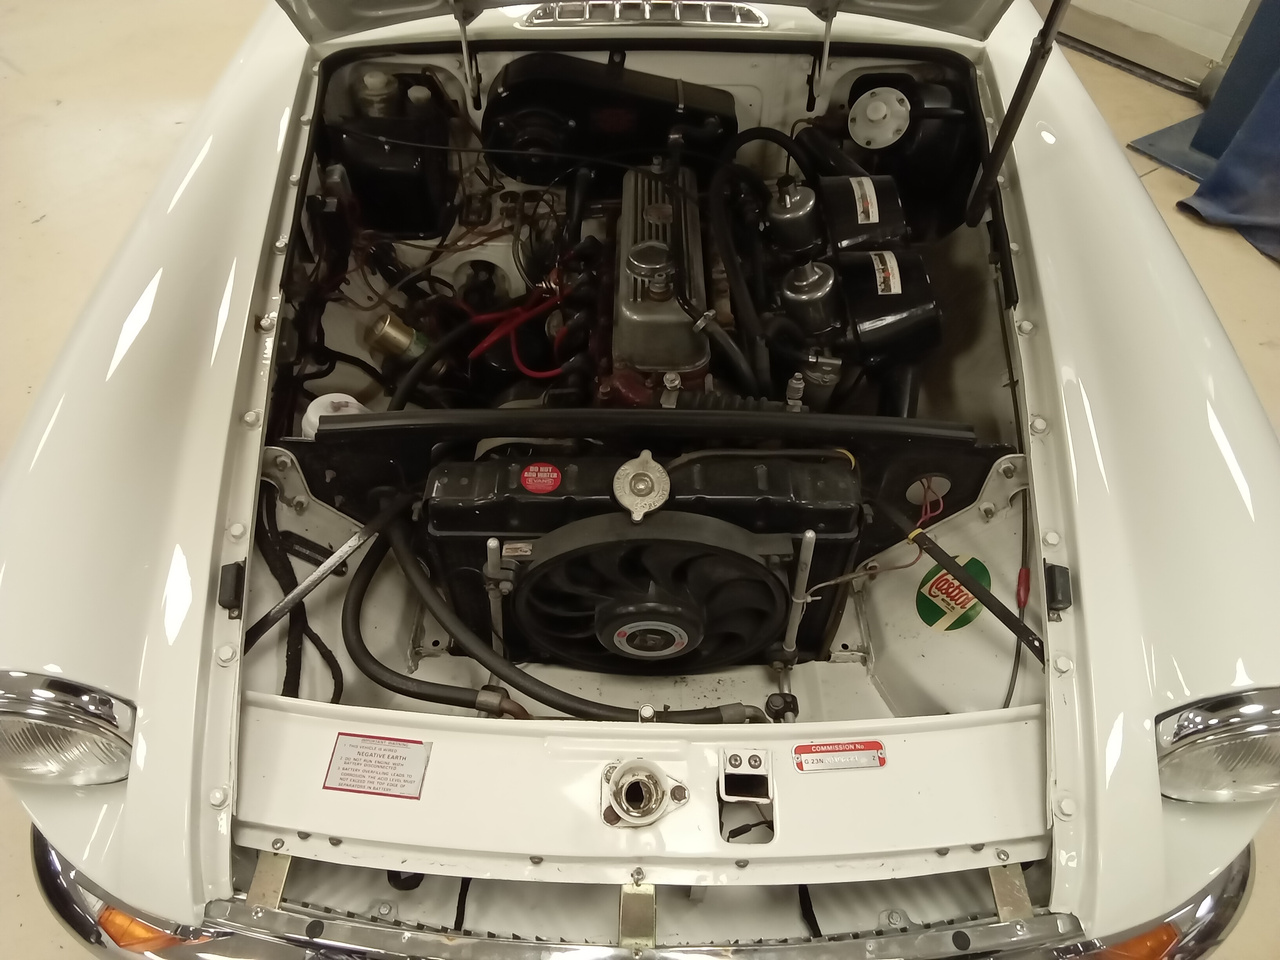
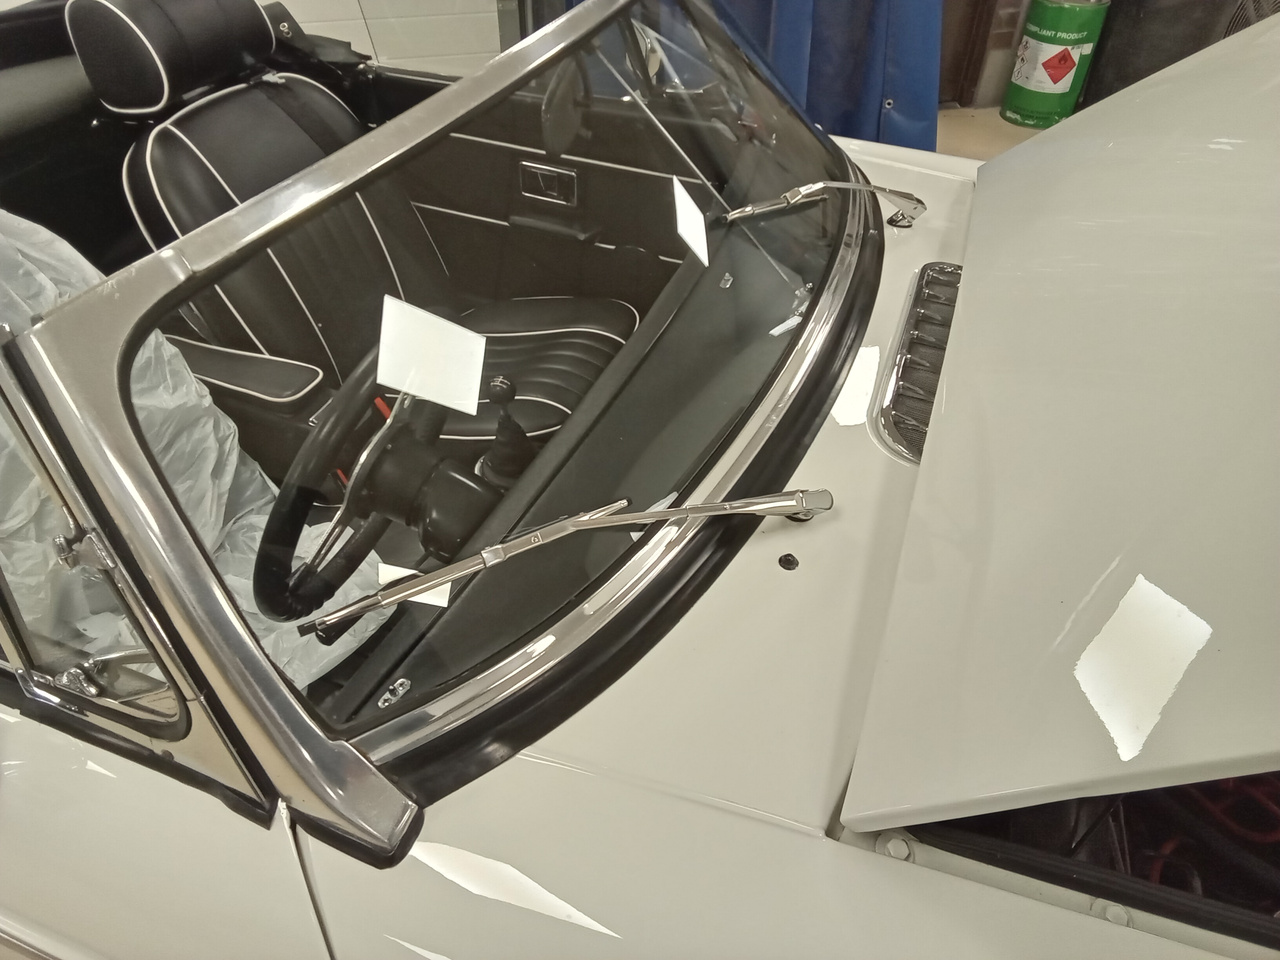
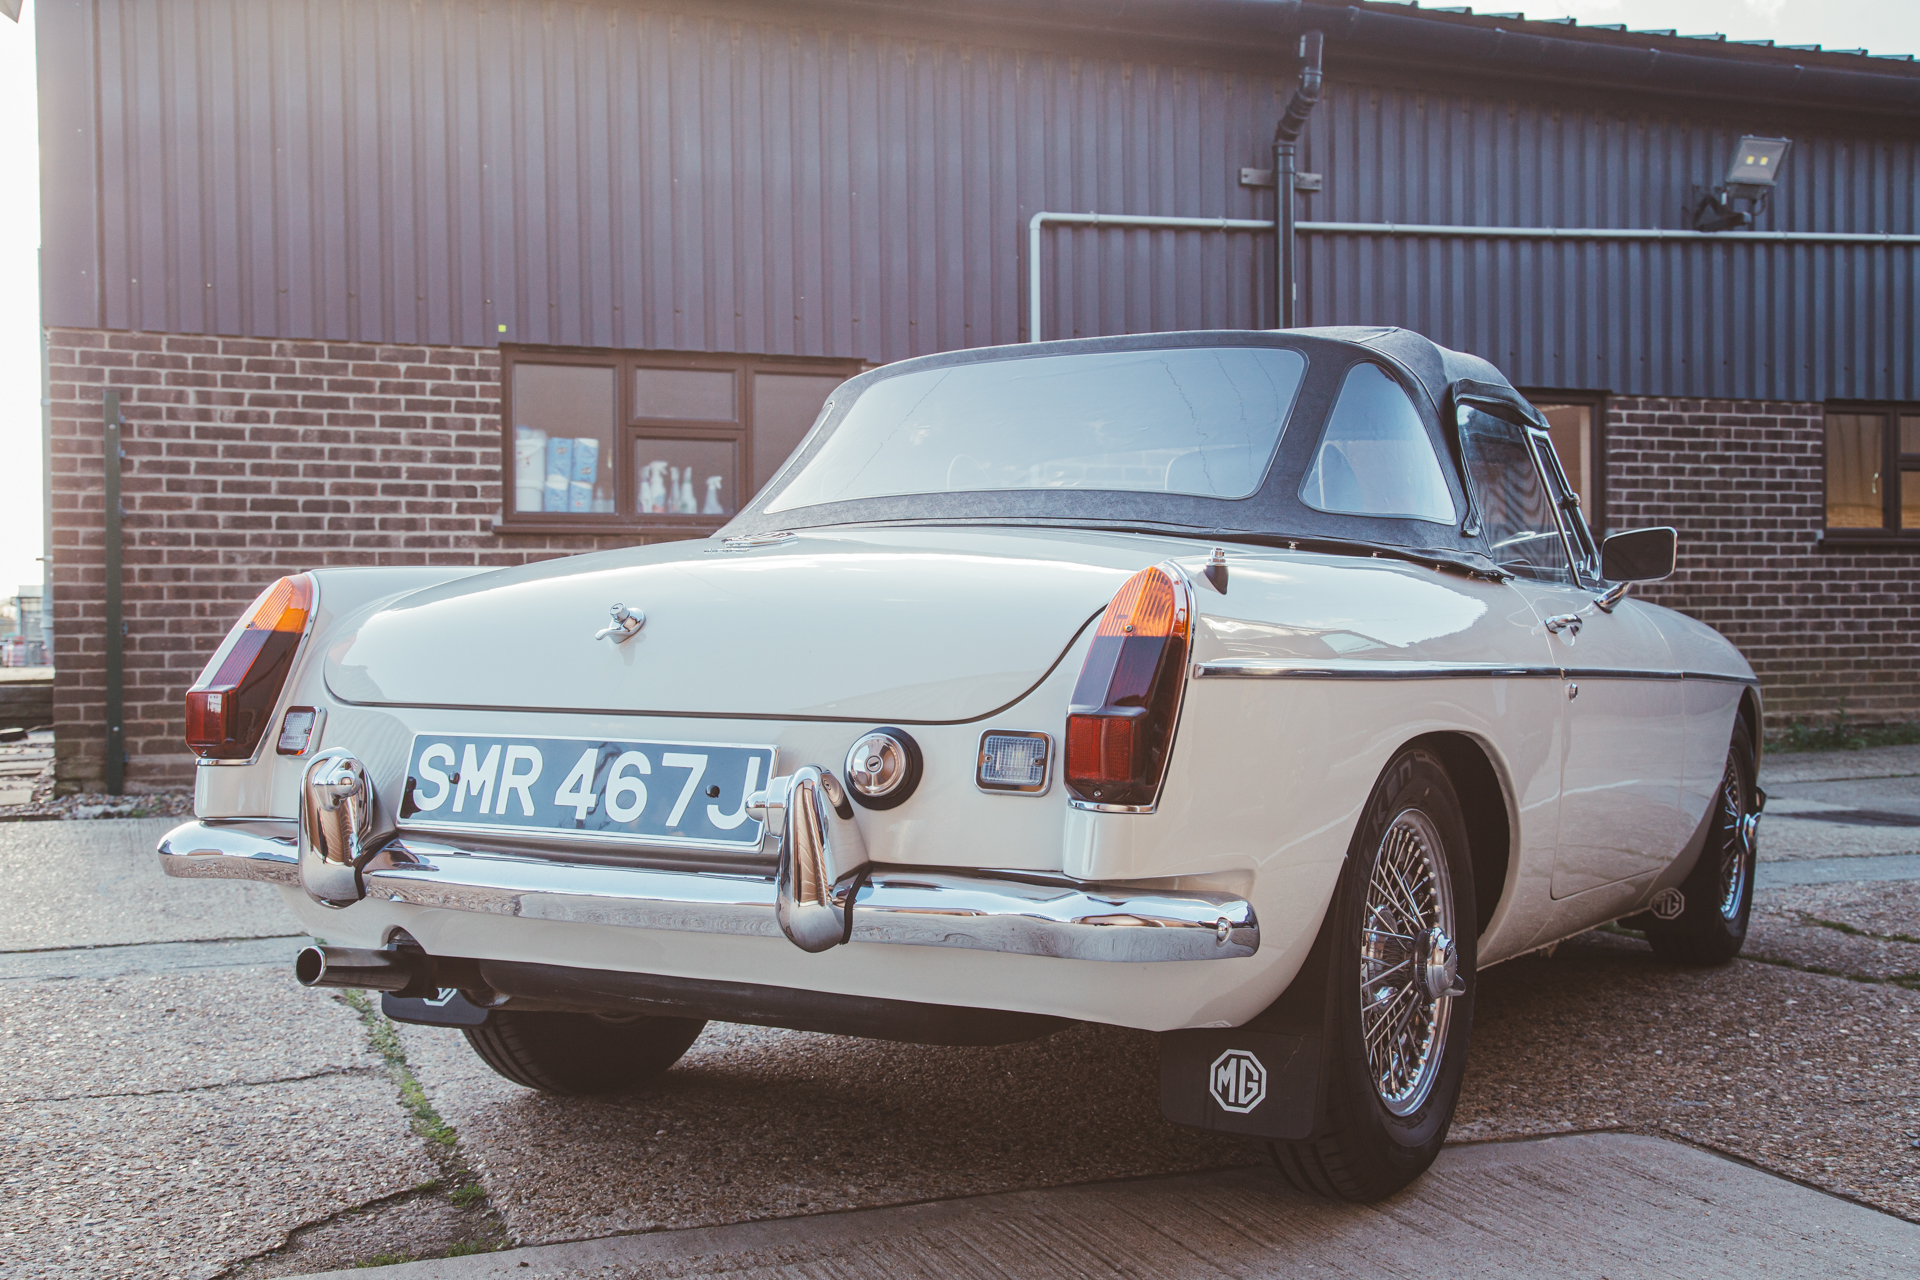
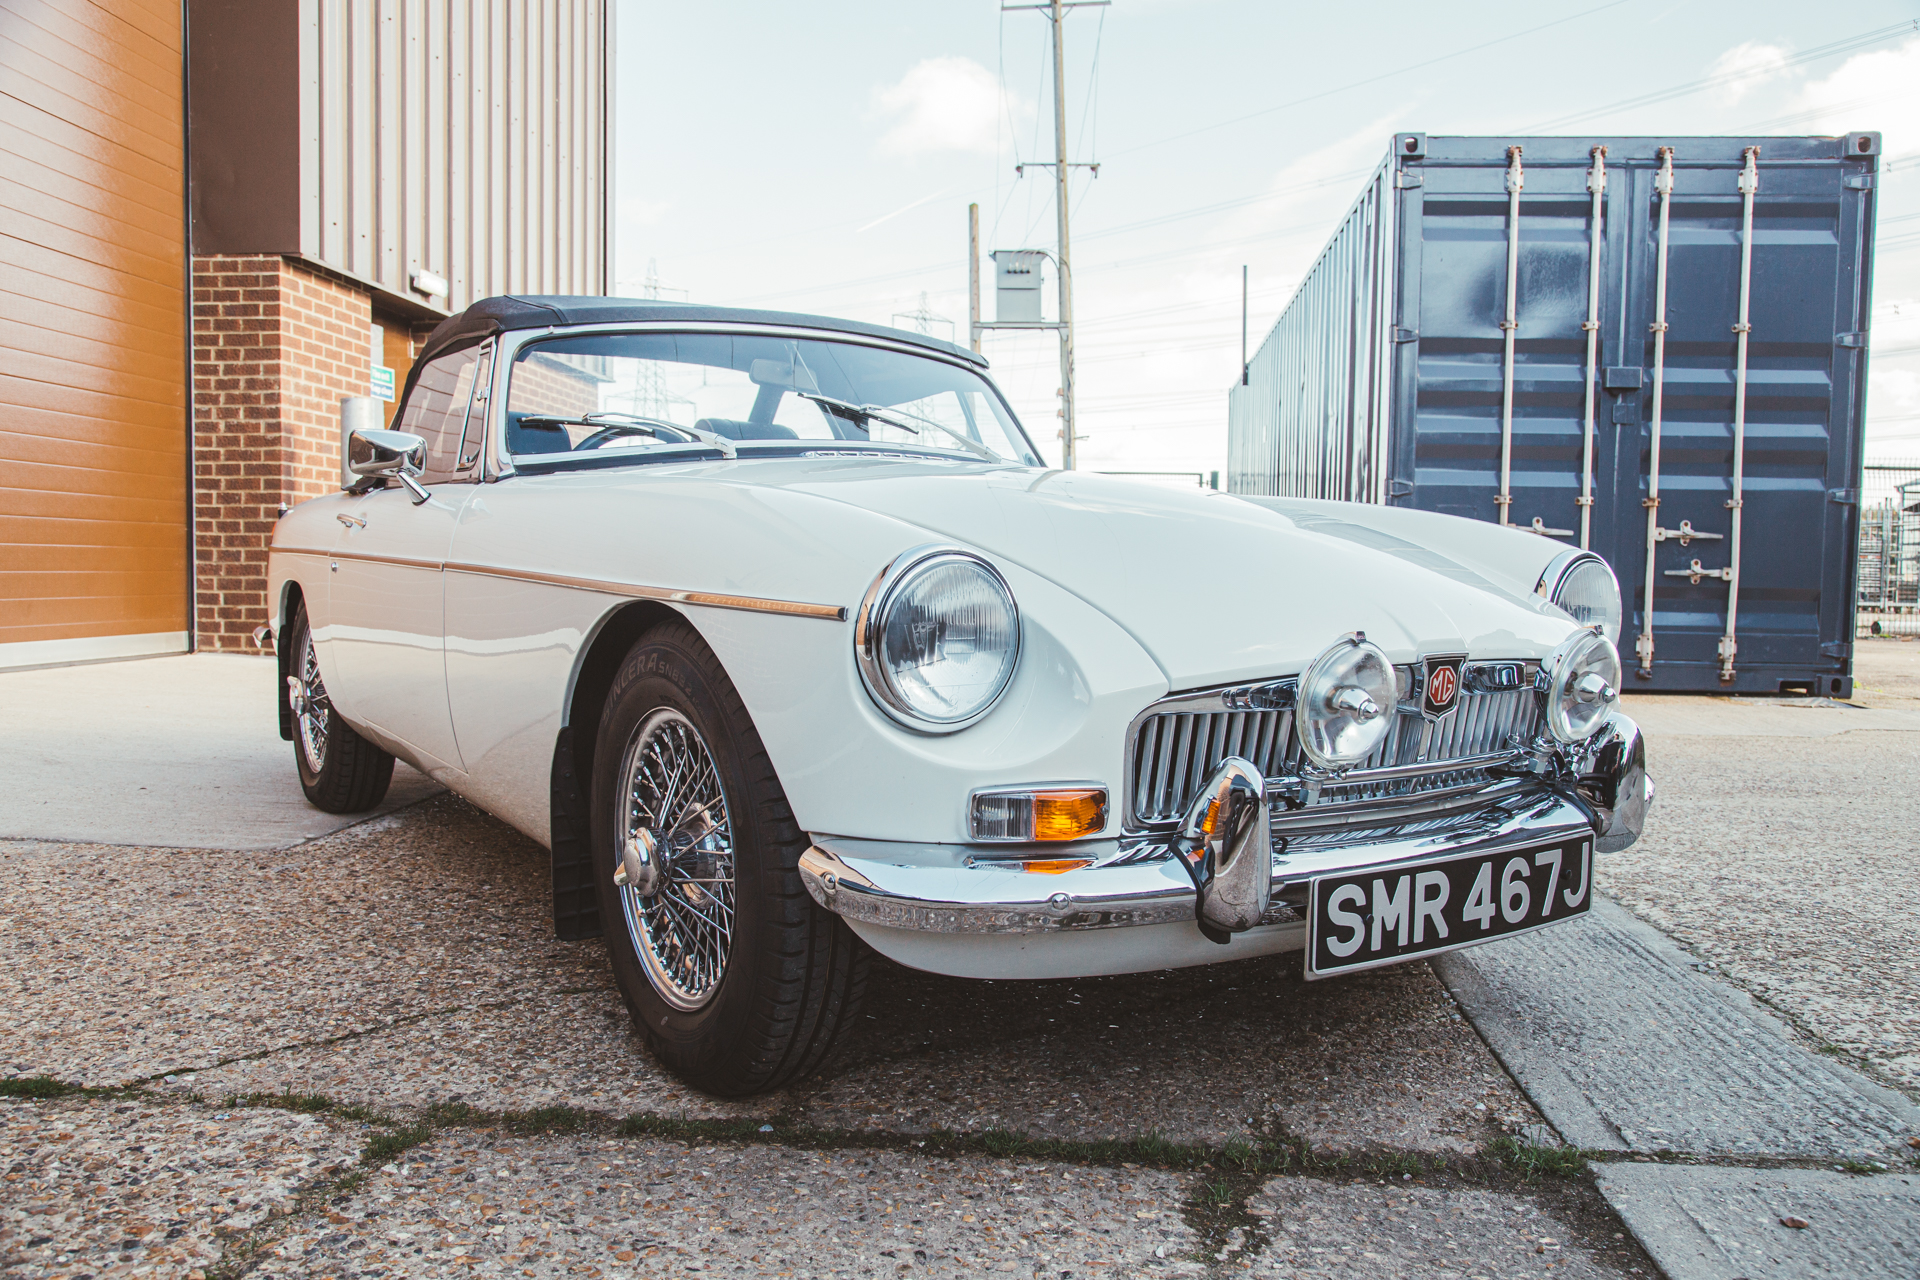
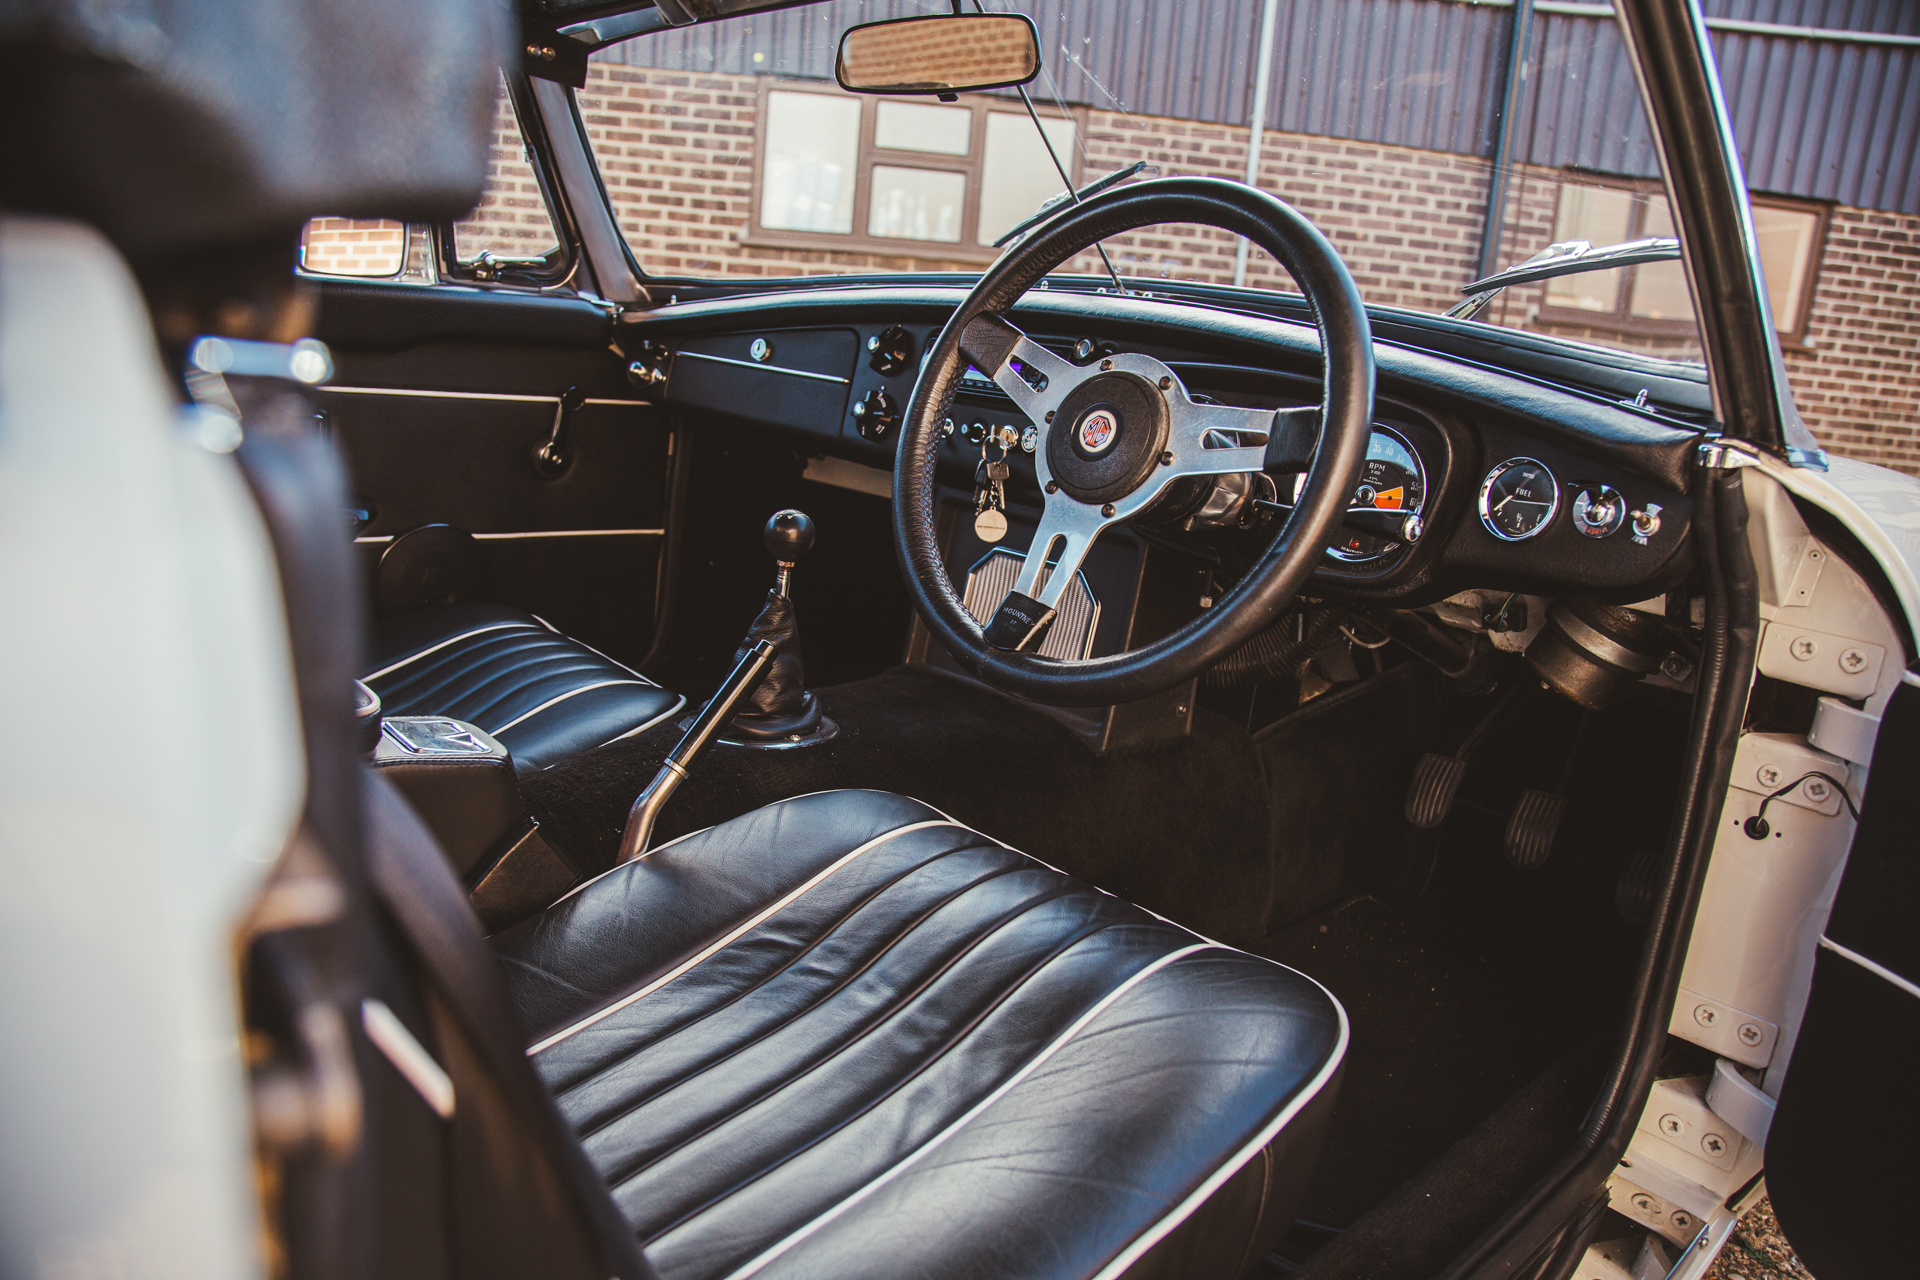
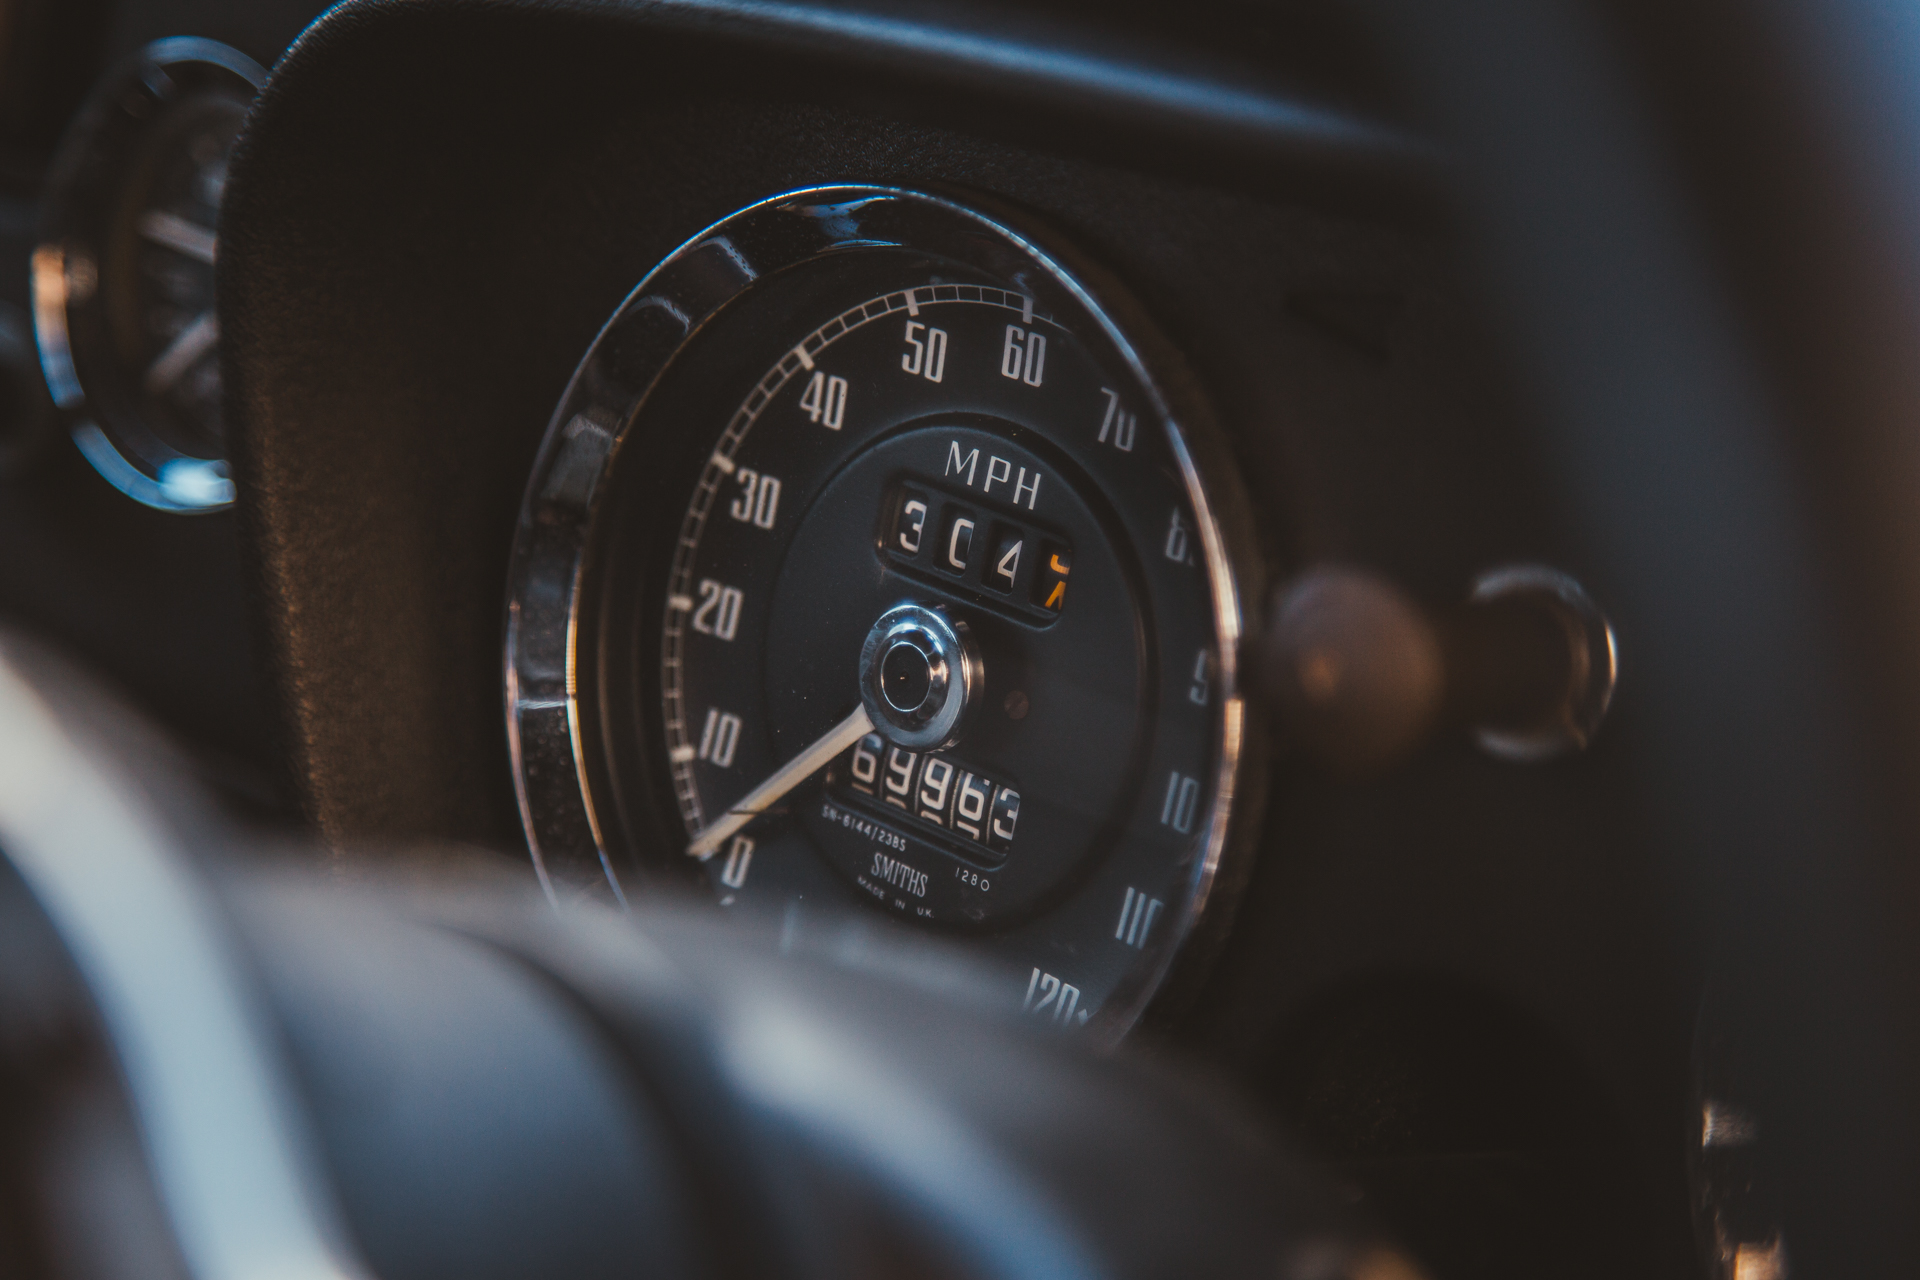
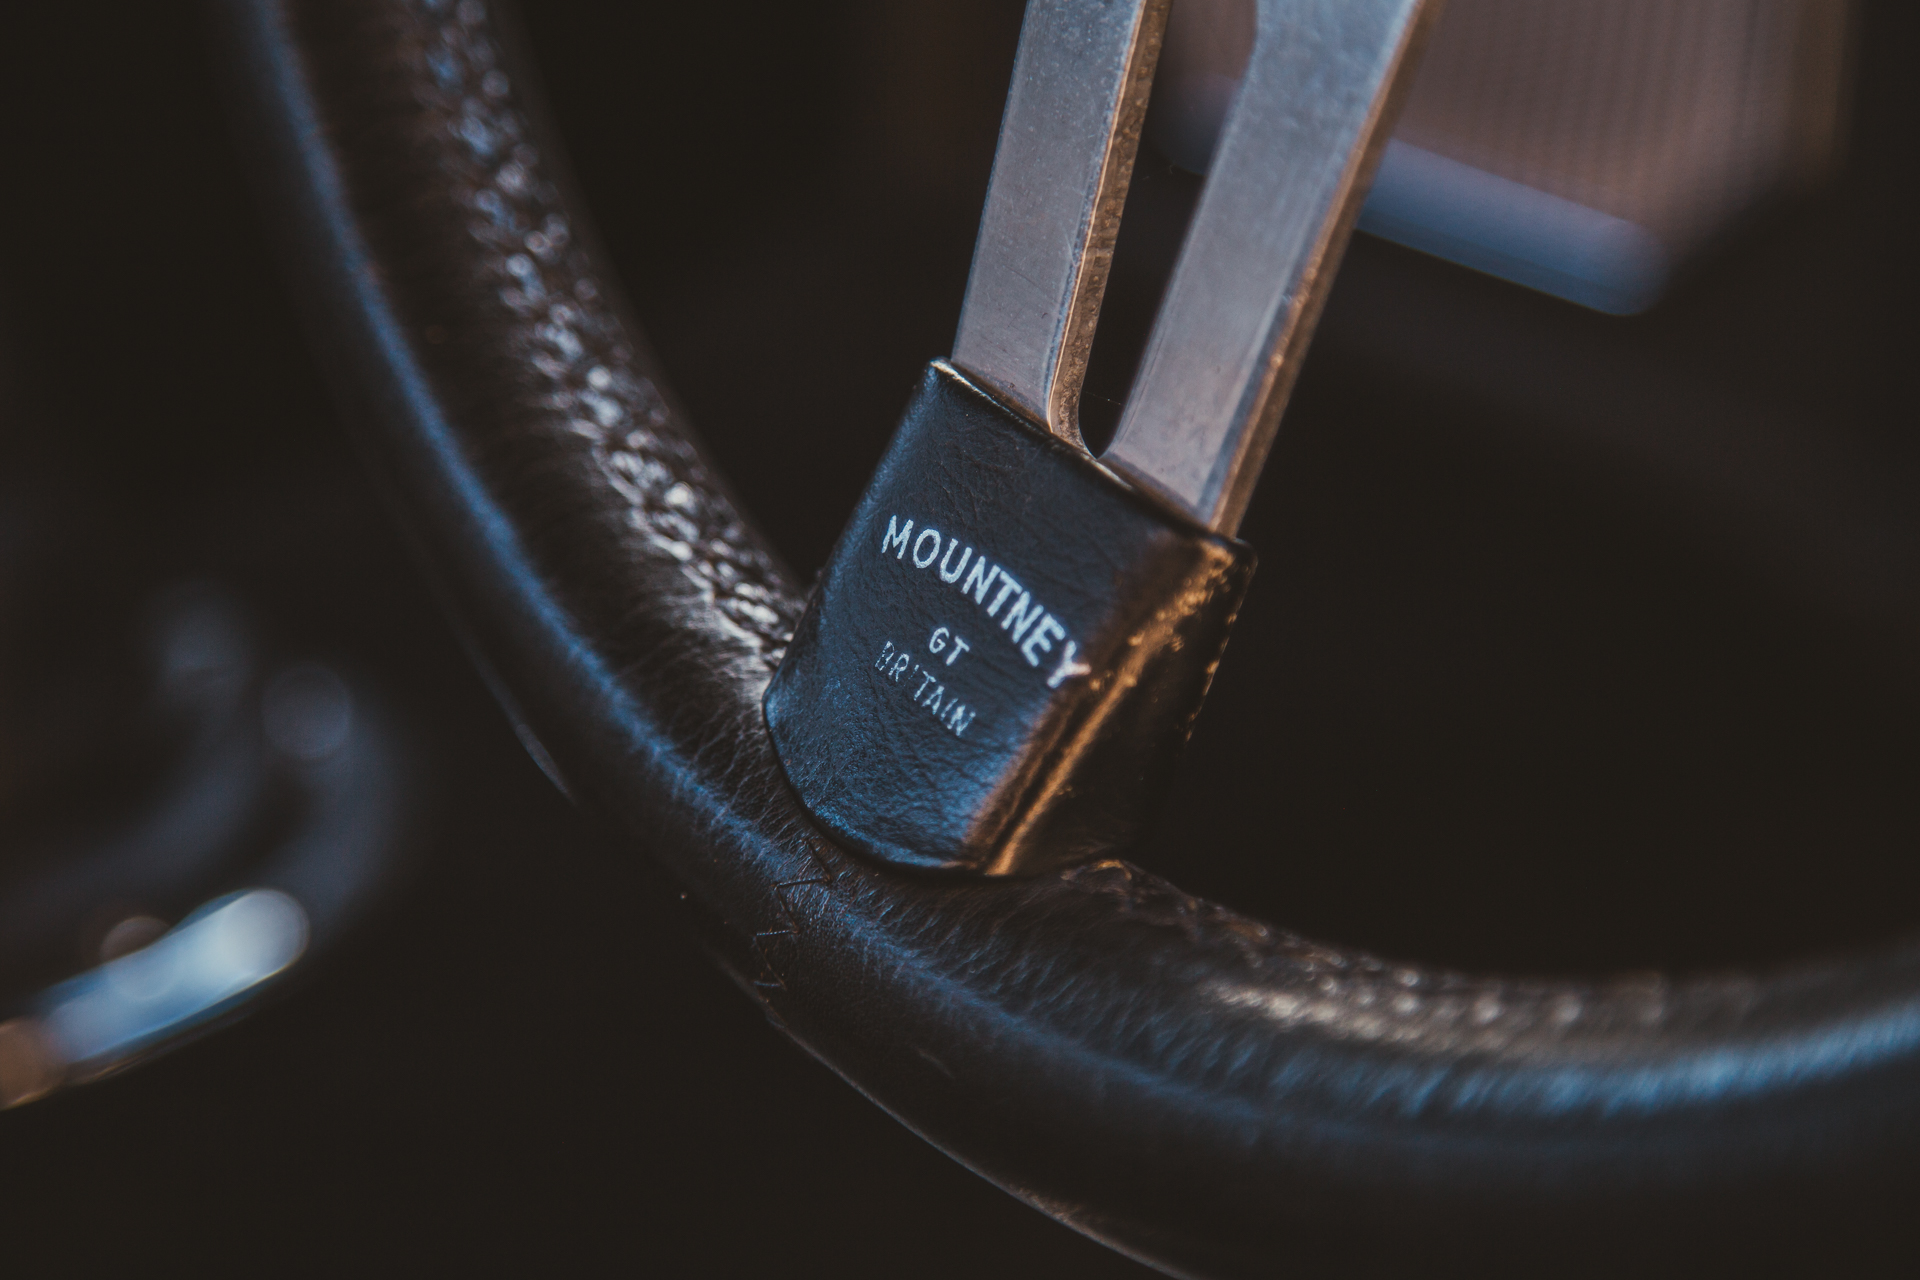
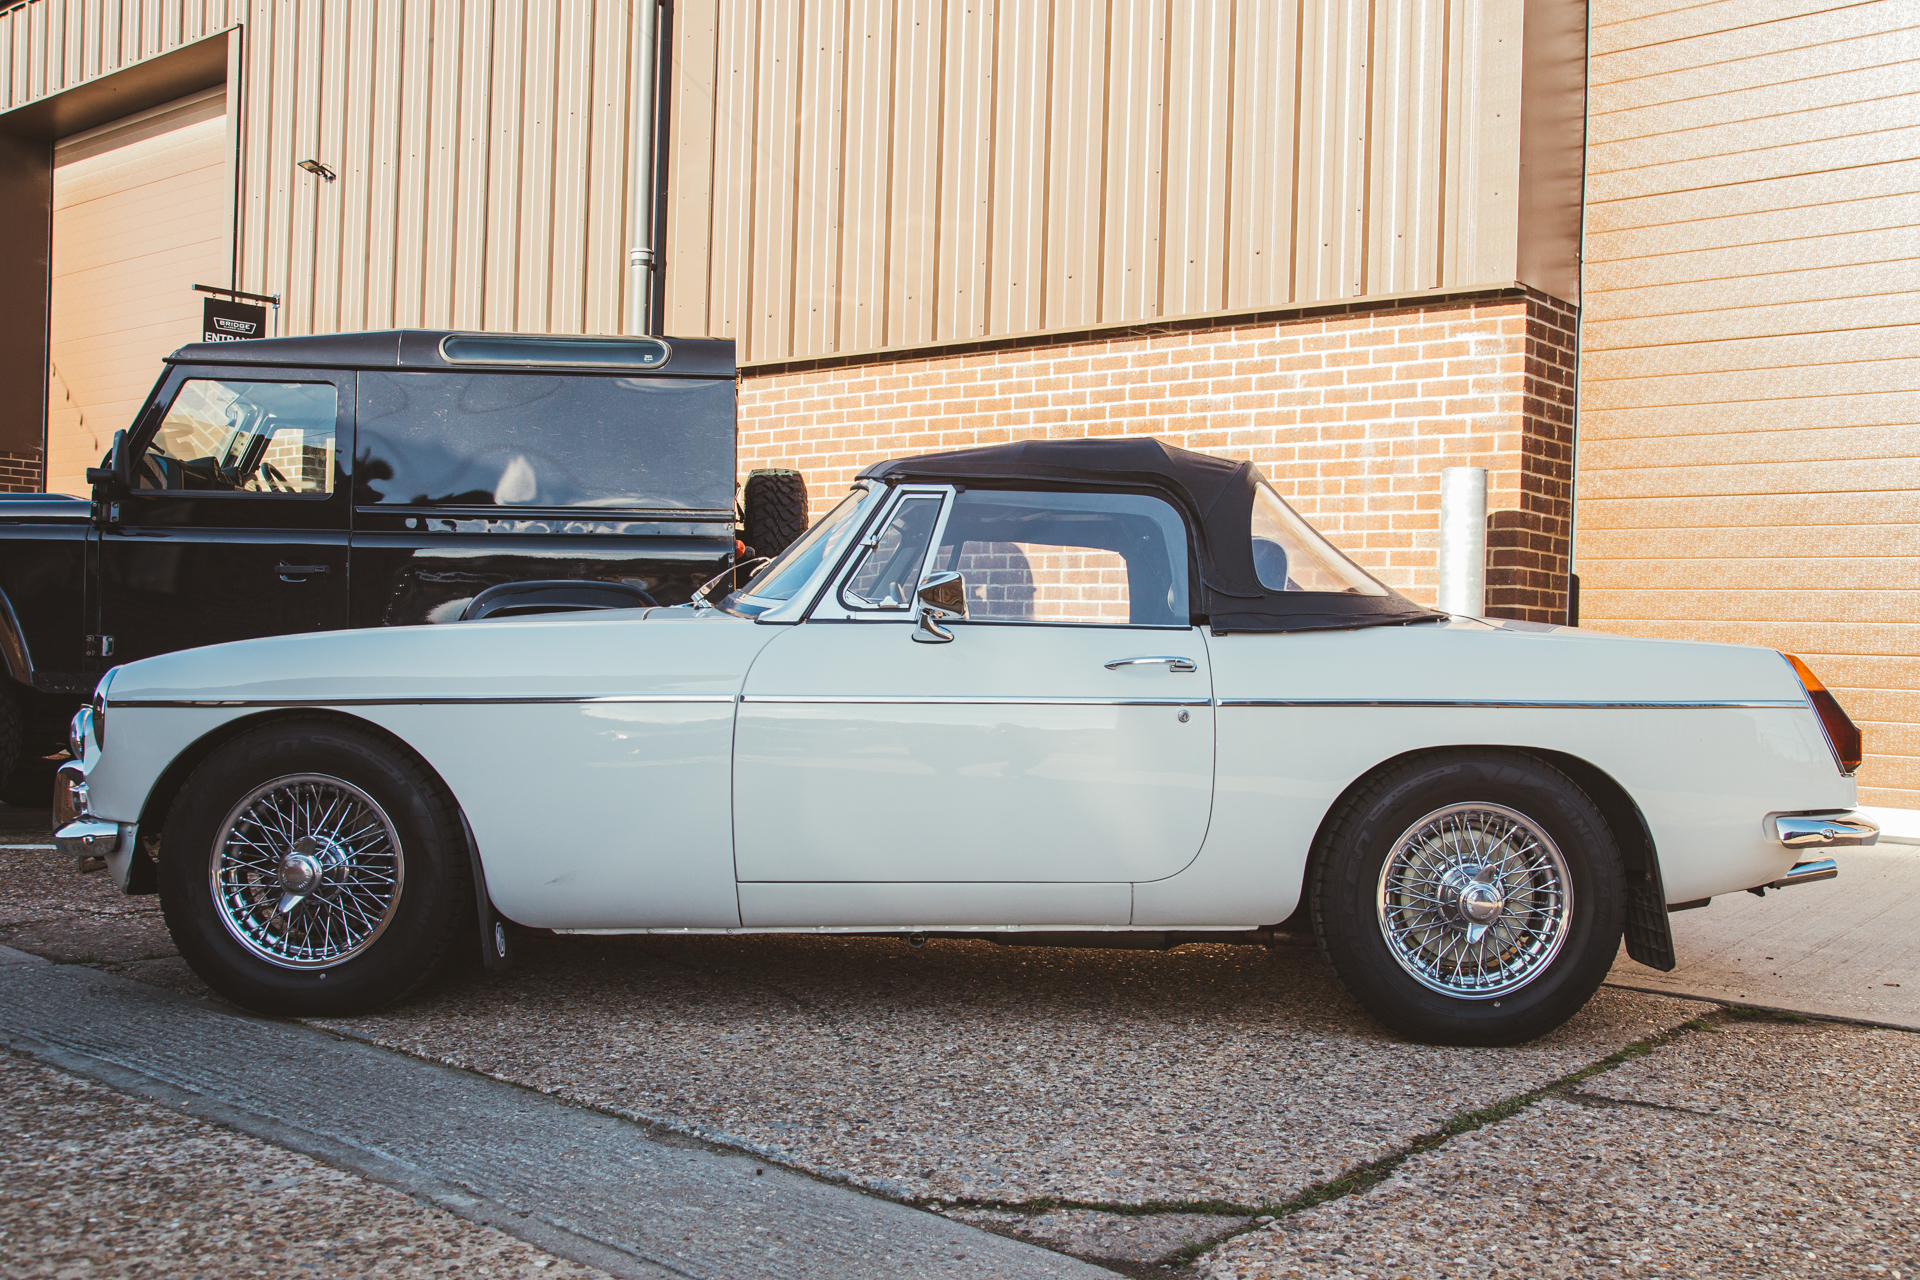
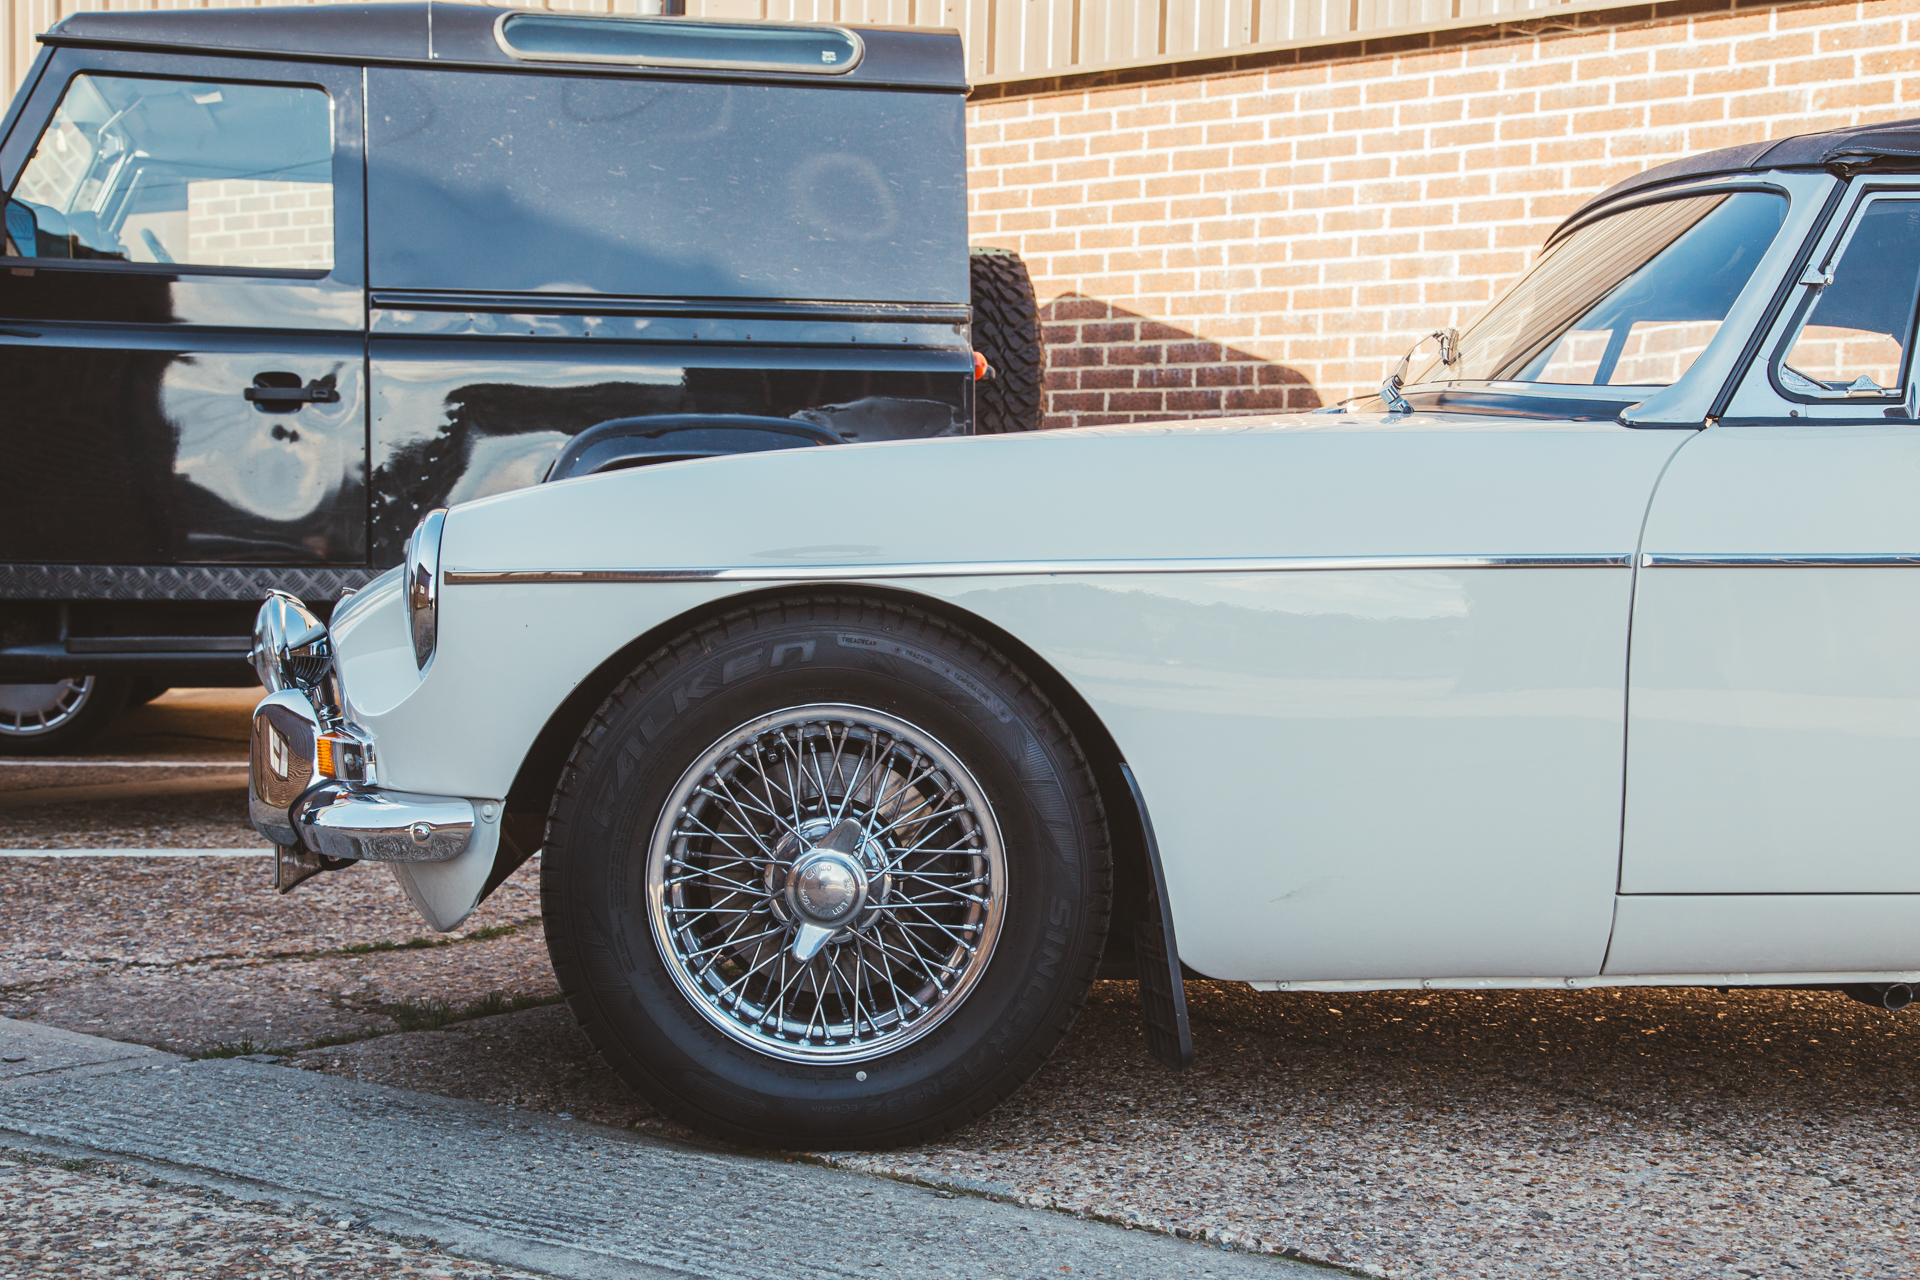
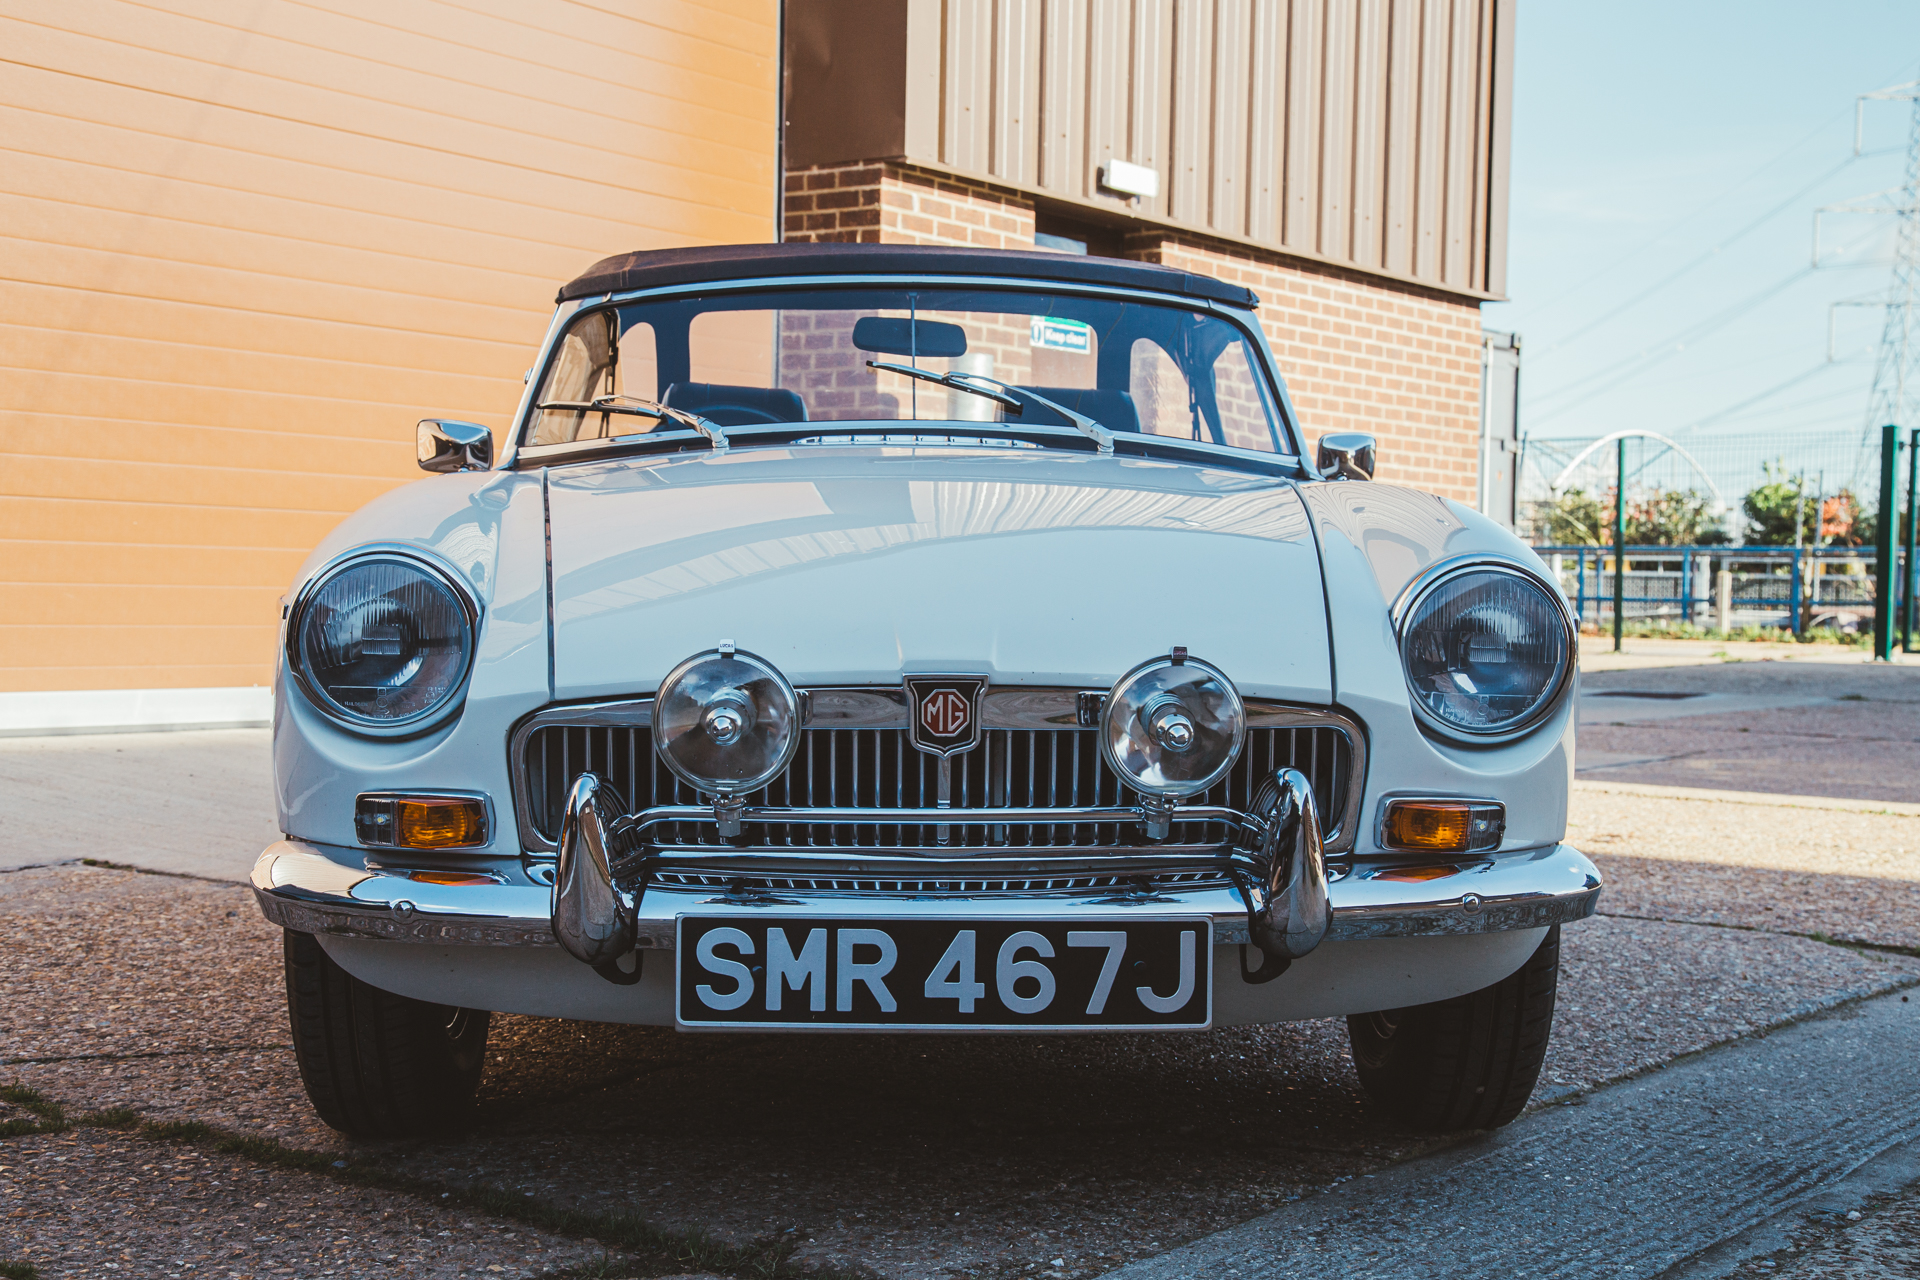
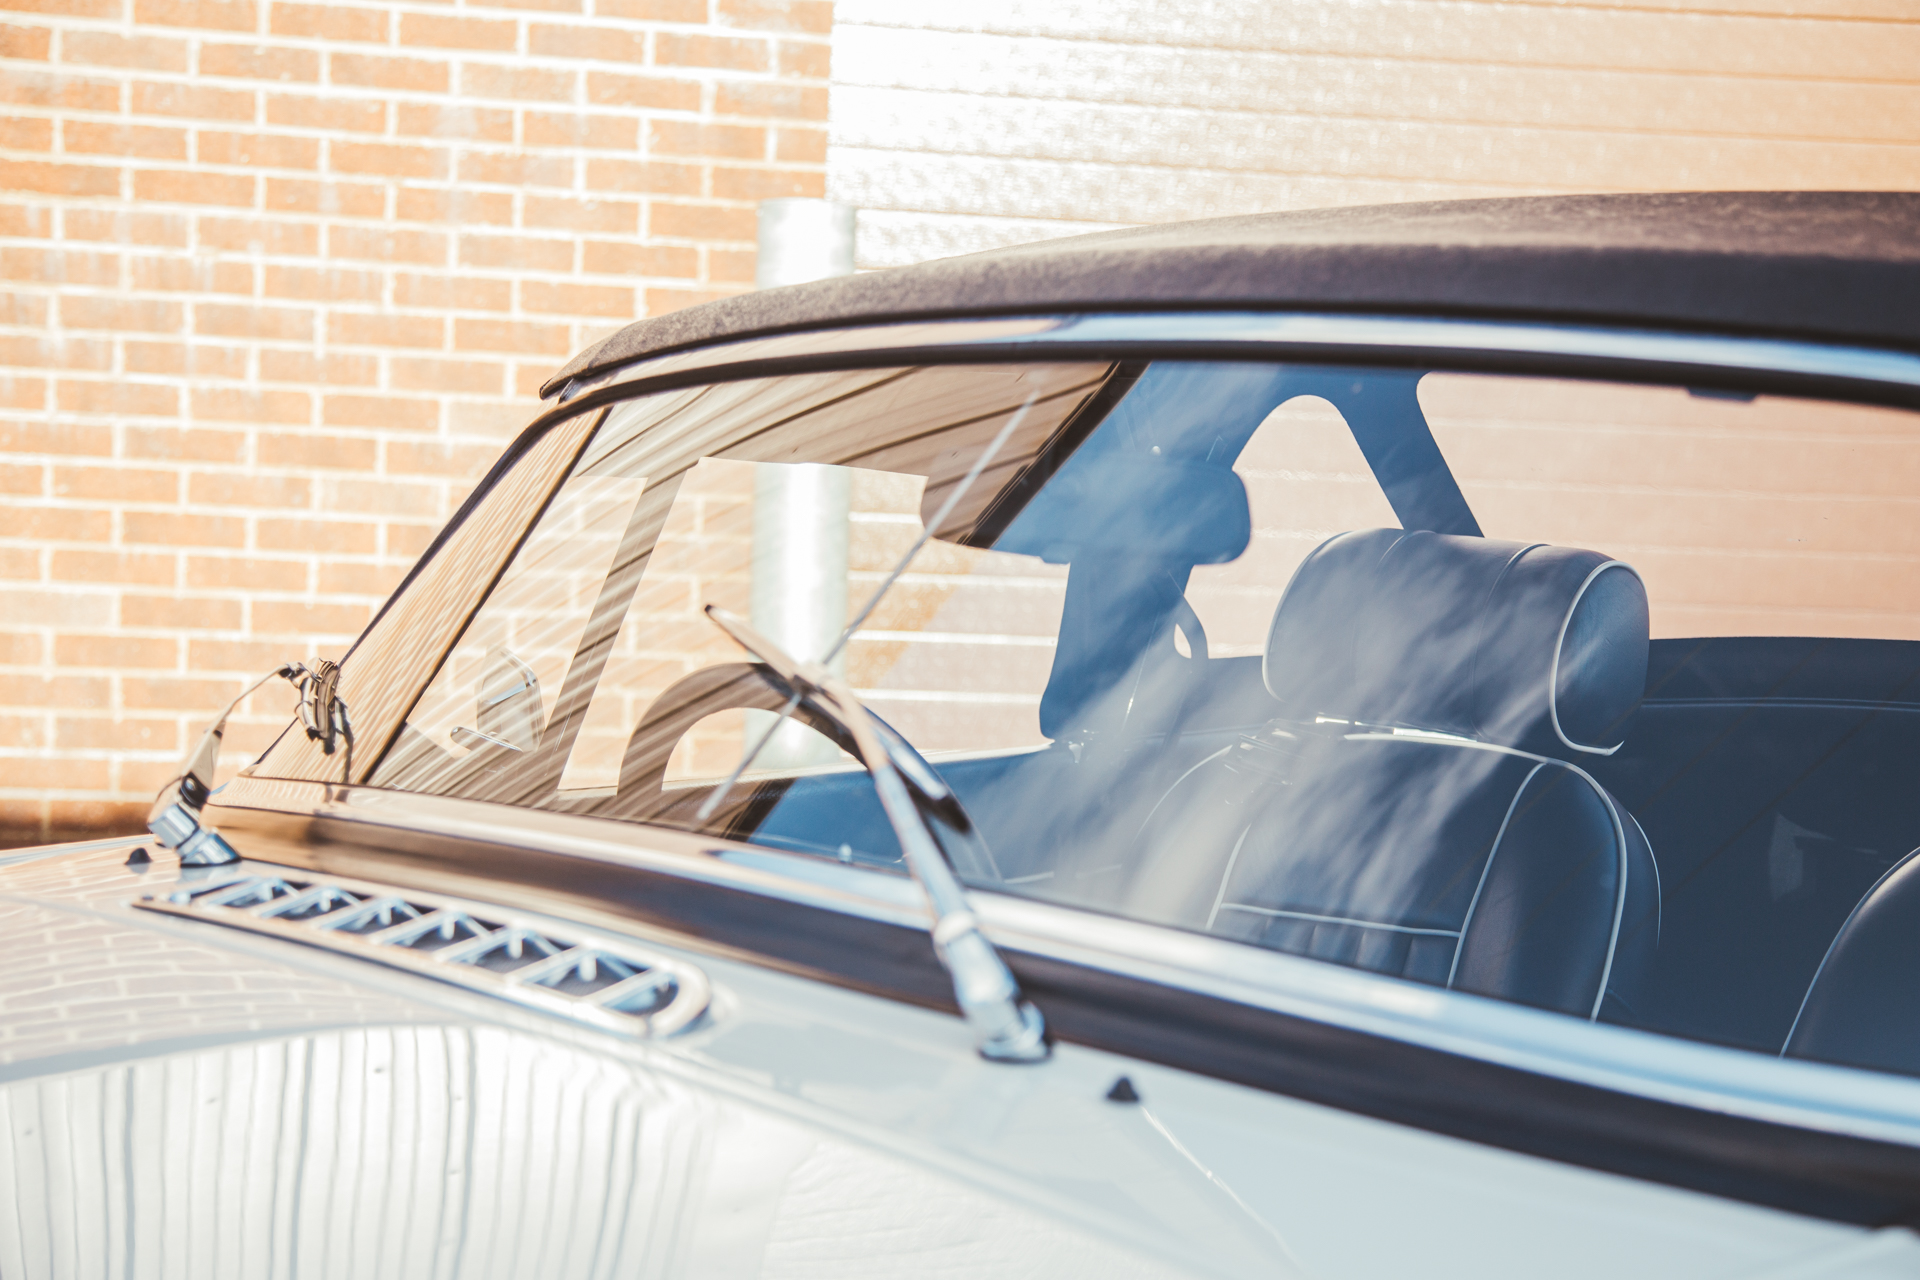
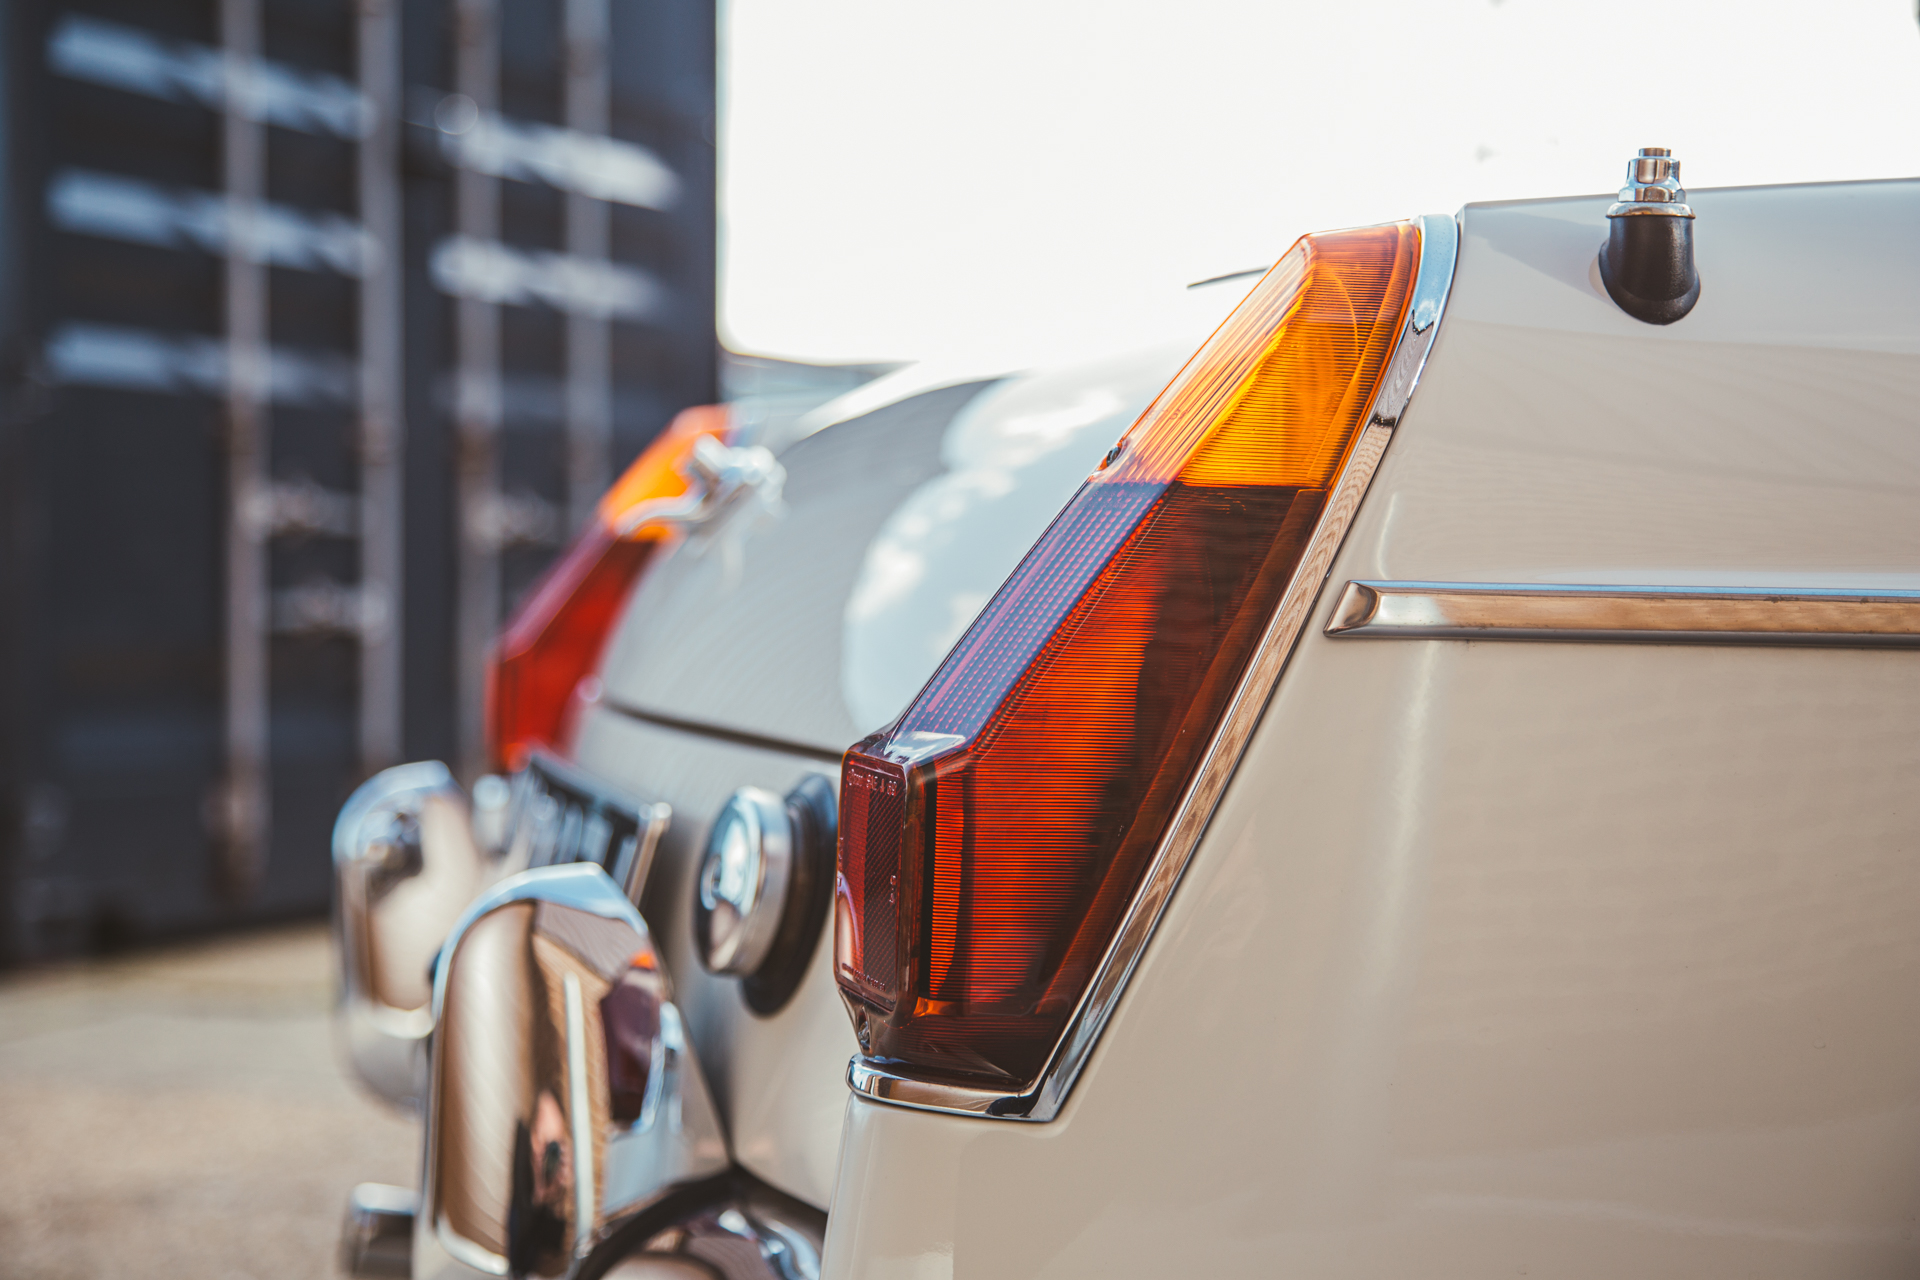
Most days of the week, we have new classics arriving at our Suffolk HQ. Today, we’ve had this stunning 1970 MGB Roadster arrive into the
Back in July we said our final goodbyes to a very good friend of Bridge Classic Cars, Hugh Mitchell. Hugh was a huge car lover

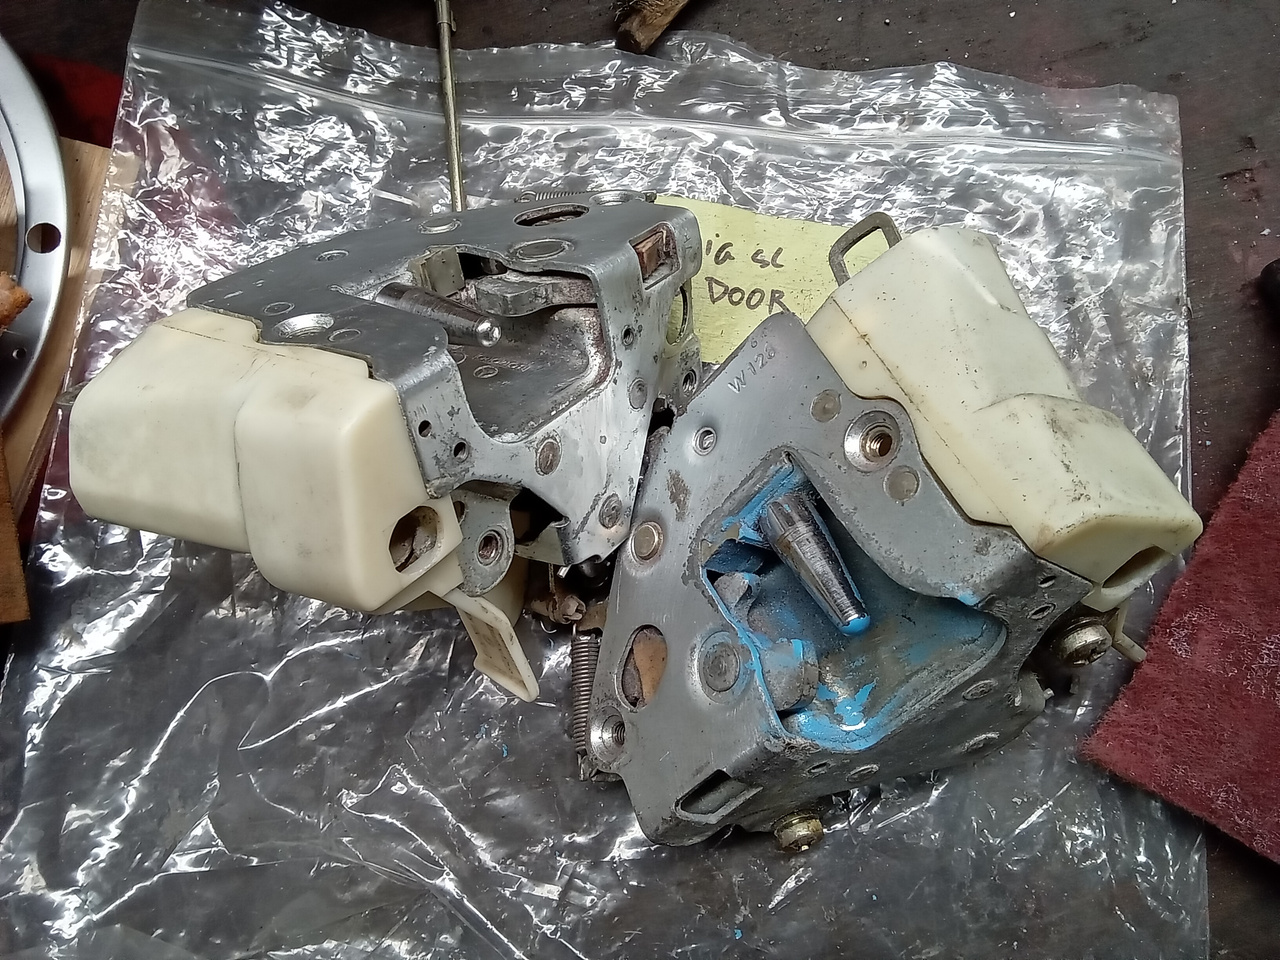
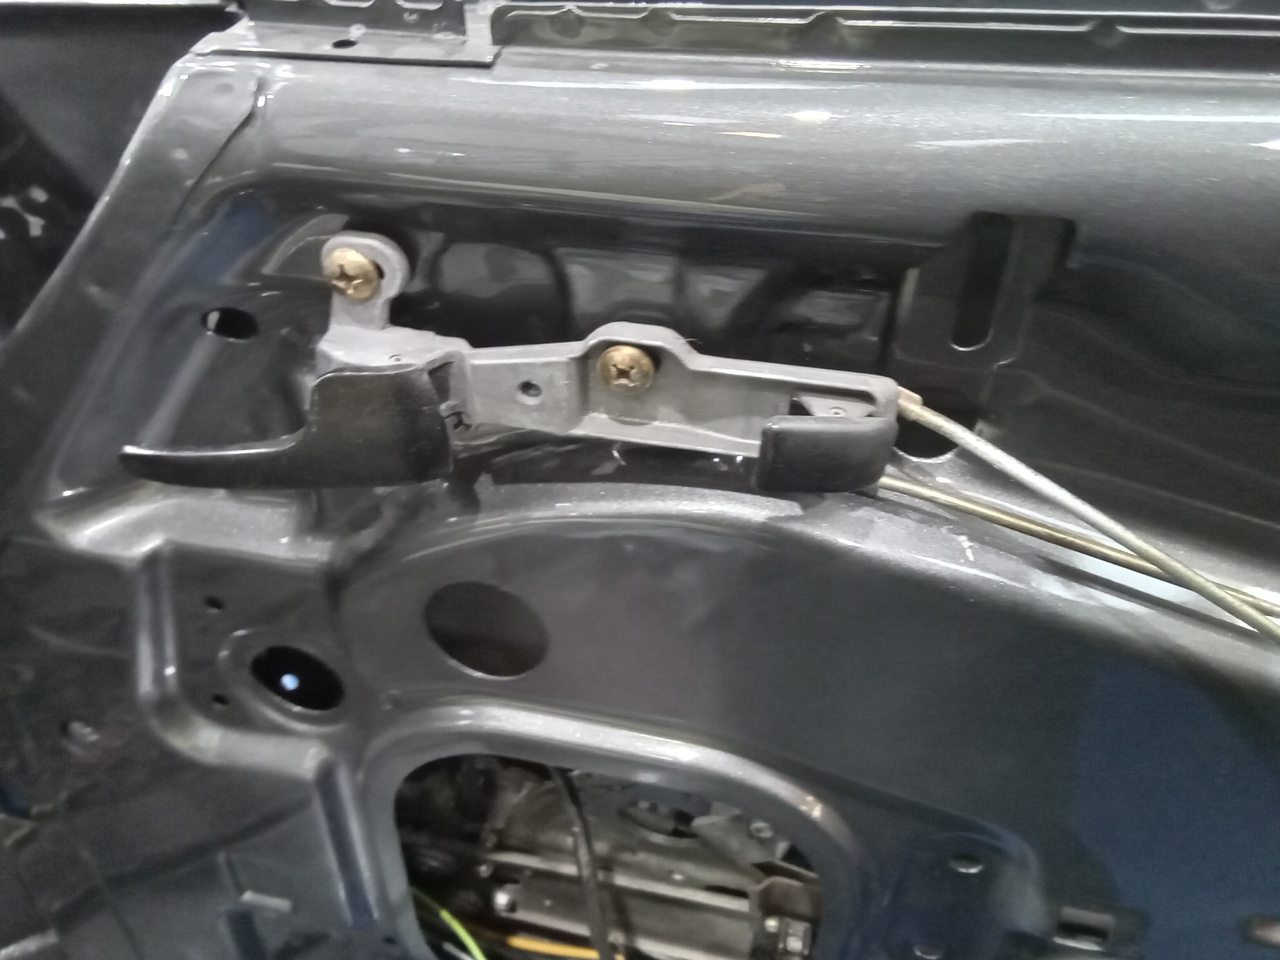
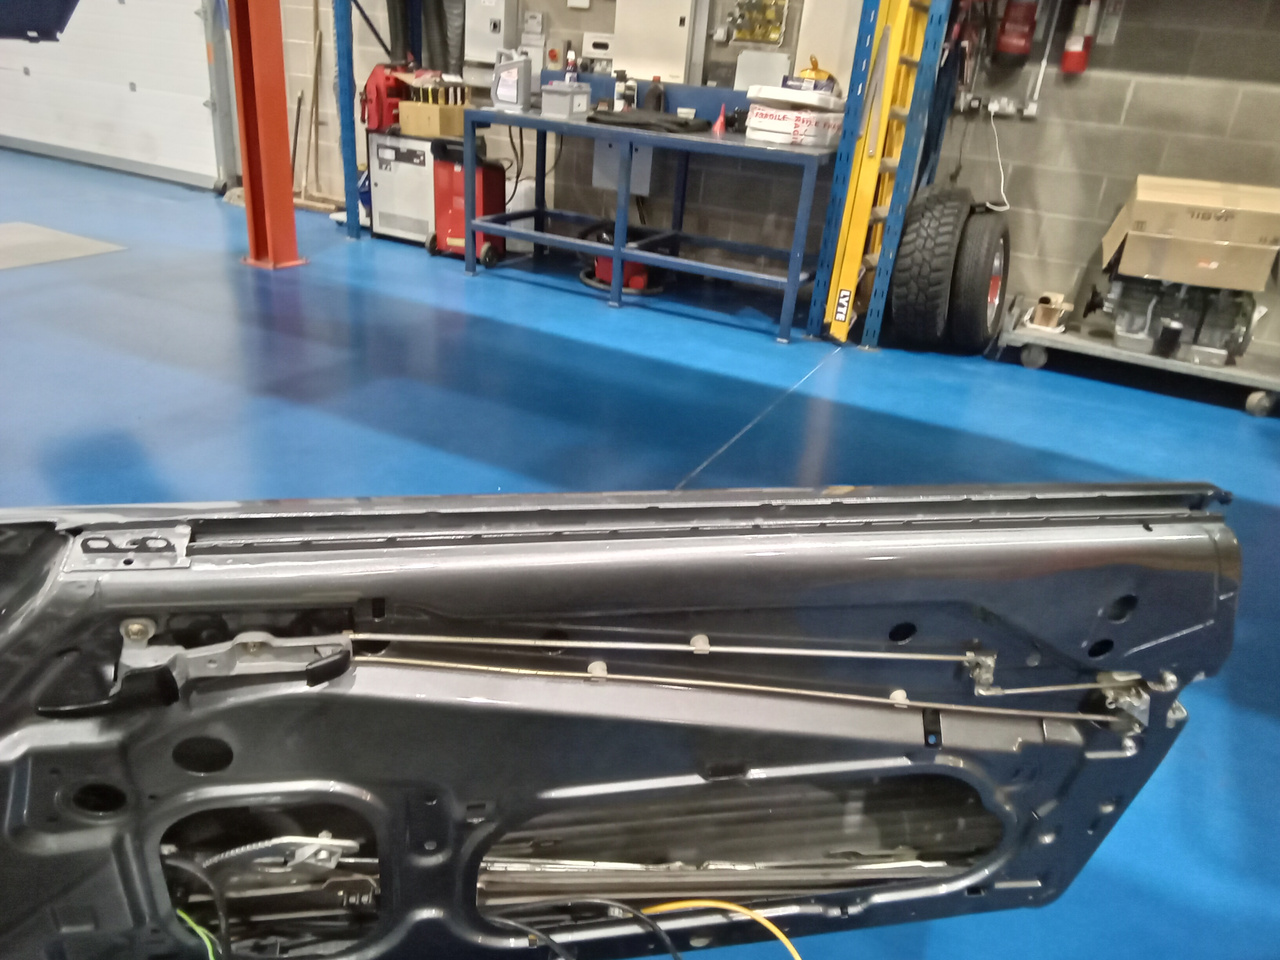
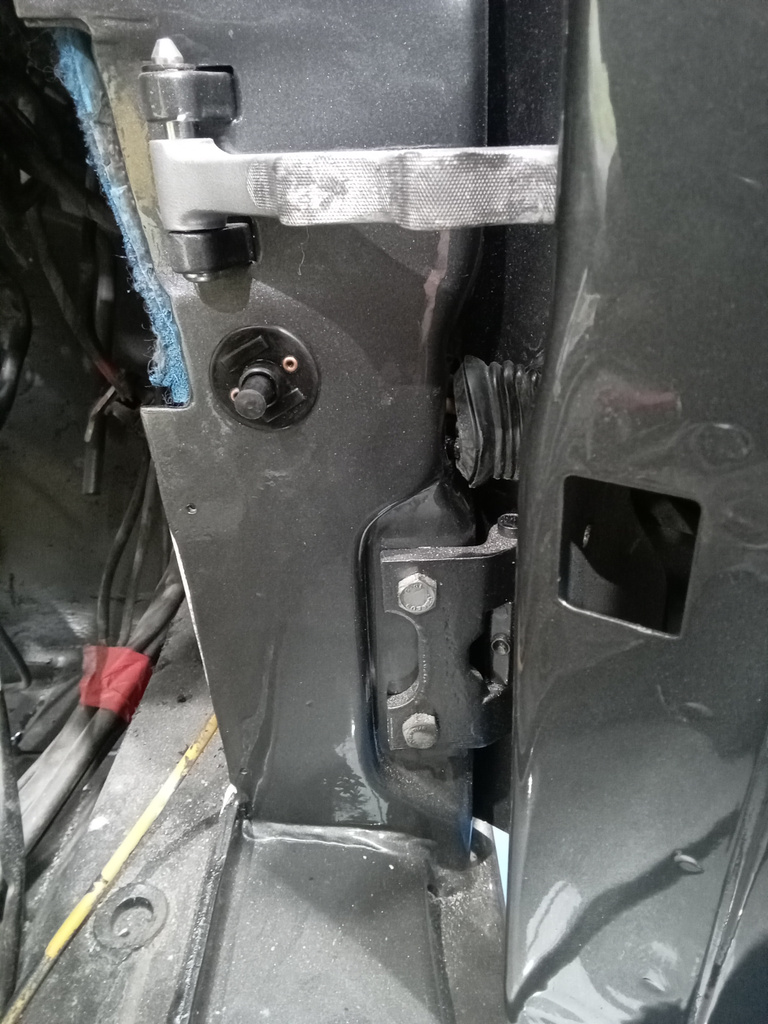
John has carried out some weekend one here at Bridge Classic Cars, working on my 1987 Mercedes 500 SL restoration project. This has been such
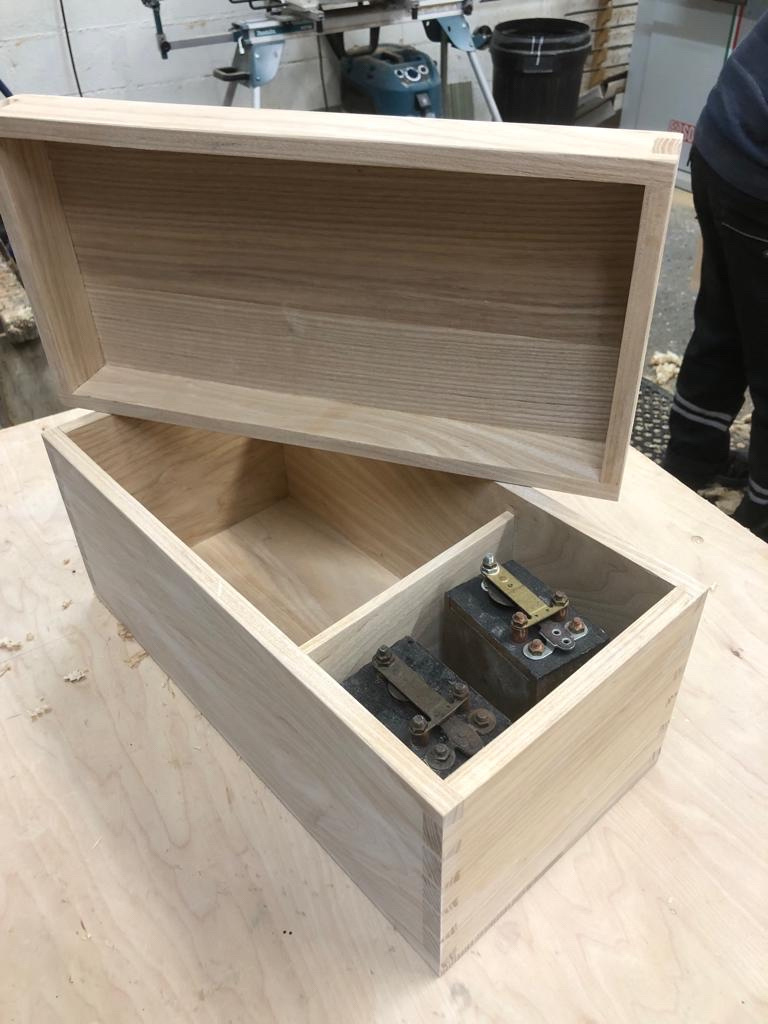
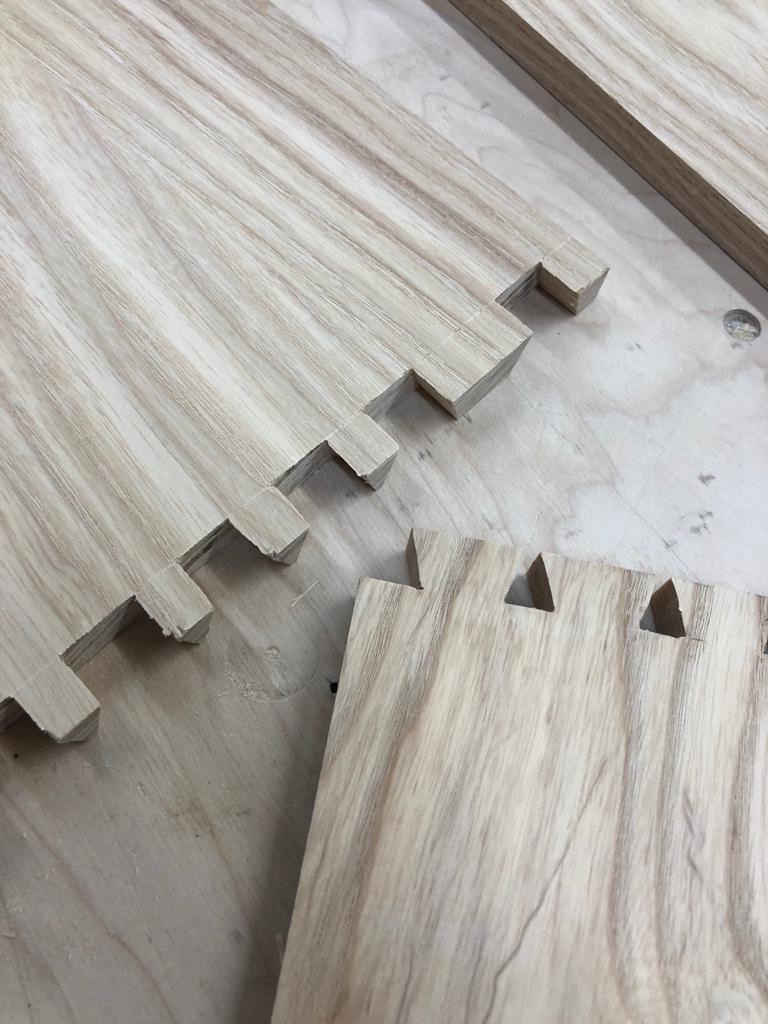
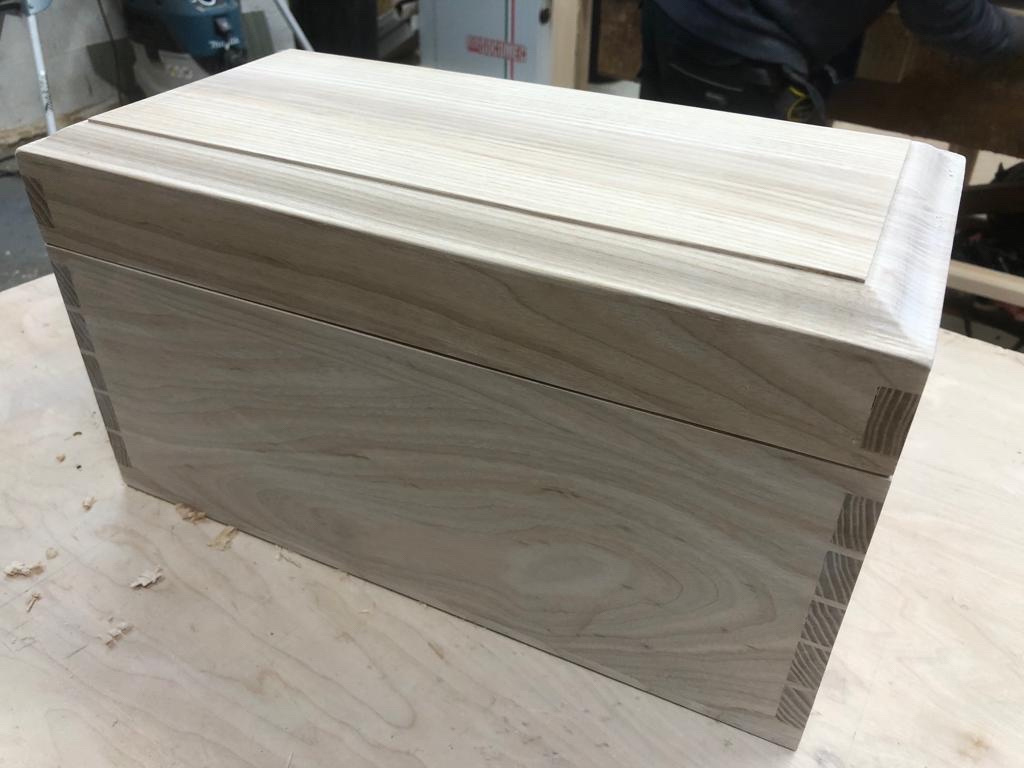
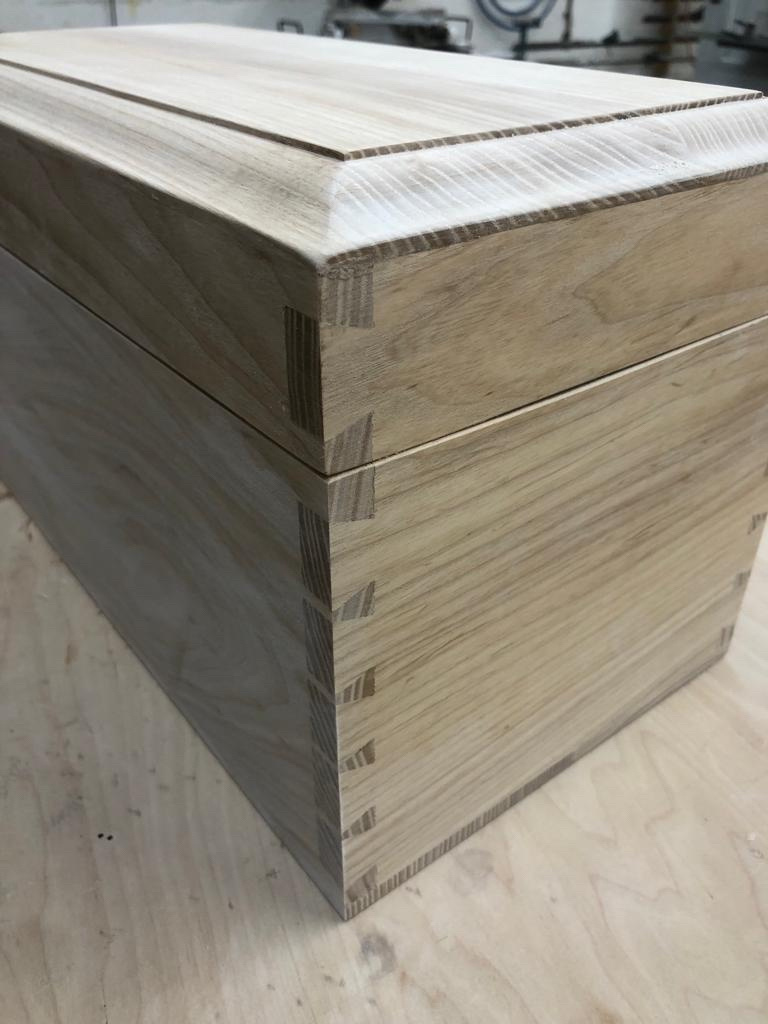
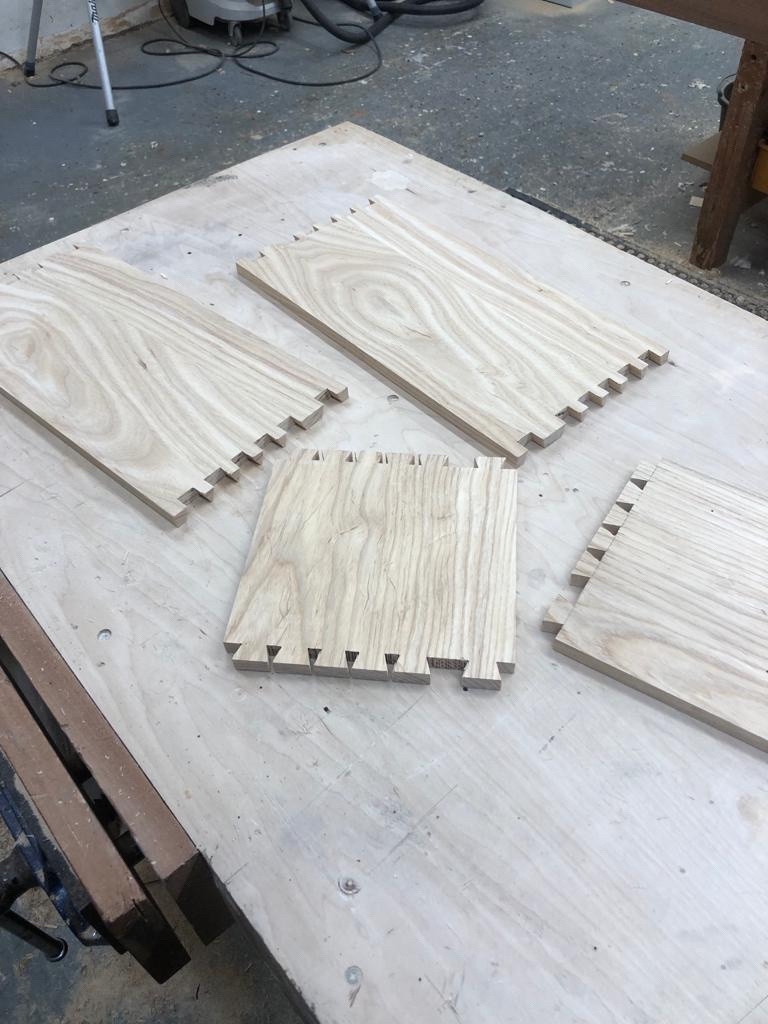
Darin from Ashbocking Joinery is completing the final few pieces of our Riley 9 woodwork. Here is the new tool box and trembler being finished.
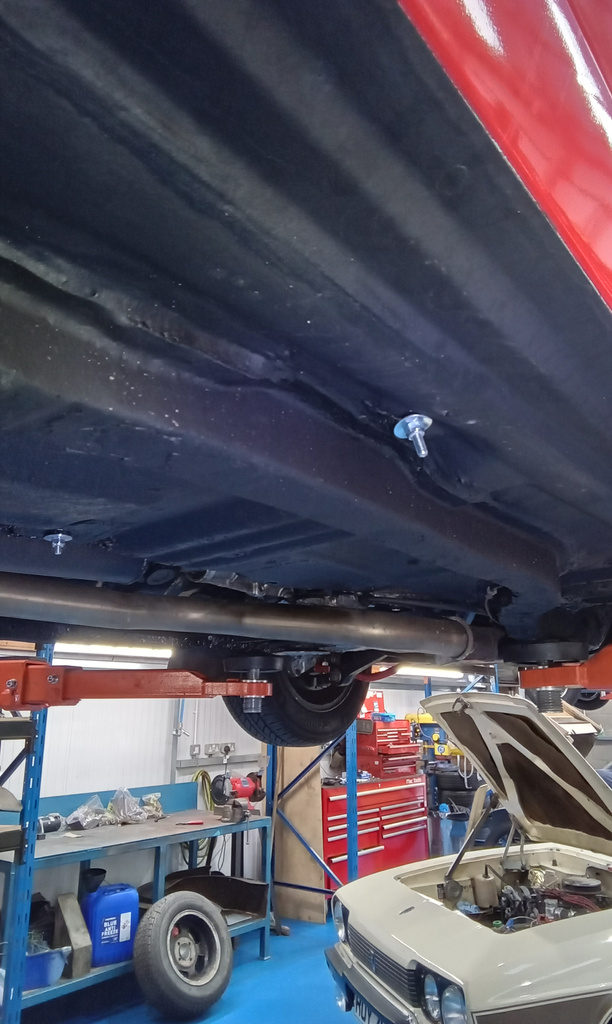
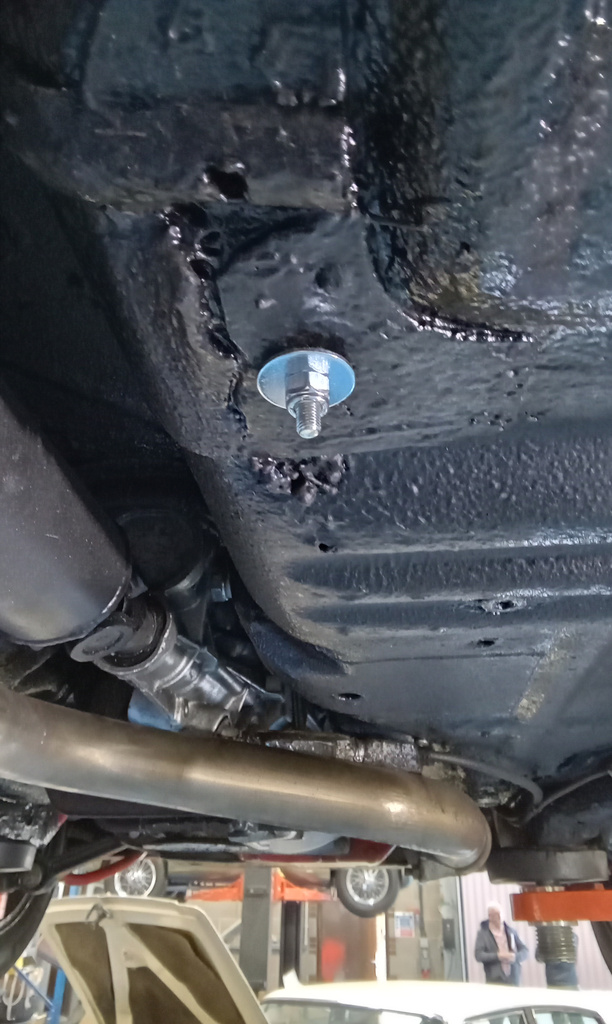
Alan has been busy prepping the underside of our 1976 Triumph Spitfire ready for the Raptor treatment. He has applied an epoxy primer then seam
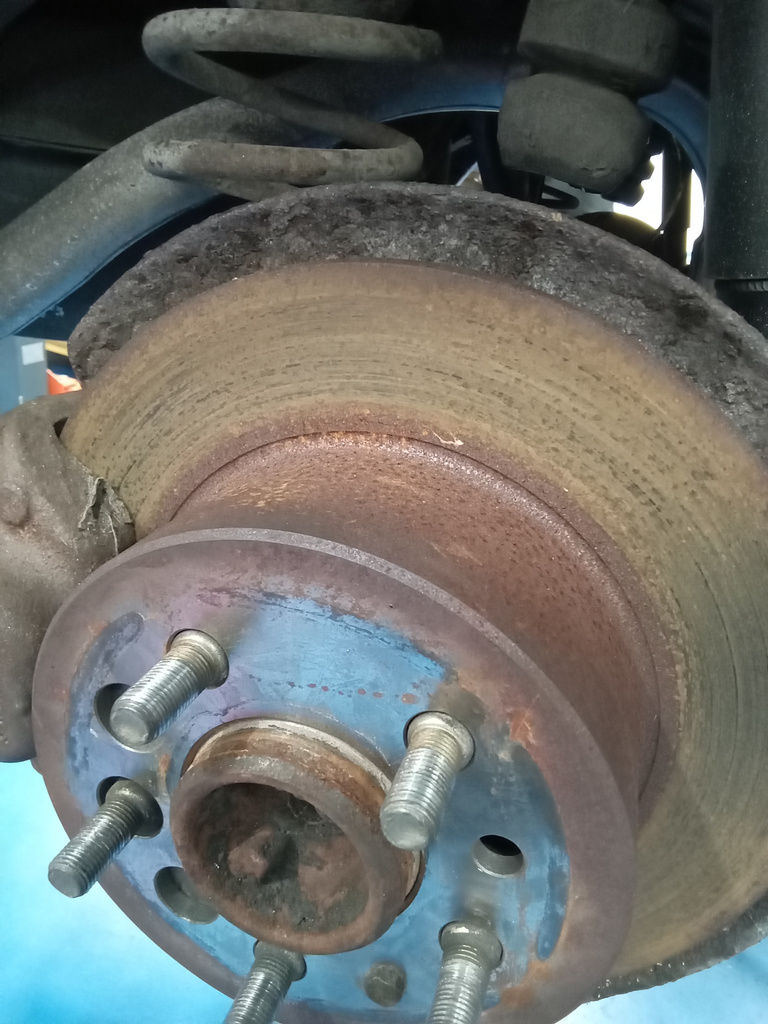
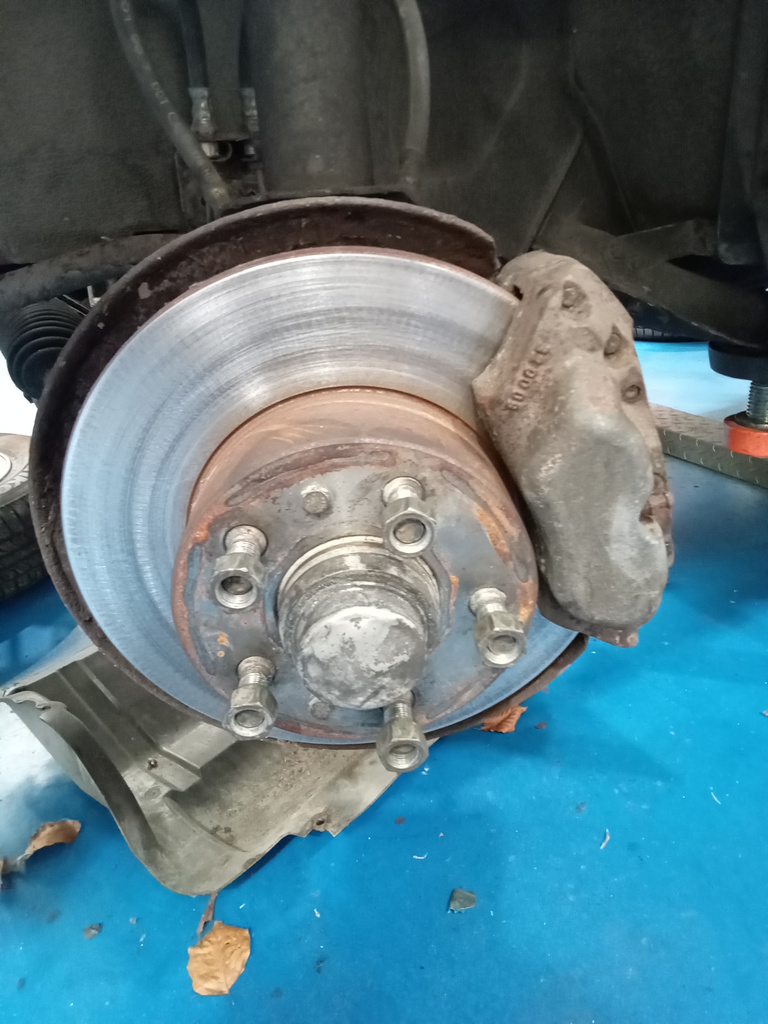
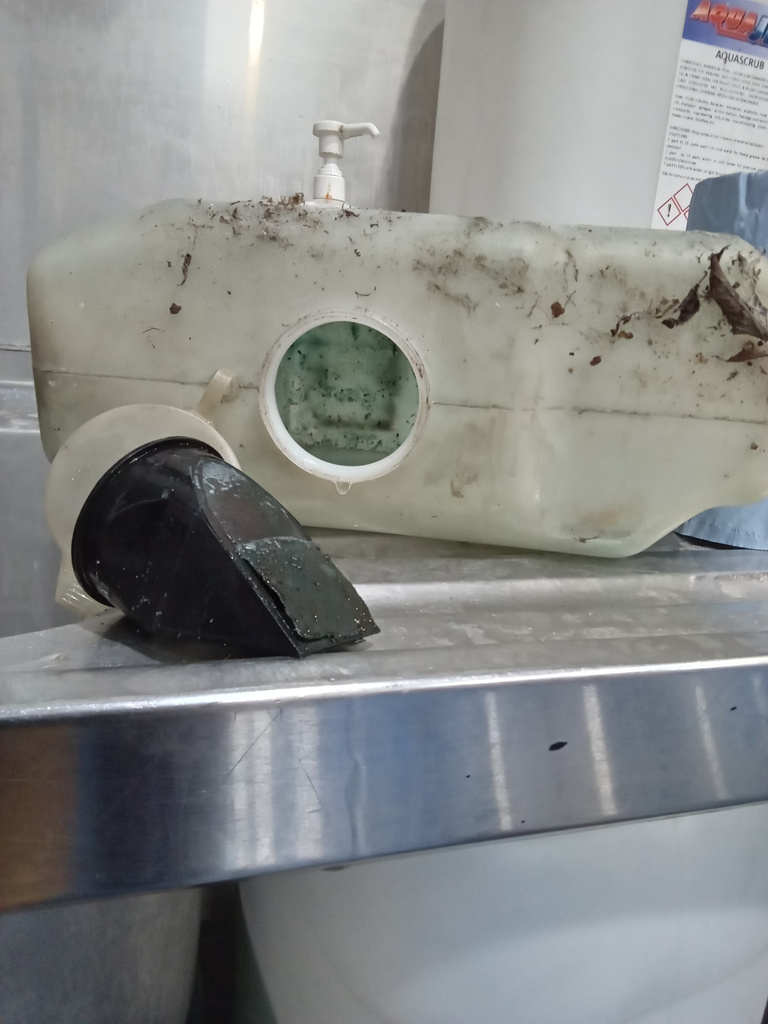
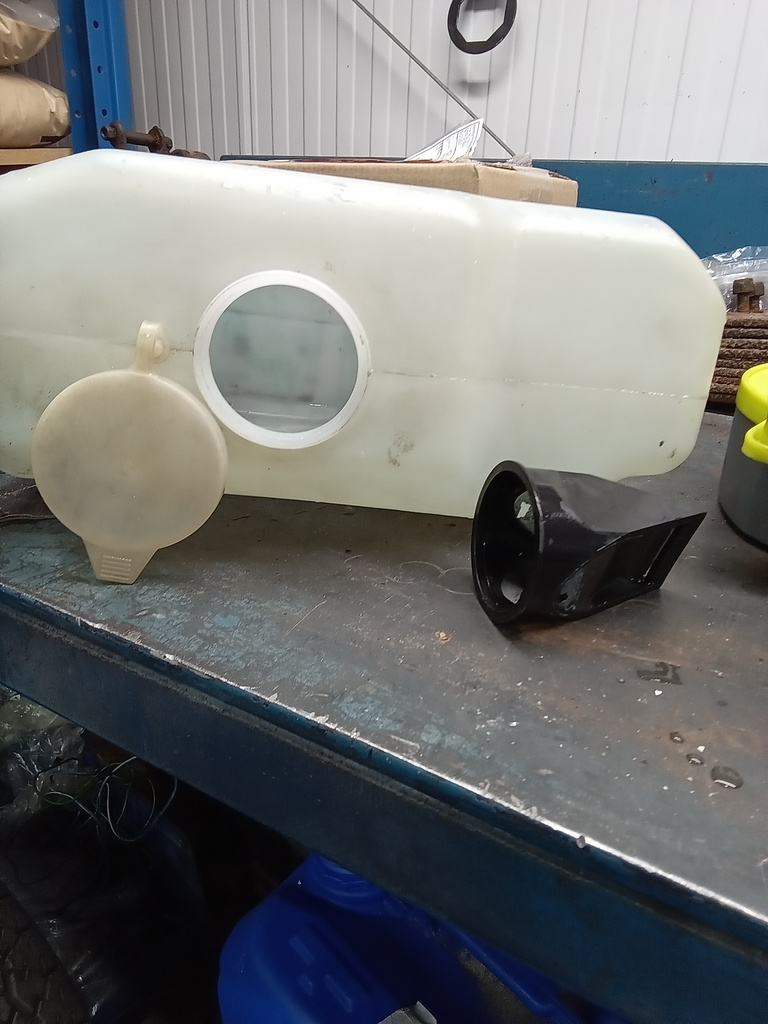
Pictures show the brake discs that were covered in surface corrosion but were in good condition and cleaned up very well. Pictures show washer bottle
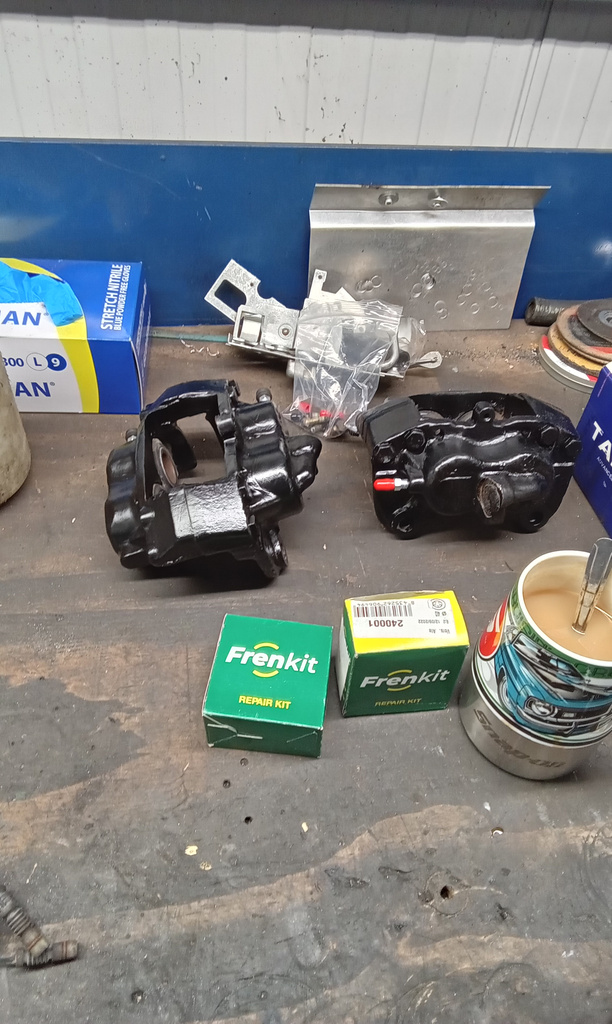
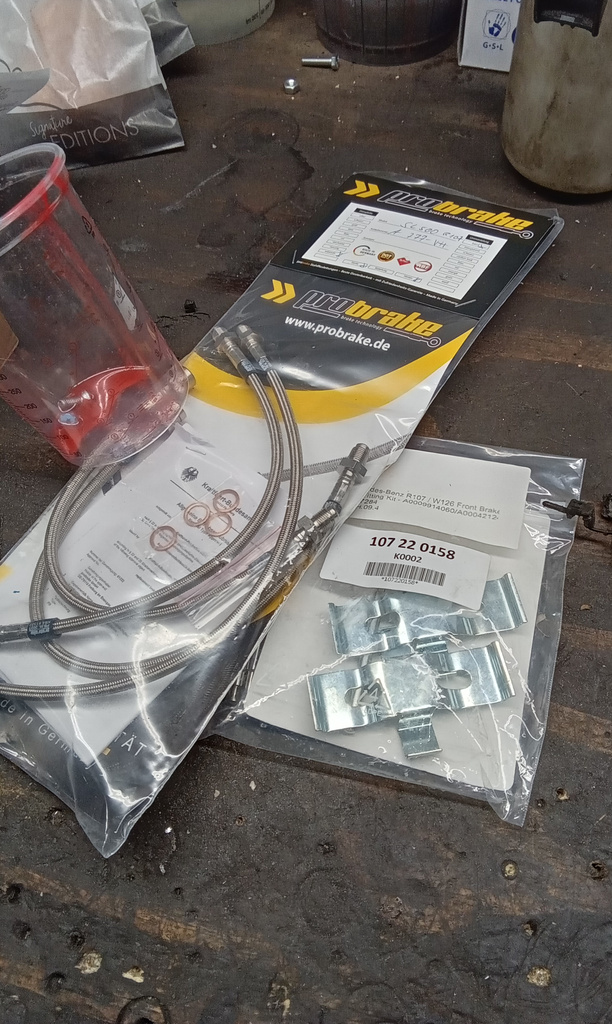
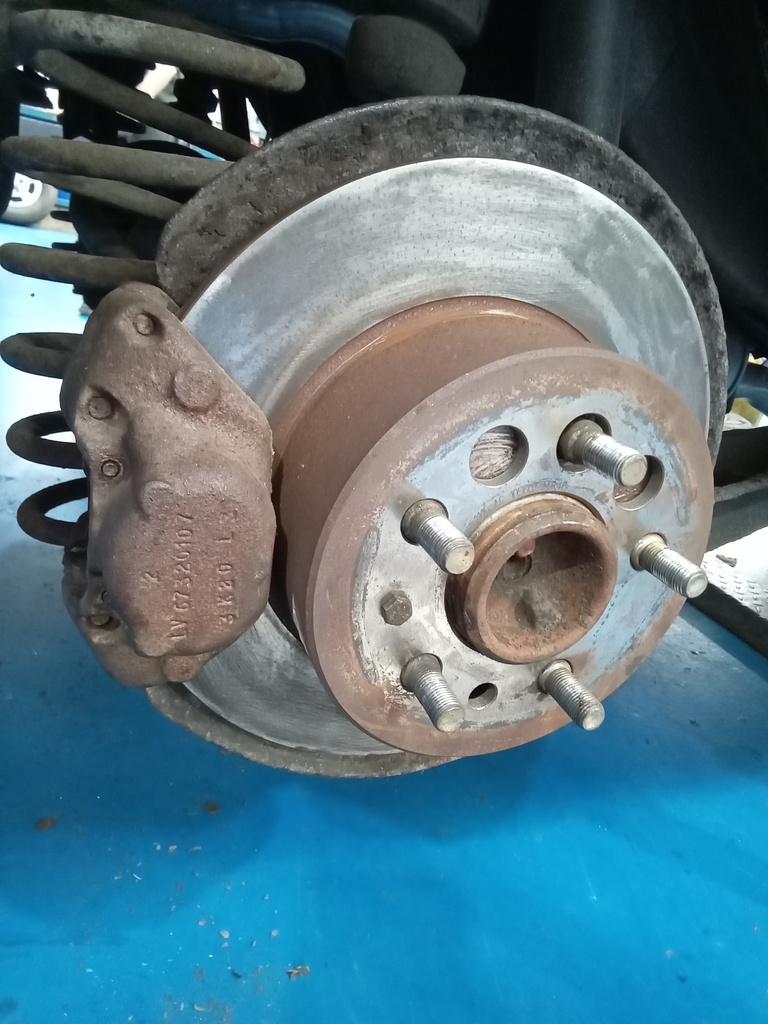
Jon has fitted up the new bleed nipples to the freshly painted calipers. The bolts have been cleaned and painted We have cleaned up and
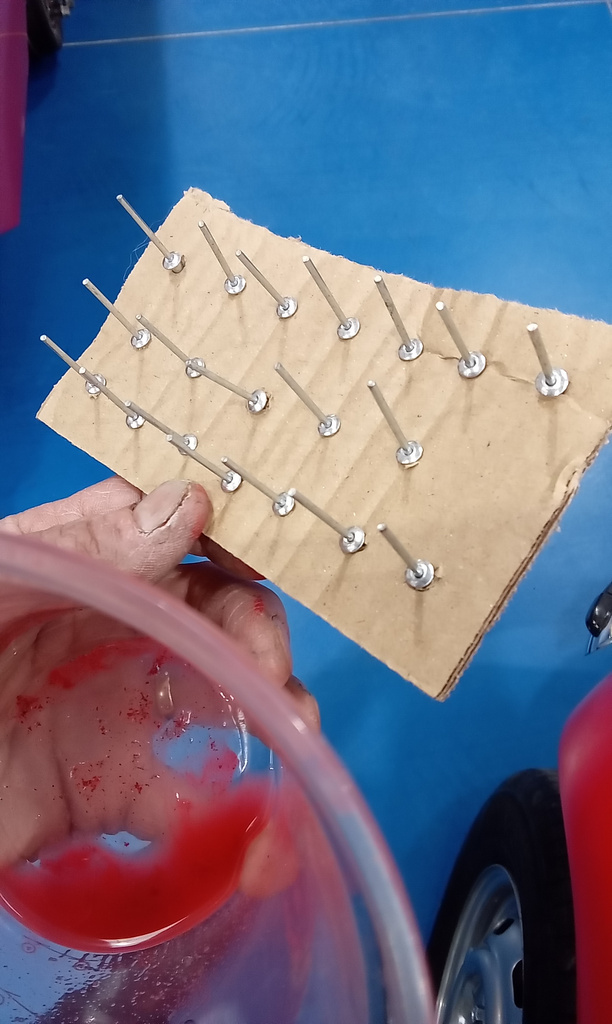
Christian is continuing with the Austin Devon body panel fabrication.


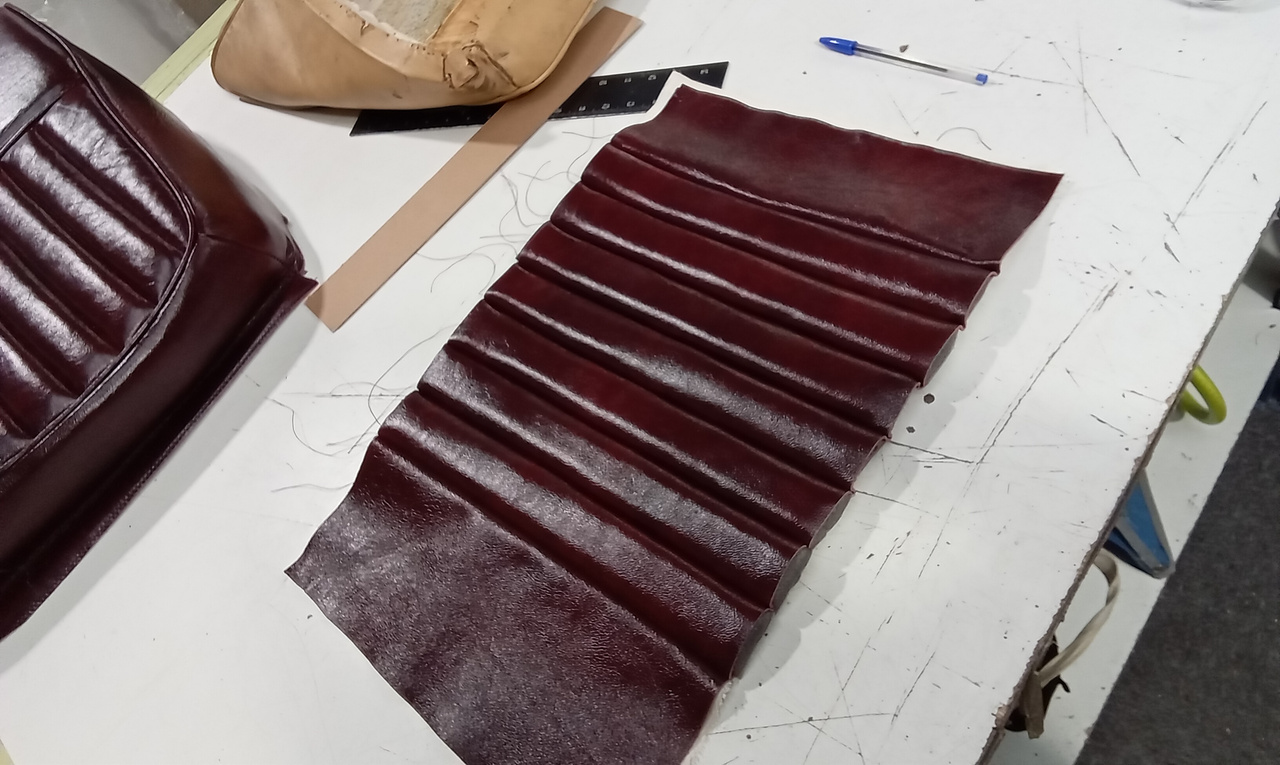
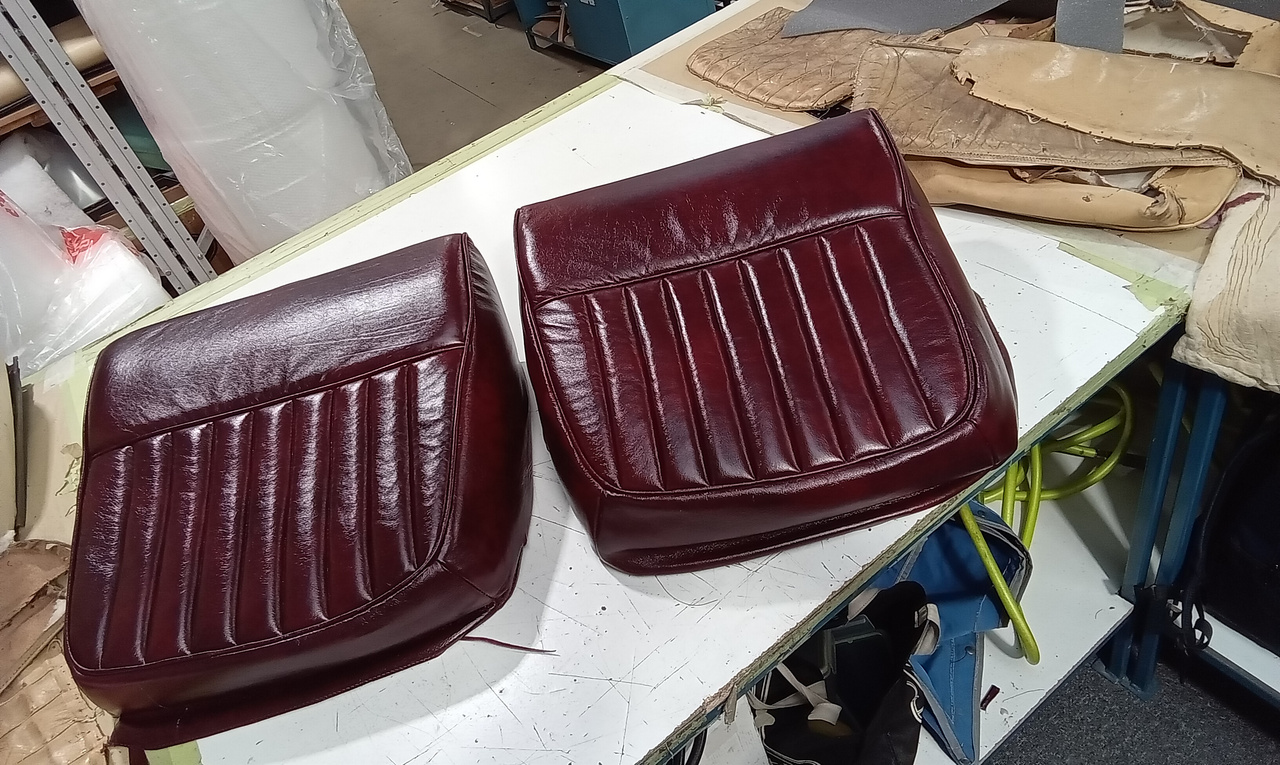
To begin with, Lydia has made a mock-up panel to test the measurements for the tuck and roll flutes. This requires precise measurement and calculation to ensure that the flutes end up at the correct width. If they do not, then the panel will not fit! Tuck and roll requires the correct measurements on both a cotton underlayer and the leather upper layer. Each flute is then filled with foam after it has been sewn up, thus encapsulating the foam into the channel. Lydia has not tried this method of tuck and roll before, but found it to be quite effective, and it ensures that the seat retains its original look. Next was the shaping of the panel to make it fit the seat. She used a combination of the original pieces and her judgement to determine the size and shaping of the panel, then cut it down to size. As we are working with the original foam, which is in fairly good condition, it didn’t require much deviation from the original pattern piece. Lydia then worked her way through laminating all of the other pieces onto scrim foam, adding her point marks, and sewing them on. After many attempts at trying the covers on and altering them, Lydia is happy with the fit, so she begun to staple them and glue the flies to the foam.
Fitting inner glovebox top section and outer panel. We have glued the vinyl to the bottom section, fitting hinges to the glovebox lid, fitted lock to the lid before fitting lid to the glovebox outer panel.
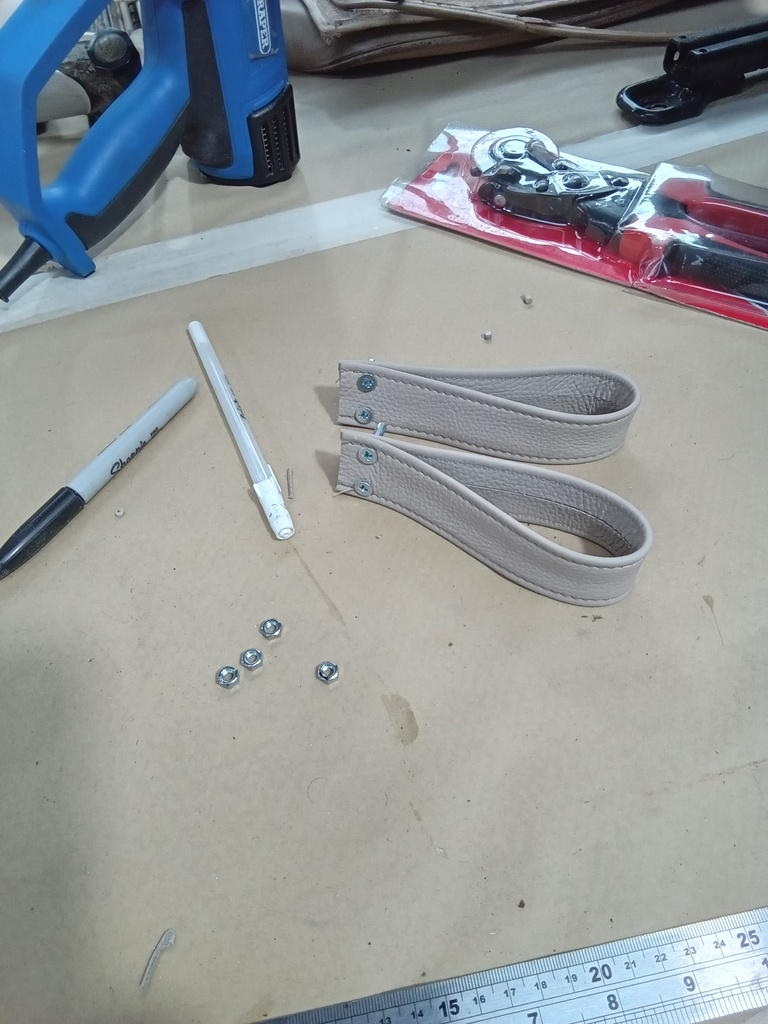
Brian has also made up the leather door straps, glued leather together ready to be sewn and bolted leather straps to the door panels.

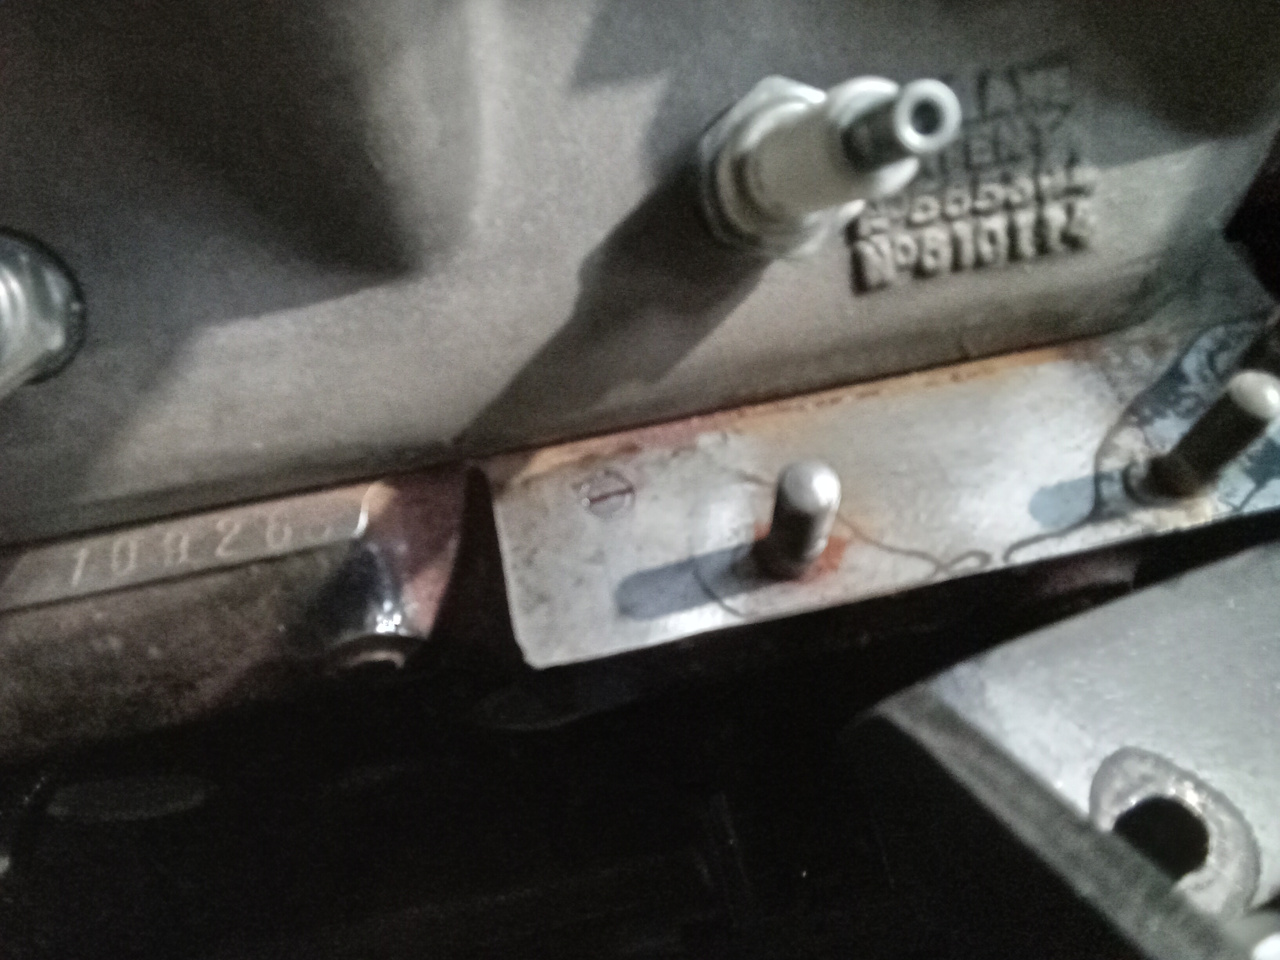
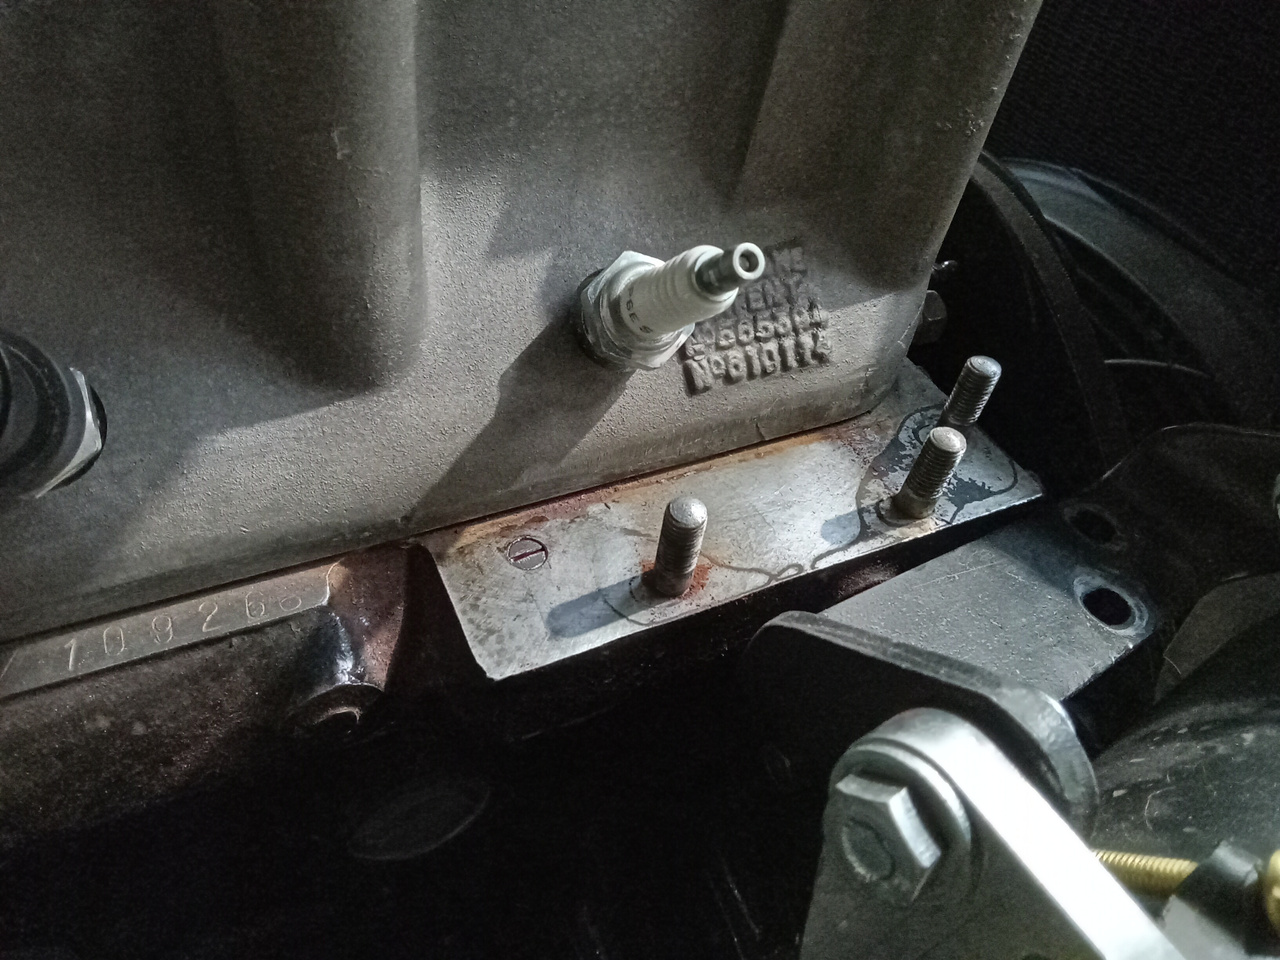
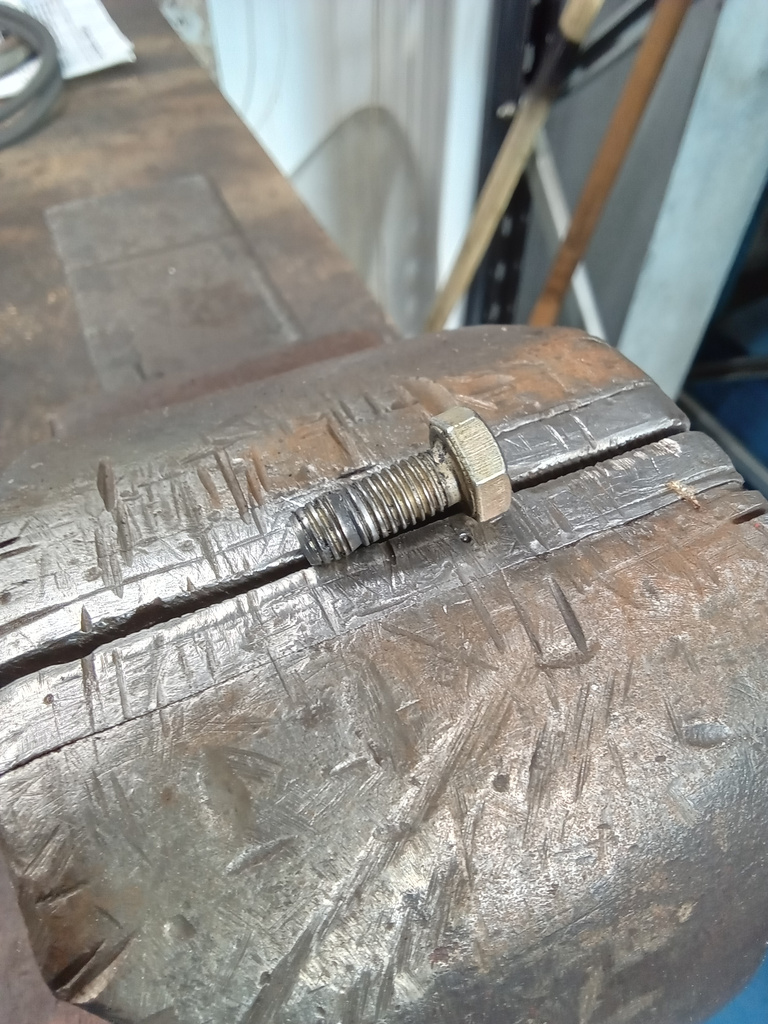
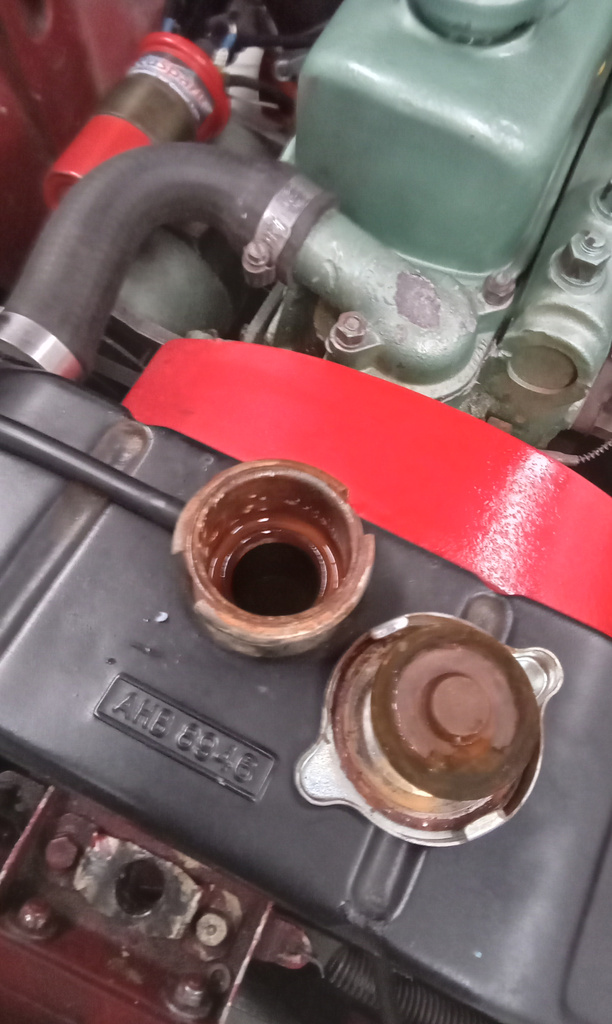
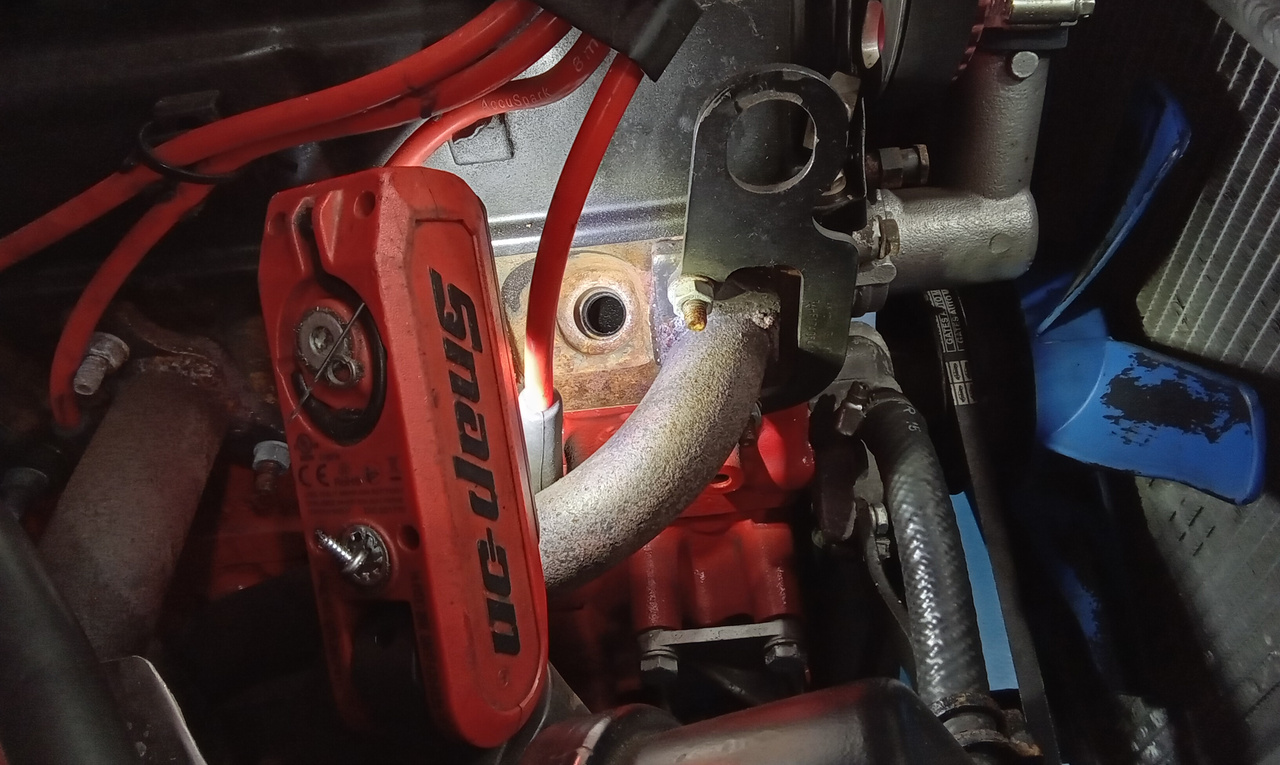
John has also bee fixing a water leak in the engine. Water way blanking stud is missing so he has made up a new one and fit.
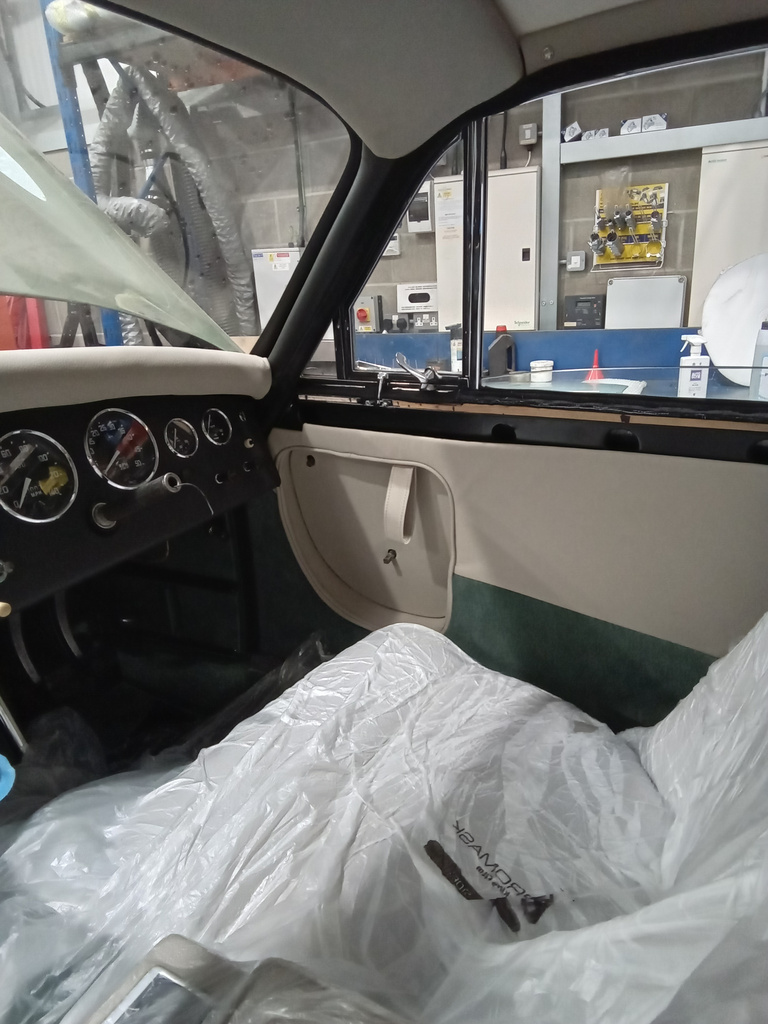
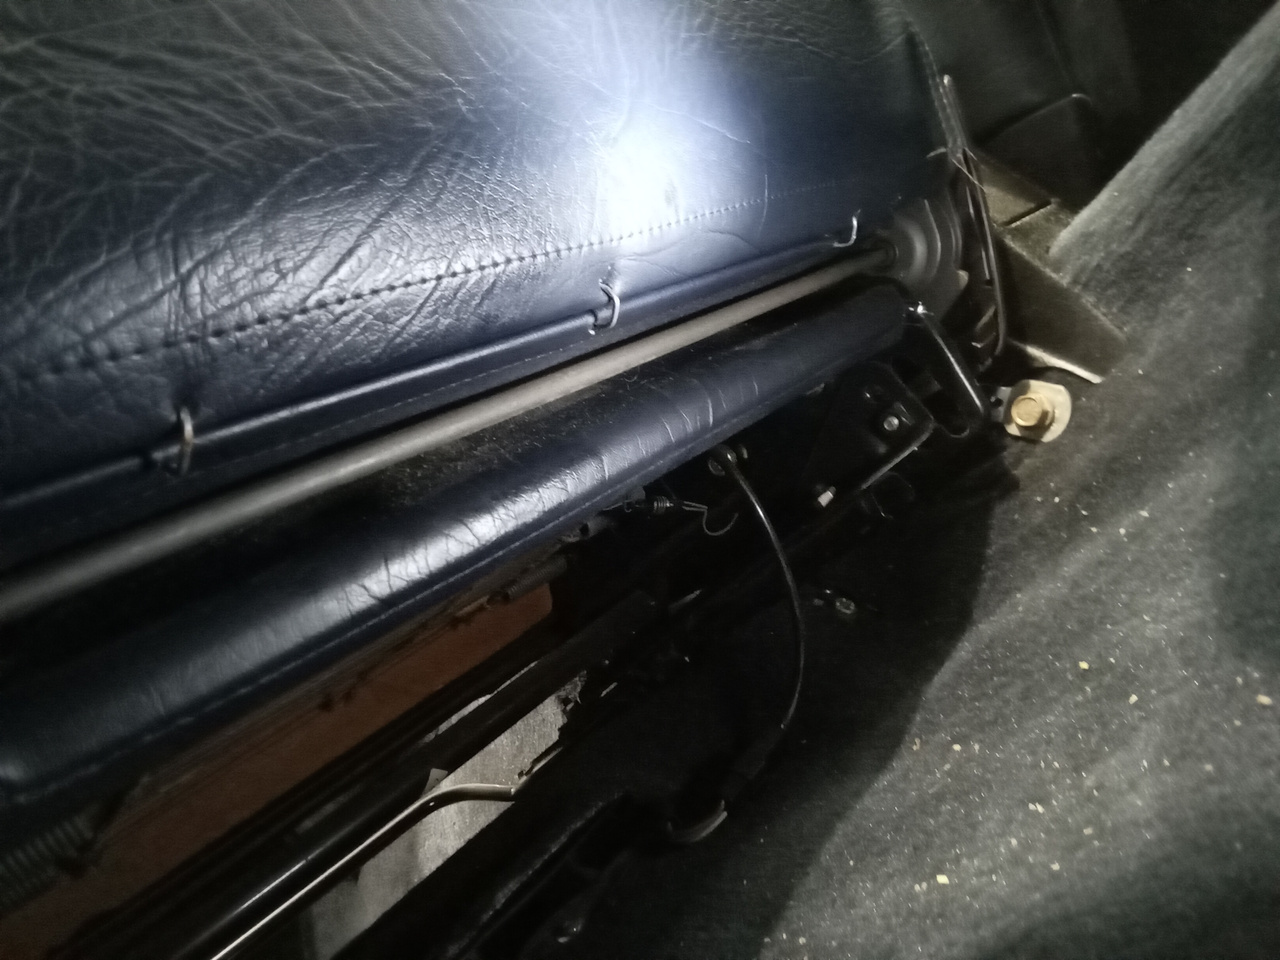
Today the interior was refitted; seats, seat belts and boot areas that were removed for metalwork/welding. On refitting the passenger seat, we found the back rest bolts had worked loose and fallen out, these were refitted with thread lock to stop them coming undone again.

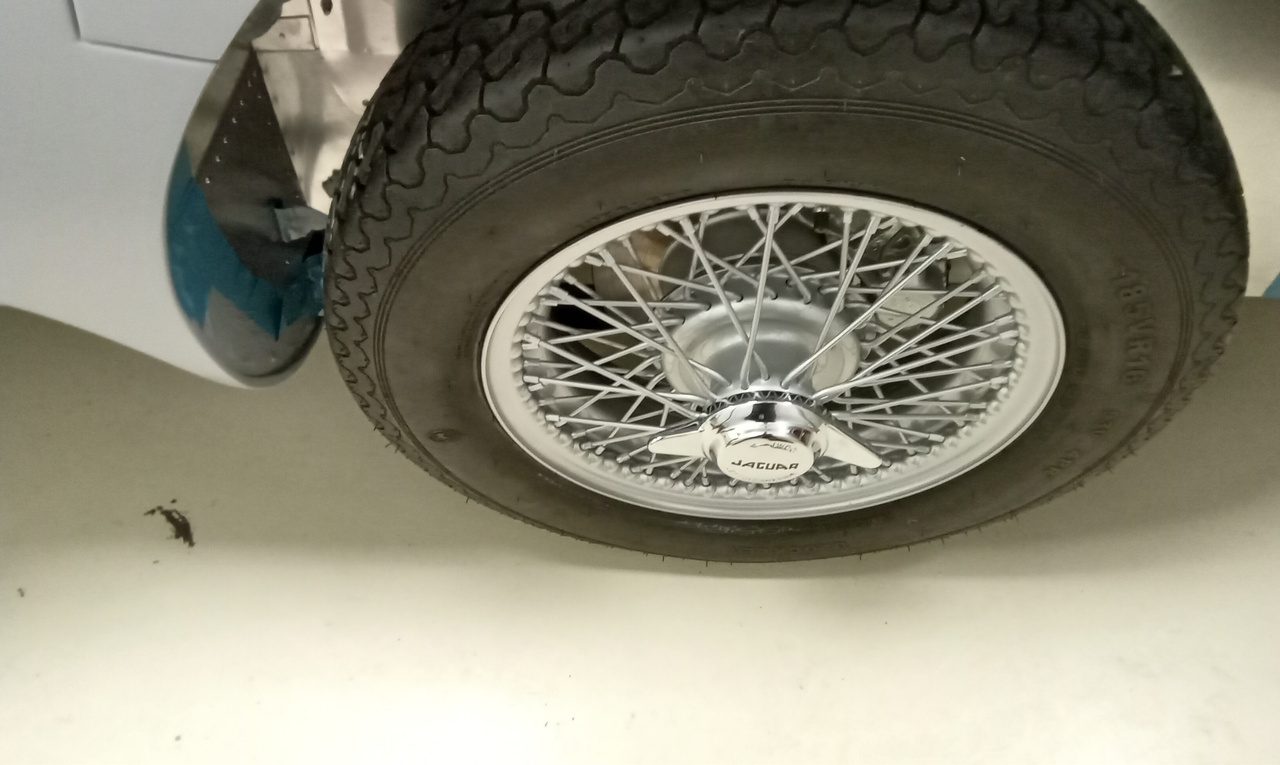
Now that the wheels have returned from our good friends at Wheelworx having been re-coloured from red to silver, Jon has refitted them to make the car mobile once again. He has then removed the axle stands and dropped to the floor so he can knock all wheels up tight.

Monty has started on the corrosion repairs on our S2000 this week. As you can see, the rear inner arch requires some fabrication and welding to correct the corrosion before the paint shop take control to make it all look lovely once again.
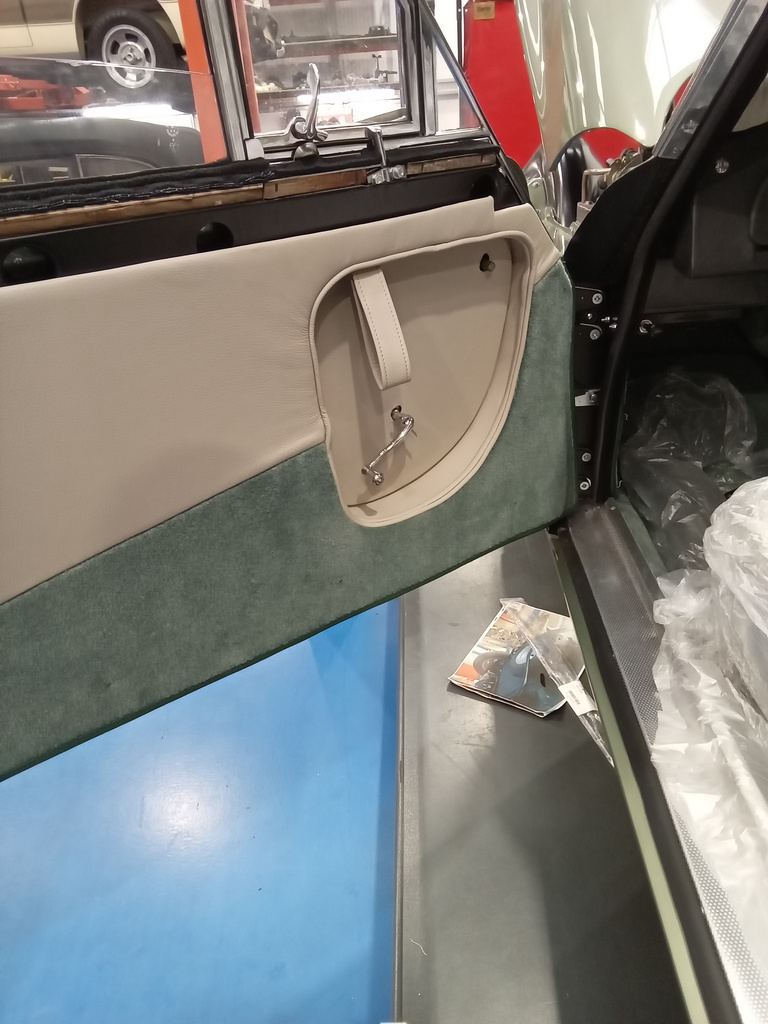
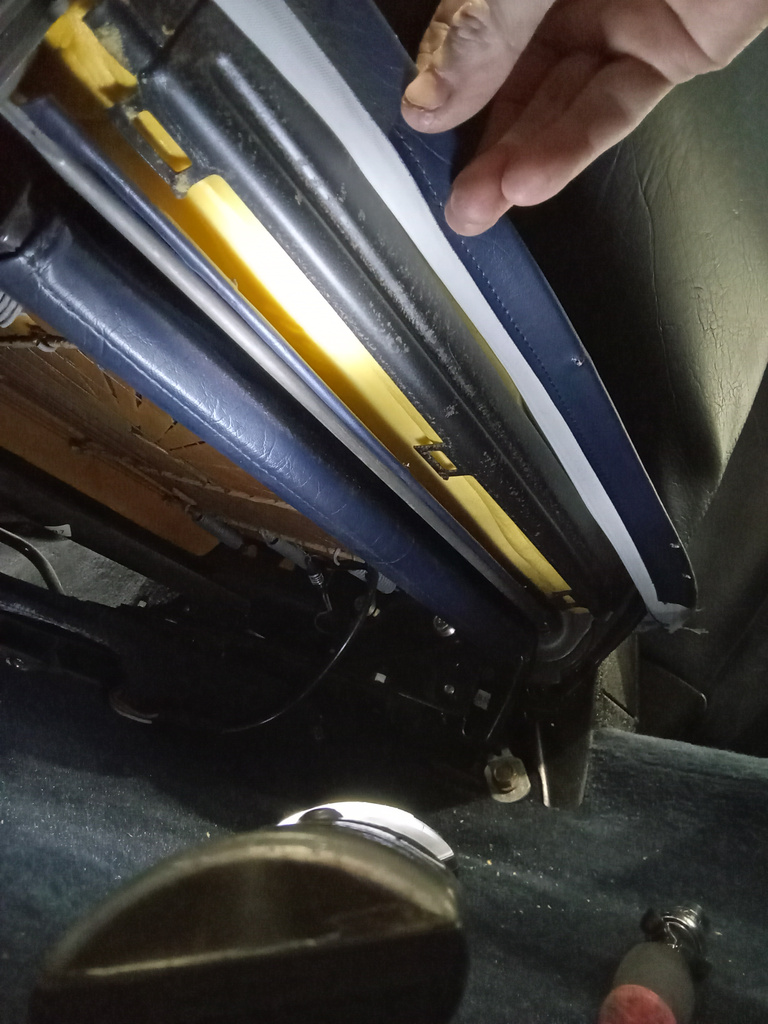
Brian has fitted weather strips to the top of the doors, adjusting the ends of the door cappings to let the doors close properly./ He has cut out door panel insert panels and covered in leather. He has fitted insert panels into door panels, fitting door panels back on, fitting top and bottom sections of the glovebox into dashboard.

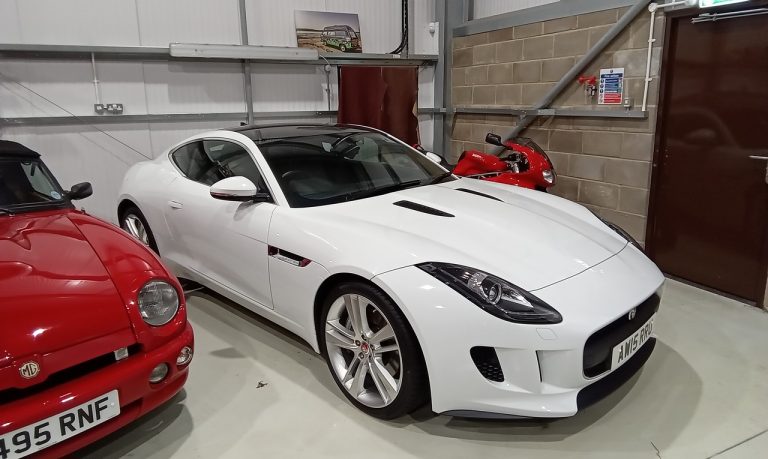
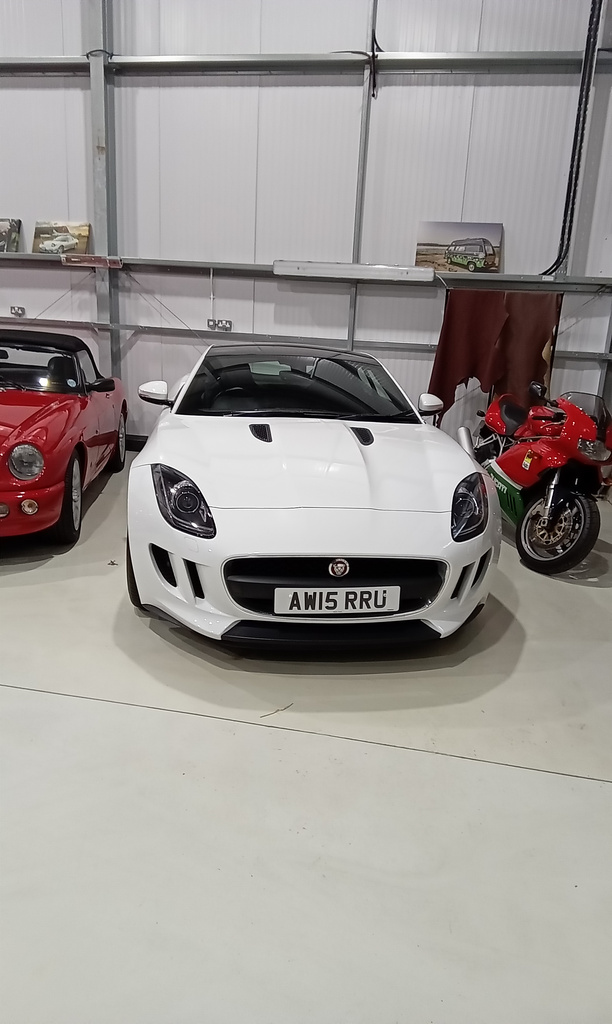
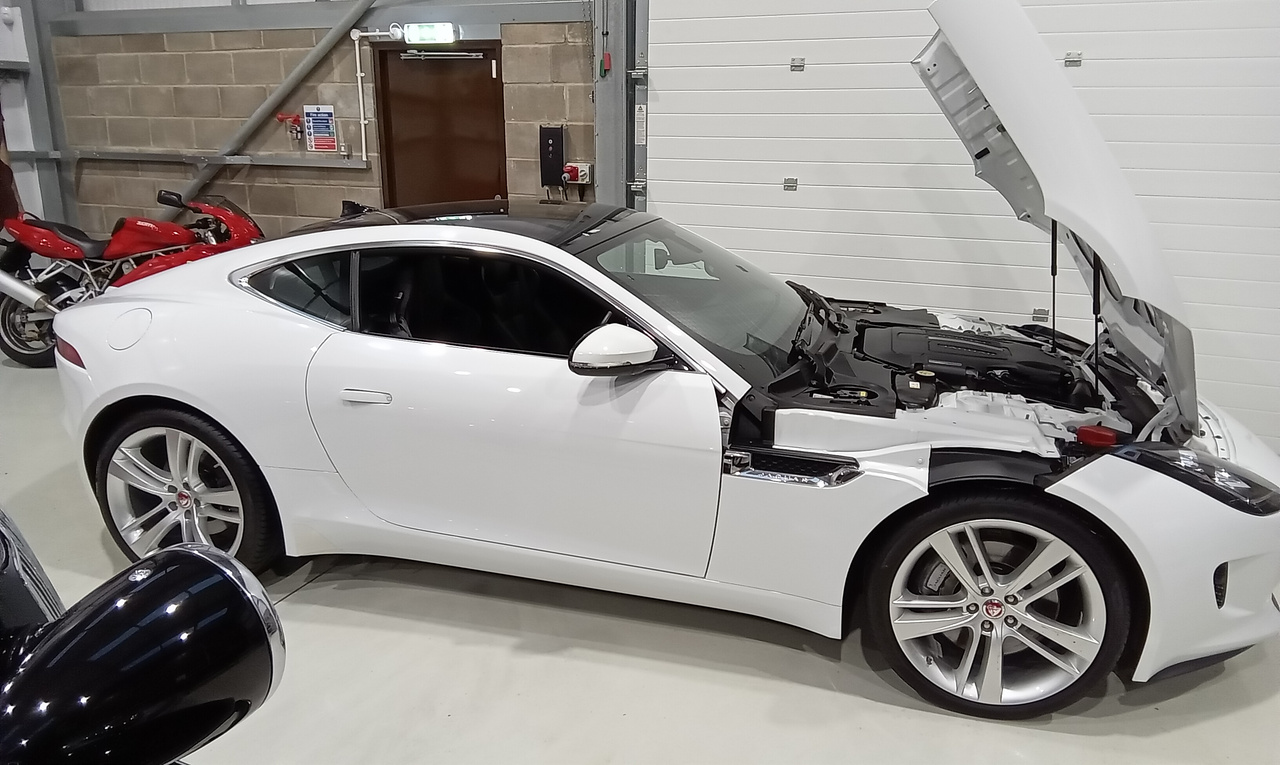
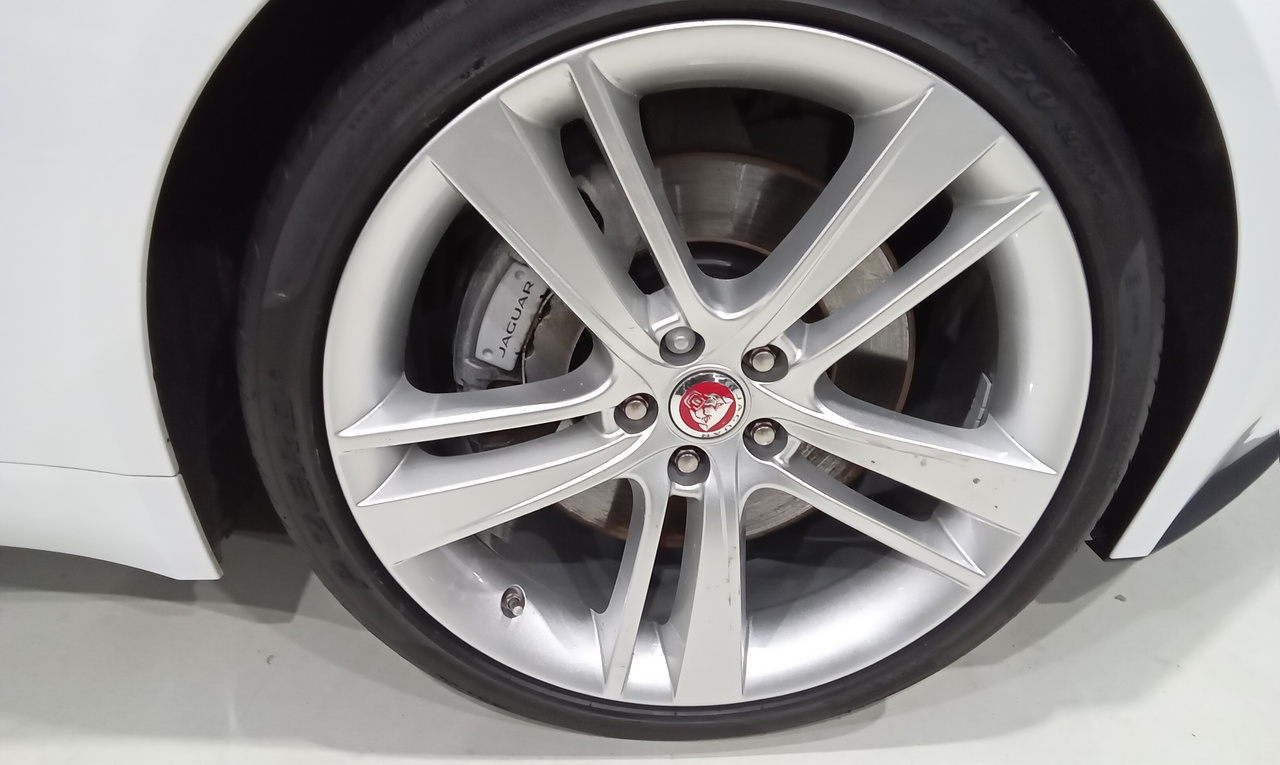
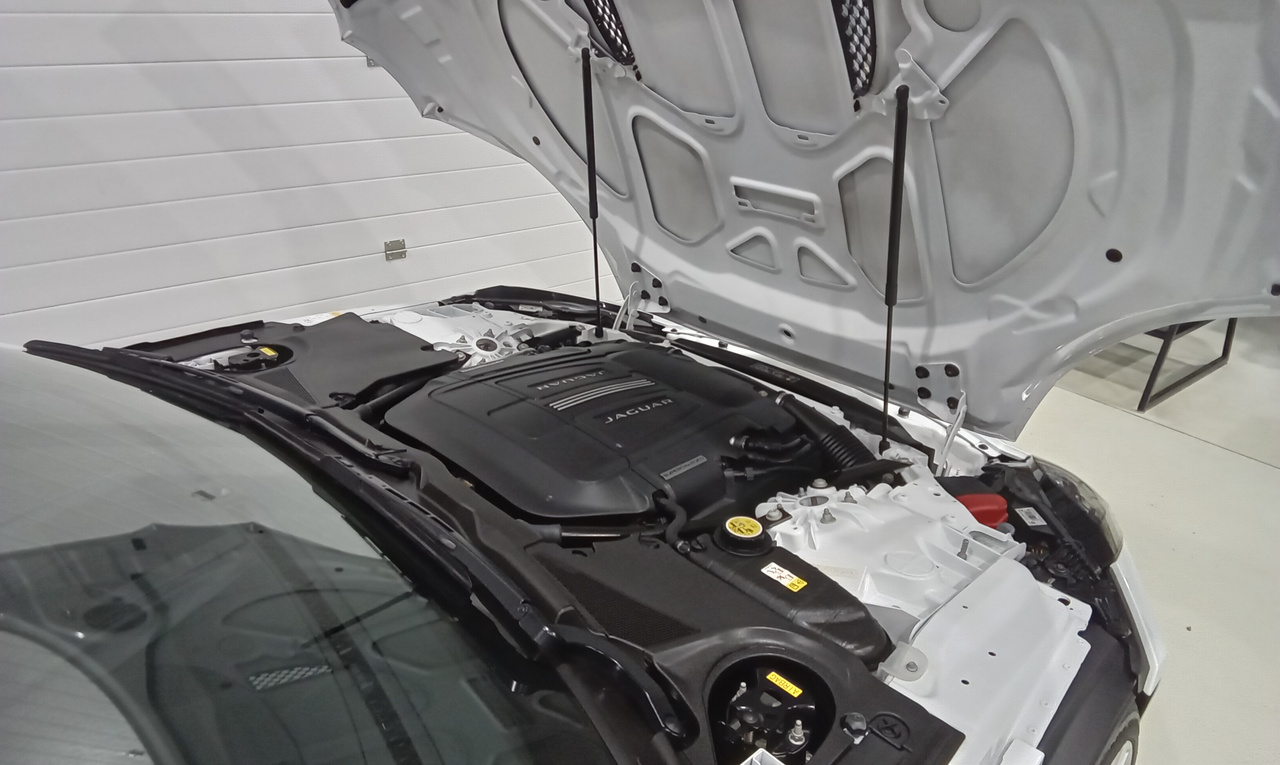
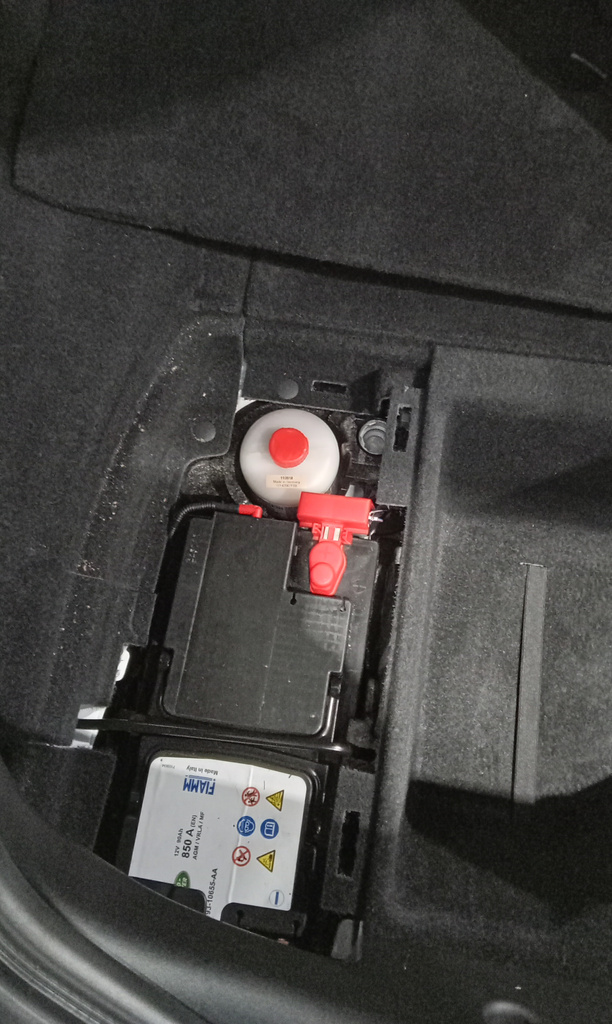
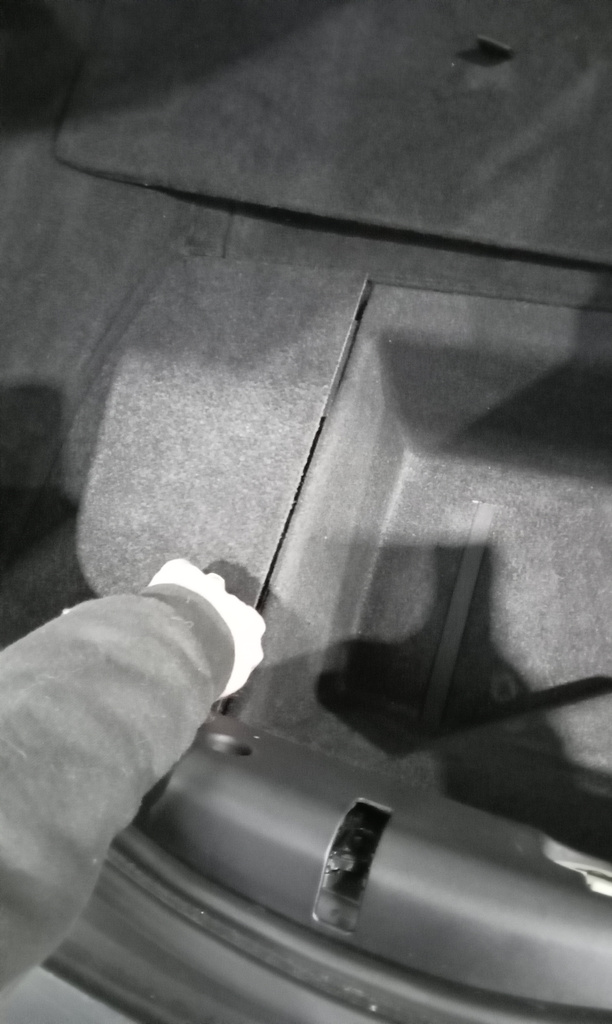
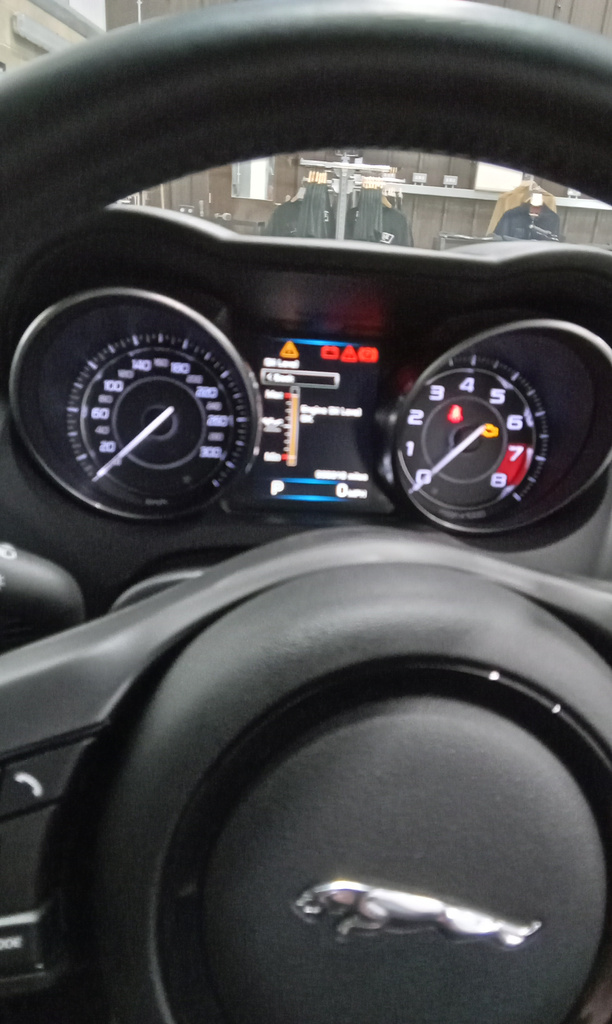
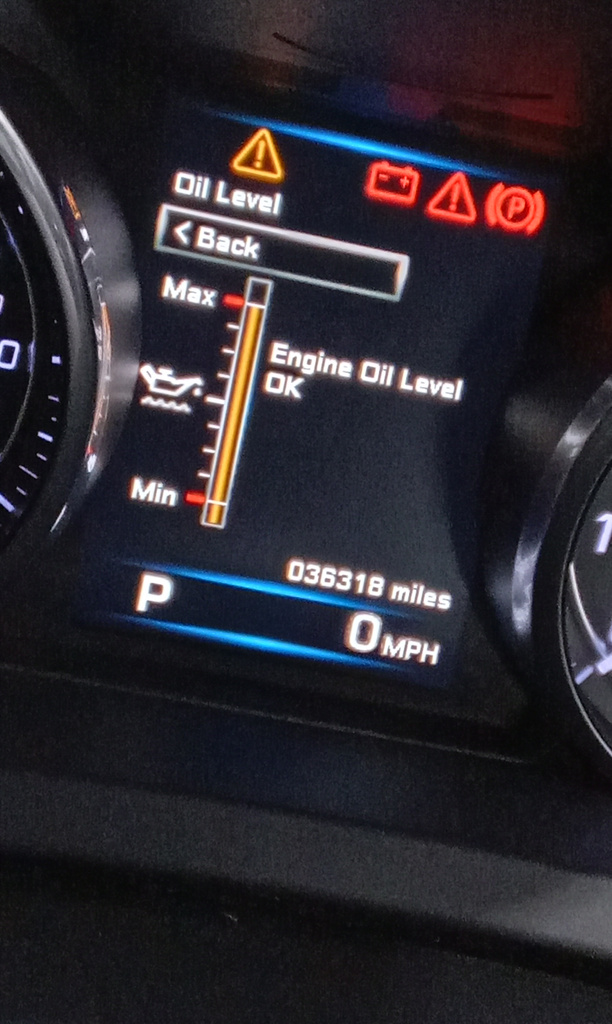
Our Christmas line up is being prepared as we speak. We have an amazing selection of competitions coming up between now and Christmas. Something for everyone I’d say. Our incredible 2015 Jaguar F-Type is currently going through it’s inspection and assessment. We have replaced the spare remote key battery and tested. Reset the service indicator. Torque wheel nuts and put locking wheel nut key back in boot. This was due to having recently refurbished all 4 allows to factory new!
We have carried out a road test and ok, The tyre pressure gauge has been reinitialised and we’ve checked and adjusted the tyre pressures.

Fitted new distributor cap and rotor arm. Gap and fit new spark plugs, run and test briefly, all ok.
Ready for full road test and tune. Weather permitting…
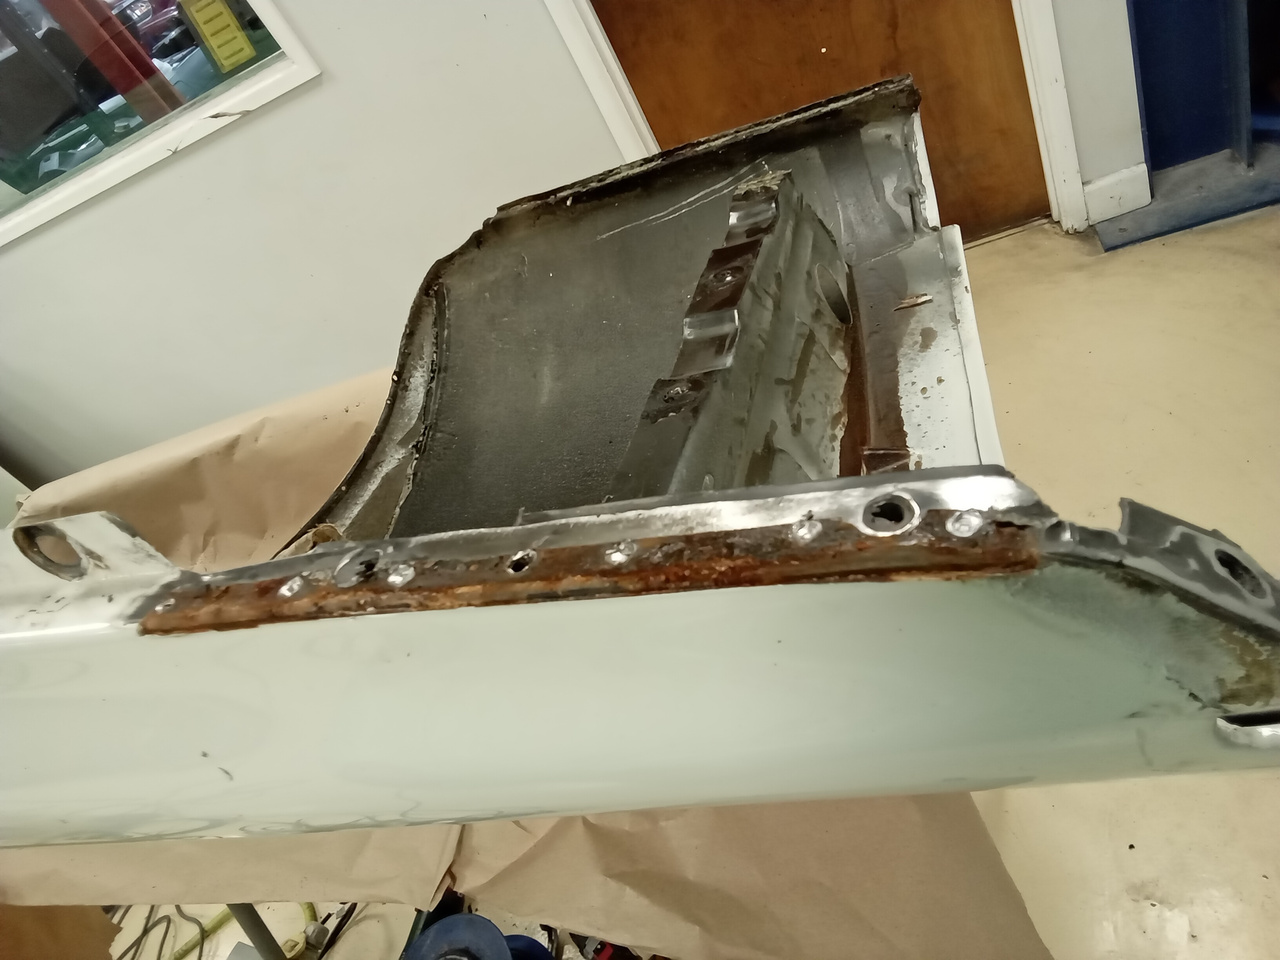
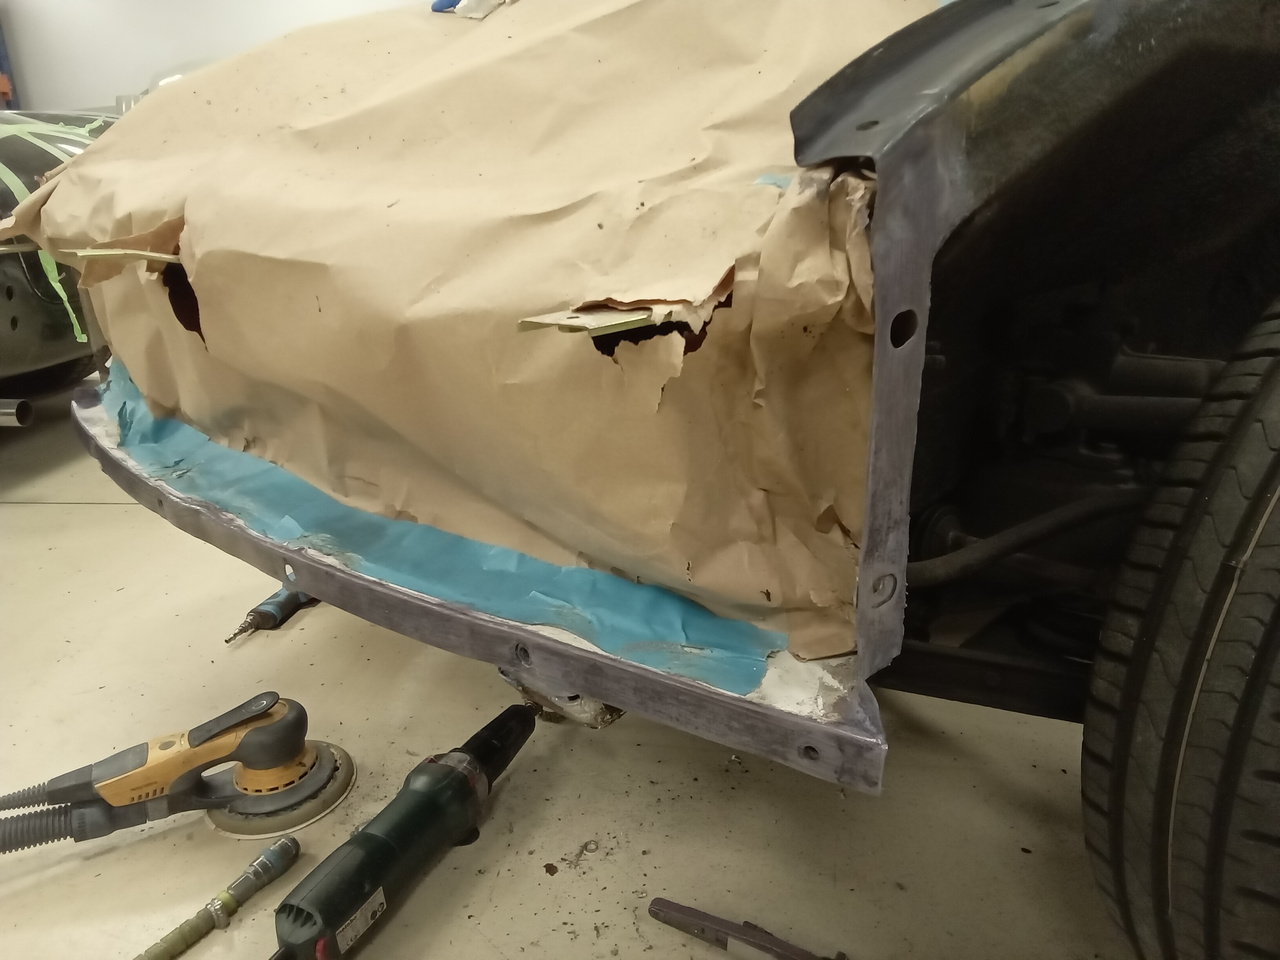
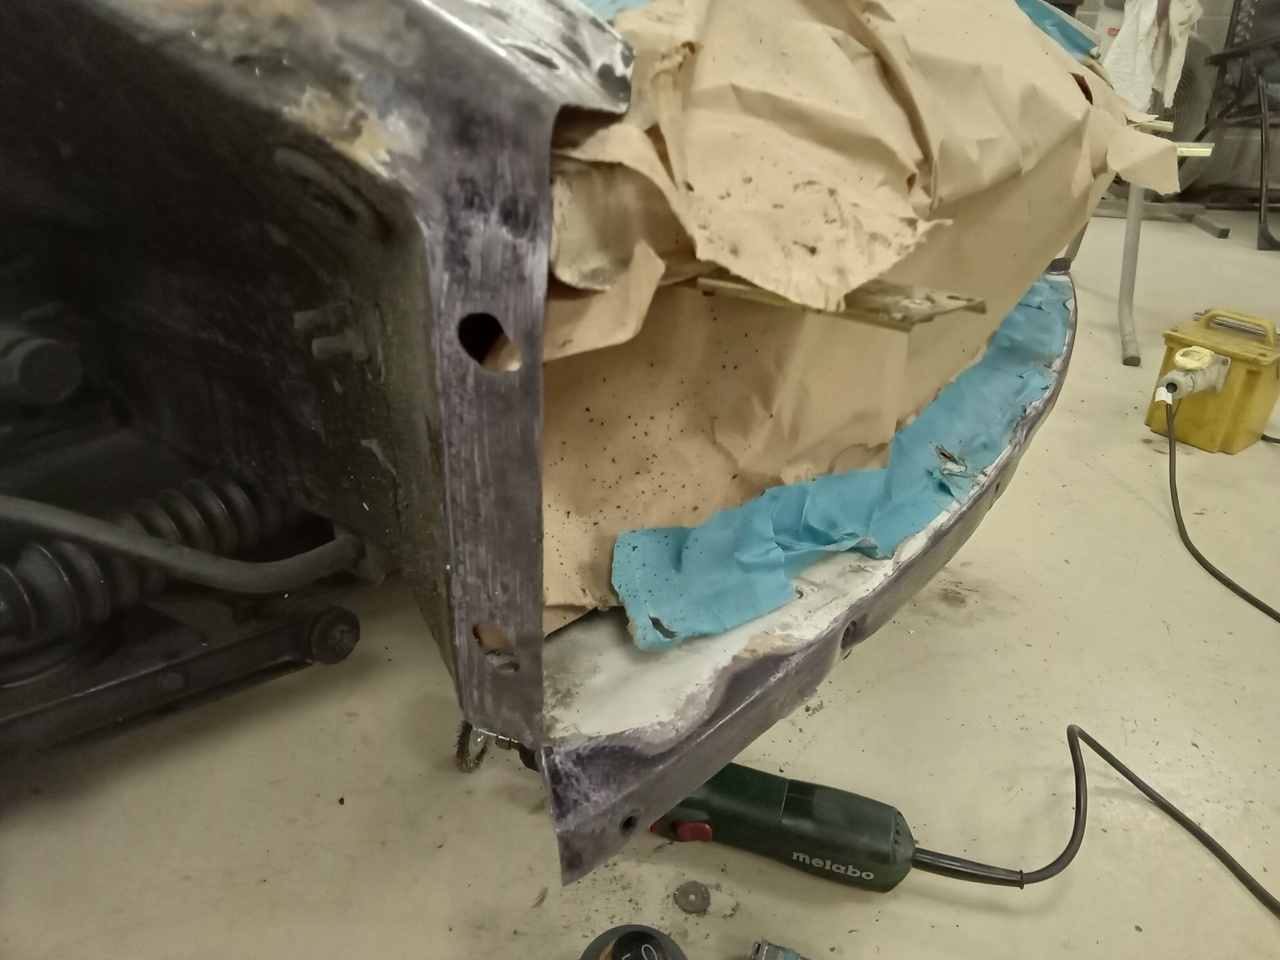
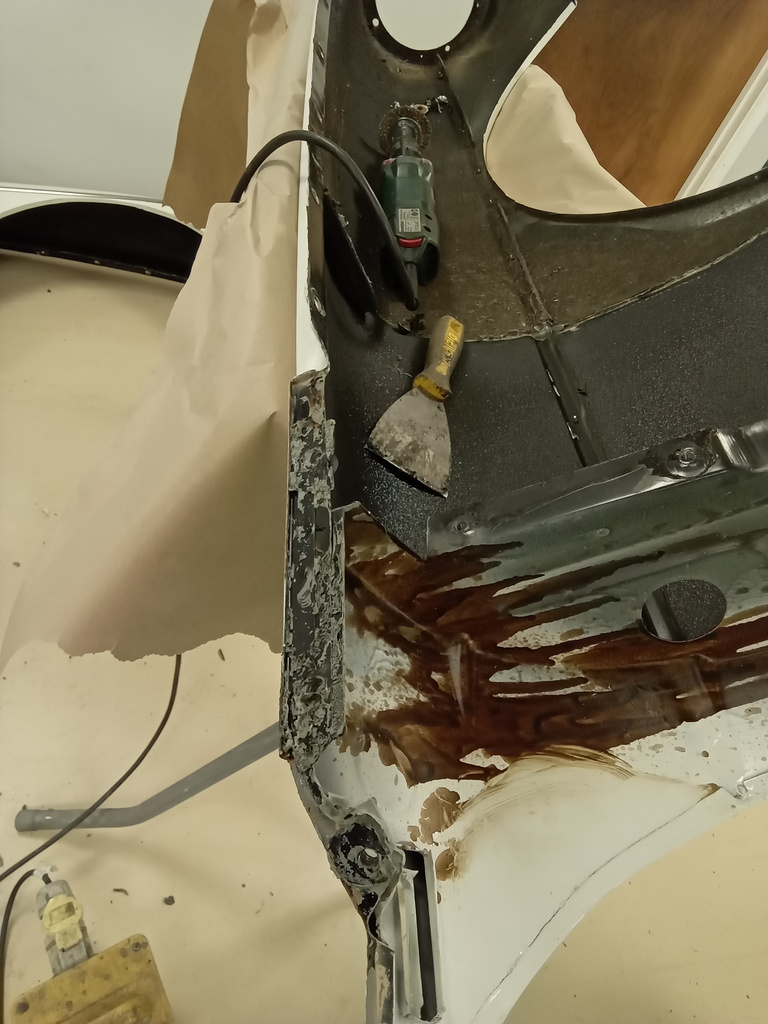
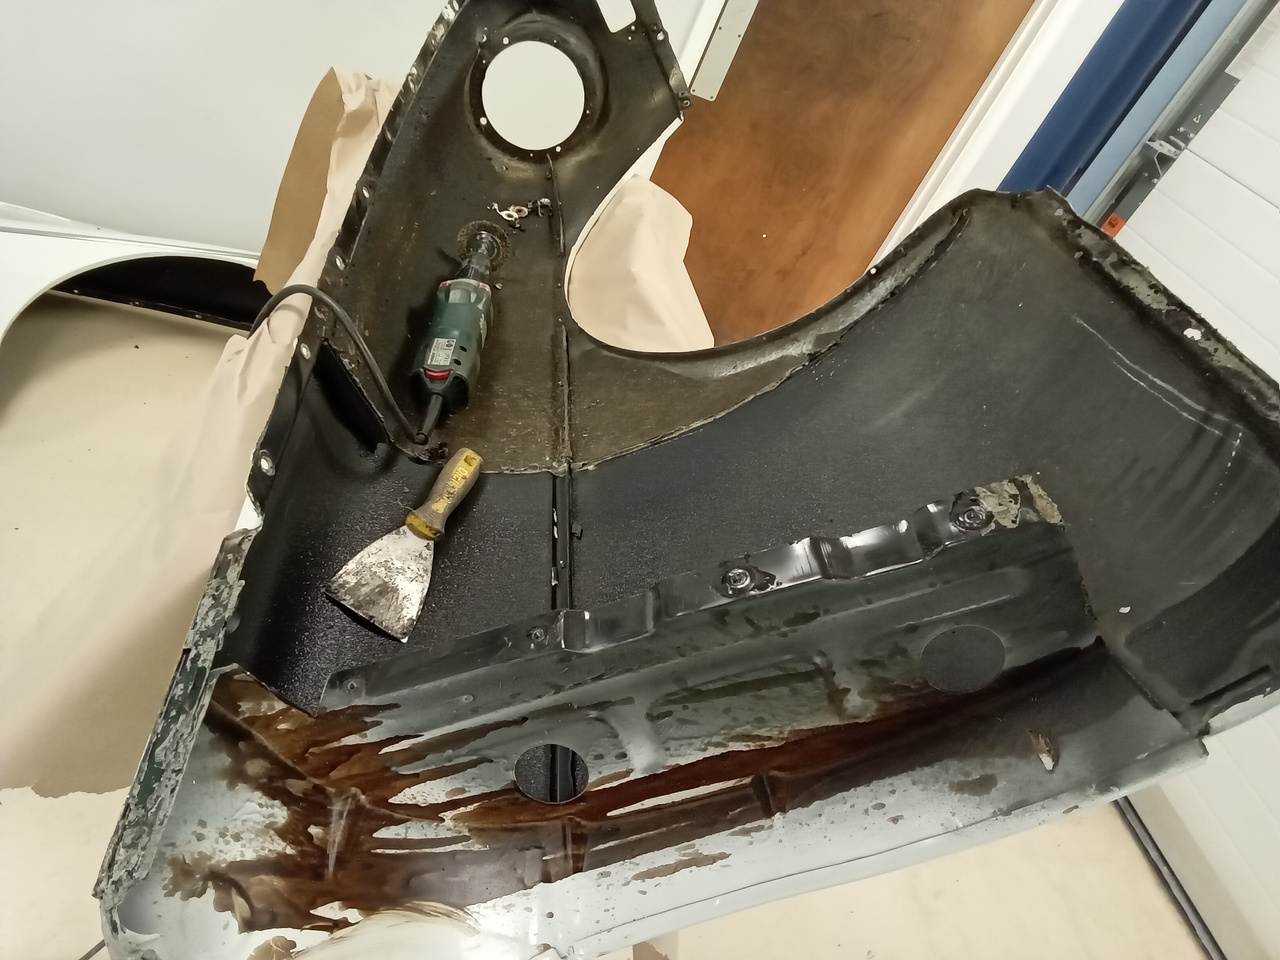
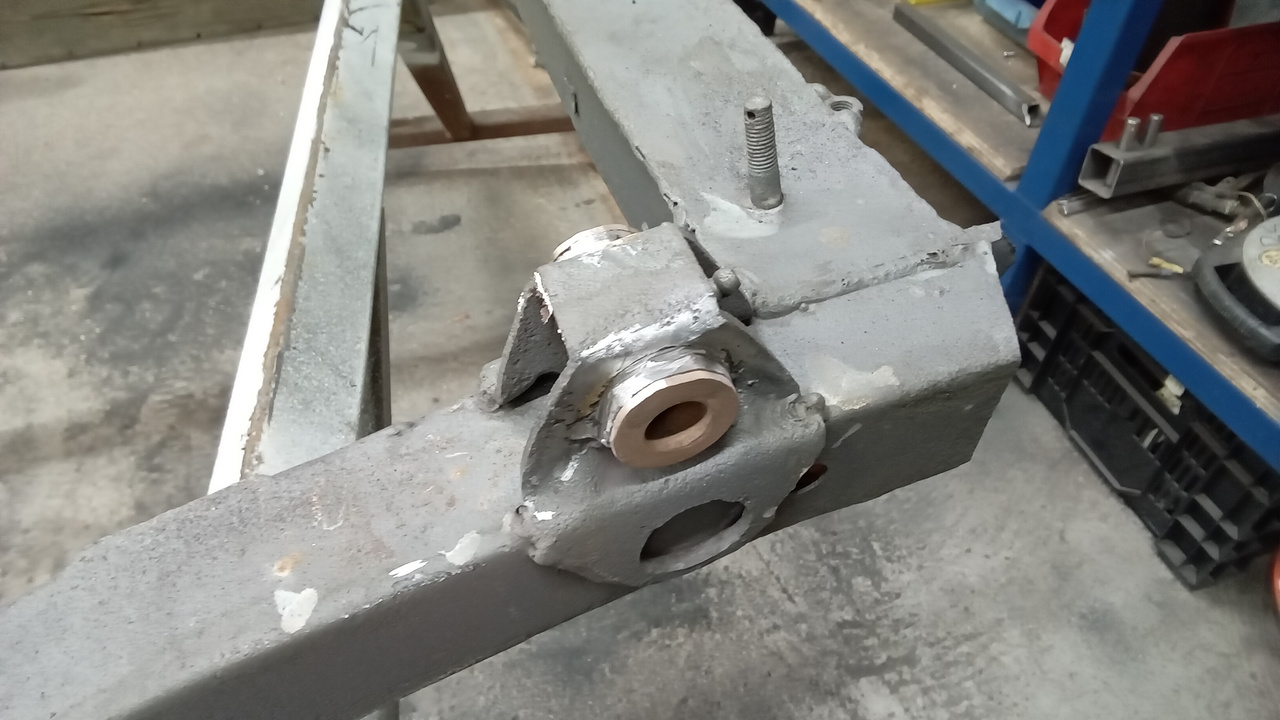
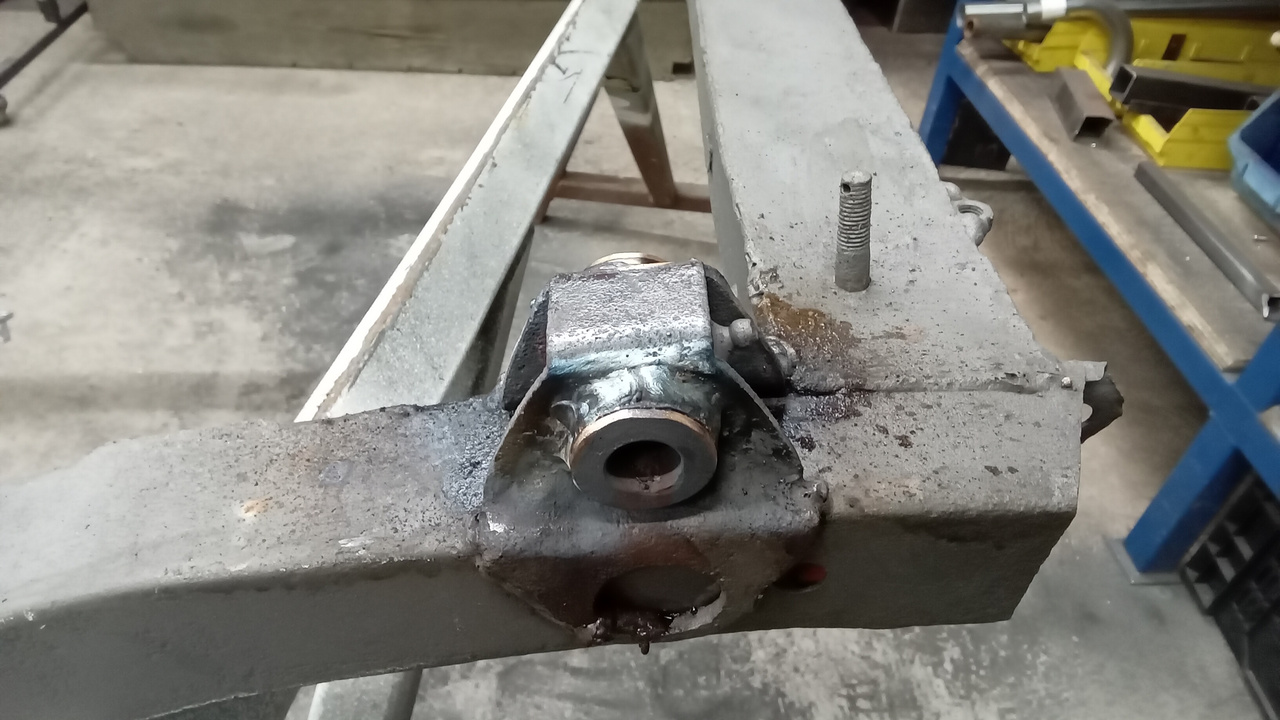
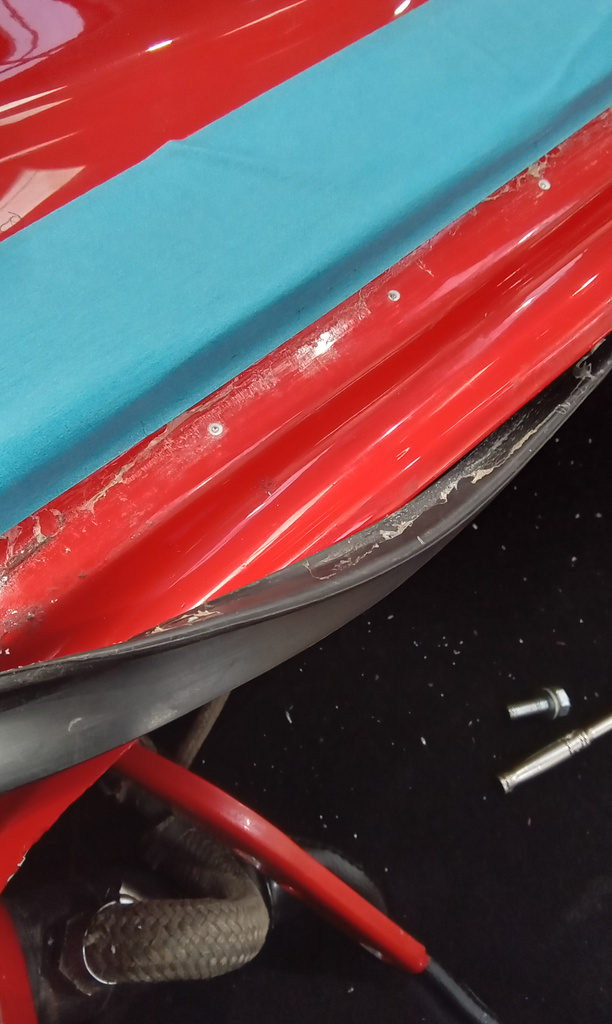
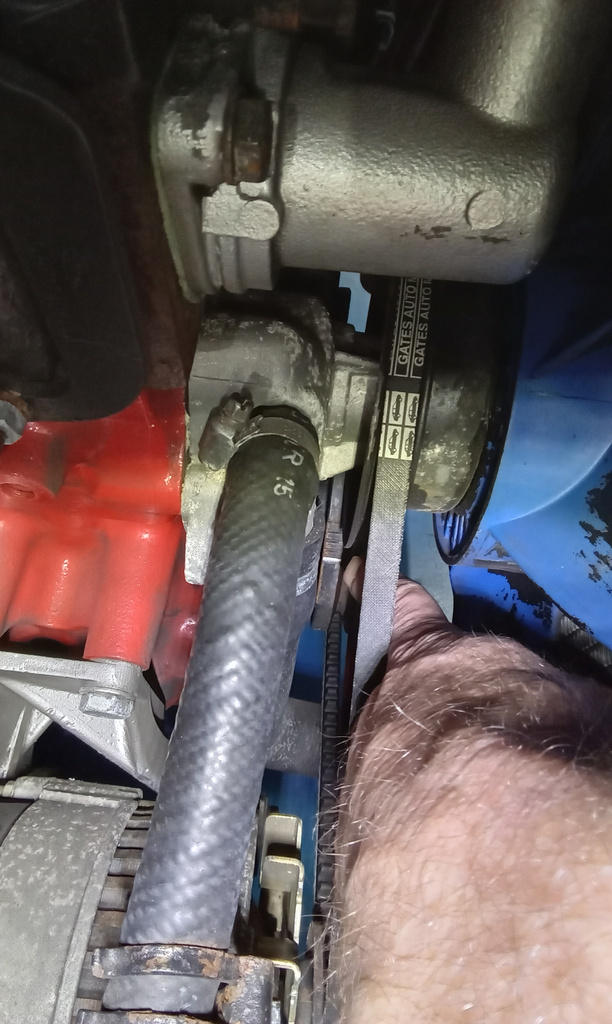
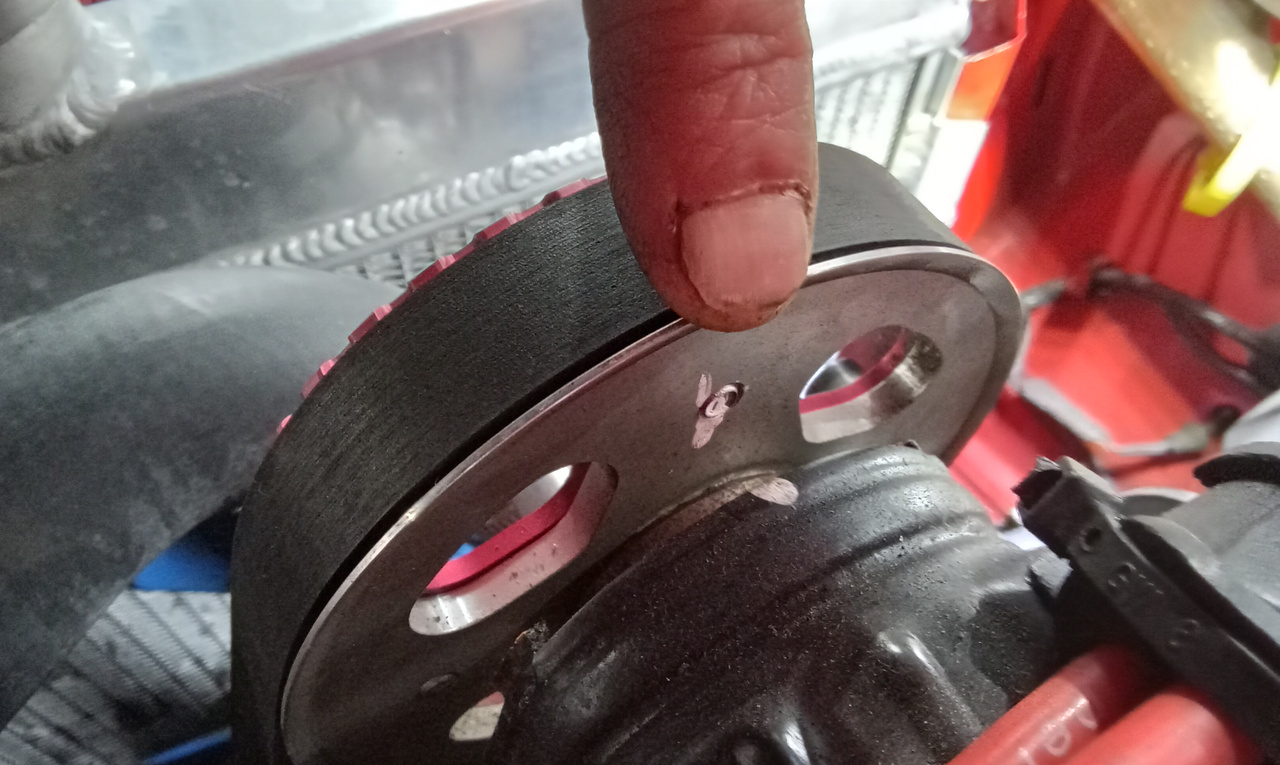
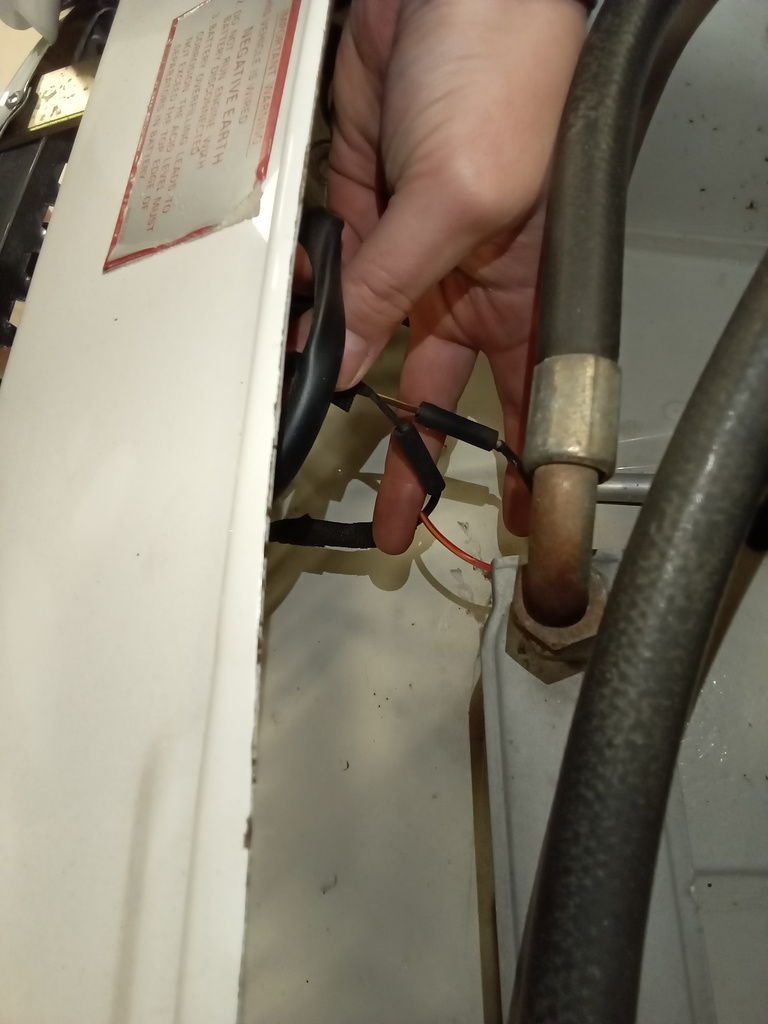
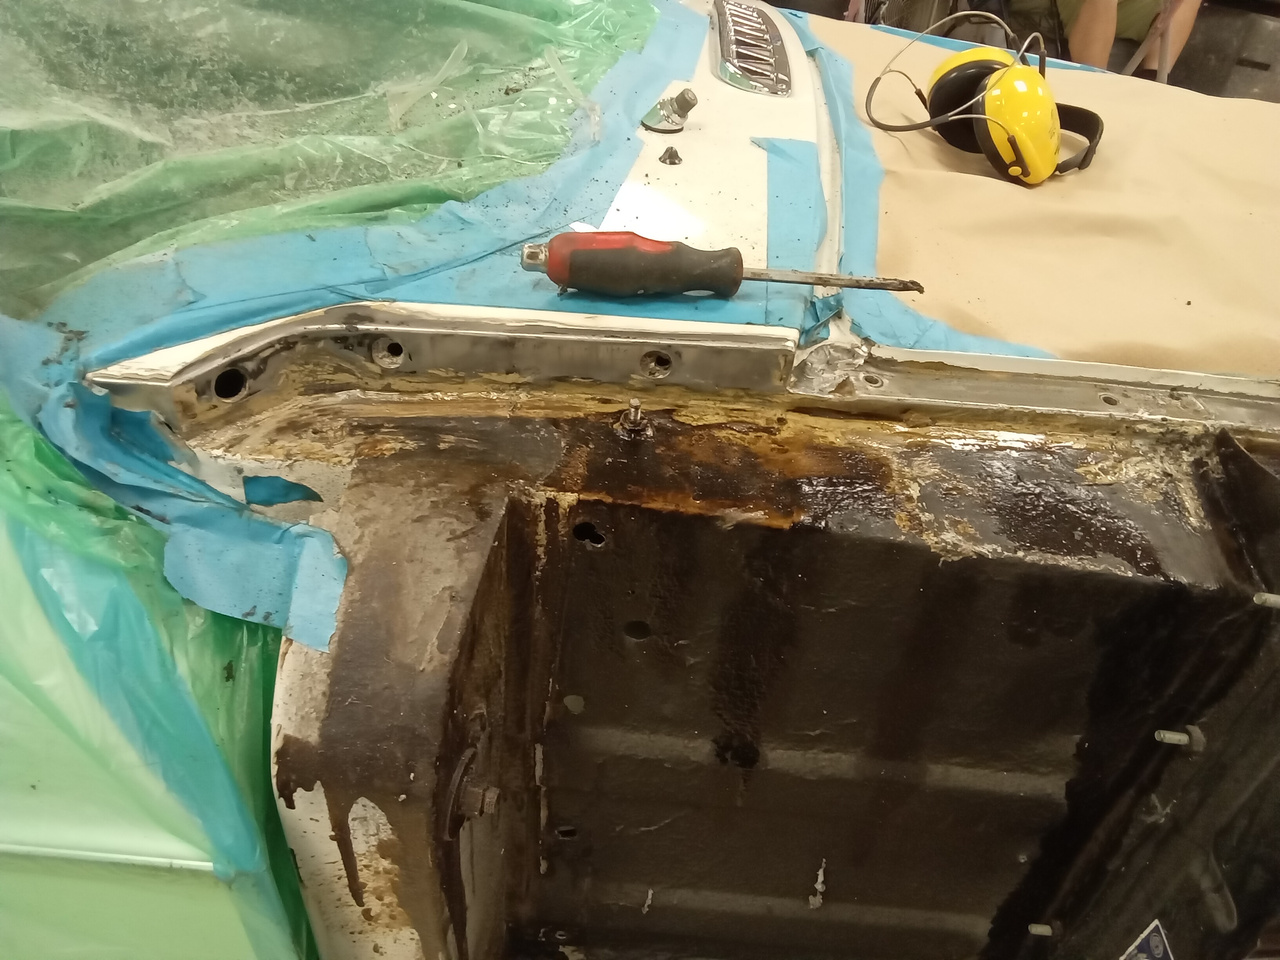
Terry is already getting his teeth stuck into things here at Bridge Classic Cars. He is busy stripping down the front suspension of our Austin Devon pickup.
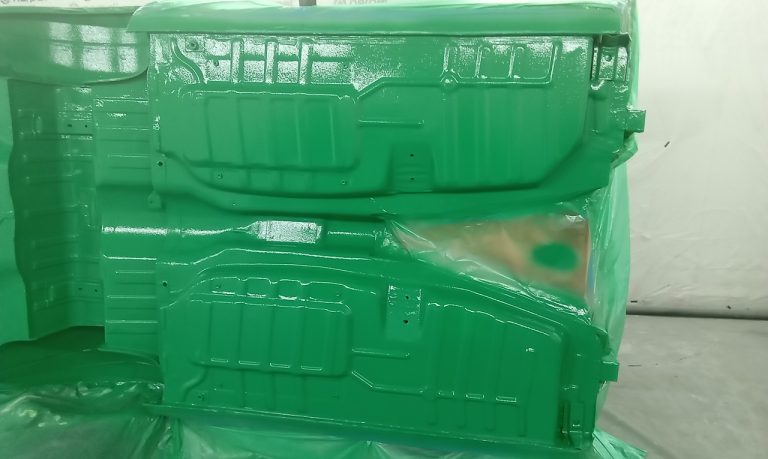
The bumper of our Ford Transit Tipper MKII is all painted and now finished in a satin clear. The rear suspension springs have also been in the paintshop and have had black dtm applied.
Chris has also fixed and painted the grill.
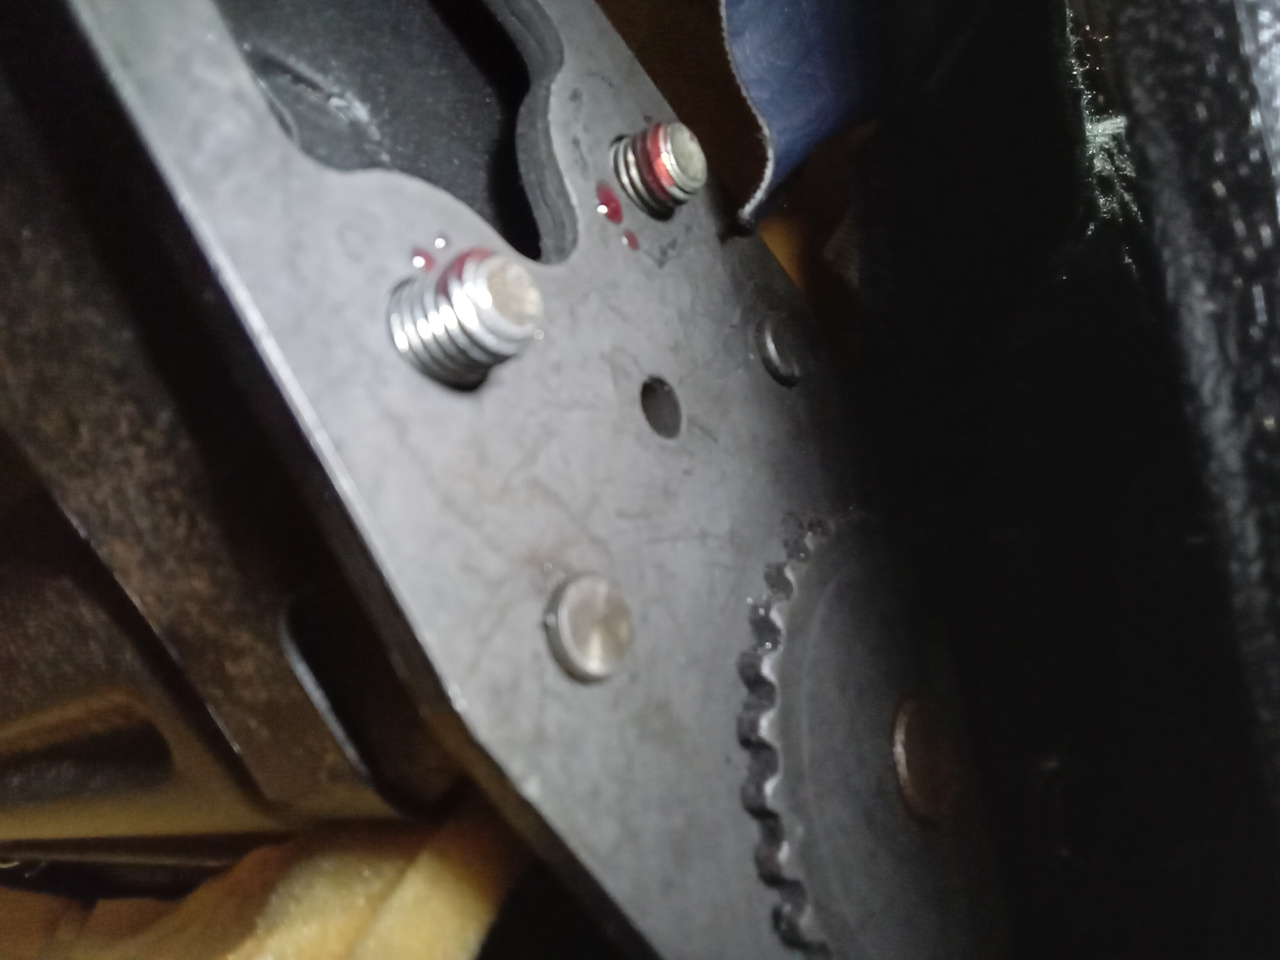
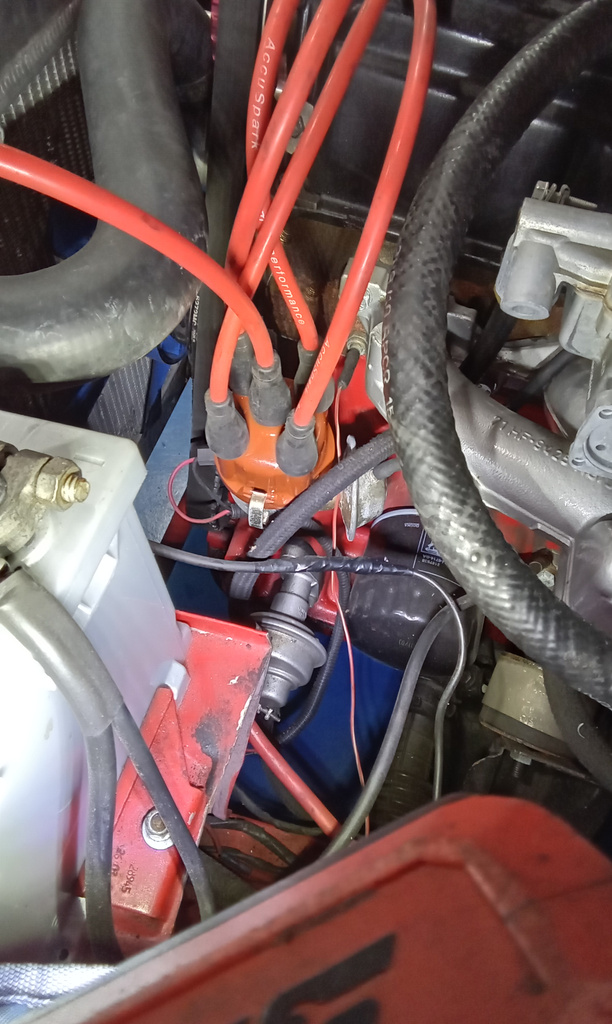
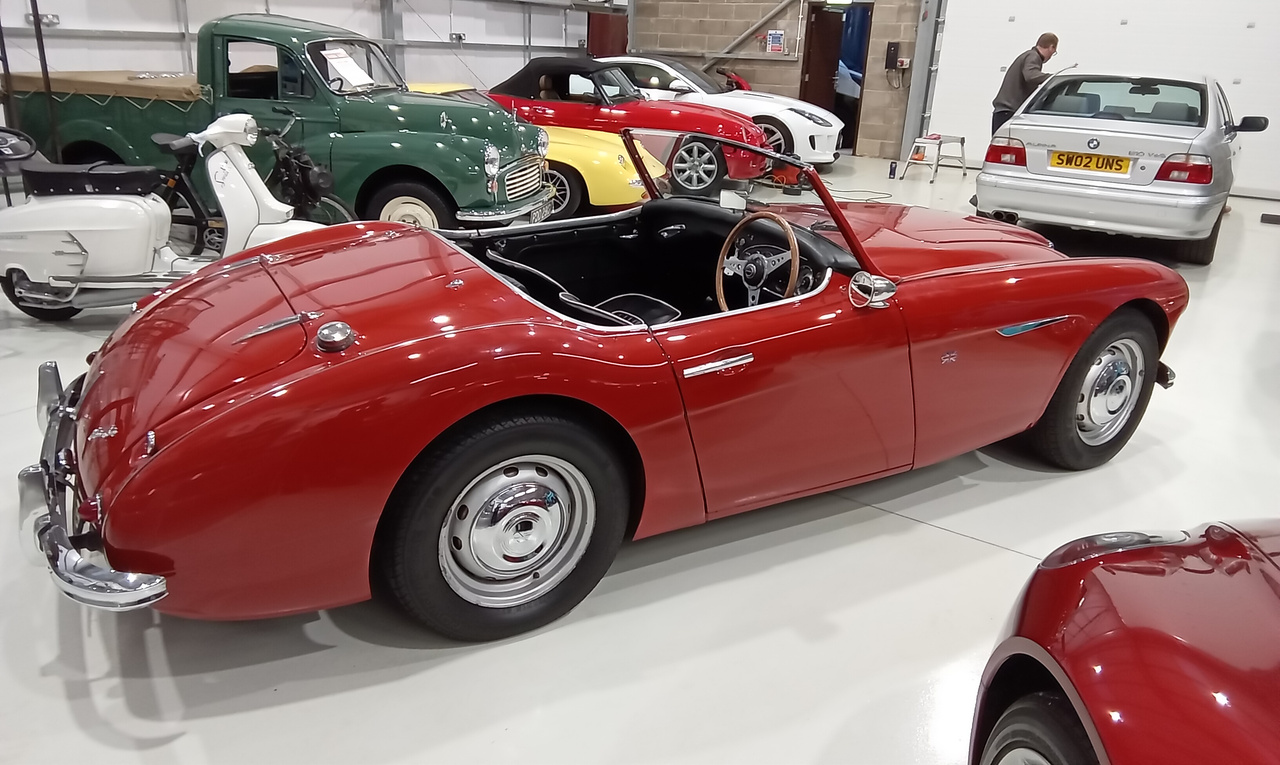
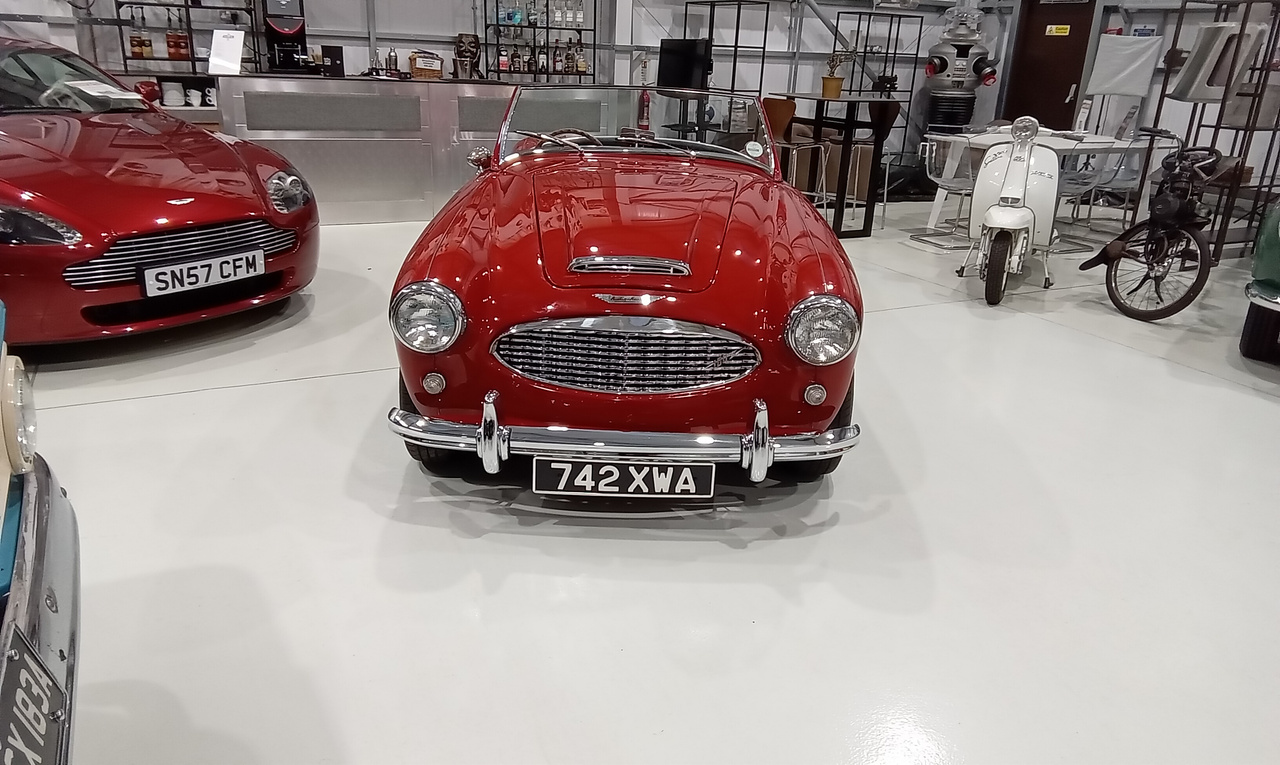
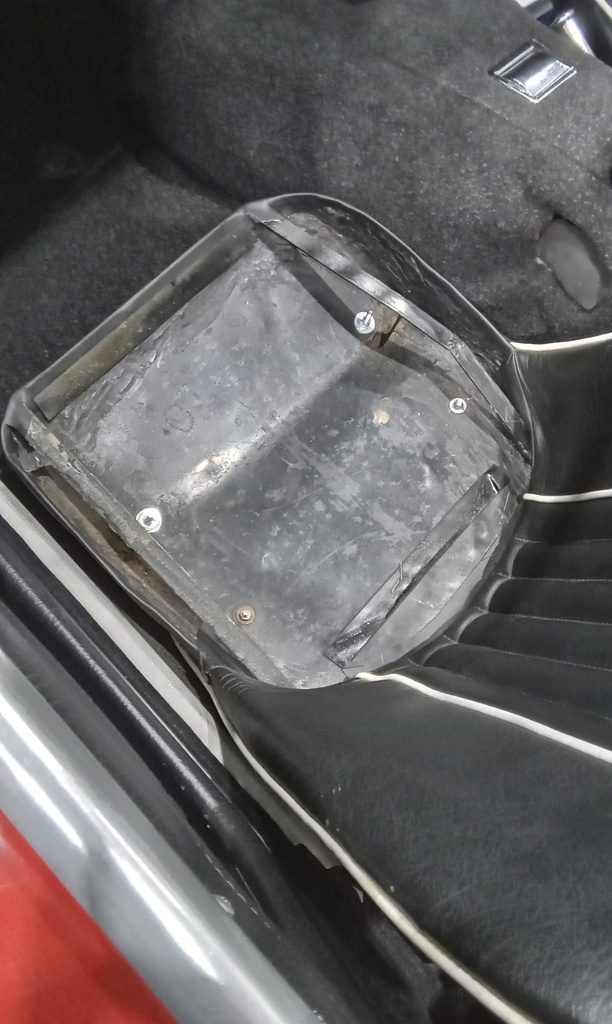
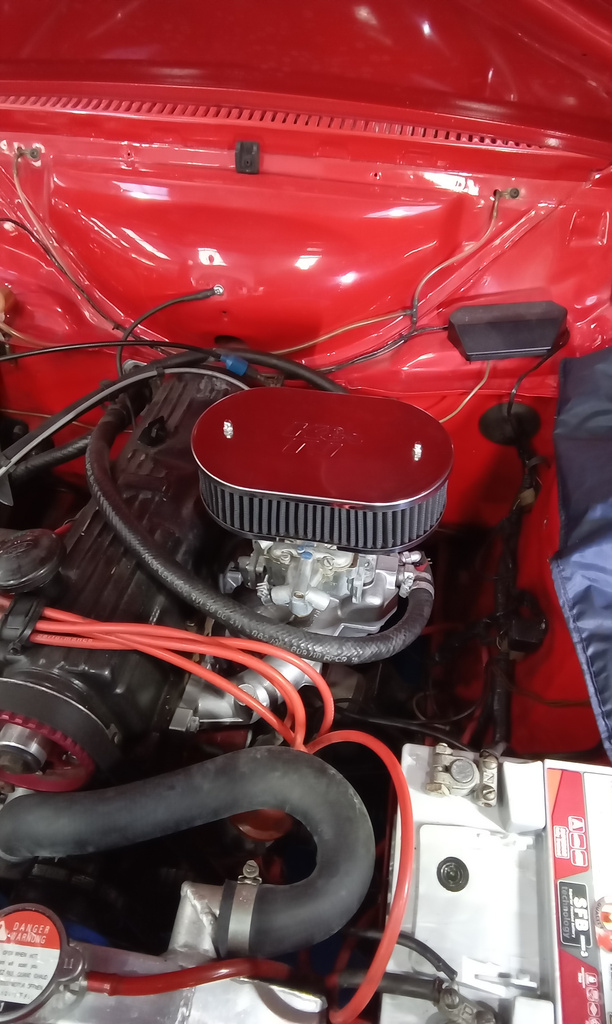
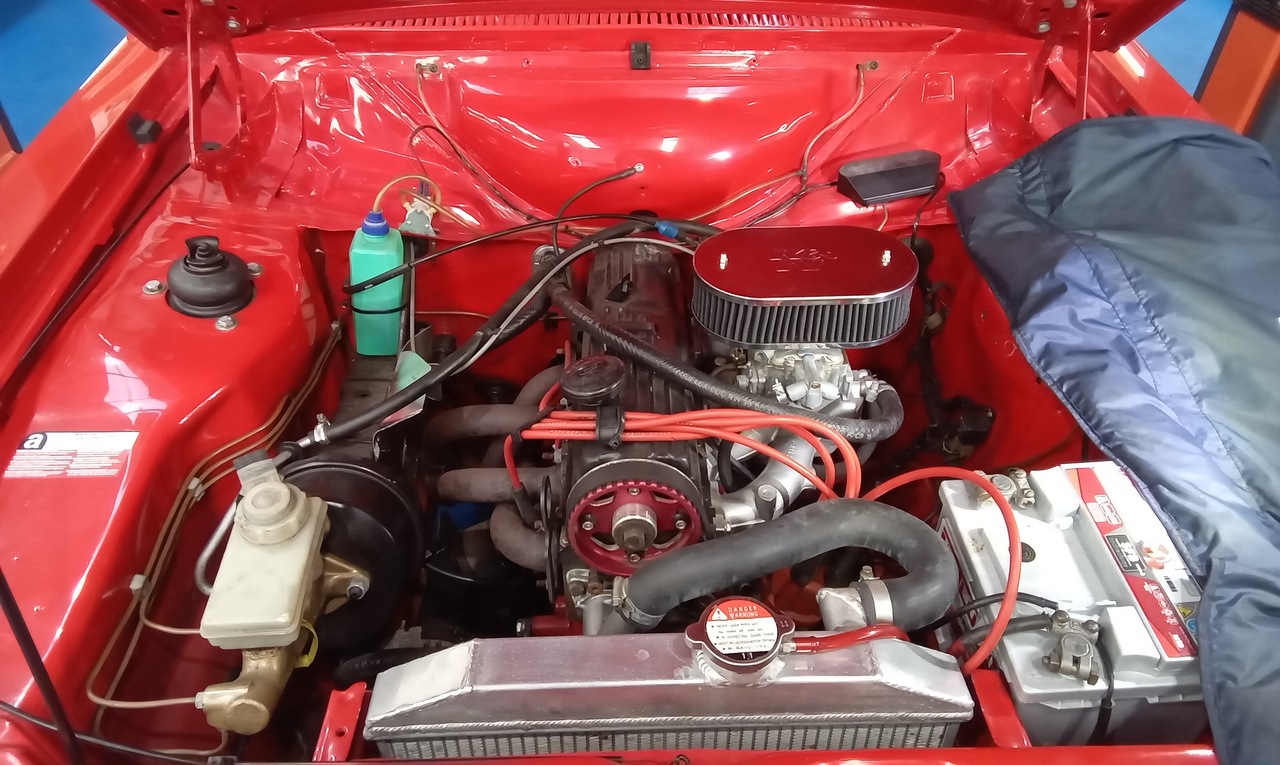
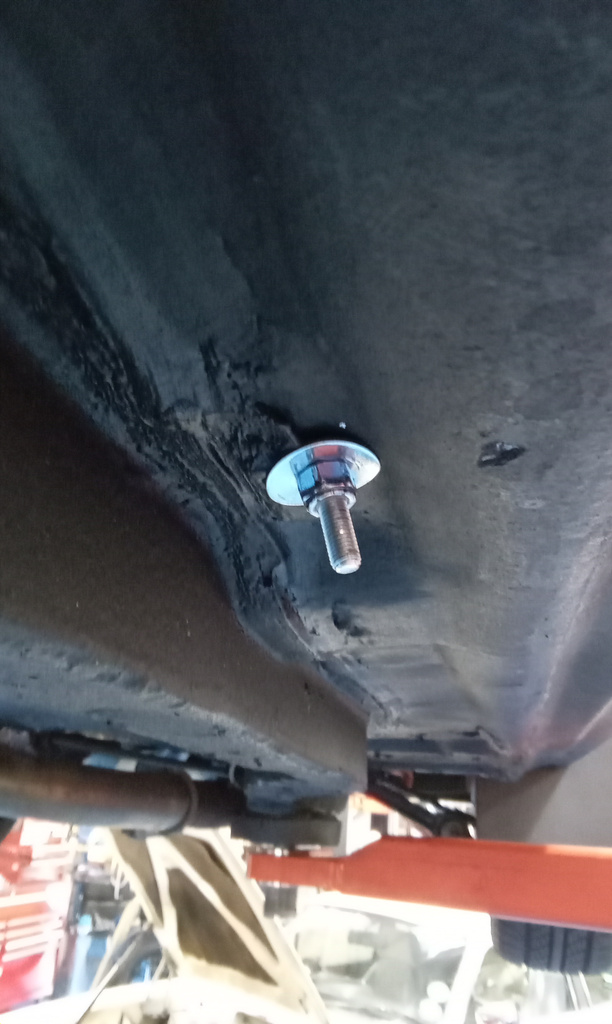
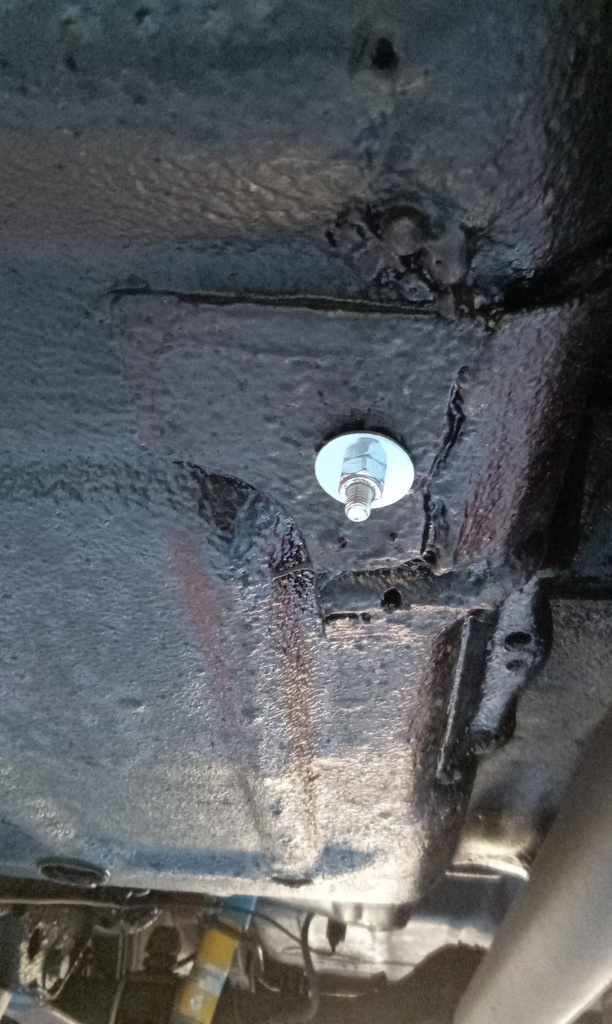
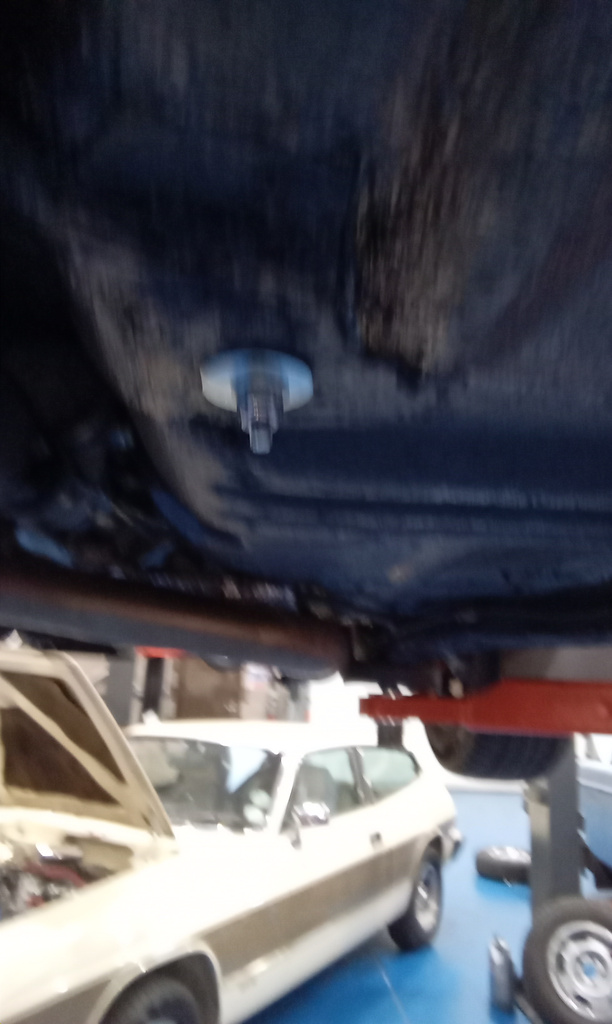
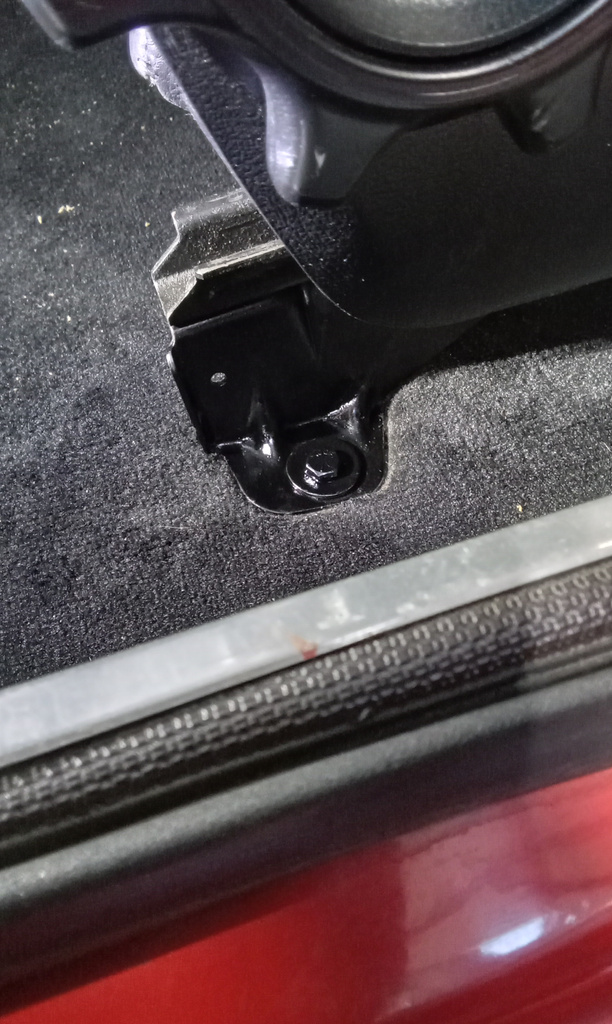
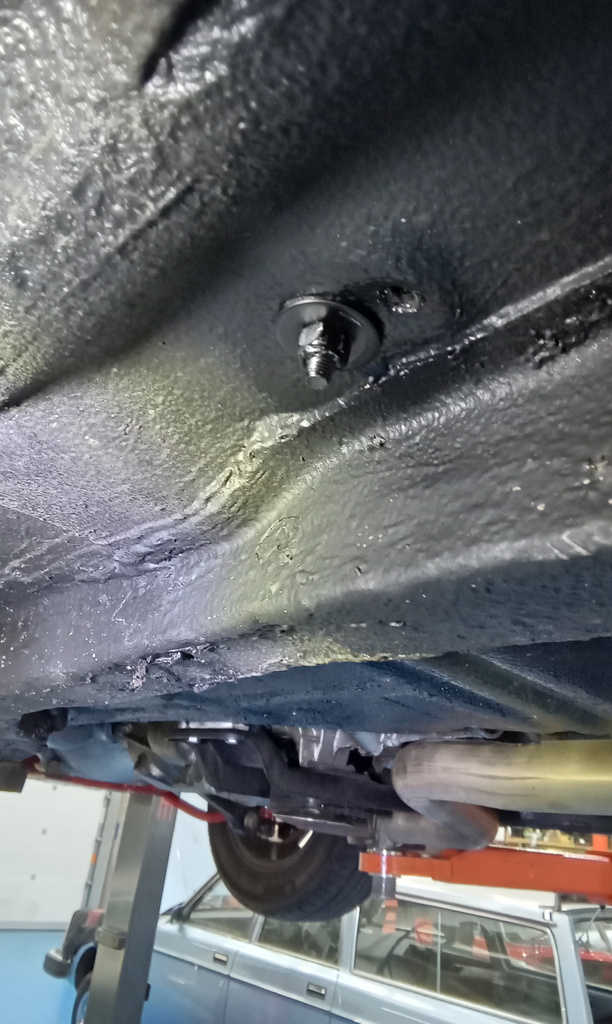
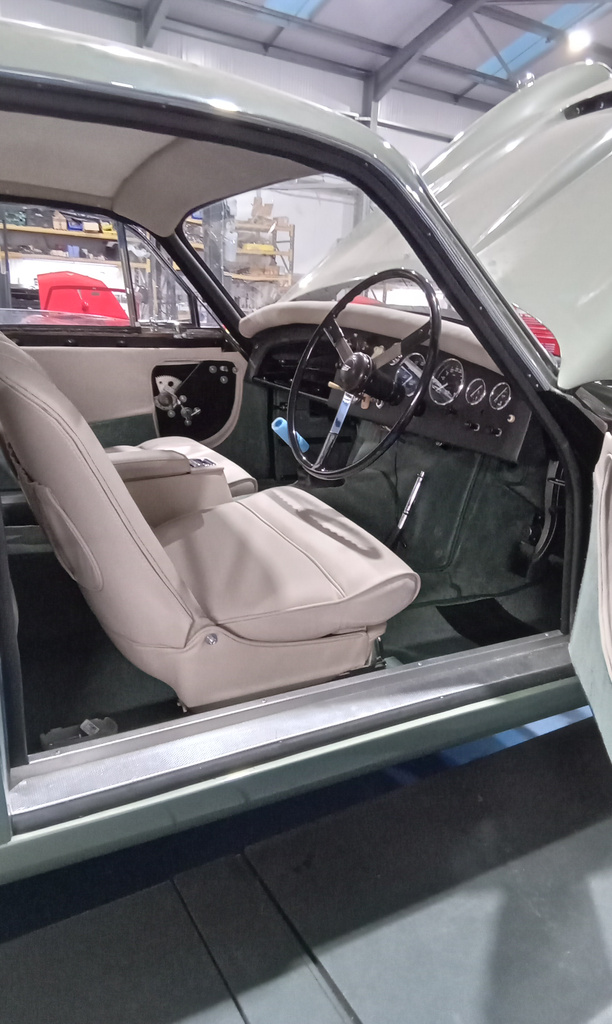
Jon is currently carrying out the pre delivery inspection on our 1958 Austin Healey 100-6.
He has secured both front seat bases as the bolts were missing in the frames. Tighten and test and all ok.
He has drained approximately 3 litres of coolant and replenish with anti freeze.
He has slackened the handbrake cable and removed the clevis pin from linkage. He has adjusted the cable end and re-attached, fitted new clevis pin and split pin.
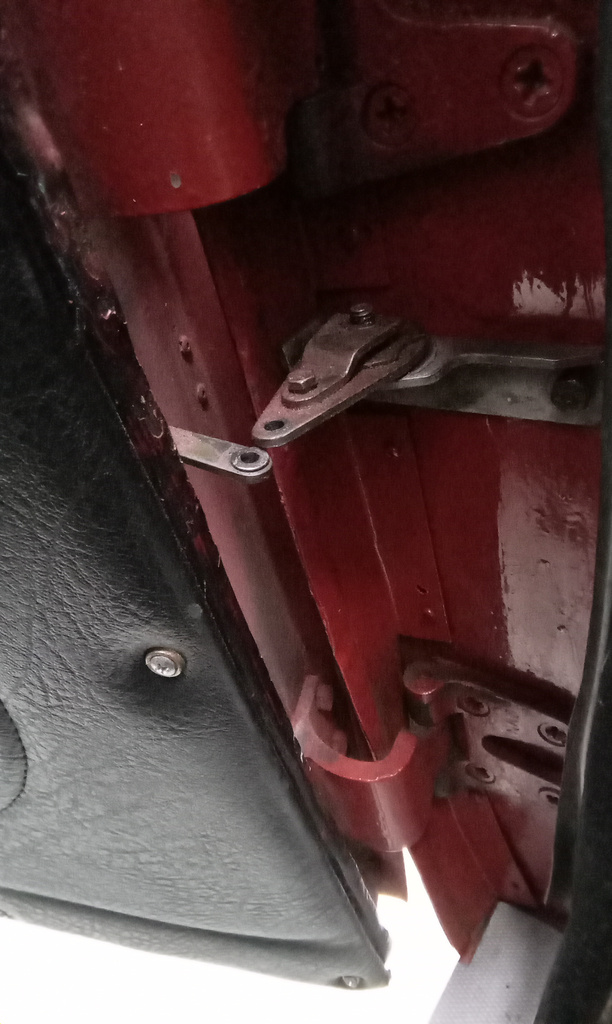
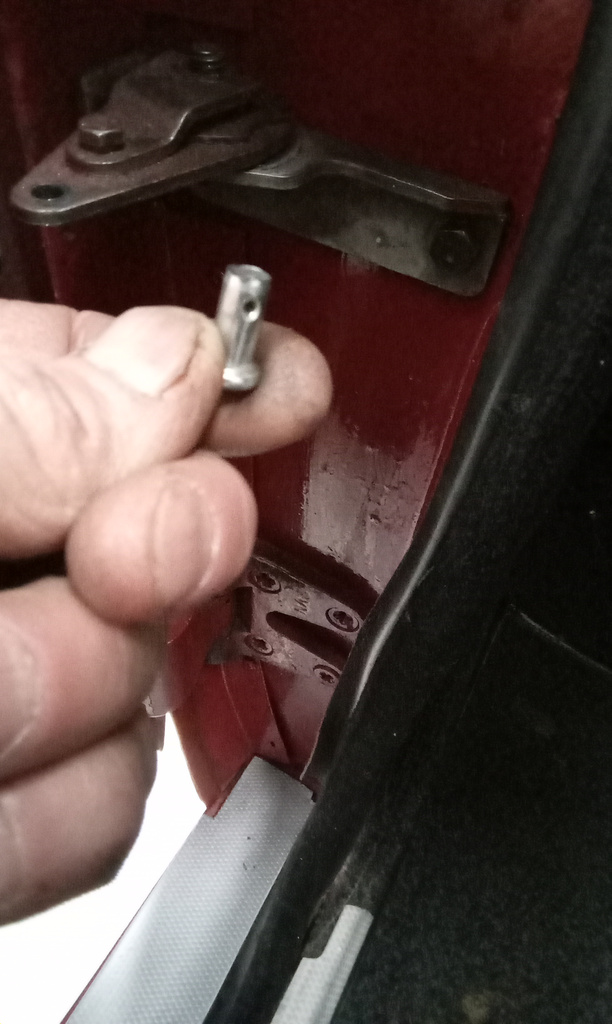
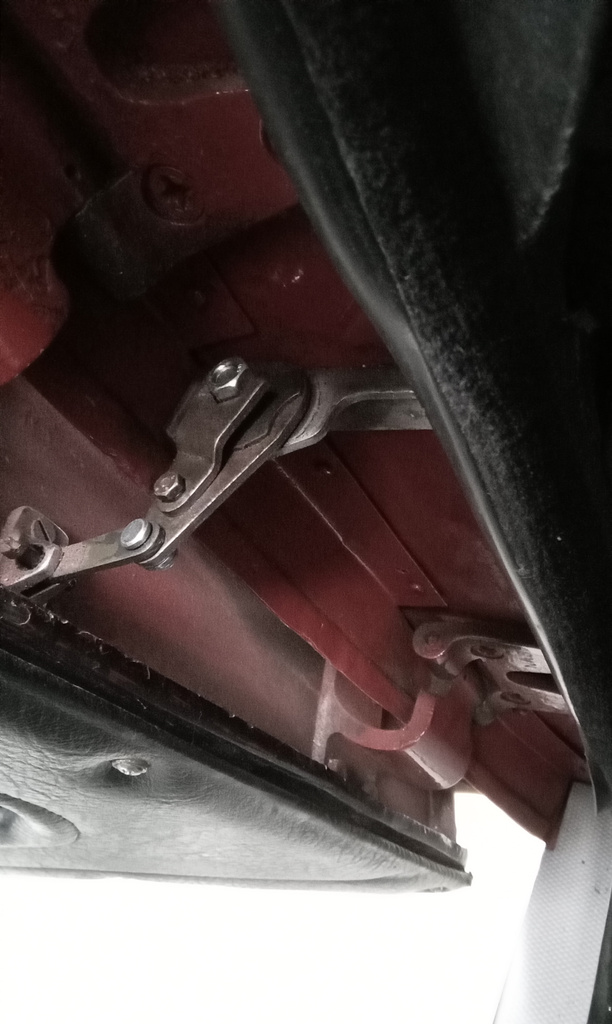
Attend to both door check straps.
Tighten hinge pin and nuts and fit new clevis pins to strap with washer and new split pins.
Trace dash illumination as we have found that it is not working, king to switch under dash. All working now.
Just needs fuel gauge, washers and road test to finish.
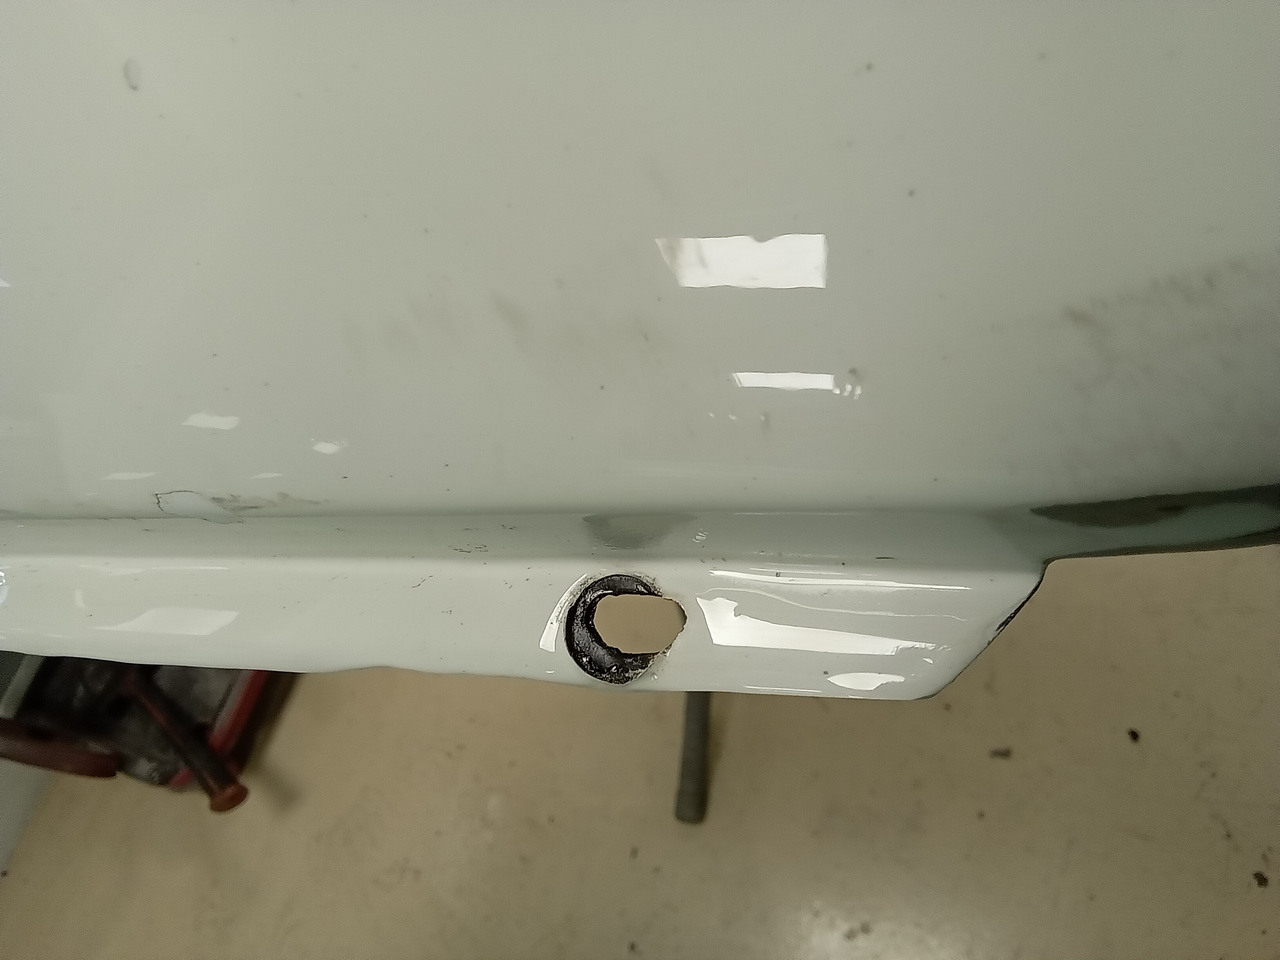
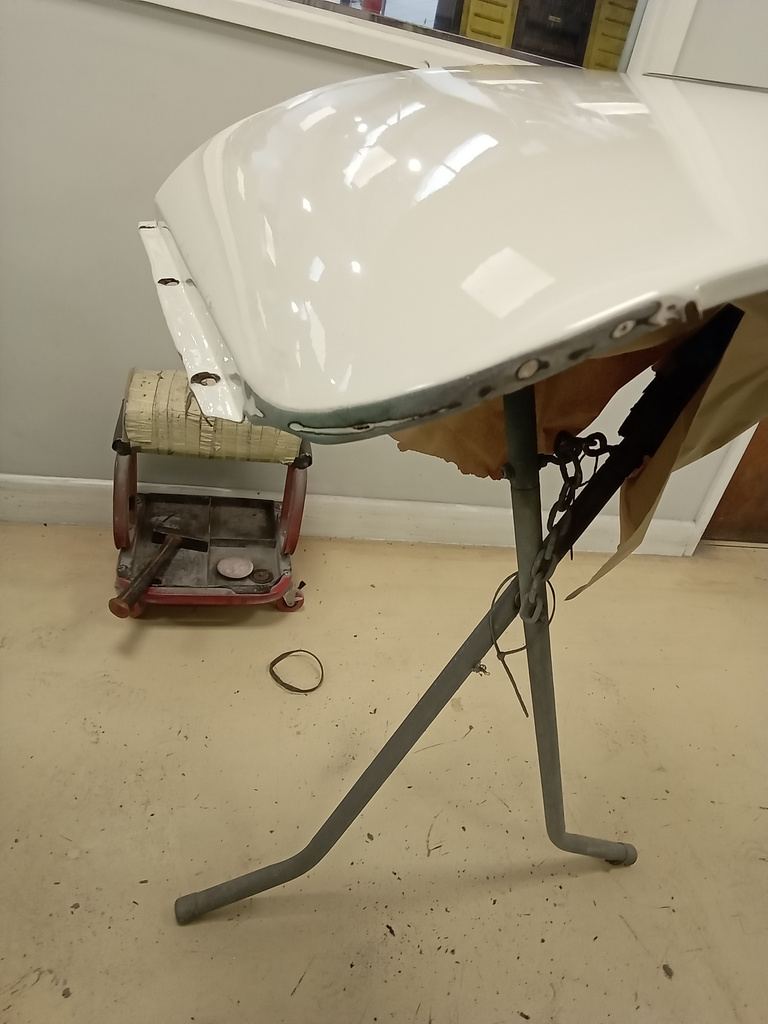
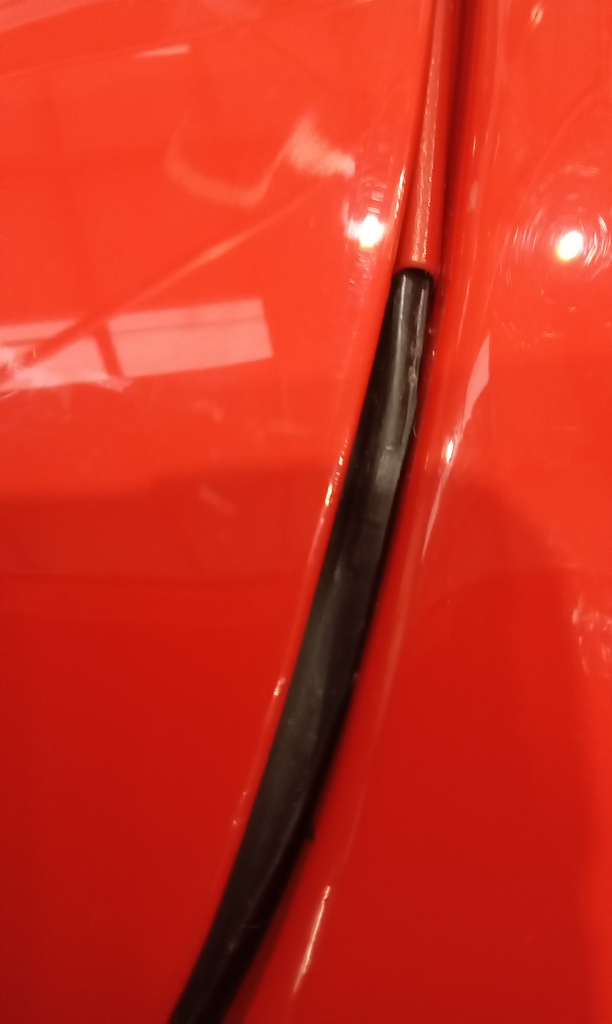
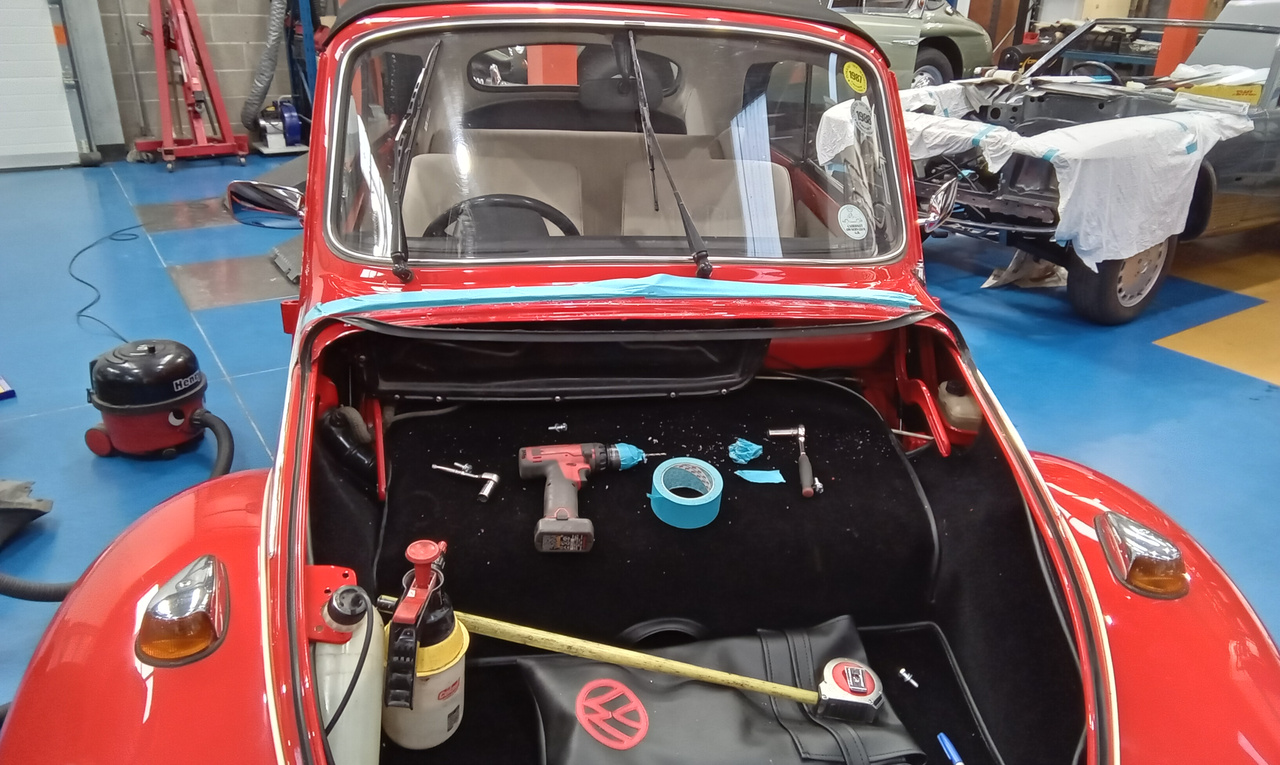
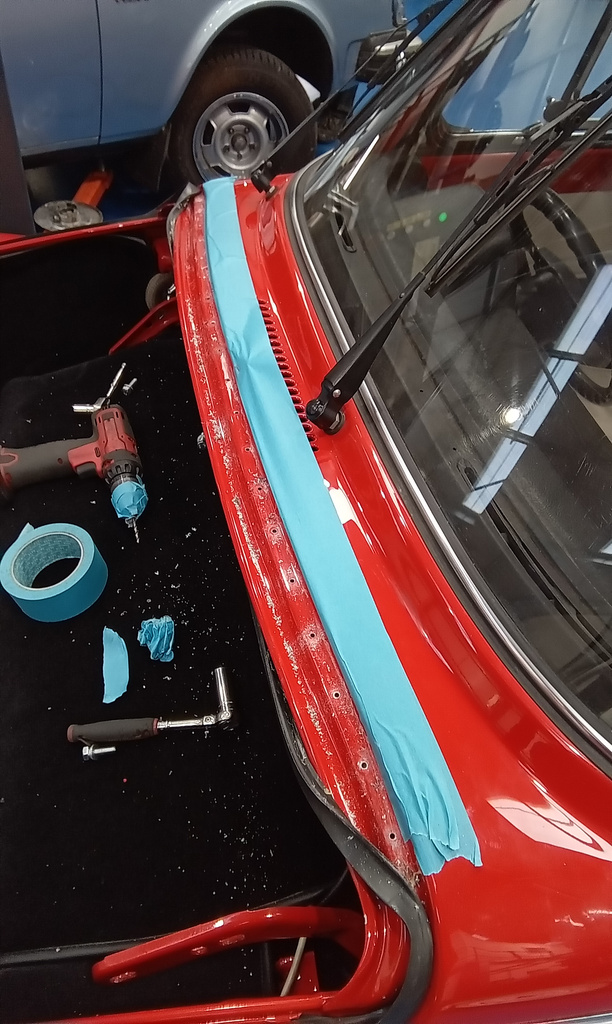
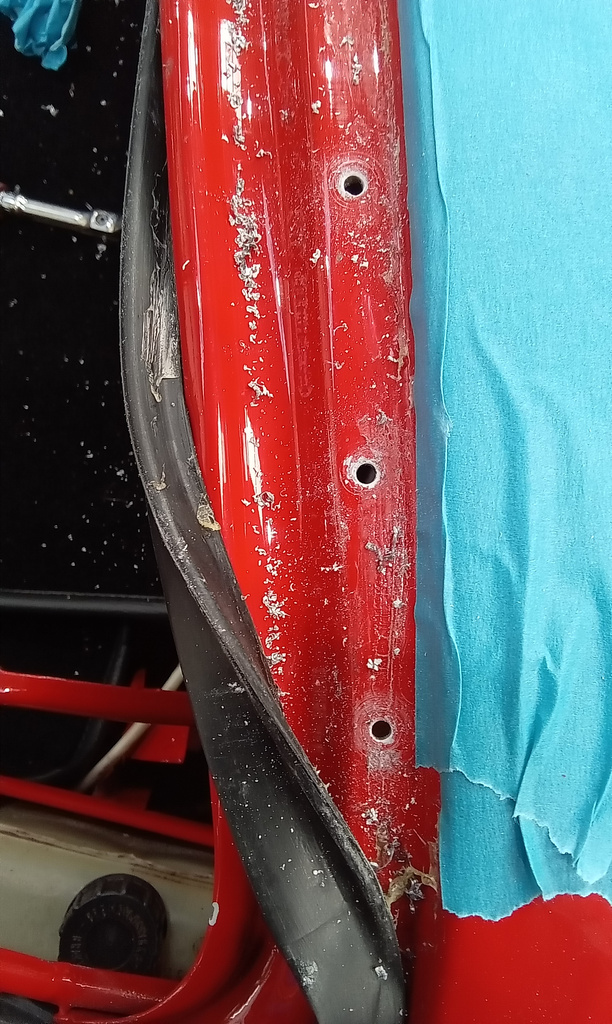
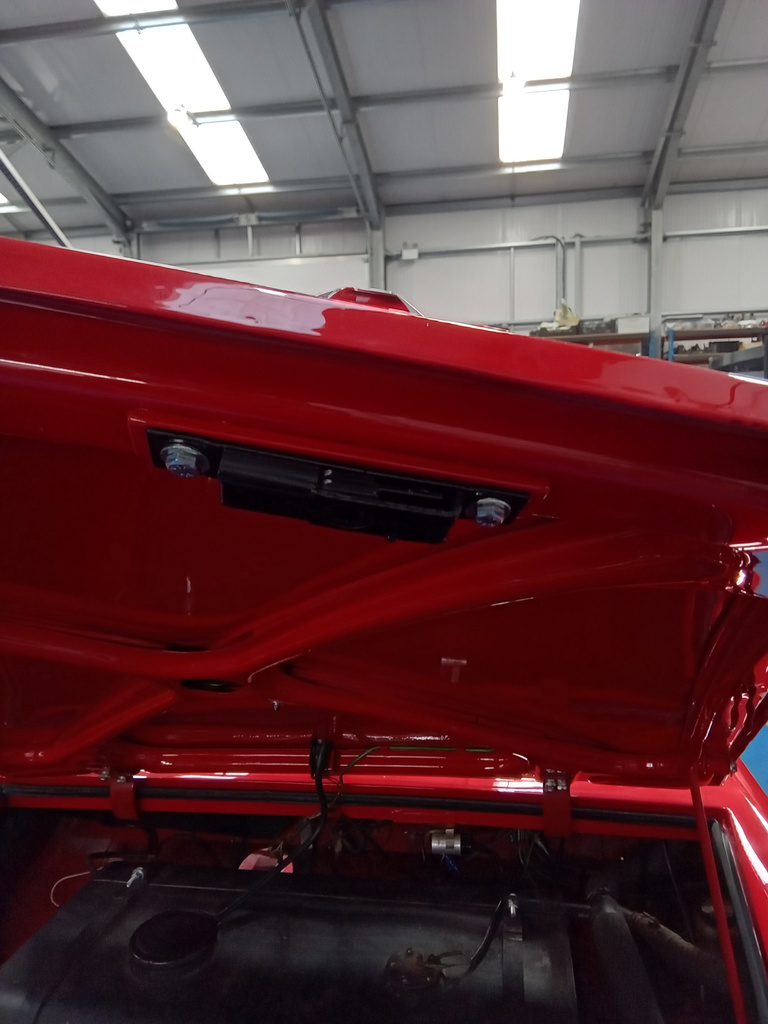
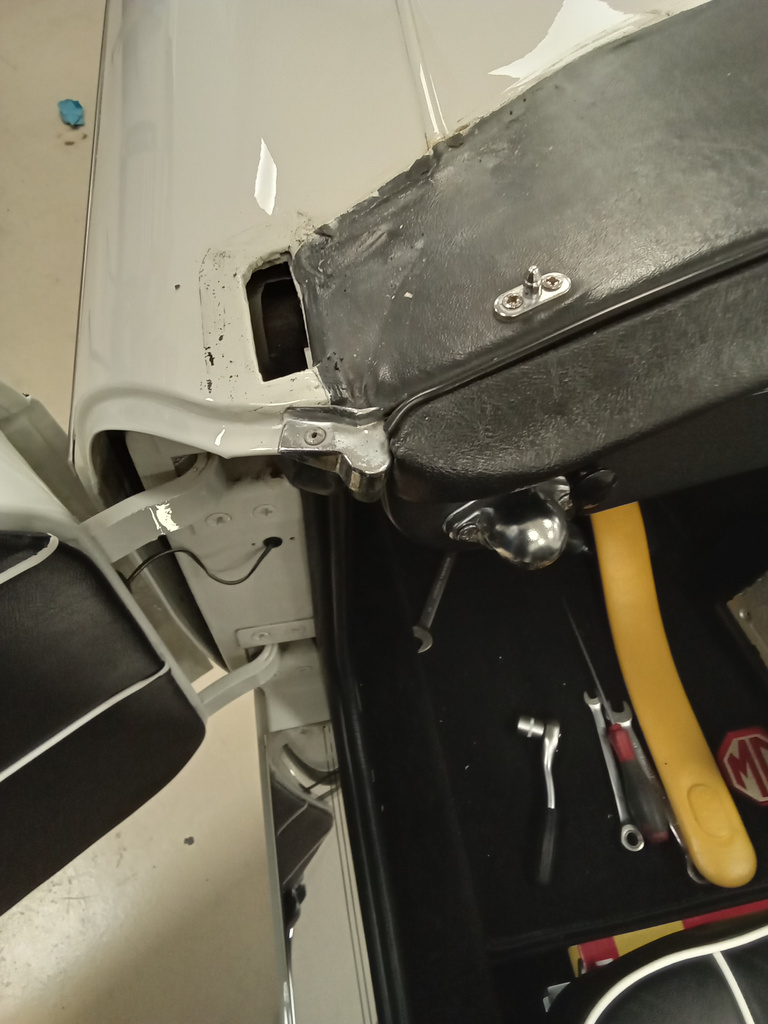
We are so so close now with our Volkswagen Beetle completion. Jon has attended to the bonnet seal at the bulkhead.
Align and cut to length in the new channel. We have drilled holes along the length.
Align on car and drill scuttle panel to match. Give channel to body shop to paint. Touch in all holes with red paint.
Rivet bonnet seal retaining channel to scuttle panel and fit seal. Clean down and refit bonnet. Adjust and tighten.
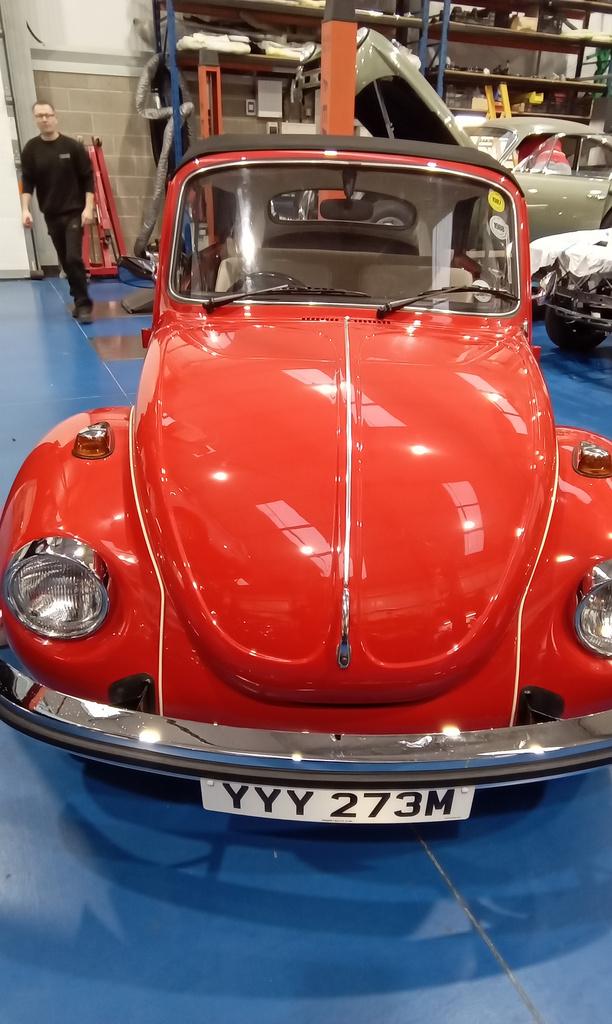
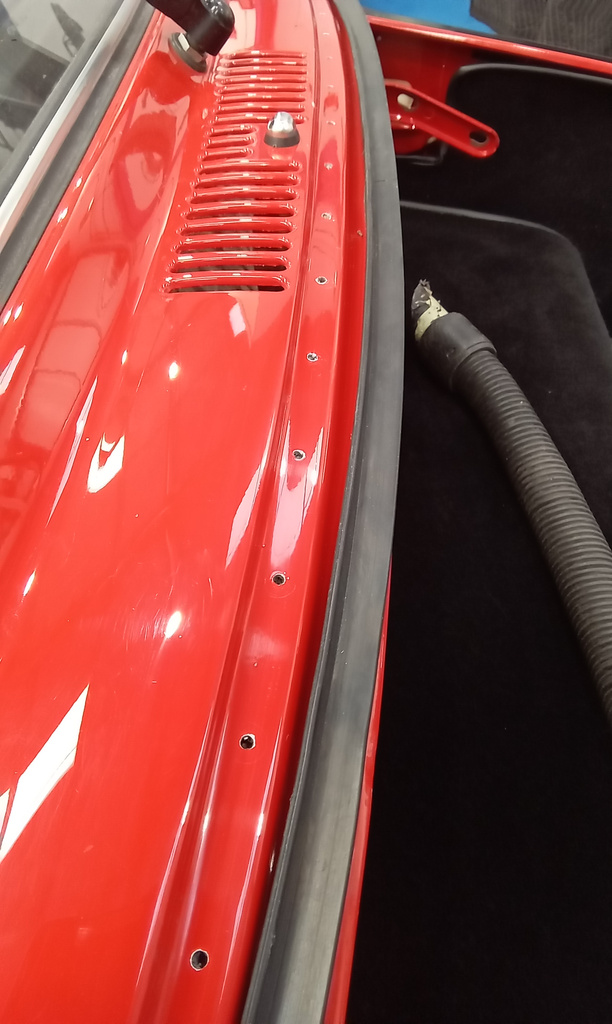
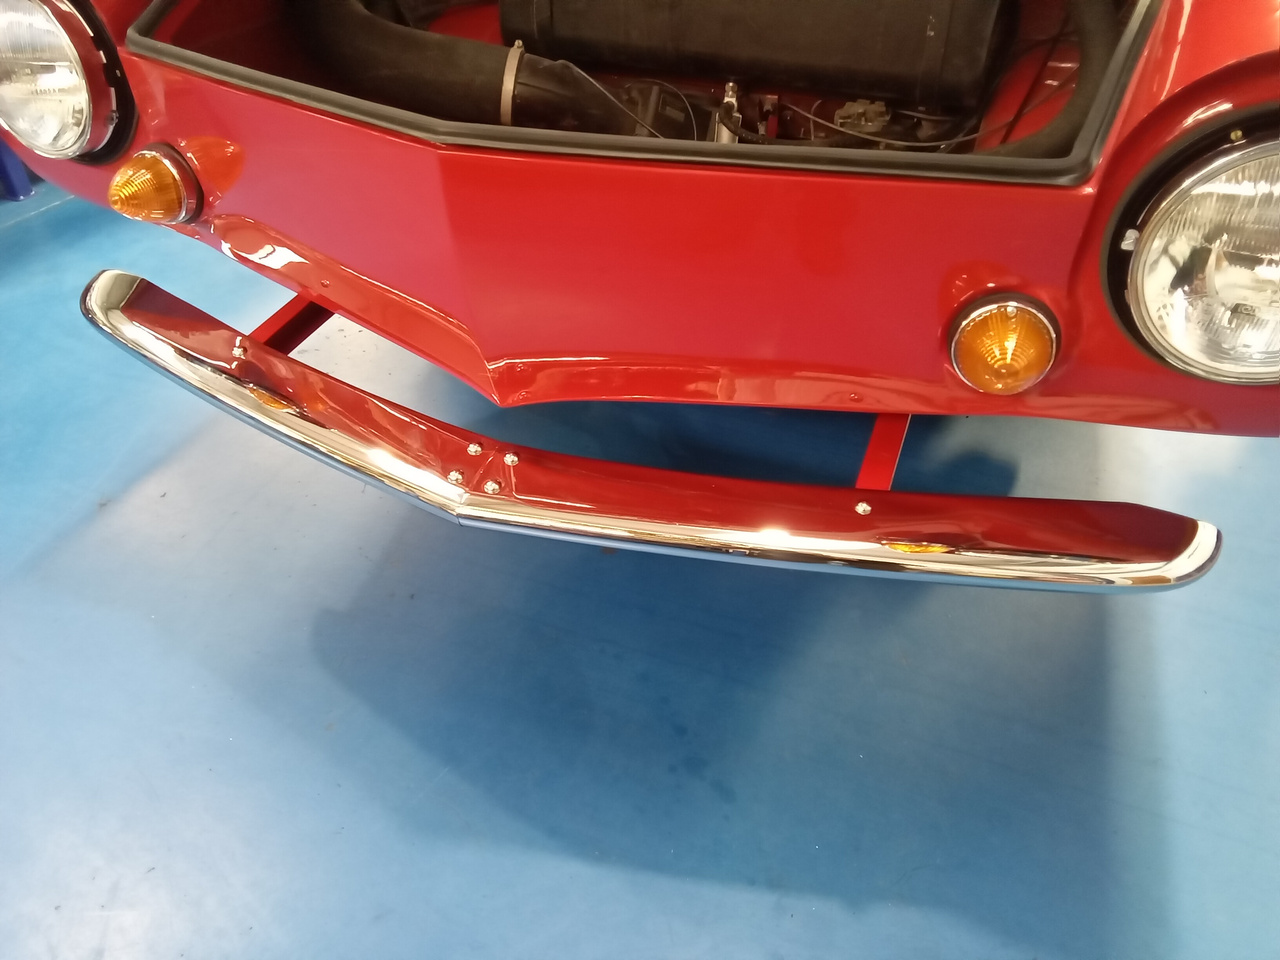
More progress fitting the doors and locks, bonnet catches and lock covers, final assembly of the dashboard and controls including cables.
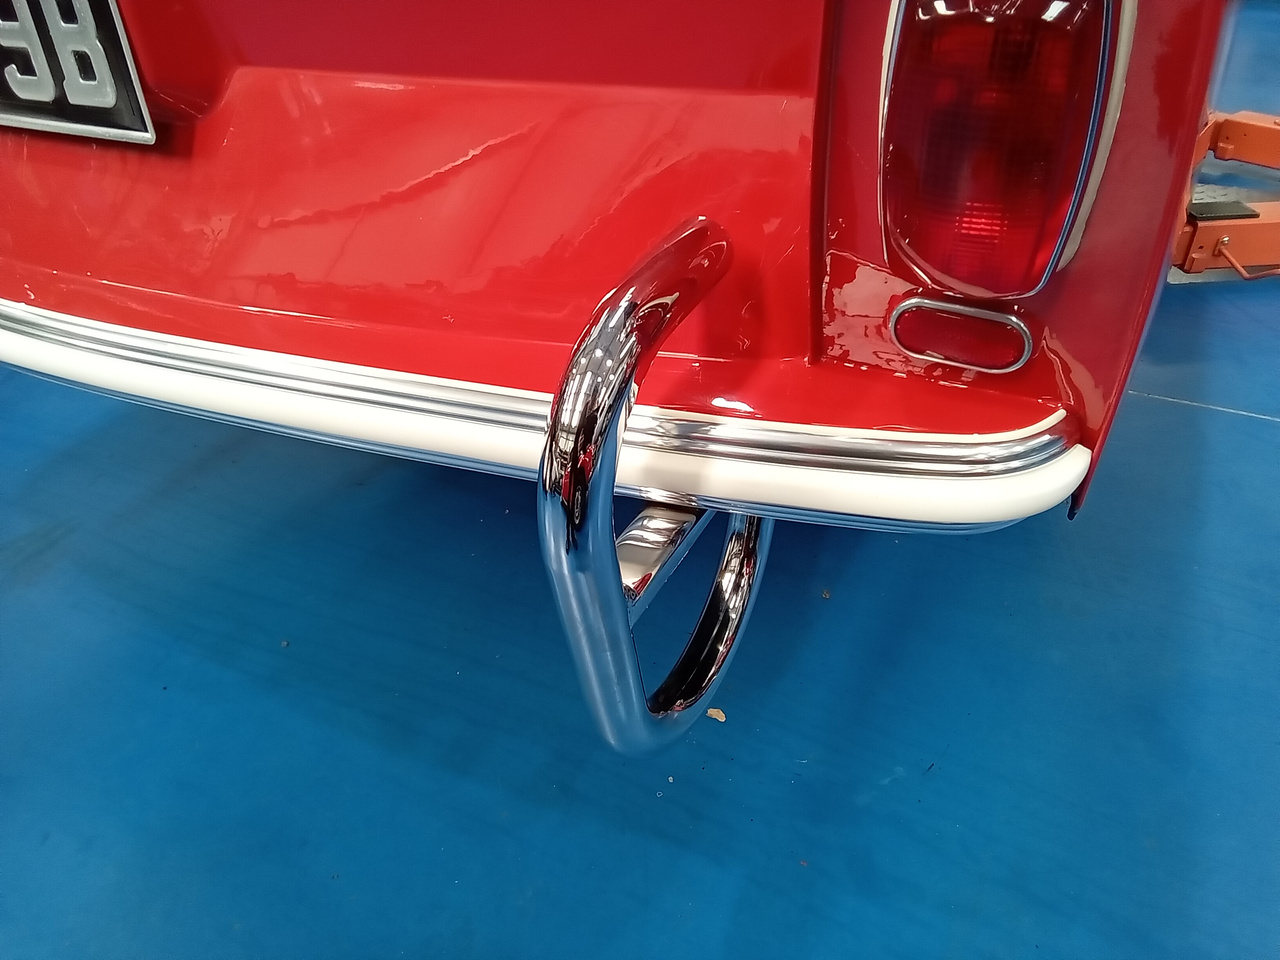
The front and rear bumpers and over riders have been fitted along with the outer door handles.


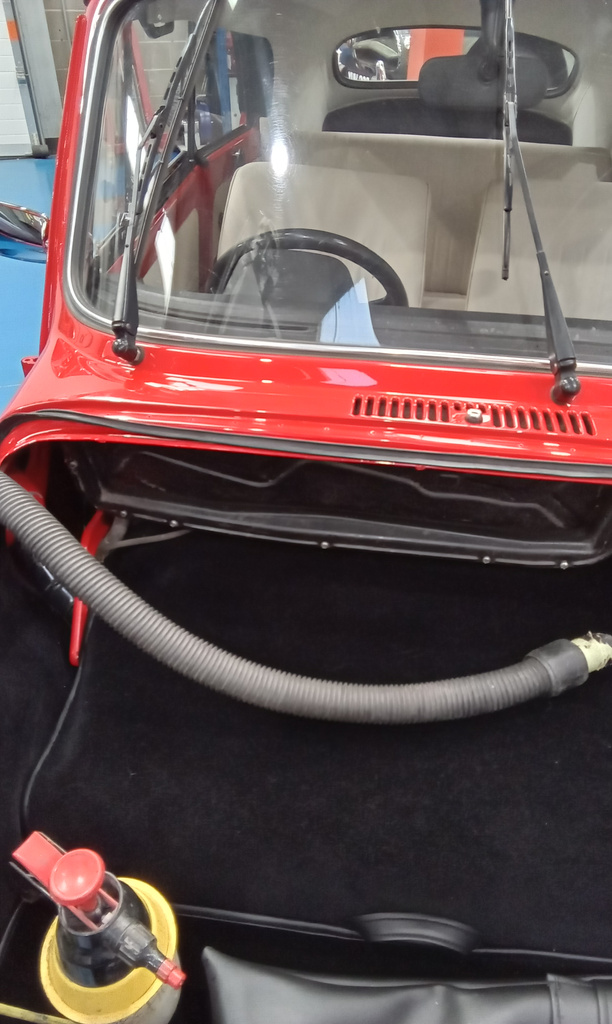
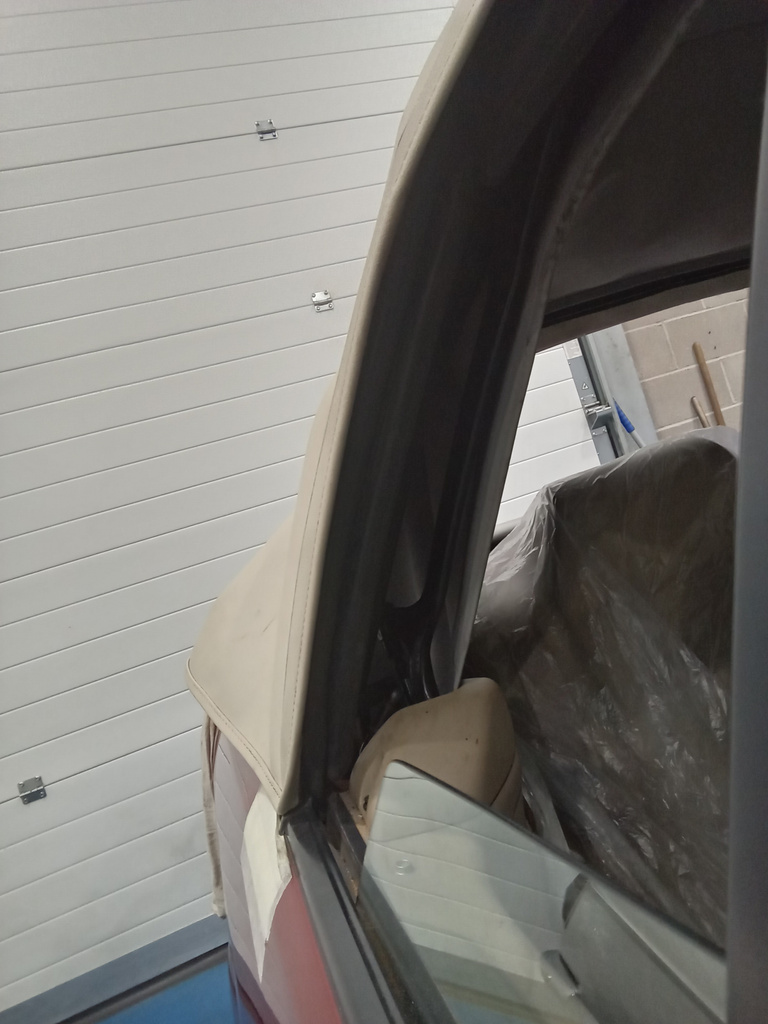
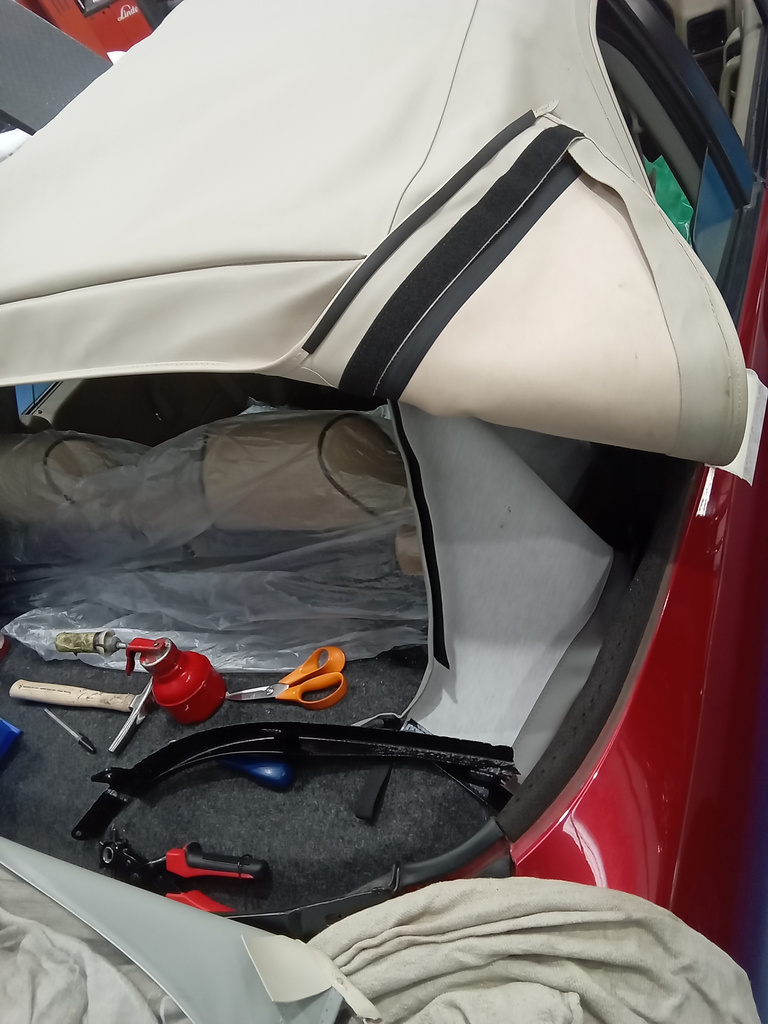
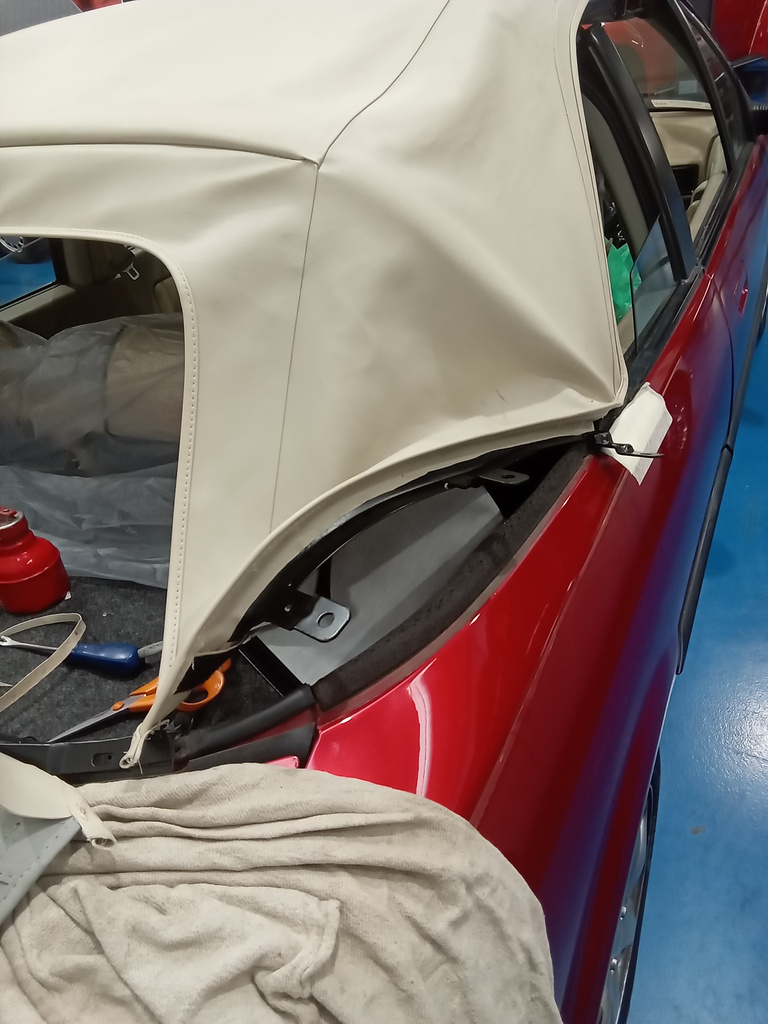
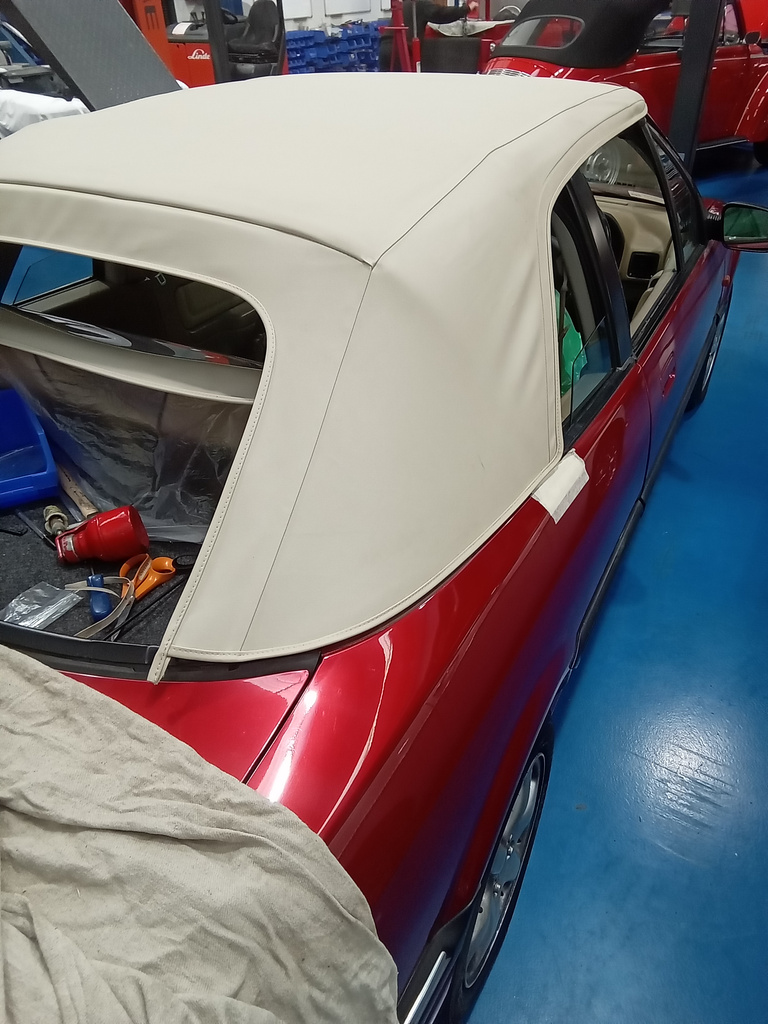
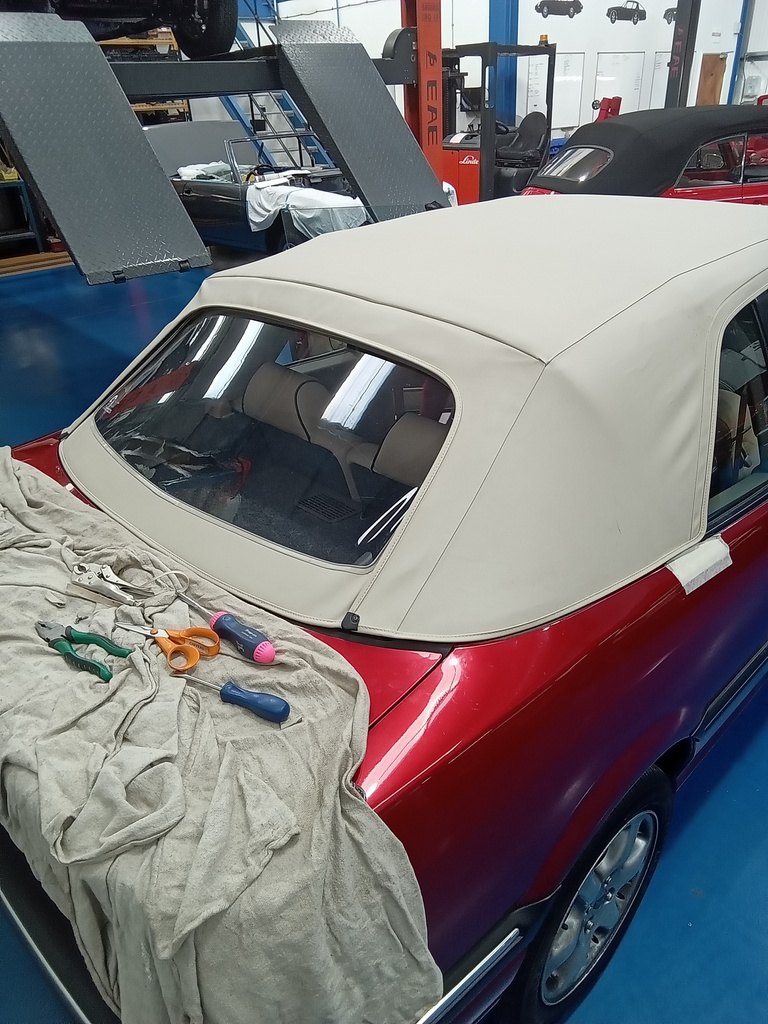
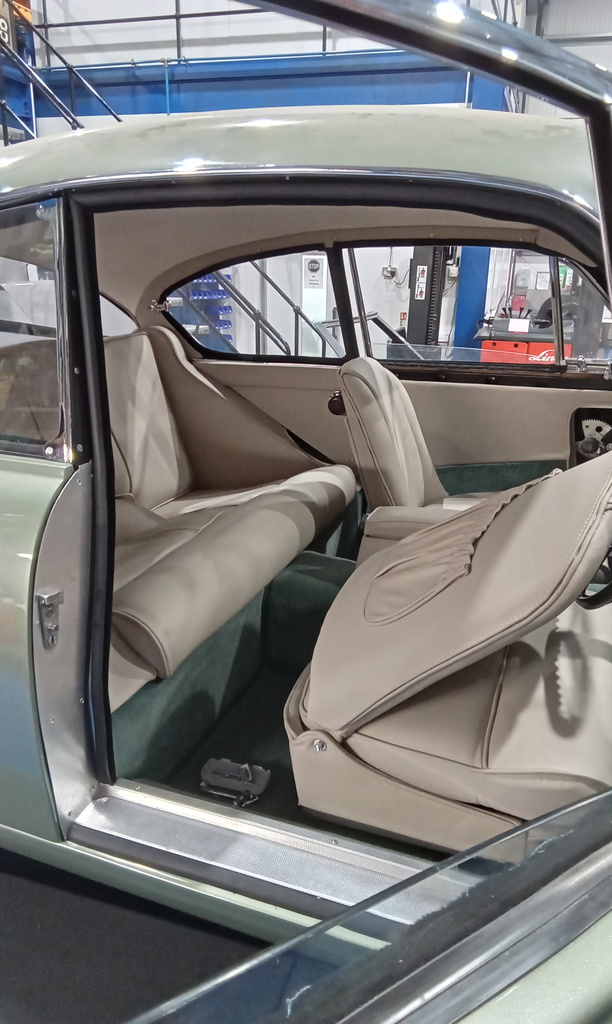
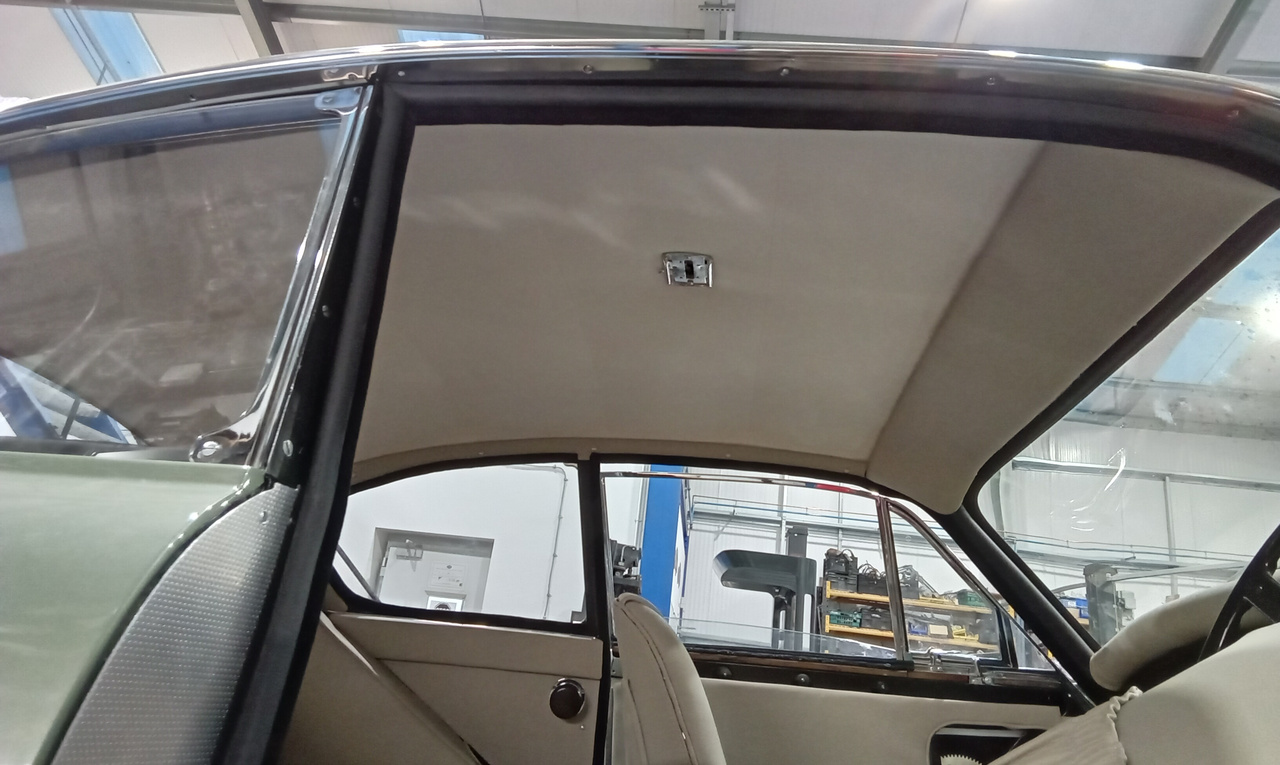
Brian has glued the flaps around the rear side window area of the frame, fitting rubber seals, fitting rear of headliner to the parcel tray. He has glued the metal side bars to the hood cover, bolted the metal bars to the car, fitting rear window in place. He has fitted the headliner around rear window and the screws to rear edge.
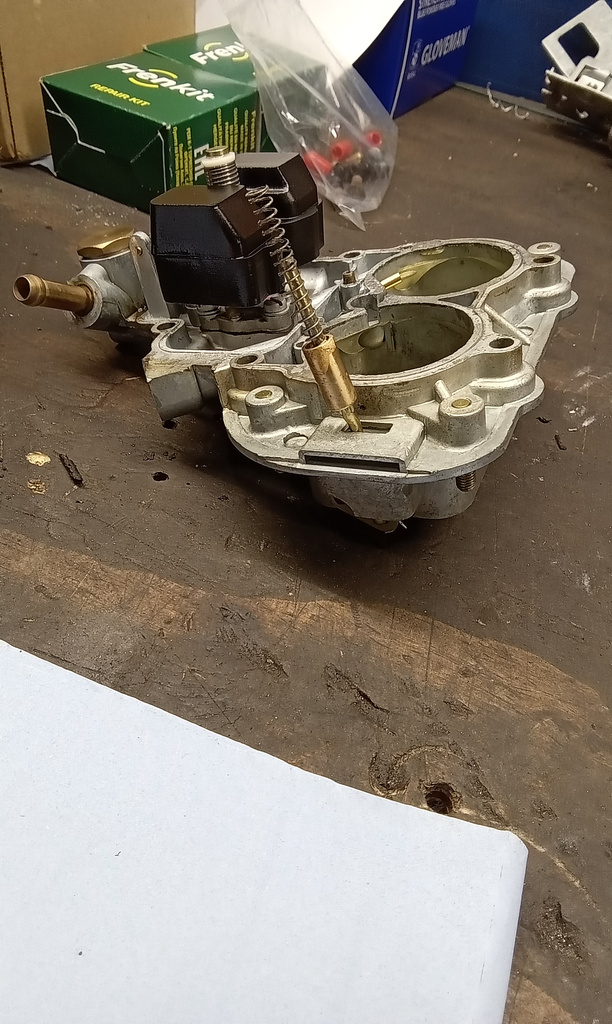
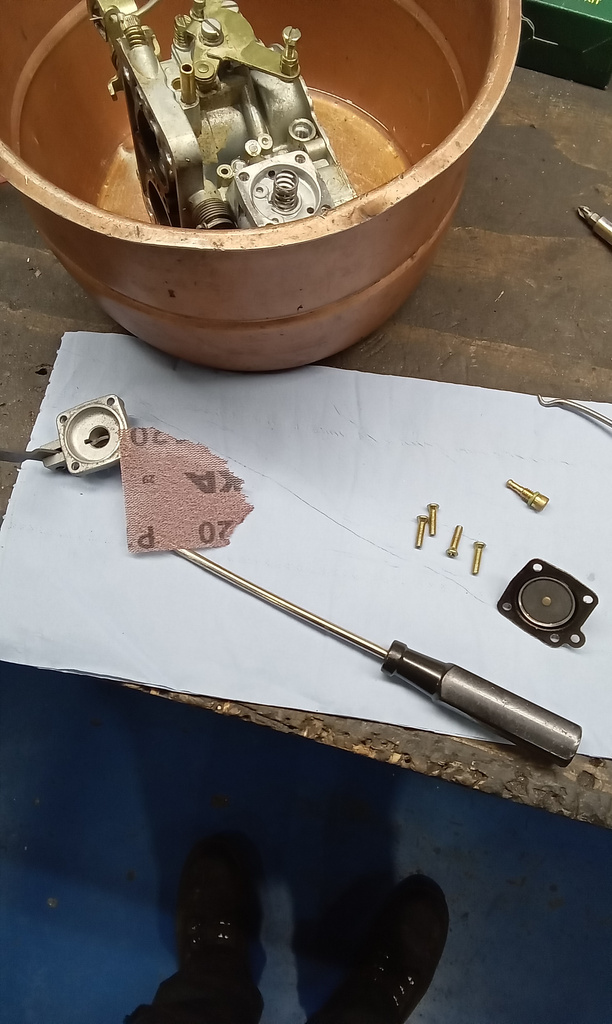
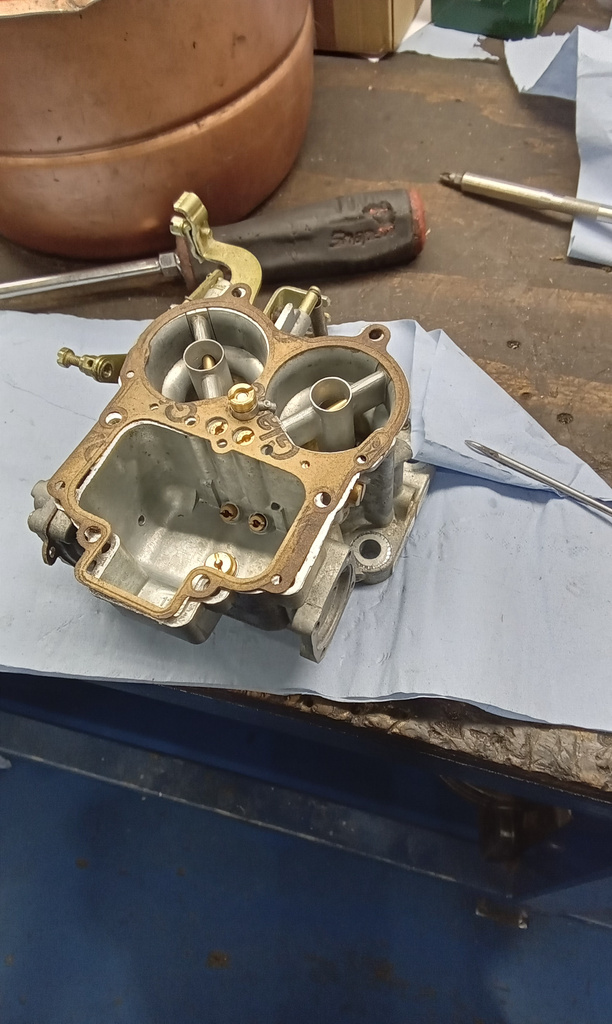
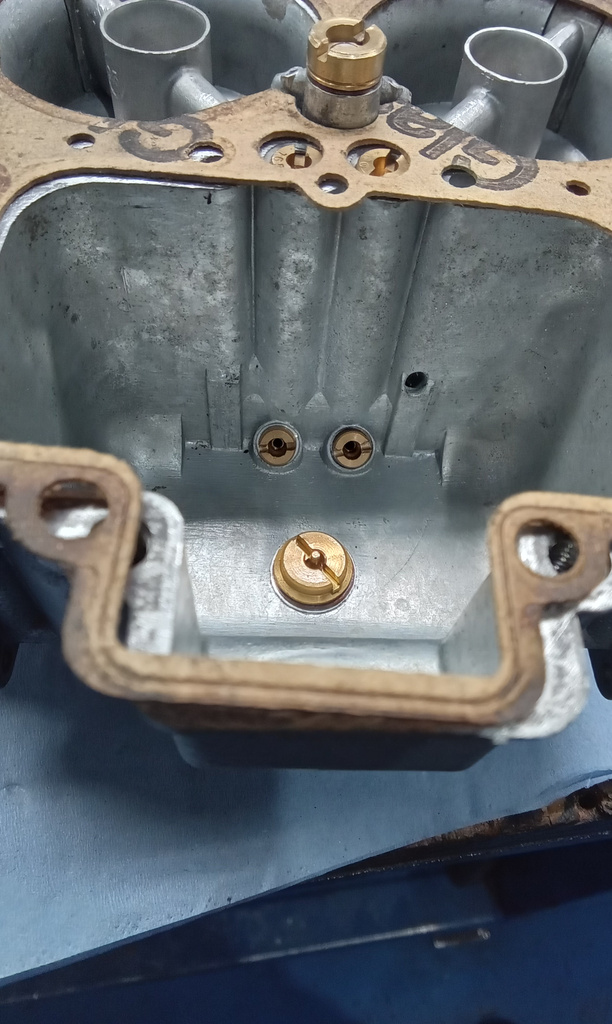
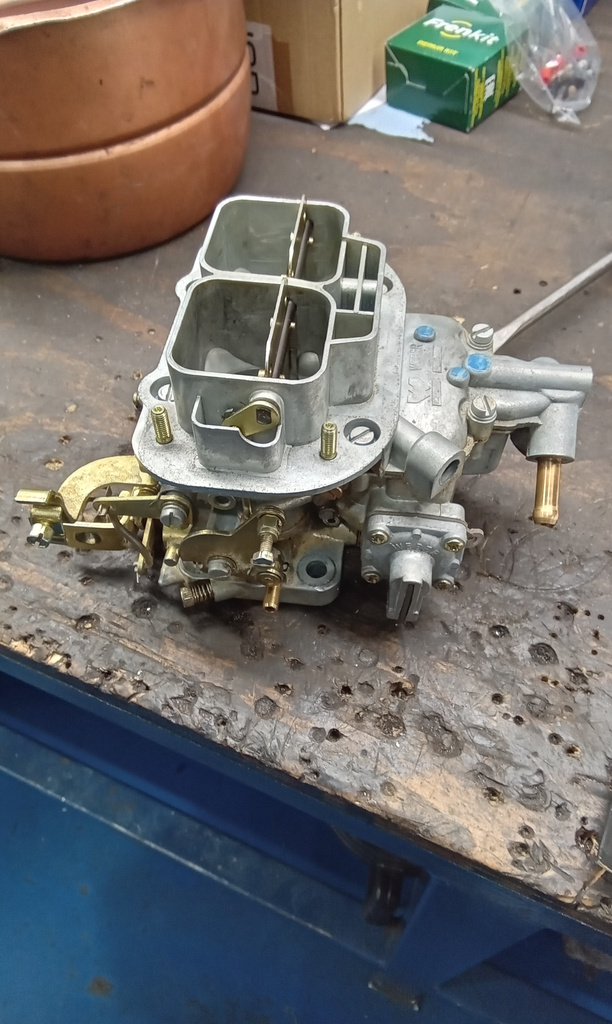
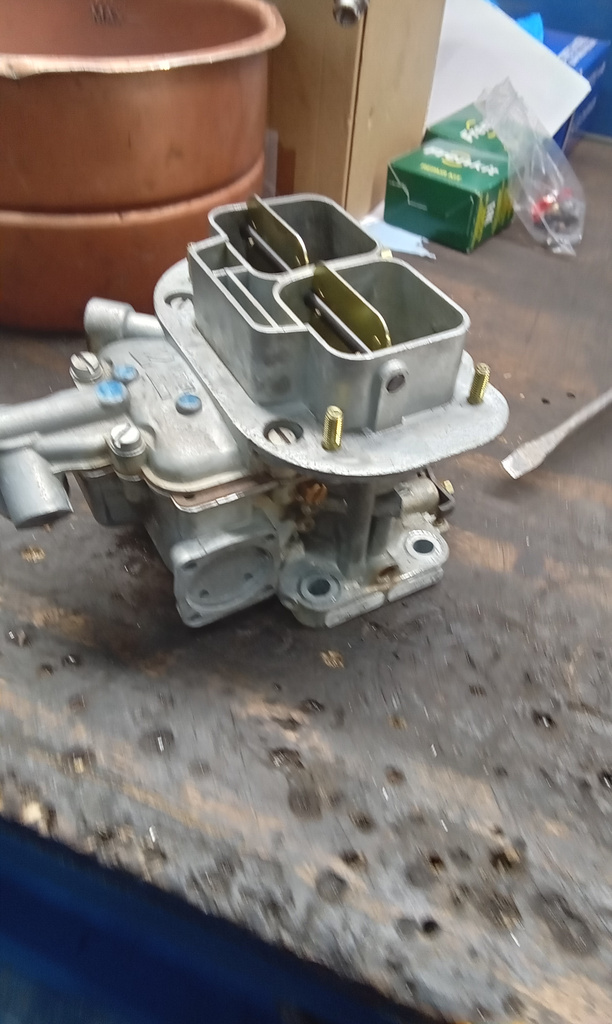
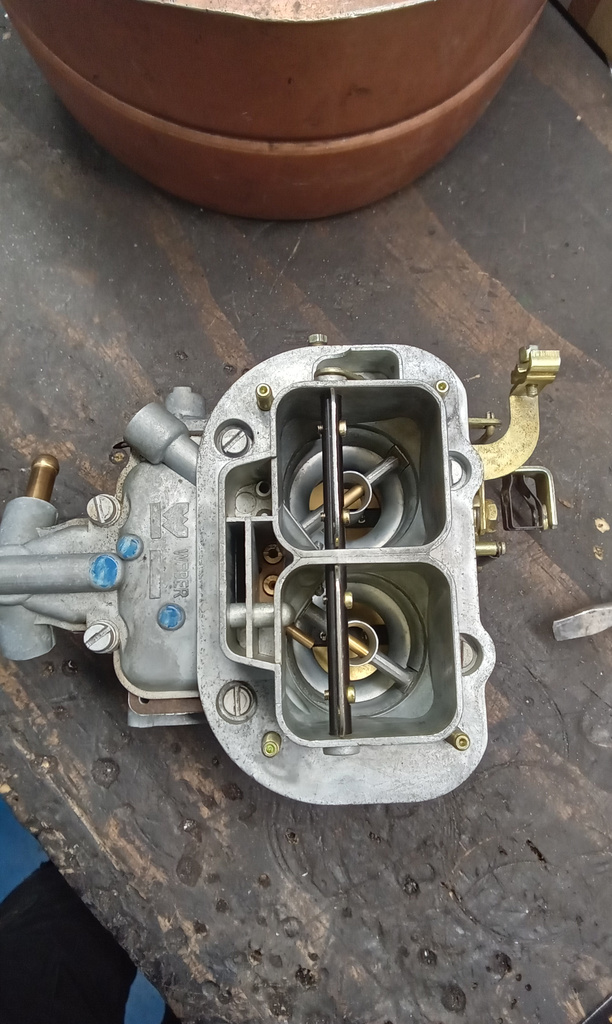
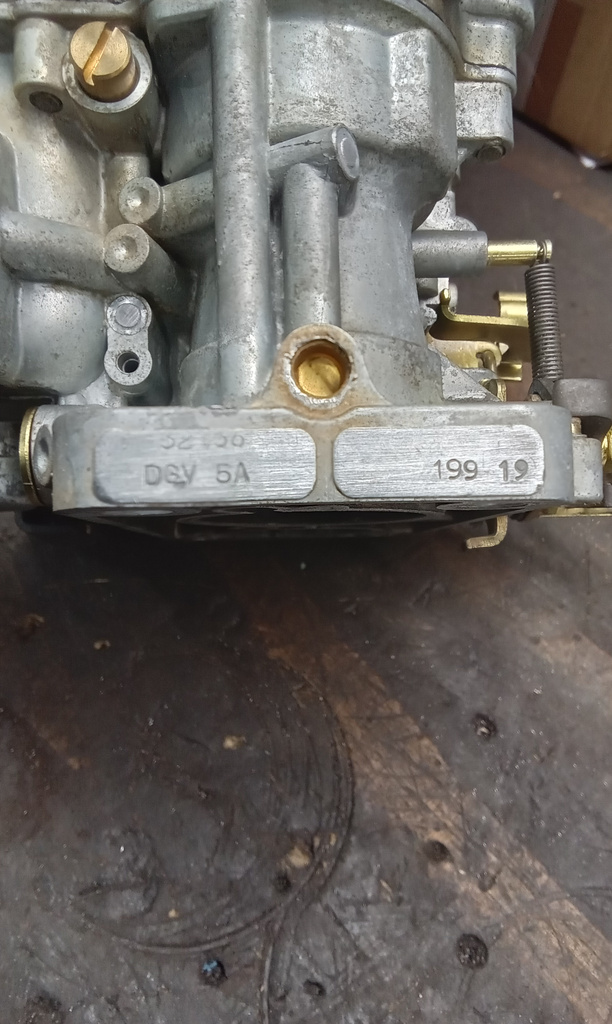
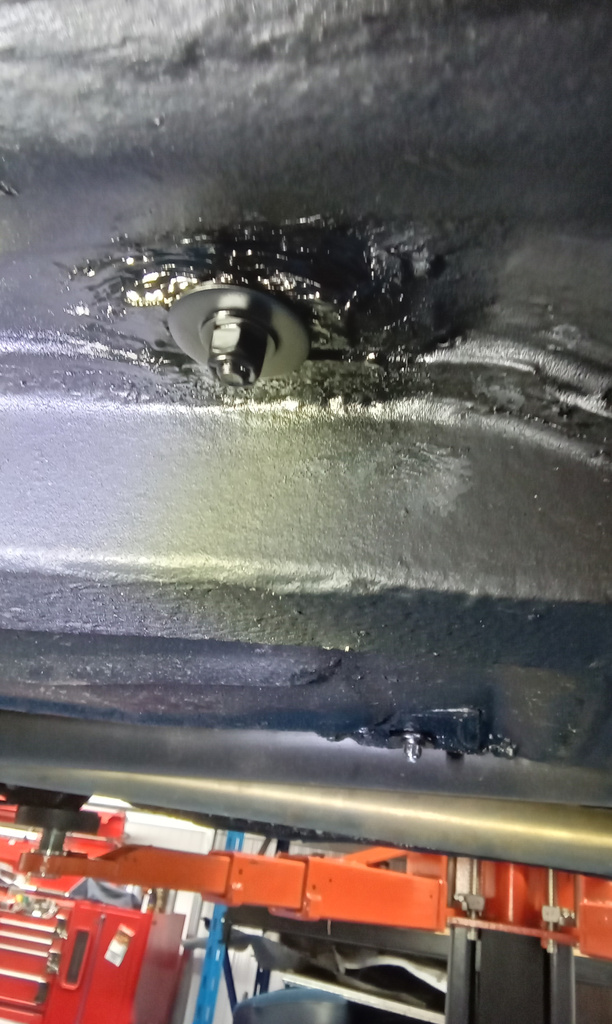
Jon is preparing the Escort for next week’s competition draw. He has stripped and removed the carburettors. Stripped and checked that the jet sizes correspond with the 2000cc engine in 32/36 carb setting. The jet sizes are all ok.
He has cleaned and blown out the carb and rebuilt before refitting to the car.
We have replaced split the vacuum hose to the distributor and check the distributor cap and rotor arm.
The rotor is showing signs of a burnt tip and the cap is poor inside with a hole in it. We have checked the spark plugs too.
A new new cap is on order along with a new rotor and plugs.
Jon has cleaned and refitted the air filter assembly and check front seat bolts.
The rear bolts have been removed from the drivers seat and we have drilled out the broken bolt in outer fixing. Fill in floor holes with instant gasket. Refit all seat bolts with large washers and tighten. Paint all nuts bolts black inside and out.
Some additional shaping was needed to the floor mats upon inspection. Lydia cut down the sides slightly and shaped the back edge. She added a rubber floor mat to the drivers side to give some protection for the mat.
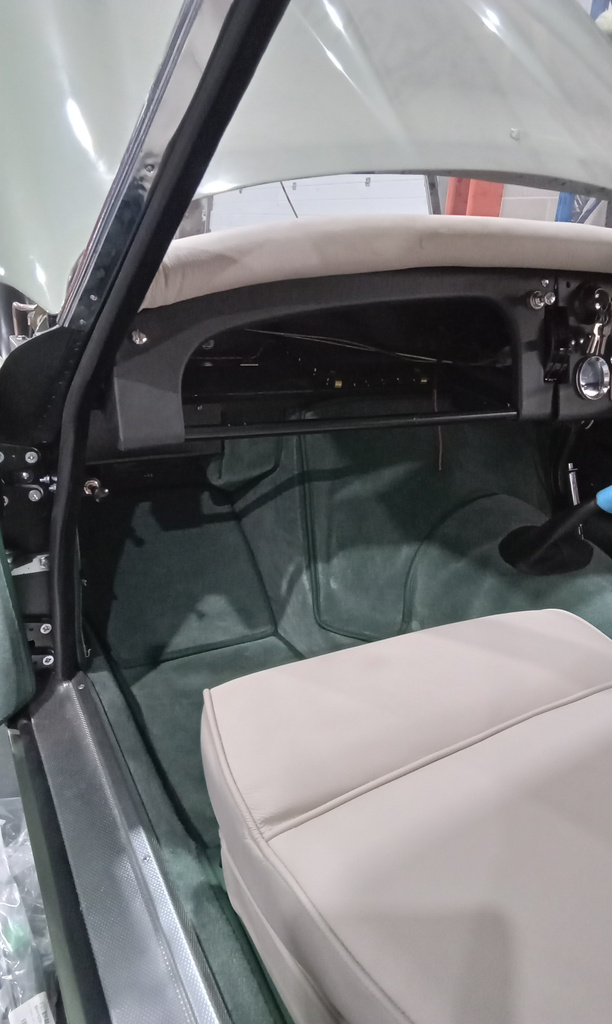
The front carpet mats have been altered to improve the fit and she also located the seat bars to secure the seat bases to the sliding rail. Heat shrink has been added to the end of these to give them a better finish.
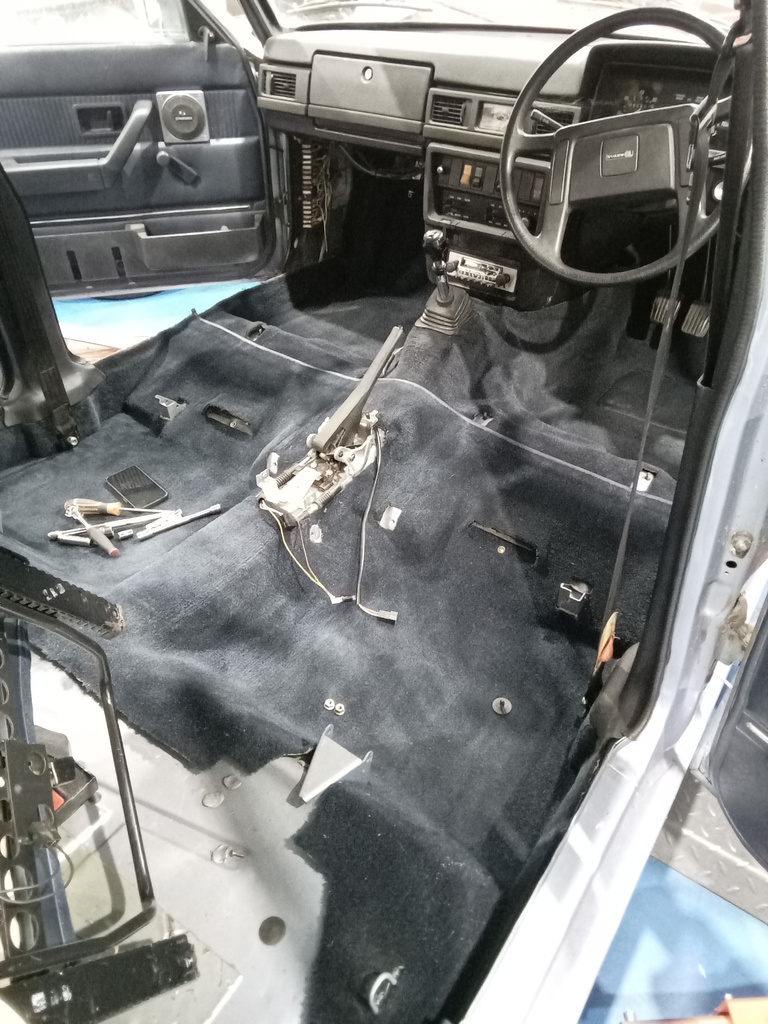
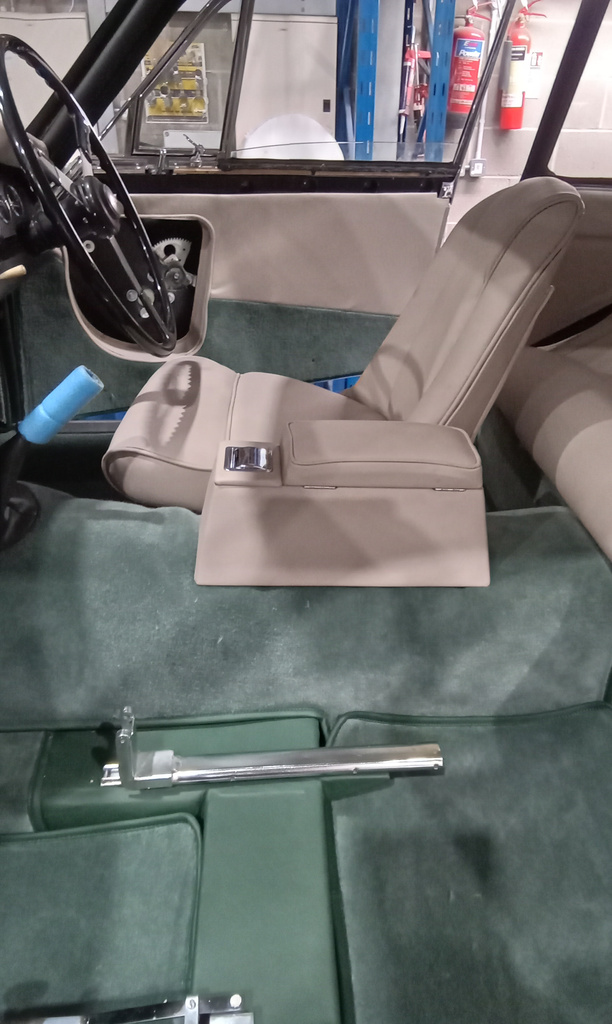
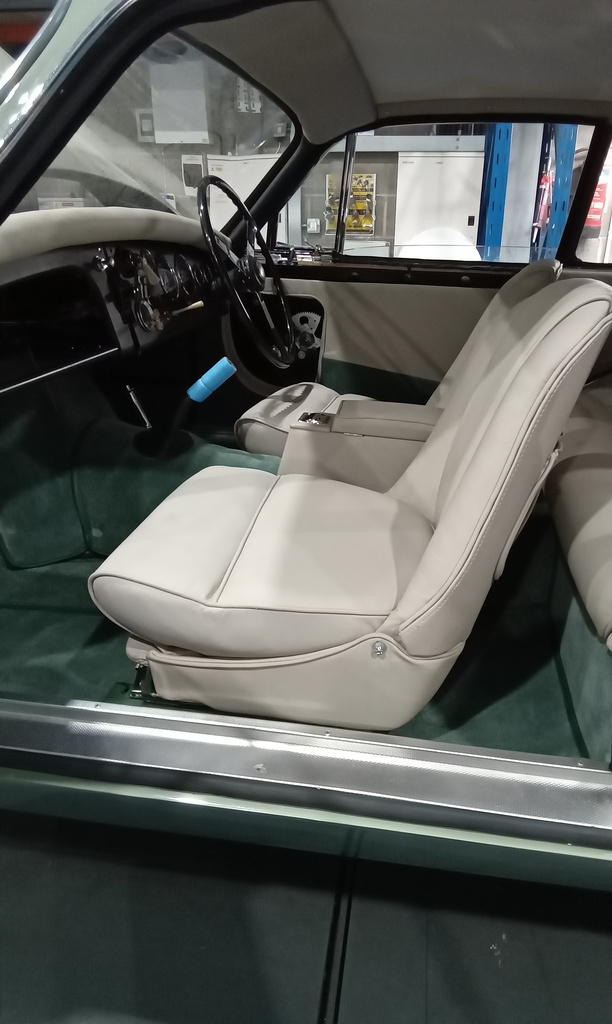
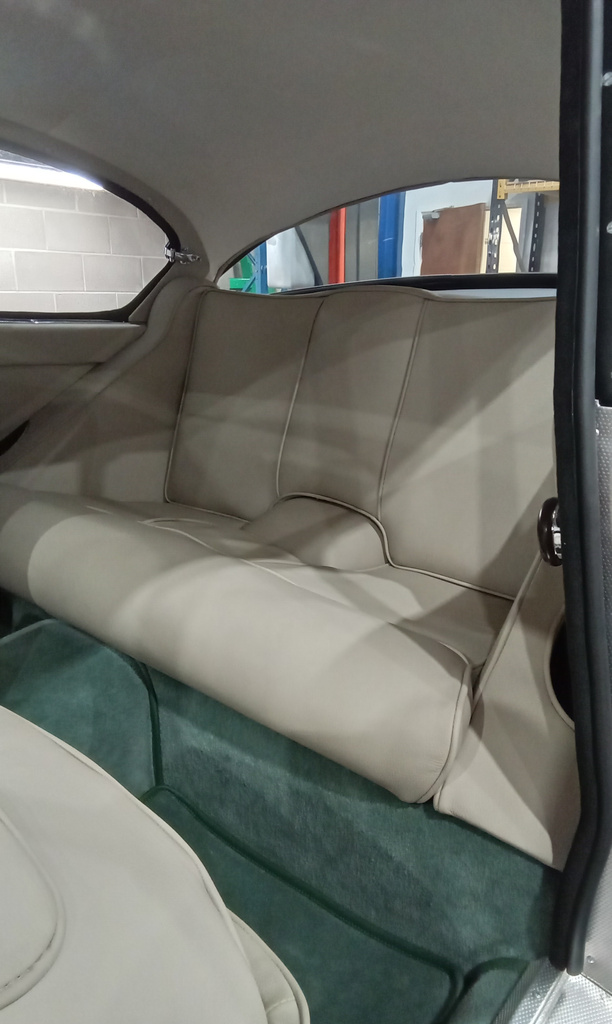
Most of the interior is now complete. The centre arm rest storage has been fitted and the front seats are now secured in as well. Just awaiting the capping pieces for the door cards to be finished.
Cutting and fitting weather strips to the door tops, adjusting the ends of the door cappings so the doors close properly. Lydia has cut out insert panels for the door panels, covering insert panels in leather and fitting to the door panels, fitting door panels back onto the car.


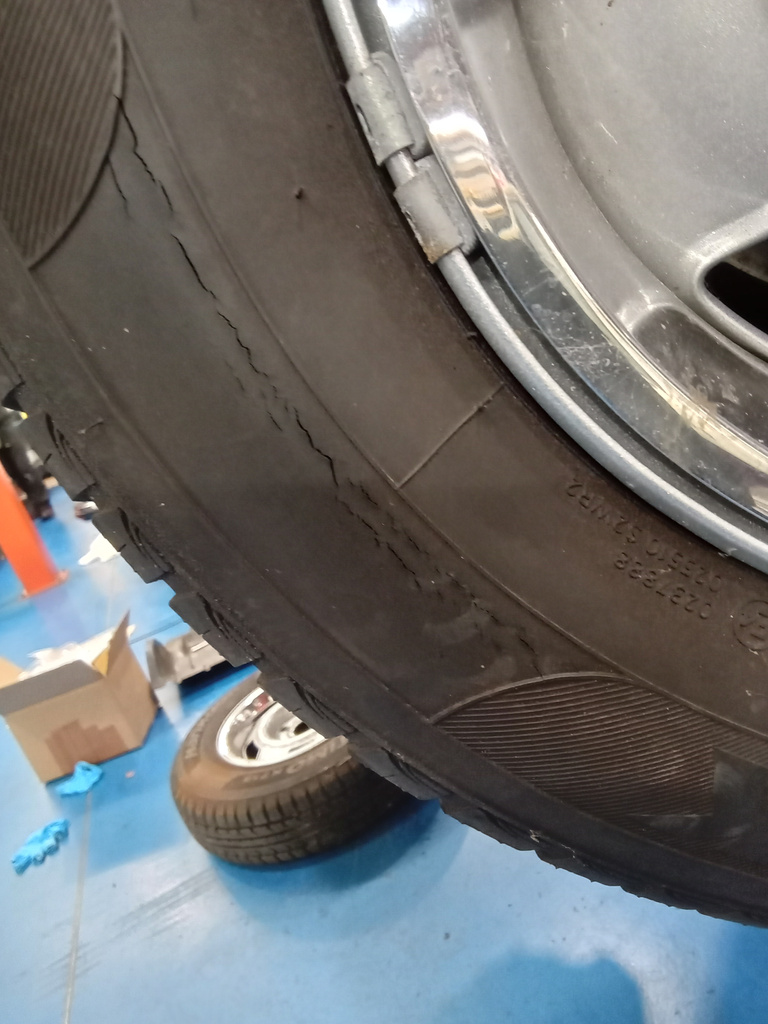
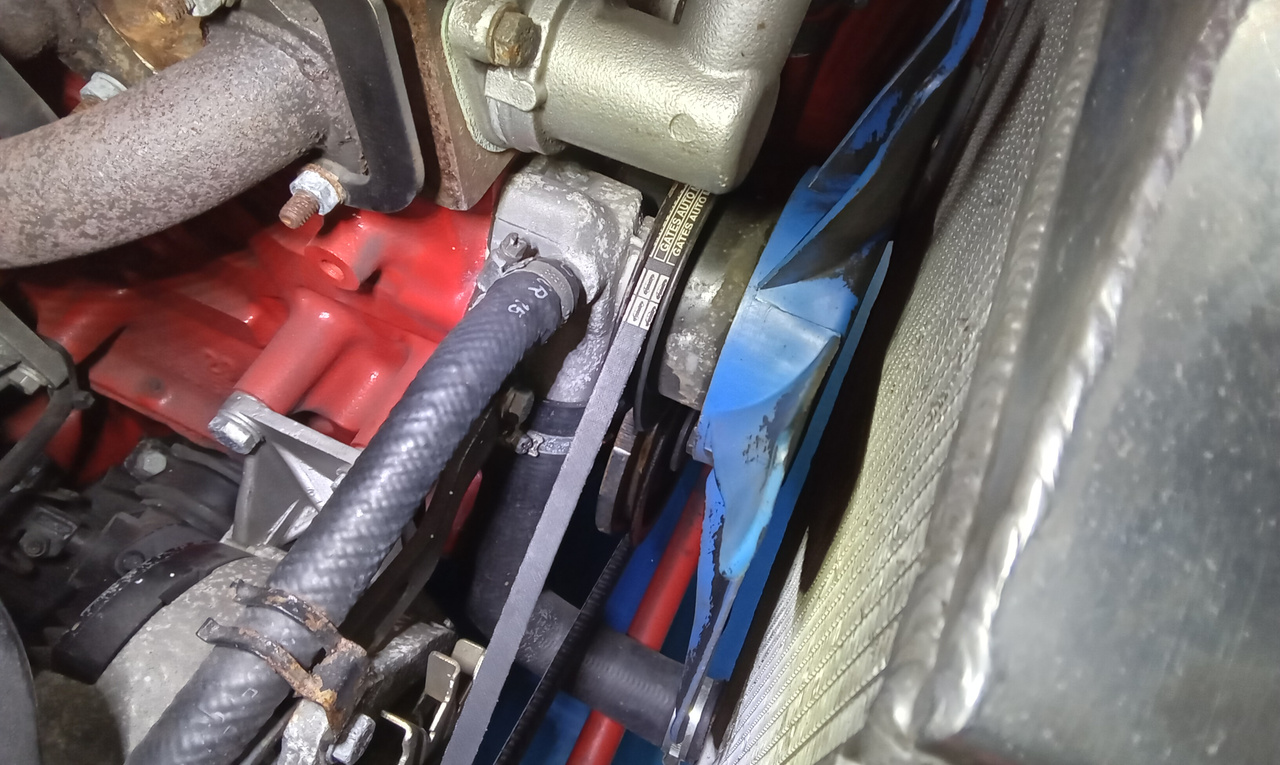
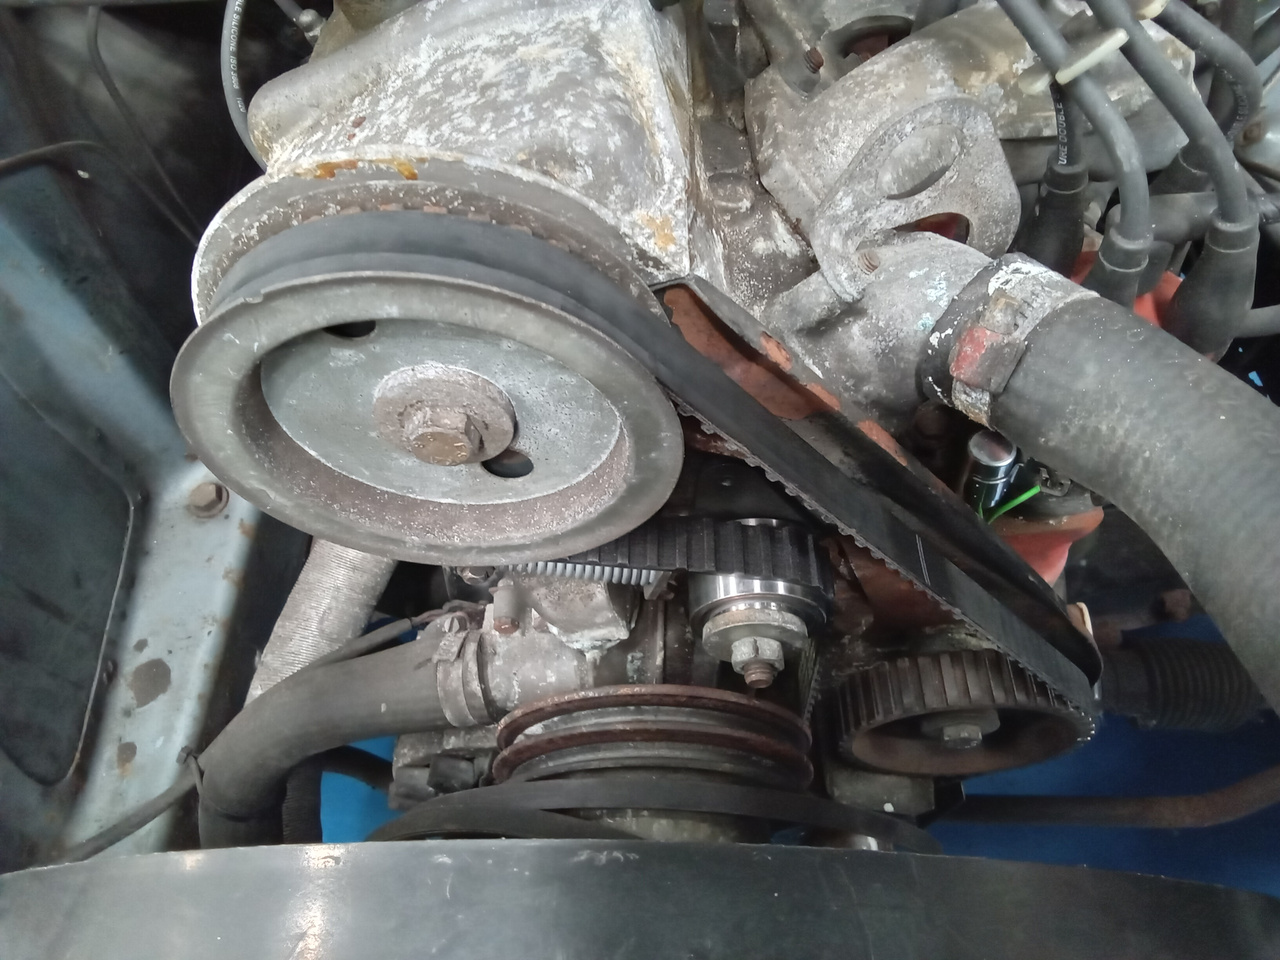
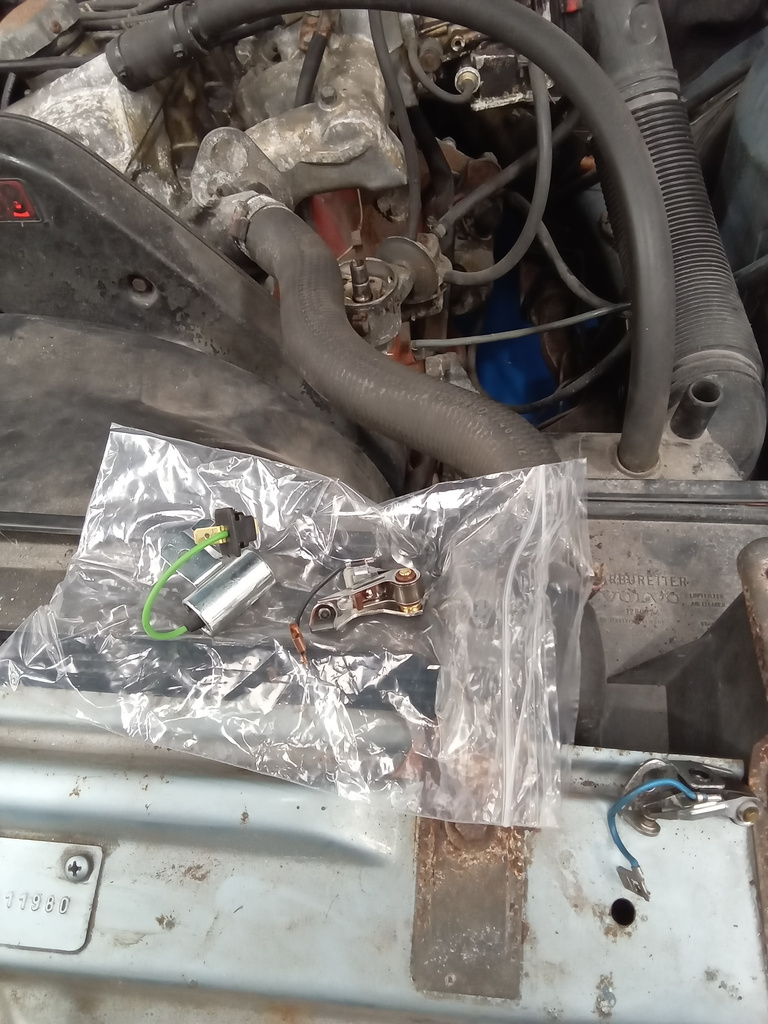
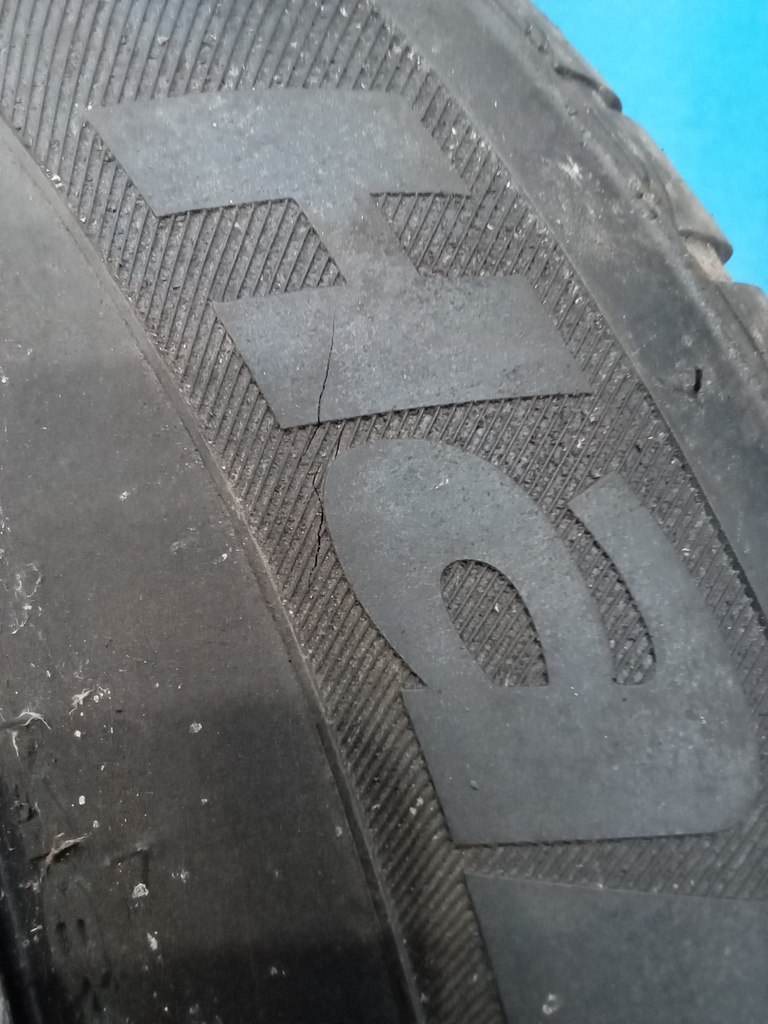
Steve has fitted new points and condenser to the Volvo as well as a new cambelt, tensioner pully and spring.
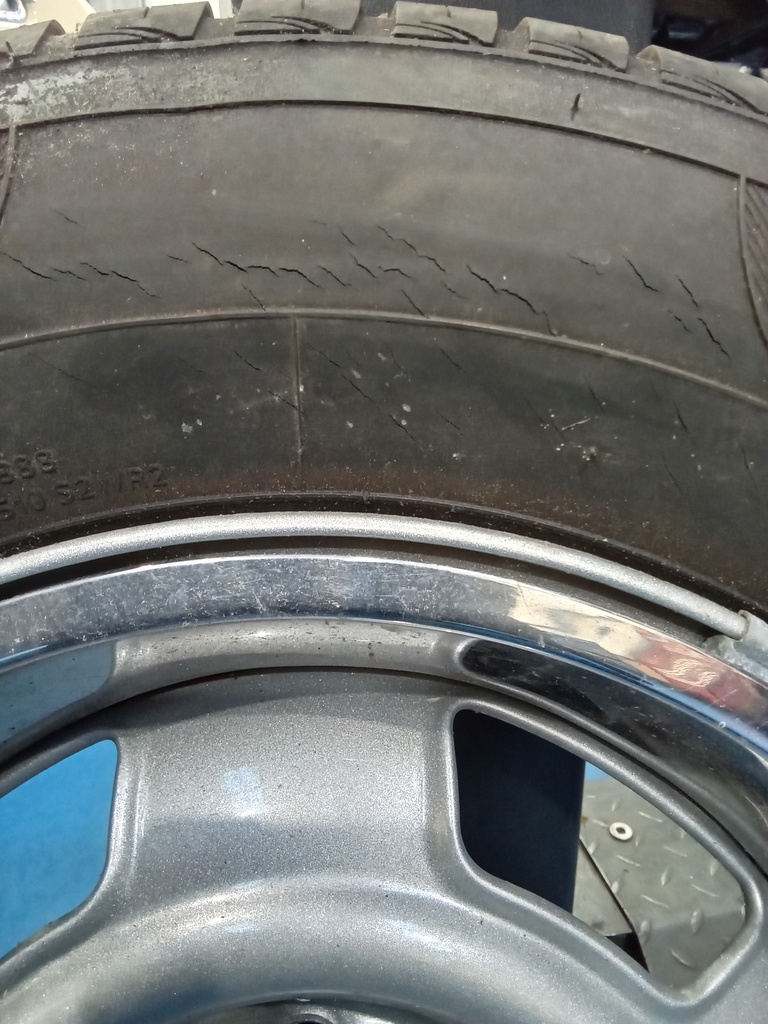
Both near side and one of the off side tyres are badly cracked so will need replacing.
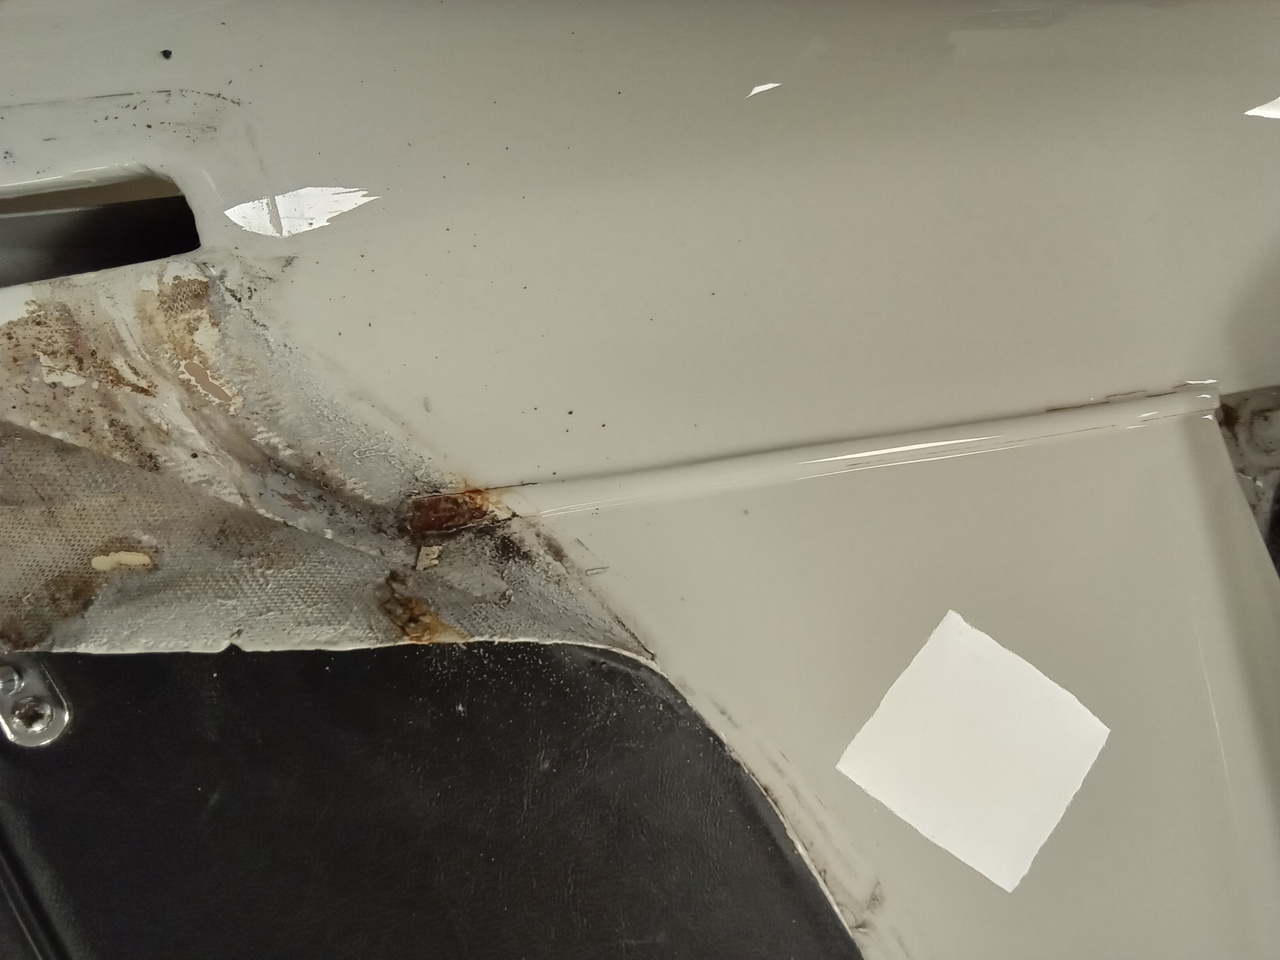
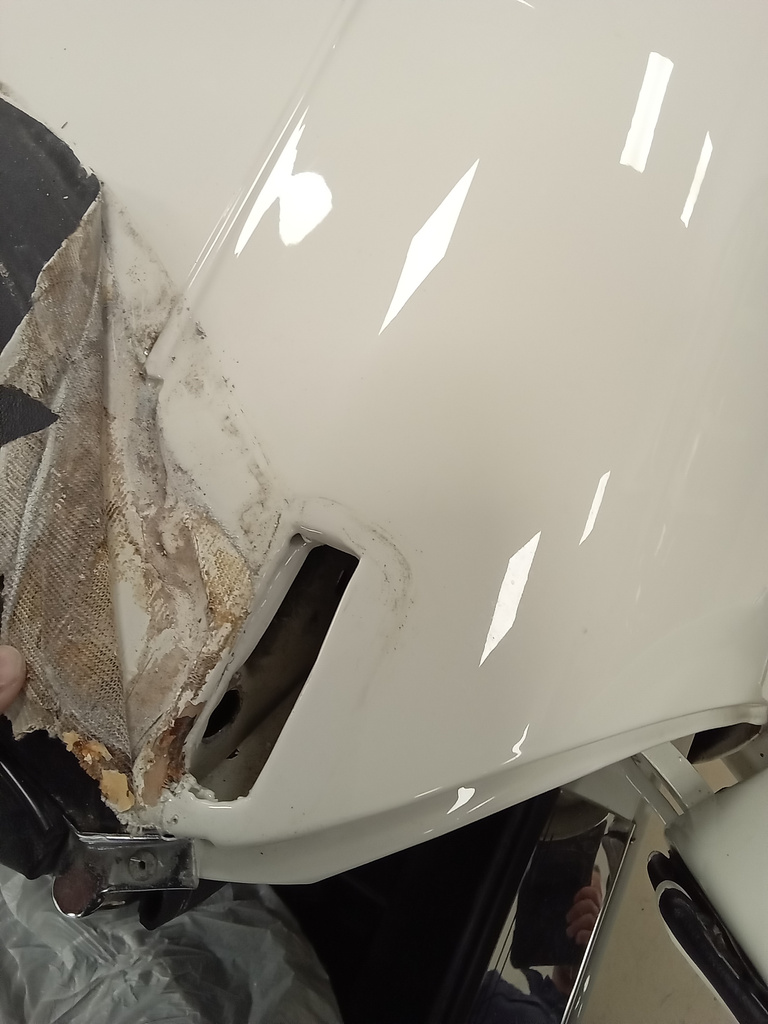
Work begins on the front wings of our 1970 MG B Roadster project. Mauro has removed the wings to reveal some corrosion.


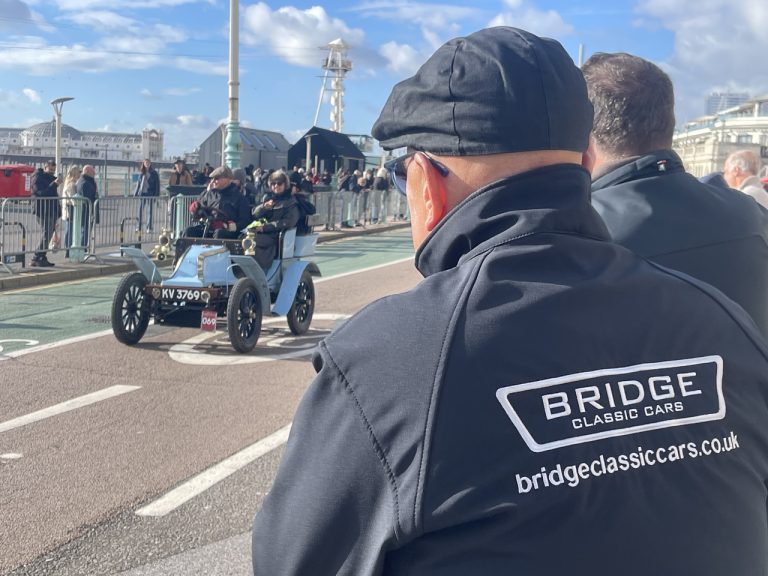
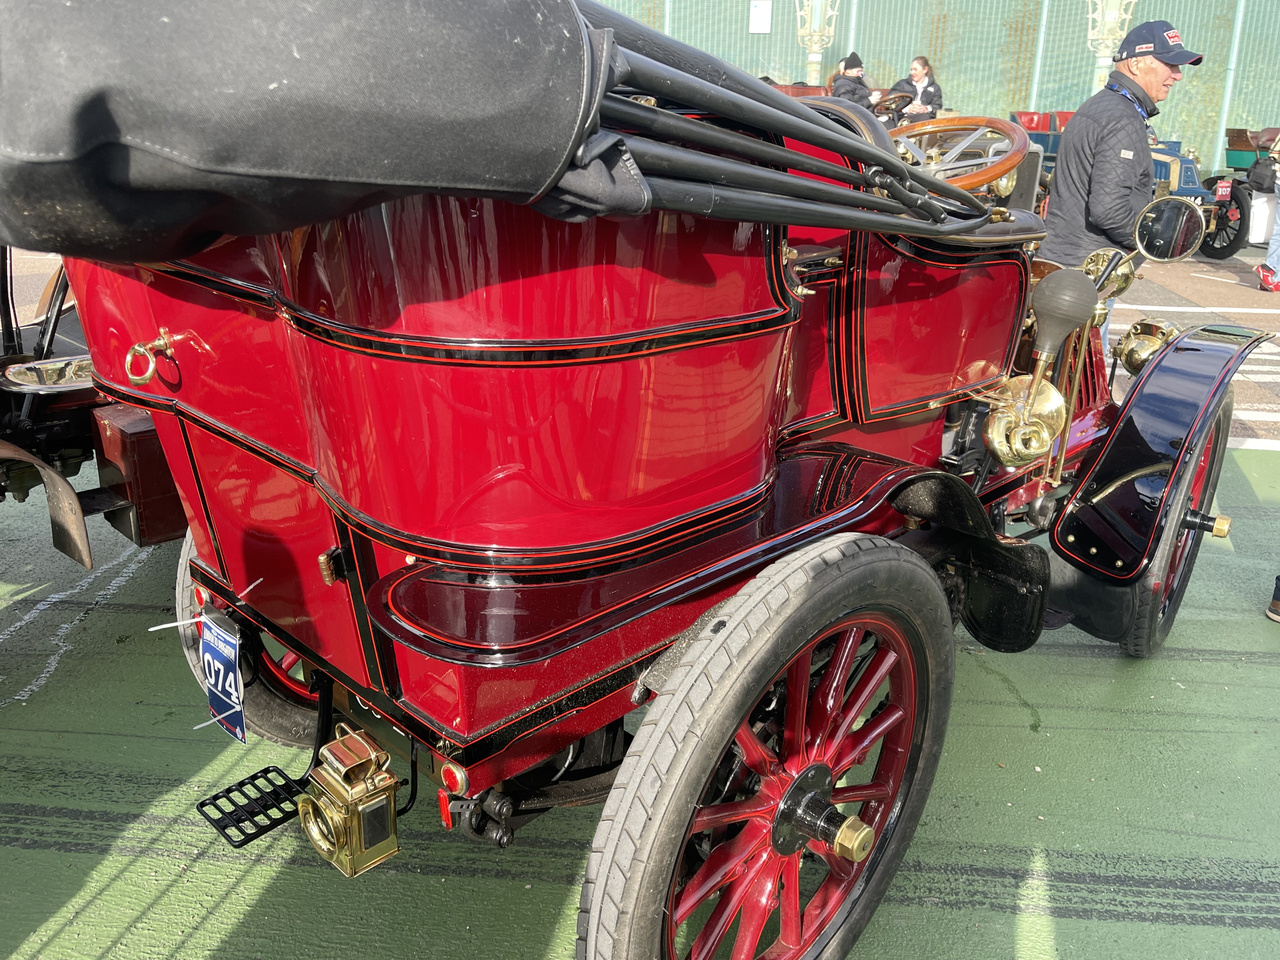
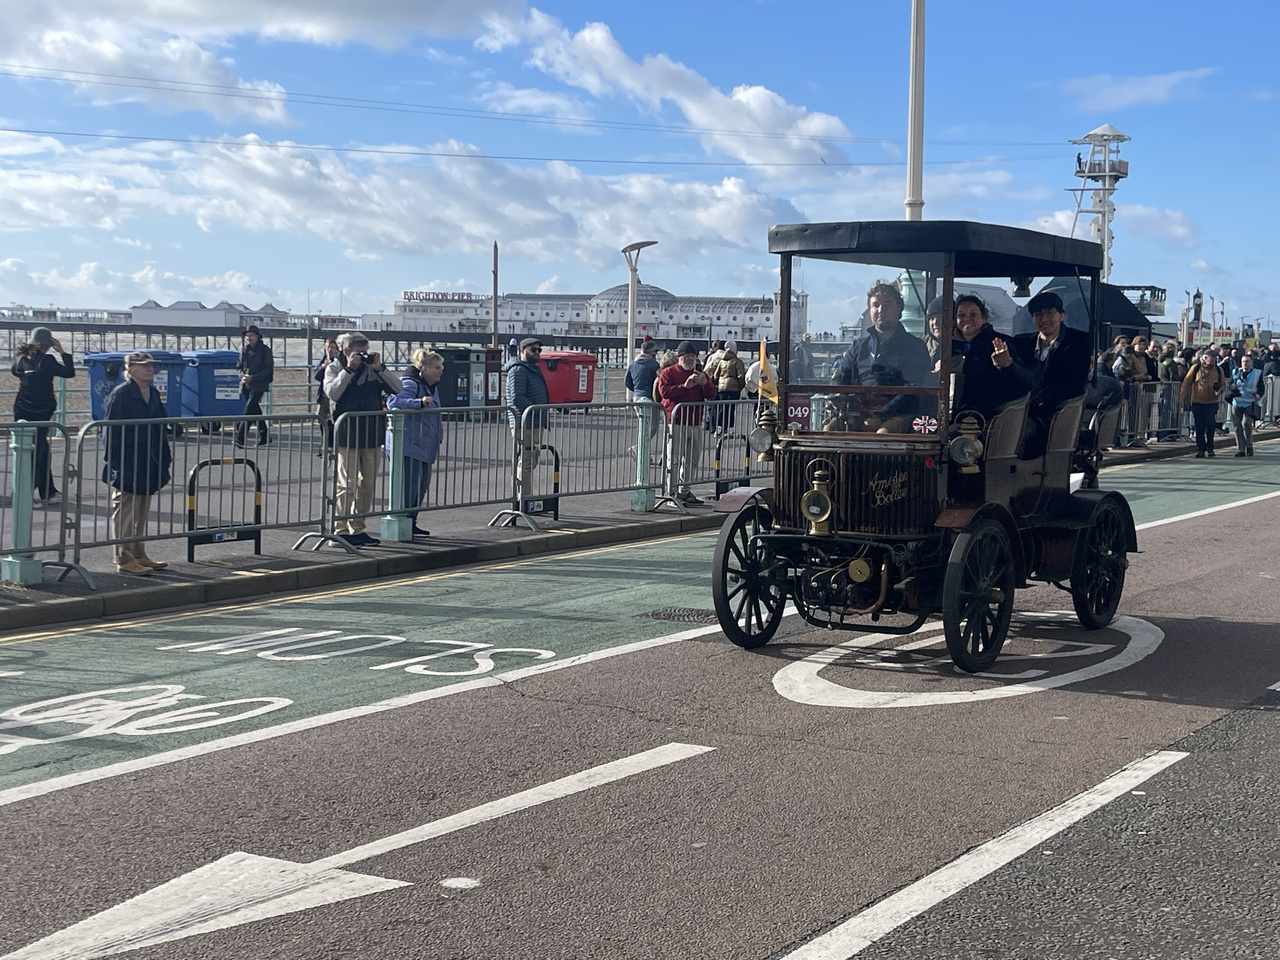
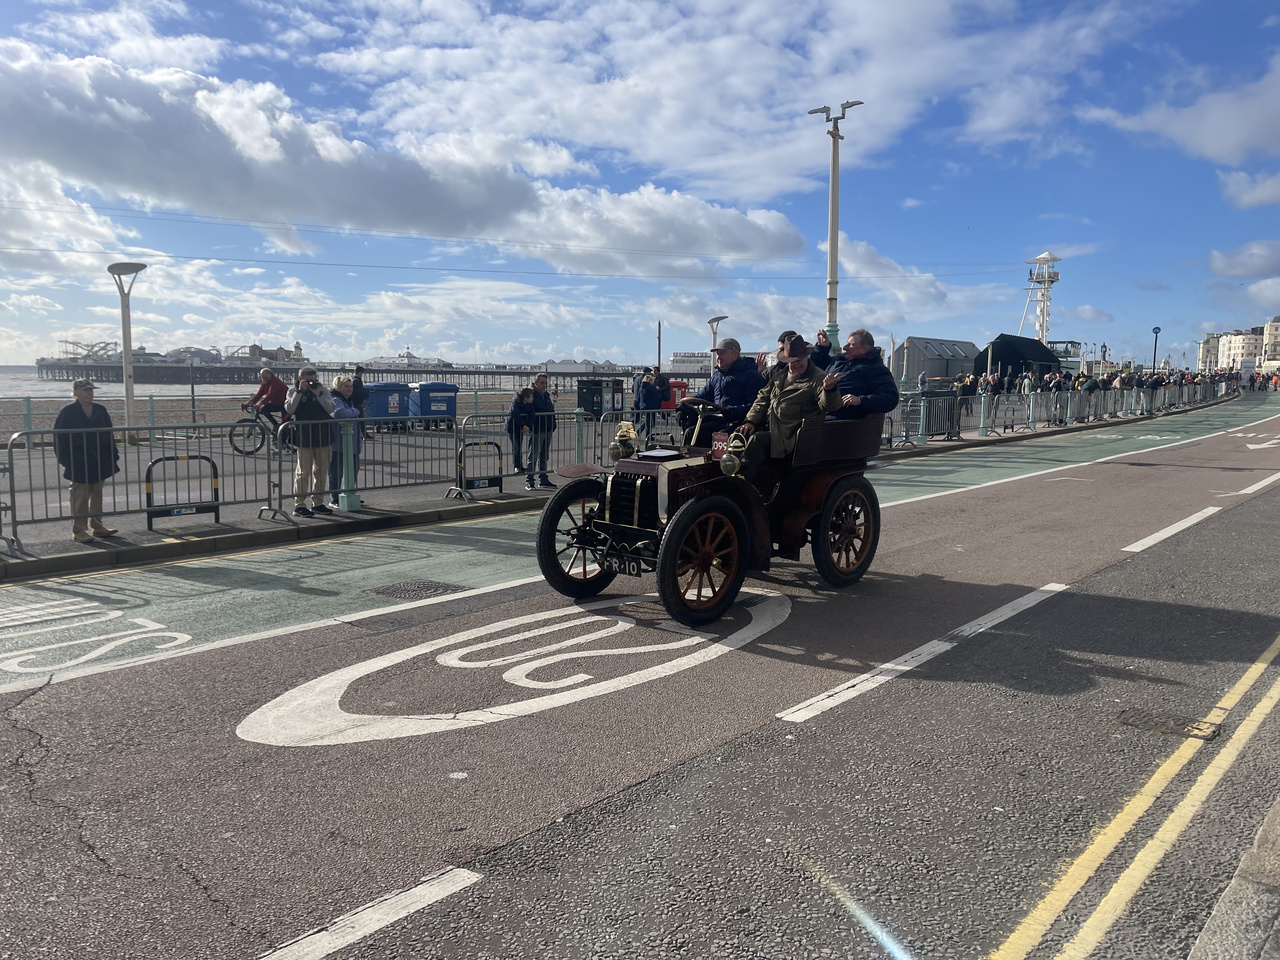
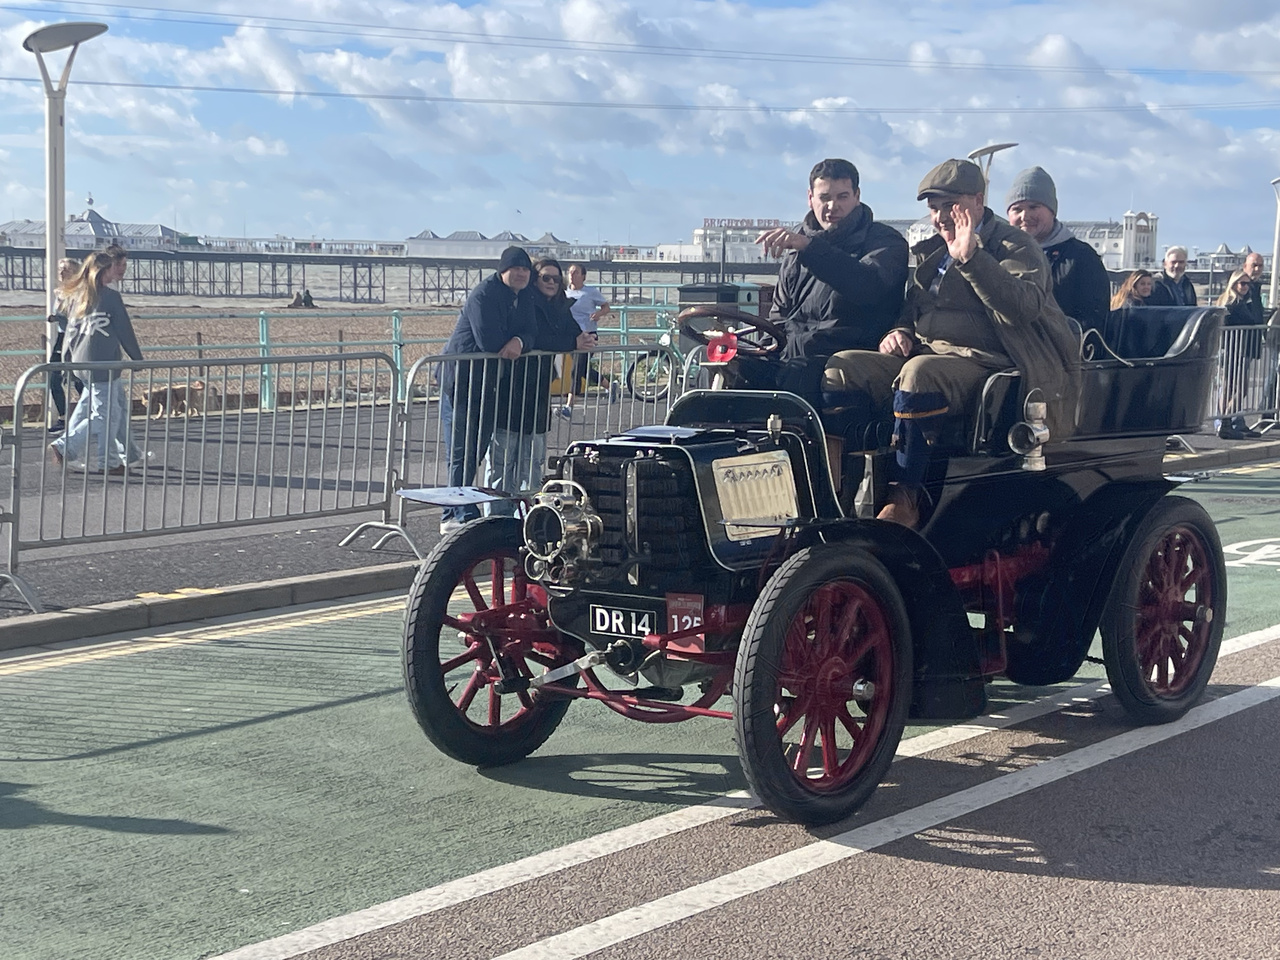
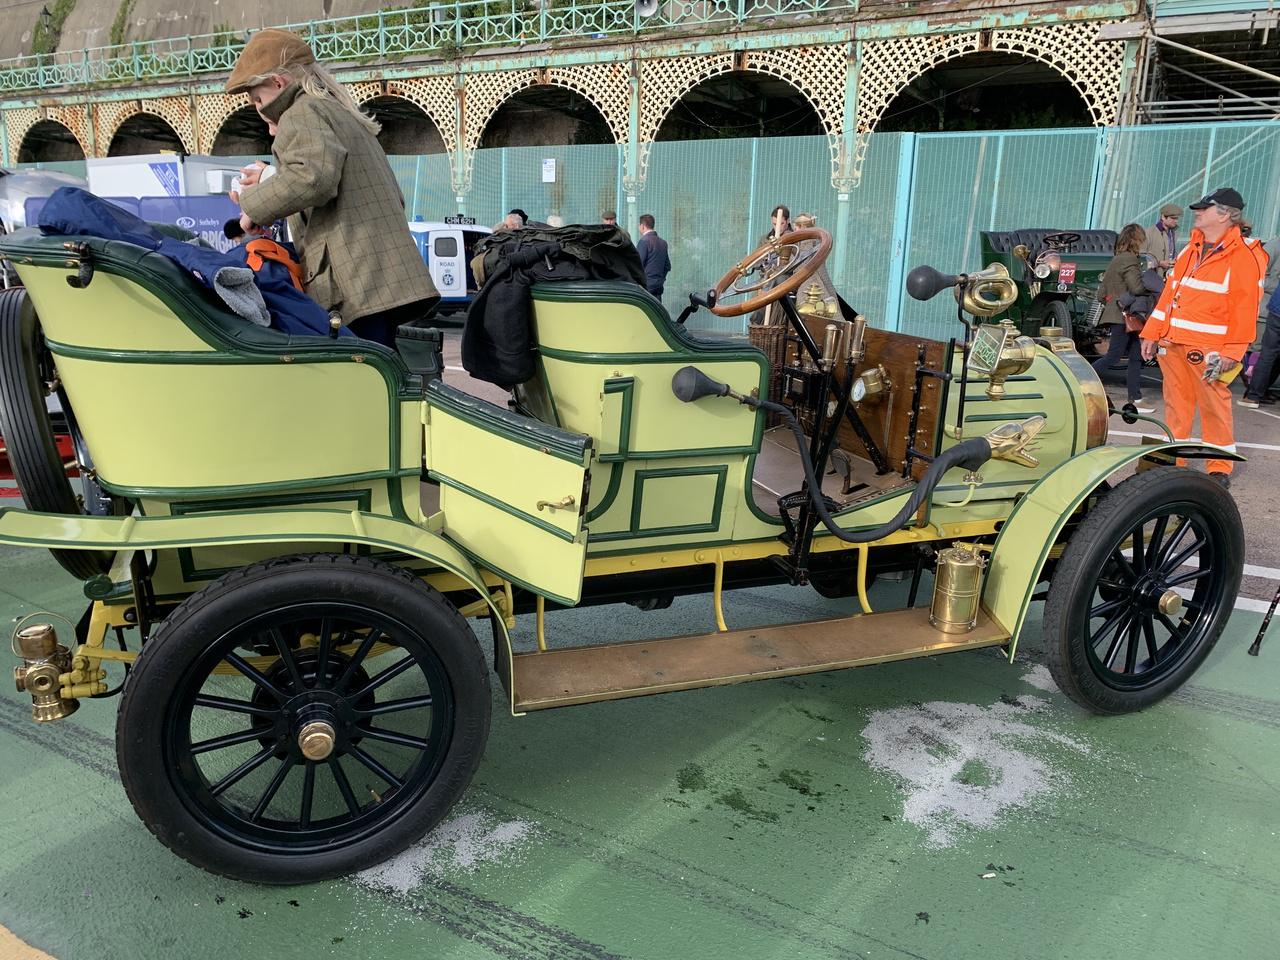
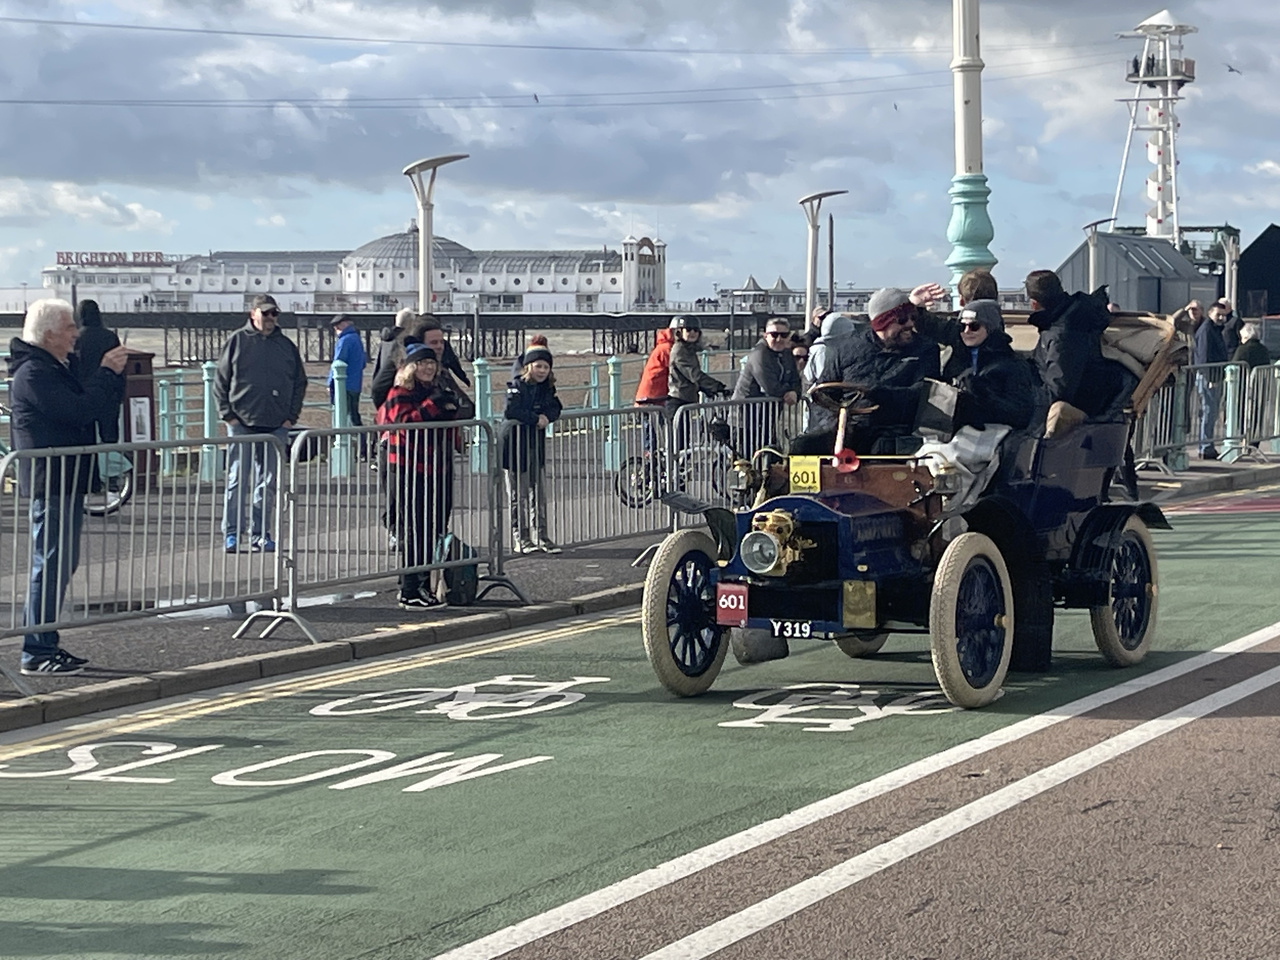
This weekend Gordon was delighted to attend the London to Brighton Veteran Car Run once more, the spectacle never failing to make an impression on him.
This annual event, steeped in history, has been running almost consistently since its conception in 1896. First billed as ‘The Emancipation Run’ it was created by Harry Lawson, of The Motor Car Club, in the wake of some law changes that made a car run possible. With sabbaticals caused by war and fuel rationing few and far between, the event has remained a familiar fixture in the calendar for well over 100 years. The run itself has seen various reinventions over the years with the route changing as well as the mileage increasing. Regulations such as the implementation of speed limits have also had their influence.
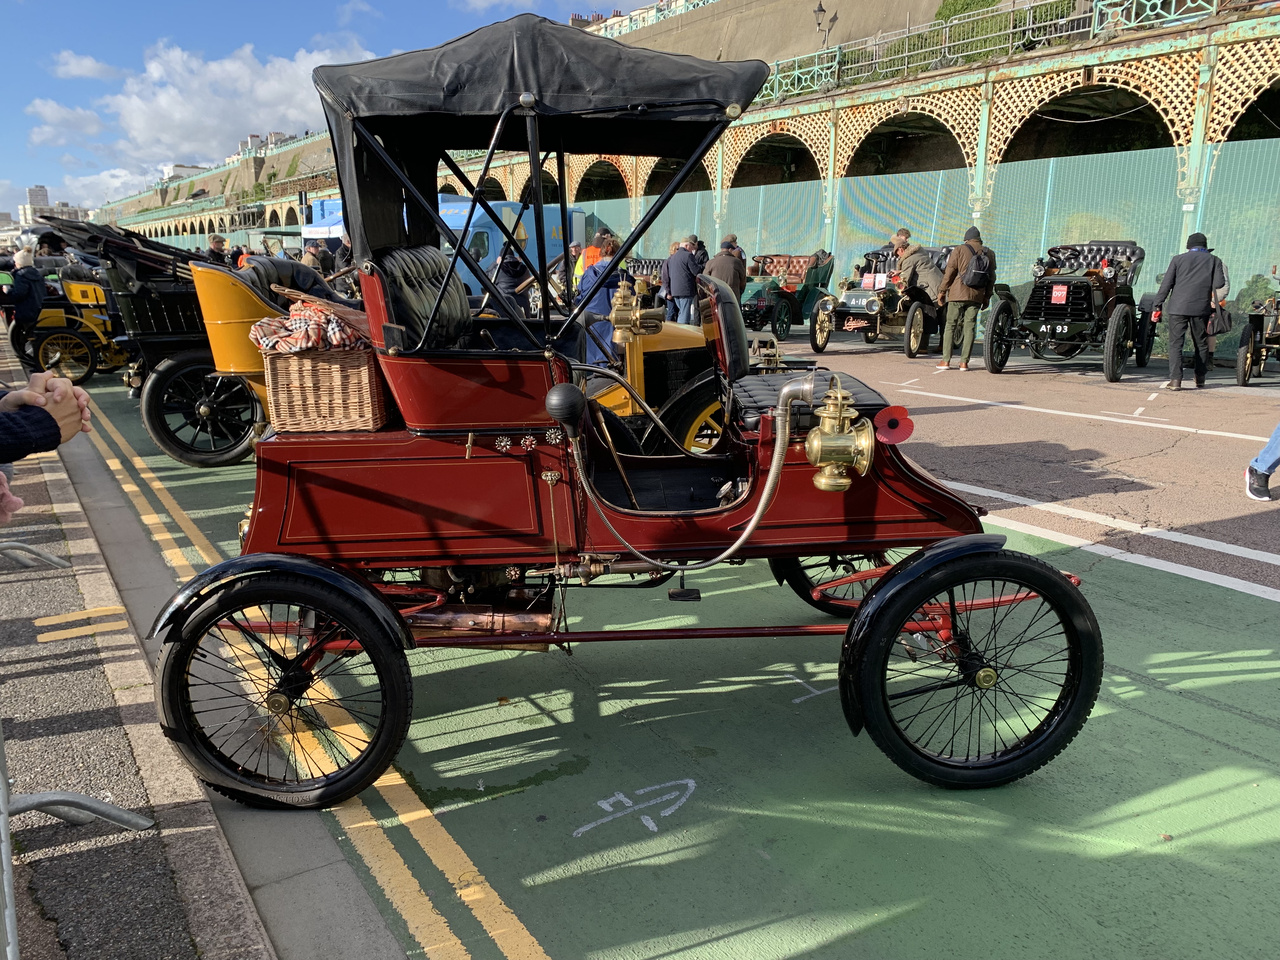
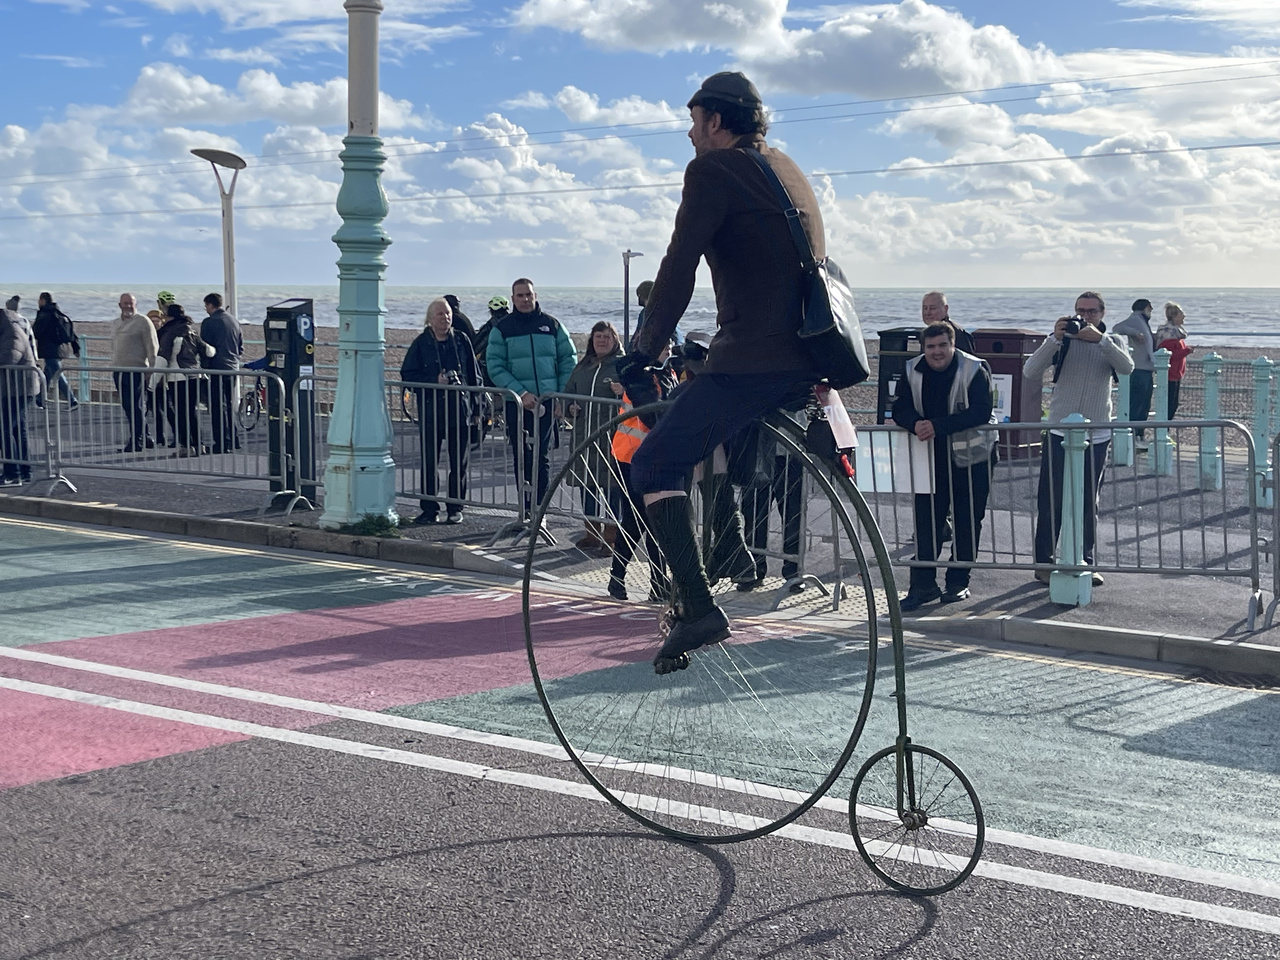

Gordon started his weekend with a lovely meal in the Dilsk Restaurant followed by a stay in Drakes Hotel in Brighton. After a well deserved lay in, the day dawned bright and sunny. They headed over the road to see a spectrum of beautiful pre-1905 cars and bikes. The variety was tremendous including those powered by petrol, steam and electric!
Vehicles of all shapes and sizes made their way across the Brighton finish line after a far journey from London and by 4.30pm it was time for the whistle to be blown and to go in search of a nice glass of something.
Take a look at the gallery to see some of Gordon’s discoveries.

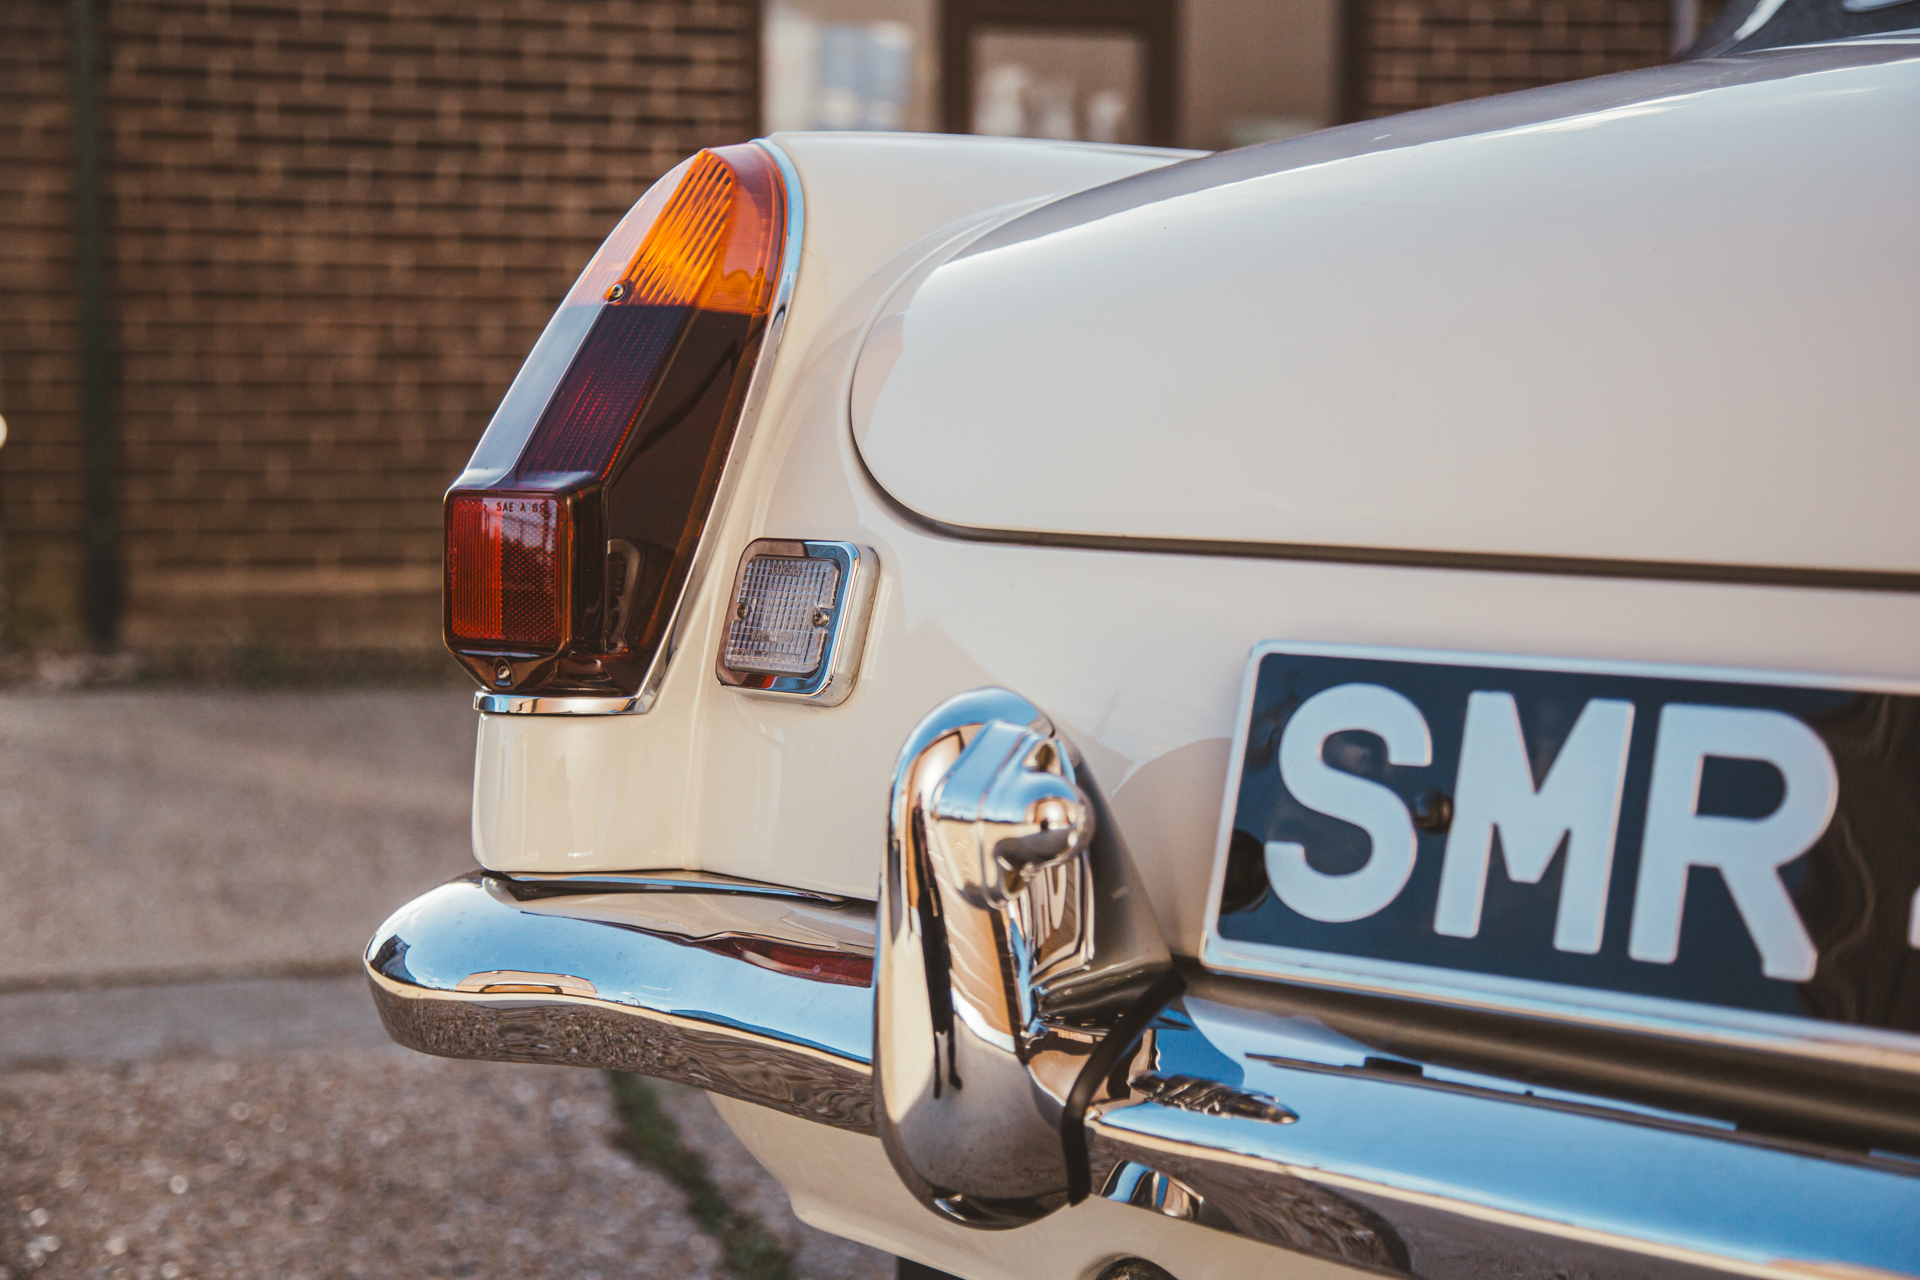
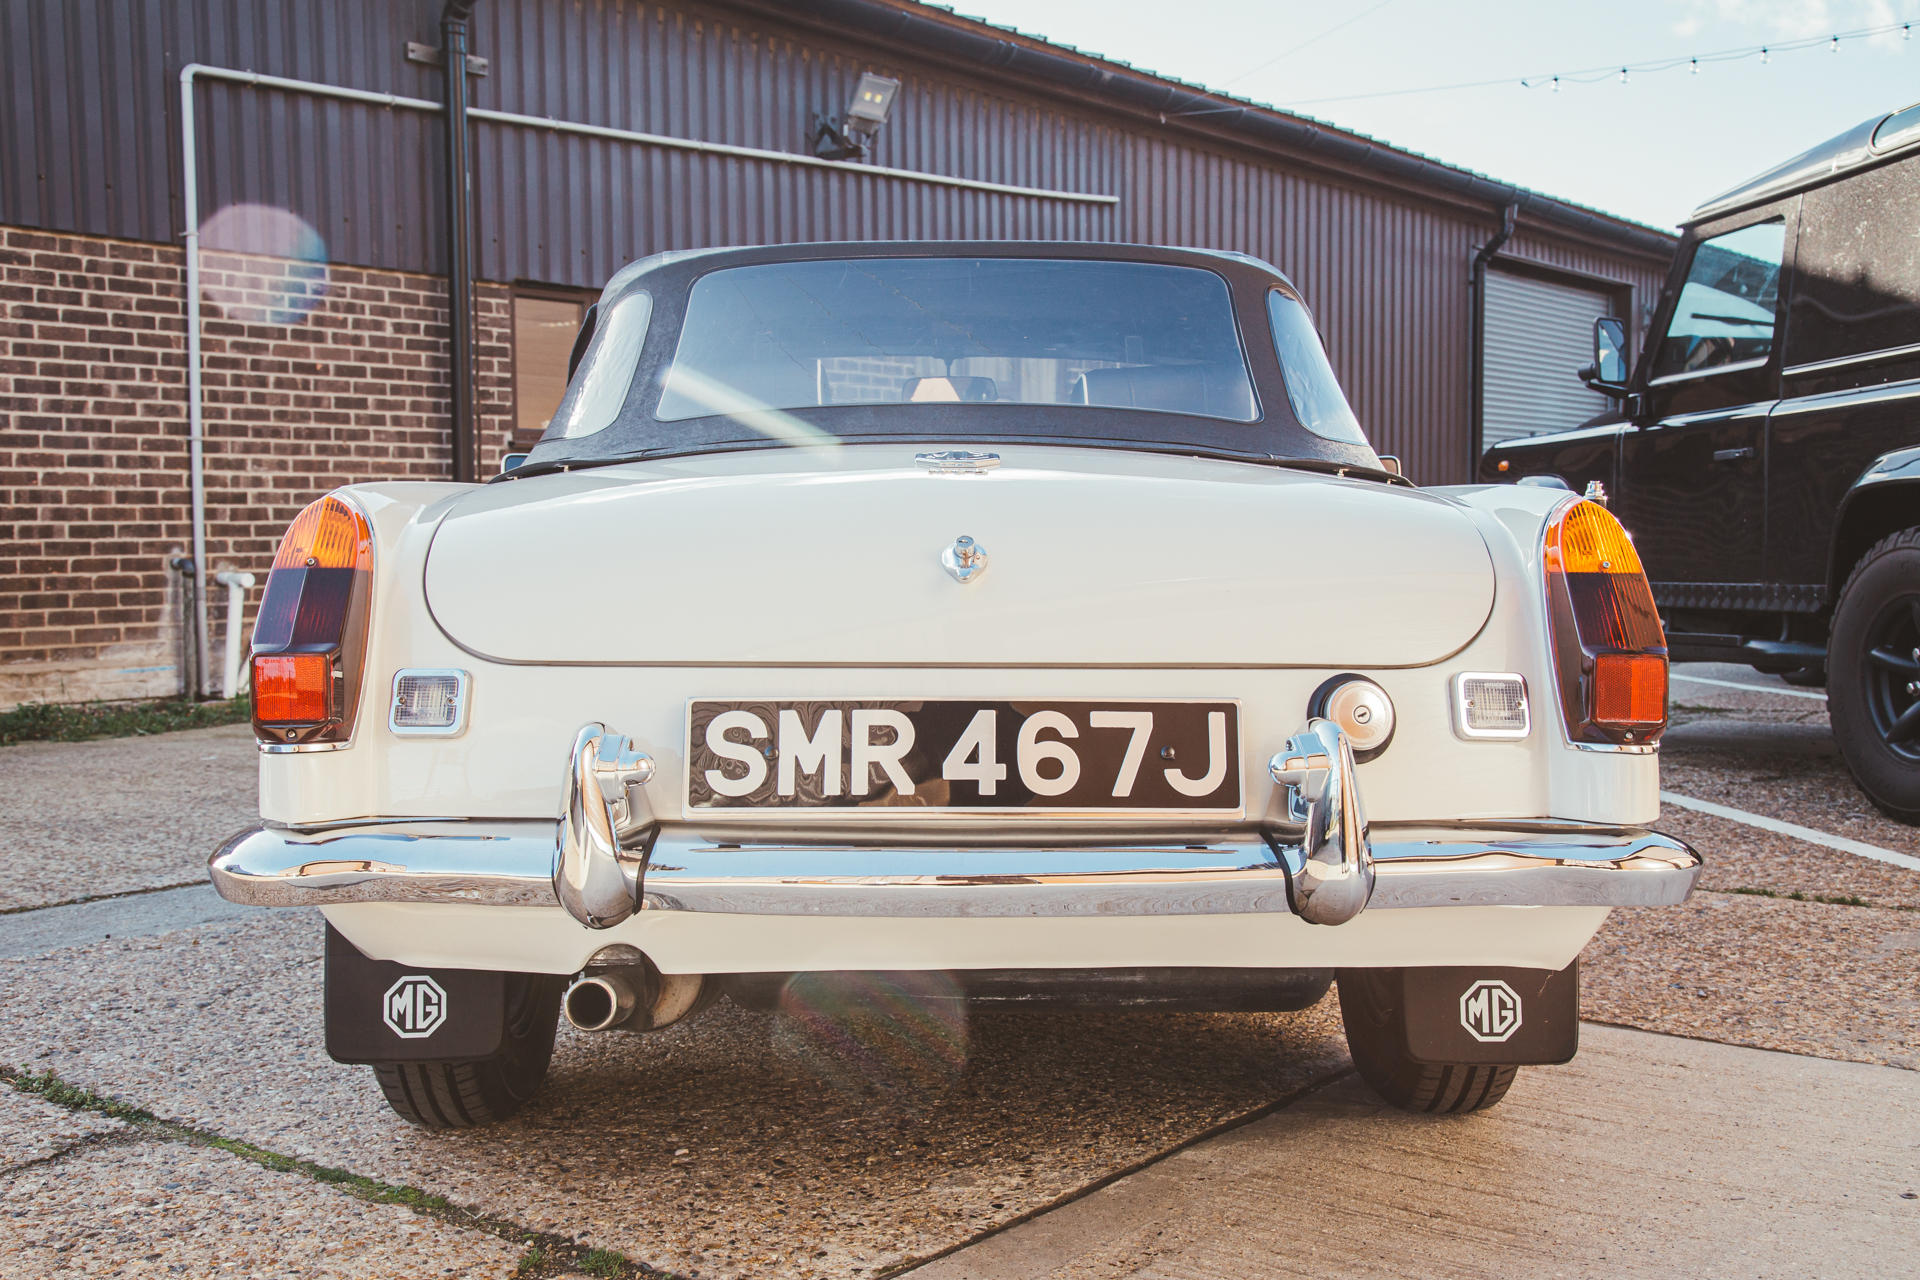
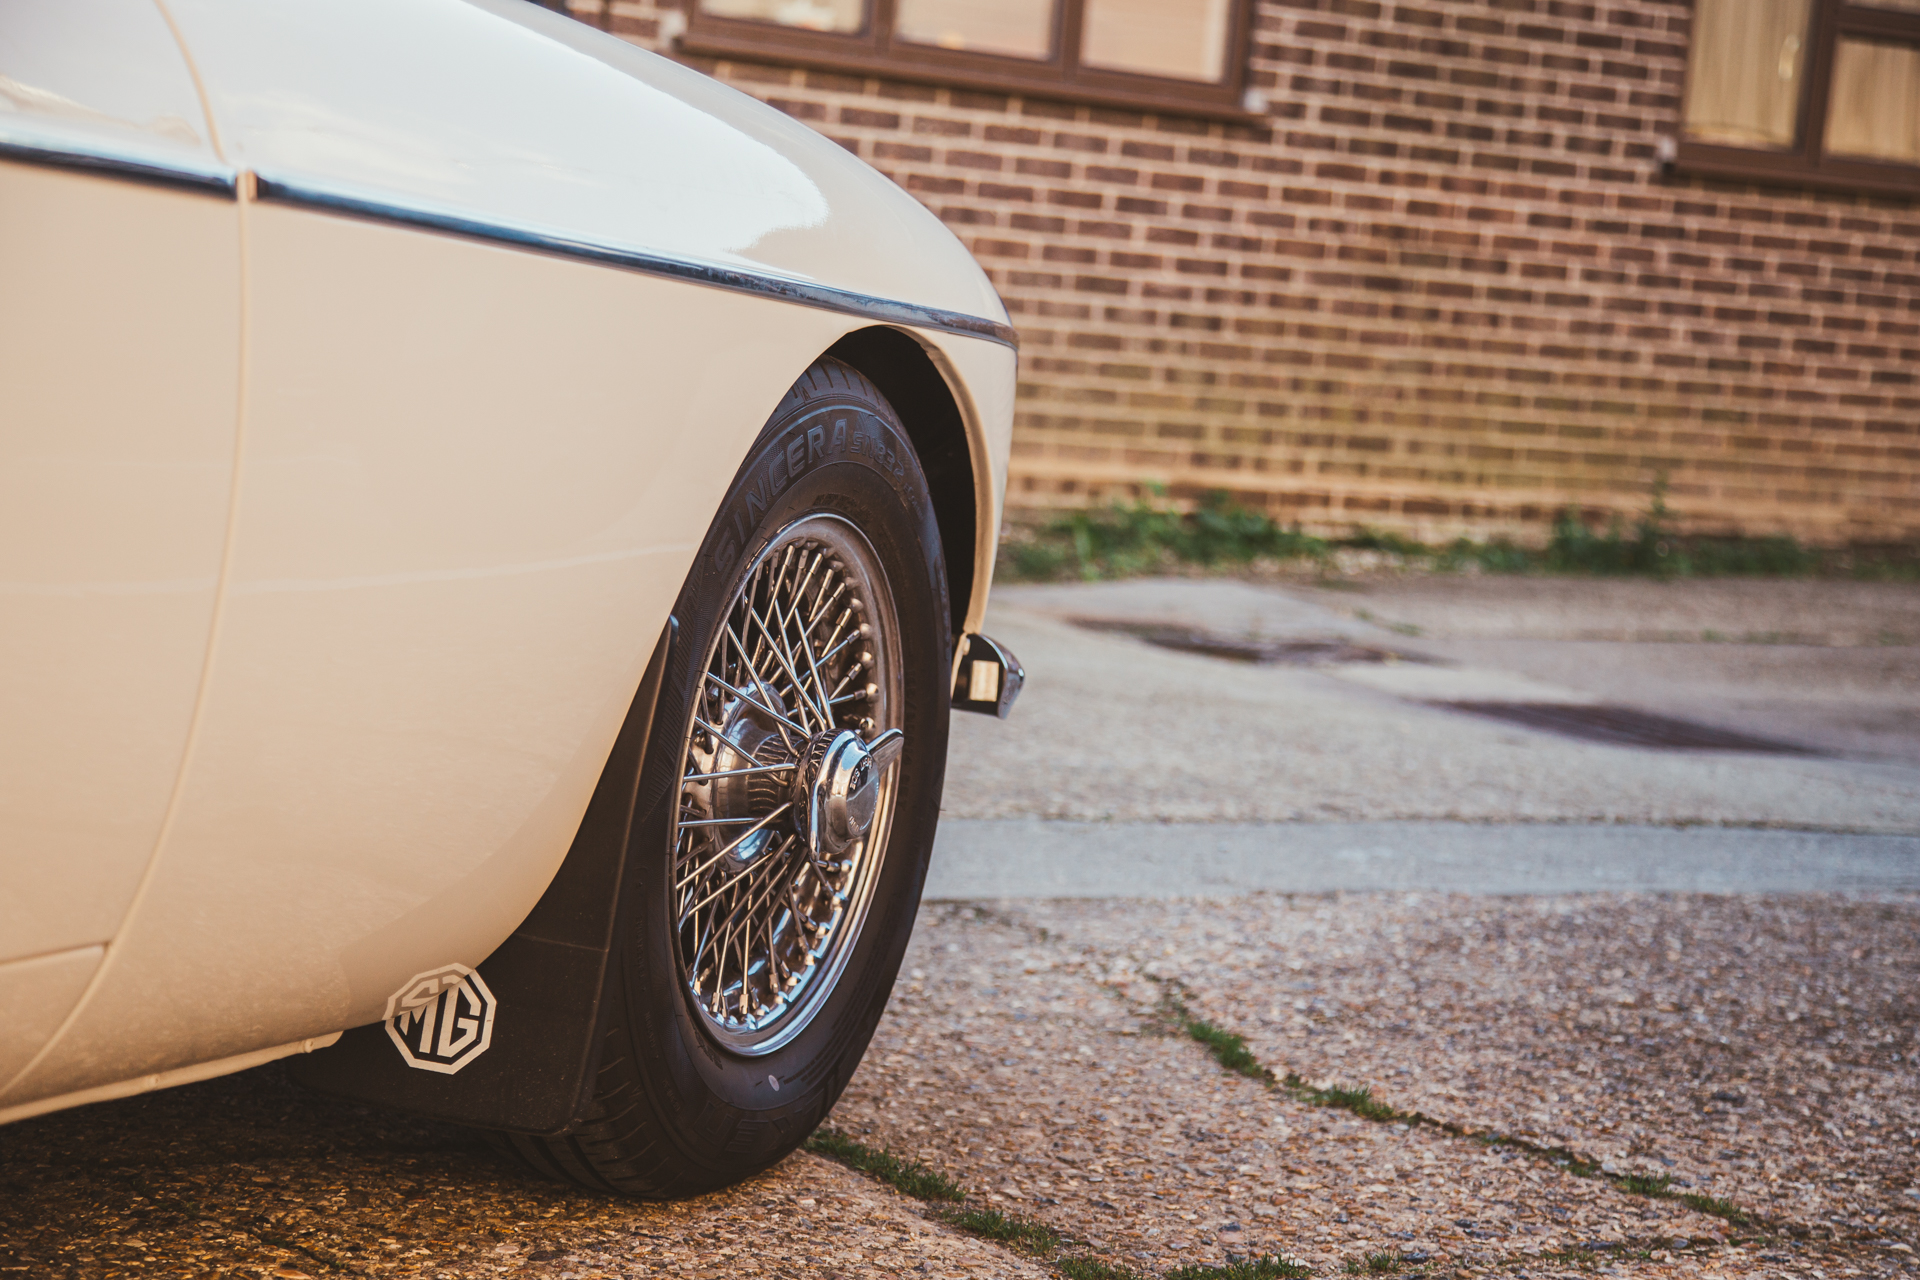
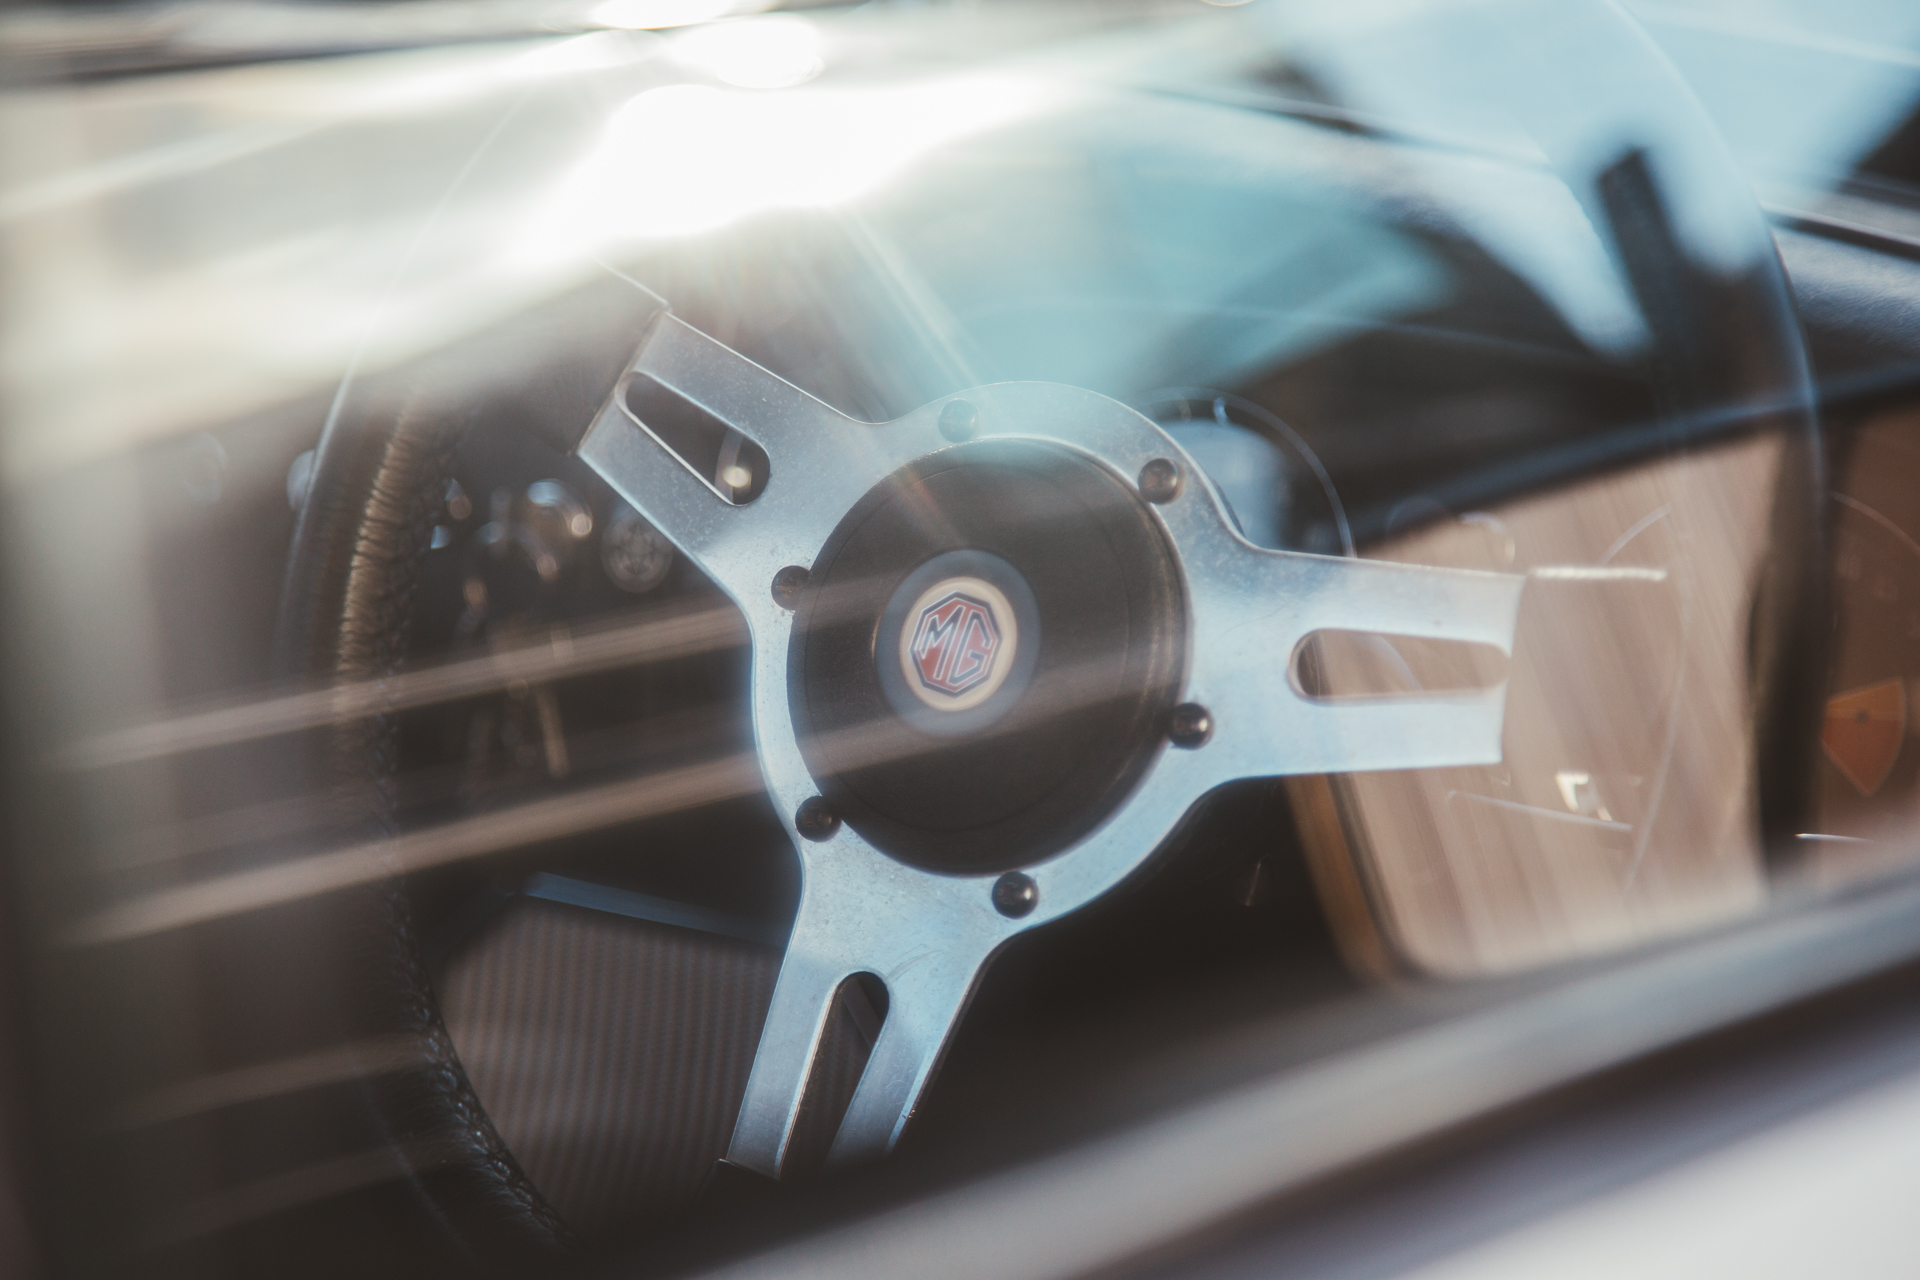
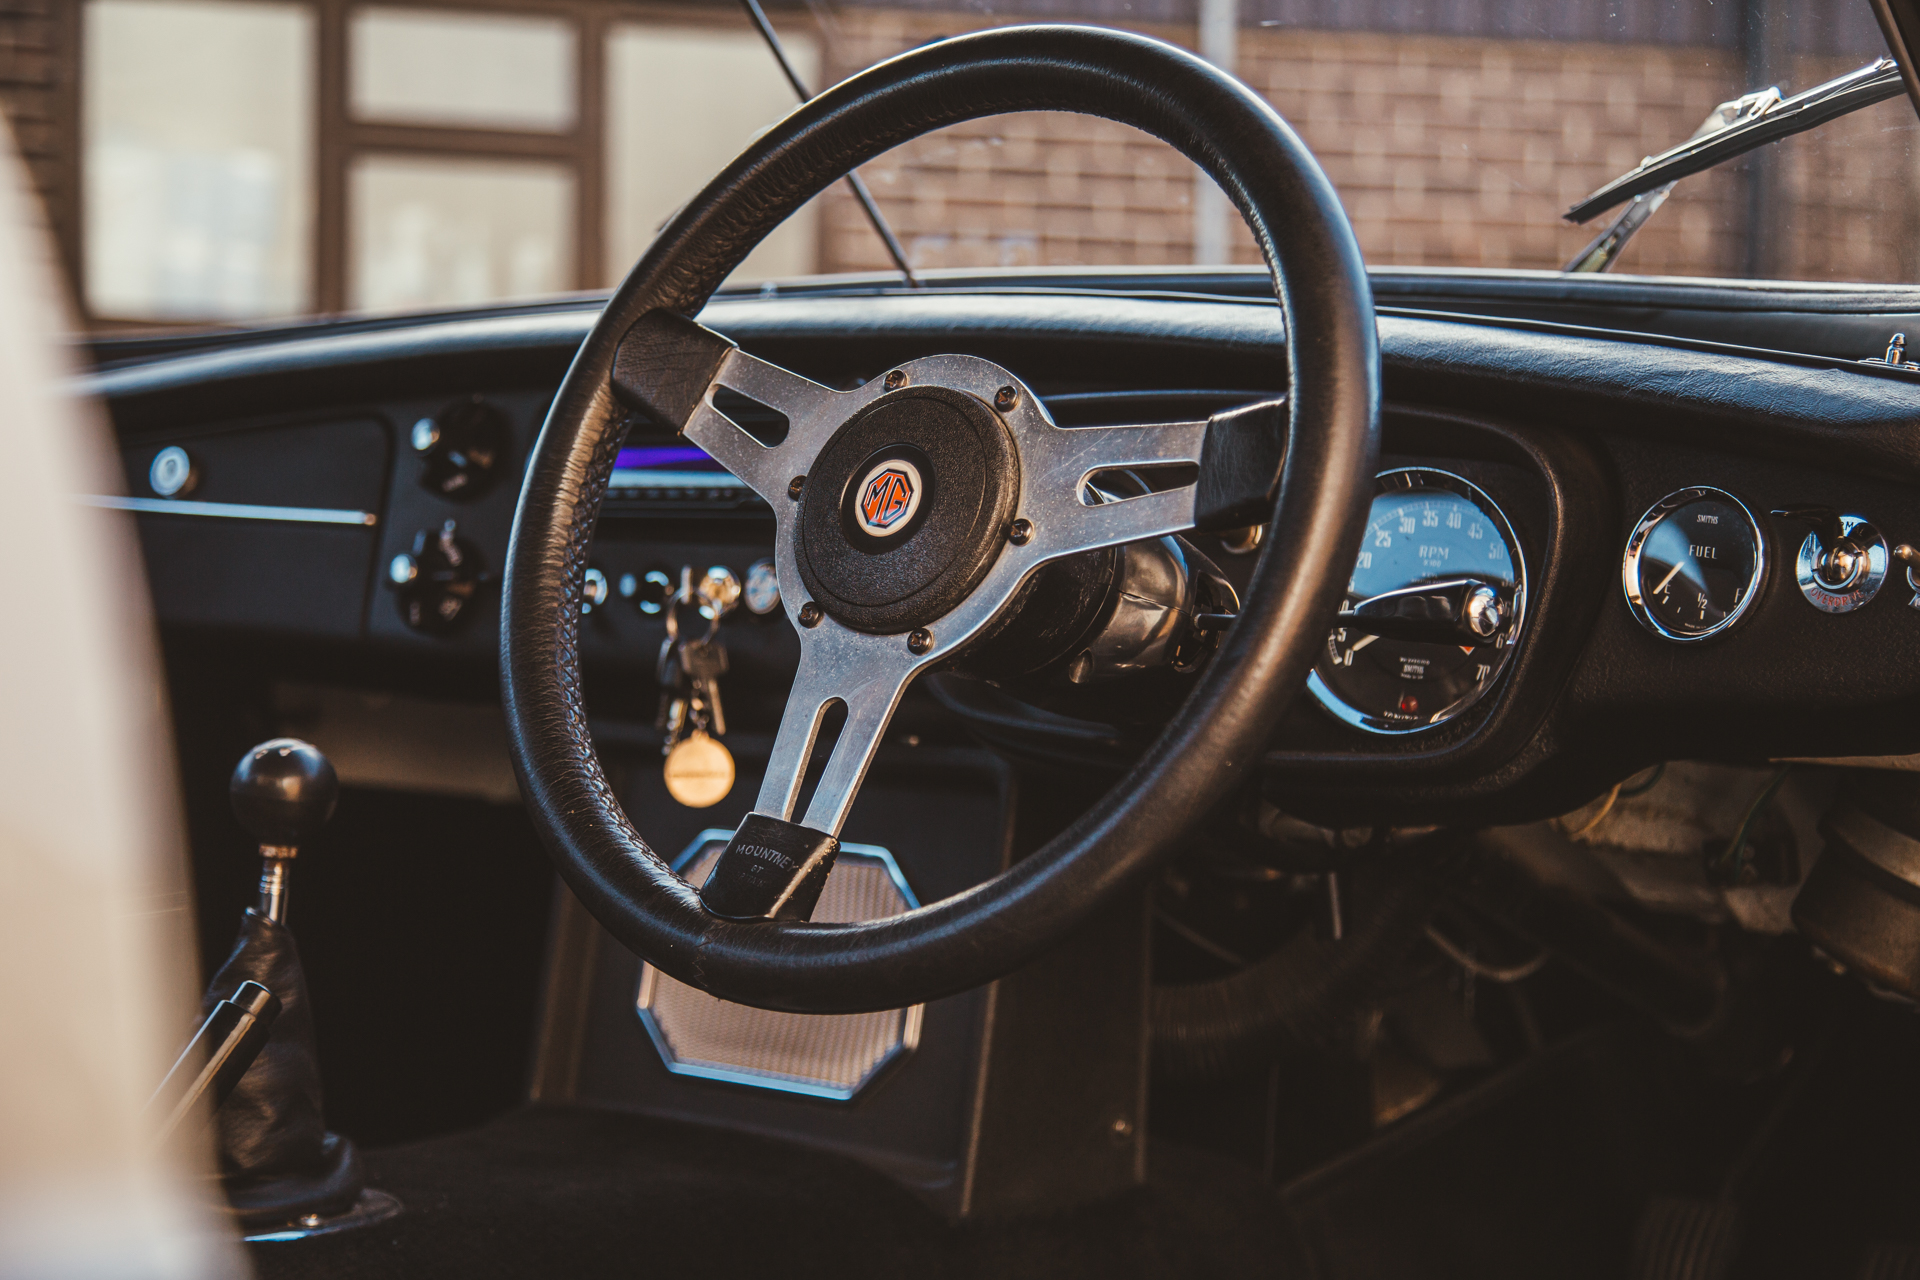
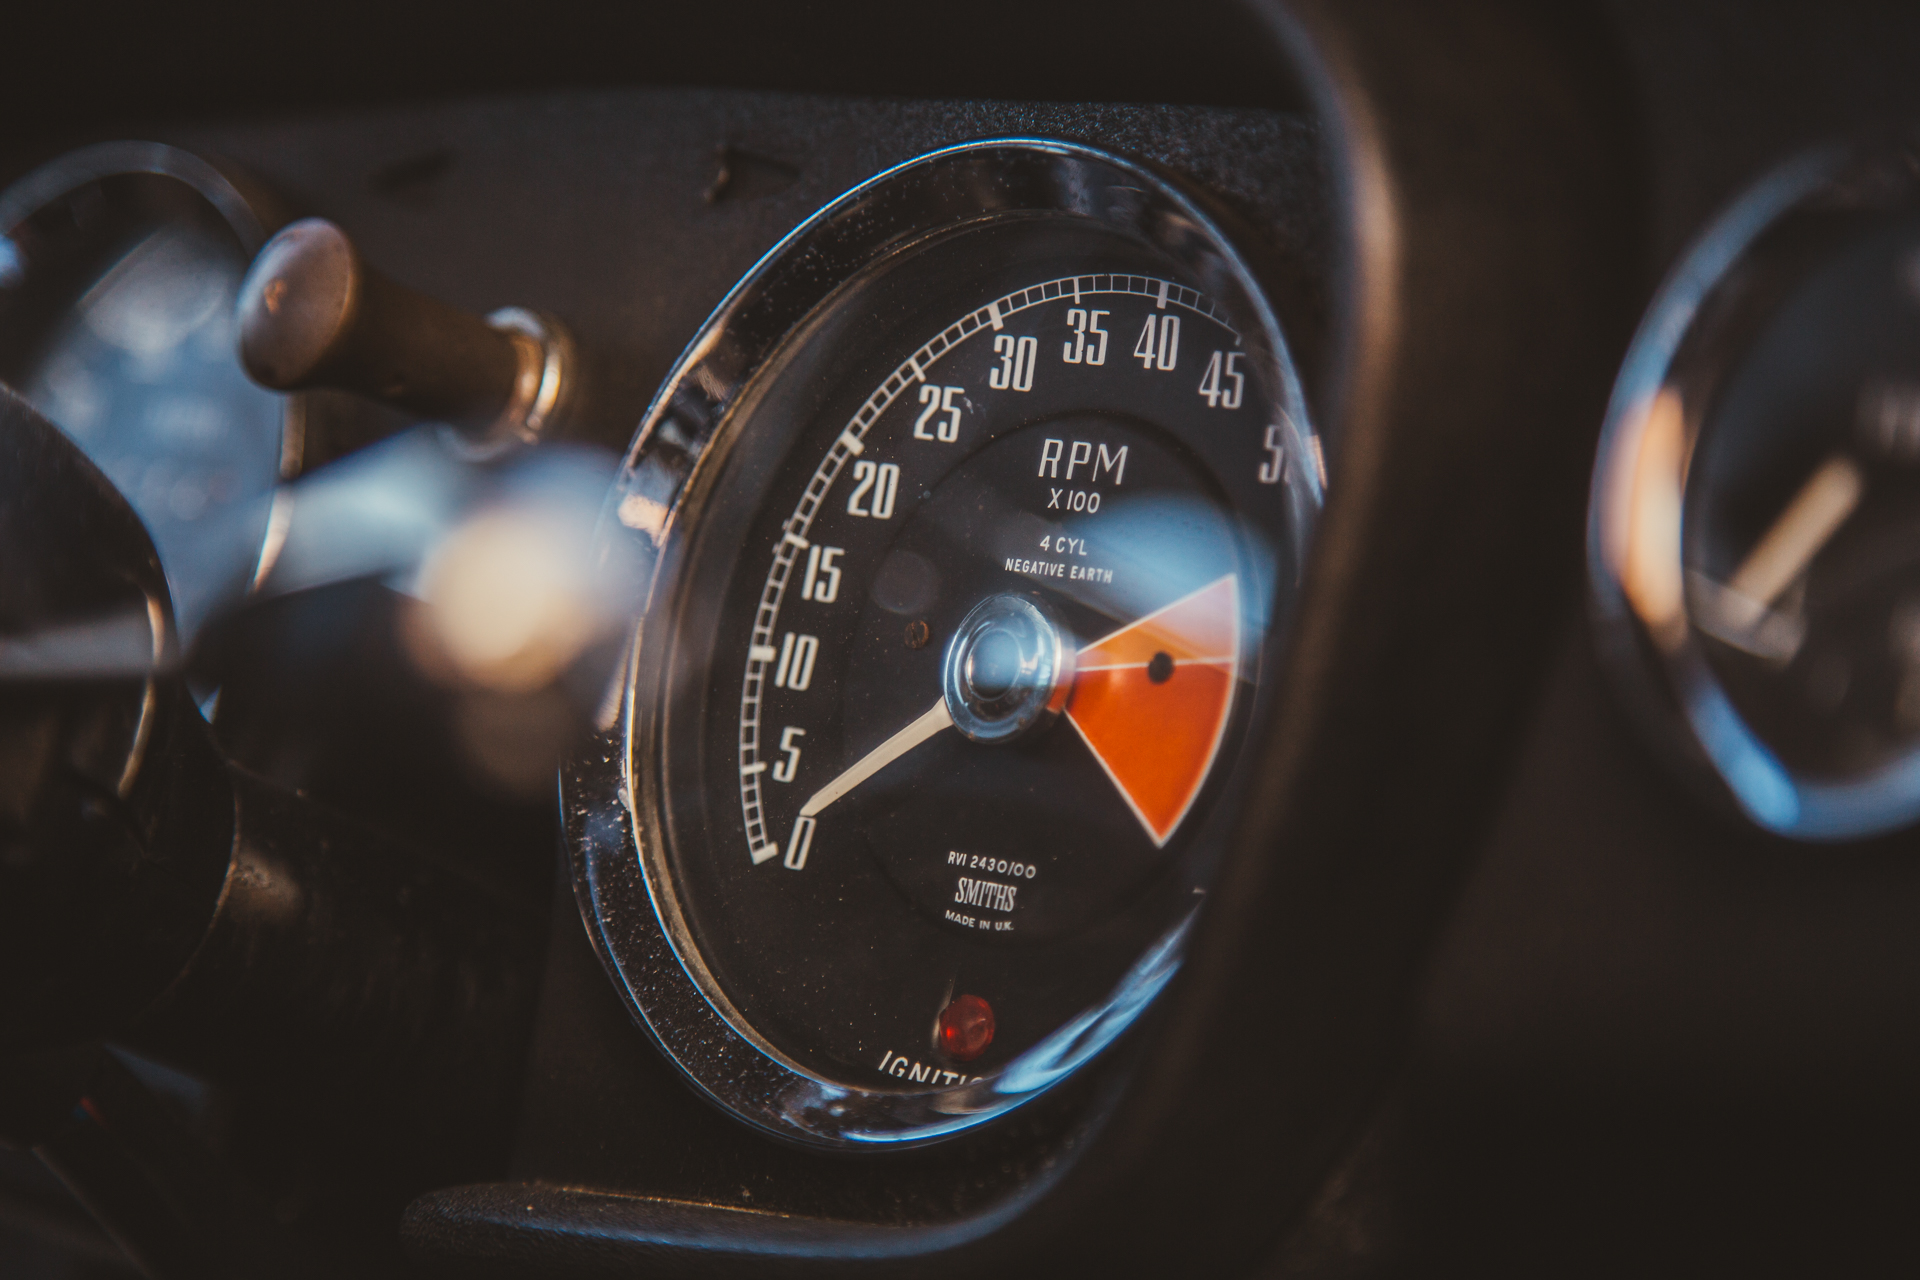
Most days of the week, we have new classics arriving at our Suffolk HQ. Today, we’ve had this stunning 1970 MGB Roadster arrive into the safe and caring hands of our classic car workshop for the team to take care of a few jobs for its adoring owner.
The car has been totally restored in the past by another restoration company, but a few little bits and pieces need addressing on the car to make sure it is in the best possible condition.
Take a look at some of the photos we snapped before moving into our restoration workshop ahead of the technicians working their magic on this beautiful 1970s sports car.


Back in July we said our final goodbyes to a very good friend of Bridge Classic Cars, Hugh Mitchell. Hugh was a huge car lover and not only a good friend to Gordon but a great fan of the work we do here at the workshops.
Some of you may have met Hugh at one of our many car shows over the years.
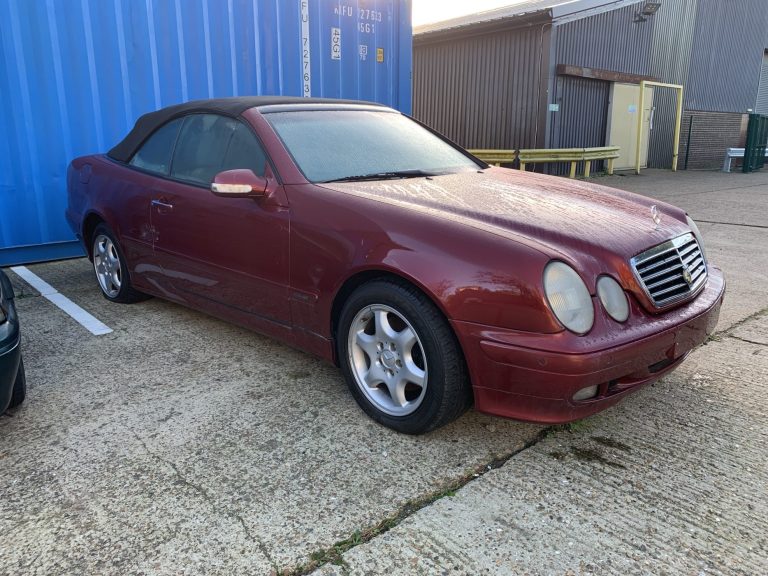
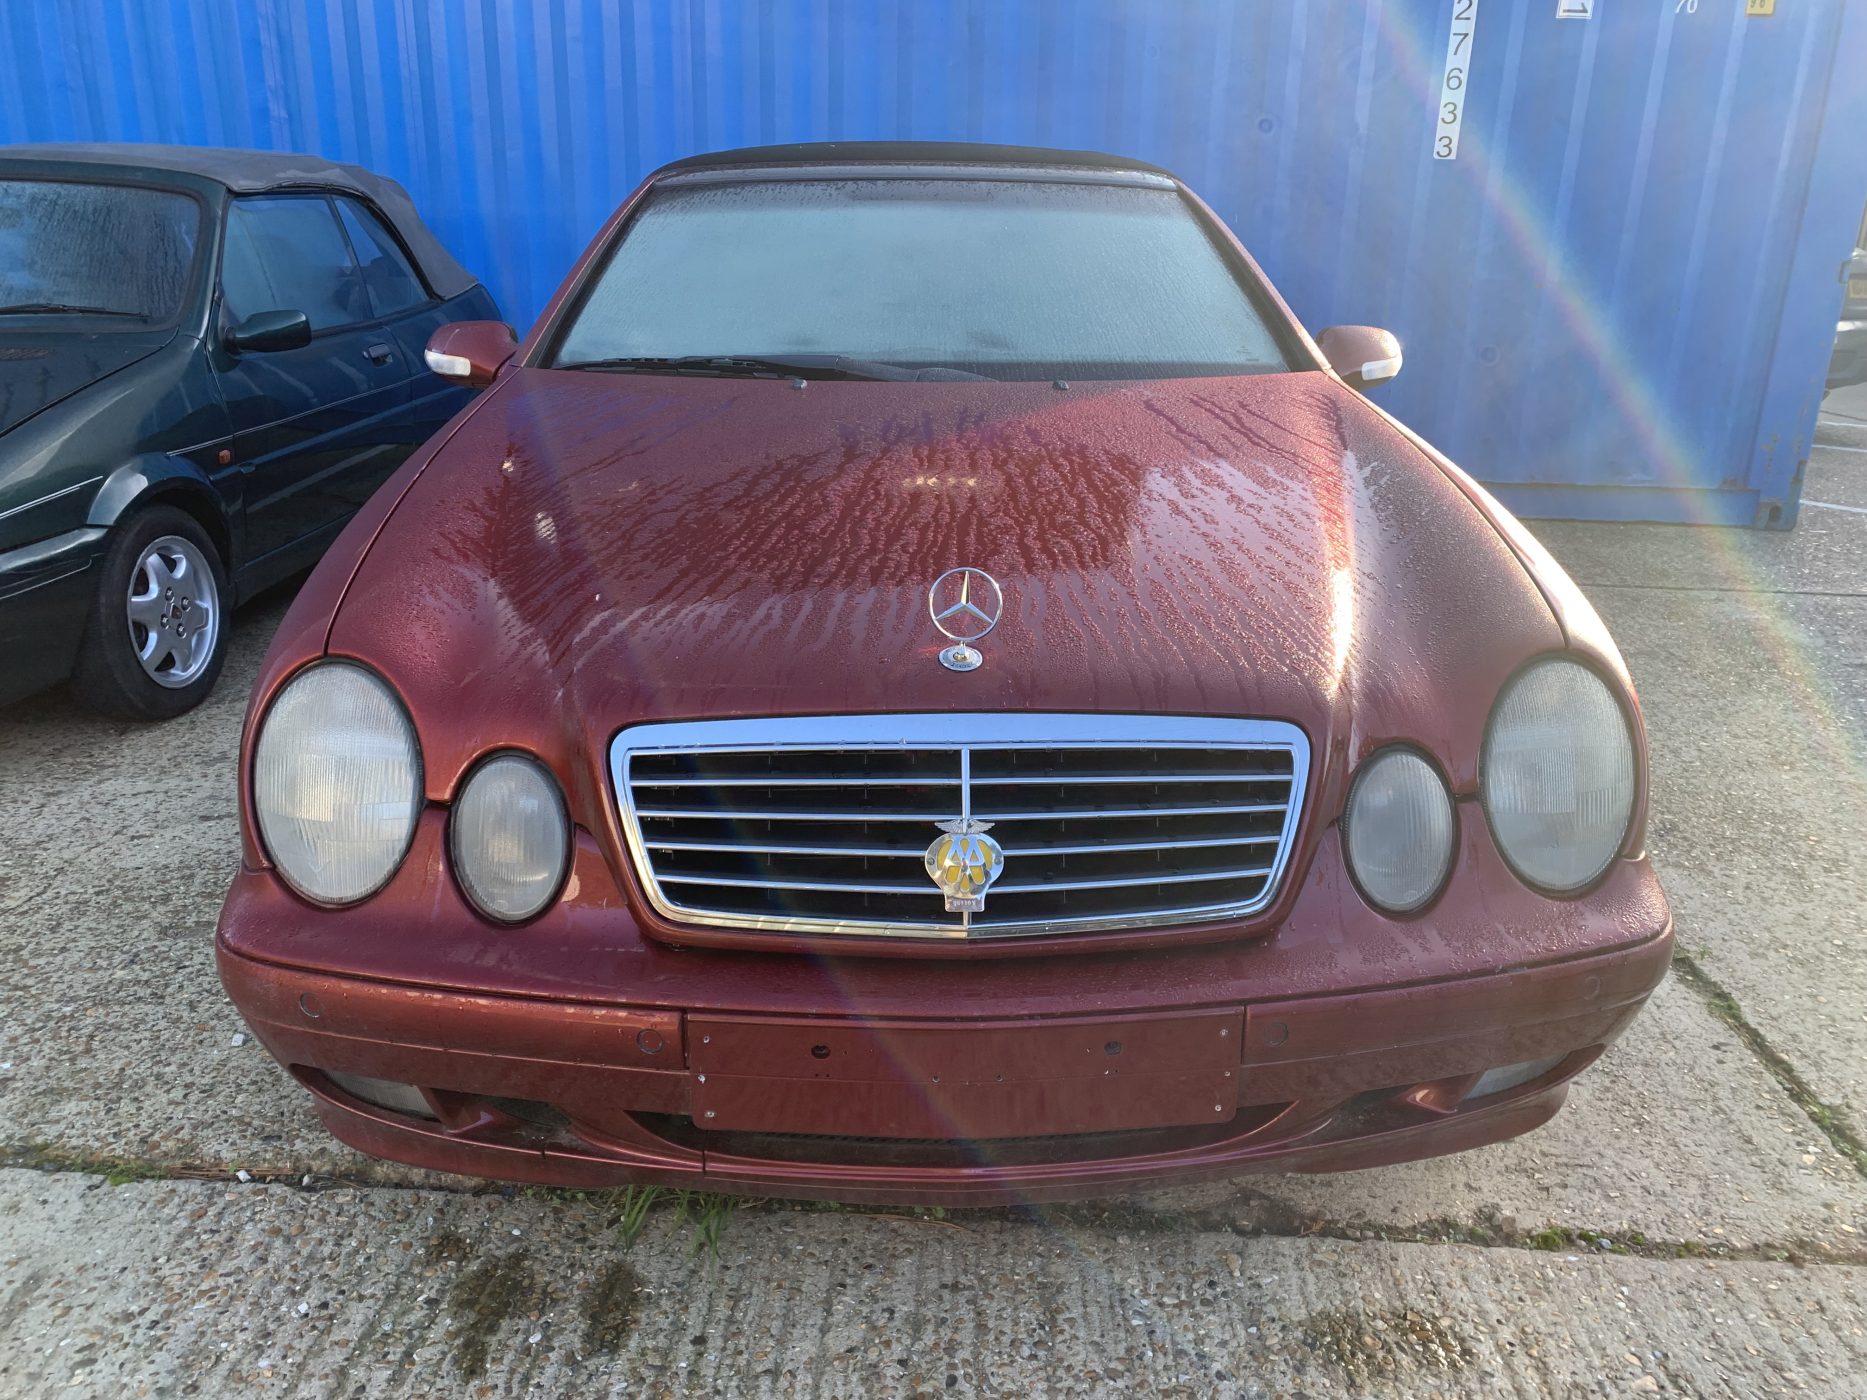
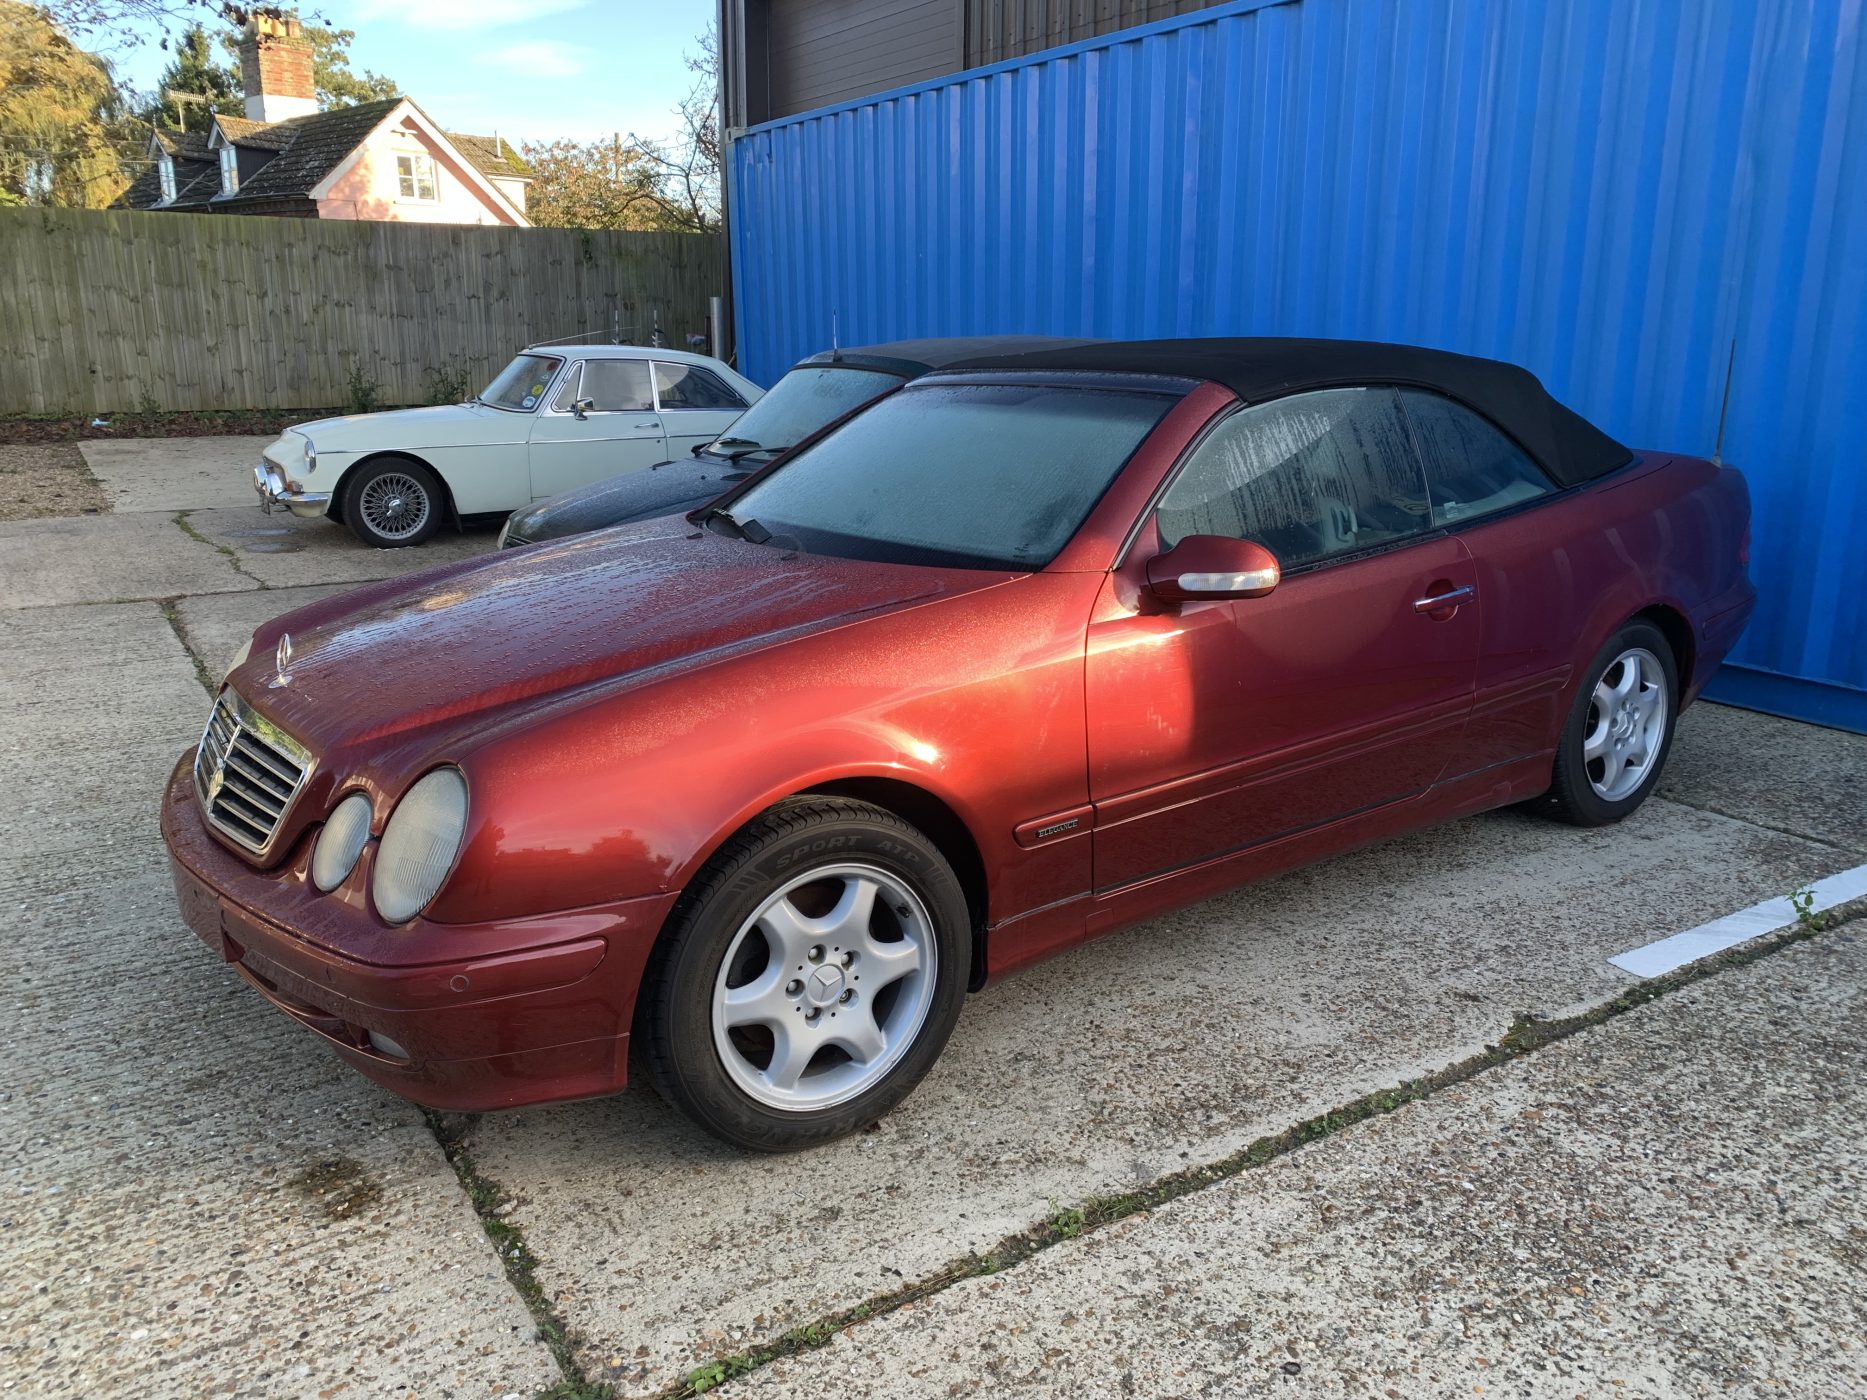
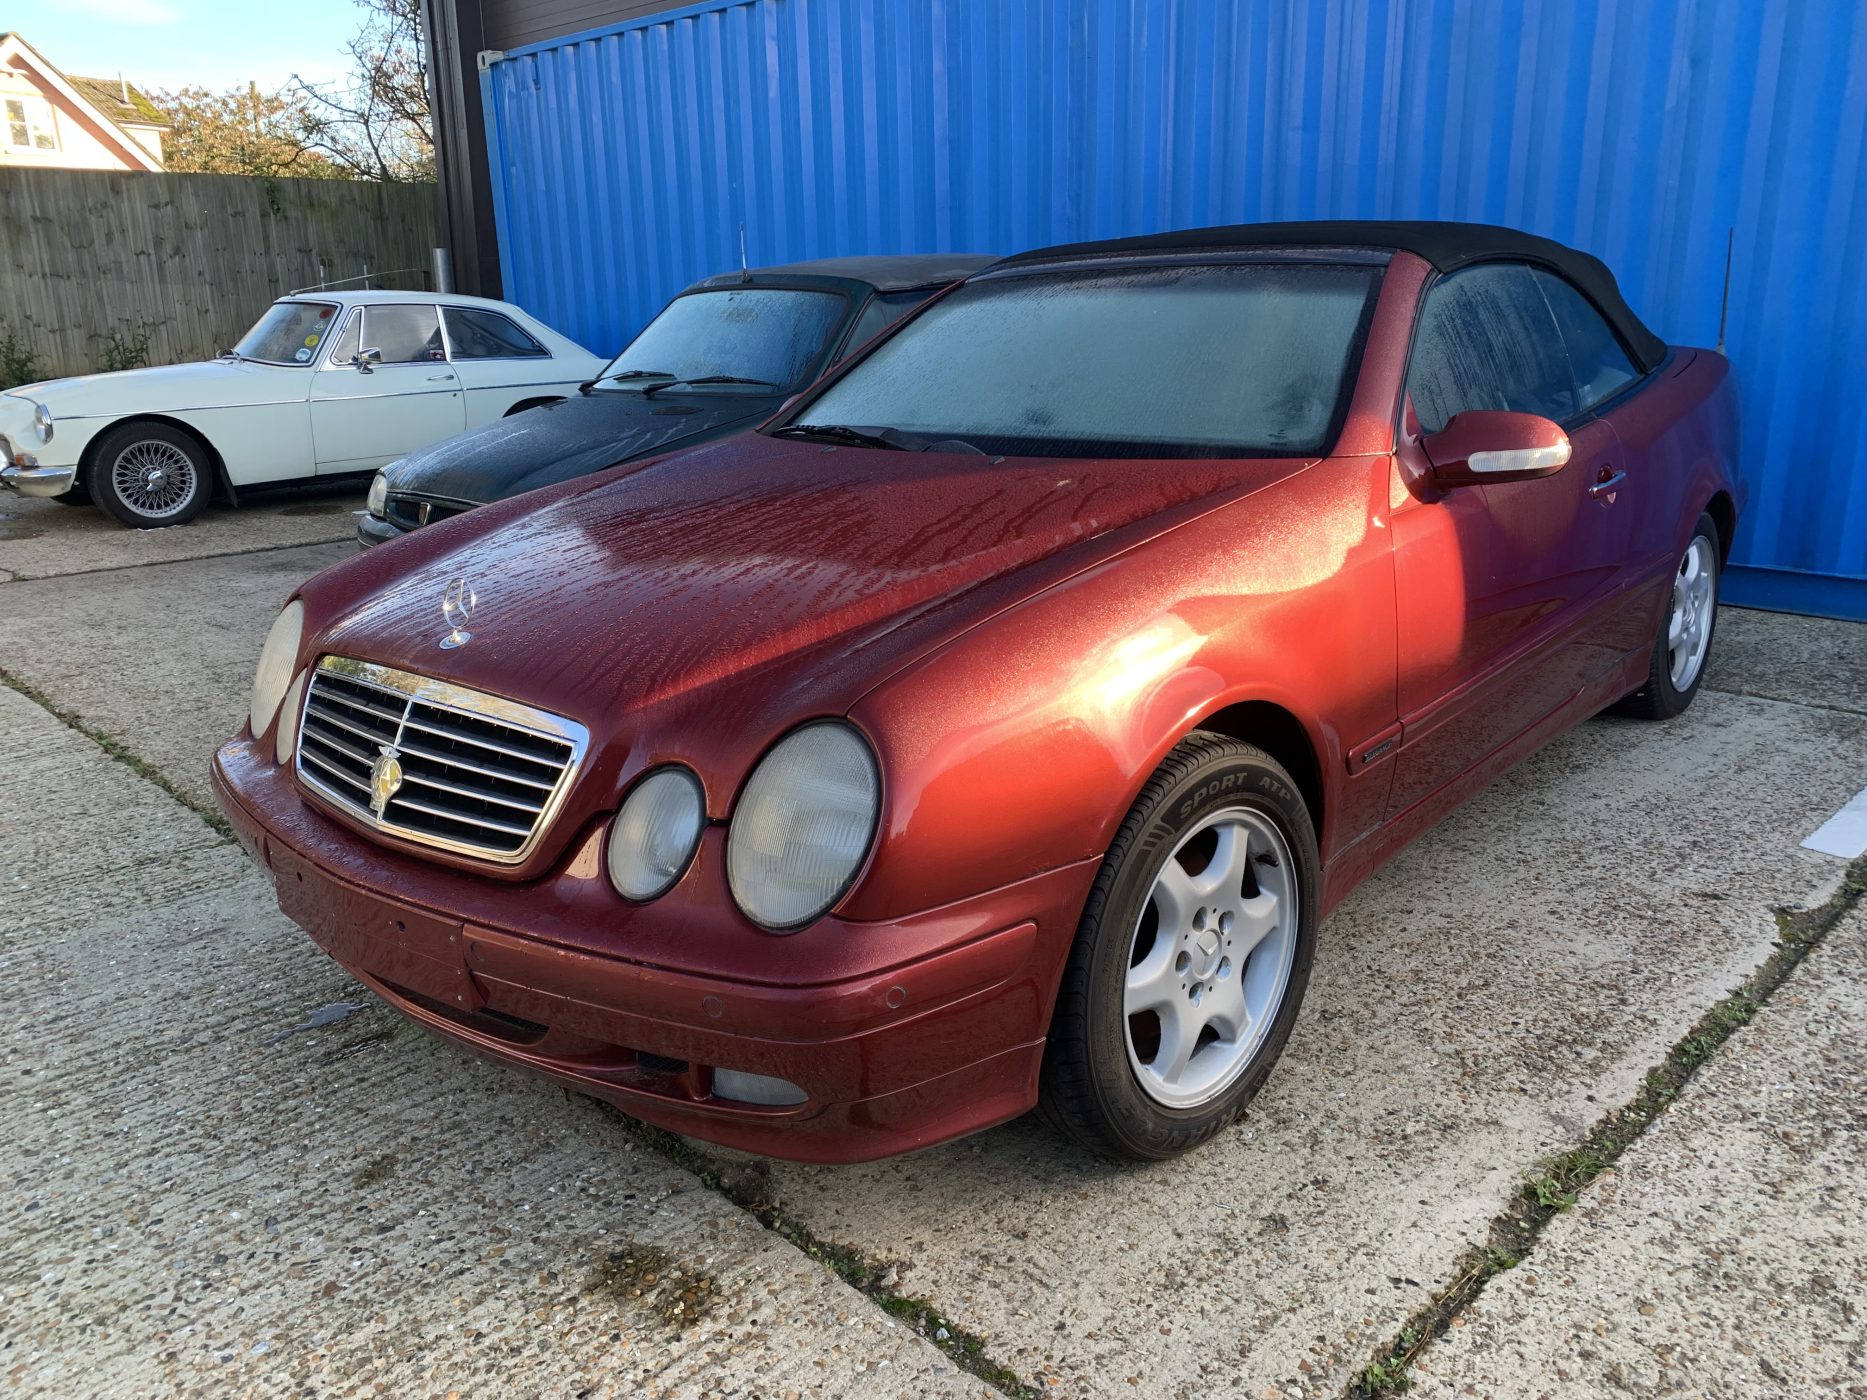
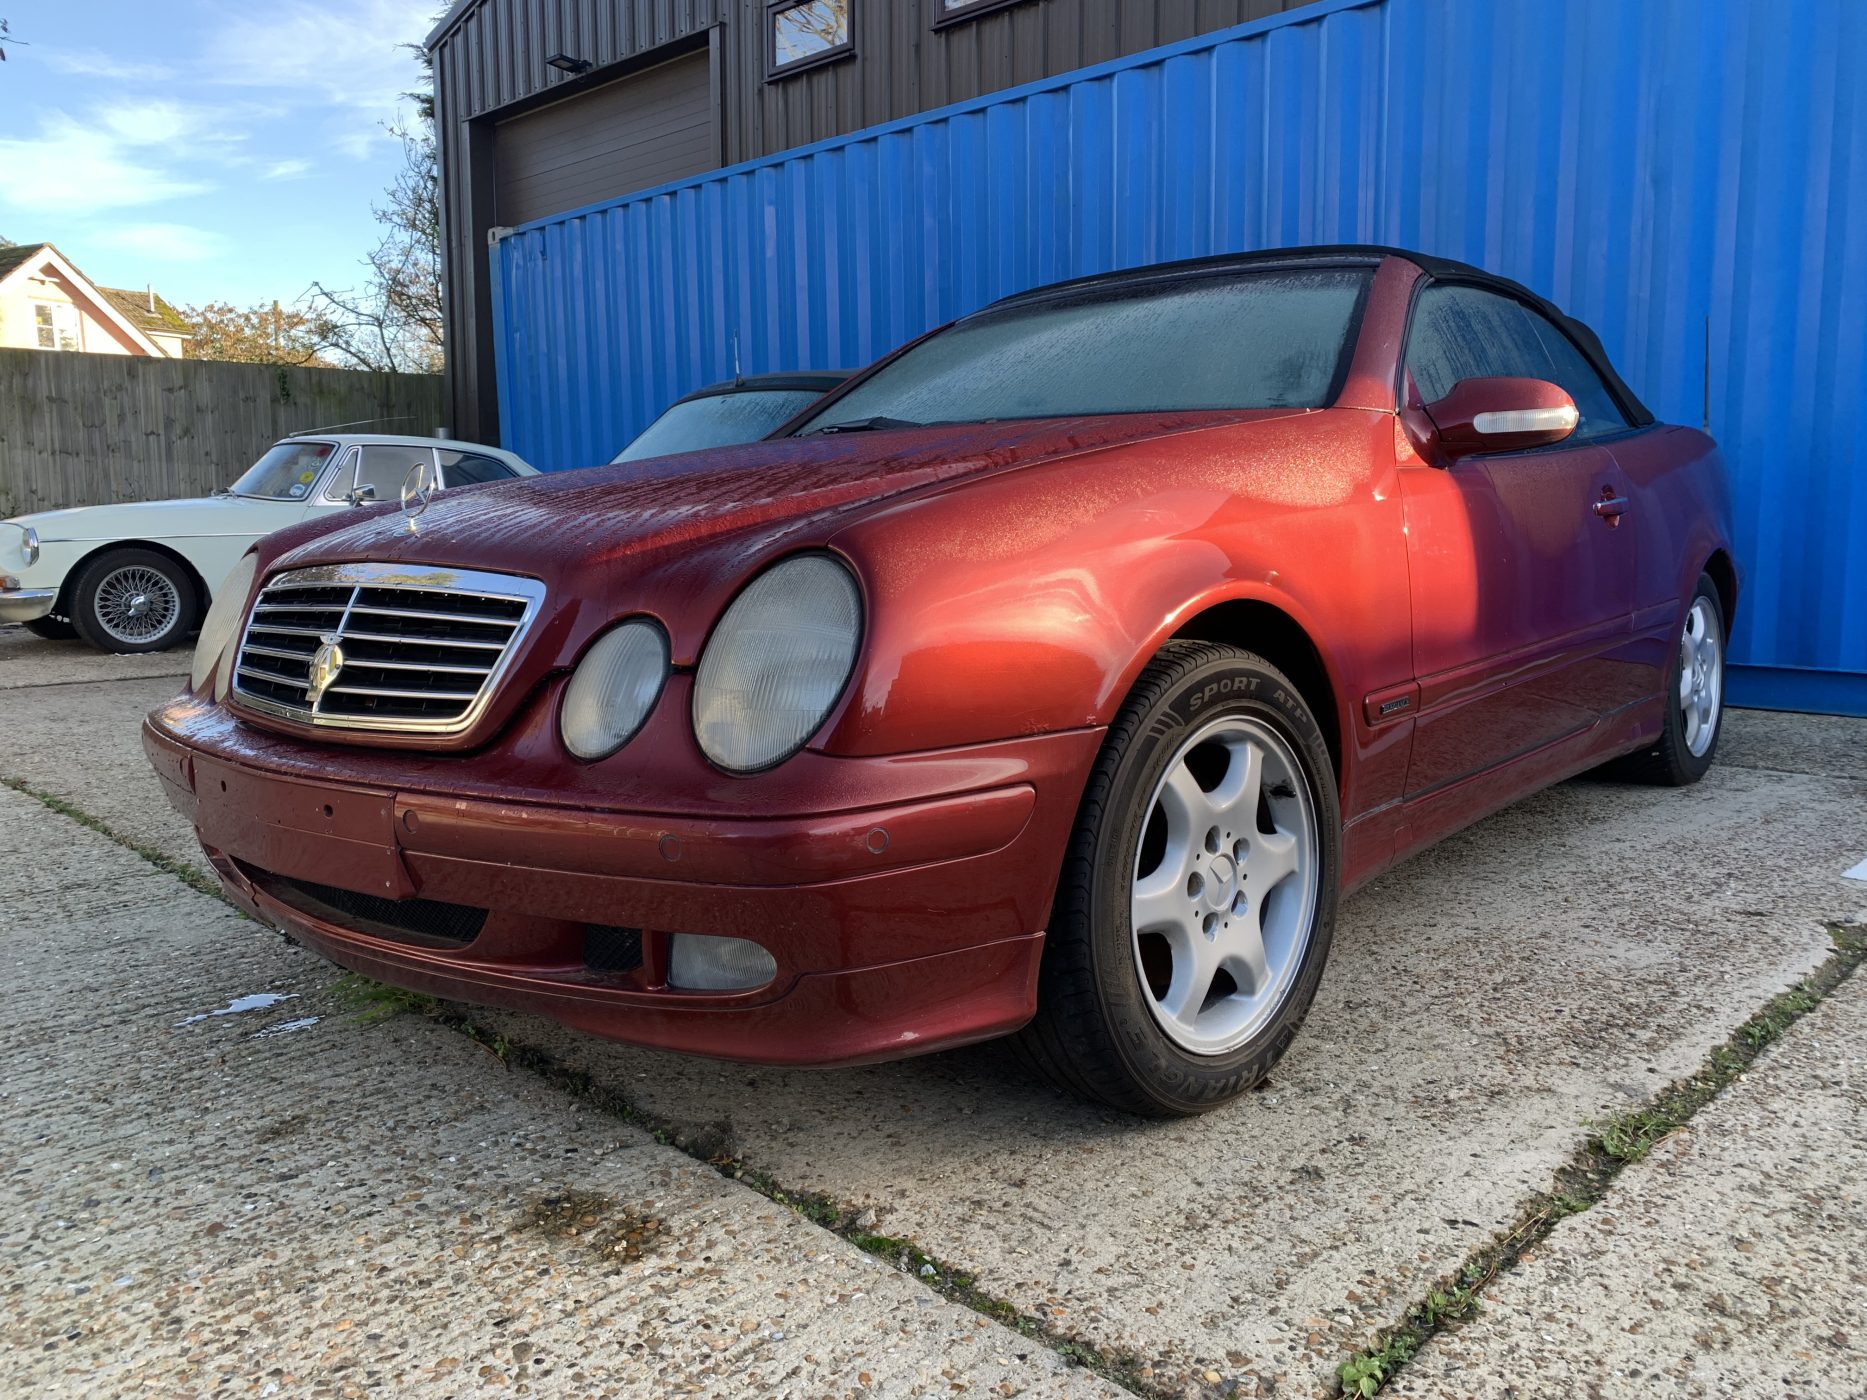
Hugh left behind a small collection of cars, one of which has made it’s way to us at Bridge Classic Cars for a recommission and get it back on the road, our 2000 Mercedes CLK 320.
Work will start on the car very soon as we aim to get a fresh MOT on the car for the next person to enjoy for many years to come.

John has carried out some weekend one here at Bridge Classic Cars, working on my 1987 Mercedes 500 SL restoration project. This has been such a long process due to it being one of our own vehicles and never finding the time in the diary to get on with it.
Weekends have now become a thing now to get the car back on the road…hopefully for next summer!!
As you can see, John has been cleaning down the locks and door mechanism to fit up doors.


Darin from Ashbocking Joinery is completing the final few pieces of our Riley 9 woodwork. Here is the new tool box and trembler being finished.
Alan has been busy prepping the underside of our 1976 Triumph Spitfire ready for the Raptor treatment. He has applied an epoxy primer then seam sealed all of joints before covering in raptured.

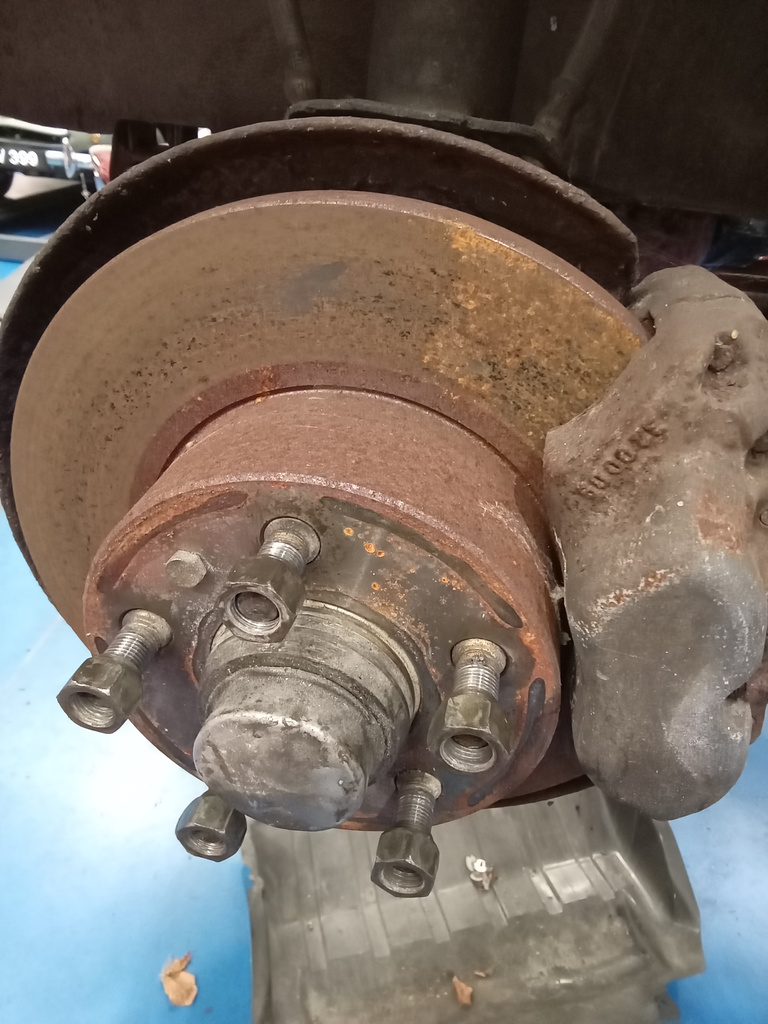
Pictures show the brake discs that were covered in surface corrosion but were in good condition and cleaned up very well.
Pictures show washer bottle before and after cleaning of sludgy deposits that were blocking jets.
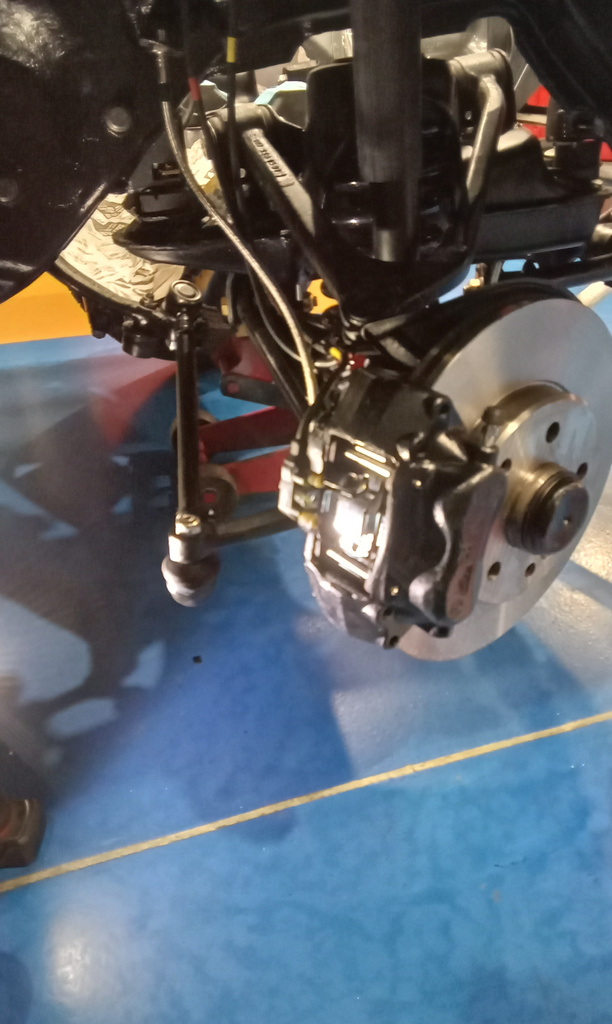
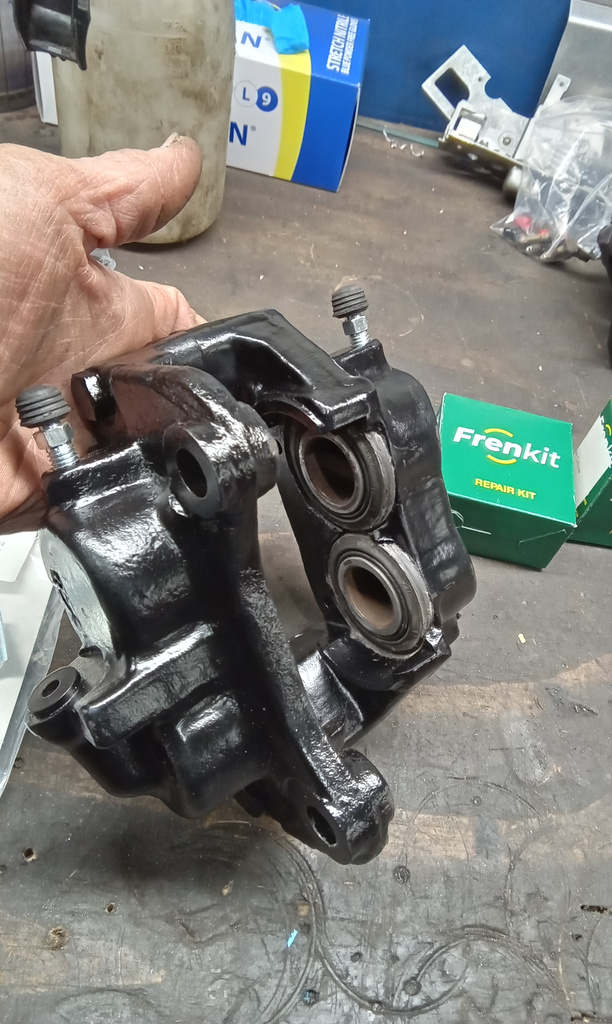
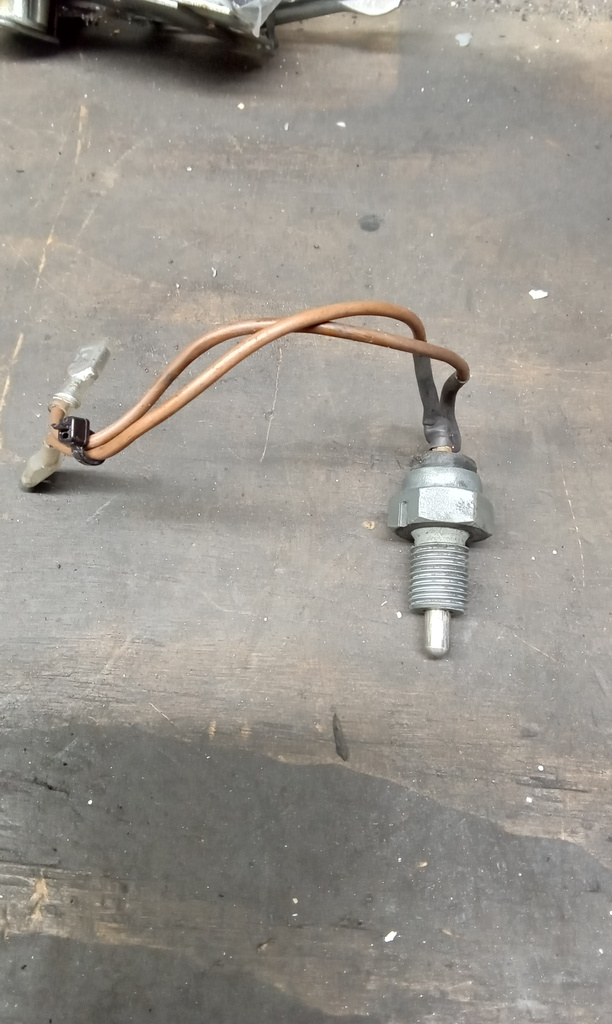
Jon has fitted up the new bleed nipples to the freshly painted calipers.
The bolts have been cleaned and painted
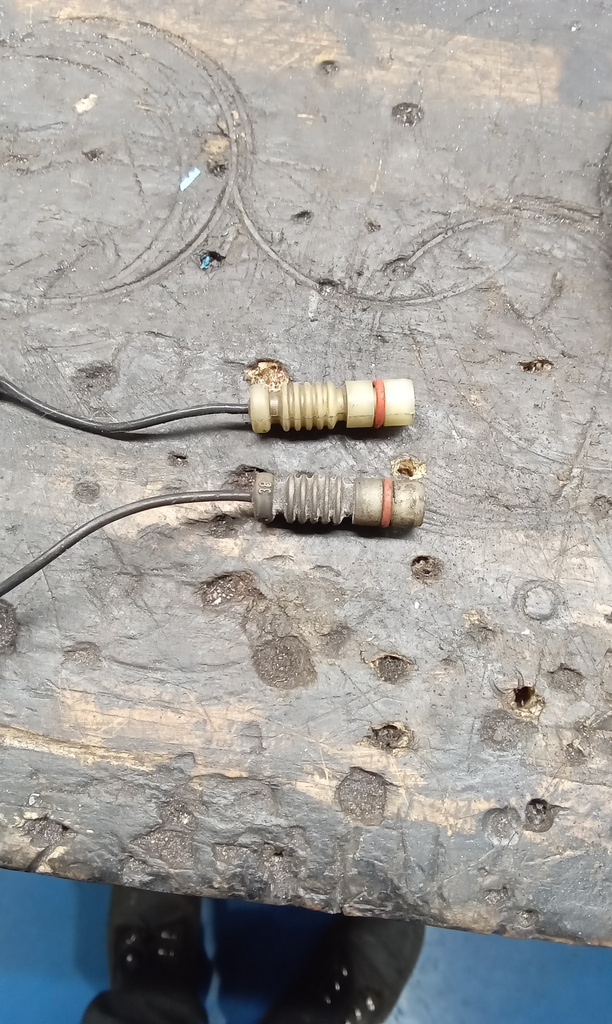
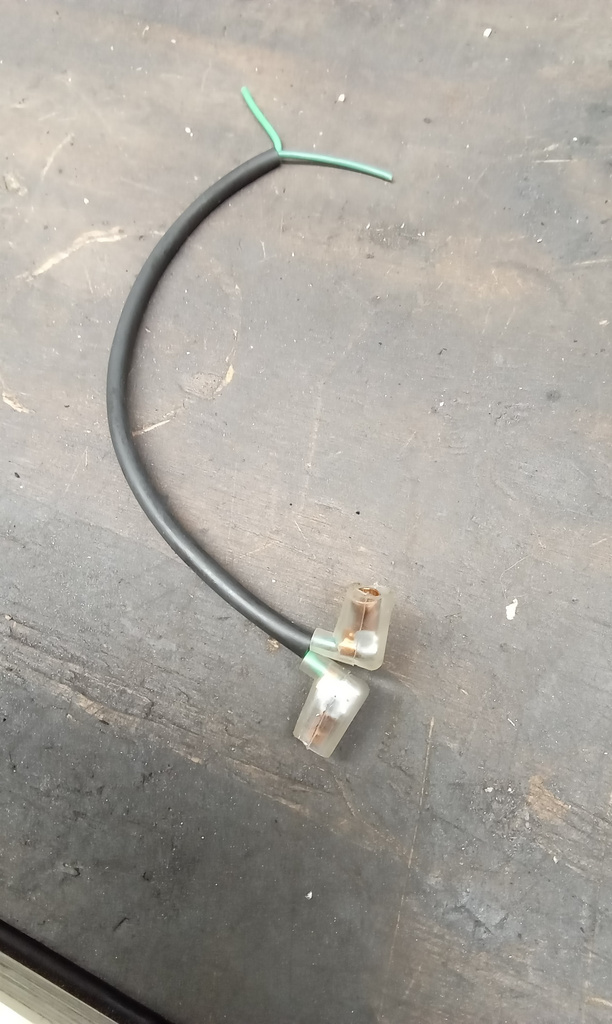
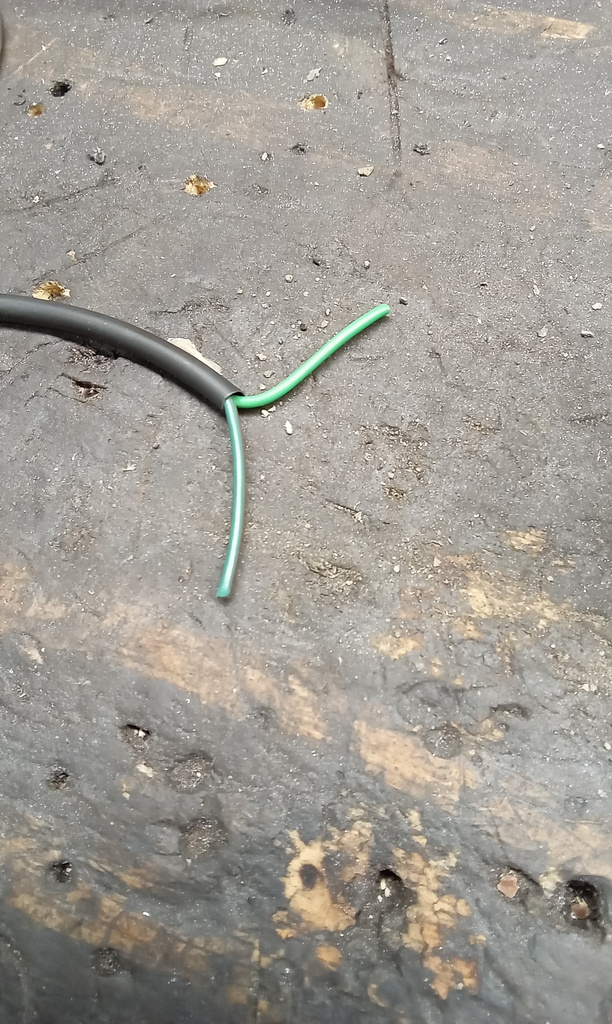
We have cleaned up and reused the pad sensor wires and fitted the calipers to the car.
The old pads have been reused as they are nearly new and we used a new fitting kit to secure the pads.
New front shock absorbers have been fitted.