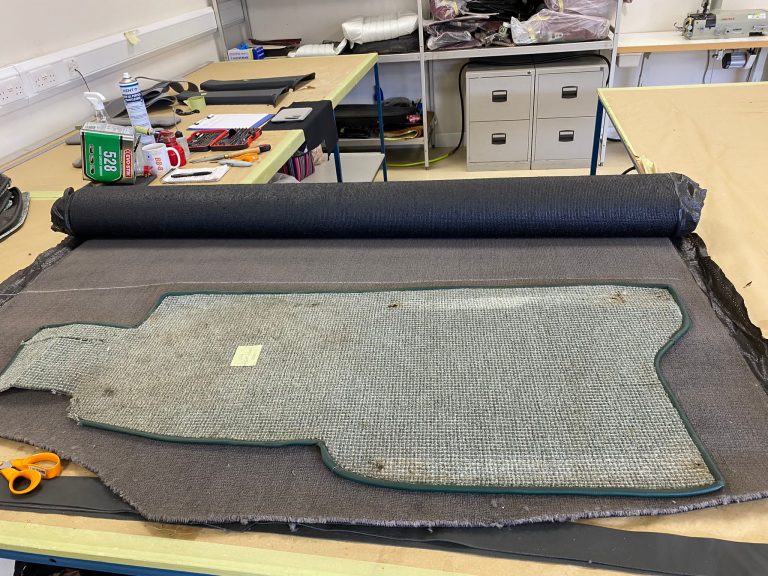
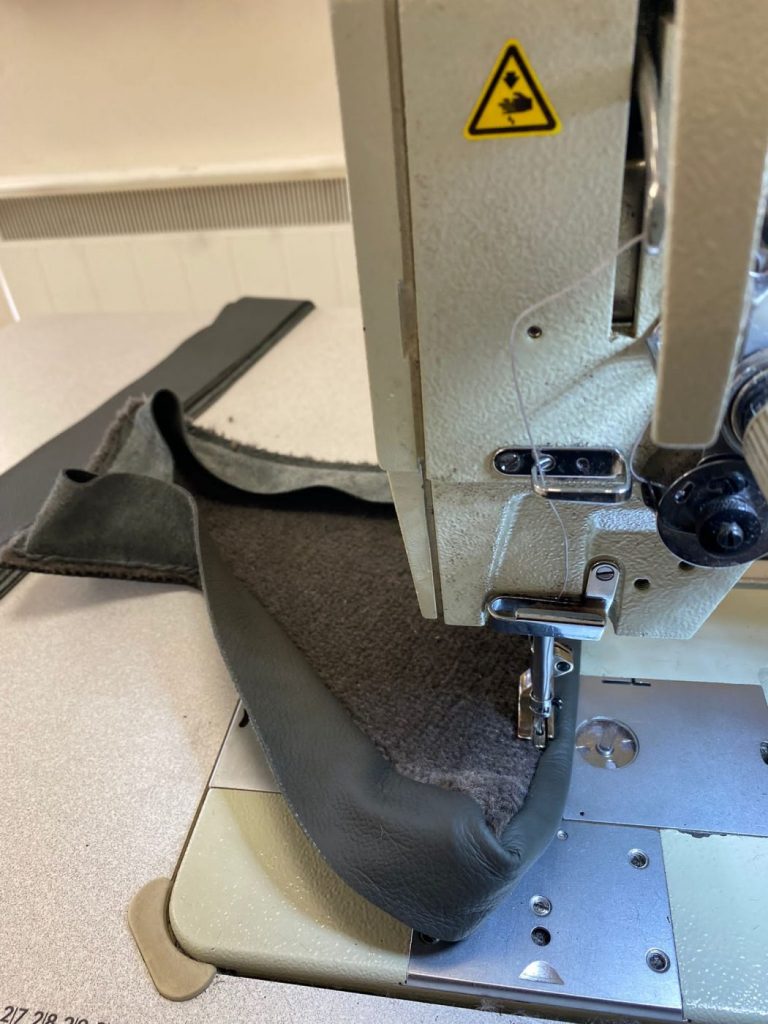
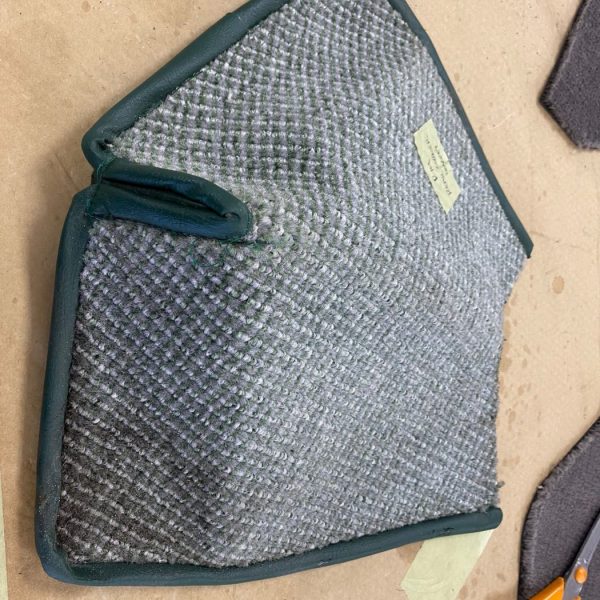
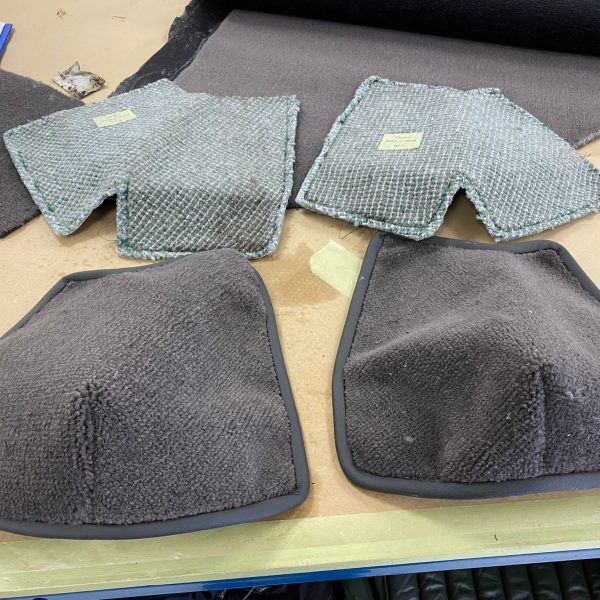
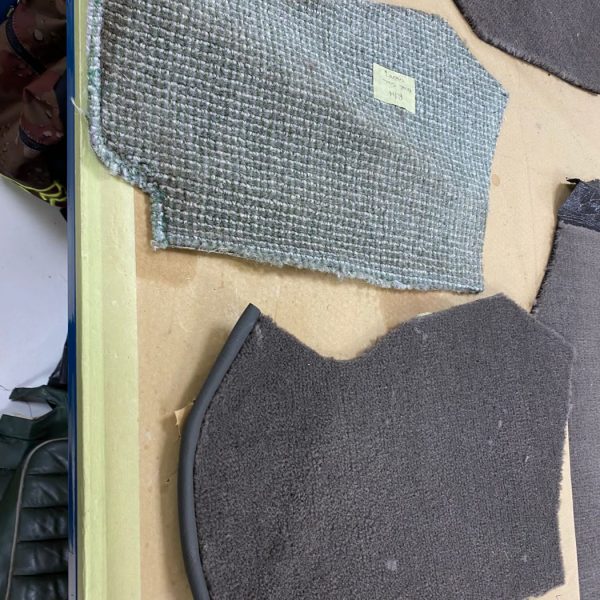
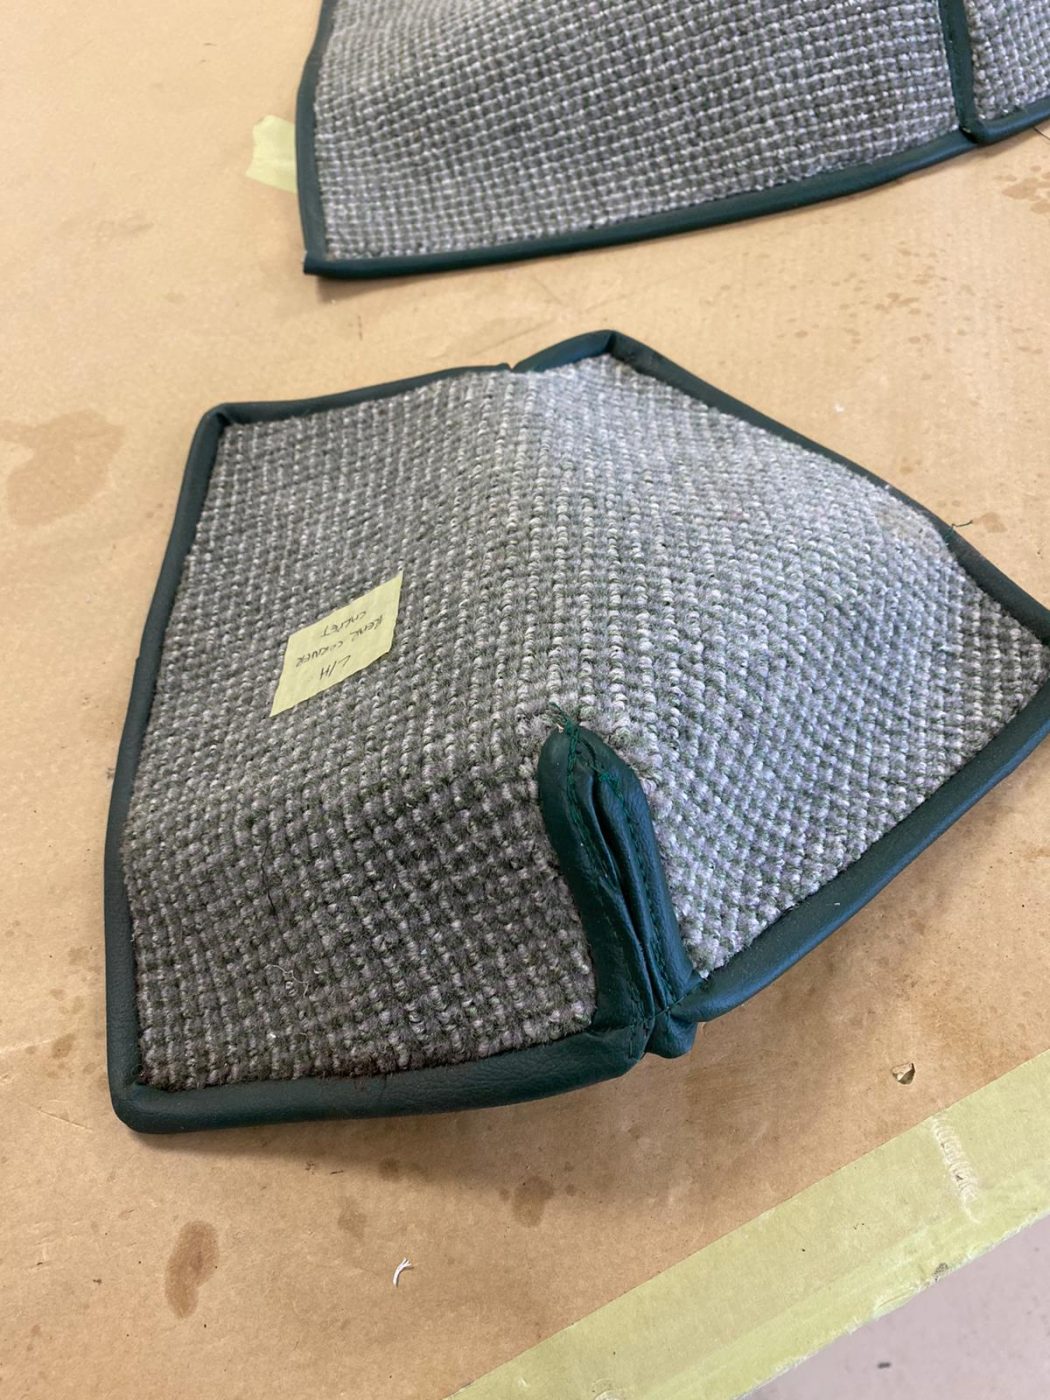
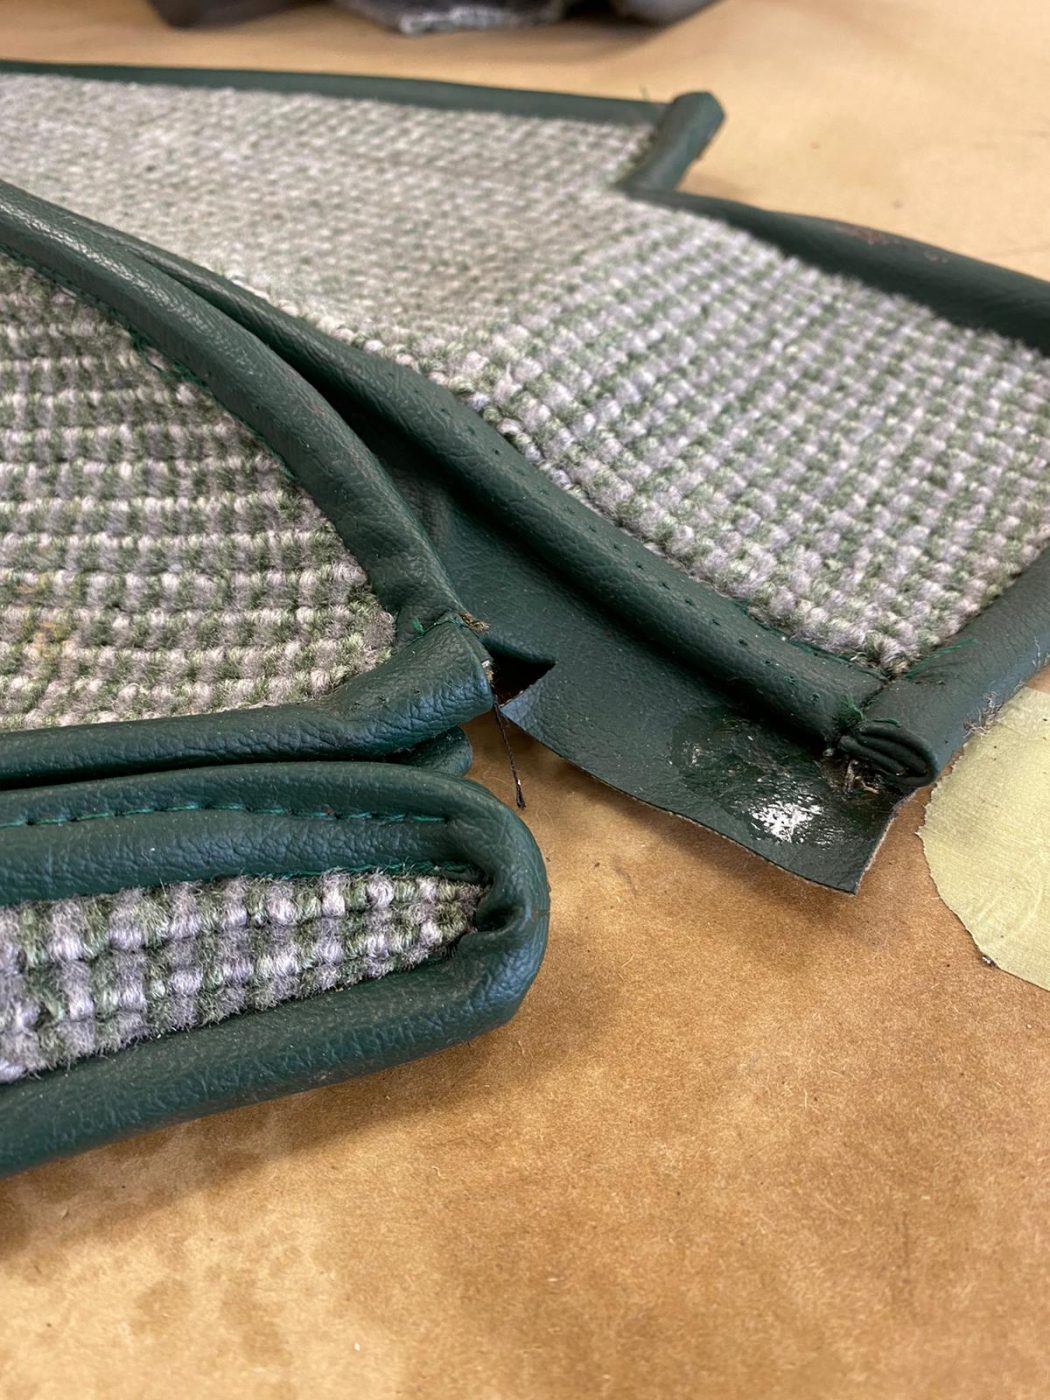
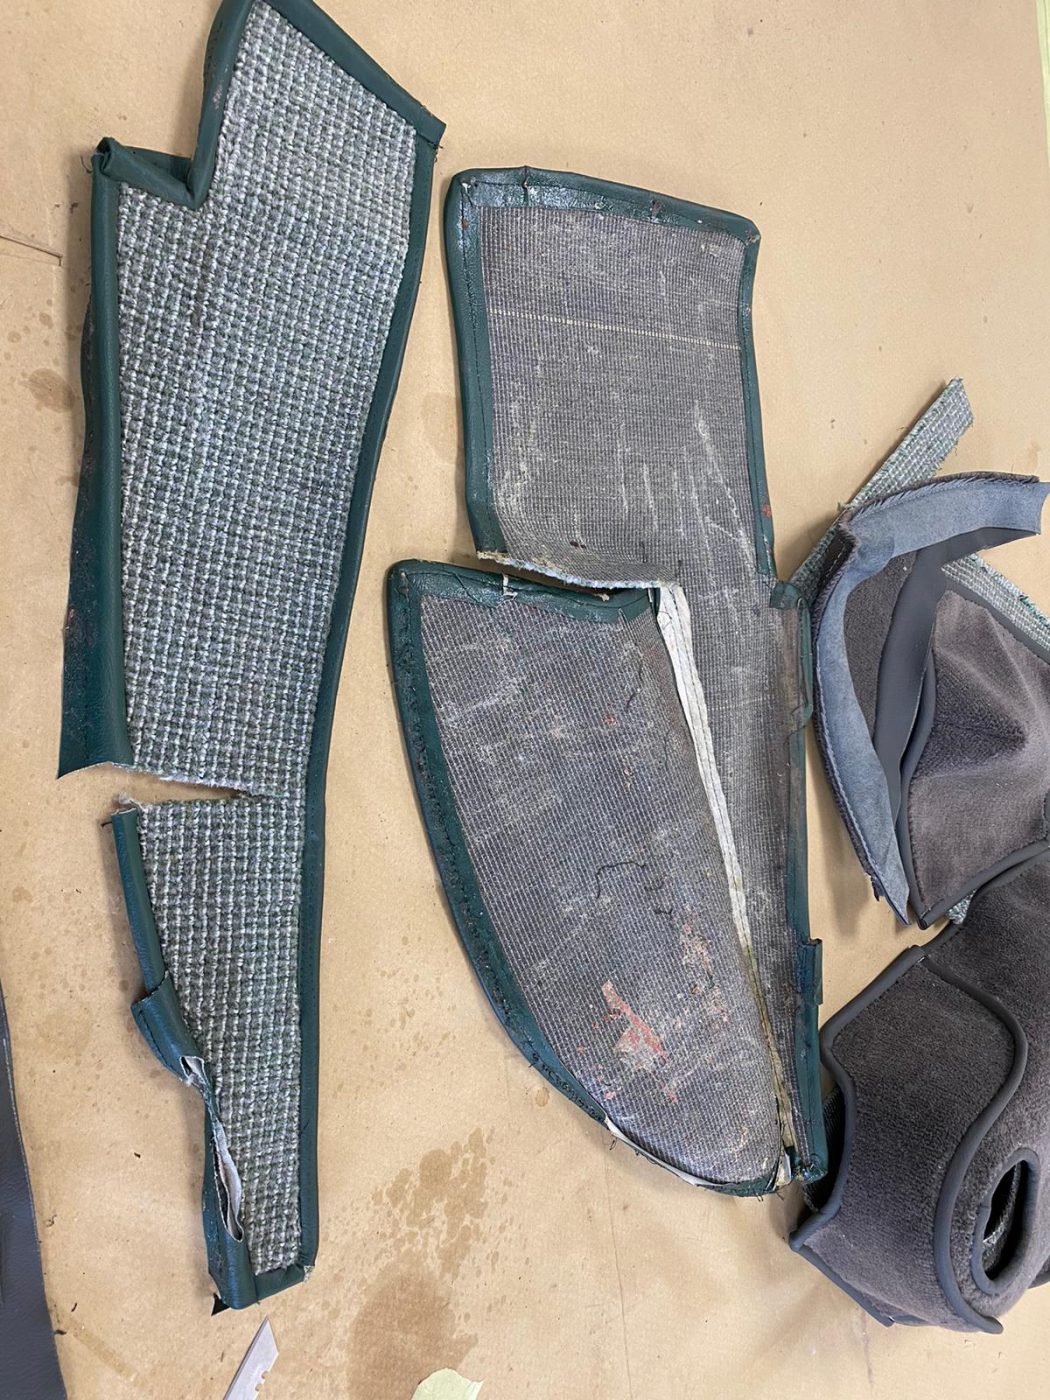
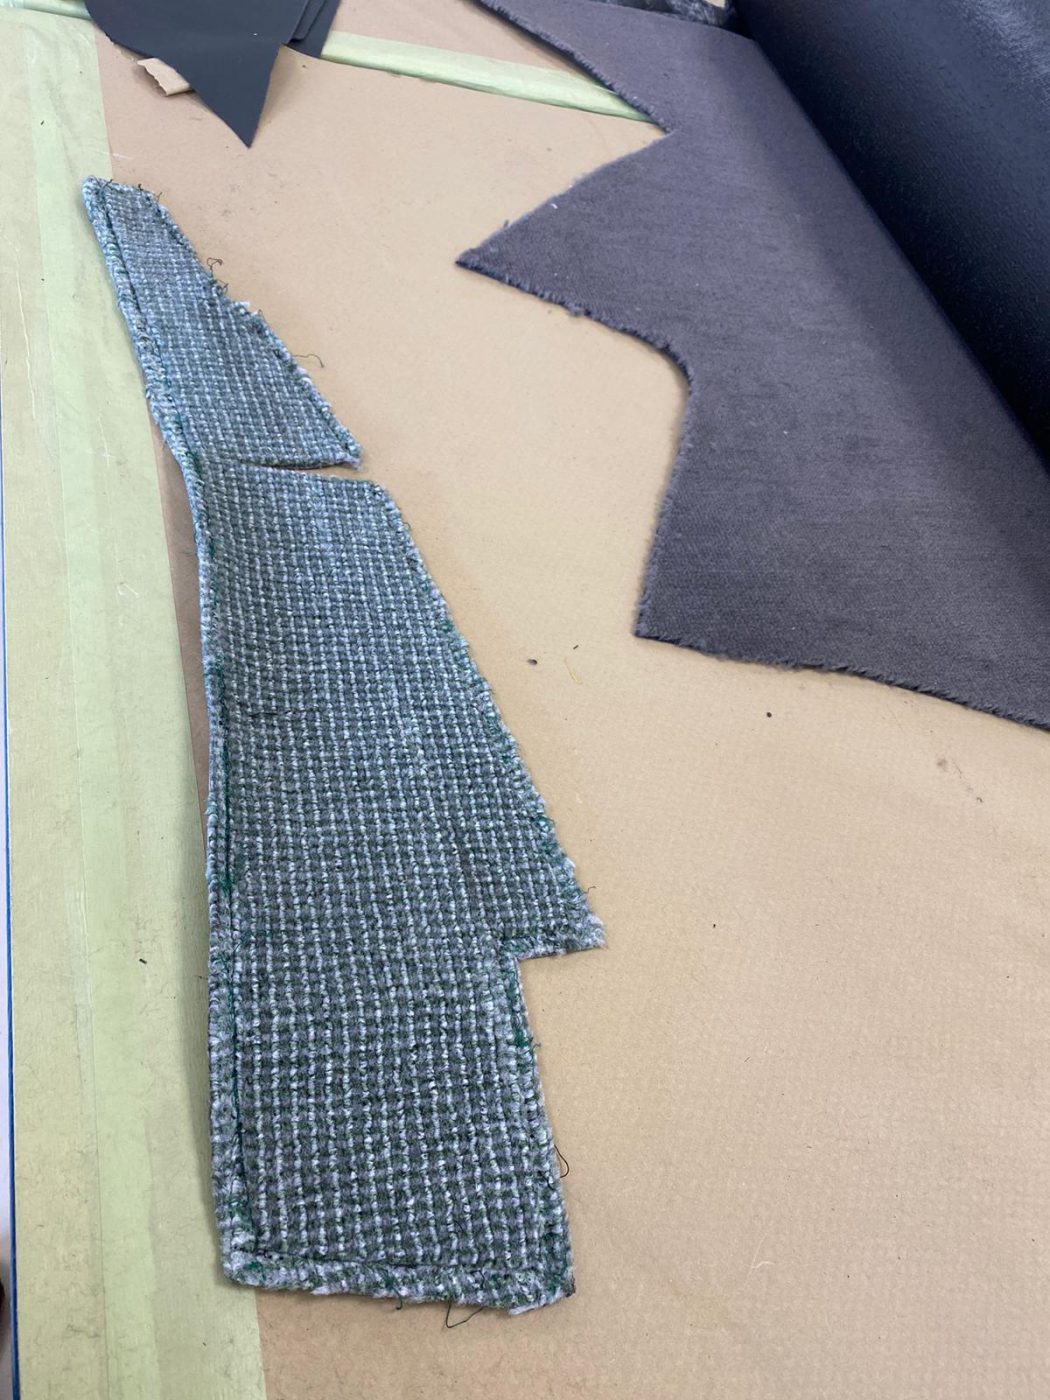
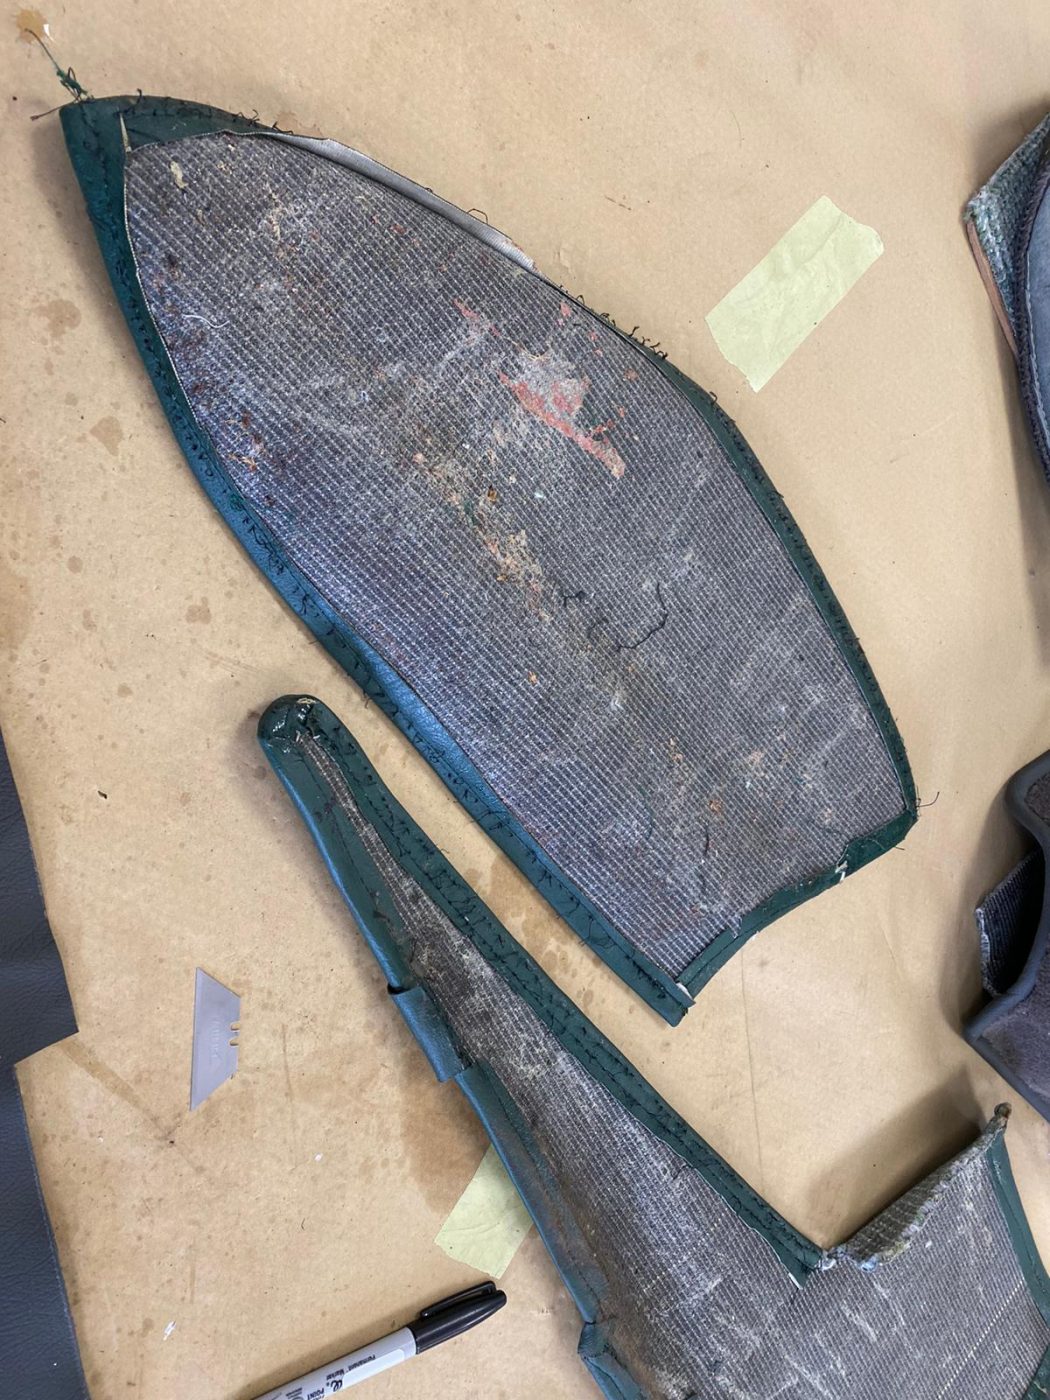
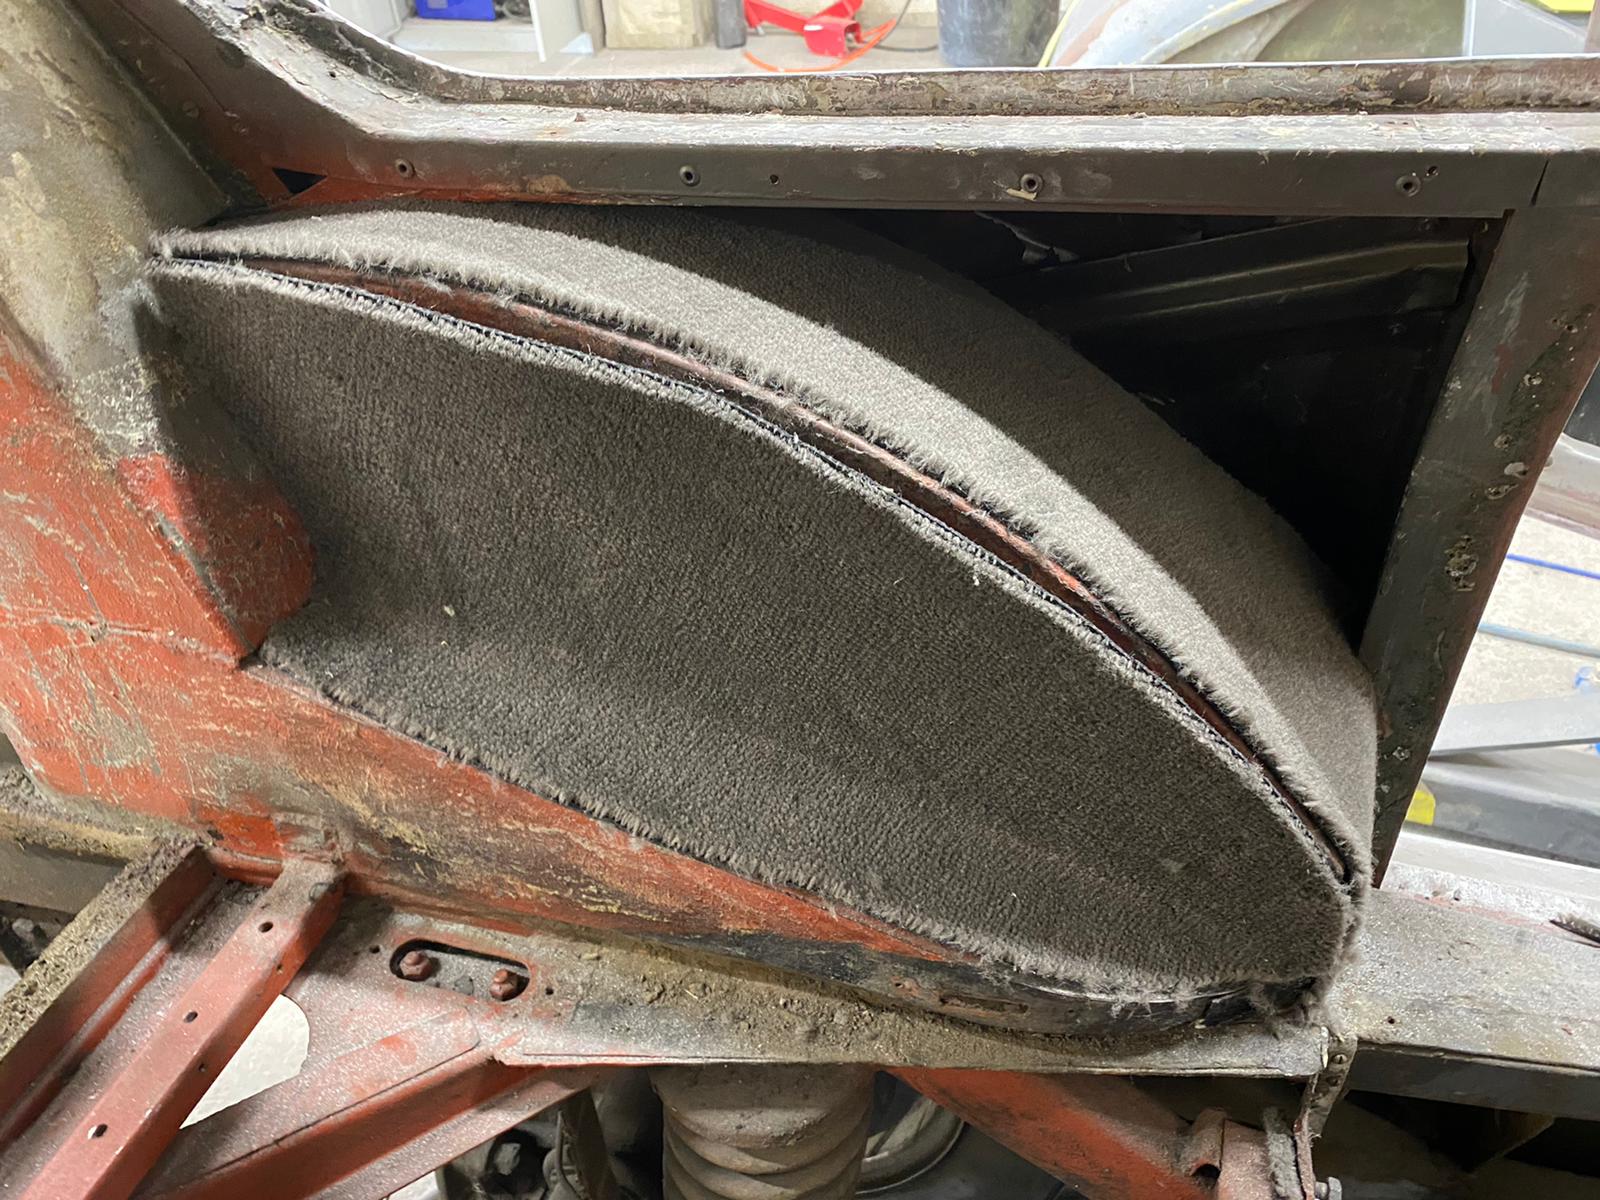
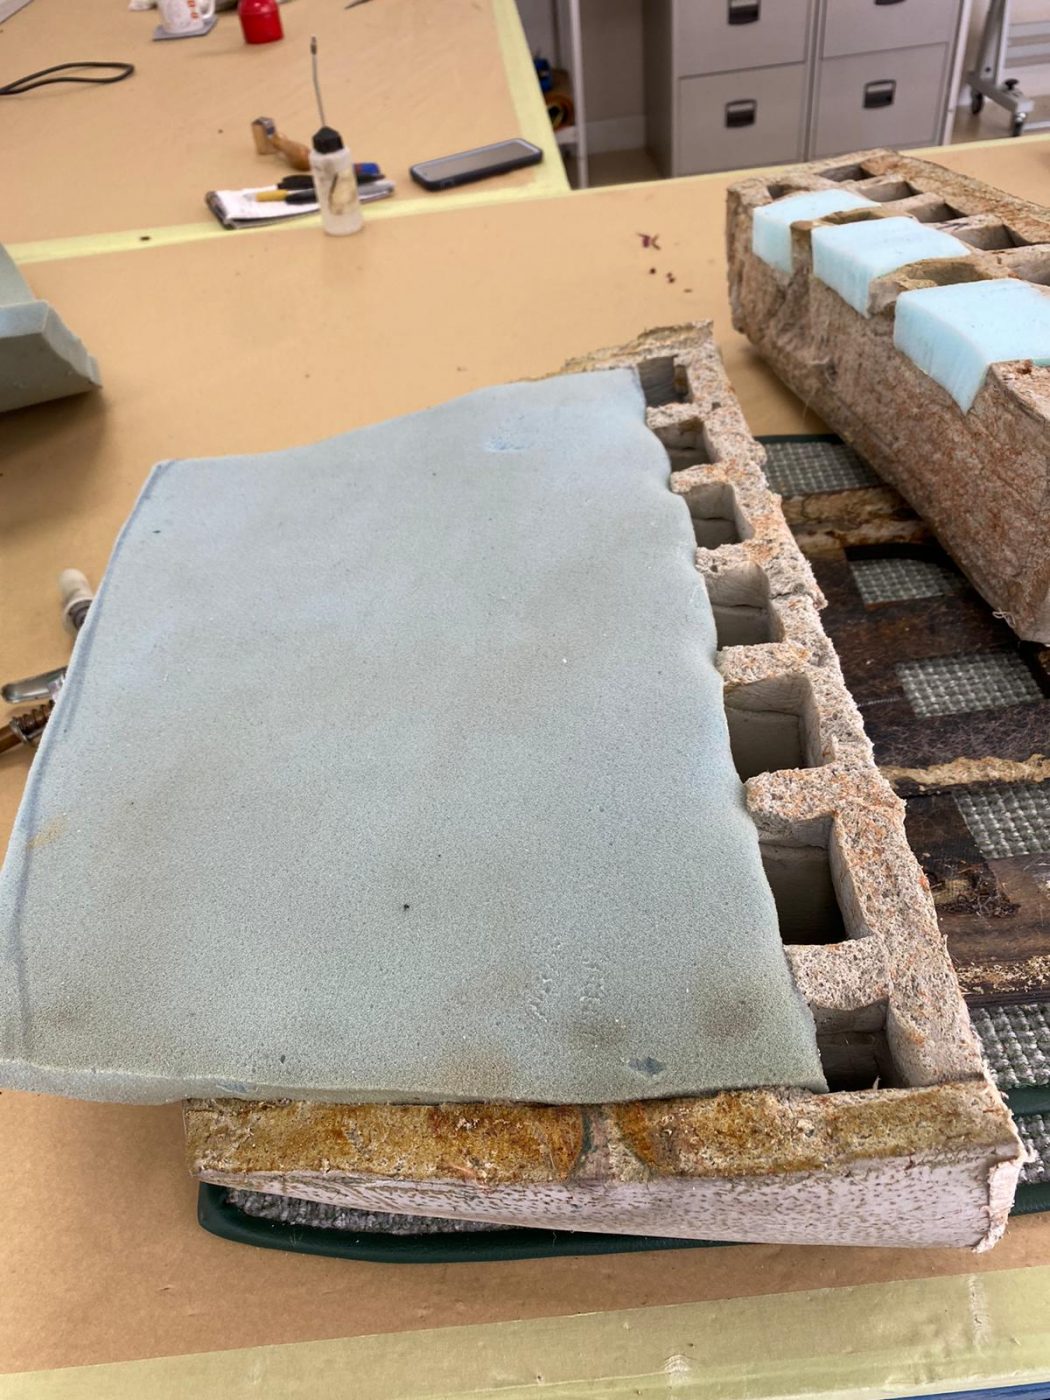
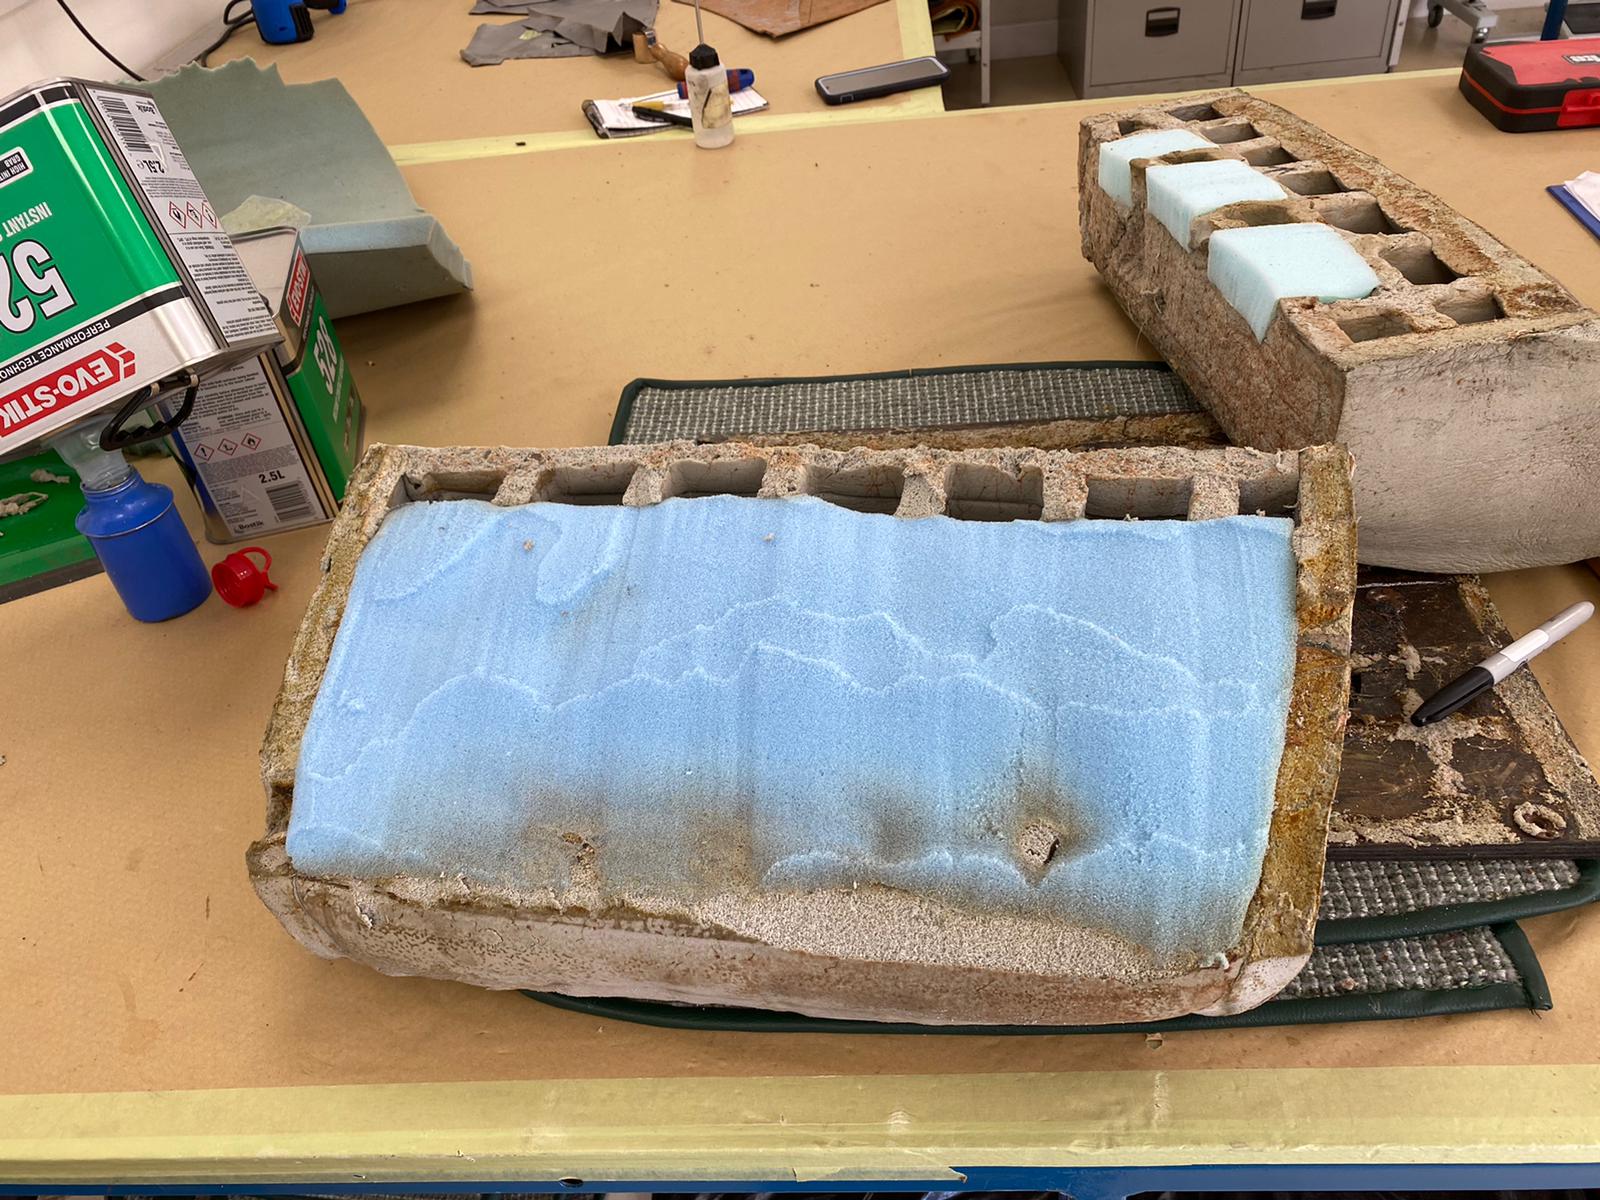
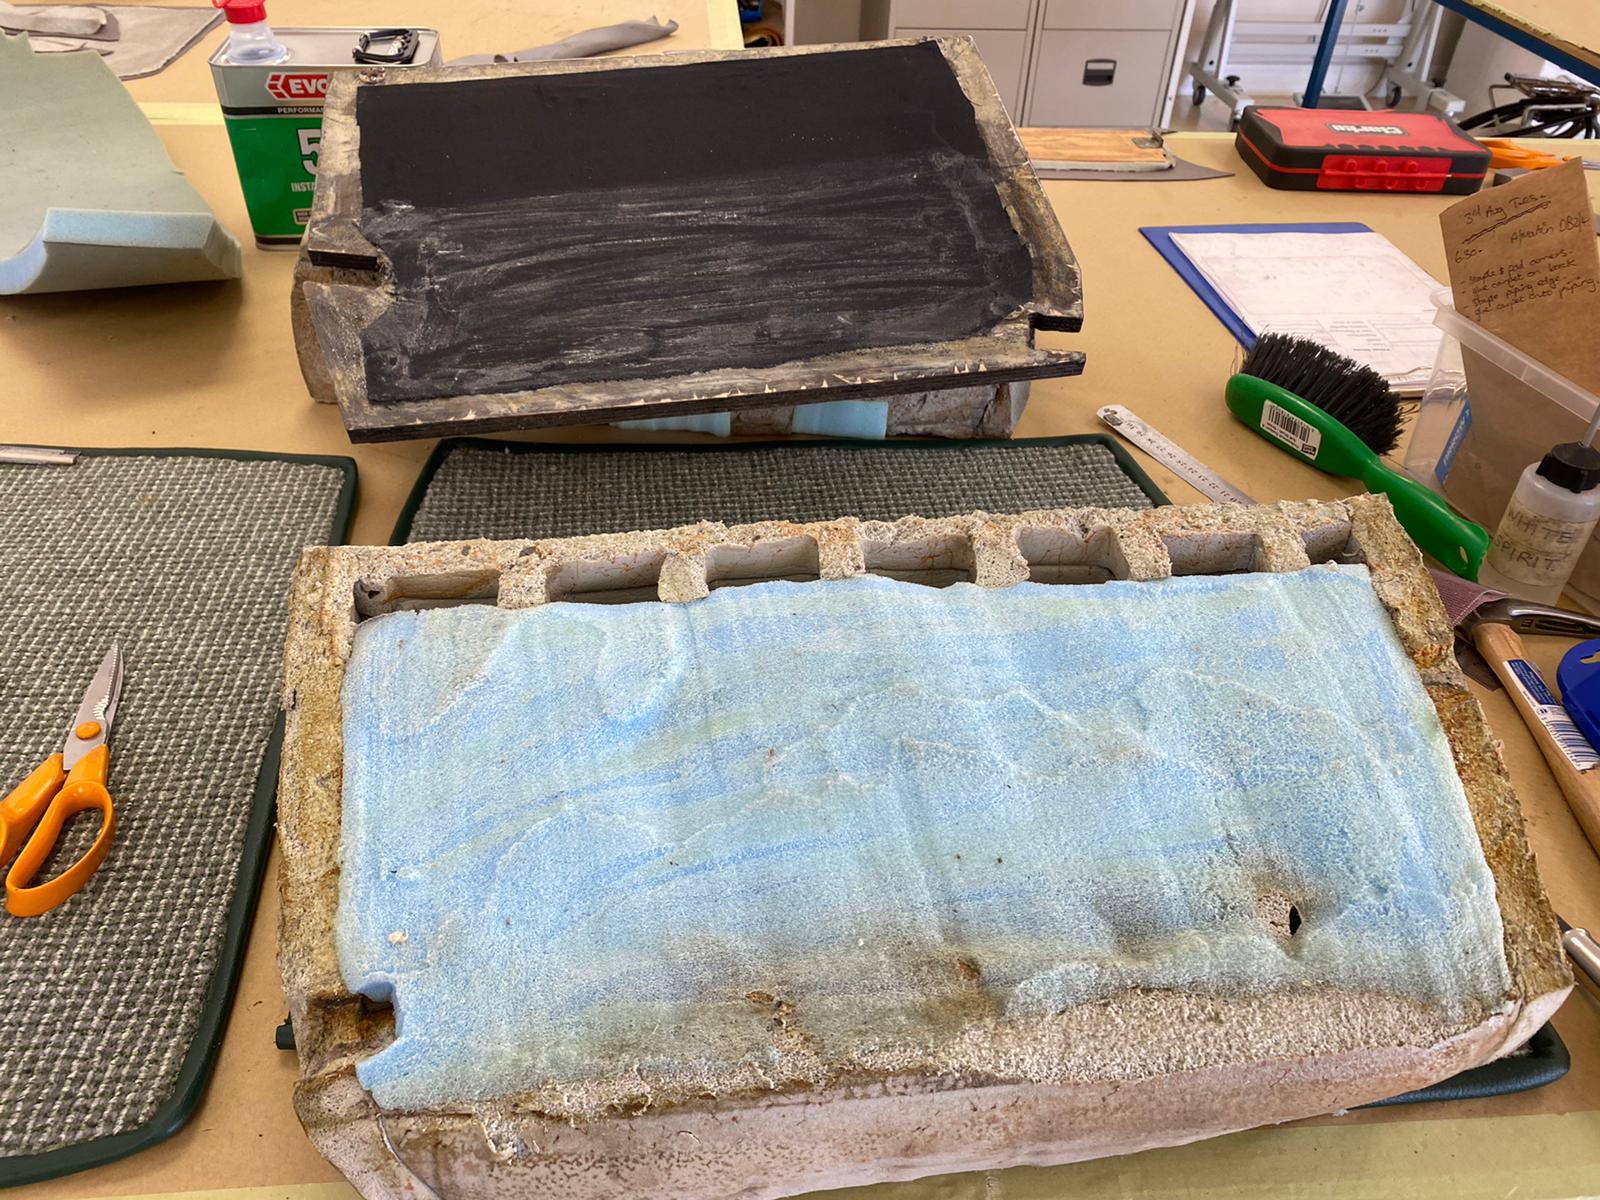
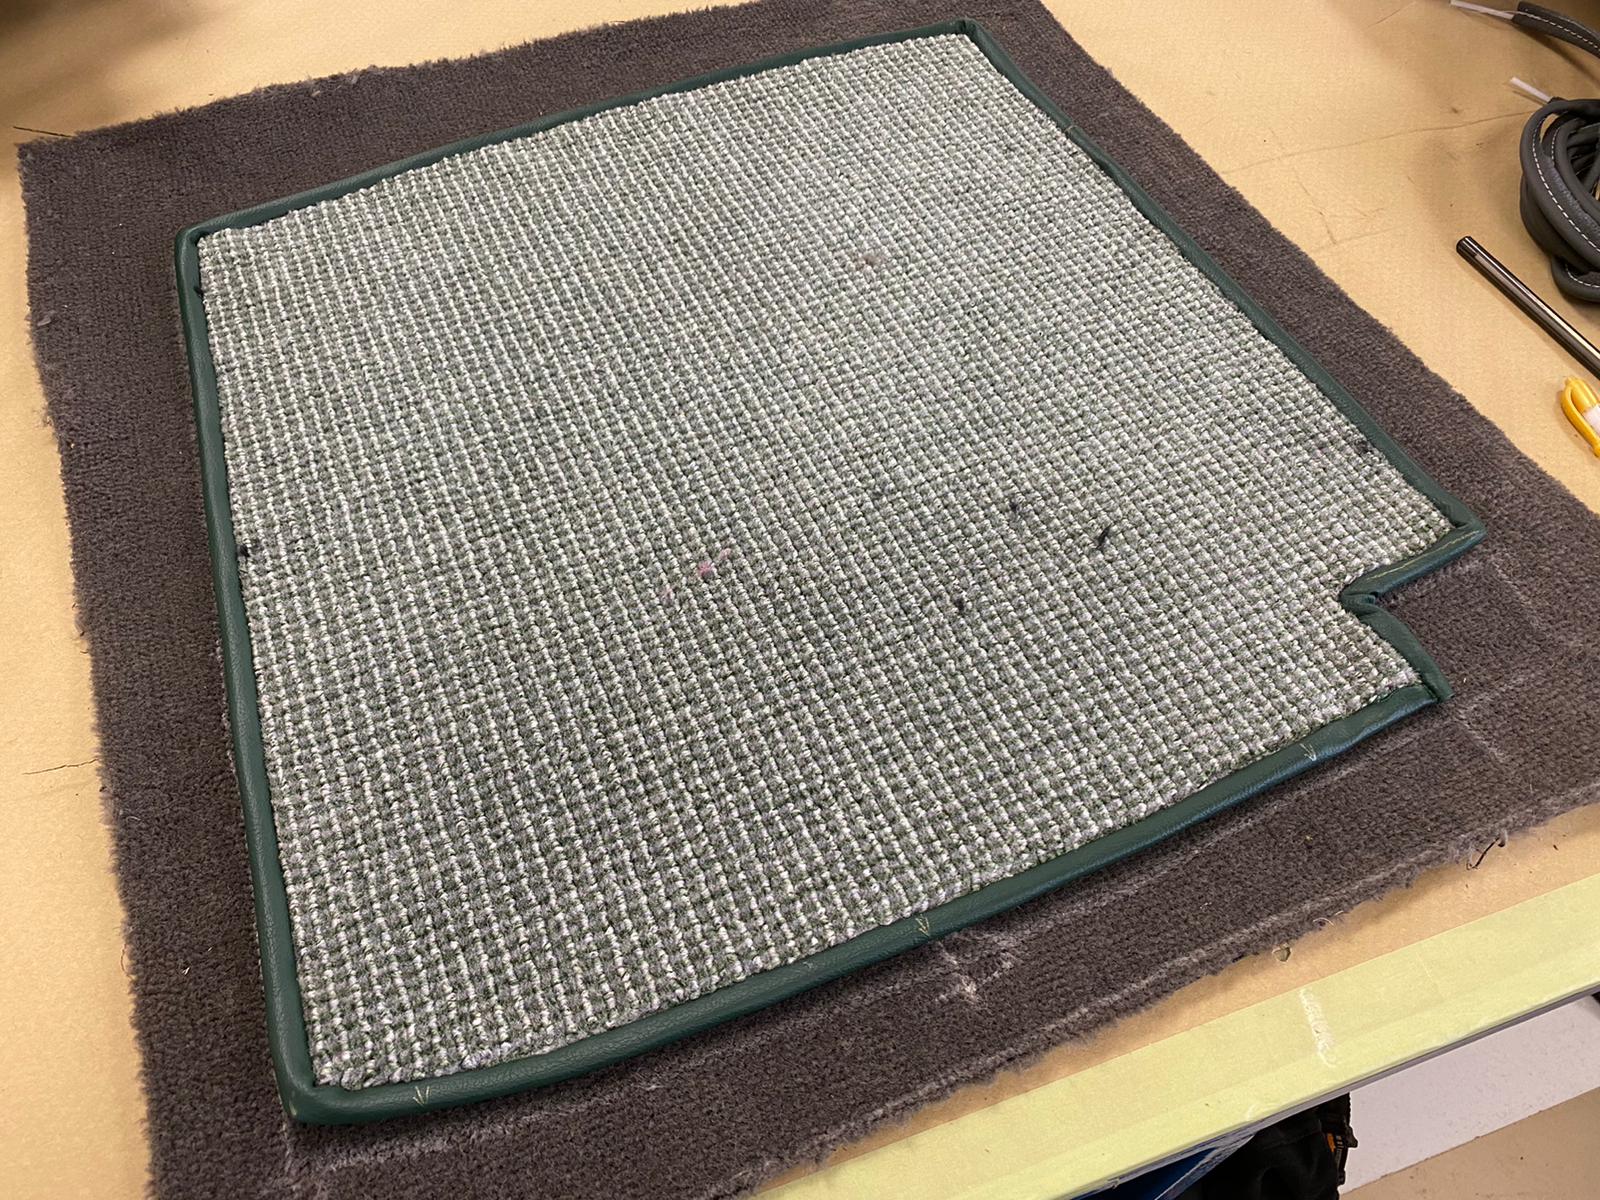
Aston Martin DB2/4 Interior Final Piece
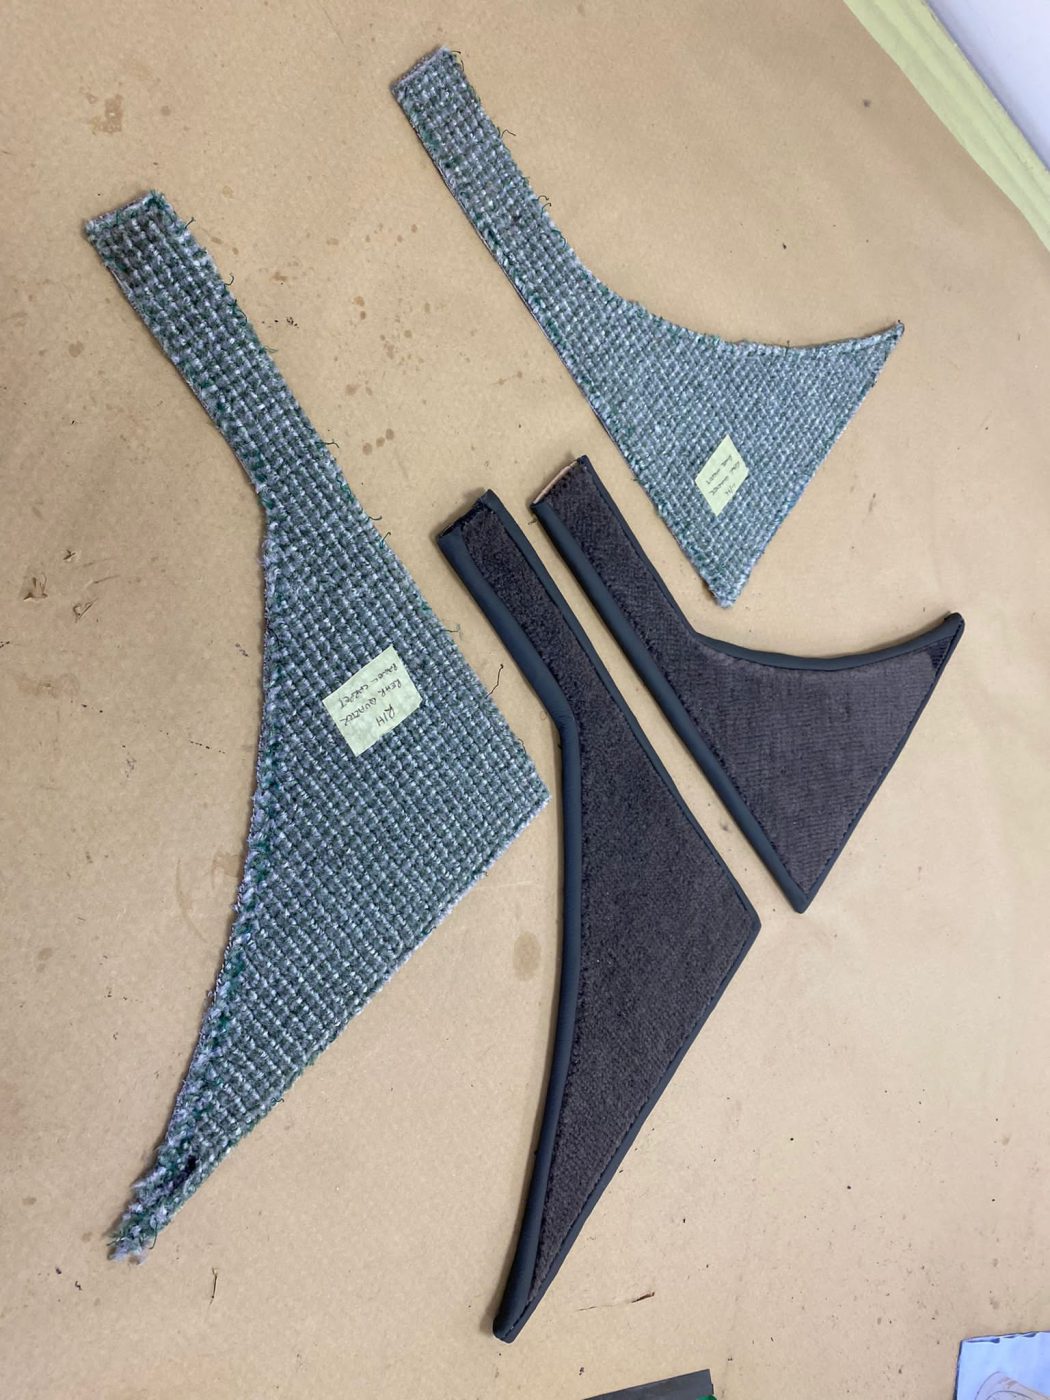
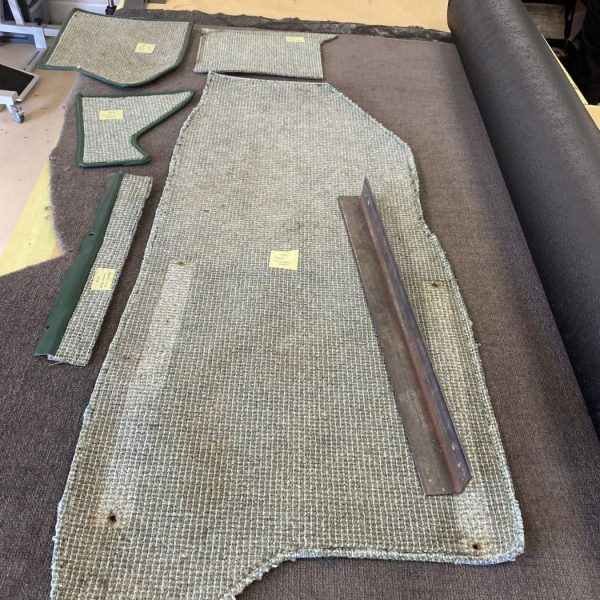
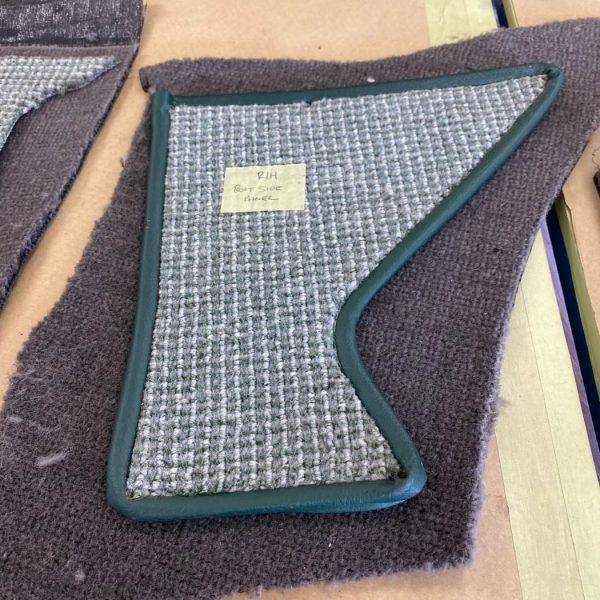
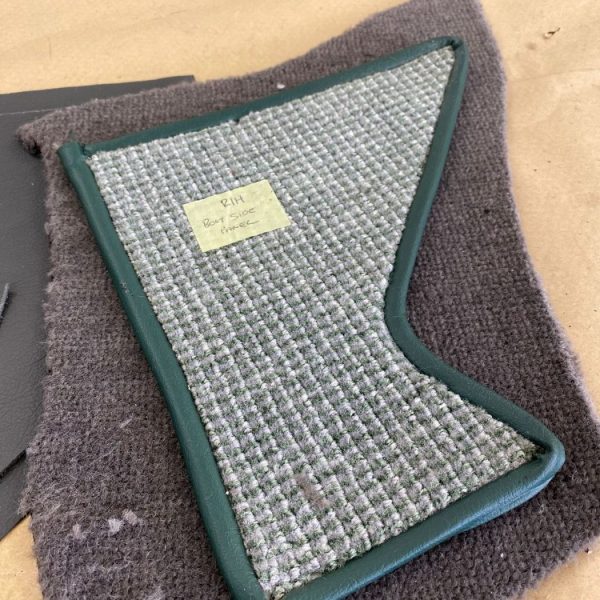
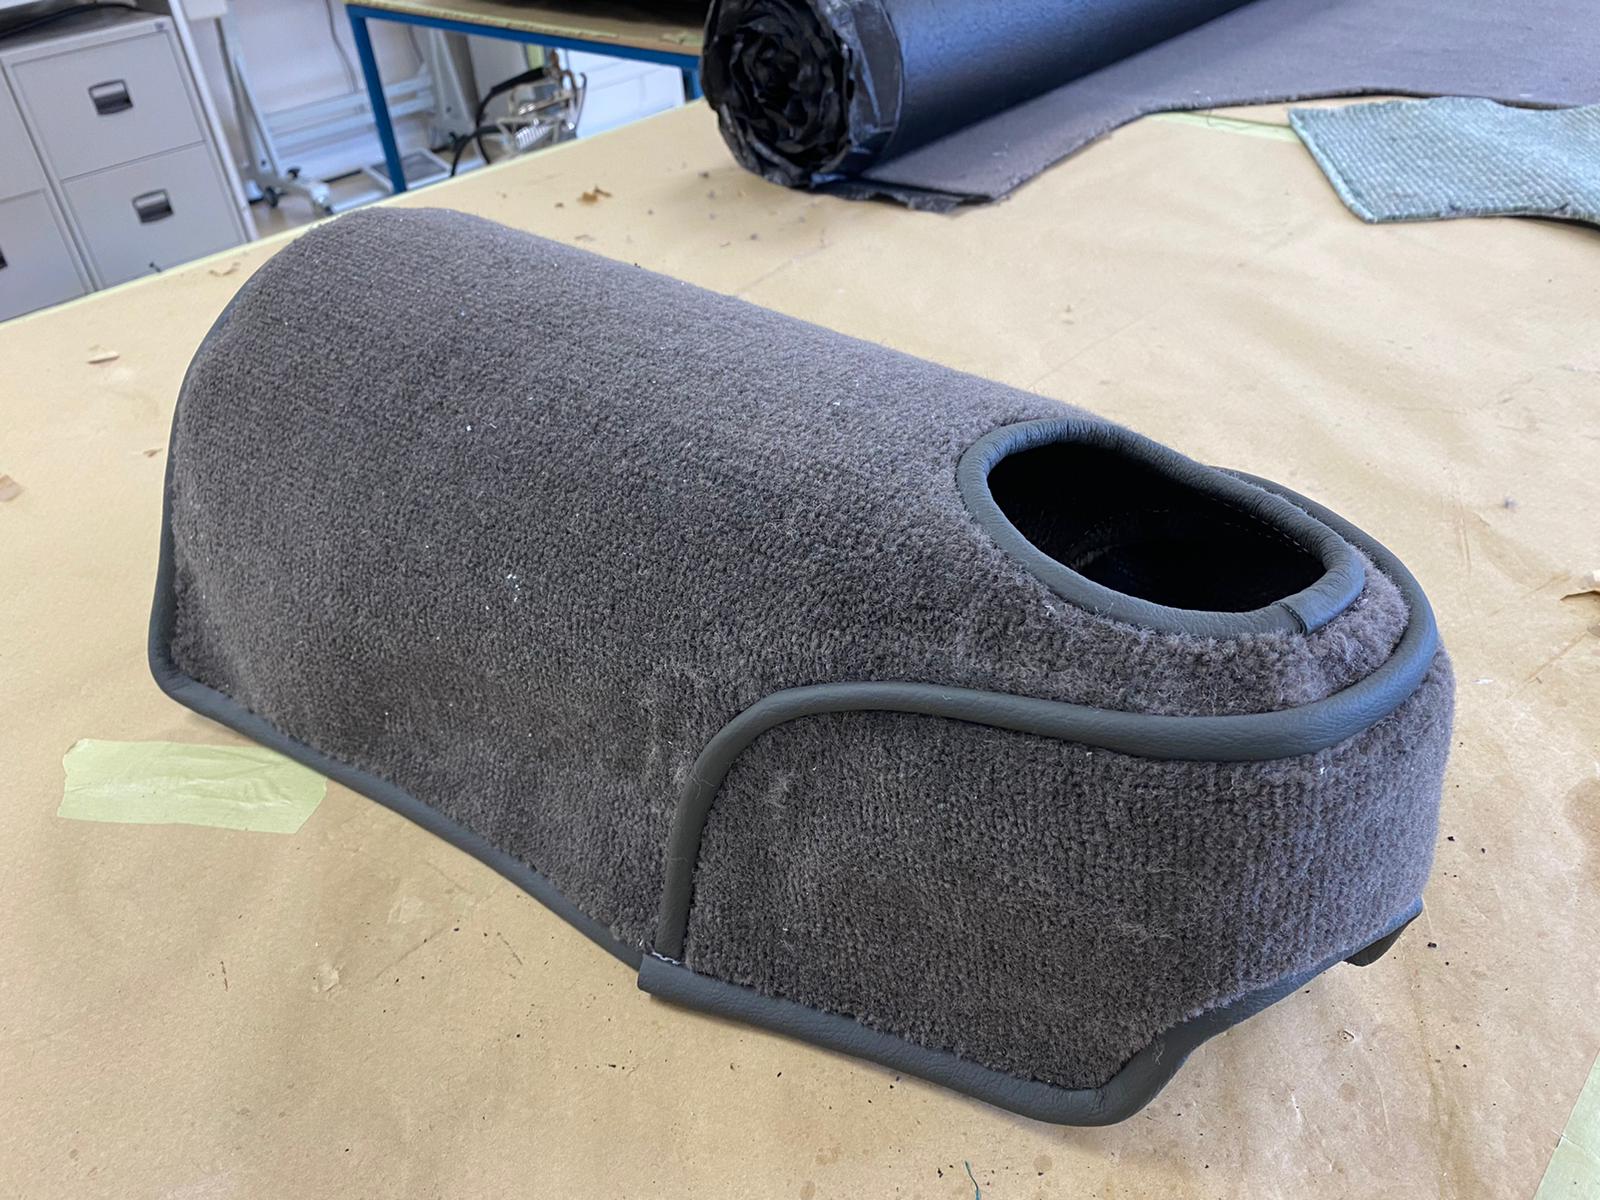
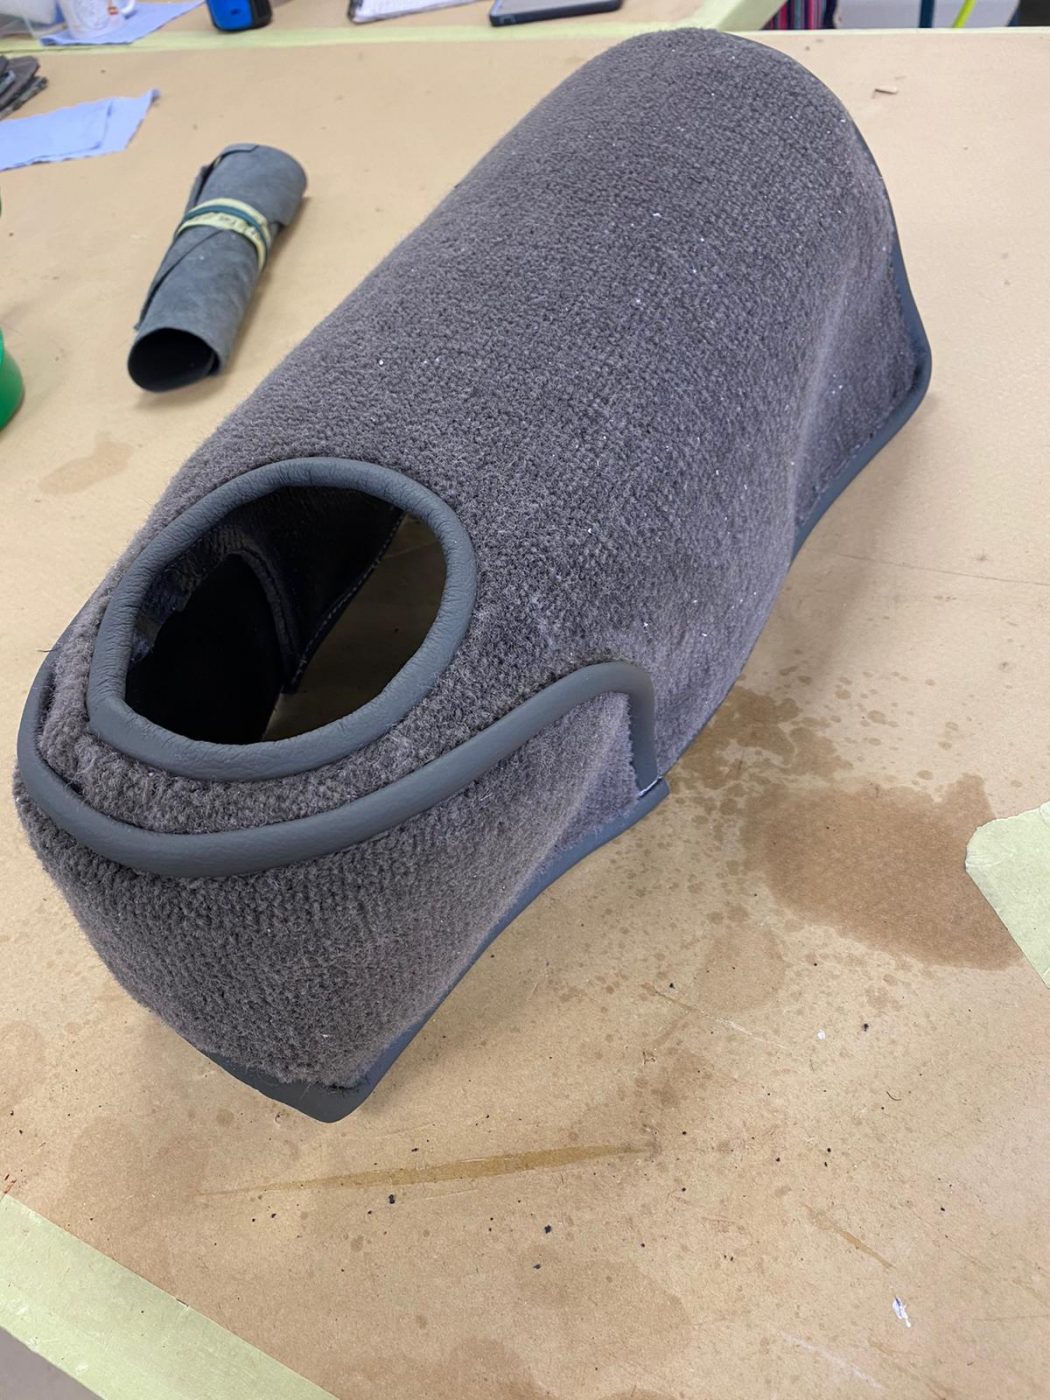
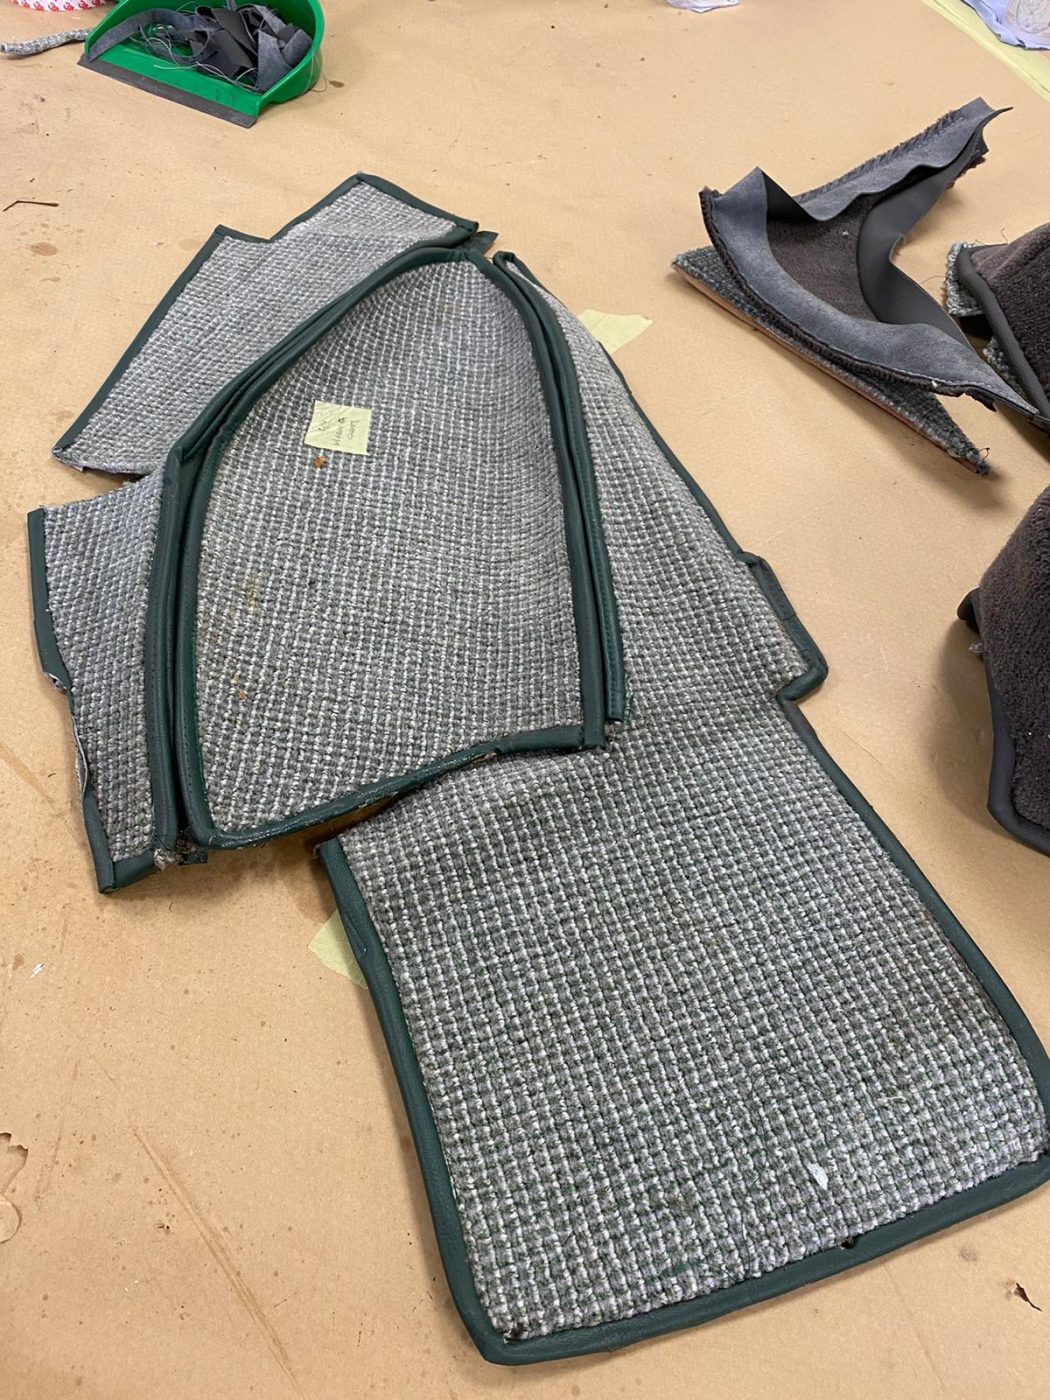
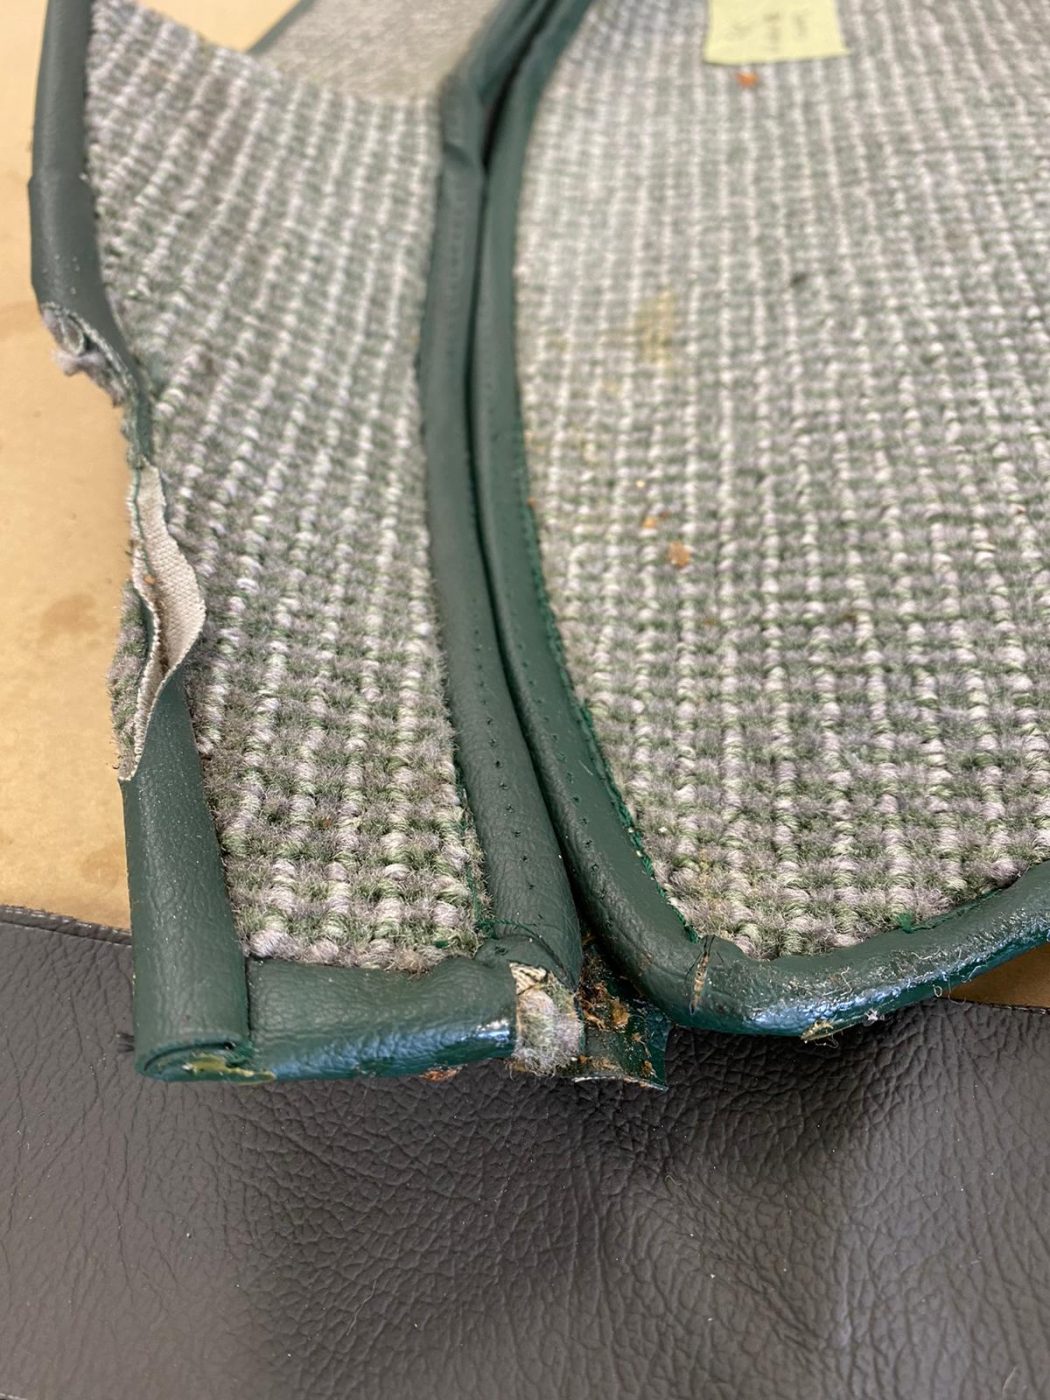
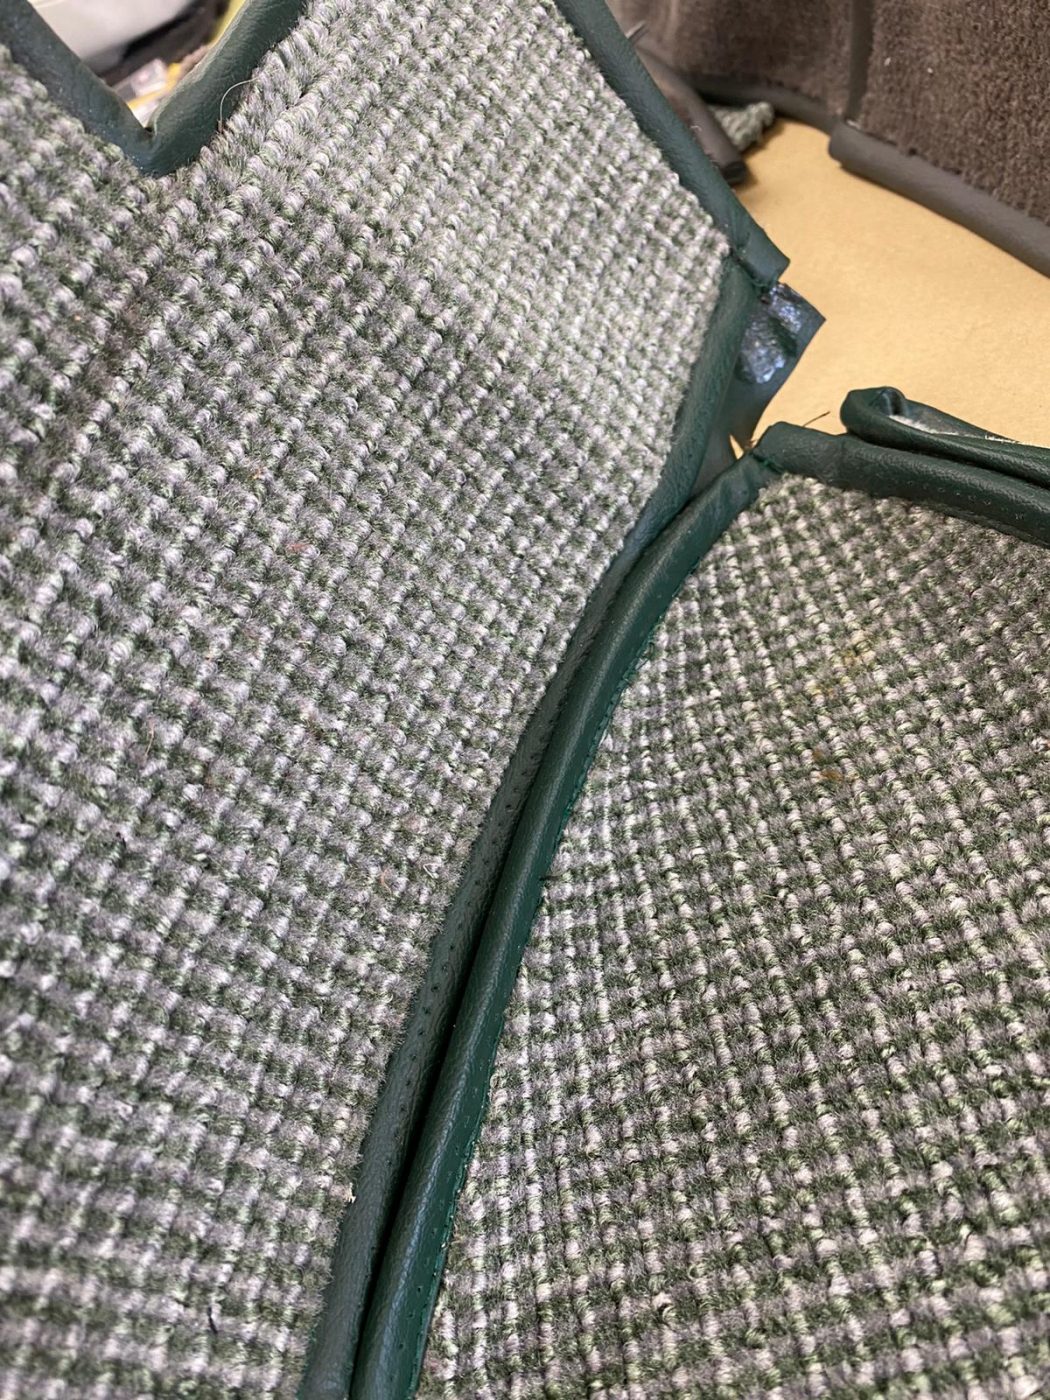
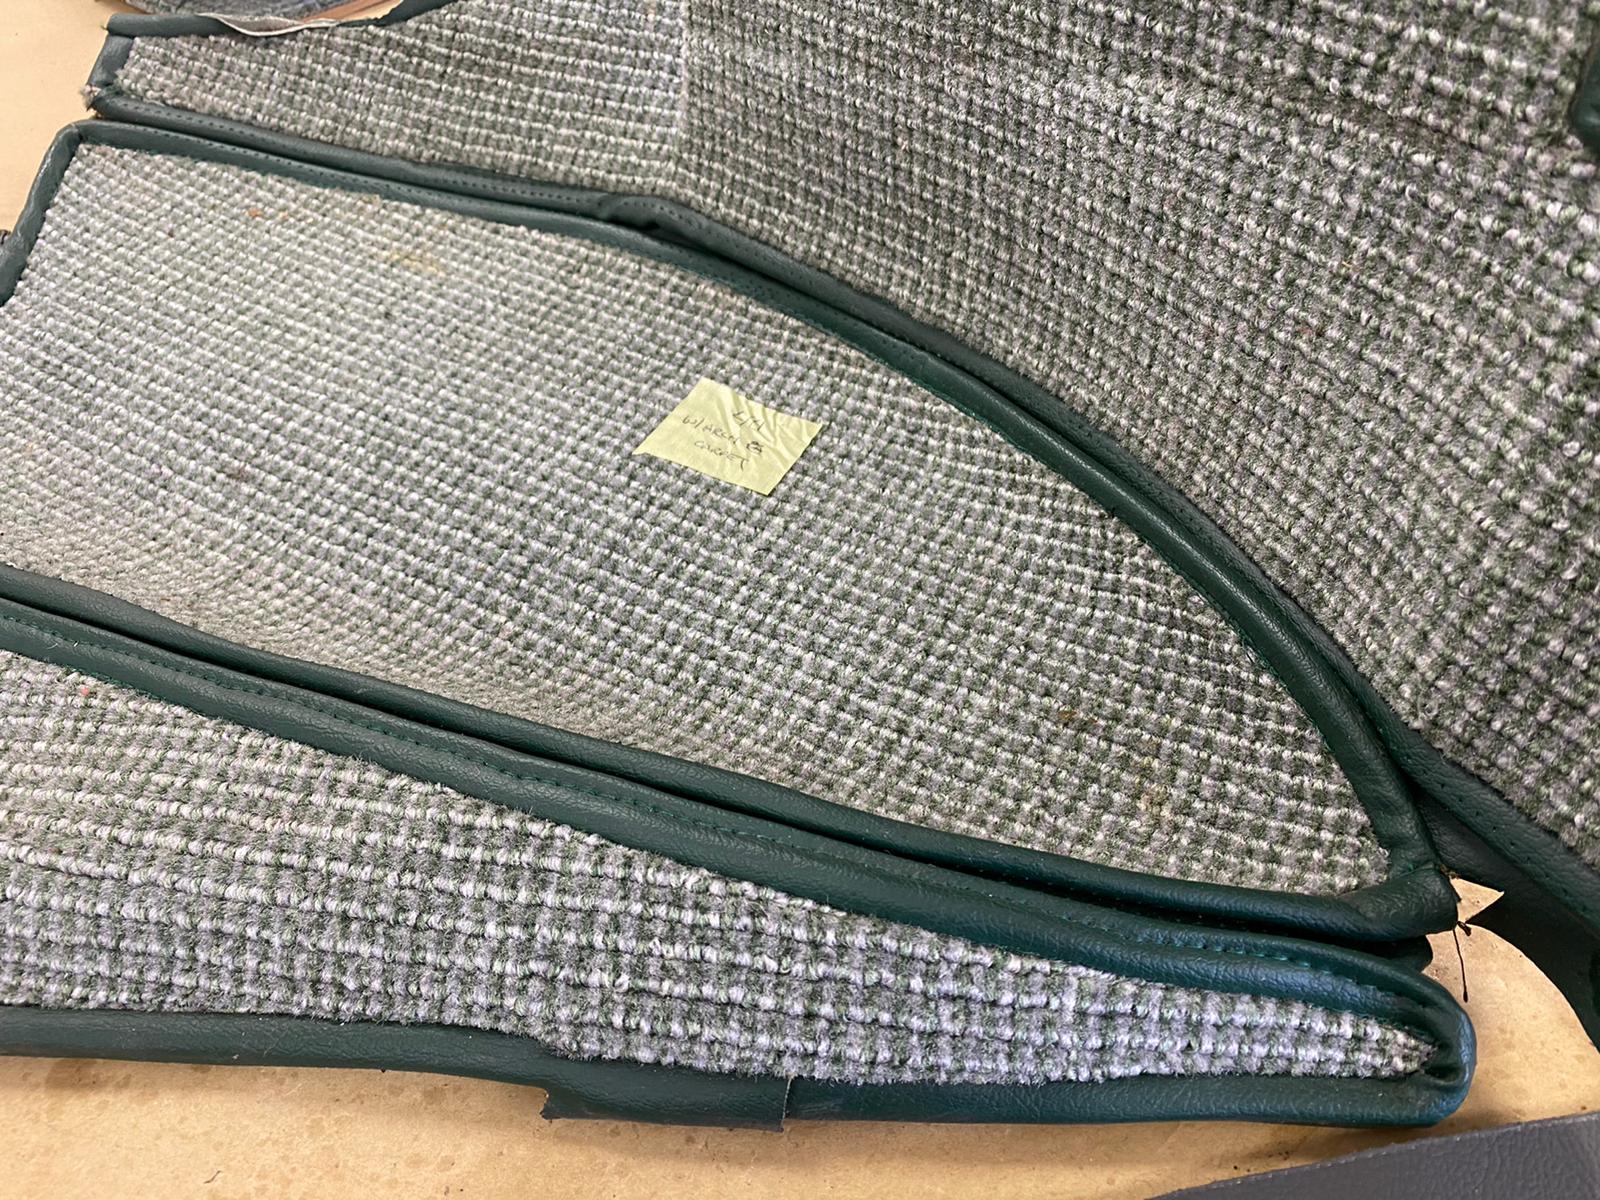
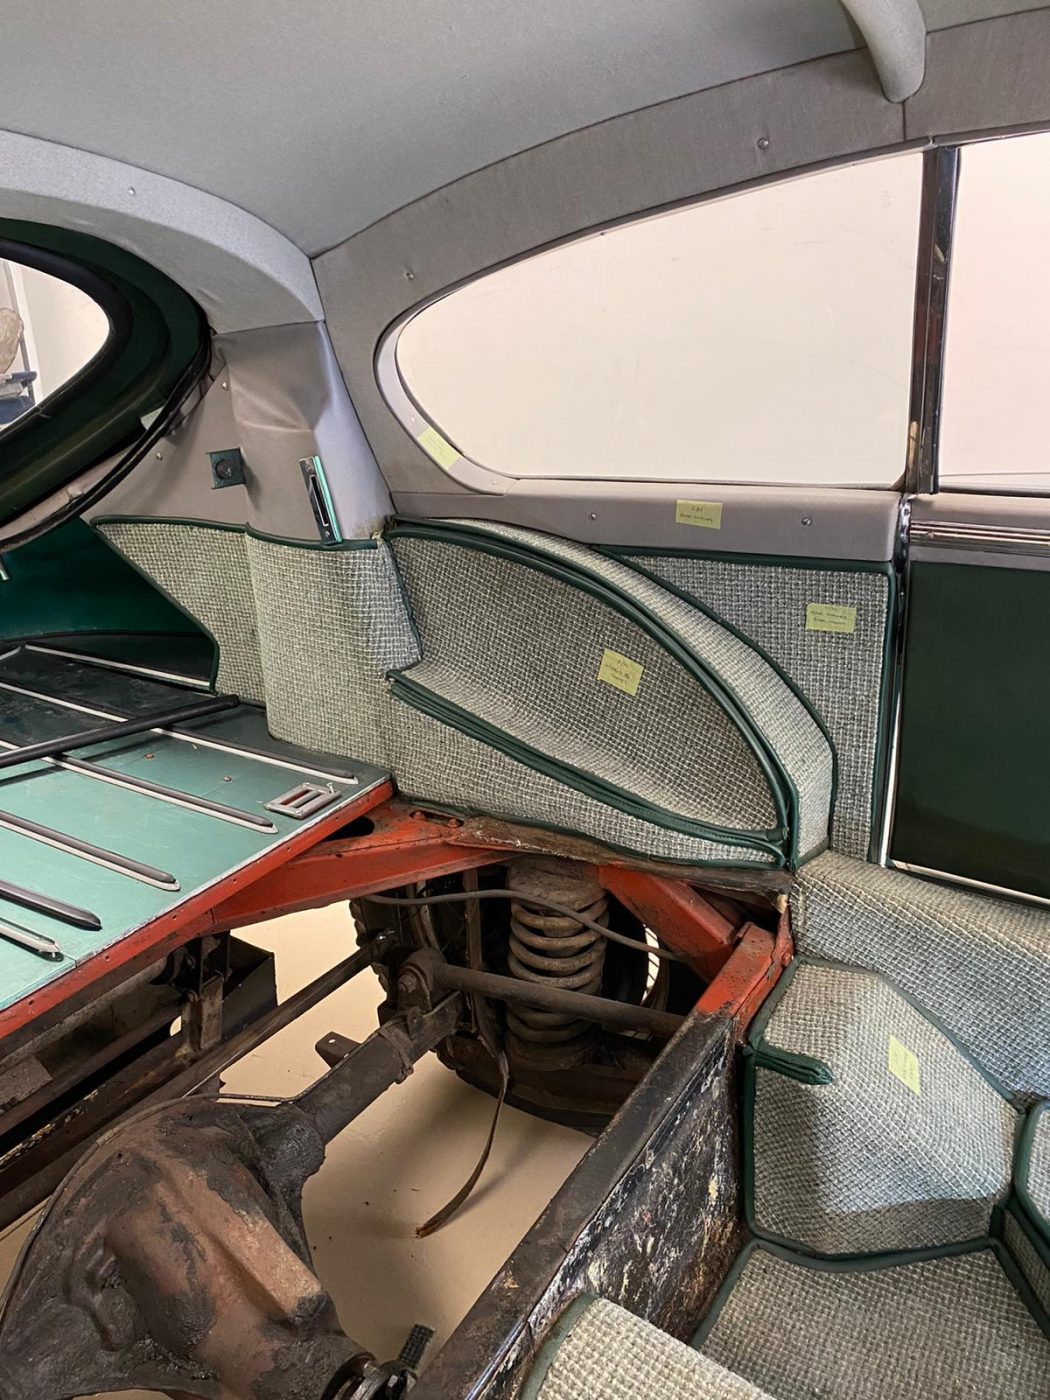
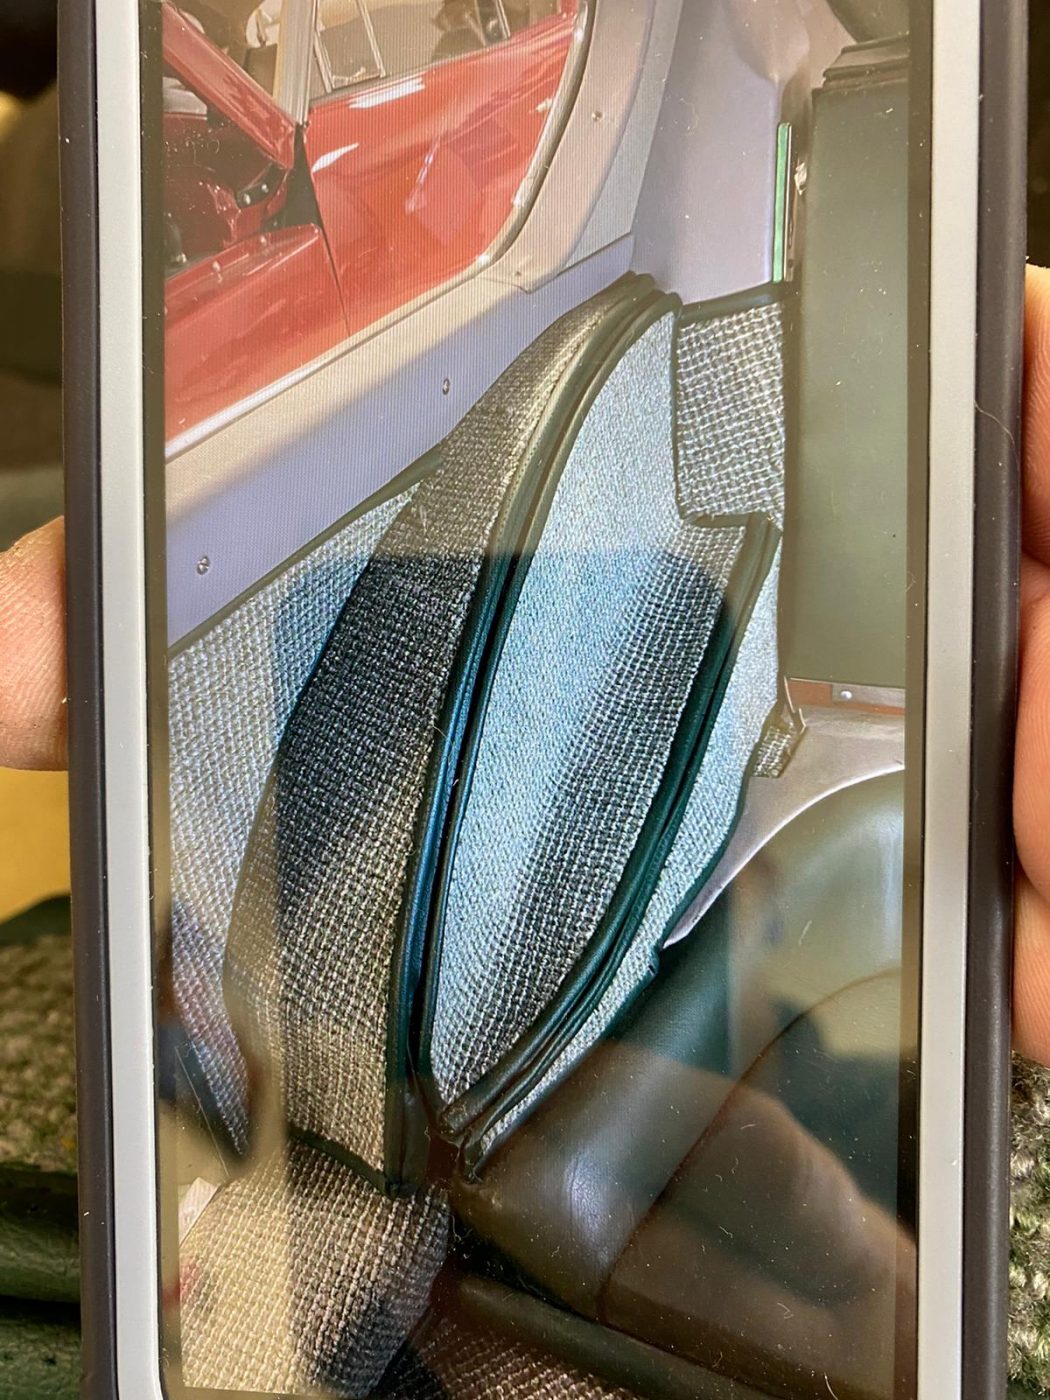
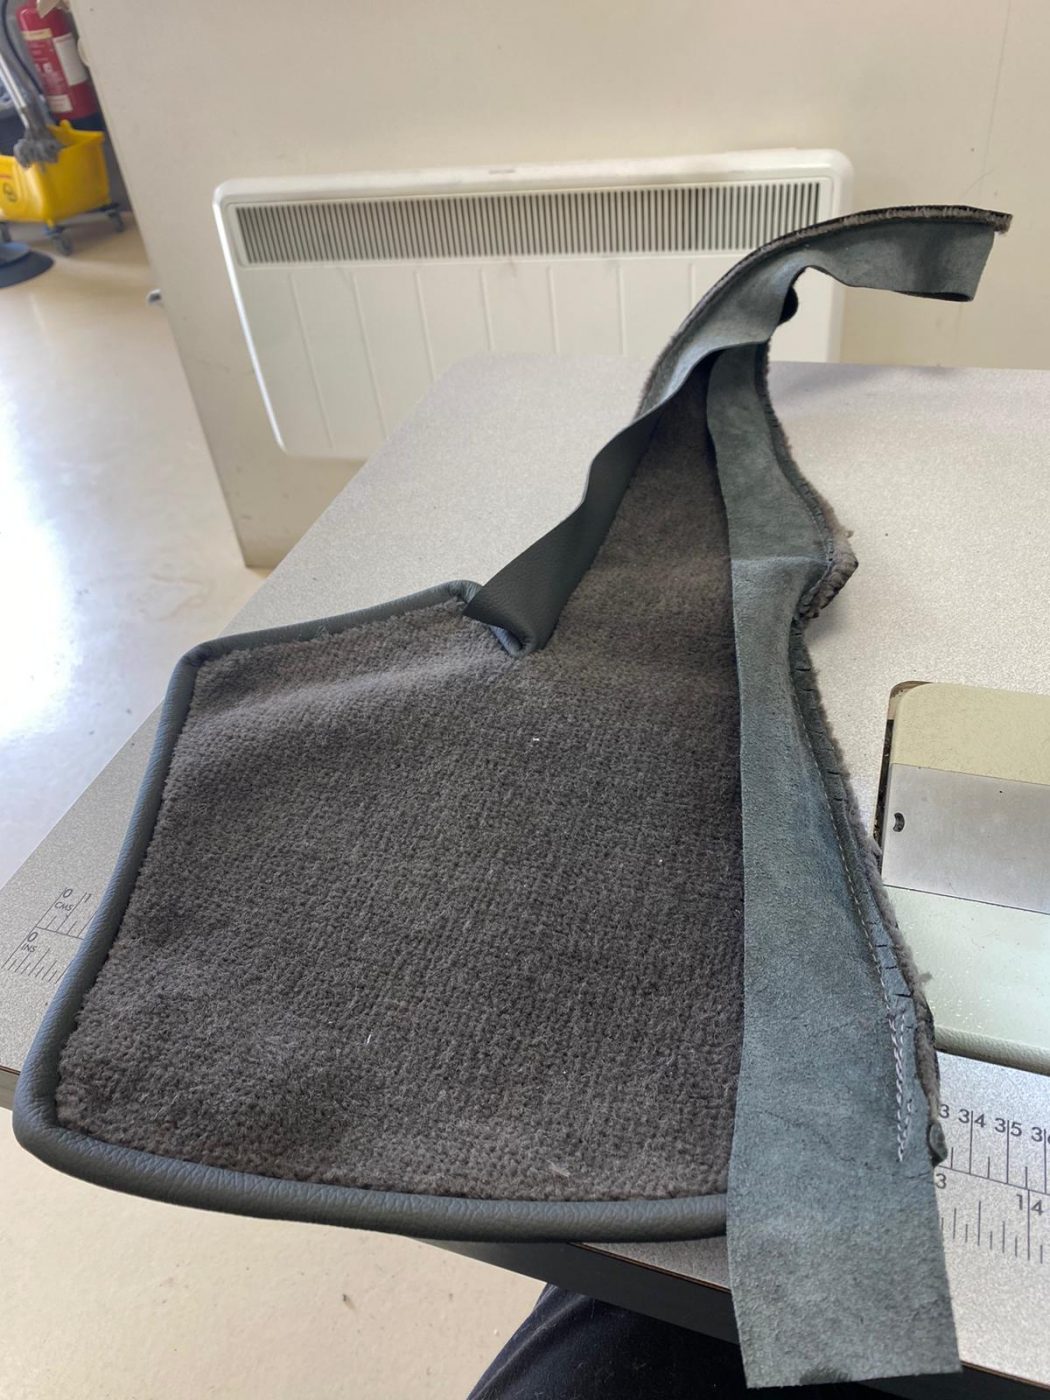
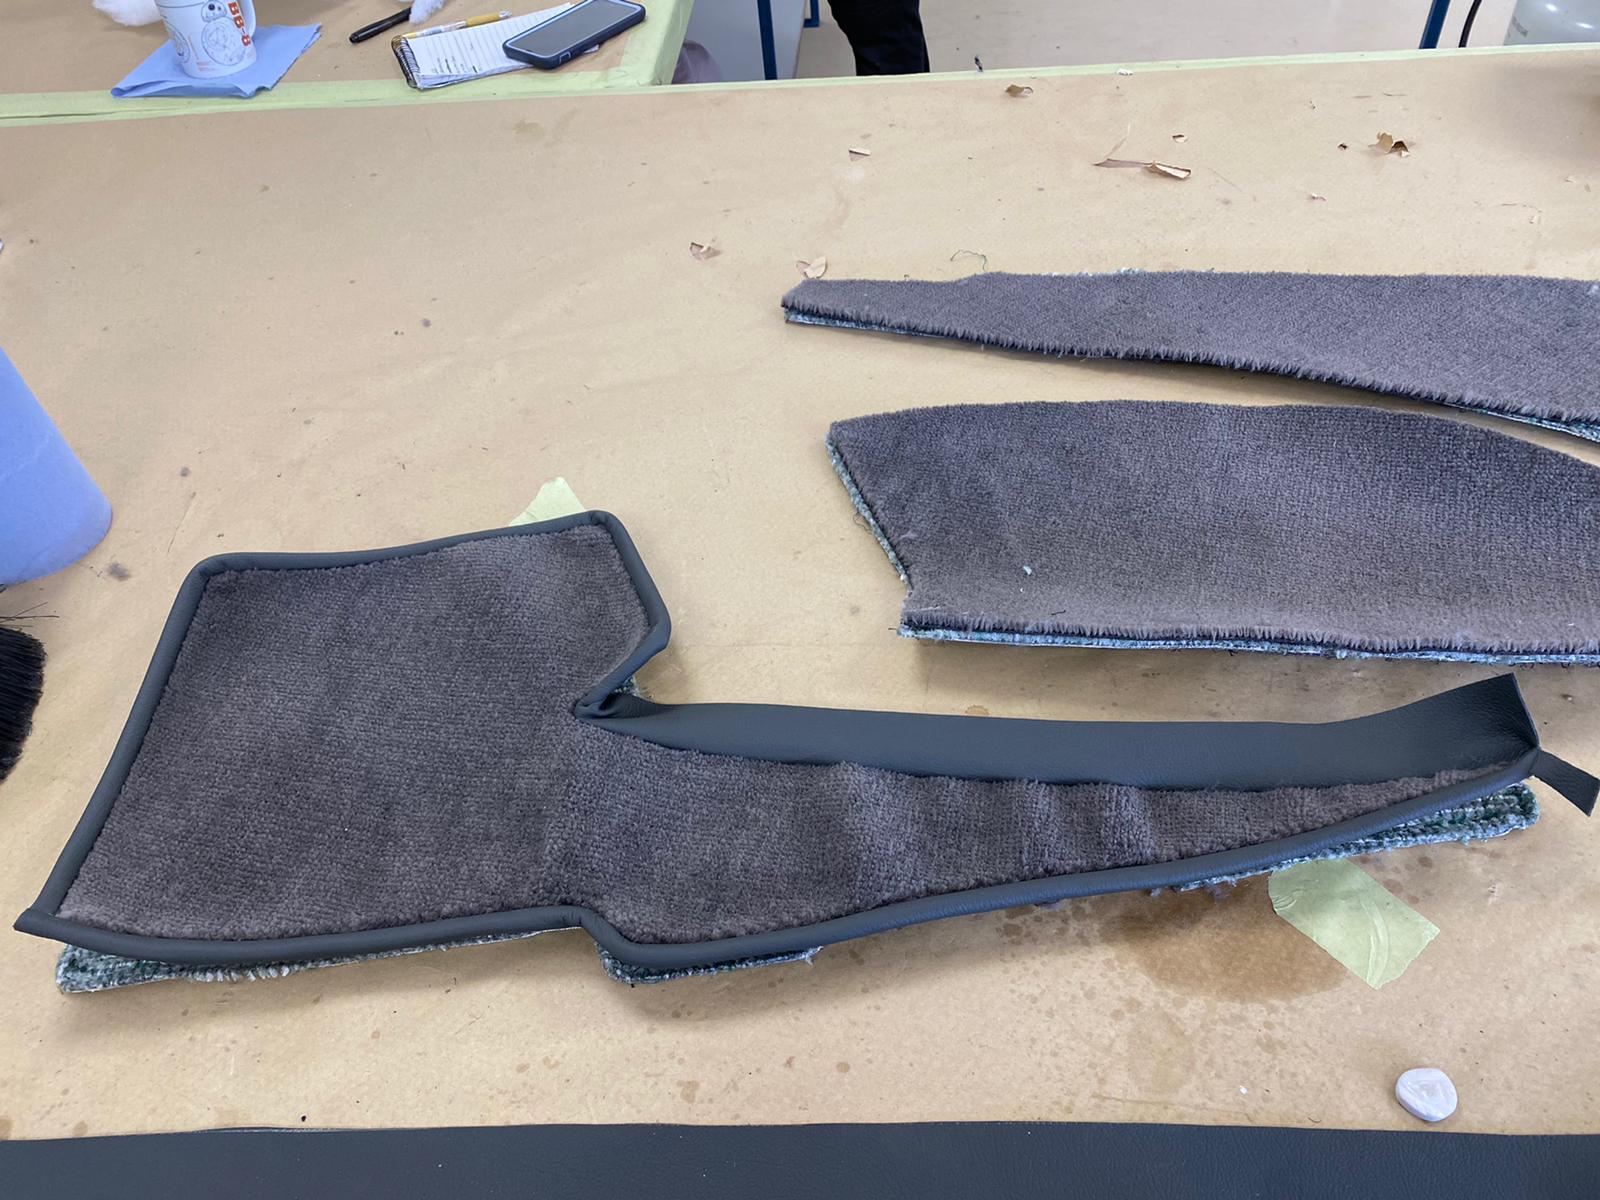
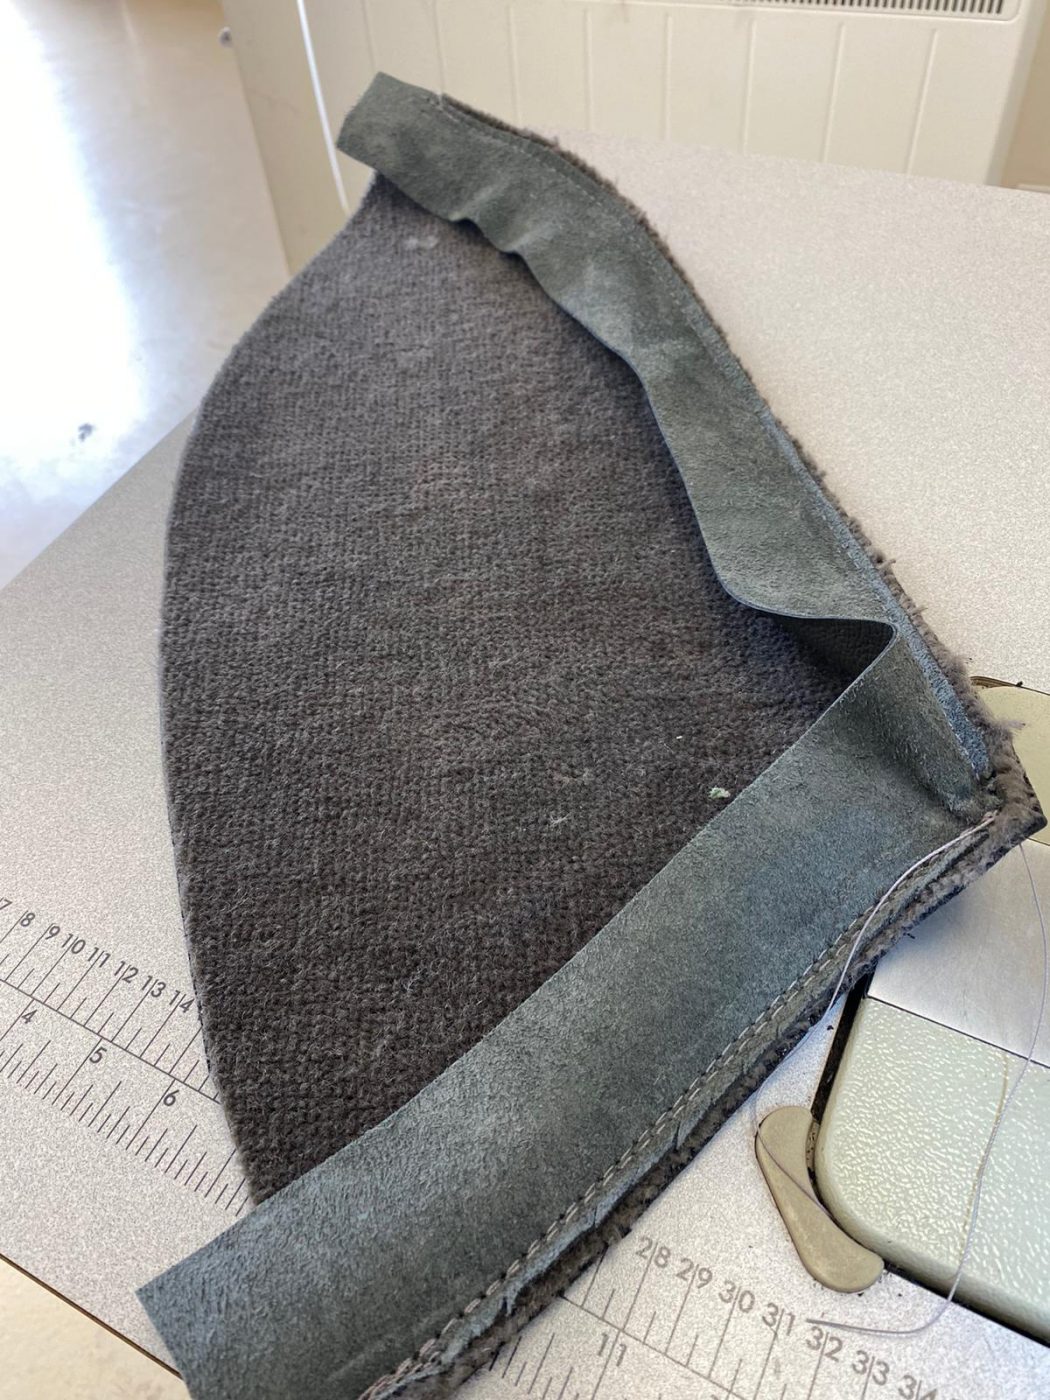
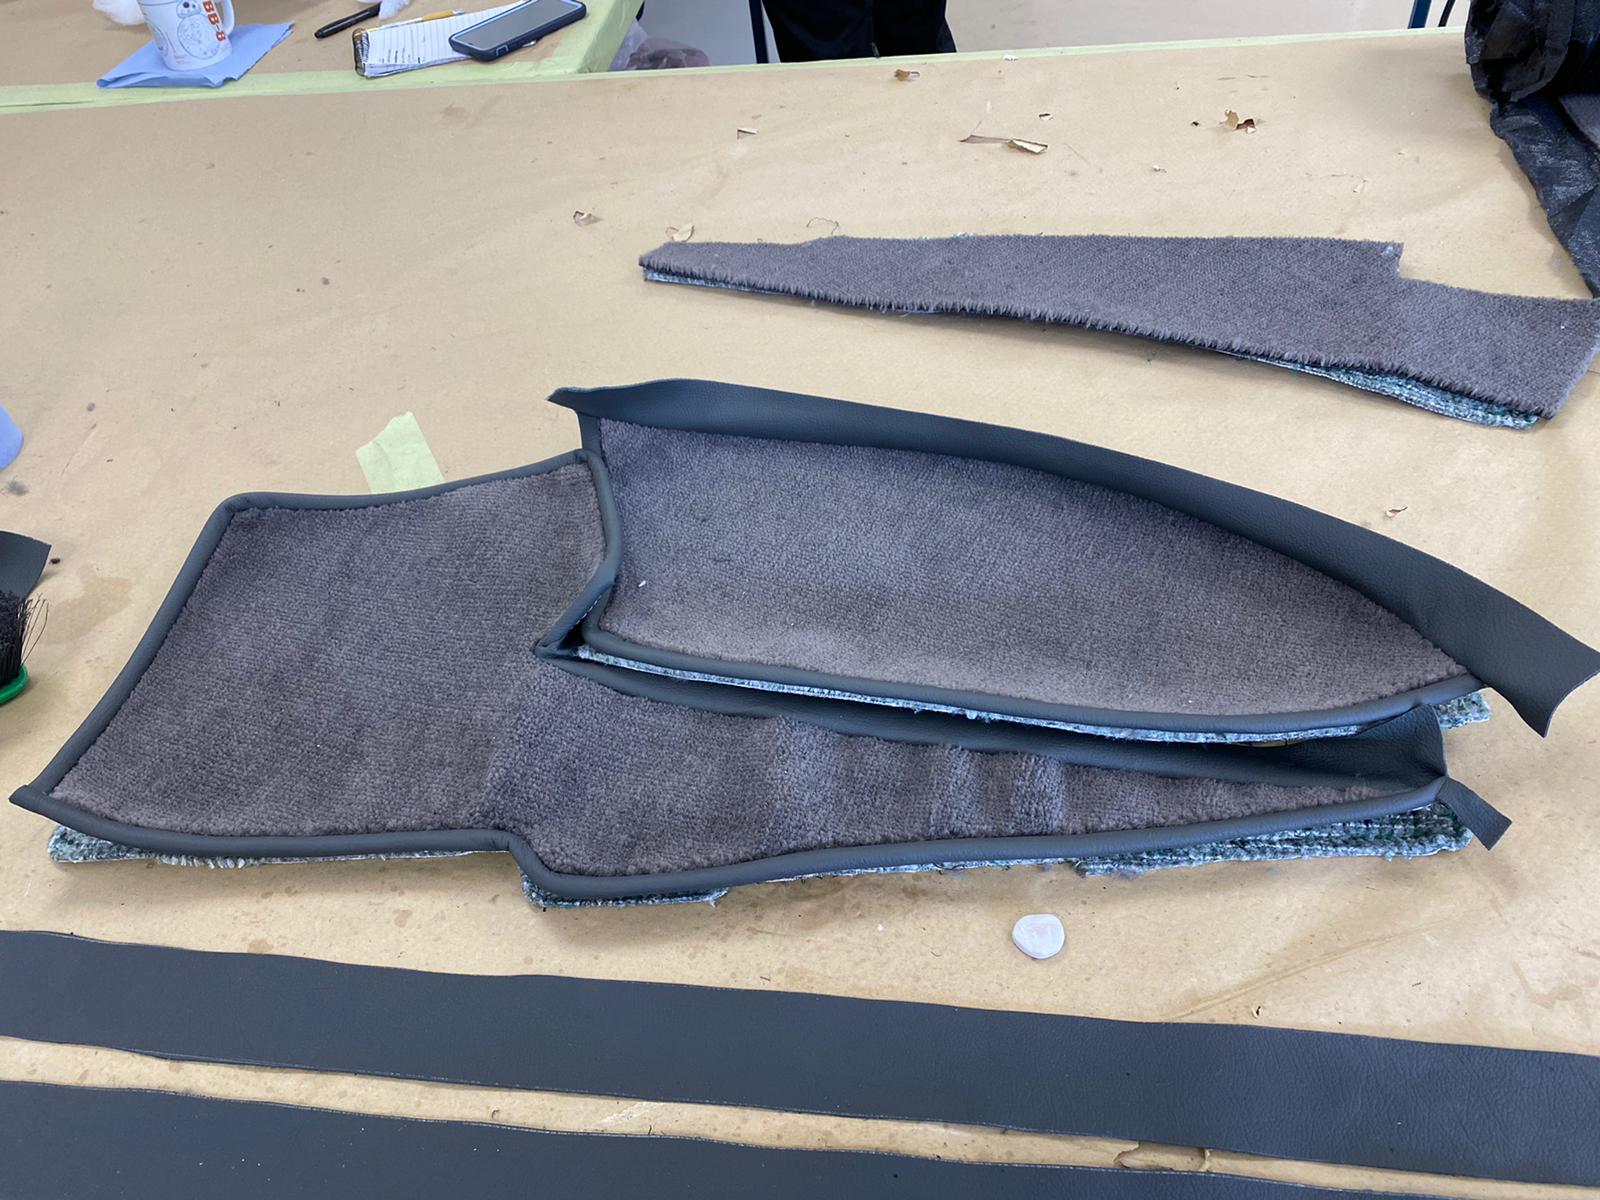
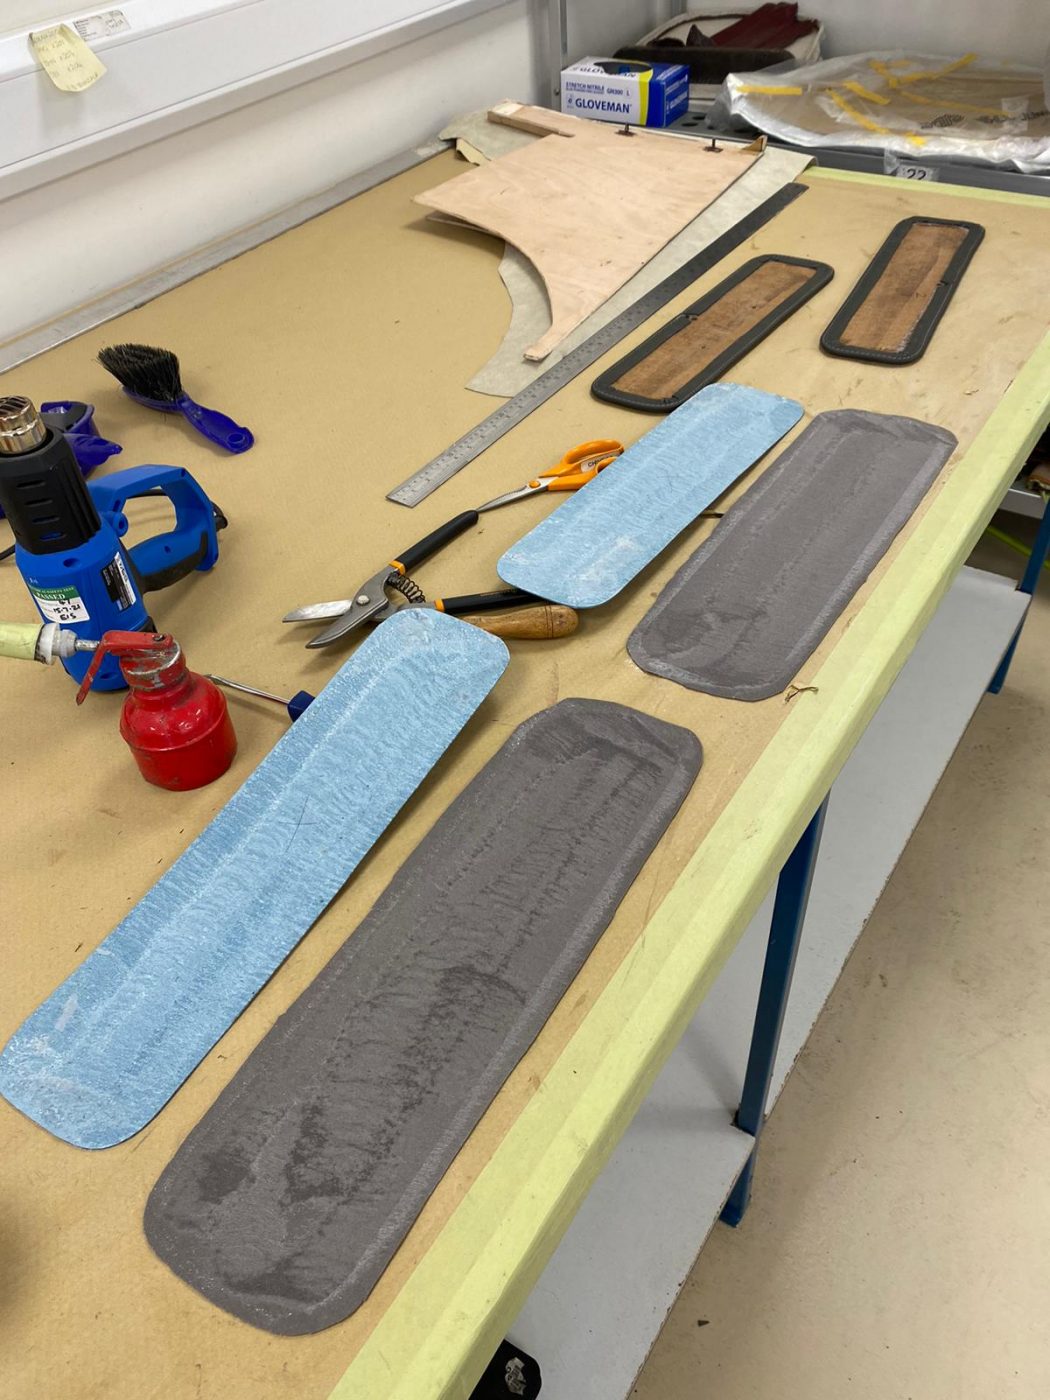
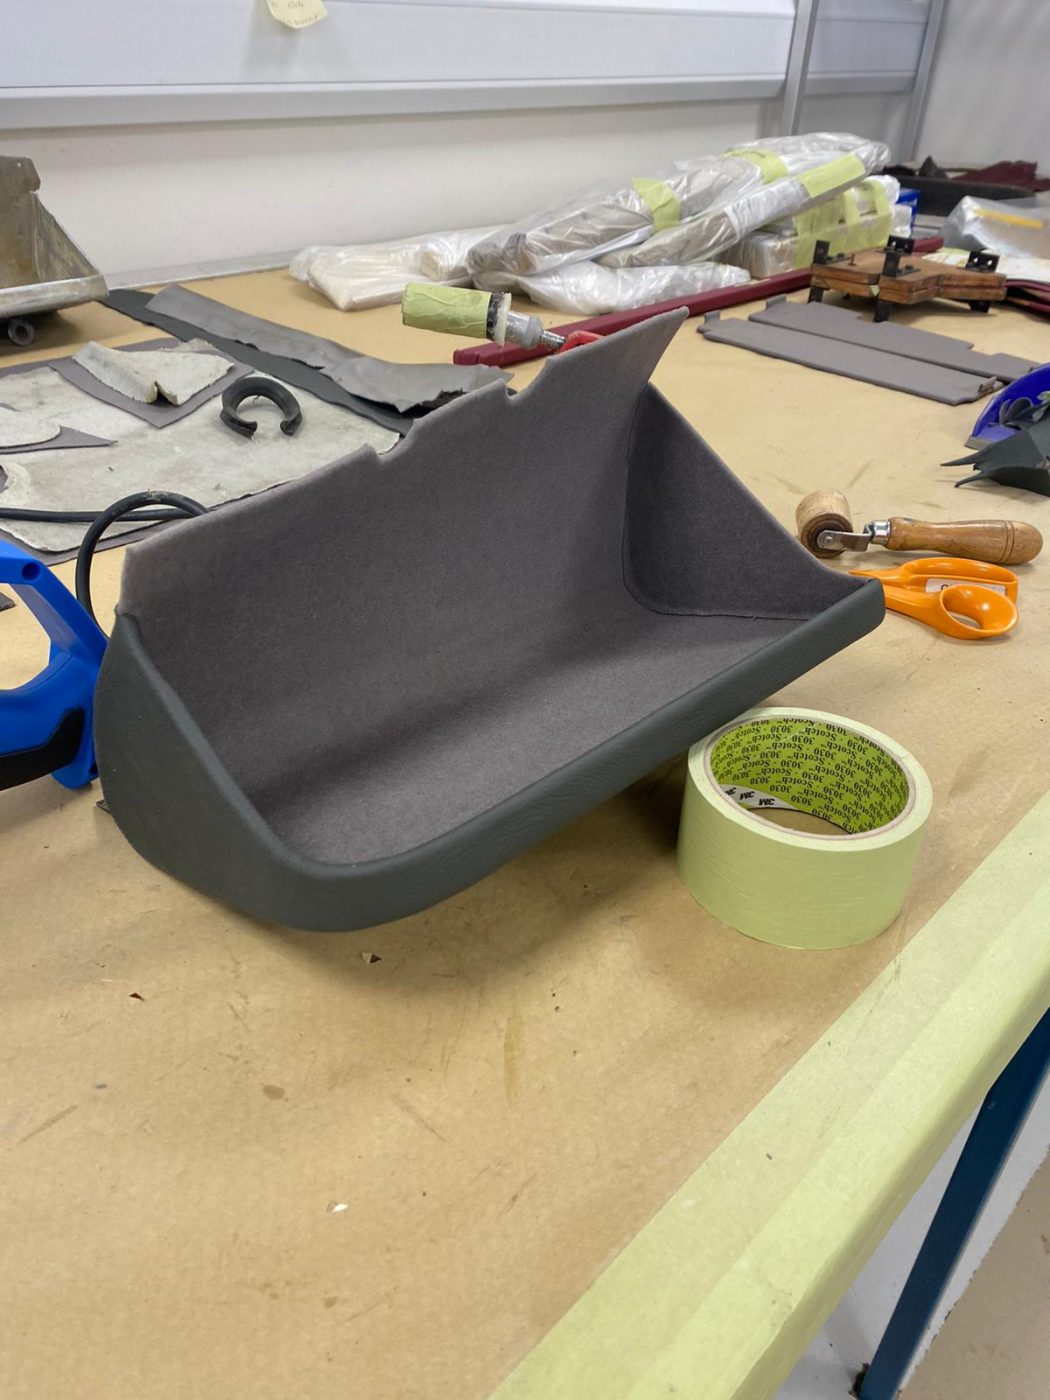
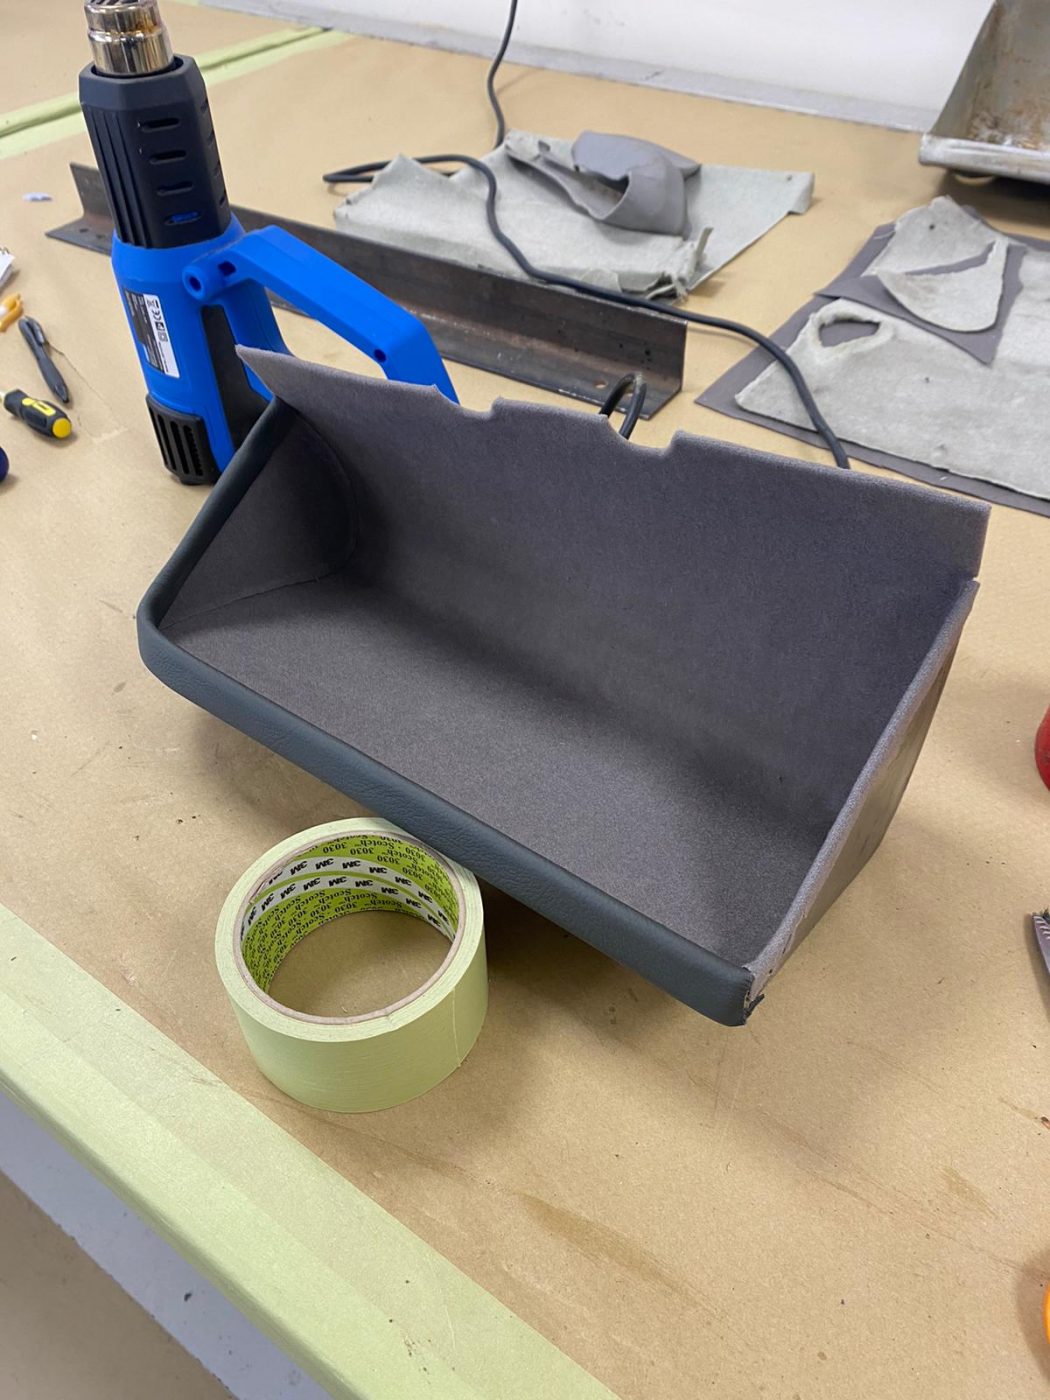
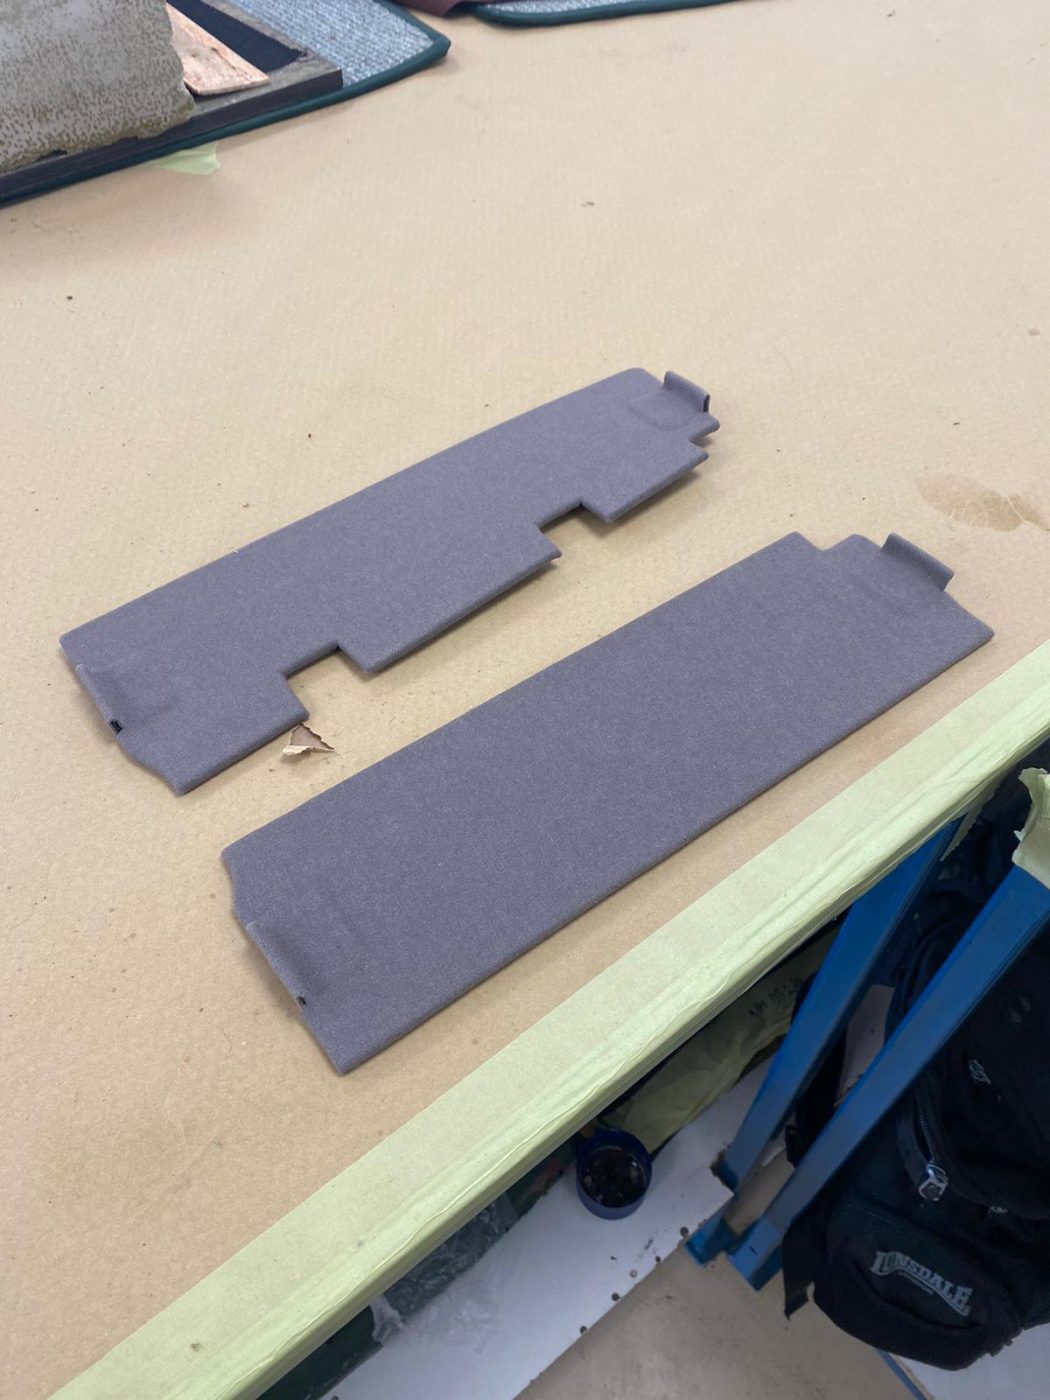
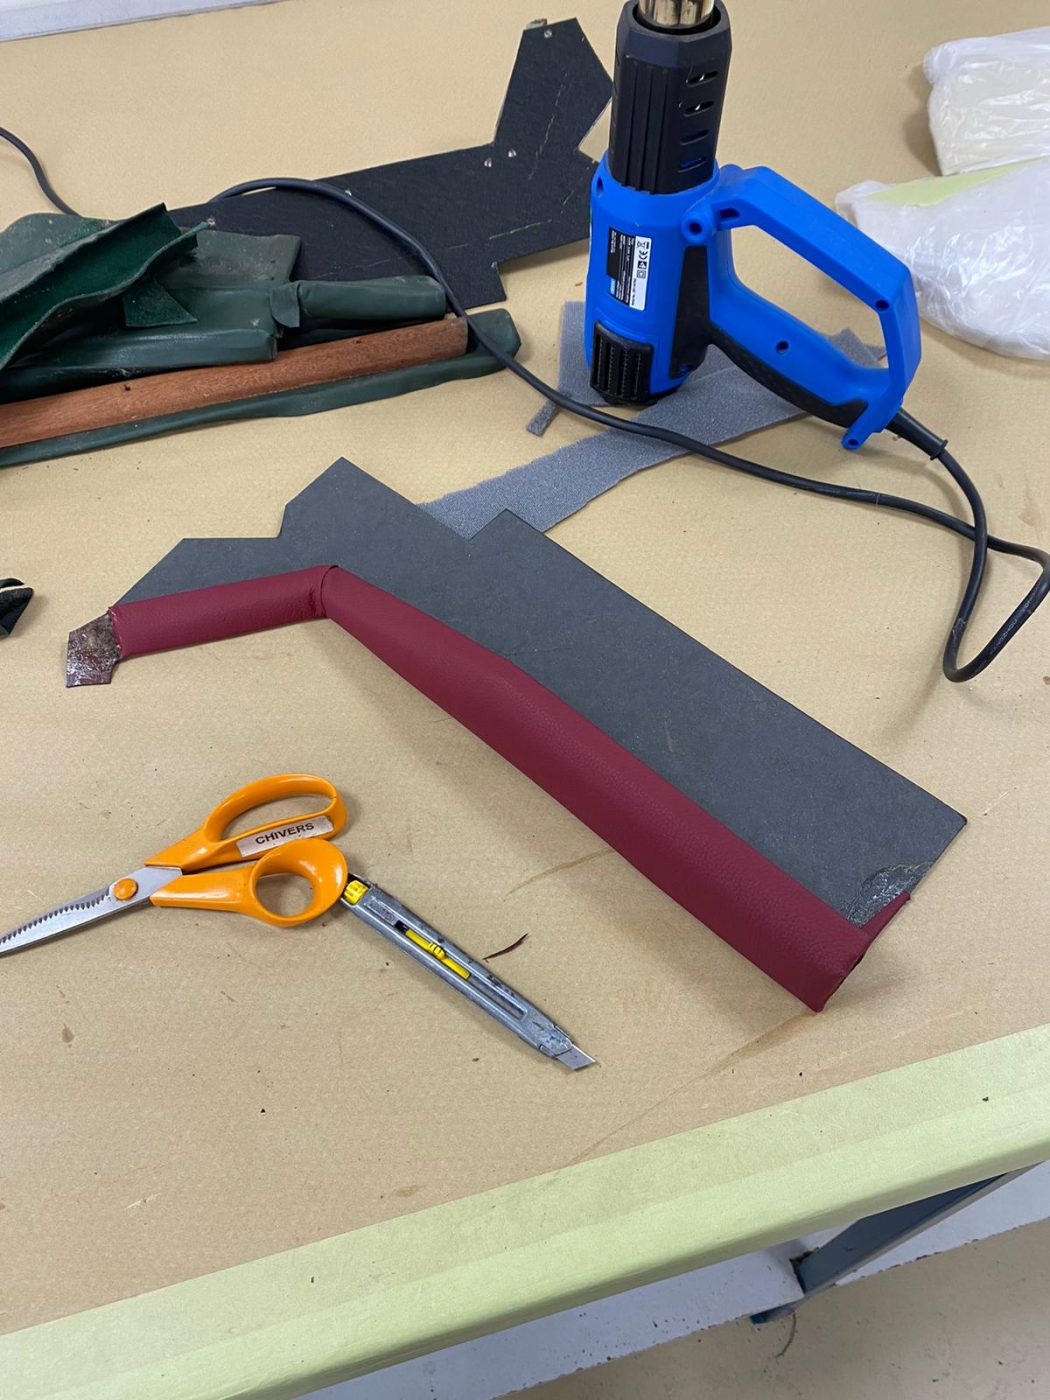
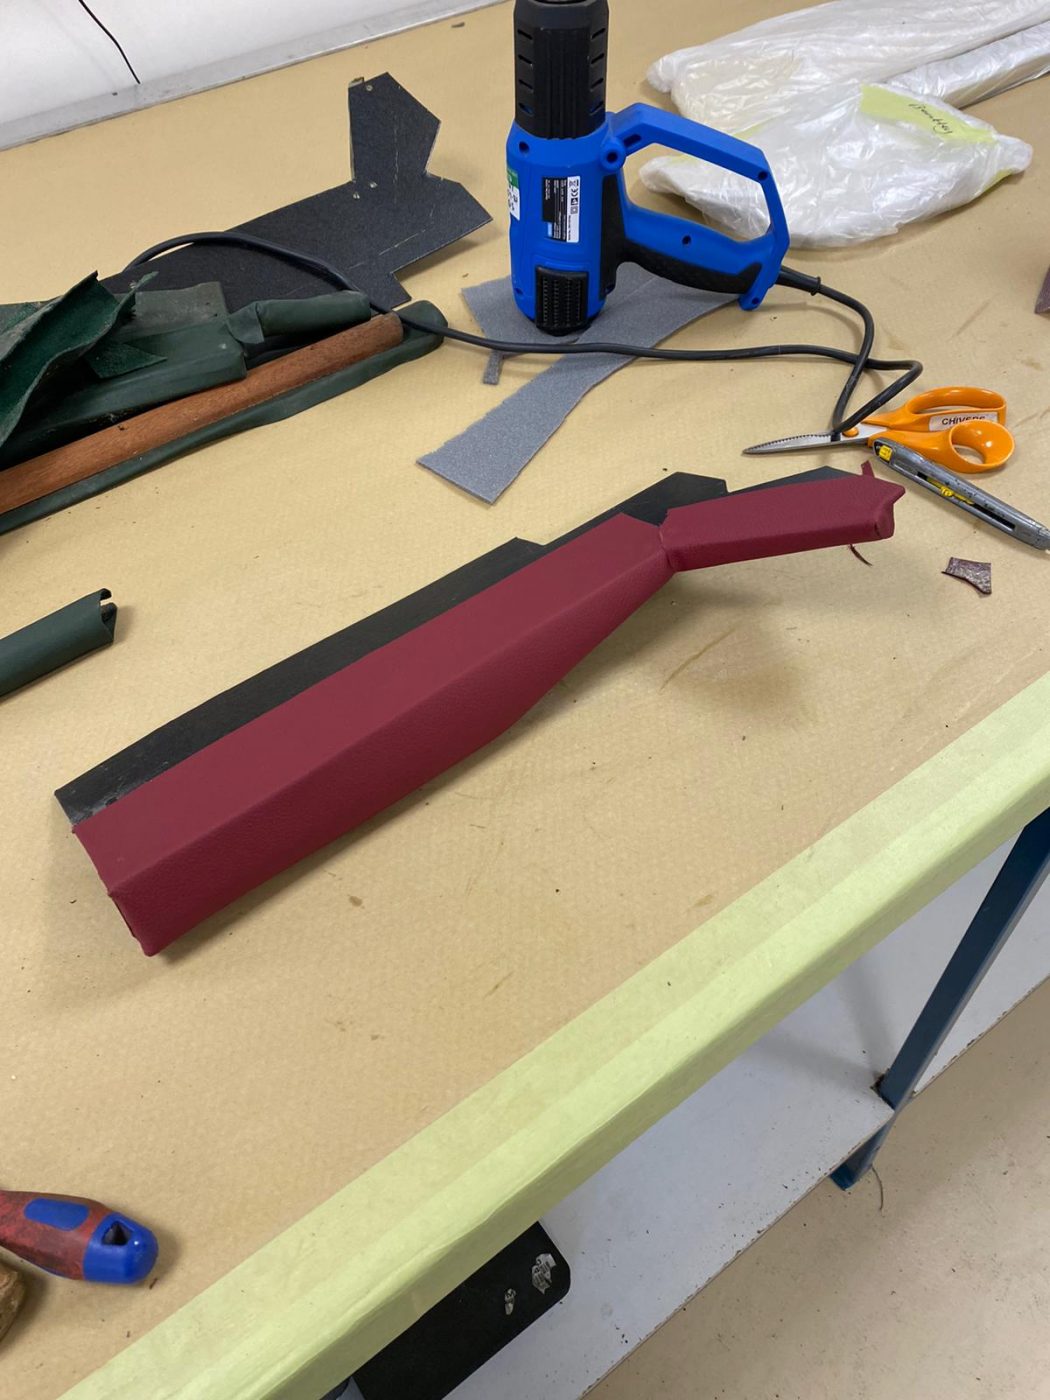
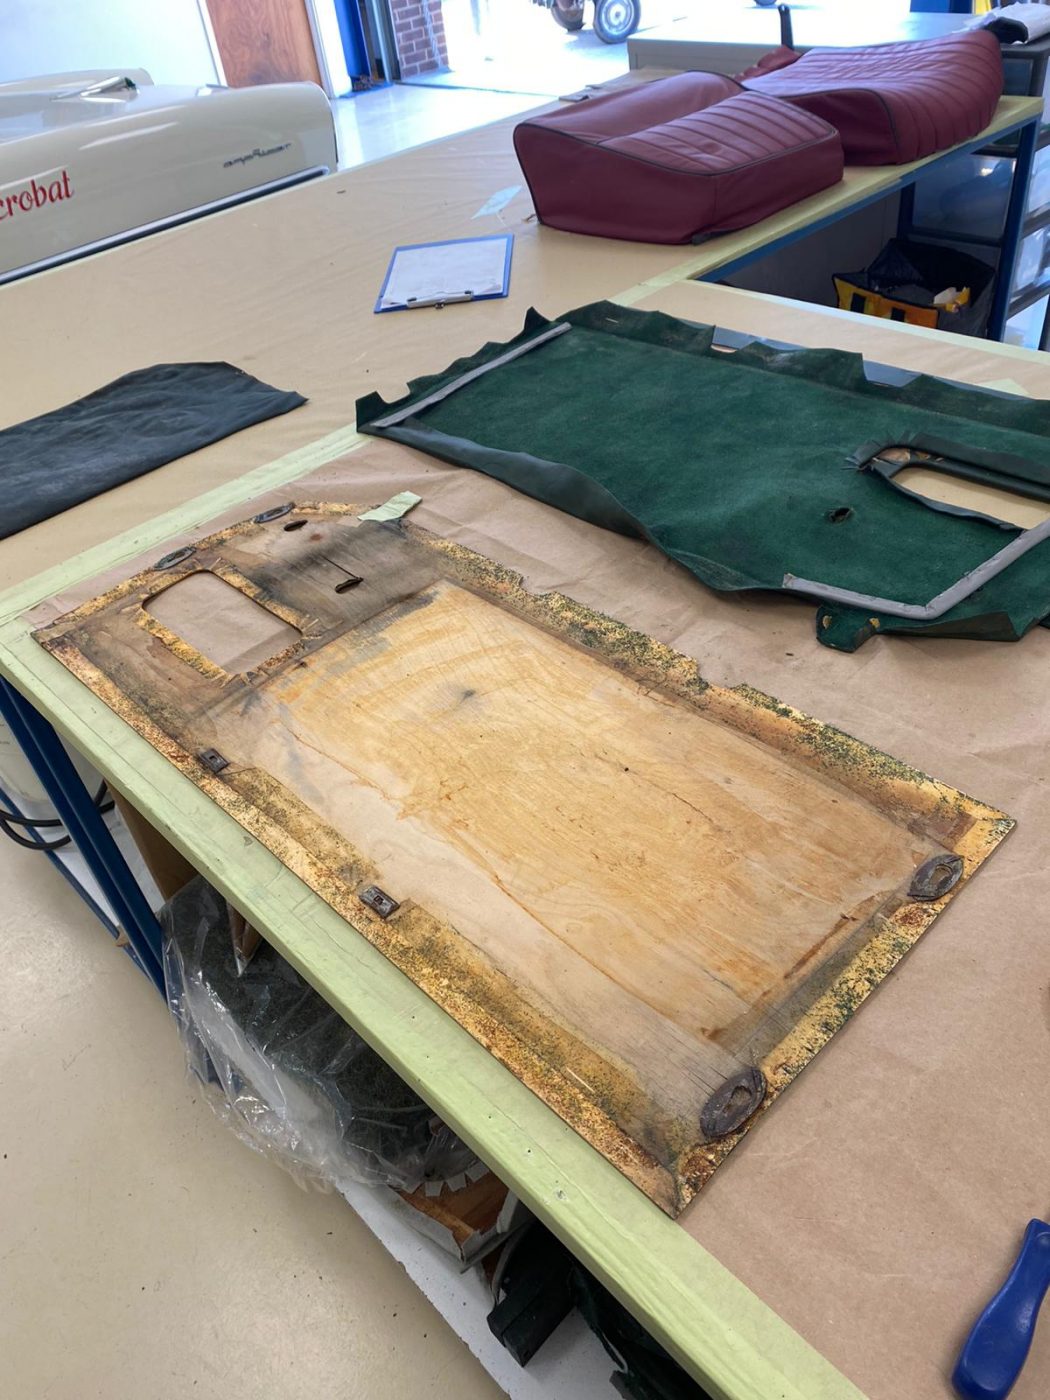
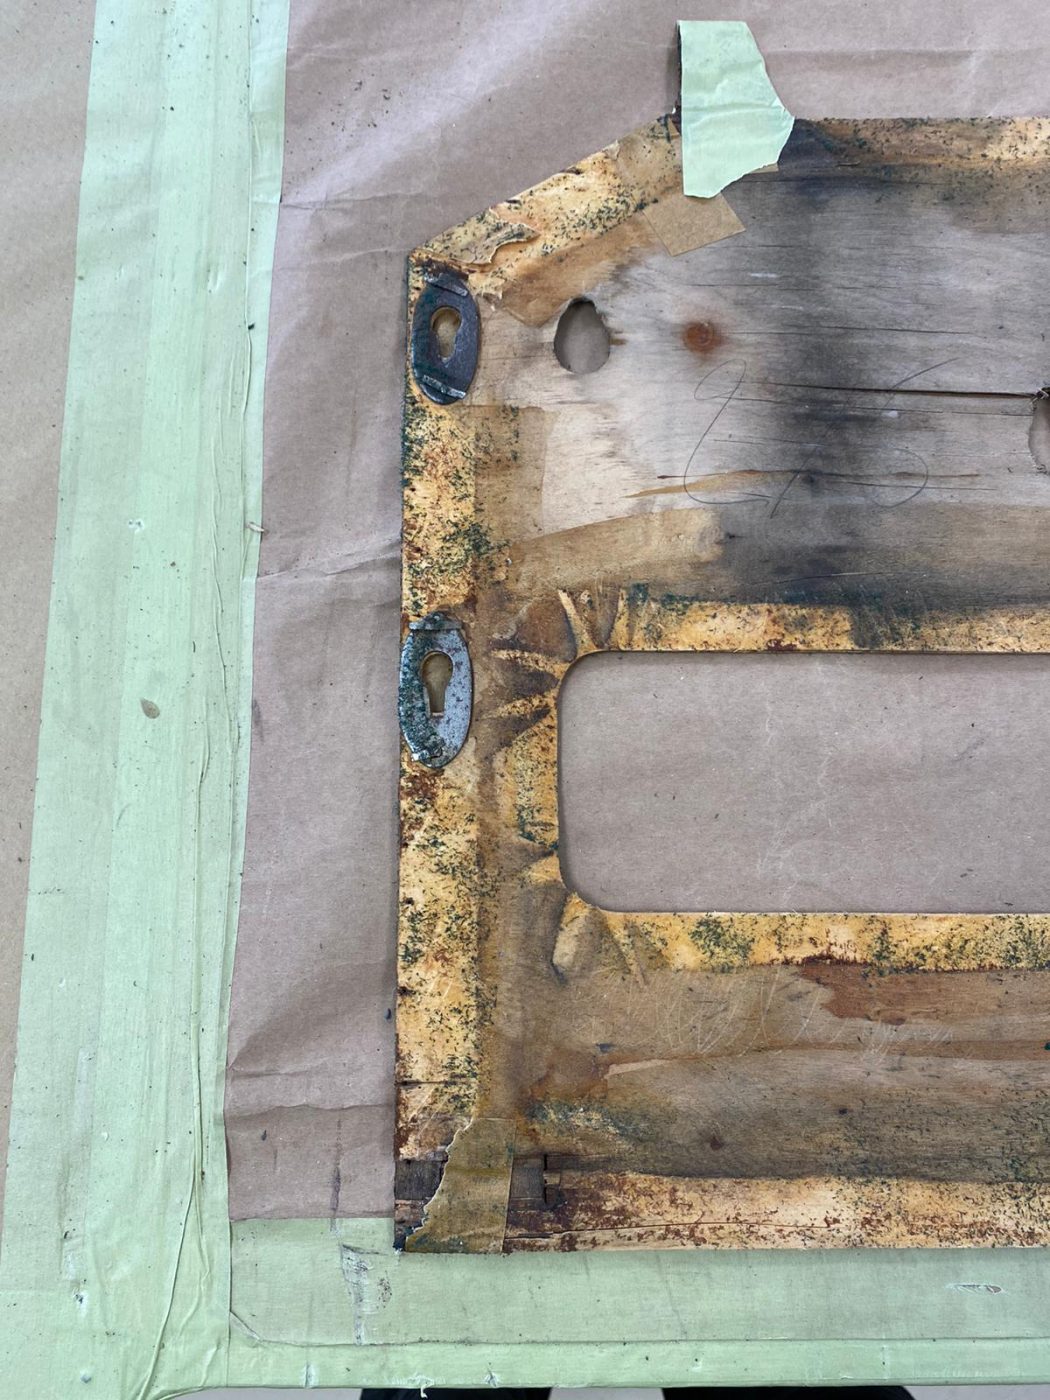
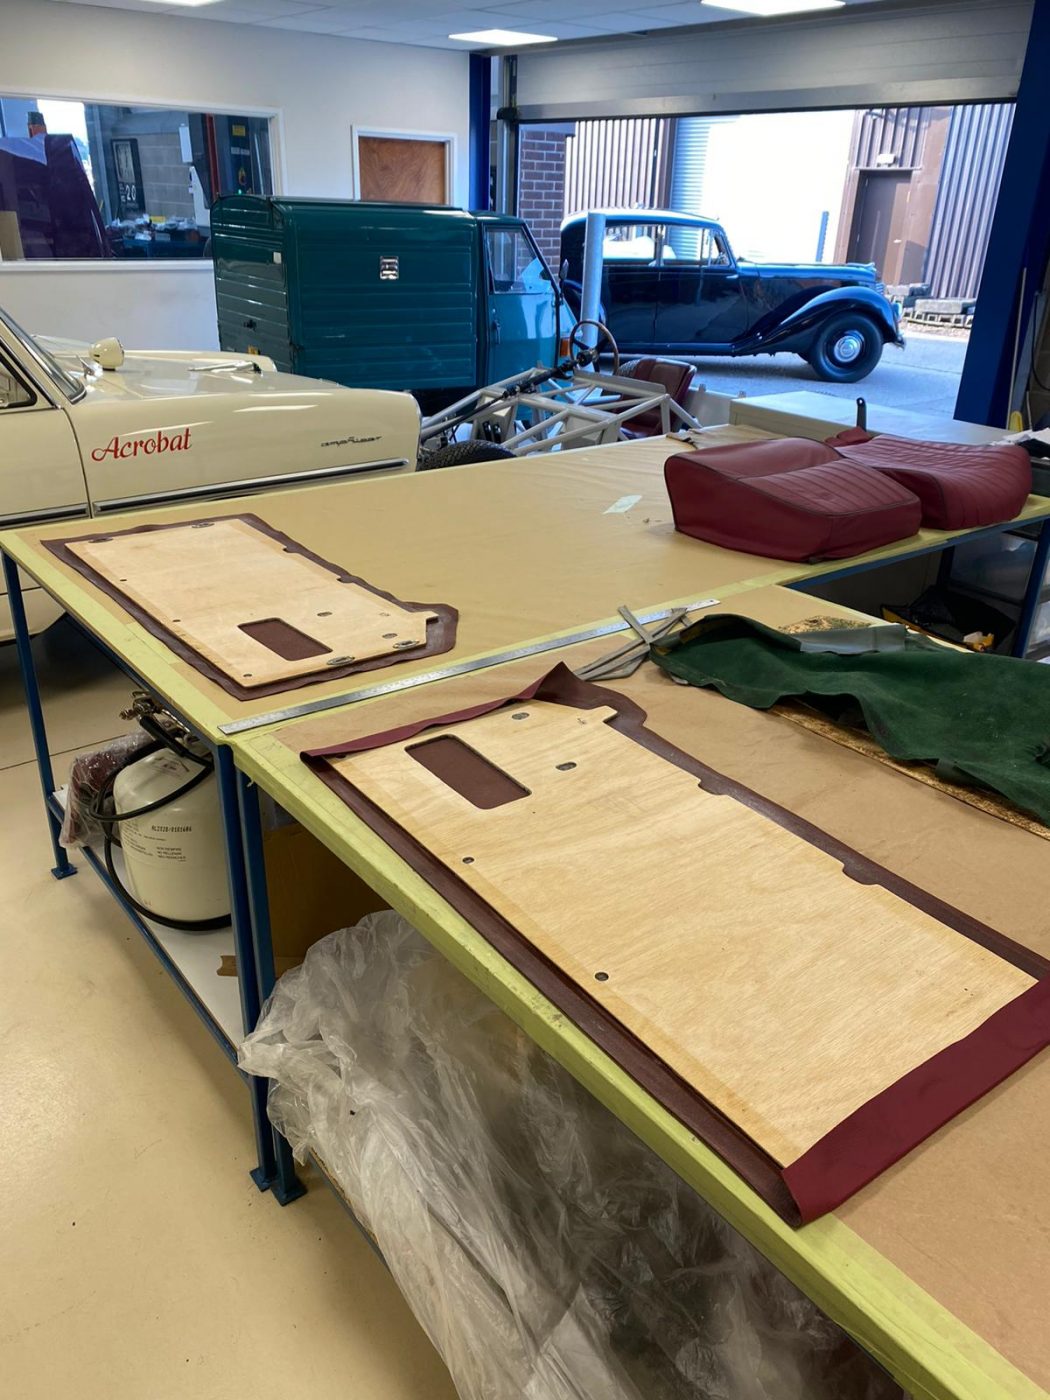
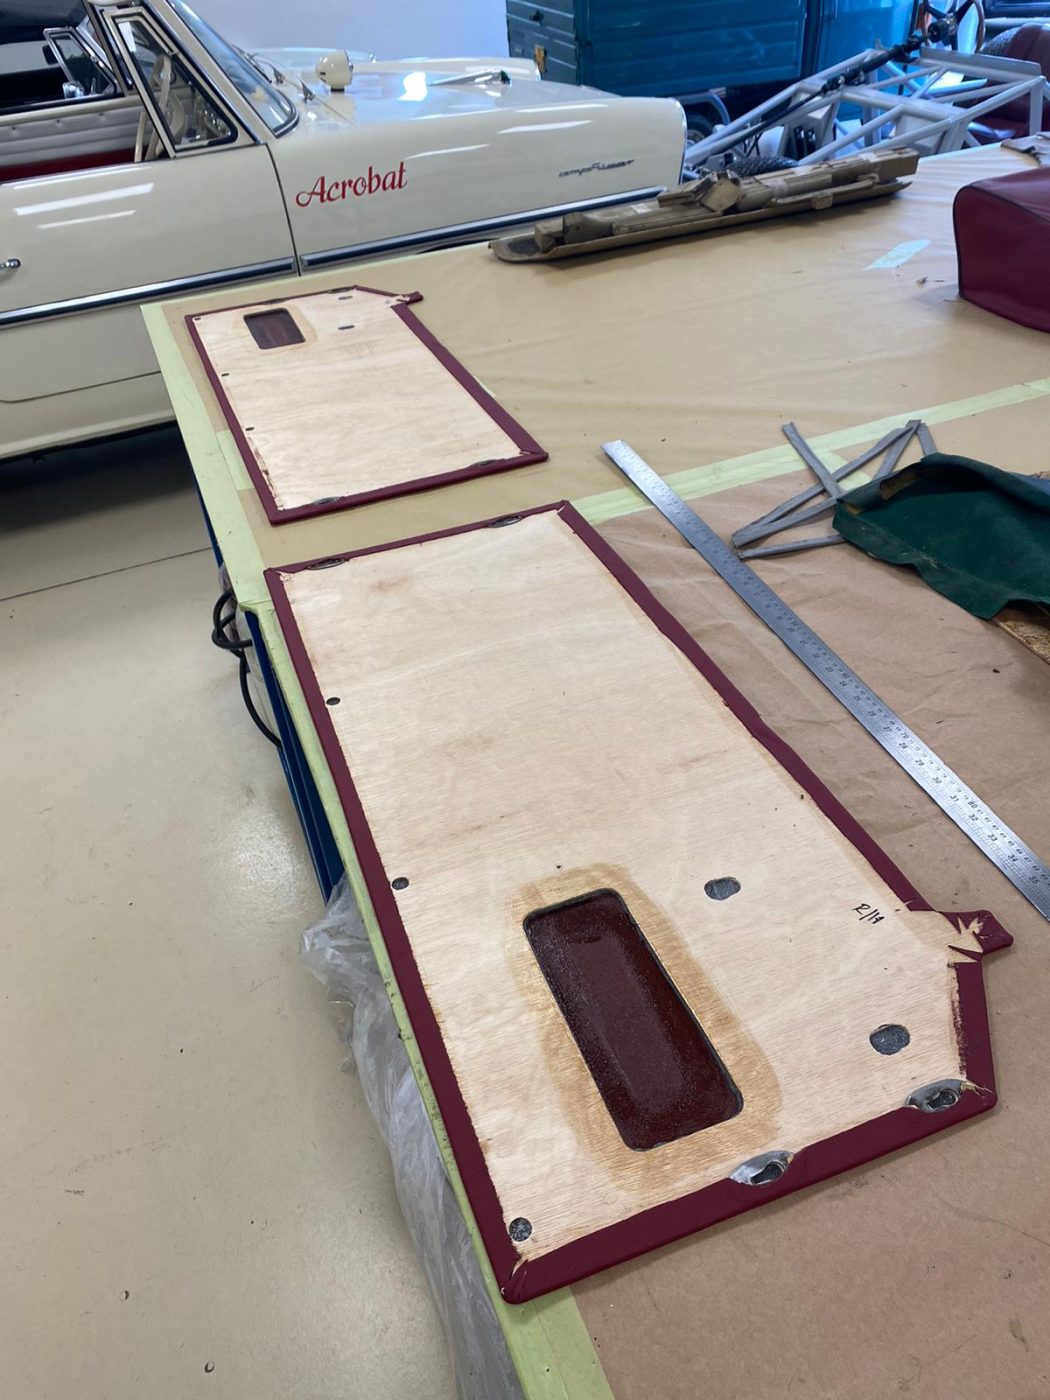
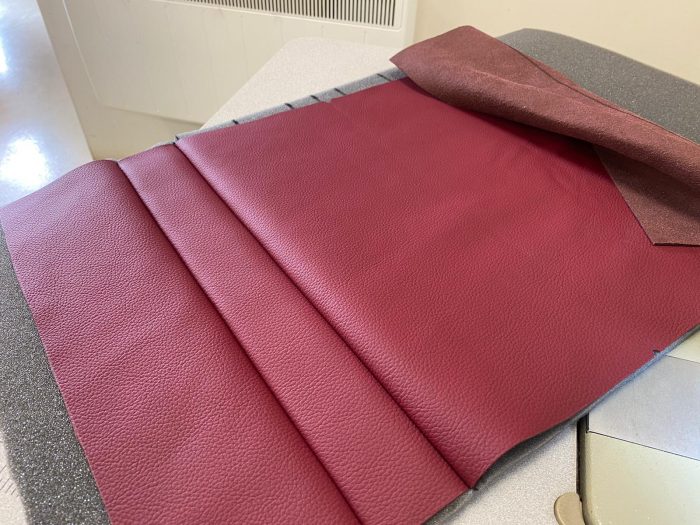
It’s the final piece to the Aston DB2/4 carpet remanufacturing. Kath has done a sterling job re-producing the carpets to the factory specification of grey


It’s the final piece to the Aston DB2/4 carpet remanufacturing. Kath has done a sterling job re-producing the carpets to the factory specification of grey

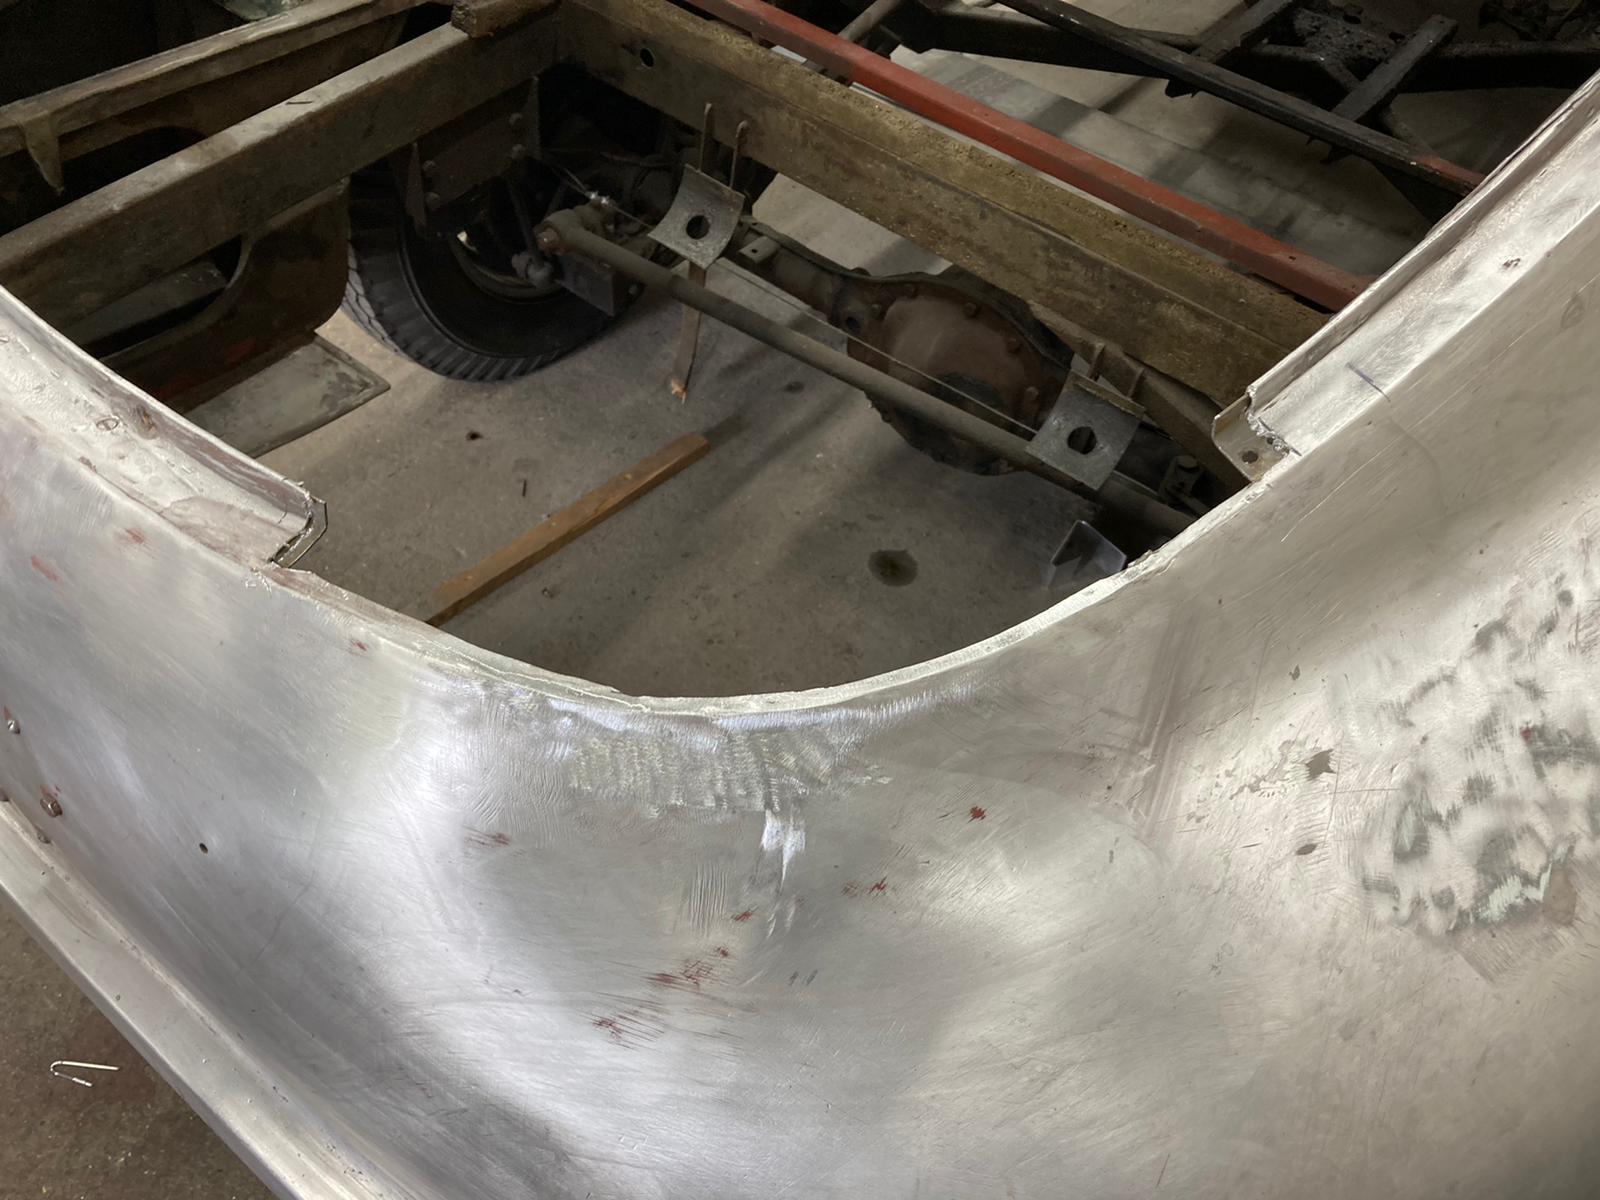
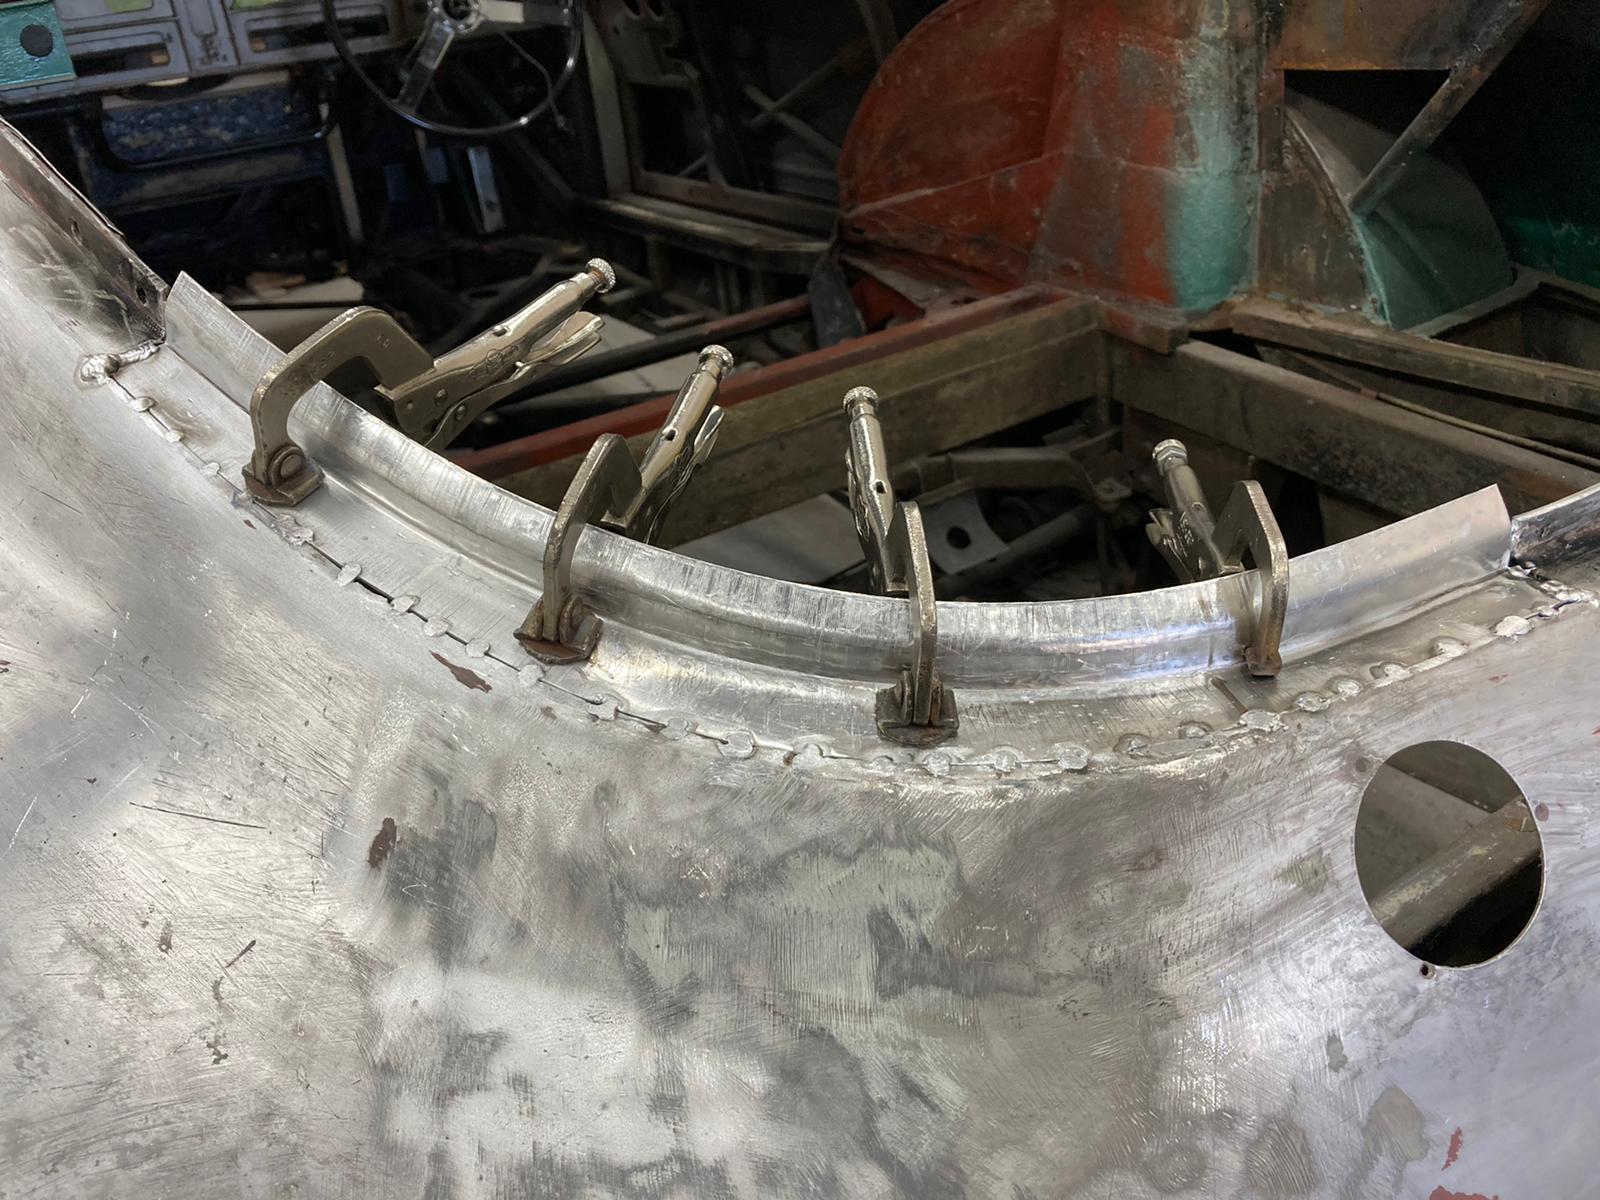
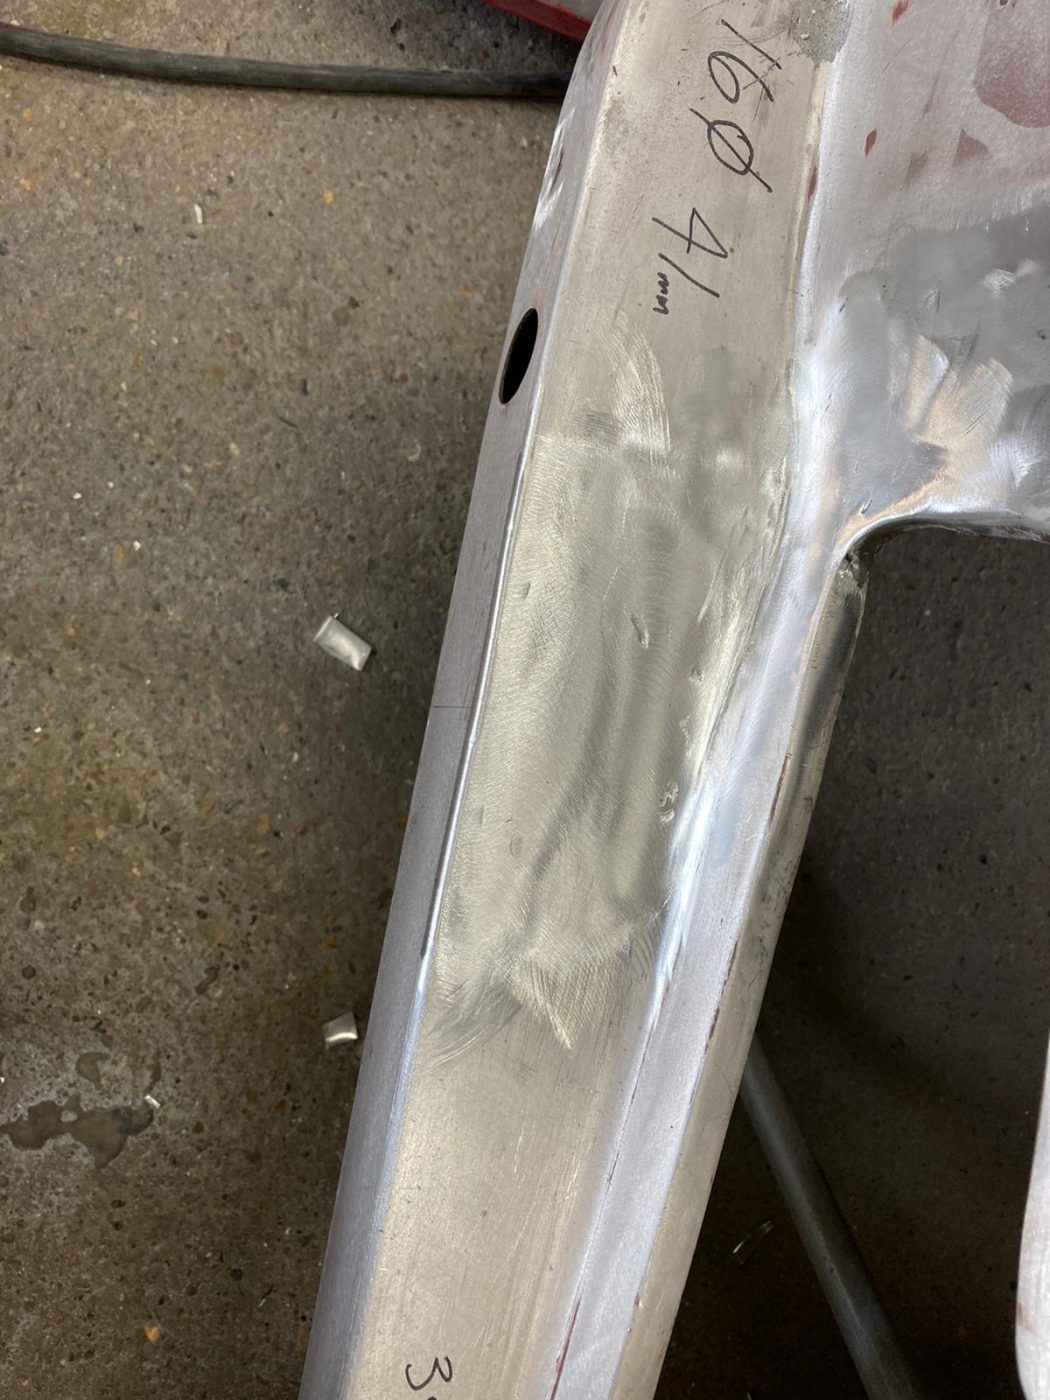
Clinton is continuing to work his magic and do an incredible job to the rebuild and re-shaping of the rear of our 1955 Aston martin
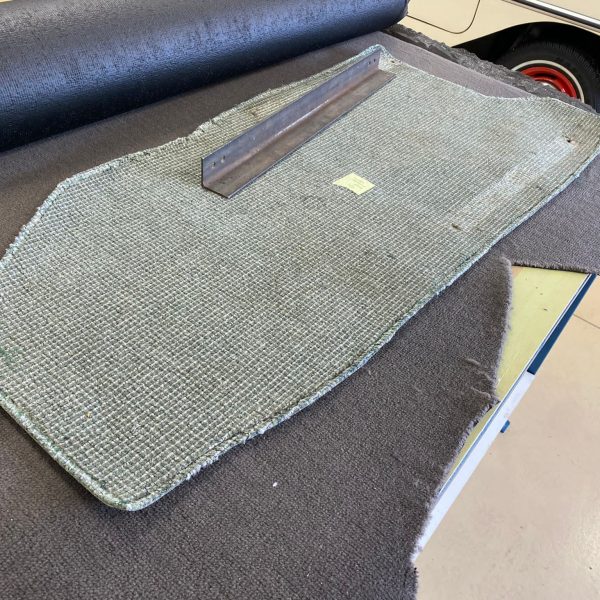
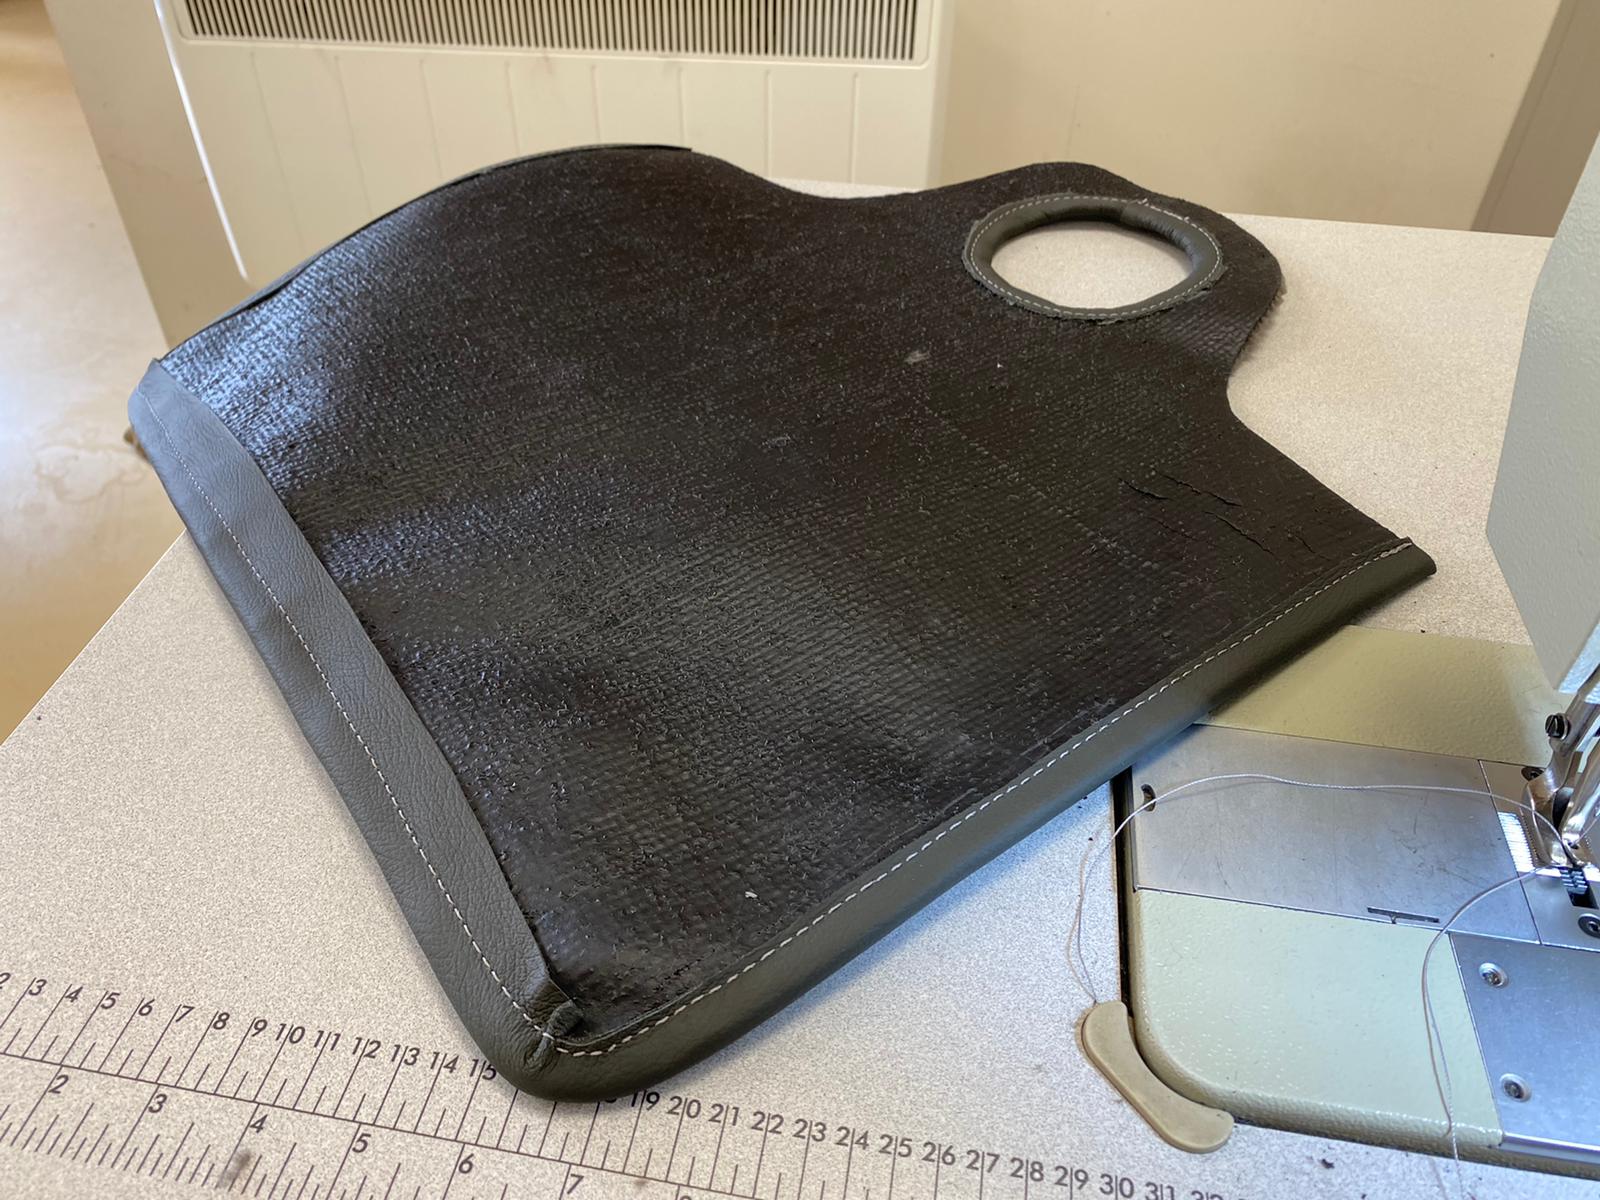
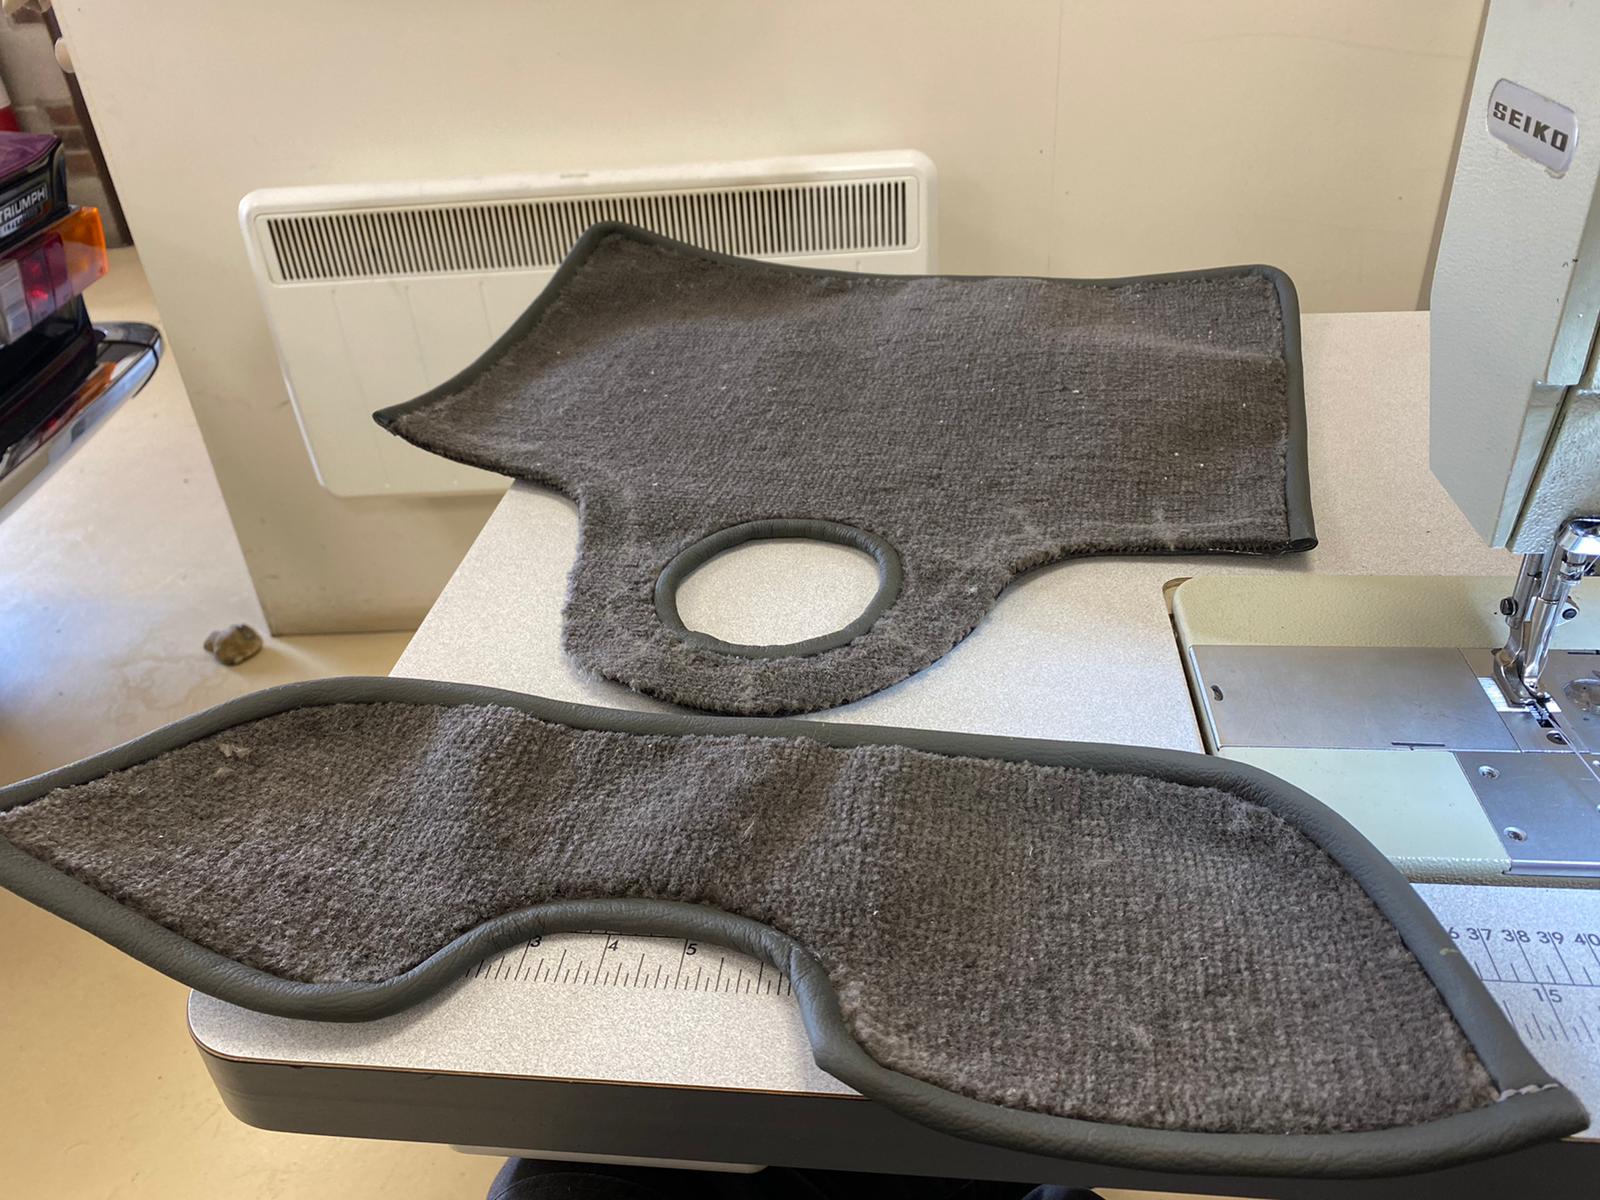
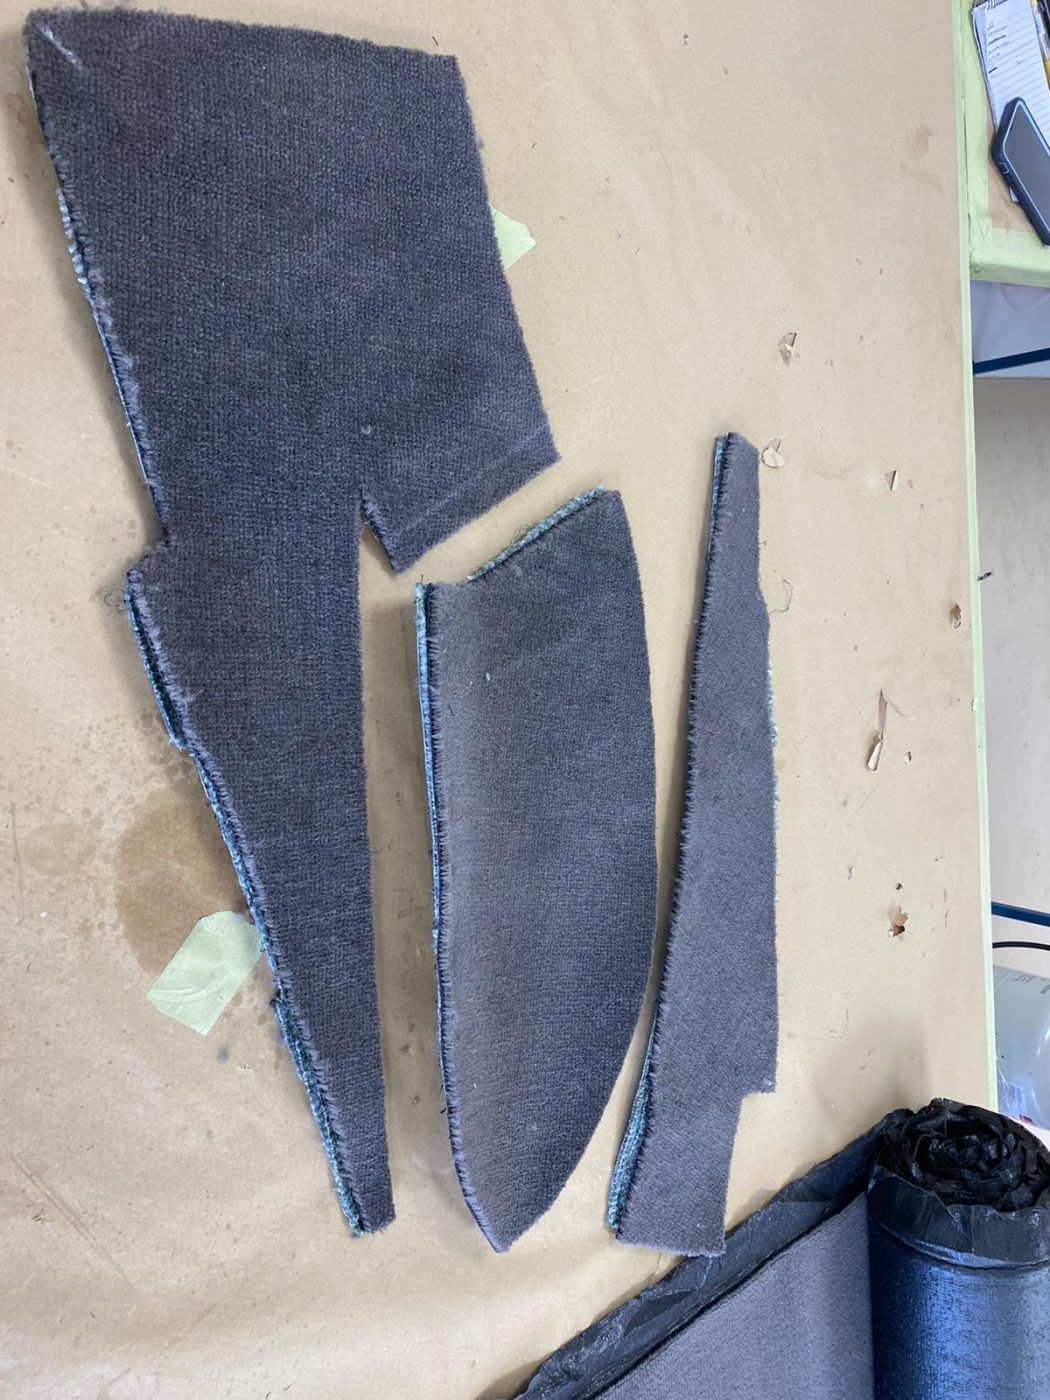
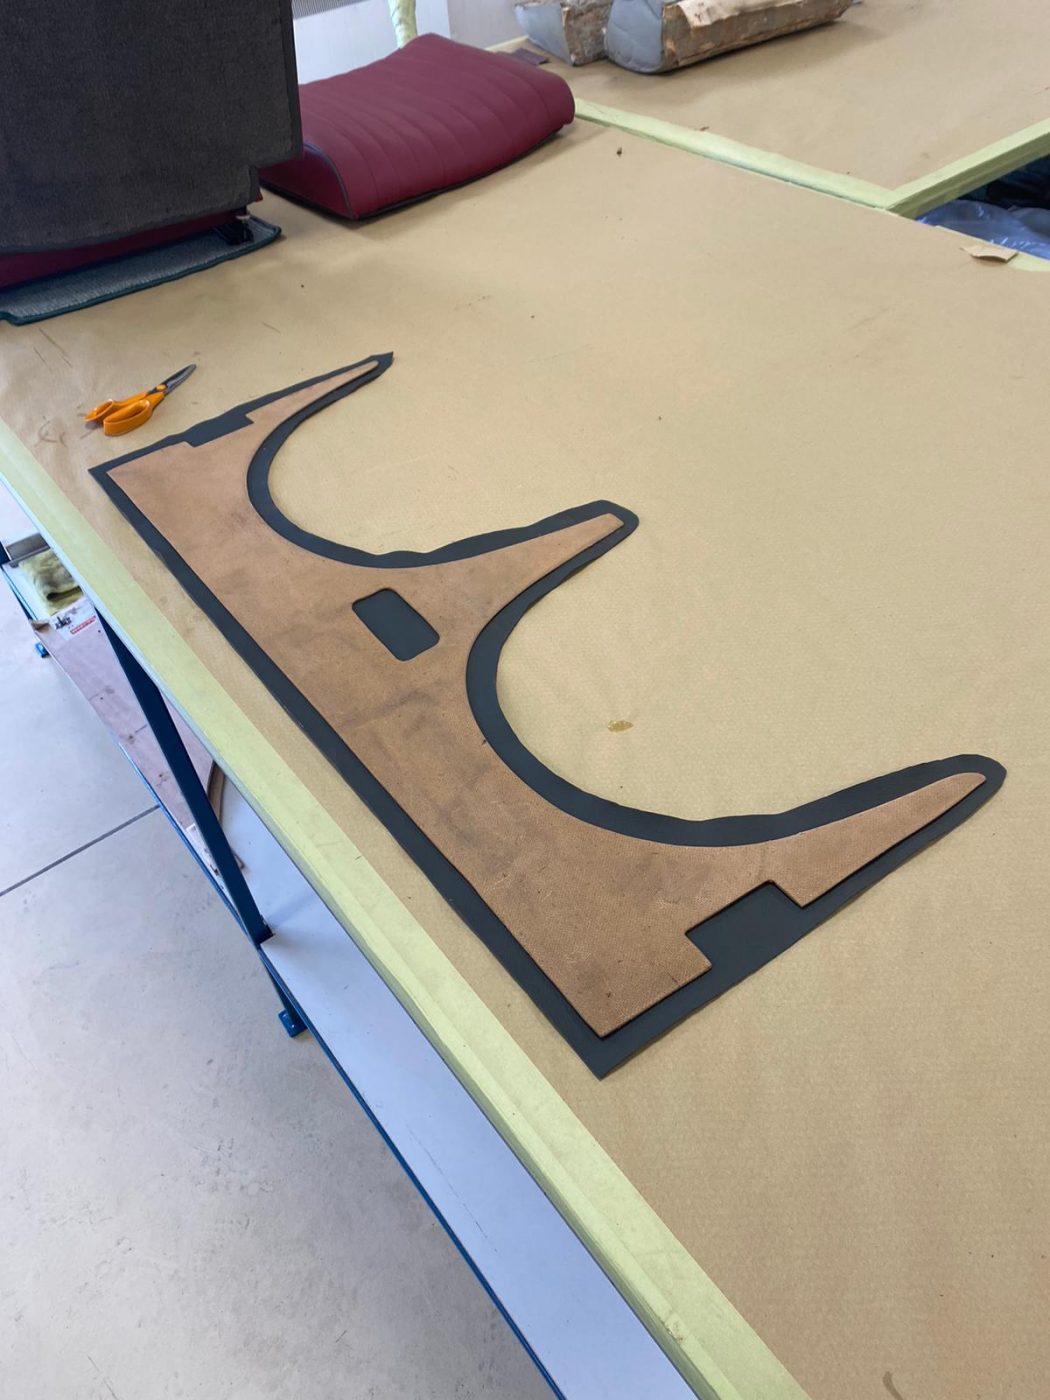
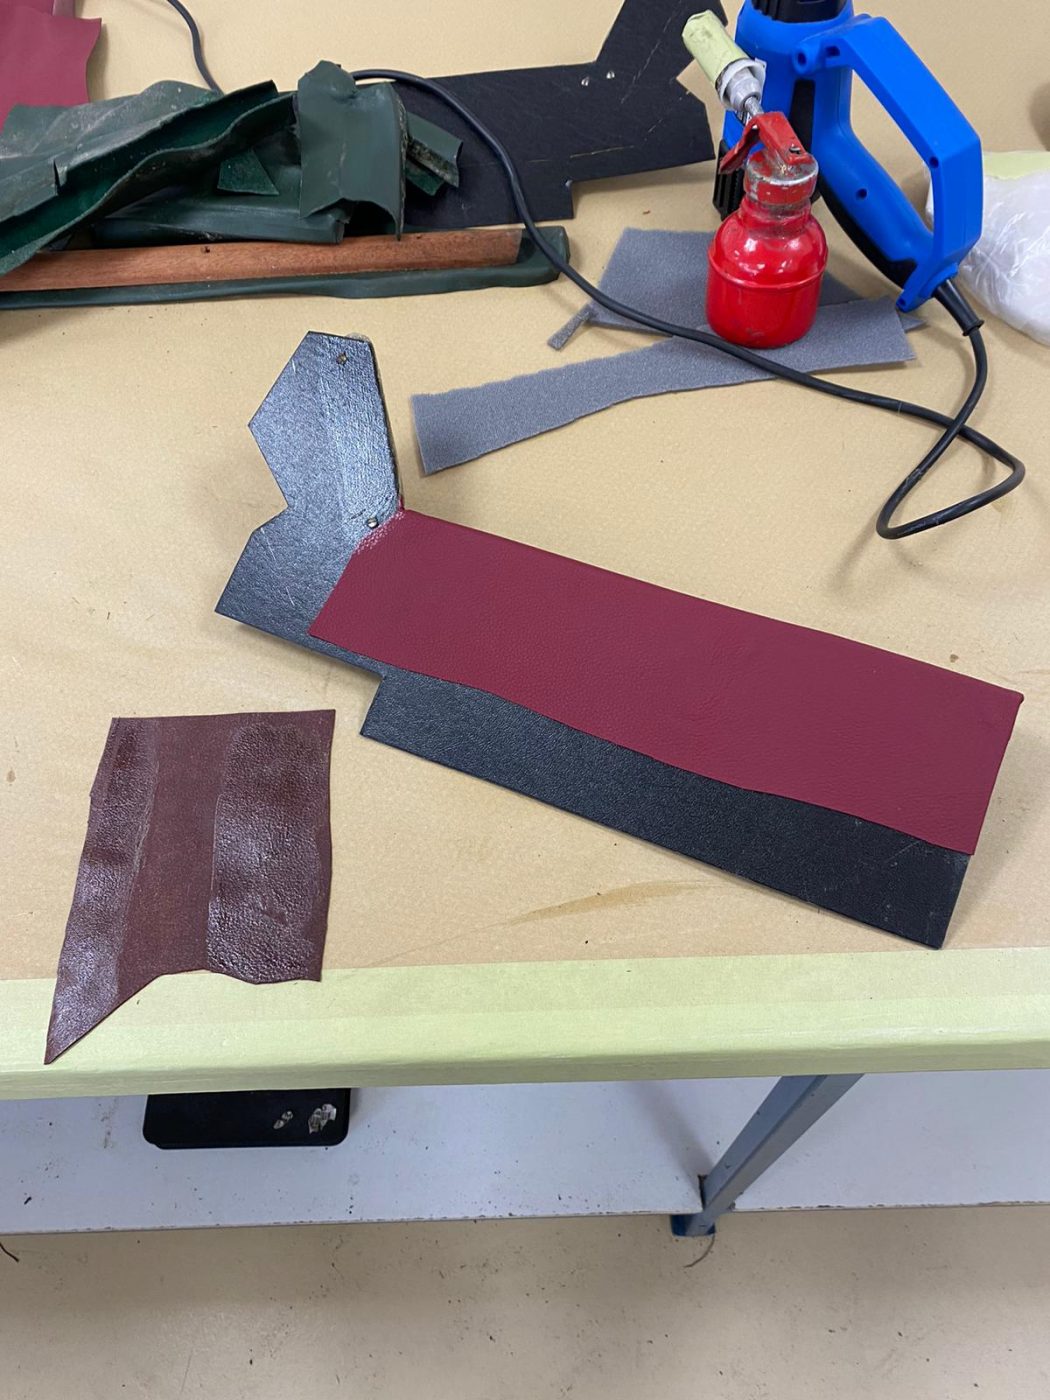
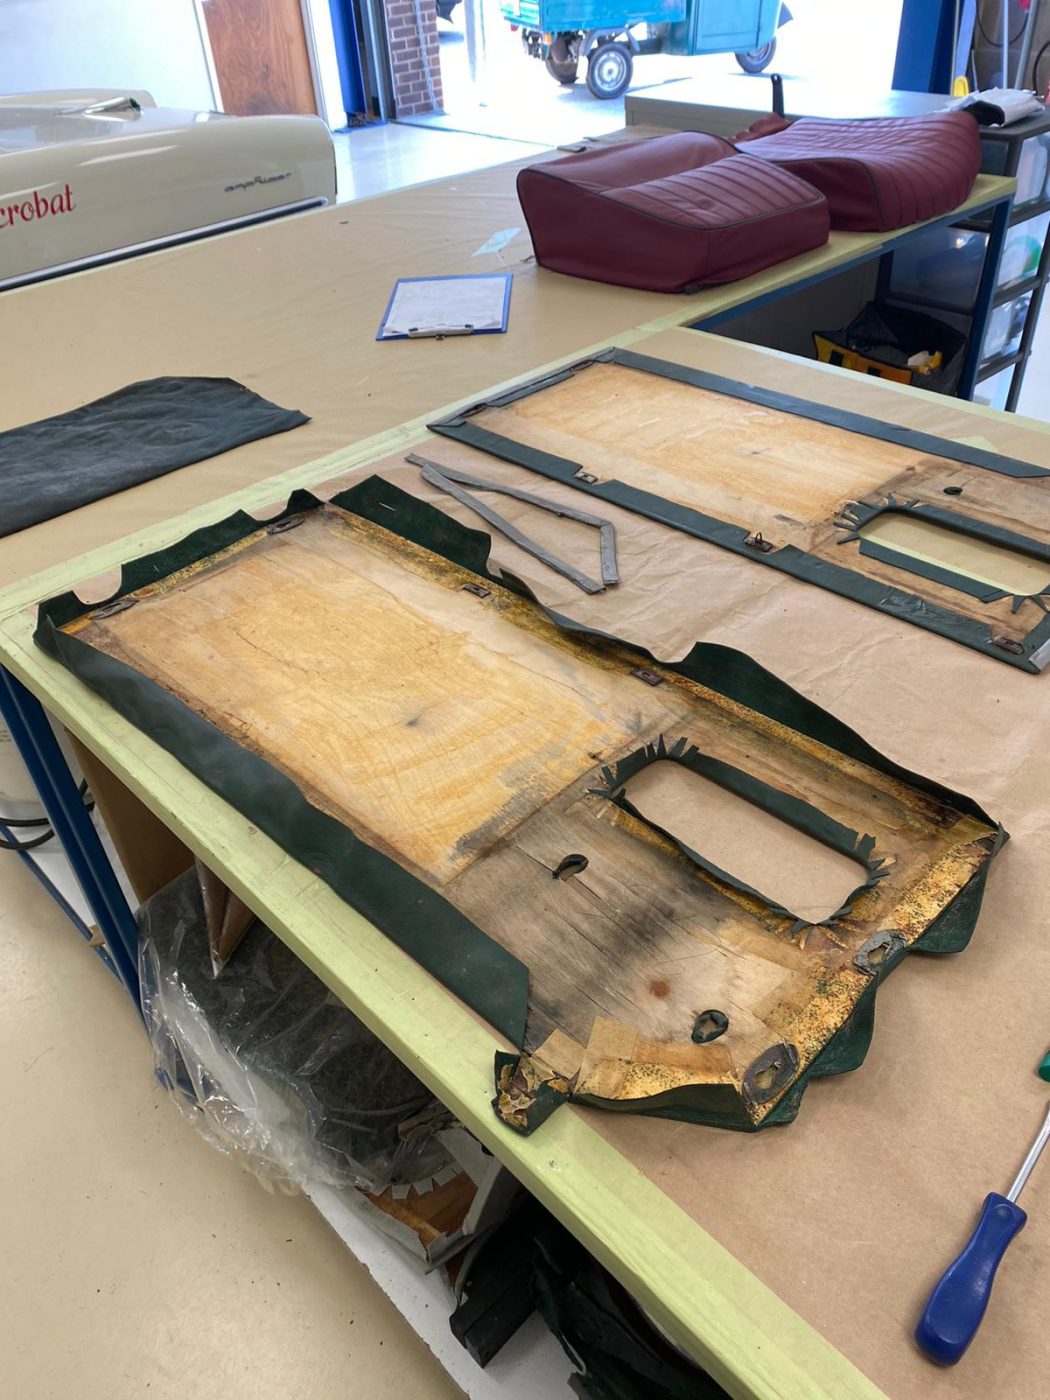
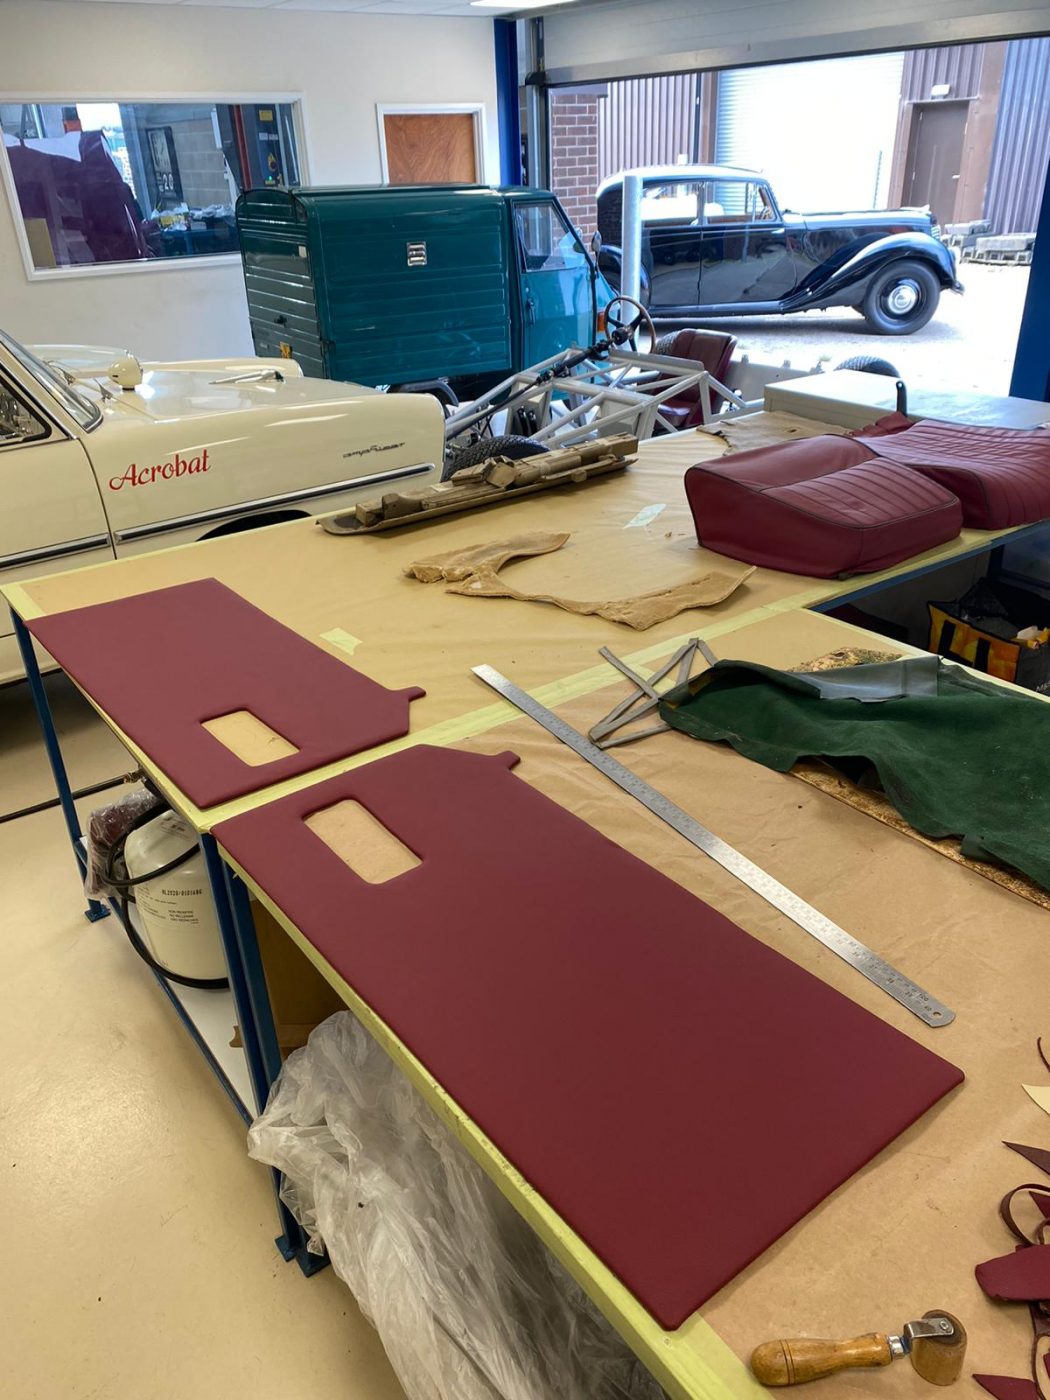
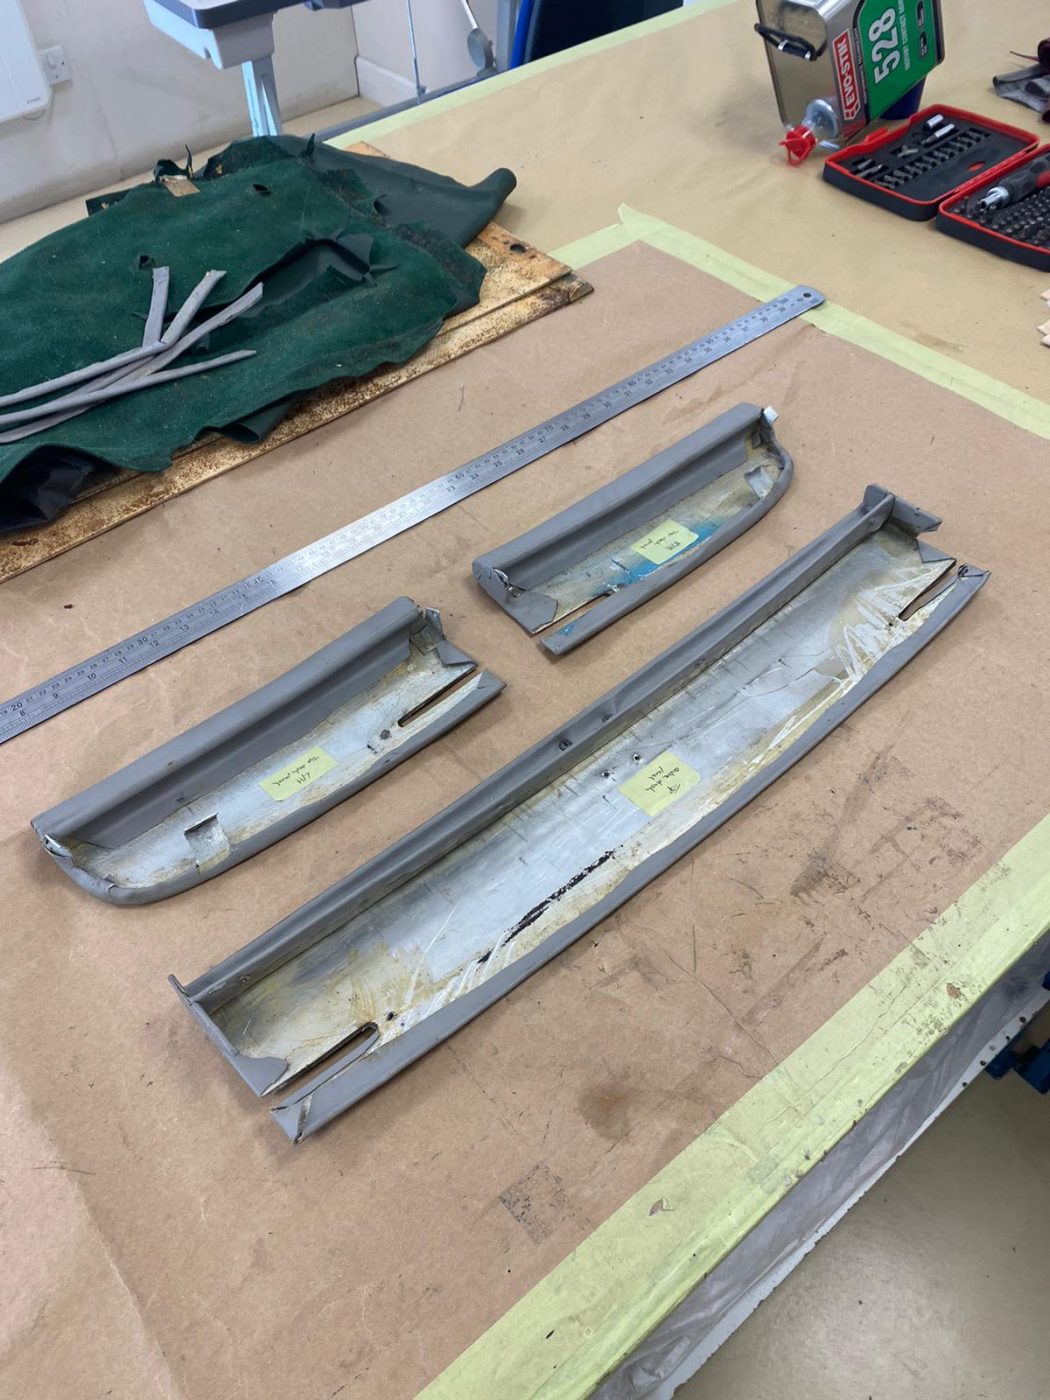
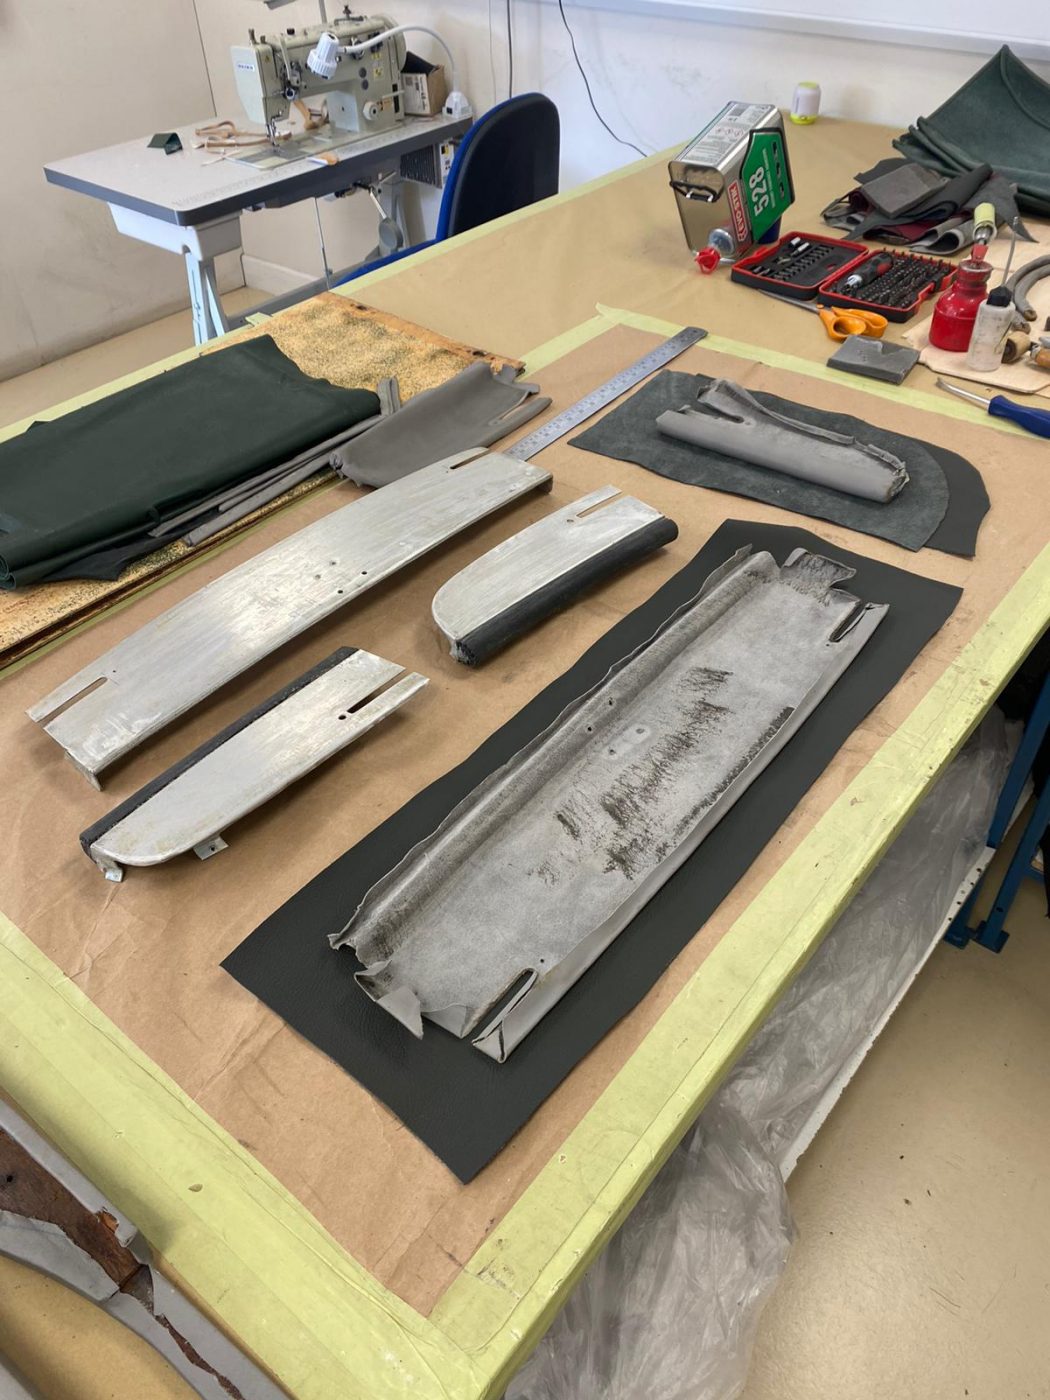
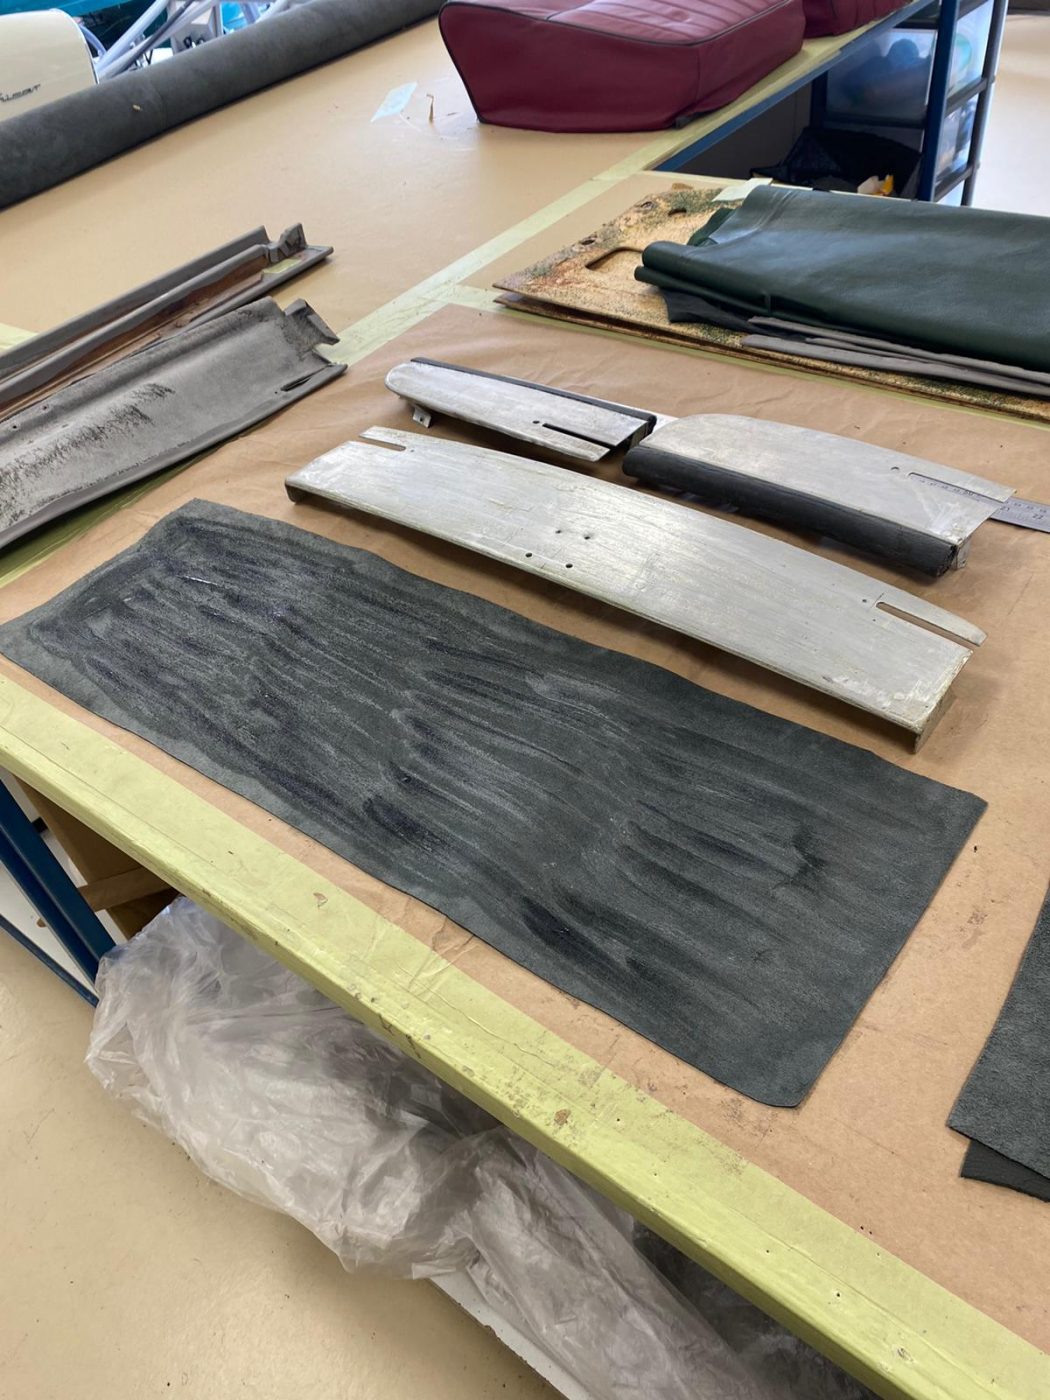
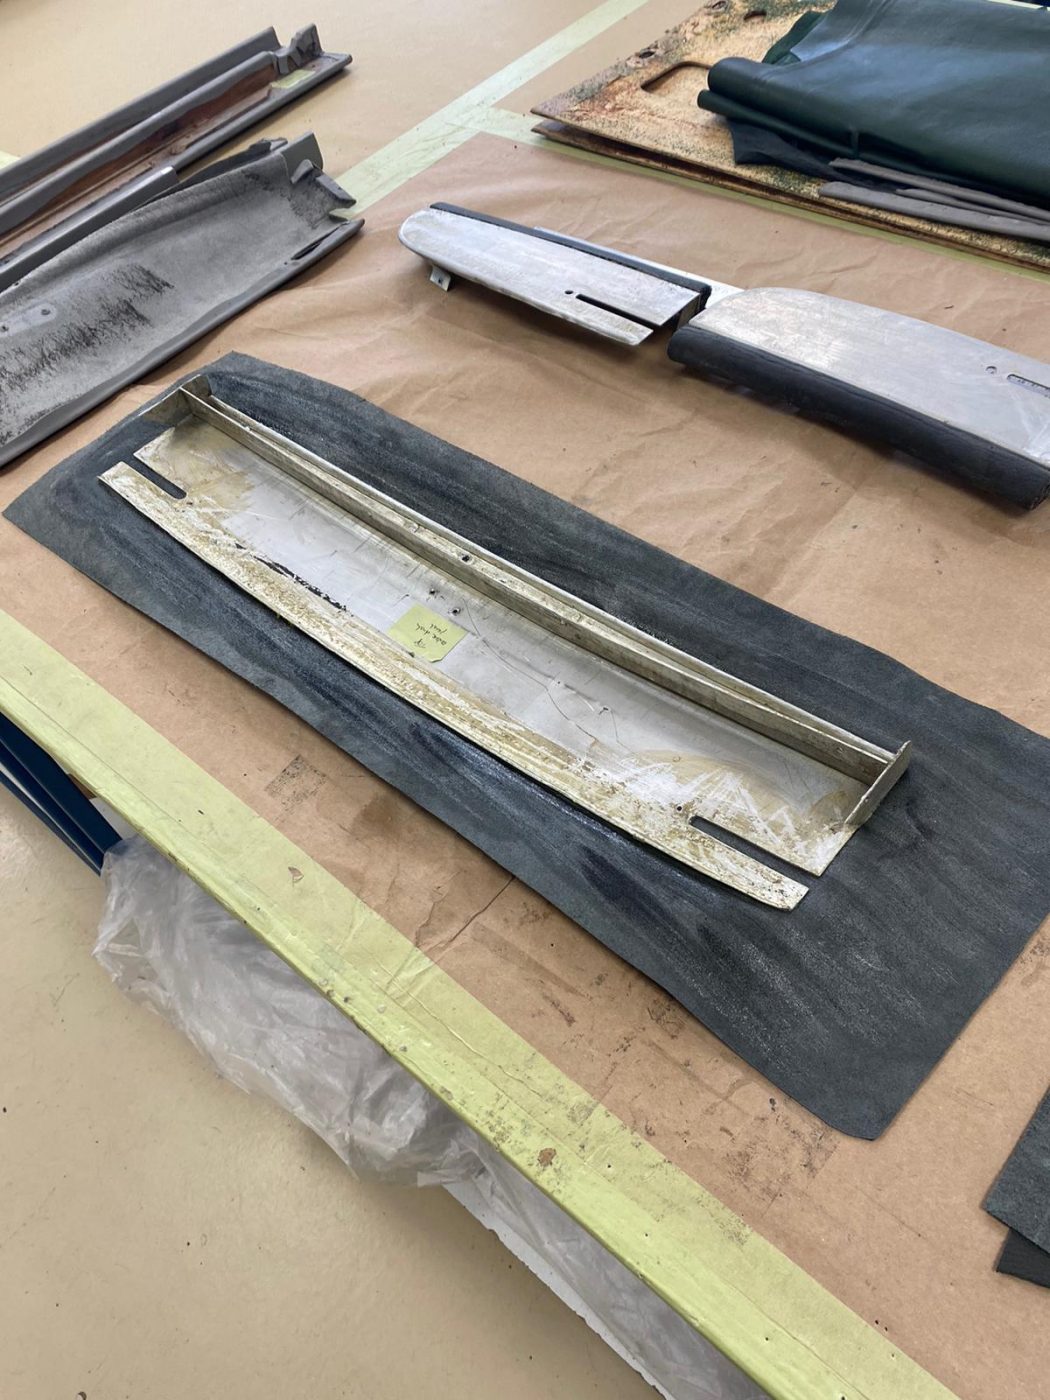
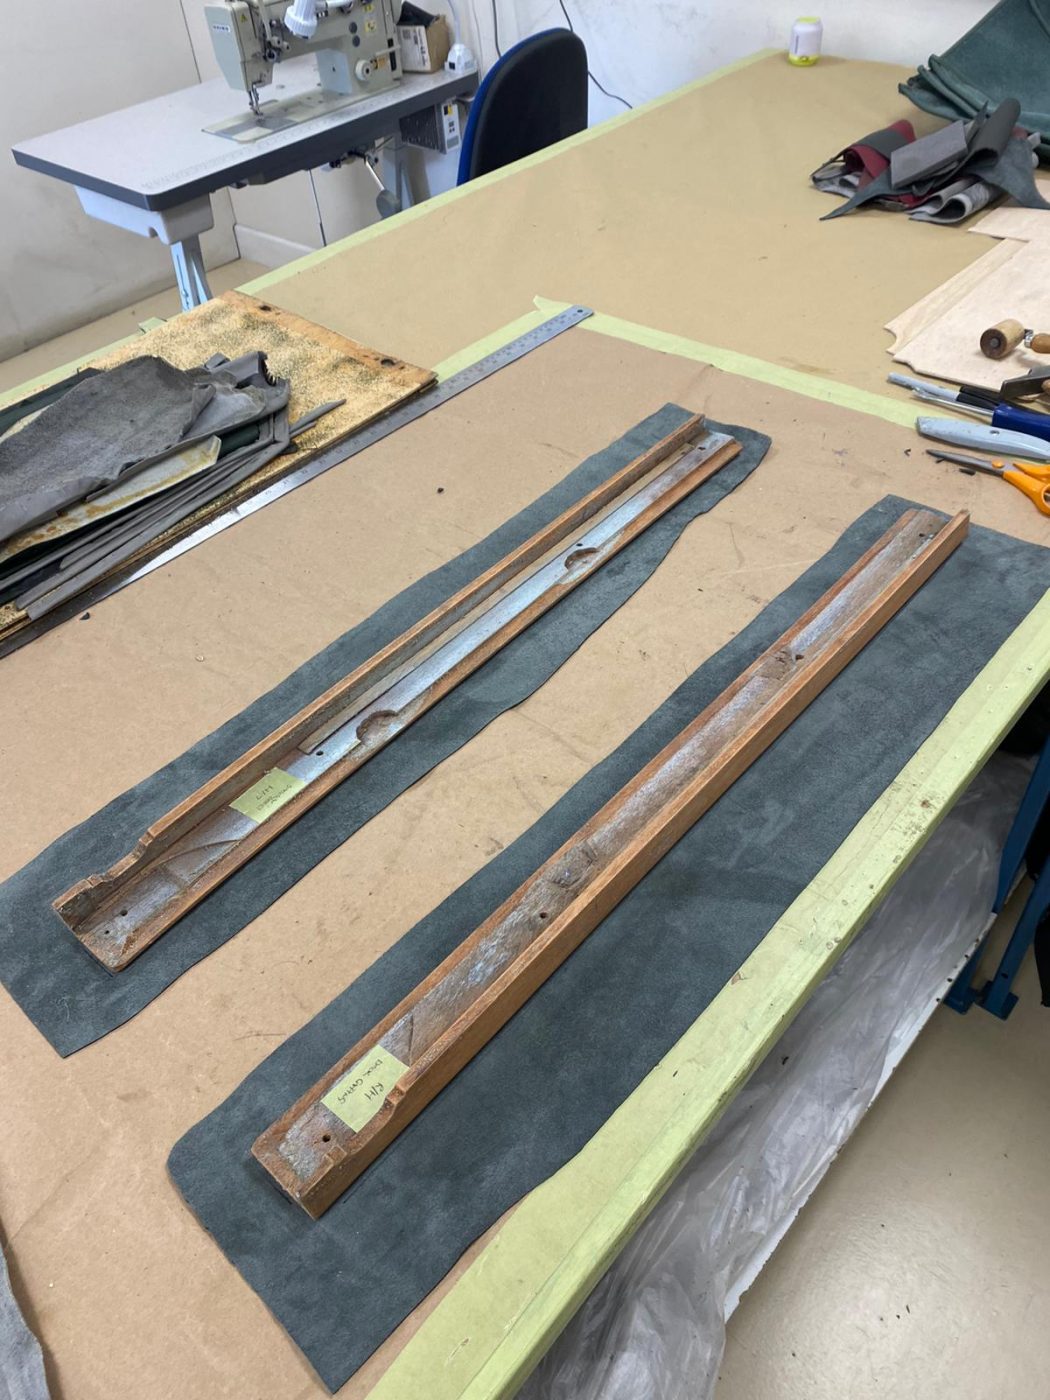
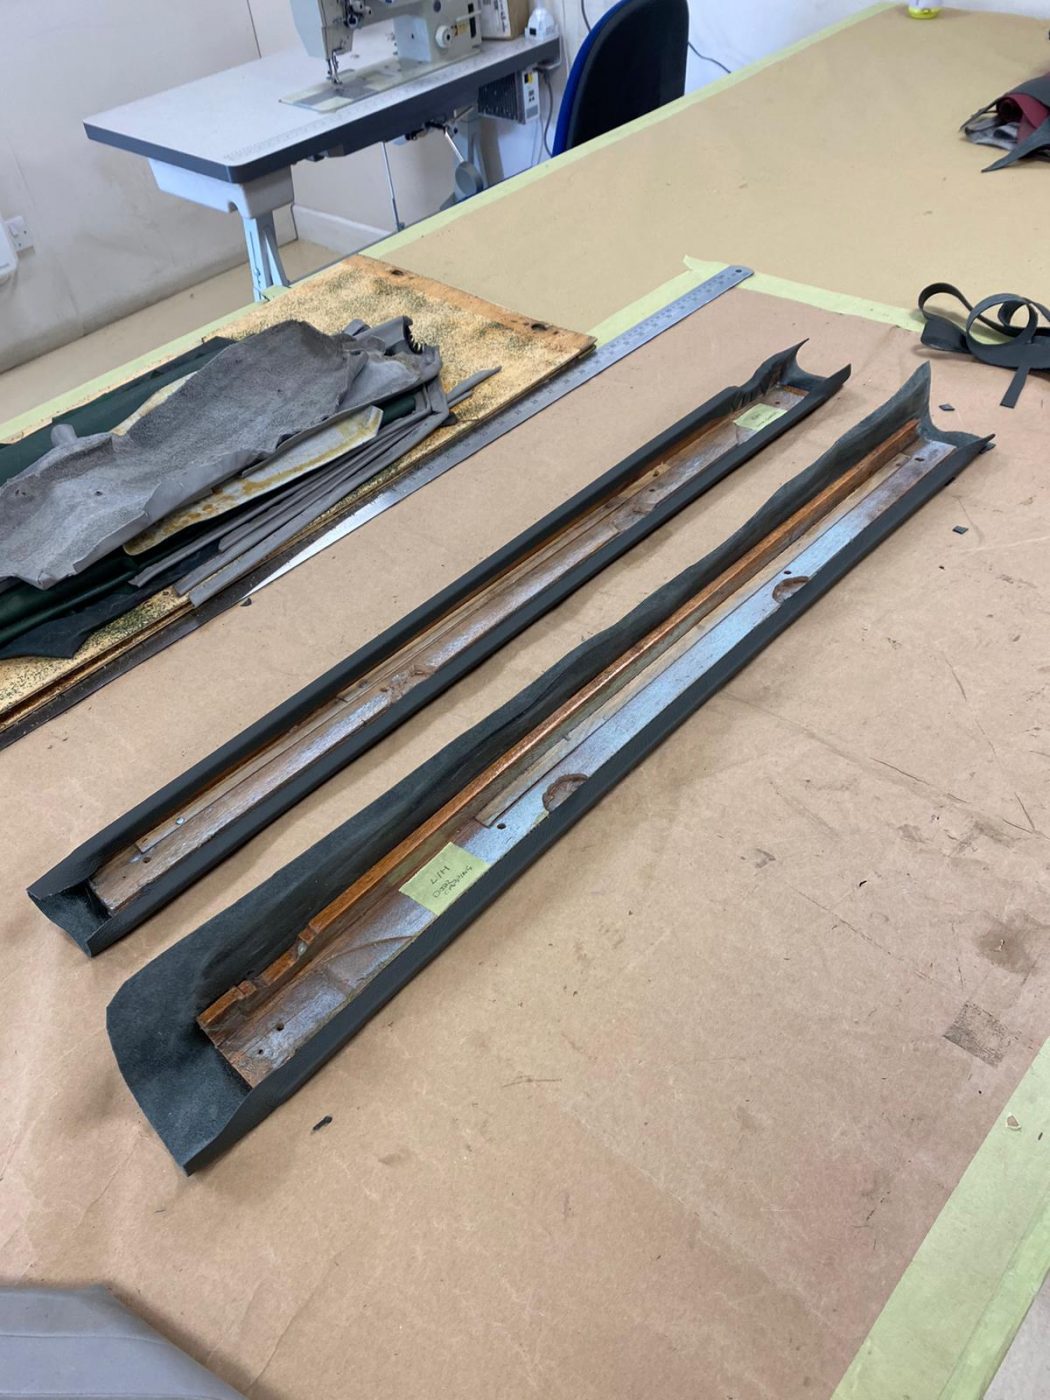
Kath has been continuing her work on the 1955 Aston Martin DB 2/4’s carpet. This time, she’s re-made the left-hand footwell carpet, right-hand boot side

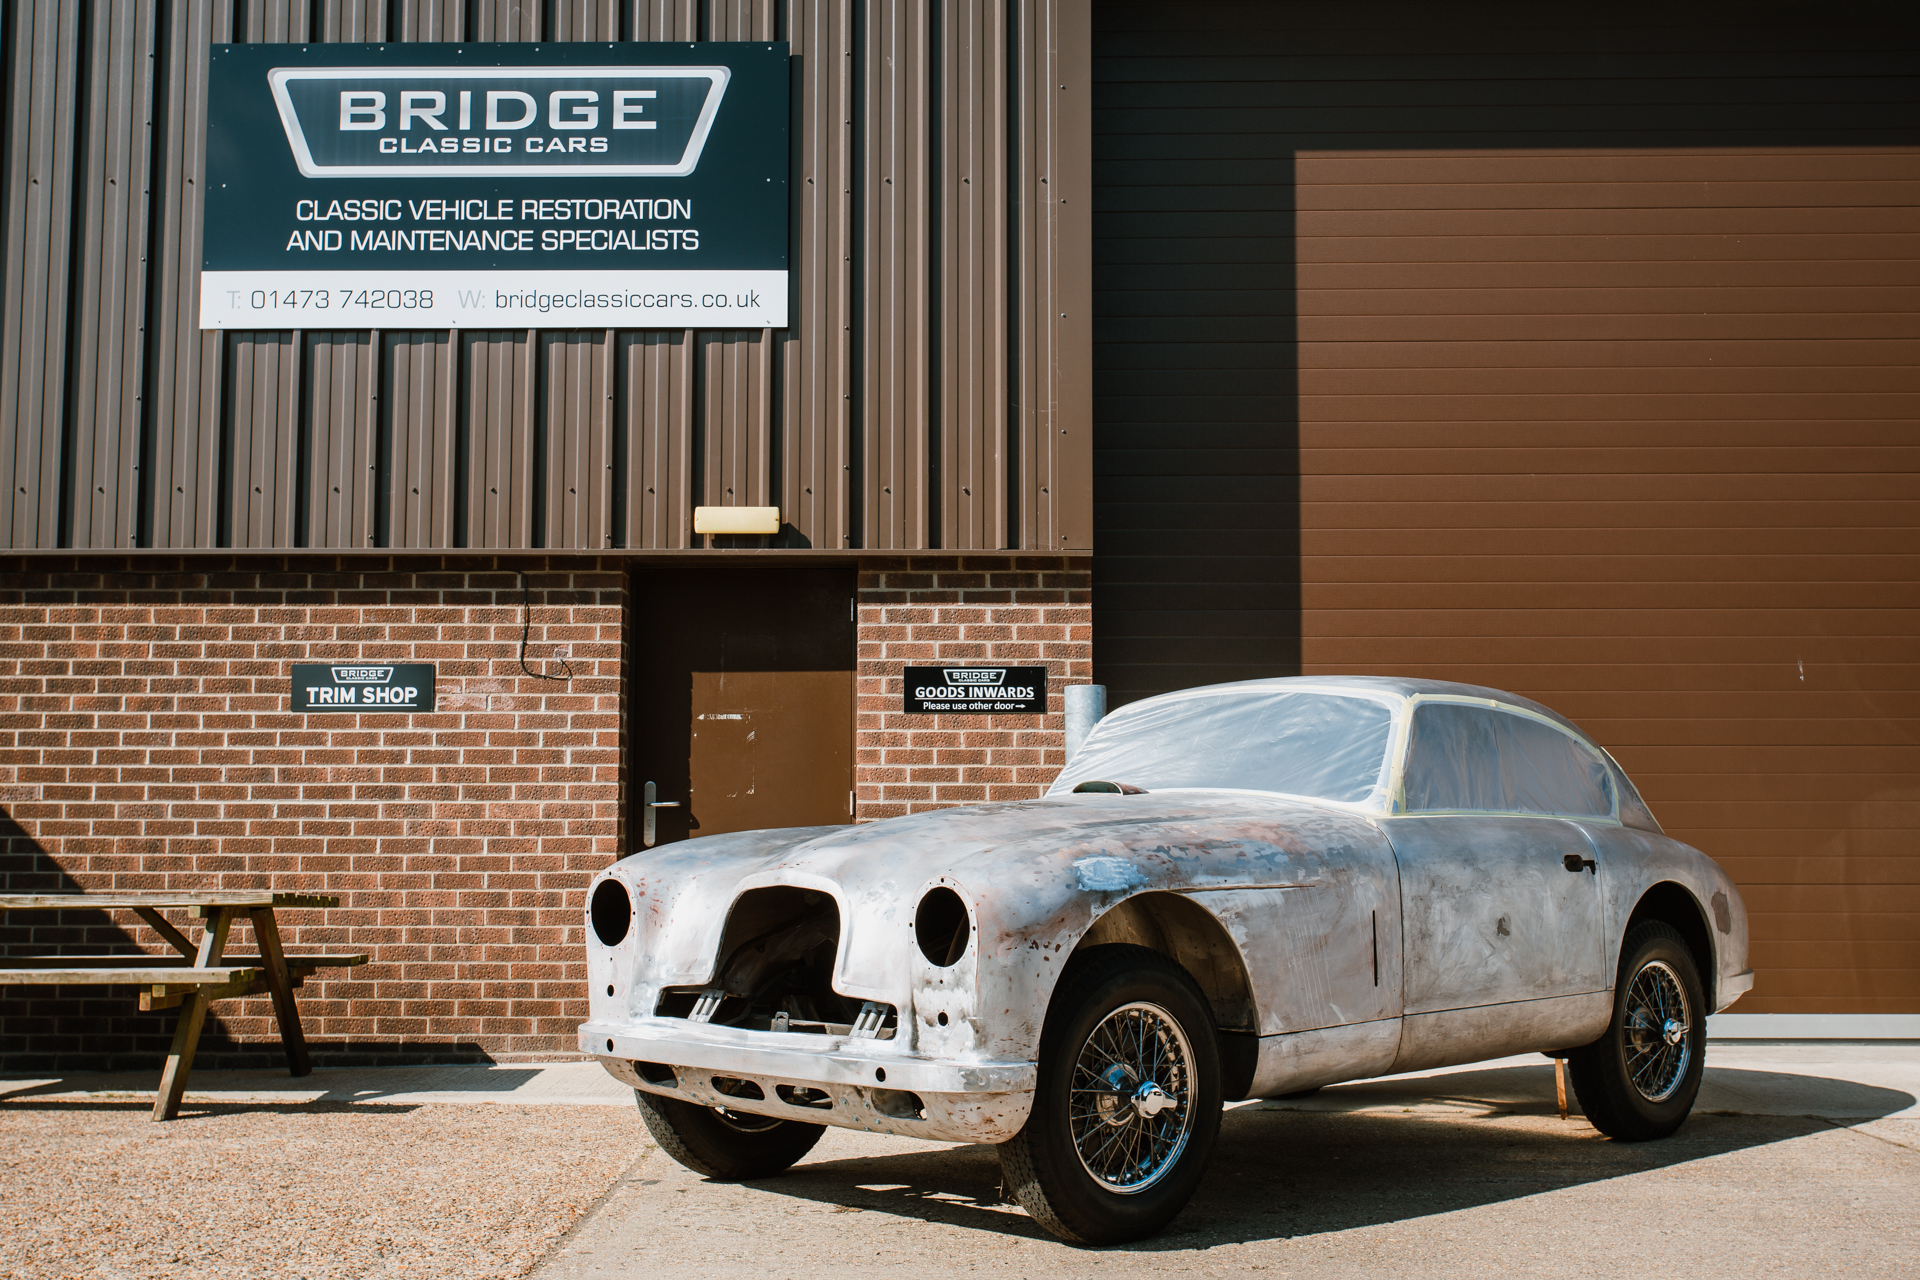
Although the interior of our 1955 Aston Martin DB2/4 has been re-manufactured not that long ago, it was been carried out to the customer’s preference
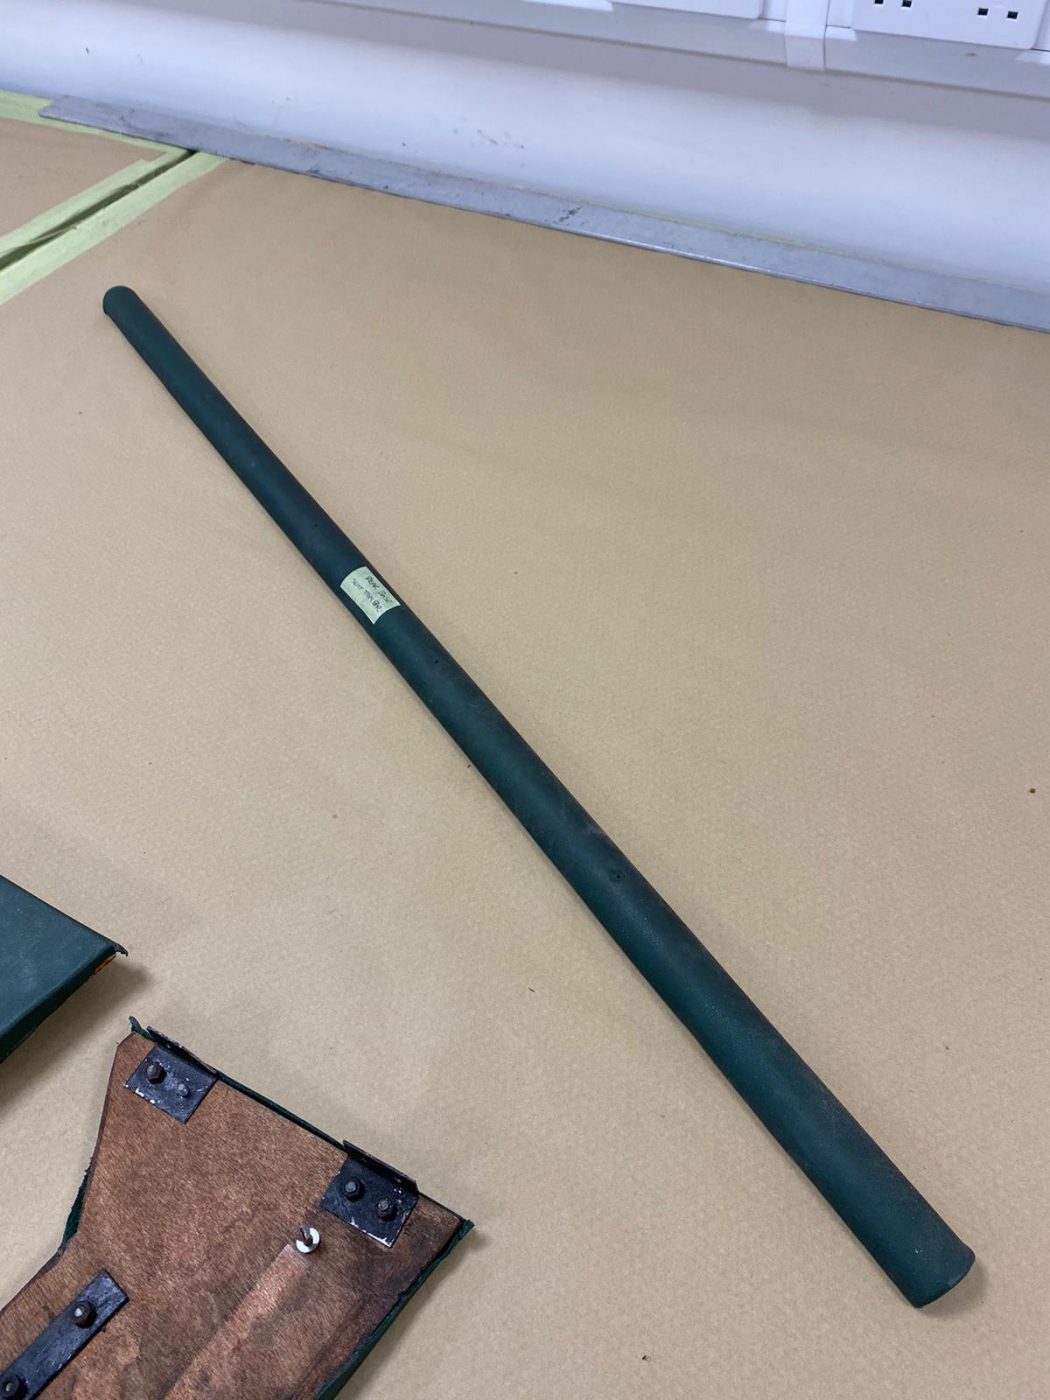
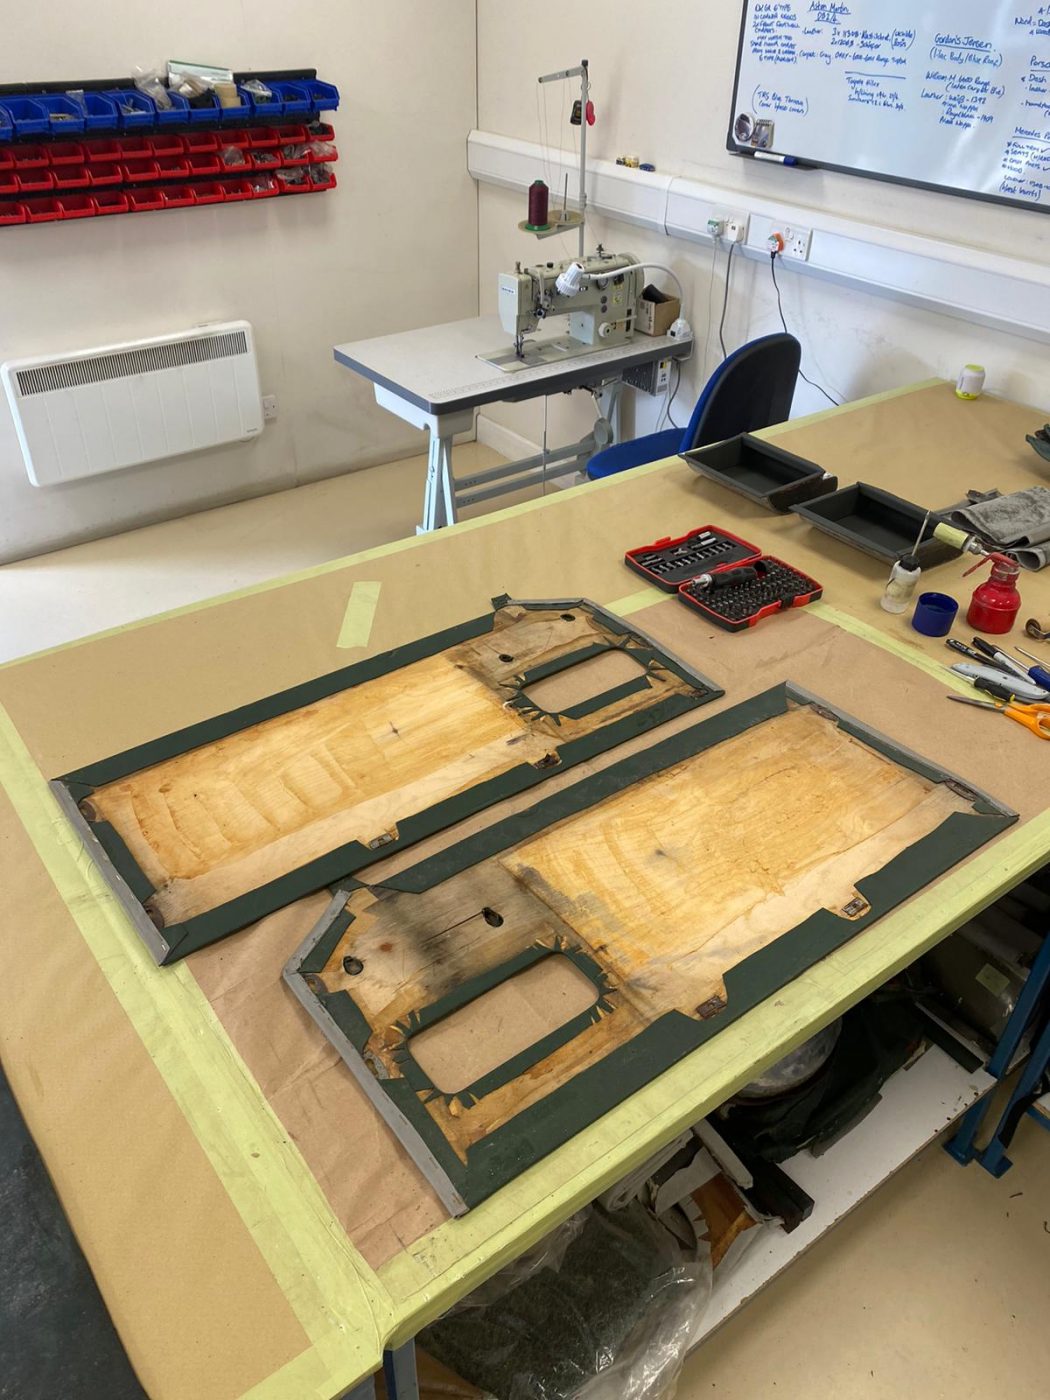
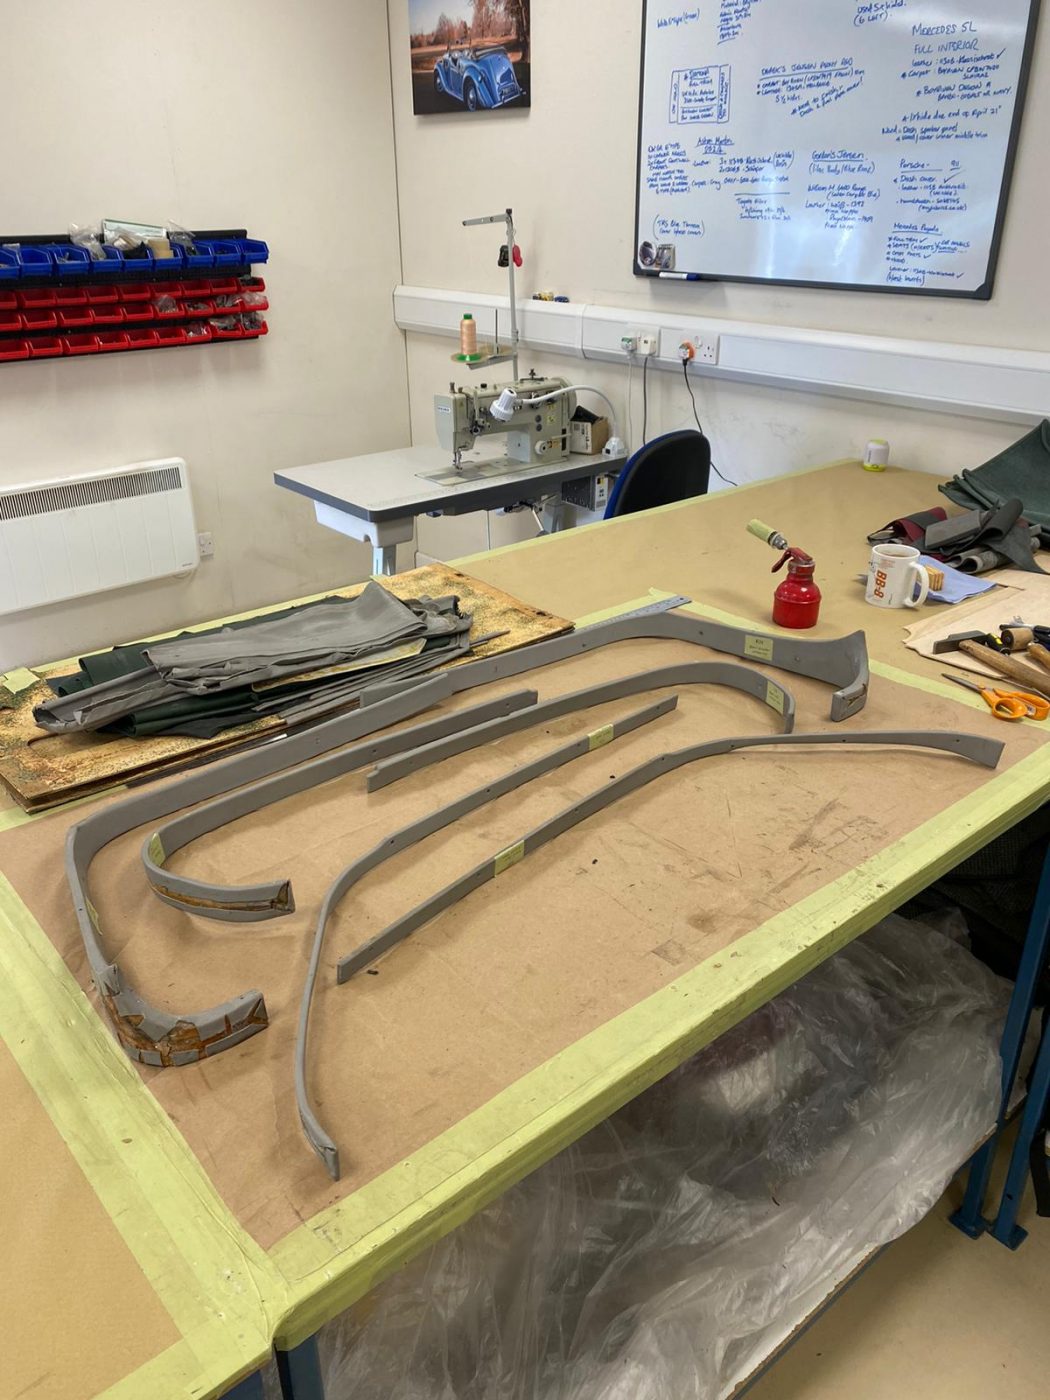
Kath has been starting on the carpet for the 1955 Aston Martin DB 2/4 this week. The list of carpet pieces she’s made includes the

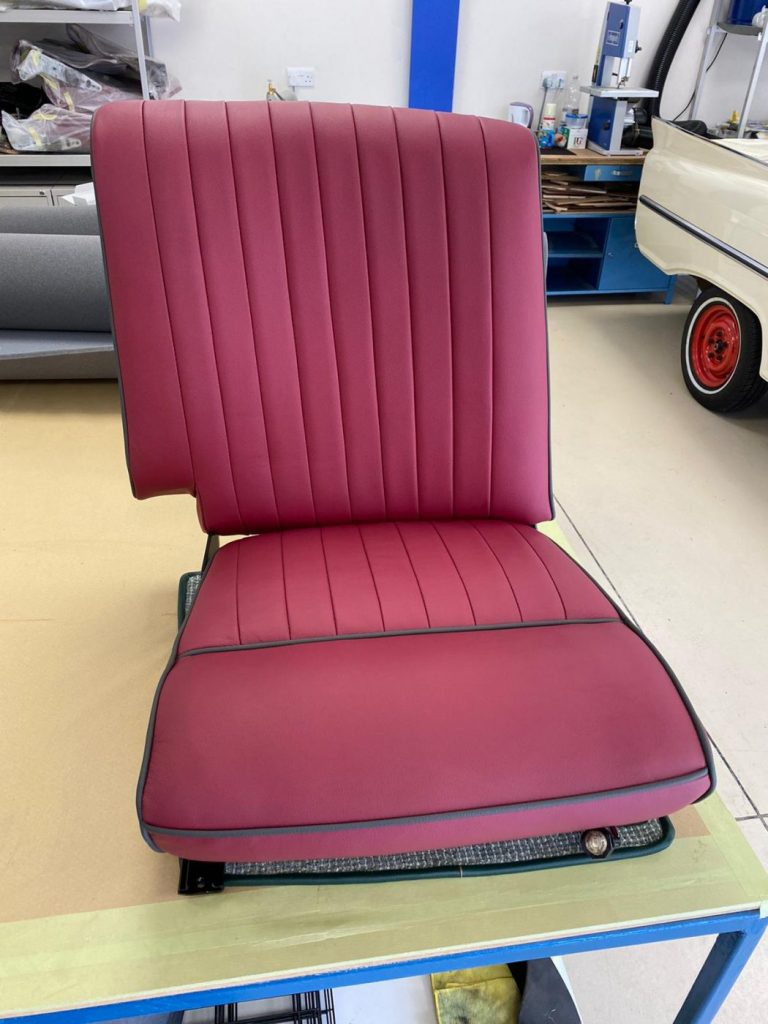
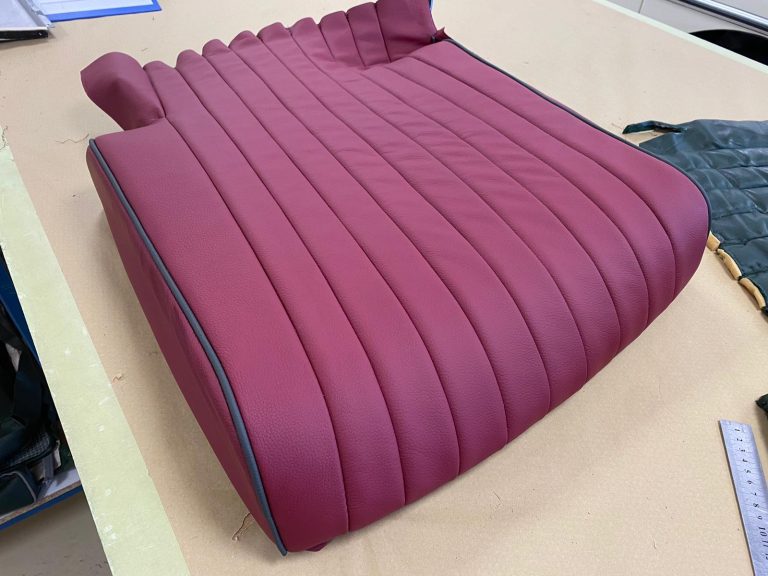
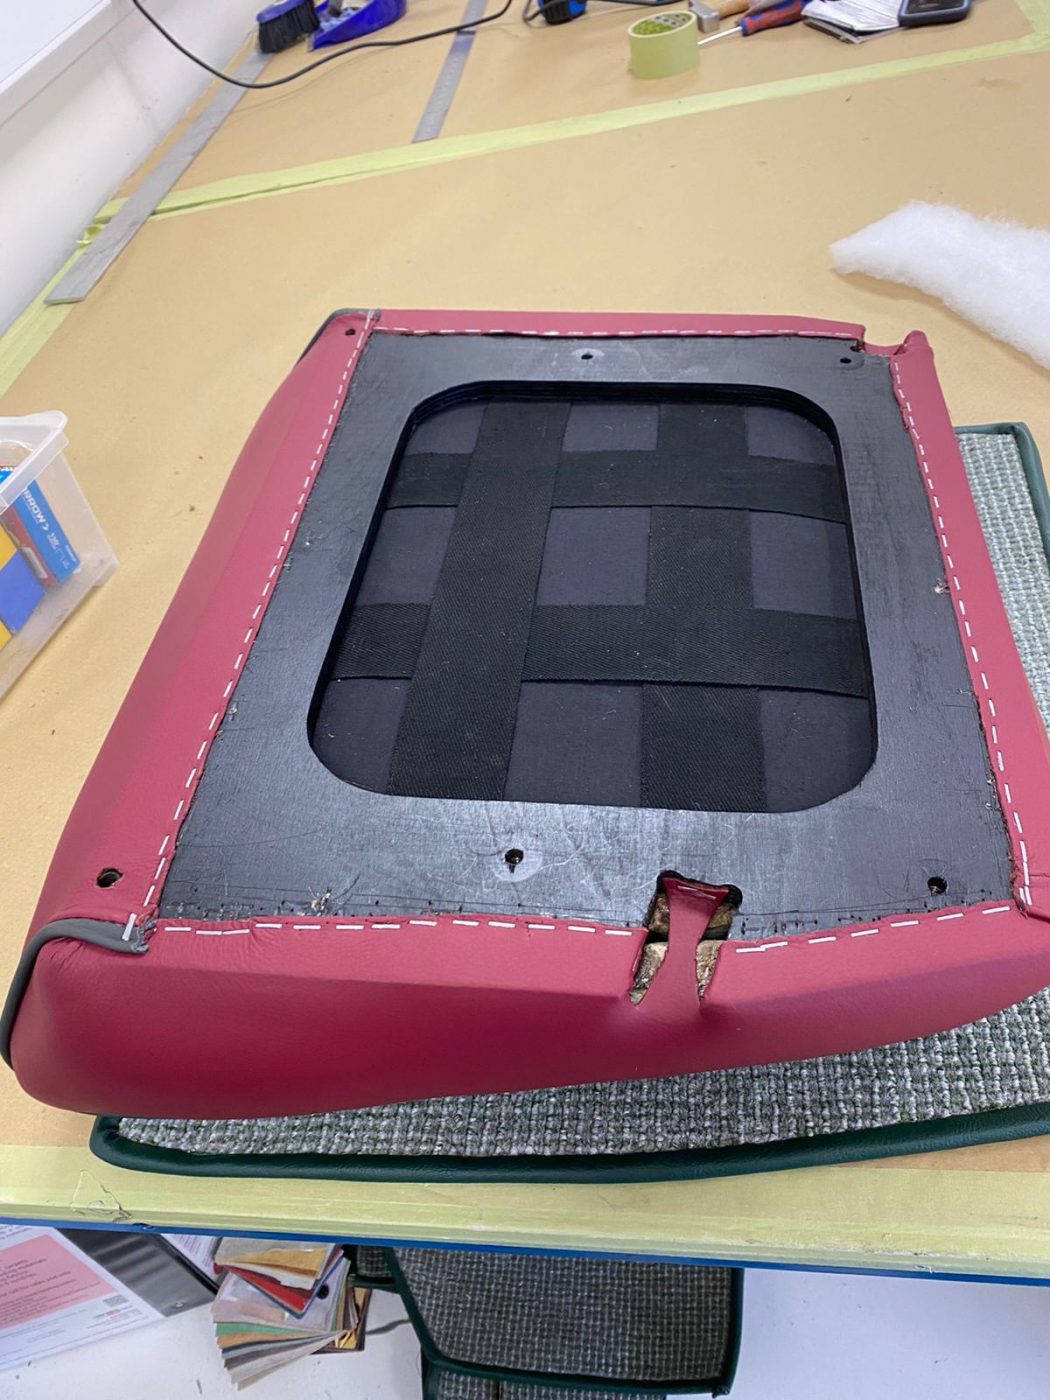
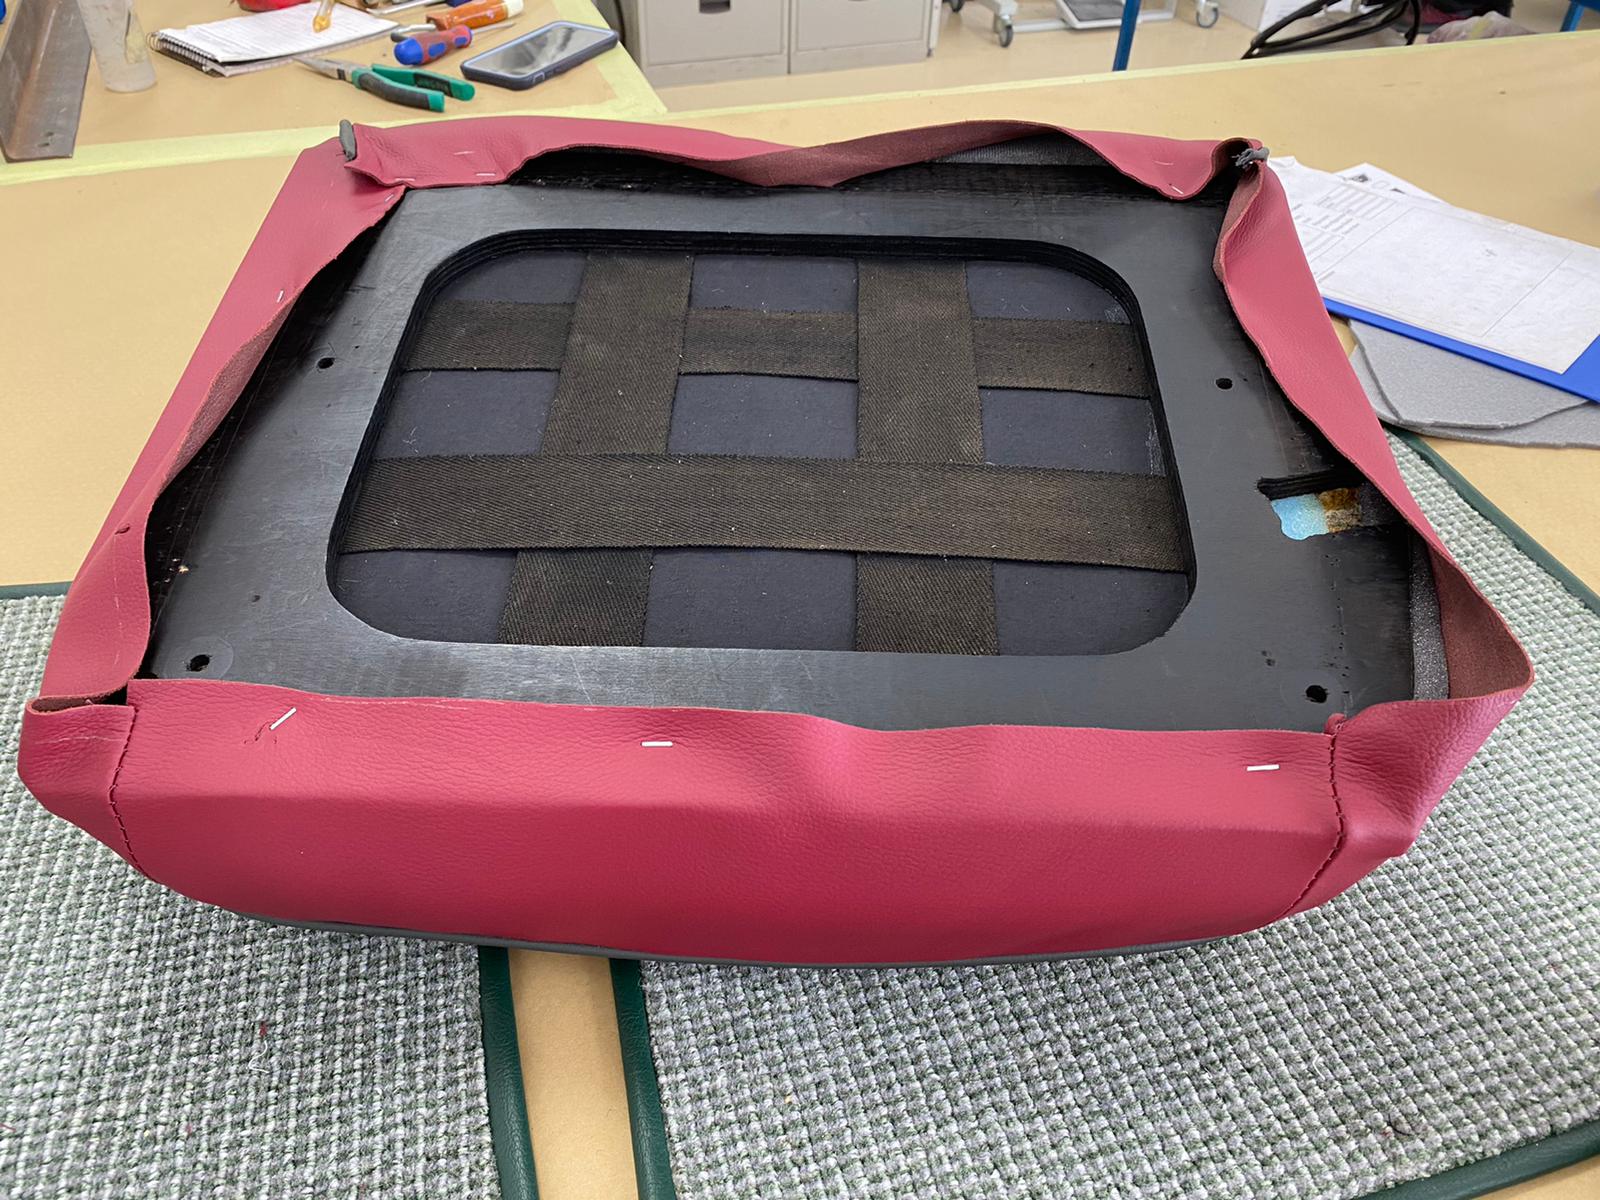
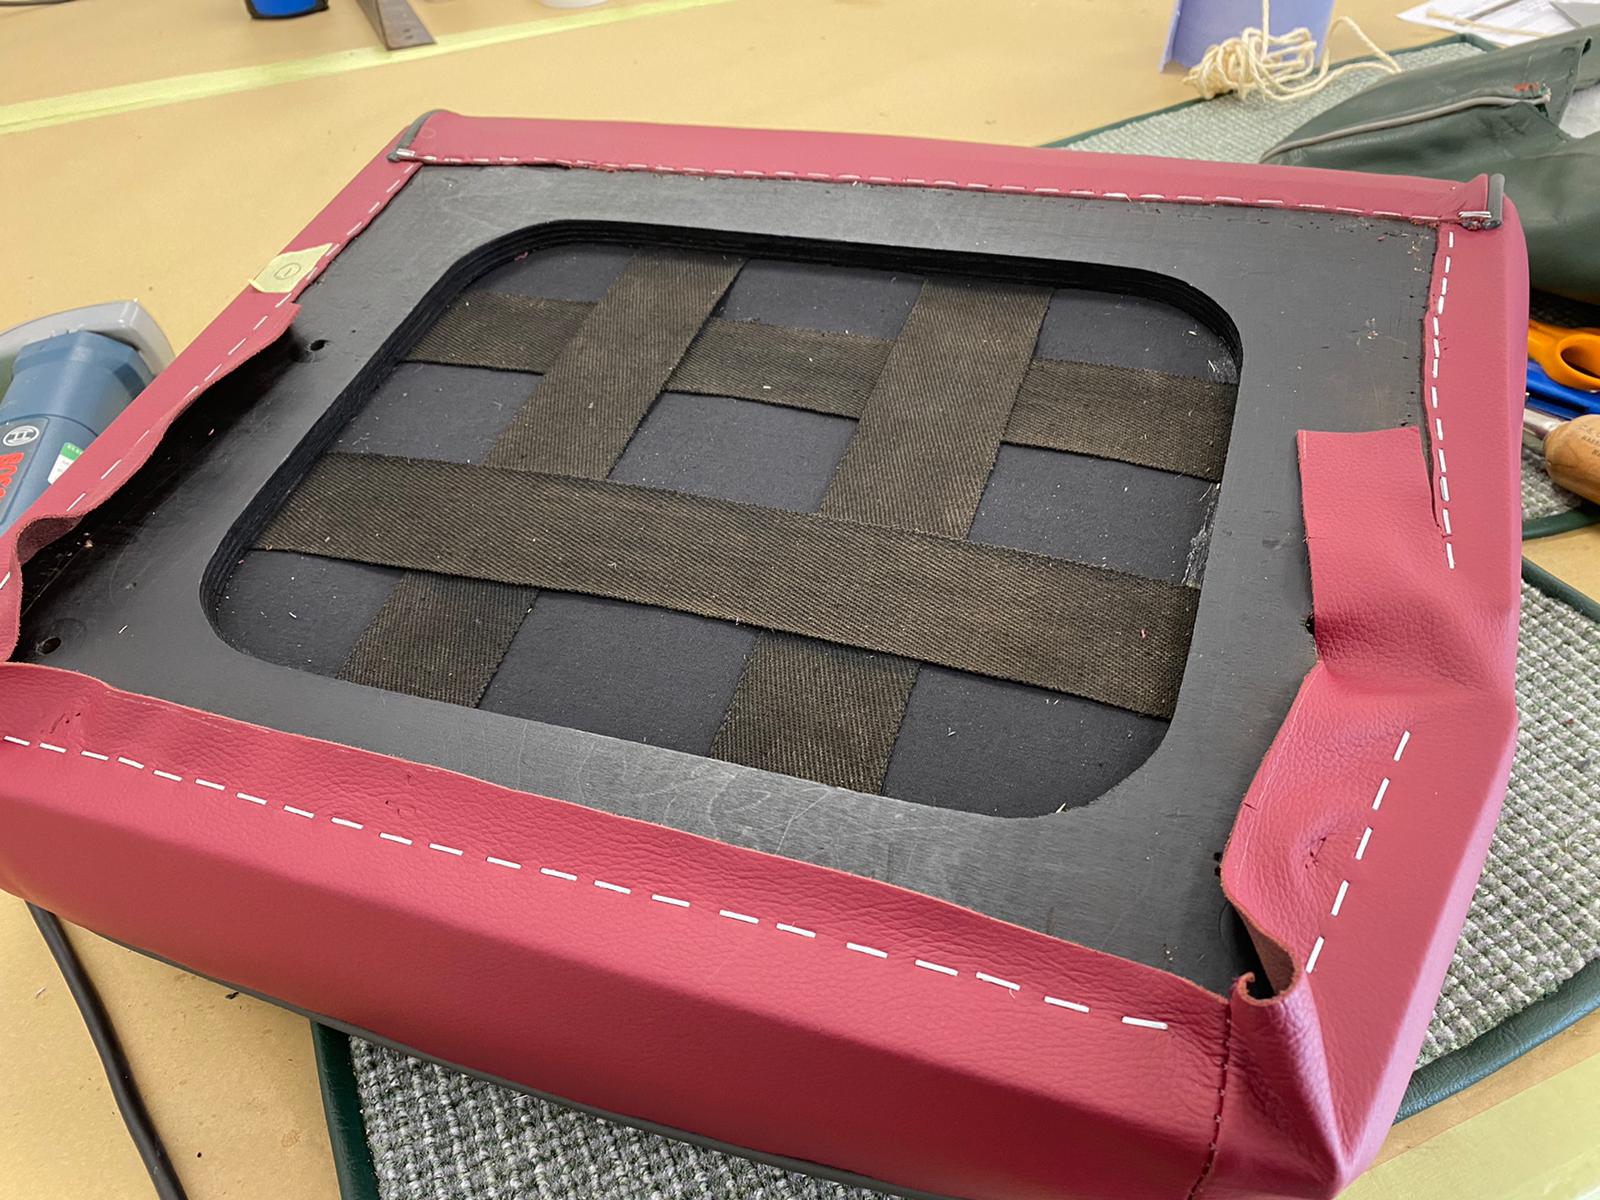
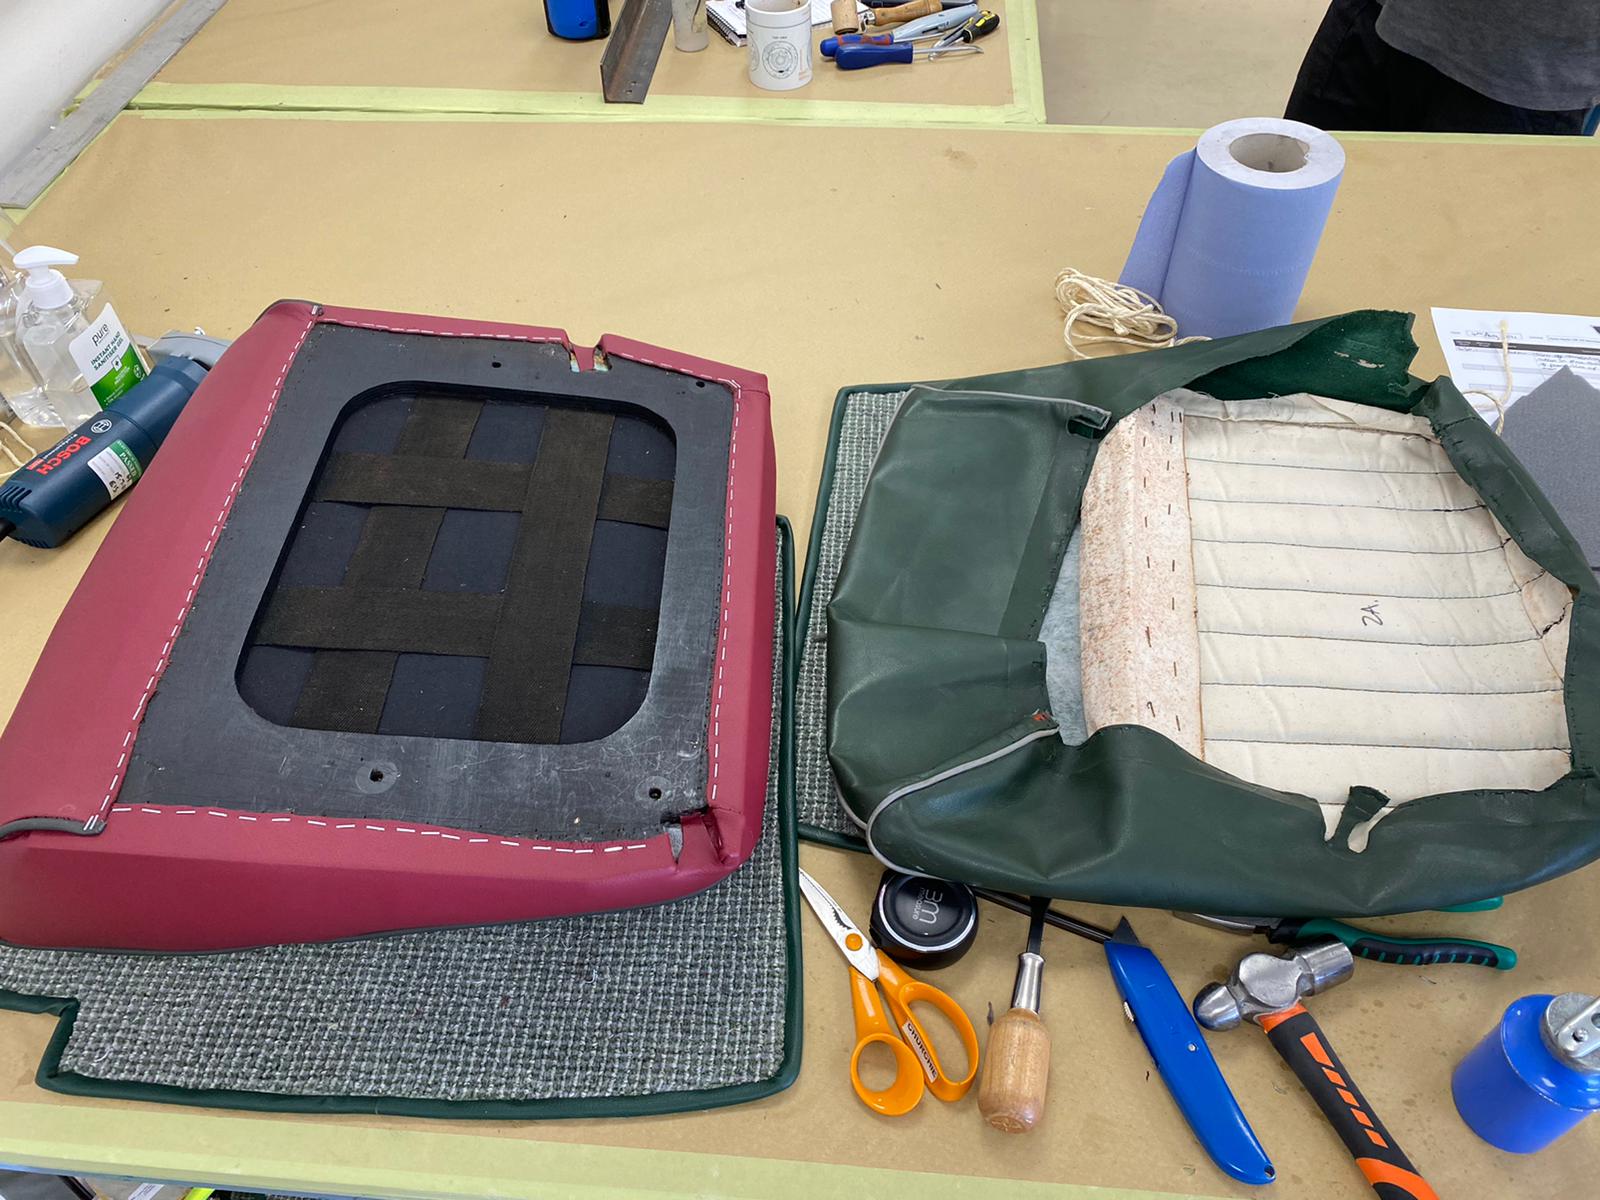
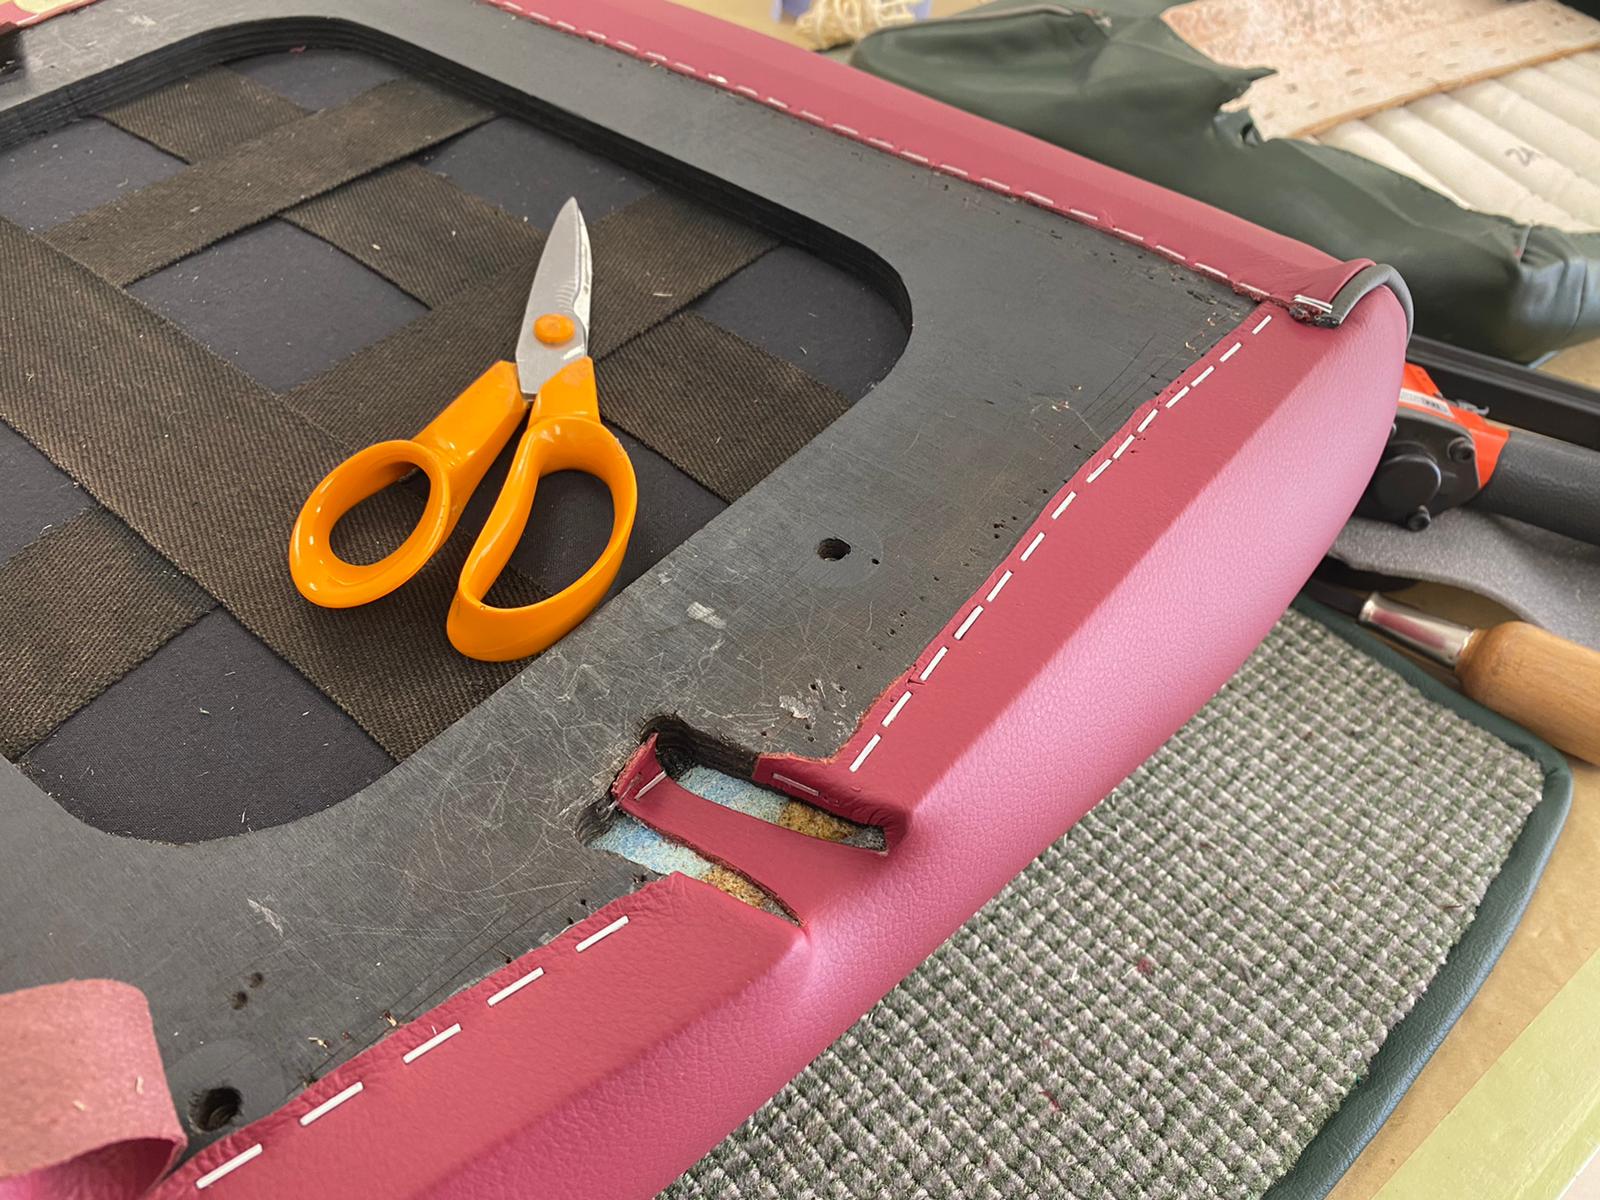
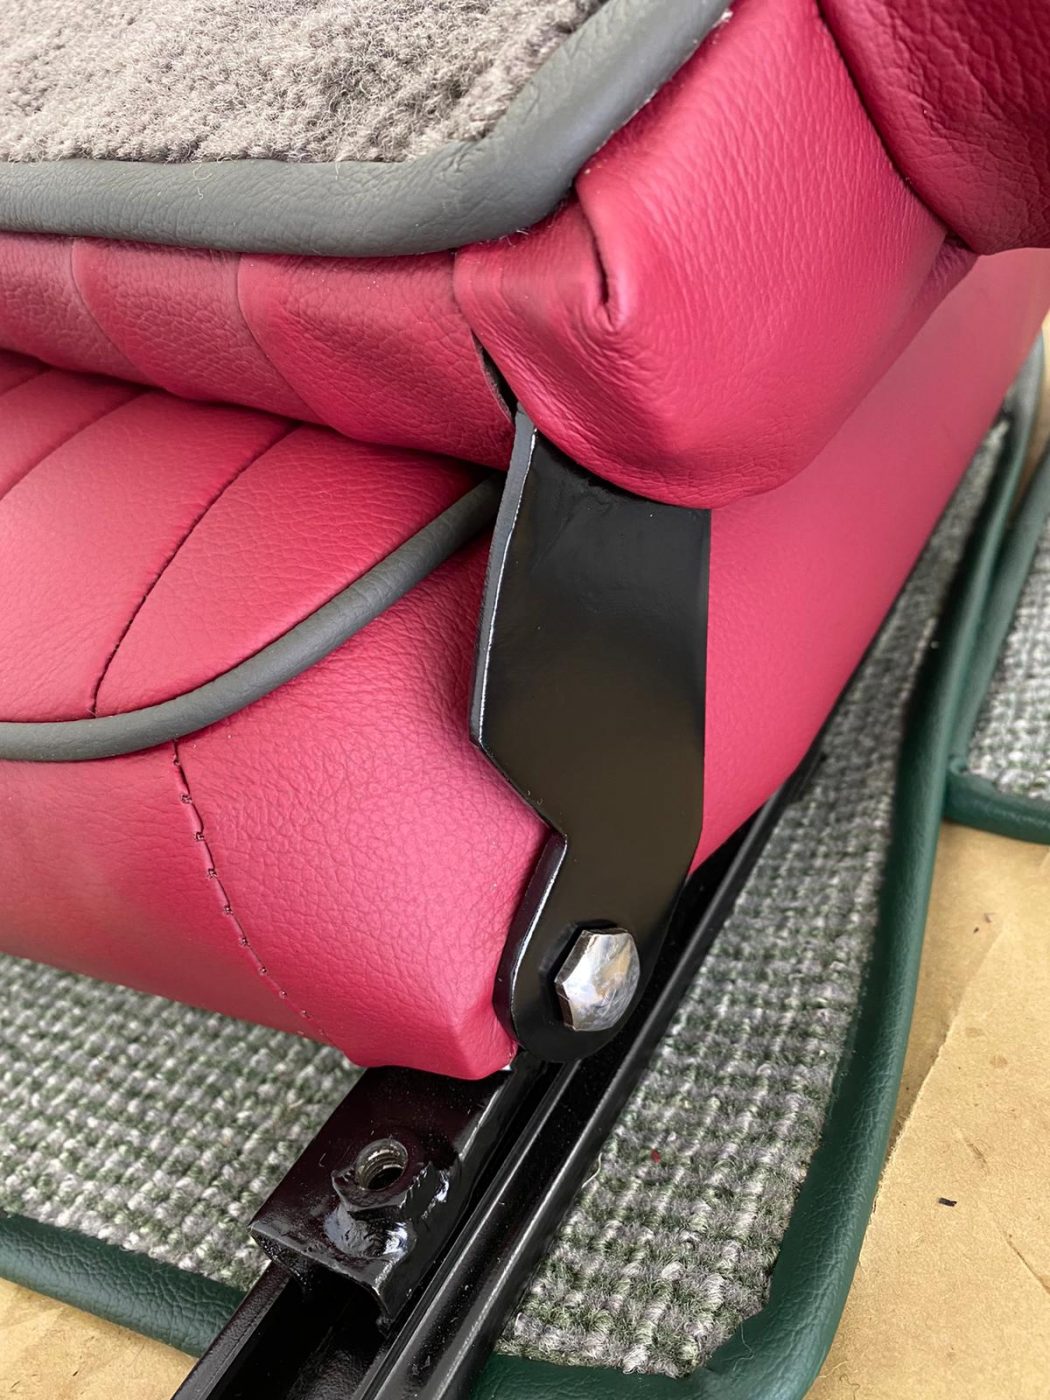
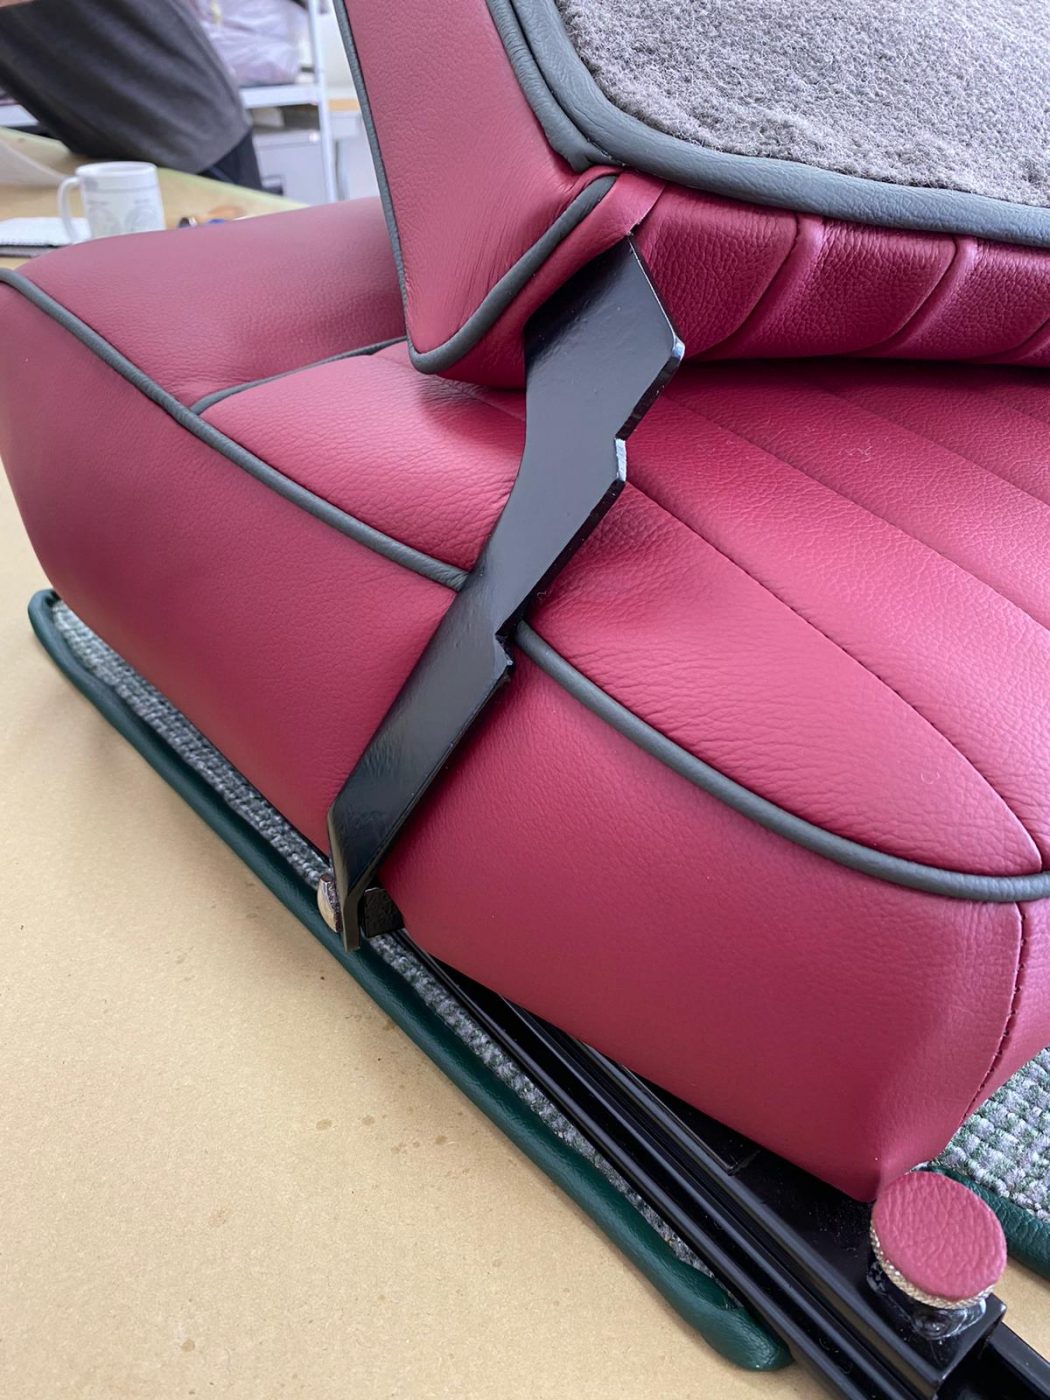
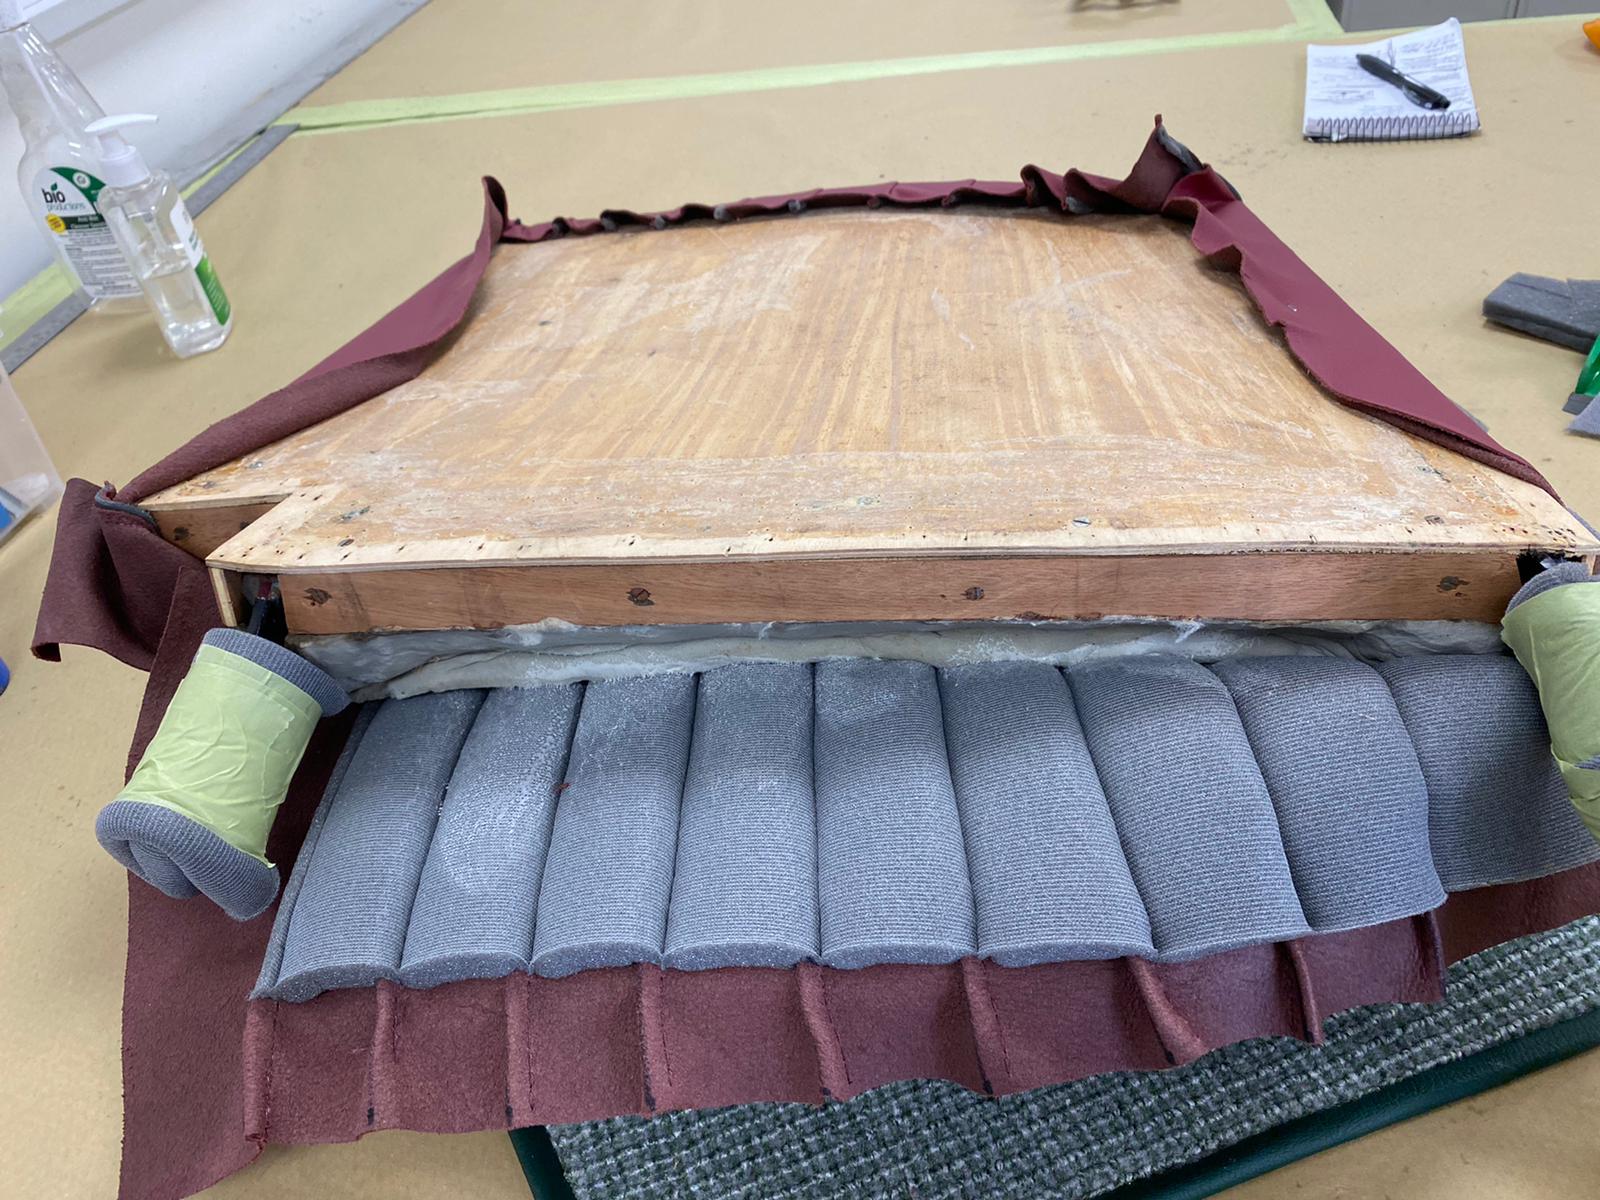
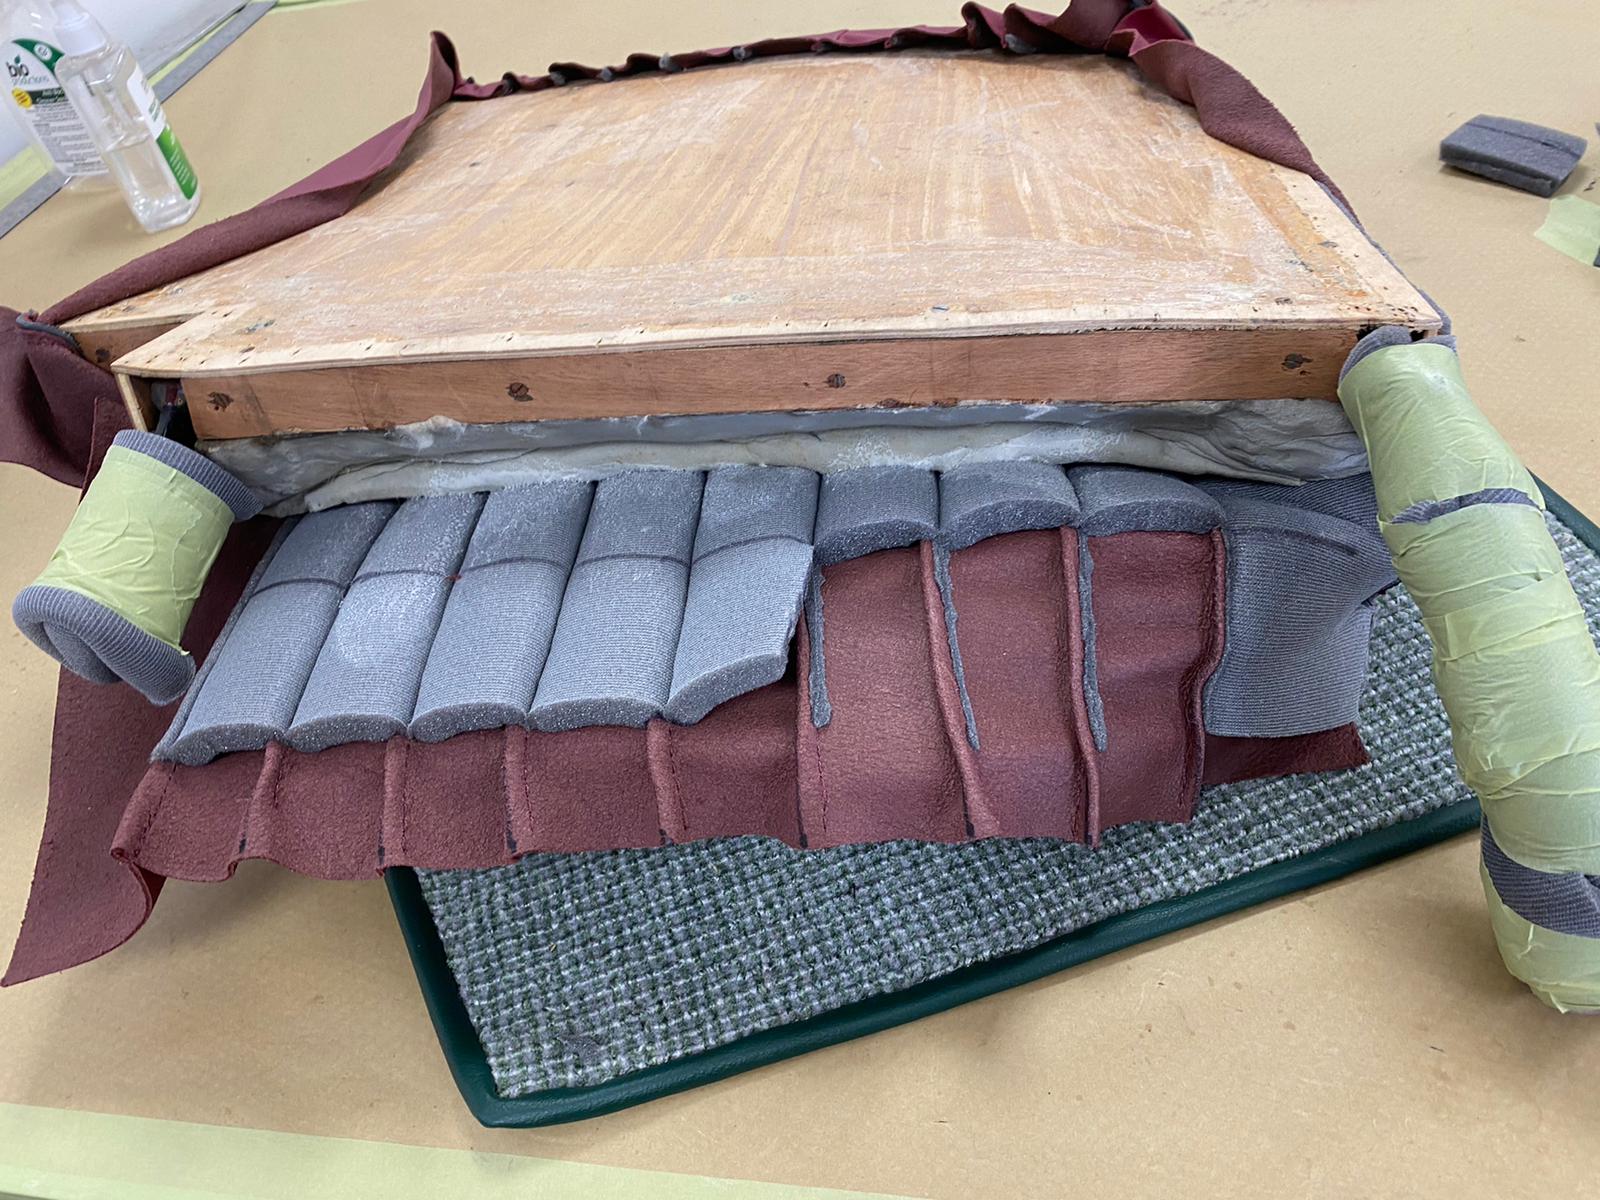
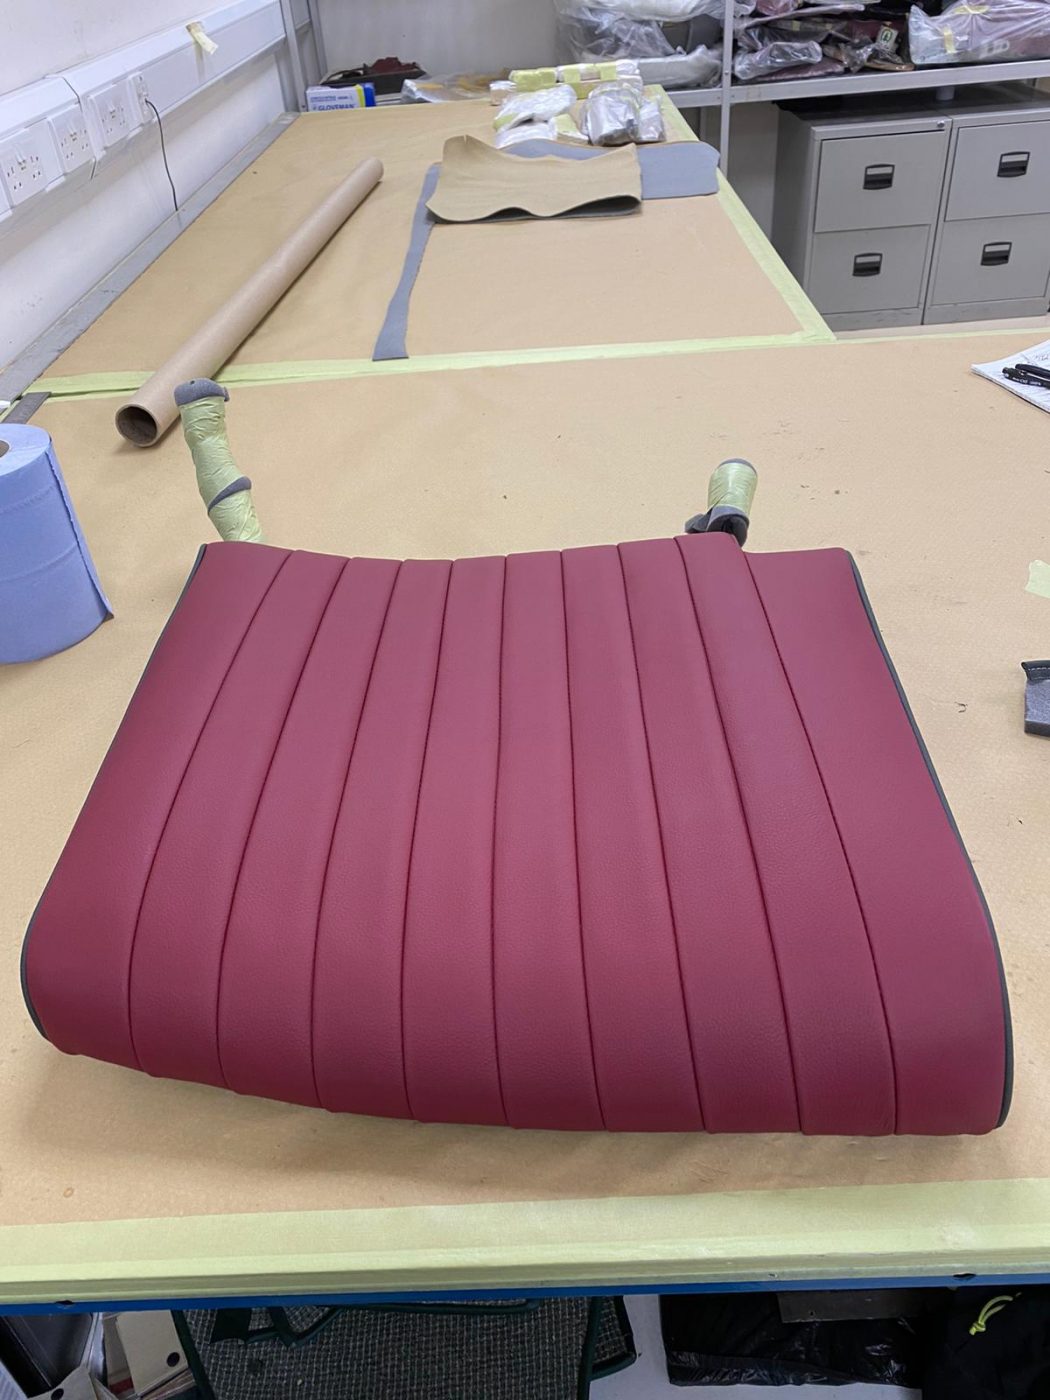
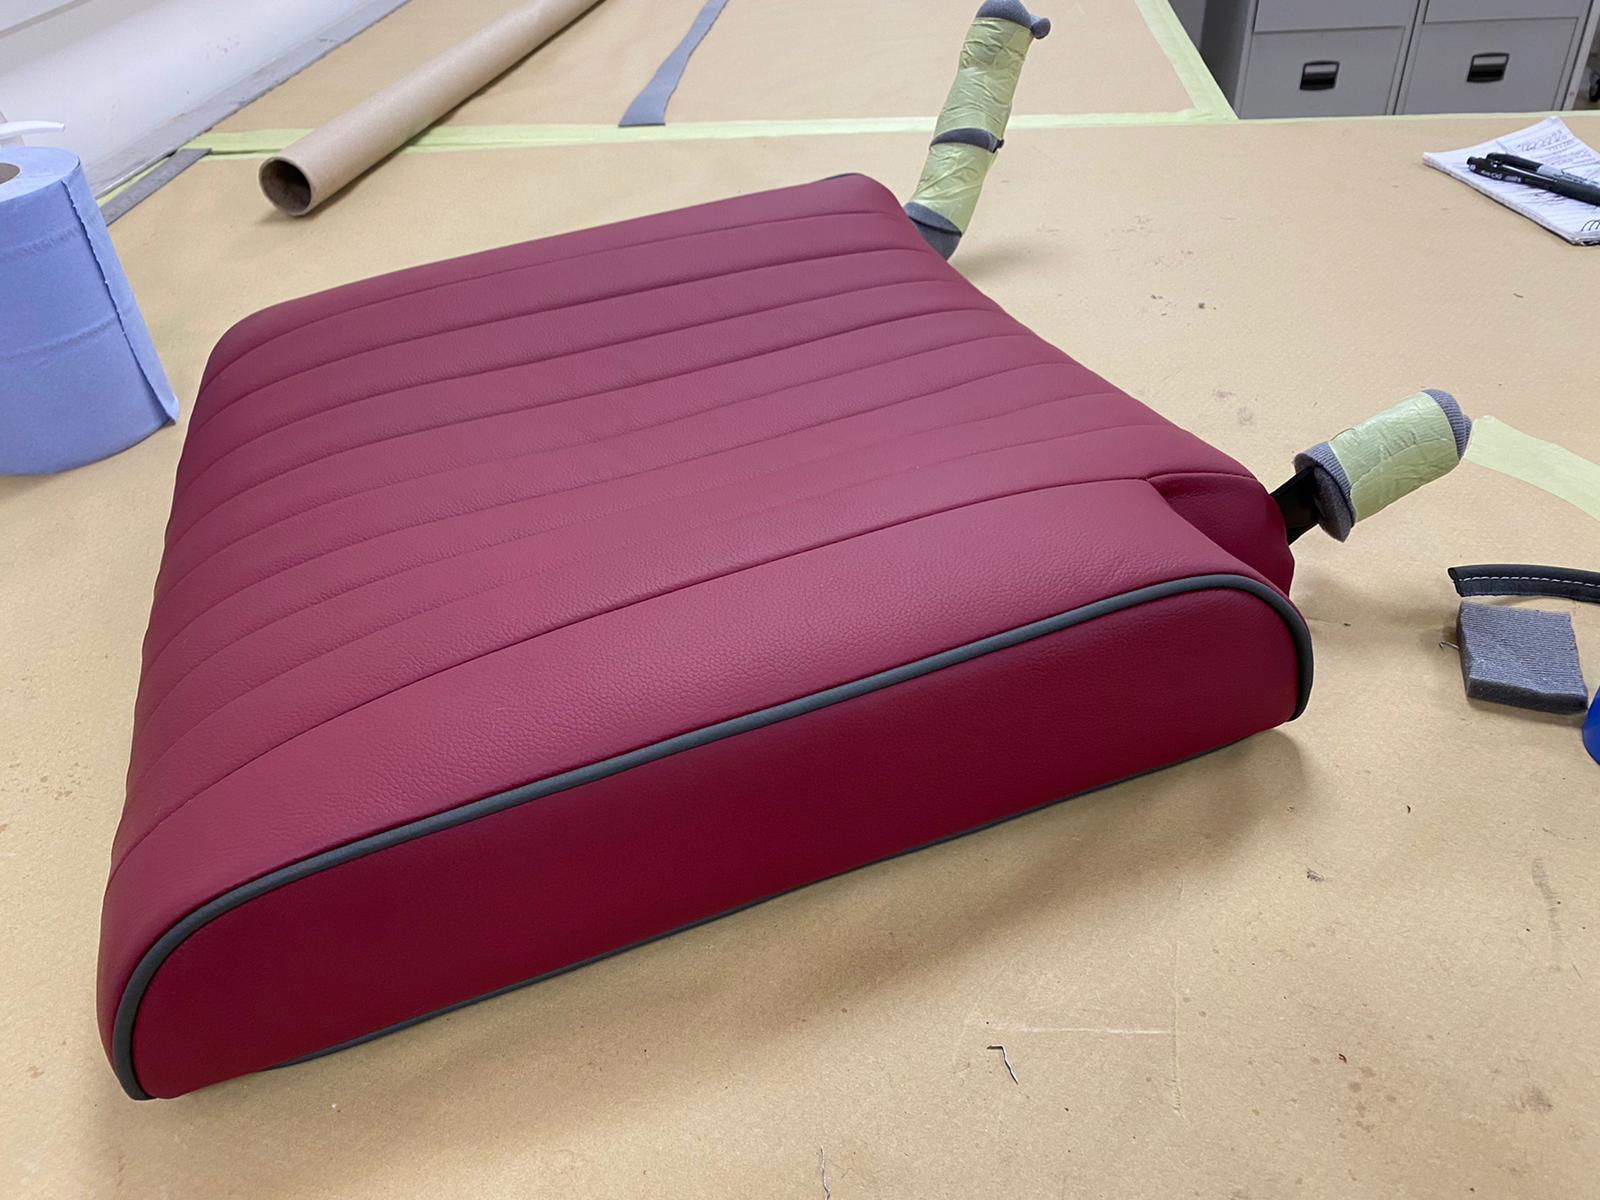
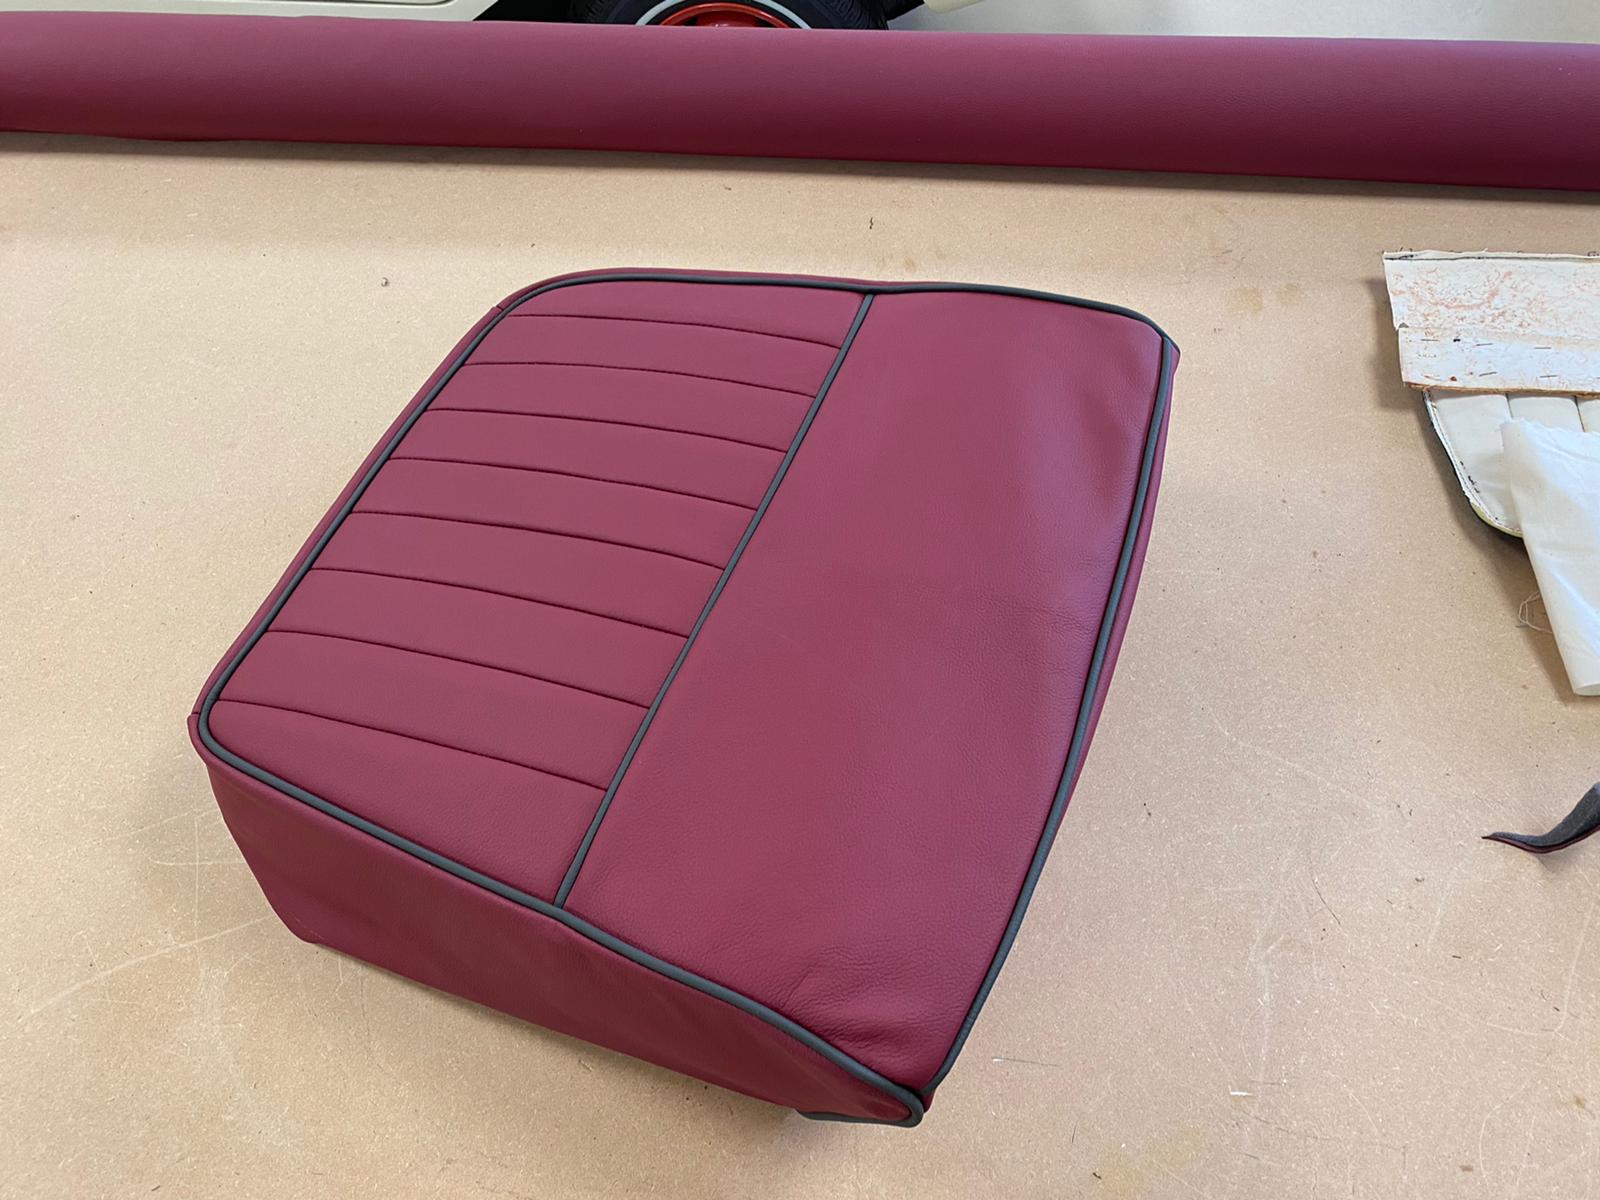
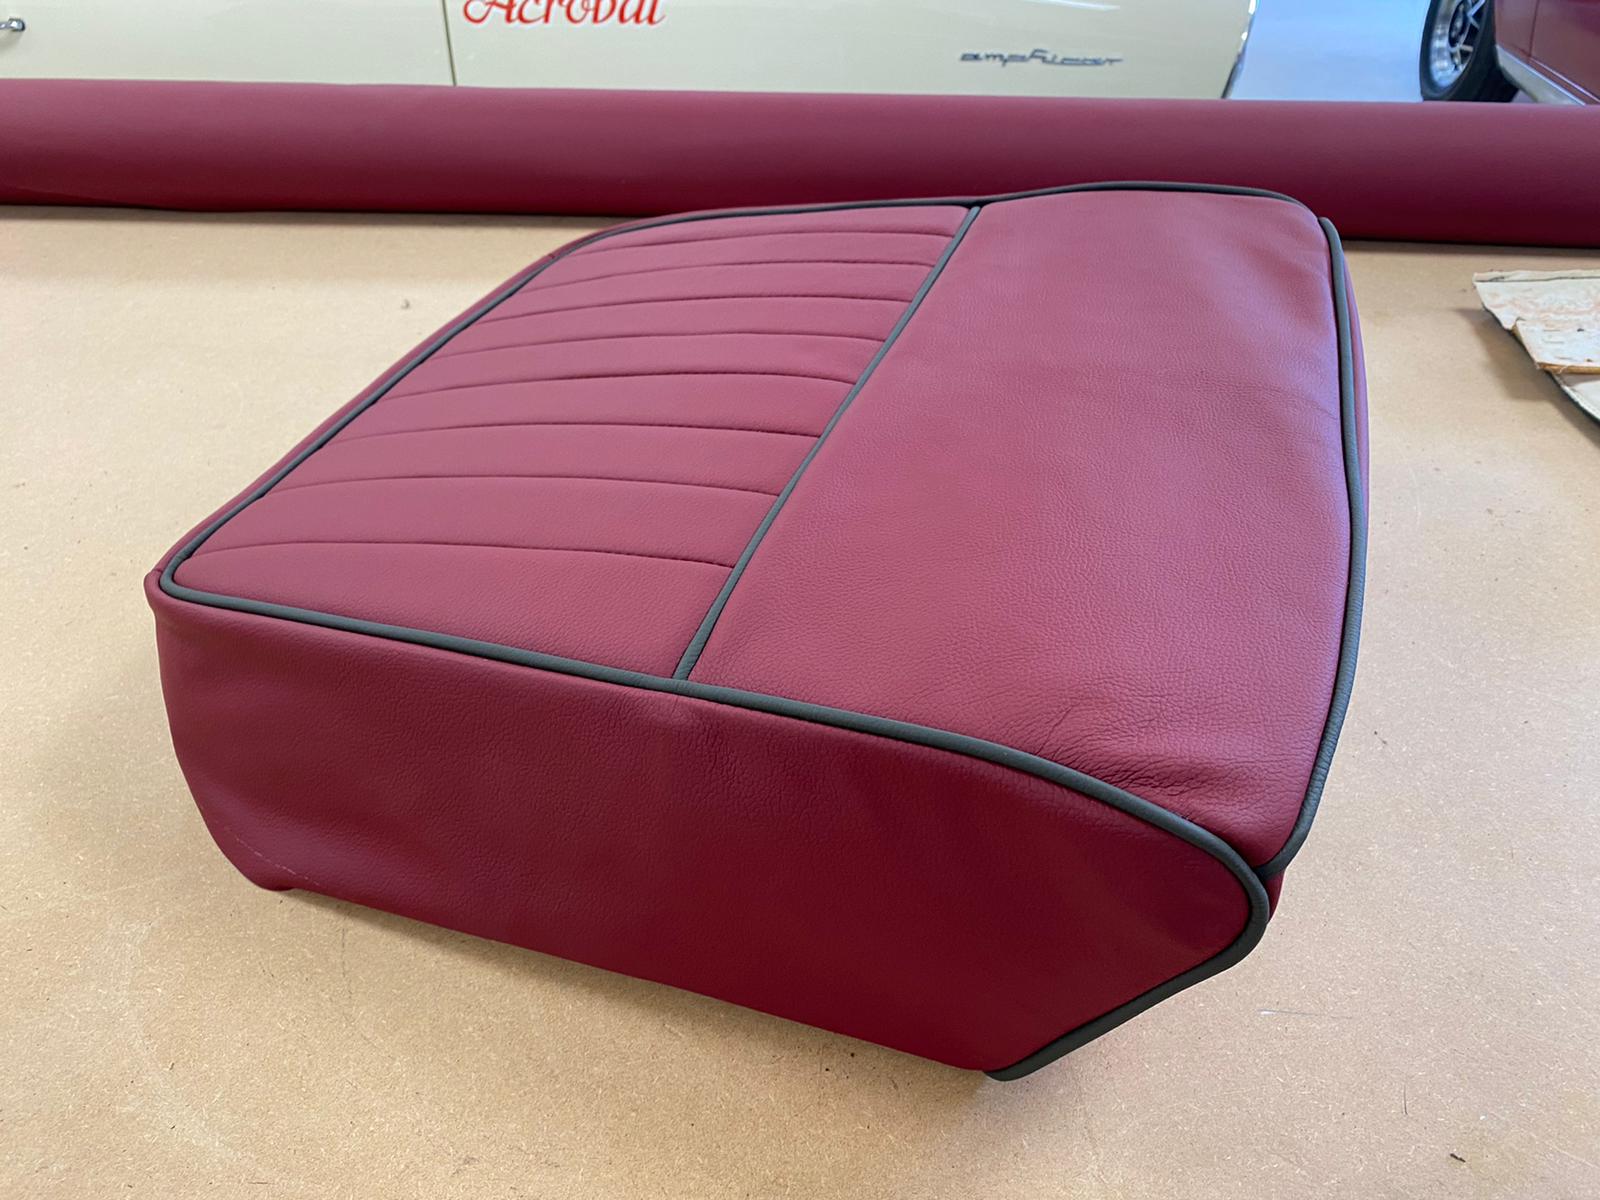
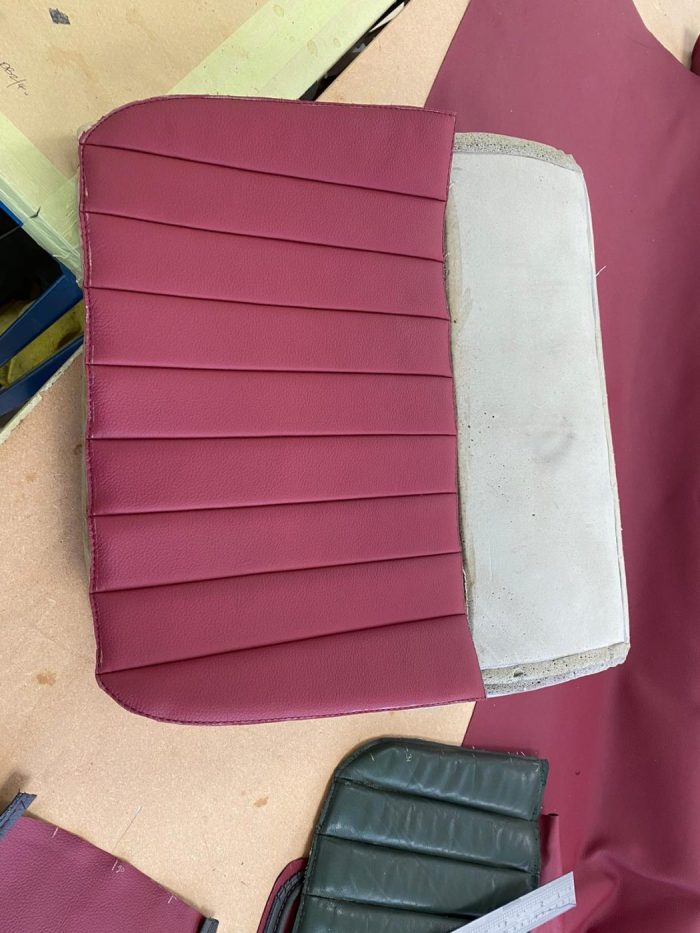
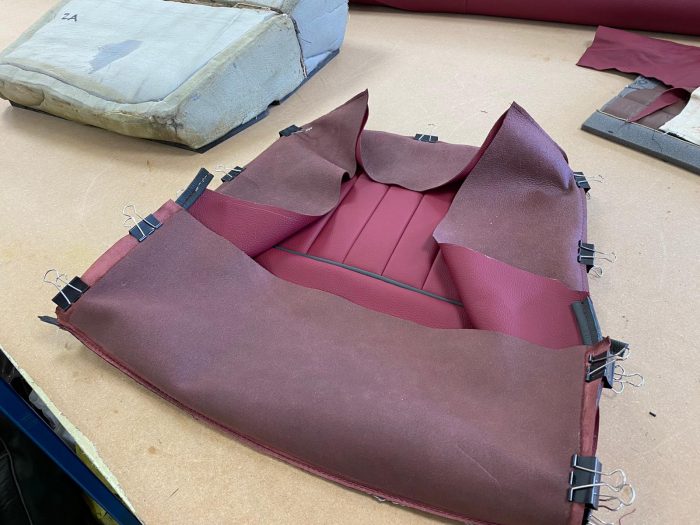
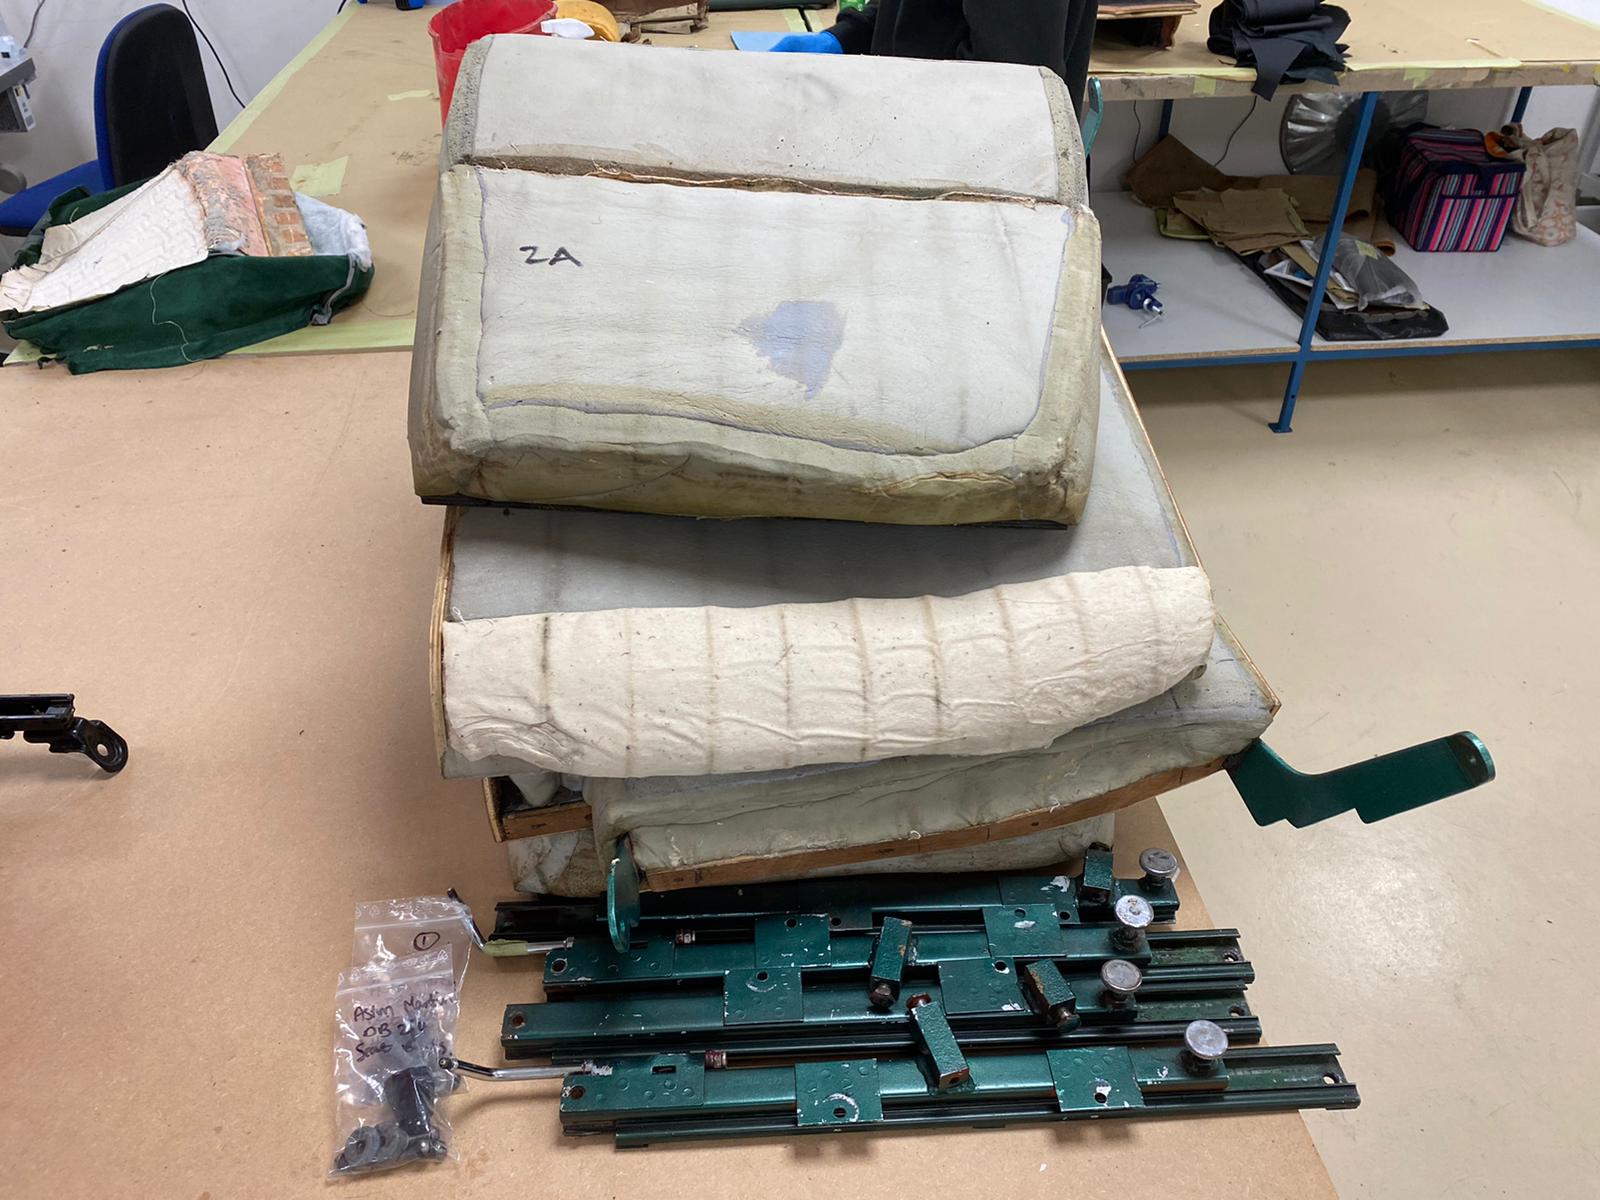
Kath has been fitting the second front base seat cover to its foam and frame for the 1955 Aston Martin DB 2/4. It’s exactly the

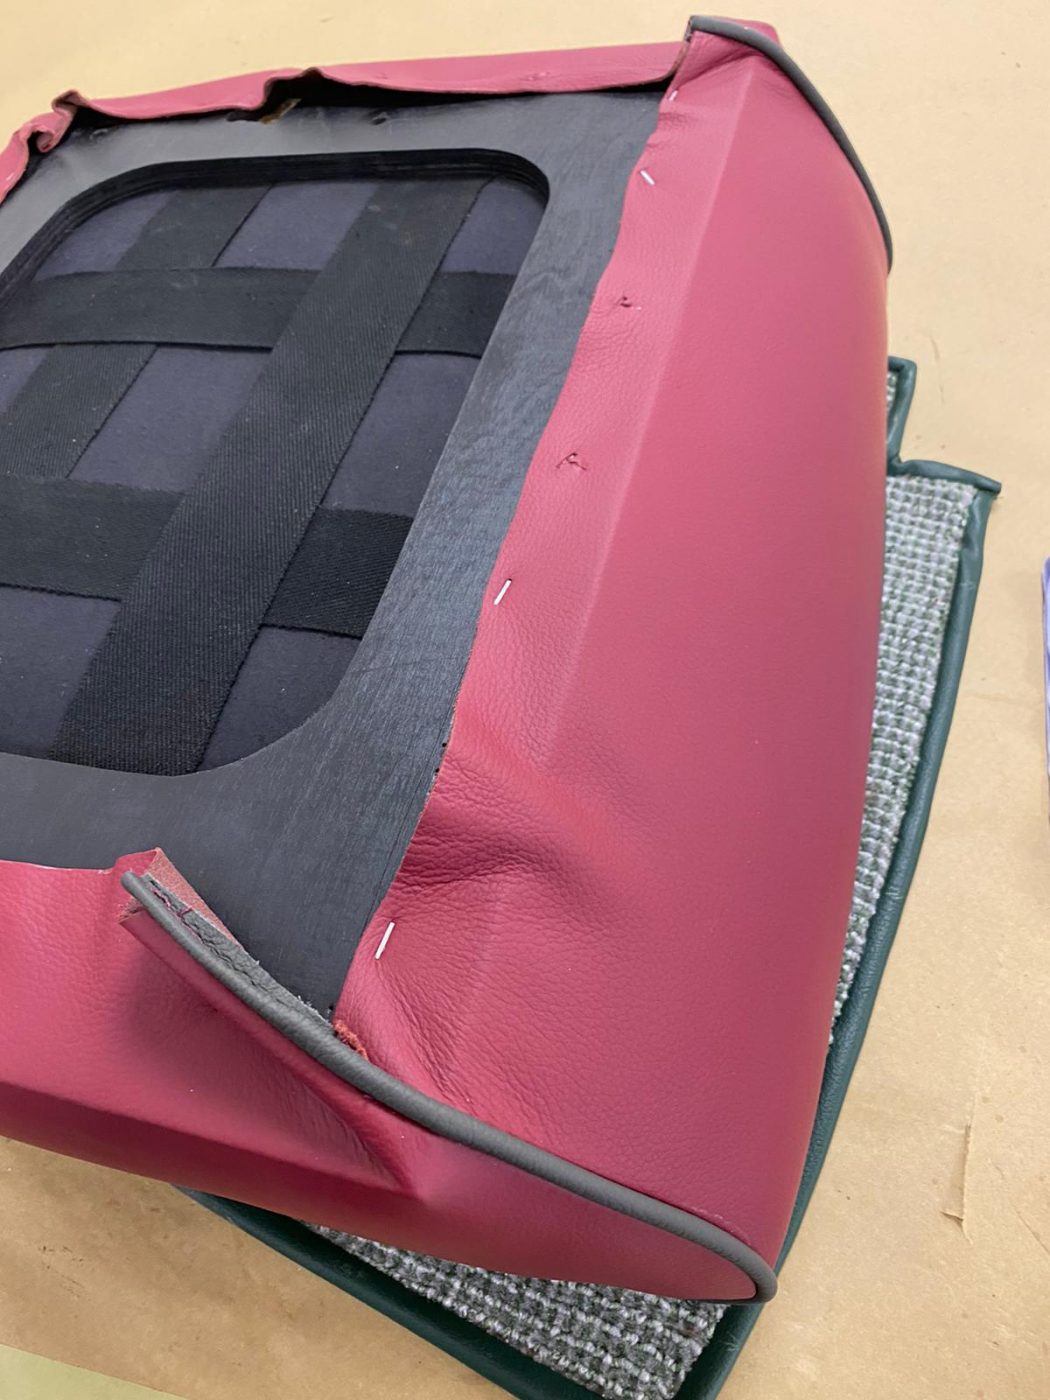
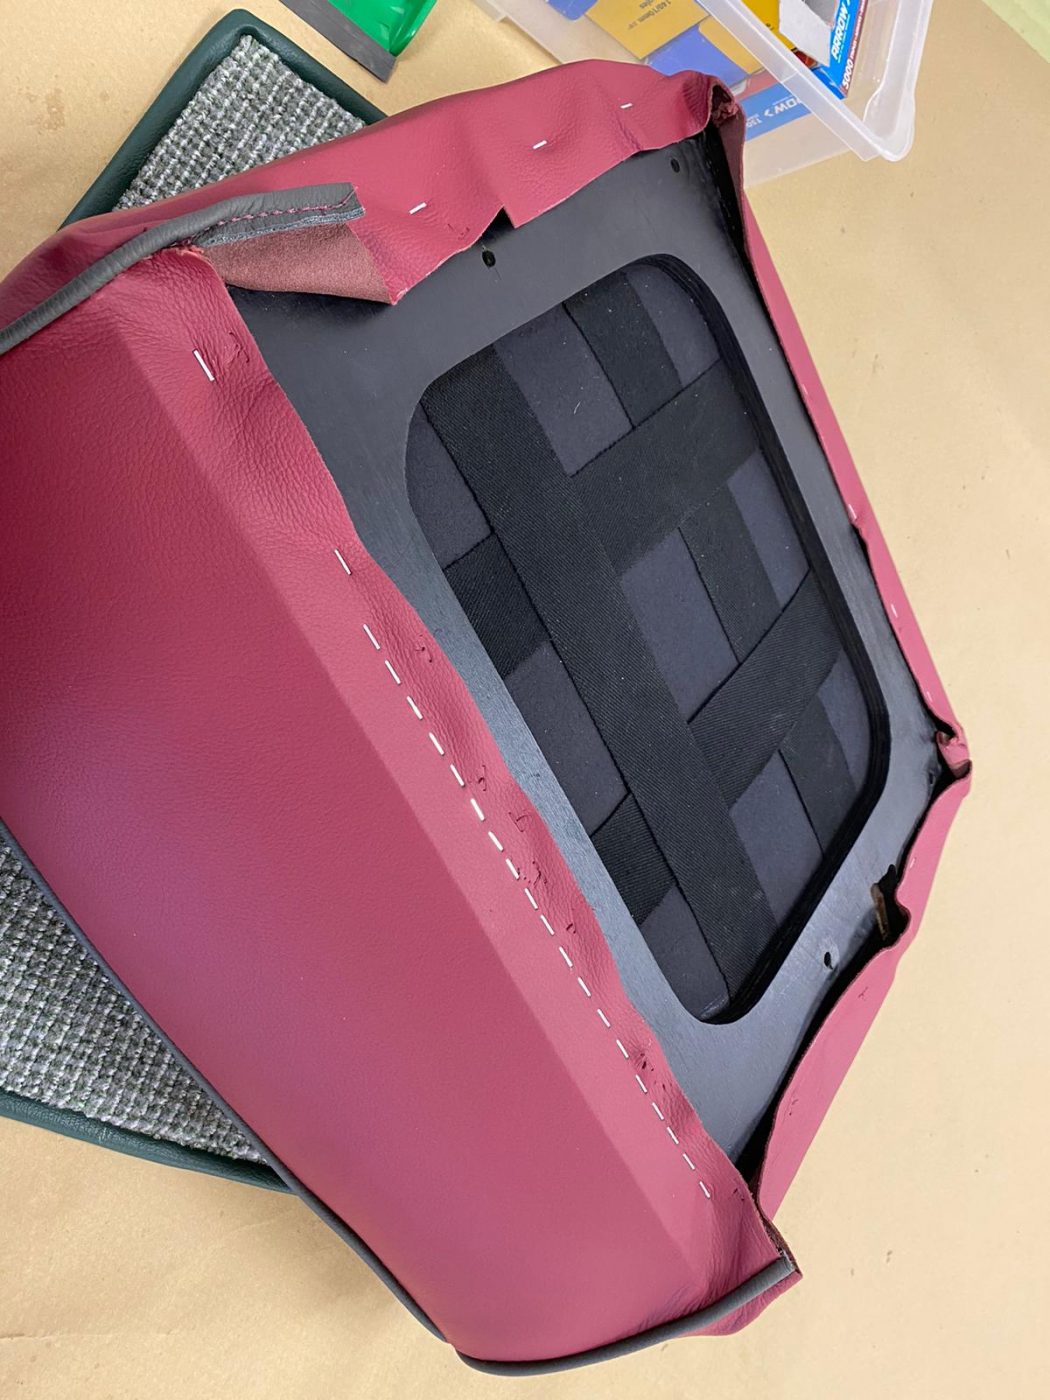
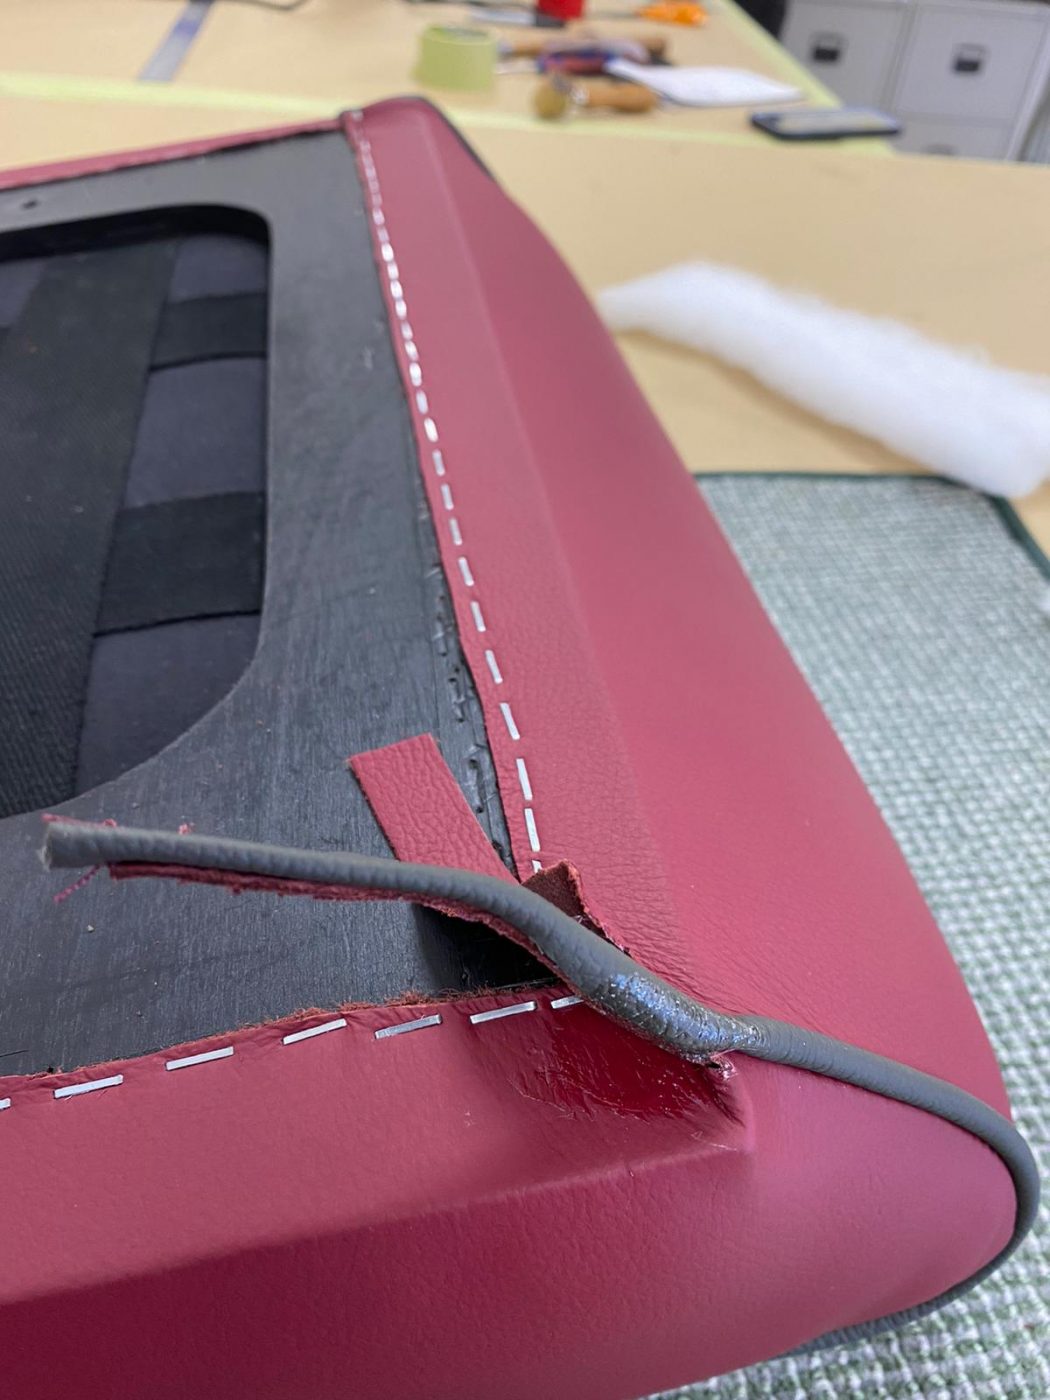
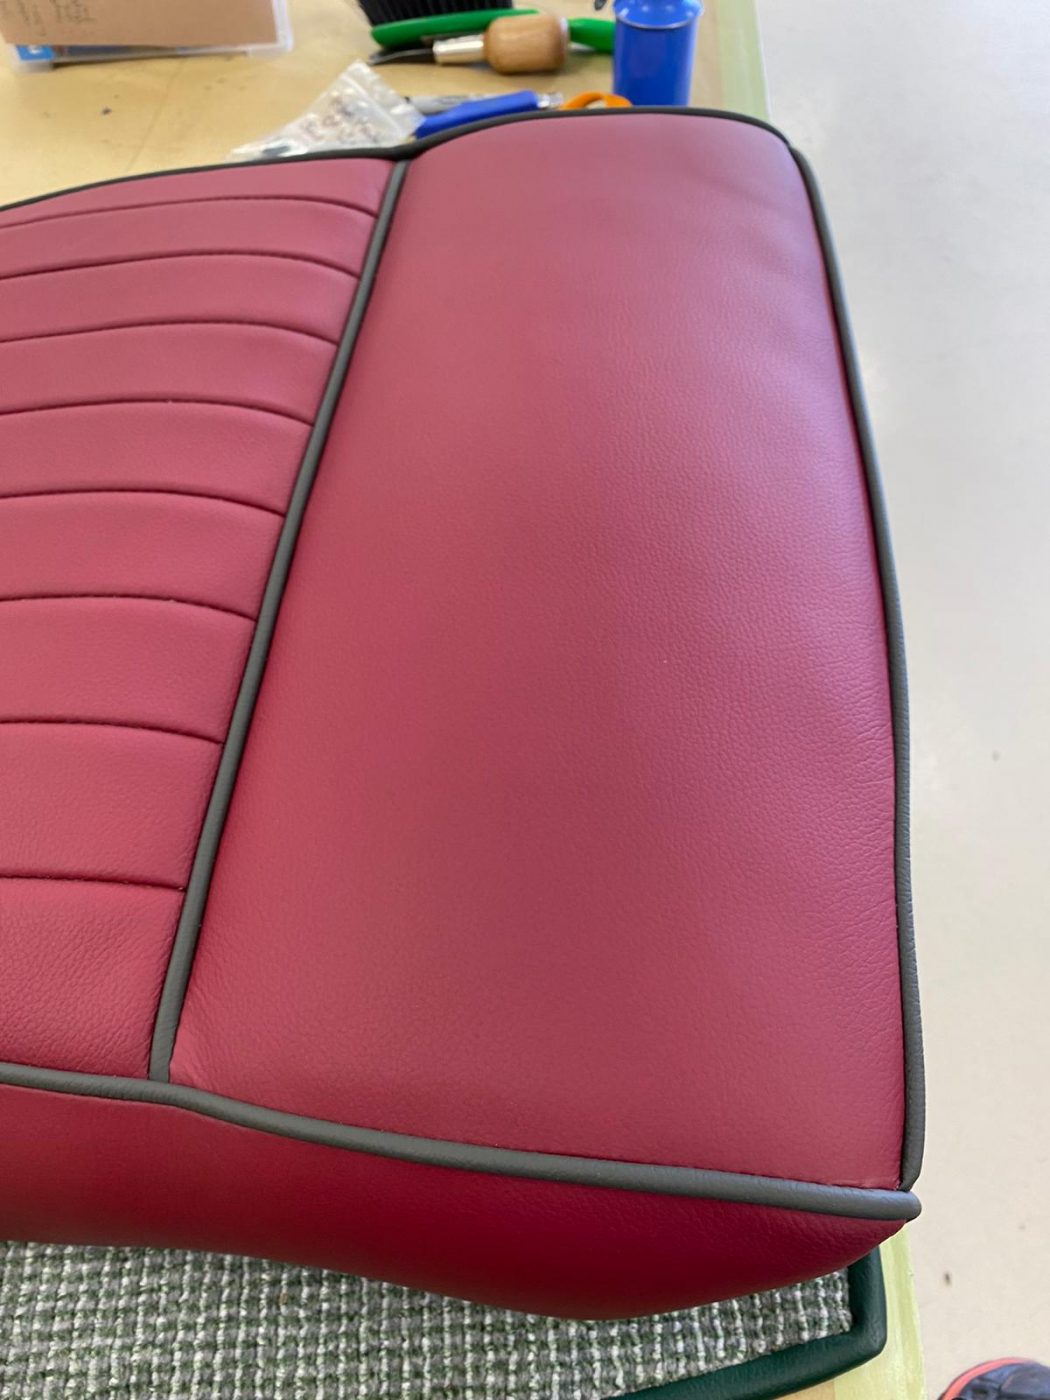
Brian has been re-covering a few more pieces for the 1955 Aston Martin DB 2/4’s interior. The rear seat top panels have been done. He
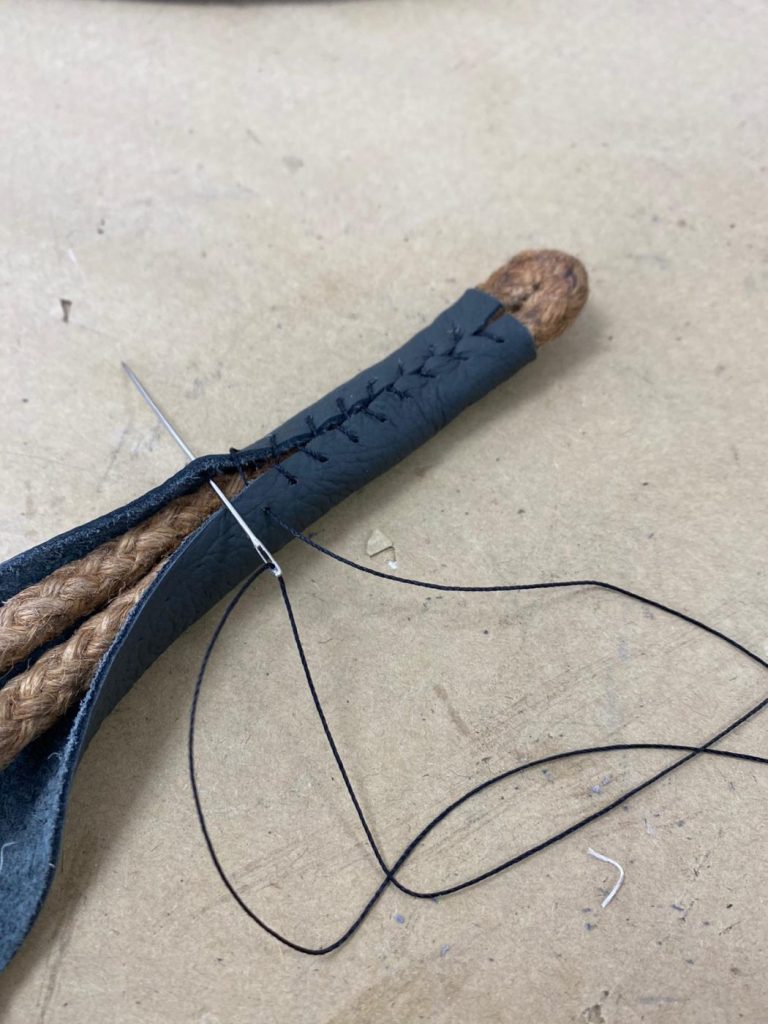
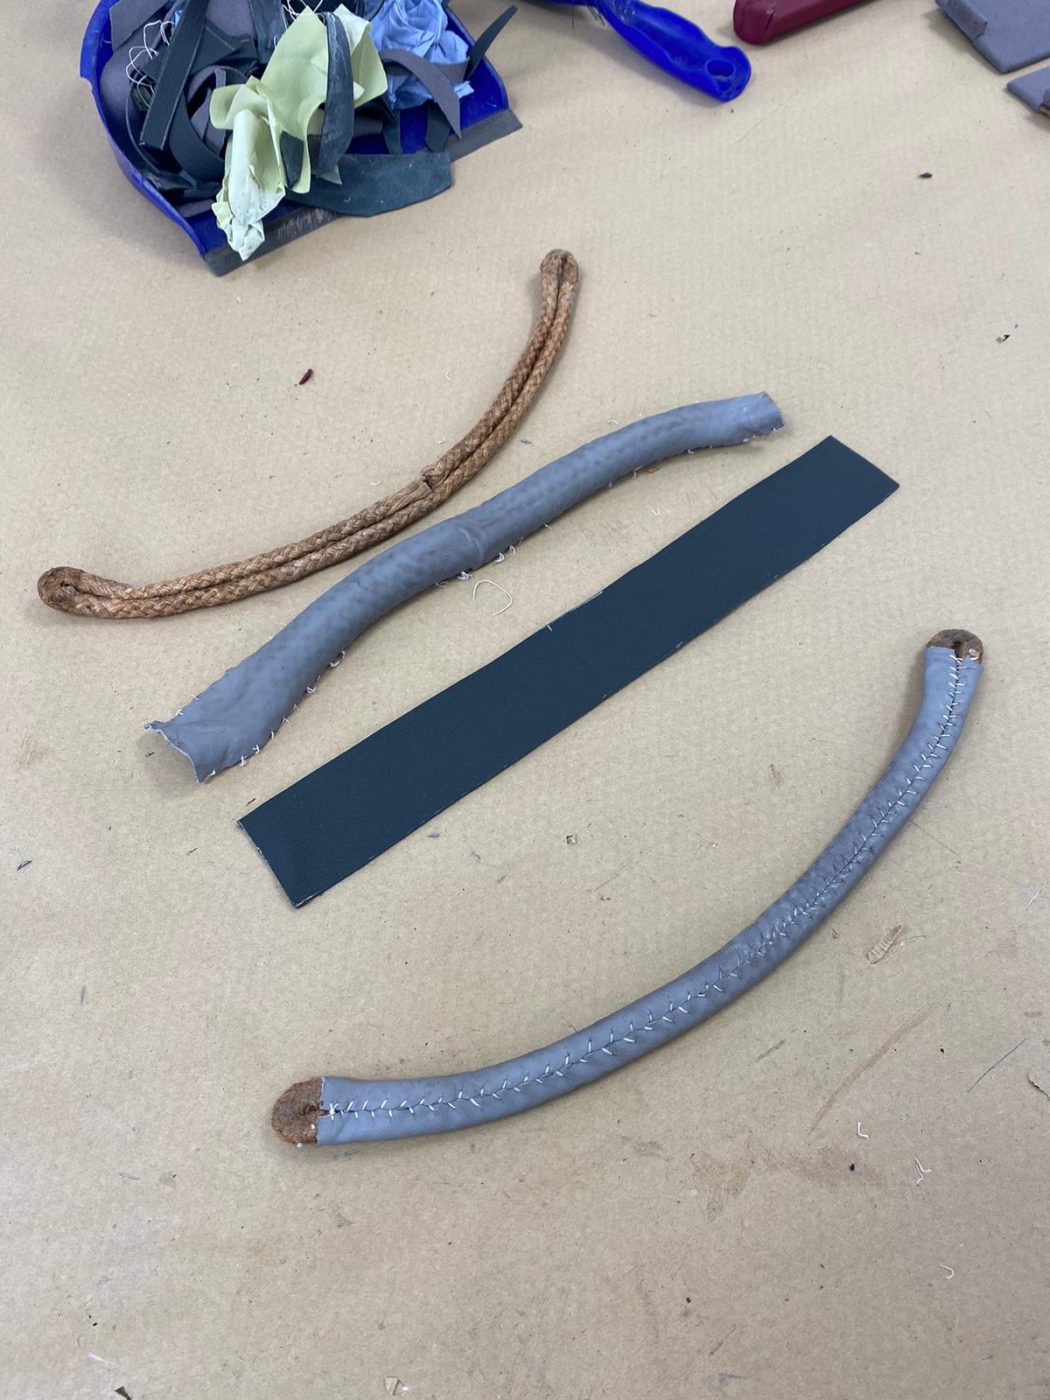
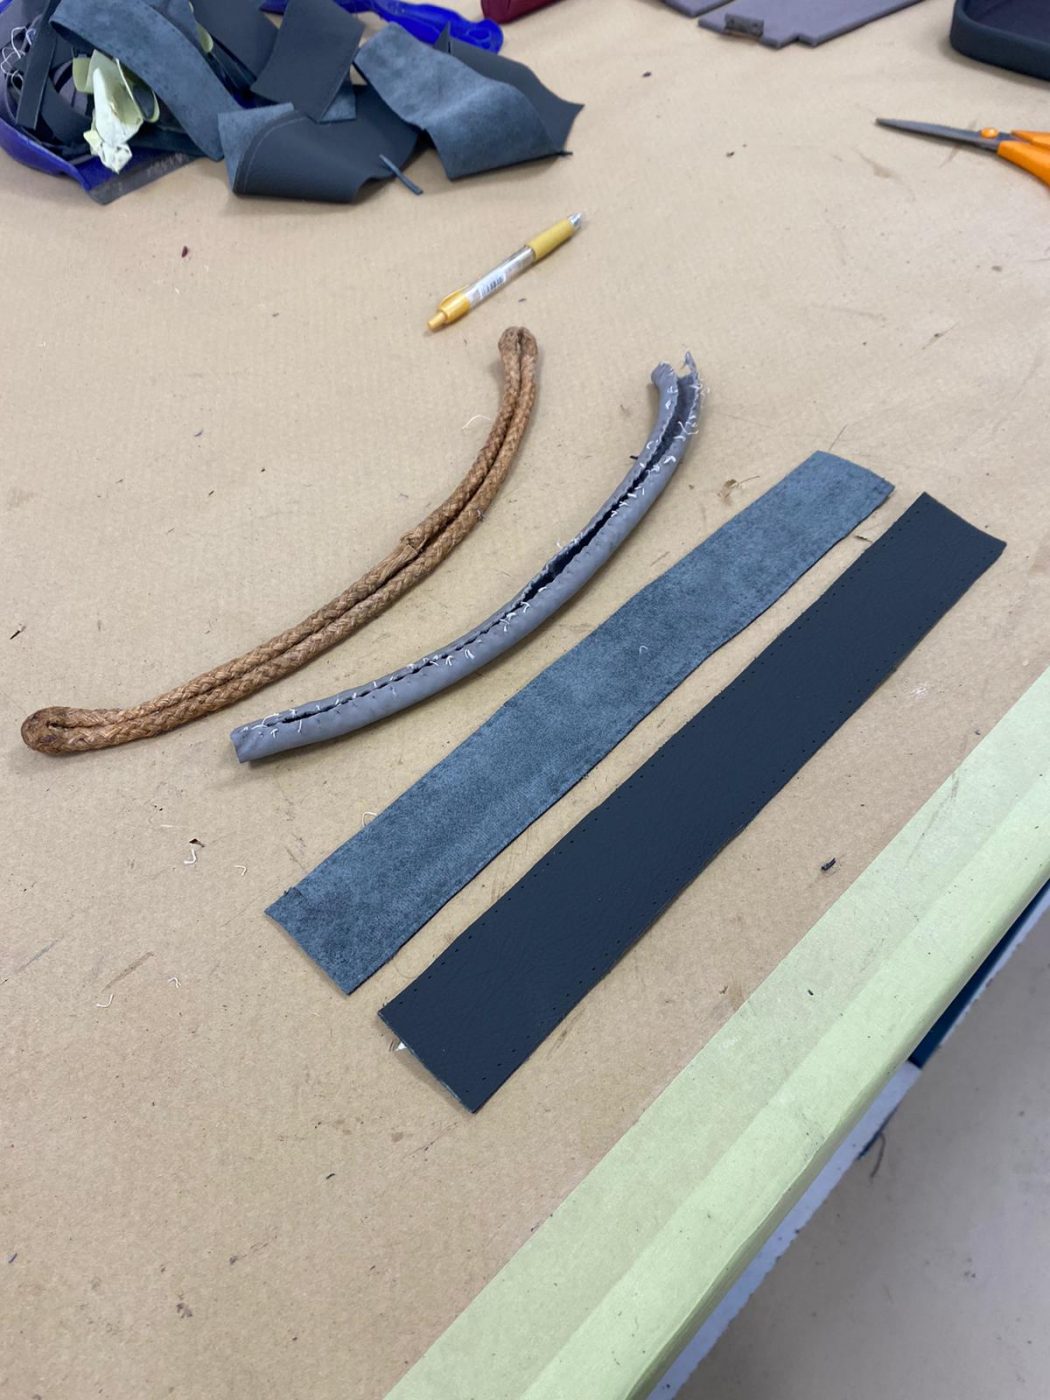
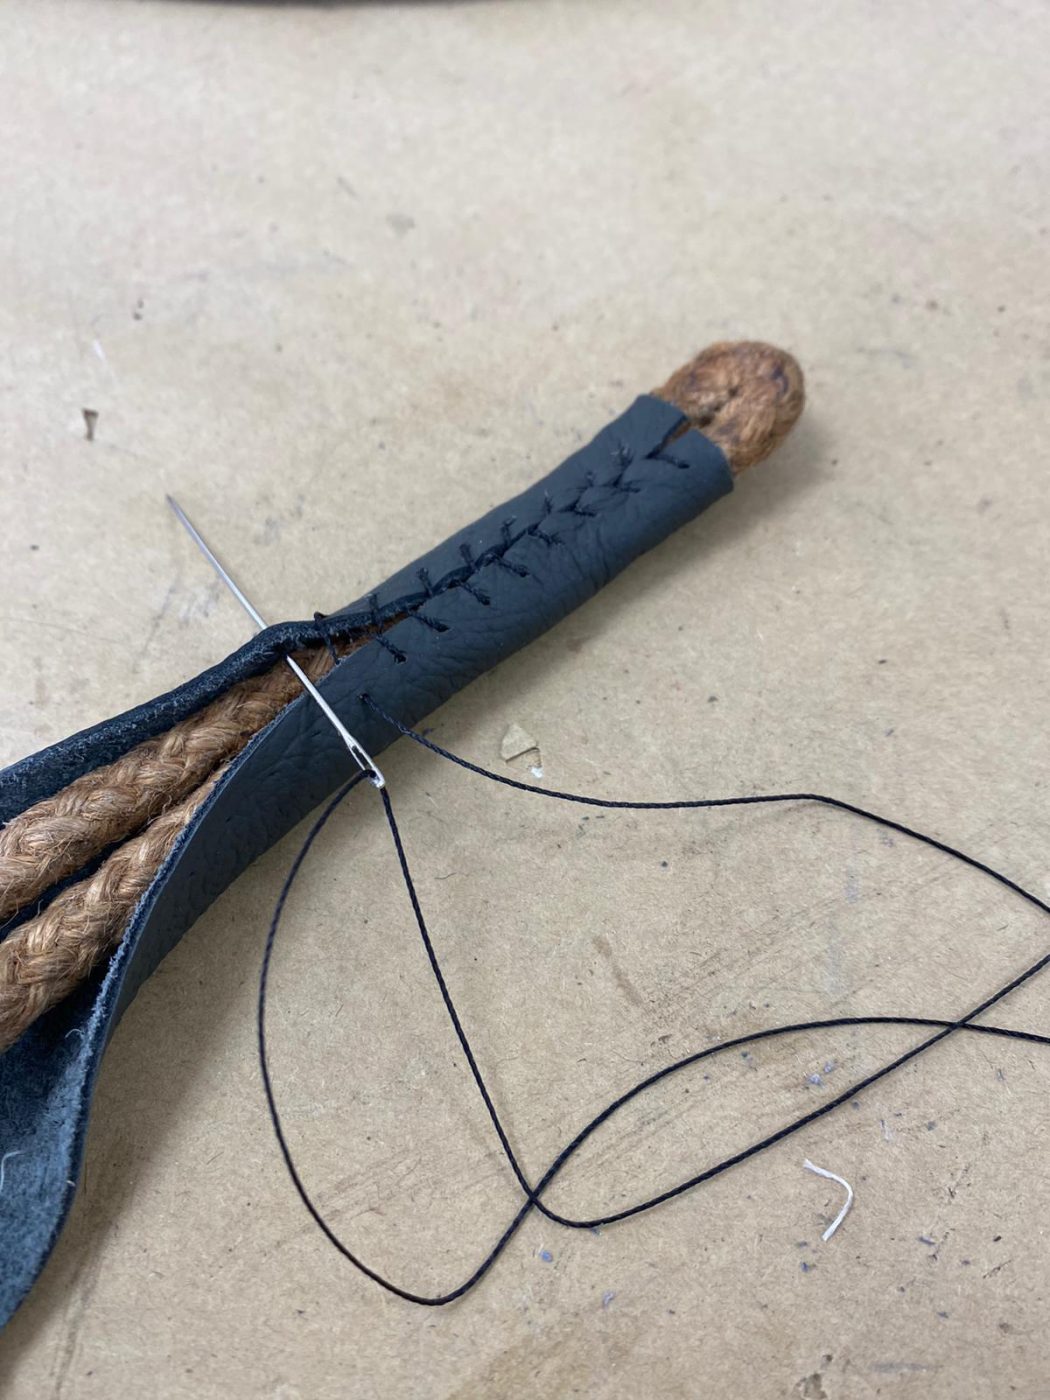
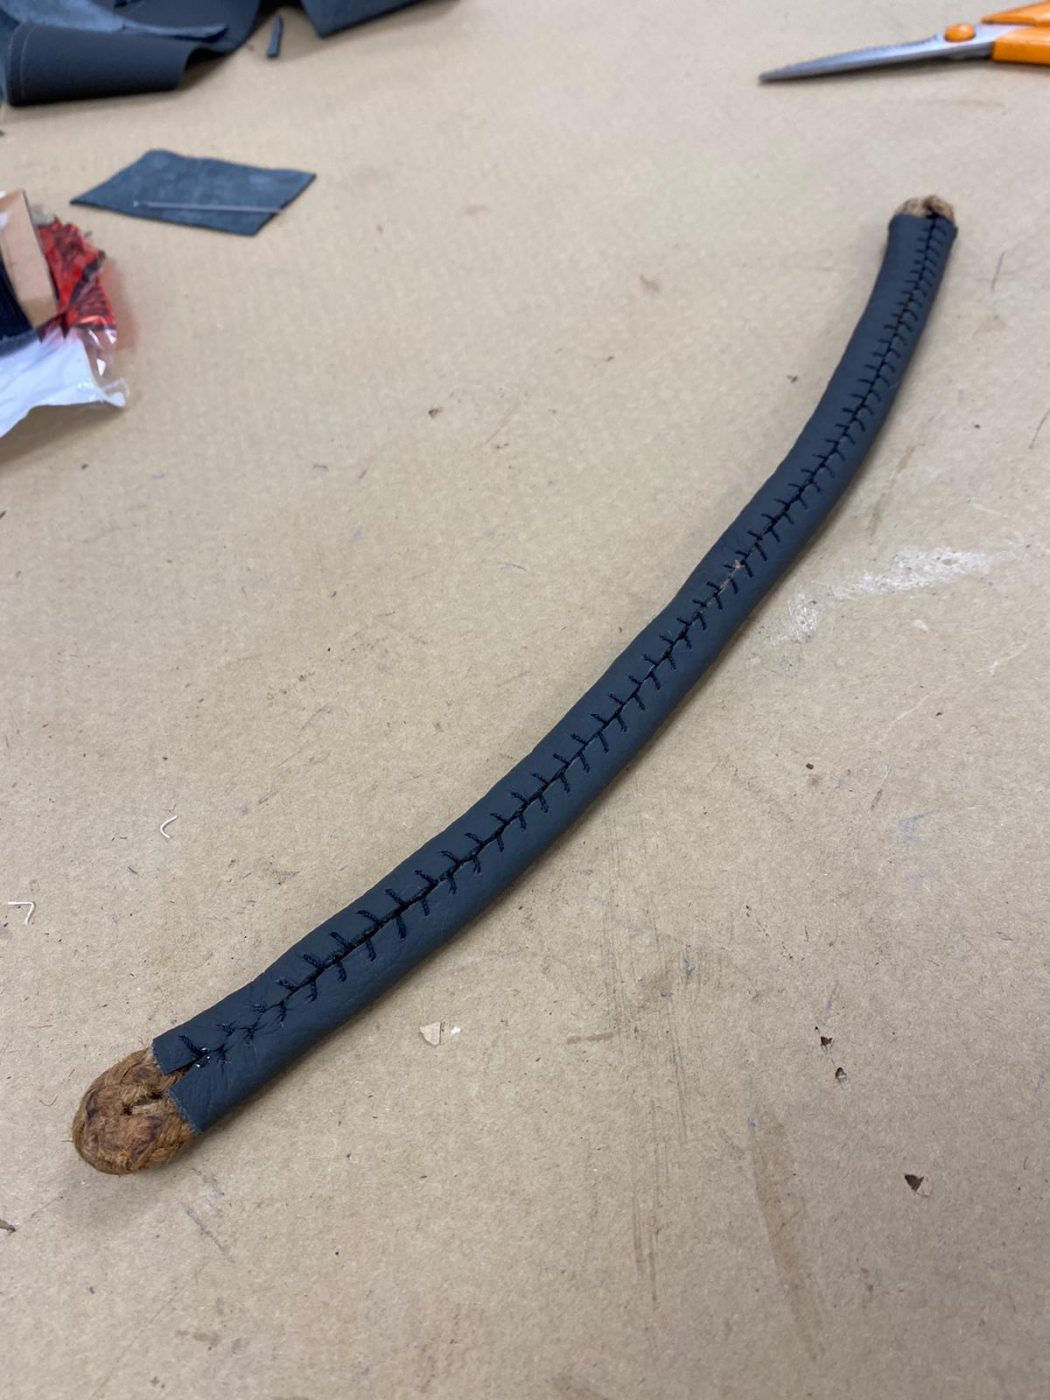
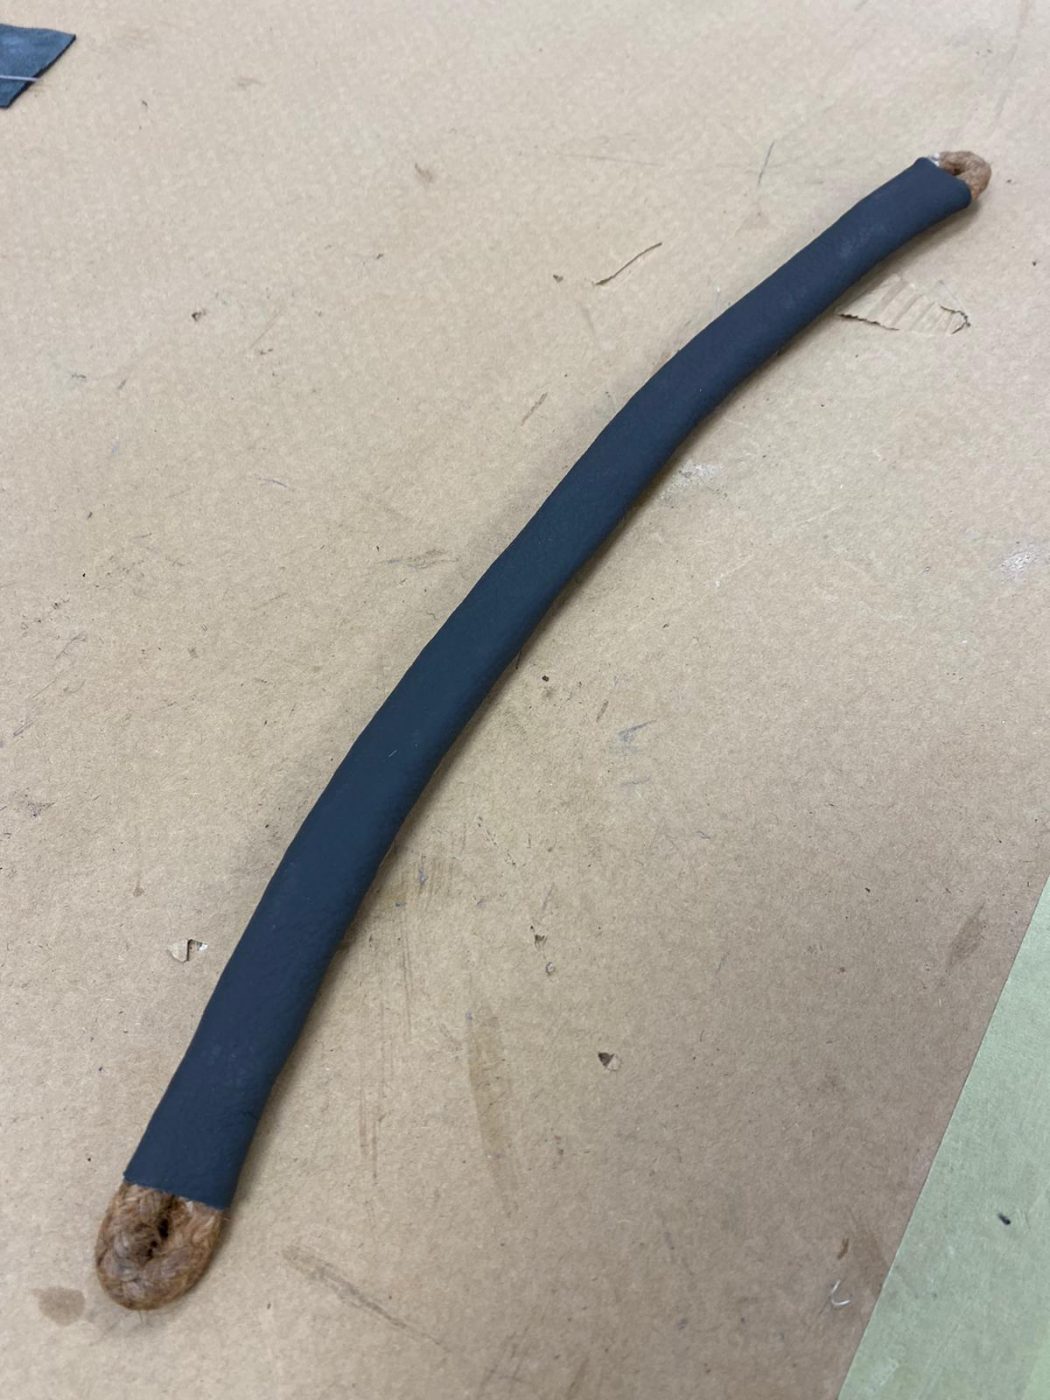
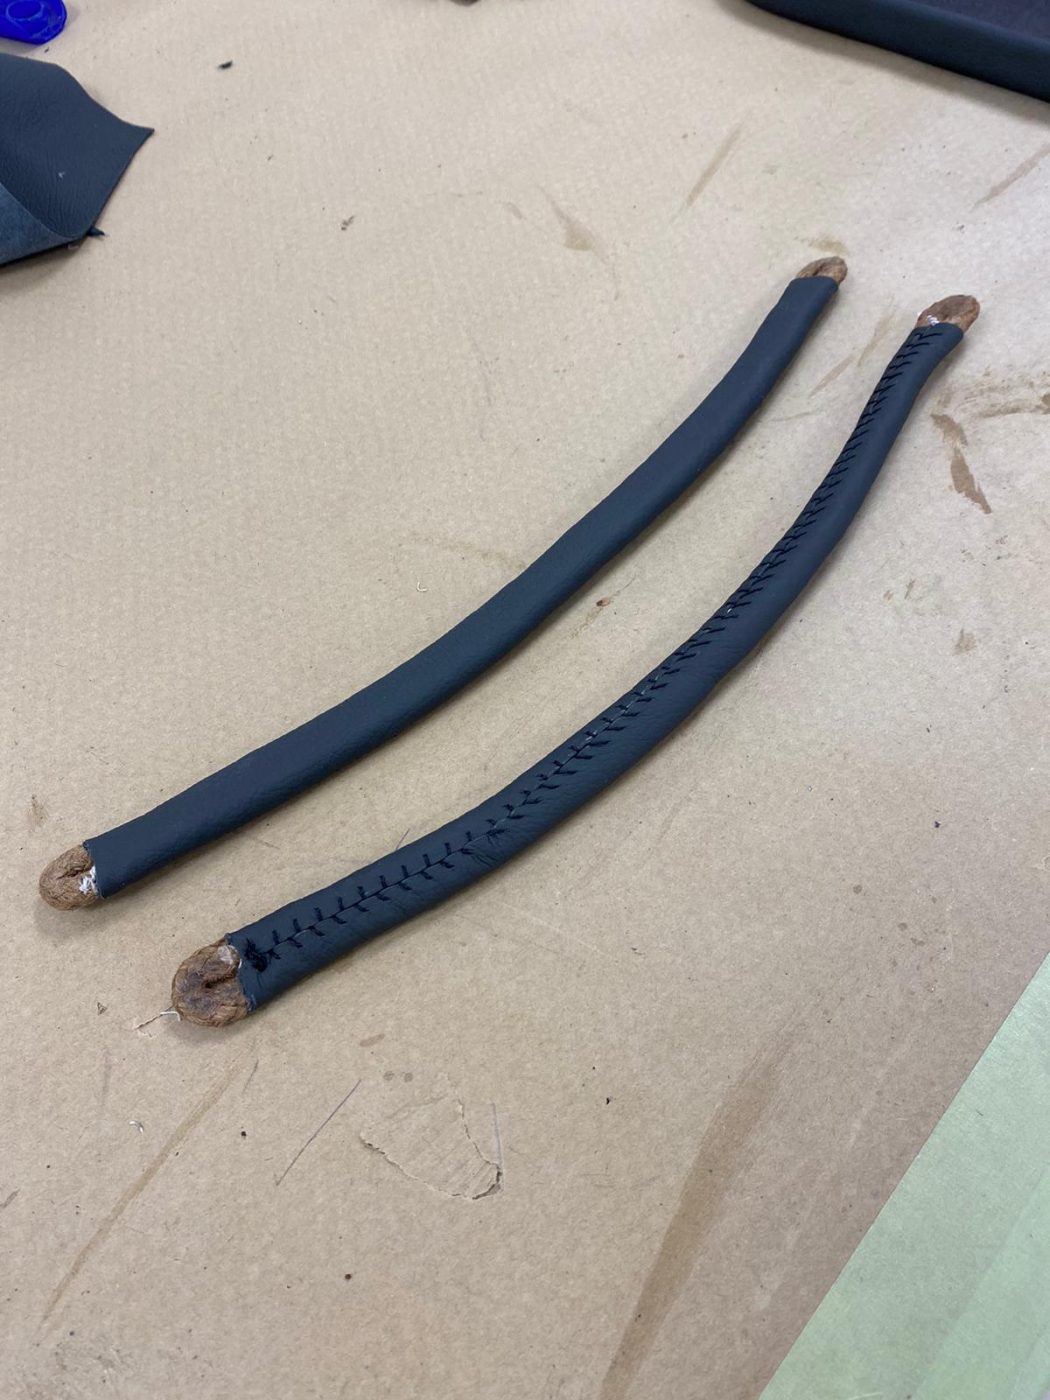
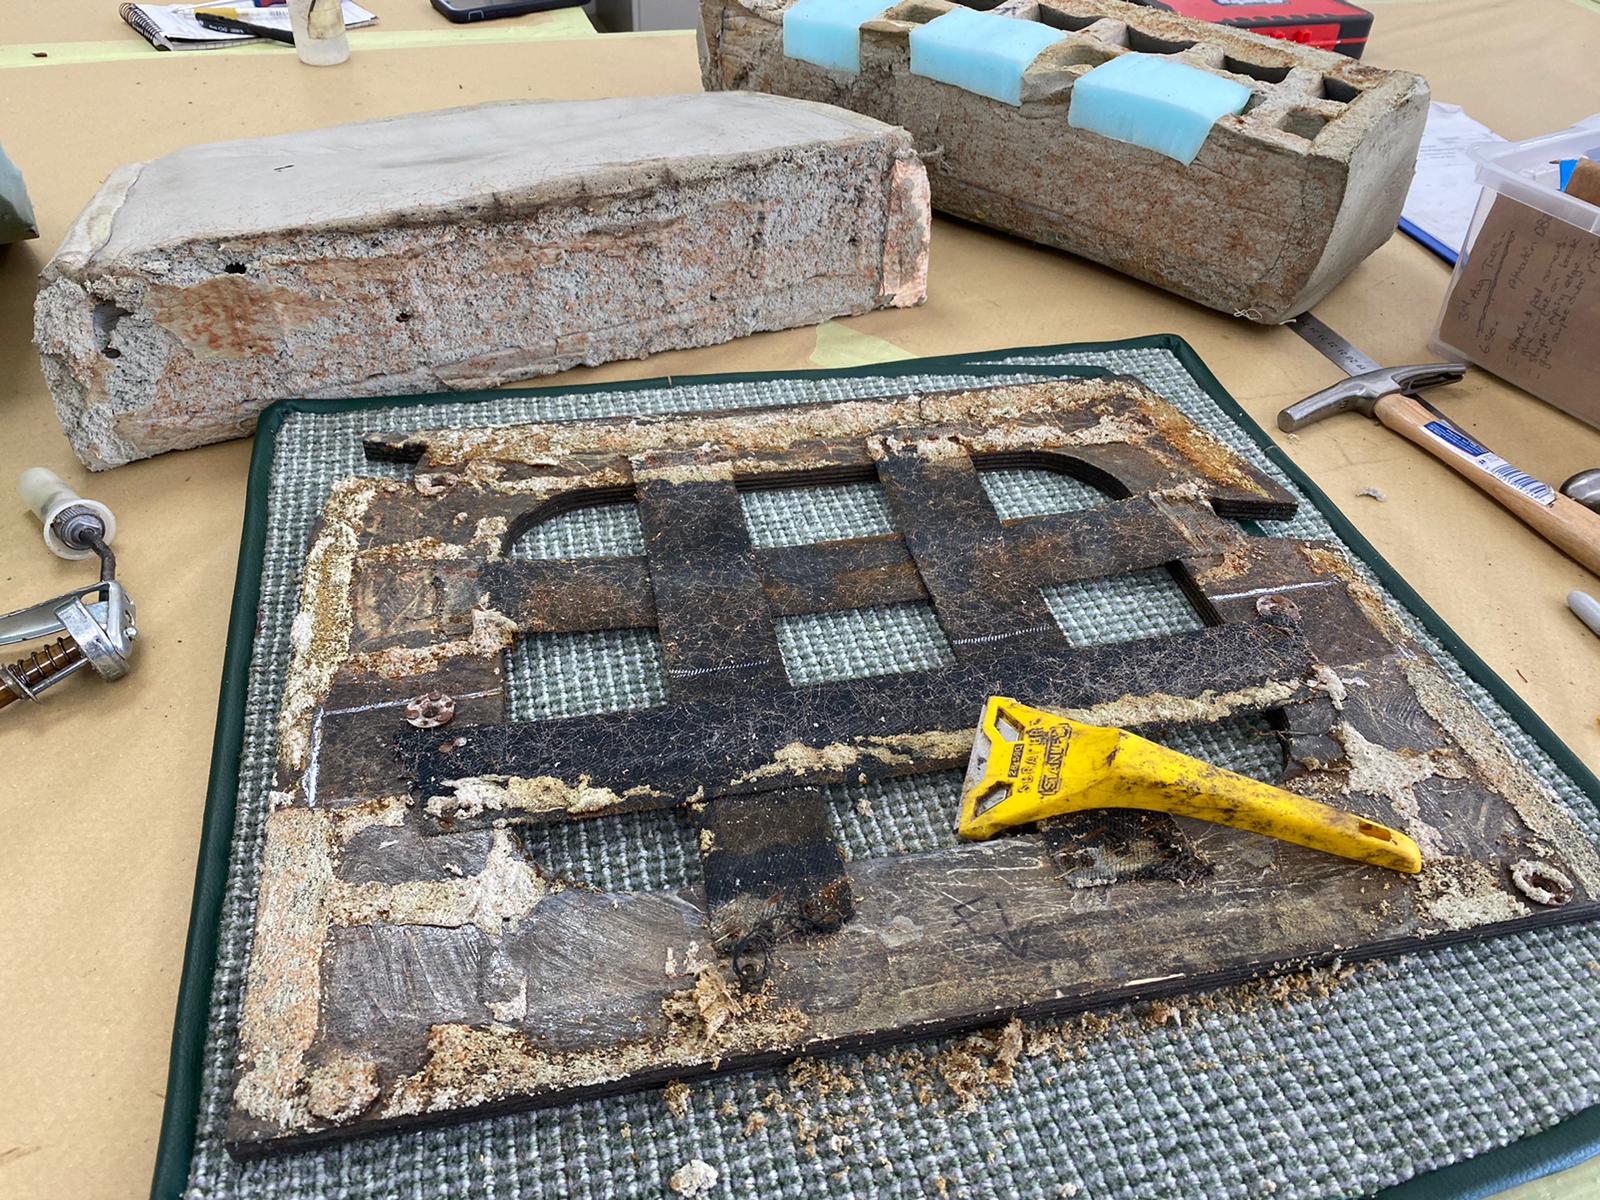
Another little update on the 1955 Aston Martin DB 2/4 coming your way! In the trim shop, Kath has been re-covering the door straps. She
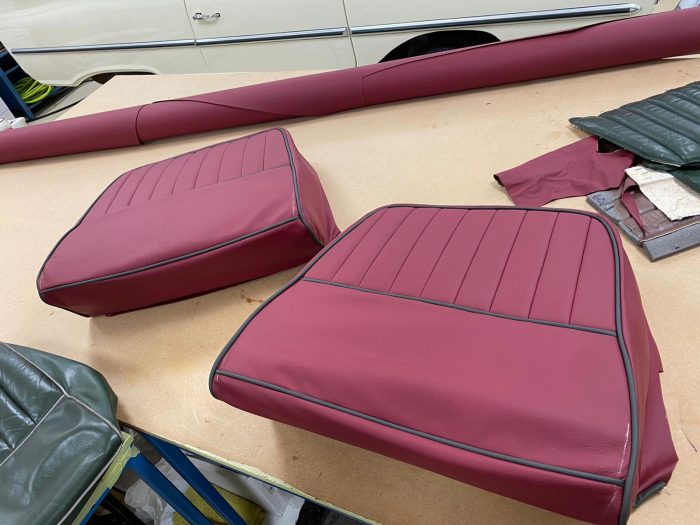
Kath has been doing more seat work for the 1955 Aston Martin DB 2/4. This time around she’s been fitting the front base seat covers

Up to now, our 1955 Aston Martin DB2/4 was not uncovering too many hidden issues. Naturally, we had a lot of repairs and re-shaping to

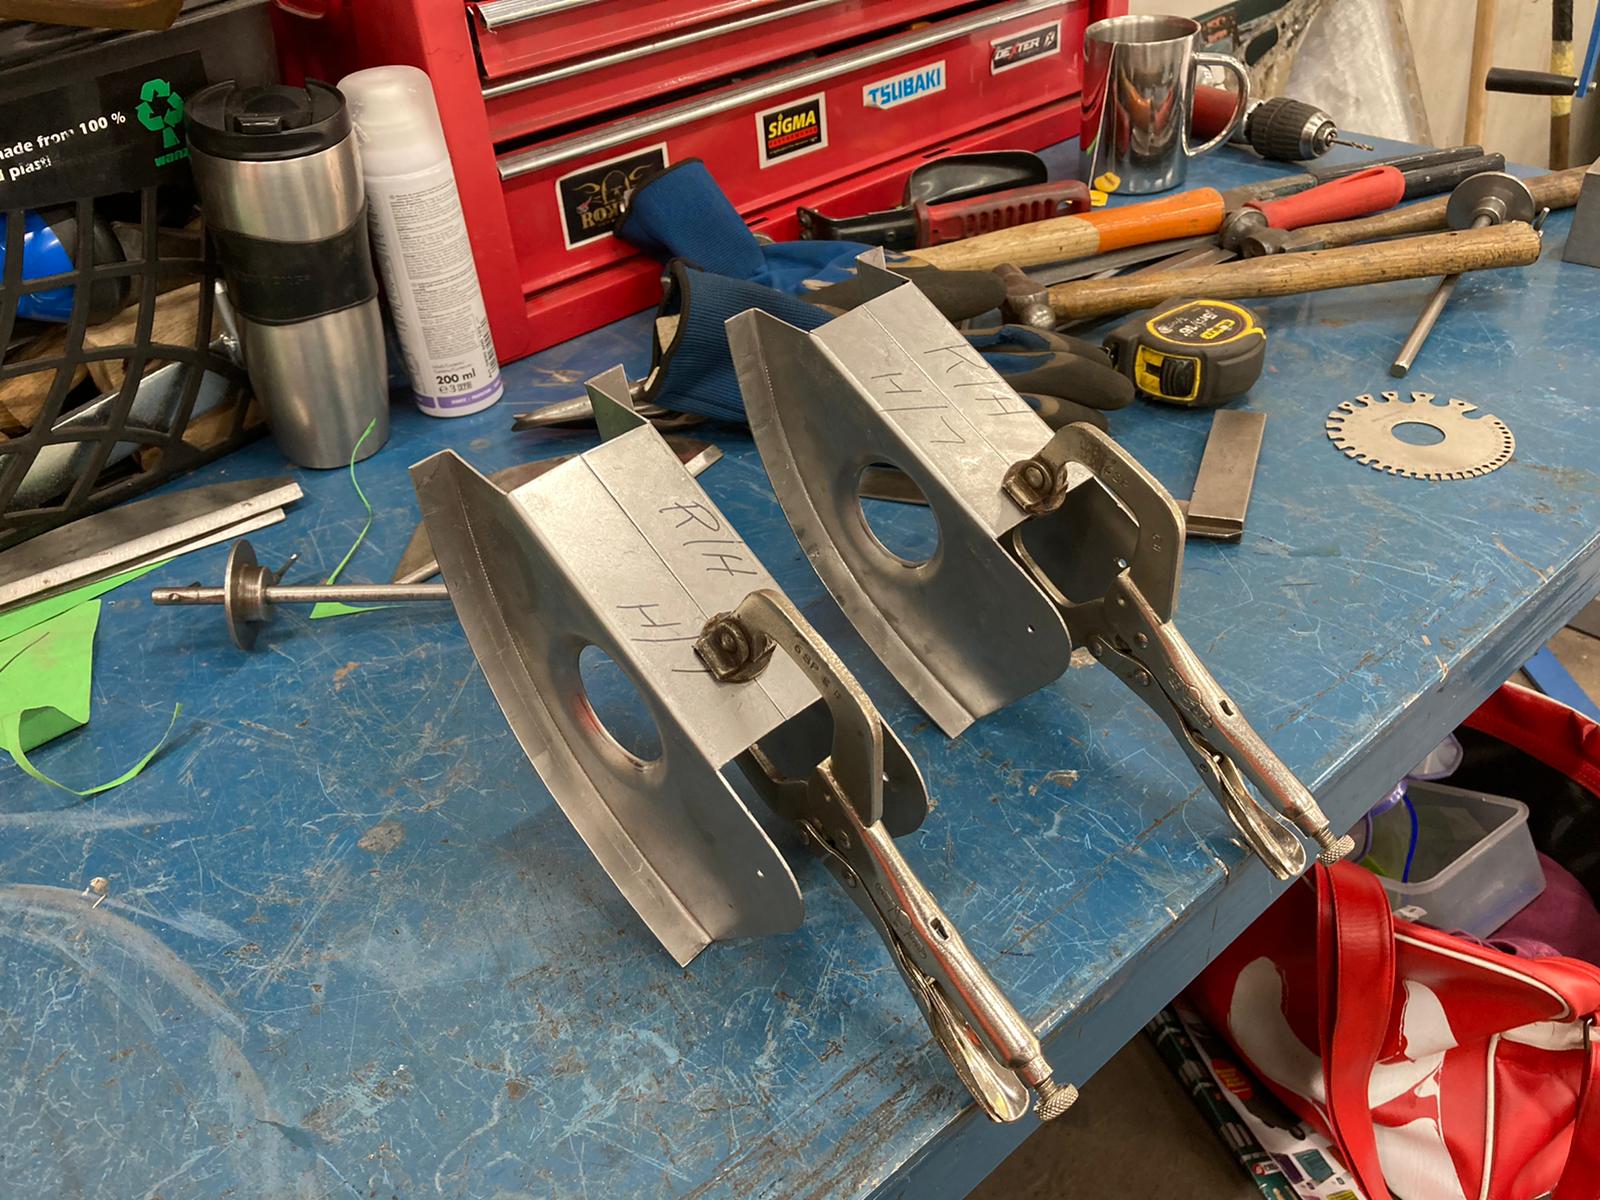
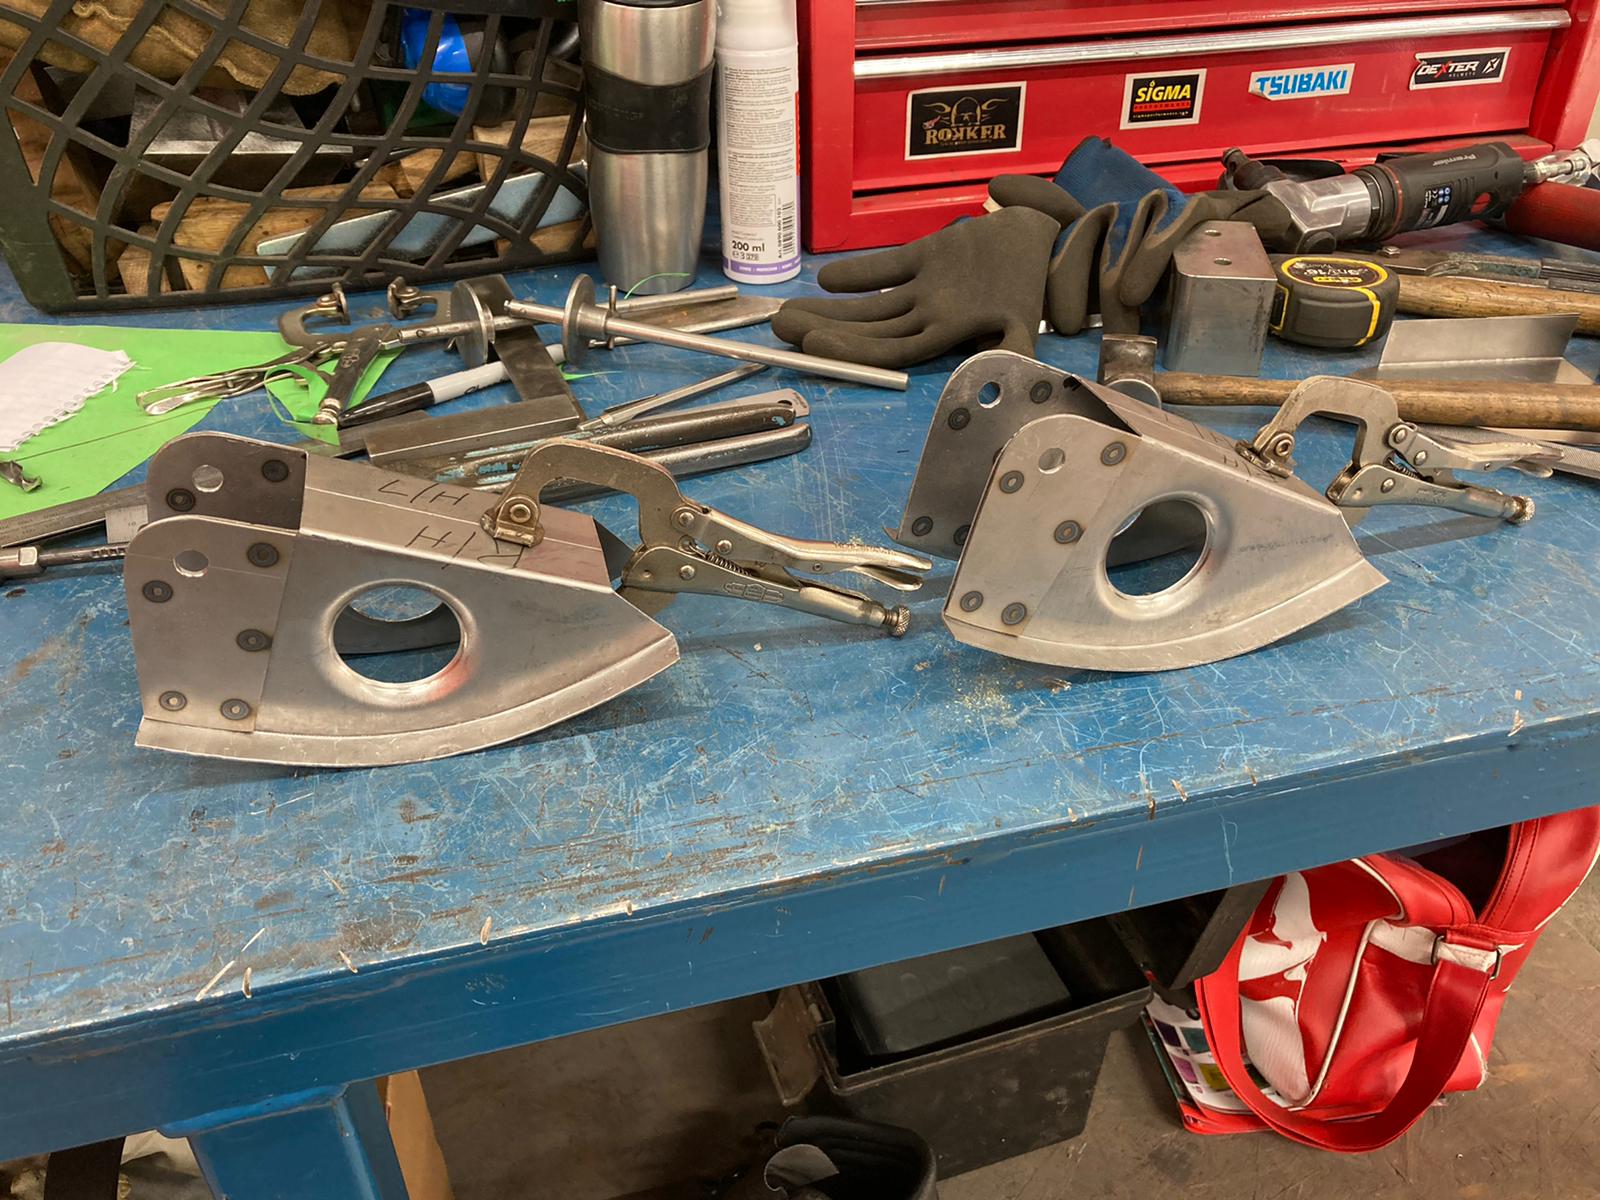
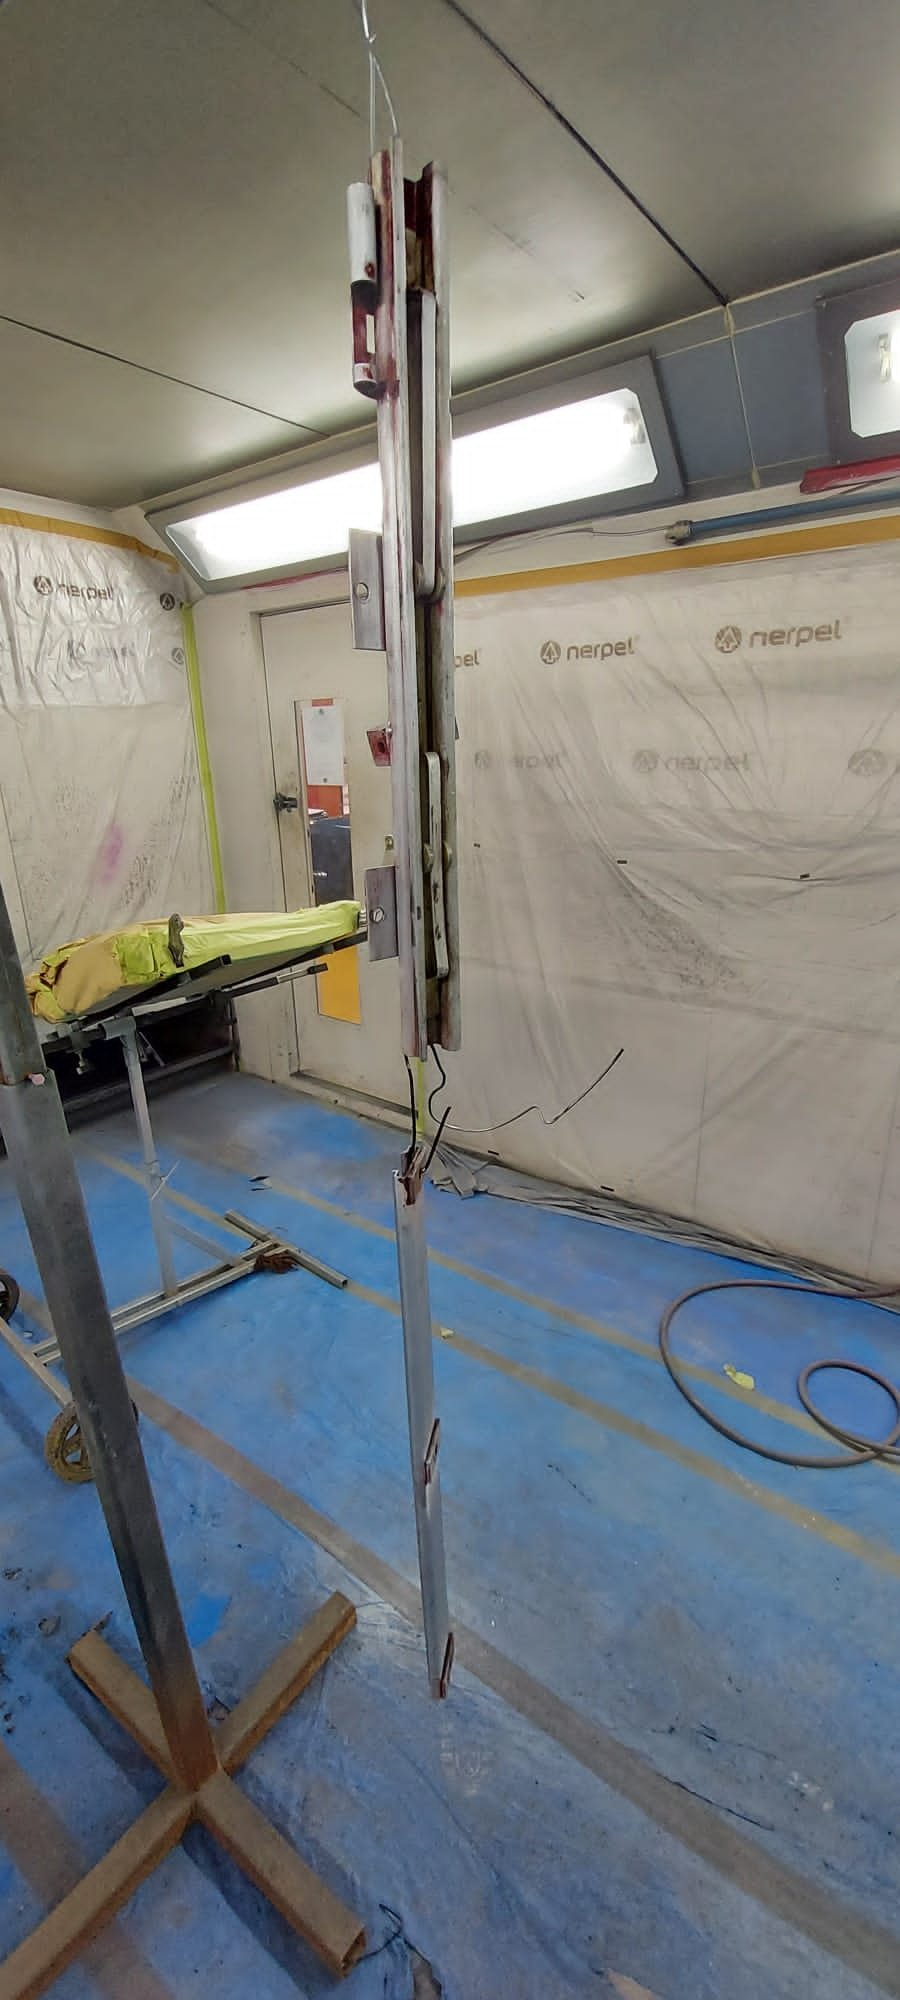
We check in to our DB2/4 restoration as Clinton is finalising the bonnet fabrication. Clinton has fabricated brand new hinges and completely reshaped the lower
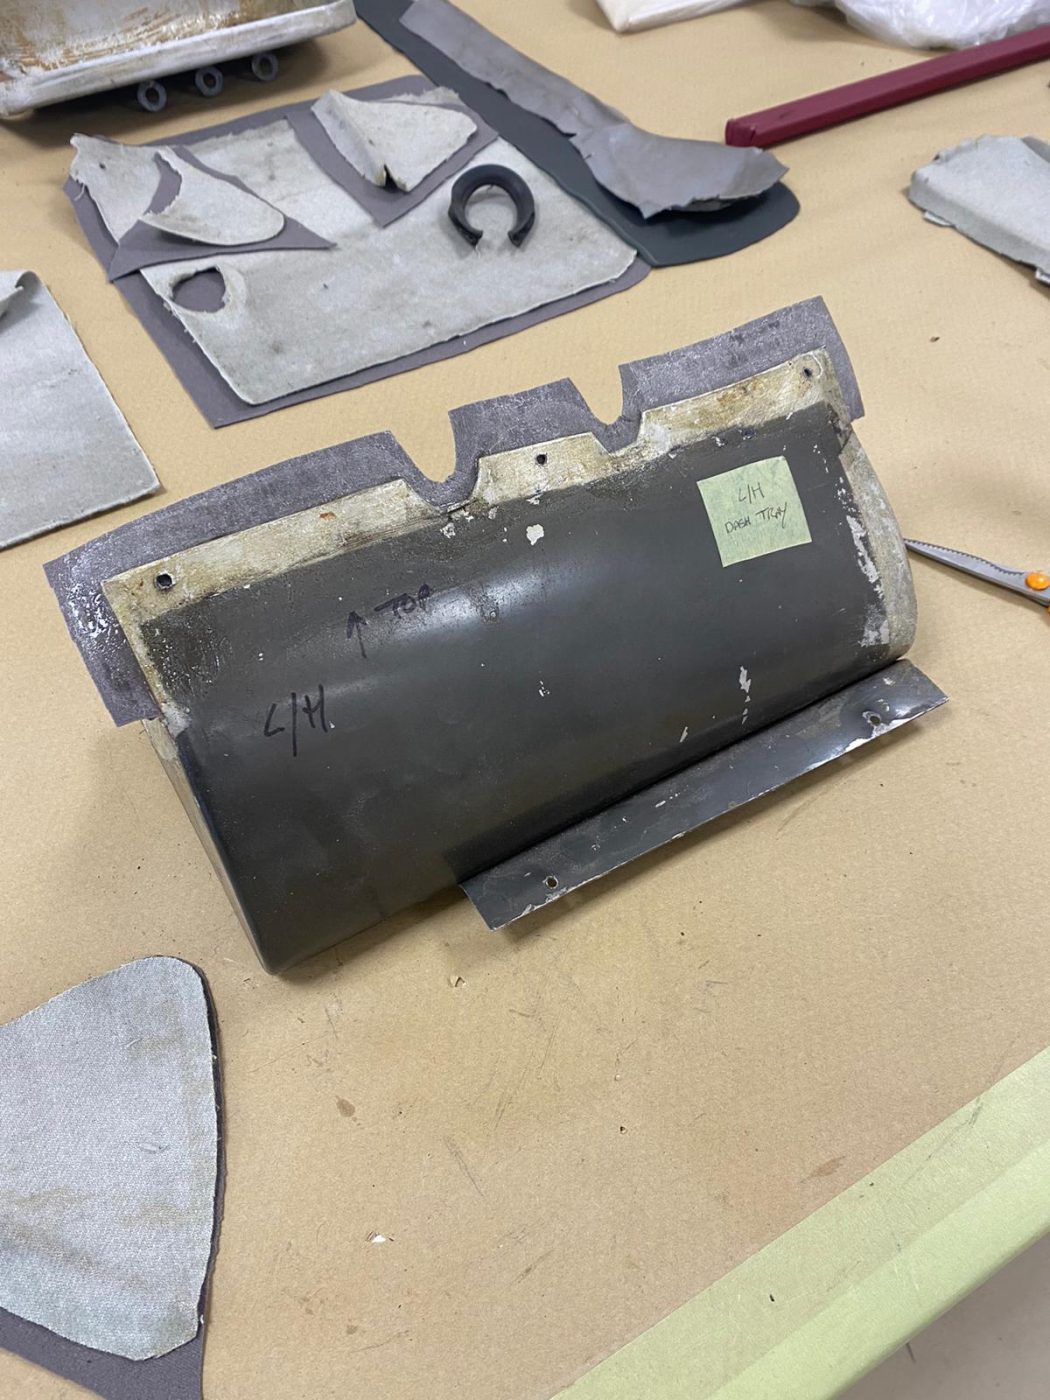
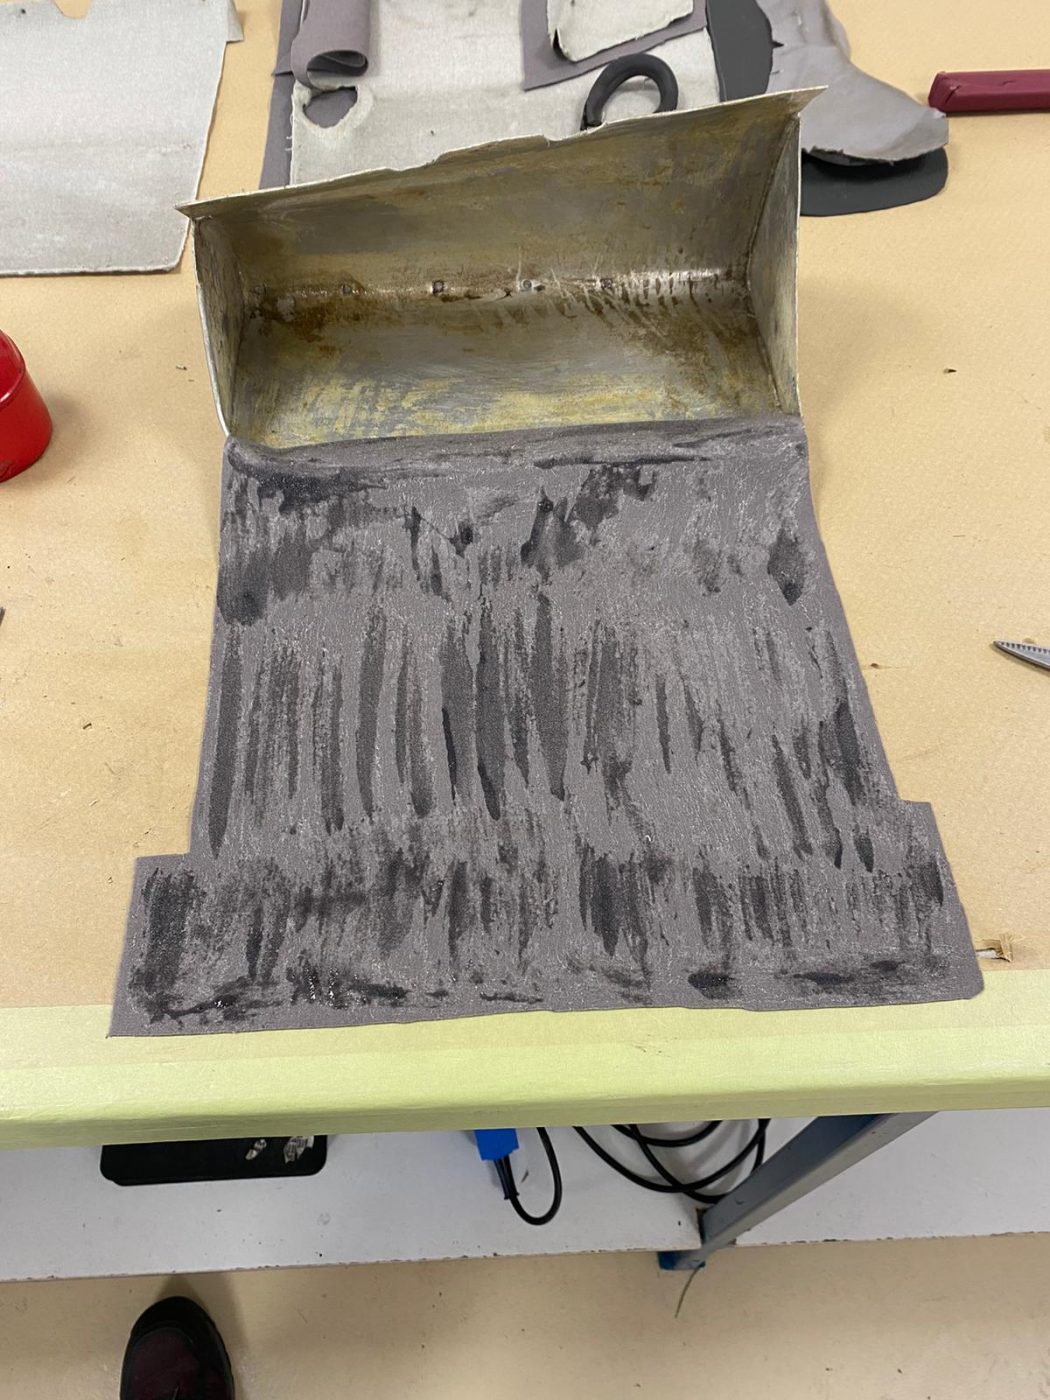
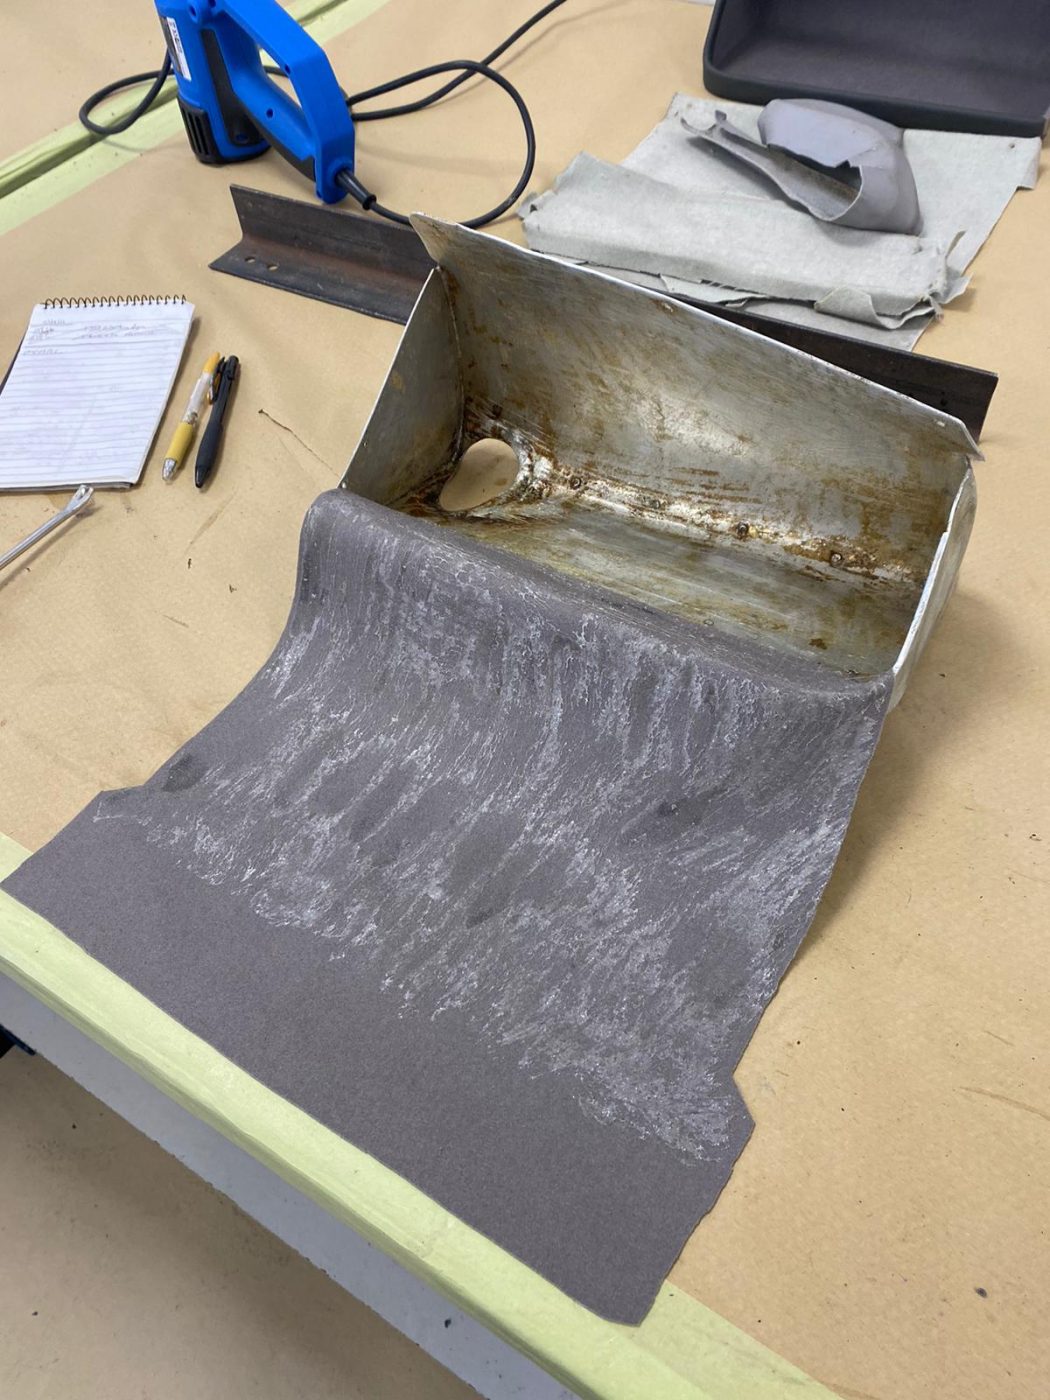
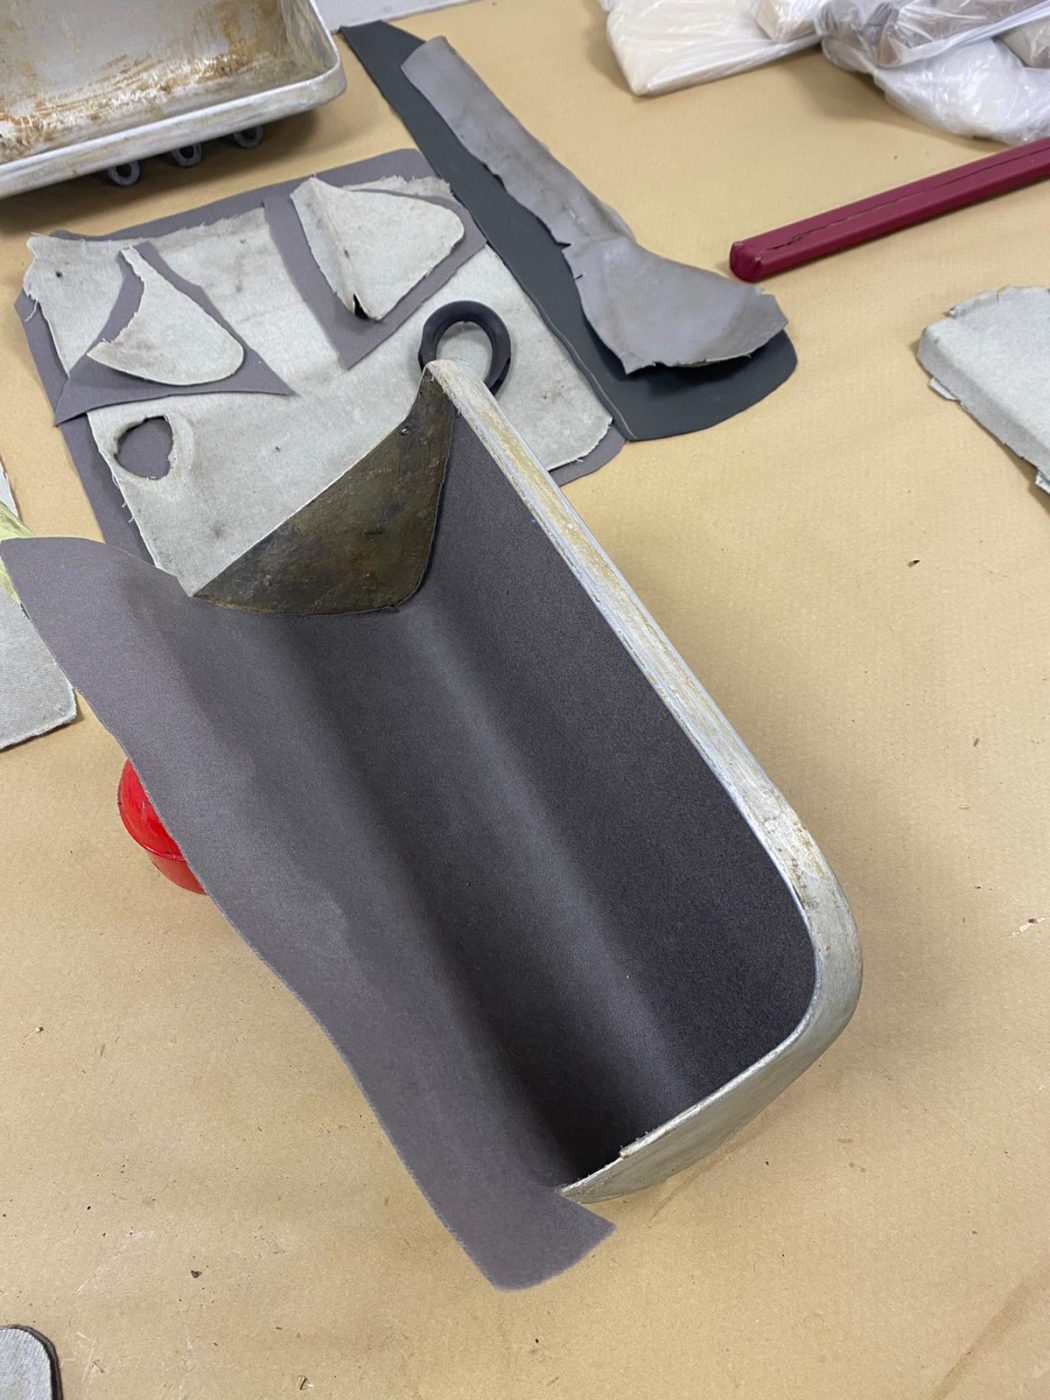
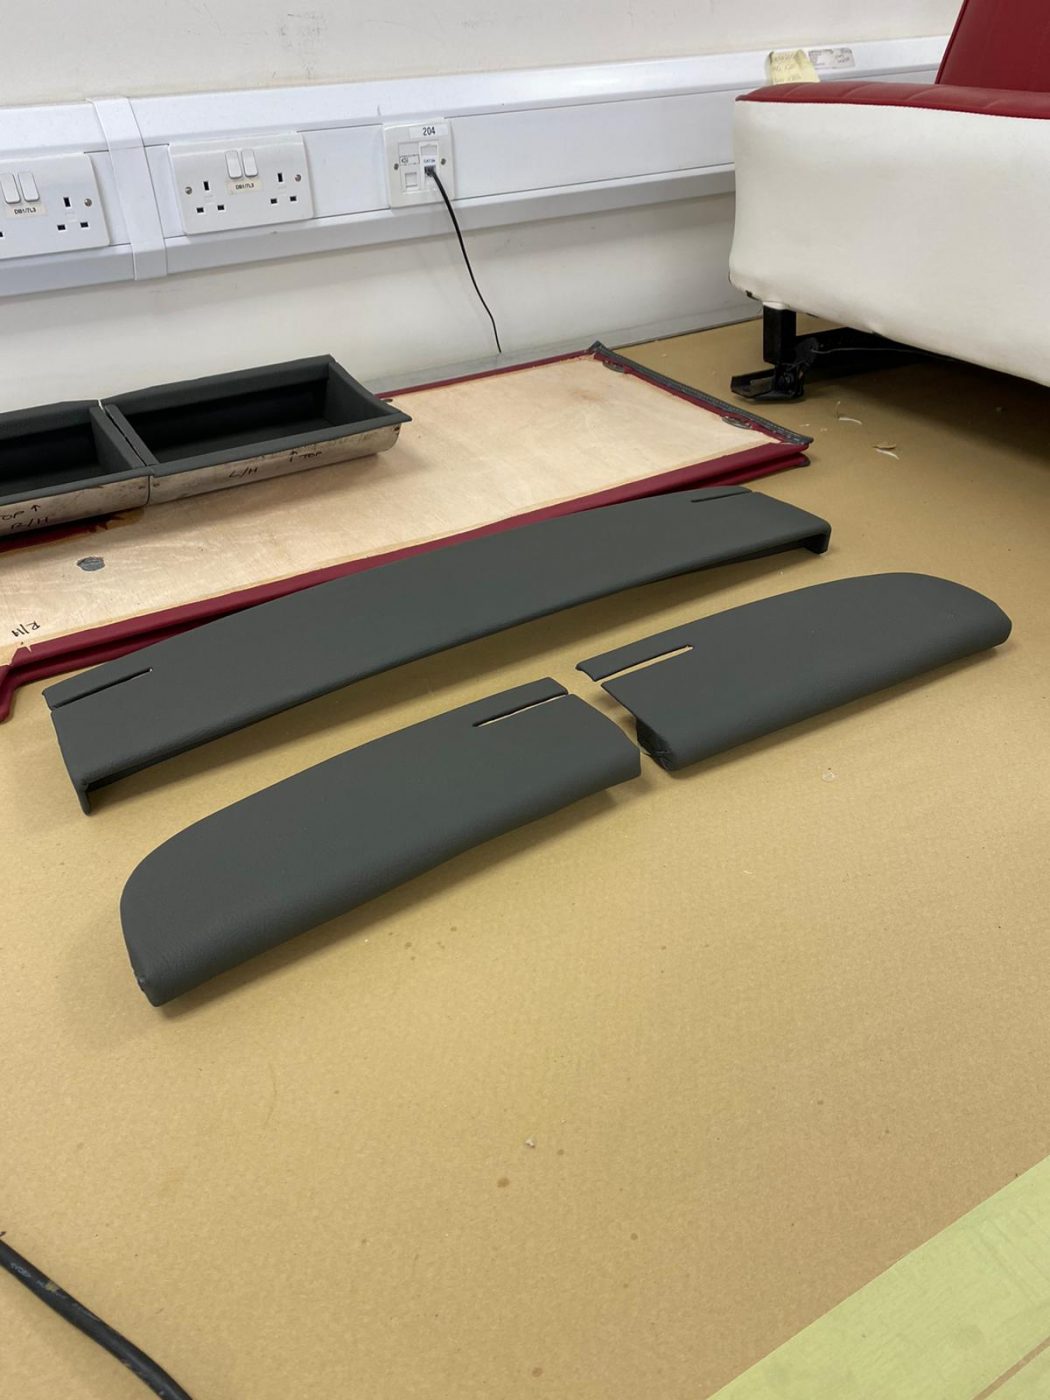
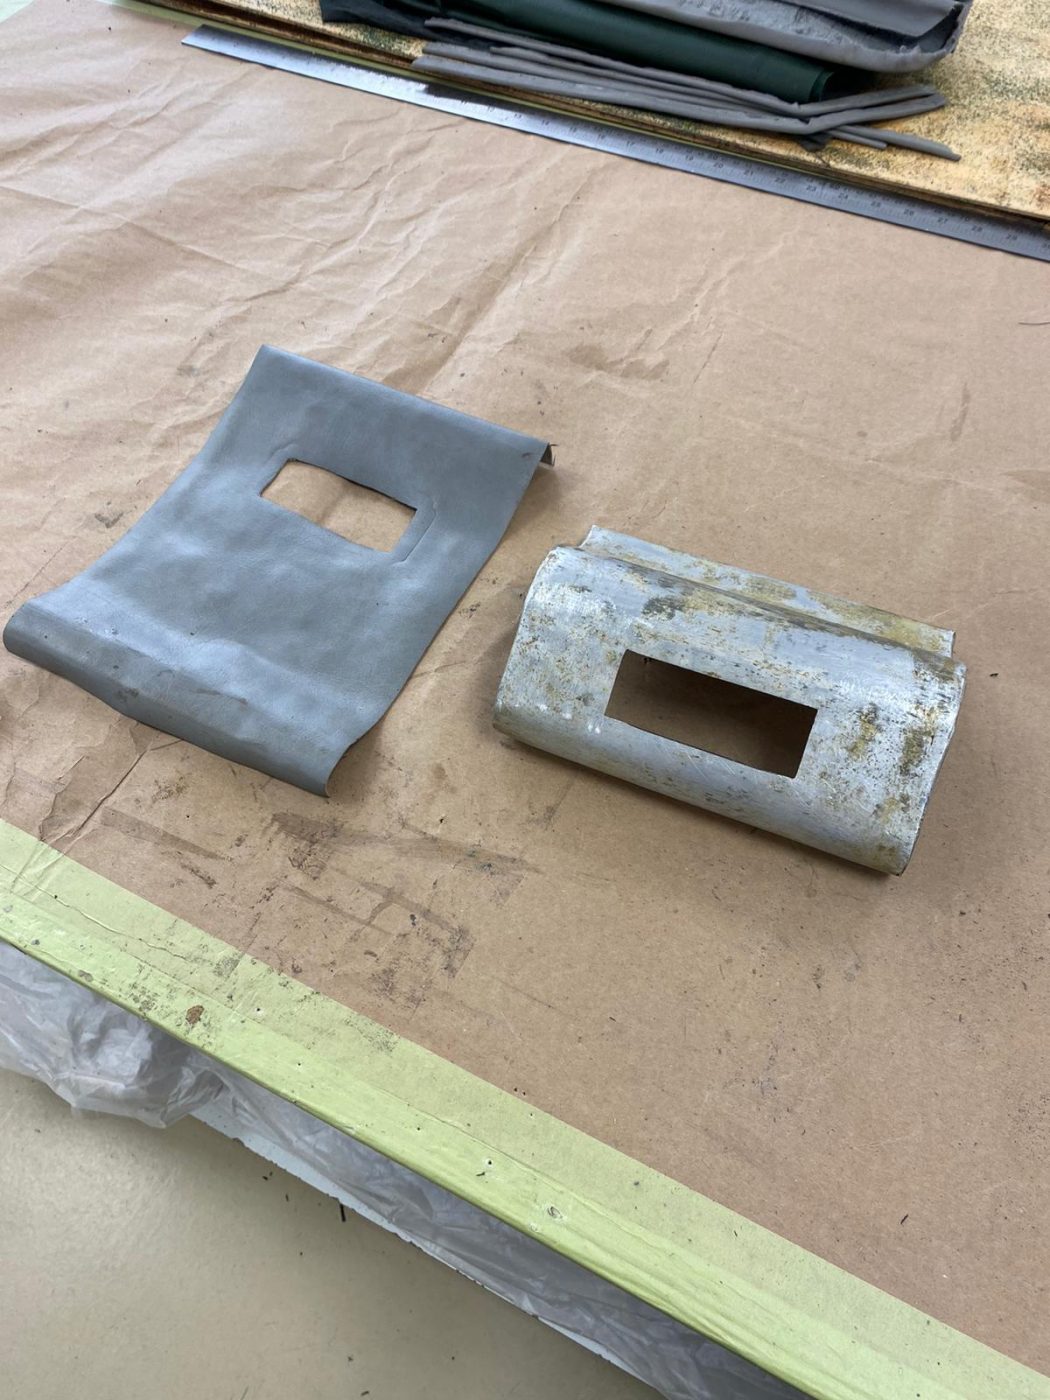
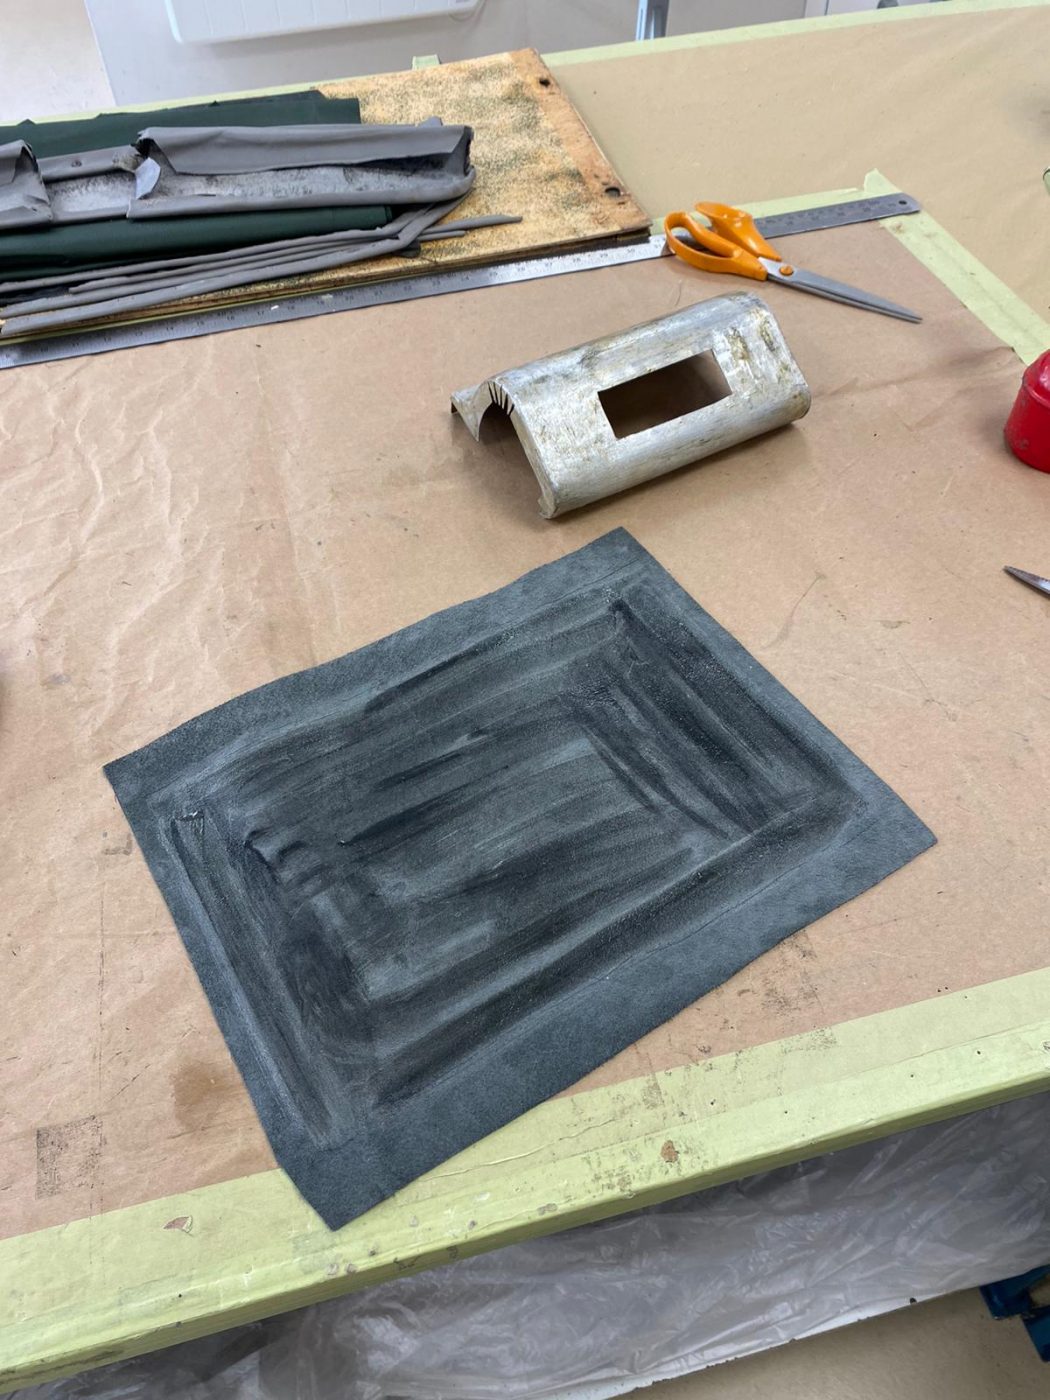
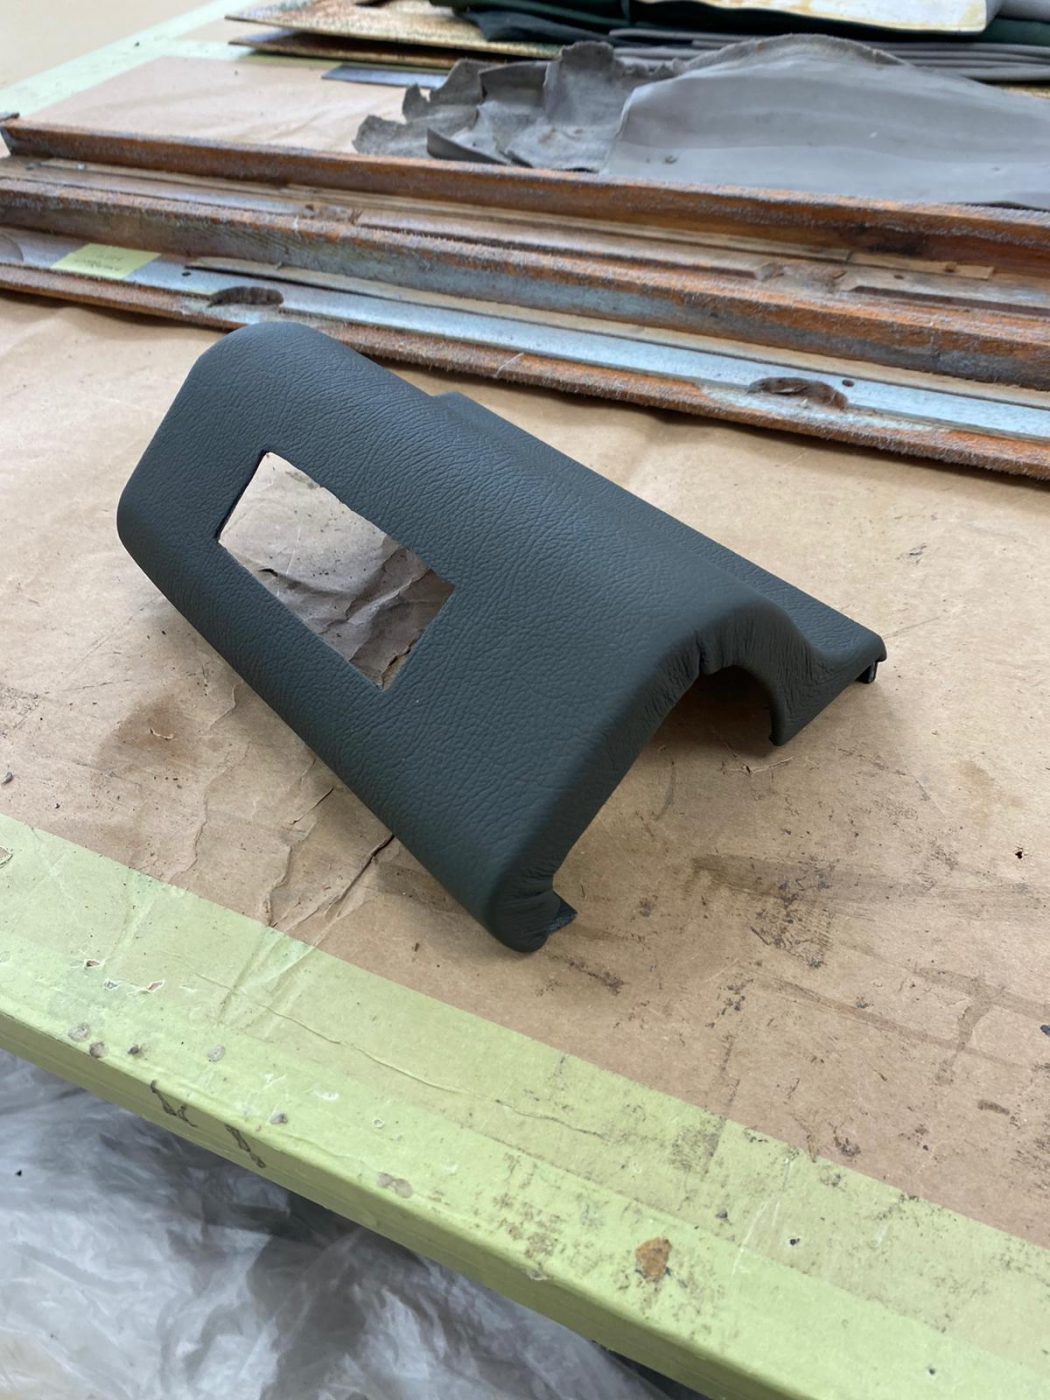
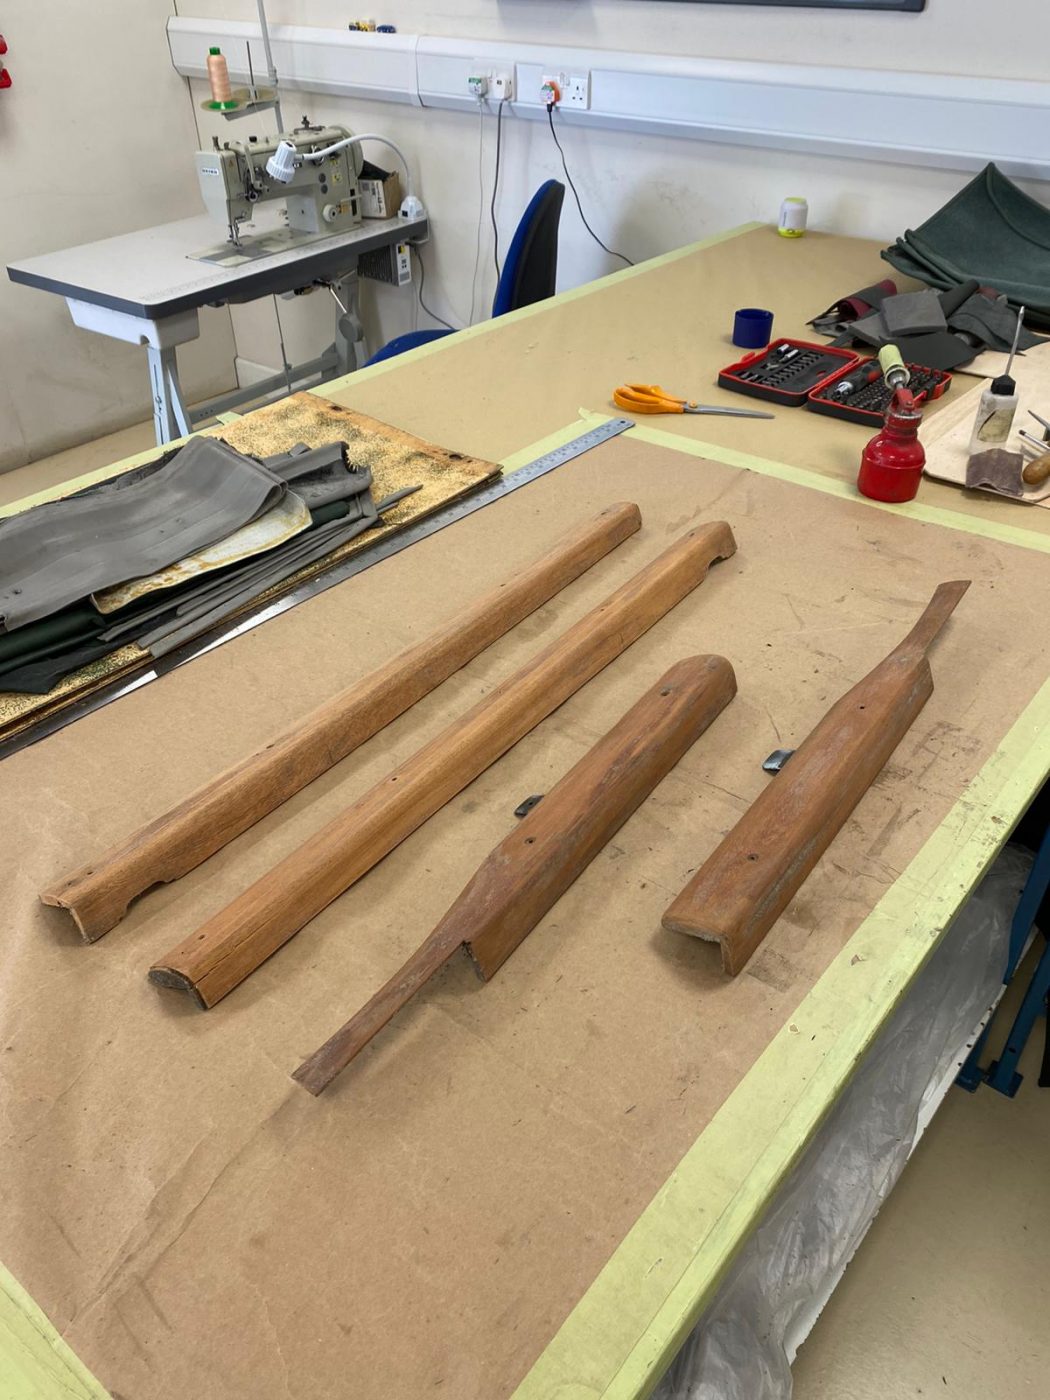
Brian has been continuing the interior trim work for the 1955 Aston Martin DB 2/4. This time, he’s been working on a pair of dash
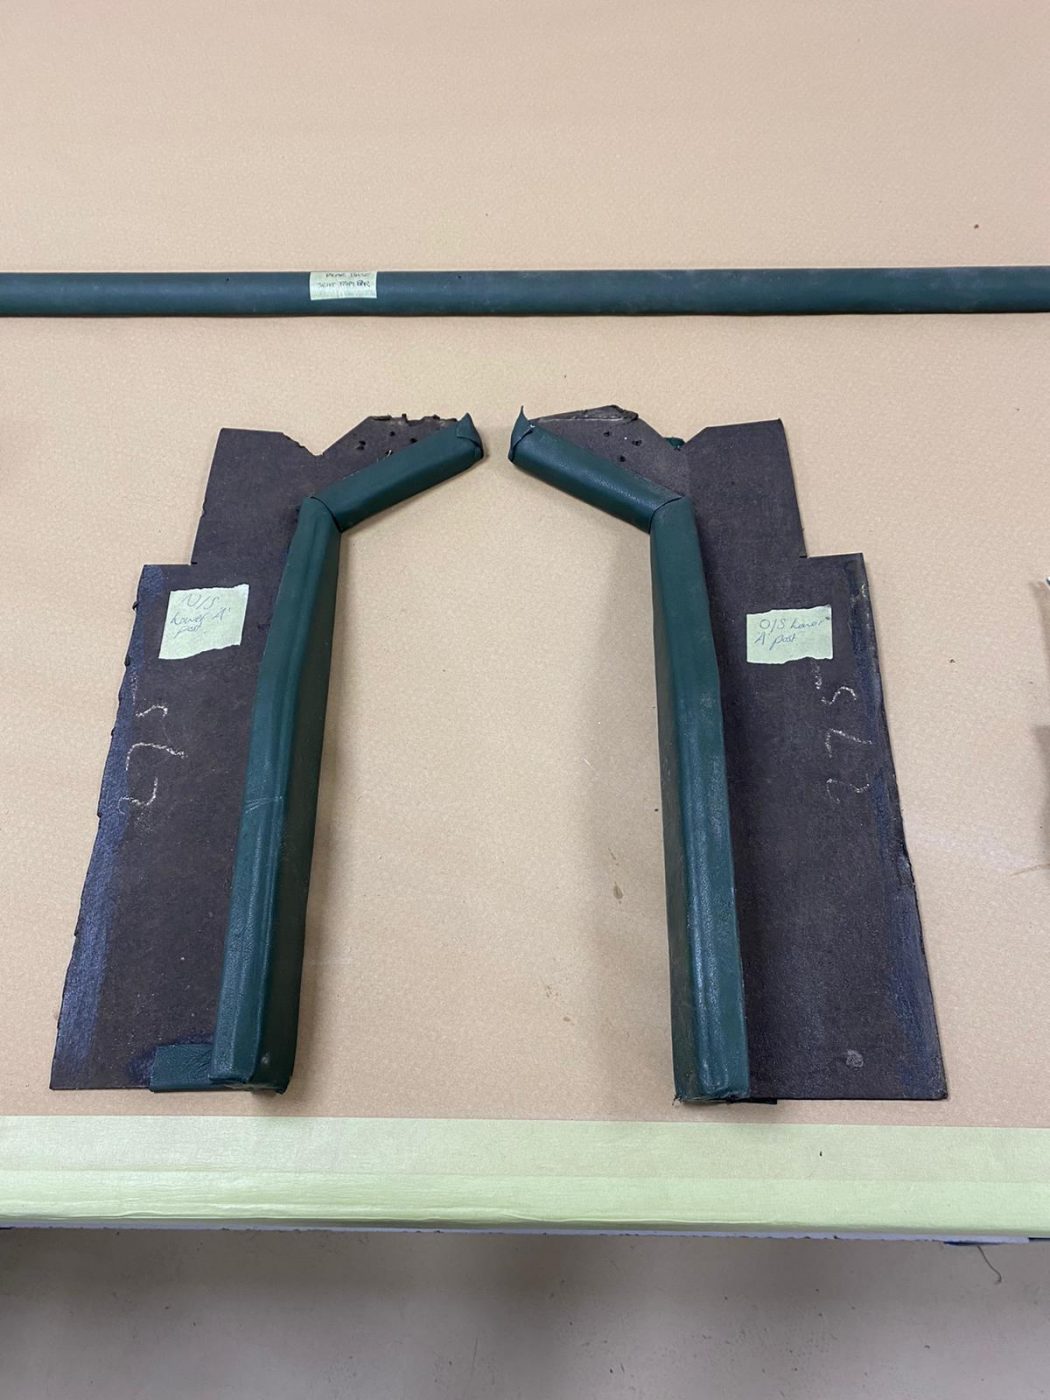
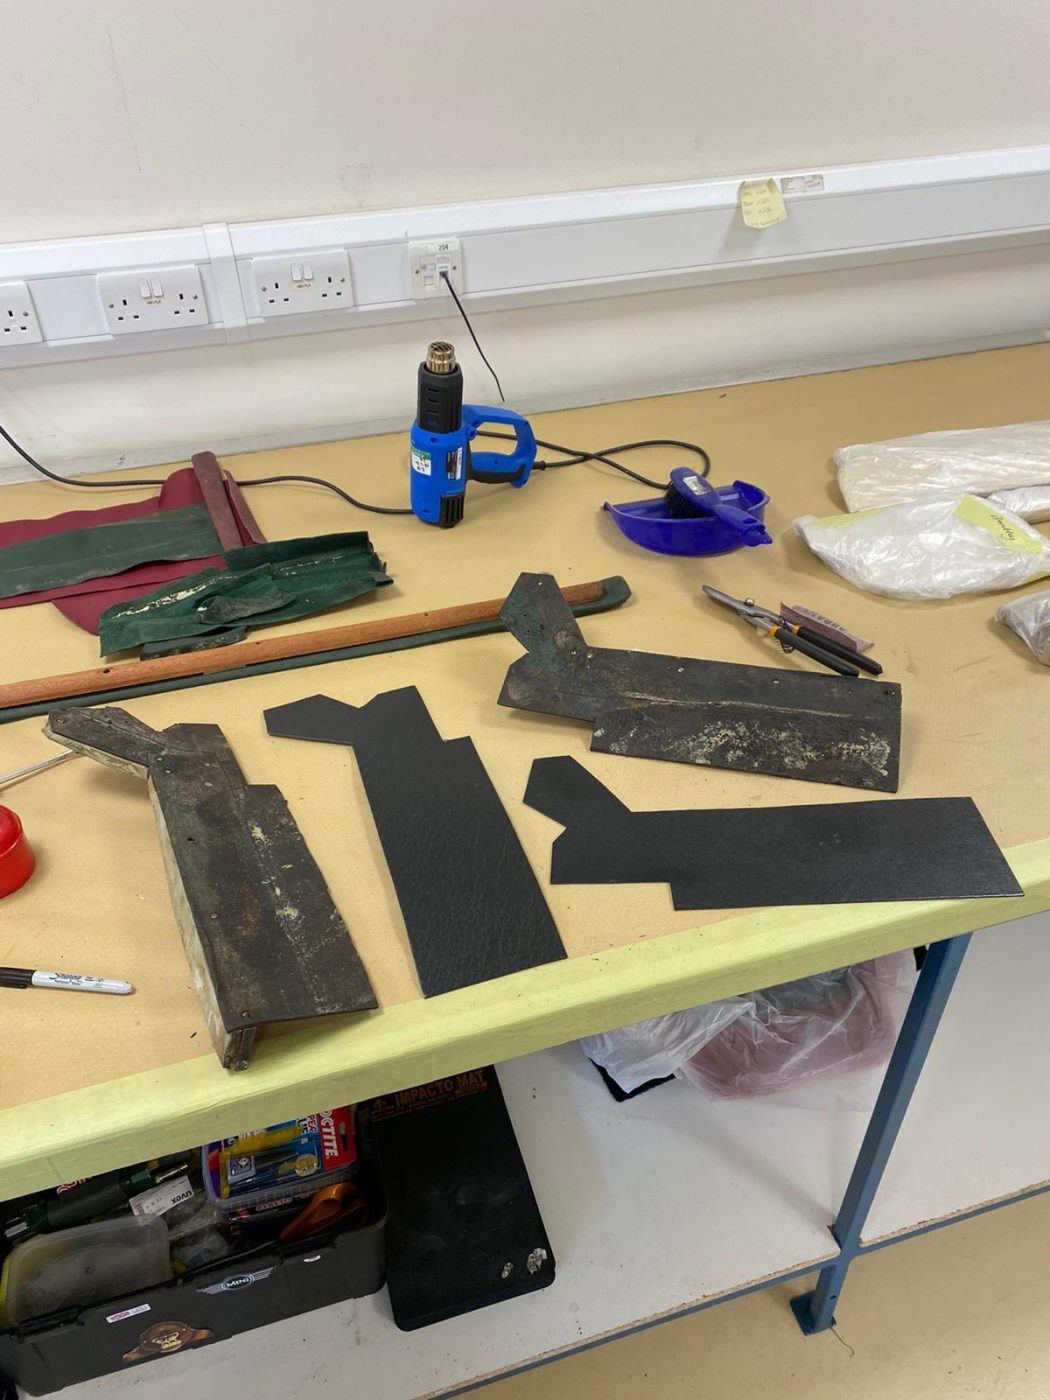
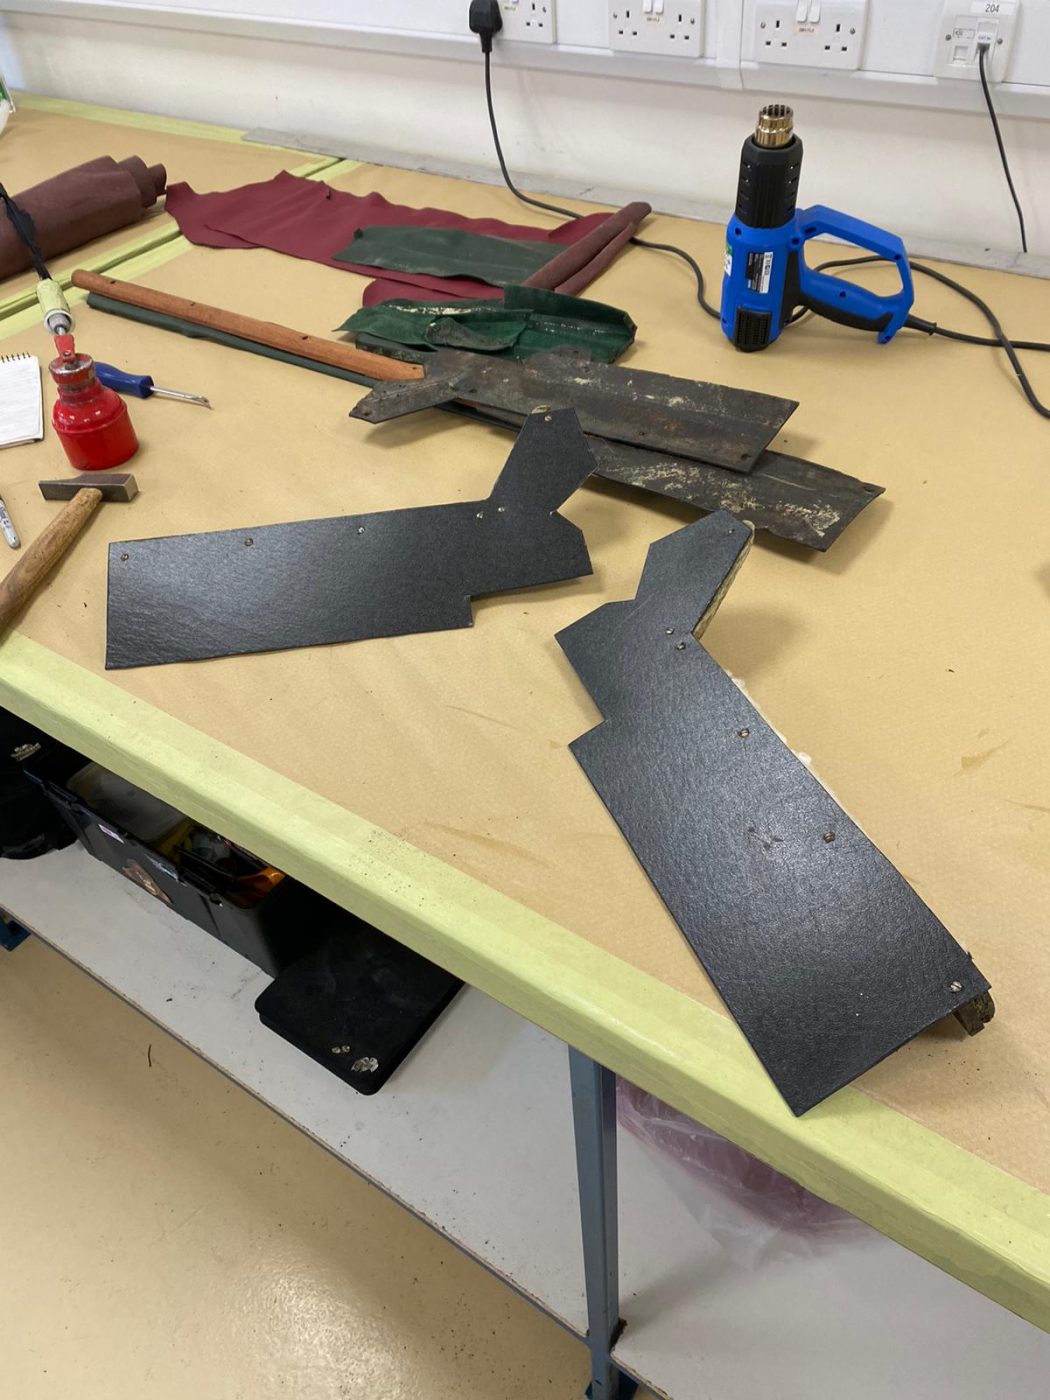
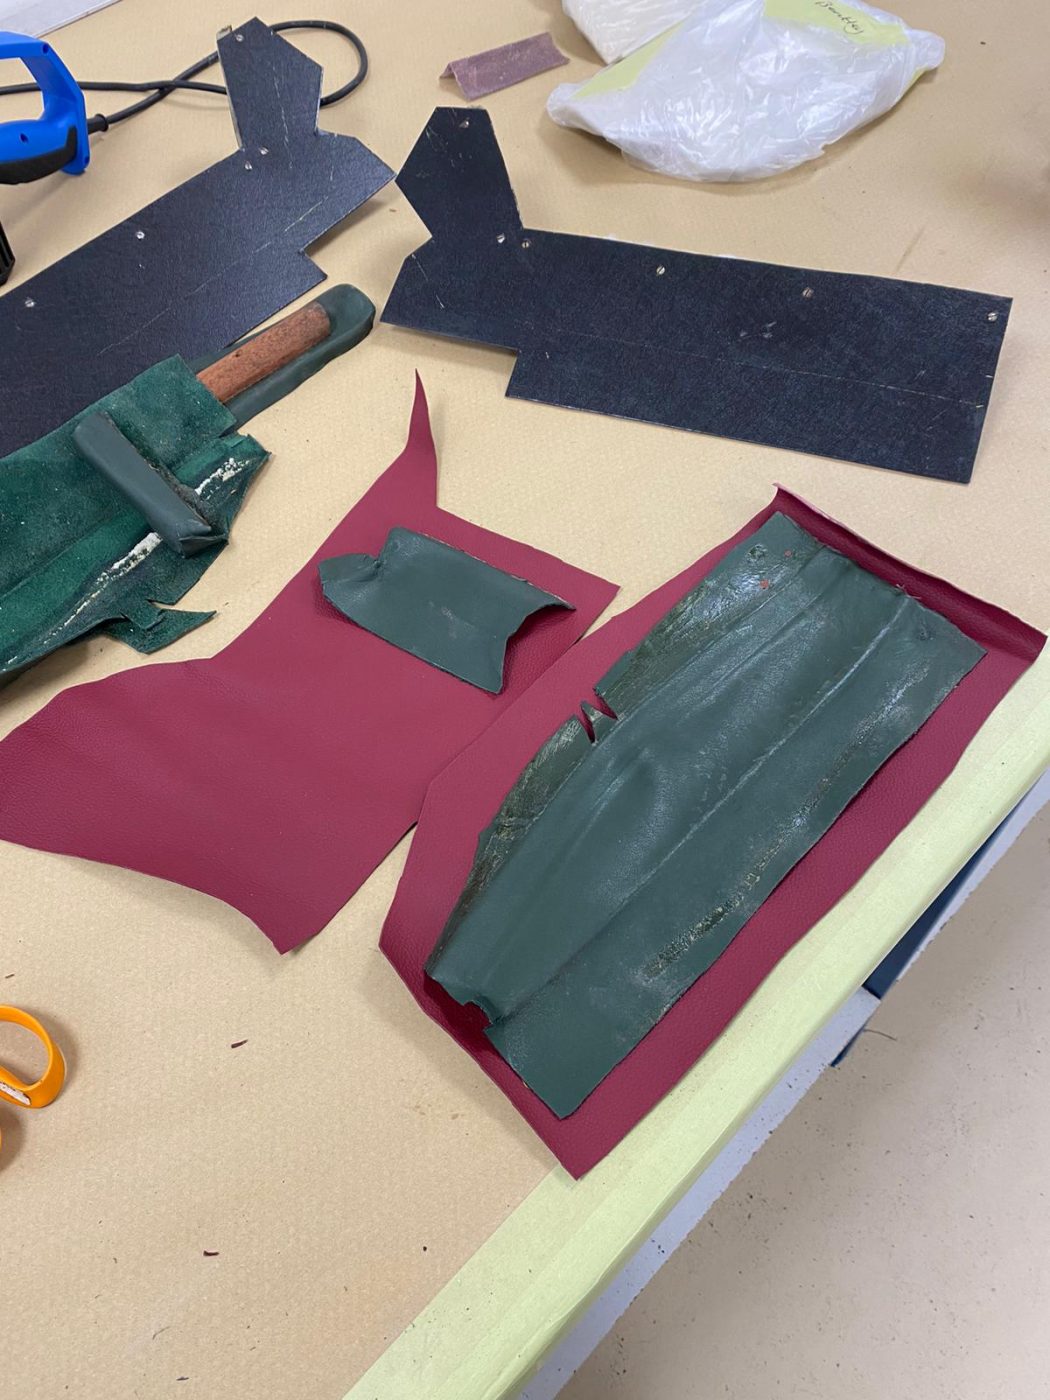
Brian has been re-covering more panels for the 1955 Aston Martin DB 2/4. This time it’s been the lower A posts, the dash side panels,

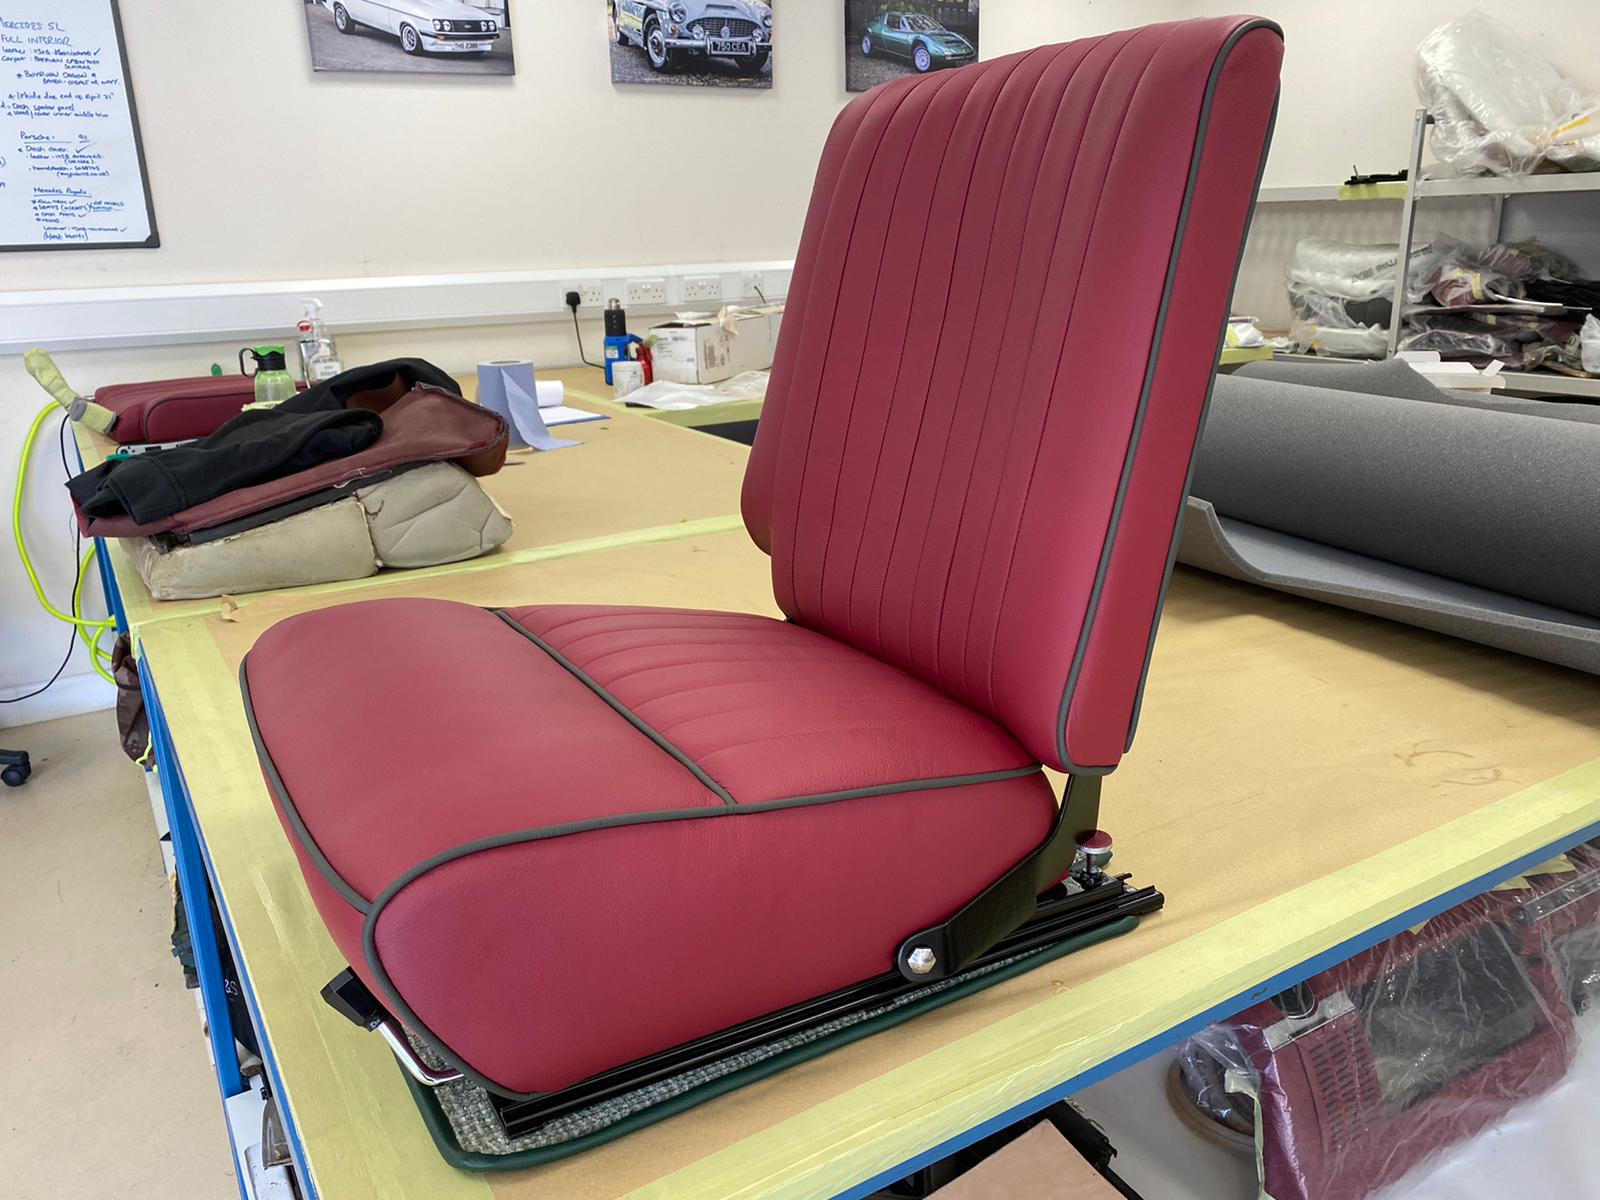
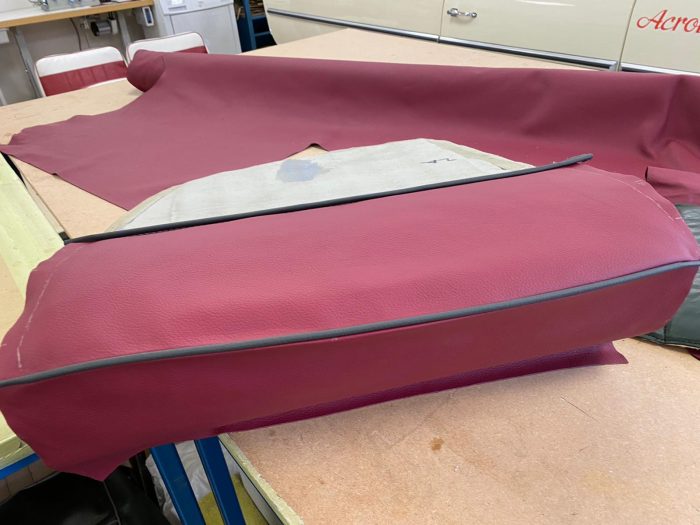
Kath has been finishing up the fitting of the front squab seat covers for the 1955 Aston Martin DB 2/4. At the end of last
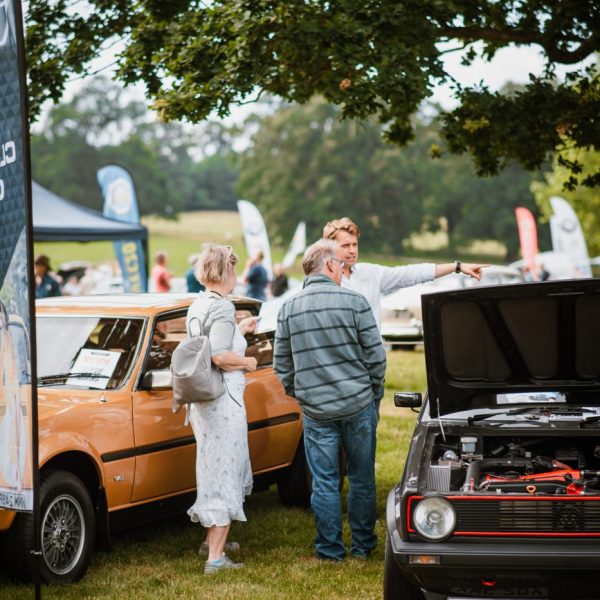
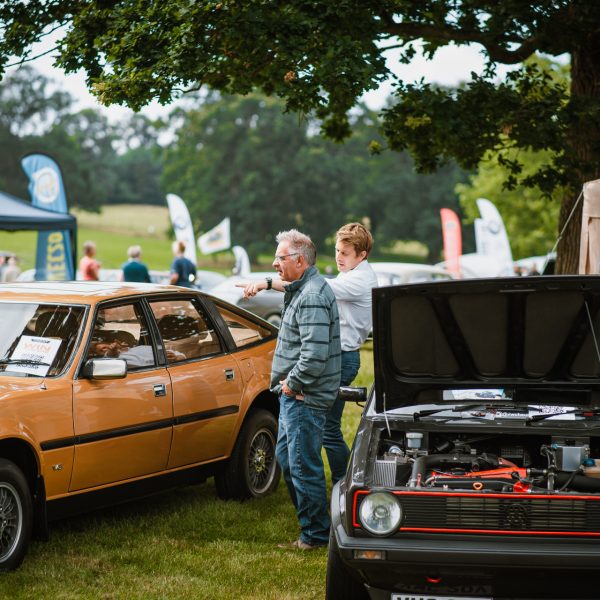
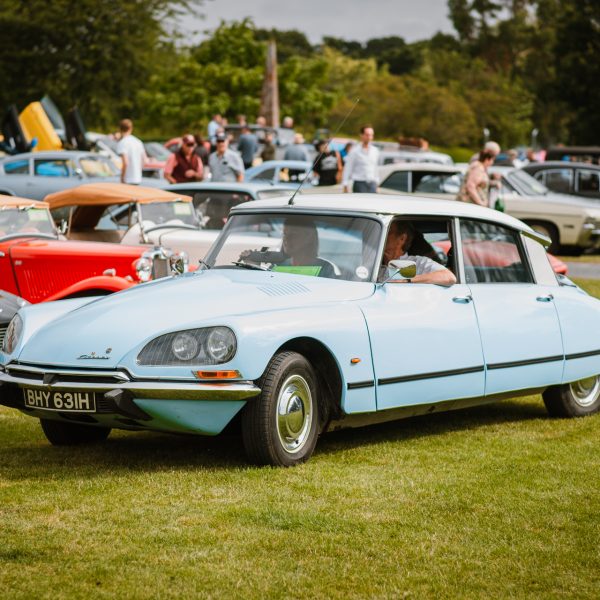
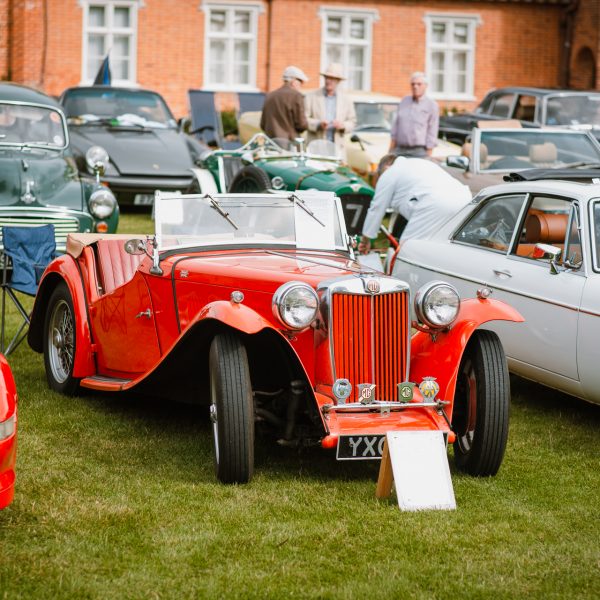
What a weekend! Now we’re back at base, it’s time for a re-cap of another classic car-fueled weekend. After a canceled 2020 show, Helmingham hall
Kath has been starting to fit the front squab seats and their carpet backs to the frames. She began by stapling the sides of the

Kath has been continuing her work on the front squab seats for the 1955 Aston Martin DB 2 4 Mark I. Now the fronts of
Lydia has been re-covering the headlining panels for the Aston Martin DB 2/4 Mark I. She started by peeling off the original fabric from each
Kath has been continuing her interior work on the 1955 Aston Martin DB 2 4 Mark I’s seats. This time she has moved onto the

Brian has been continuing his work on the Aston Martin DB2/4 interior. He’s finished re-covering the pockets for the doors, the top parts for the

Brian has been covering the top parts of the dashboard and the cover for the rear hatch hinge in the chosen new dark grey leather,
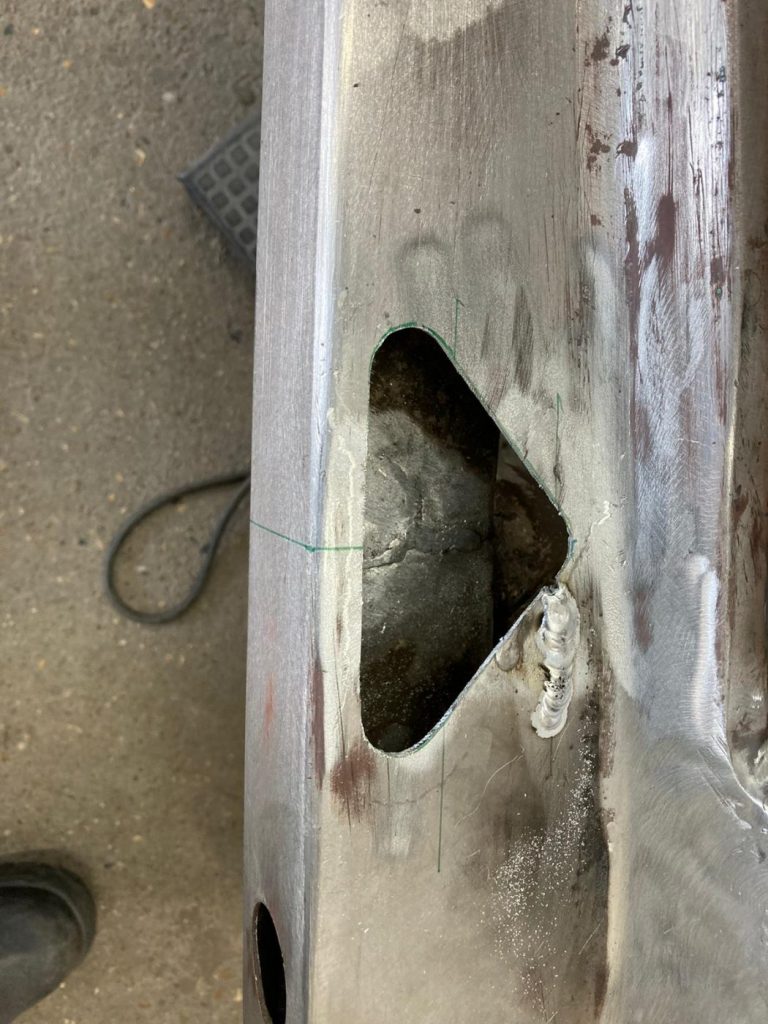
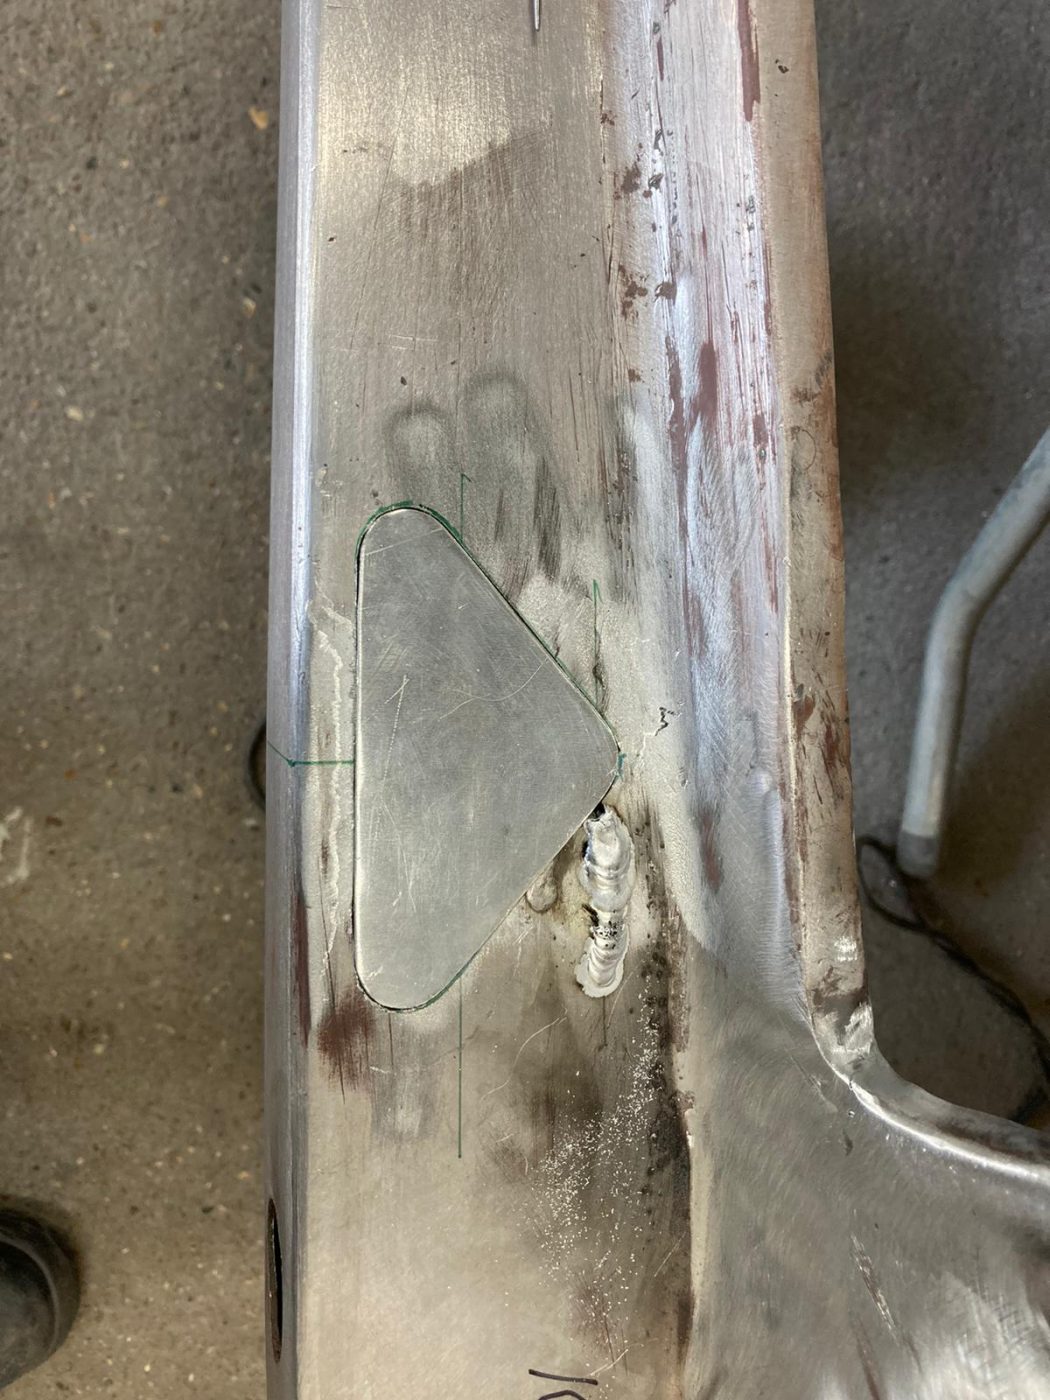
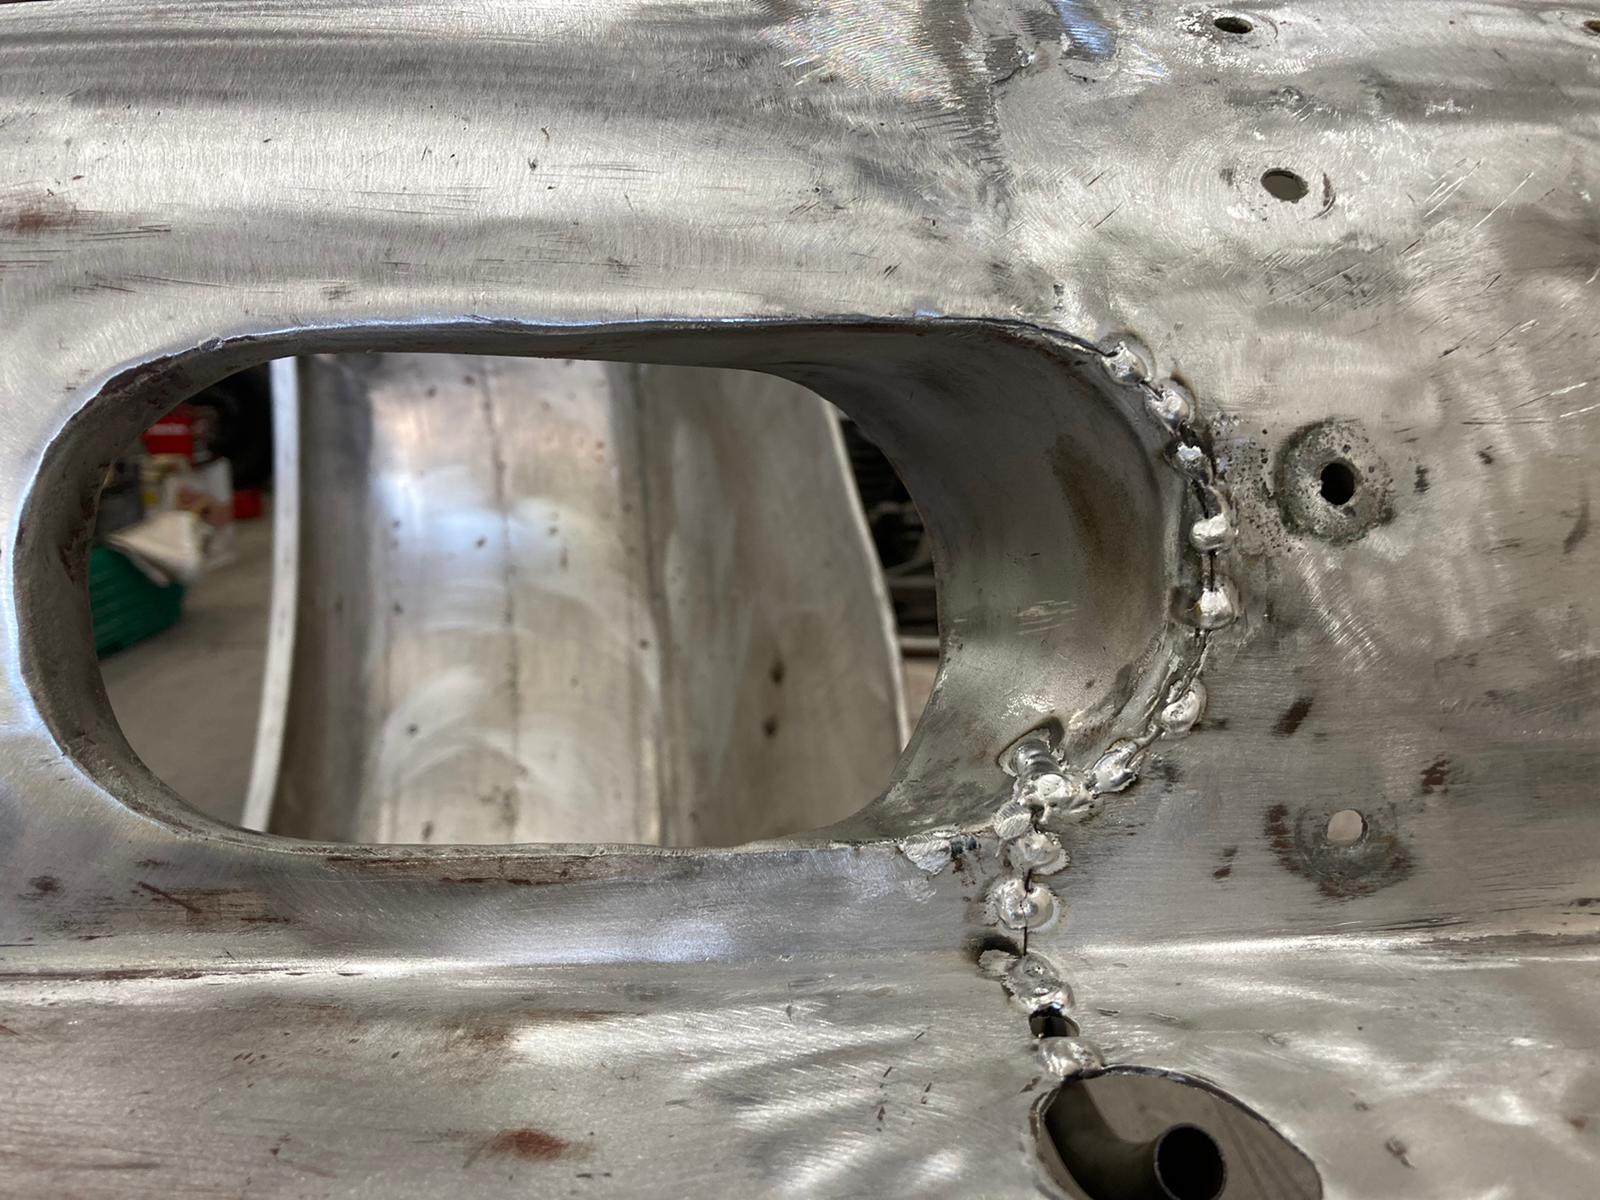
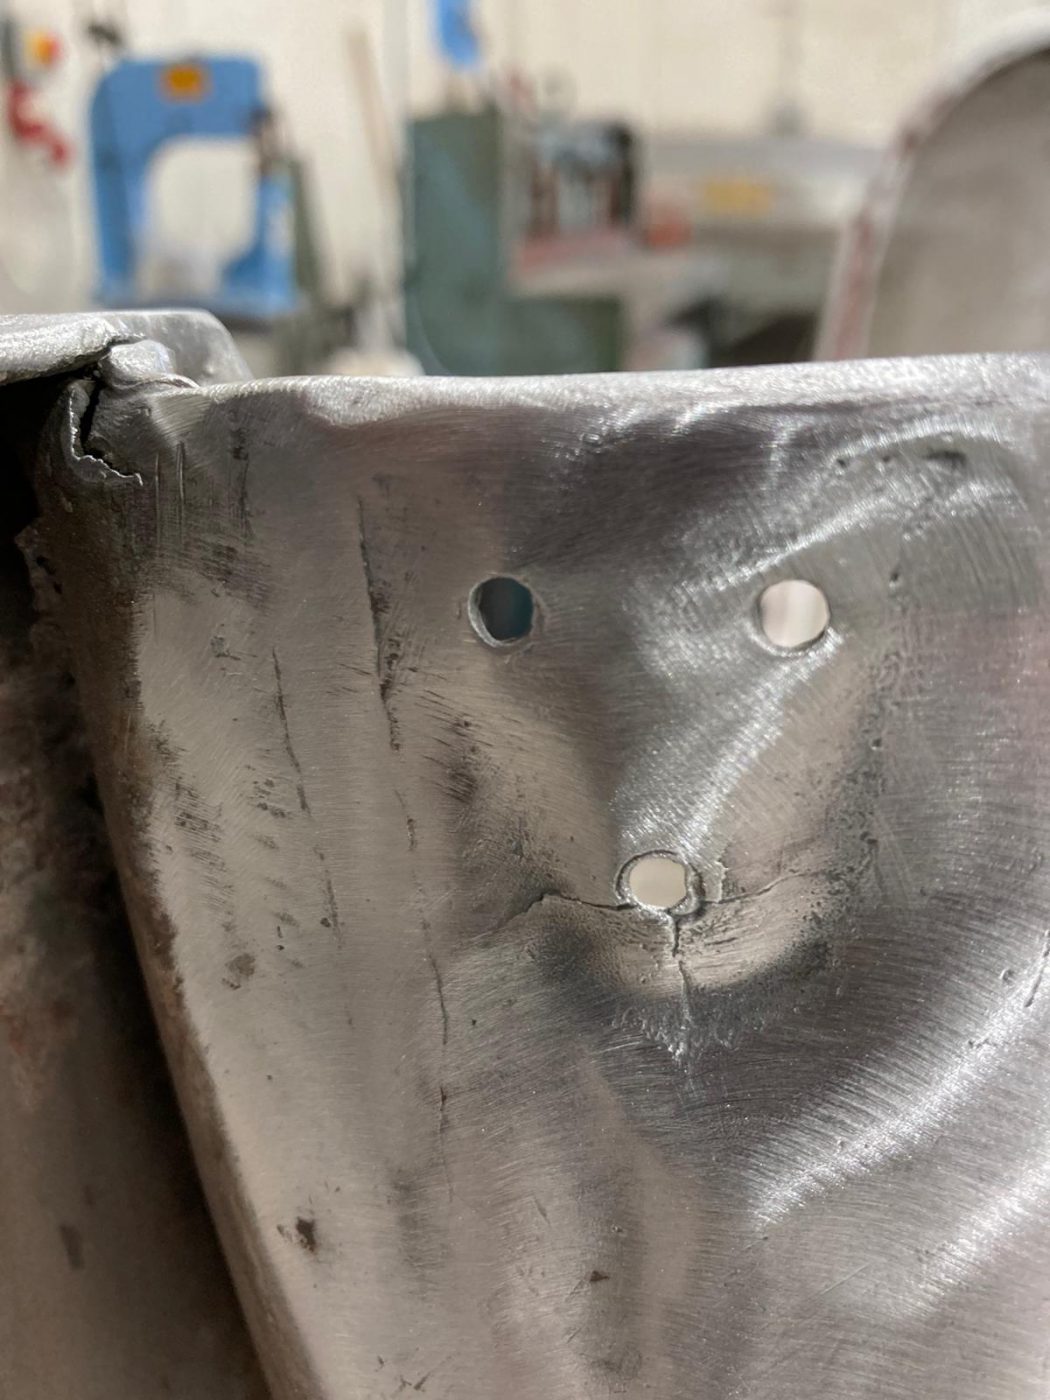
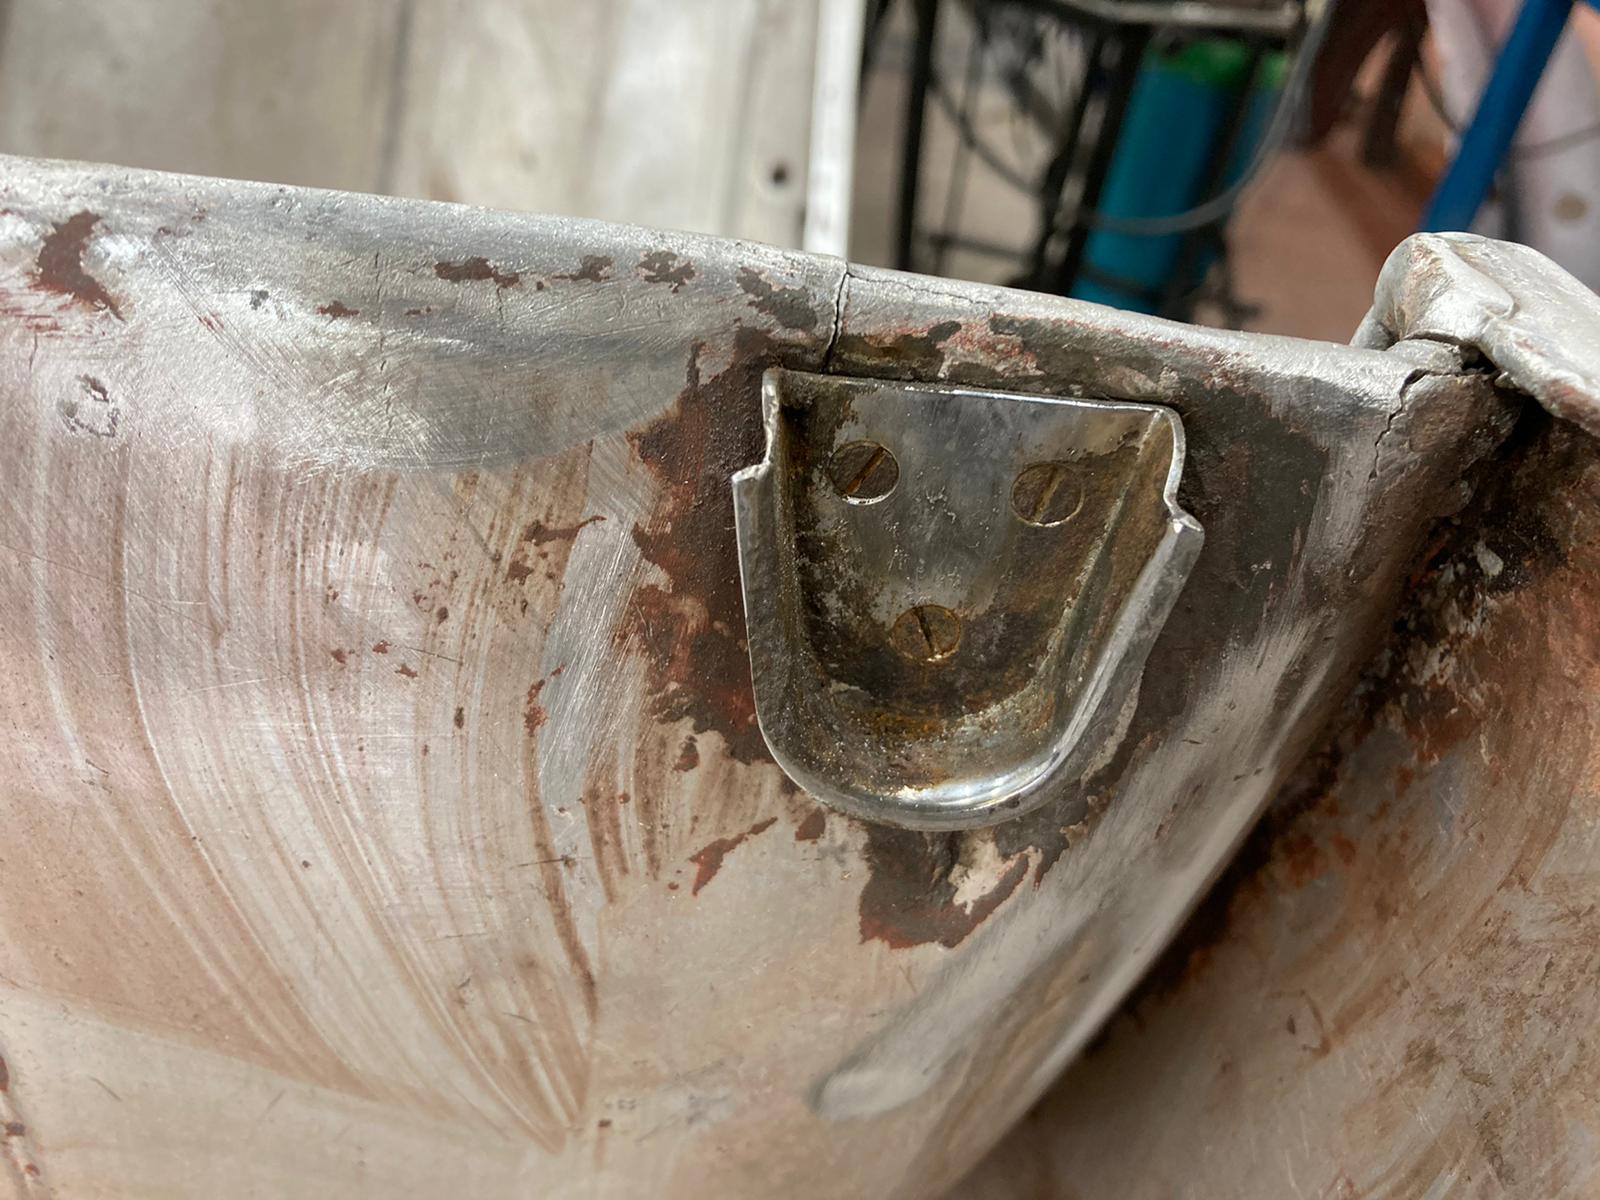
Clinton is continuing to work on the front end of our 1955 Aston martin DB2/4. More areas of corrosion have now been cut out and
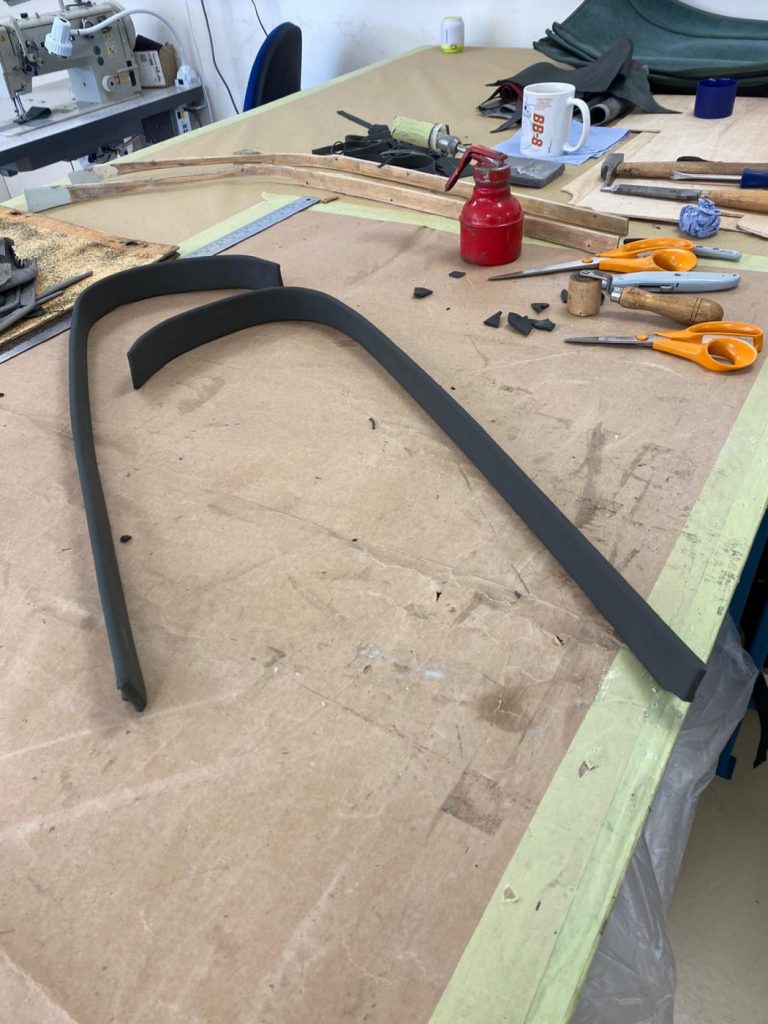
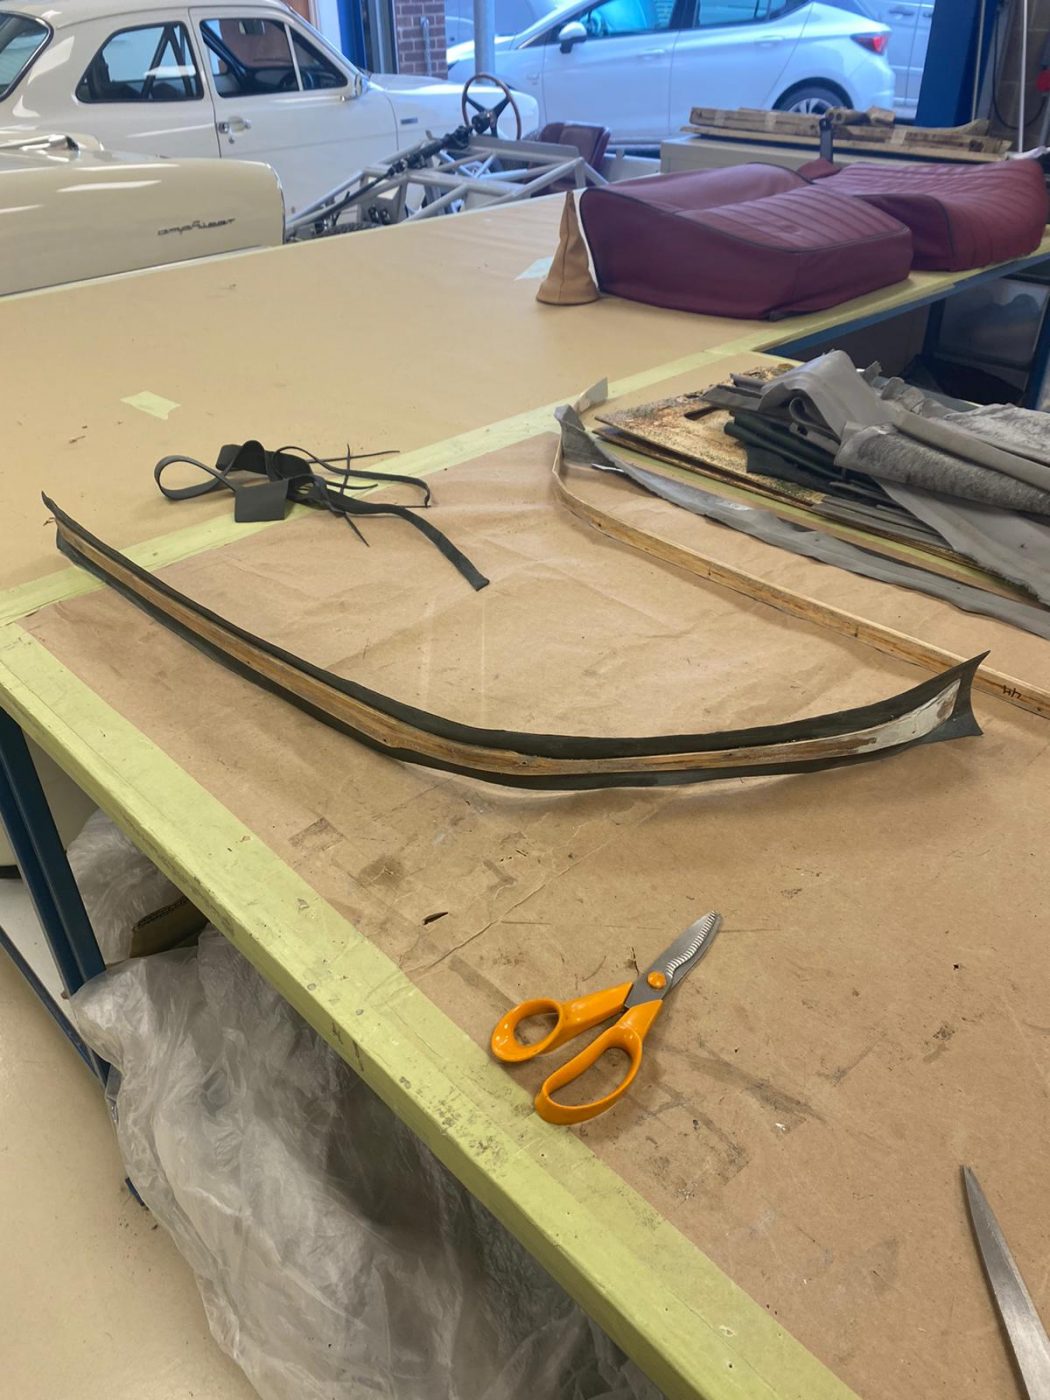
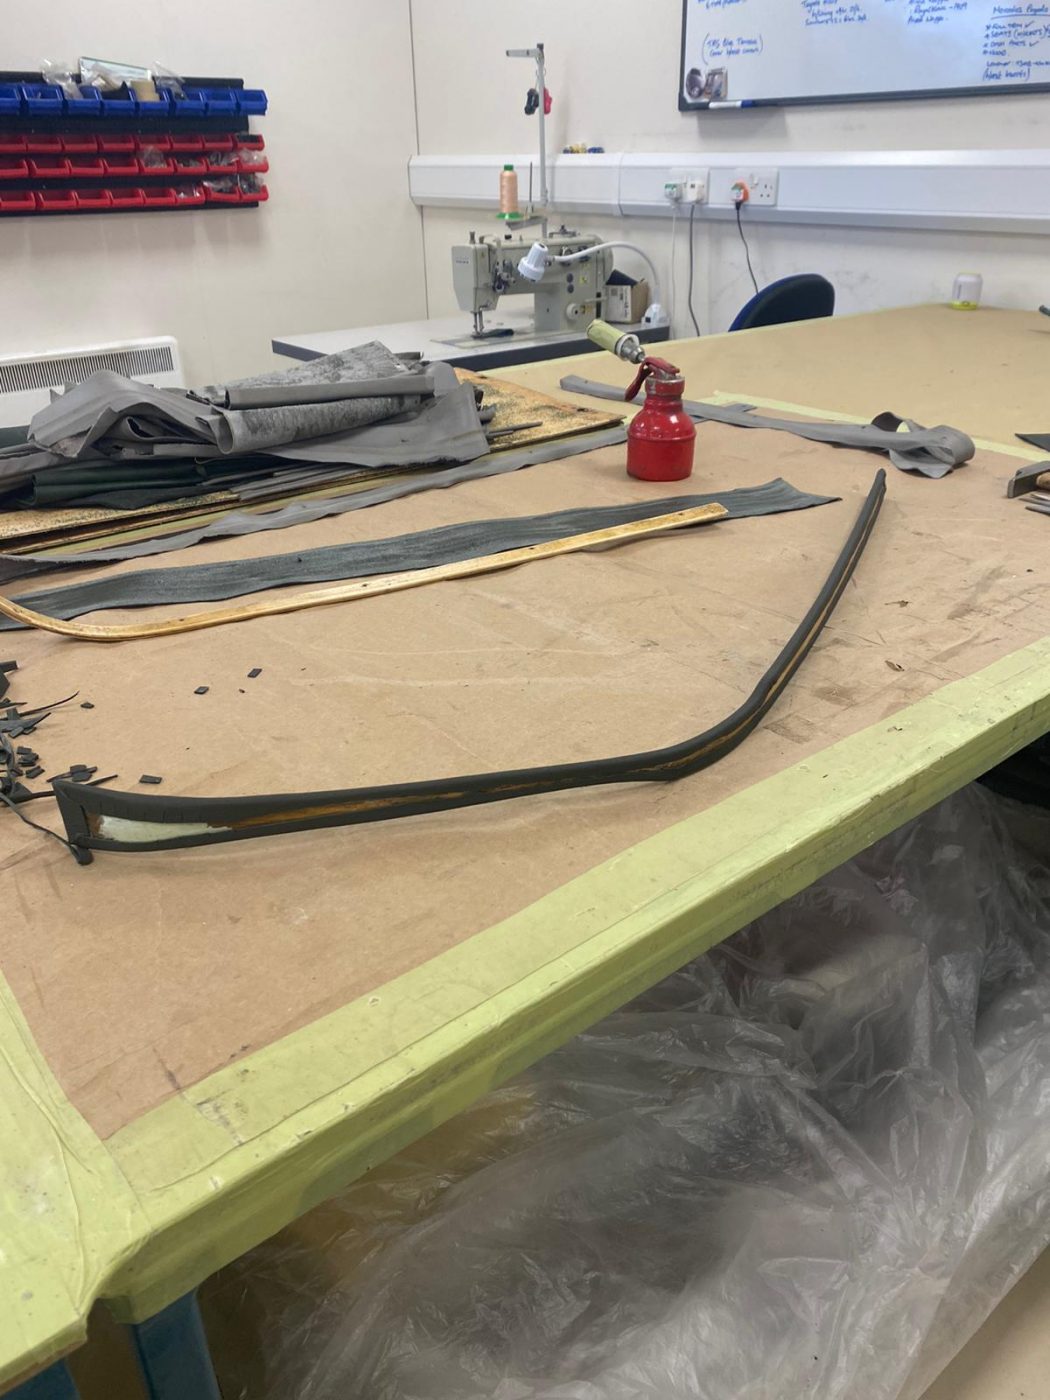
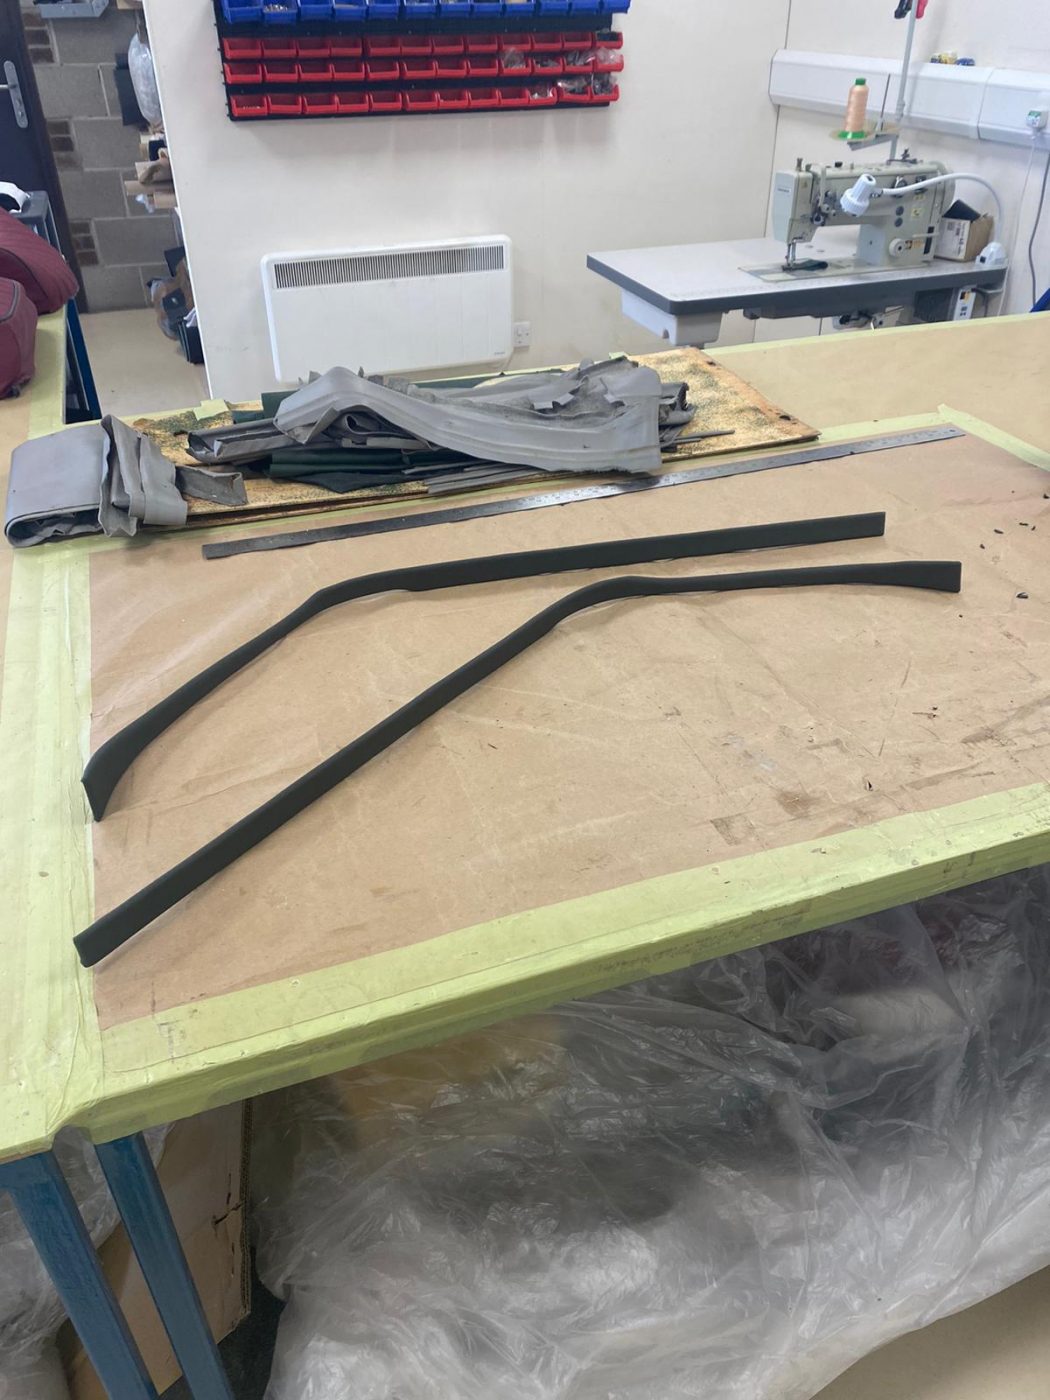
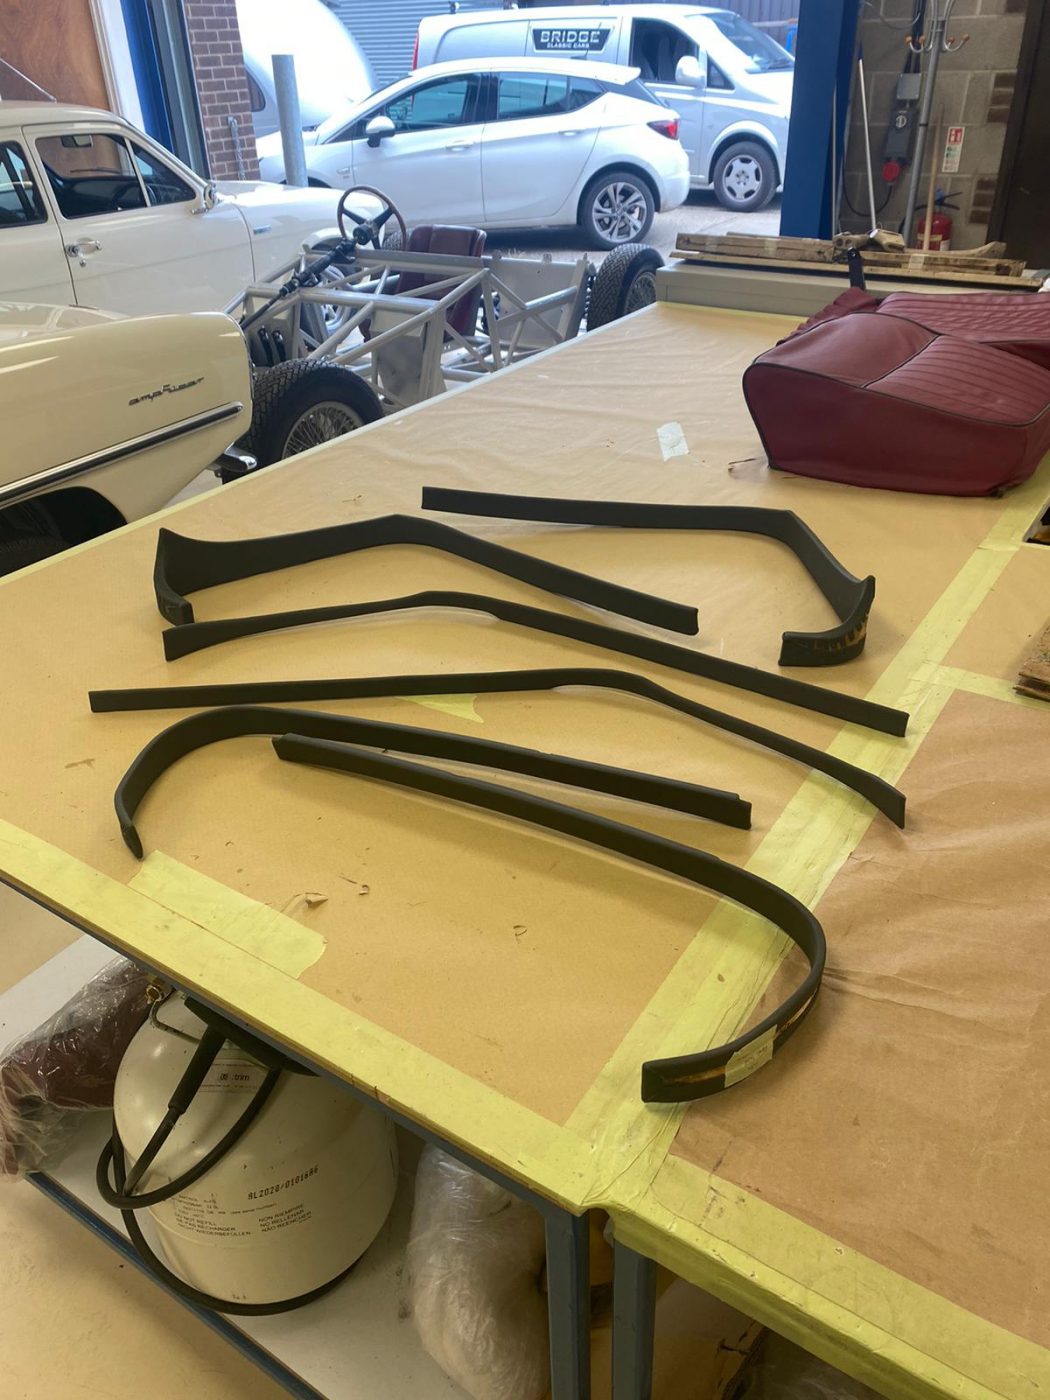
More stripping, gluing and re-covering on the agenda for Brian and Lydia in our trim-shop this week and the cappings, front and side windows, window

Lydia has been sand blasting the internal bonnet and hinge assemblies for the Aston Martin DB2/4 in order to get rid of any substances such

Clinton has been busy fabricating for the bonnet of the Aston Martin DB 2 / 4. He’s fabricated new hinge supports for the front, repaired

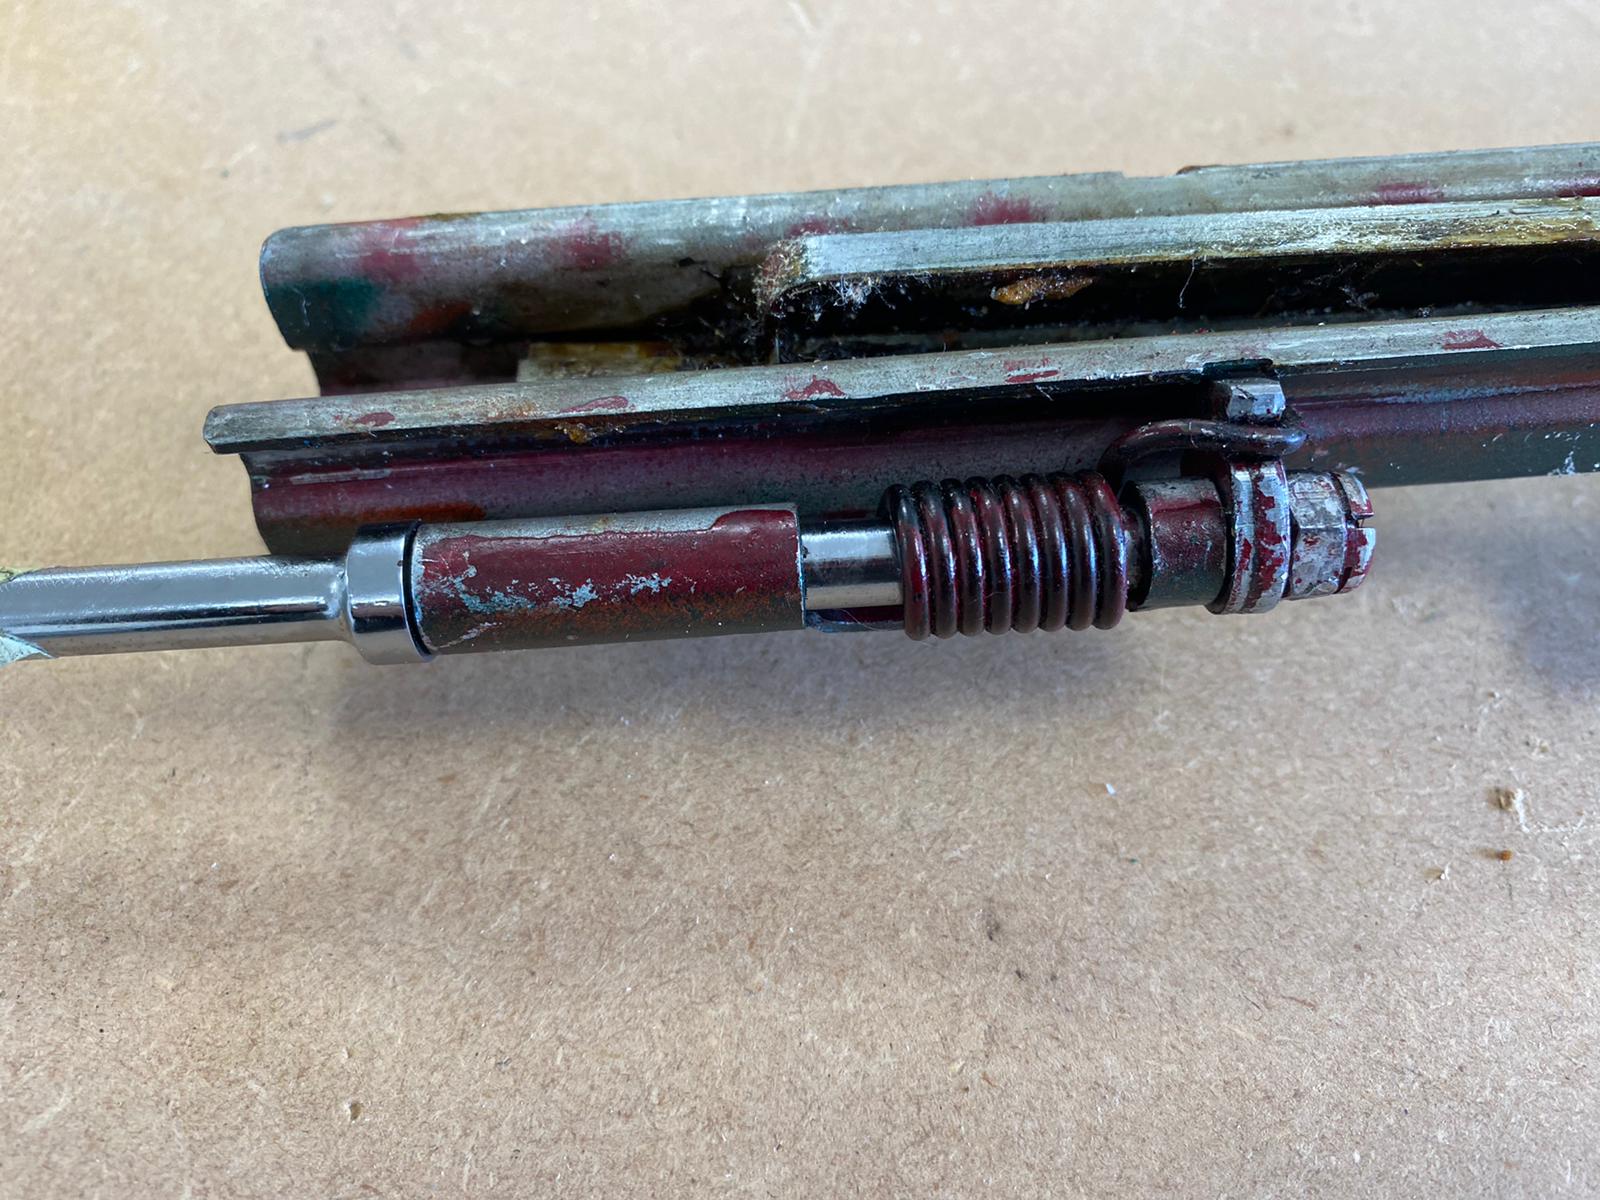
From trim-shop to paint-shop, our 1955 Aston Martin 2/4 seat frames and accessories are currently being blasted, treated, prepared and painted prior to the new

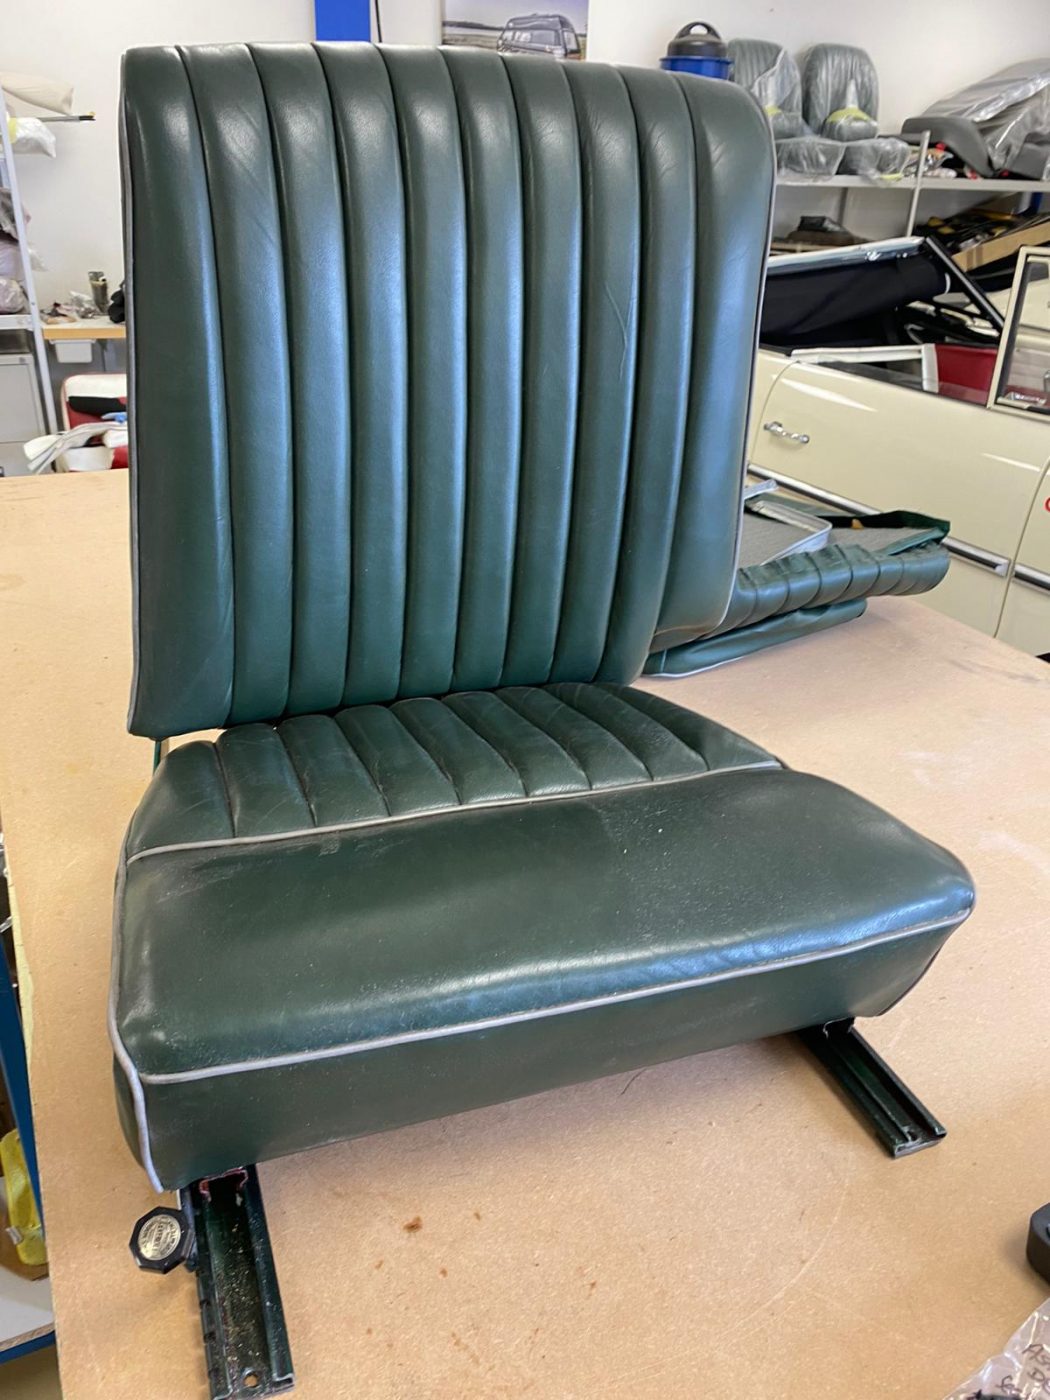
Kath has been busy manufacturing the new seats for the Aston Martin DB2/4. She’s started with the front base seats. The first step was to

Although the seats on our 1955 Aston Martin DB2/4 were re-trimmed not that long ago, the colour and finish were not correct to factory specification.
We’re in the process of reconstructing the Aston Martin DB2/4 bonnet which is showing signs of dubious structural integrity. The team have removed the frame
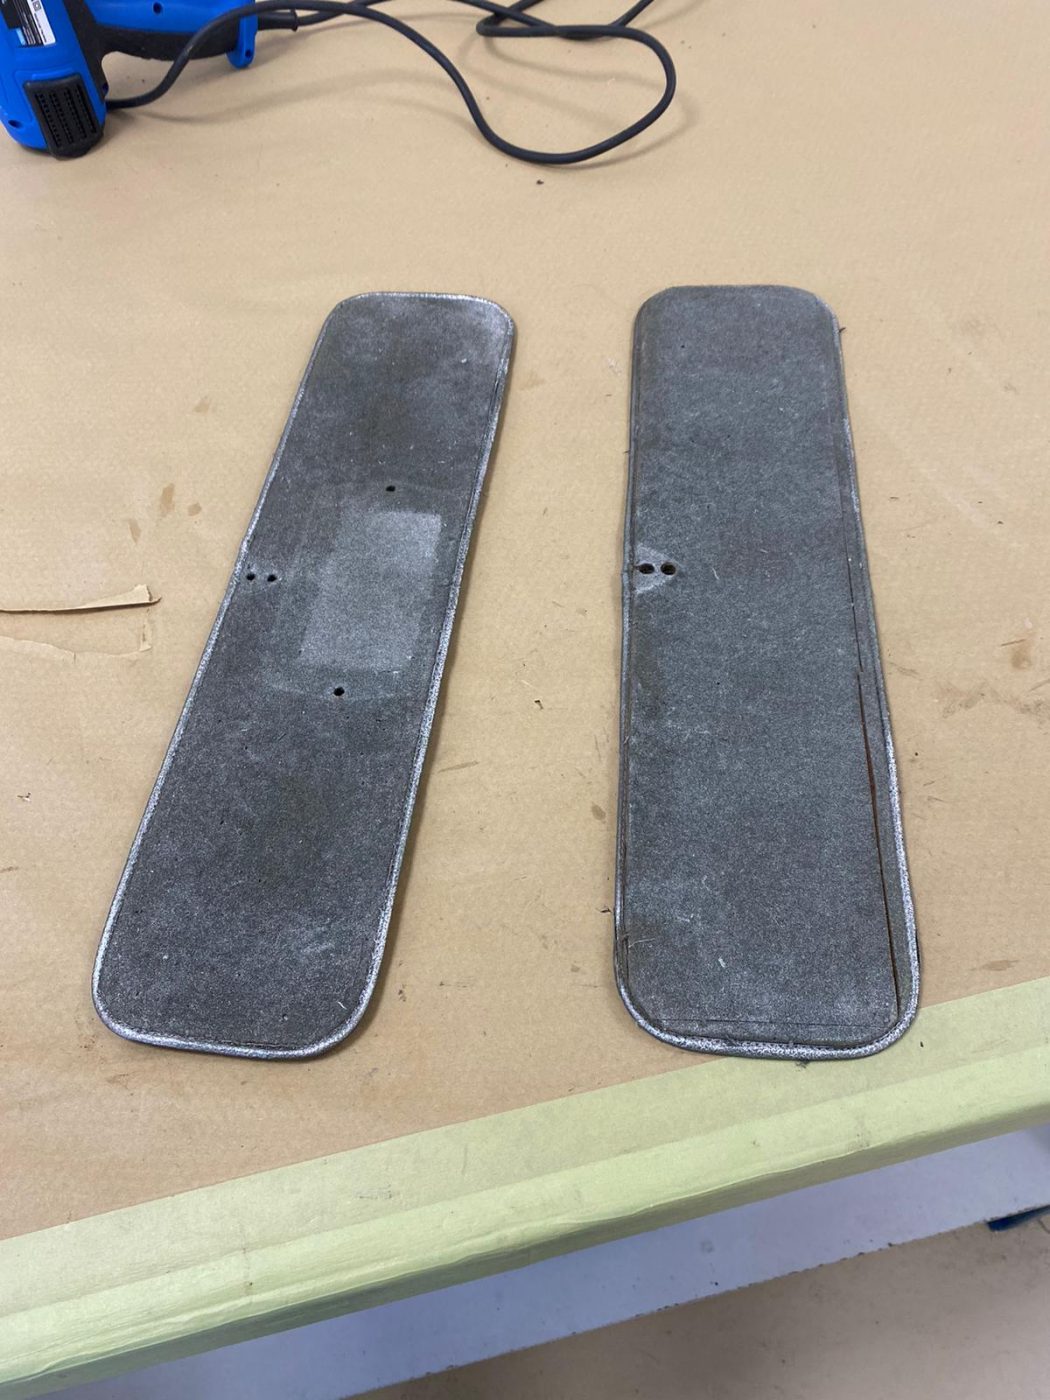
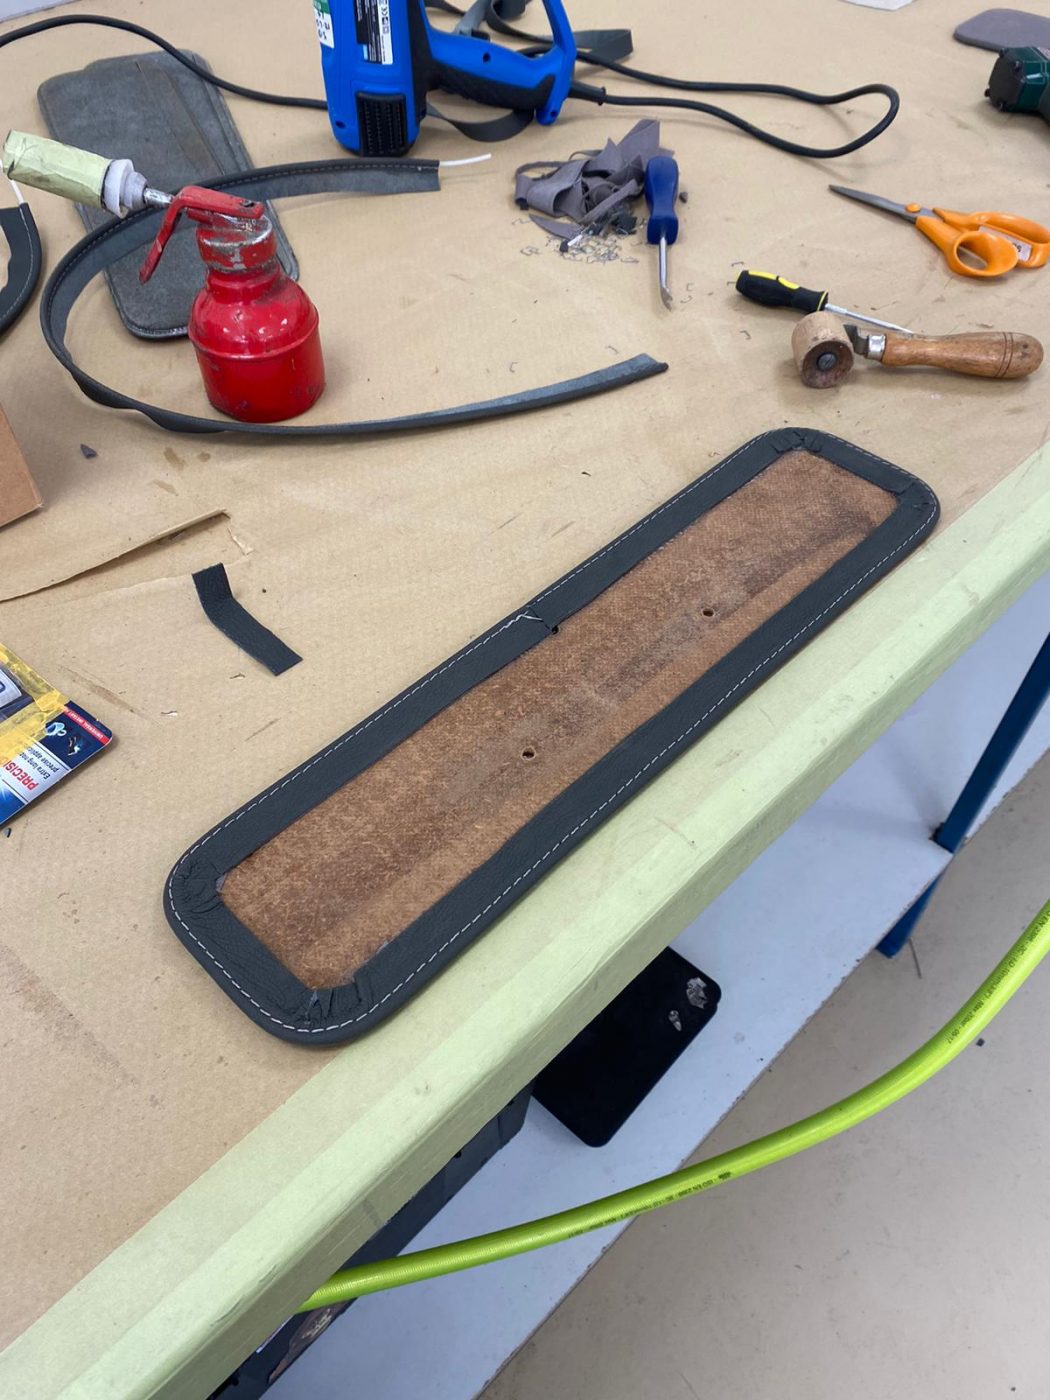
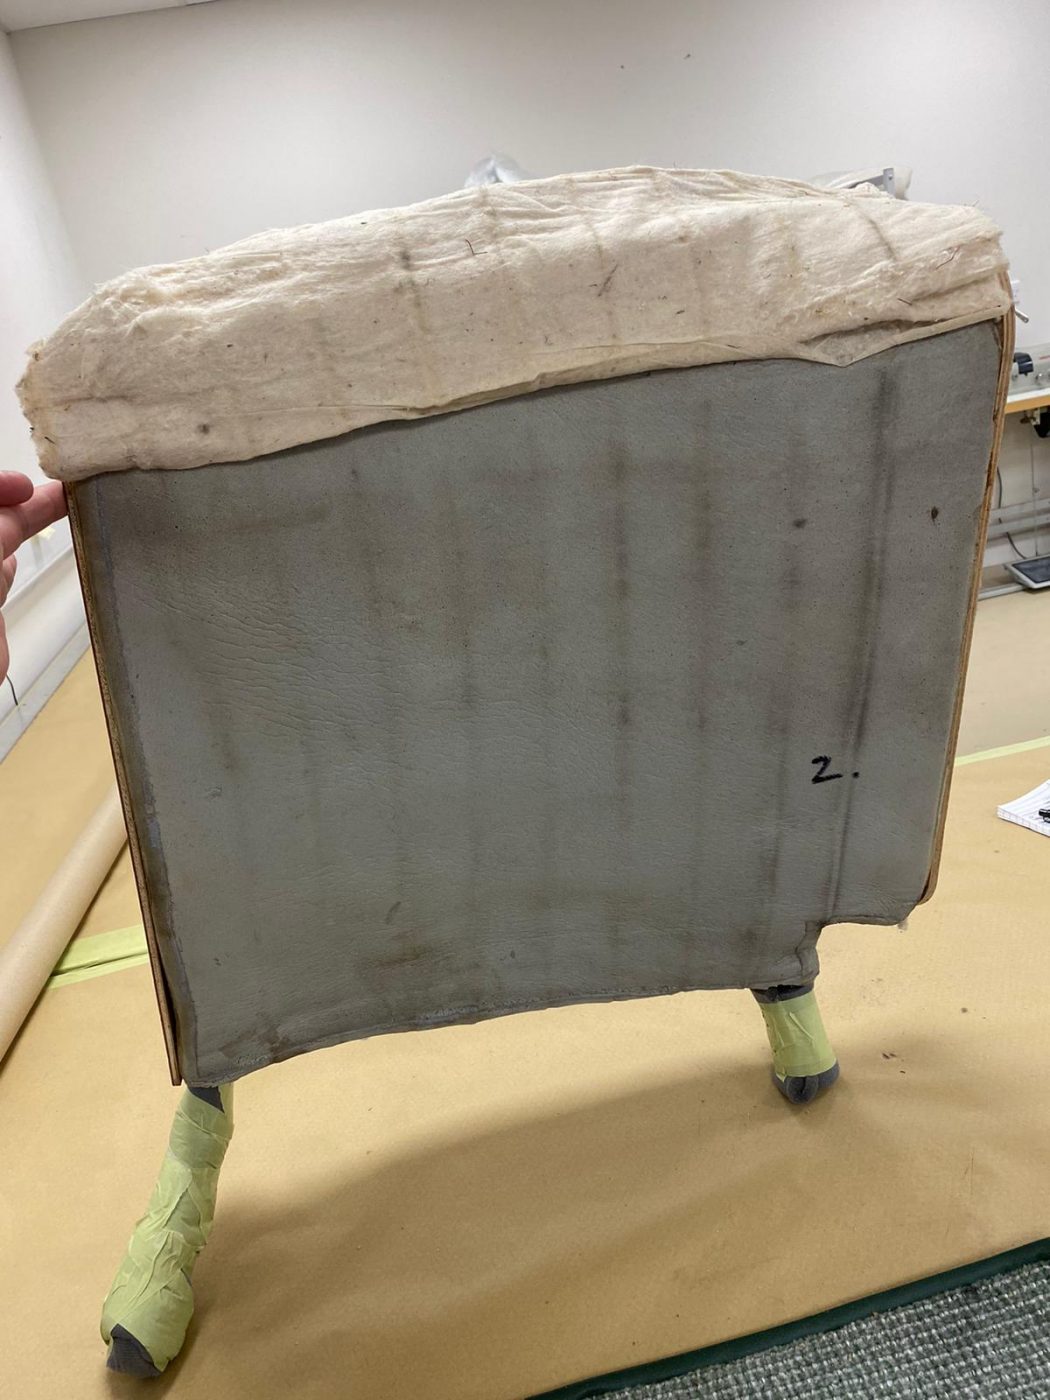
Brian has been working to remove the covers from the rear sear rub backs on our Aston Martin DB2/4. He’s taken apart the covers and
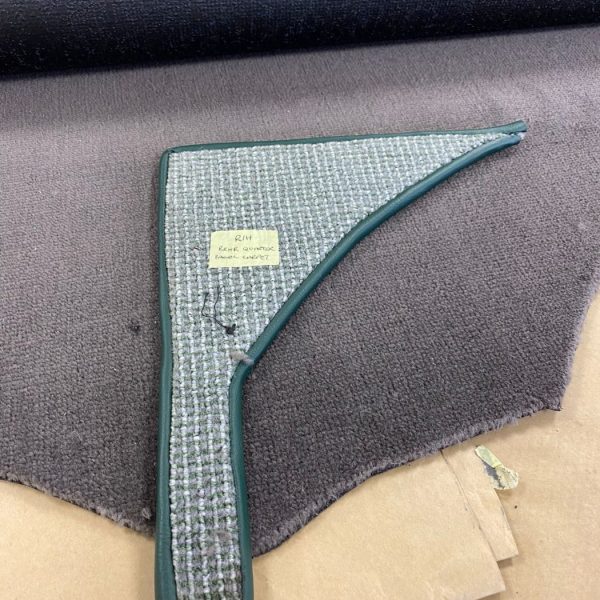
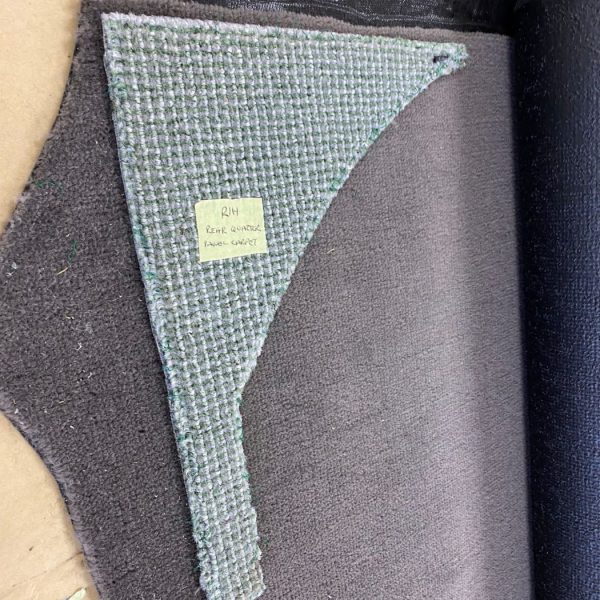
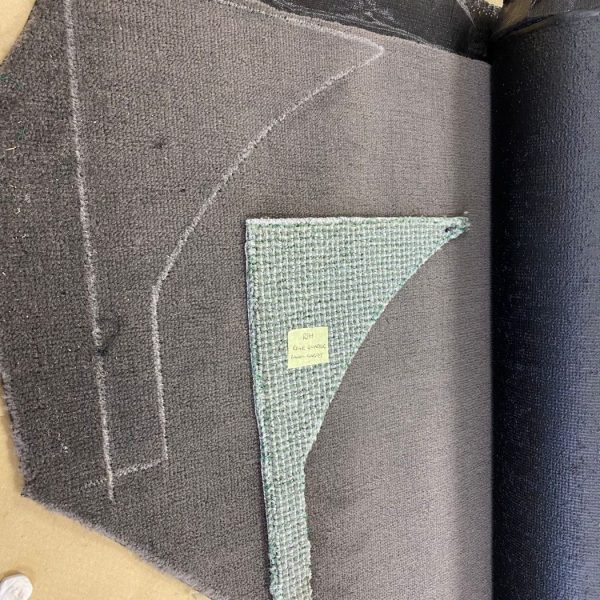
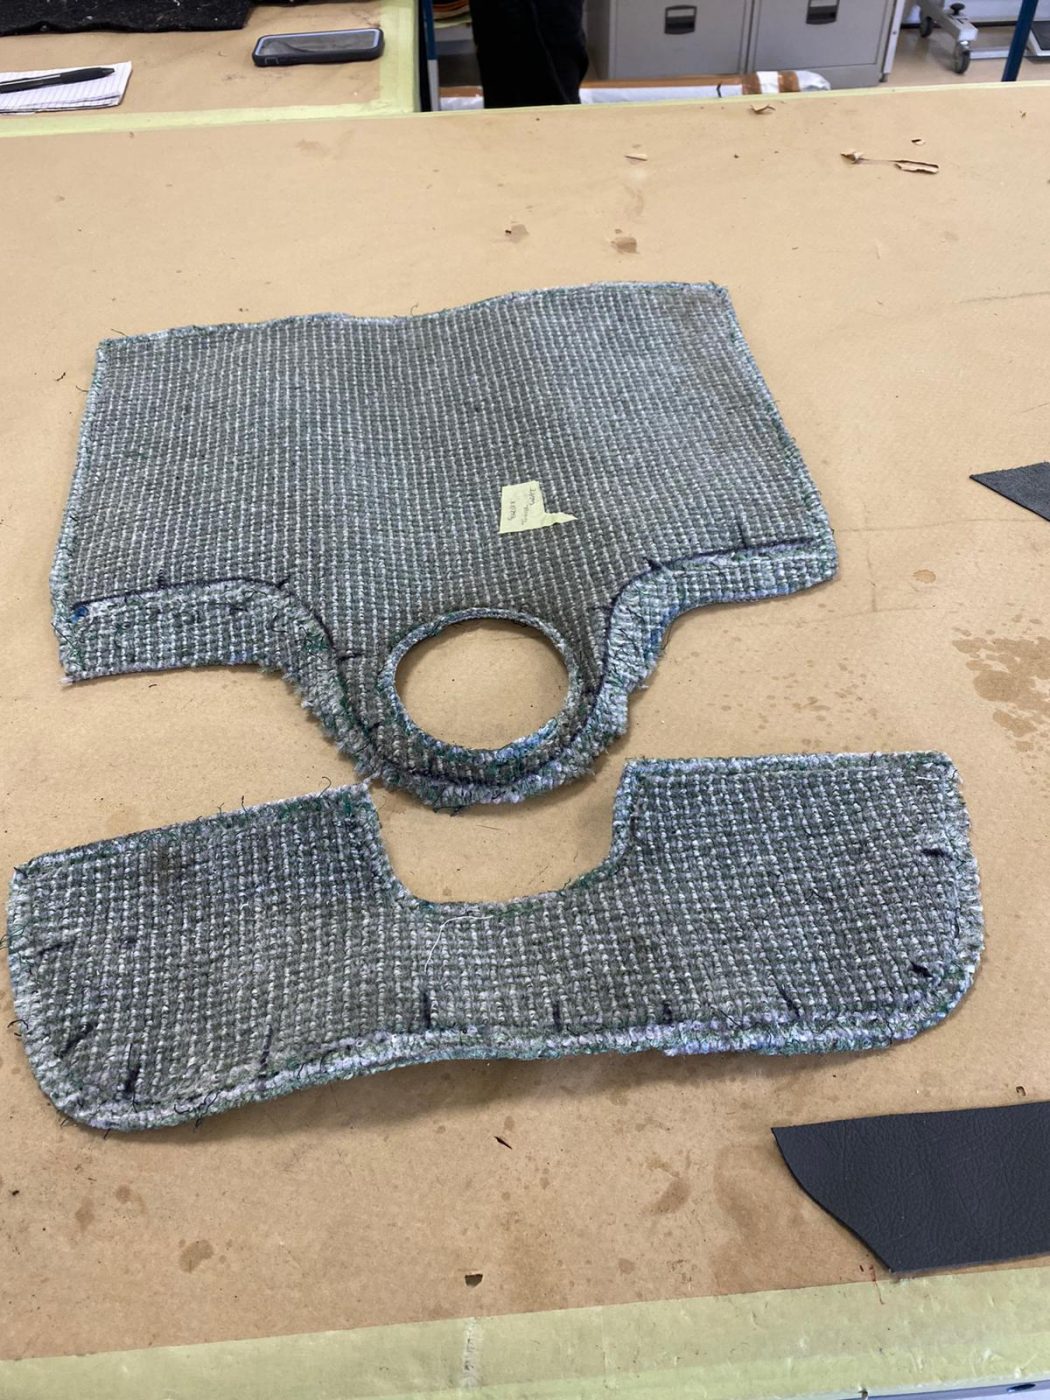
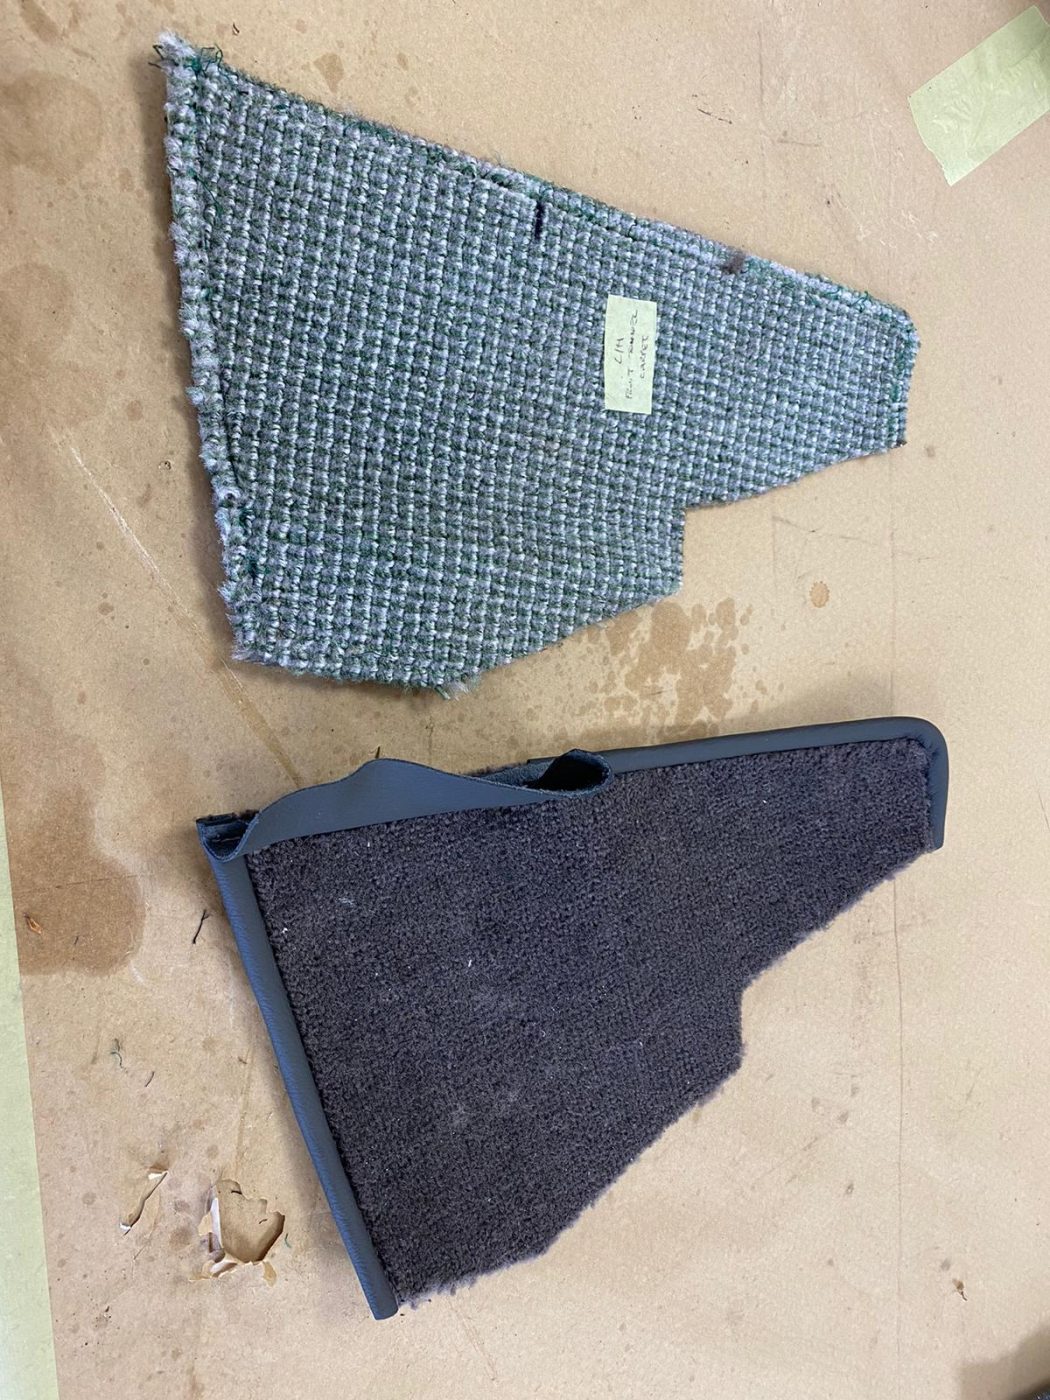
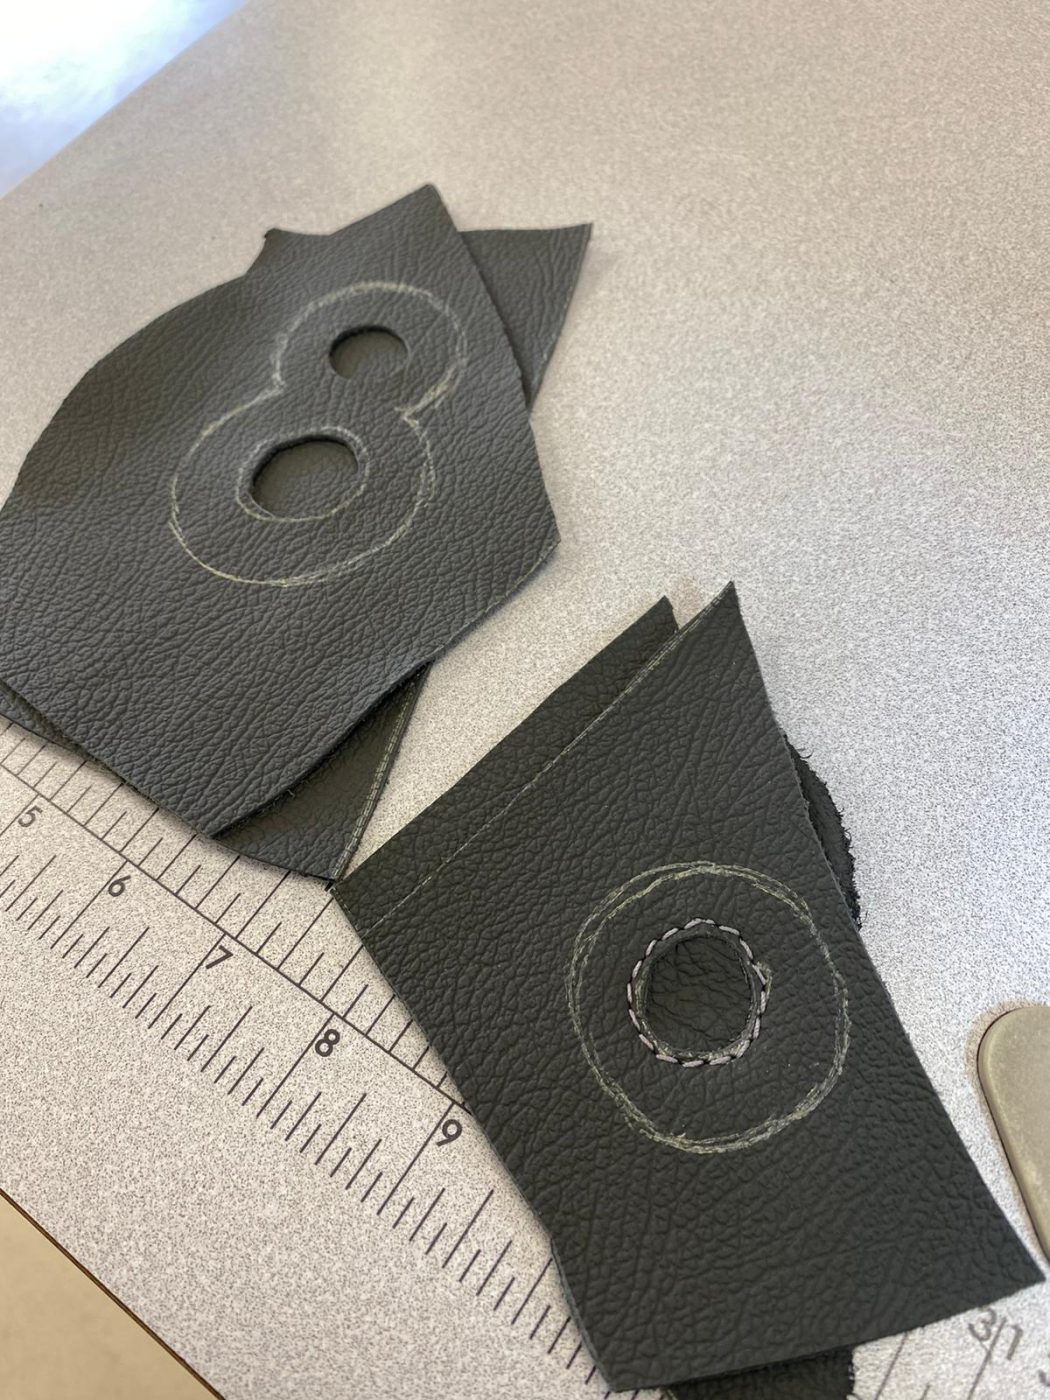
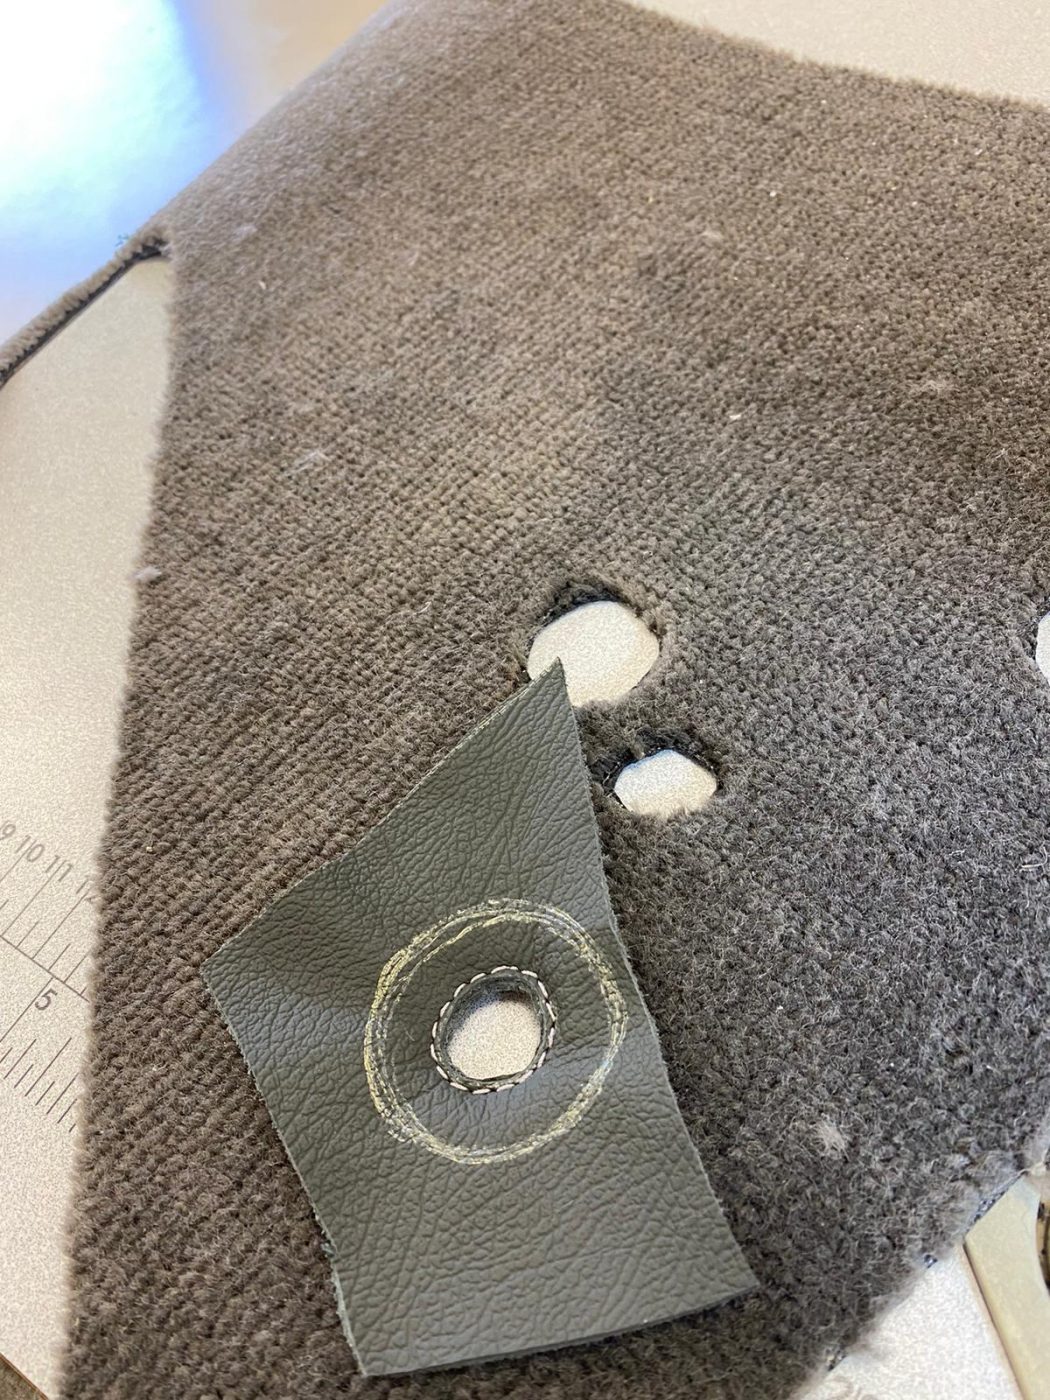
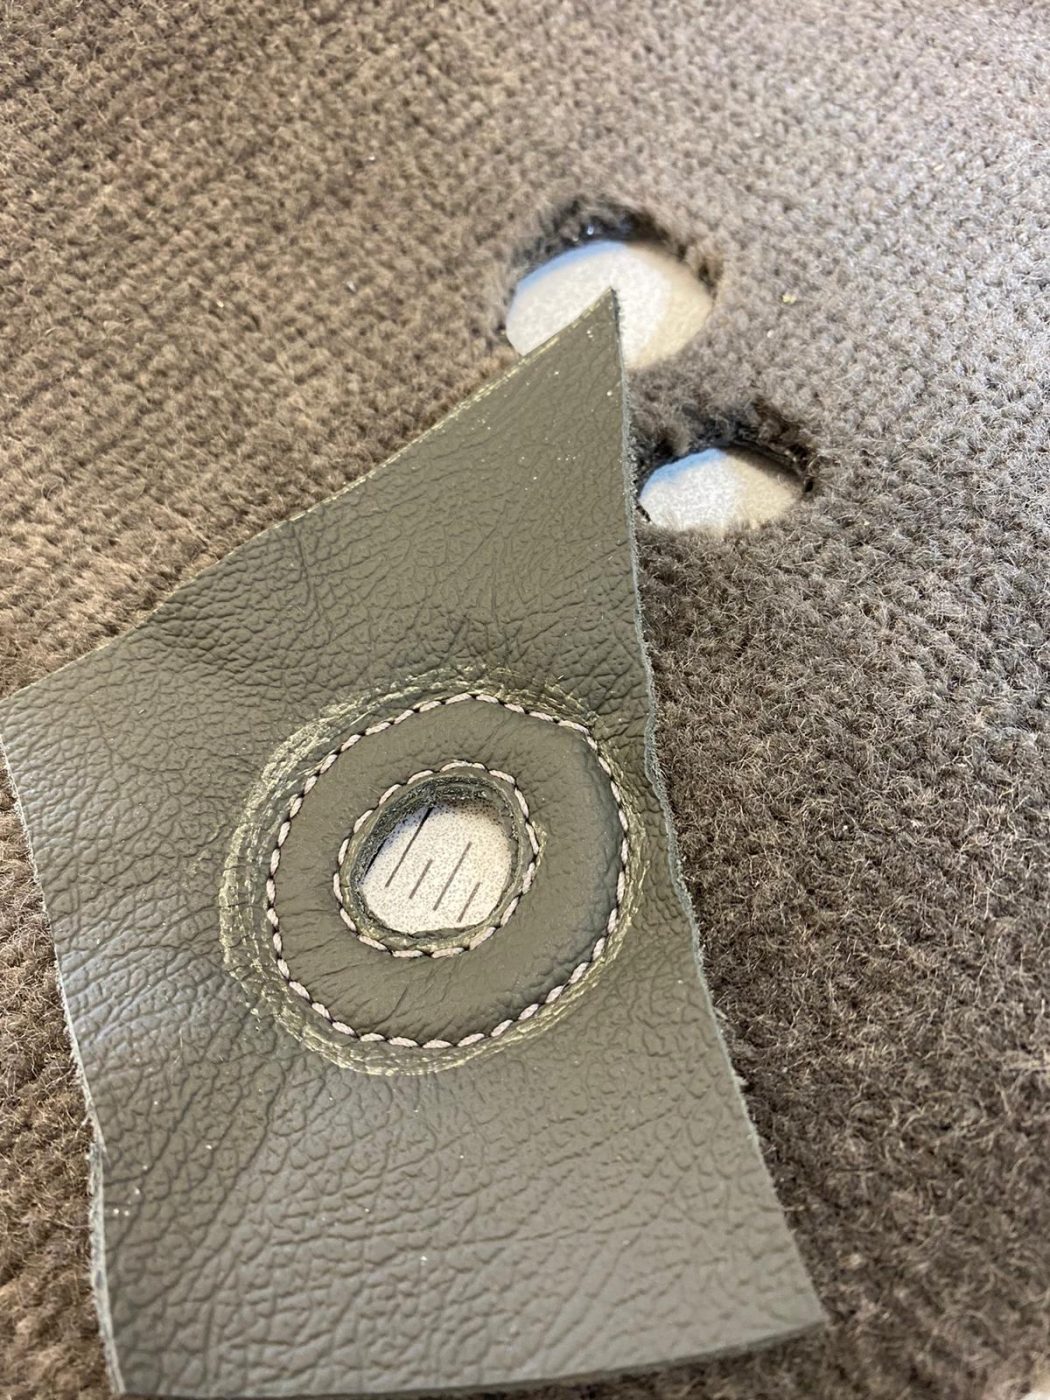
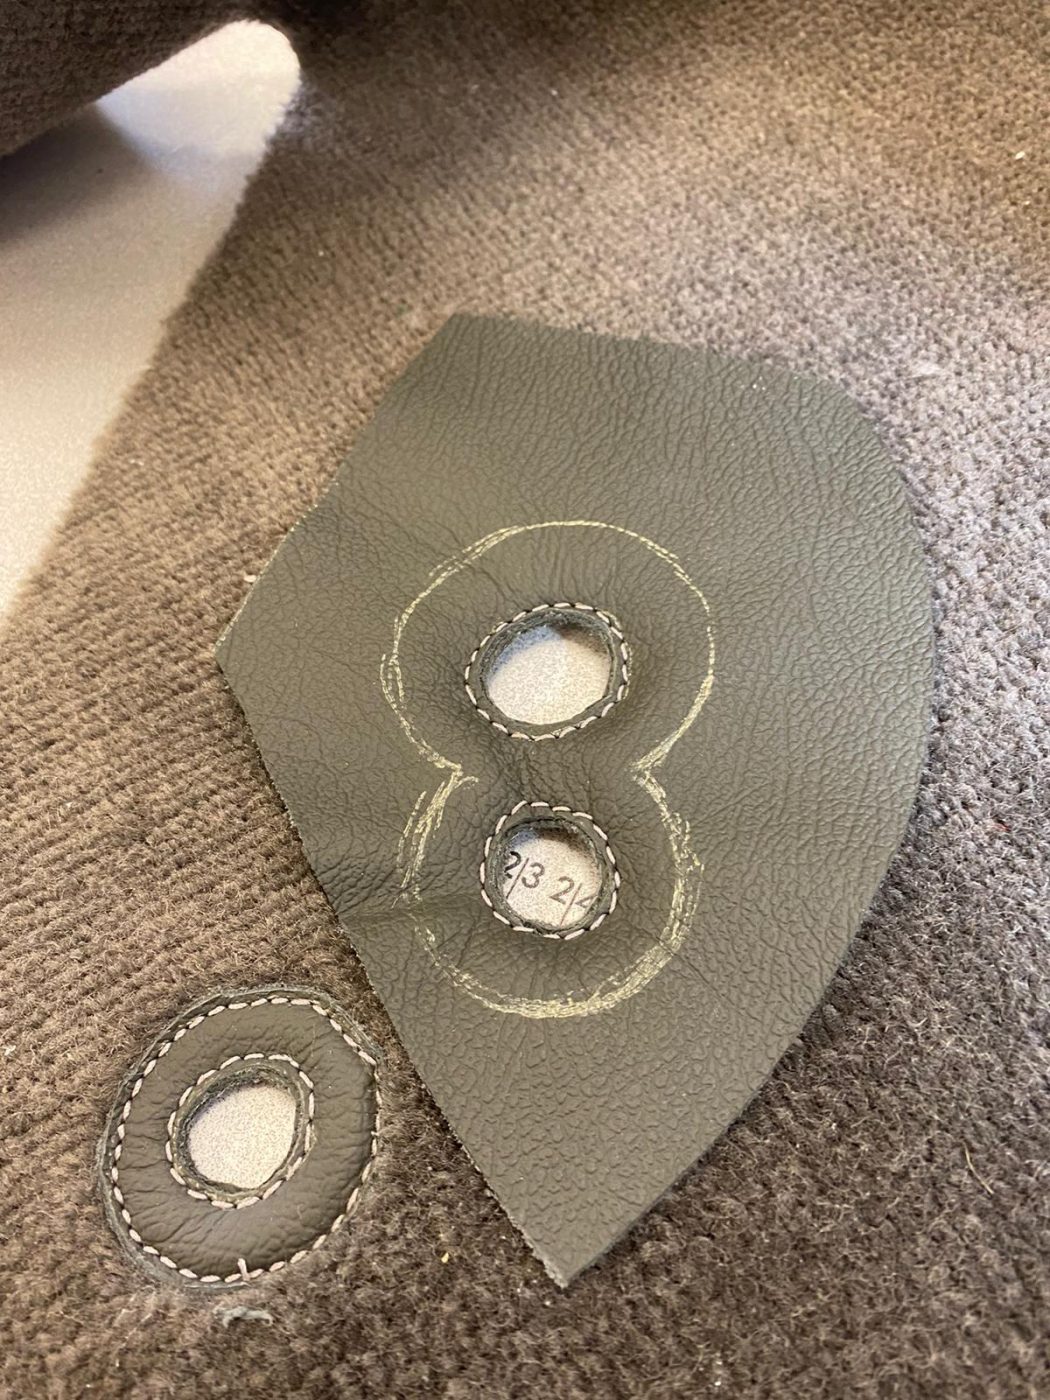
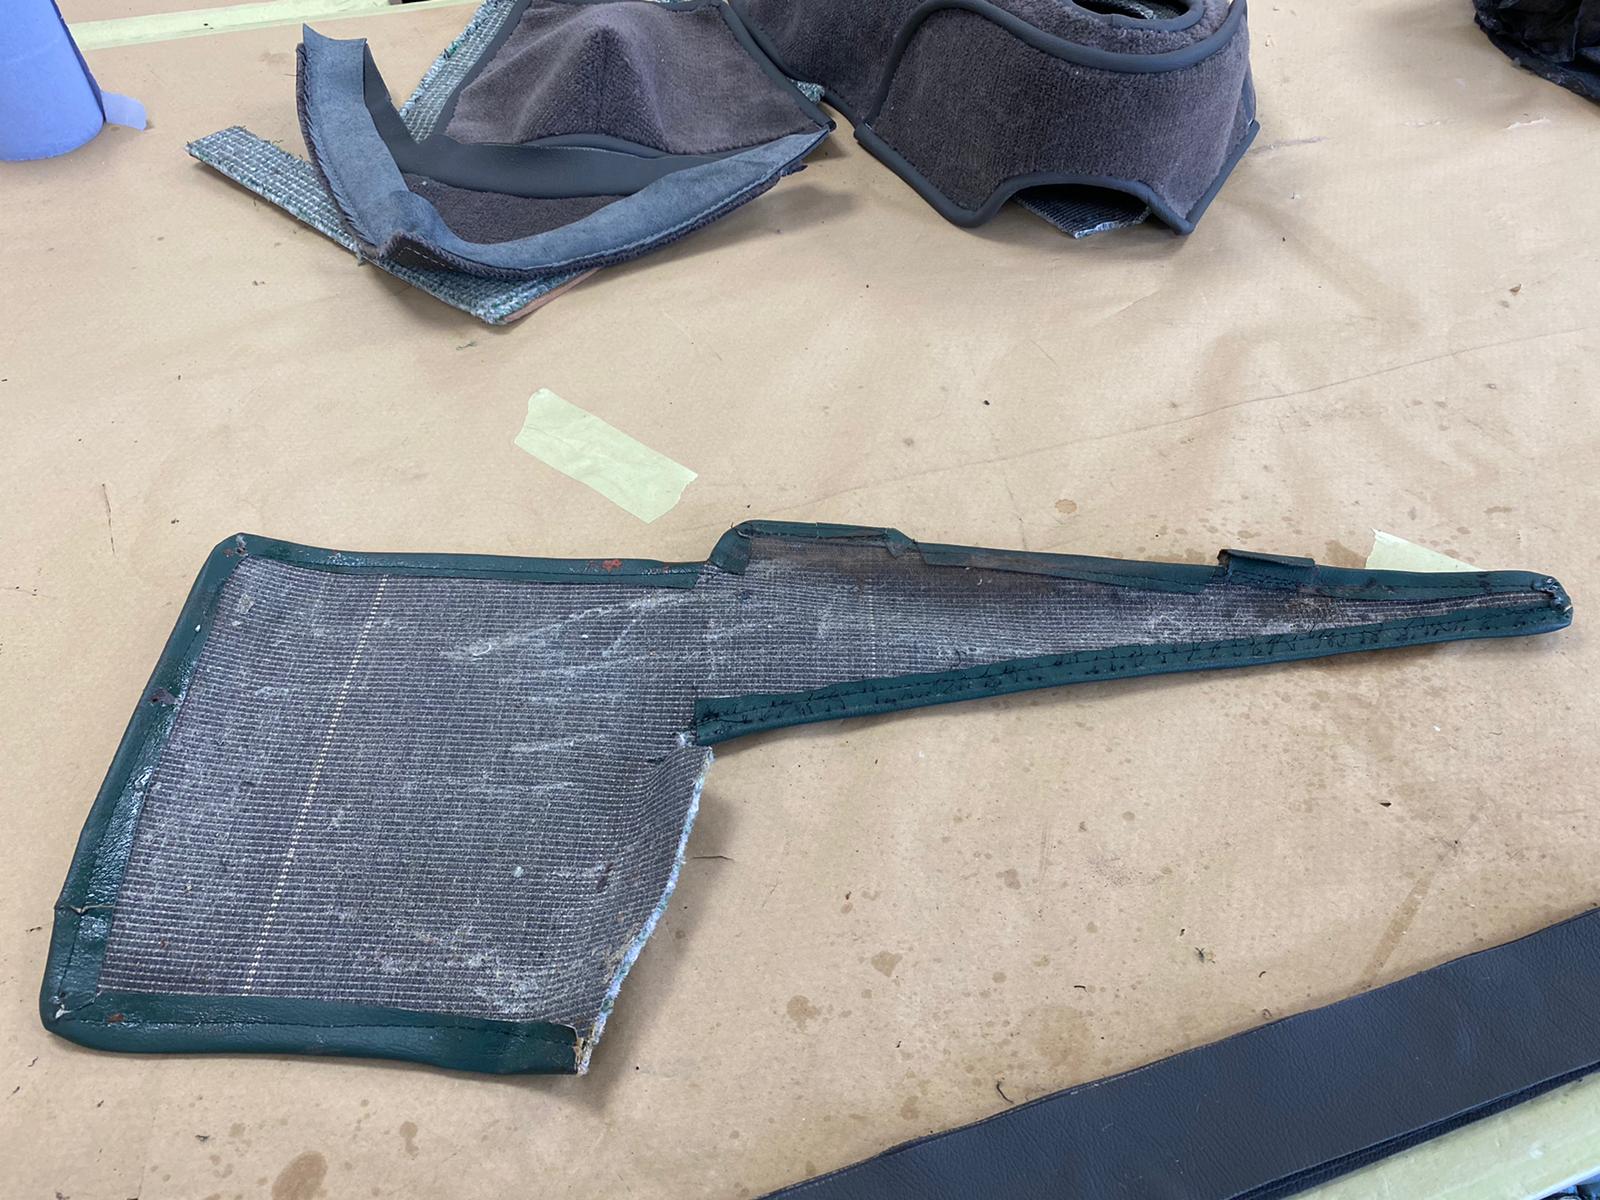
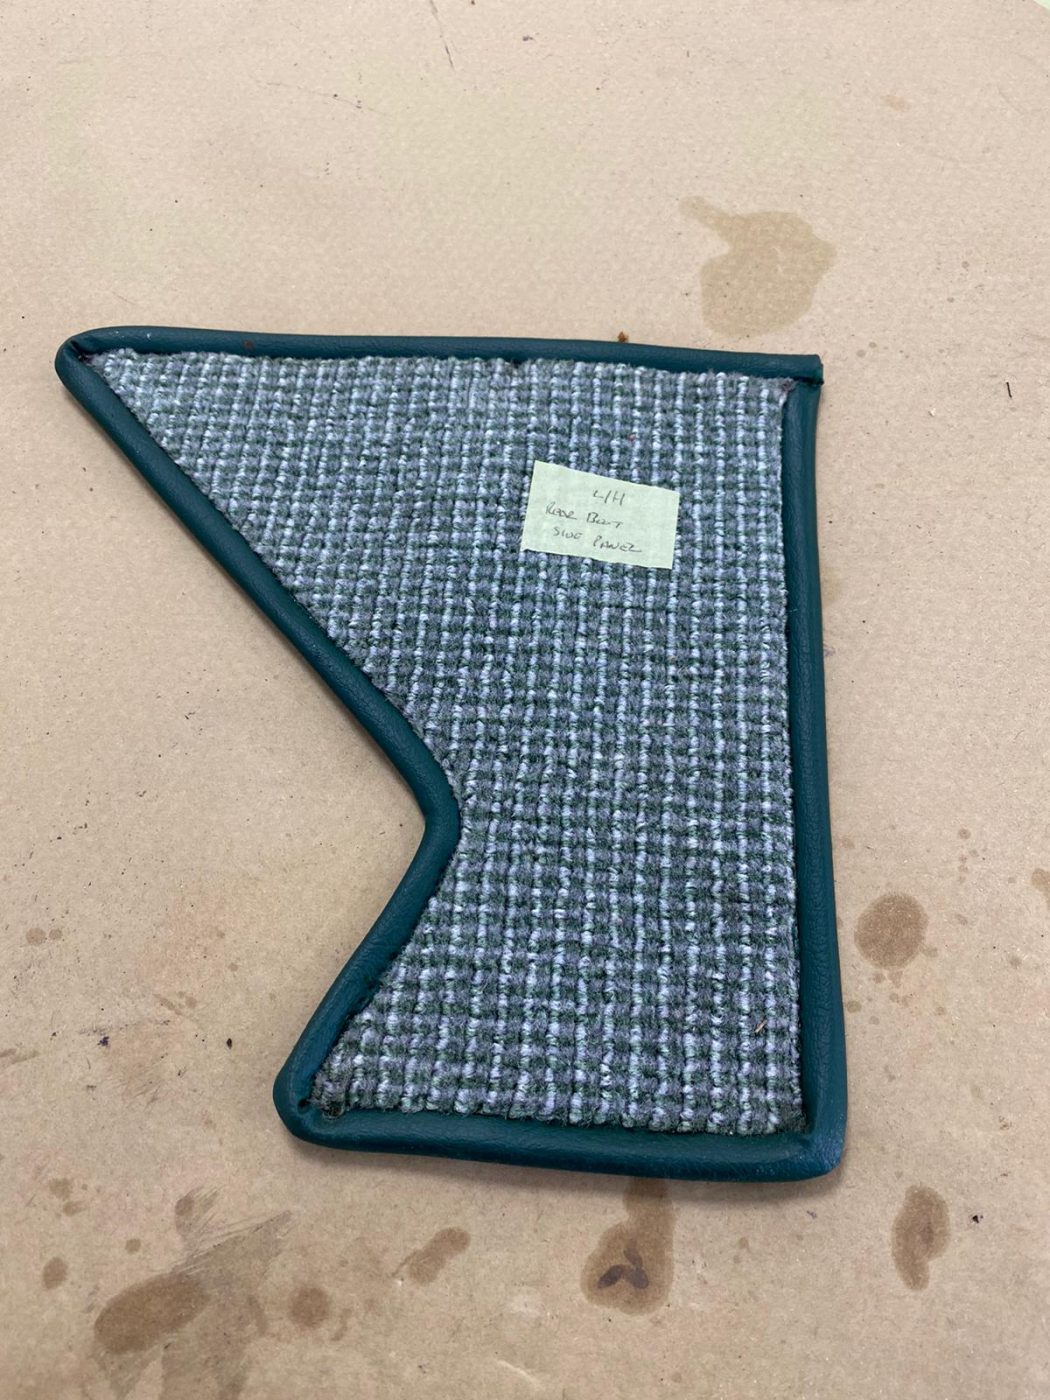
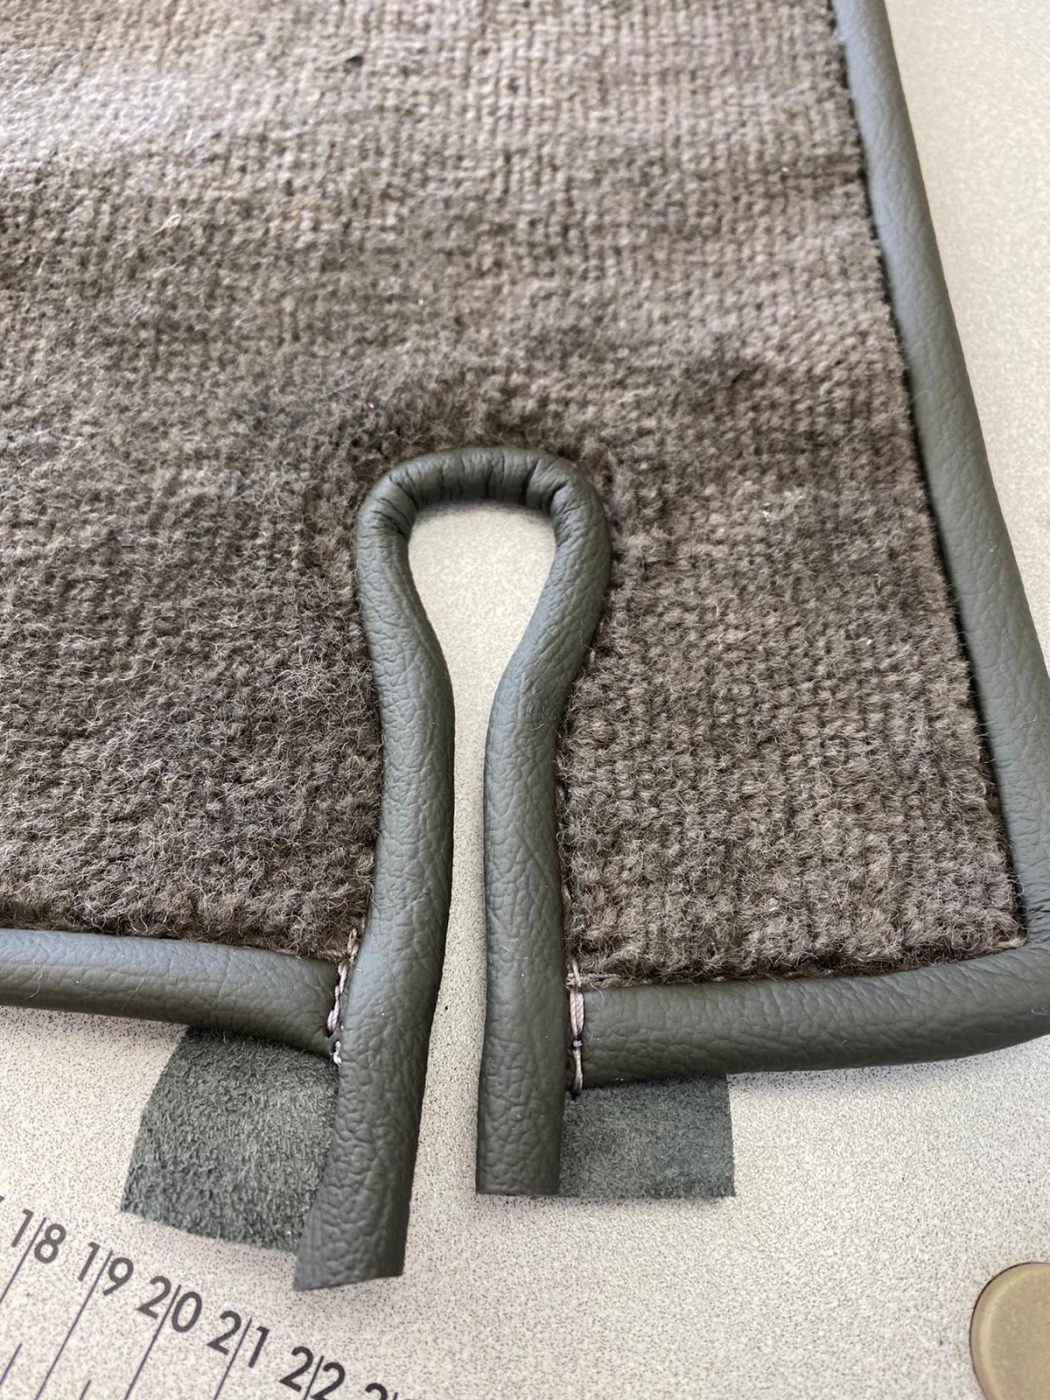
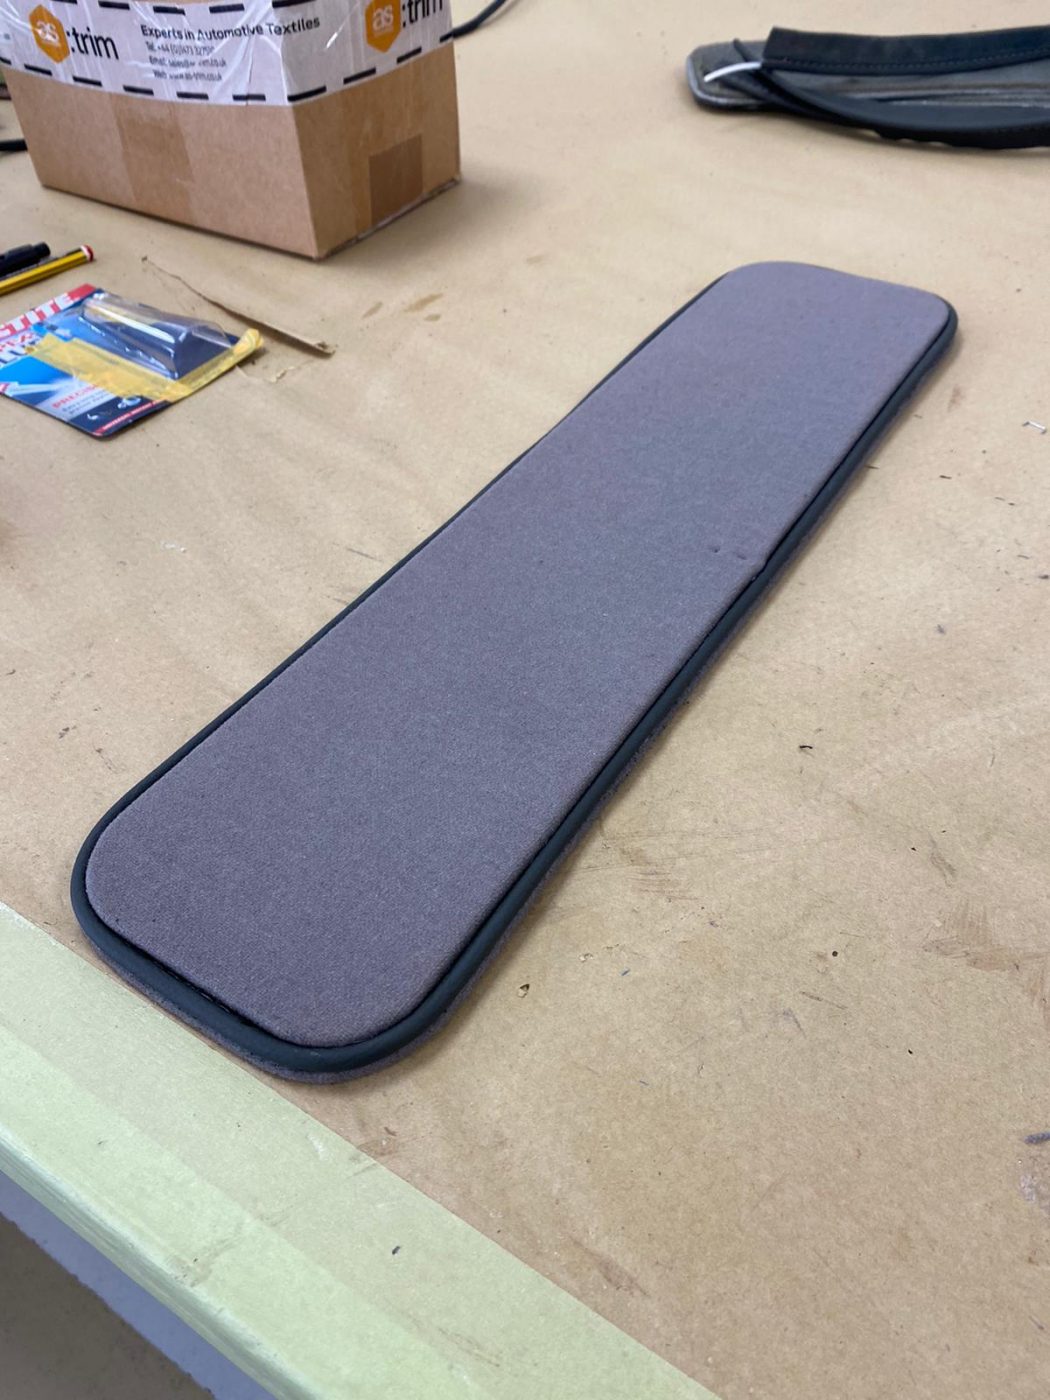
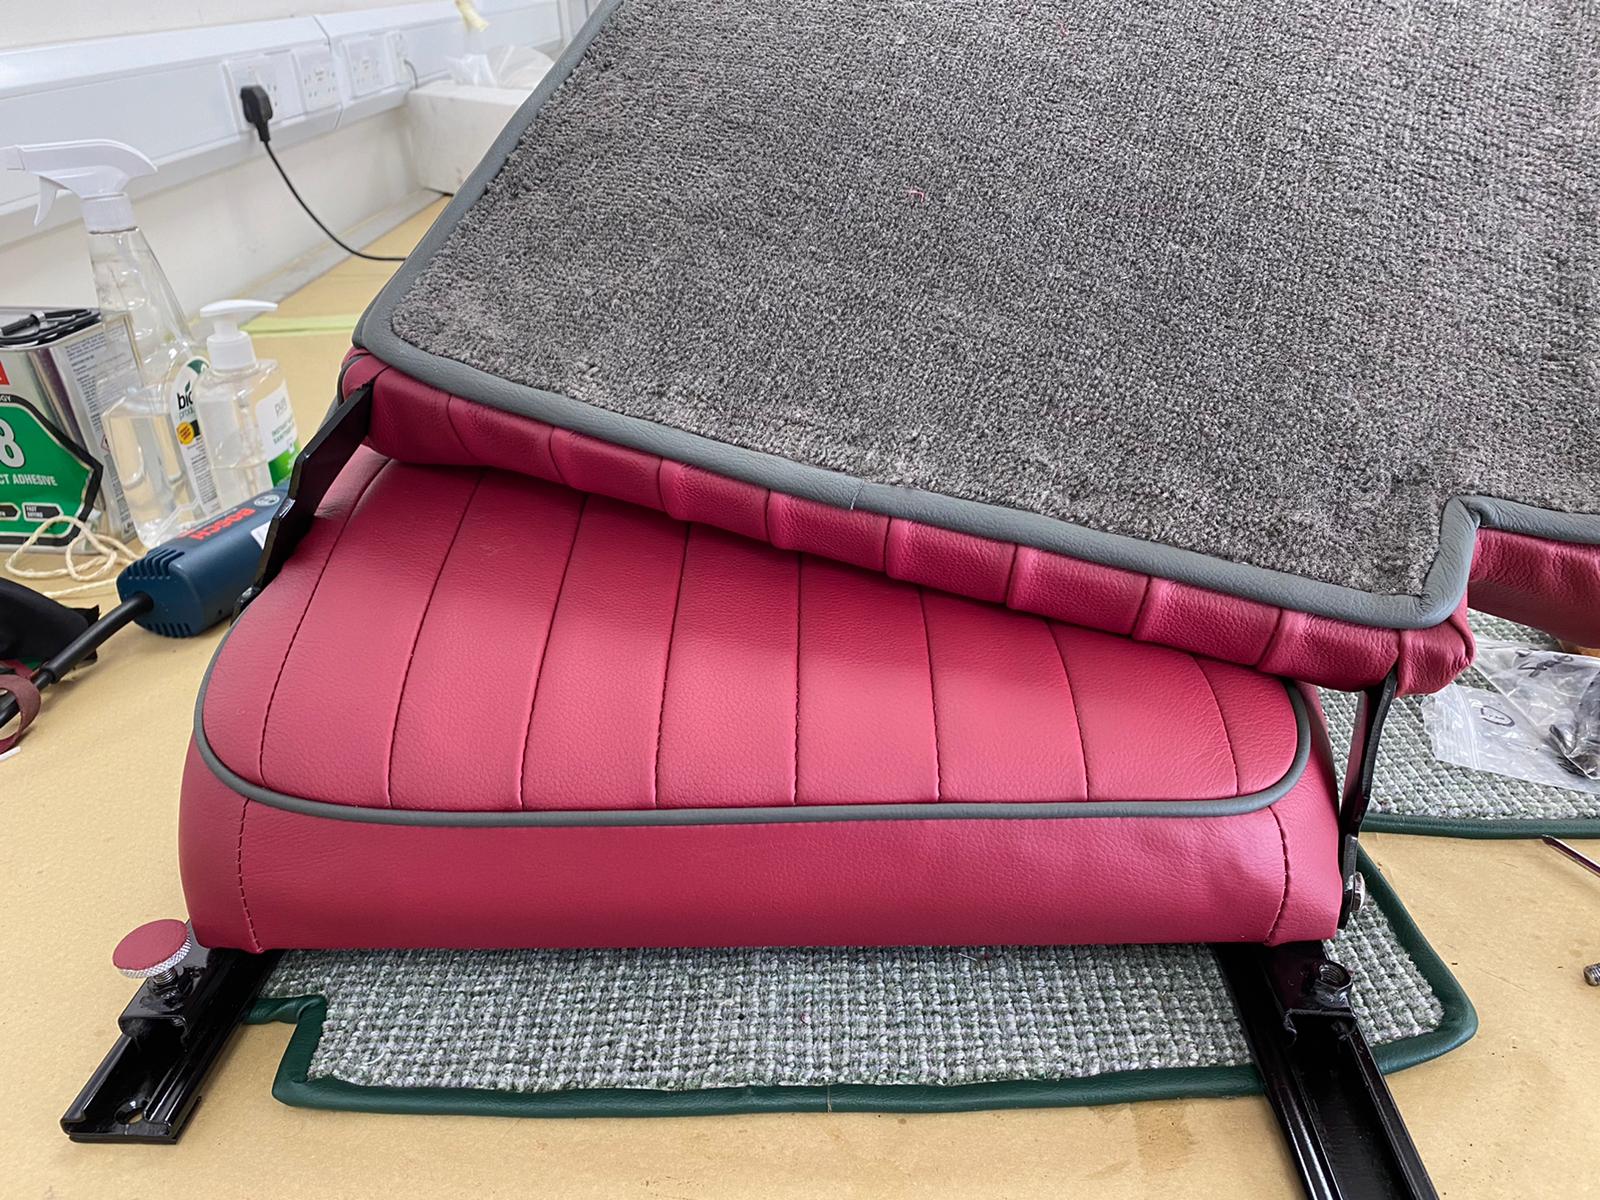
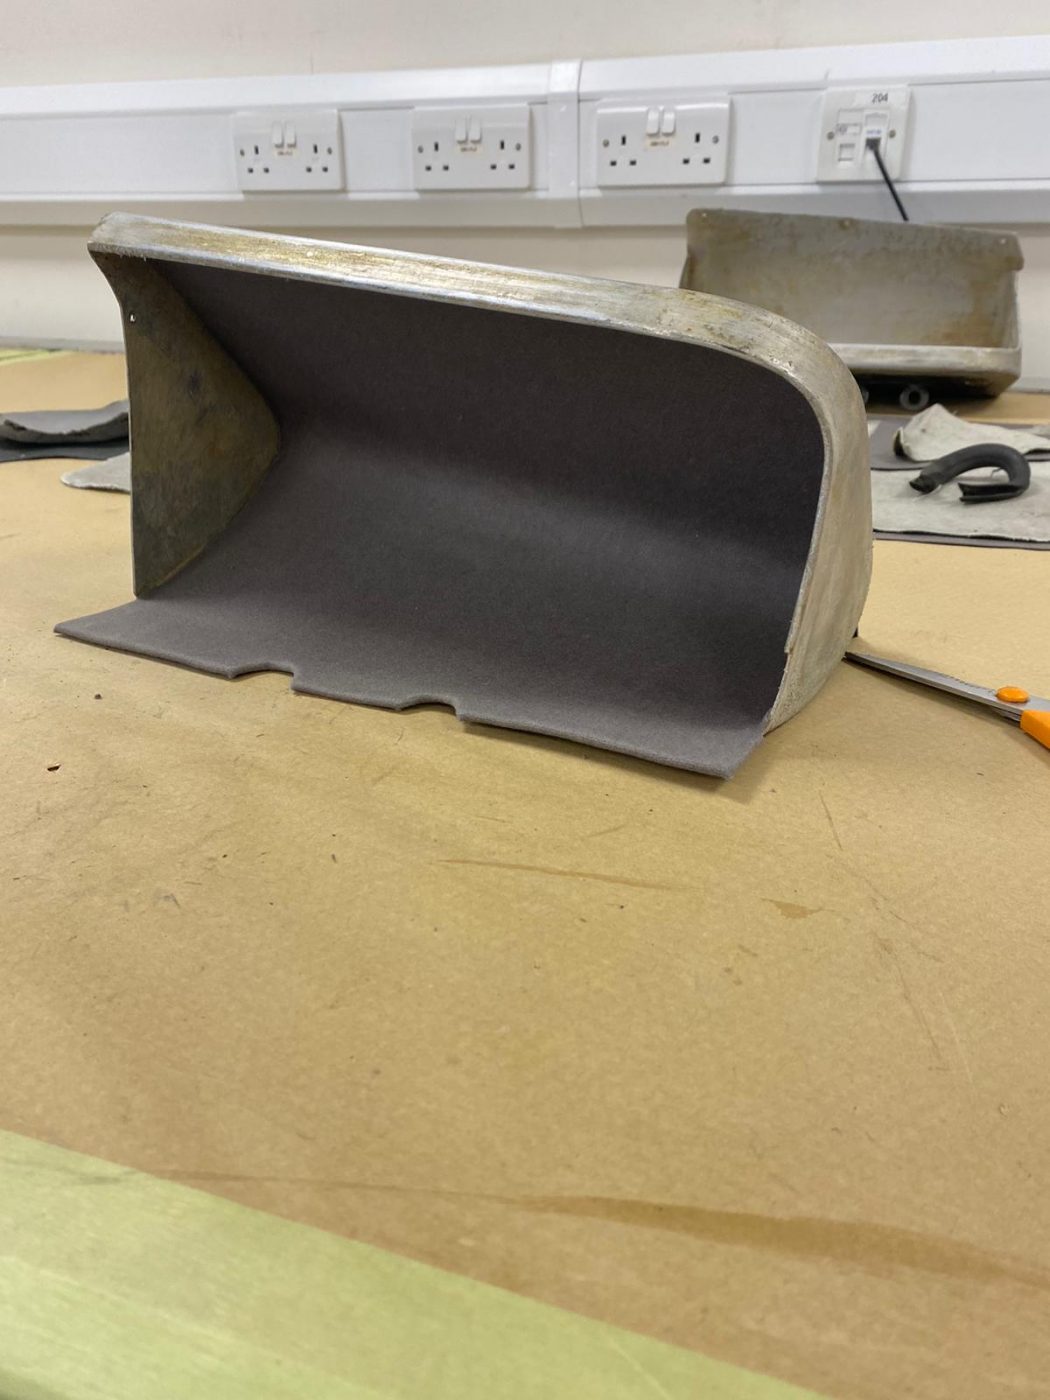
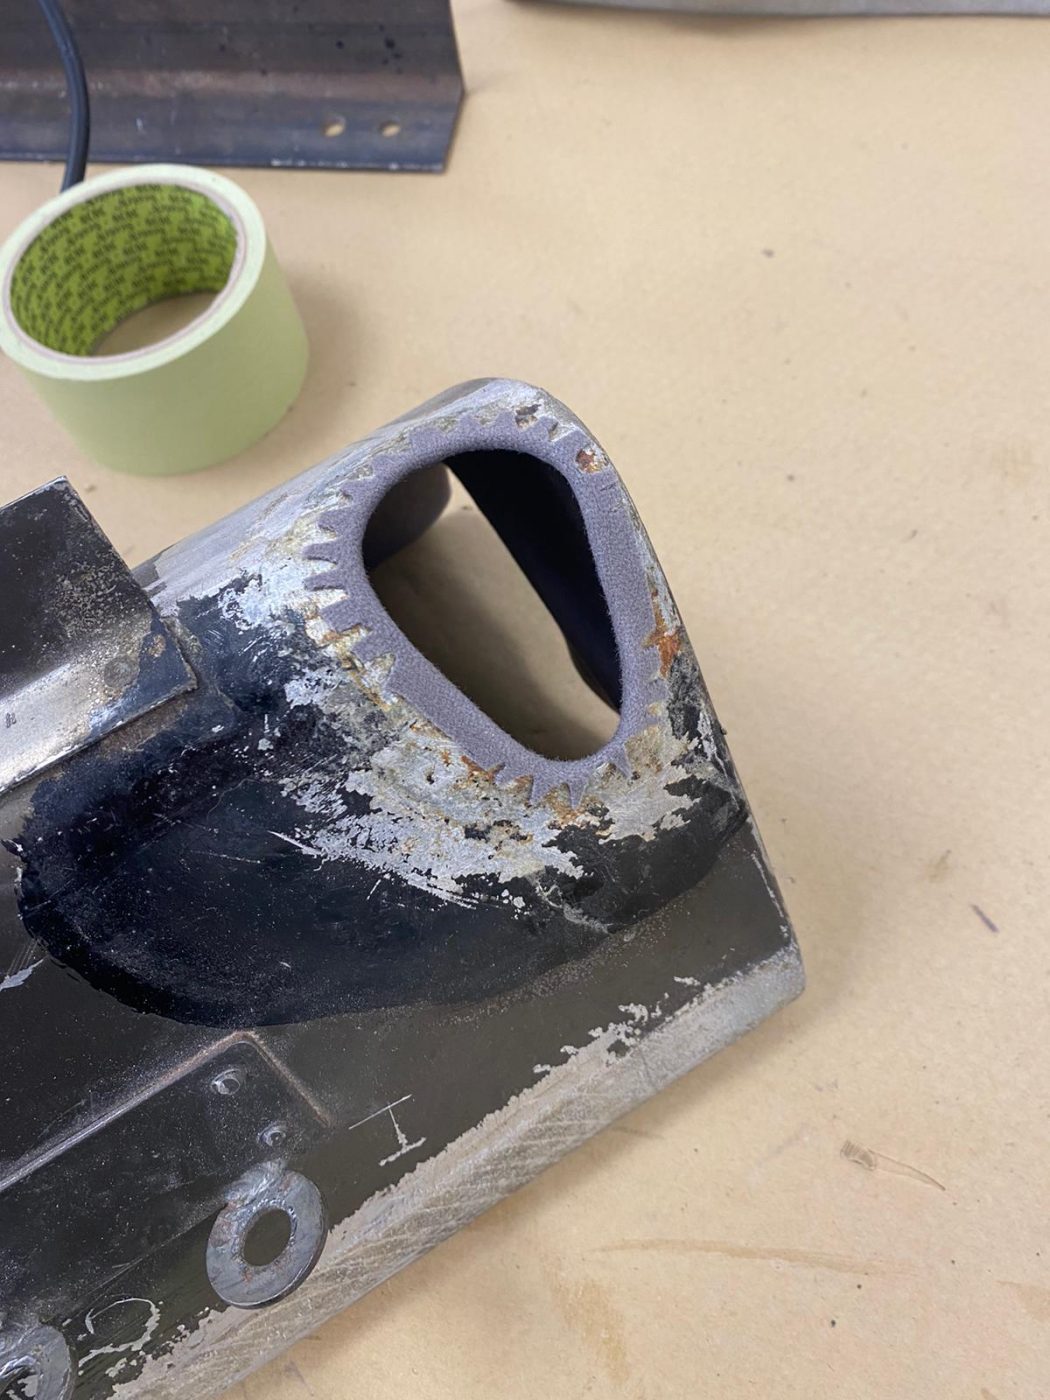
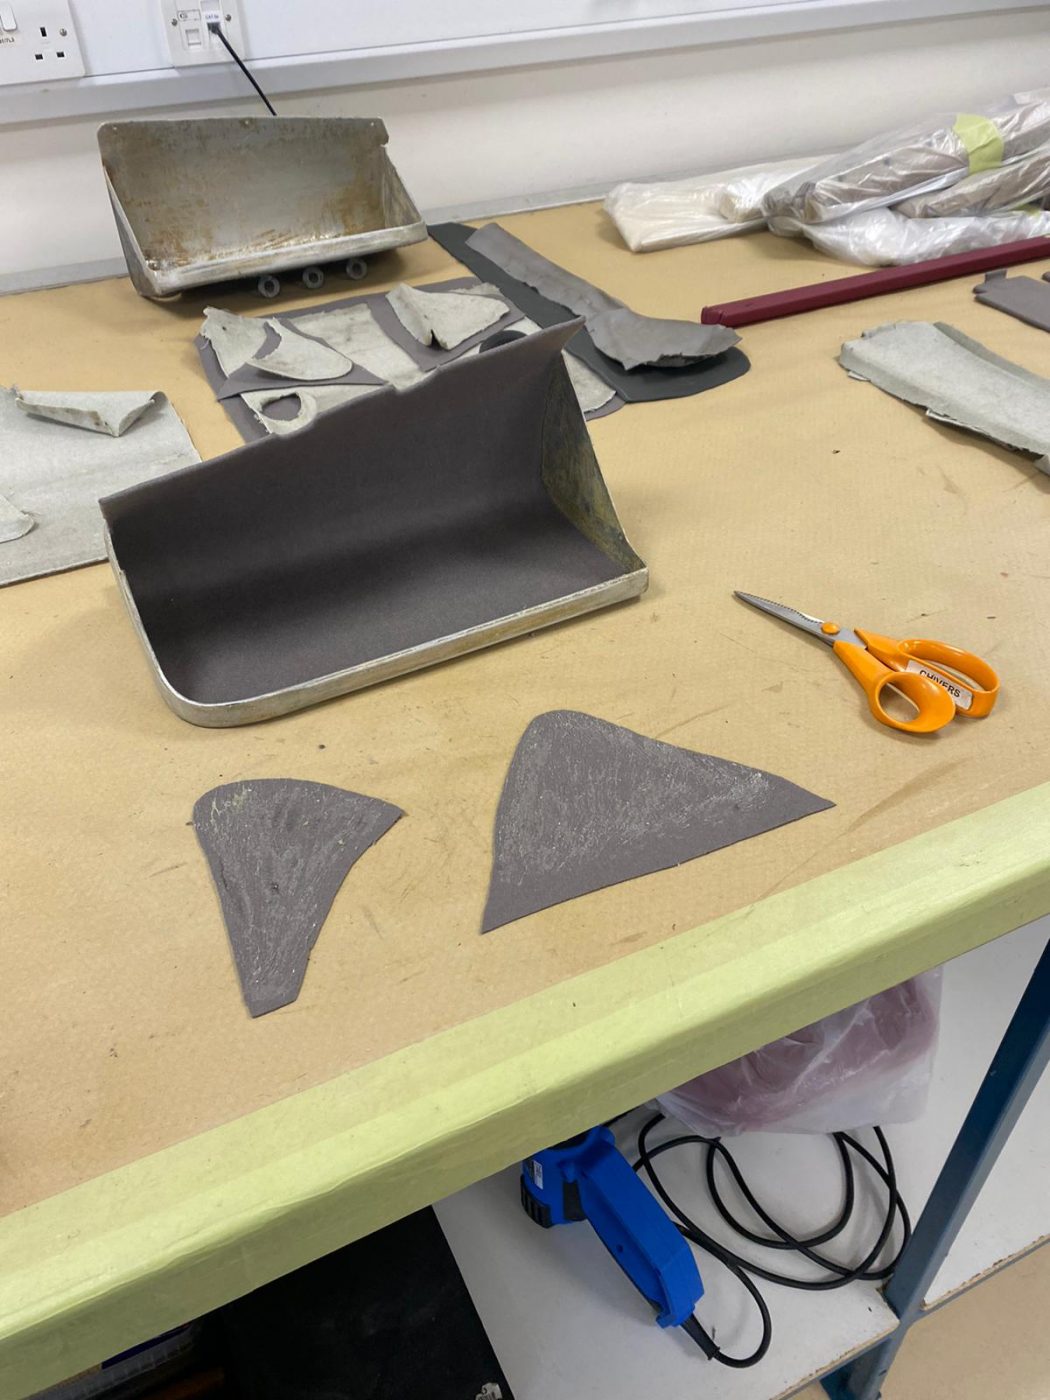
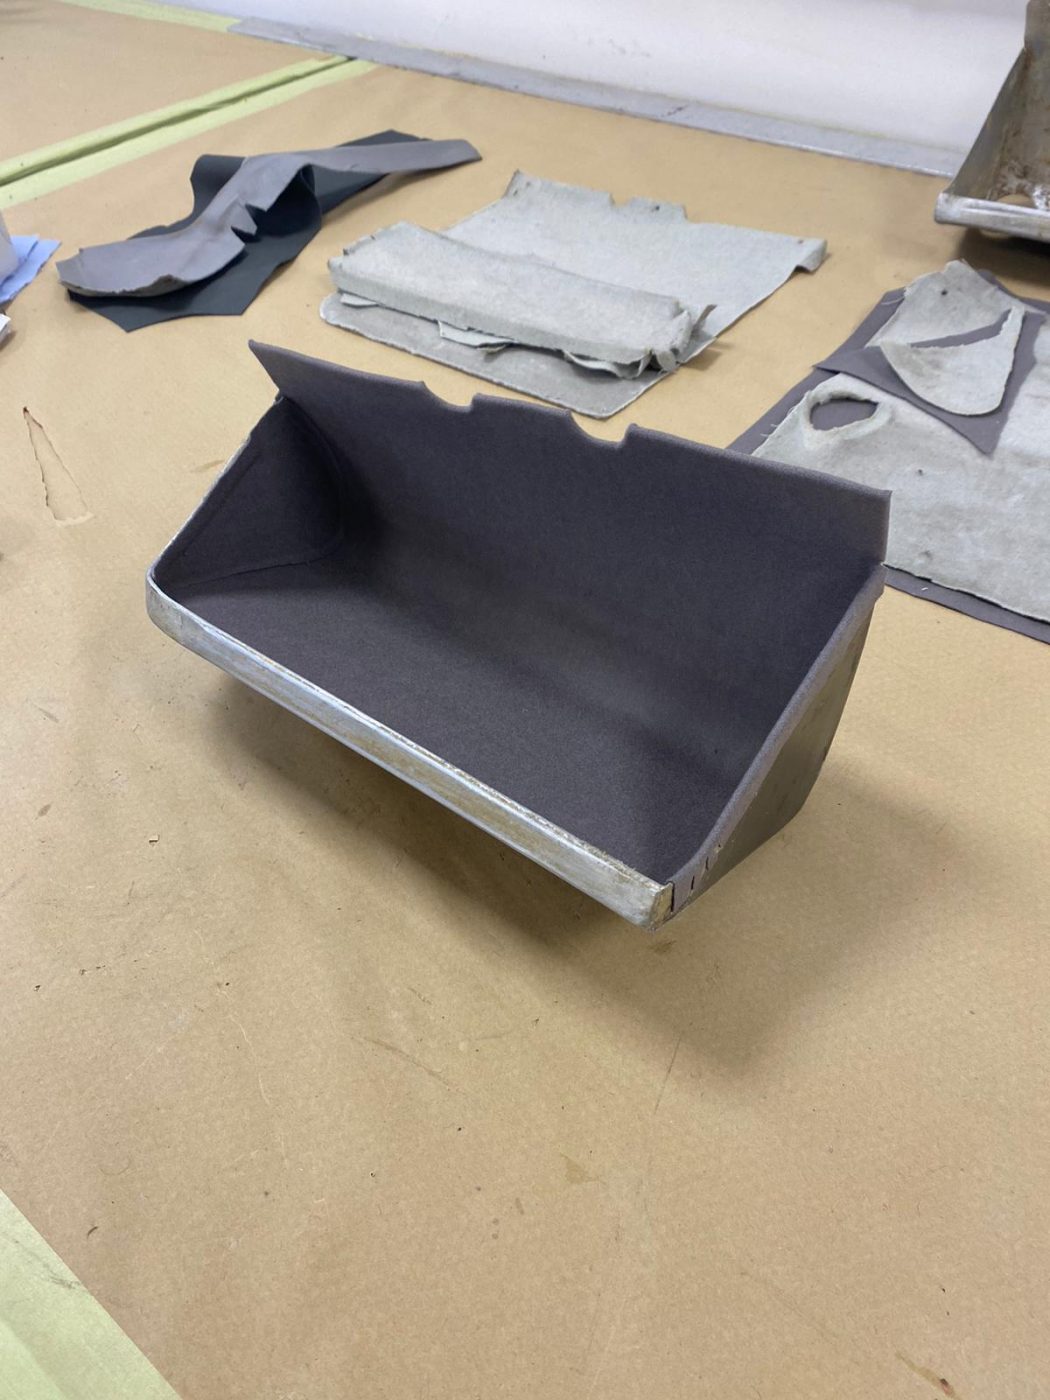
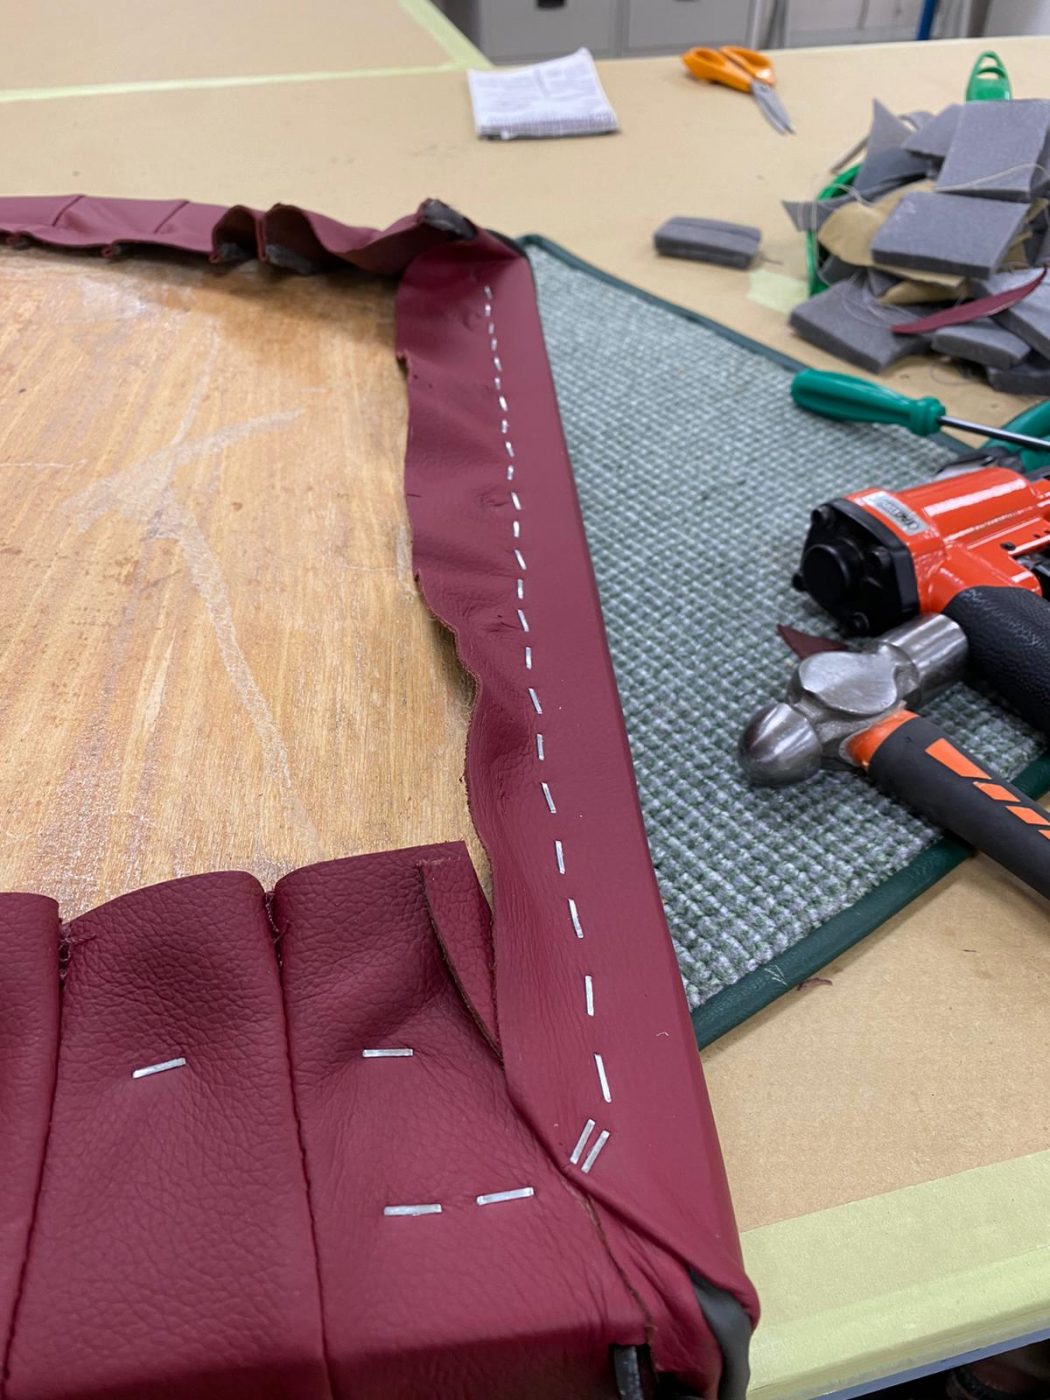
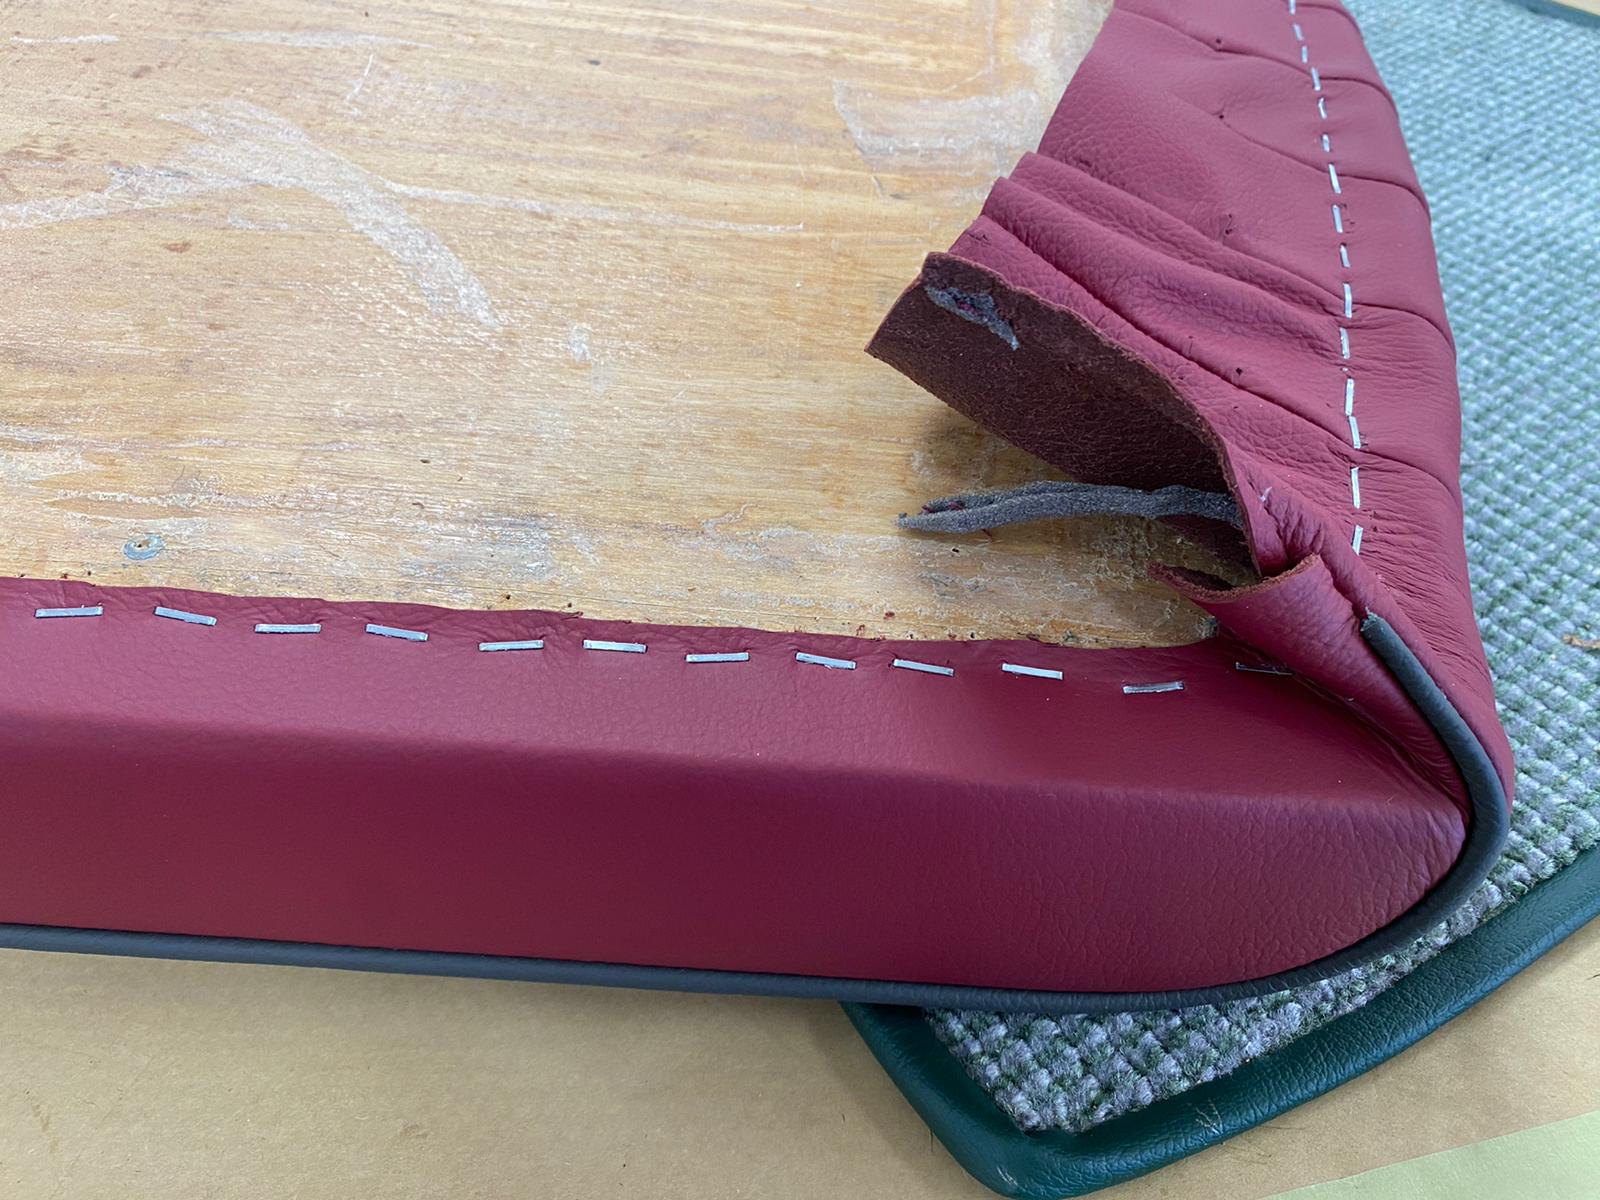
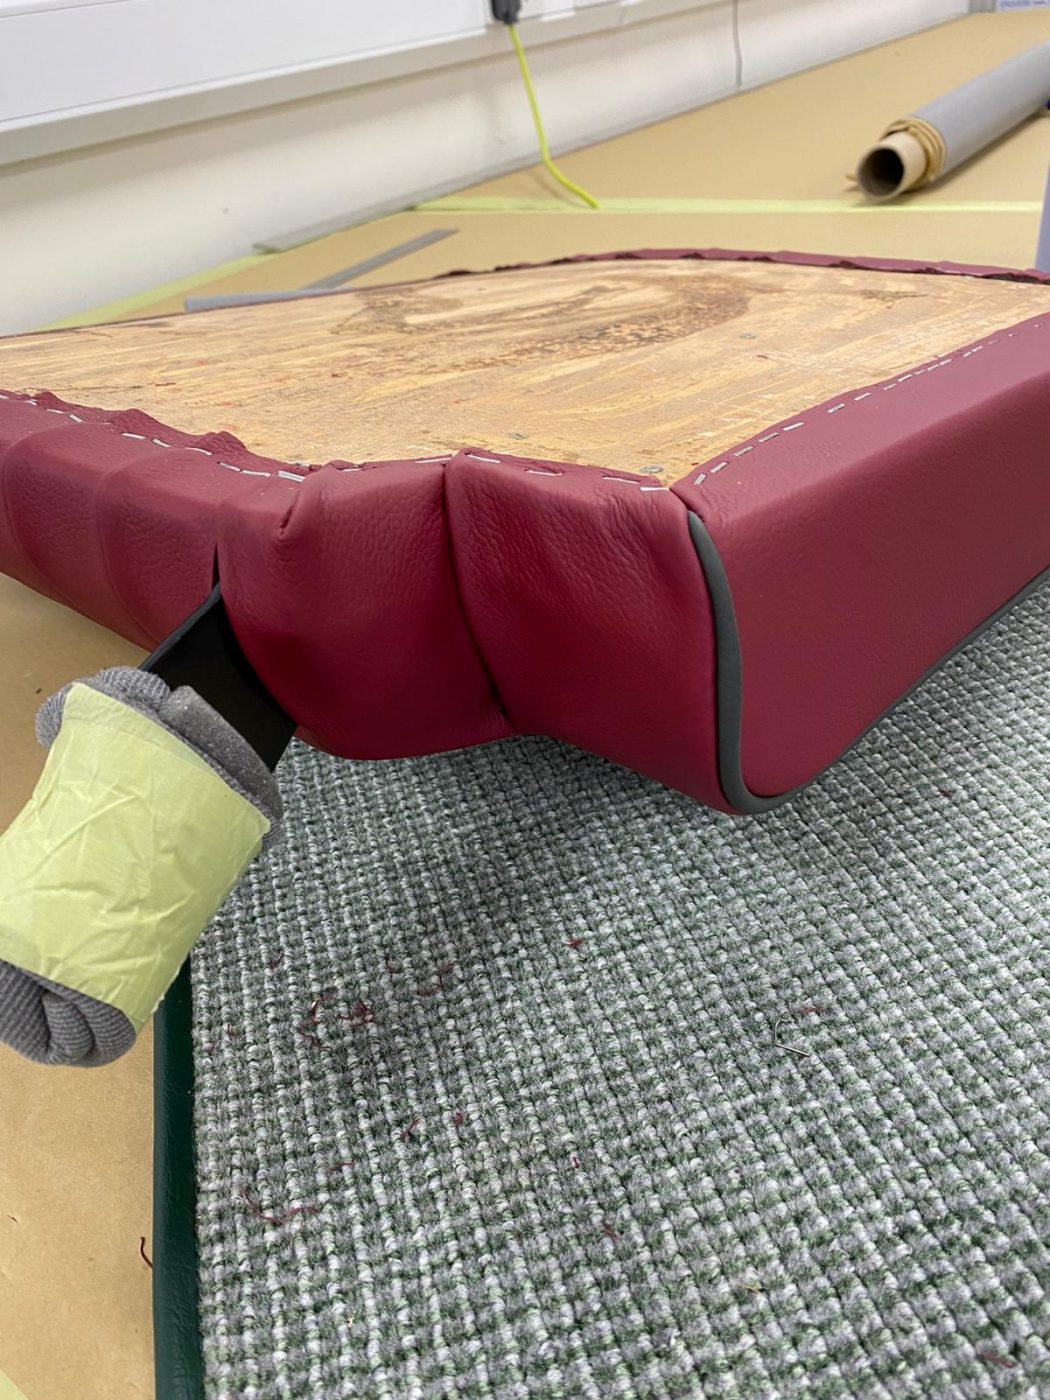
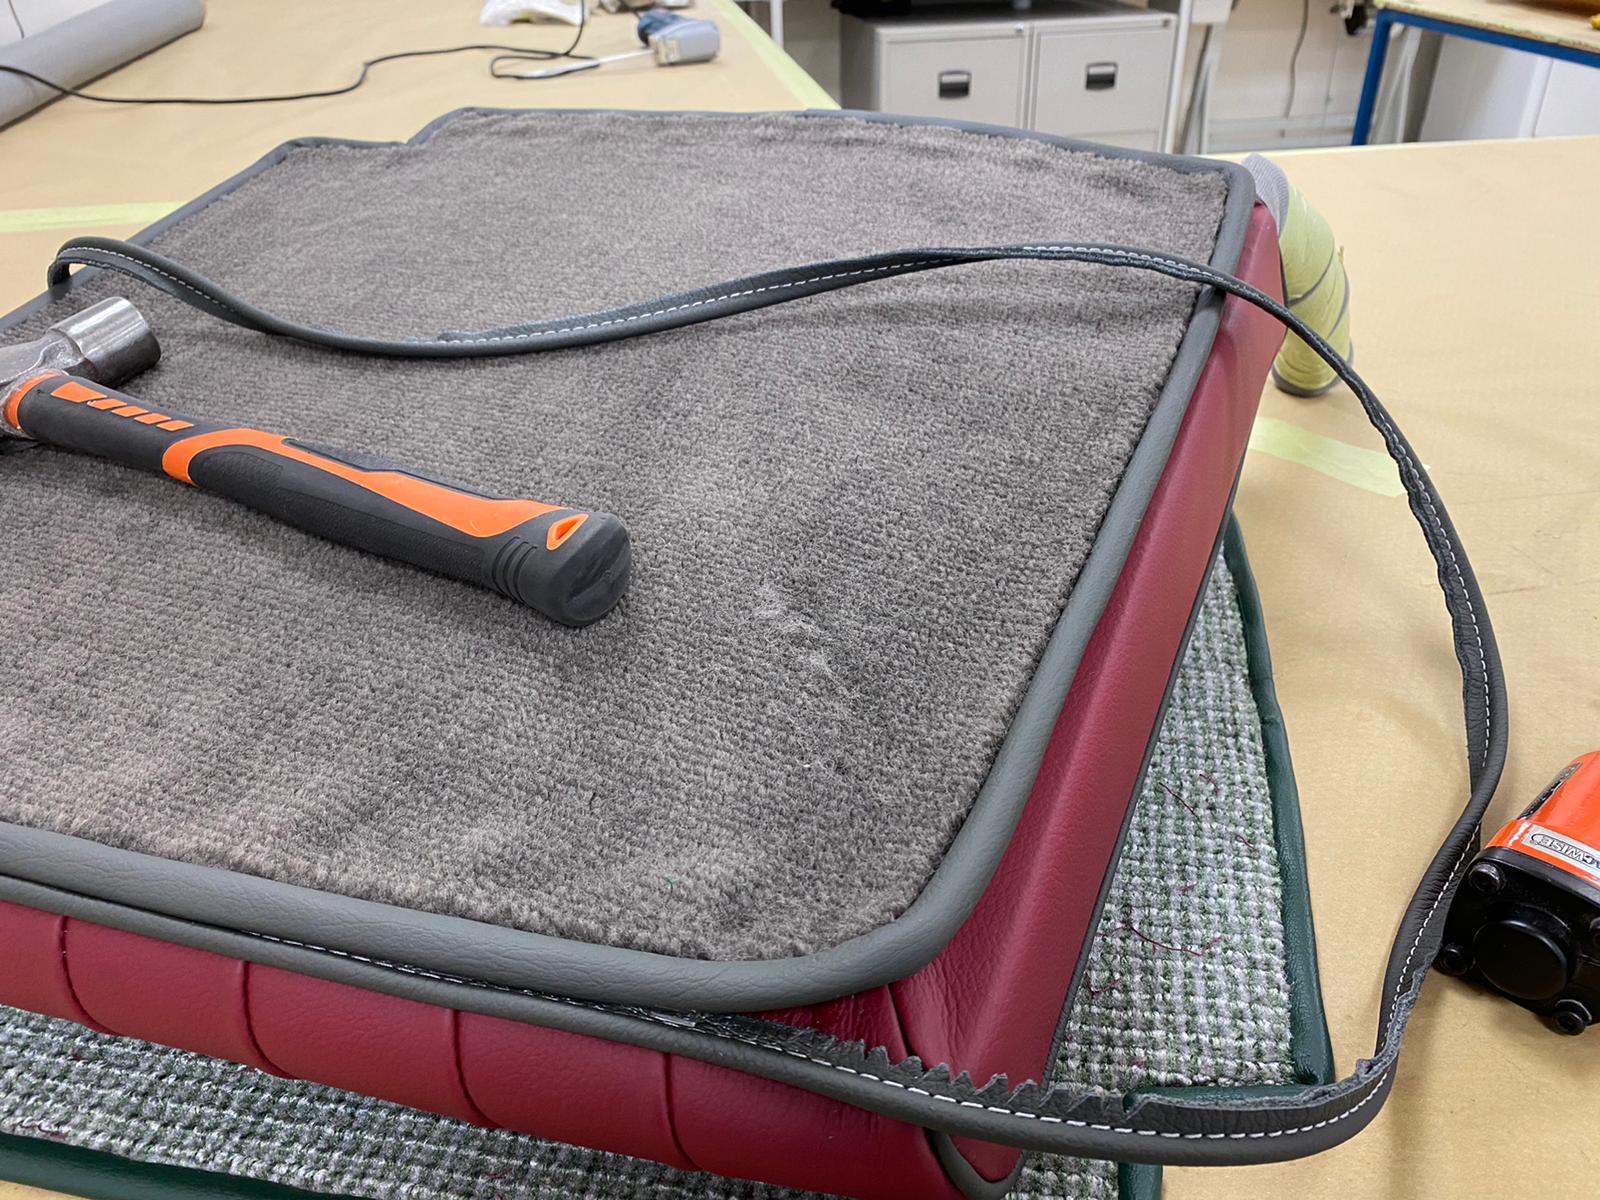
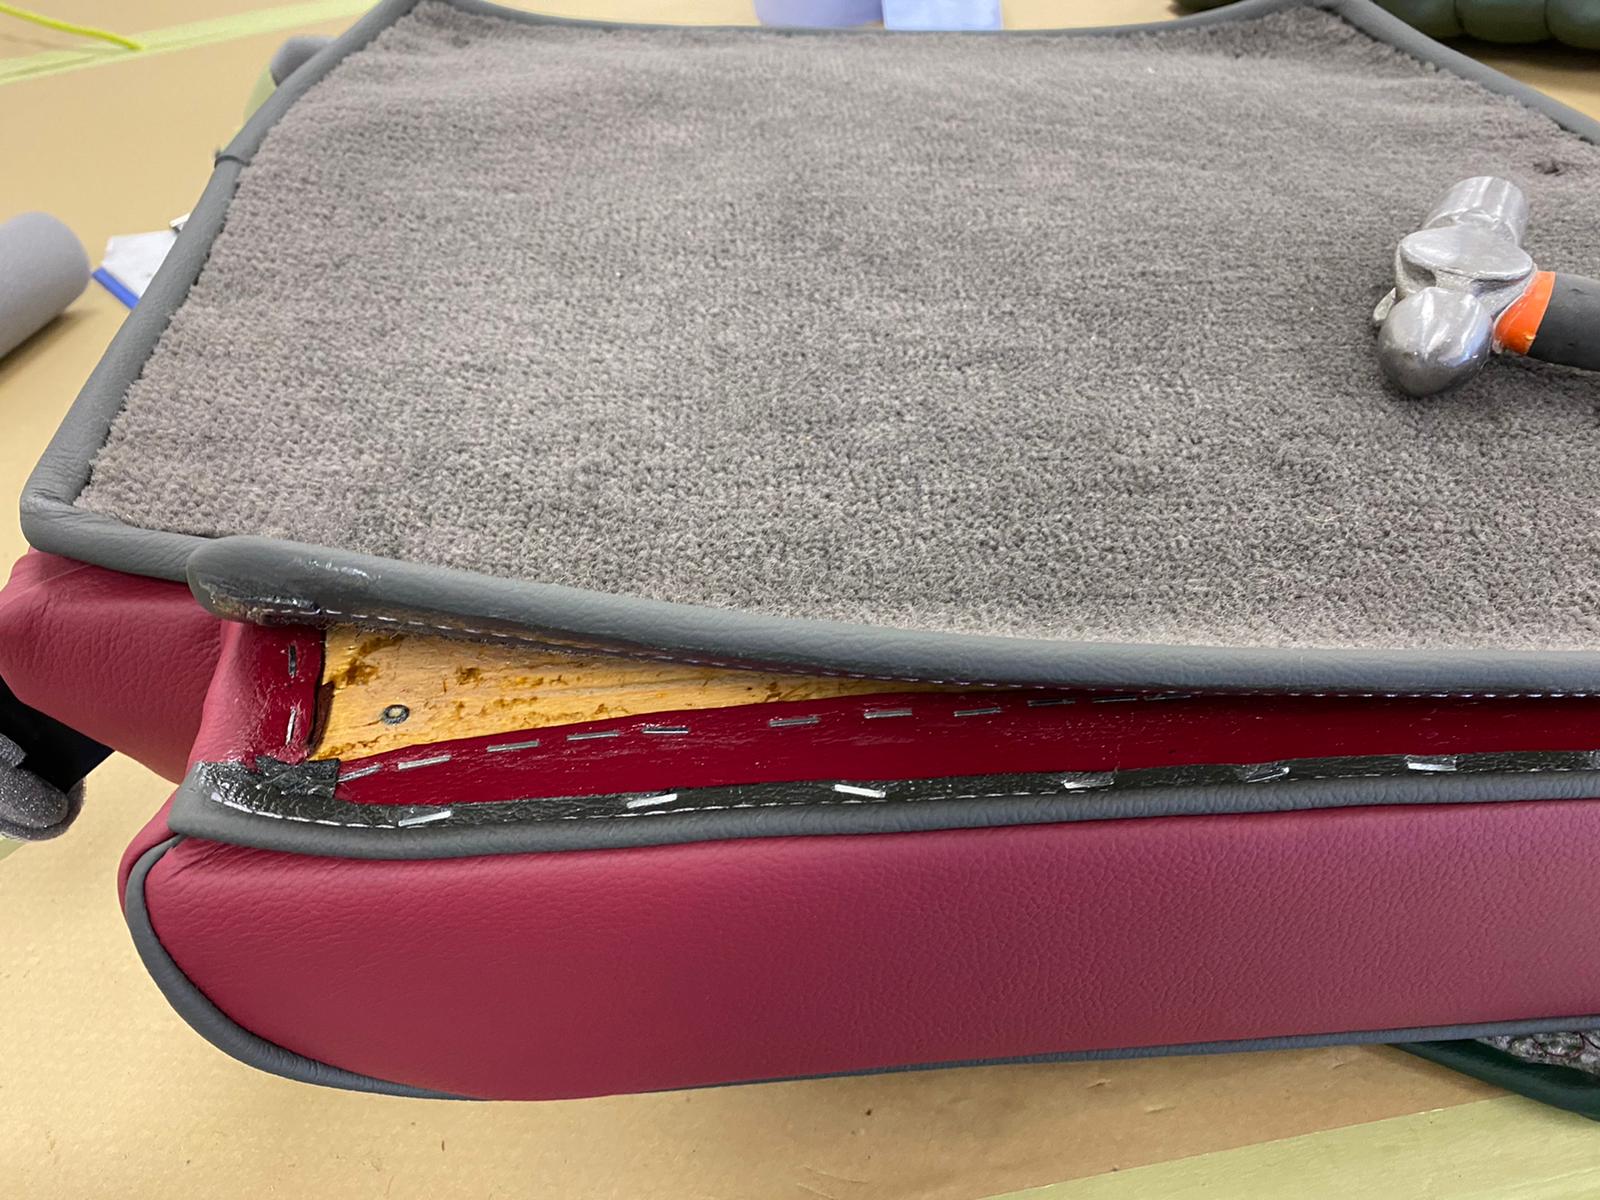
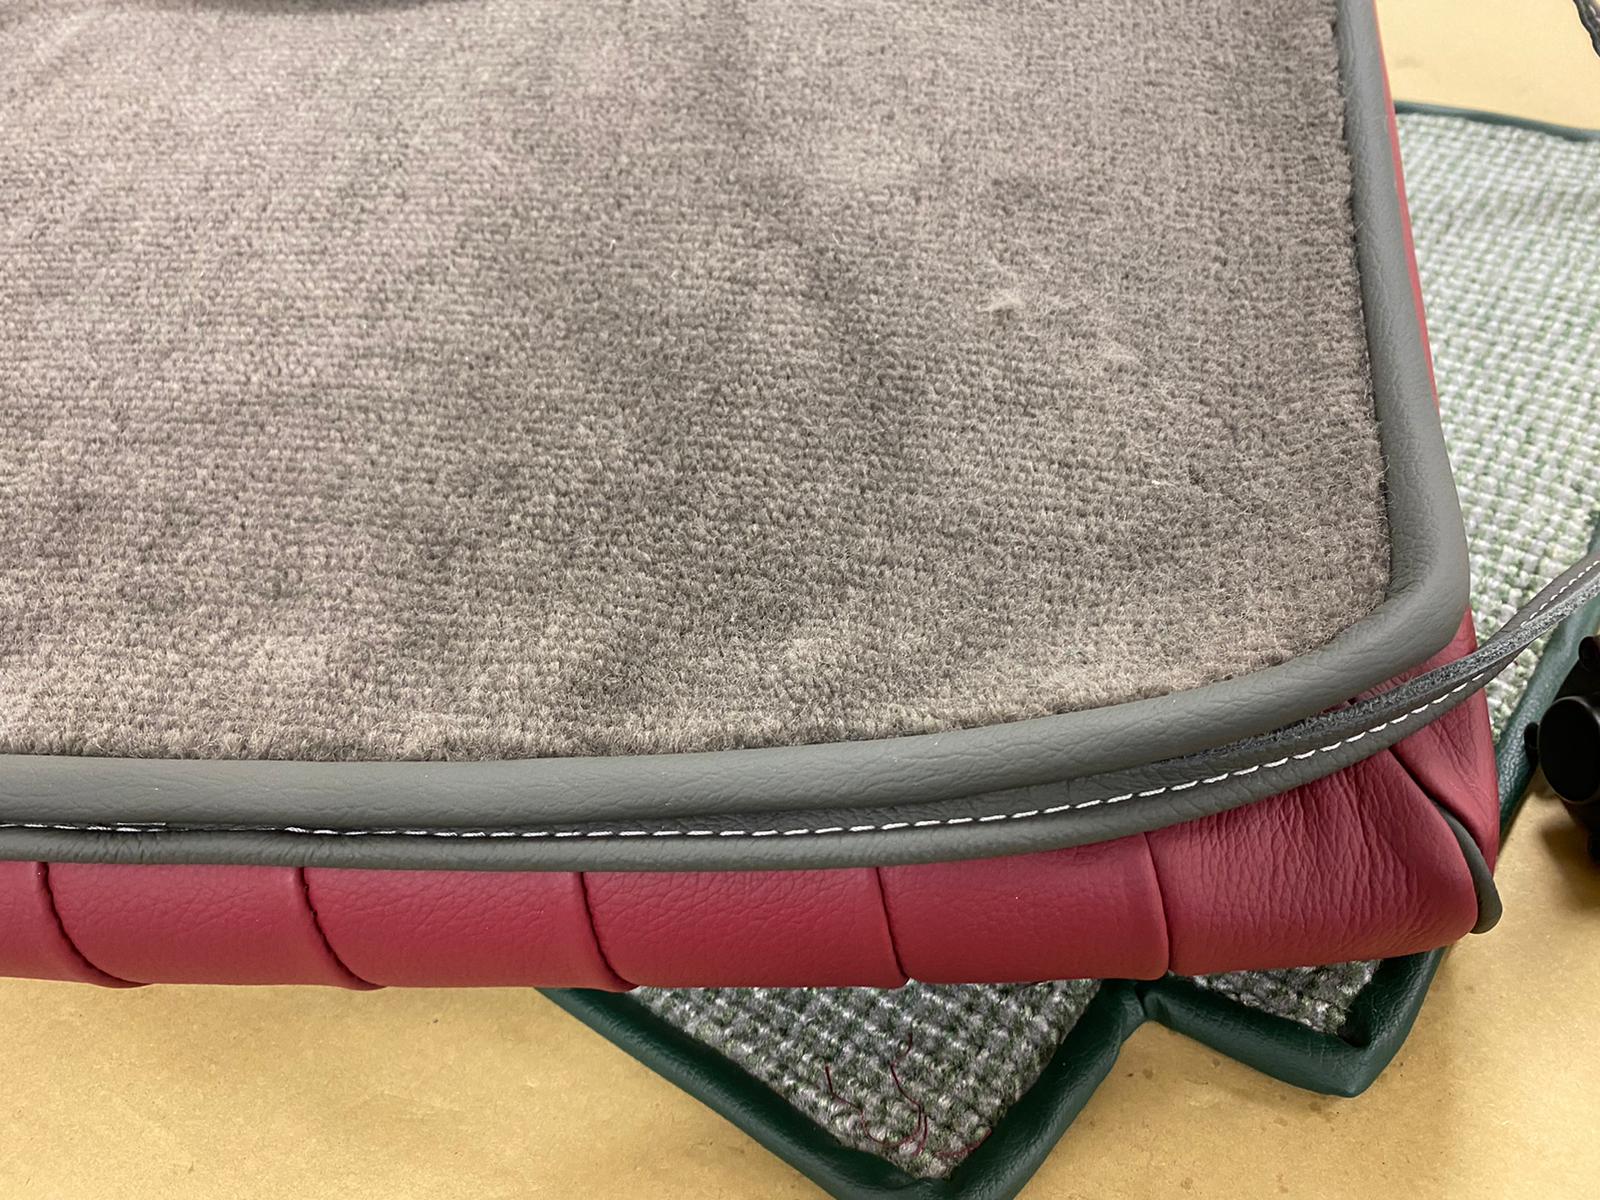
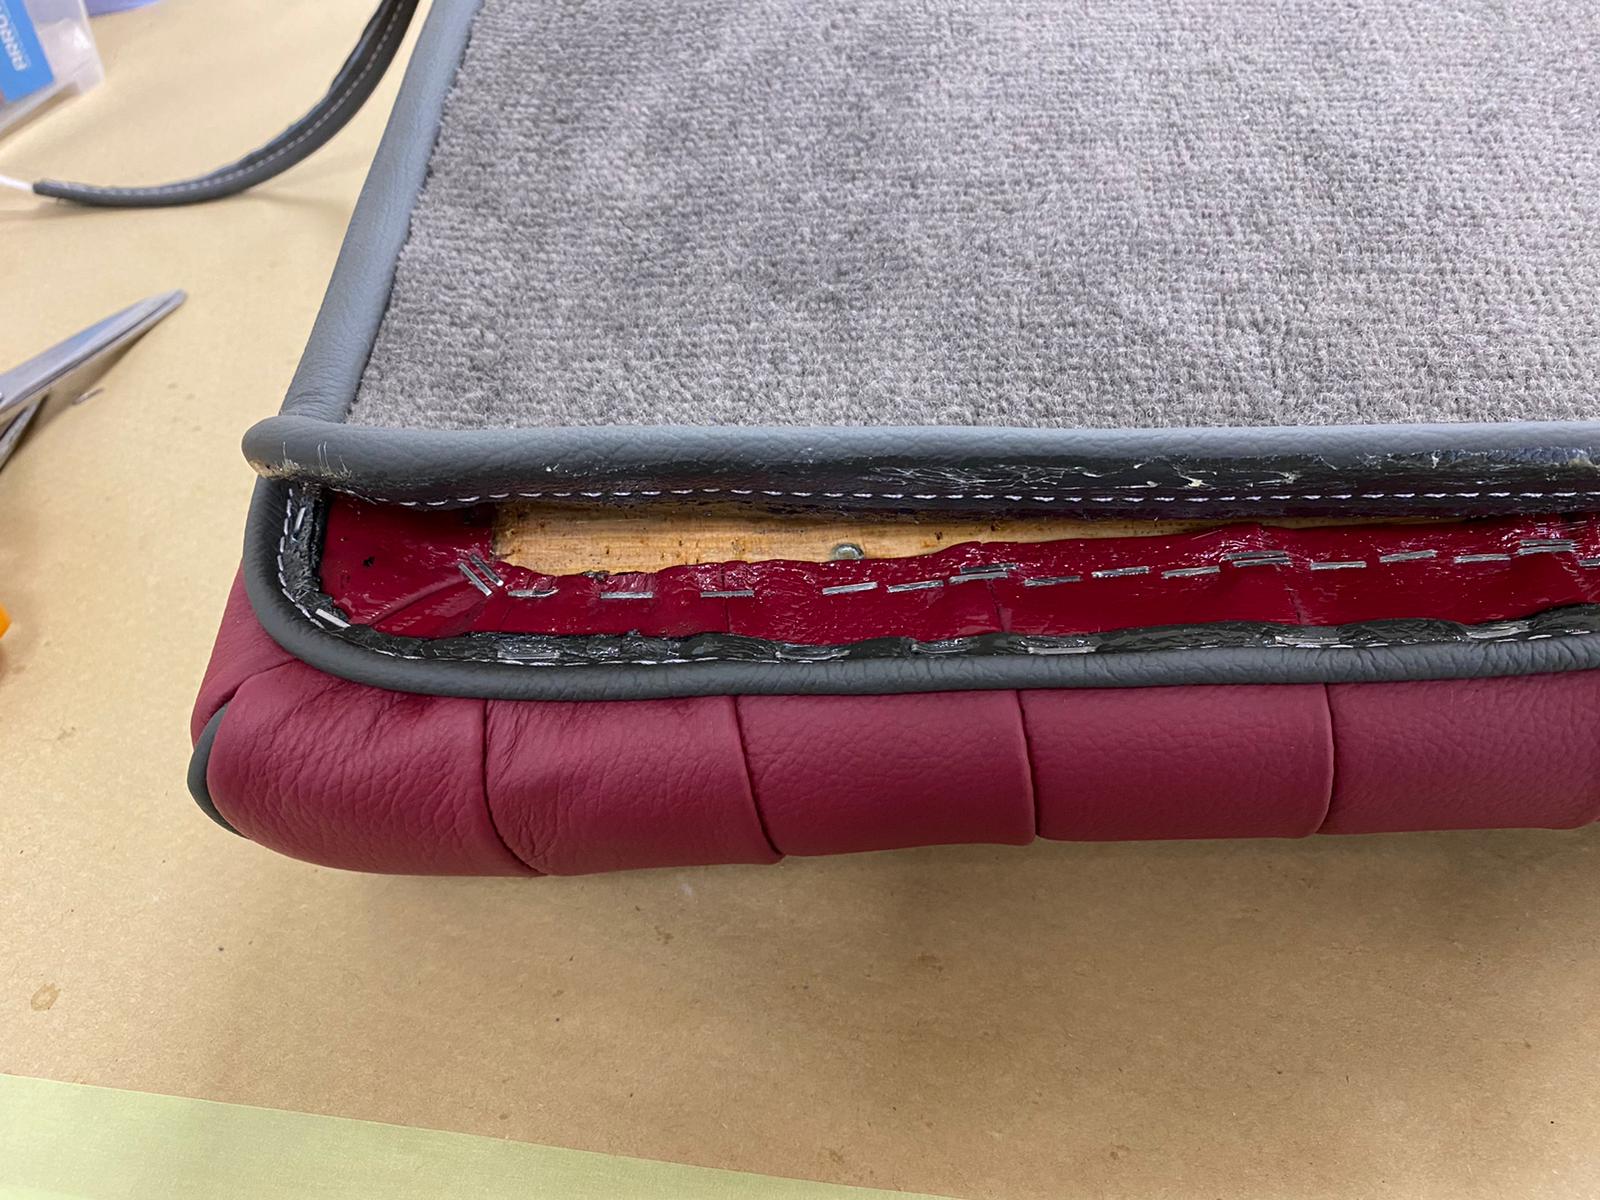
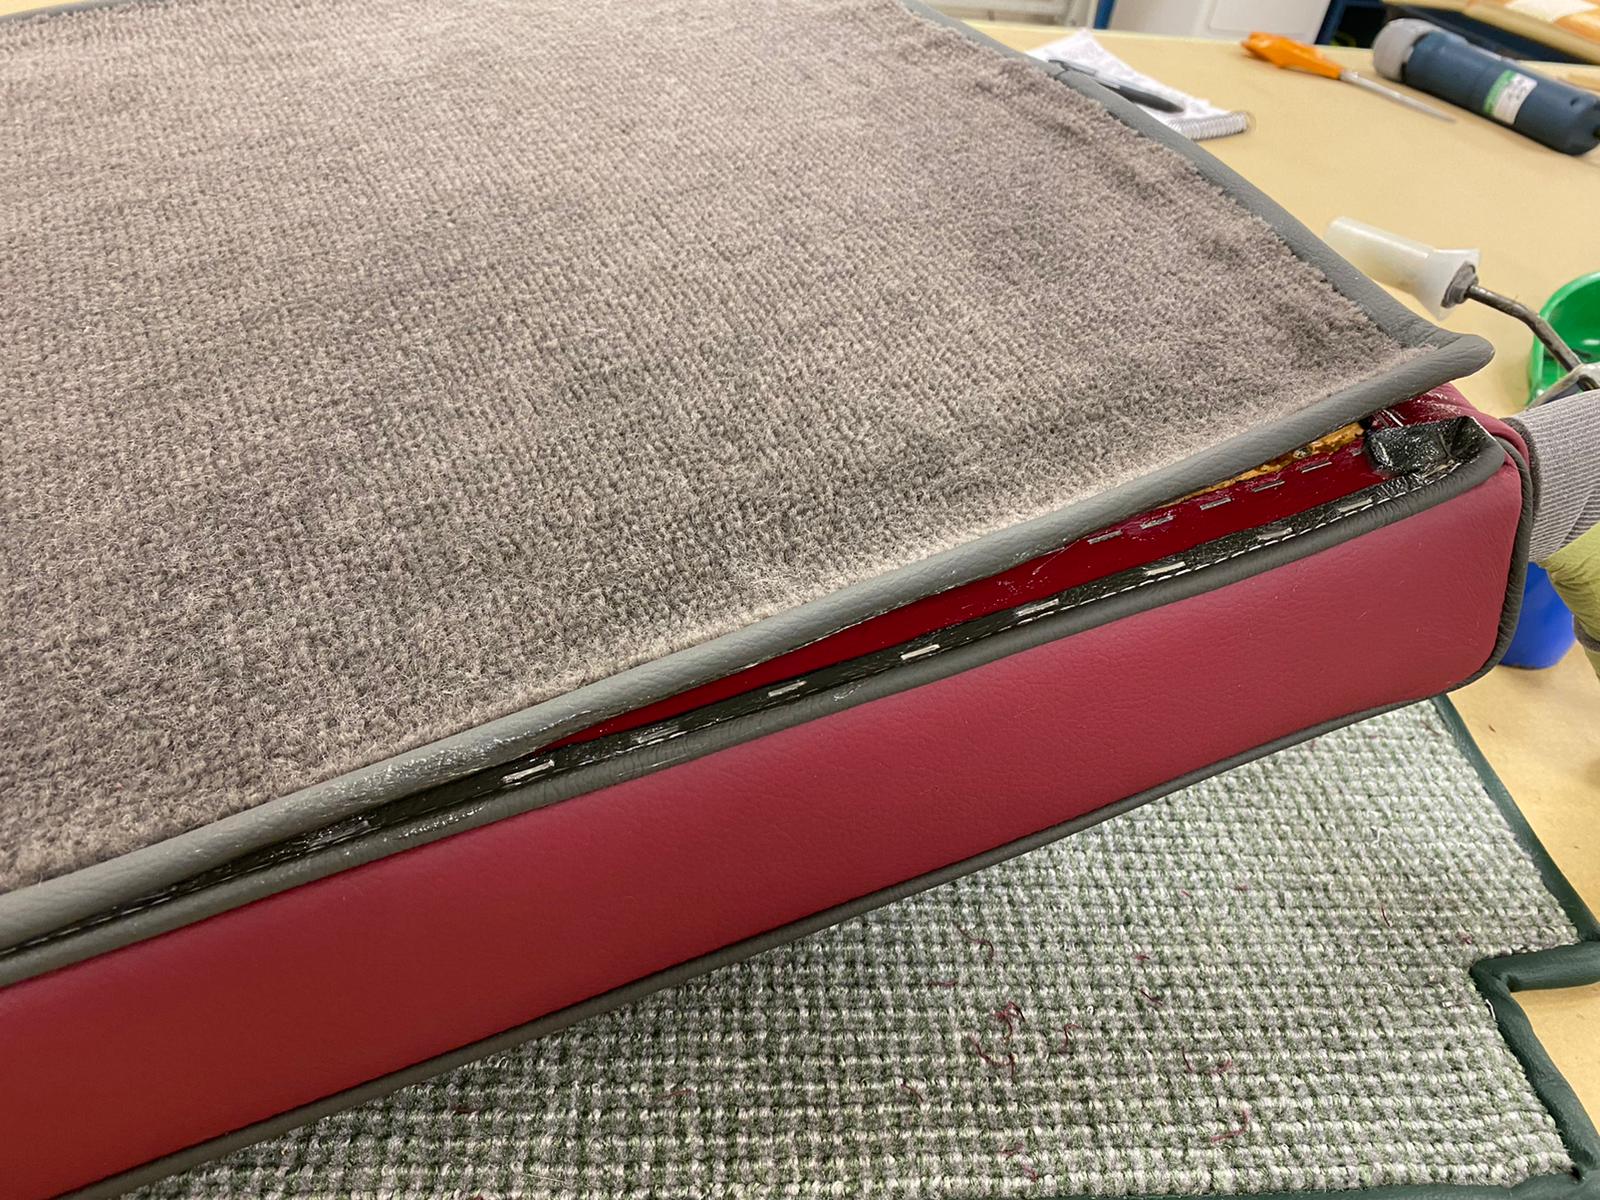
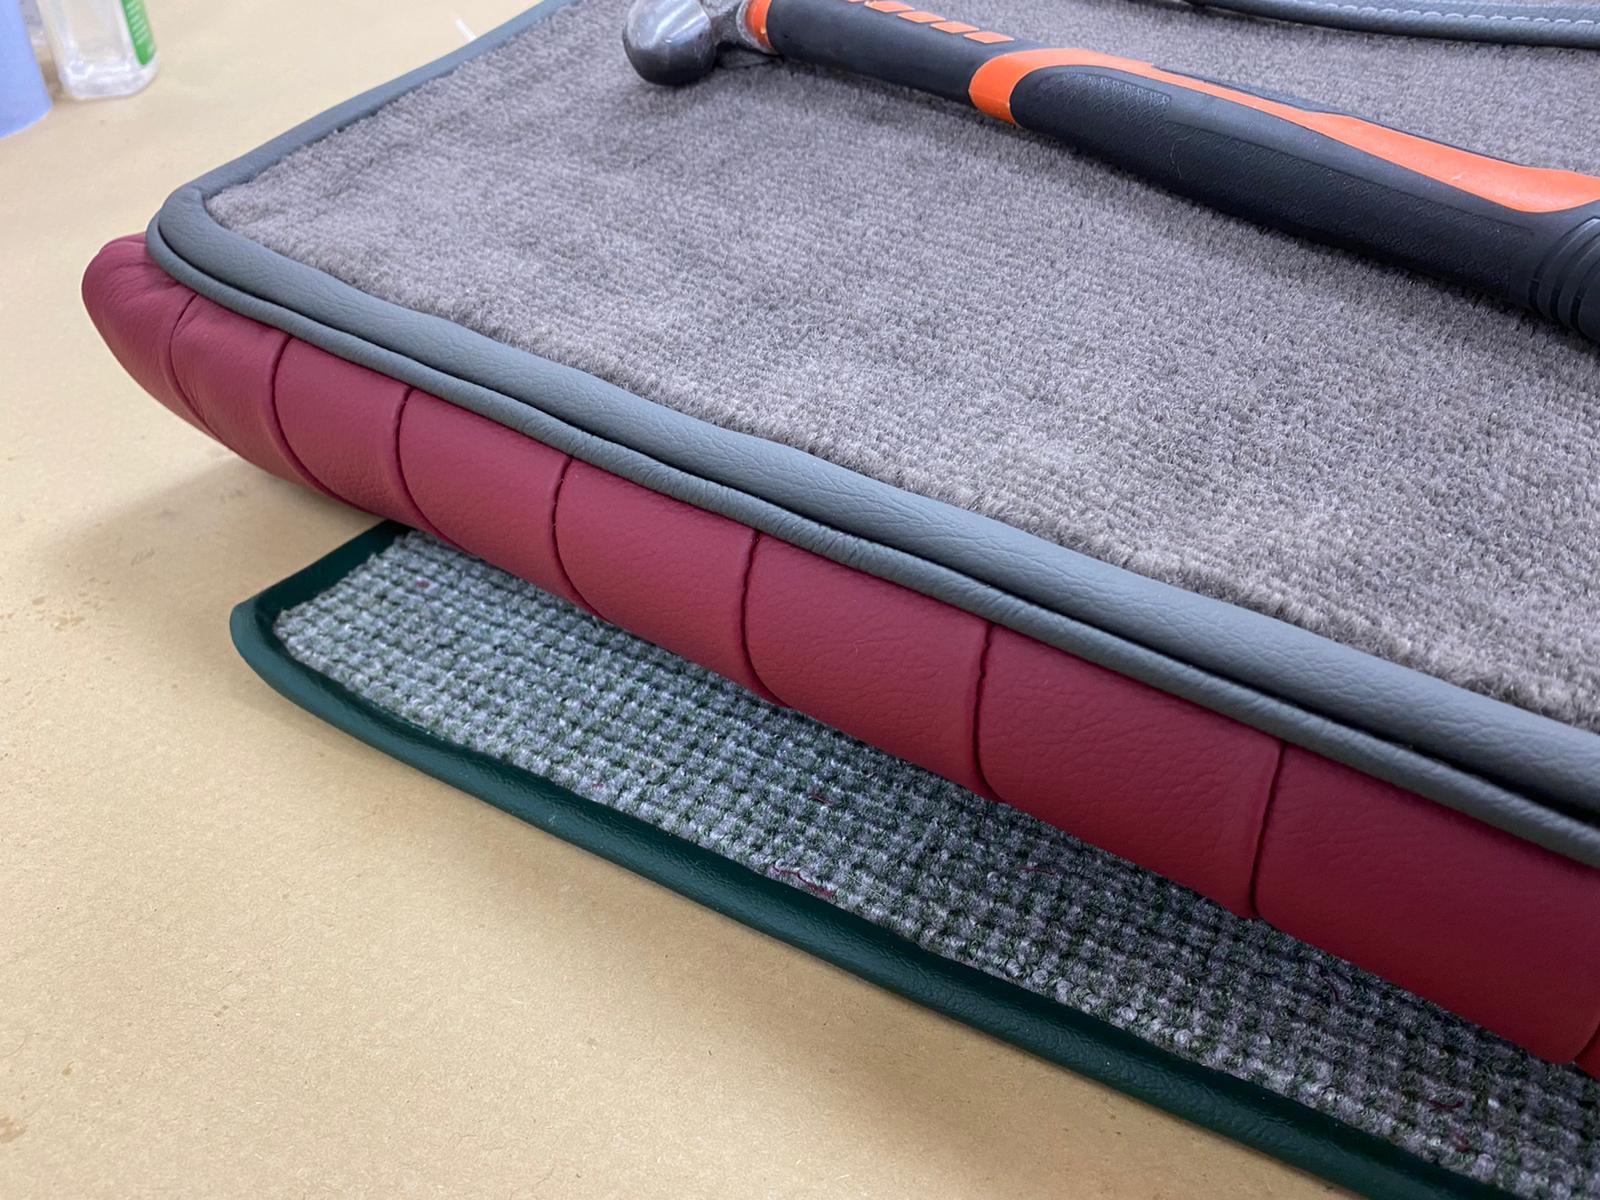
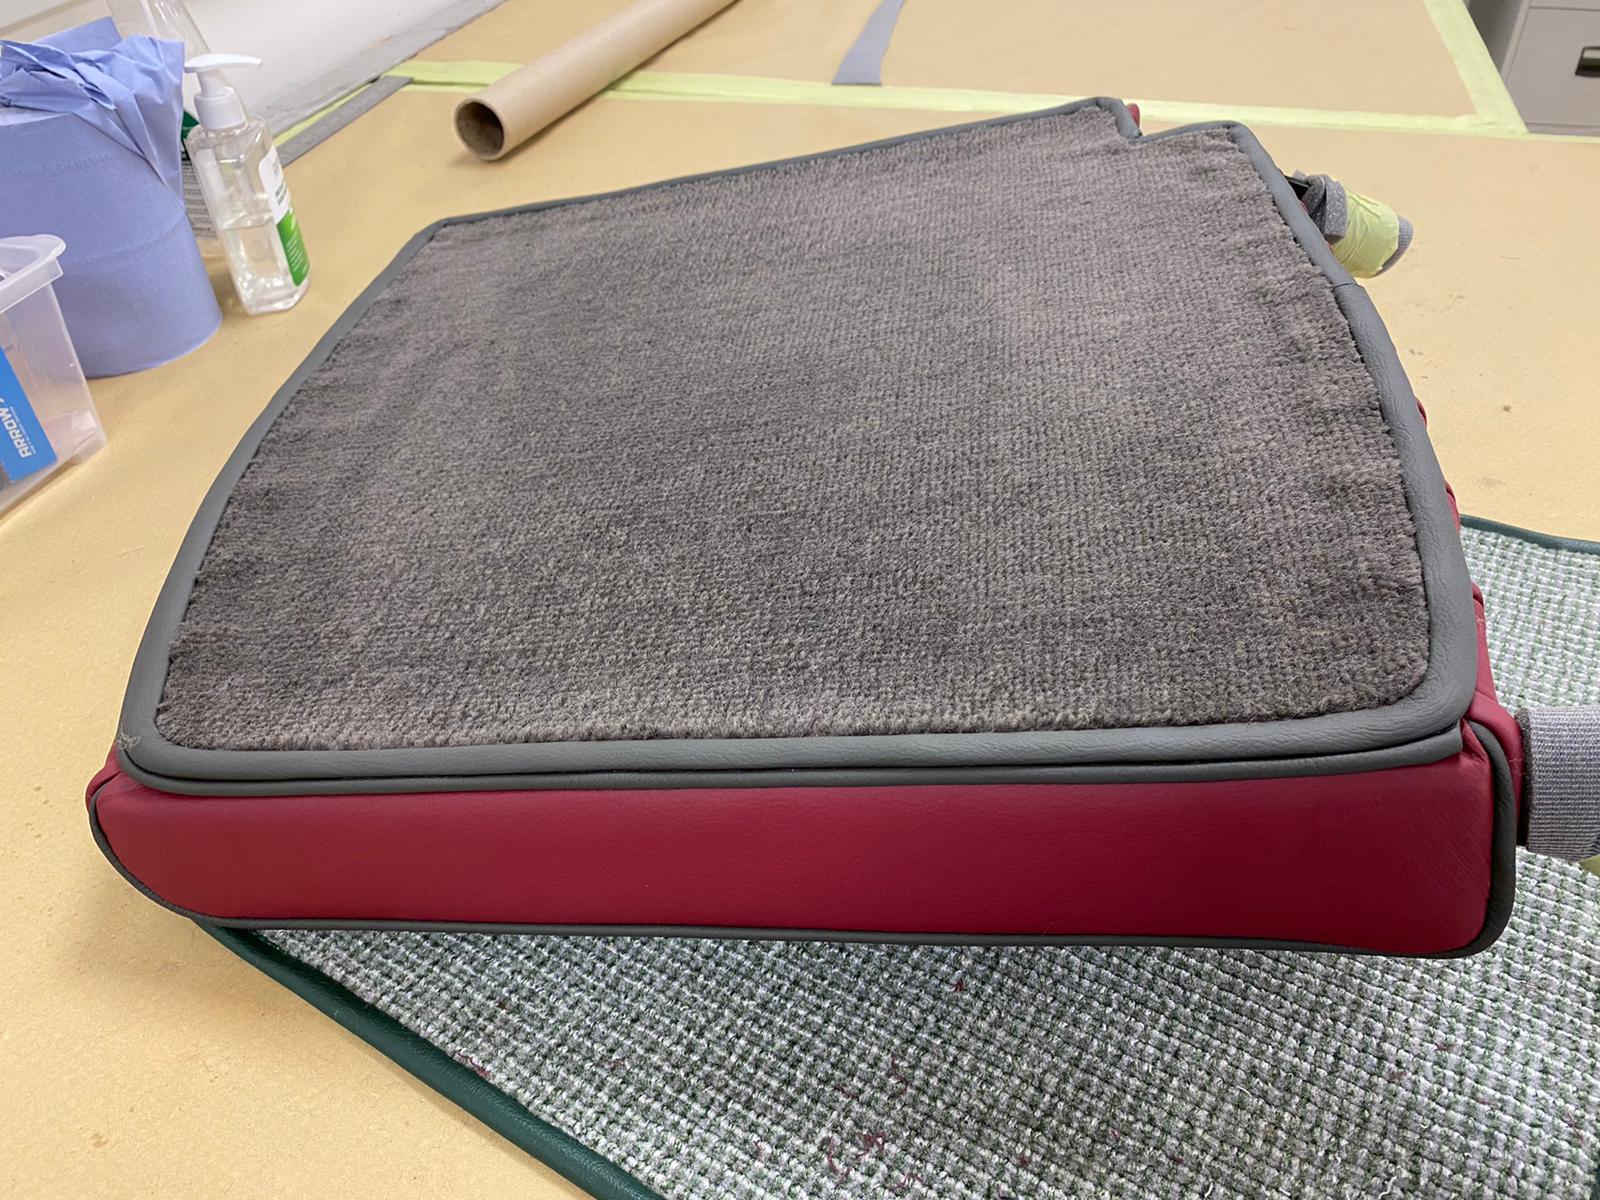
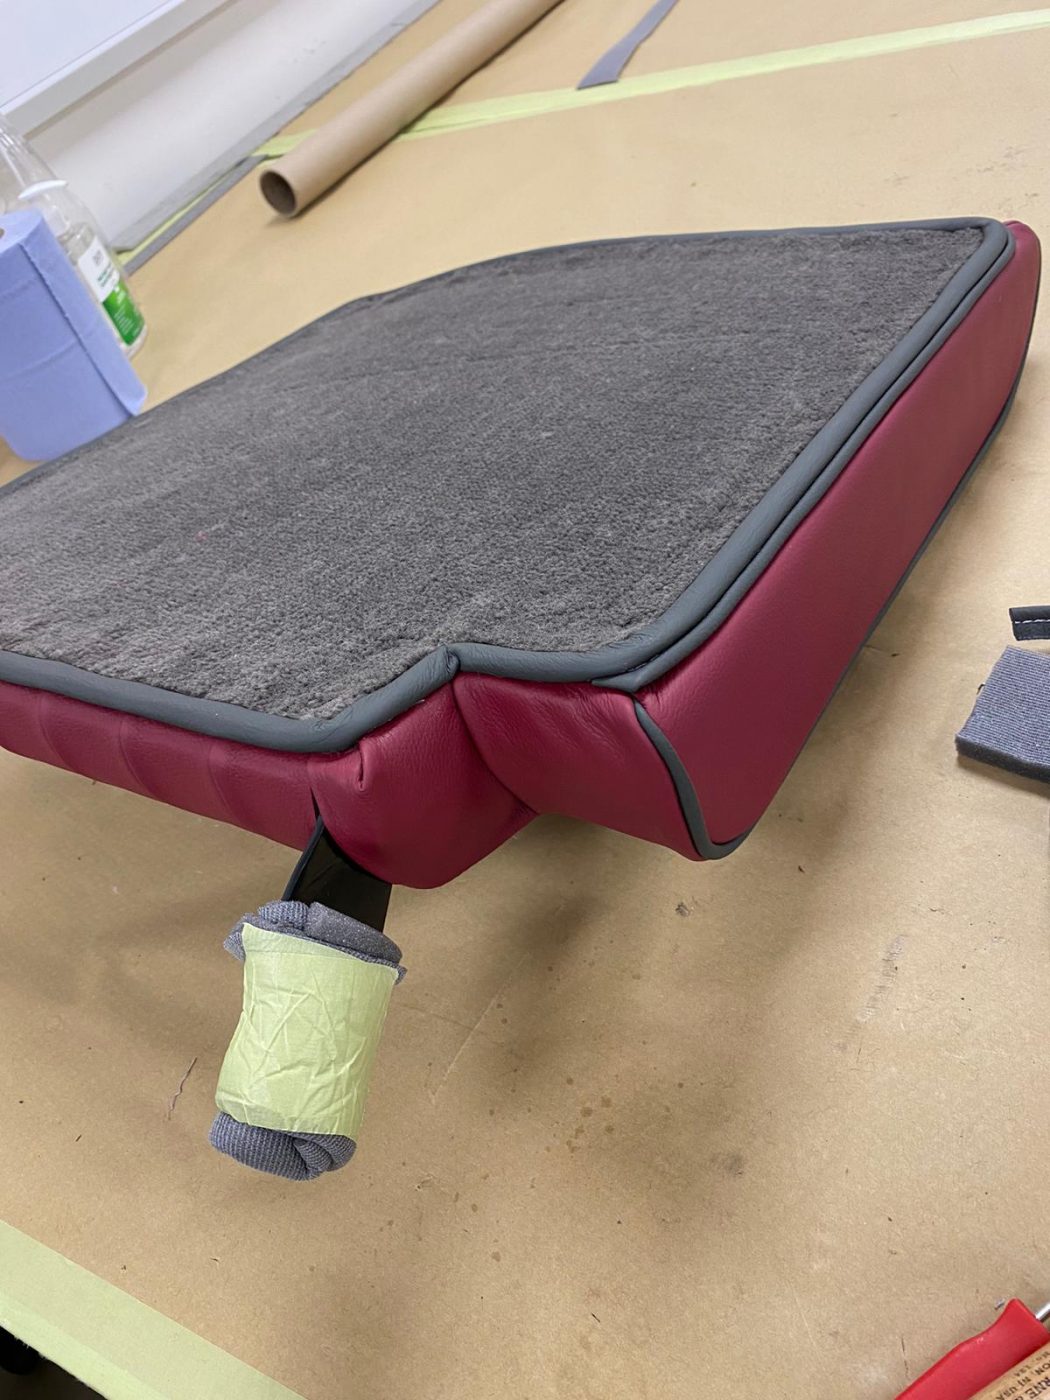
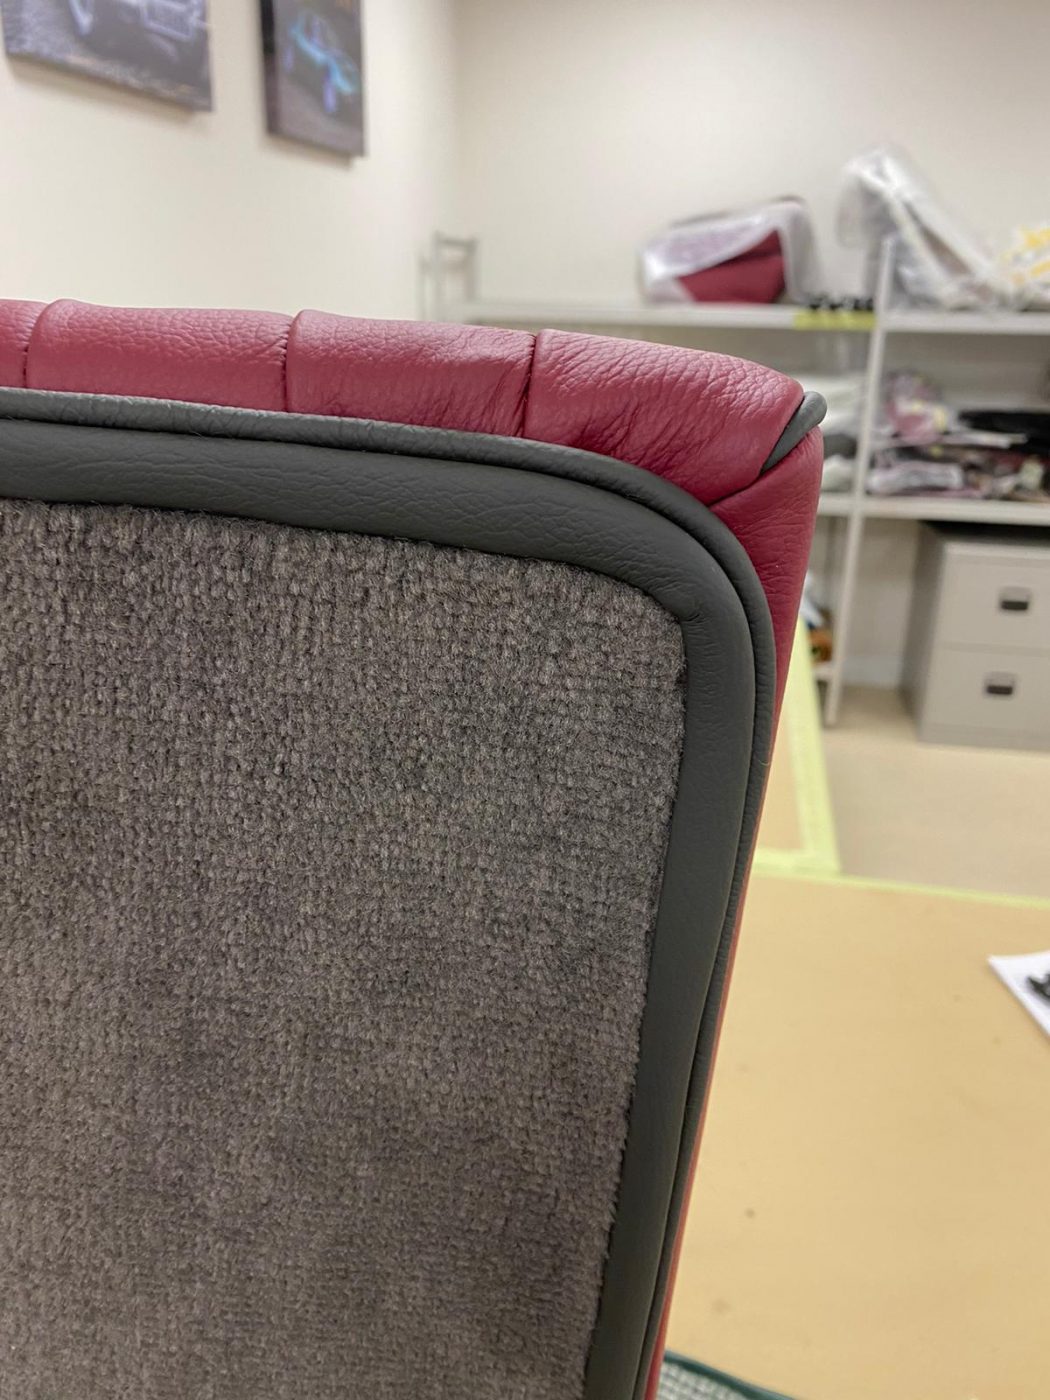
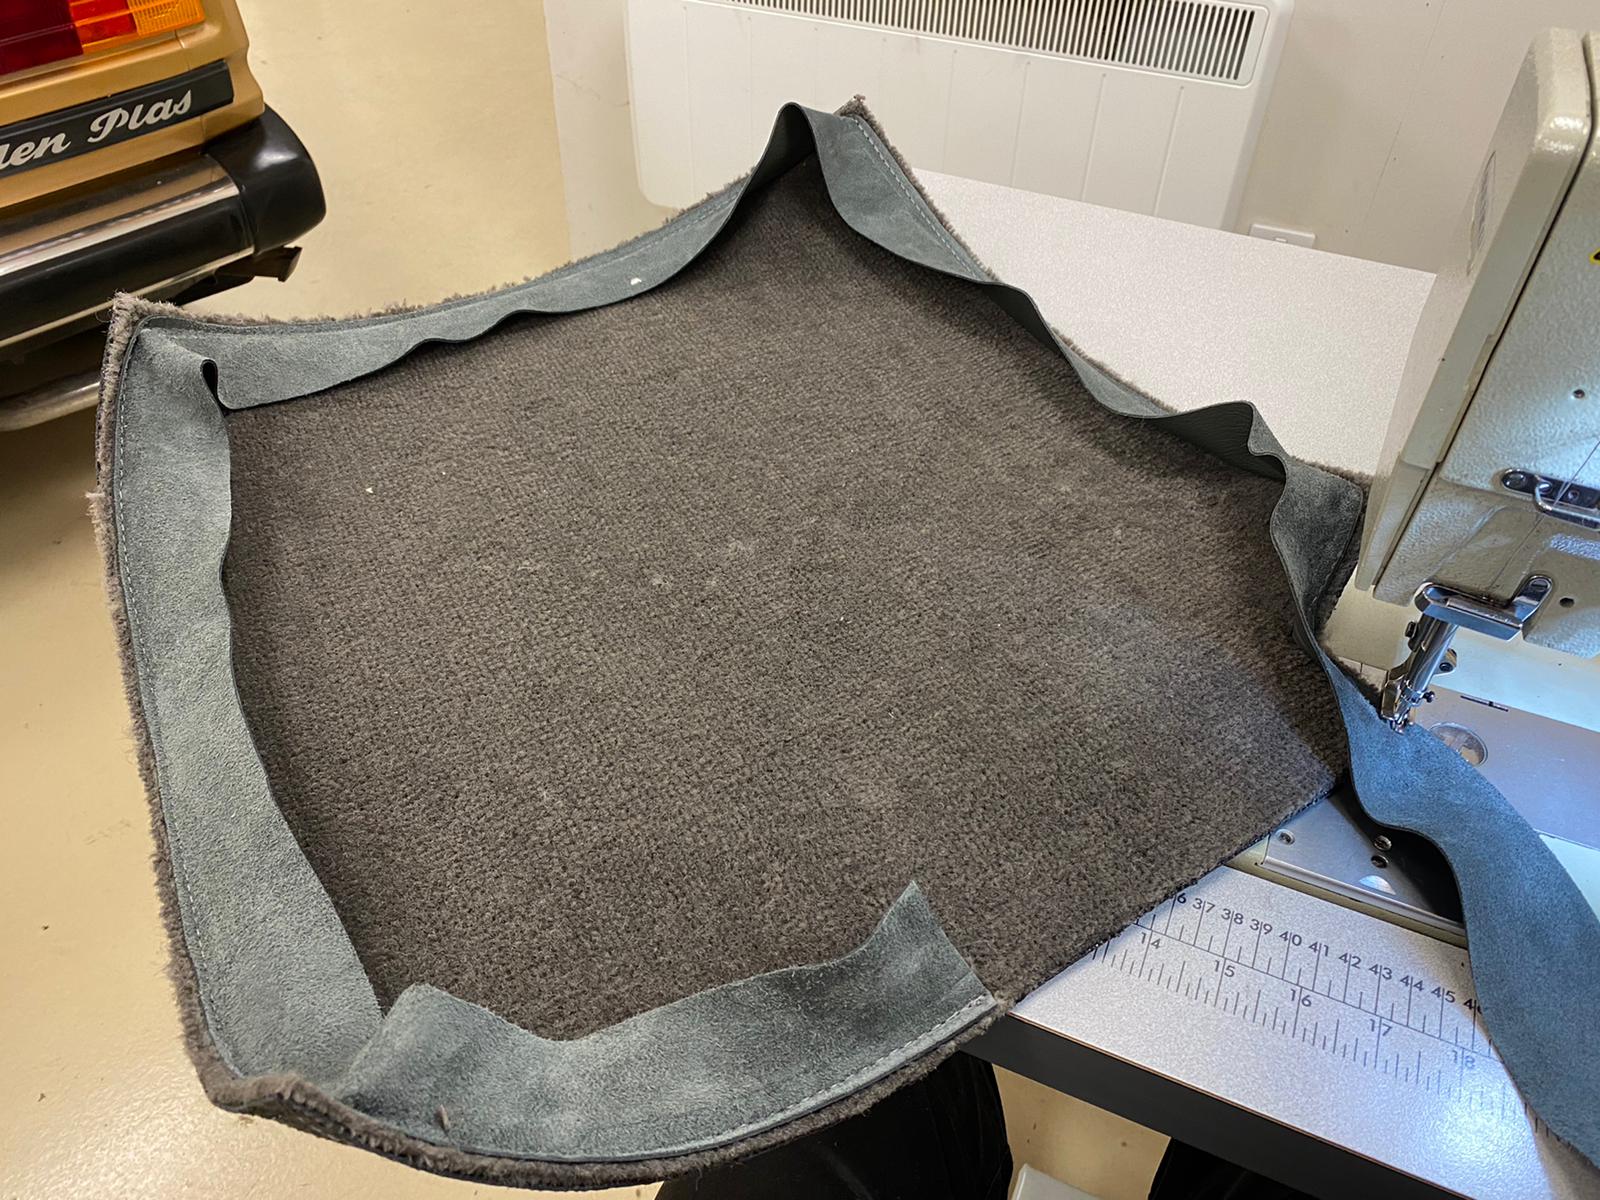
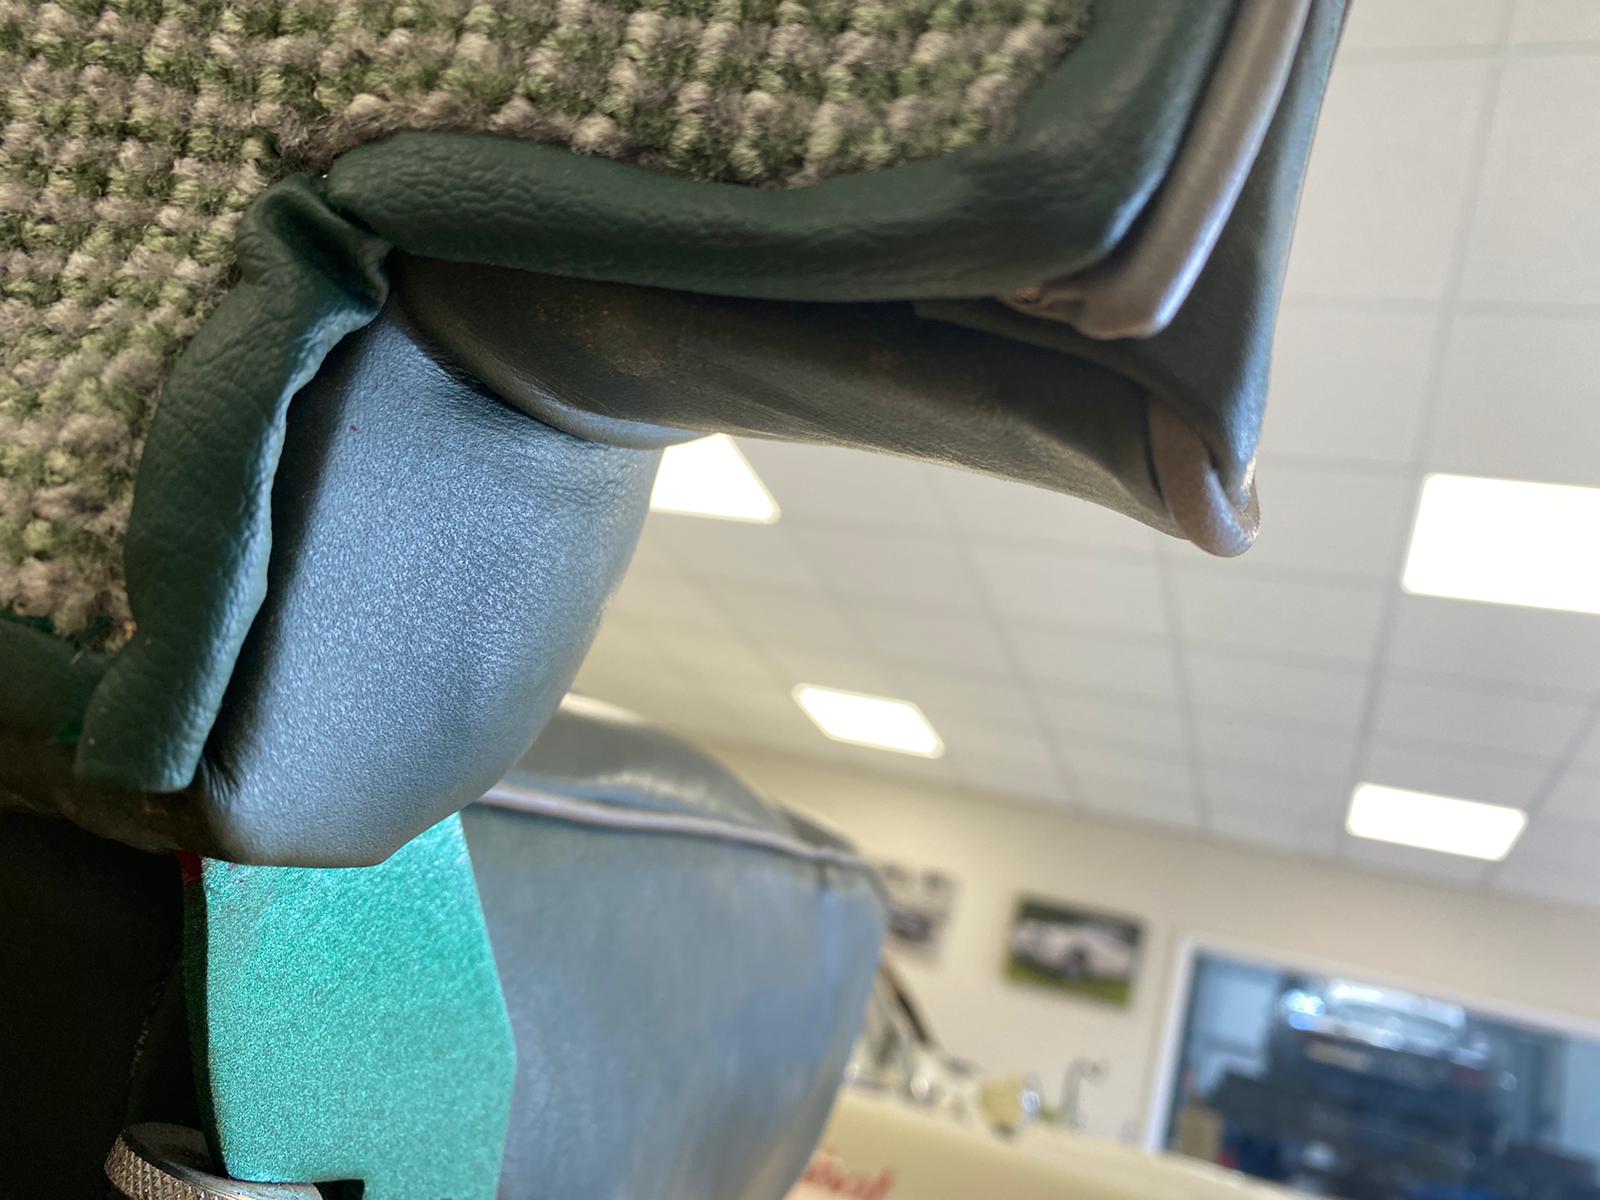
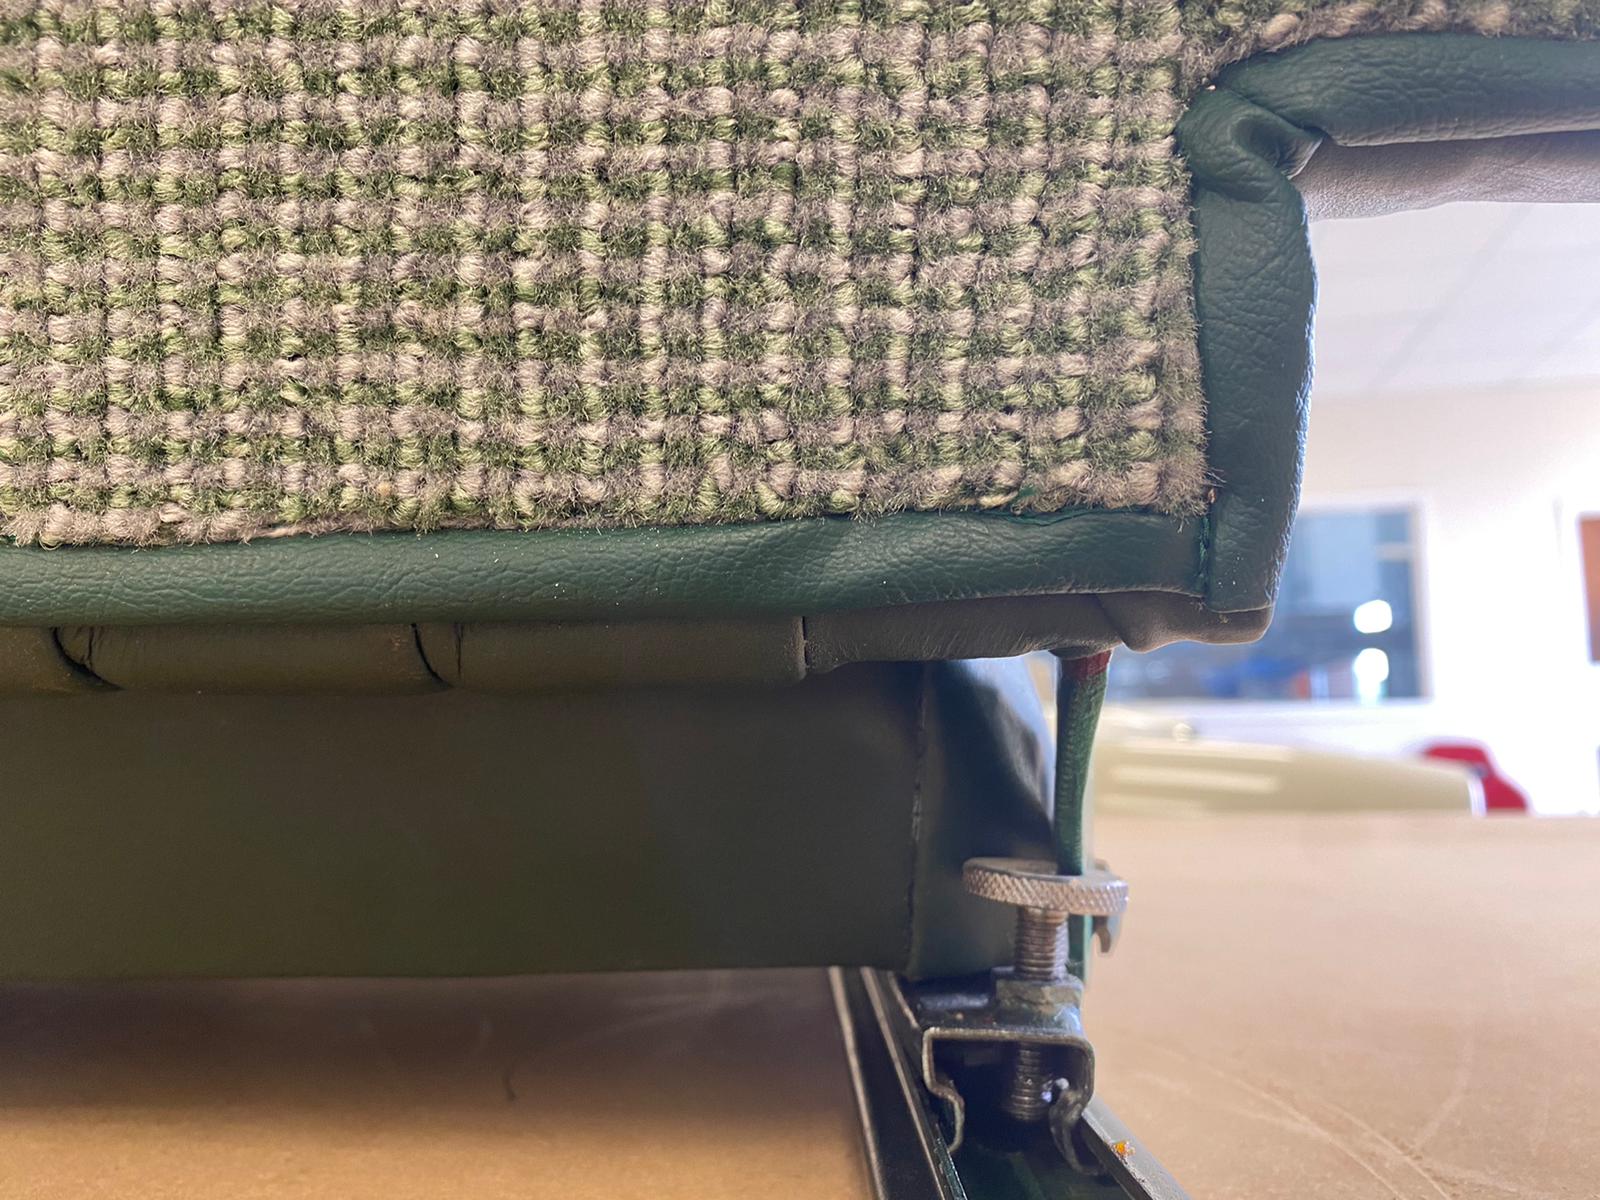
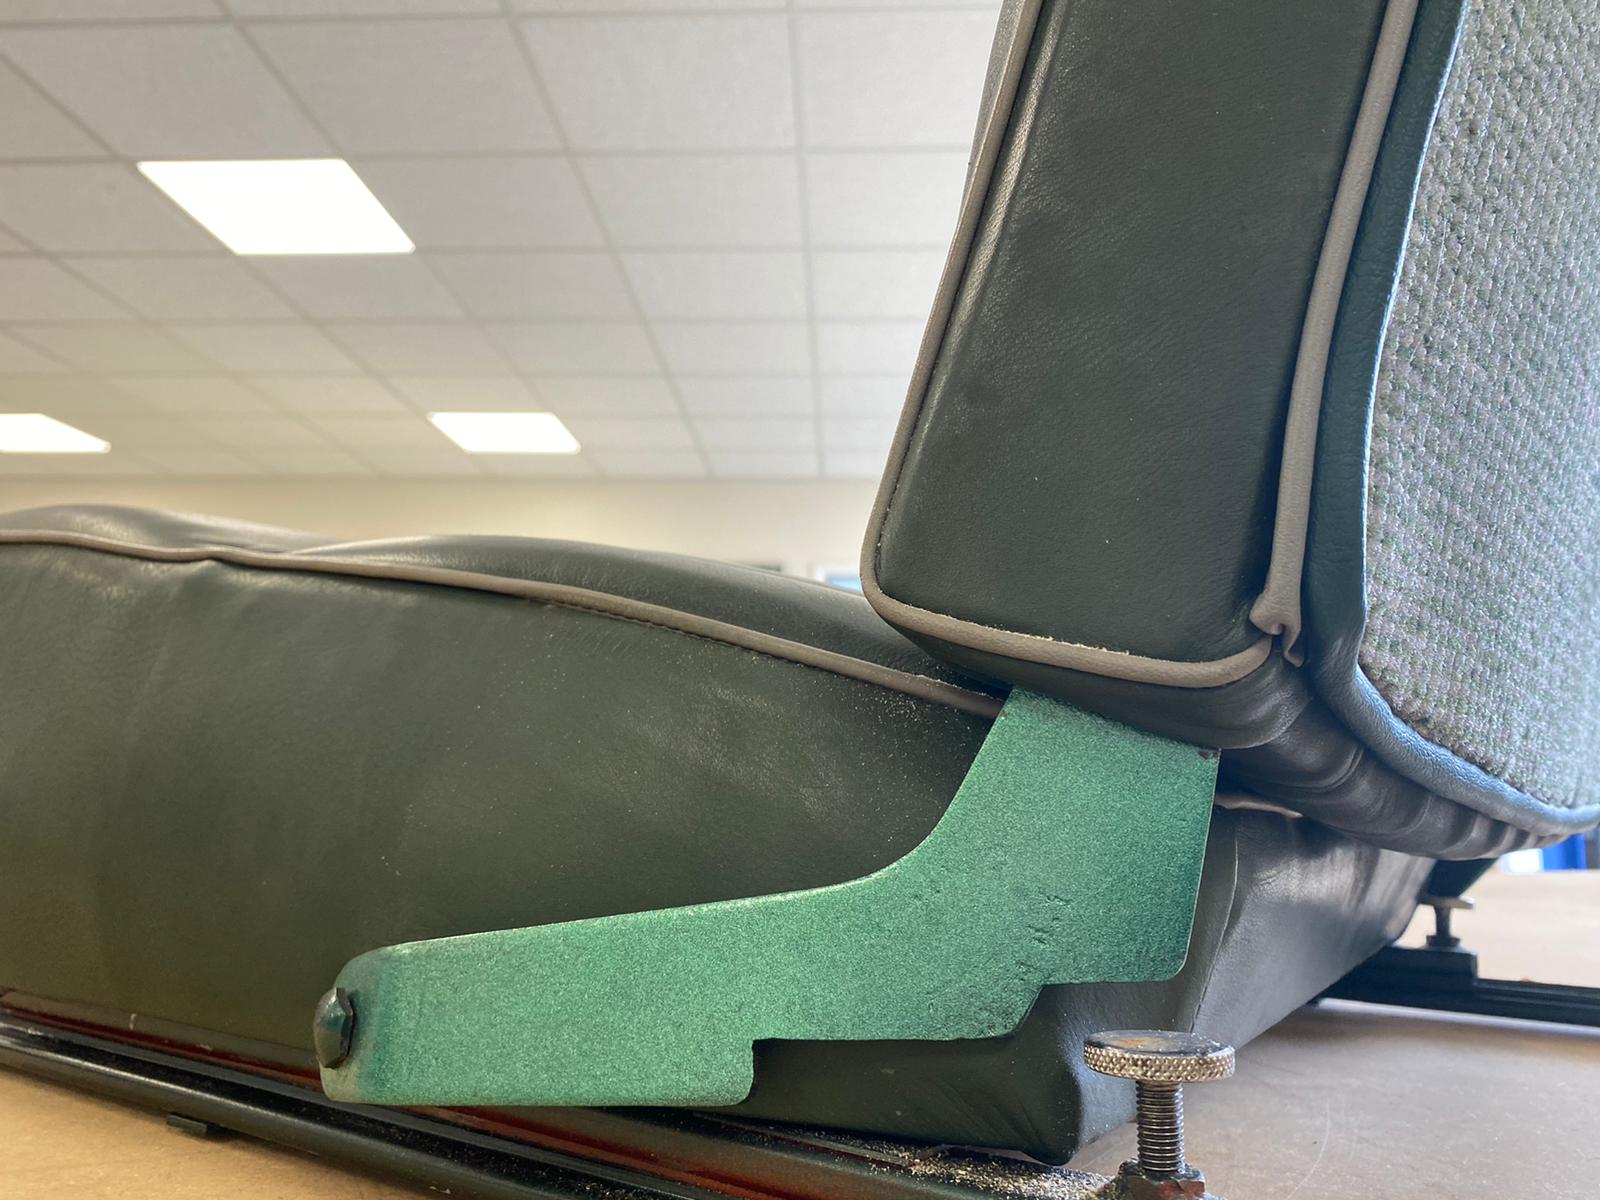
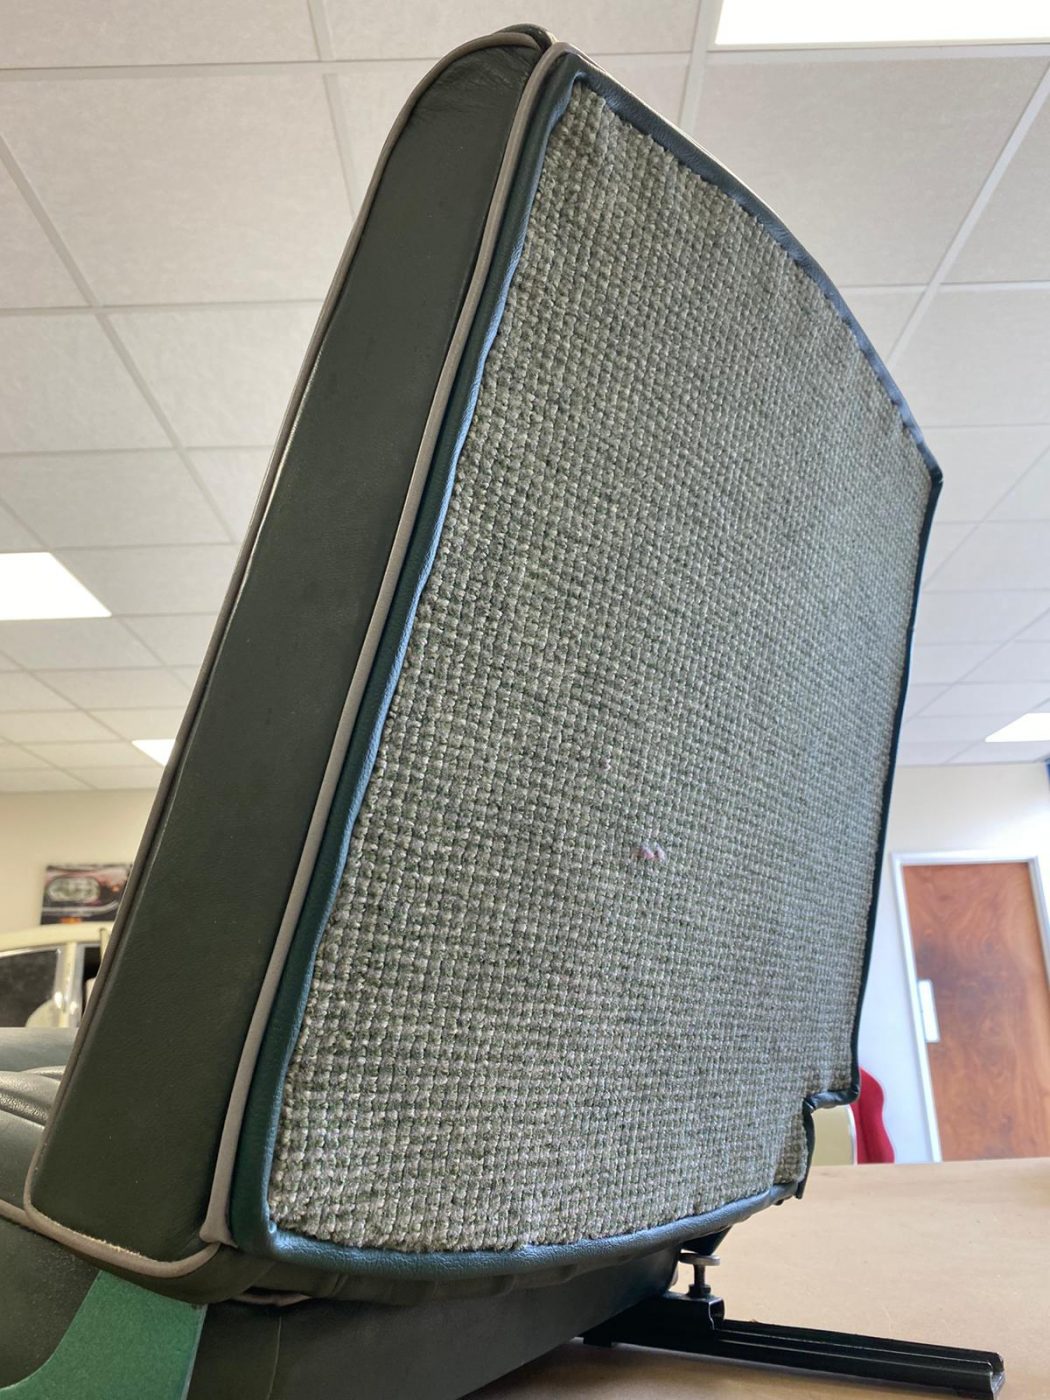
It’s the final piece to the Aston DB2/4 carpet remanufacturing. Kath has done a sterling job re-producing the carpets to the factory specification of grey with grey piping.
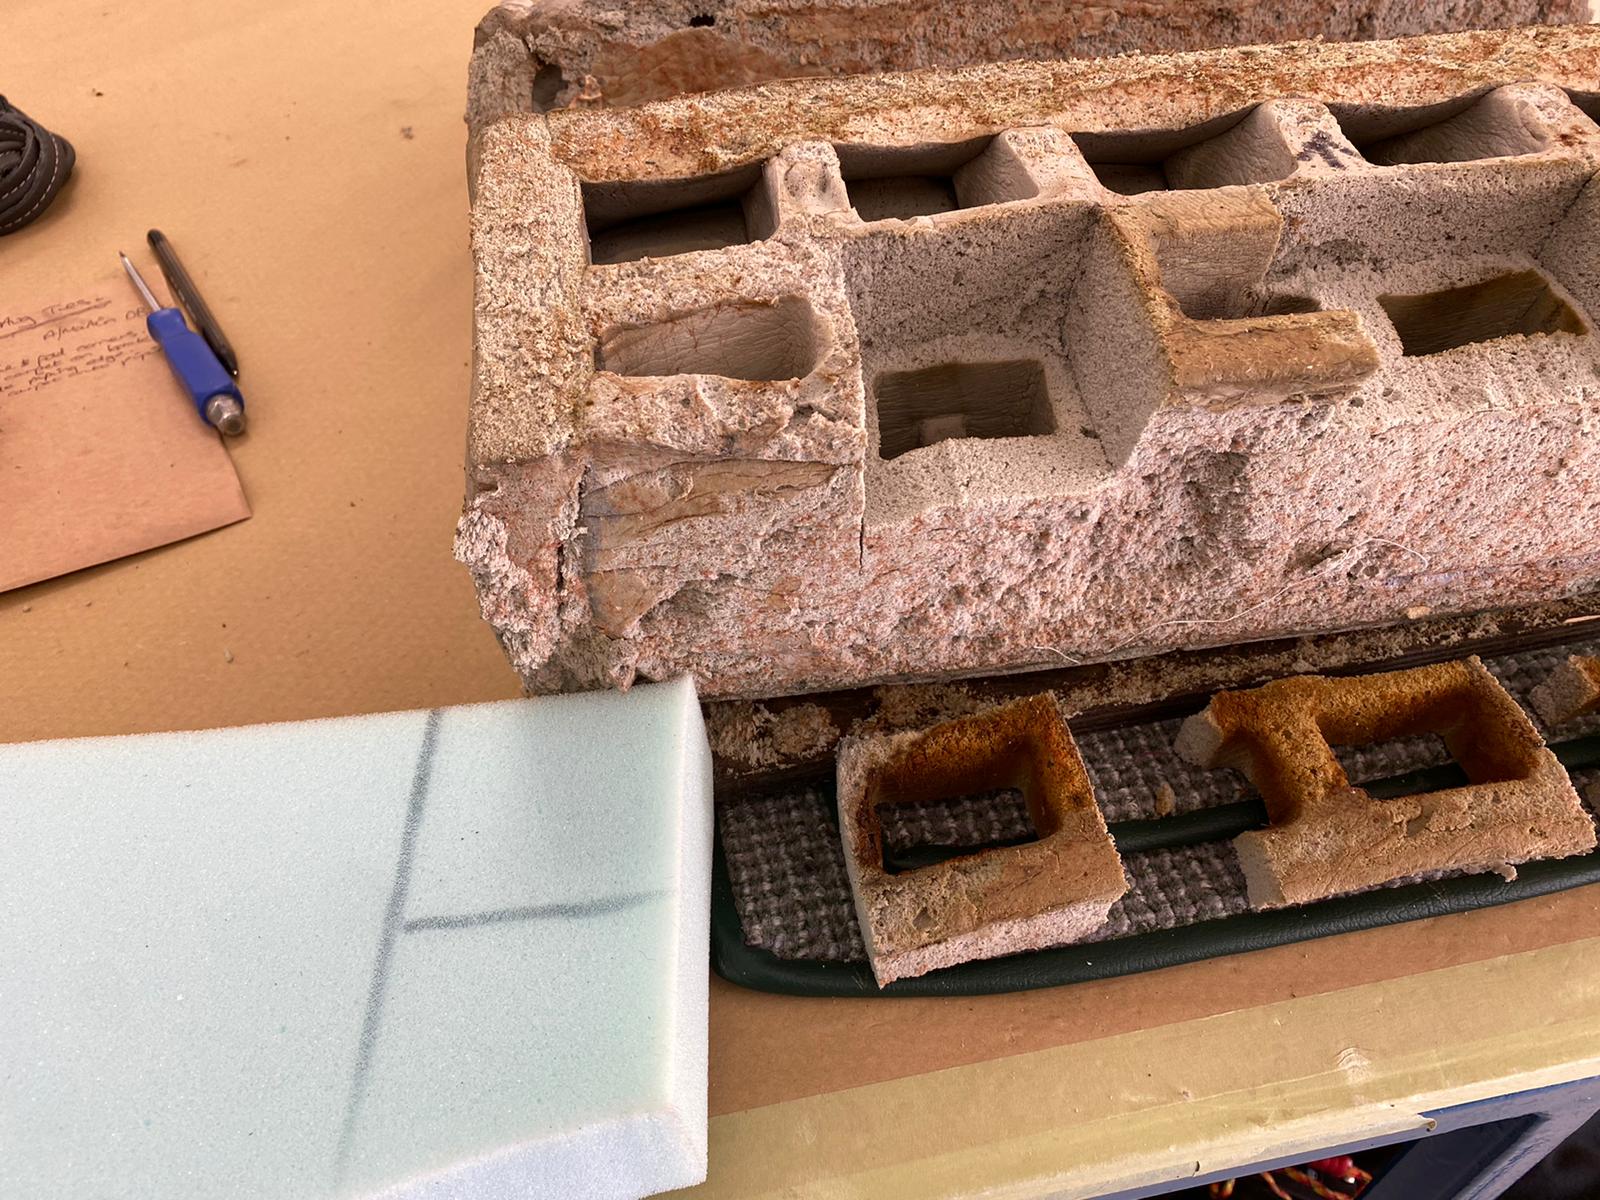
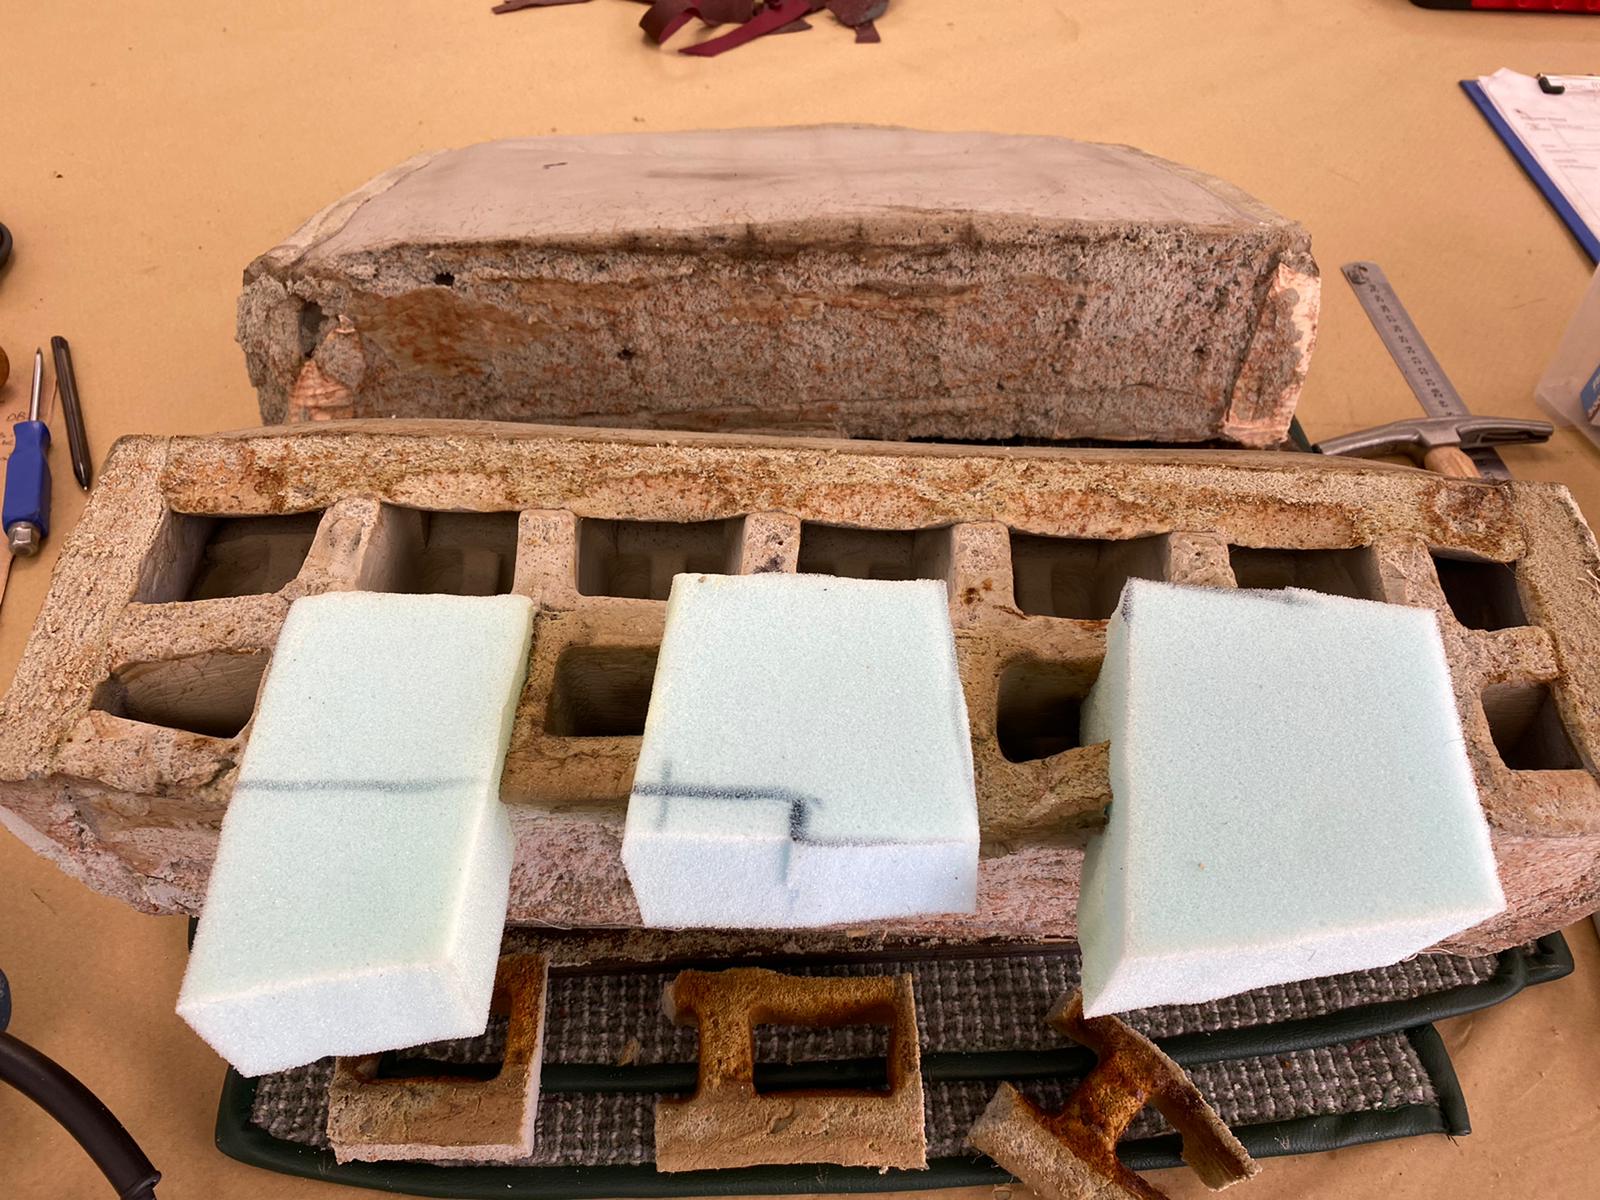
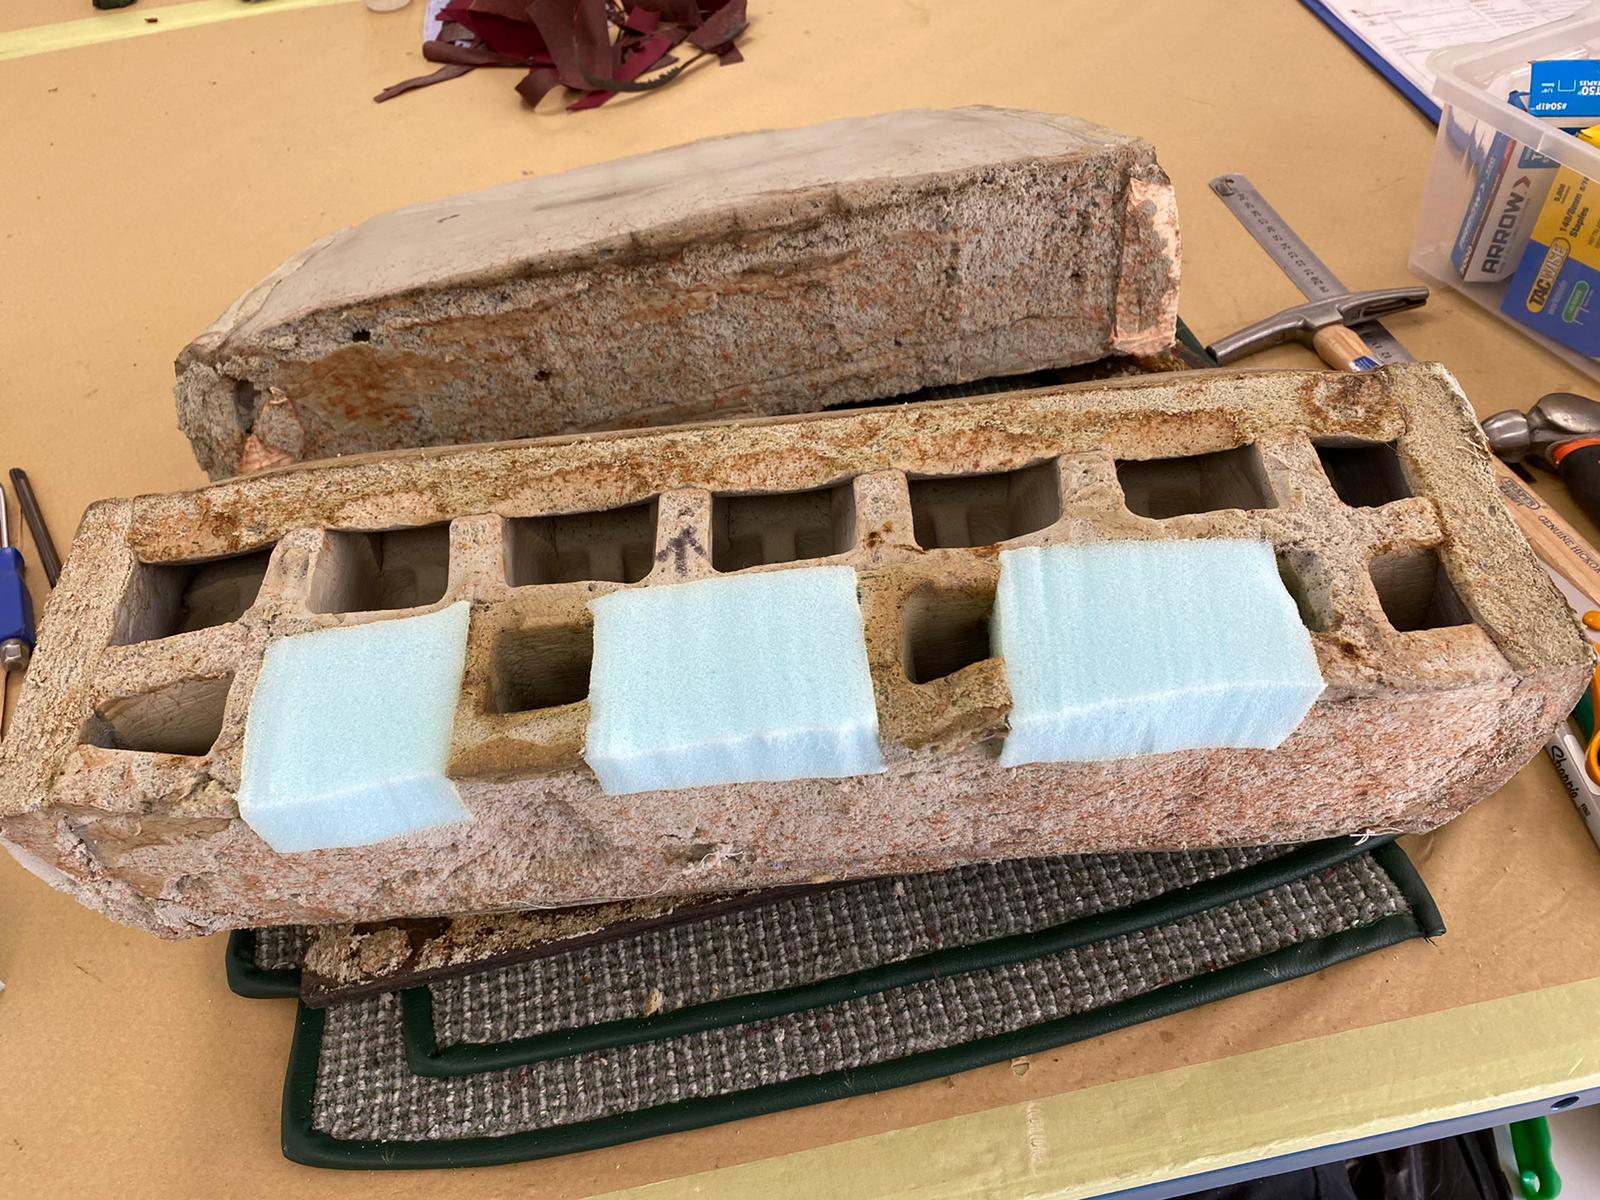
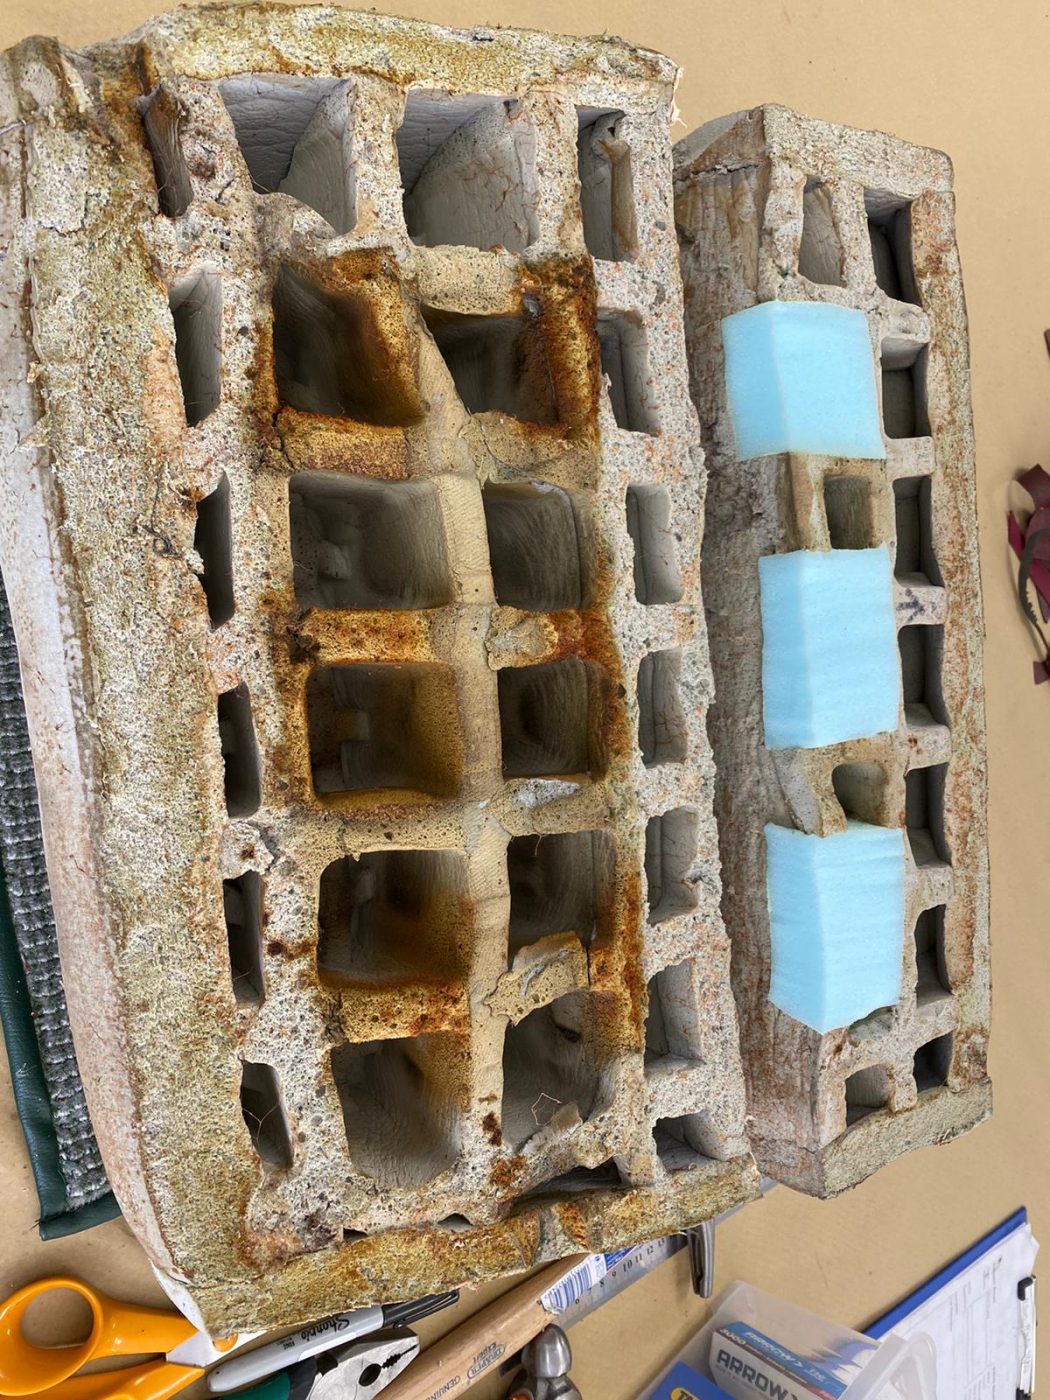
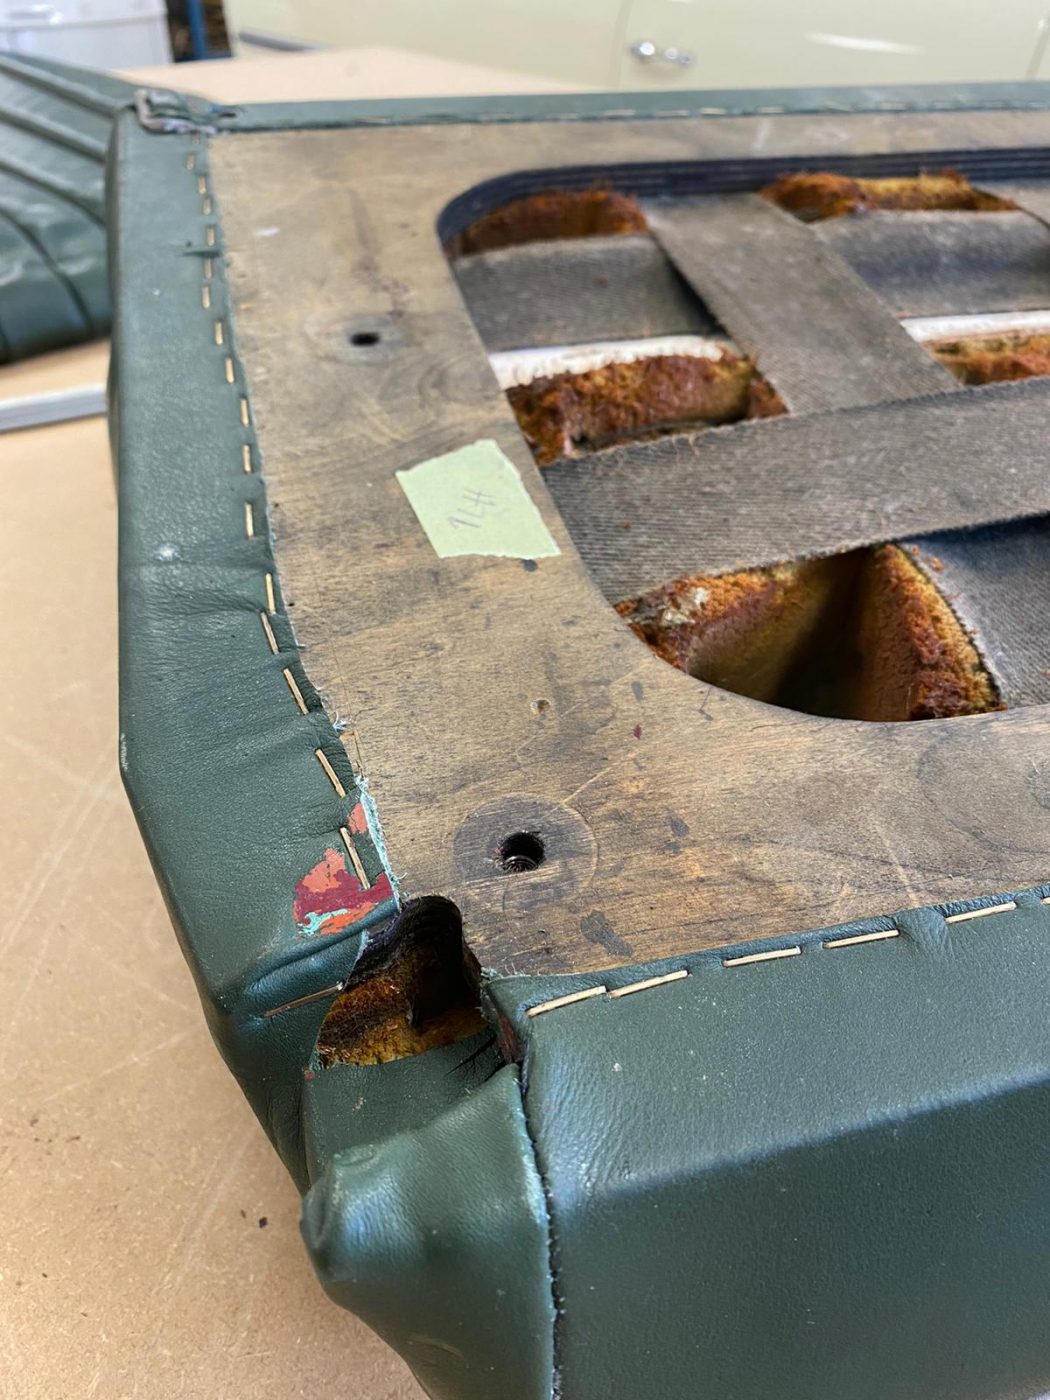
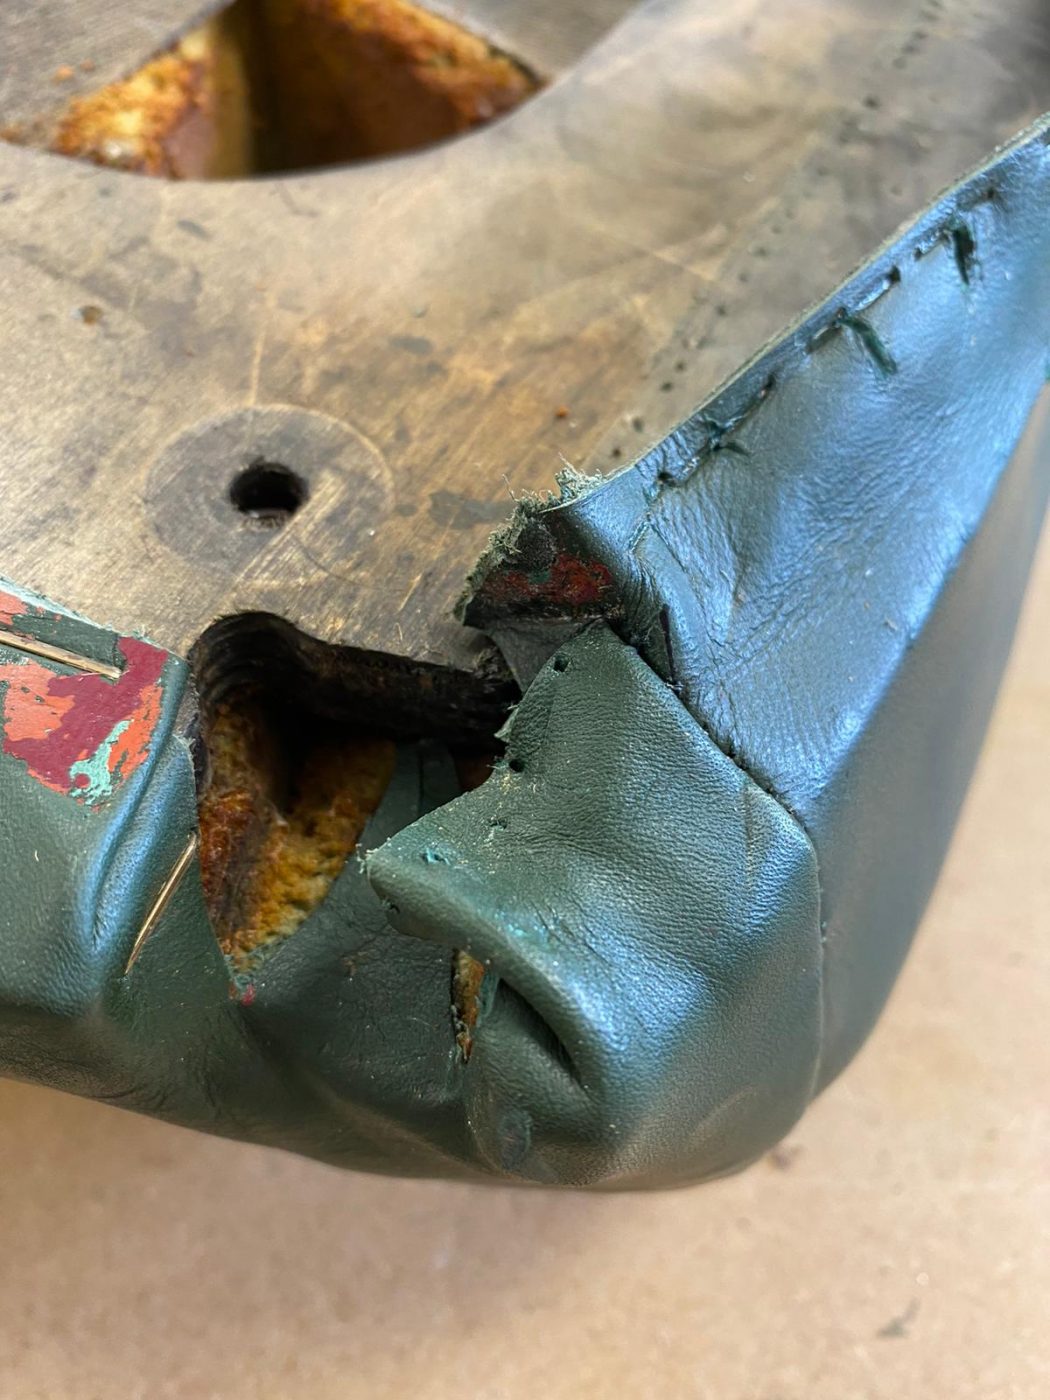
The very last task on the interior is to complete the rear seat assembly but for now we can move on. Once the body shell is nearing completion we can then line up the rear seat to ensure all measurements are accurate.


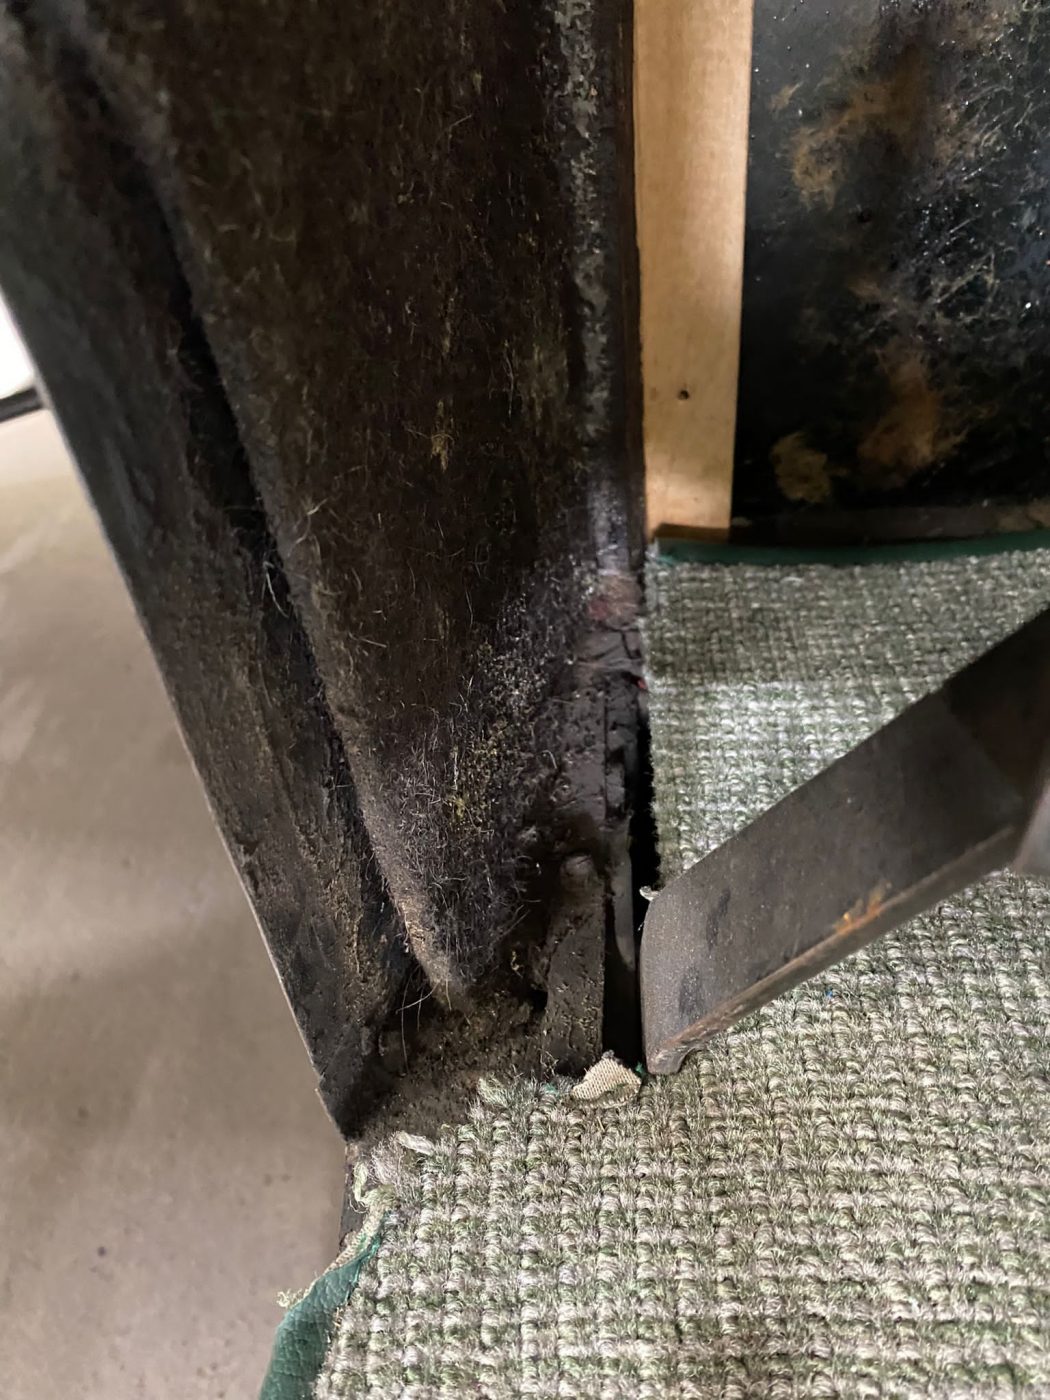


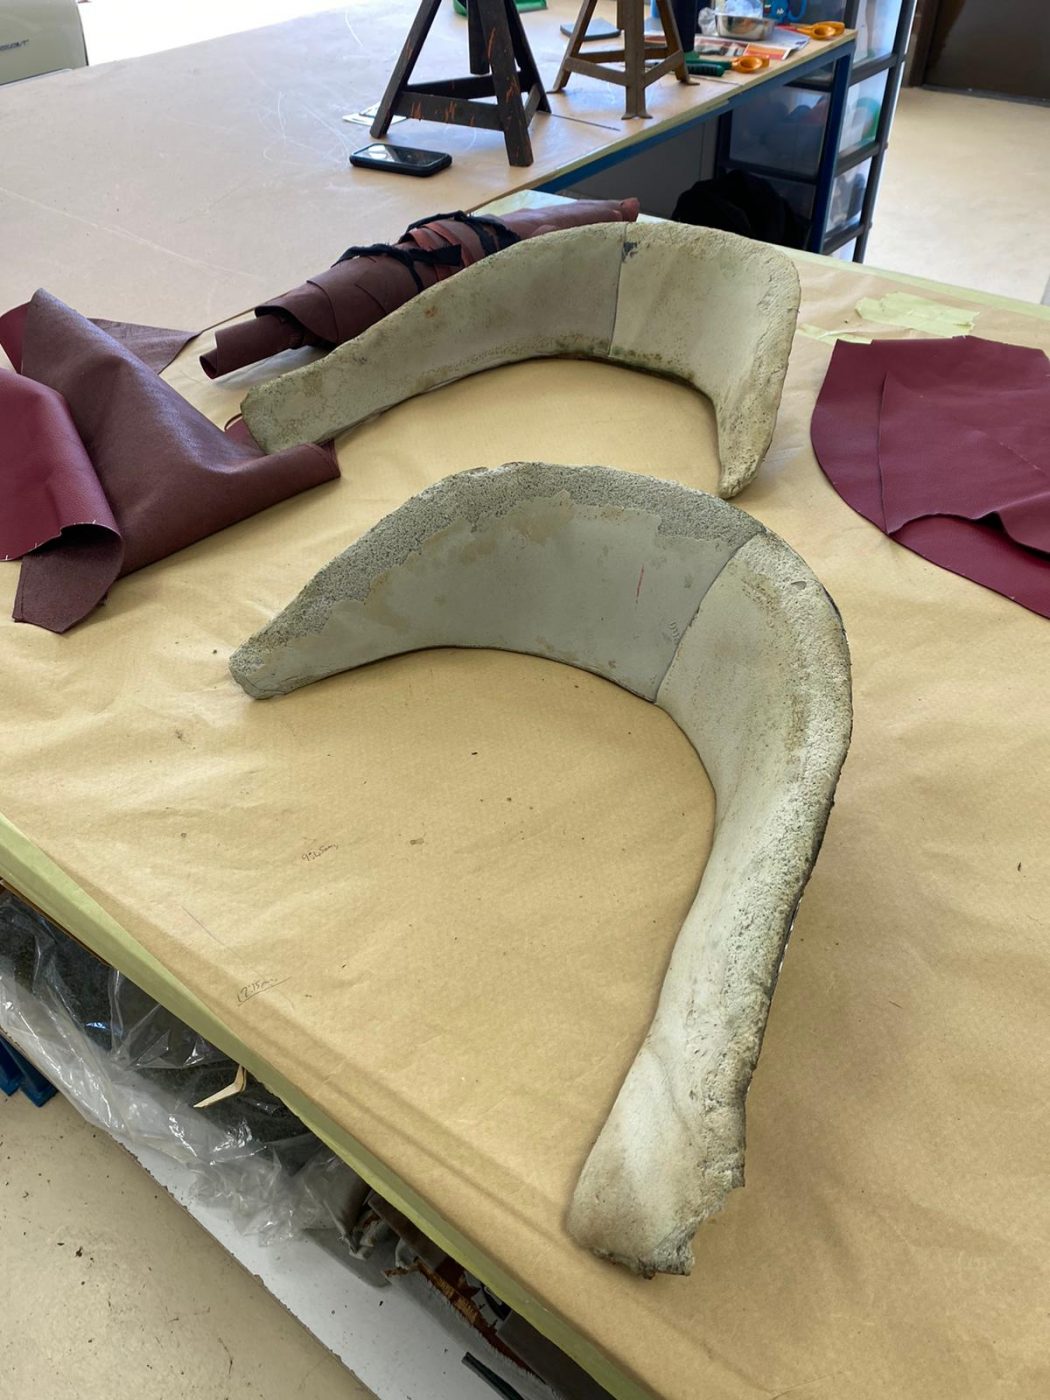
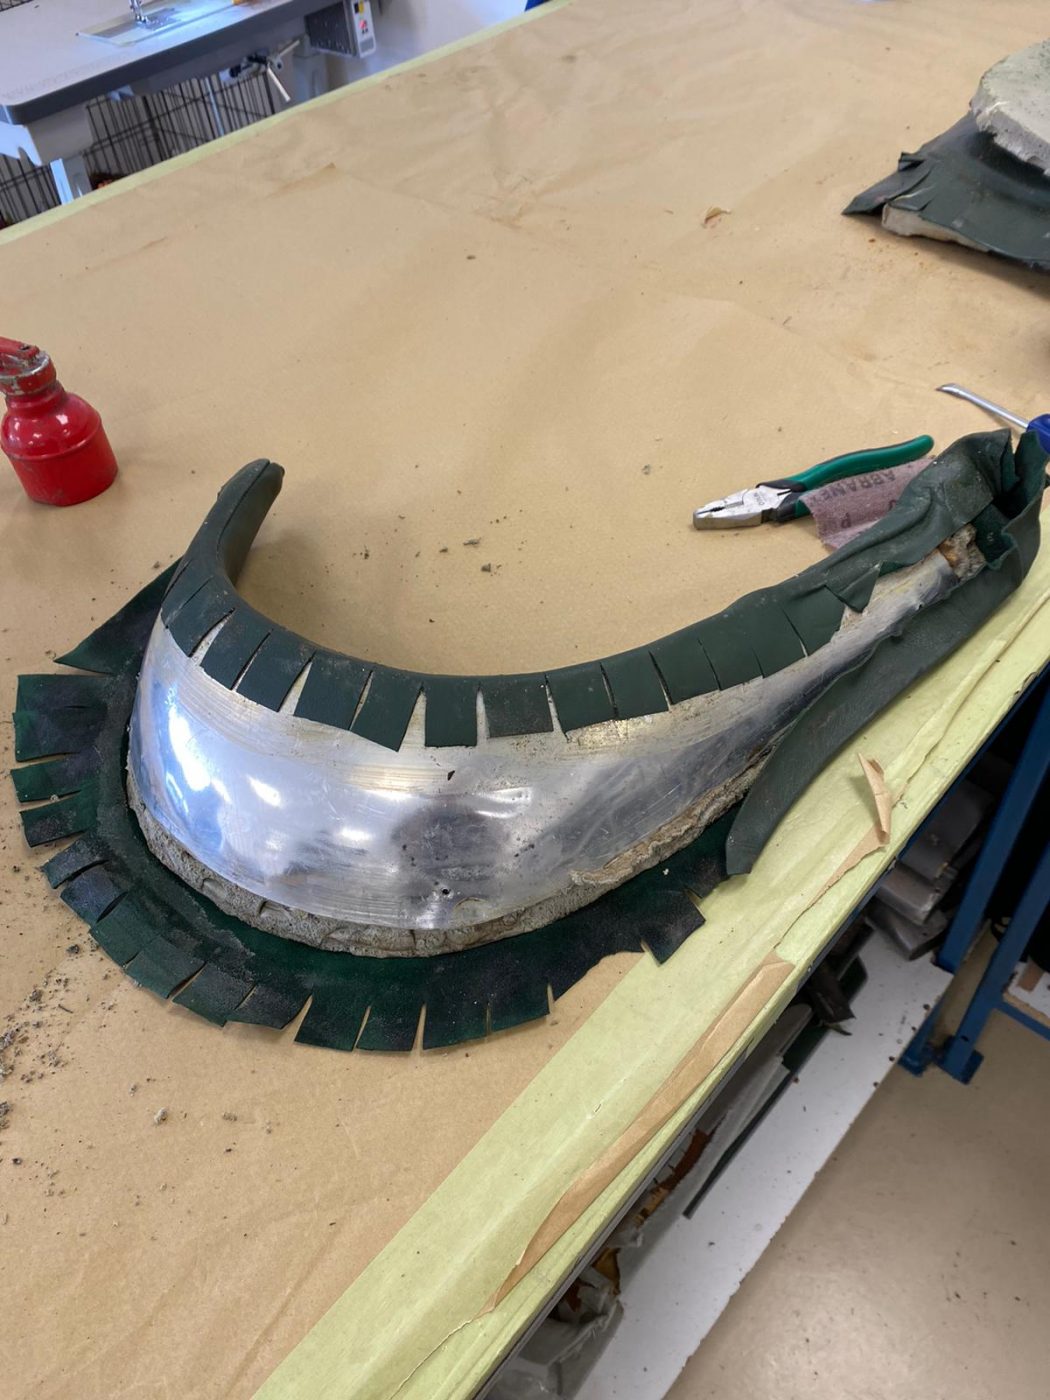
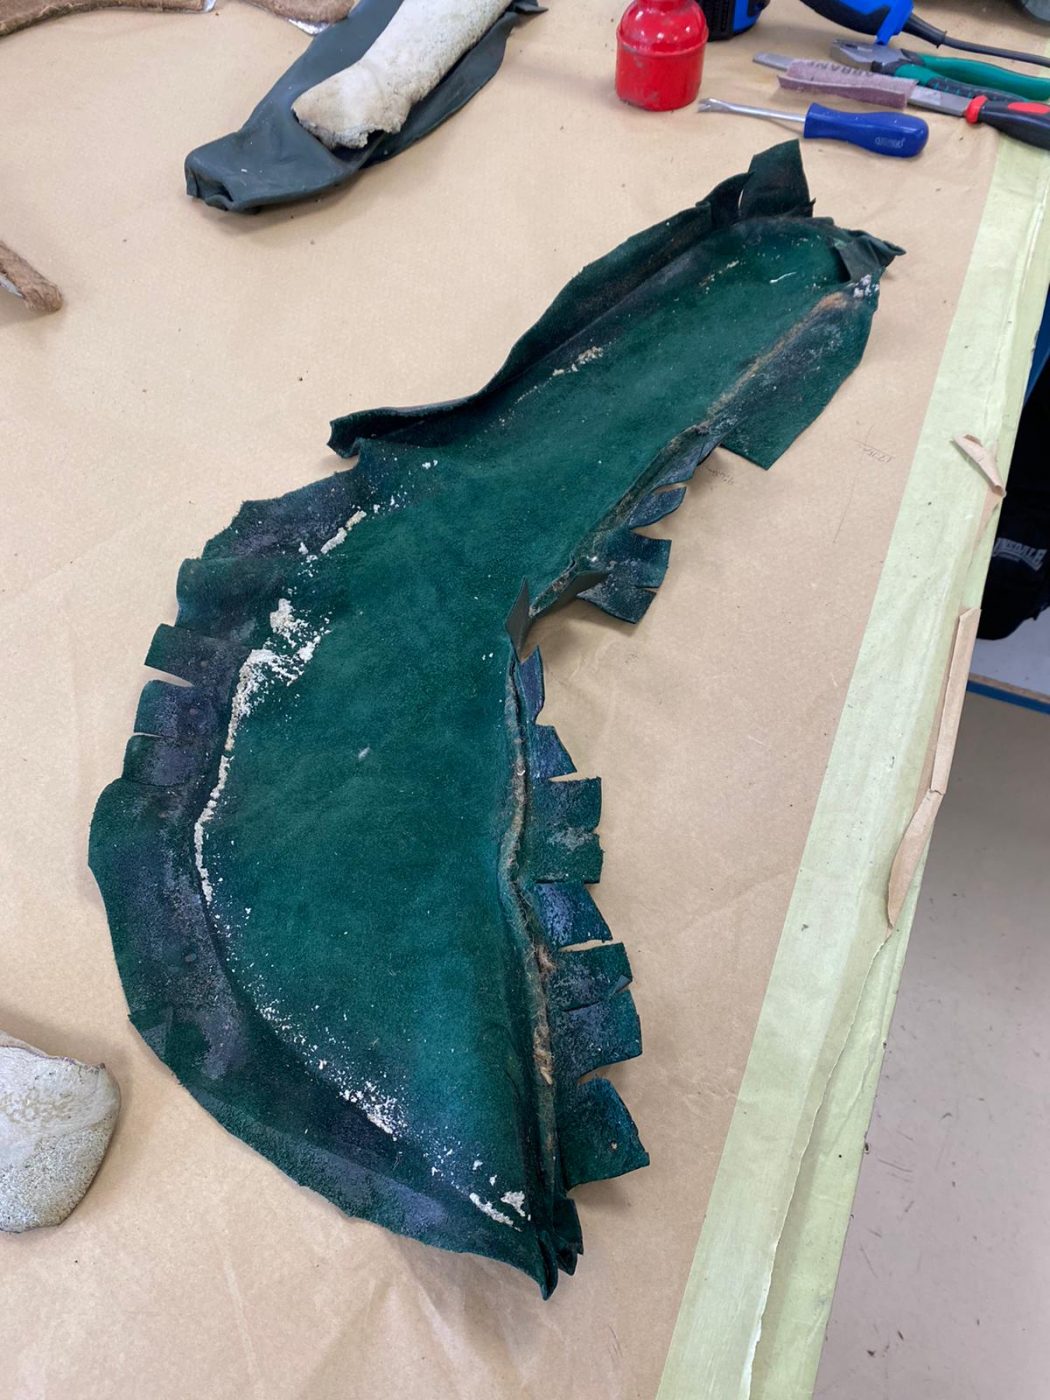
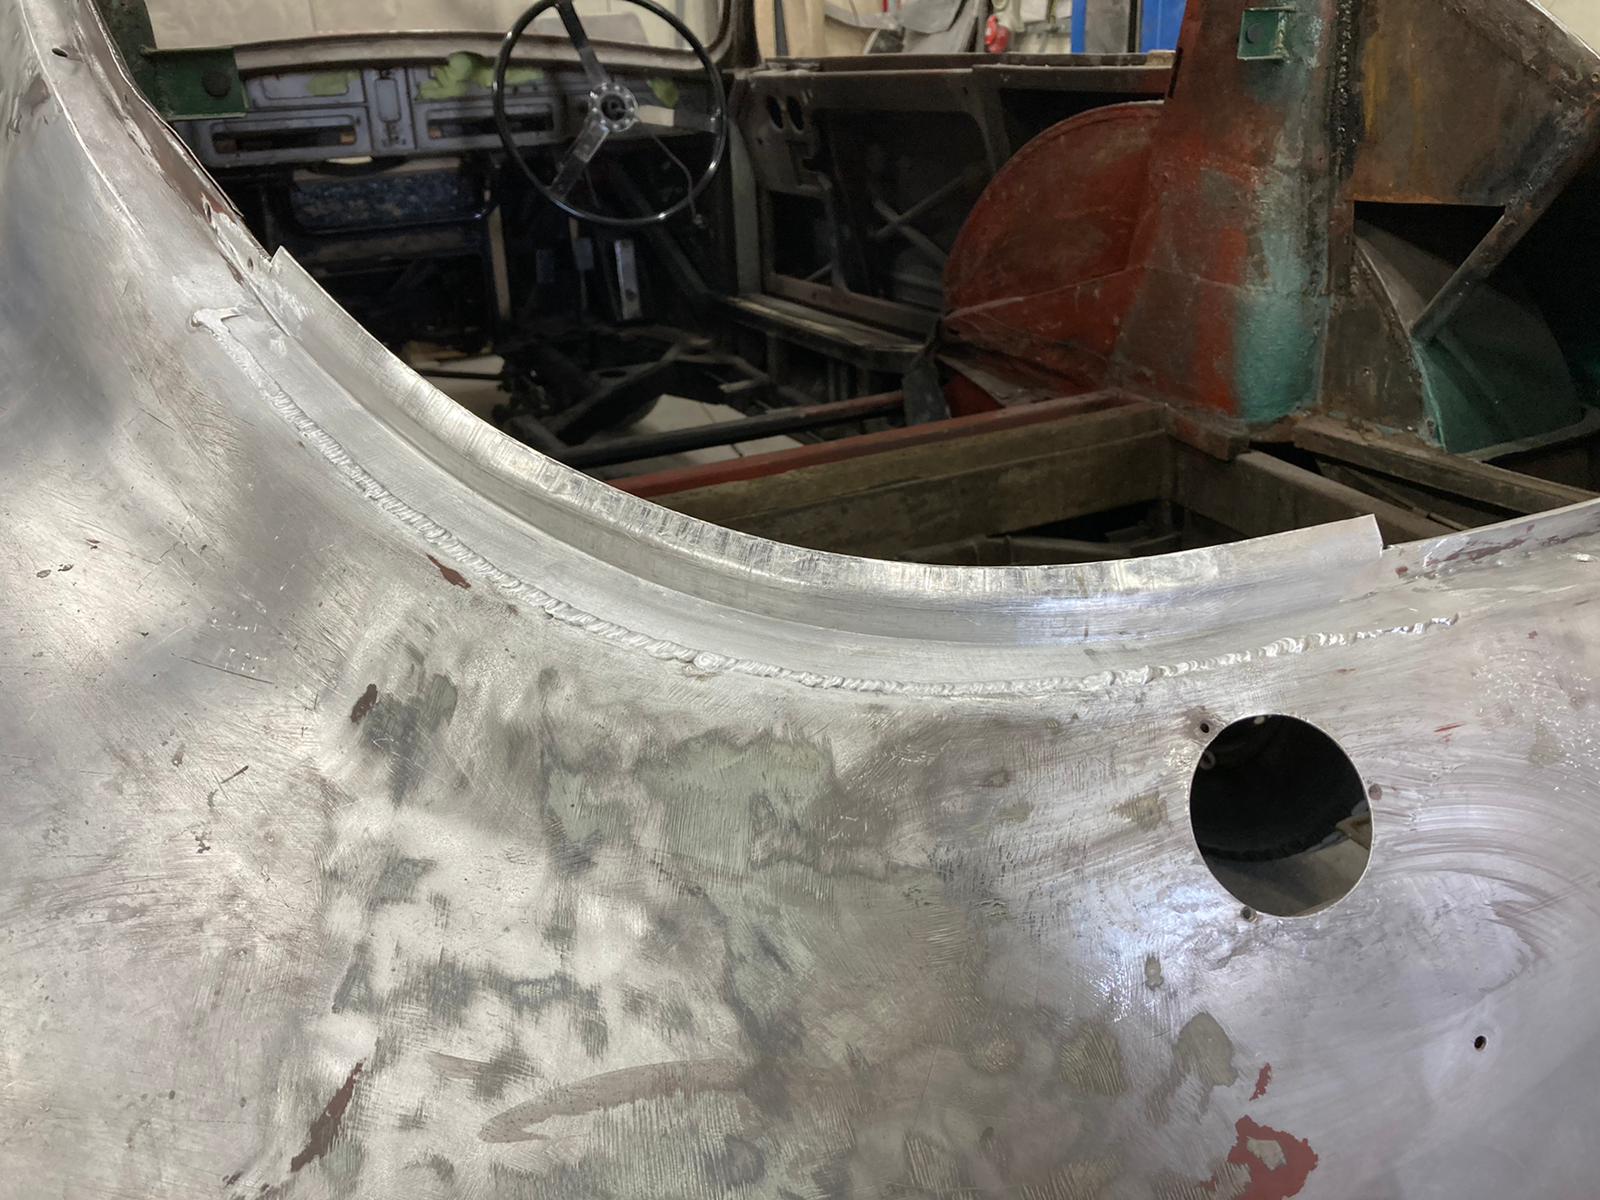
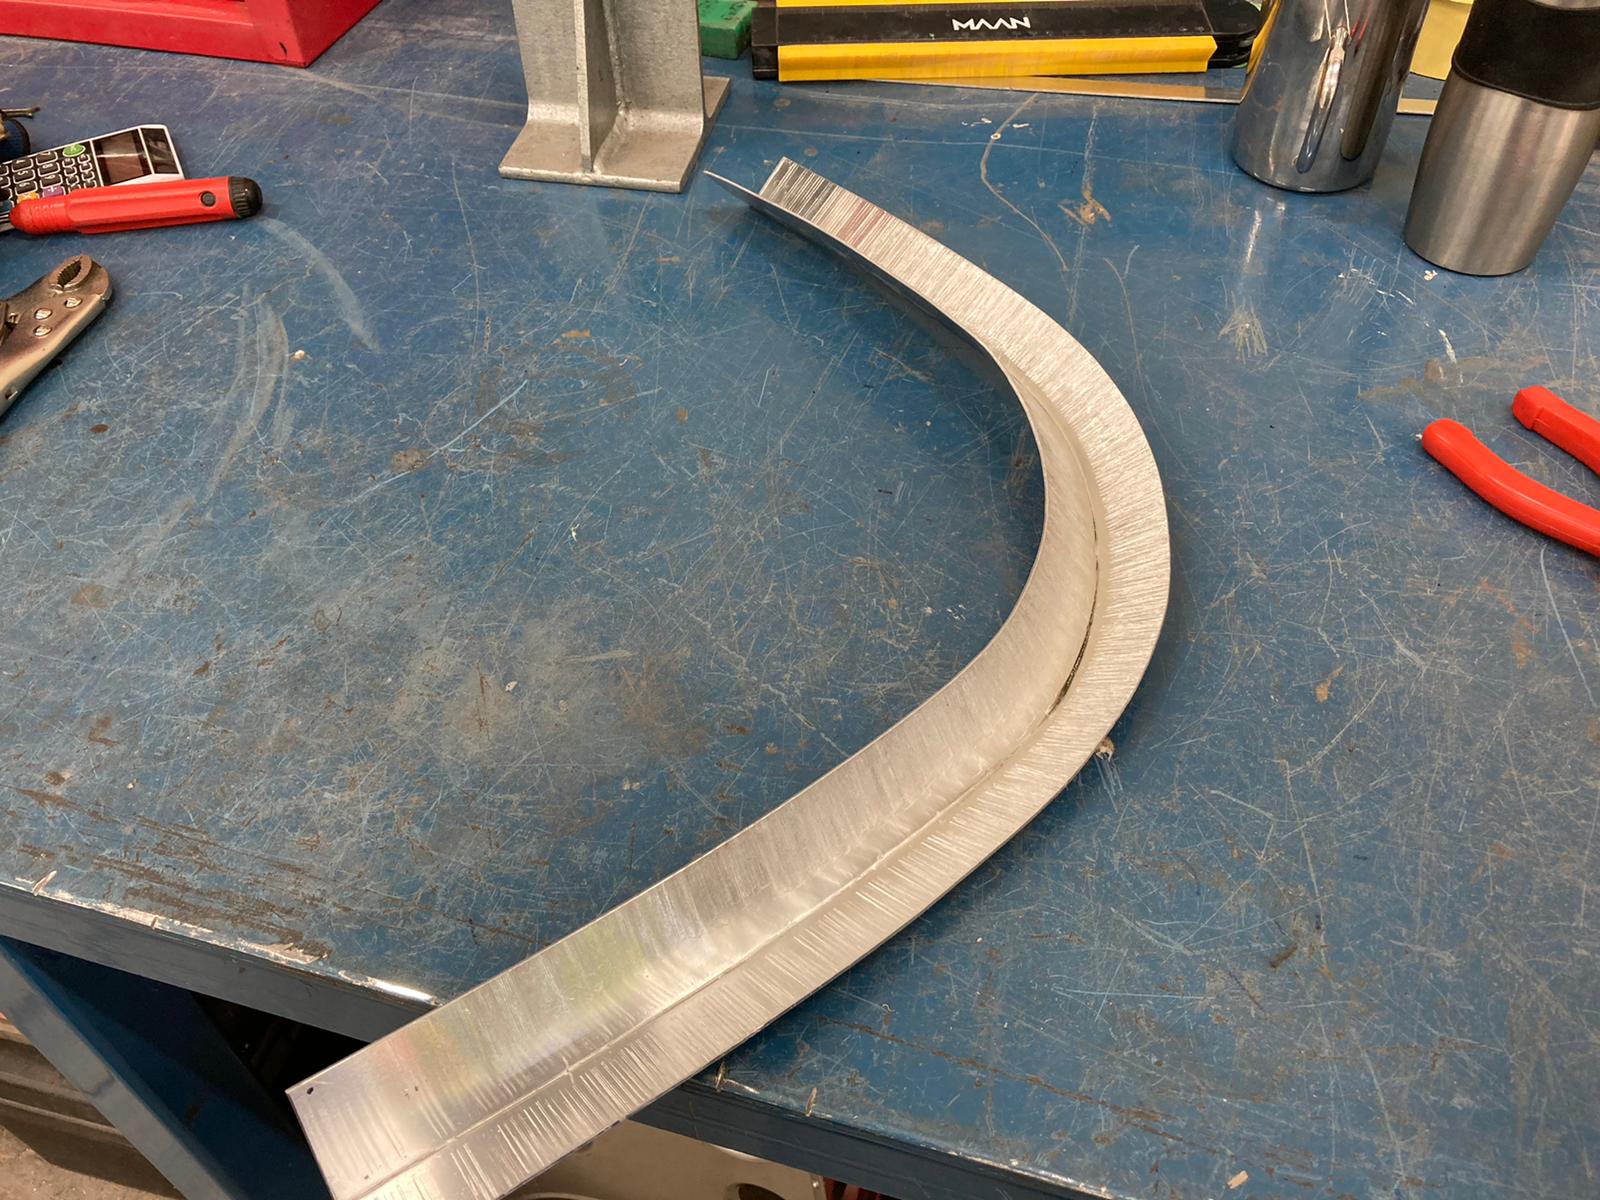
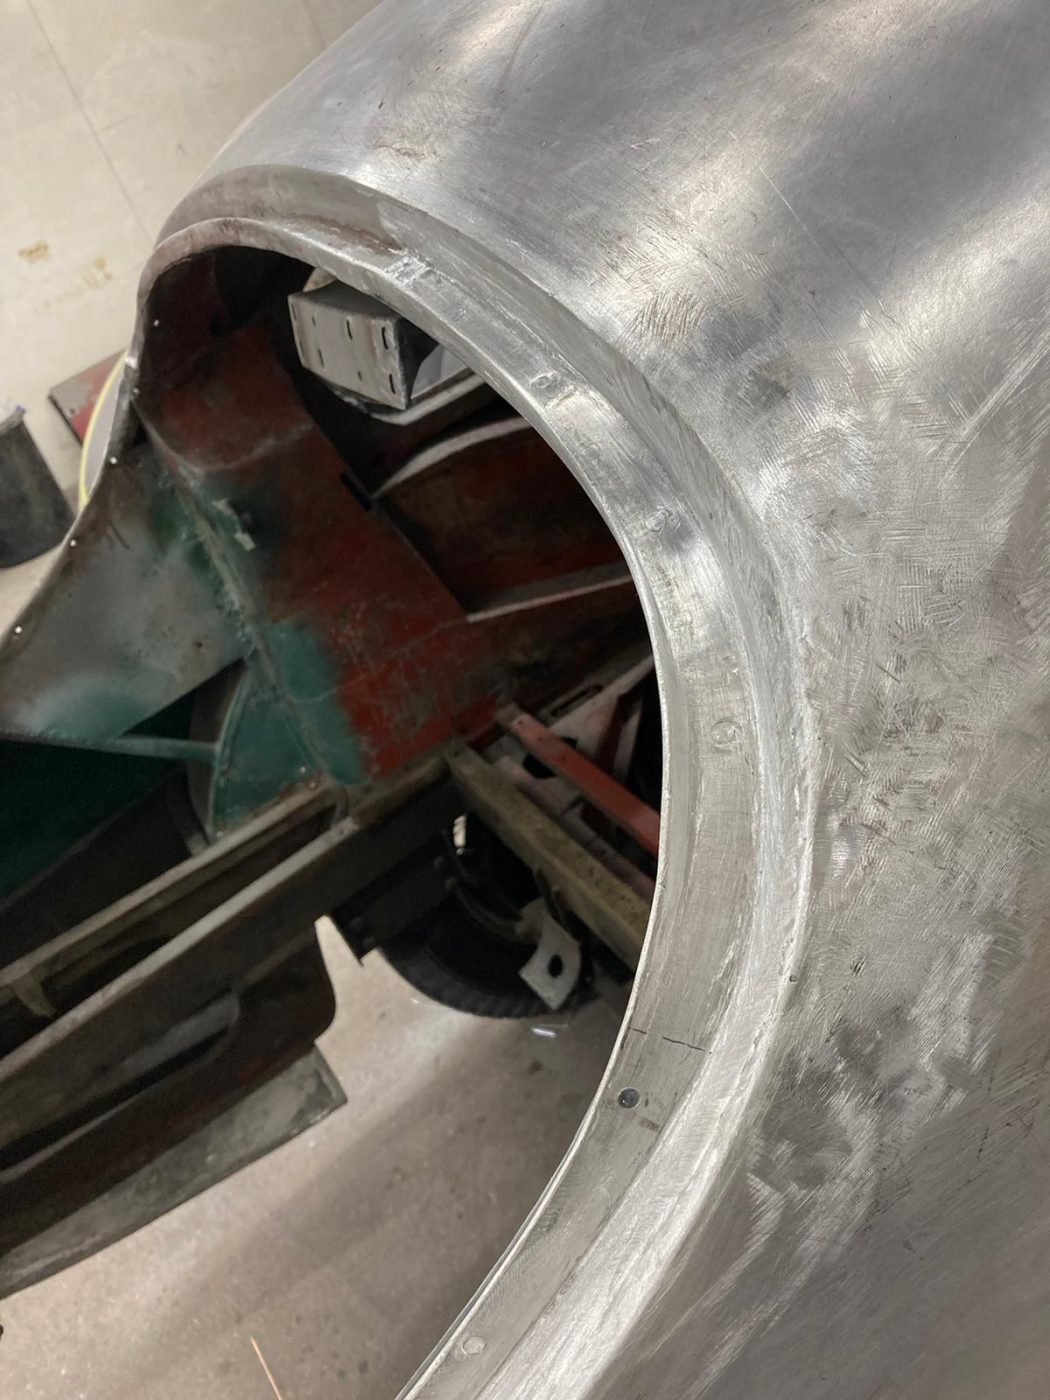
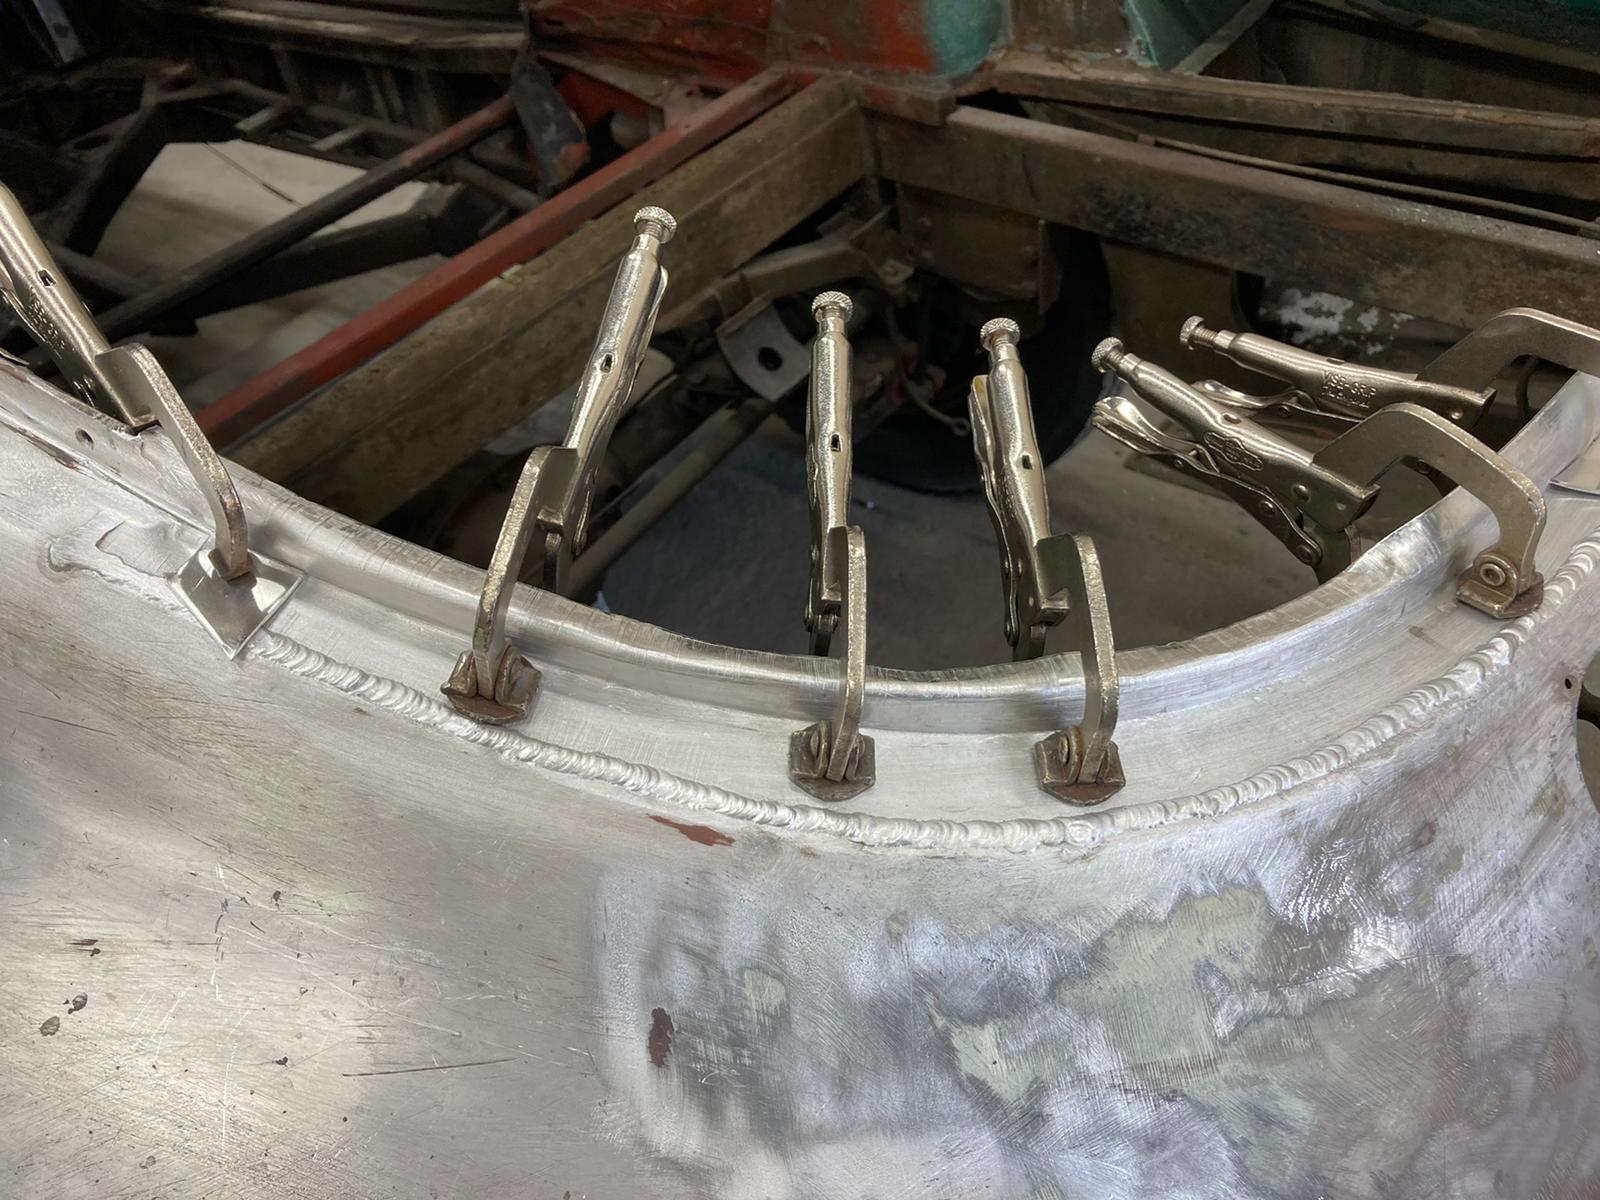
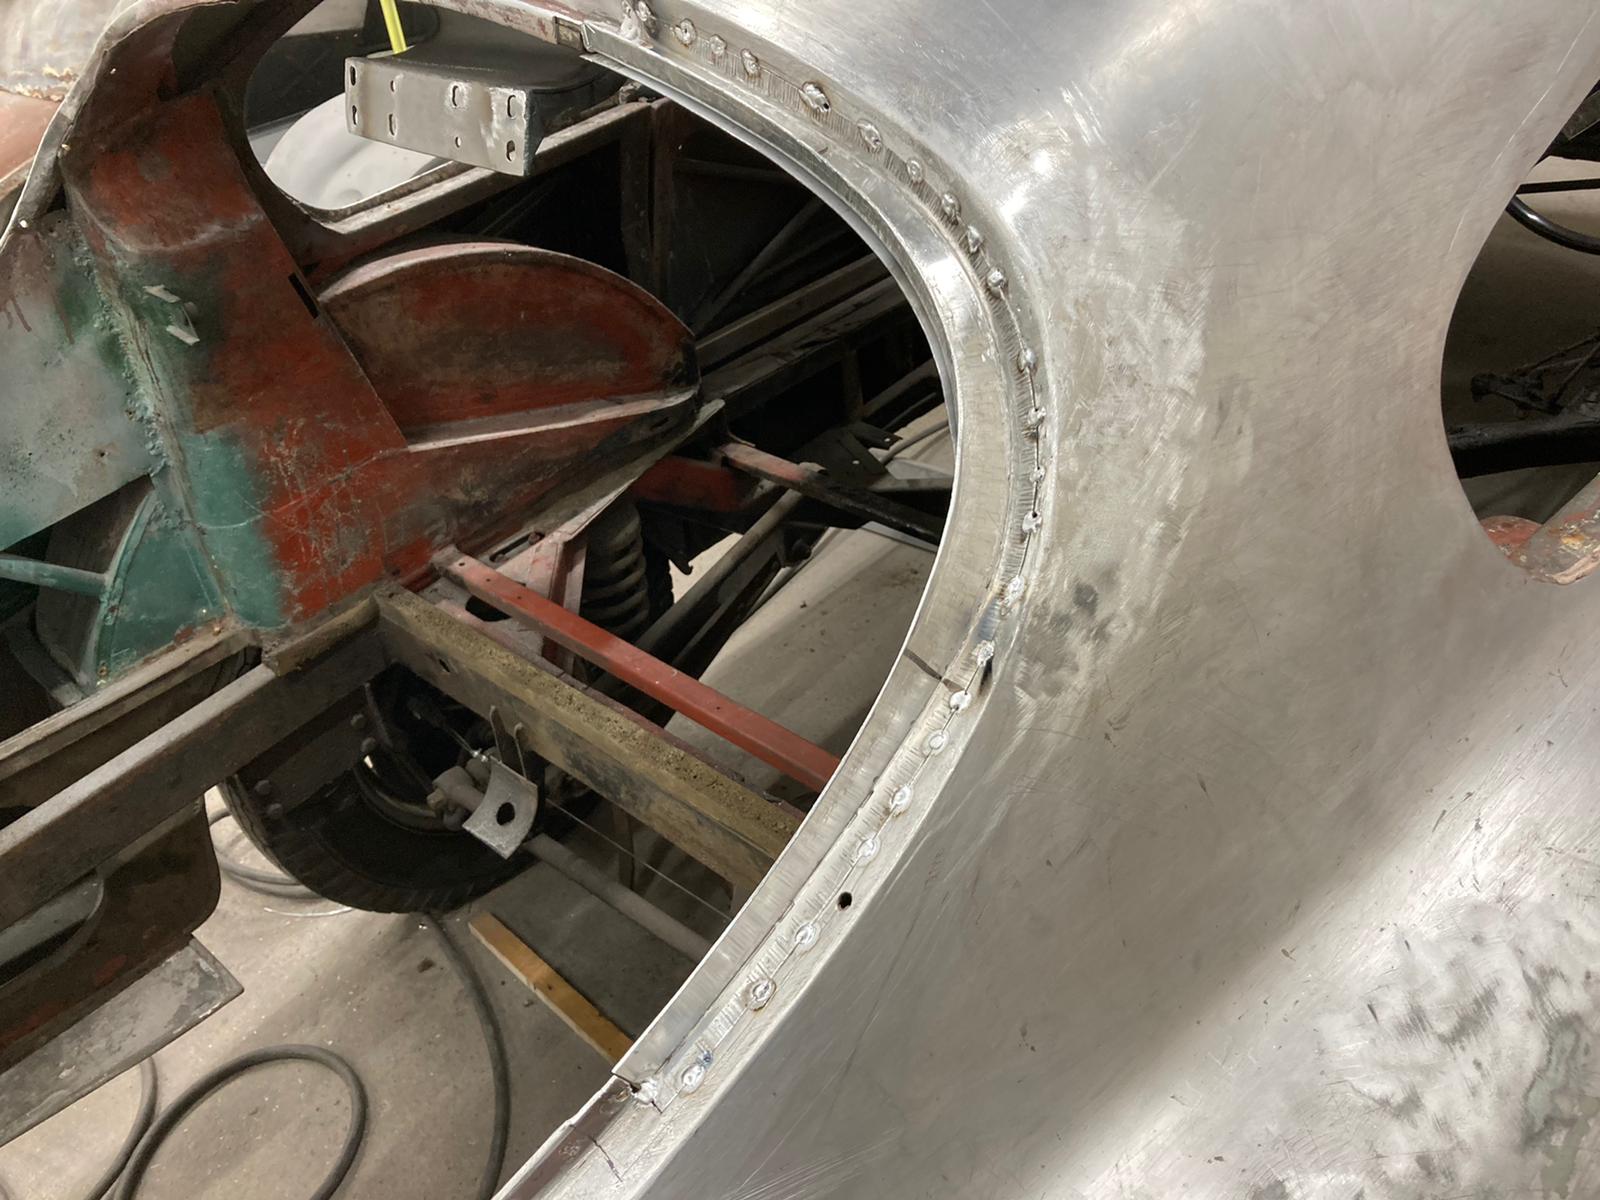
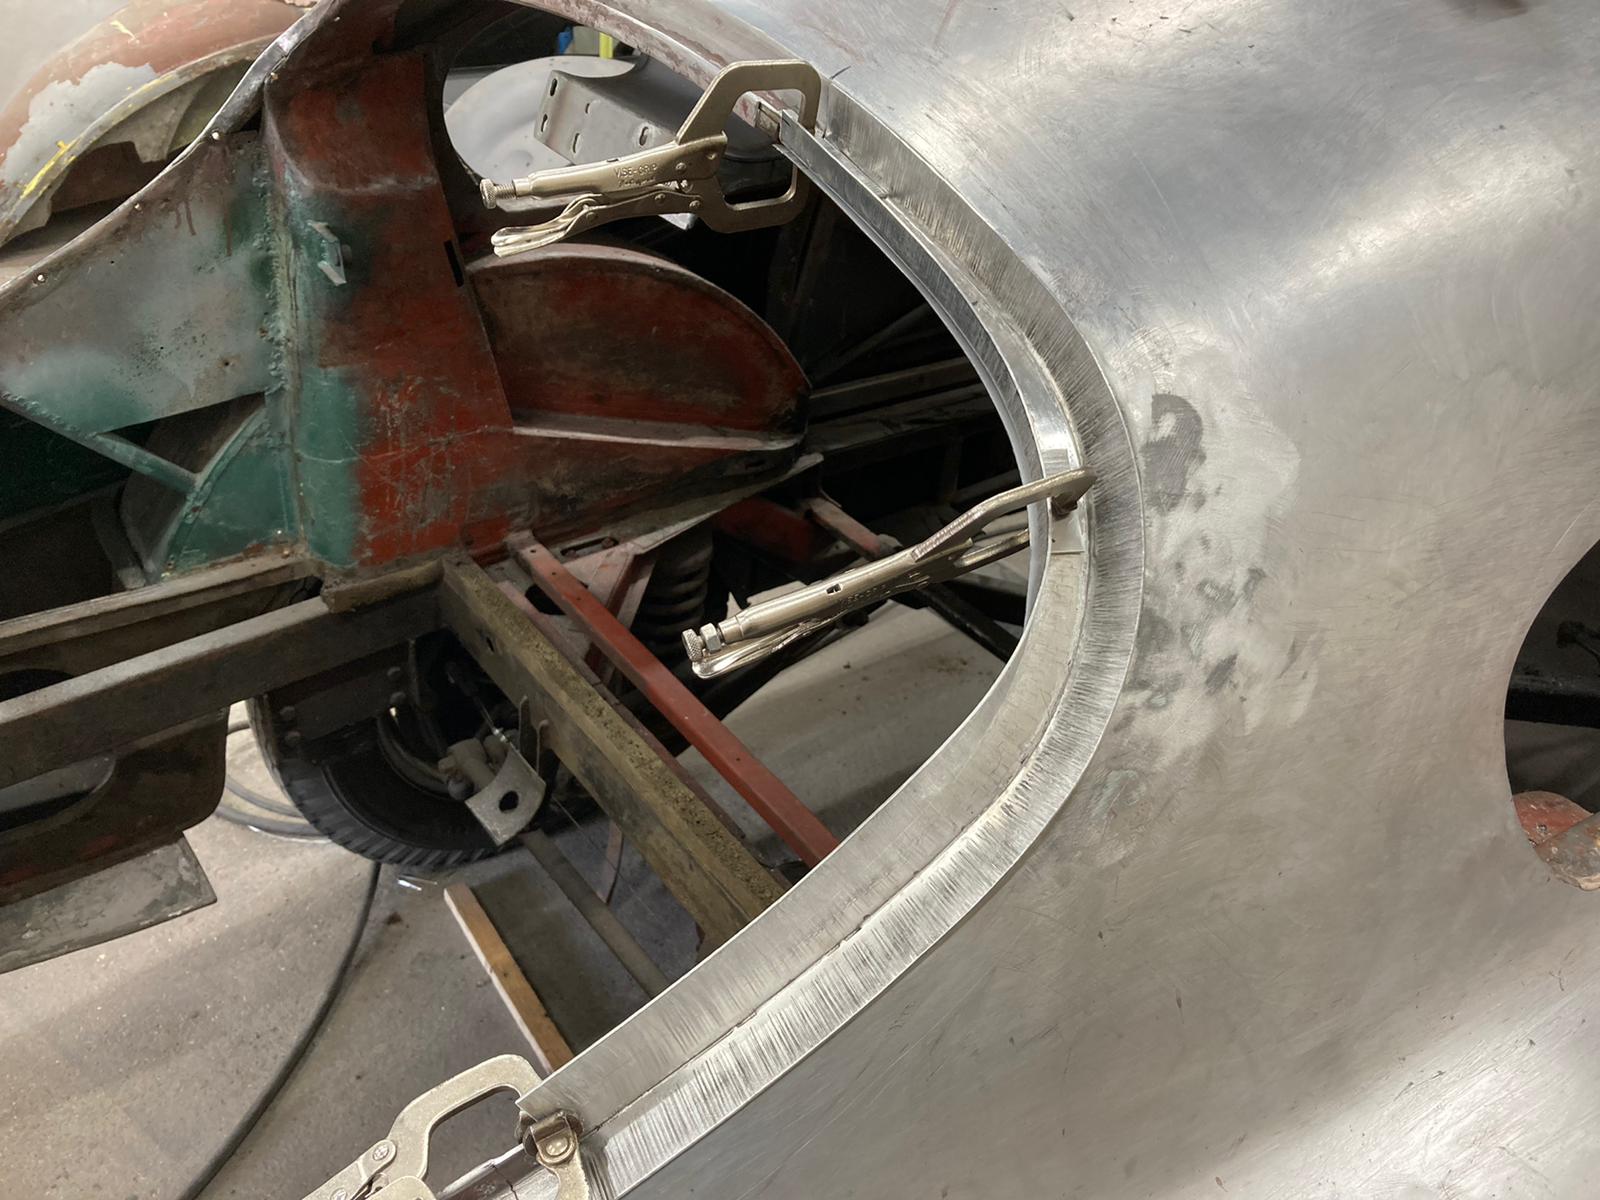
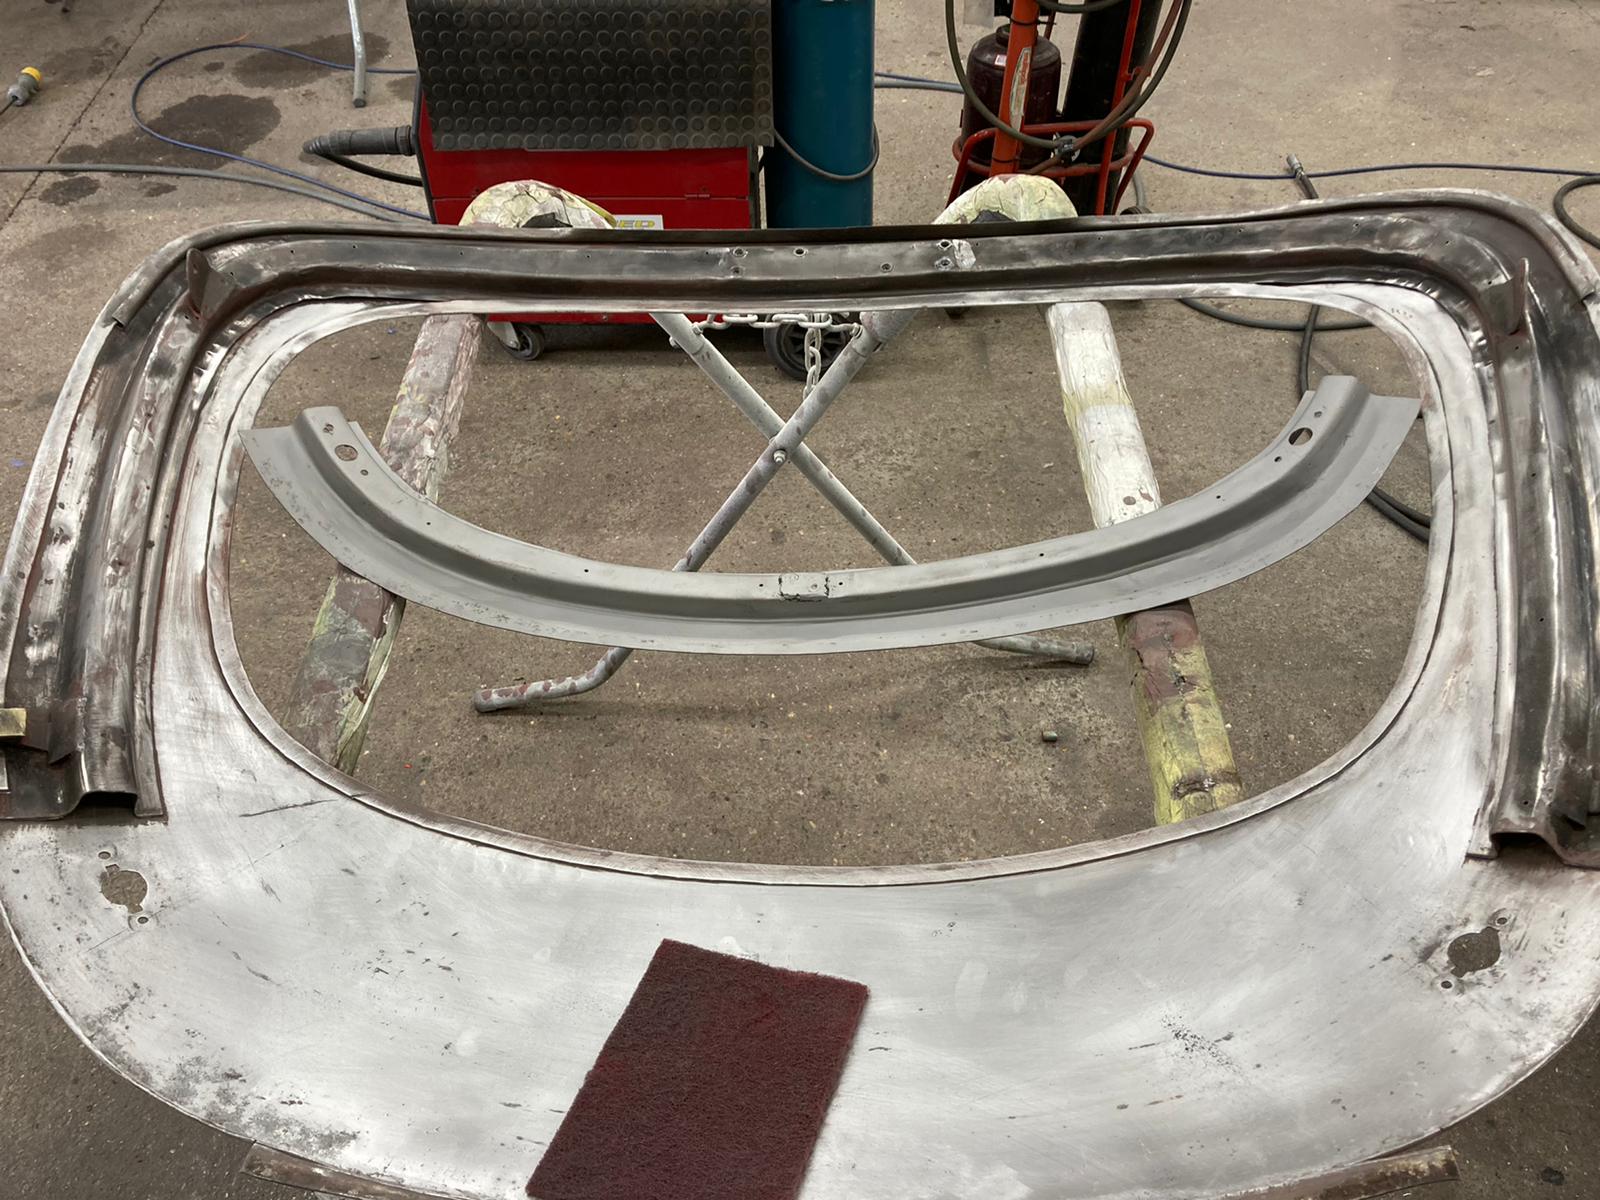
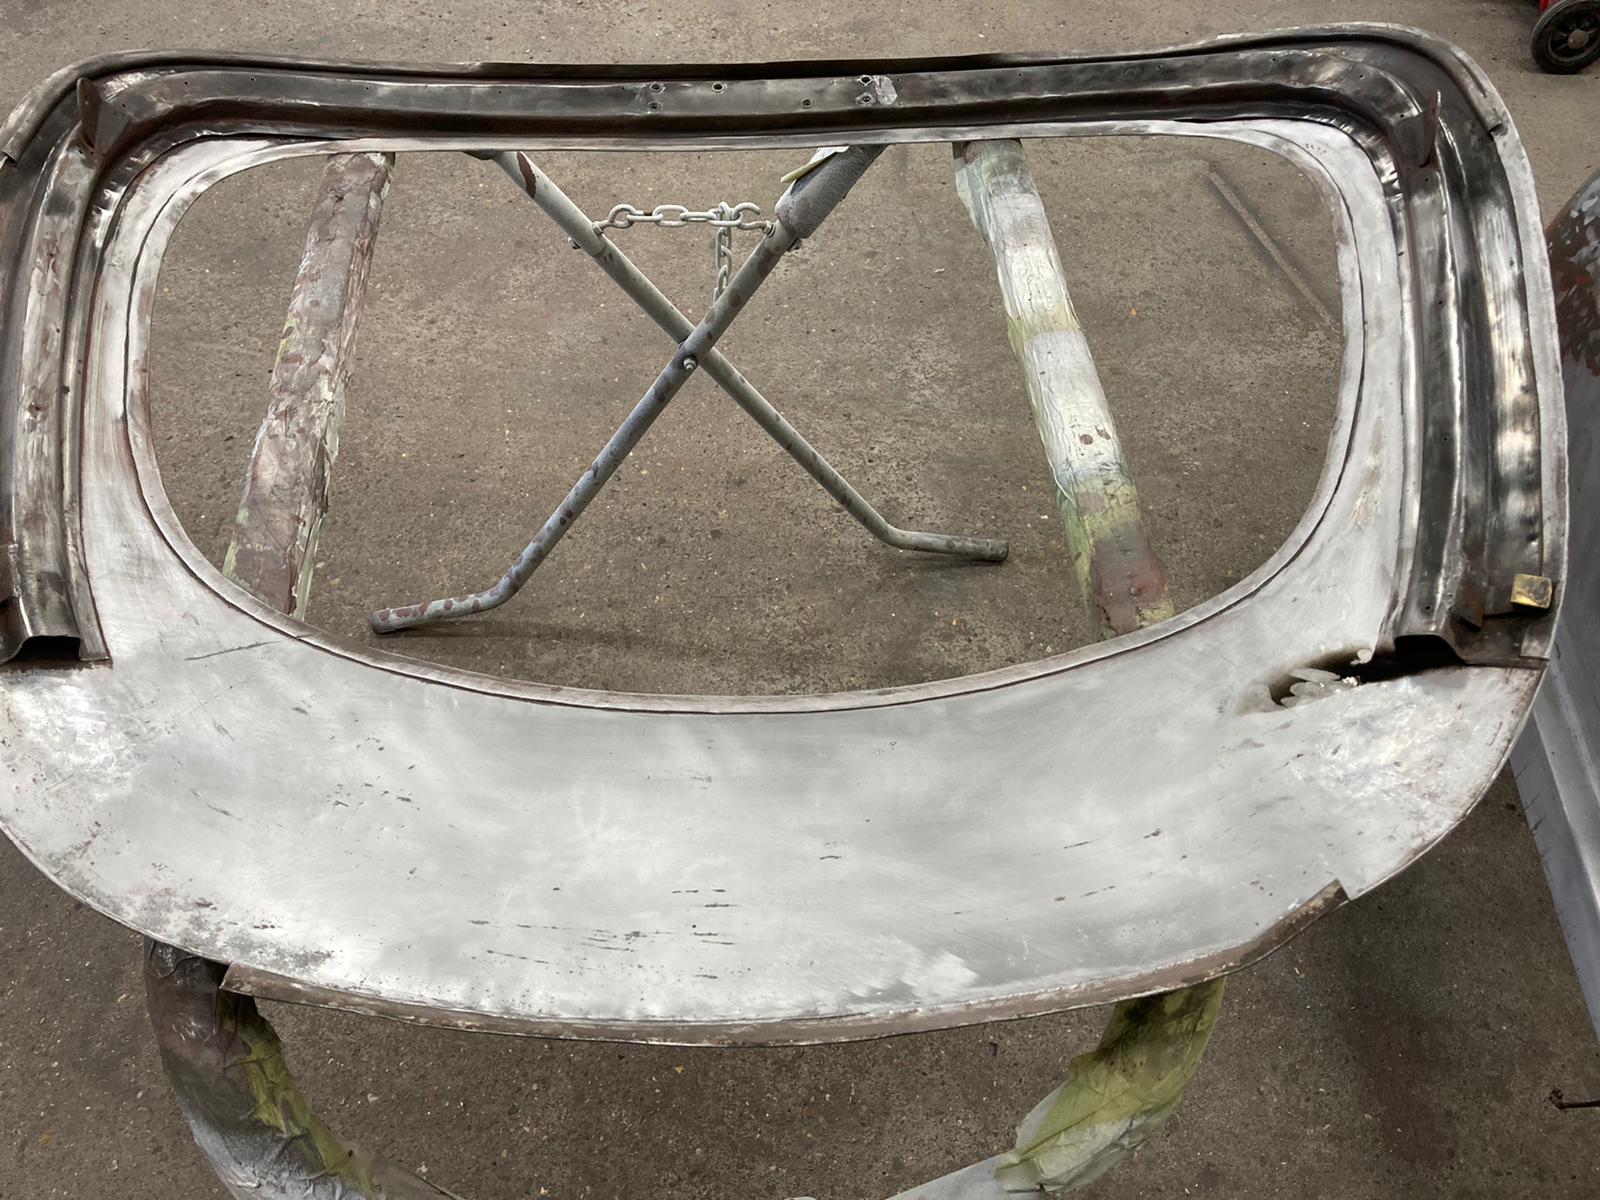
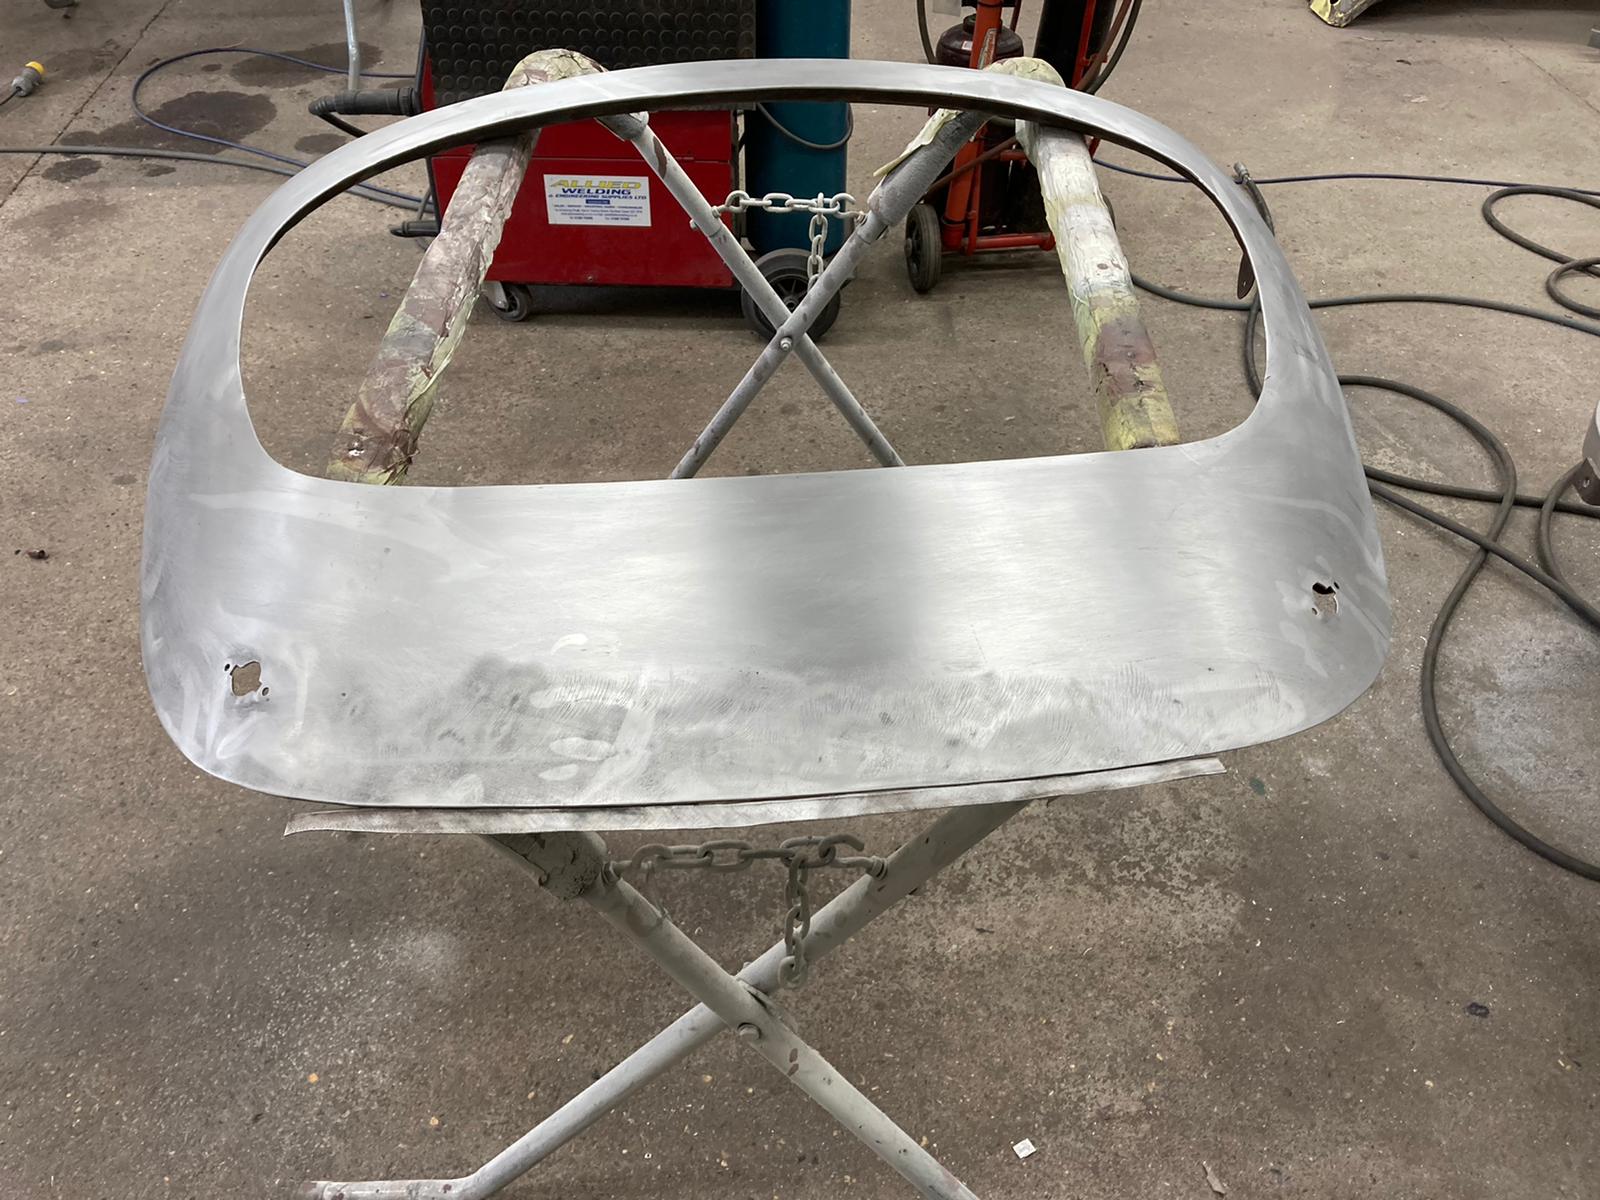
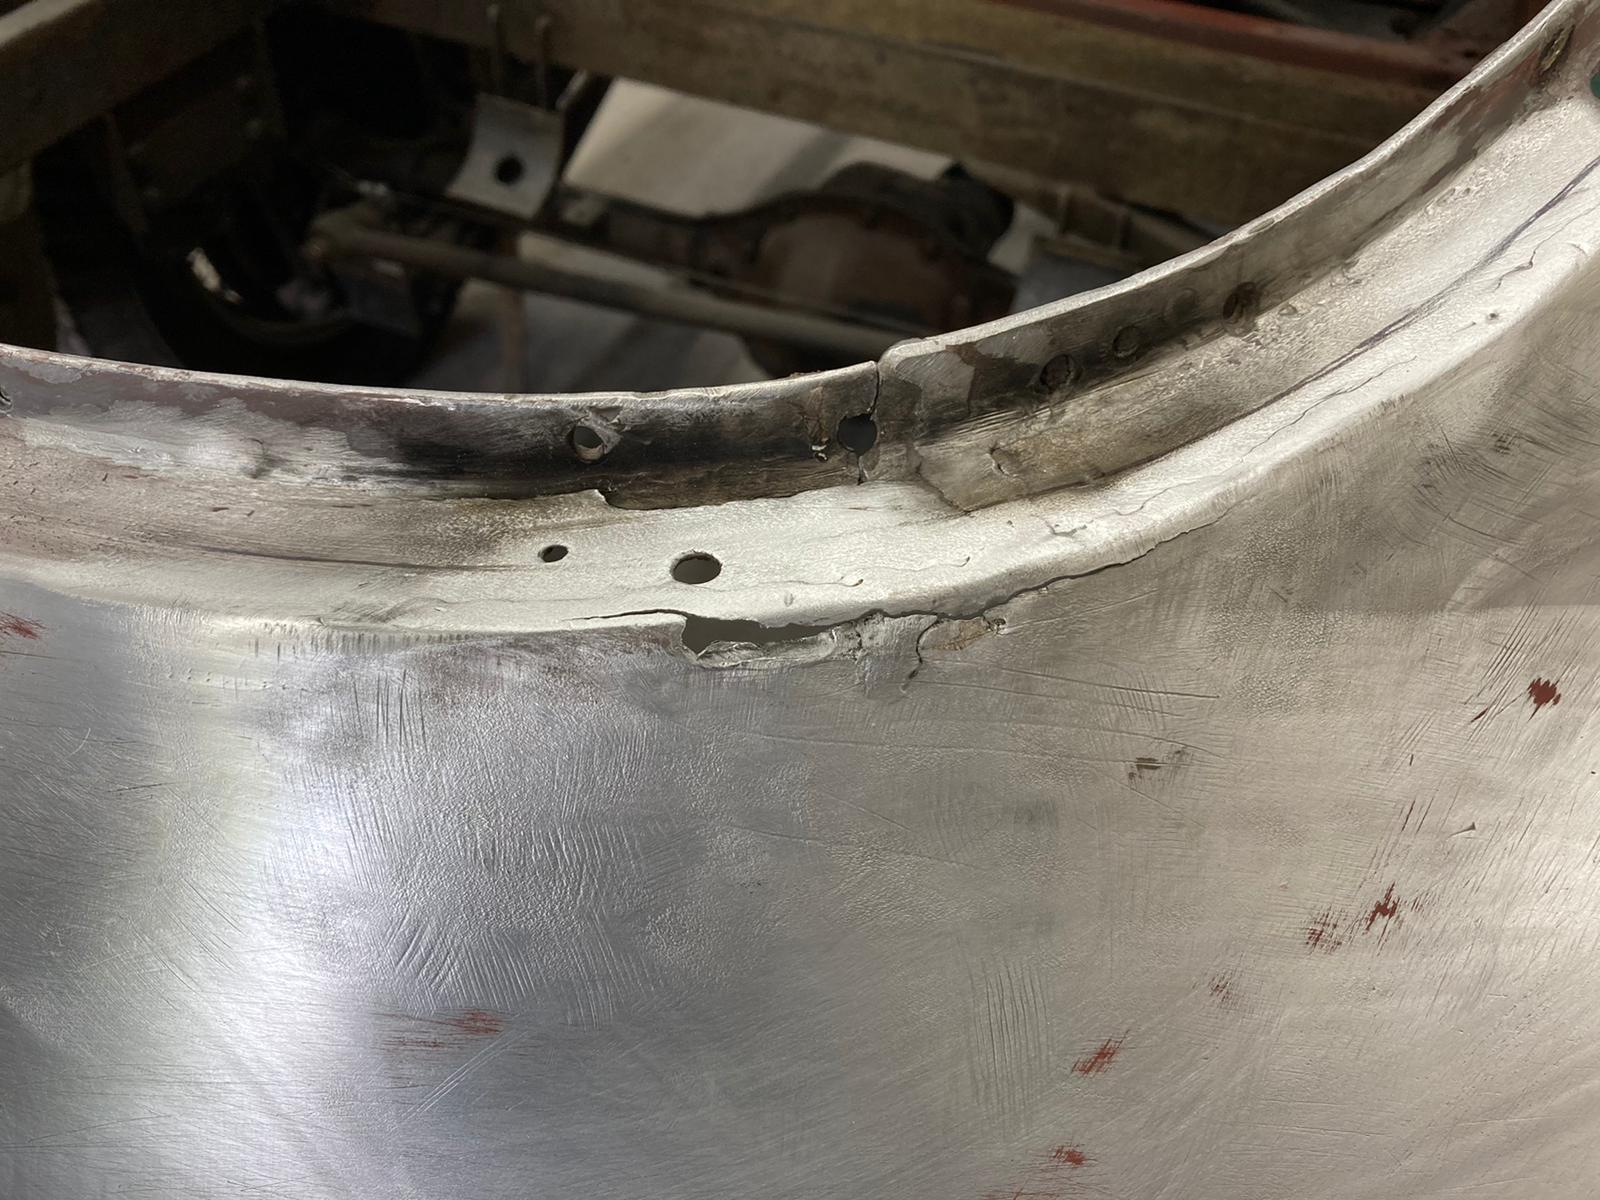
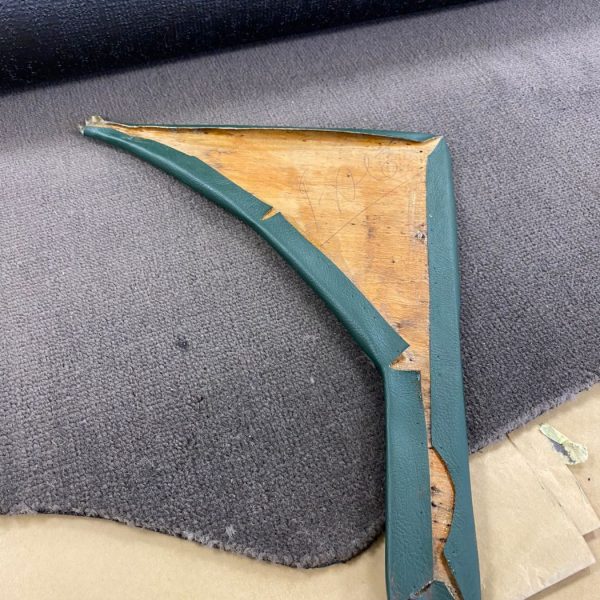
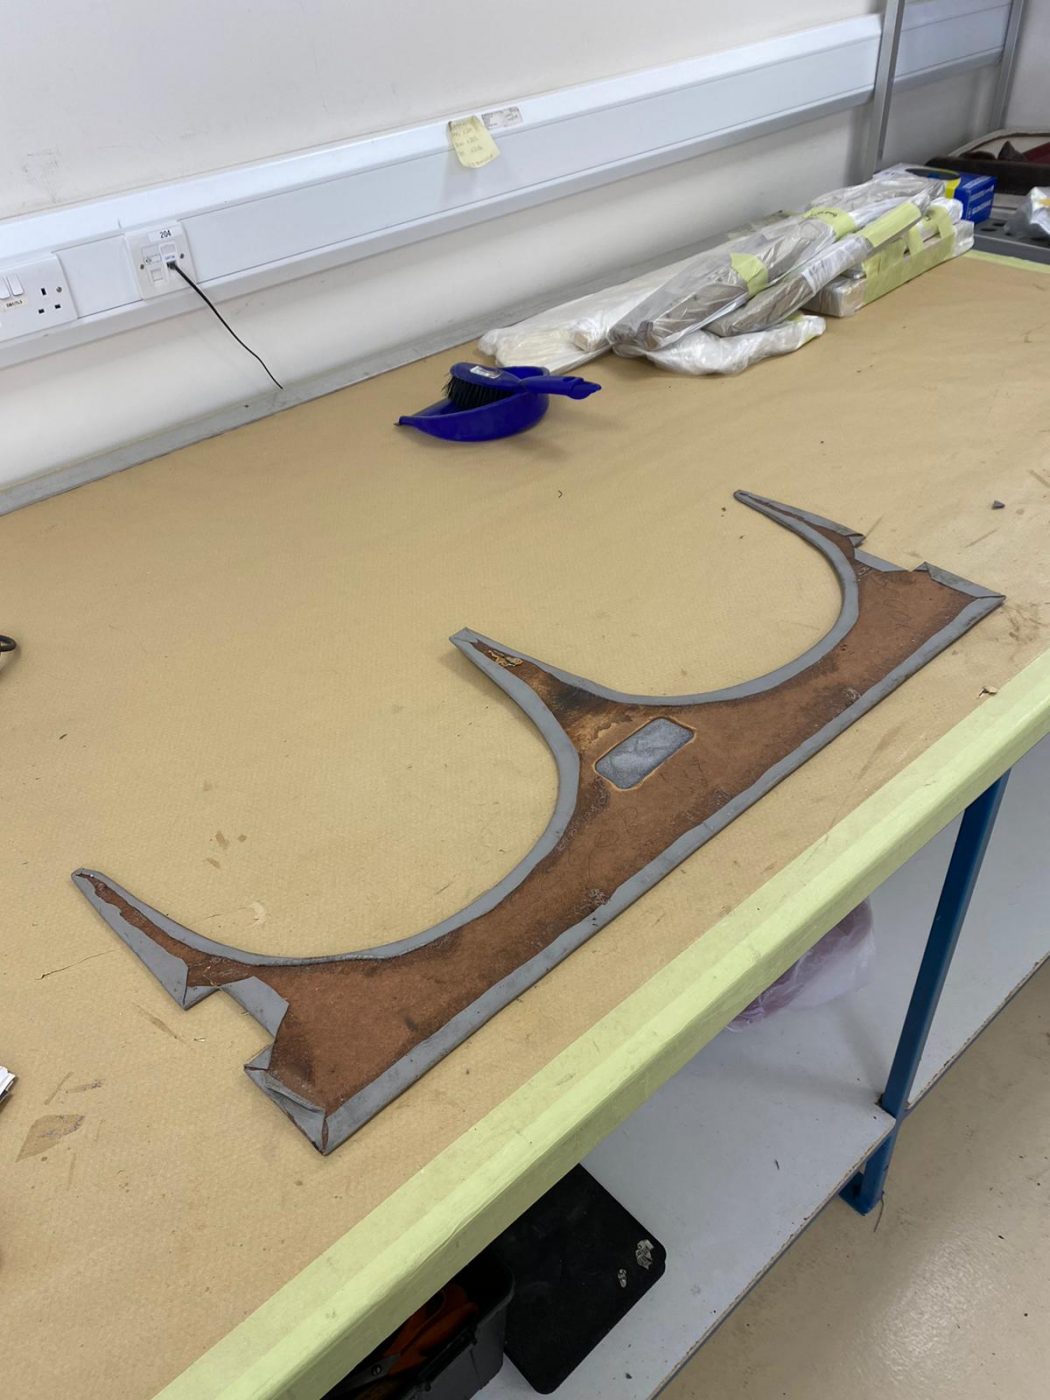
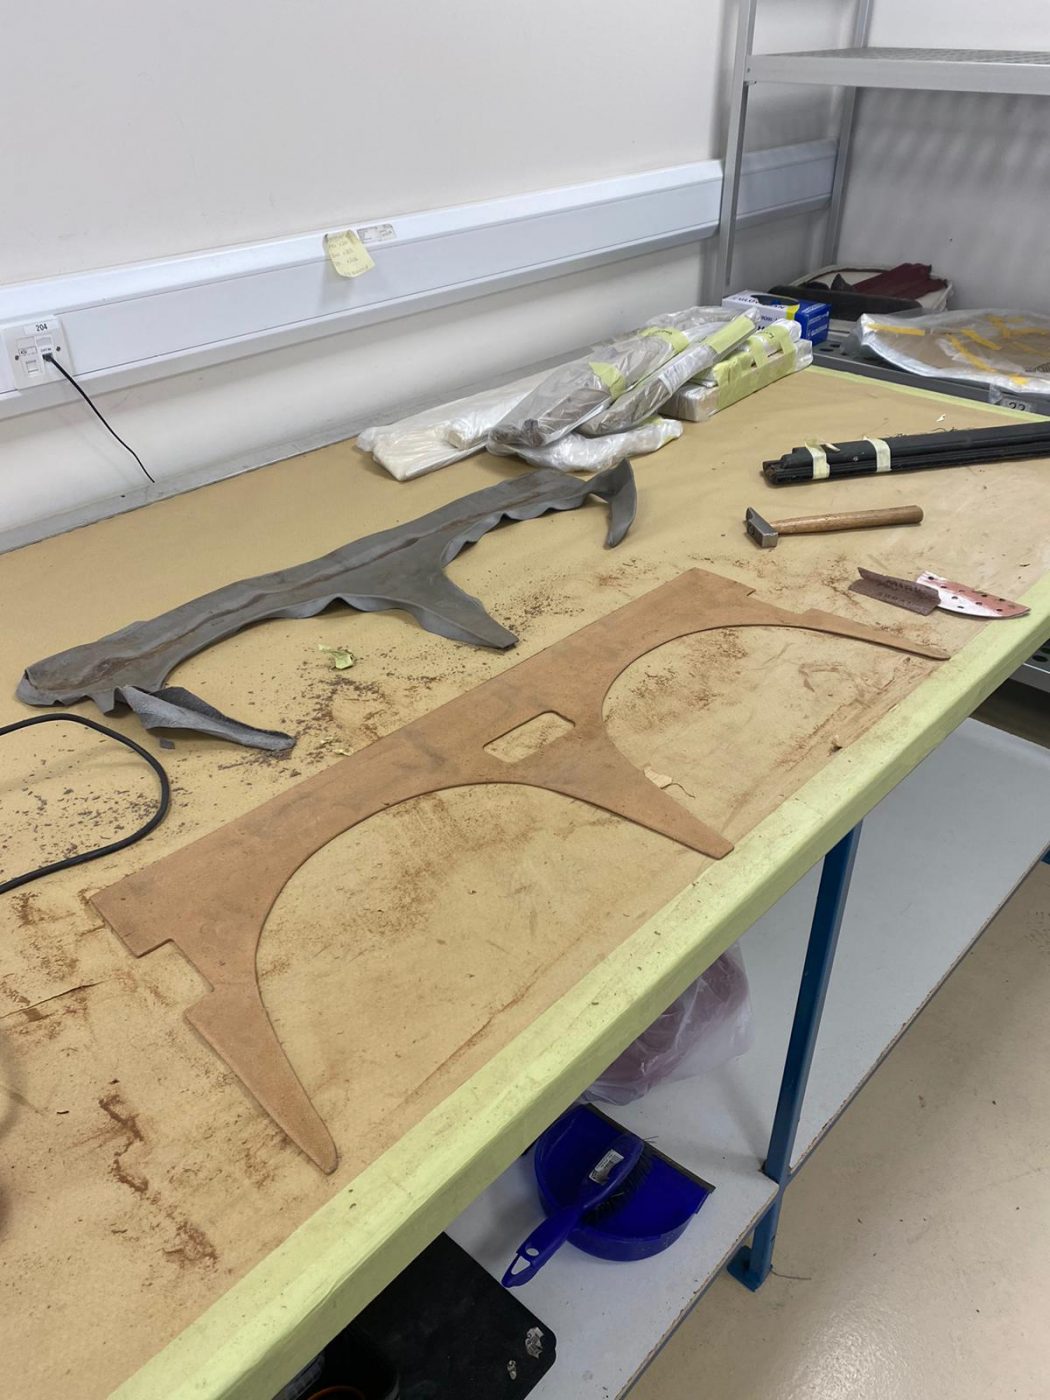
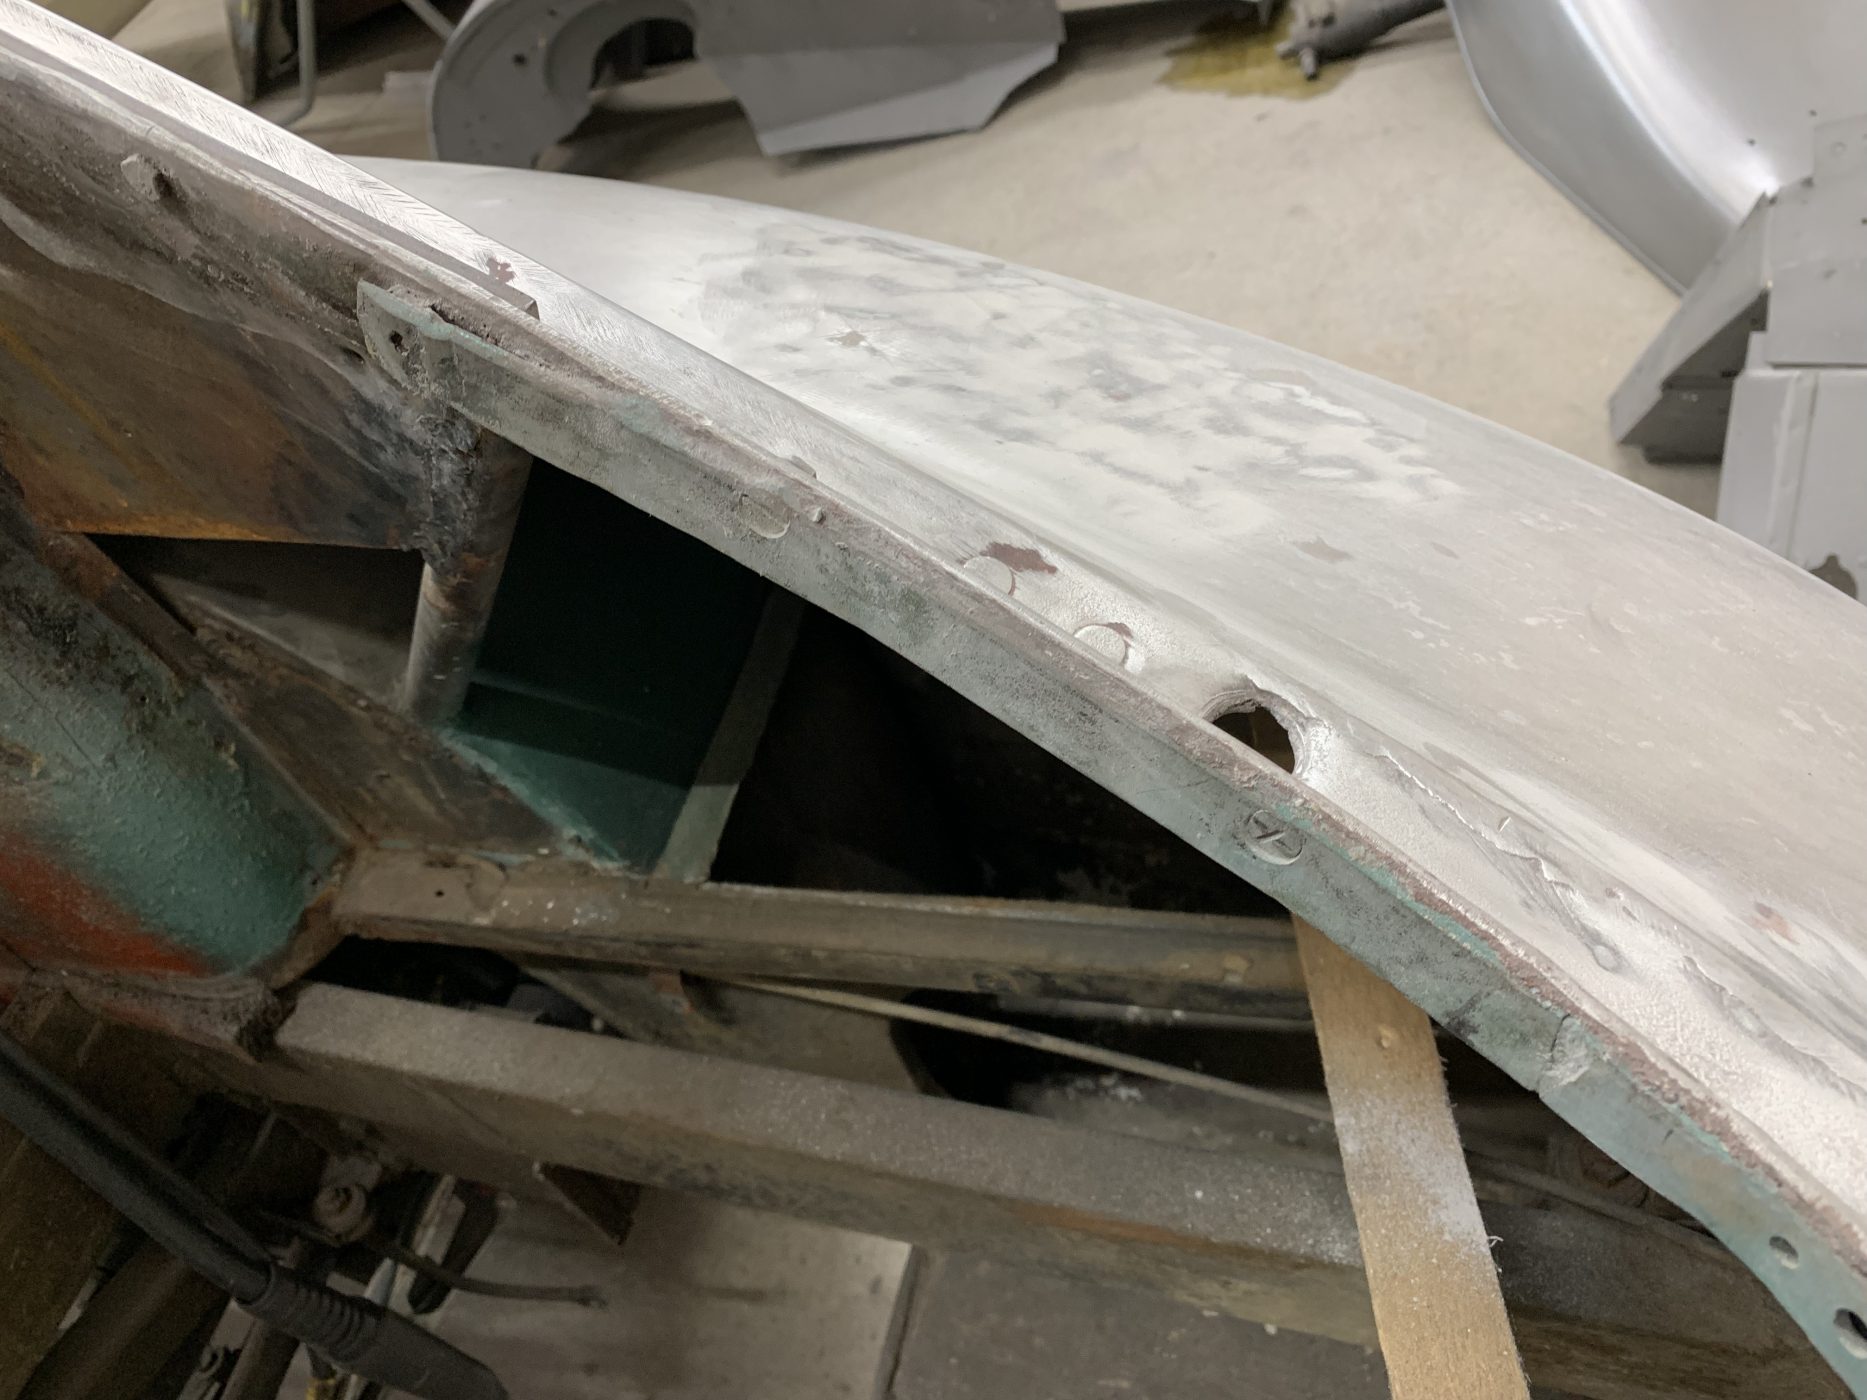
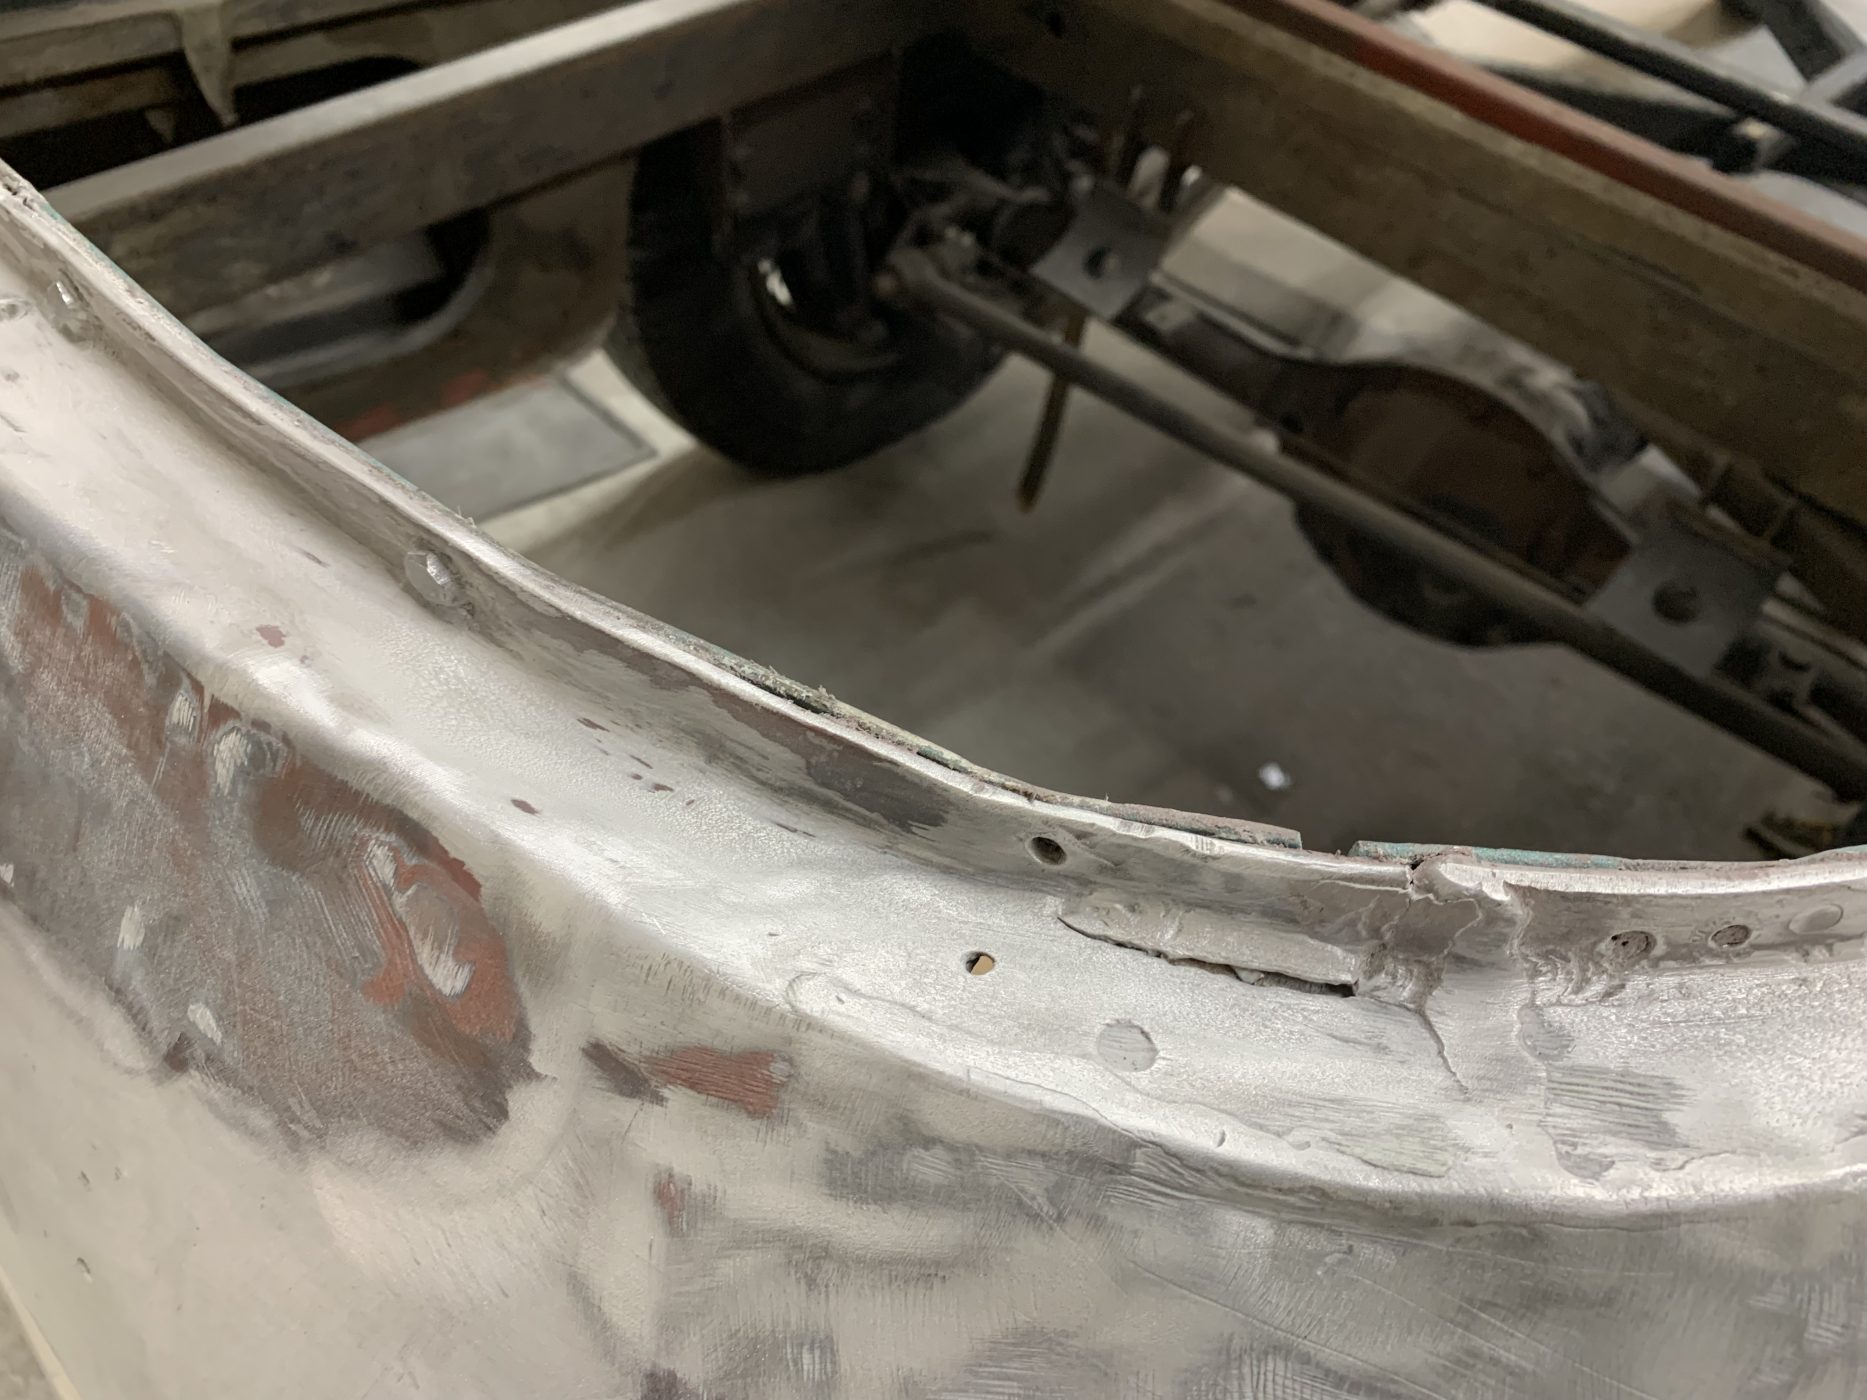
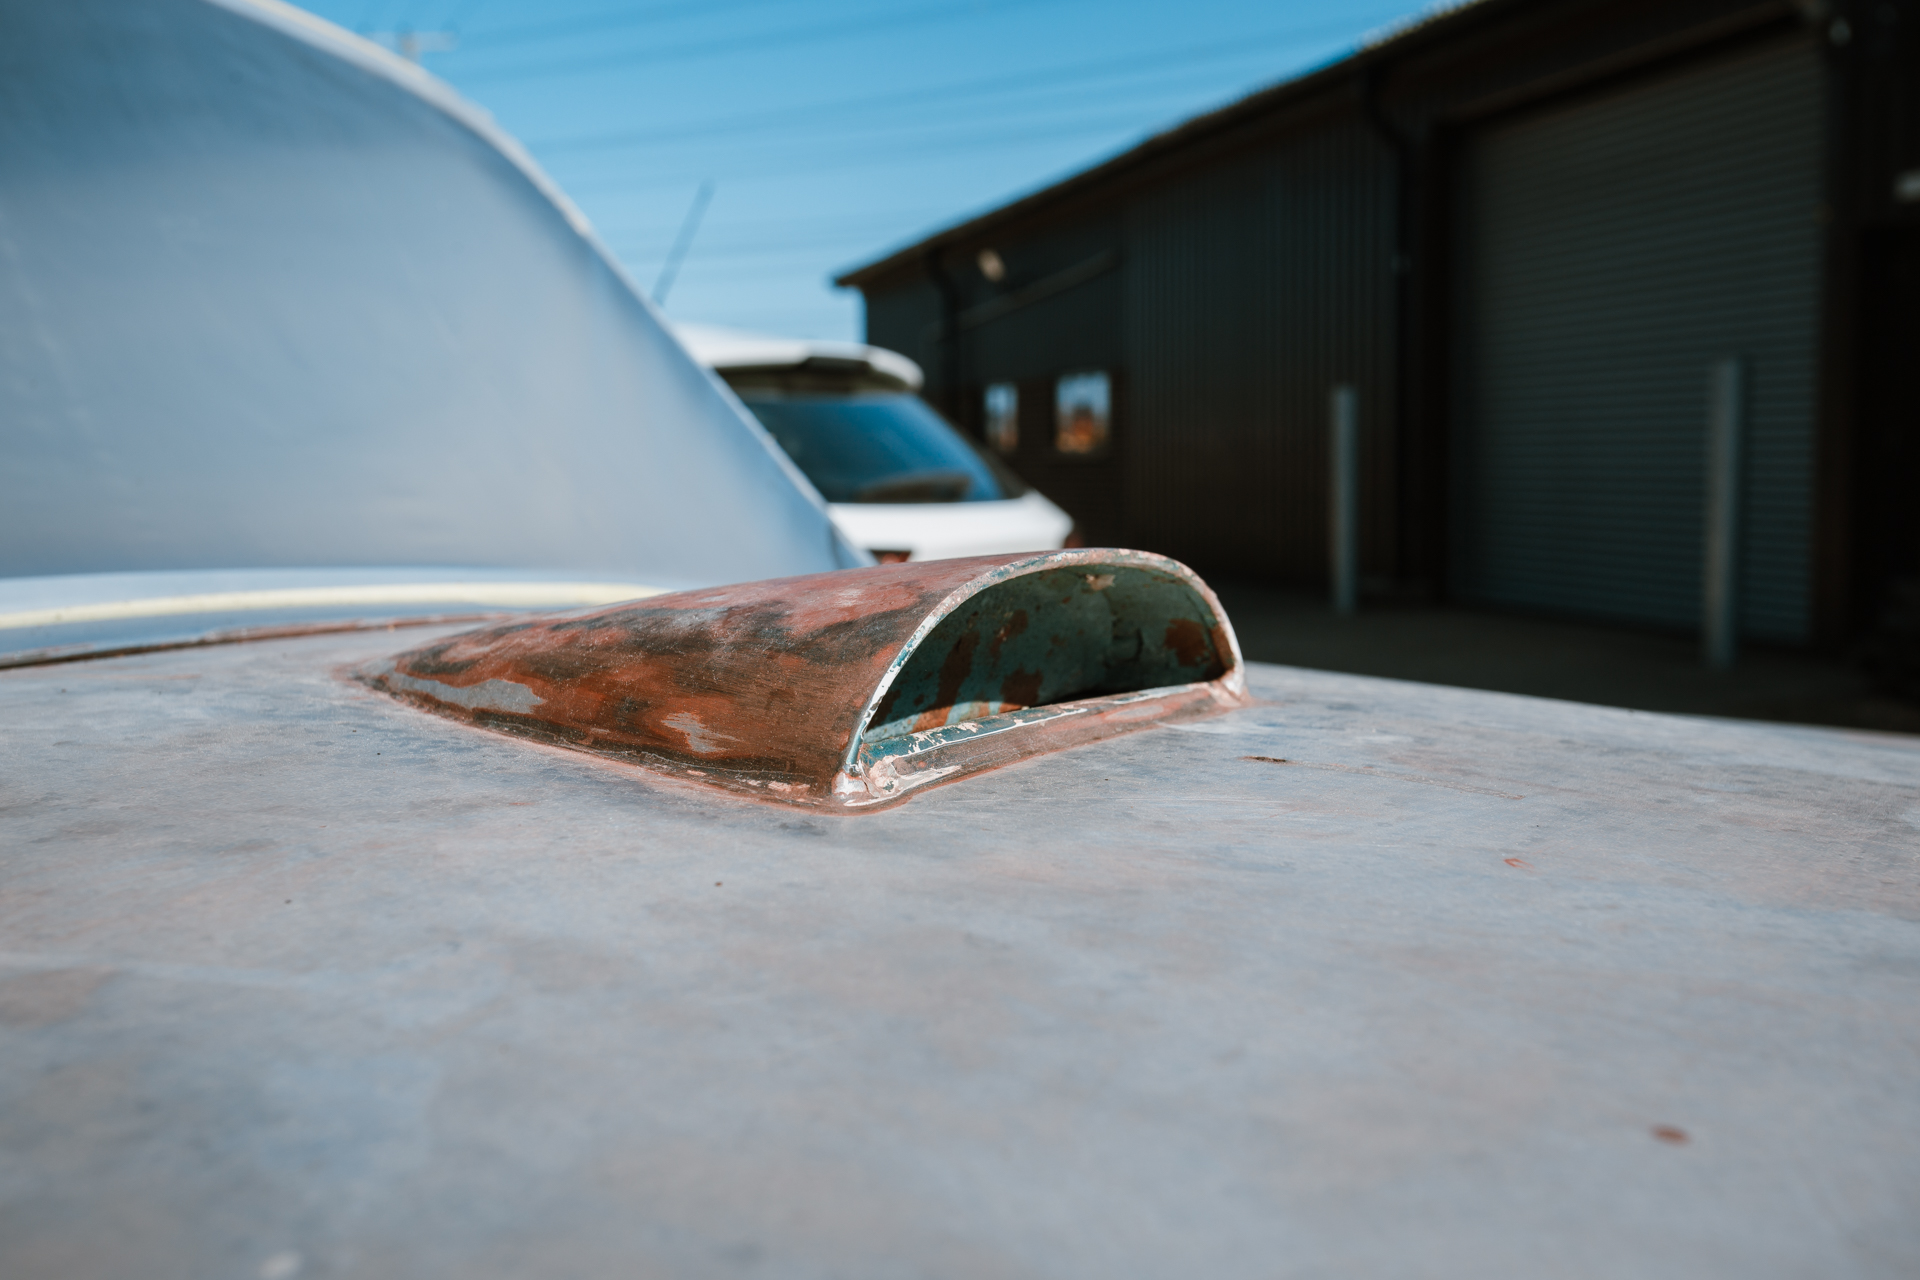
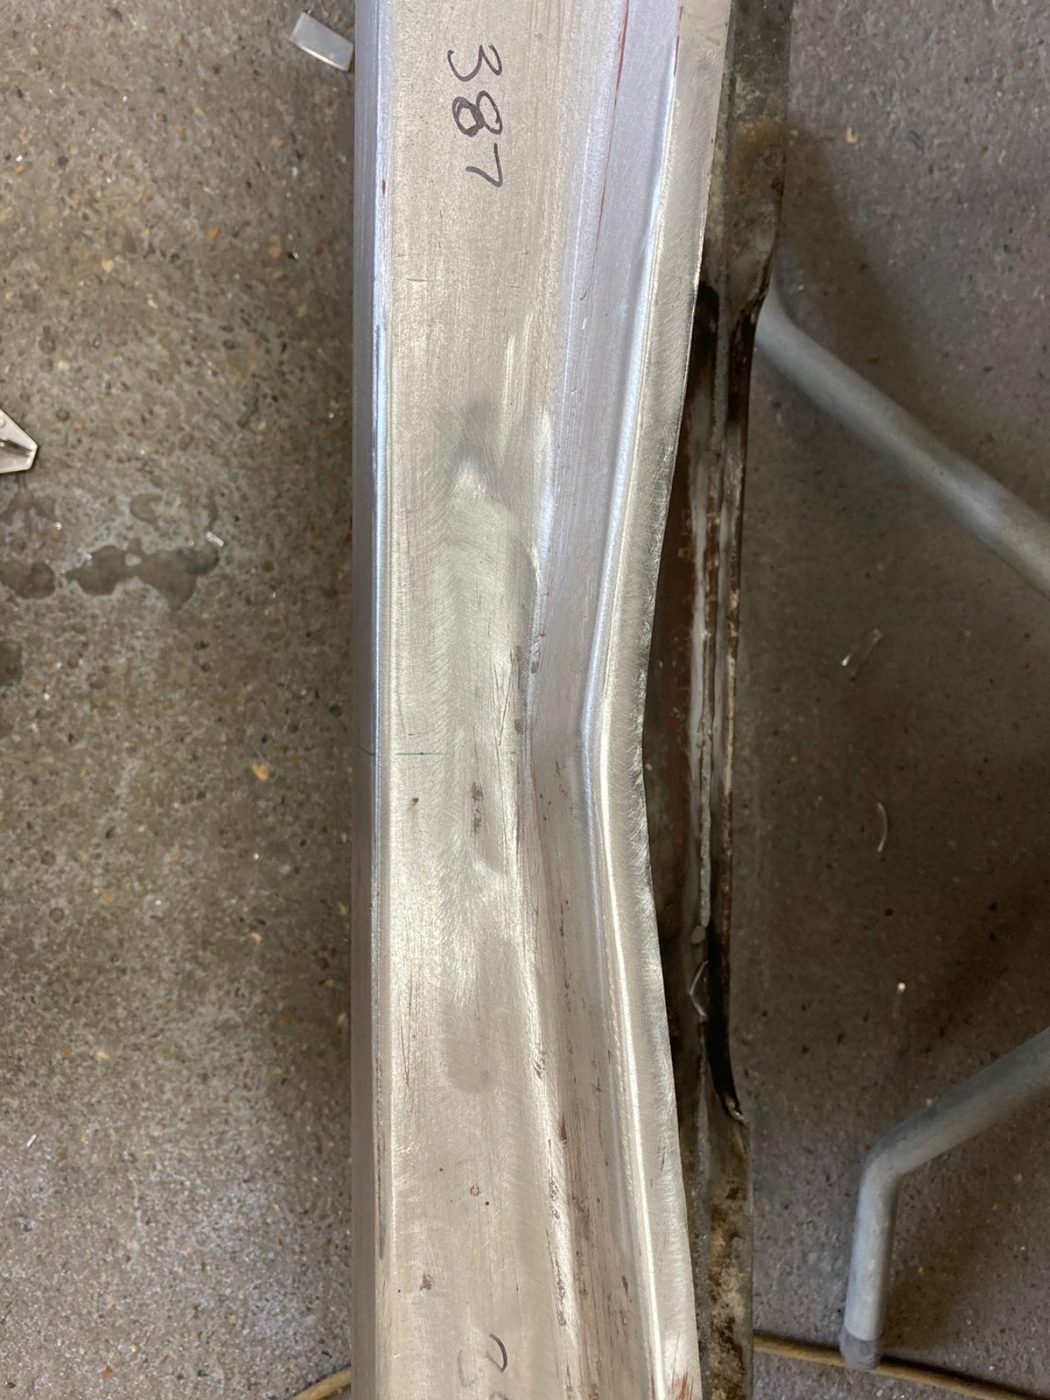
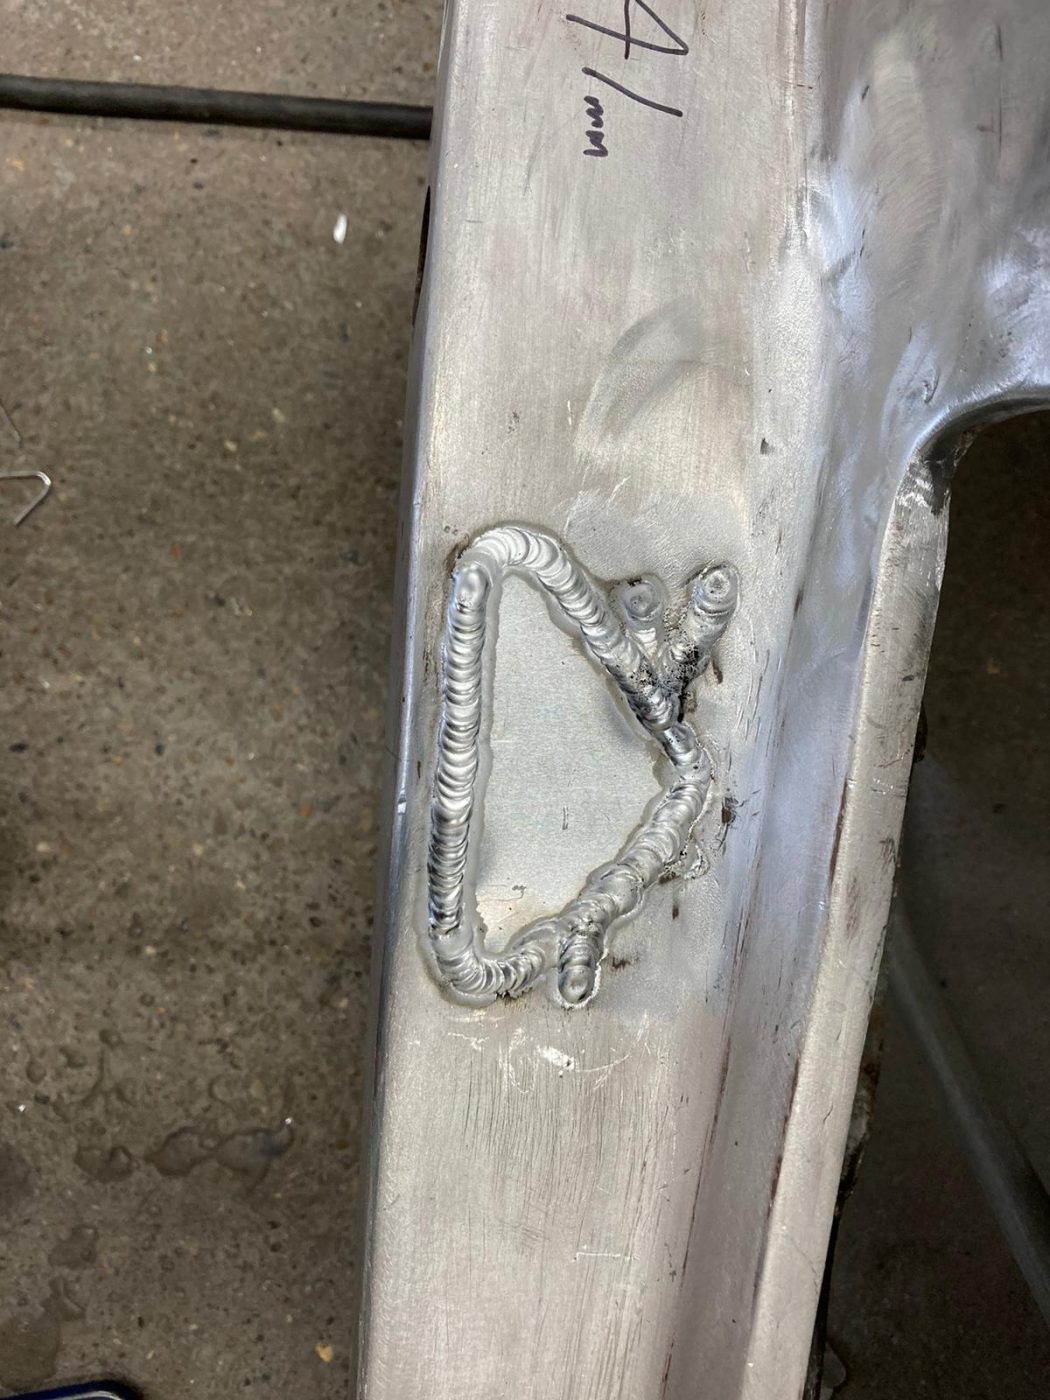
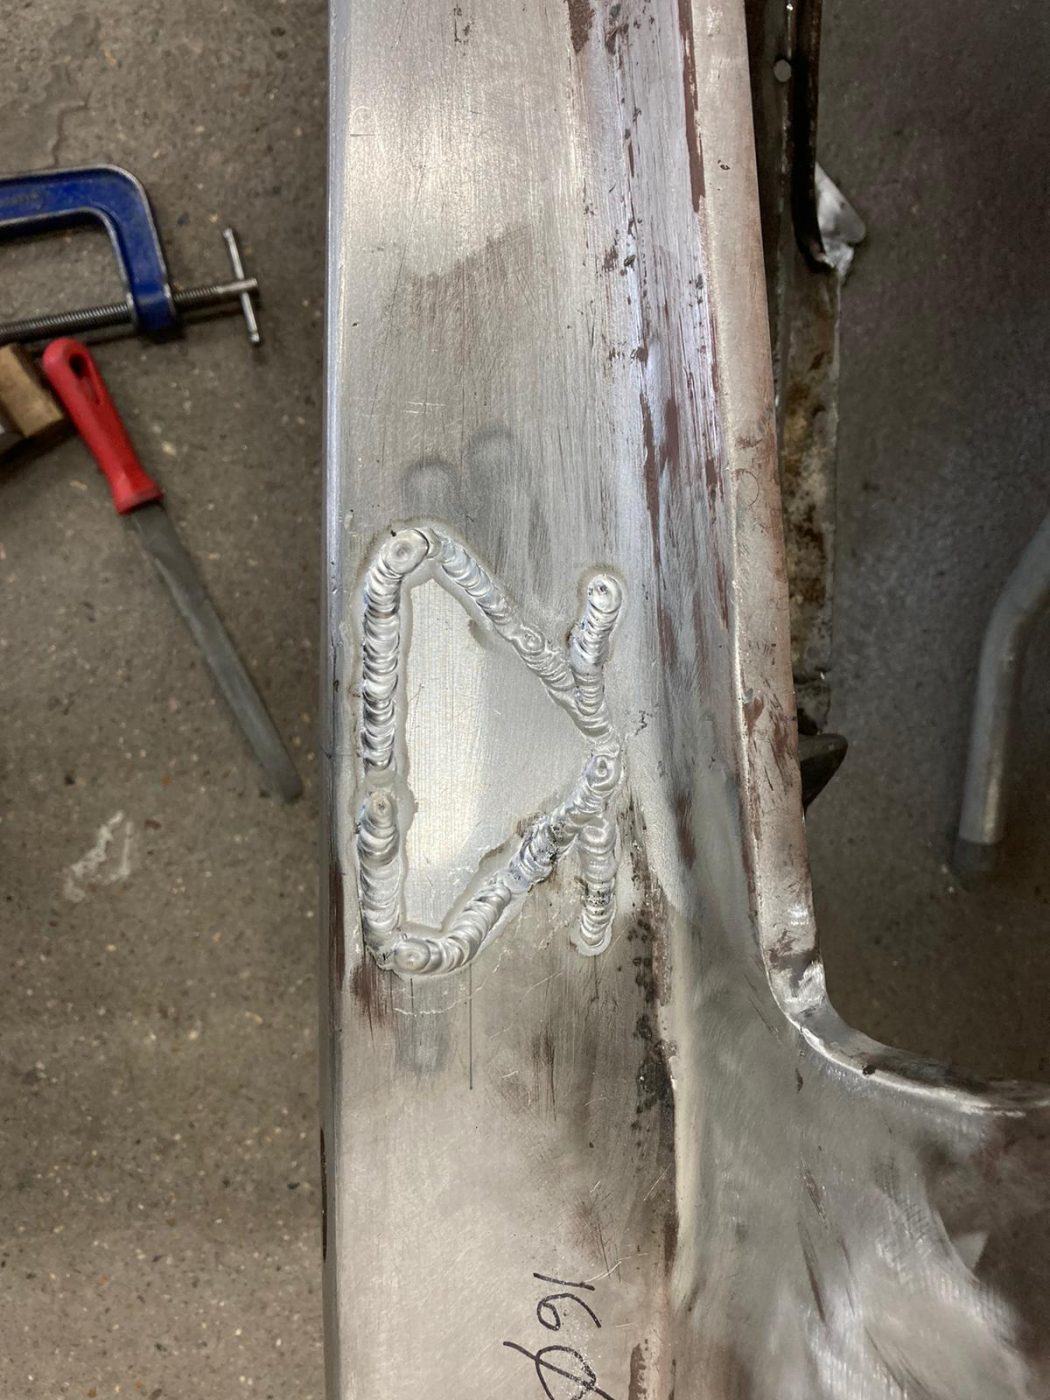
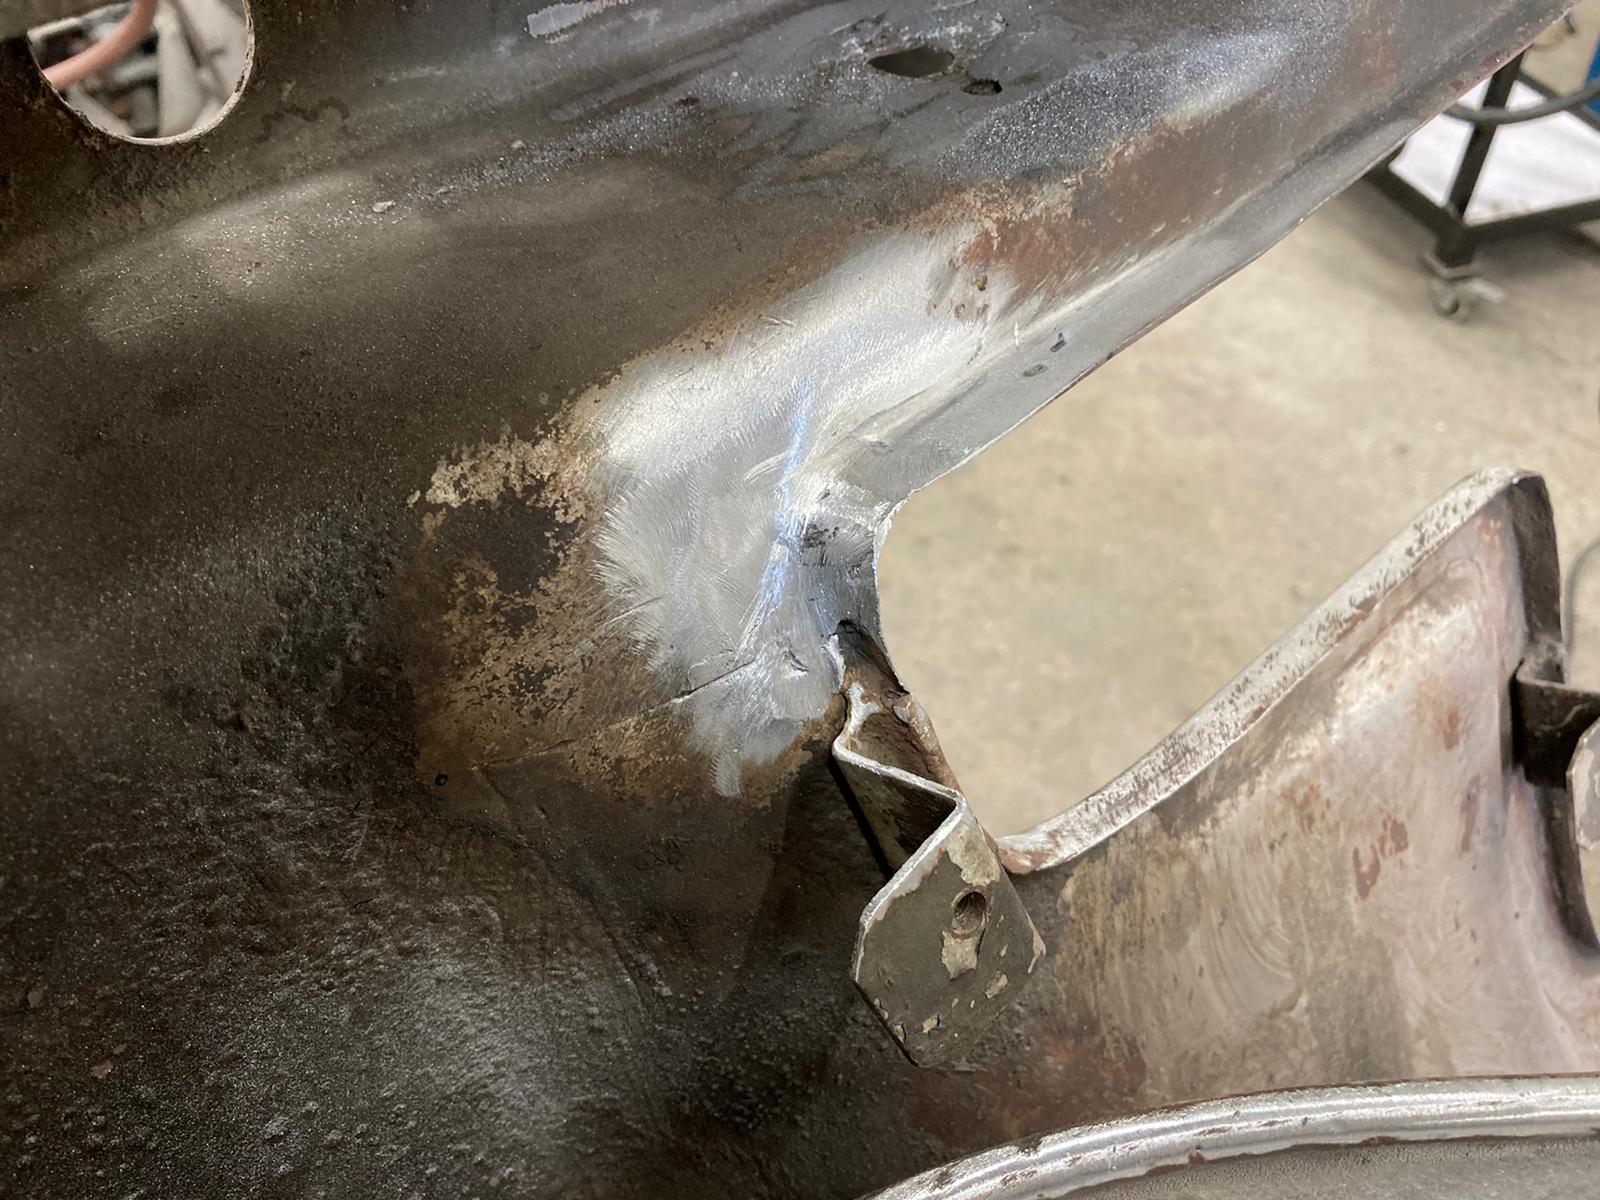
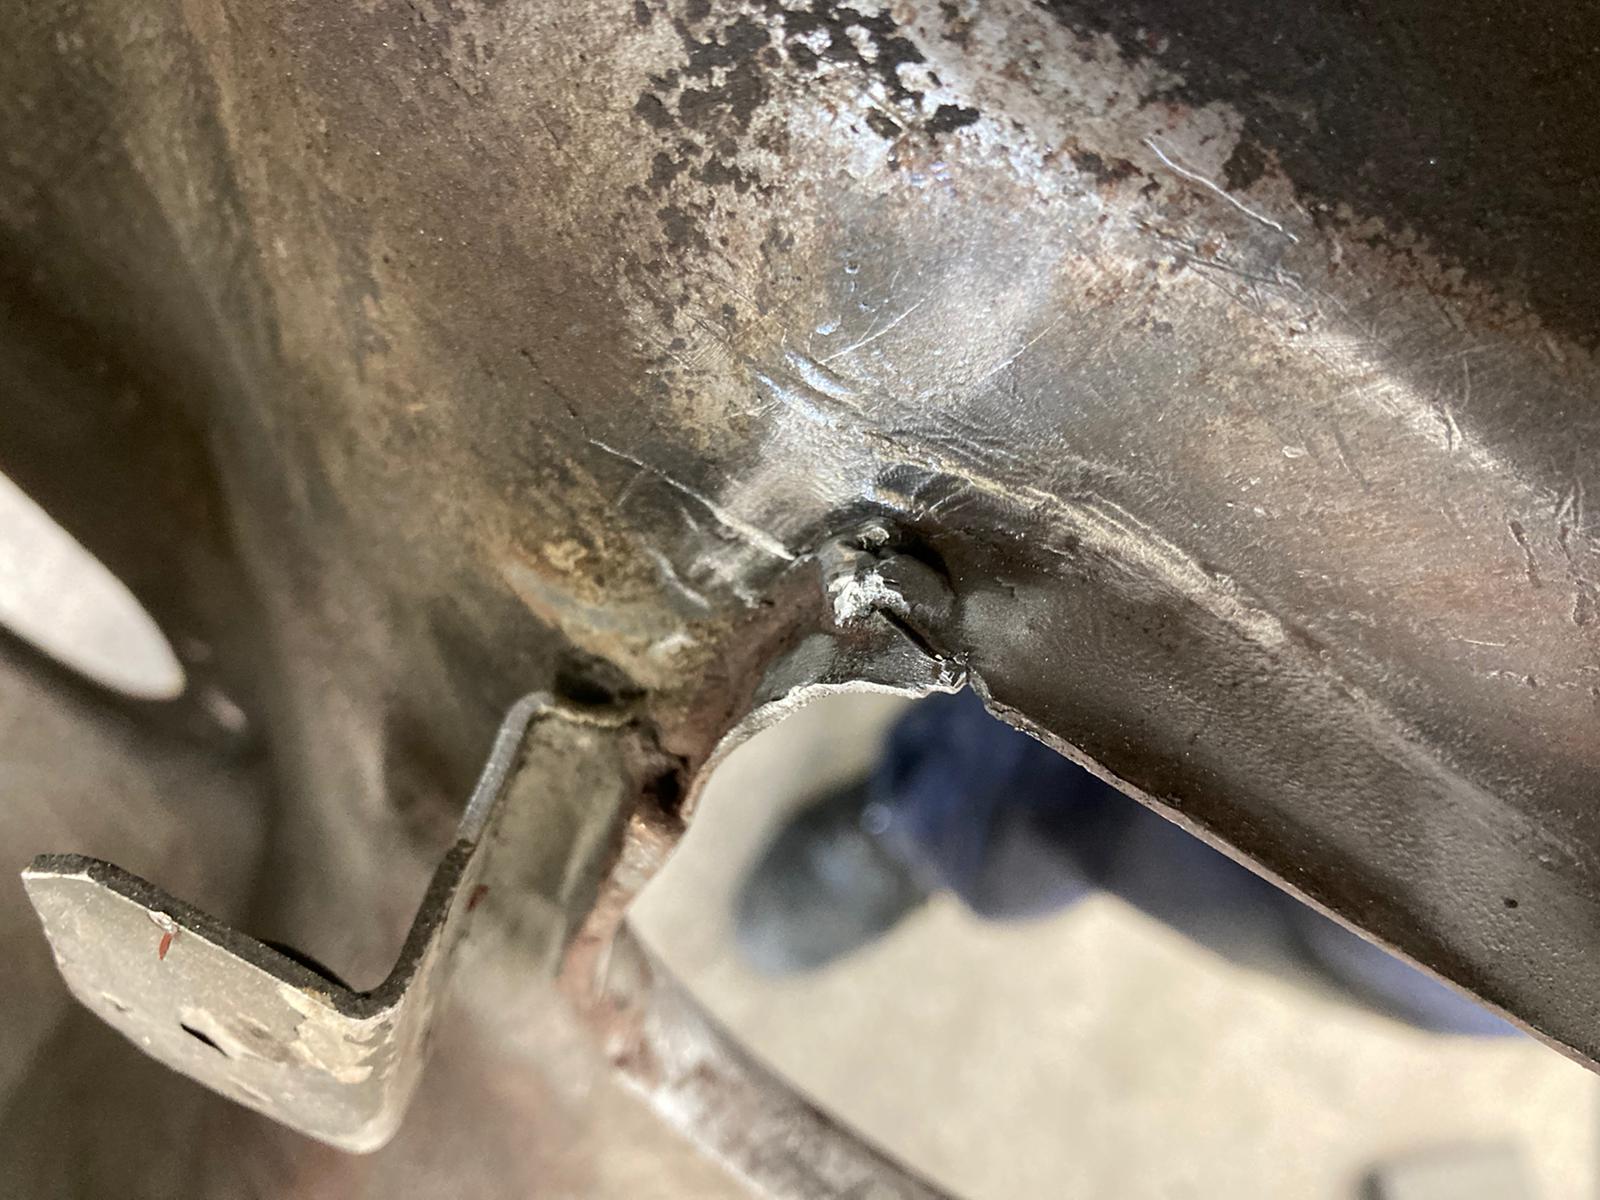
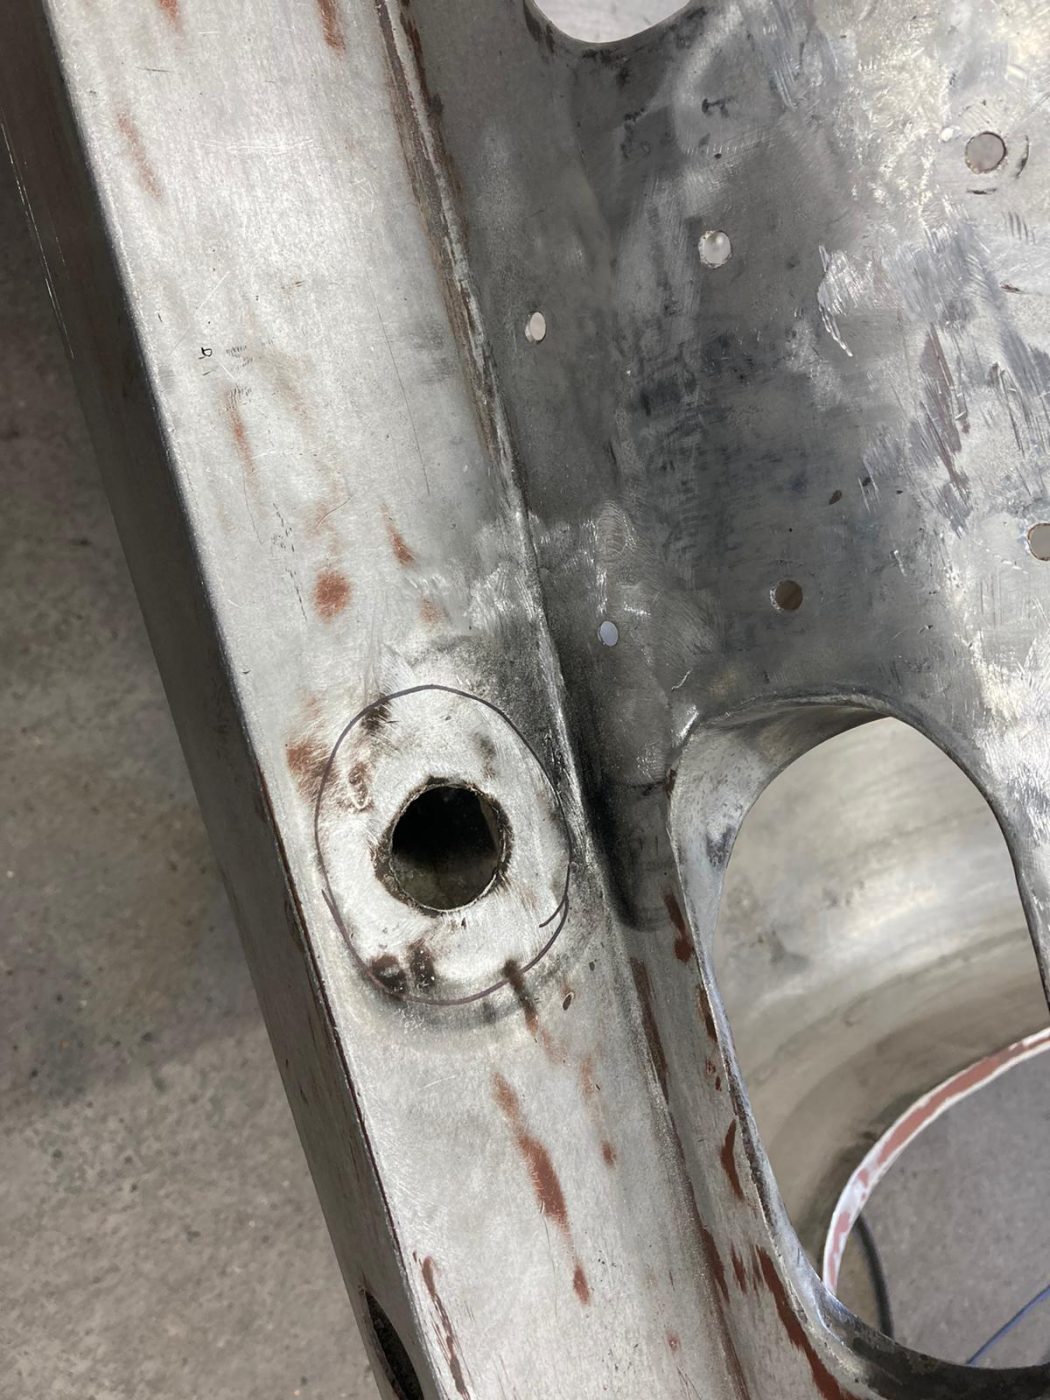
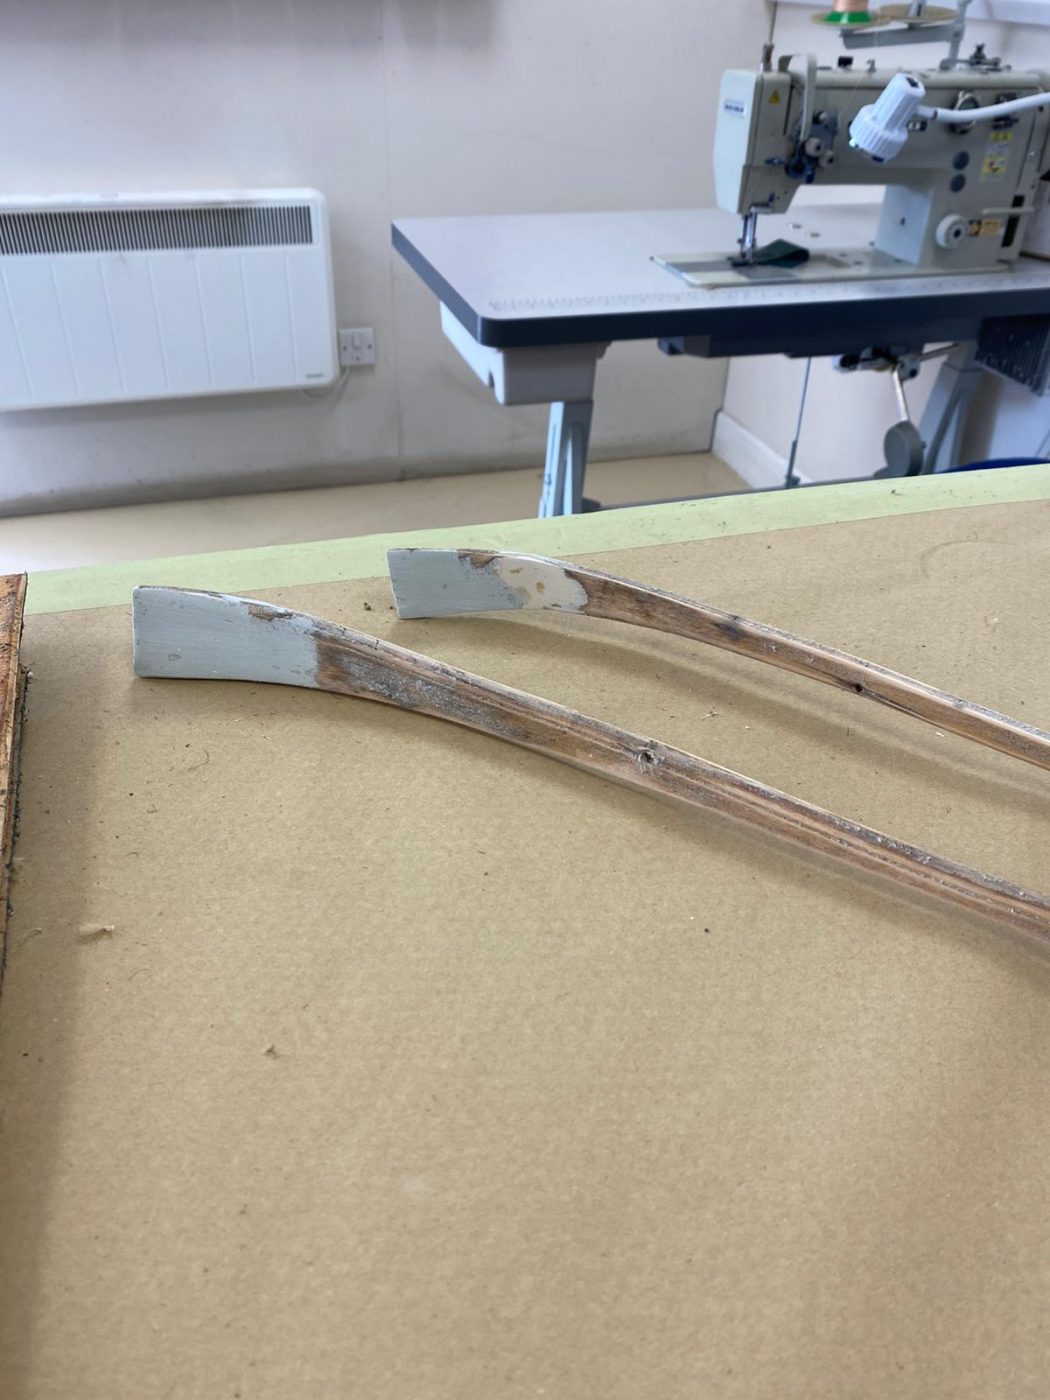
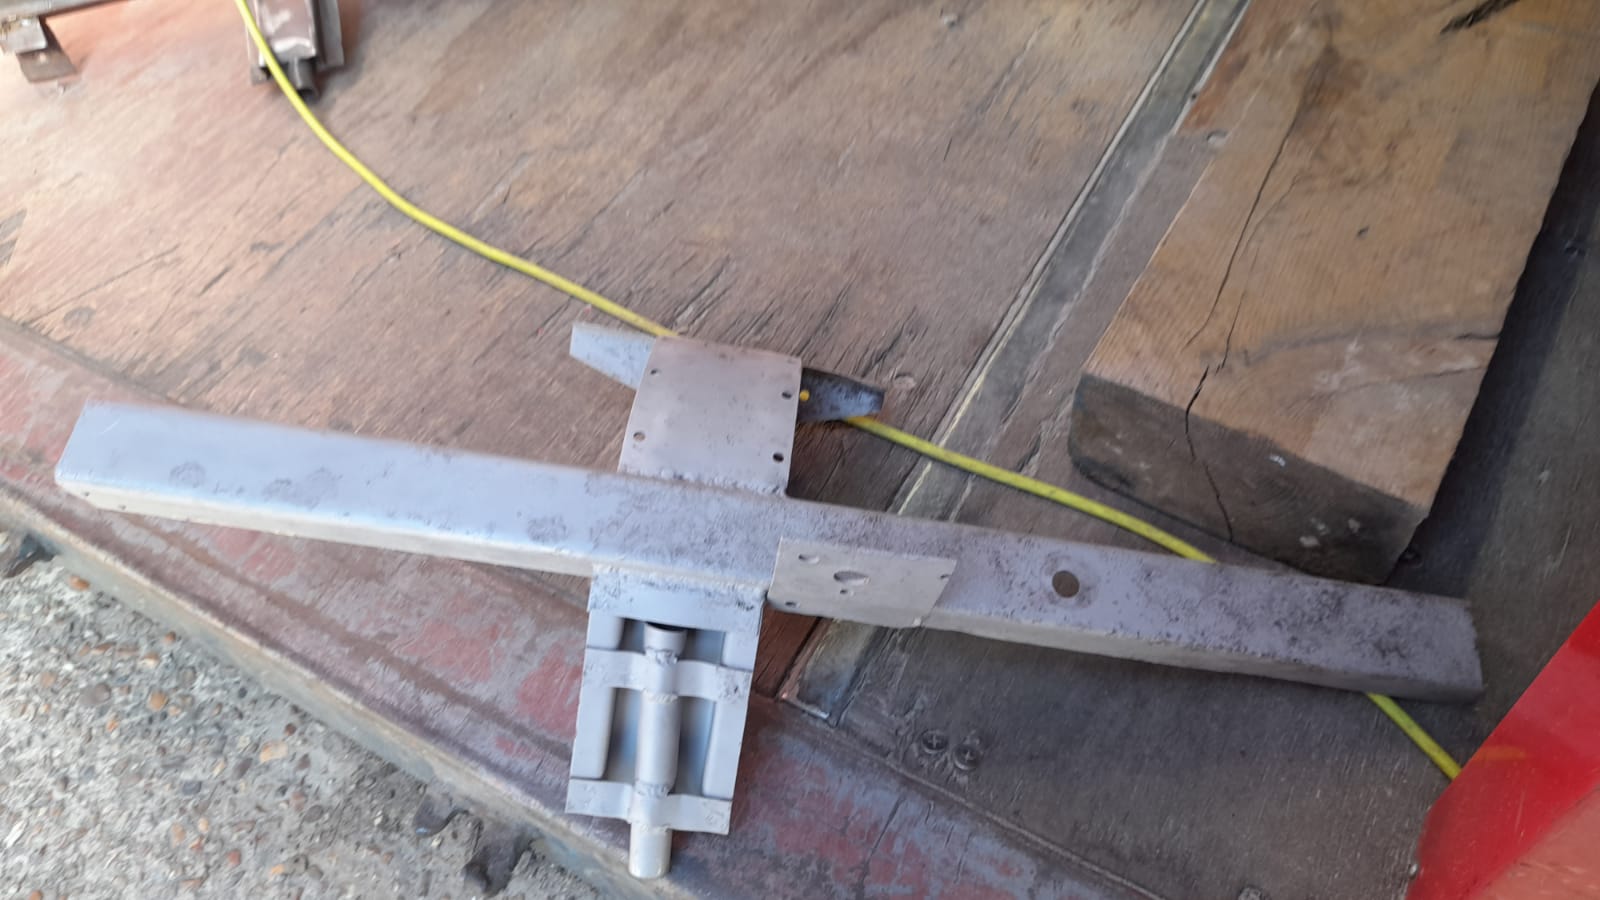
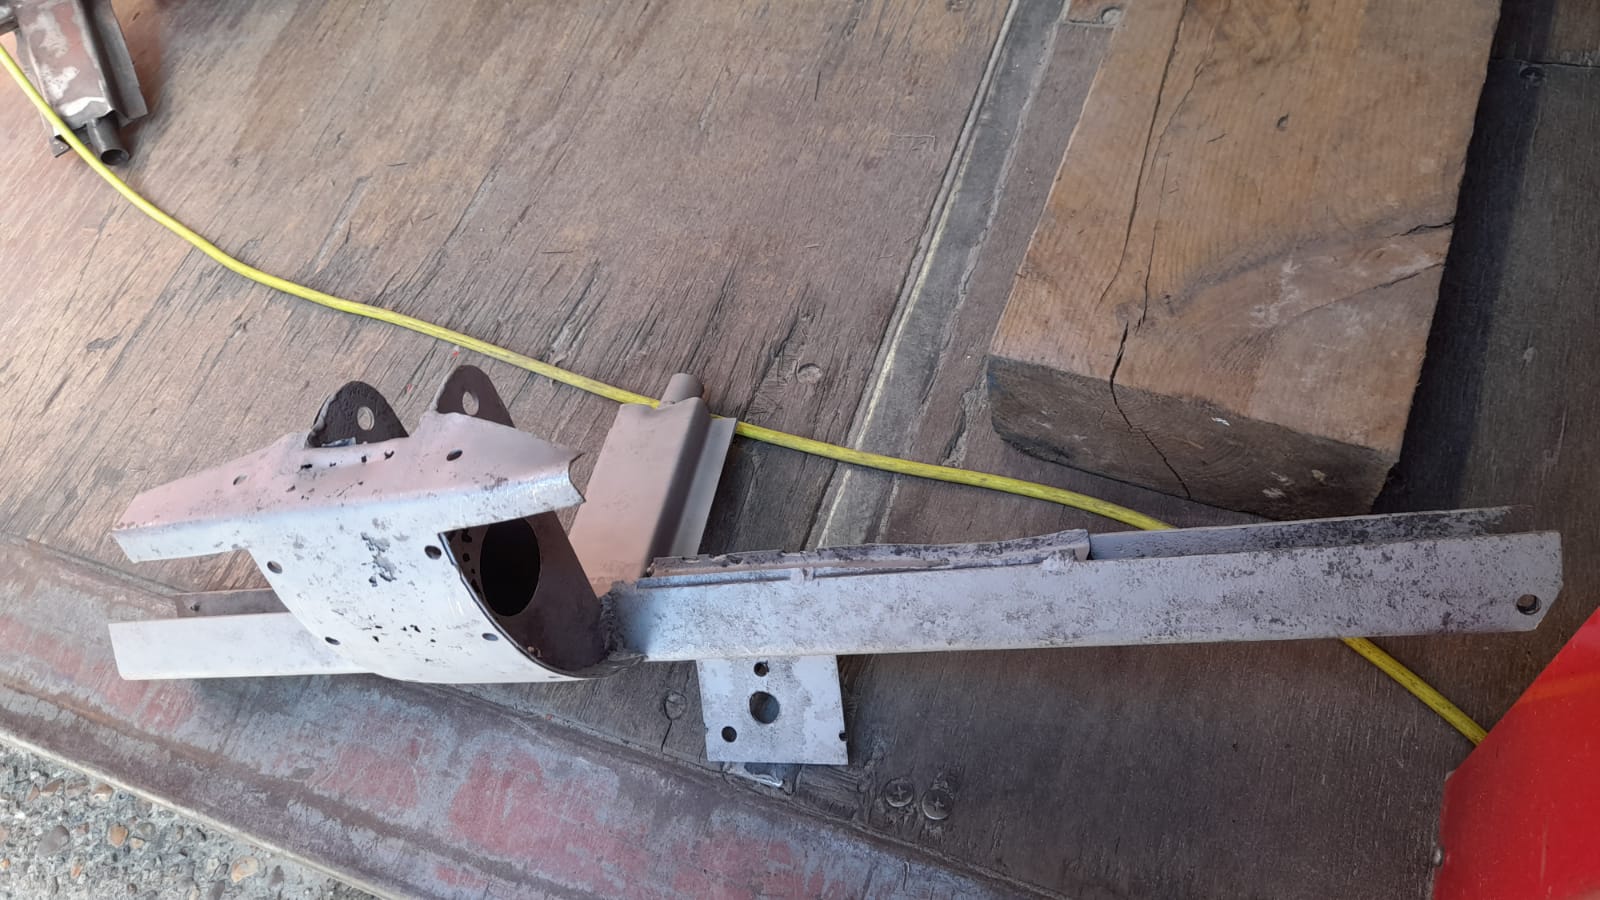
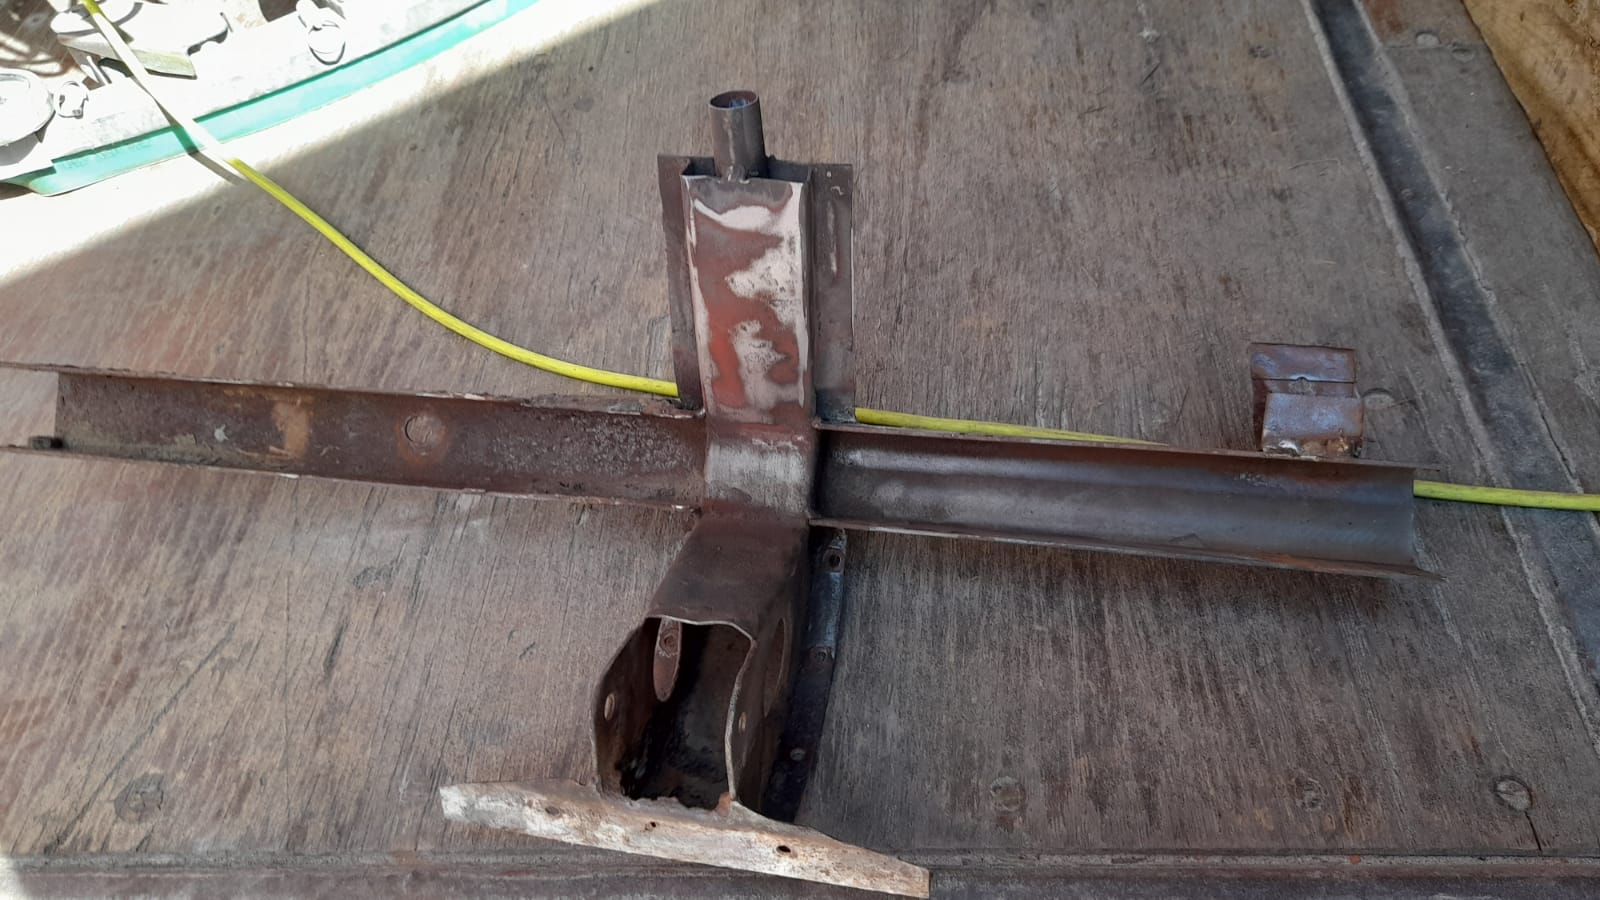
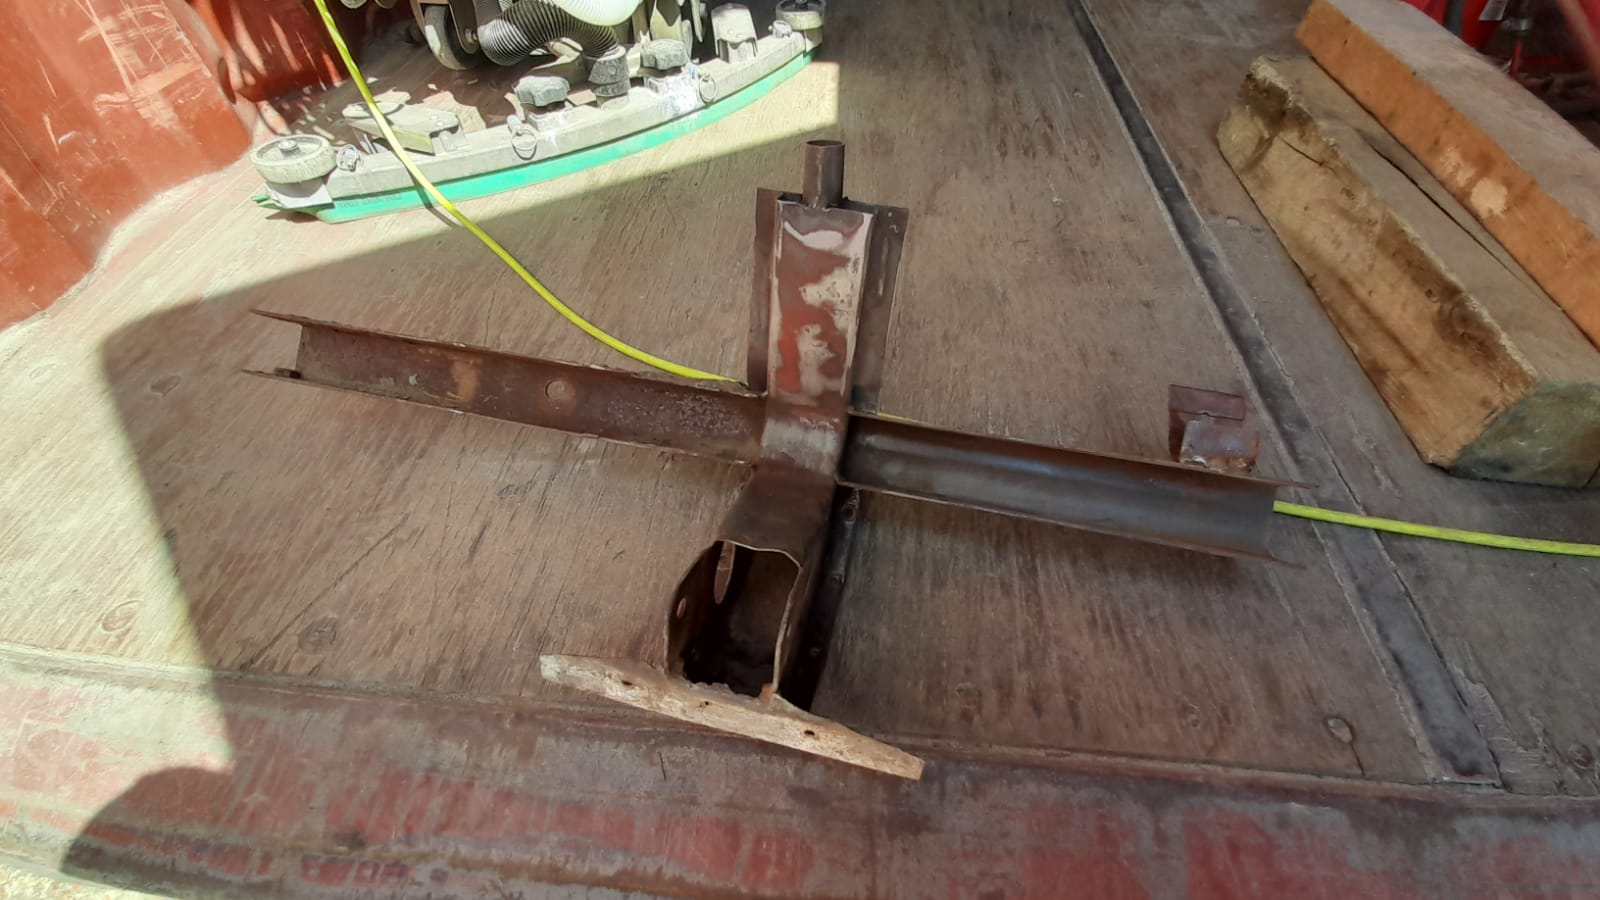
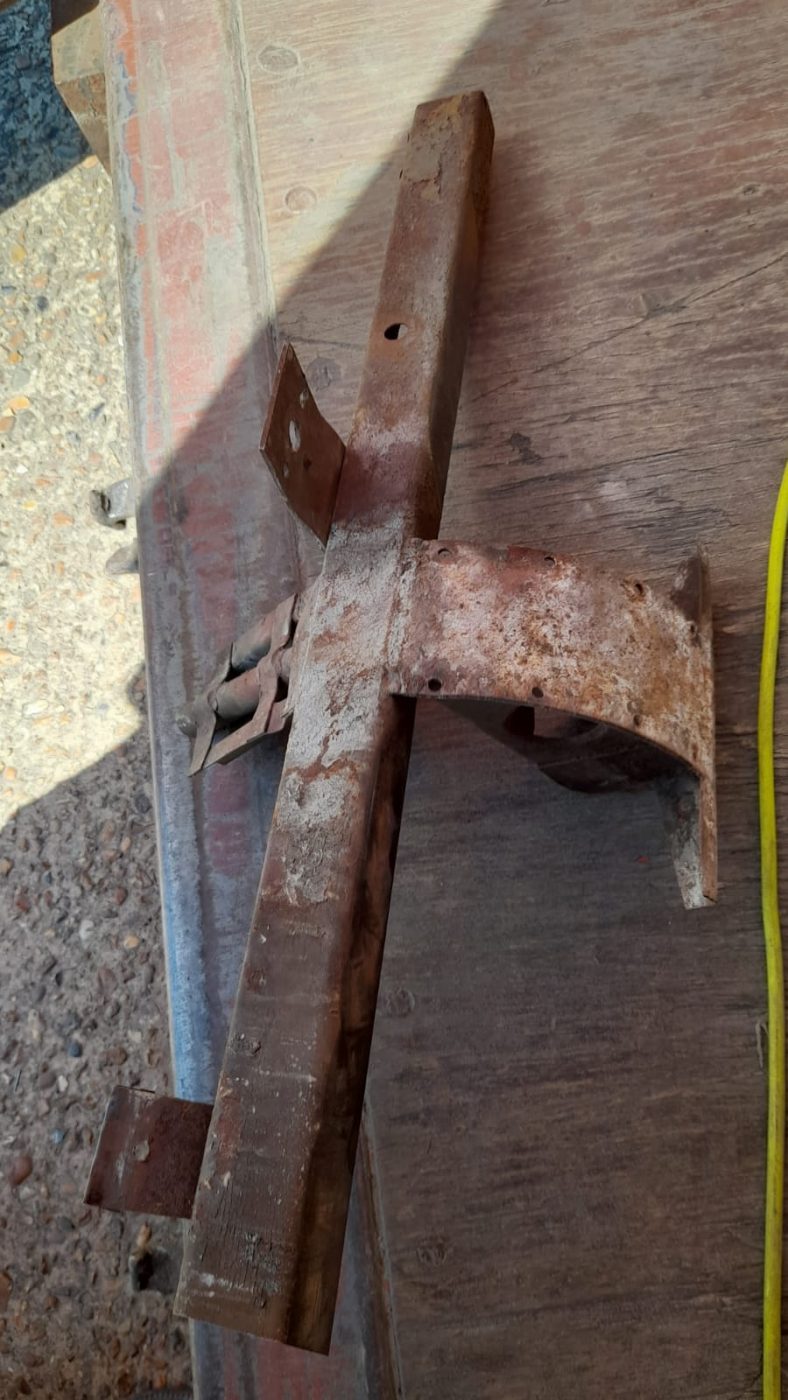
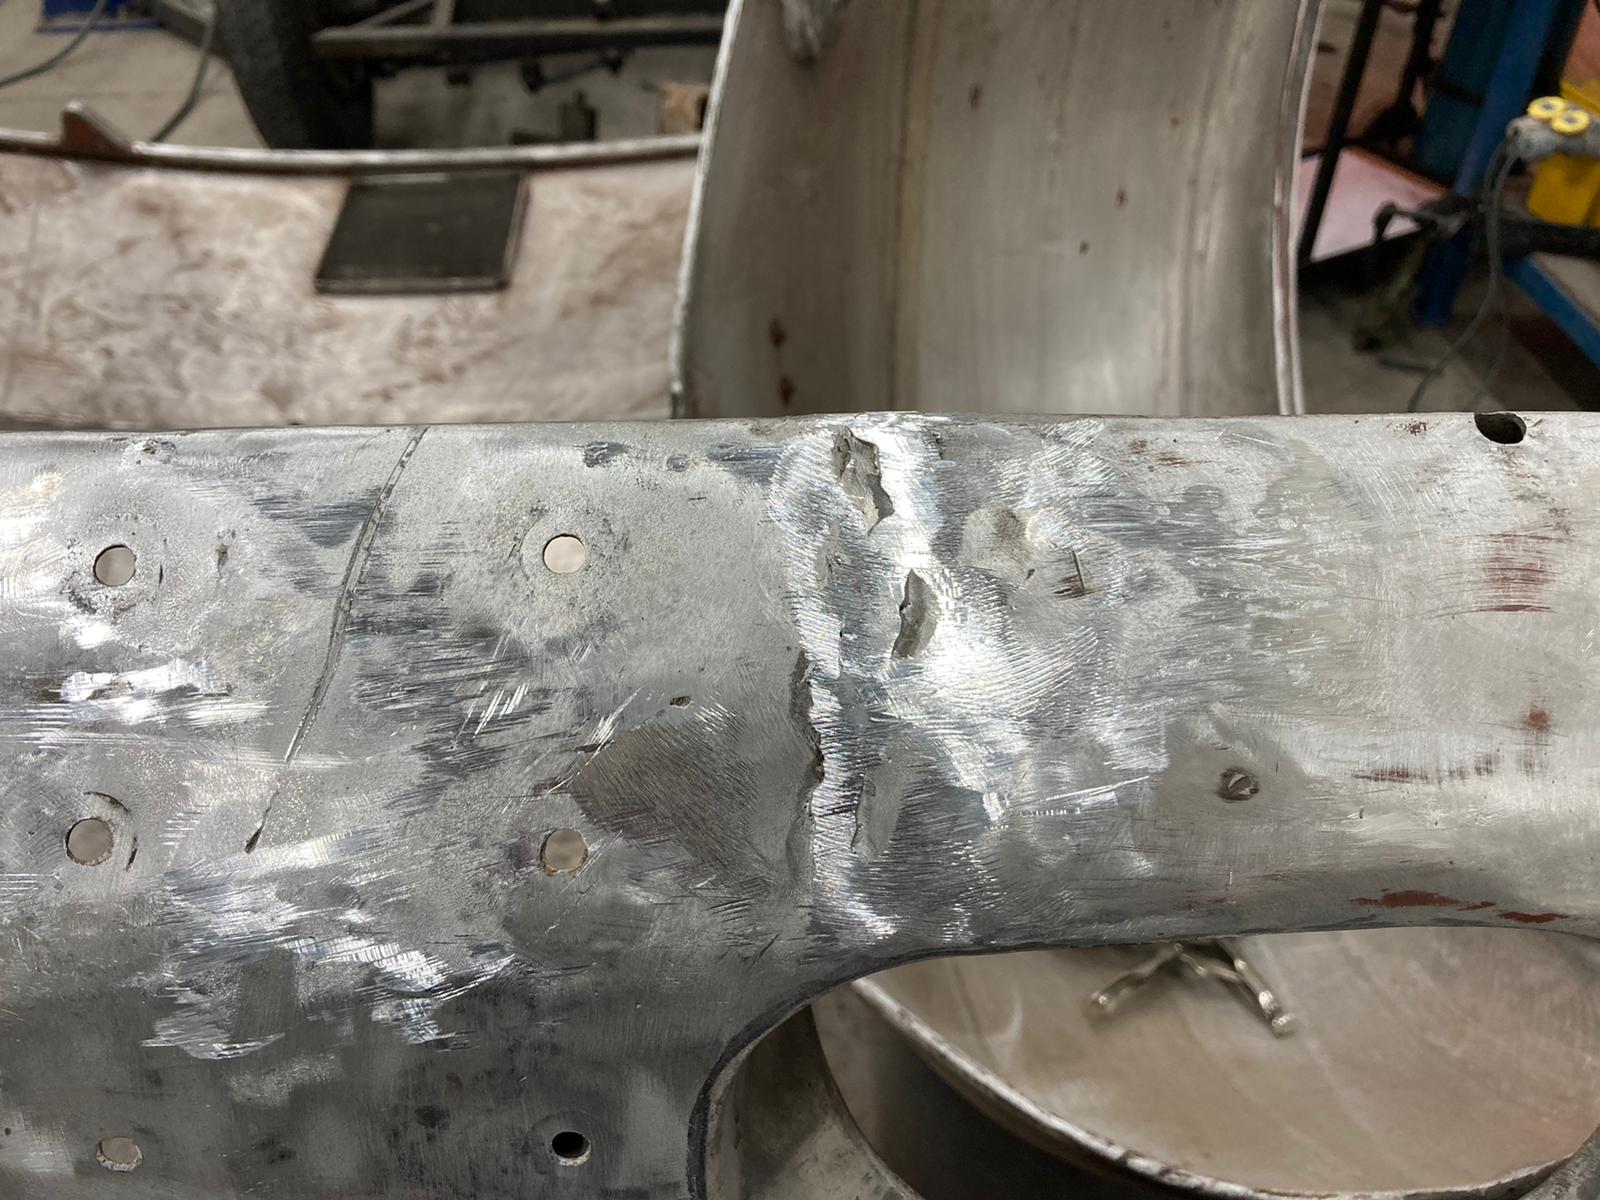
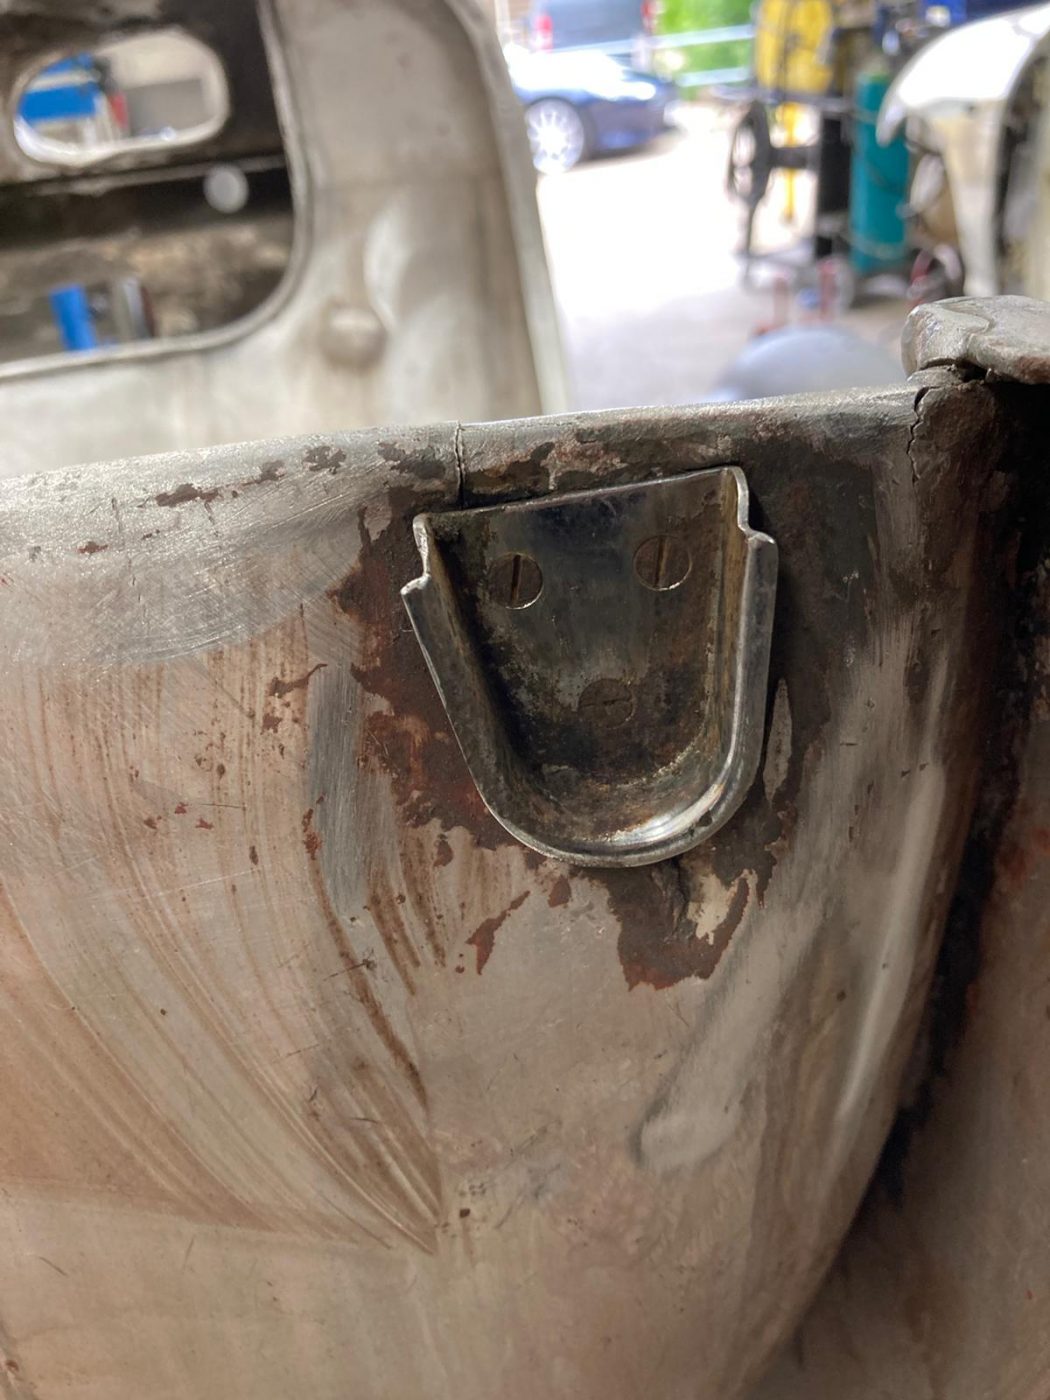
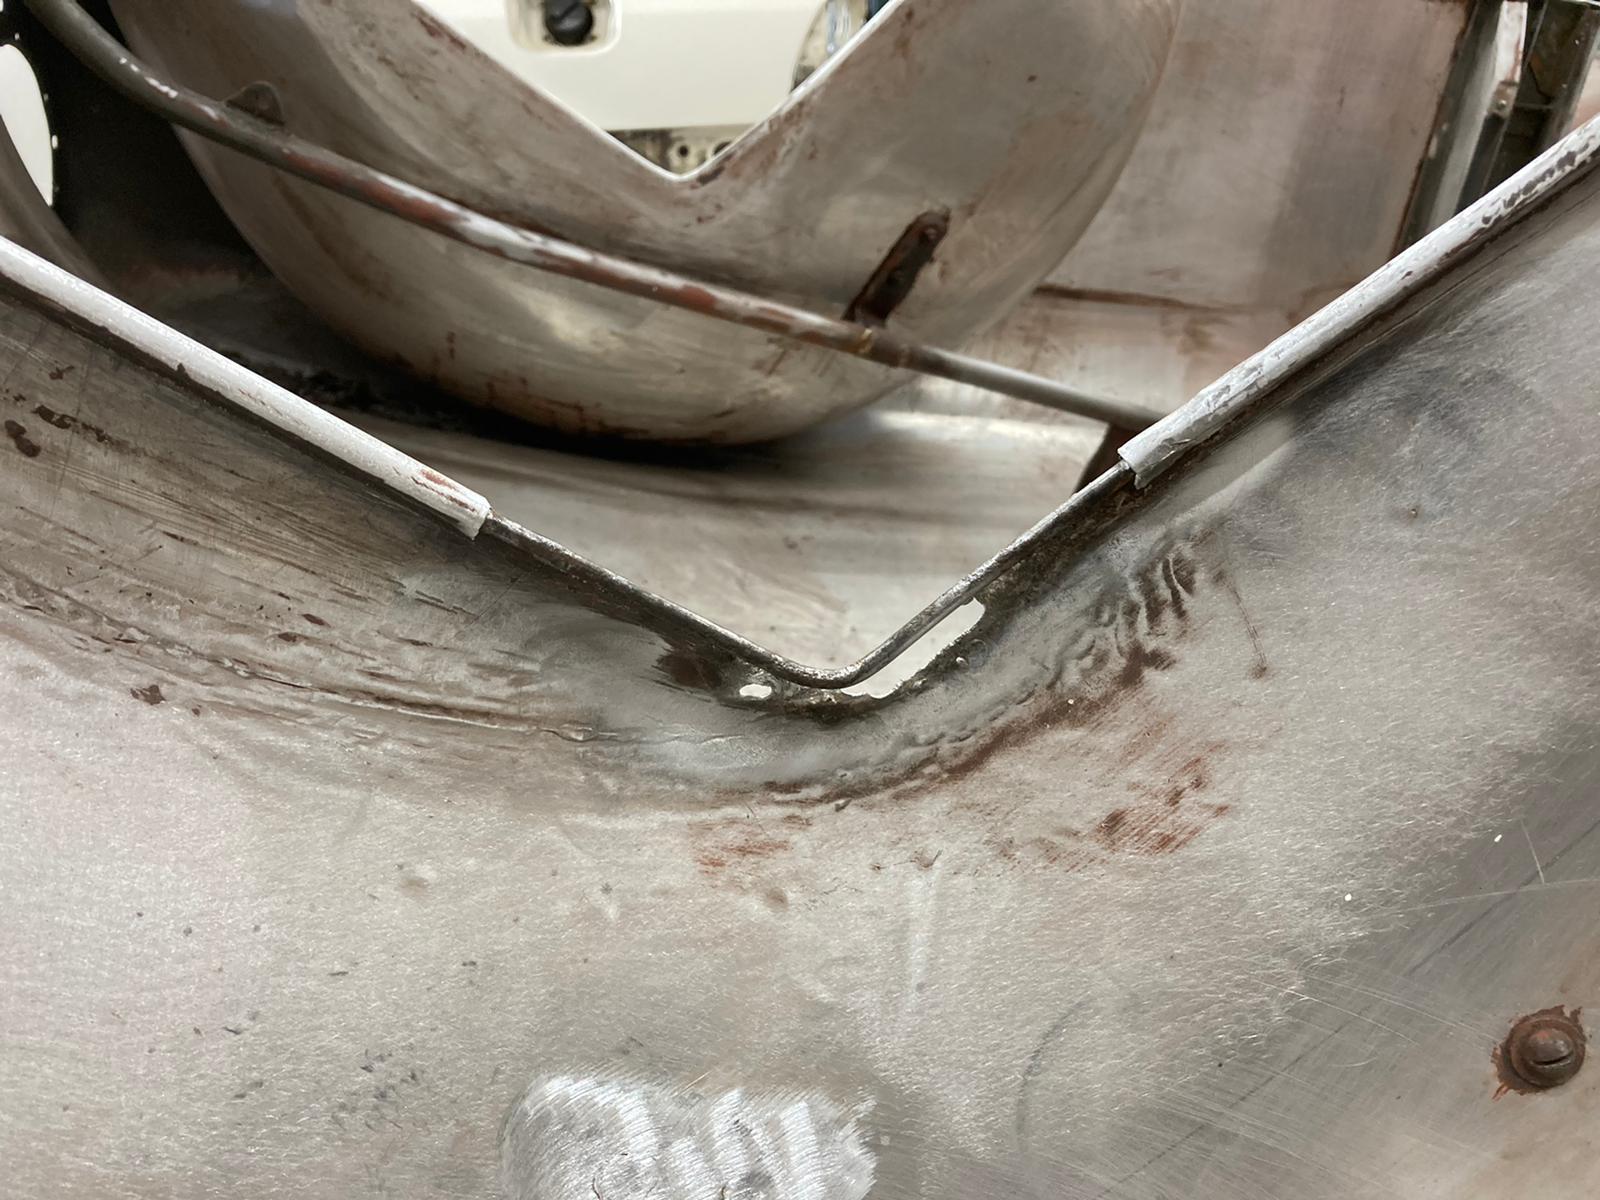
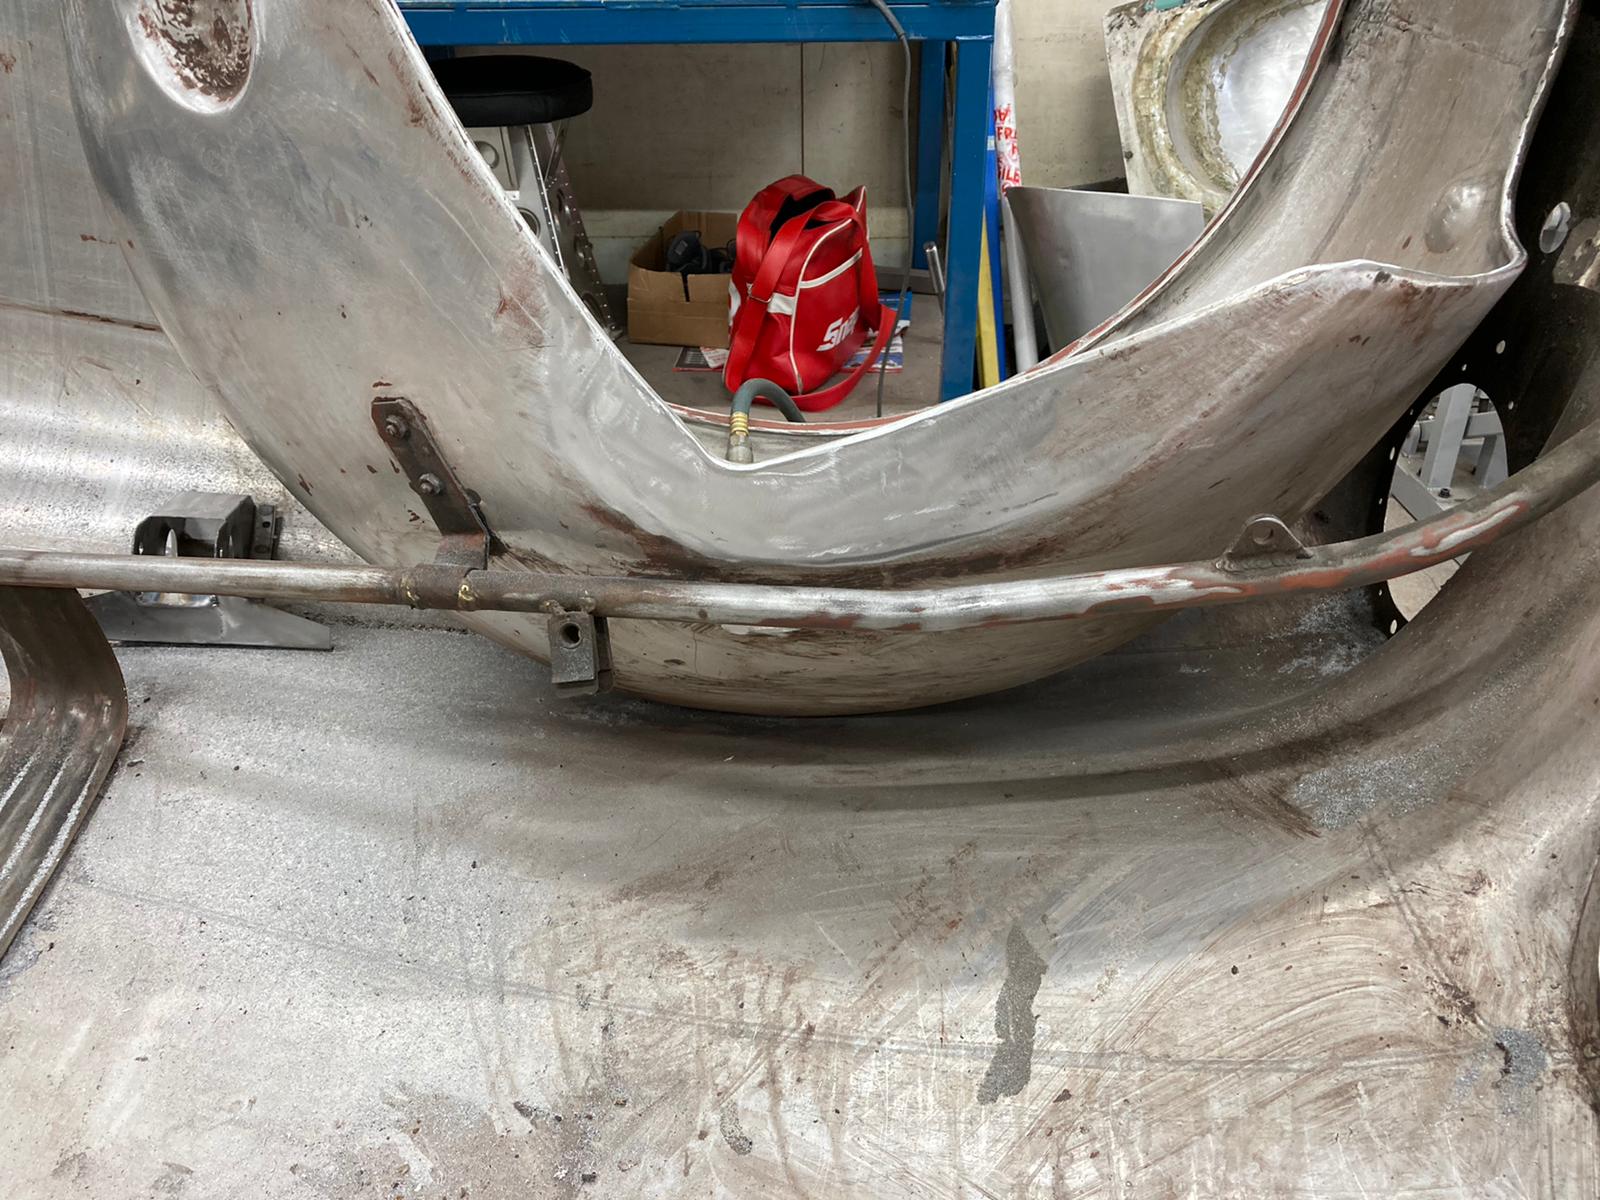
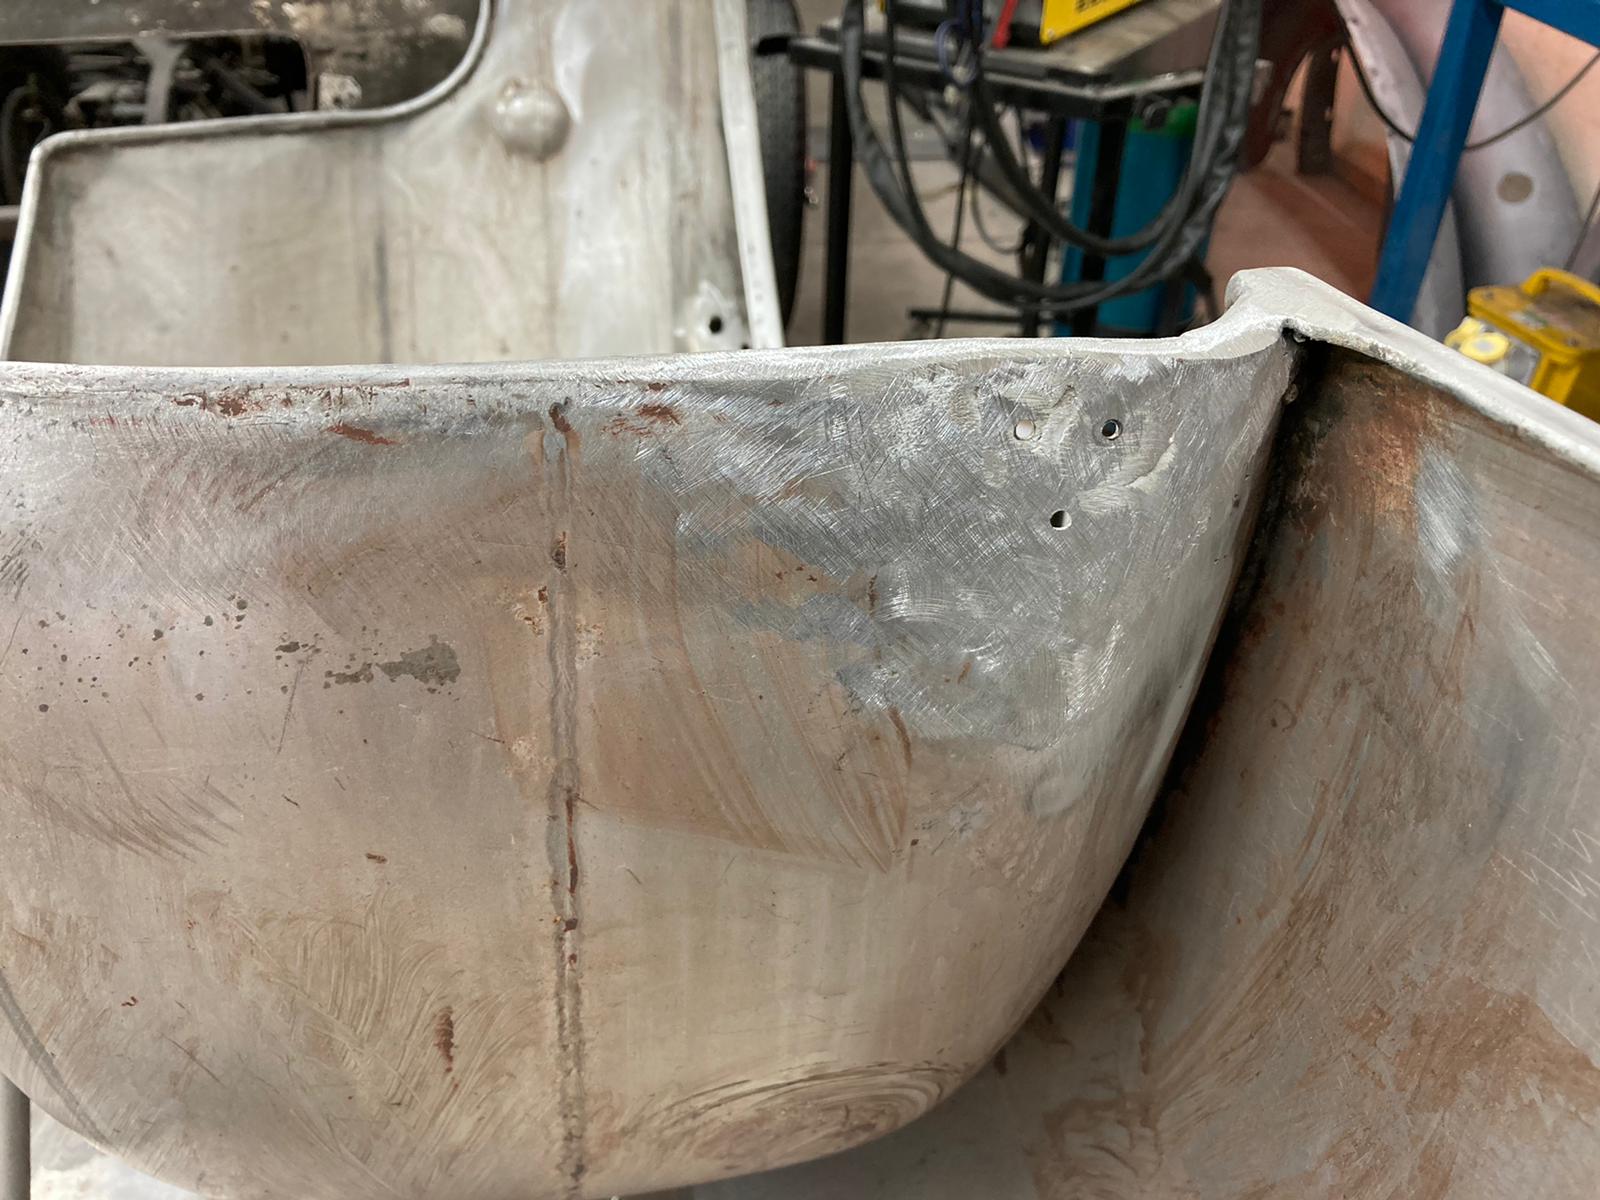
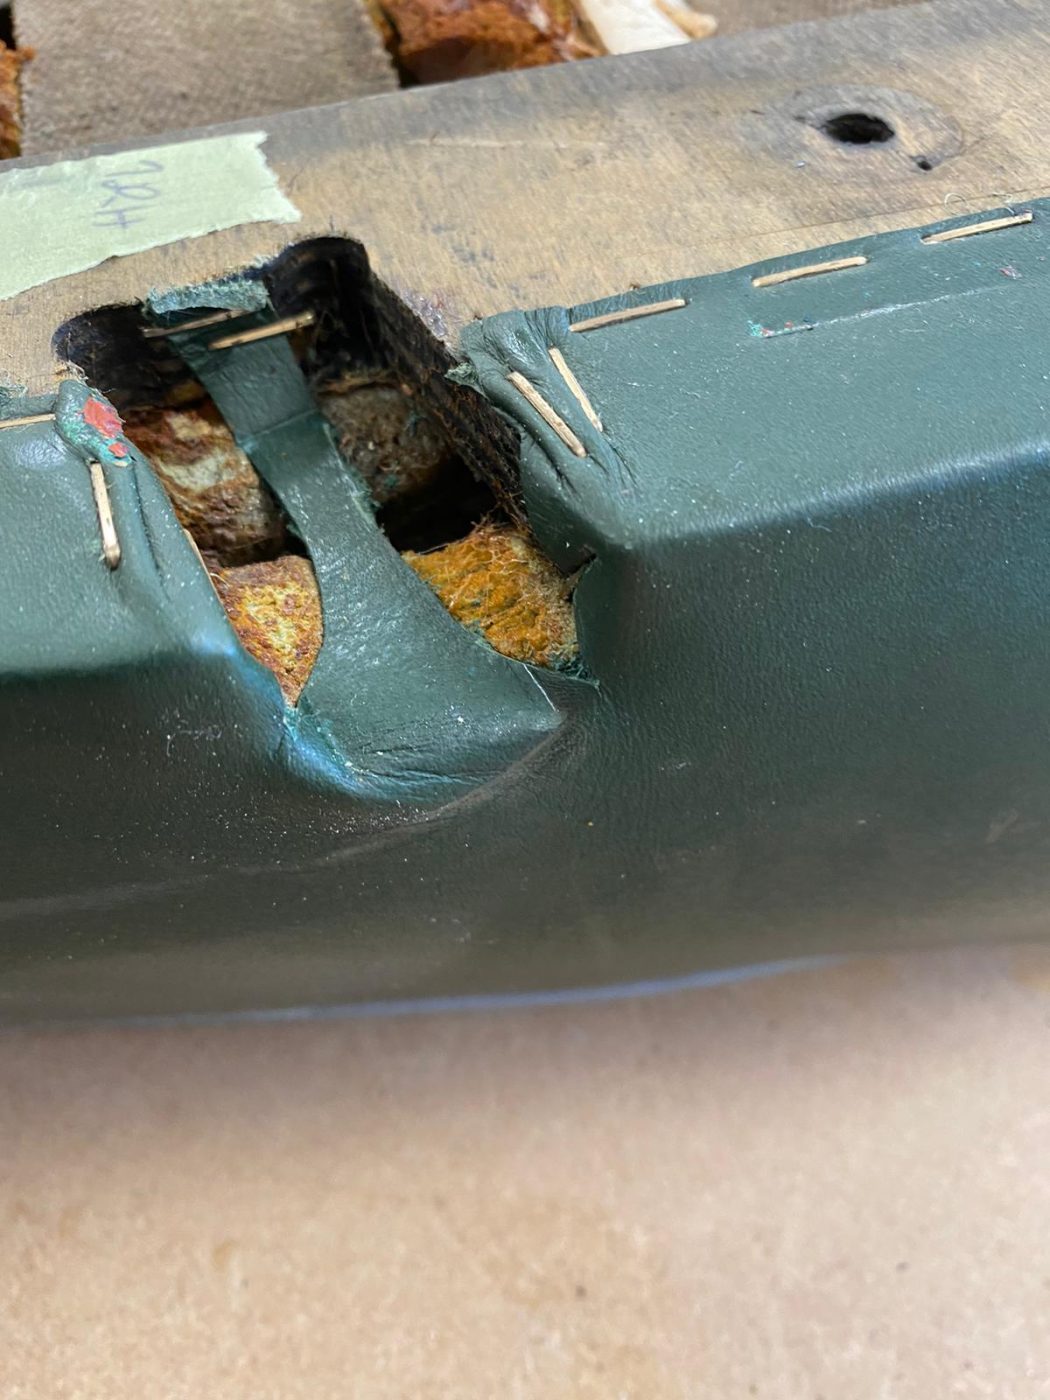
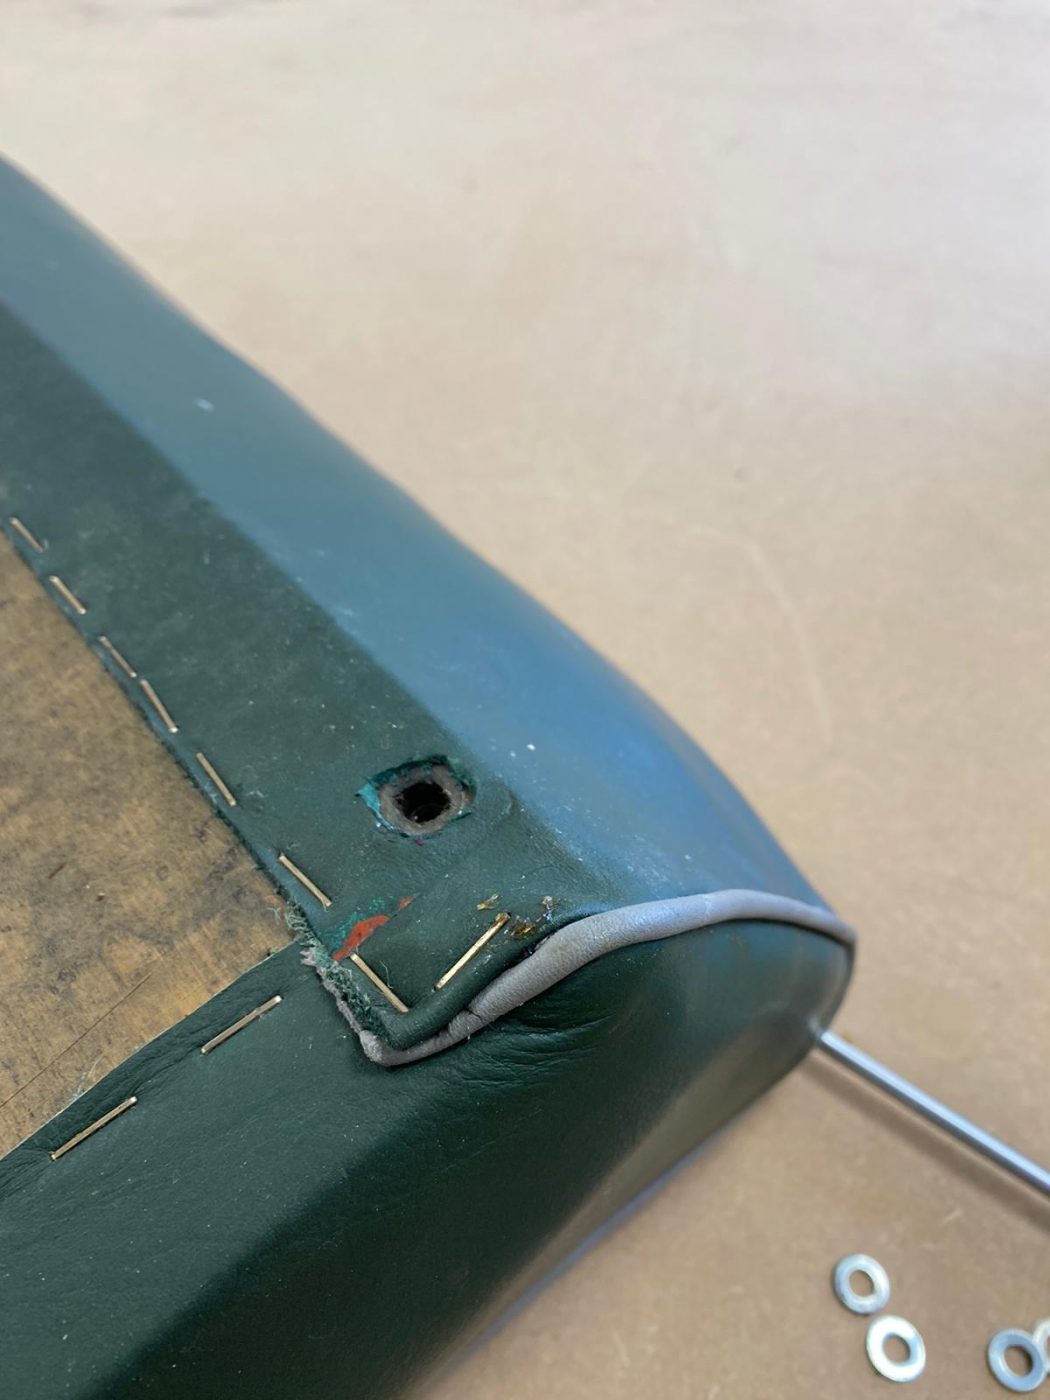
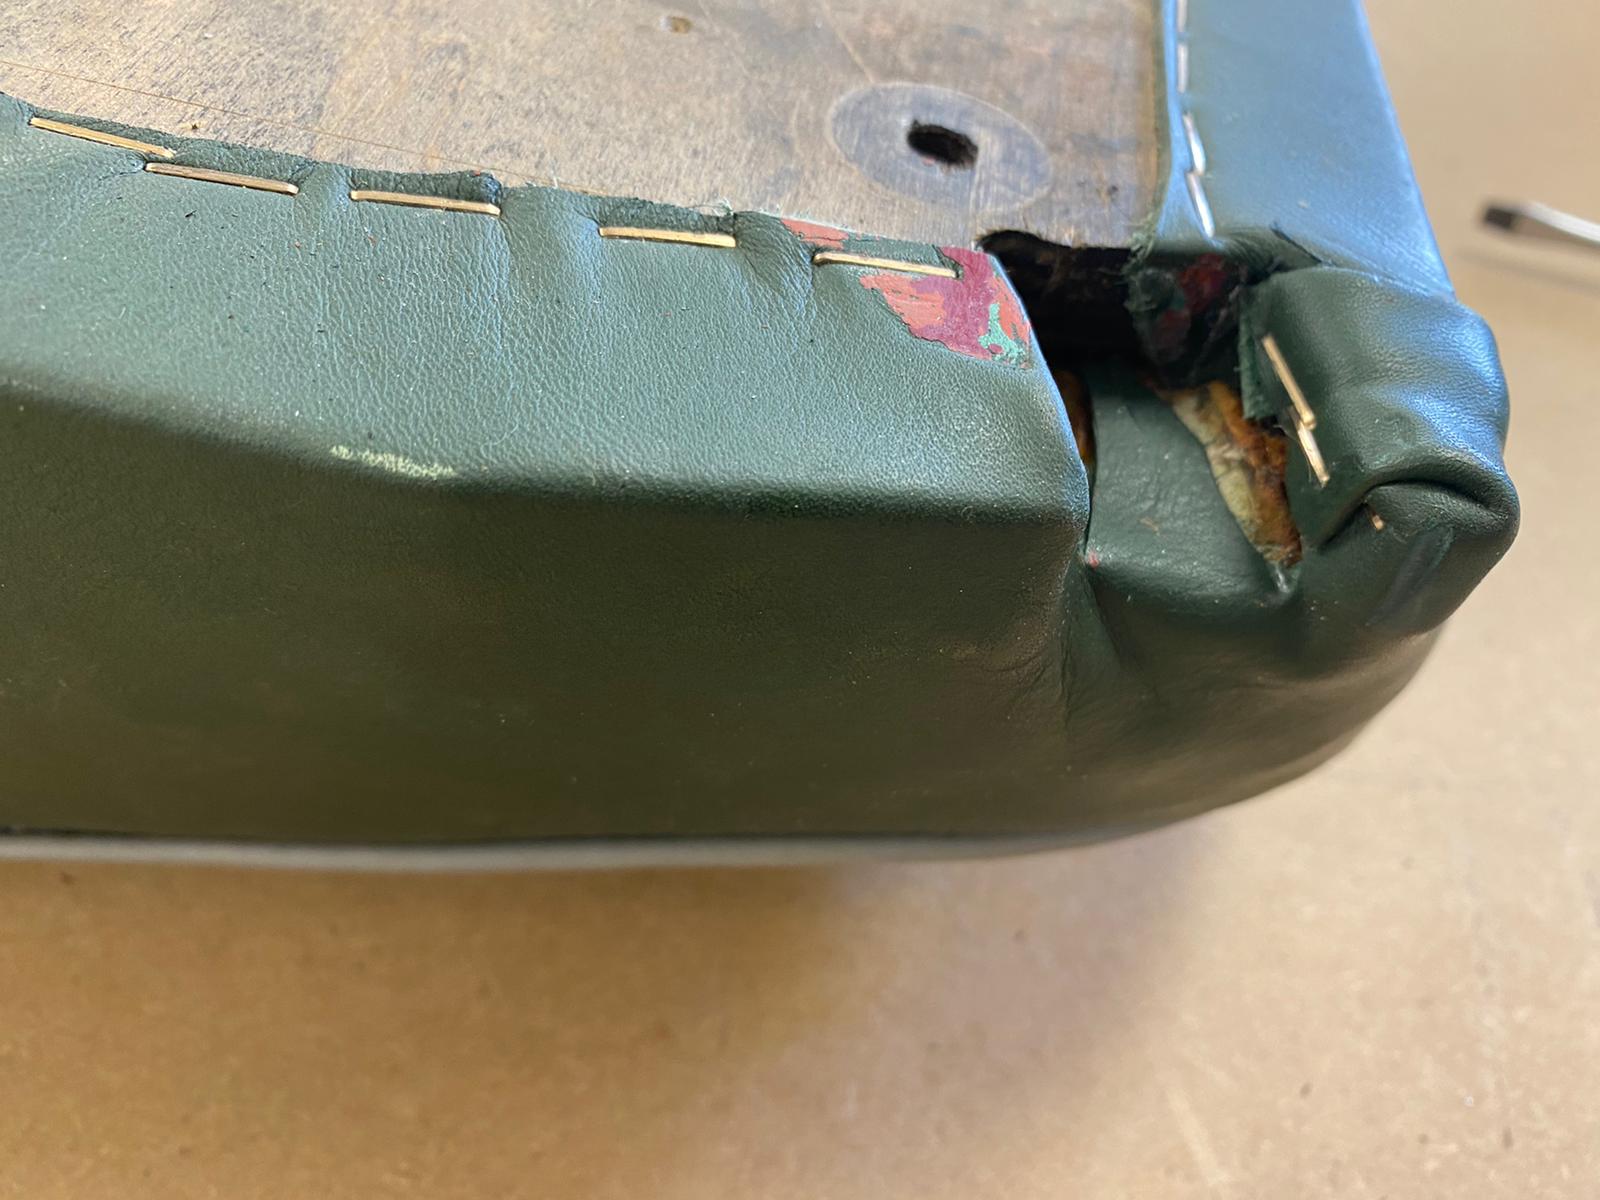
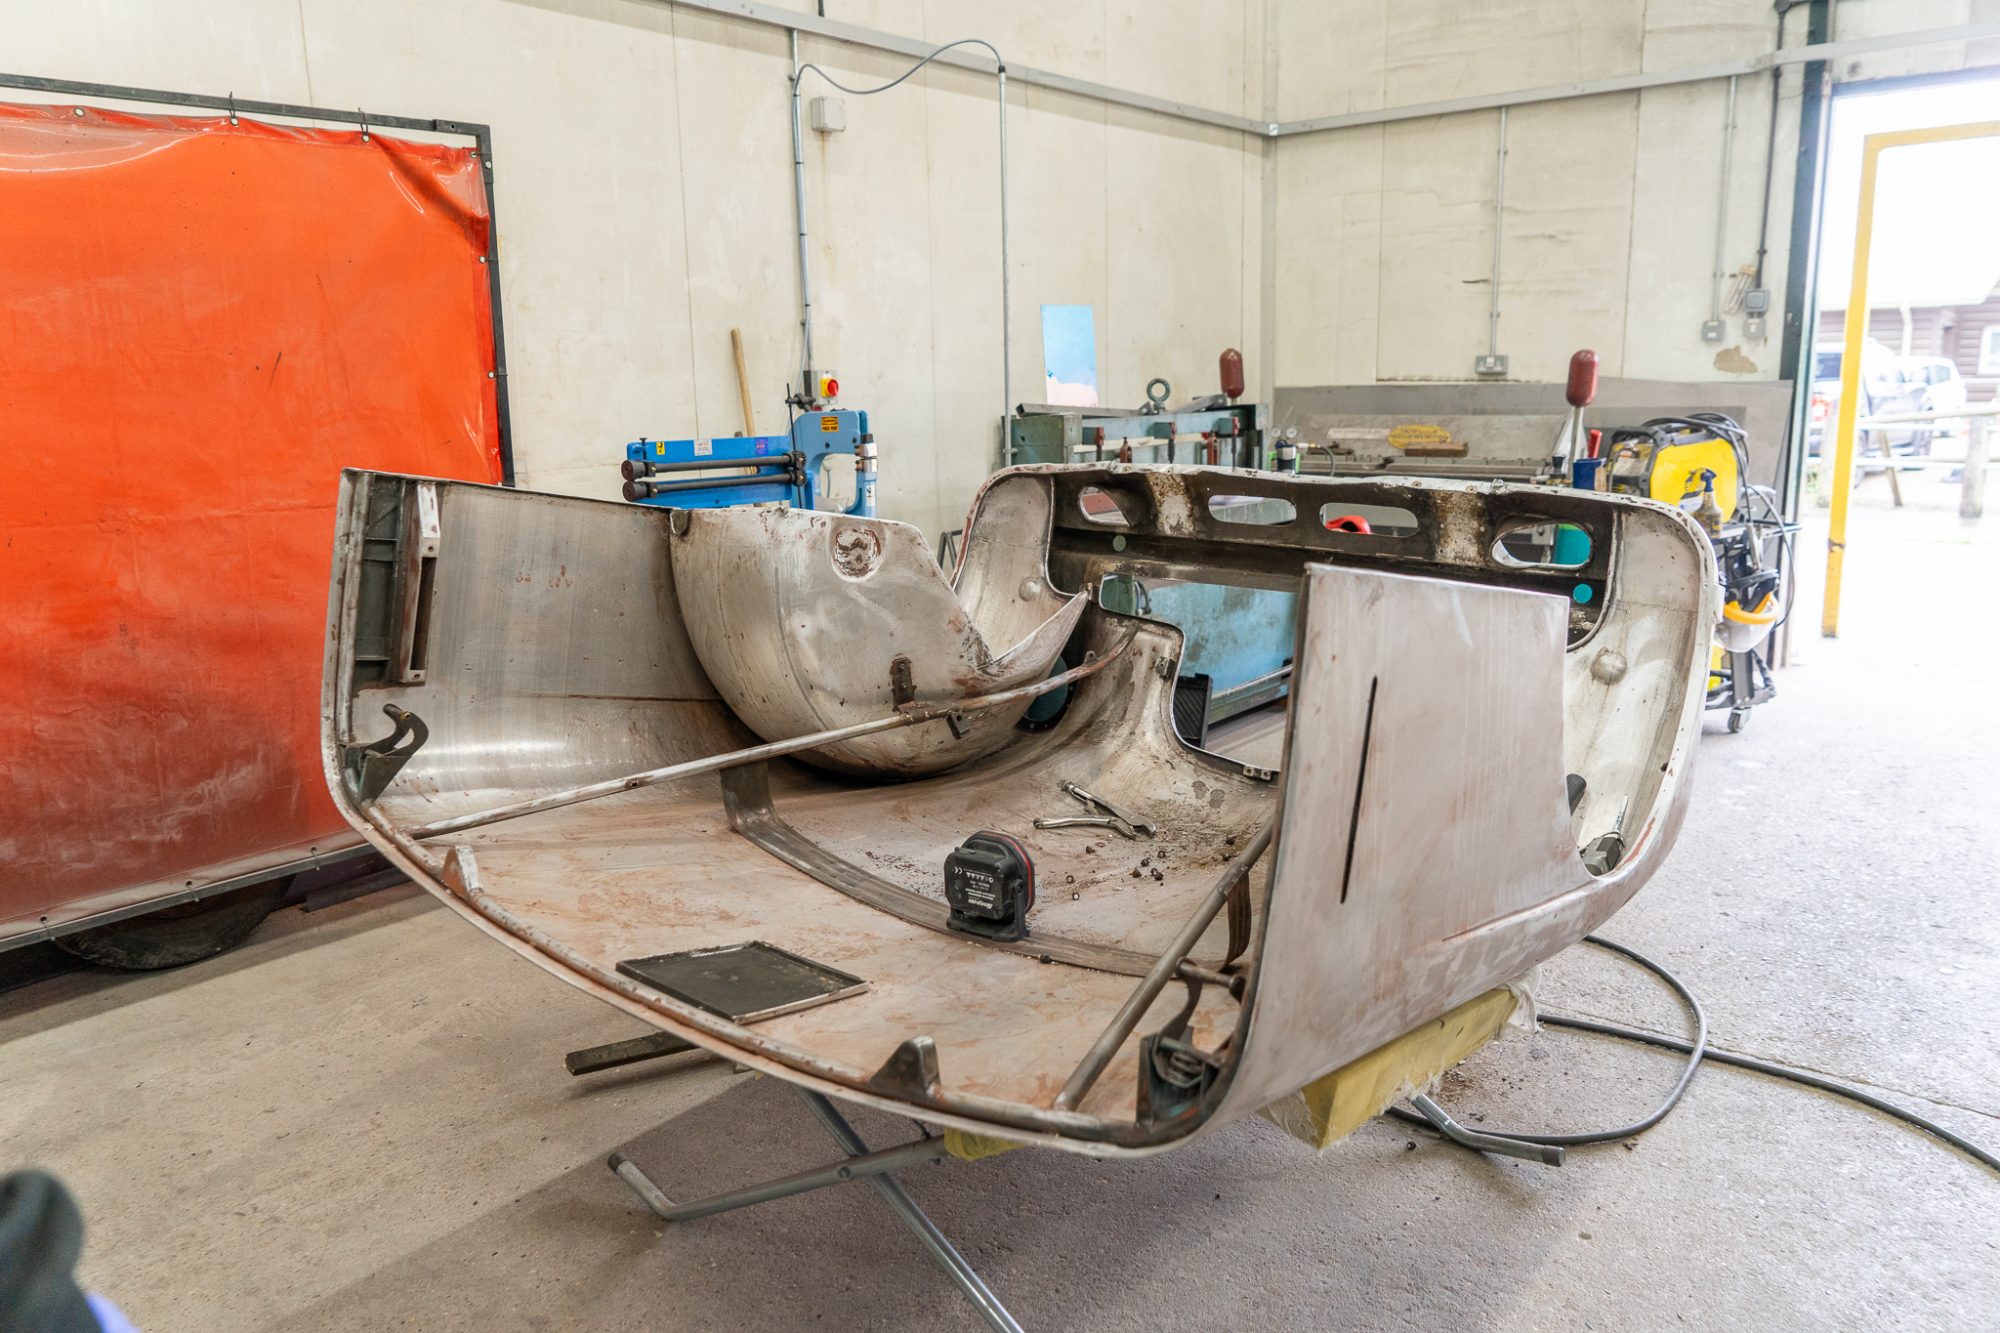
Clinton is continuing to work his magic and do an incredible job to the rebuild and re-shaping of the rear of our 1955 Aston martin DB2/4.
At some point in its life, evidence suggests that the car was involved in a rear collision leaving lasting damage to the back area of the vehicle.
Although we can’t be sure, this could be the reason why the car arrived to us with chrome handles on the rear. These could have been used as a way of further clamping down the boot.
The initial repairs carried out were enough to help shape the rear of the car but we certainly not done to an acceptable standard in our opinion. They were also very much different from how the vehicle would have left the factory, with extra strengthening steel supporting the shape rather than the body supporting itself.
Clinton has removed all of these strengthening bars and is currently, completely rebuilding the rear aperture to once again add strength but in the way it is supposed to be.


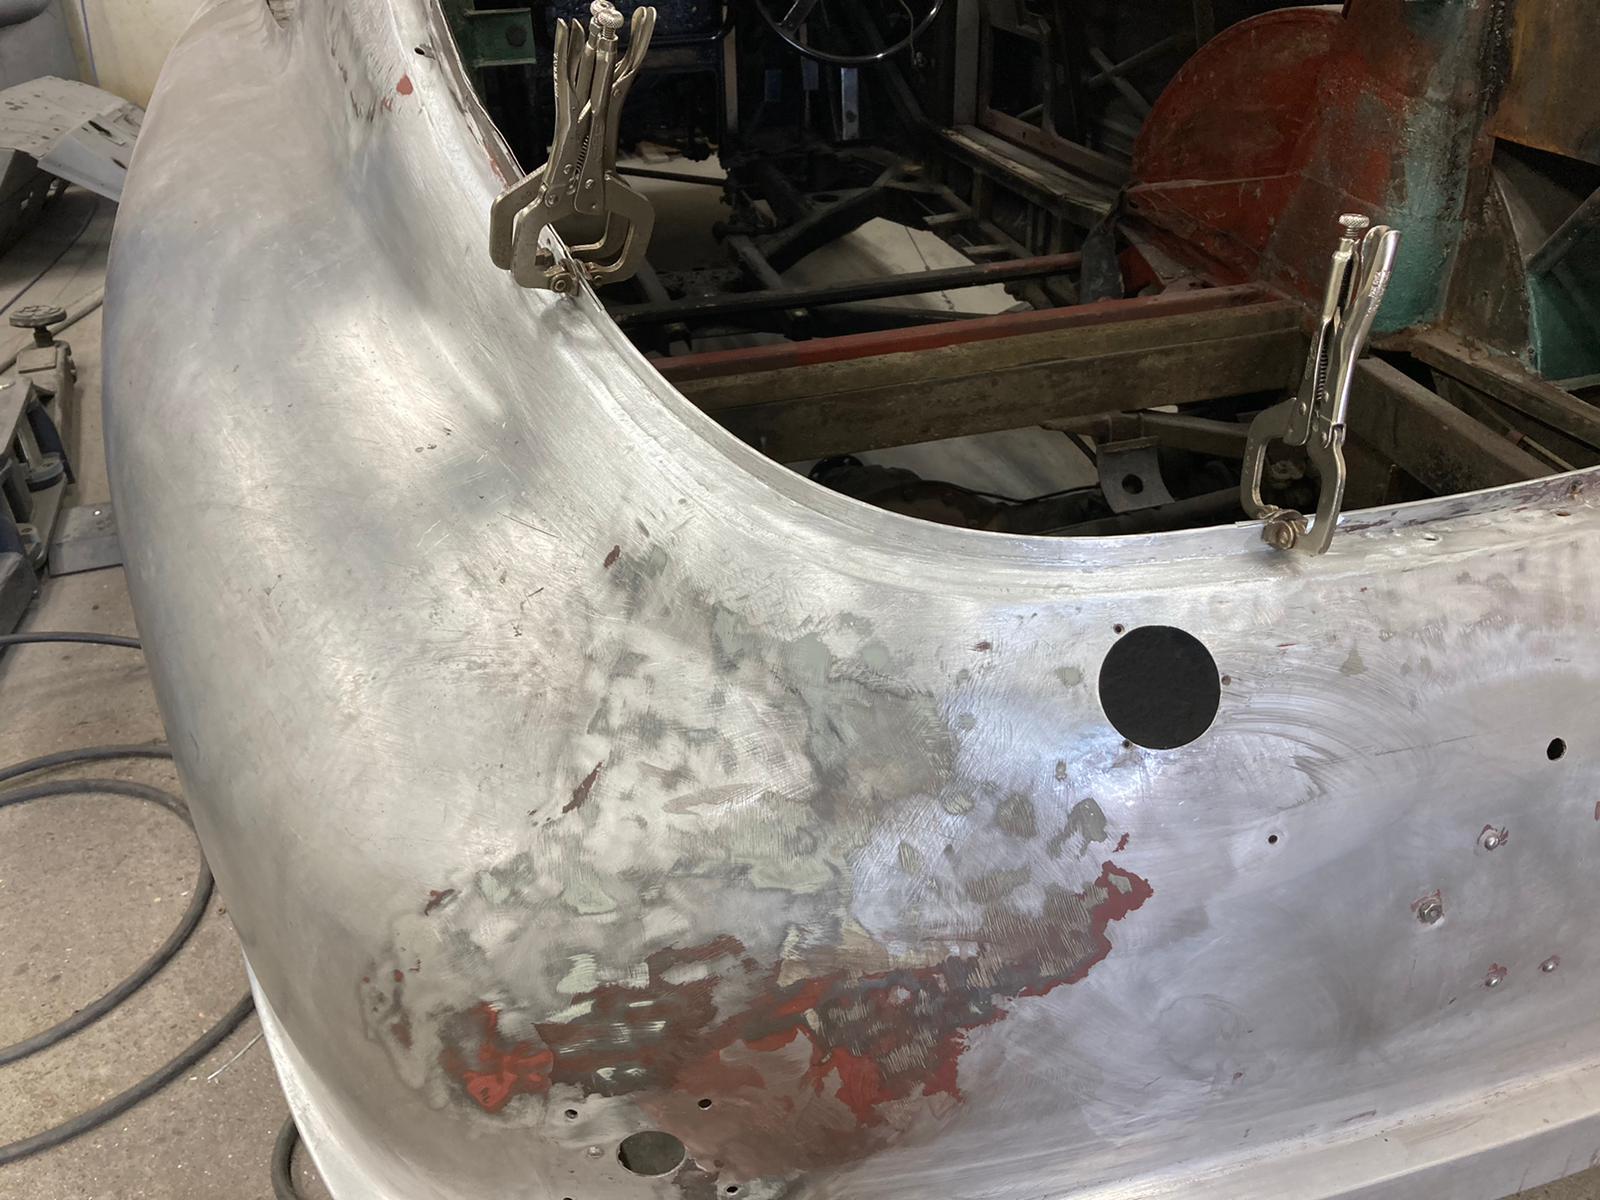
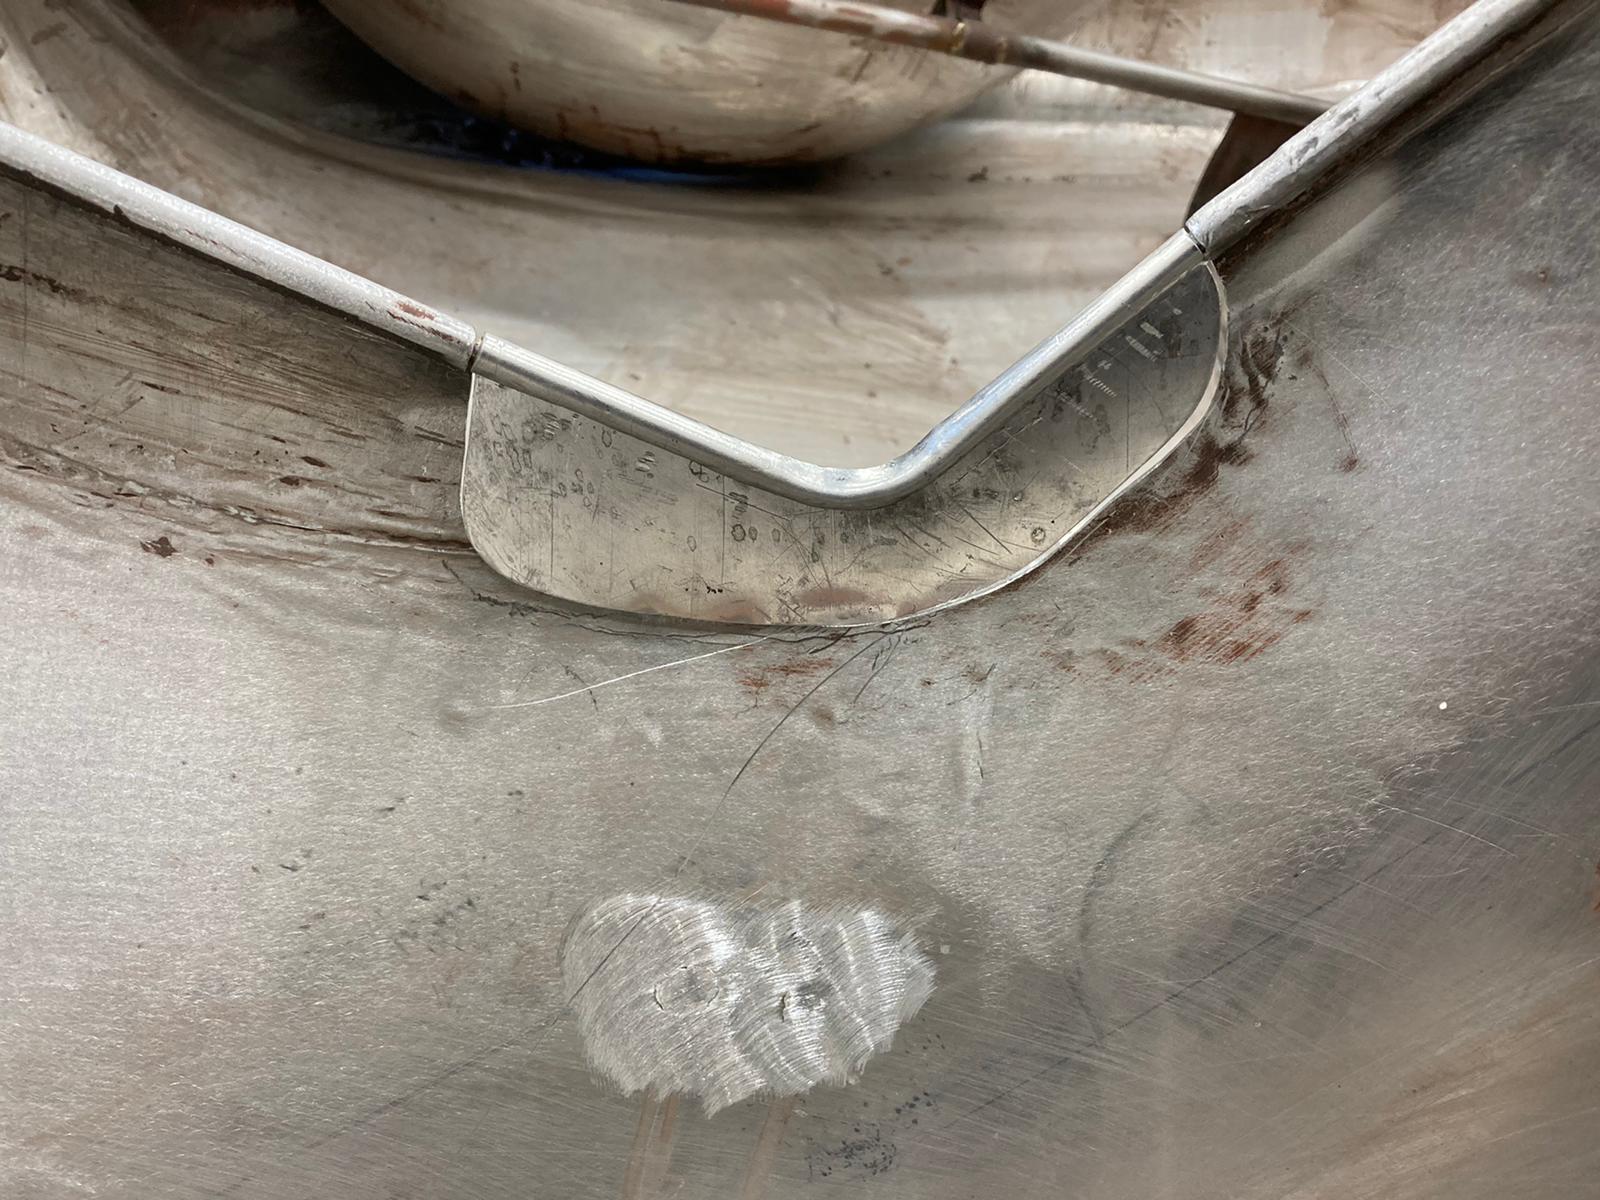
This week, Craig and Clinton took a trip over to Stratton Motor Company to have a look at a truly stunning example they have in the showroom. Thank you to Nick and the team for letting us look over the car. We got some useful measurements and dimensions to be able to build our one back up to the way it should be.
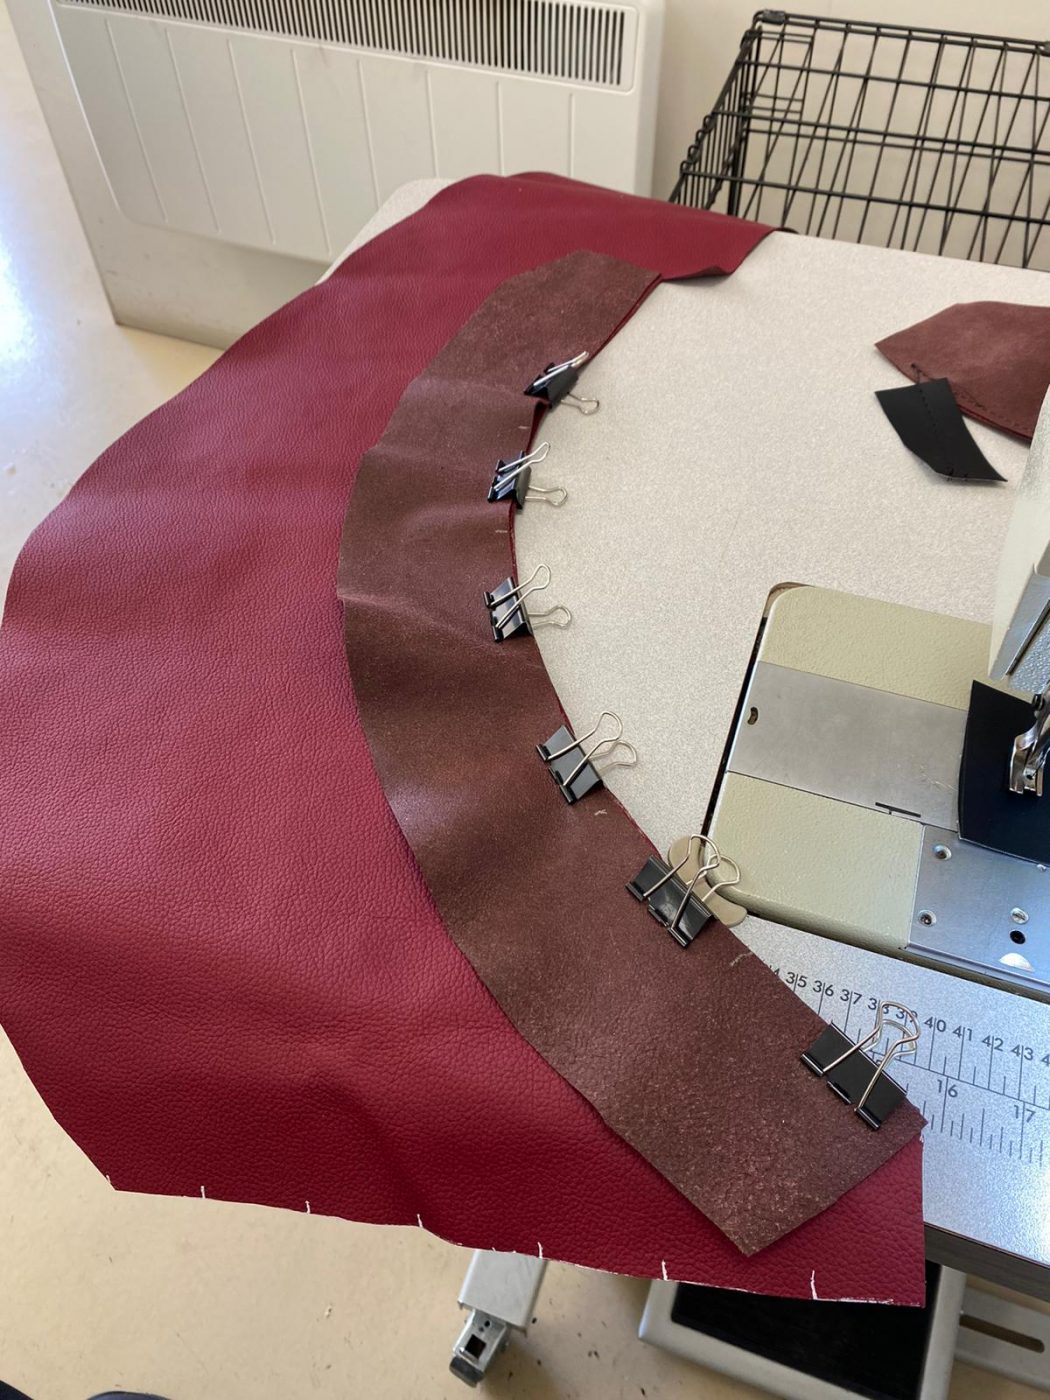
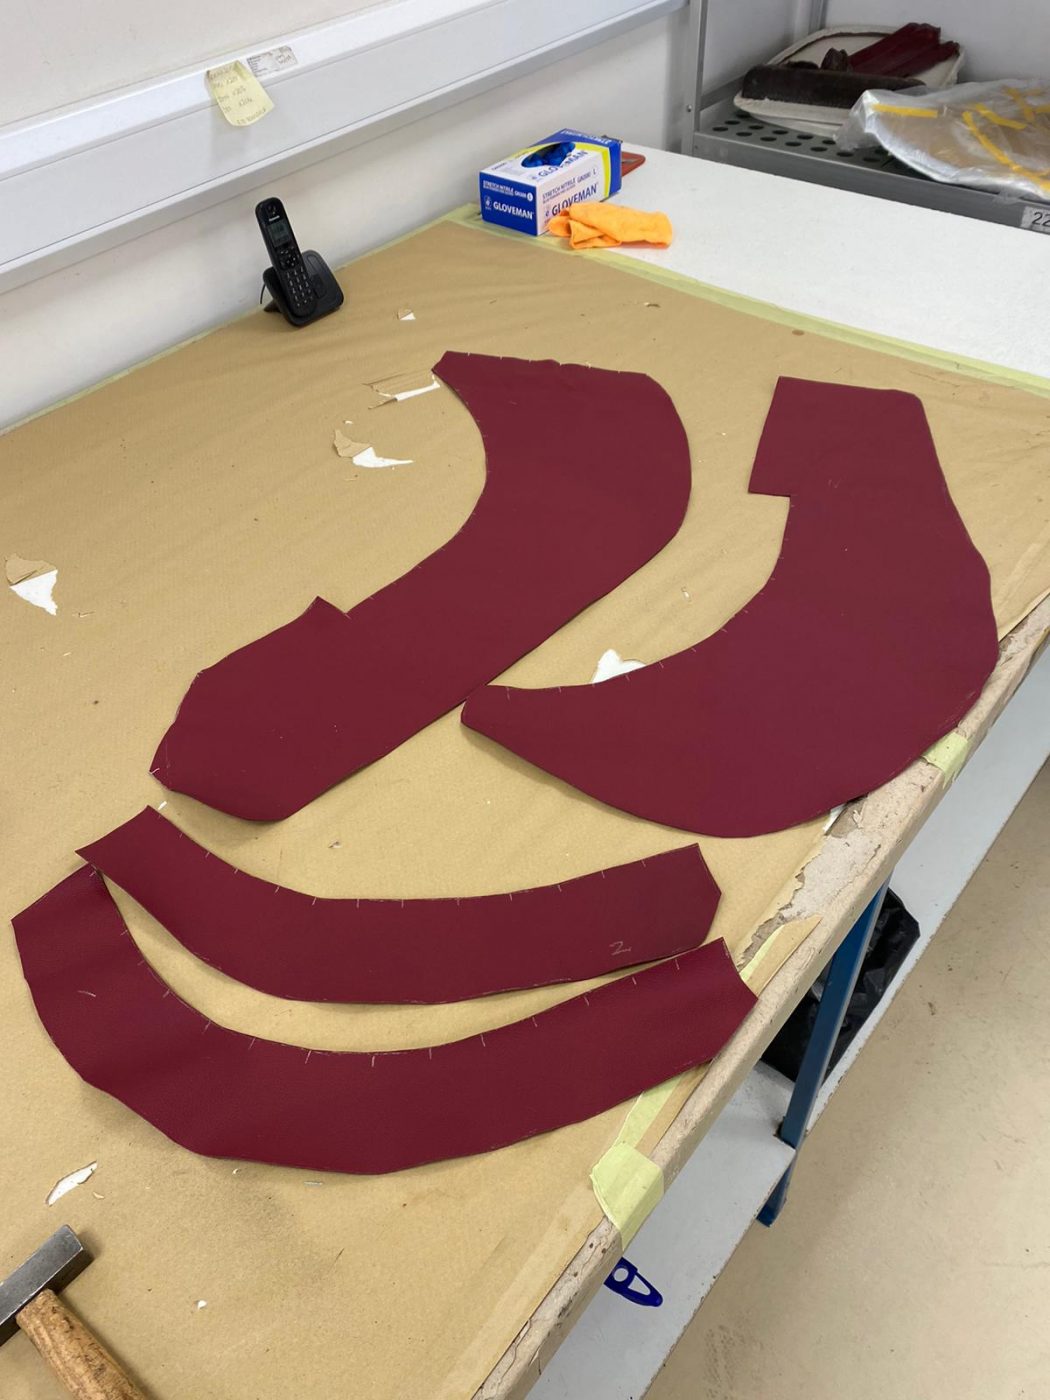
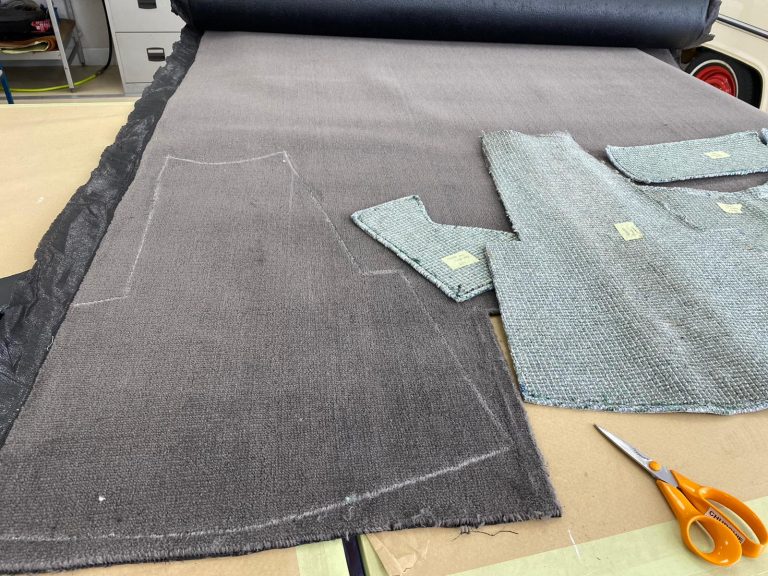
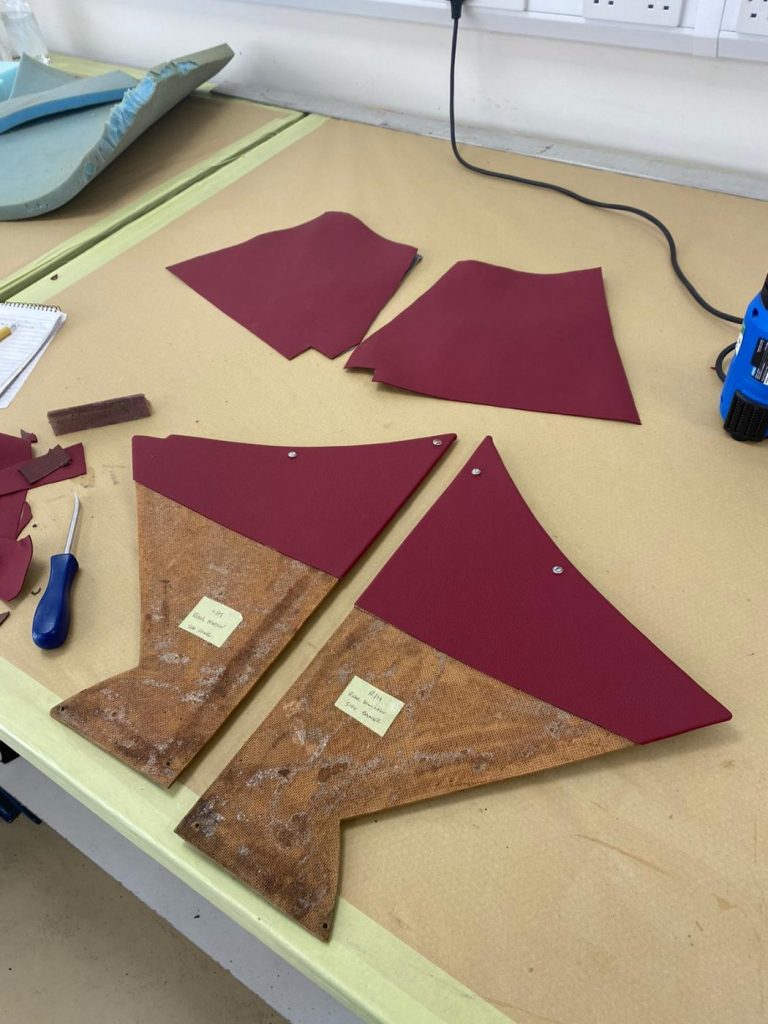
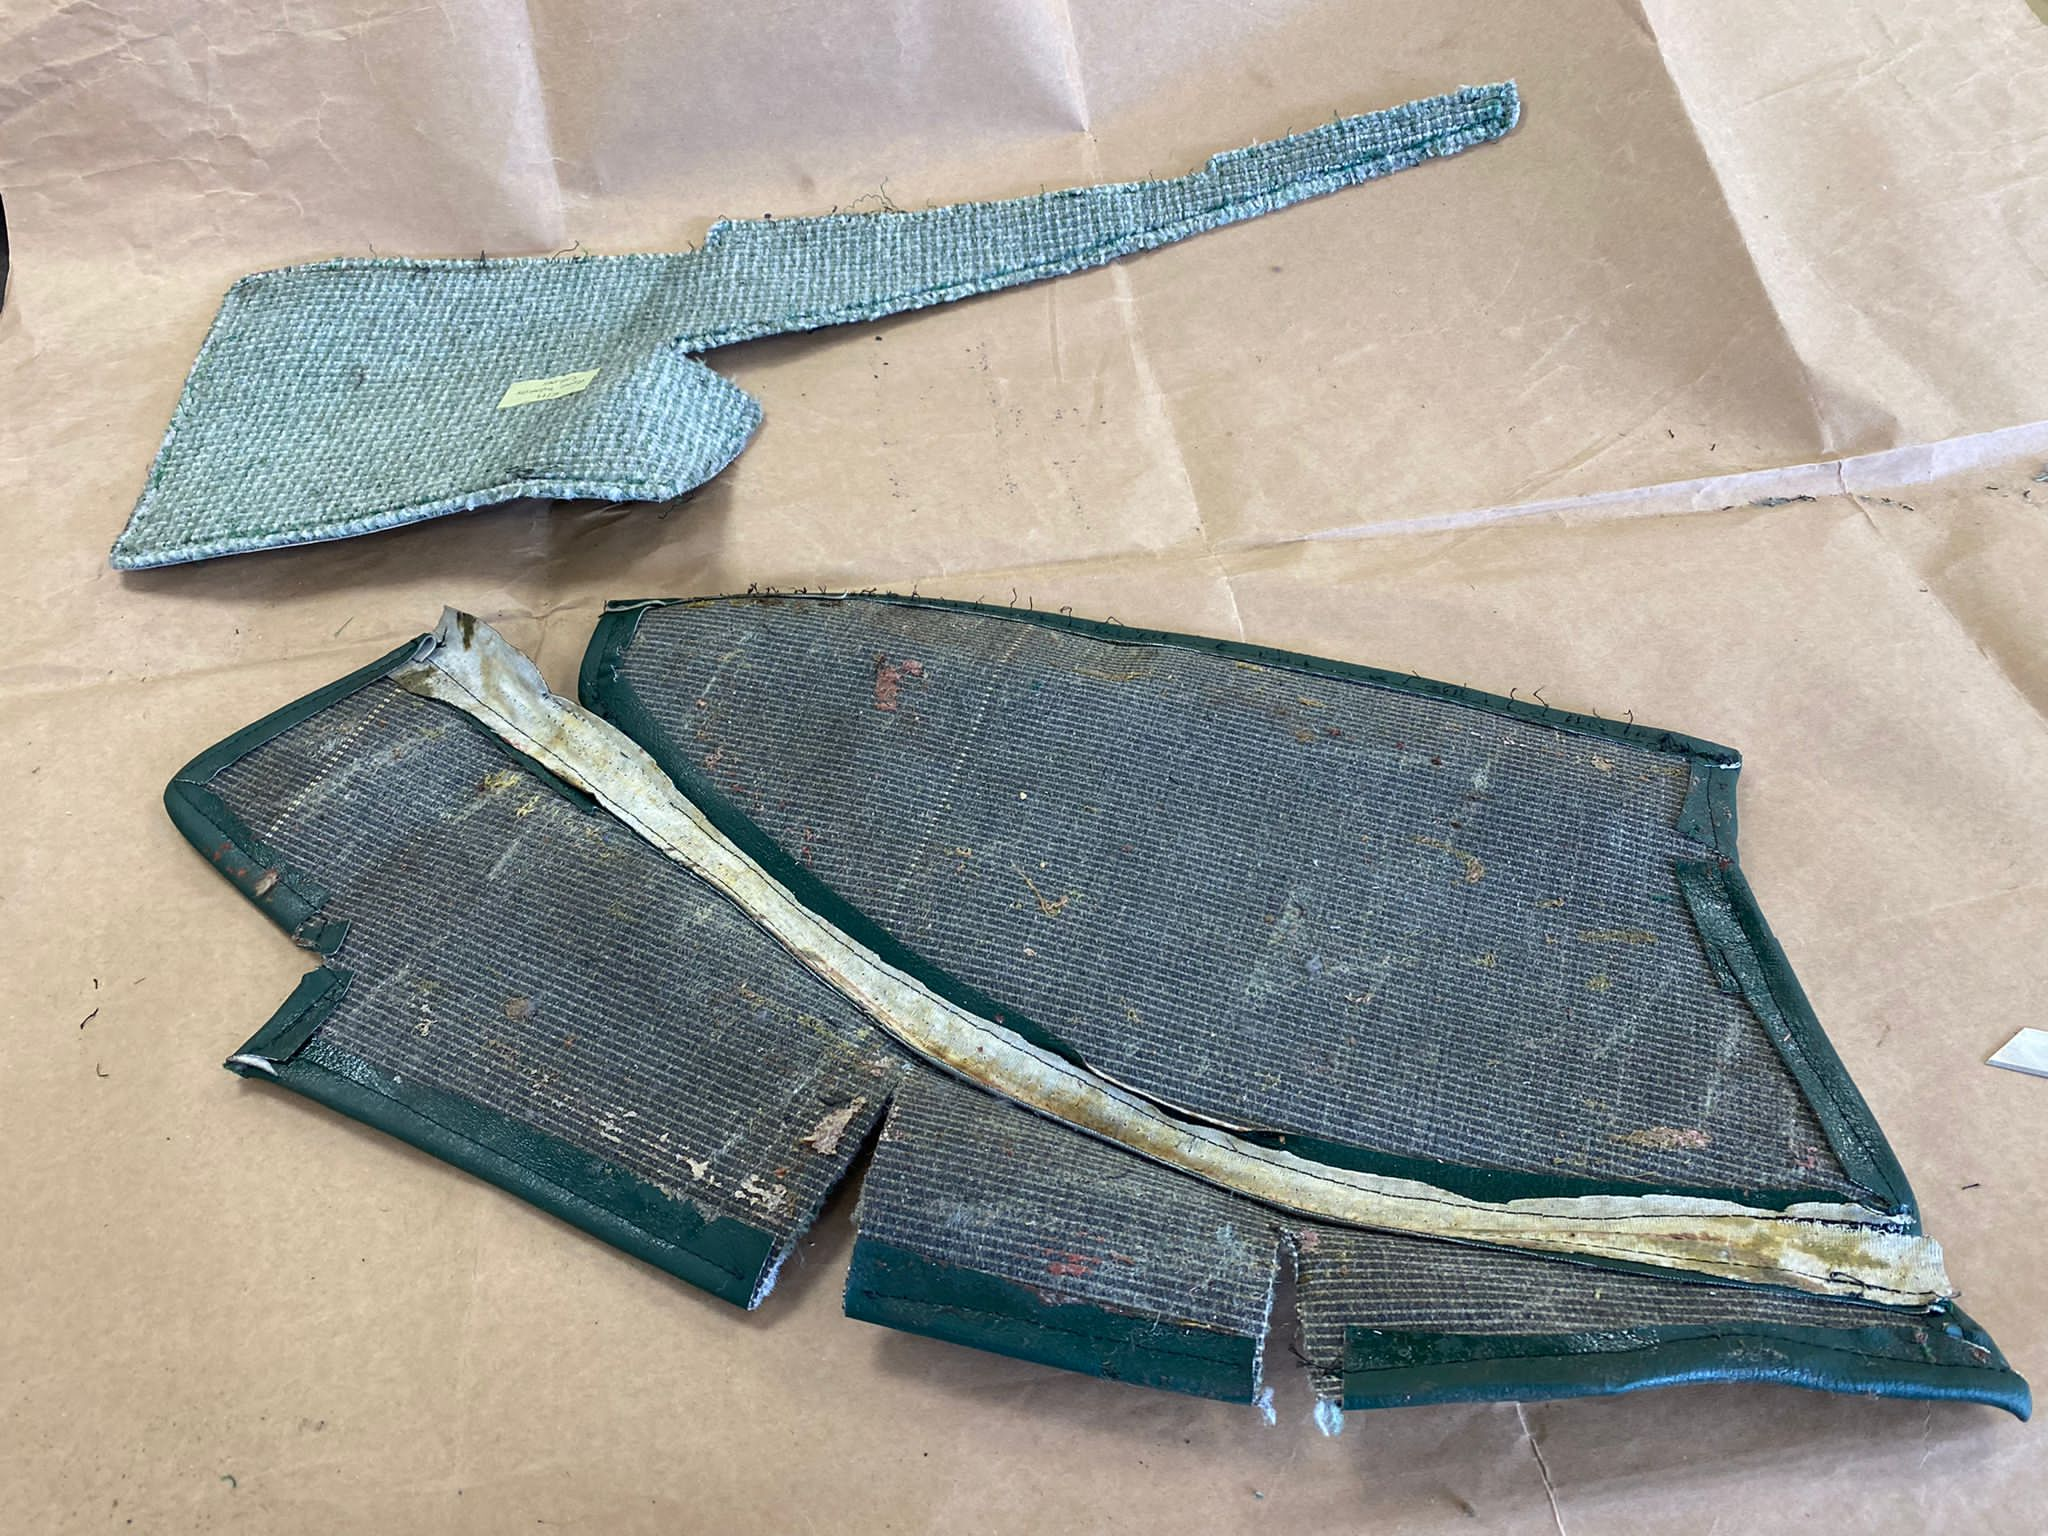
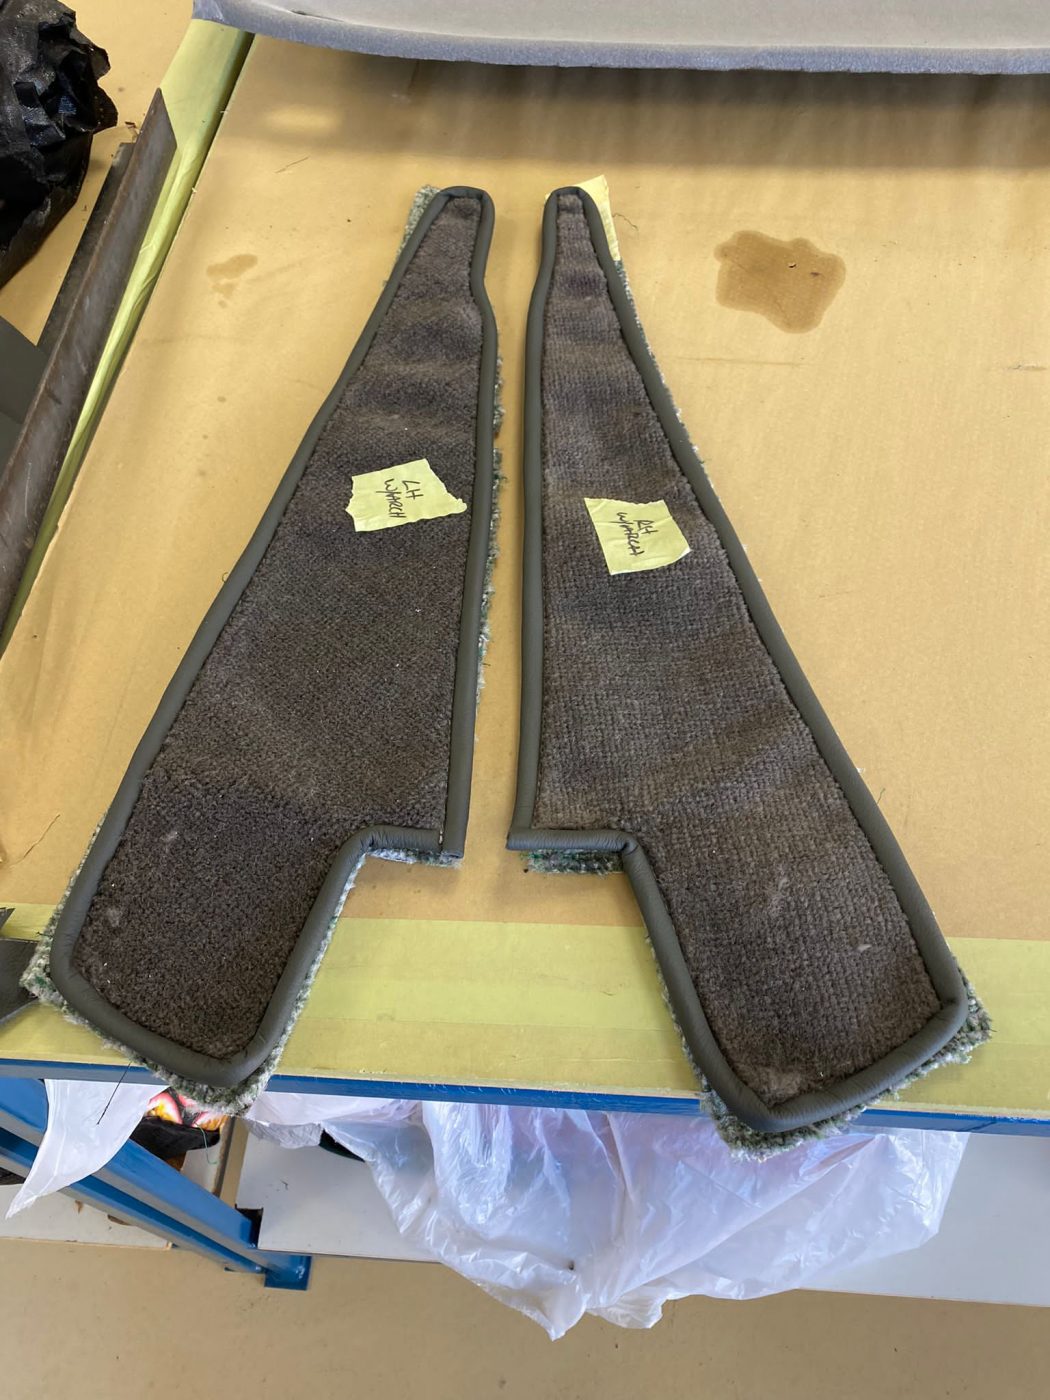
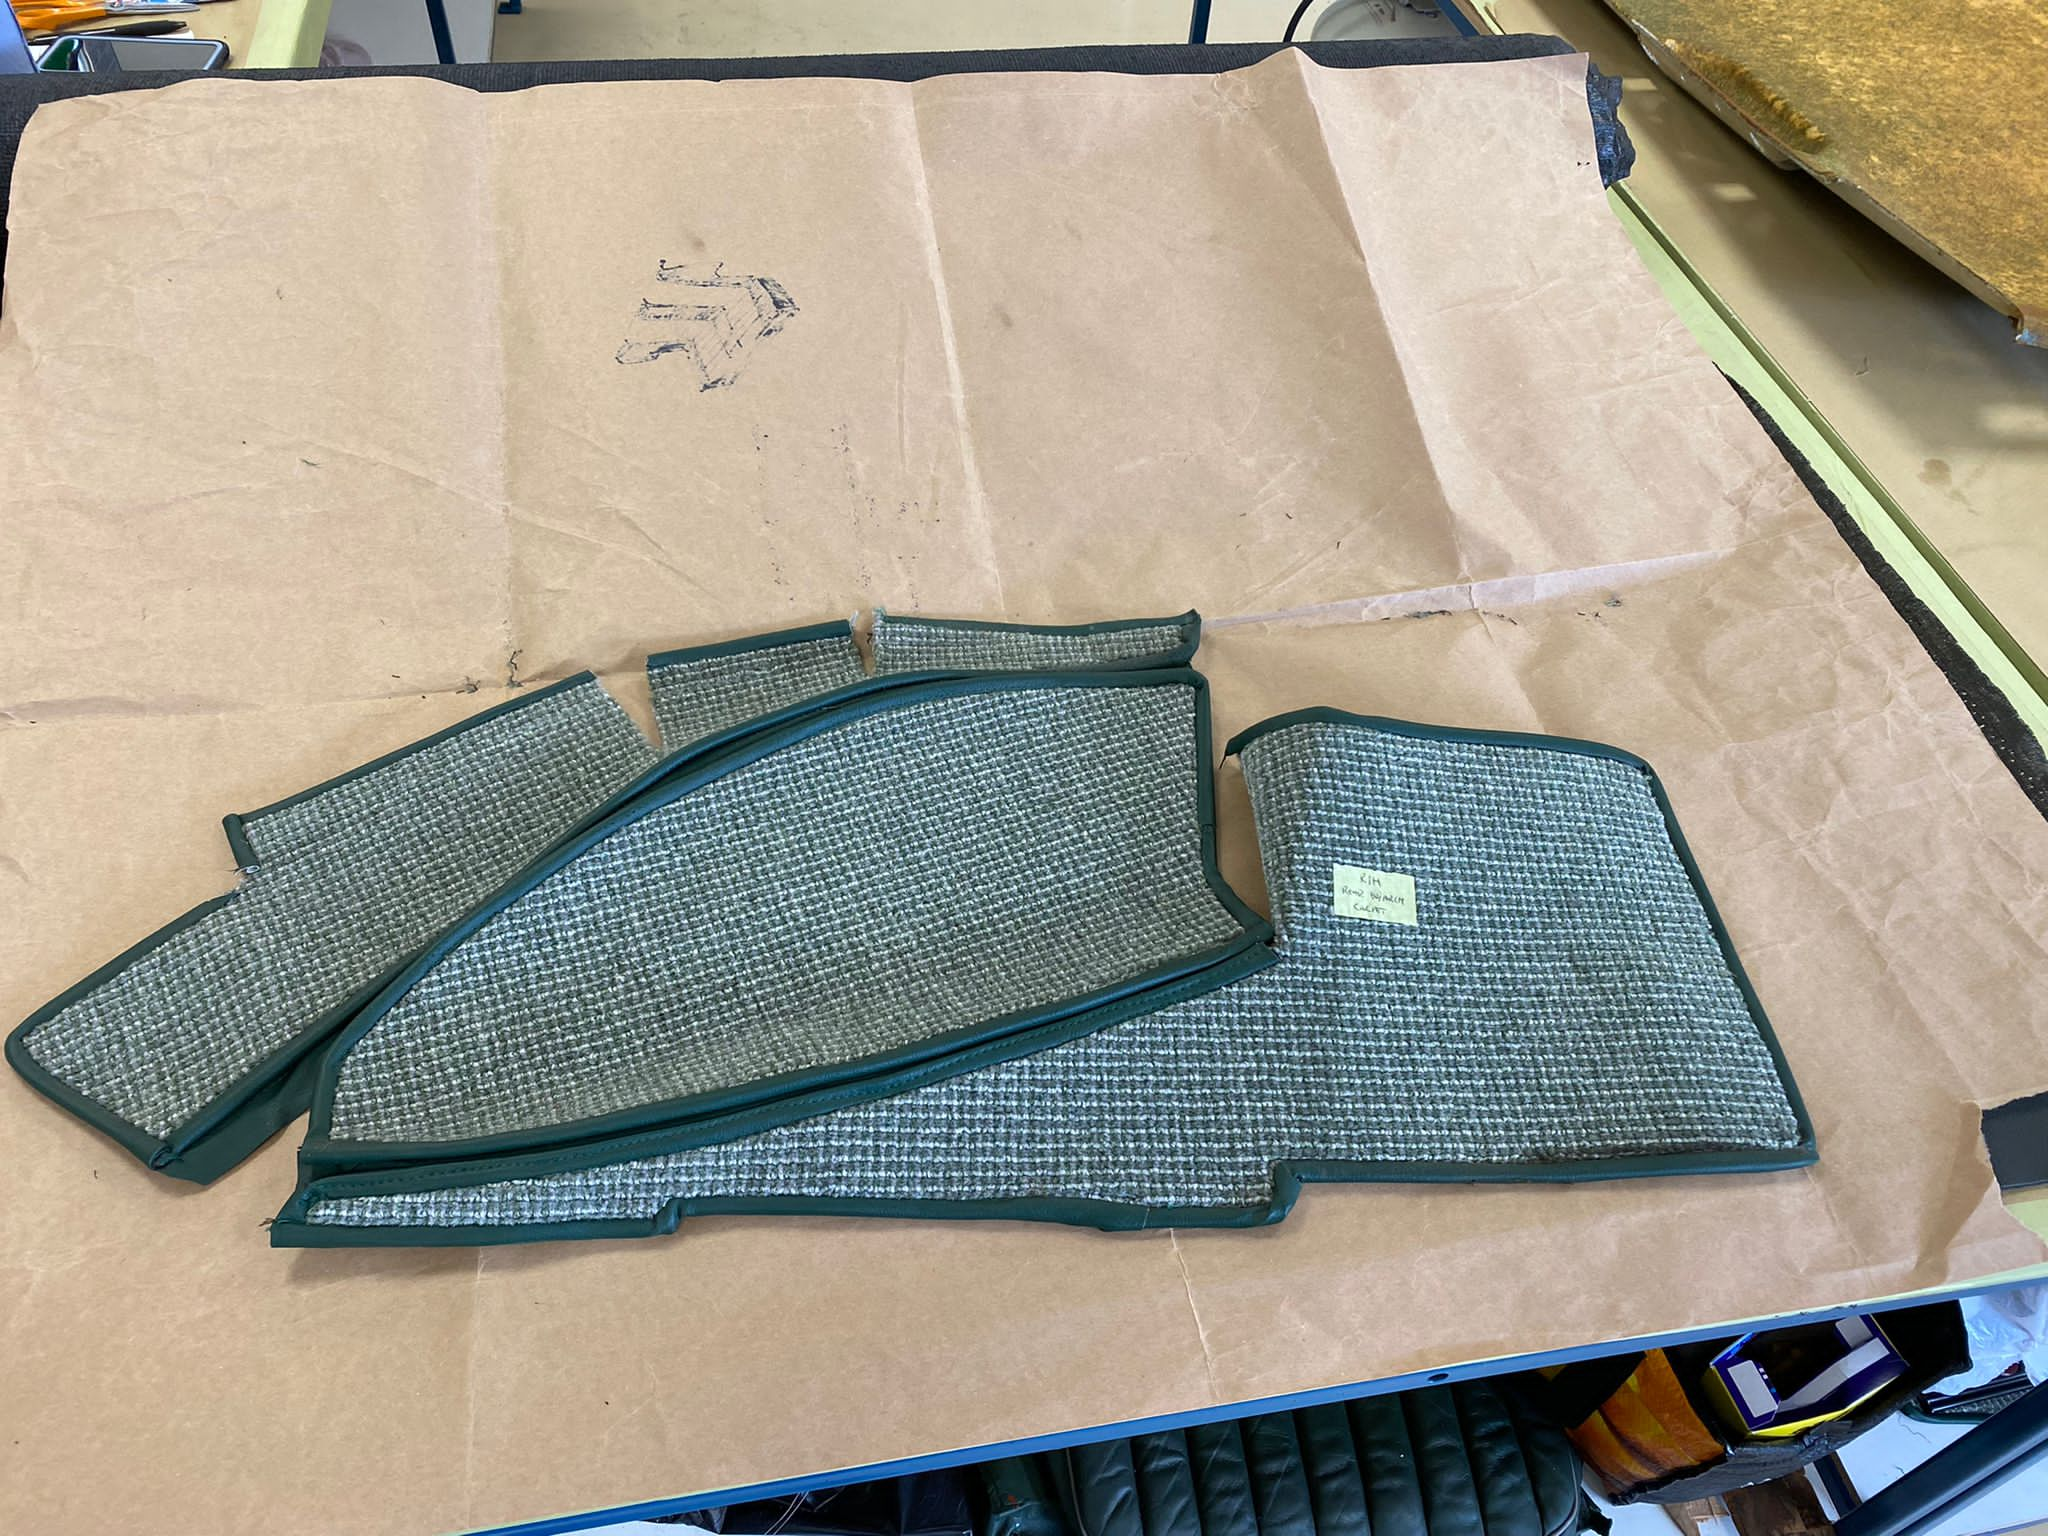
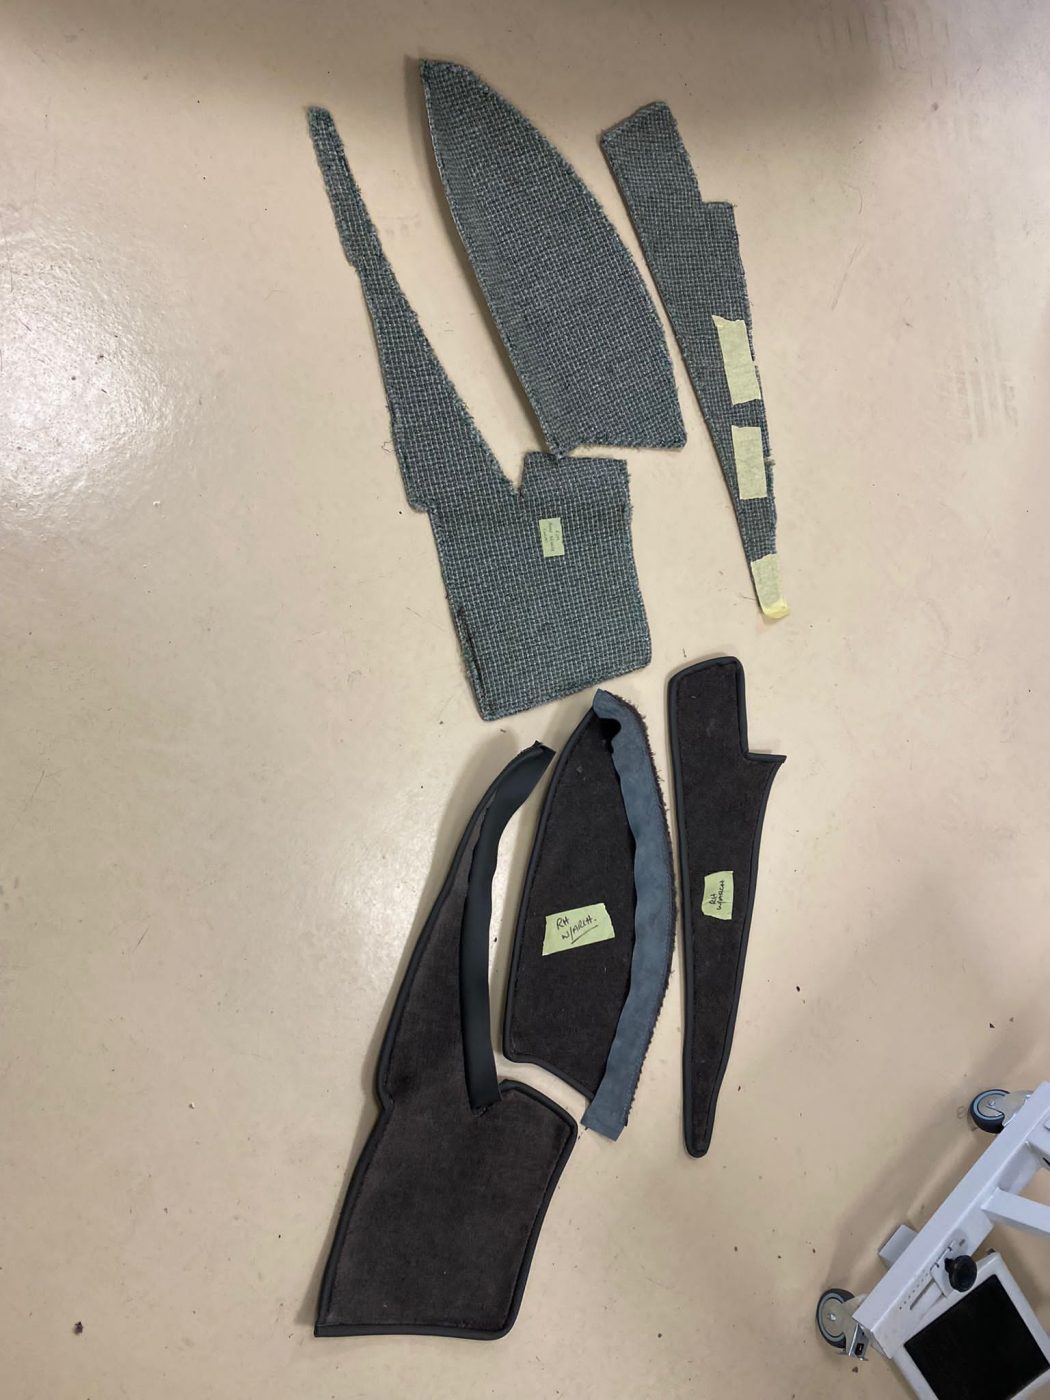
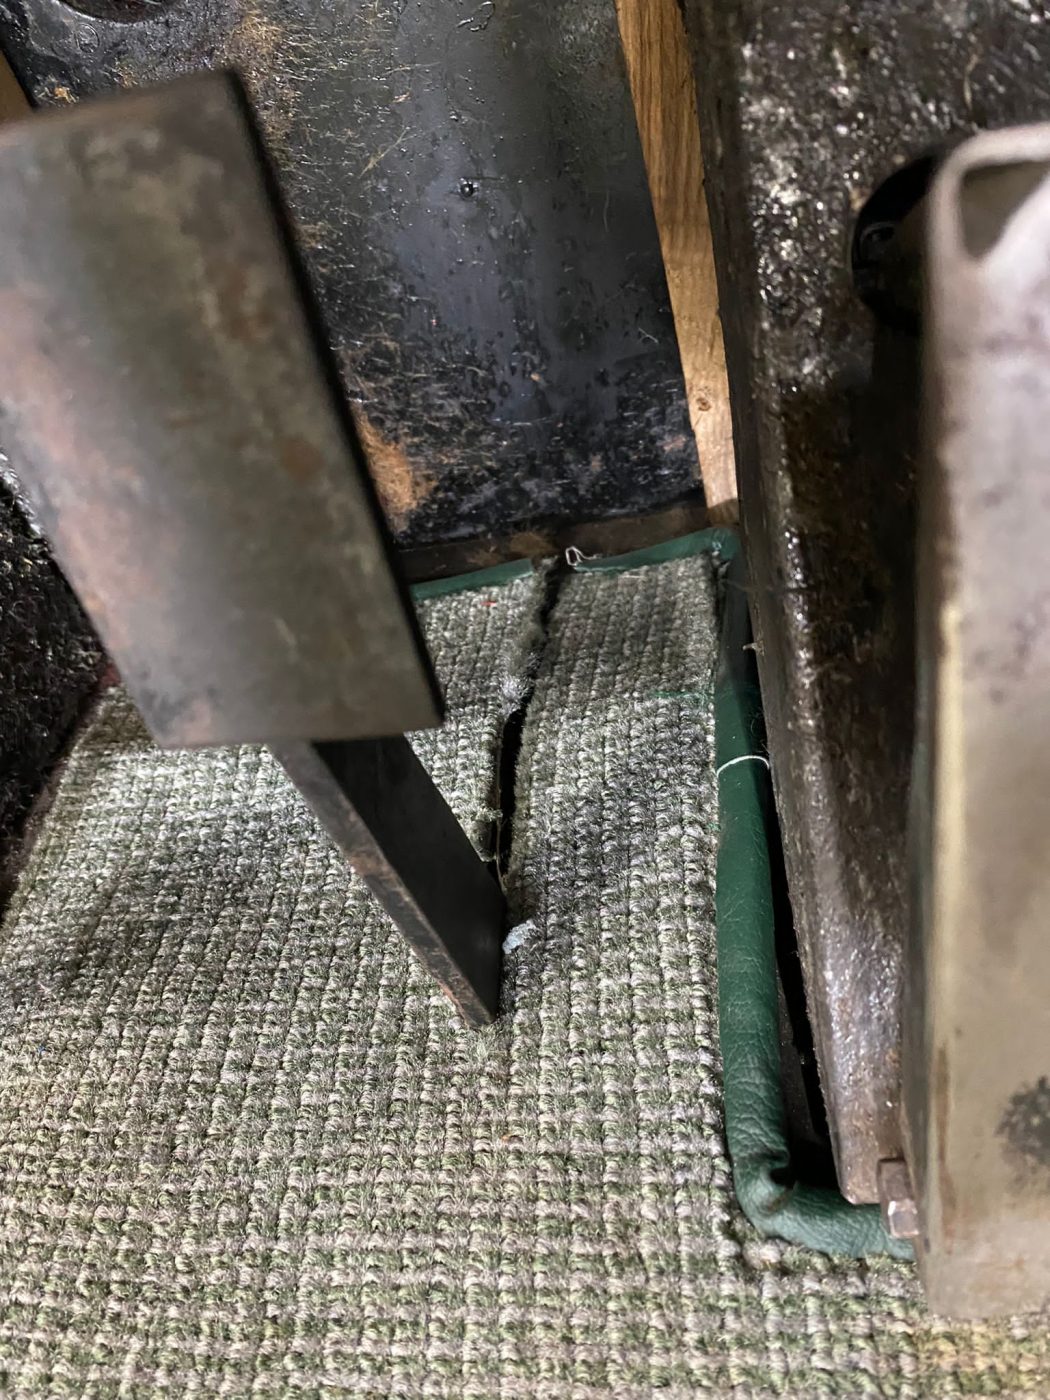
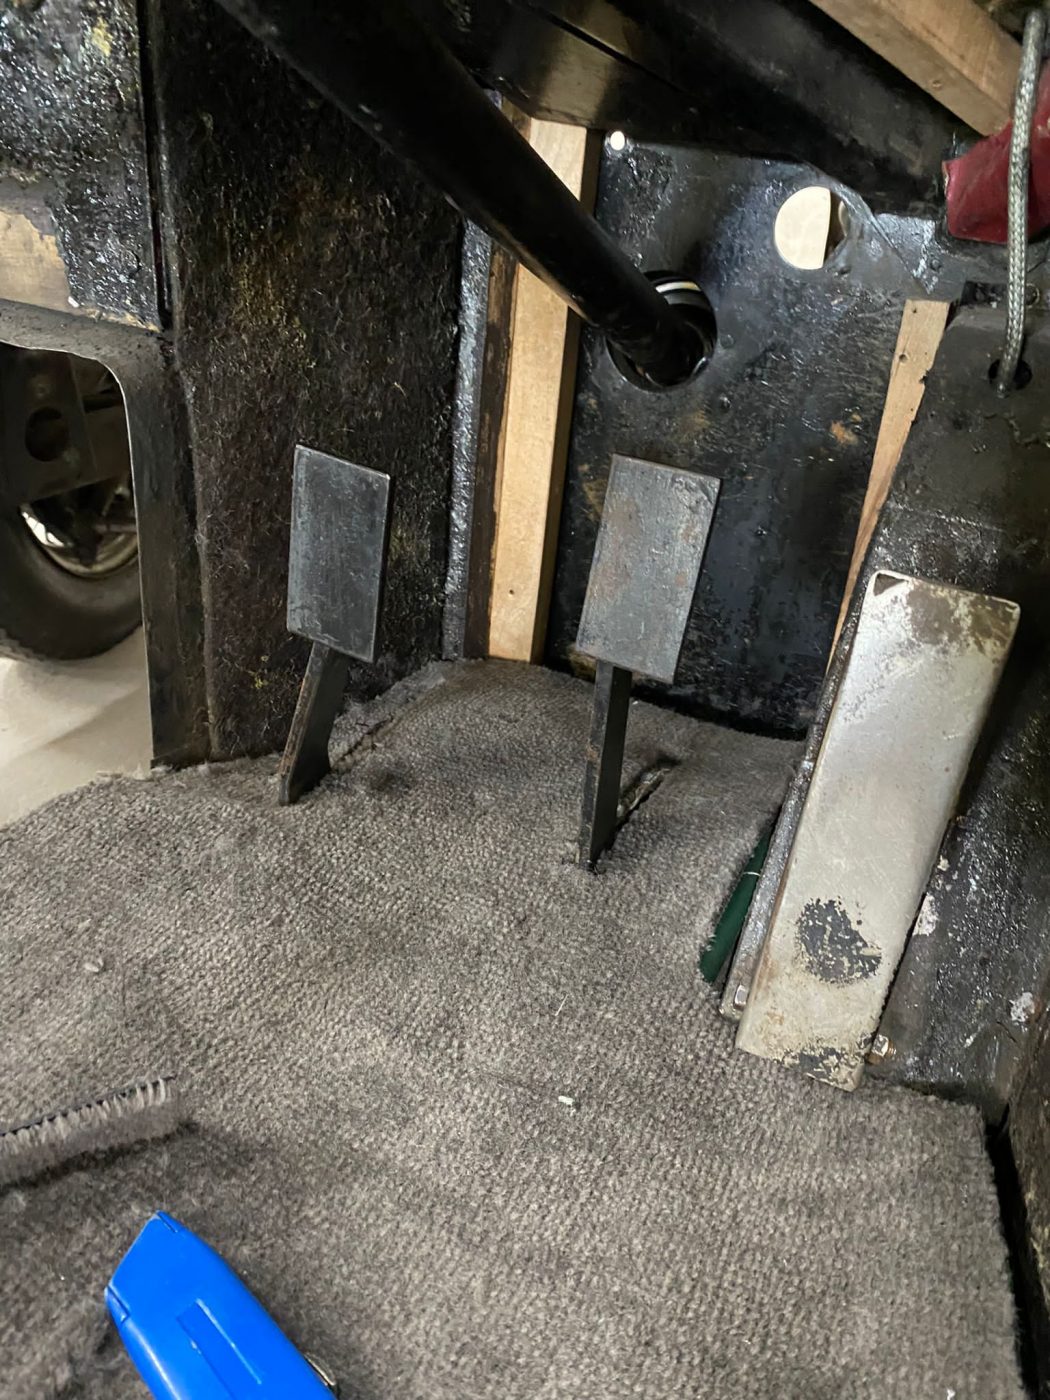
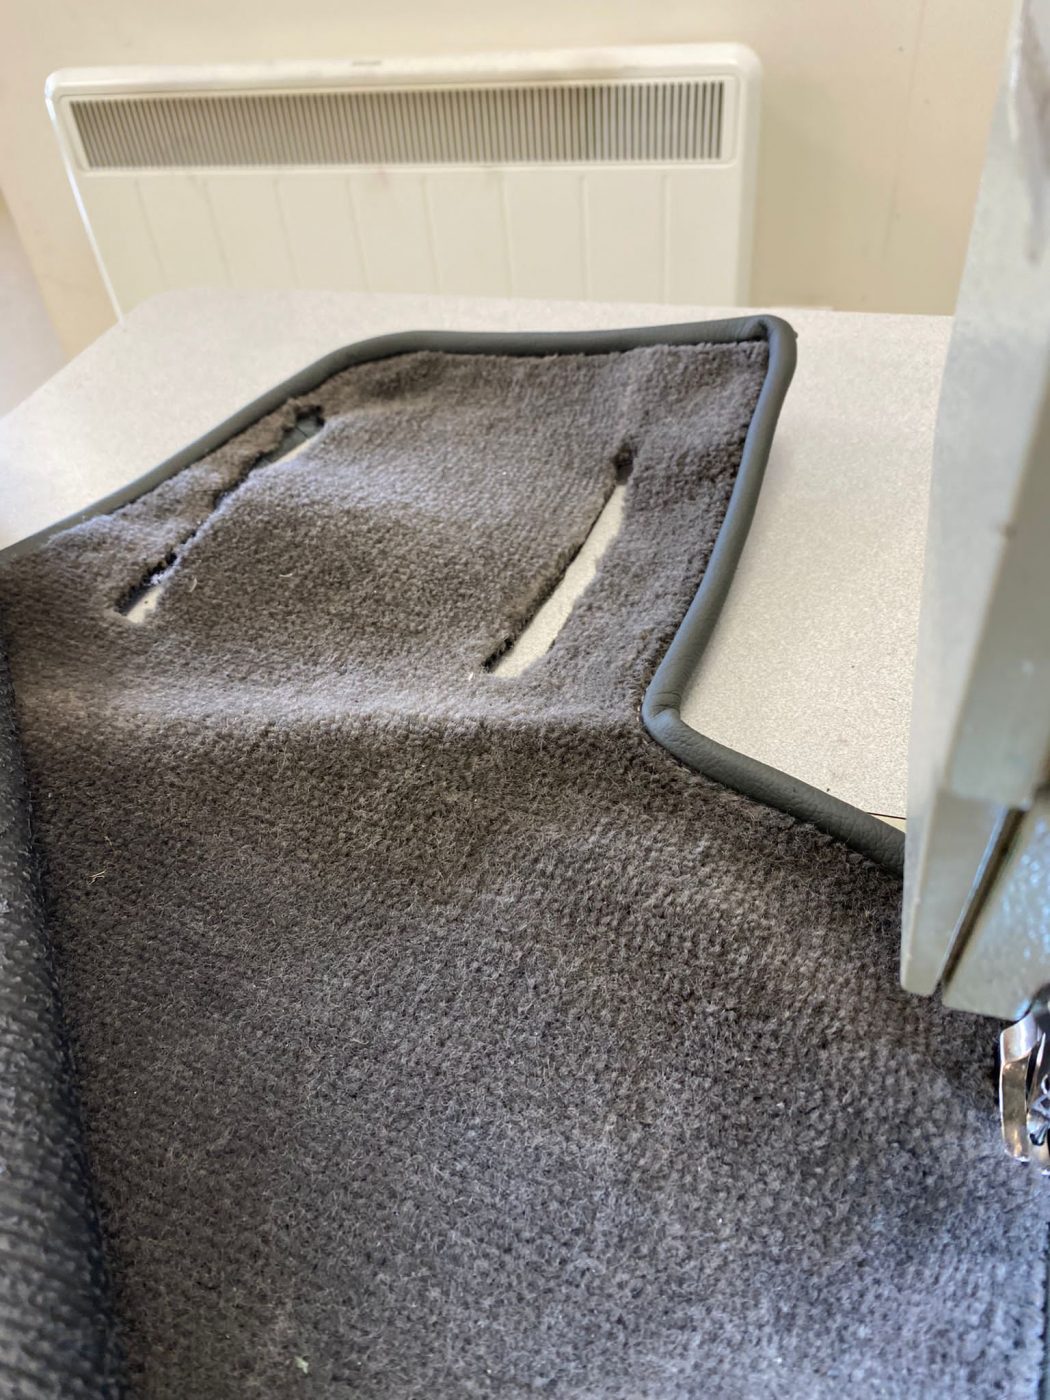
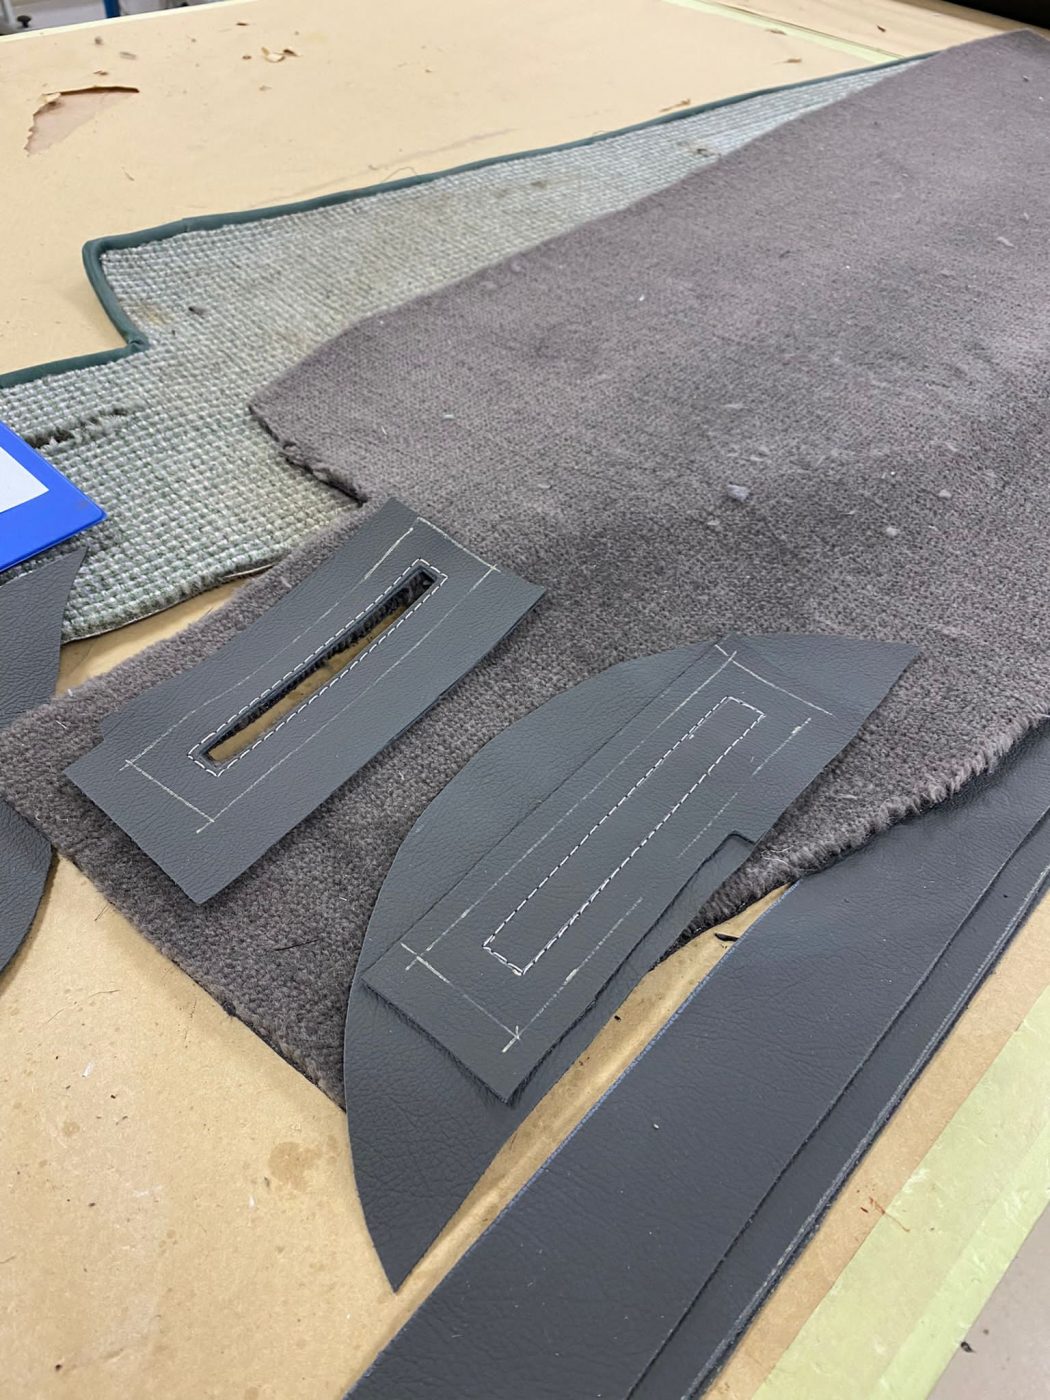
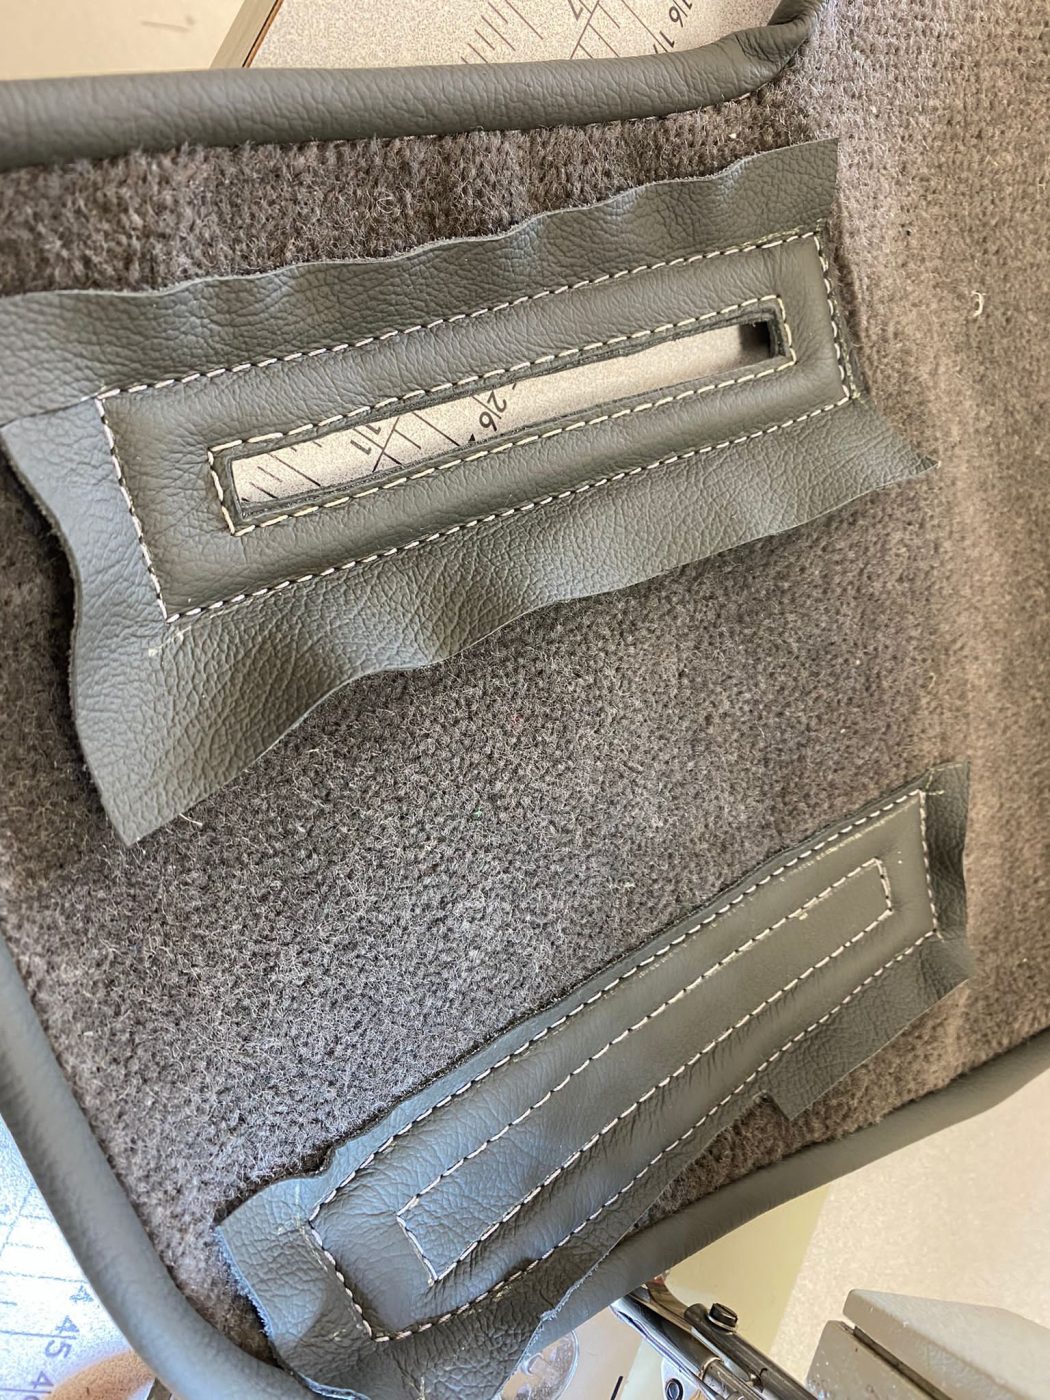
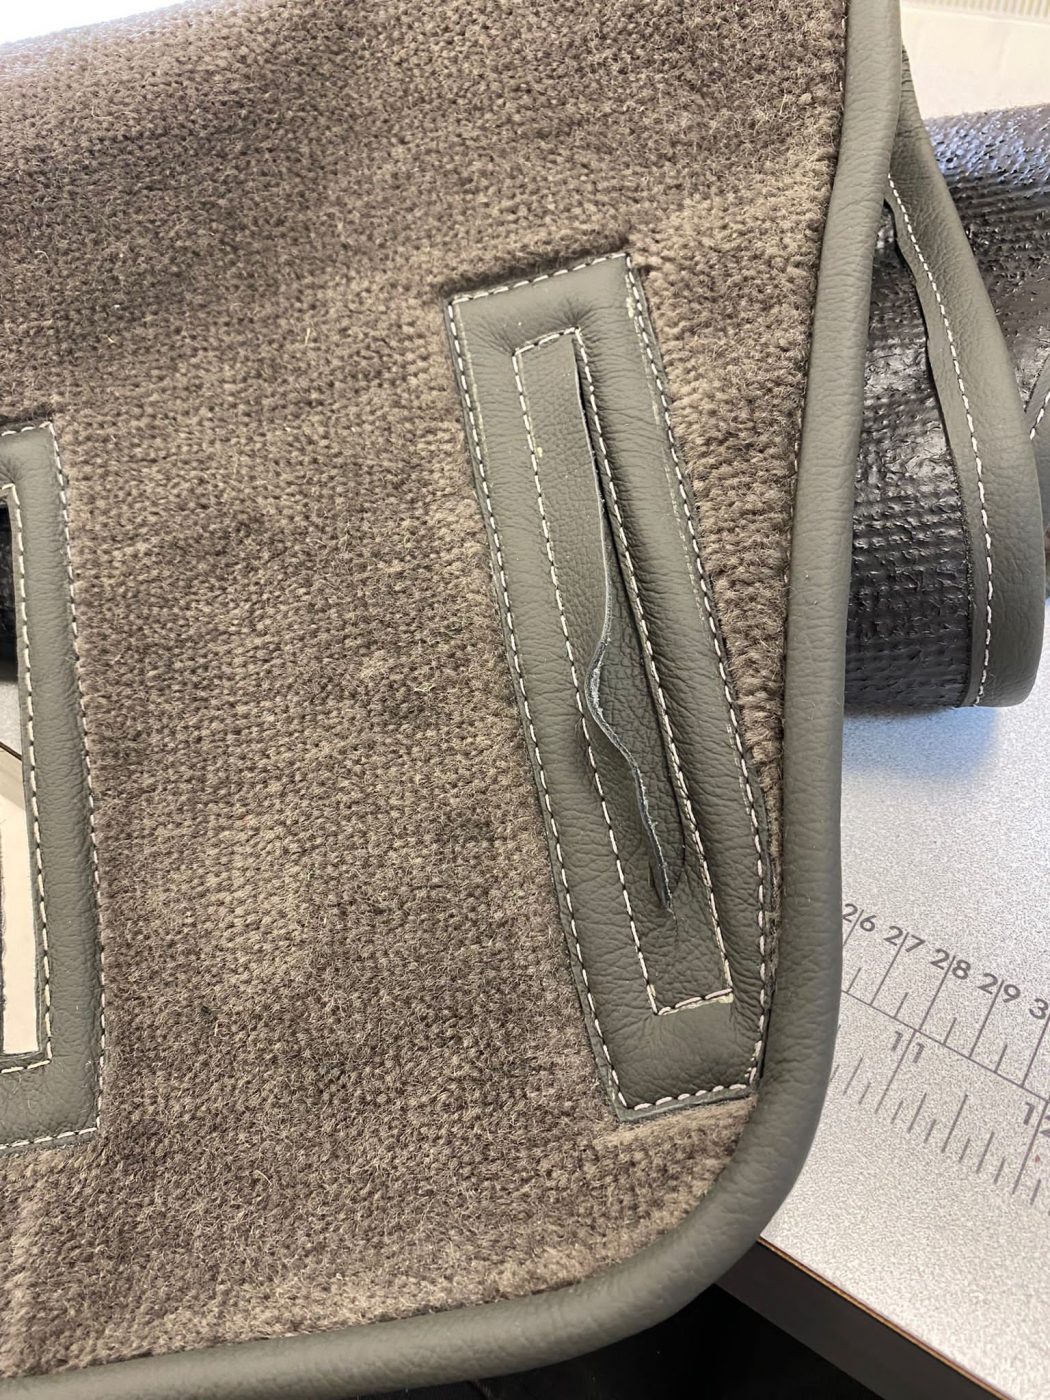
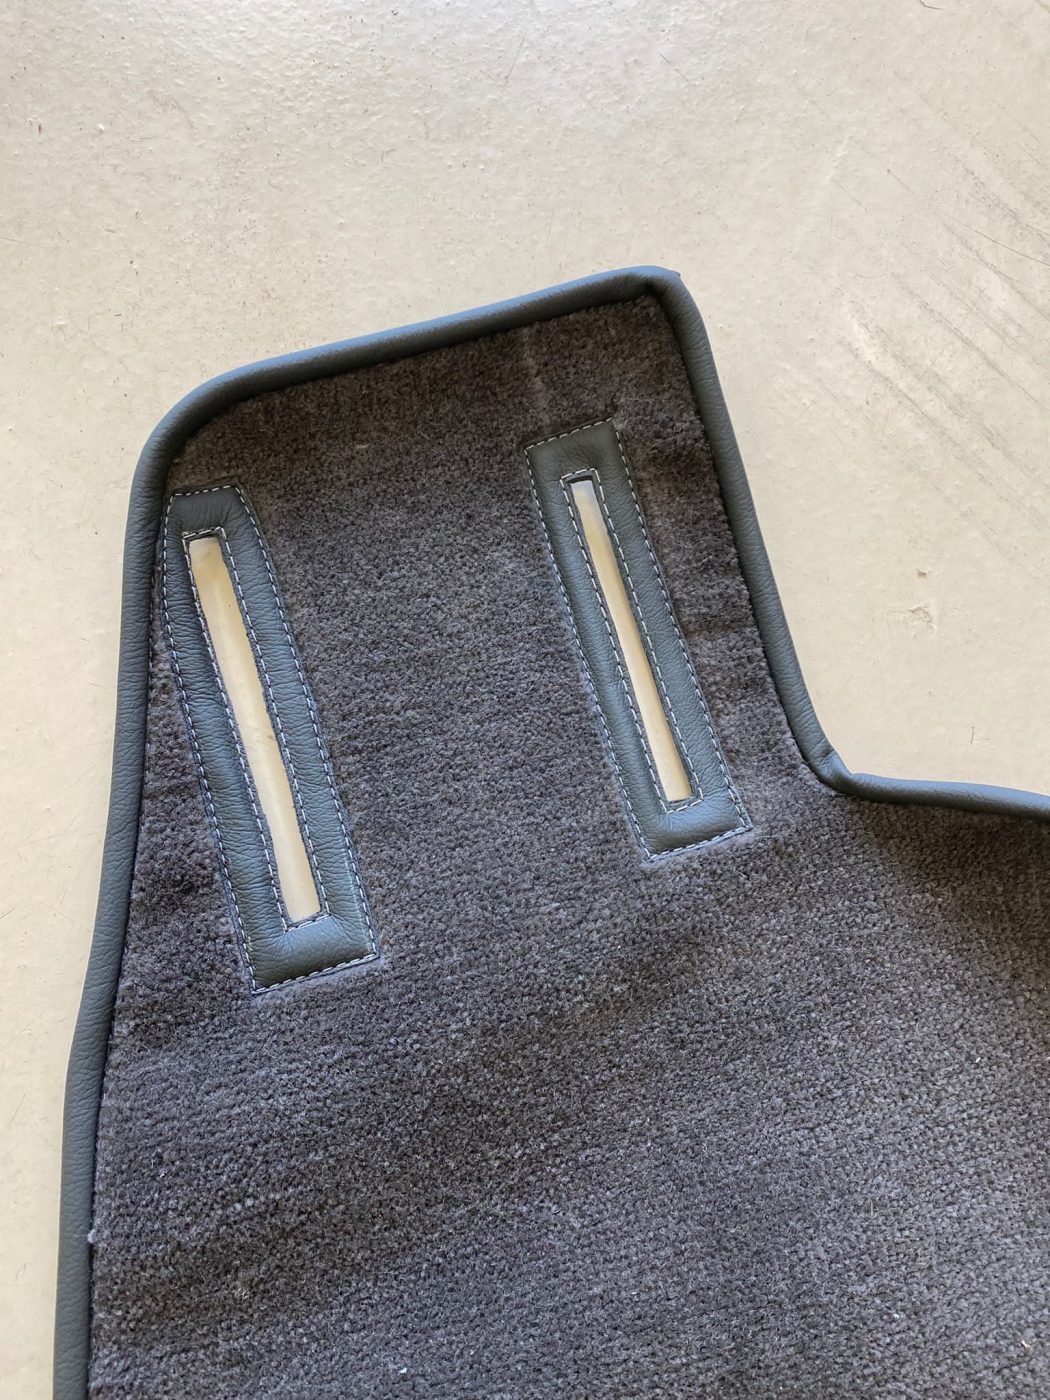
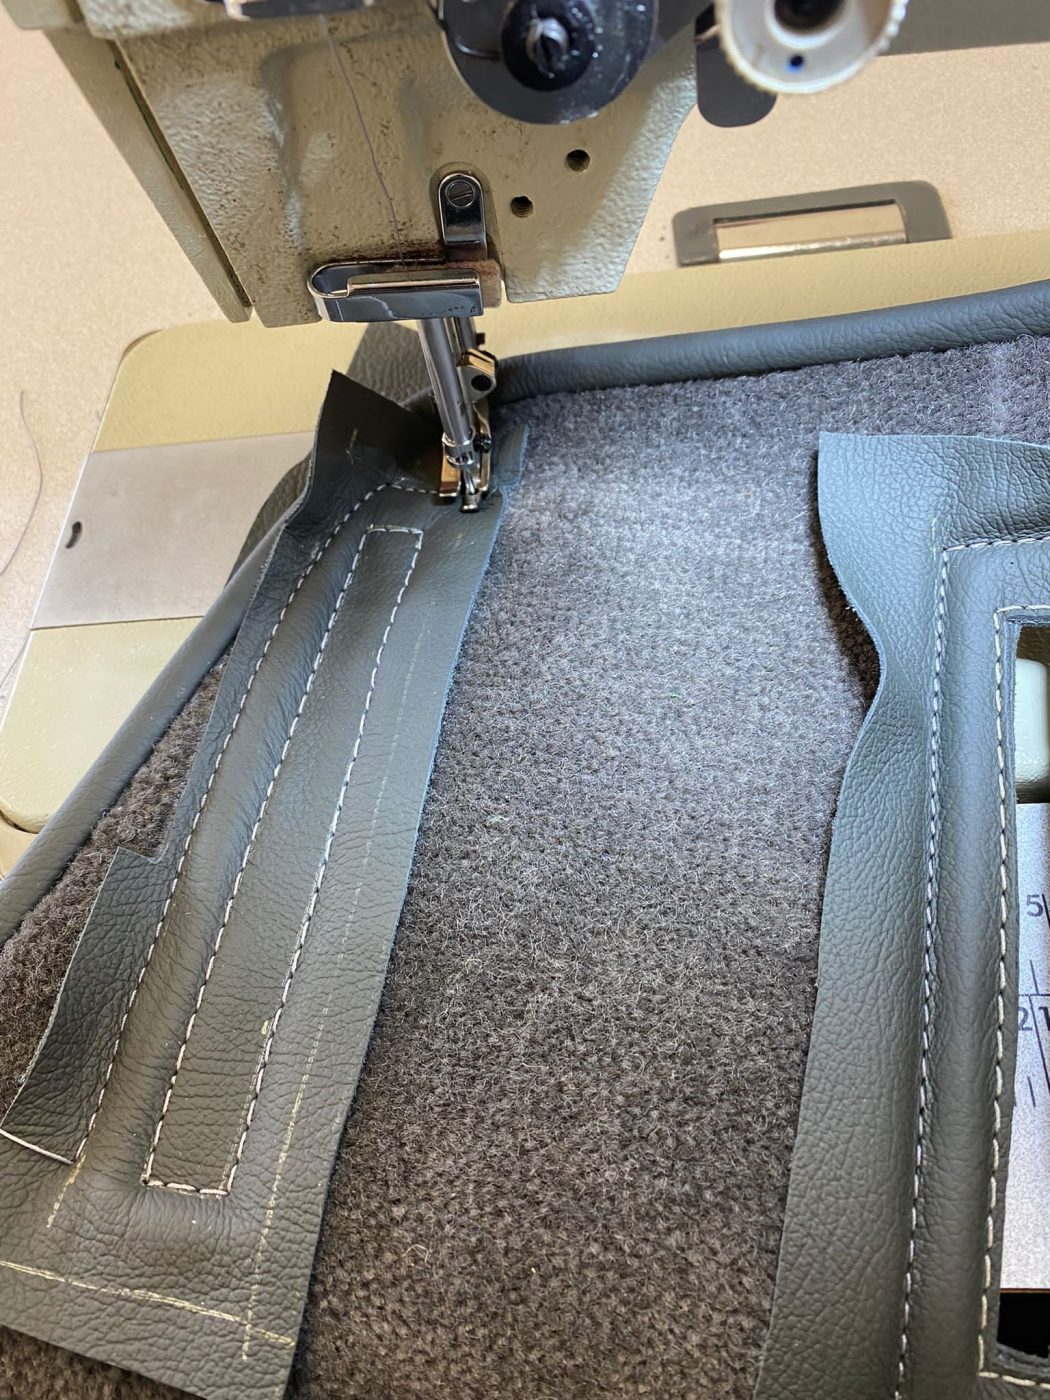
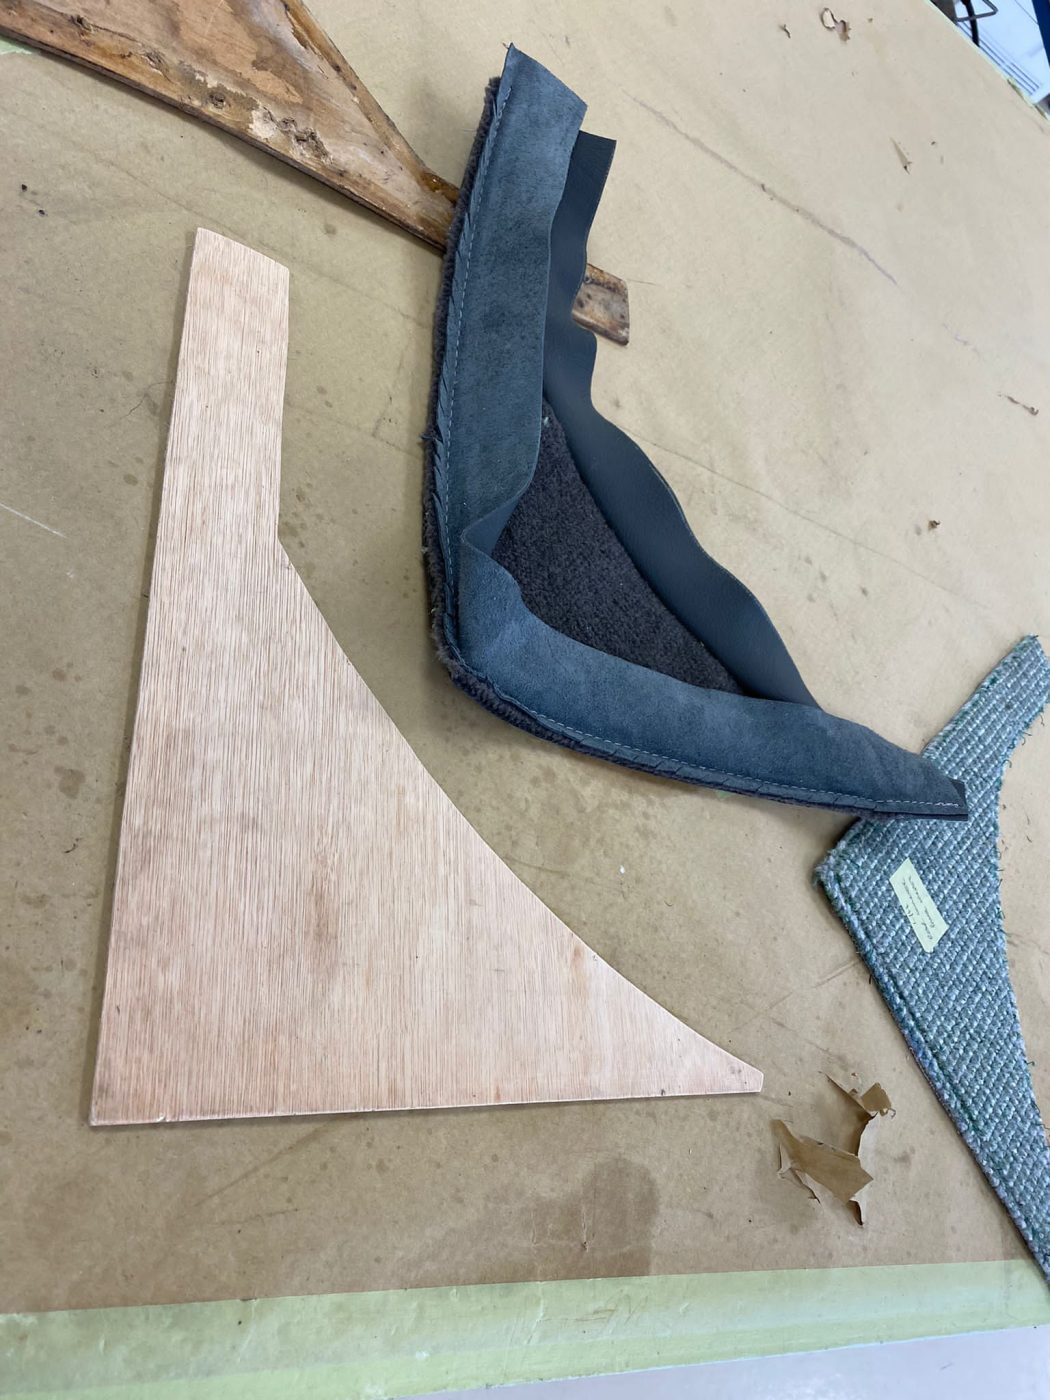
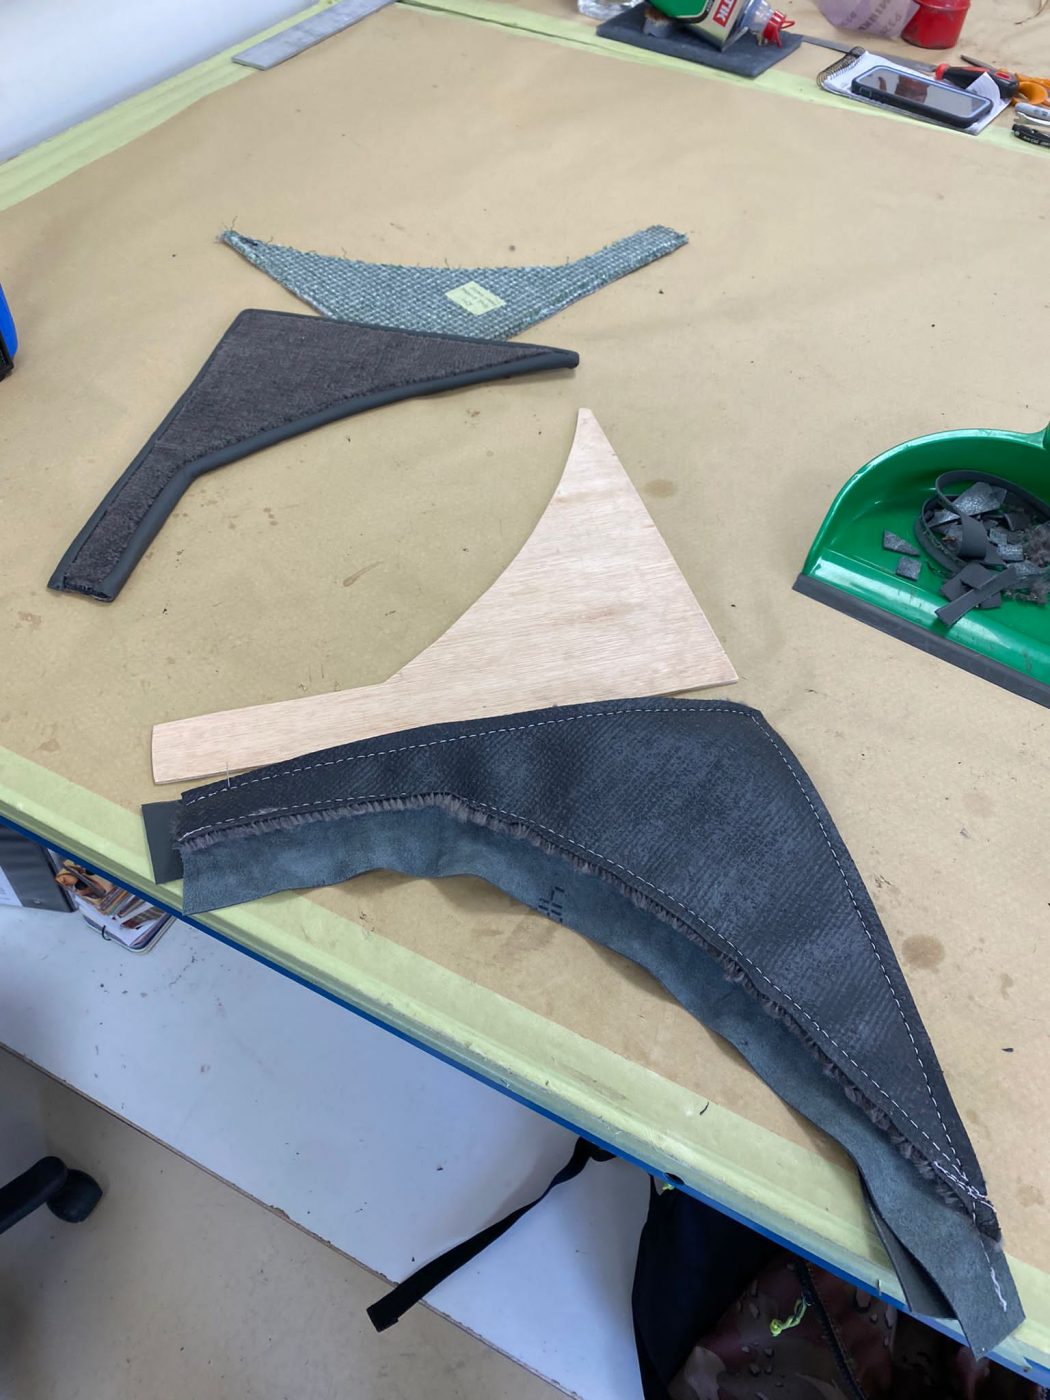
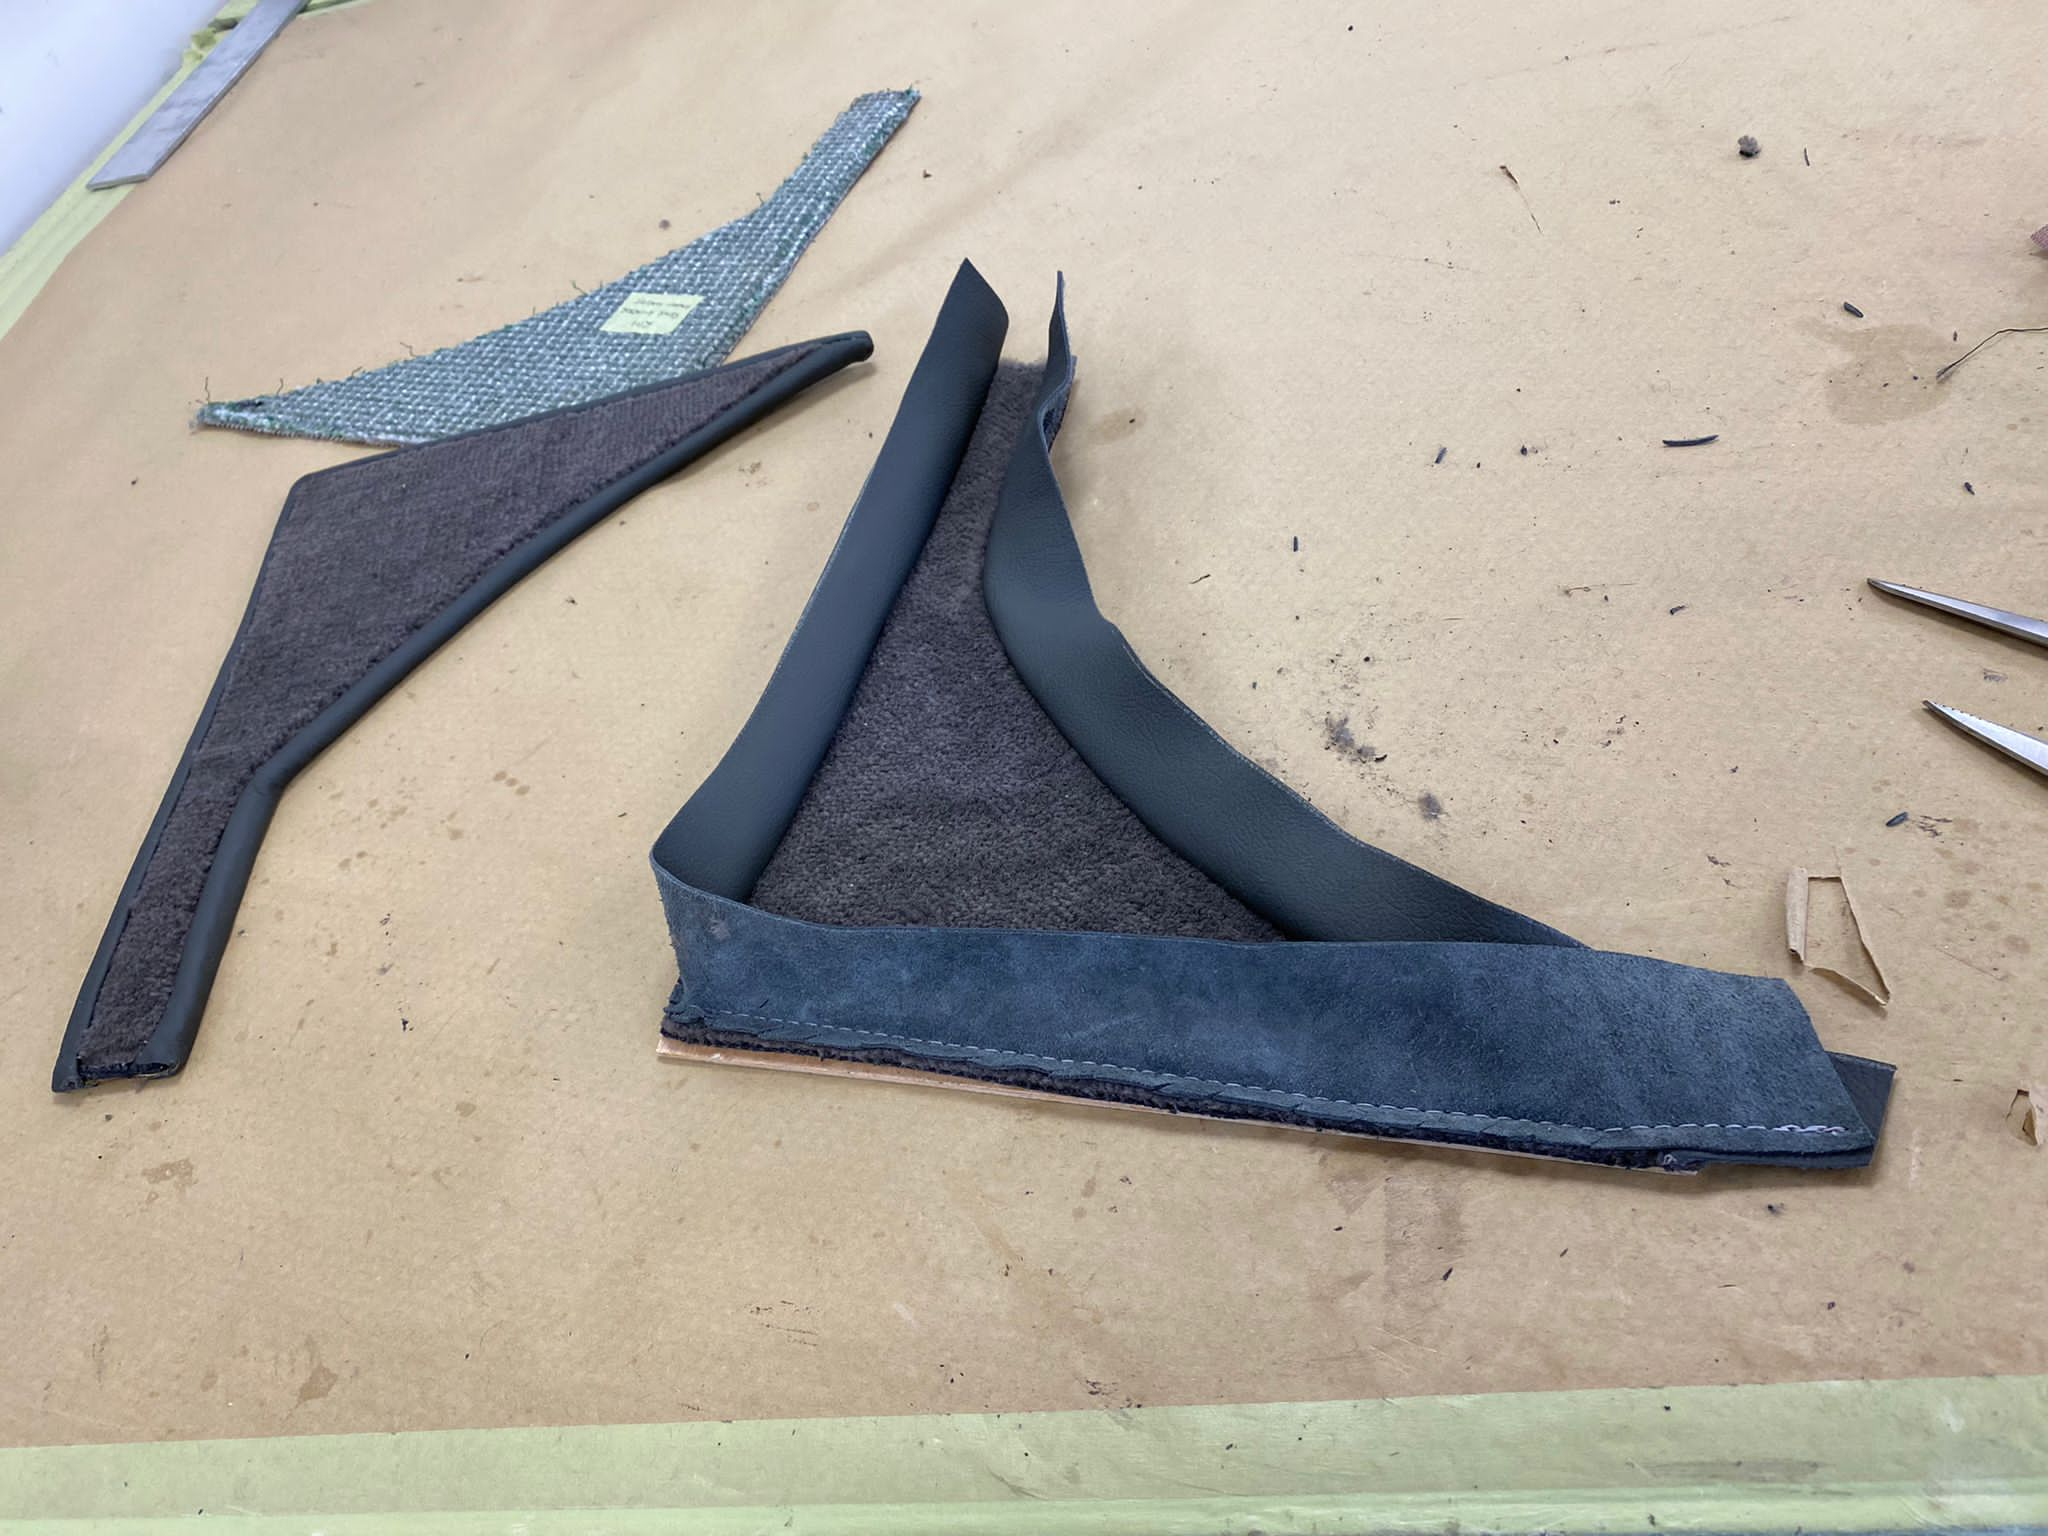
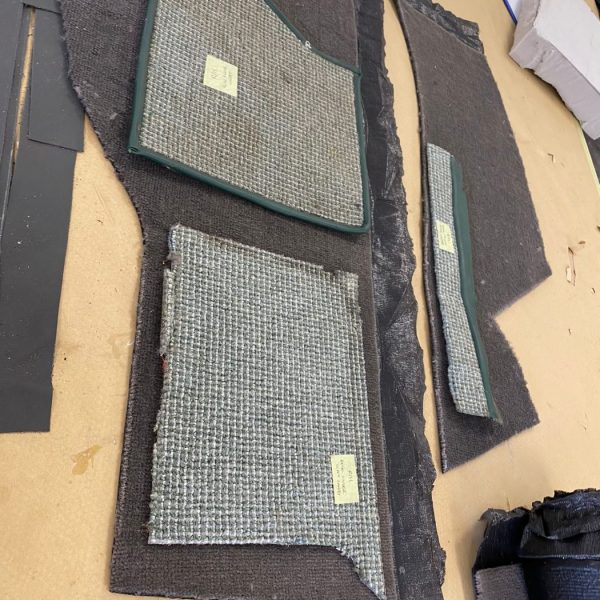
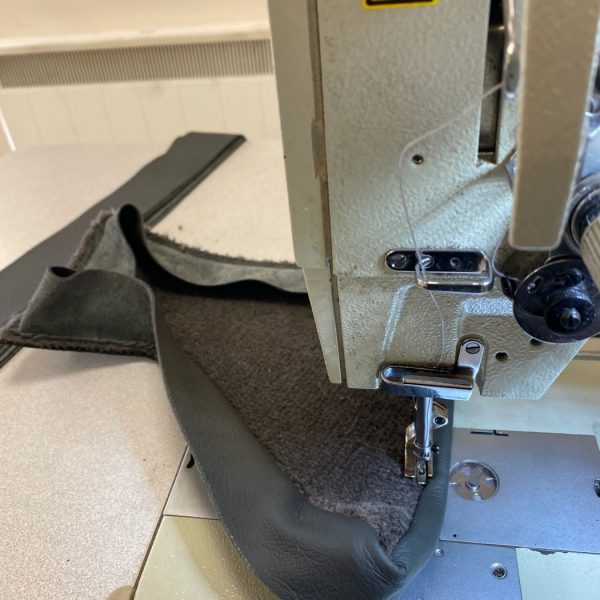
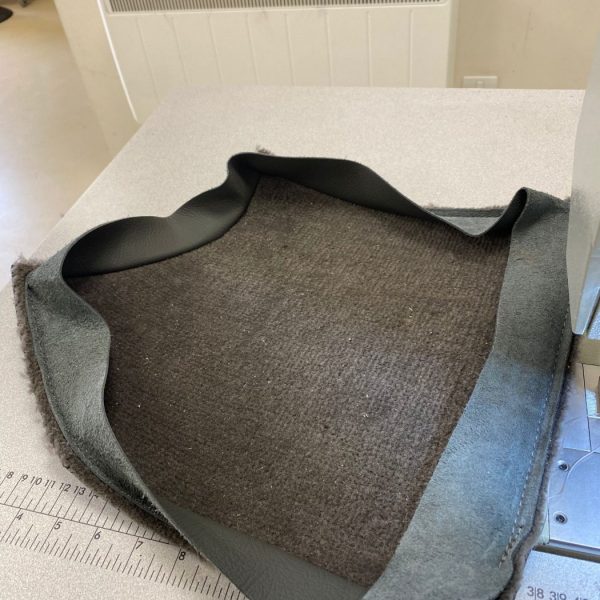
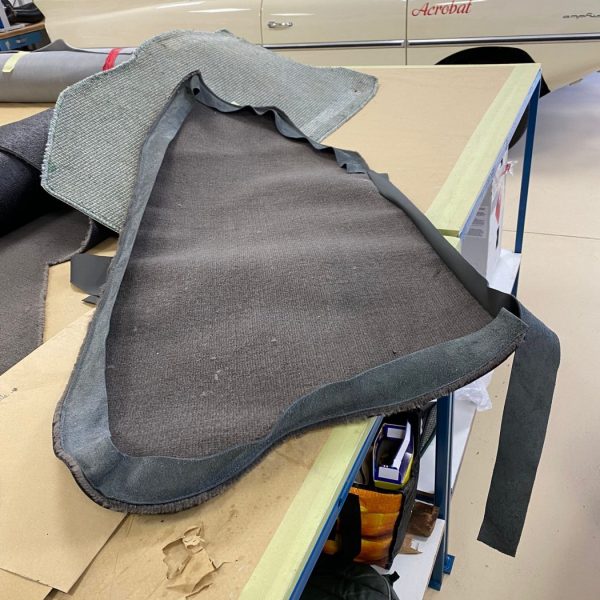
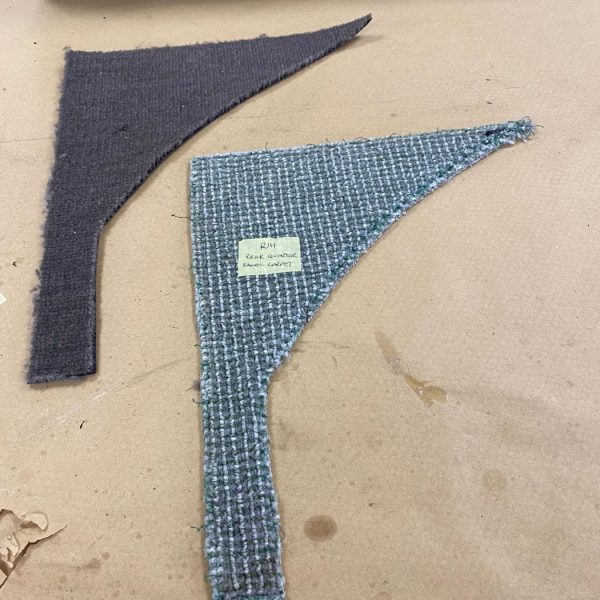
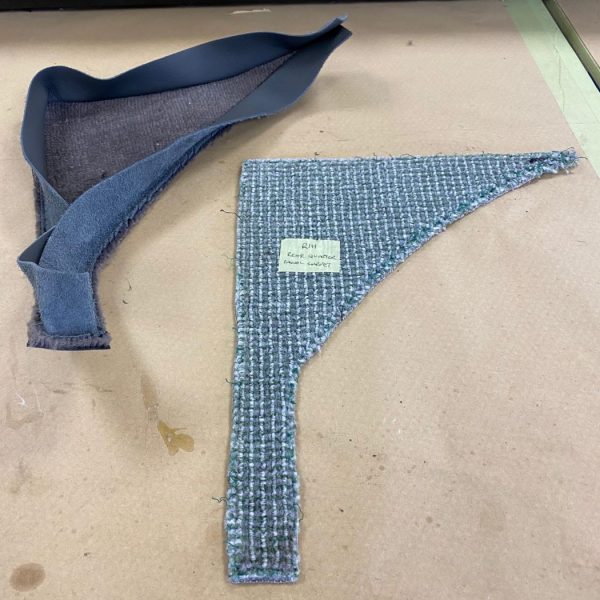
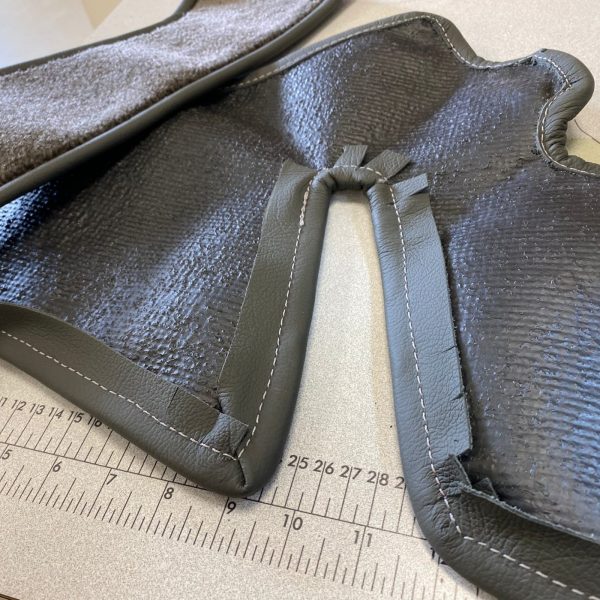
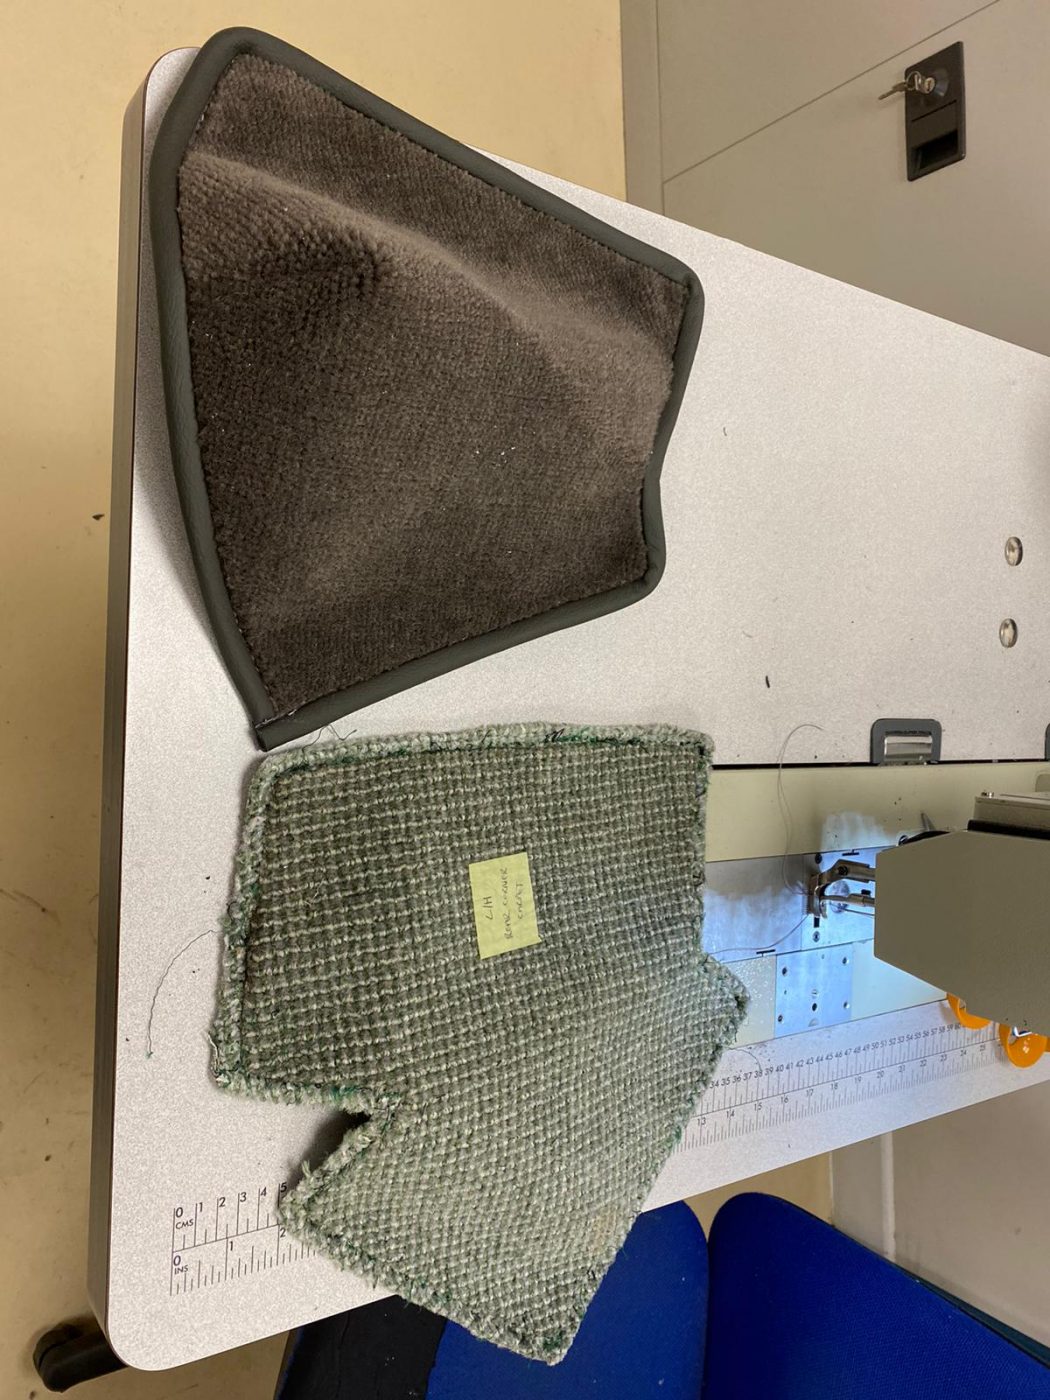
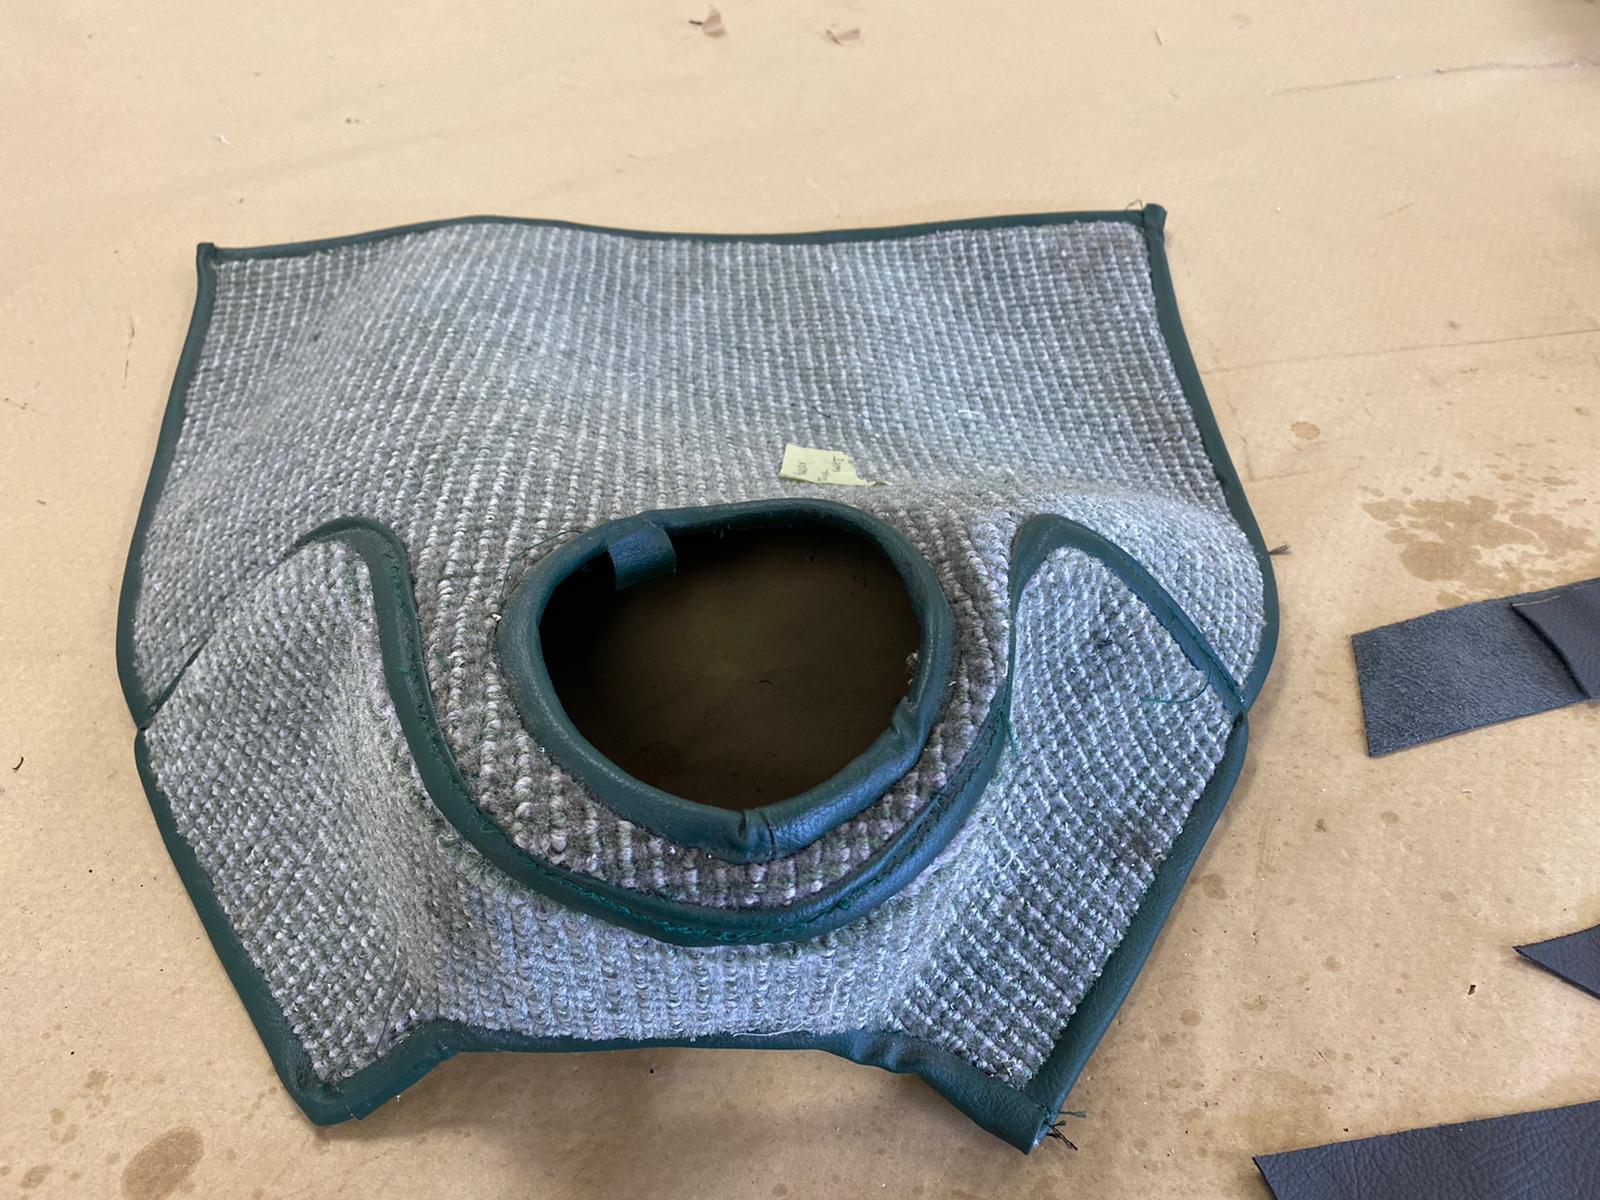
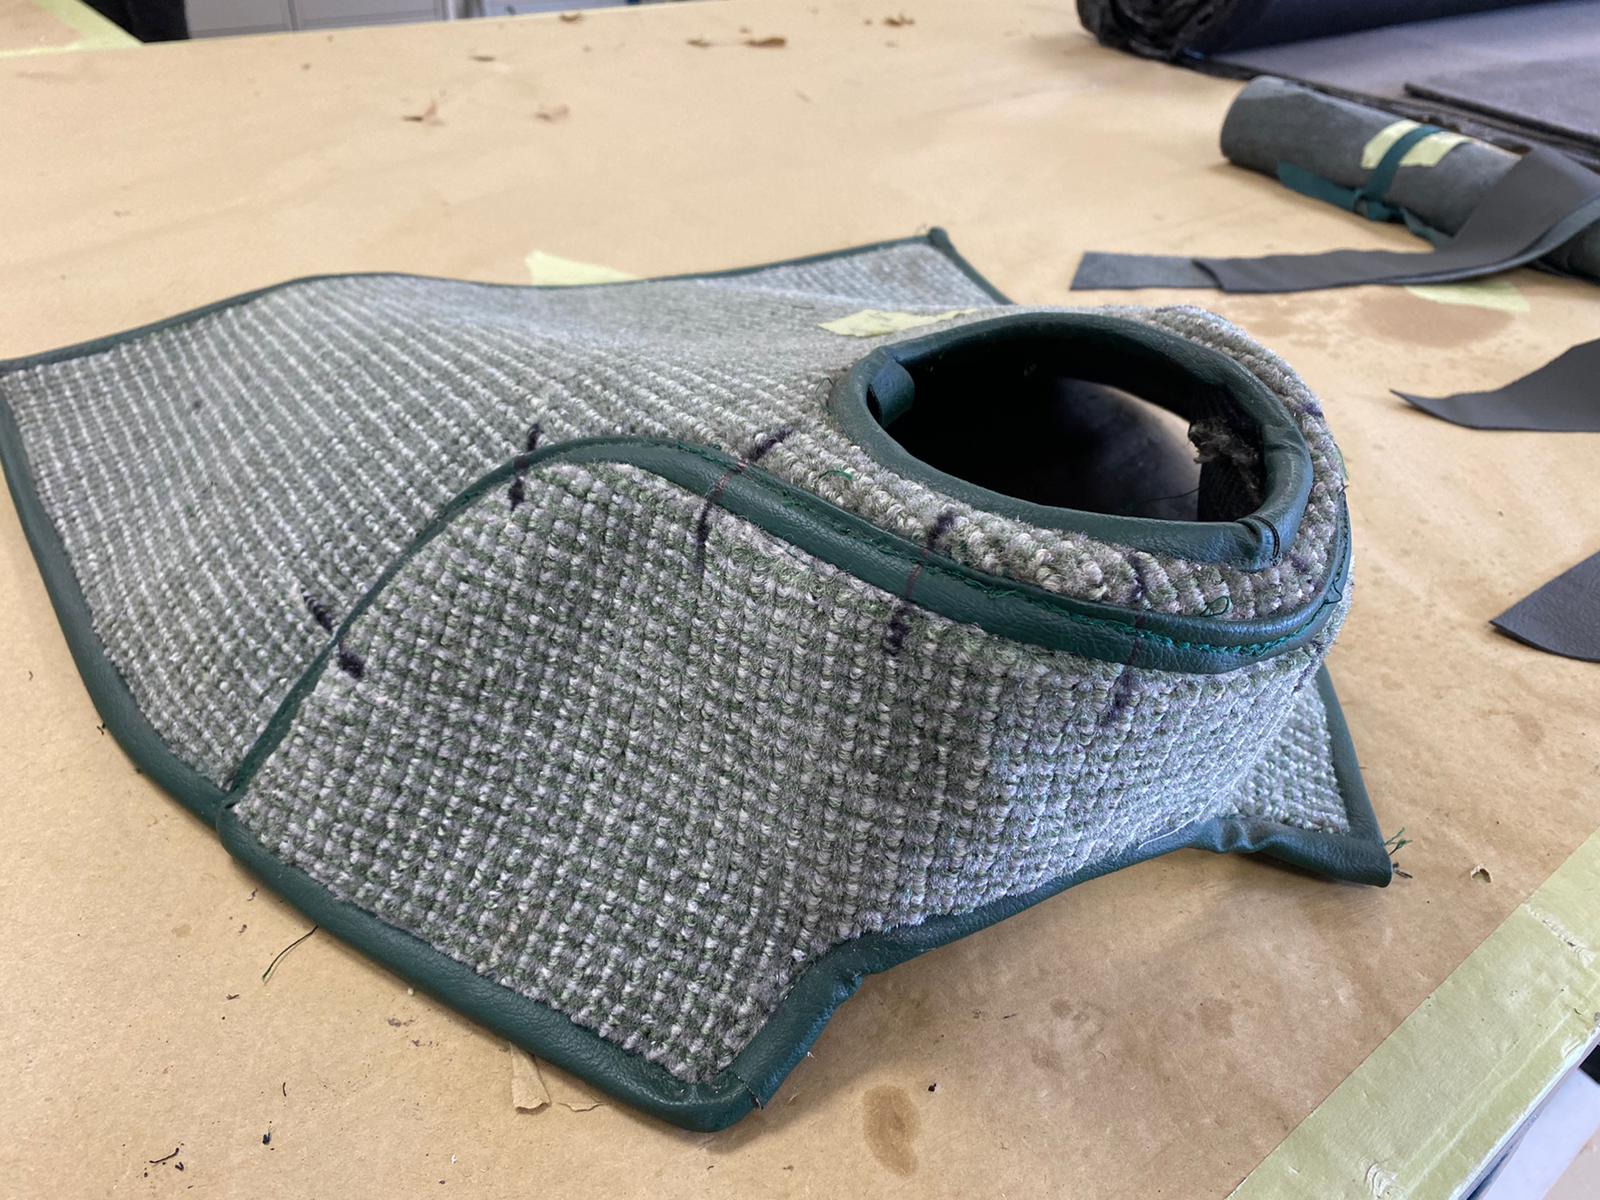
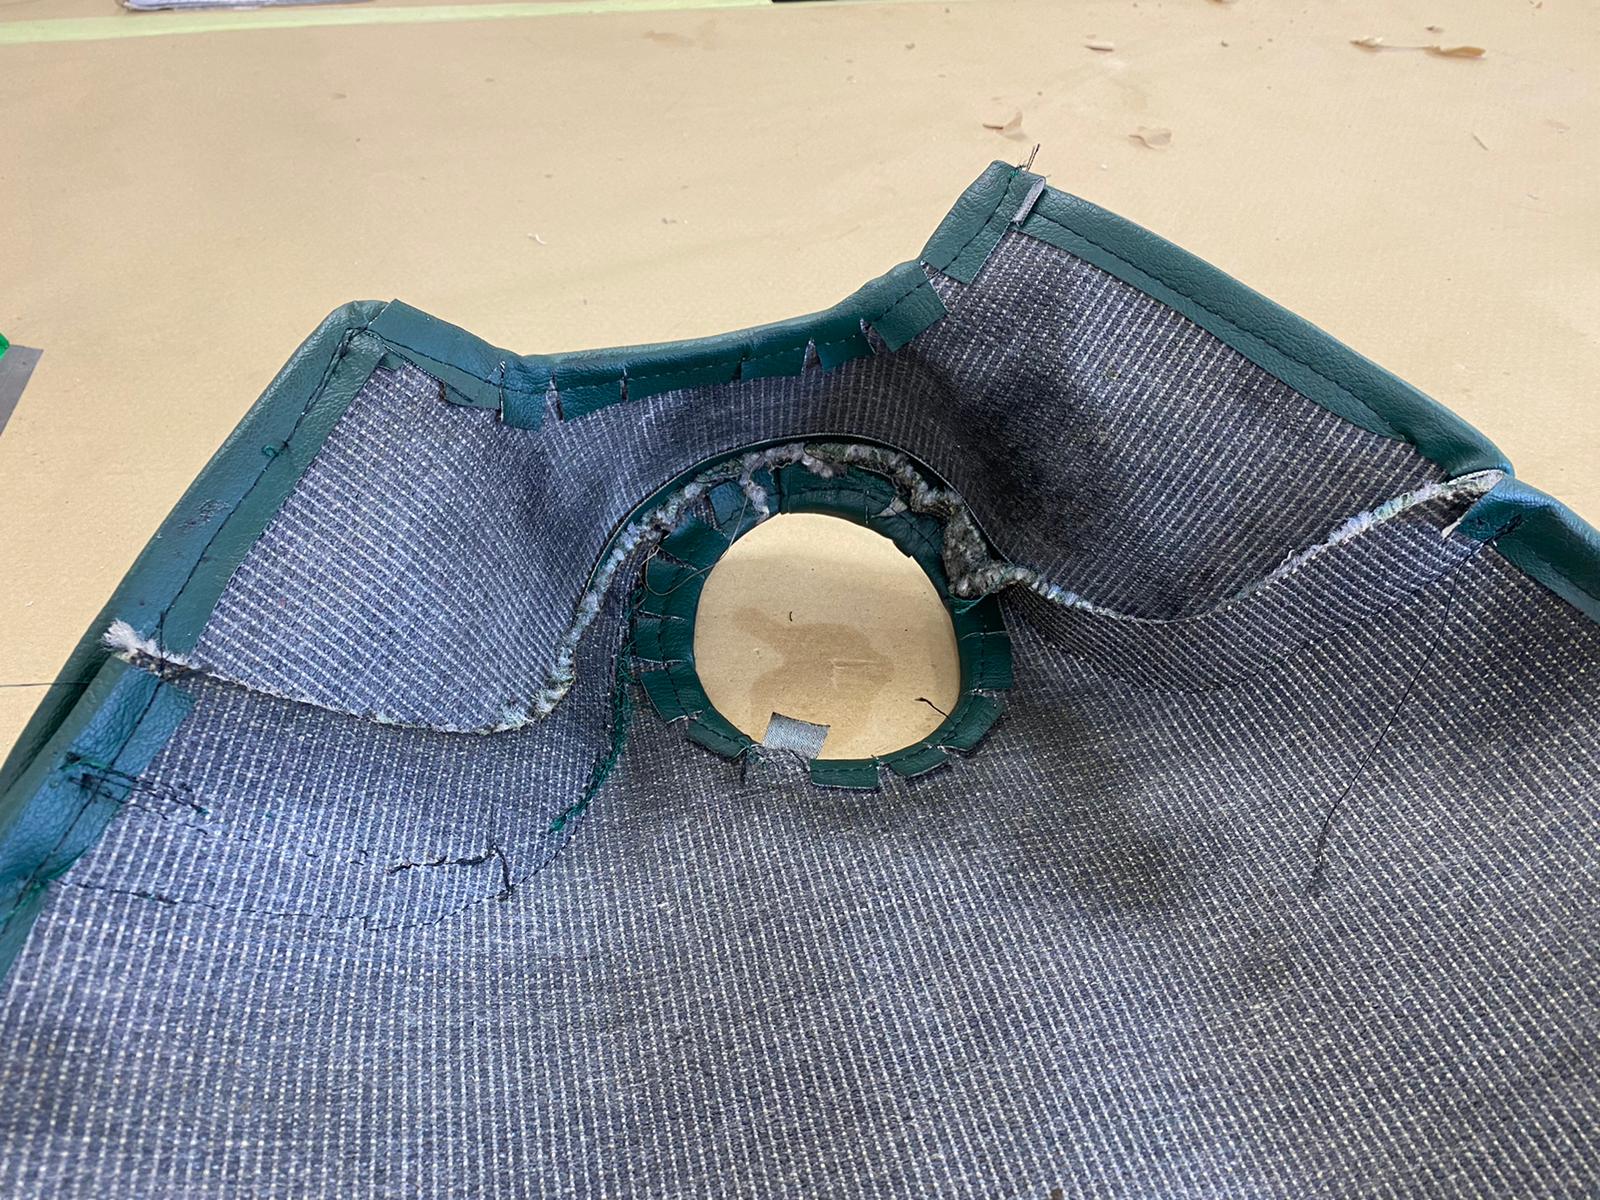
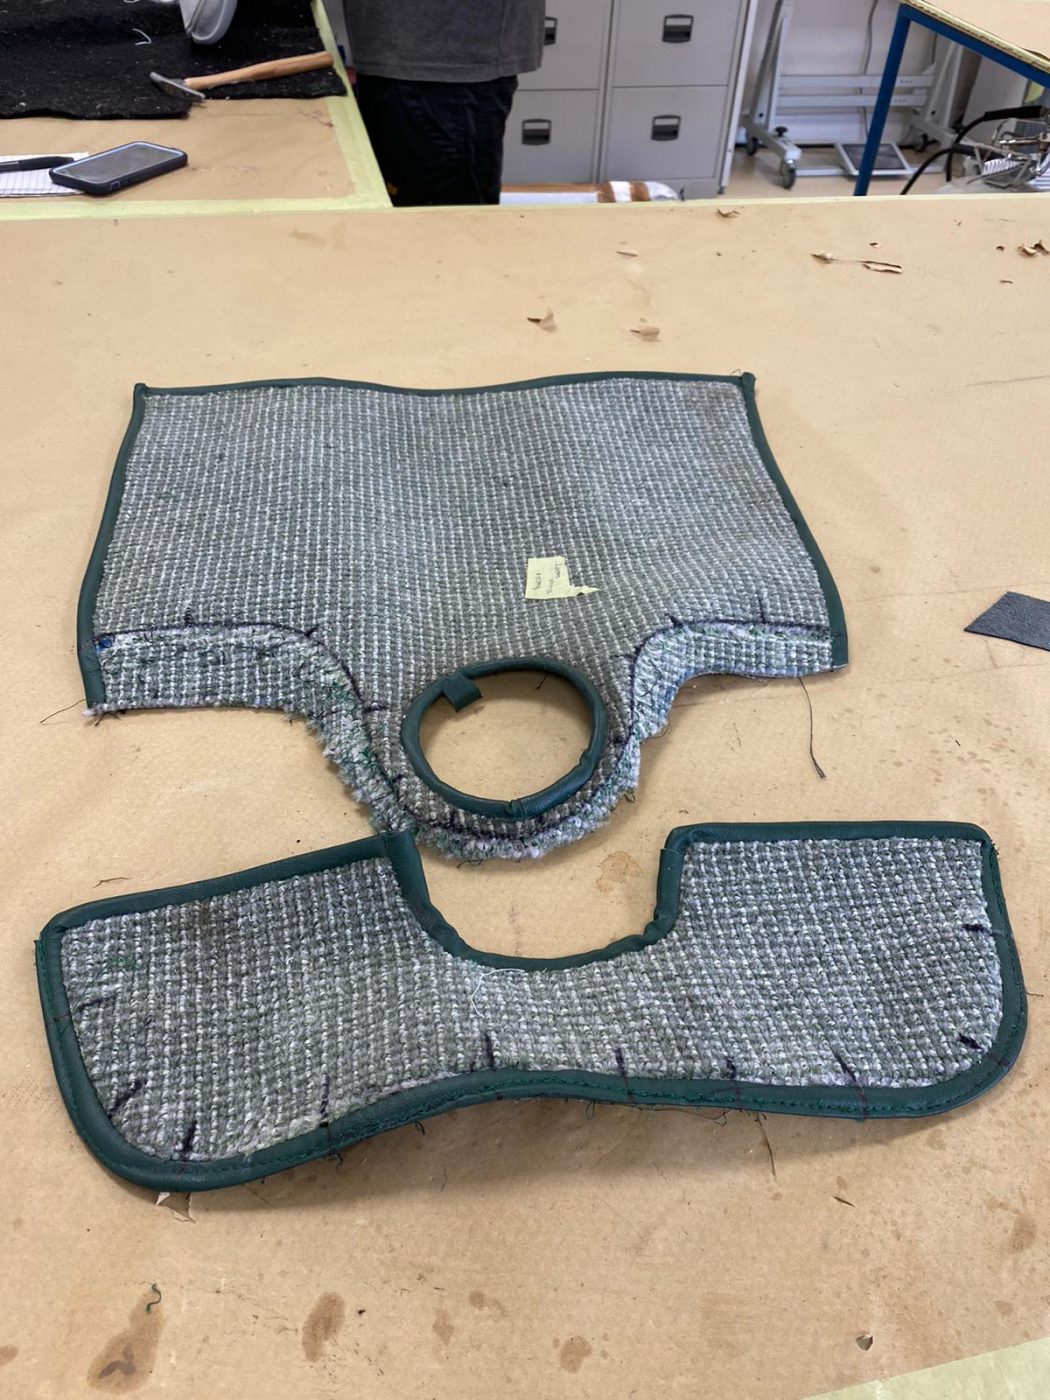
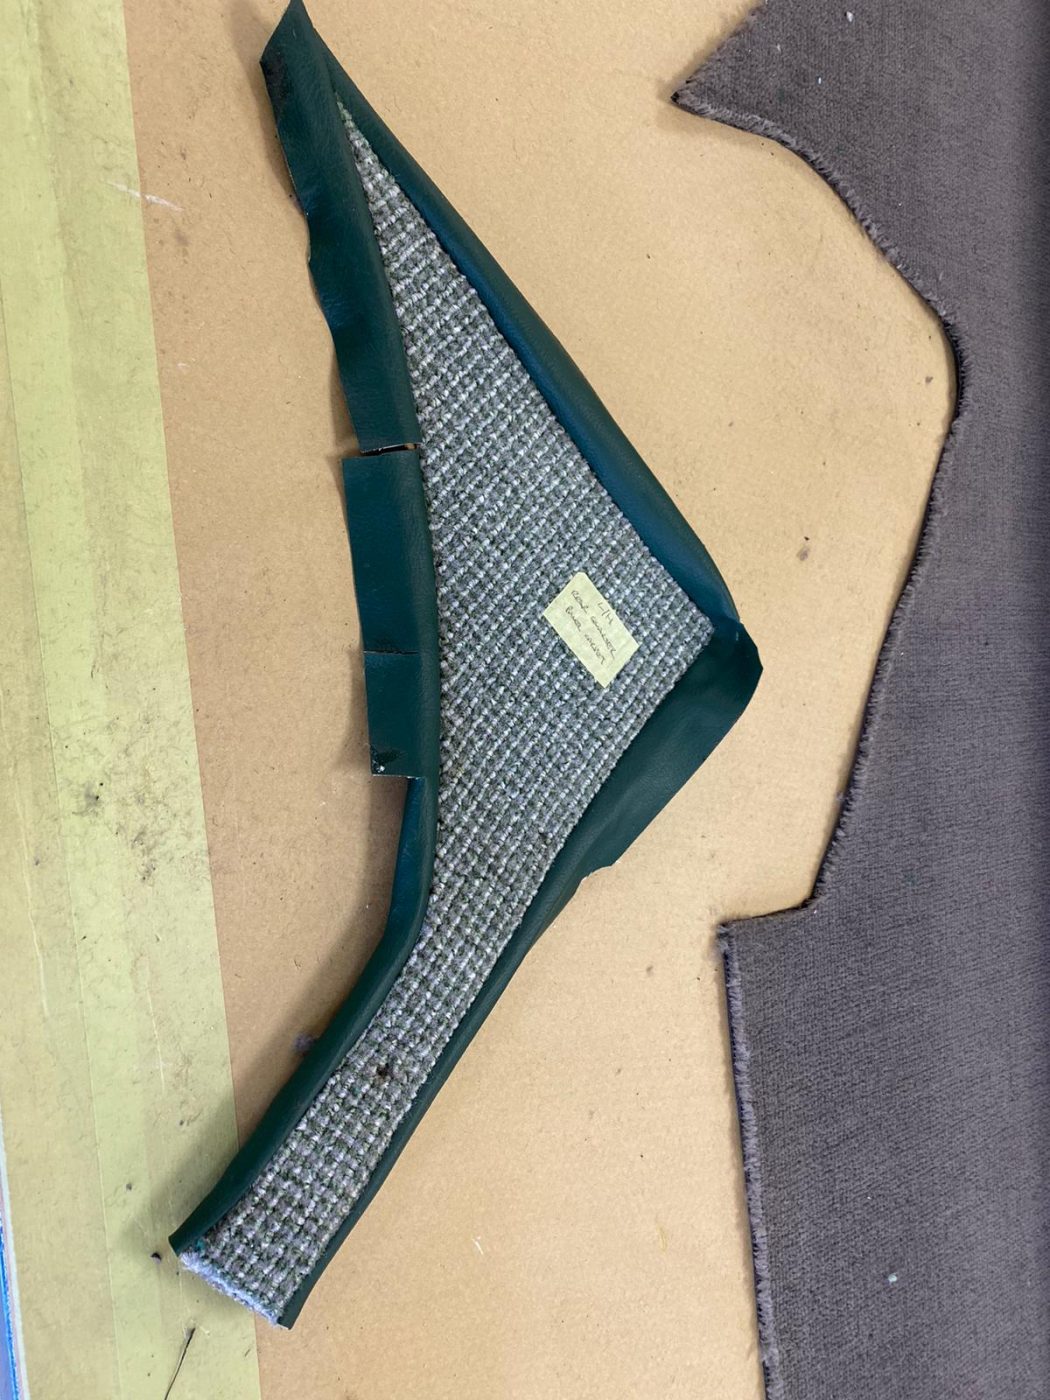
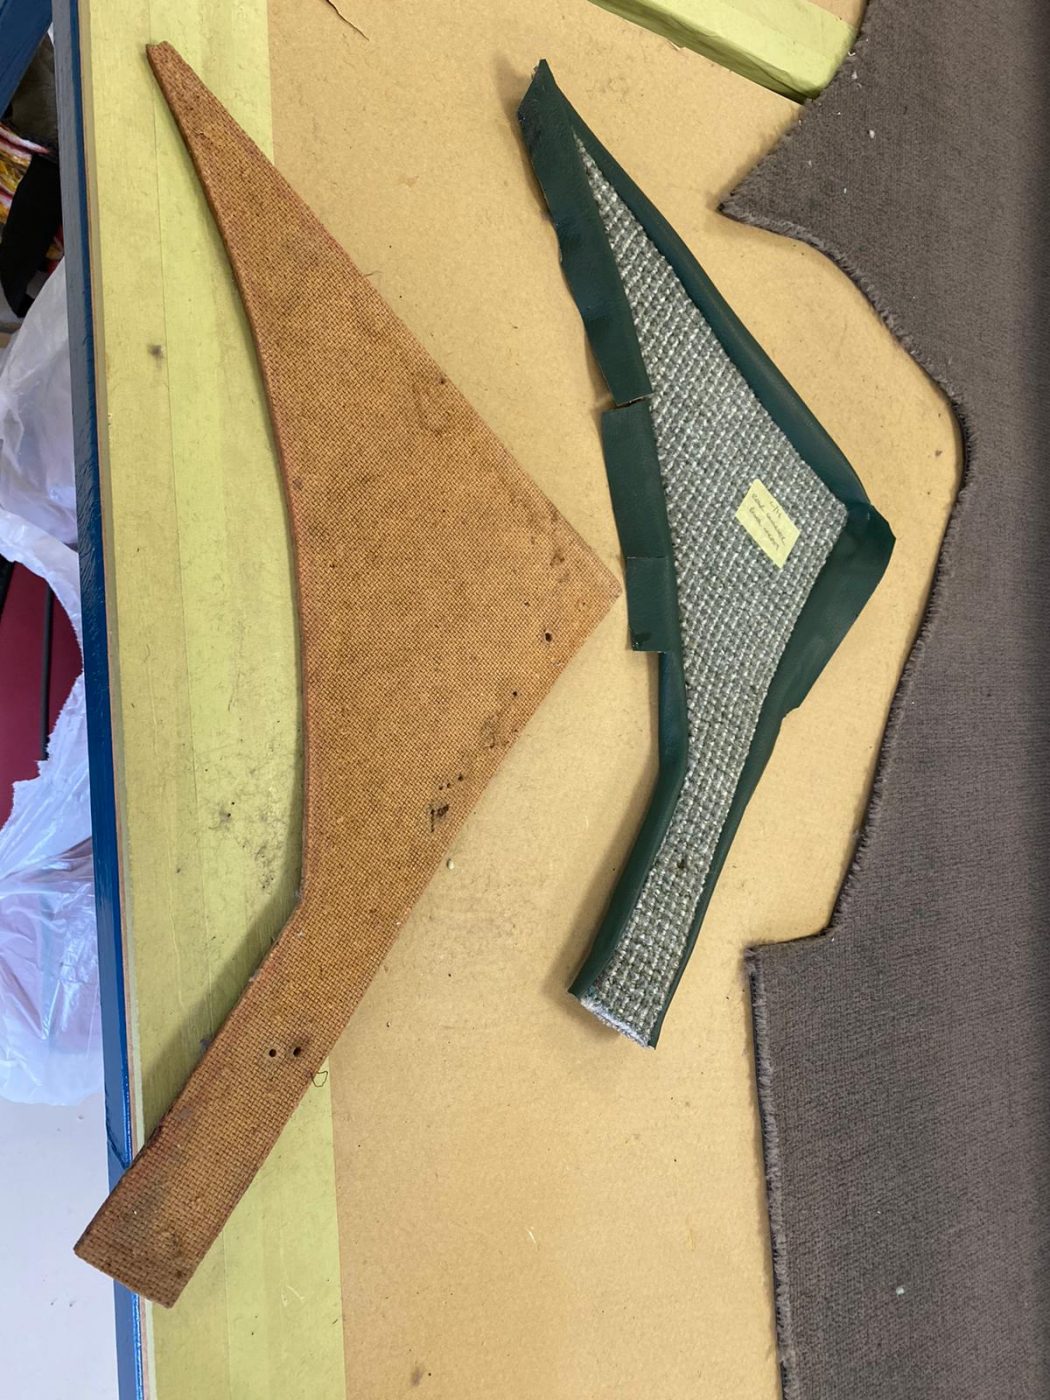
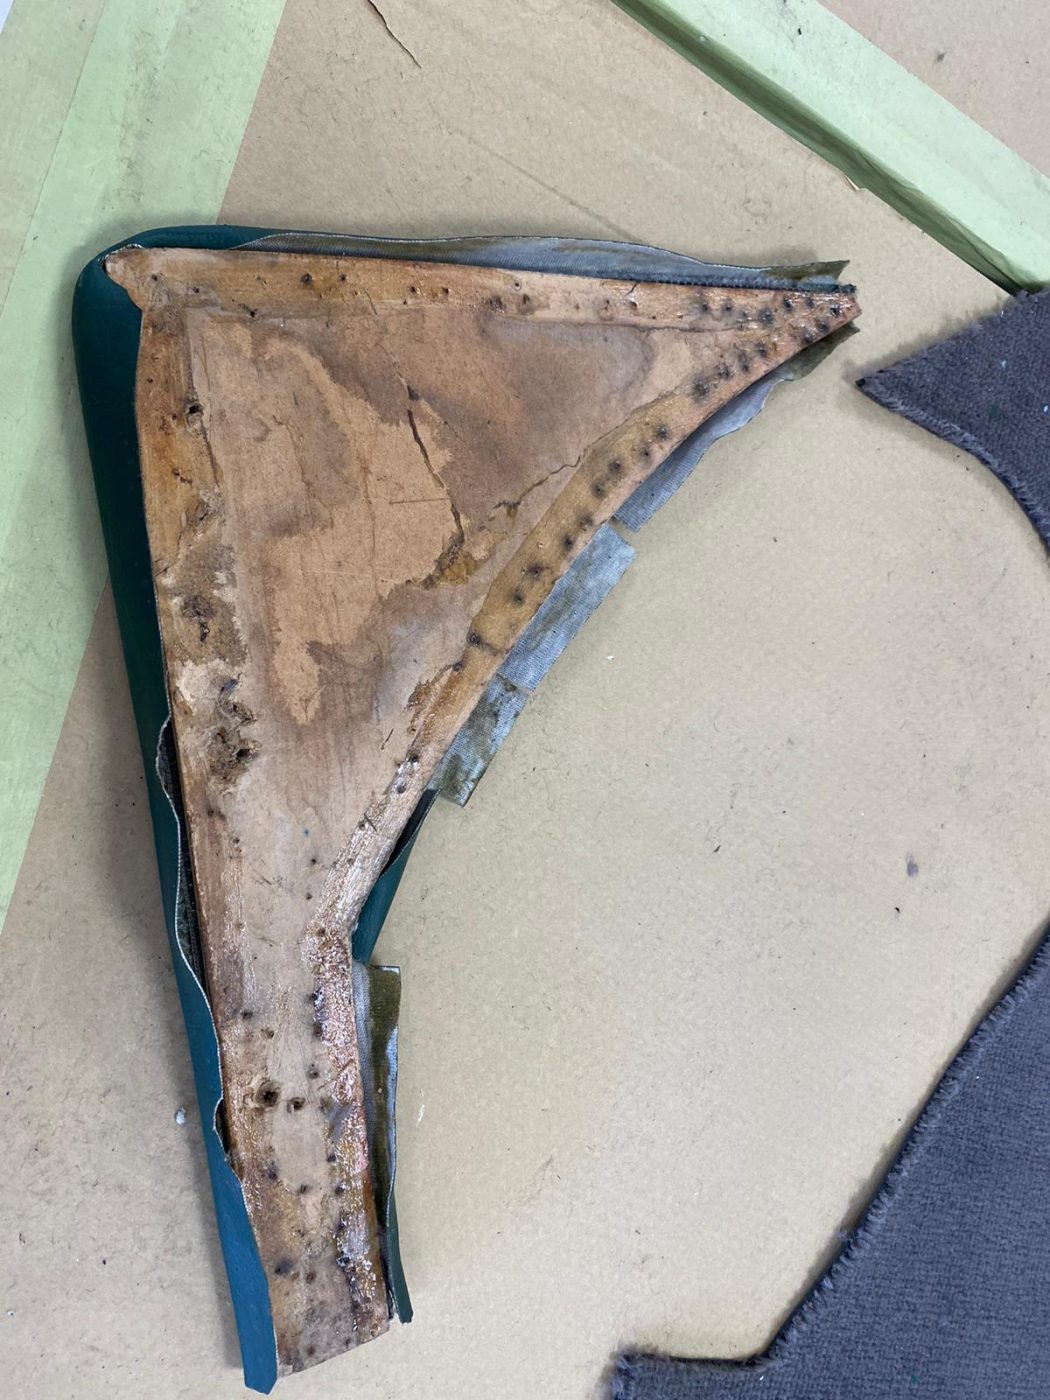
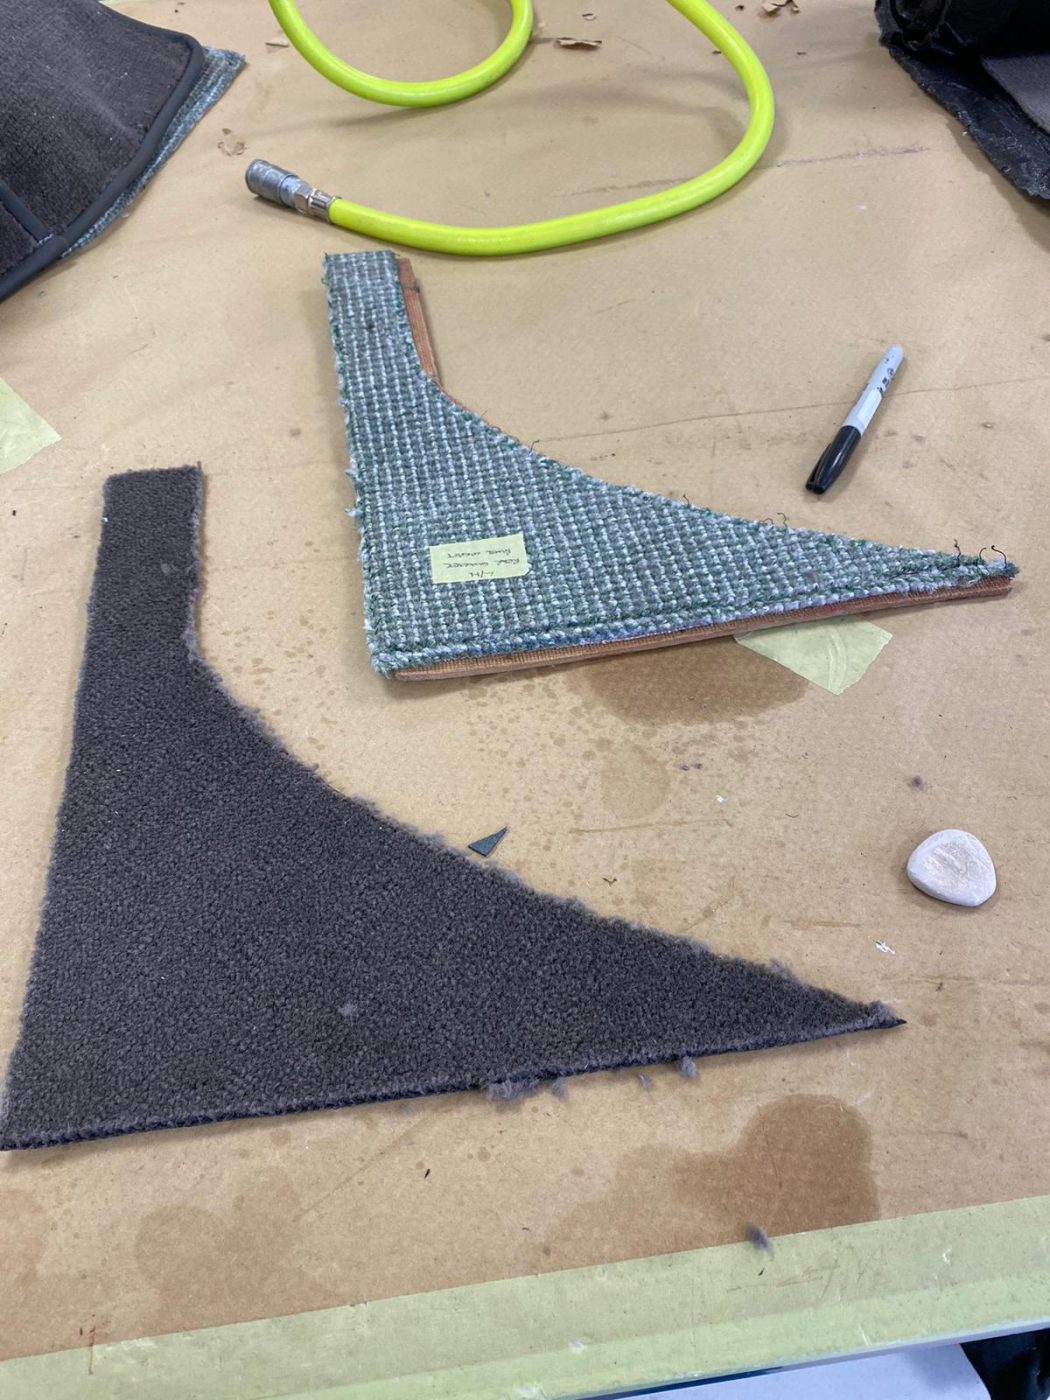
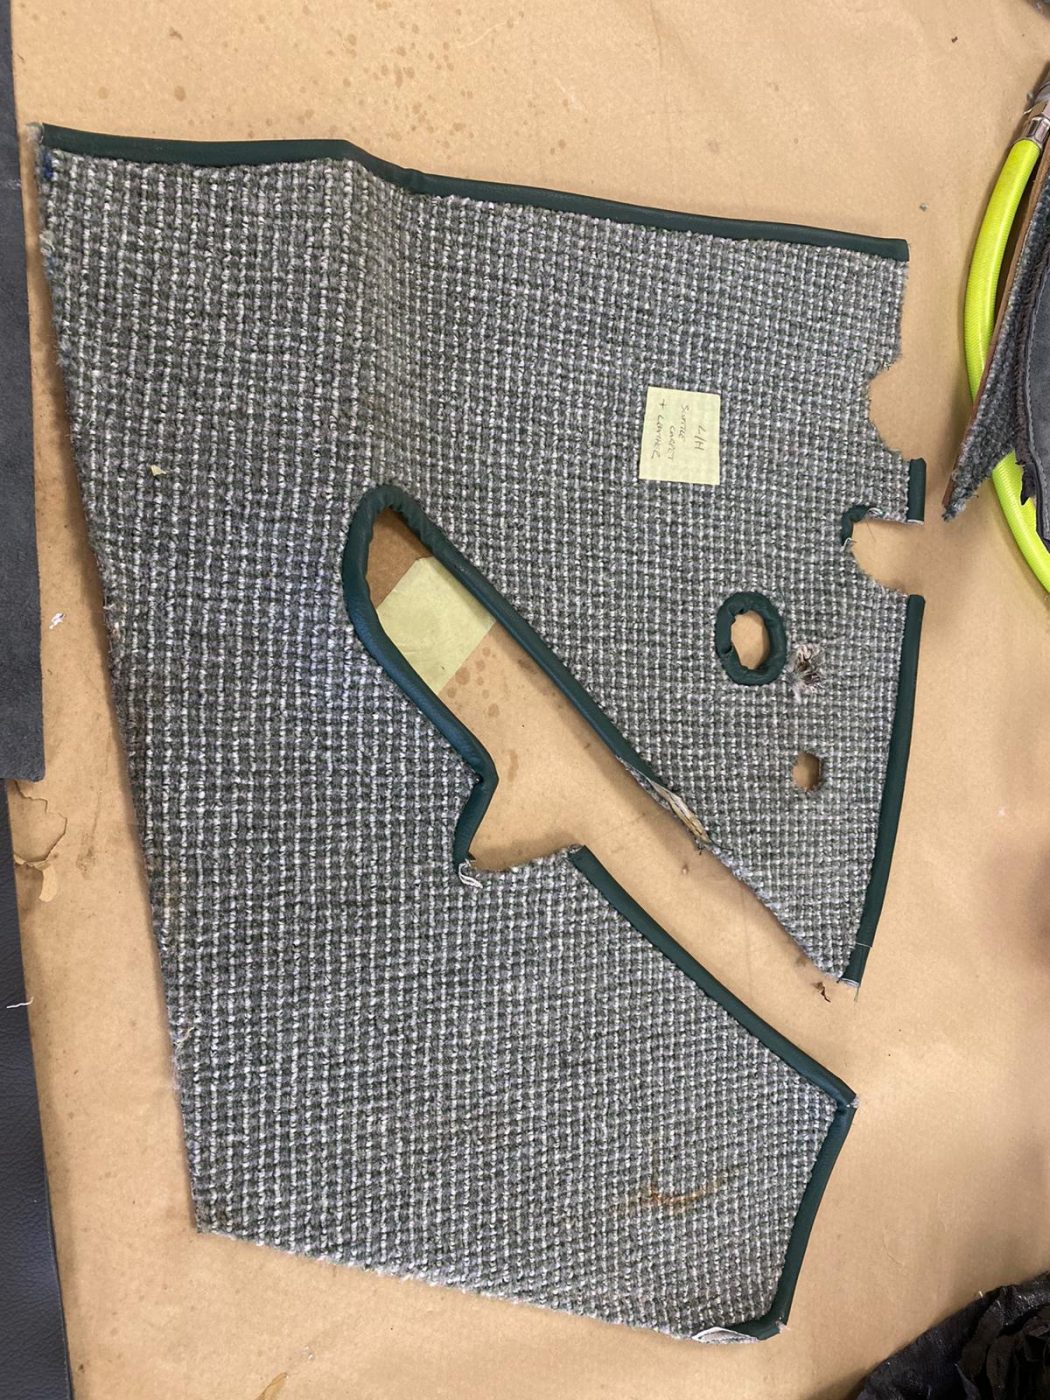
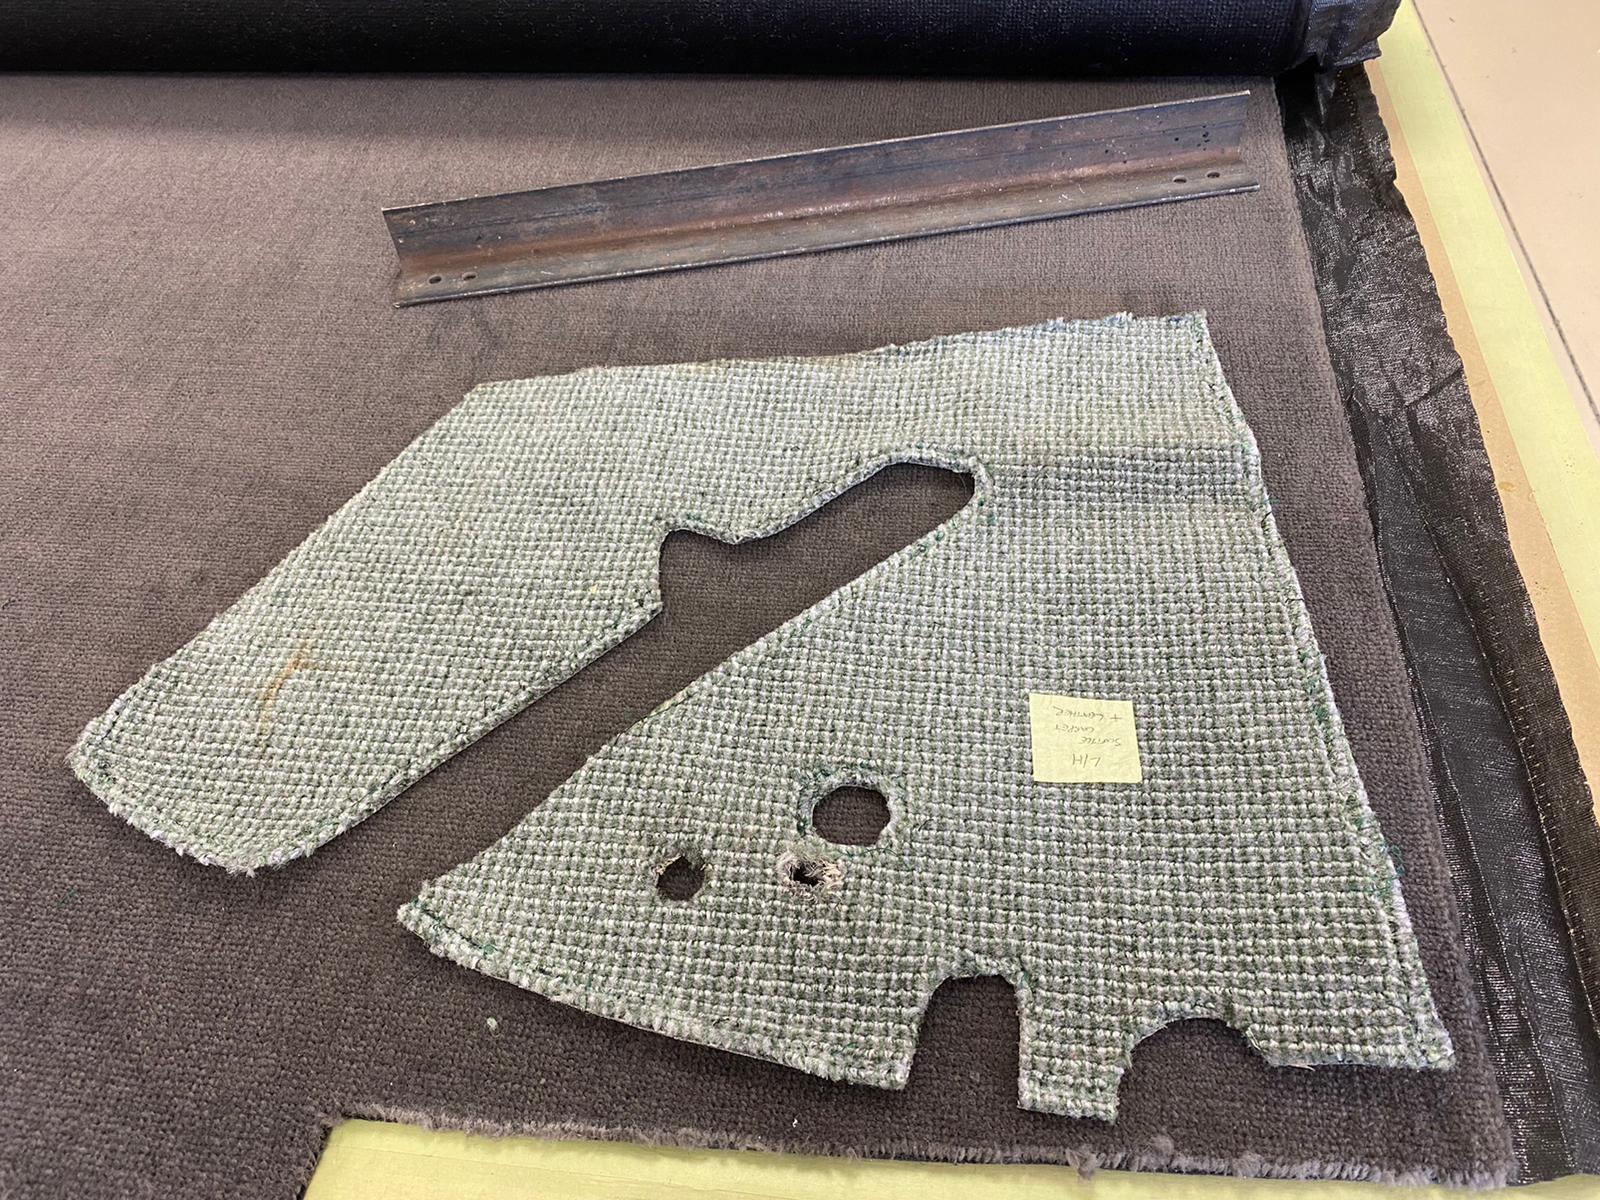
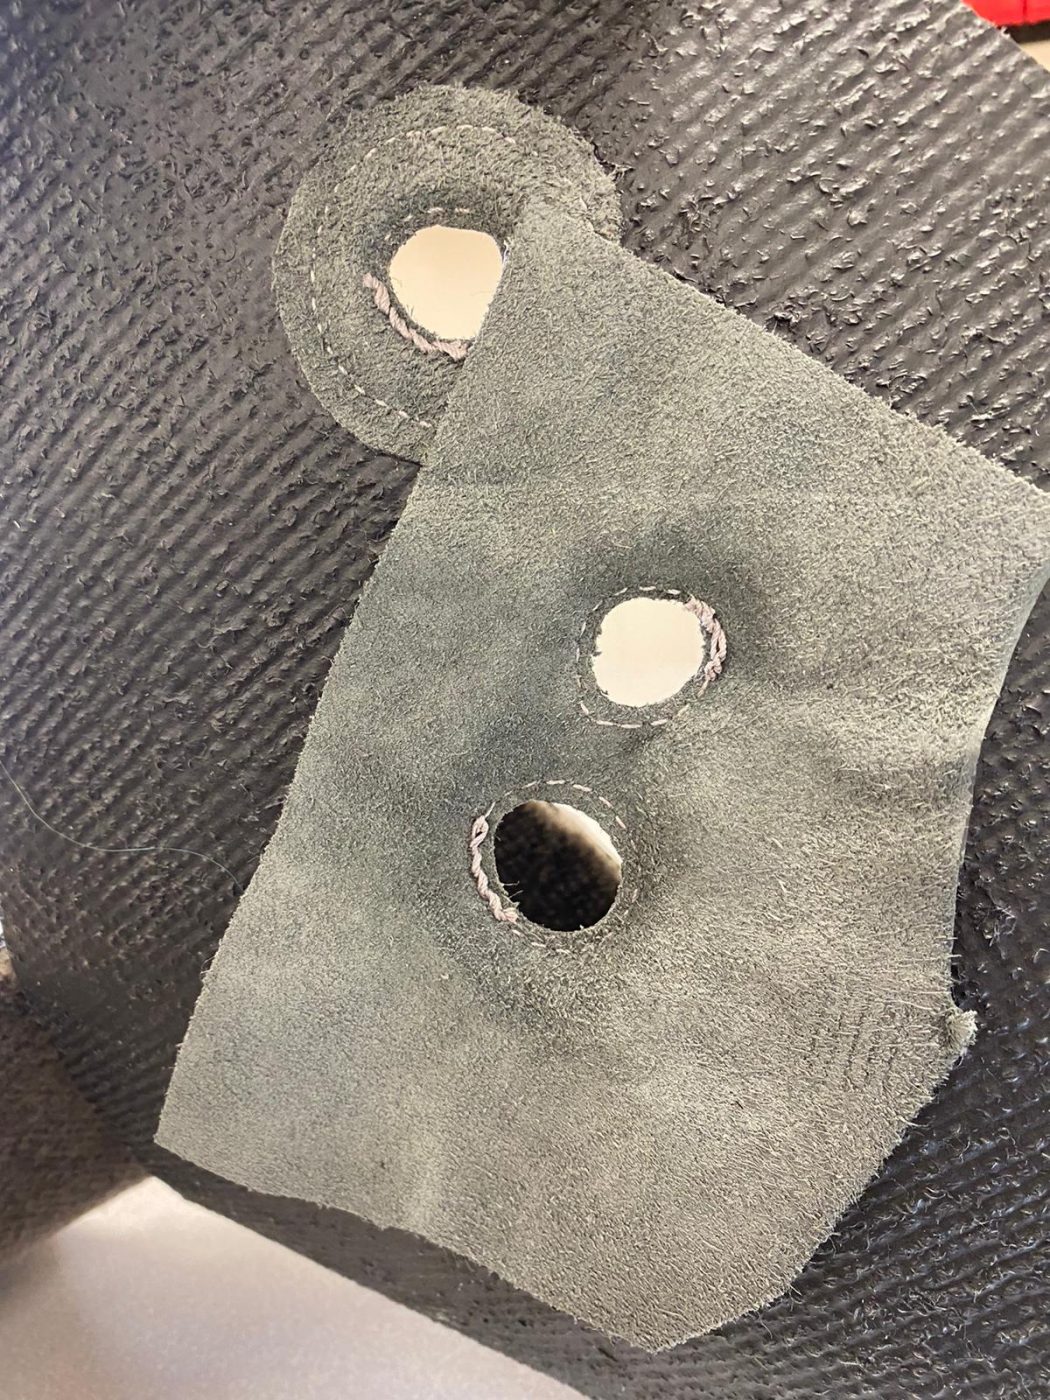
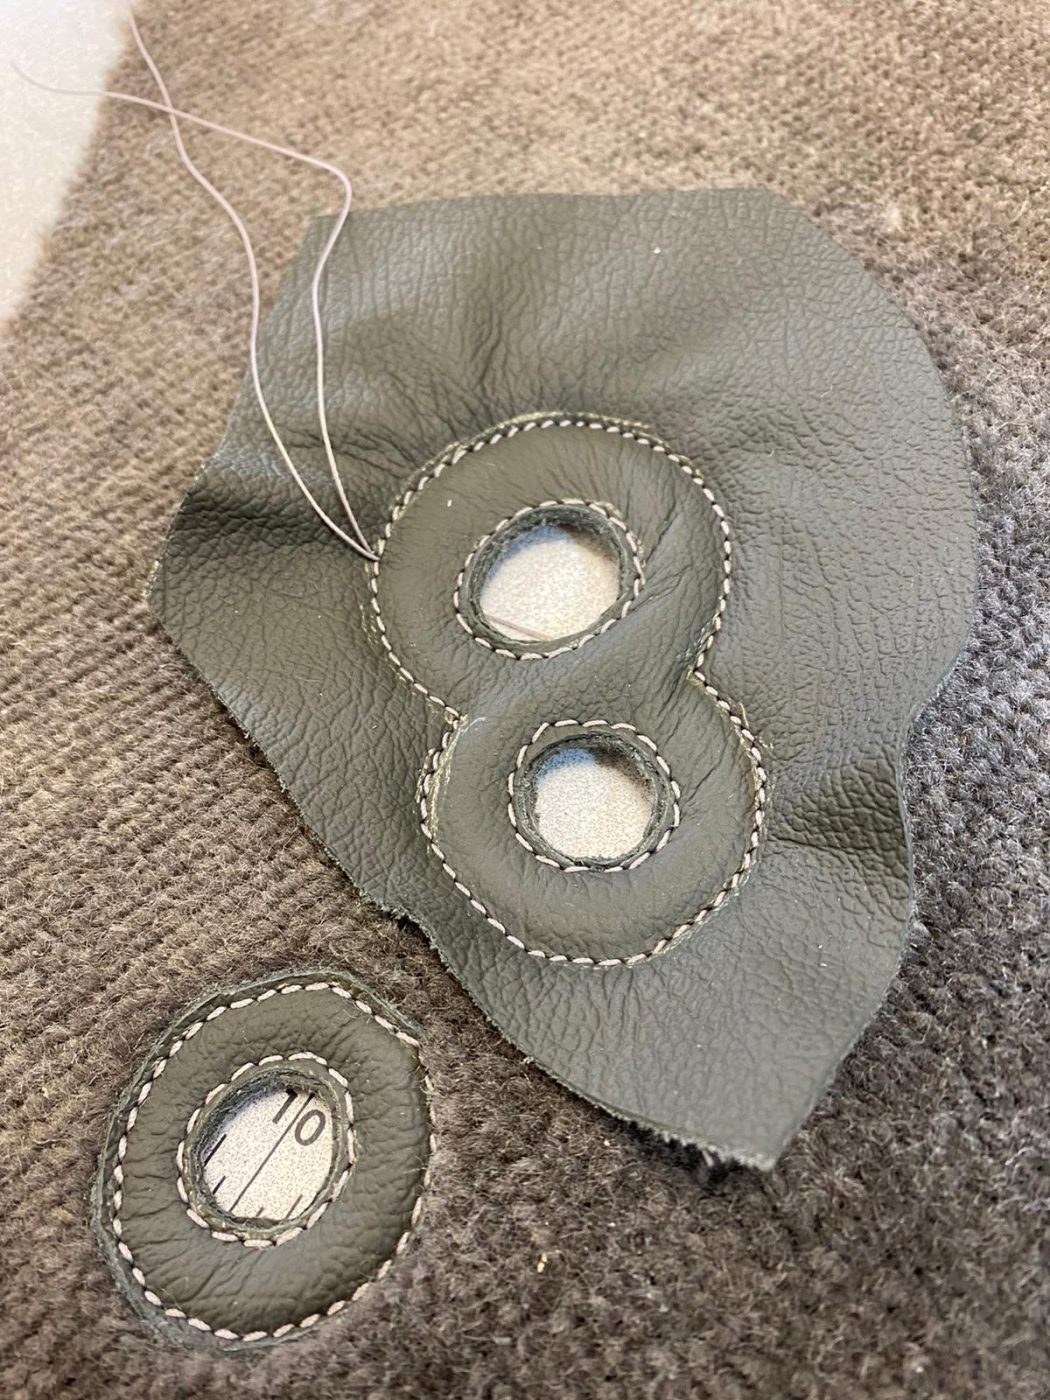
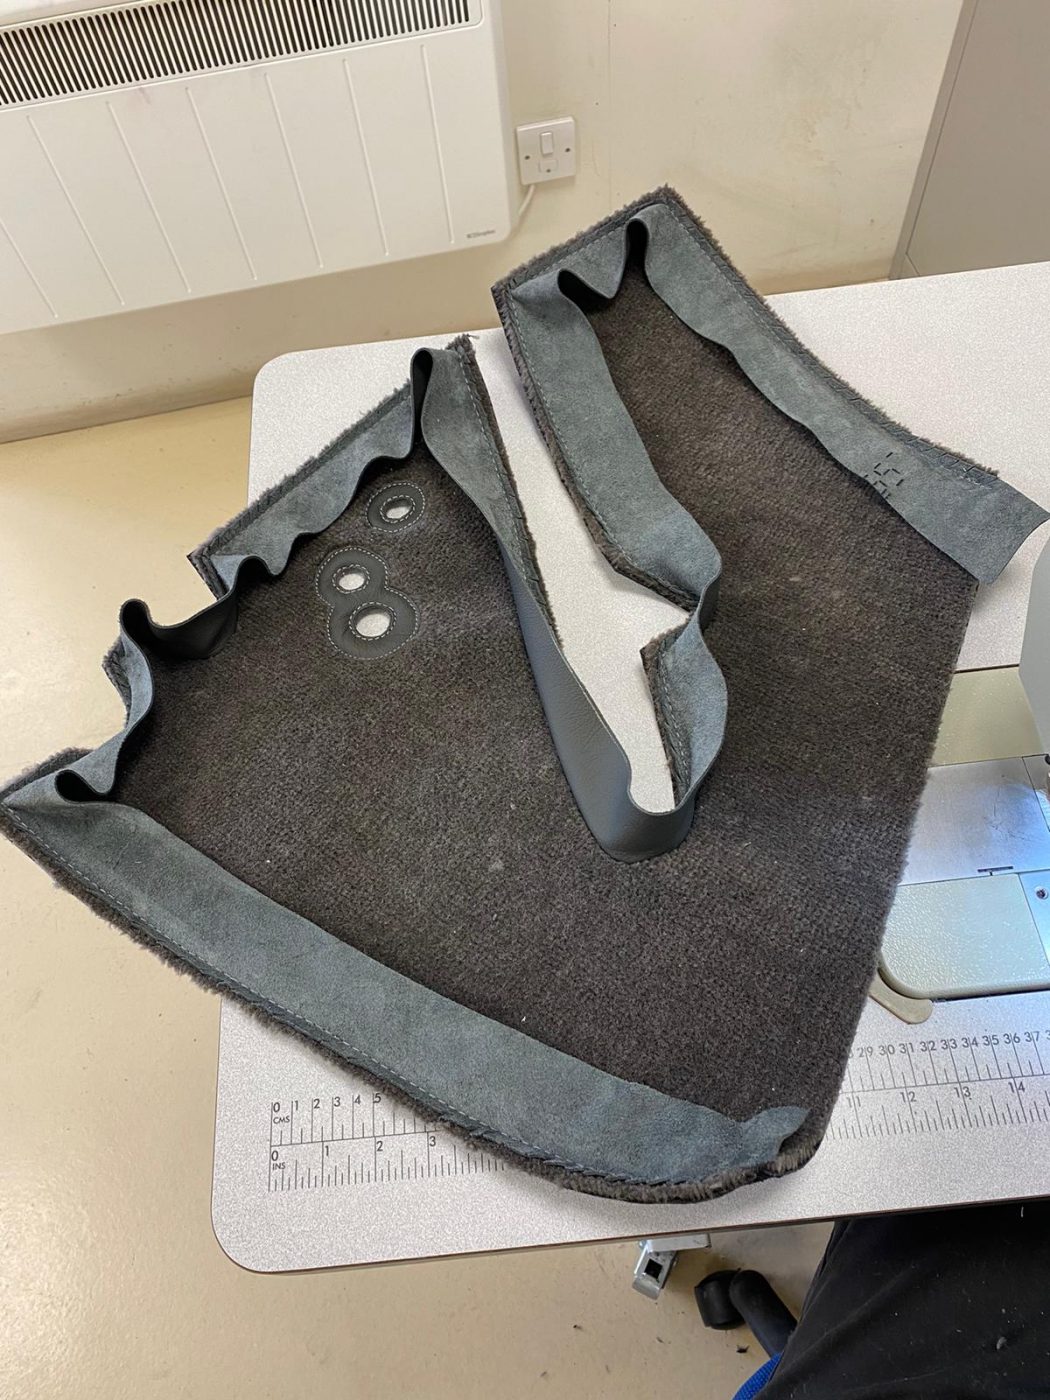
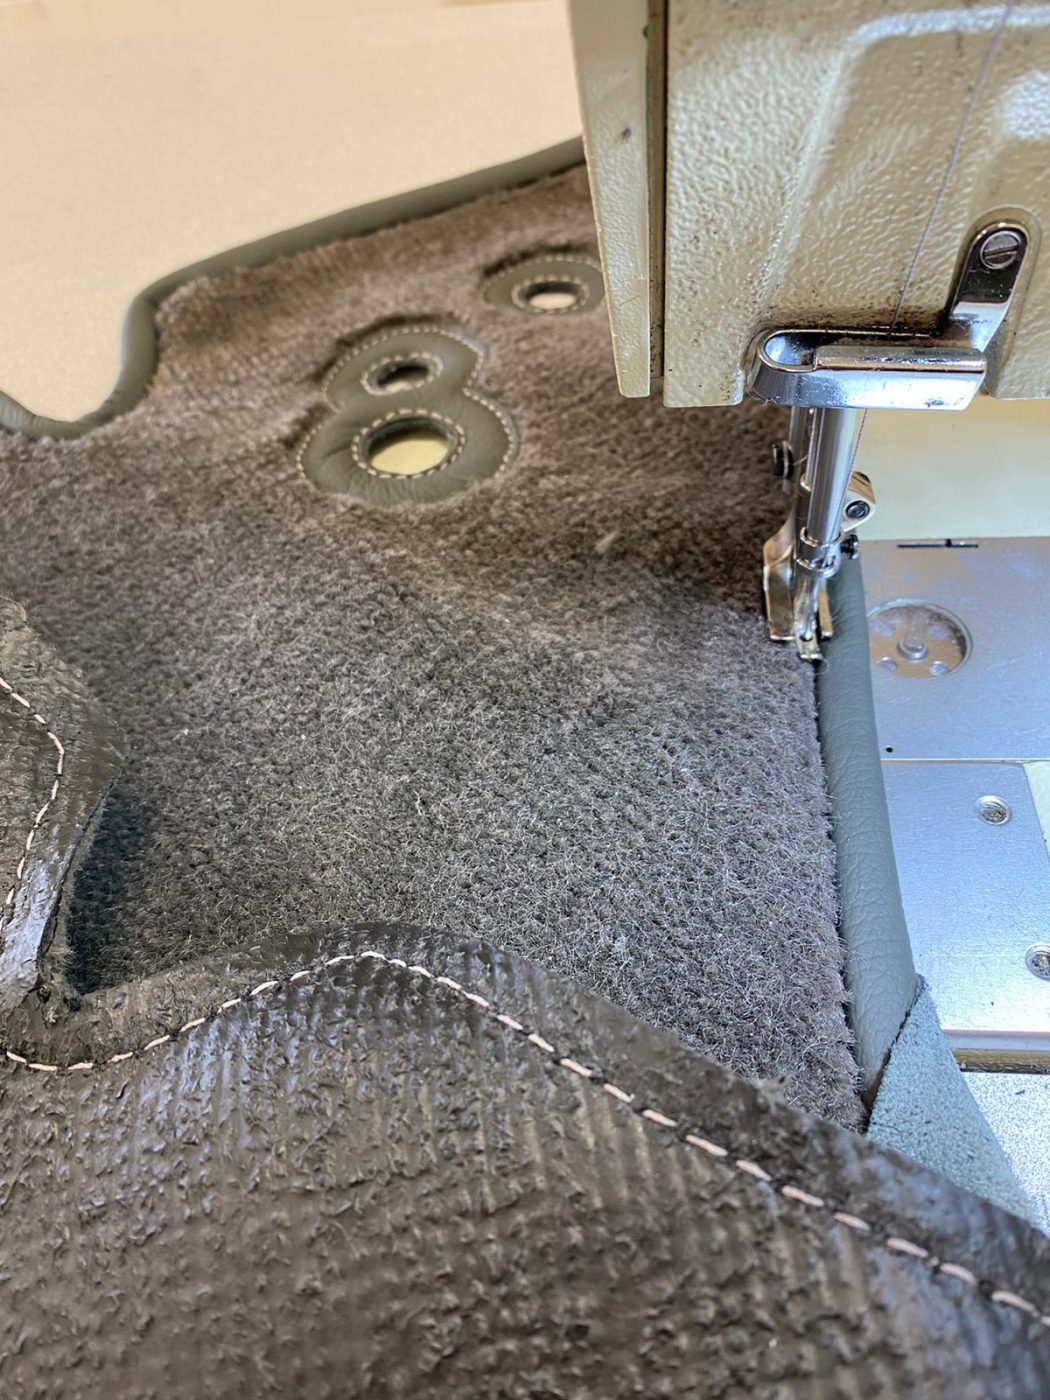
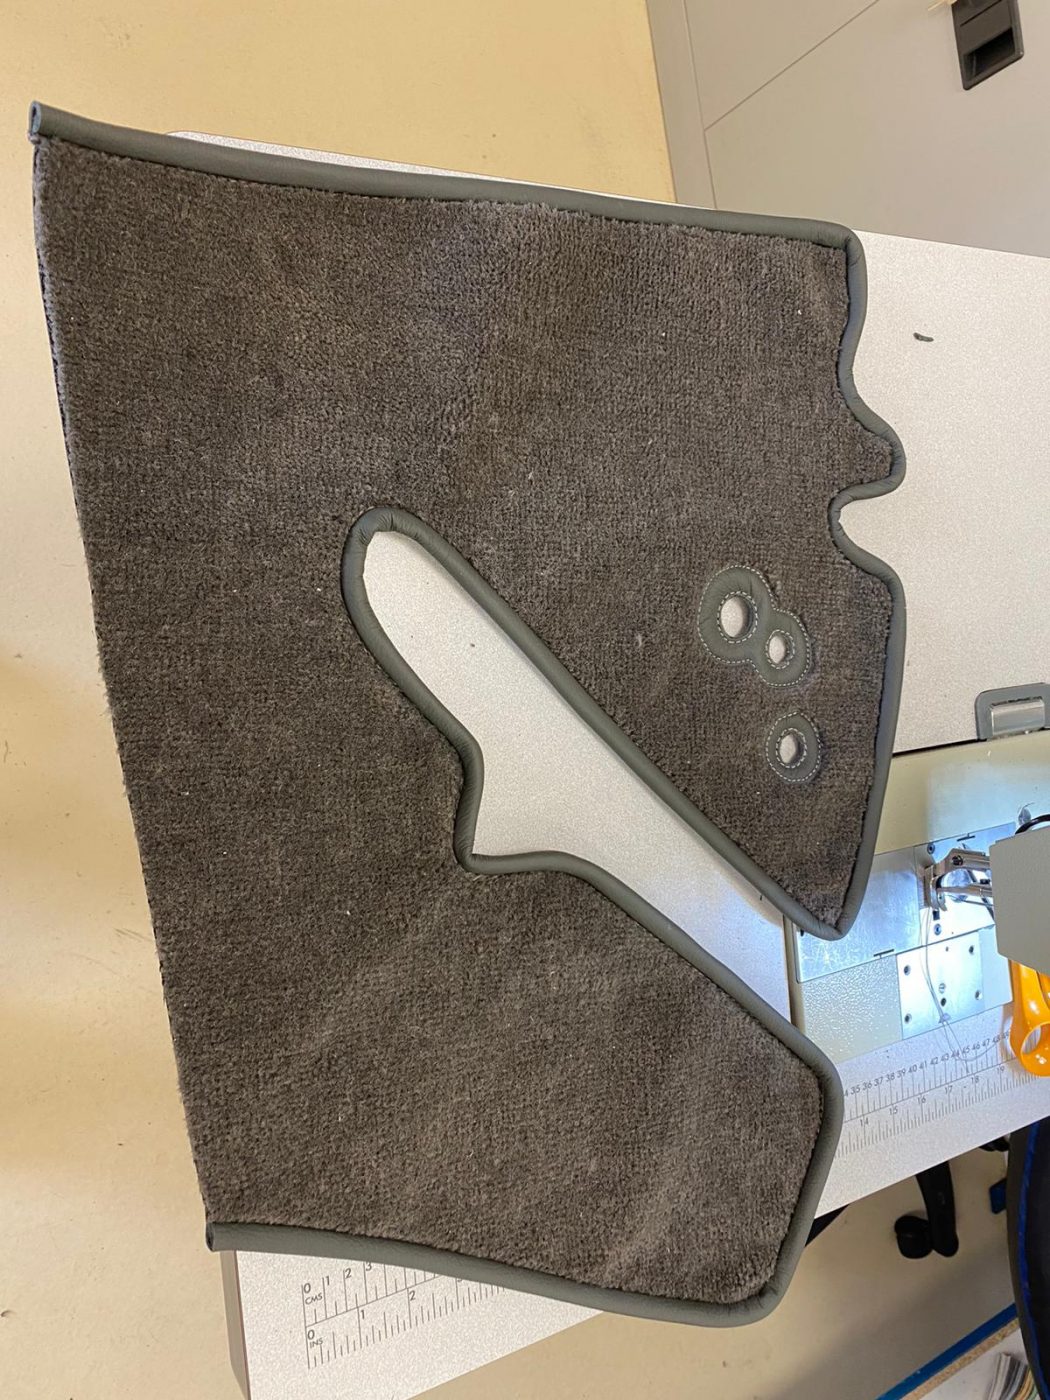
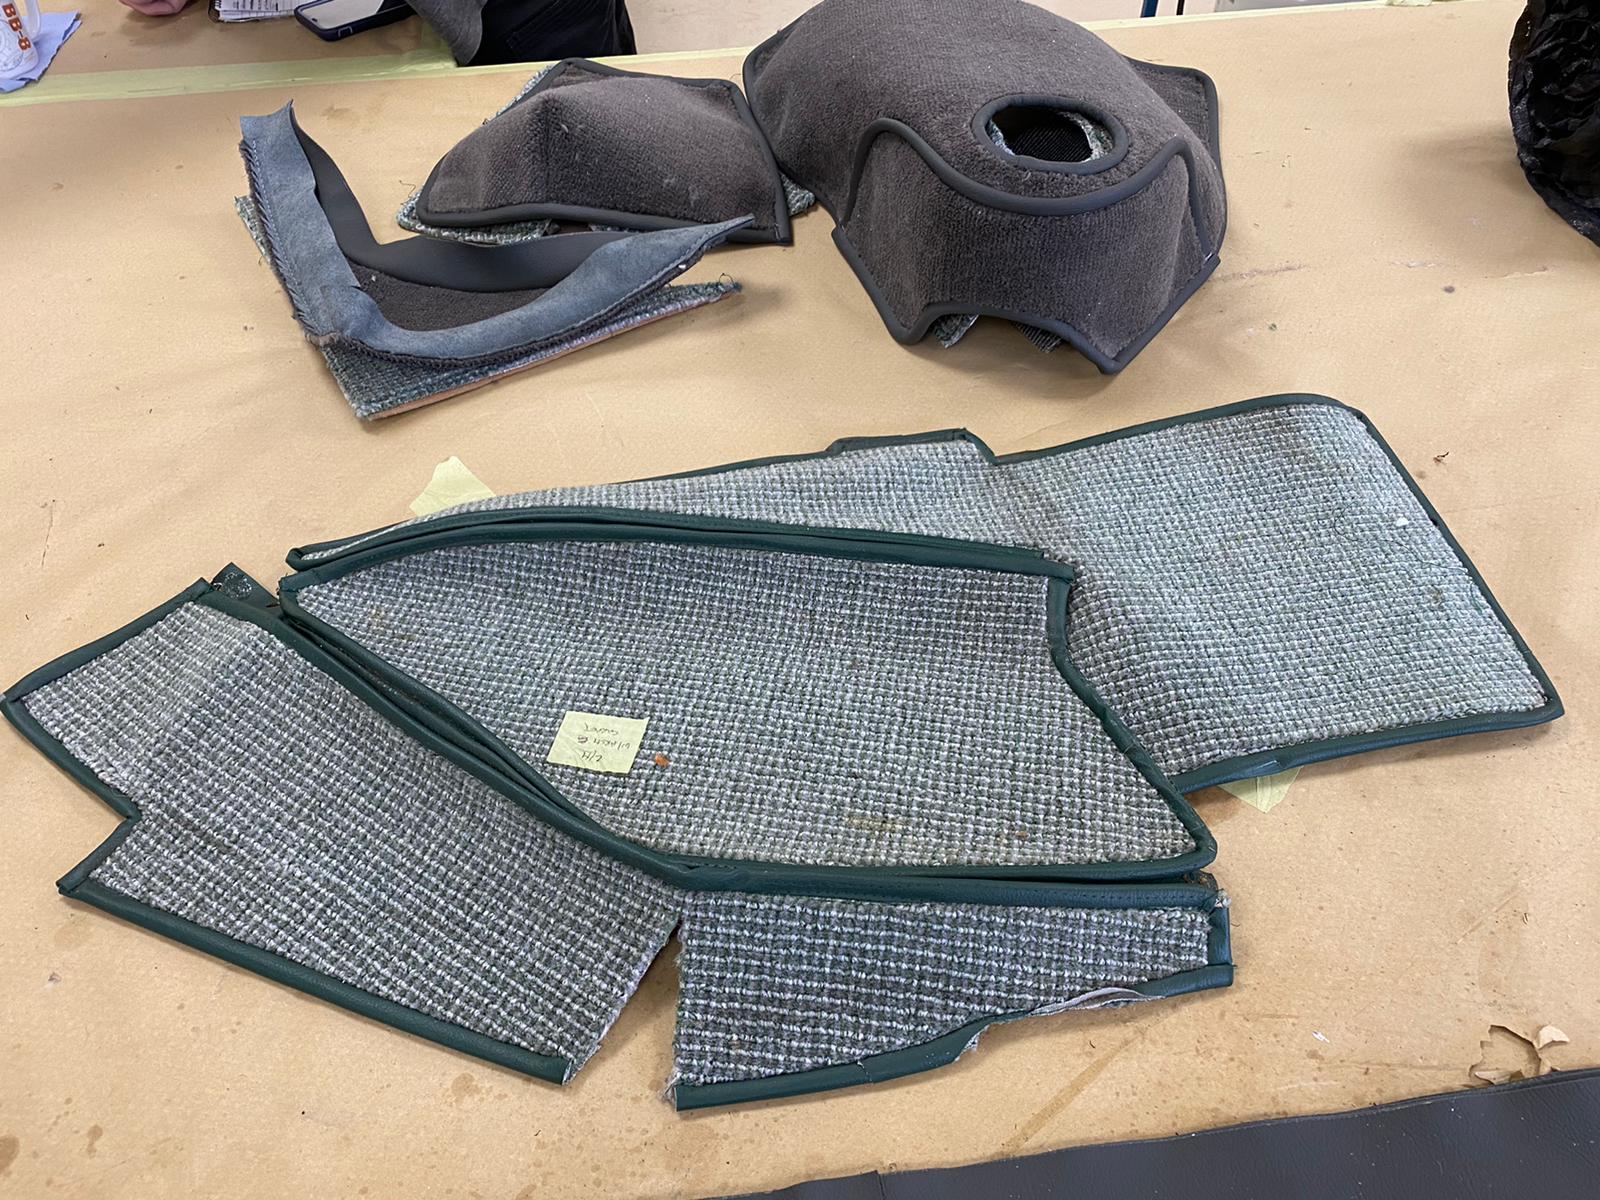
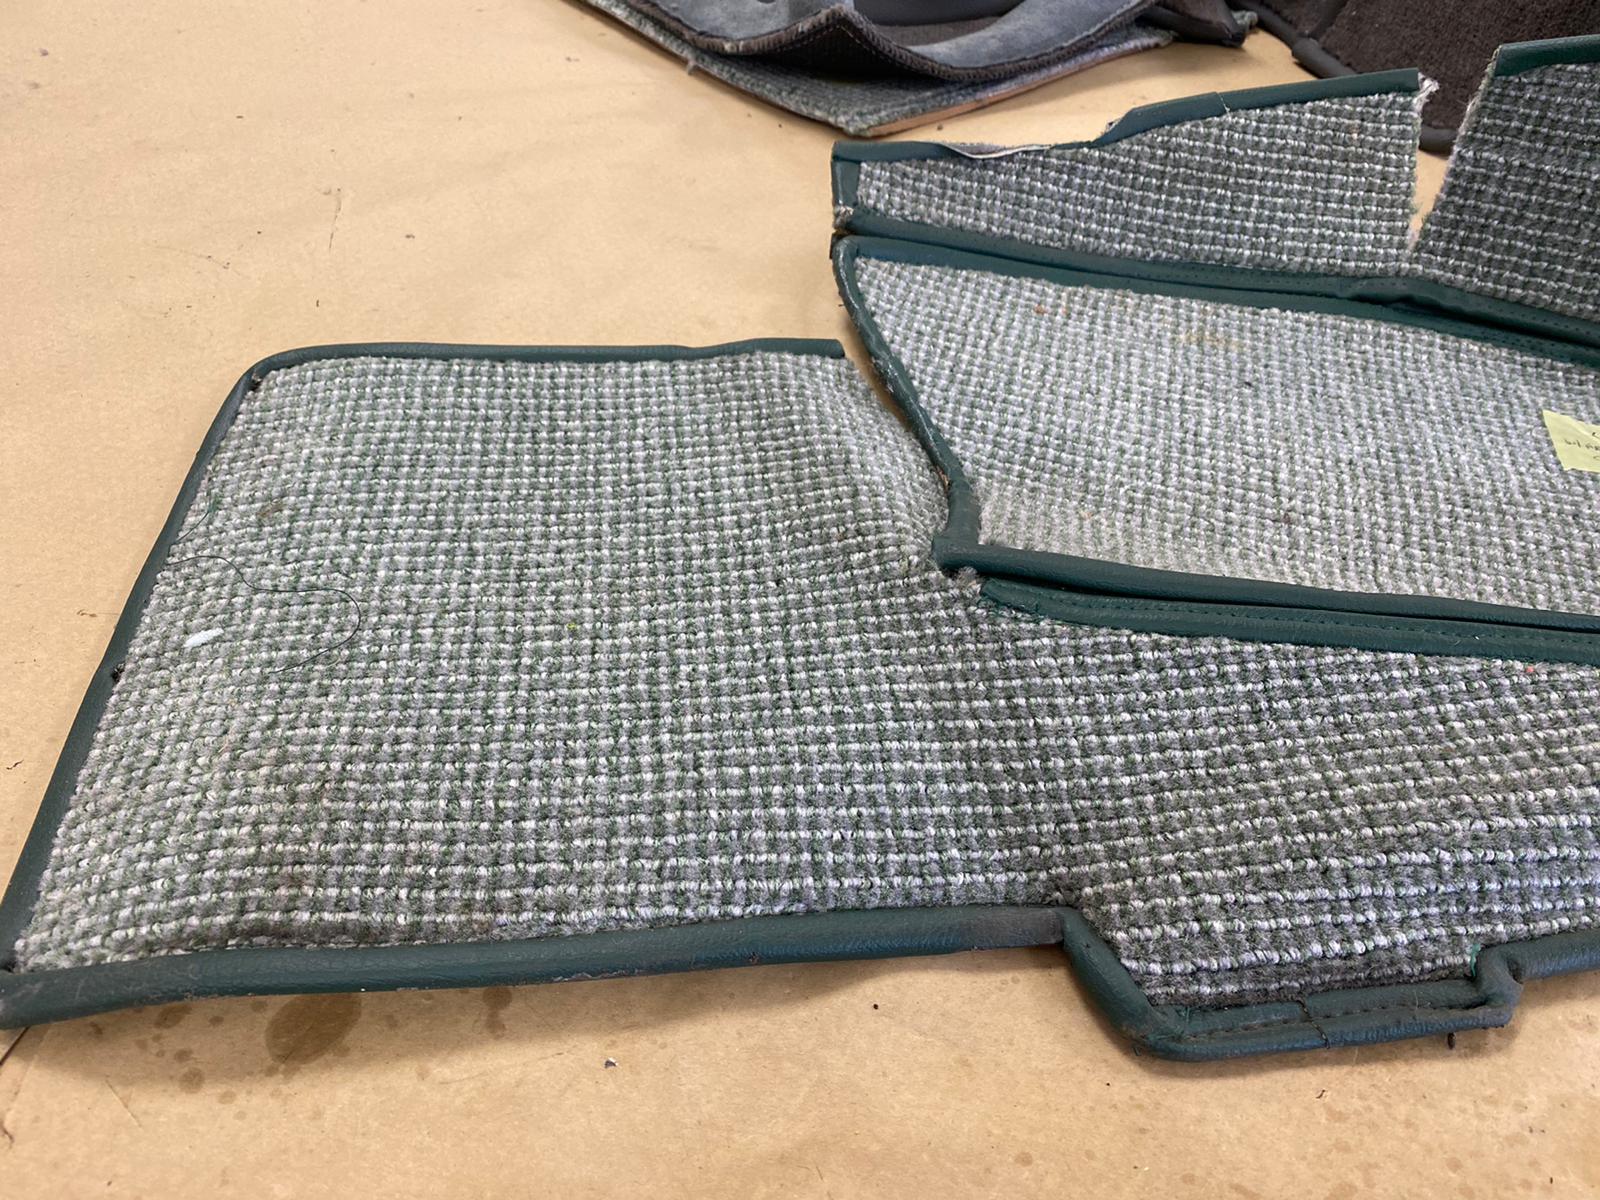
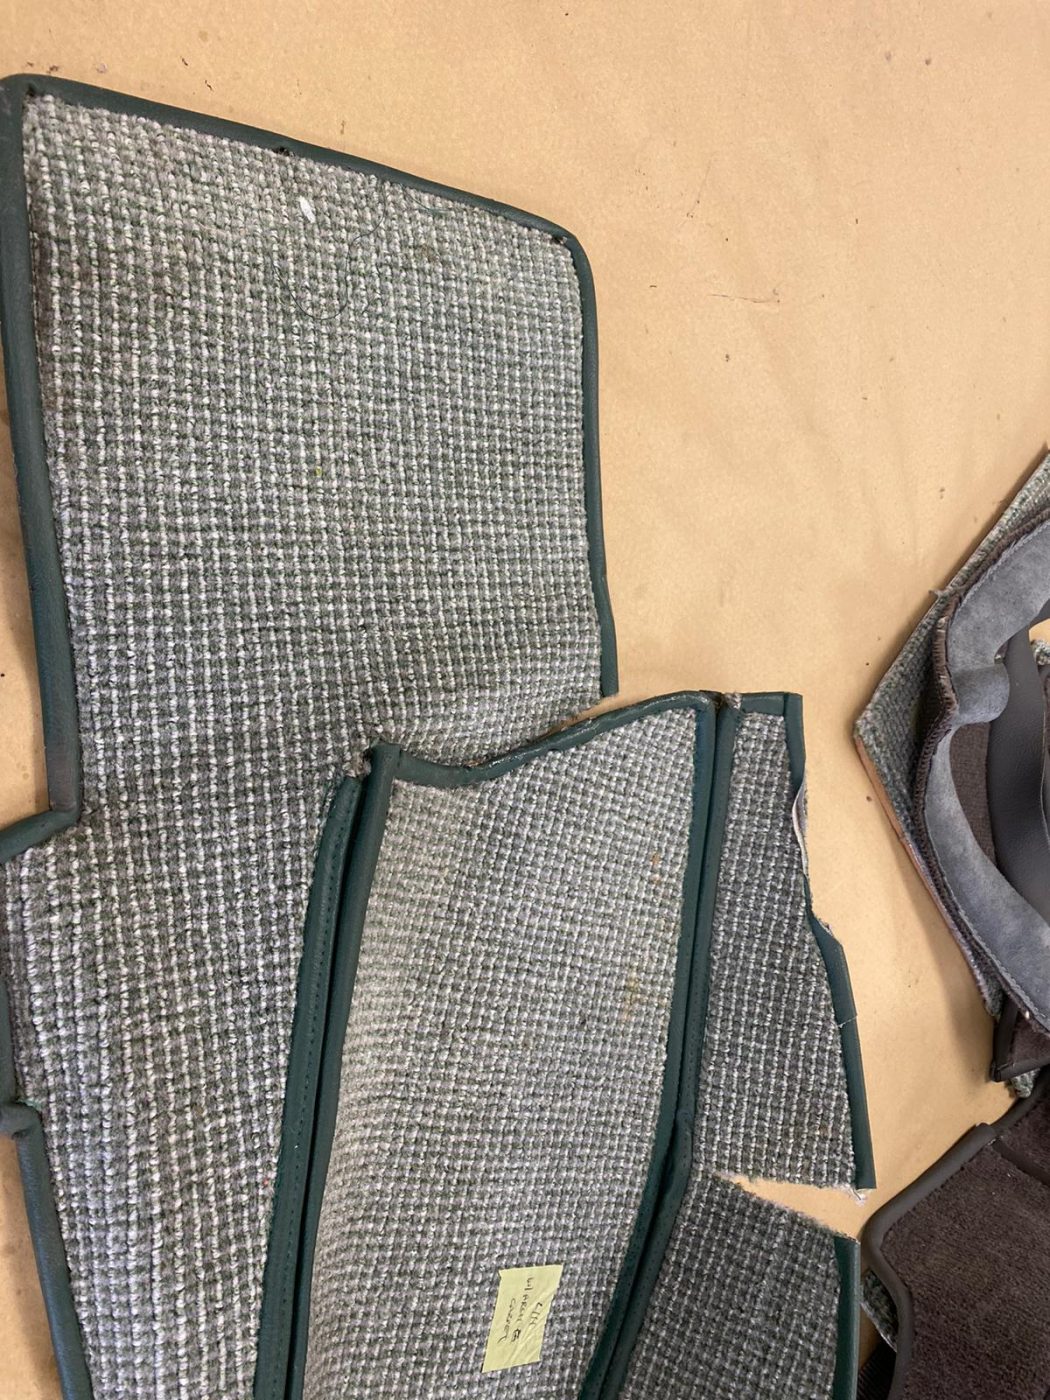
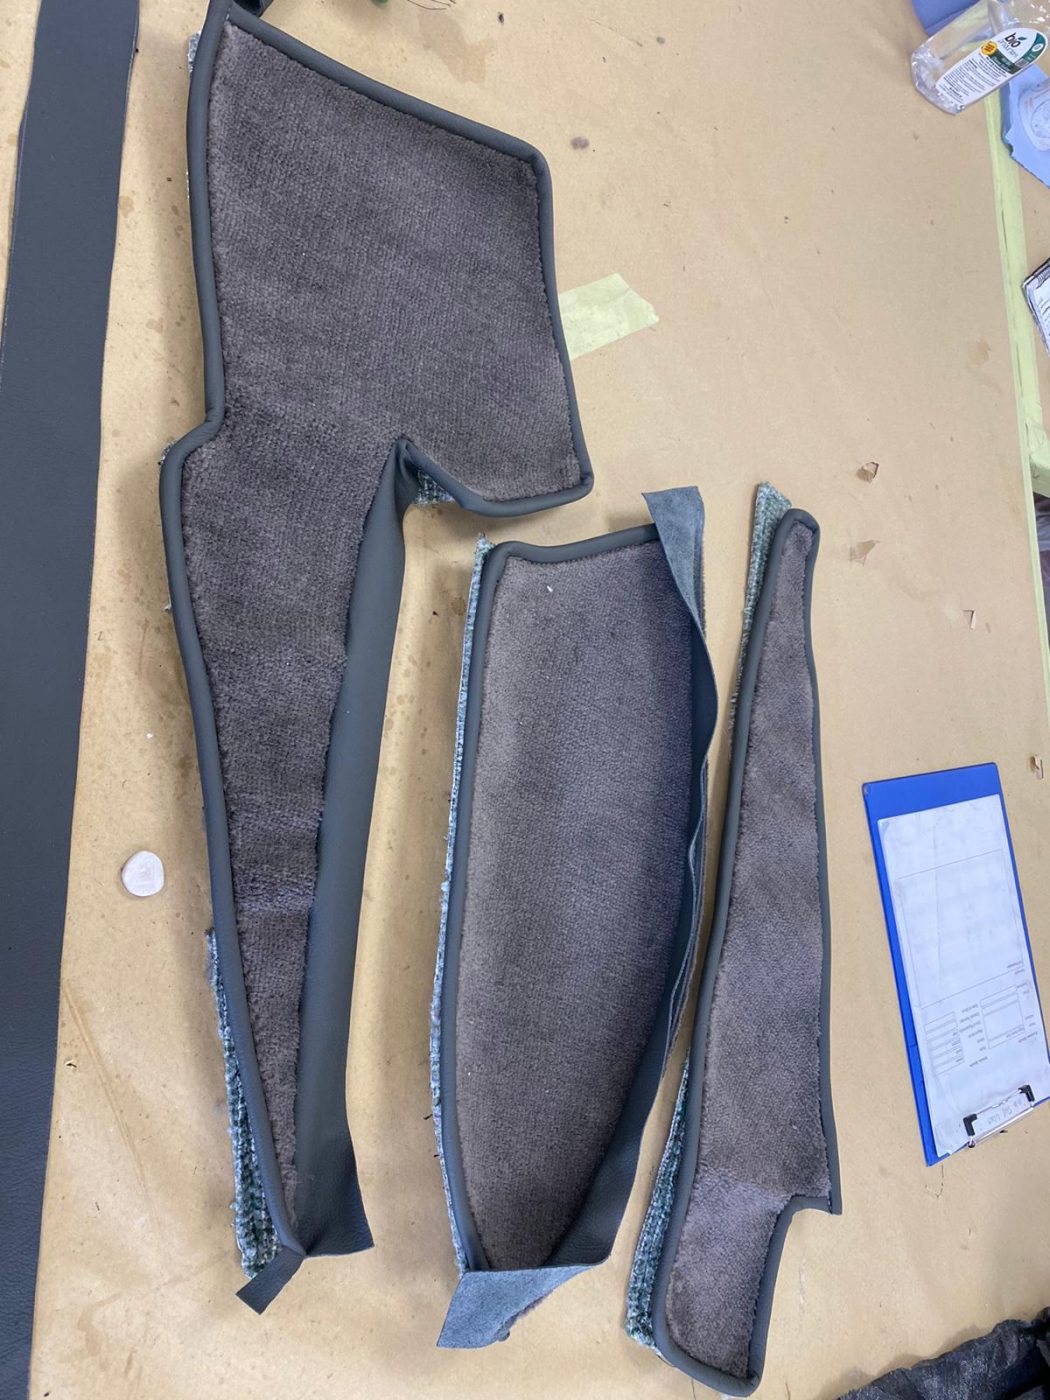
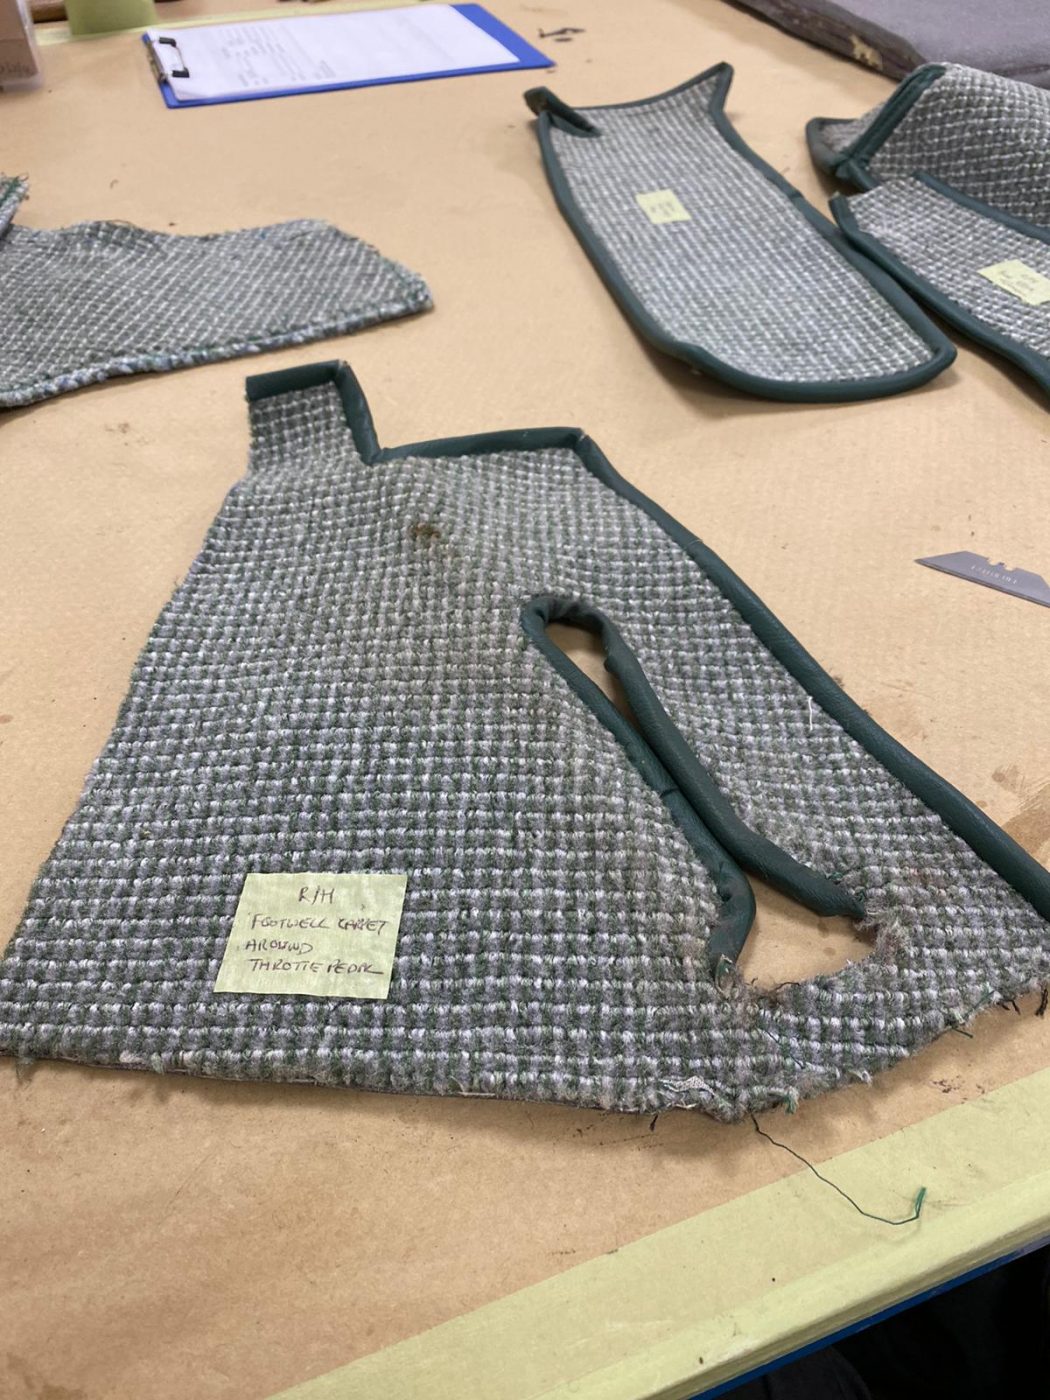
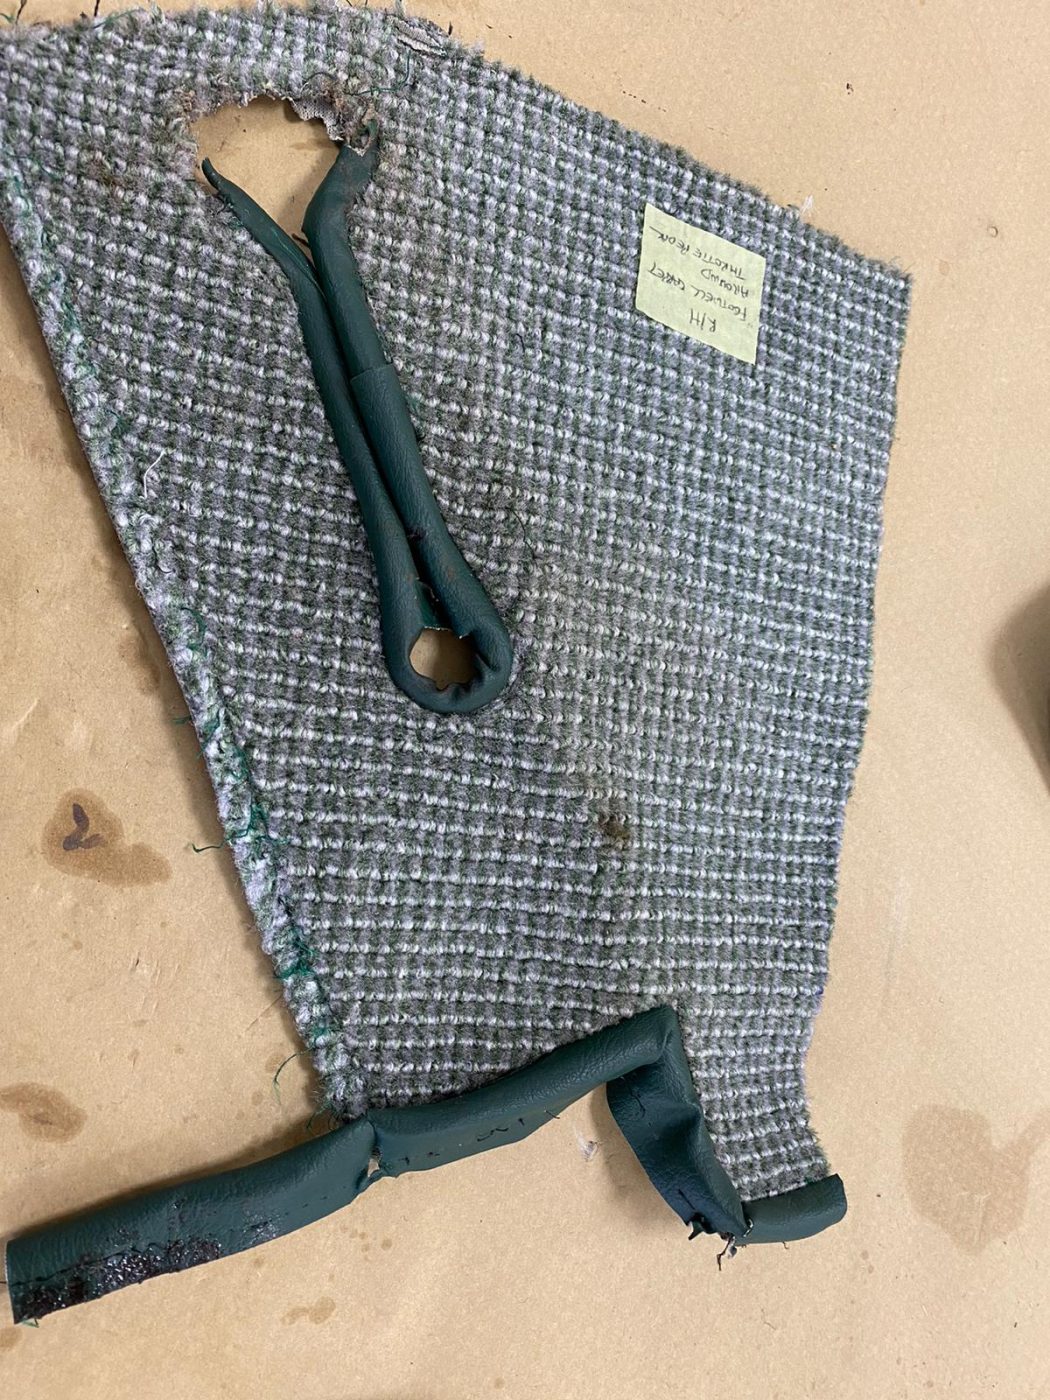
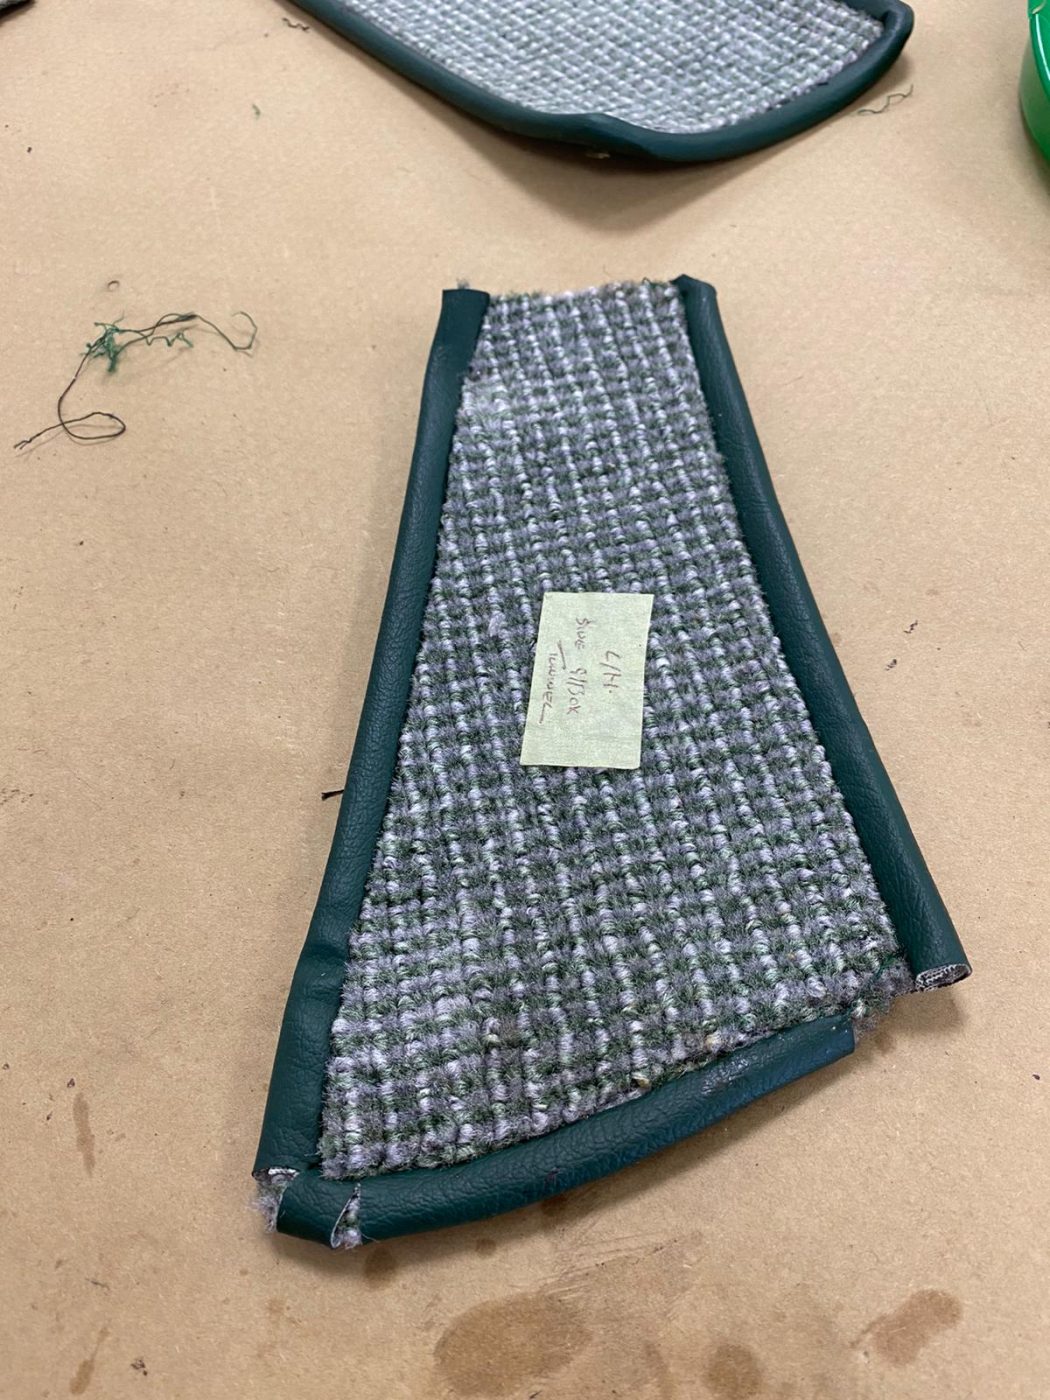
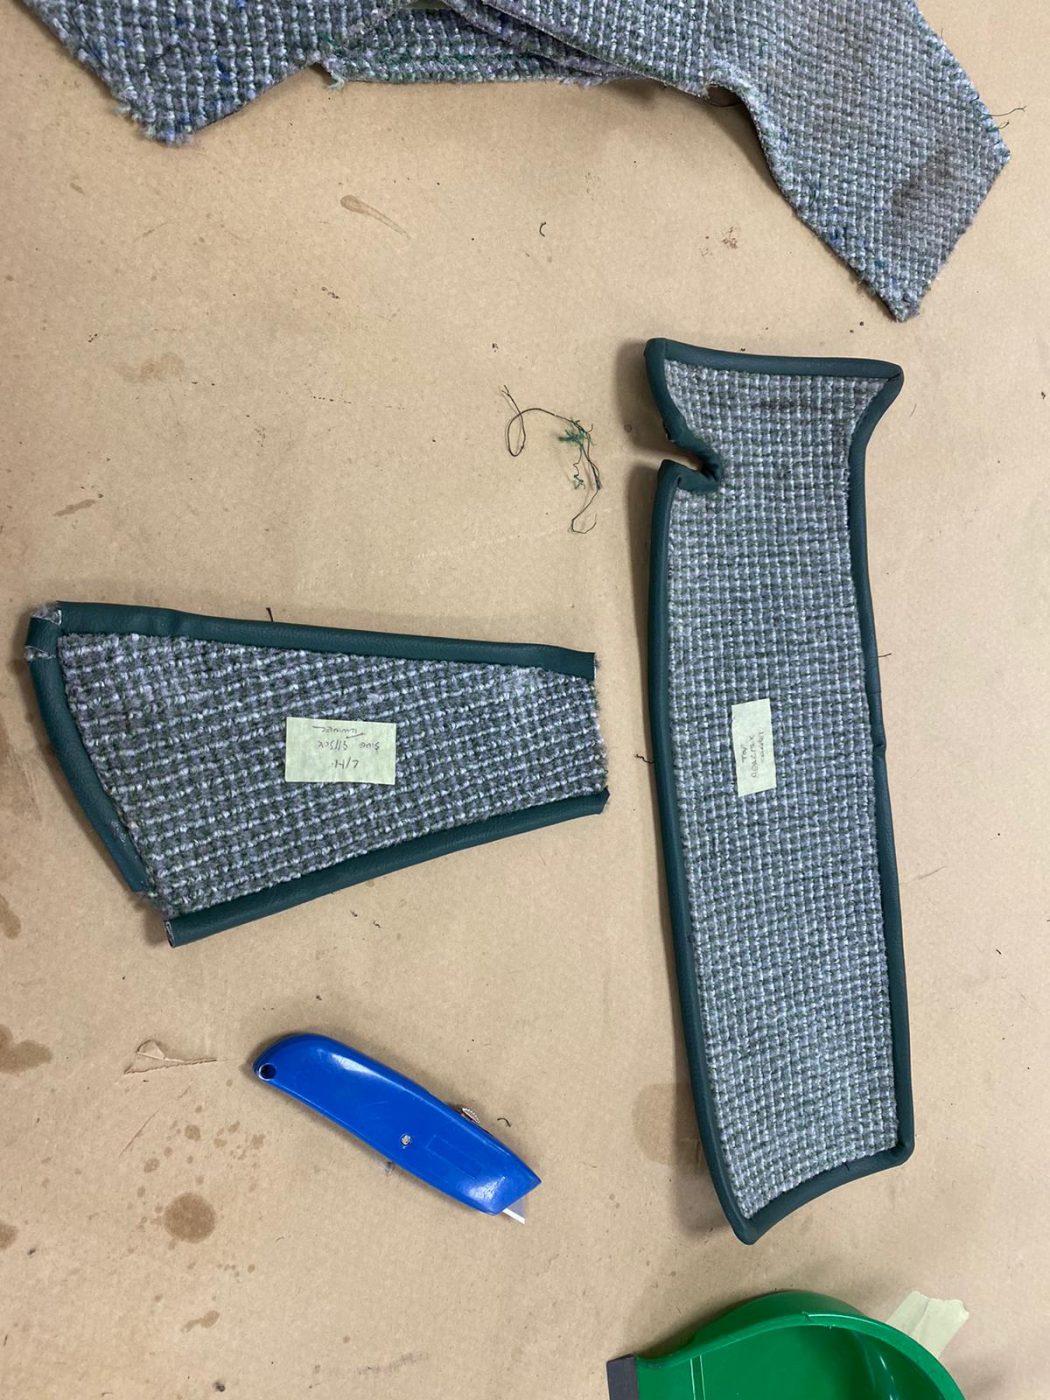
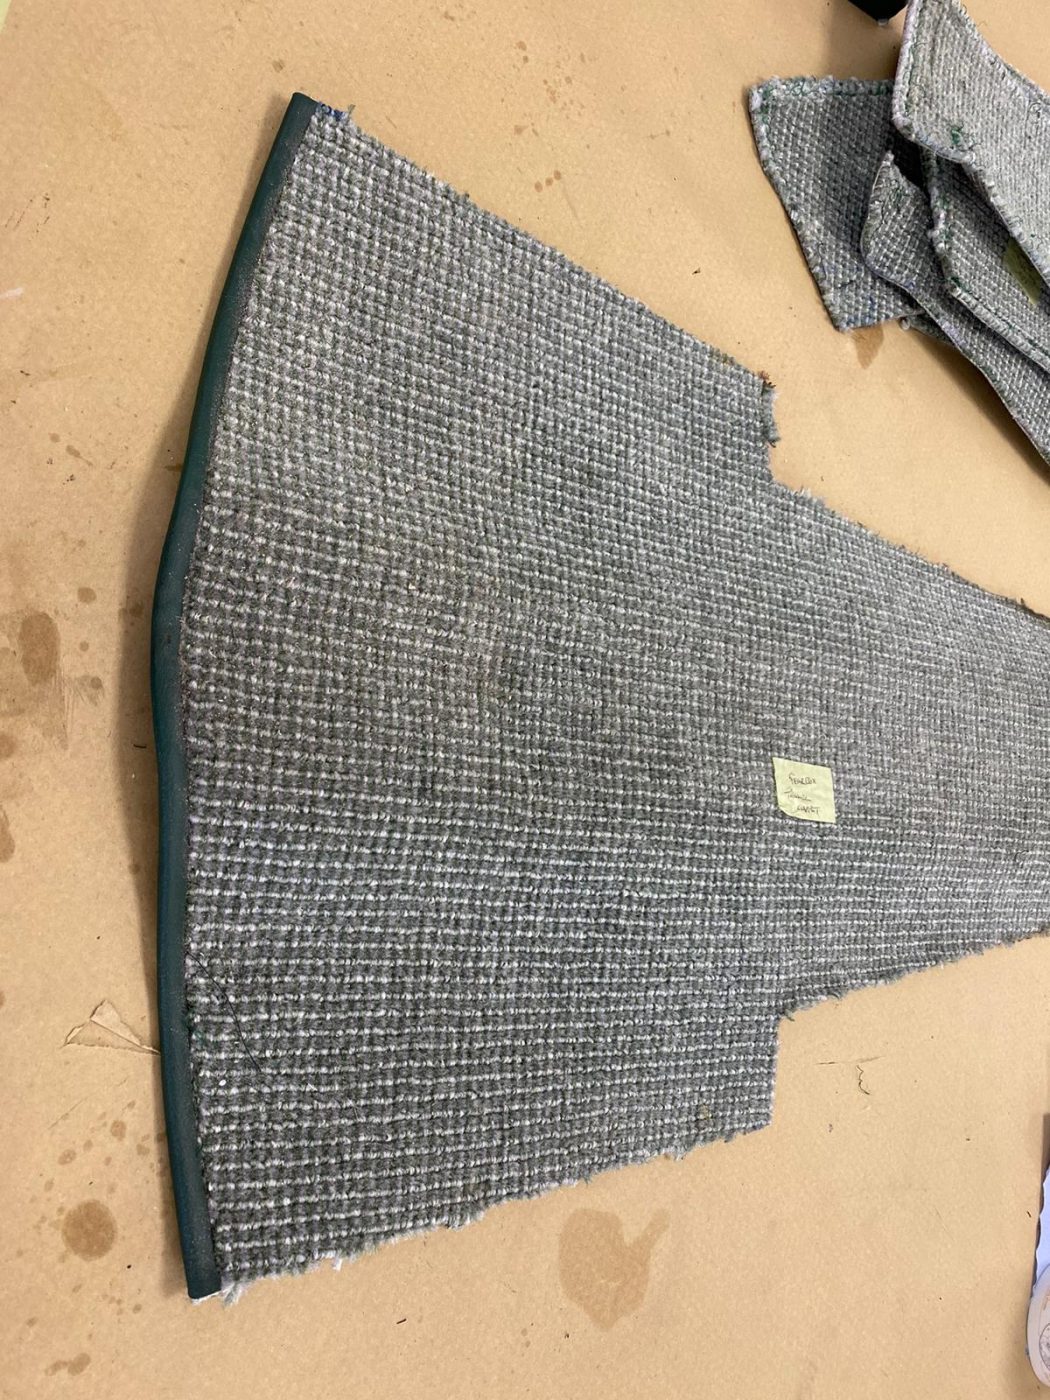
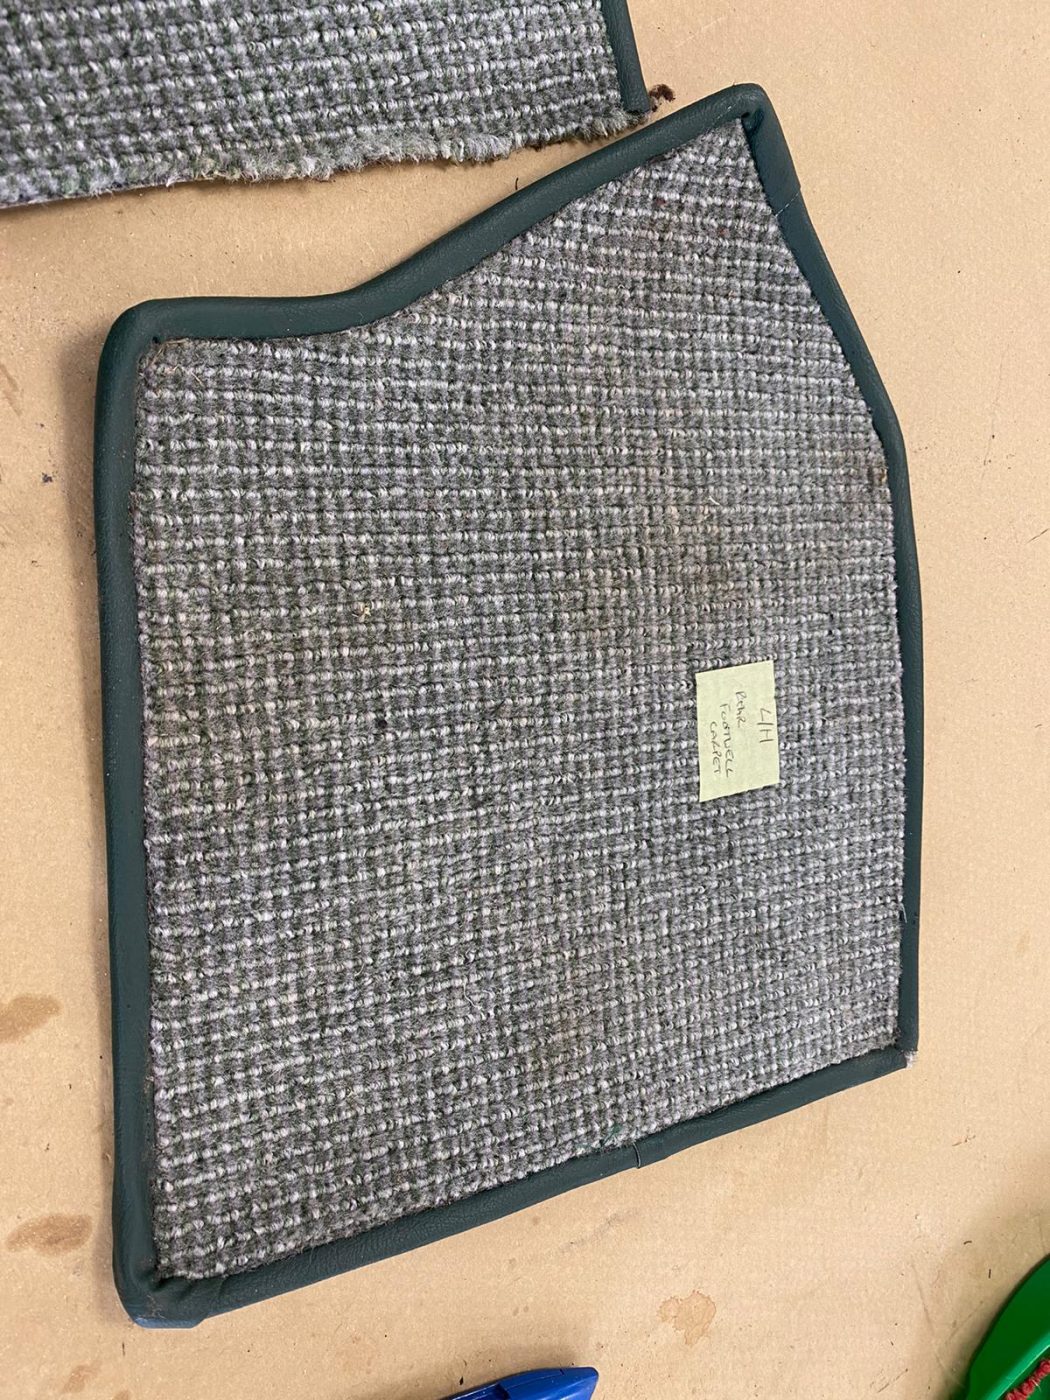
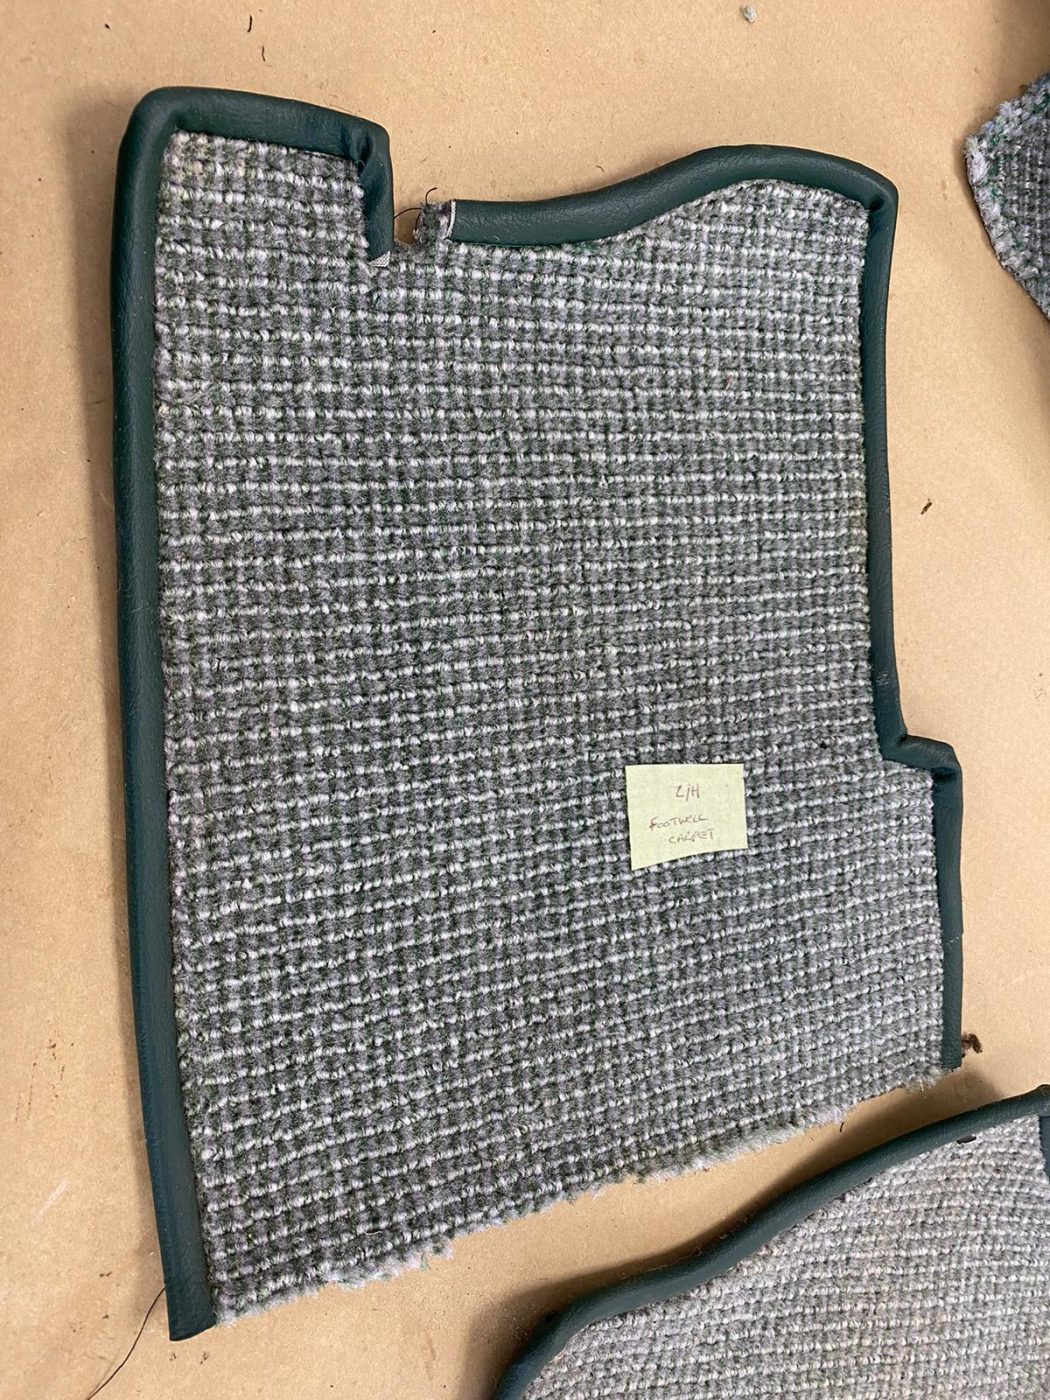
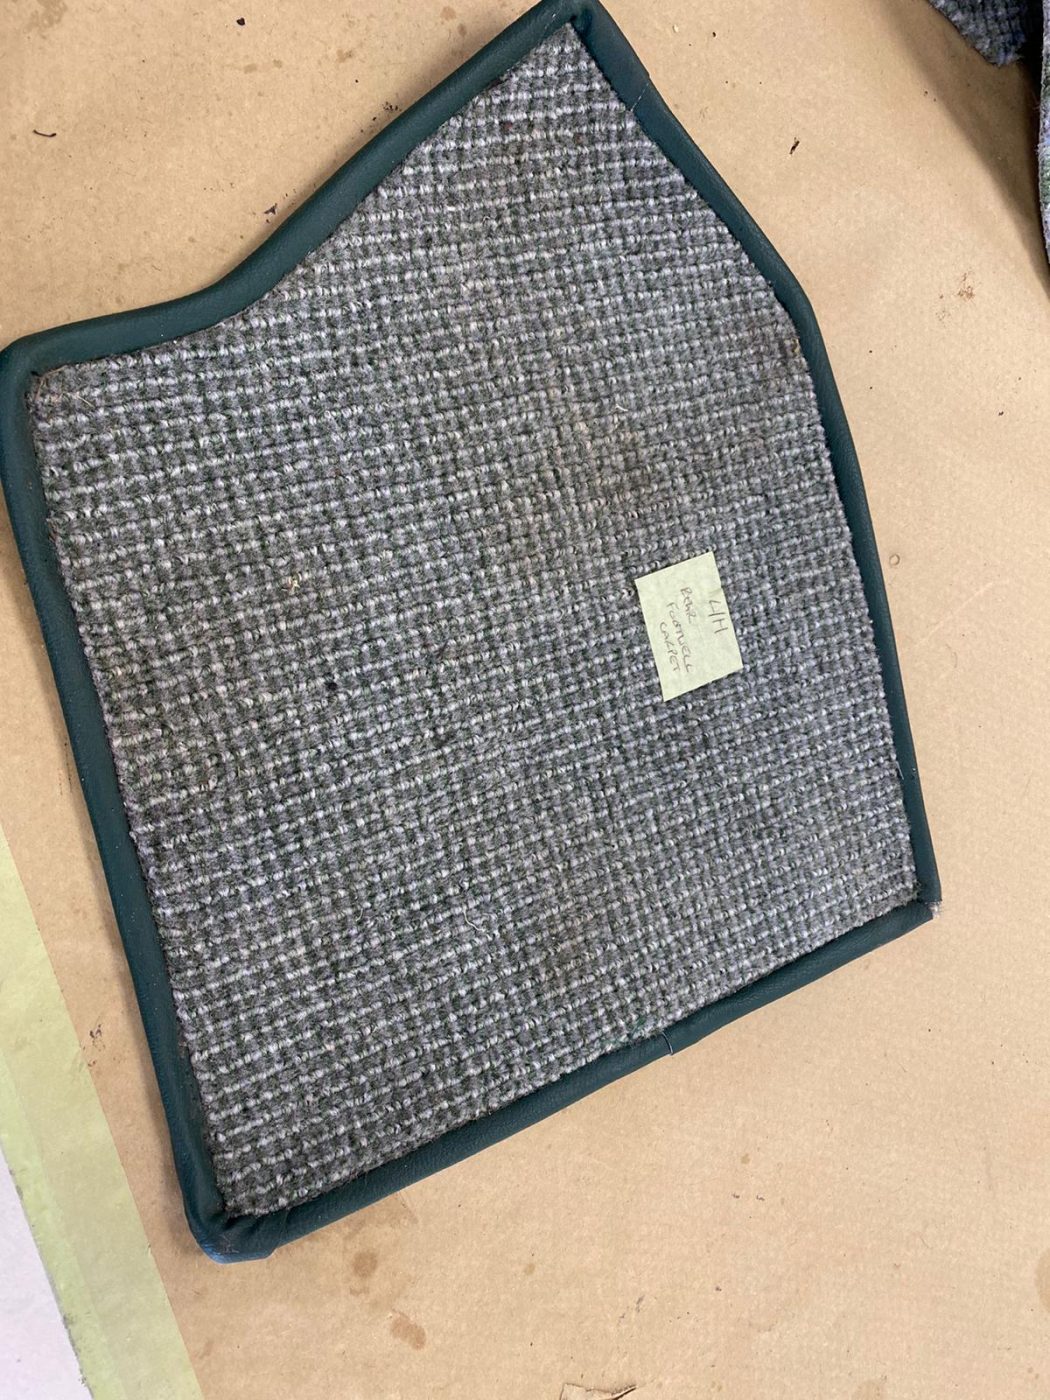
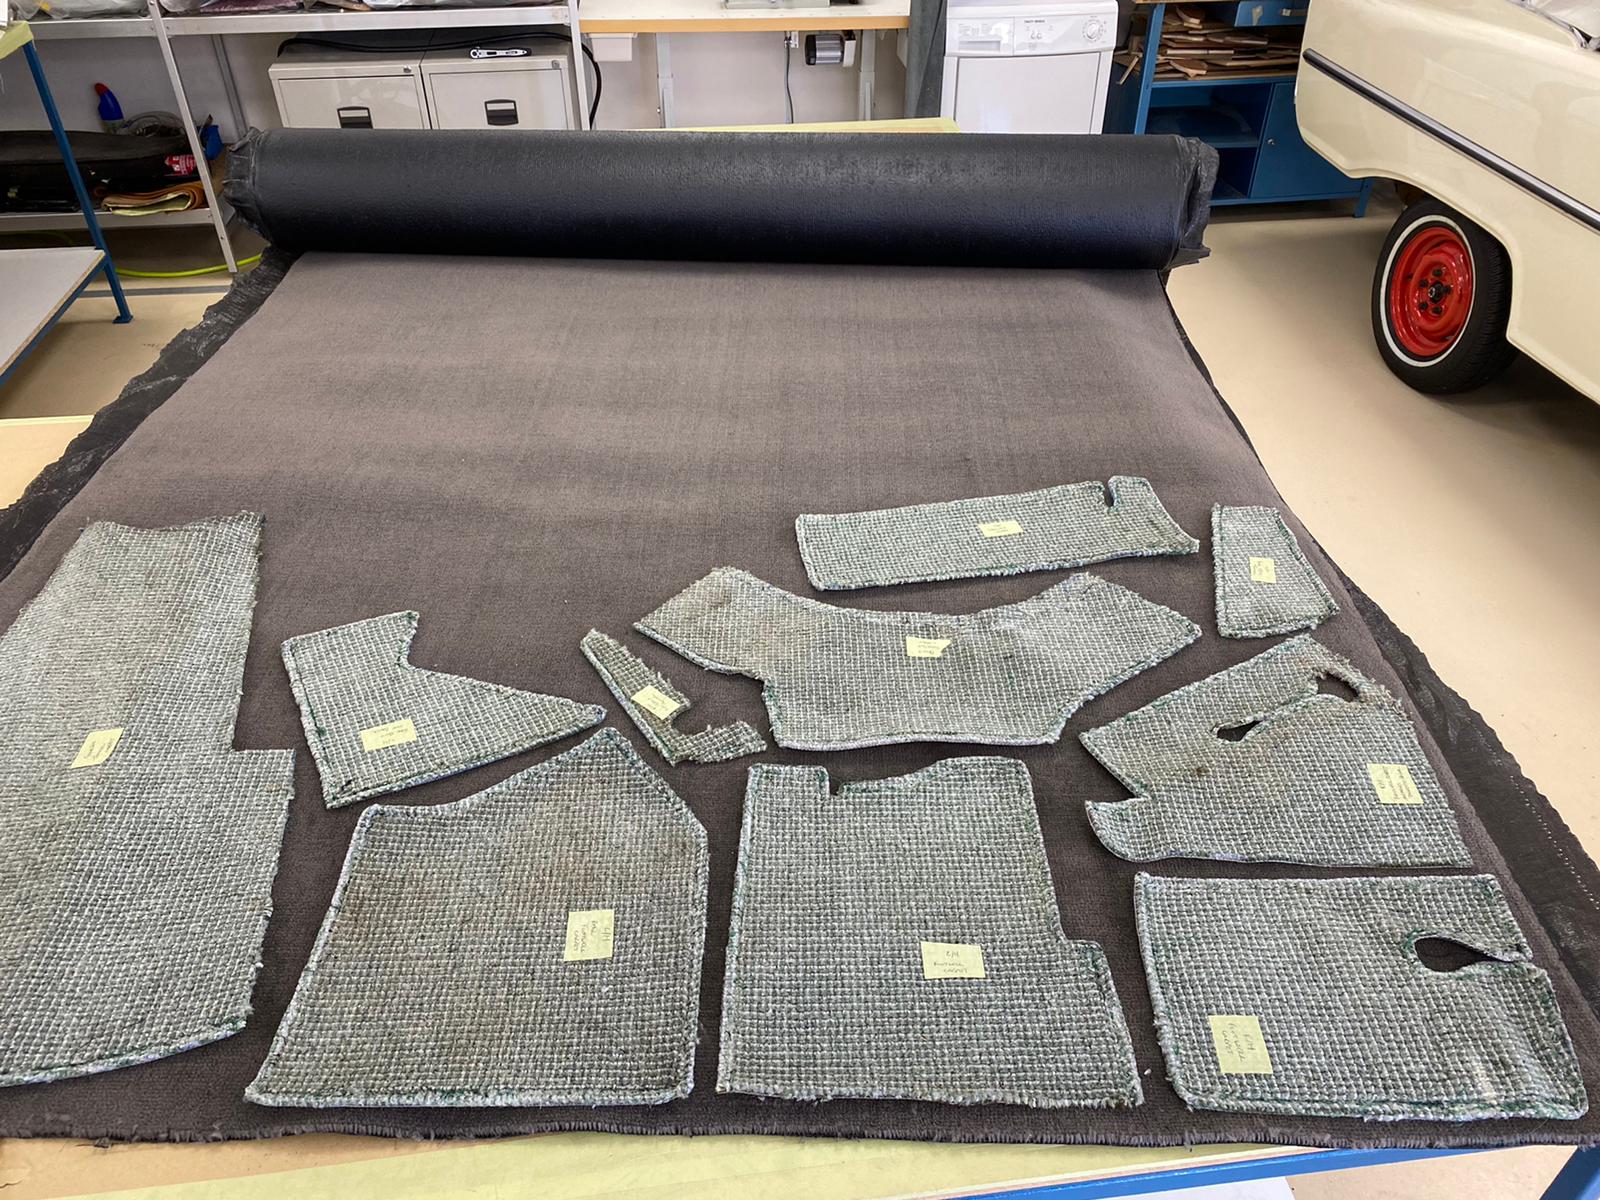
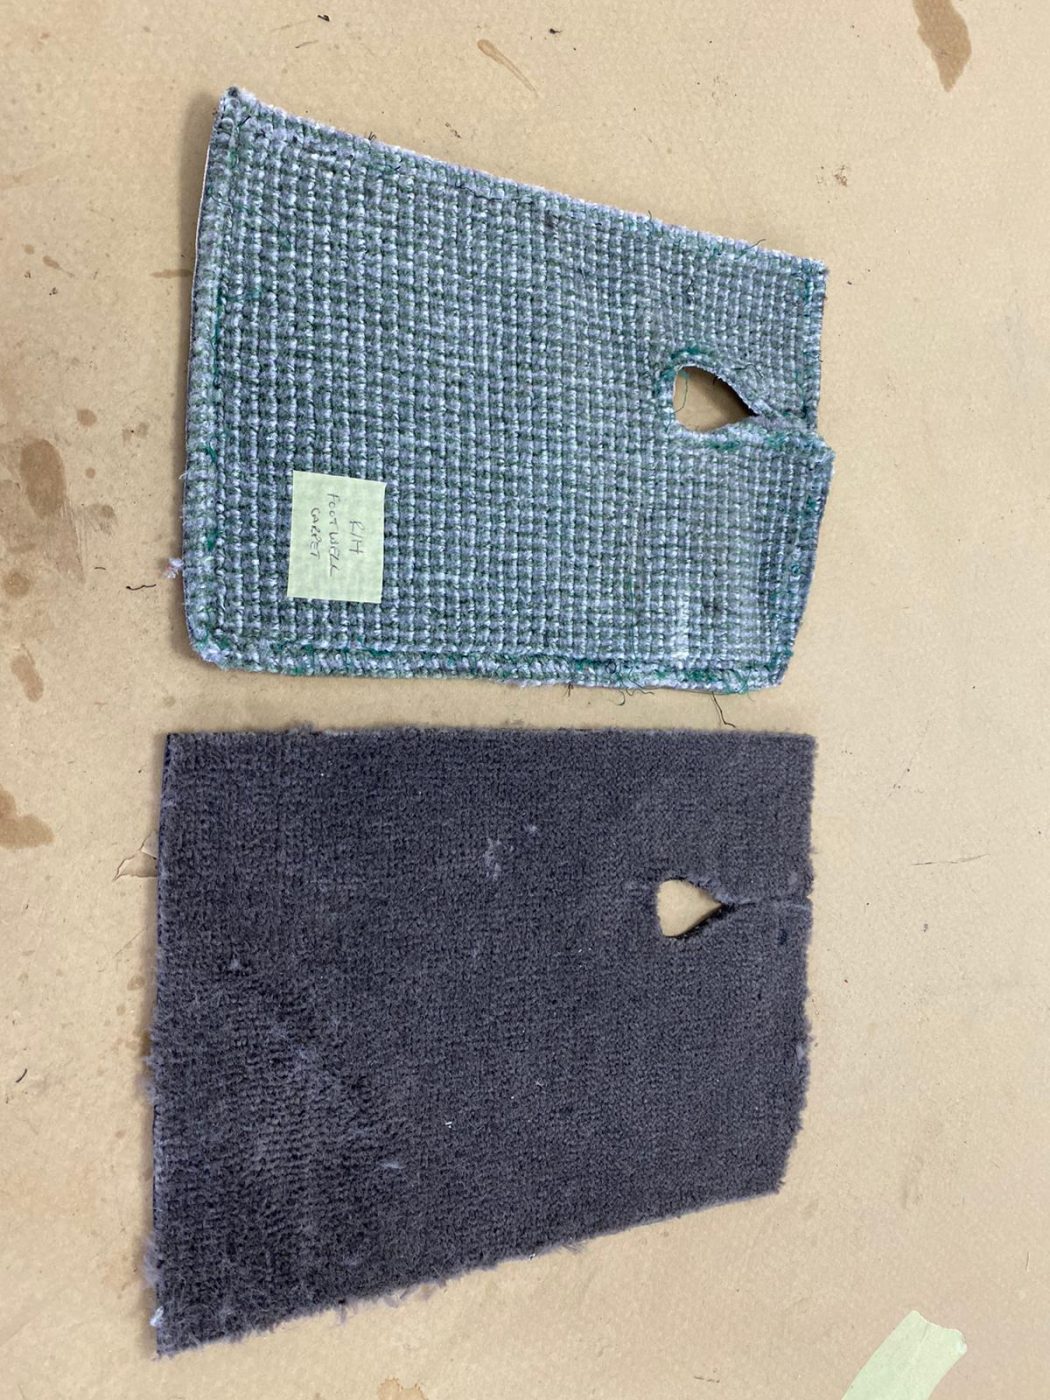
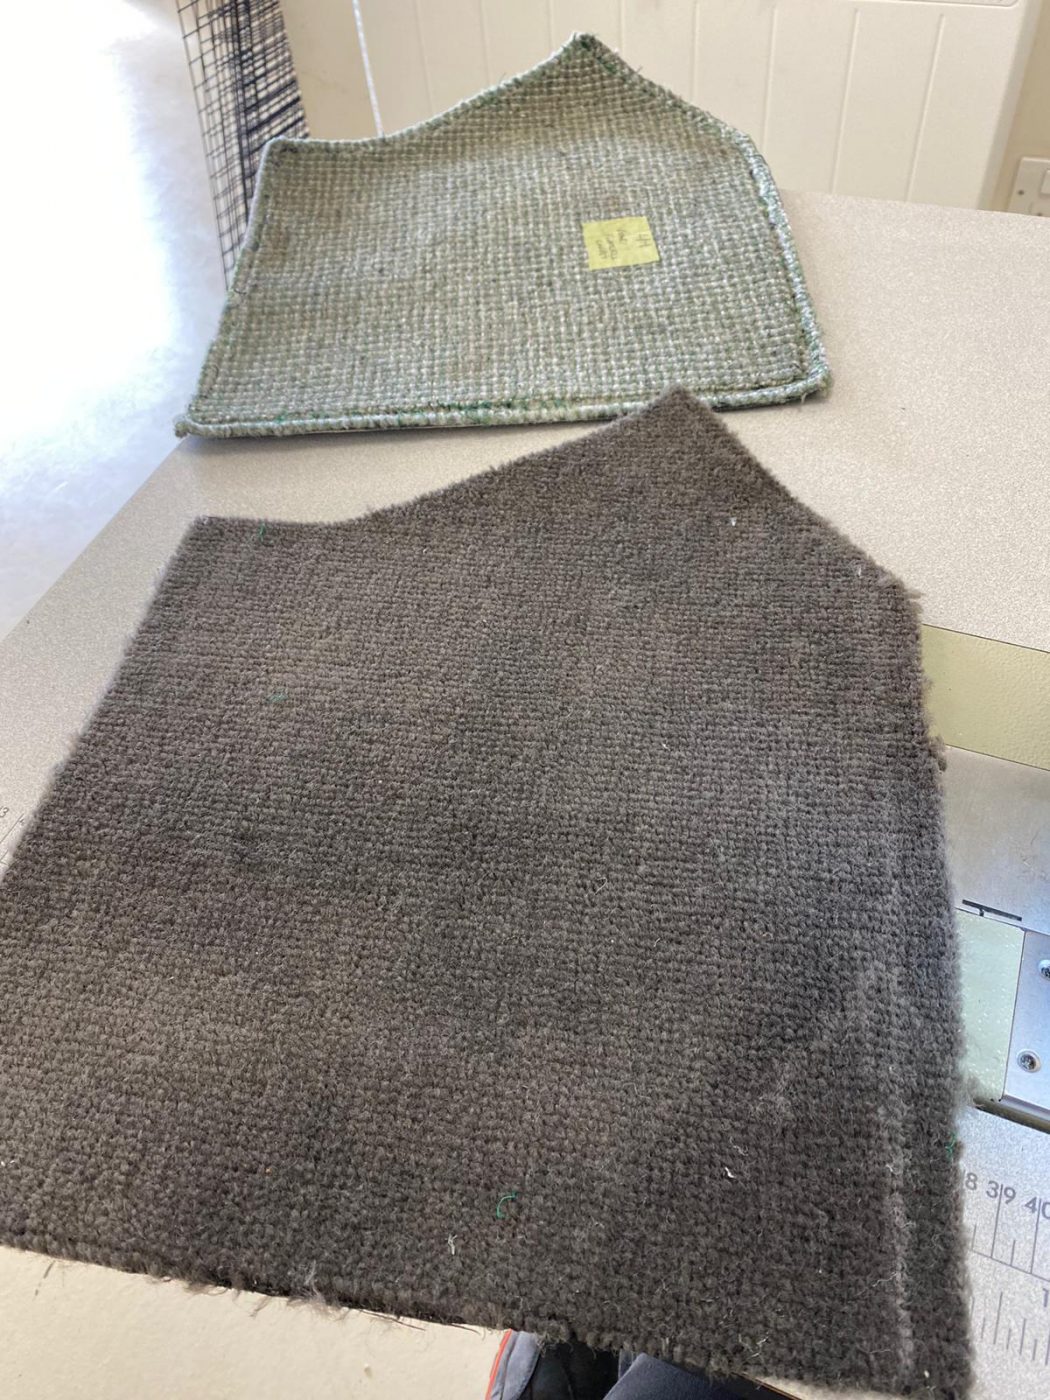
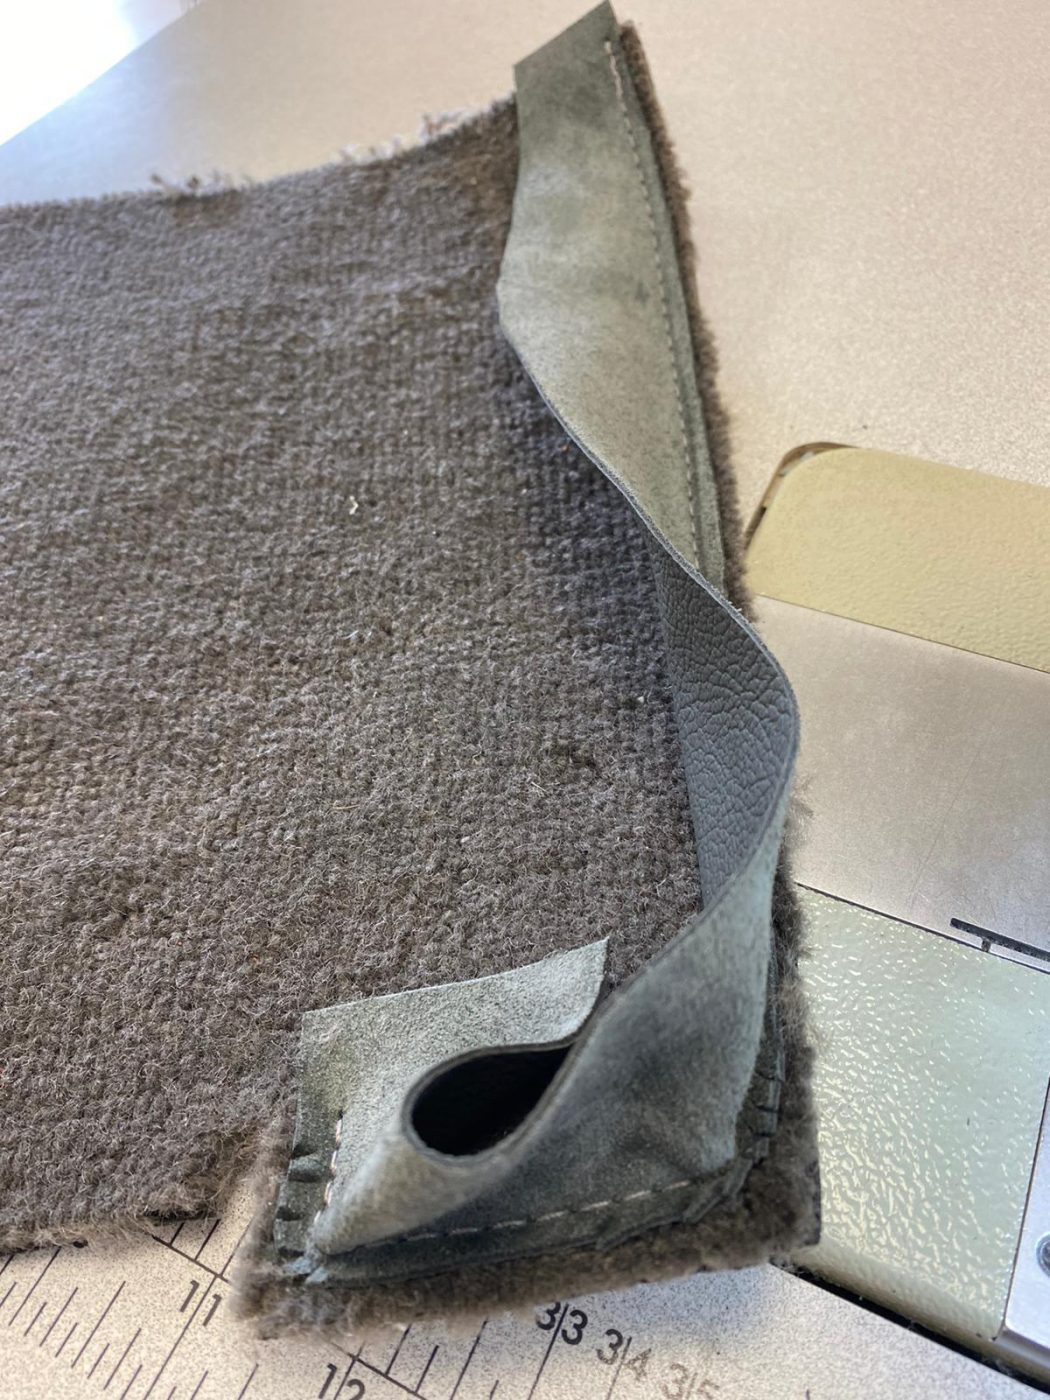
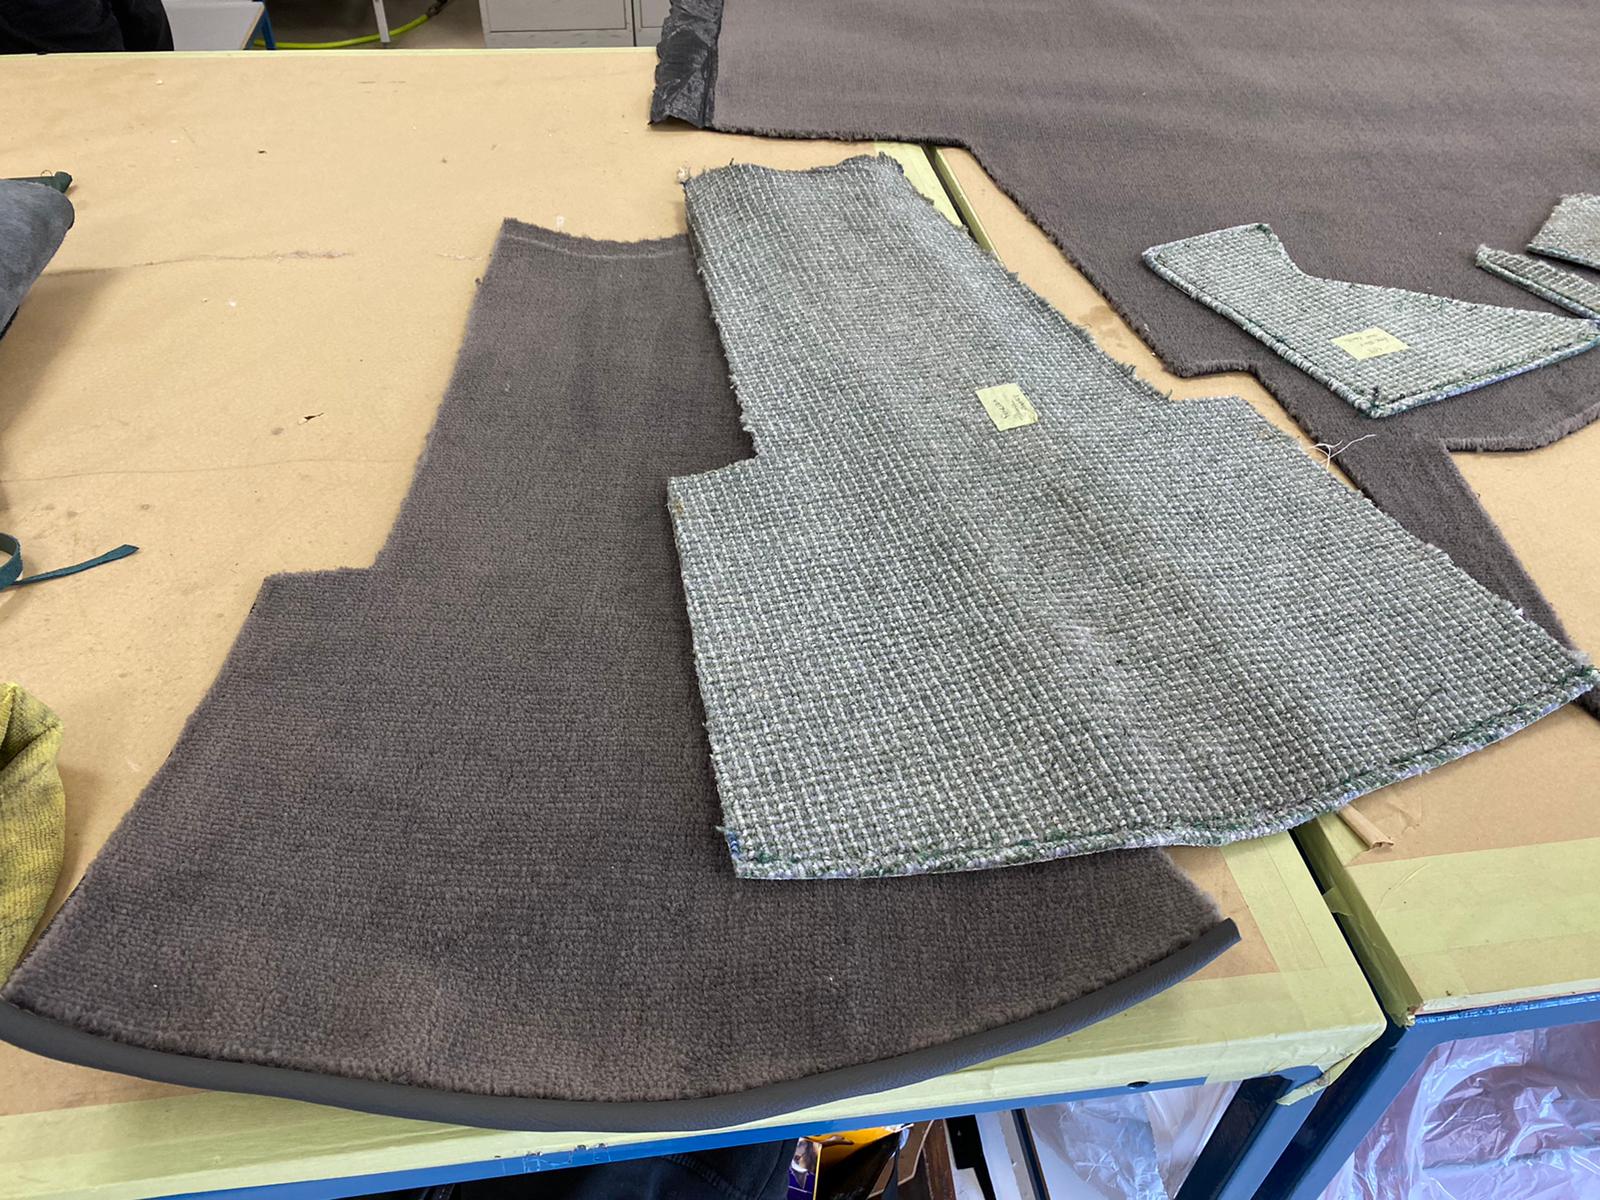
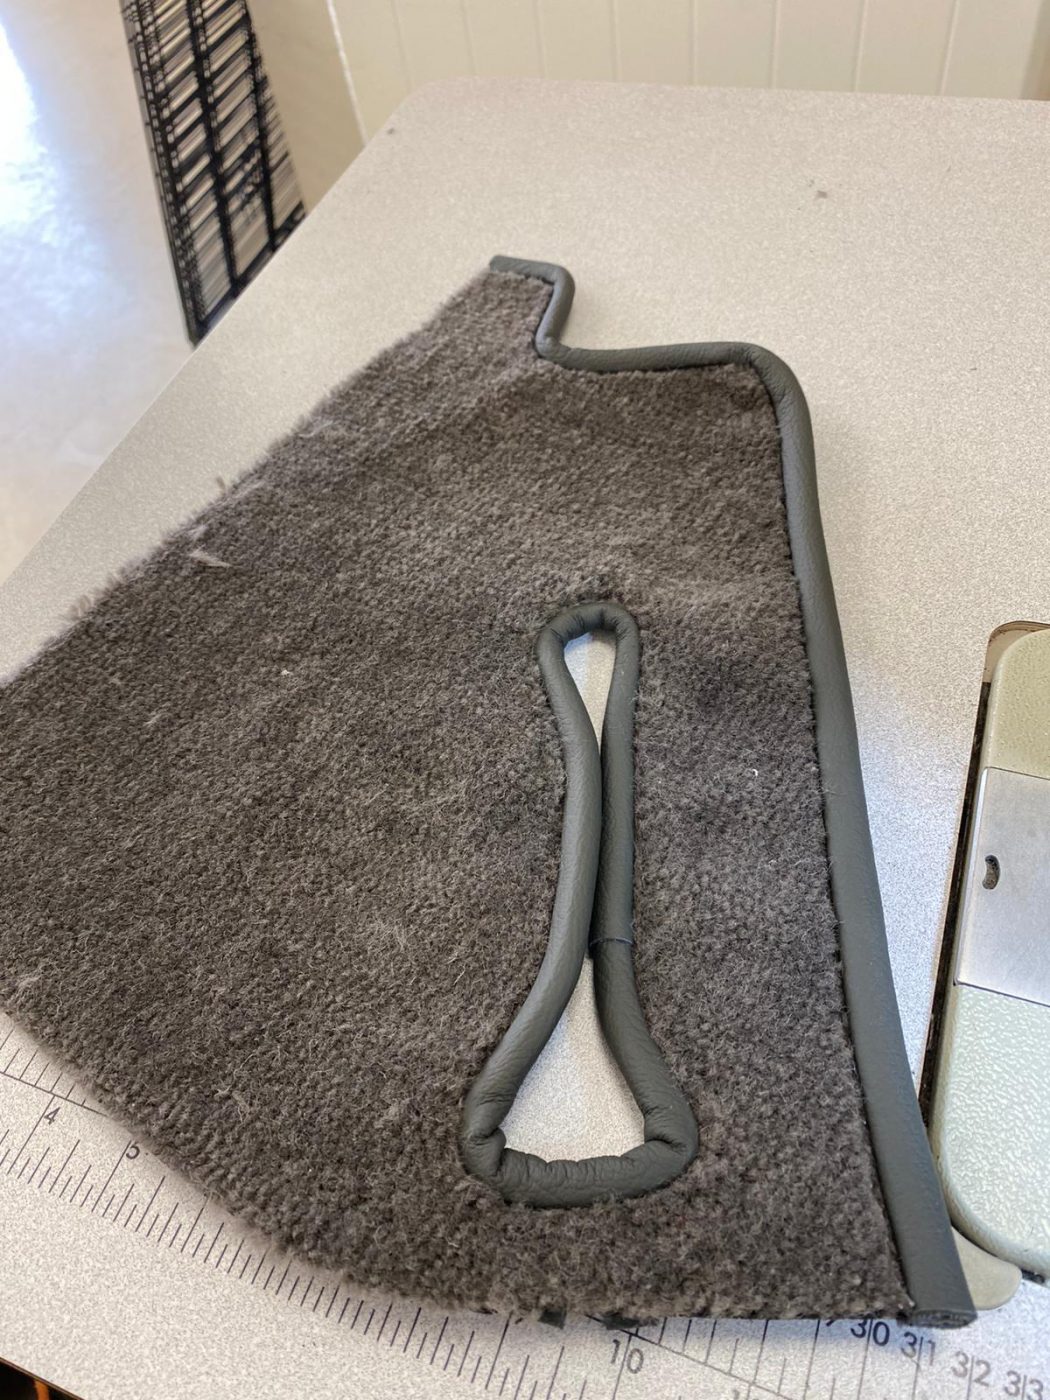
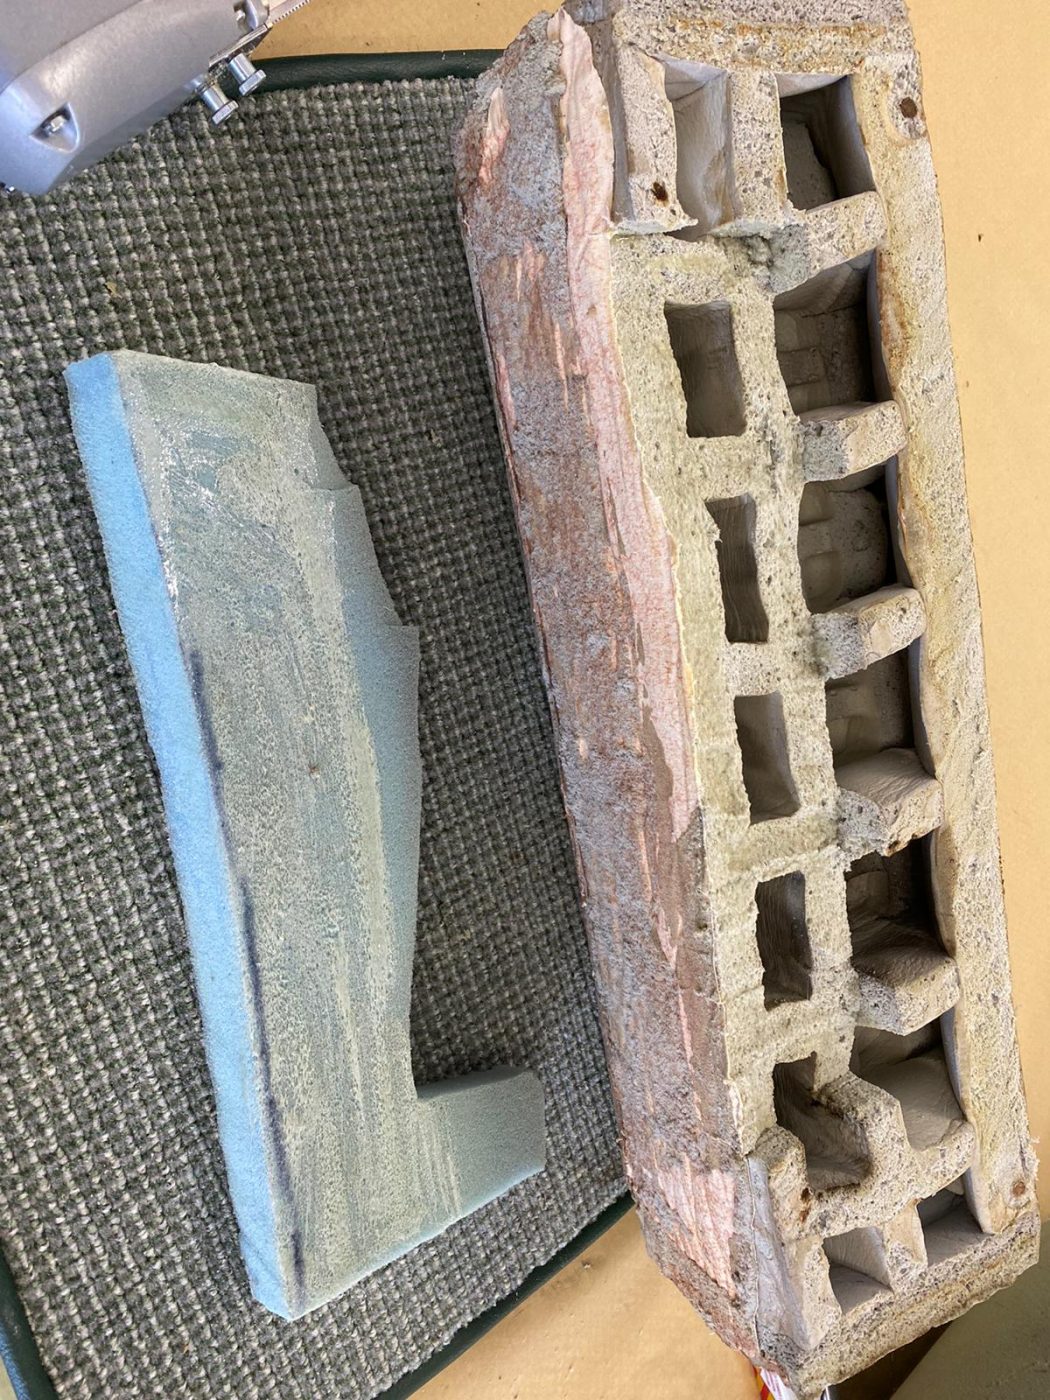
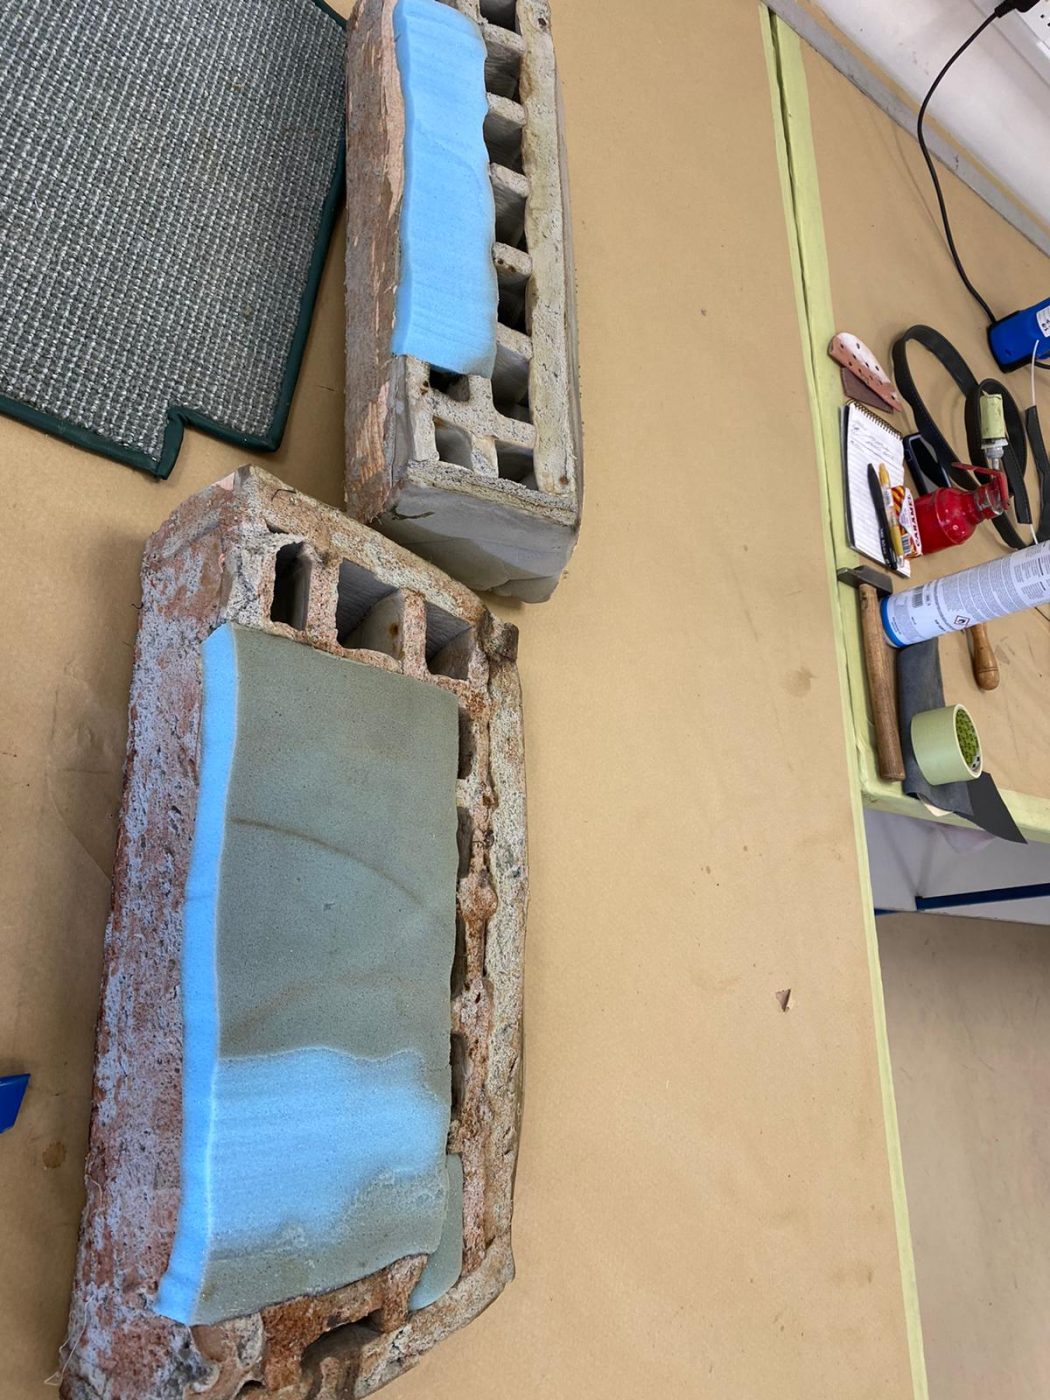
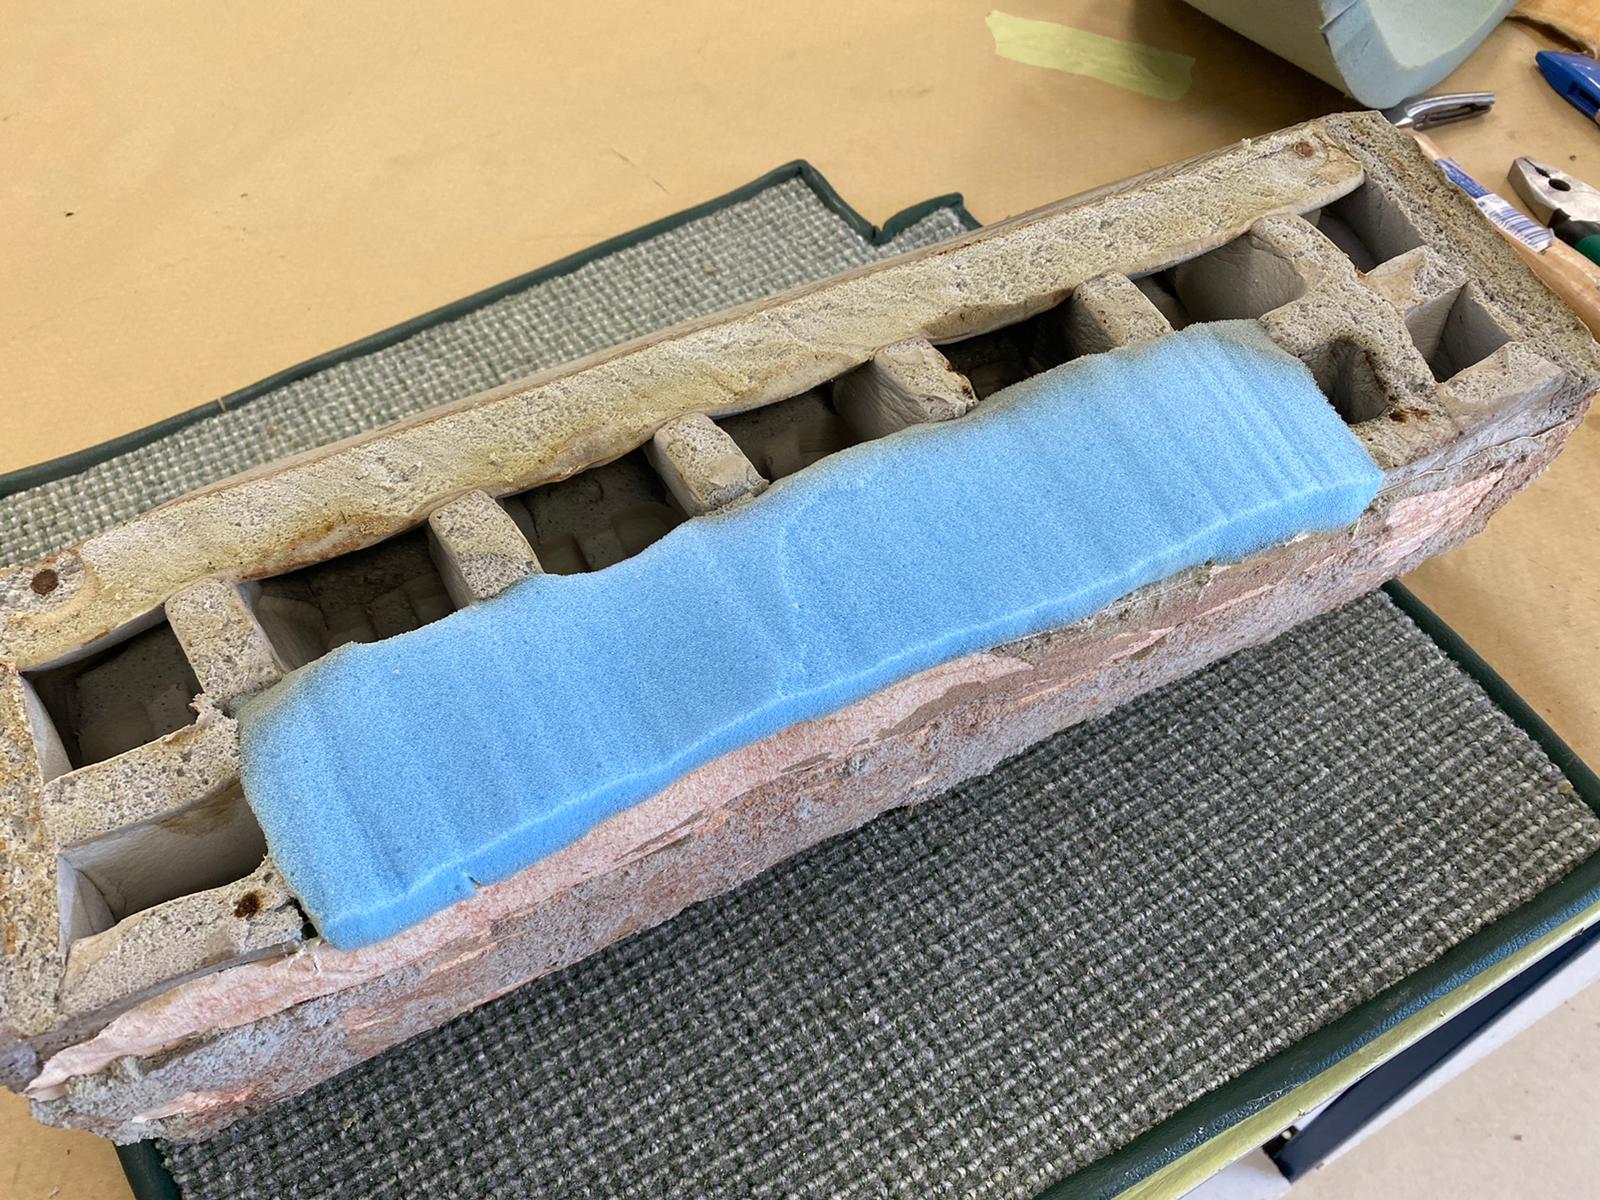
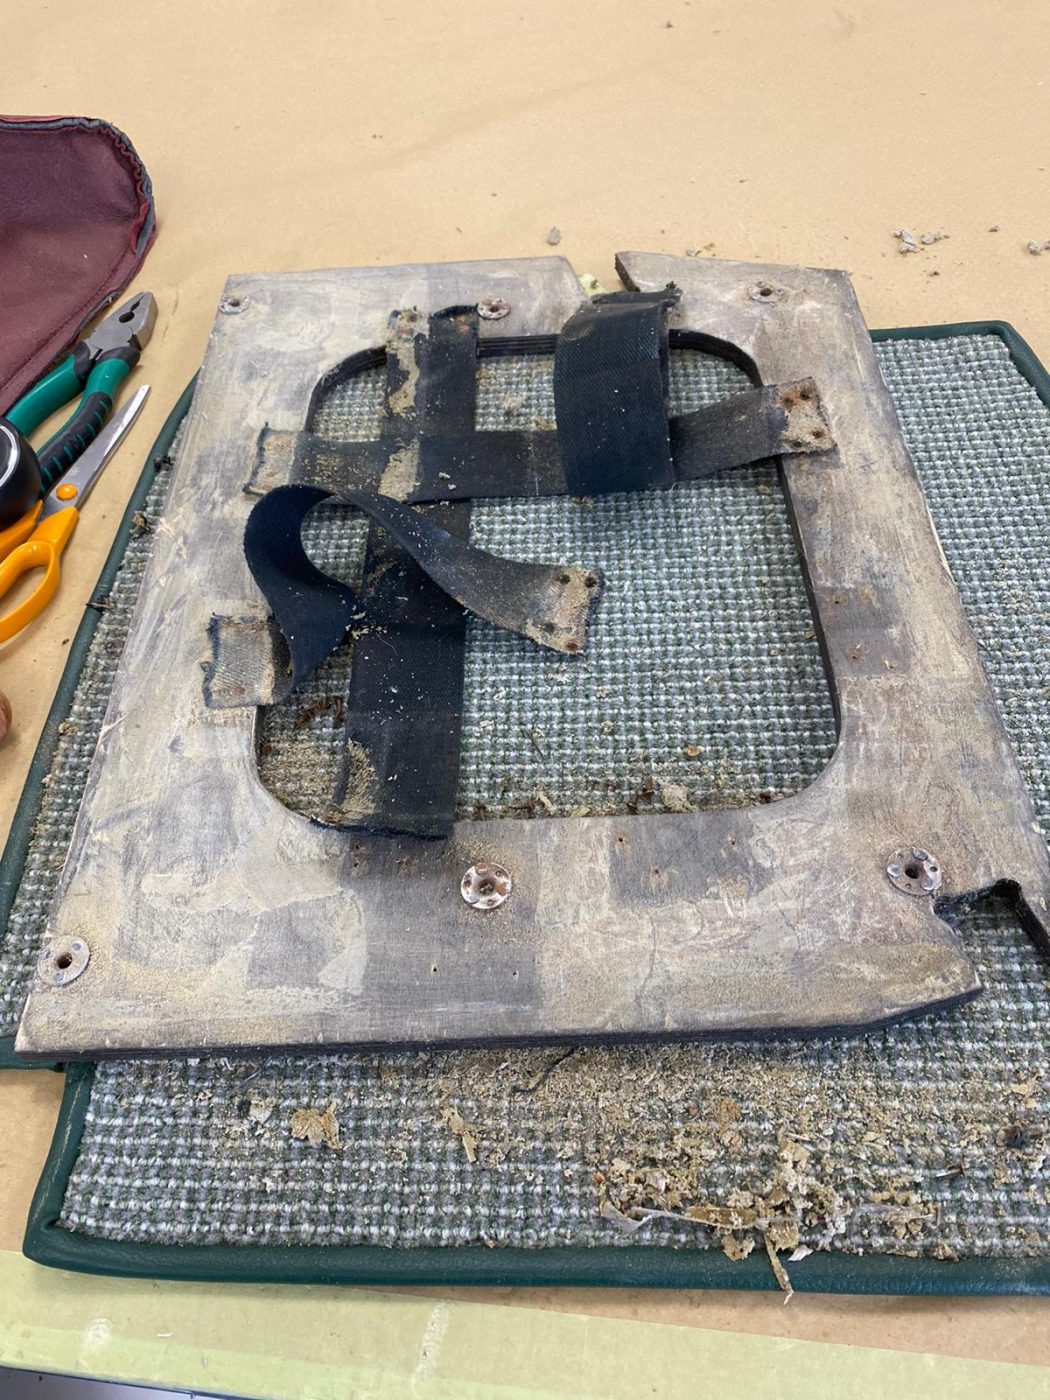
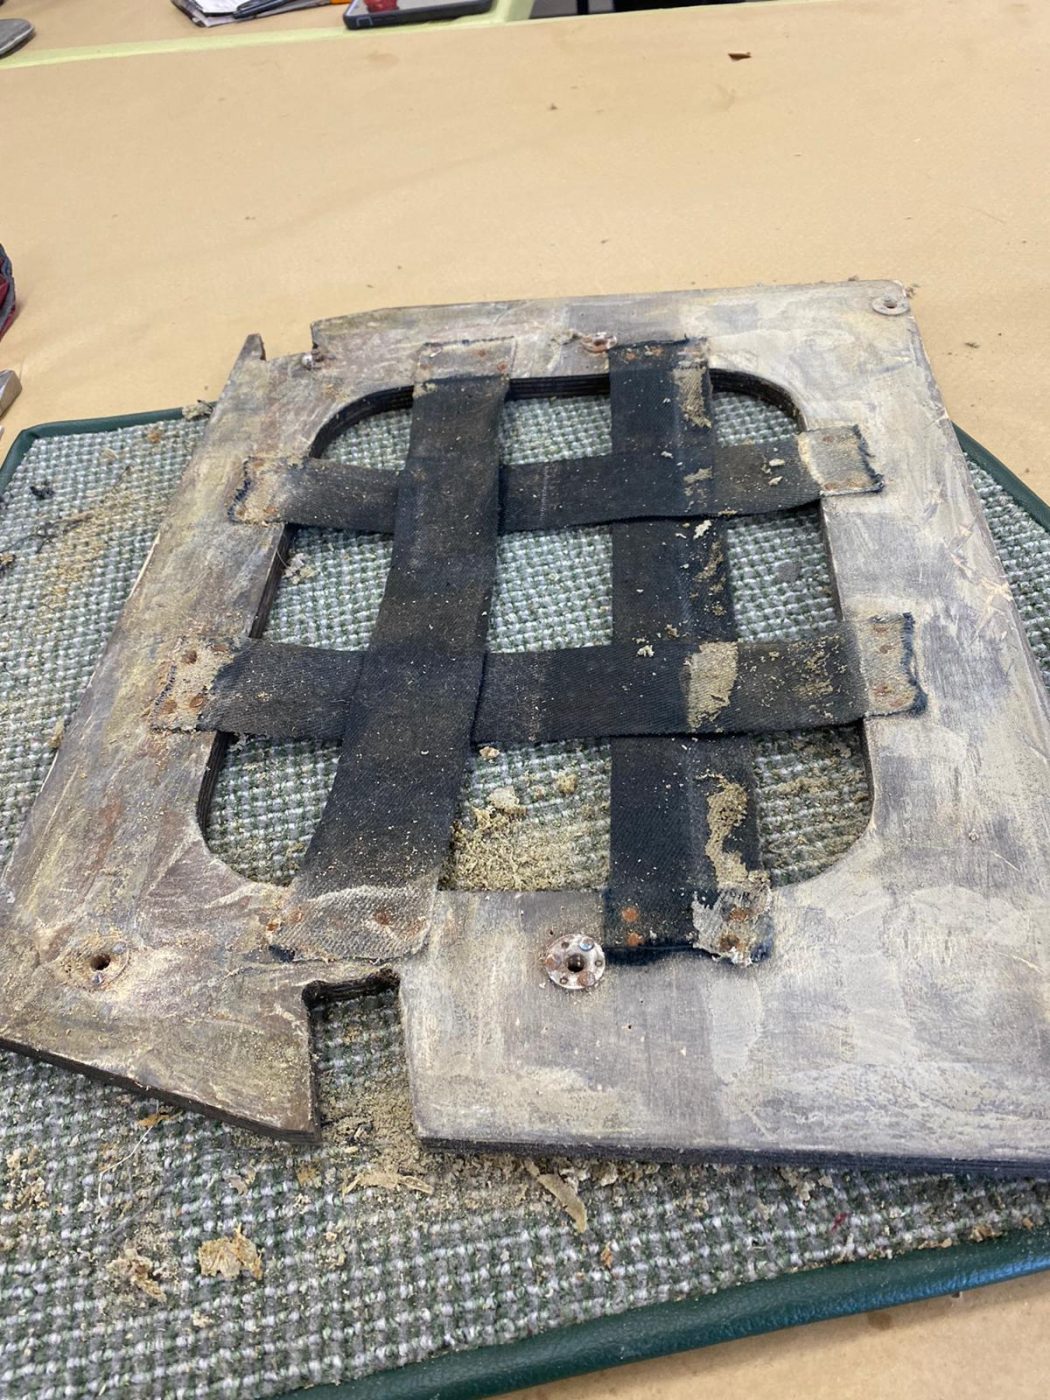
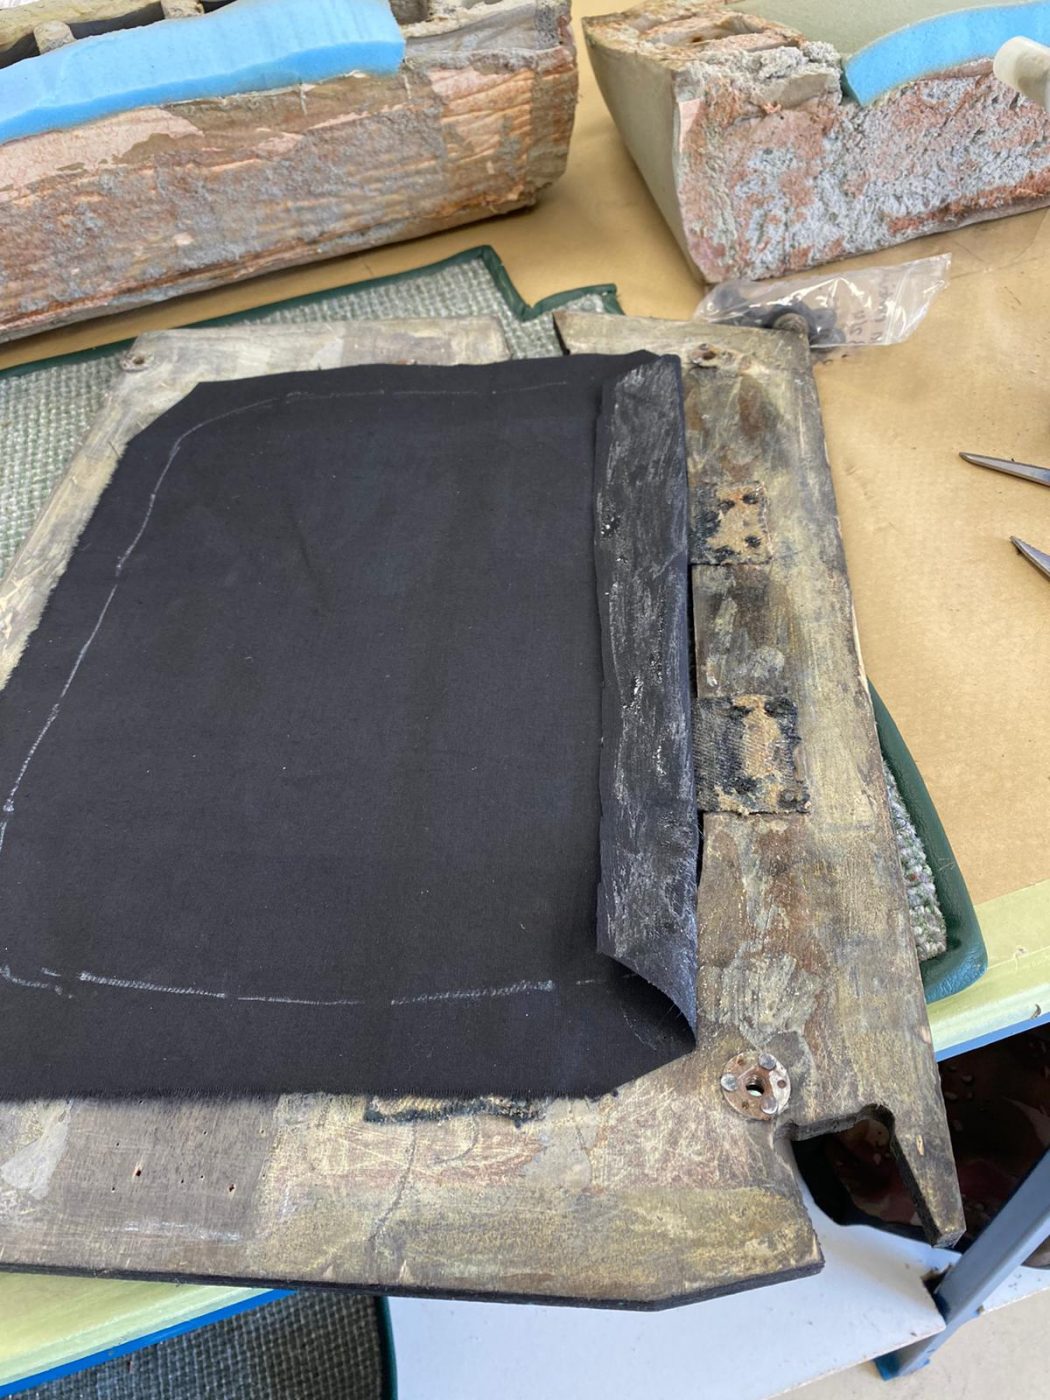
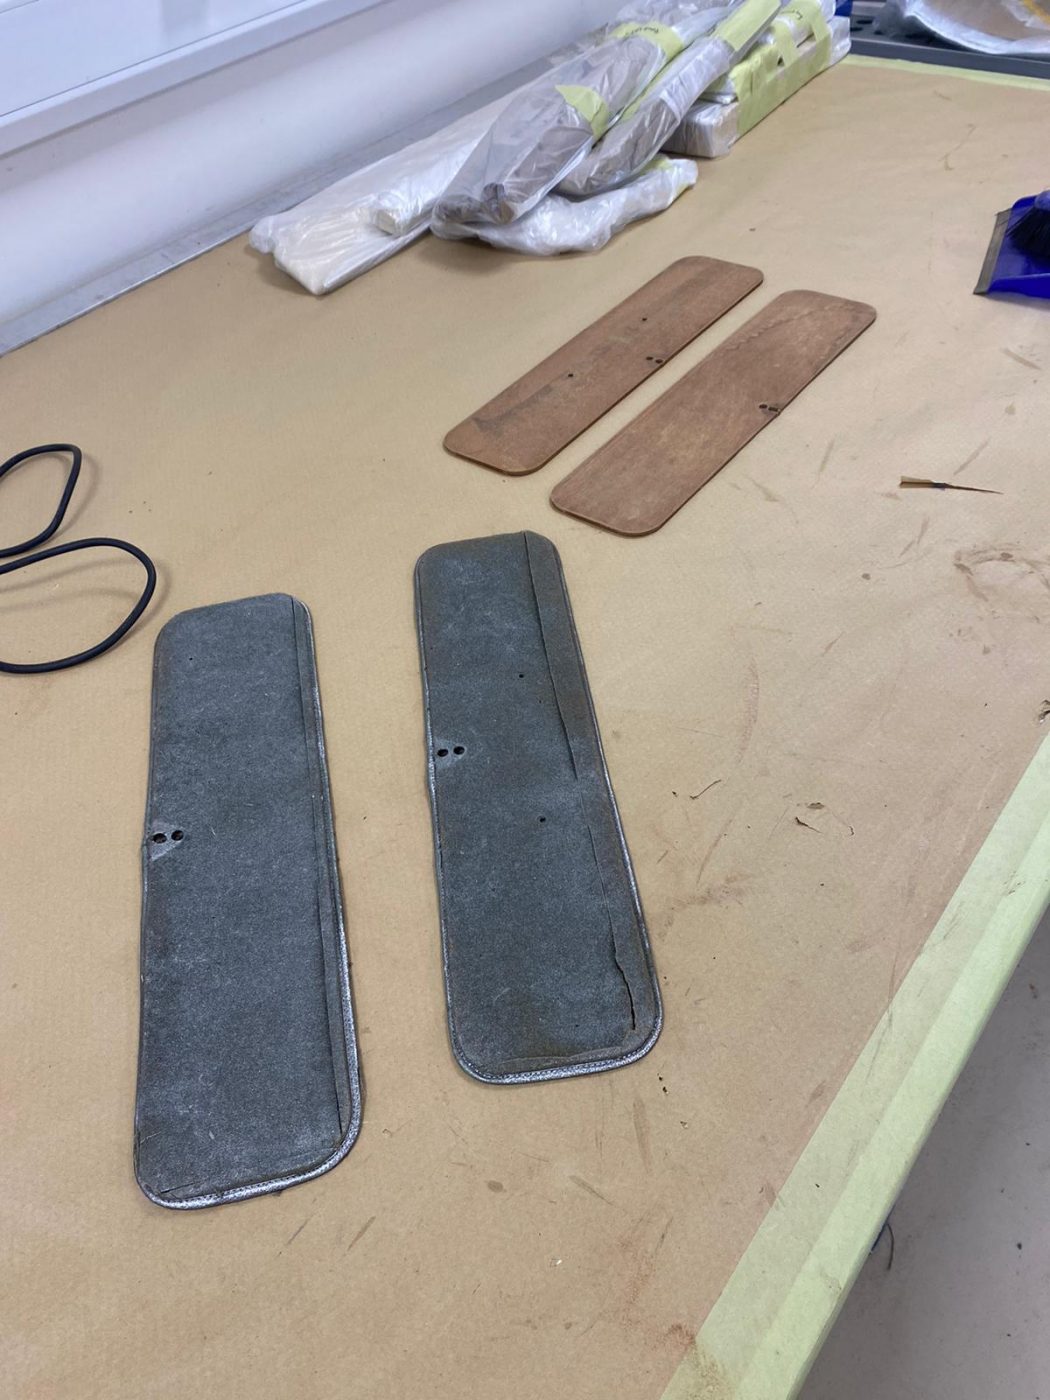
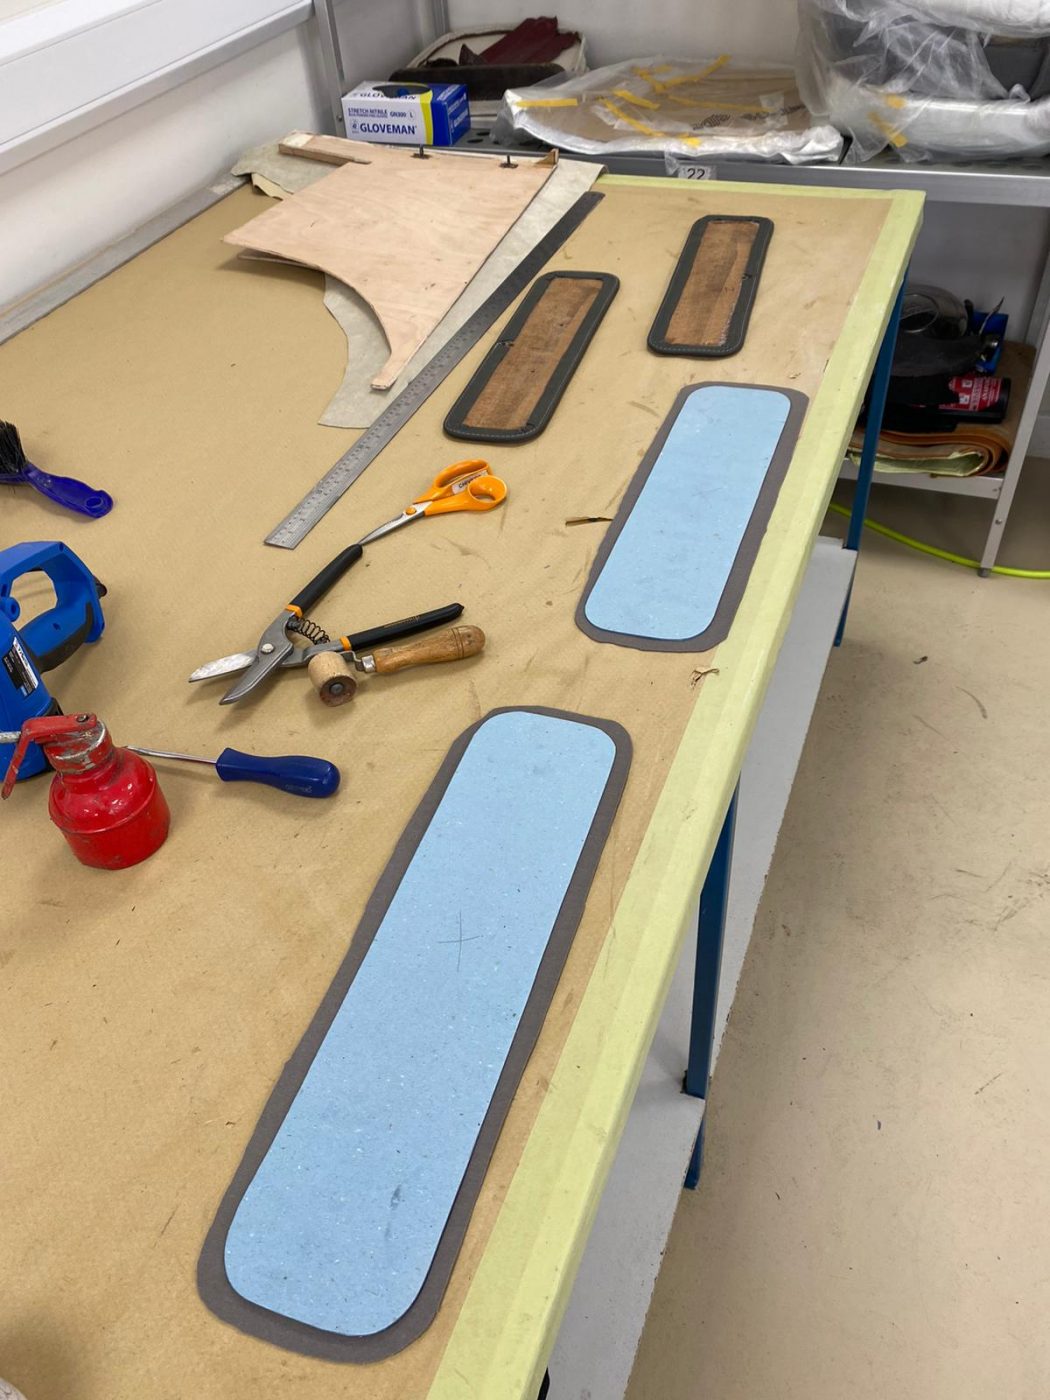
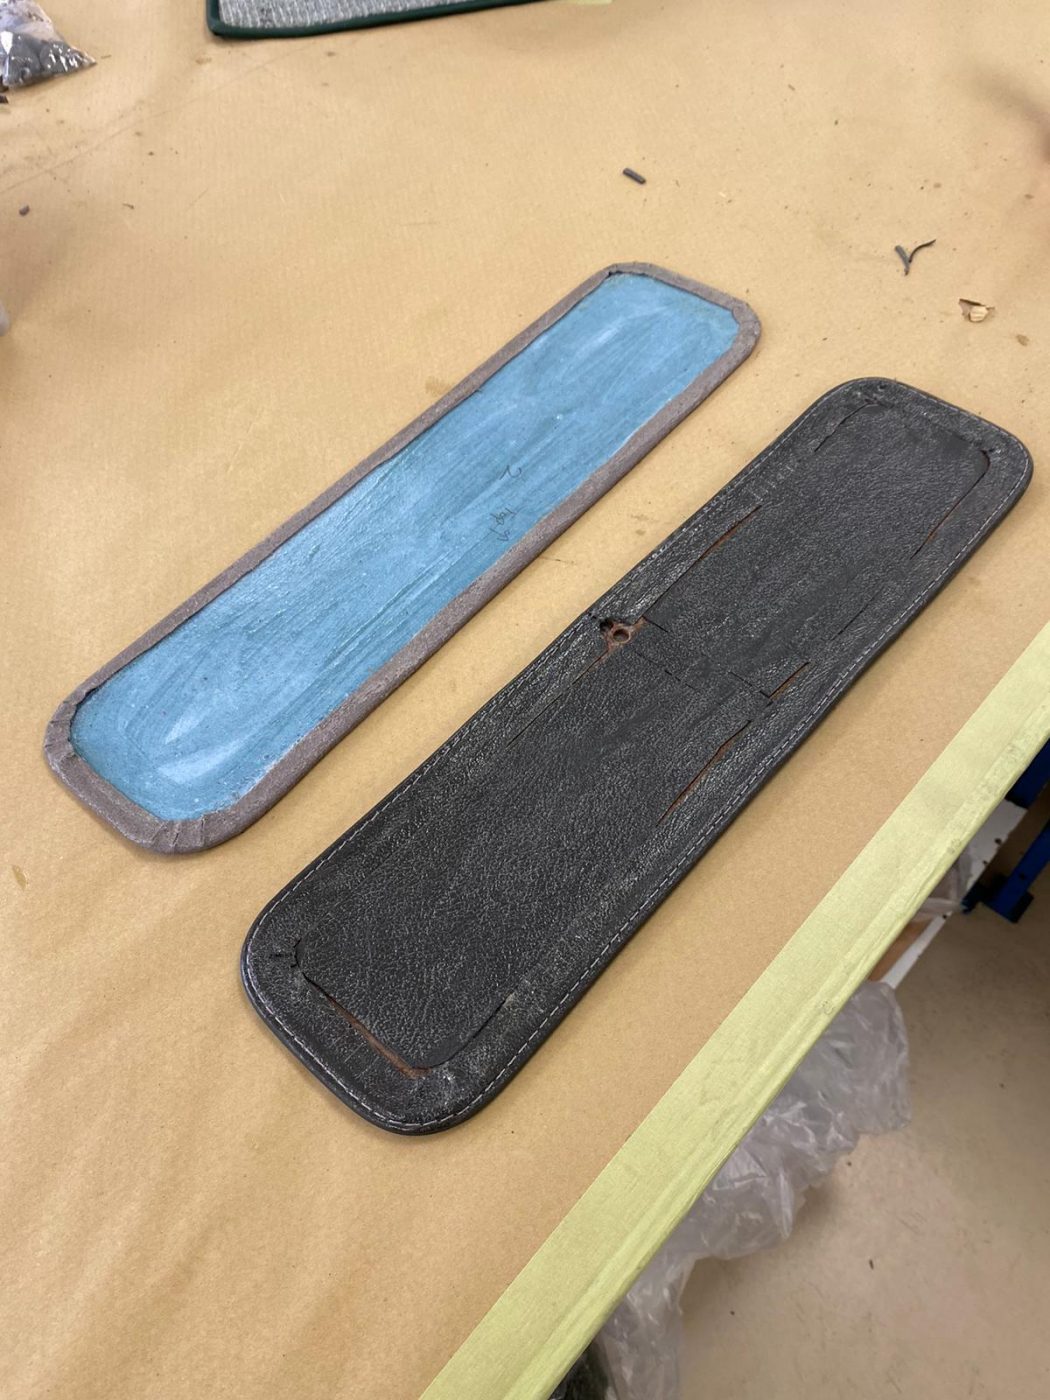
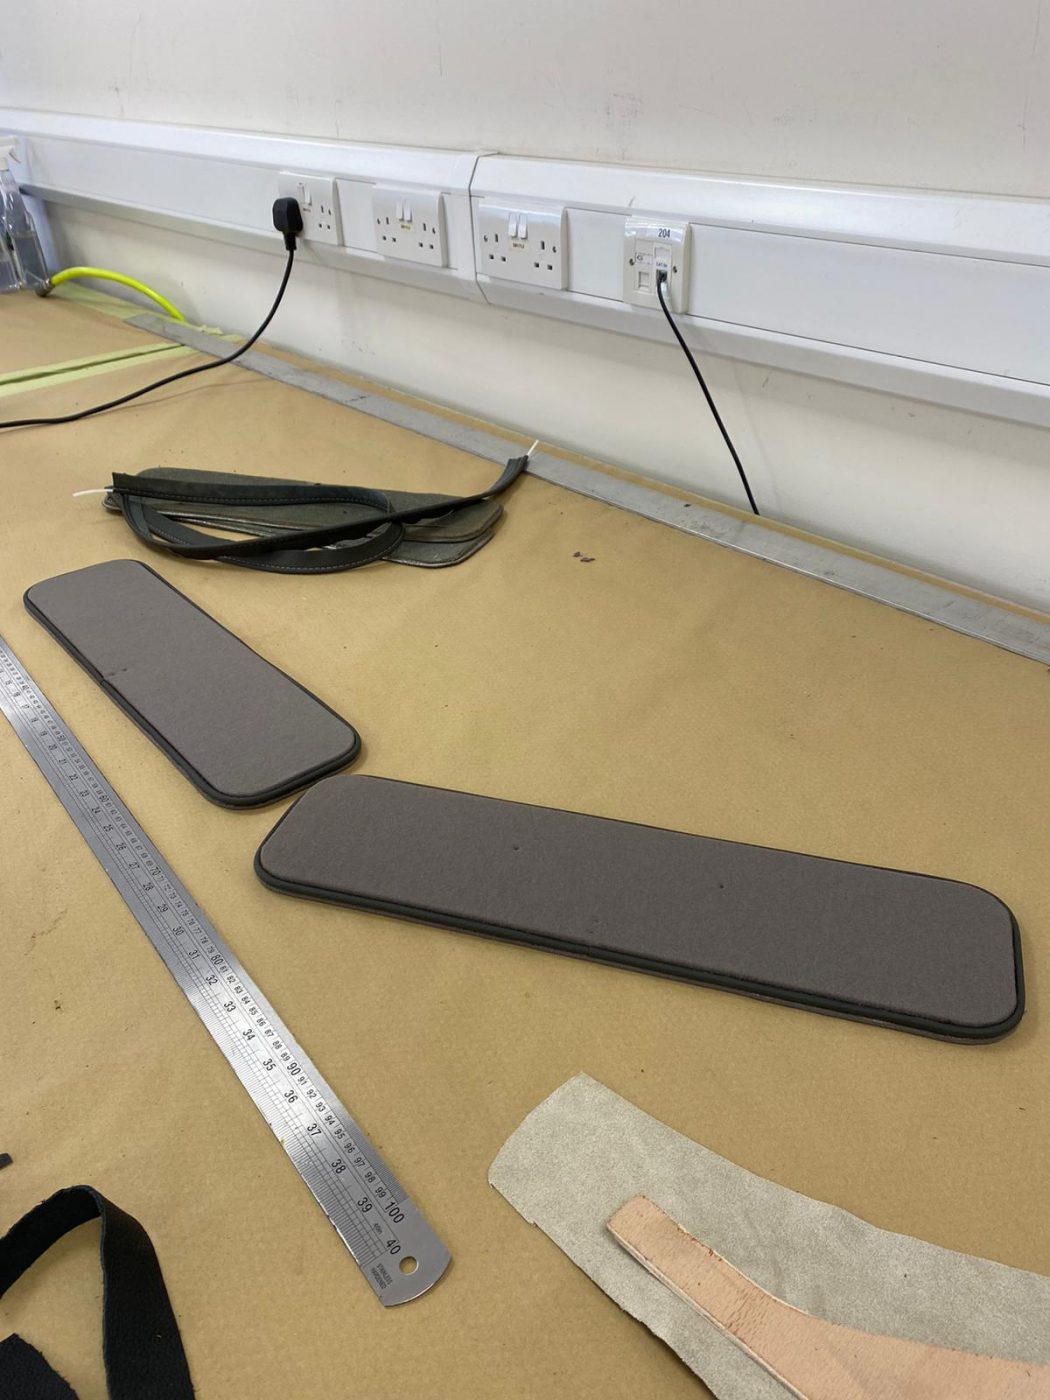
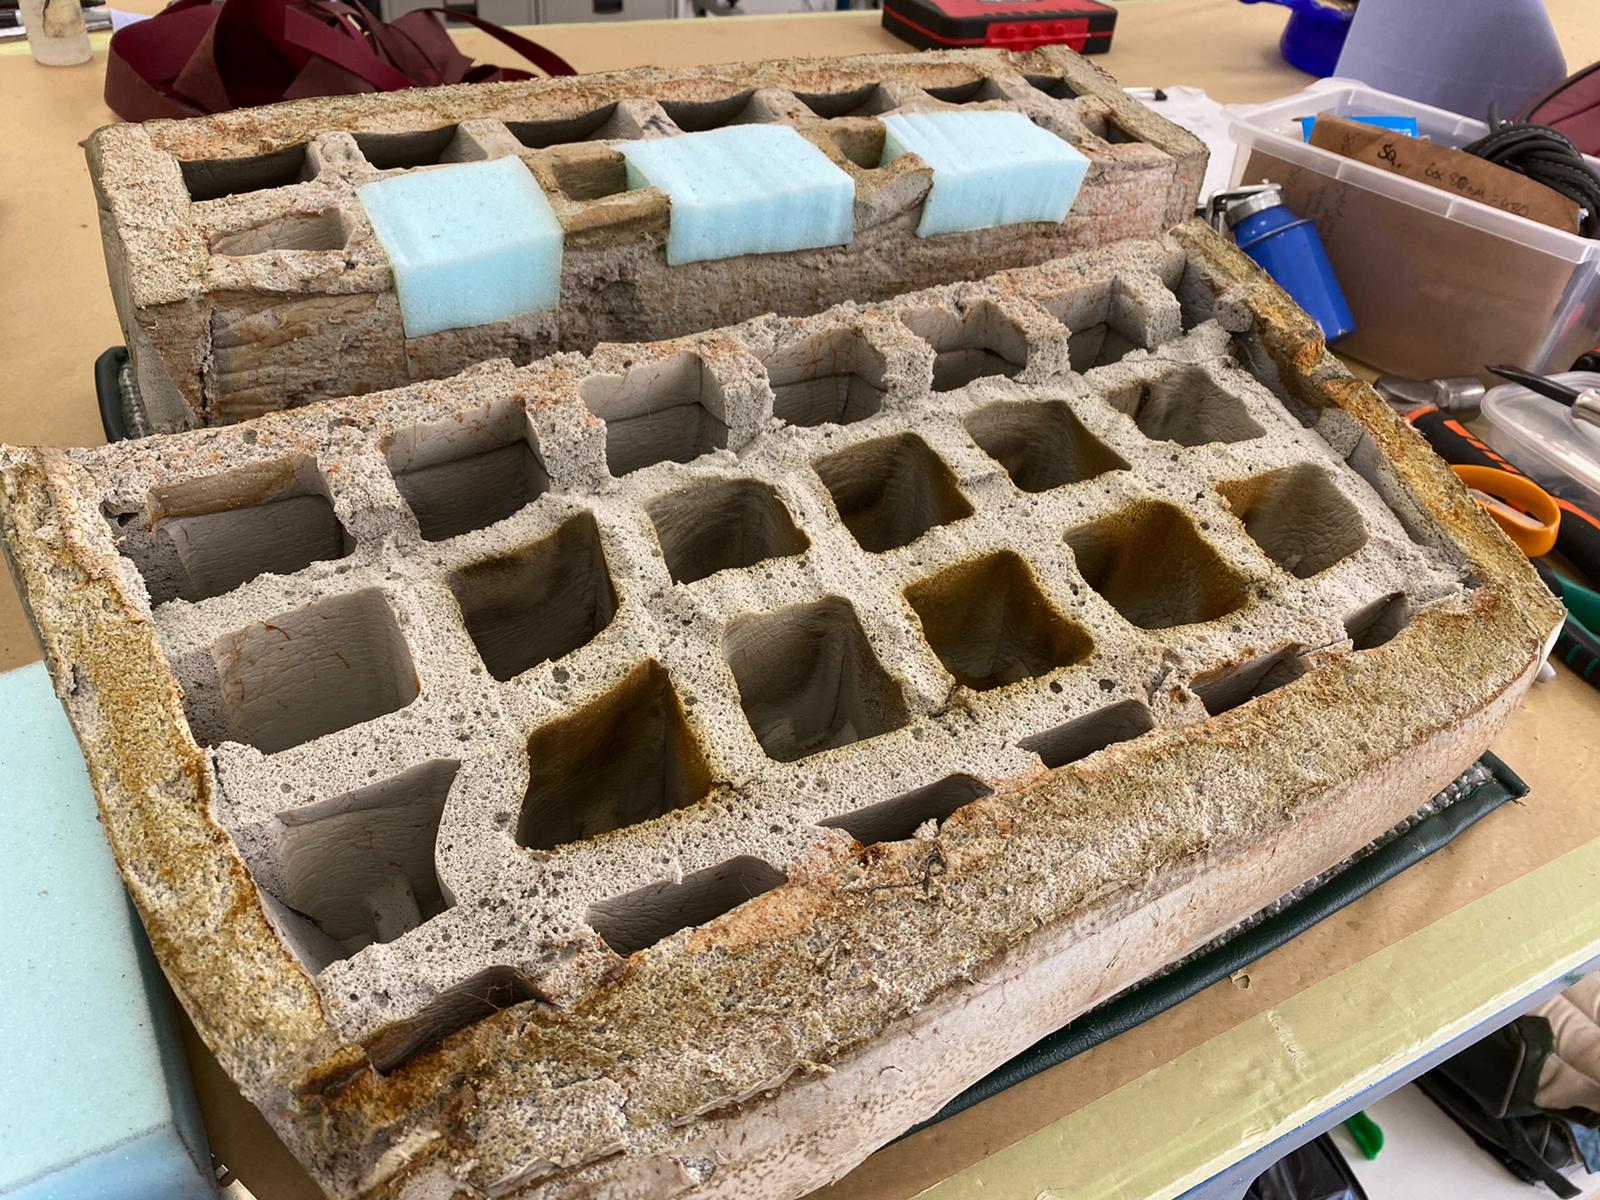
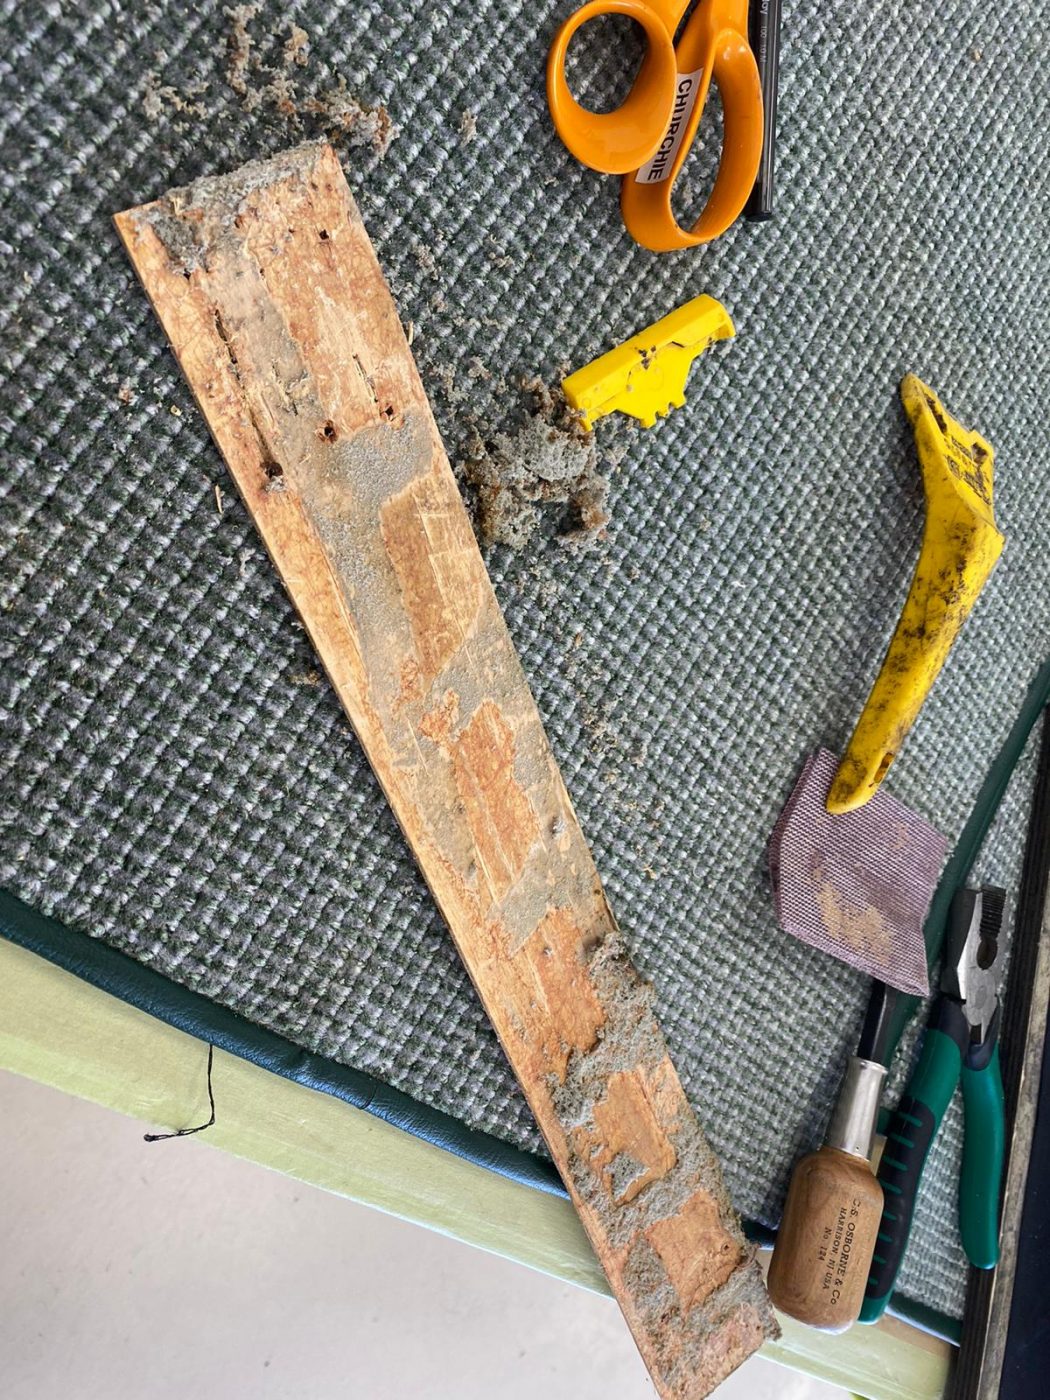
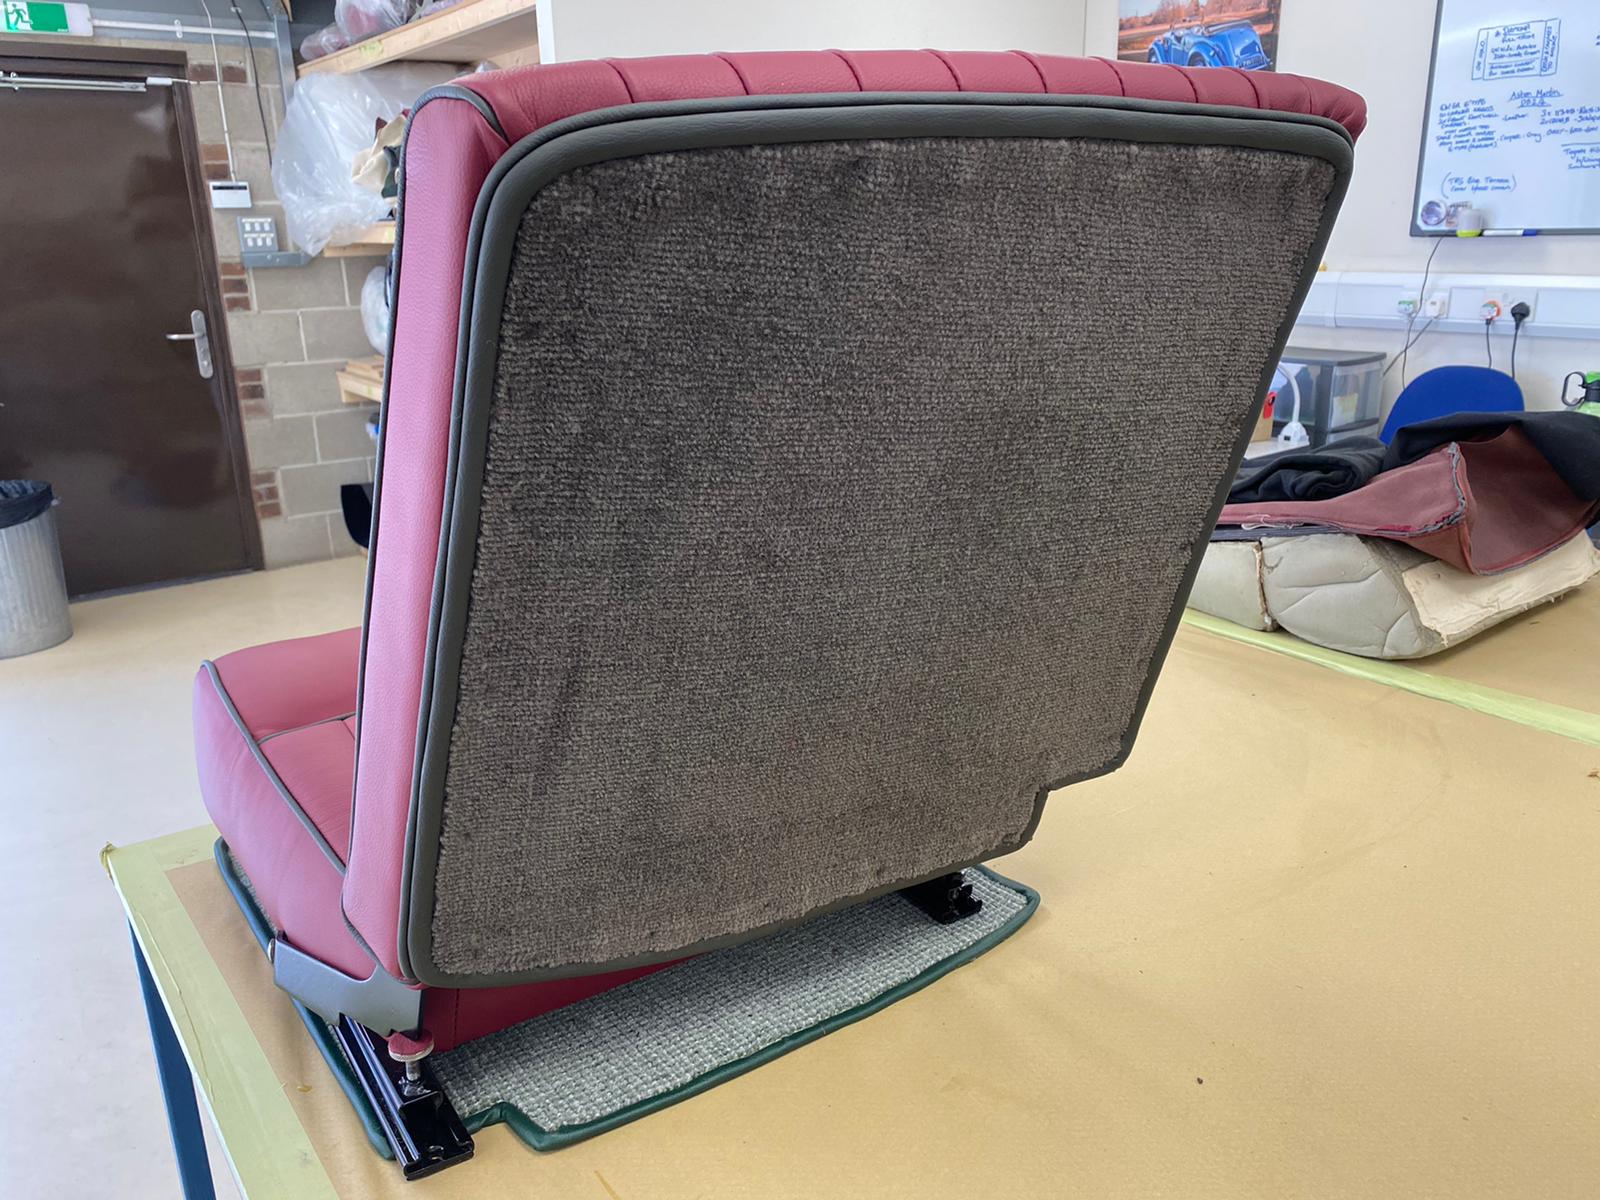
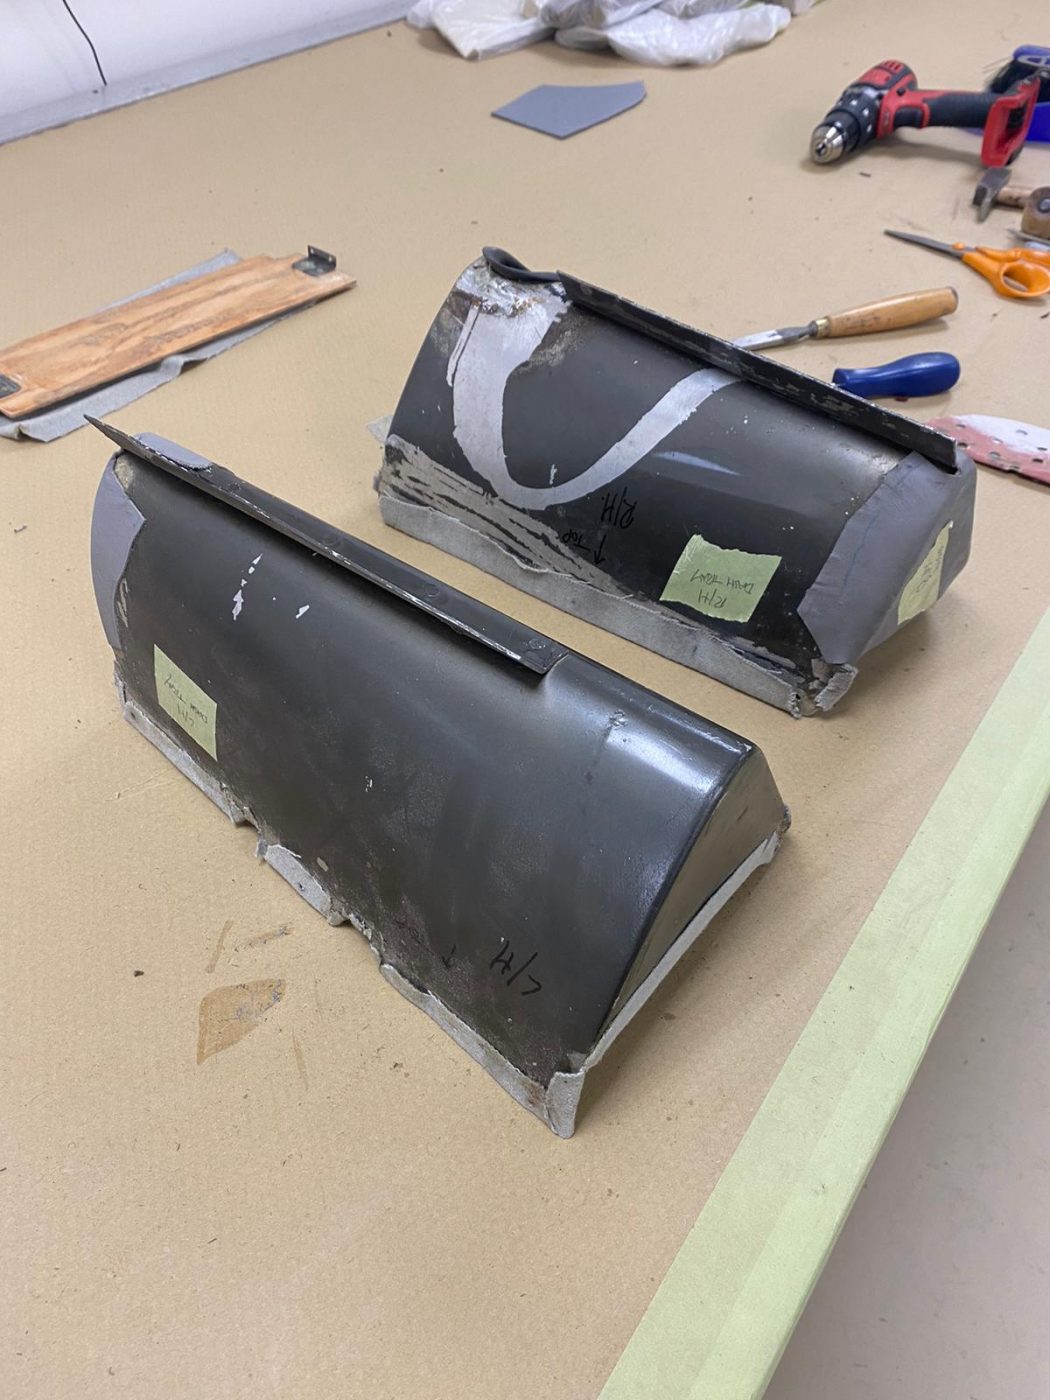
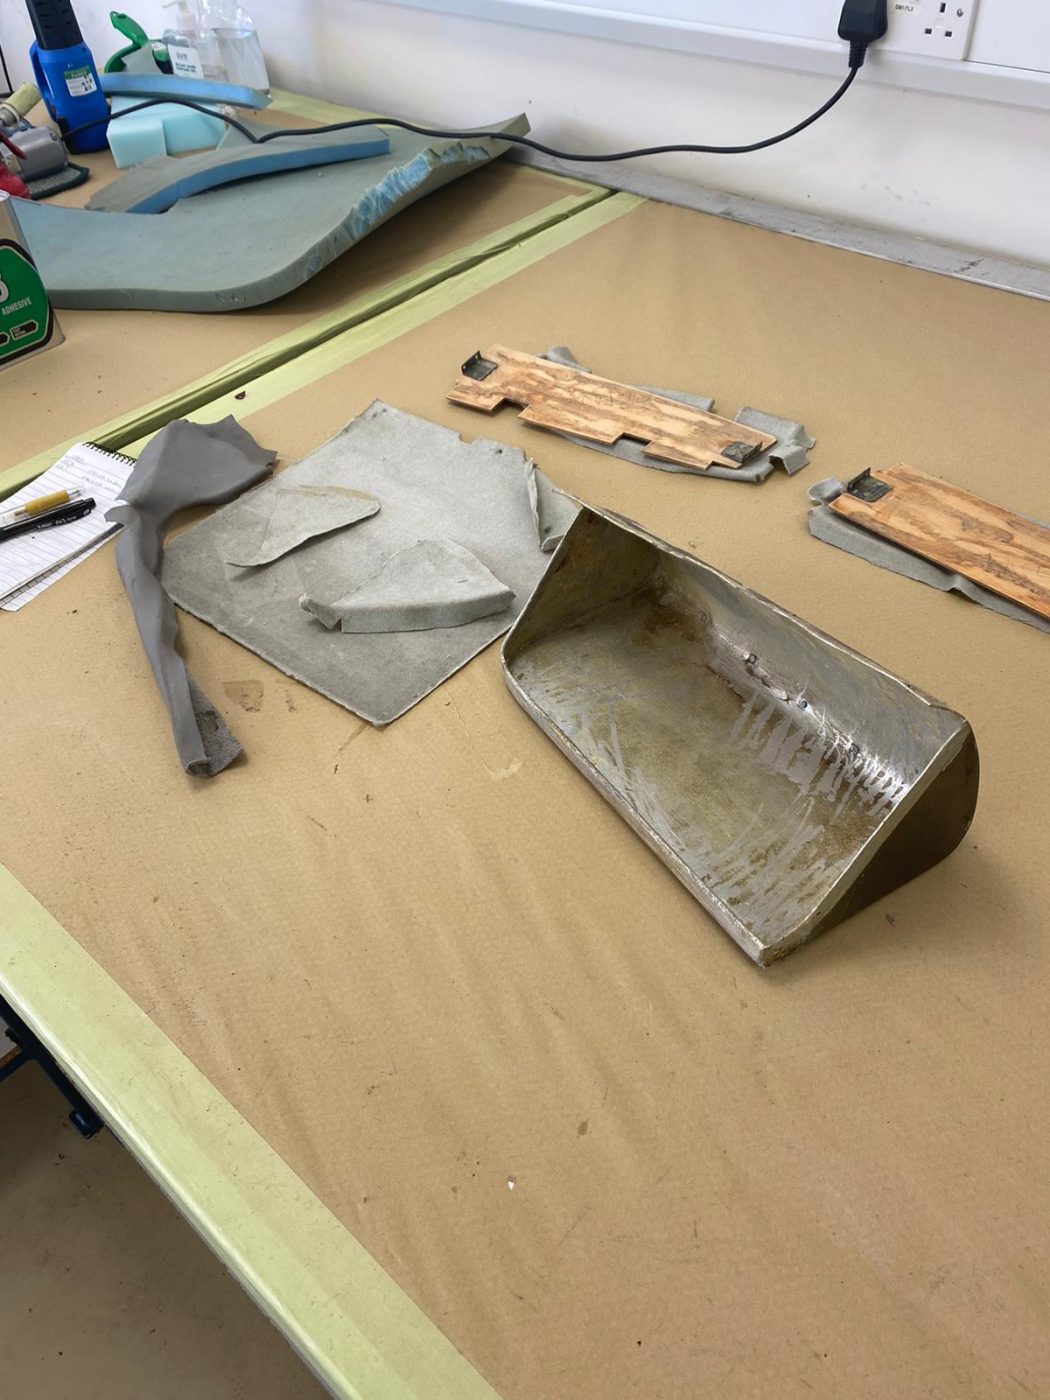
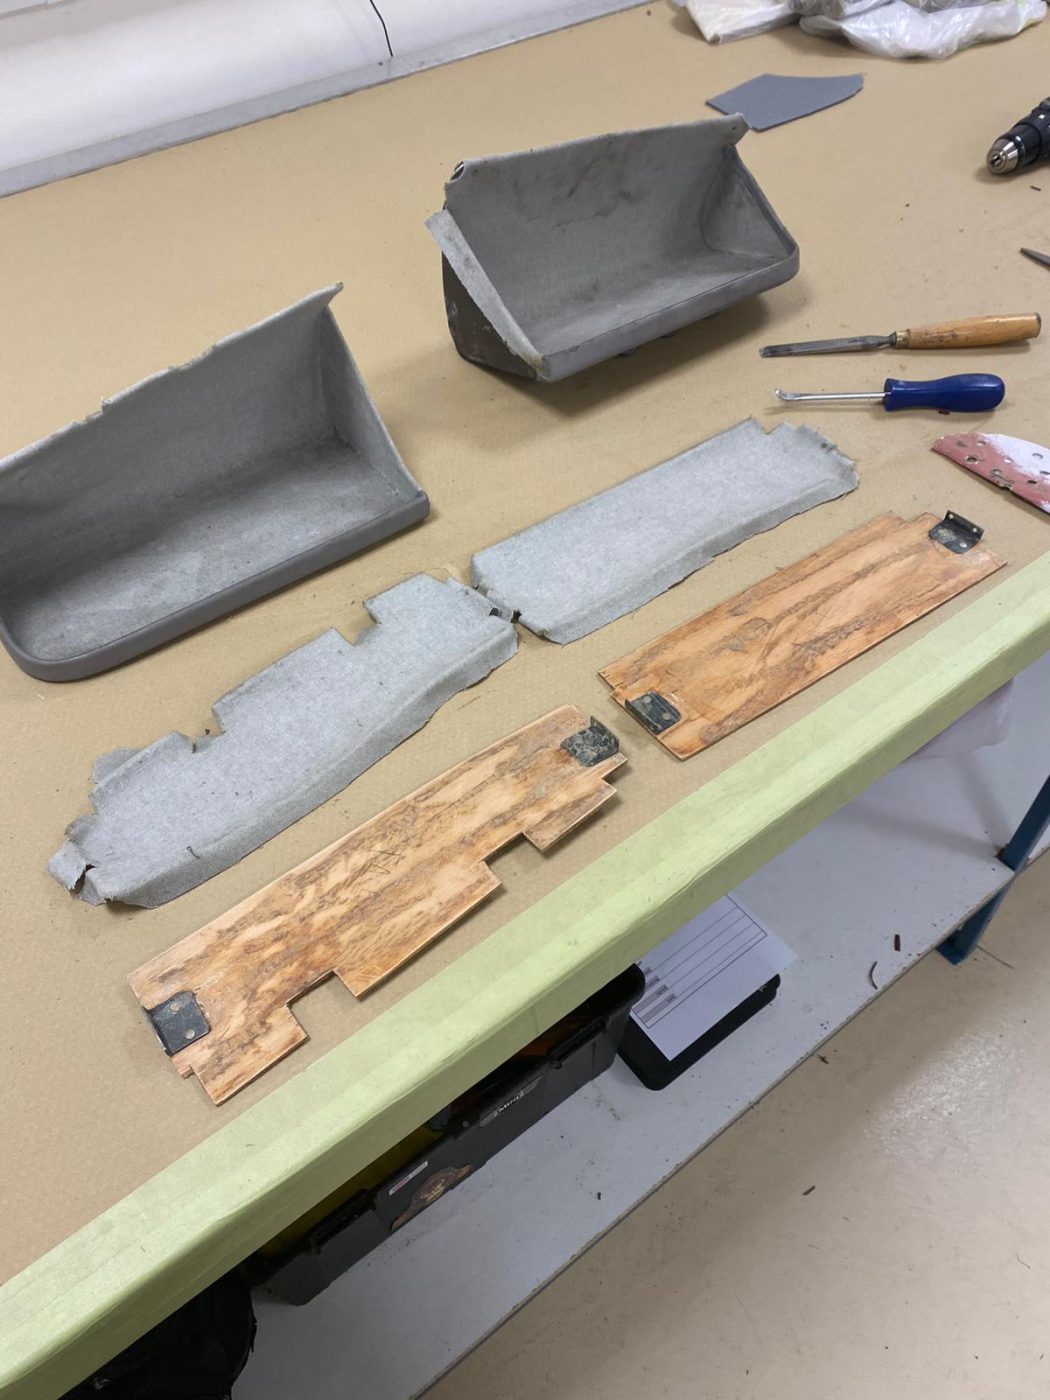
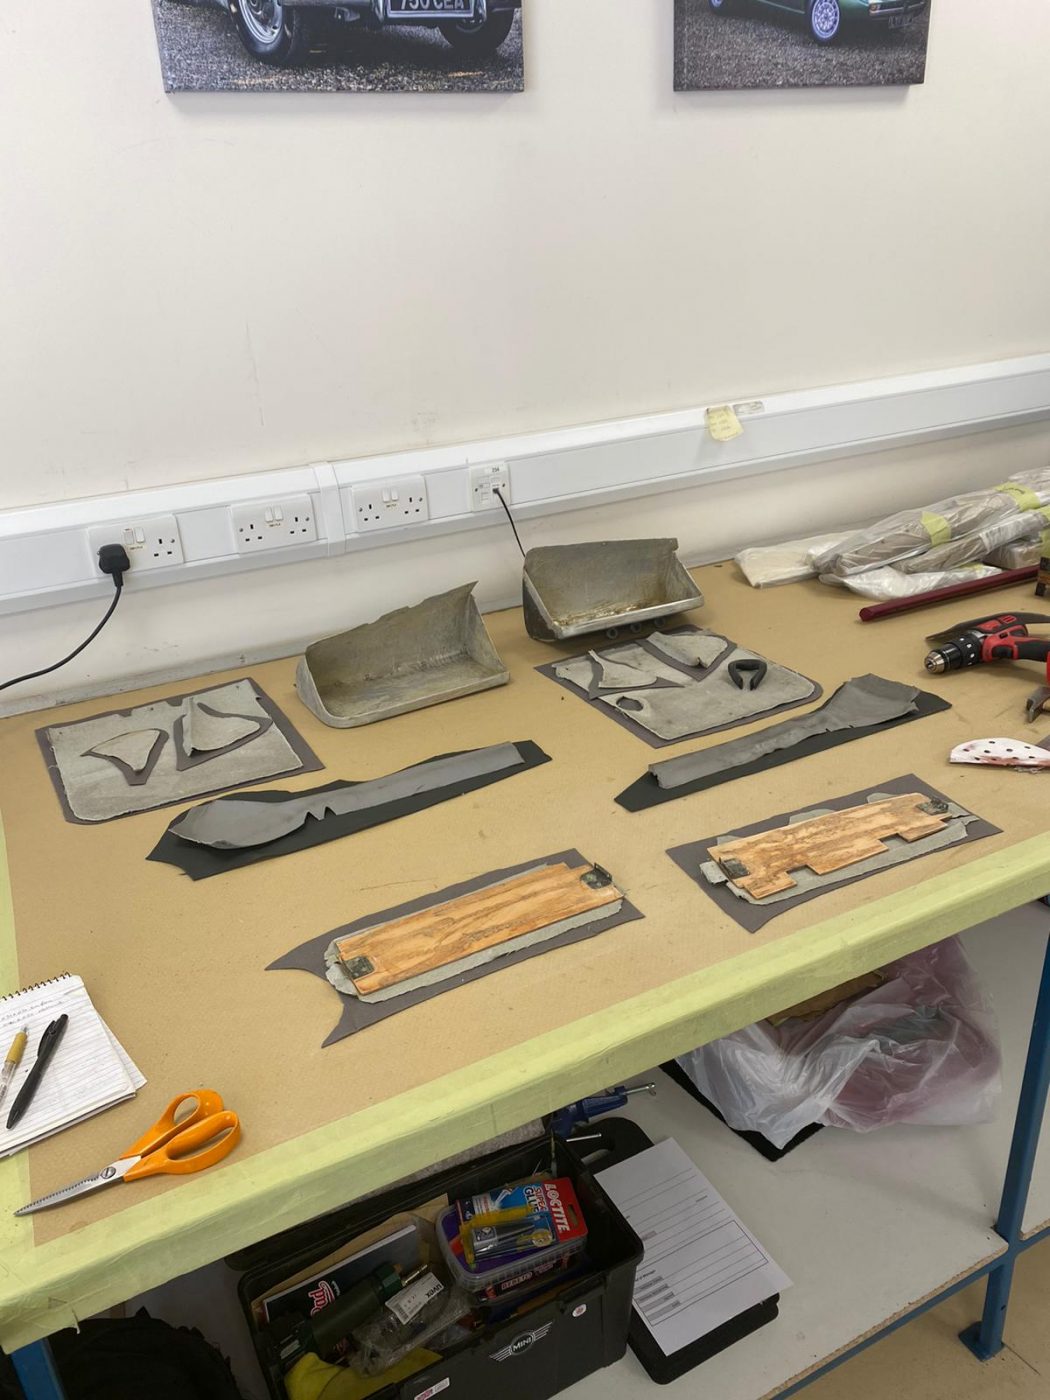
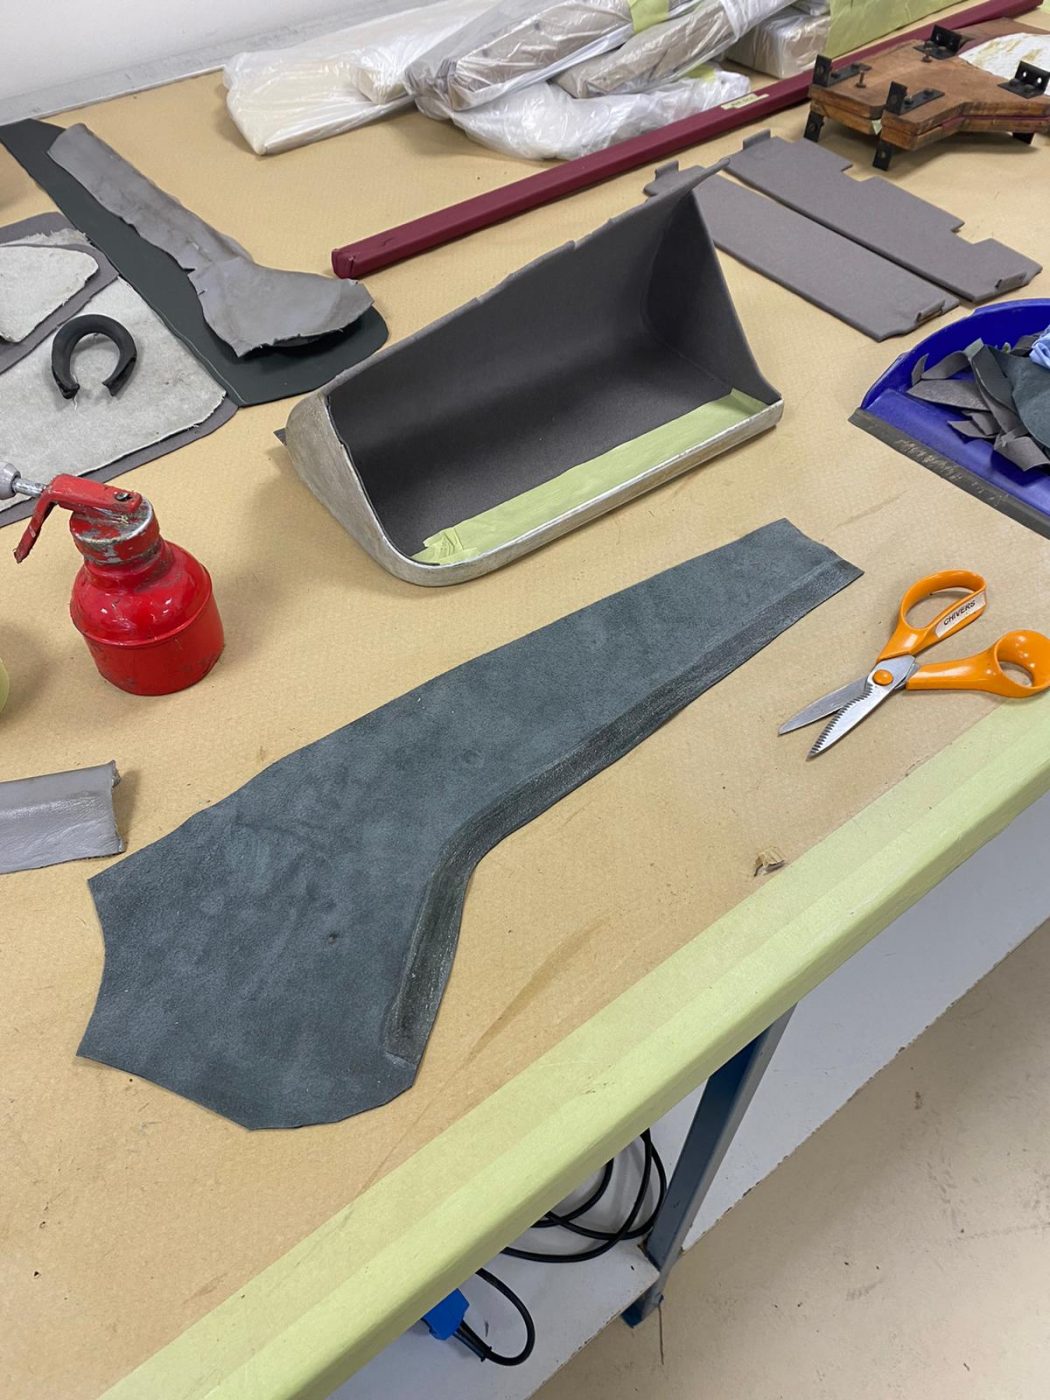
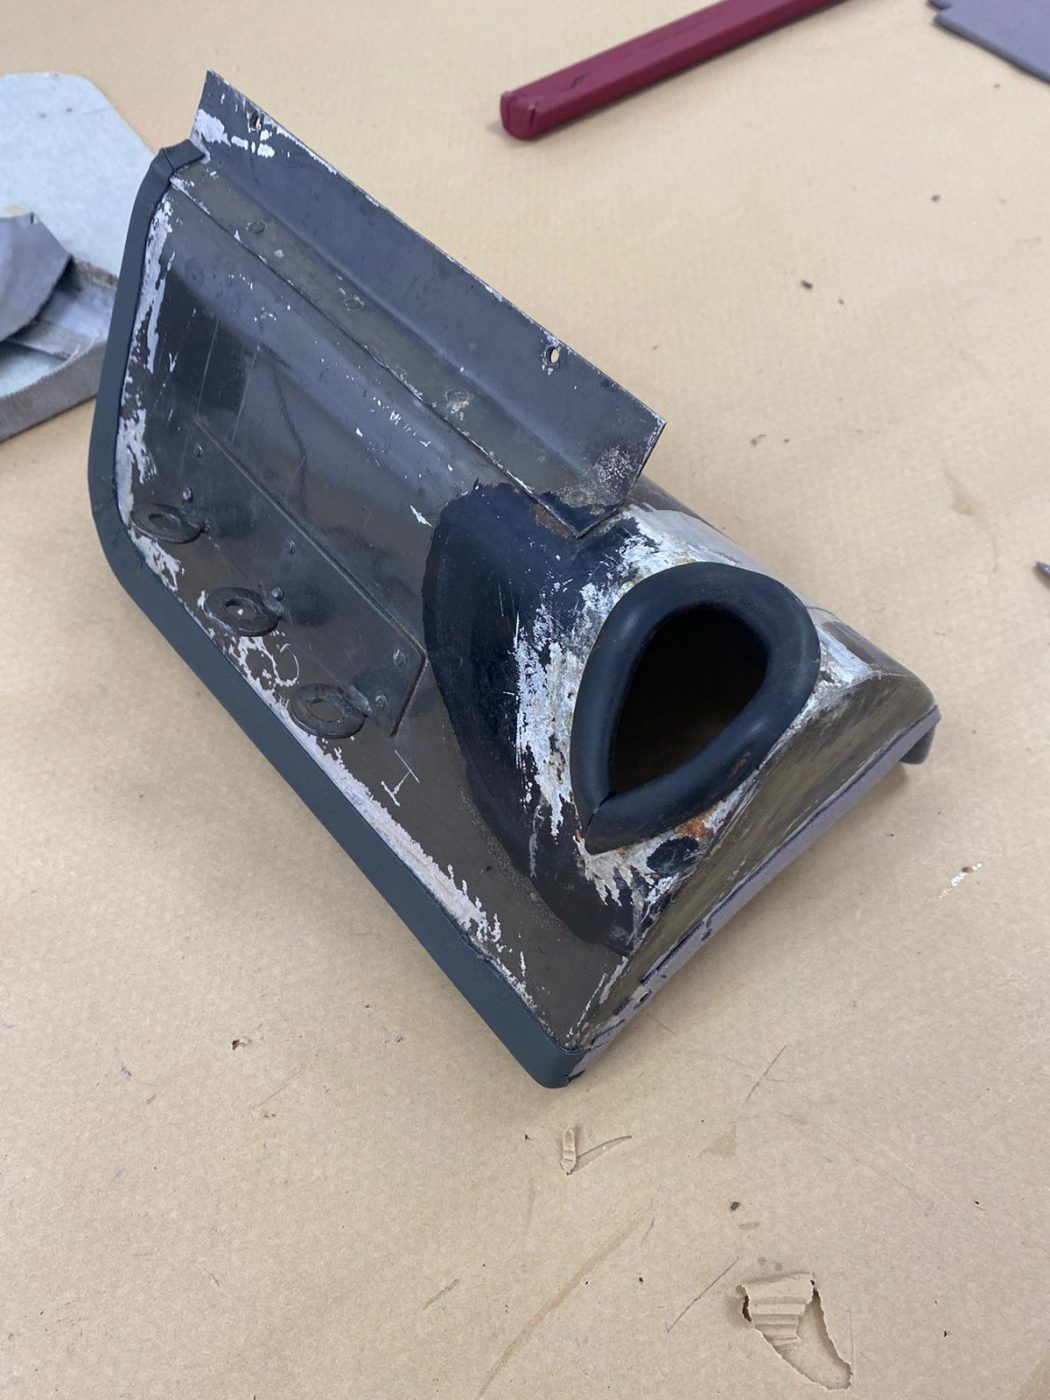
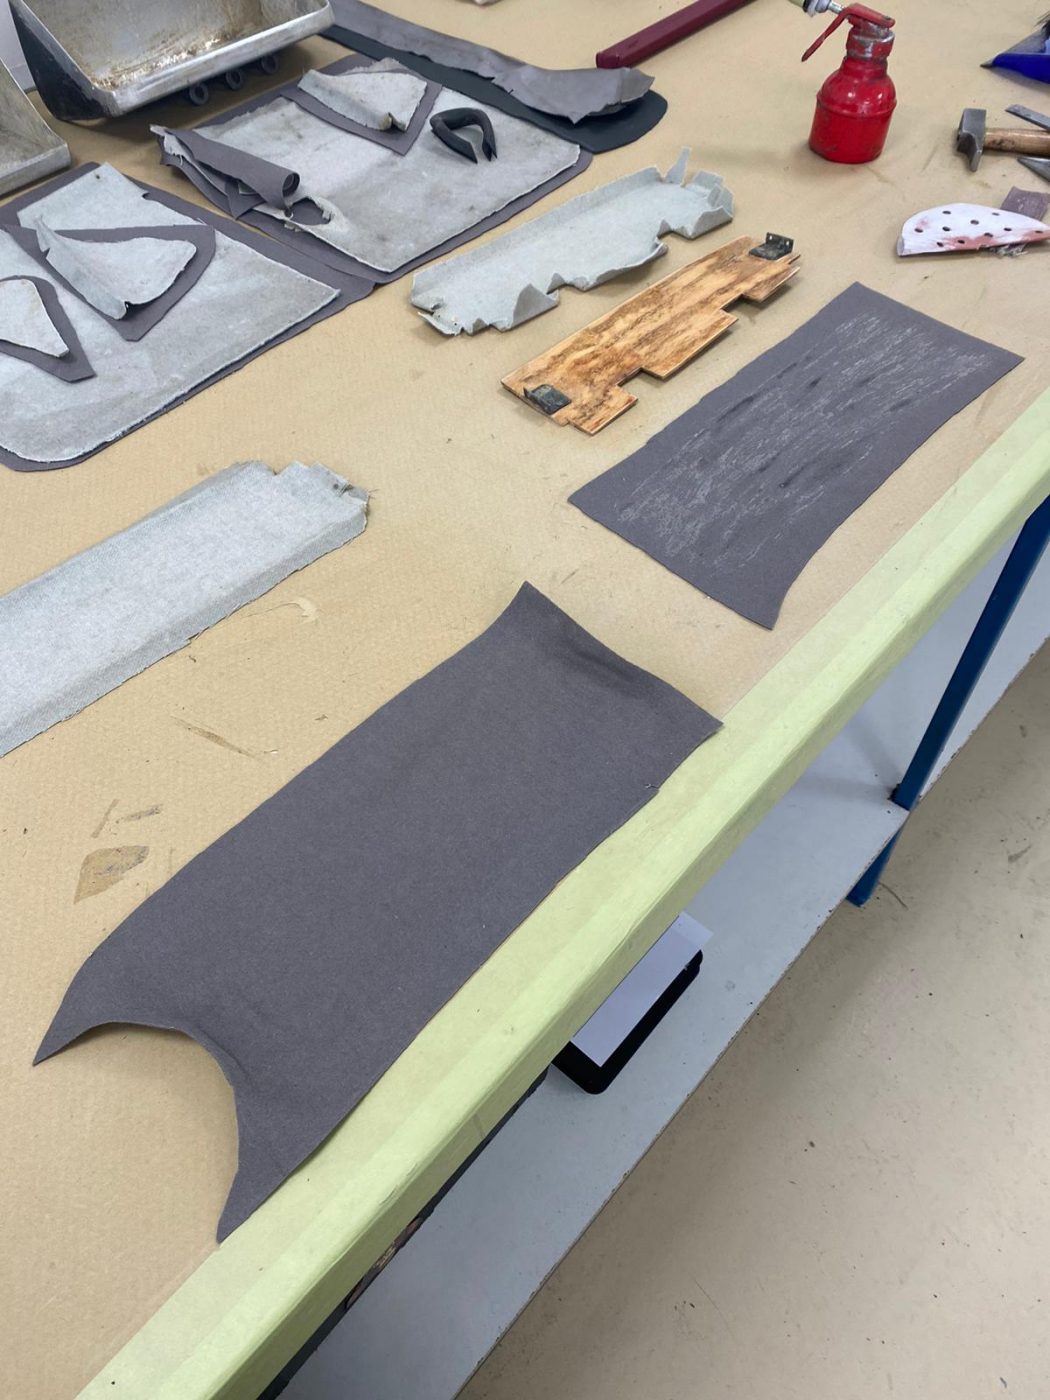
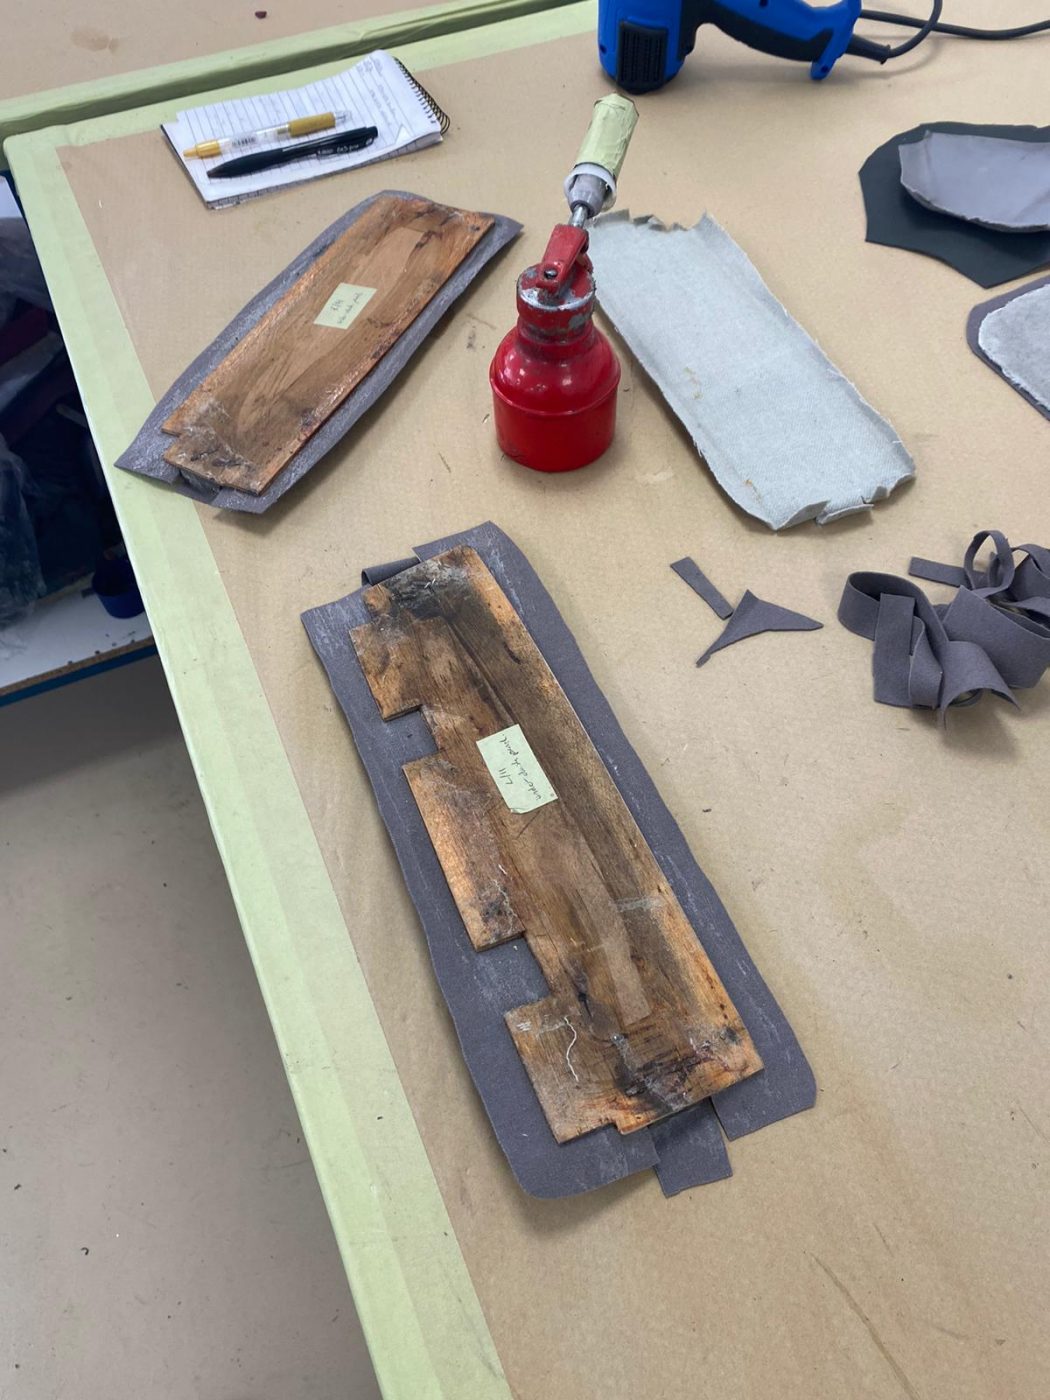
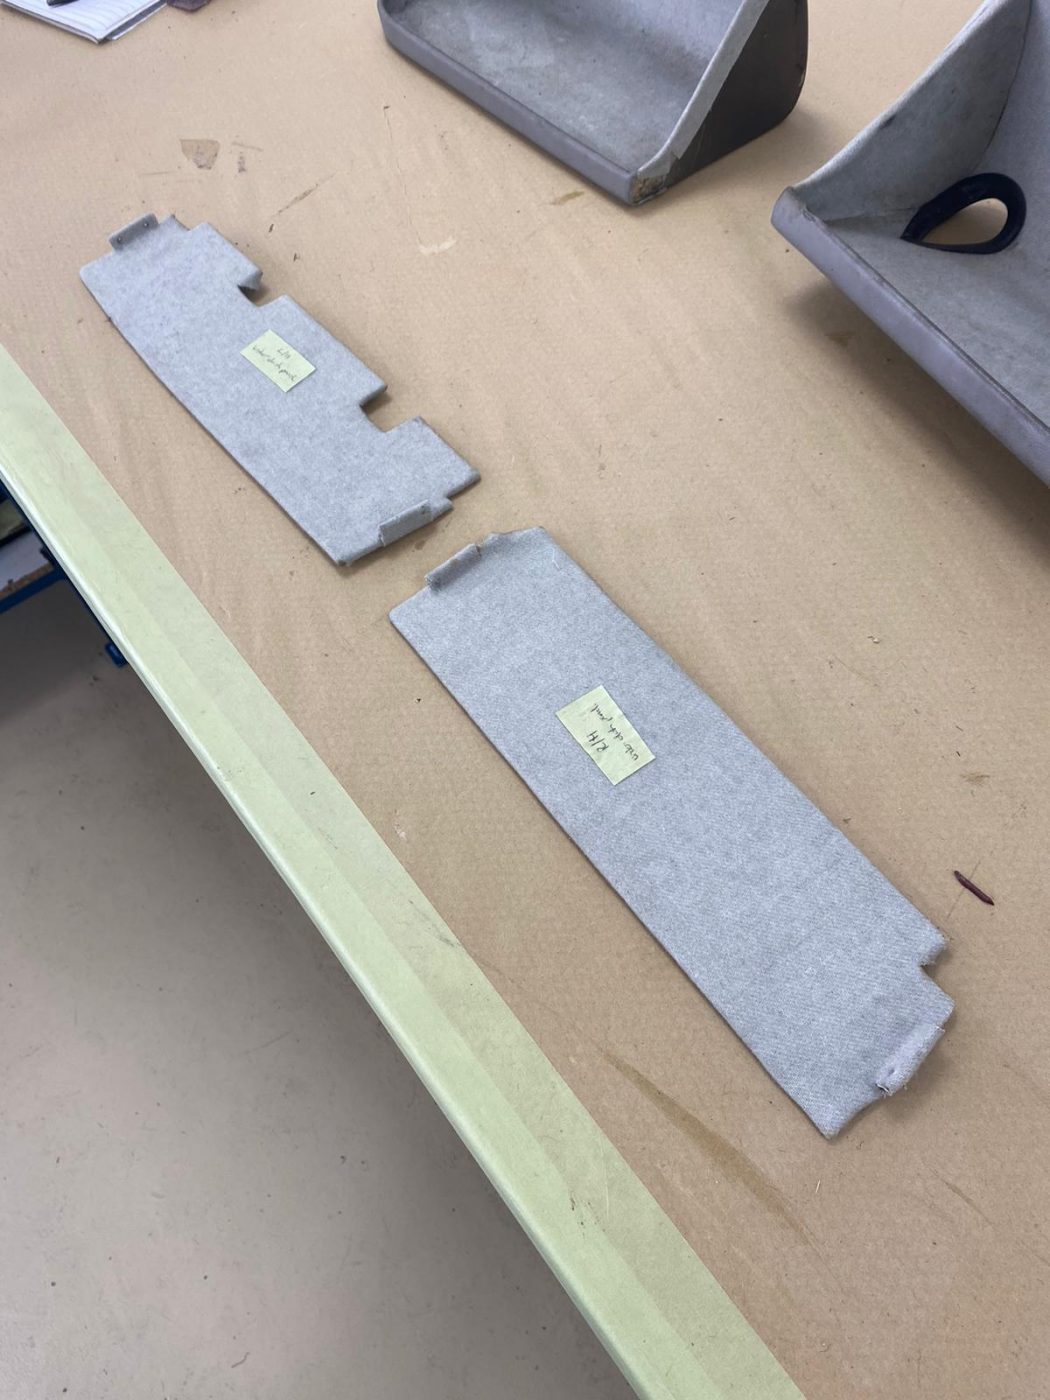
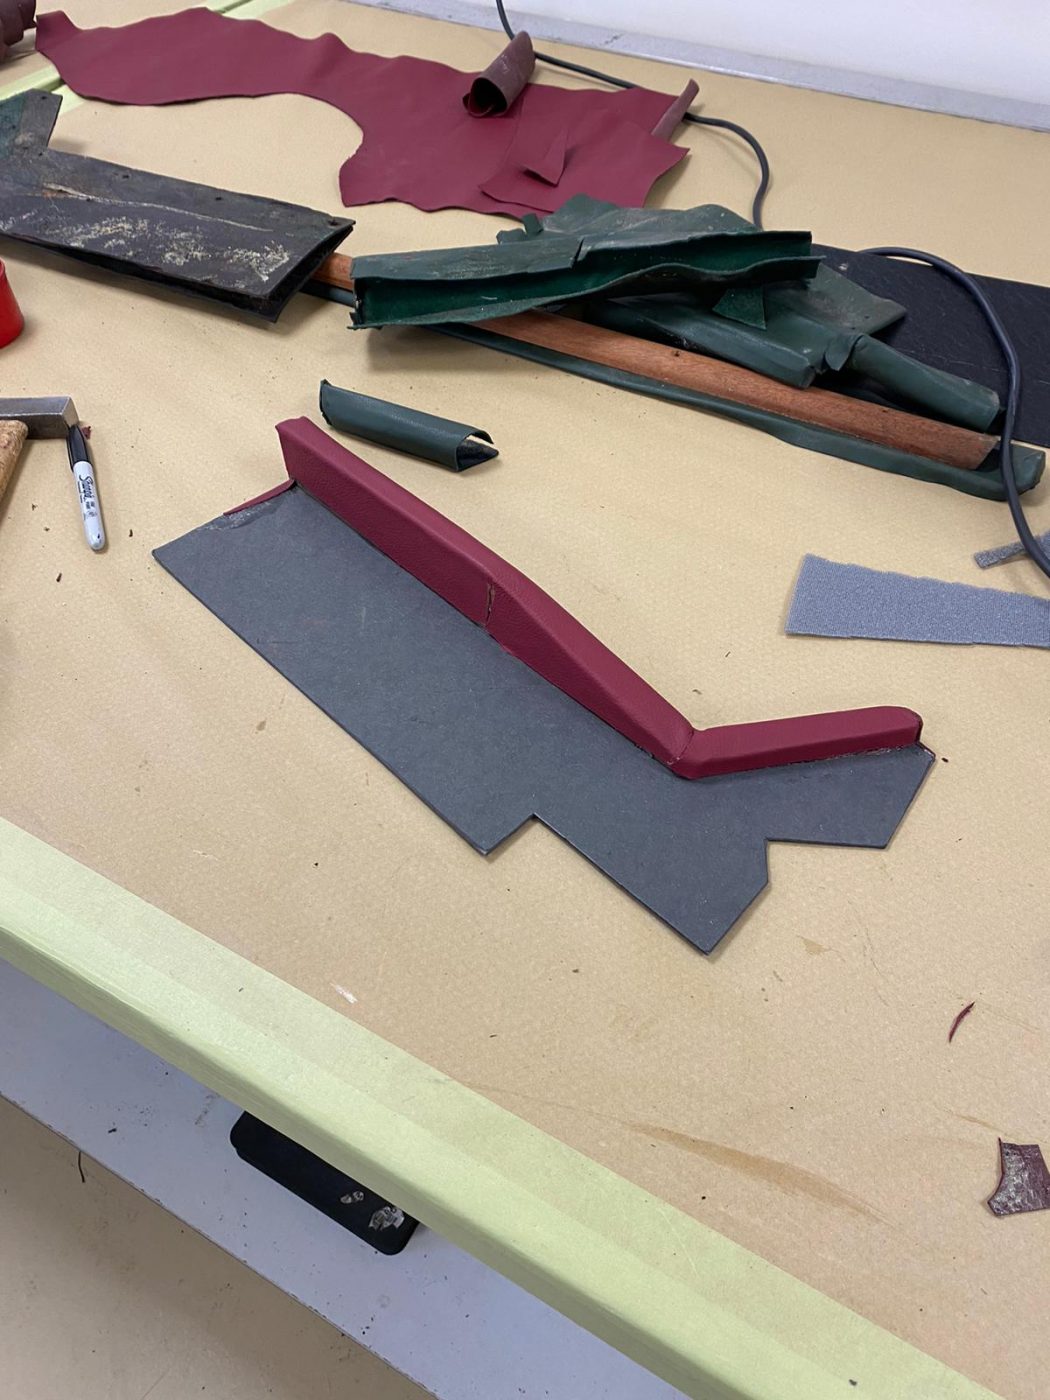
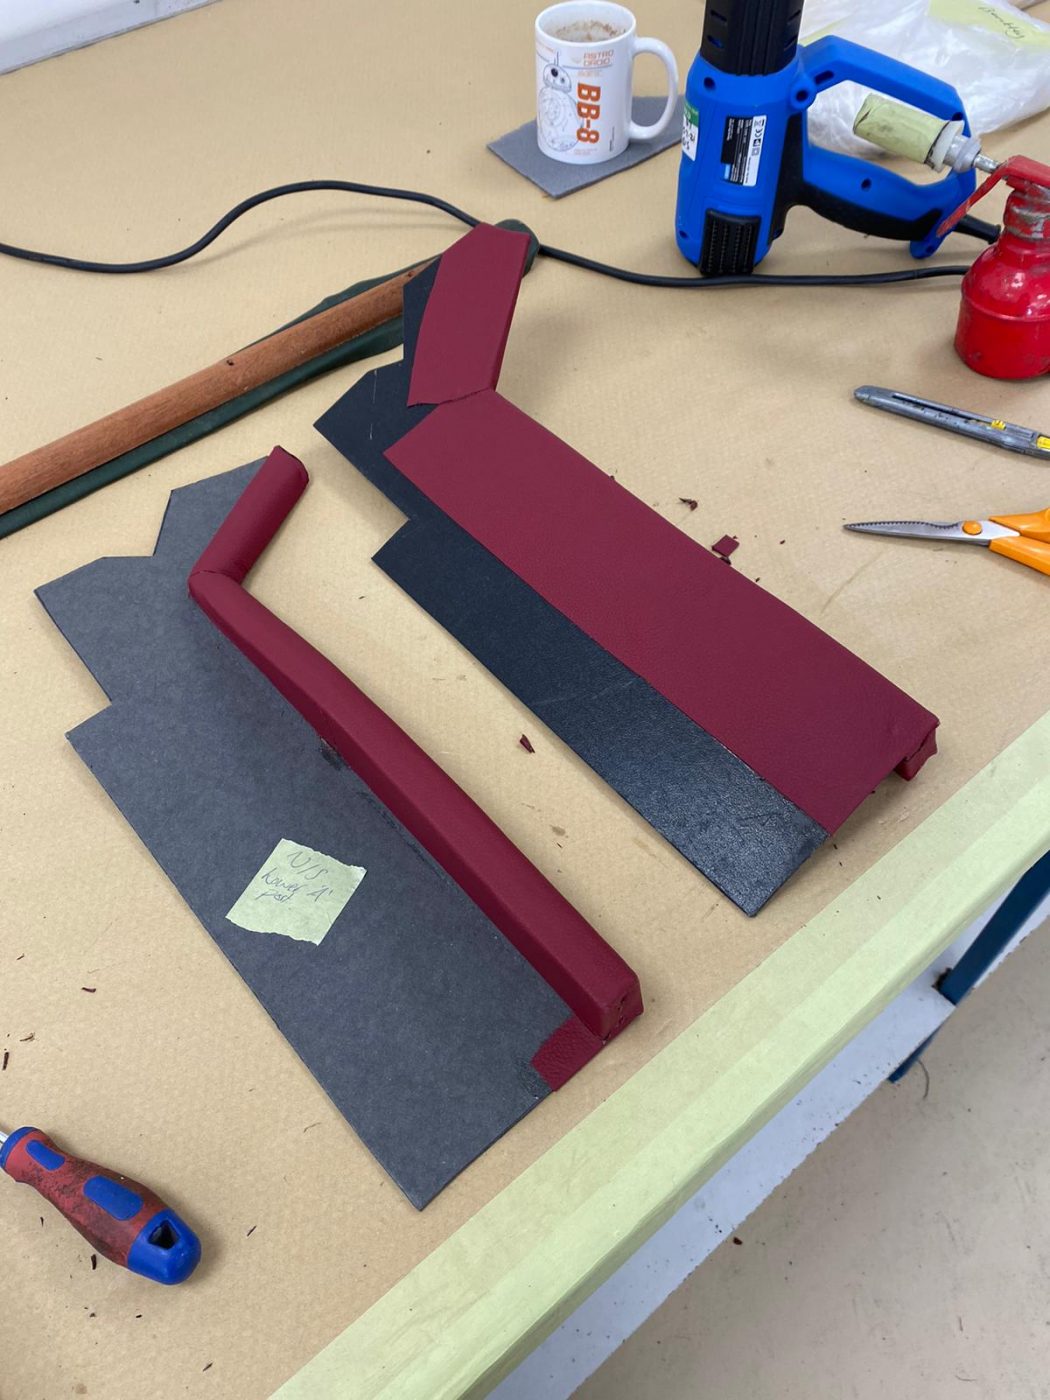
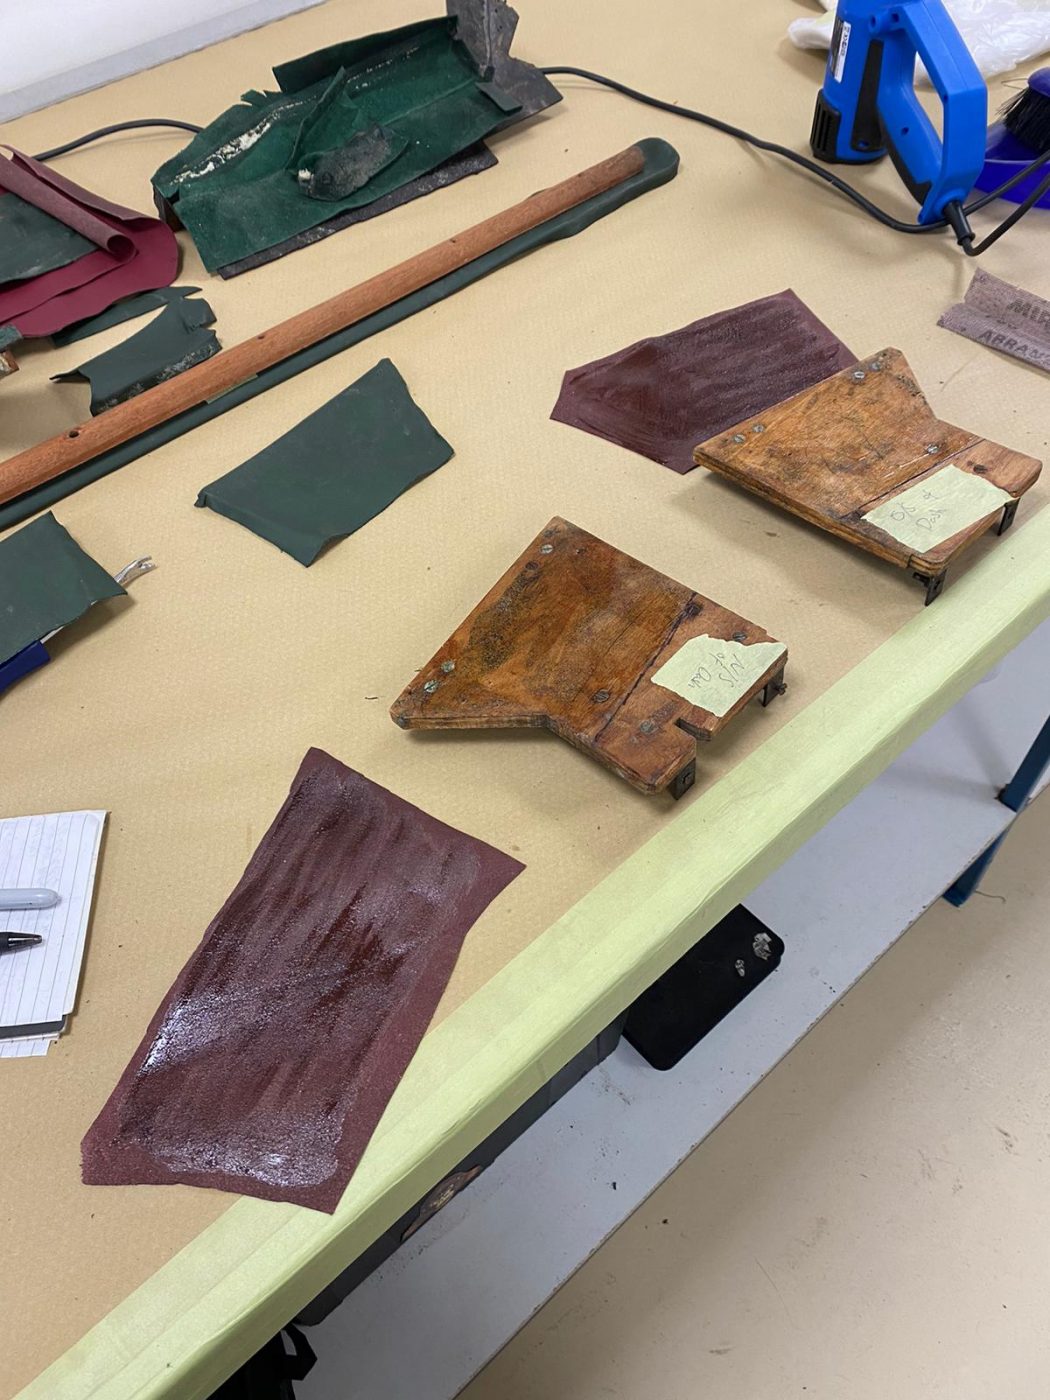
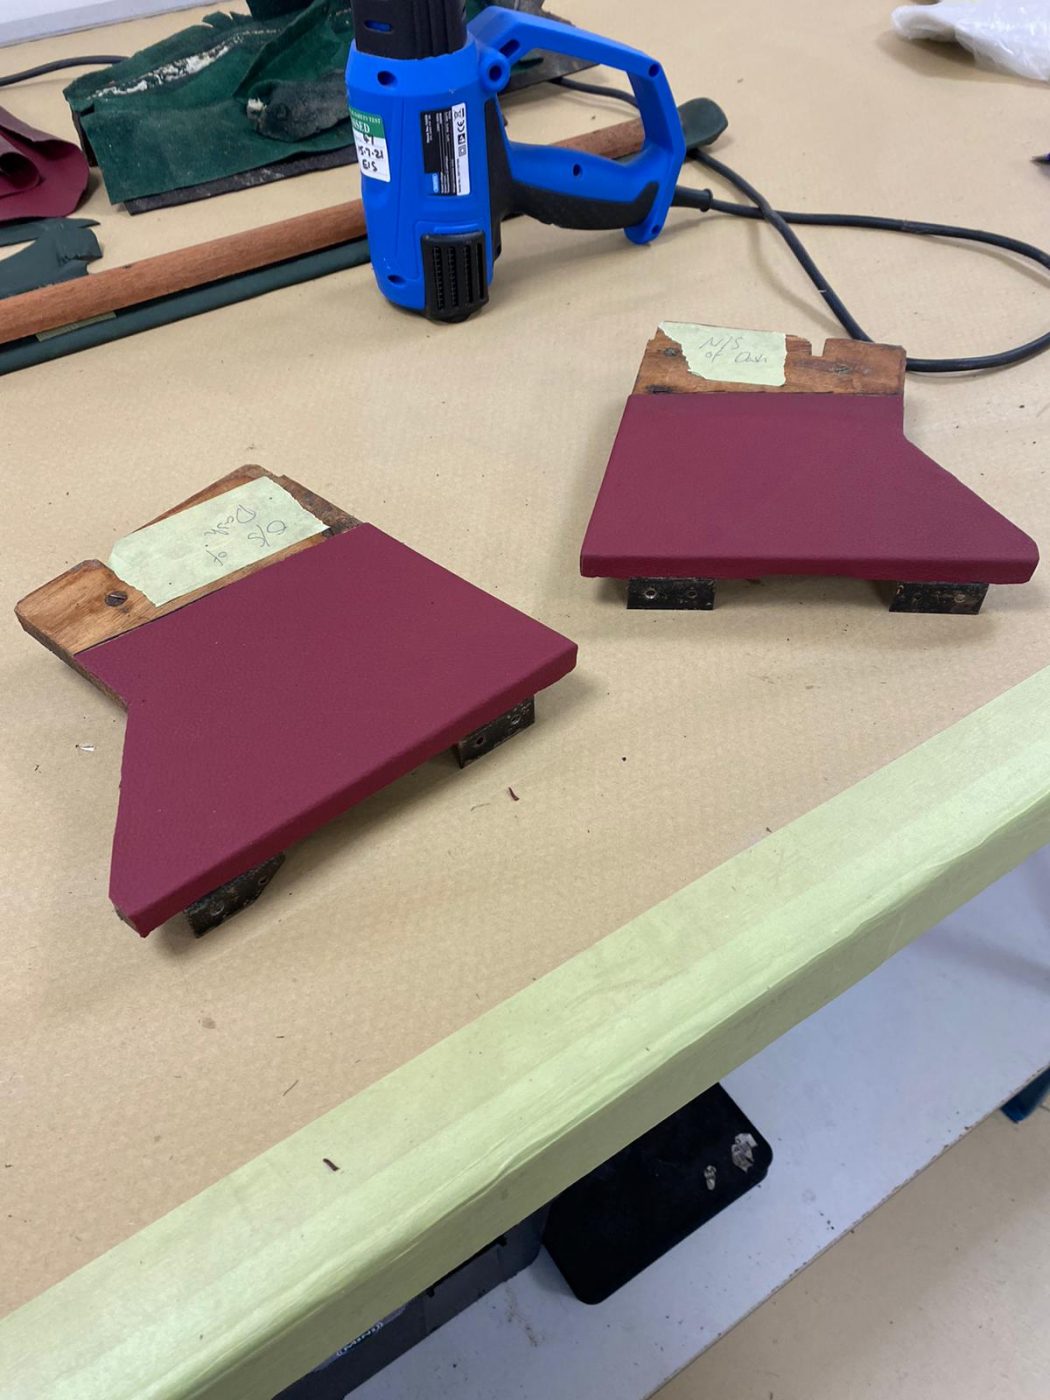
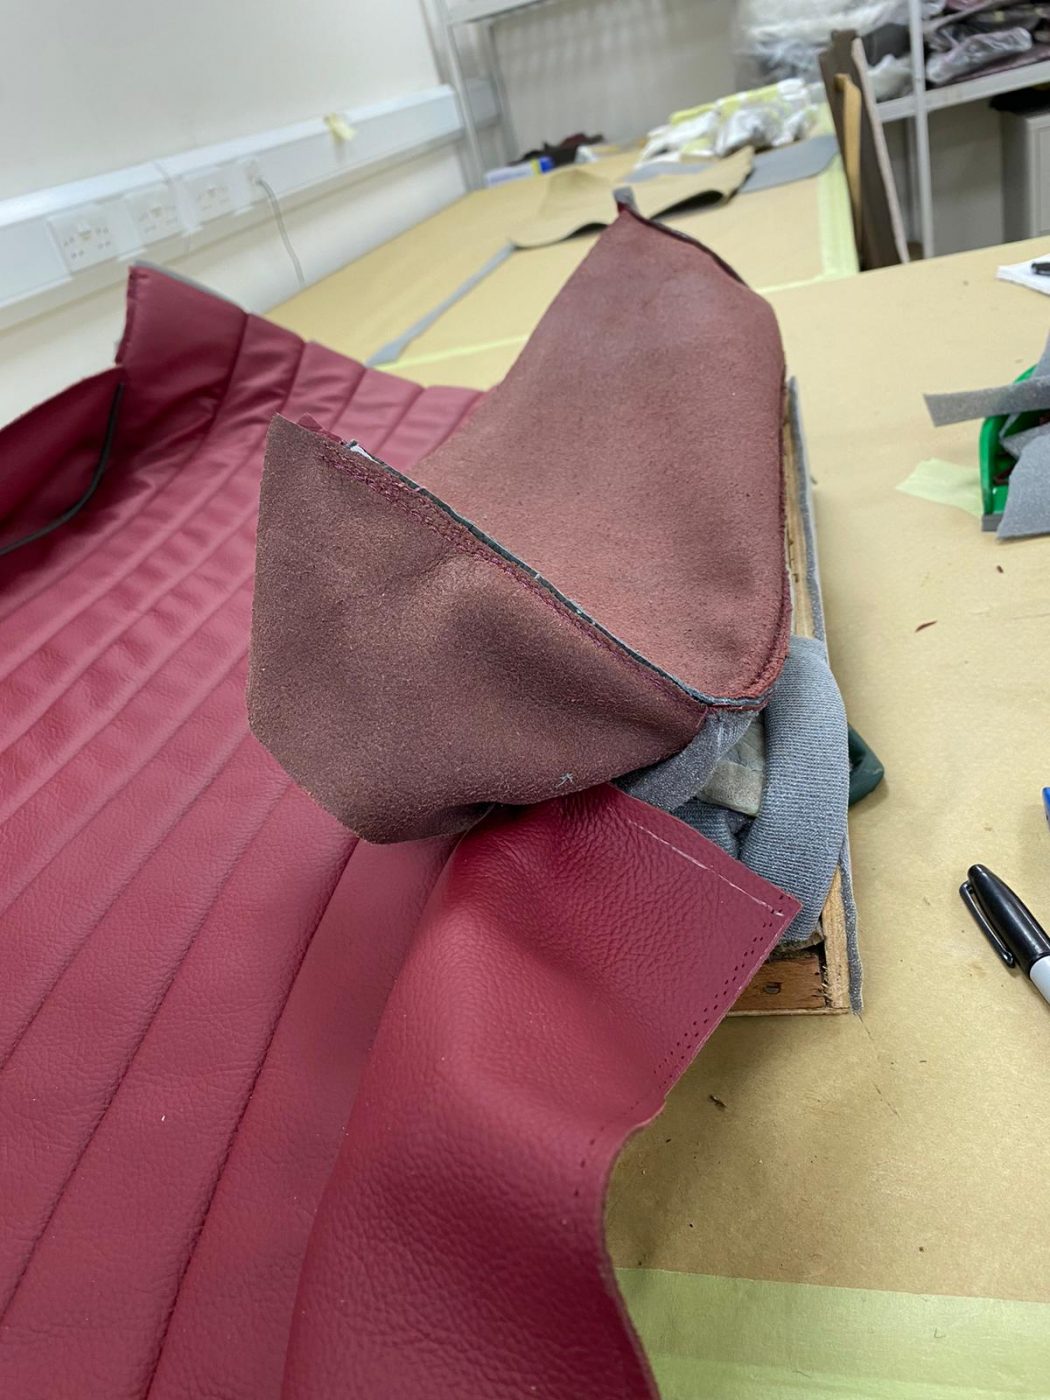
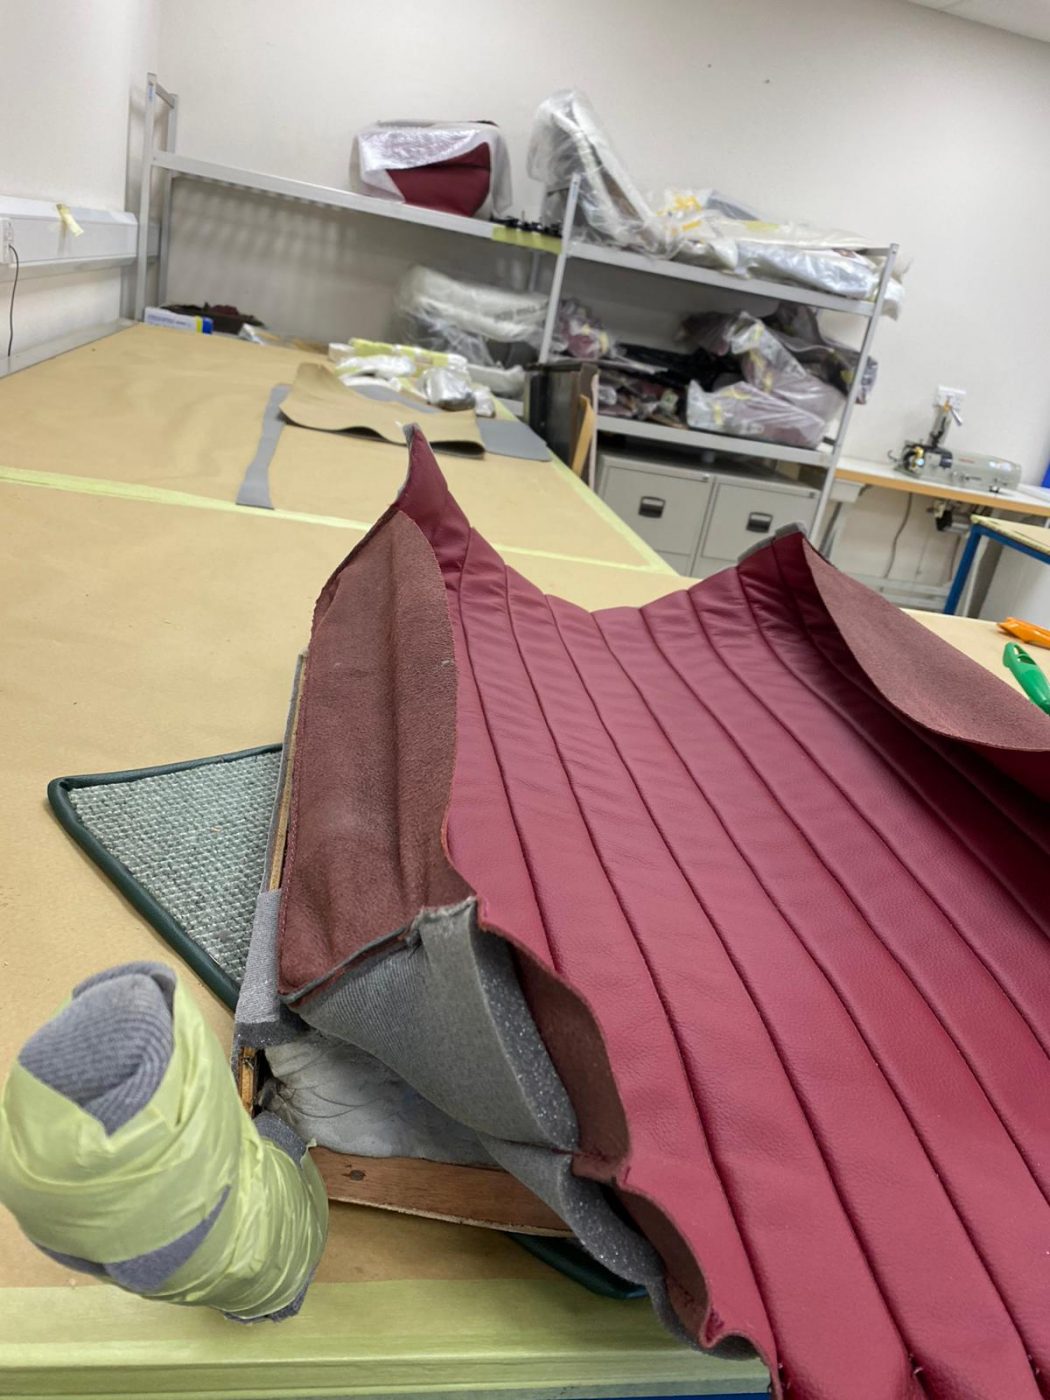
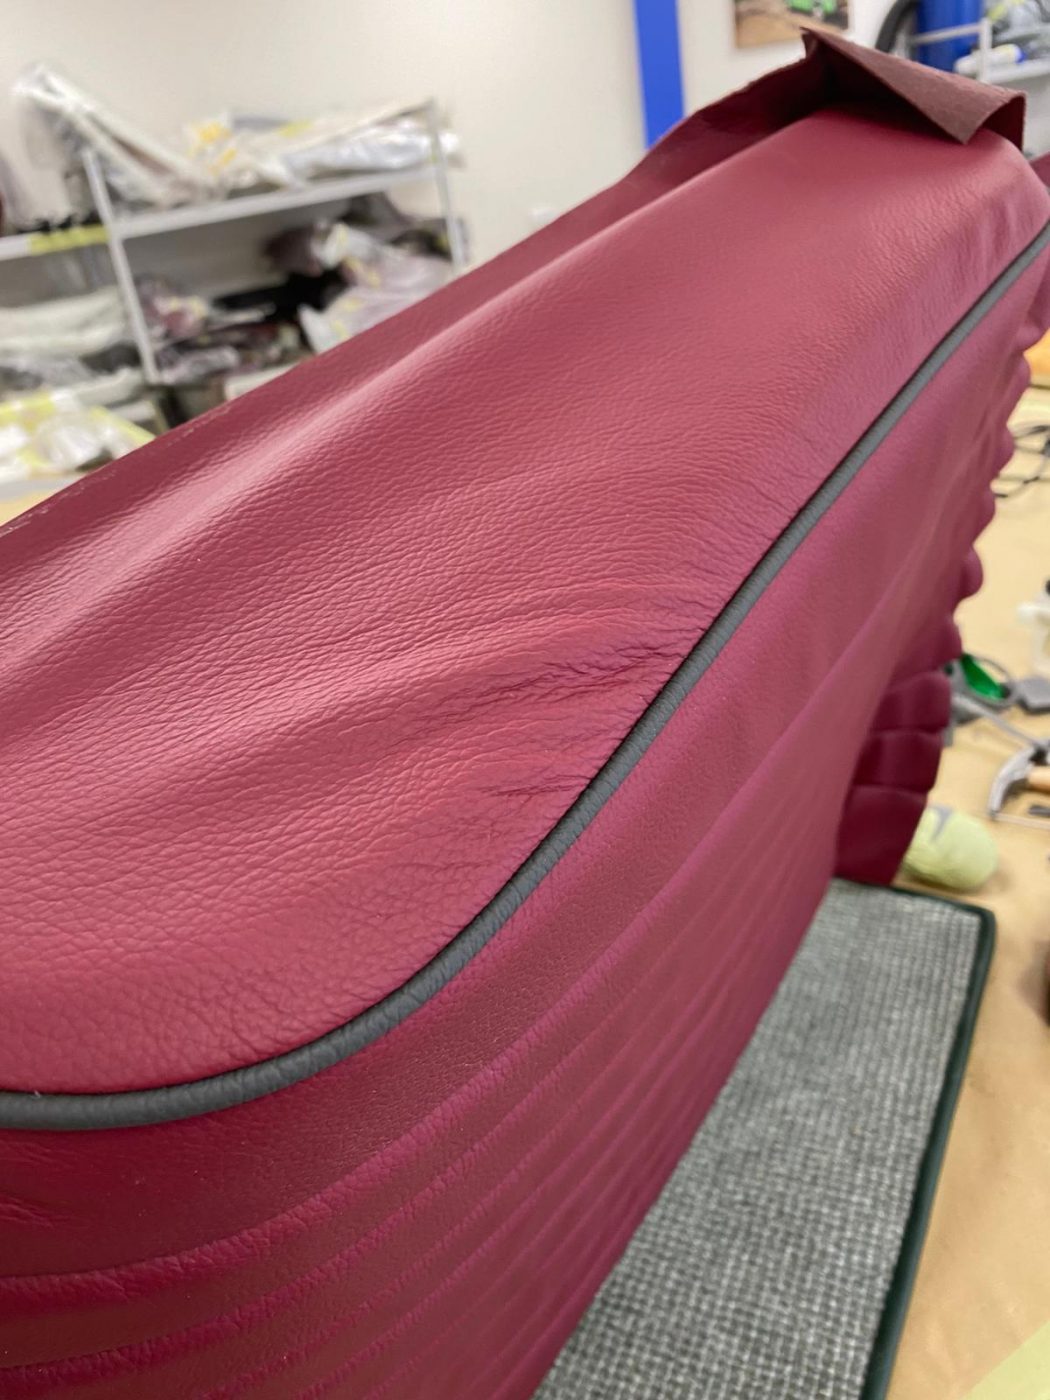
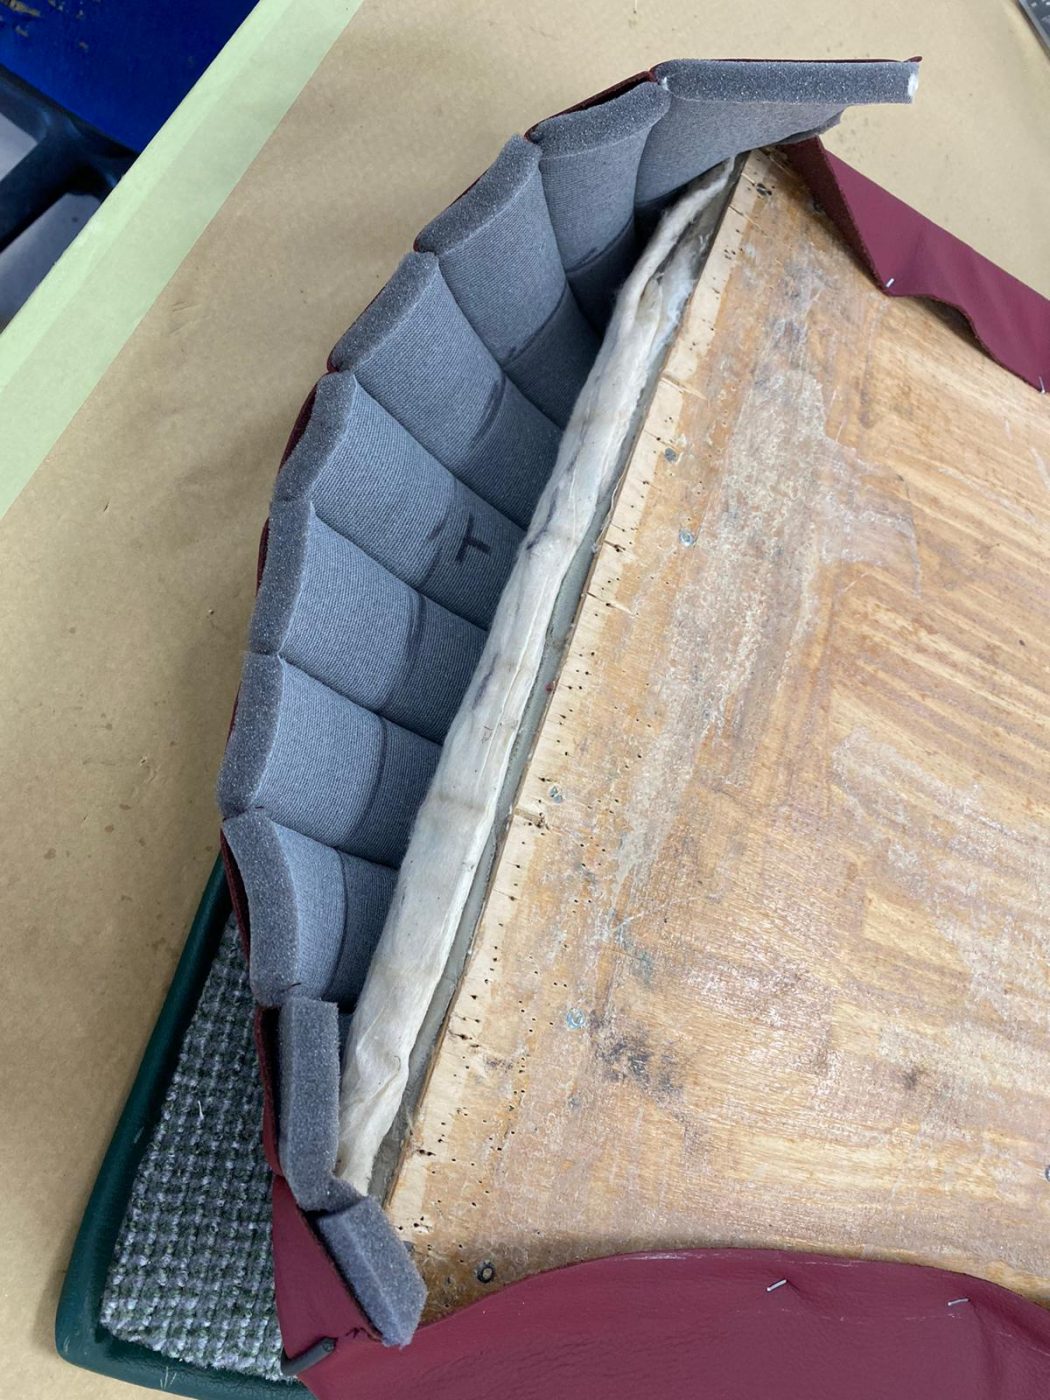
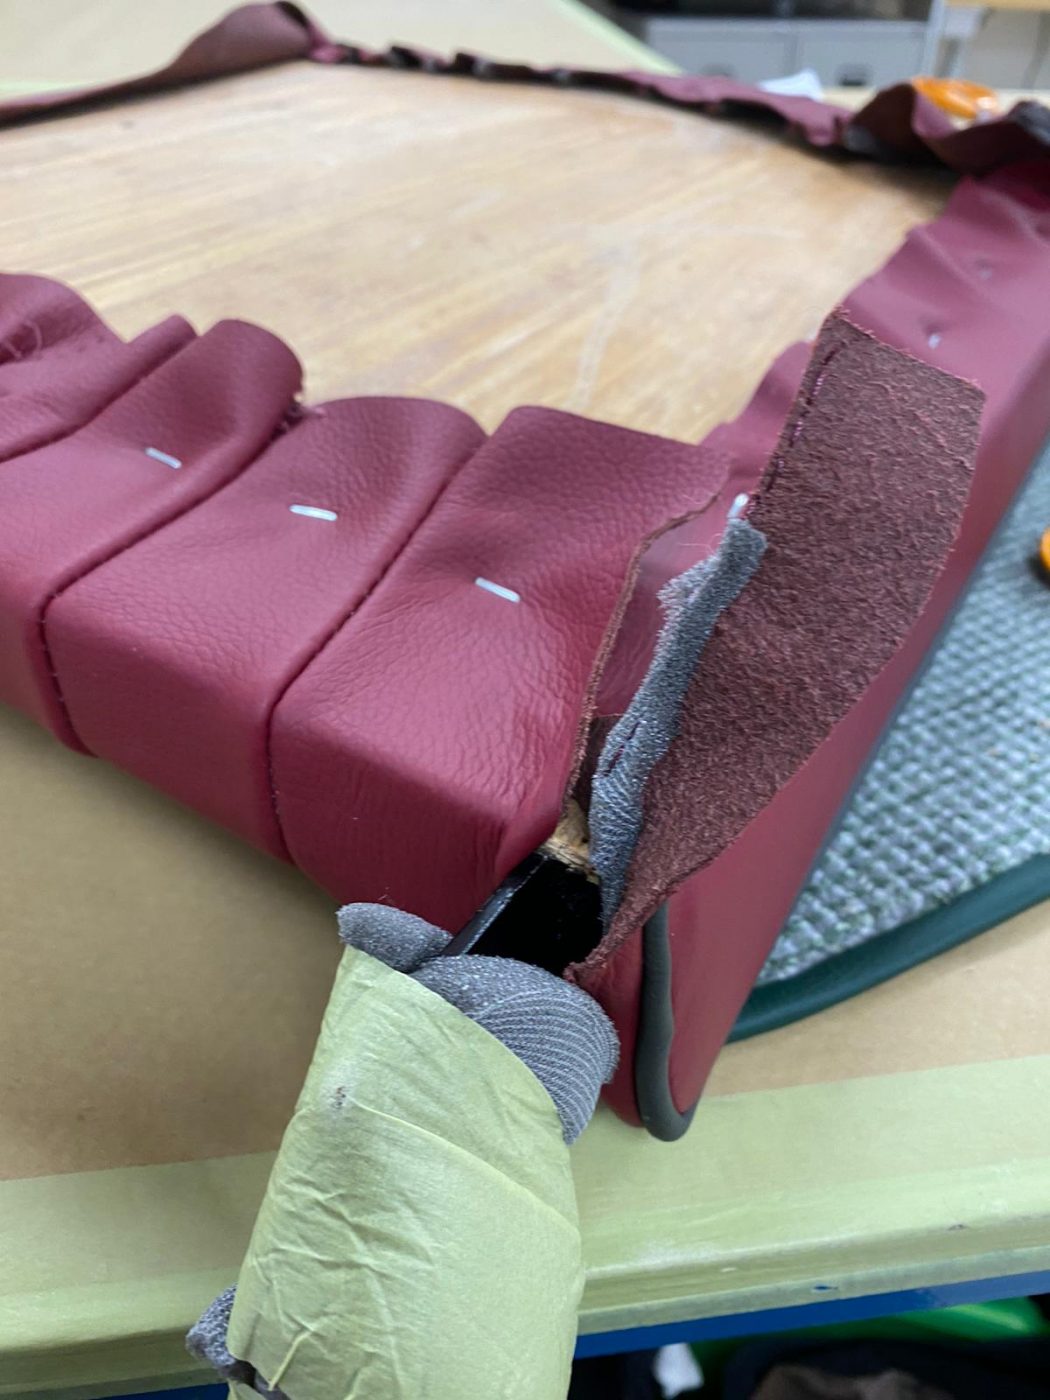
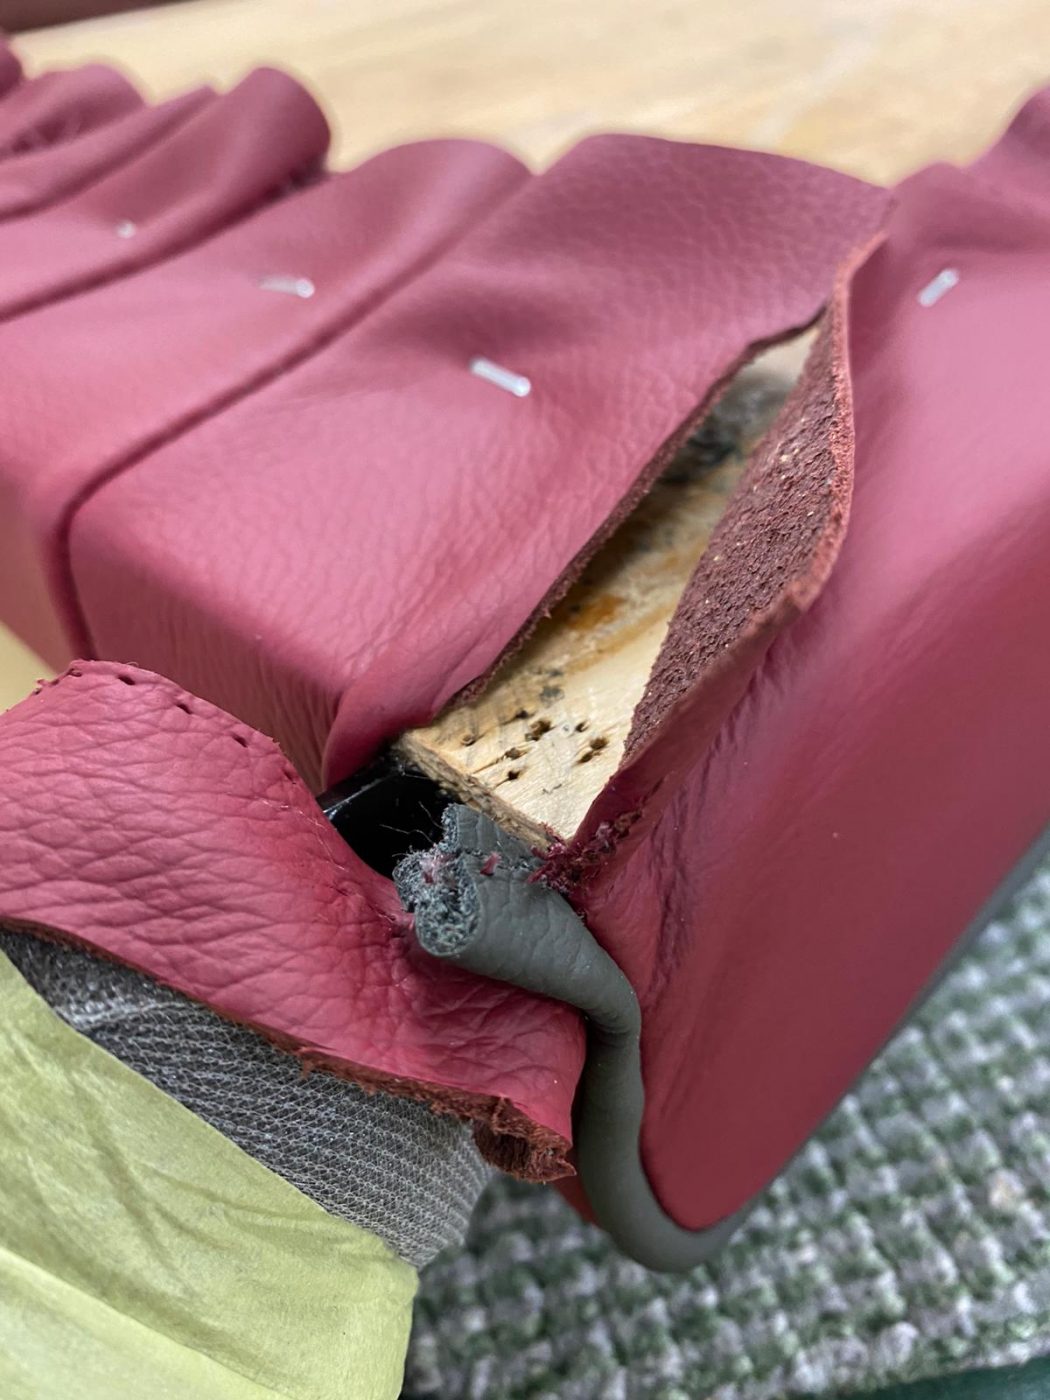
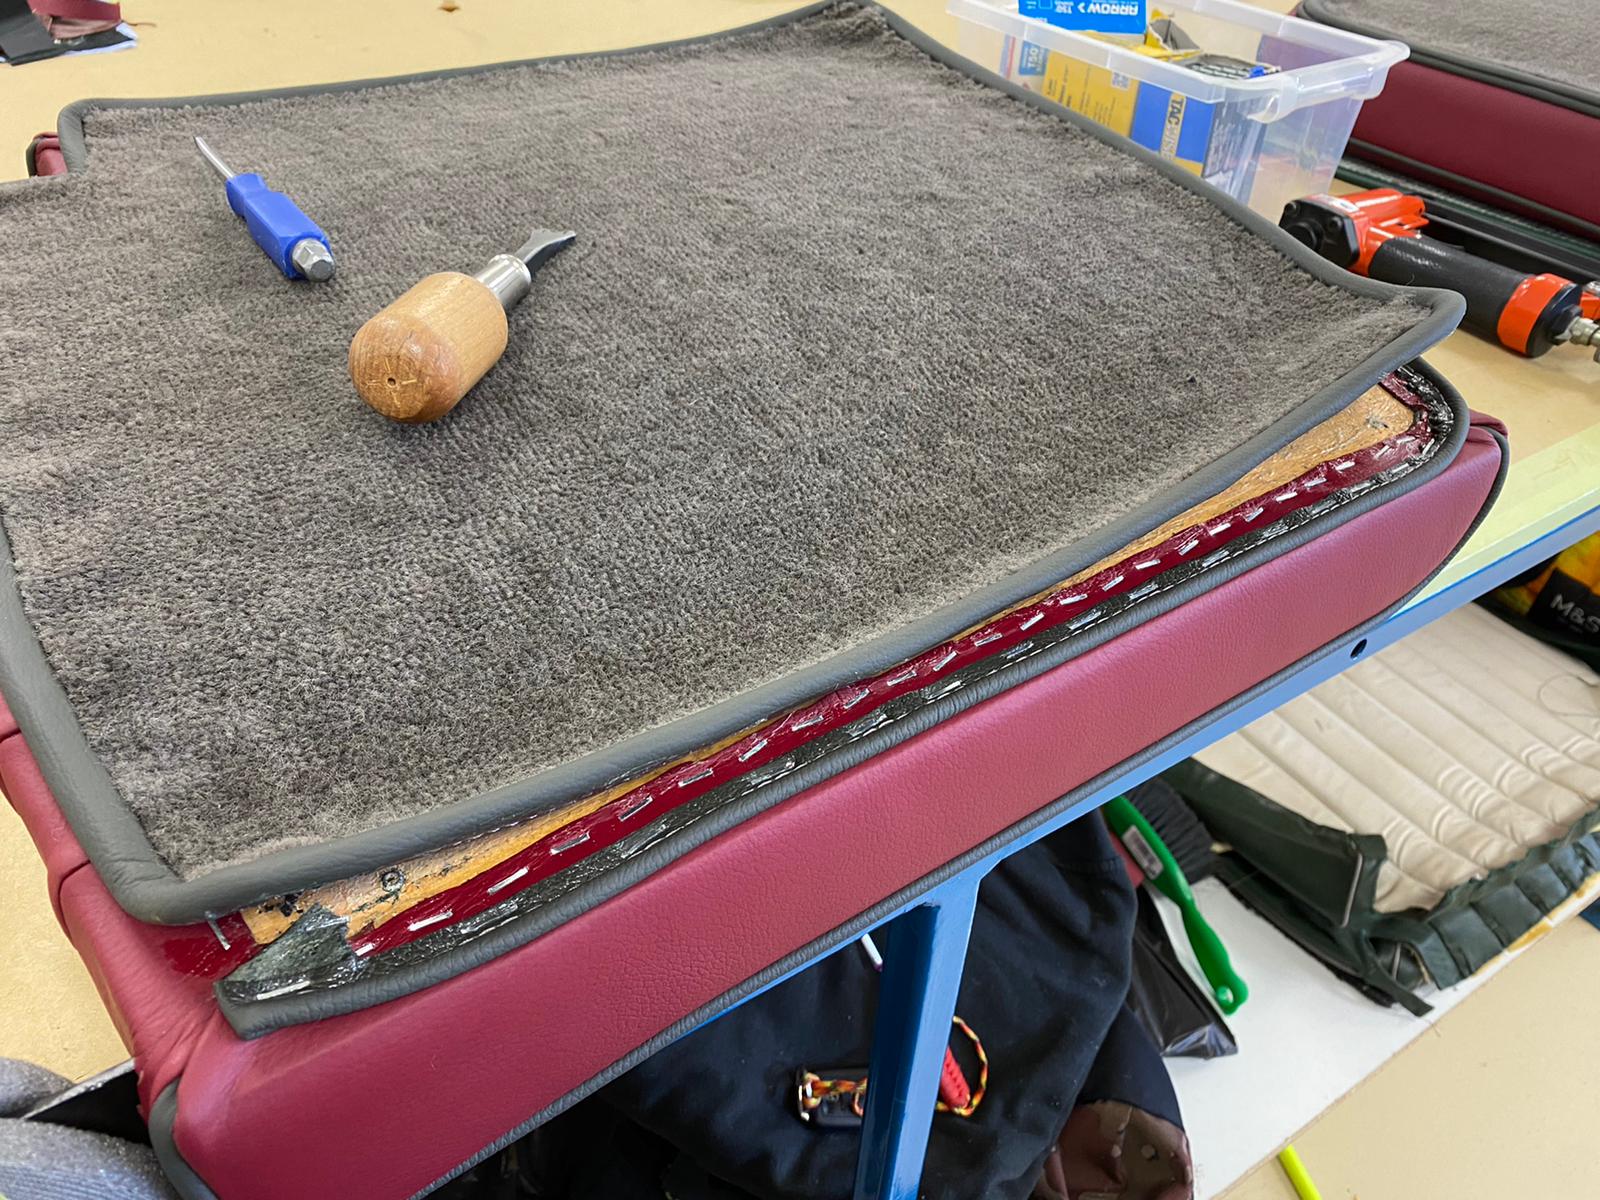
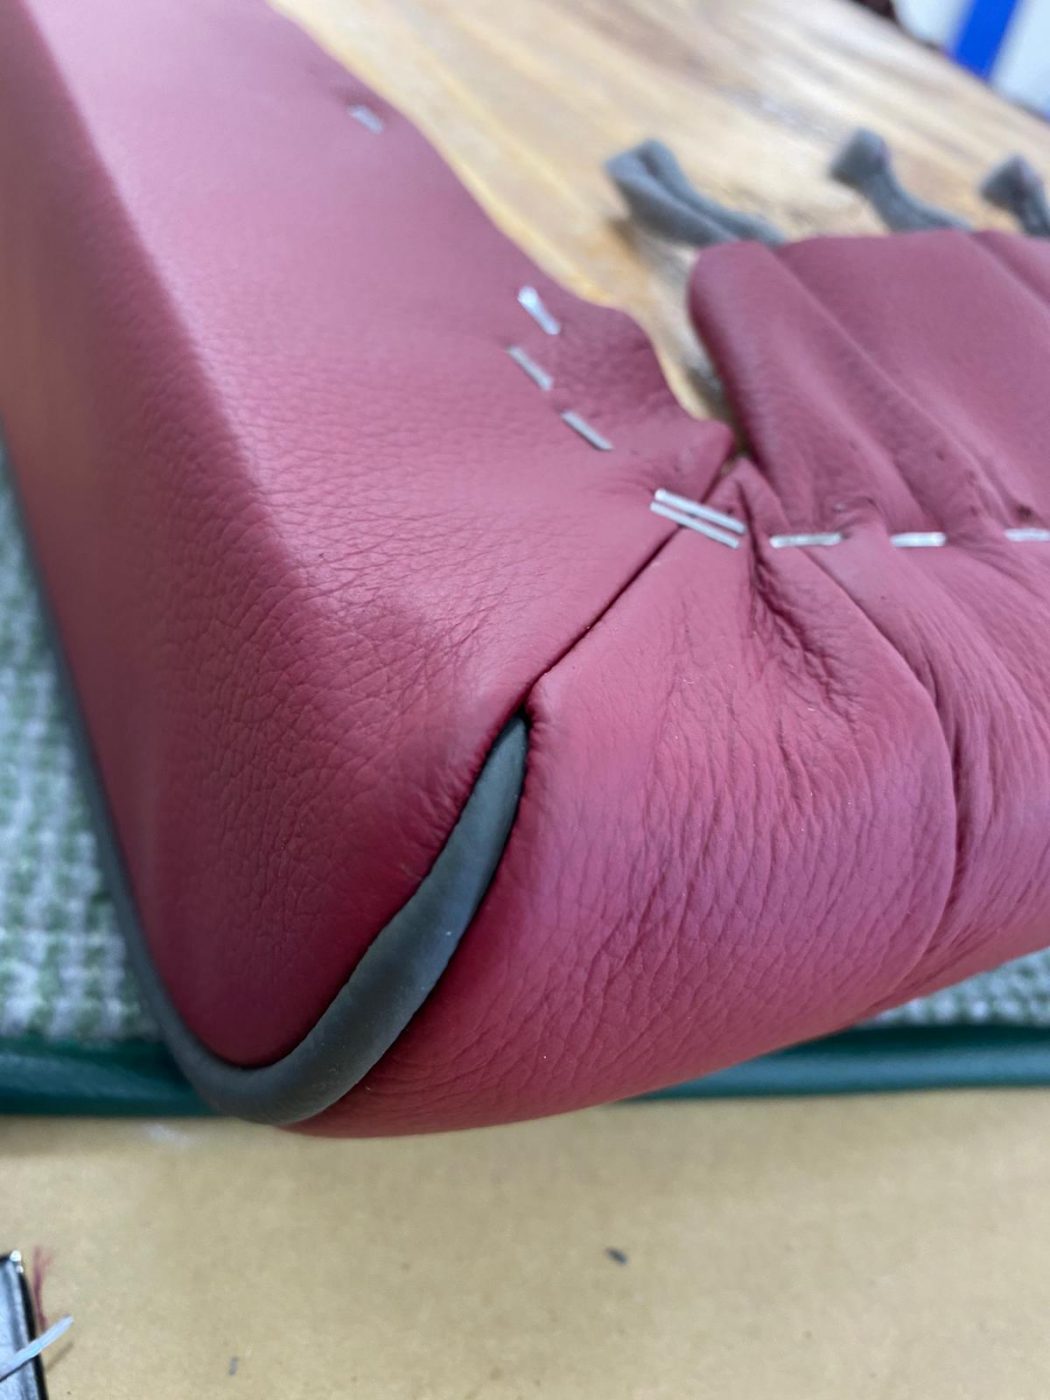
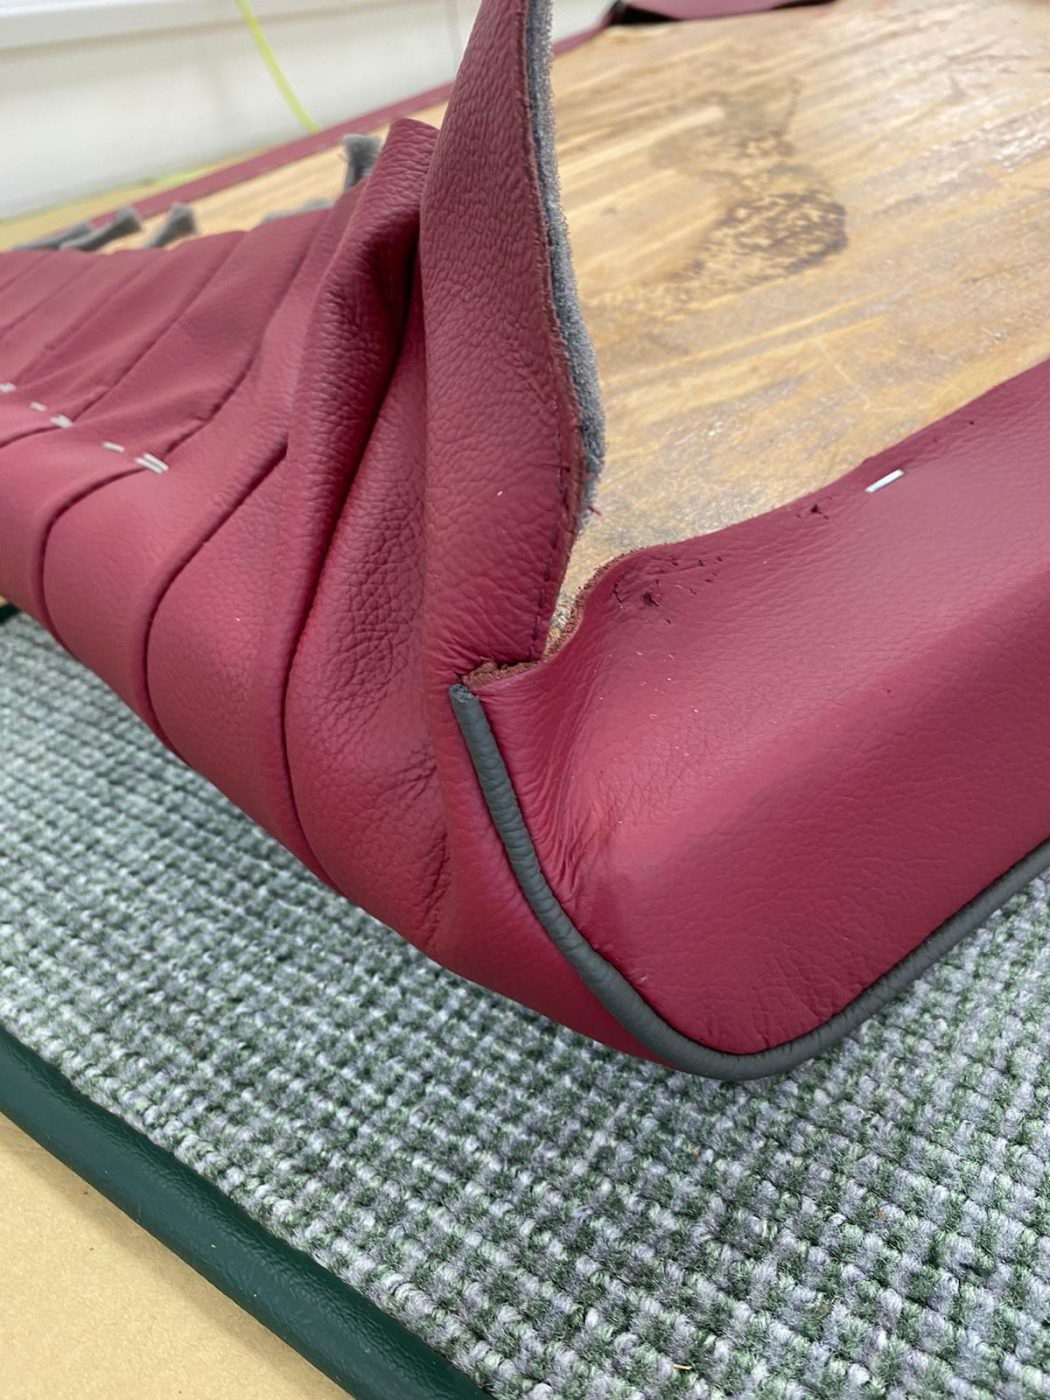
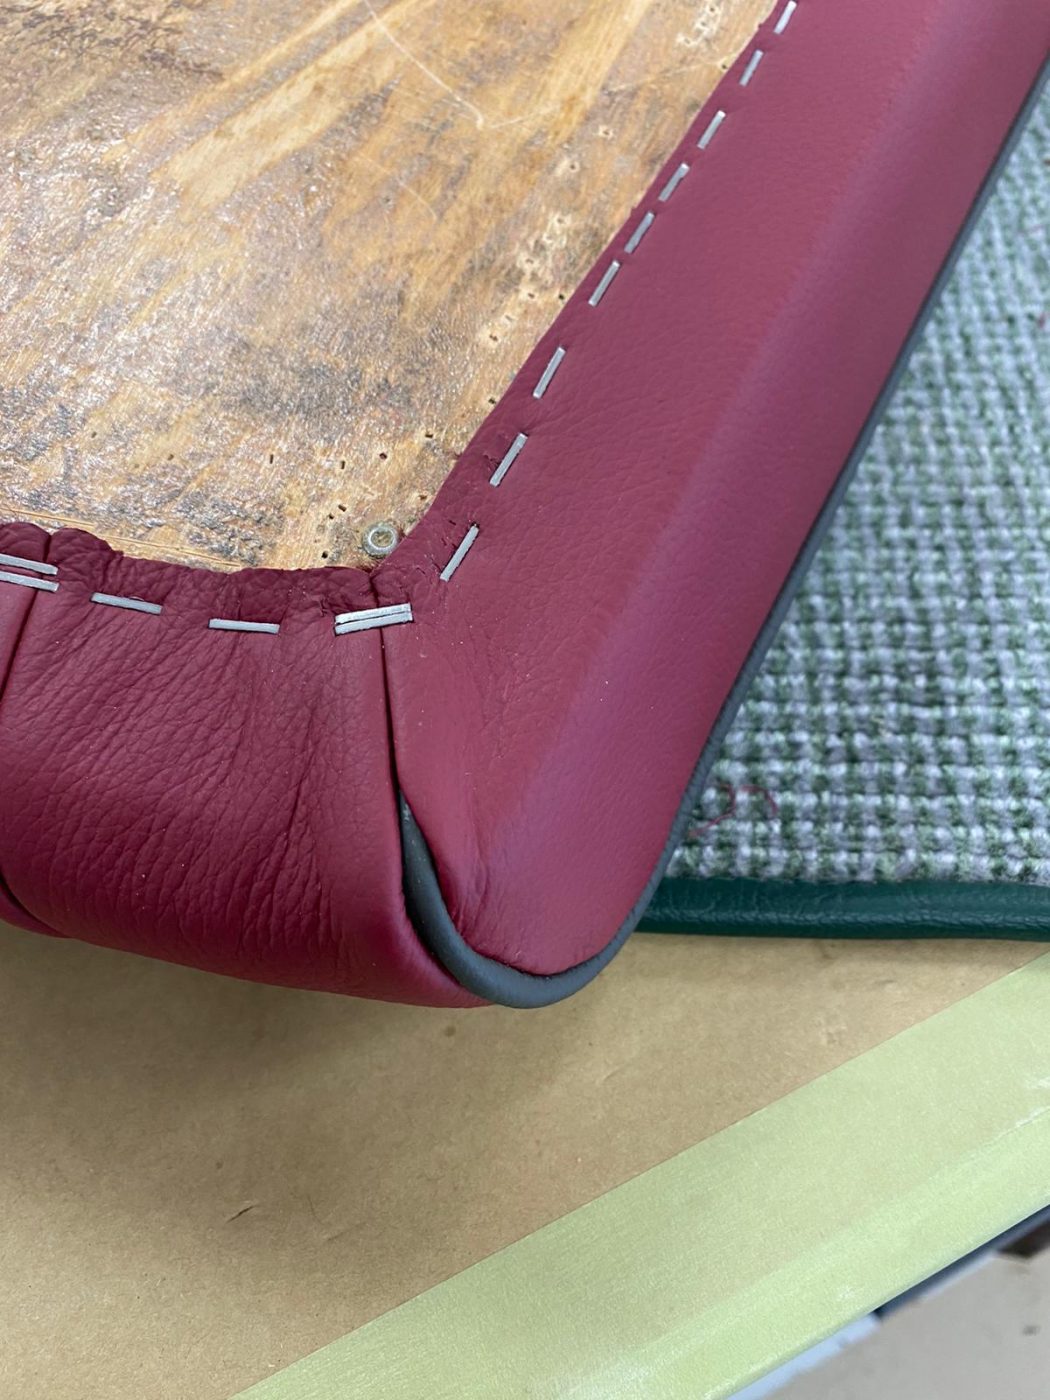
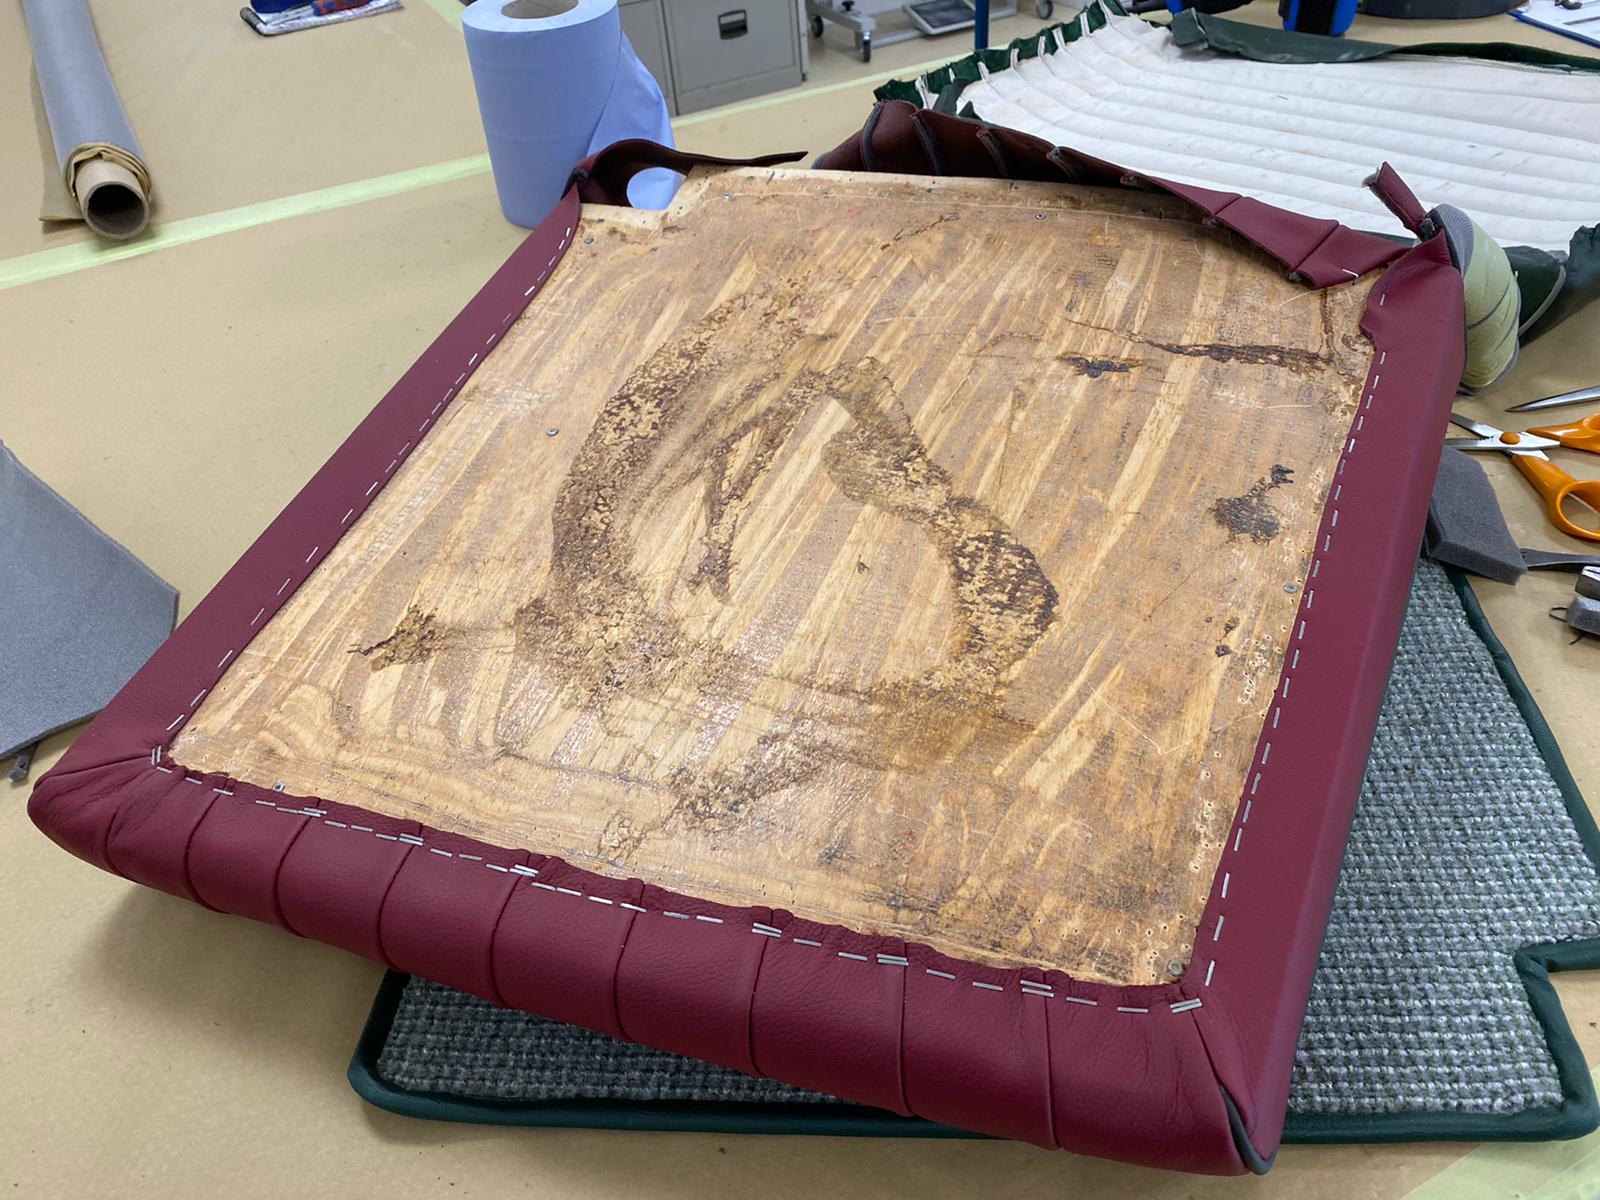
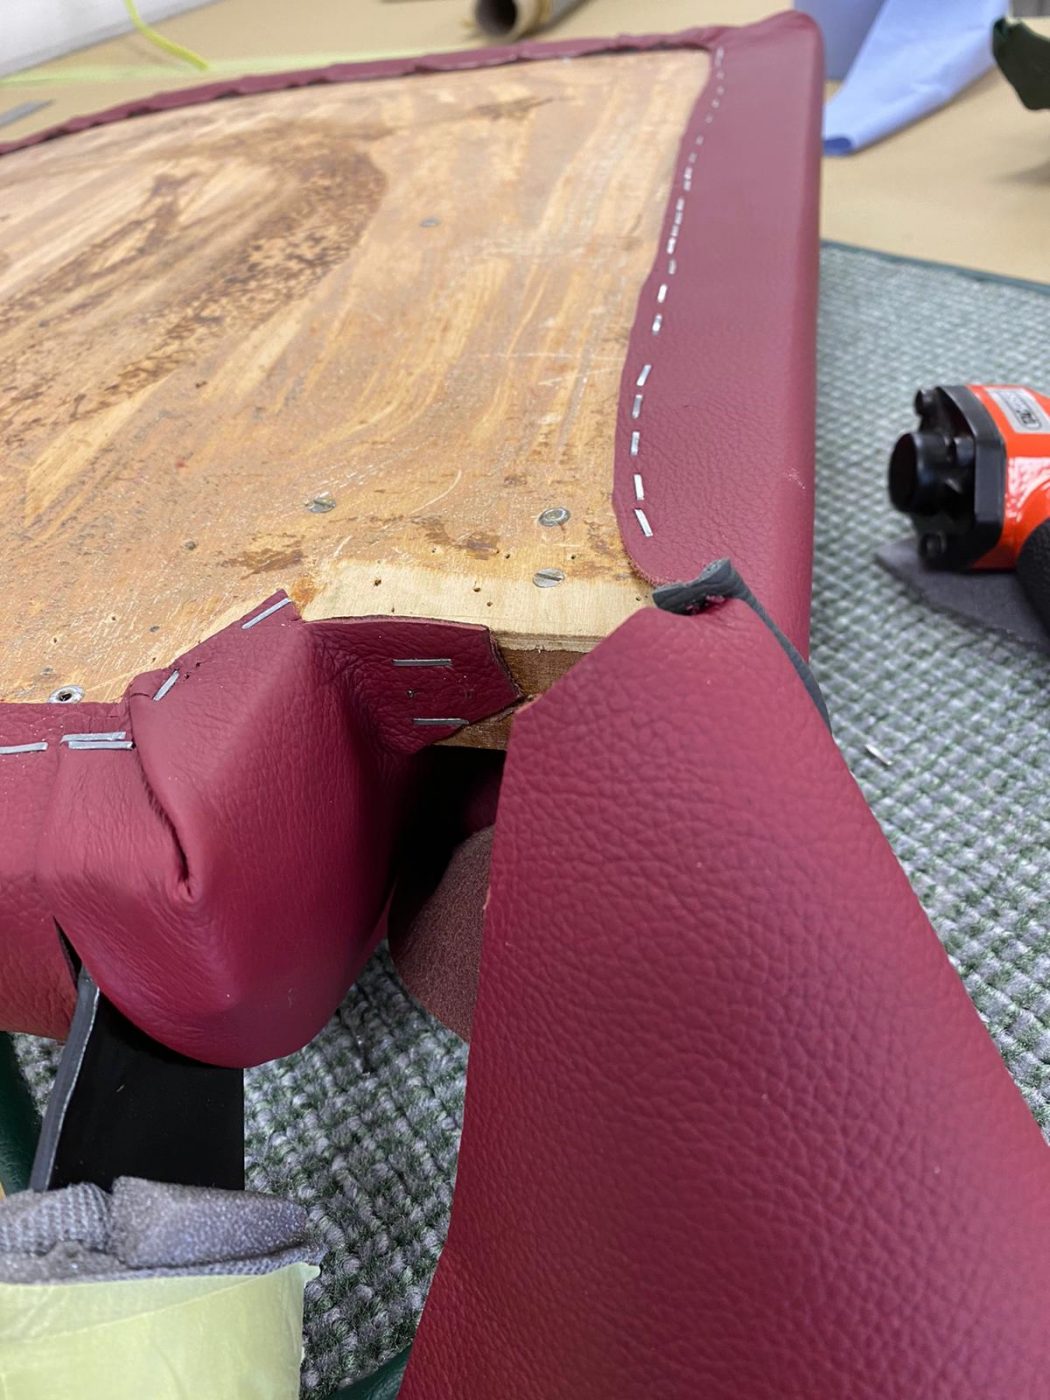
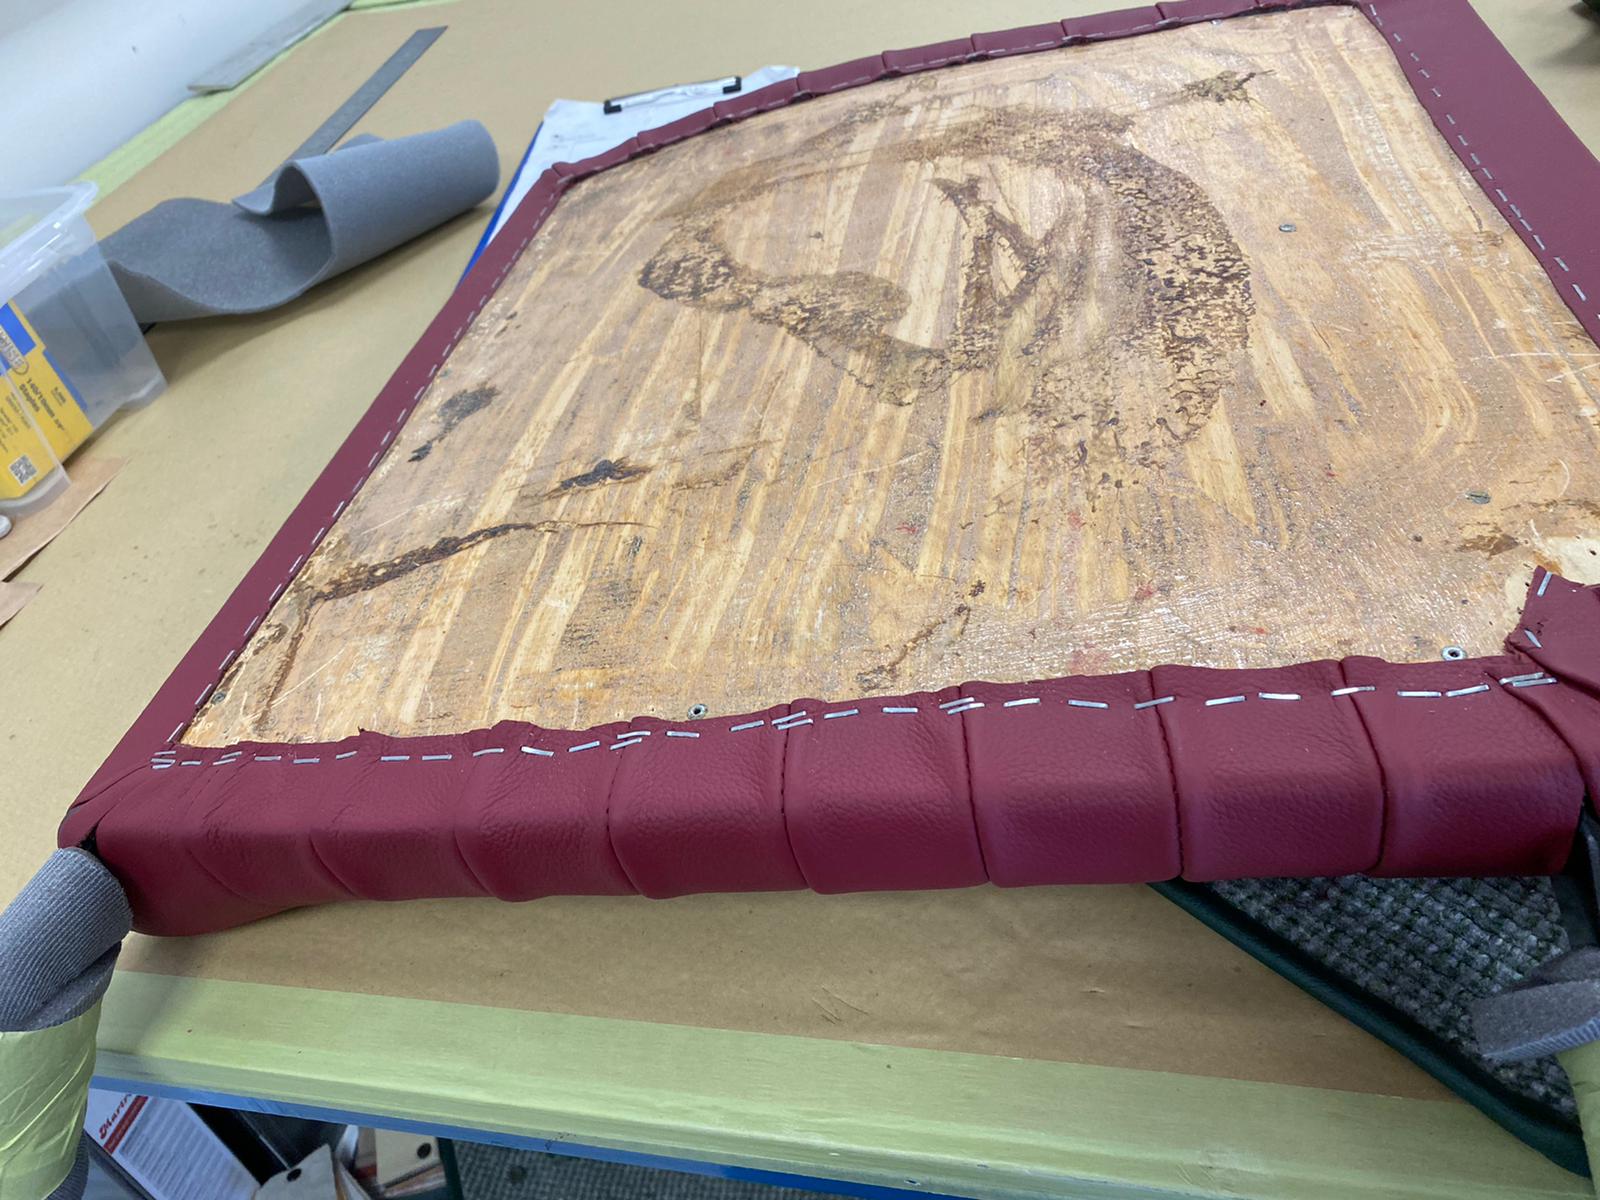
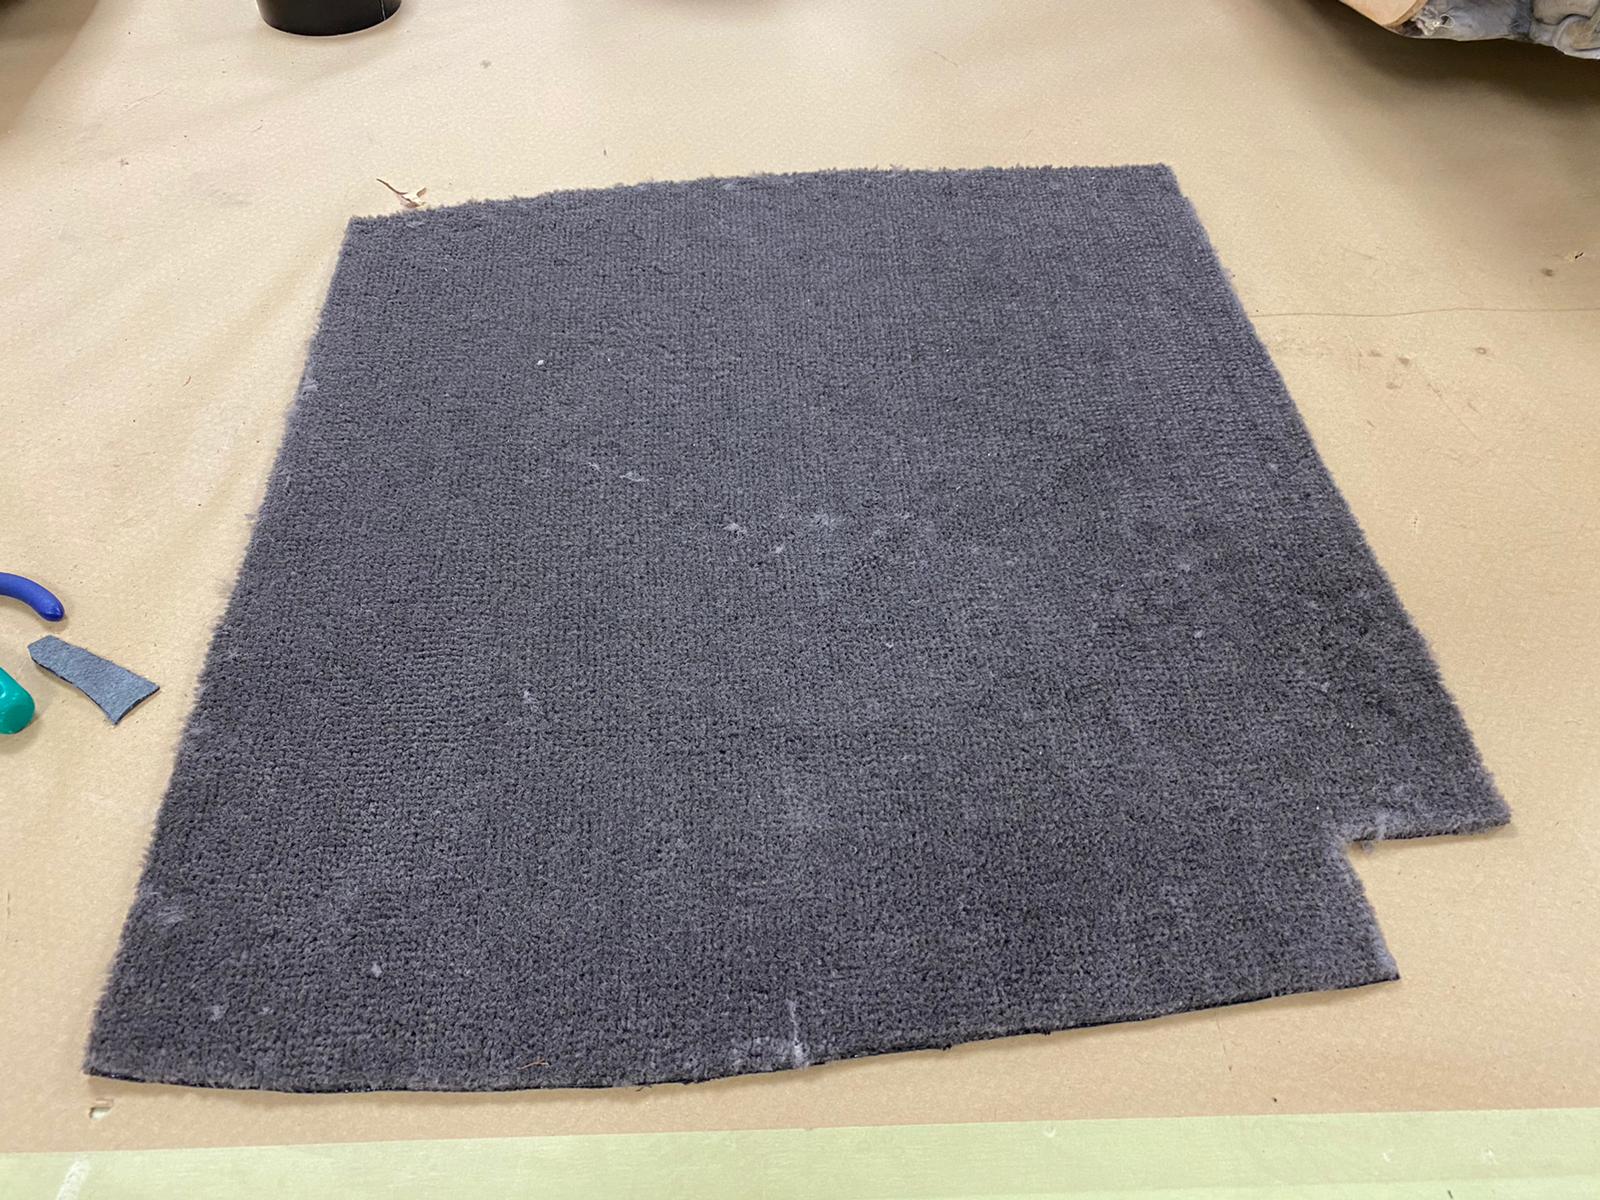
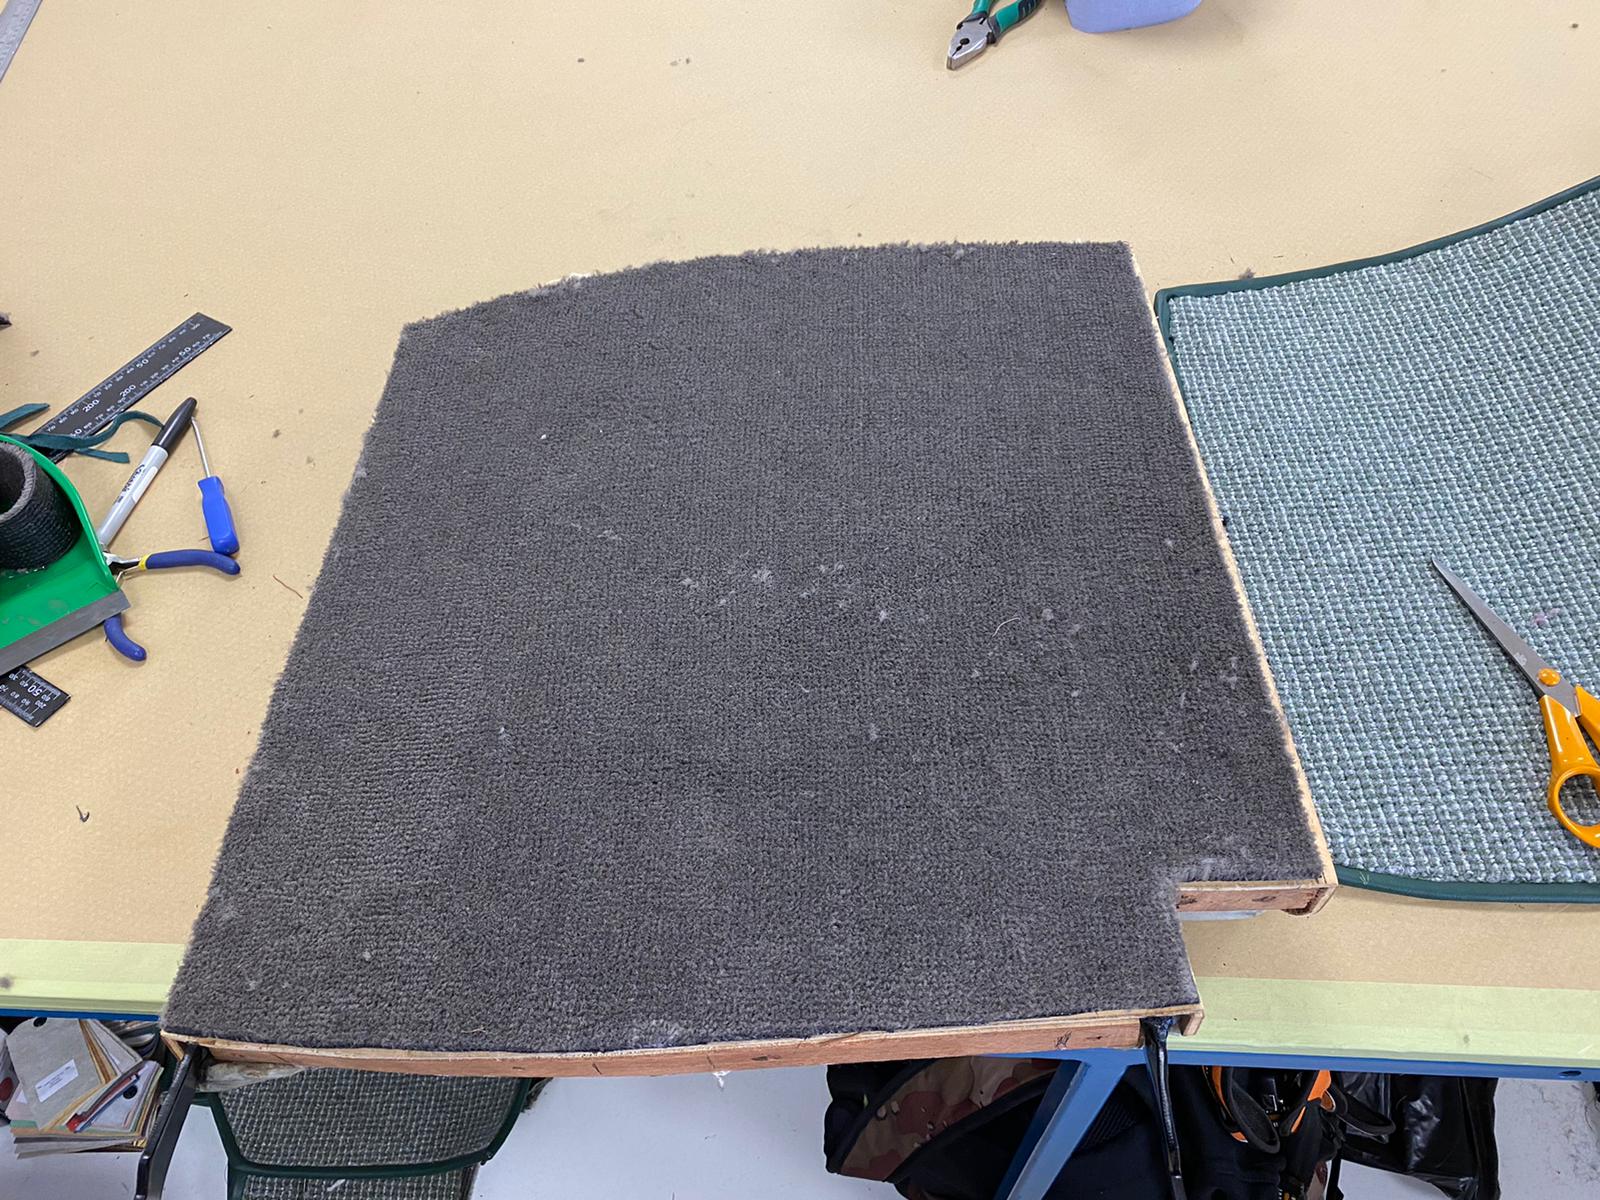
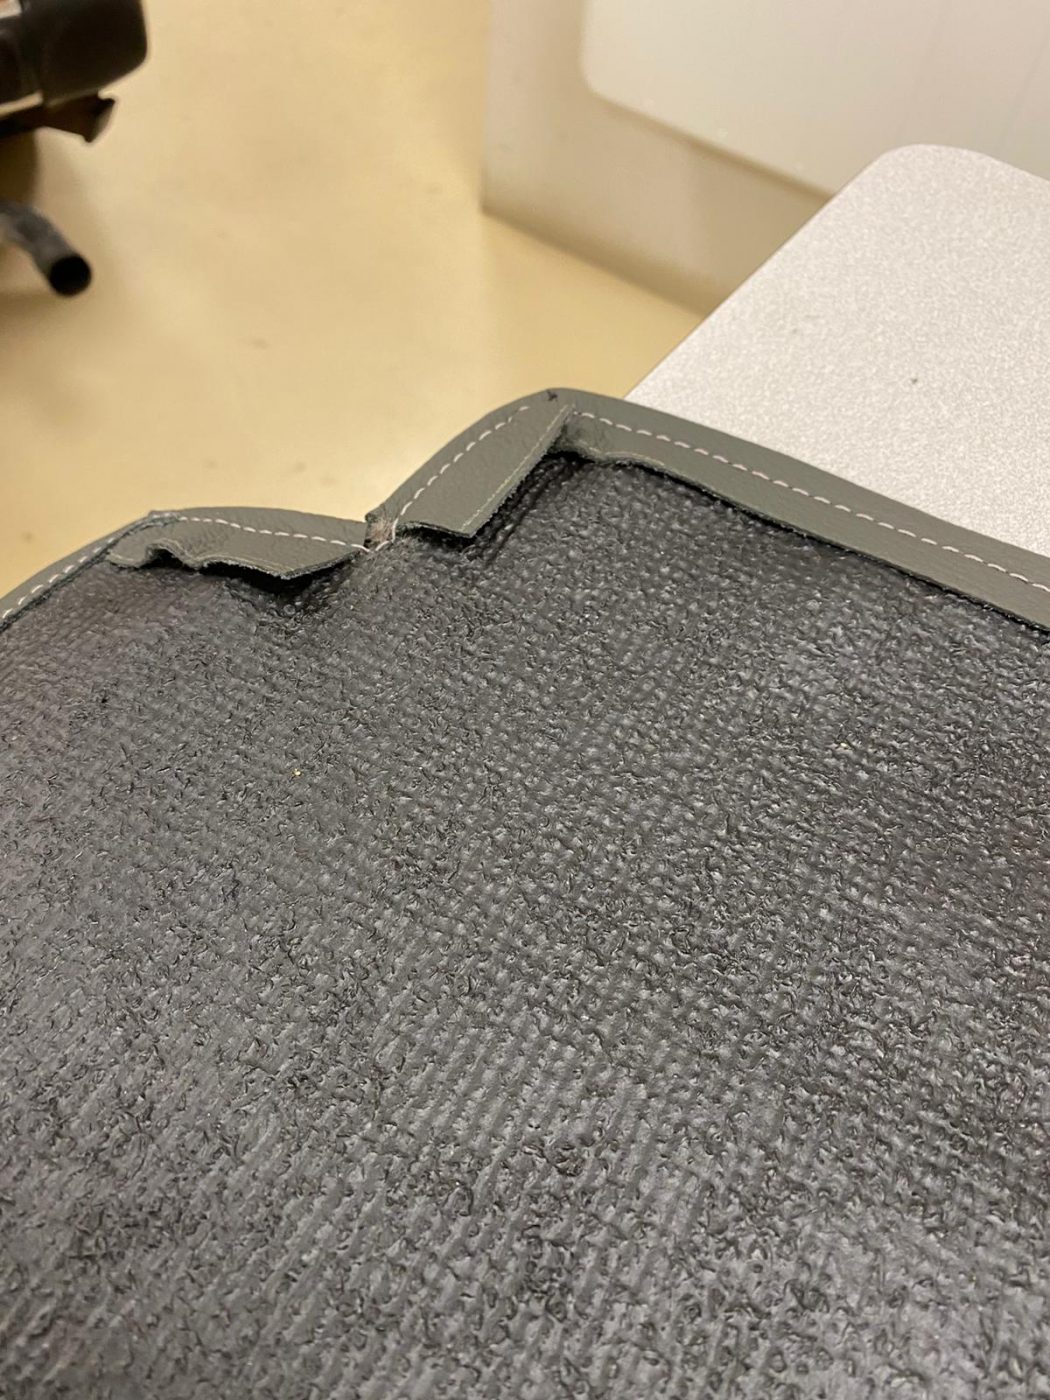
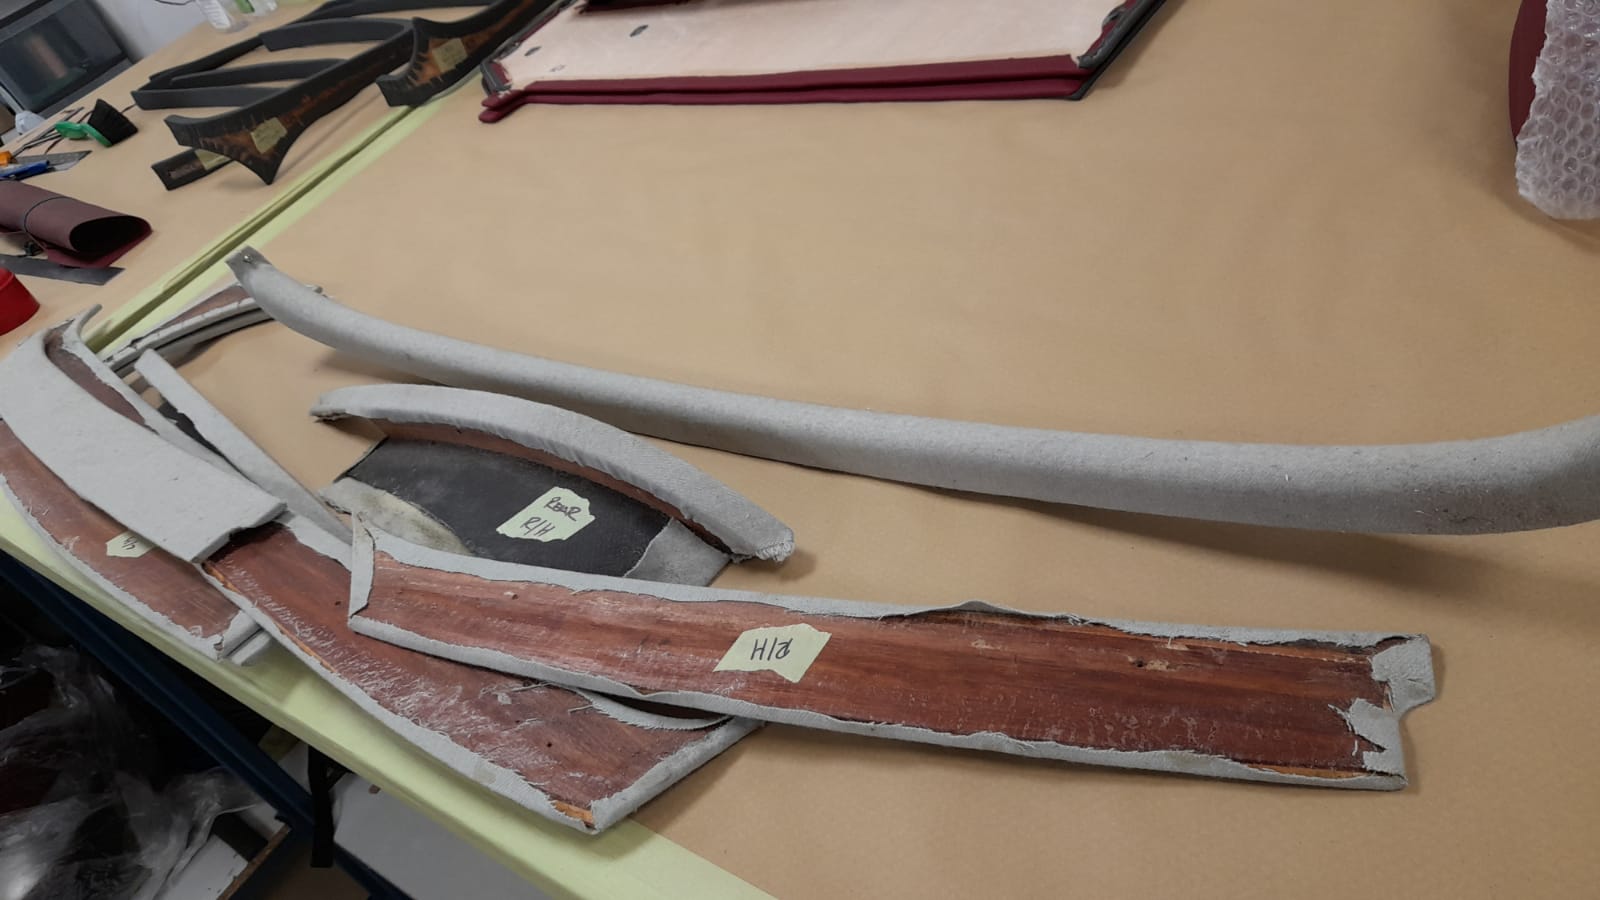
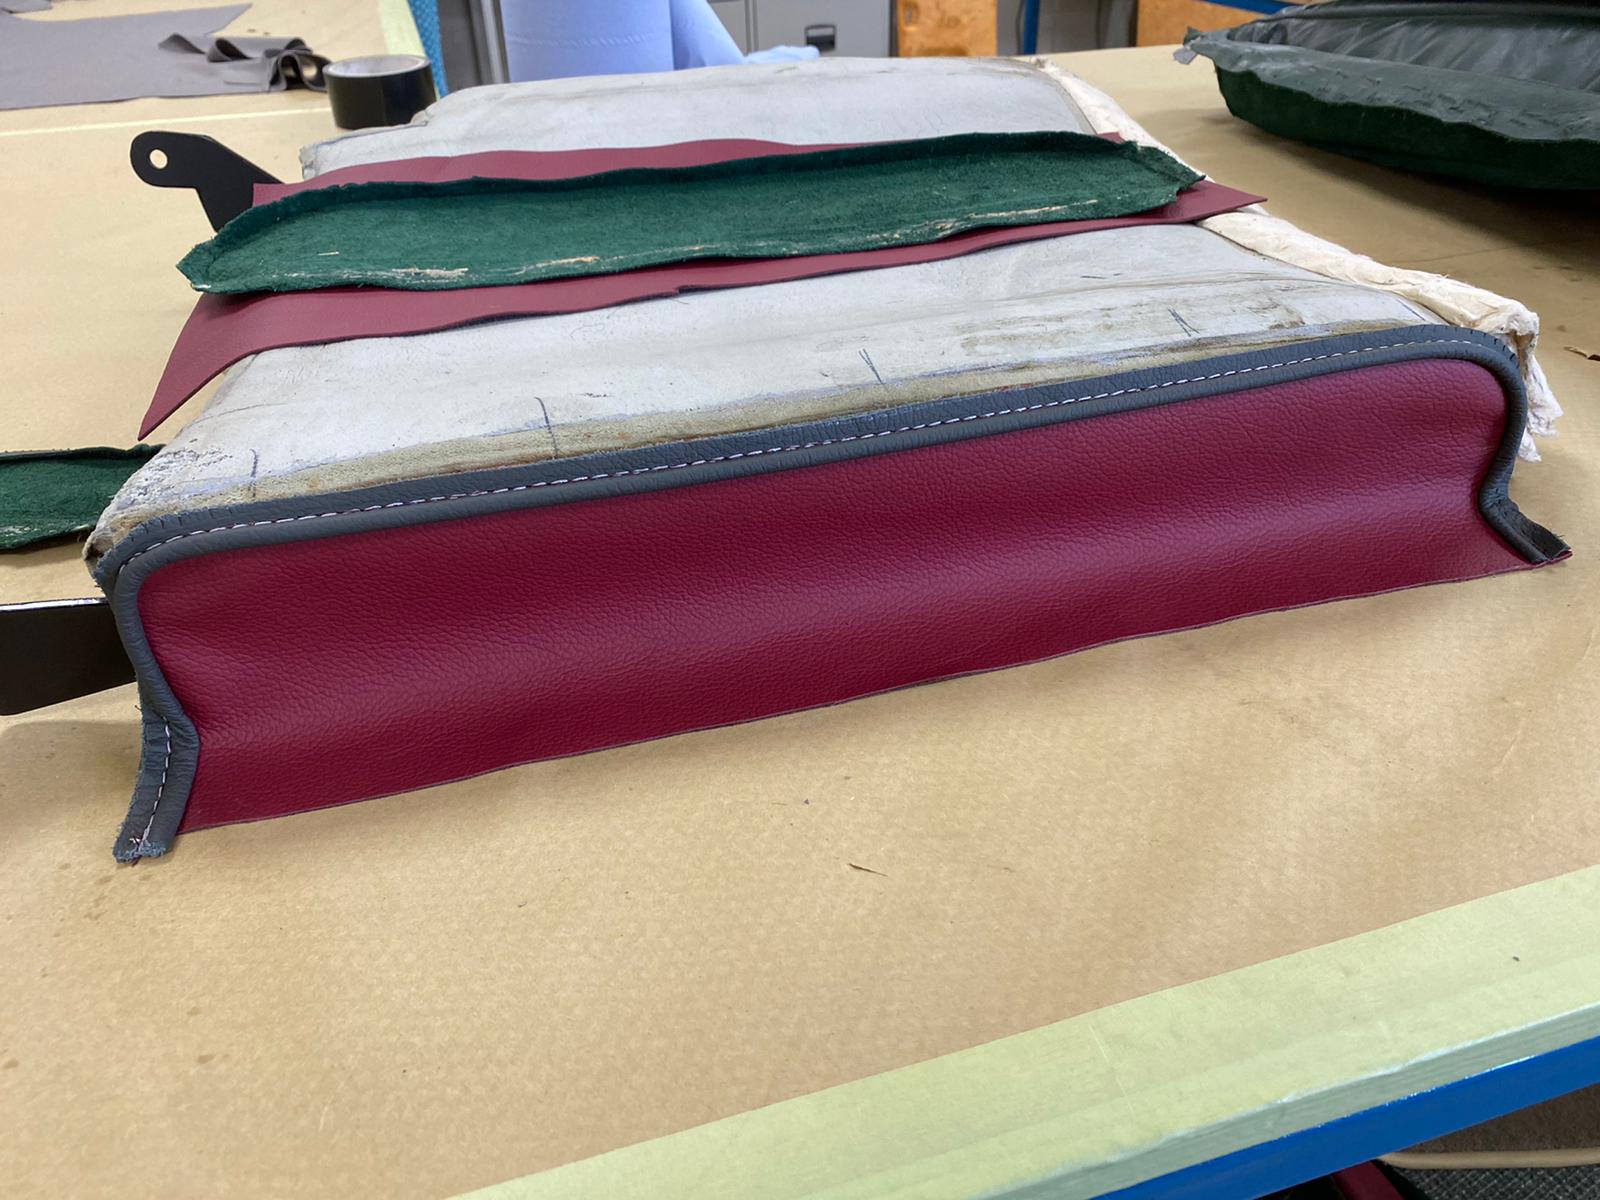
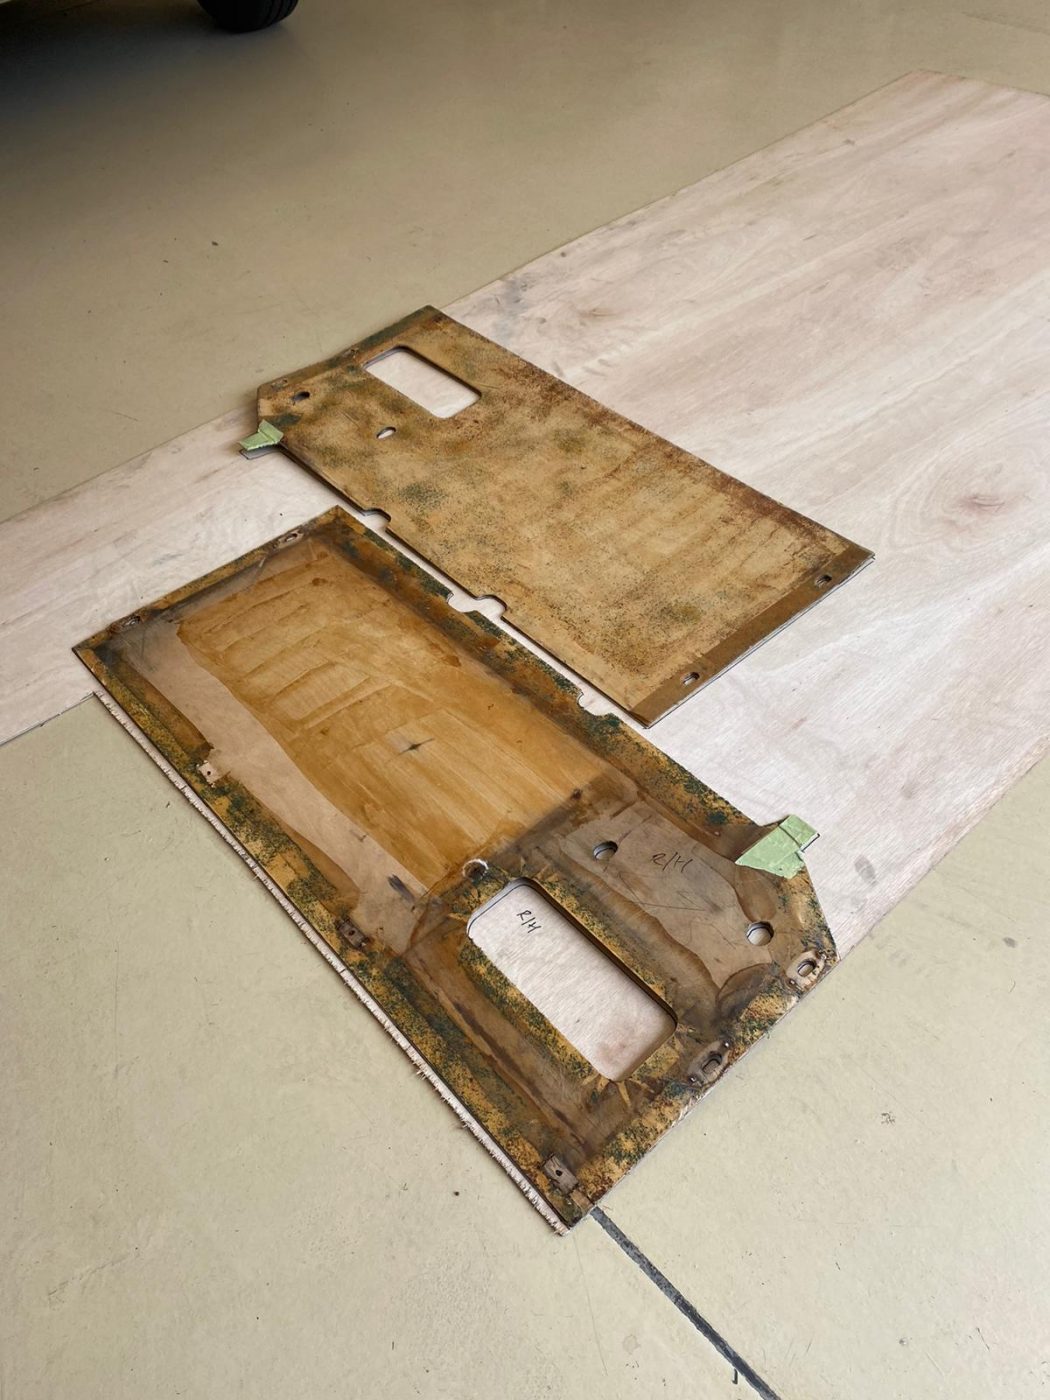
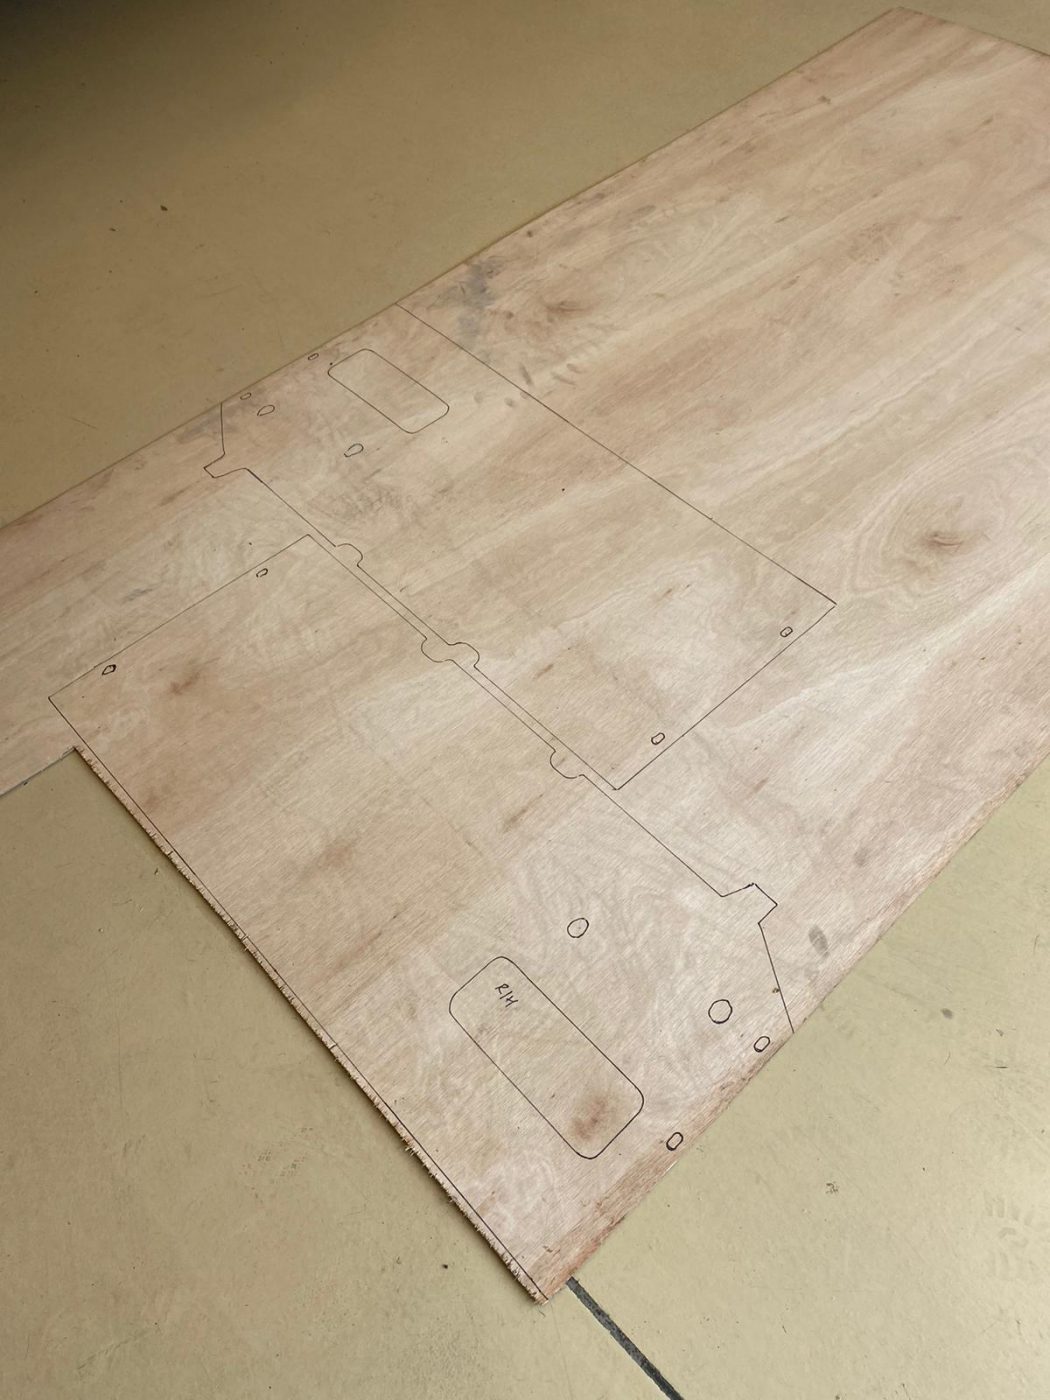
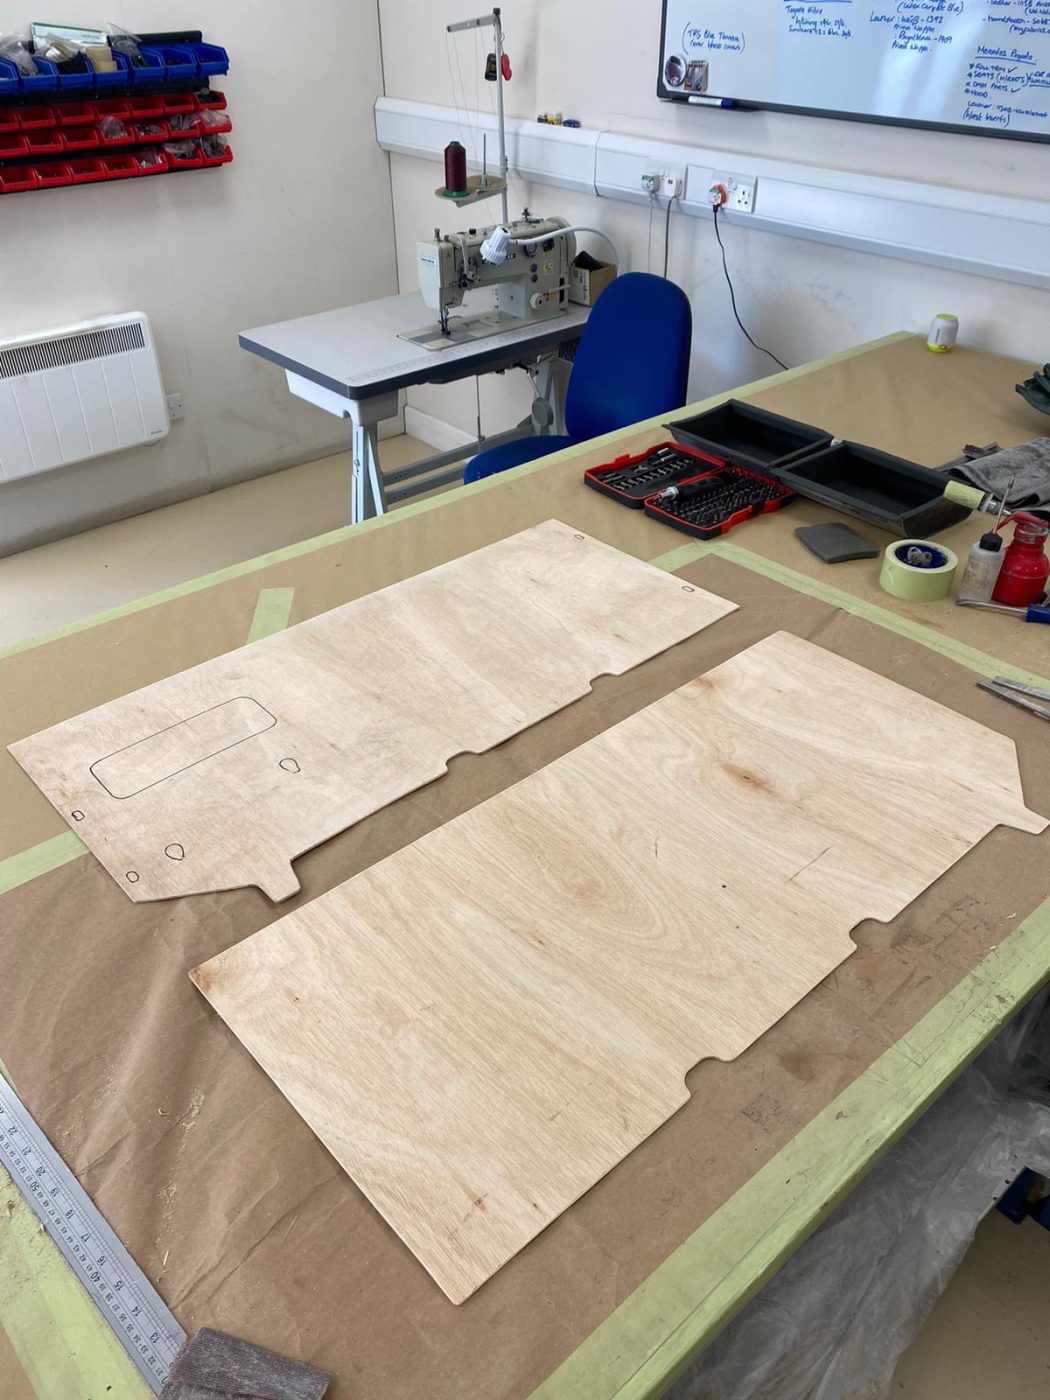
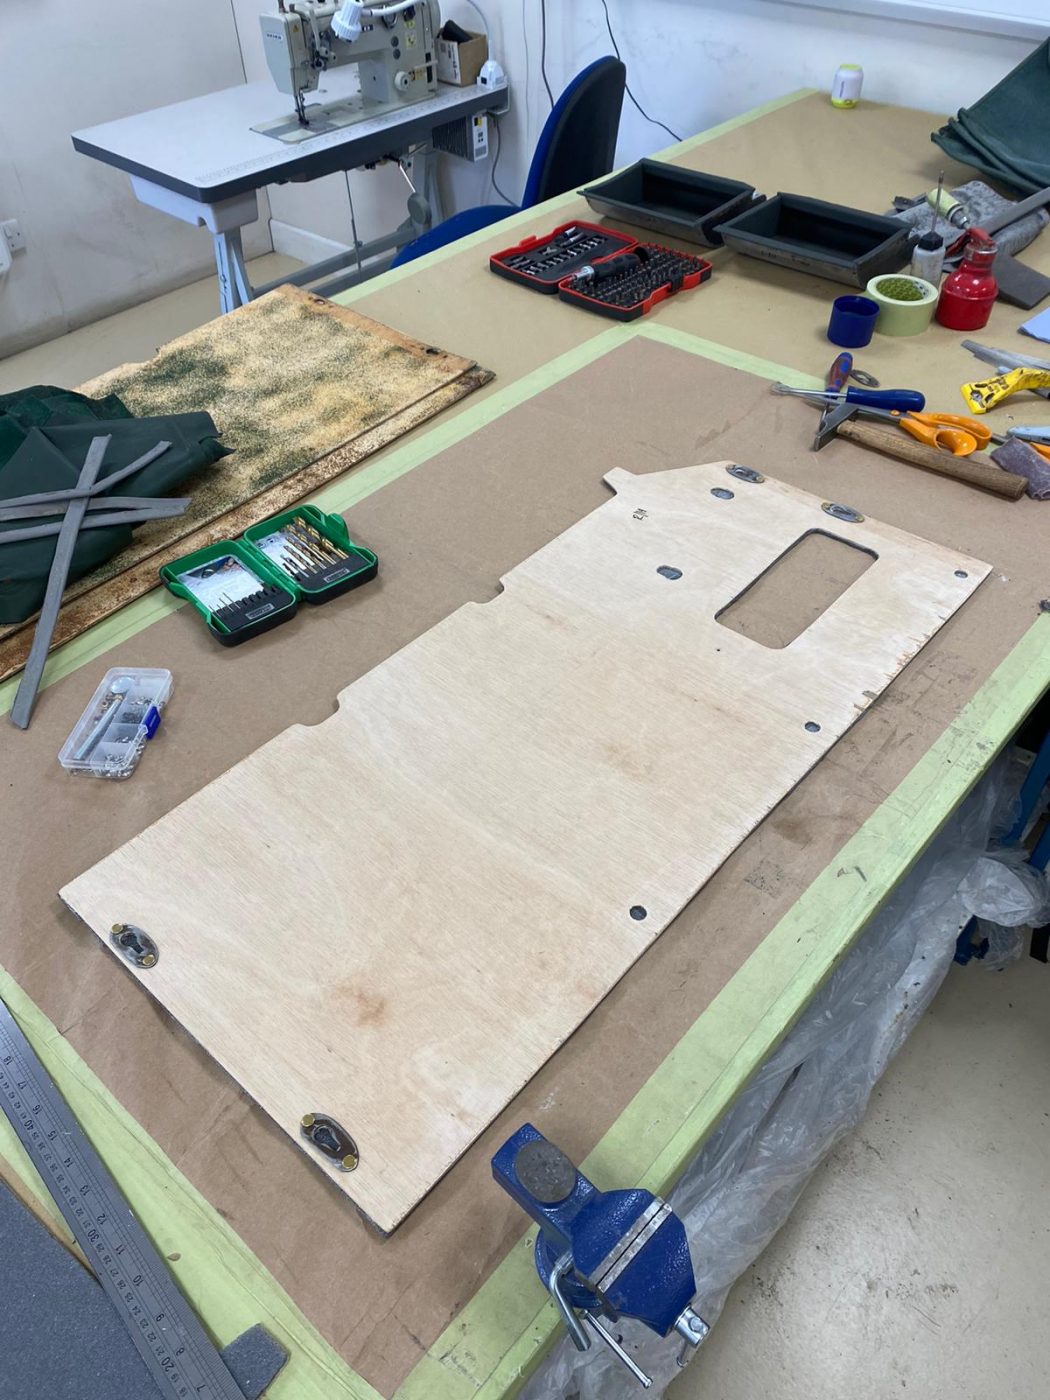
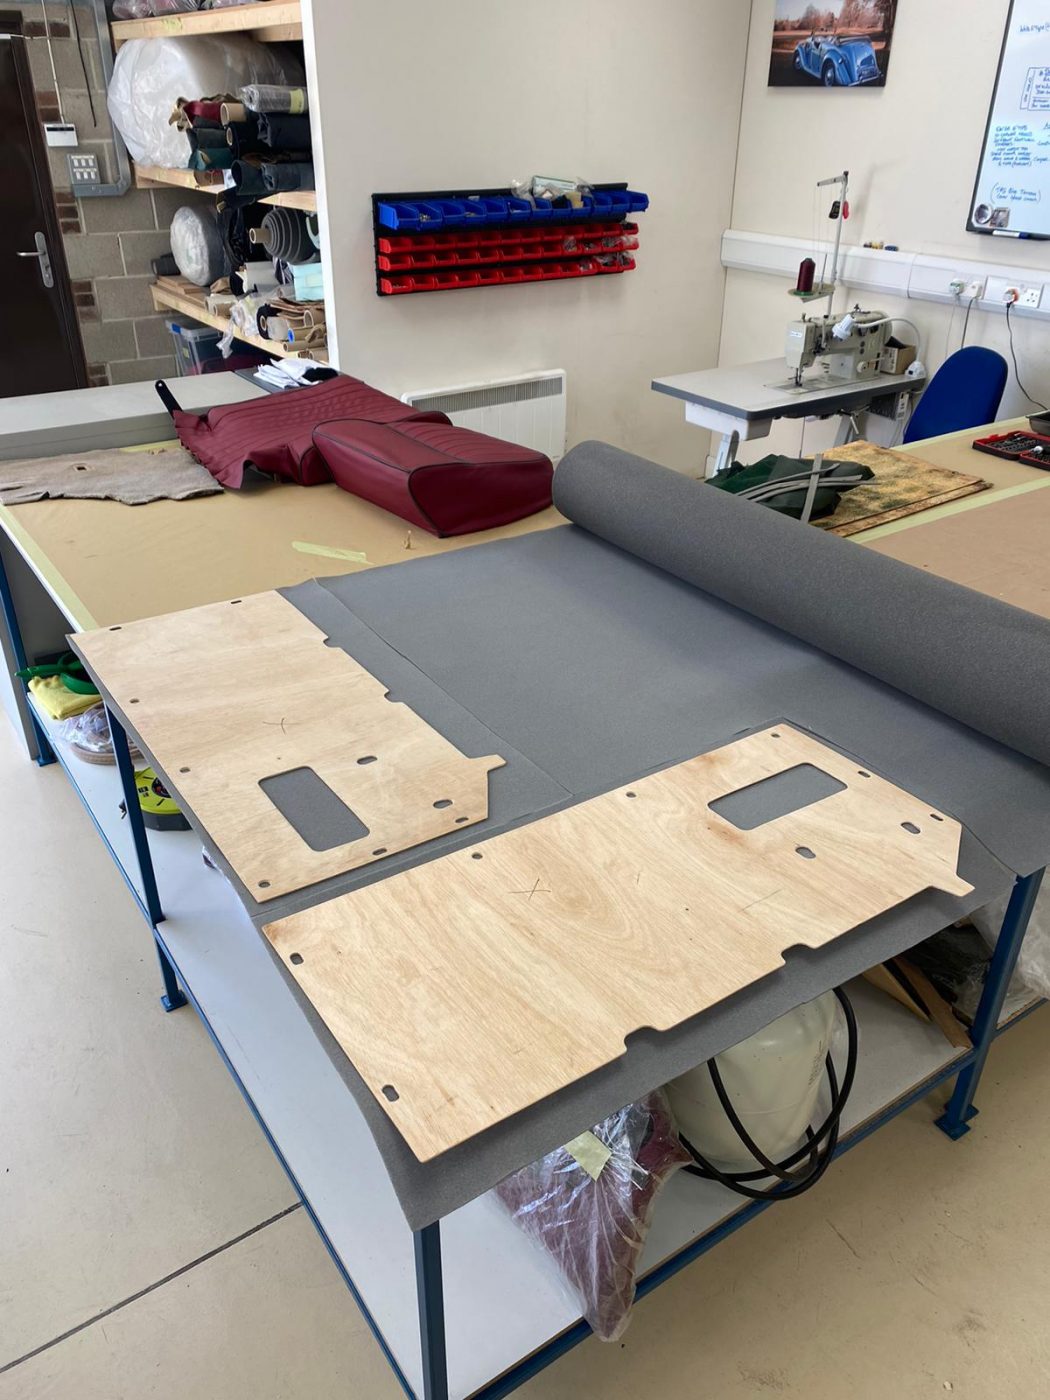
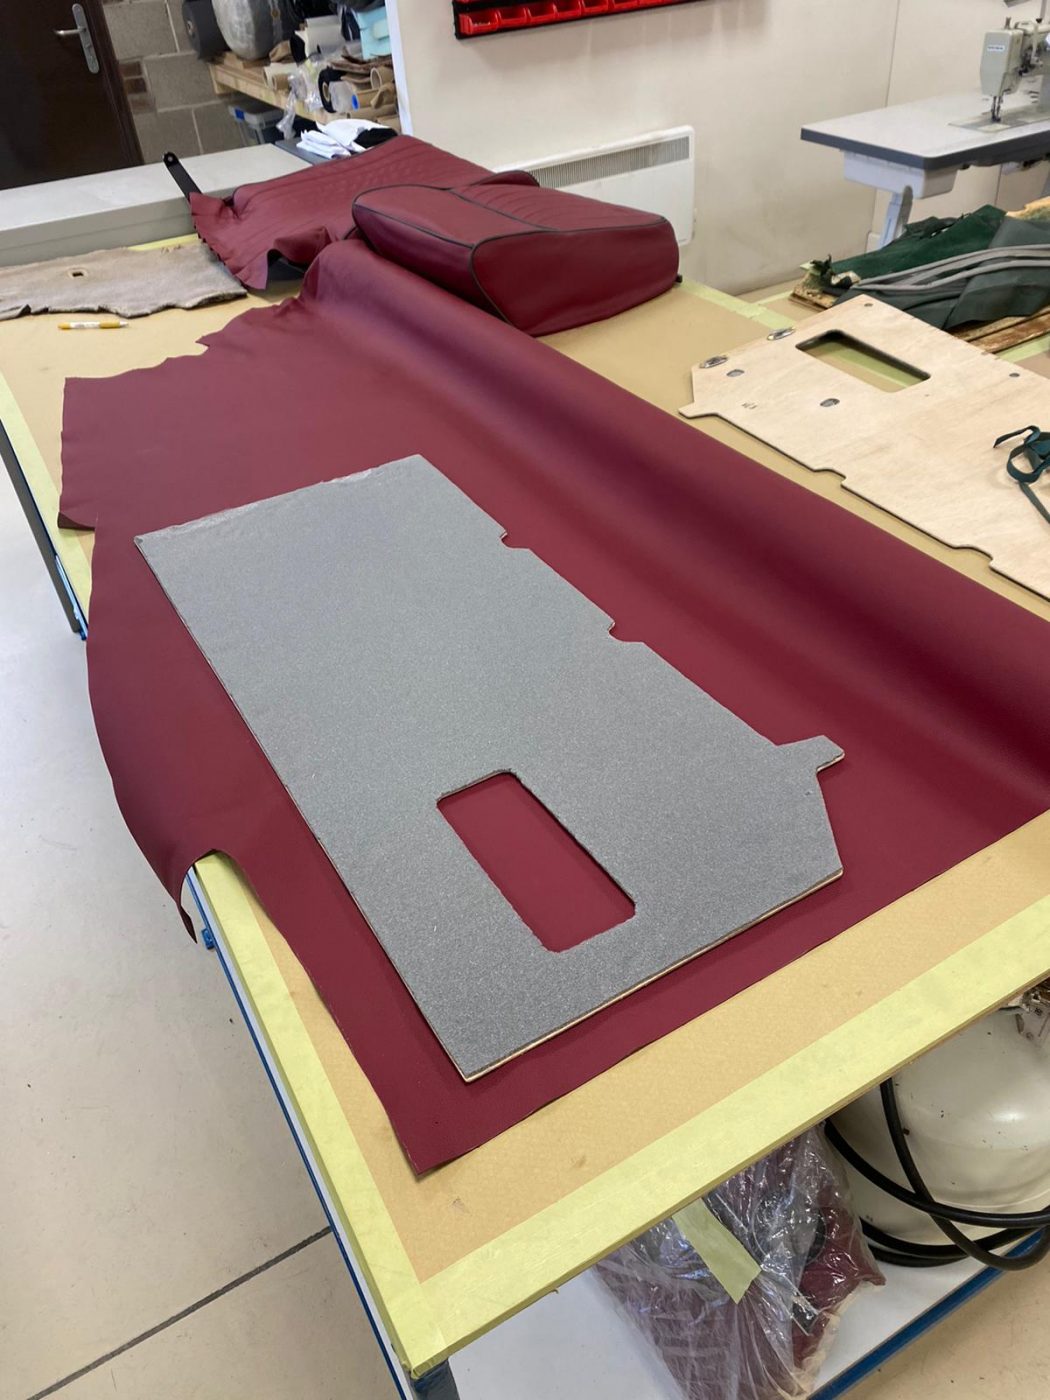
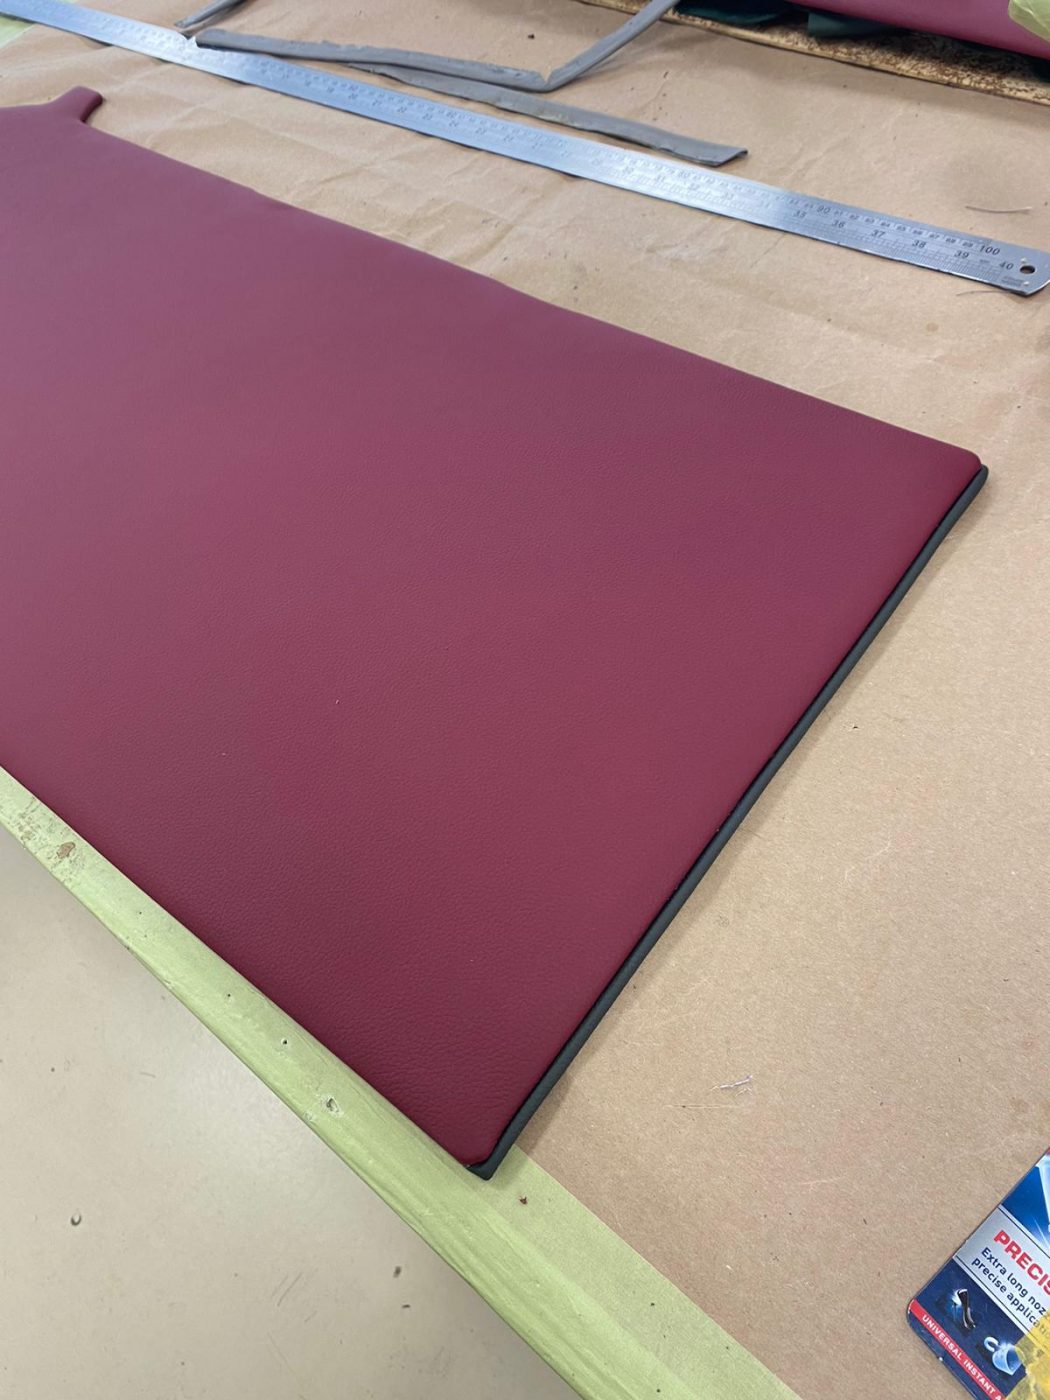
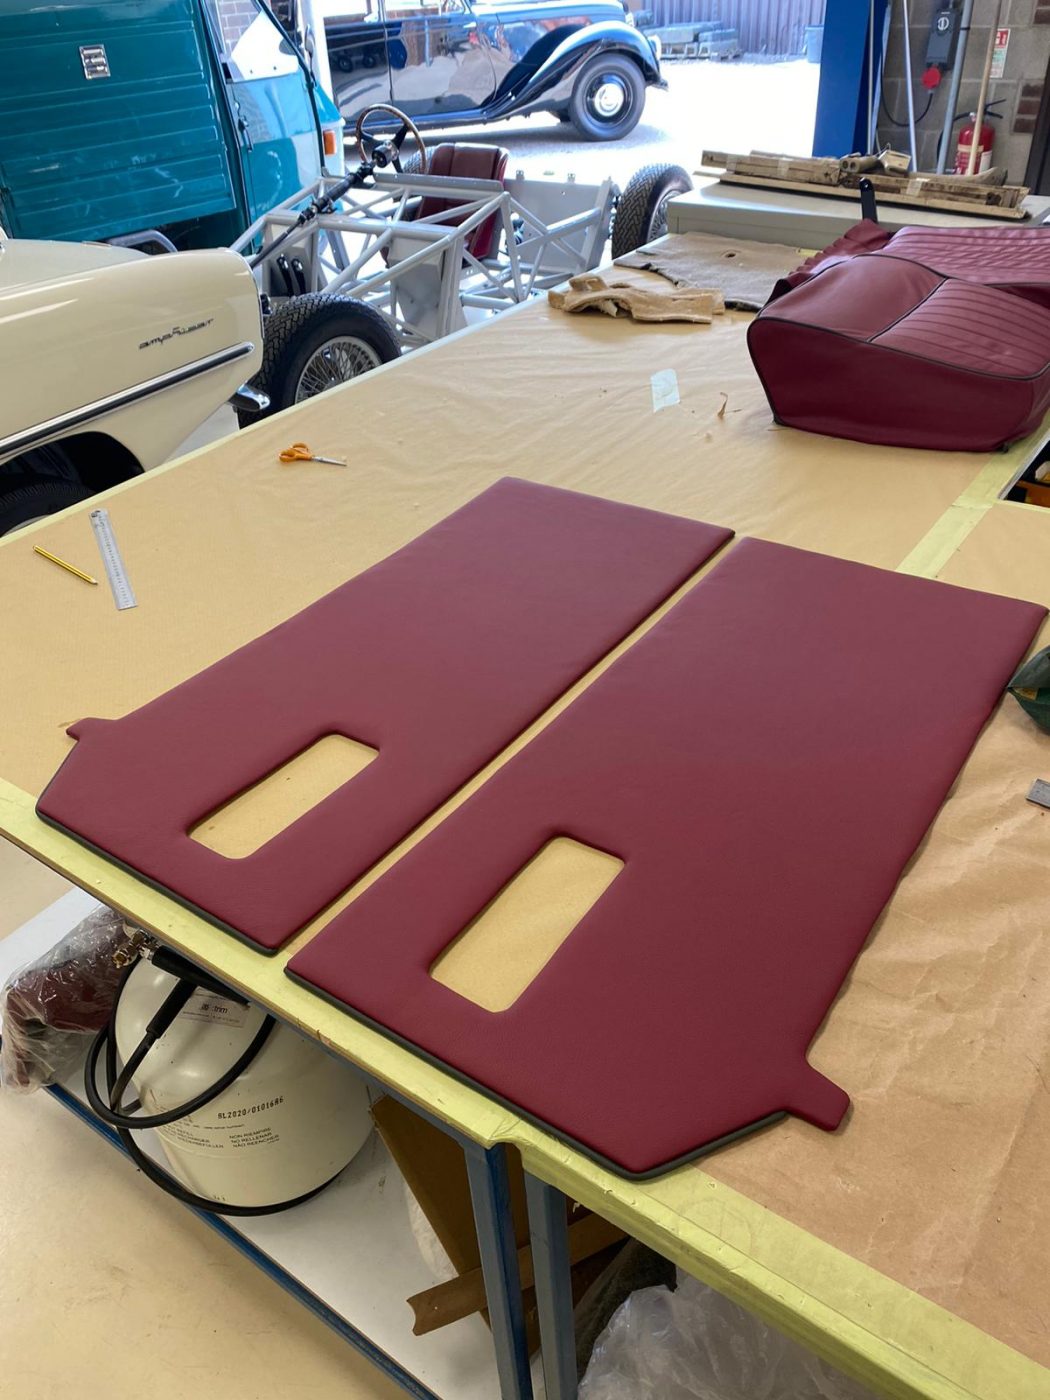
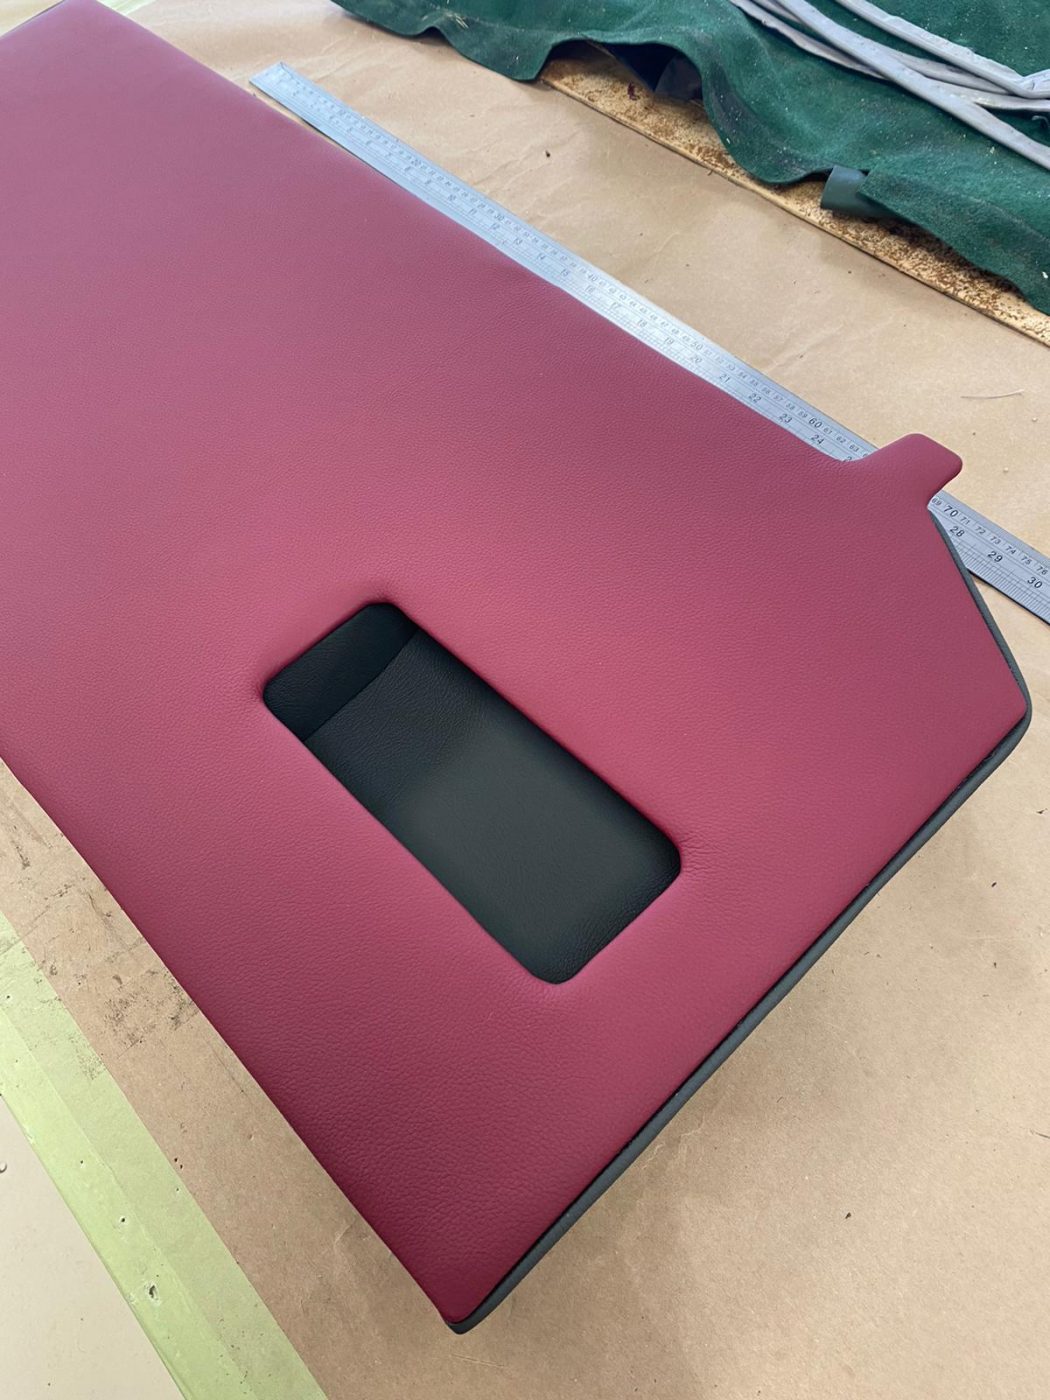
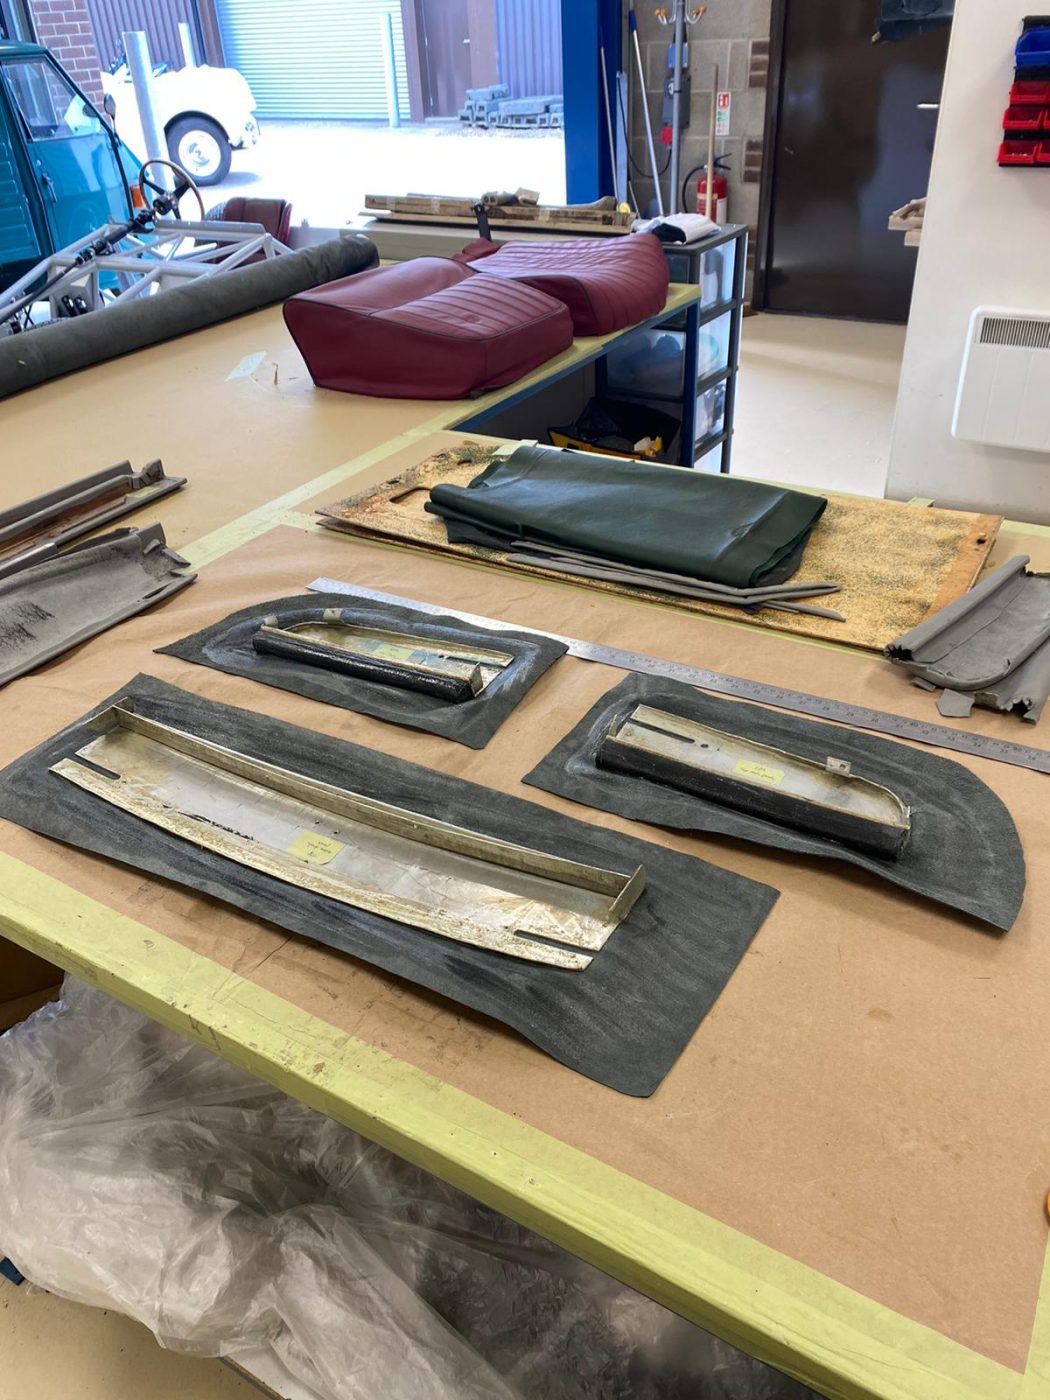
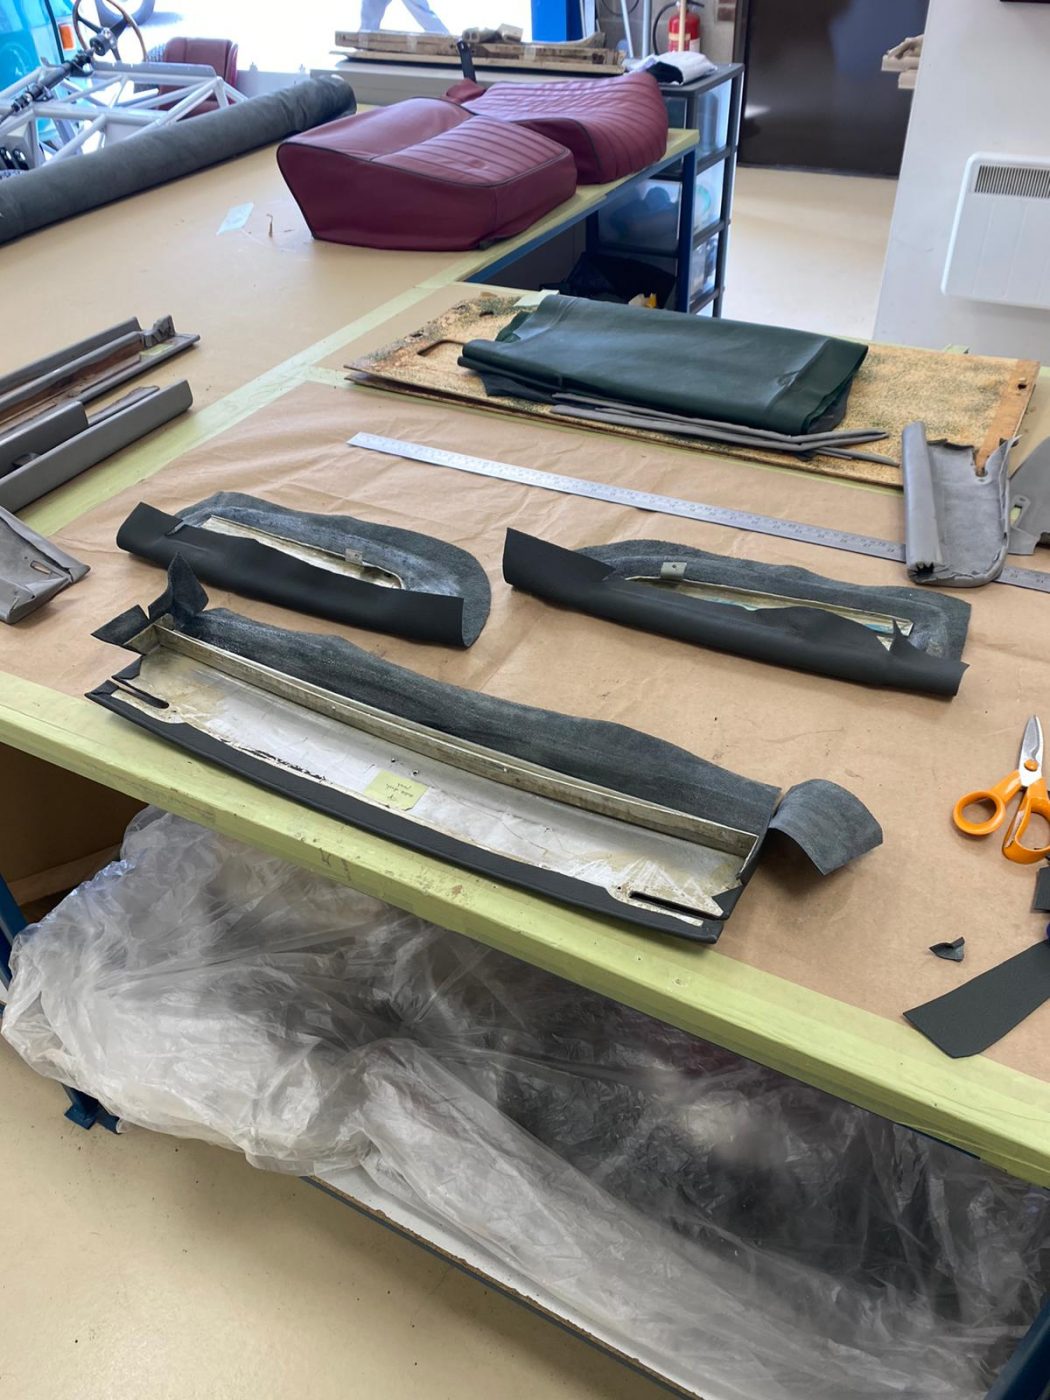
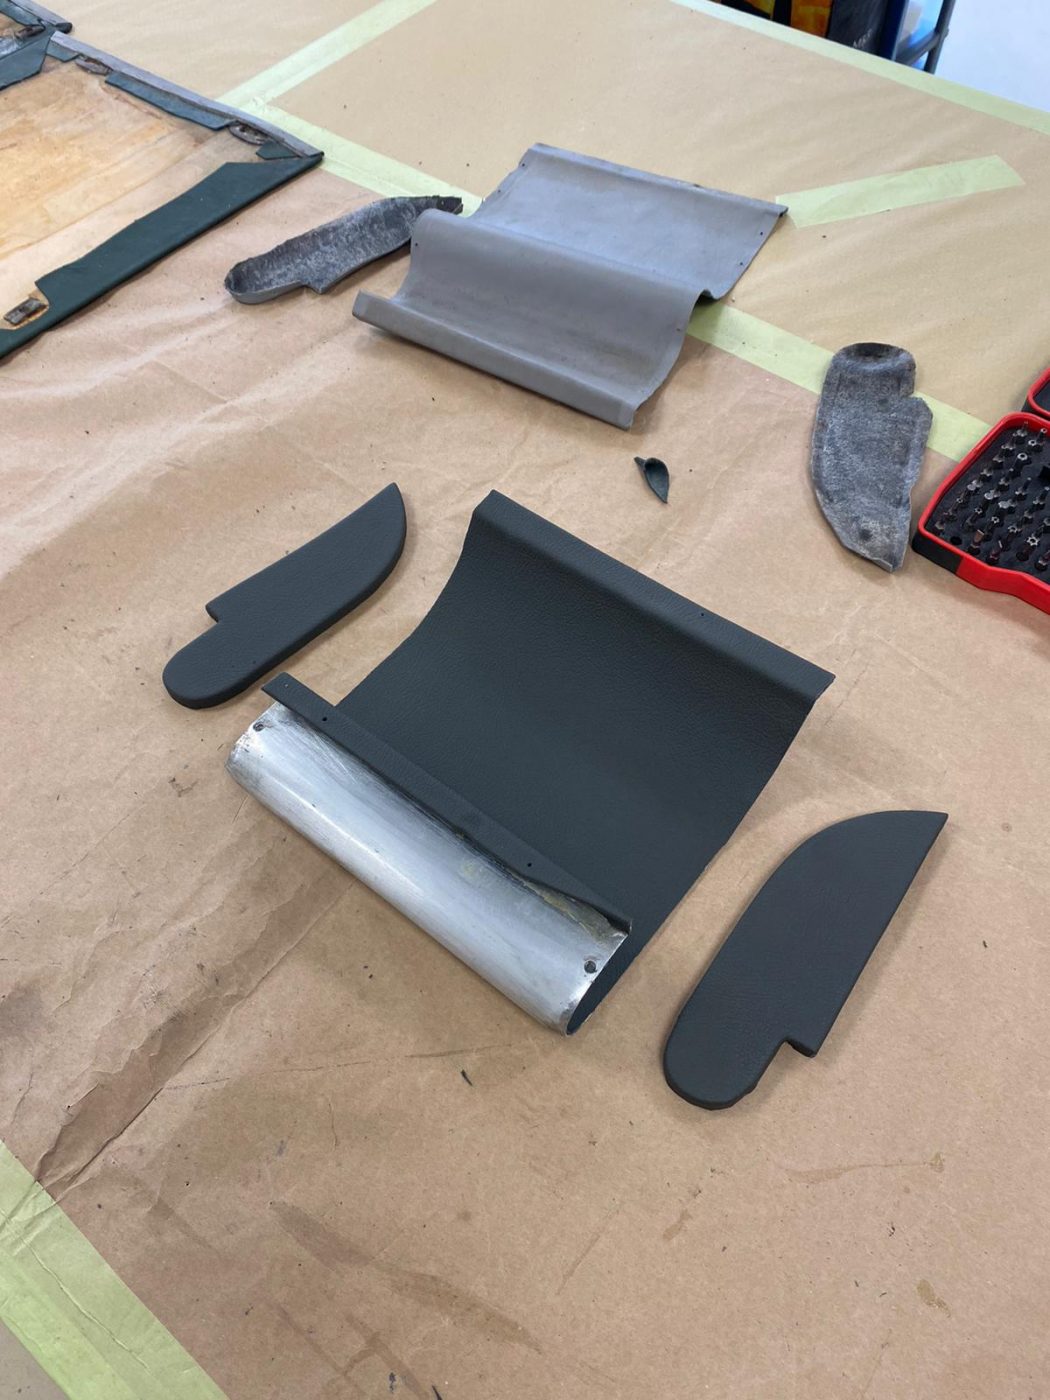
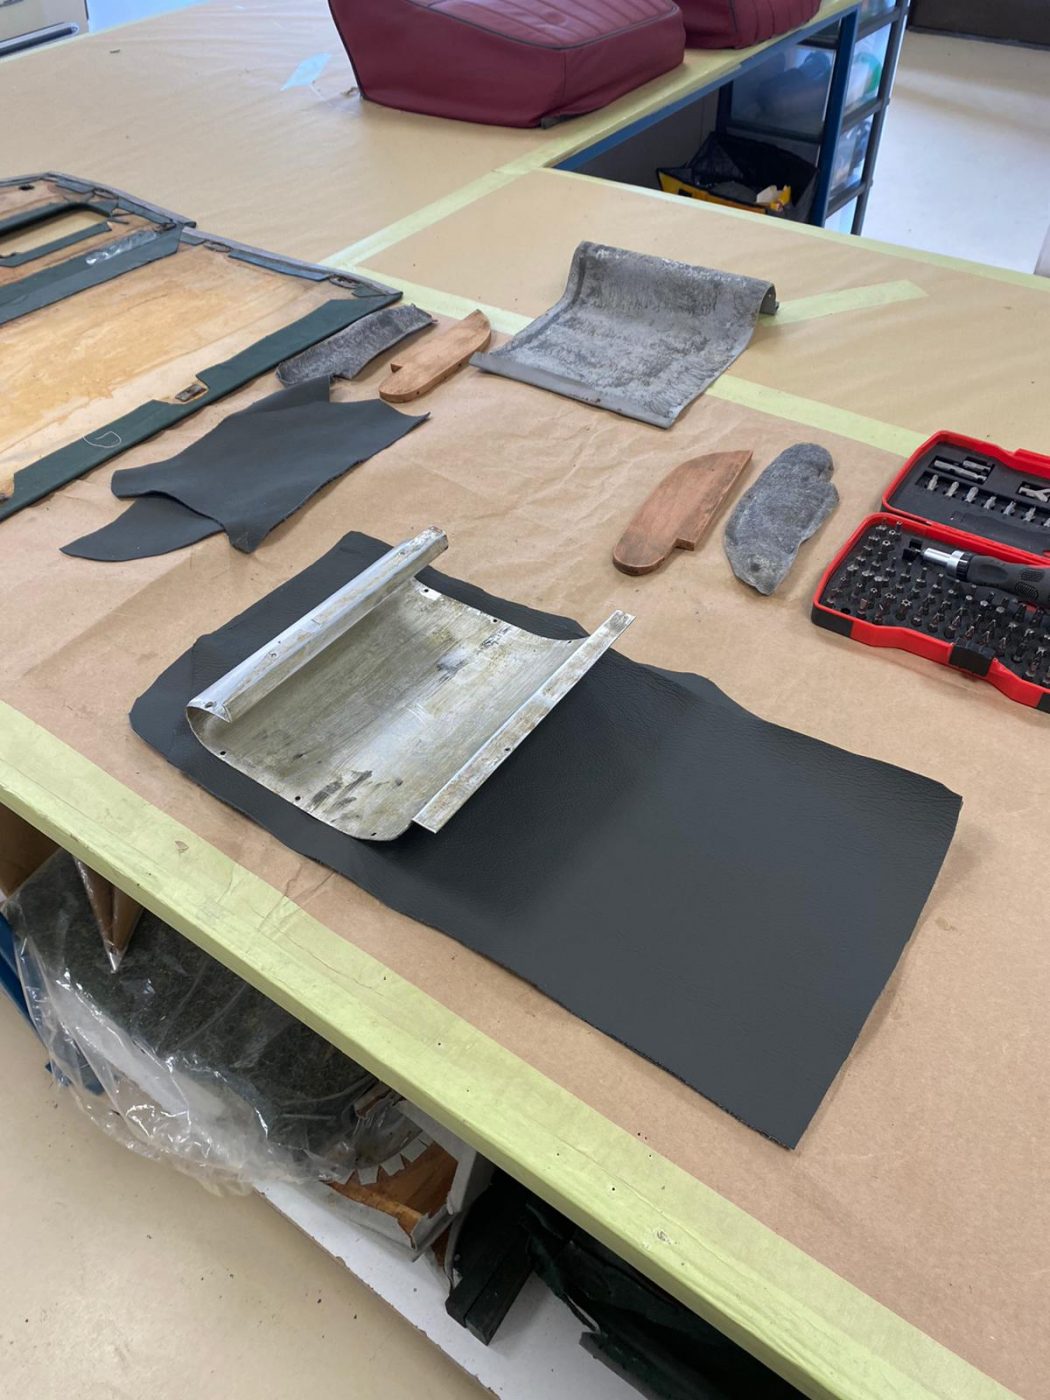
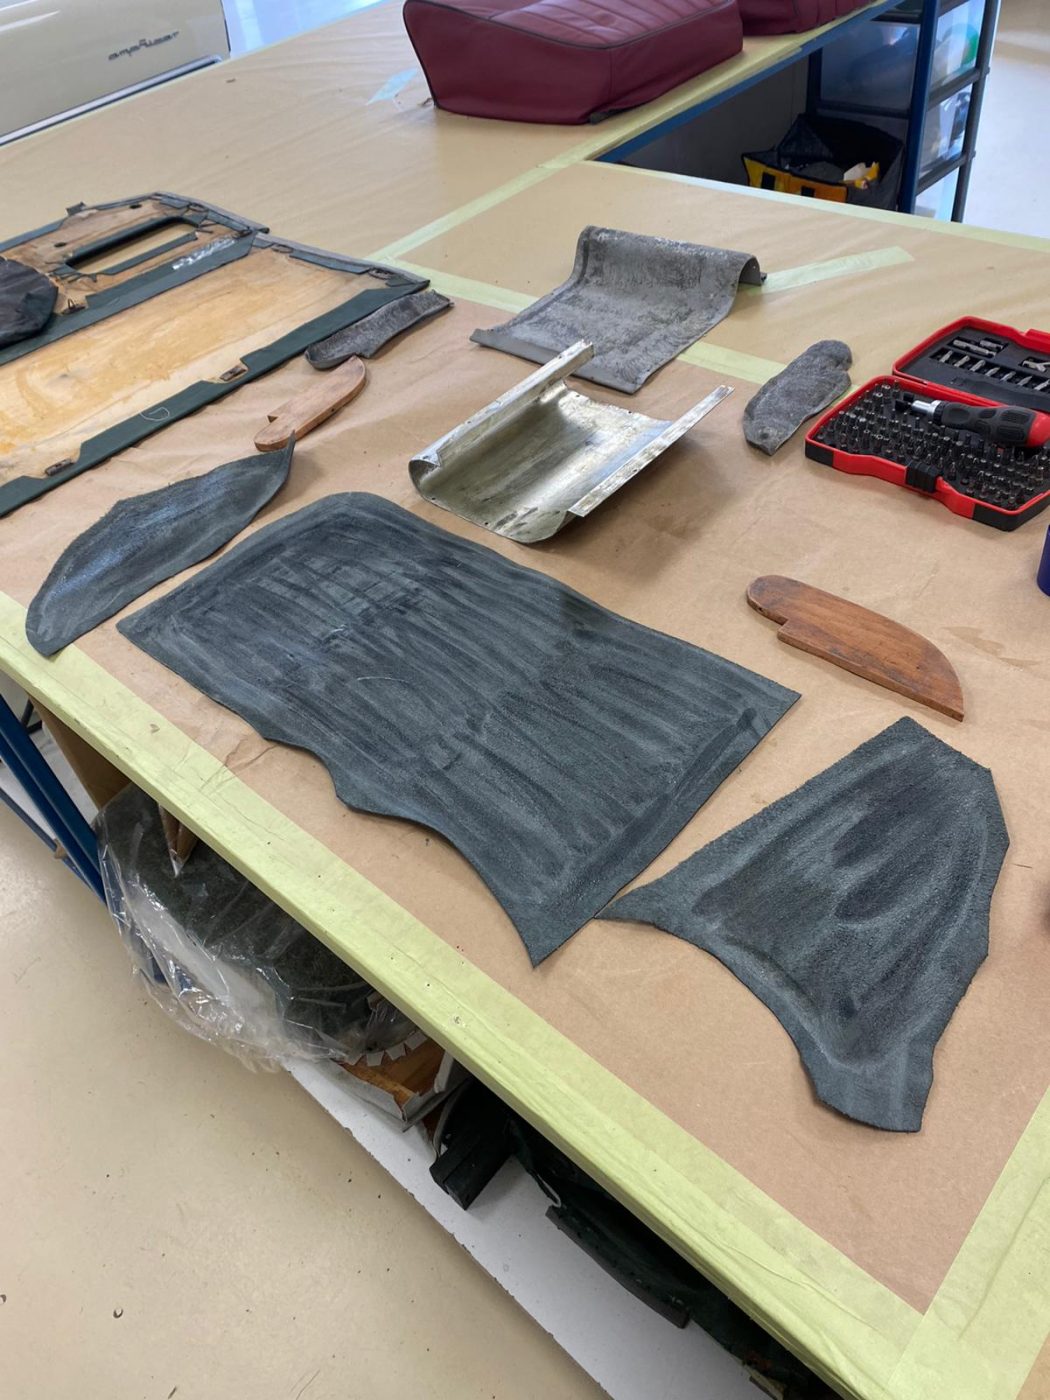
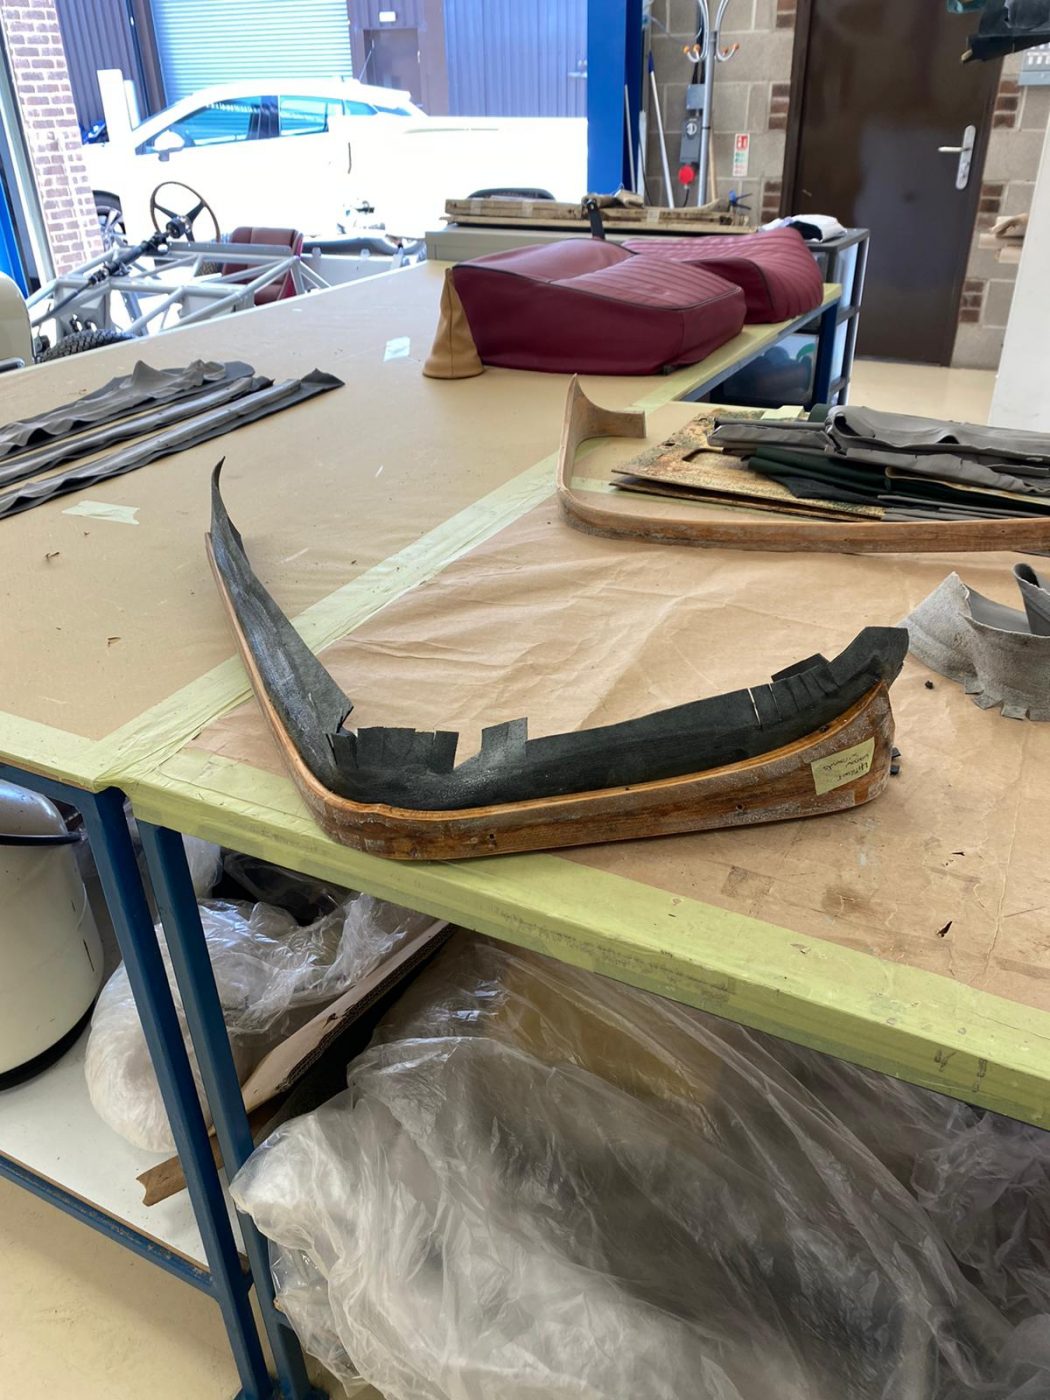
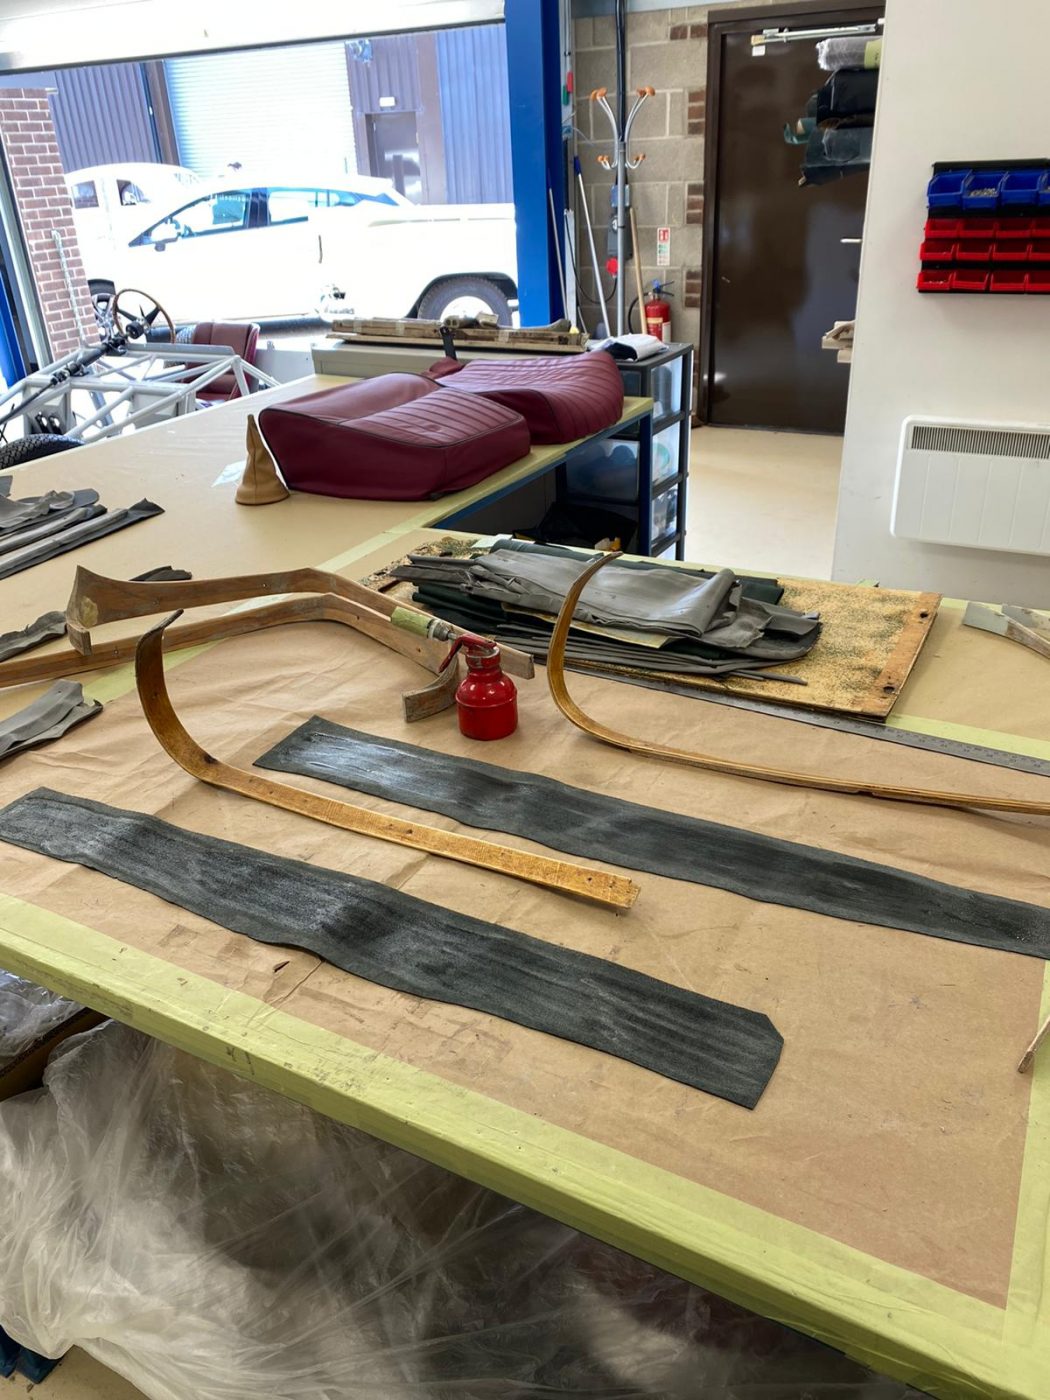
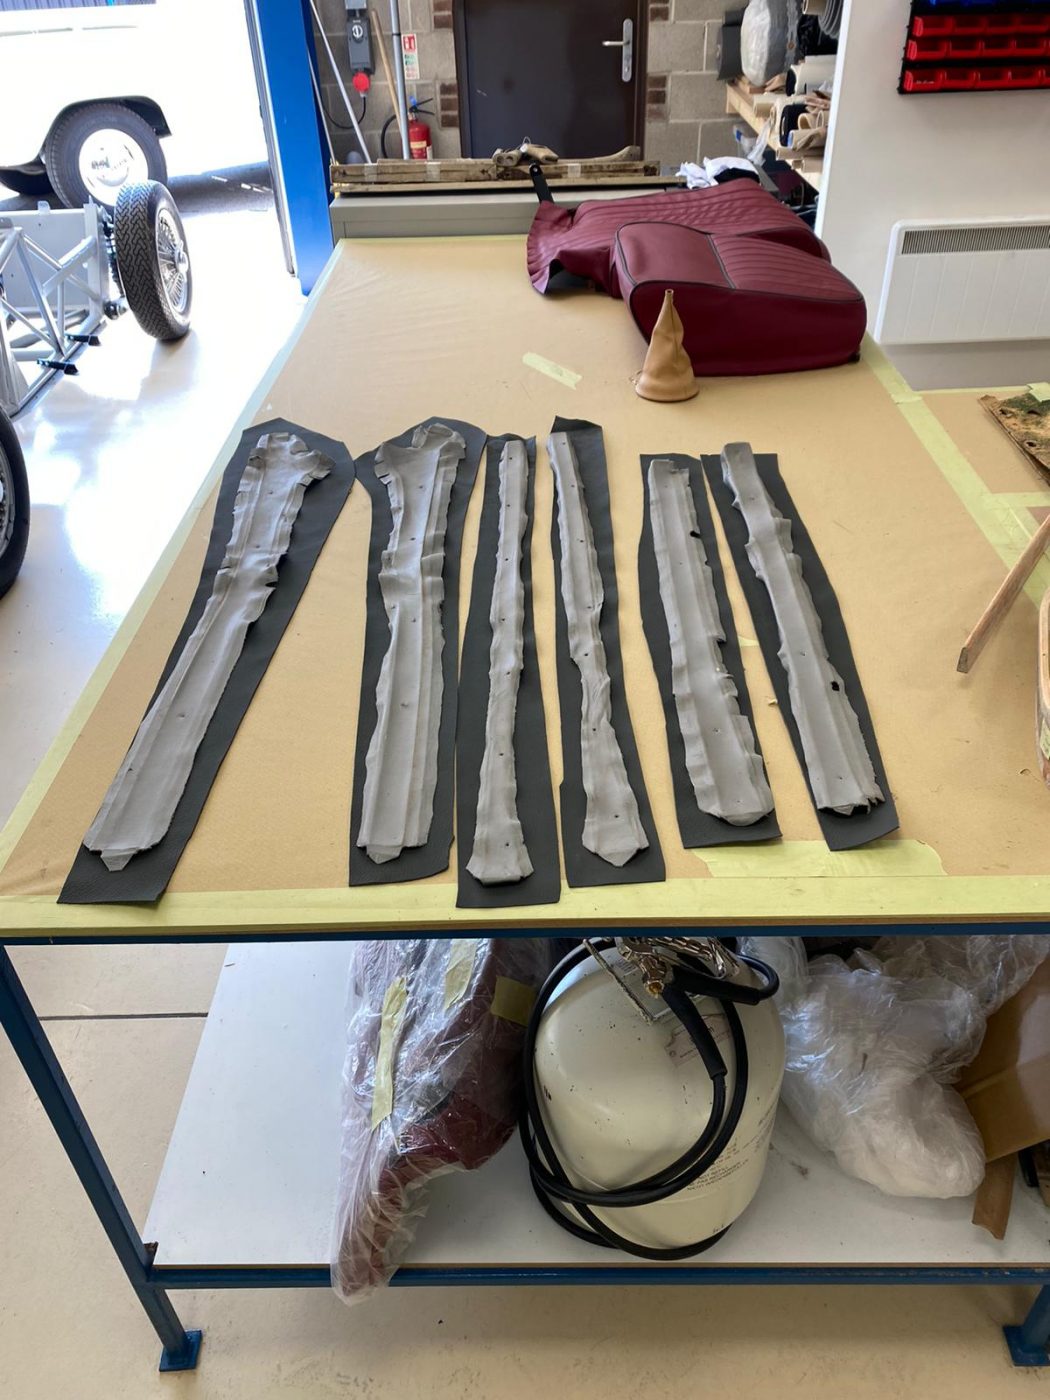
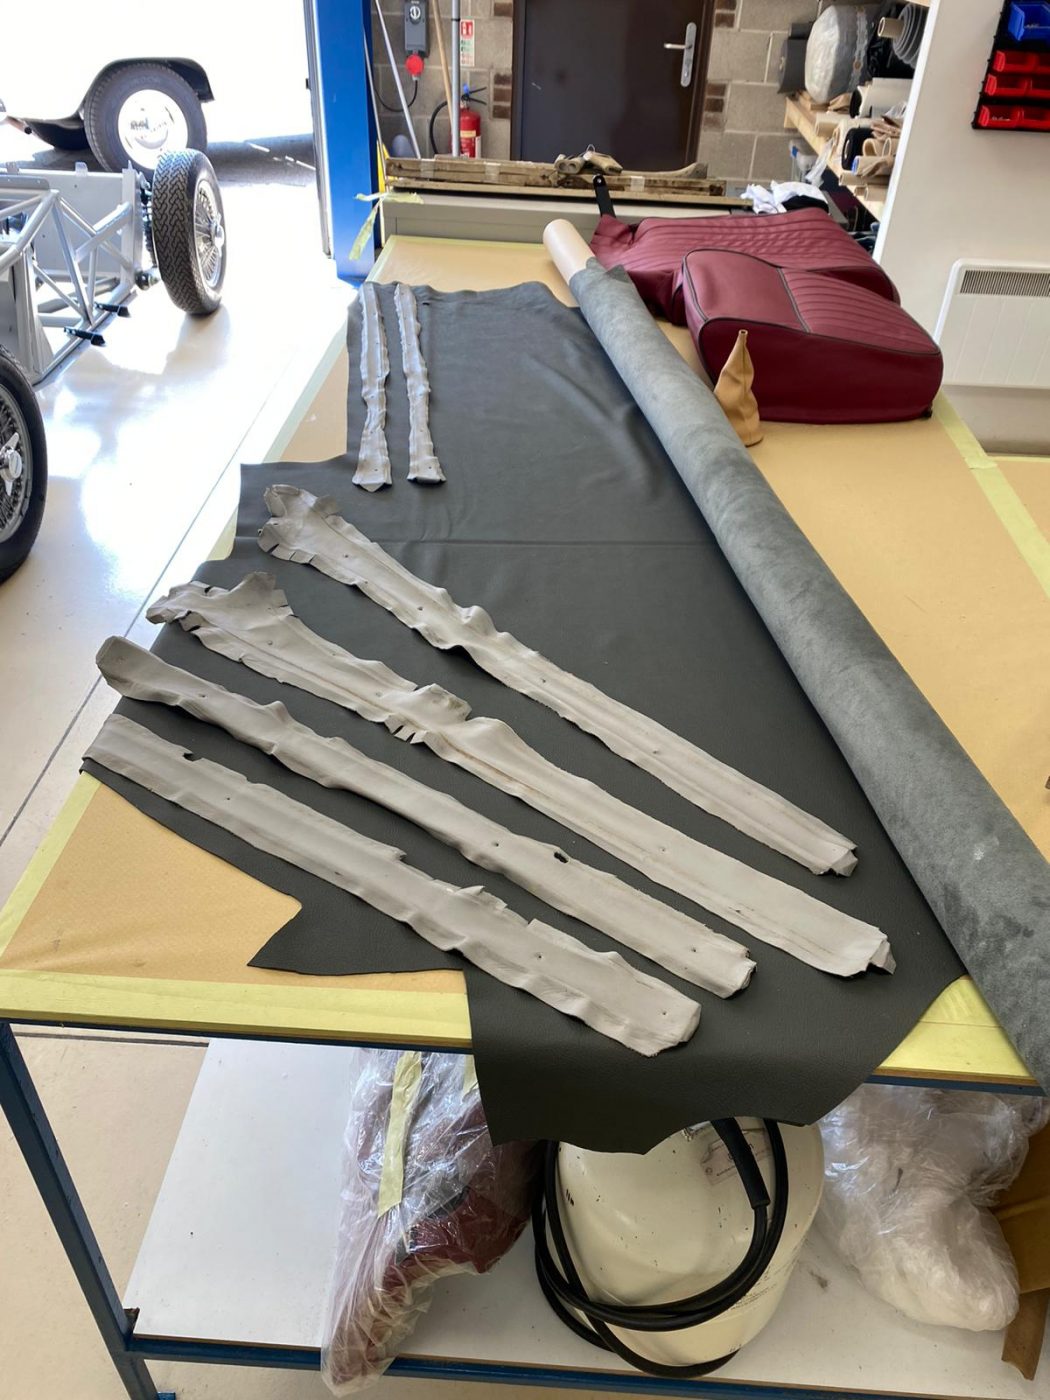
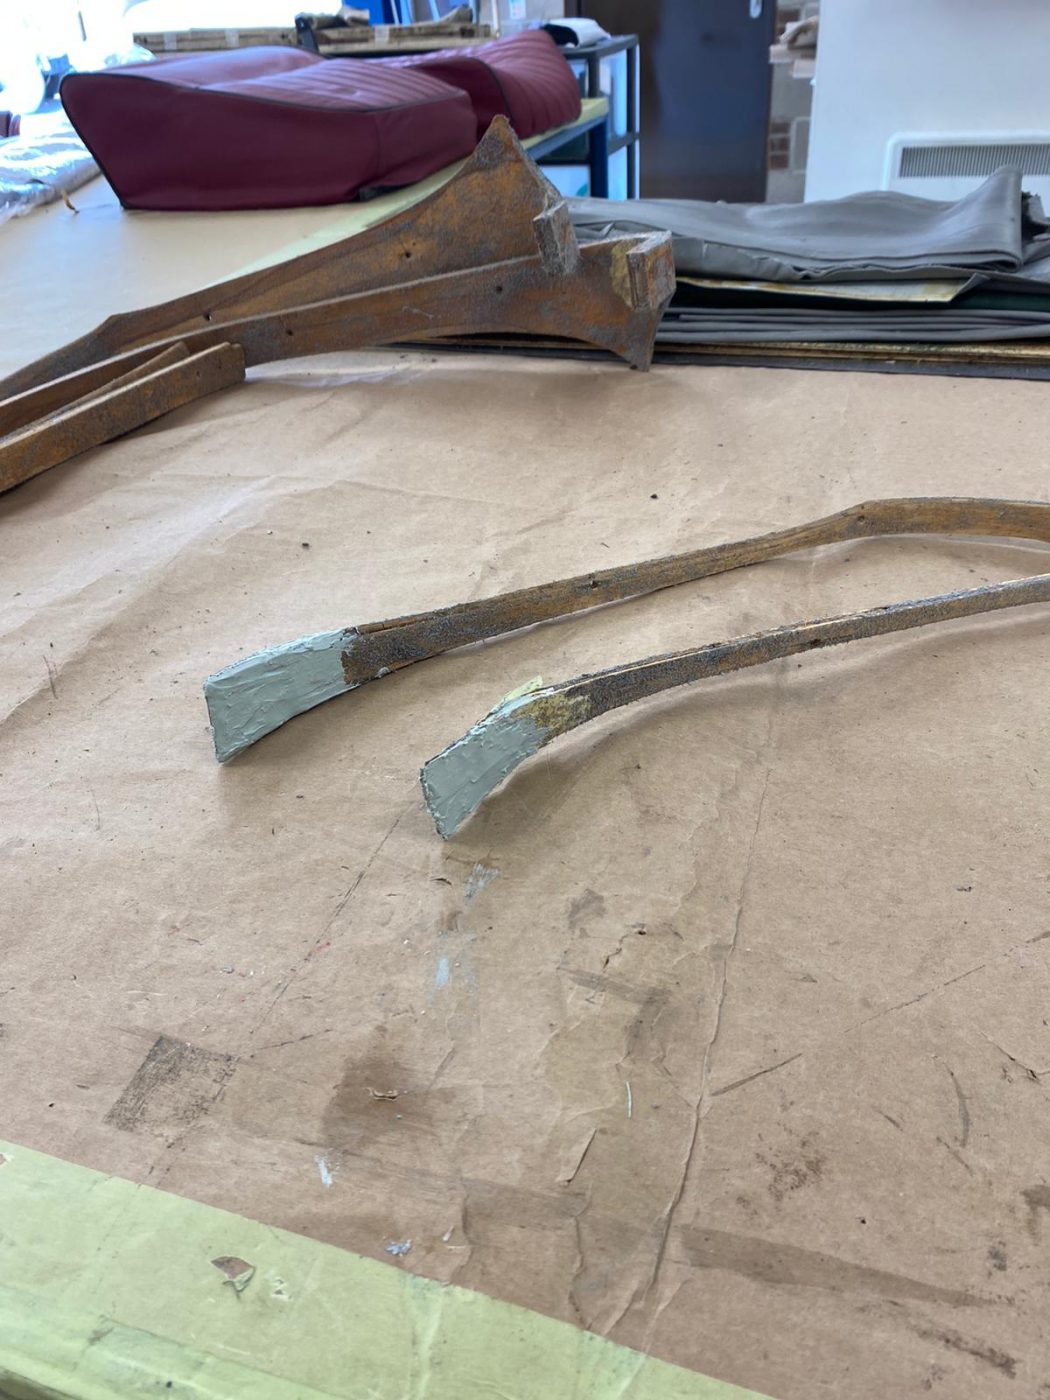
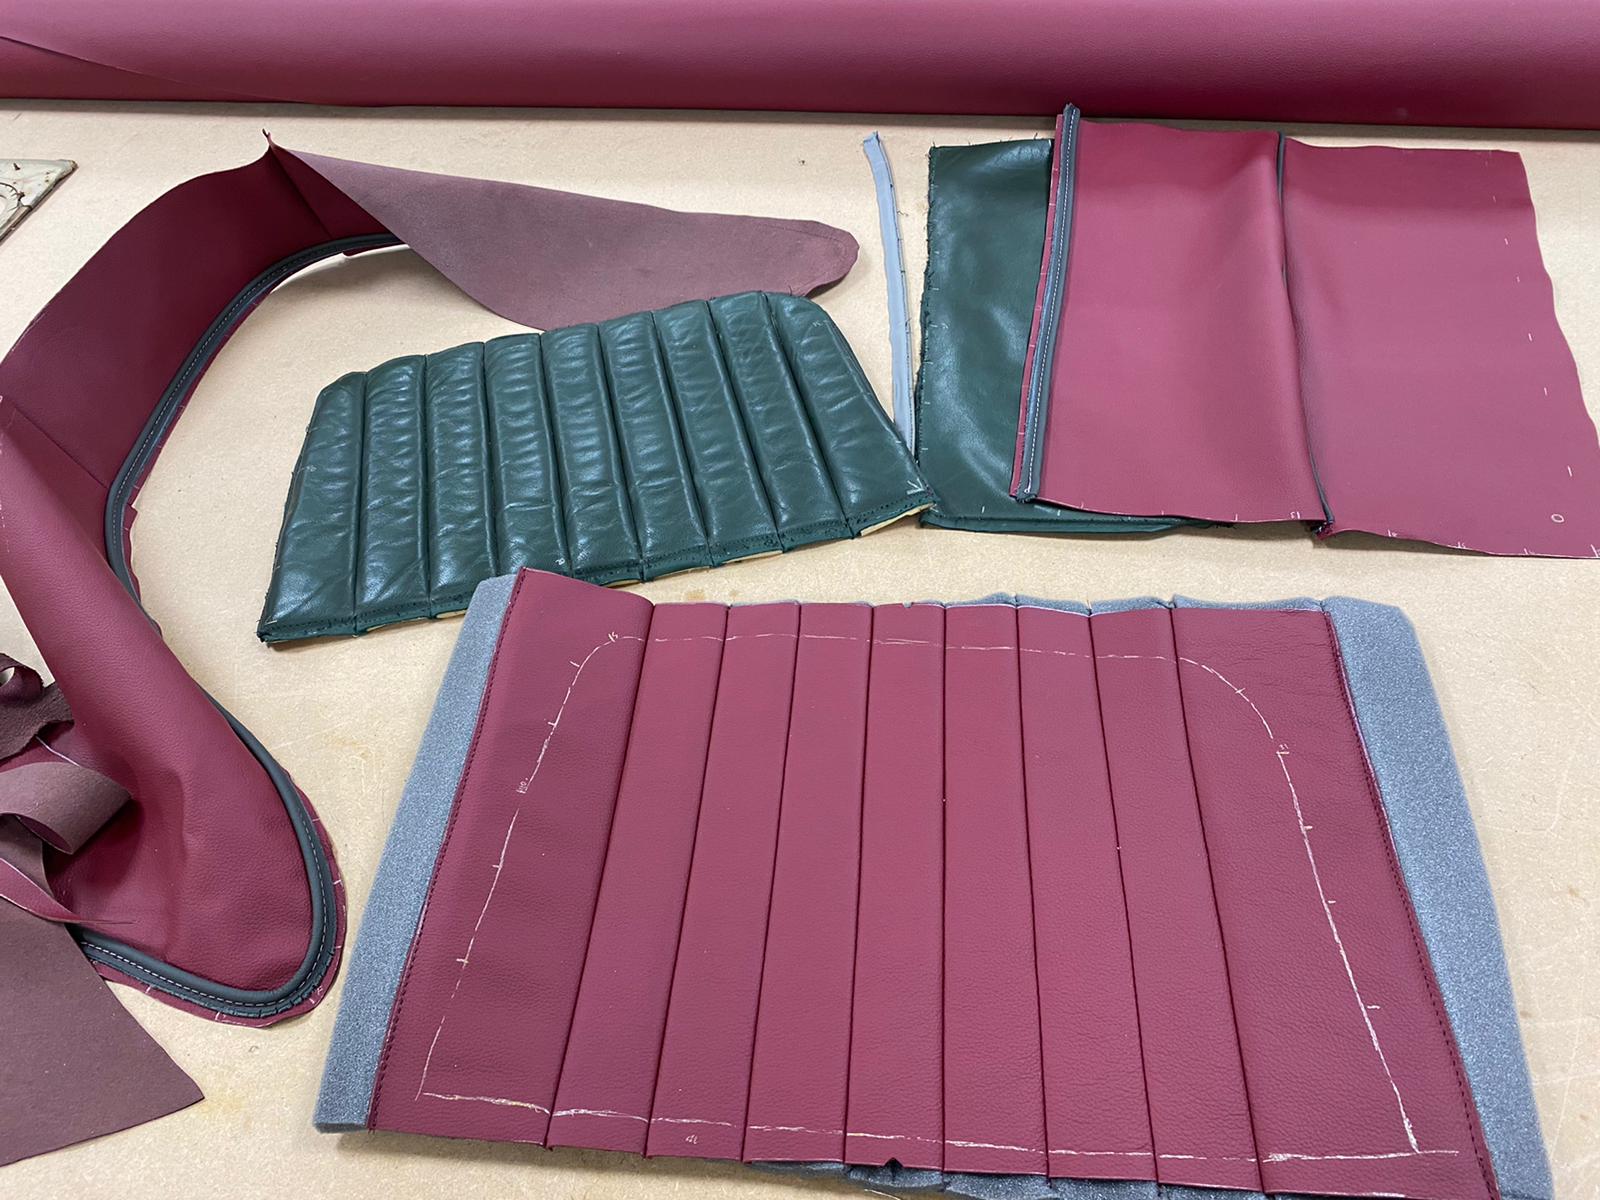
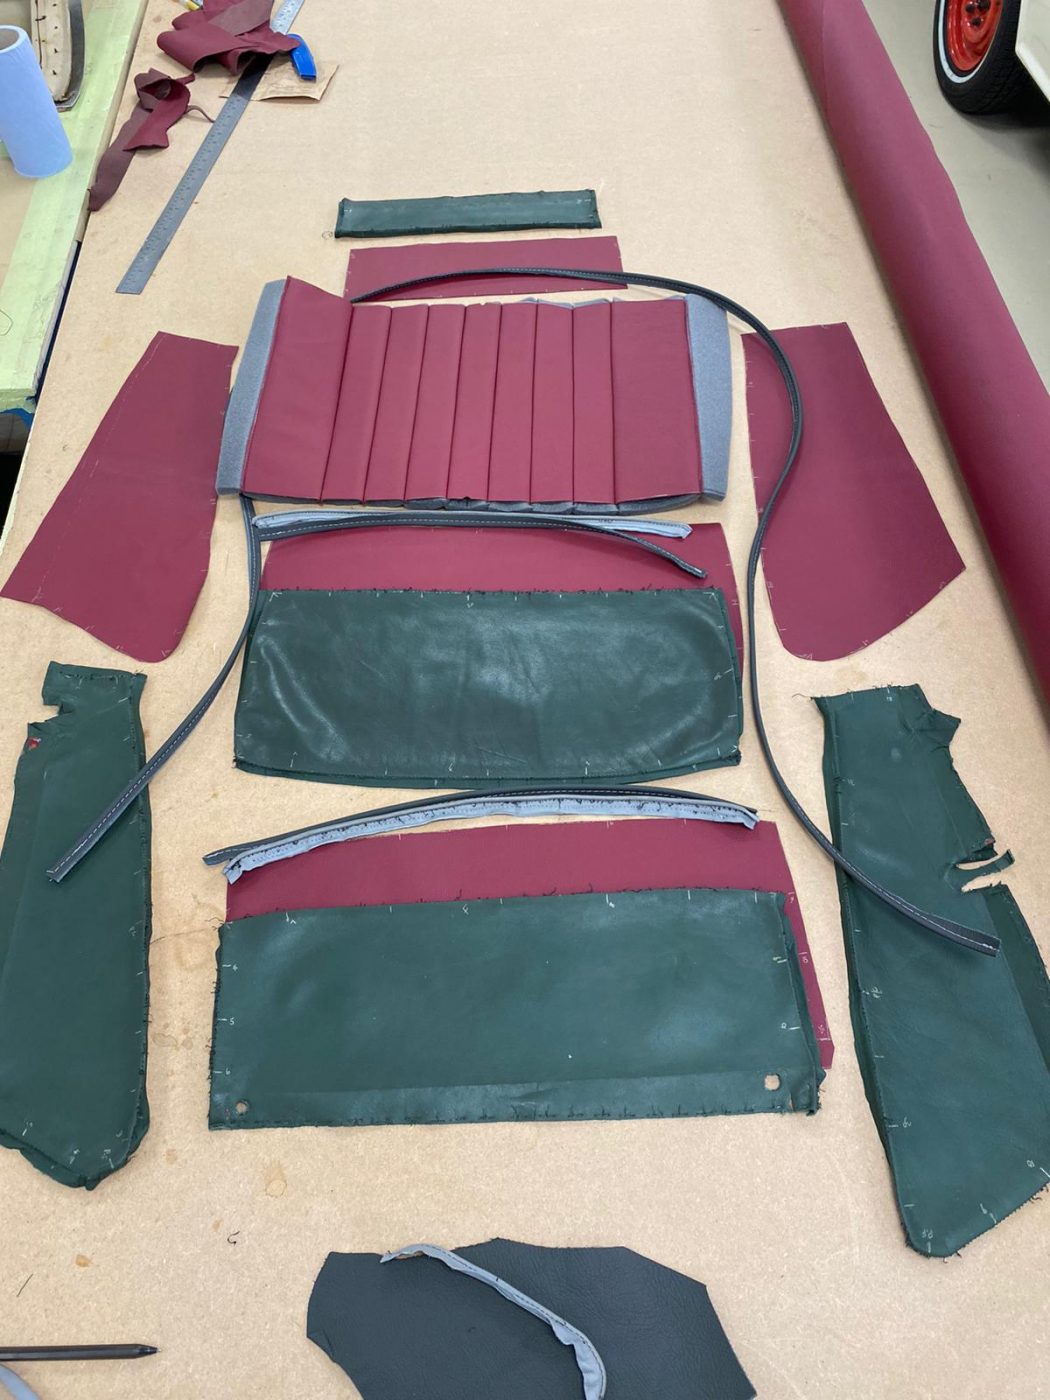
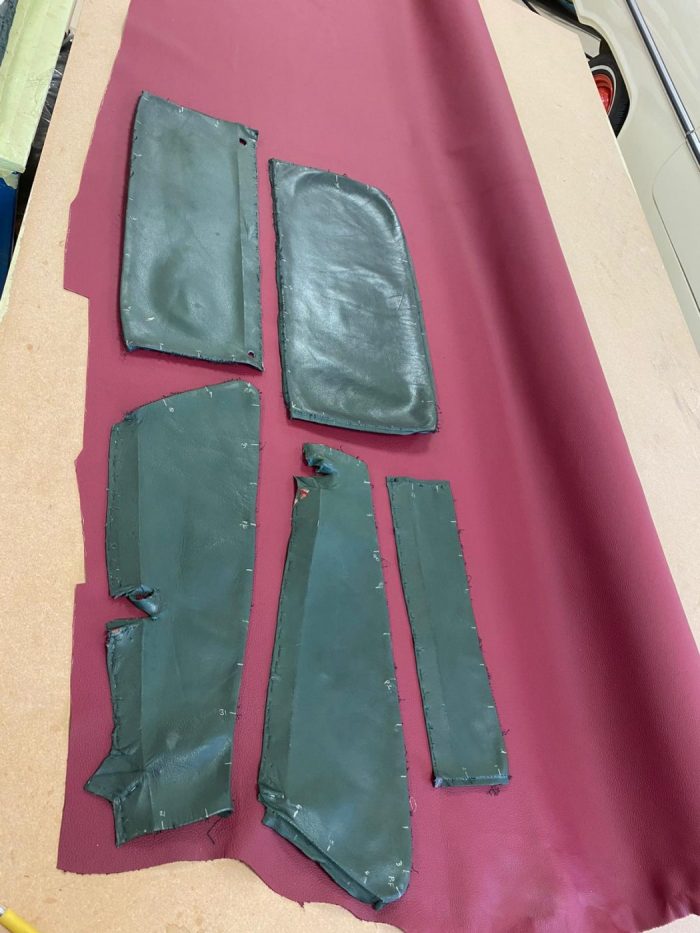
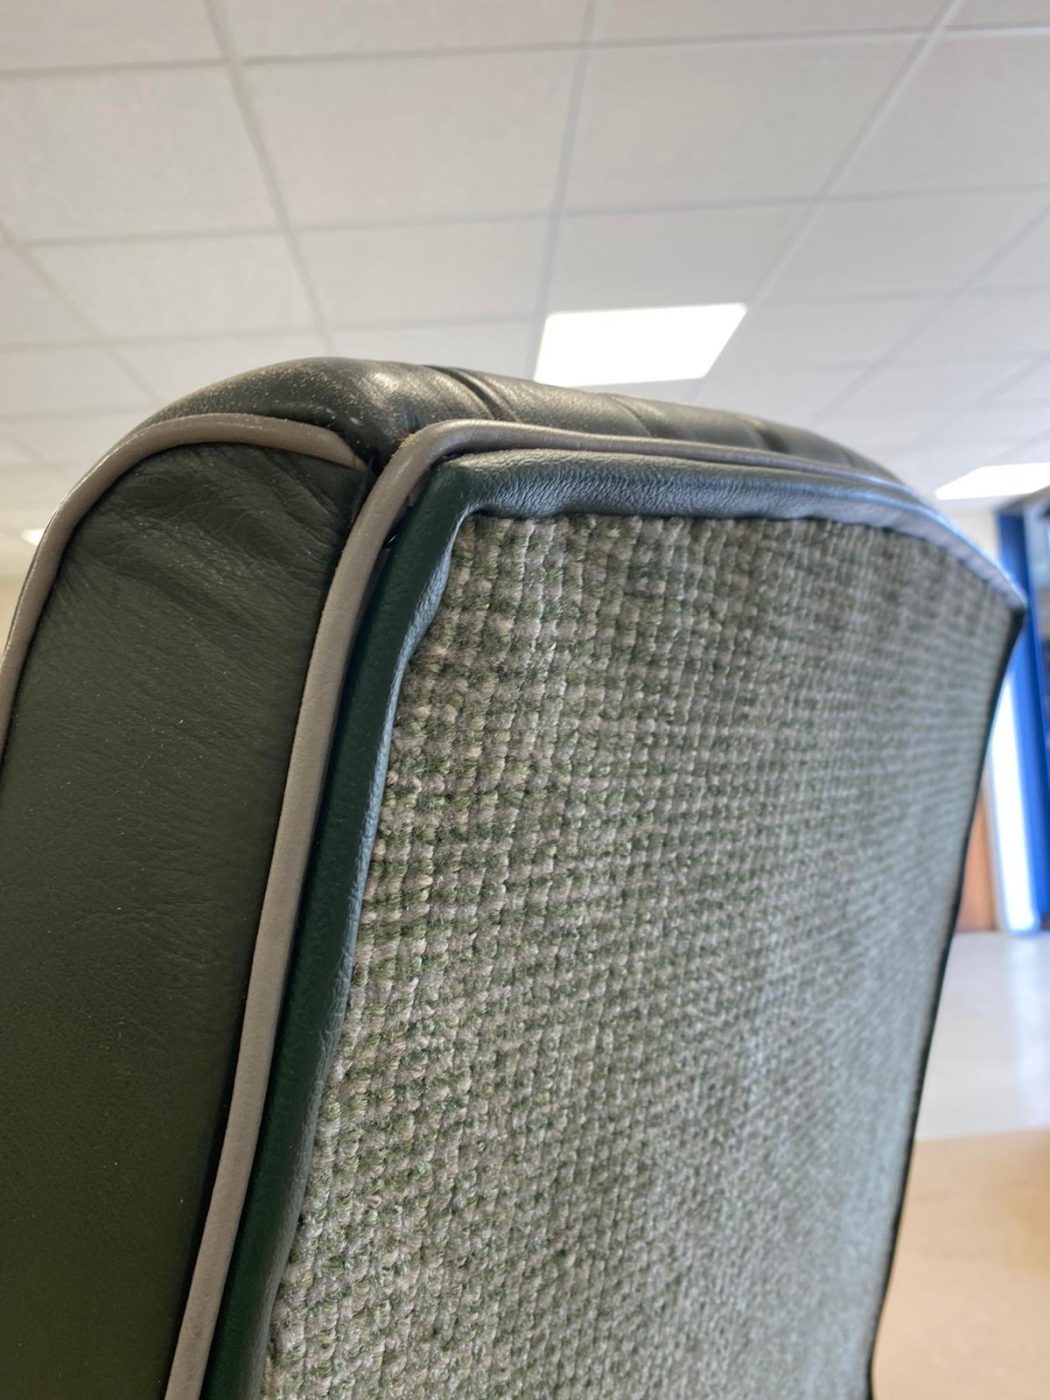
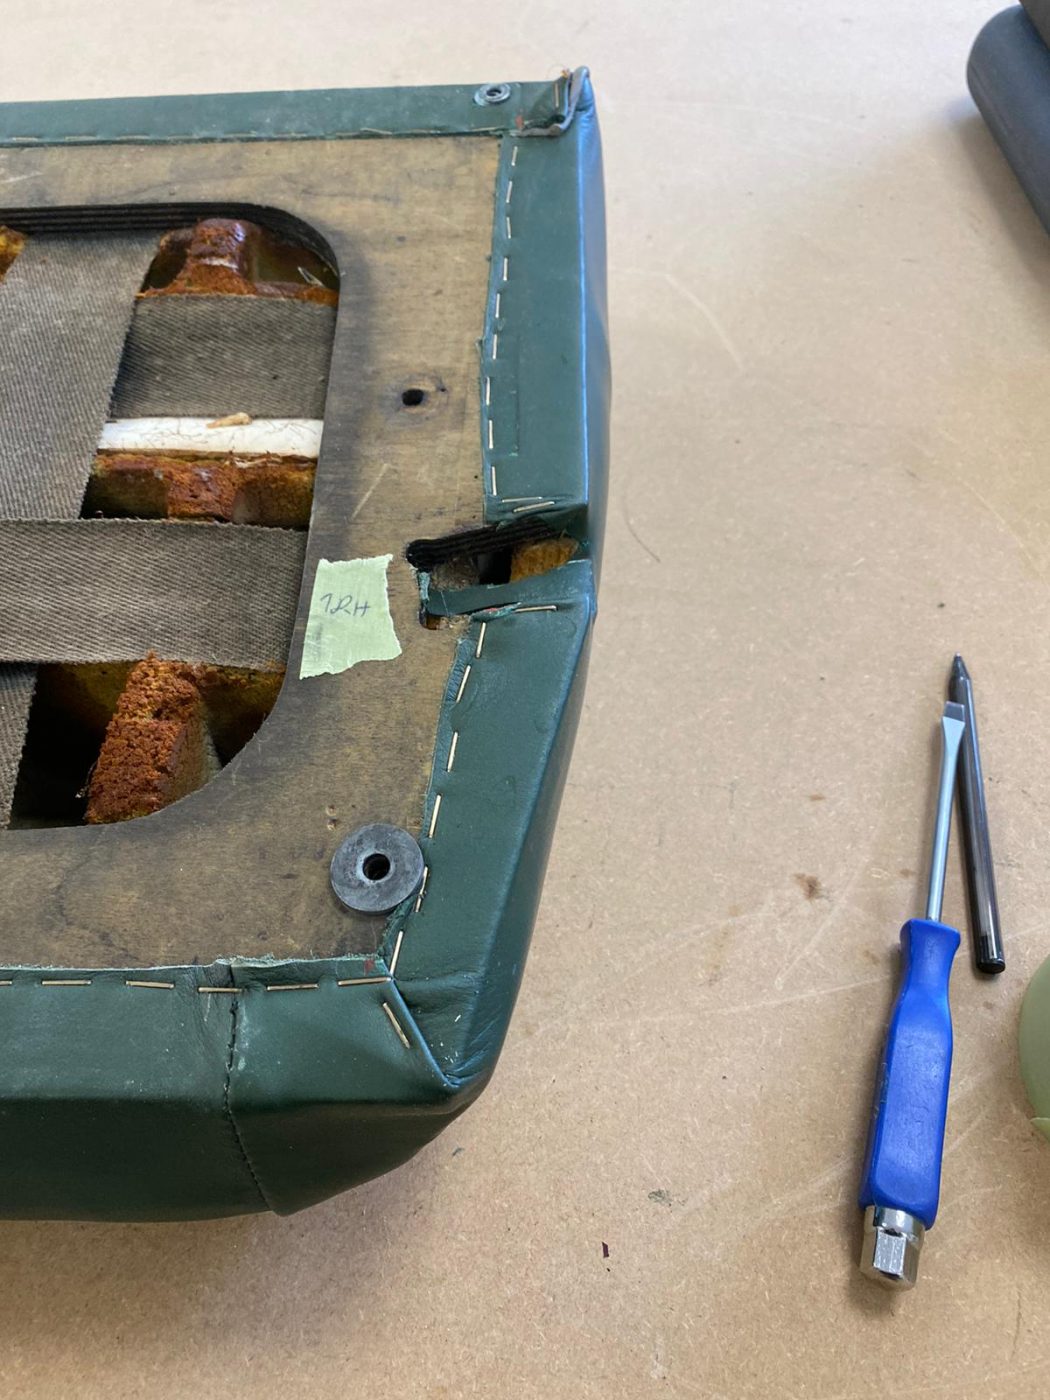
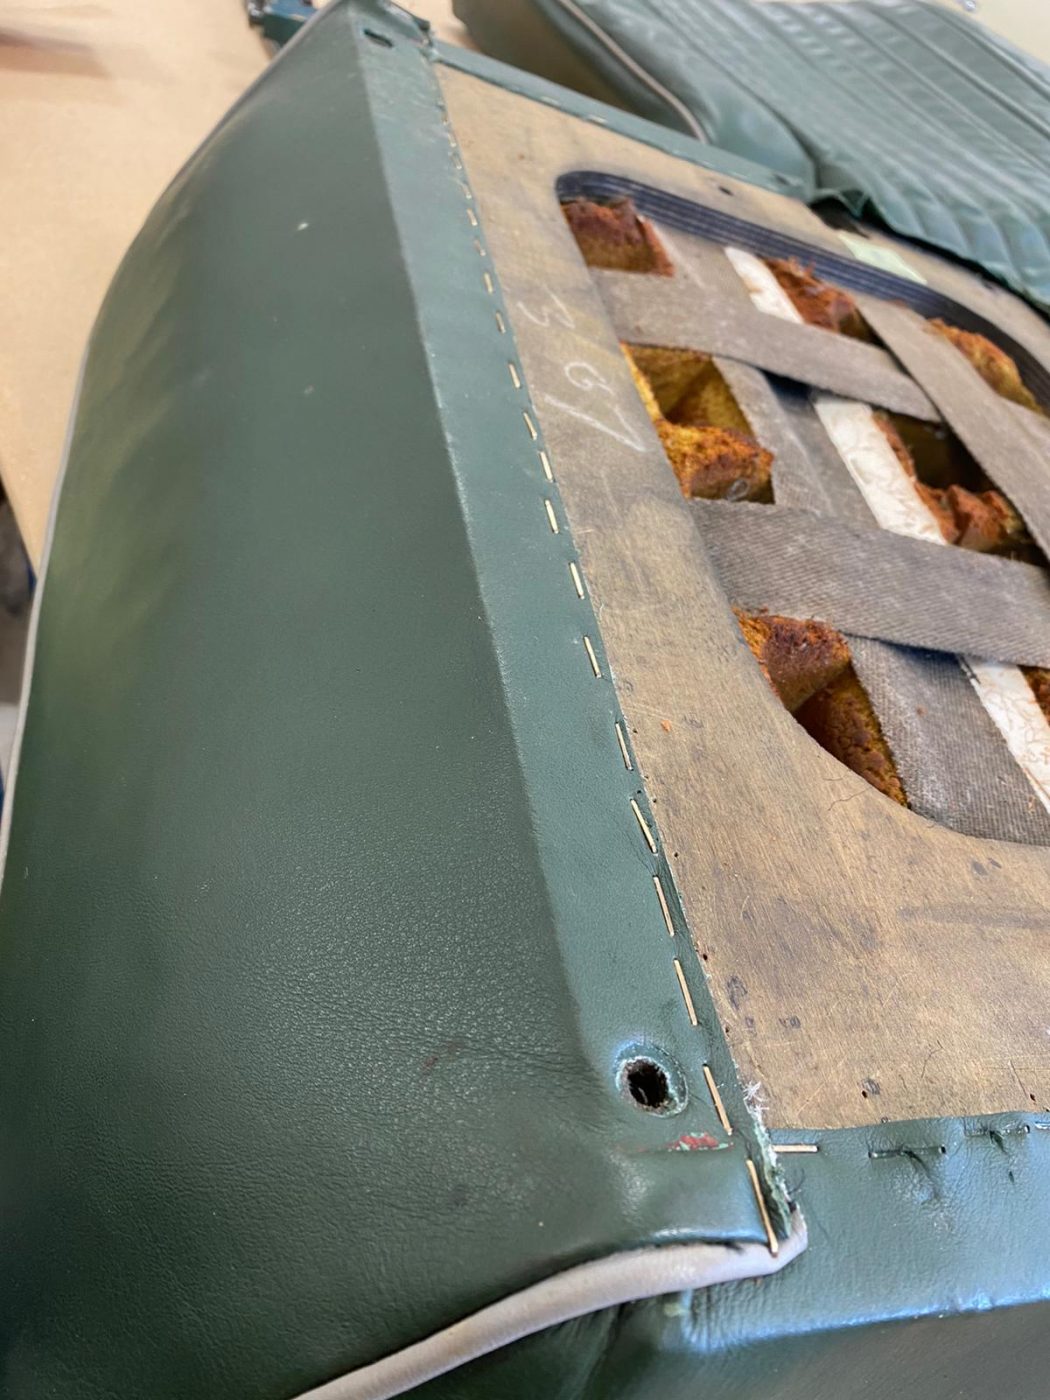
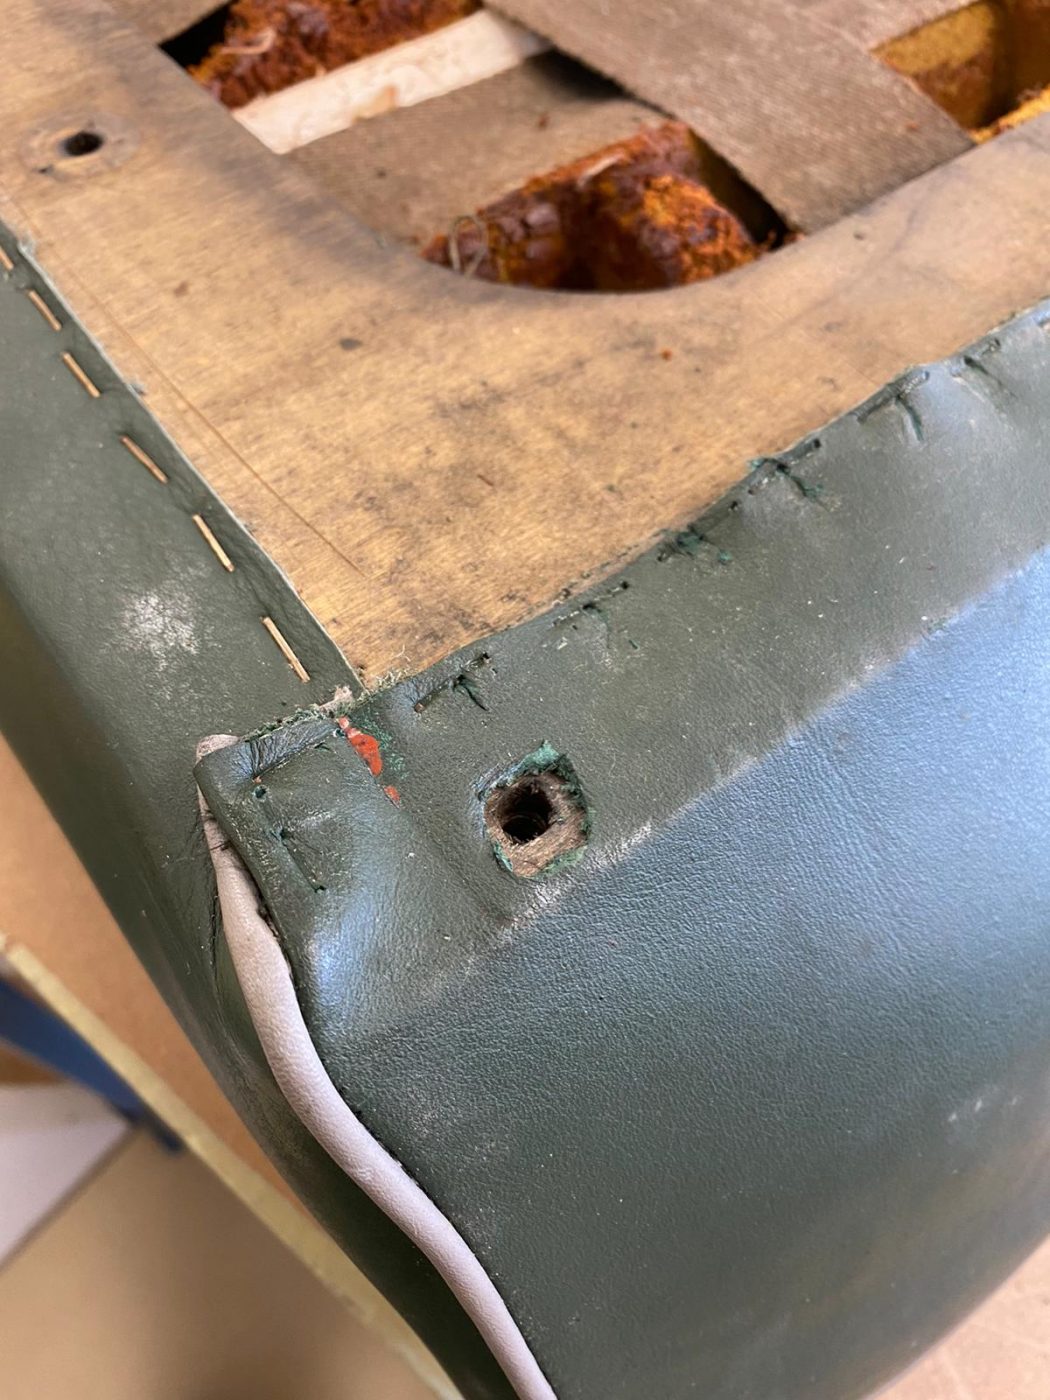
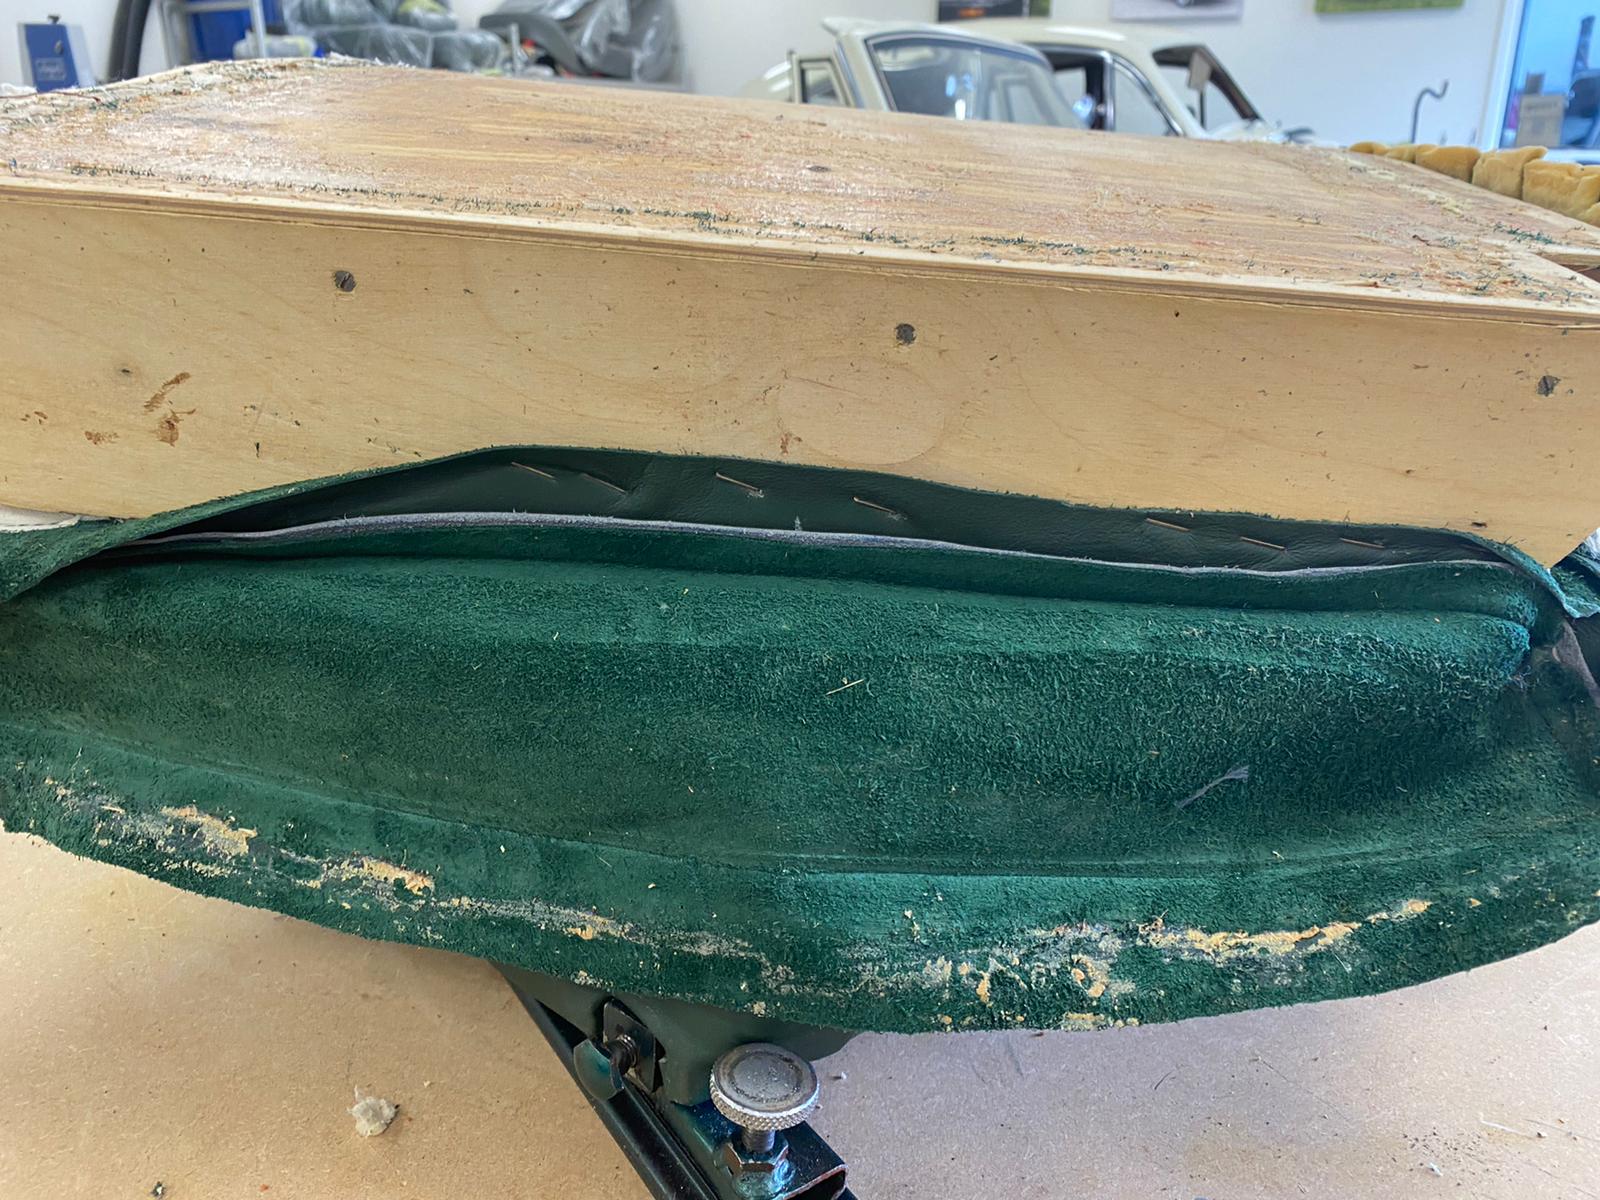
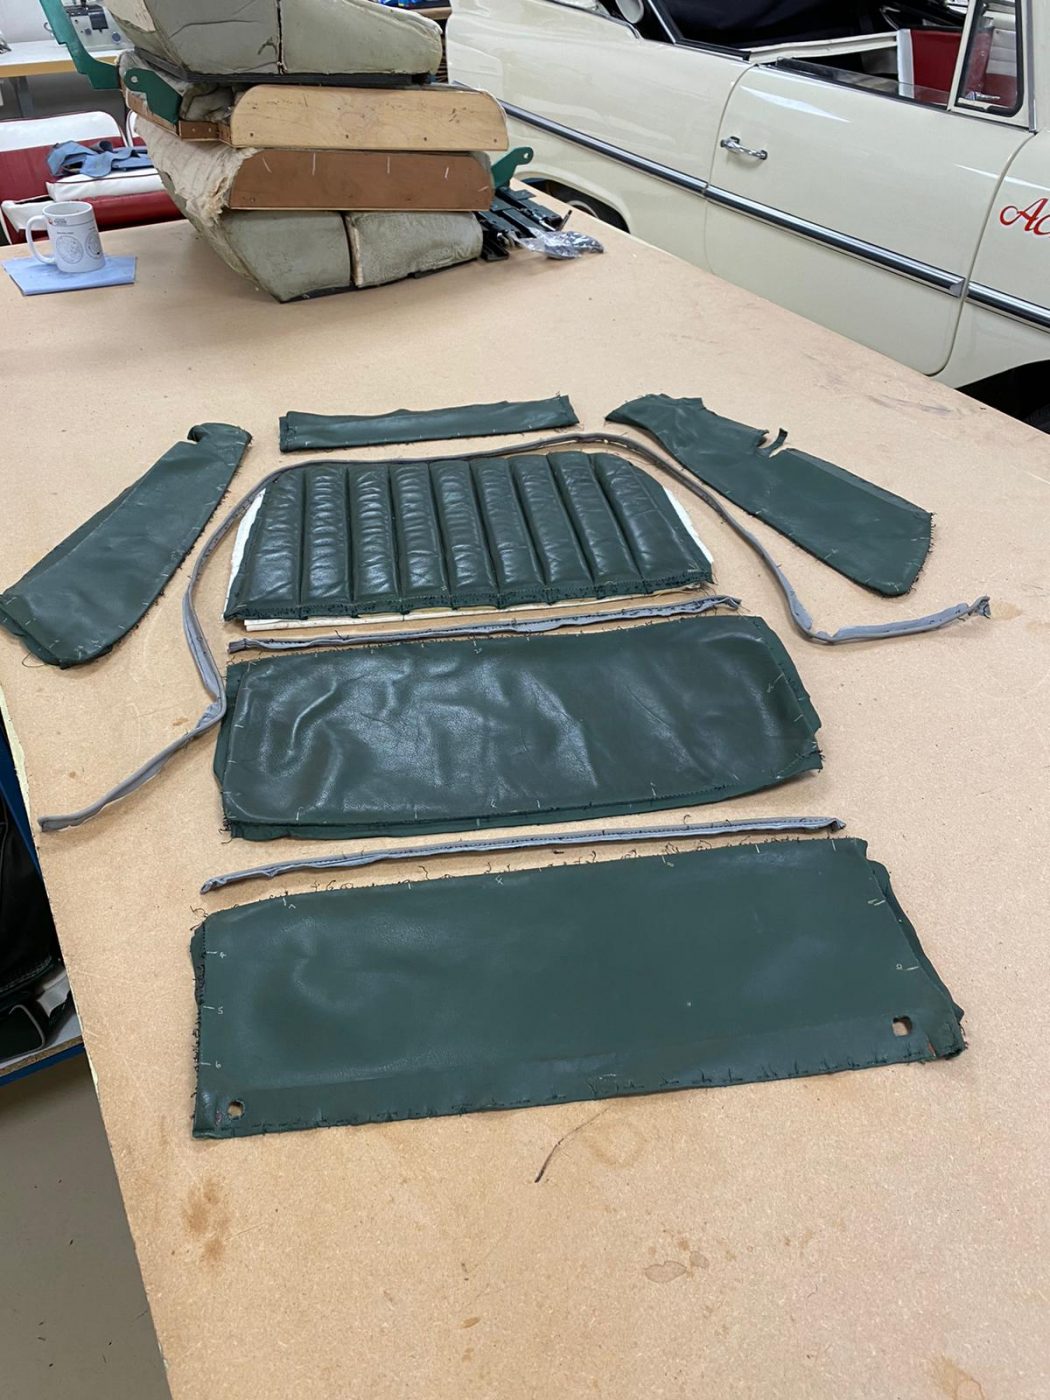
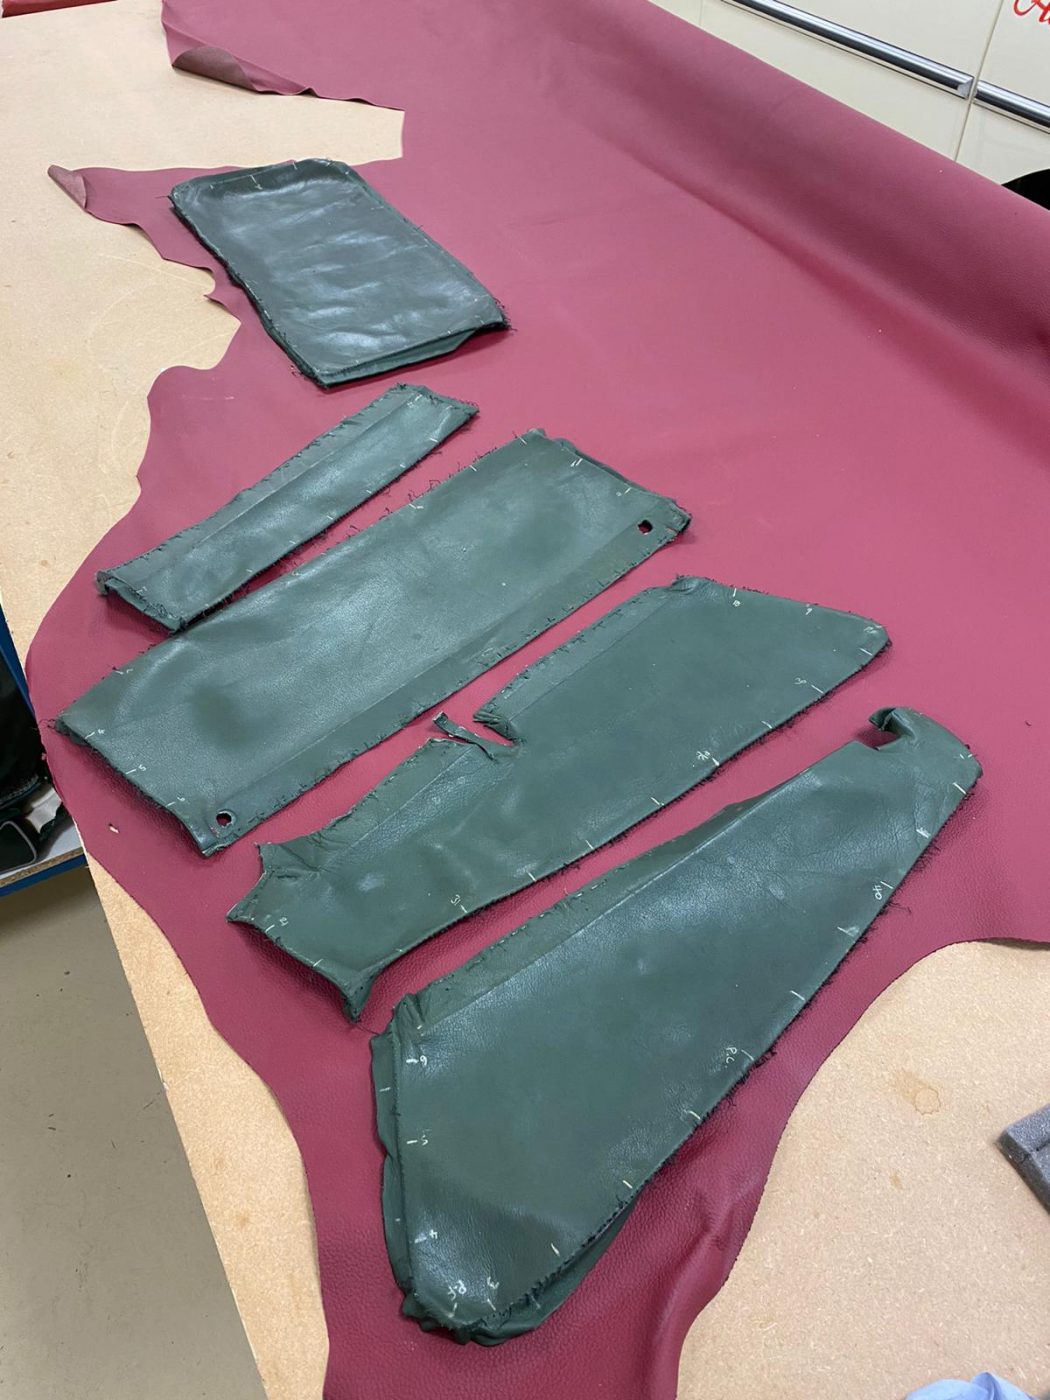
Kath has been continuing her work on the 1955 Aston Martin DB 2/4’s carpet. This time, she’s re-made the left-hand footwell carpet, right-hand boot side panel, right-hand rear floor, right-hand rear under-seat, right-hand rear corner, right-hand rear sill, rear quarter panel (which needs the wood in still) and rear scuttle panel.


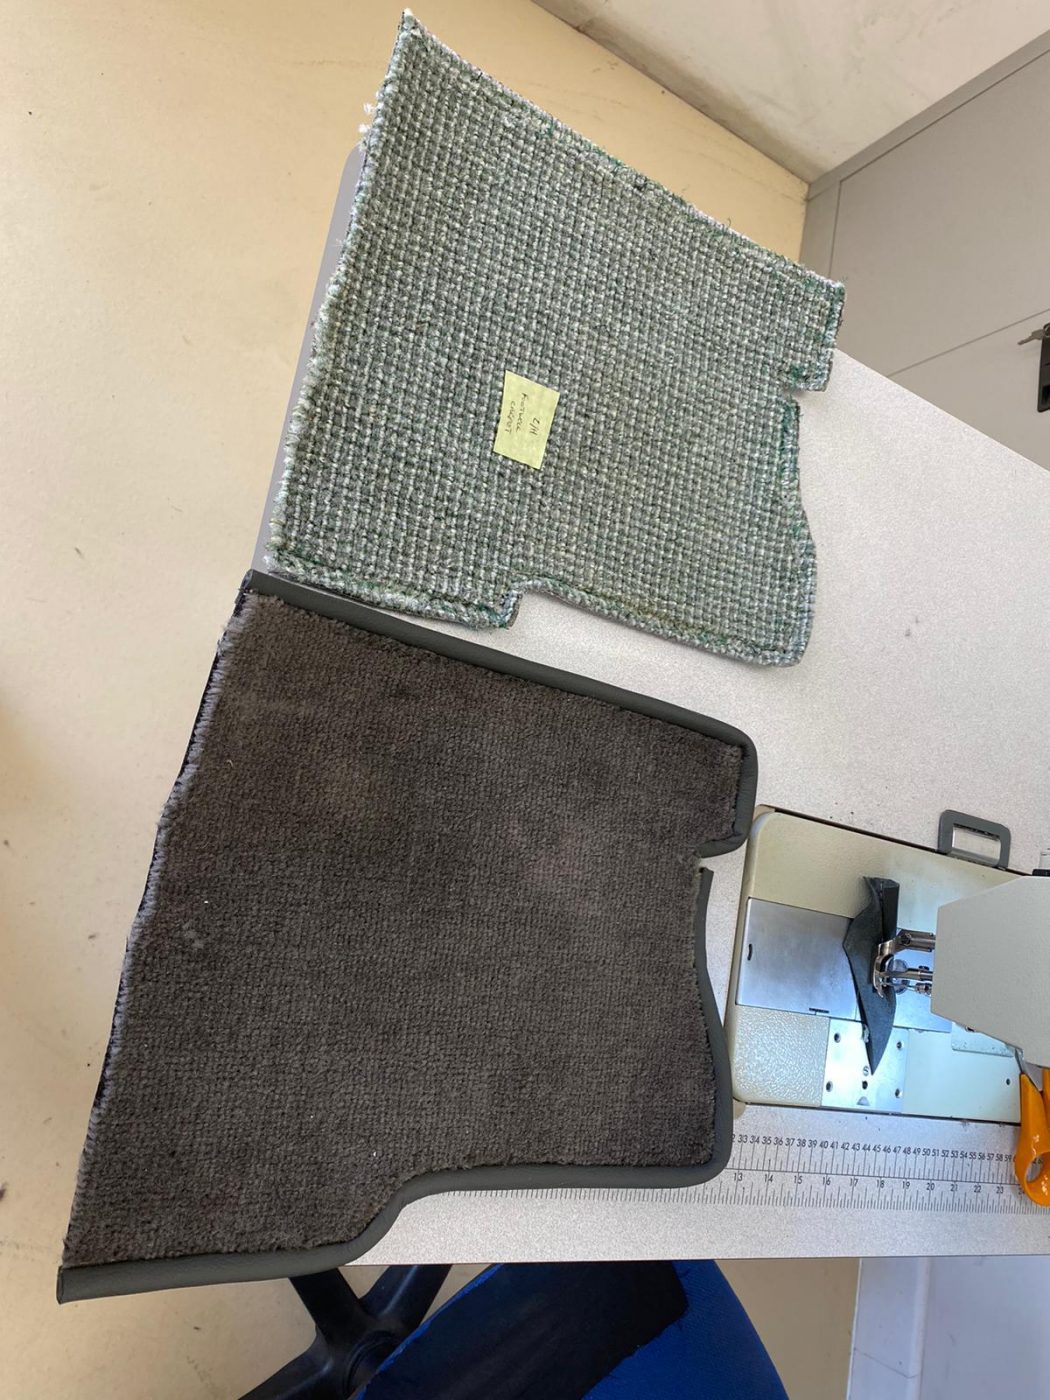
Although the interior of our 1955 Aston Martin DB2/4 has been re-manufactured not that long ago, it was been carried out to the customer’s preference and not correct in correspondence to the original factory specification. The interior of our Aston is currently undergoing a complete transformation by Kath, Brian and Lydia in our trim shop and the new fit out will see the original colour return.
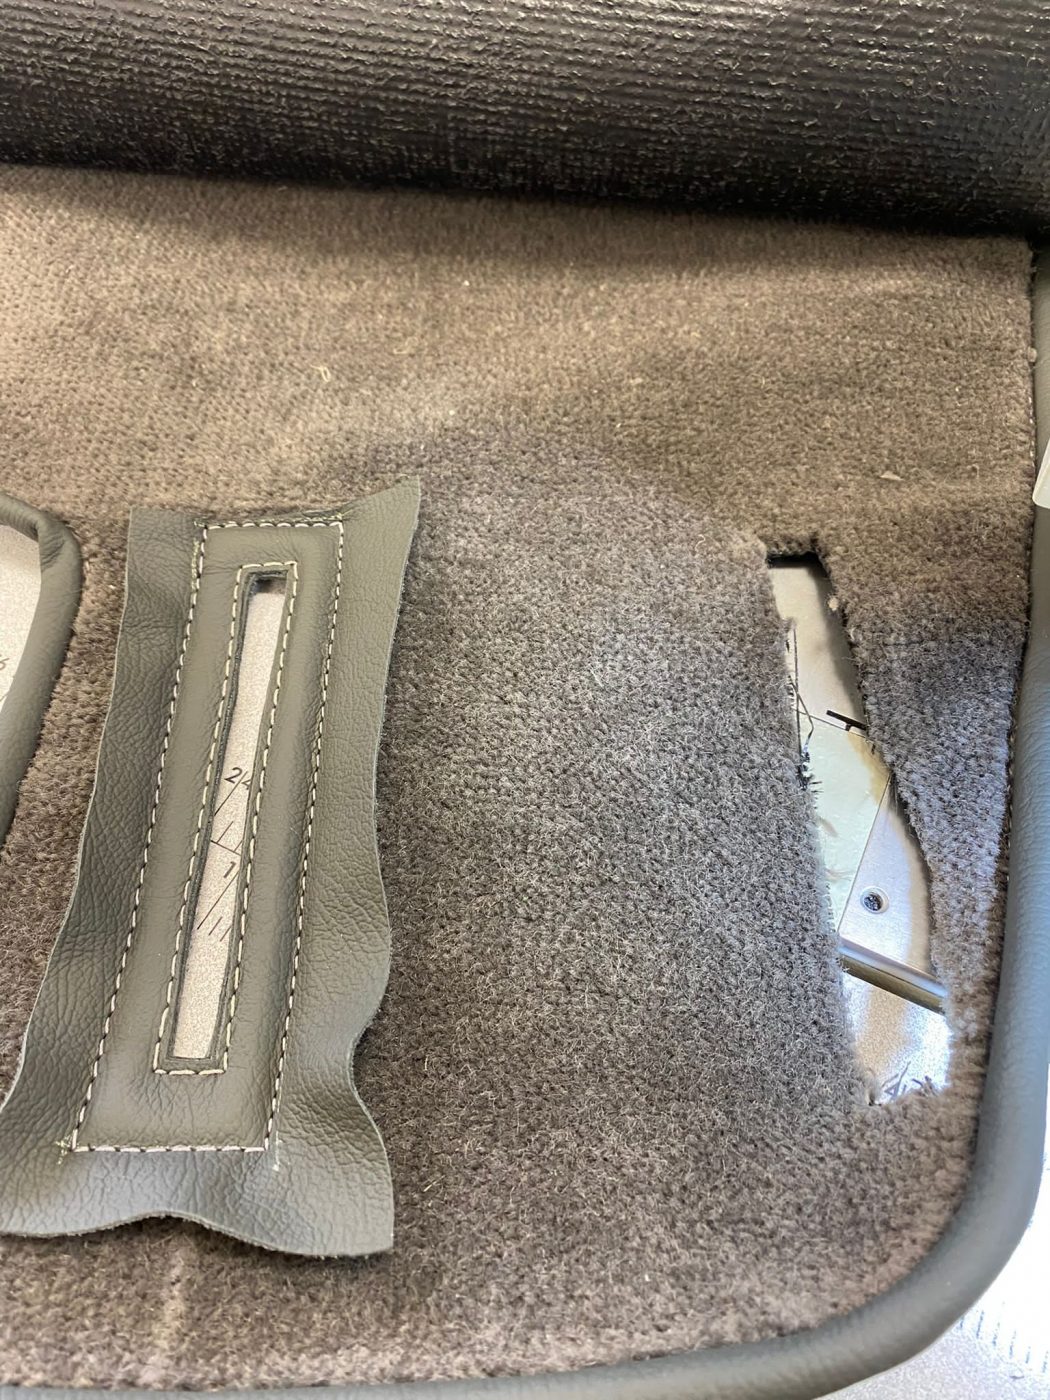
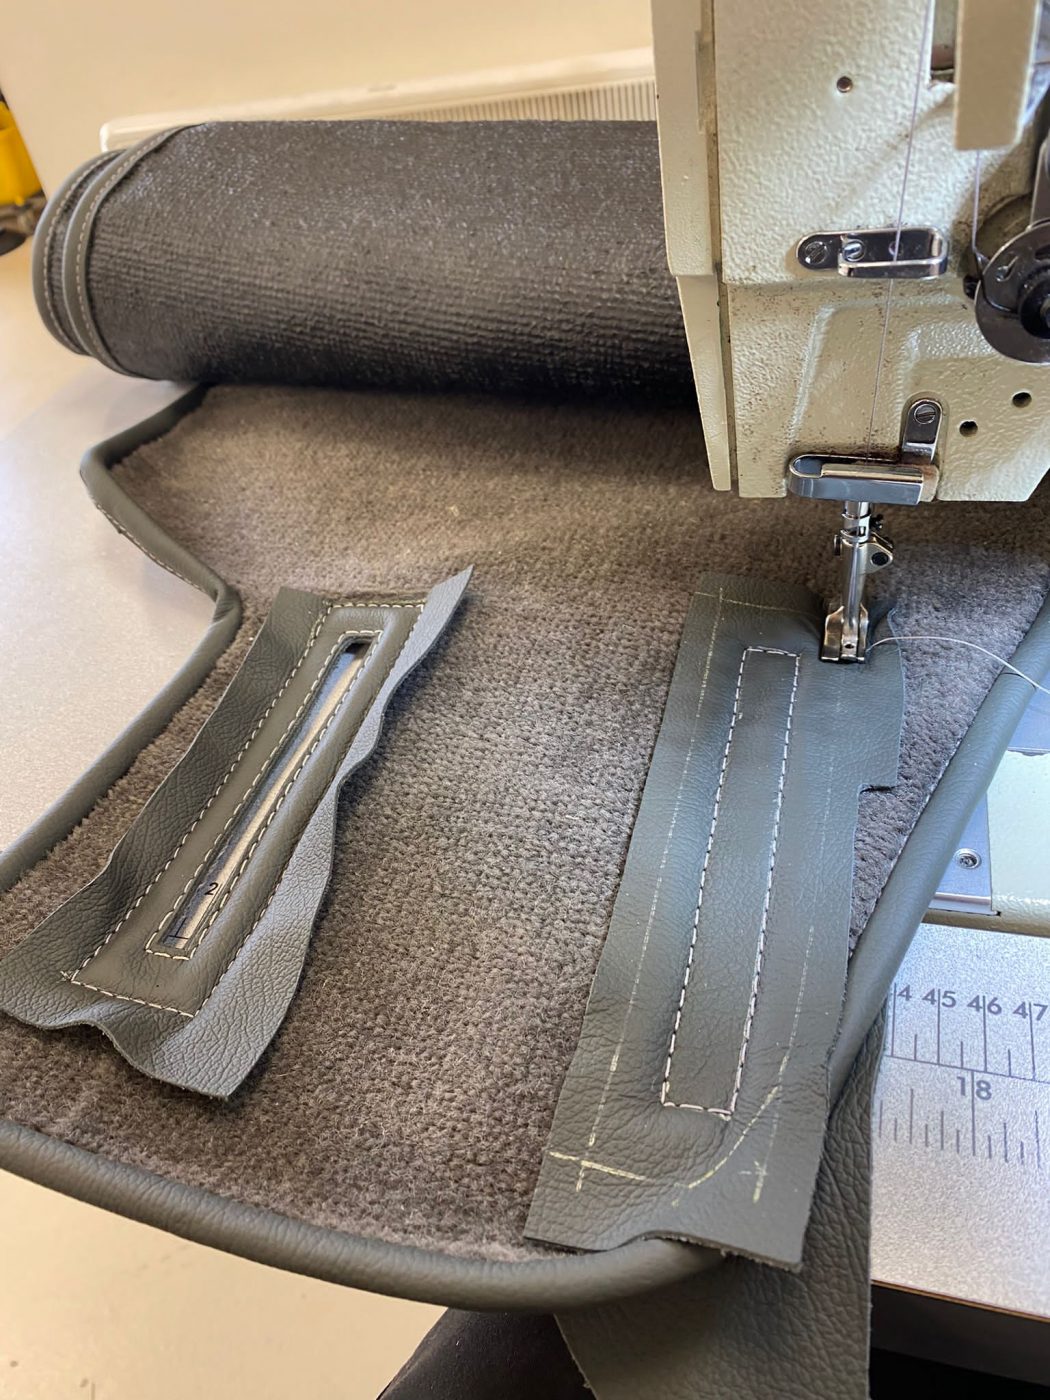
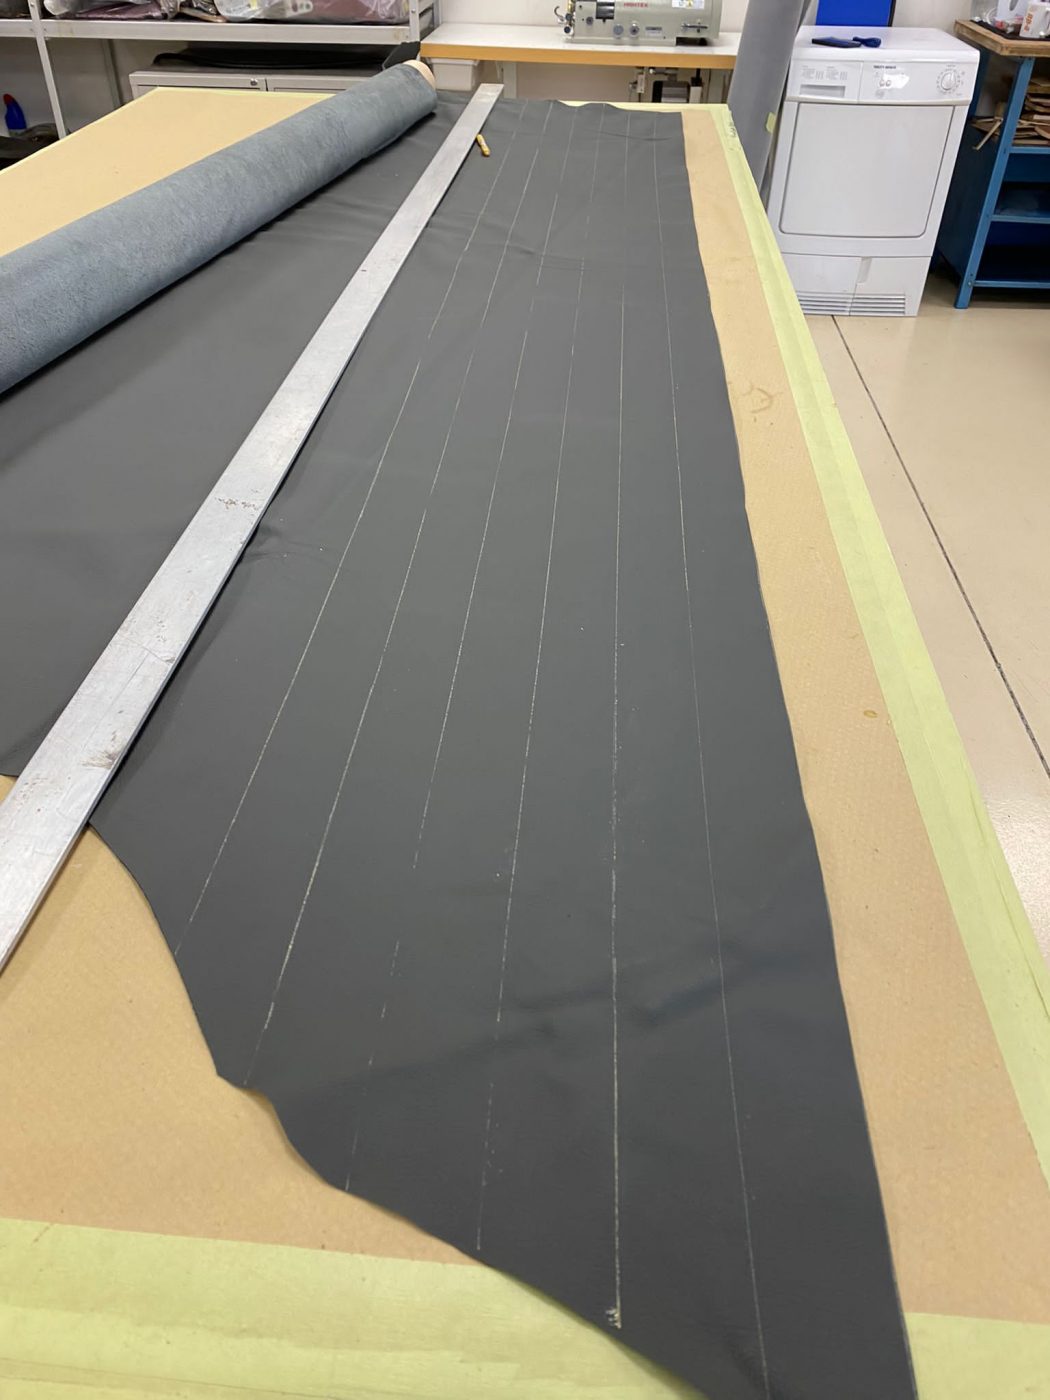
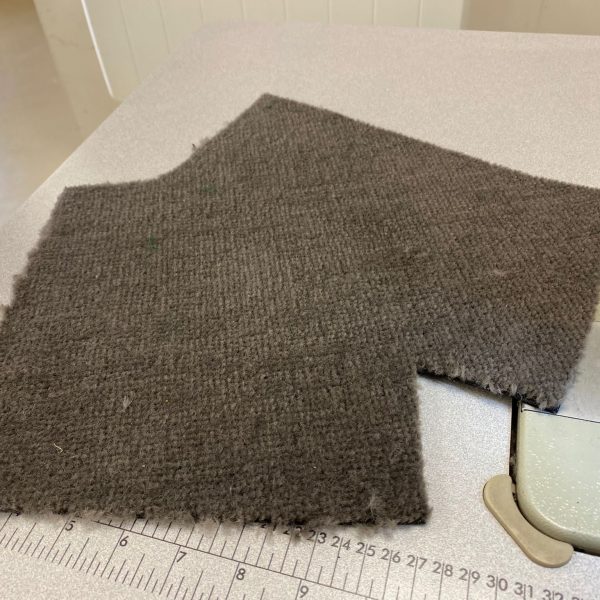
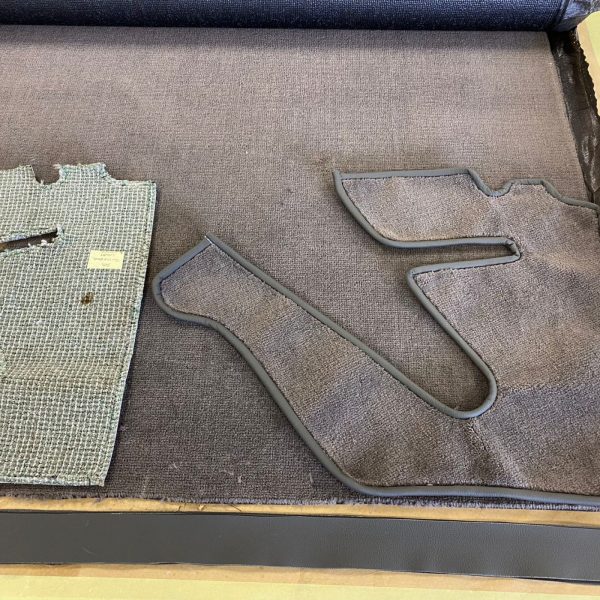
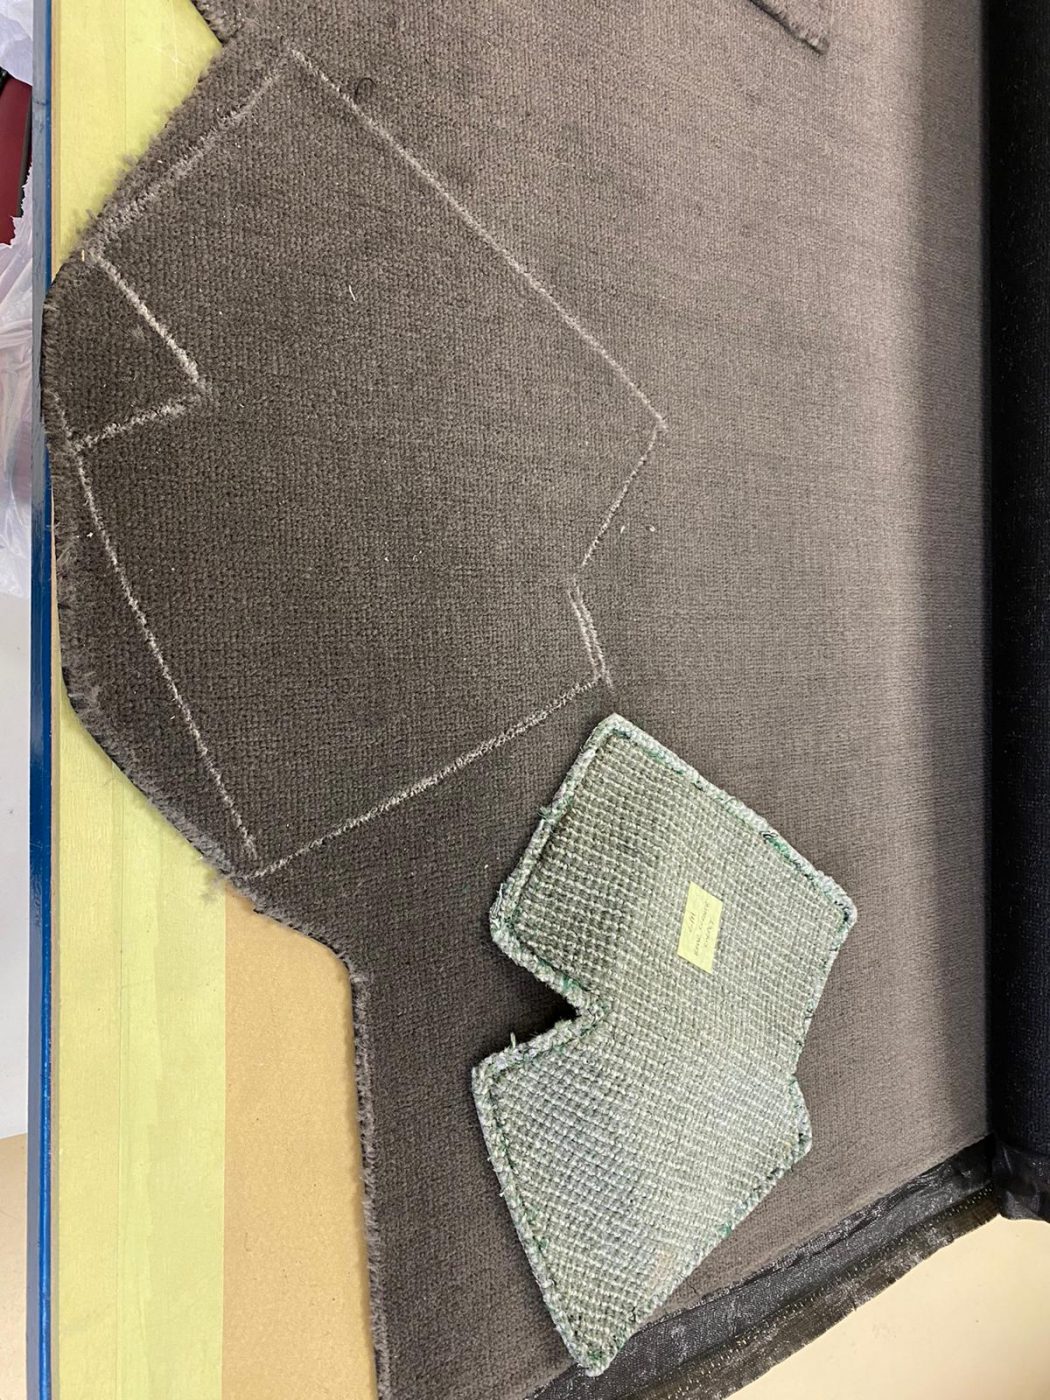
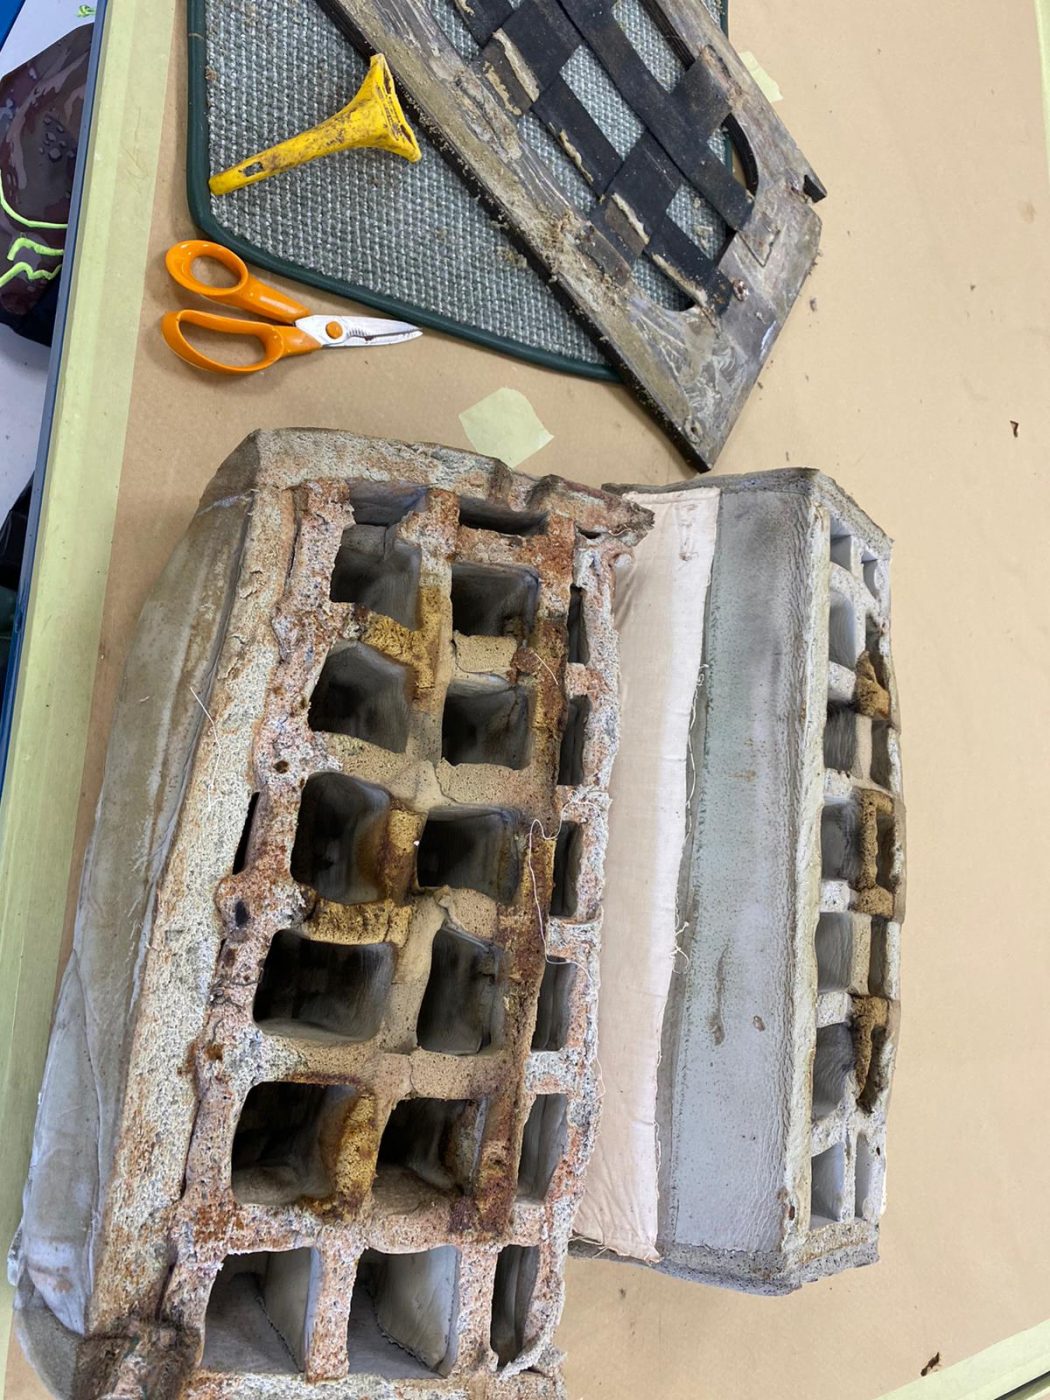
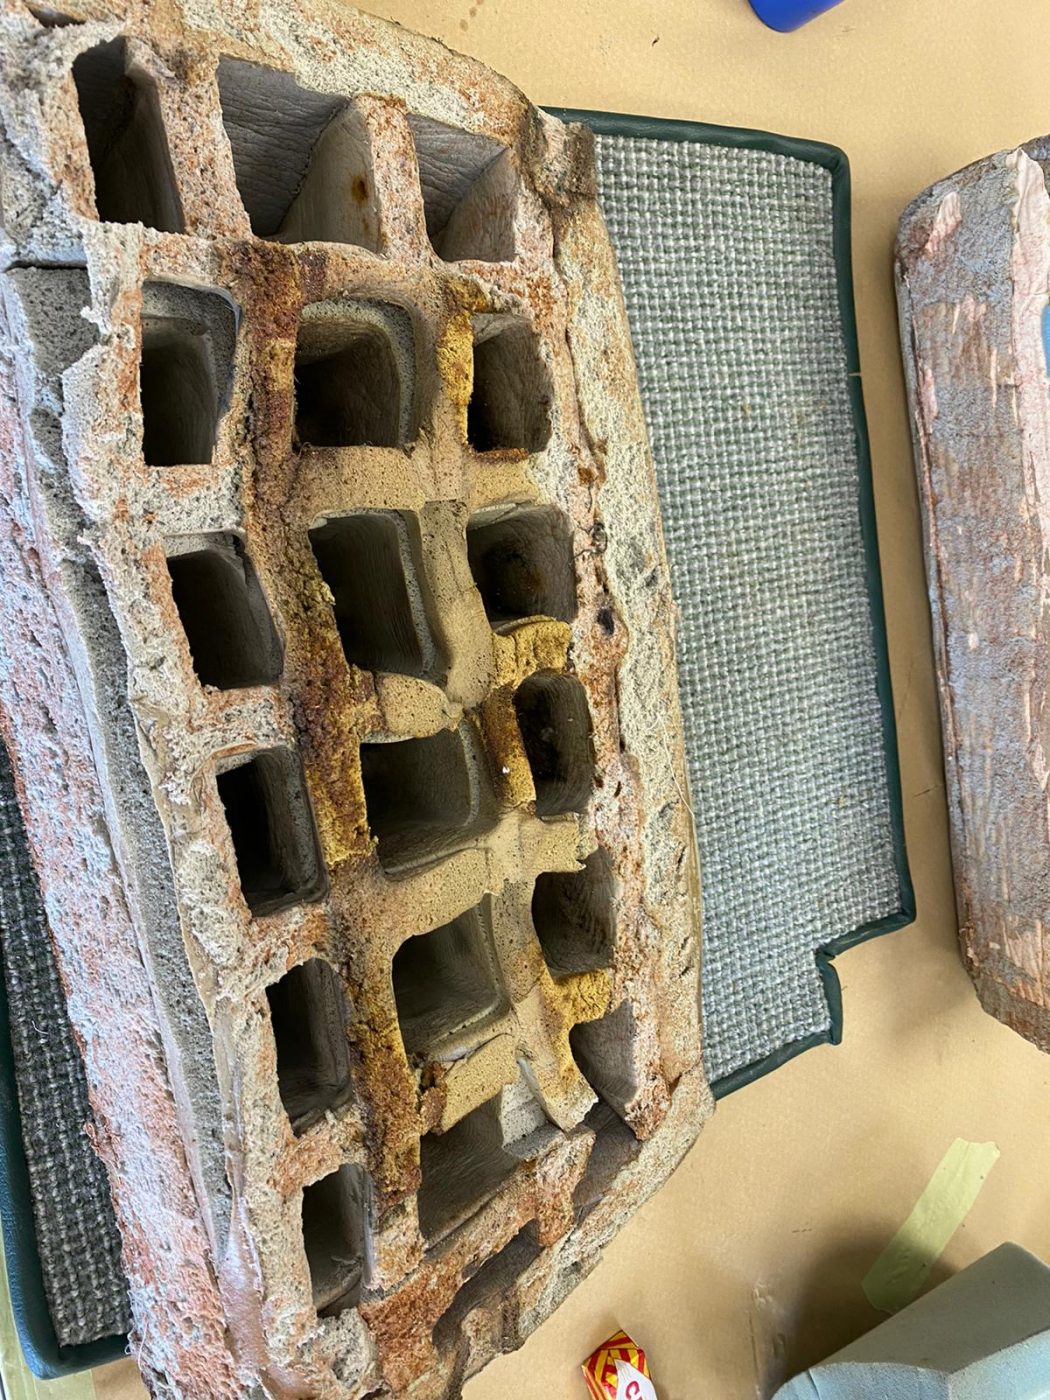
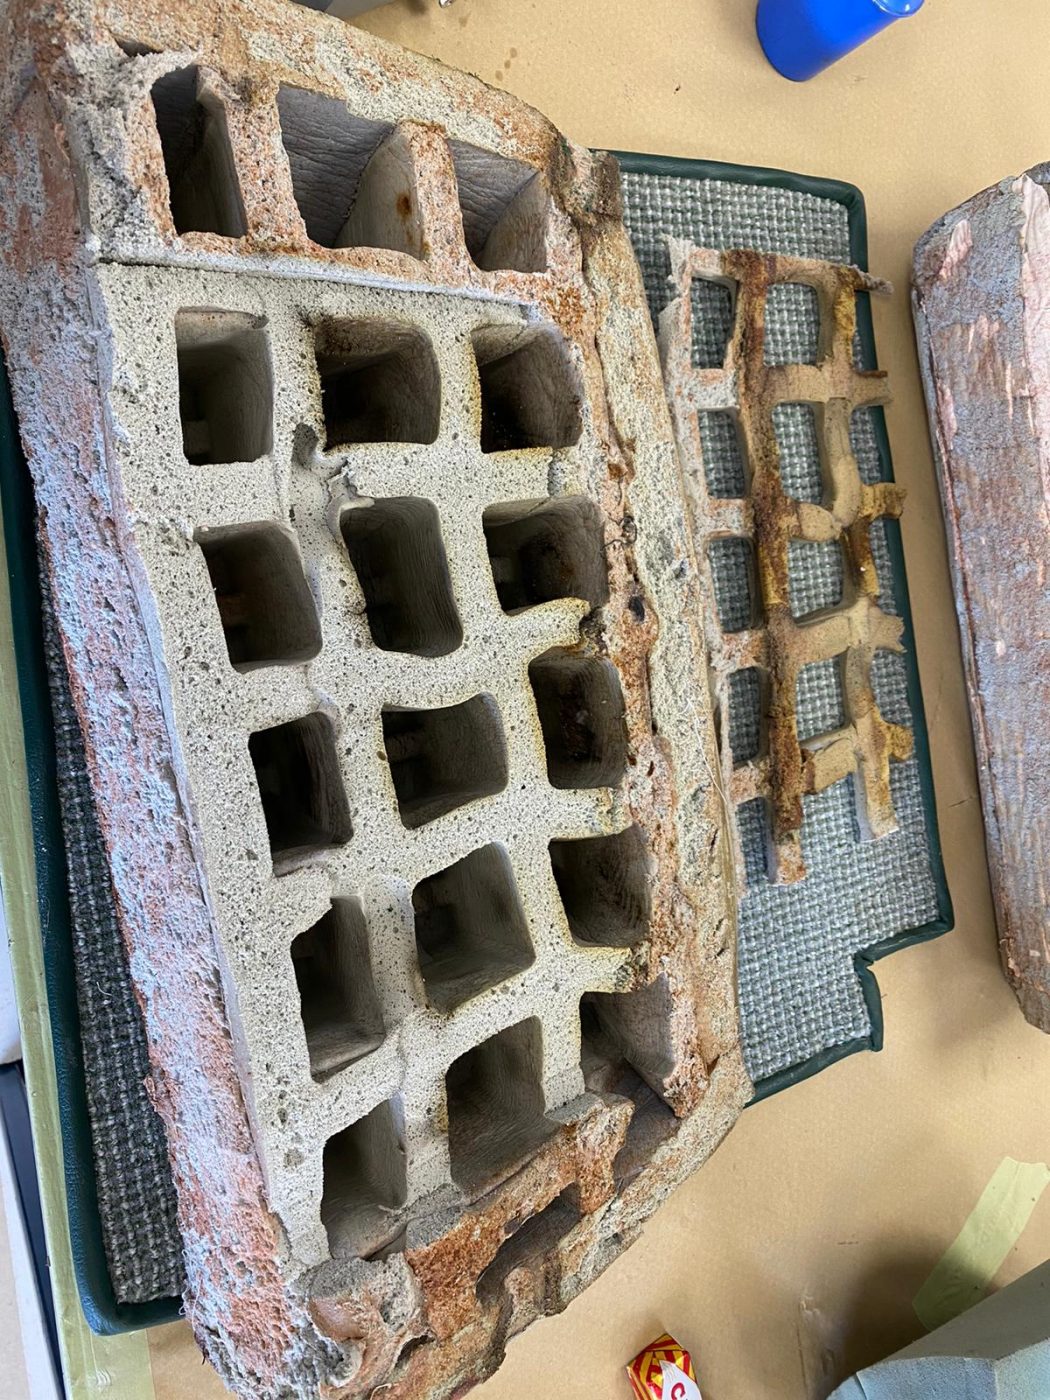
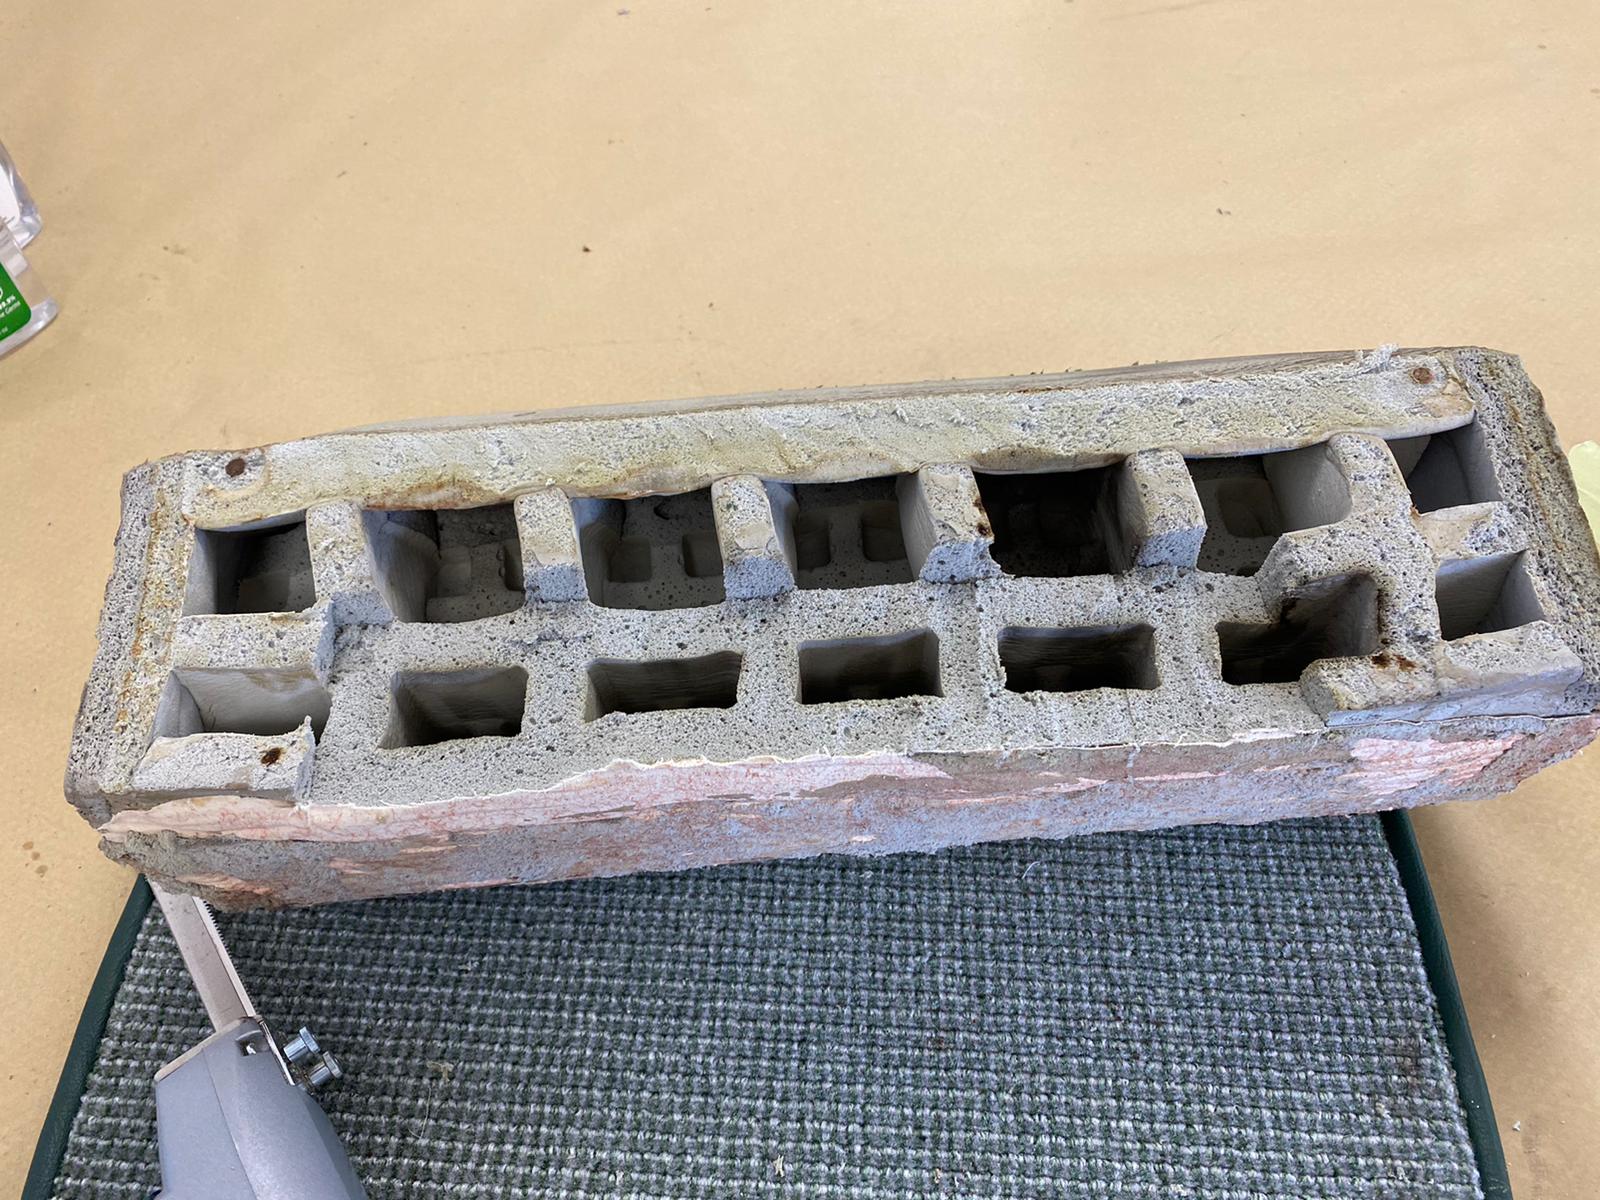
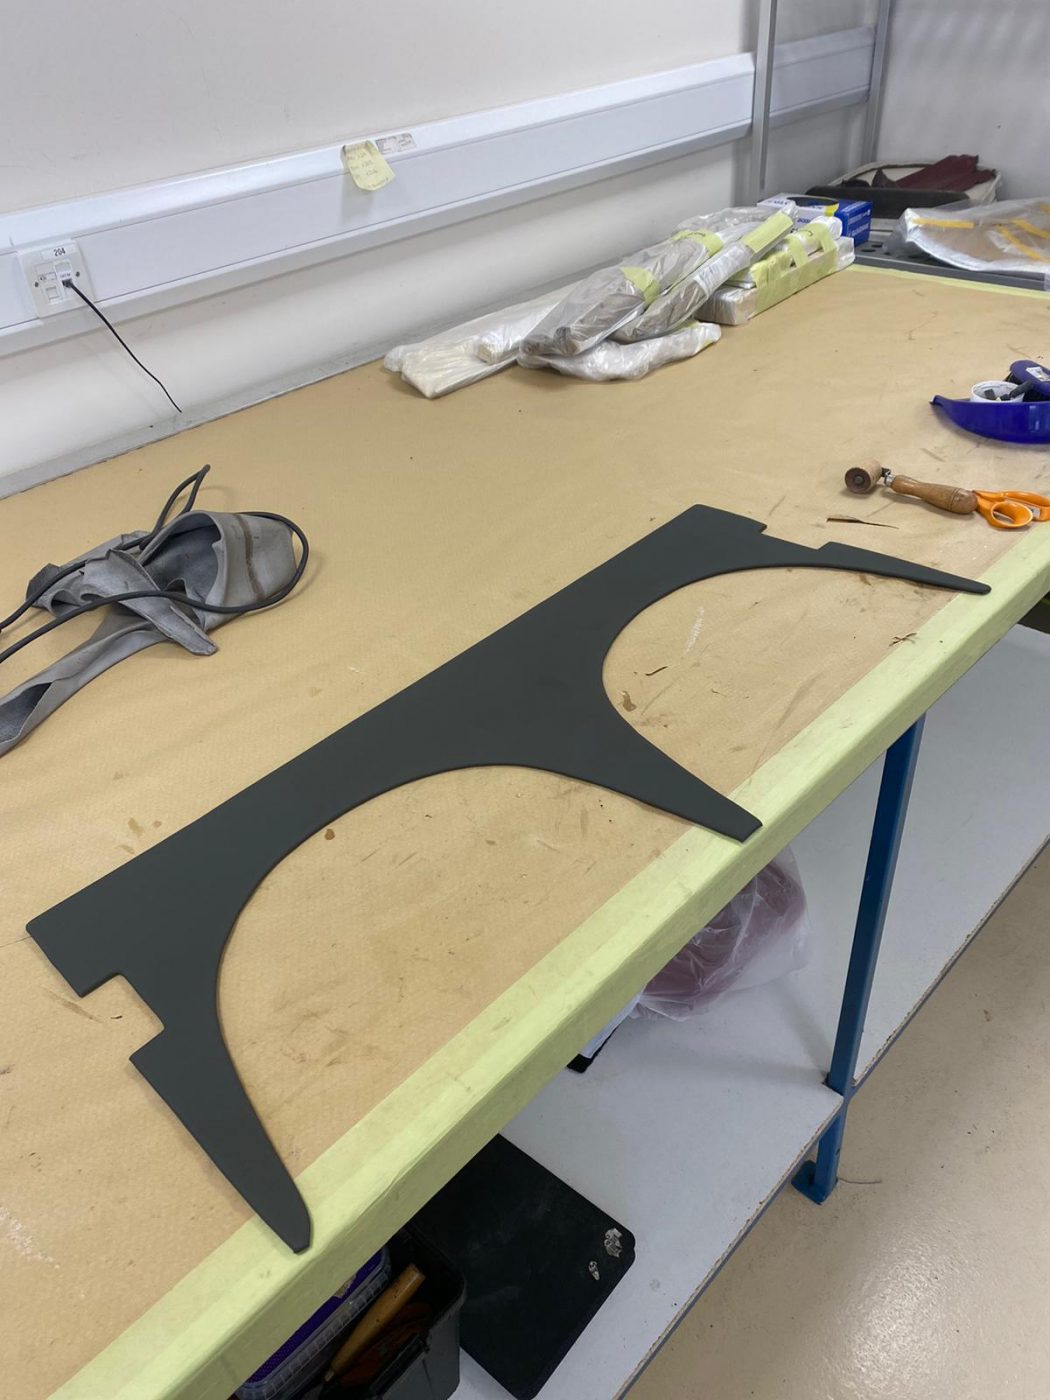
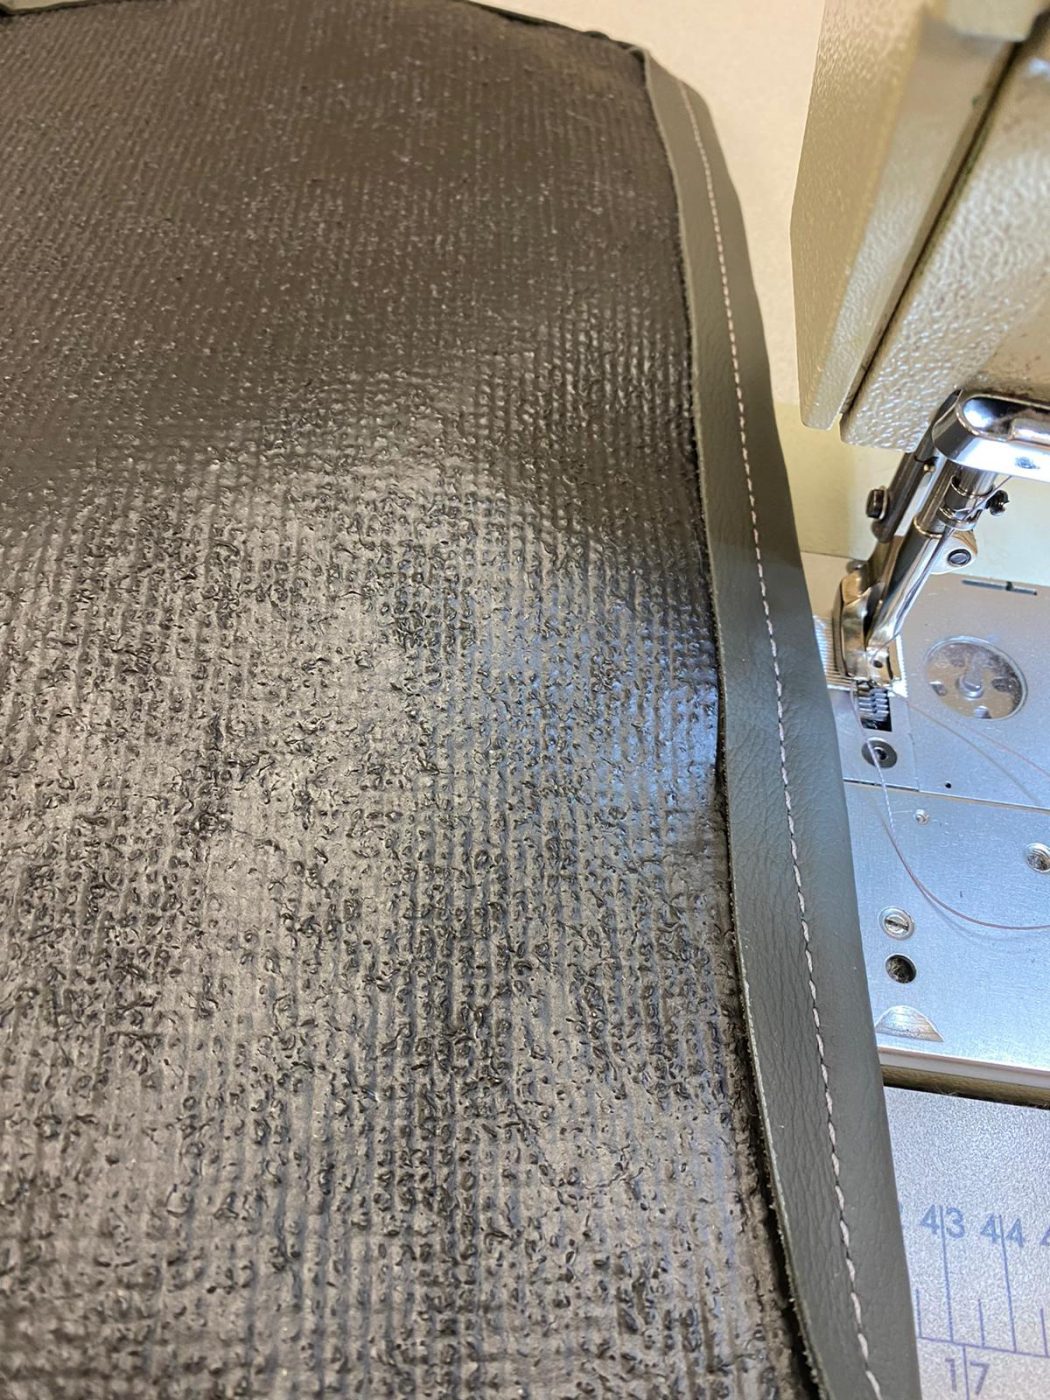
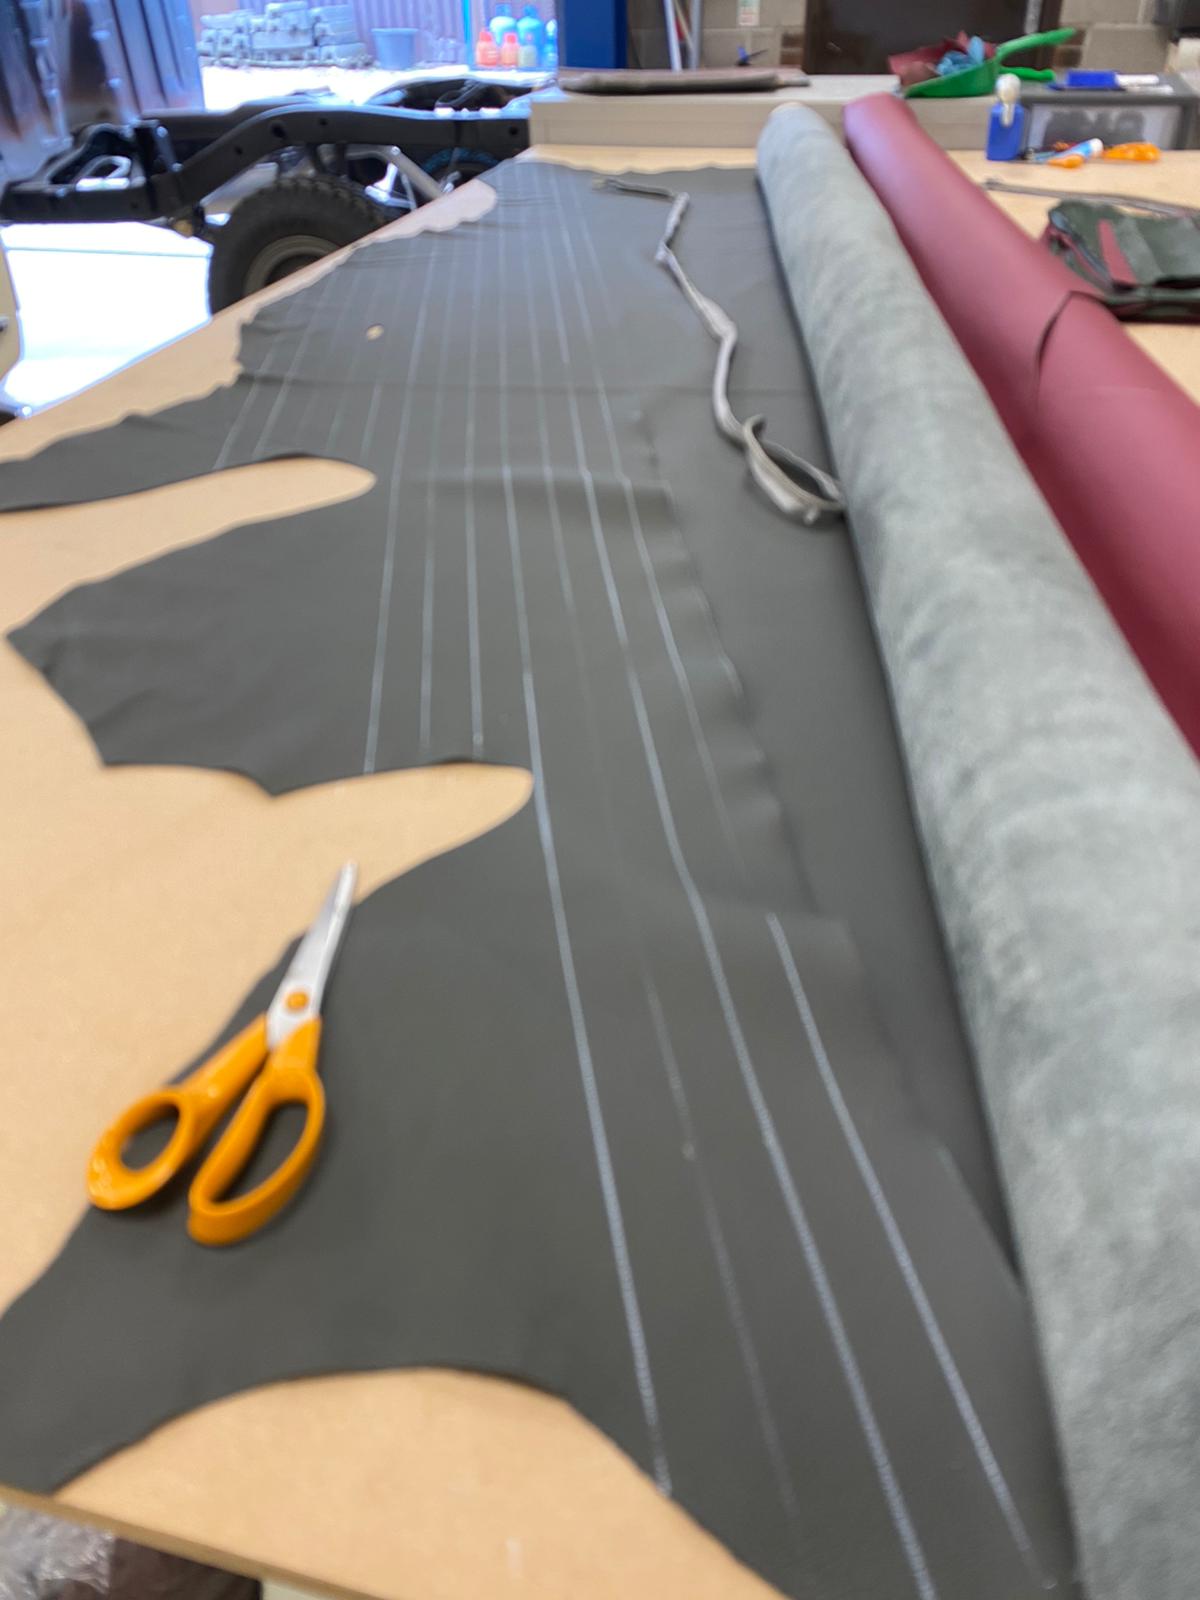
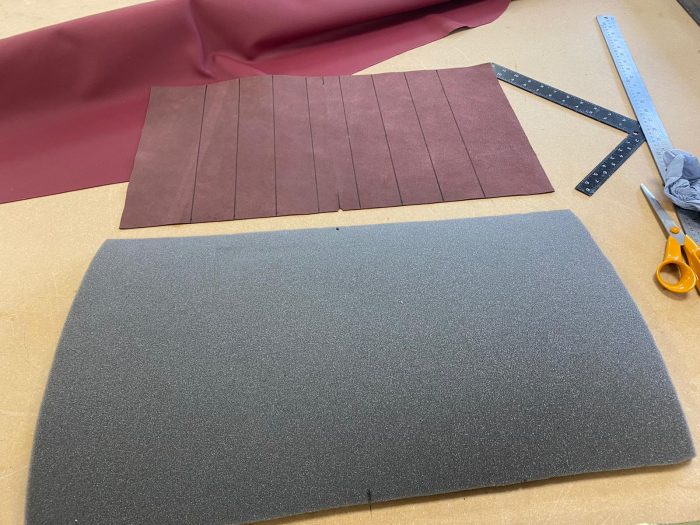
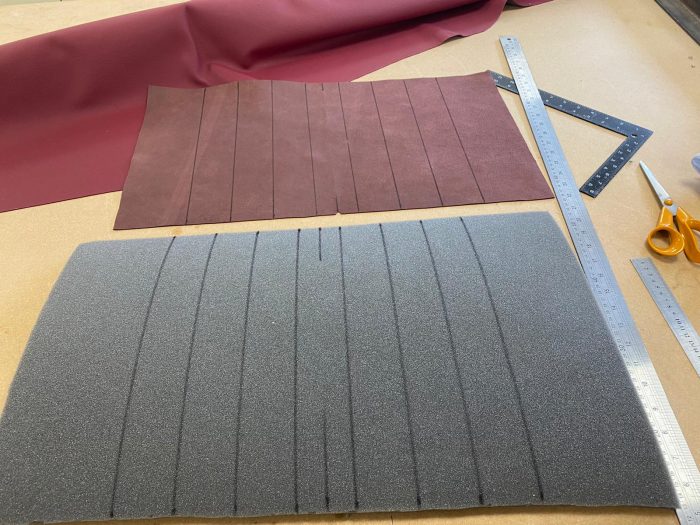
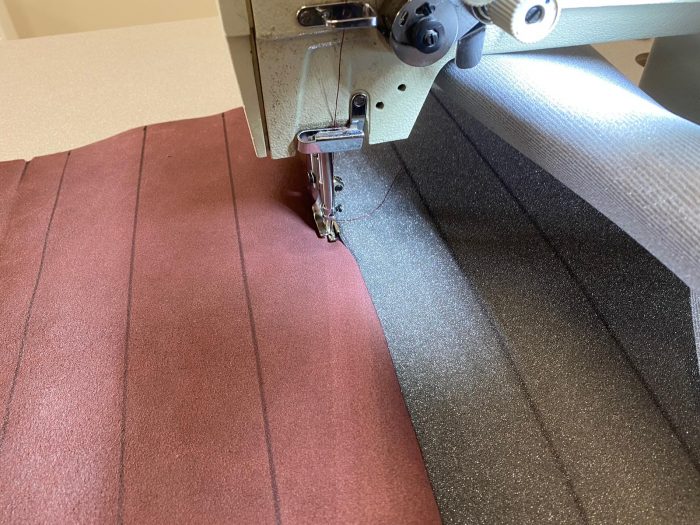
Right now, Kath is working on re-manufacturing the interior carpet using the existing as a template.


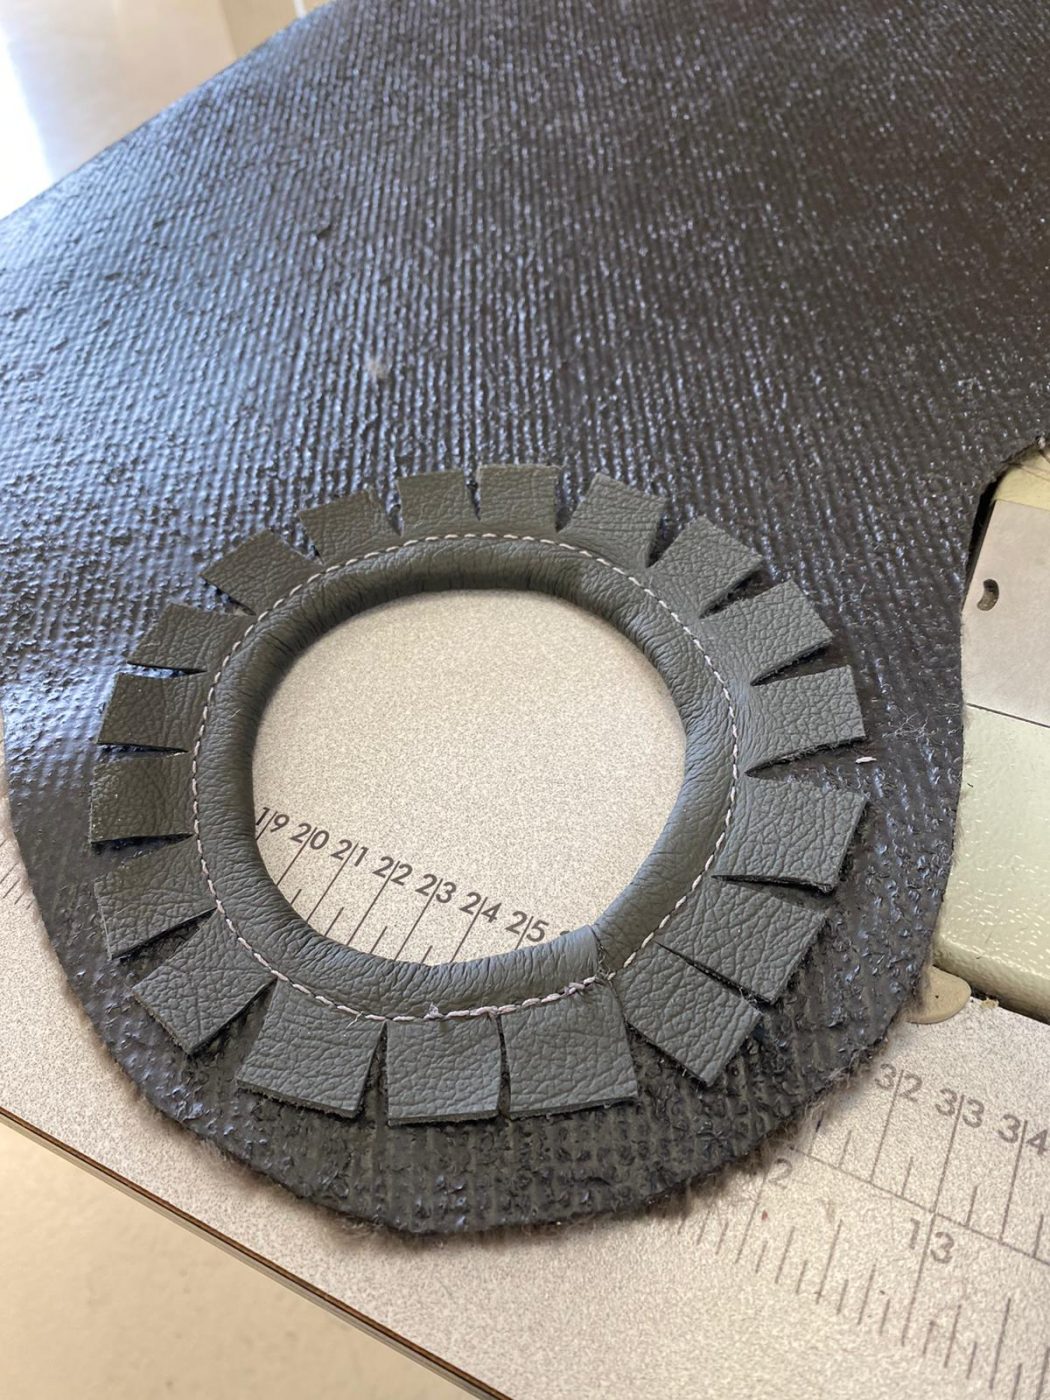
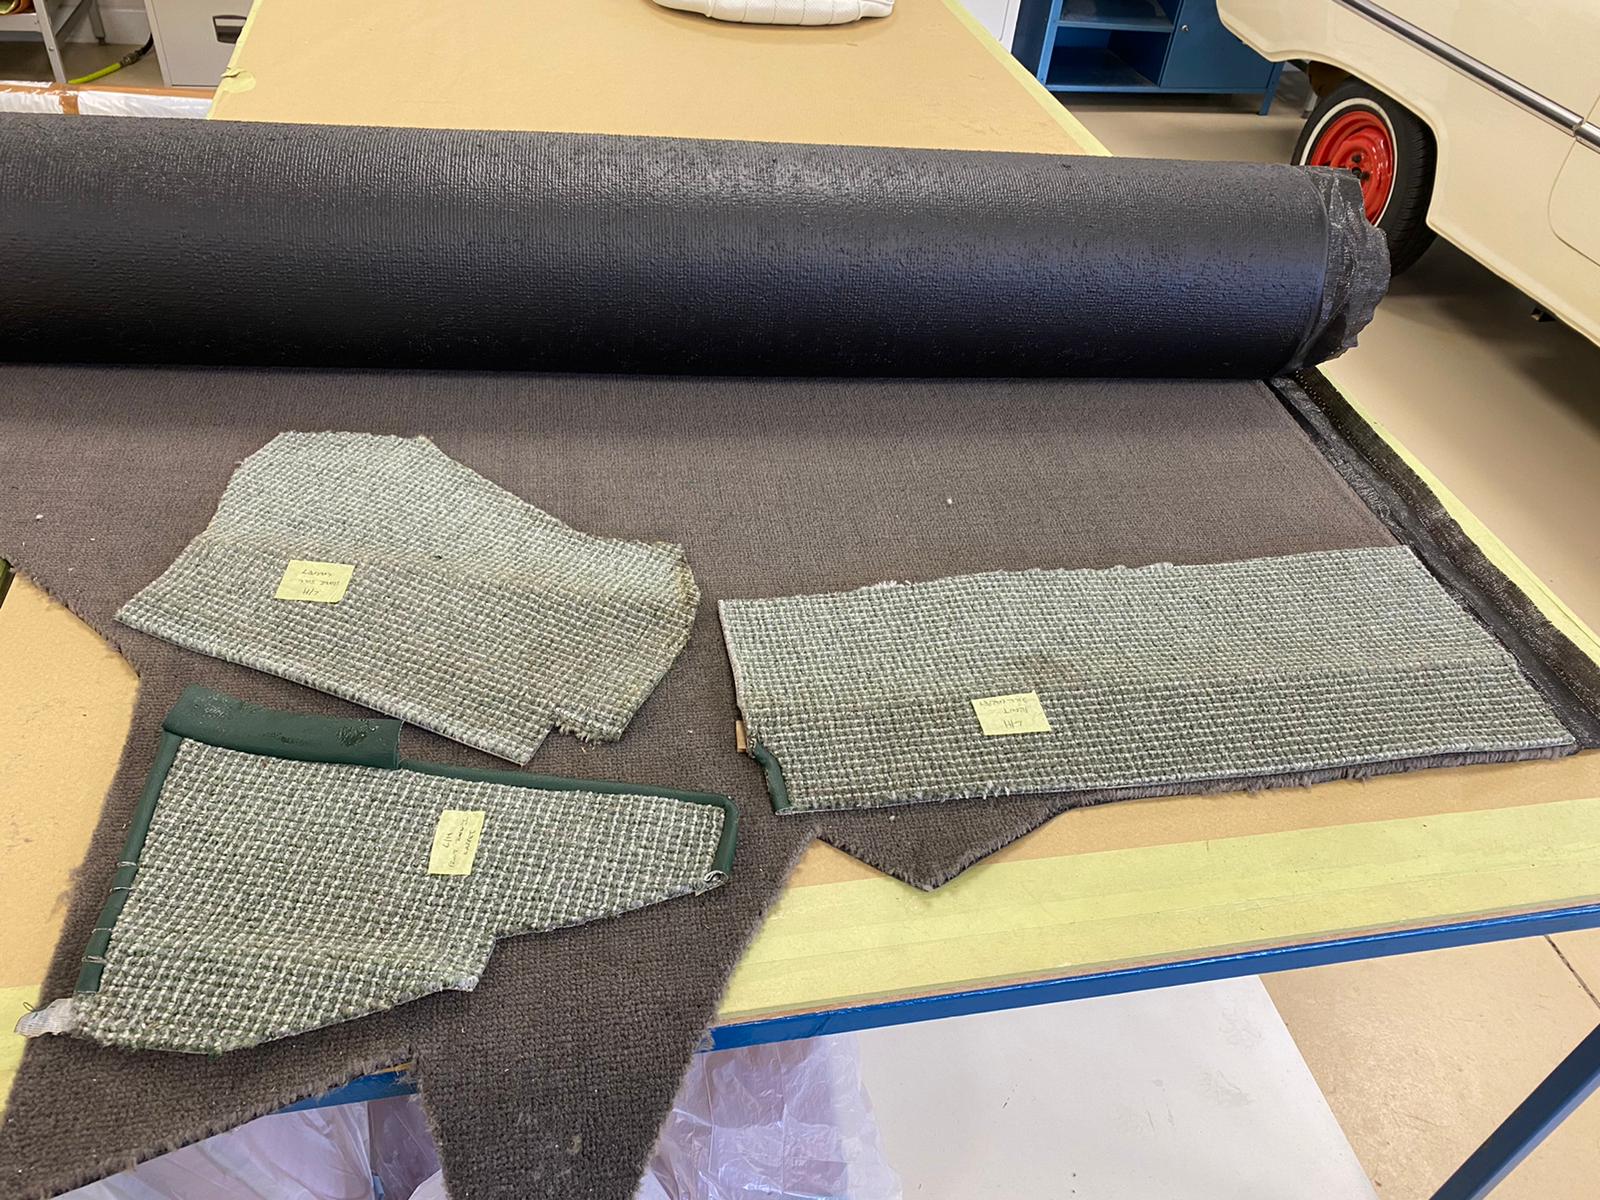
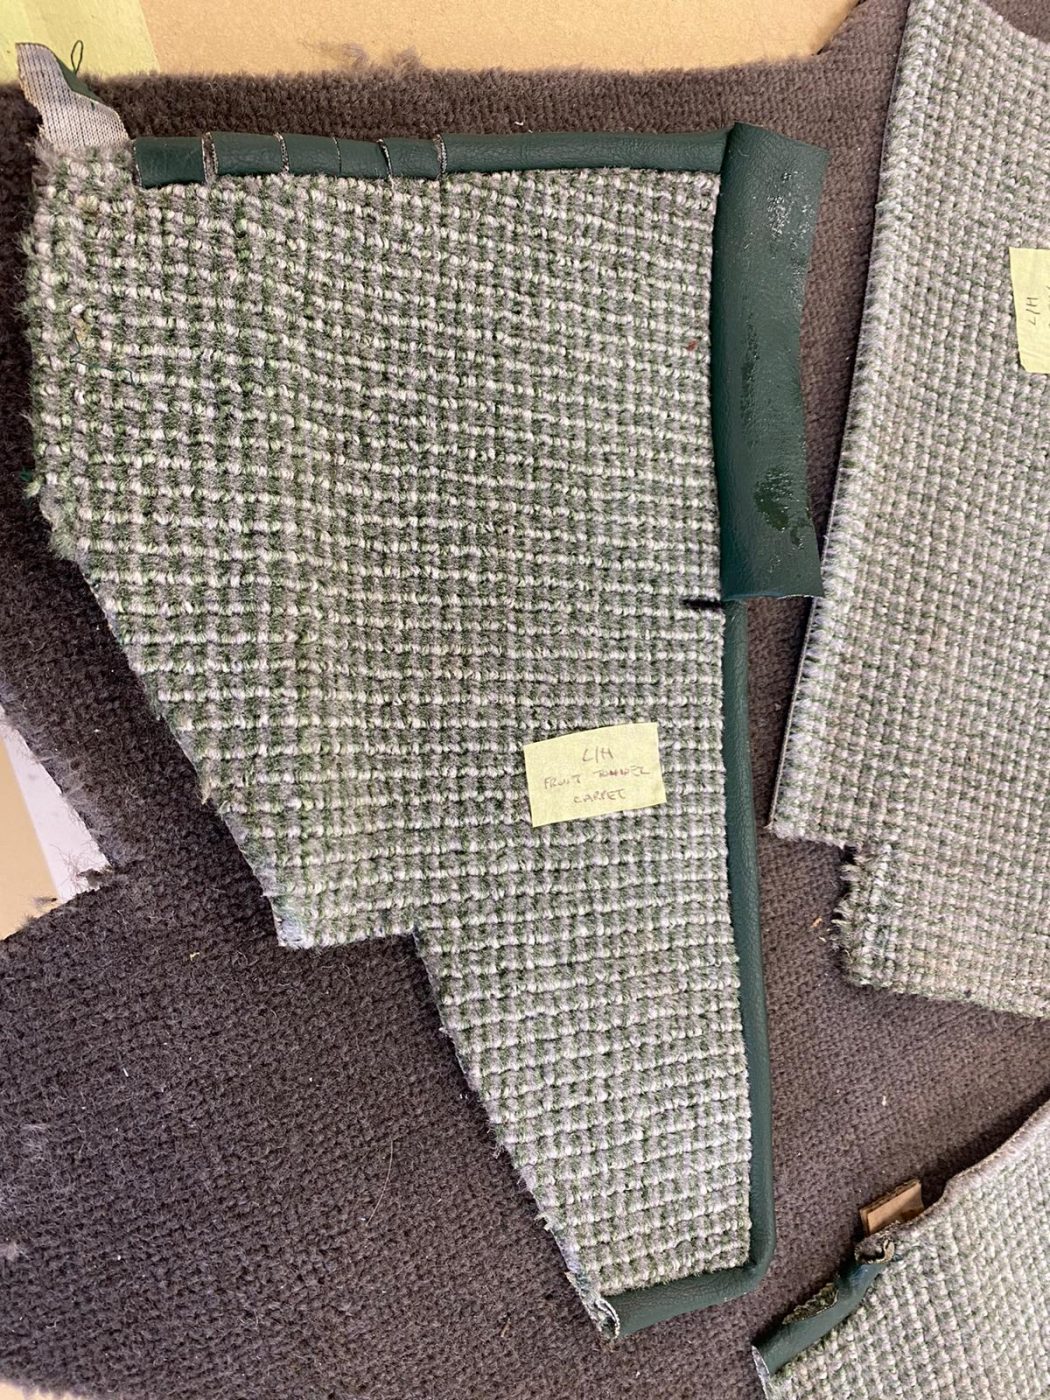
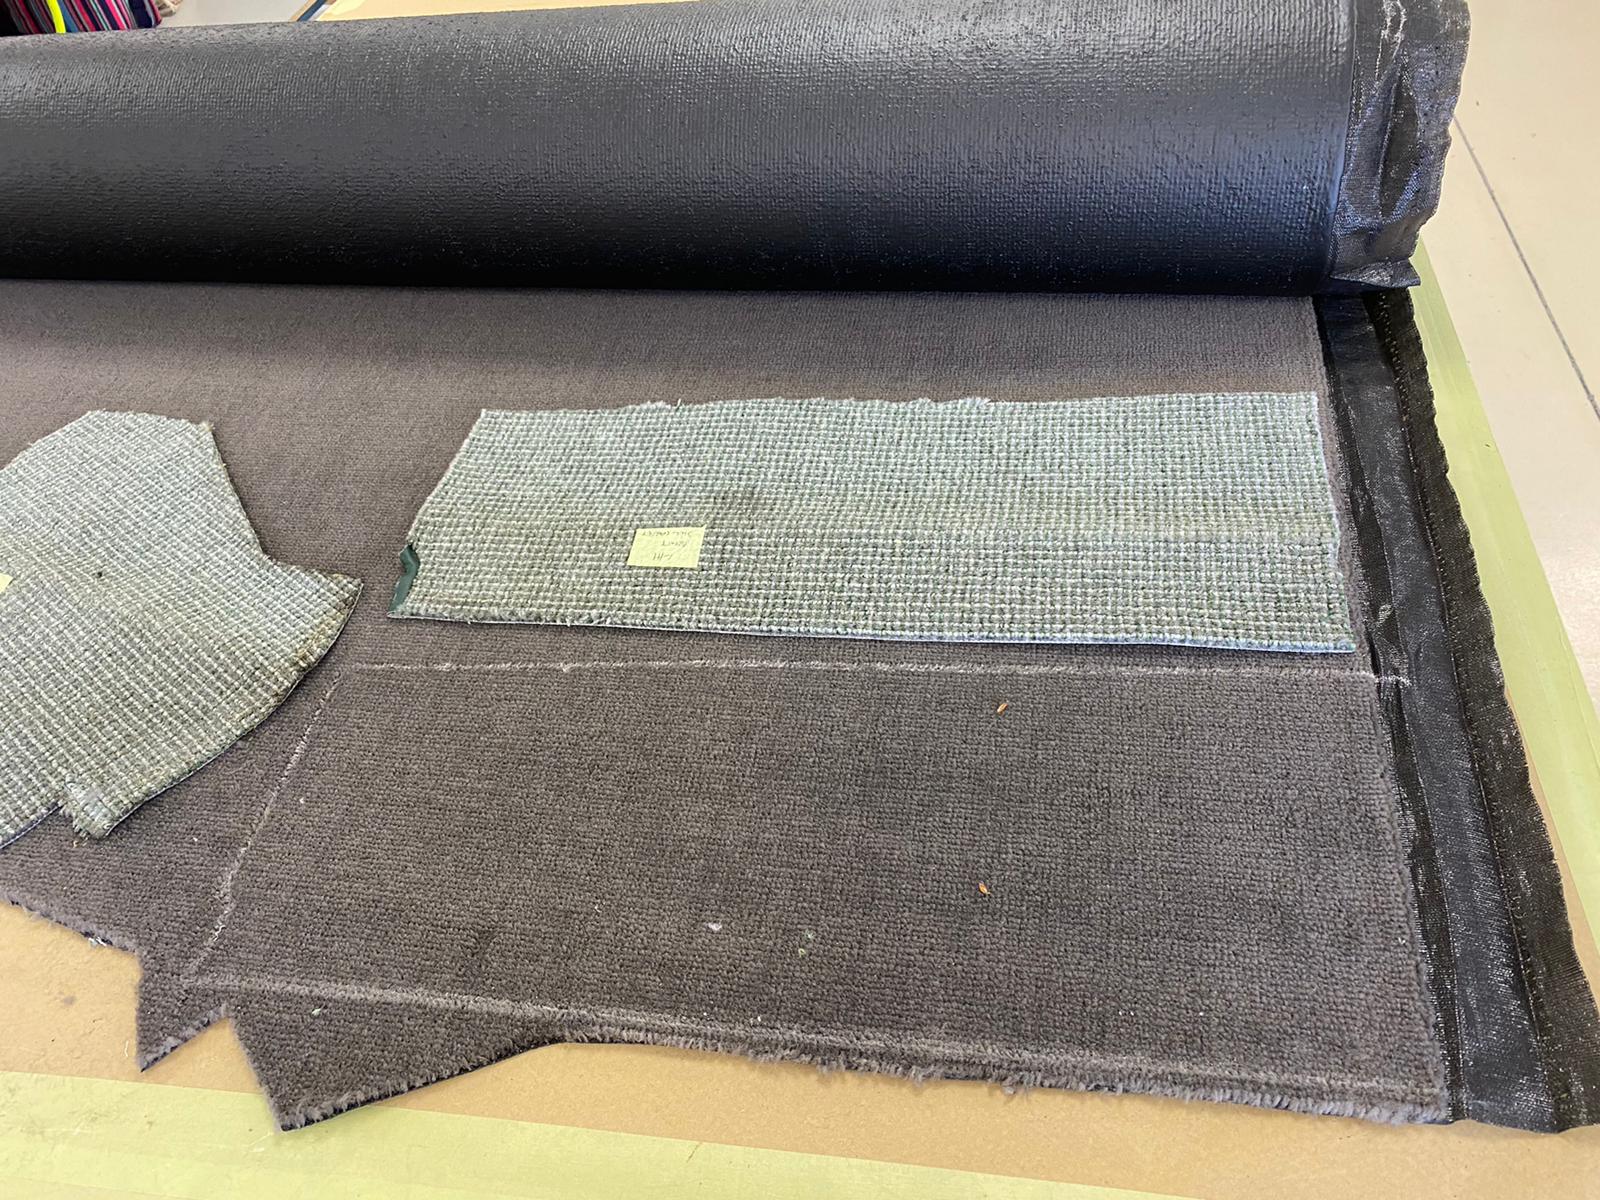


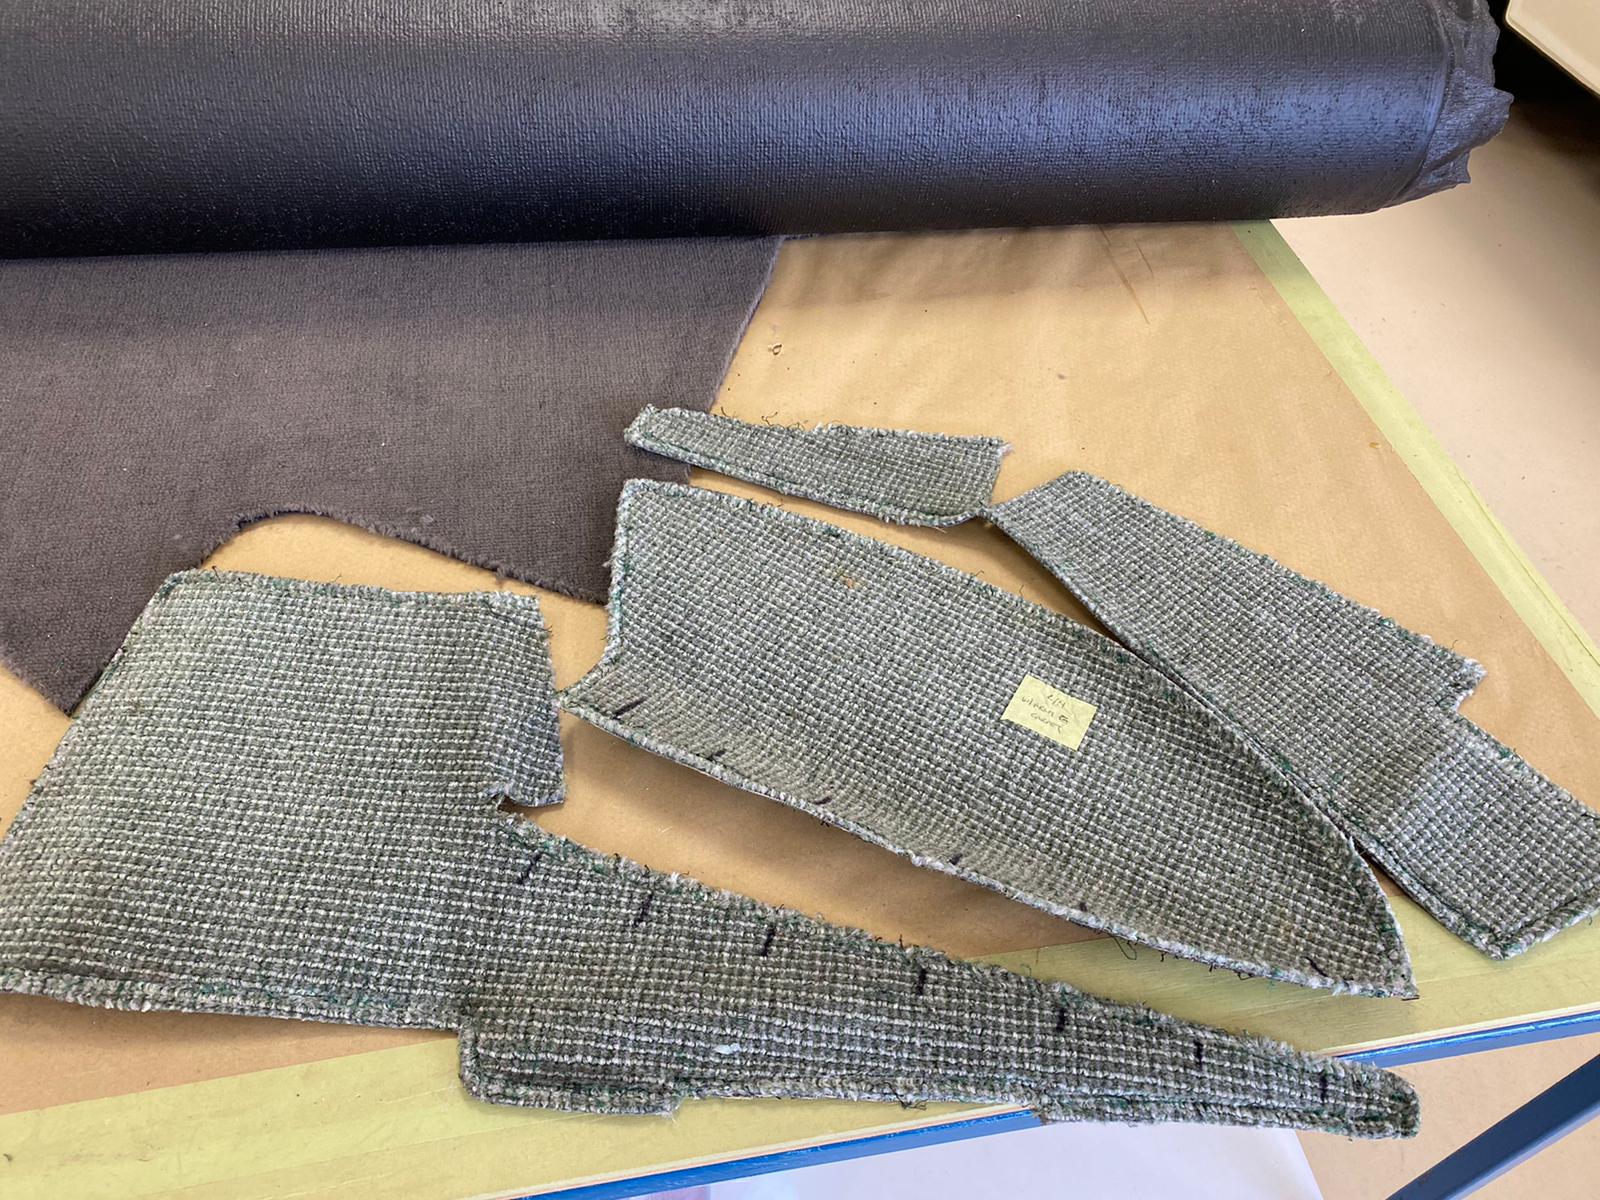
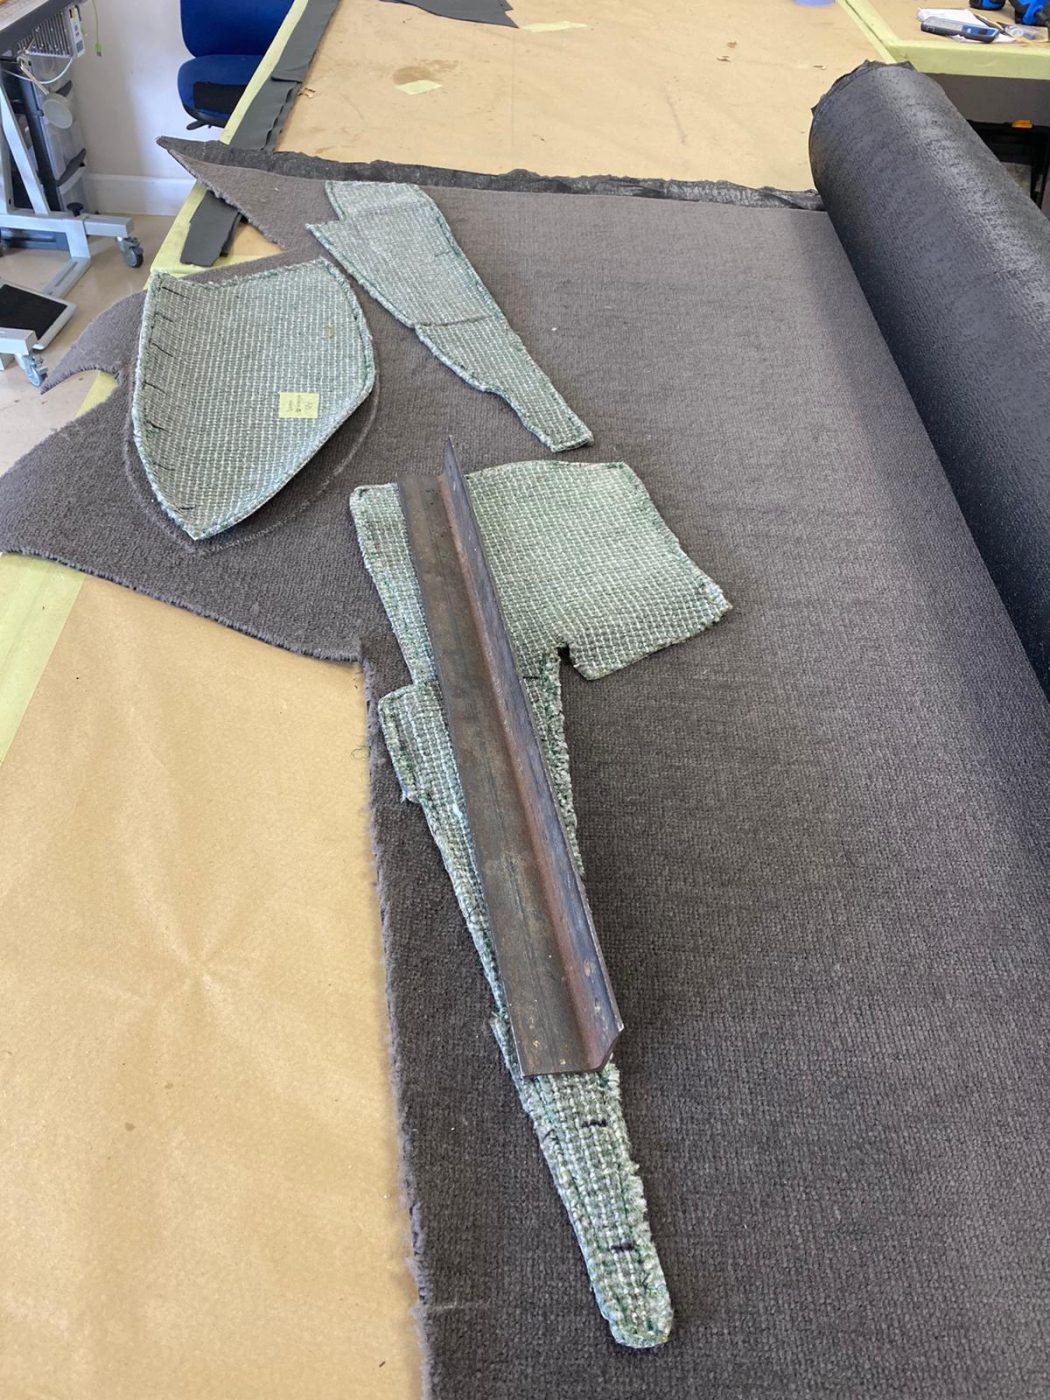

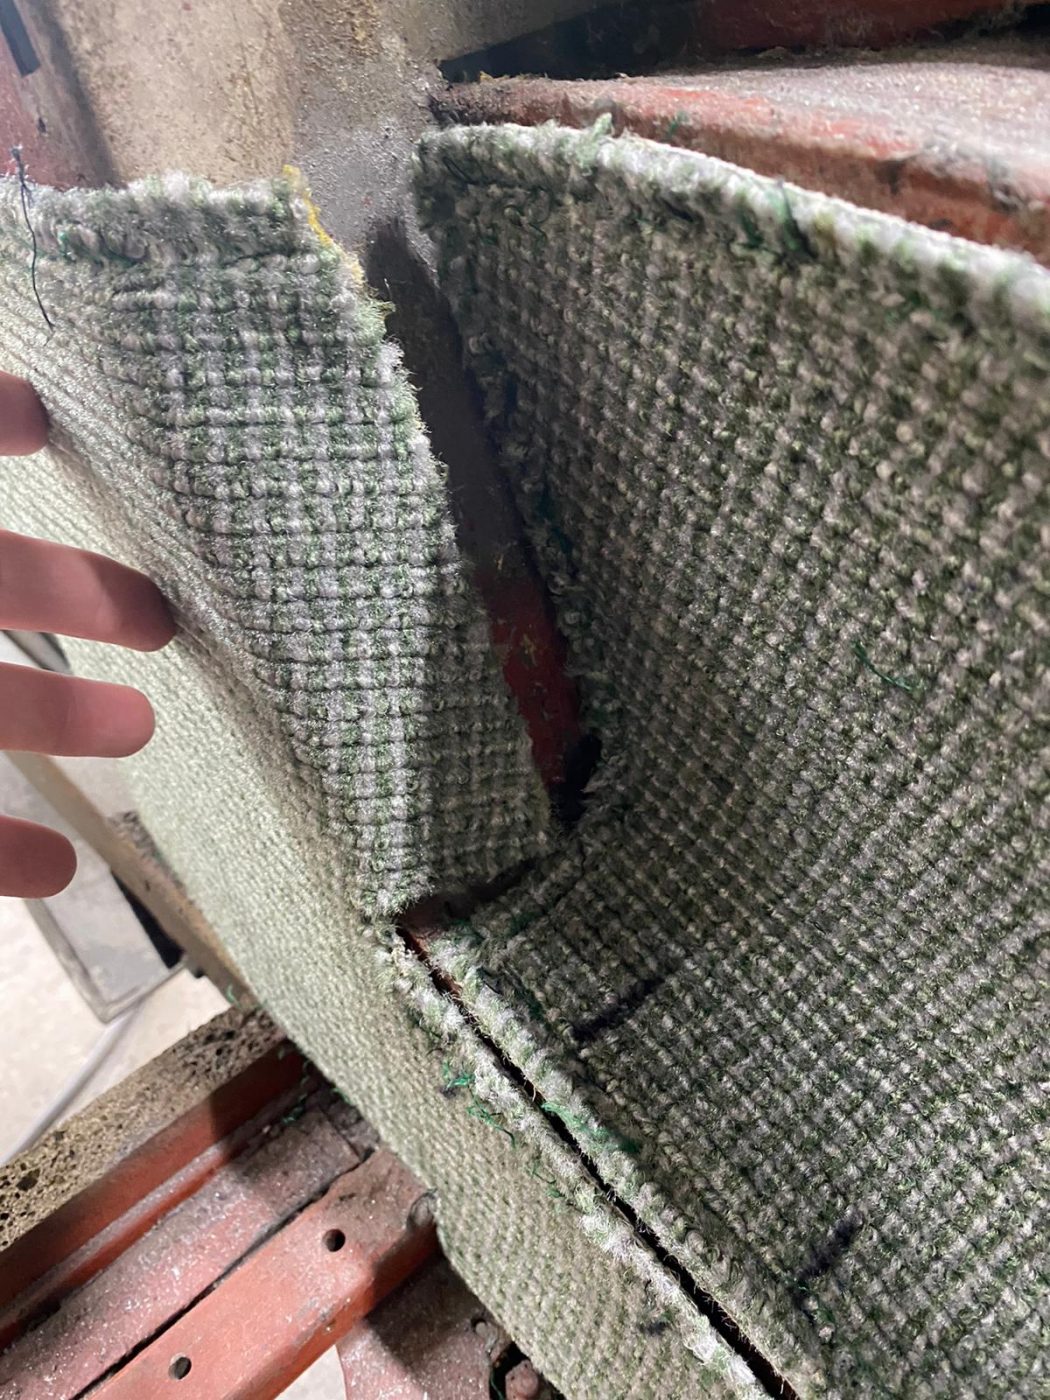
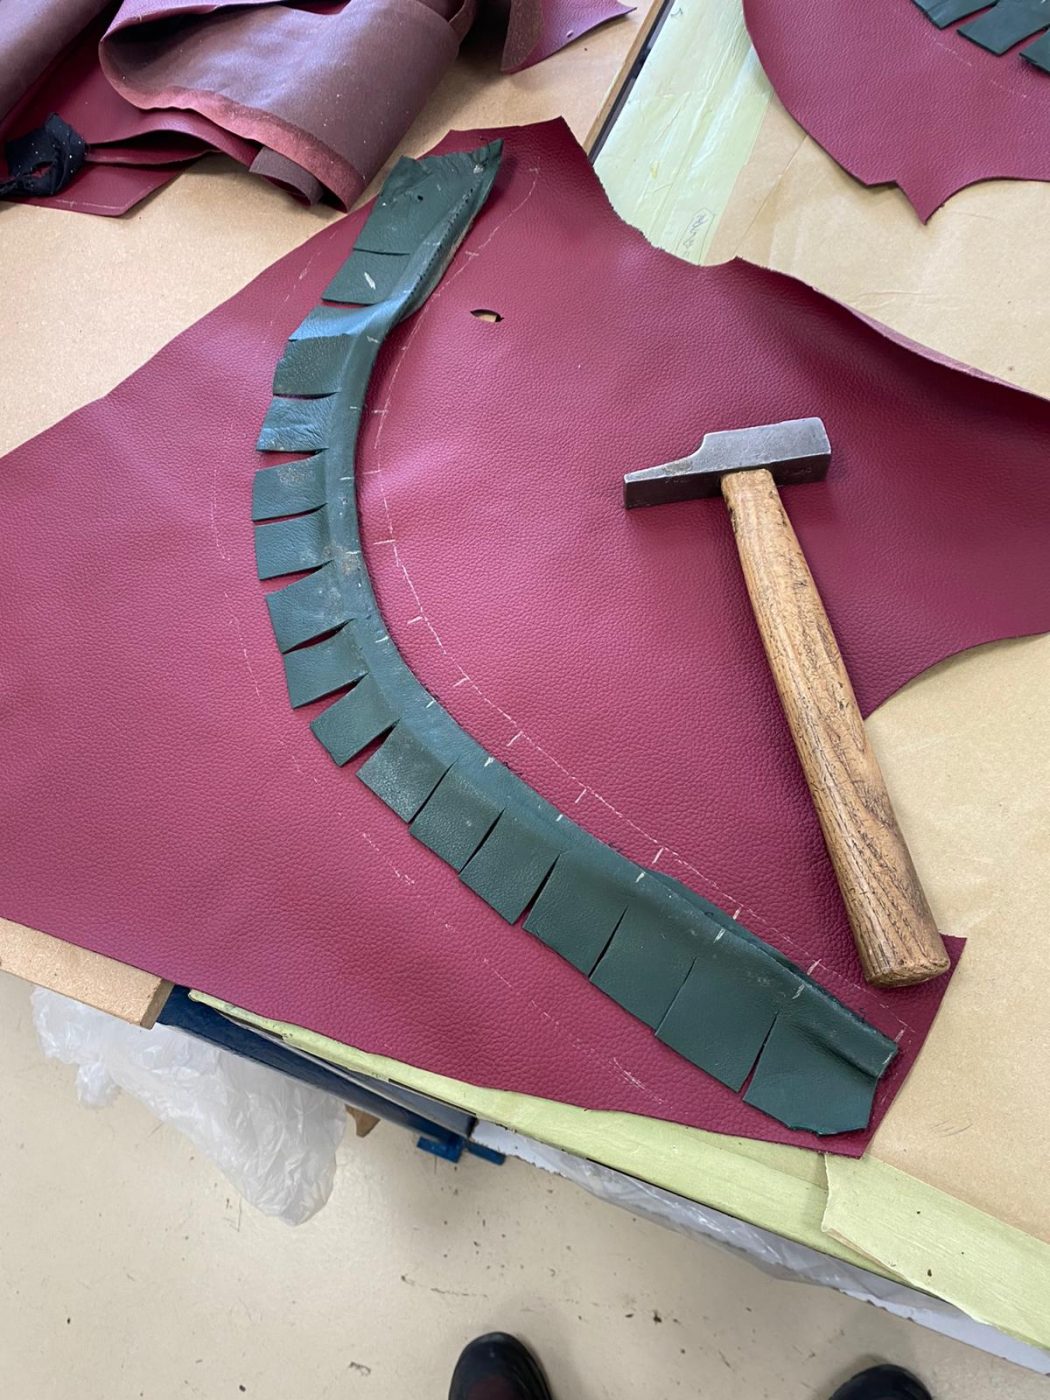
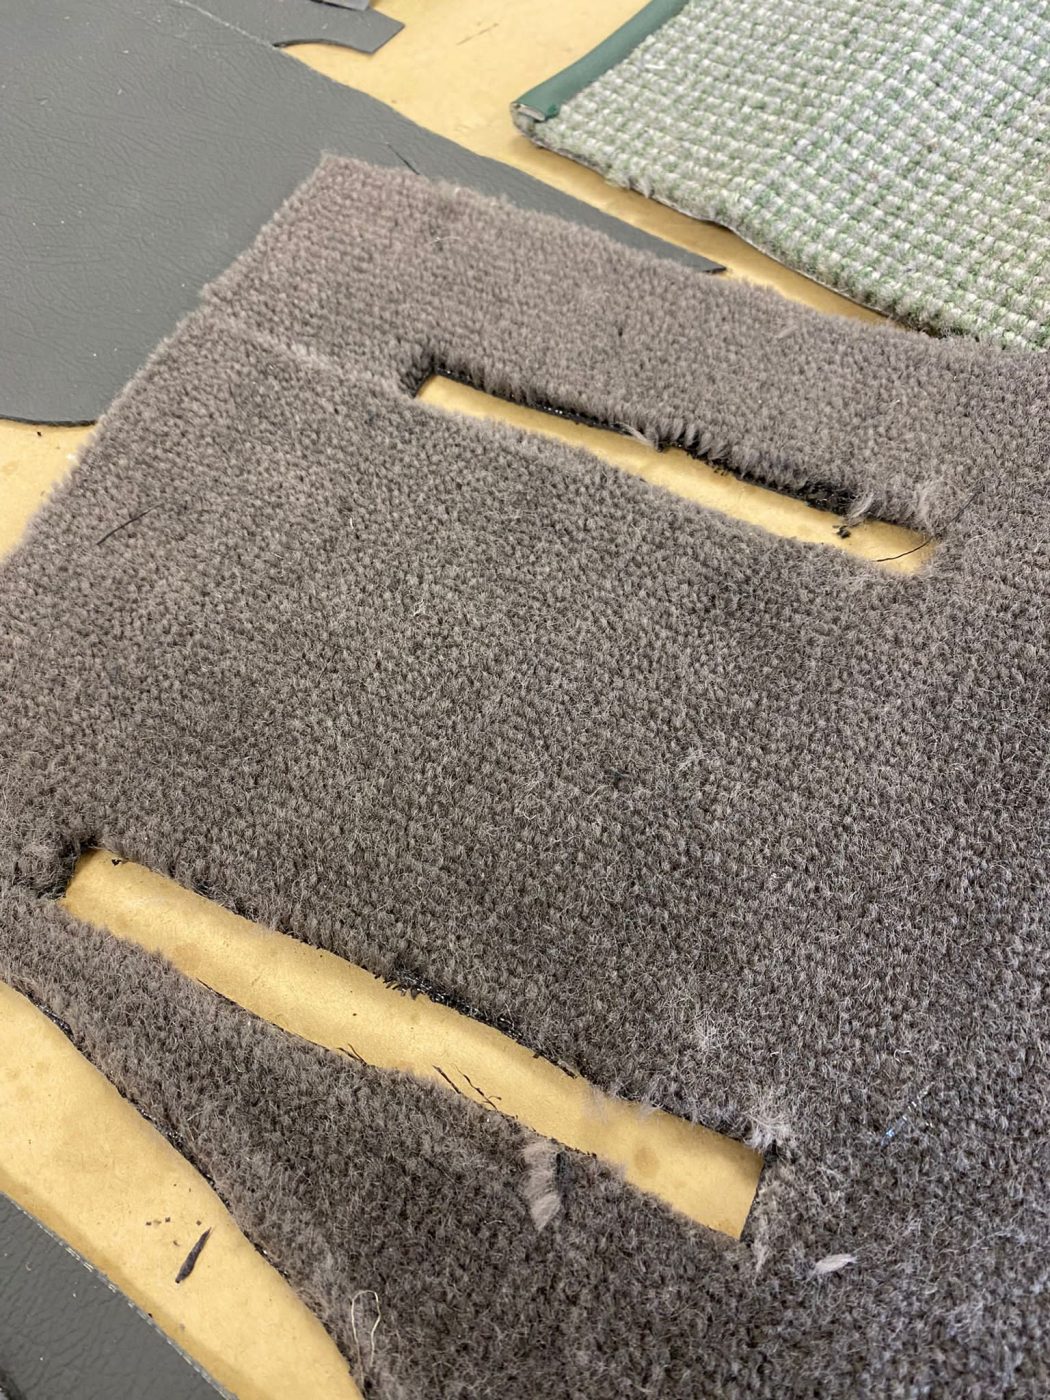
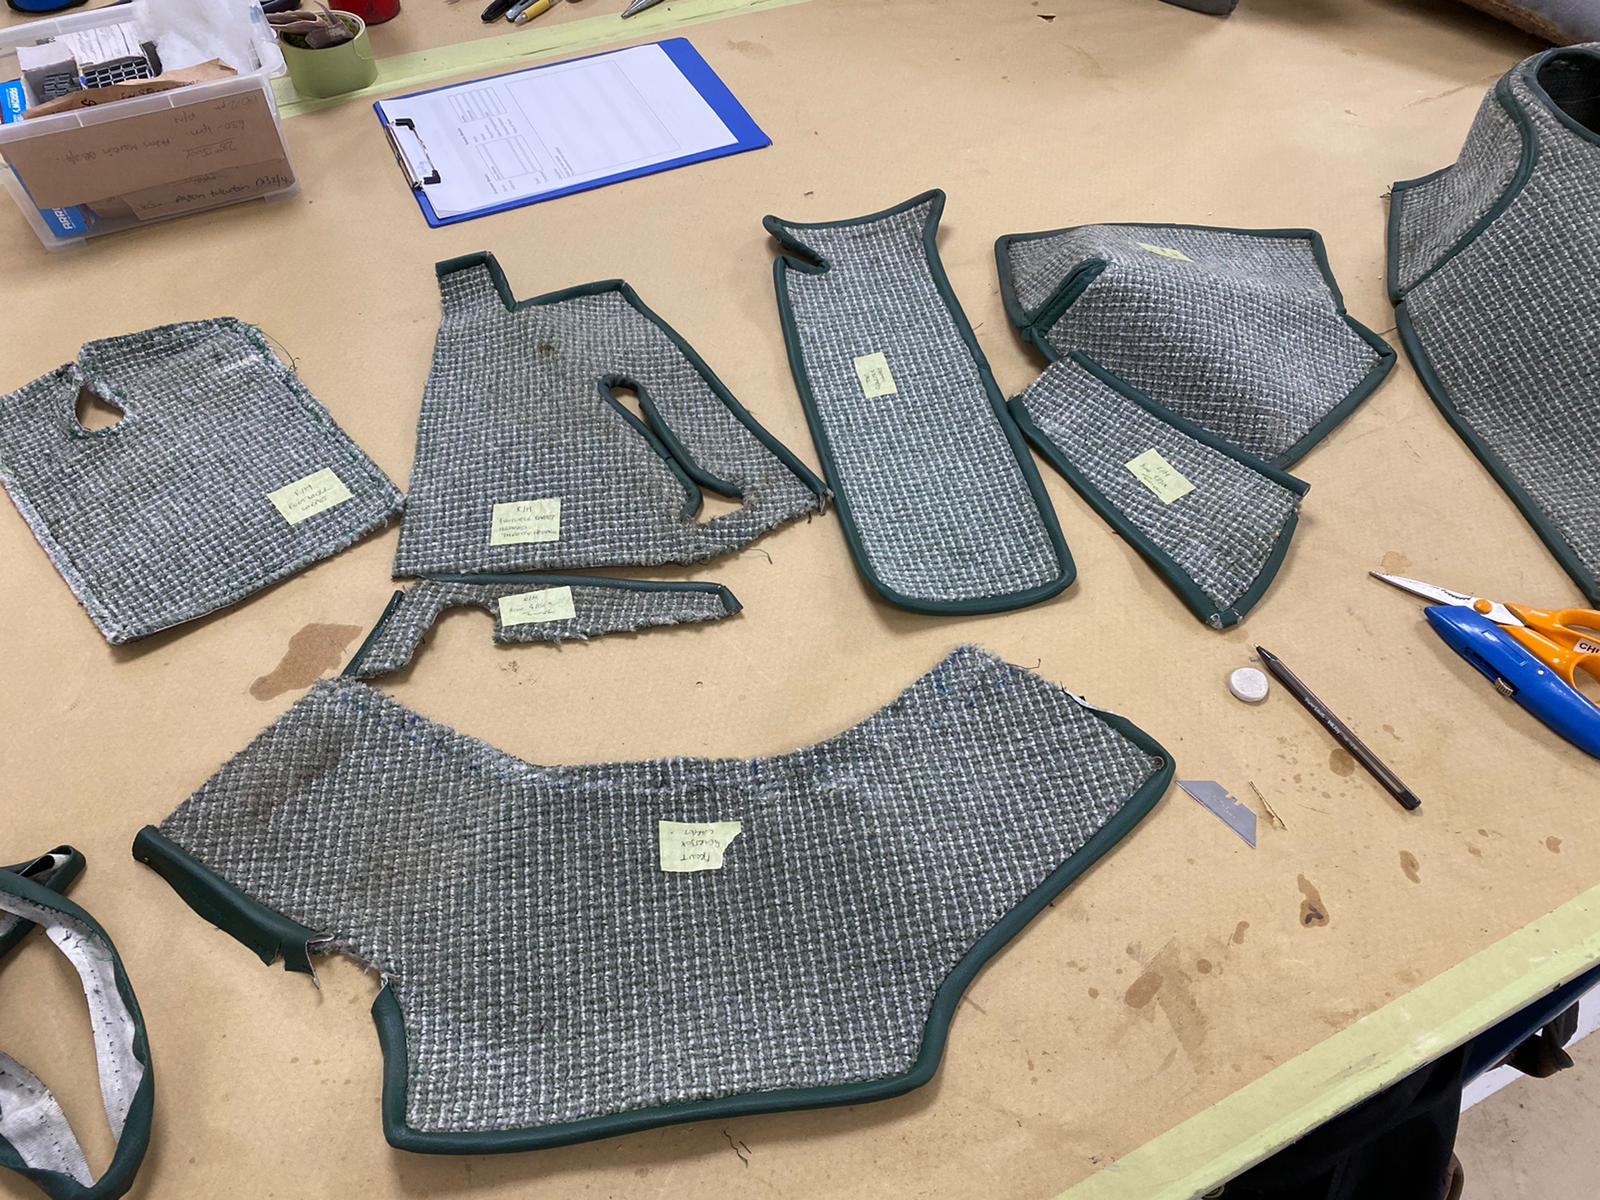
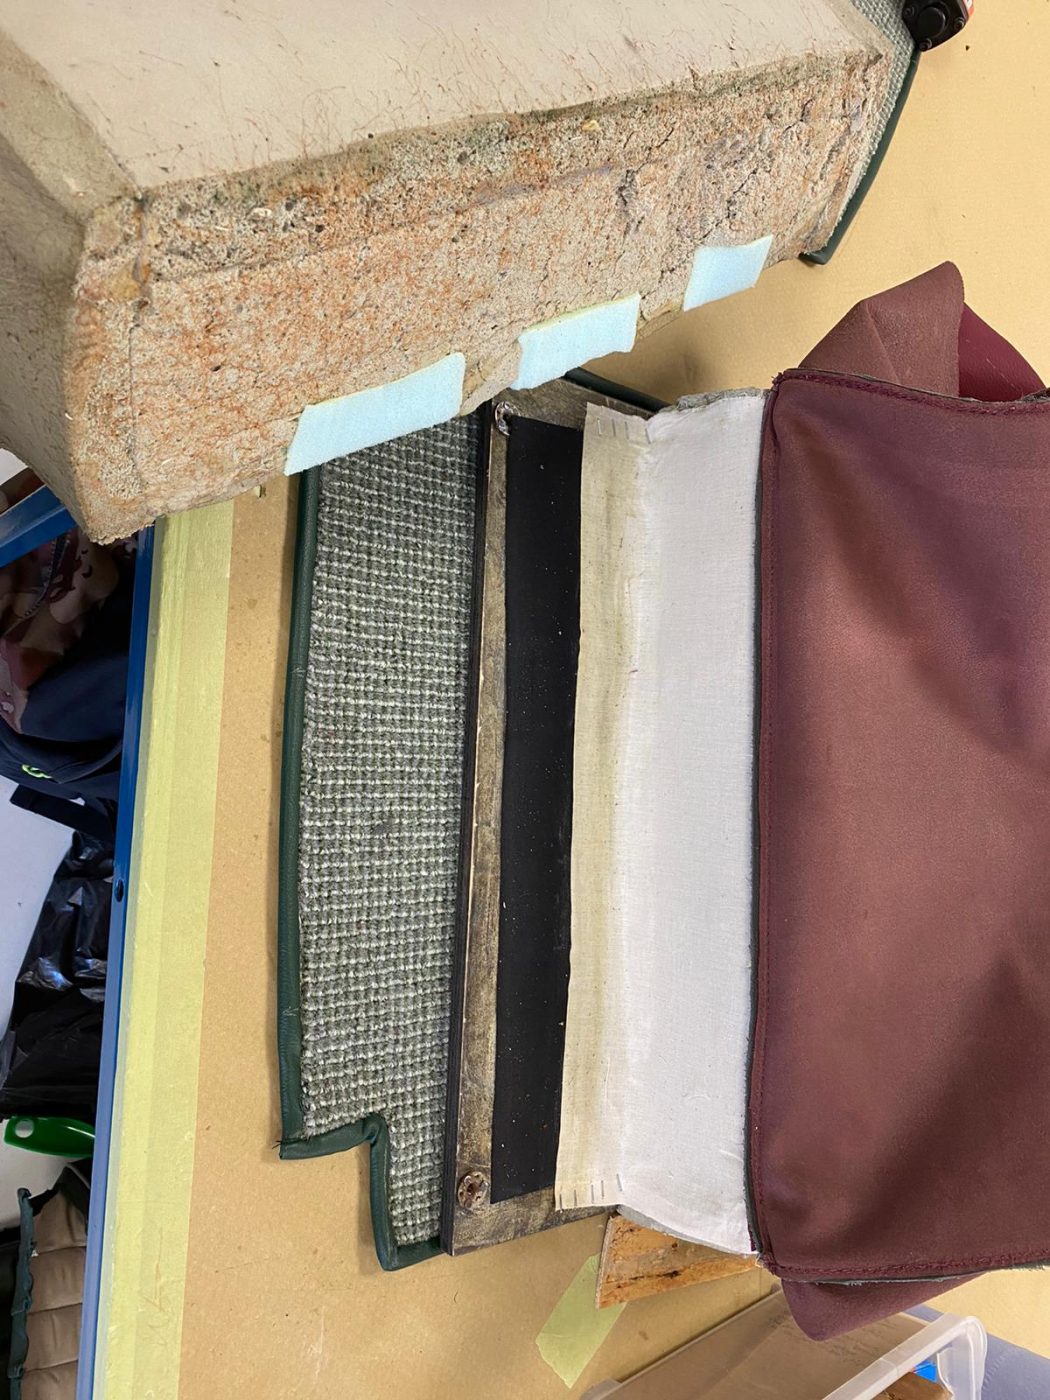
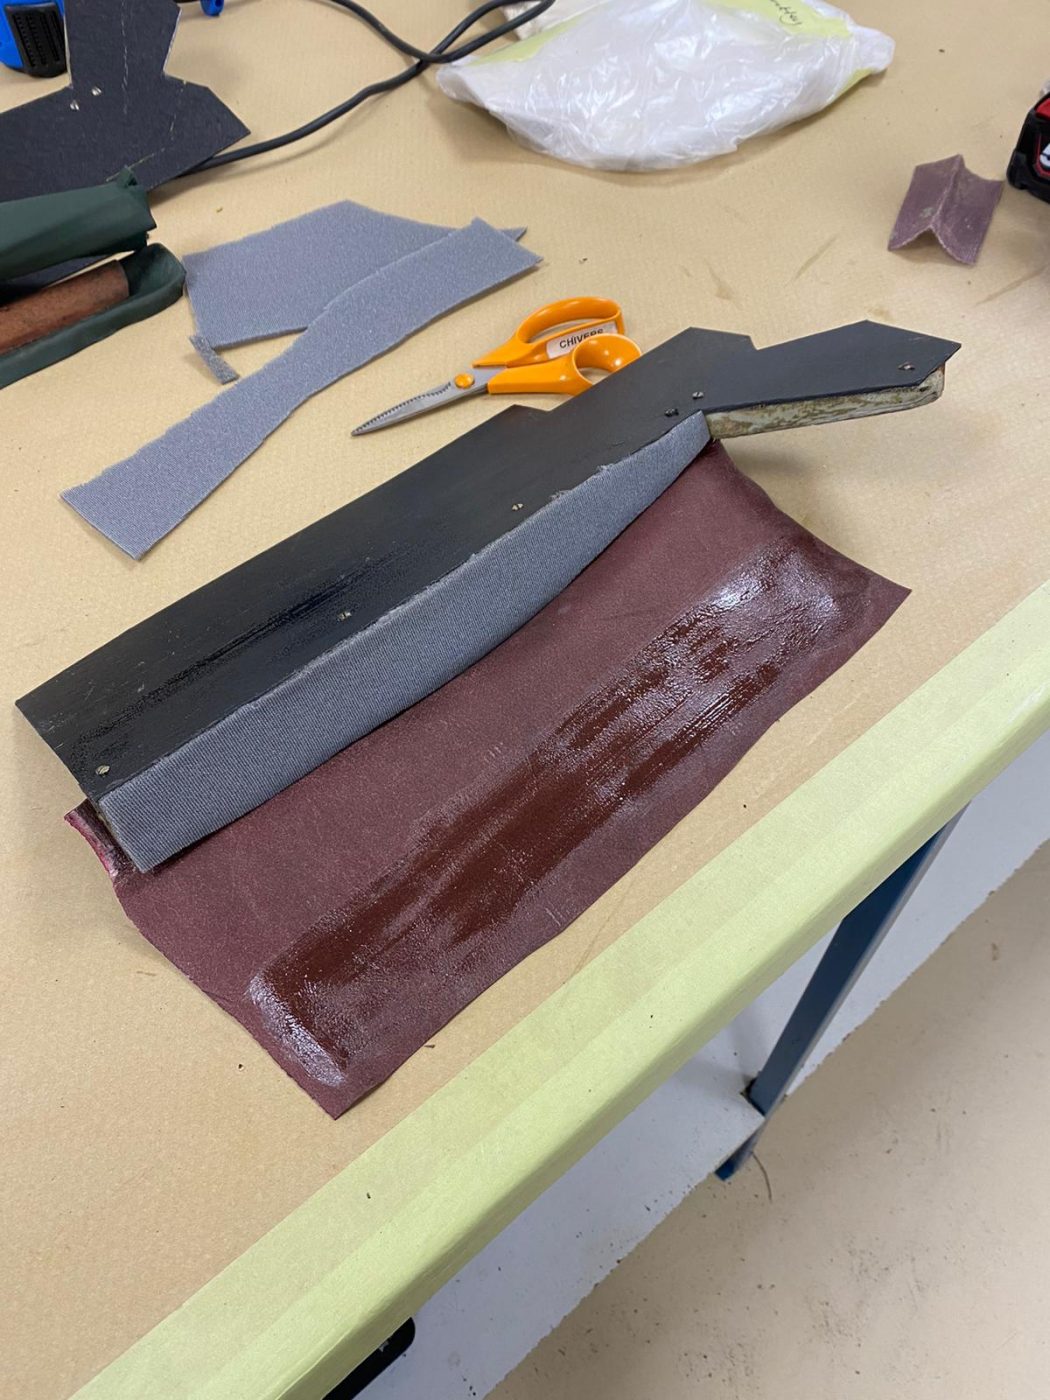
Kath has been starting on the carpet for the 1955 Aston Martin DB 2/4 this week.
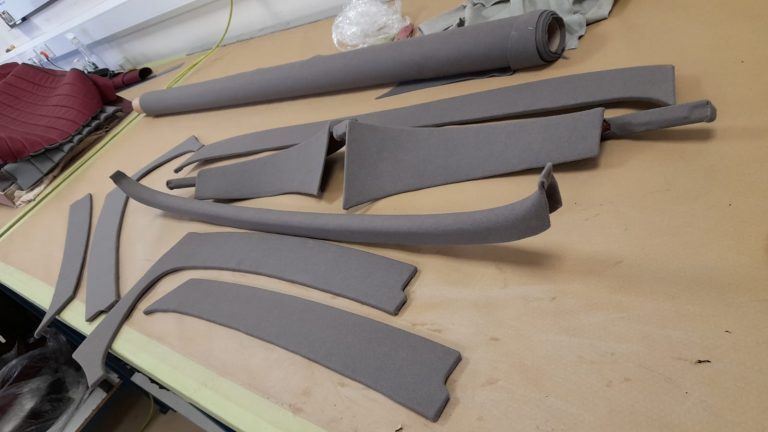
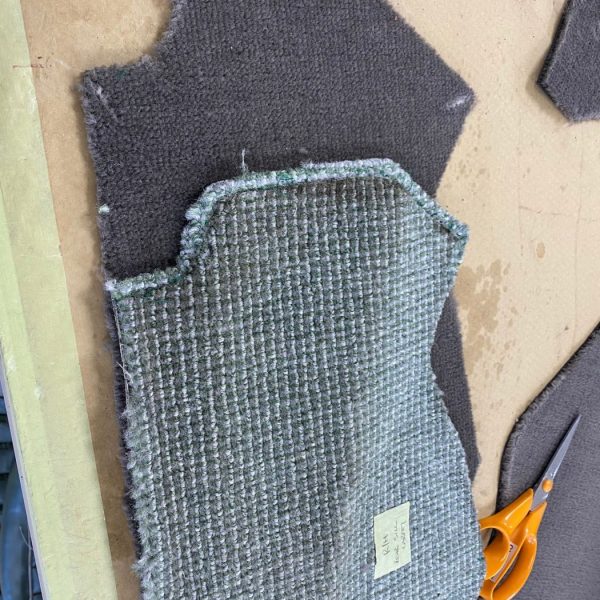
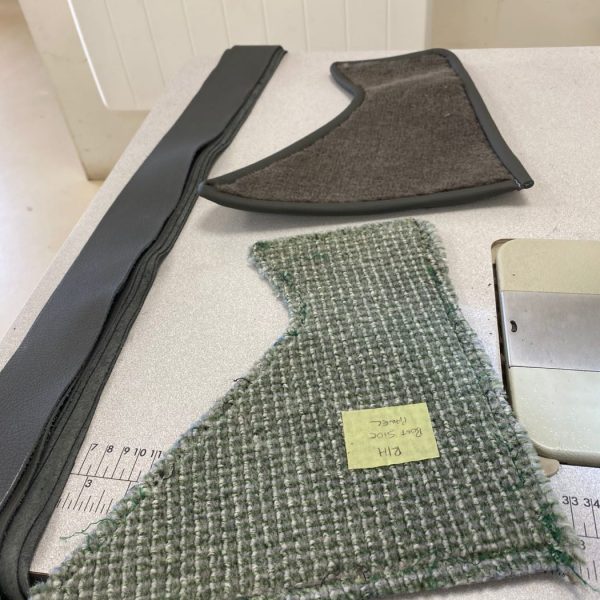
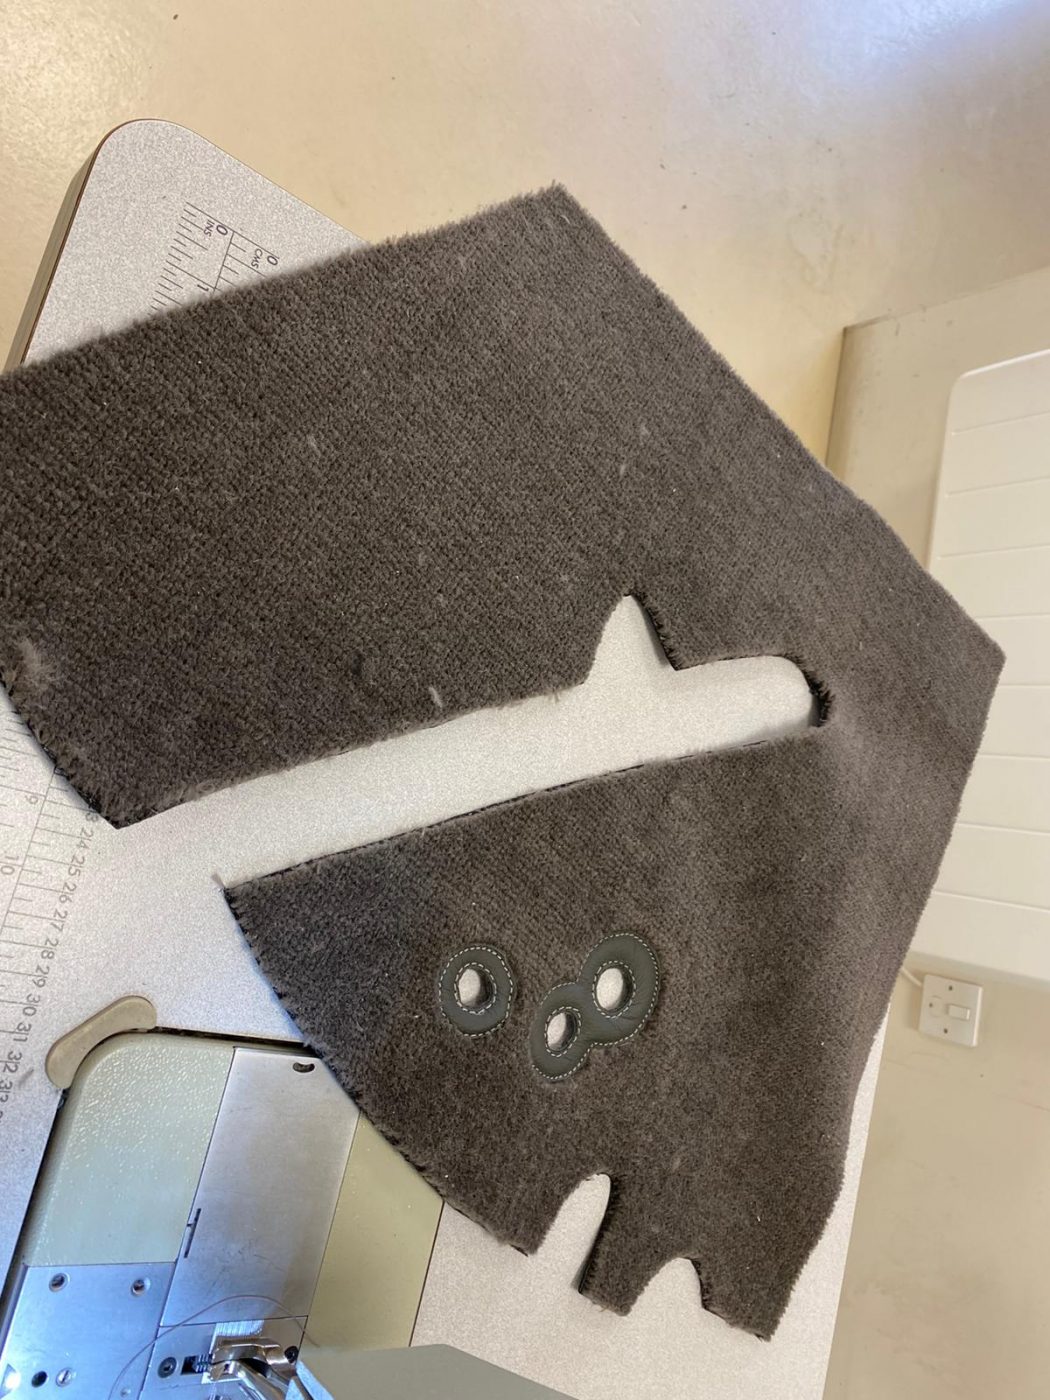
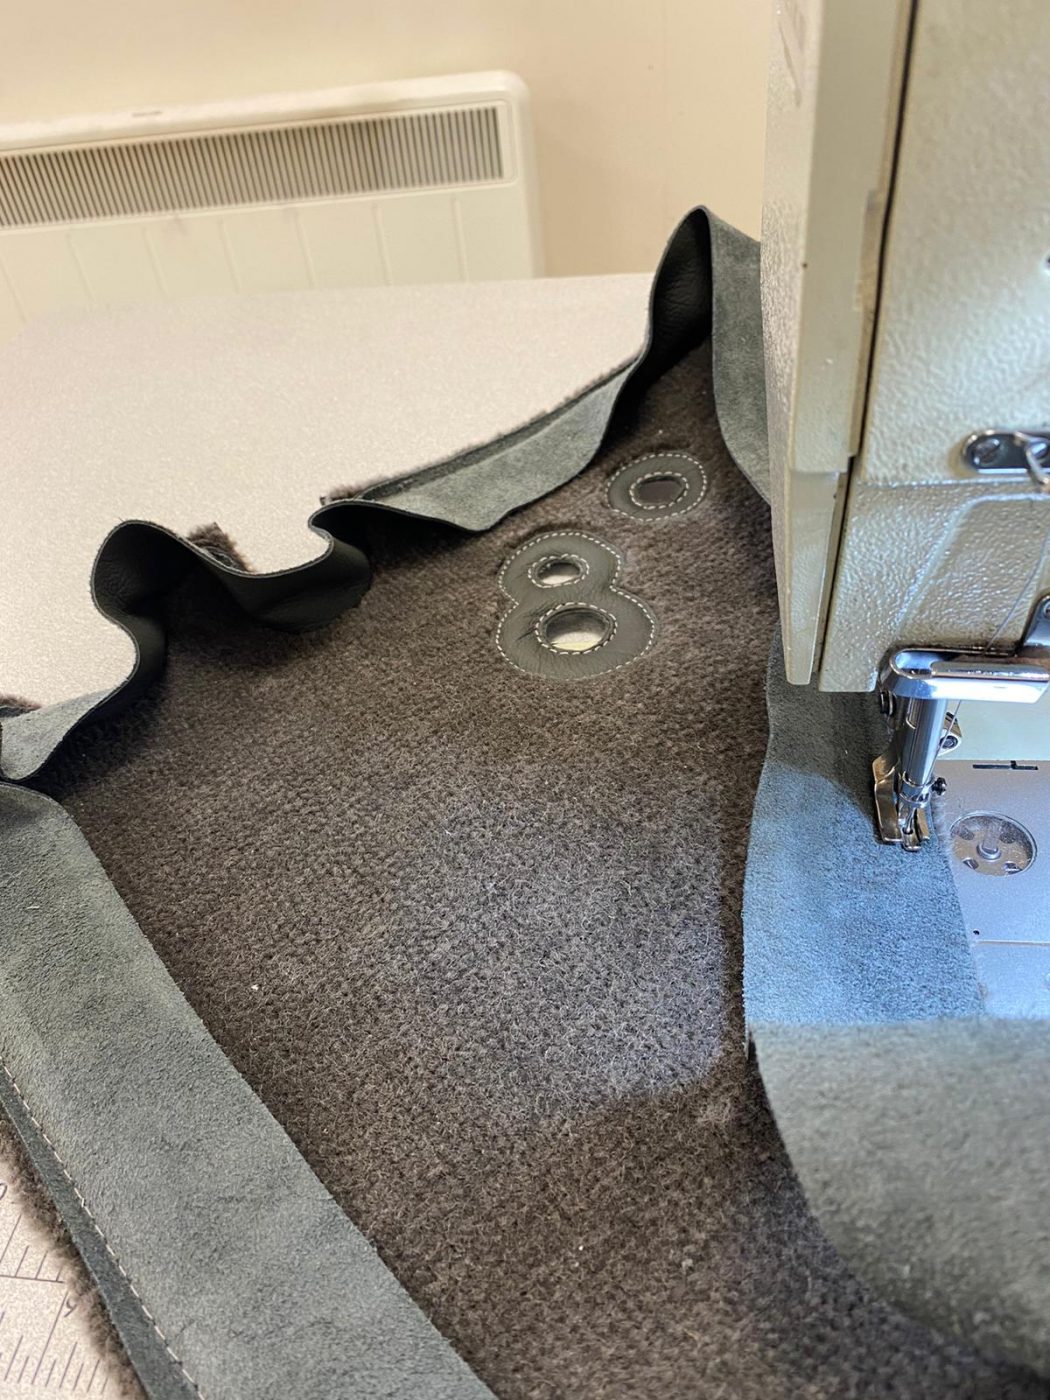
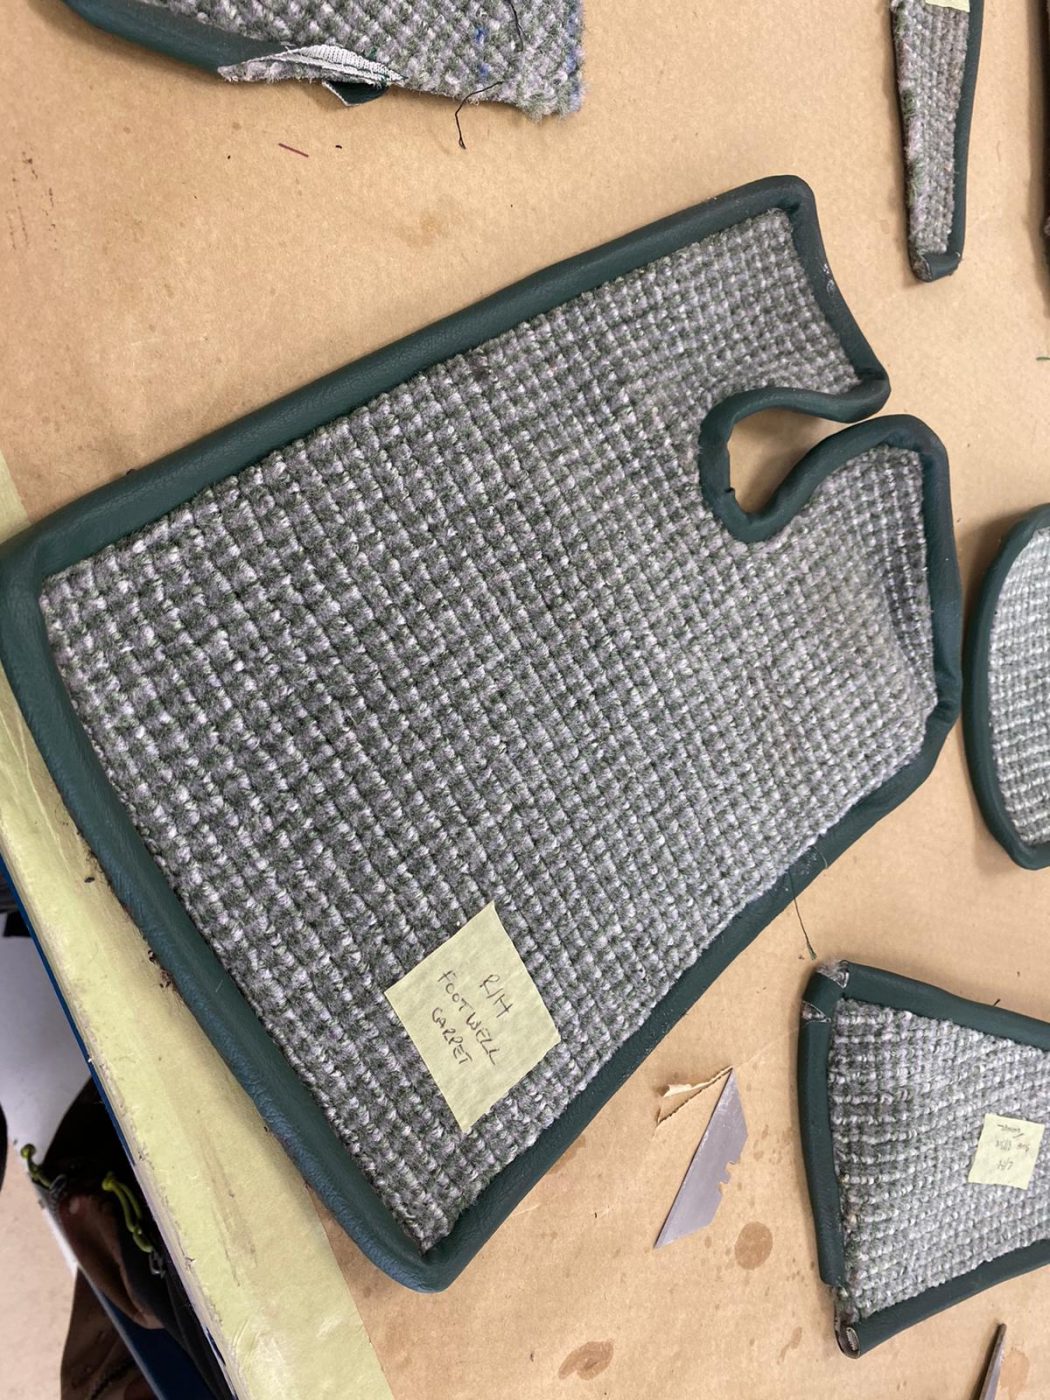
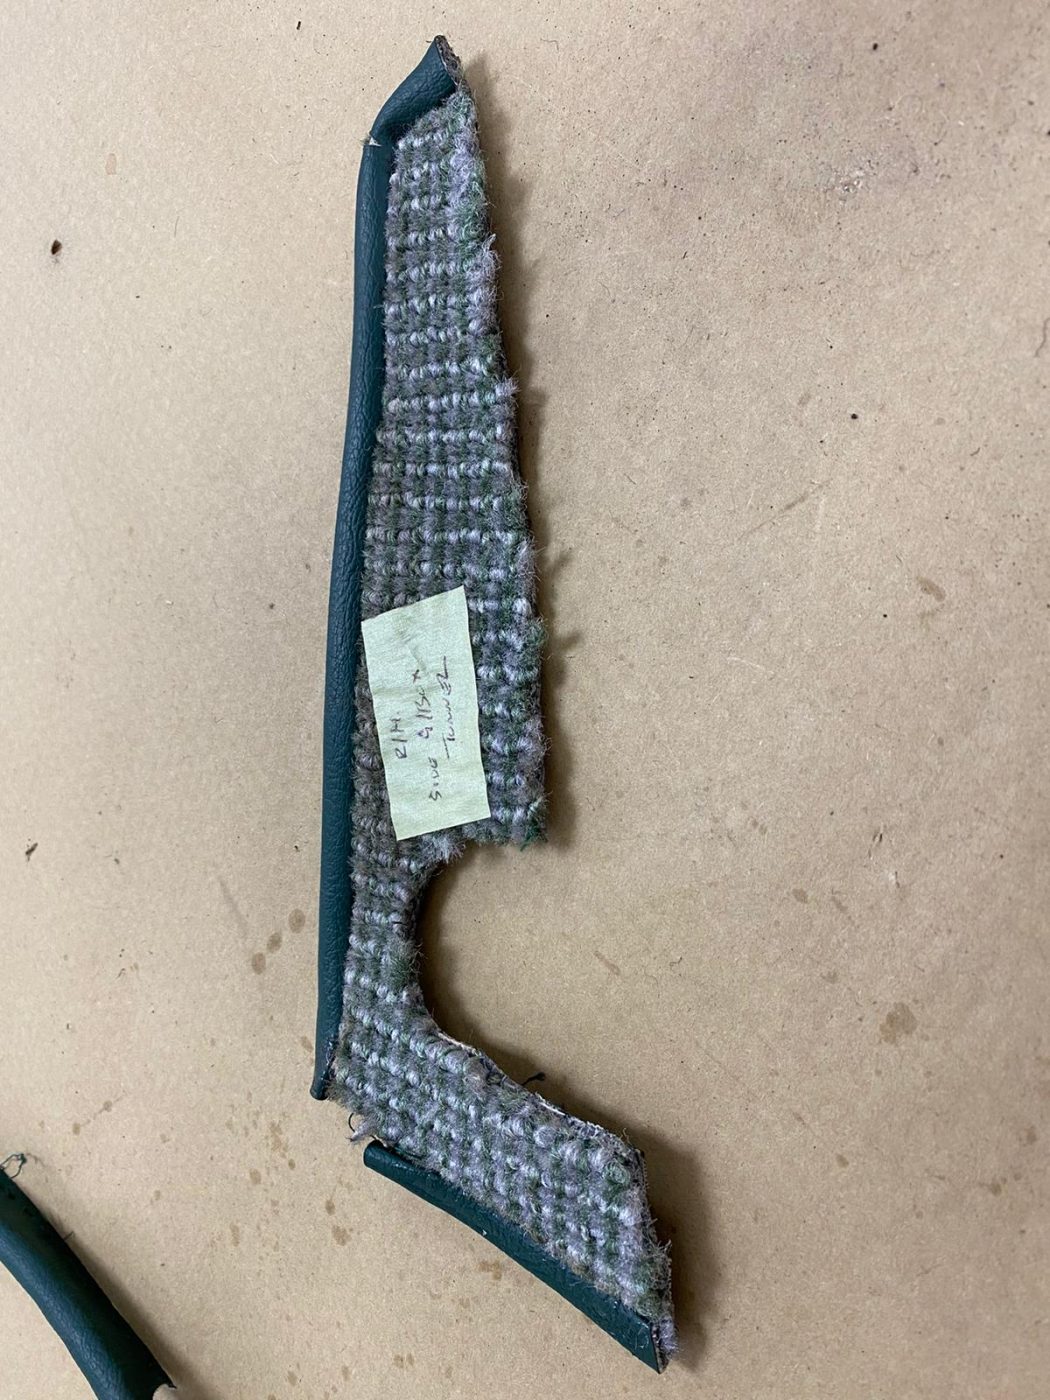
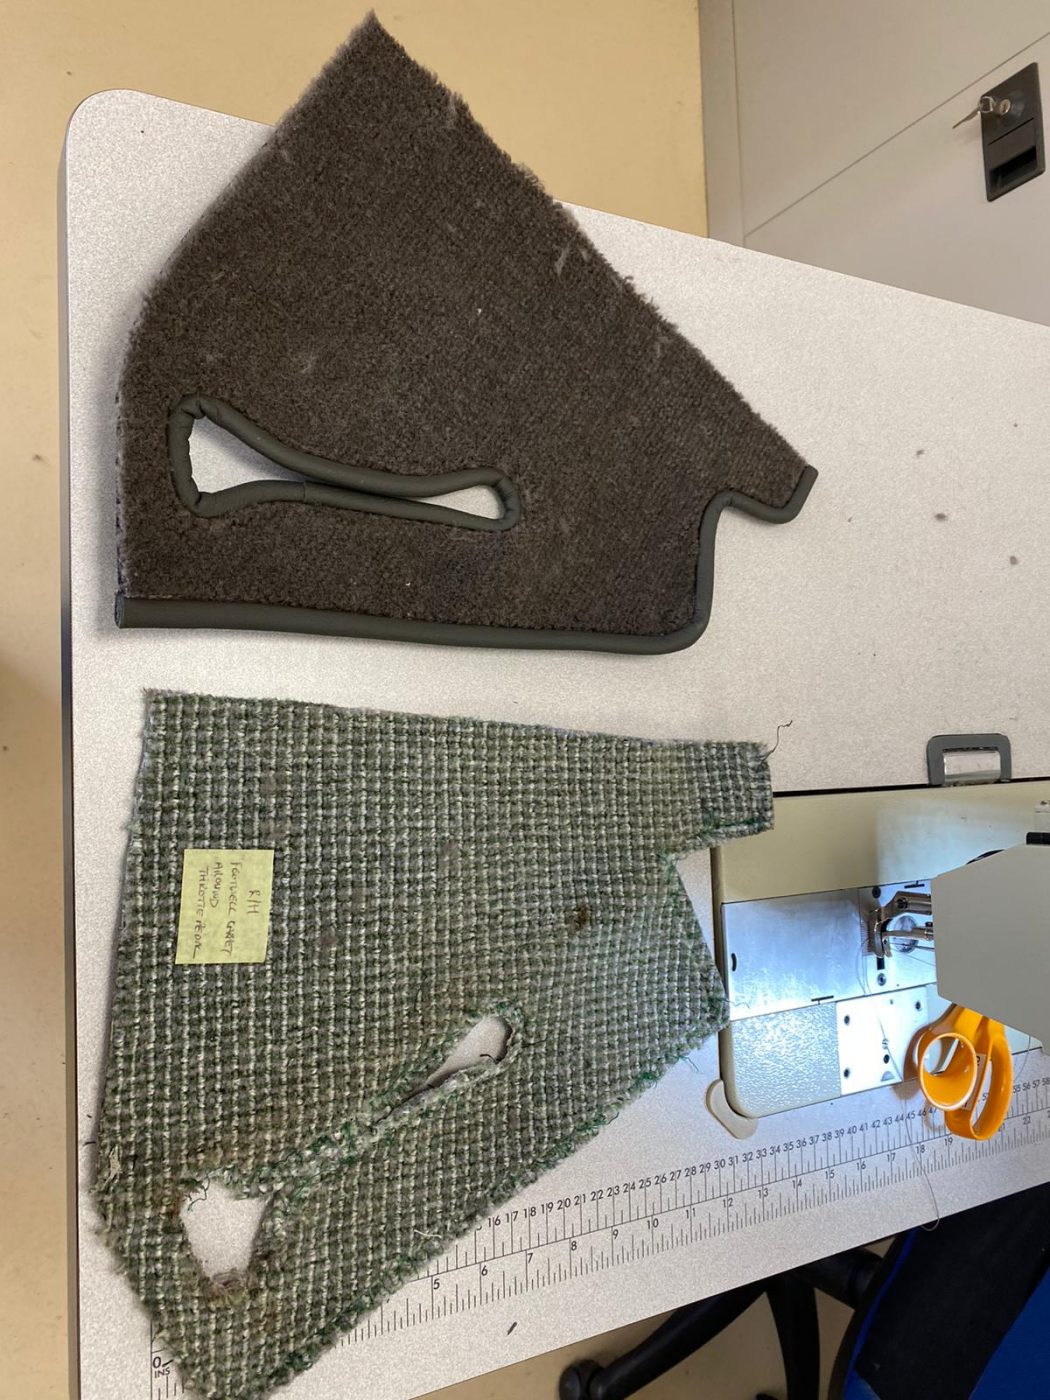
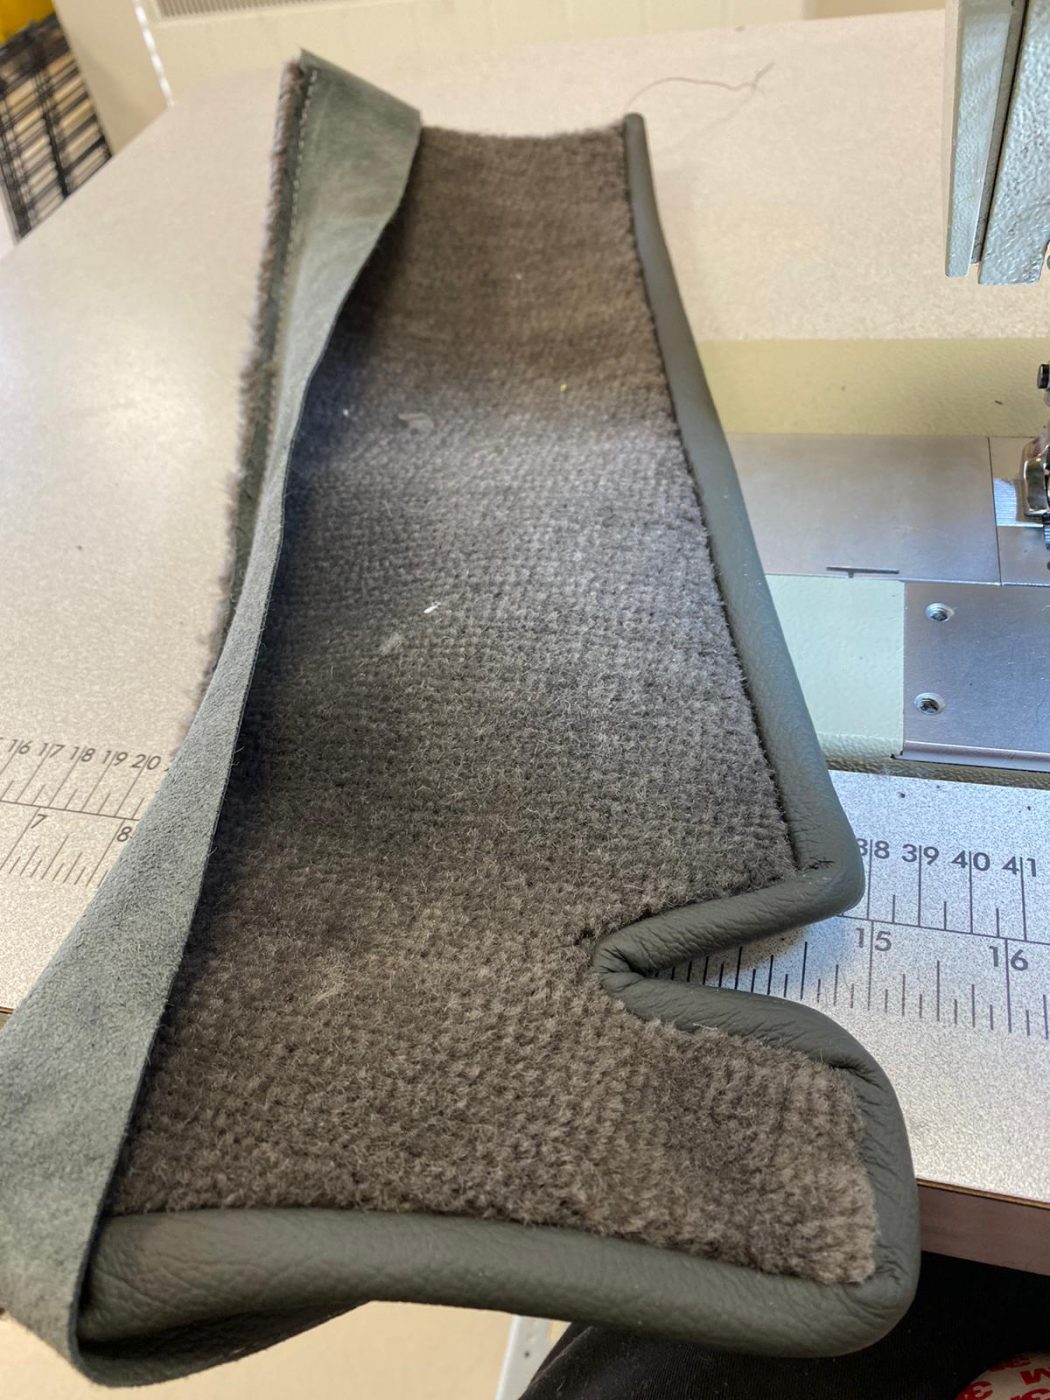
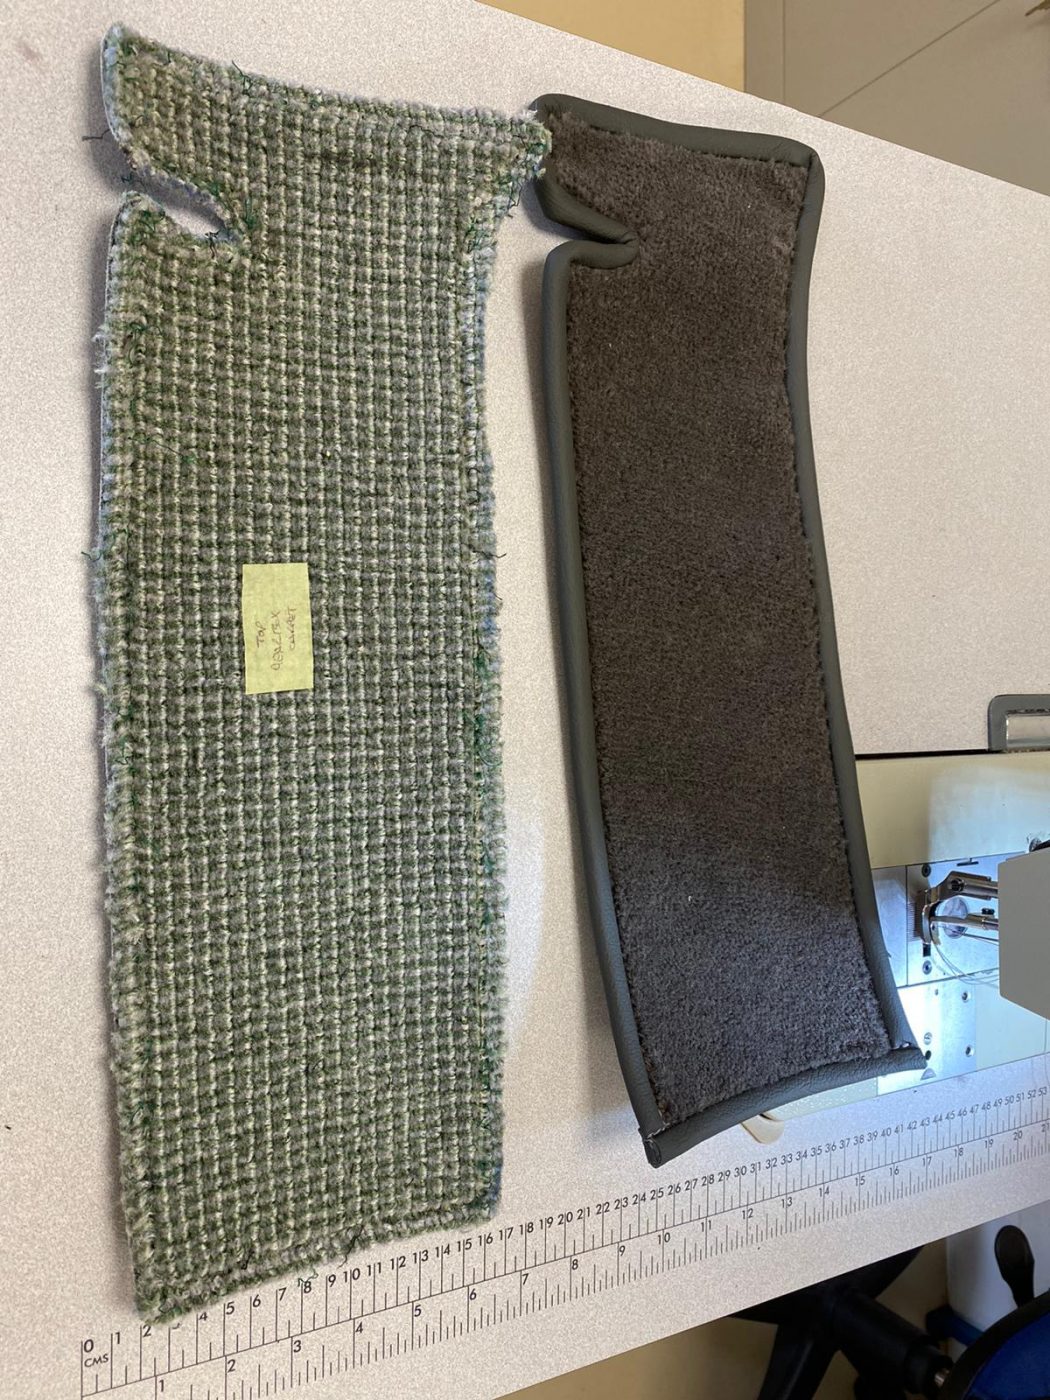
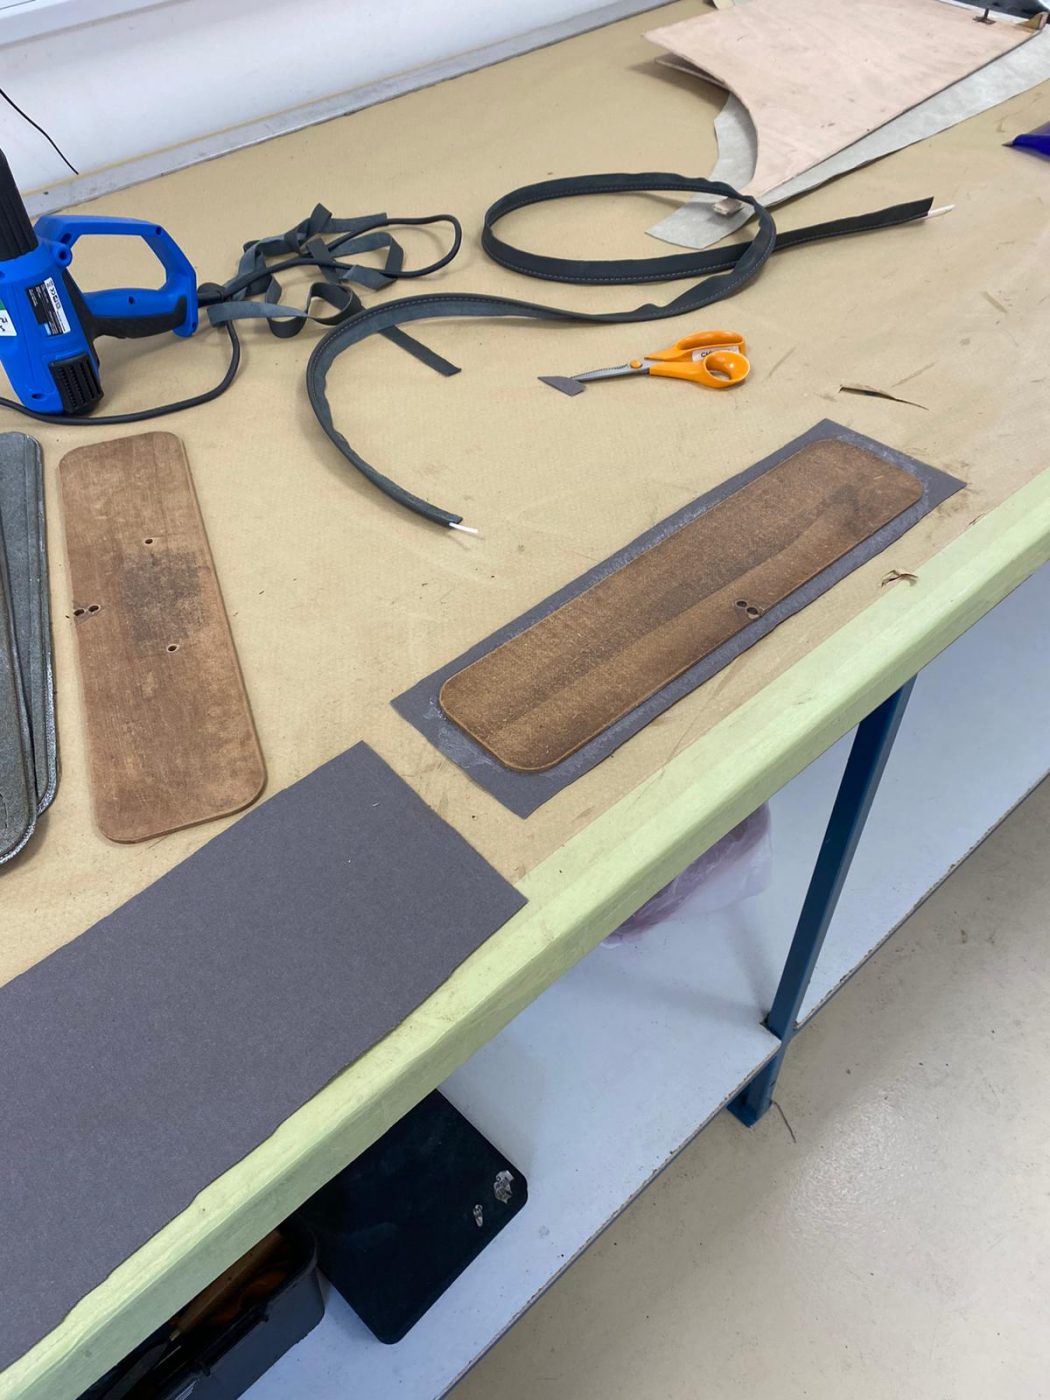
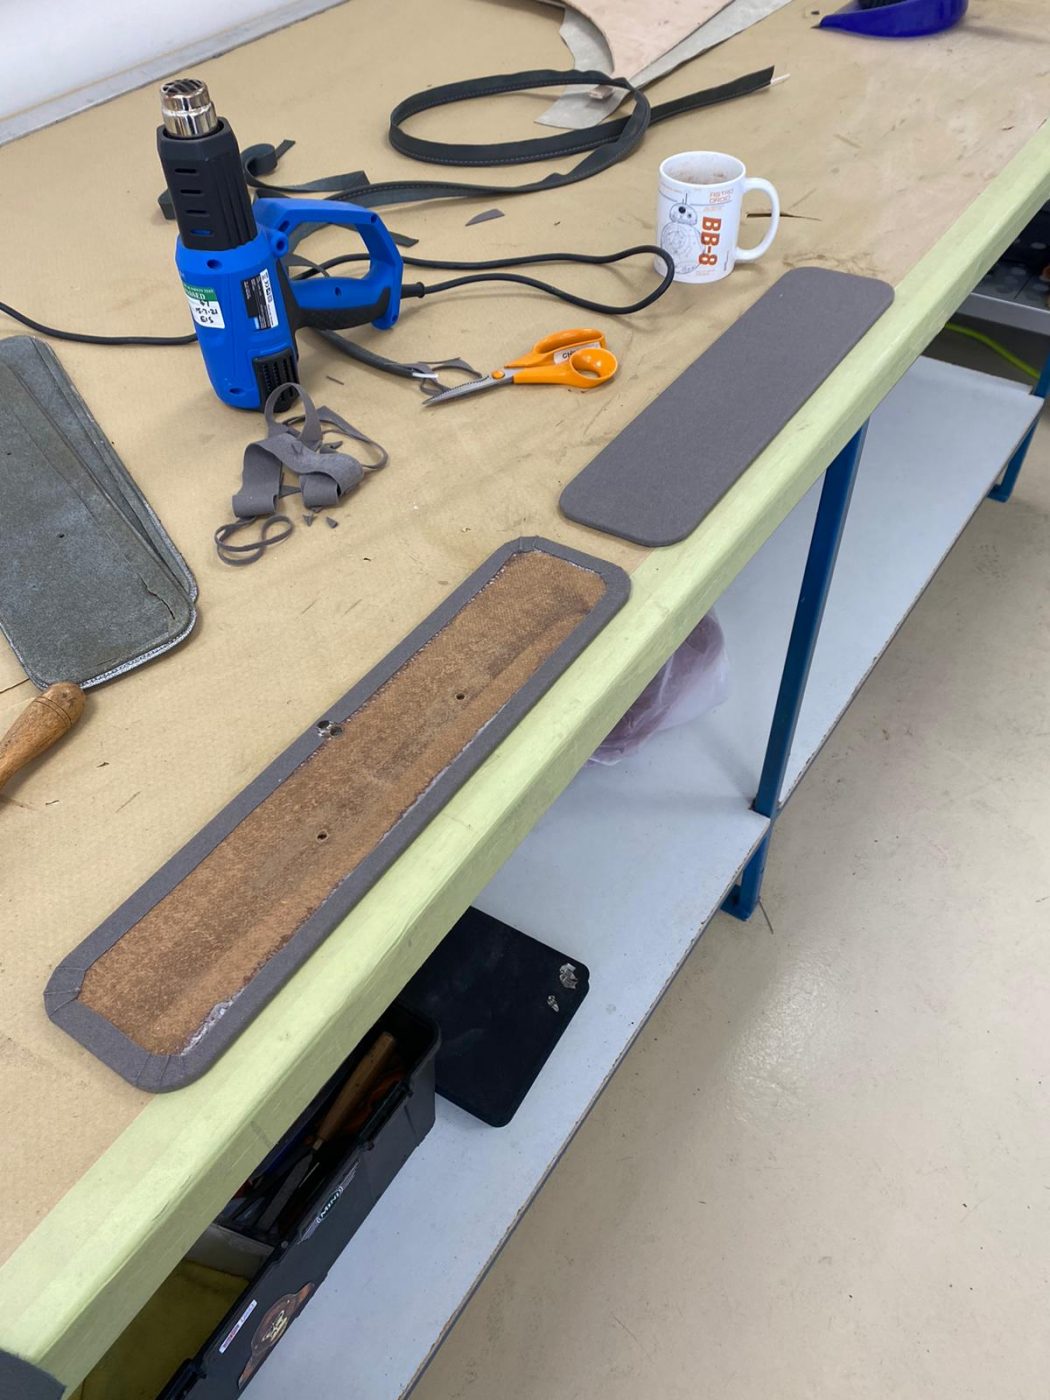
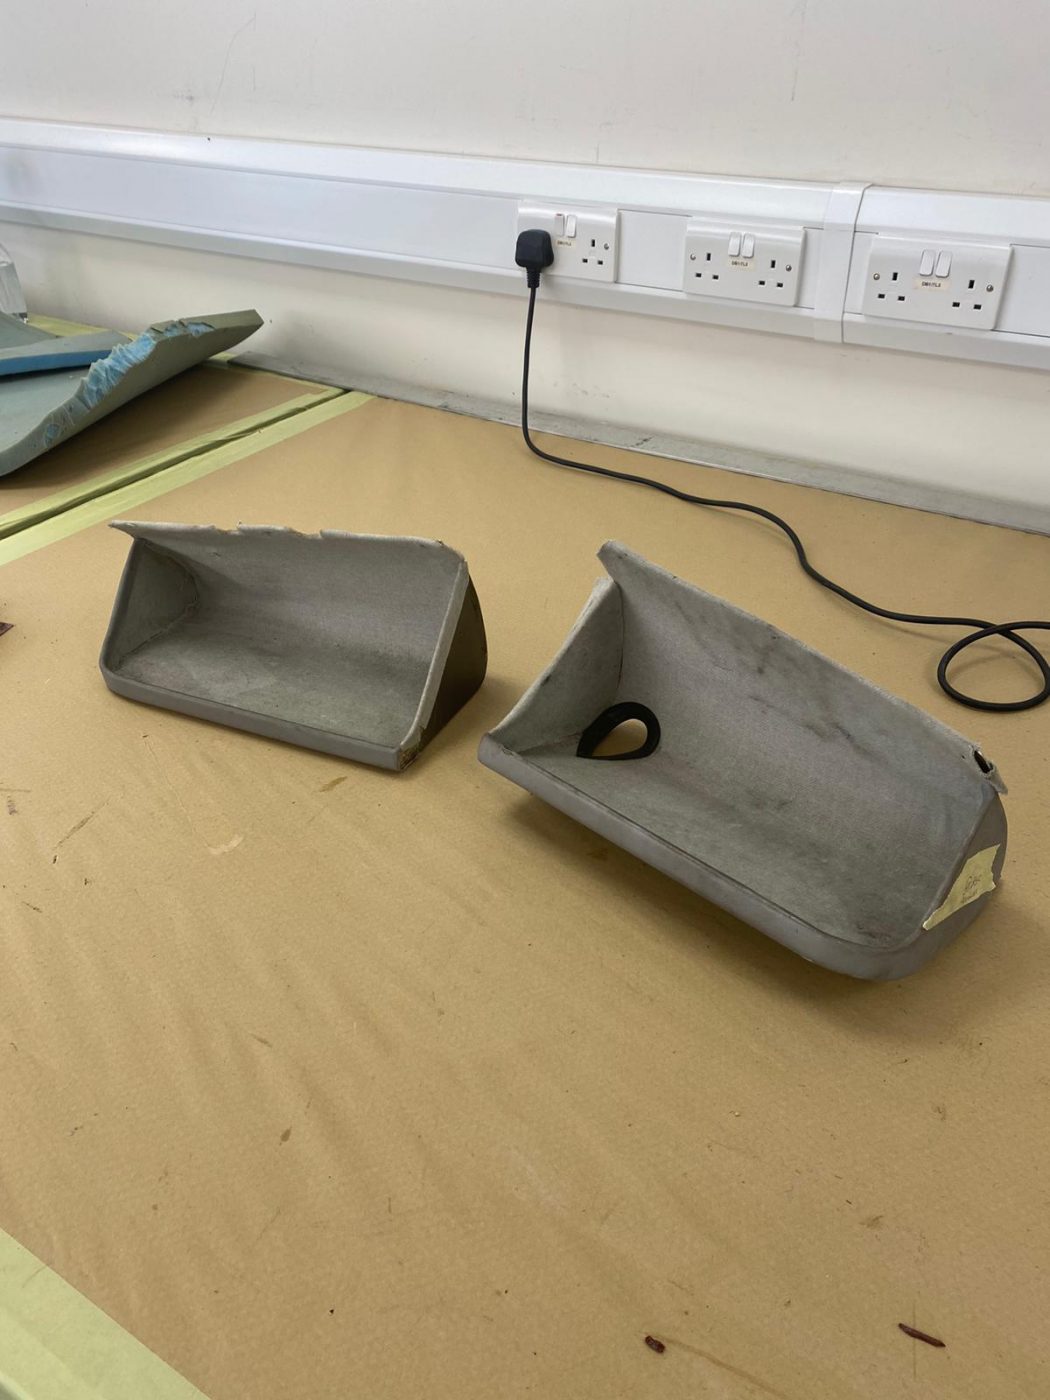
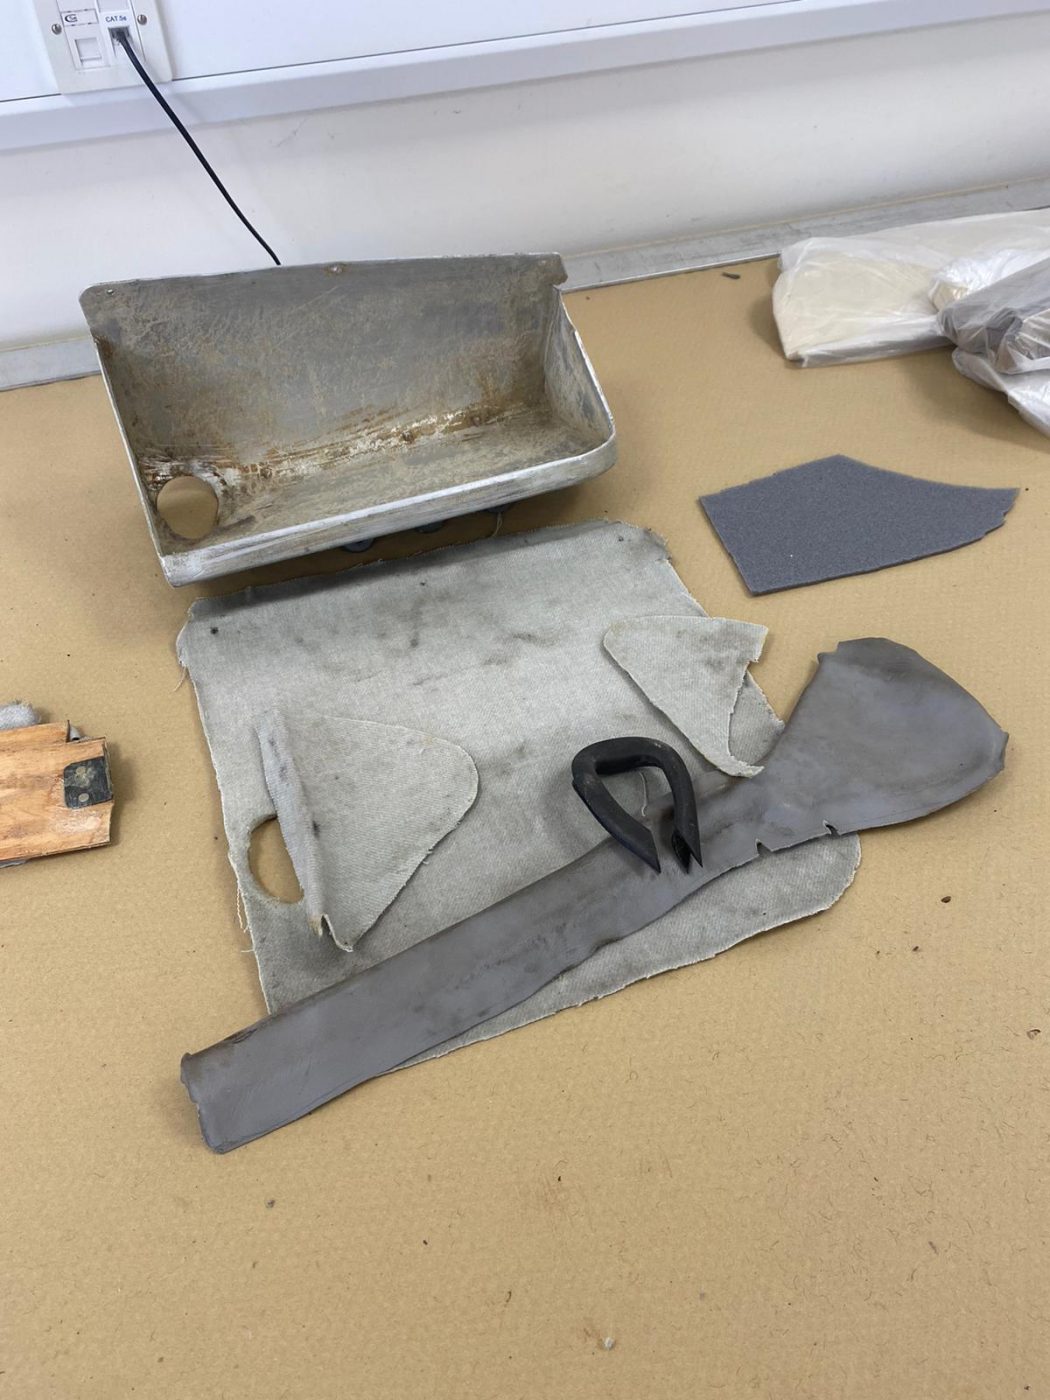
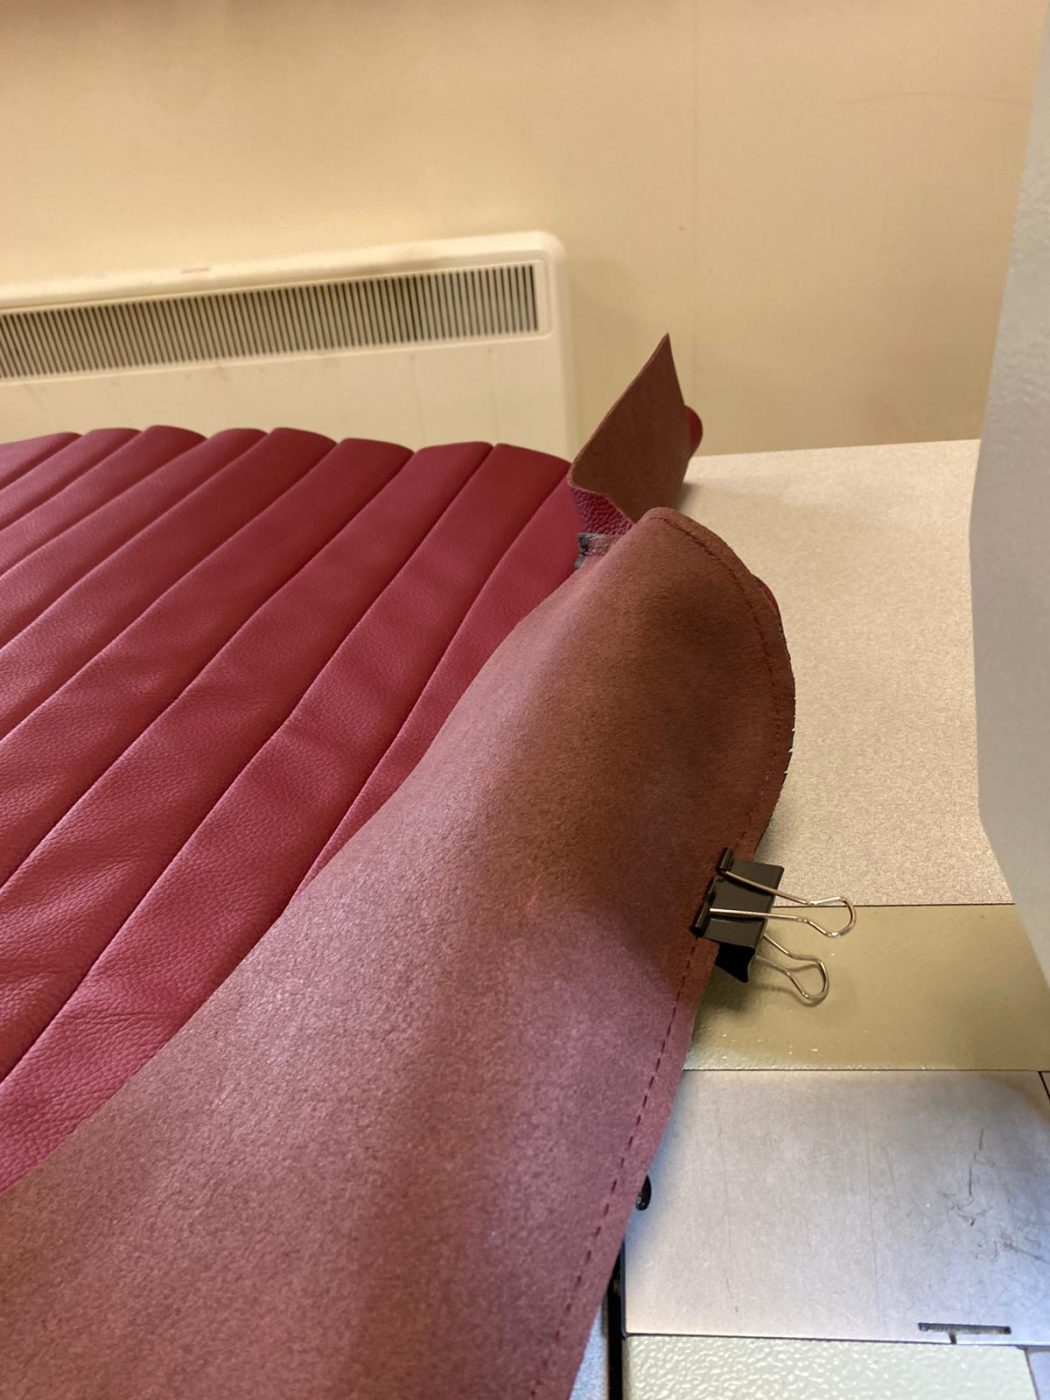
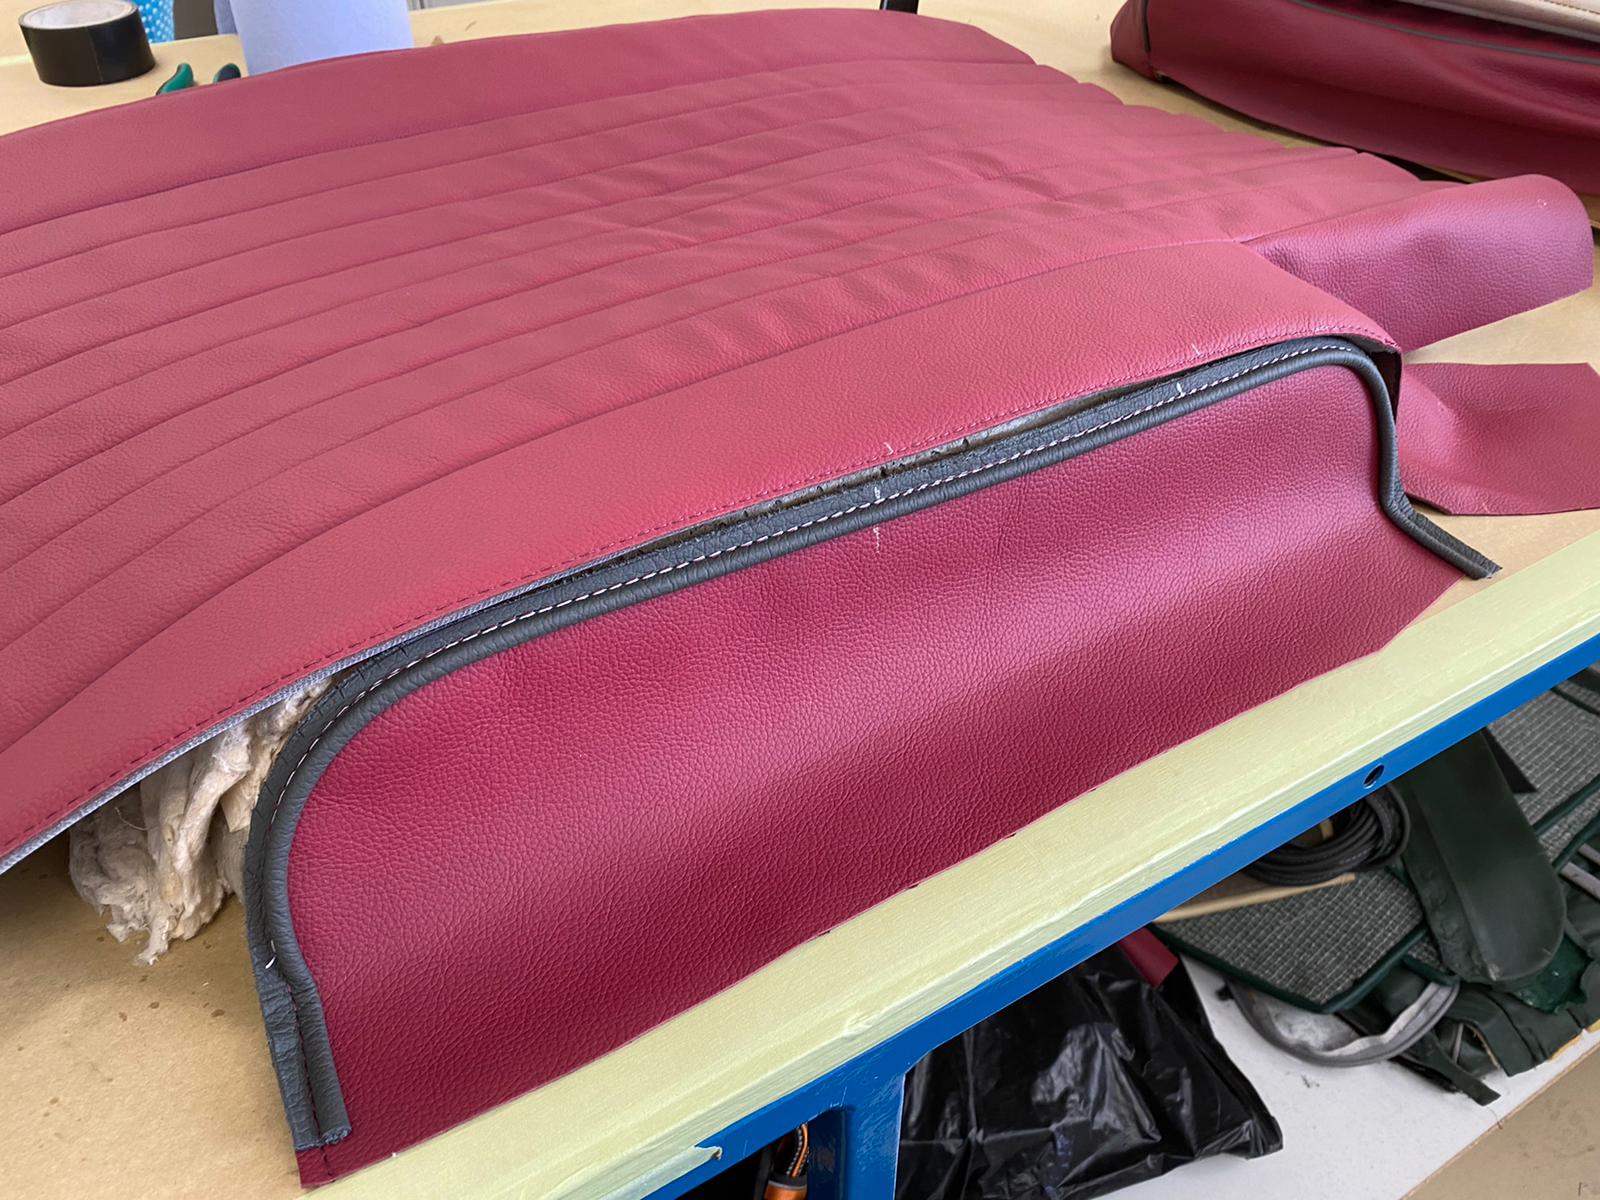
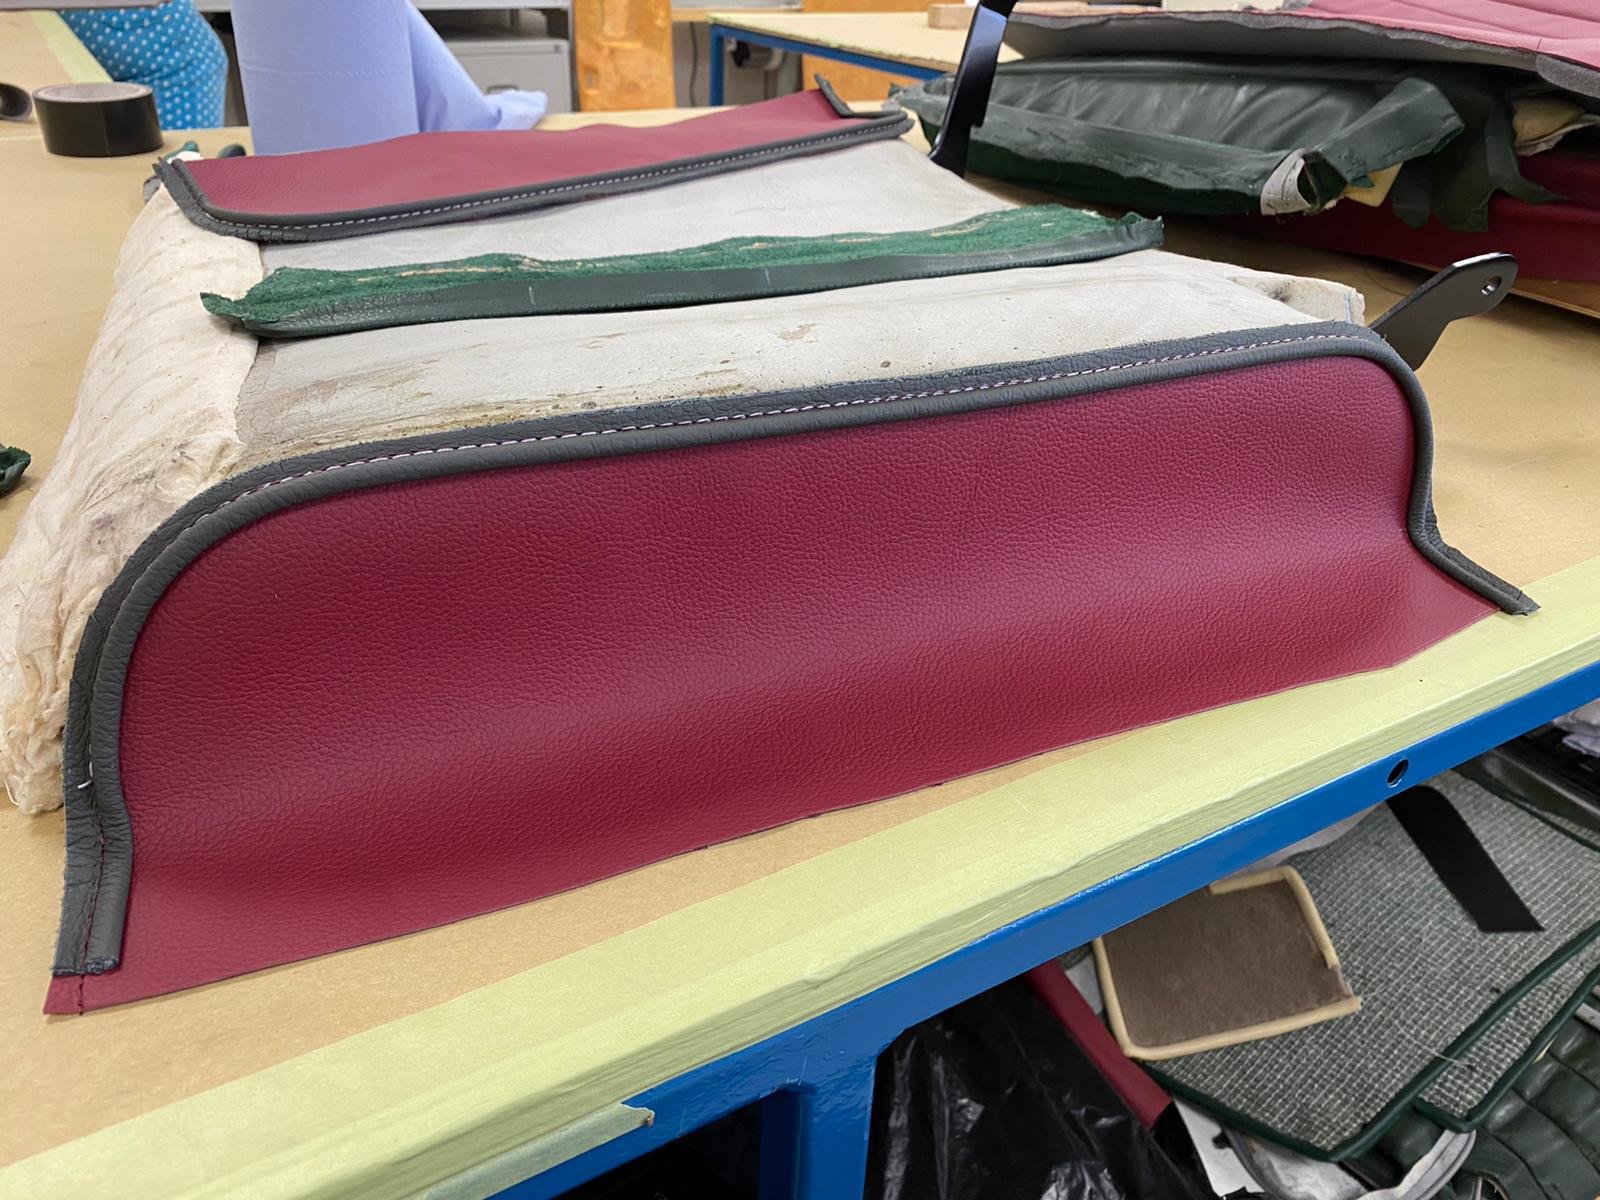
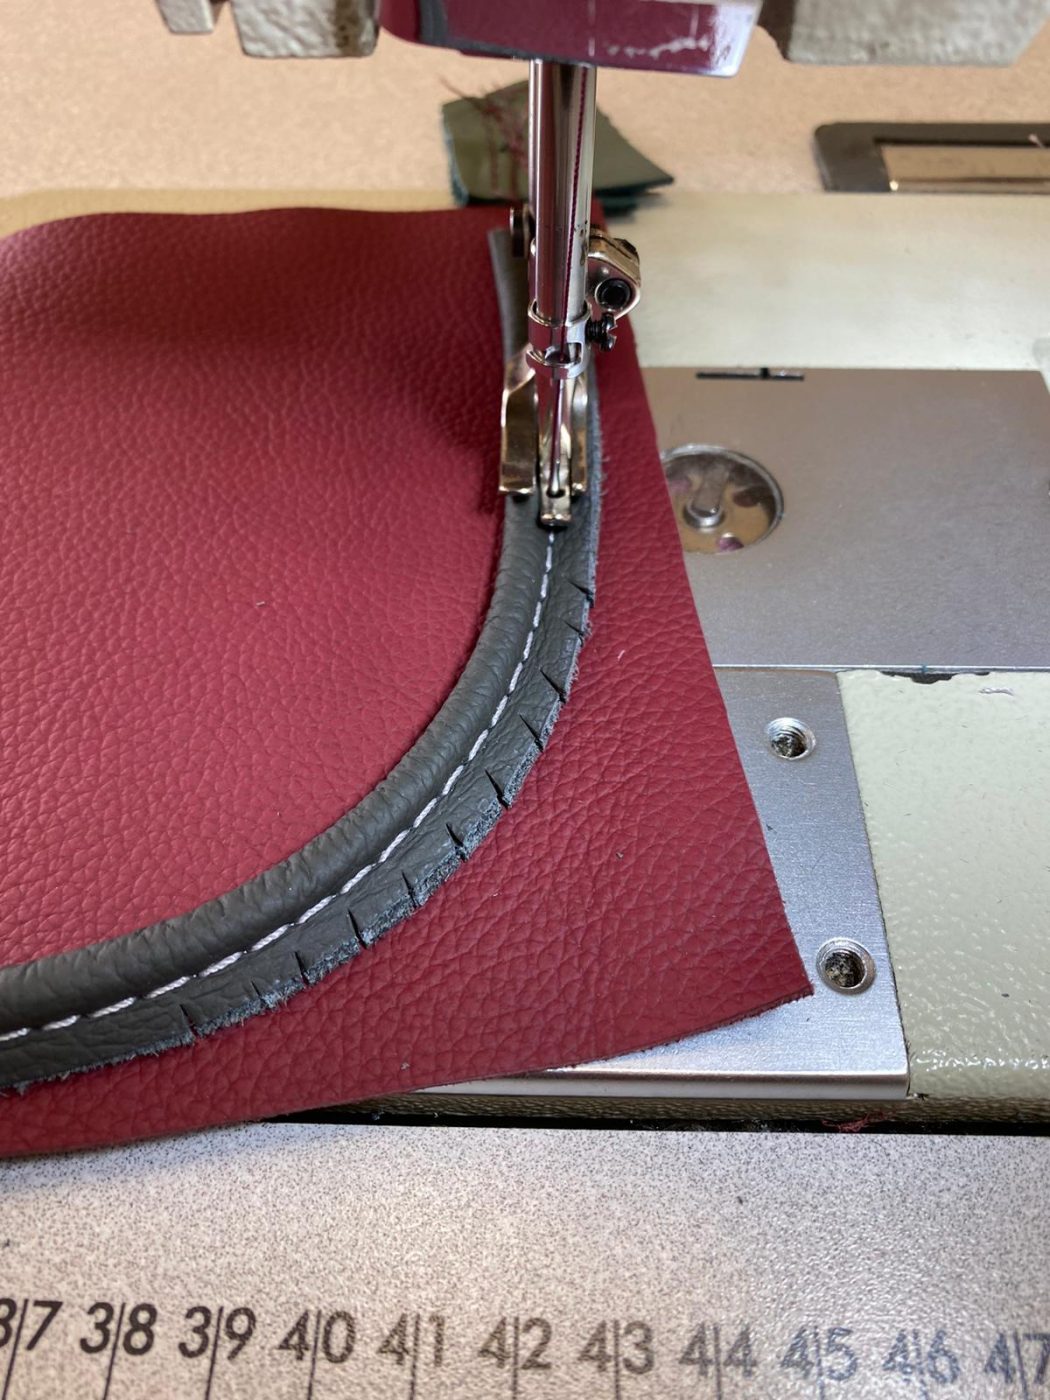
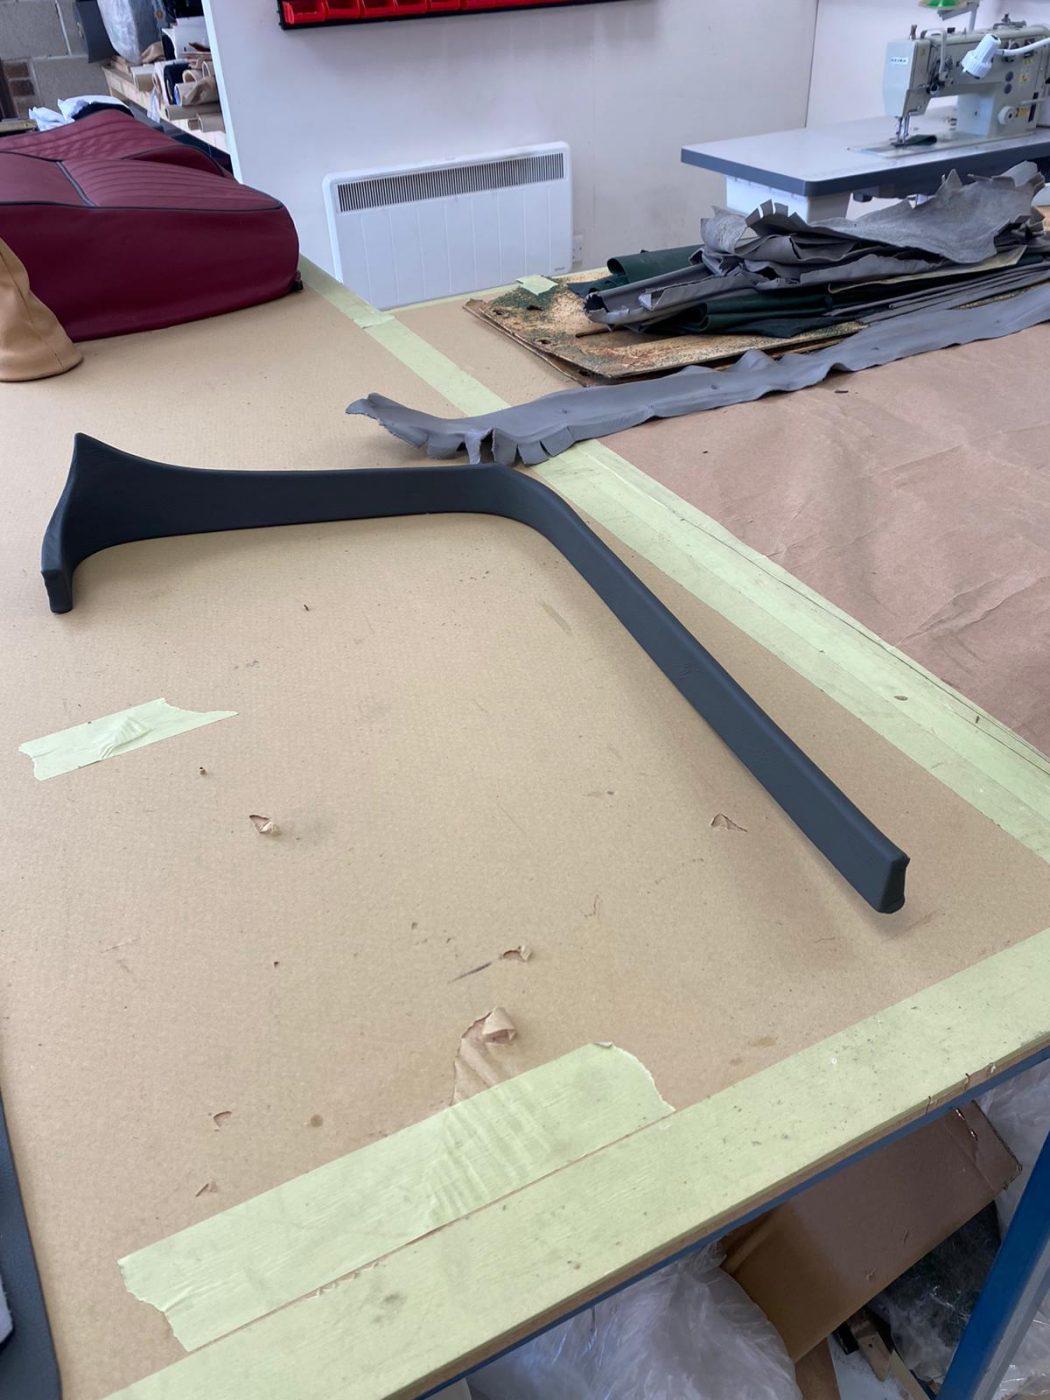
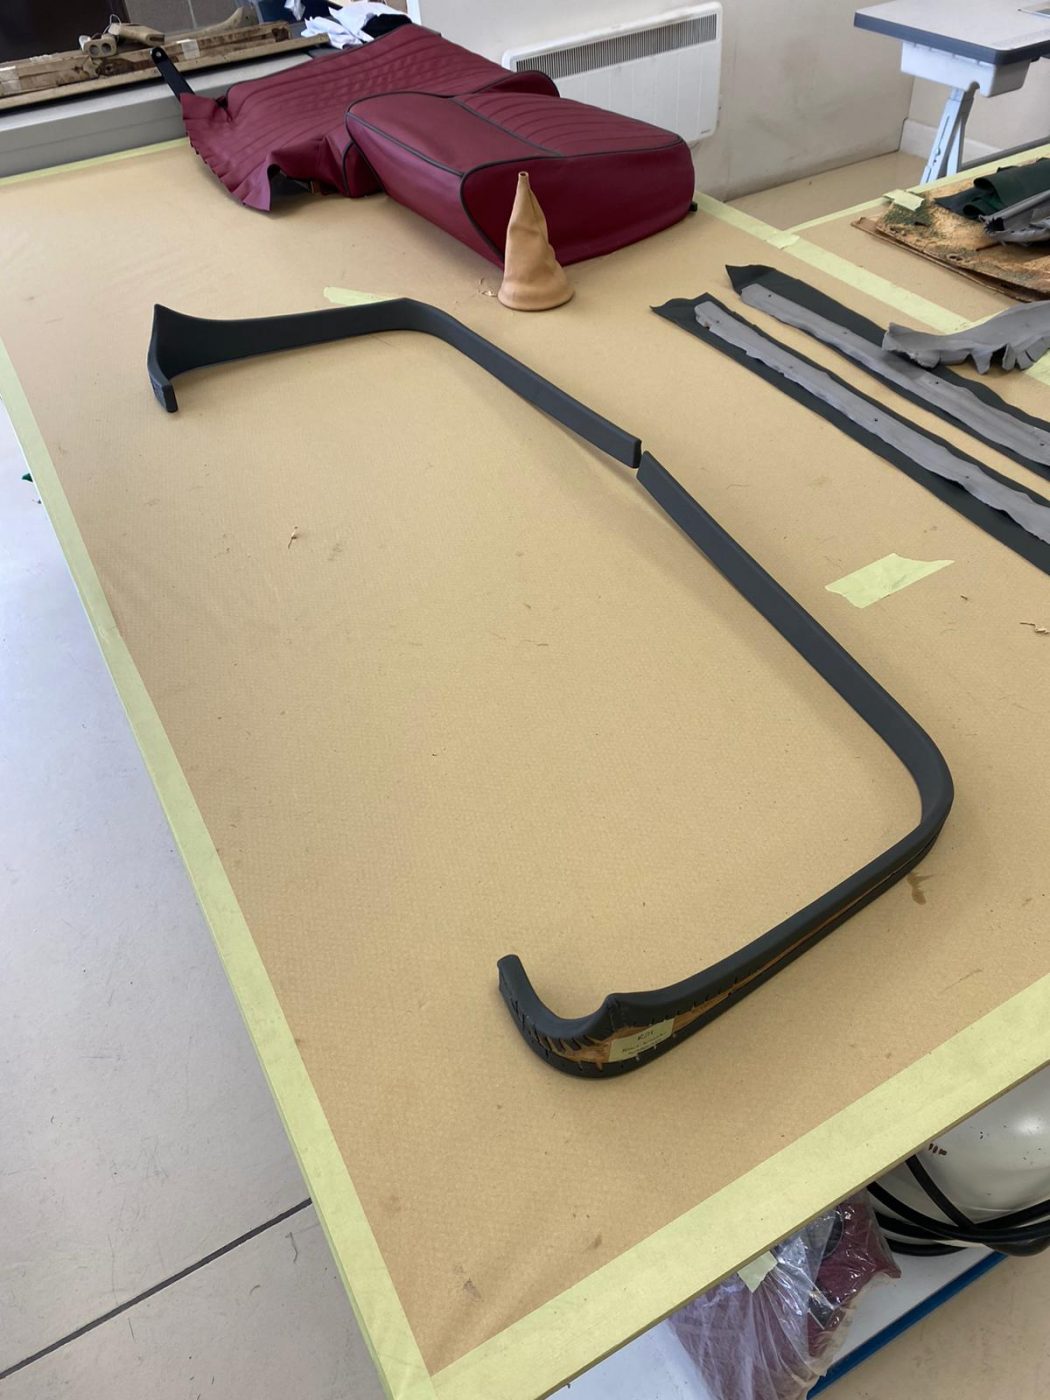
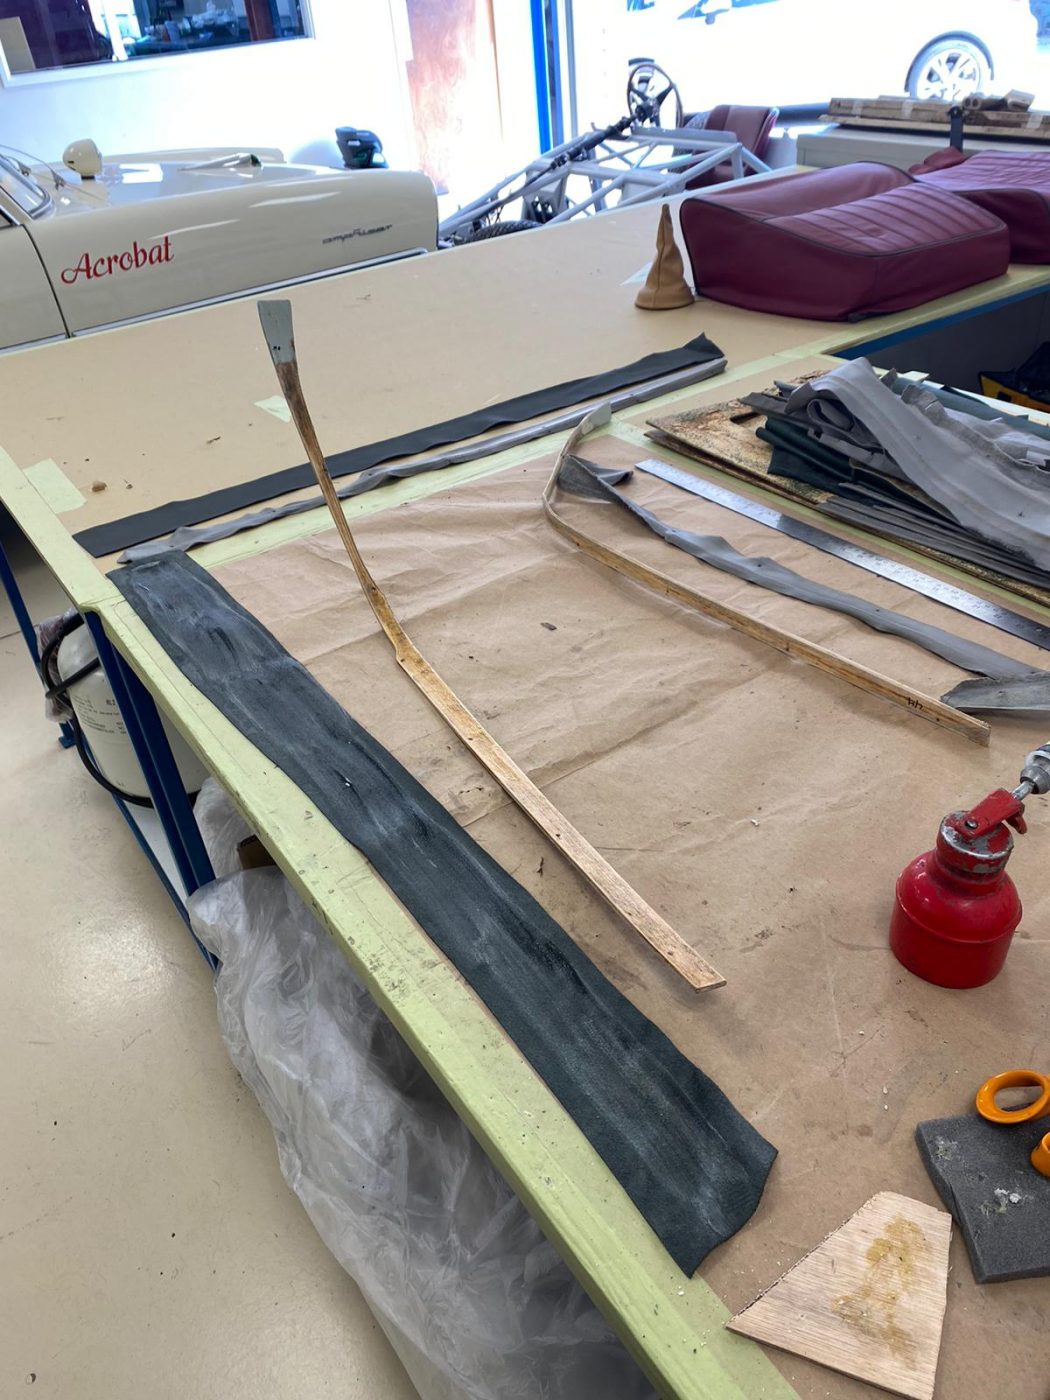
The list of carpet pieces she’s made includes the front tunnel carpet, the rear under-seat carpets, the carpet that goes underneath the front of the gearbox, the top gearbox carpet, the gearbox tunnel carpets, the right-hand and left-hand foot well carpets, the carpet that goes around the throttle peddle, the rear foot well carpet and the rear boot-side panel carpet.
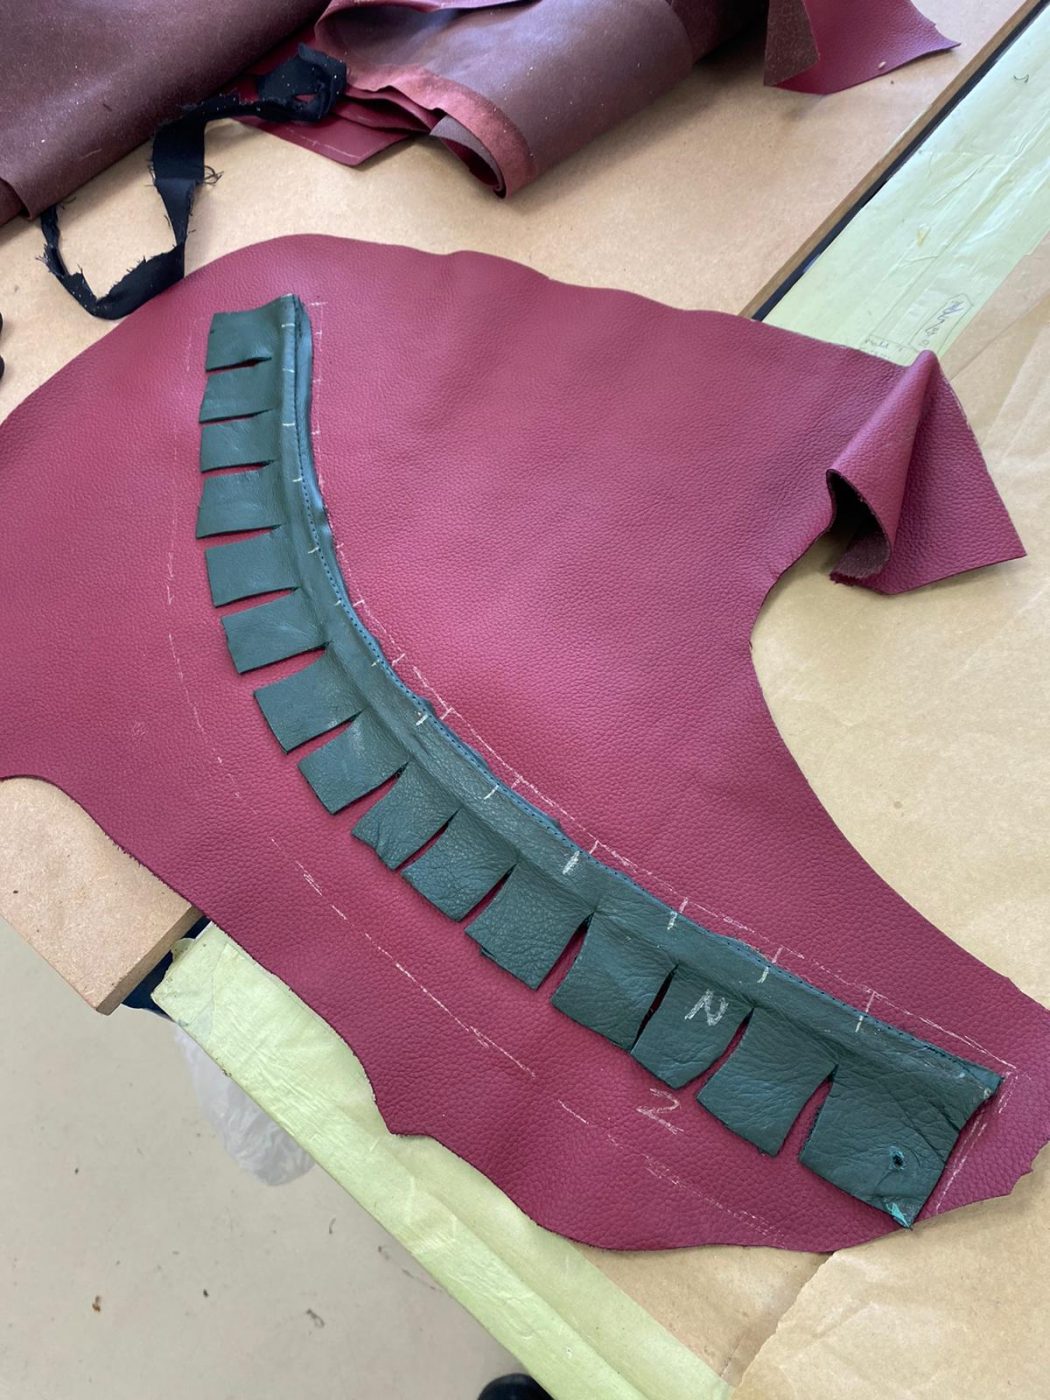
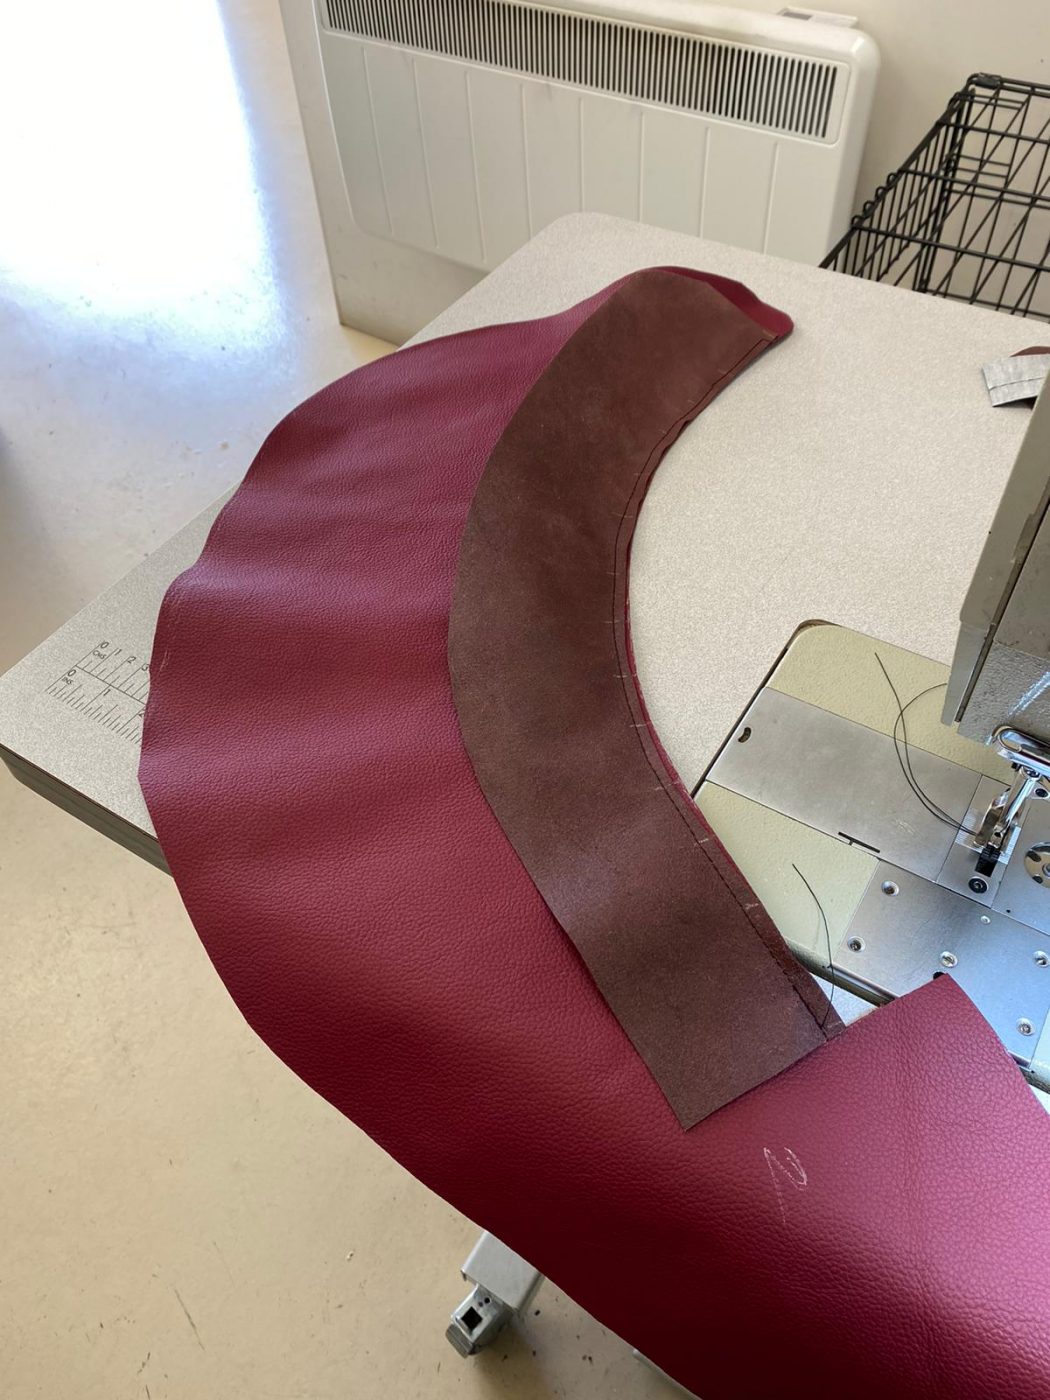
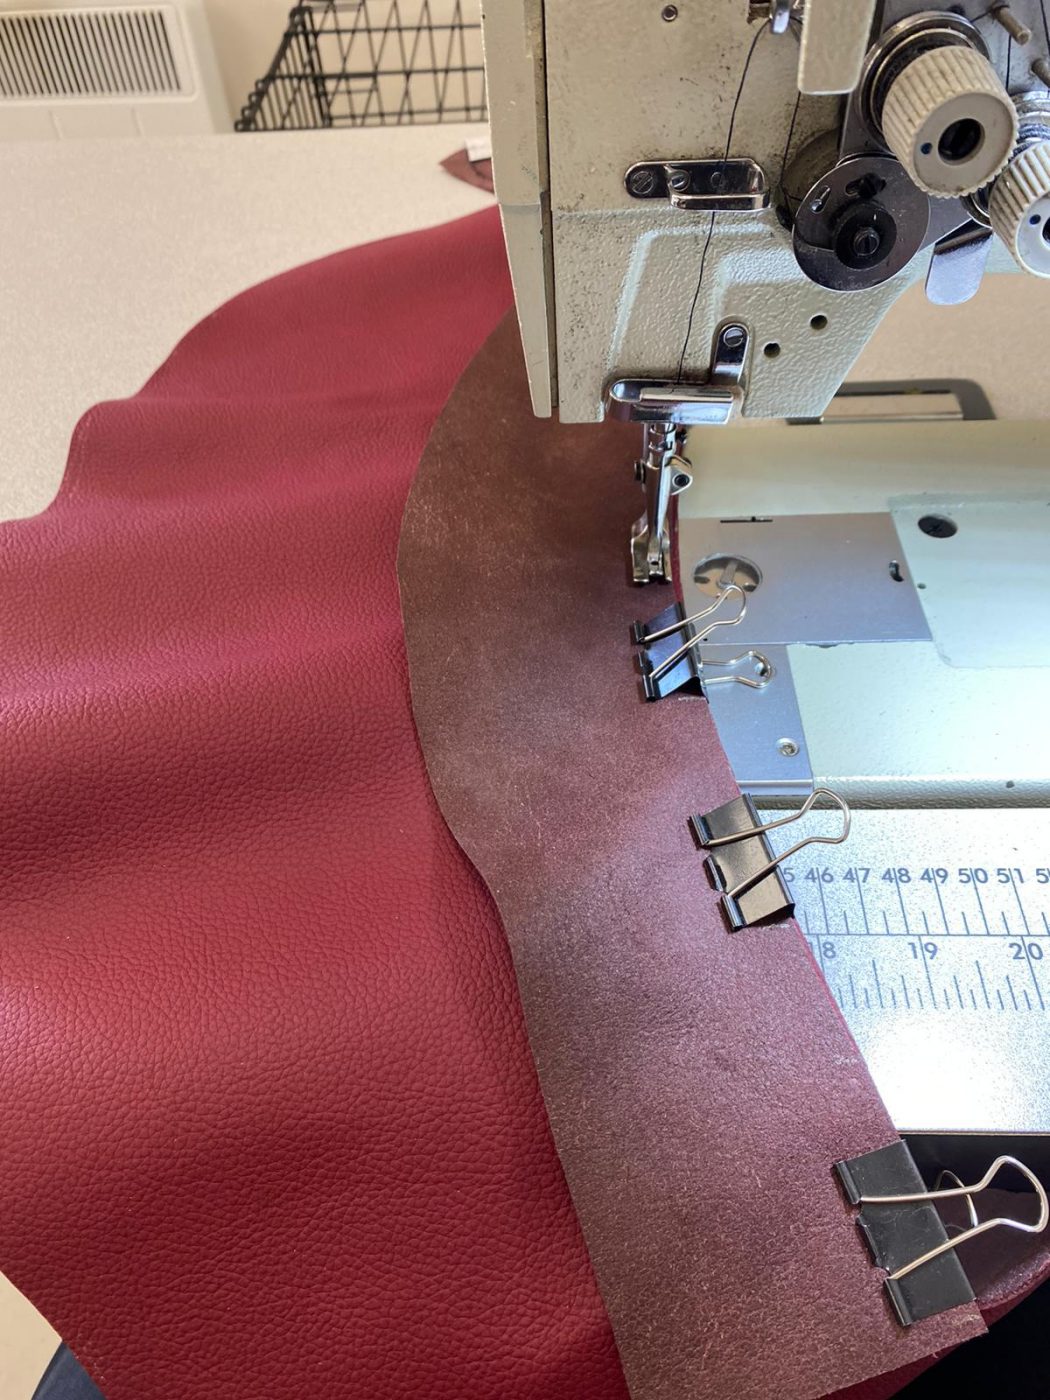
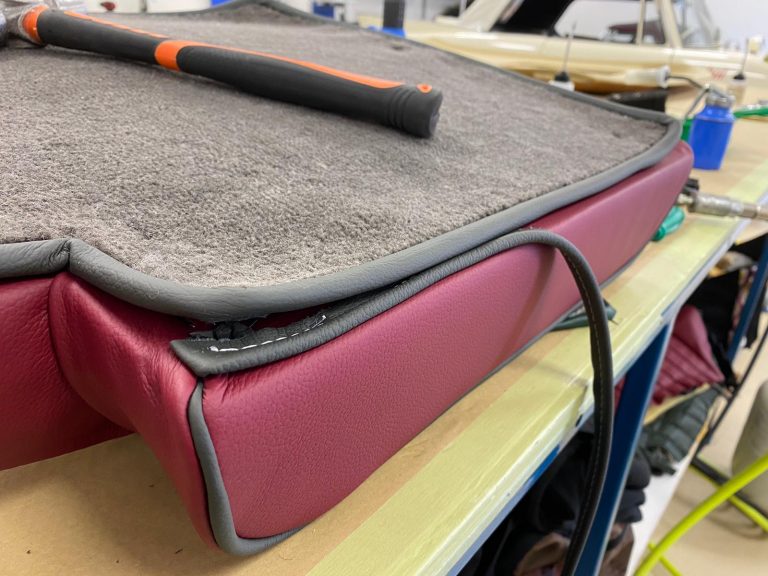
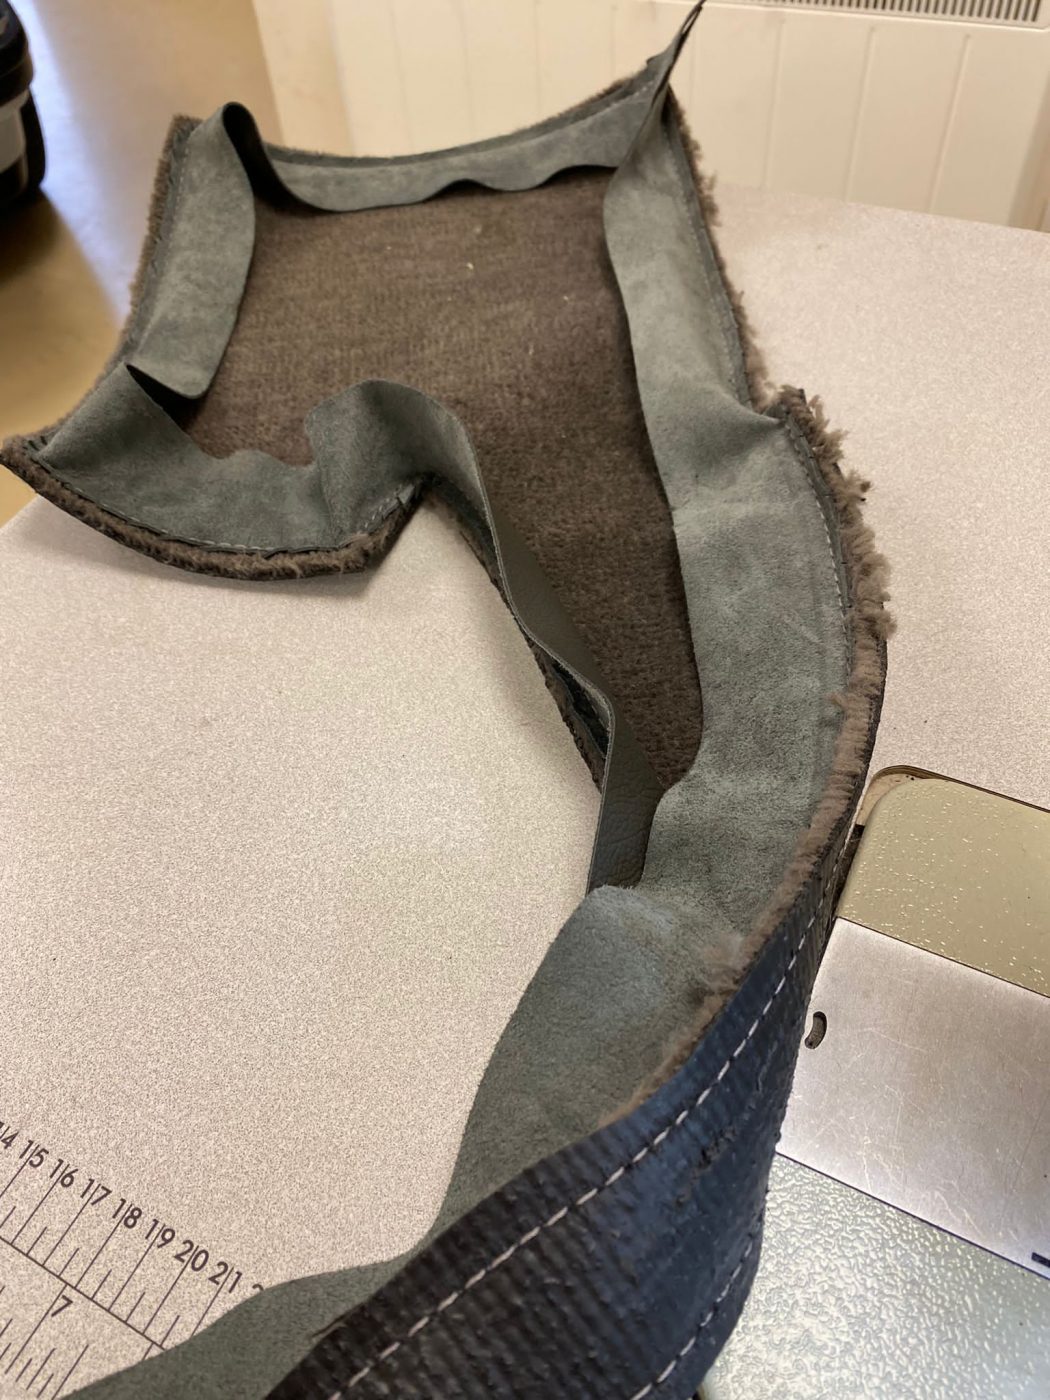
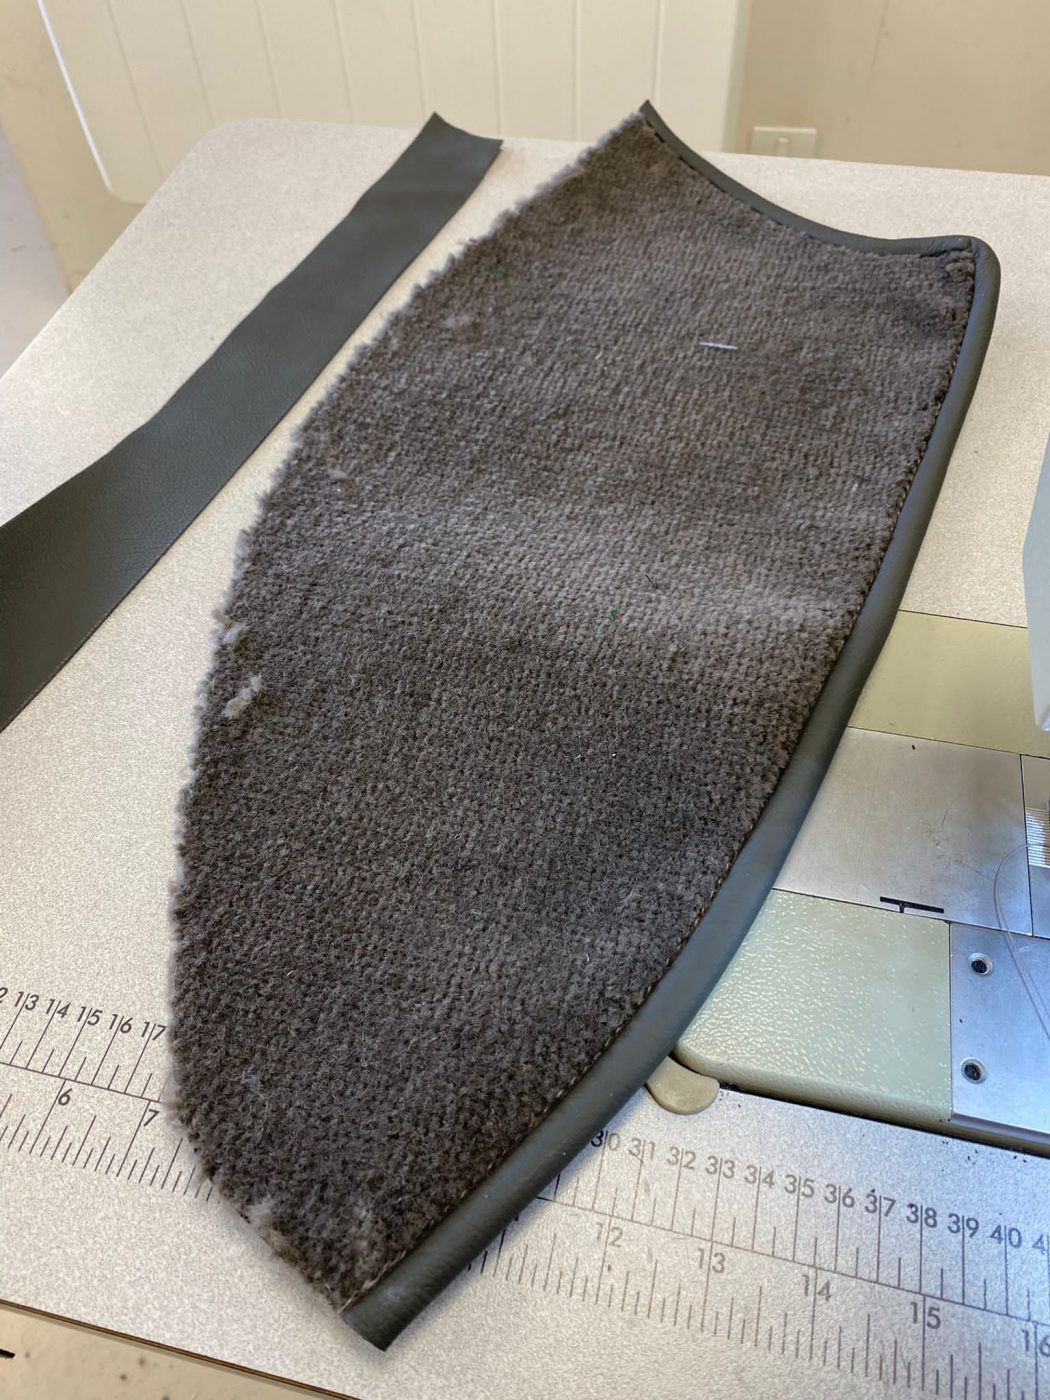
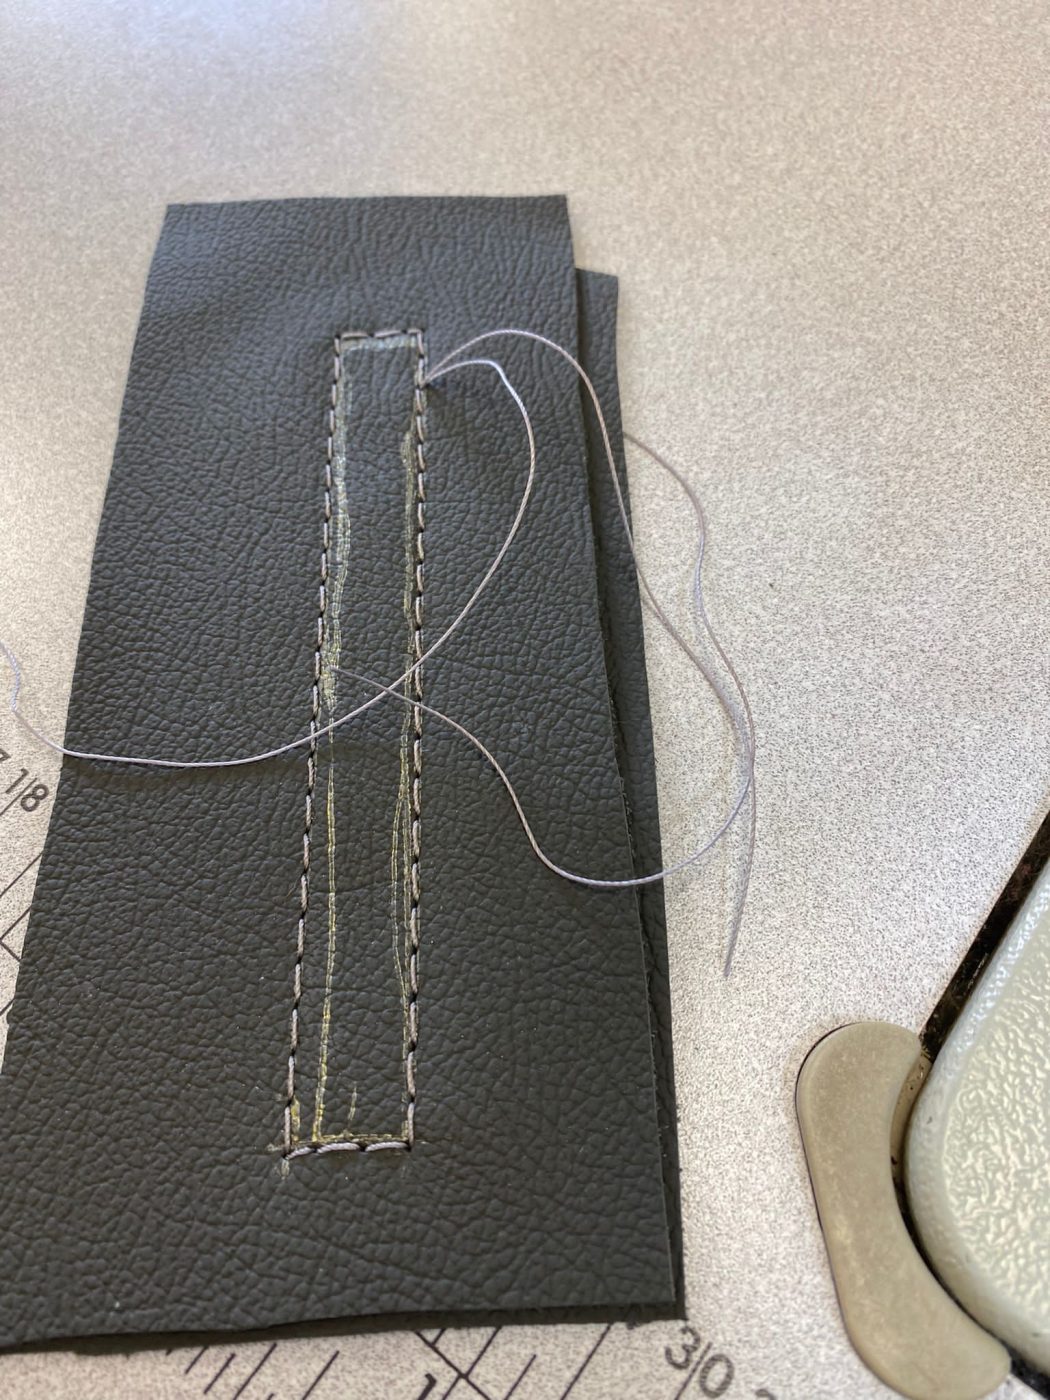
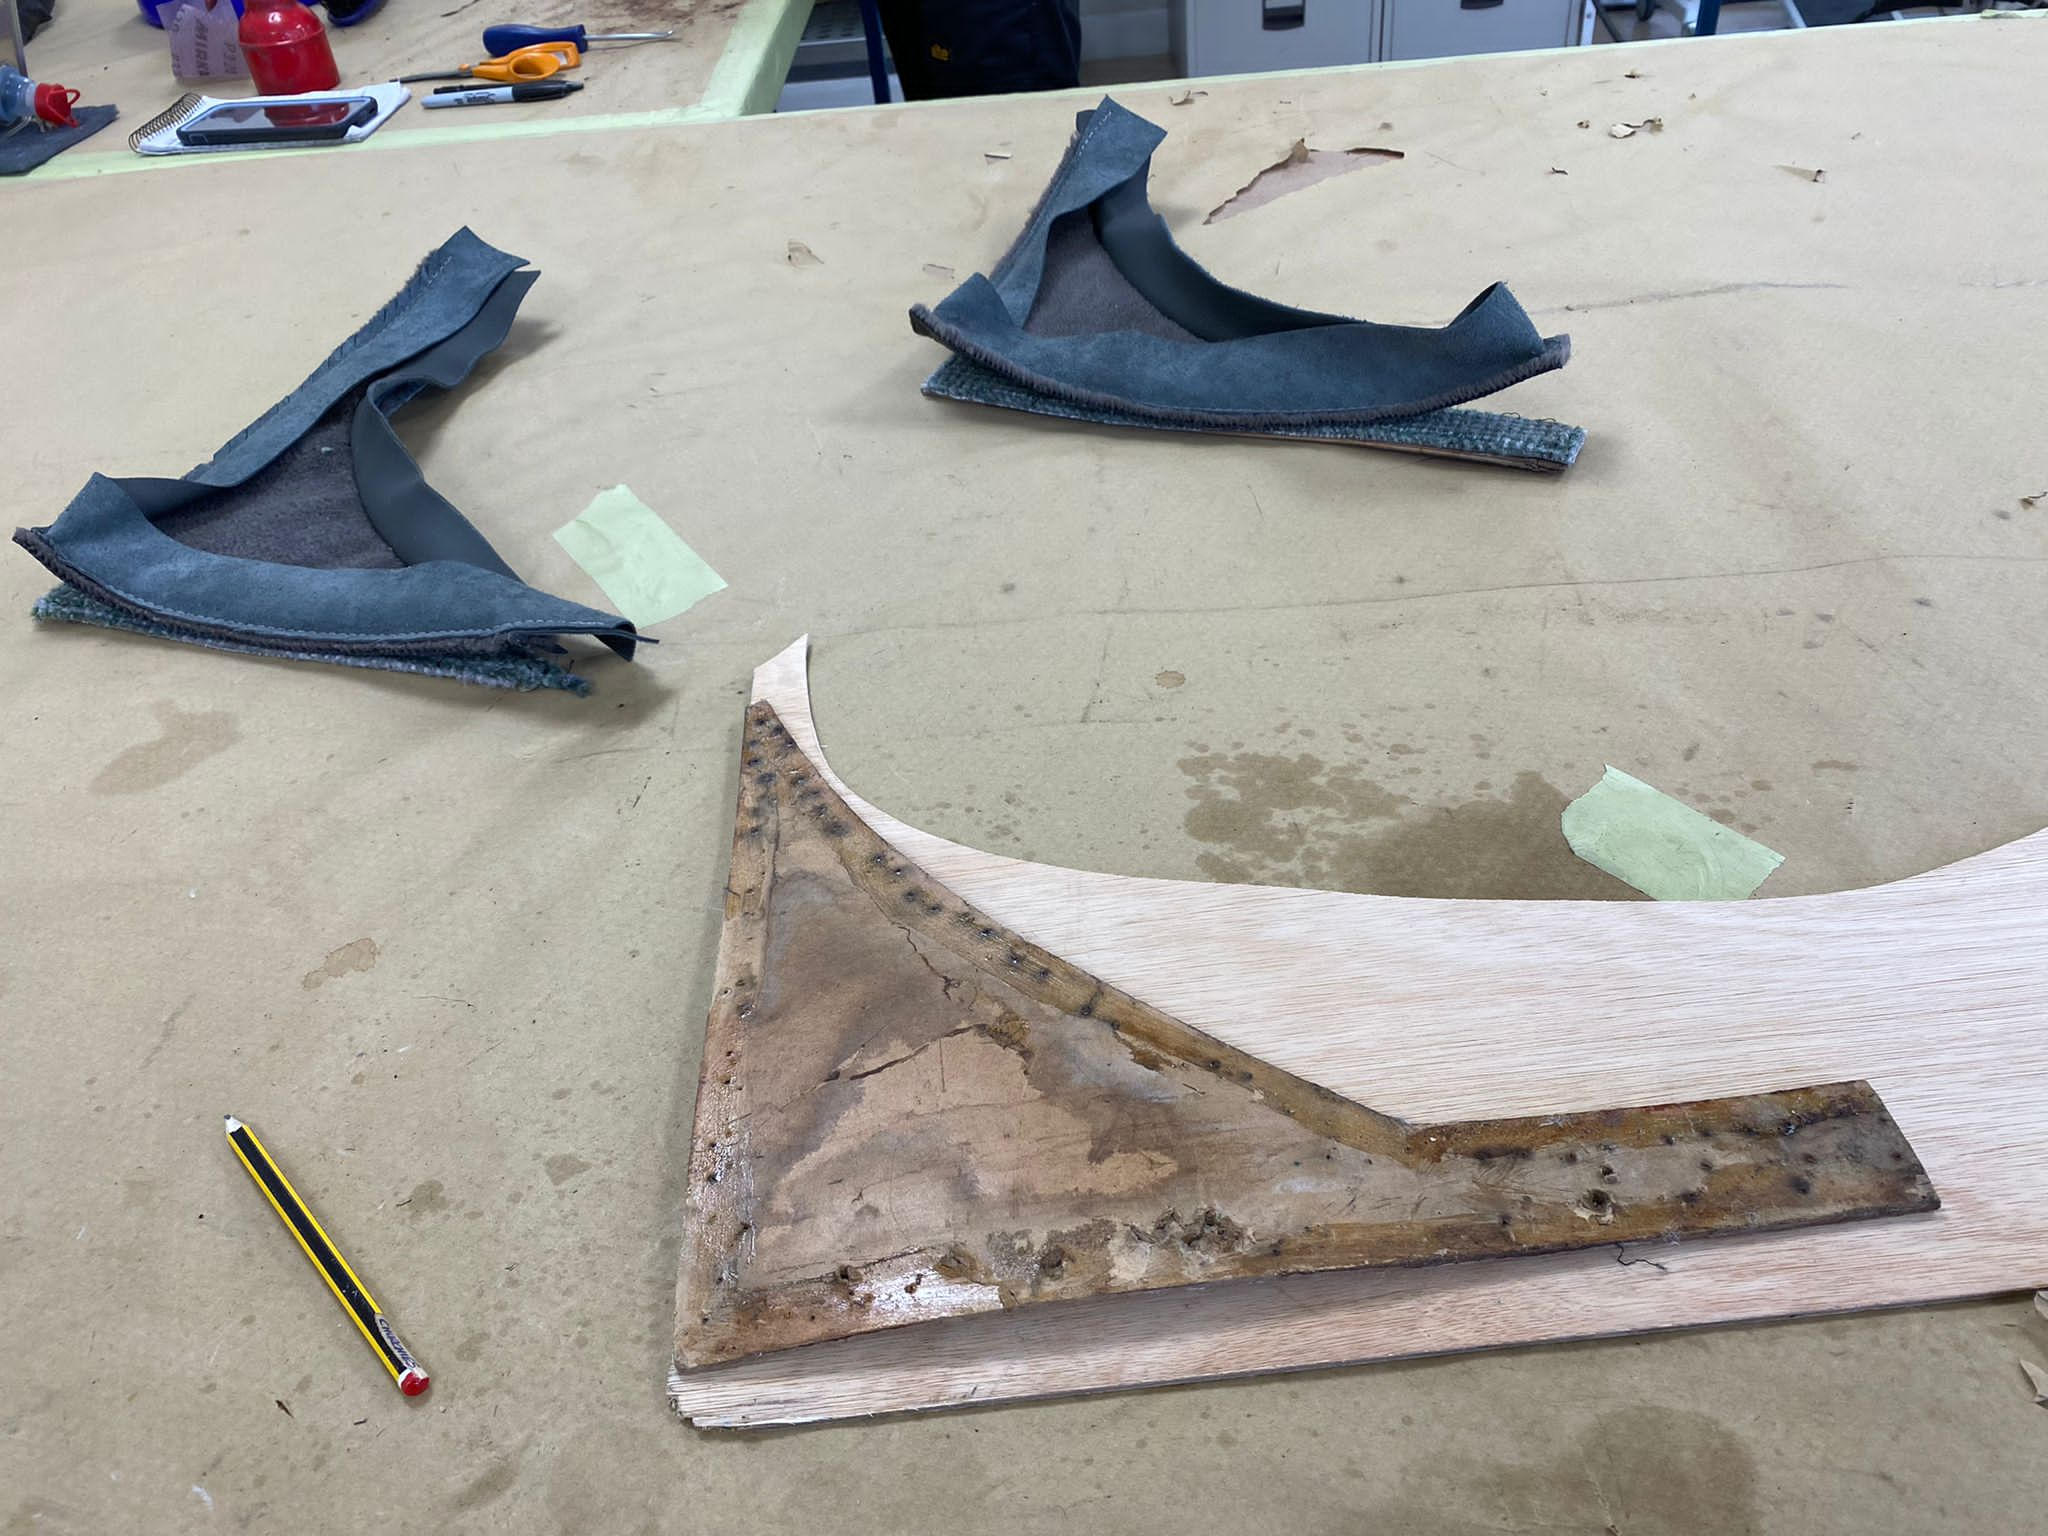
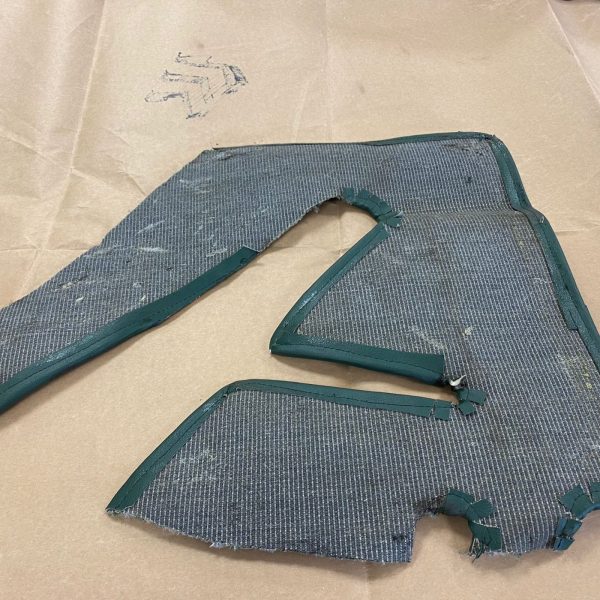
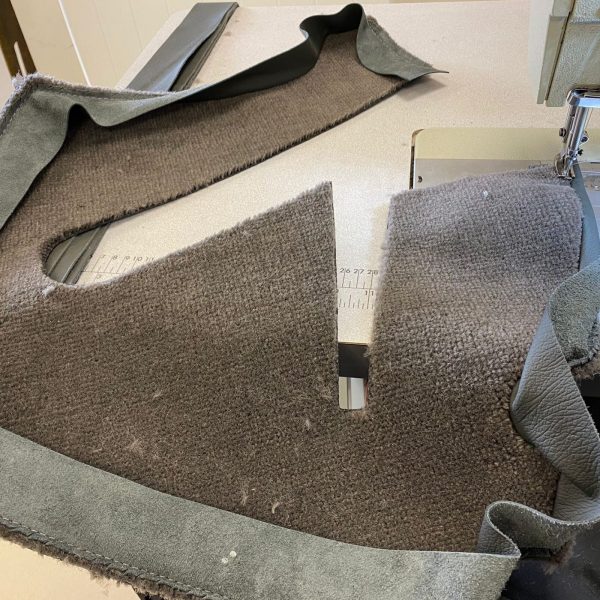
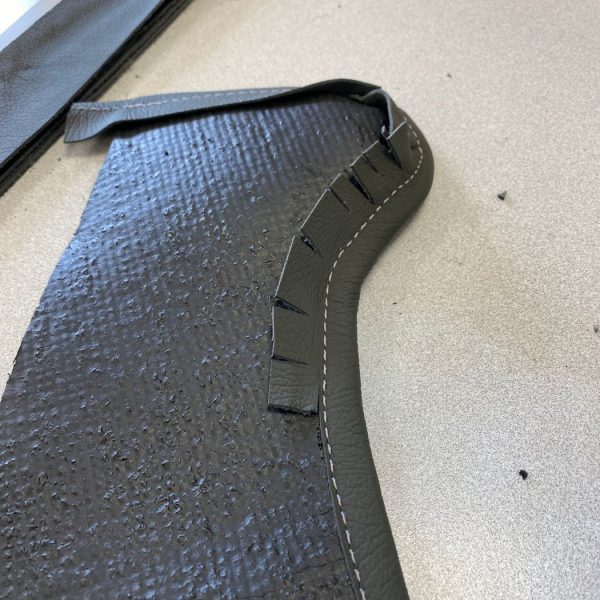
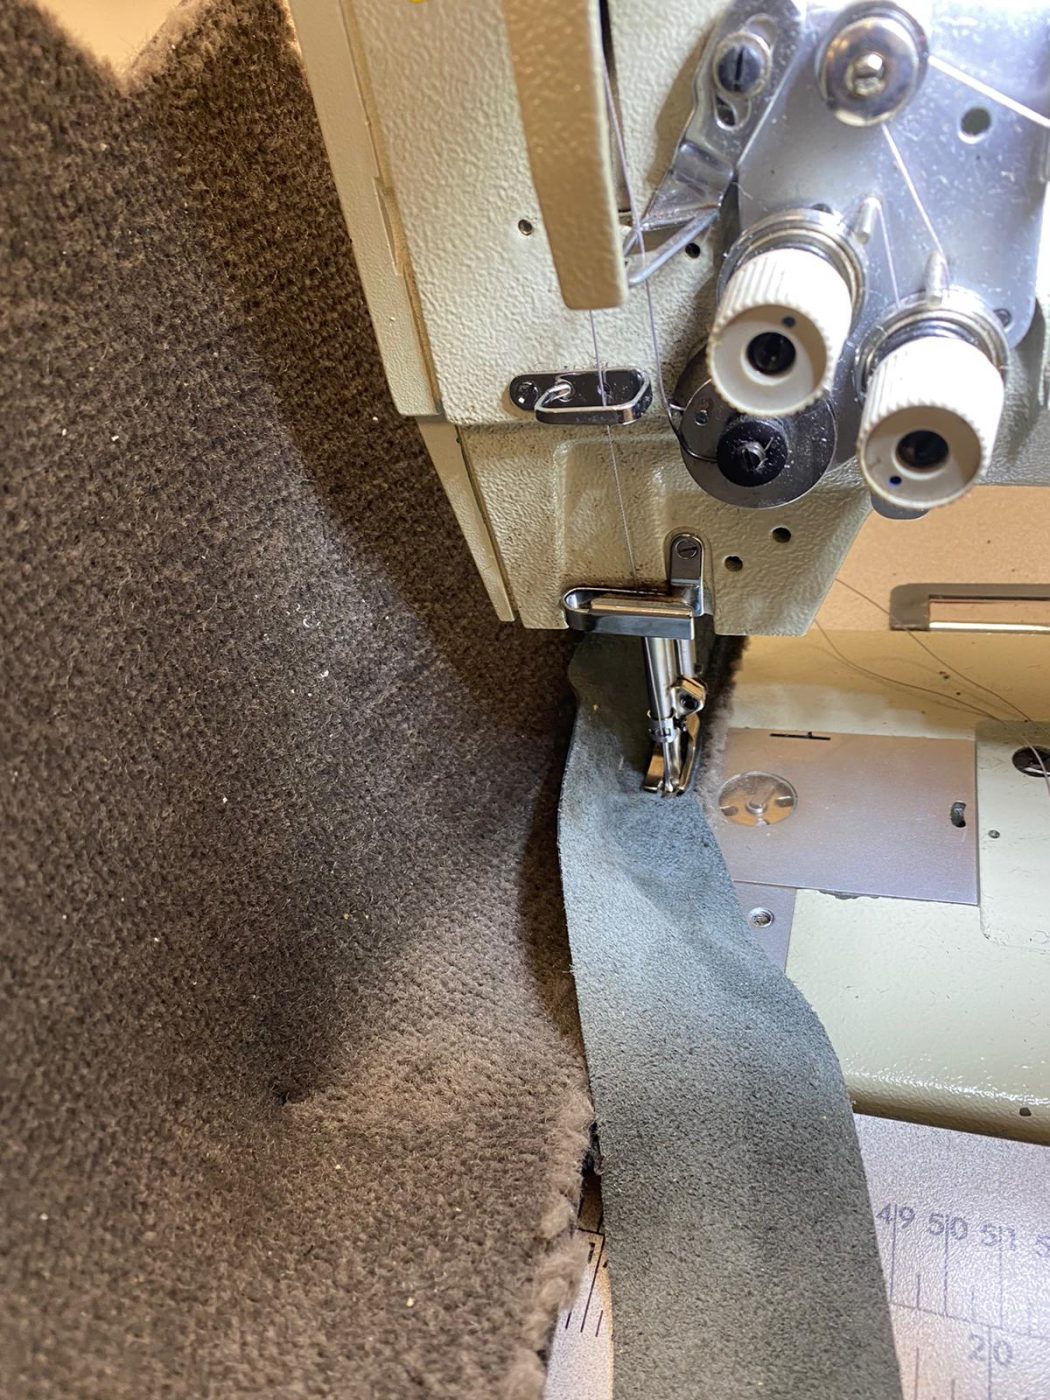
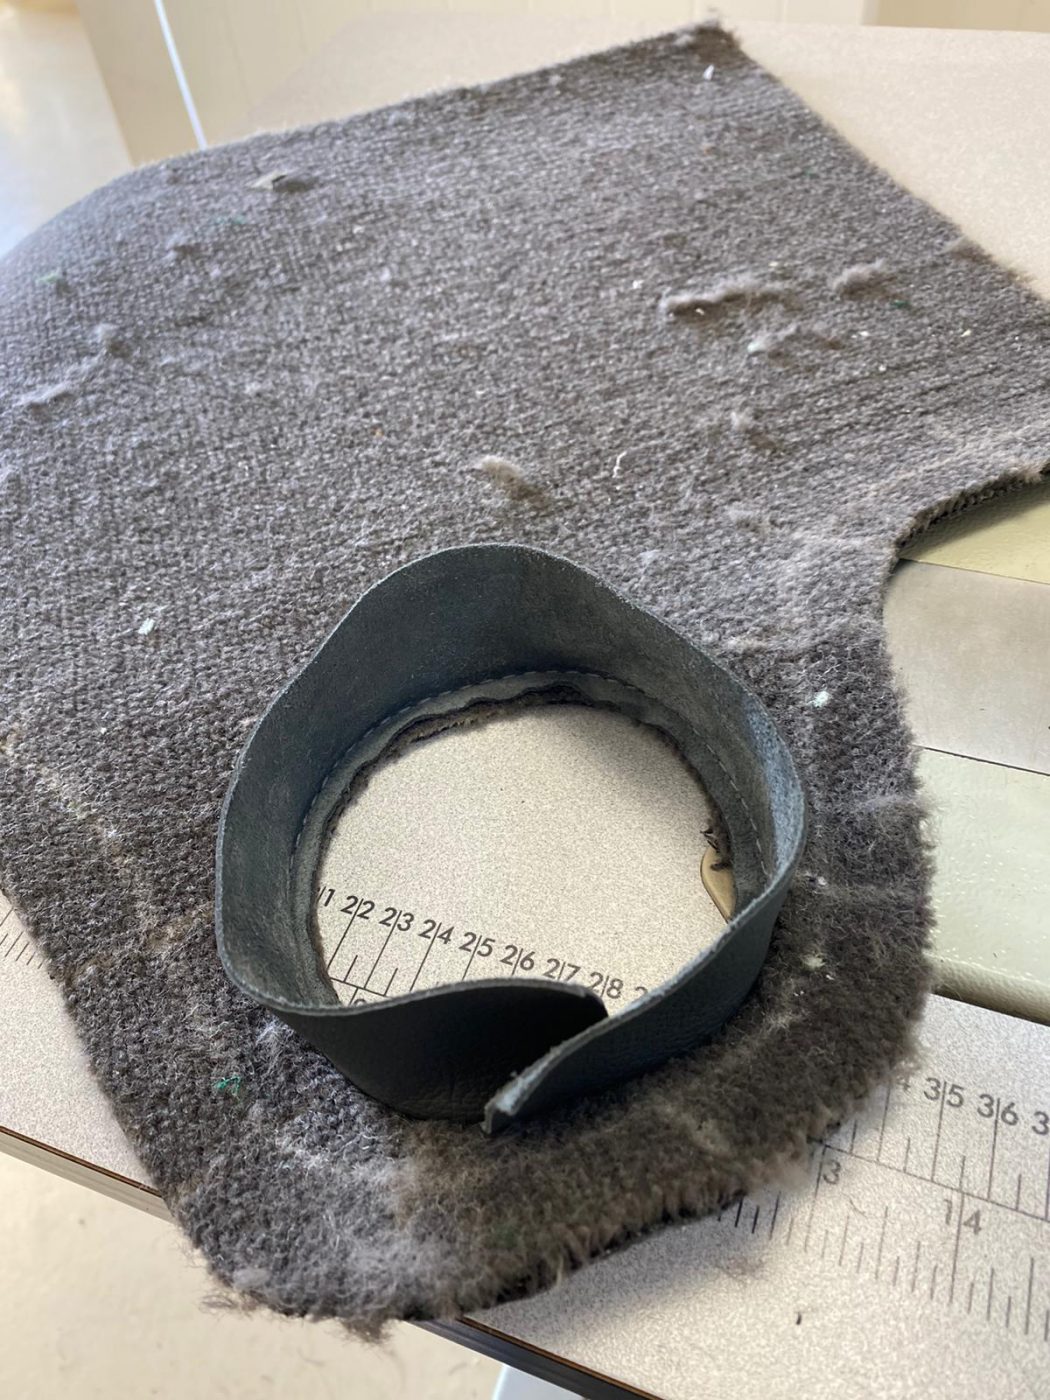
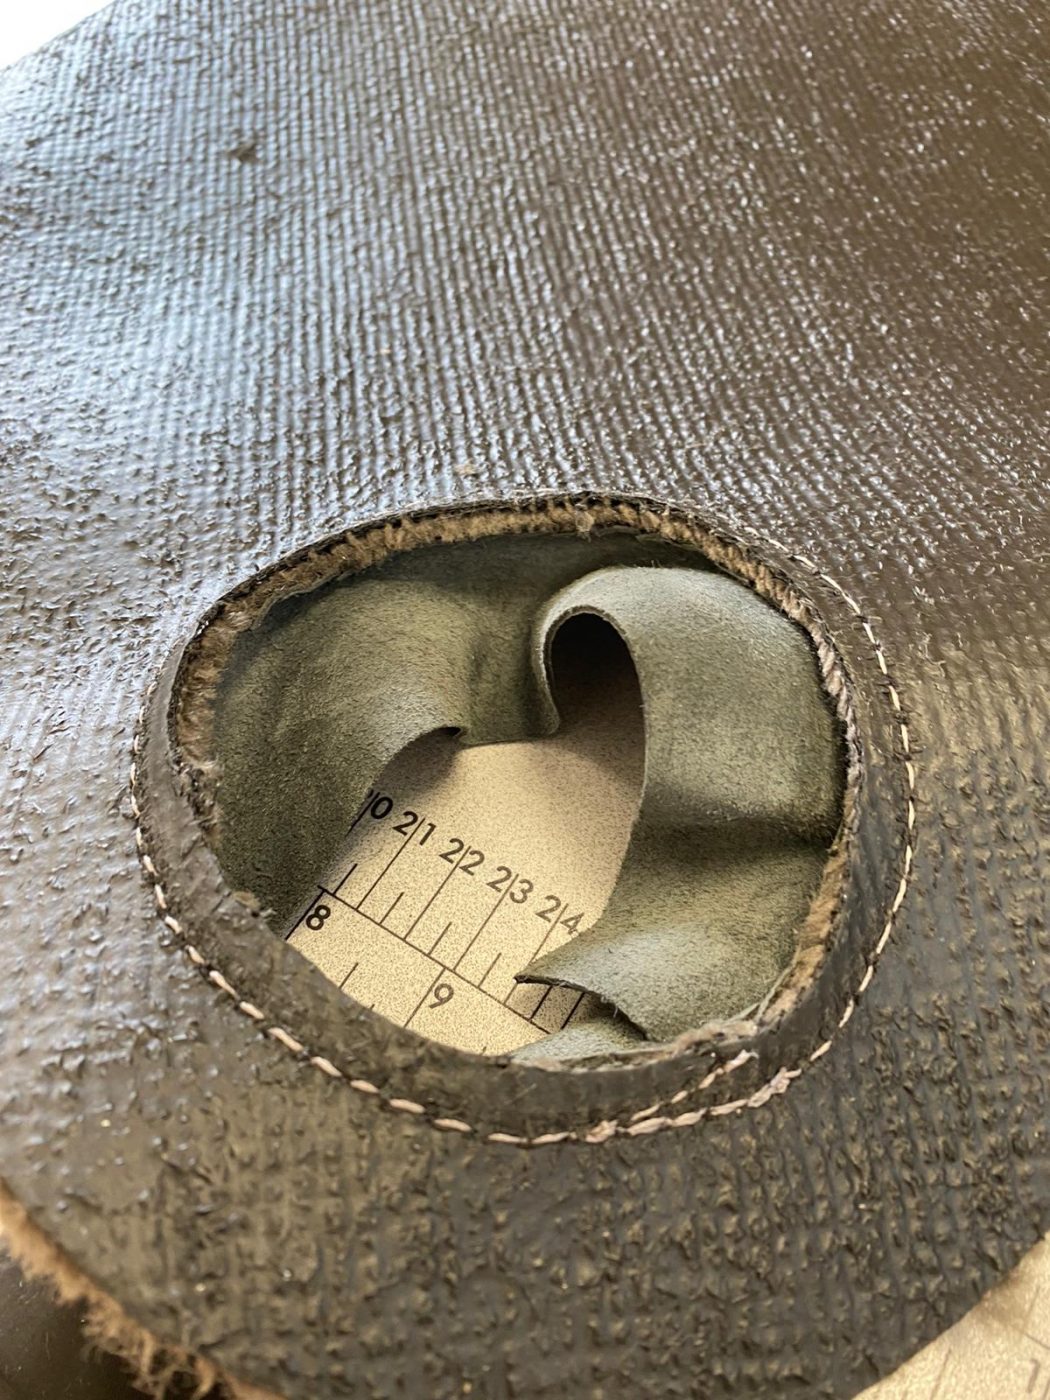
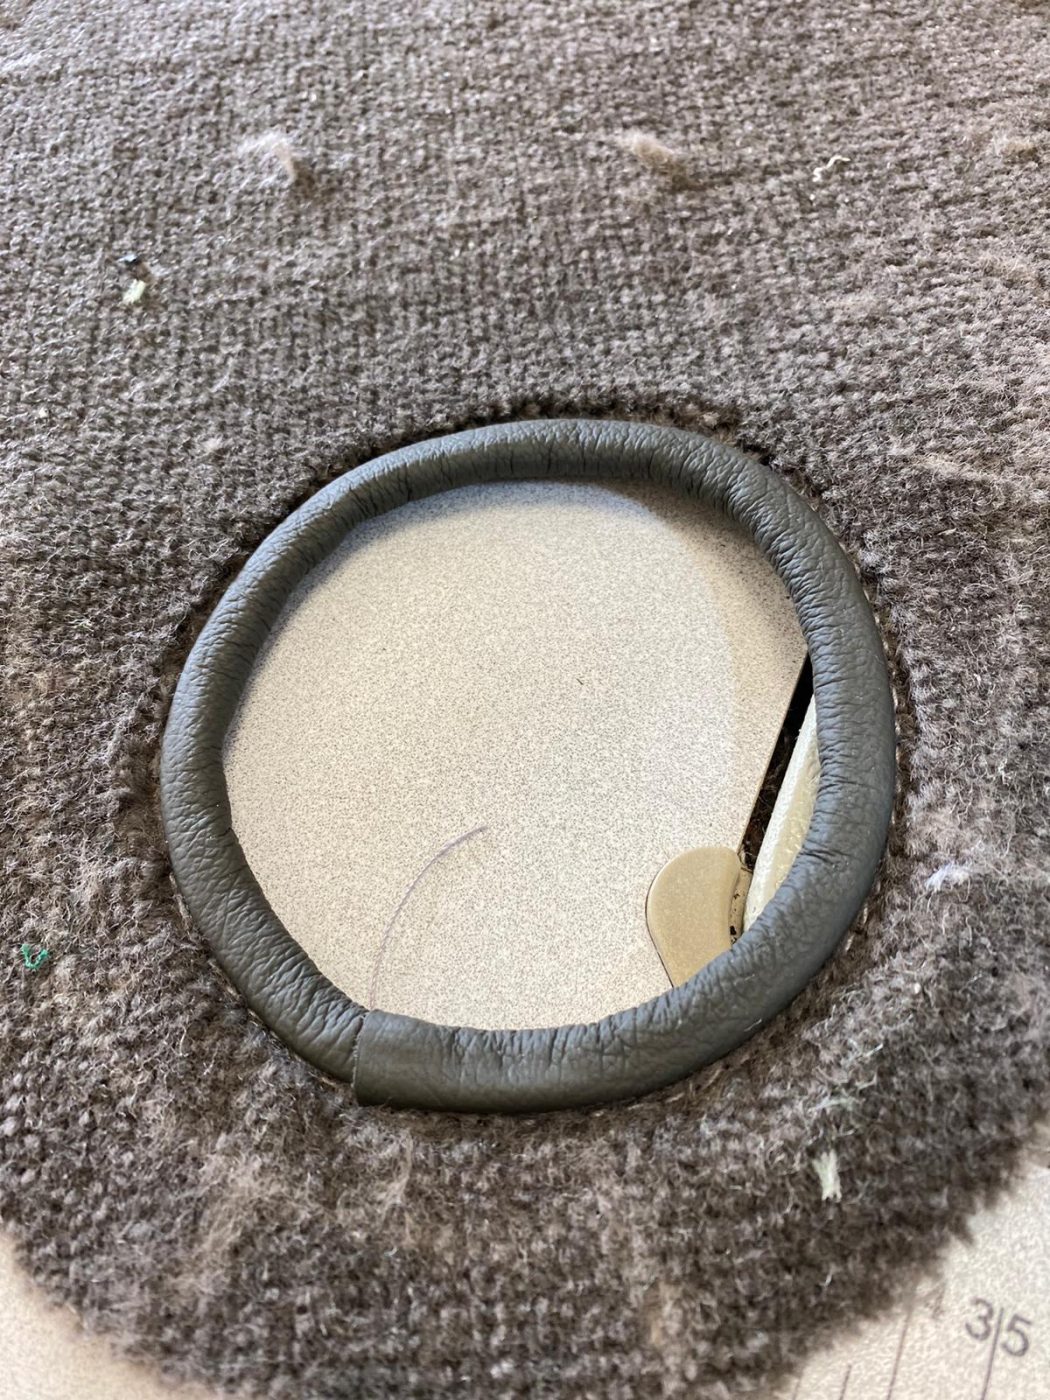
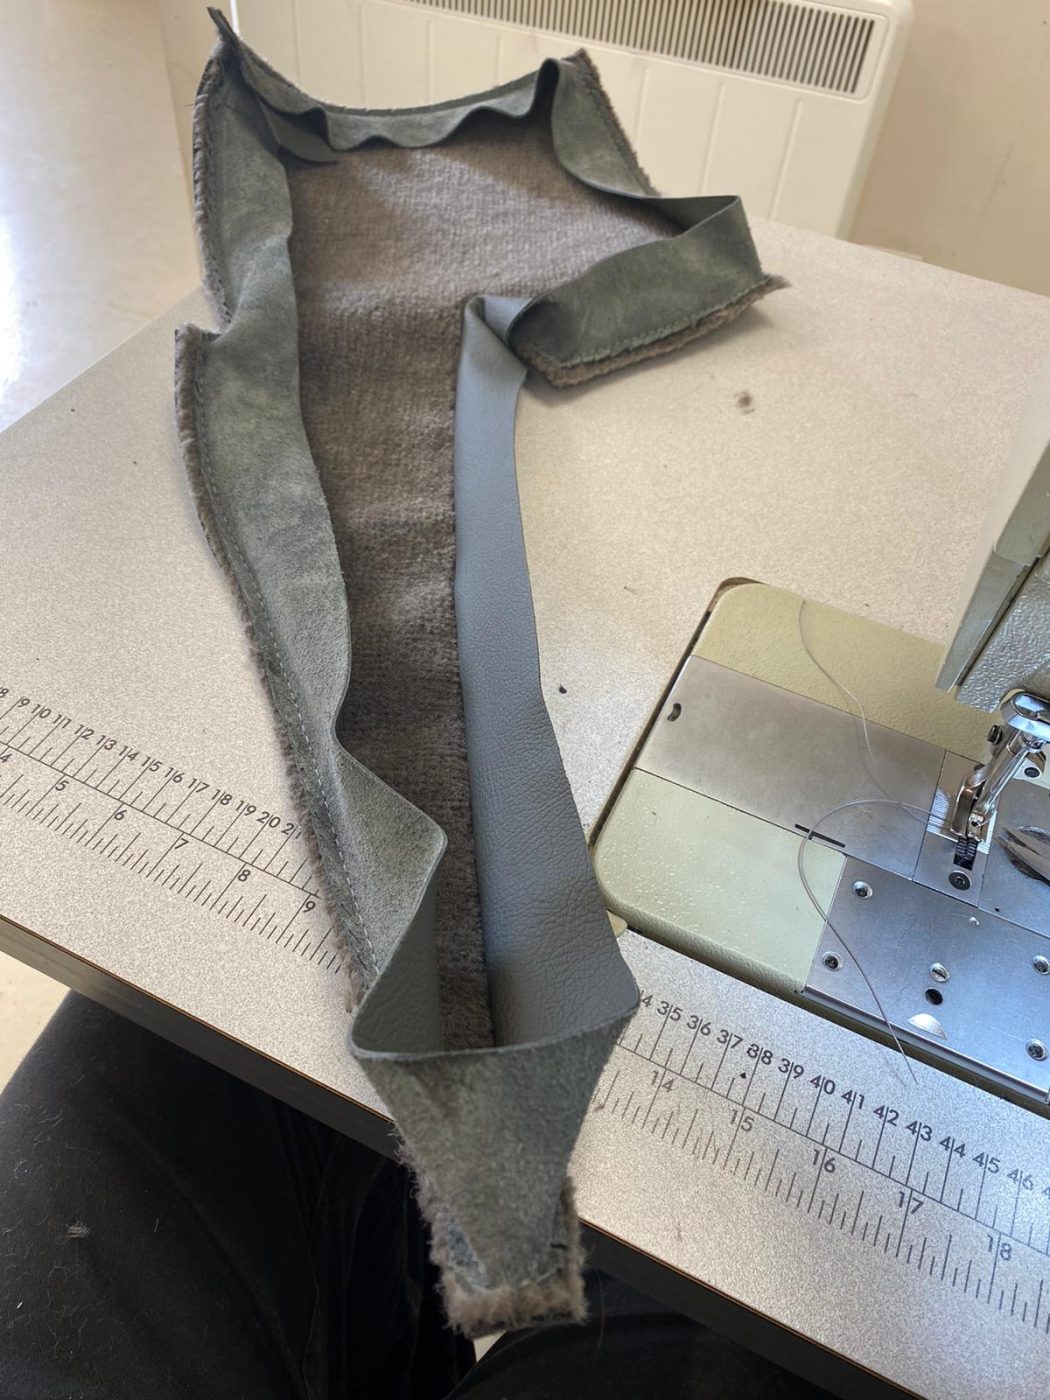
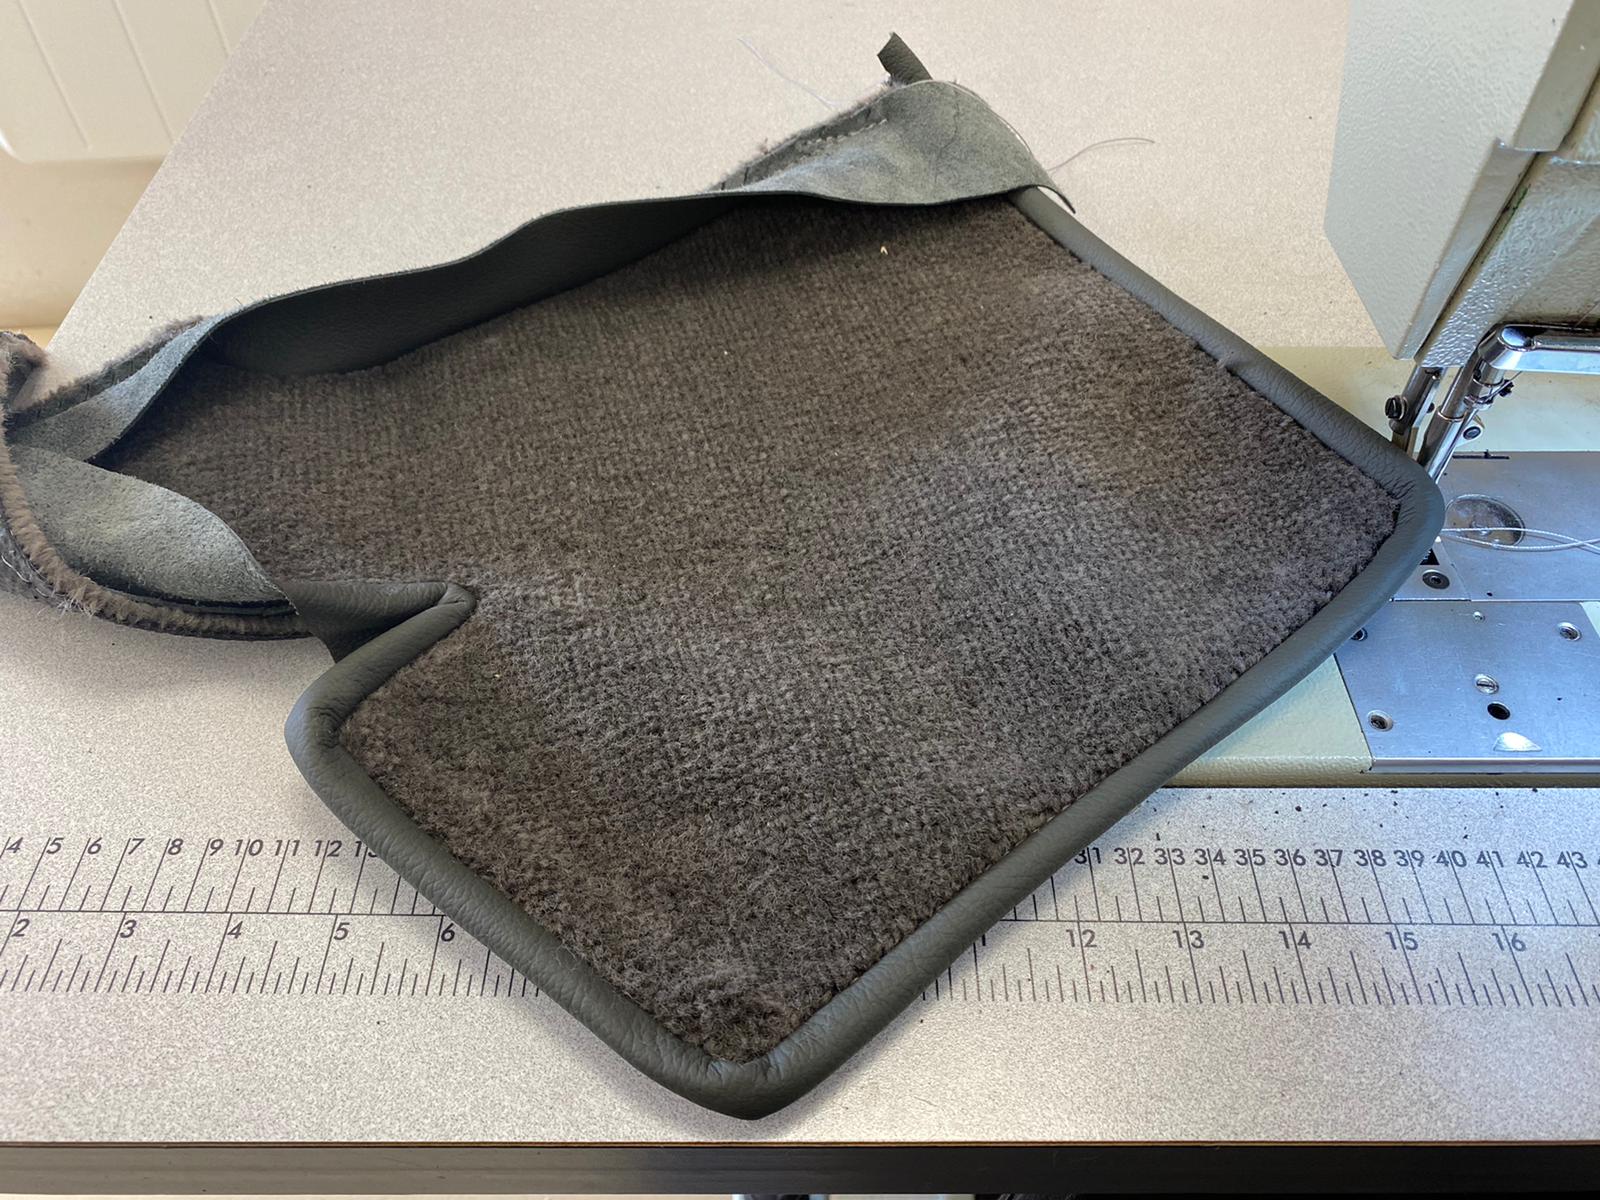
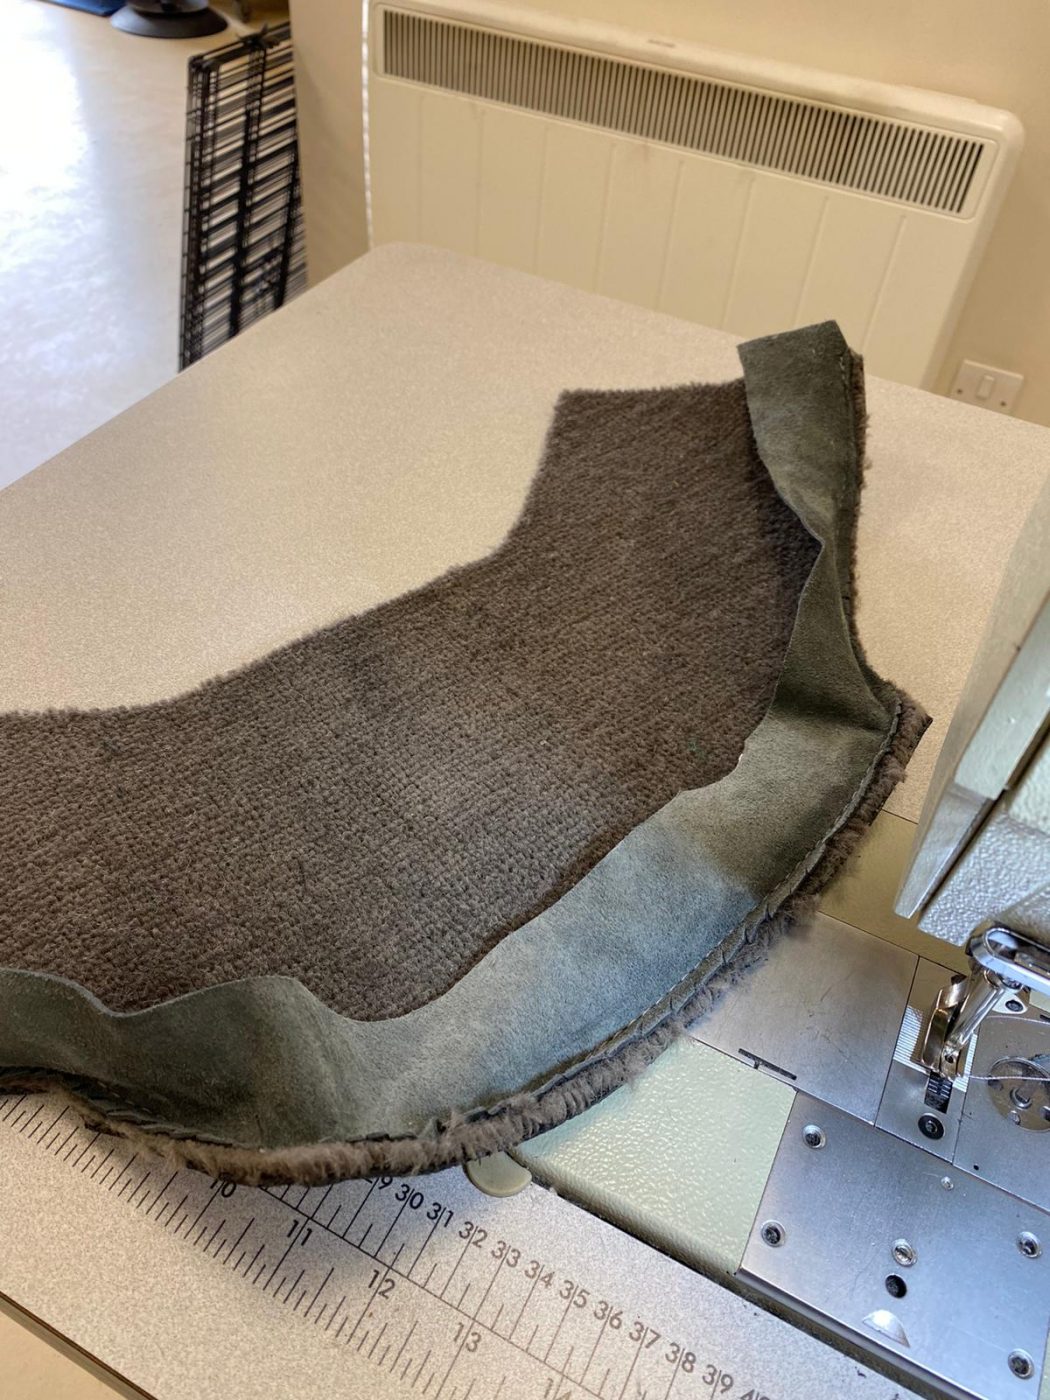
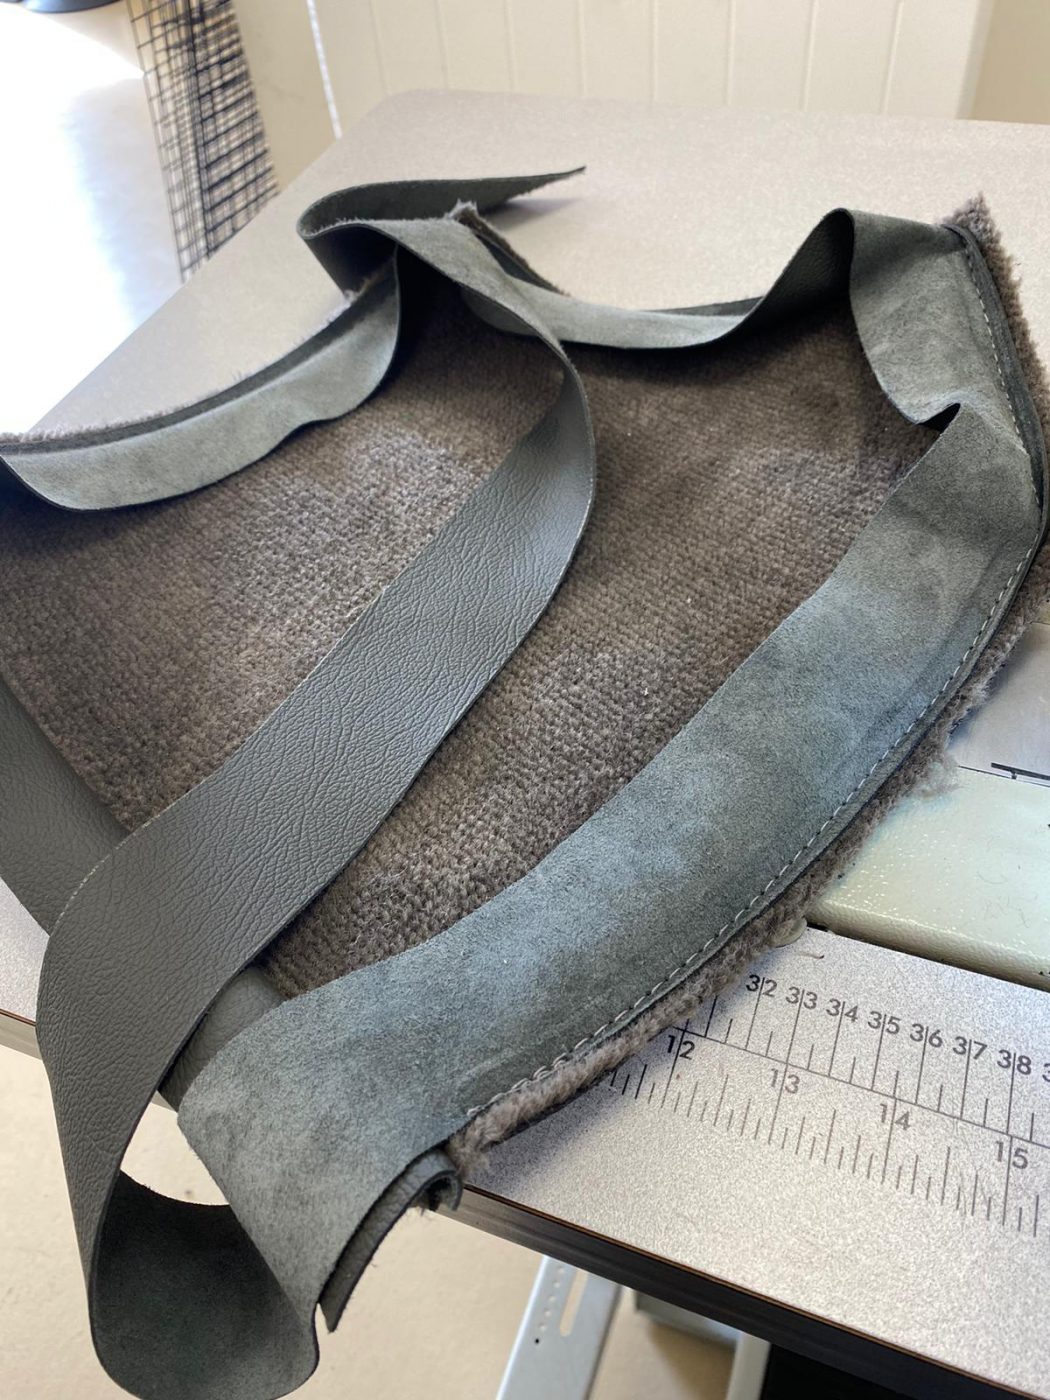
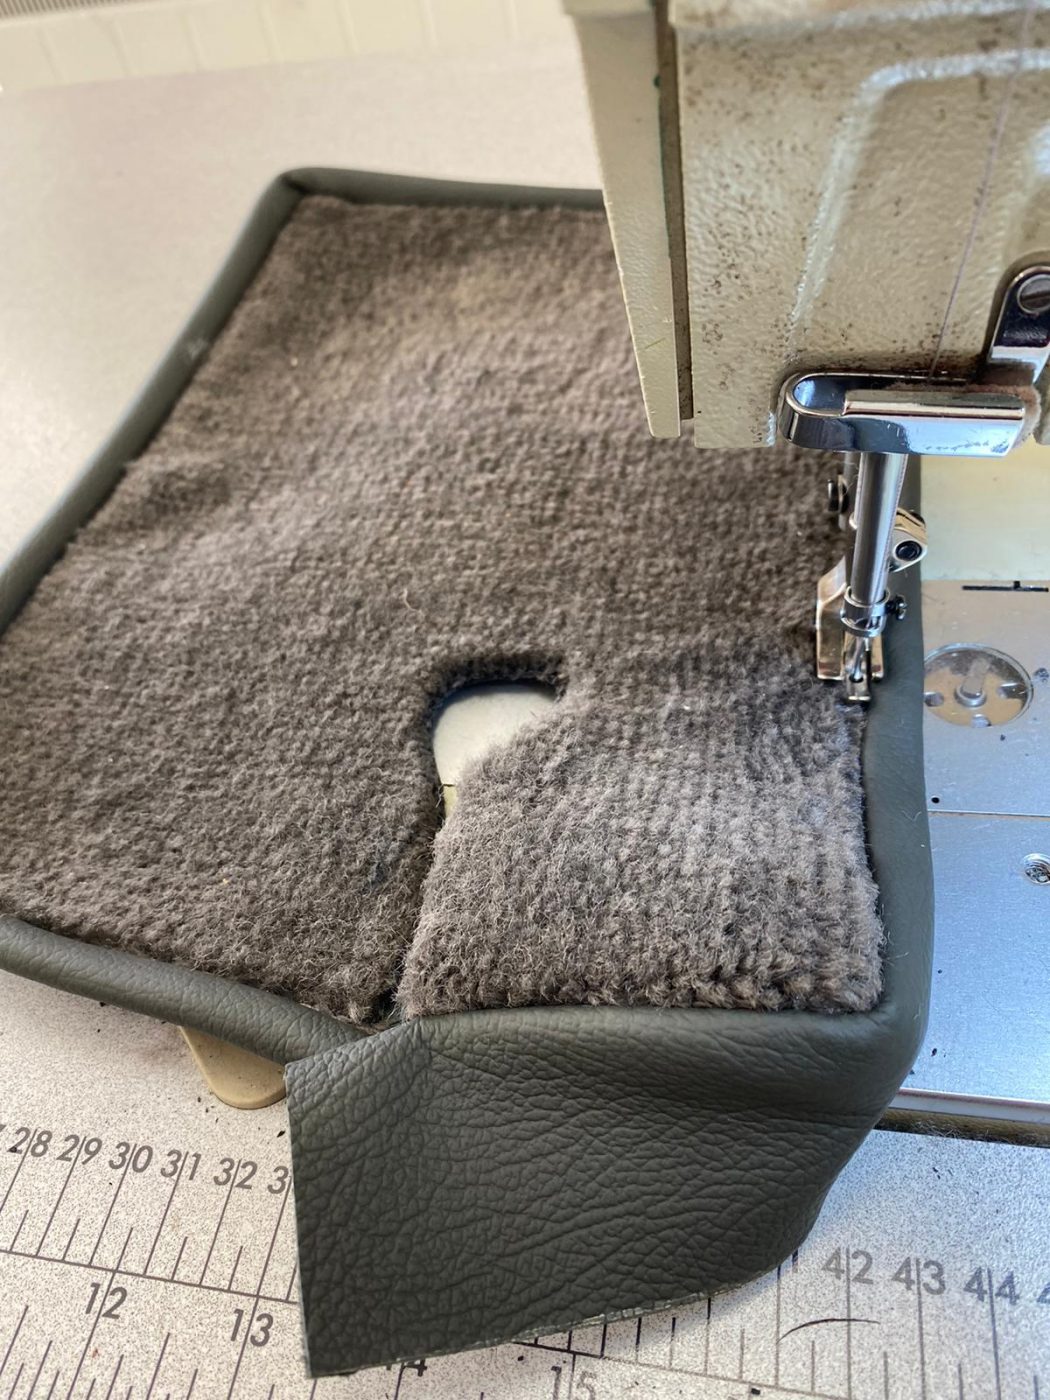
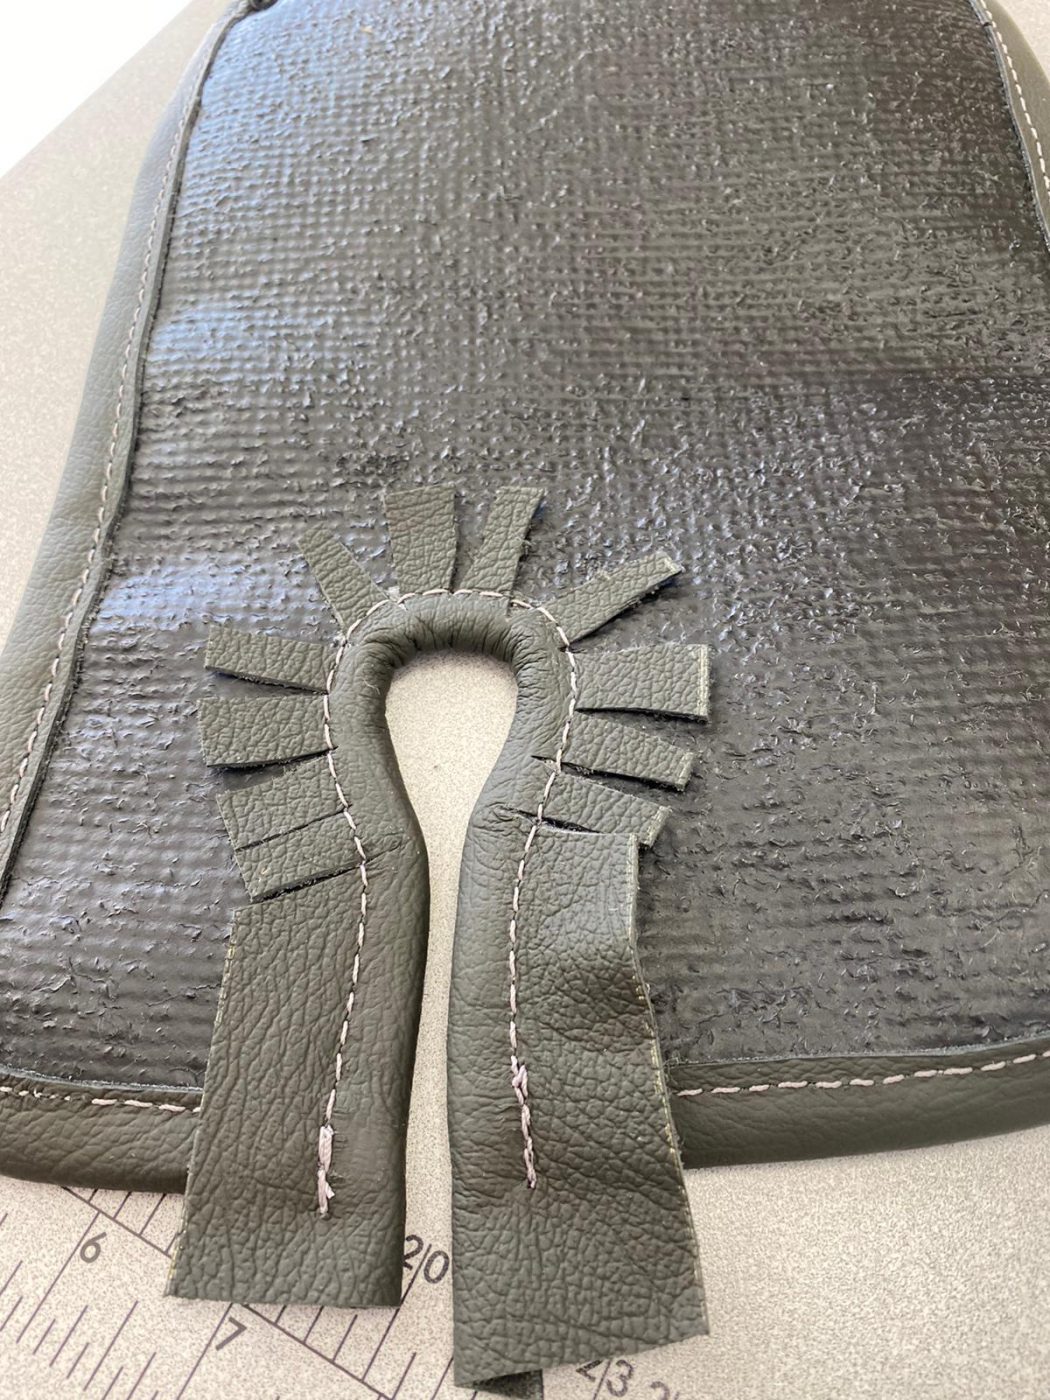
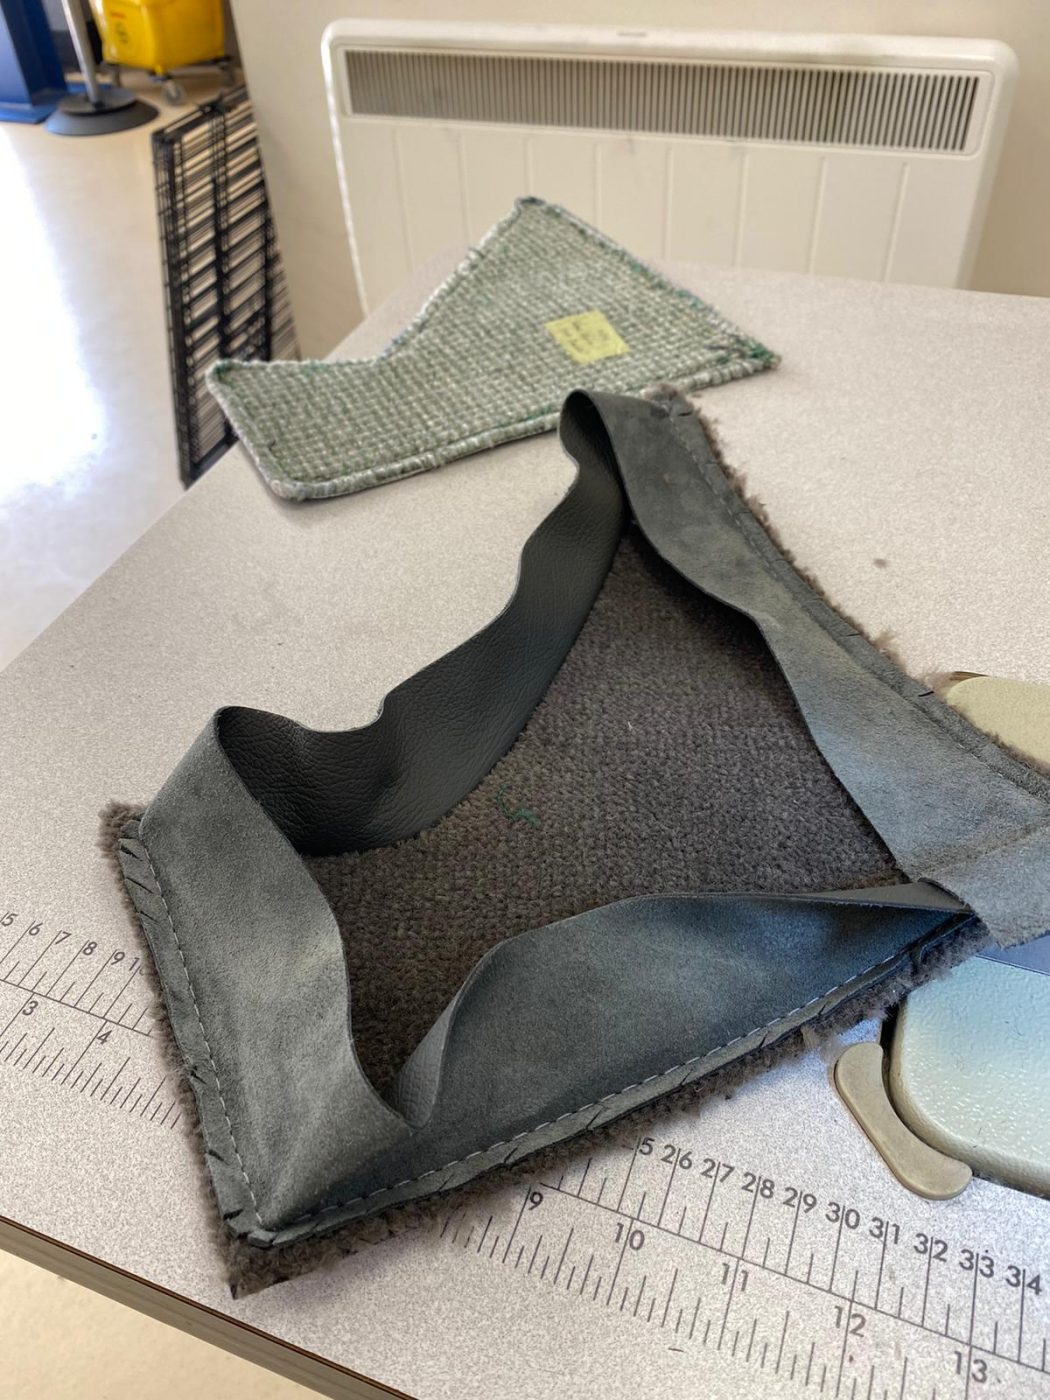
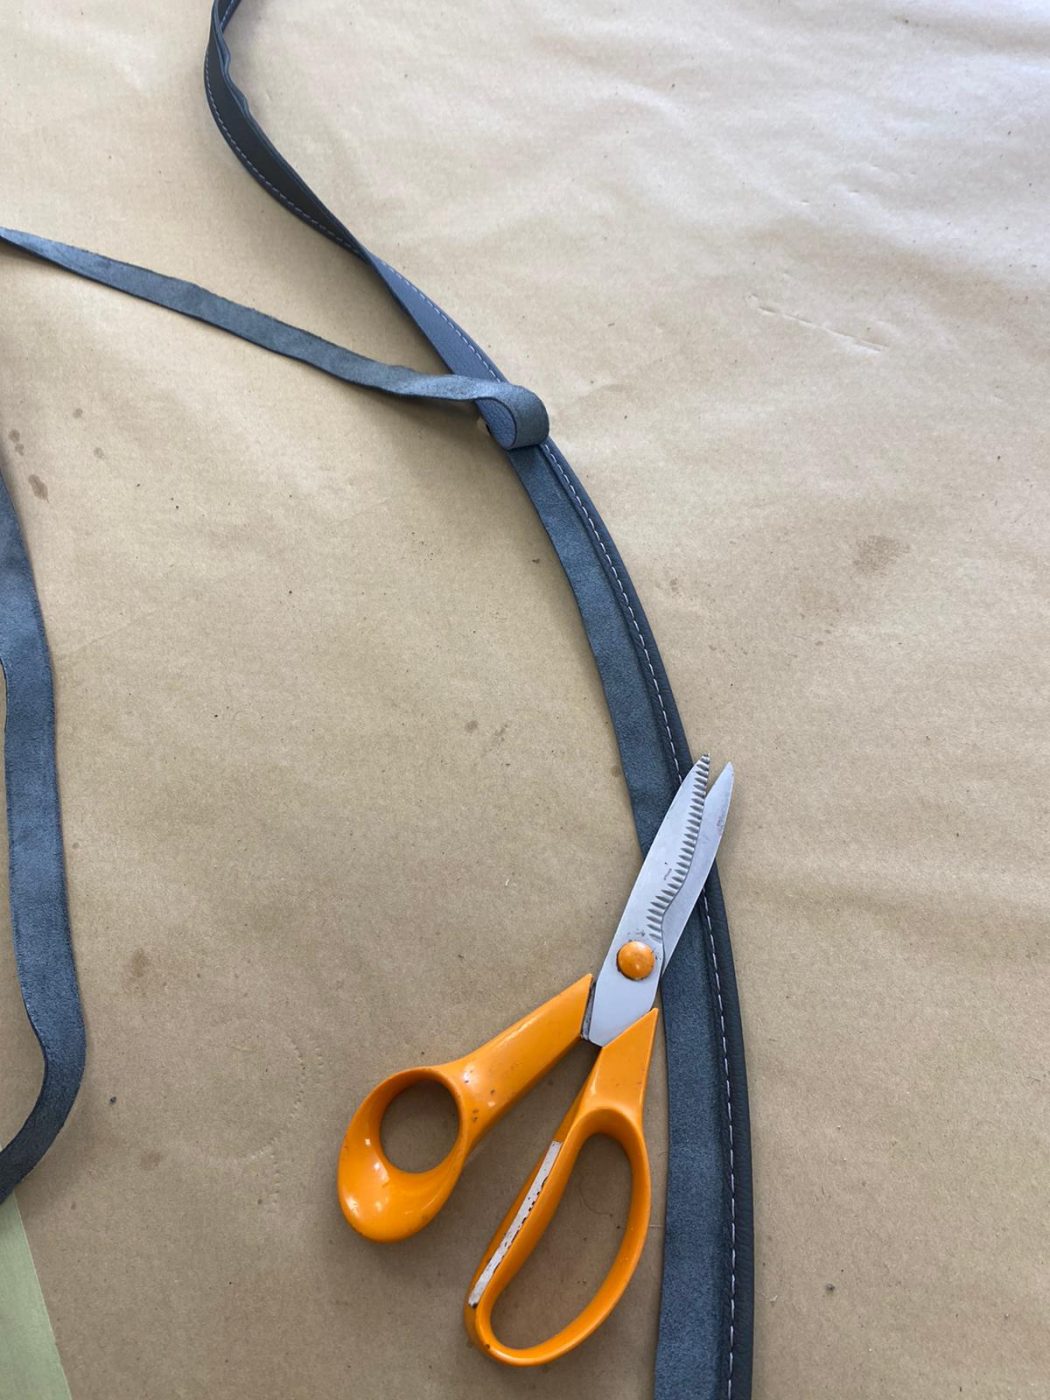
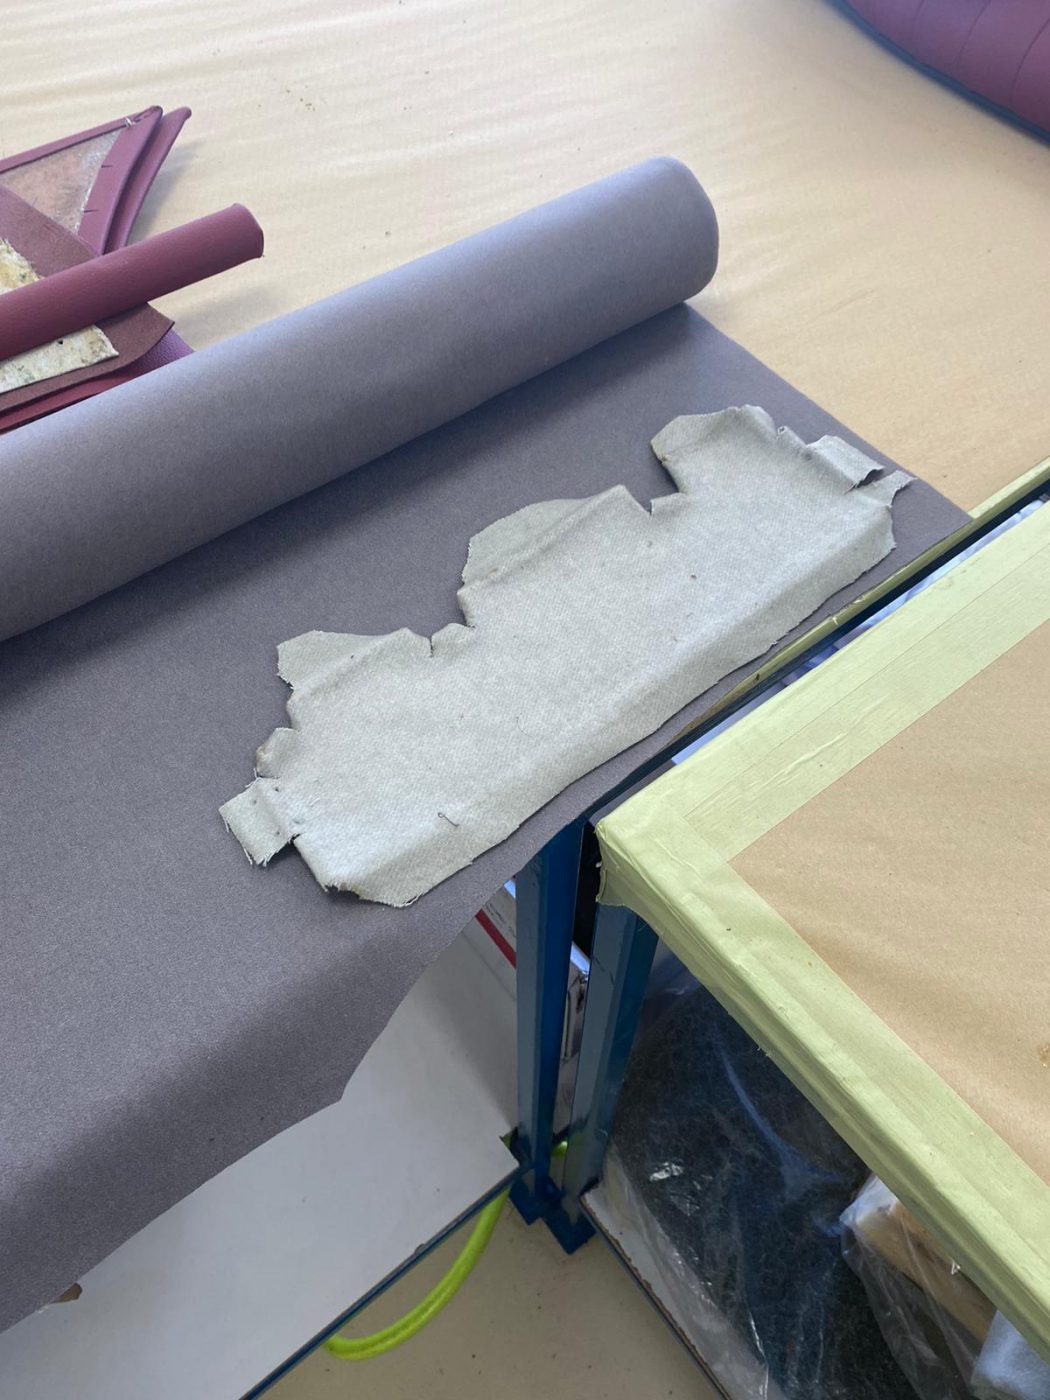
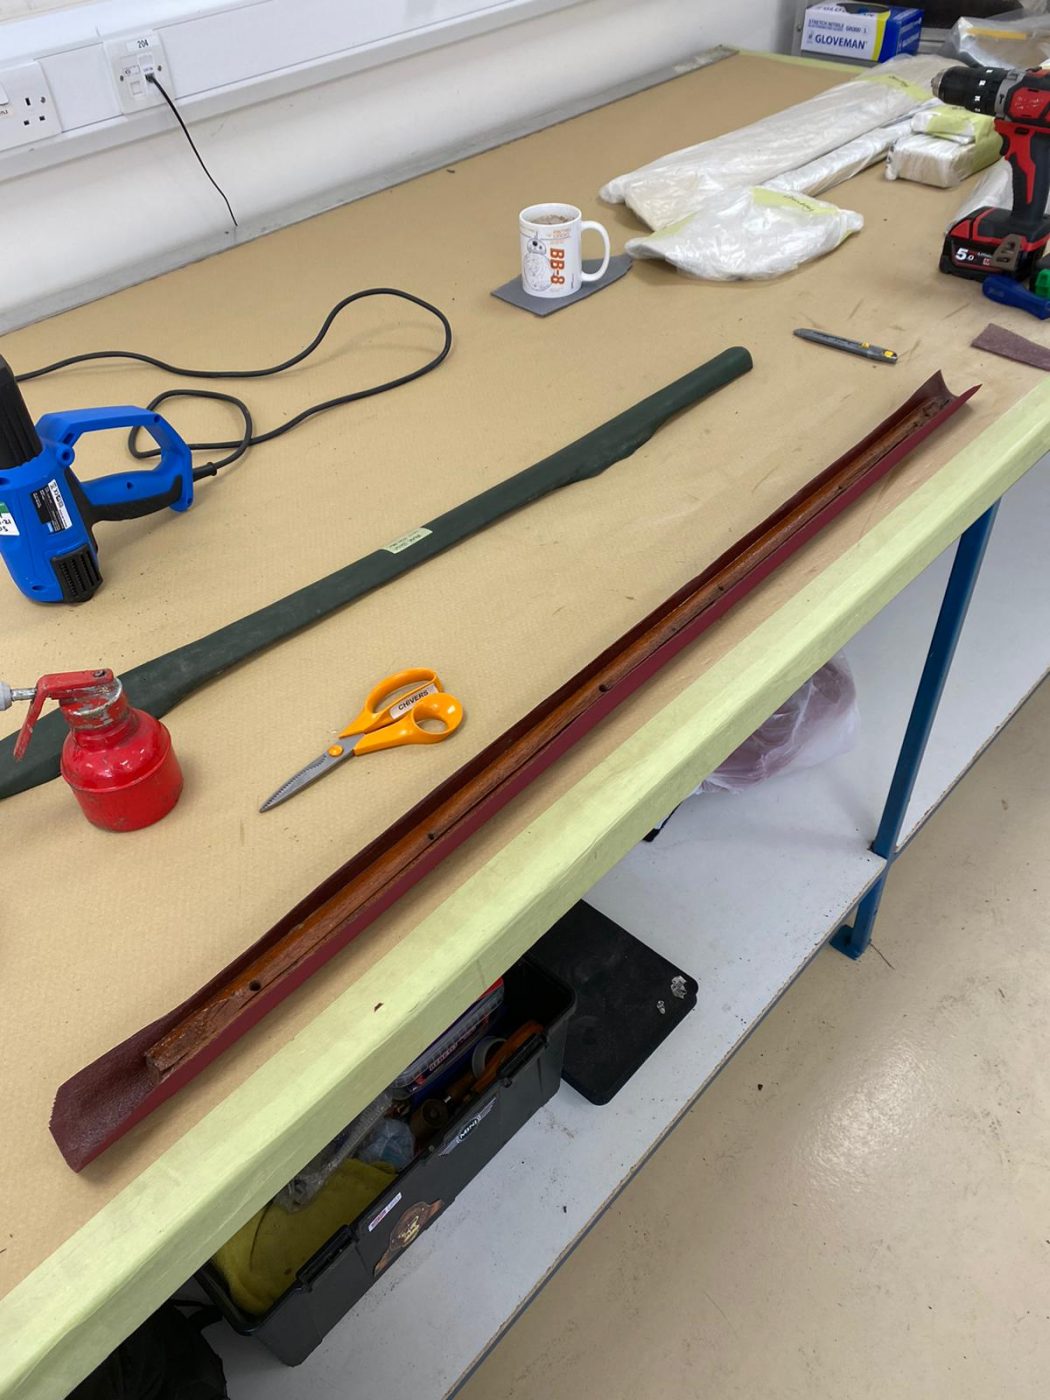
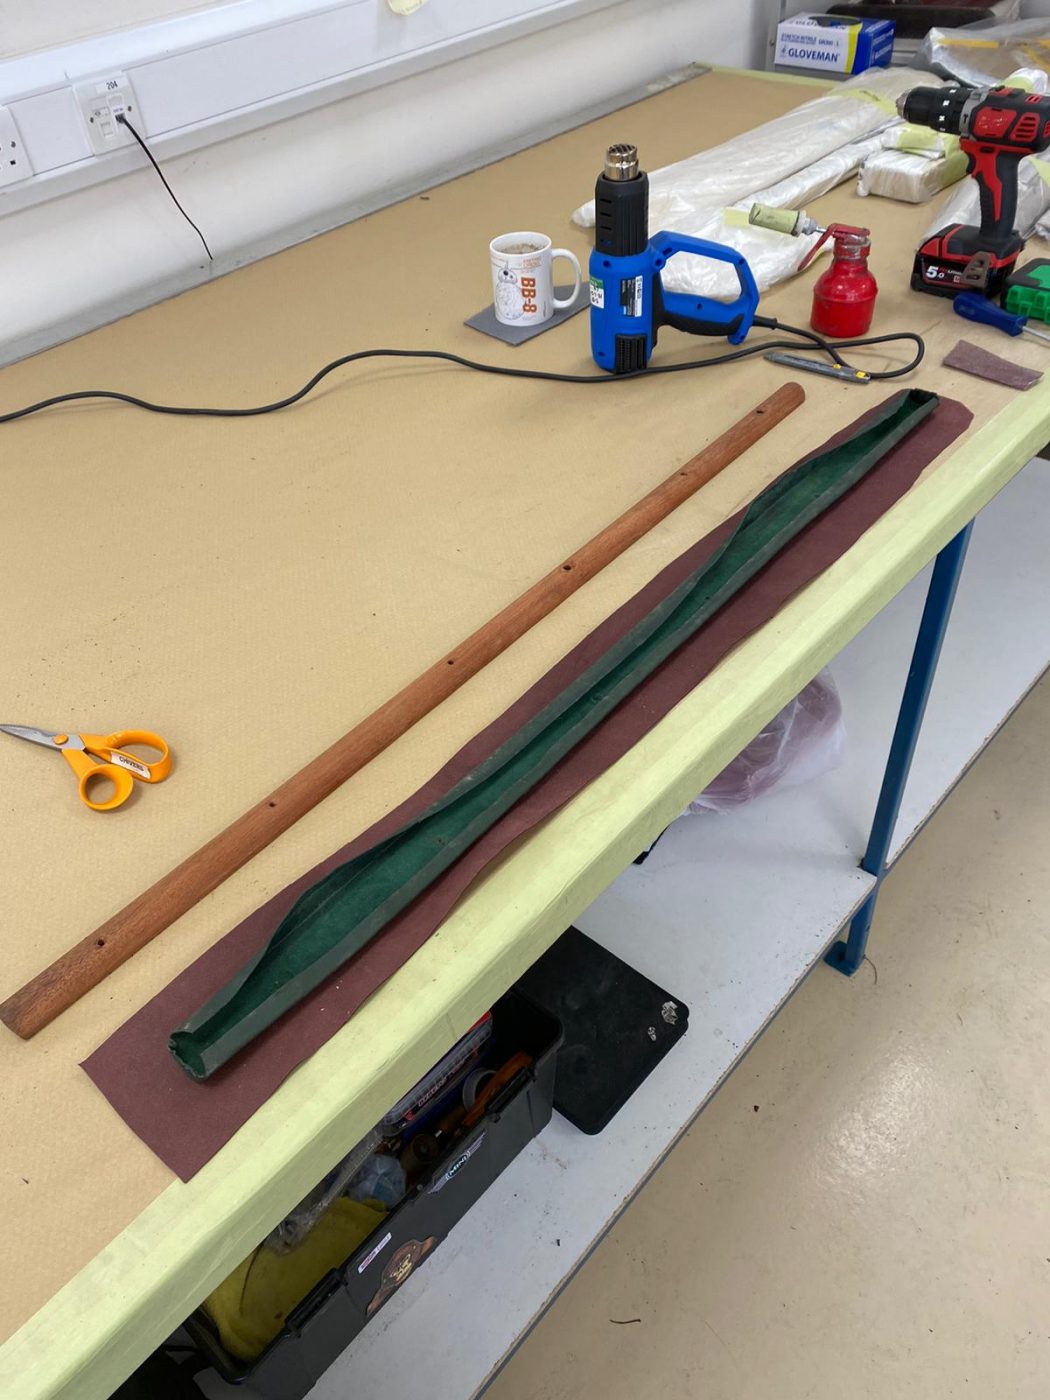
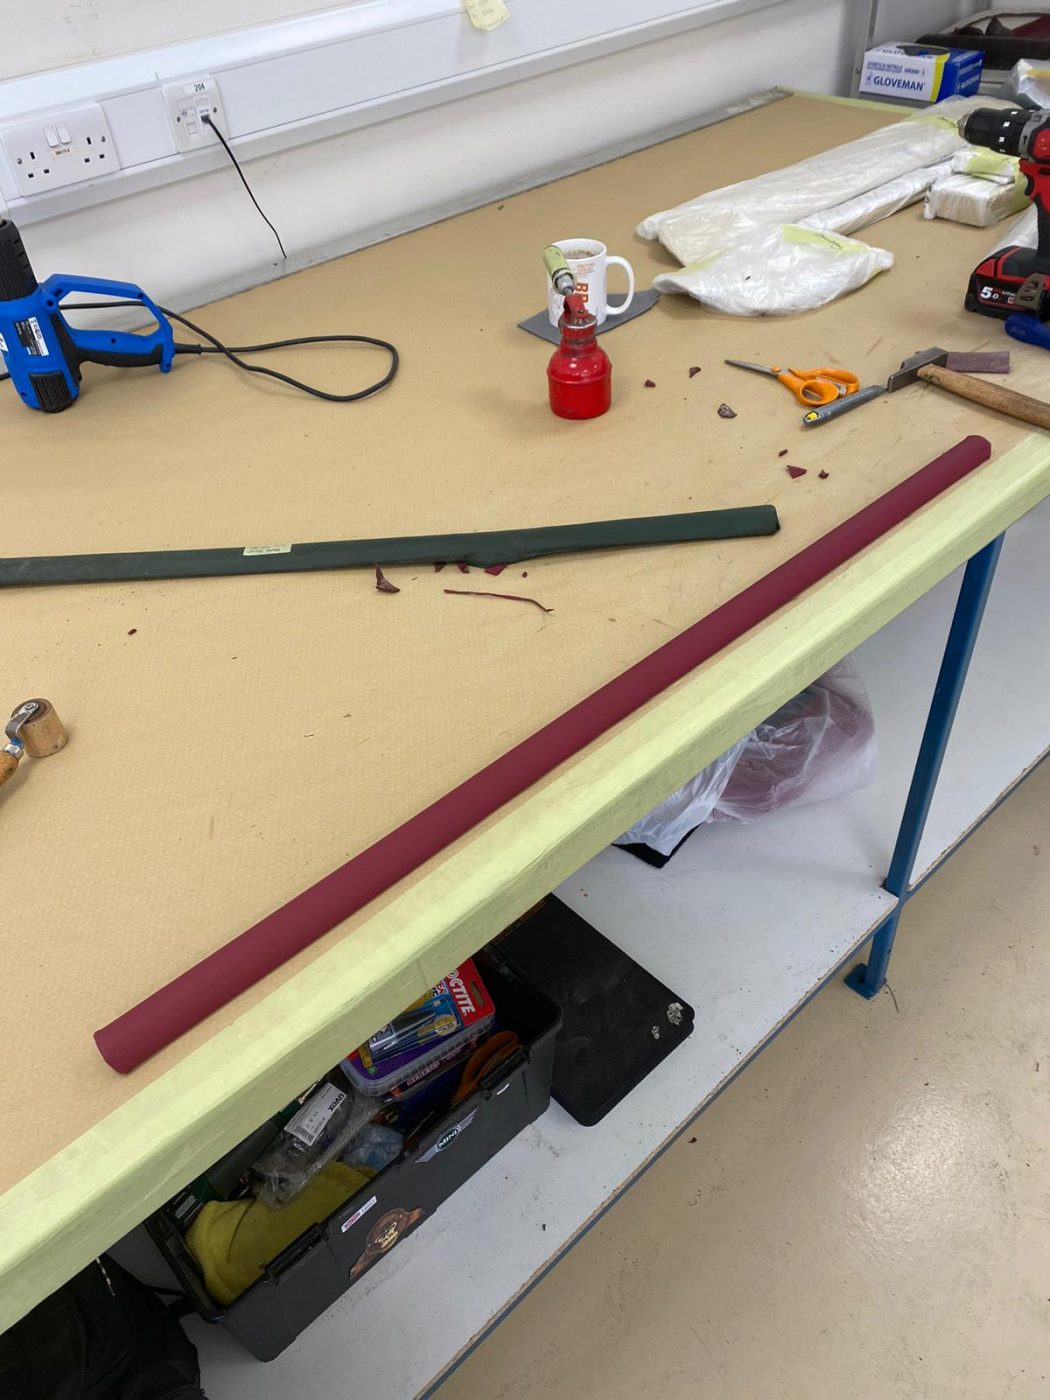
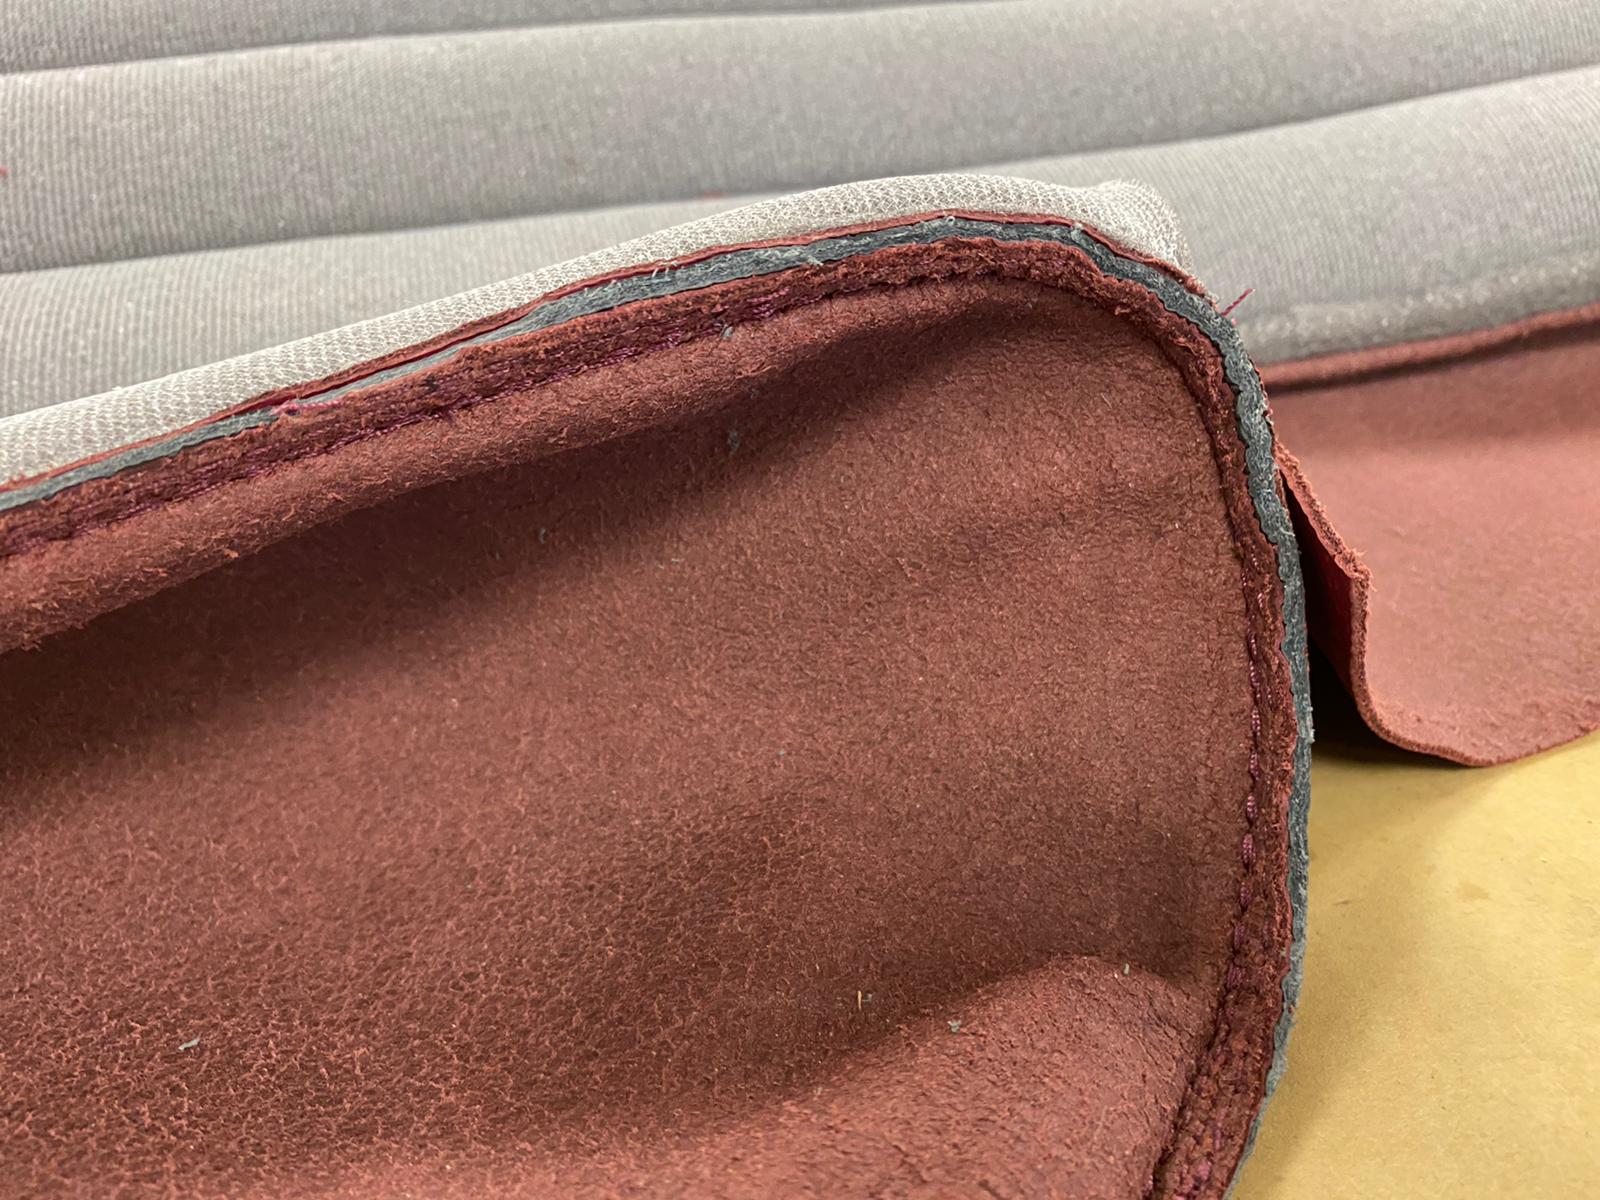
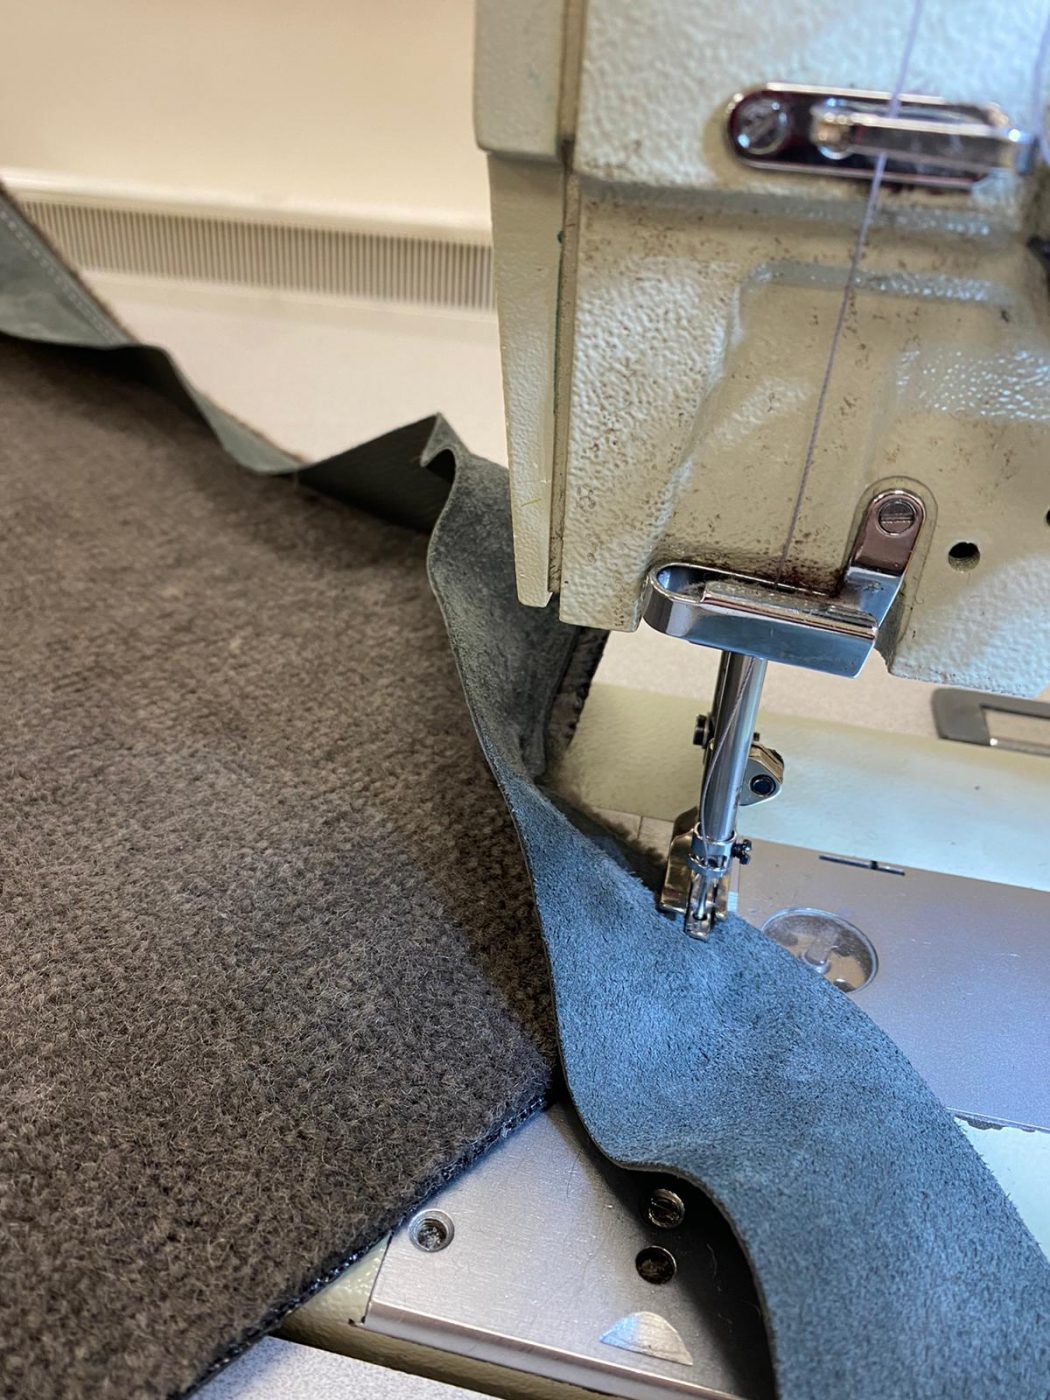
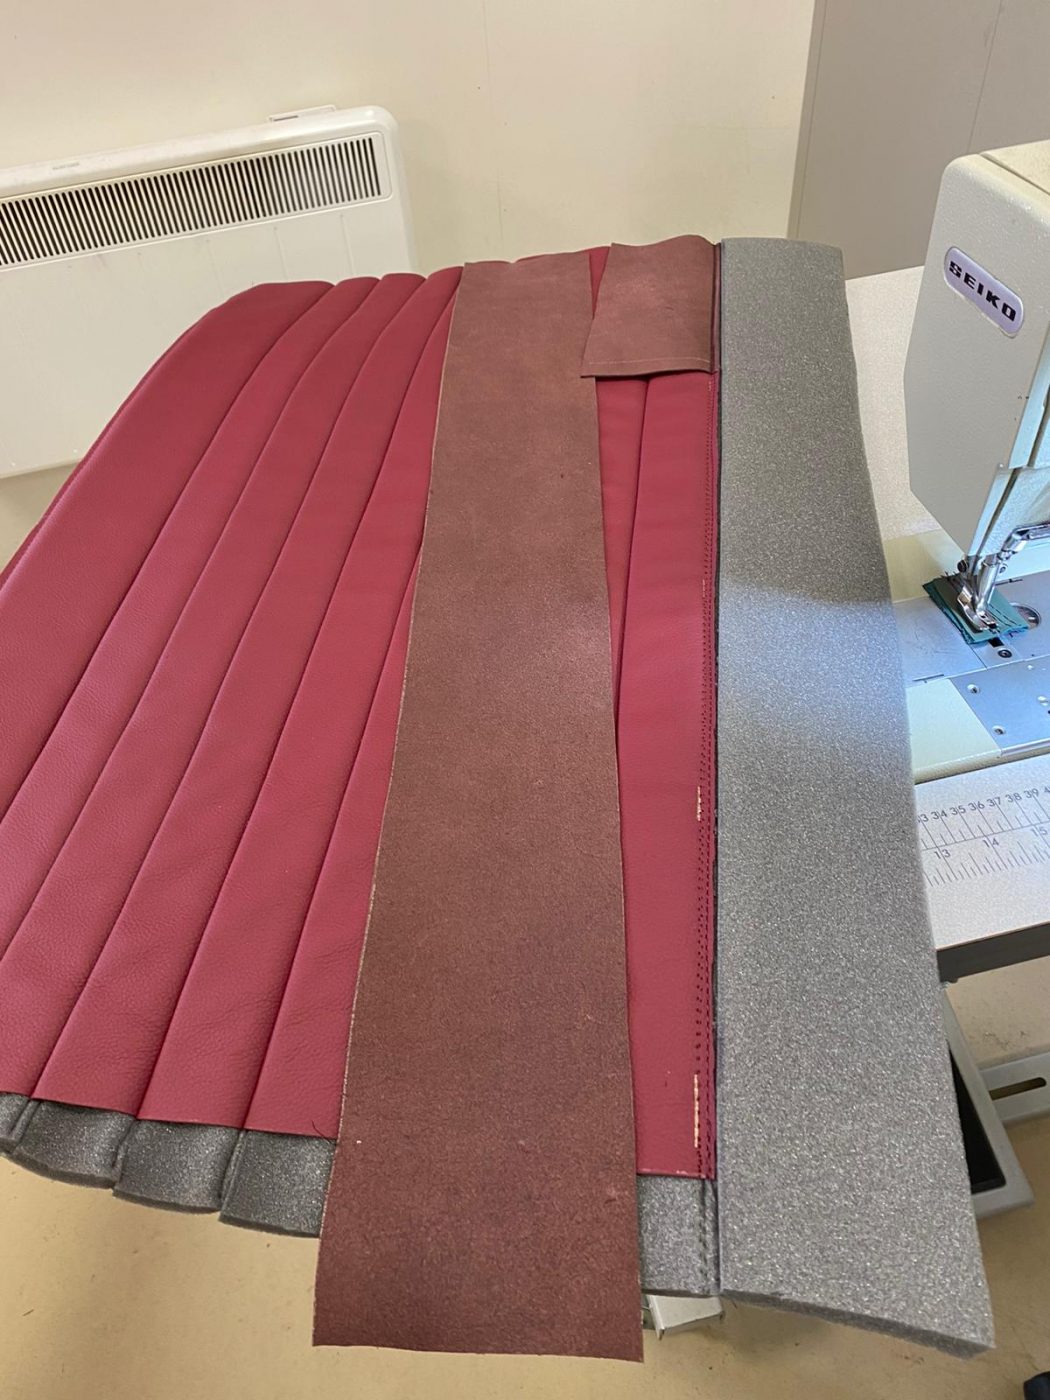
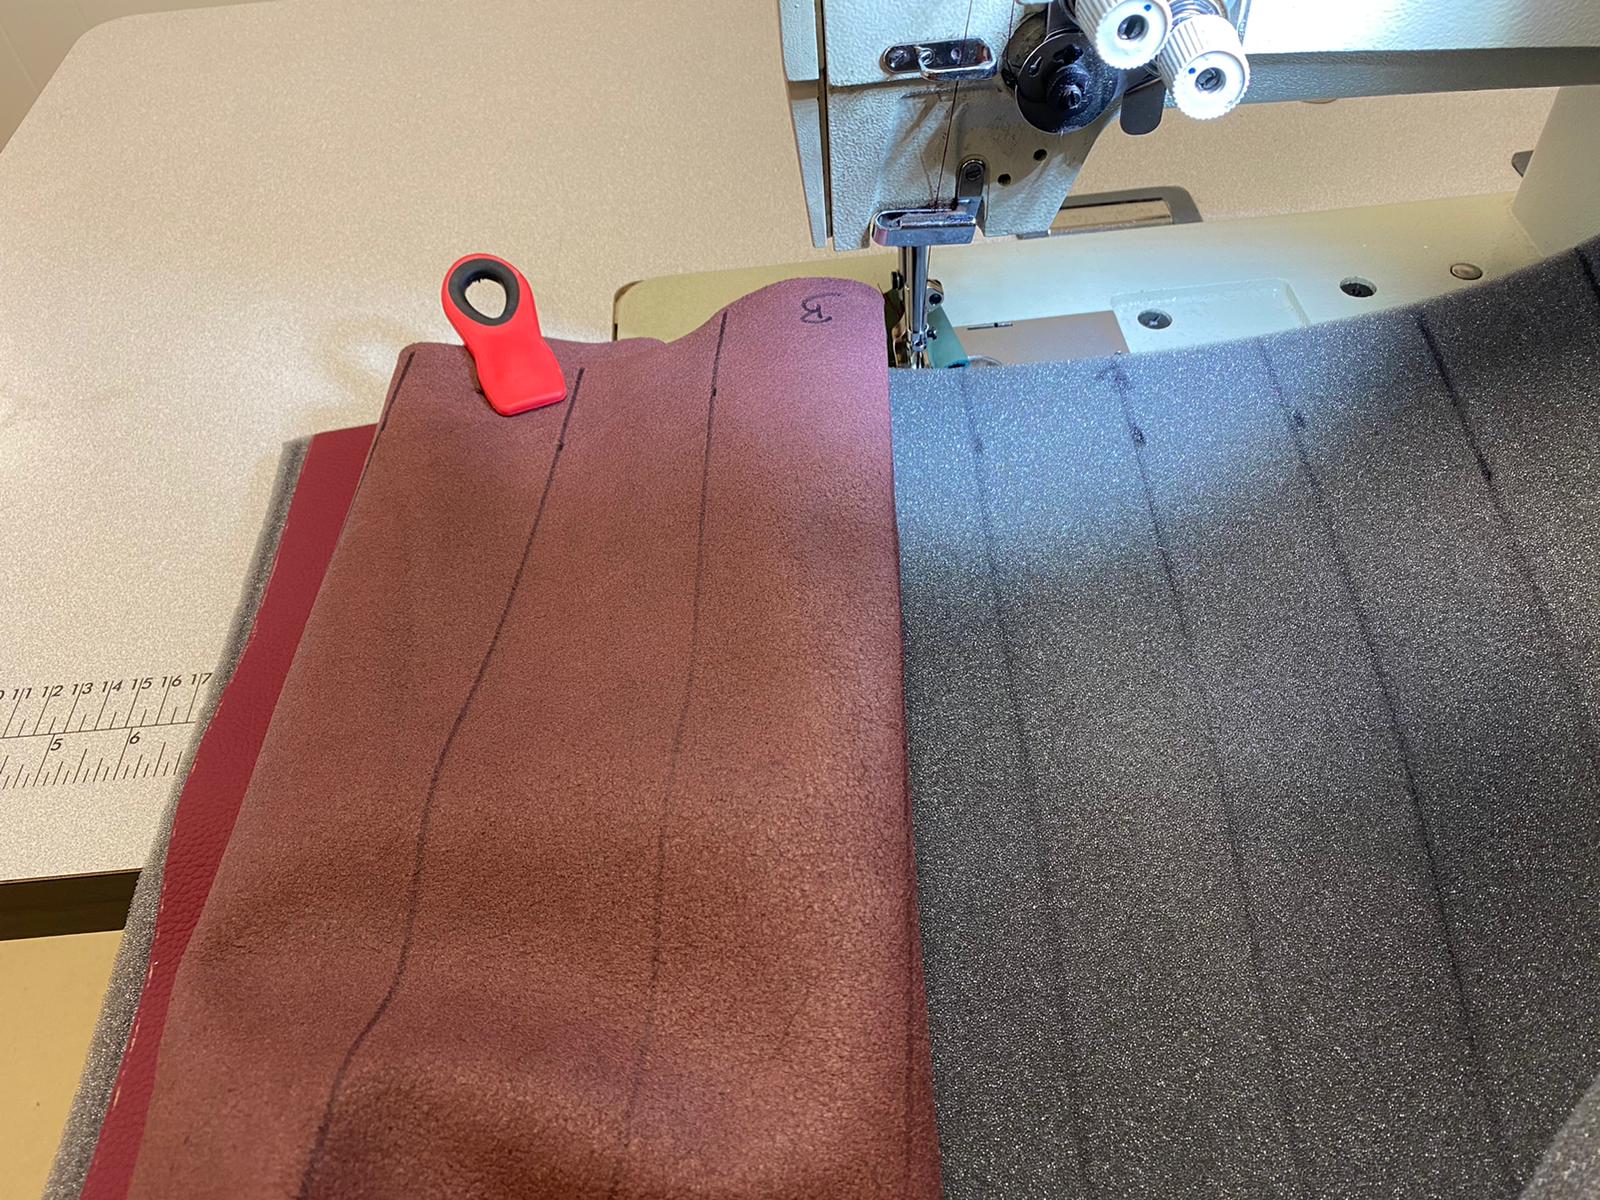
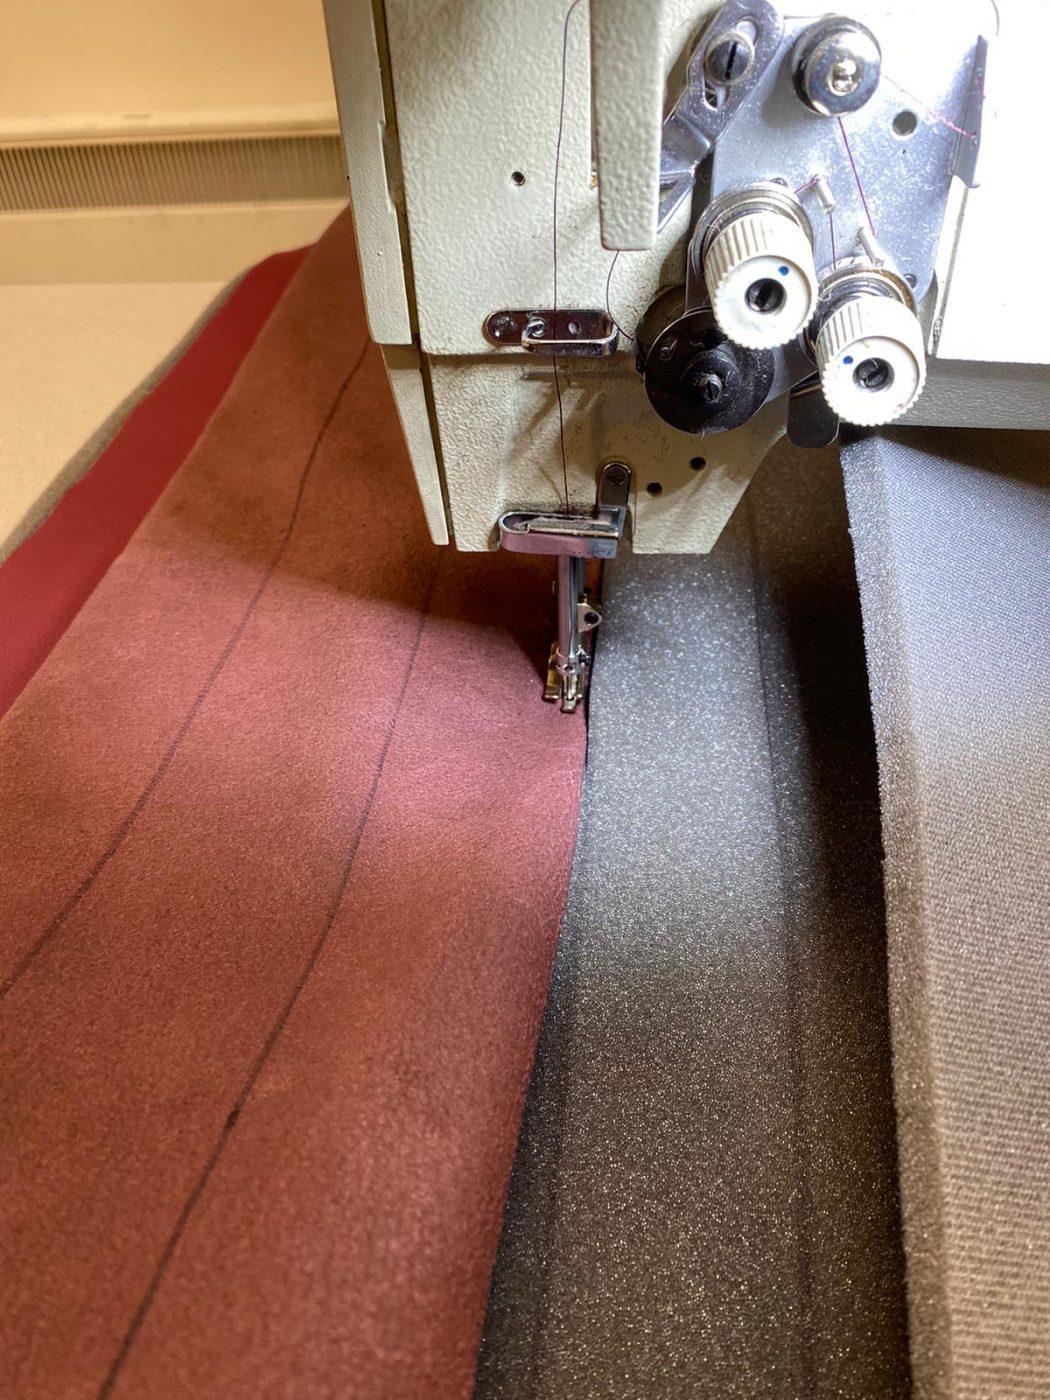
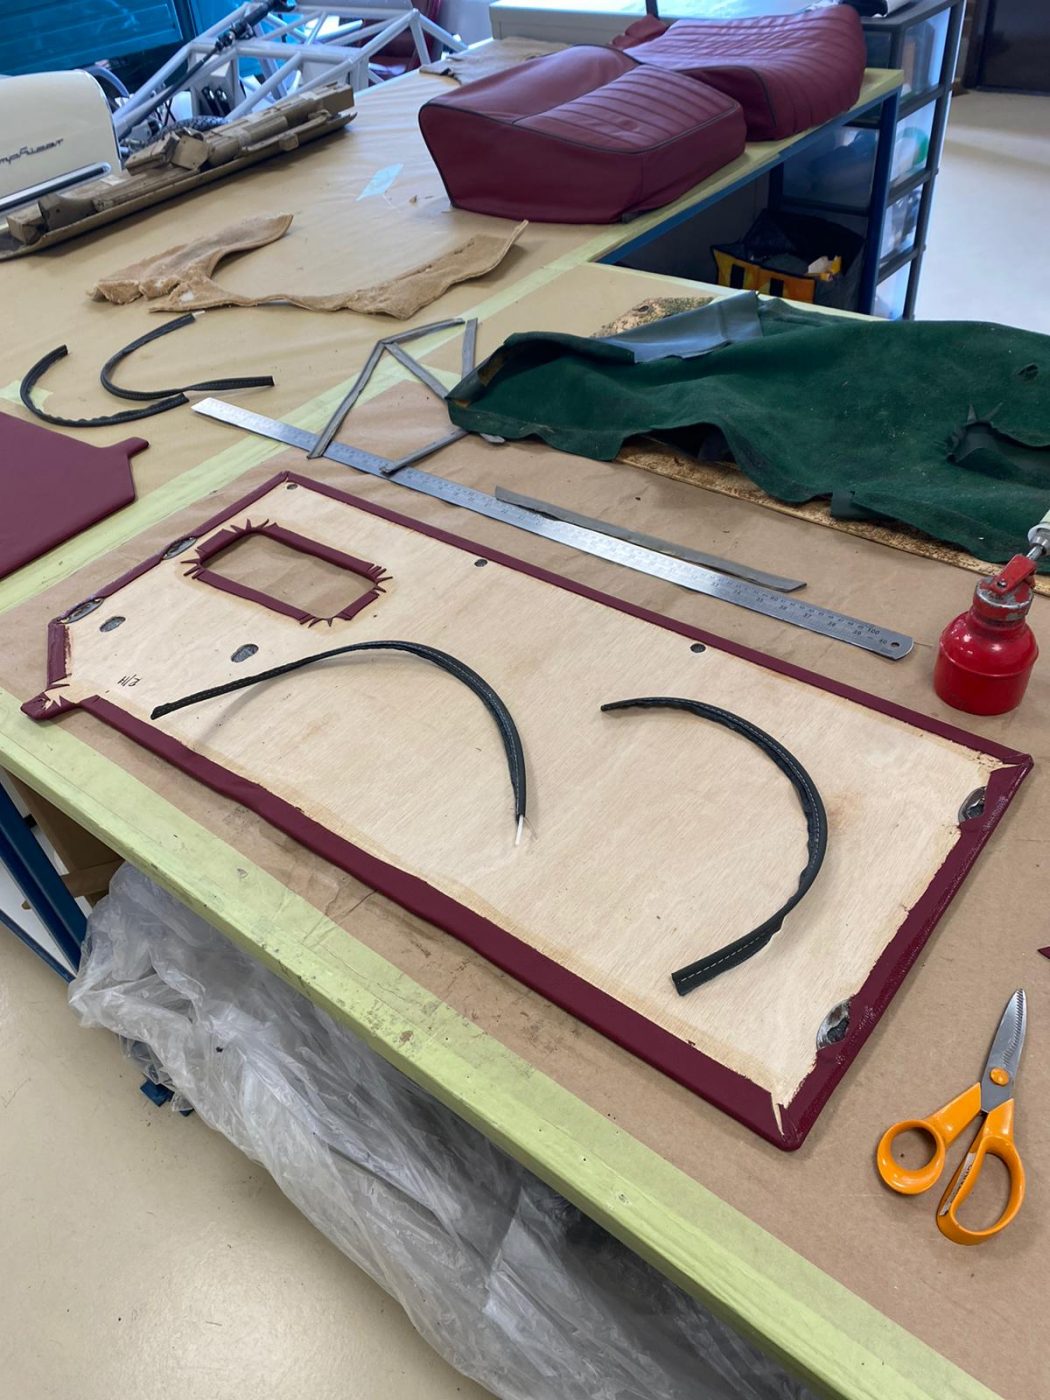
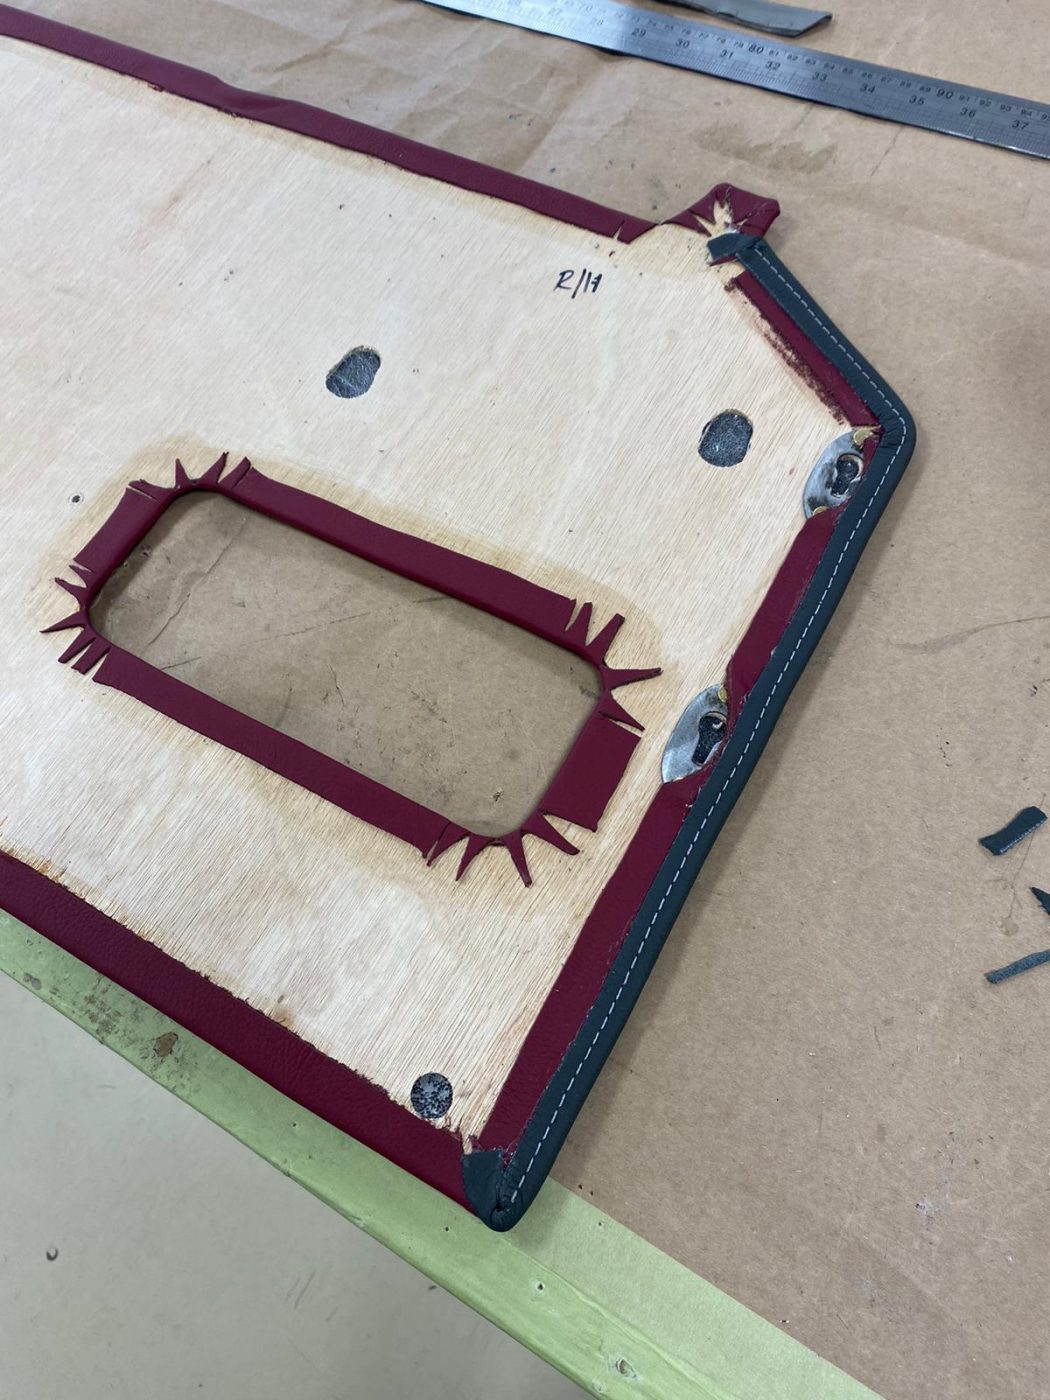
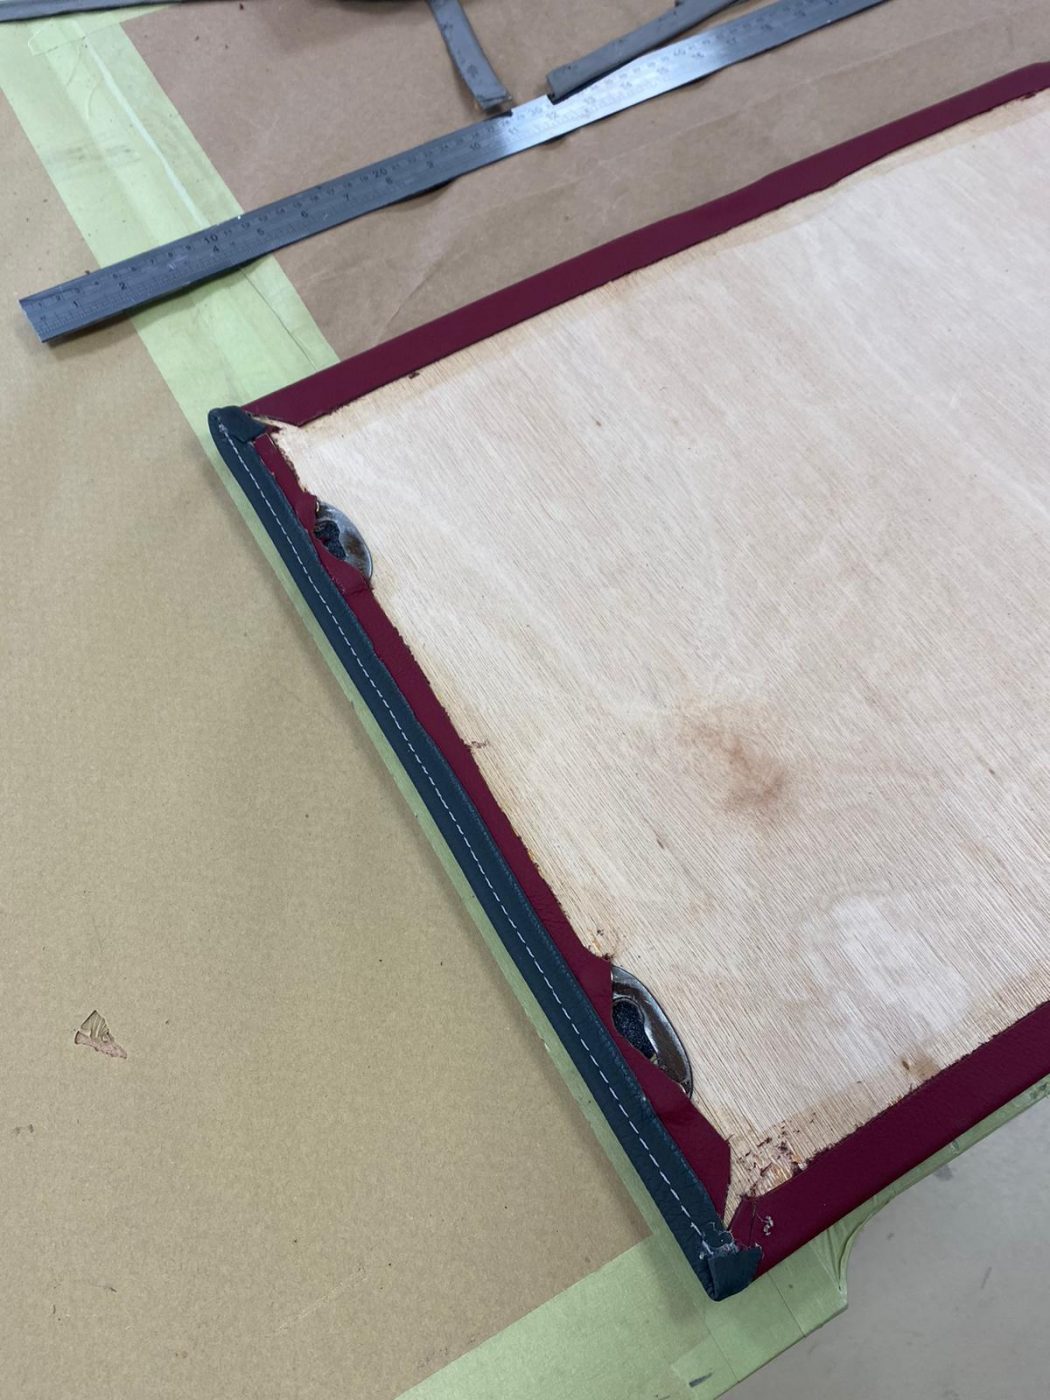
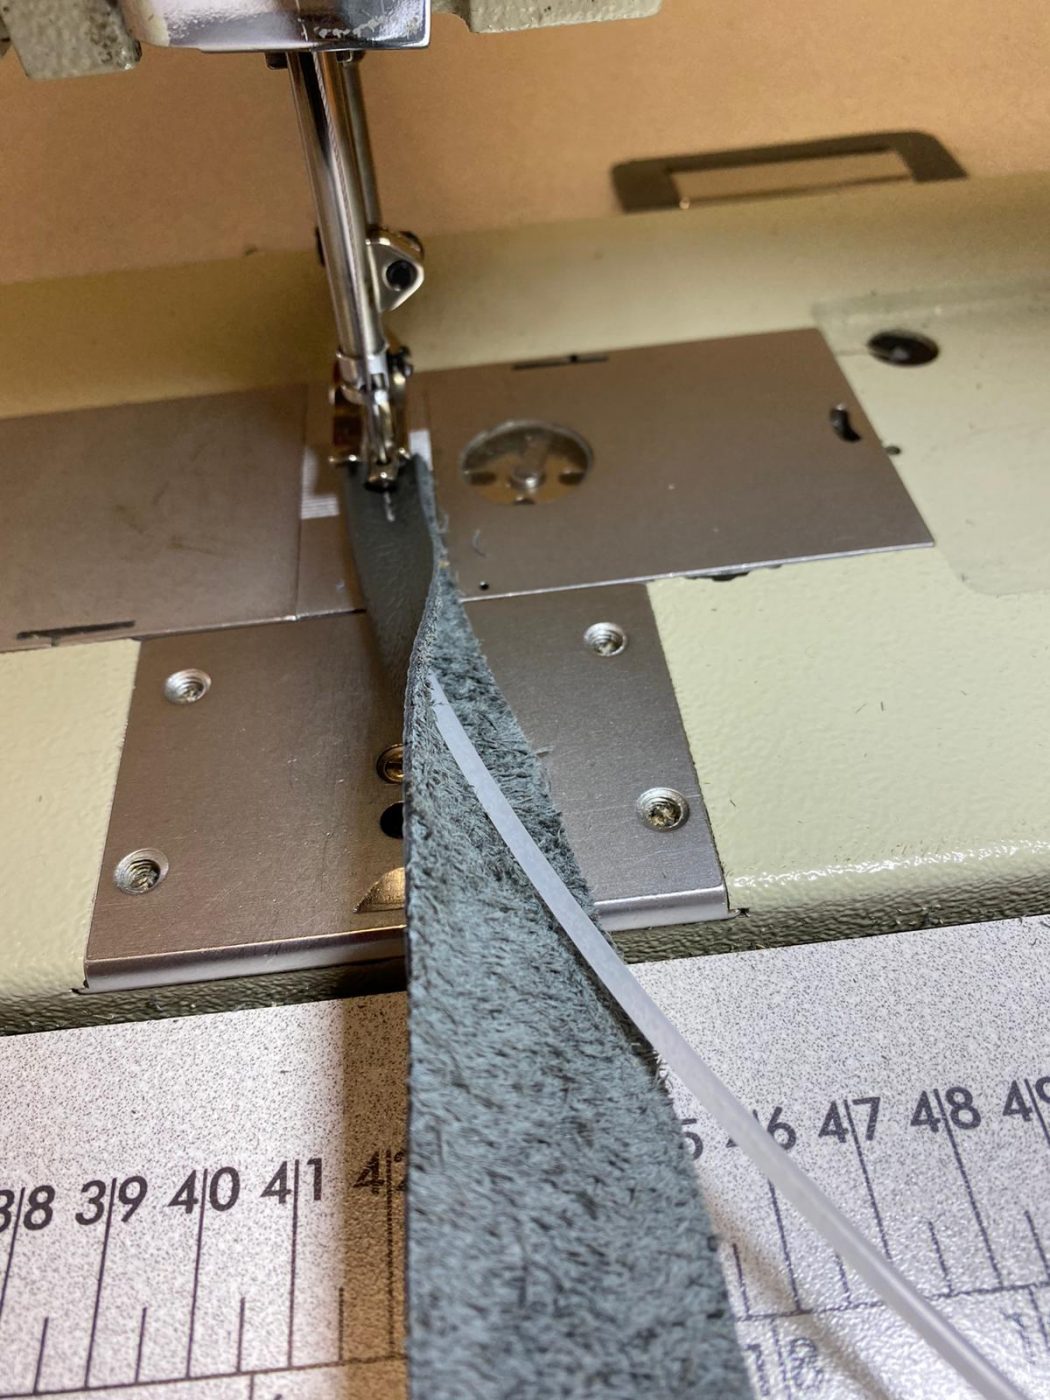
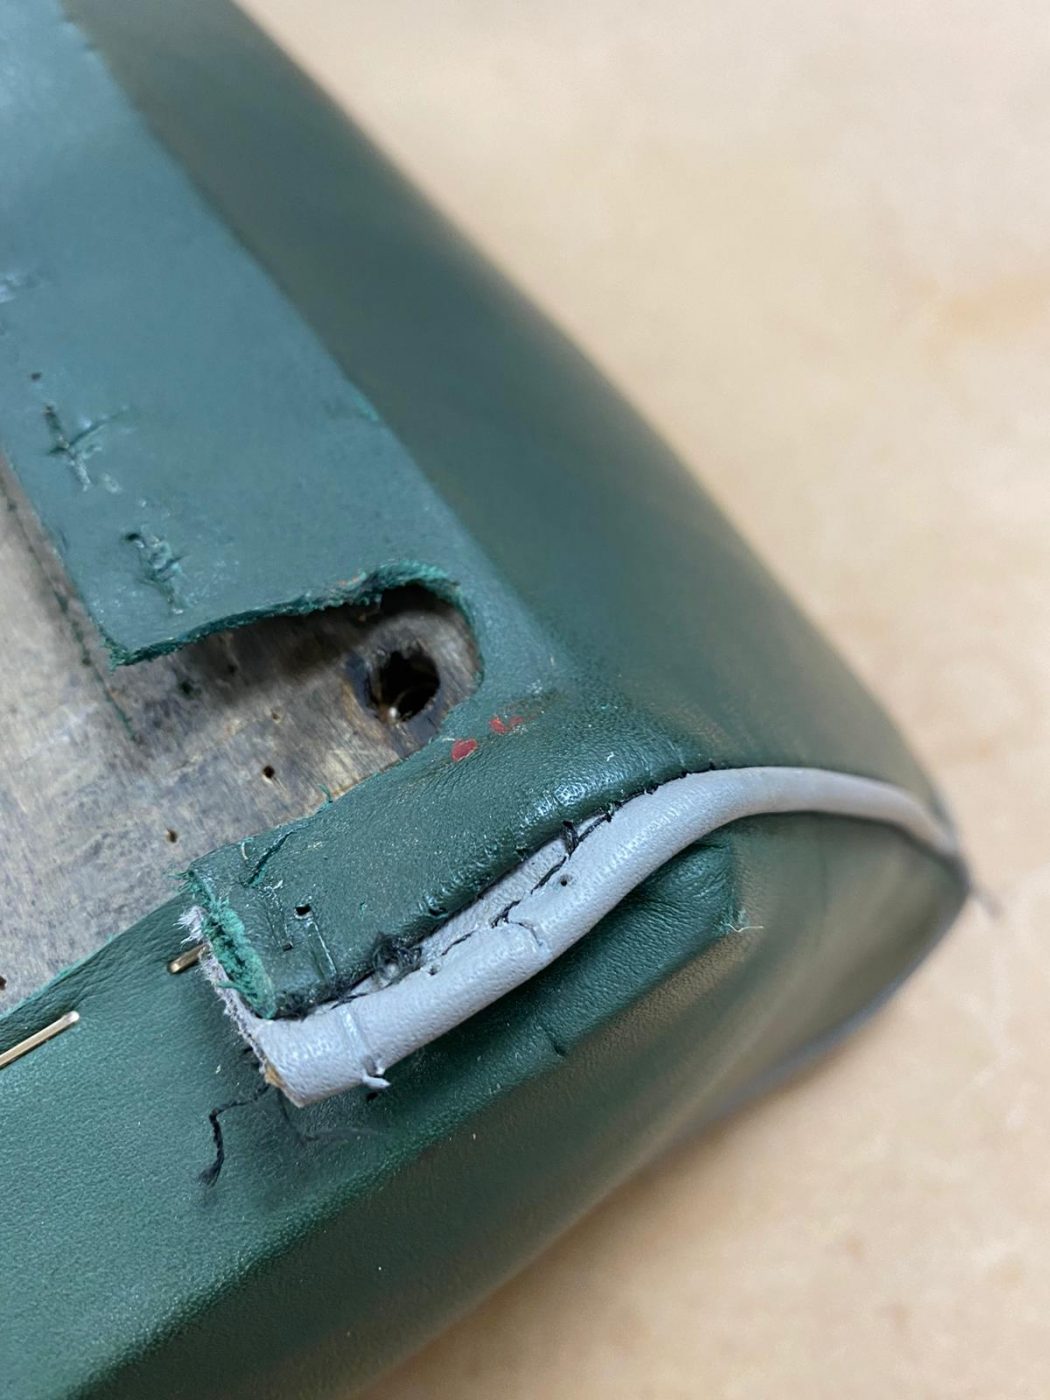
Each piece of carpet has got binding around some or all of the edges. This is made from the dark grey leather that was chosen, and is sewn on, right-side to right-side of the leather and carpet. It’s first stitched along the edge, and then the leather gets folded over to the under-side of the carpet and gets sewn again. The new carpet is grey to match the leather binding, whereas it was green and white carpet originally, with green binding.


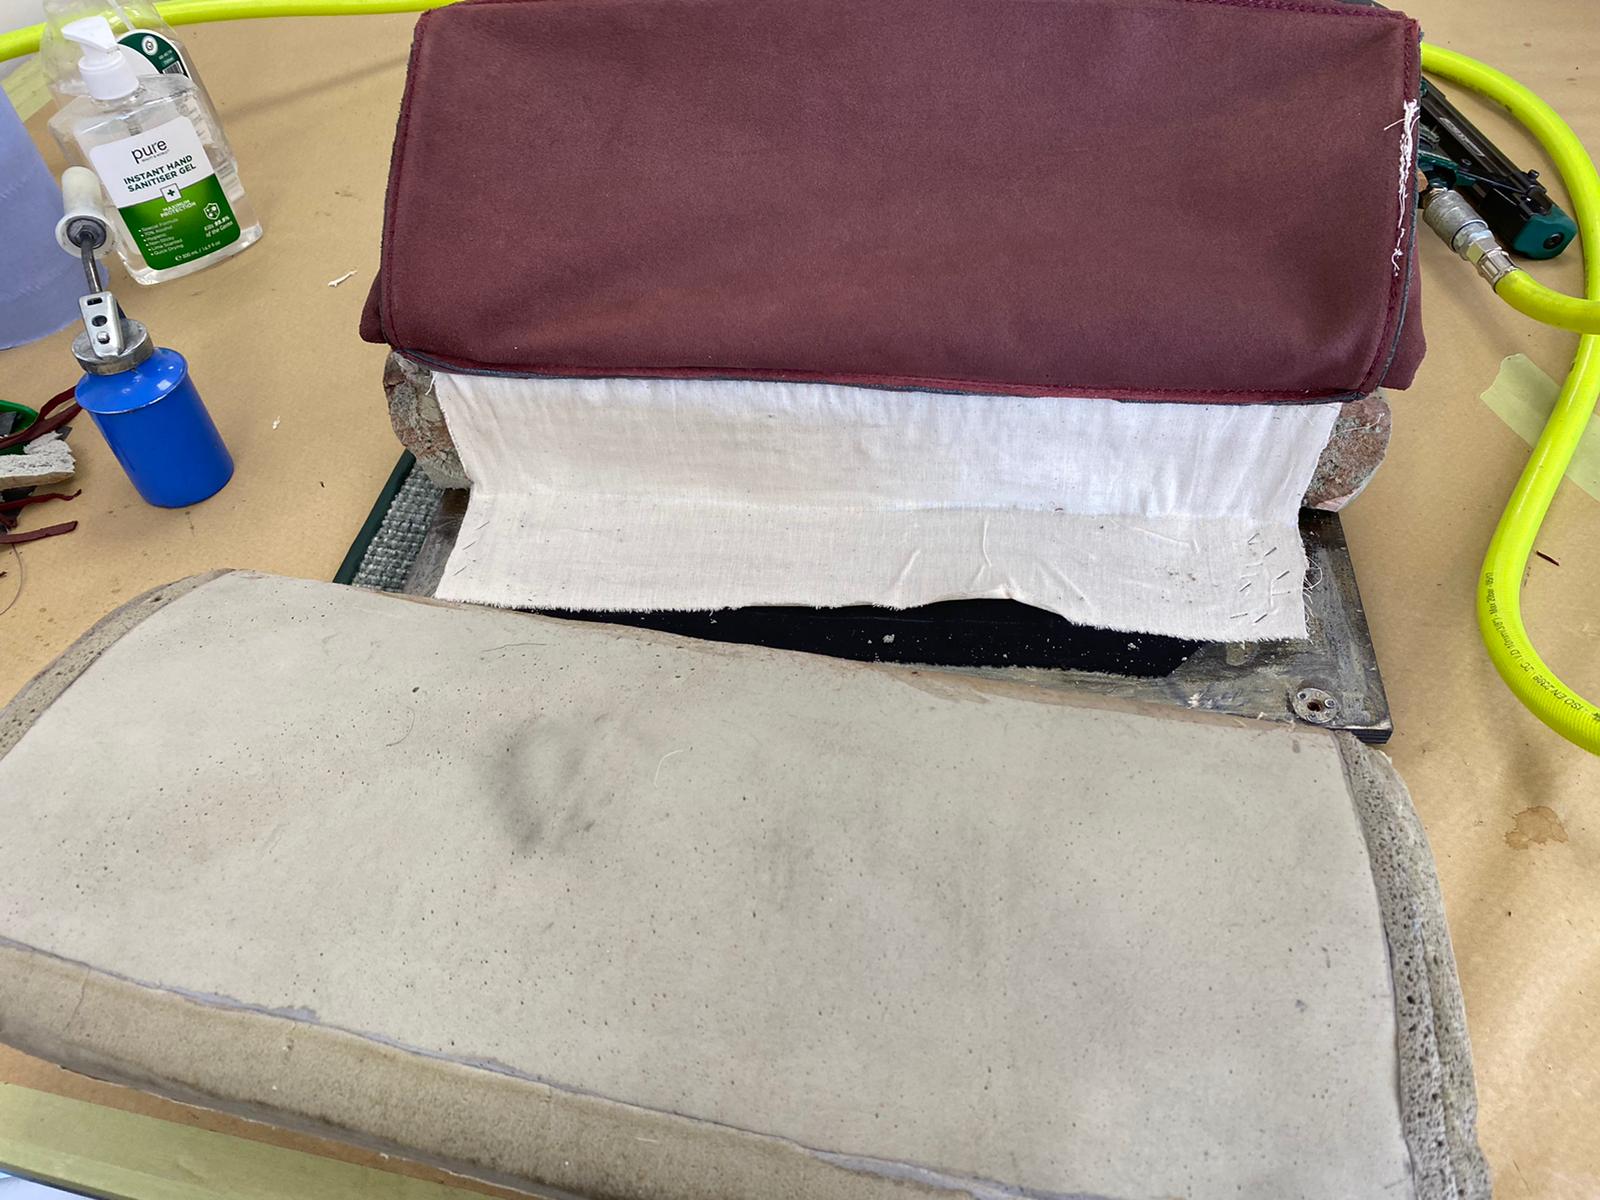
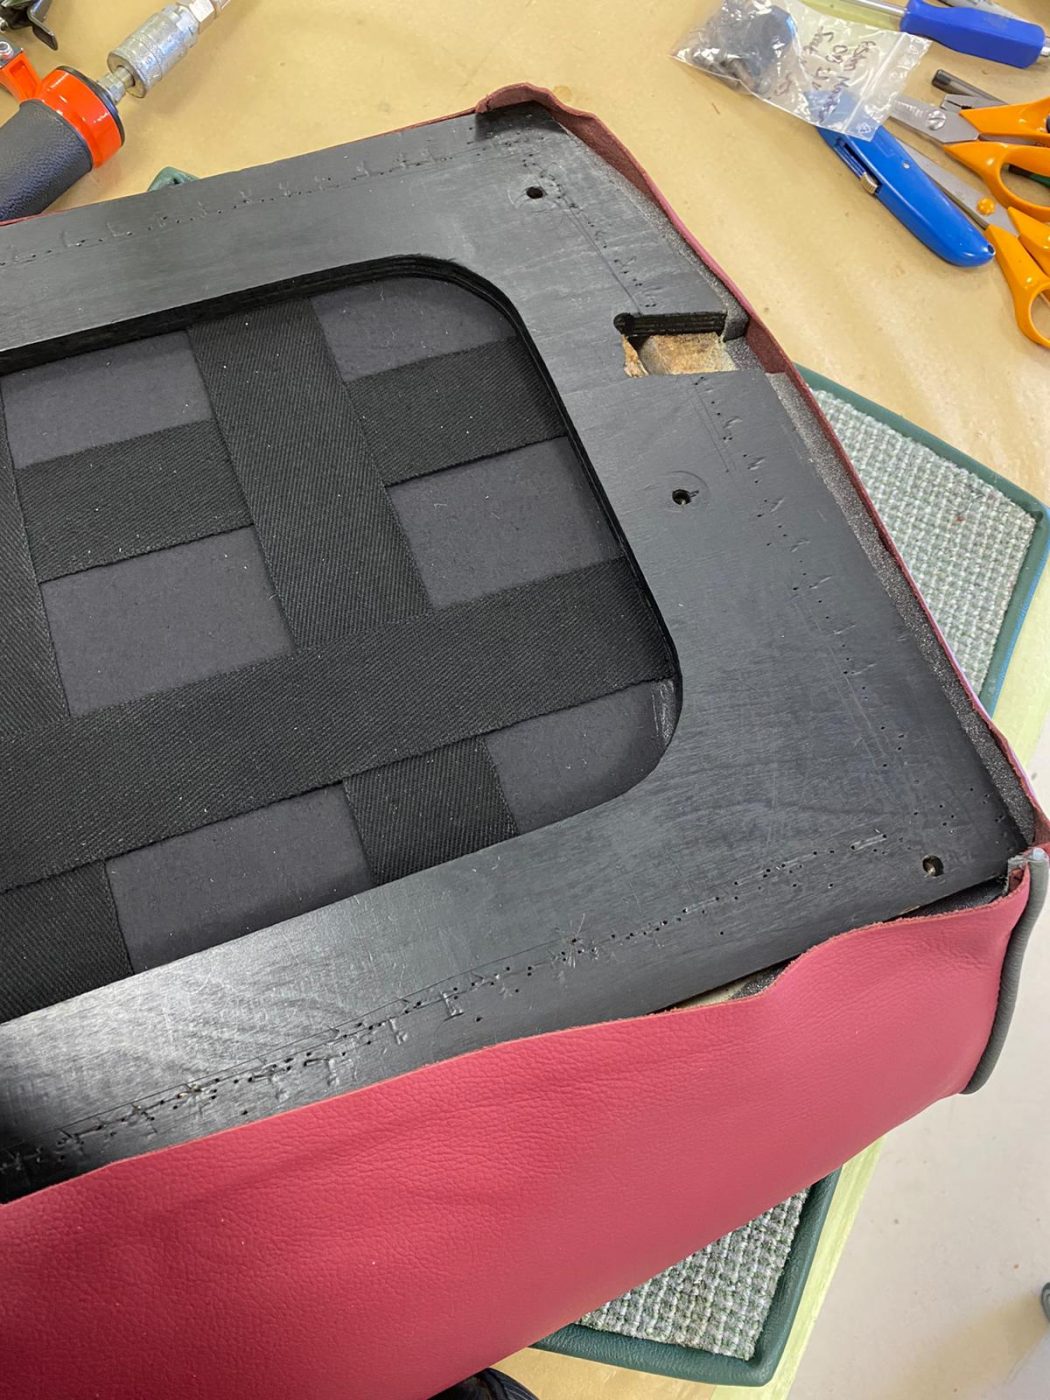
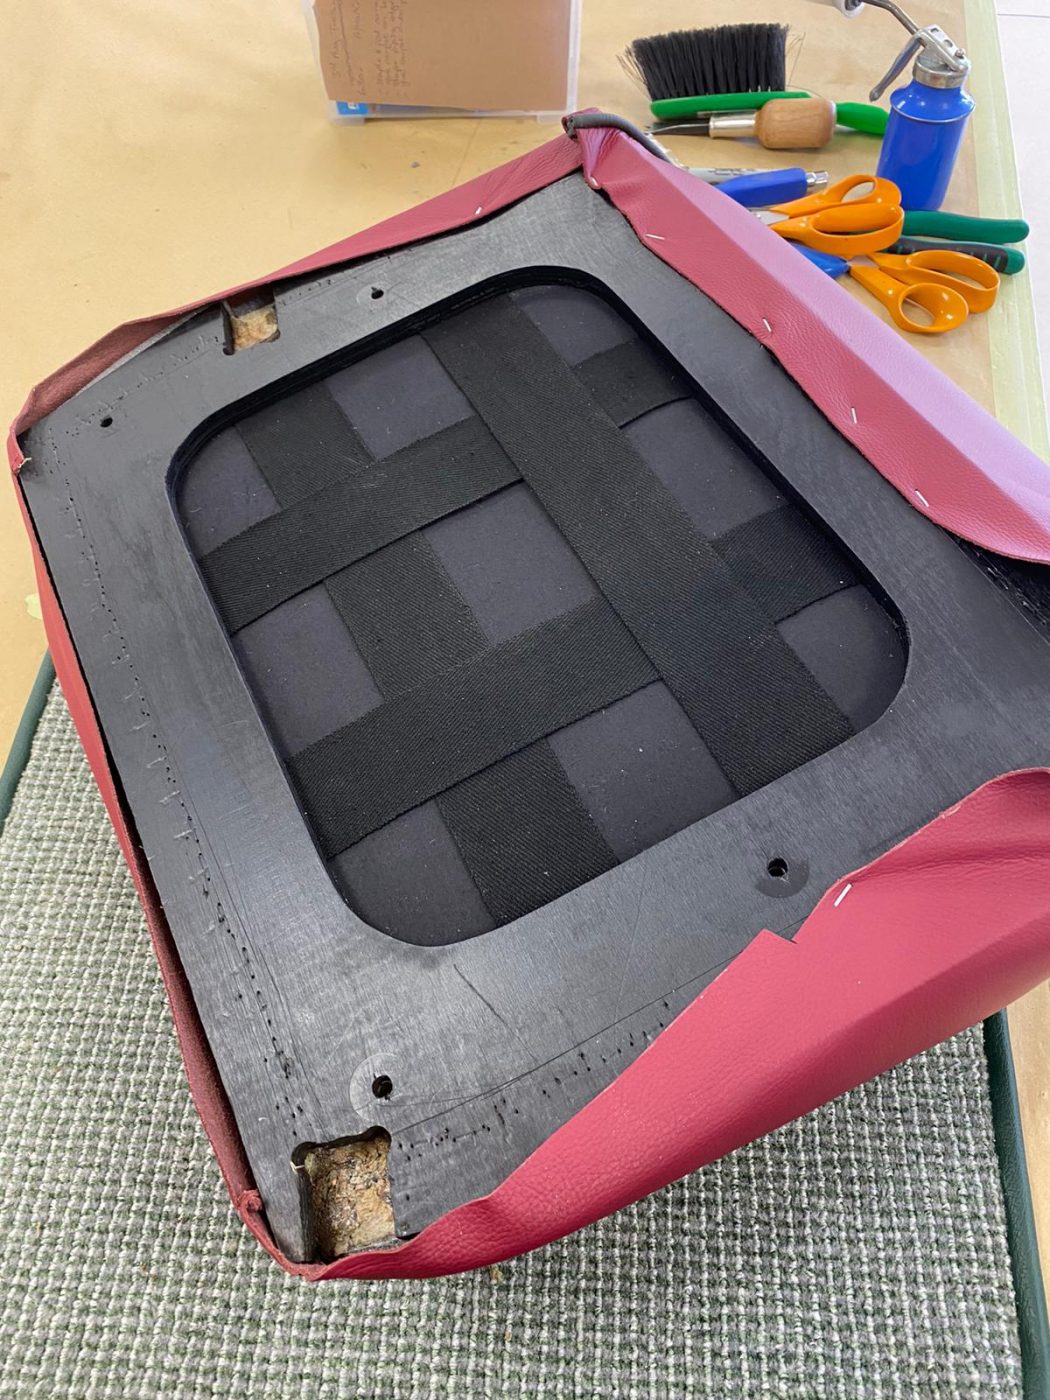
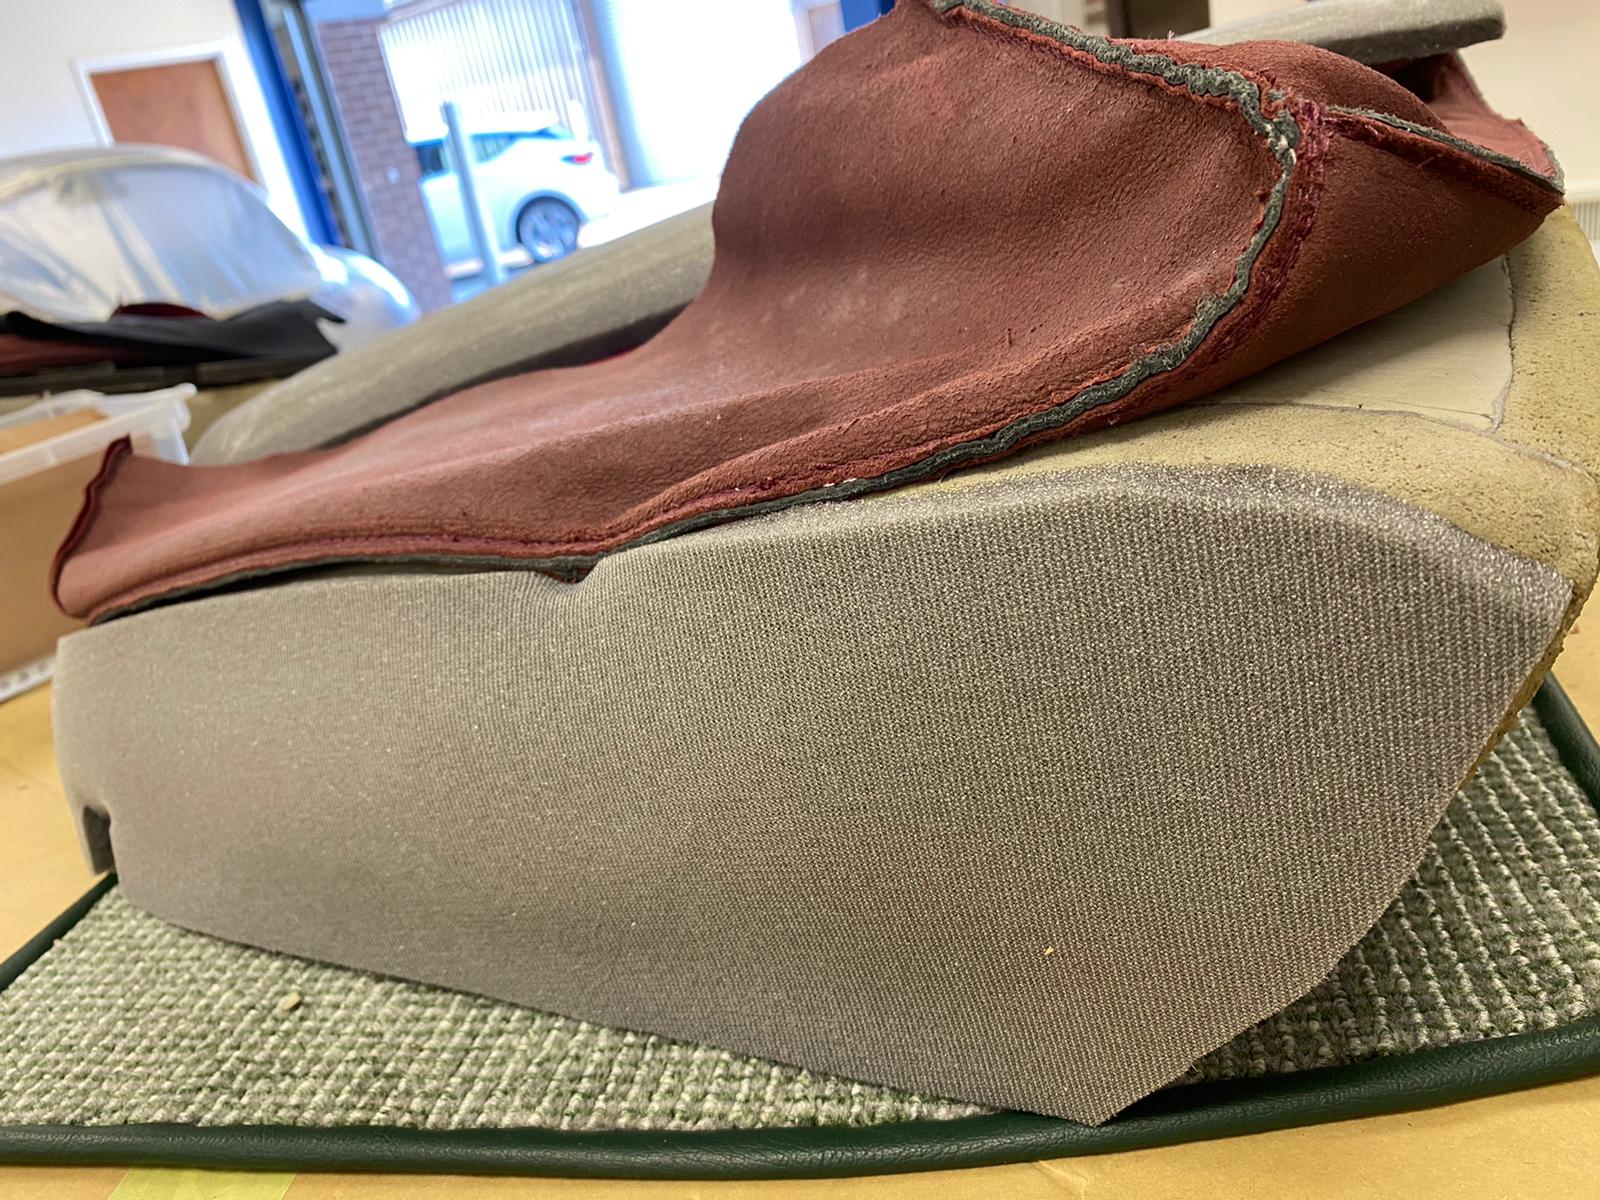
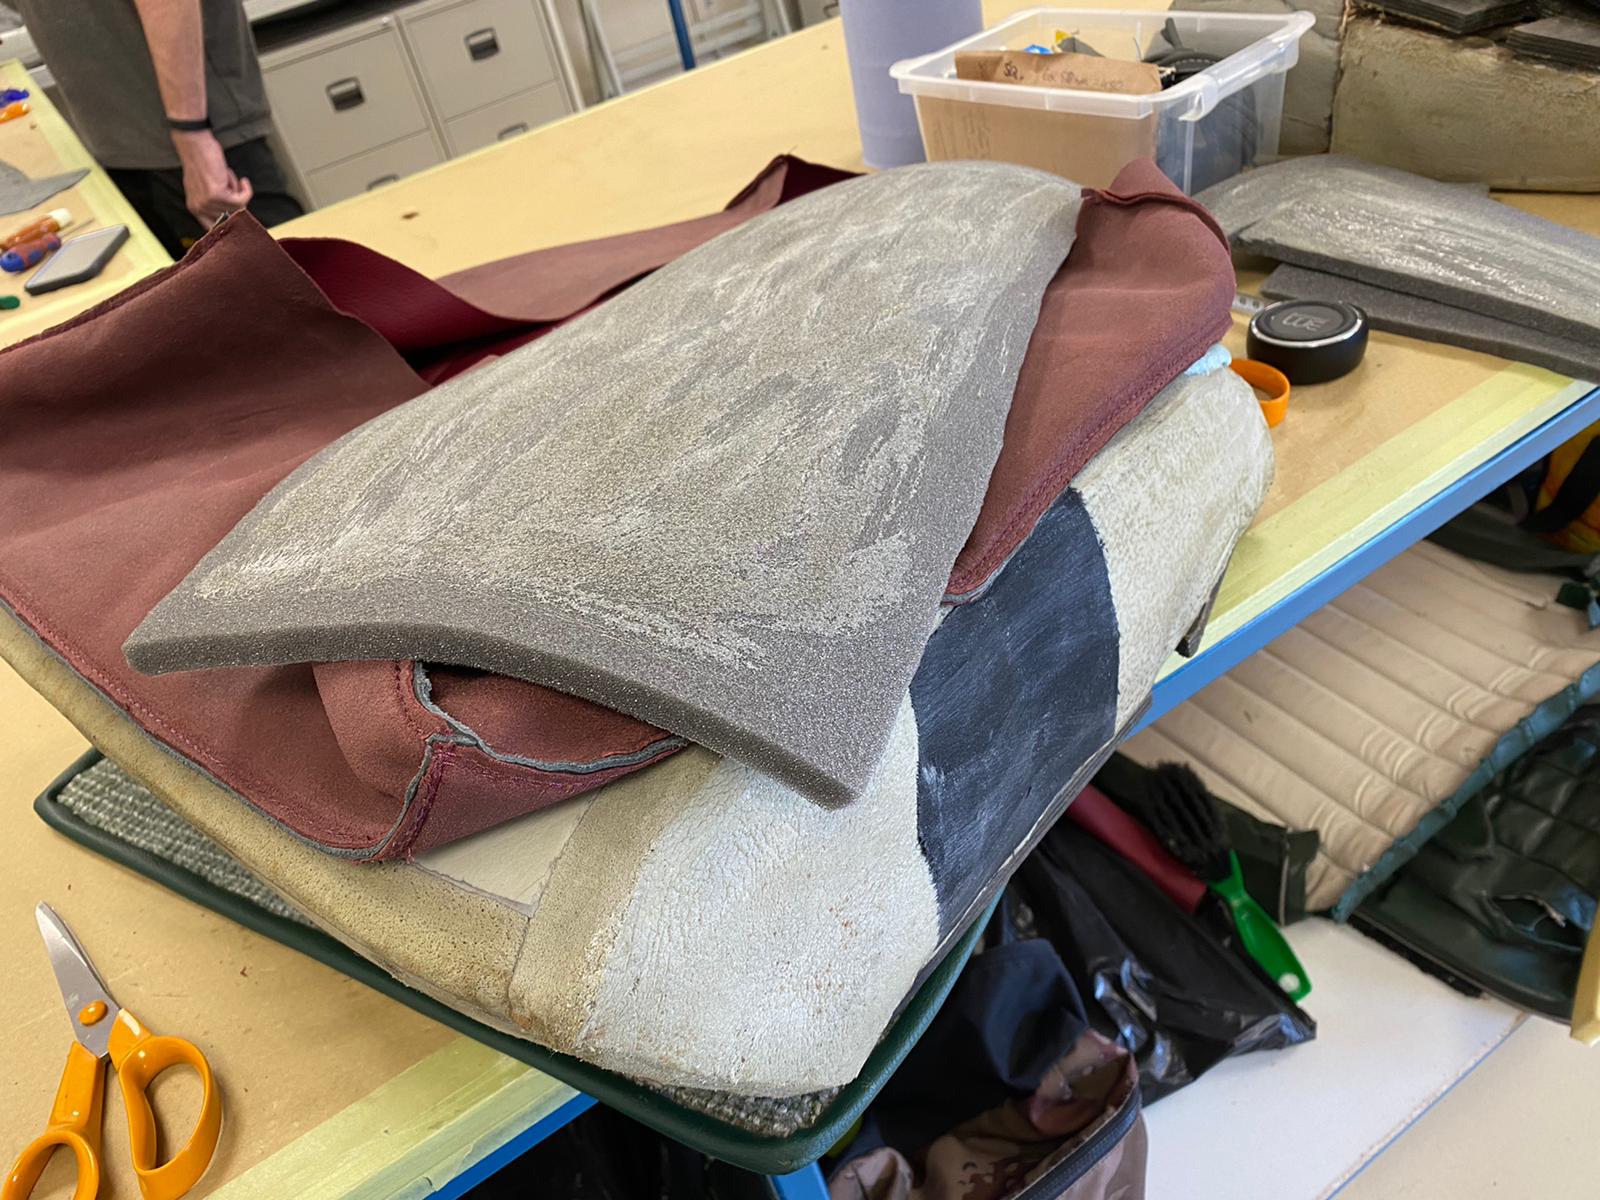
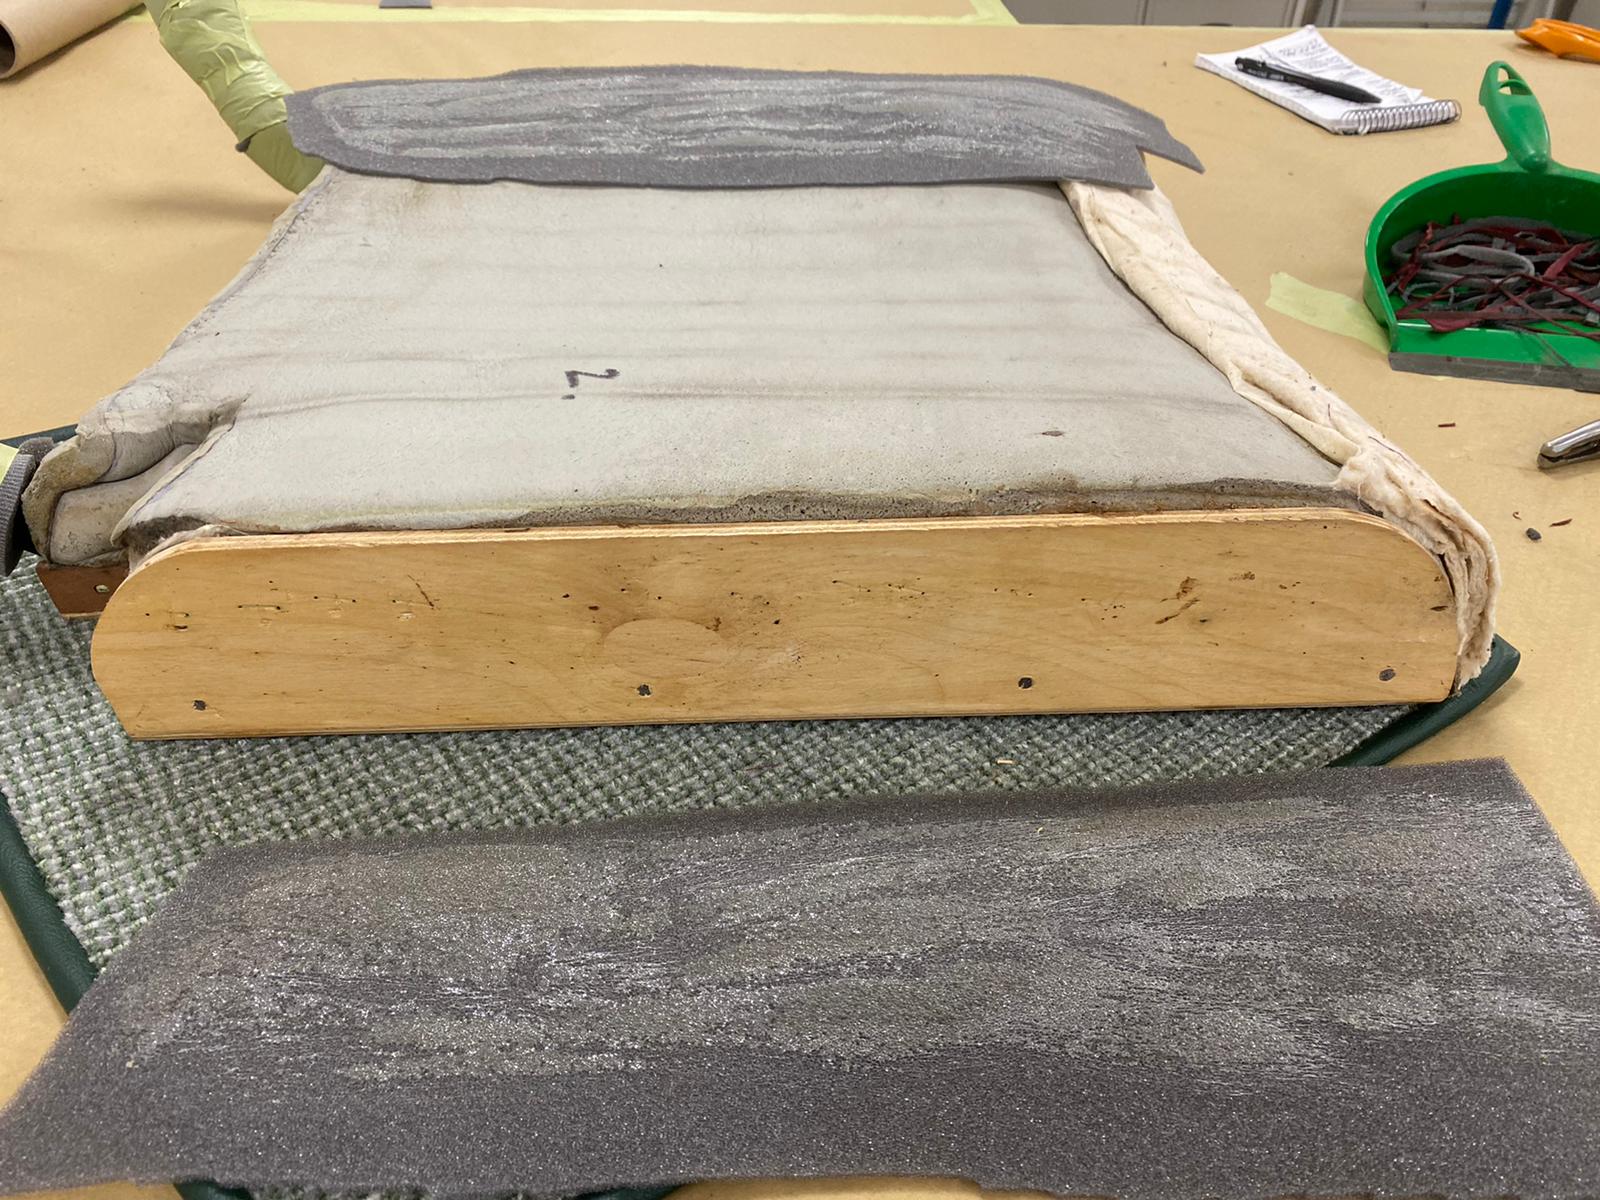
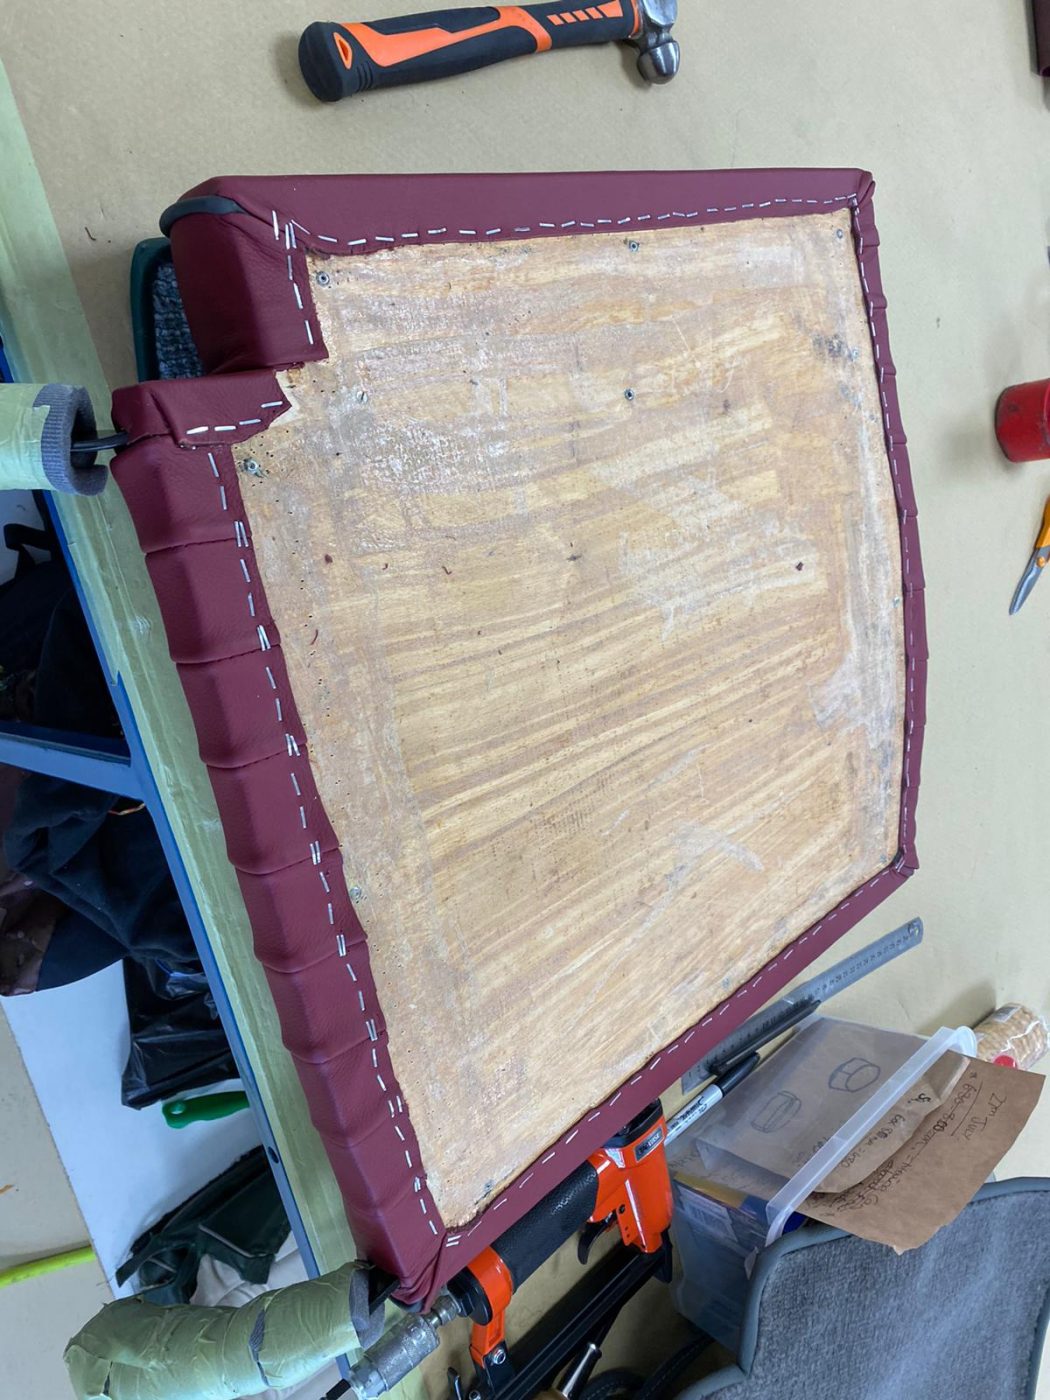
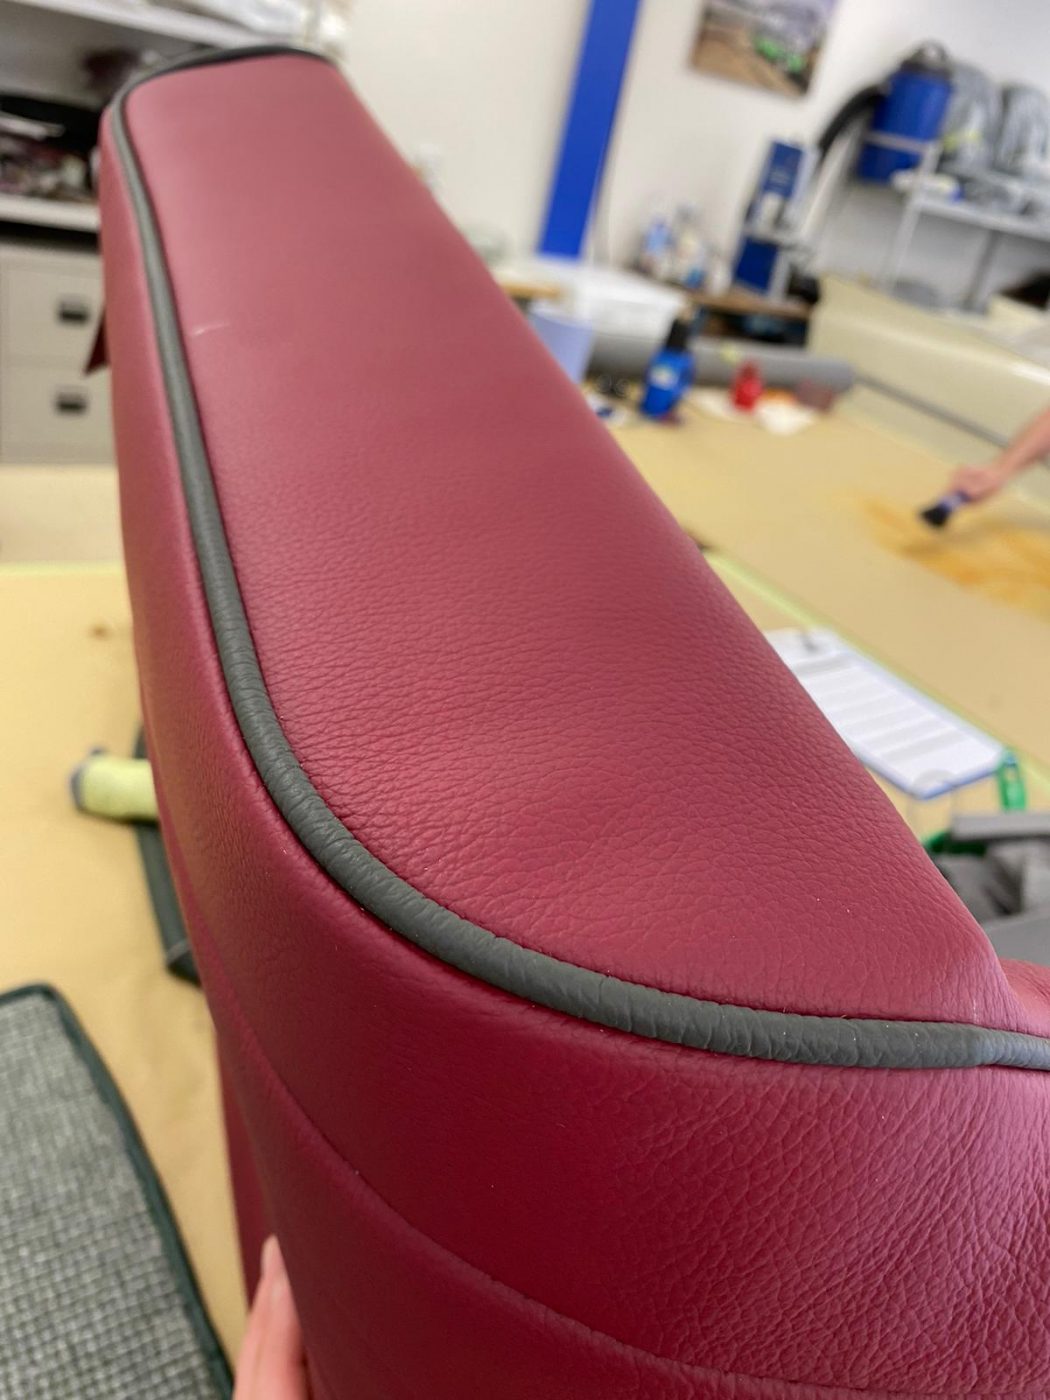
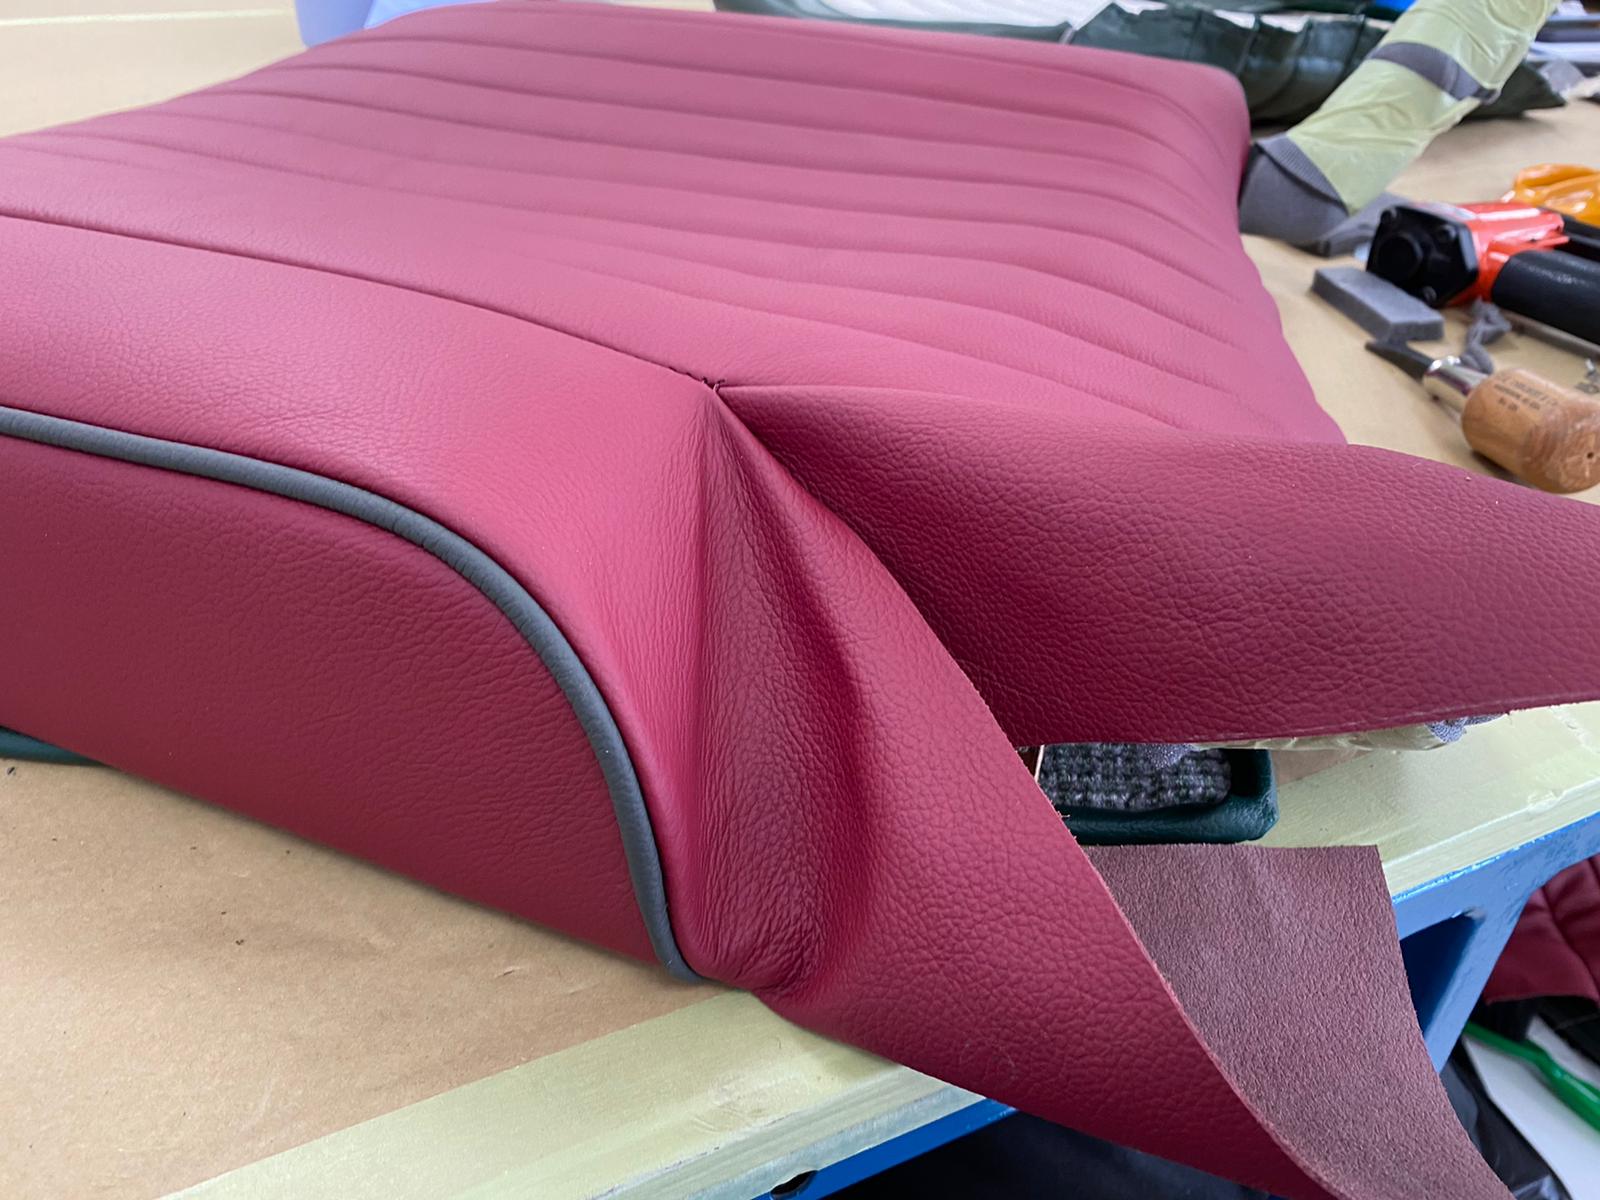
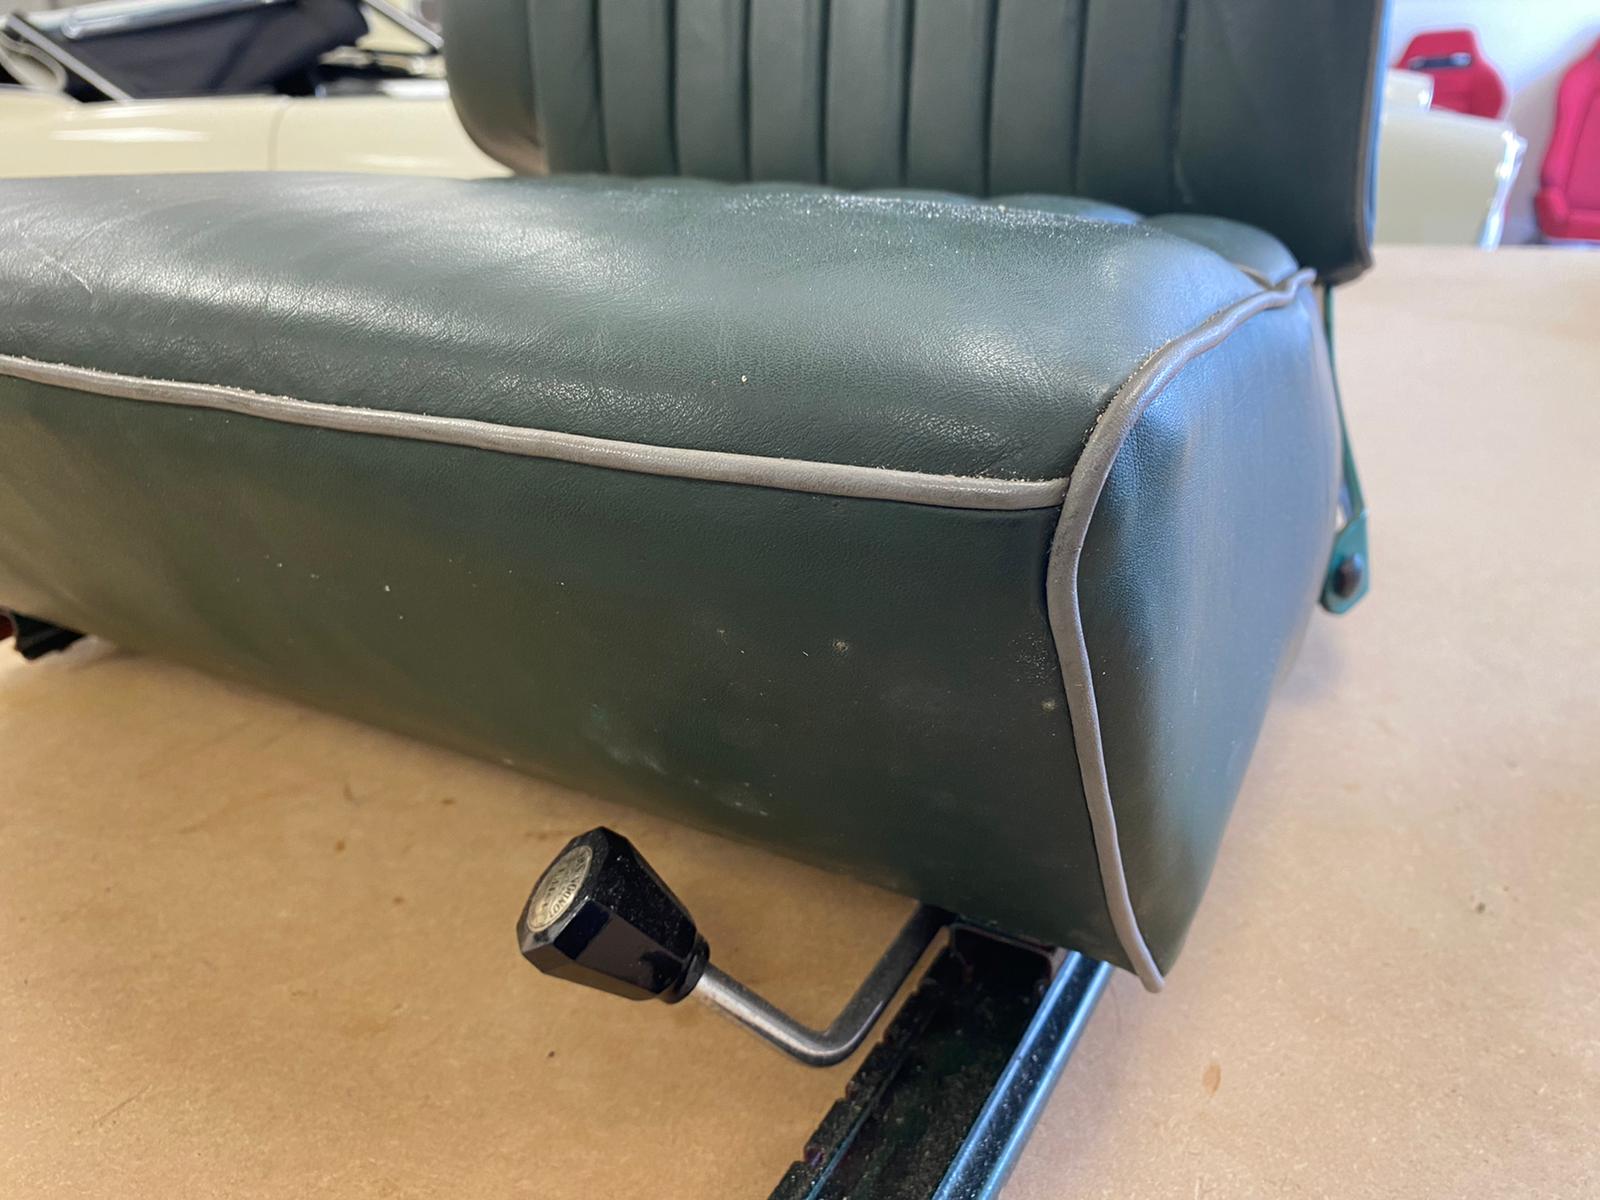
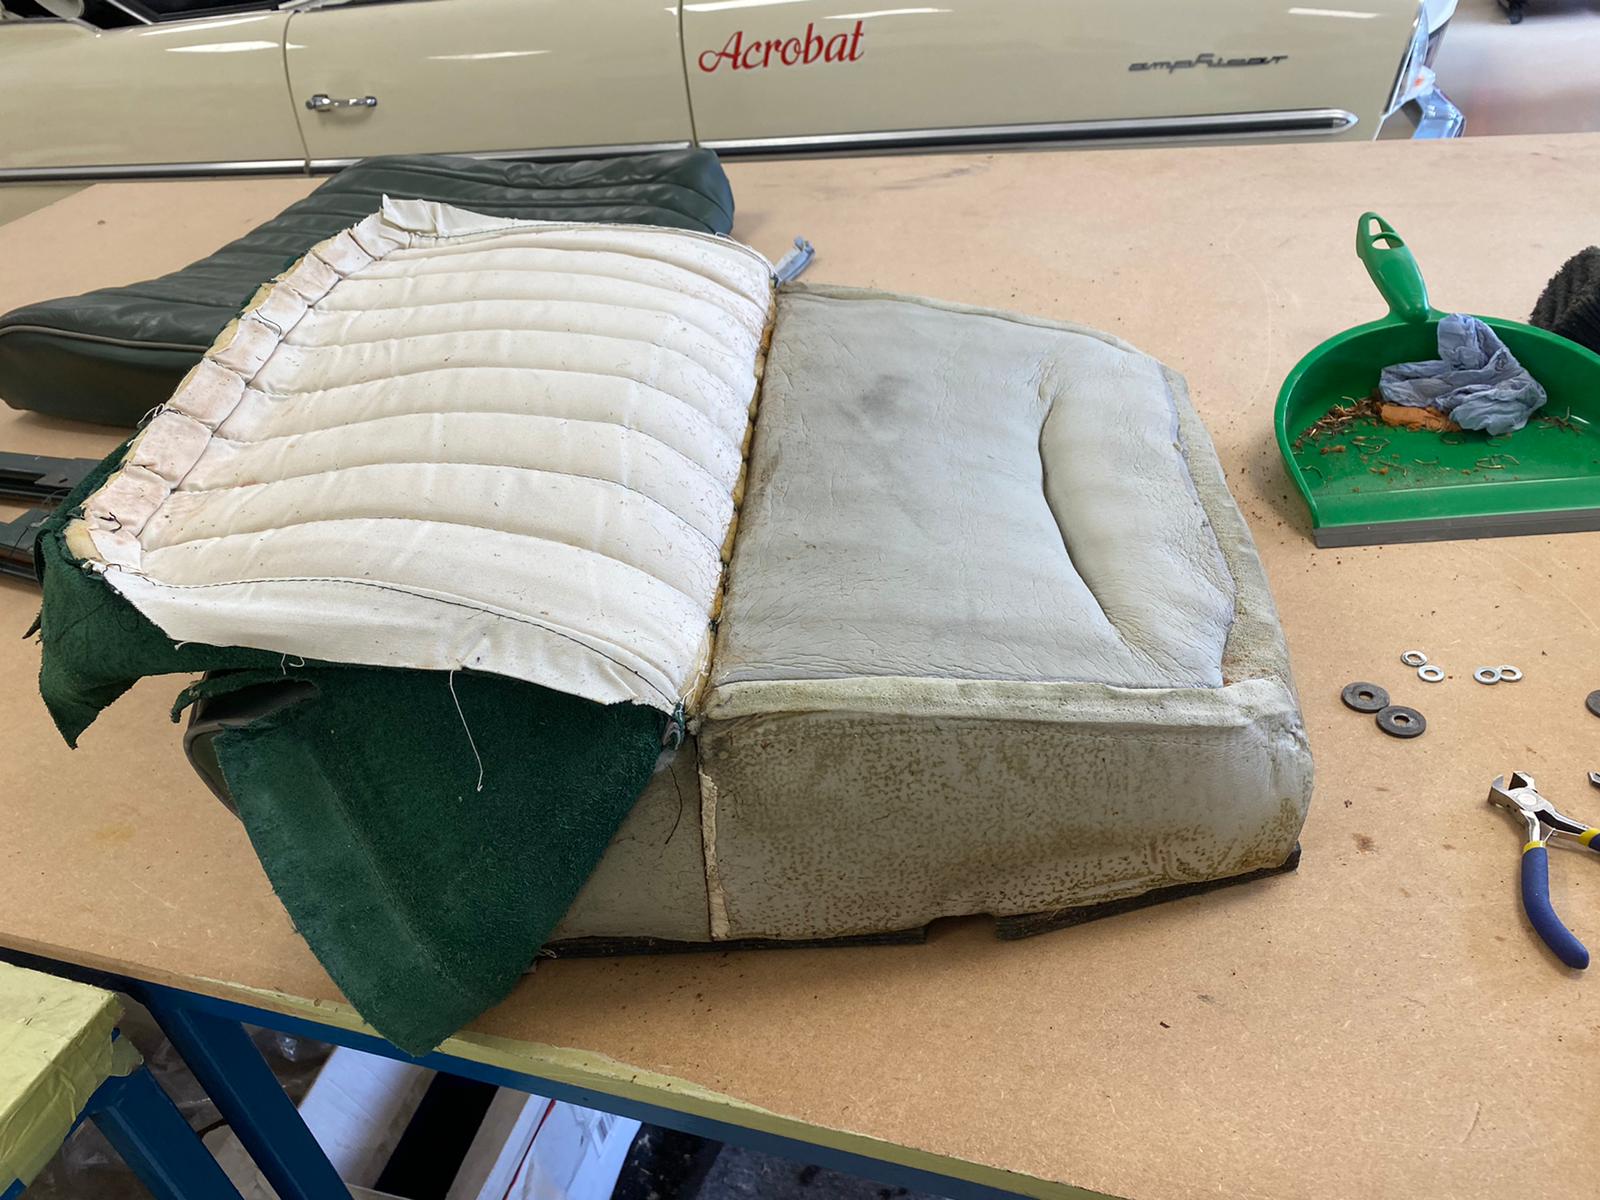
Kath has been fitting the second front base seat cover to its foam and frame for the 1955 Aston Martin DB 2/4. It’s exactly the same process as the other front base, which you can read about here.

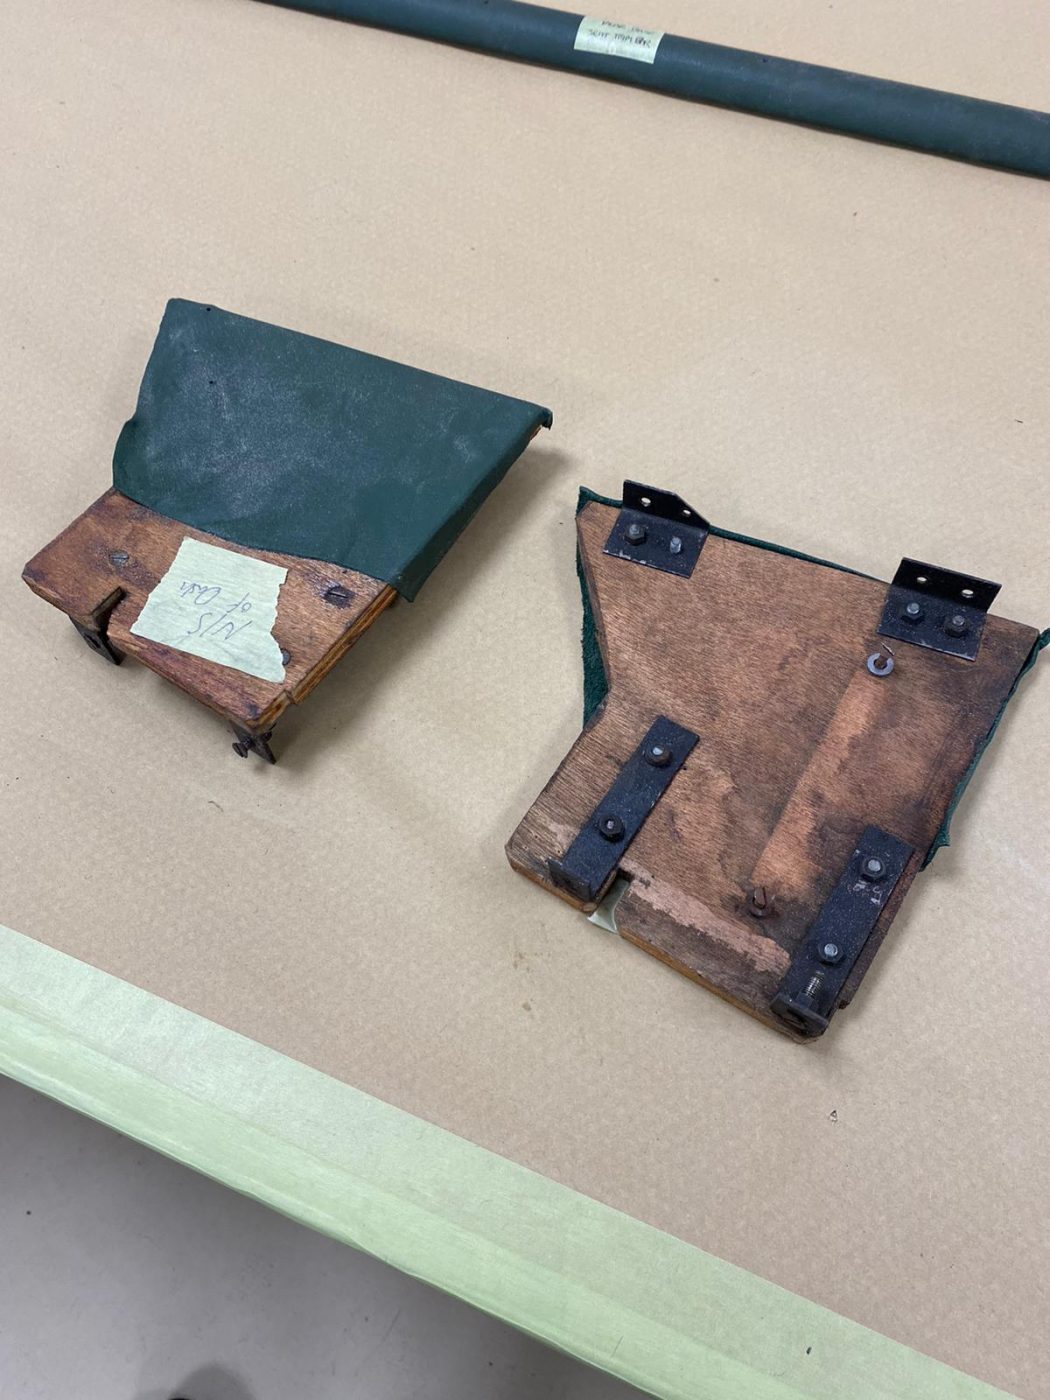
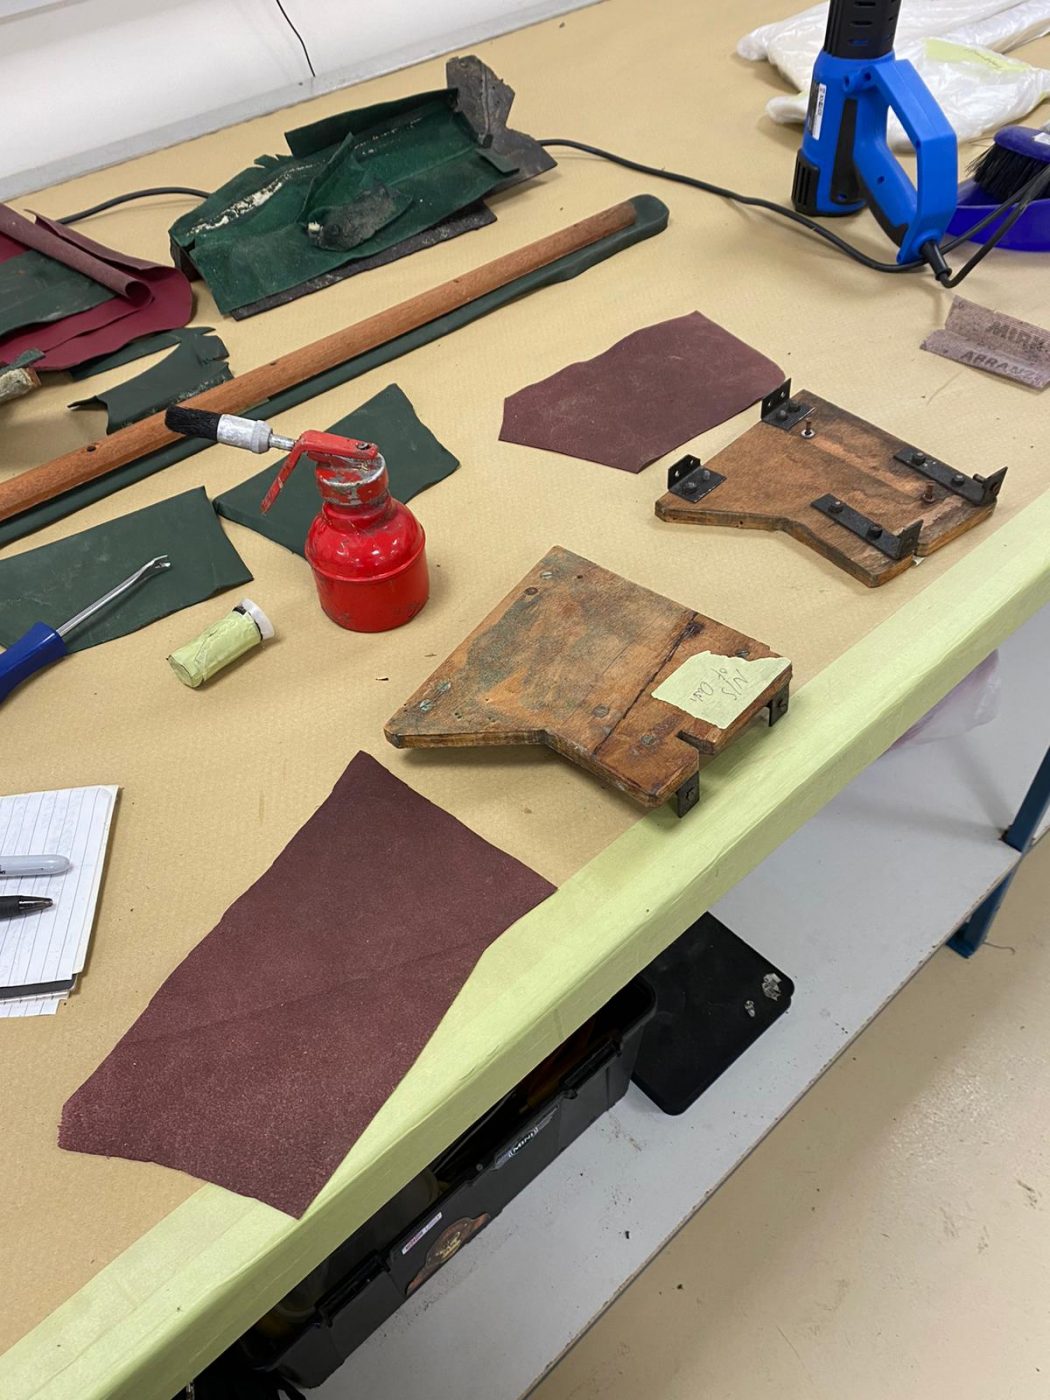
Brian has been re-covering a few more pieces for the 1955 Aston Martin DB 2/4’s interior.
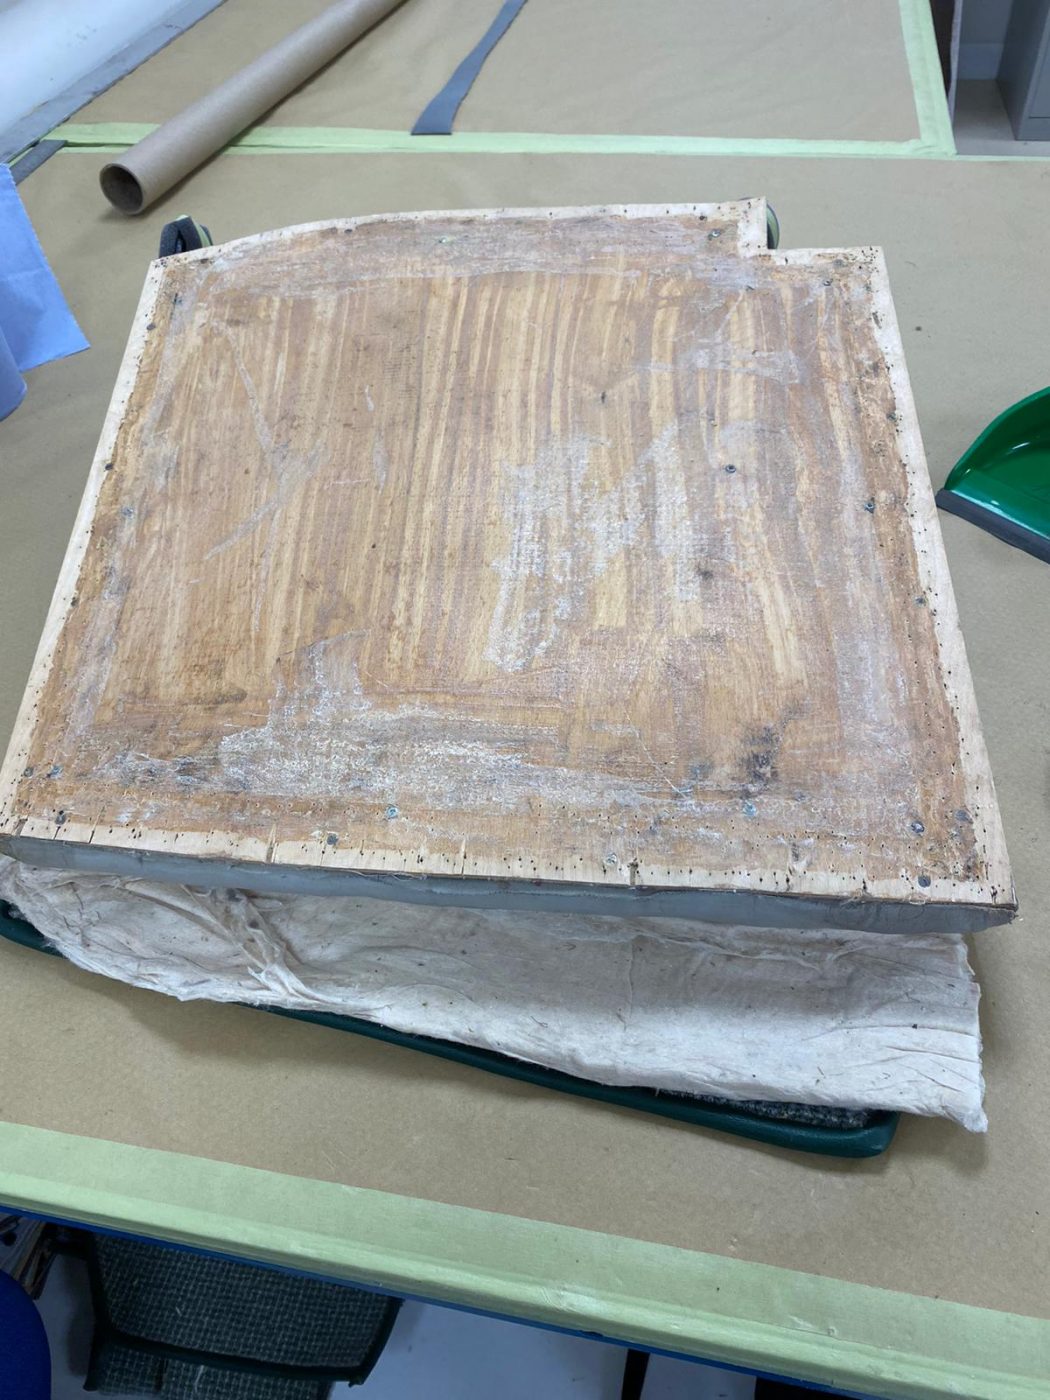
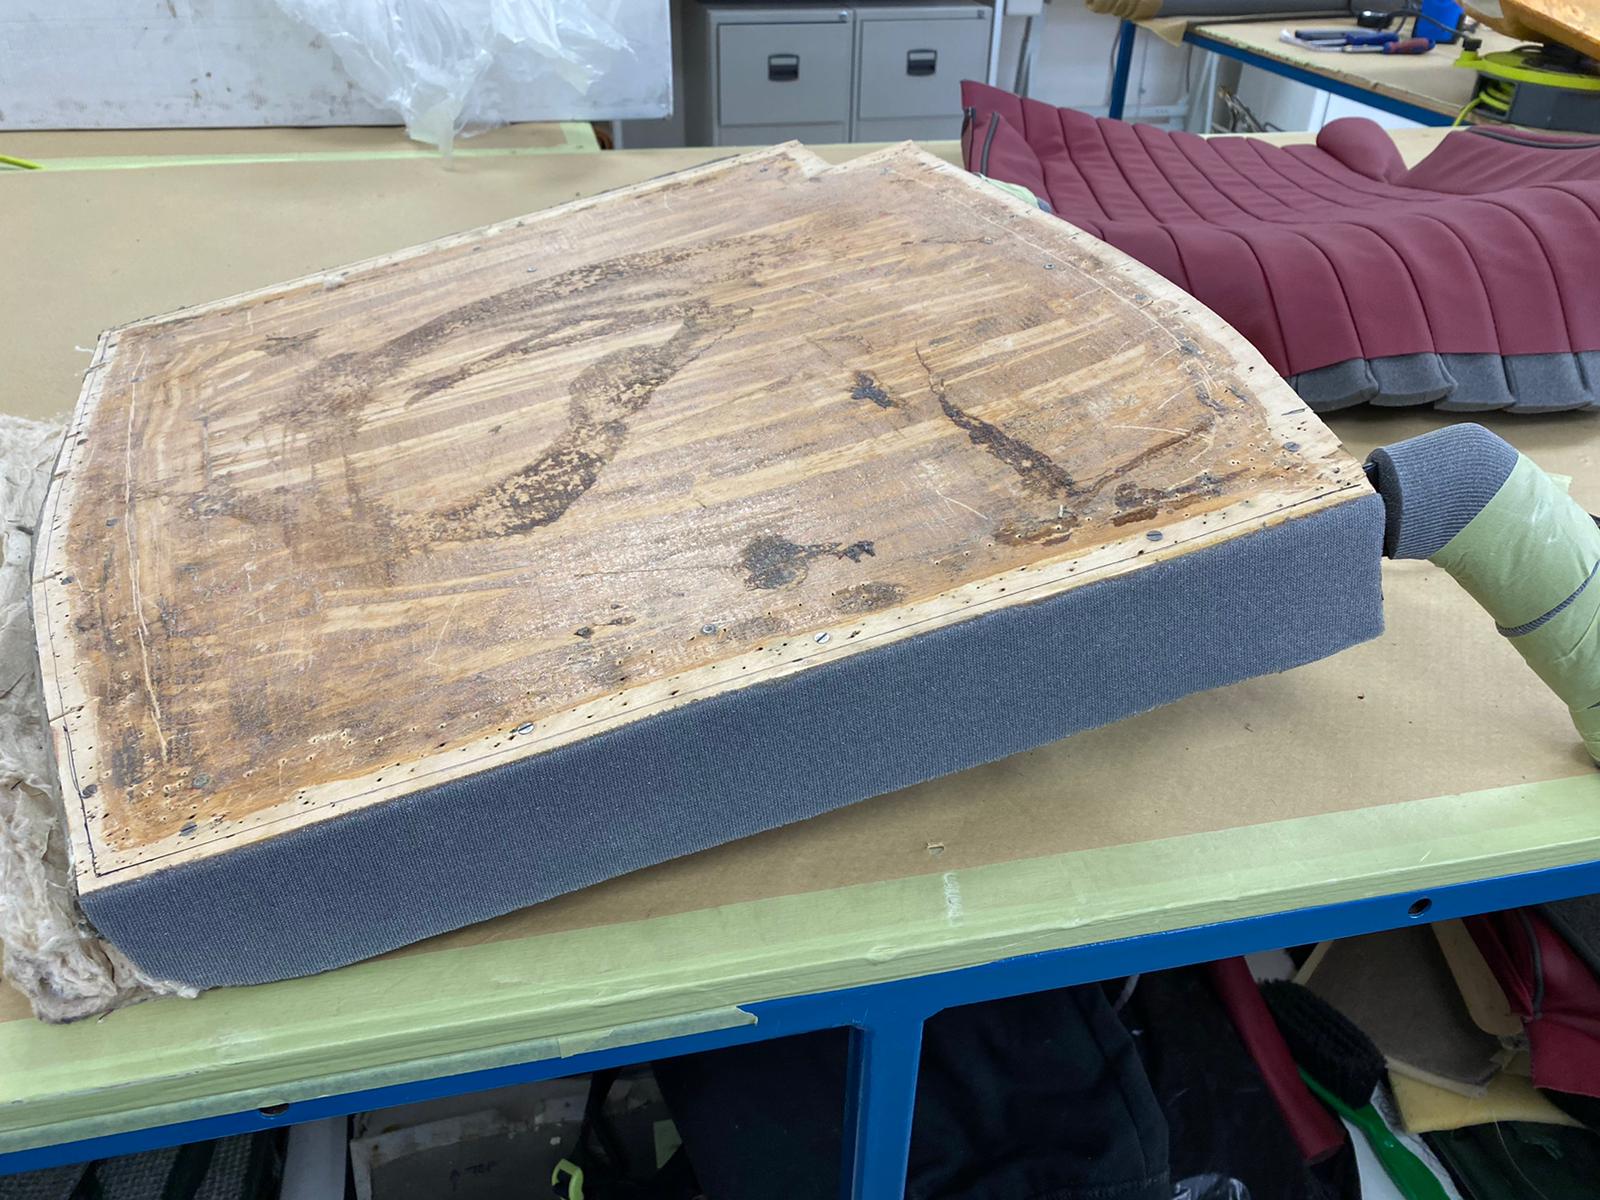
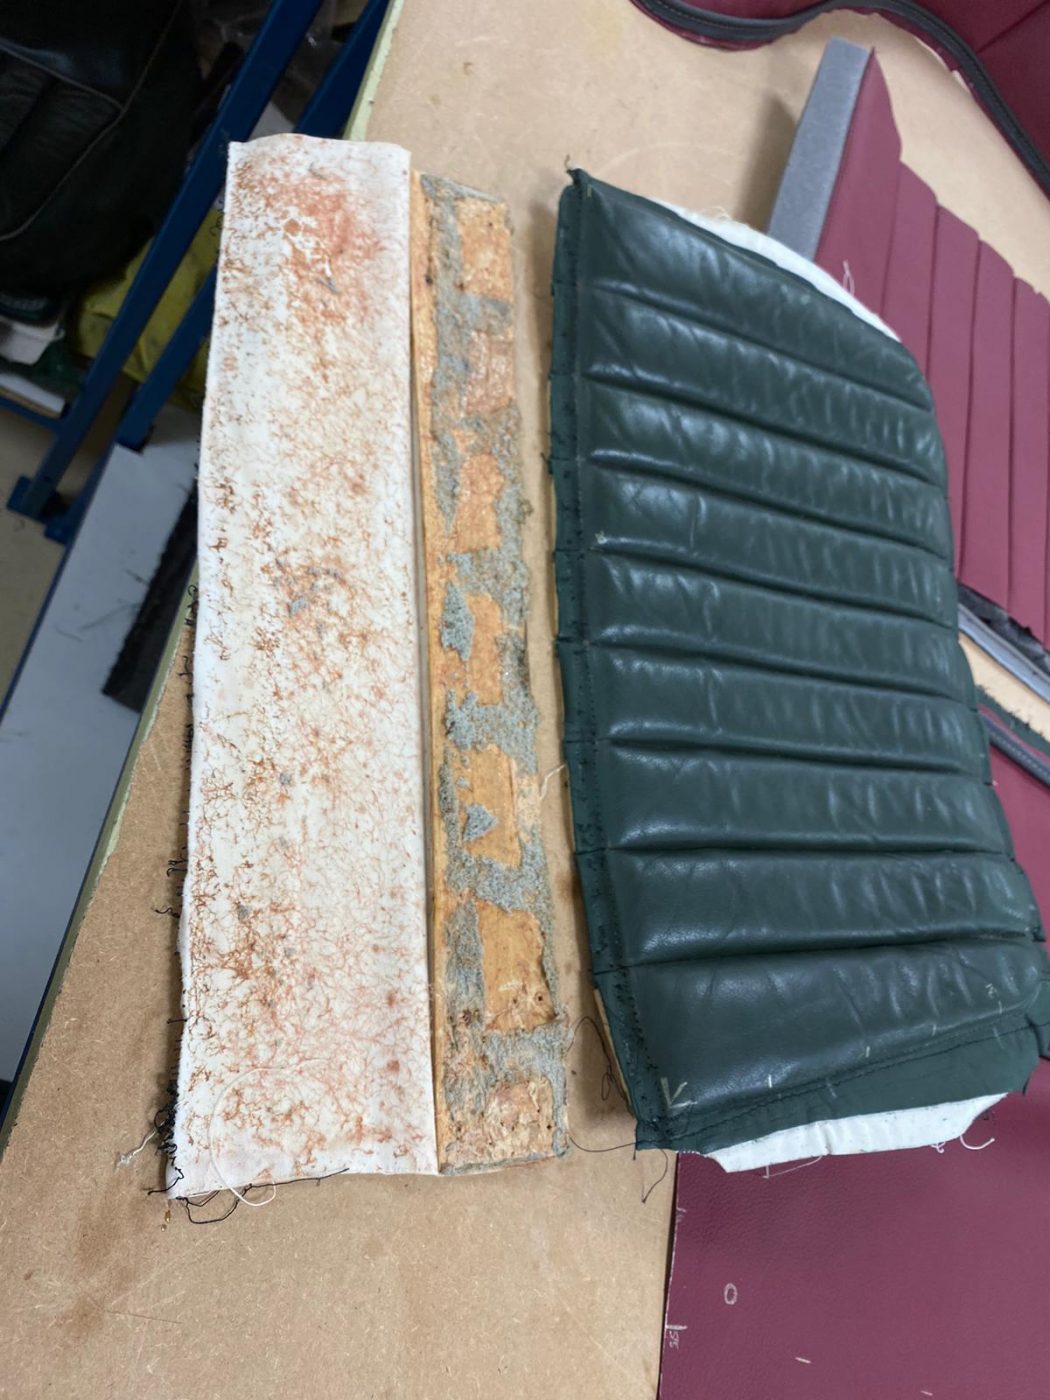
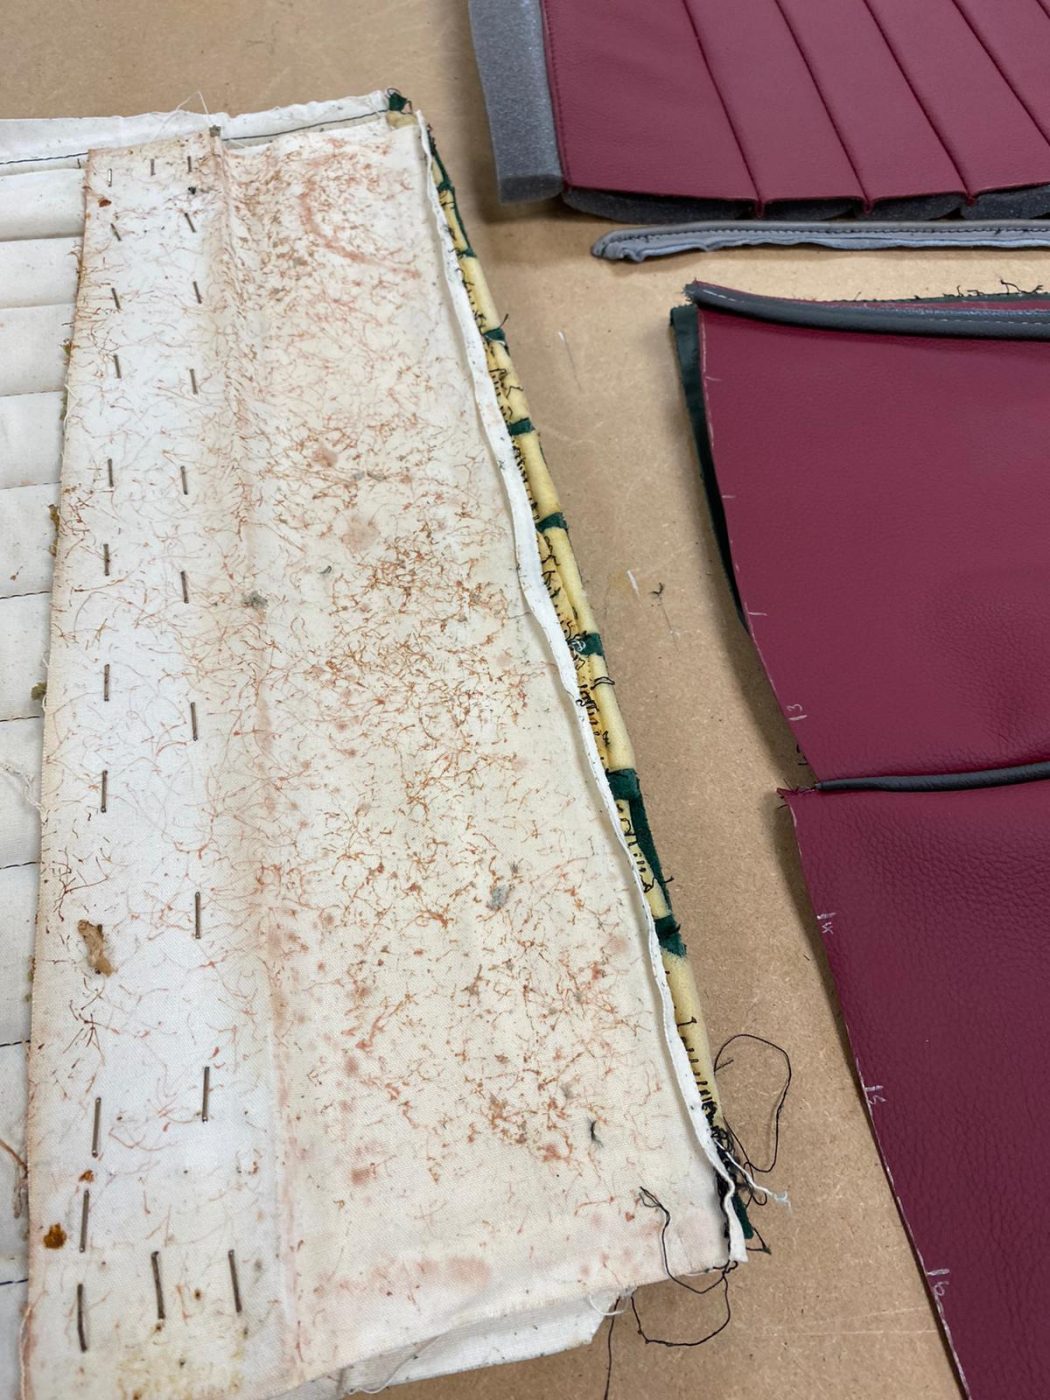
The rear seat top panels have been done. He took the original leather off the wood and cleaned off any old glue that remained. He used the original leather covering as a pattern on the new leather to draw around and then cut out. Brian then simply had to glue the new leather onto the original wood, wrapping the leather around the edges and sealing underneath to provide neat edges. This panel will sit on top of the rear seat once in the car, which just provides a cover so there isn’t a gap. If you think of a modern car and its parcel shelf, that’s the position this will be in.
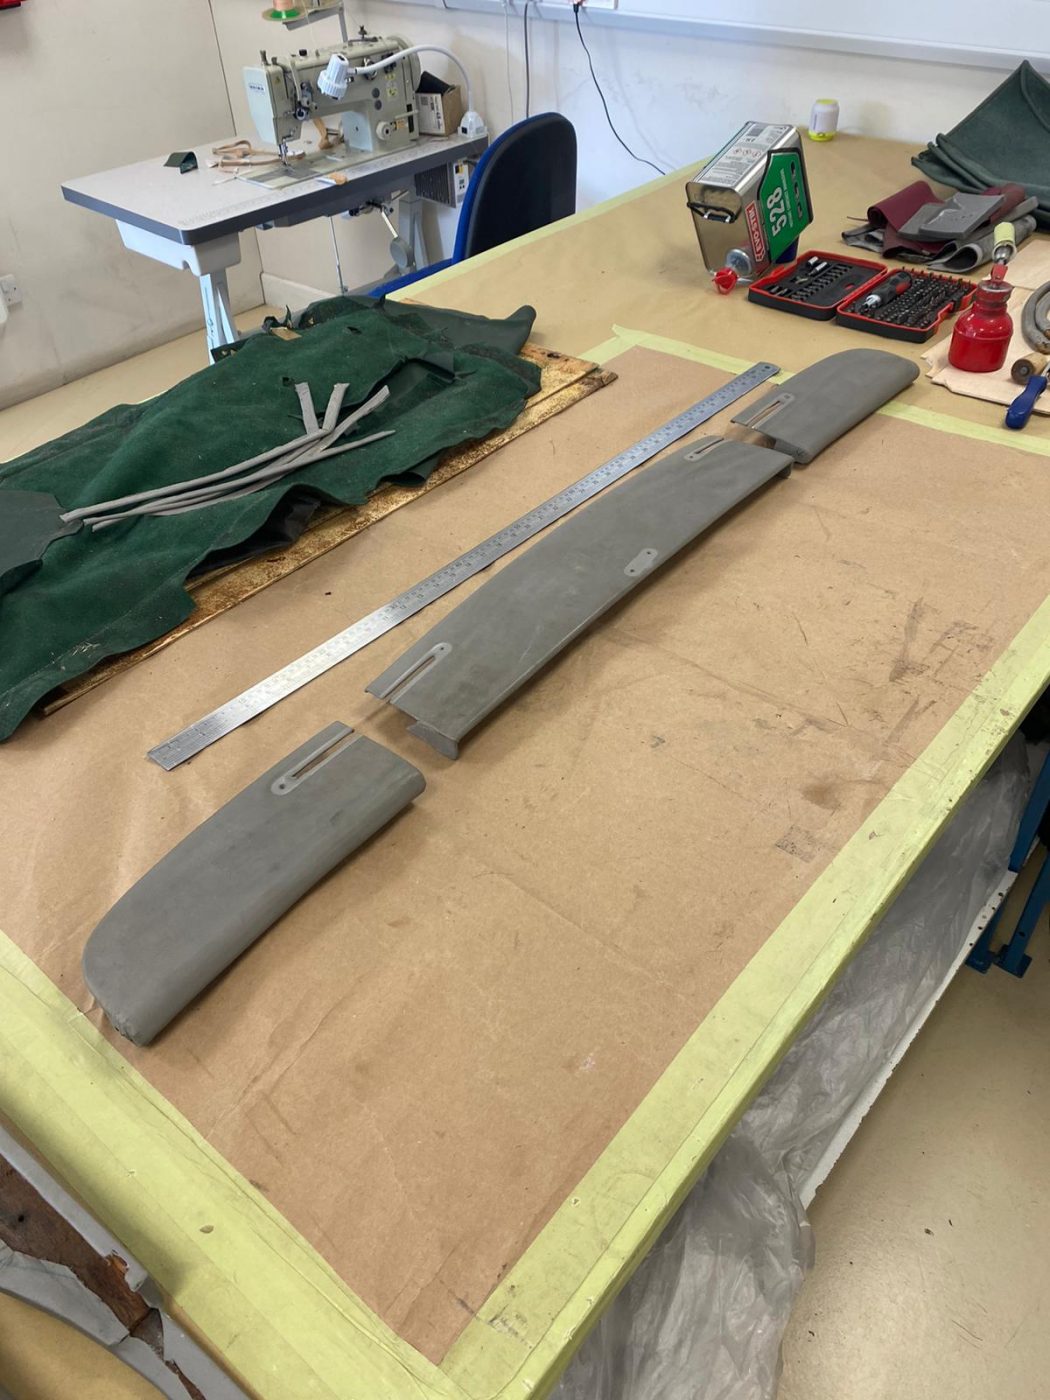
The sun visors have also been recovered. Brian started the process by taking the original material off the boards that formed the sun visors. He then used these boards to work out the measurements of new fabric he needed to cut out. He cut out new boards and then glued the new headlining fabric to one side and wrapped around the edges, sealing in place. Brian trimmed down the flange down one side on lengths of piping and glued it to the inside edge of one board. He then attached the other side of covered board to finish the sun visors.


Another little update on the 1955 Aston Martin DB 2/4 coming your way!
In the trim shop, Kath has been re-covering the door straps. She began the process by taking the original leather off one of them and using it as a pattern for both of them on the new leather. Once cut out, she sewed the new leather piece onto each one, by hand. The way that it was sewn couldn’t have been done by machine.
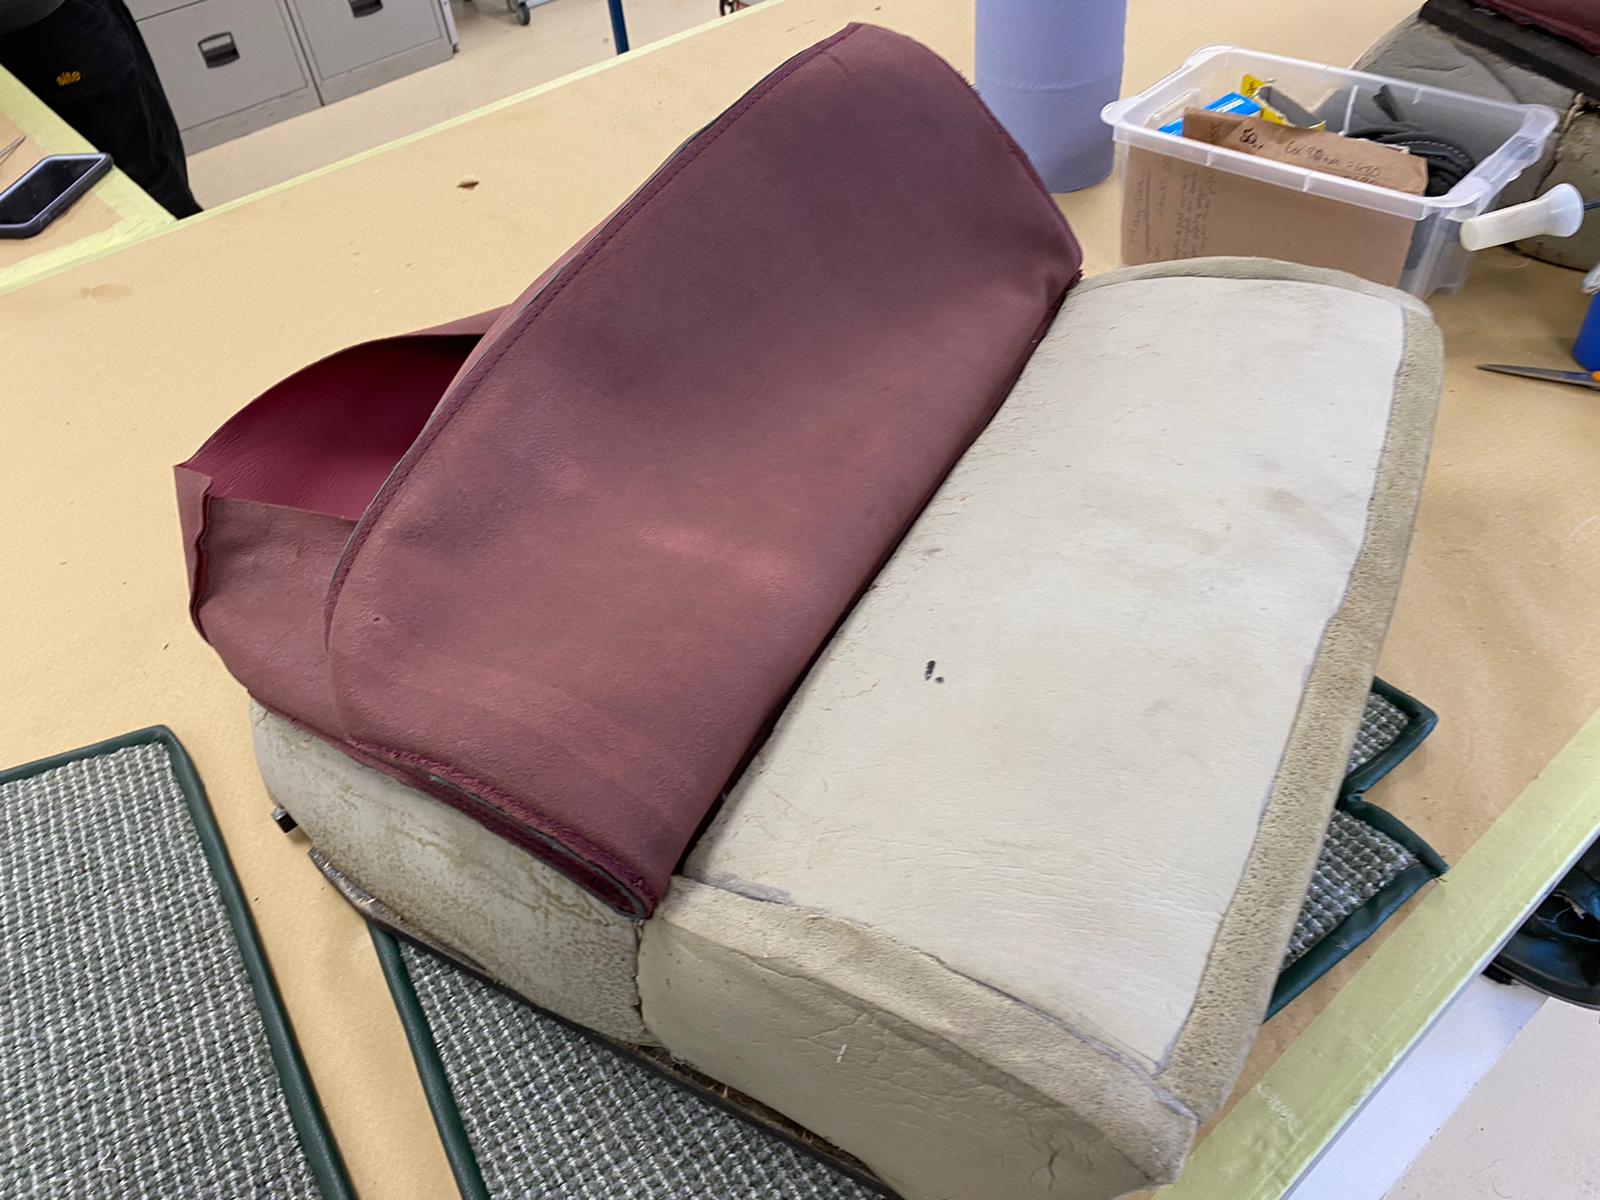
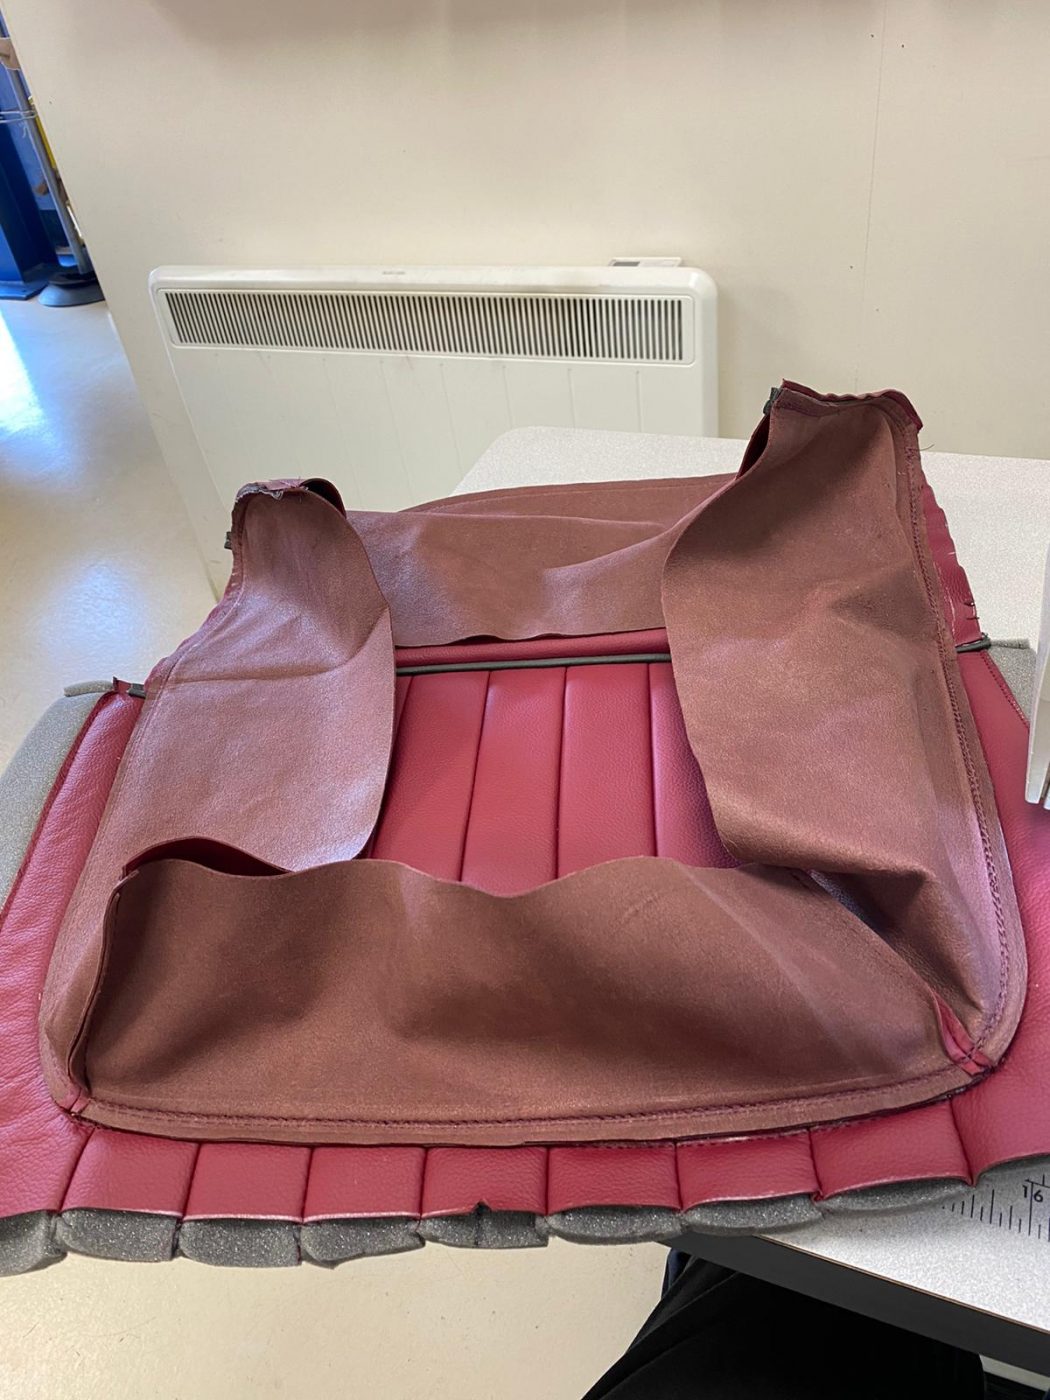
Kath has been doing more seat work for the 1955 Aston Martin DB 2/4. This time around she’s been fitting the front base seat covers onto their foams and frames. She’s already sewn up the new front bases, which you can read about here.
The process started with Kath adding sections of new foam to the original, where it had deteriorated, and blending it in. She then cleaned off old glue from the wood around the straps and re-painted it. She also tightened up the straps after becoming loose from age. Kath took the original strip of wood from the gap in the foam, cleaned it up and attached it to the end of the calico piece that was sewn into the new front base seat. This piece of wood gets attached to the underneath of the foam and straps frame and helps keep the middle piped section down into place. Kath glued a piece of black calico to the wooden frame, to give a neat finish behind the straps. The front base seat could then finally be stapled onto the wooden frame. After that was done, the metal seat sliders were fixed onto the underneath of the seat and the matching front squab was attached to it on top.
Kath is now in the process of fitting up the other front base, so stay tuned!


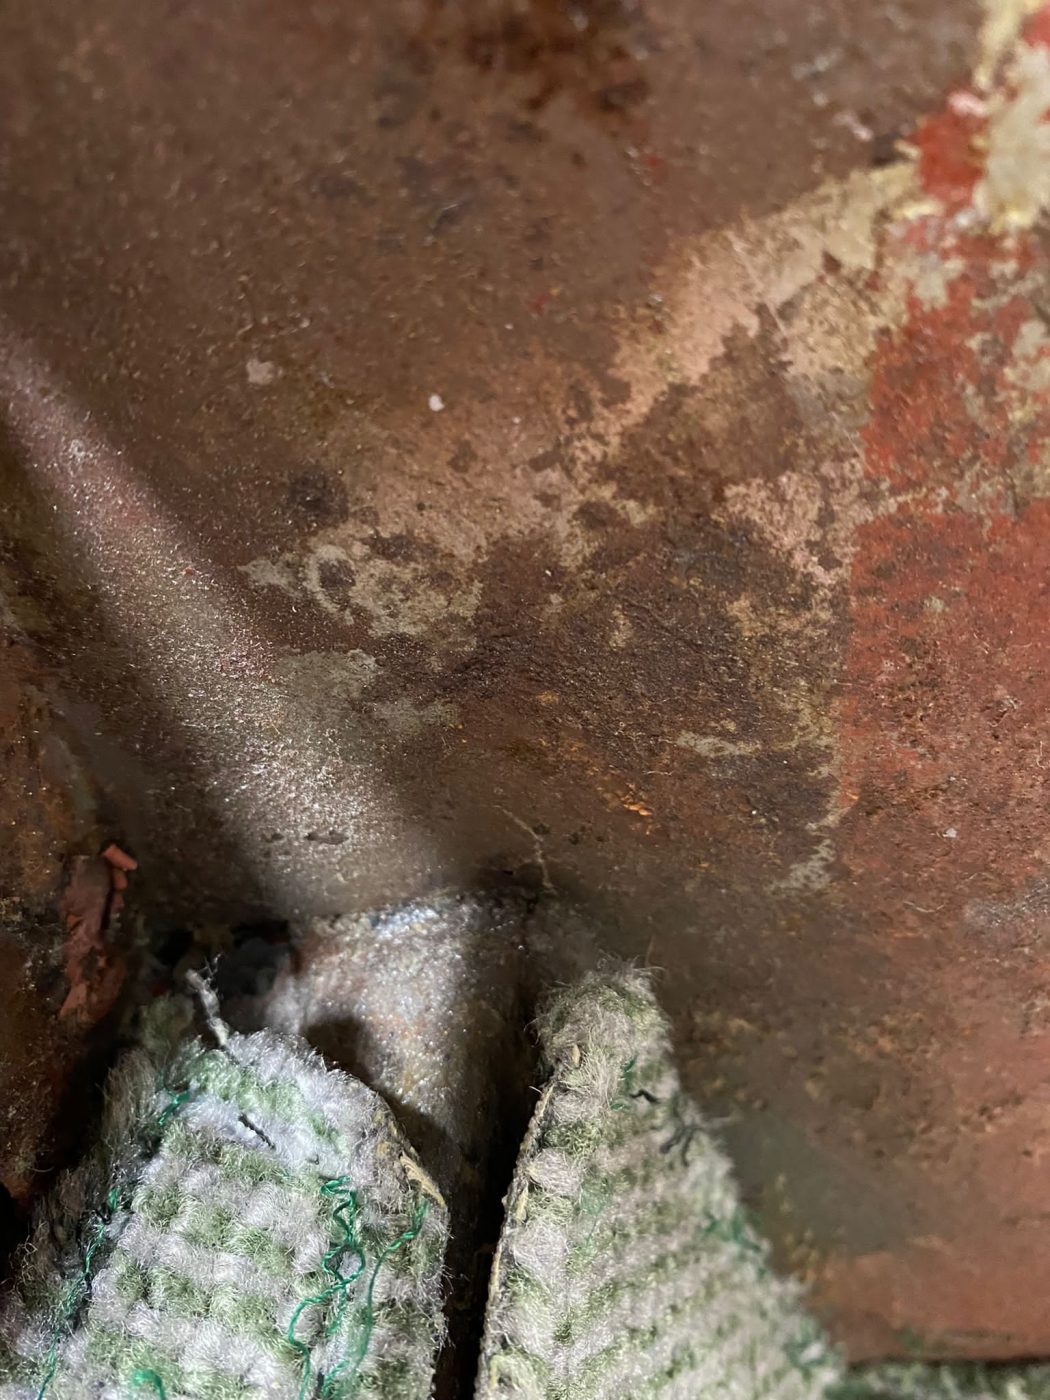
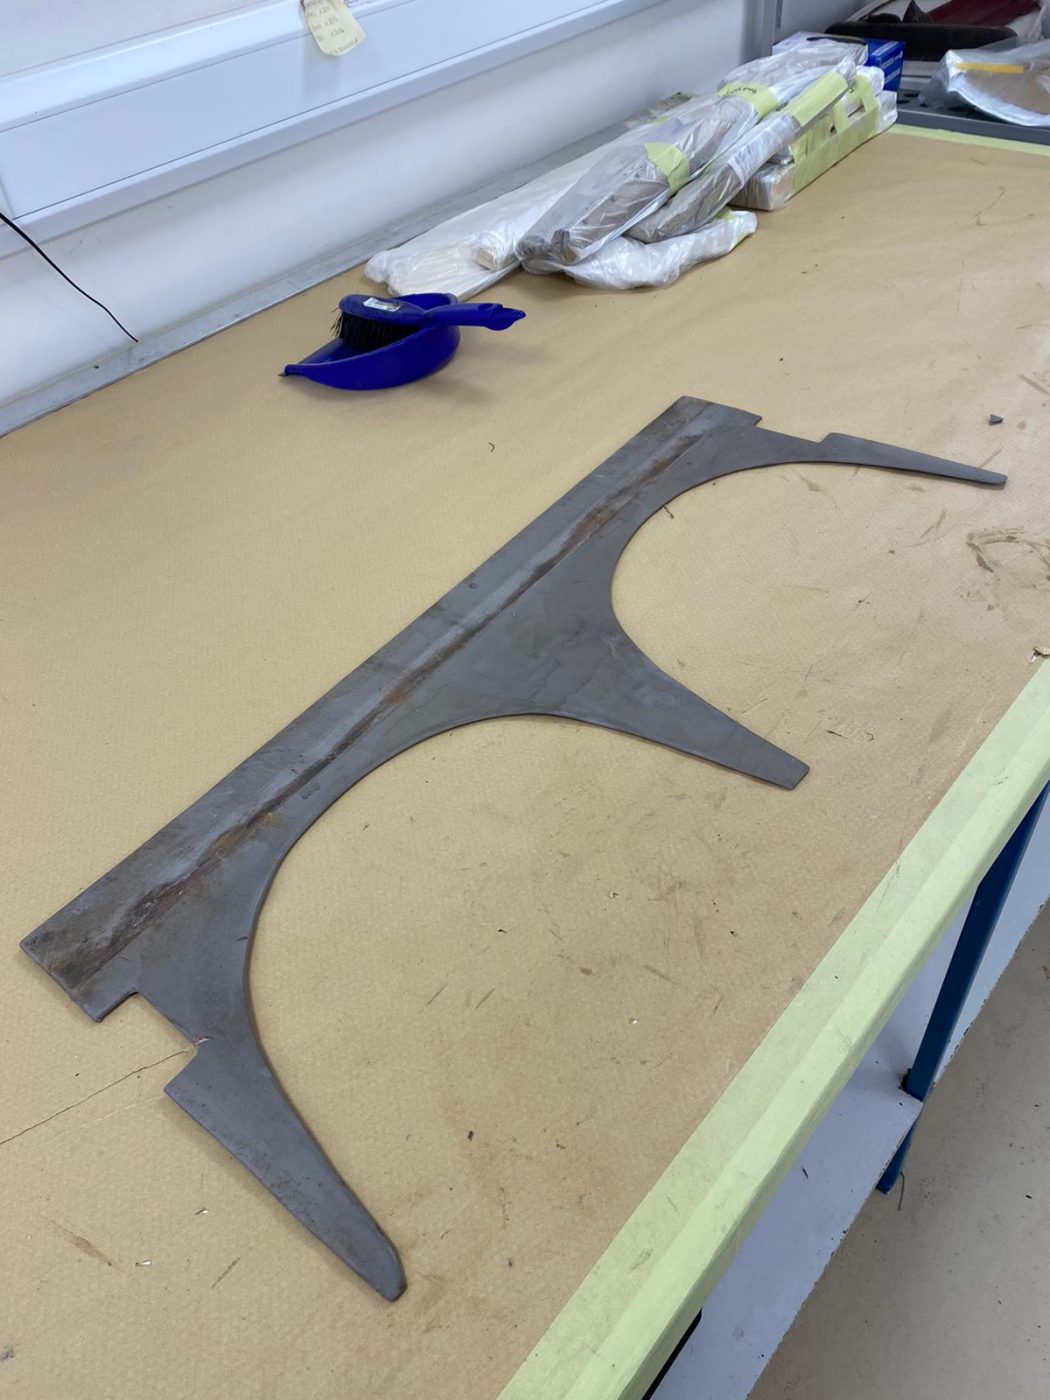
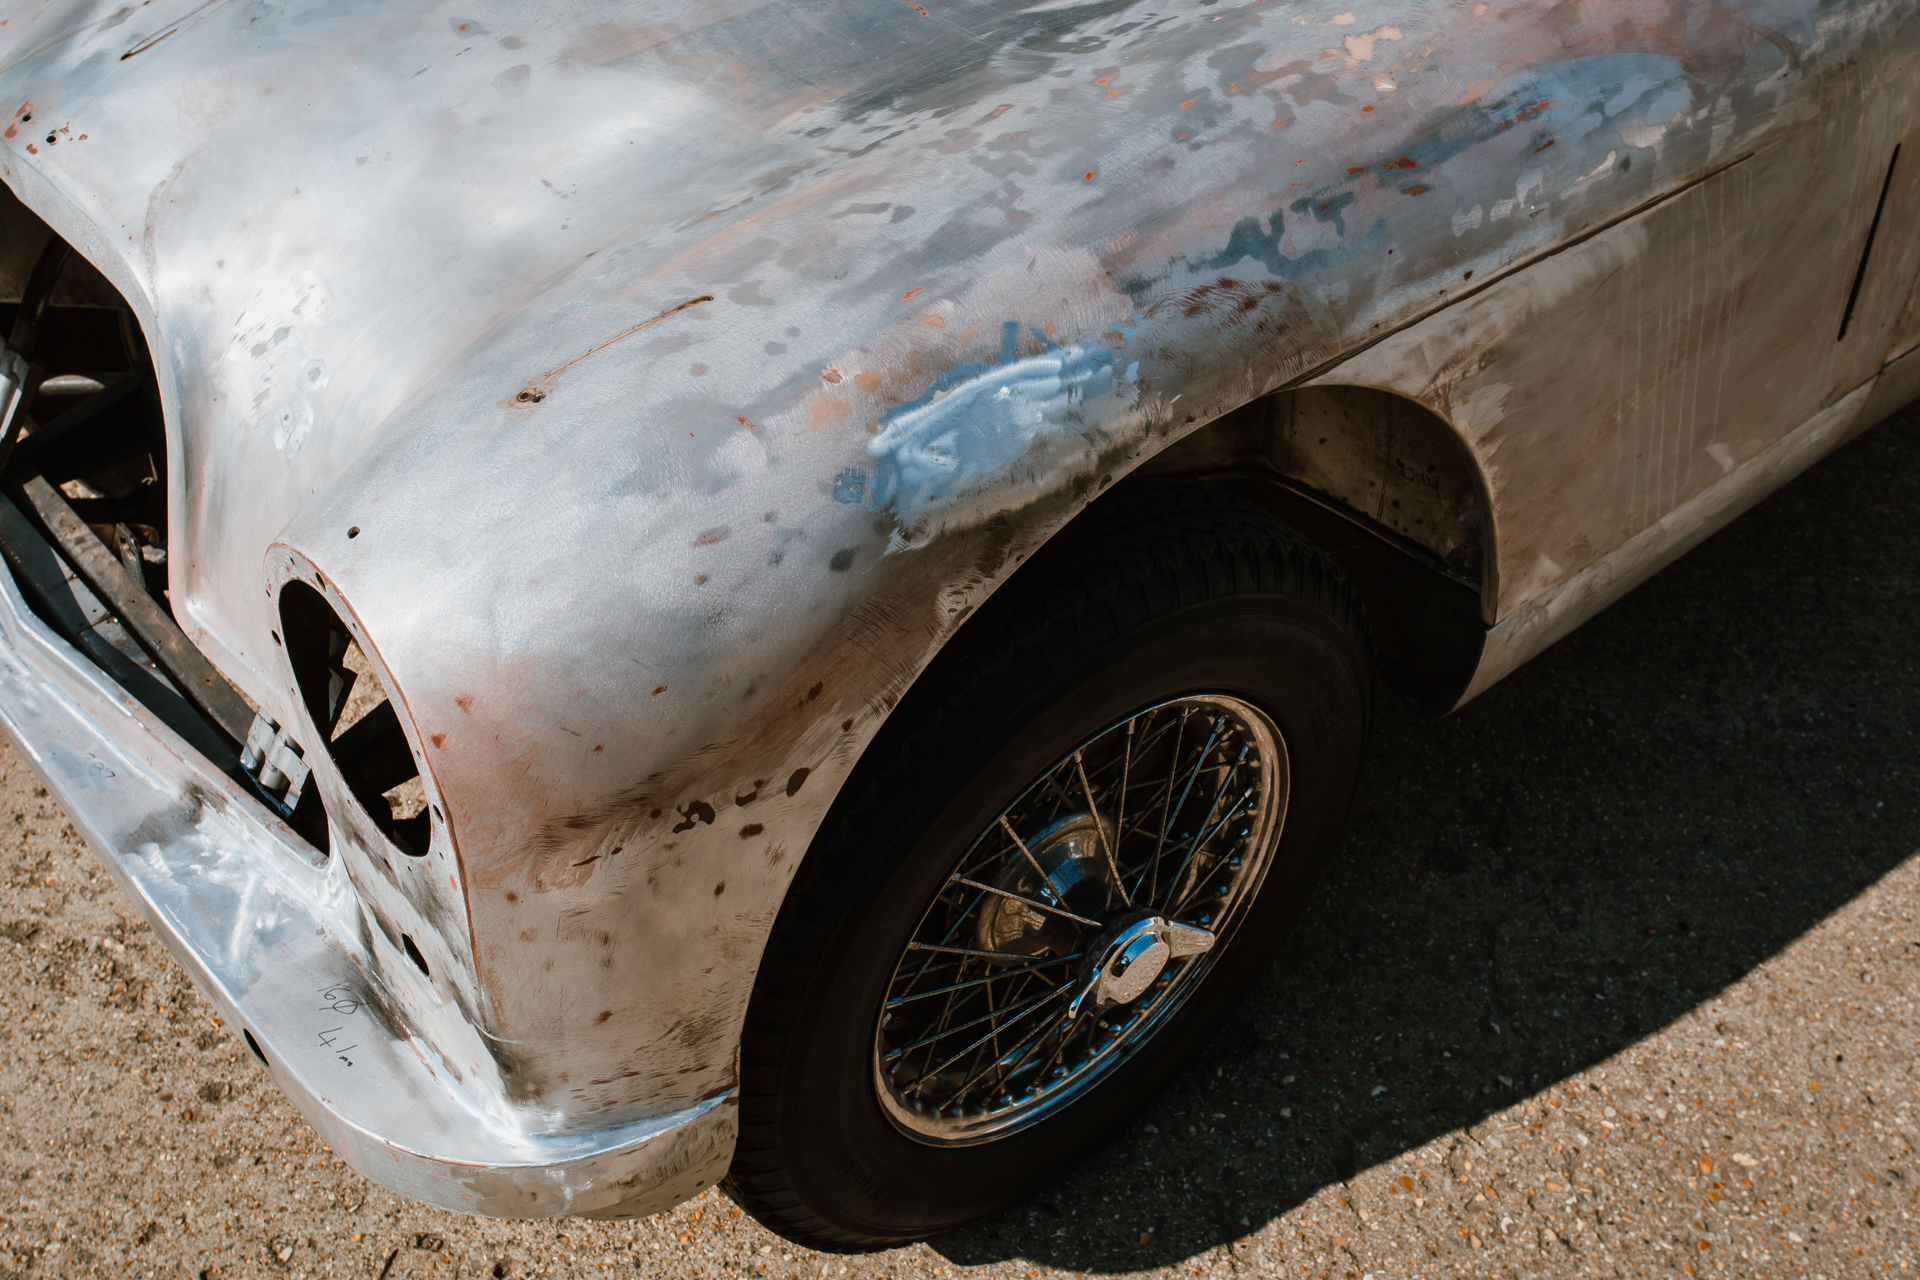
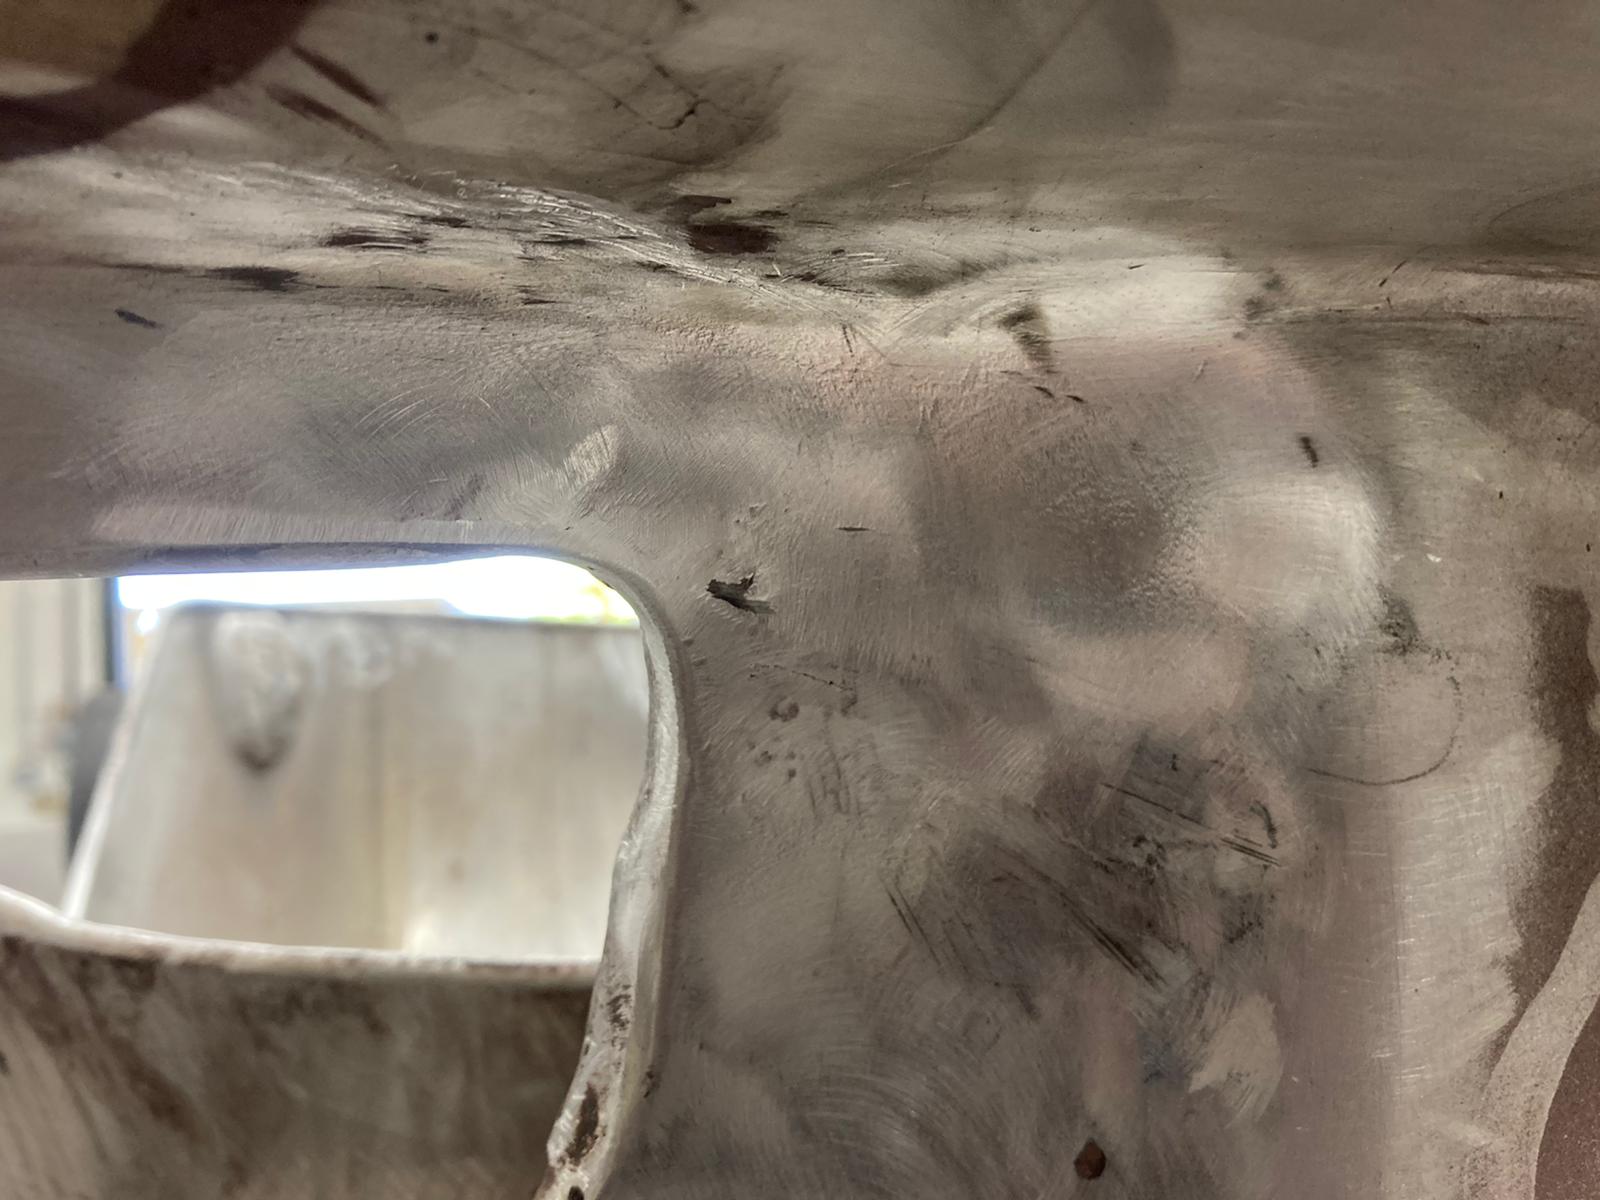
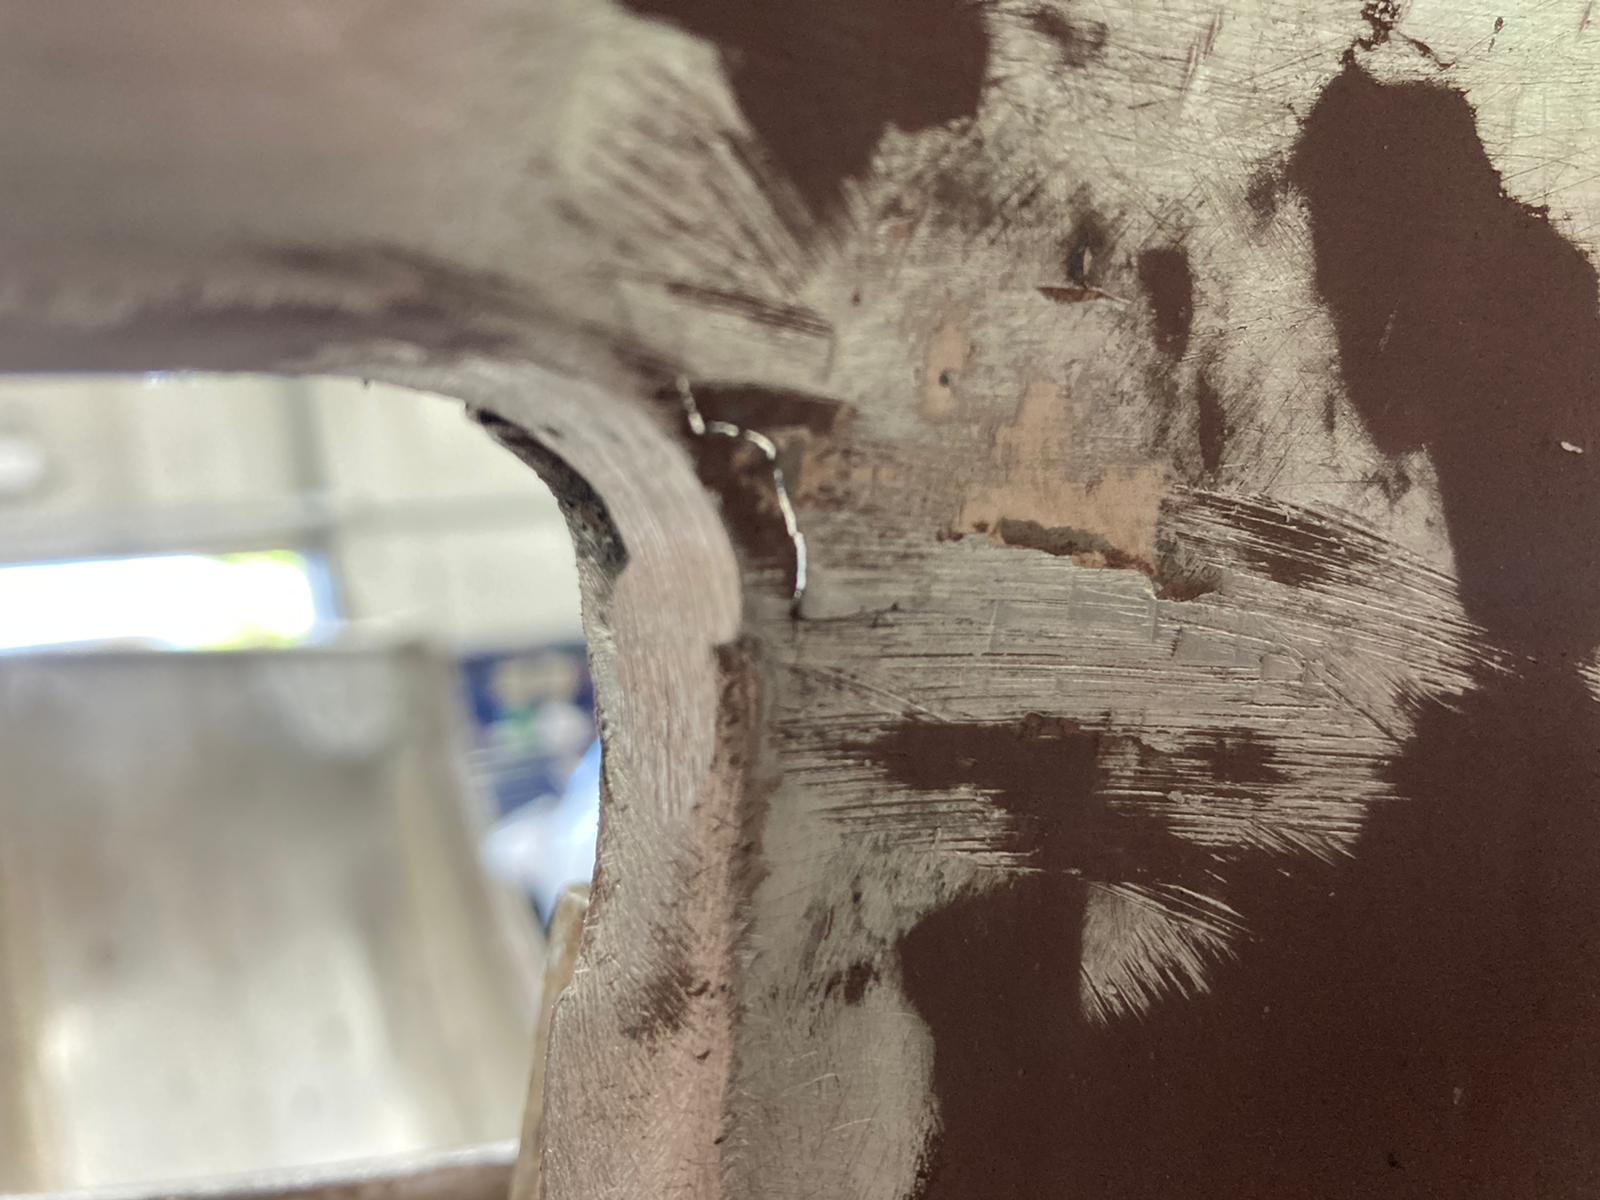
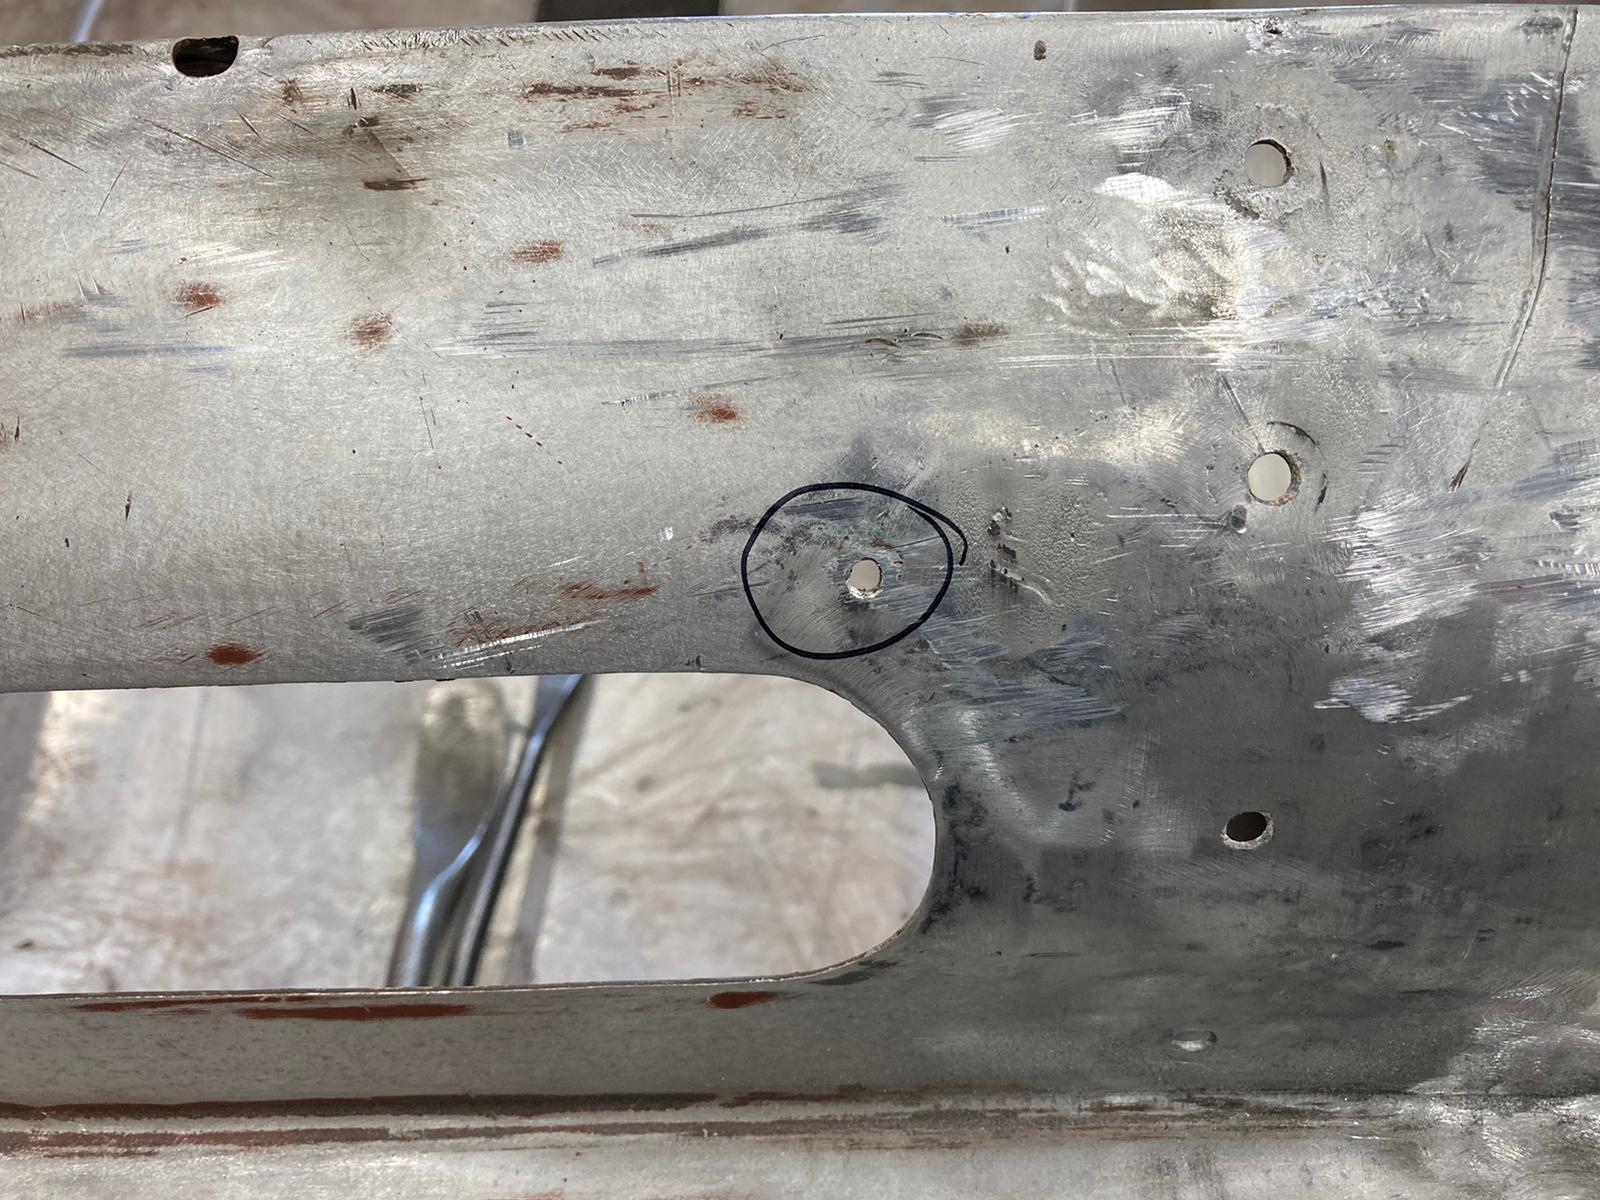
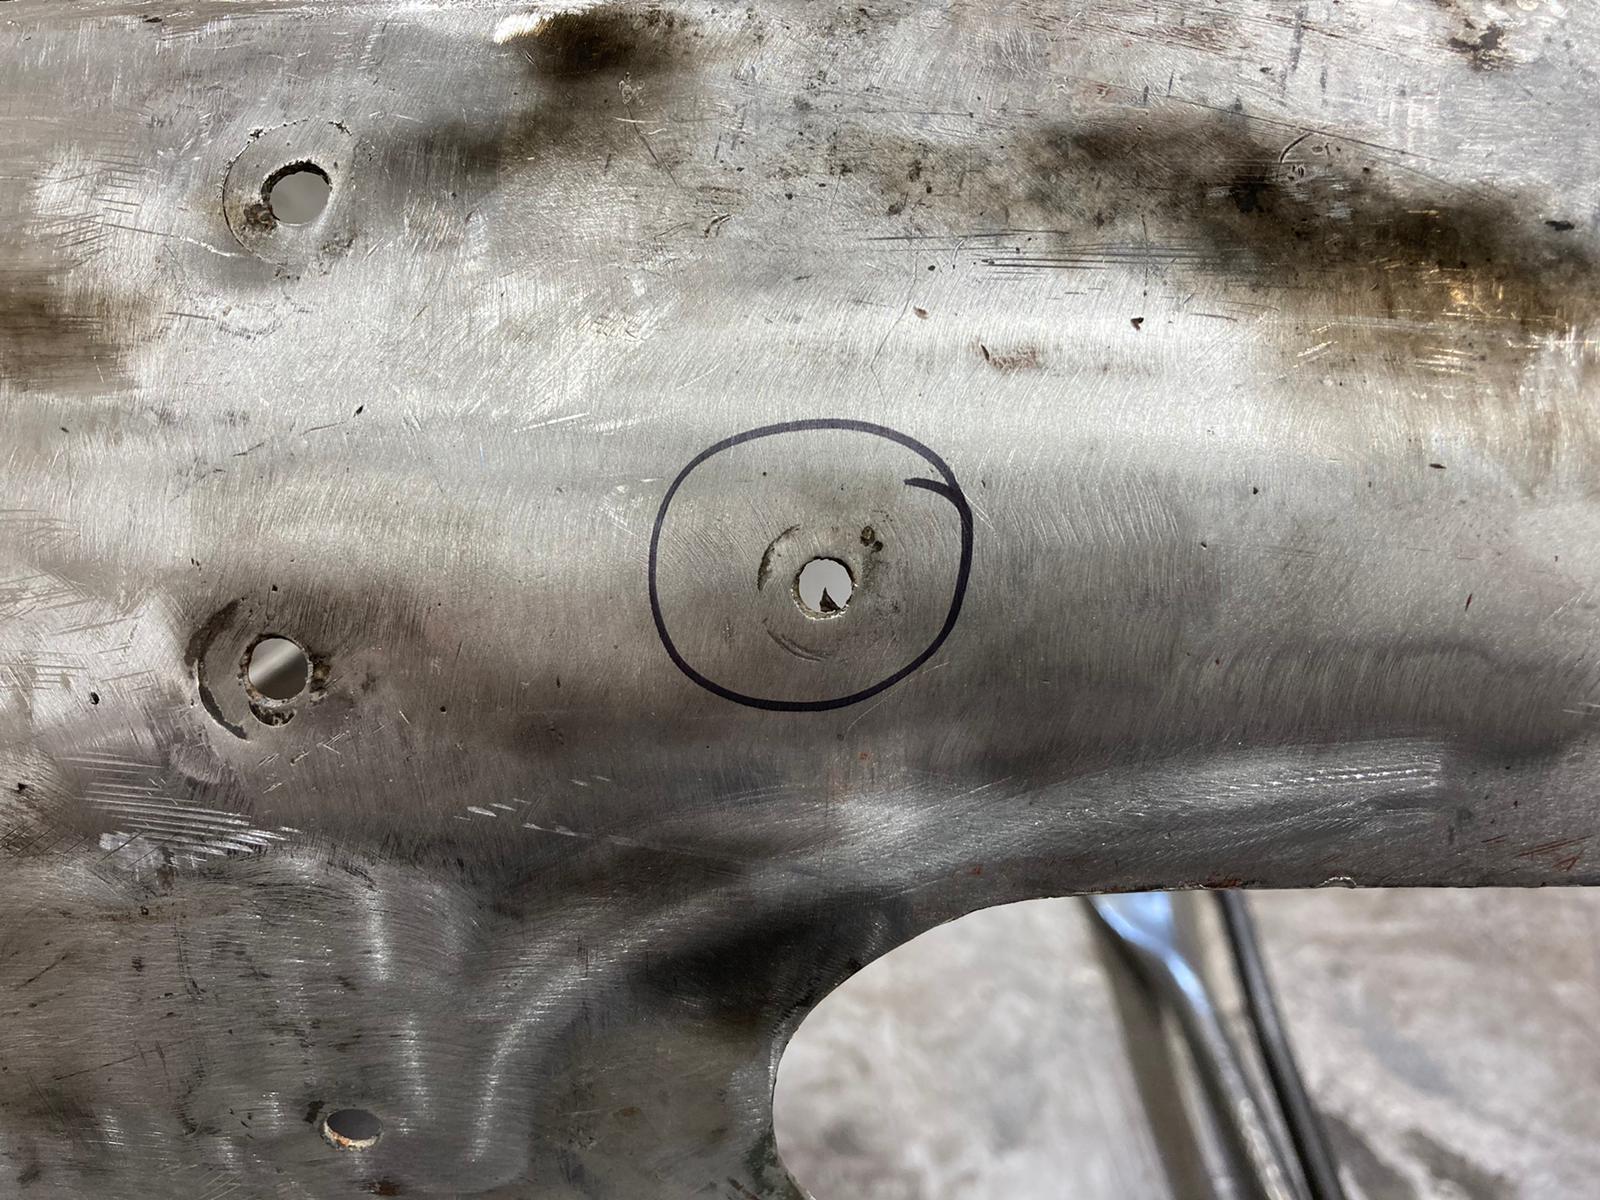
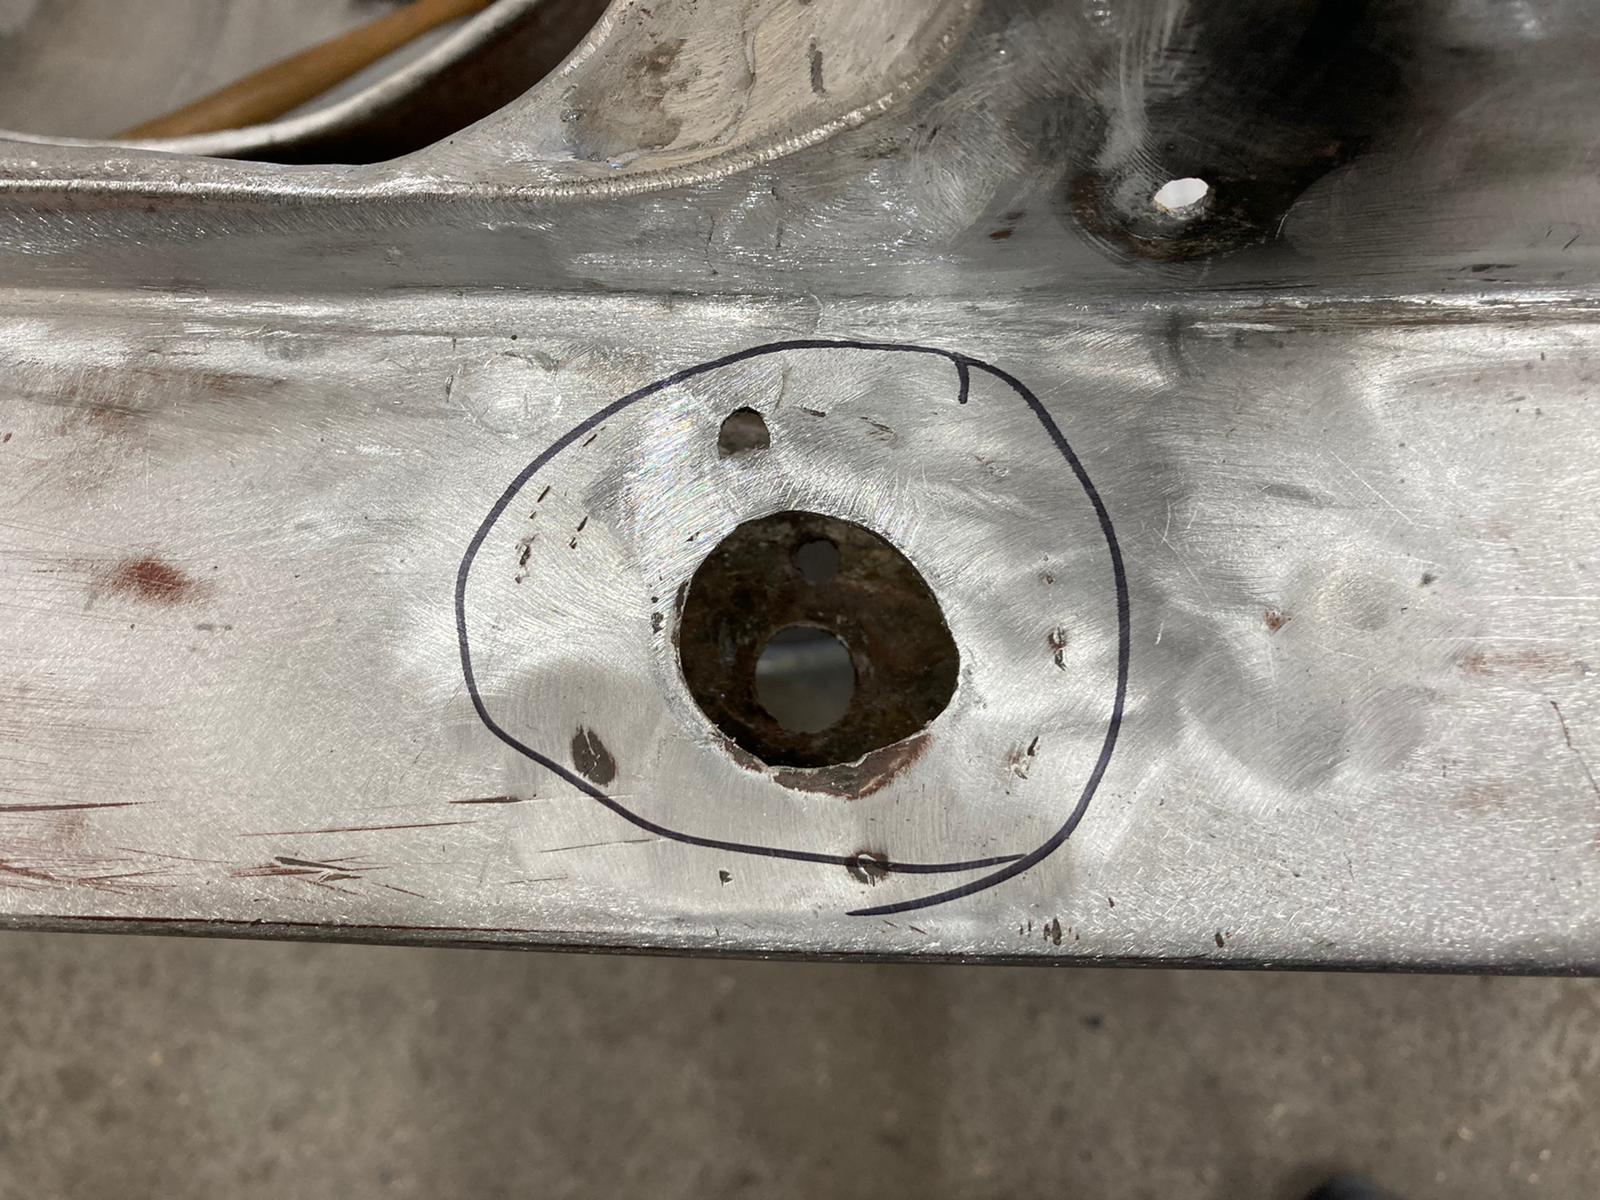
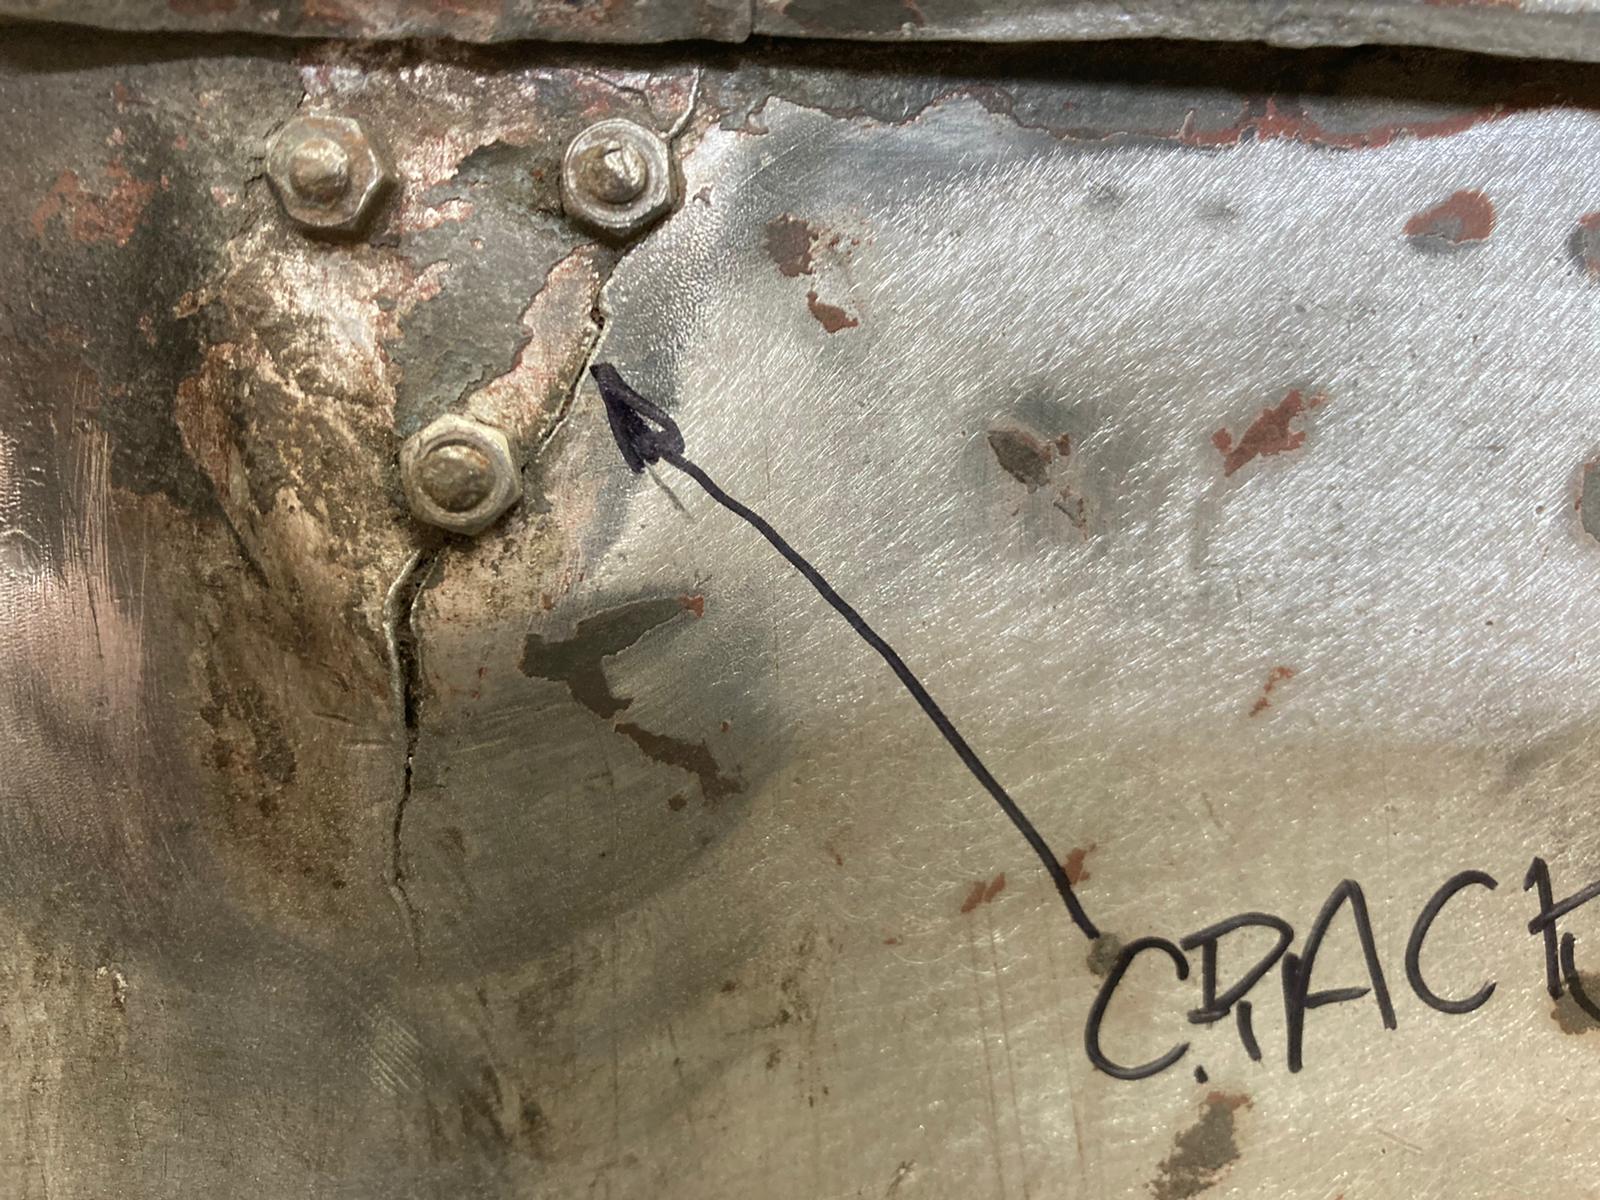
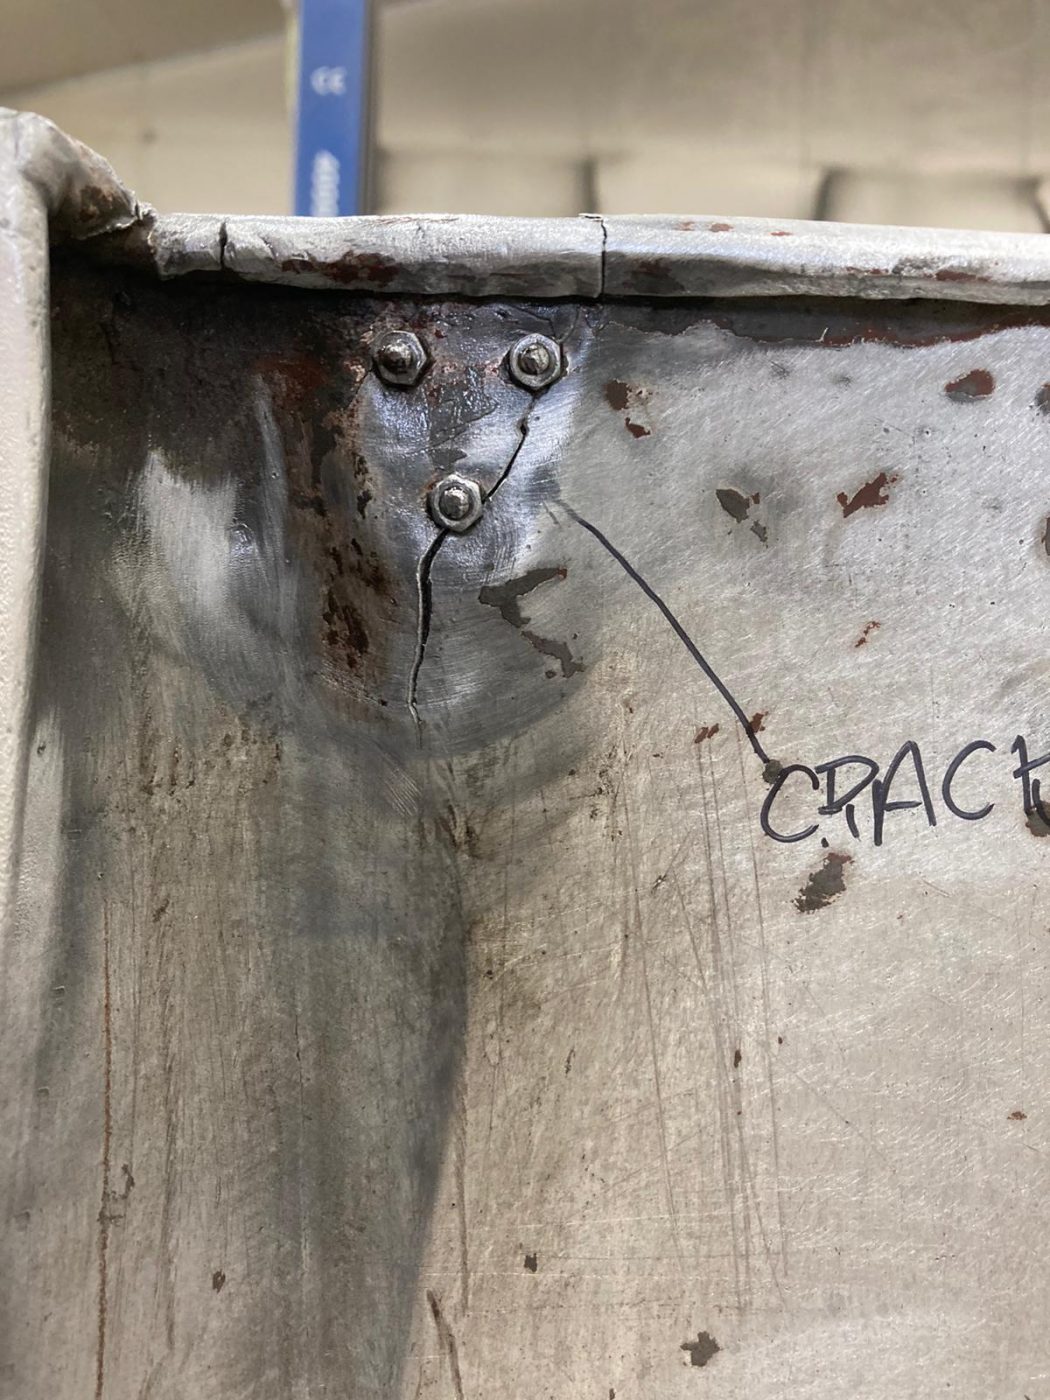
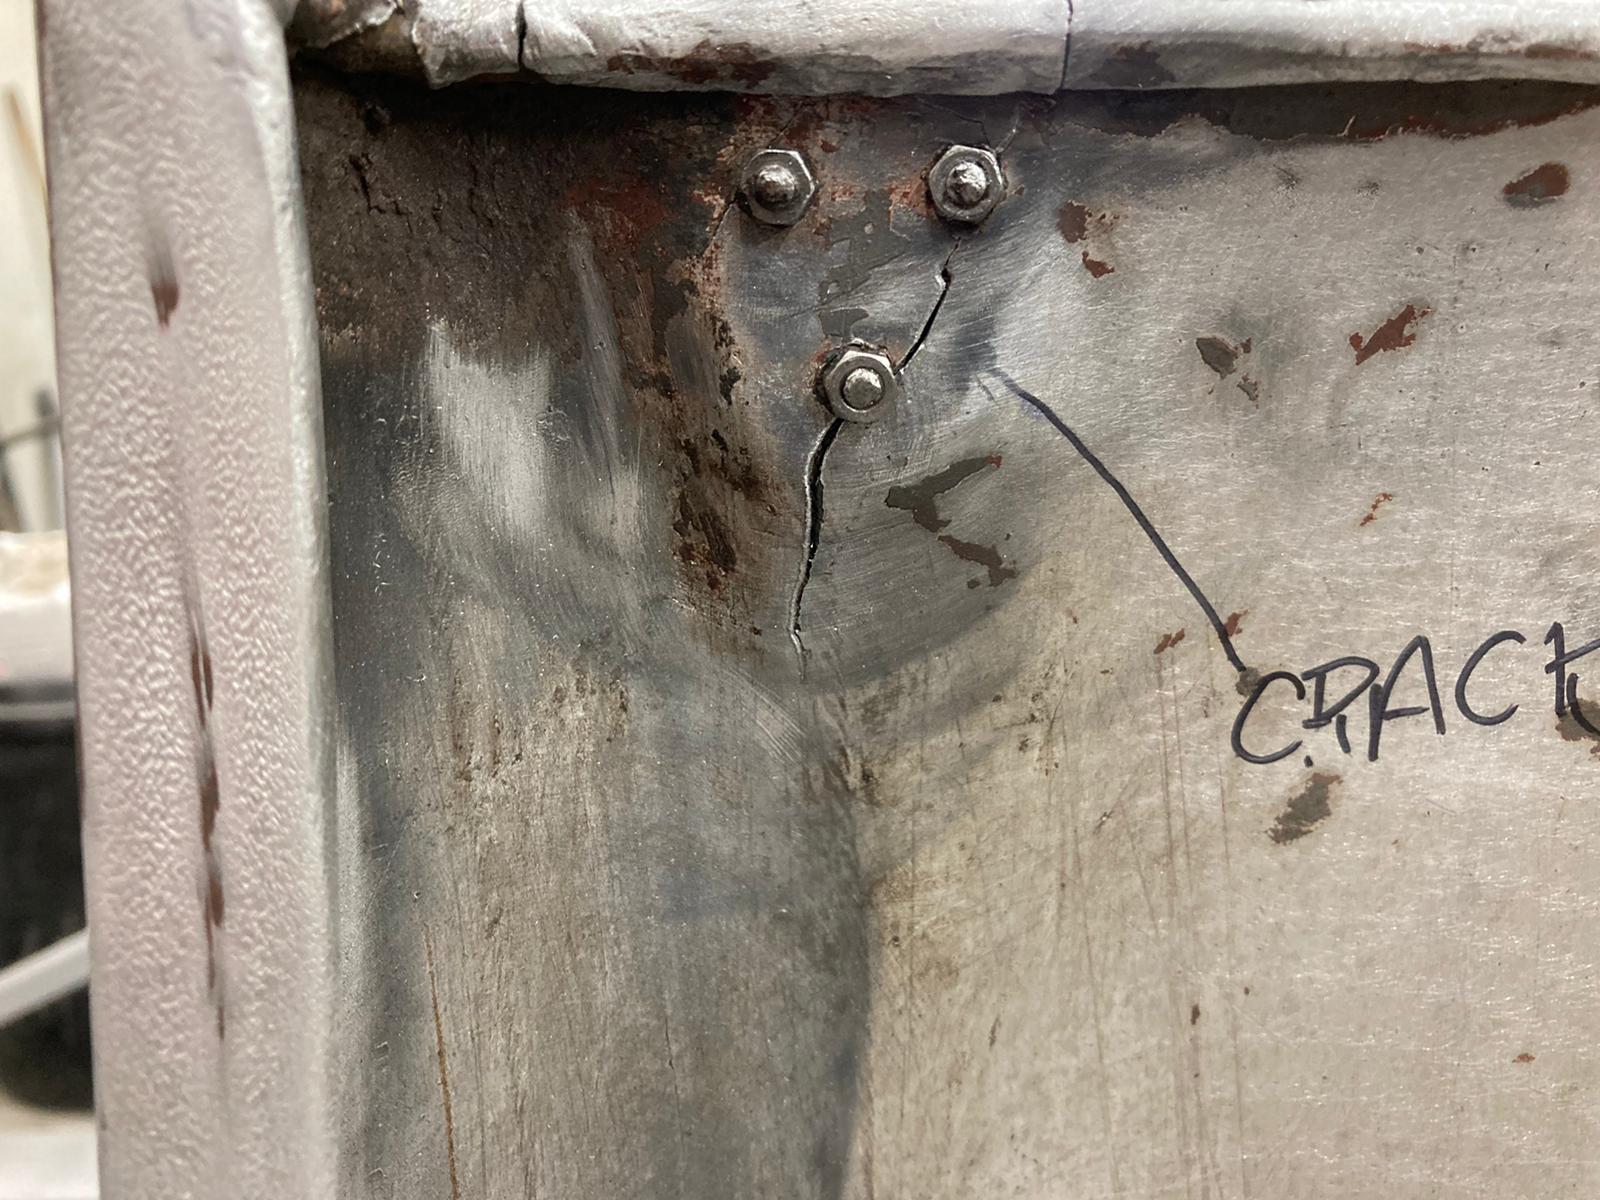
Up to now, our 1955 Aston Martin DB2/4 was not uncovering too many hidden issues. Naturally, we had a lot of repairs and re-shaping to do but nothing too scary.
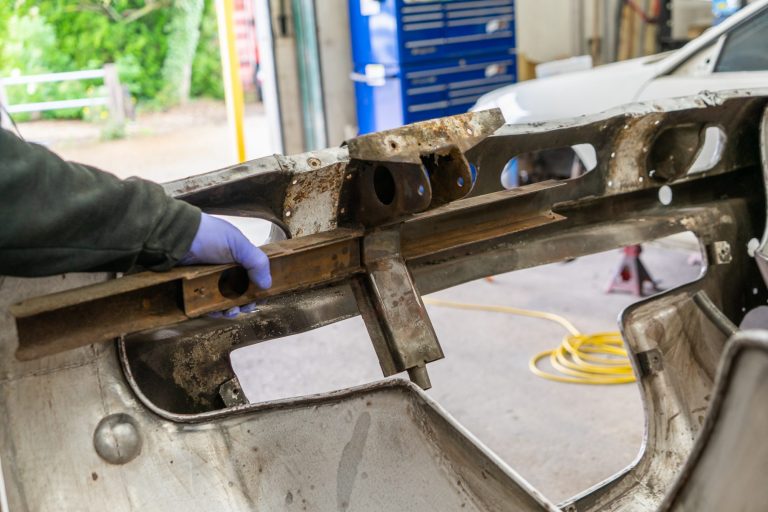
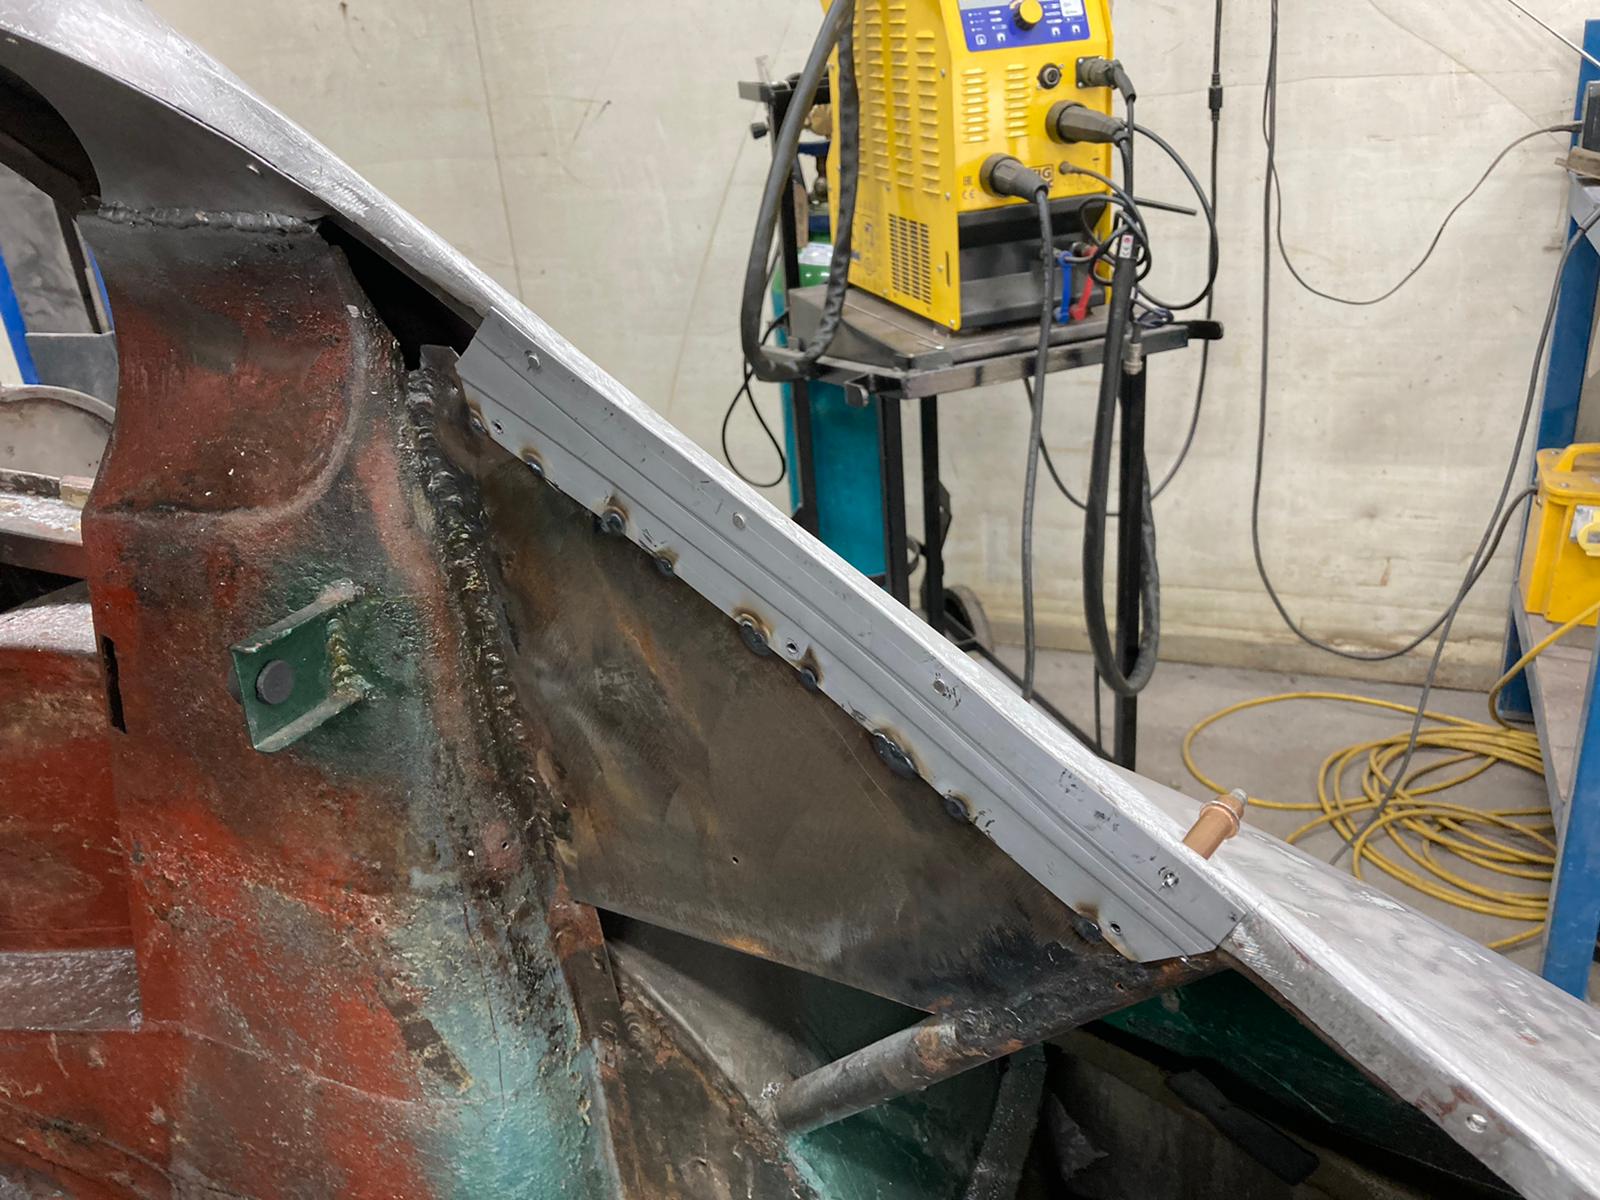
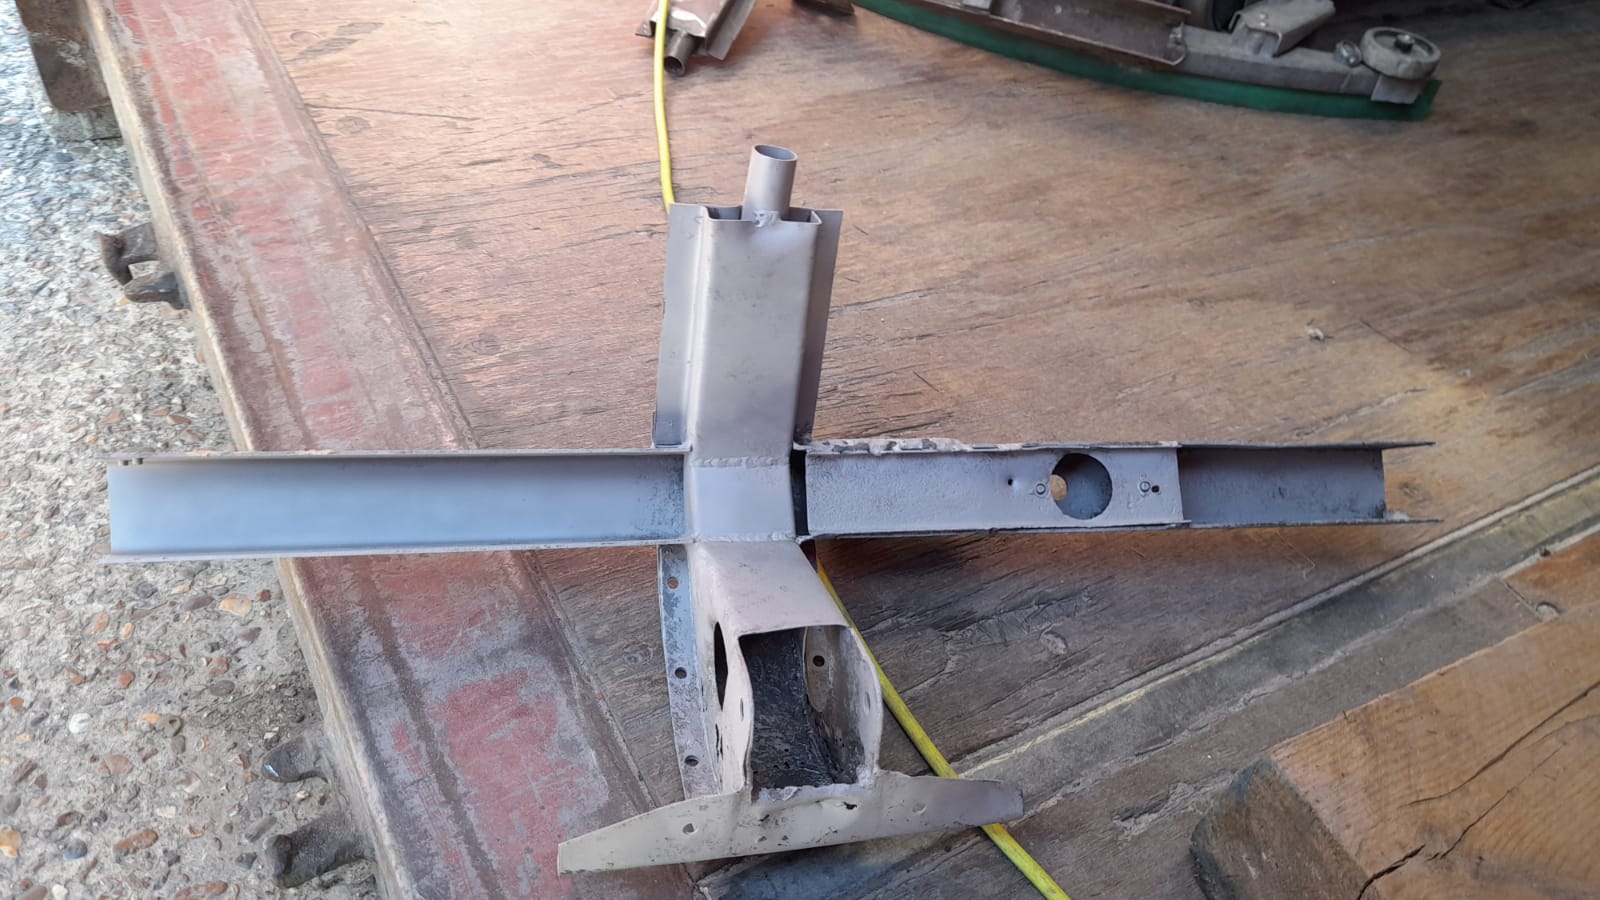
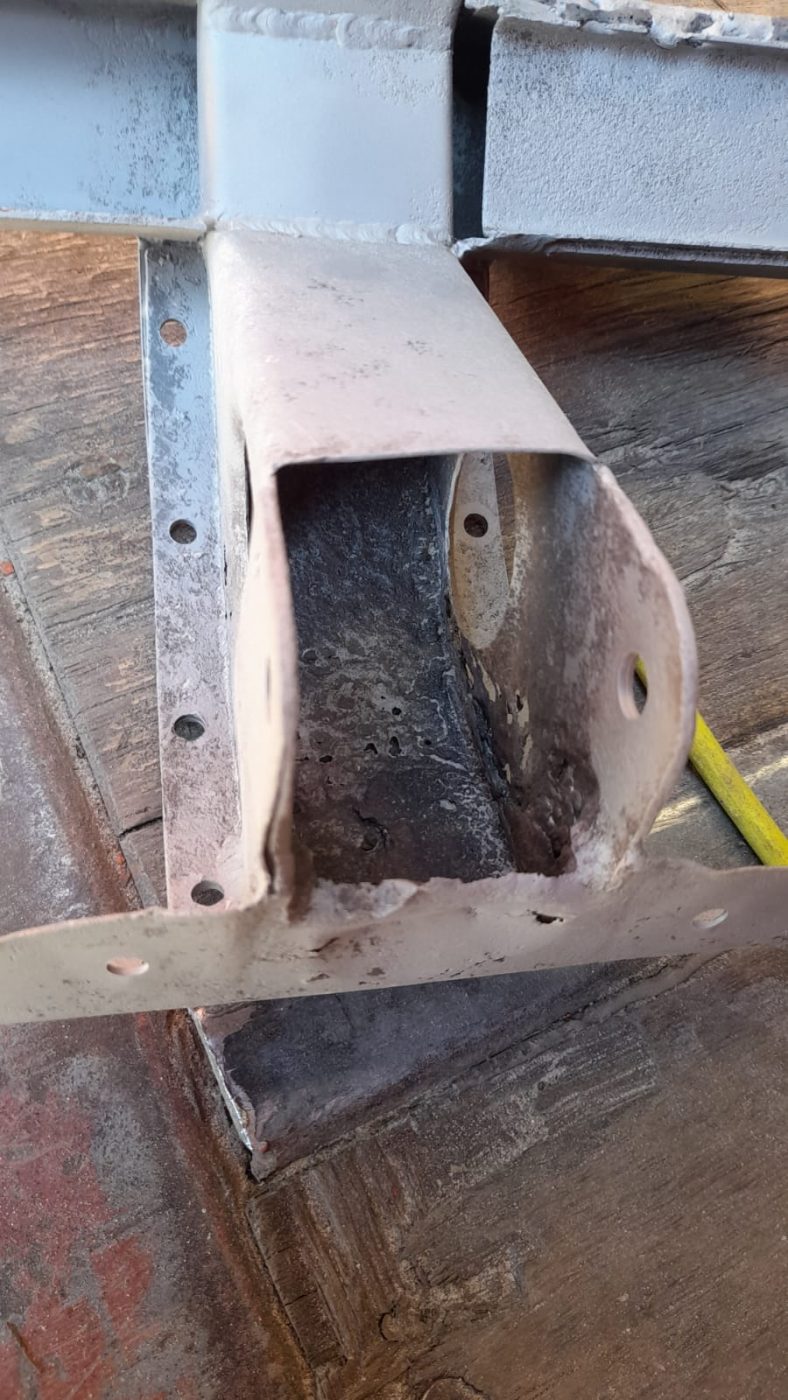
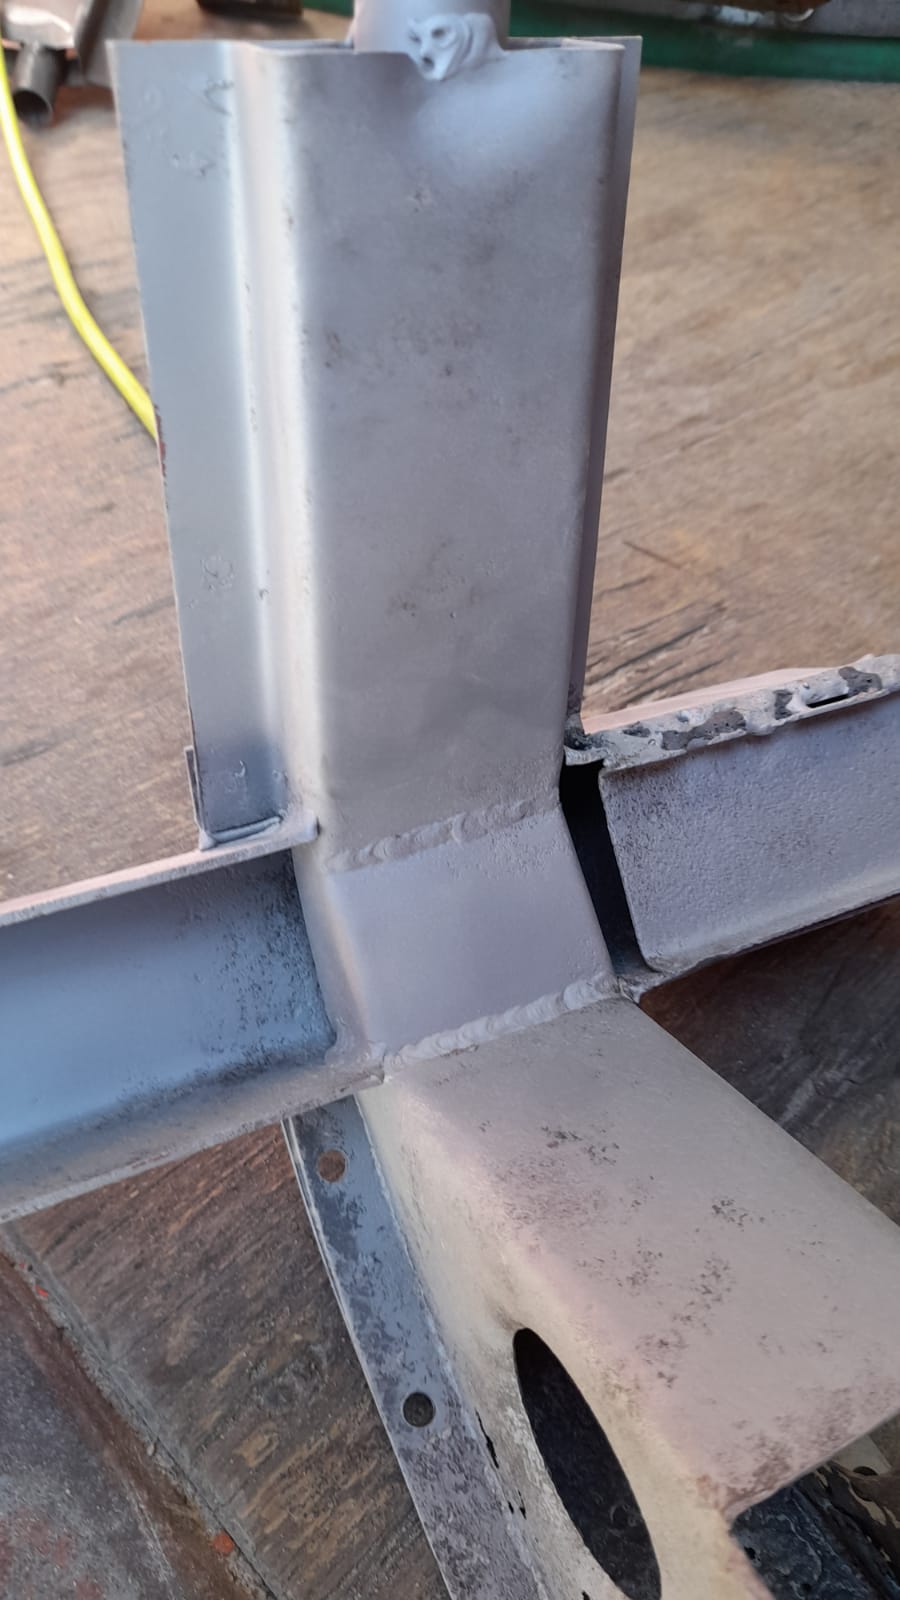
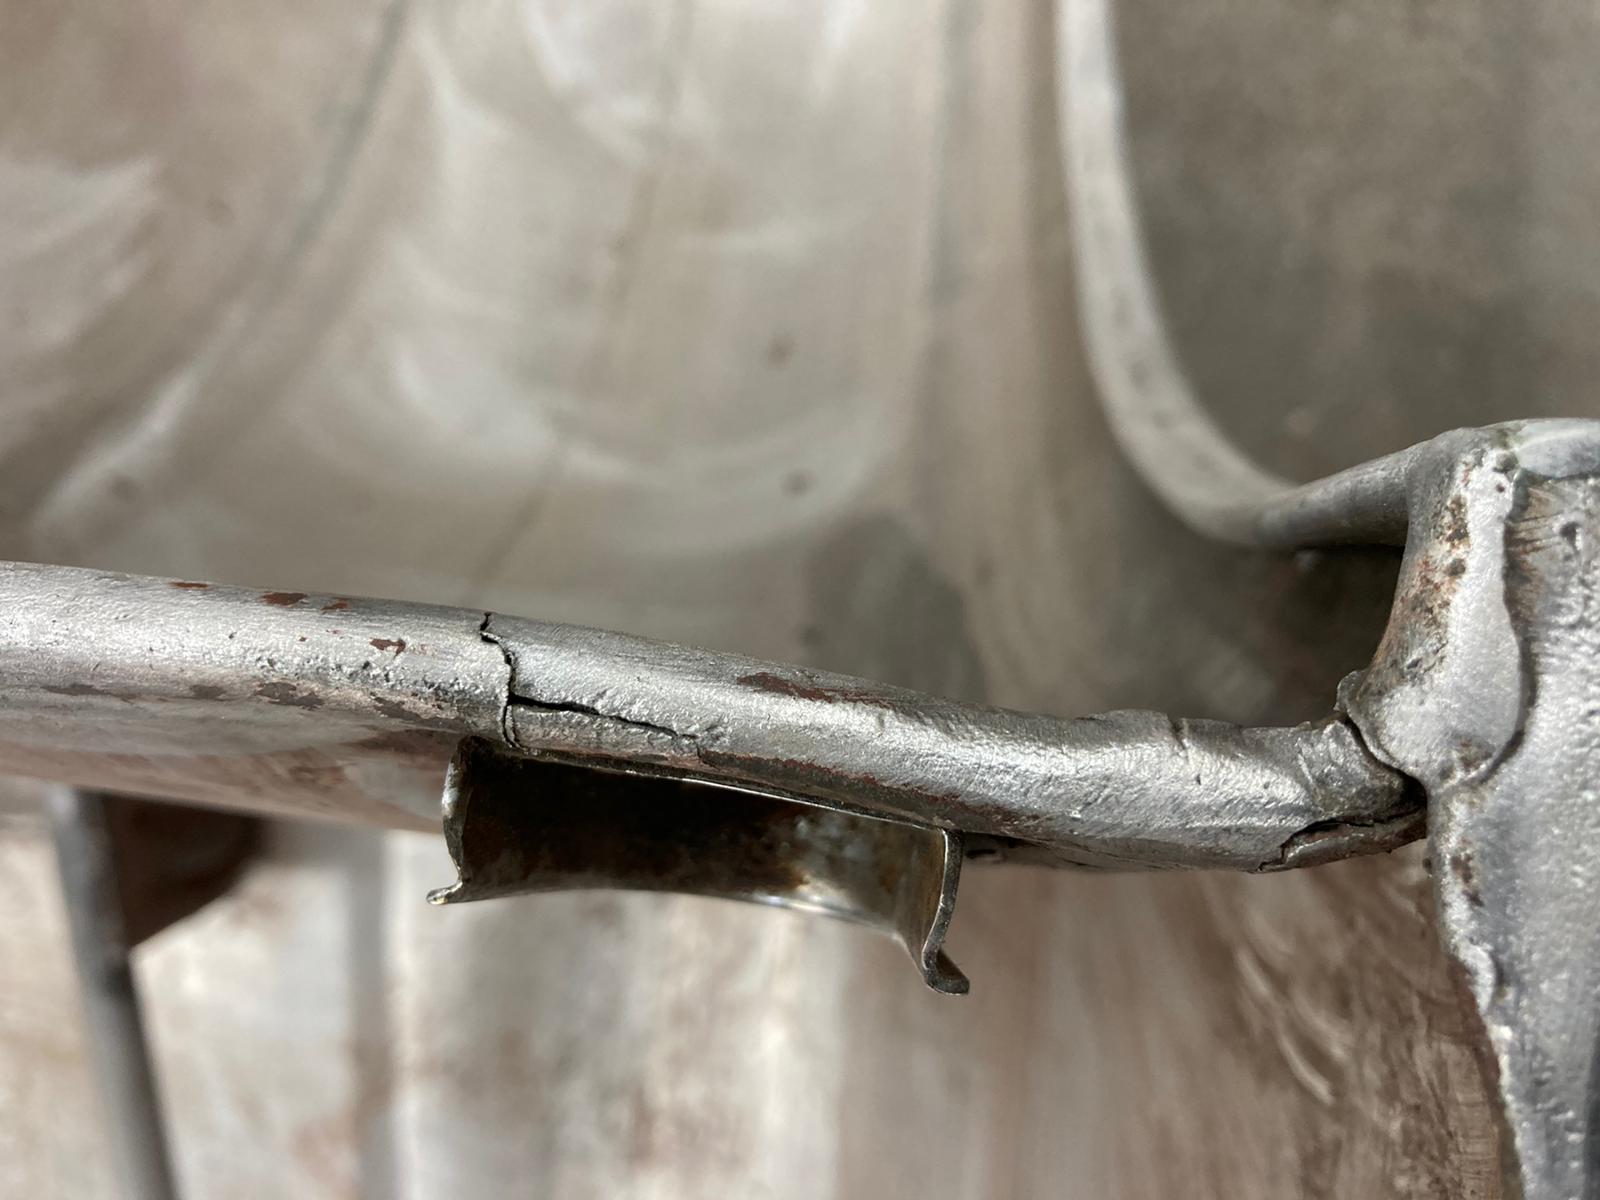
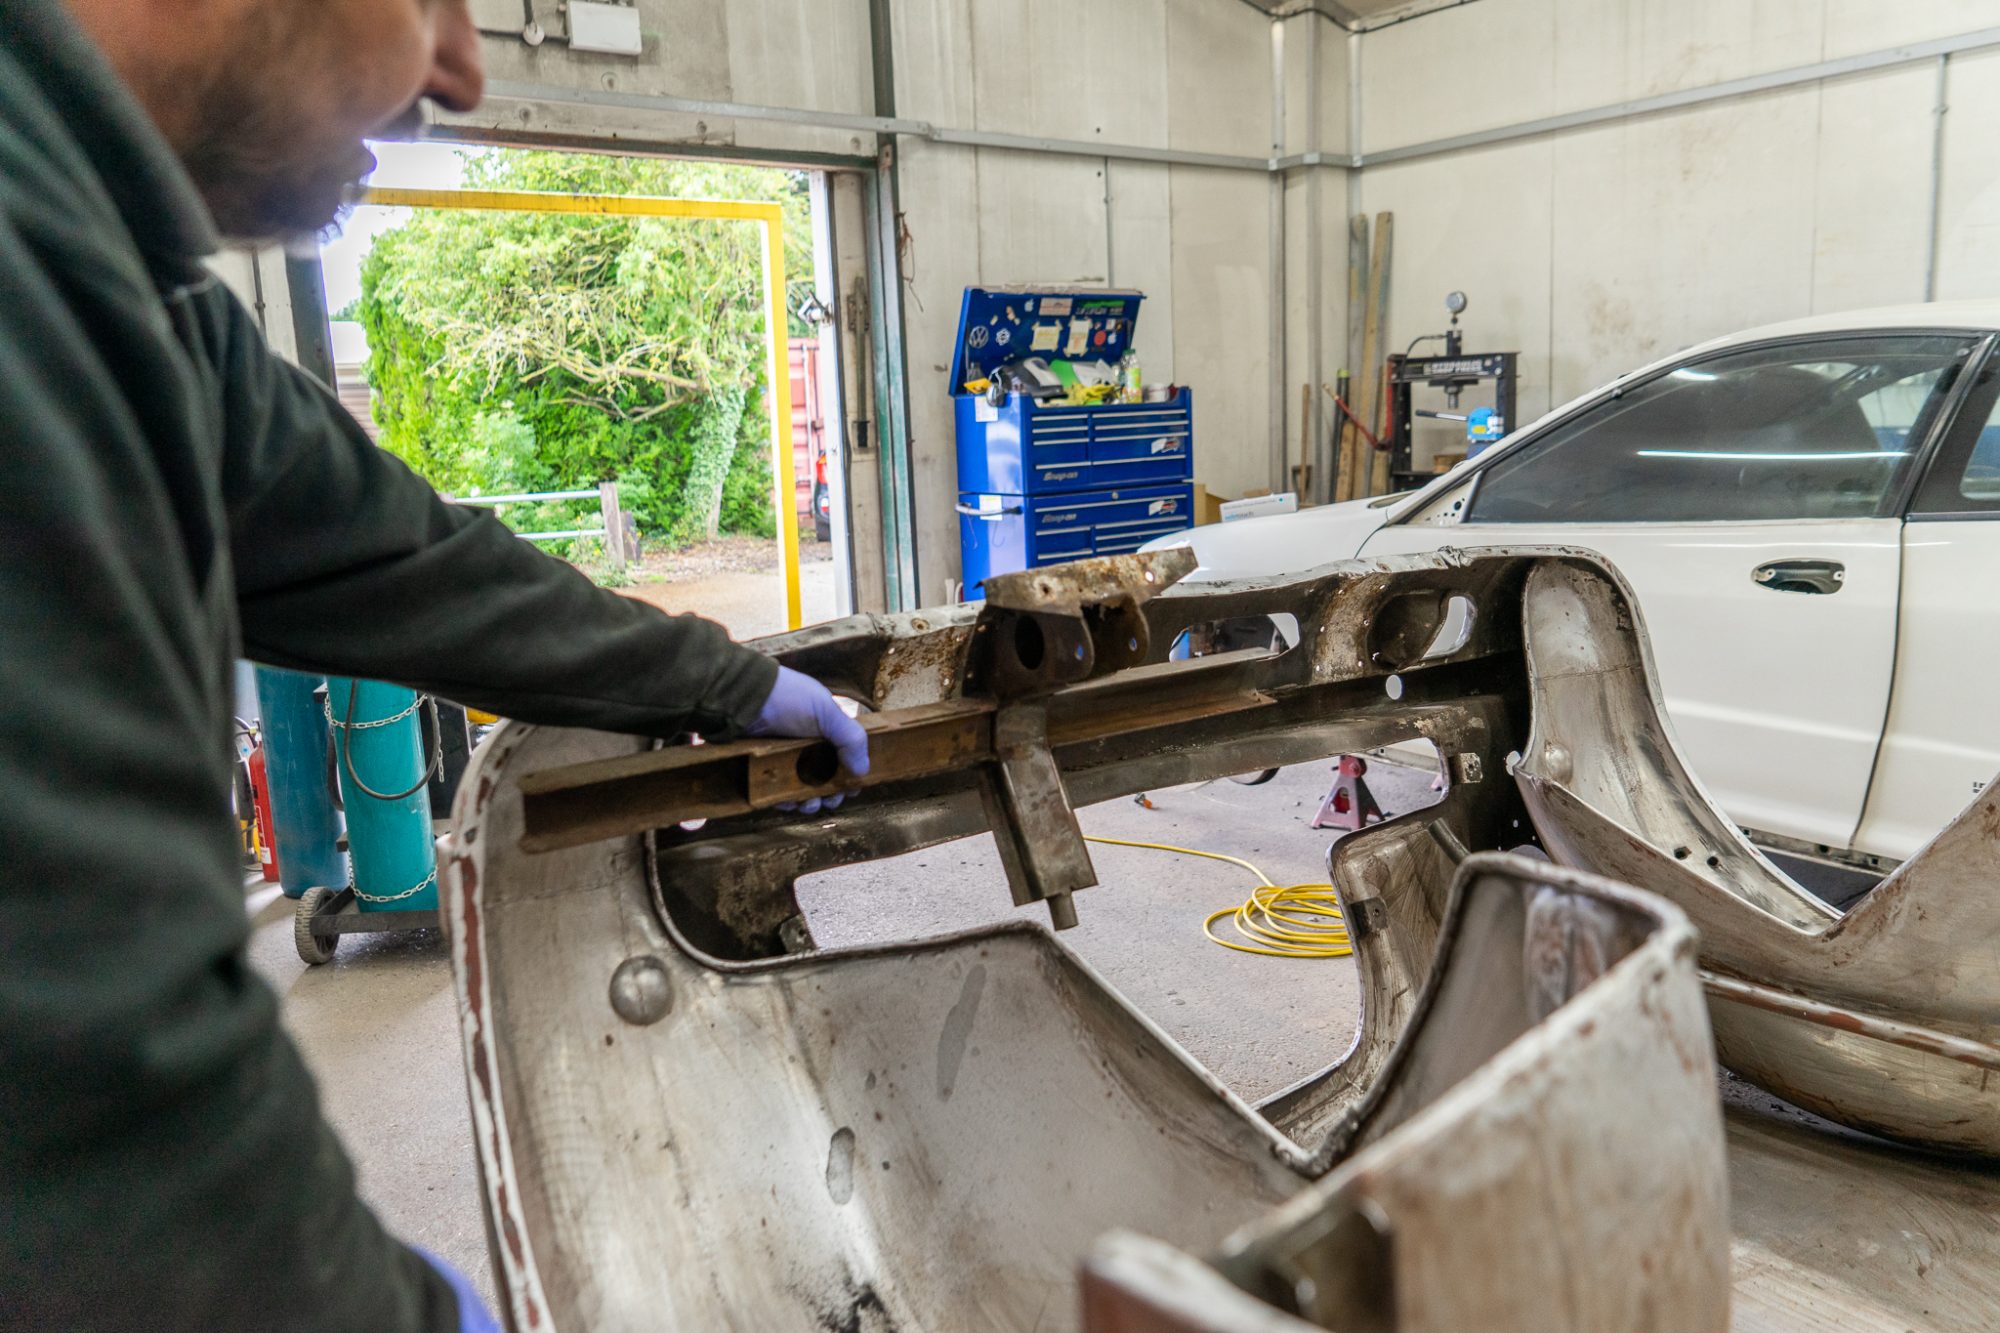
Having carried out a full bare metal strip down of the car Clinton has uncovered some very questionable repairs that have been done at some stage in its life. The entire rear opening is completely out of shape due to previous damage. Most of the opening is being held in by reinforced steel attached to the aluminium body to strengthen and hold the shape.
This is absolutely not correct and must be addressed. Not a small job to carry out but one that is essential if we are to complete this project to the exacting standards that it should be. Clinton will need to cut out sections at a time, remove the steel work and re-shape the aluminium back to what it should.

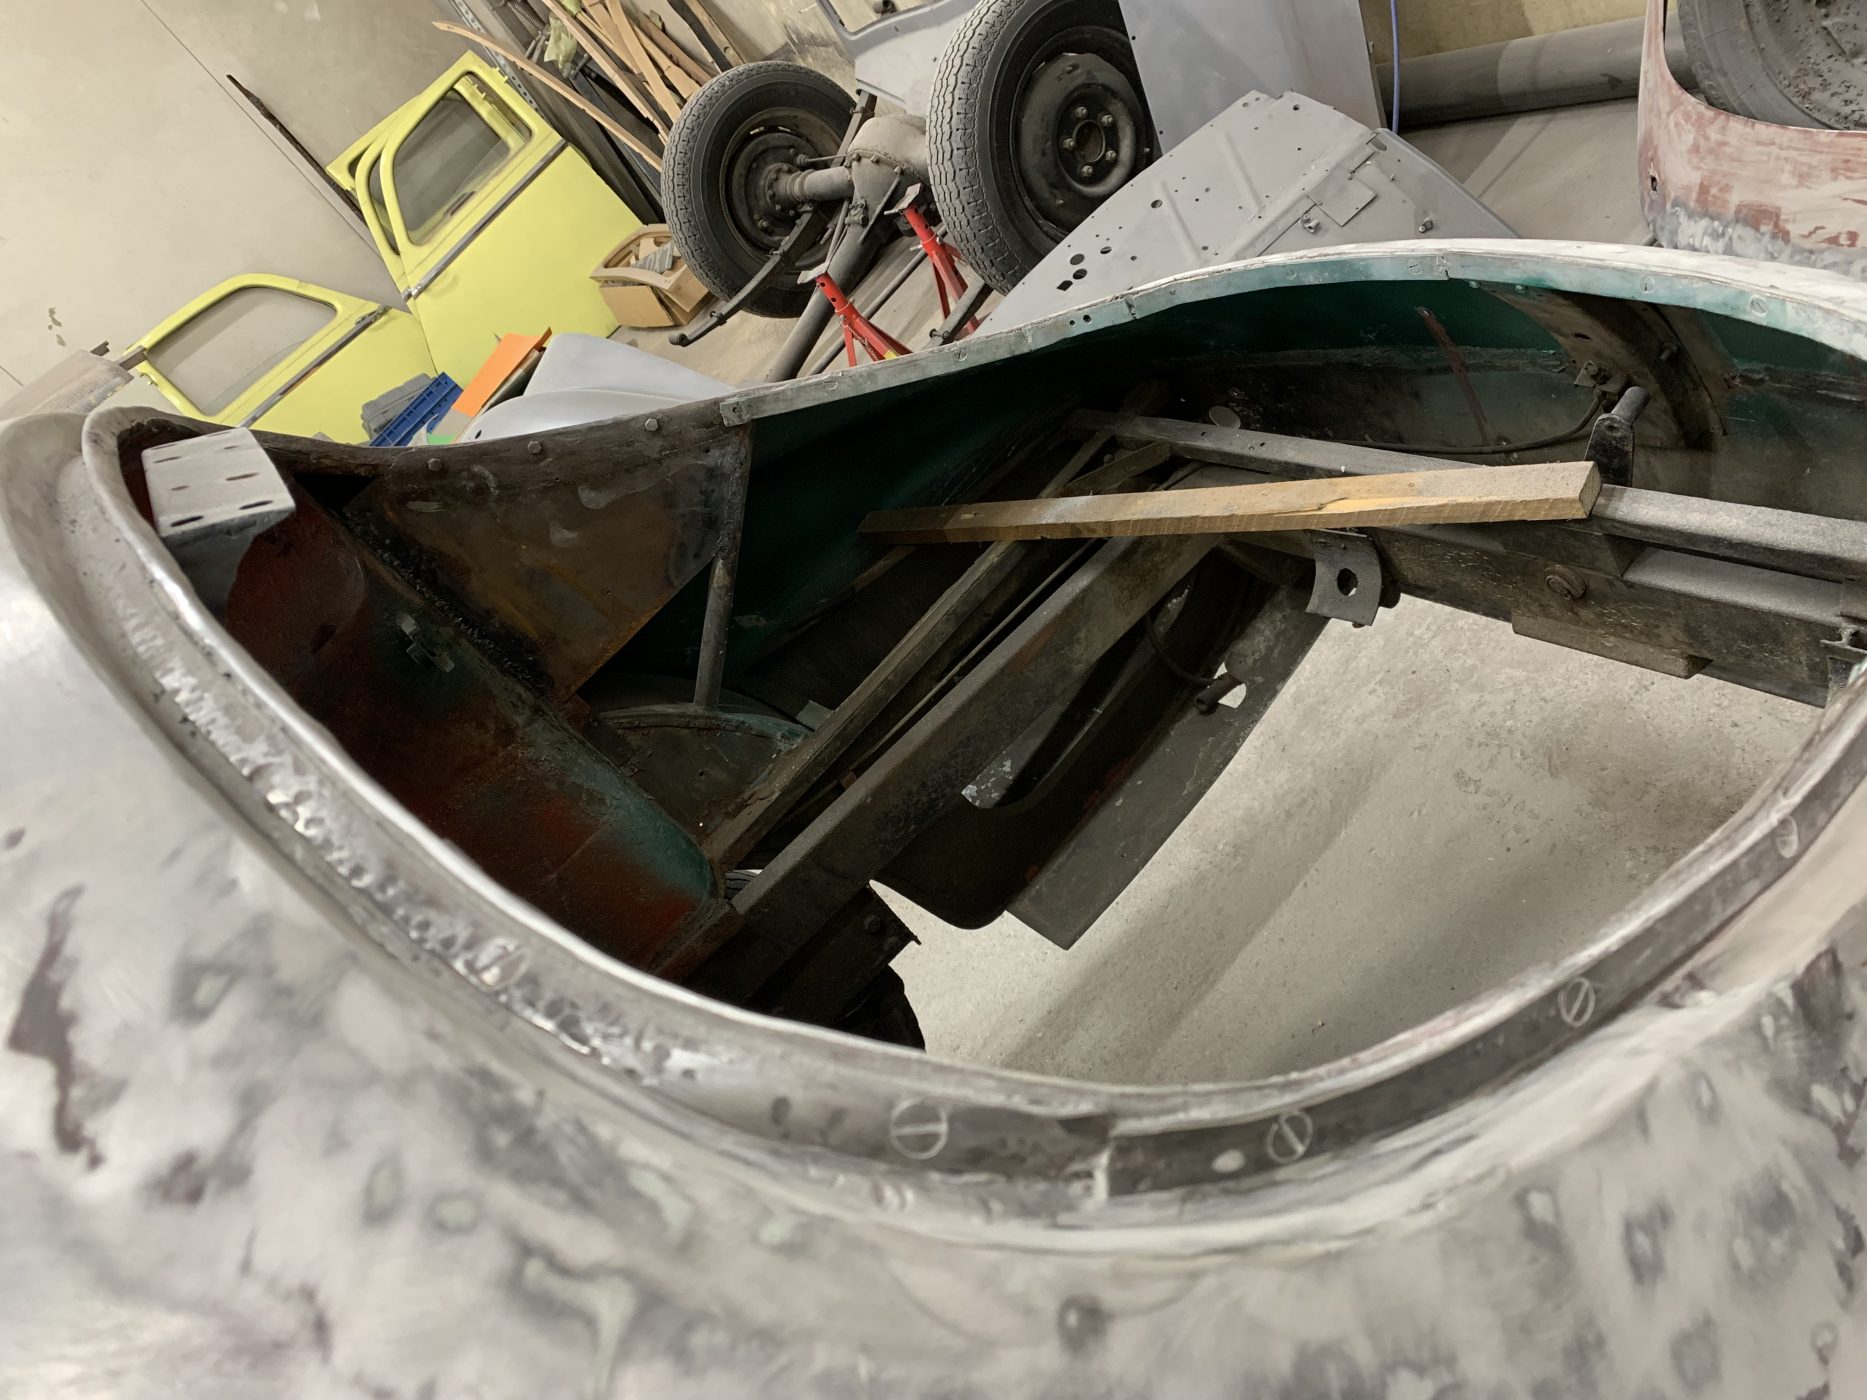
The video shows the entire area and how extra metalwork is fitted to help strengthen the aperture.
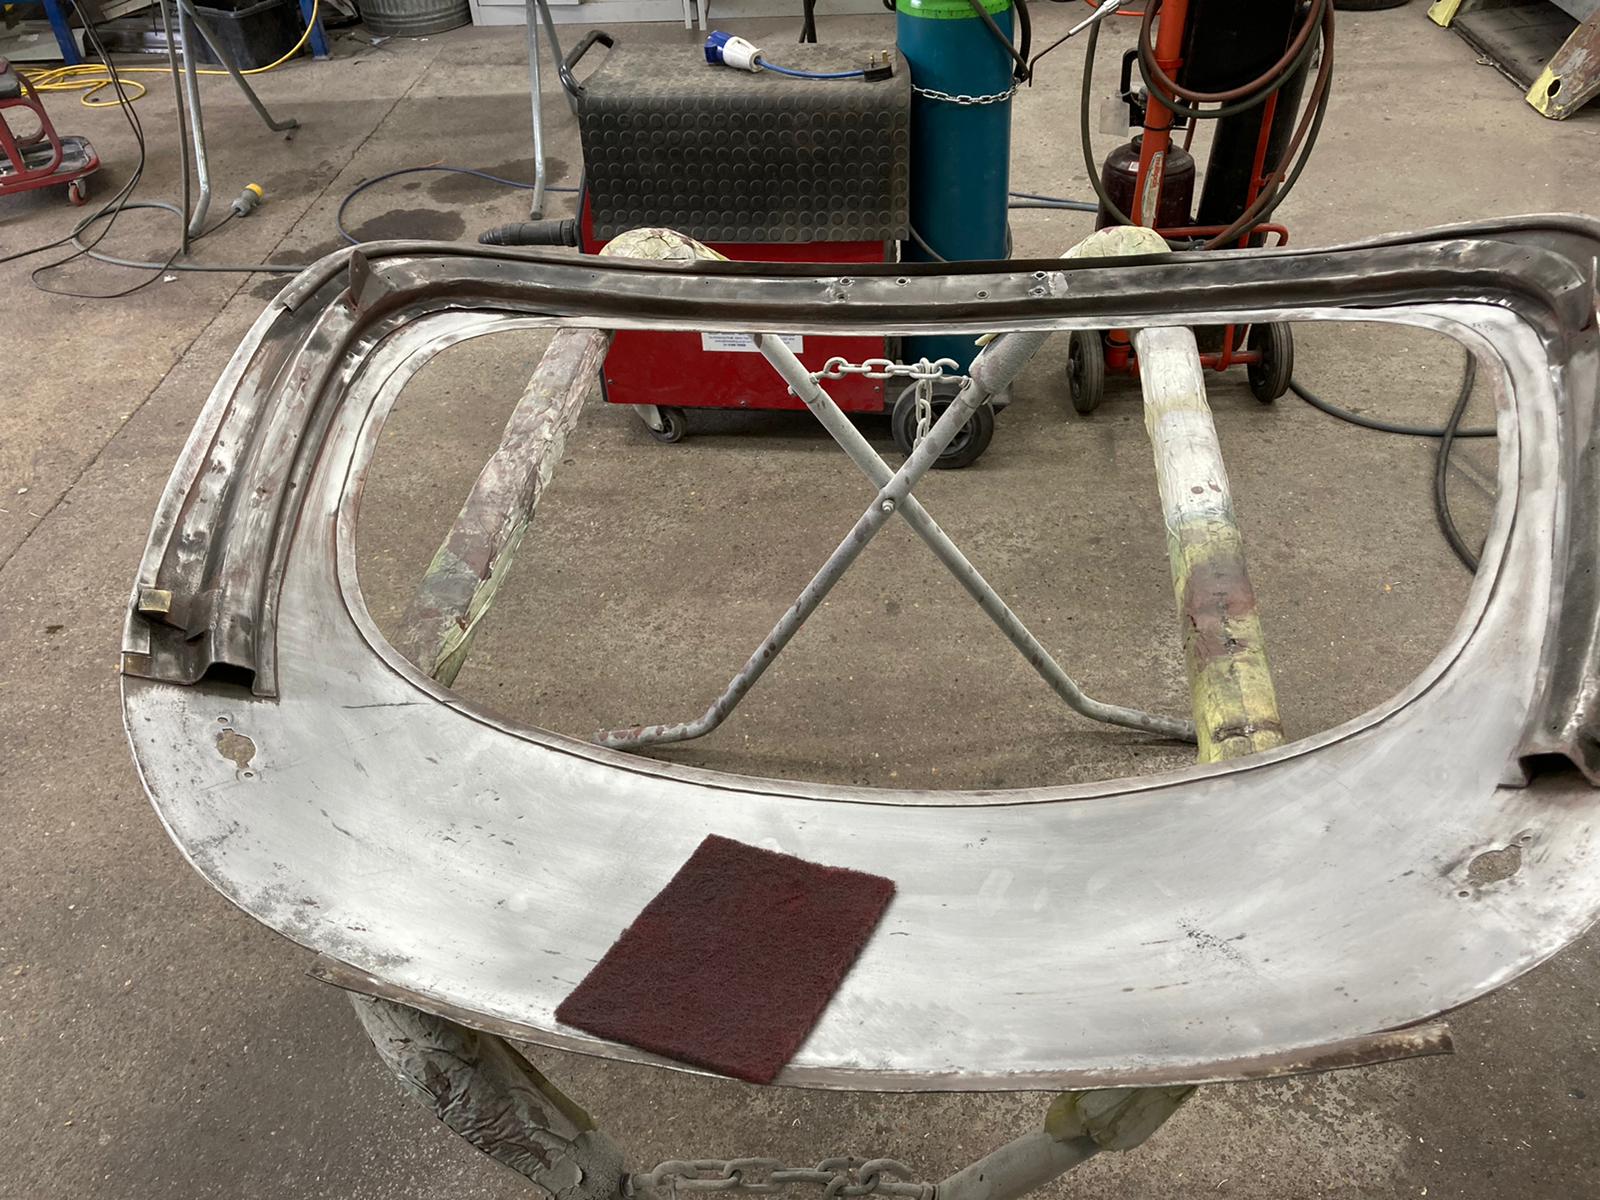
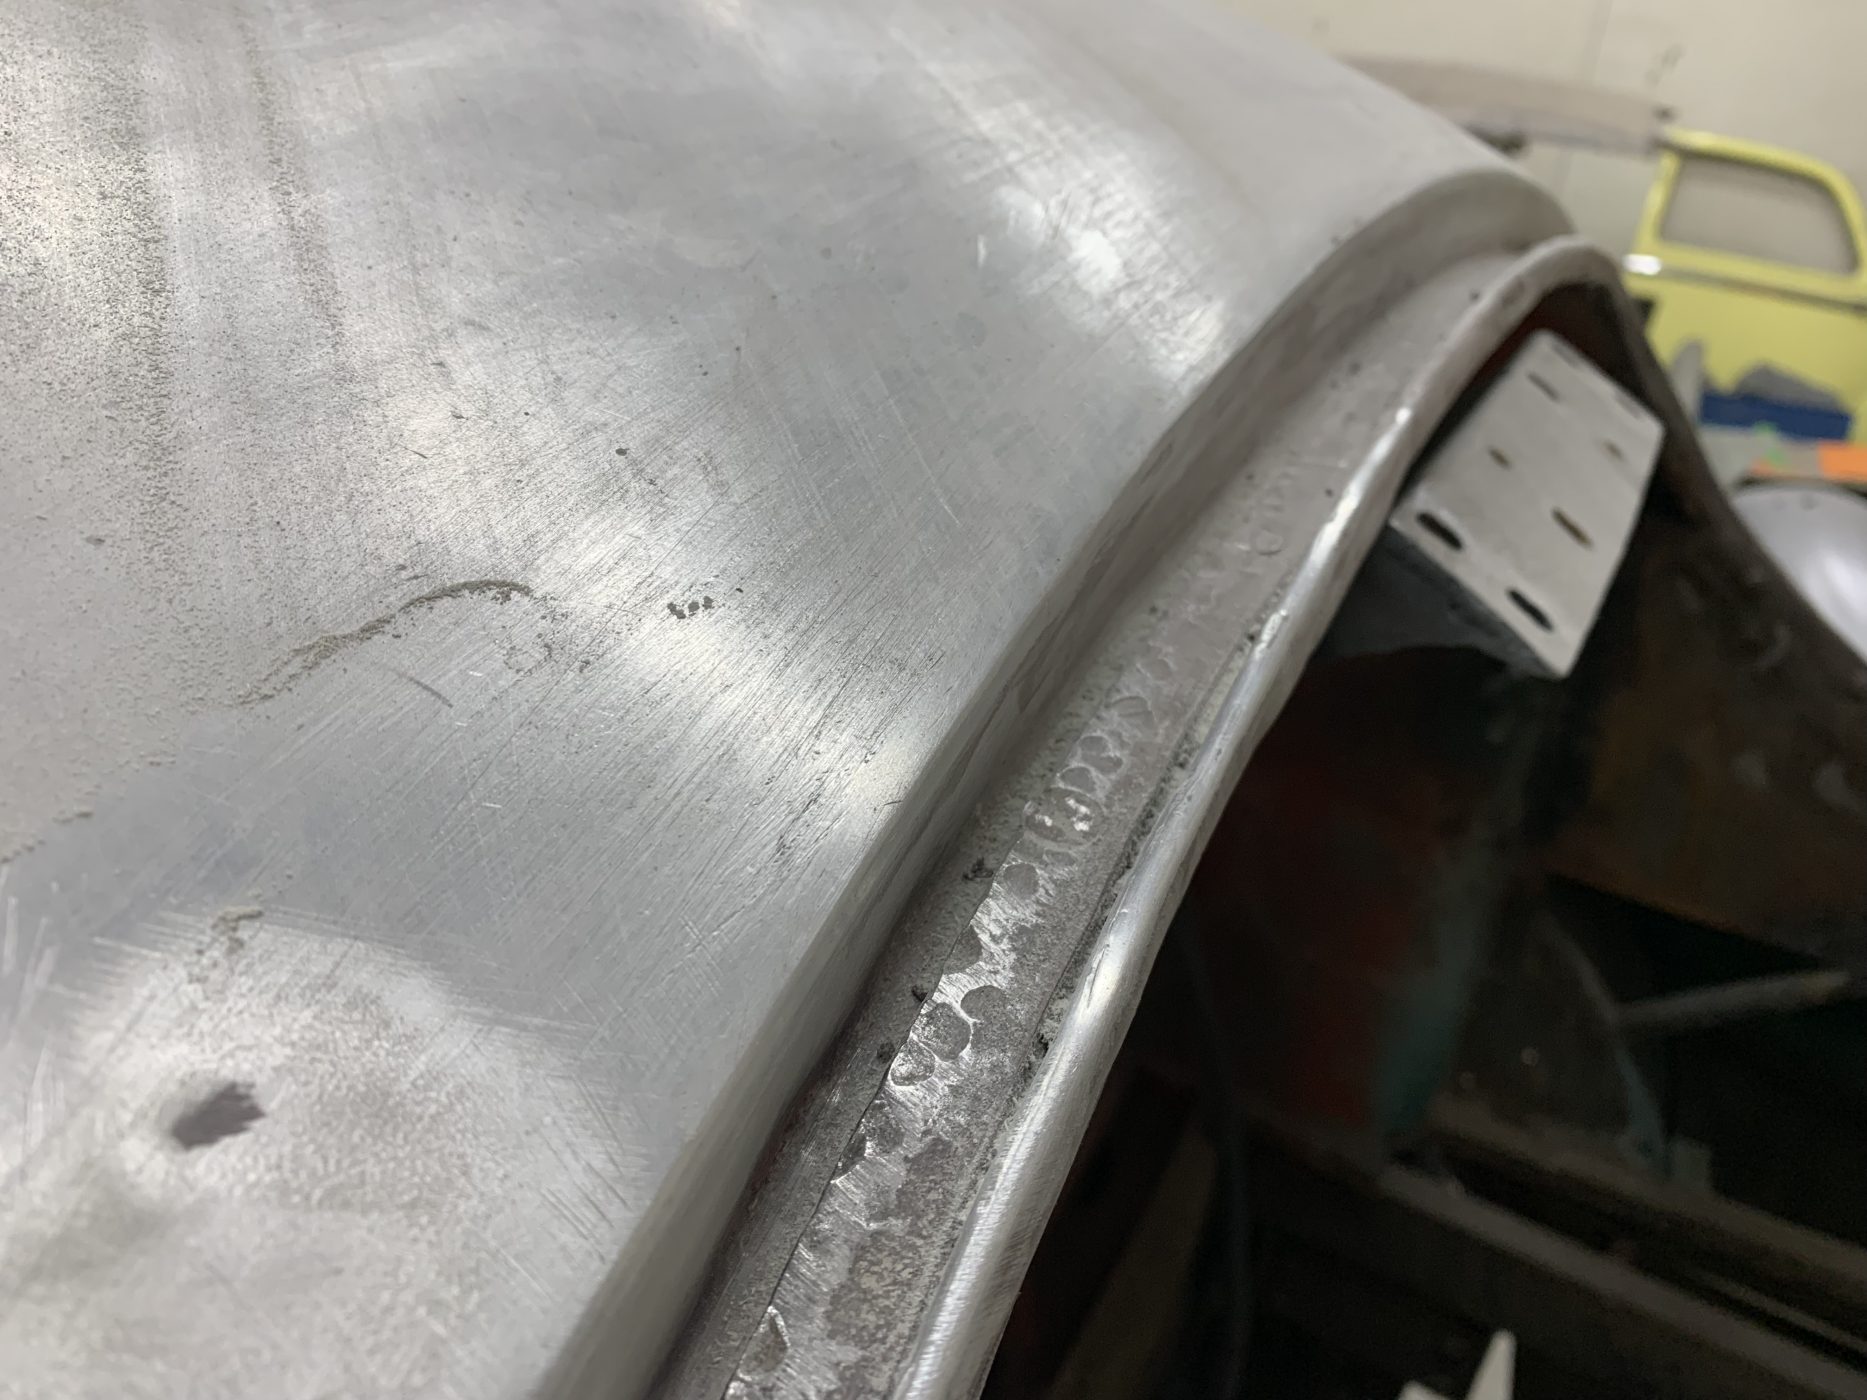
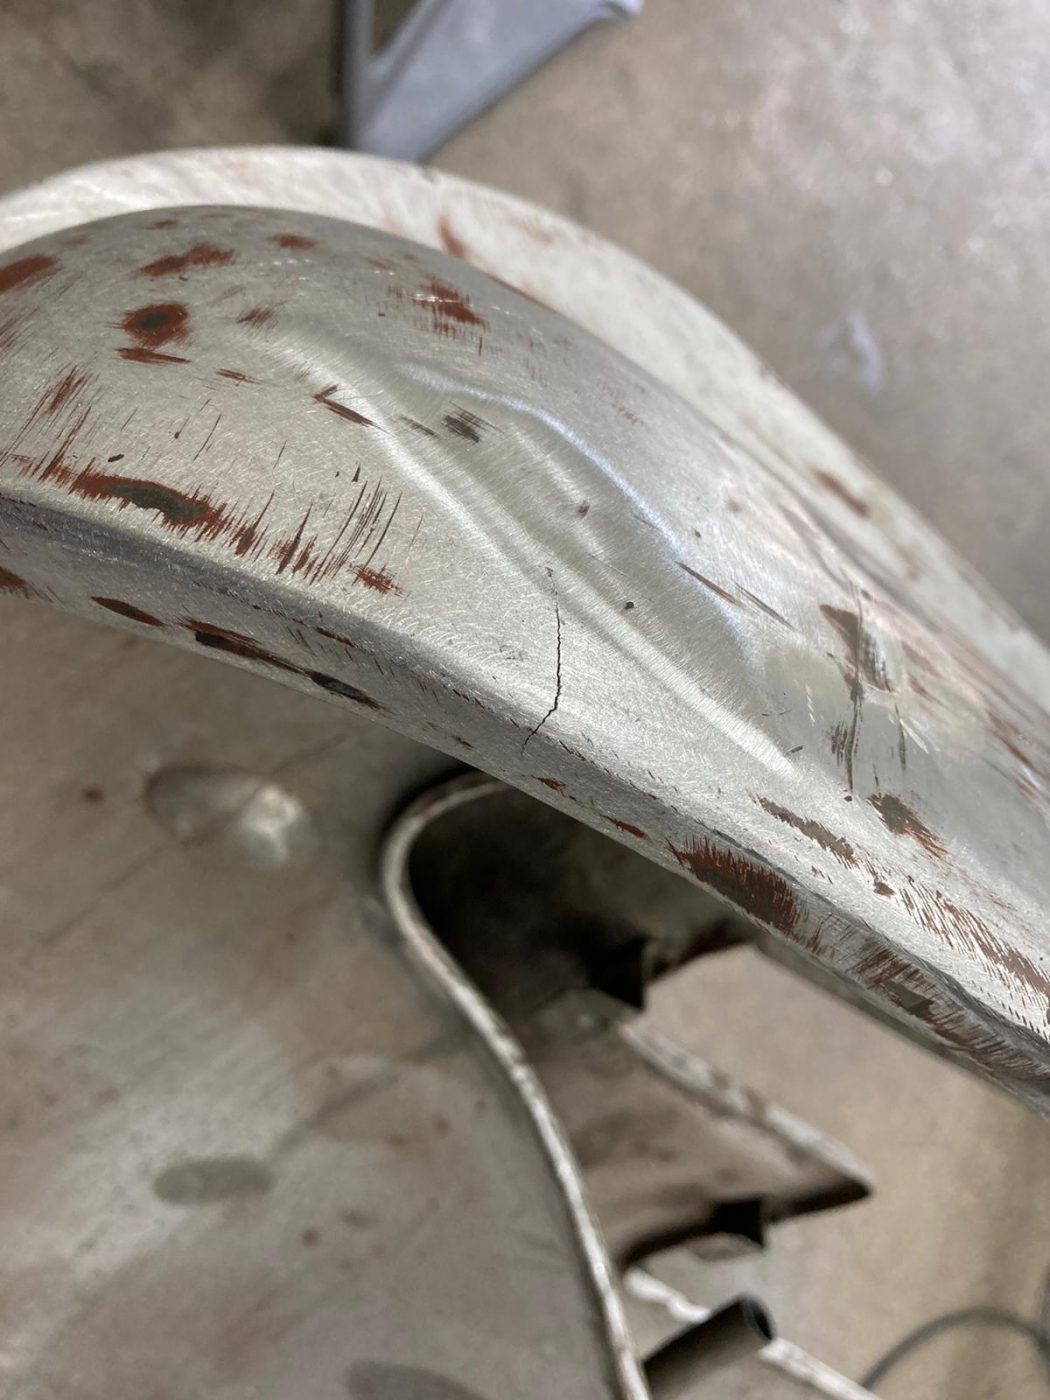
We check in to our DB2/4 restoration as Clinton is finalising the bonnet fabrication. Clinton has fabricated brand new hinges and completely reshaped the lower bumper moulding, letting in fresh metal when neccaasary. ‘The car can warp over time, so what may be a very small warpage has a knock-on effect and can result in panels sitting out of alignment across the entire car’ Clinton explains. The only way to ensure we achieve the best possible restoration is by going to the extent Clinton has with the fabrication and preparation of the bodywork.
The next step will be to make sure all of the panels are correctly aligned, ensuring the gaps are all uniform and tidy.
Brian has been continuing the interior trim work for the 1955 Aston Martin DB 2/4.
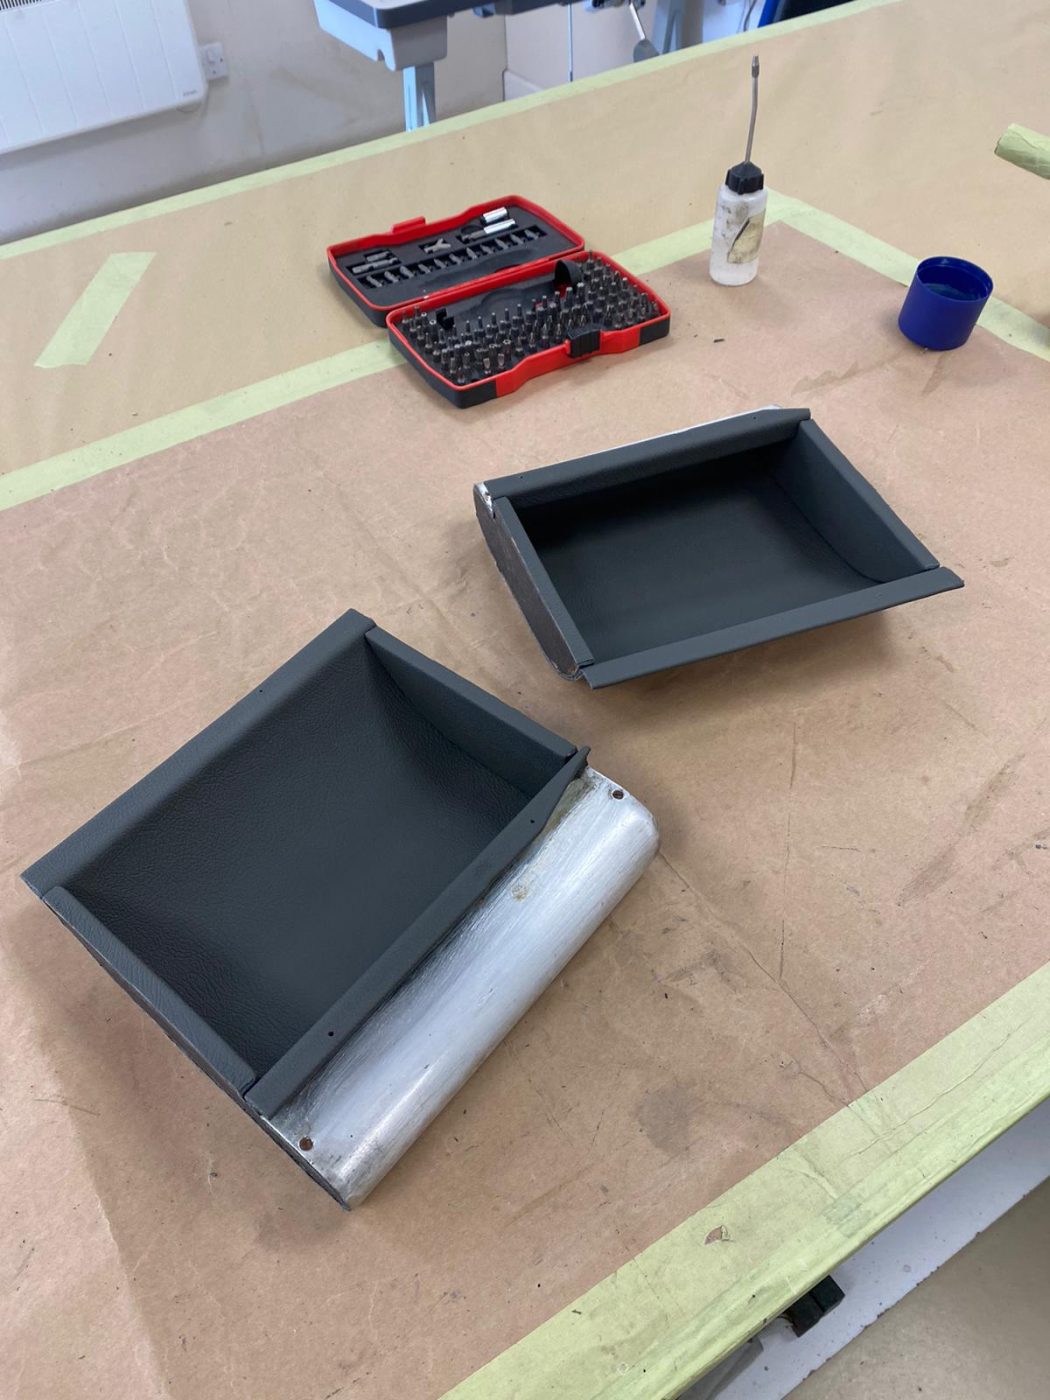
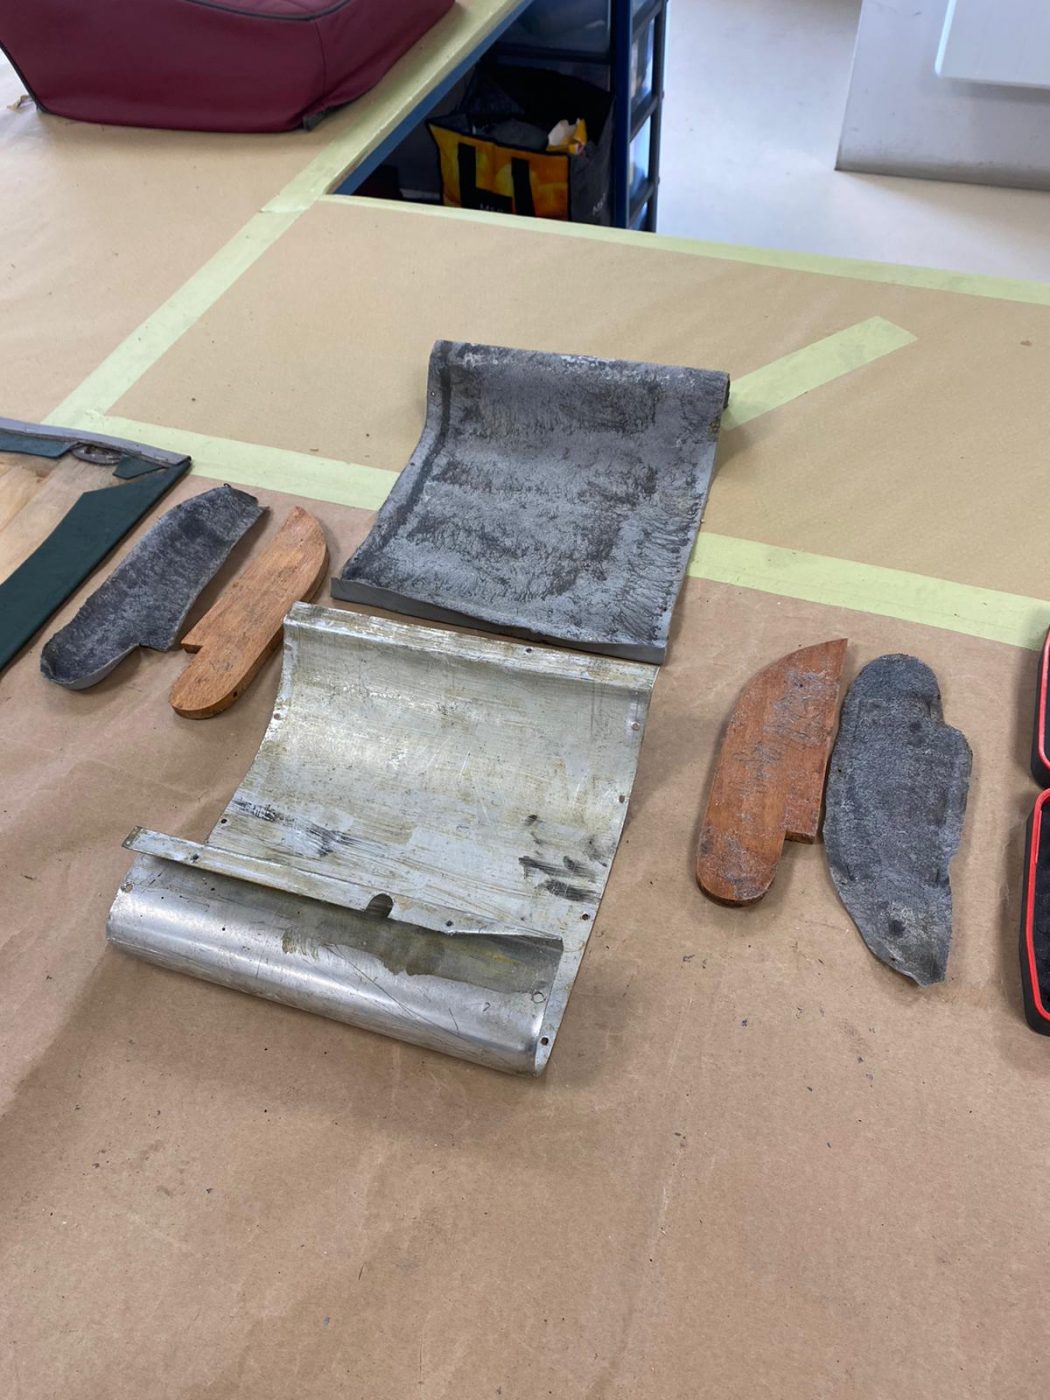
This time, he’s been working on a pair of dash trays and a pair of under dash panels. For the dash trays, Brian started the process by taking off the rubber lip that went around the hole, then took off the original fabric pieces. He cleaned off as much original glue from the metal frame of the under dash panels. He then lay out the new headlining fabric chosen for the car, and placed the original fabric pieces on top of it, using them as patterns. Once marked out around, Brian cut out the new fabric and the first piece to glue onto the metal was the centrepiece. Glue was applied to the back of the fabric and to the metal and then Brian slowly attached the fabric to it, after the glue had gone tacky, making neat cuts around the hole so the material sat nicely. The inside sides were also covered in headlining fabric. Brian then cut out grey leather for the outside of the under dash panels. These pieces were glued on, then the finishing touch was to place the rubber lip back on.
For the under dash panels, Brian simply took the original headlining fabric off them, sanded down the excess old glue, used the original fabric pieces as patterns on the new headlining fabric, cut out, and glued the new material onto them.


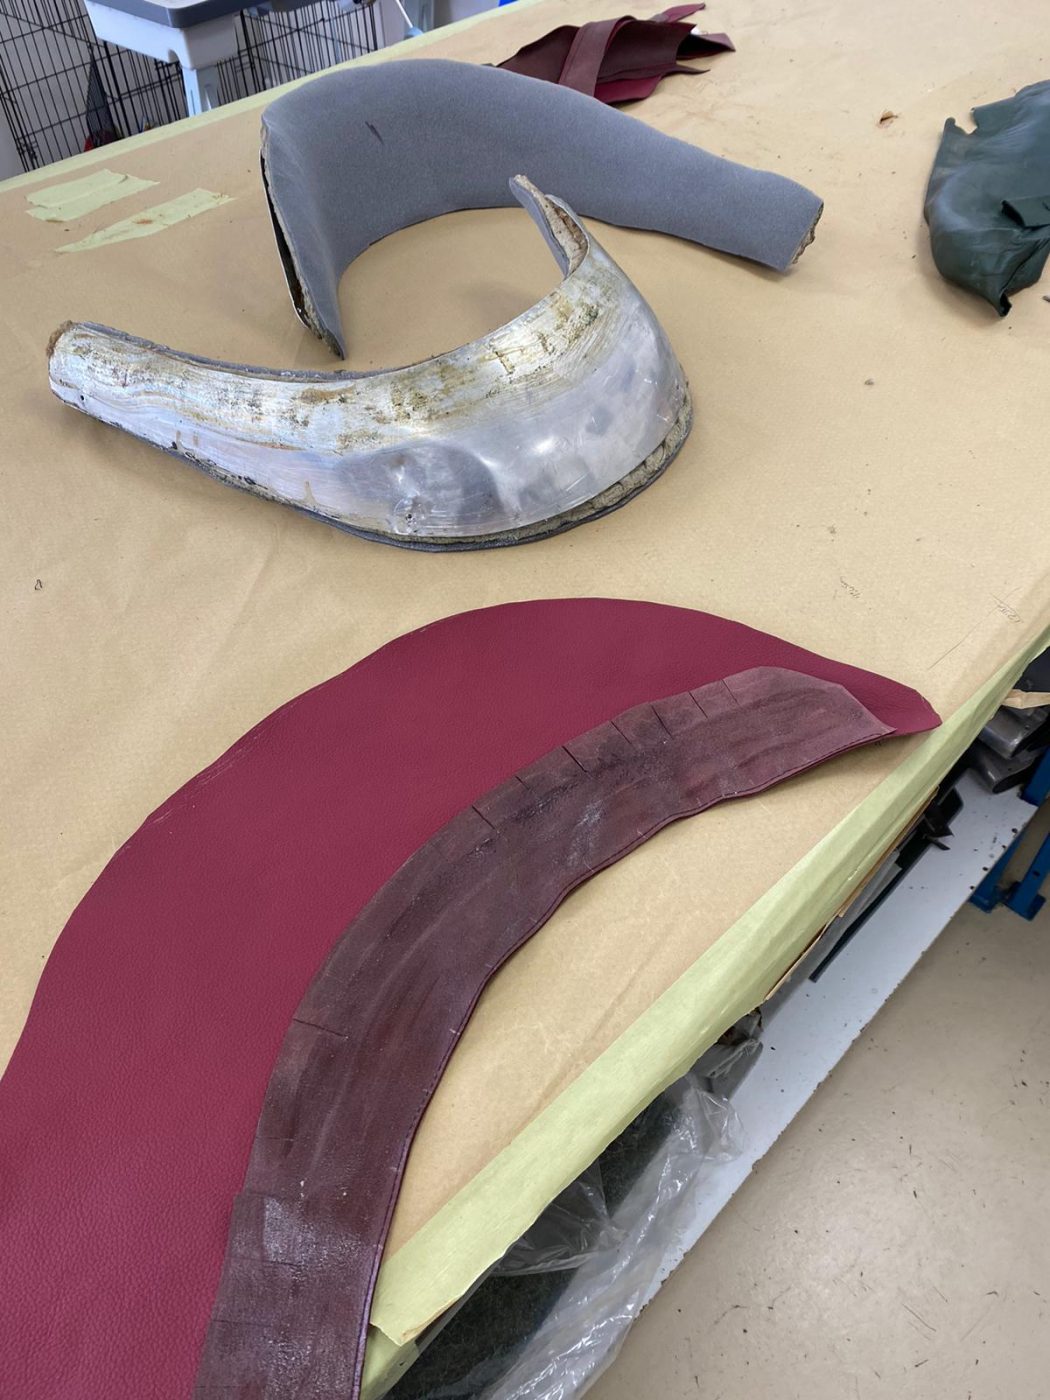
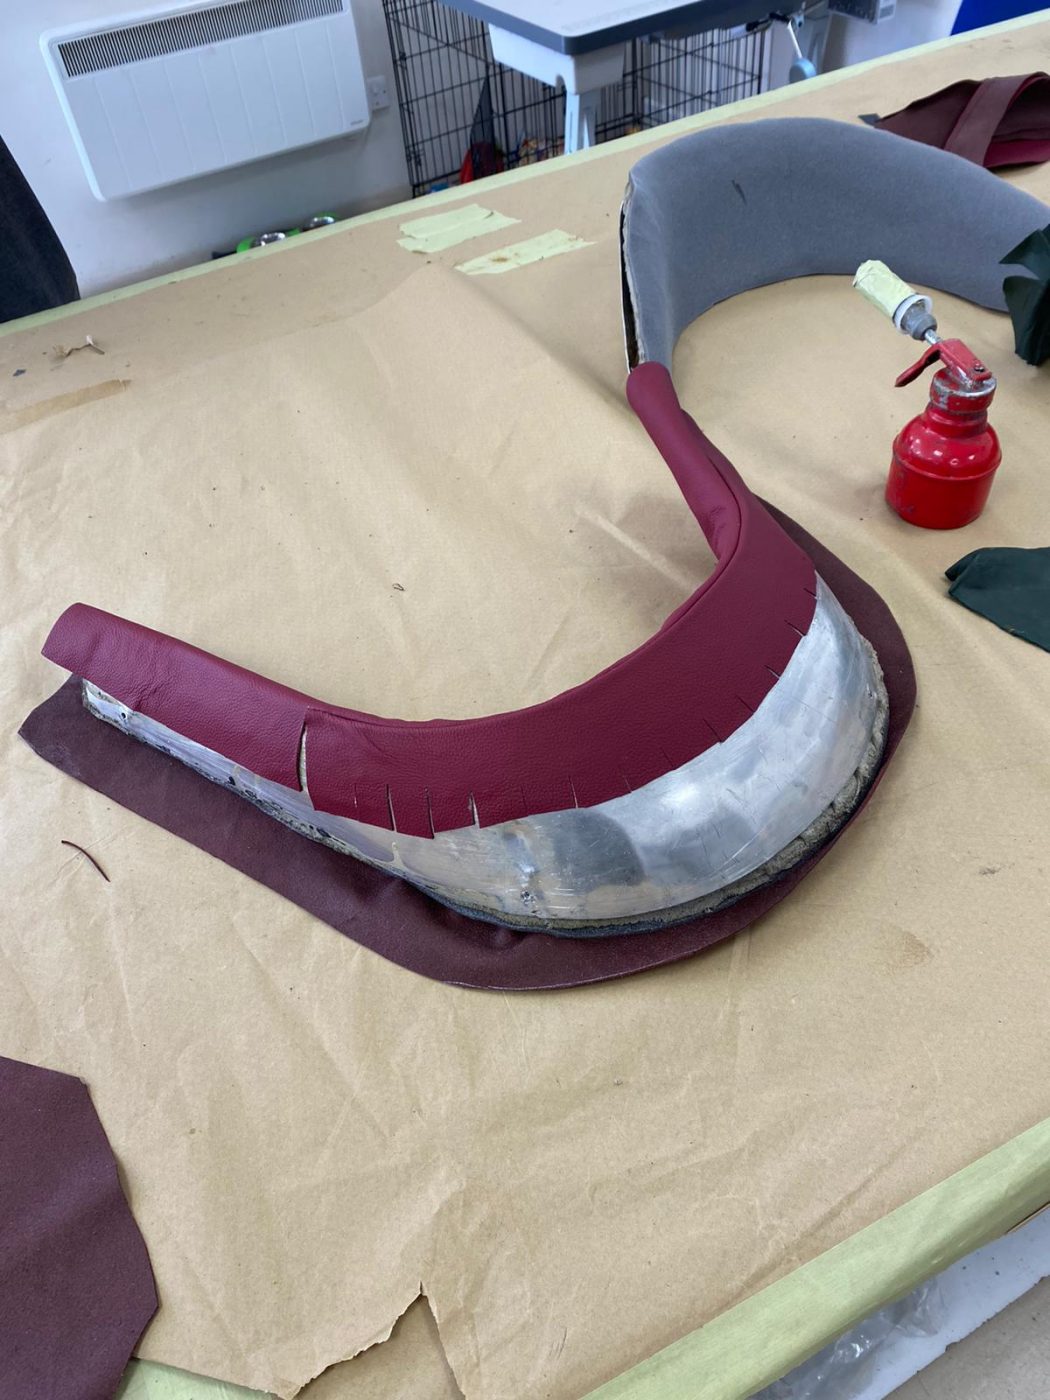
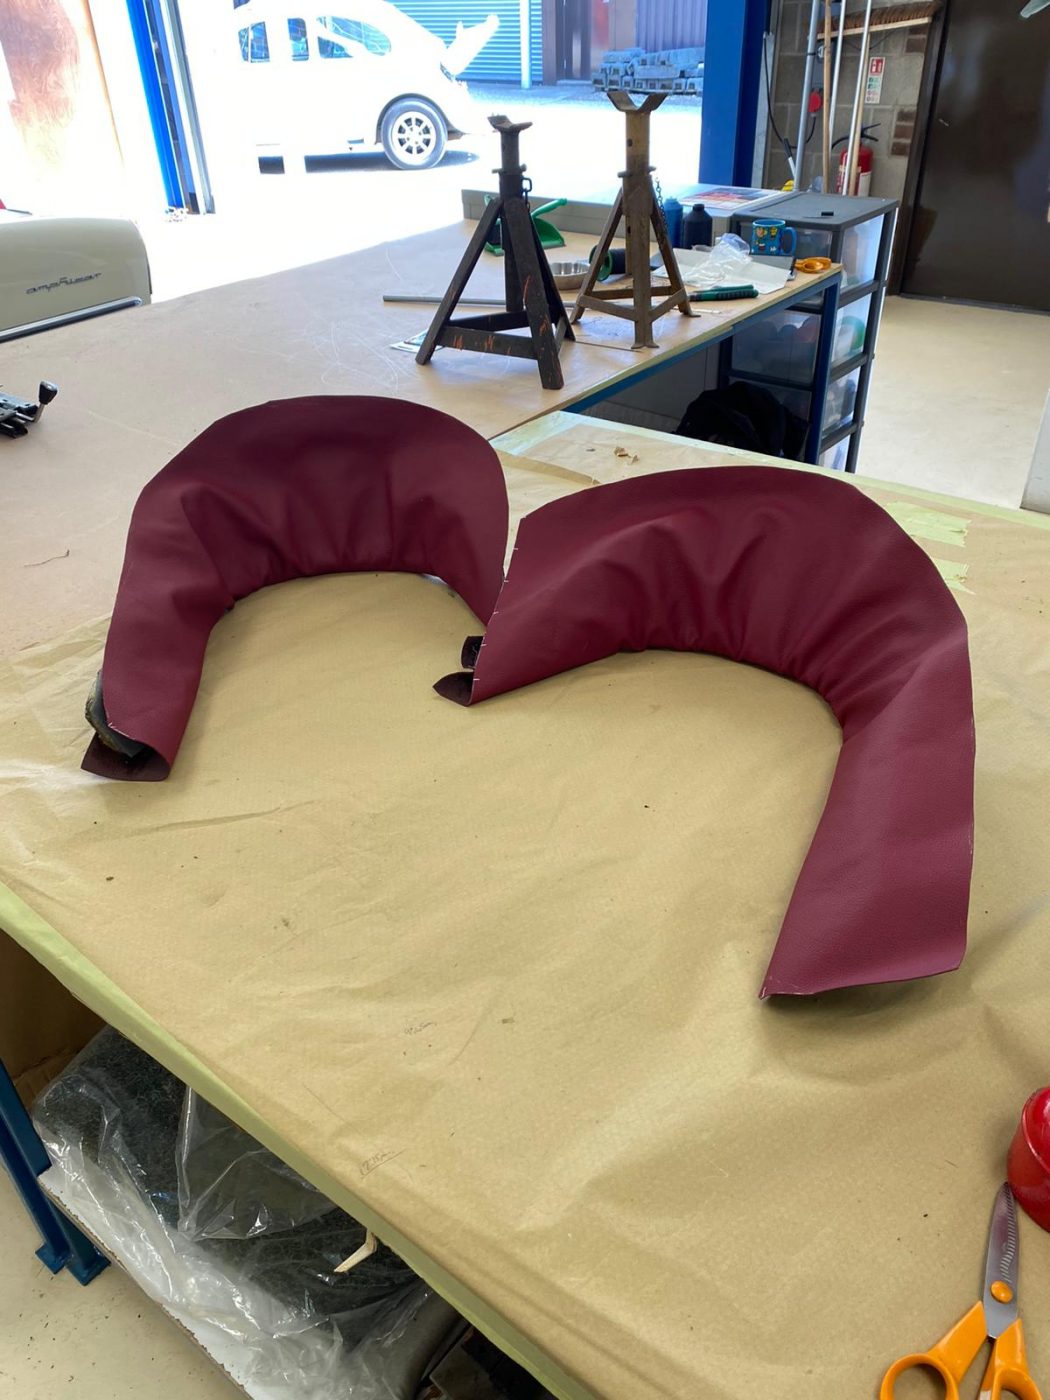
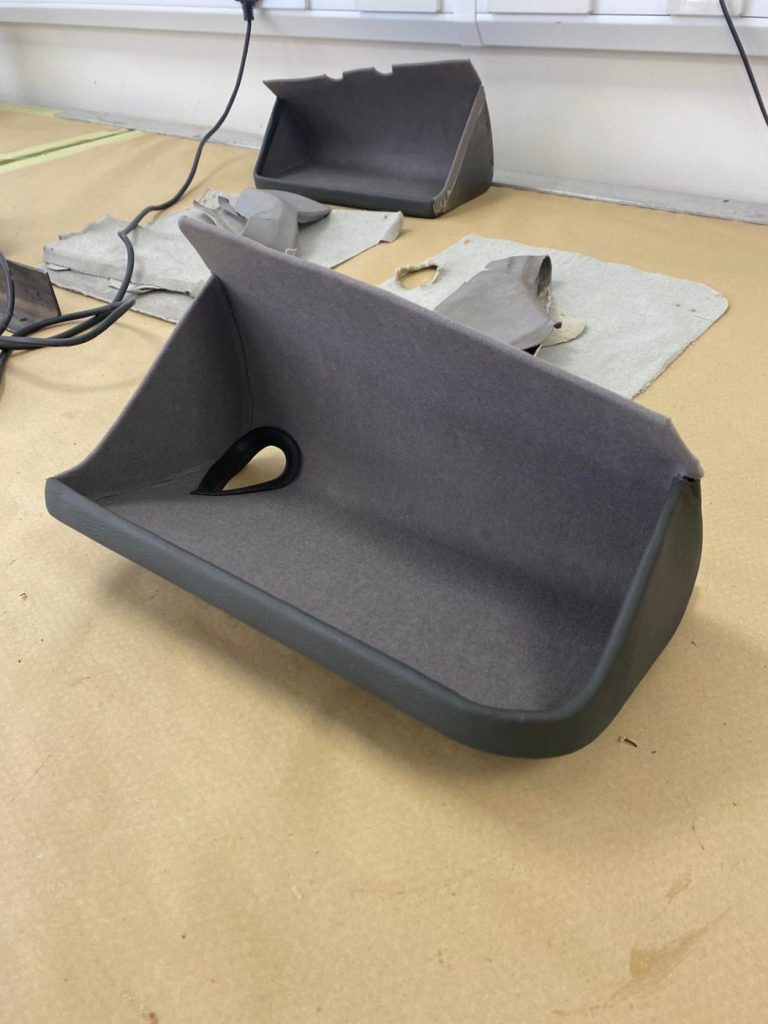
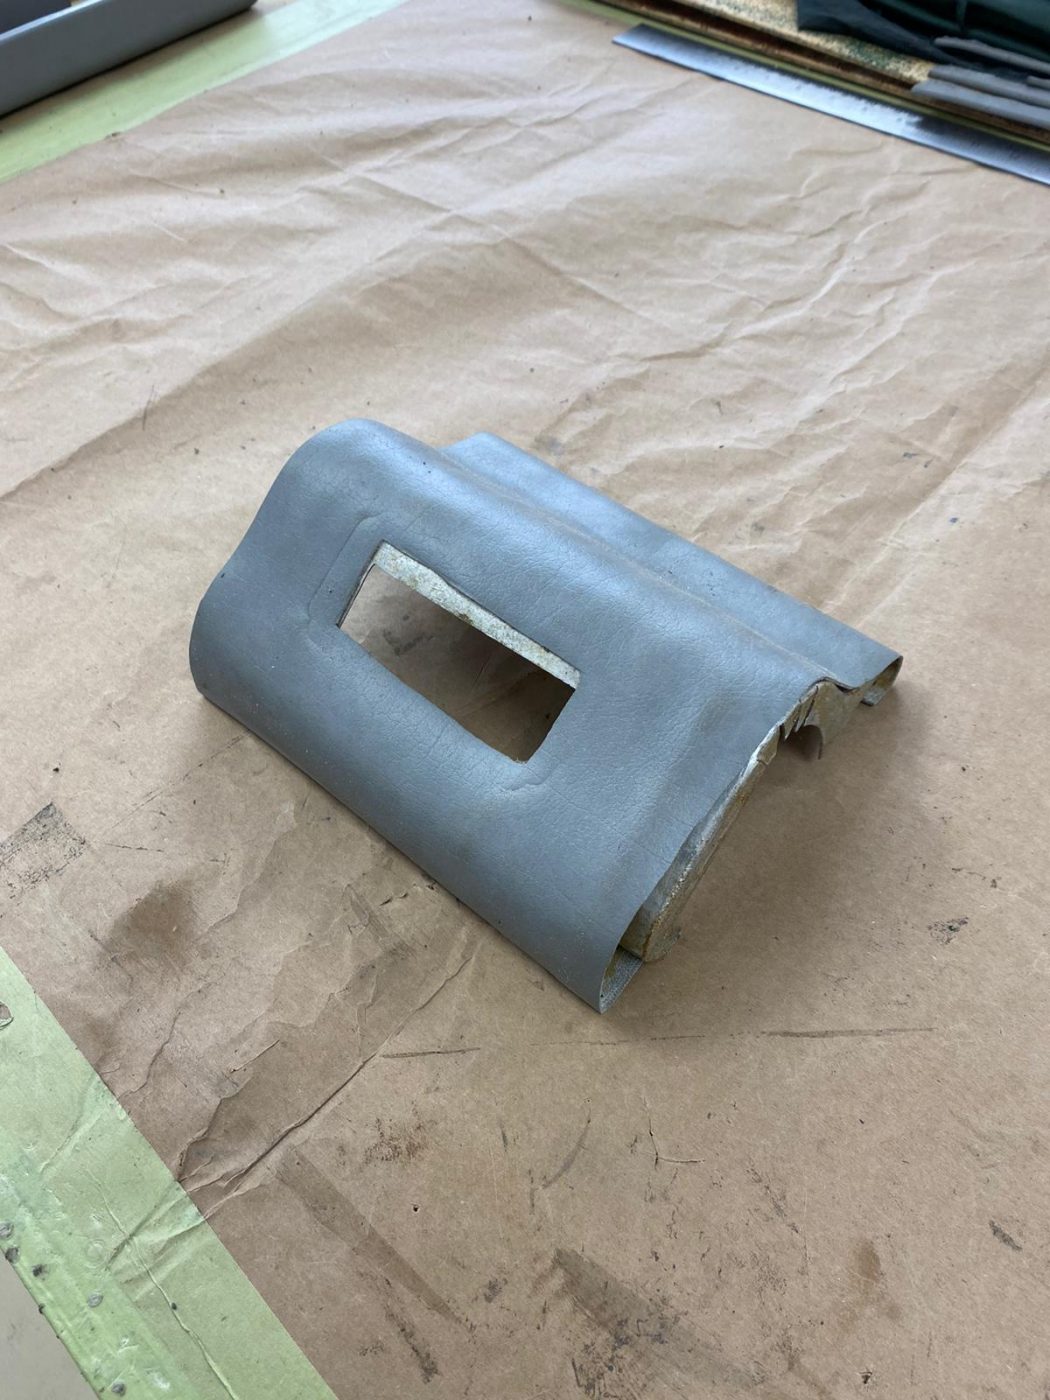
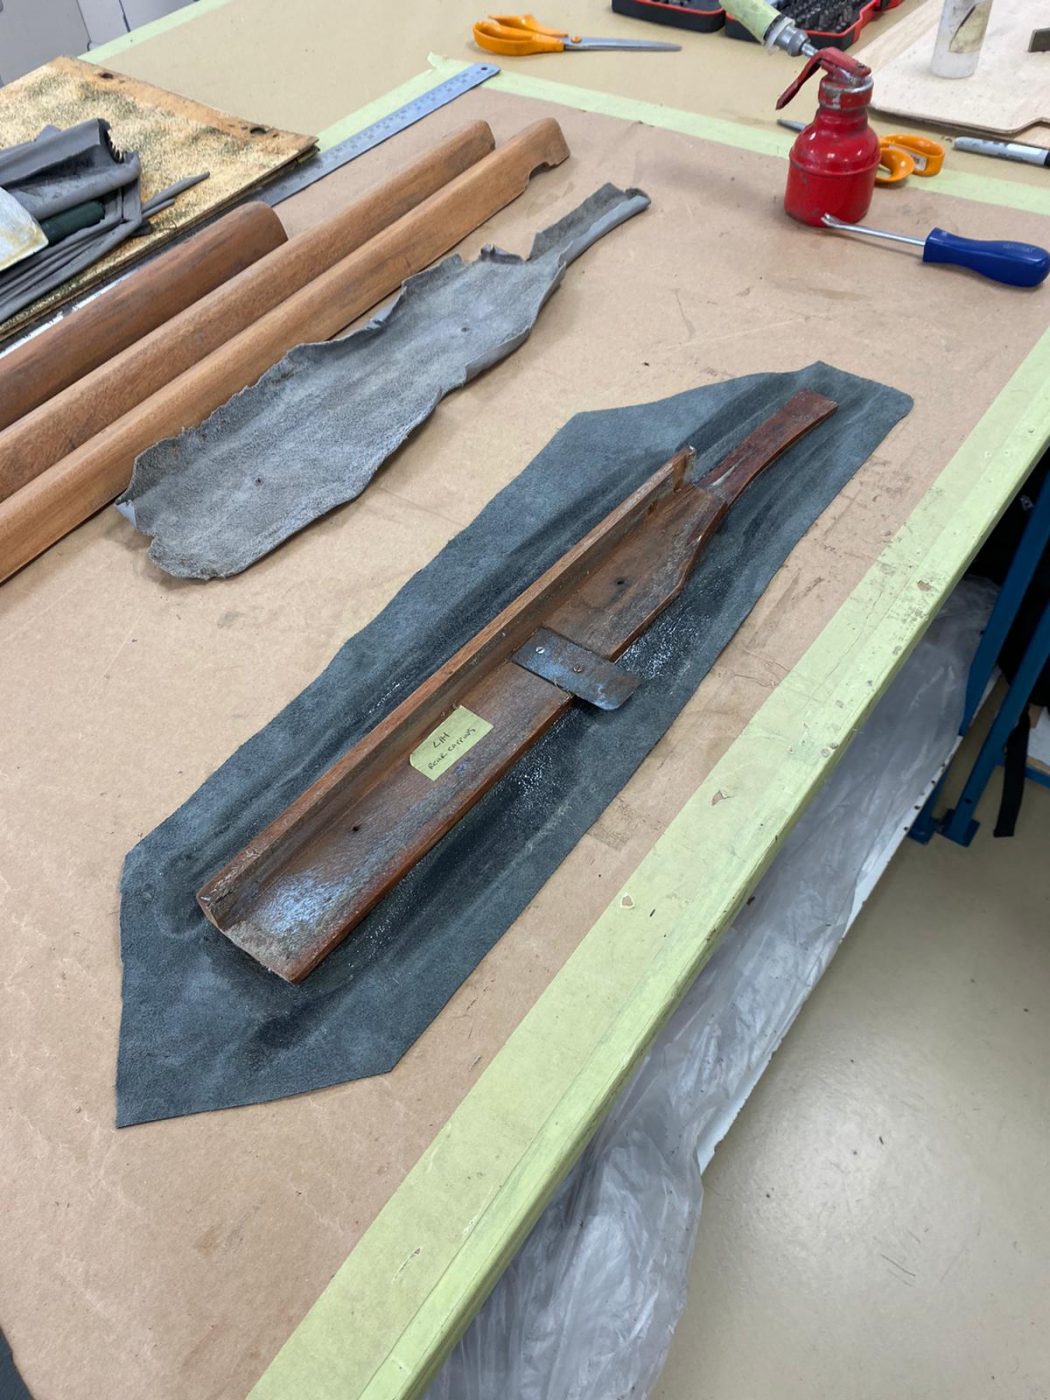
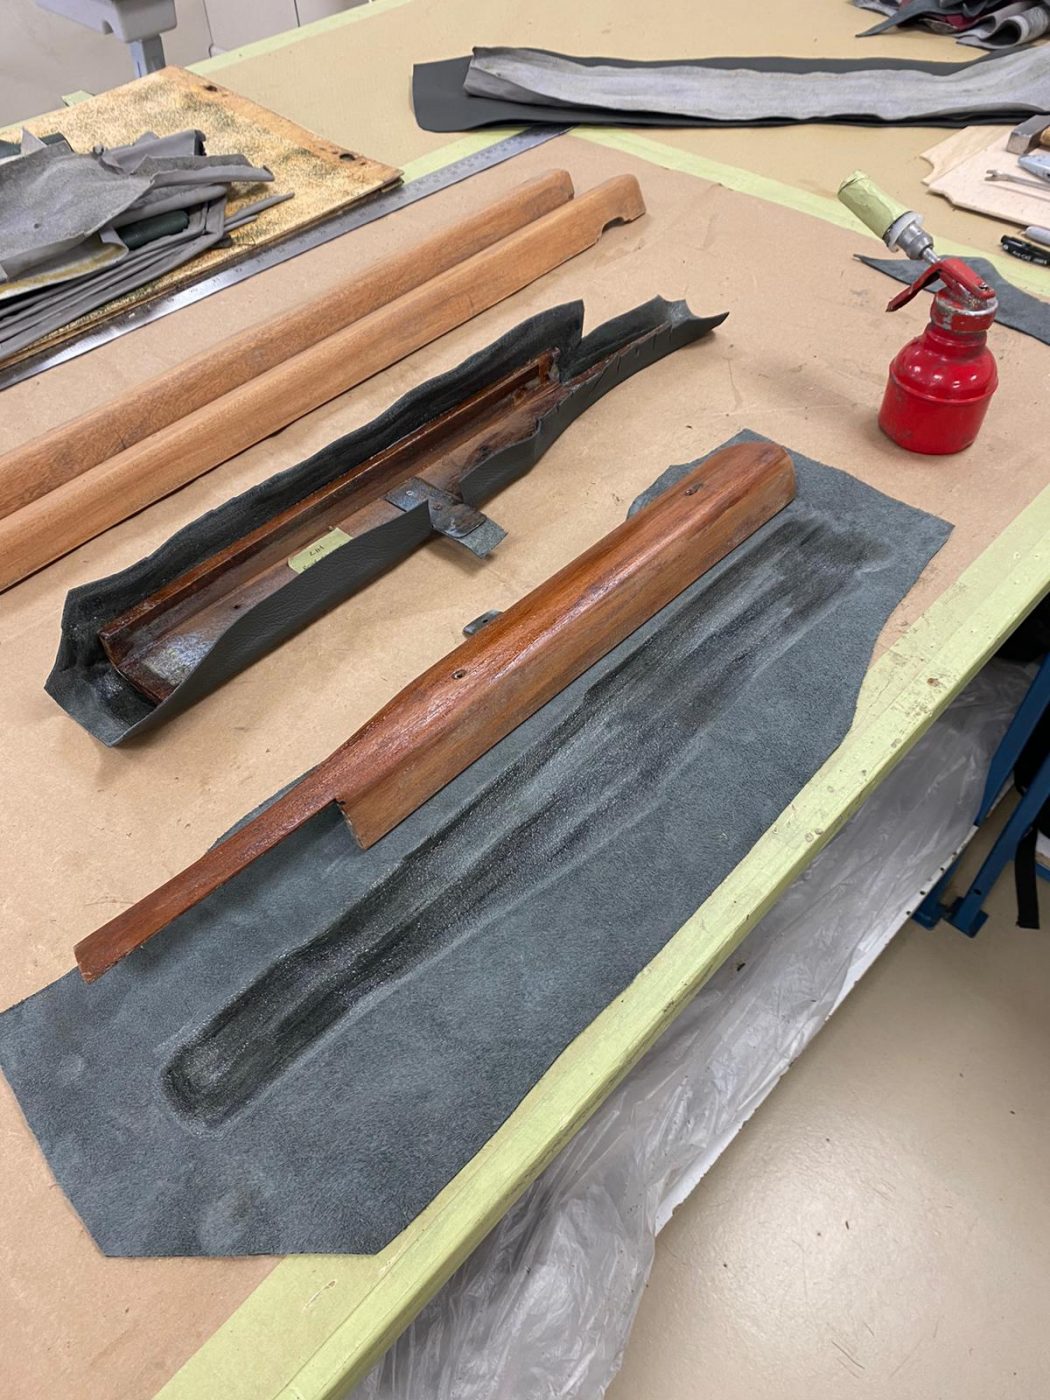
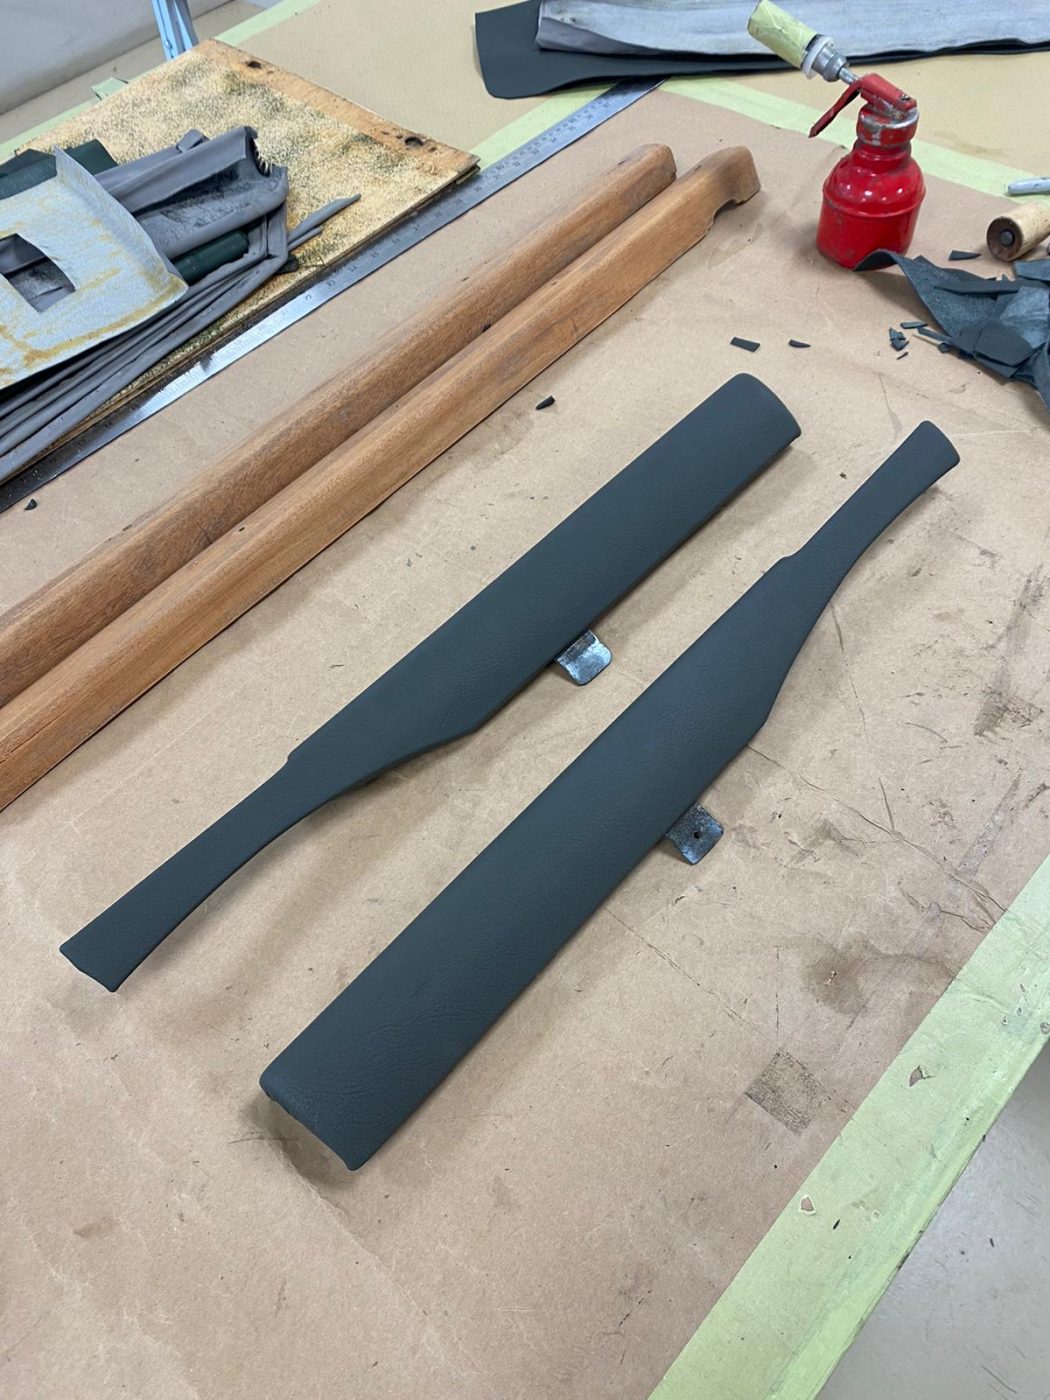
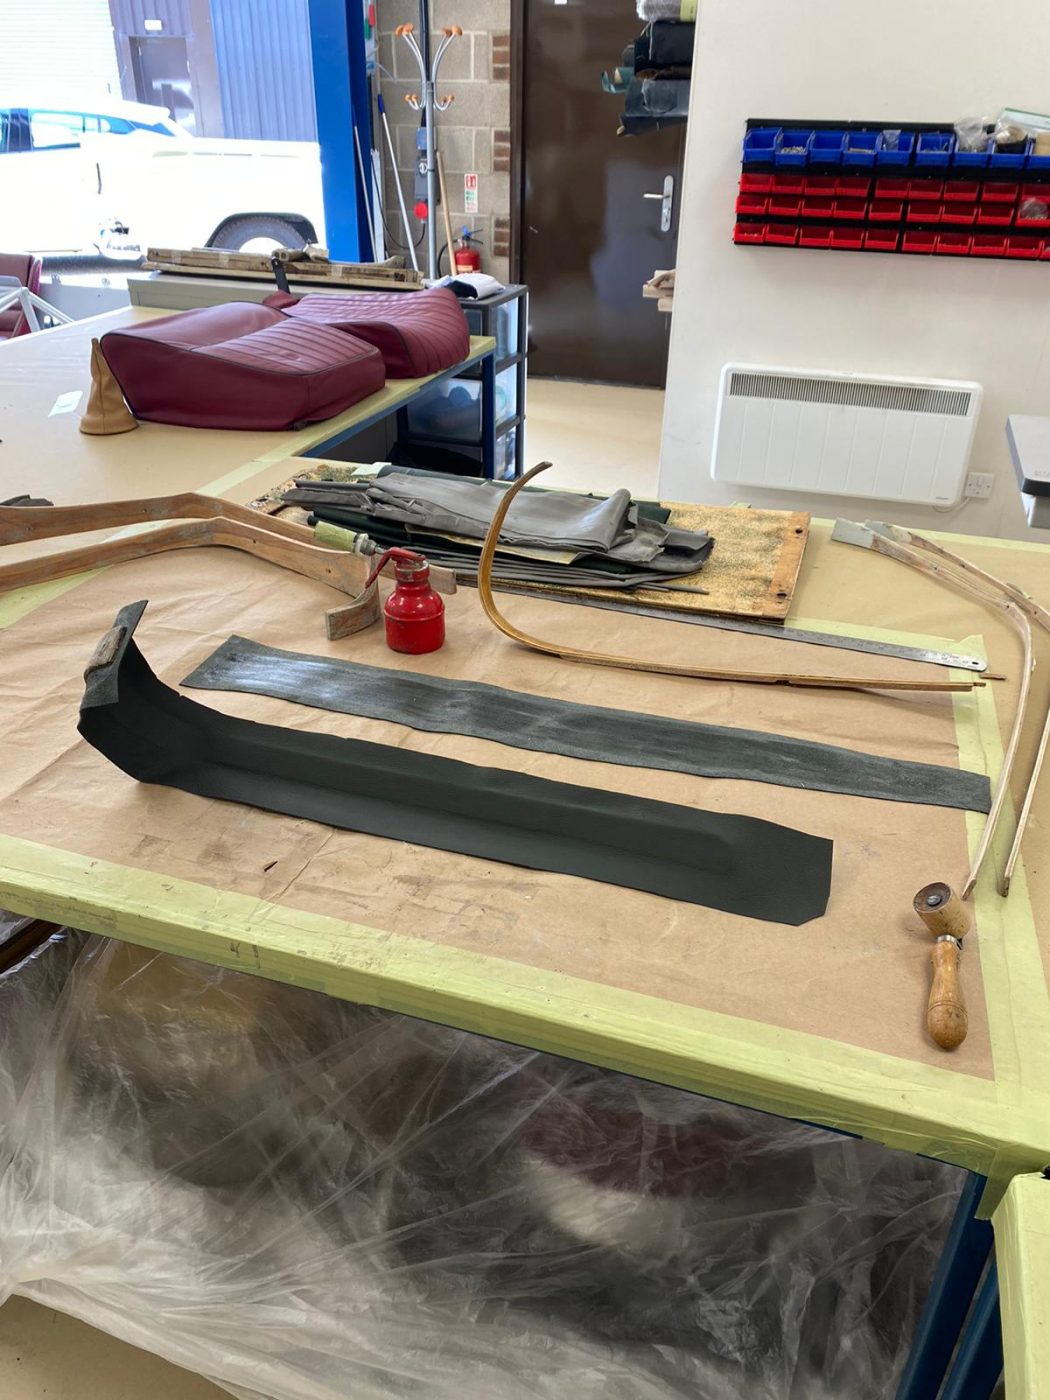
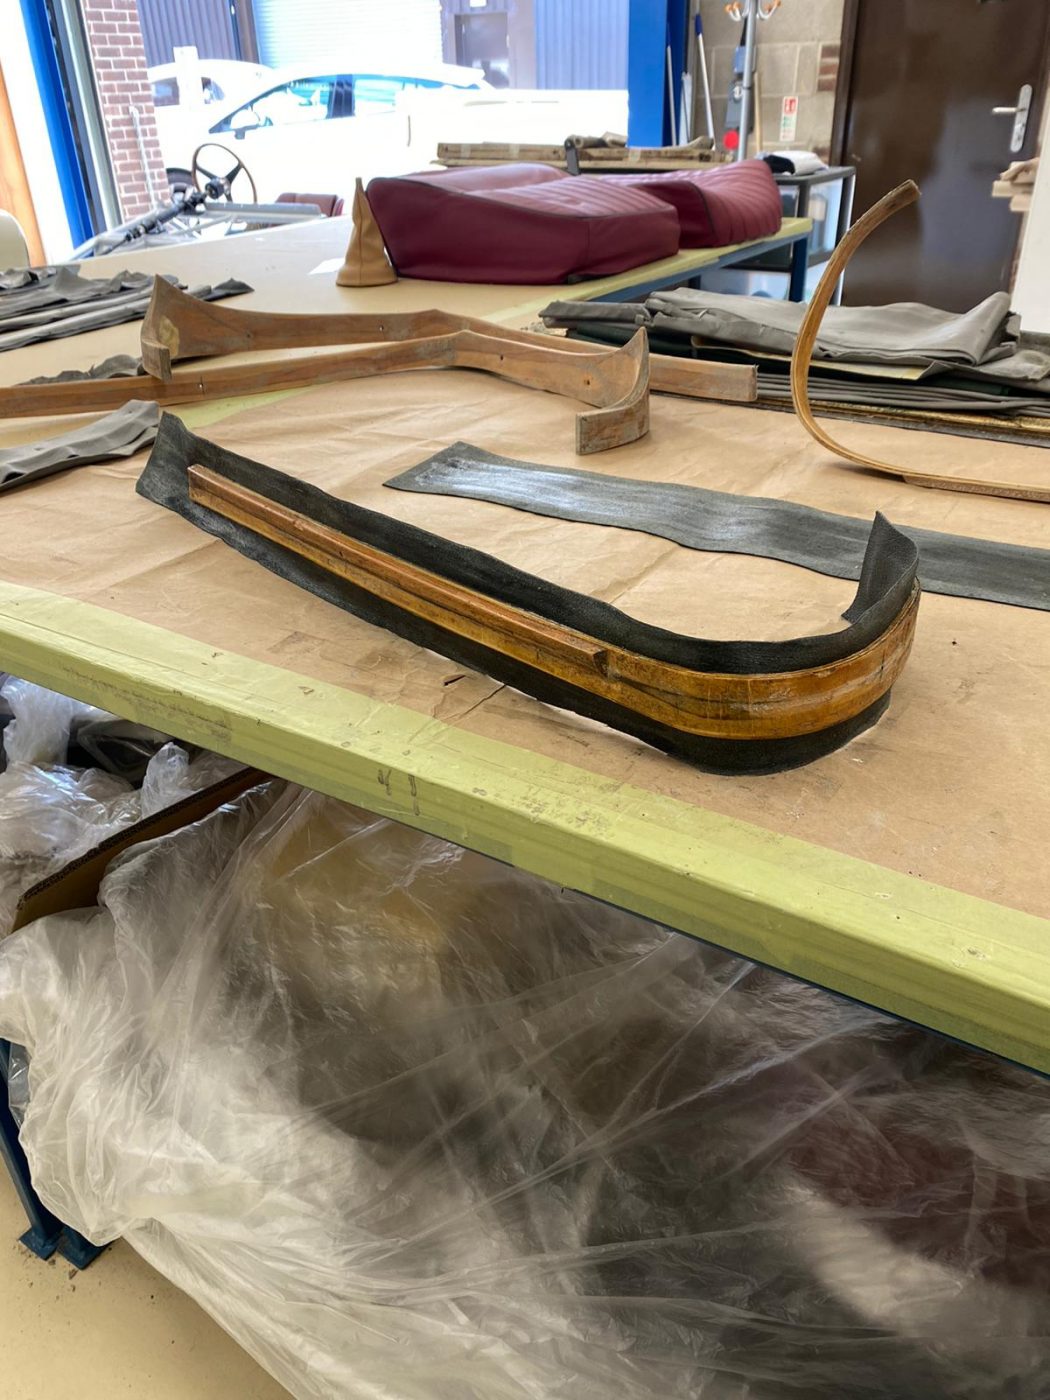
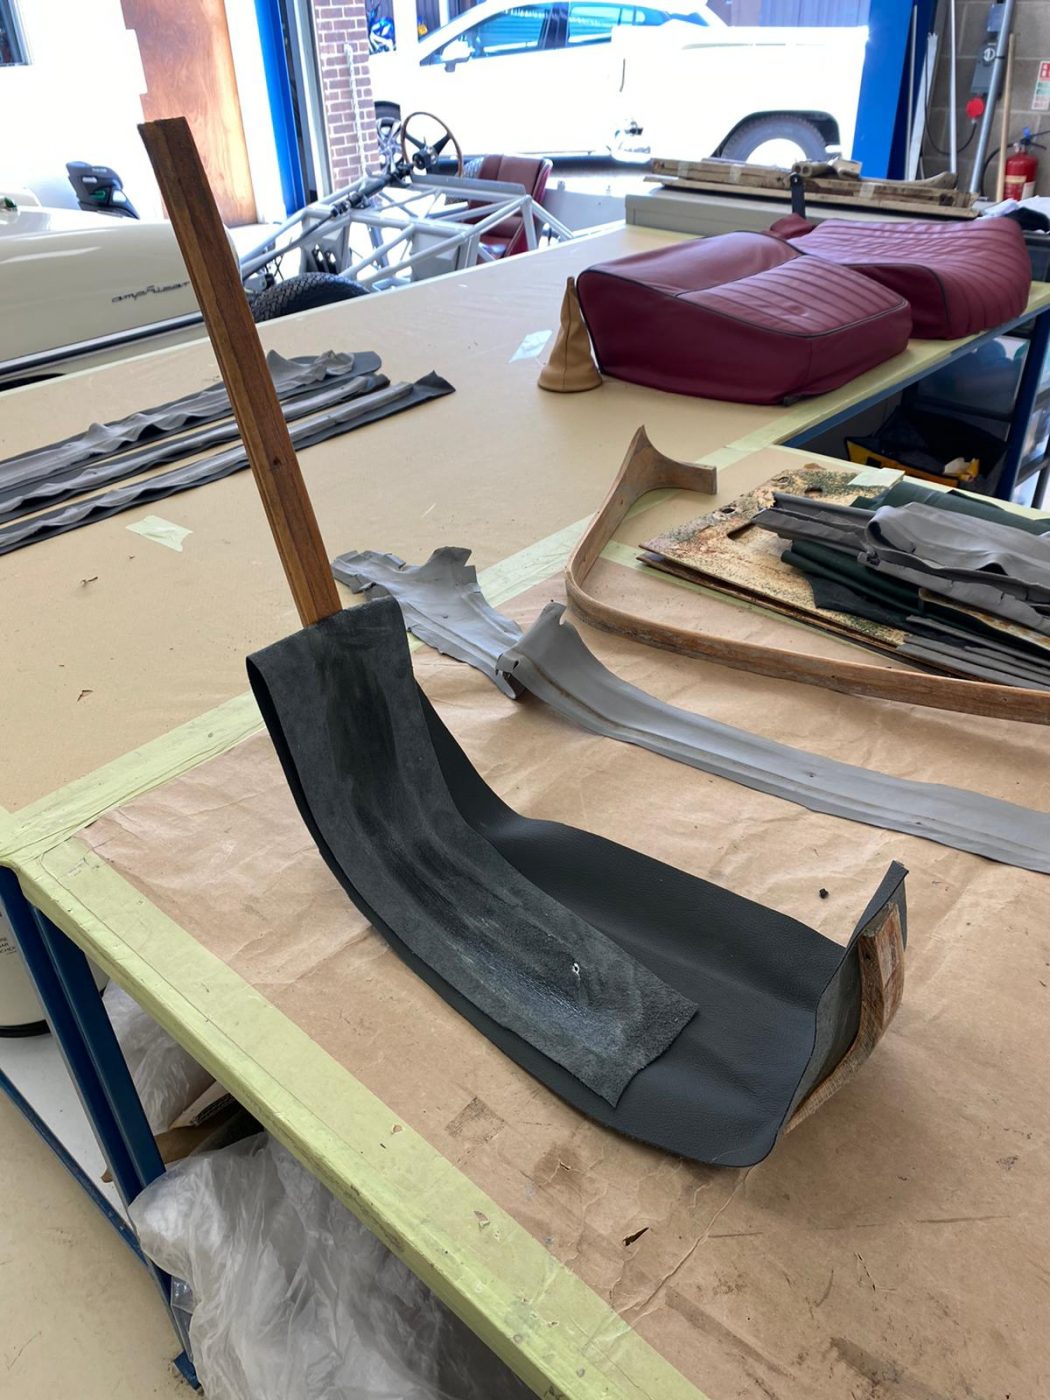
Brian has been re-covering more panels for the 1955 Aston Martin DB 2/4.
This time it’s been the lower A posts, the dash side panels, the rear seat front rail and the boot side panels. He took the original leather off all of them and cleaned off any old glue that was left behind. He then used the original leather pieces as patterns on the new leather, marked out around them and cut them out. The new leather pieces were then glued onto their associated panels, and any foam was added where need be.


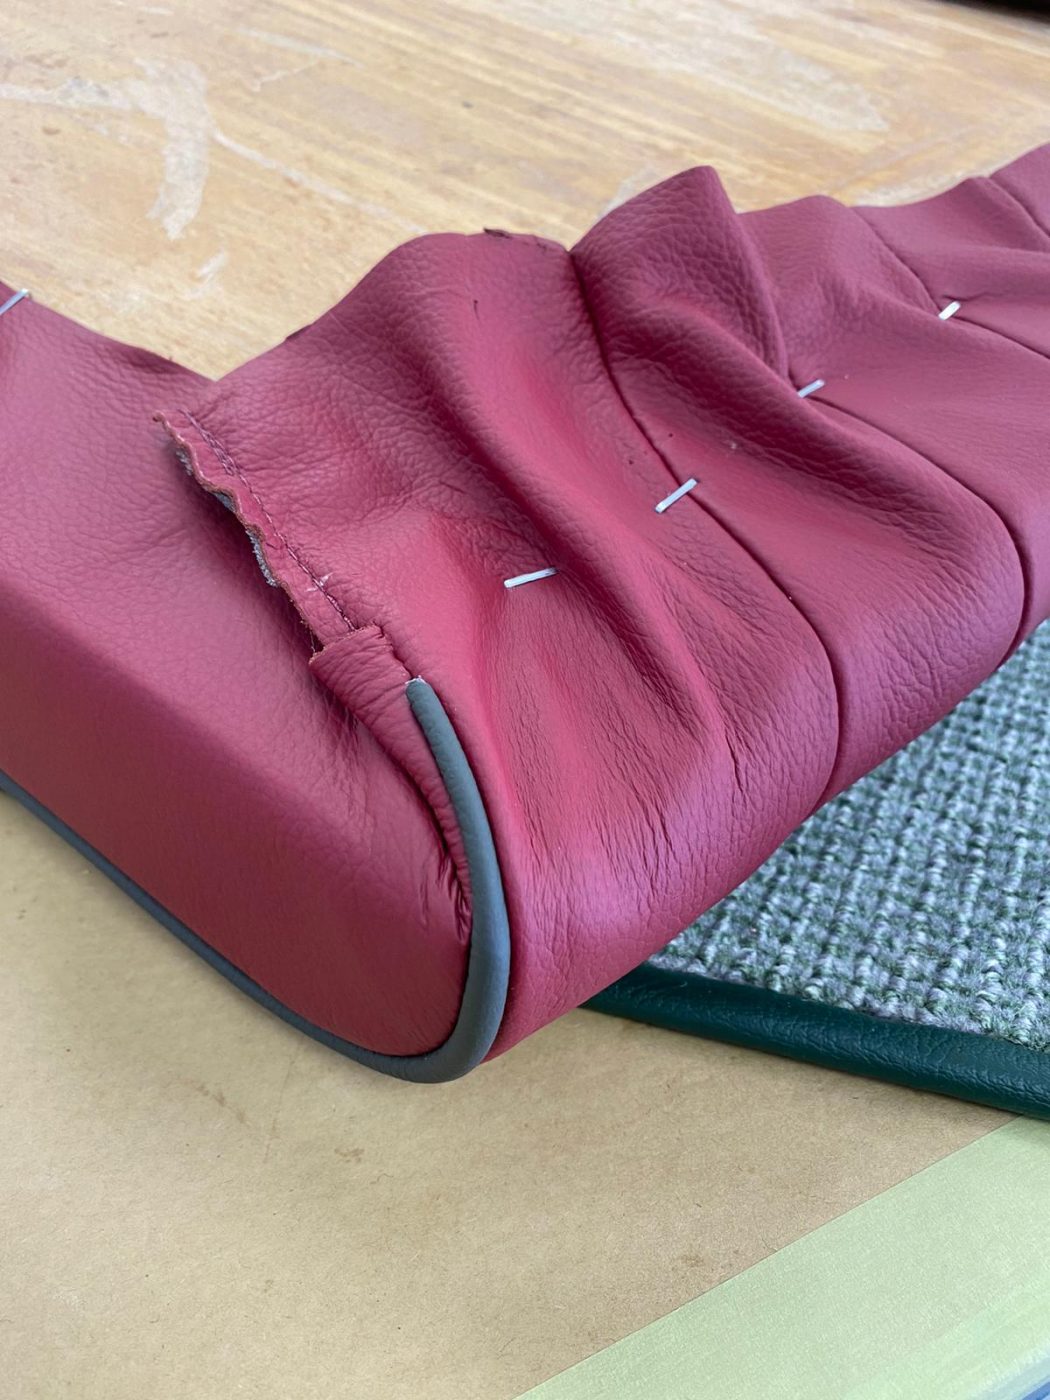
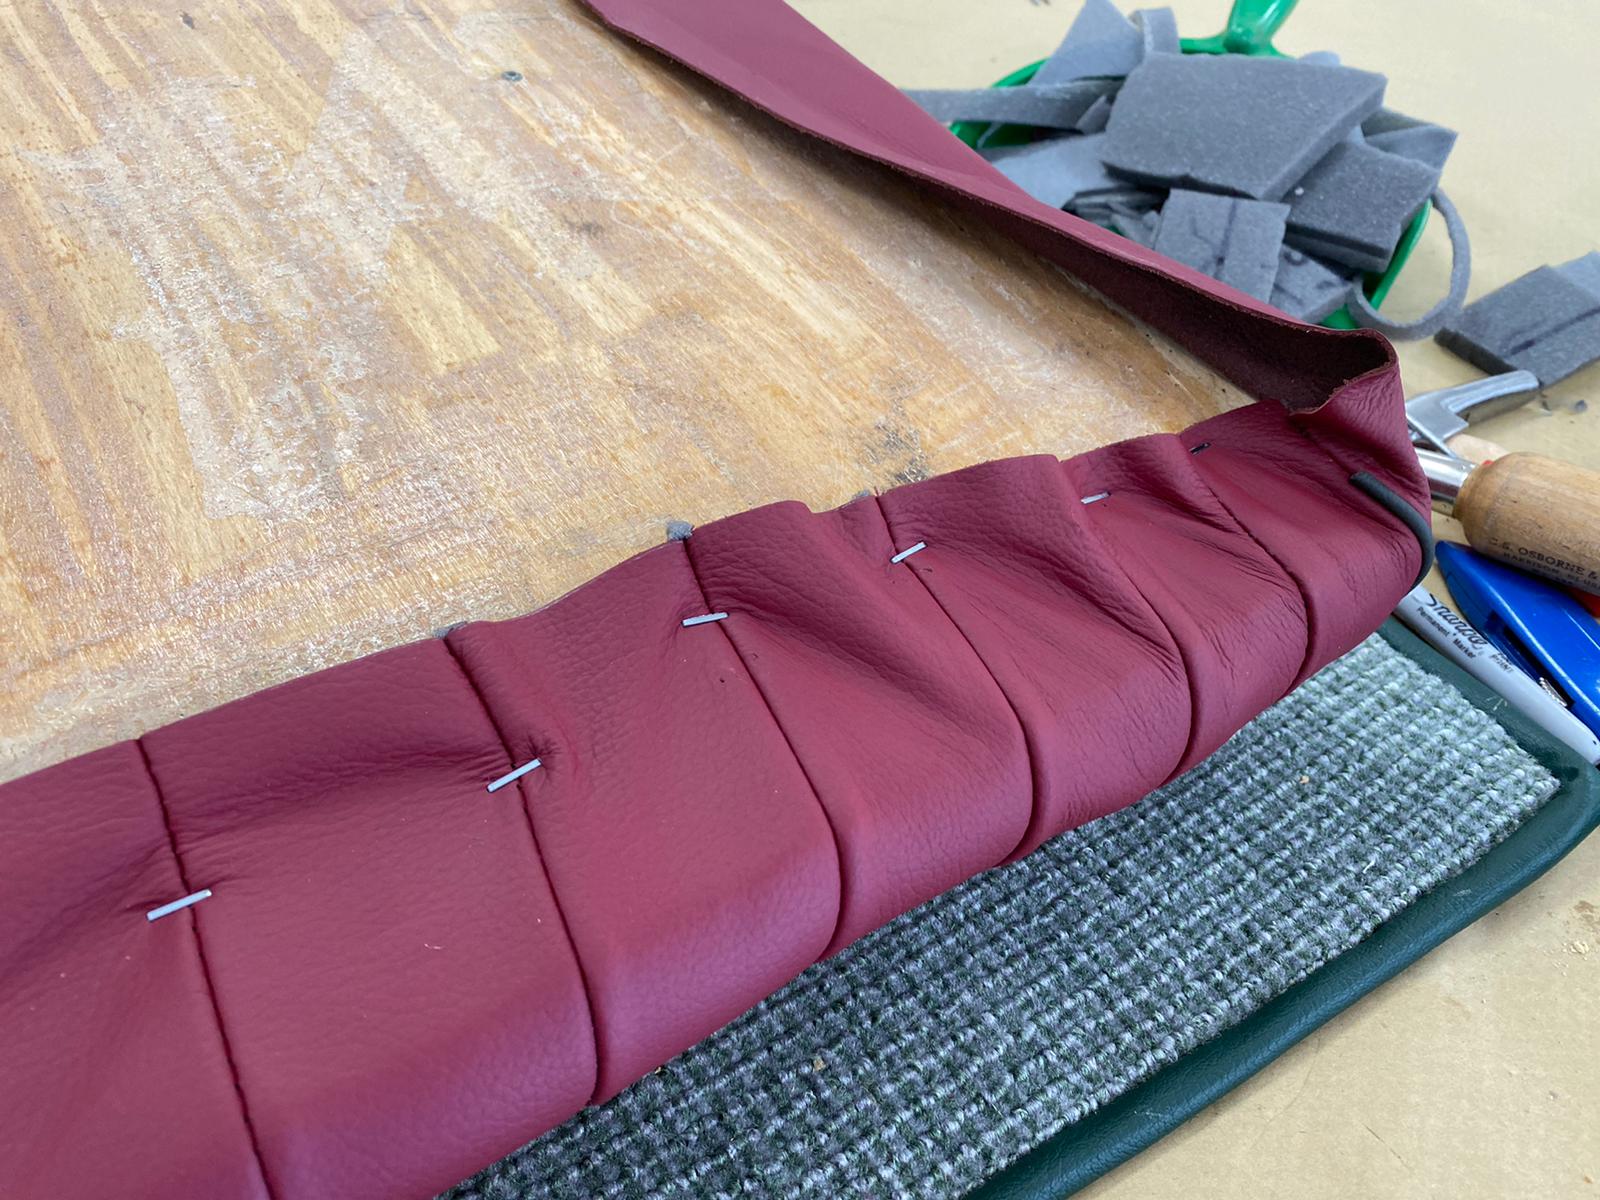
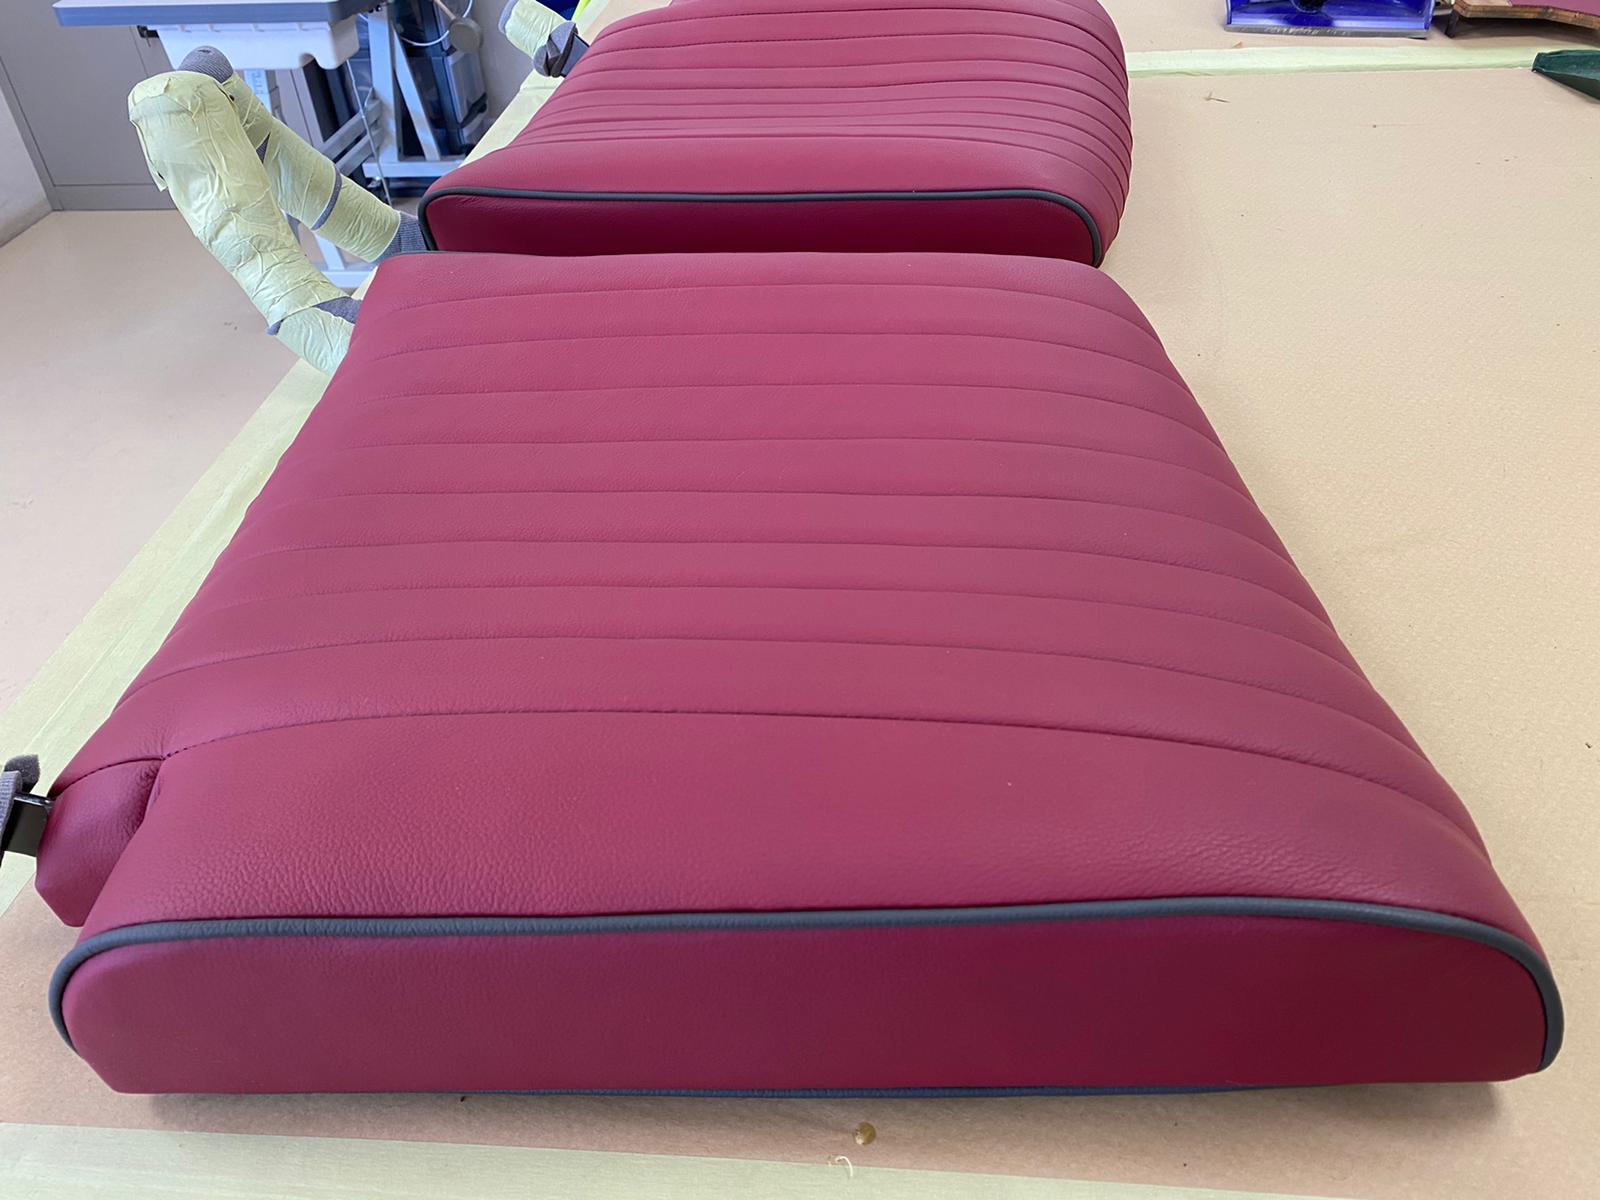
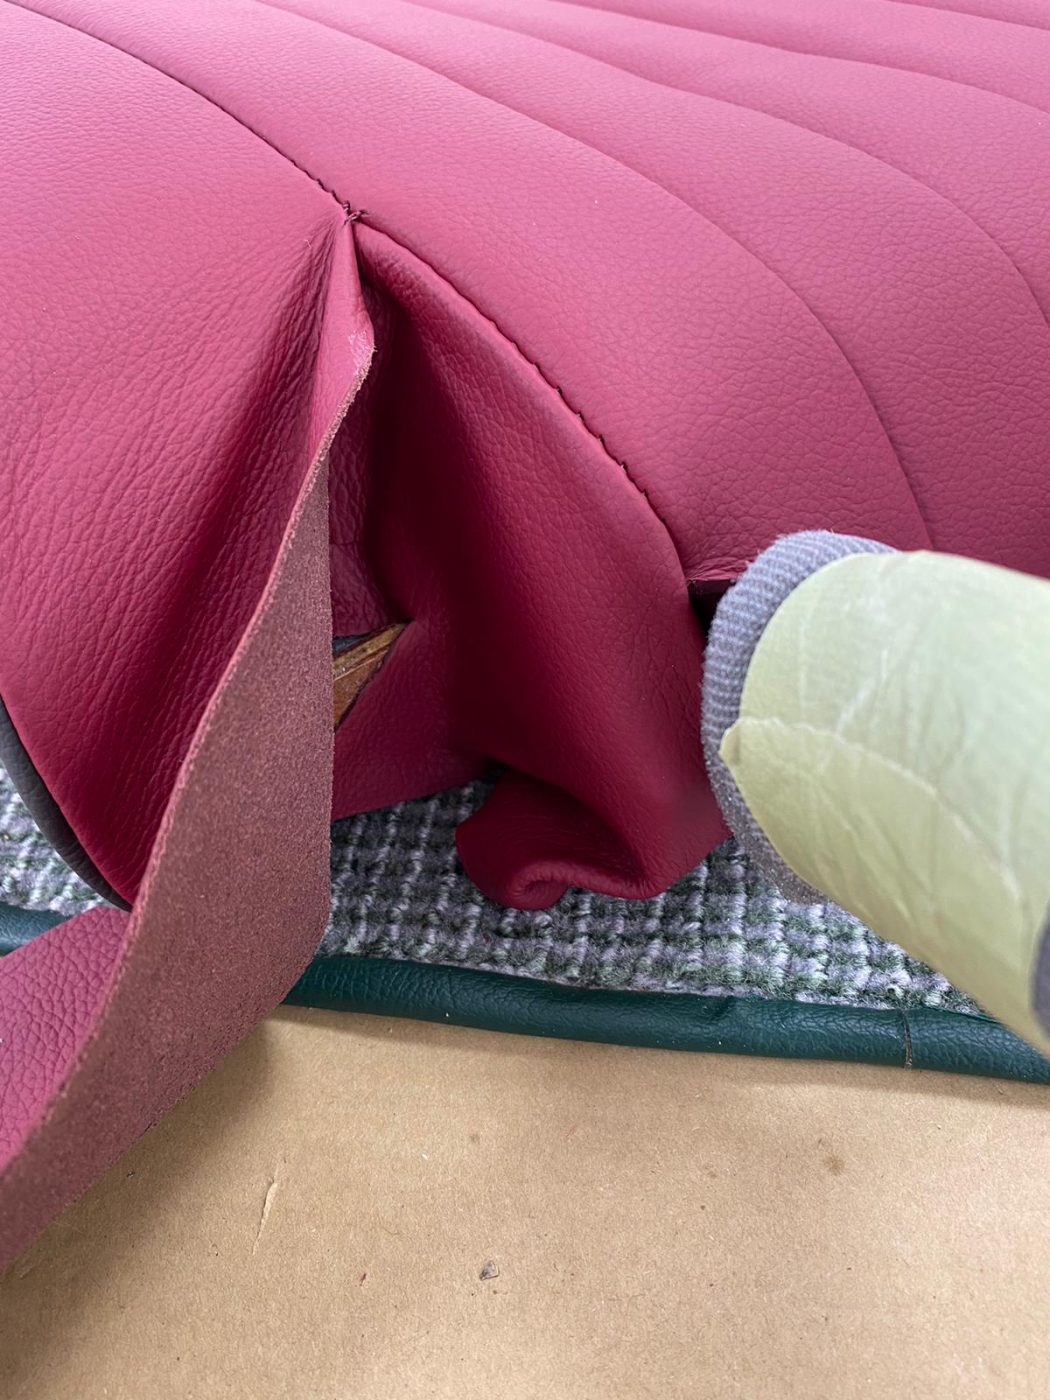
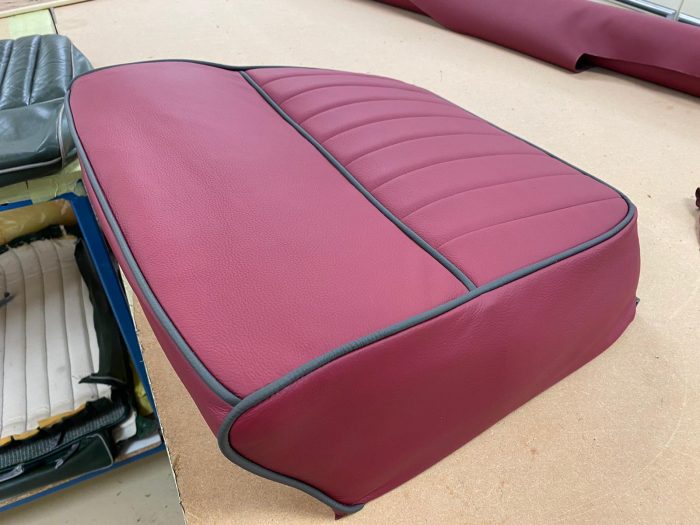
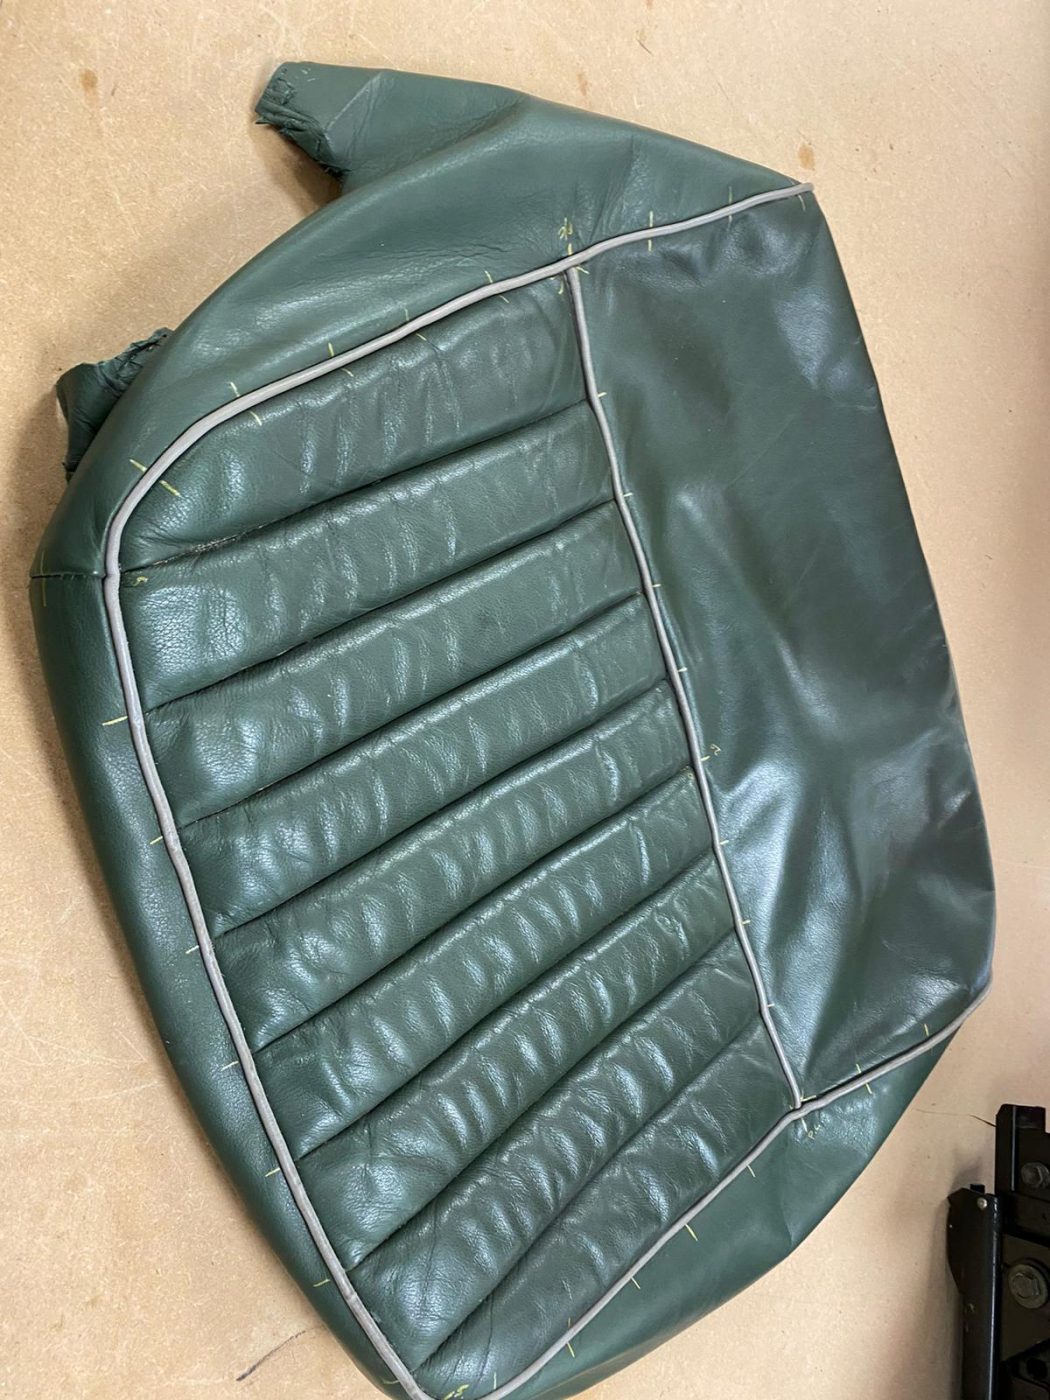
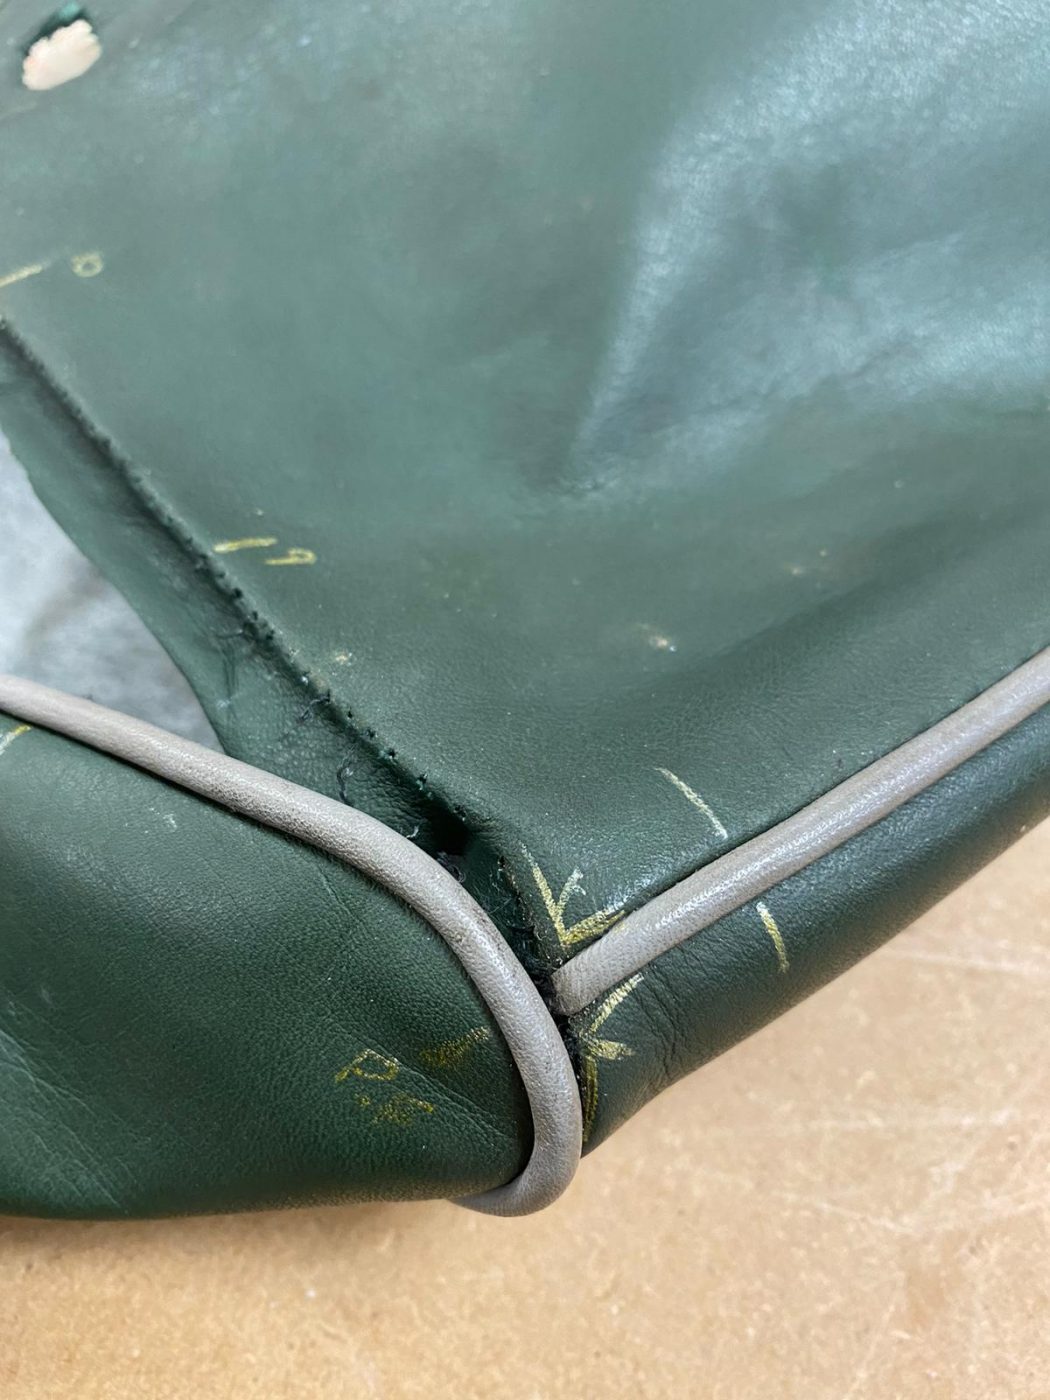
Kath has been finishing up the fitting of the front squab seat covers for the 1955 Aston Martin DB 2/4.
At the end of last week, she completed the first front squab, which can be read about here. https://bridgeclassiccars.co.uk/the-start-of-the-aston-martin-seat-fitting/ It was exactly the same process for this second front squab seat.


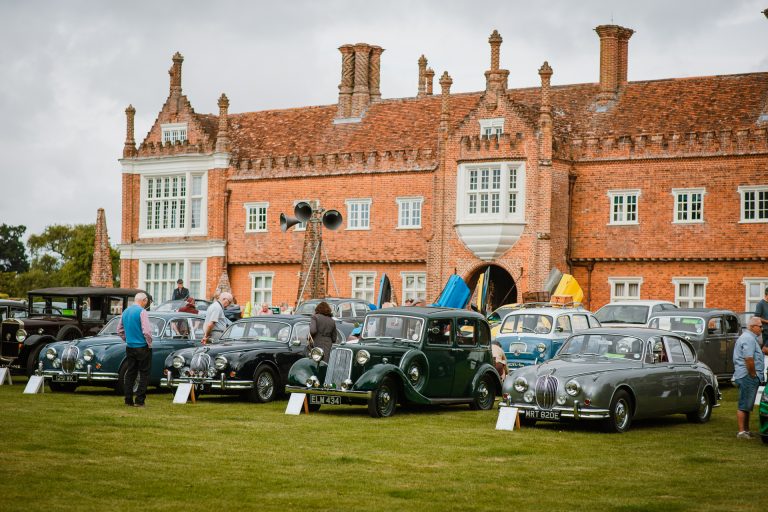
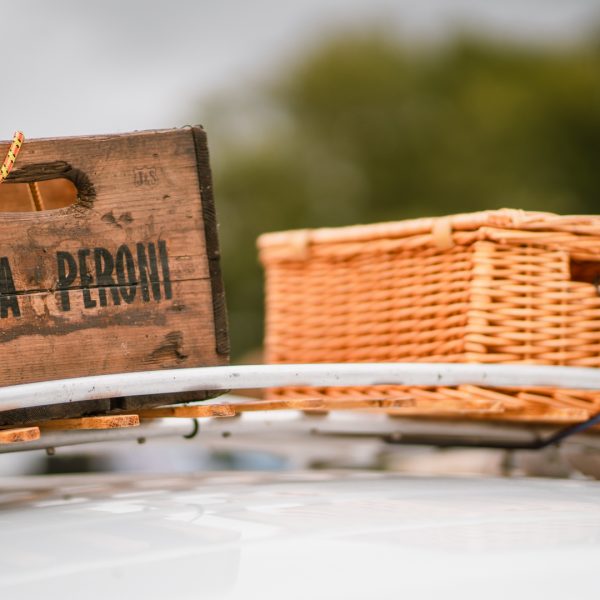
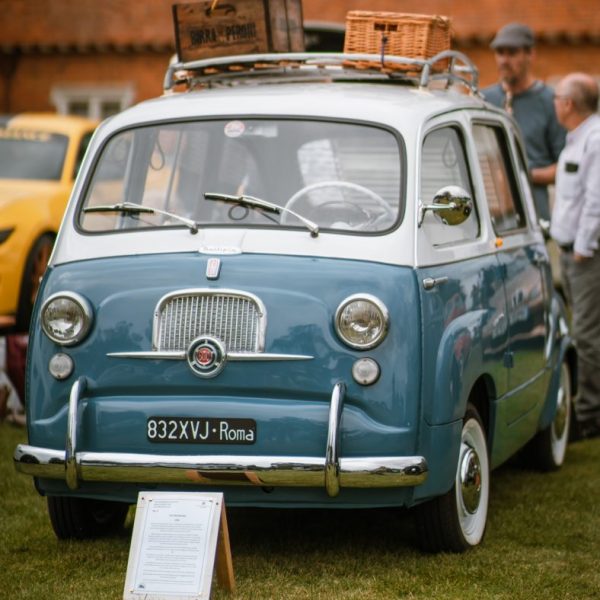
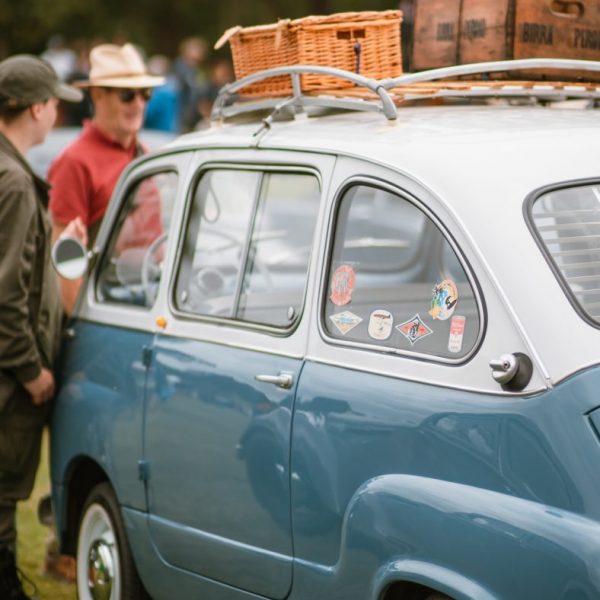
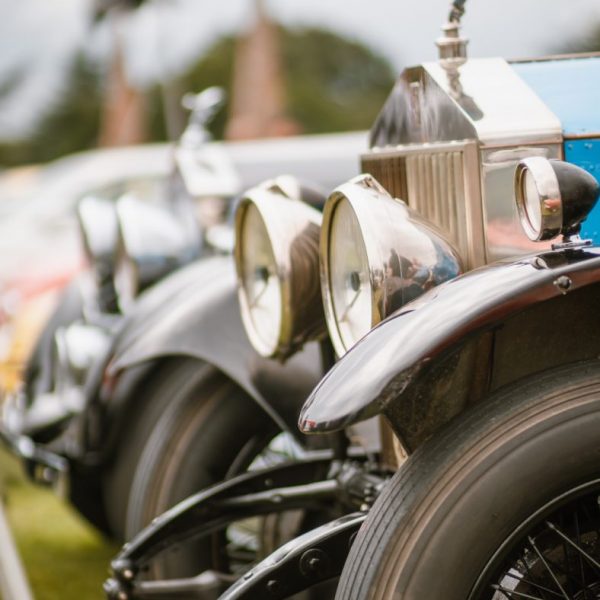
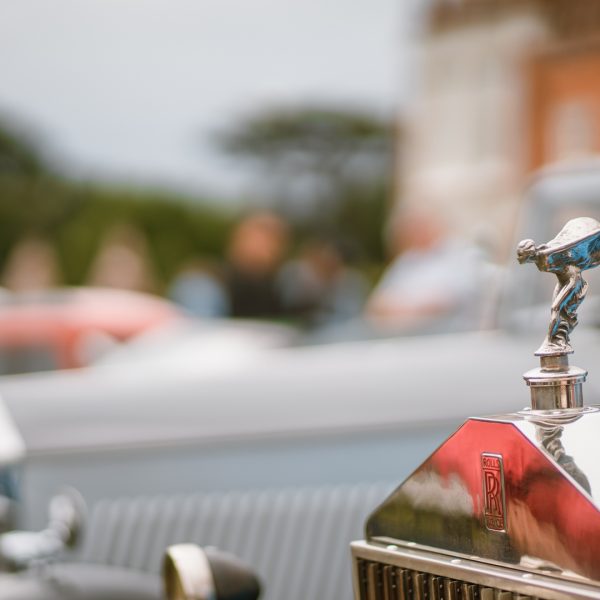
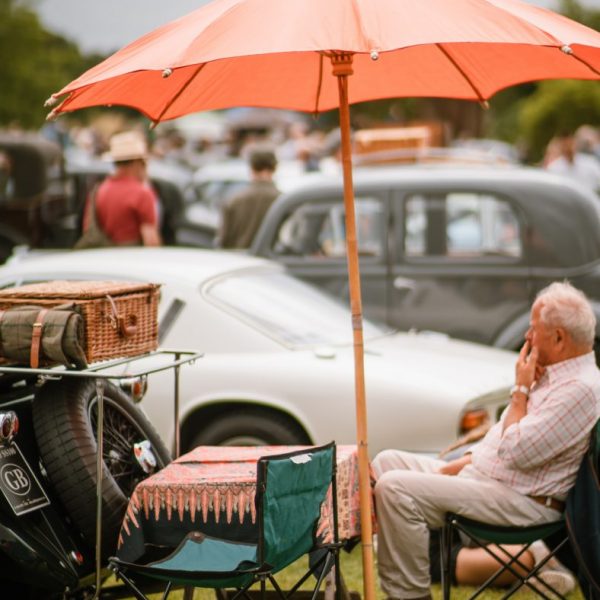
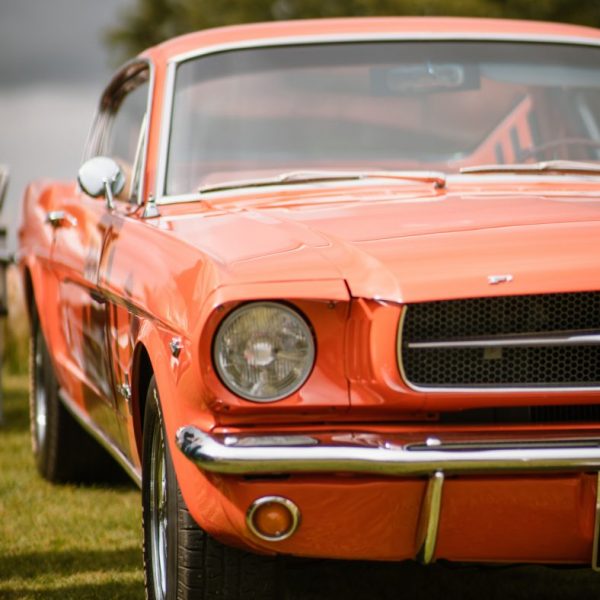
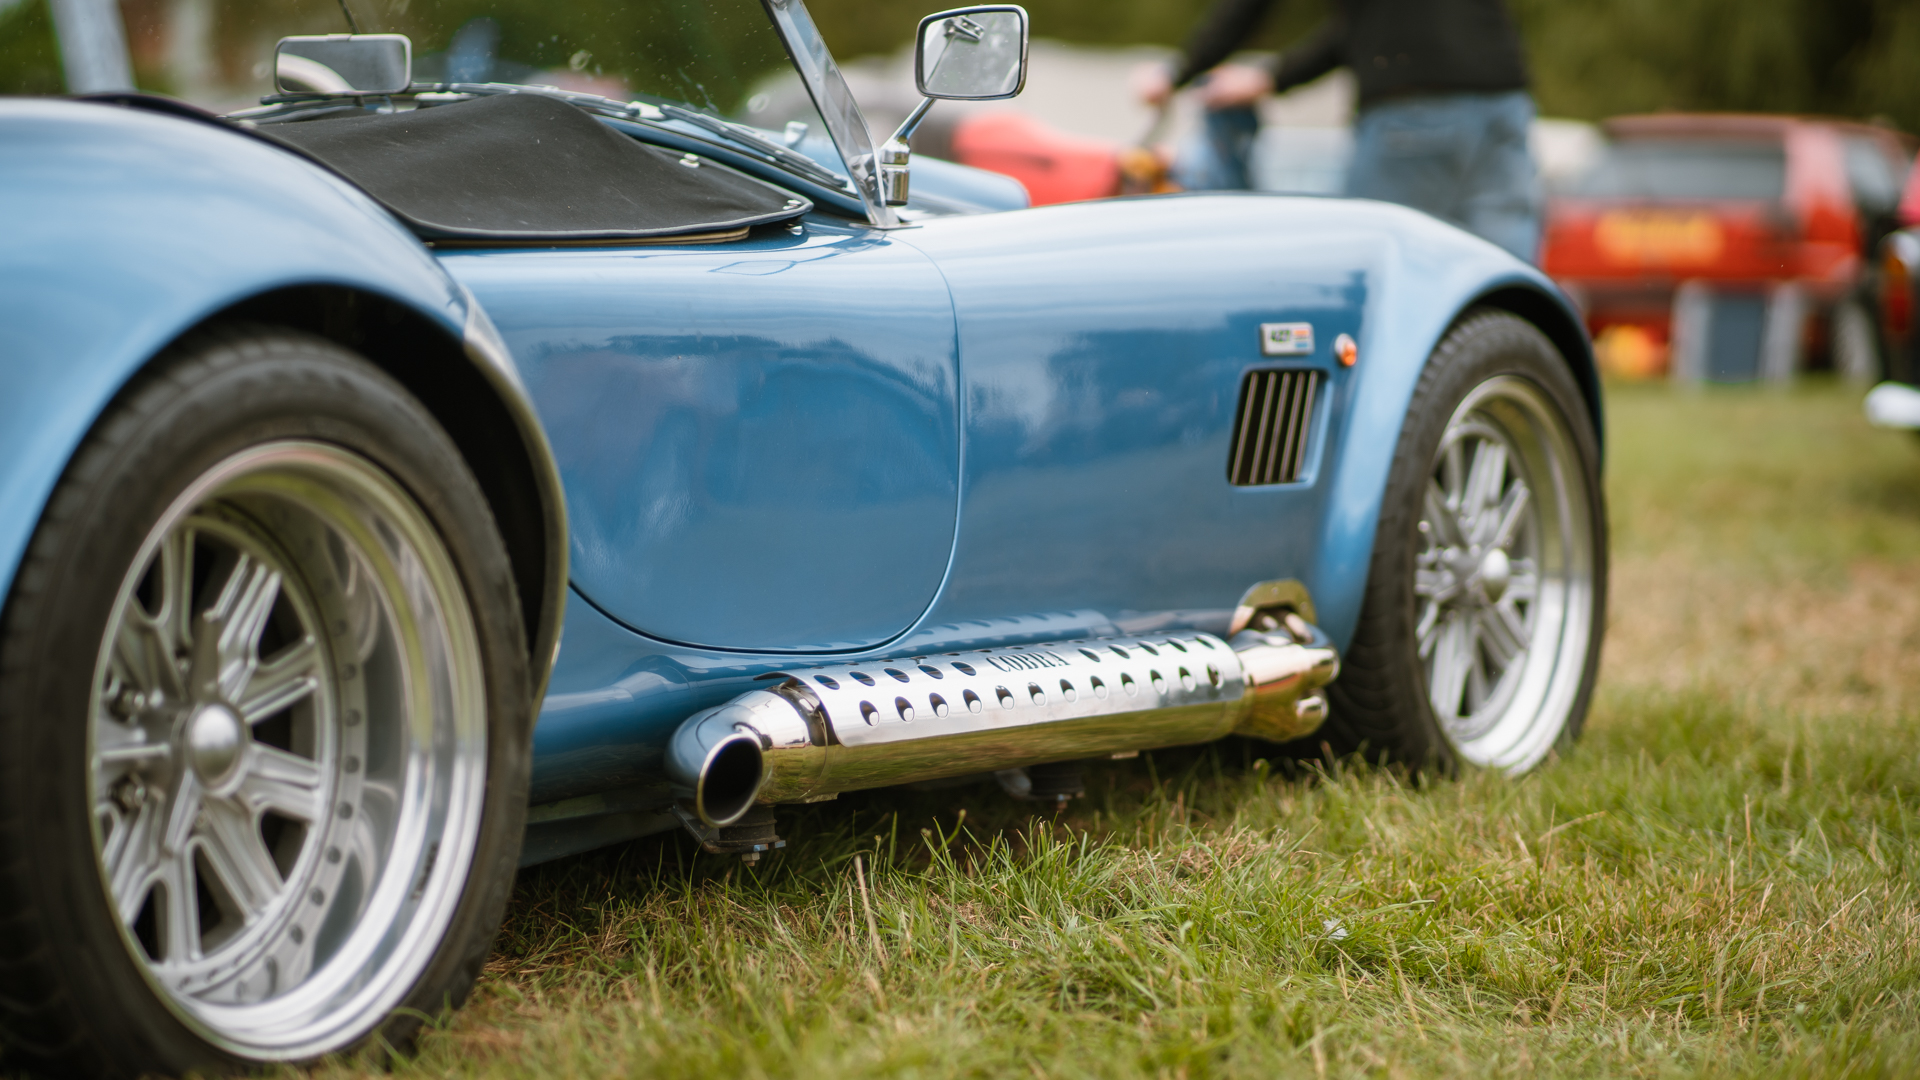
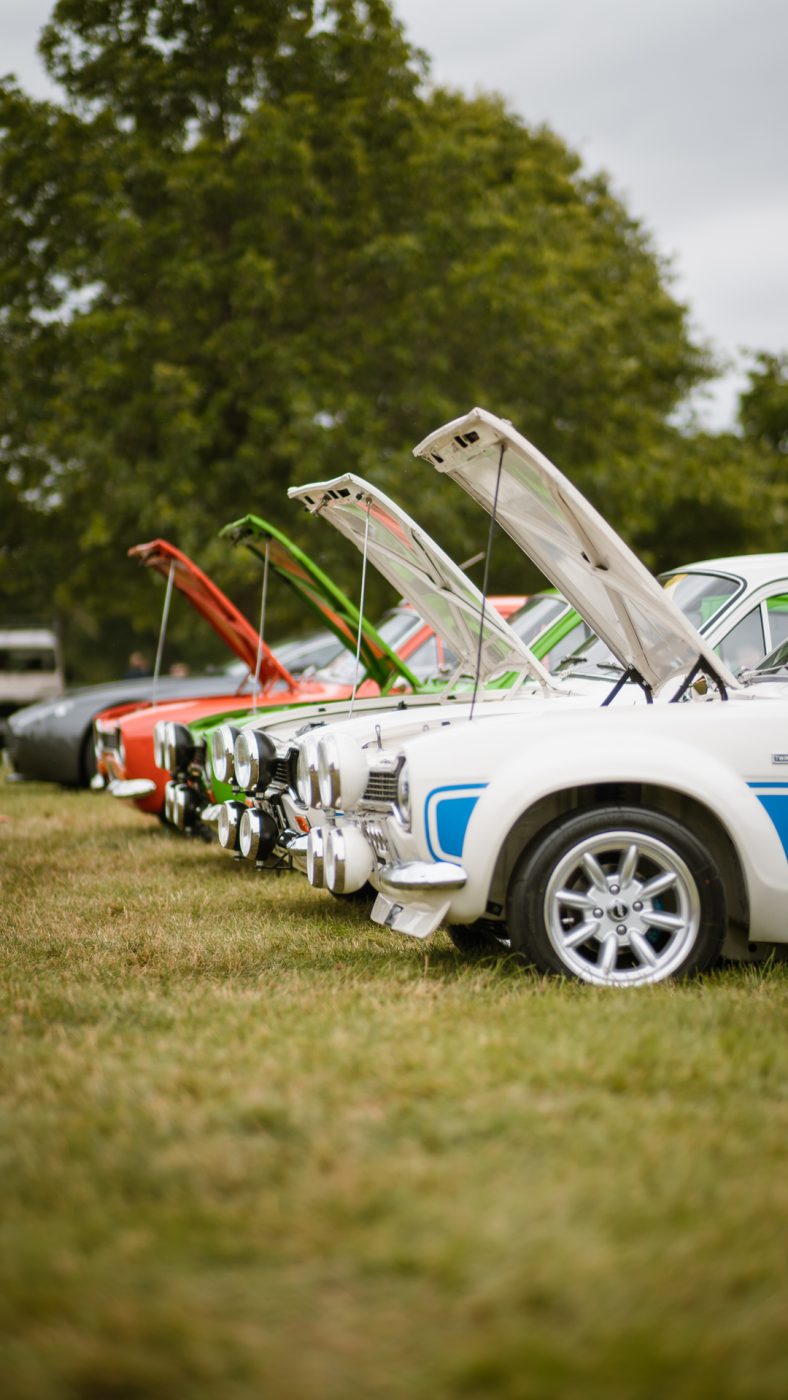
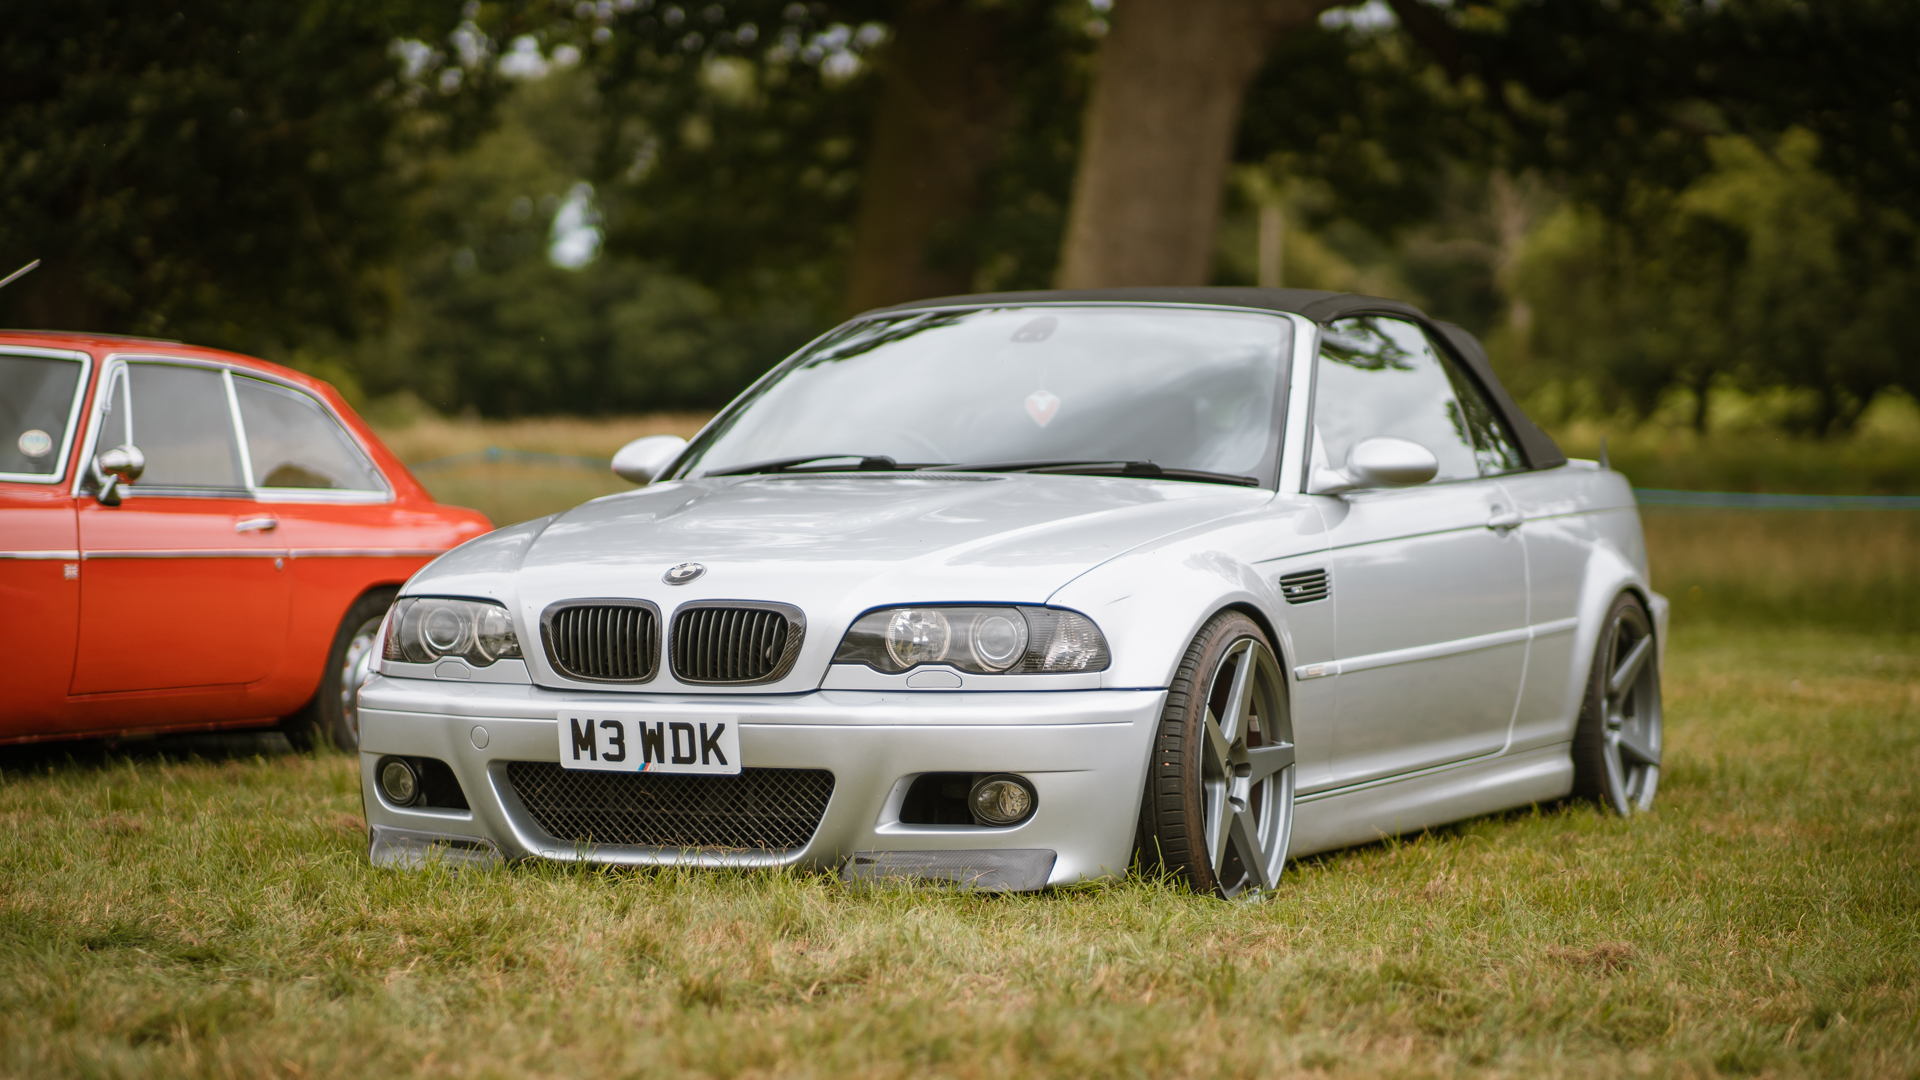
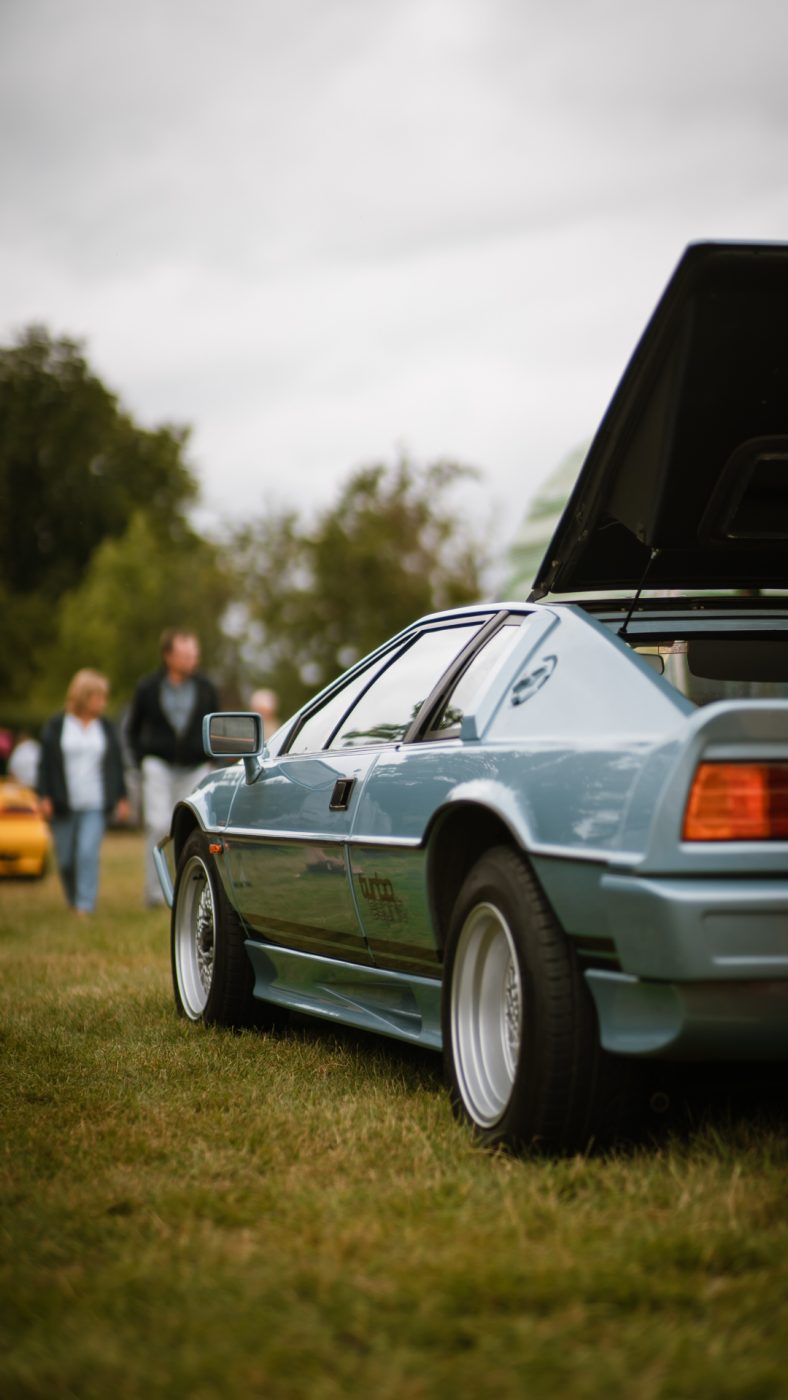
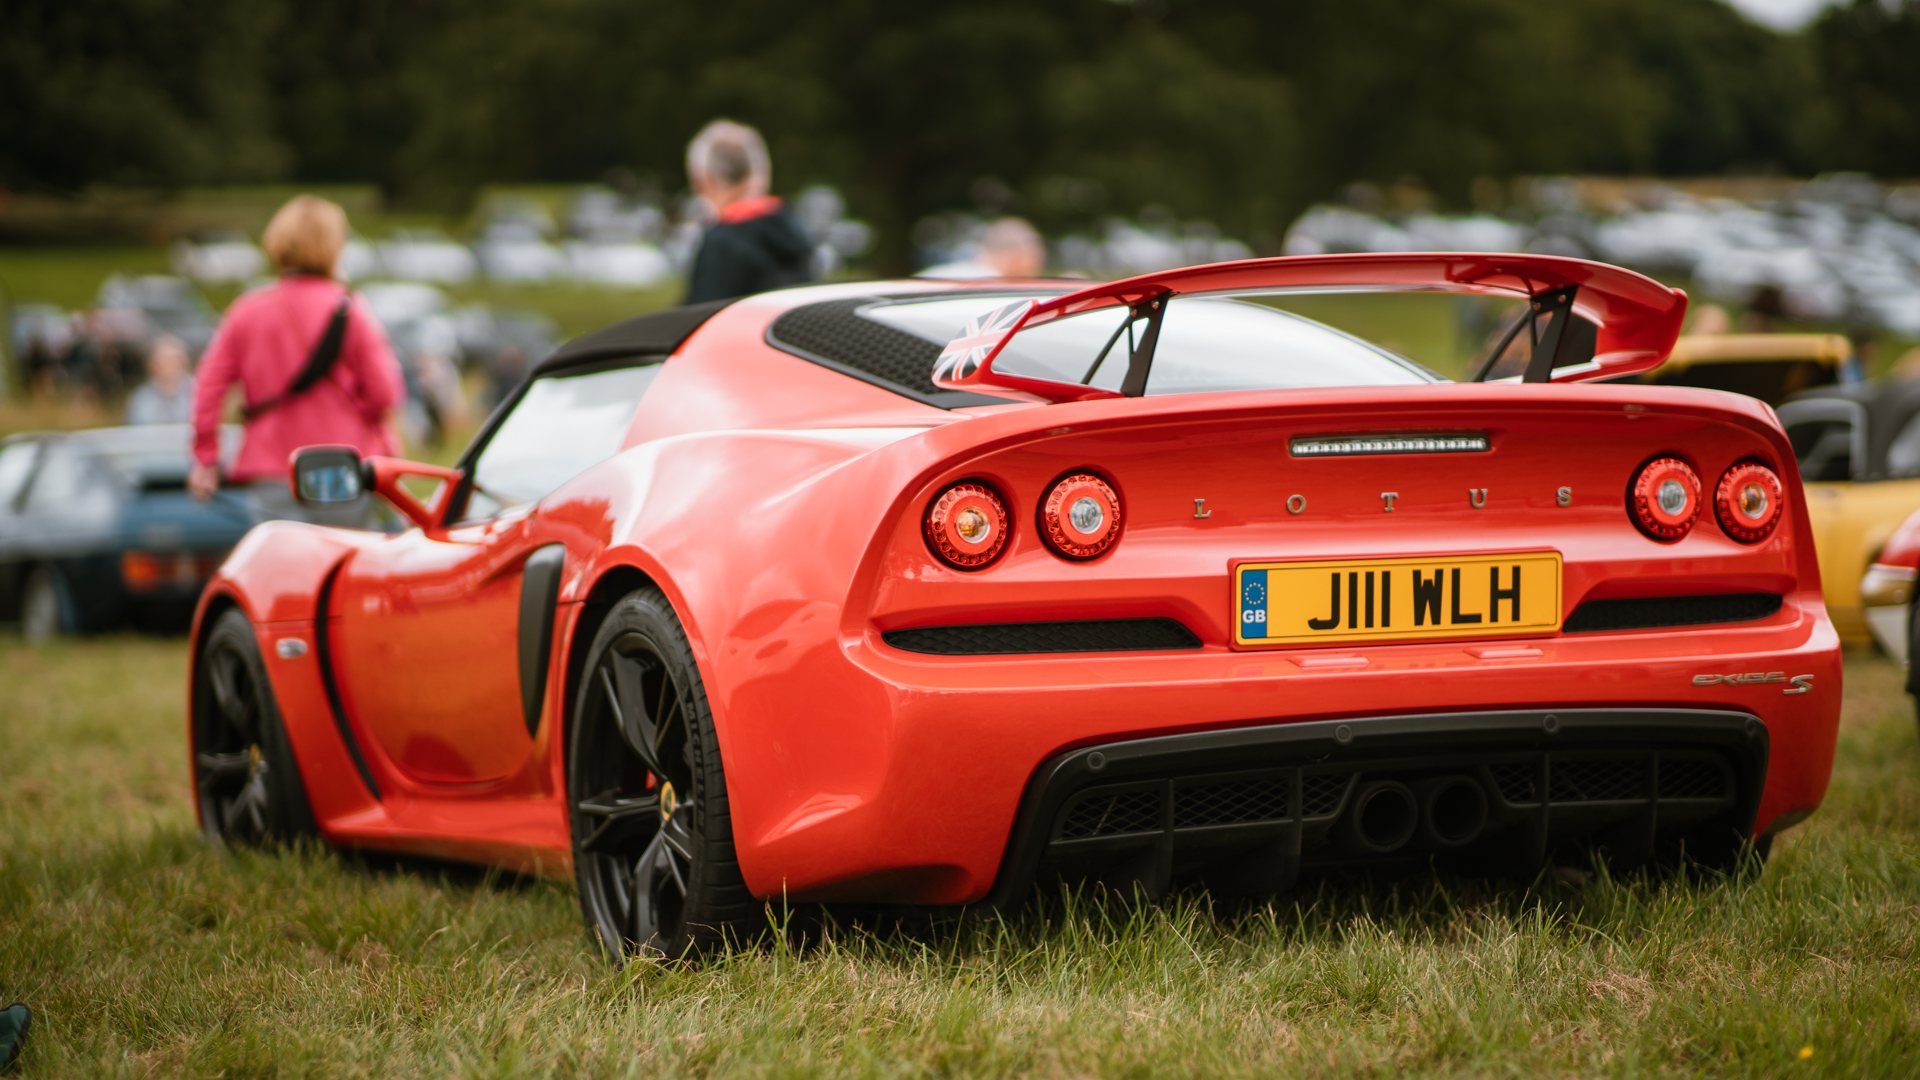
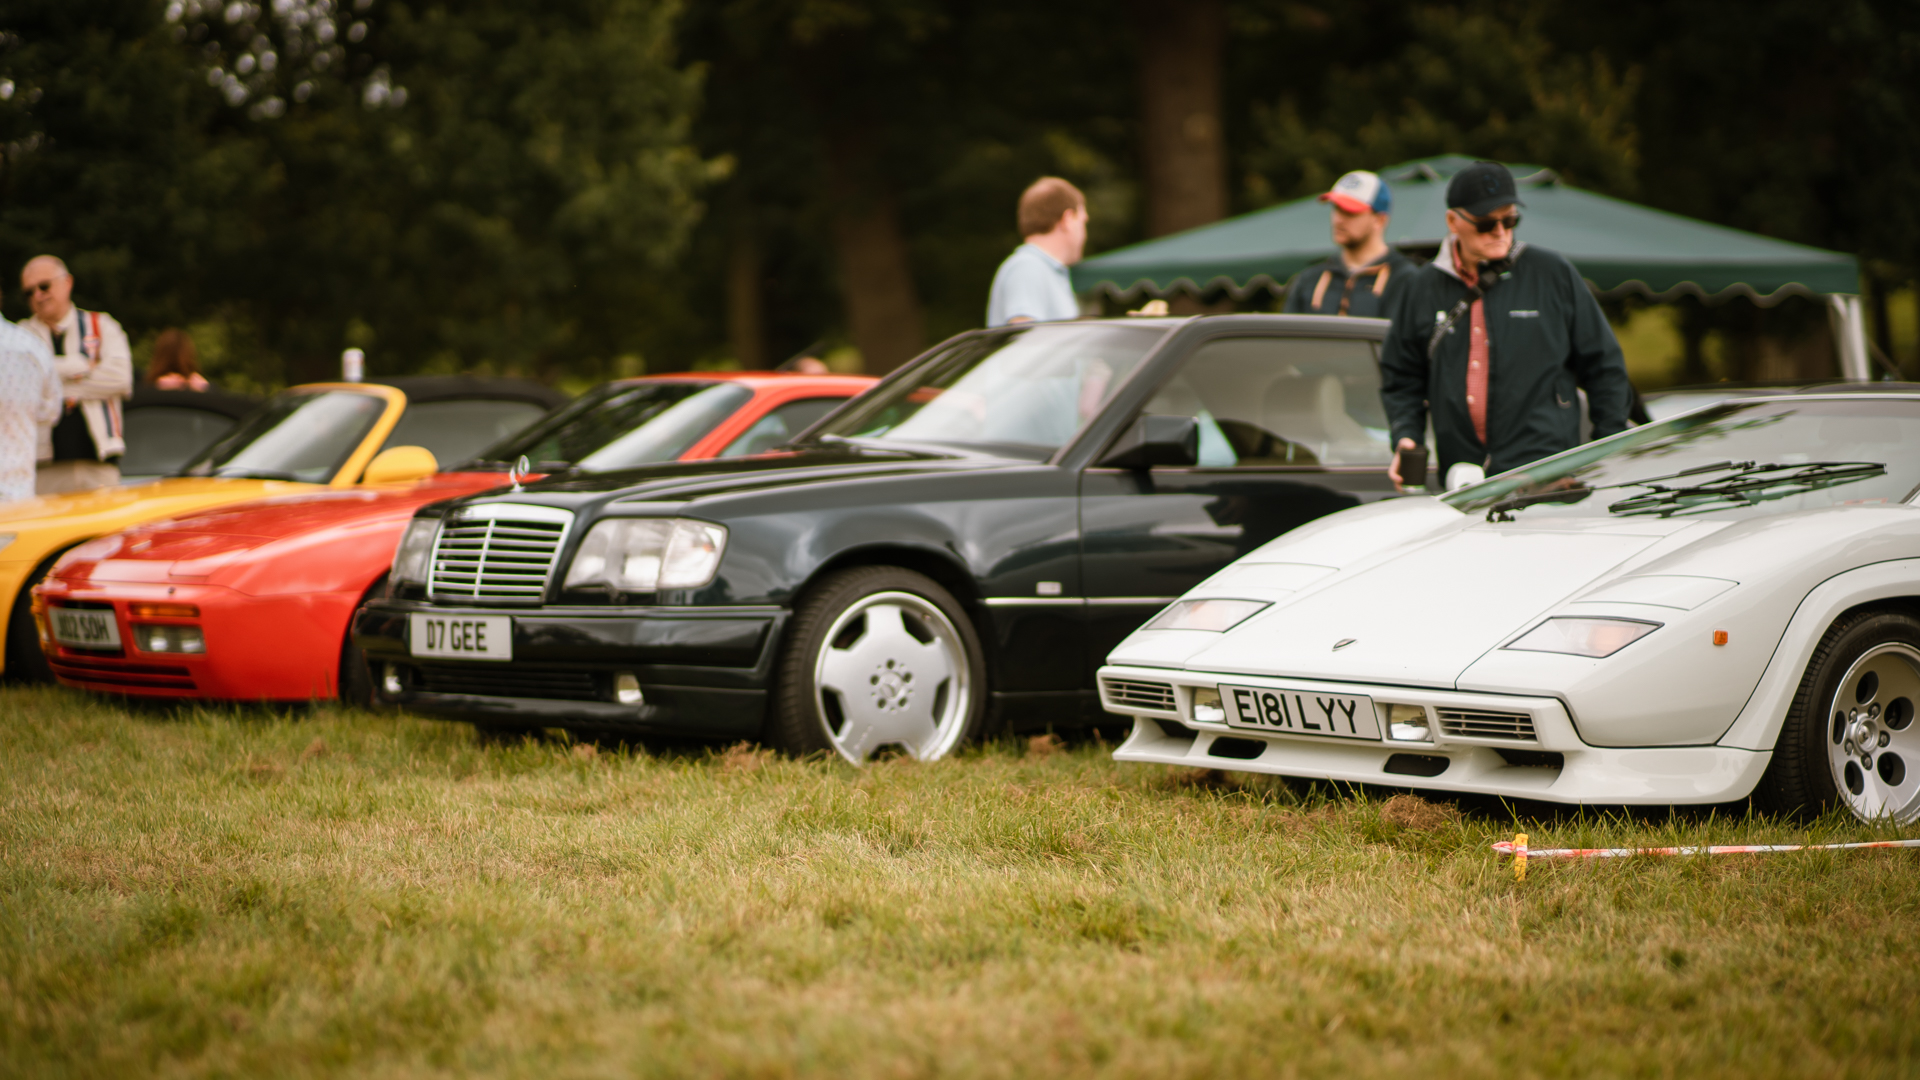
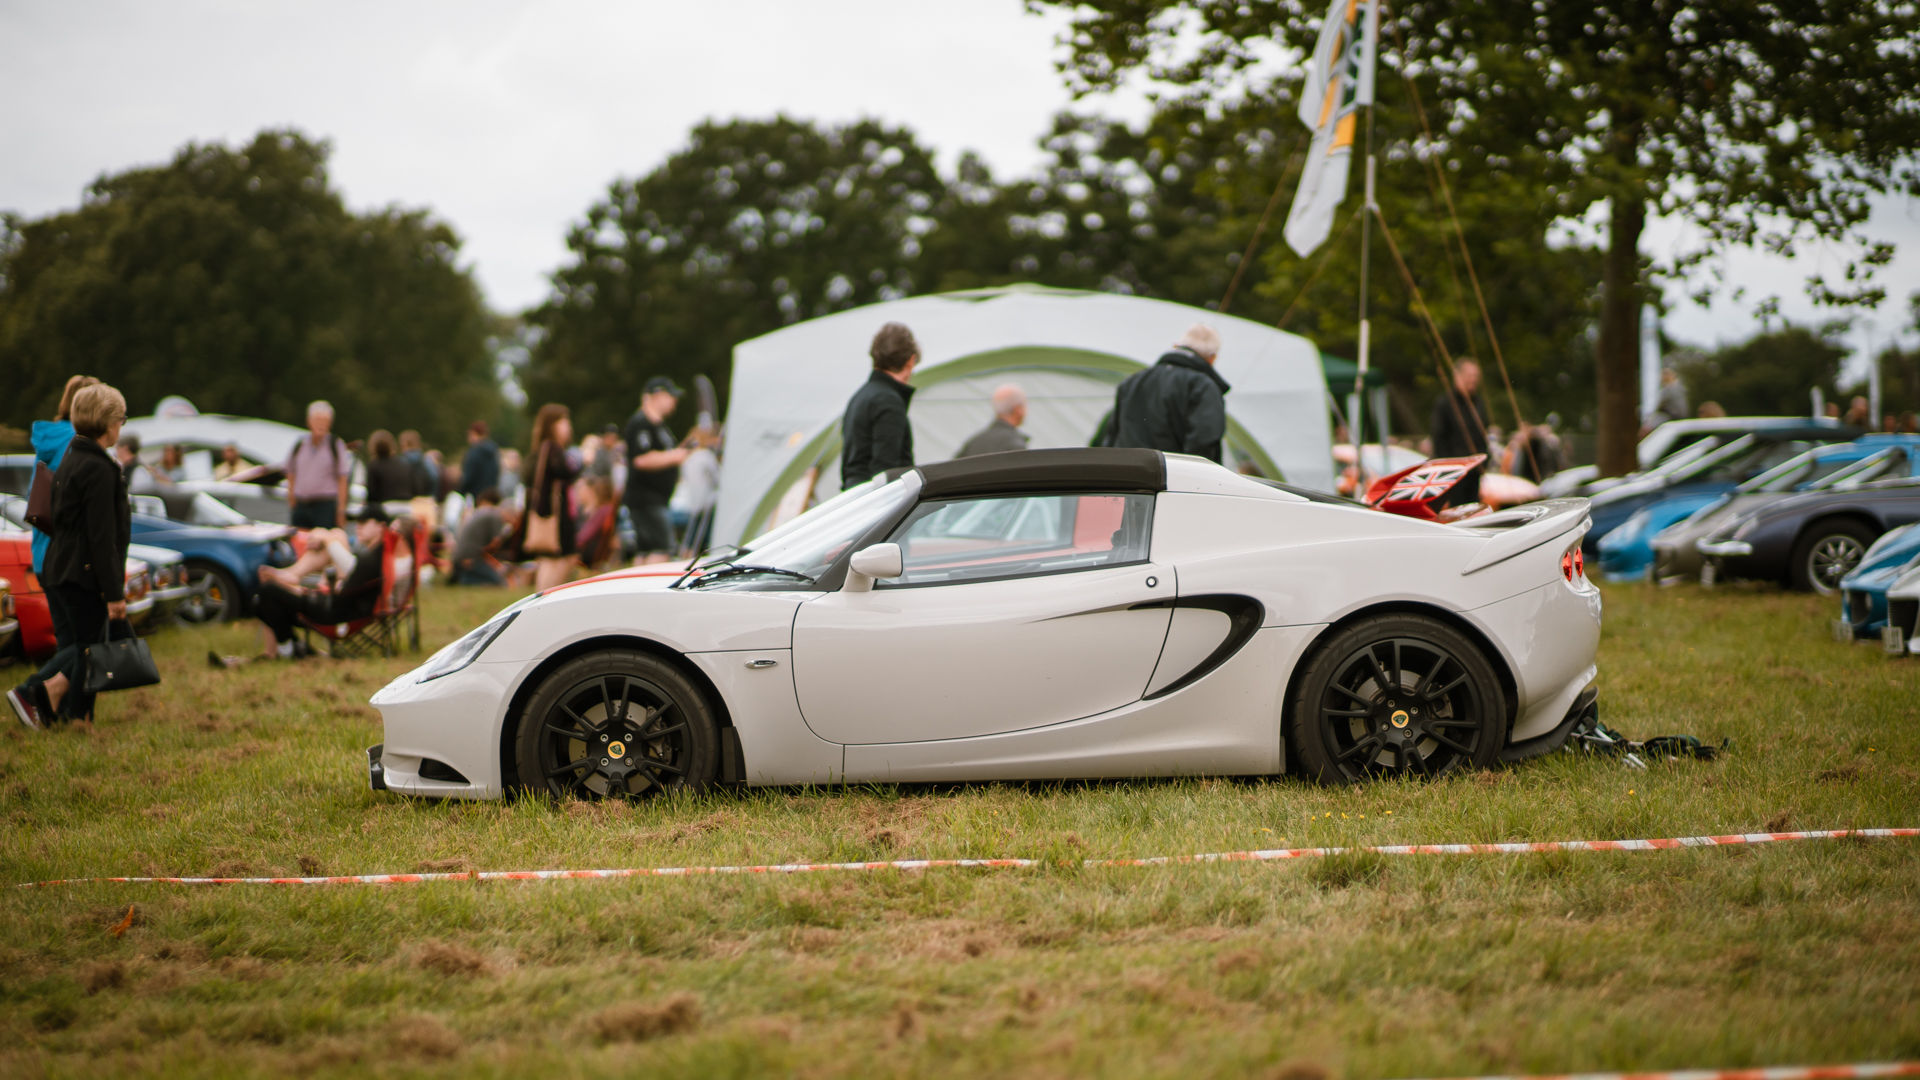
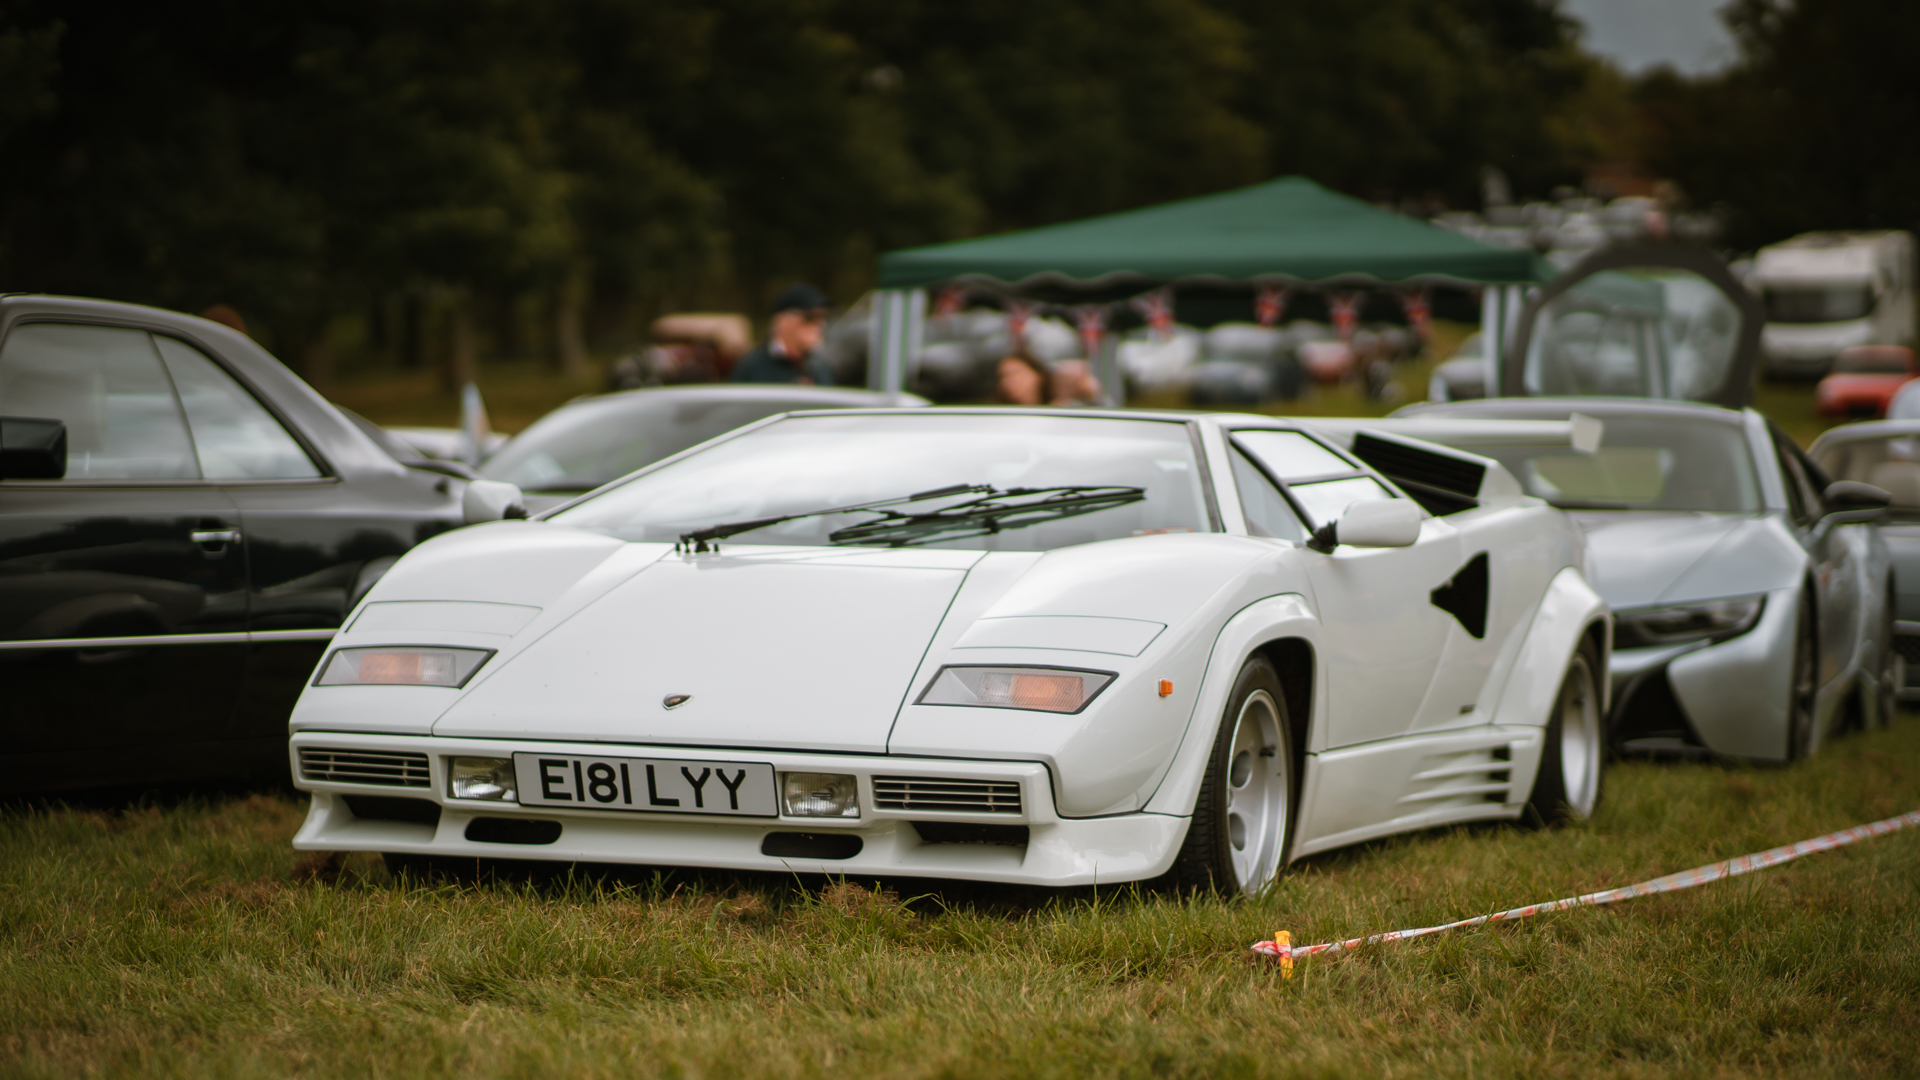
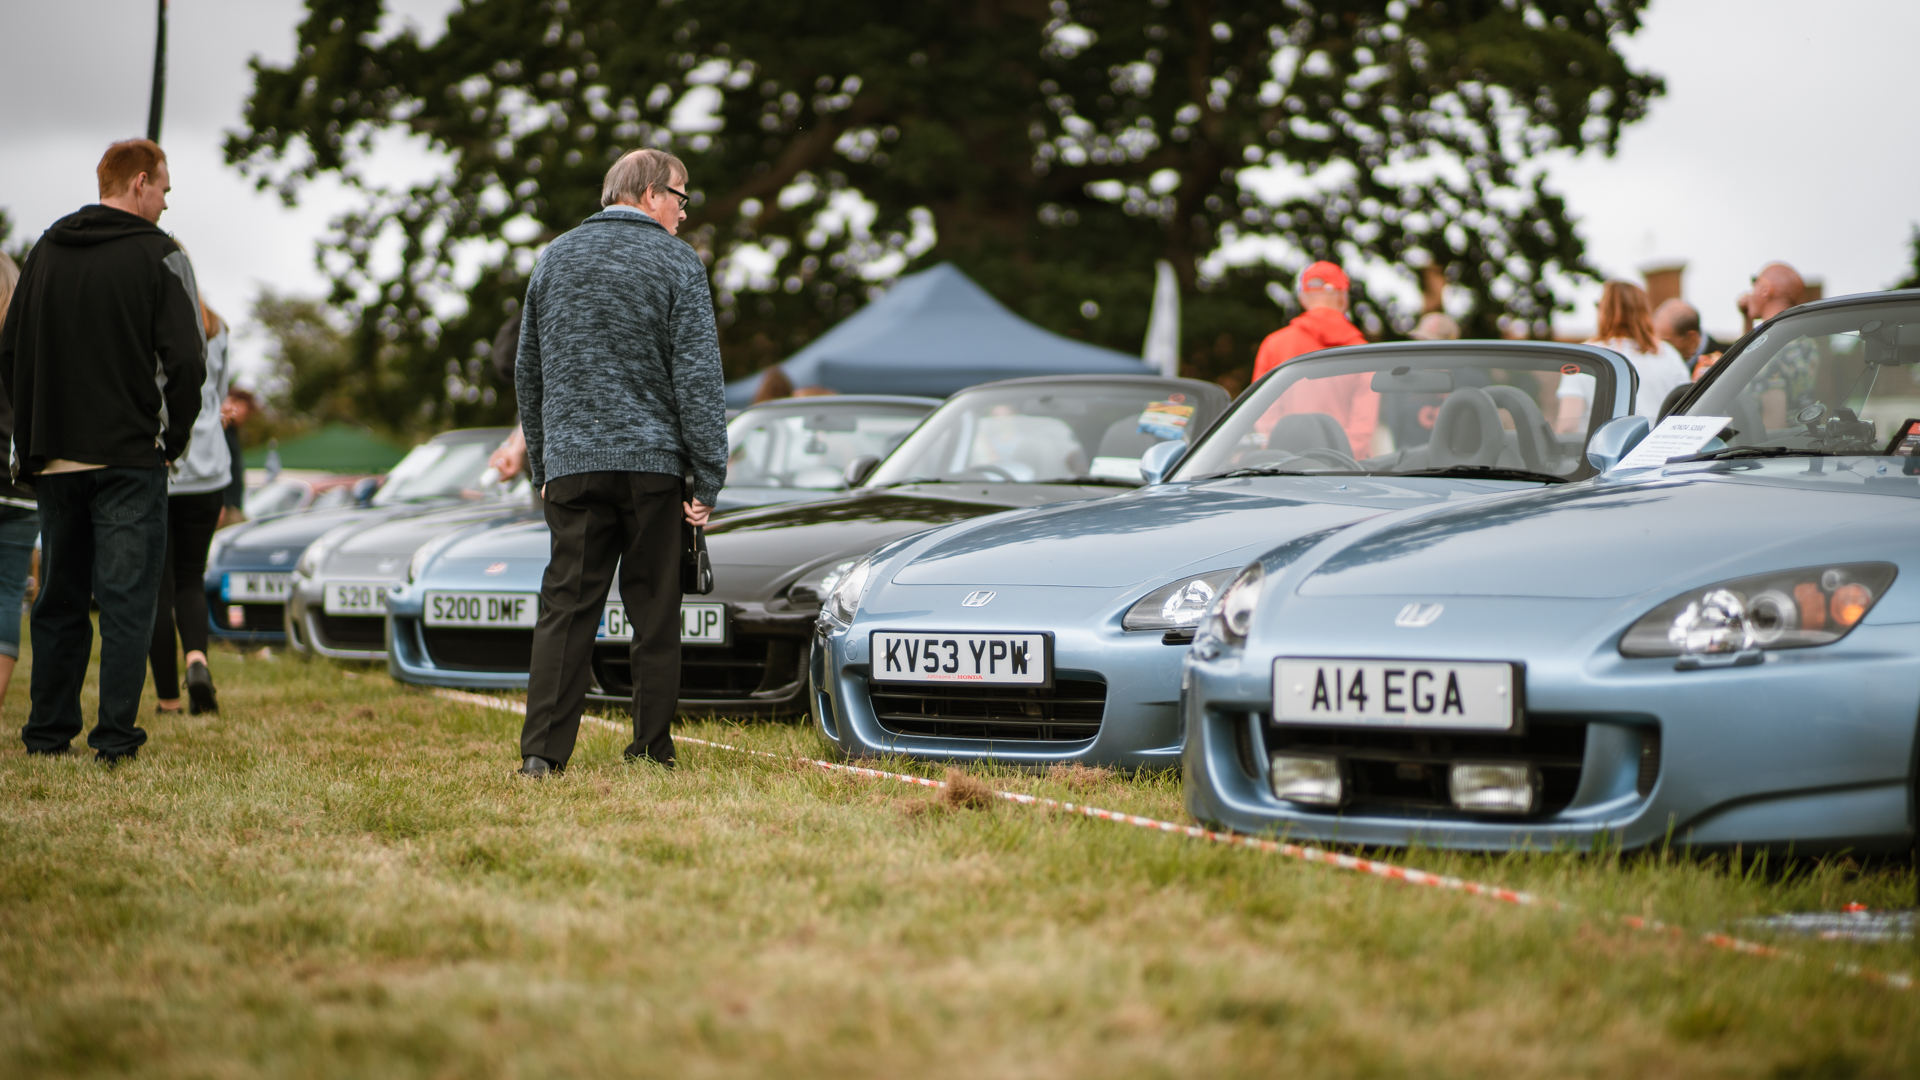
What a weekend! Now we’re back at base, it’s time for a re-cap of another classic car-fueled weekend. After a canceled 2020 show, Helmingham hall played backdrop for a wonderful show. Charlotte and the Bridge team were all at the show to present our restoration projects and current competition lineup. We even closed out the show by drawing the winner of our 1959 Jaguar MK1 which was Shaun Clarke, with ticket number 1486.
Here are a few snaps we took at the show.

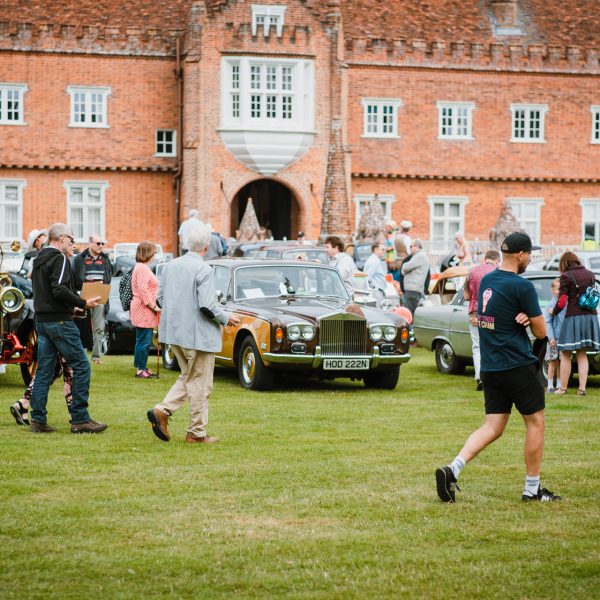
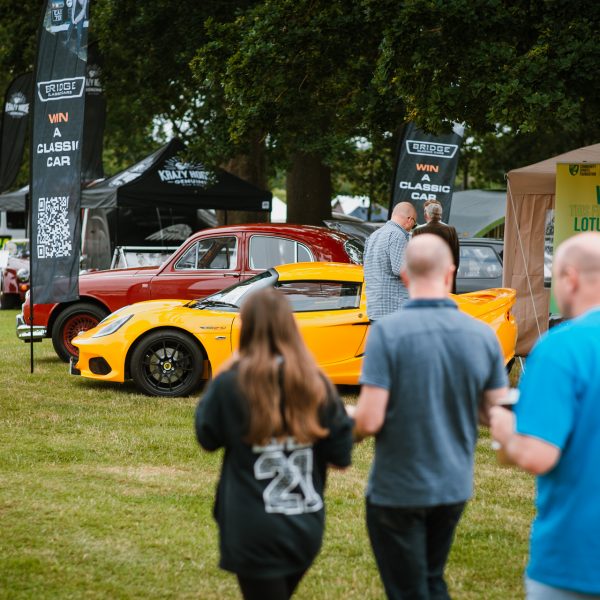


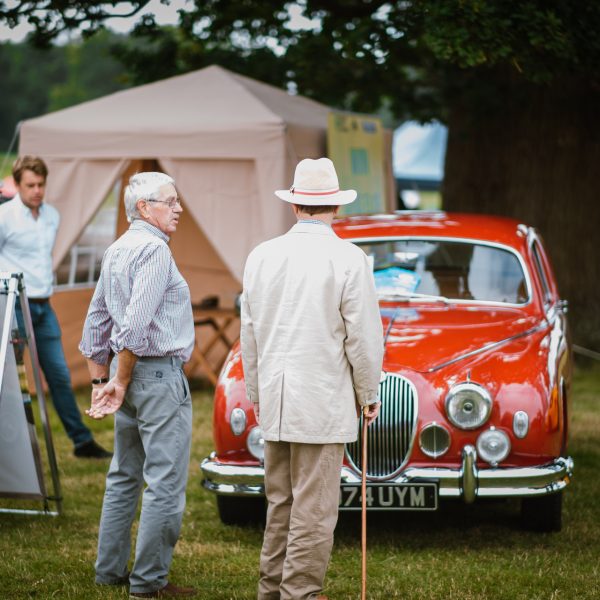
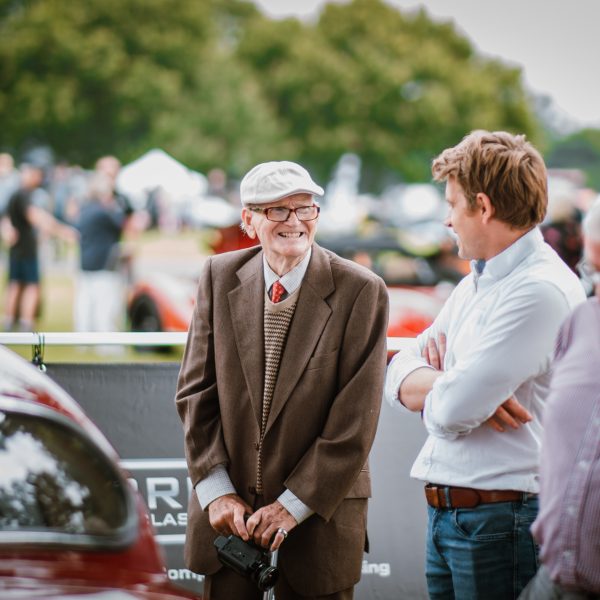
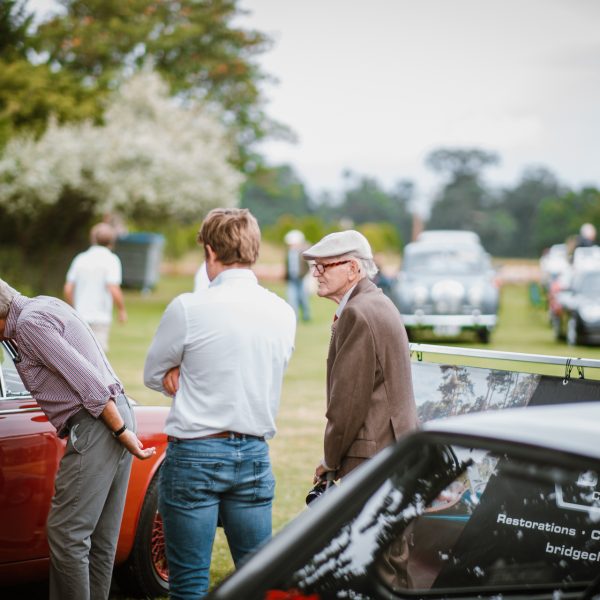
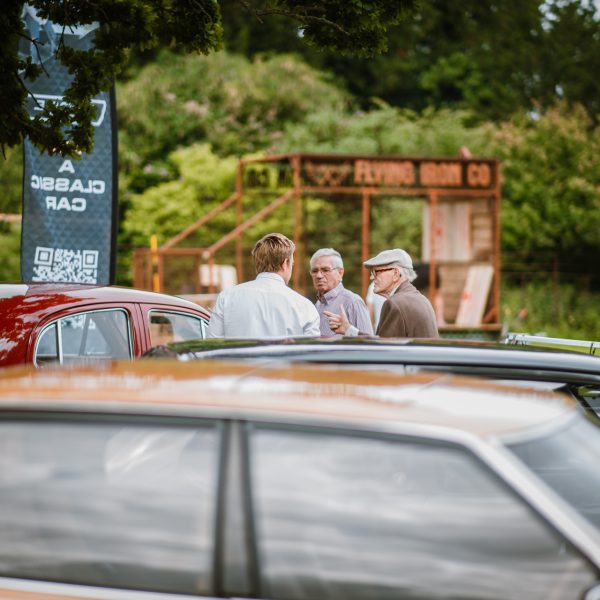
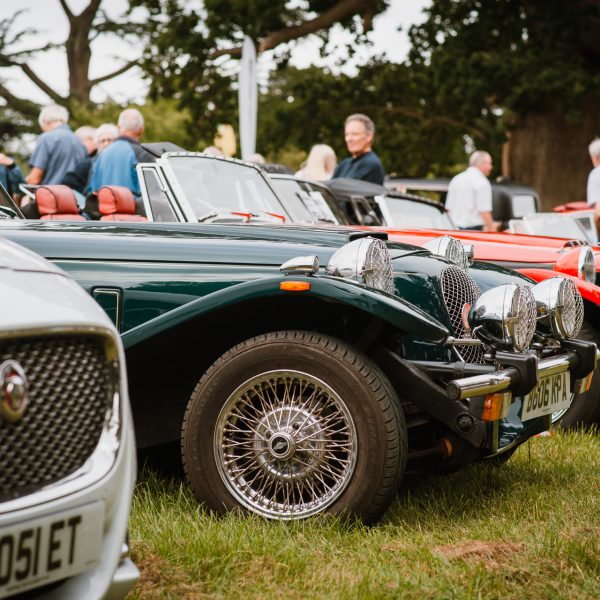
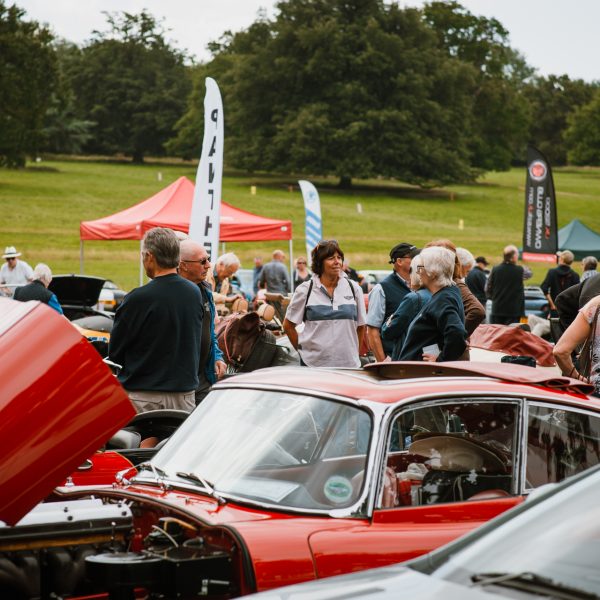
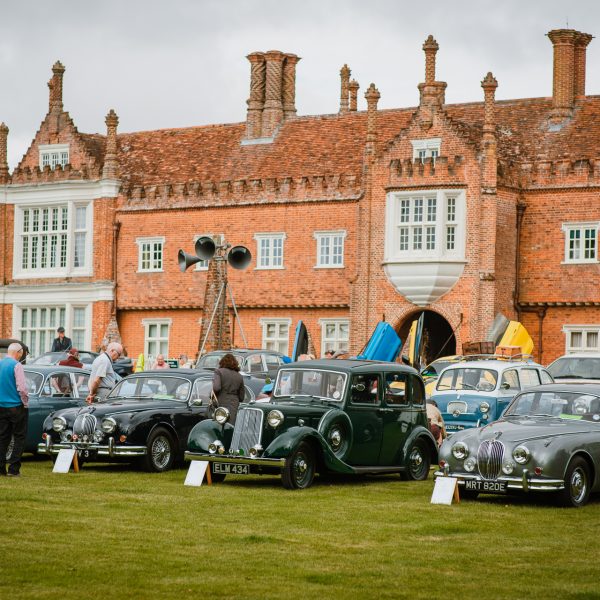
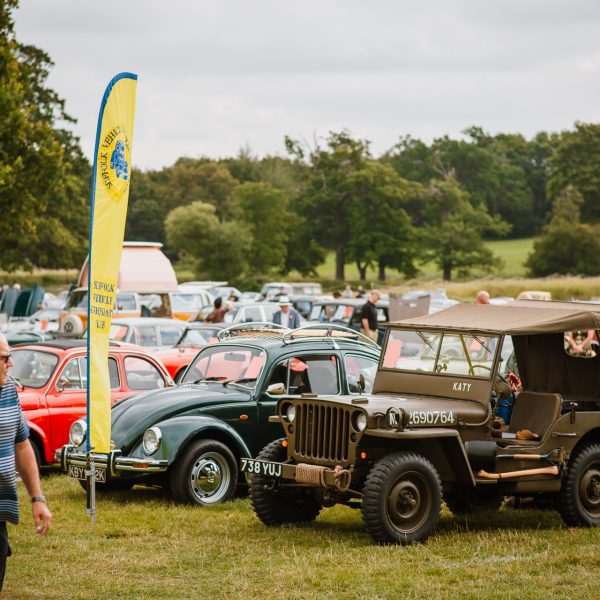
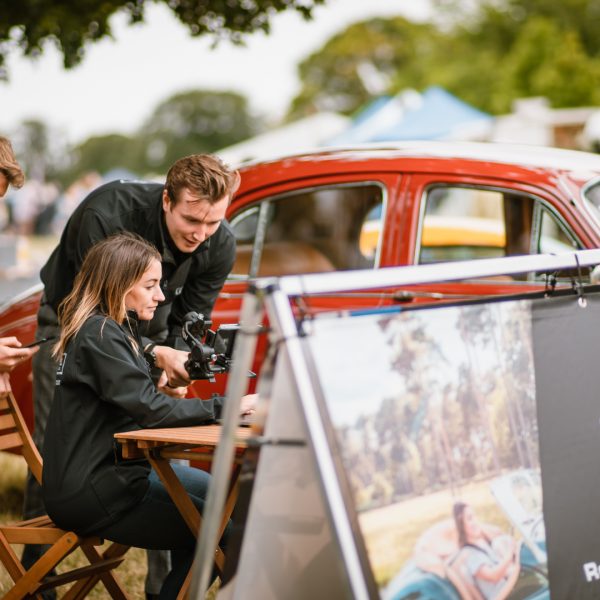
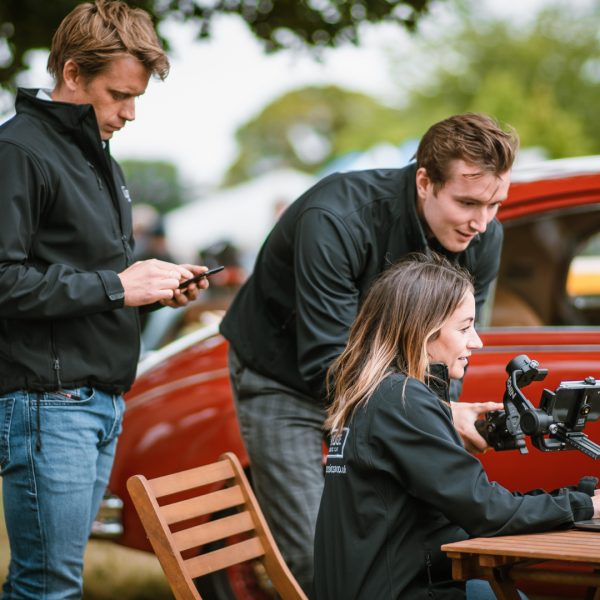
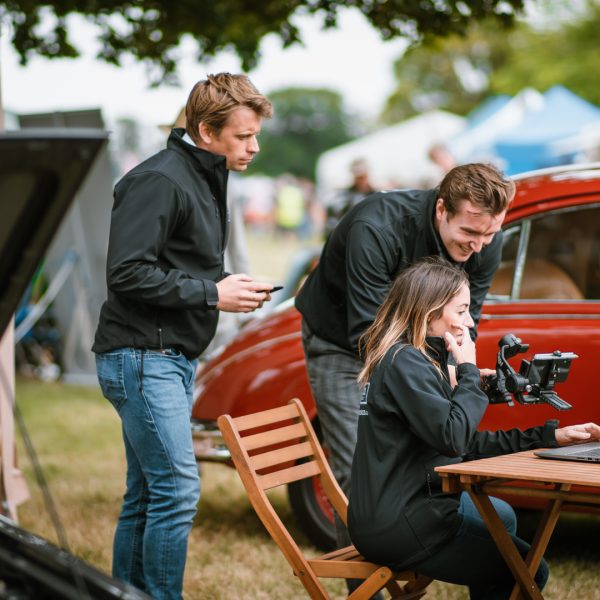
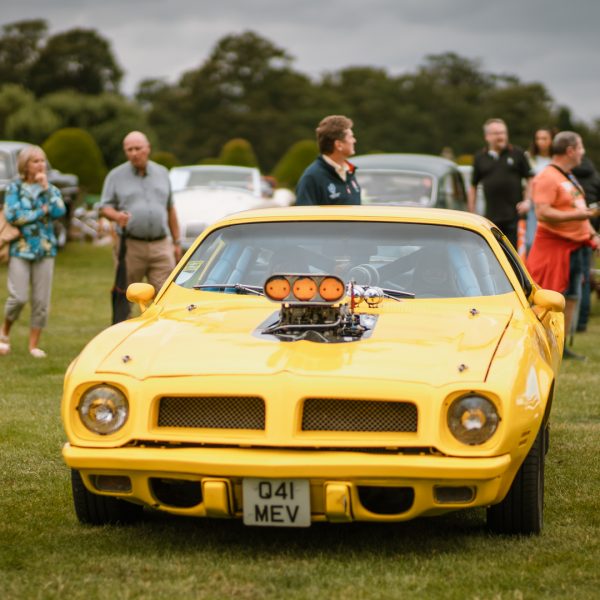
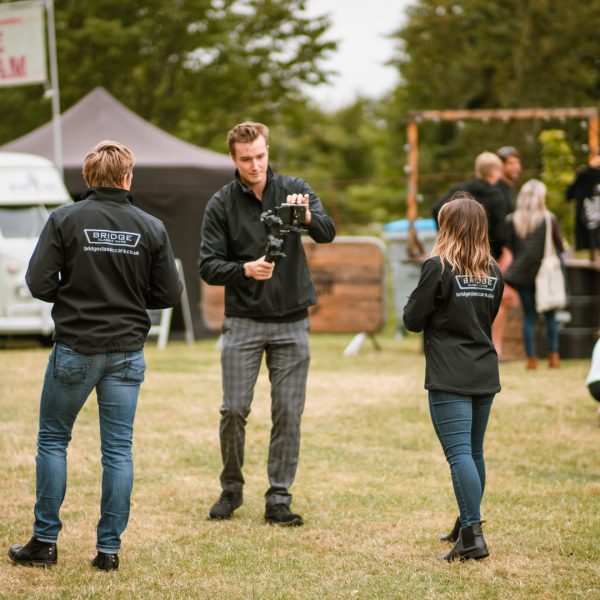

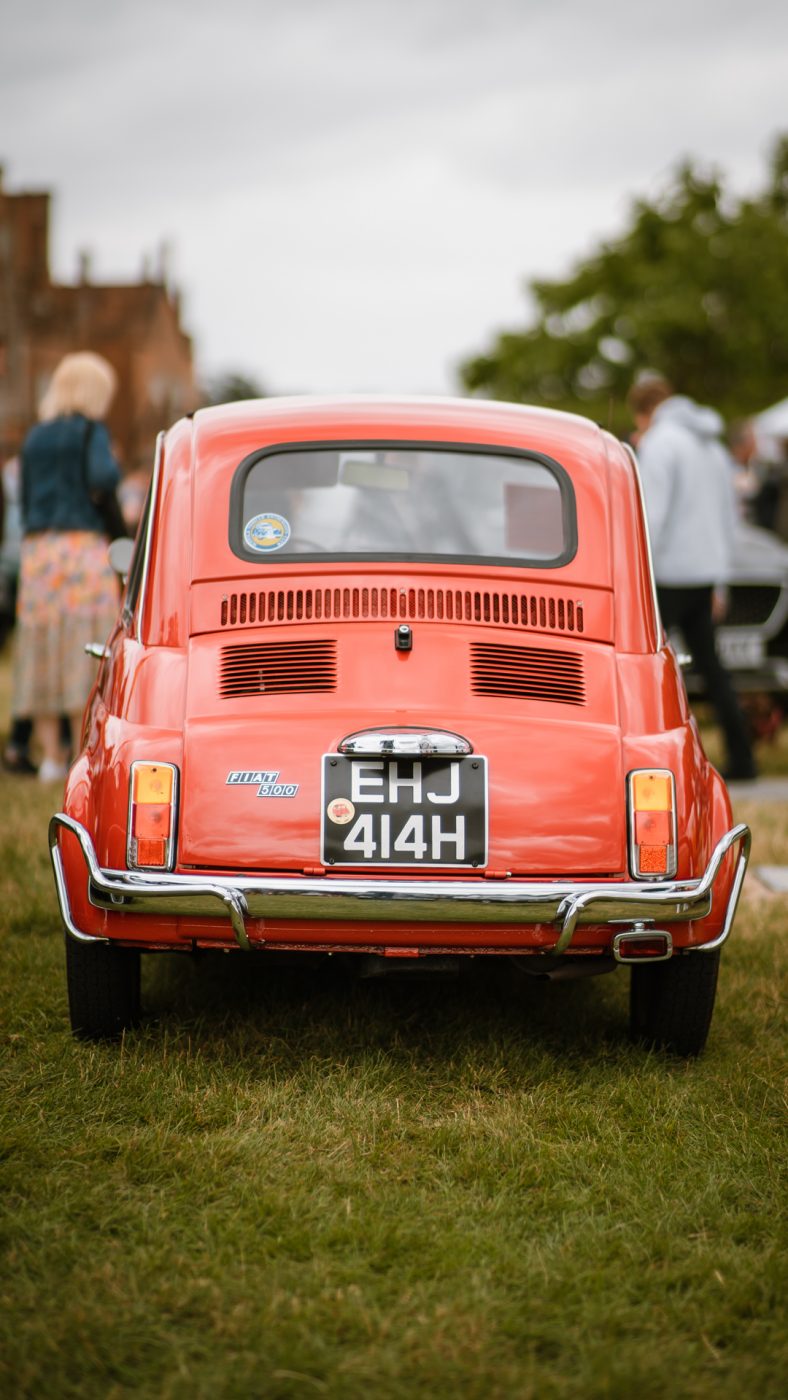
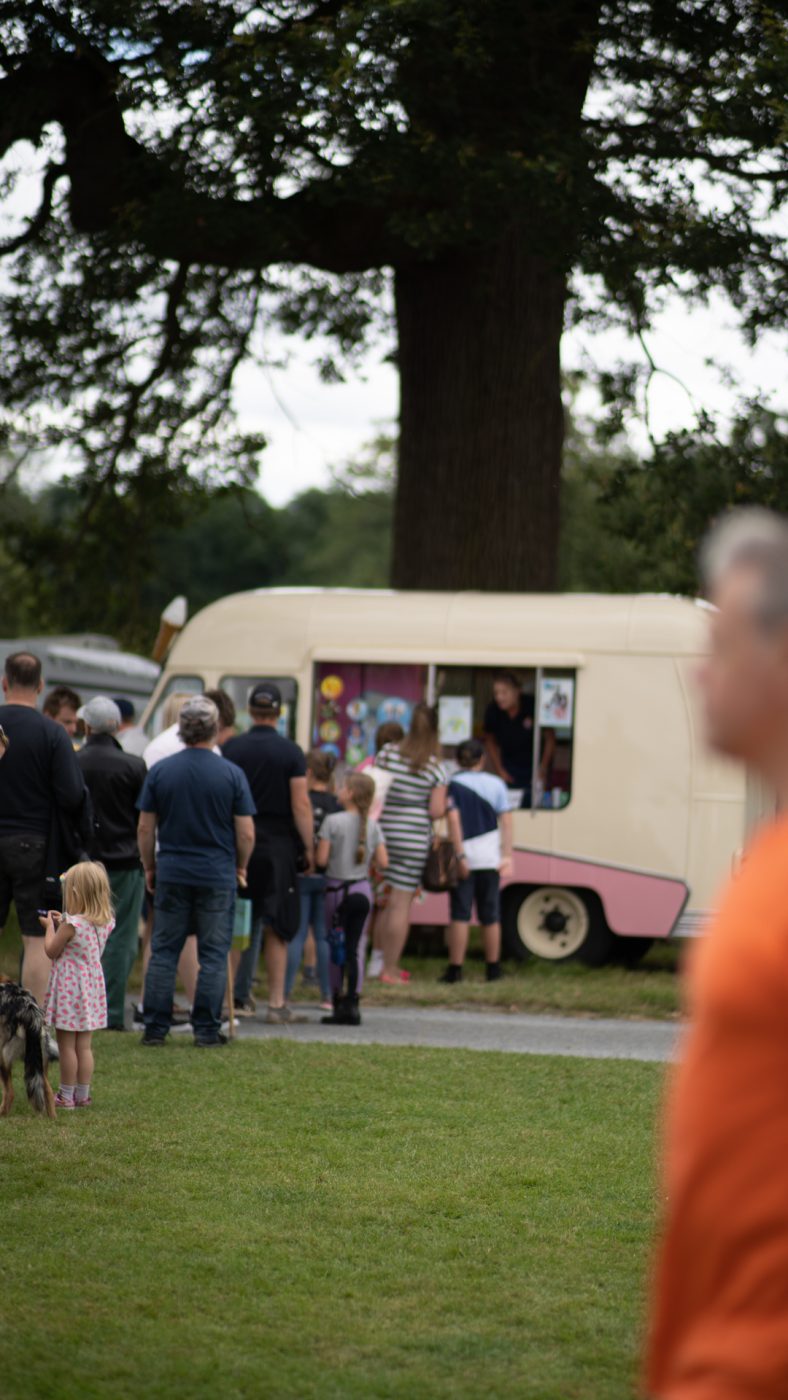
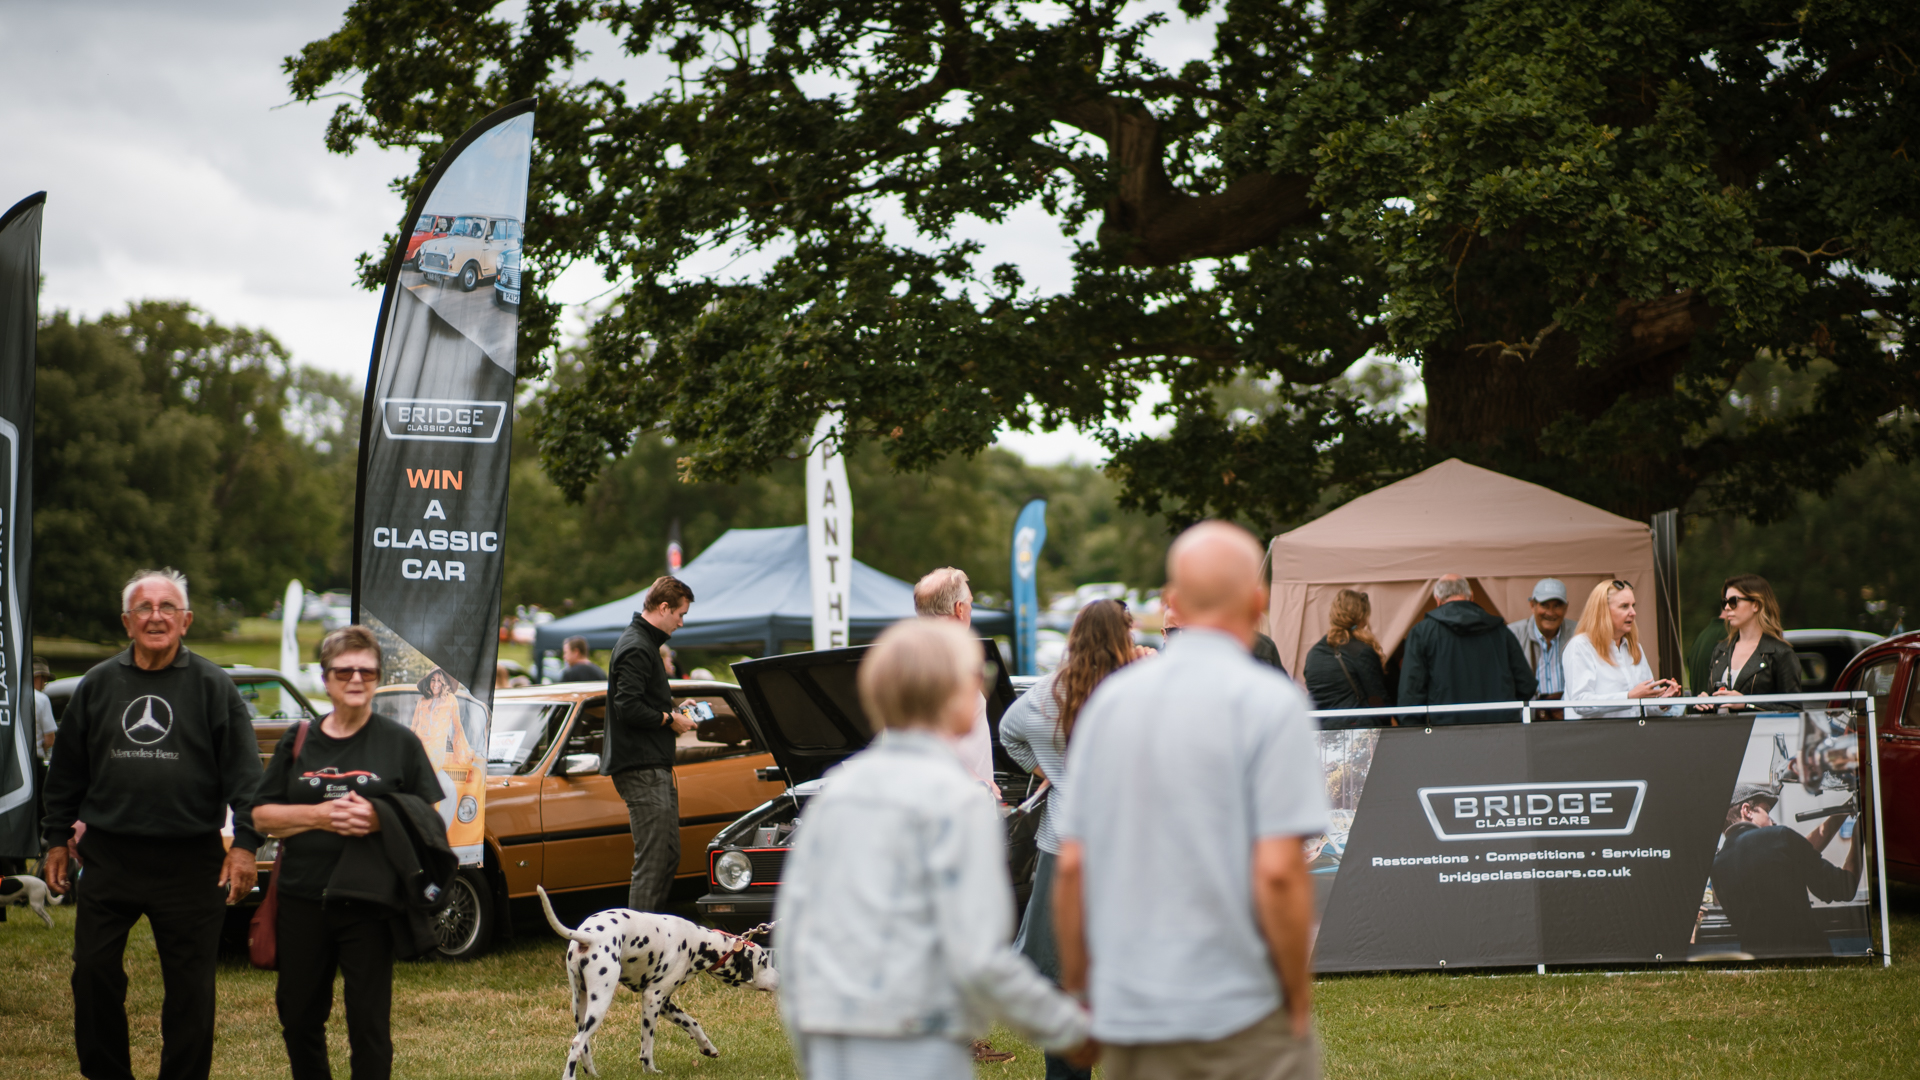
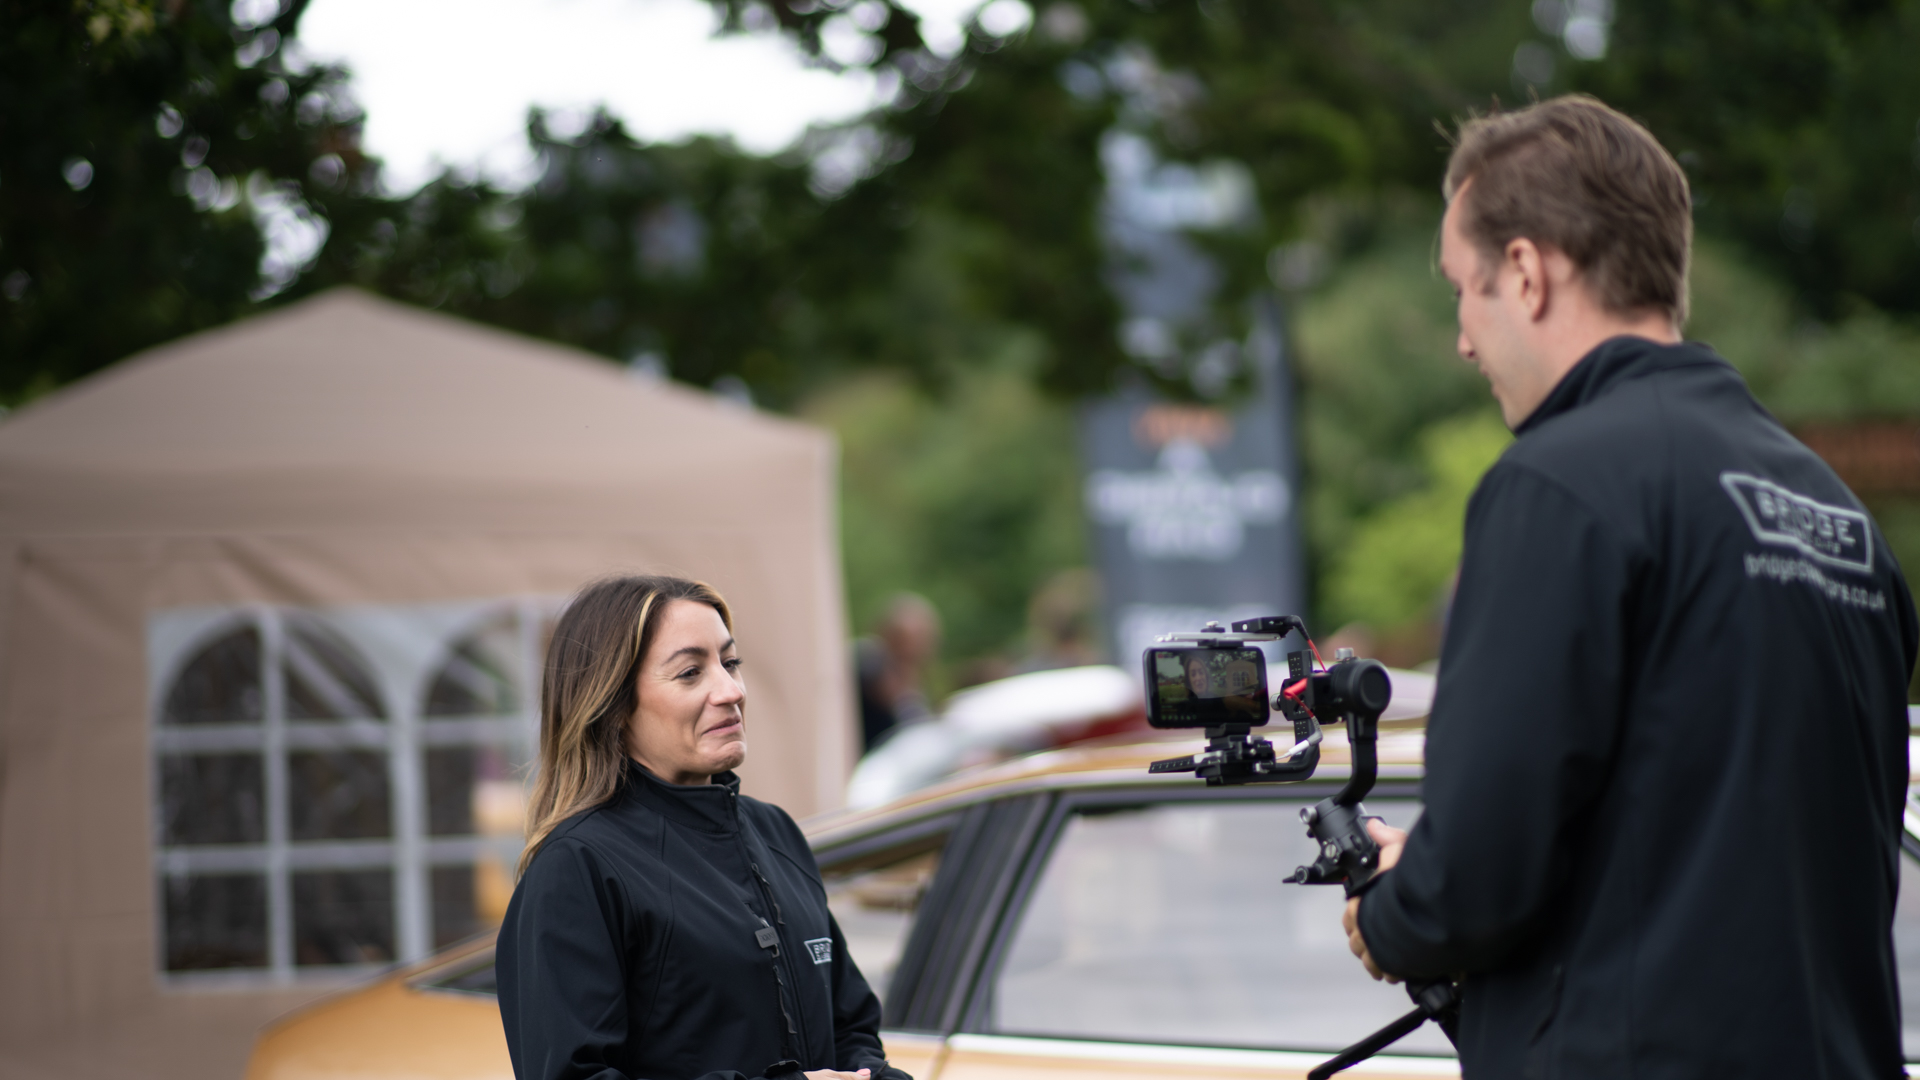
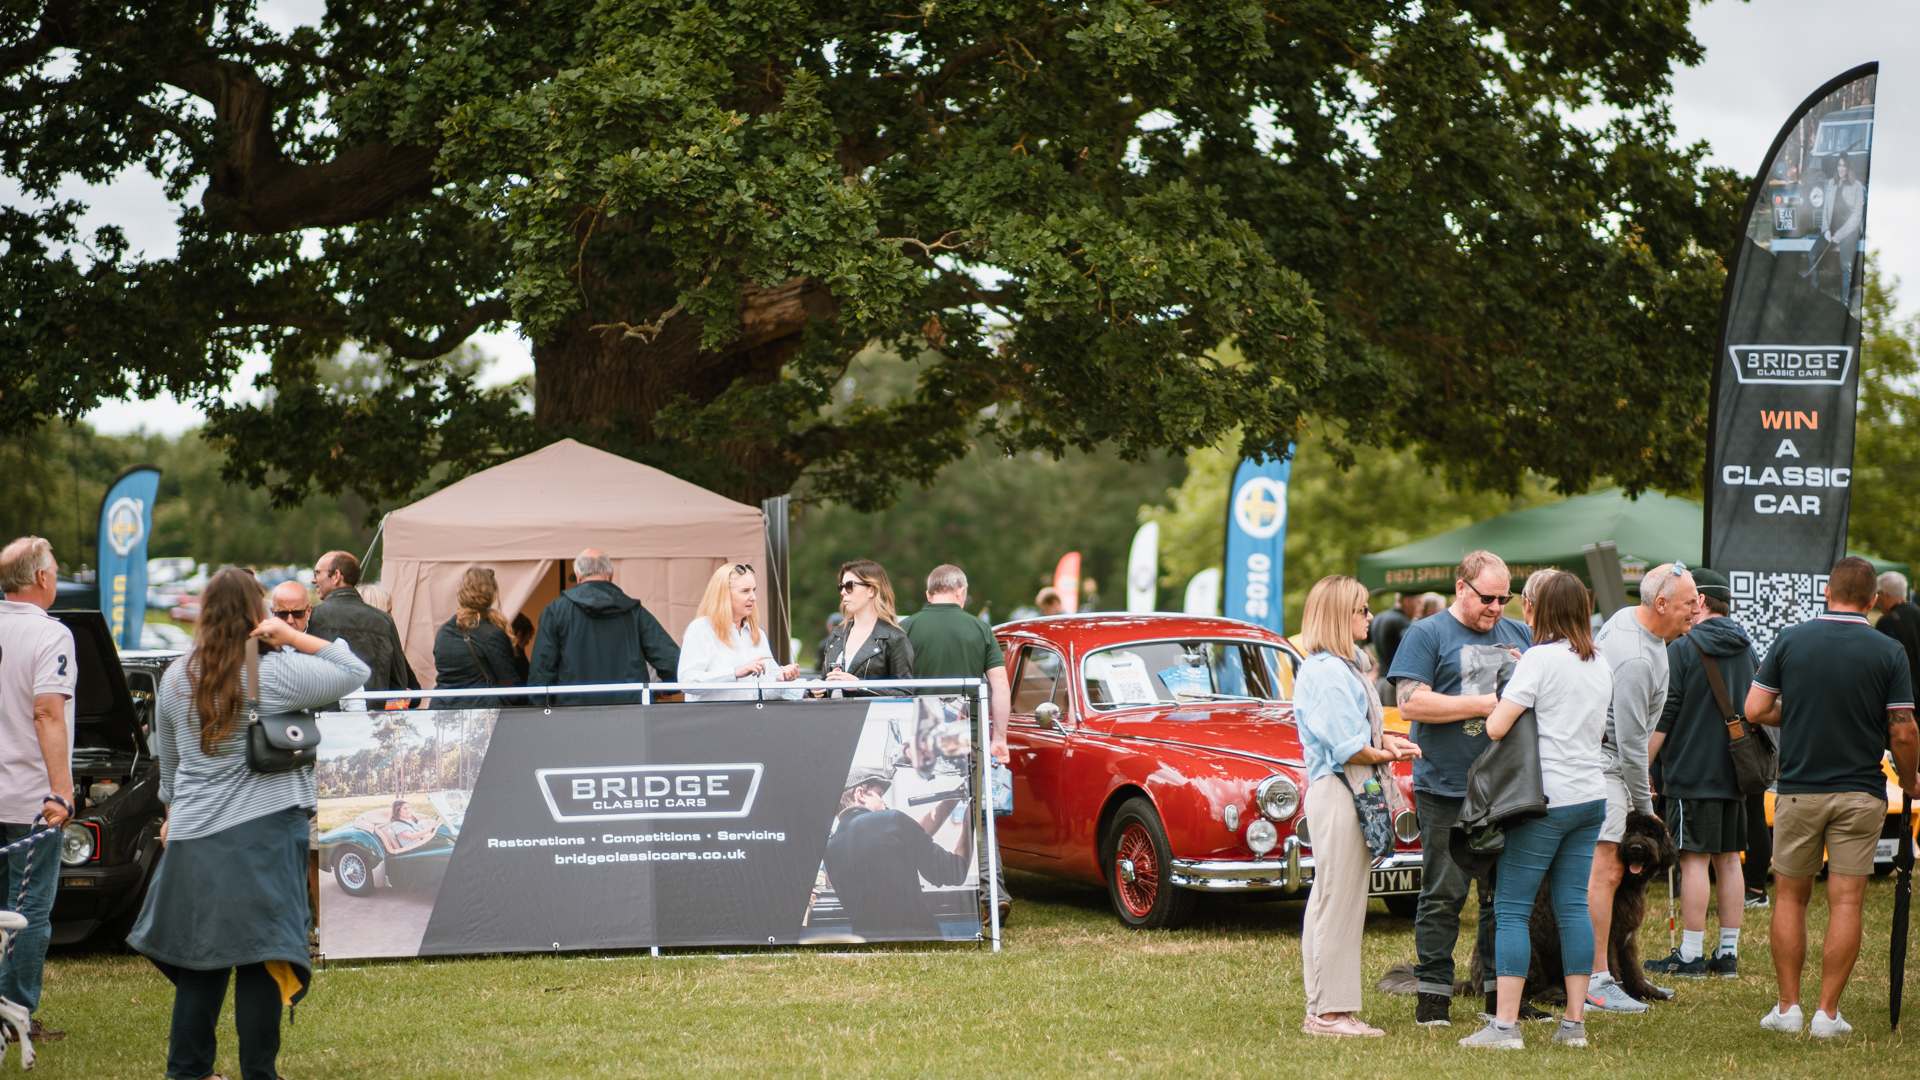
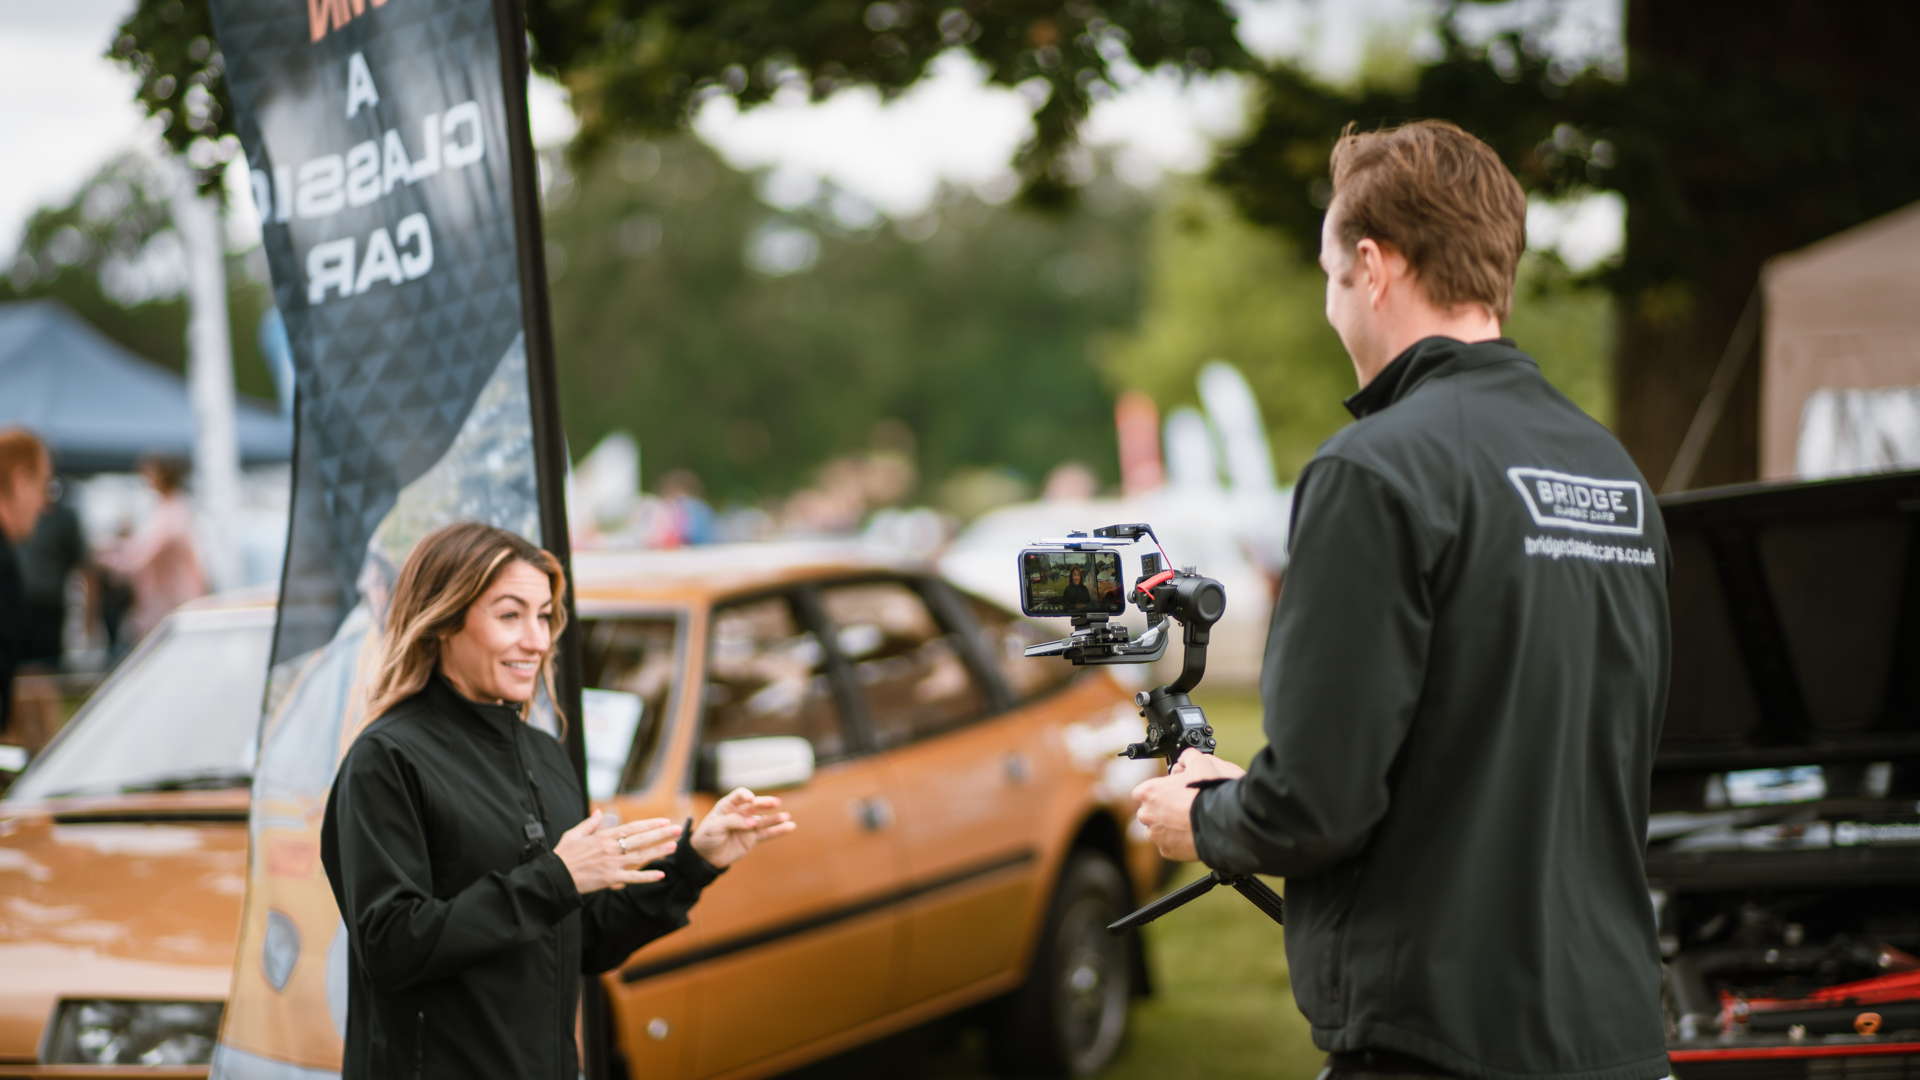
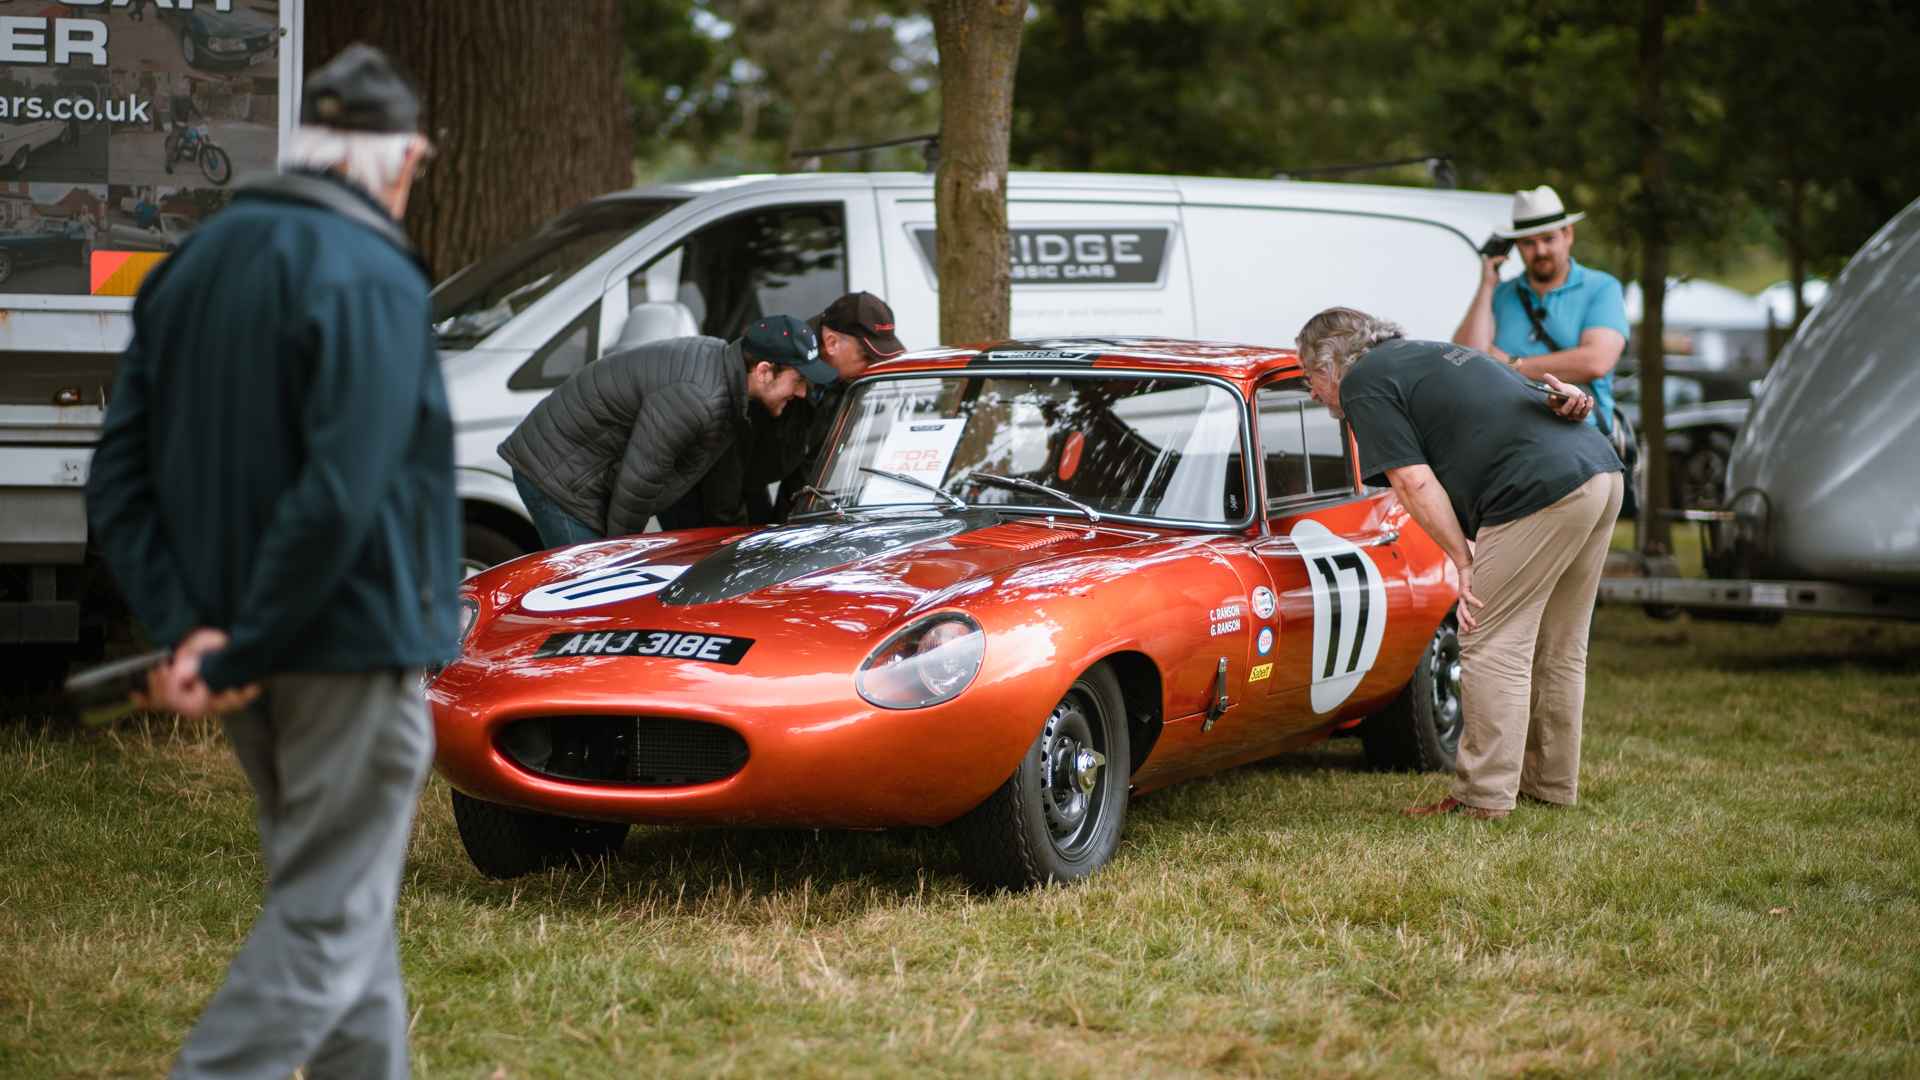
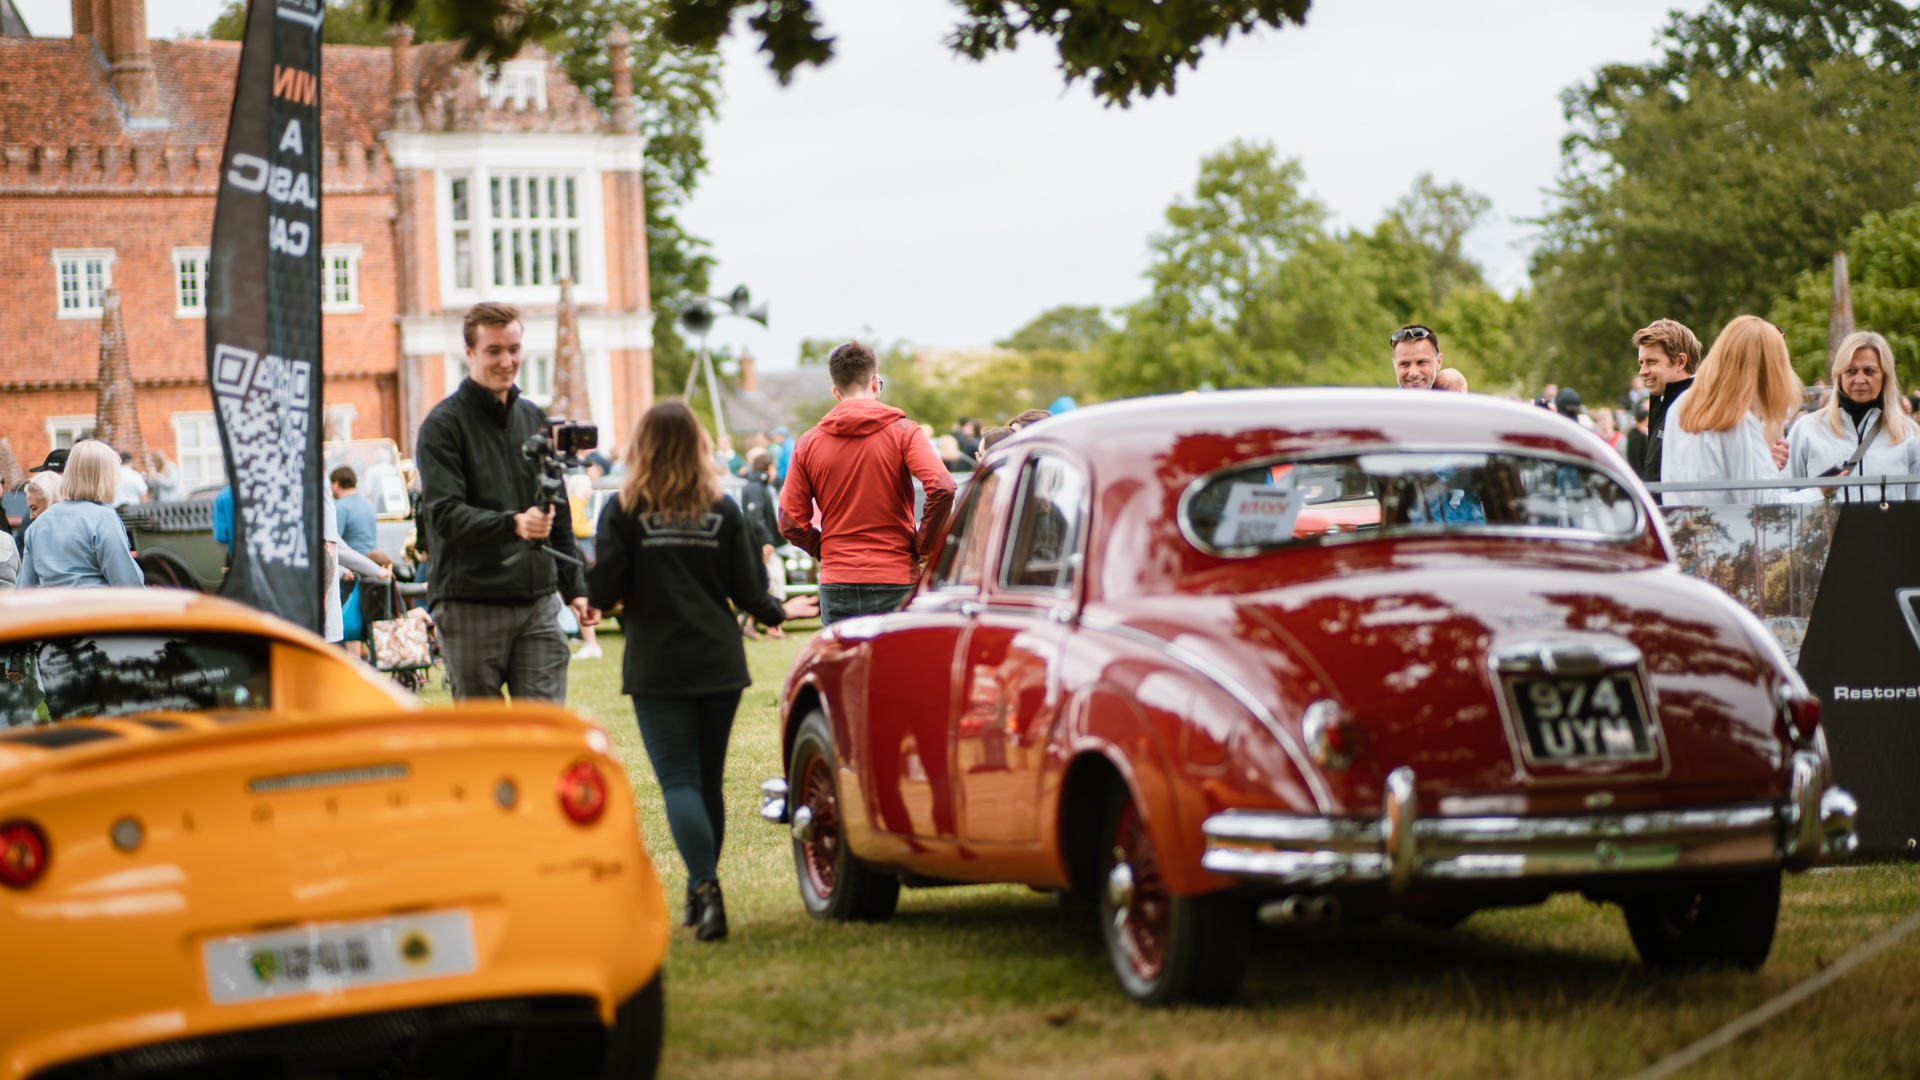
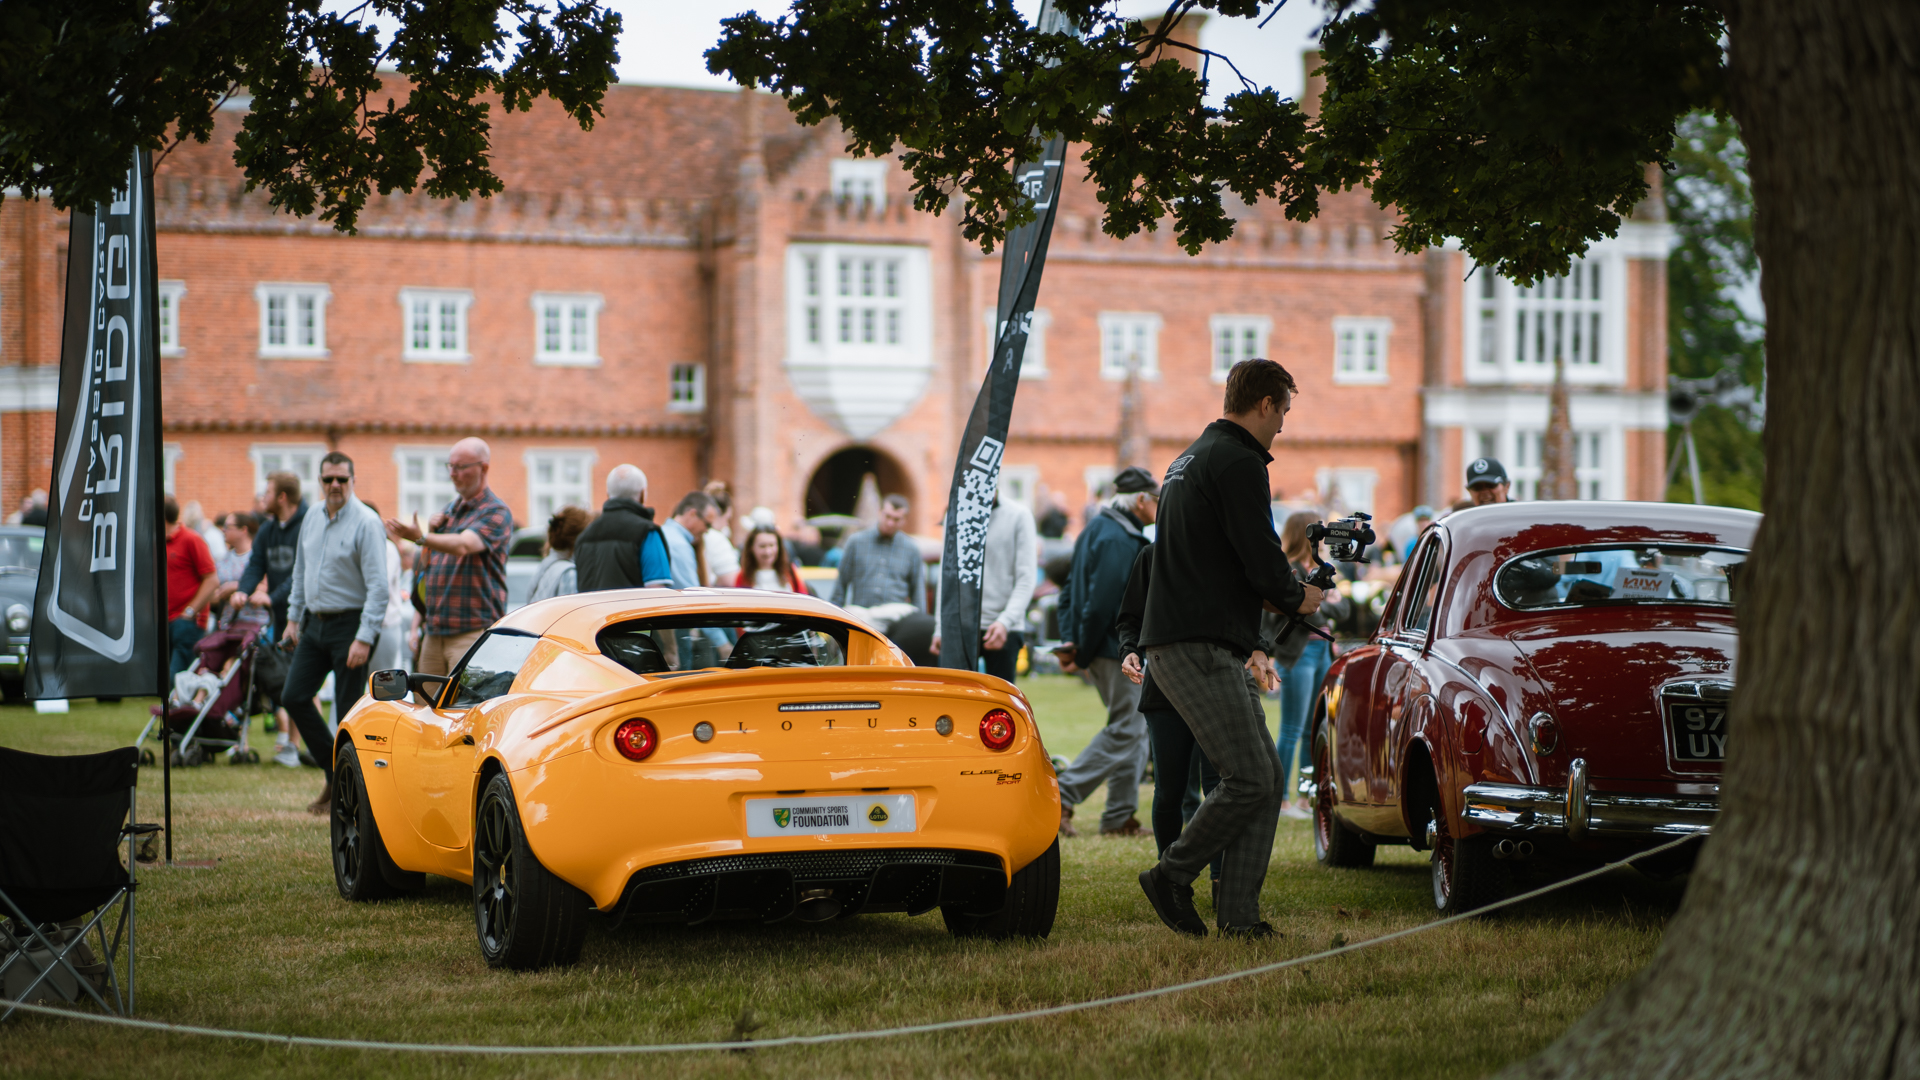
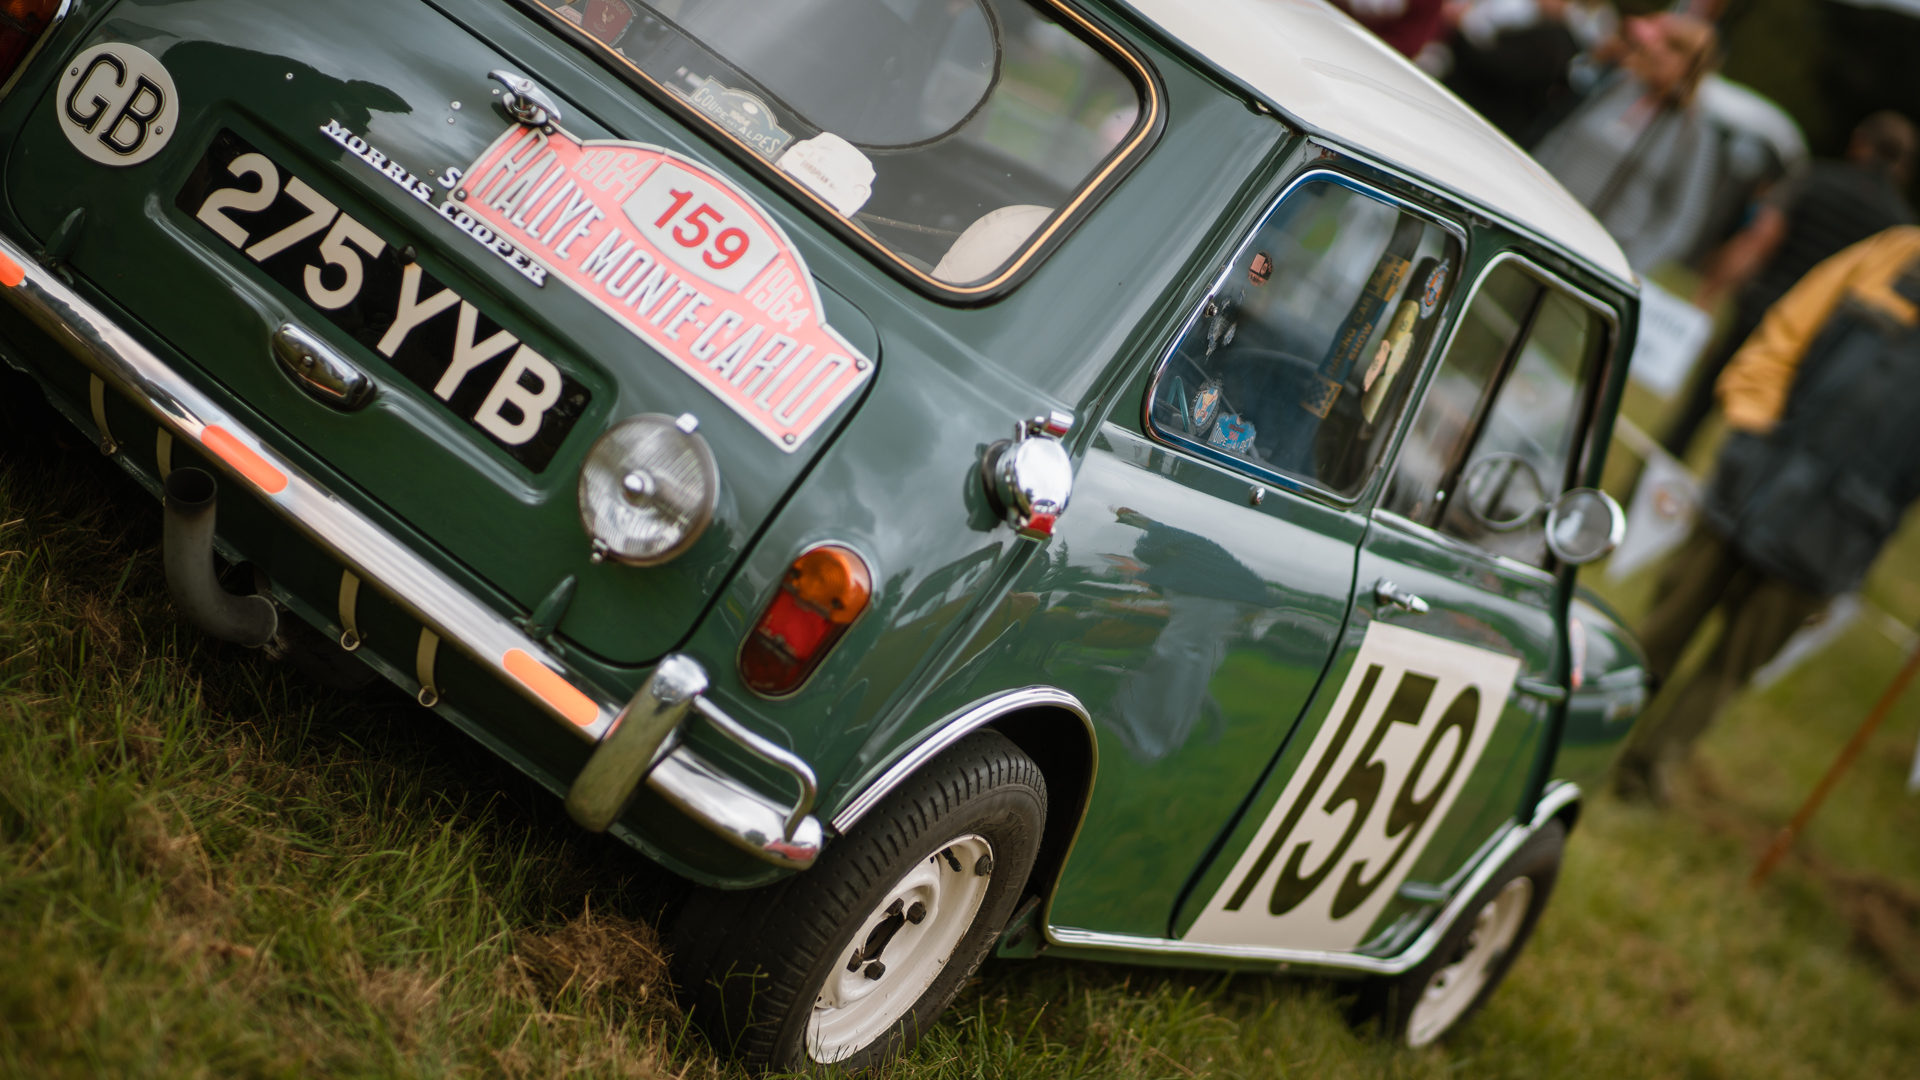
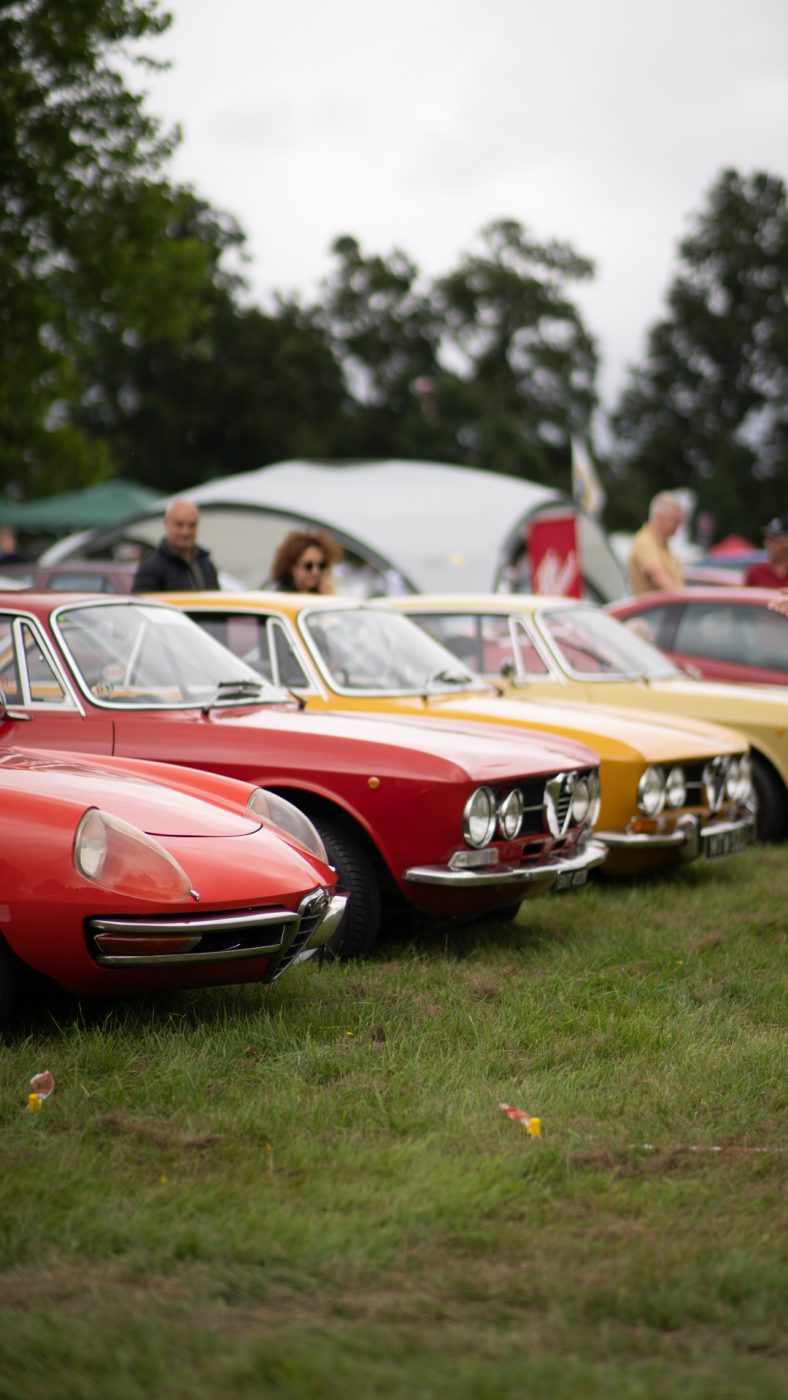
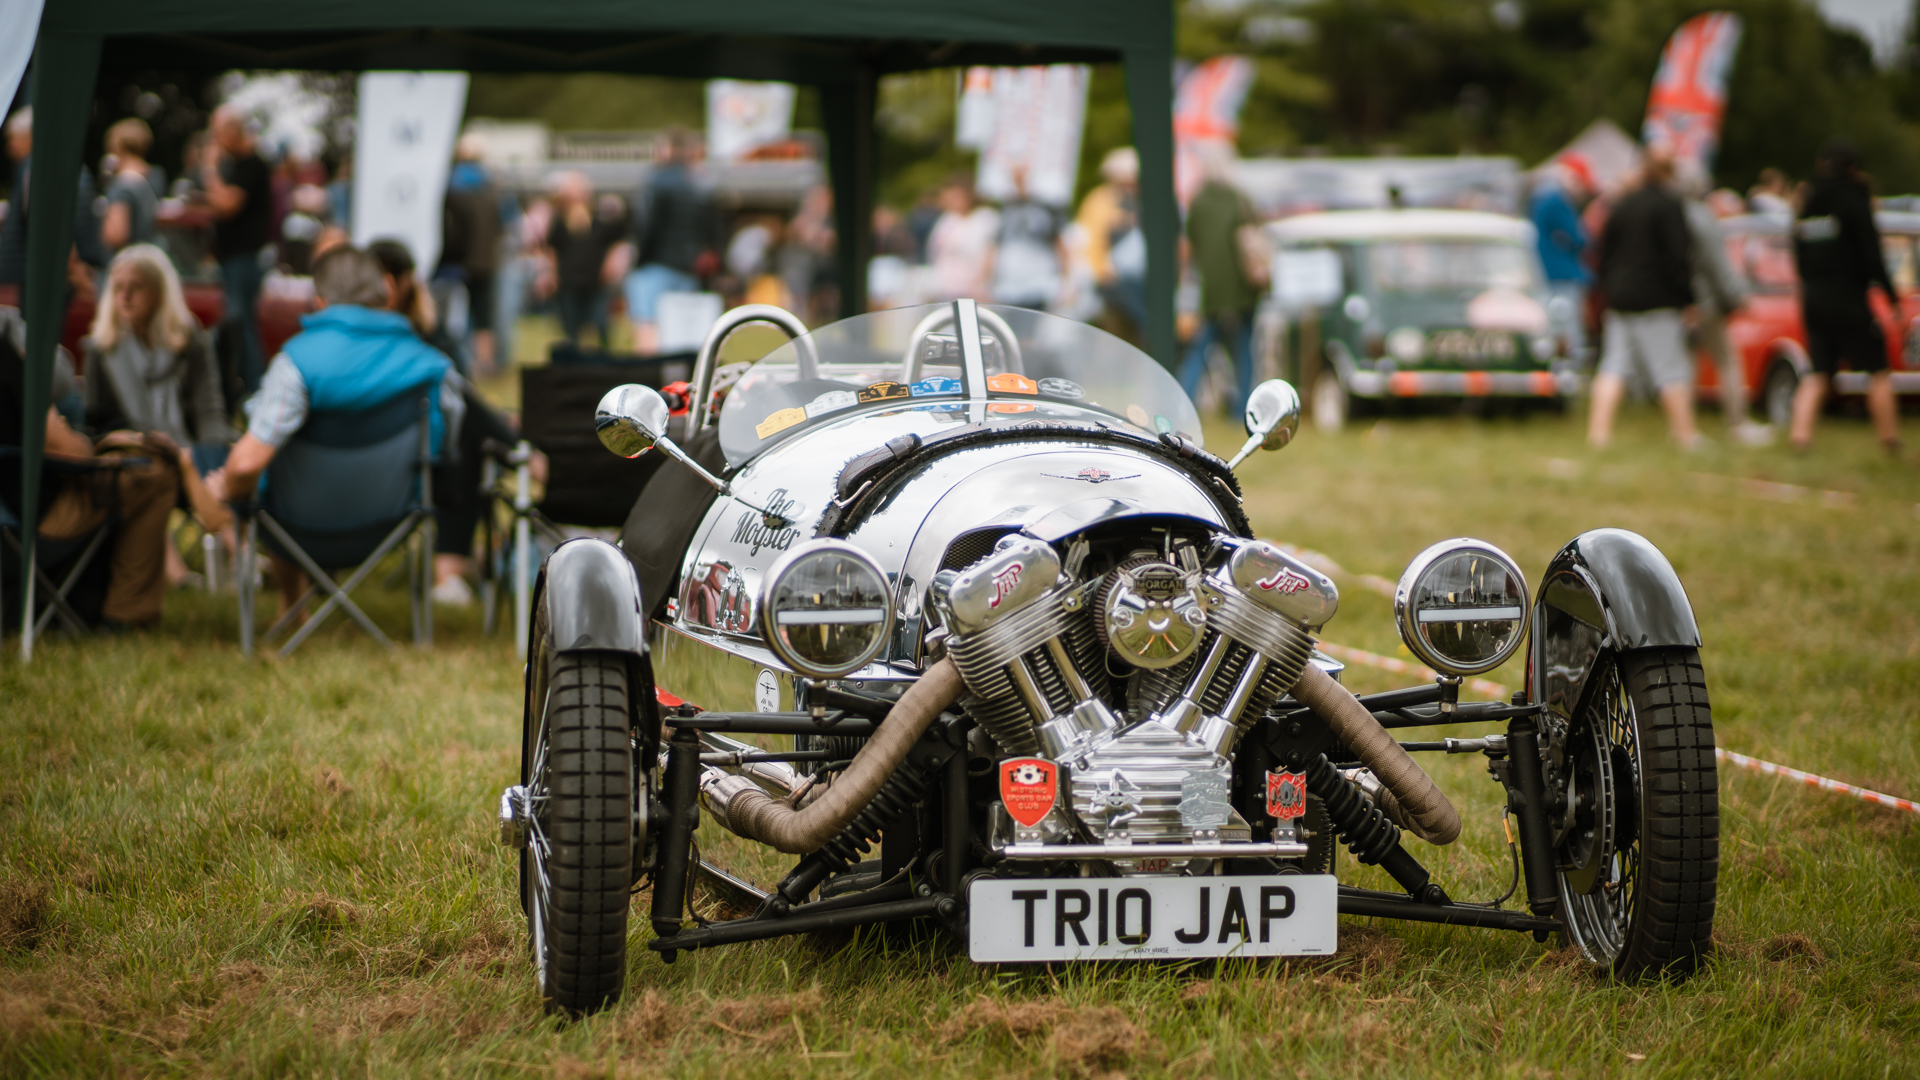
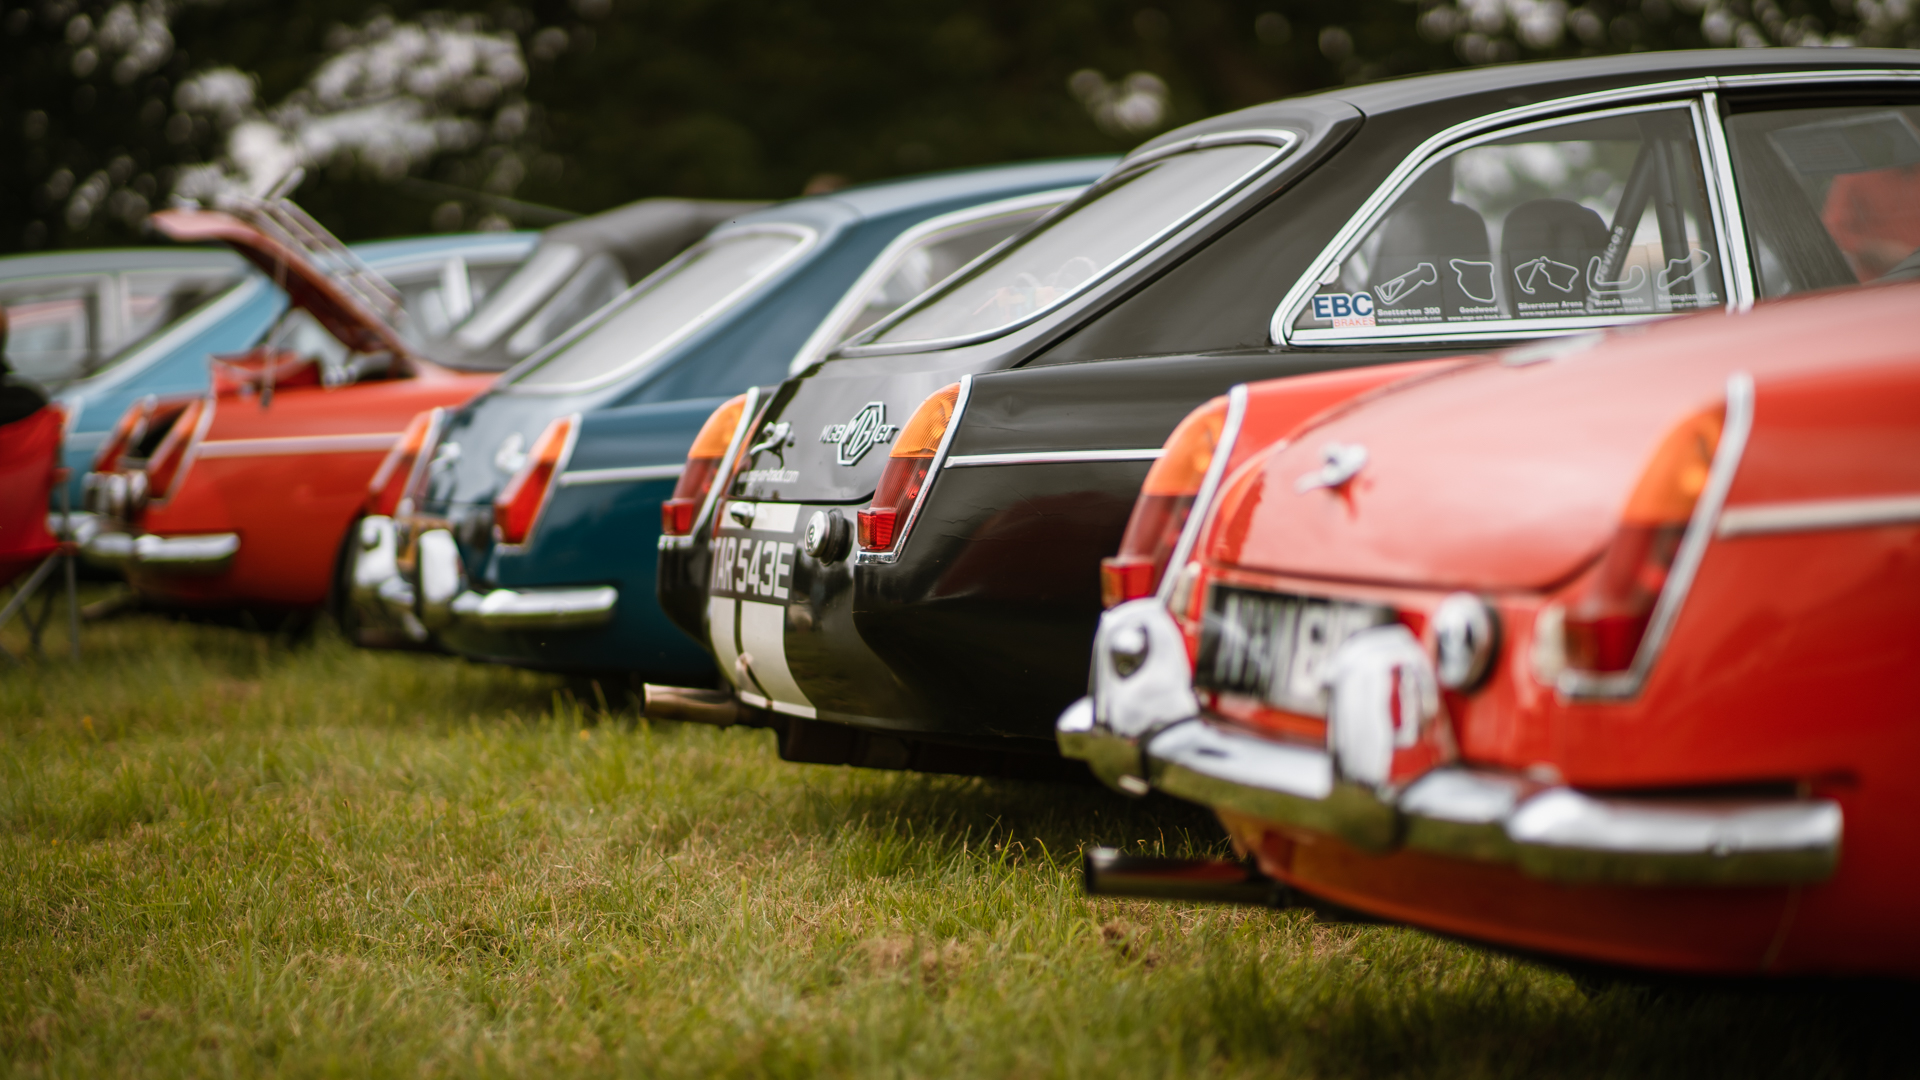

Were you at the show? It was lovely to meet so many of you yesterday.
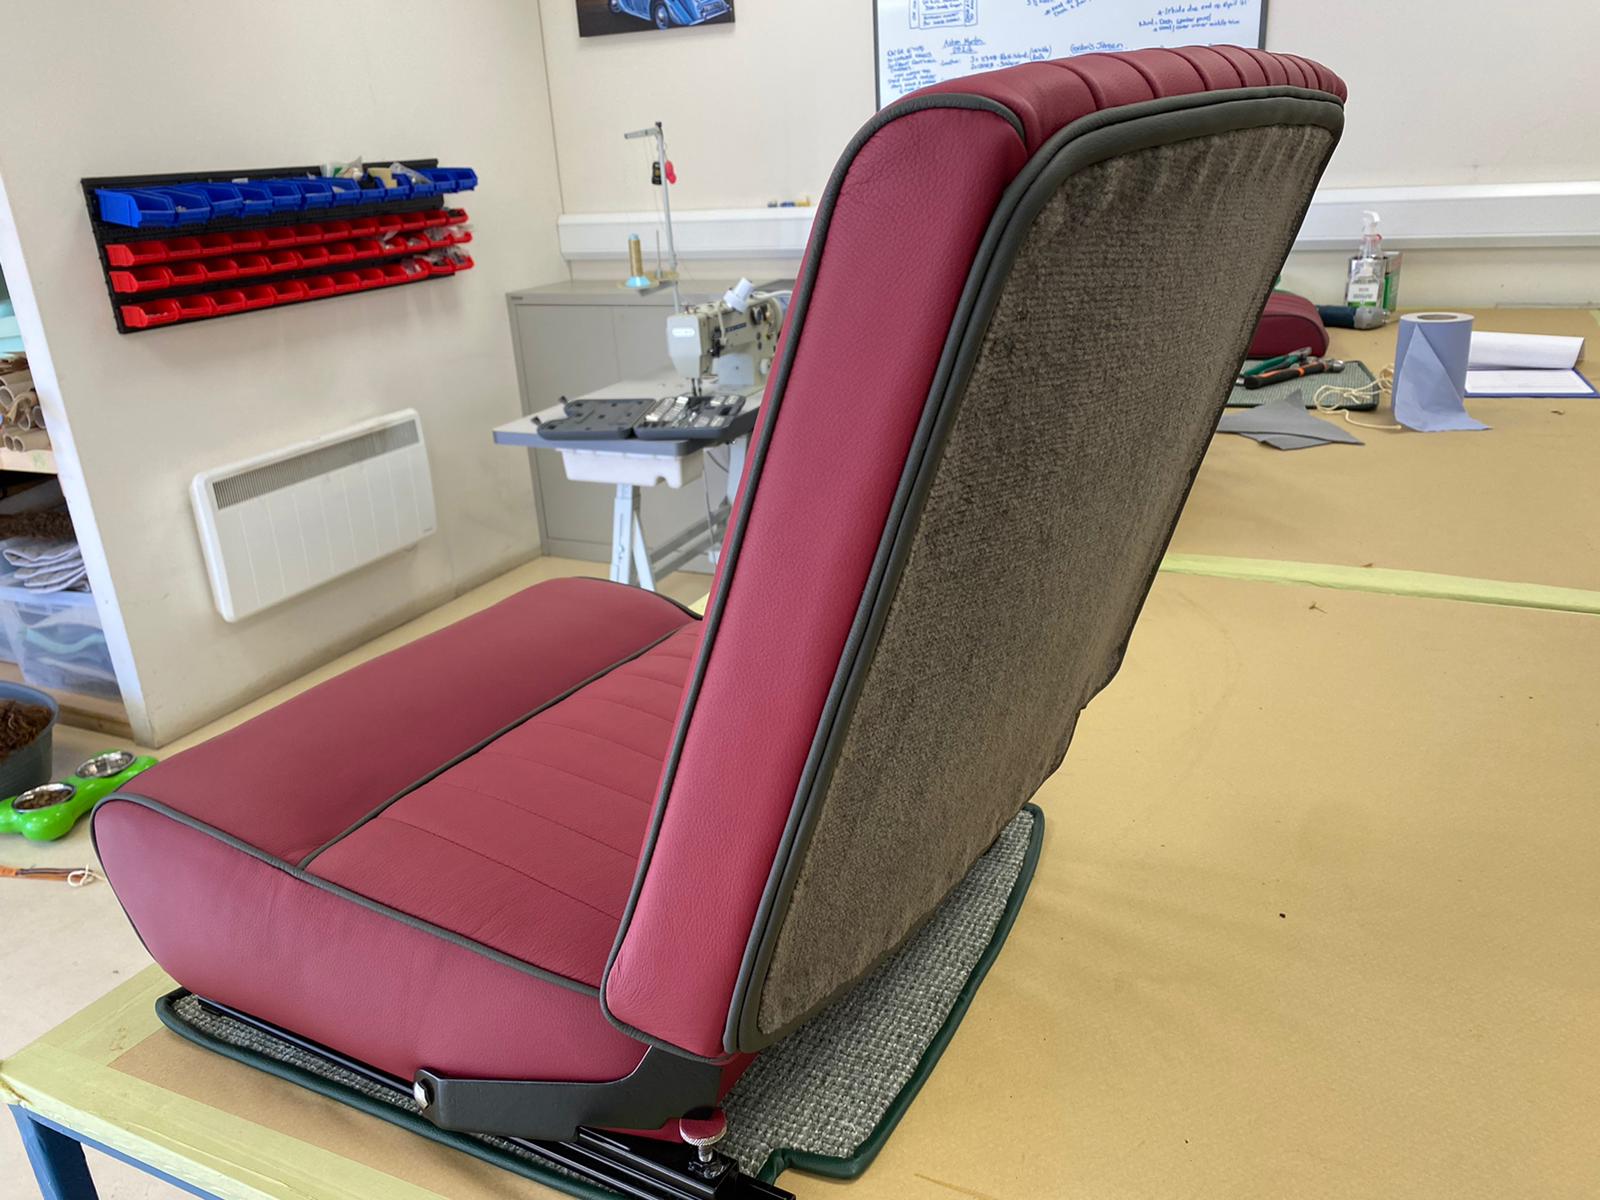
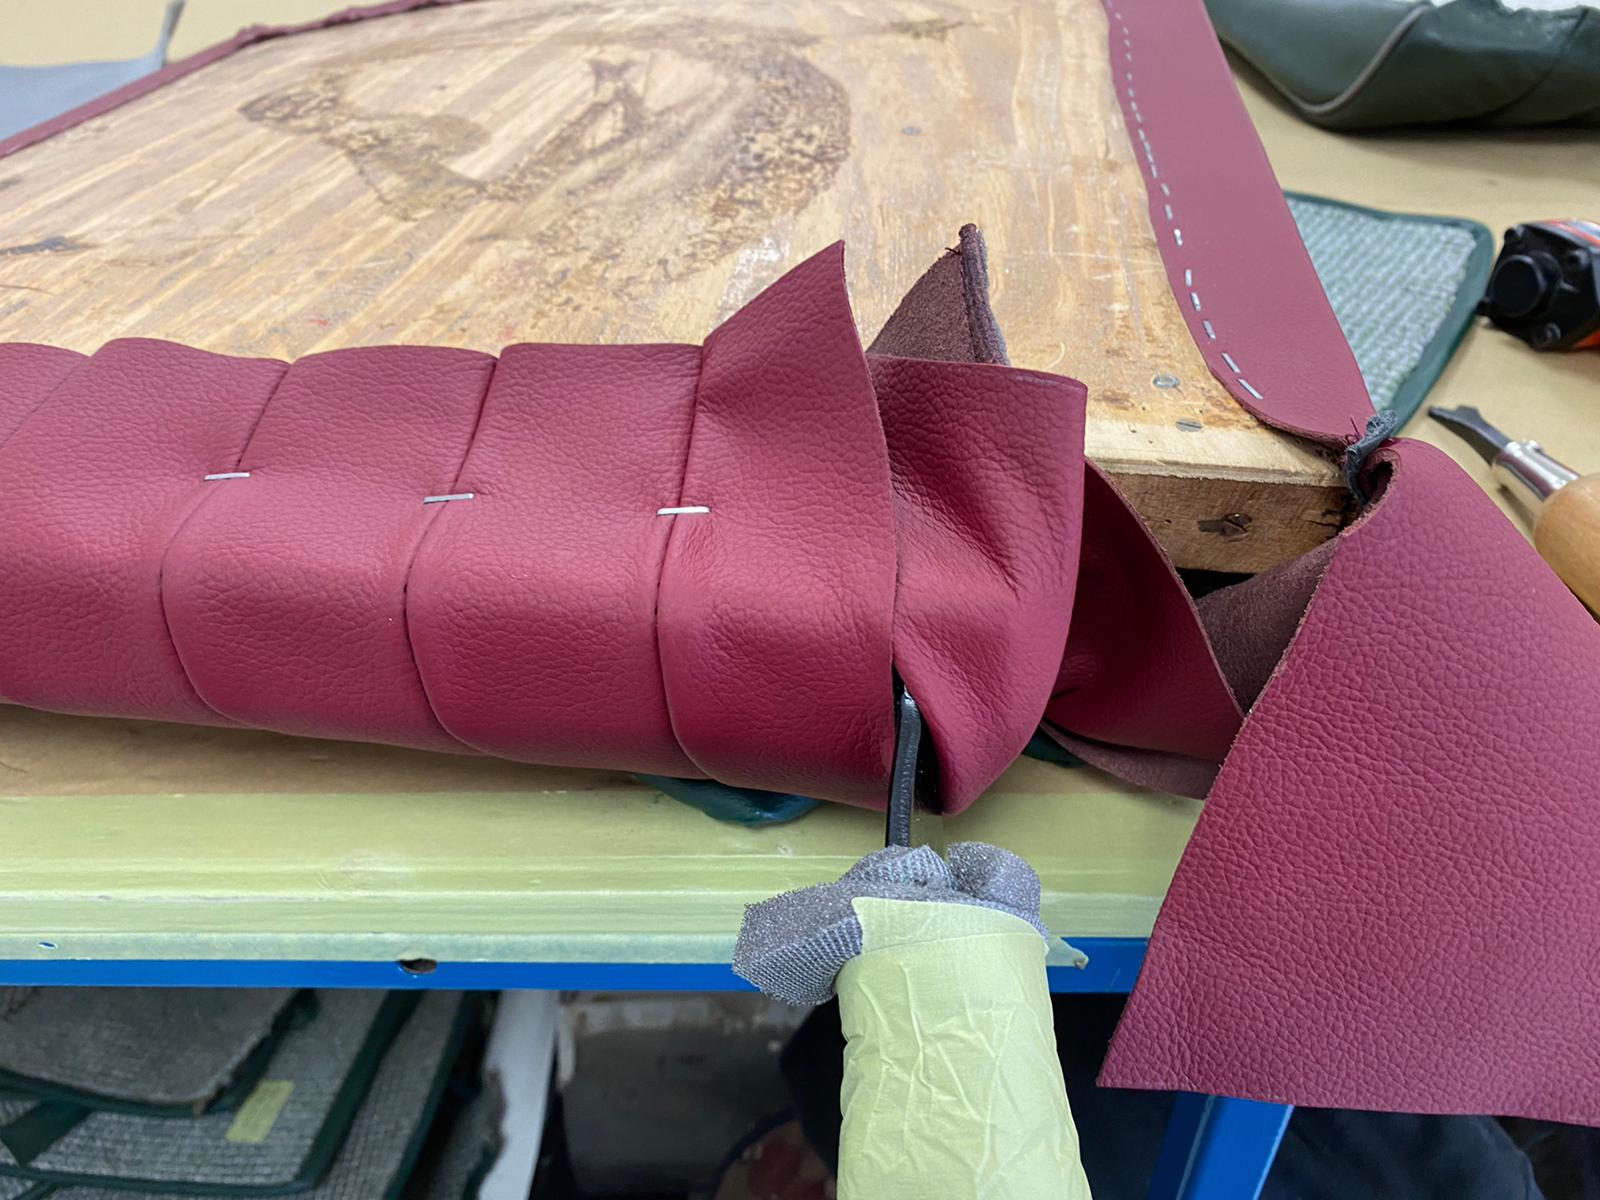
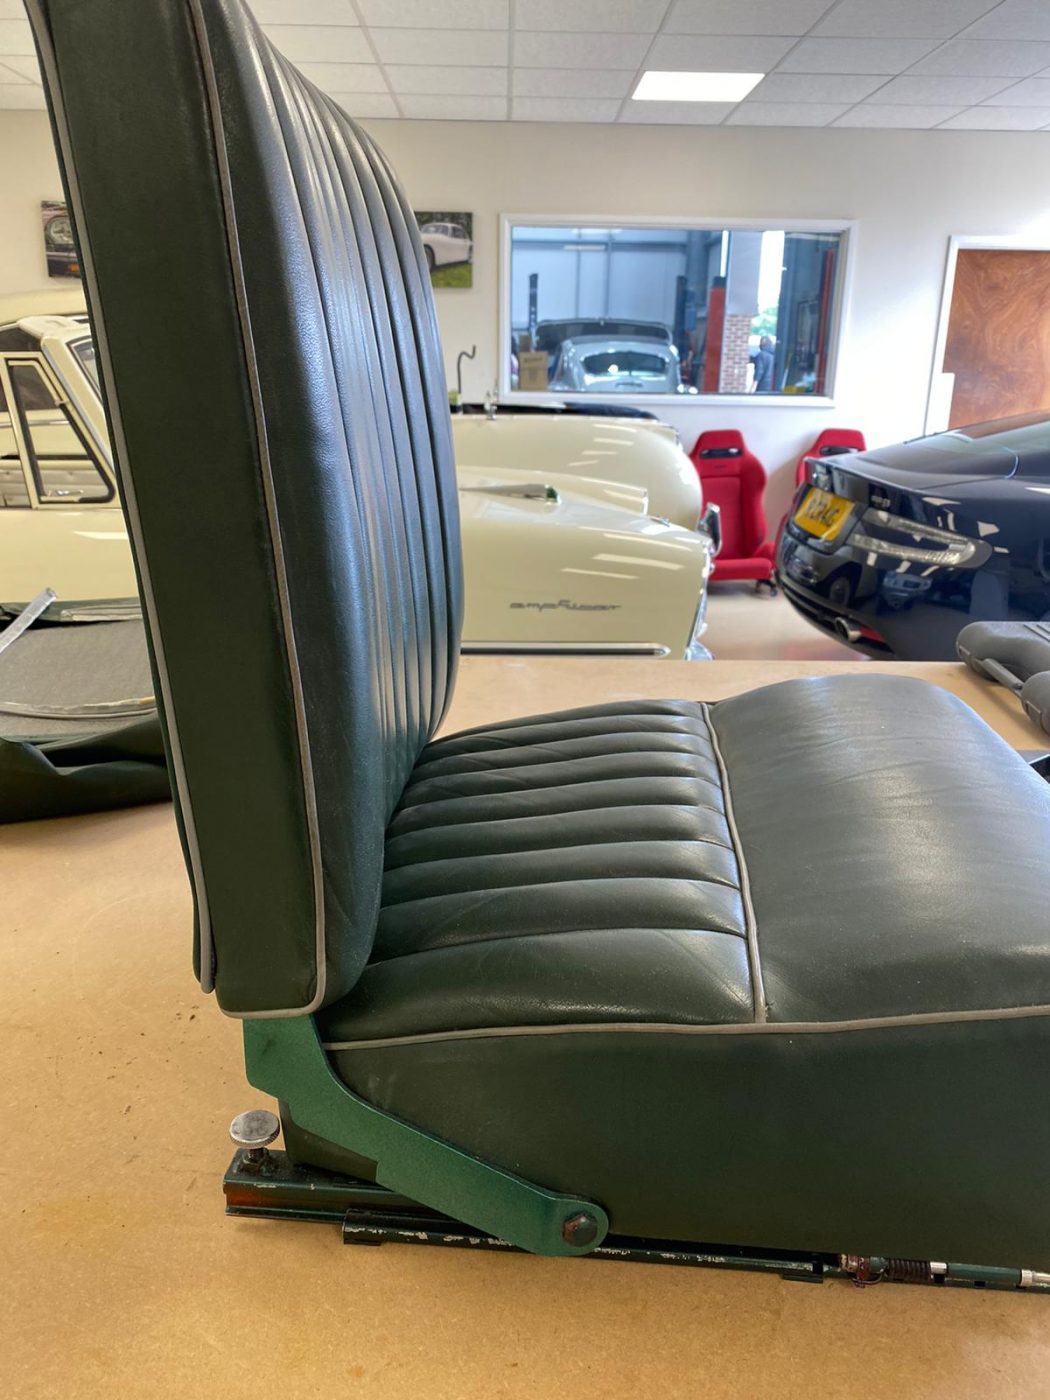
Kath has been starting to fit the front squab seats and their carpet backs to the frames.
She began by stapling the sides of the front squab to the wooden part of the frame. She then trimmed back the foam on the flutes, to lay nice and flat on the back. Then she stapled the front of the squab to the wood of the seat frame, making sure it fitted nicely. Piping was then stapled around the back edge. The carpet back was placed on top of this, just inside the piping.
The first front squab is now ready! Exactly the same process will be carried out for the second one.

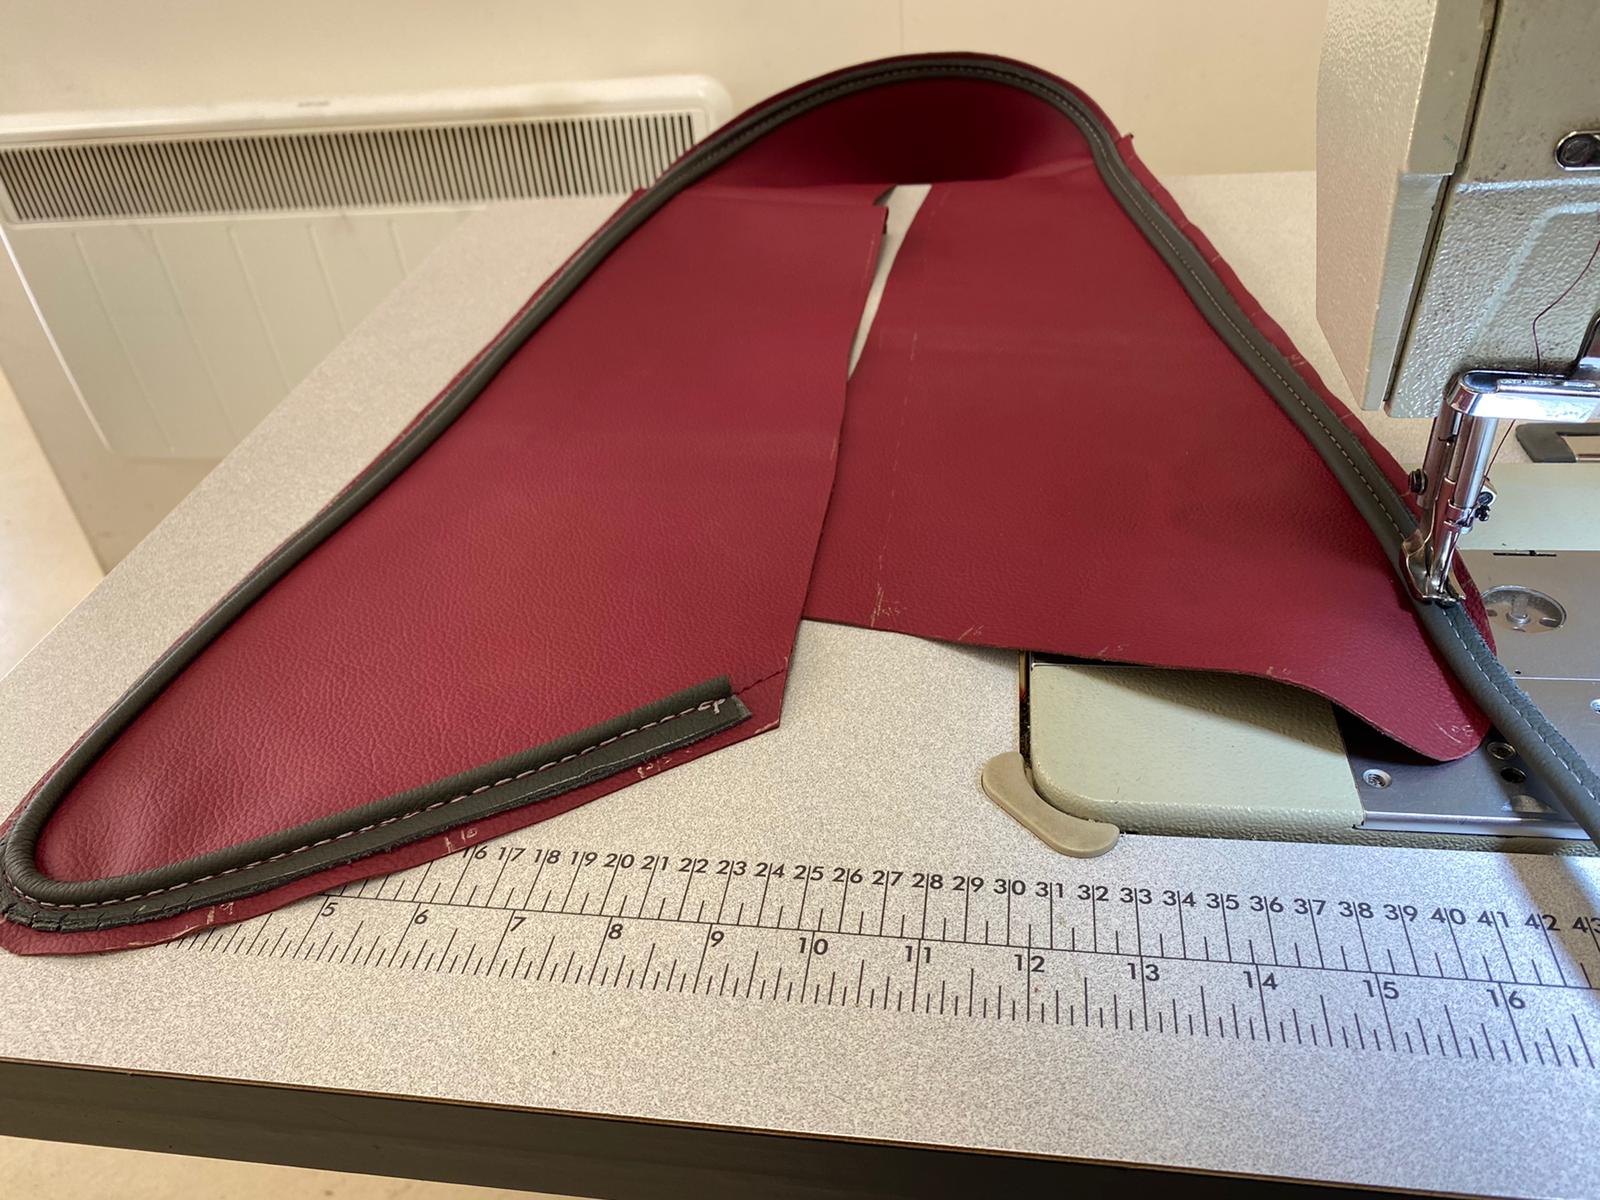
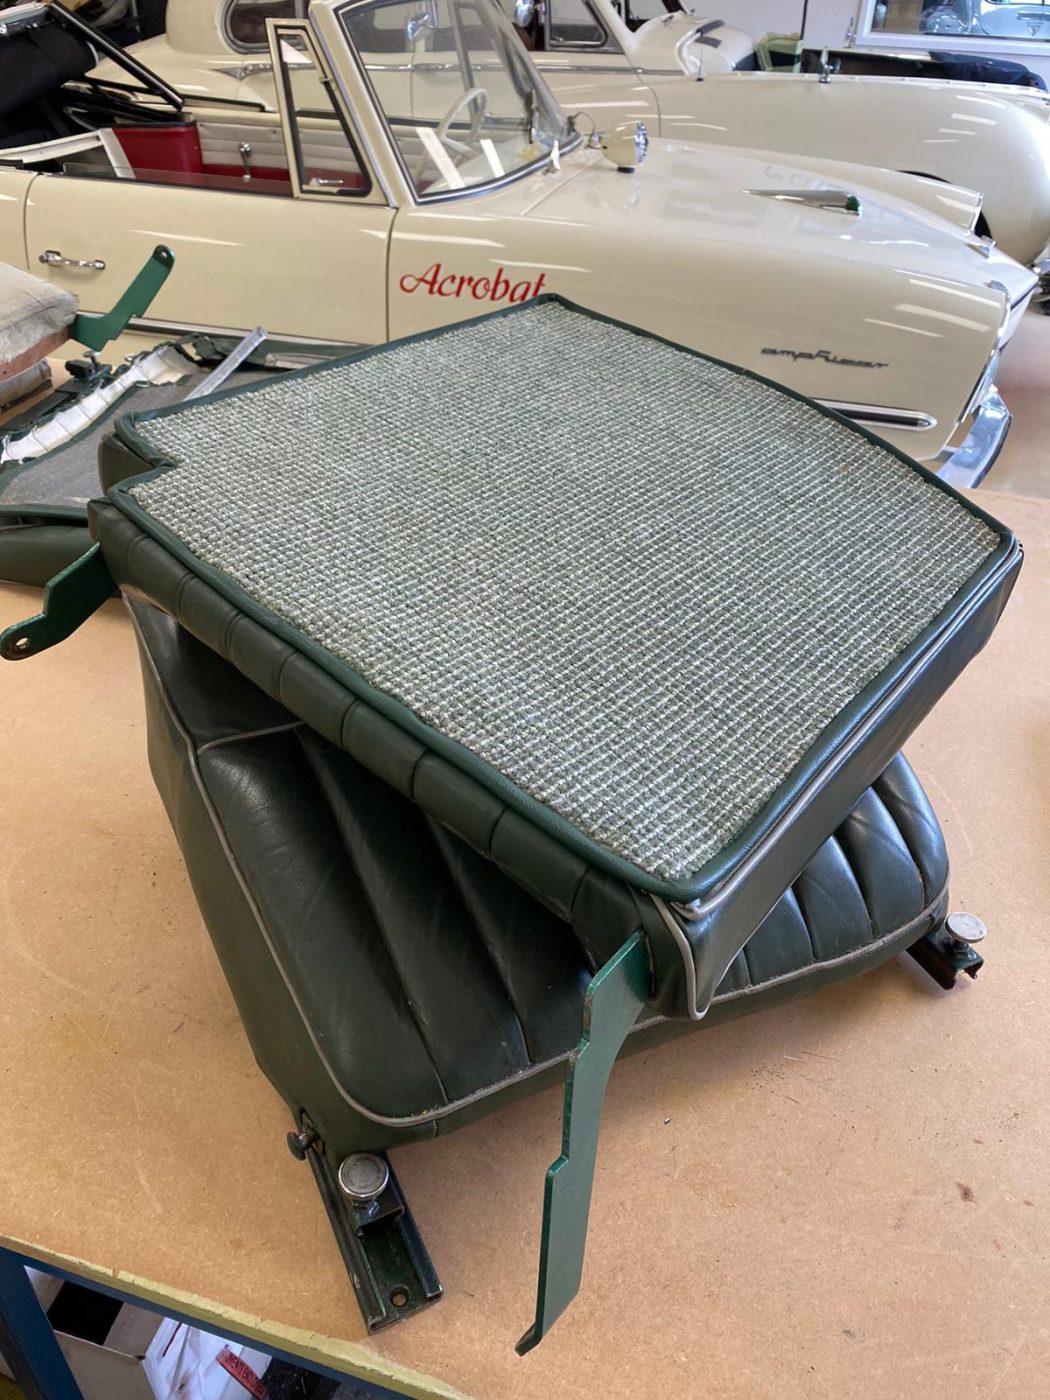
Kath has been continuing her work on the front squab seats for the 1955 Aston Martin DB 2 4 Mark I. Now the fronts of them have been re-made, she’s moved onto the backs. These are made out of carpet!
So Kath started by cutting a piece of the new grey carpet roughly to the size she needed, using the seat frame as a template. She then laid this piece of carpet out and marked around the original front squab back with tailor’s chalk. She checked the fit of it against the seat frame. Kath then measured out a strip of the dark grey leather and cut out. The leather was sewn around the edge of the carpet and then folded under, and sewn again to create a bound edge, which completed the front squab backs!

Lydia has been re-covering the headlining panels for the Aston Martin DB 2/4 Mark I.
She started by peeling off the original fabric from each of the different panels and sanding down the old glue and giving the wood and metal a clean up.
The original fabric pieces were used as patterns on the new headlining fabric, and Lydia drew around them using a fabric pencil. They were all cut out and then one by one, wrapped around tightly onto the panels and glued into place. These panels will go around the sides, front, back and middle of the headlining in the car.


Kath has been continuing her interior work on the 1955 Aston Martin DB 2 4 Mark I’s seats. This time she has moved onto the front squabs.
She started by marking notches and important places to remember when sewing, with a pen on the original covers, before taking them apart carefully. She didn’t unpick the flutes, but instead, measured them to work out how to create the new flutes on the new leather. Once calculated, Kath measured and marked out flute lines on the back of the new leather and a piece of scrim foam, cut to size. This acts as a backing and will create the same effect as the original, whereas they had used calico as a backing and stuffed the flutes with lengths of foam instead.
Once the flutes were all sewn, Kath used the original fluted face as a pattern to mark the edges. Pieces of leather cut to shape were sewn onto the sides of the fluted face. The sidebands were then cut out and piped in the dark grey leather around the curved edge. These sidebands were sewn onto the plain leather sides that were just attached.


Brian has been continuing his work on the Aston Martin DB2/4 interior.
He’s finished re-covering the pockets for the doors, the top parts for the dashboard and the cover for the rear hatch hinge. The door cards have been re-covered in new foam, then the new dark red leather, with a line of dark grey piping down one side. The pockets fix onto the doors first, and then the door cards go over the tops of these, so you just see the dark grey leather through a rectangle-shaped cut-out.
Brian has also been busy covering the rear door cappings, front window surrounds, rear side window surrounds and front side windows in the new dark grey leather.


Brian has been covering the top parts of the dashboard and the cover for the rear hatch hinge in the chosen new dark grey leather, for the Aston Martin DB2/4. He took the original leather off each of the pieces and cleaned off any old glue, before applying the new leather.


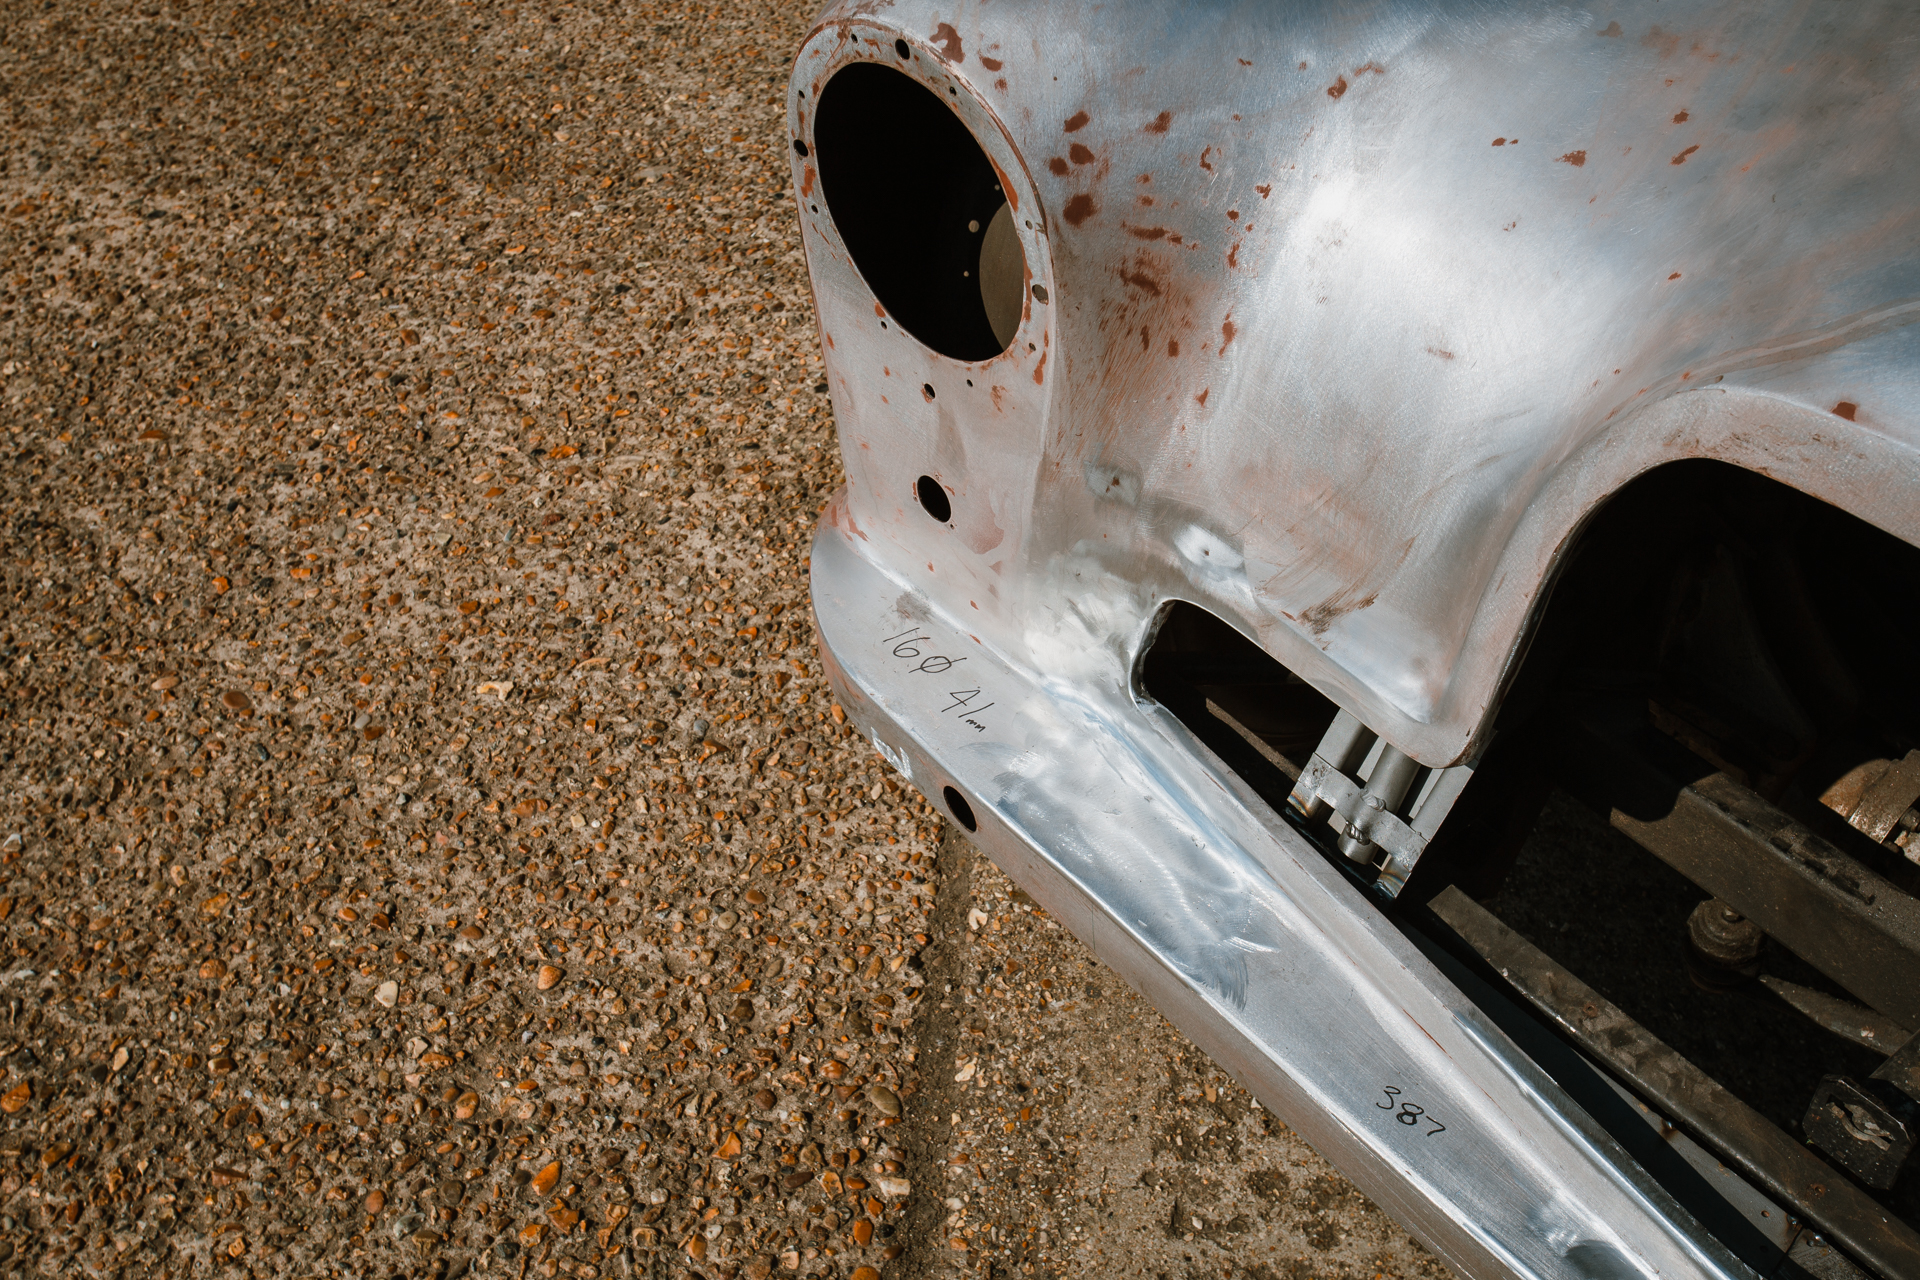
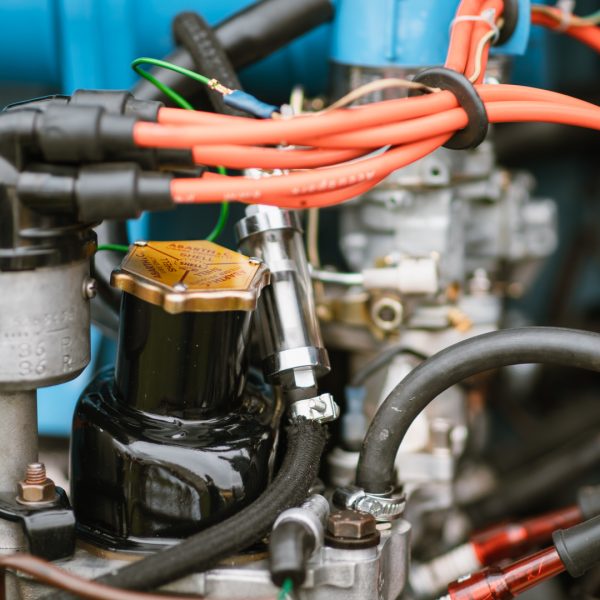
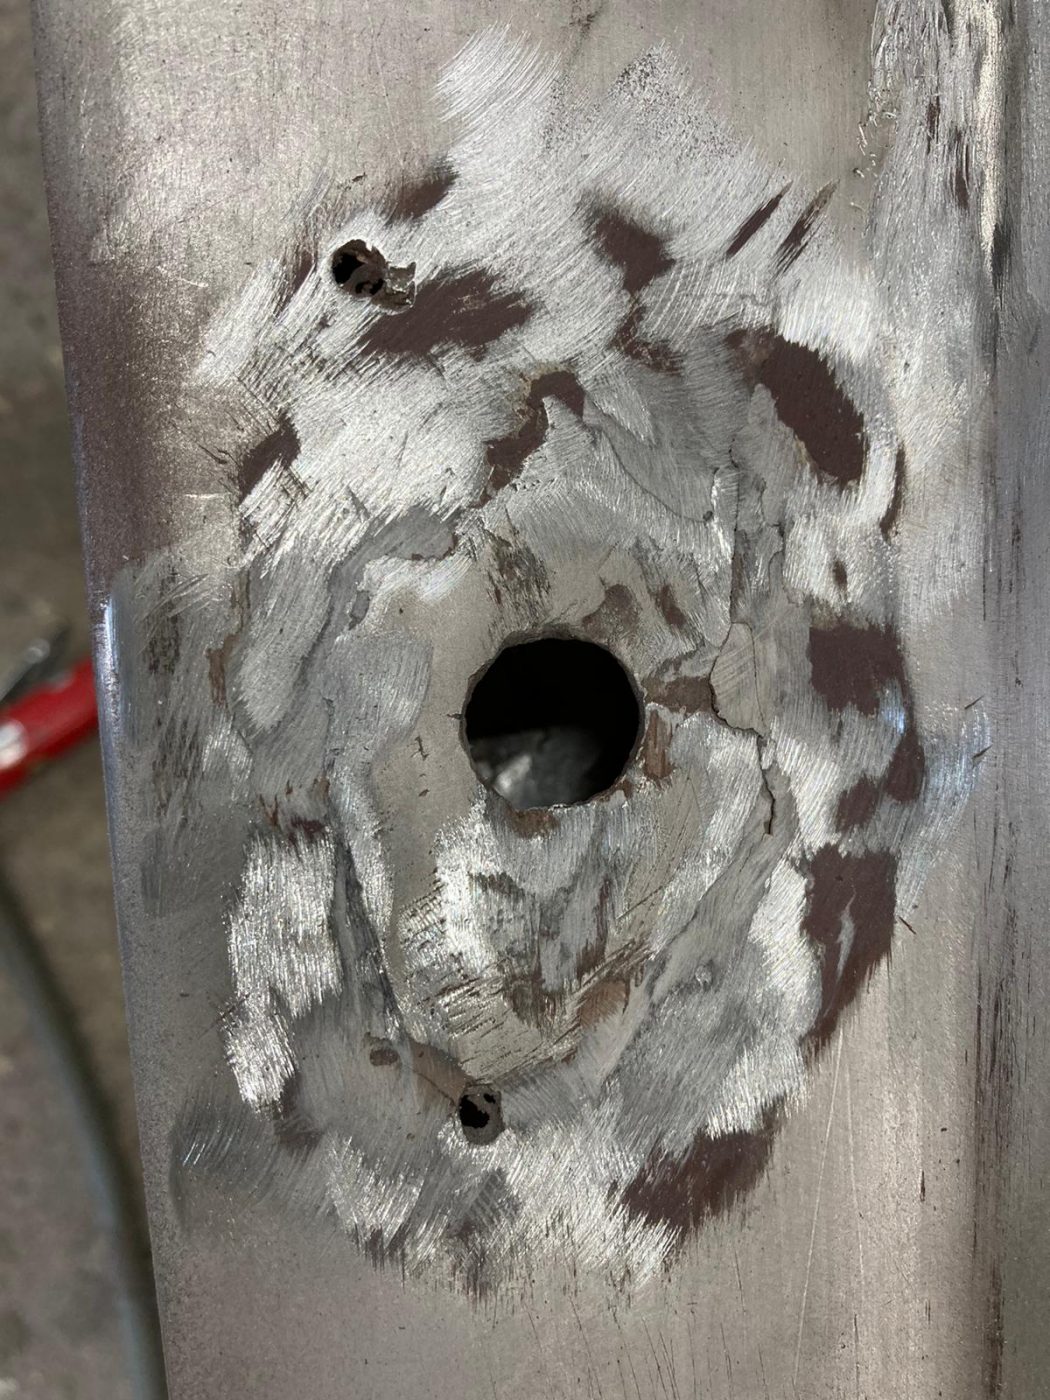
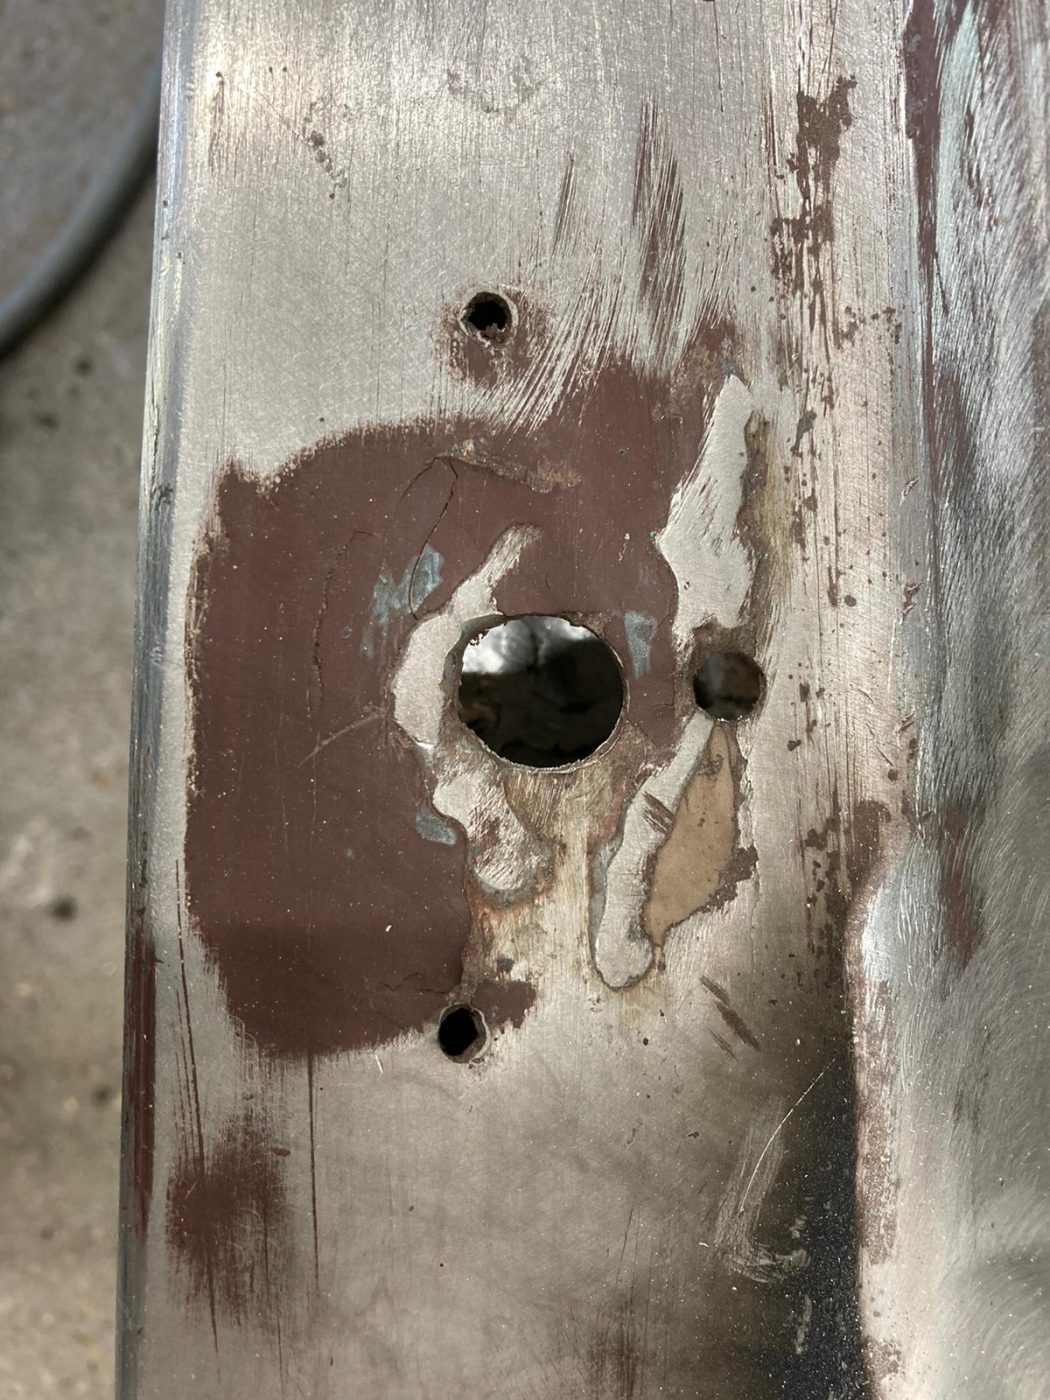
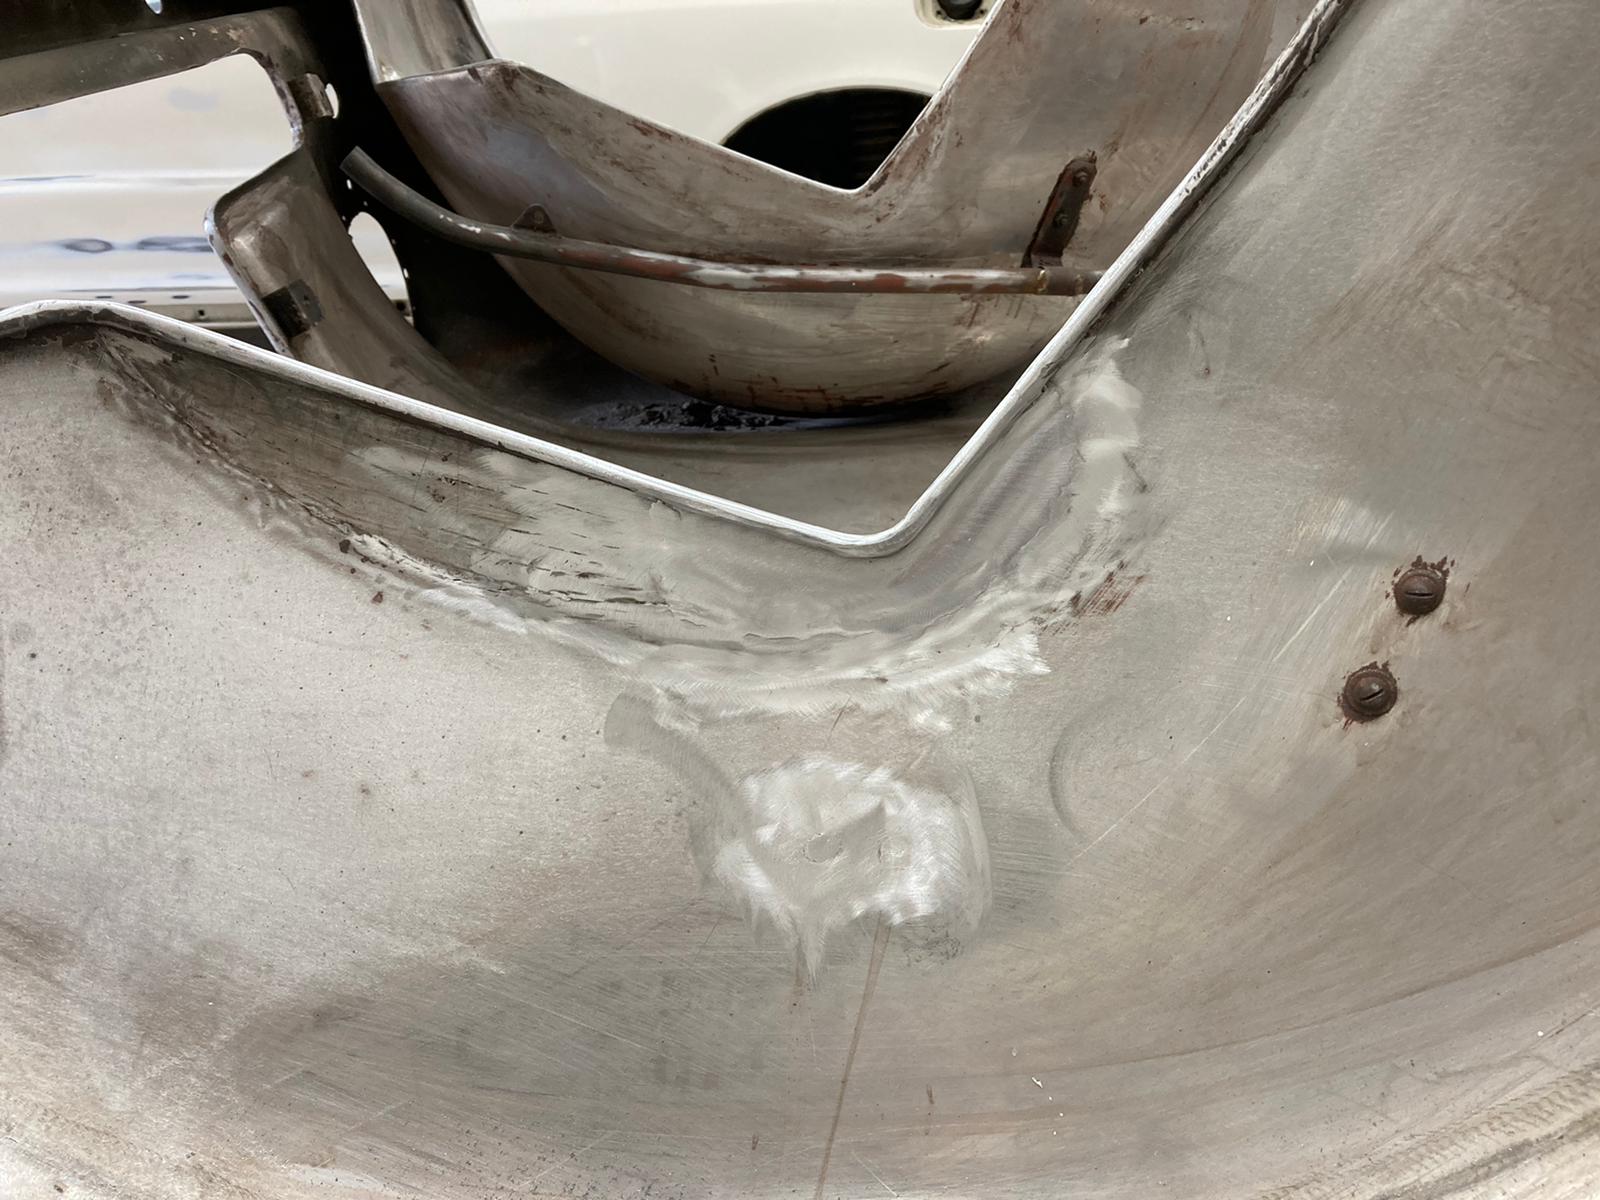
Clinton is continuing to work on the front end of our 1955 Aston martin DB2/4. More areas of corrosion have now been cut out and new metalwork has been replaced.


More stripping, gluing and re-covering on the agenda for Brian and Lydia in our trim-shop this week and the cappings, front and side windows, window panels and woodwork have all been finished in new leatherwork.


Lydia has been sand blasting the internal bonnet and hinge assemblies for the Aston Martin DB2/4 in order to get rid of any substances such as old paint that have been left behind.

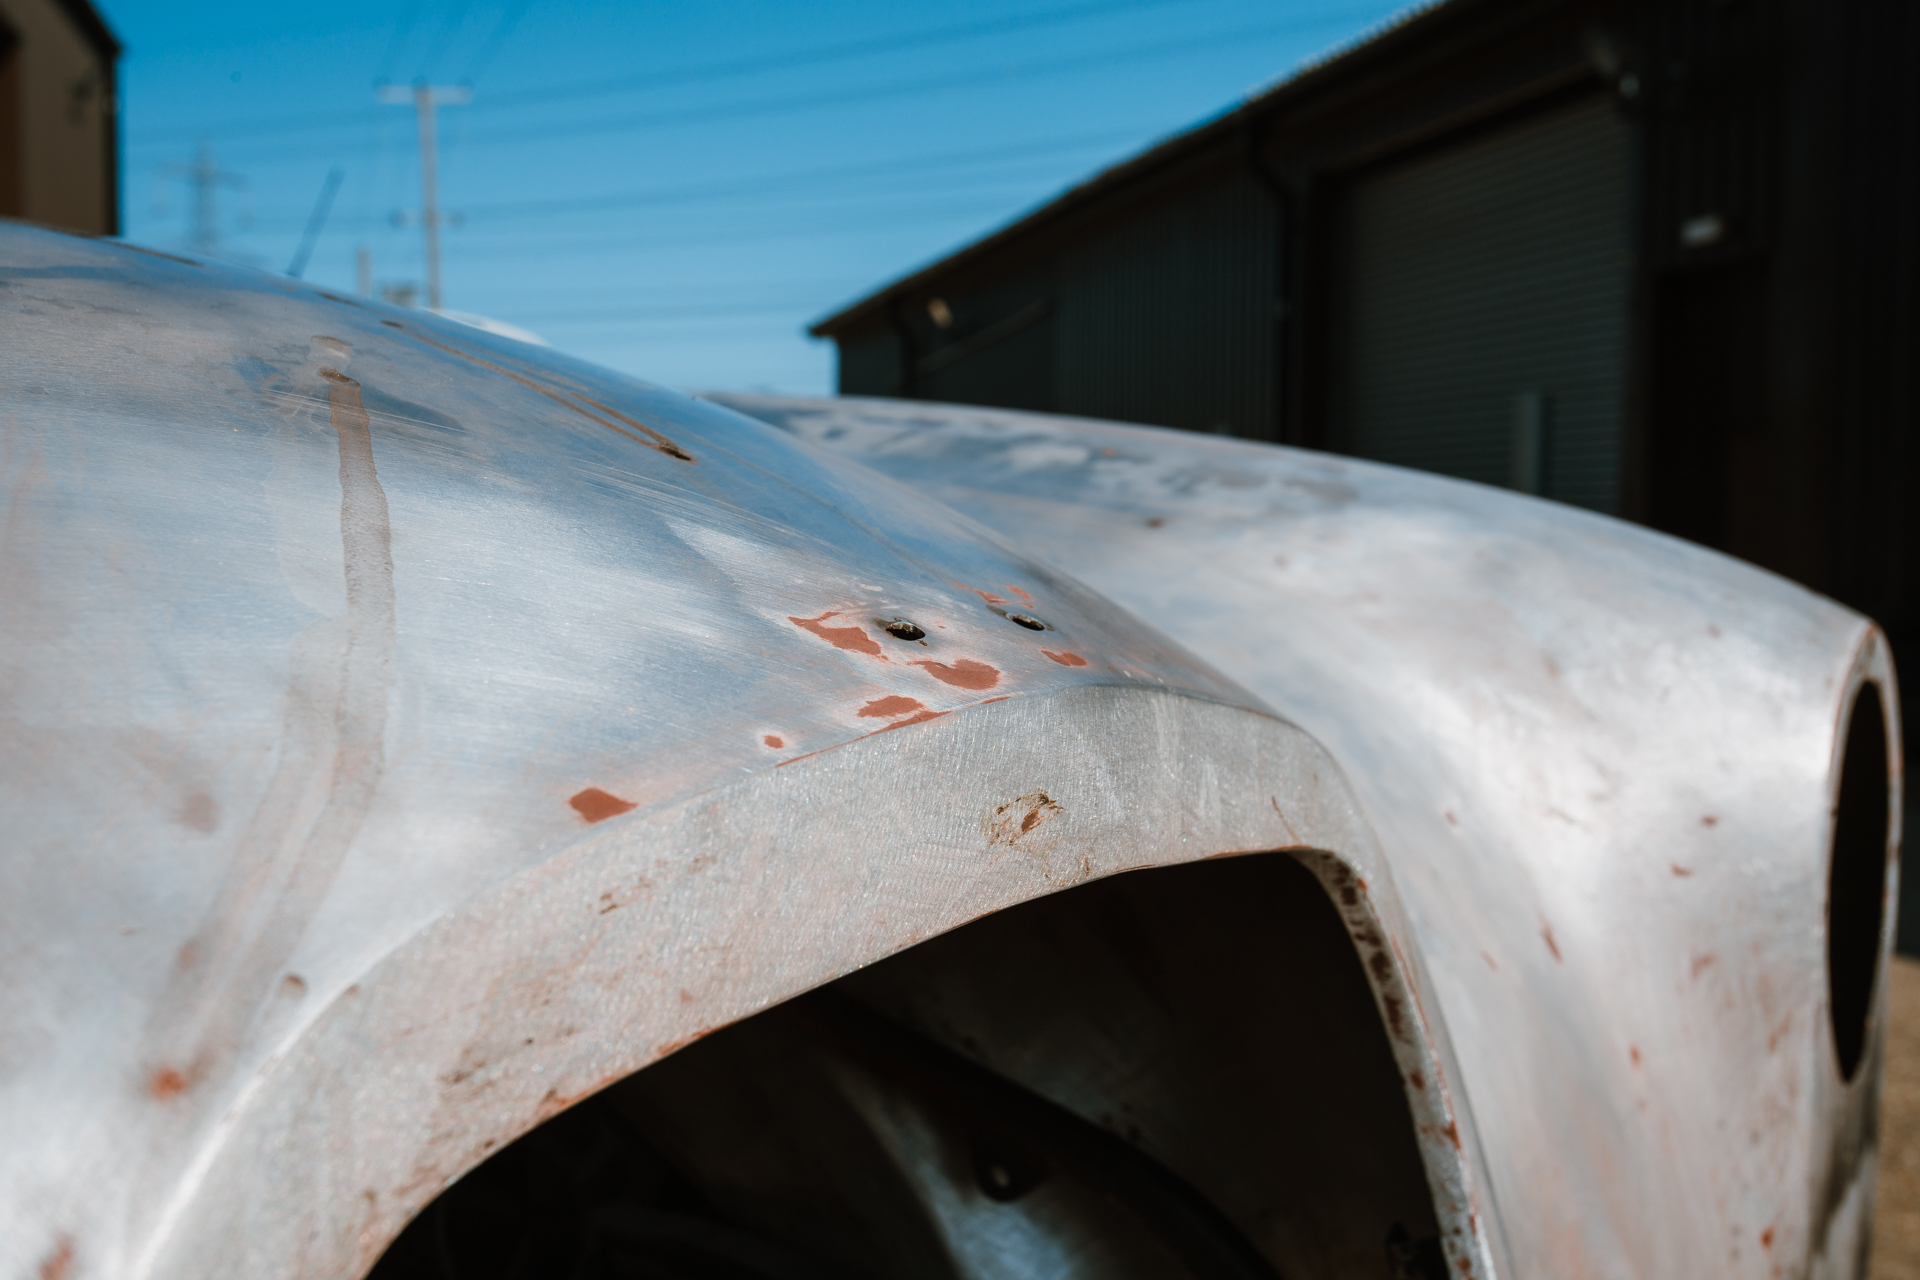
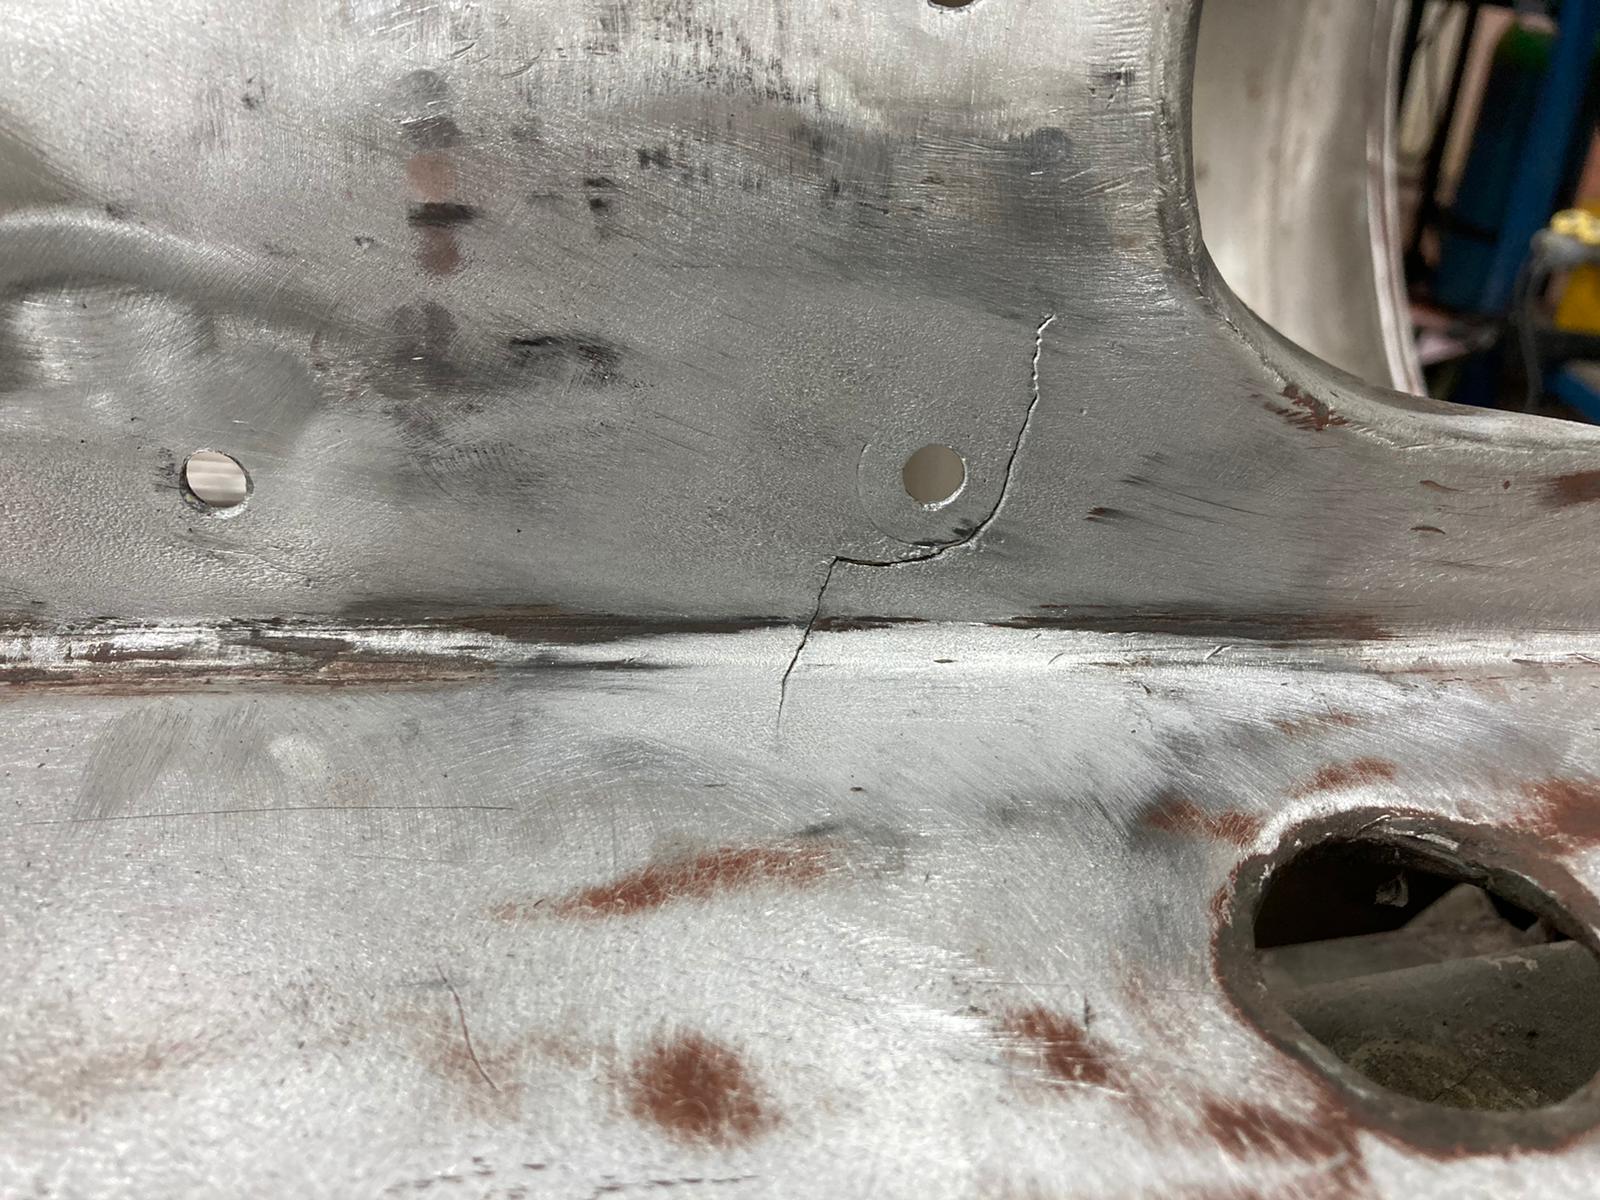
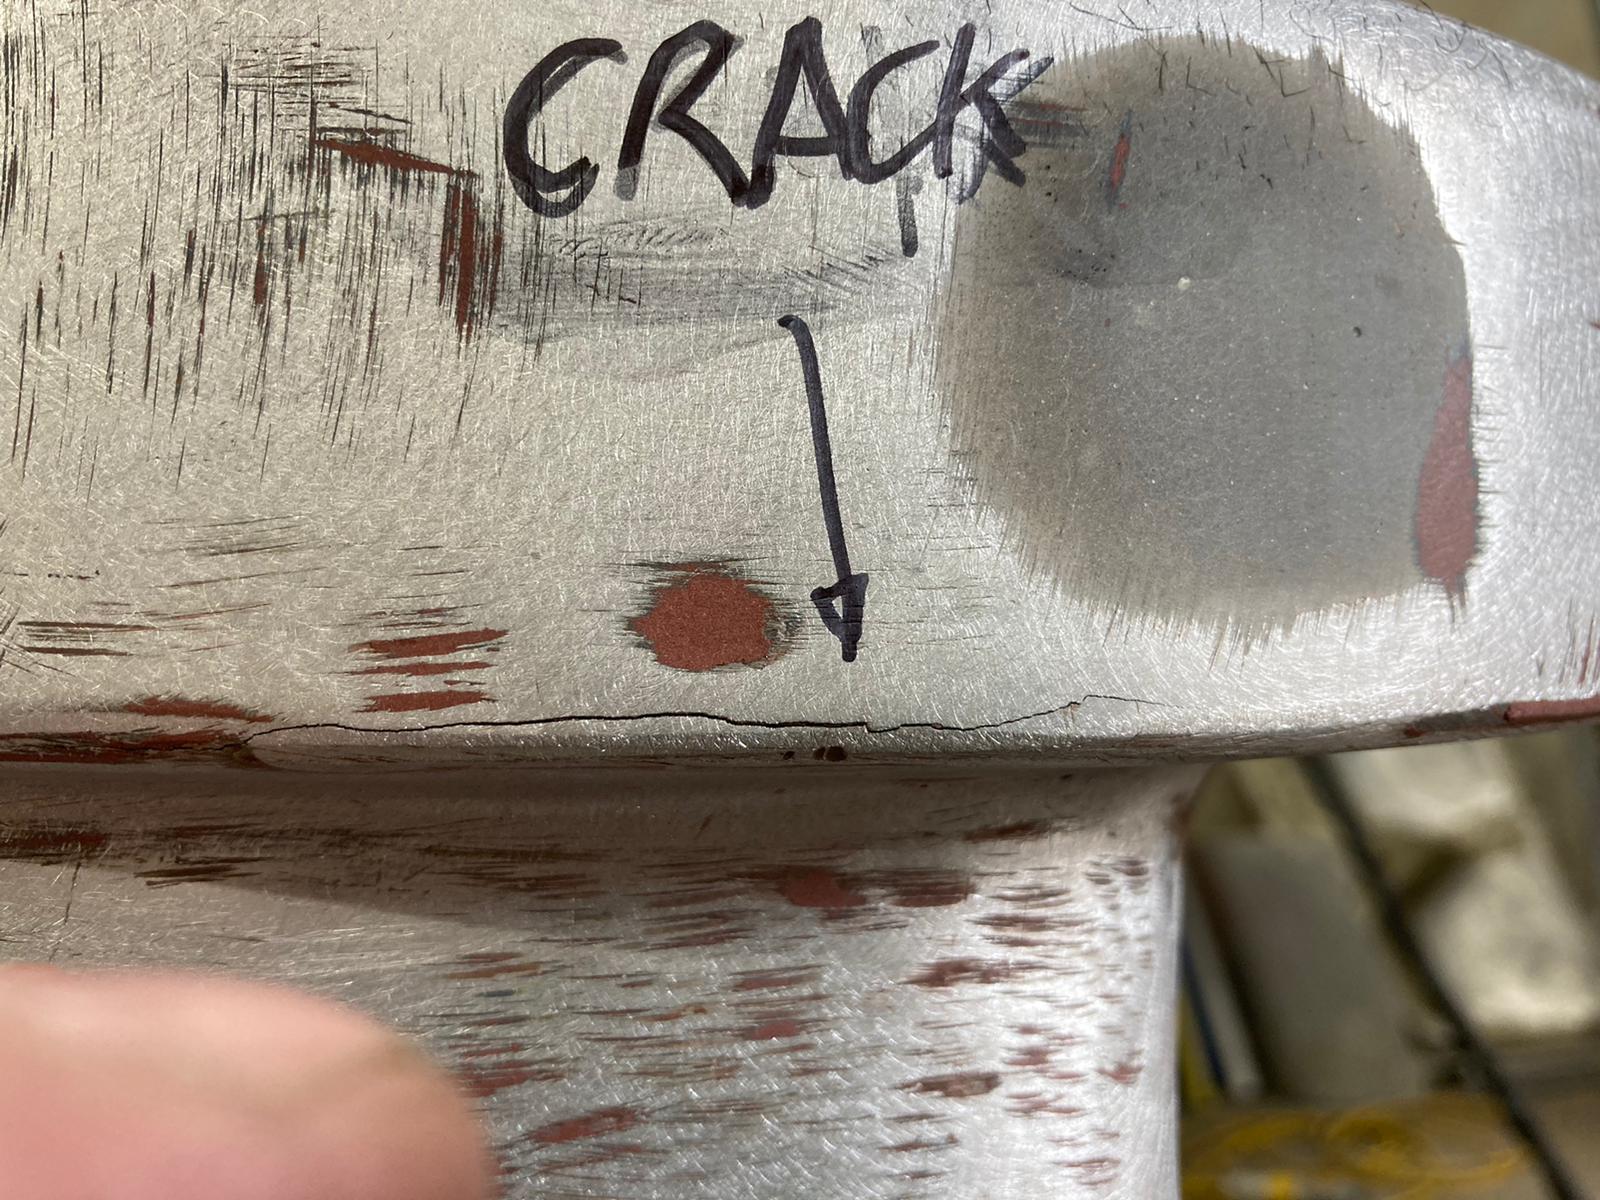
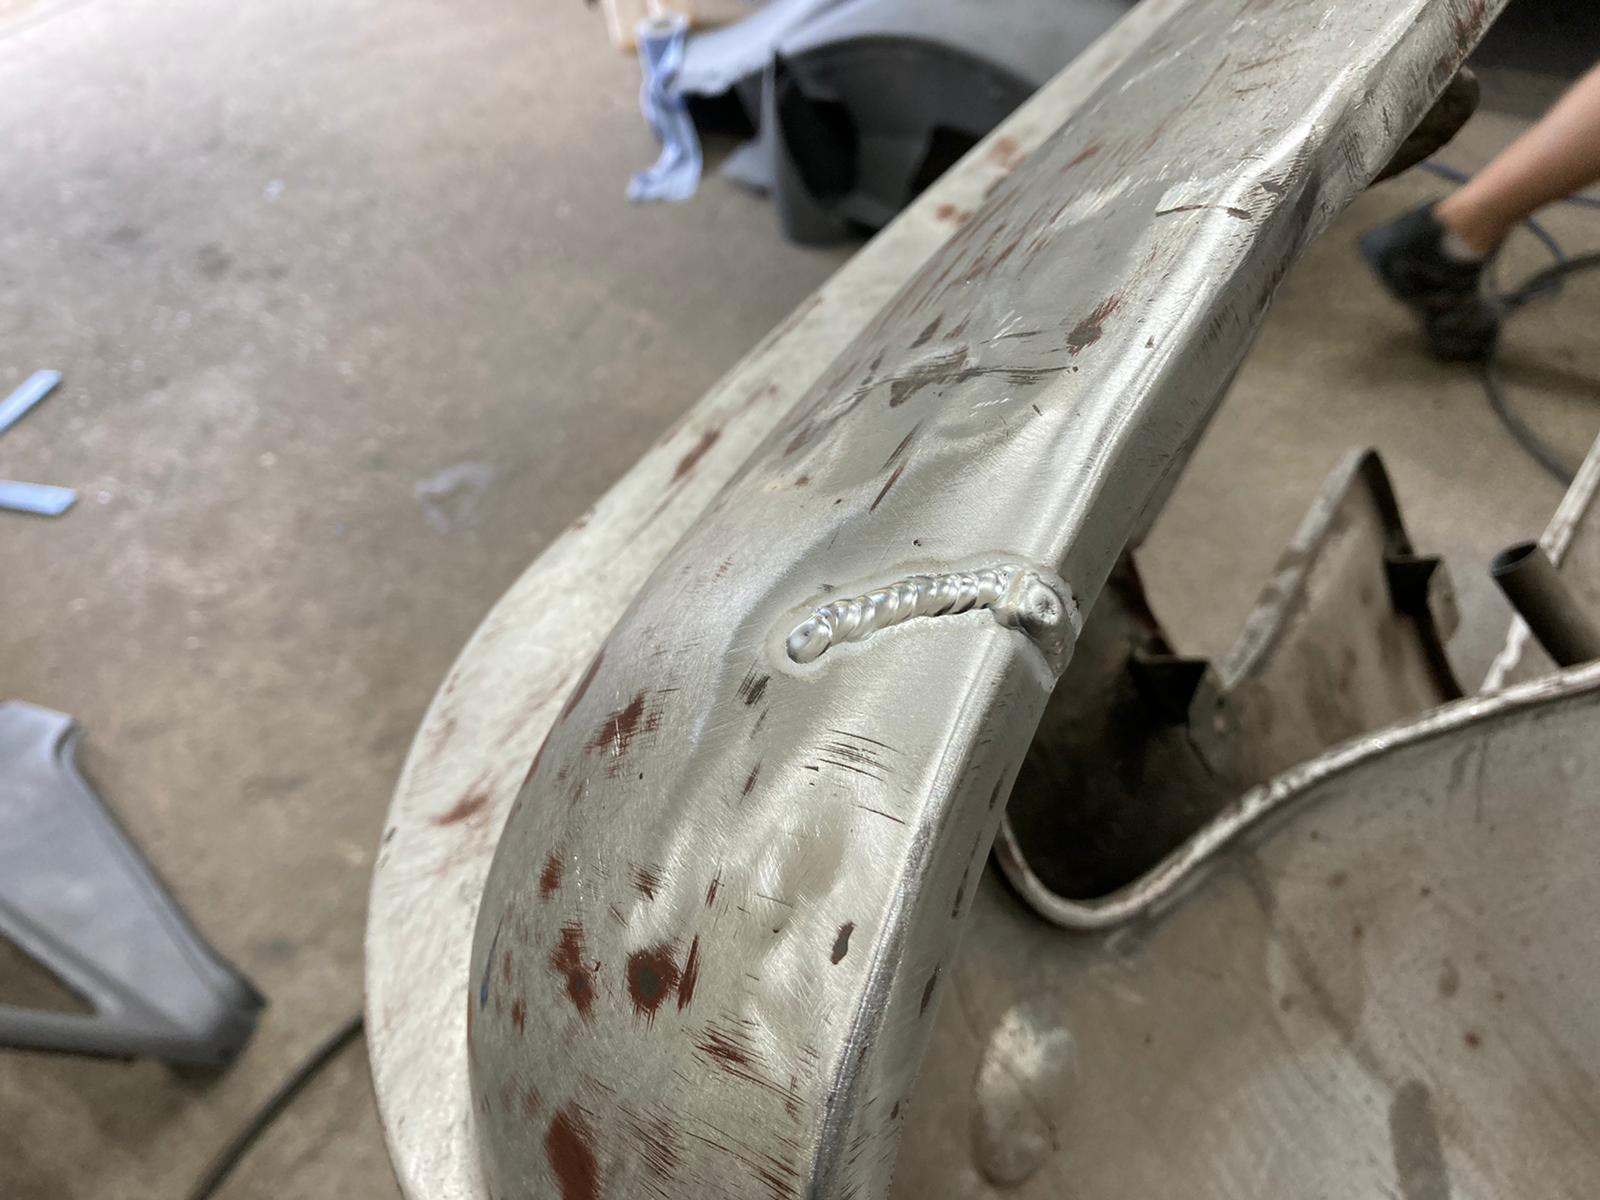
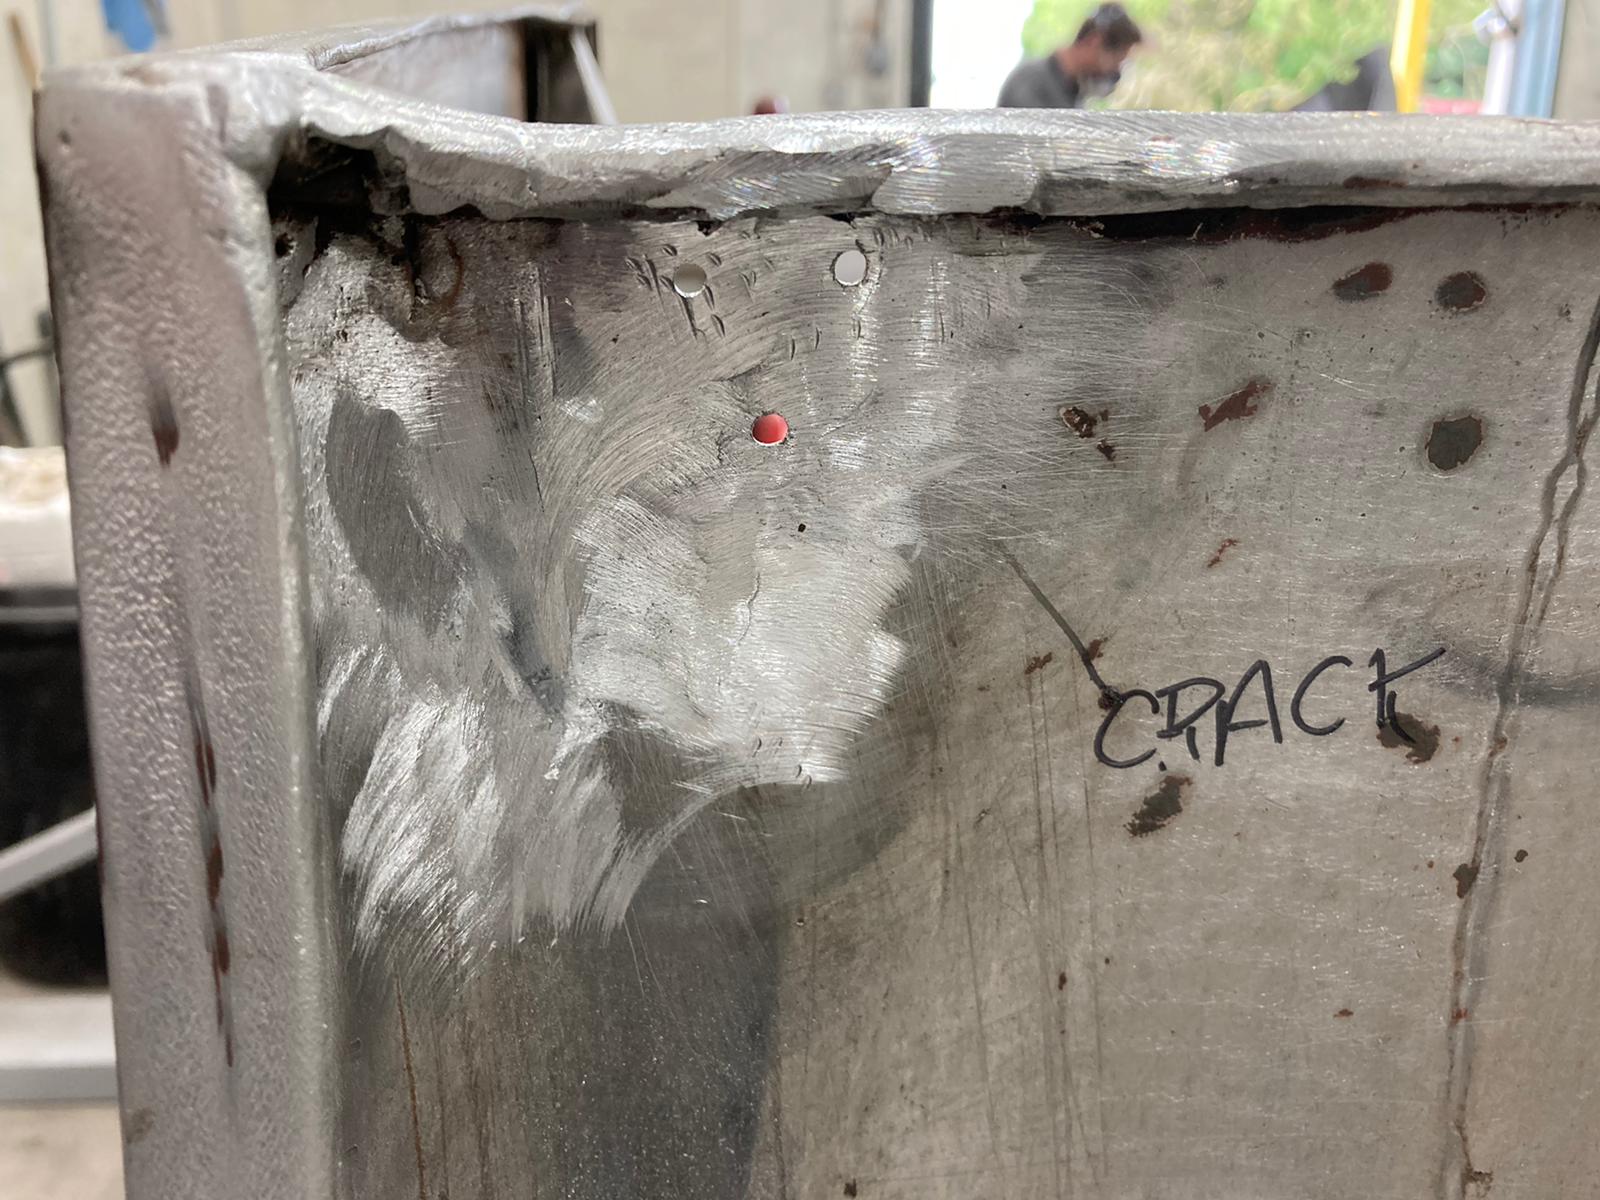
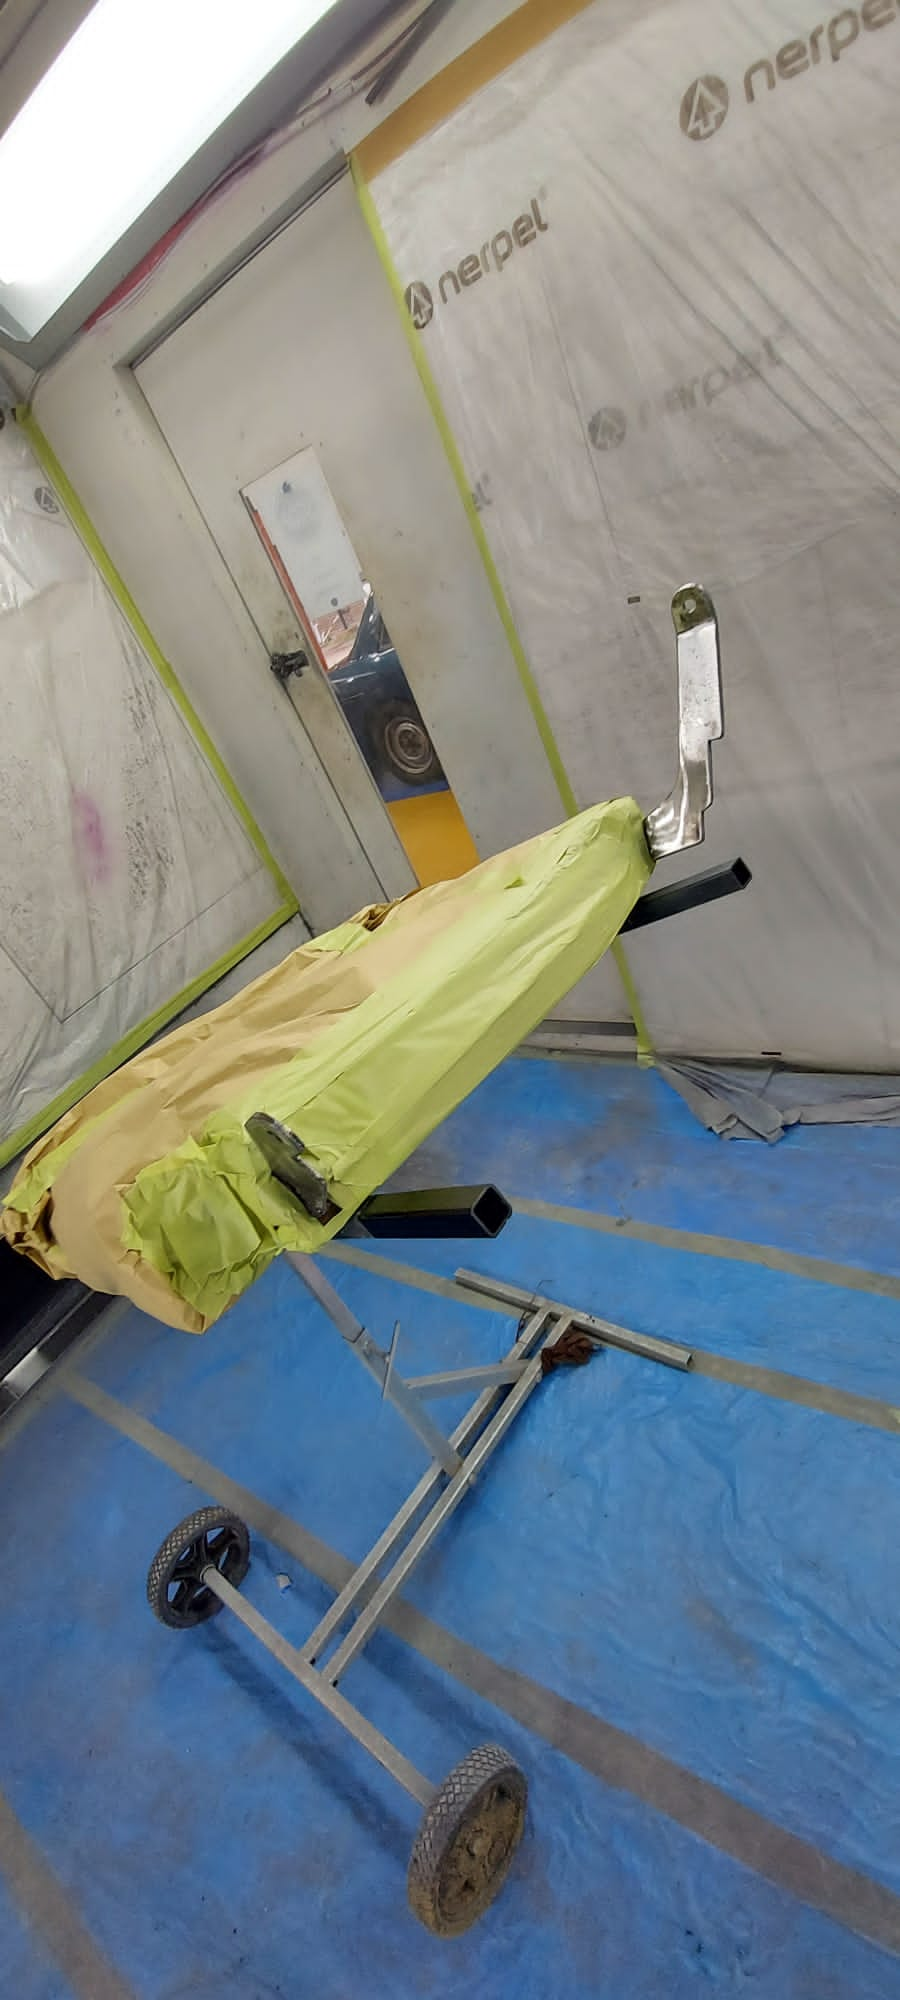
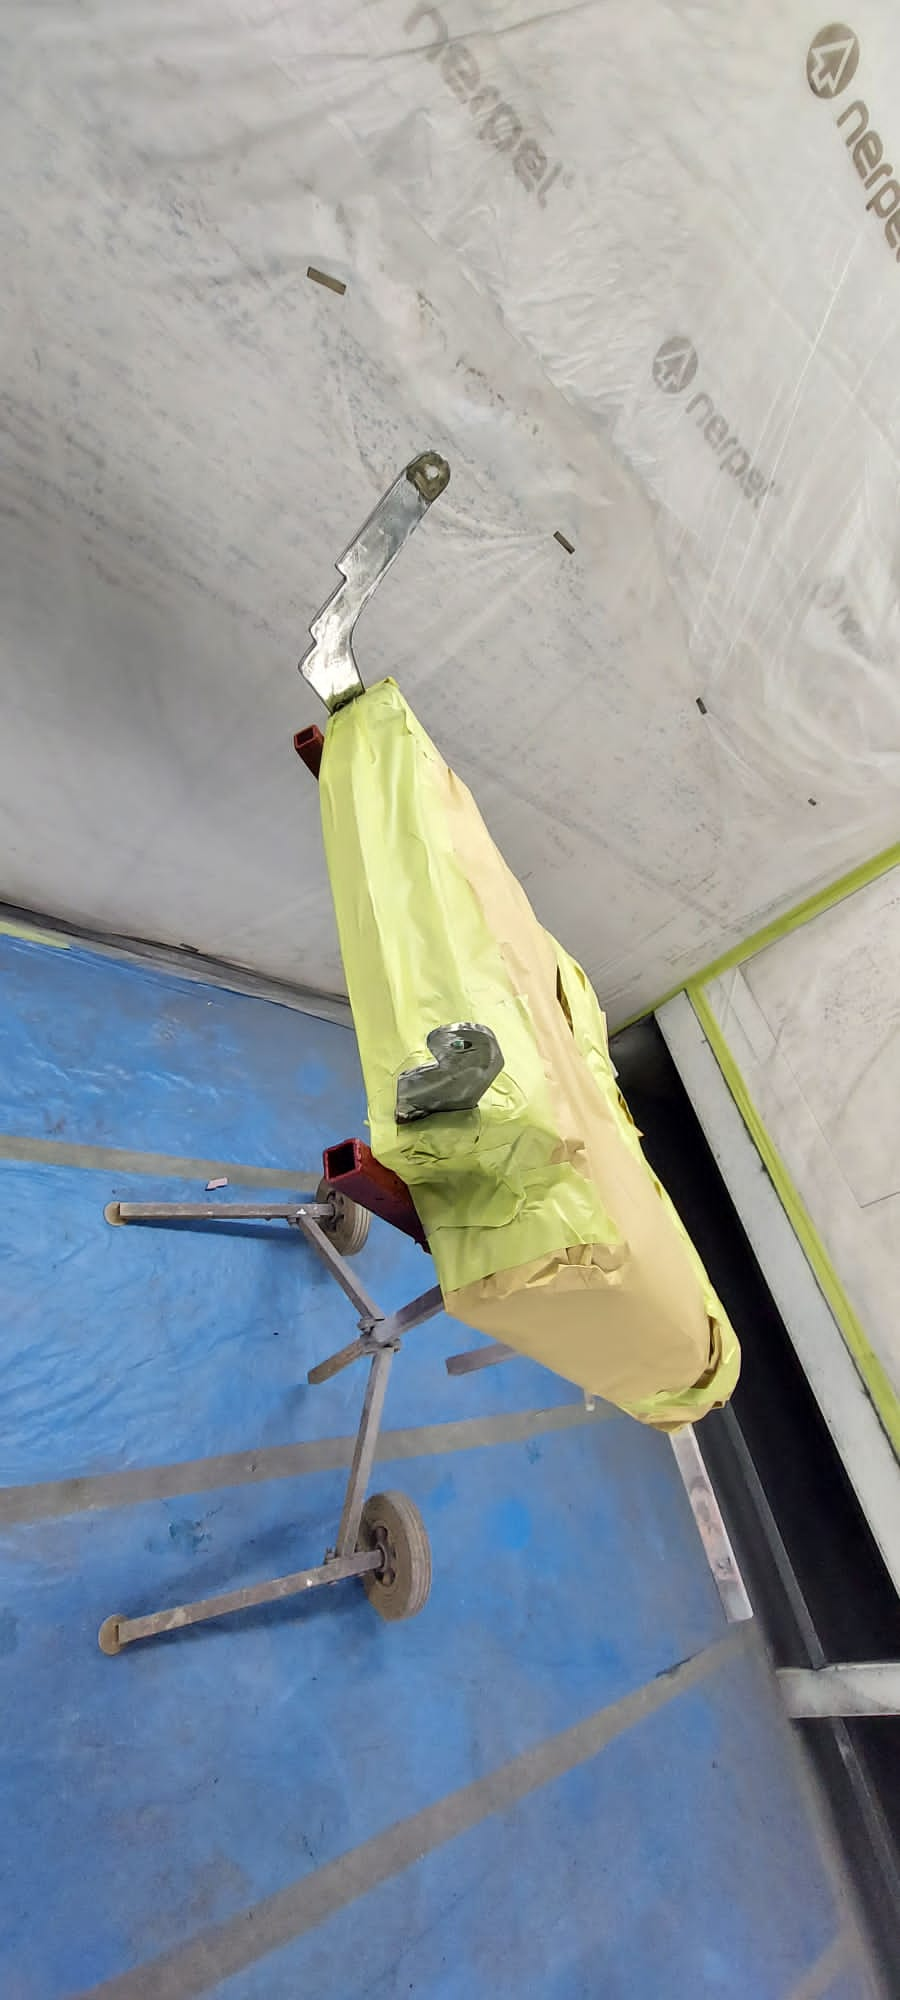
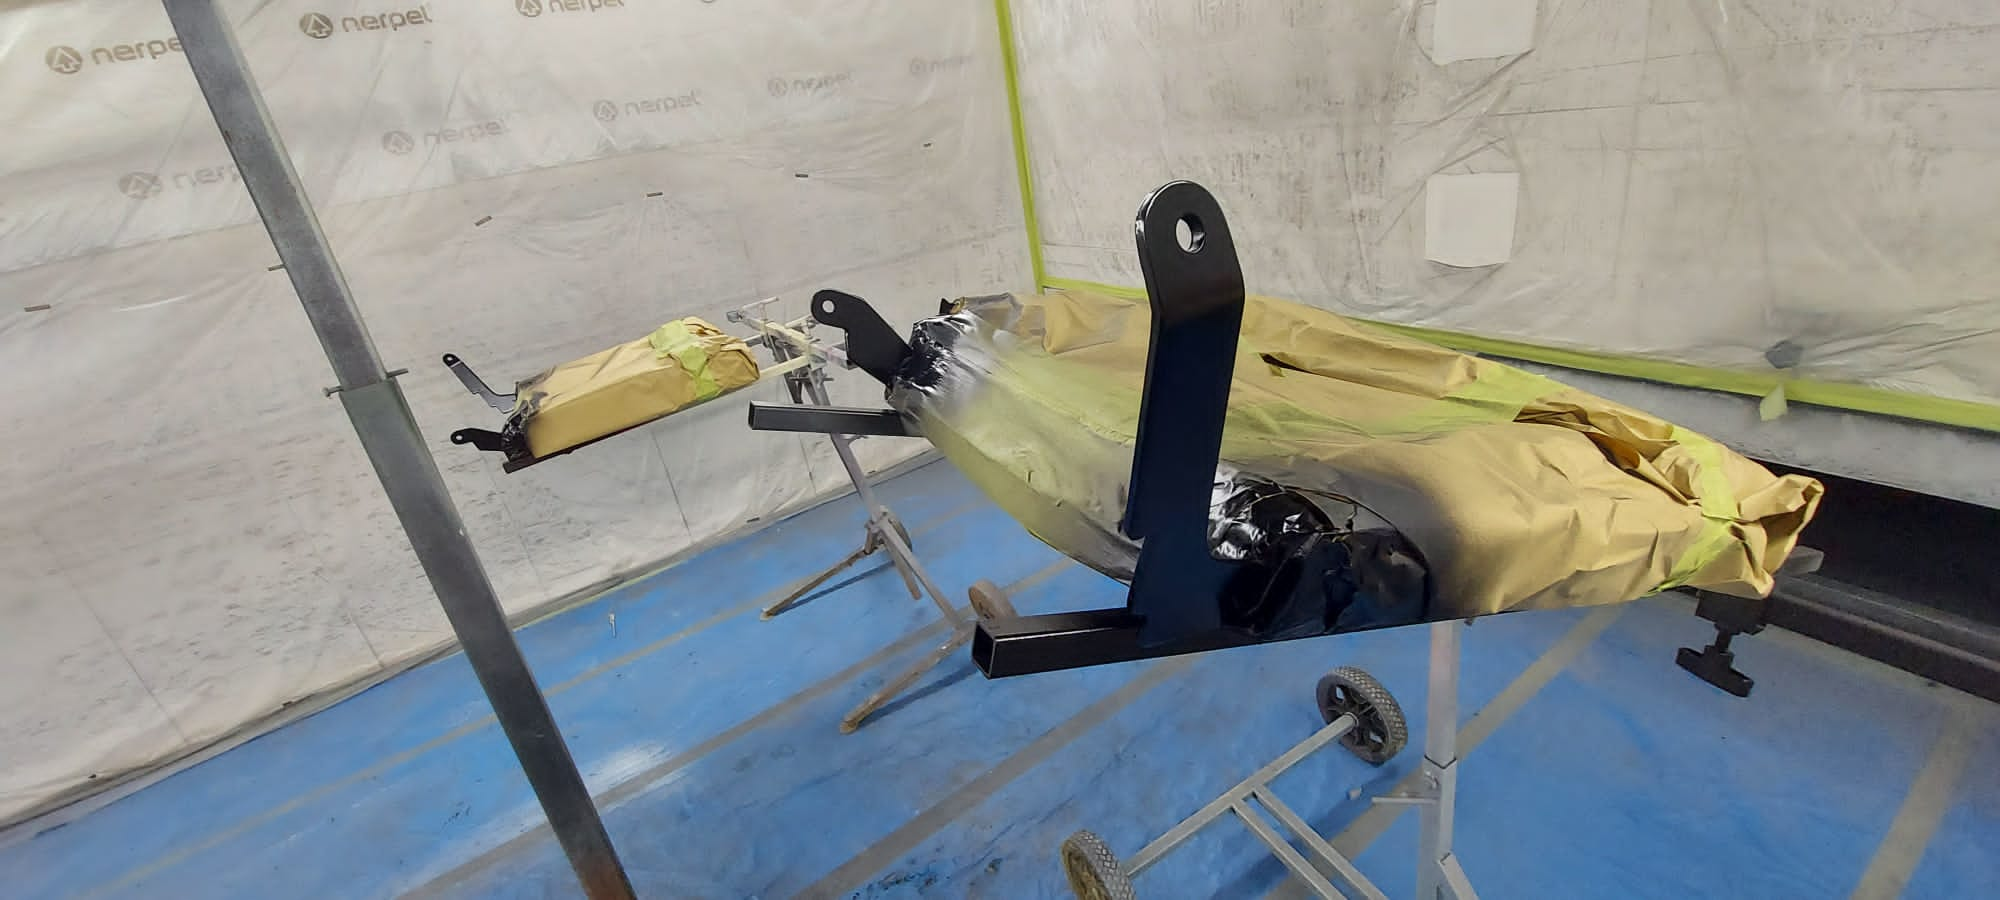
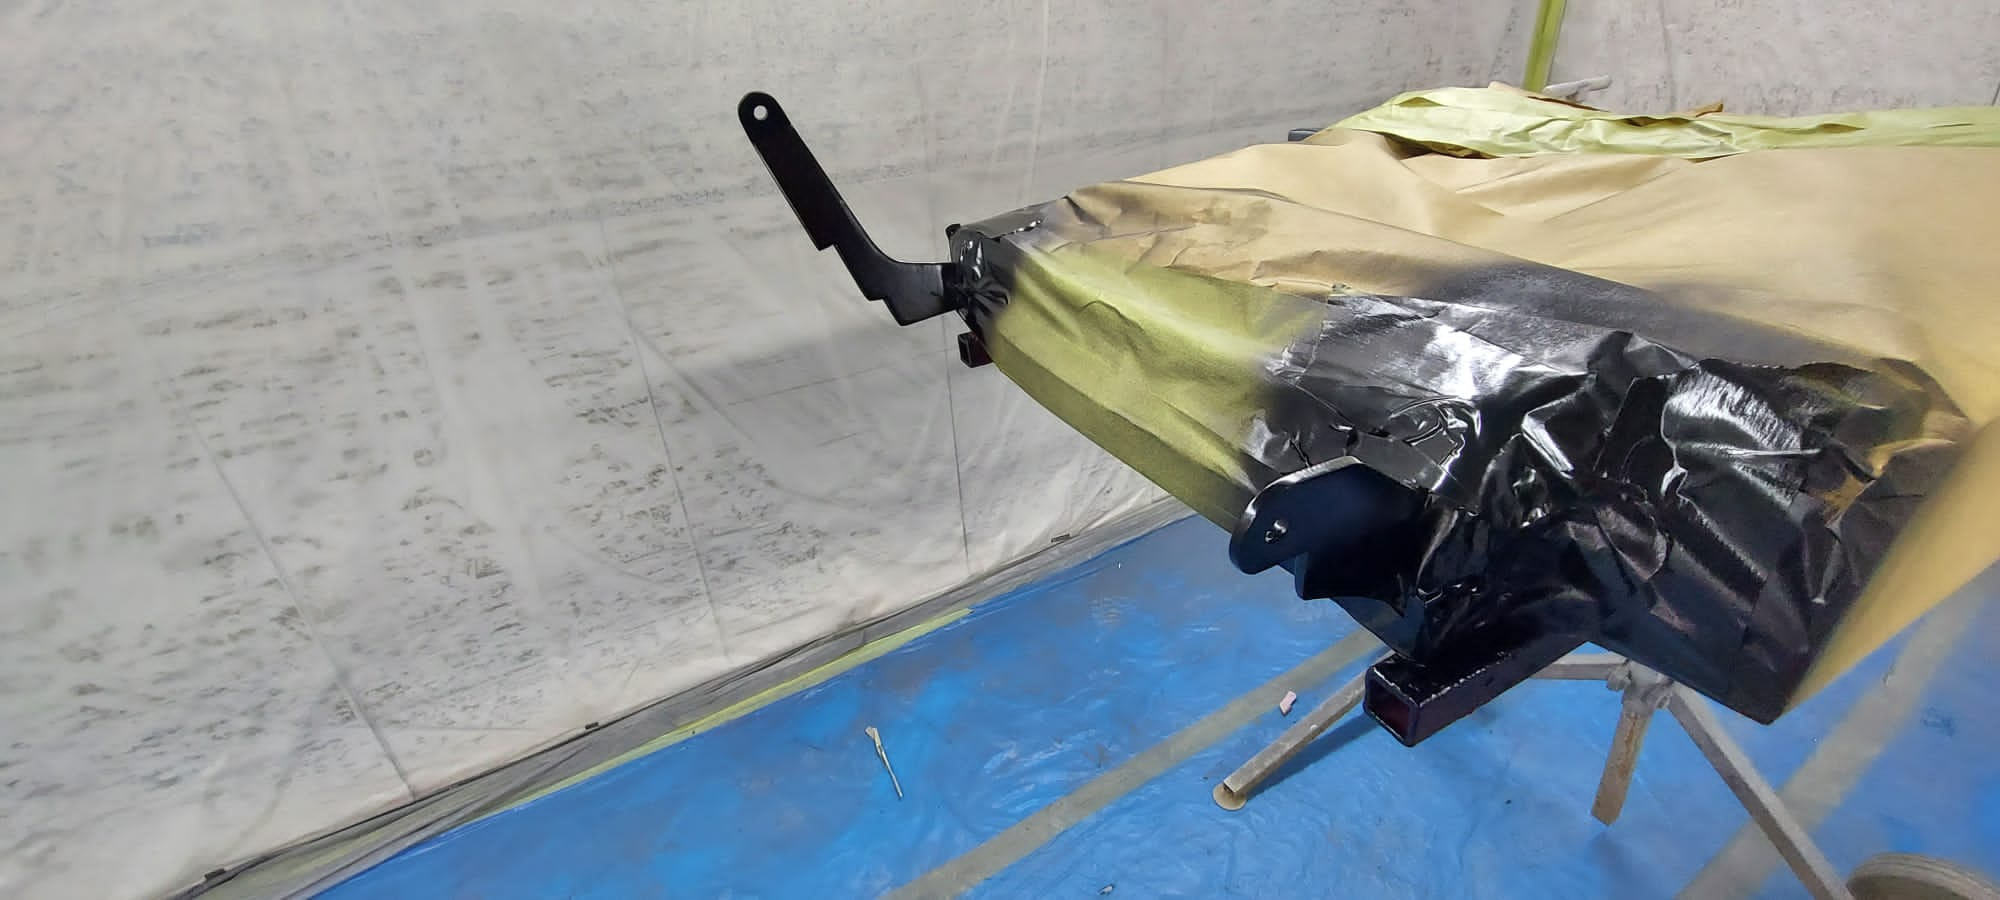
Clinton has been busy fabricating for the bonnet of the Aston Martin DB 2 / 4.
He’s fabricated new hinge supports for the front, repaired various cracks with welding, fabricated a new part onto the wheel arch, straightened out the front because it was all bent in, and pulled a dent out of one of the wings!


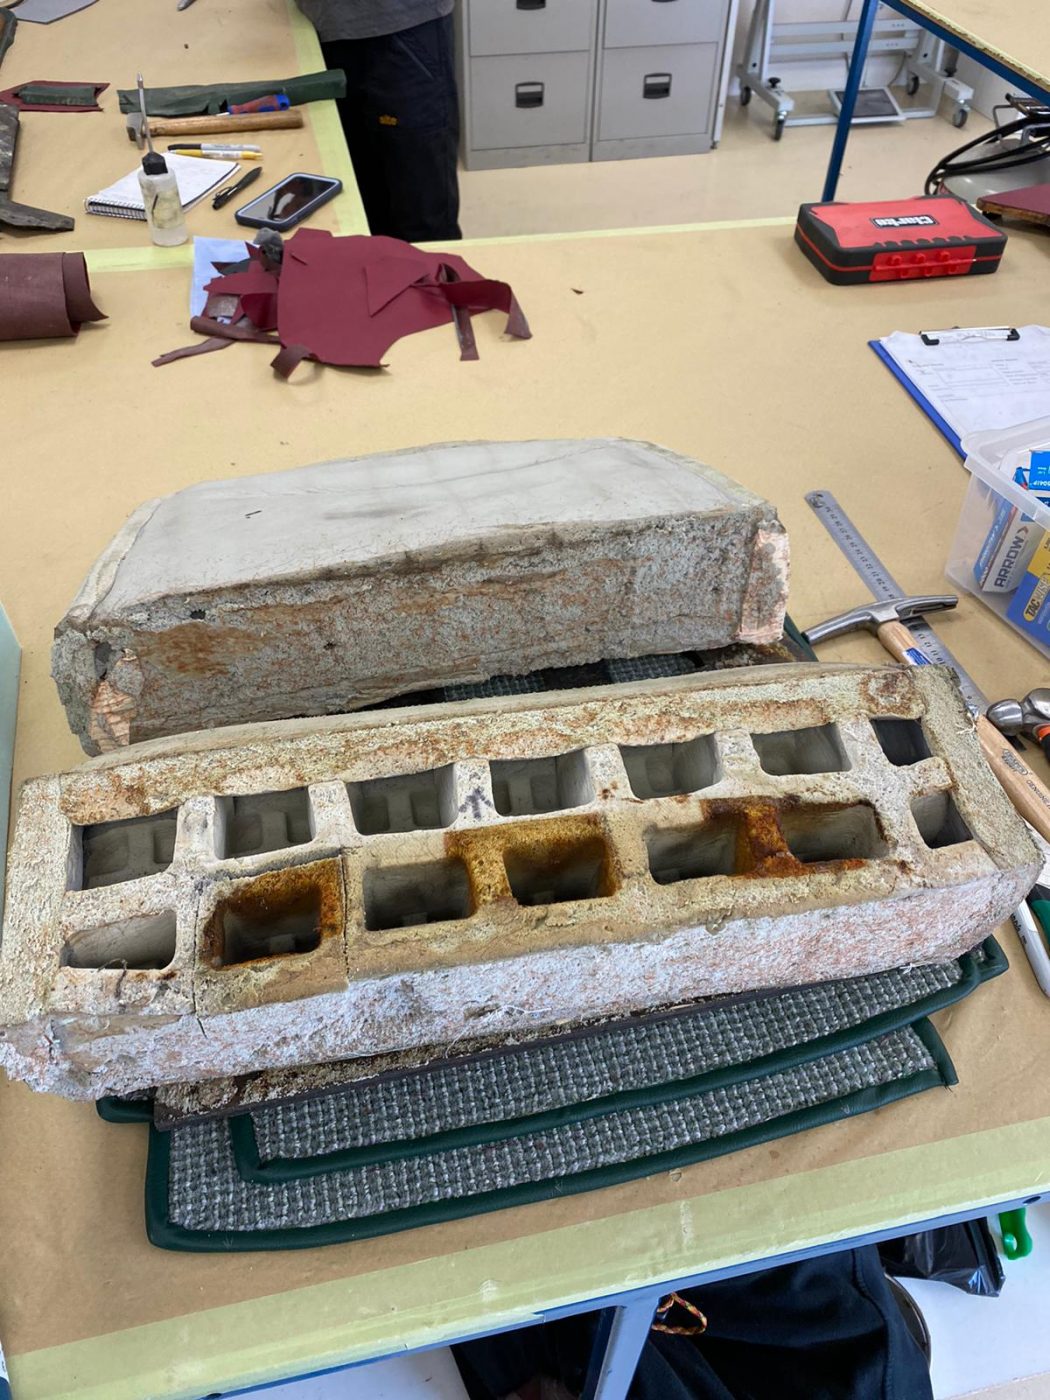
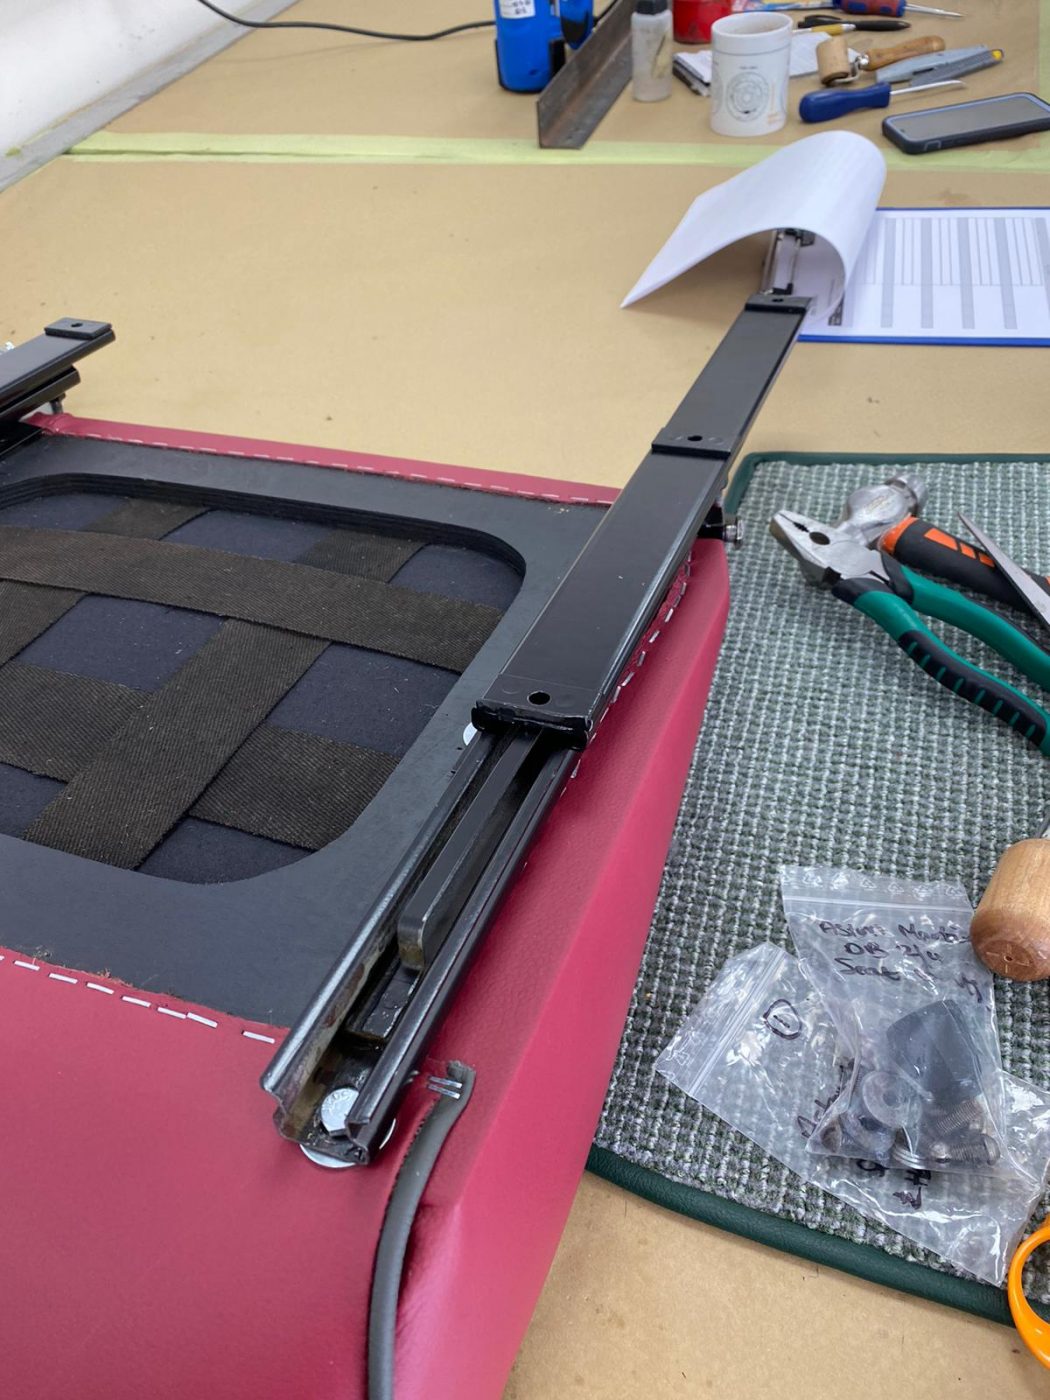
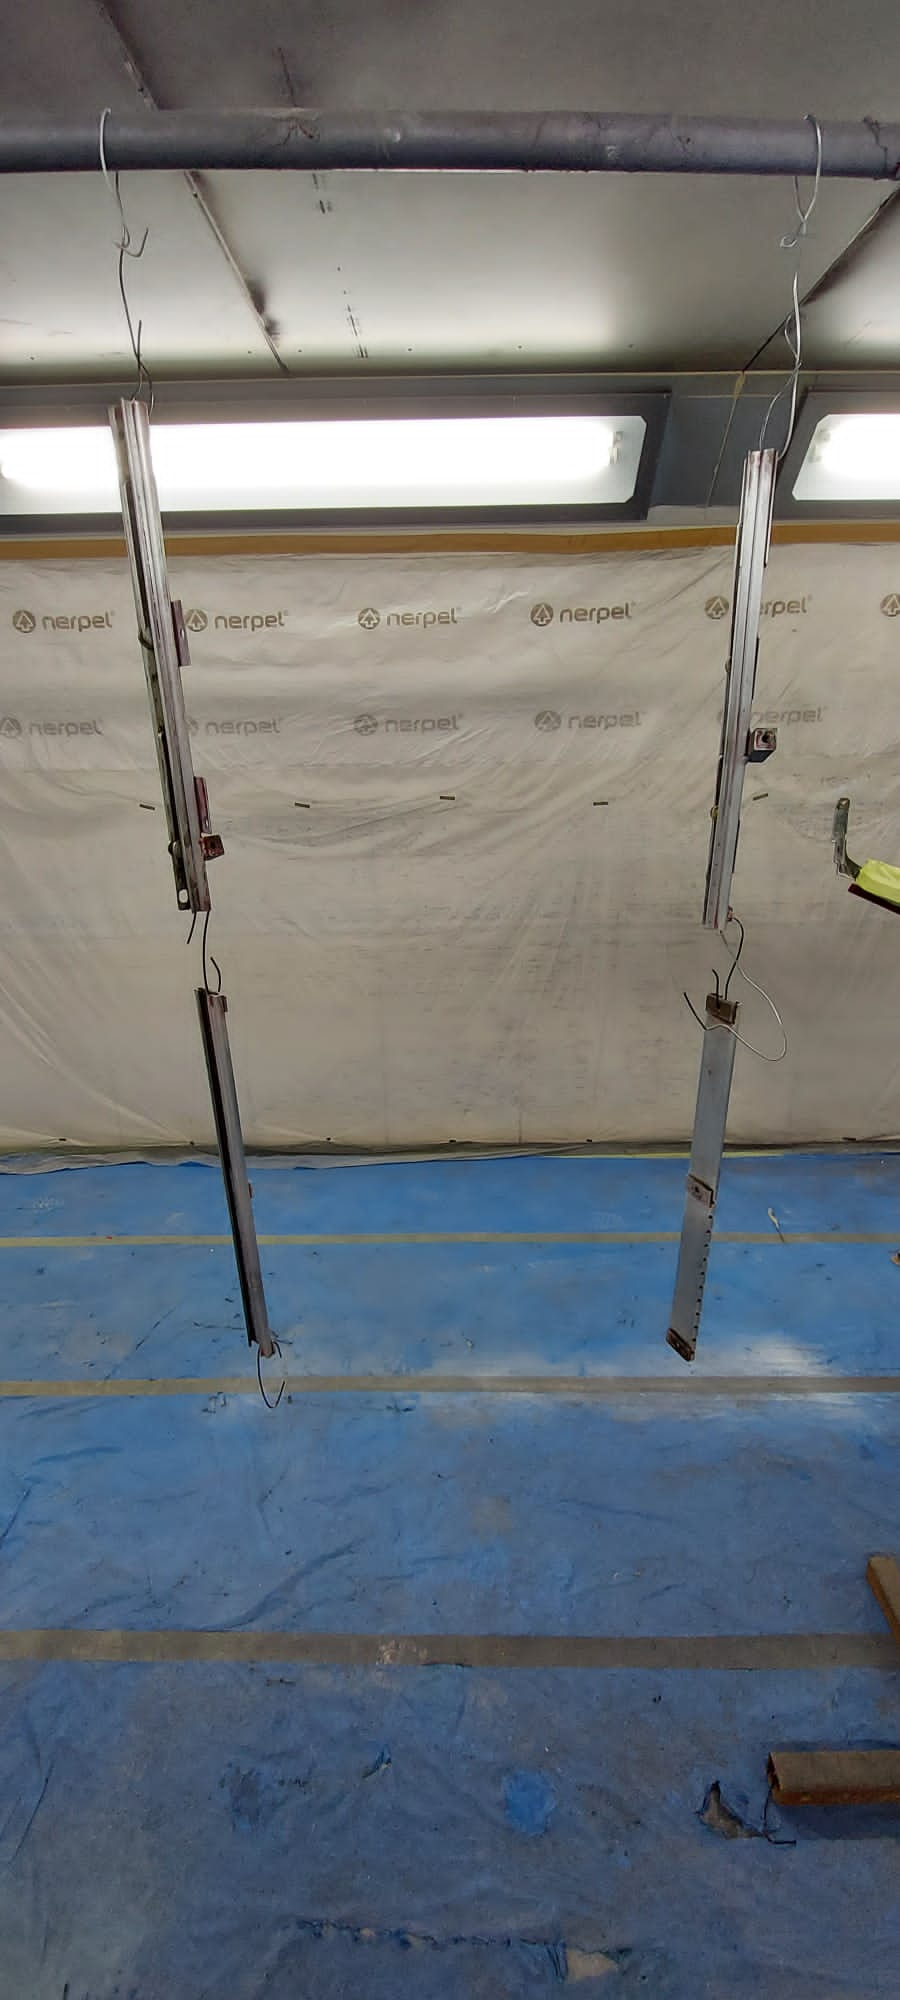
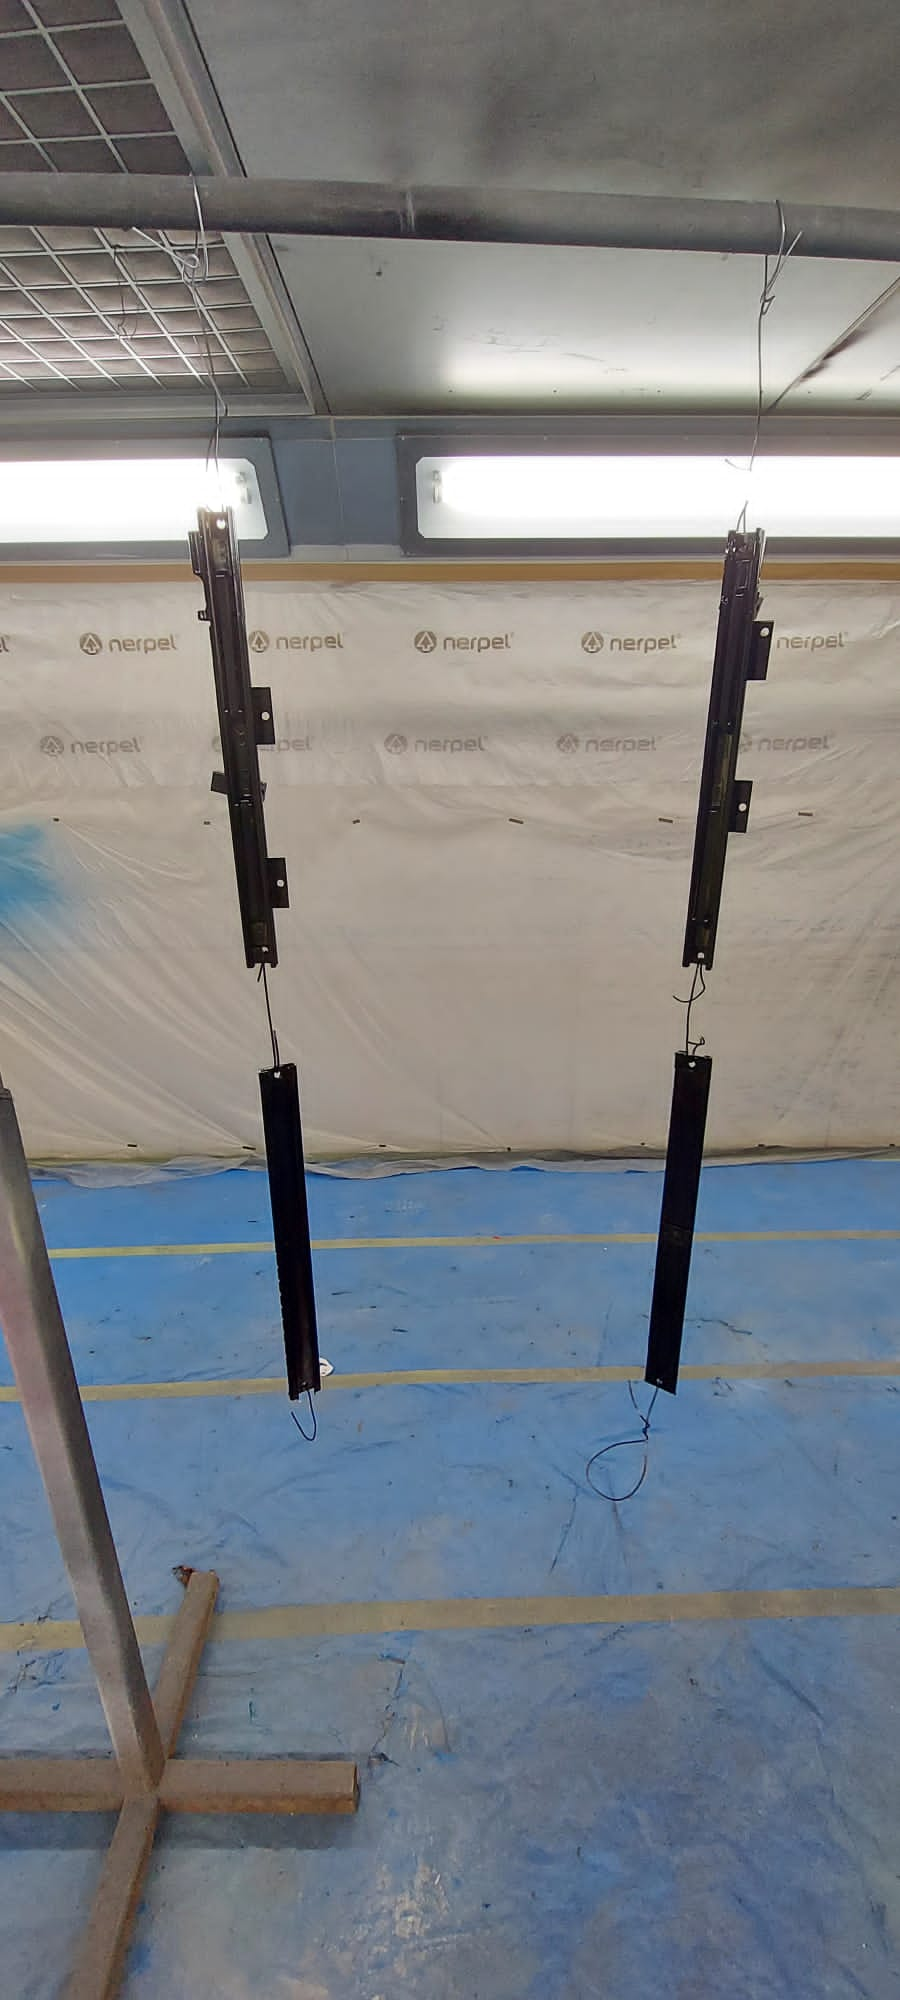
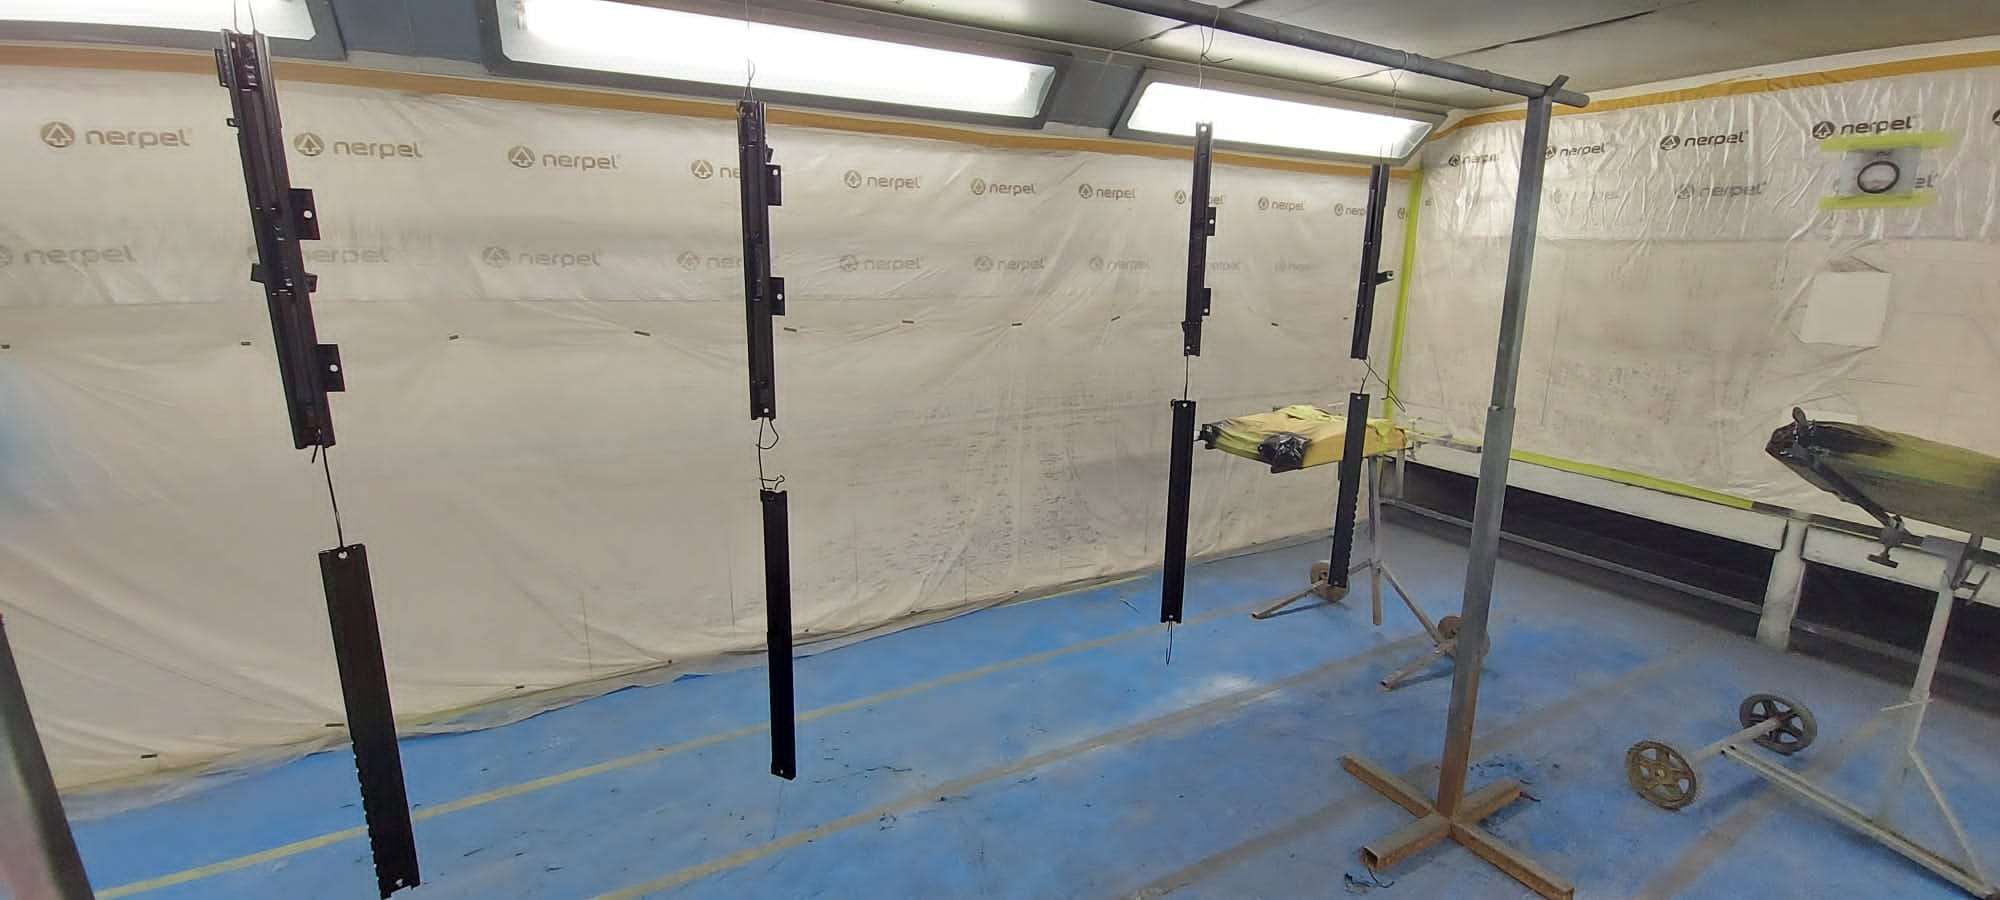
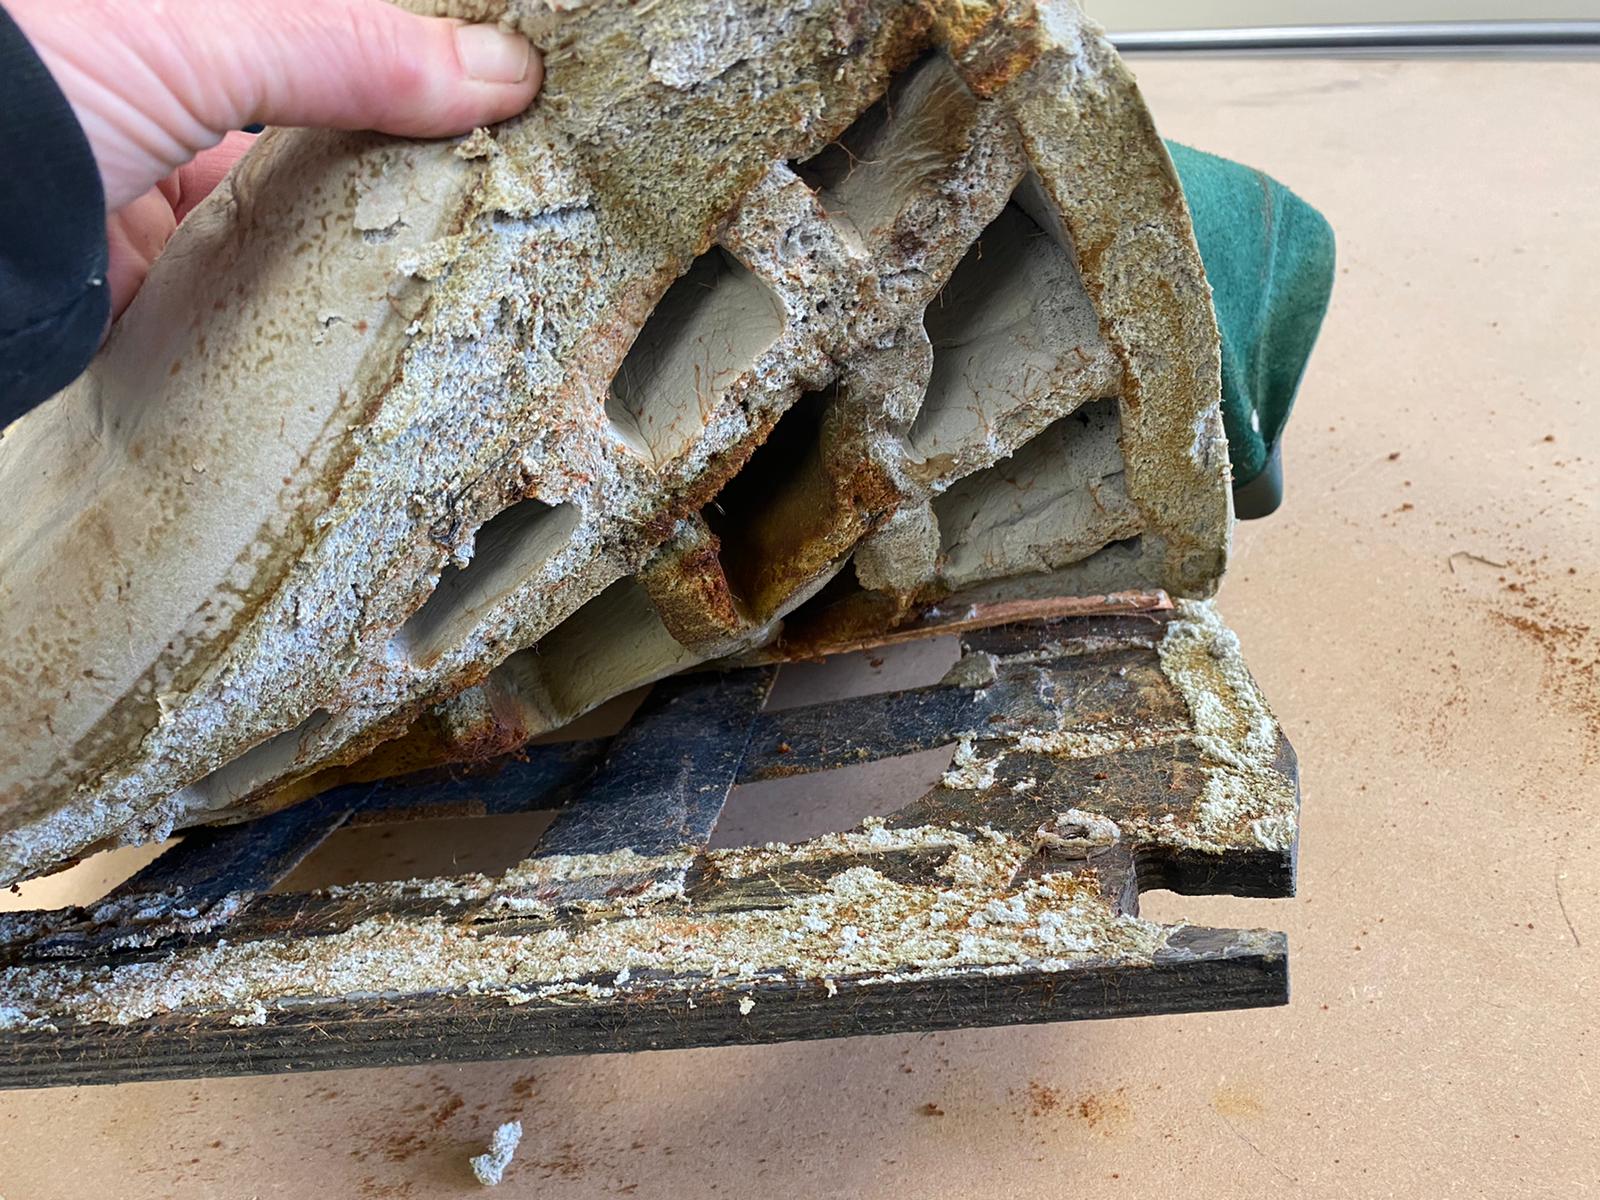
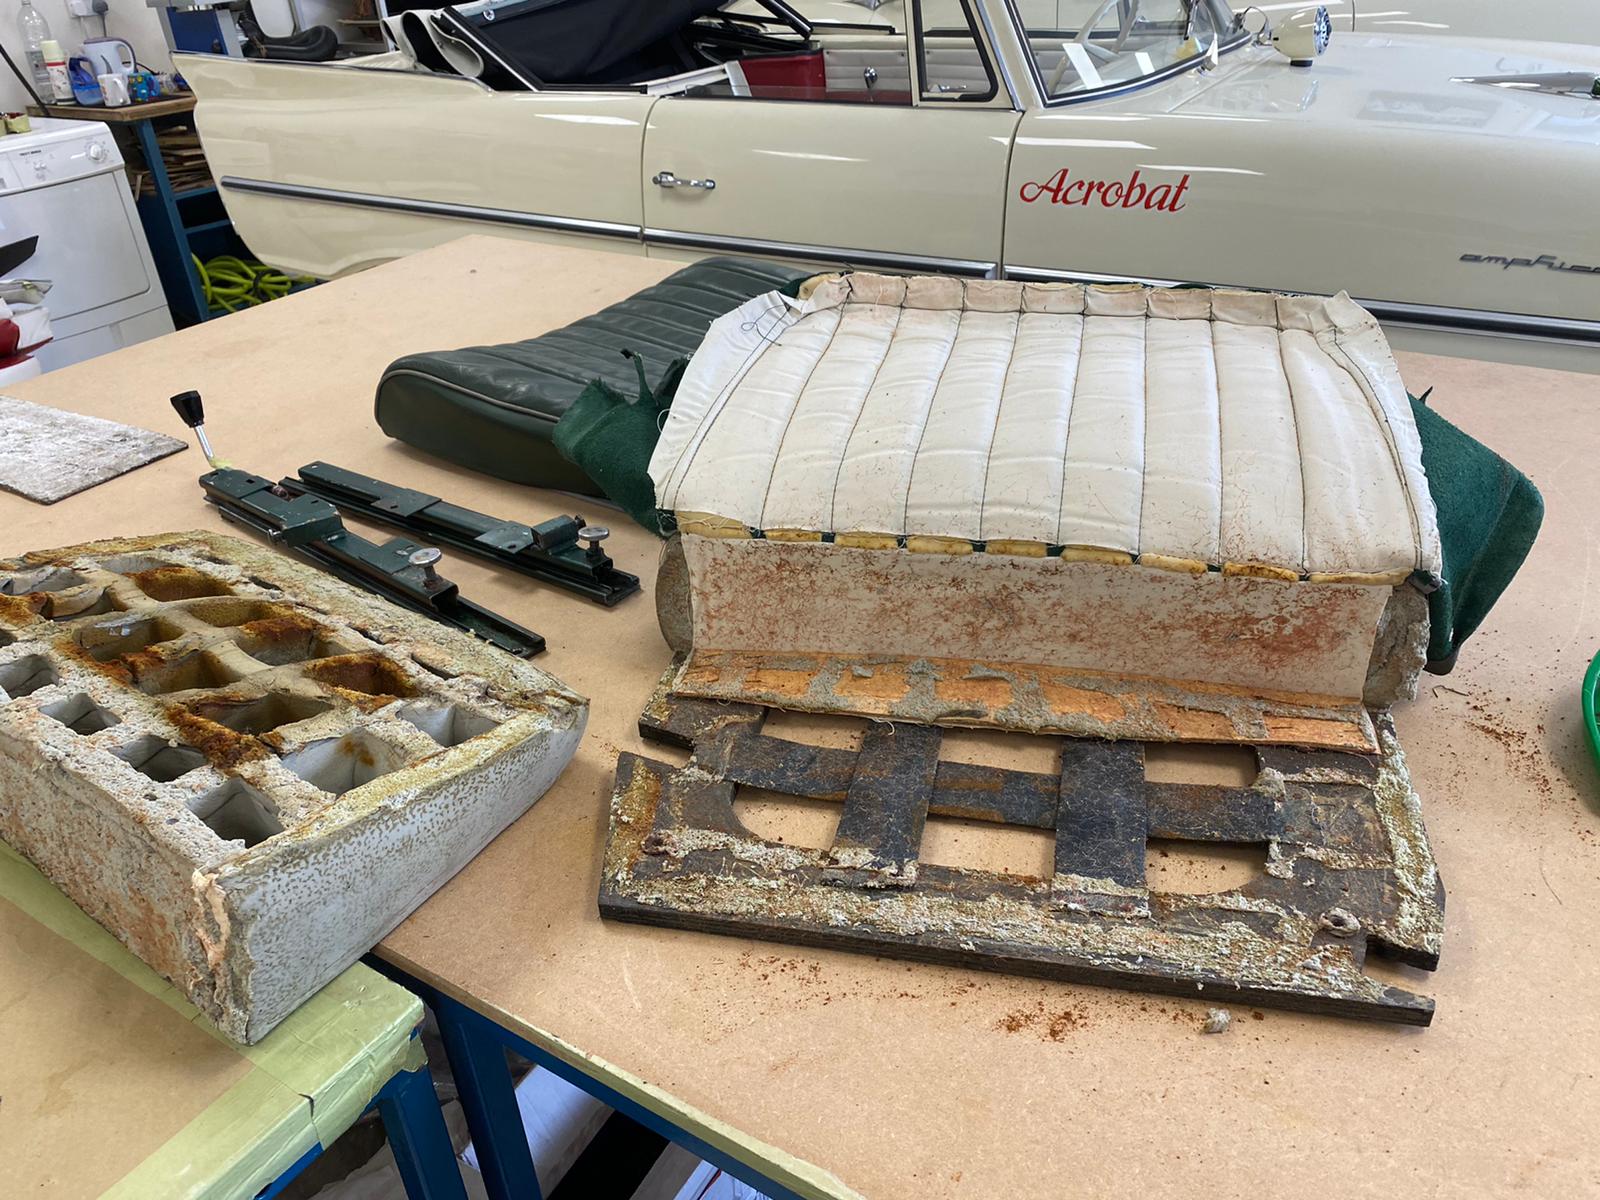
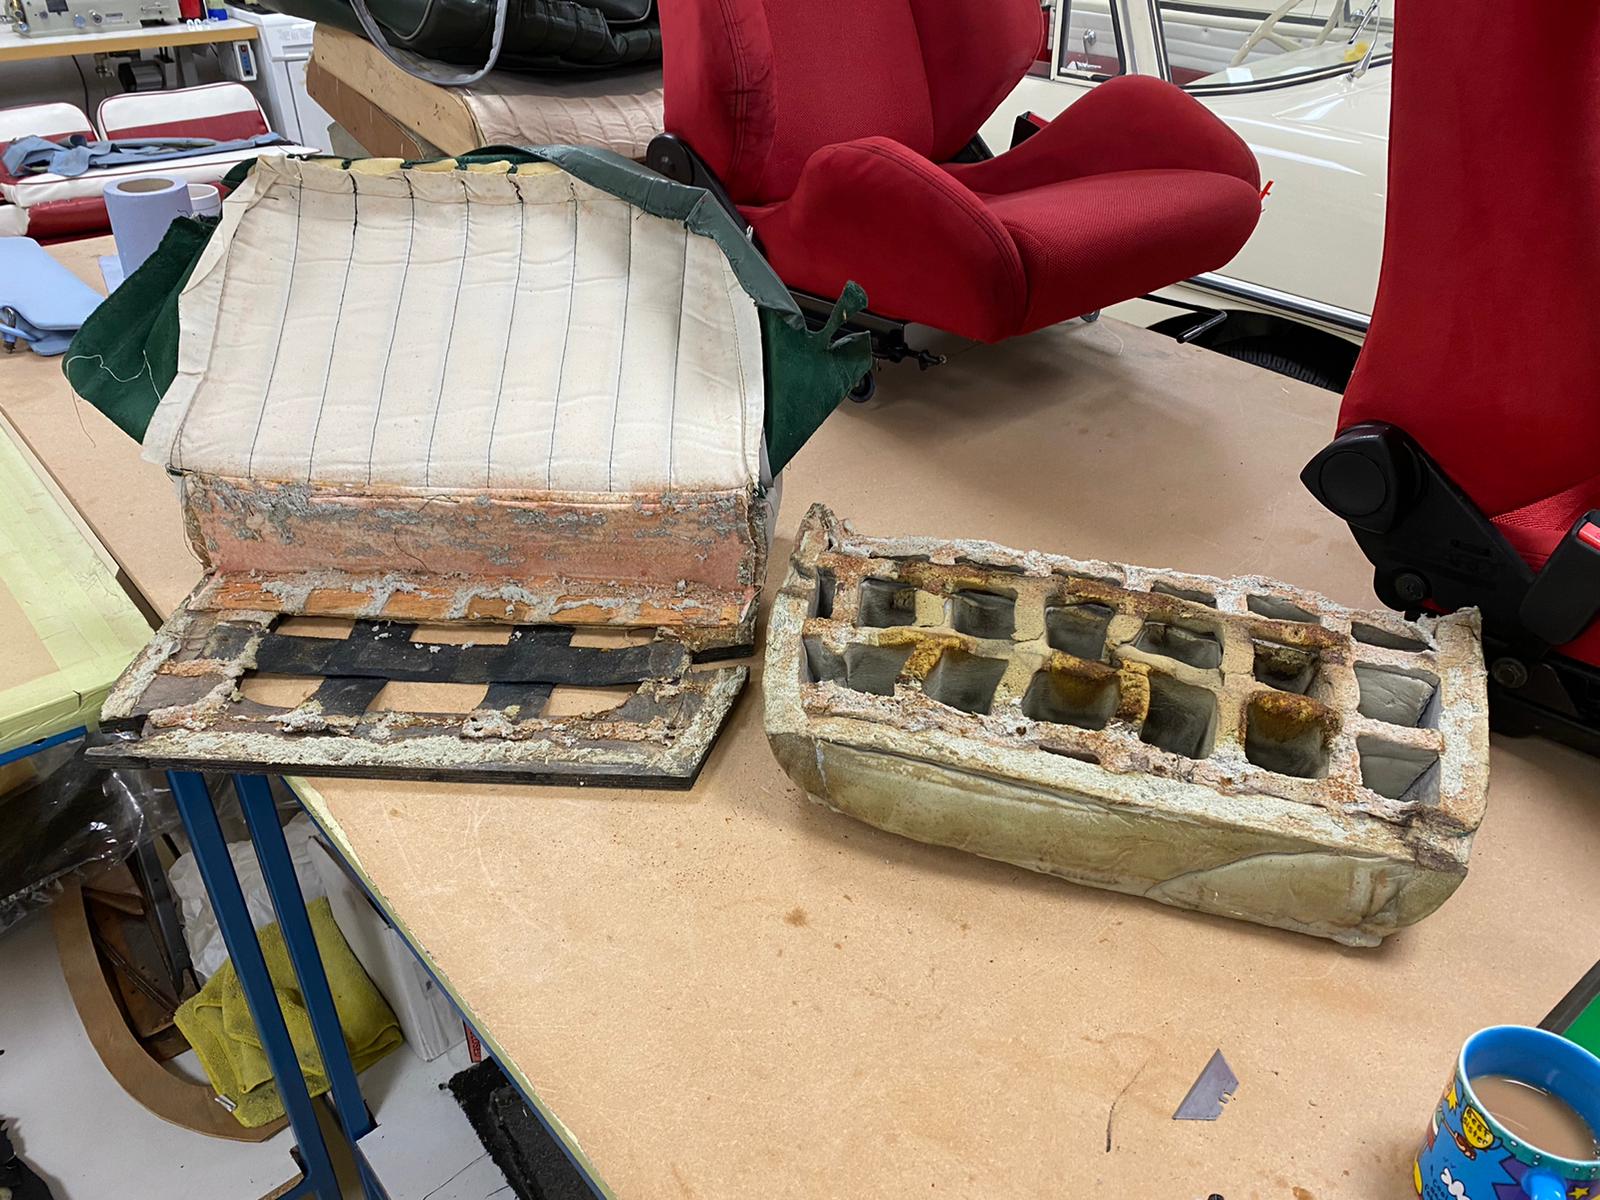
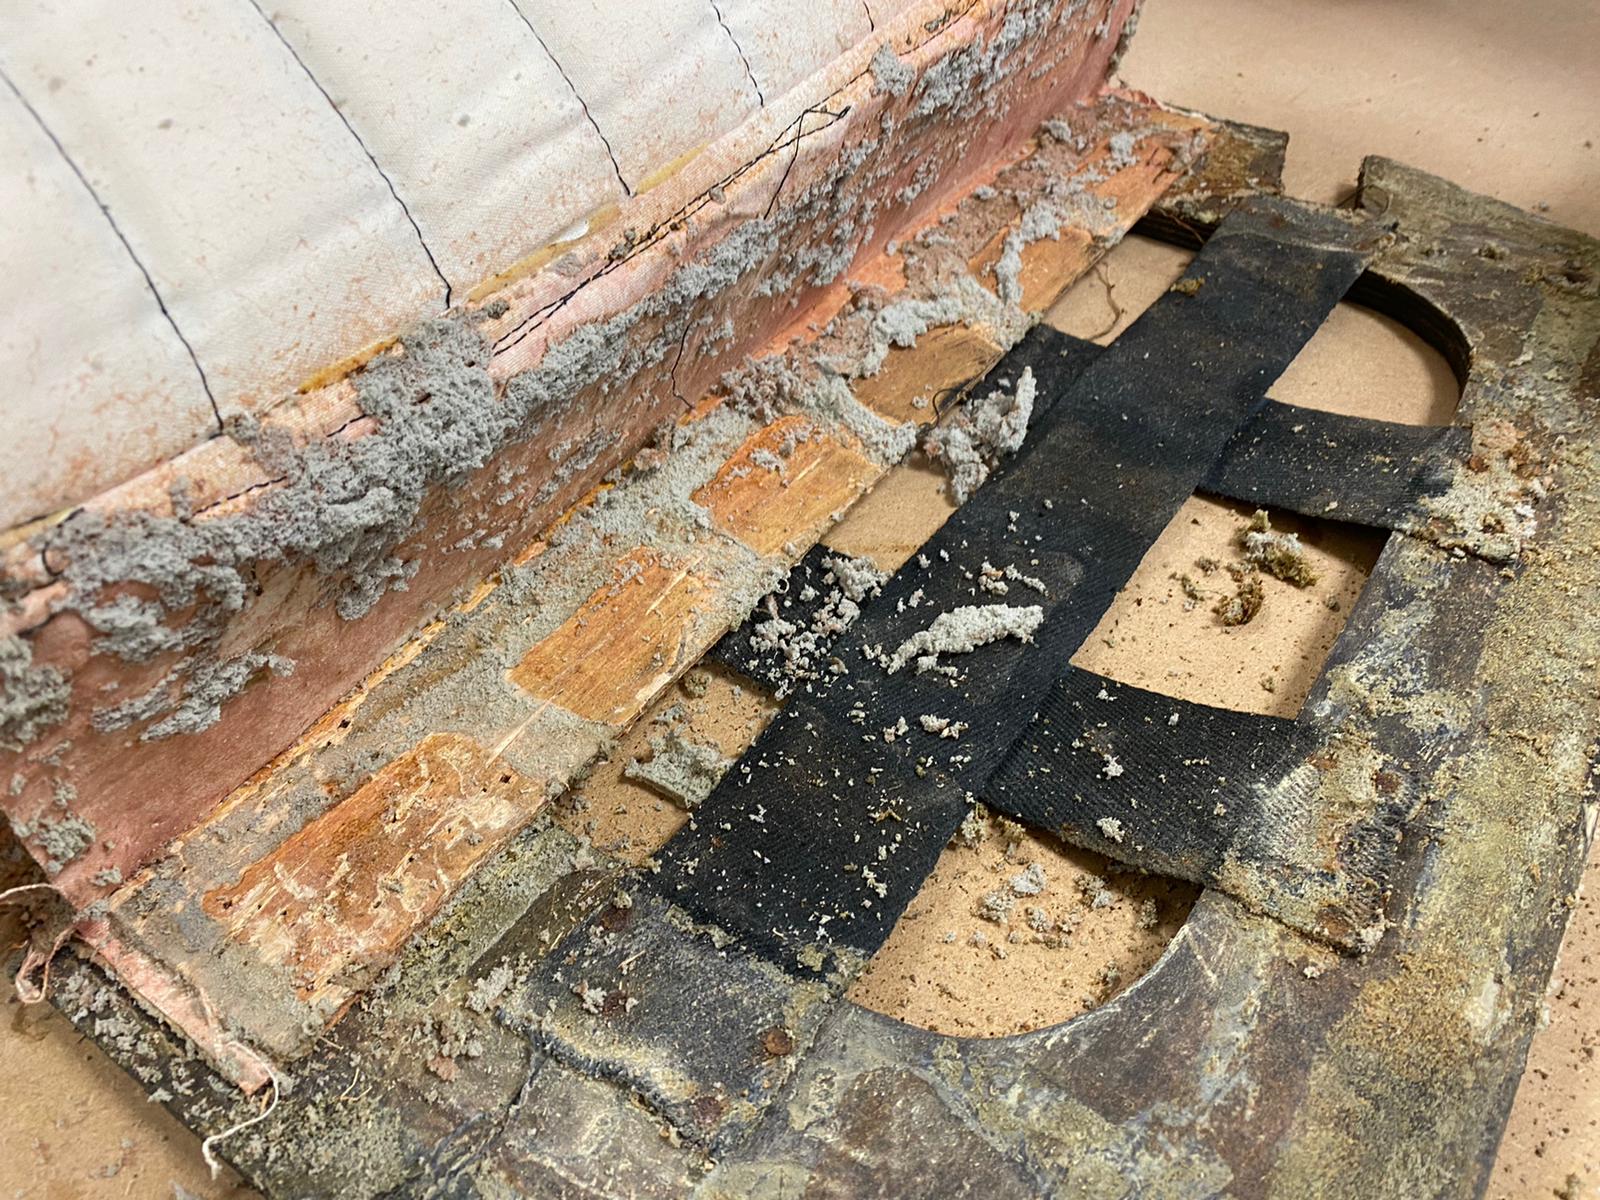
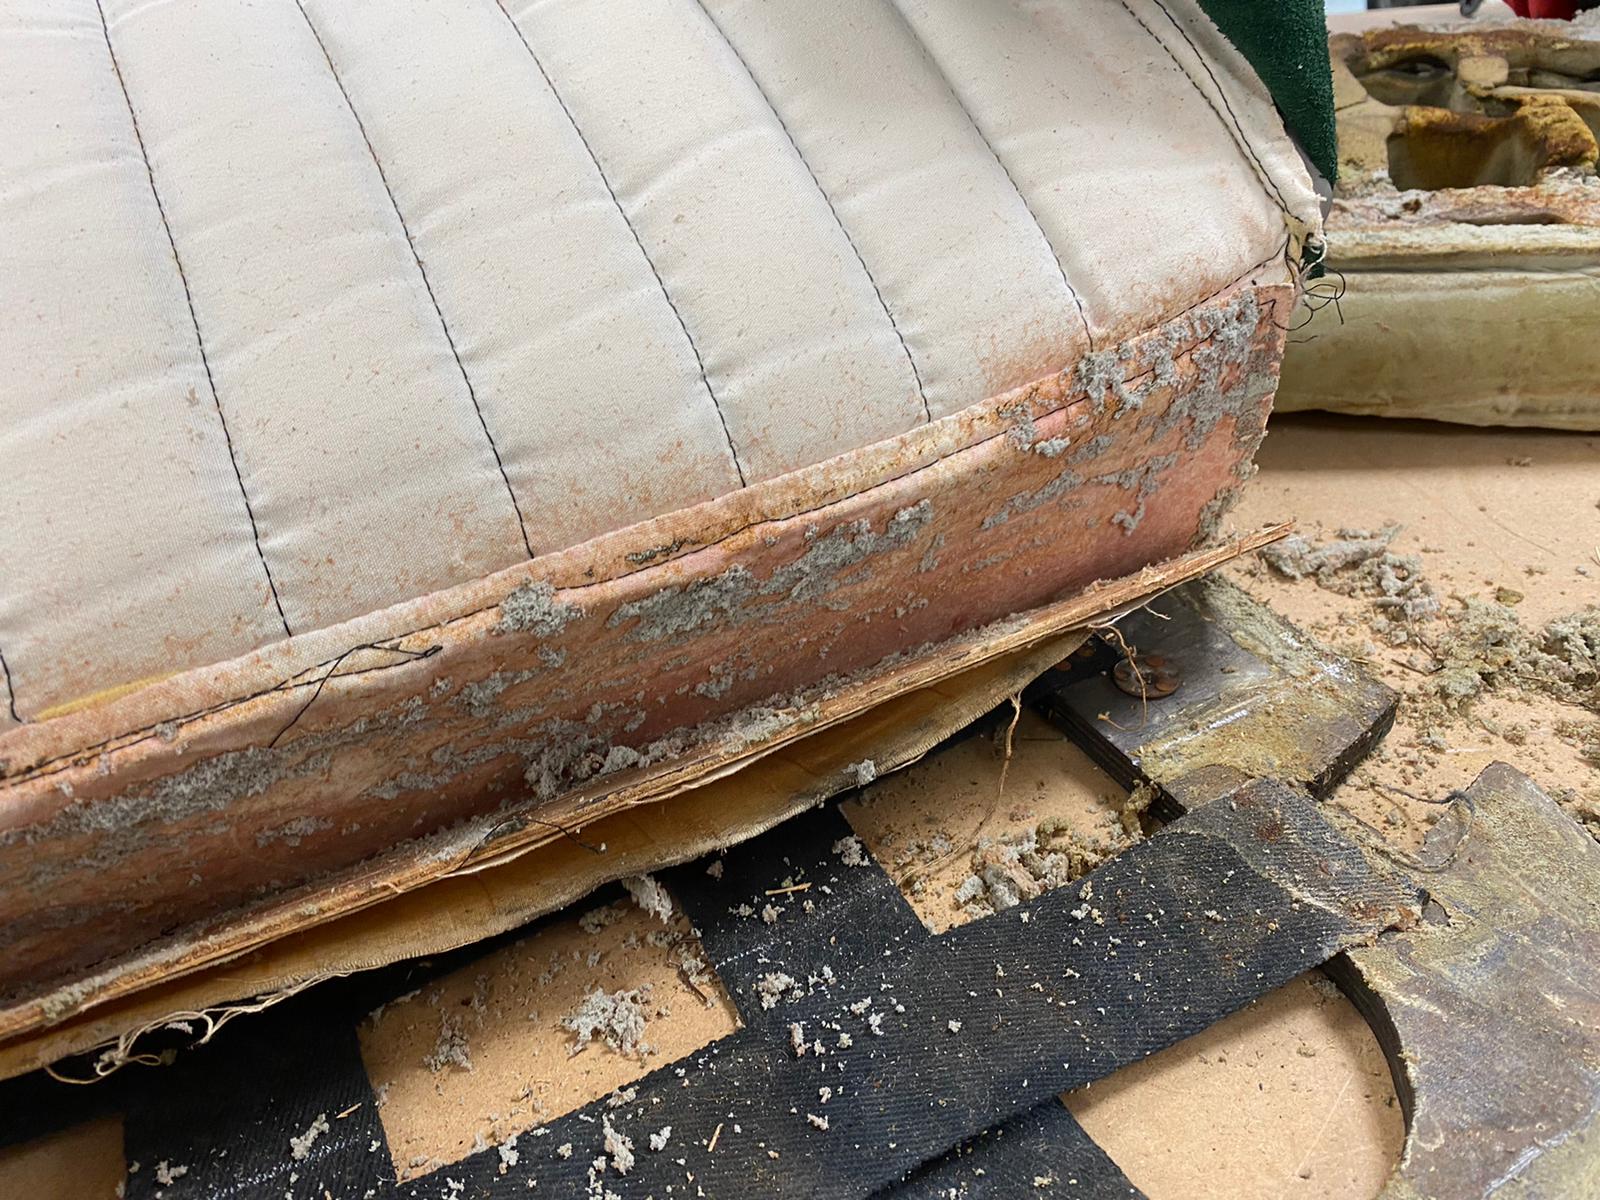
From trim-shop to paint-shop, our 1955 Aston Martin 2/4 seat frames and accessories are currently being blasted, treated, prepared and painted prior to the new covers being refitted.
There would be nothing worse than seeing our beautifully manufactured interior coverings fitted to the old, existing and tired looking frames.
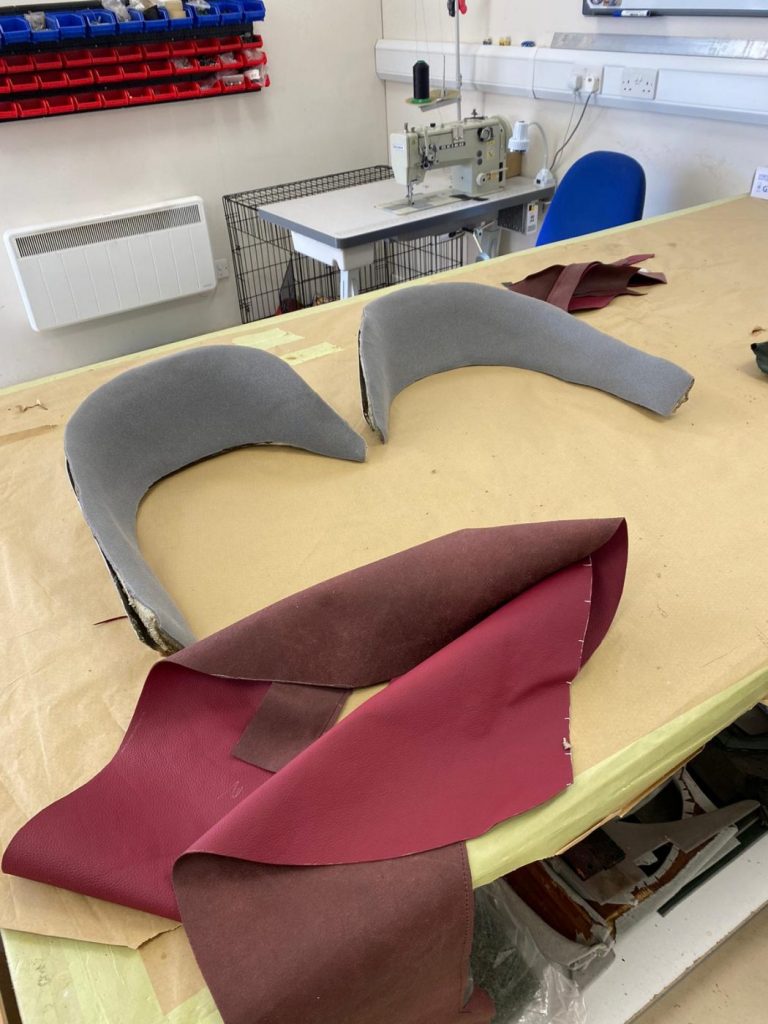
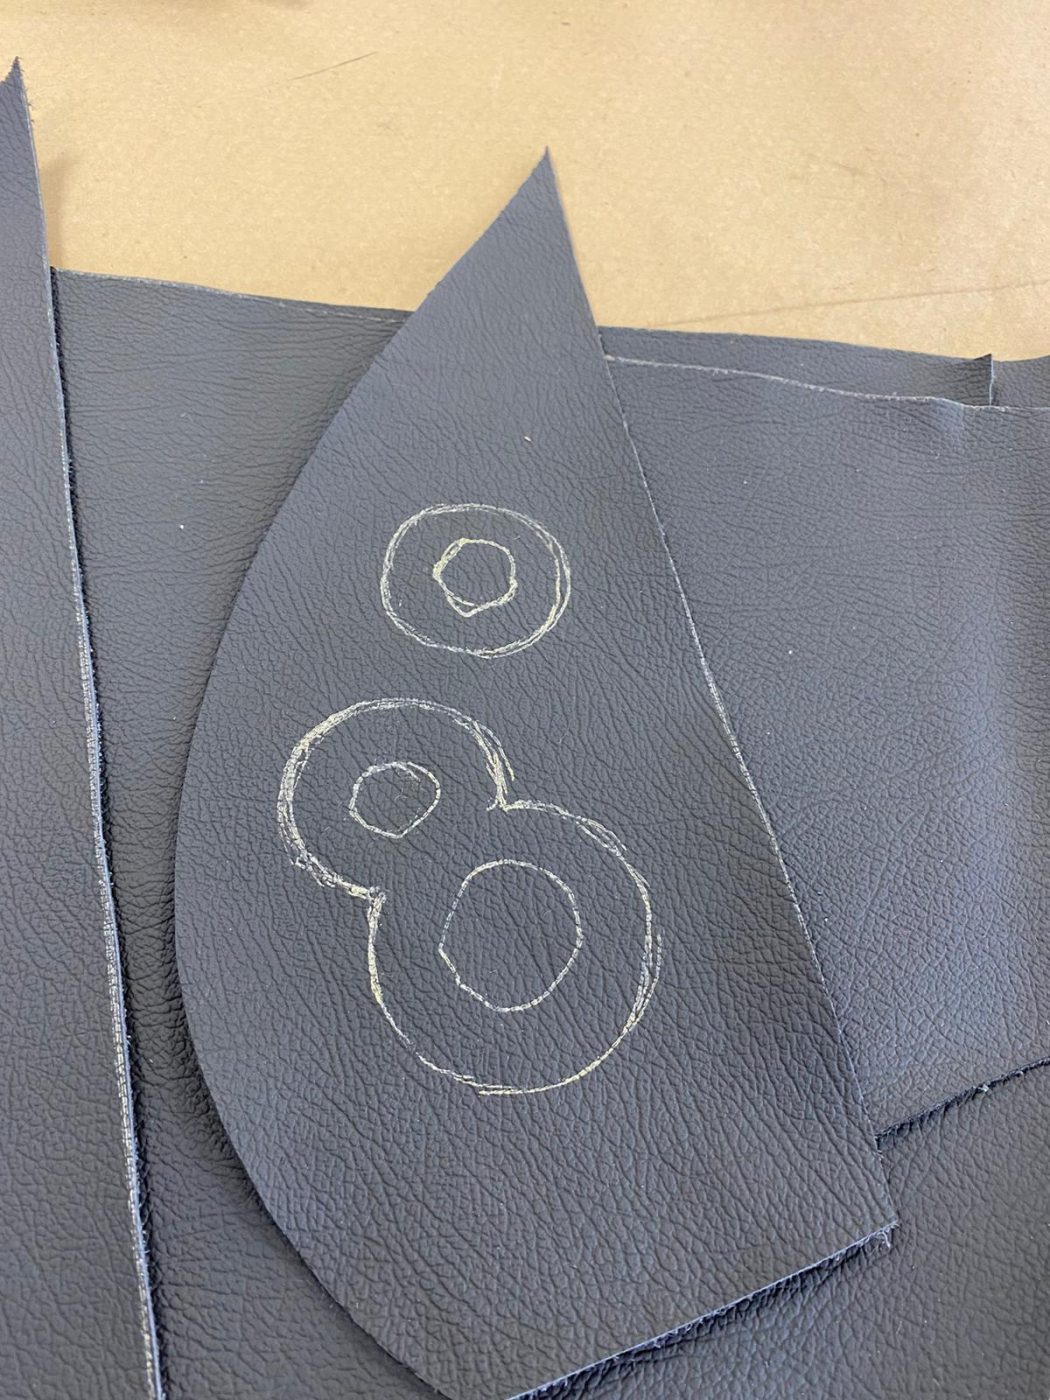
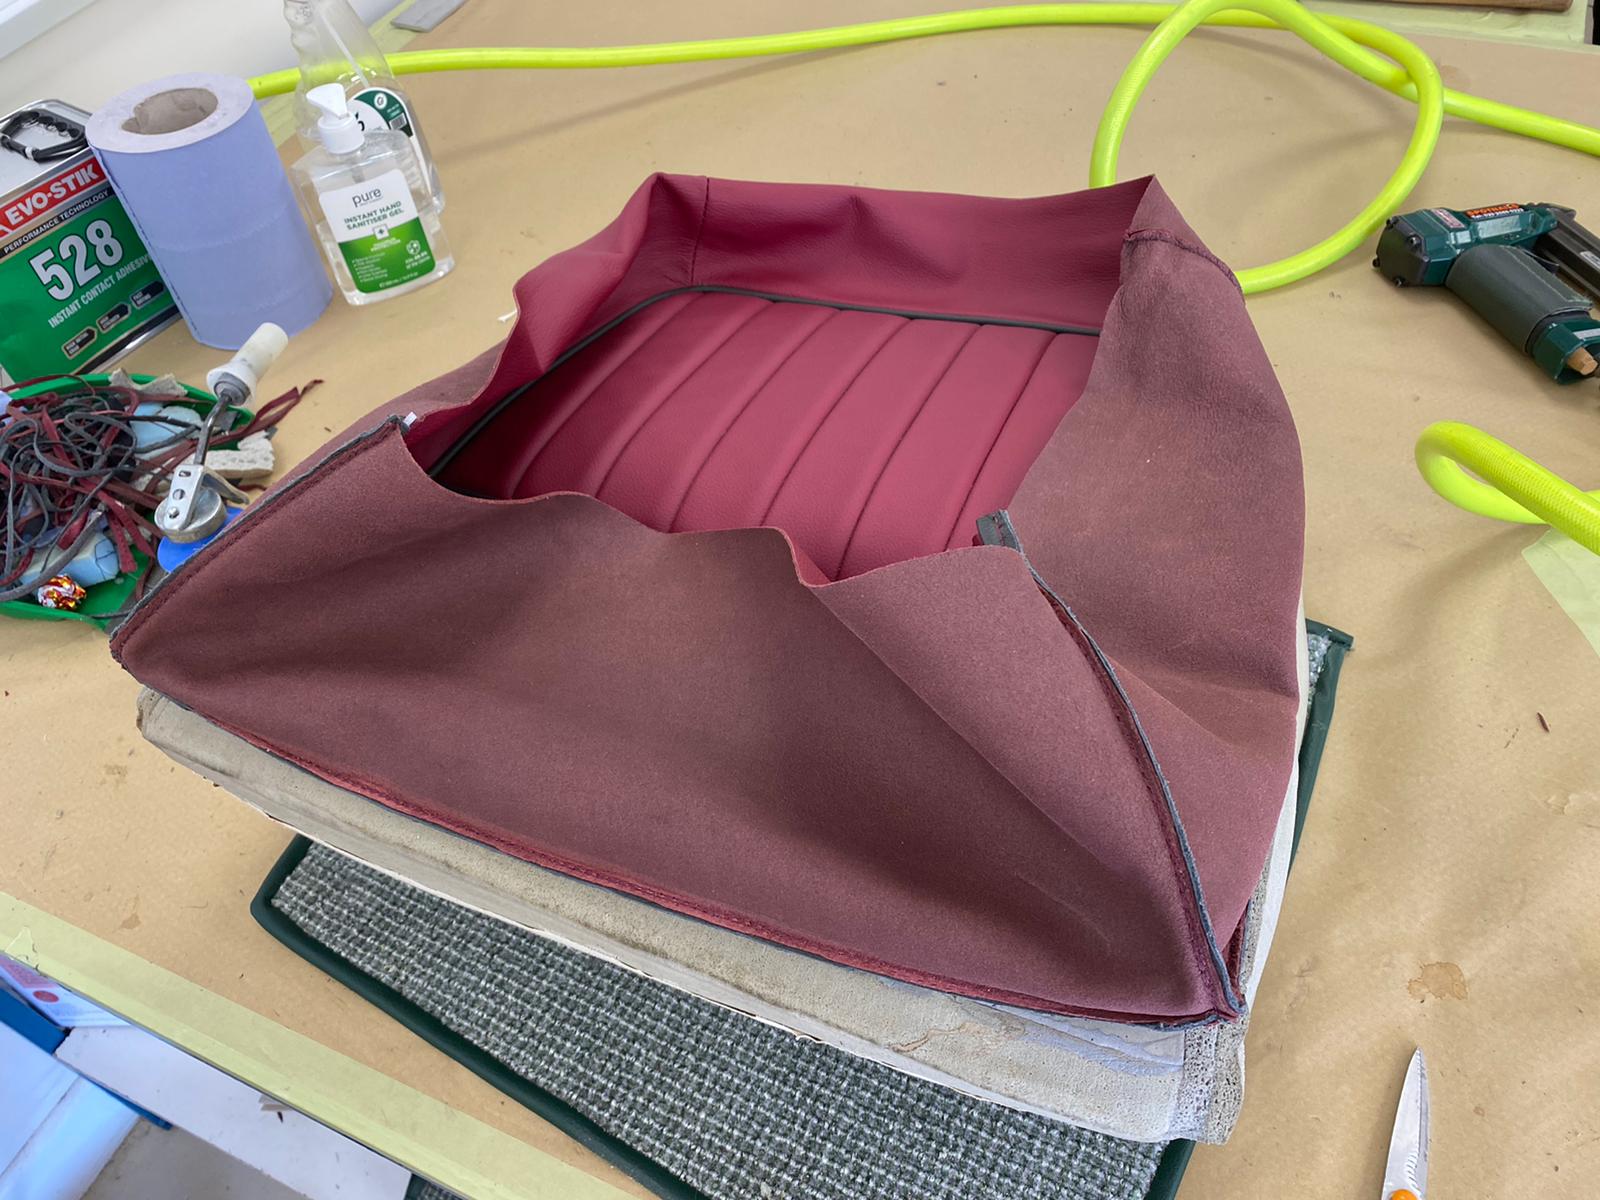
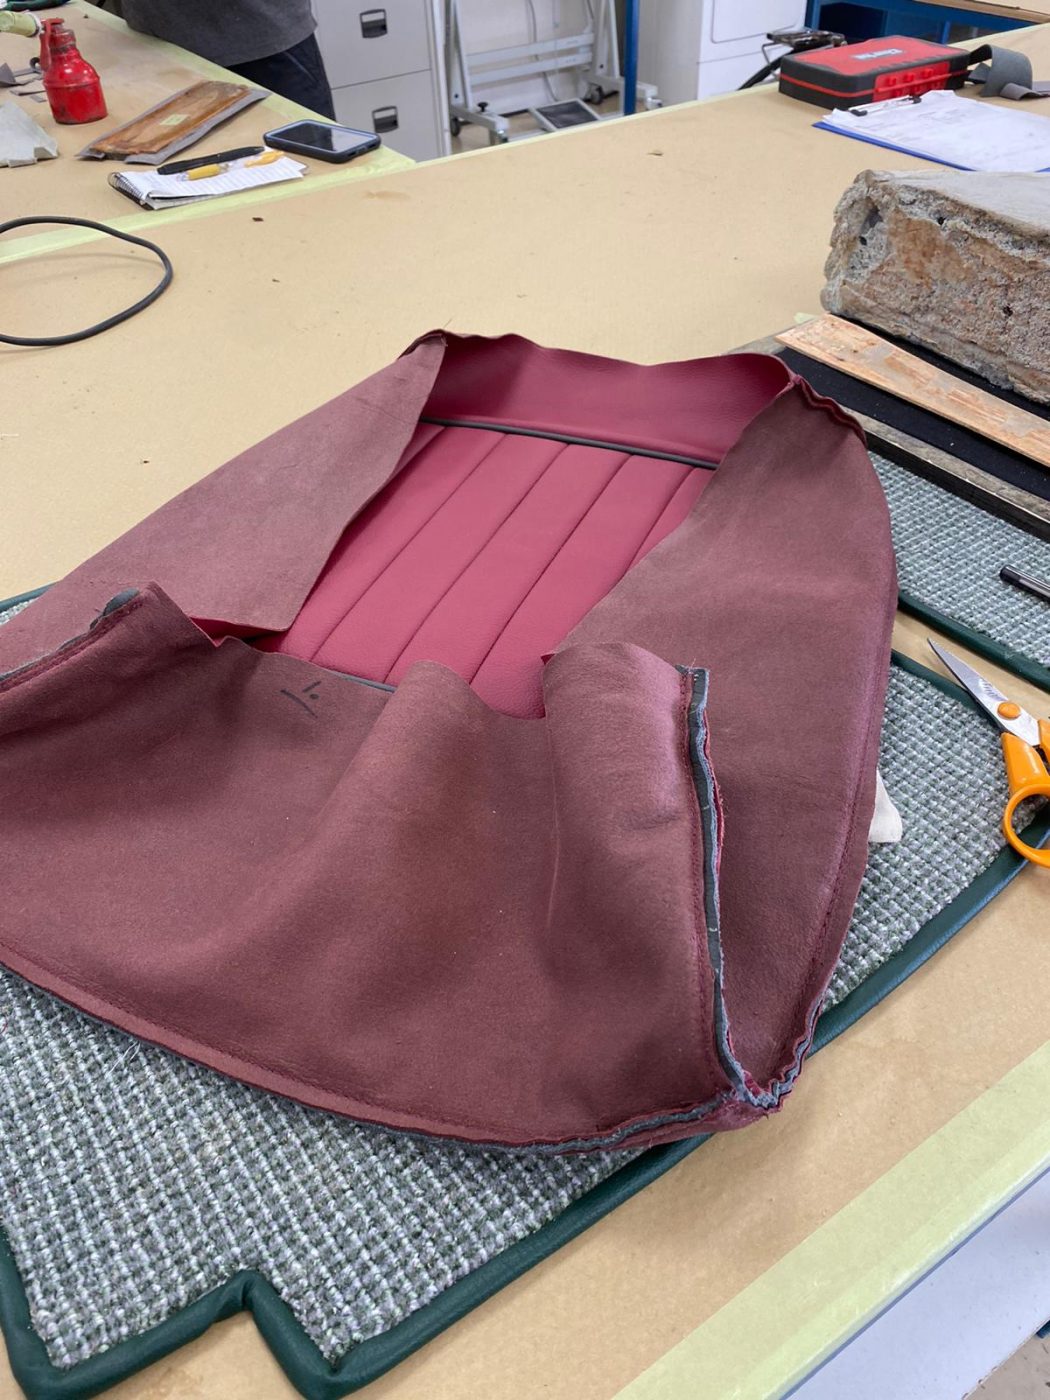
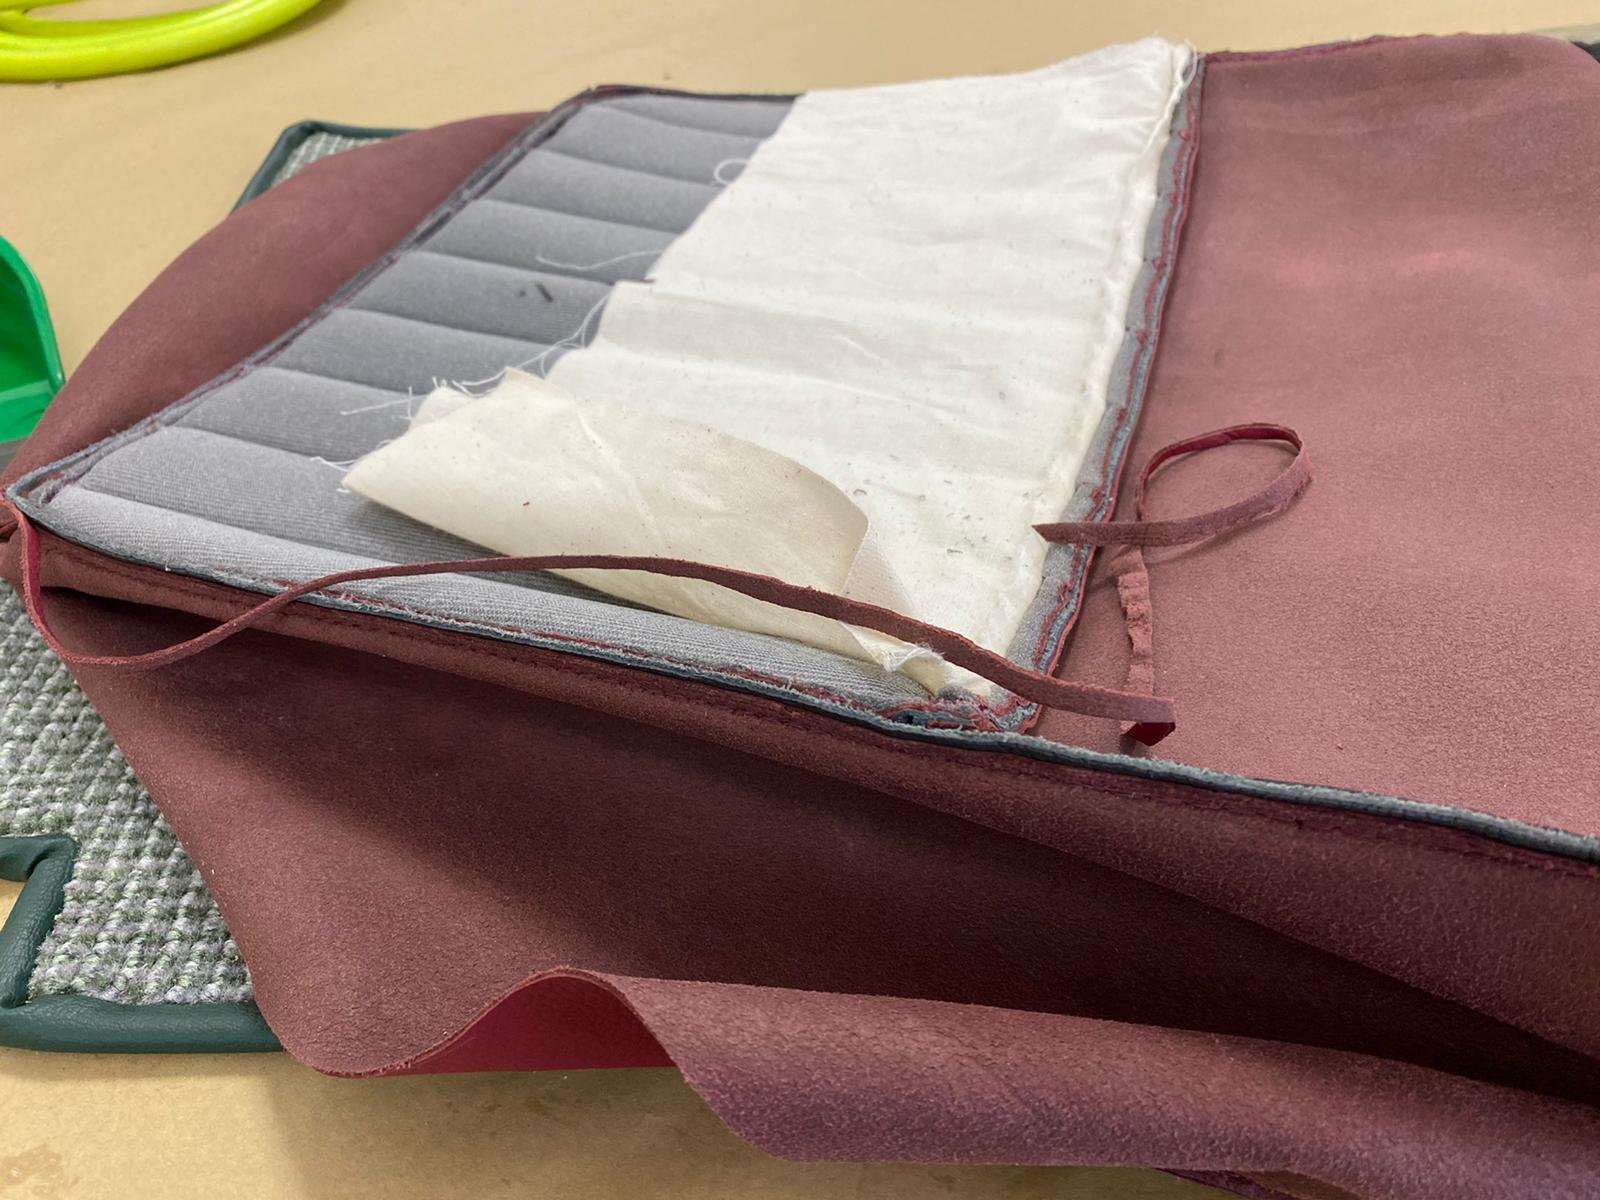
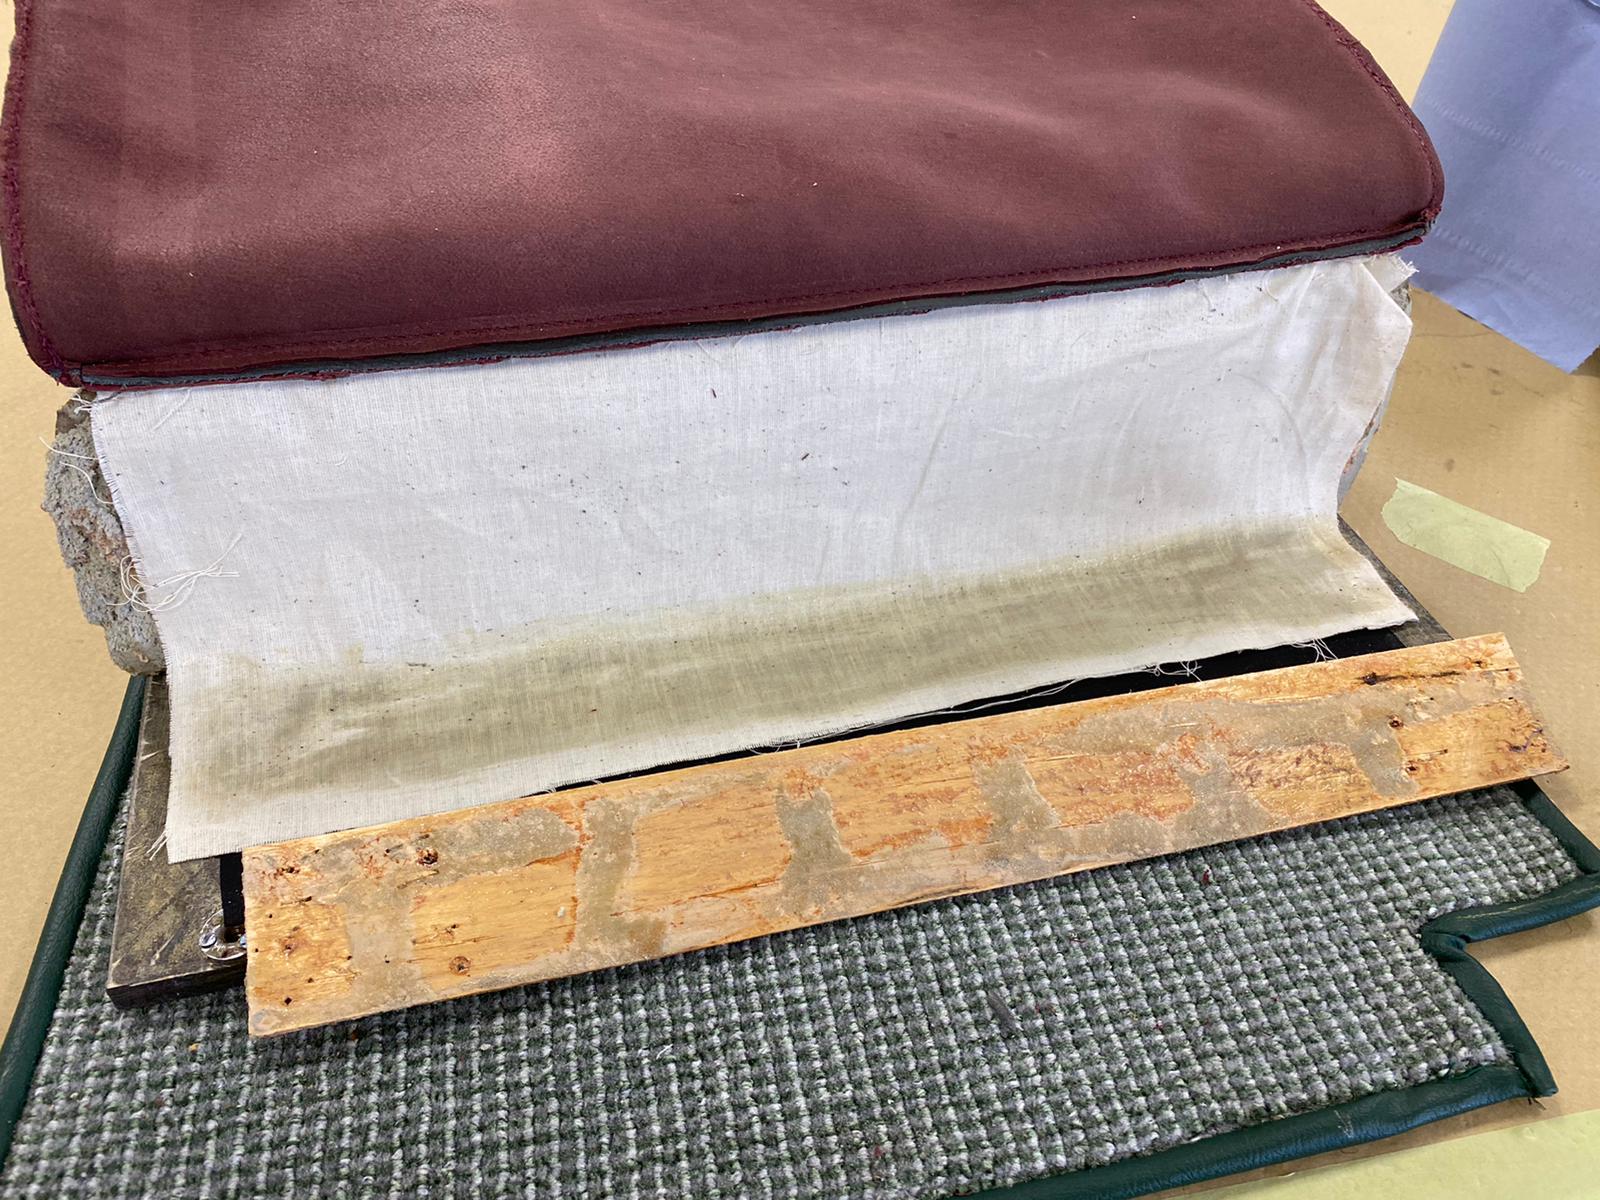
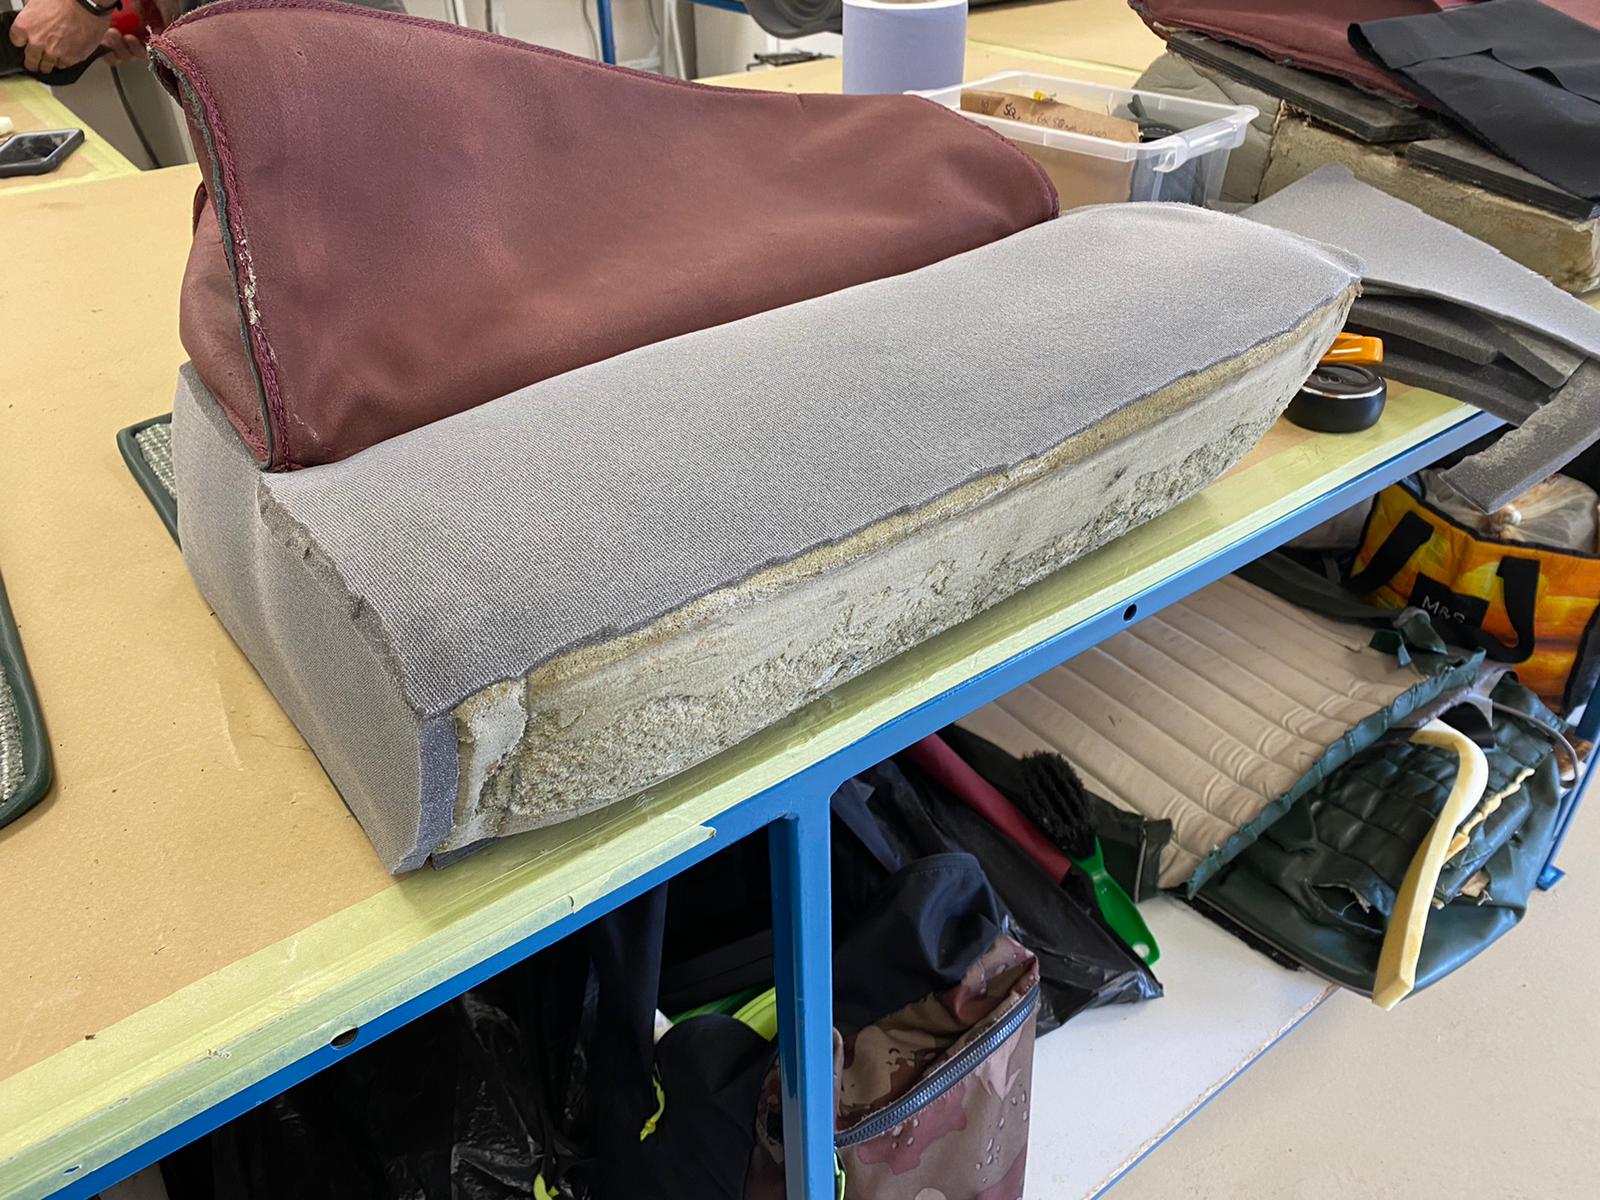
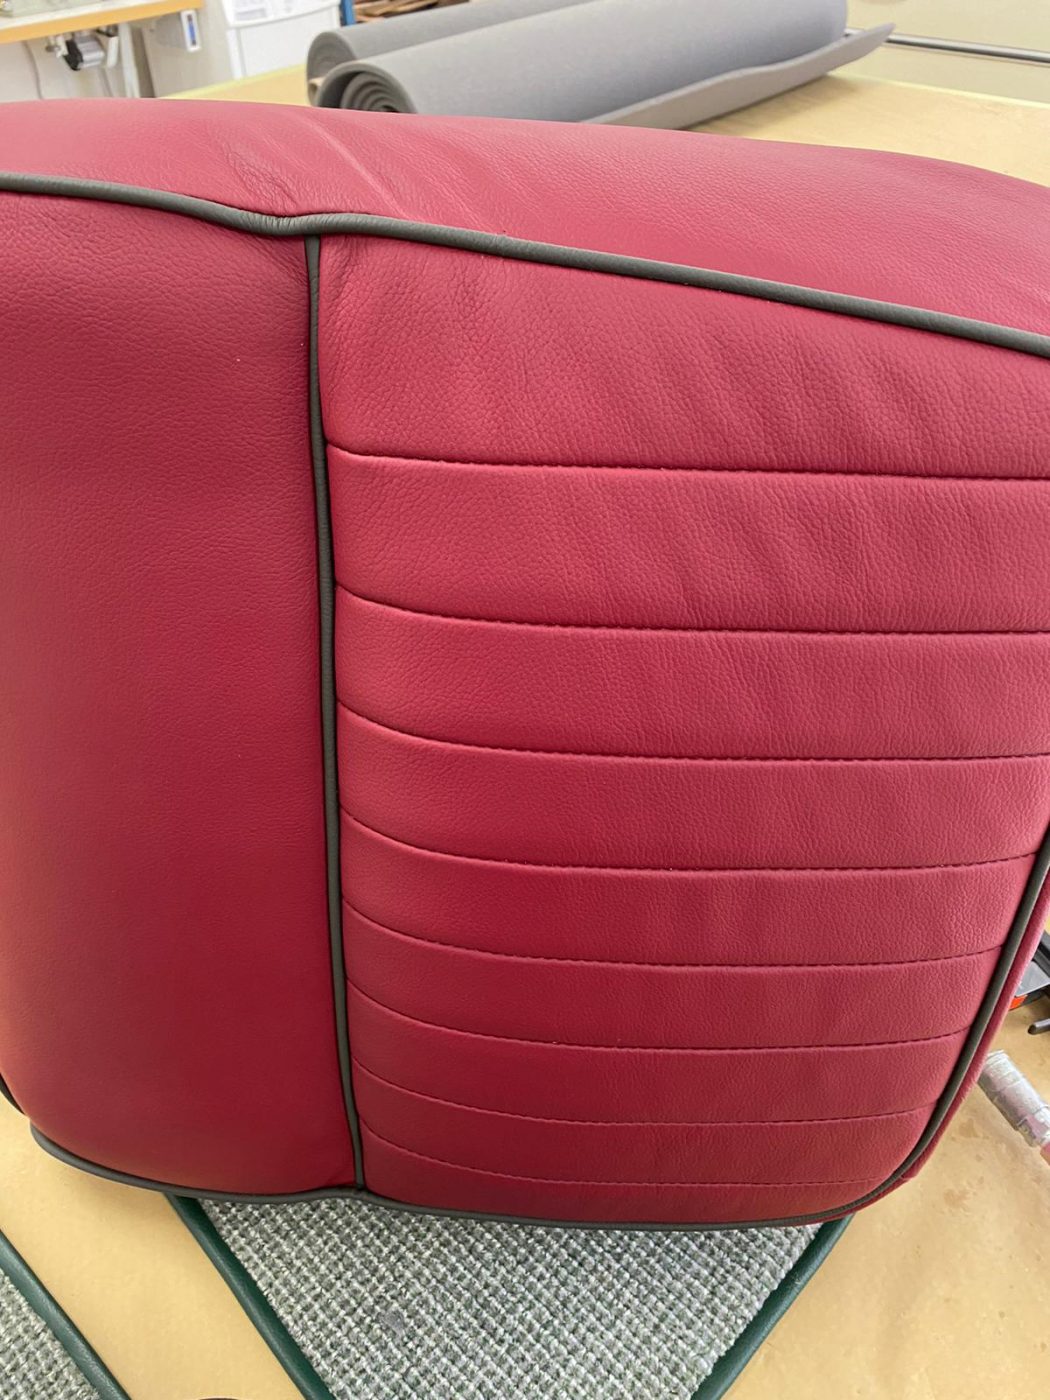
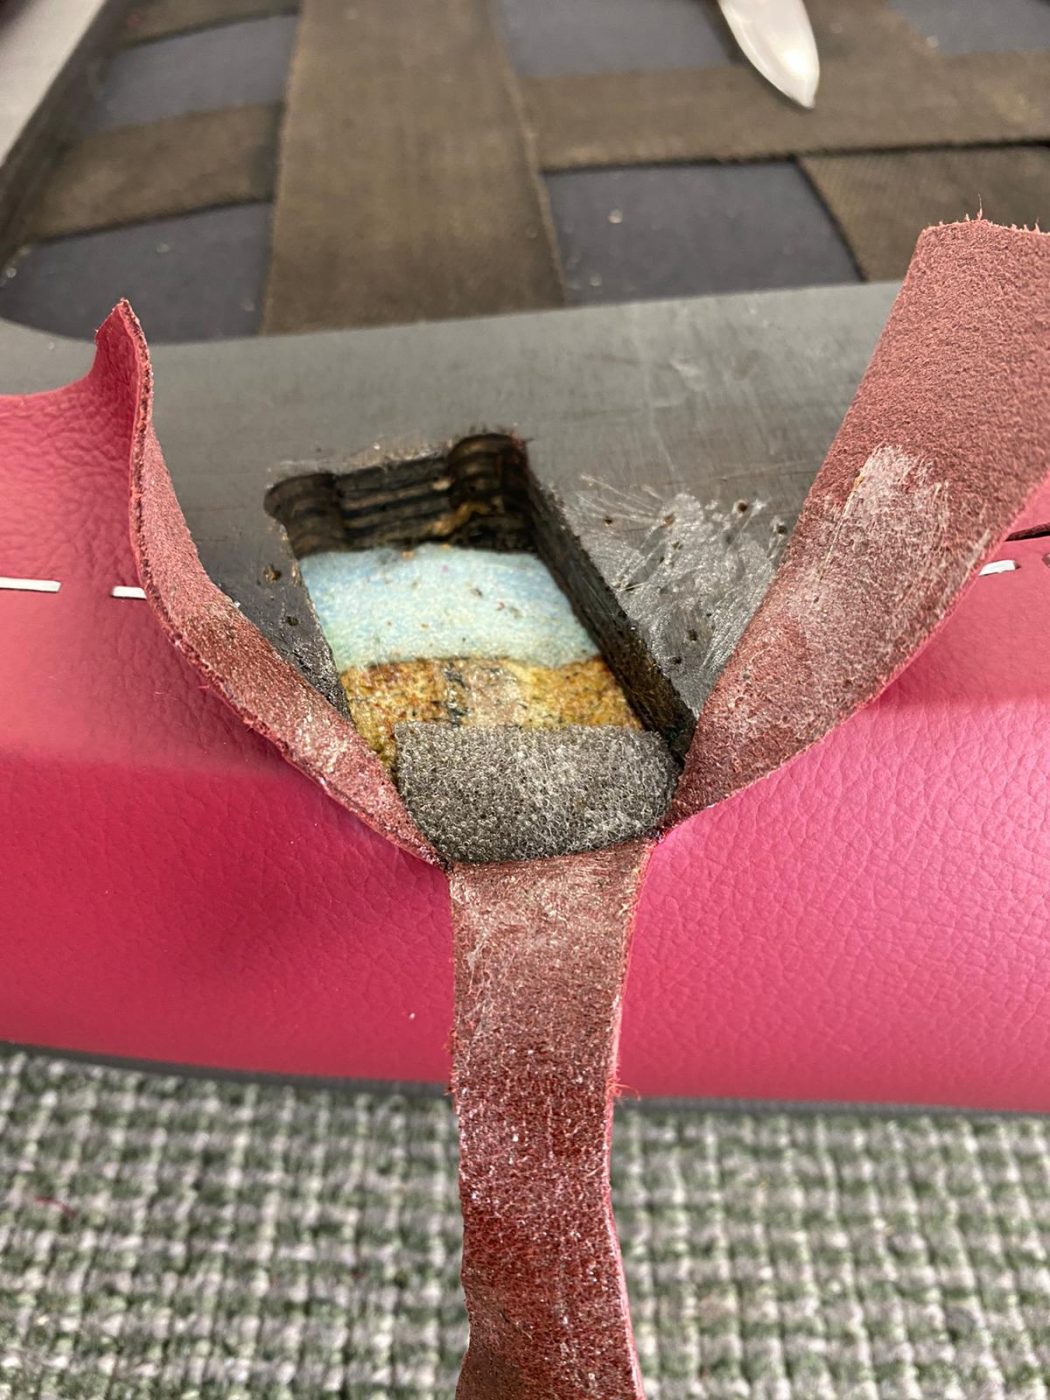
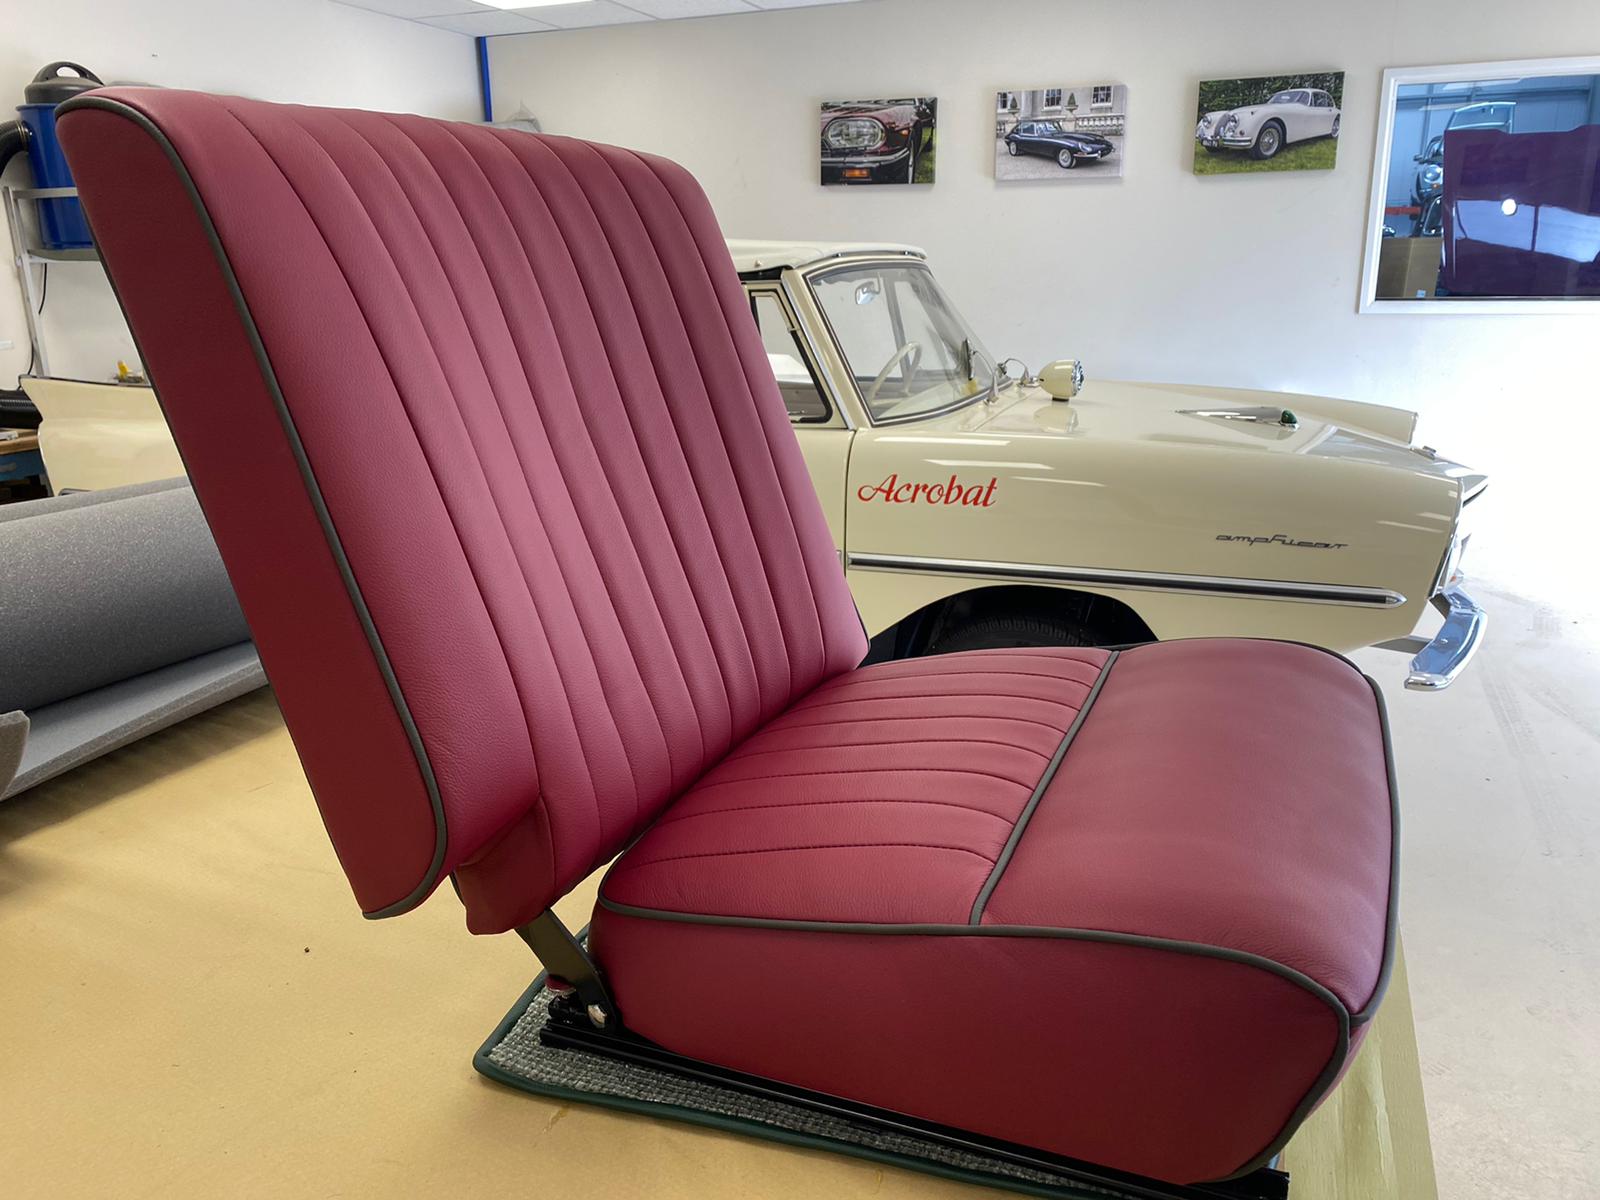
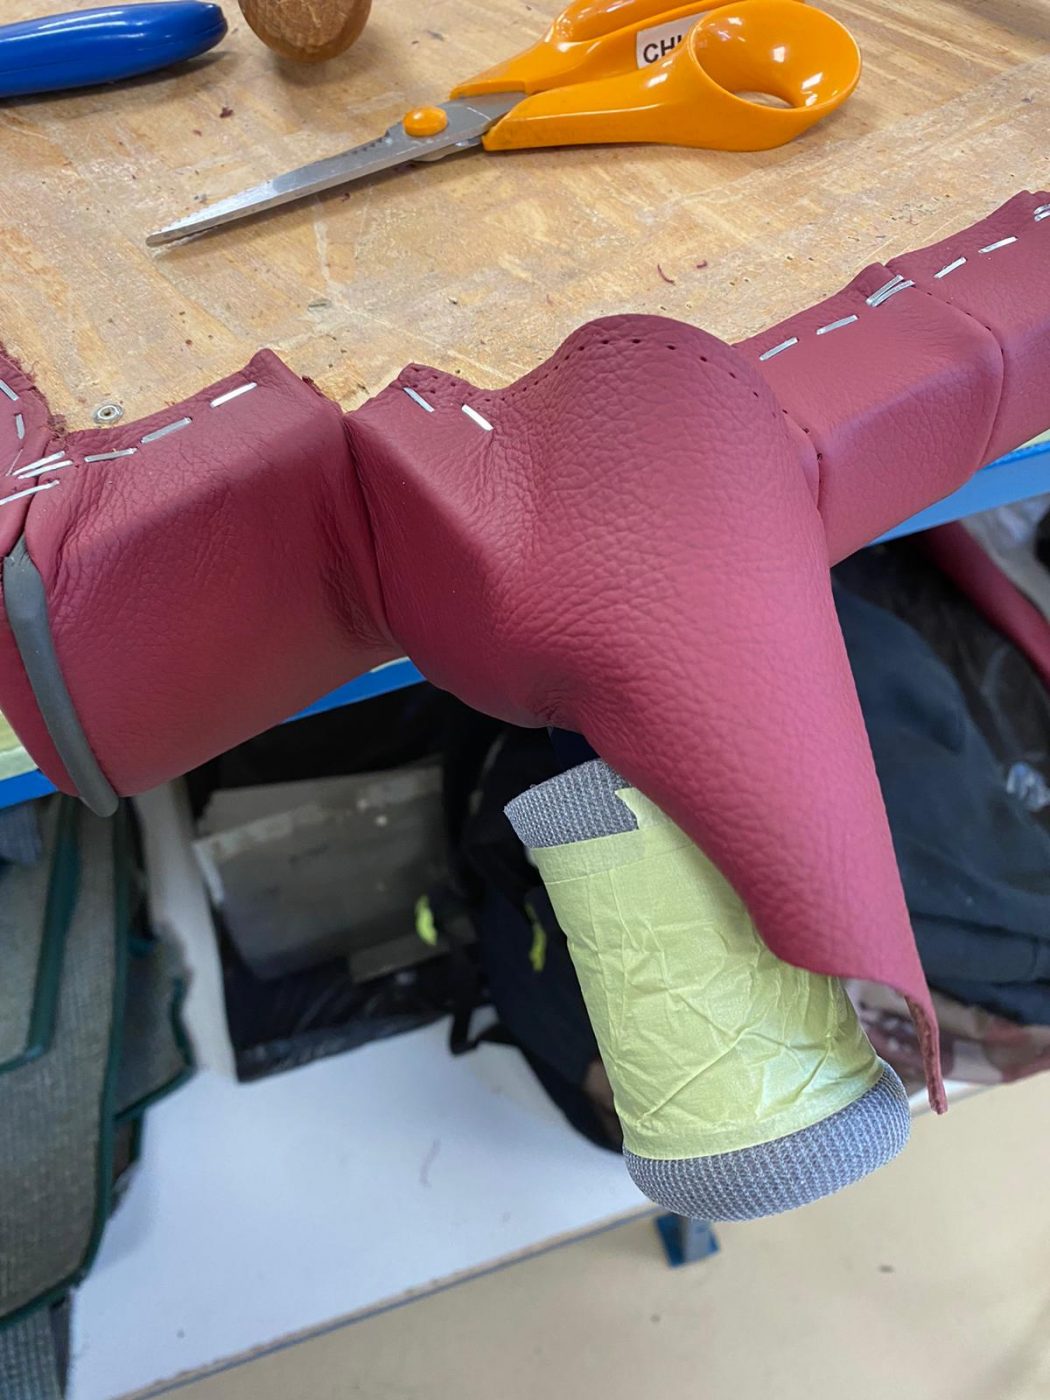
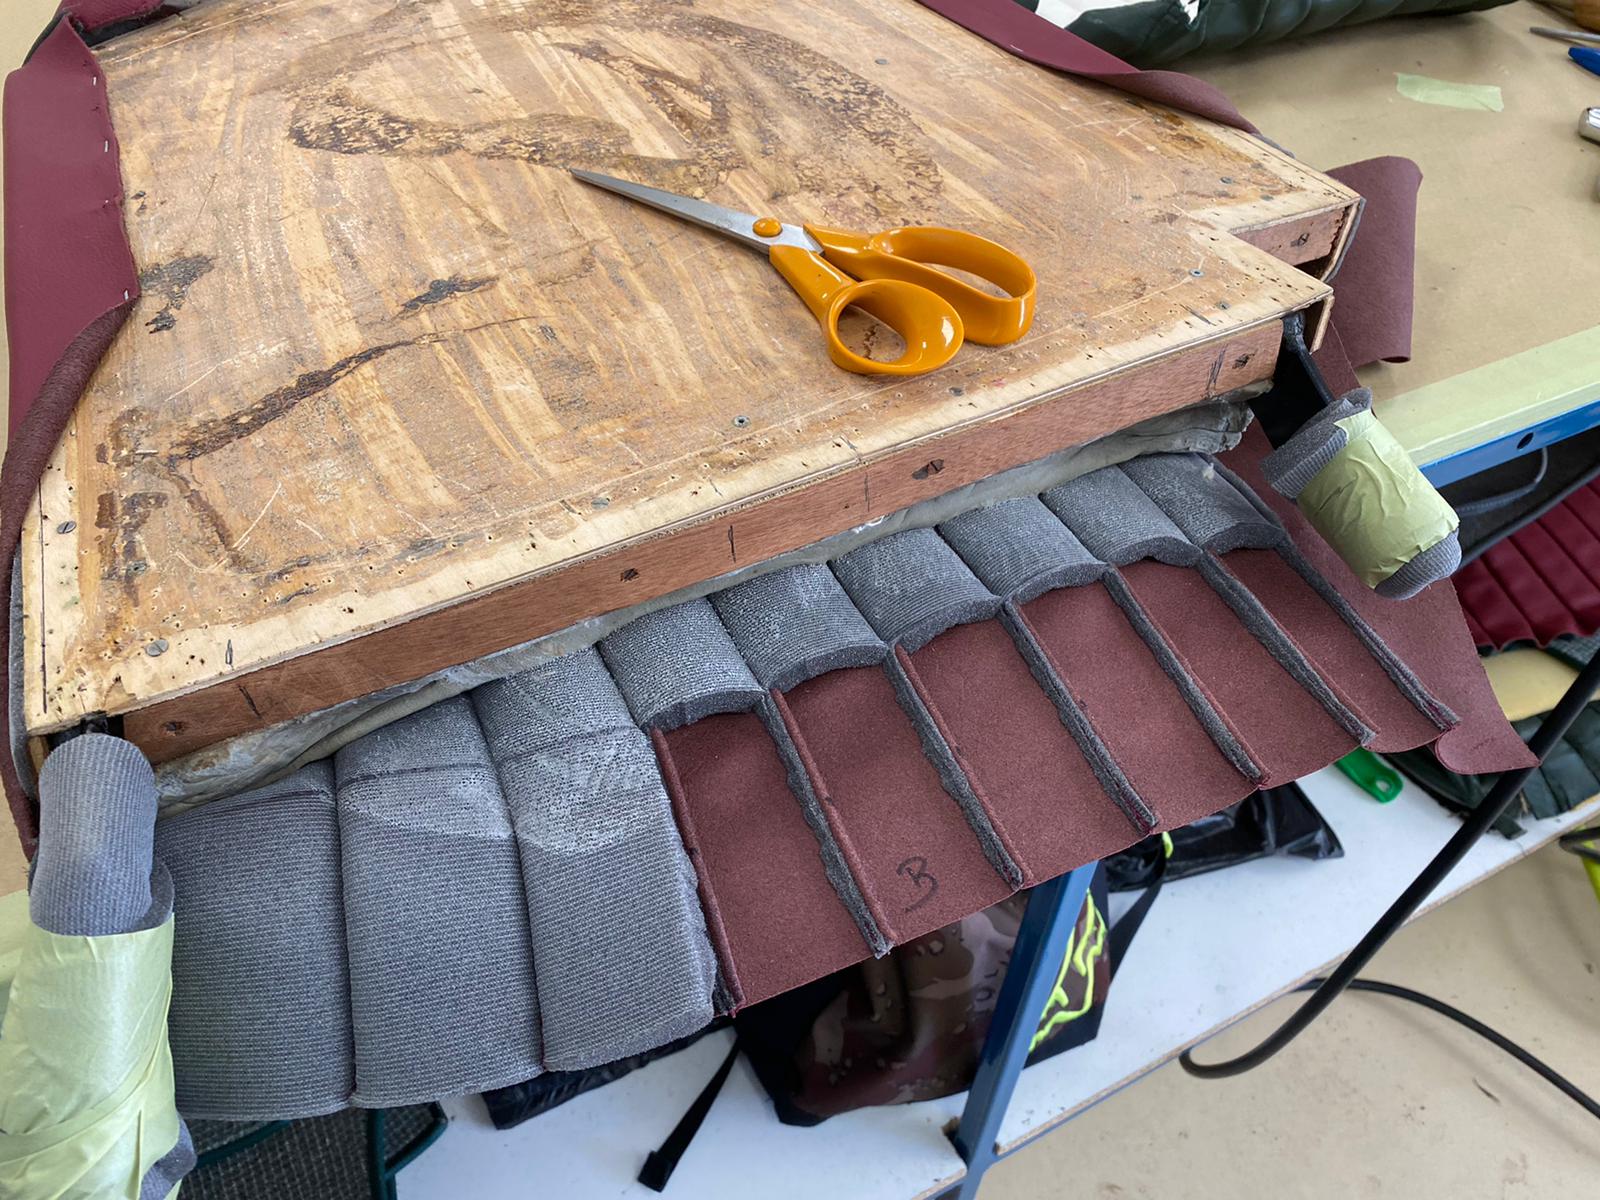
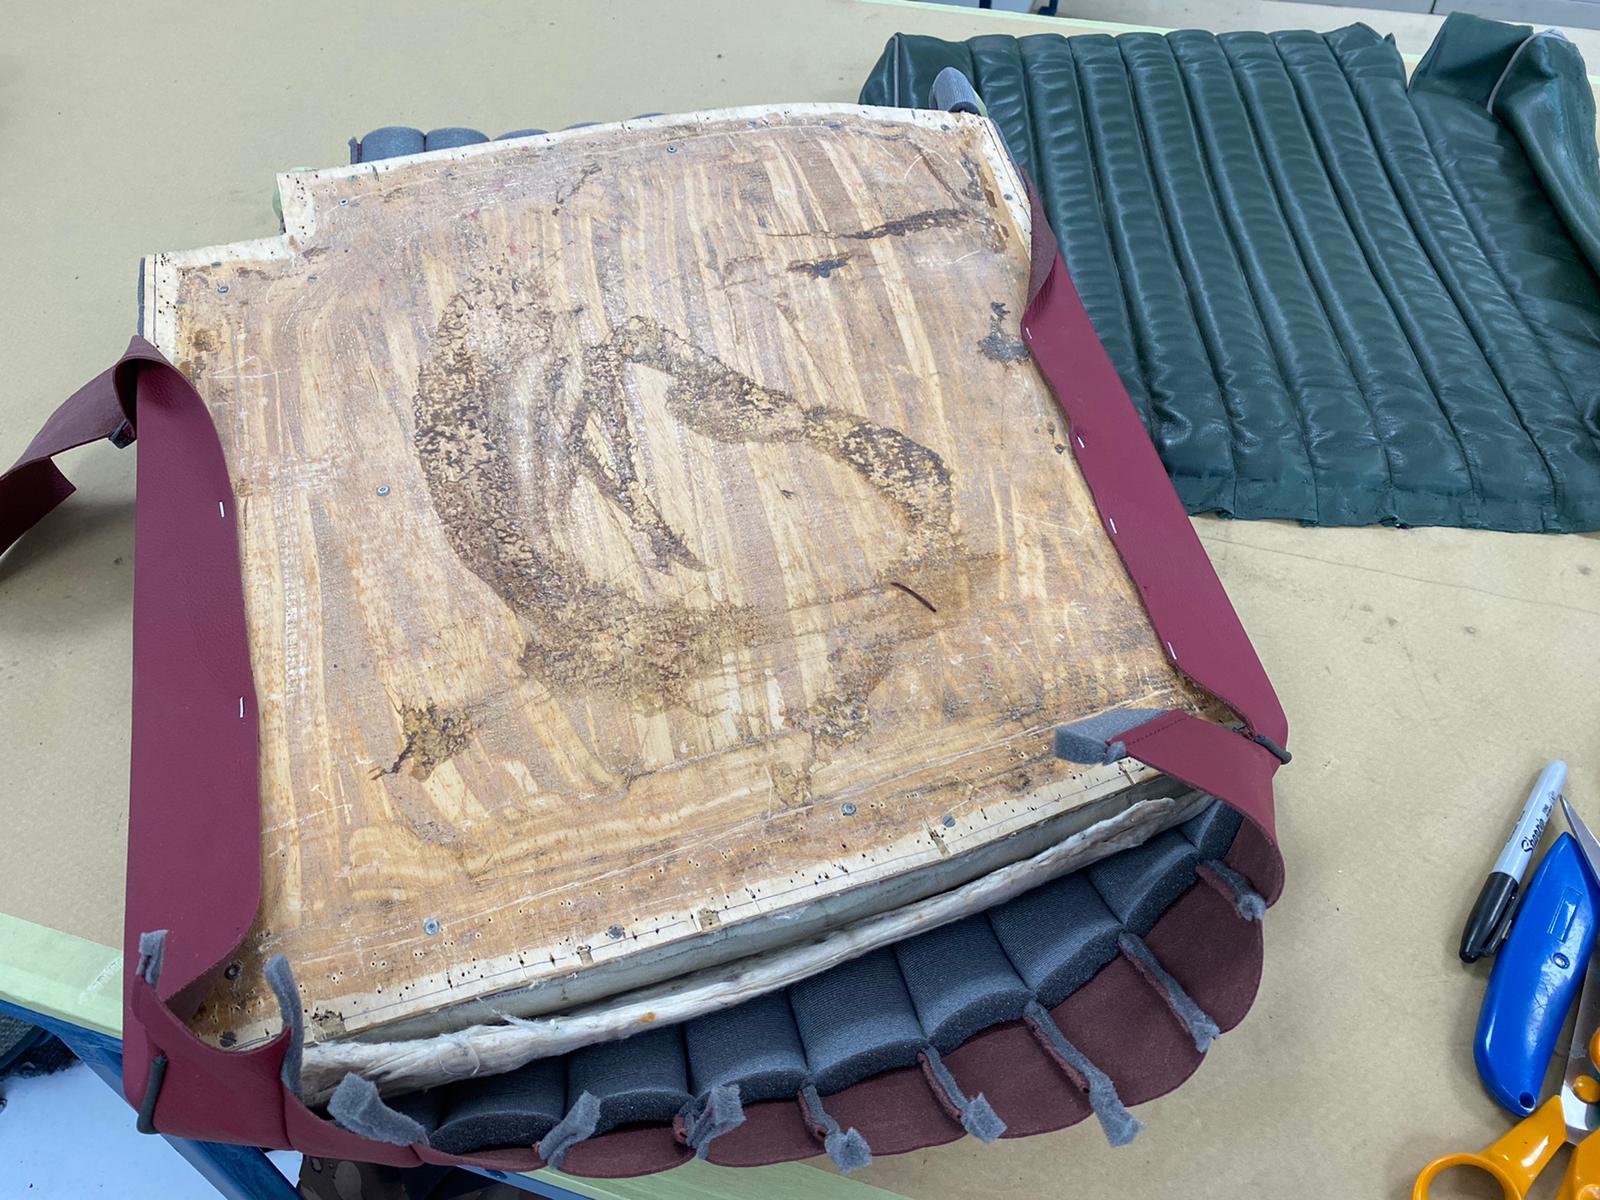
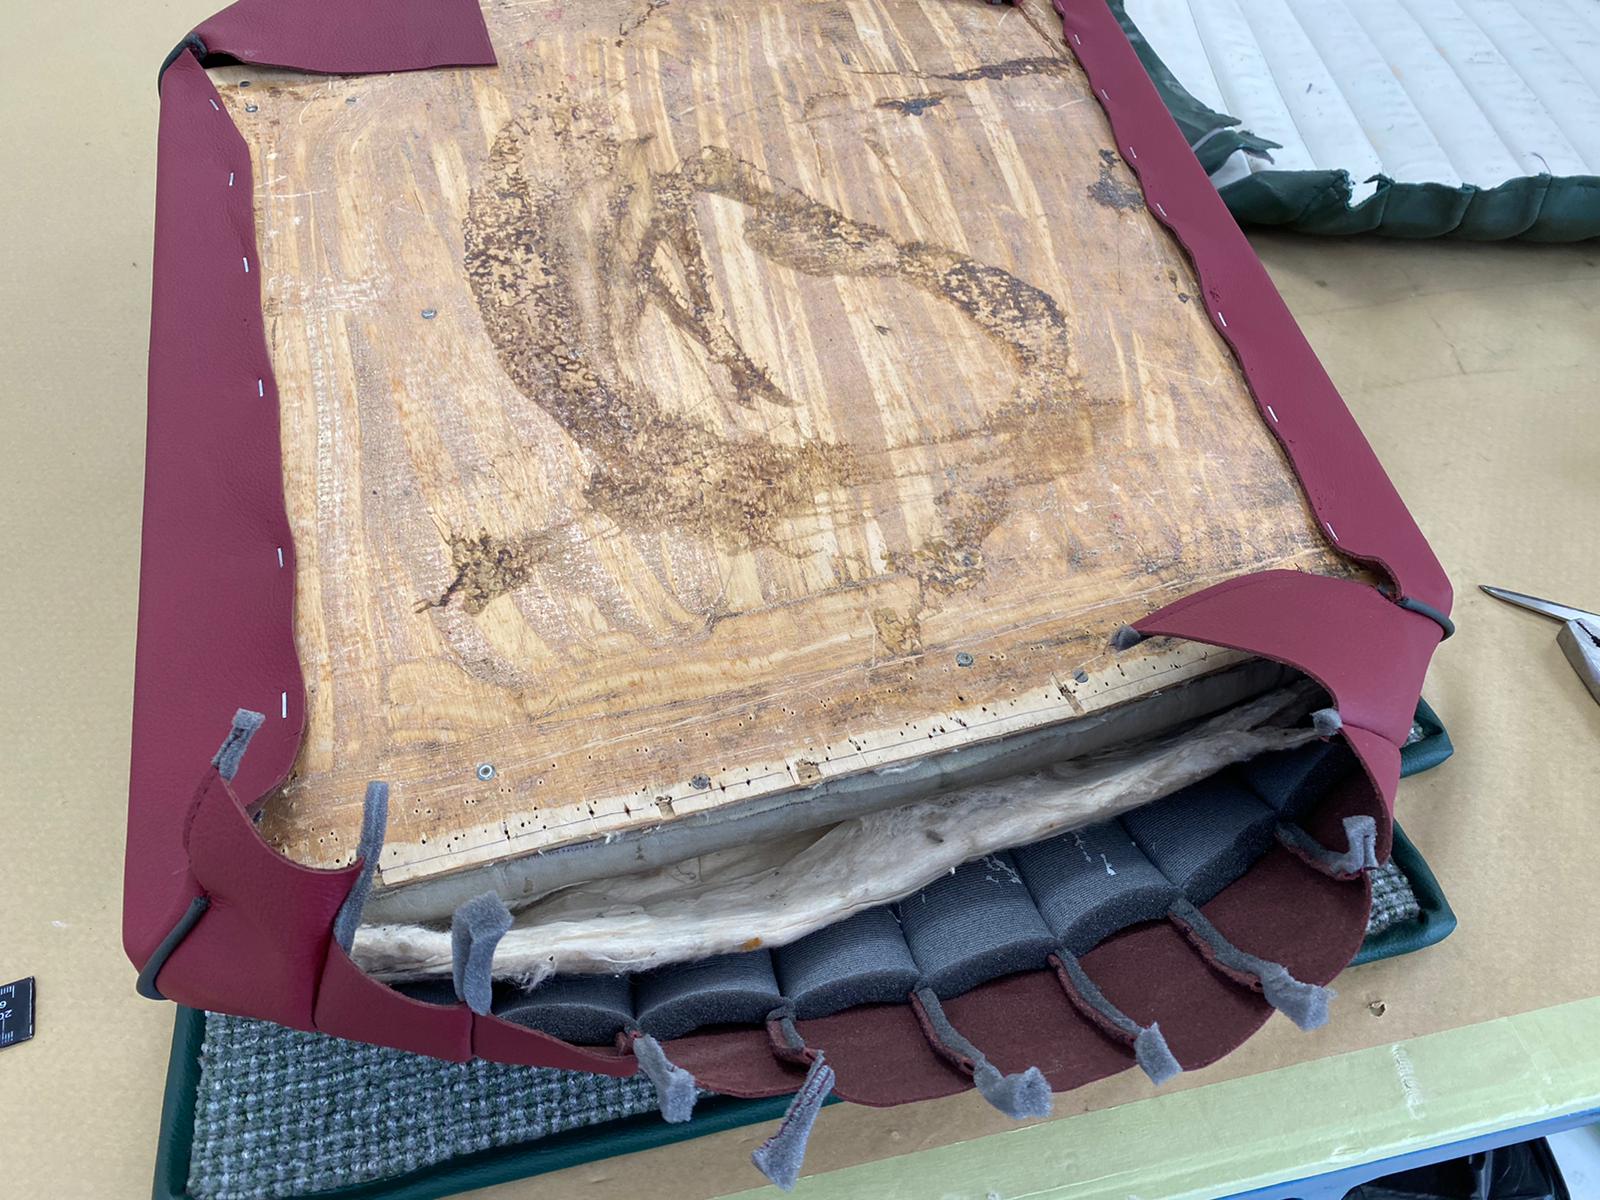
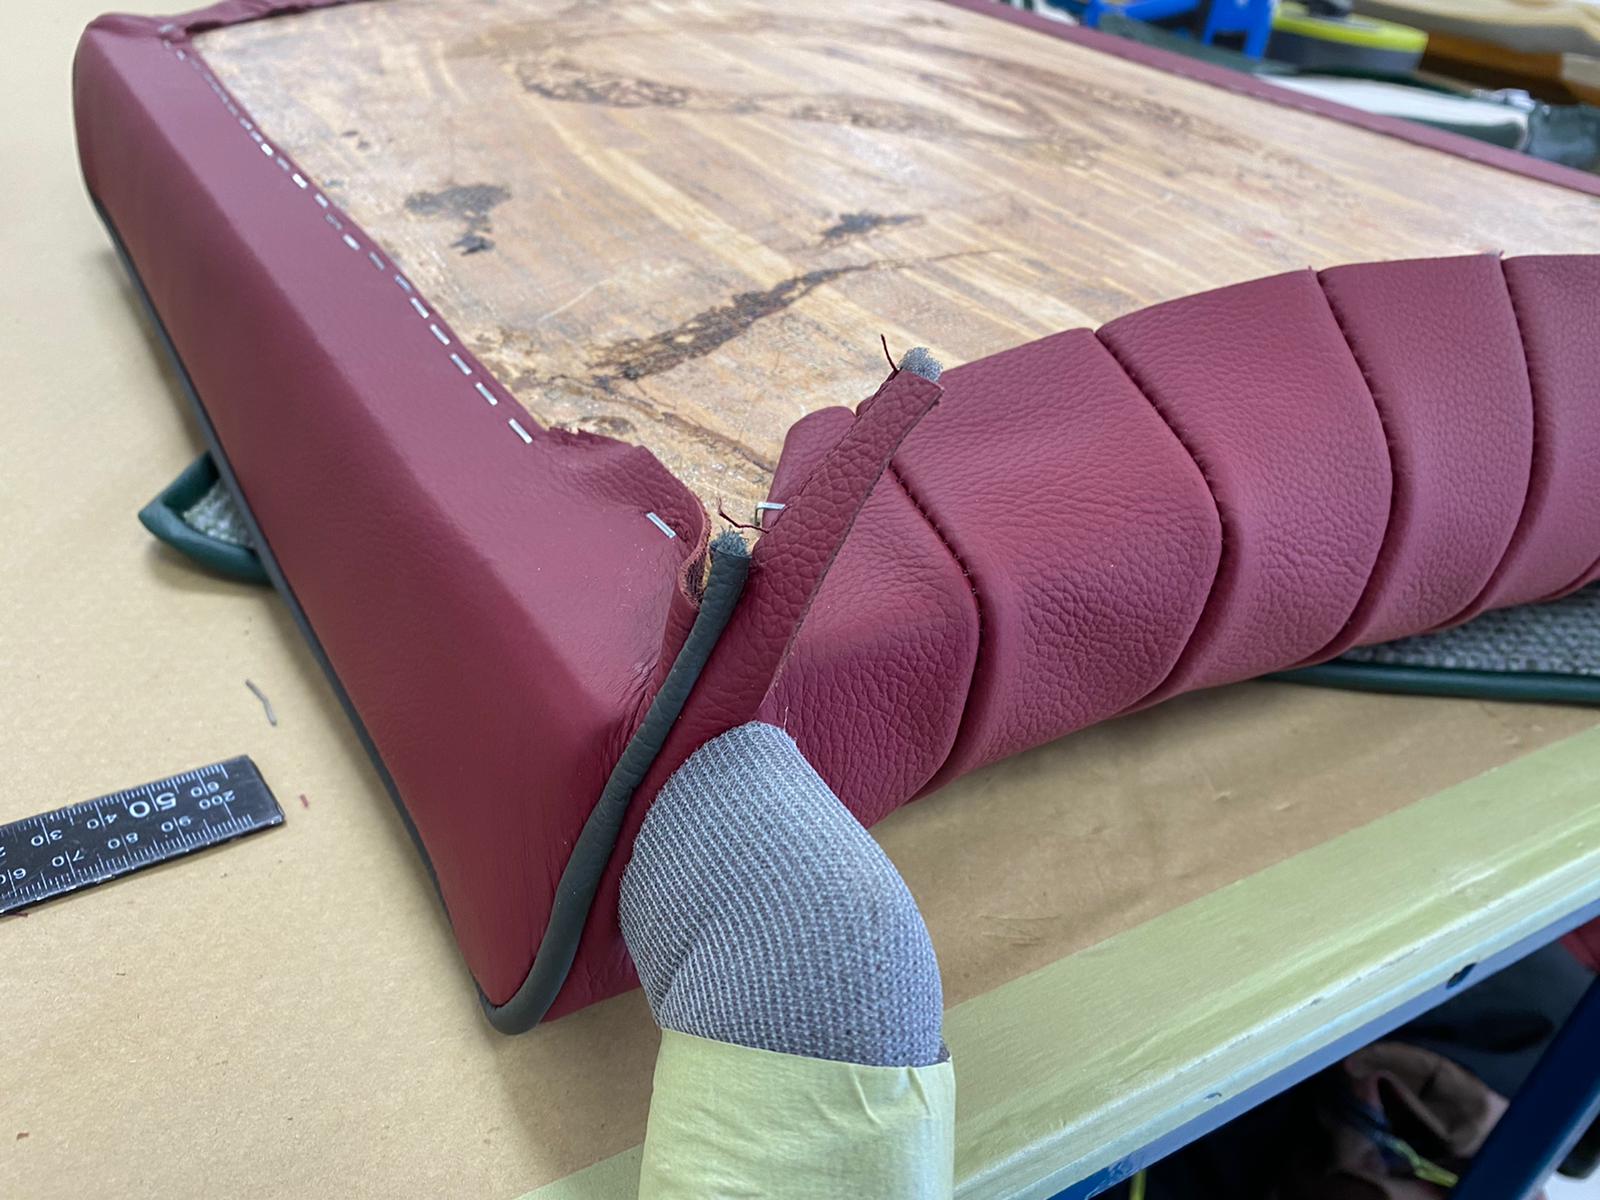
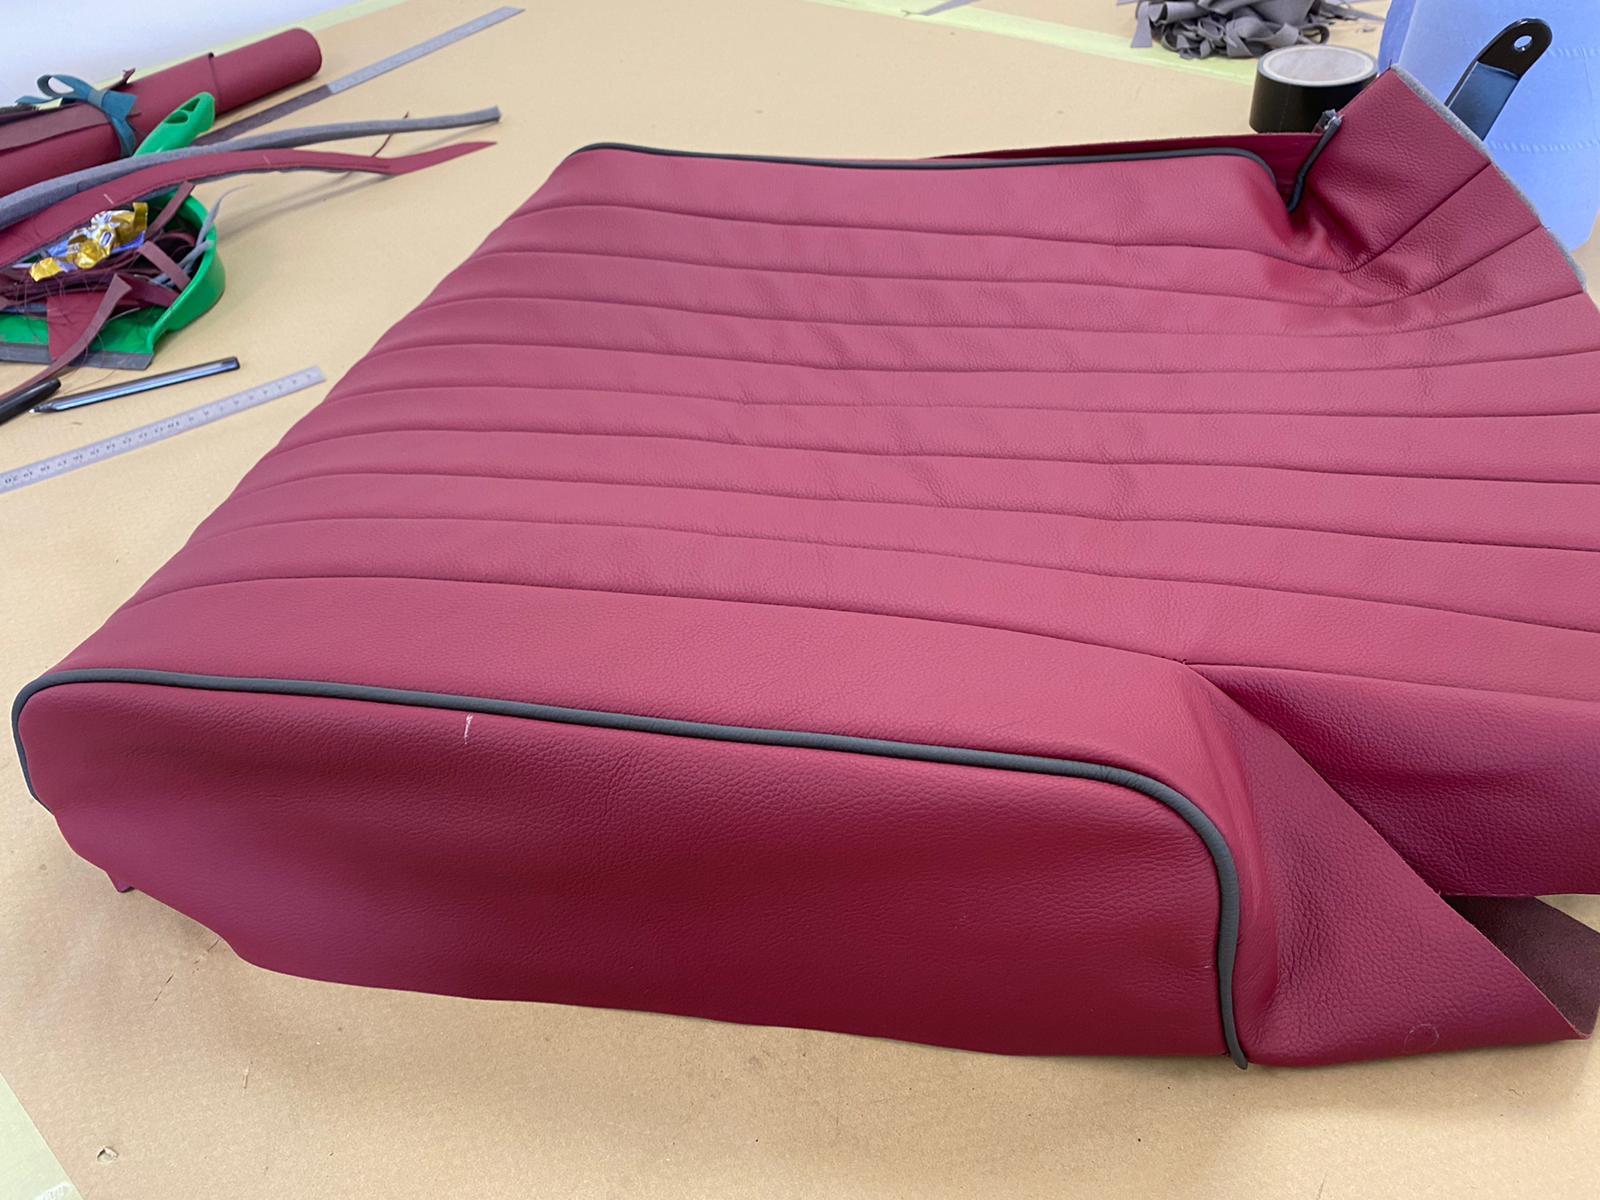
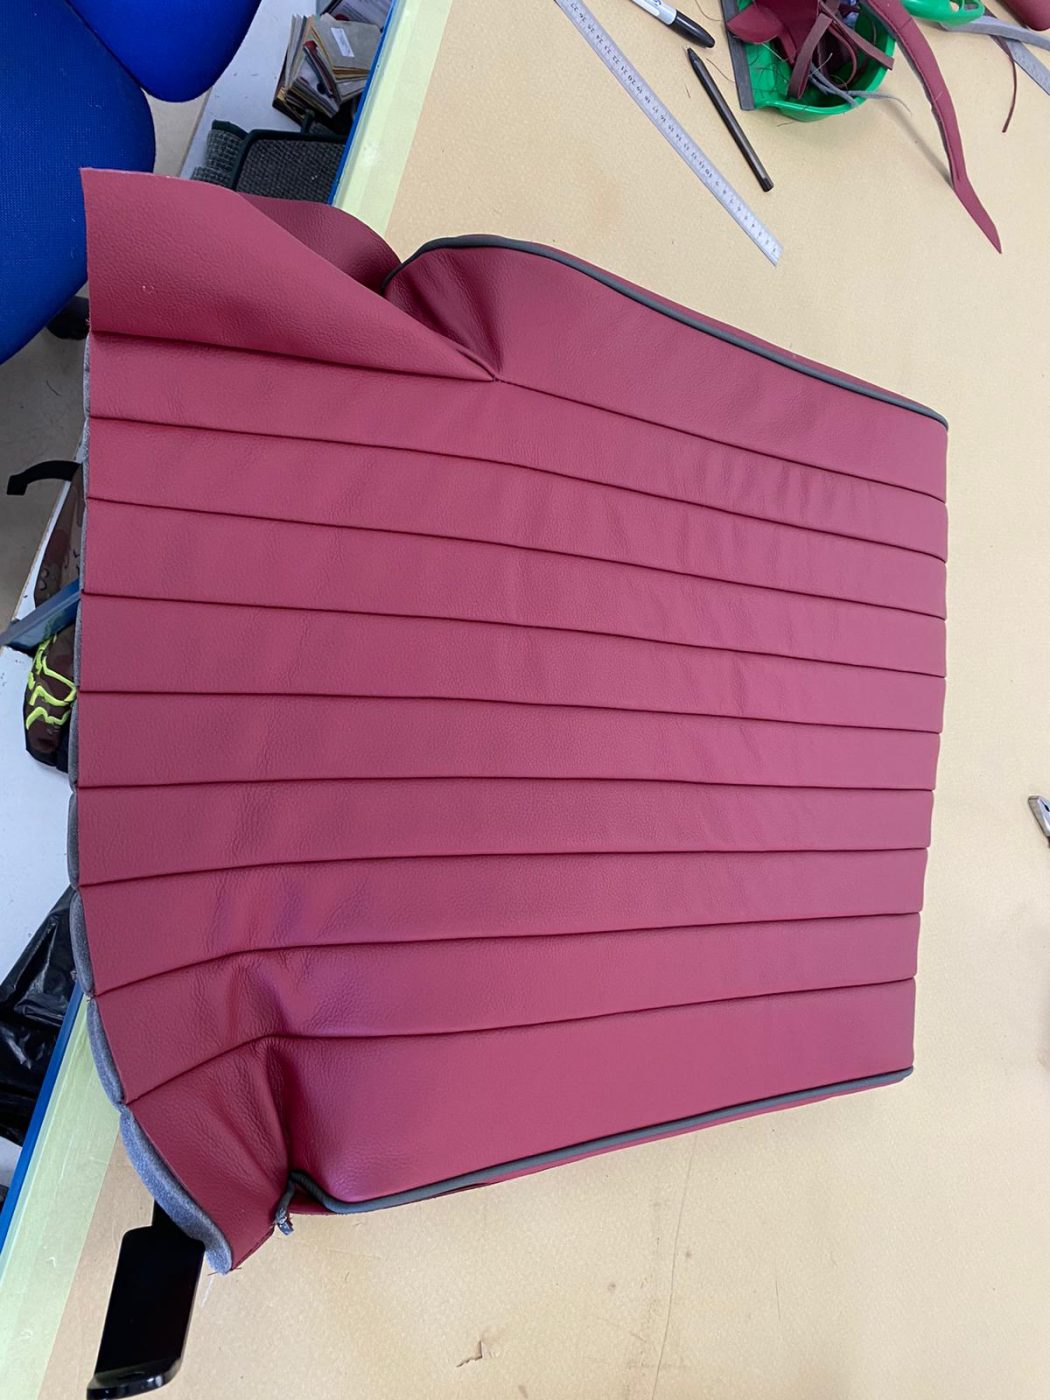
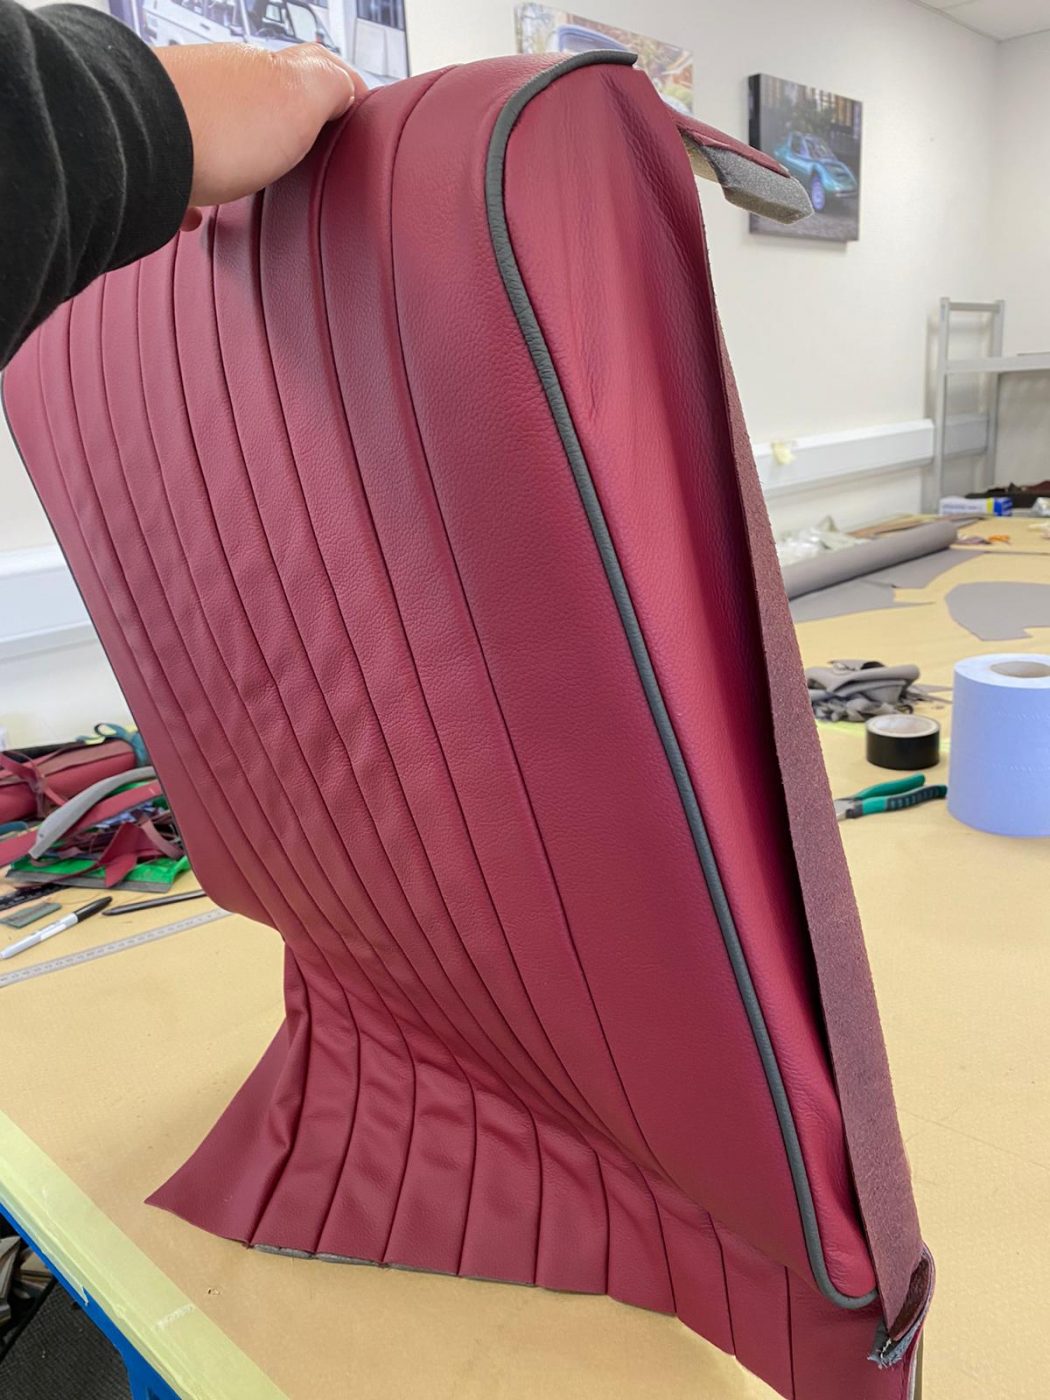
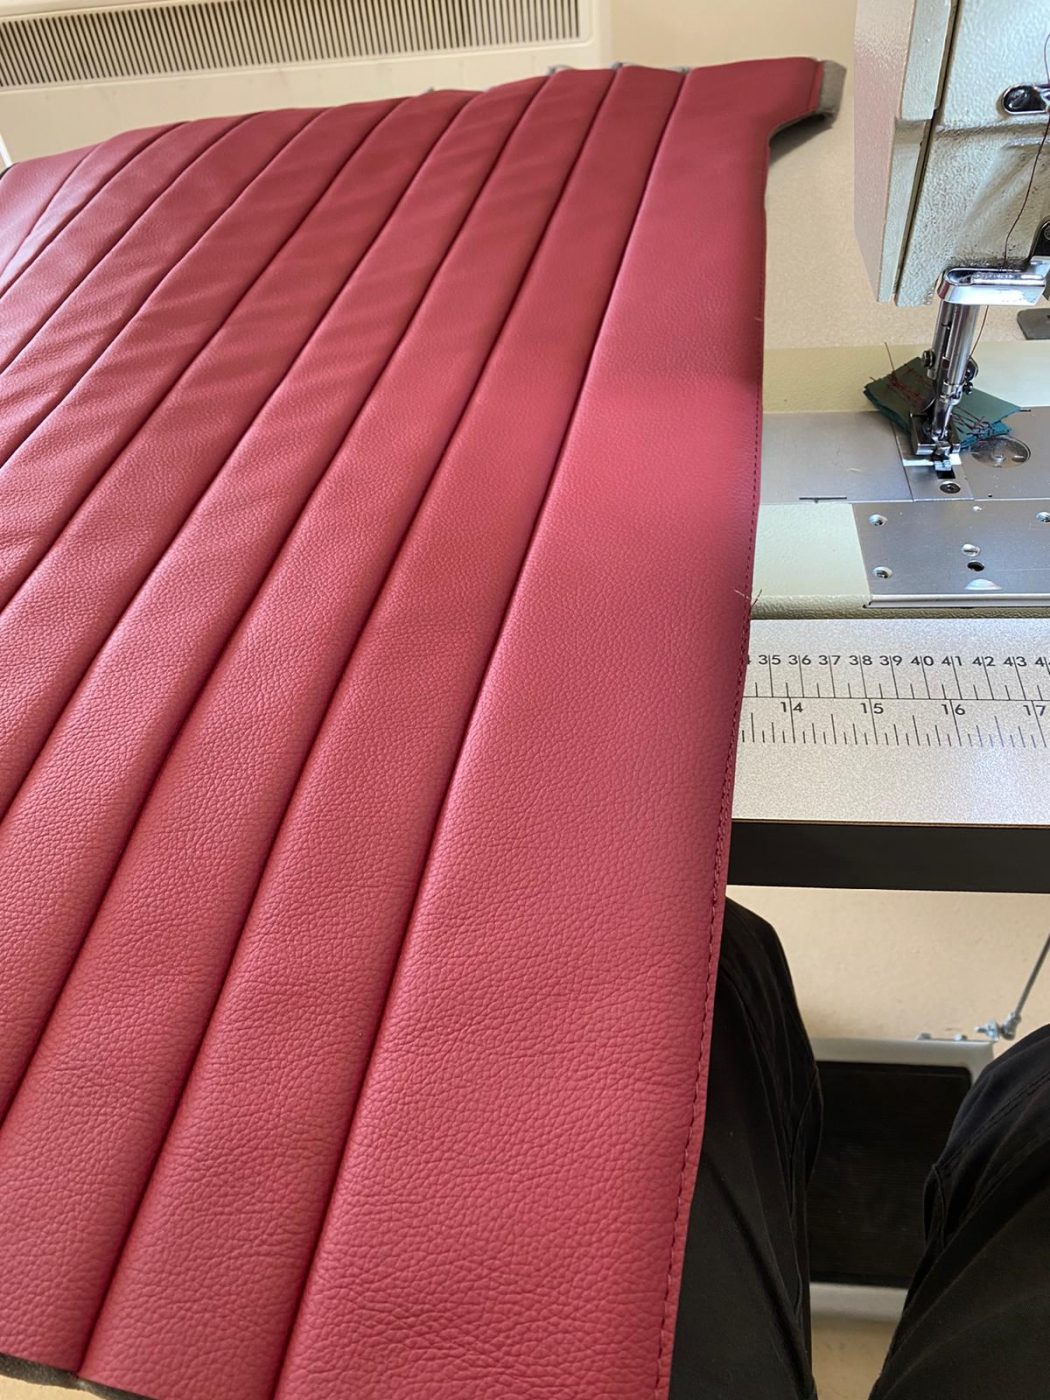
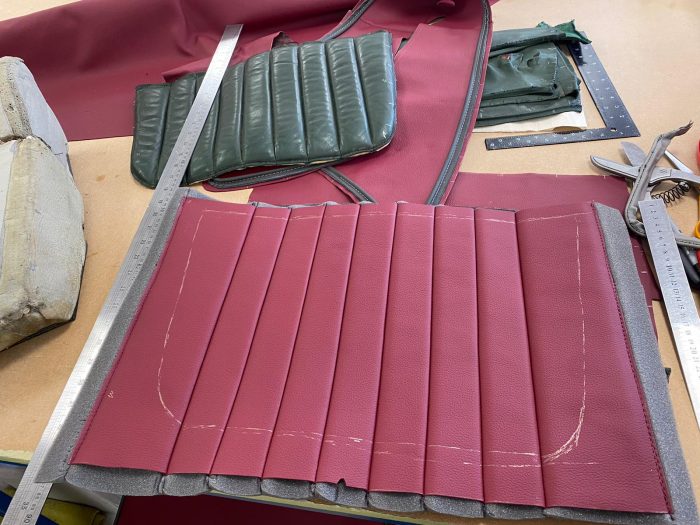
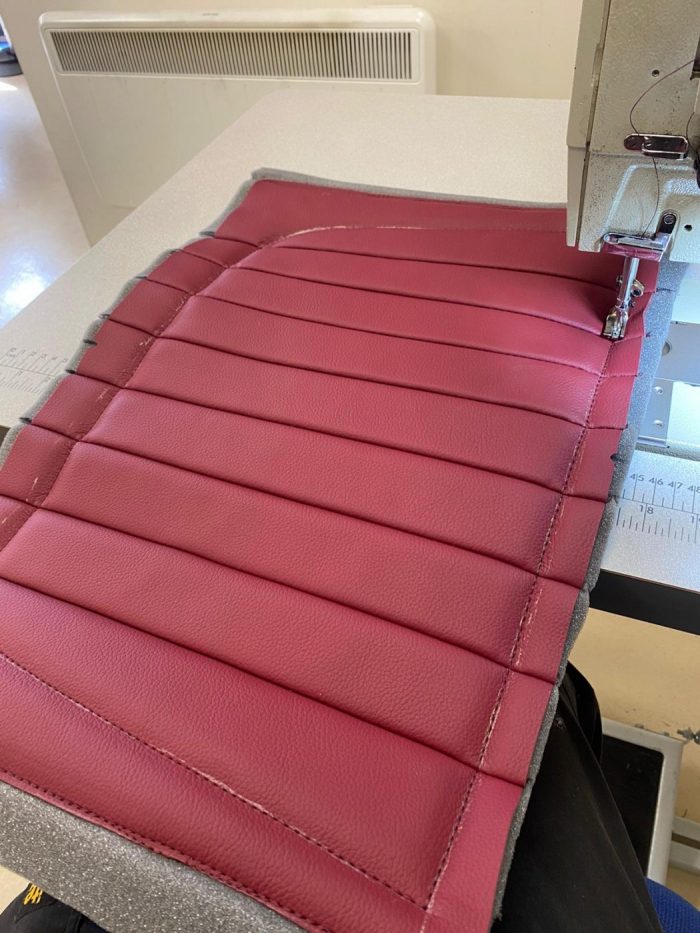
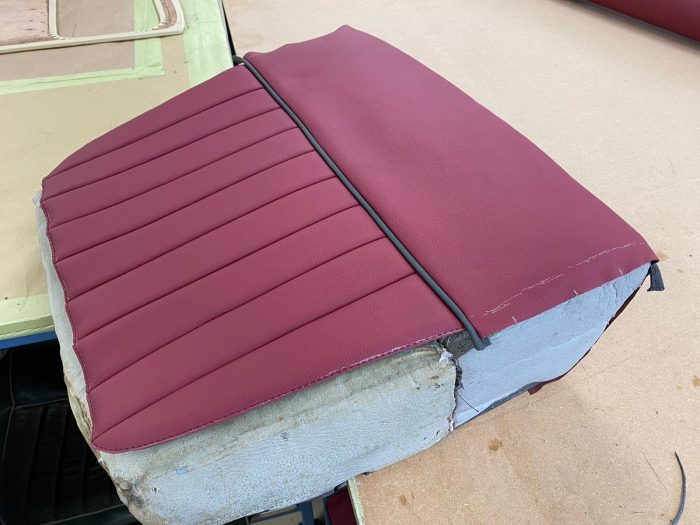
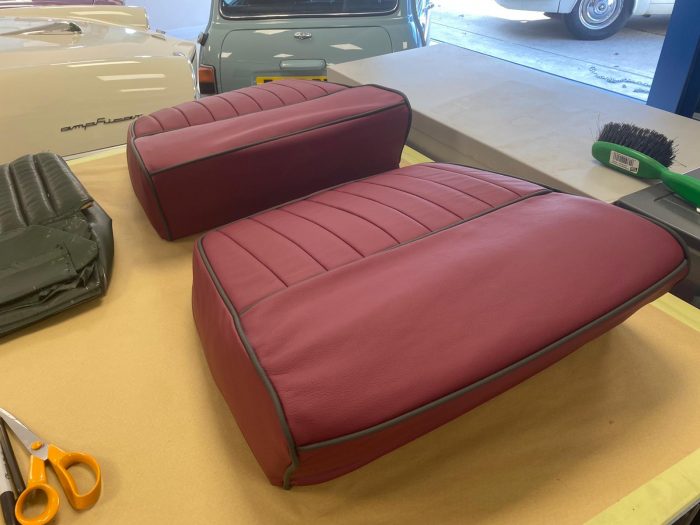
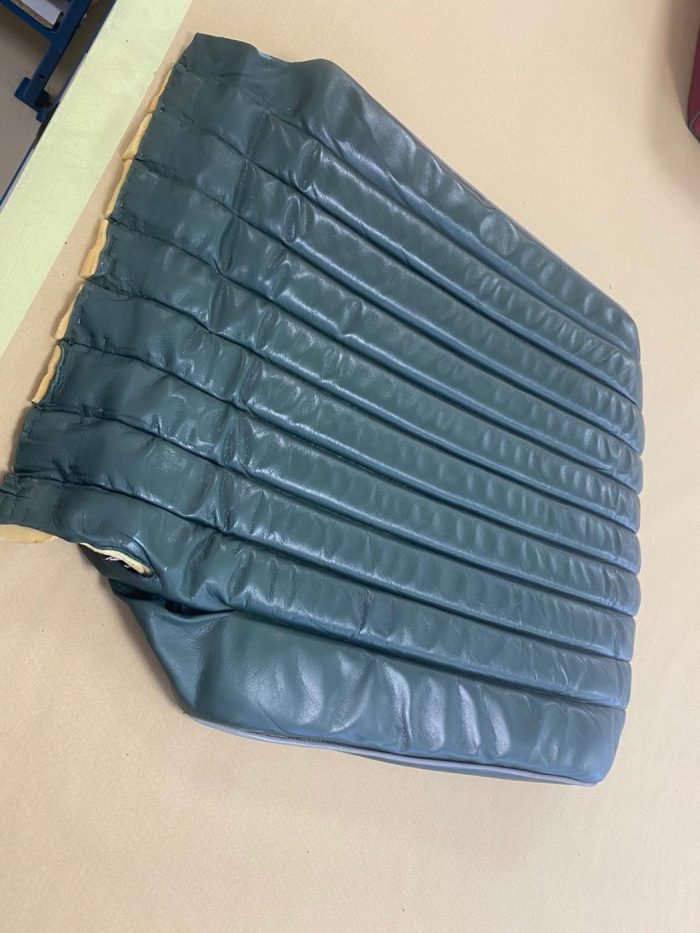
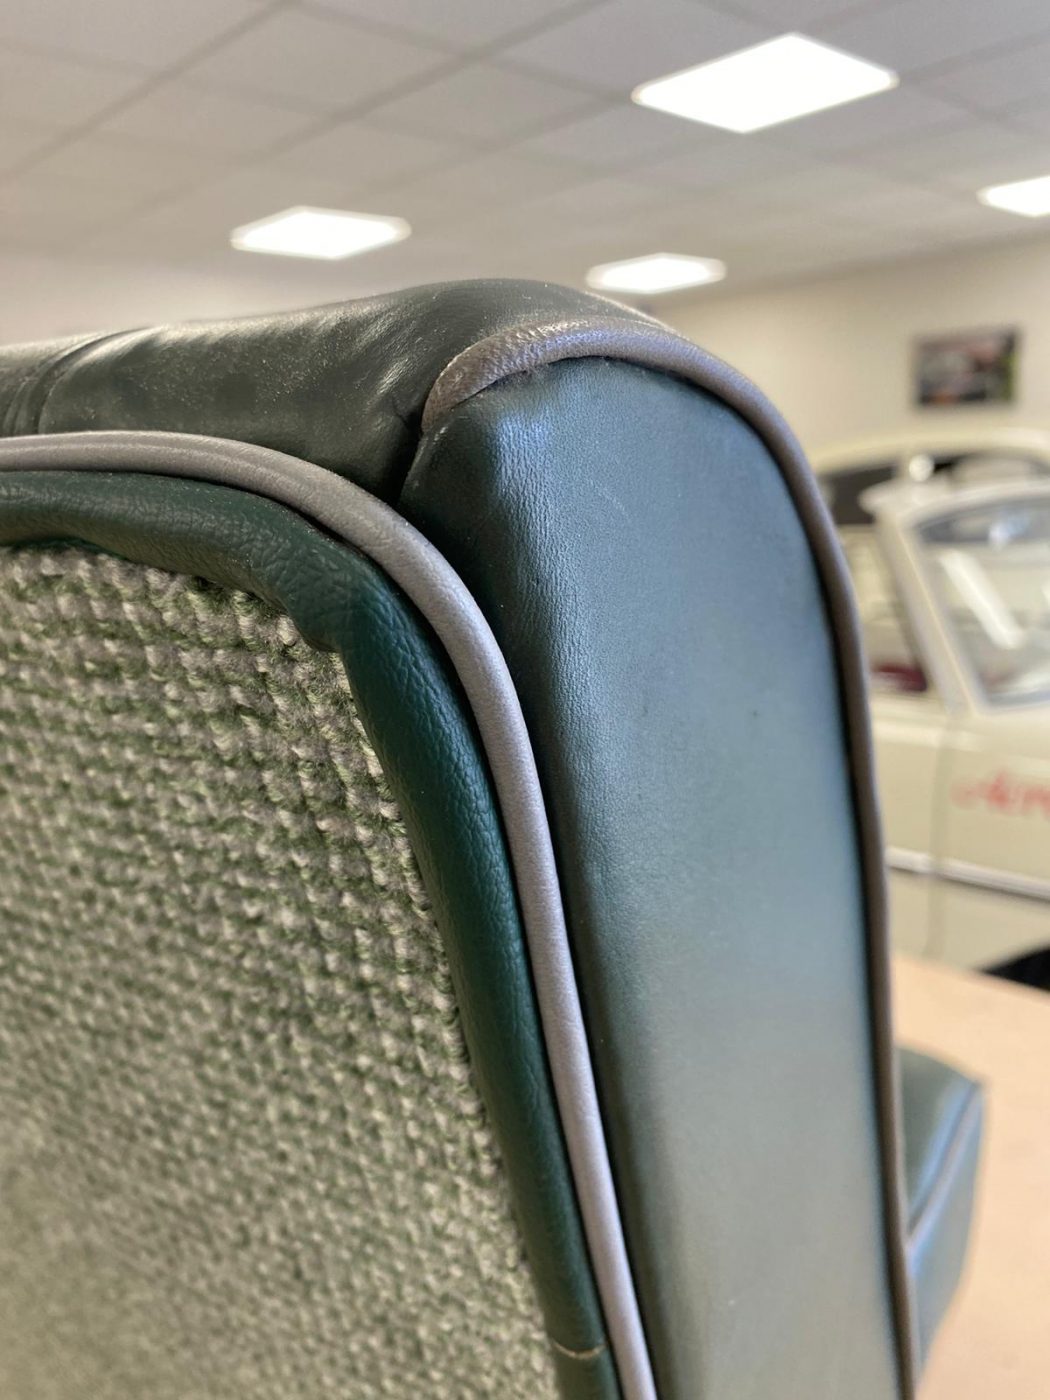
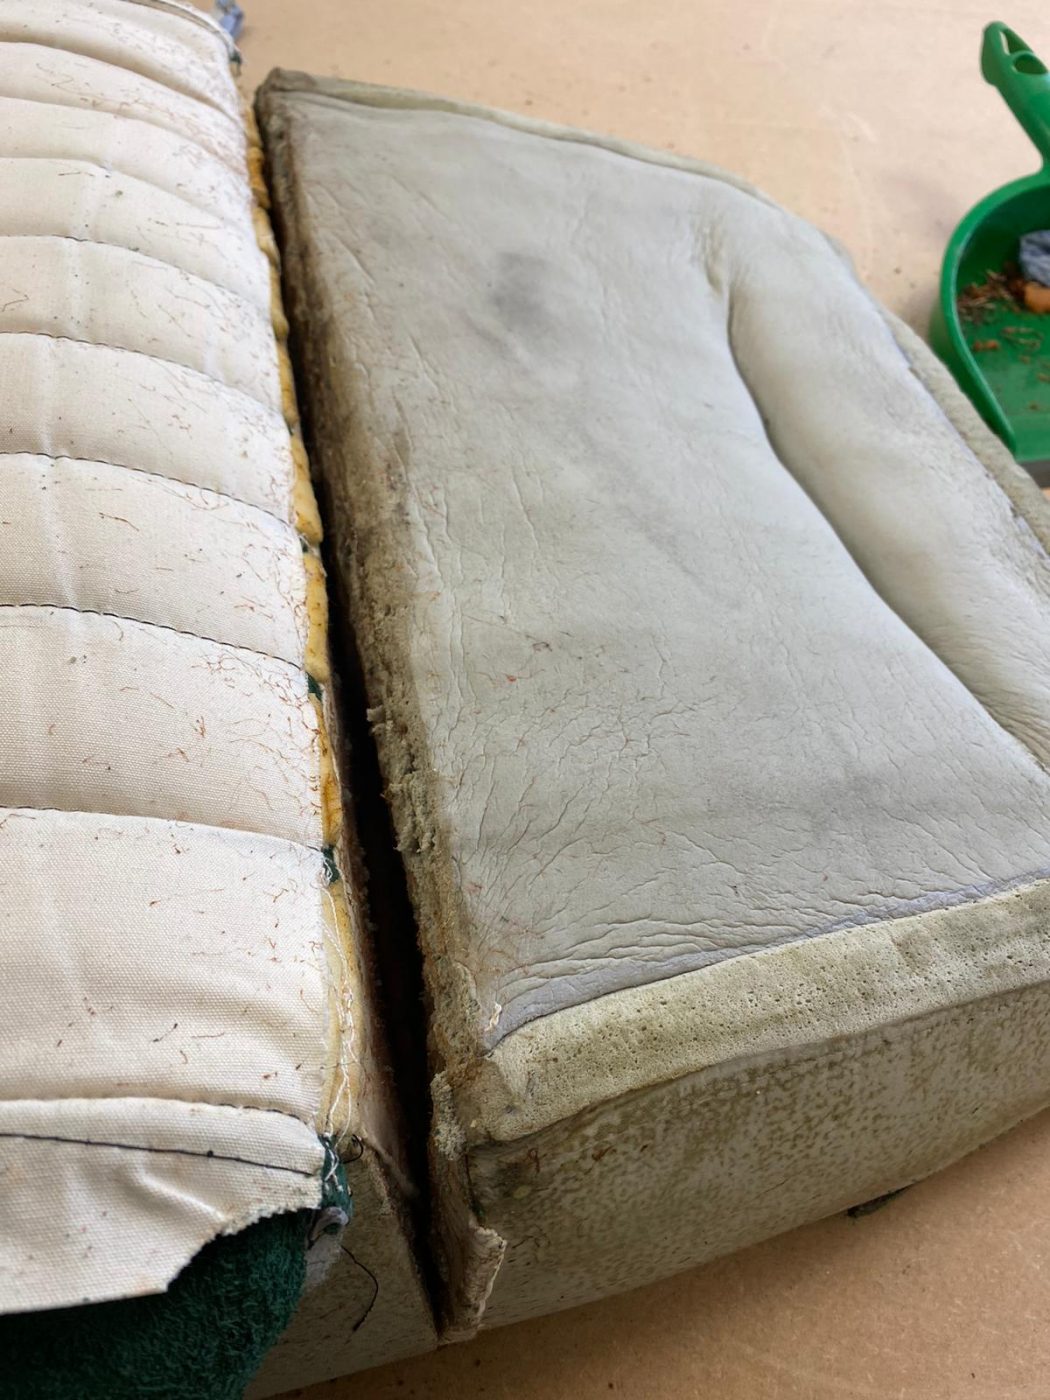
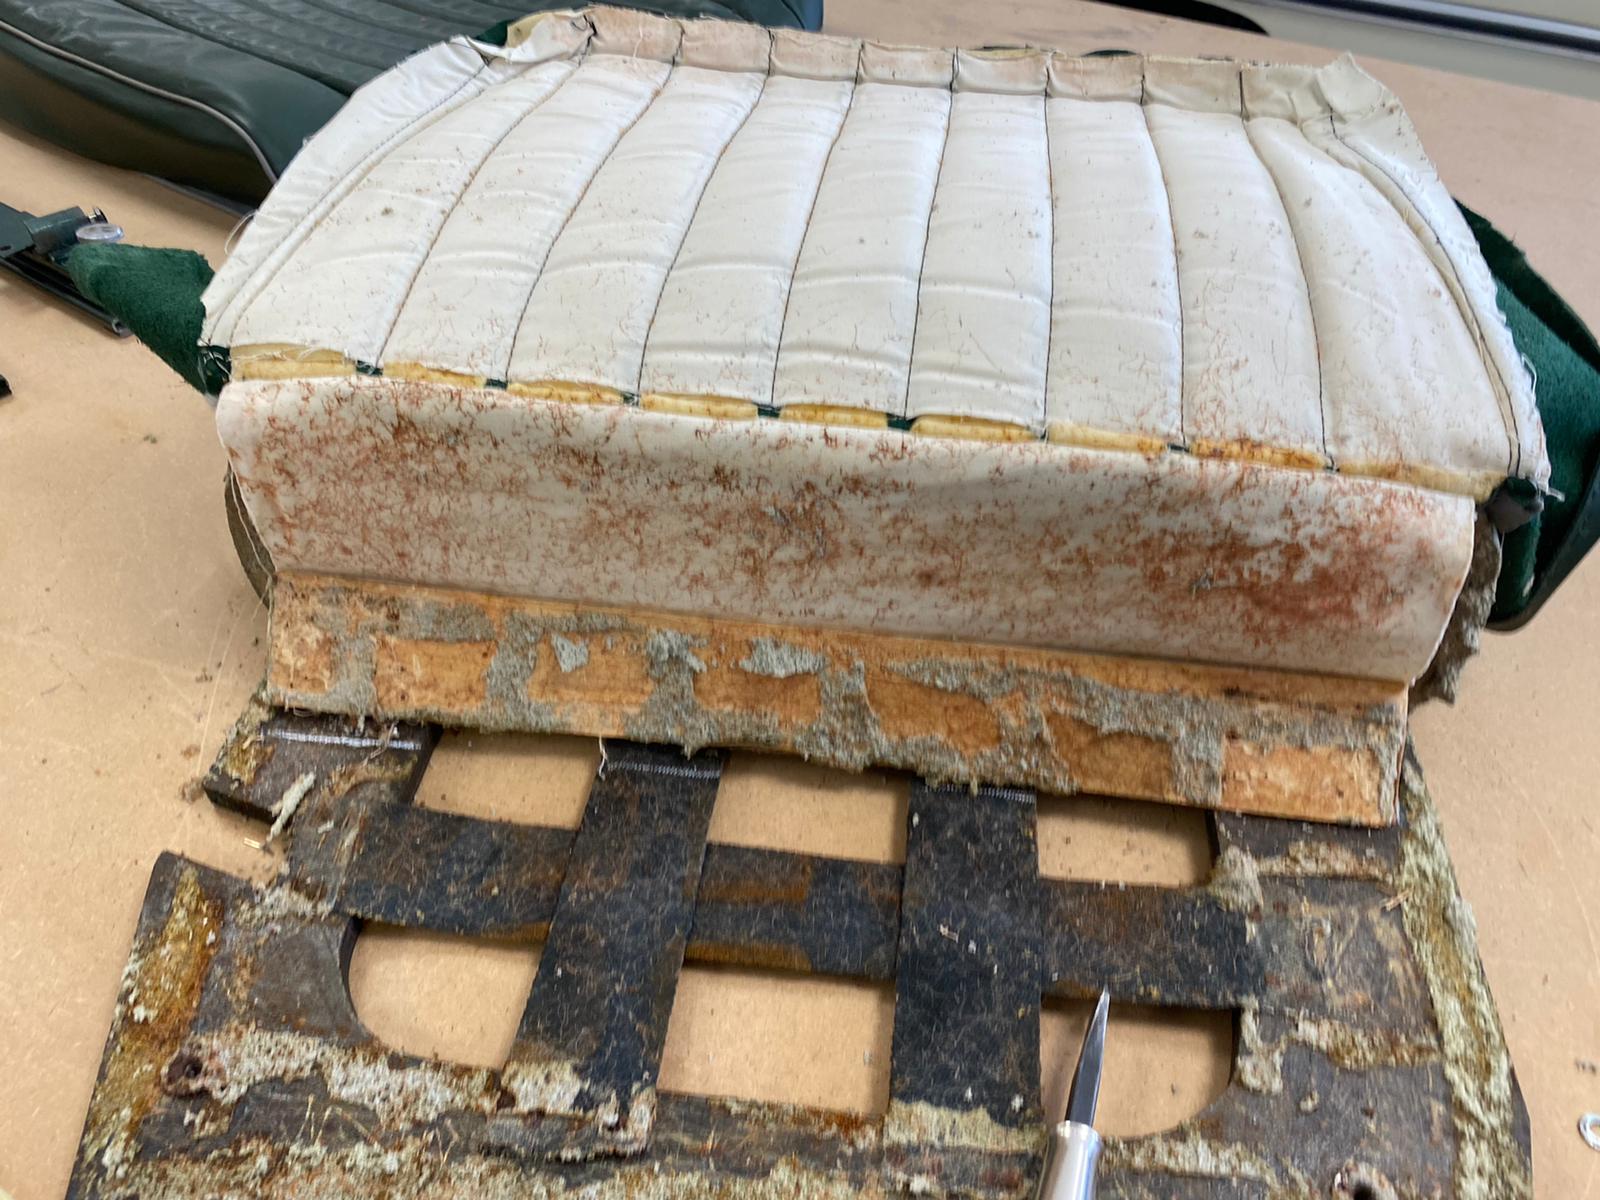
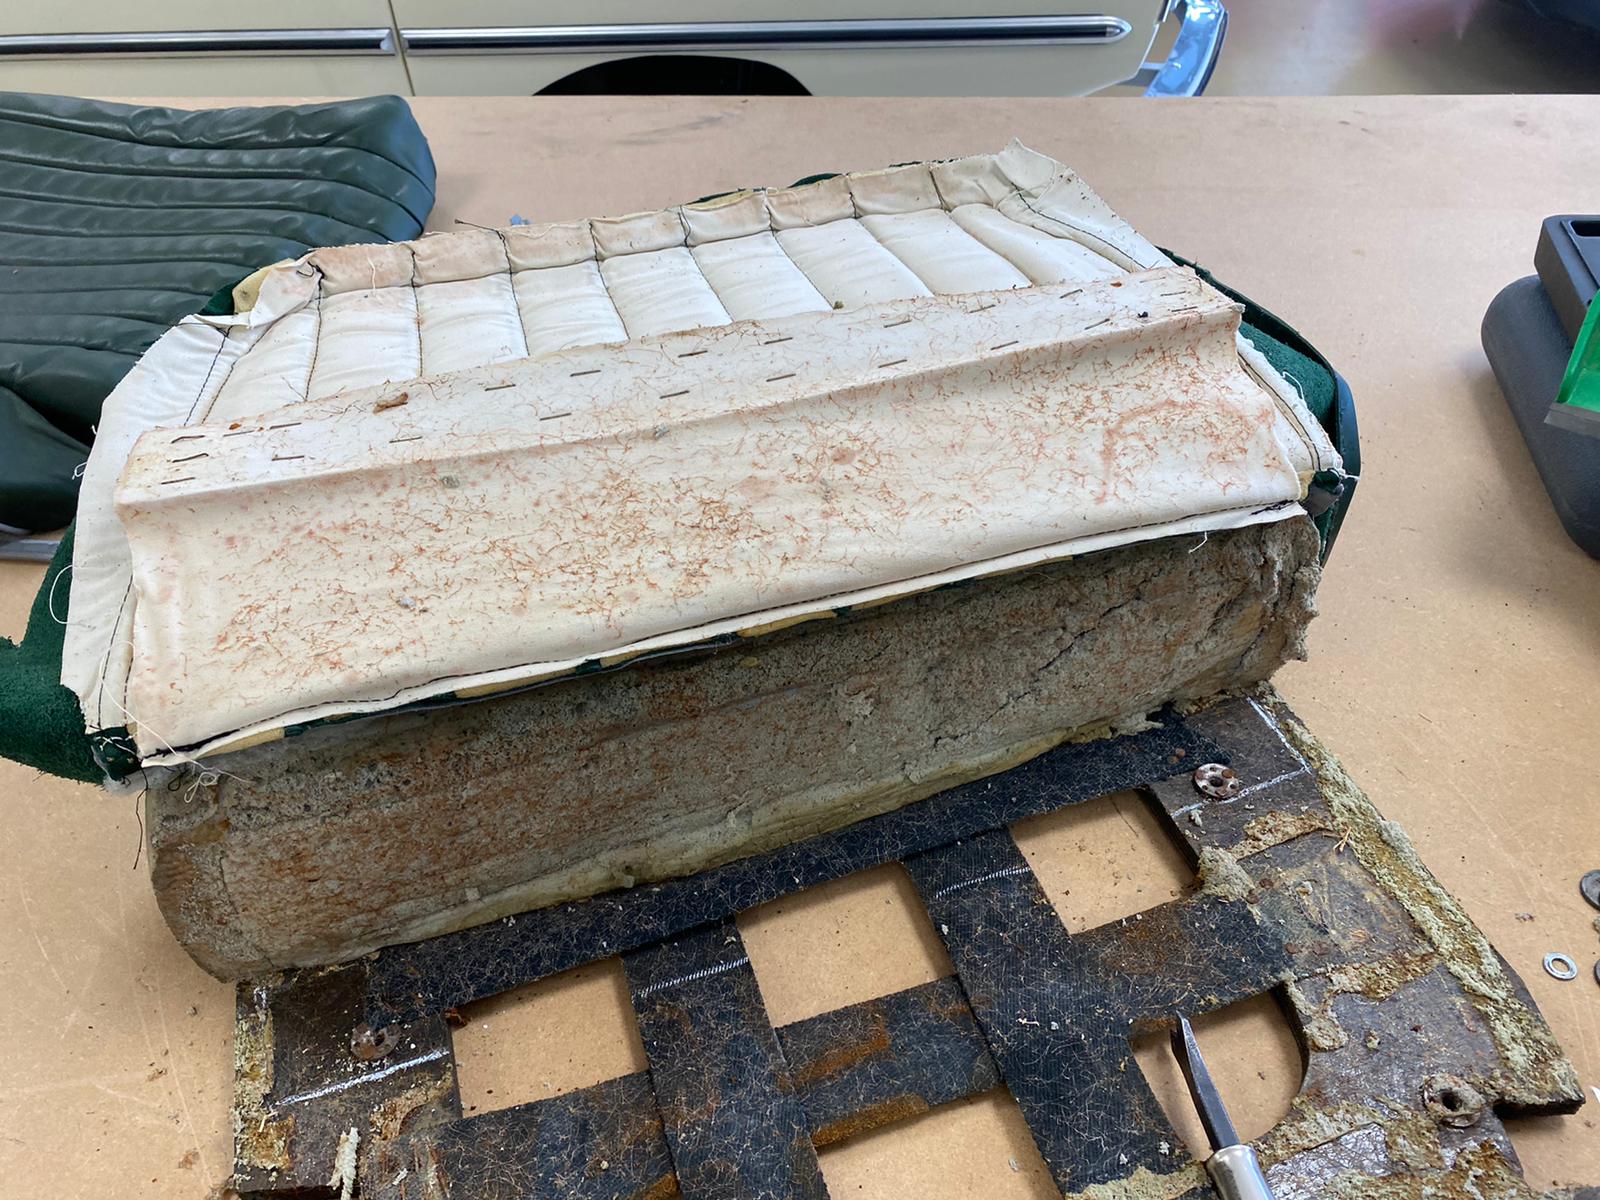
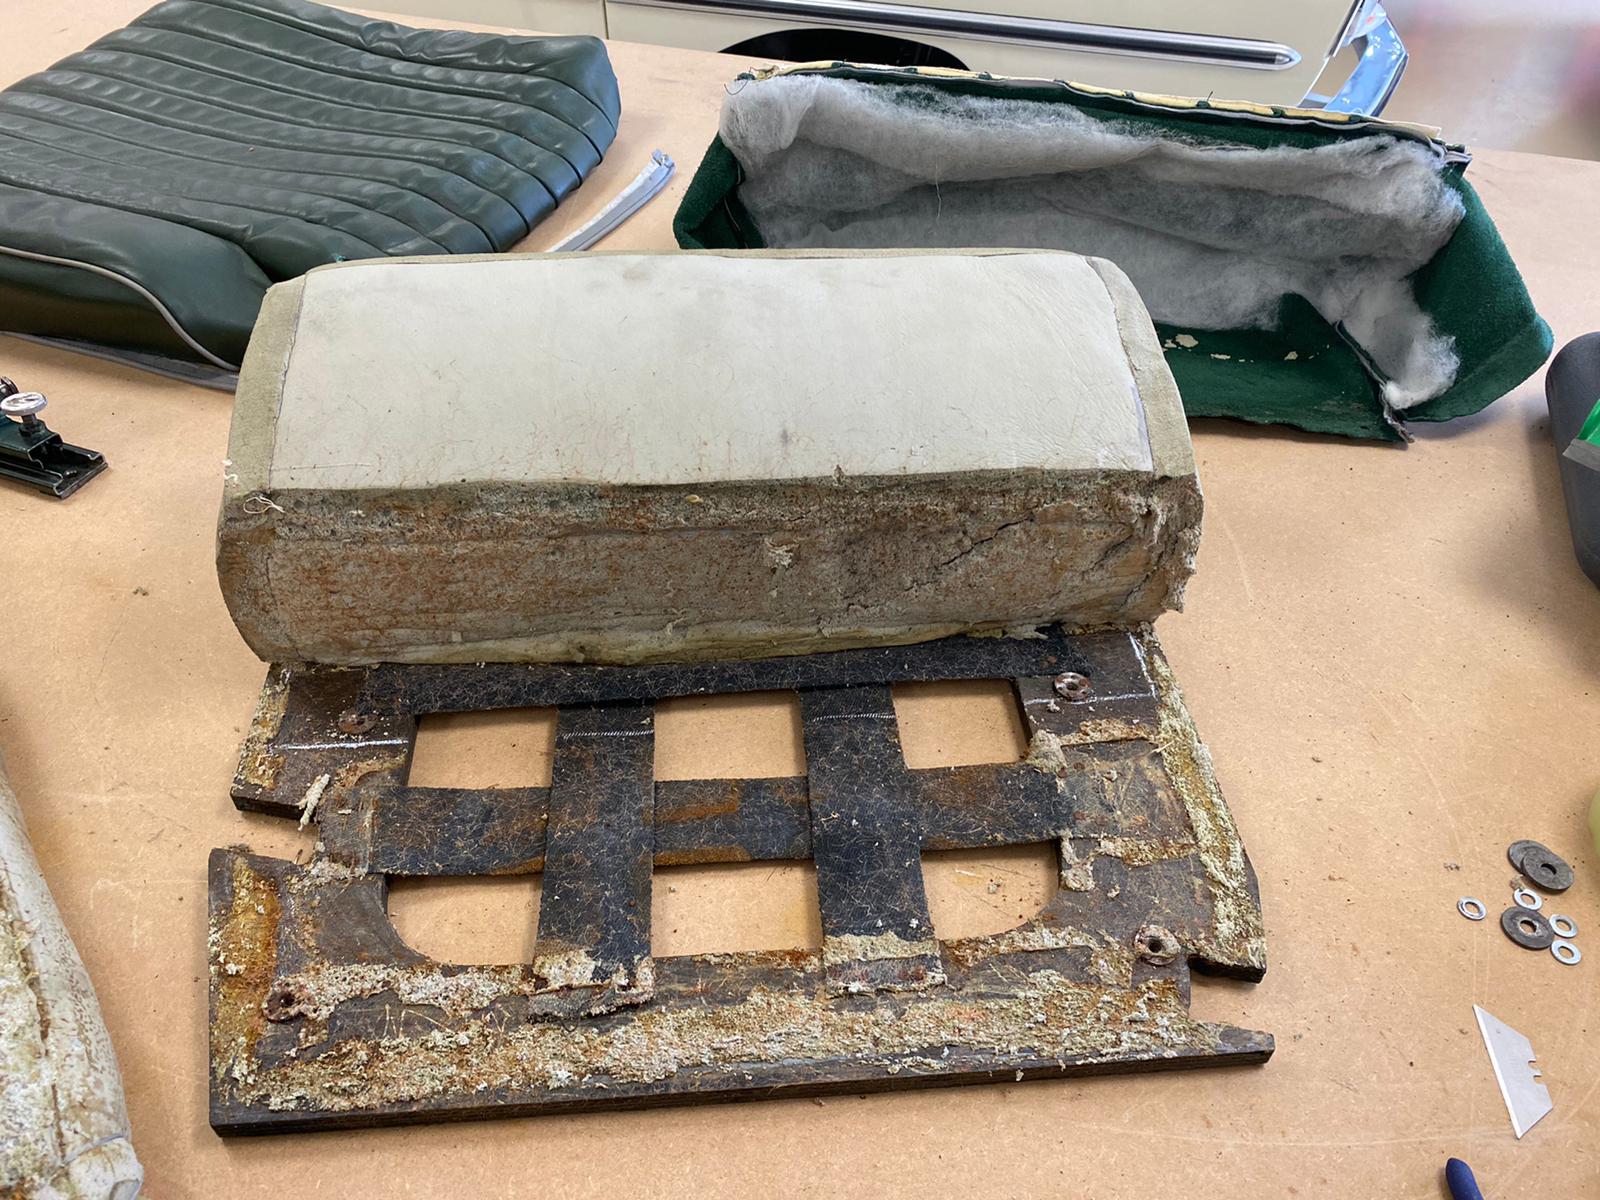
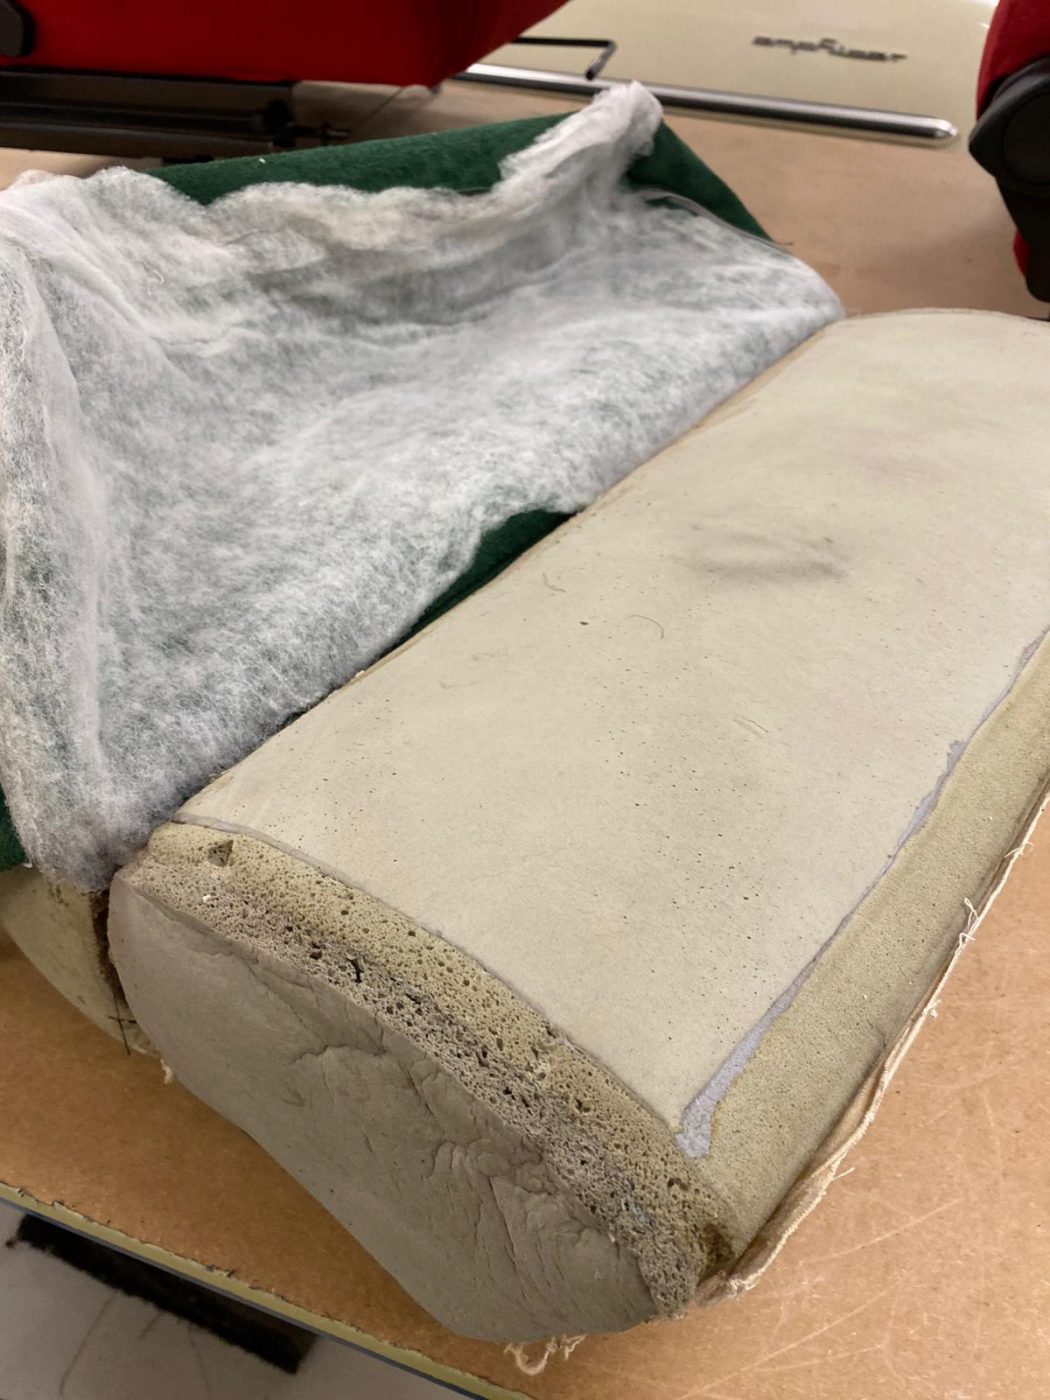
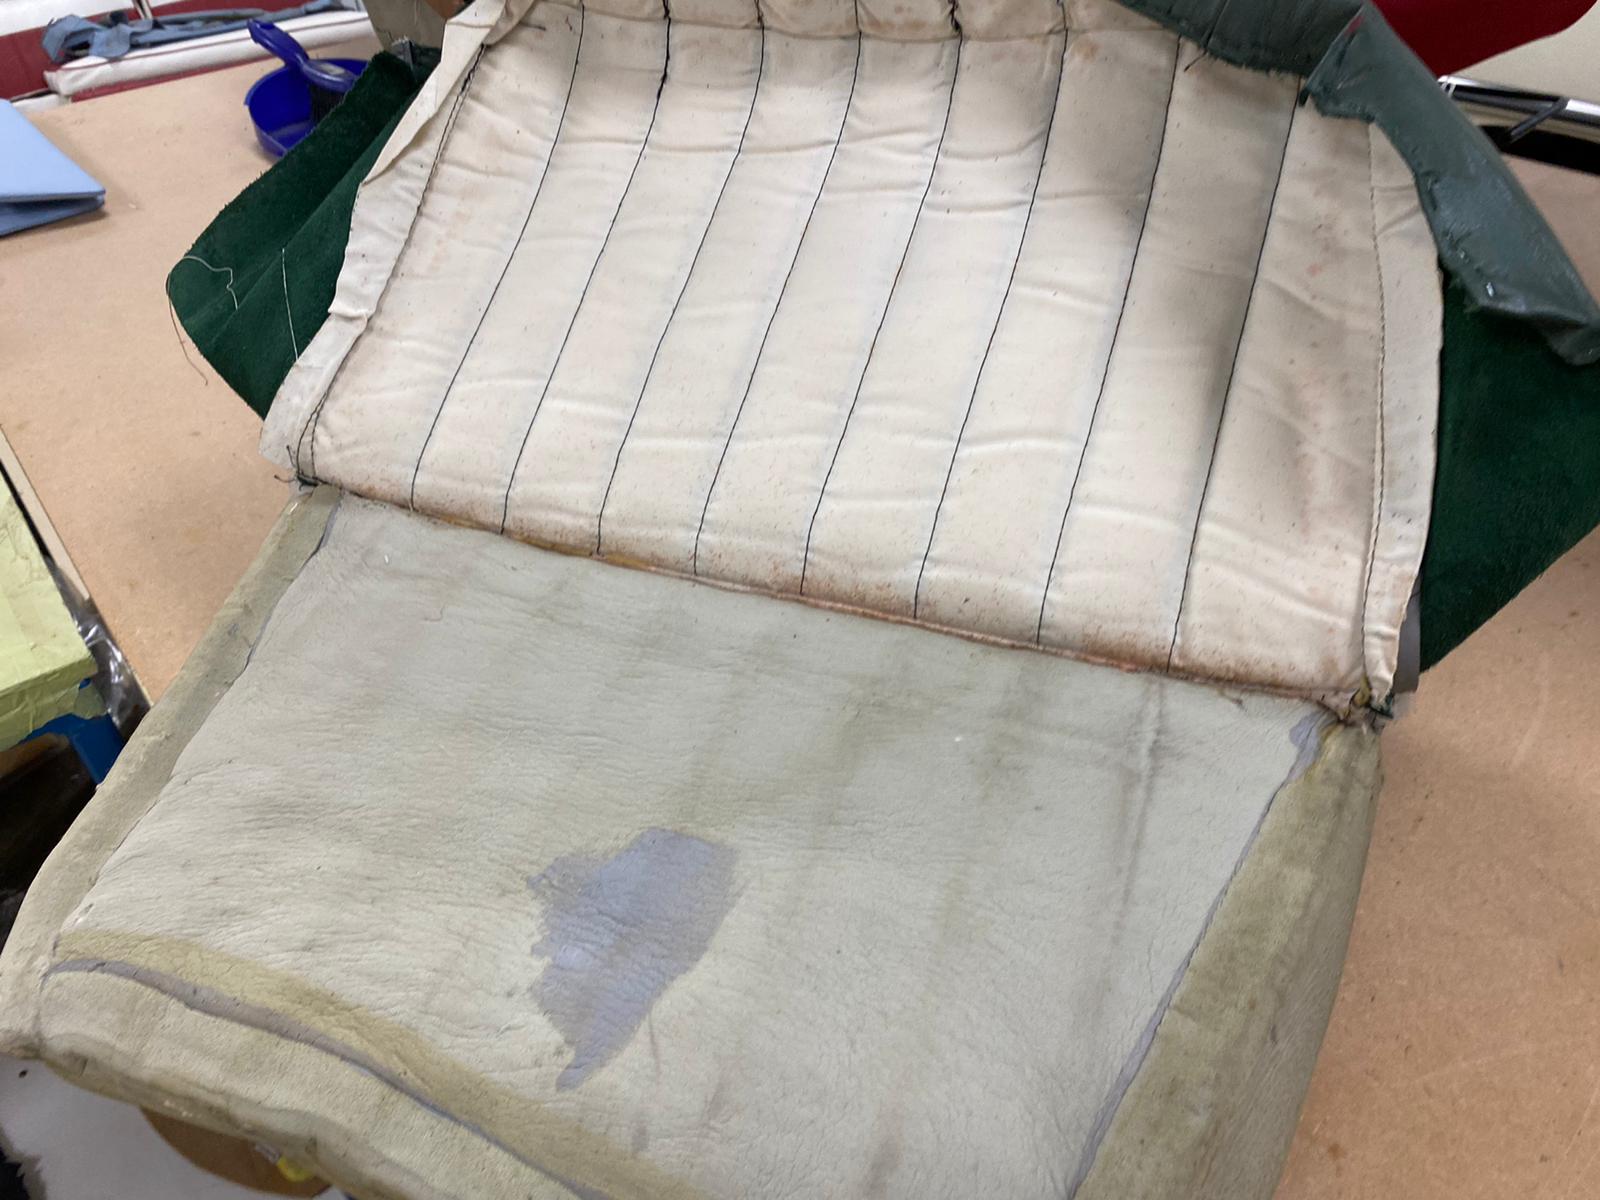
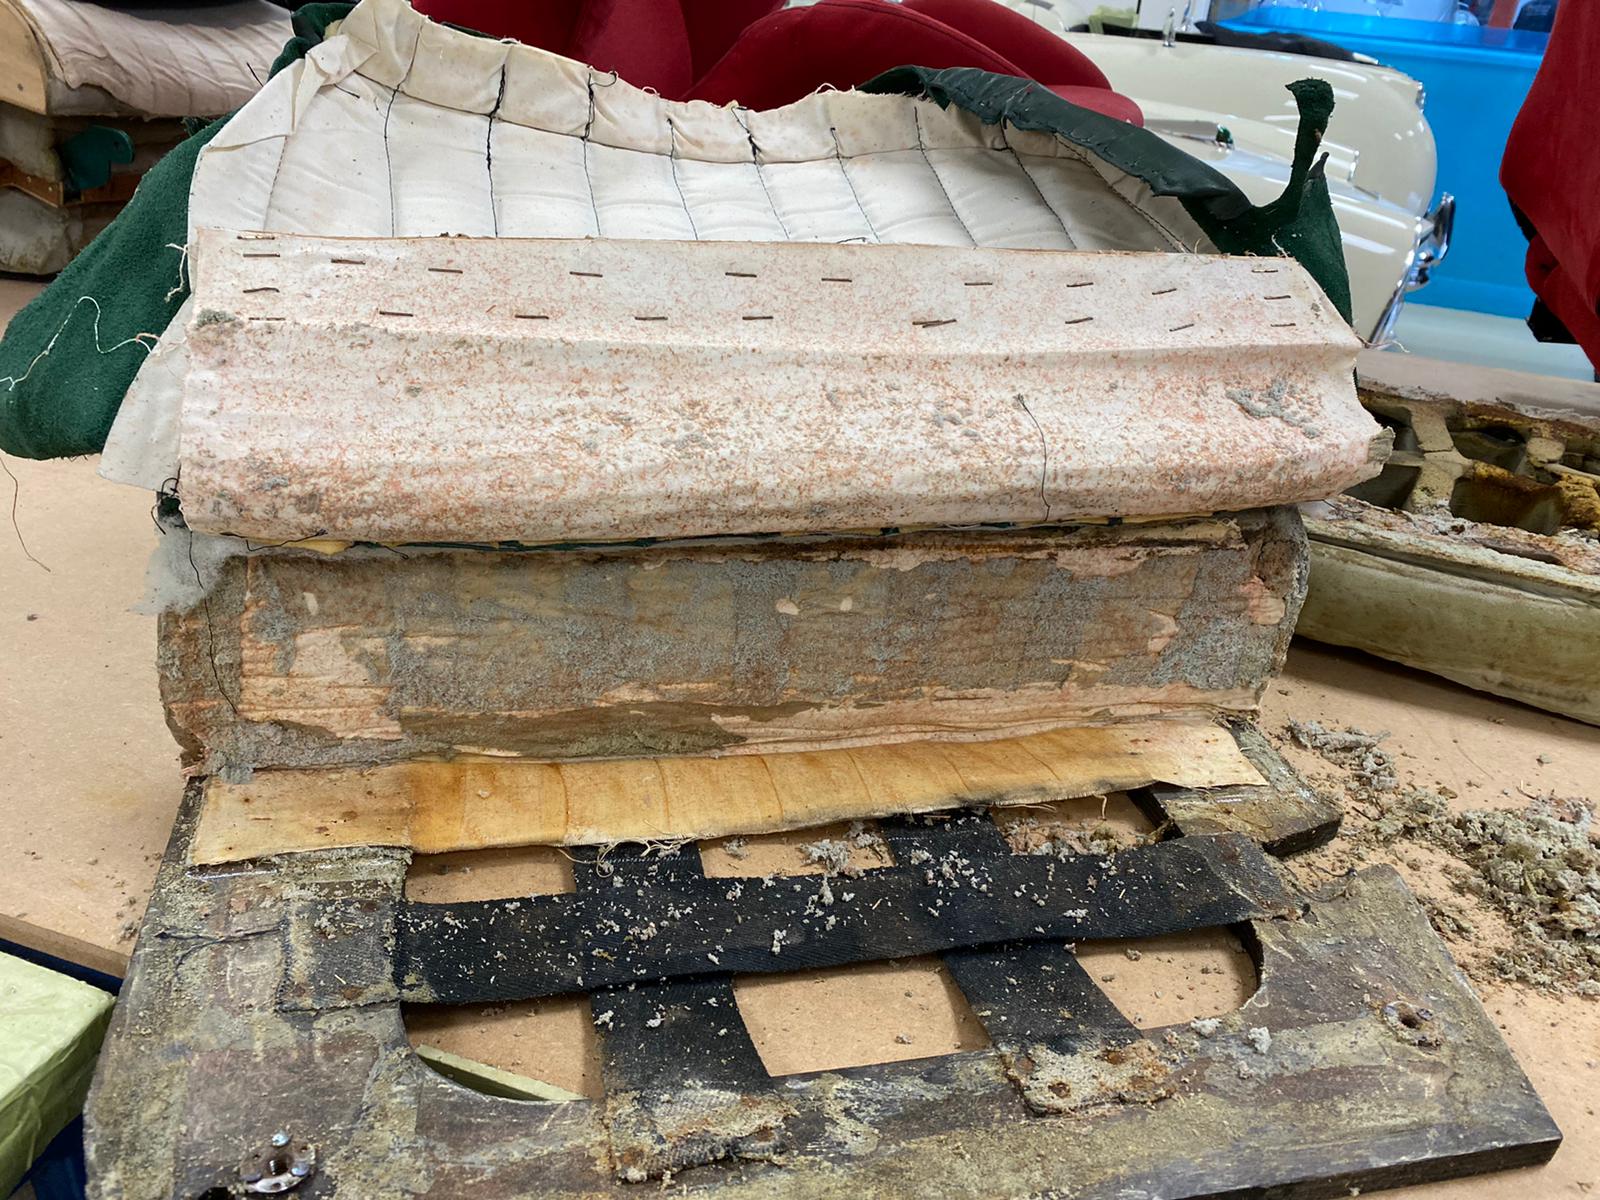
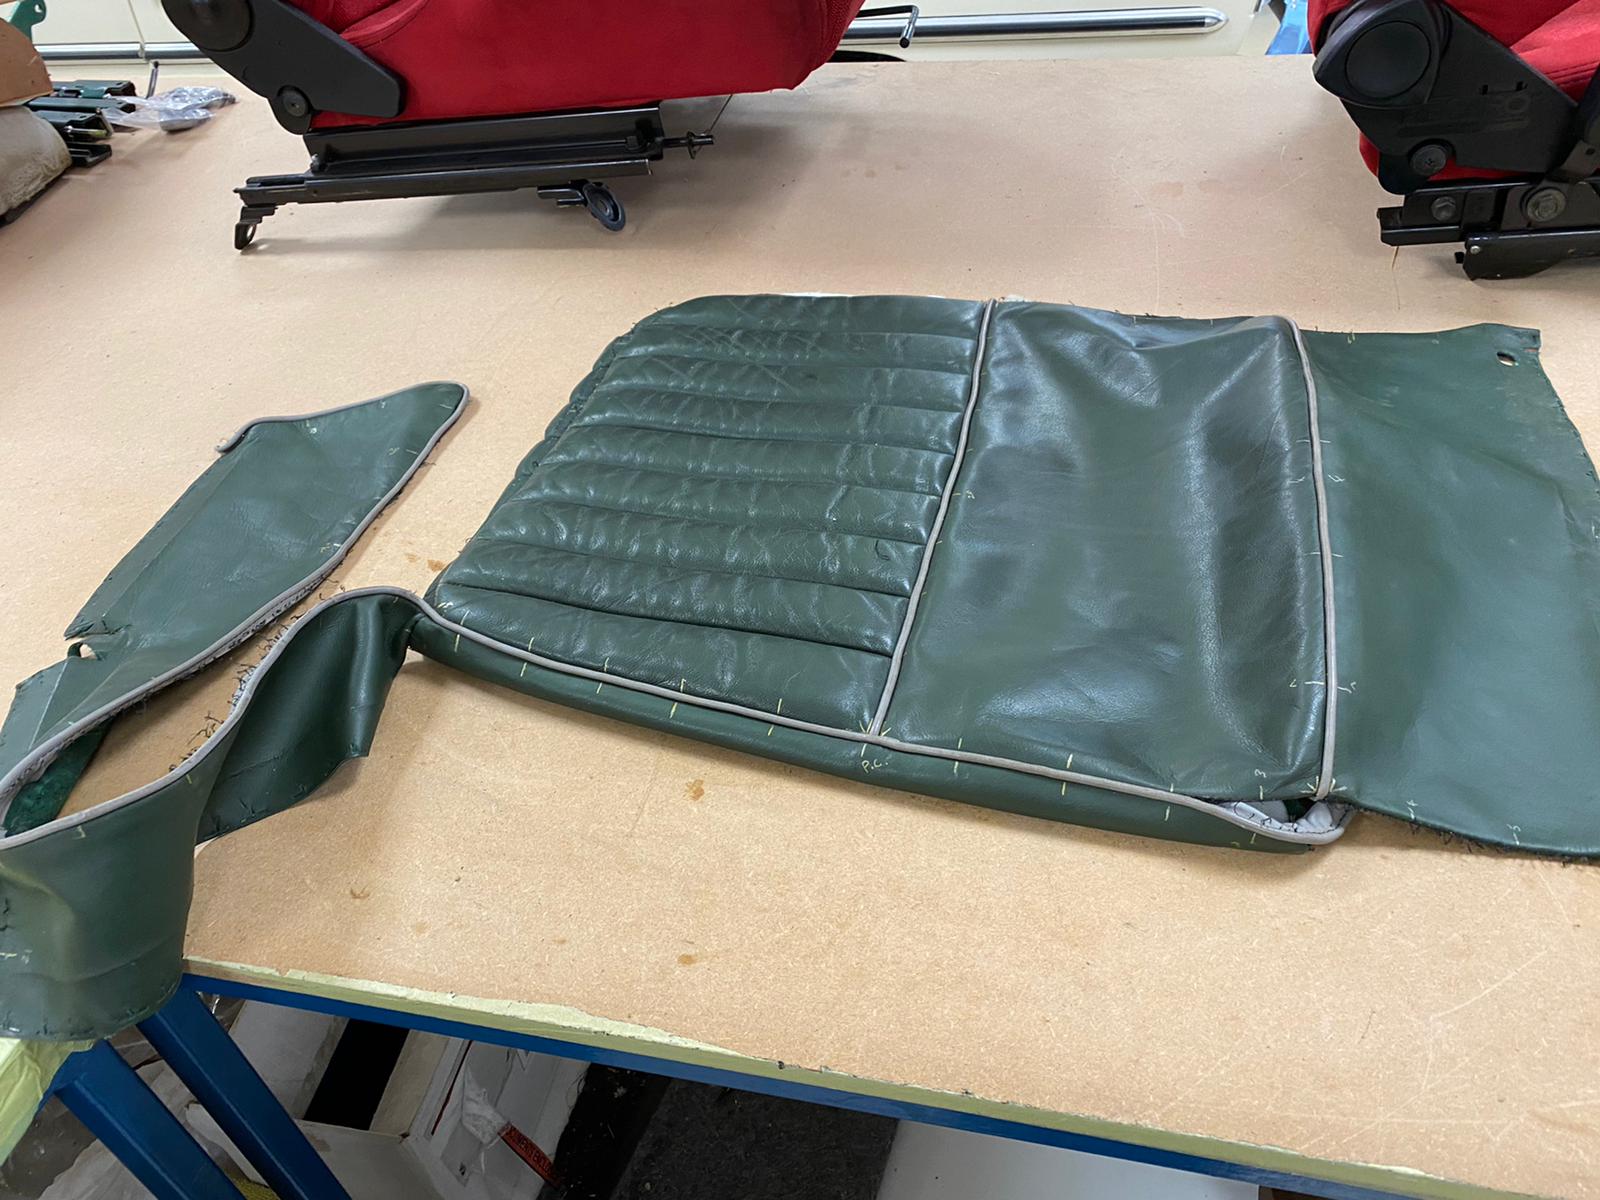
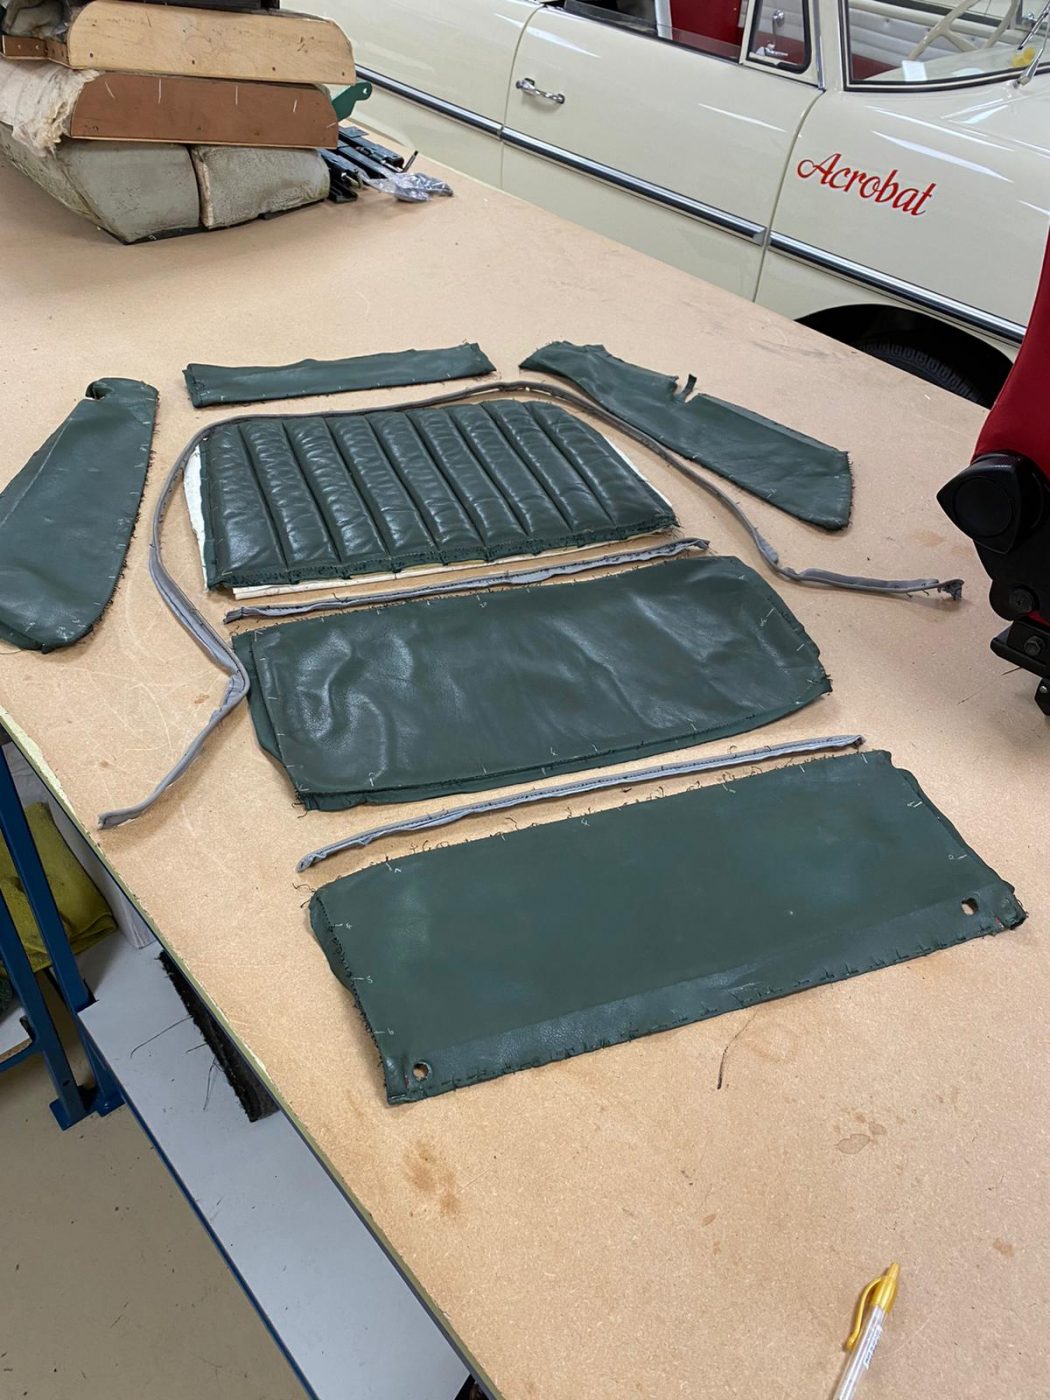
Kath has been busy manufacturing the new seats for the Aston Martin DB2/4.
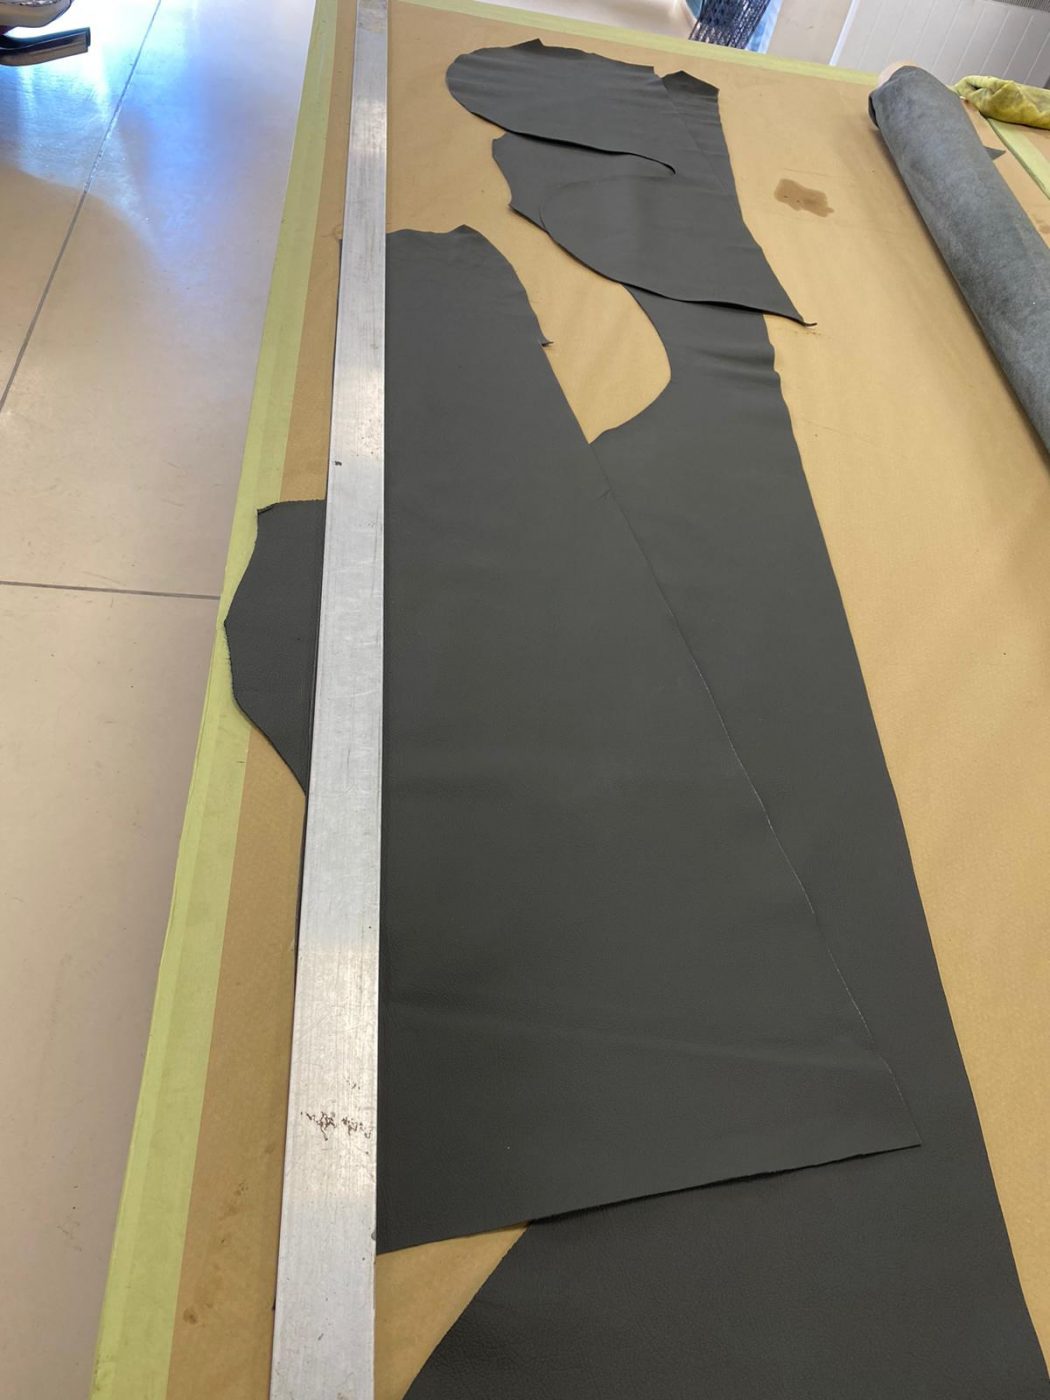
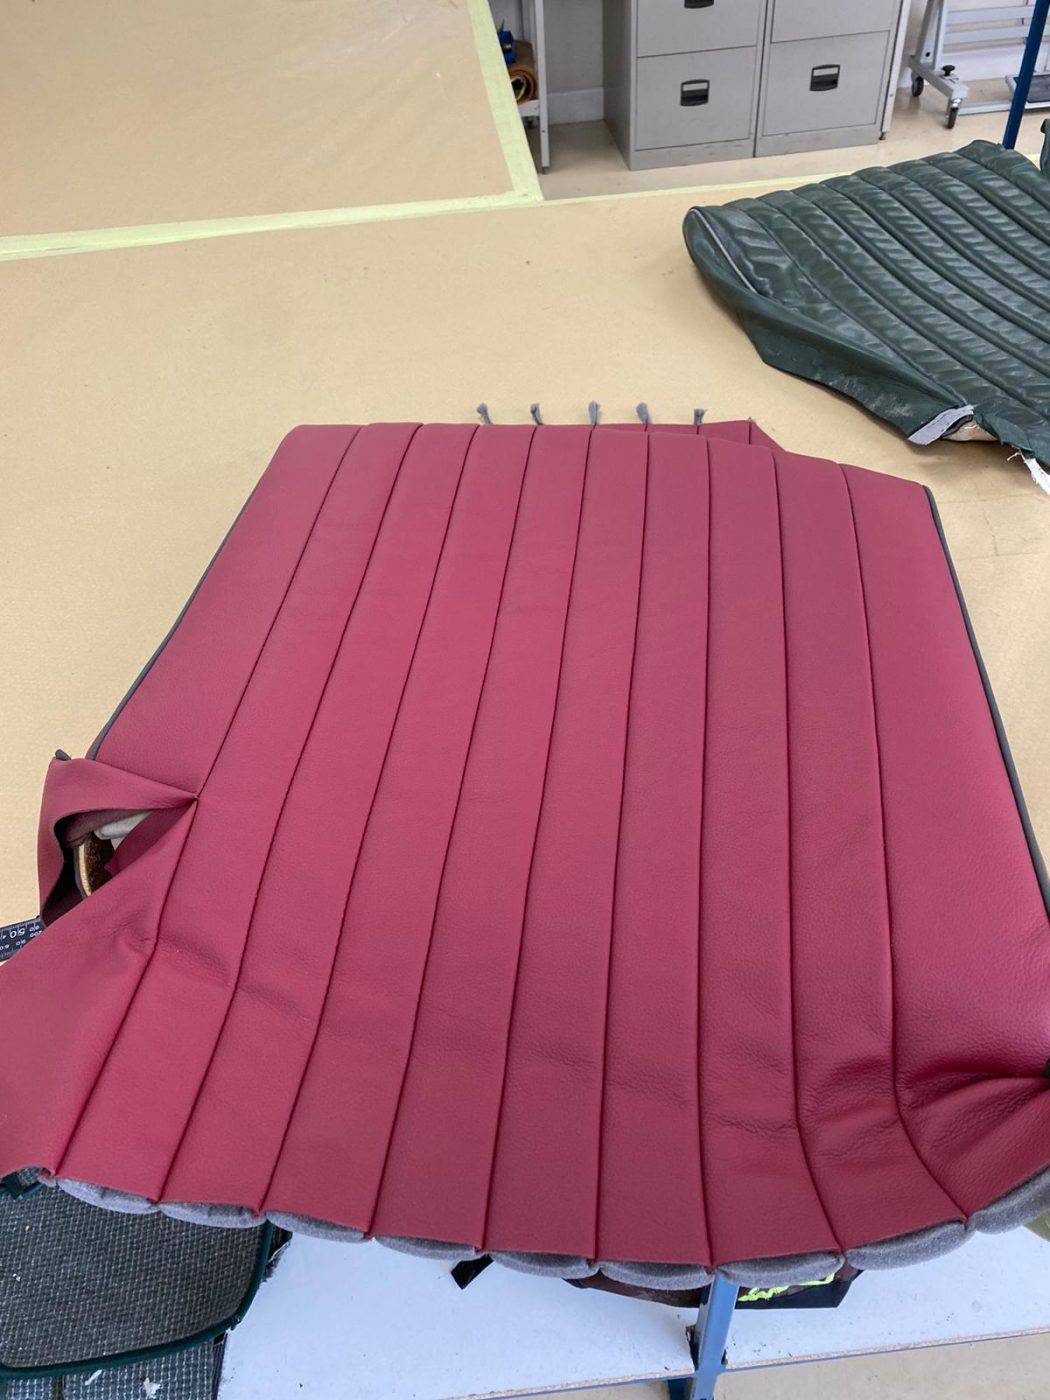
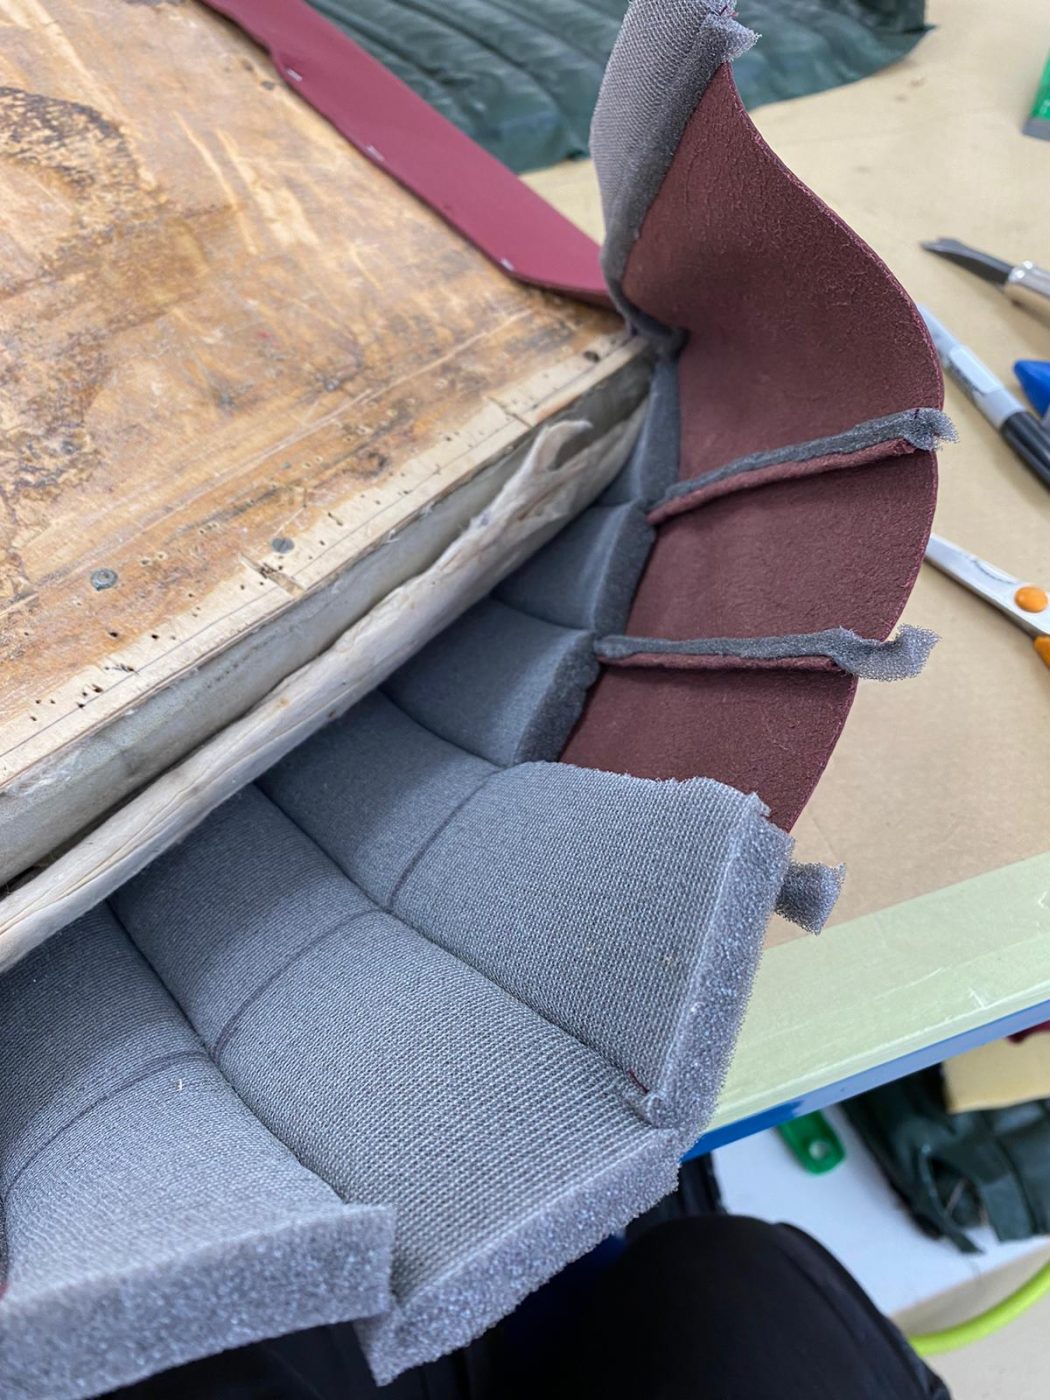
She’s started with the front base seats. The first step was to unpick the seams of the original covers. Then laying out a new hide of deep red leather and placing all these original base seat pieces on top of it, marking out around them and cutting out (they were used as pattern pieces to obtain accurate shapes and sizes for the new seat). Strips of leather were cut out for the piping to be made with, from a contrasting dark grey leather.
Kath sewed “flutes” for the “faces” of the front base seats by laying the leather onto scrim foam and sewing down lines. She then marked out the required shape with a fabric pencil and sewed piping onto the straight edge of the face. A plain piece of leather was sewn to this, with calico underneath, which will help pull the seat face into the correct shape. A piped “skirt” was then sewn around the “face”, along with sidebands.
Once the new front base seat covers were all sewn up, they were fitted onto their original foams.
Next up will be the front squab seats!


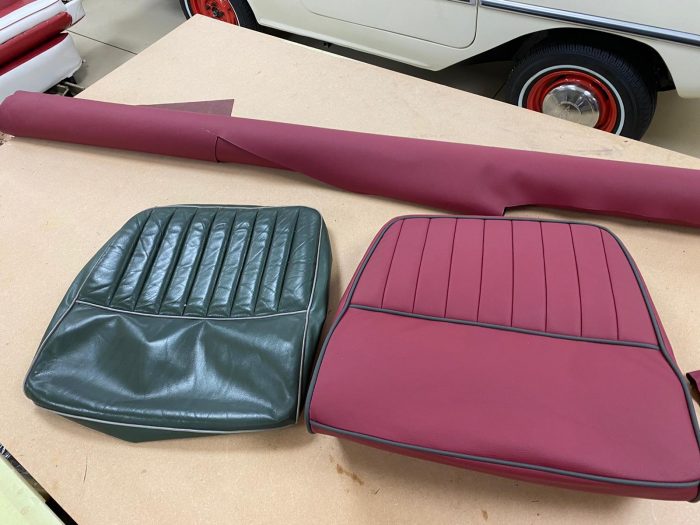
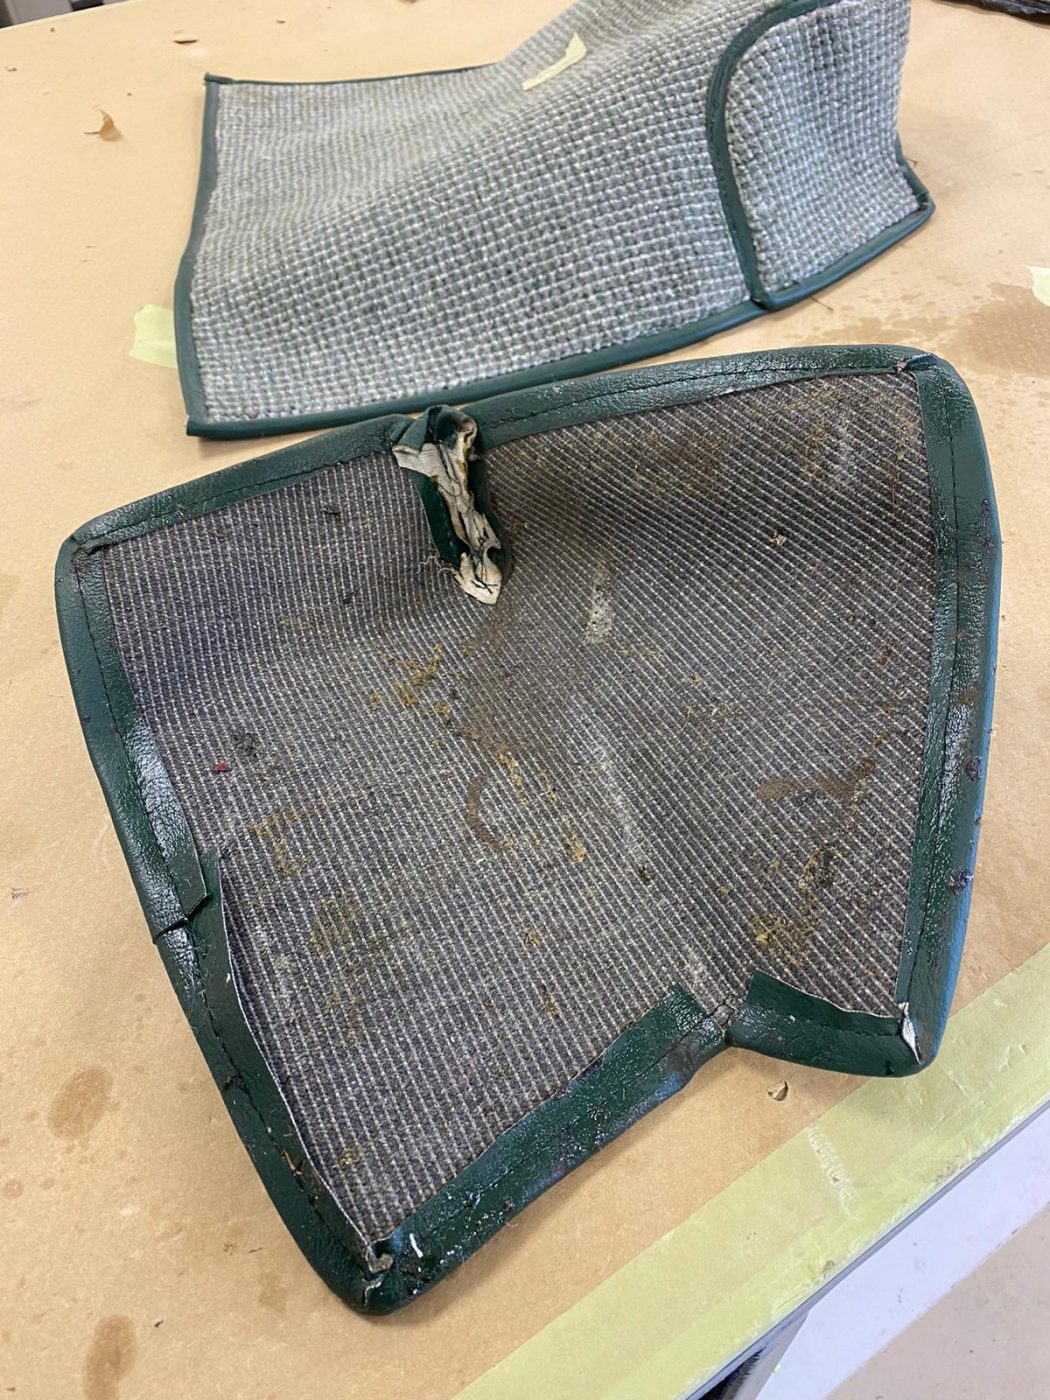
Although the seats on our 1955 Aston Martin DB2/4 were re-trimmed not that long ago, the colour and finish were not correct to factory specification.
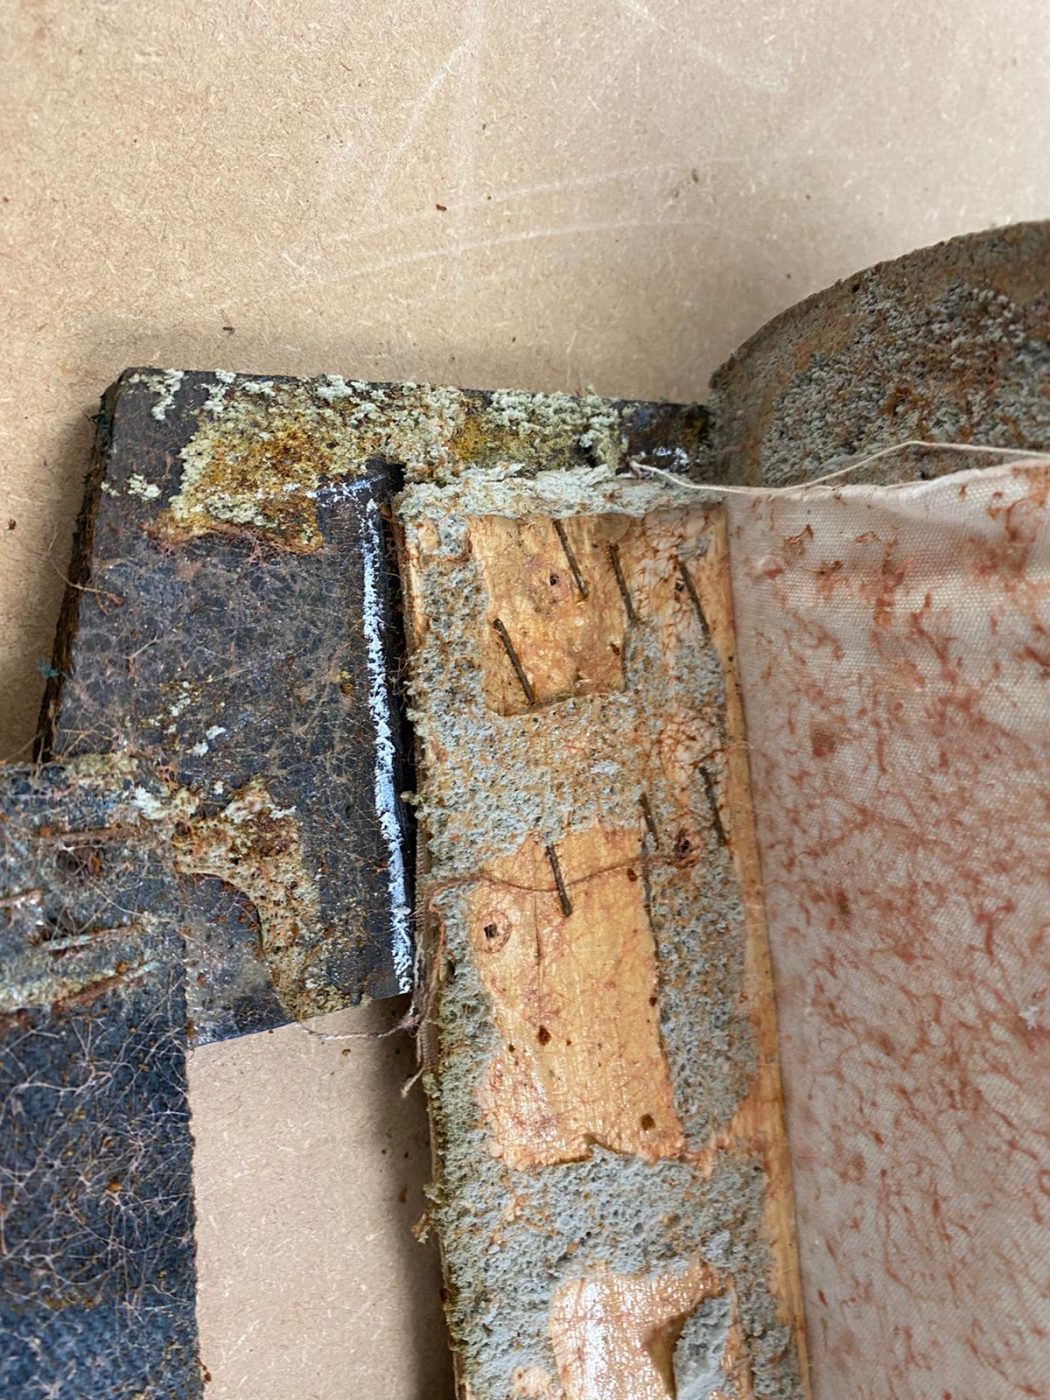
Original records show red with grey piping and grey carpets. We now begin the process of stripping the seats, side panels and all interior panels so we can manufacture the new interior.
All of the metalwork around the interior will be blasted, cleaned, prepared and painted back to original specification.
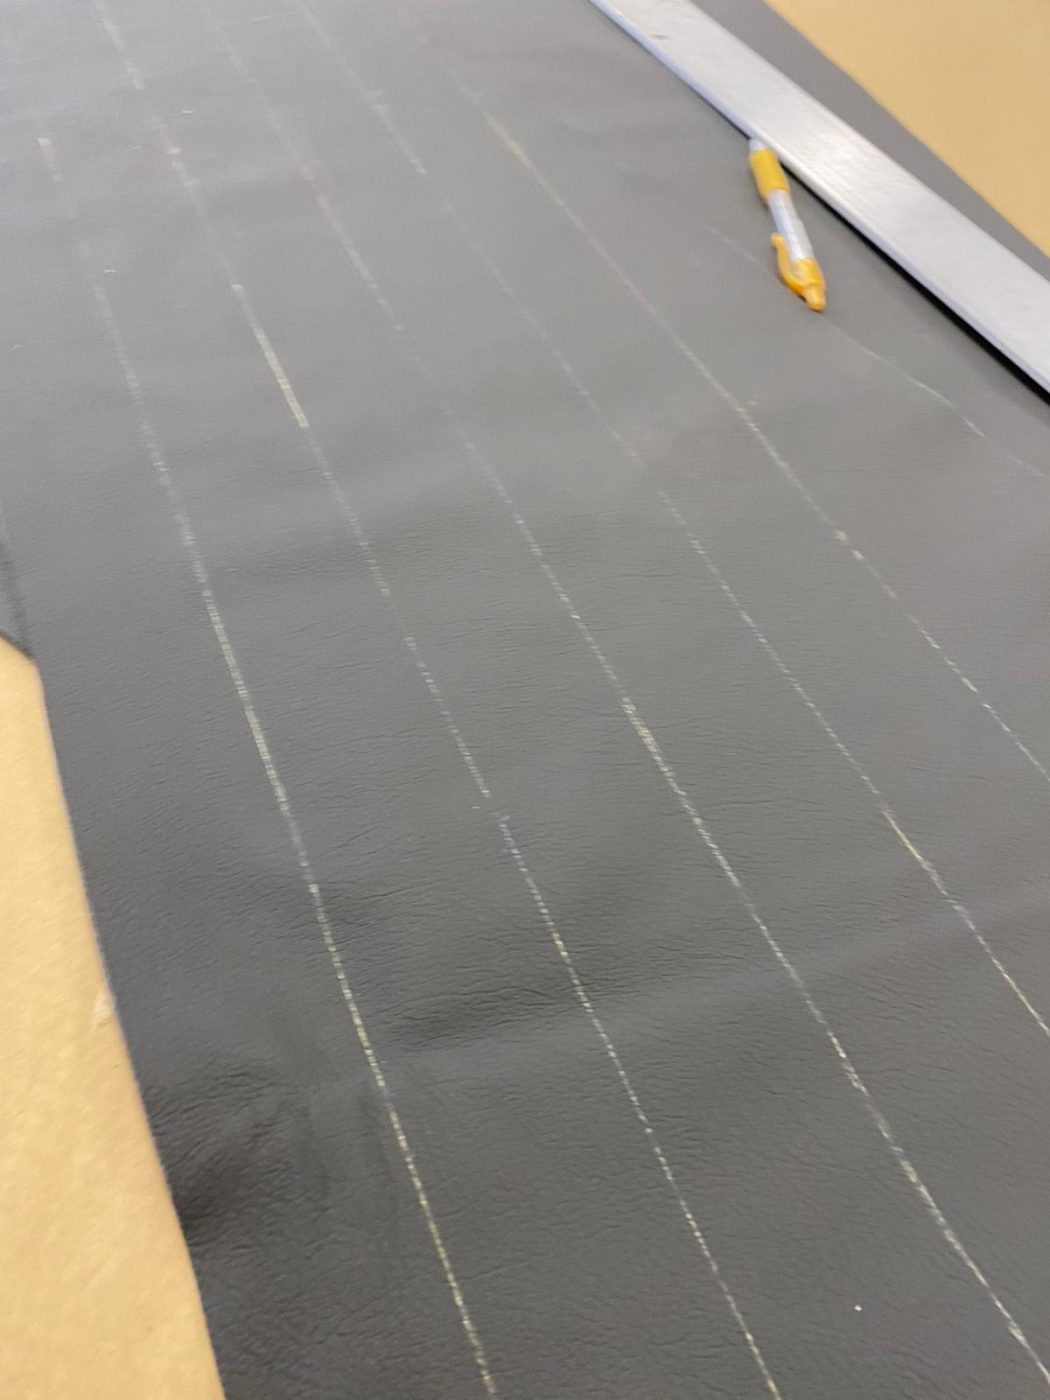
Kath has started to mark out the new leather.


We’re in the process of reconstructing the Aston Martin DB2/4 bonnet which is showing signs of dubious structural integrity. The team have removed the frame from the bonnet so that they can fix it. This had to be done by cutting it in half and sliding it out on either side, meaning that when they fit it again, it’ll be welded back in position. The two metals together had caused bio-Metalic corrosion so new parts need to be fabricated.

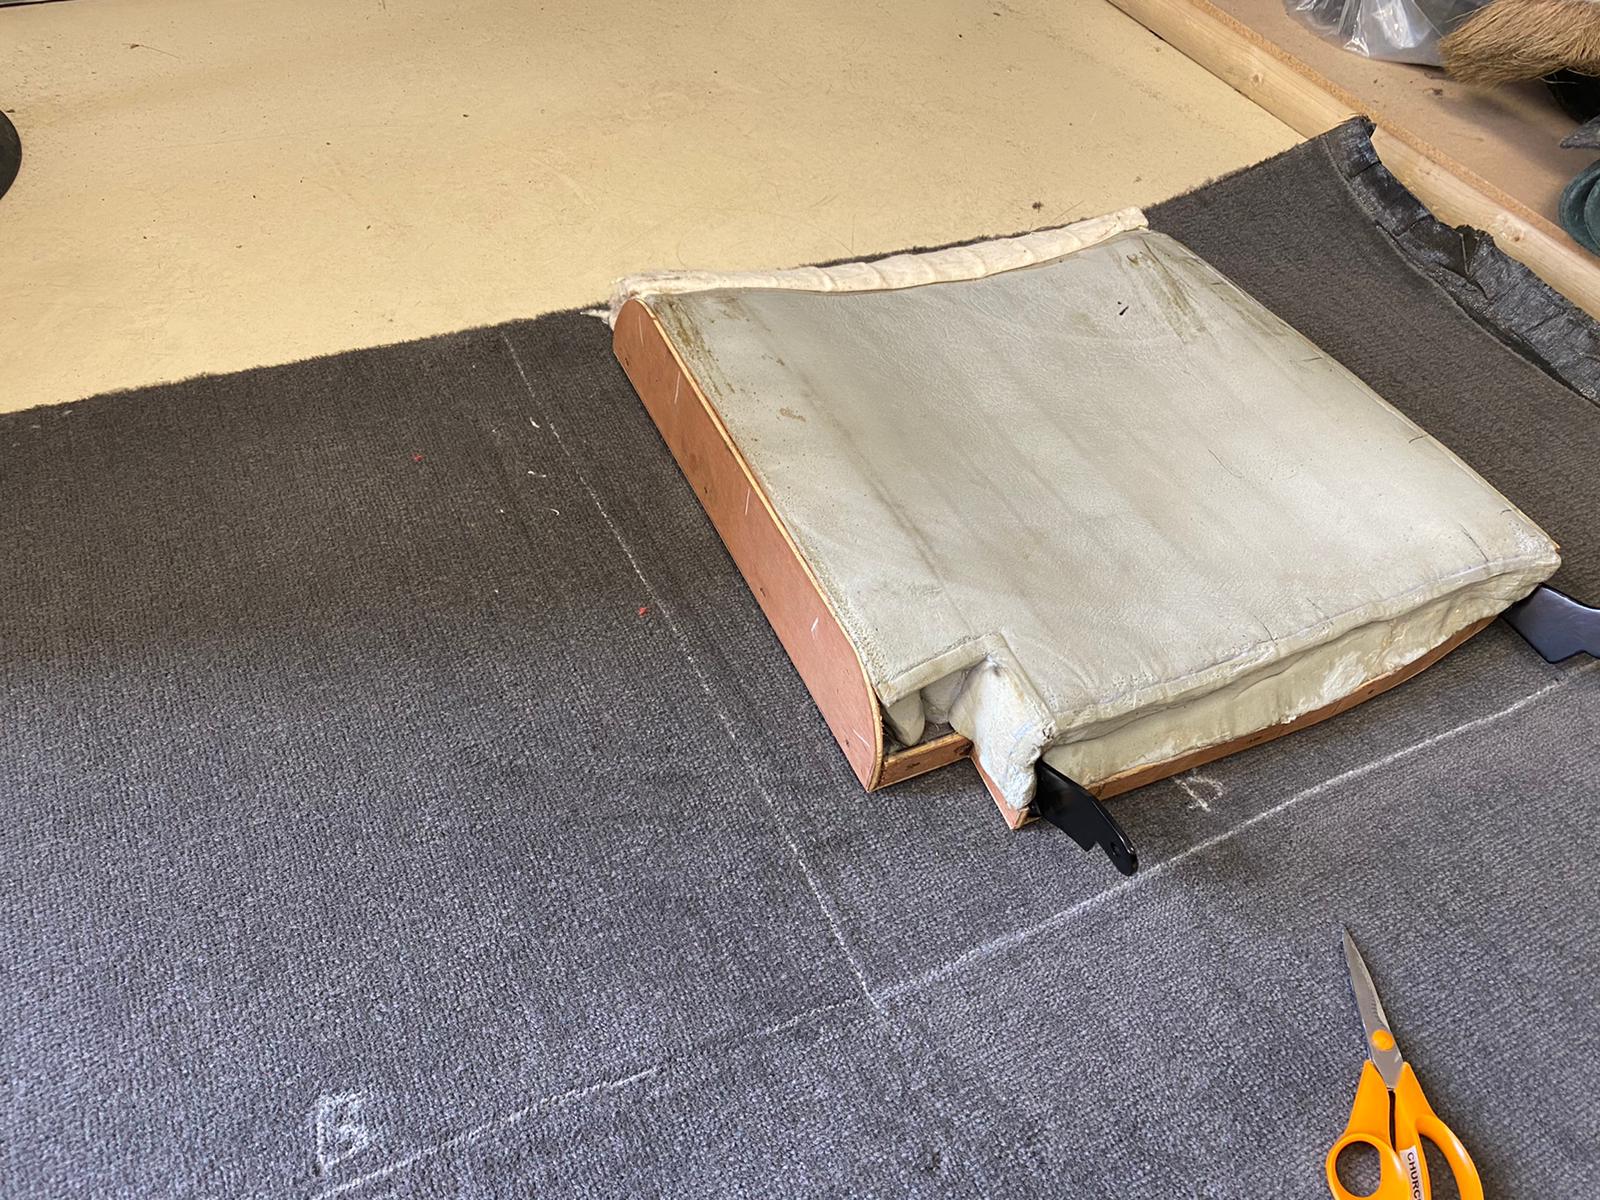
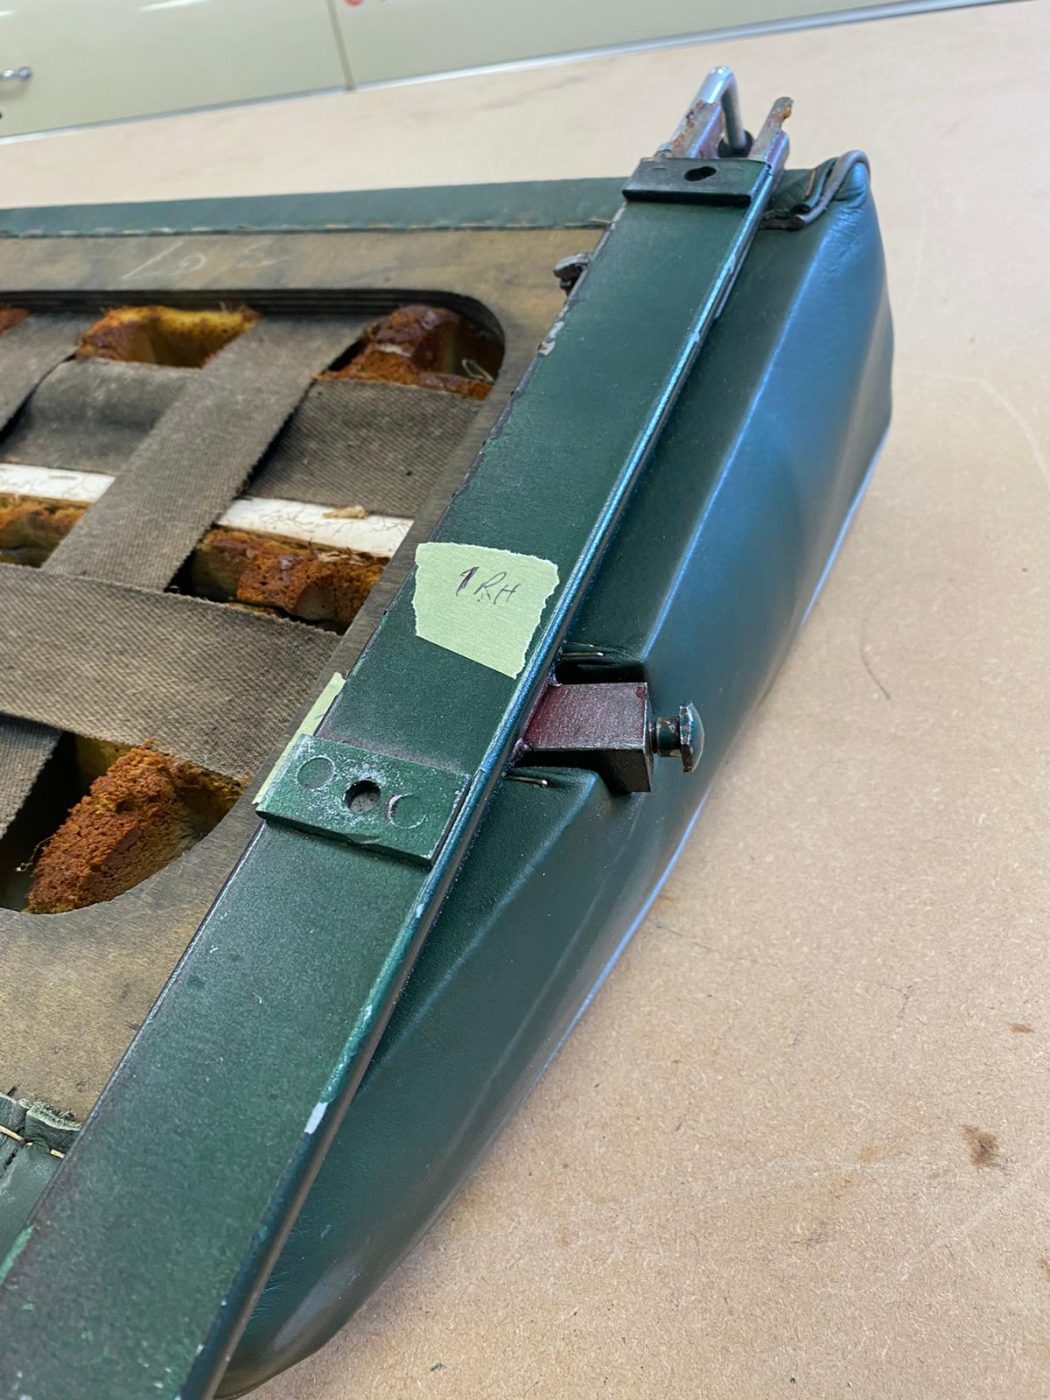
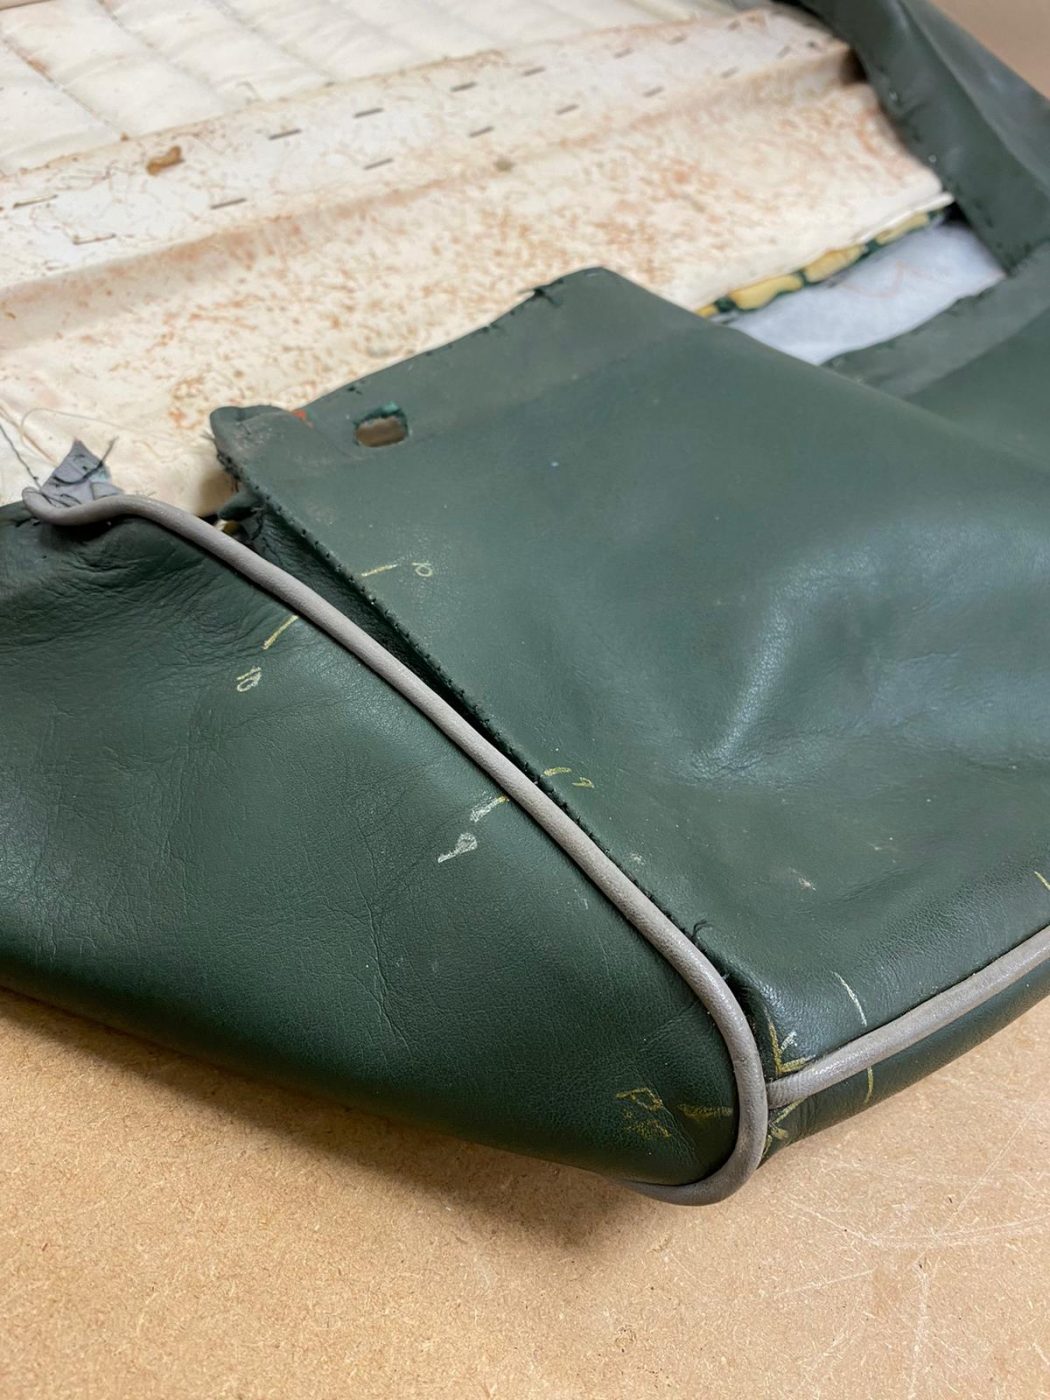
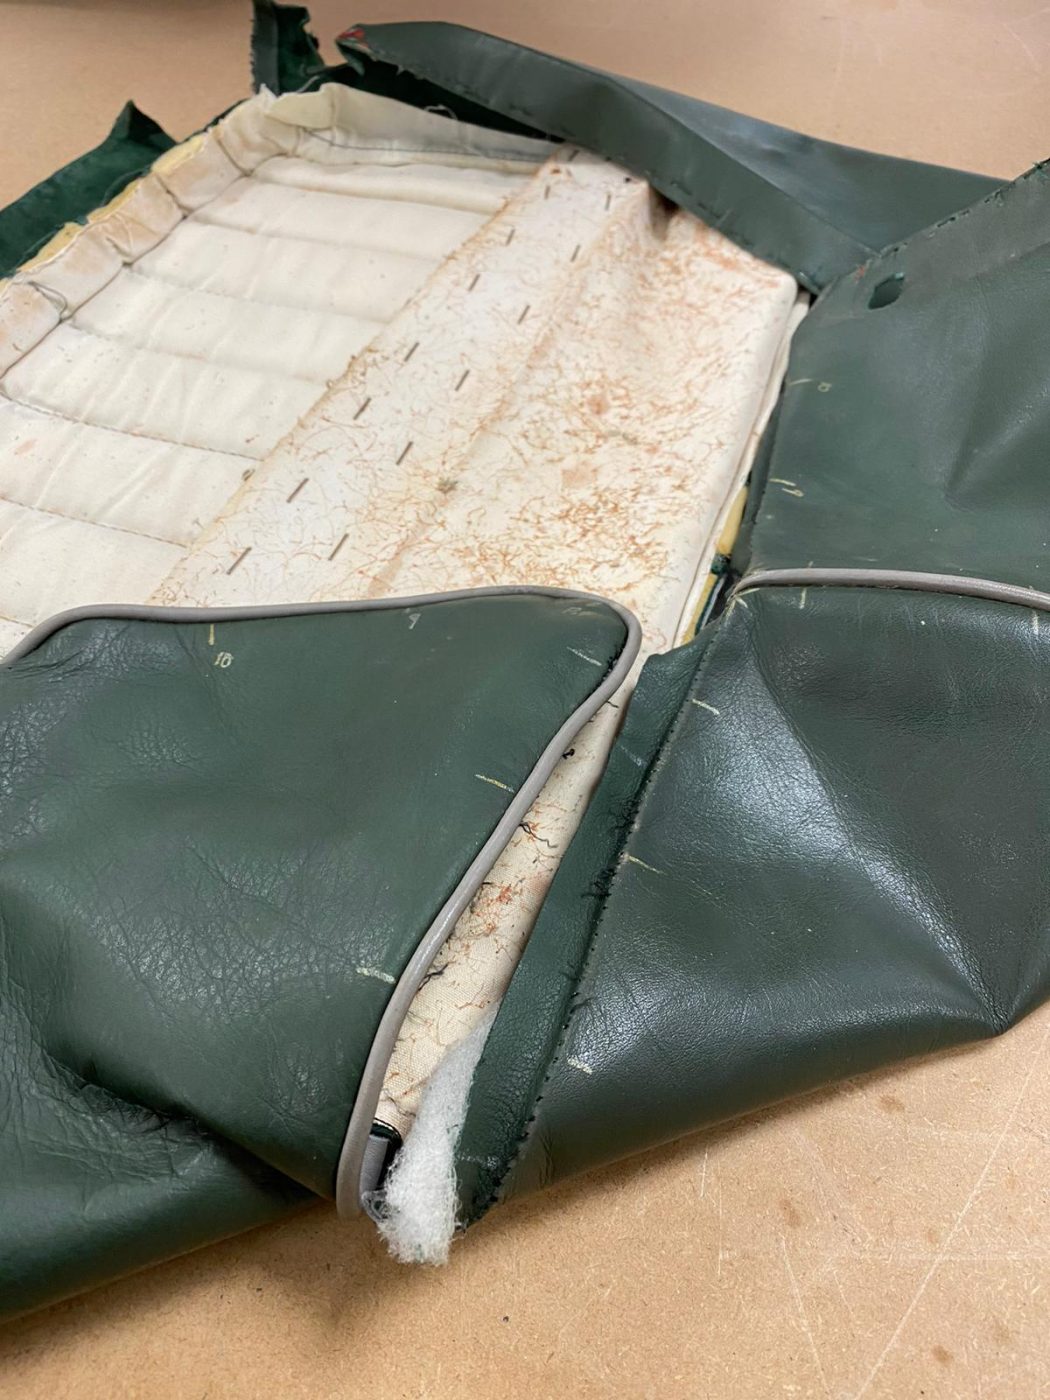
Brian has been working to remove the covers from the rear sear rub backs on our Aston Martin DB2/4. He’s taken apart the covers and used them to mark out leather for new covers. He’s then sewn the covers together and glued the original foam back onto the metal seat. Brian has added extra layers of foam over the top of the original foam to pad it out and increase the comfort. He’s then finished by glueing the covers to the bottom edge of the metal backs, leaving the top undone until it is fitted to base section of the rear seat.