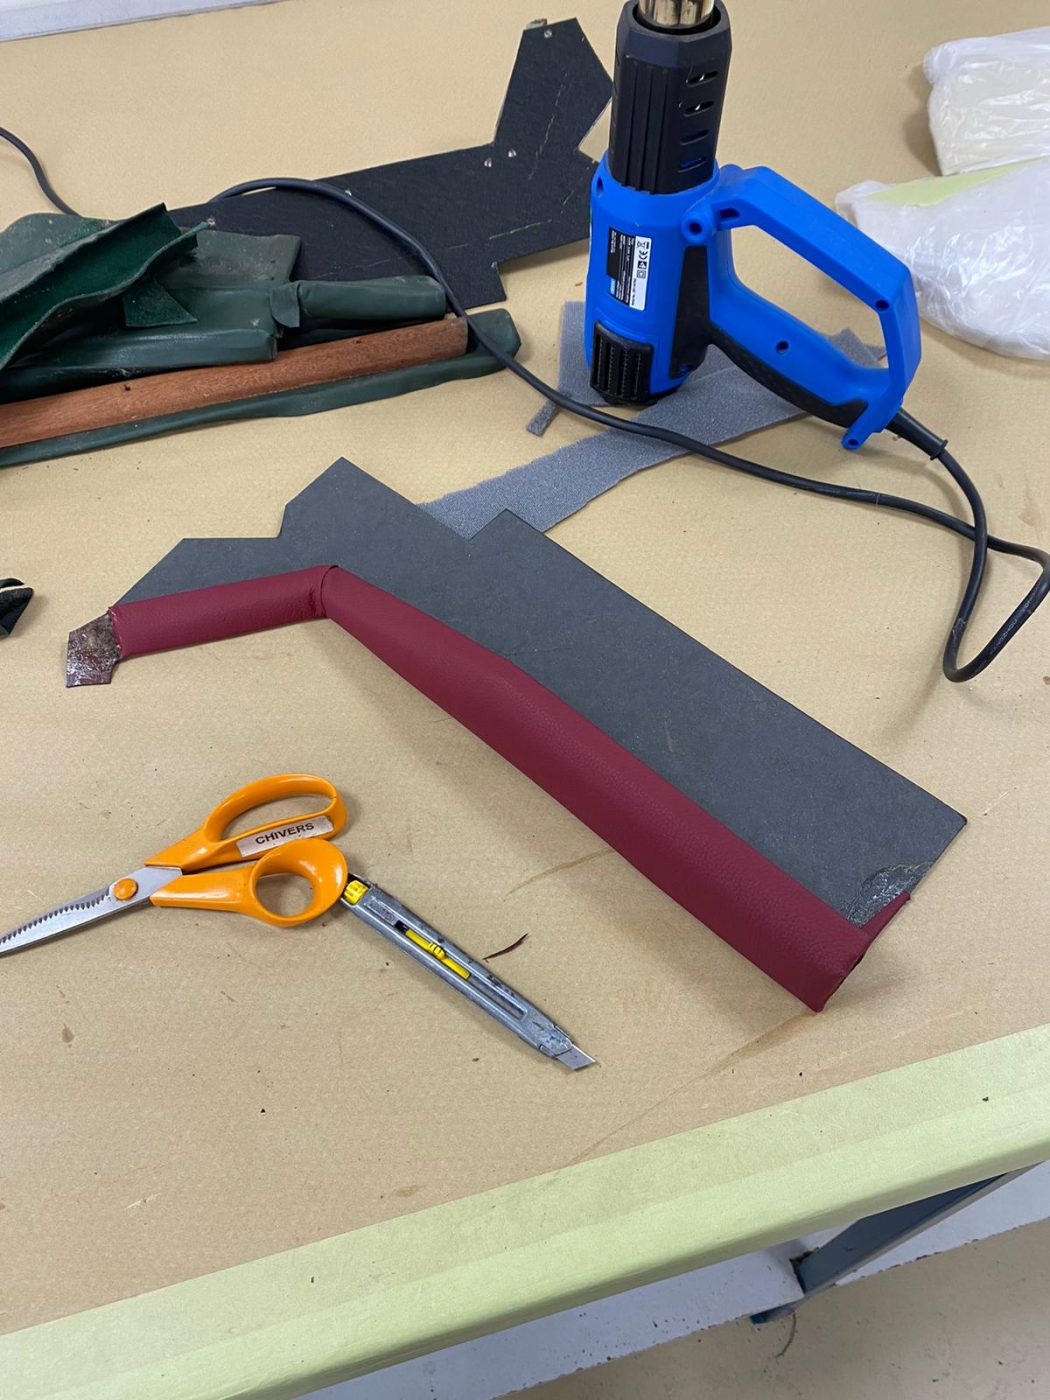
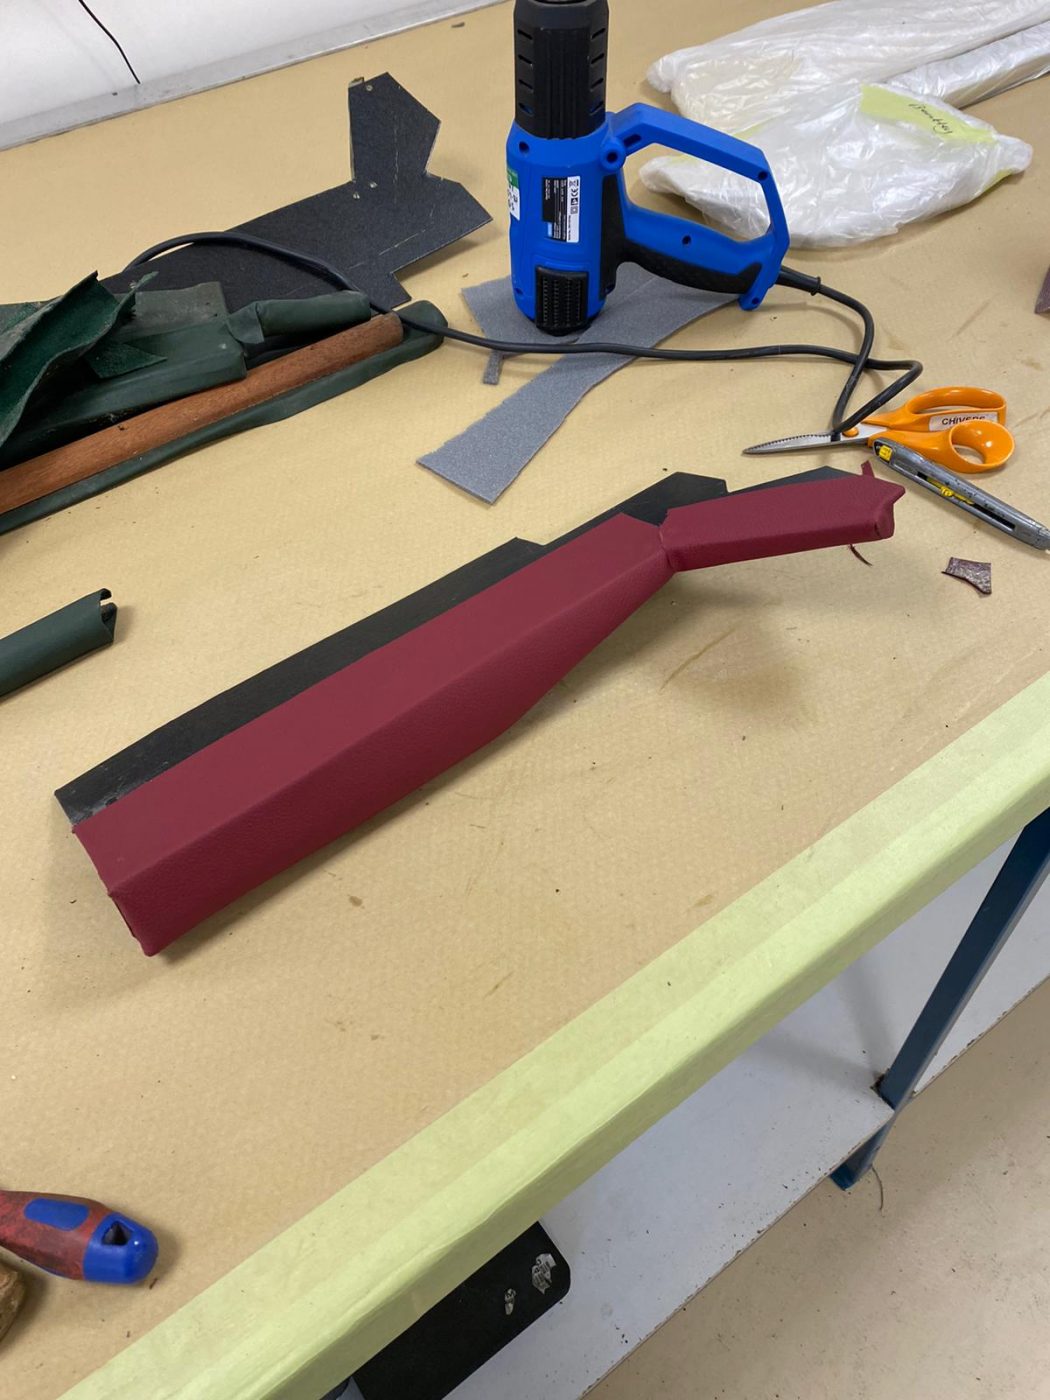
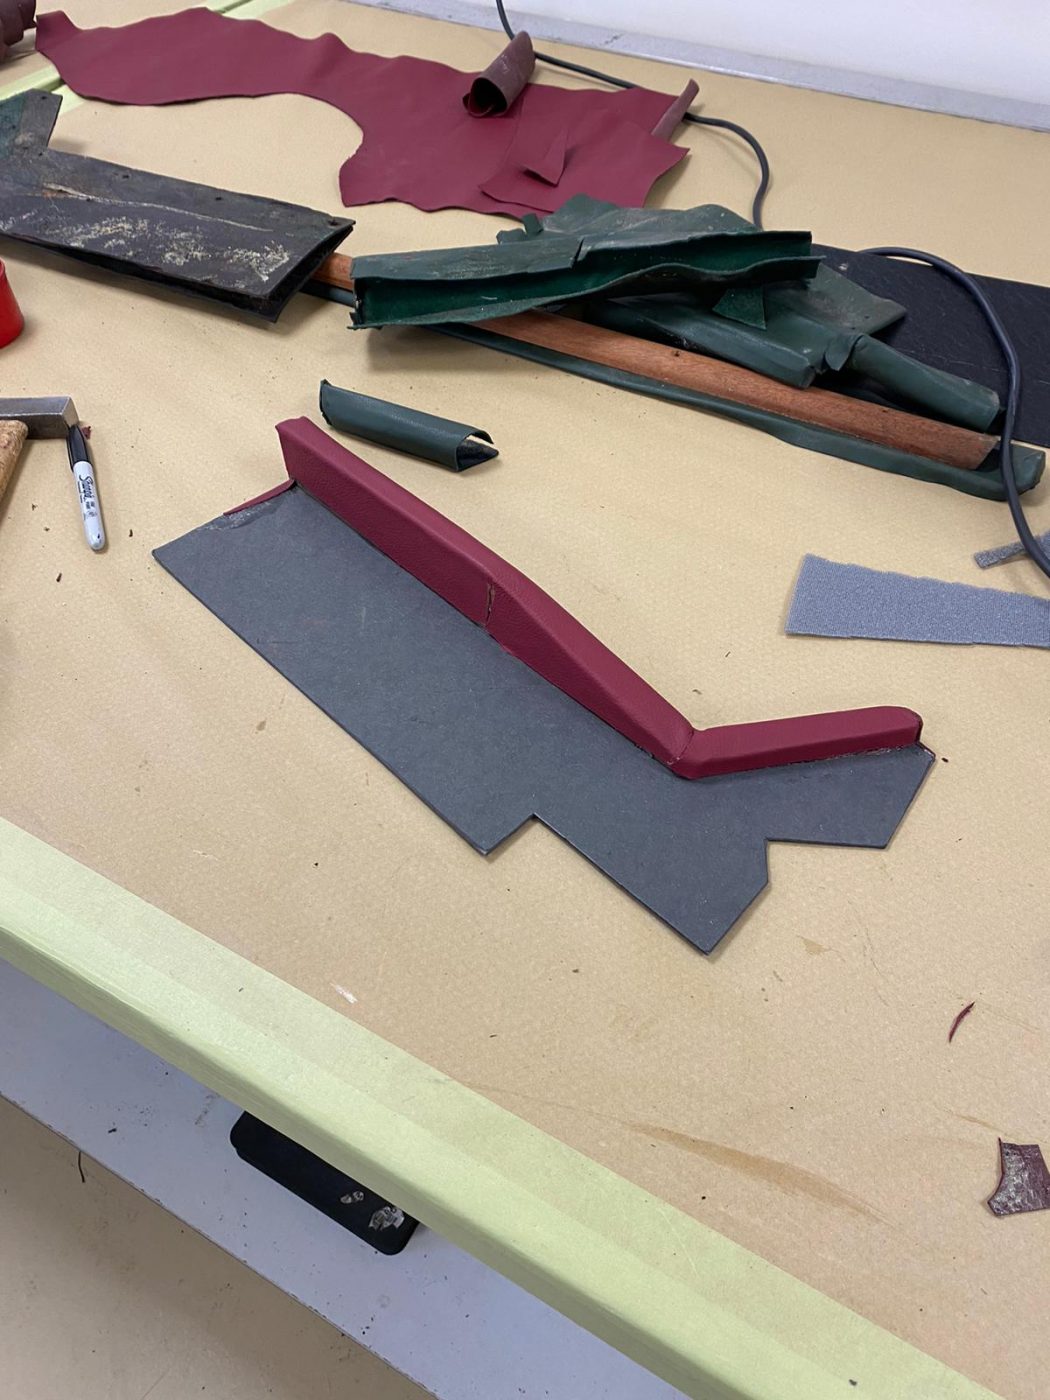
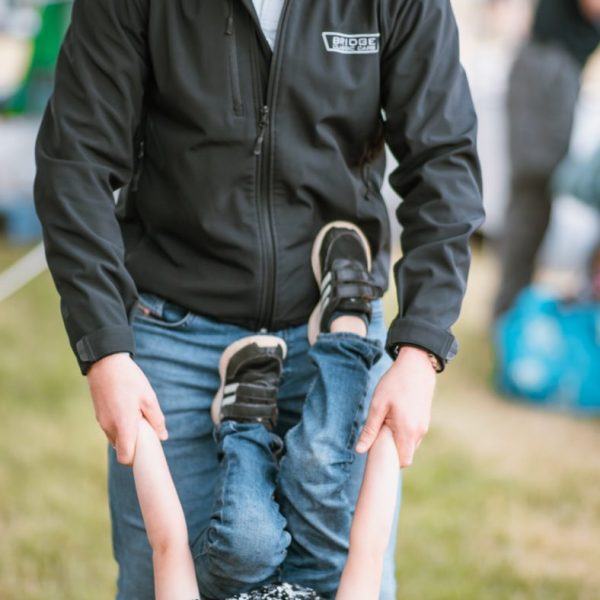
DB 2/4 seats coming along.
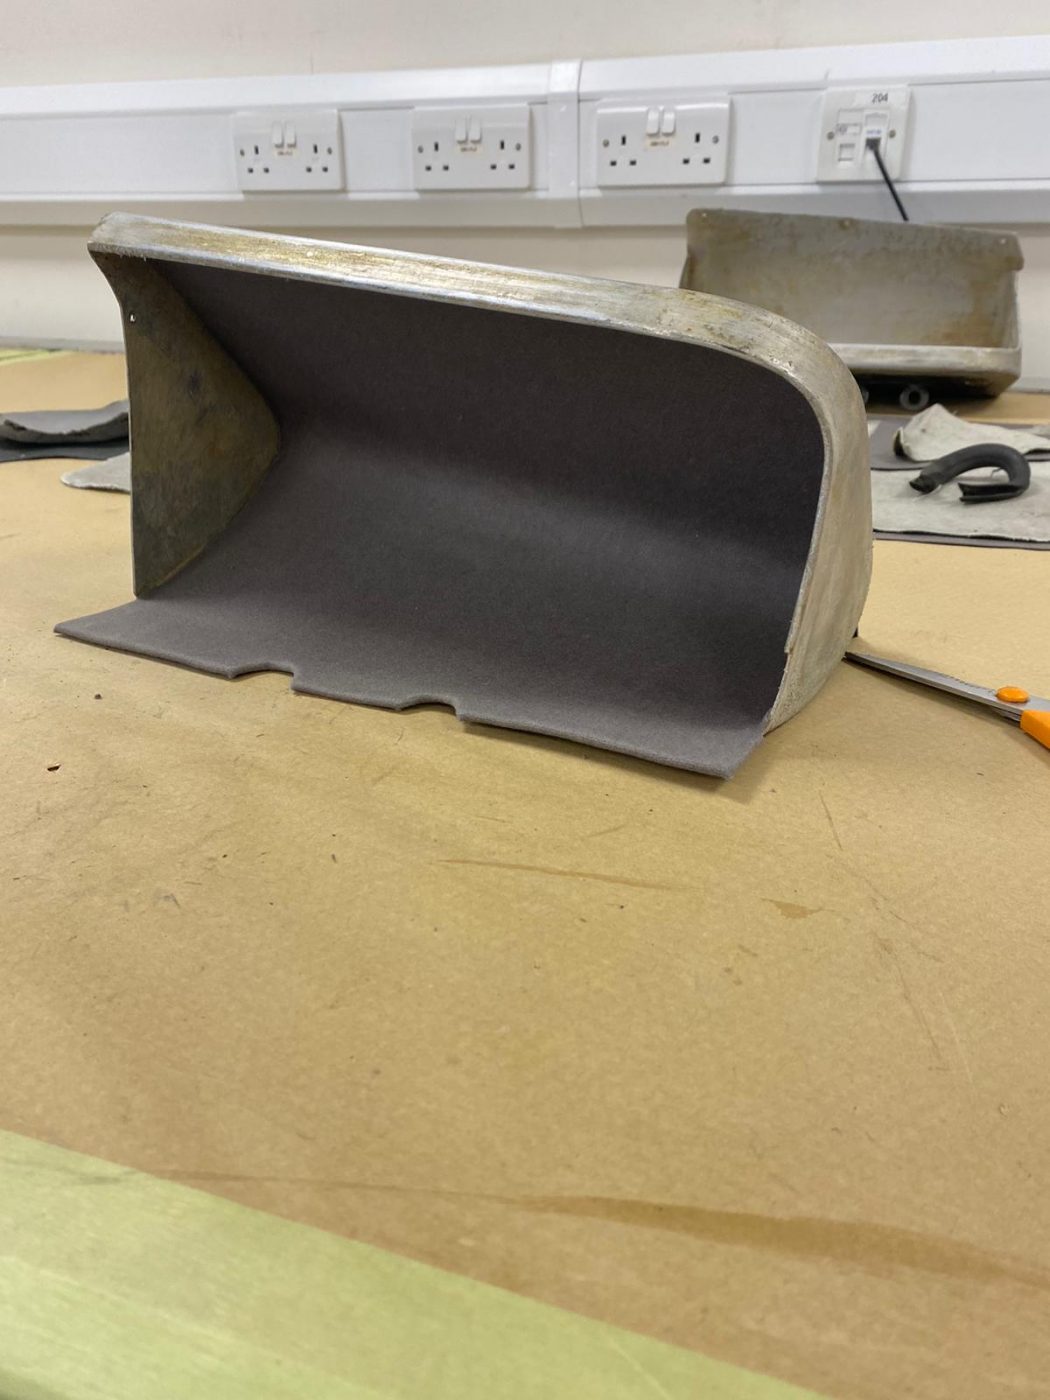
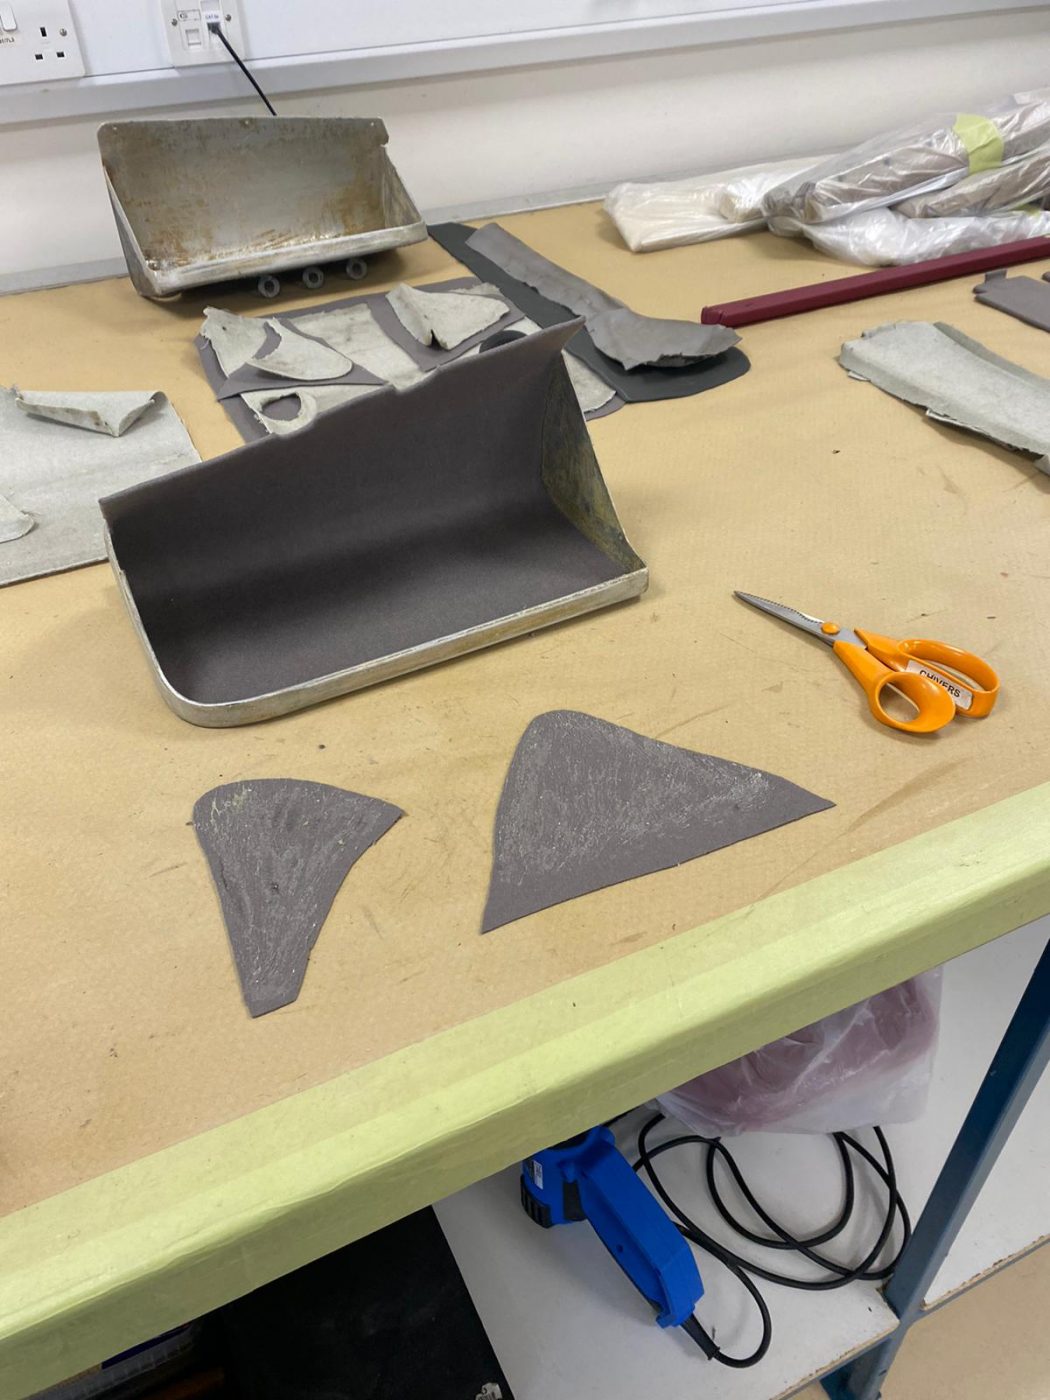
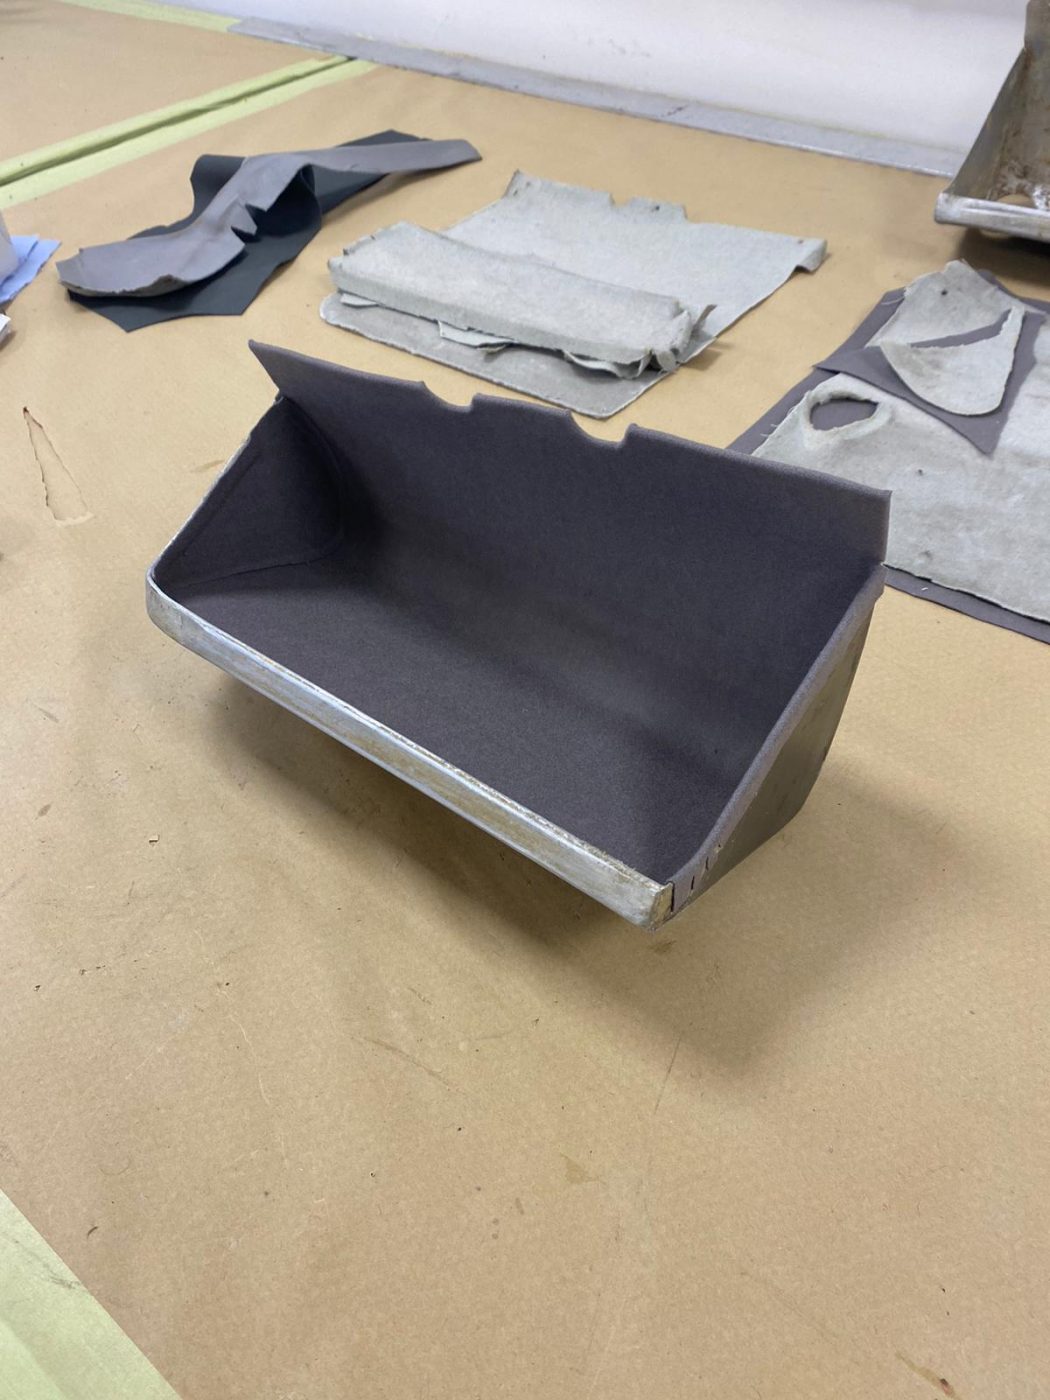
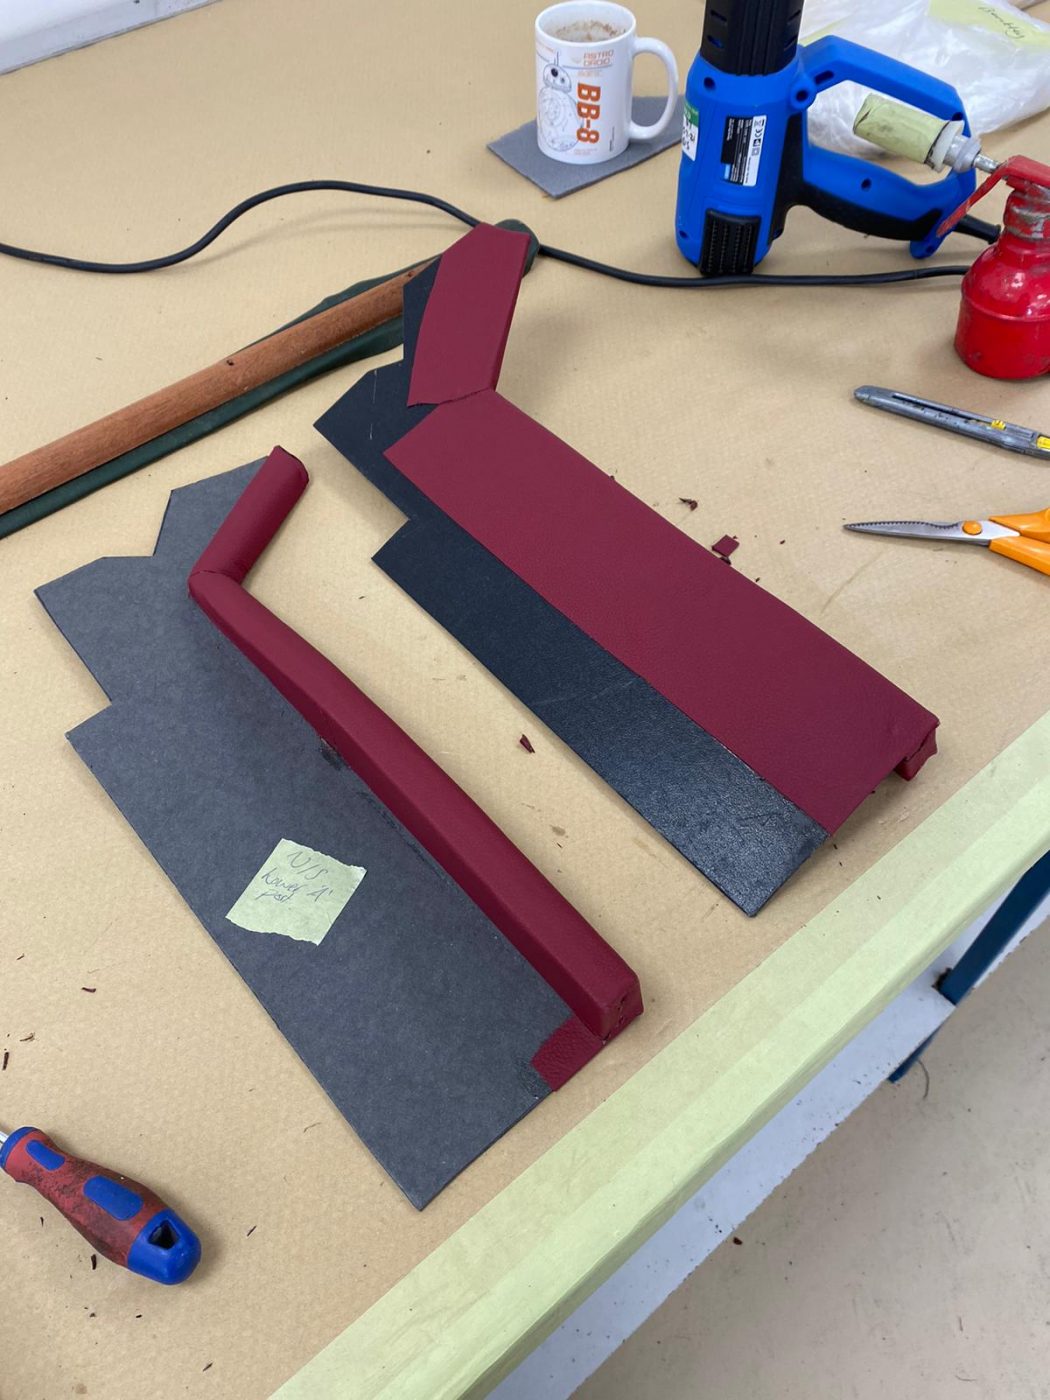
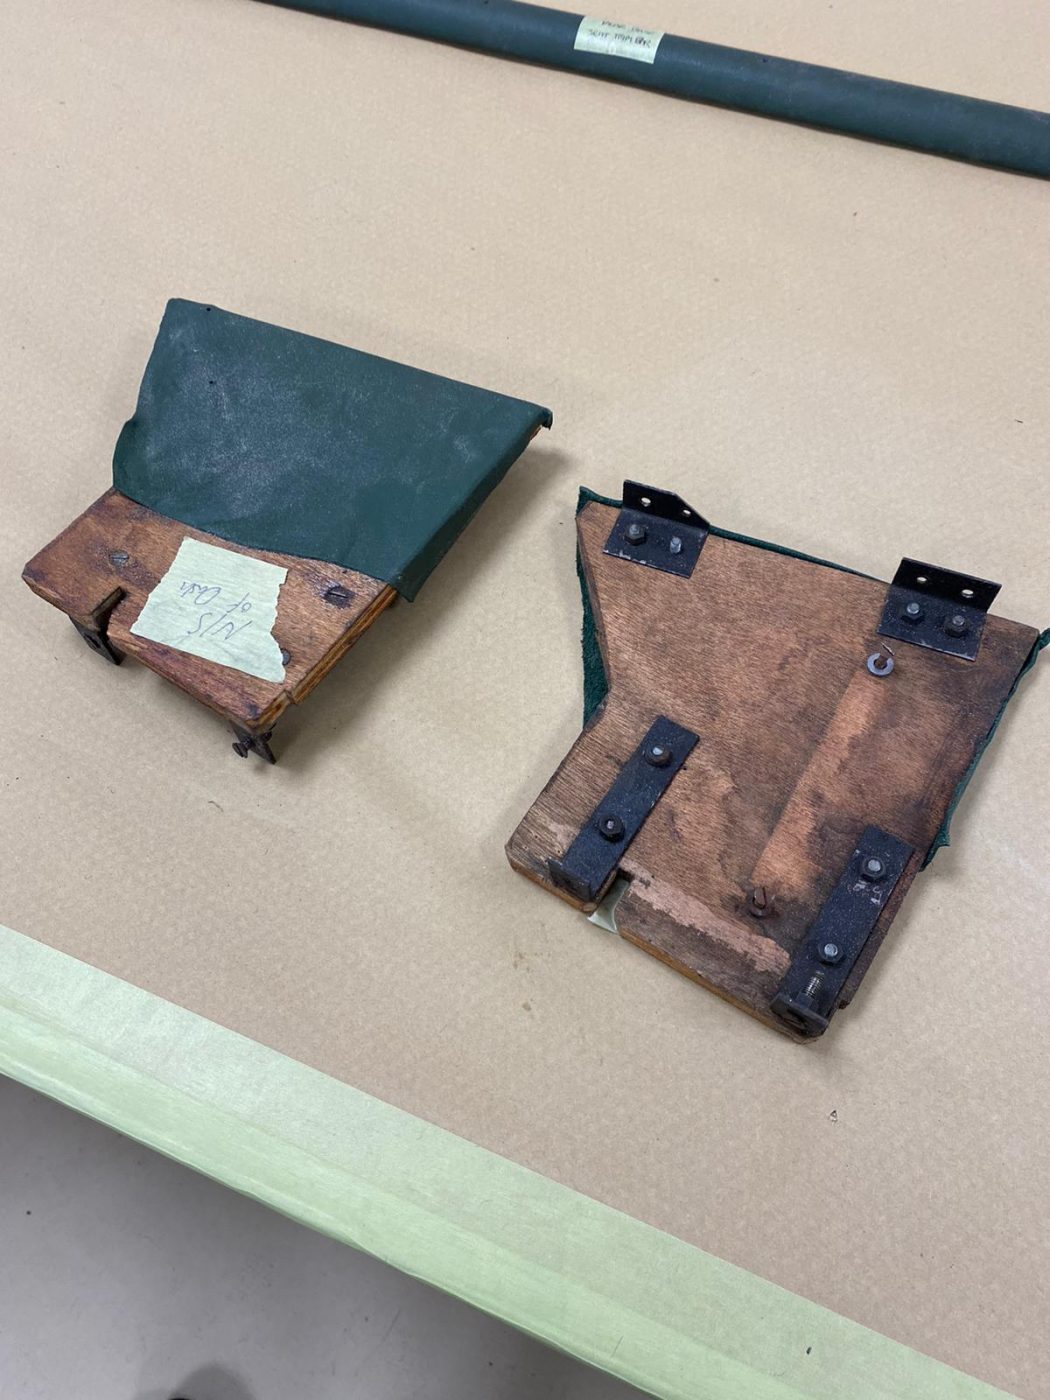
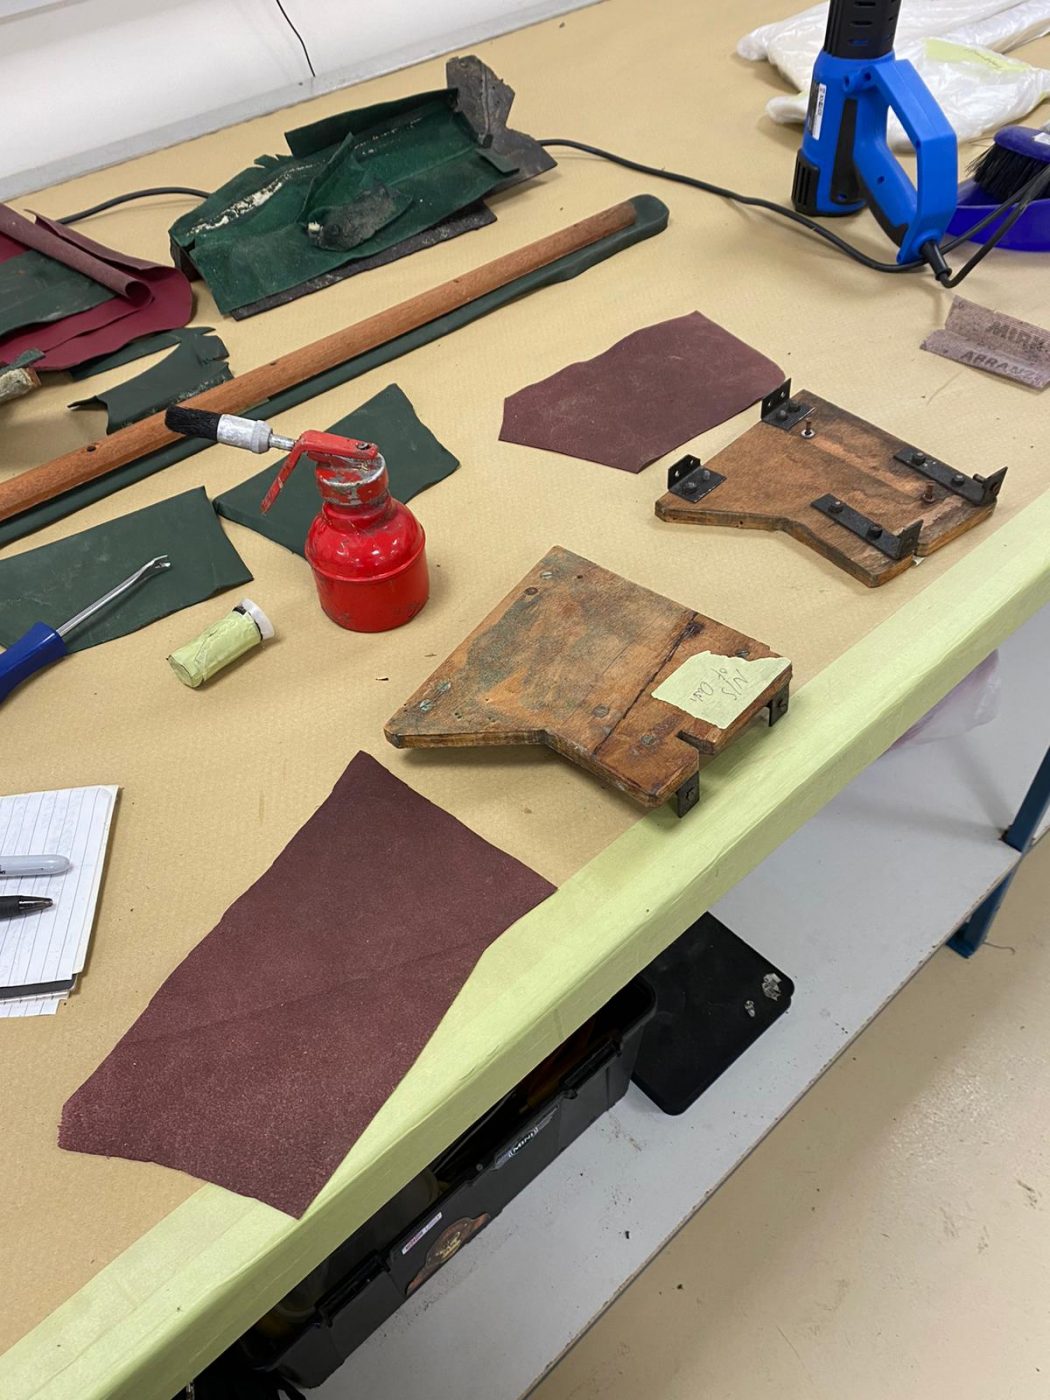
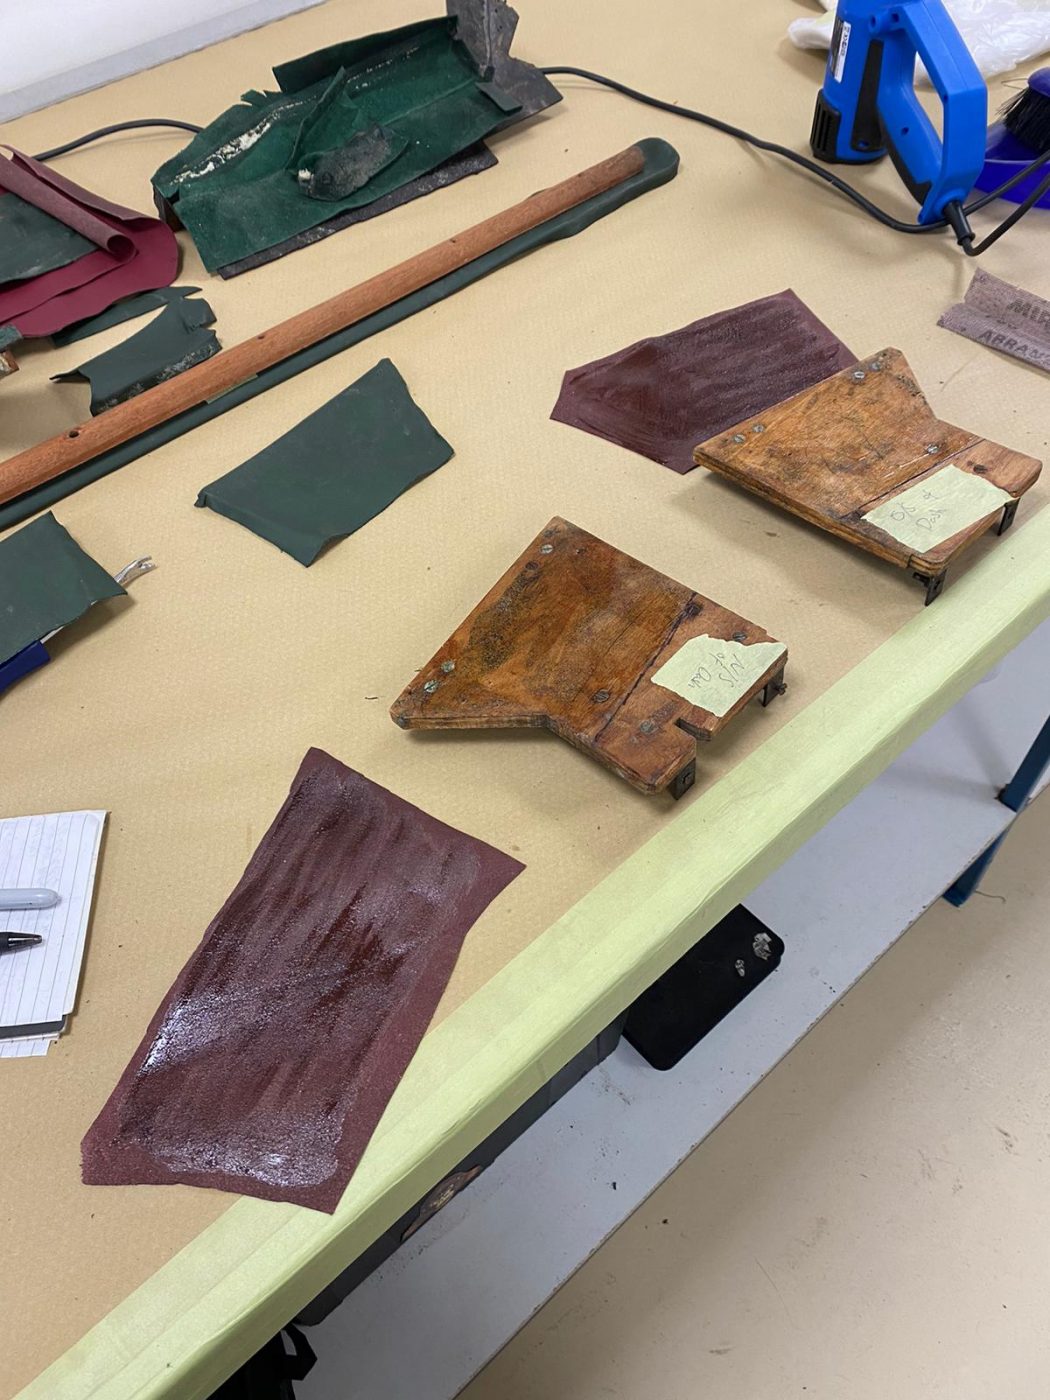
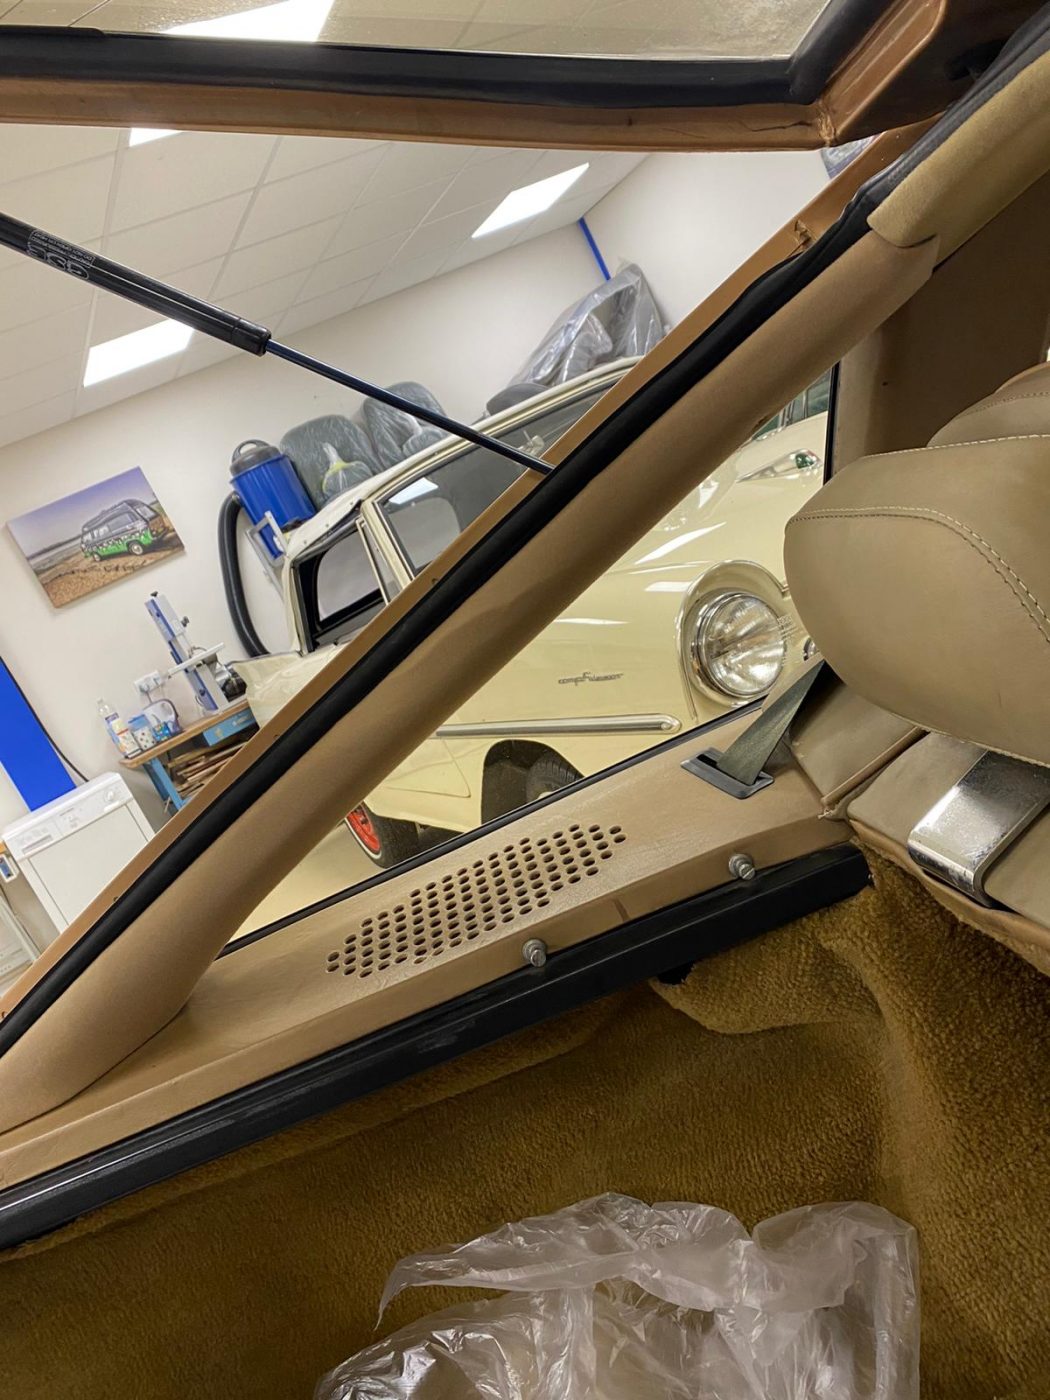
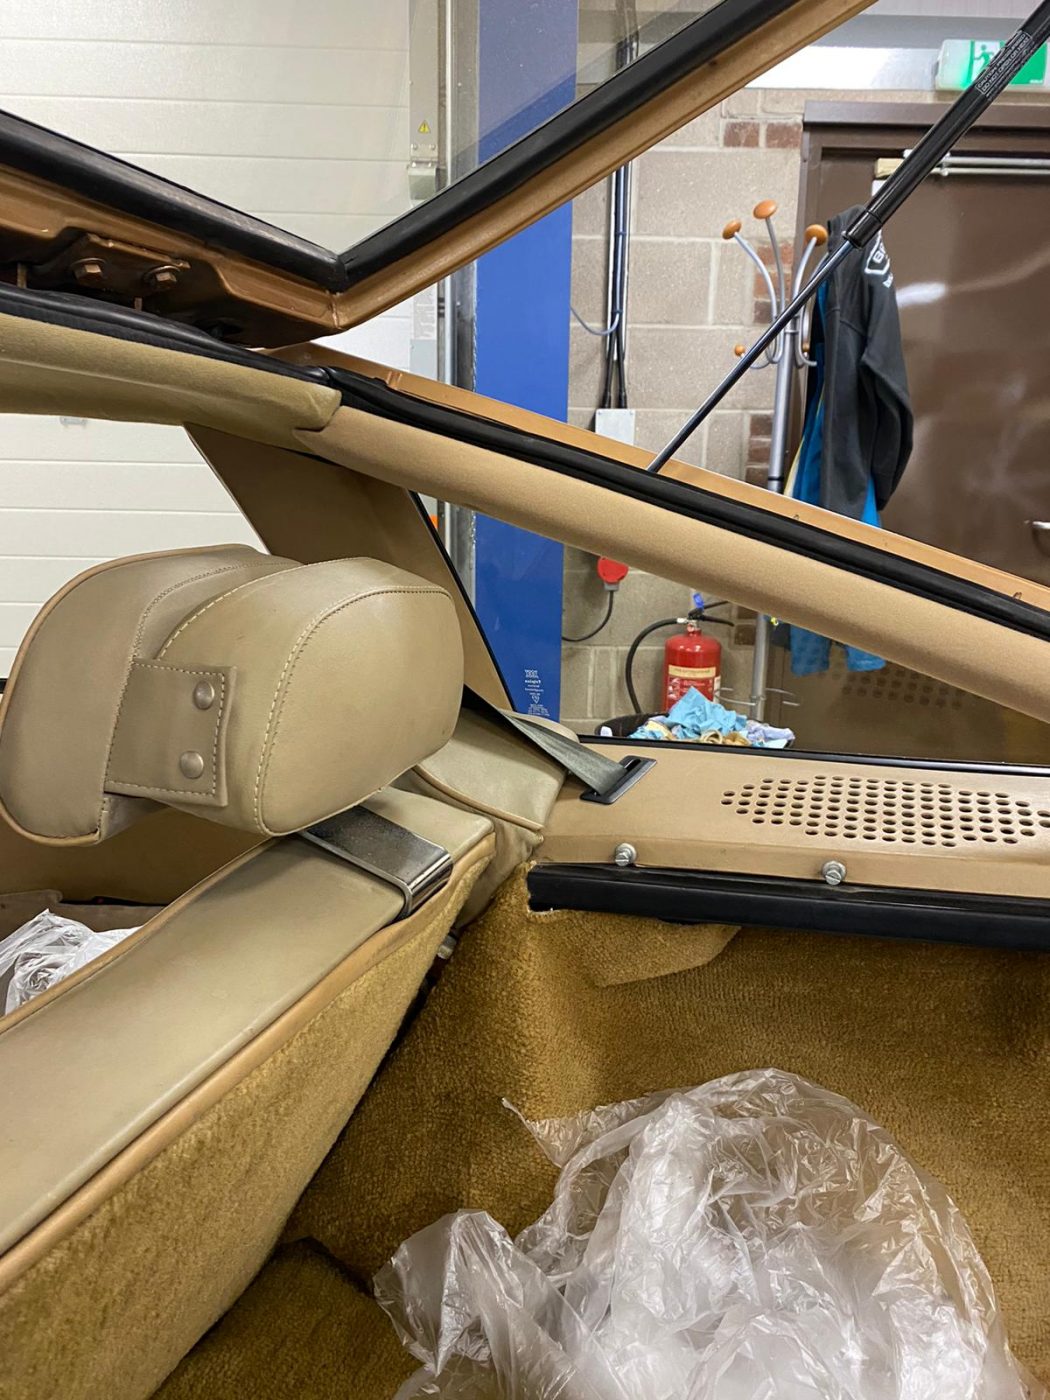
Kath has been doing more seat work for the 1955 Aston Martin DB 2/4. This time around she’s been fitting the front base seat covers


Kath has been doing more seat work for the 1955 Aston Martin DB 2/4. This time around she’s been fitting the front base seat covers
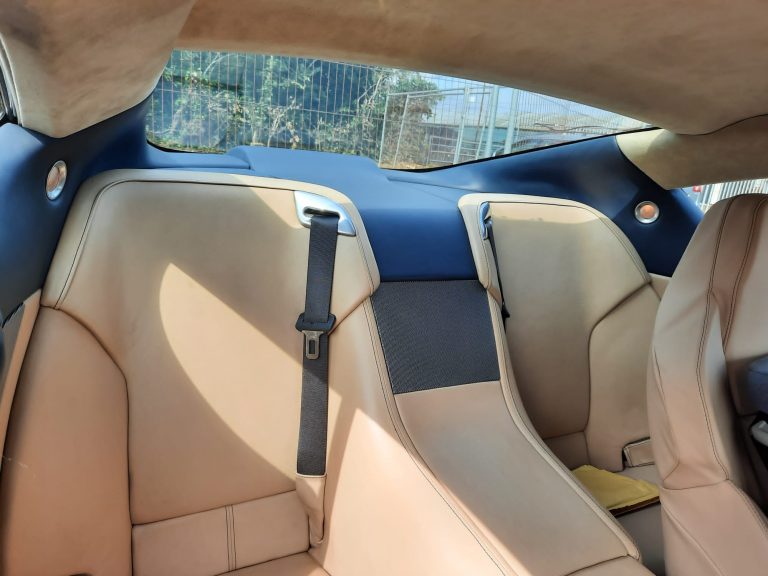
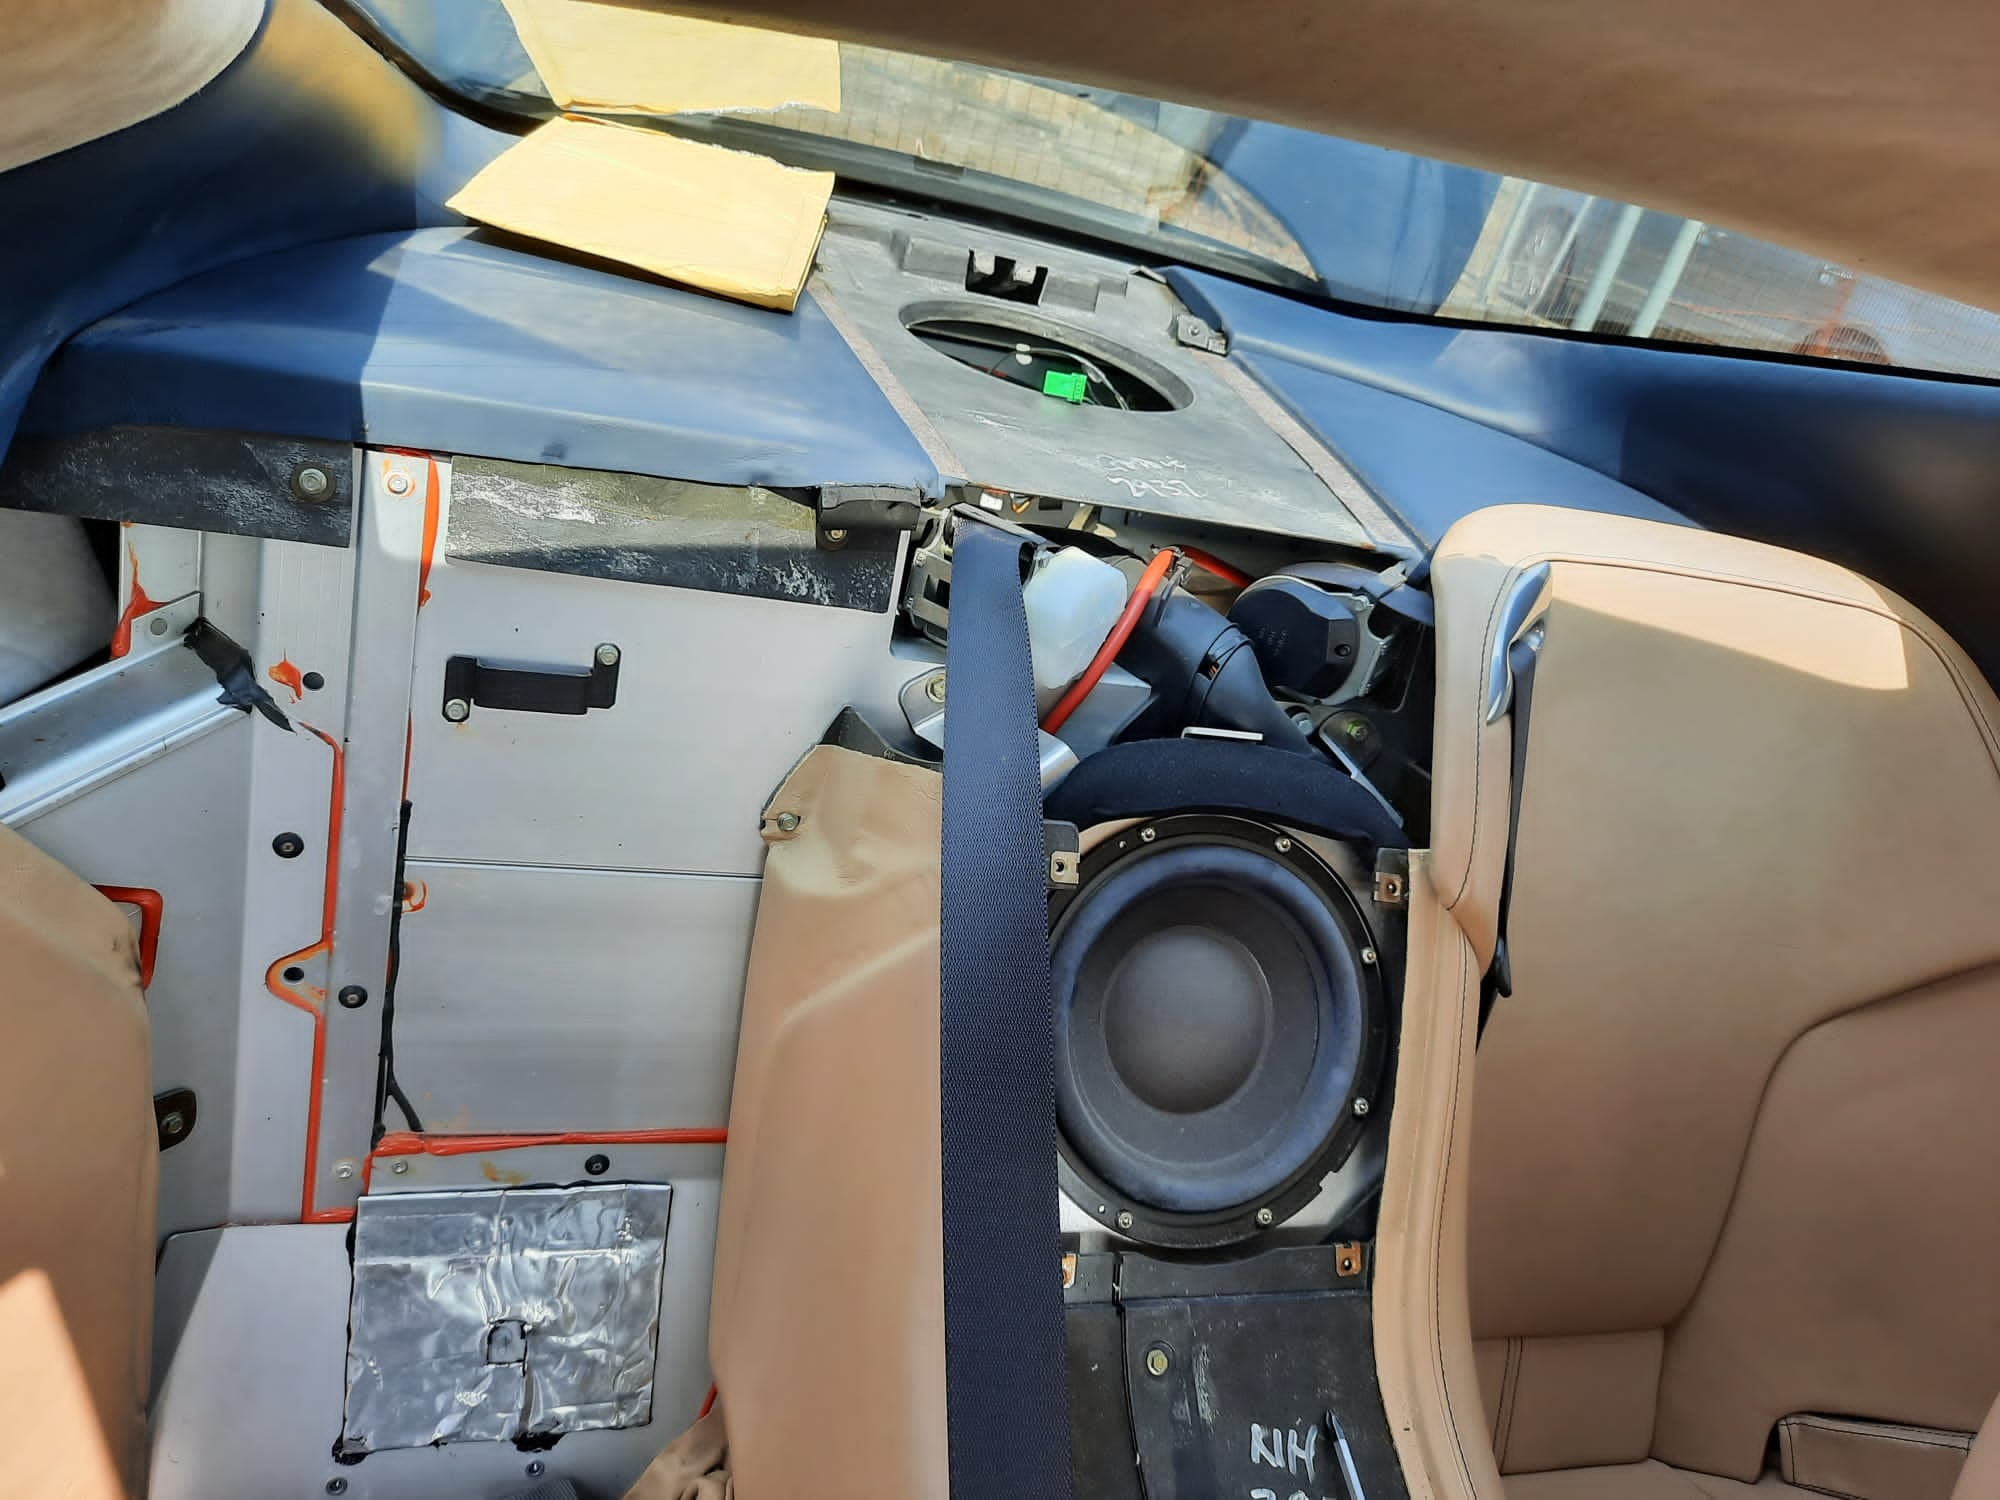
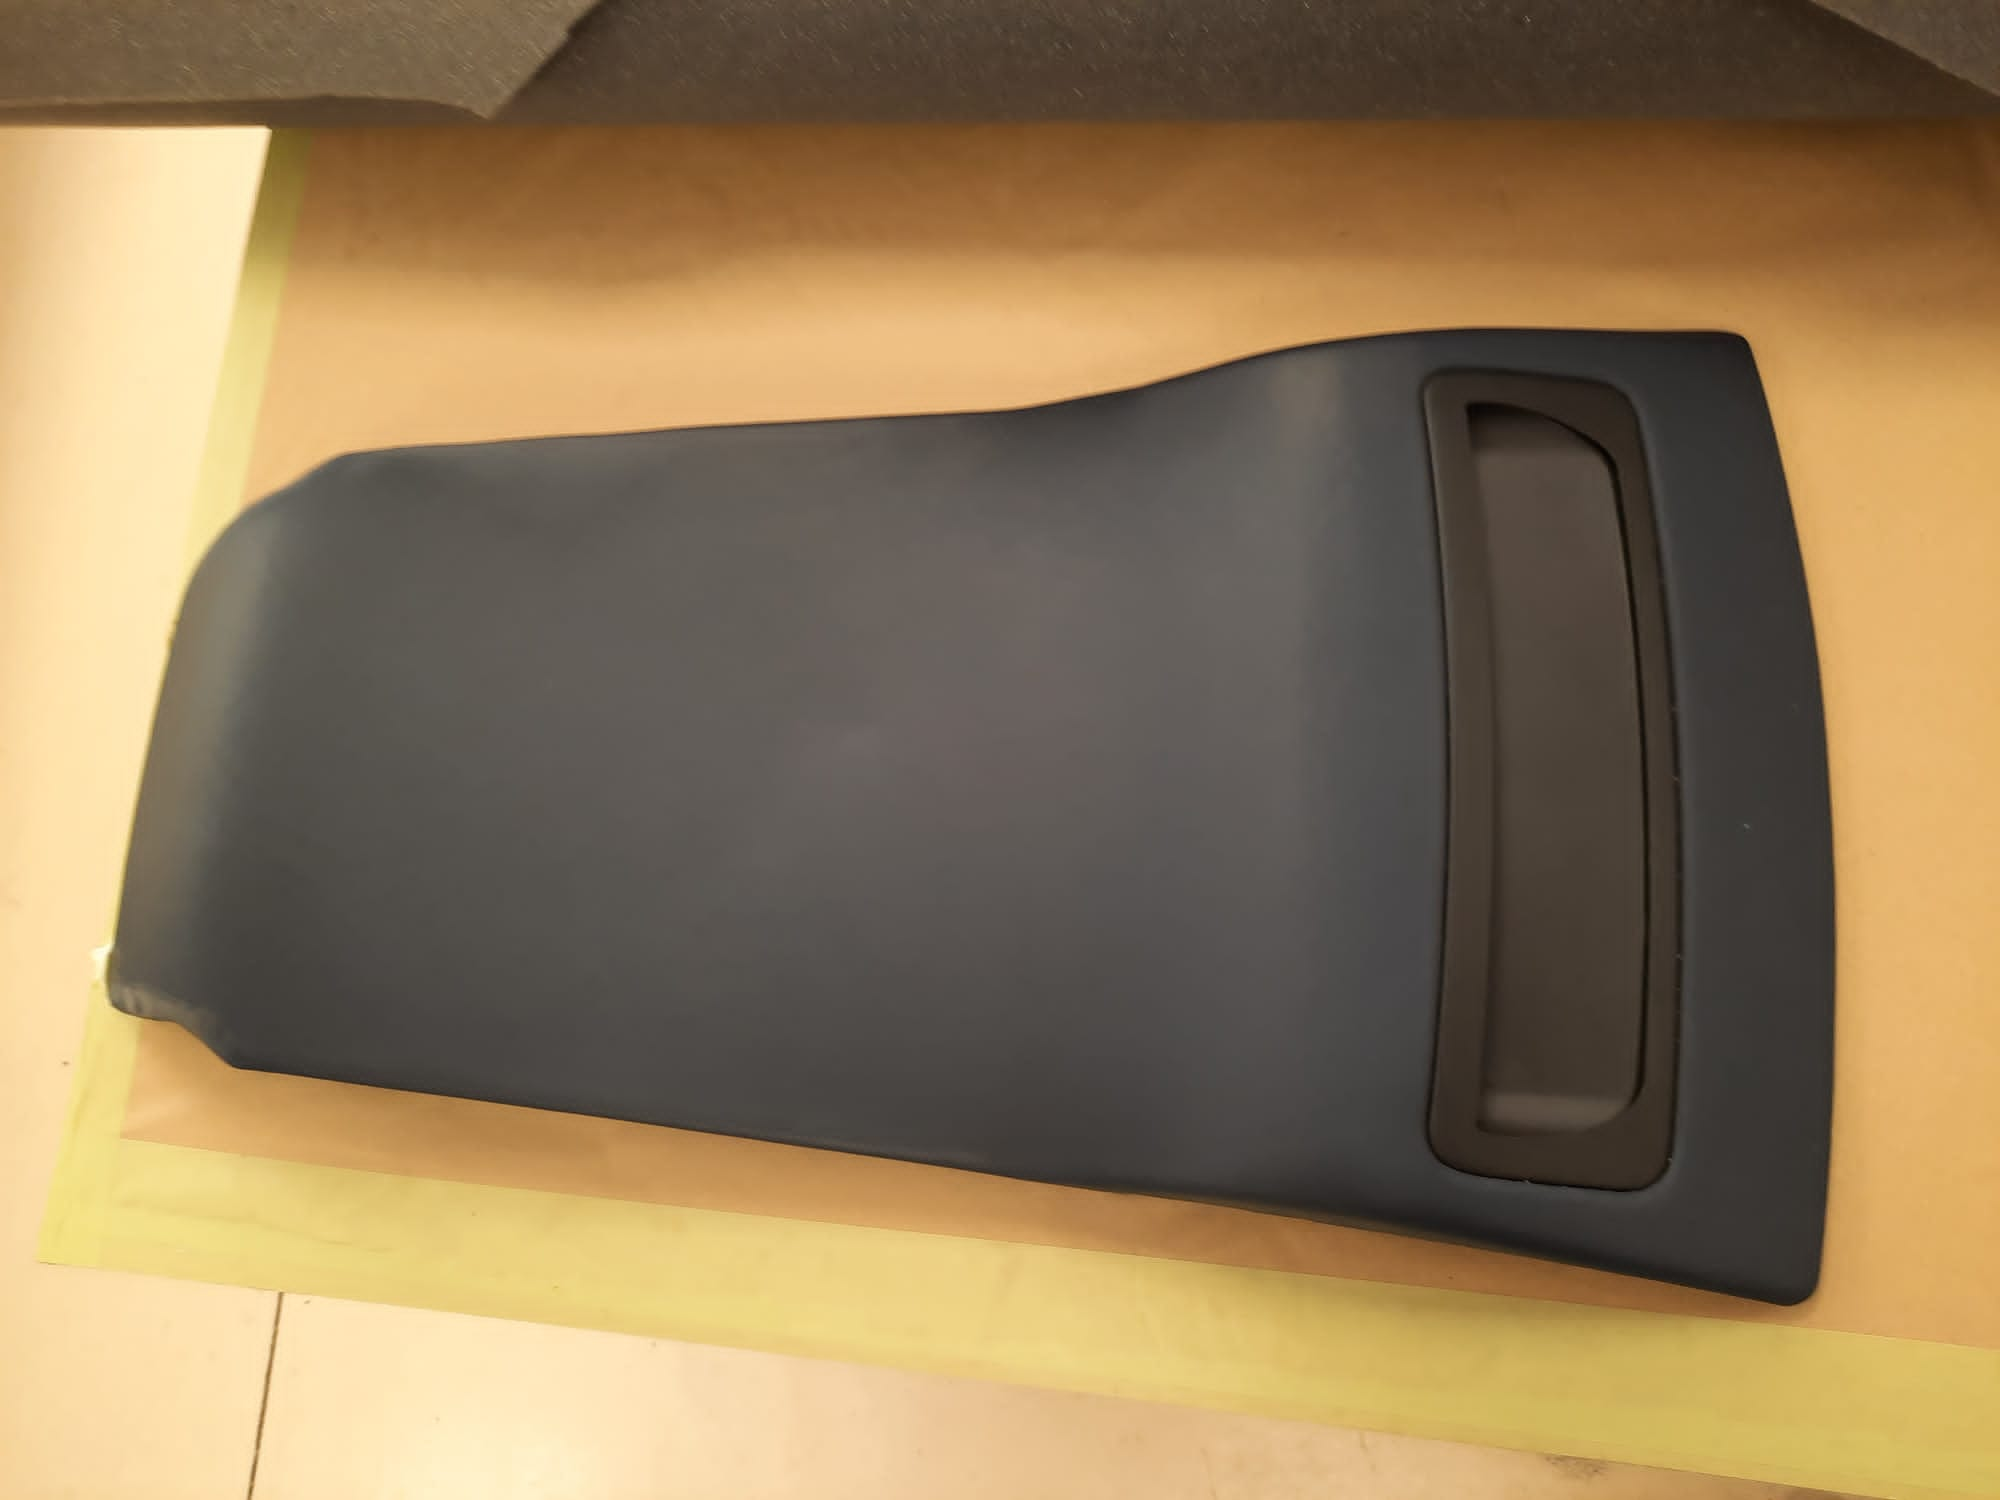
Mauro has been doing a little work on our 2005 Aston Martin DB 9. The panel that went from the rear seats to the parcel

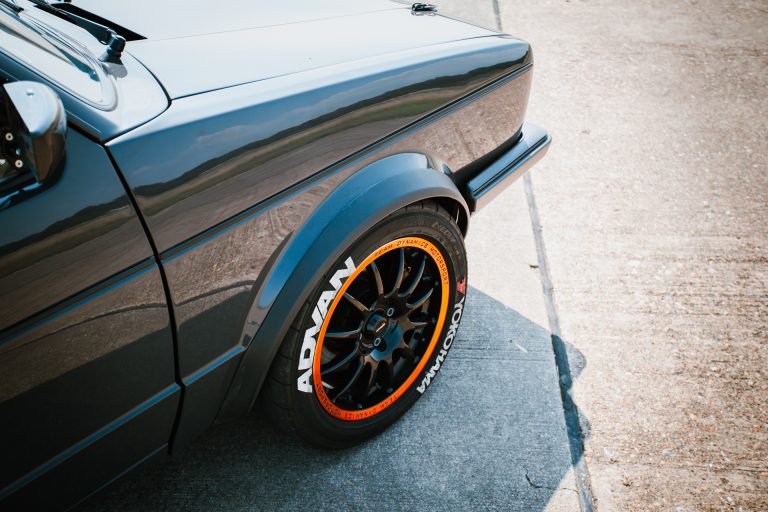
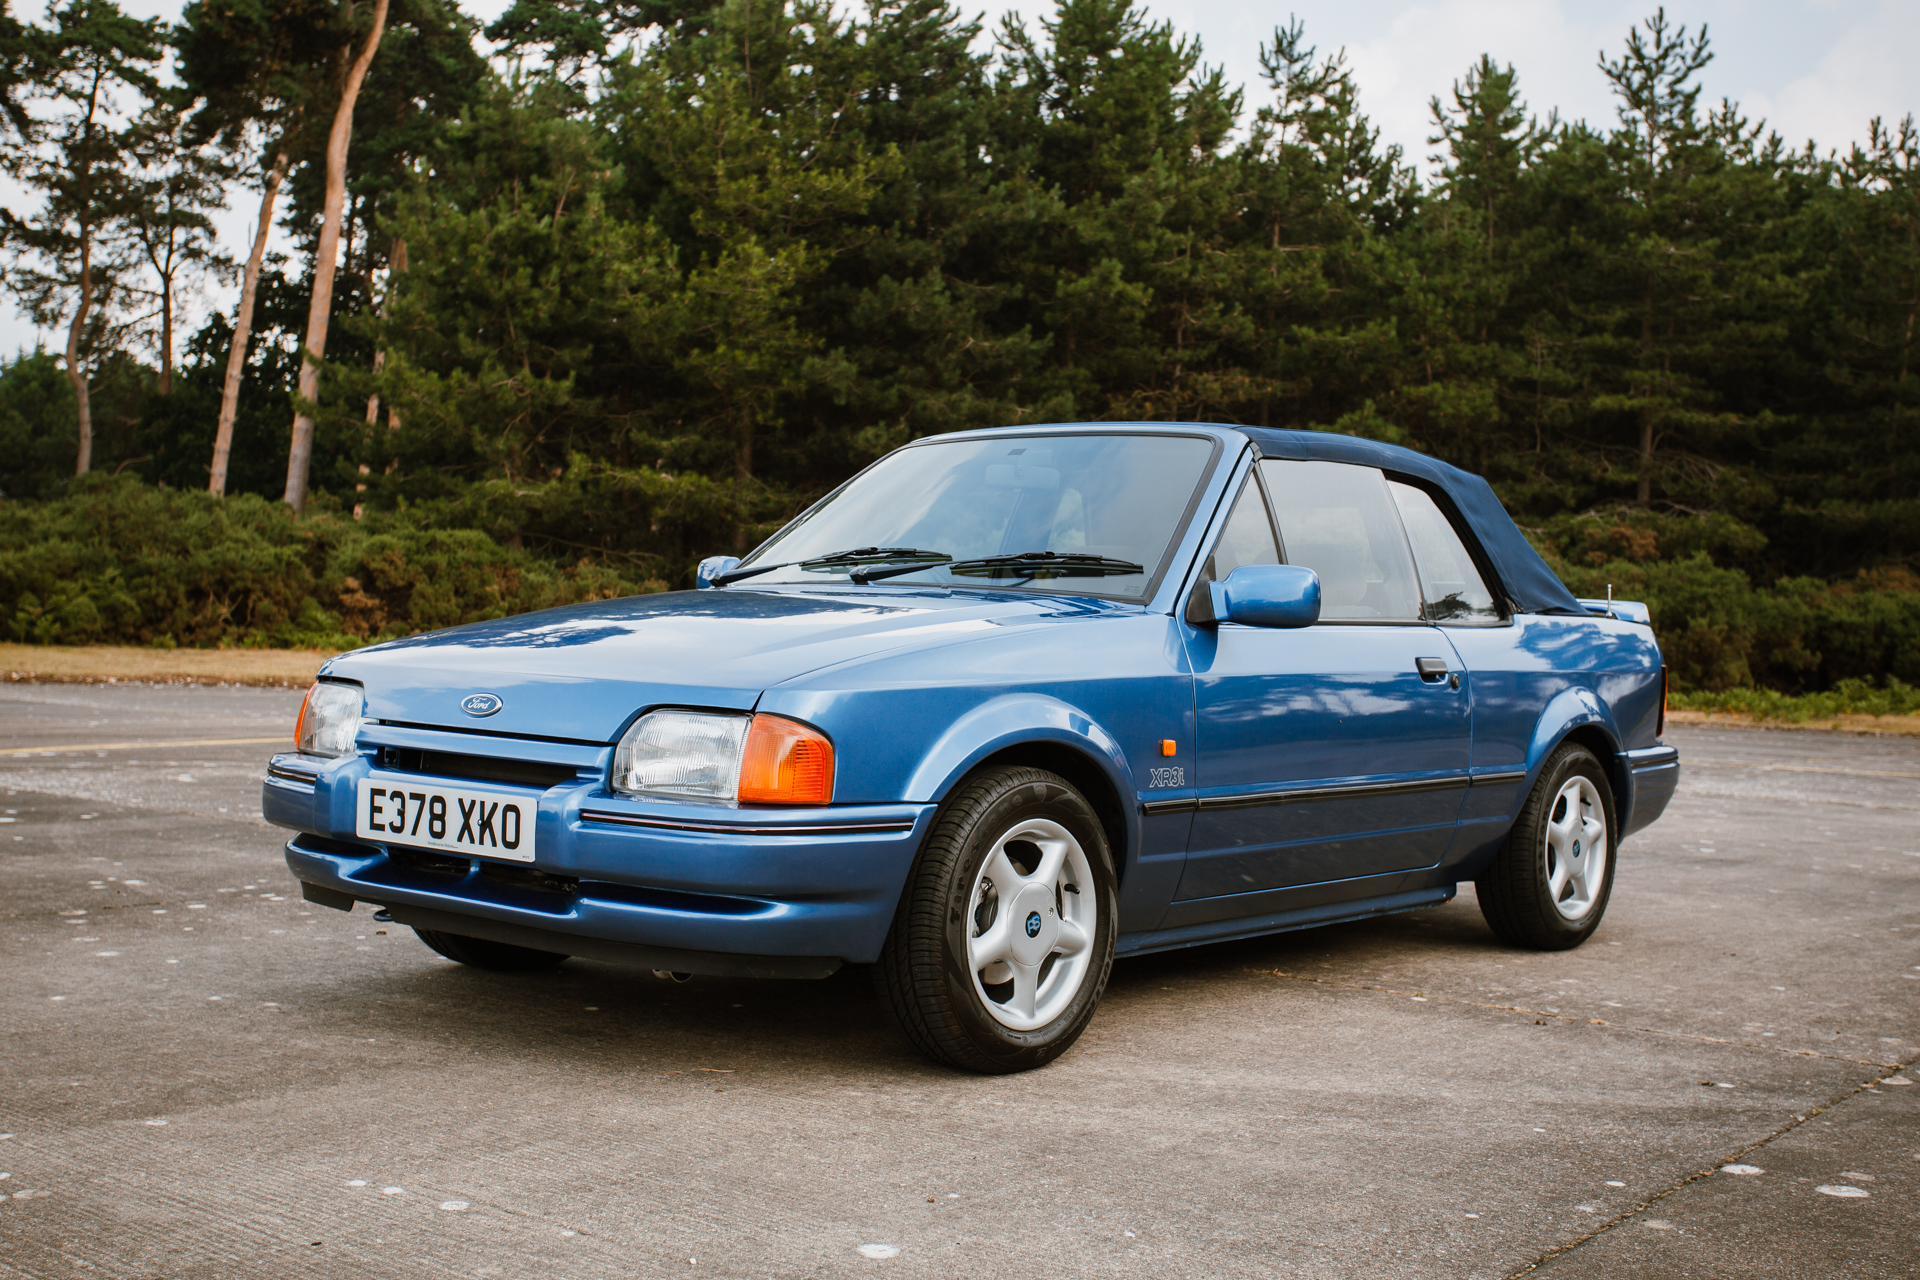
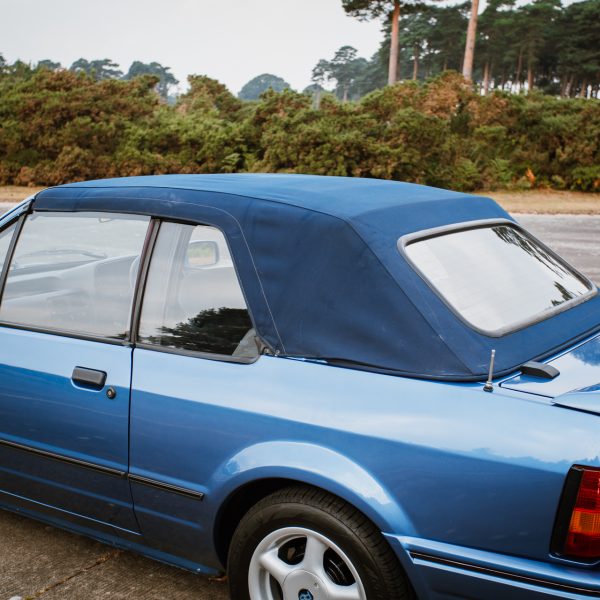
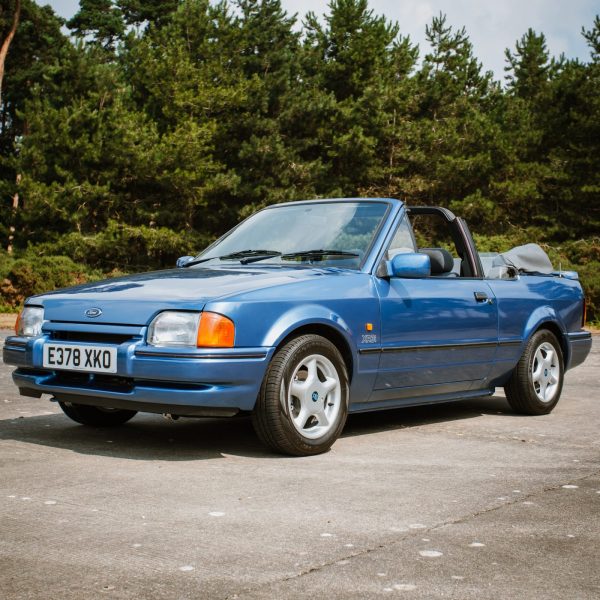
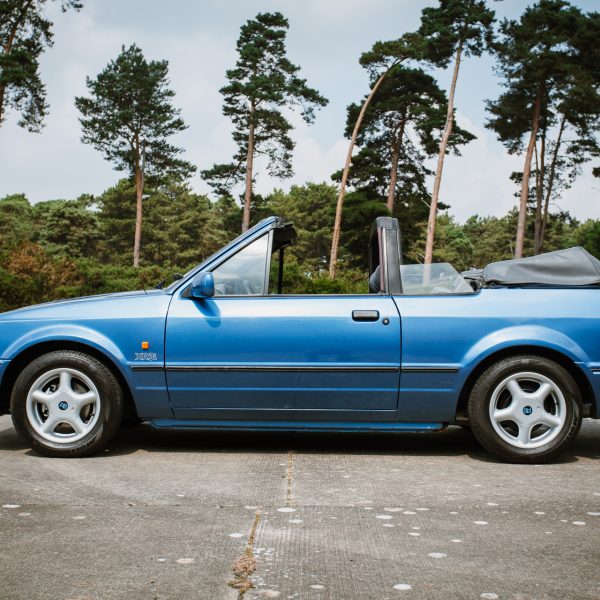
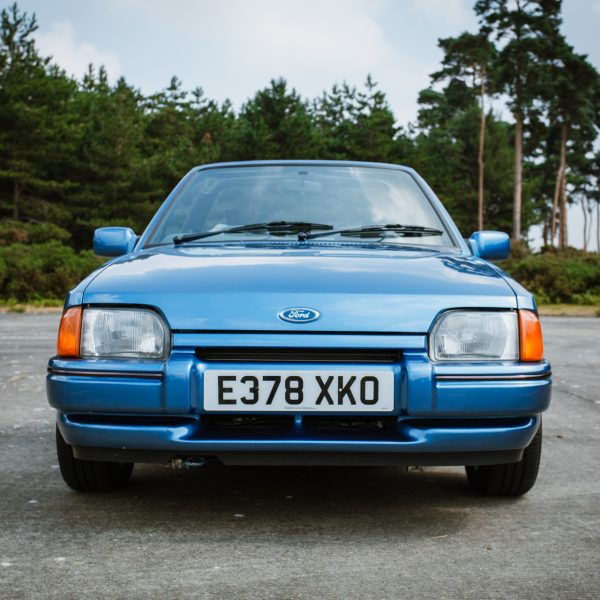
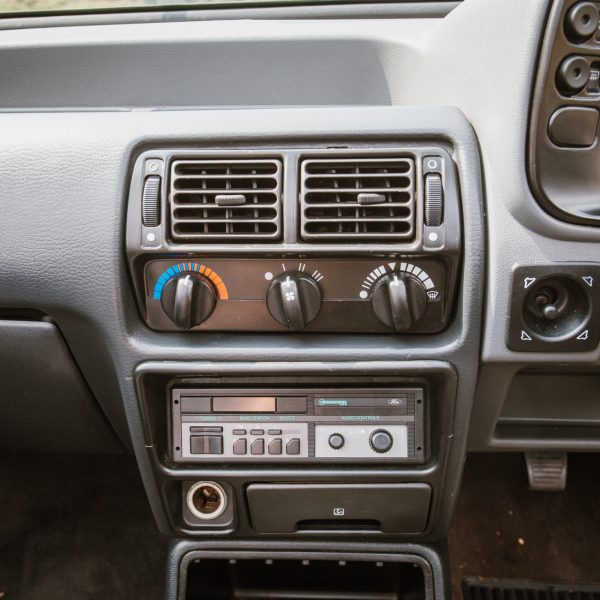
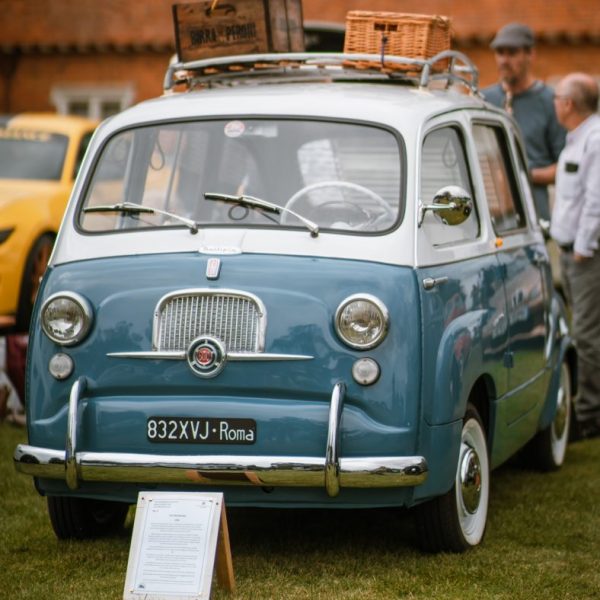
Launching today is this 1988 blue Ford Escort 1600 Cabriolet! The Ford Escort was originally produced as a small family car, manufactured from 1968 to

Up to now, our 1955 Aston Martin DB2/4 was not uncovering too many hidden issues. Naturally, we had a lot of repairs and re-shaping to
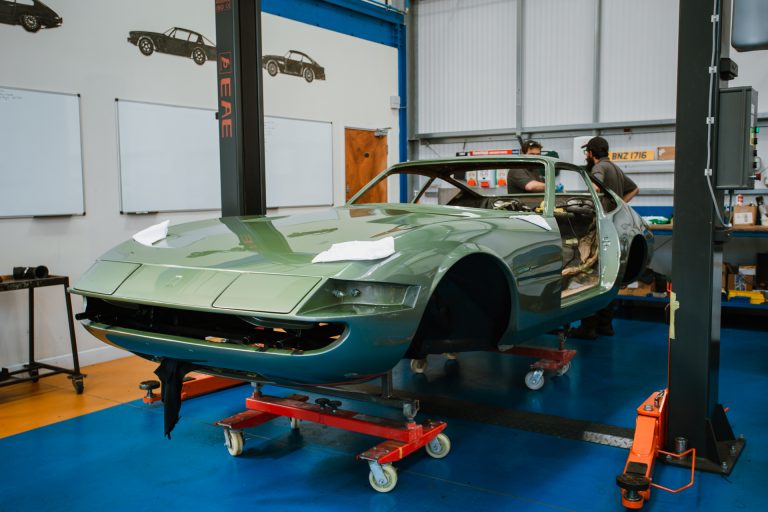
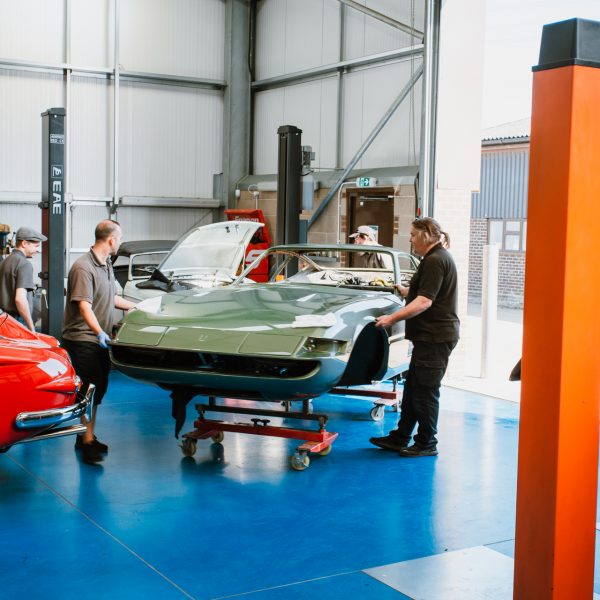
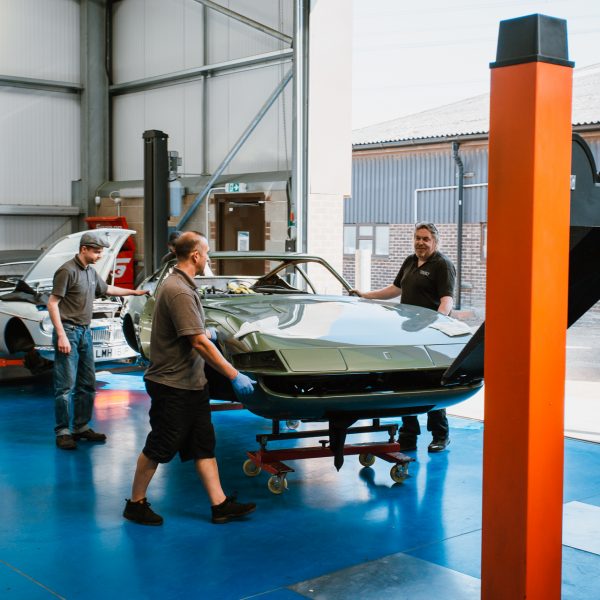
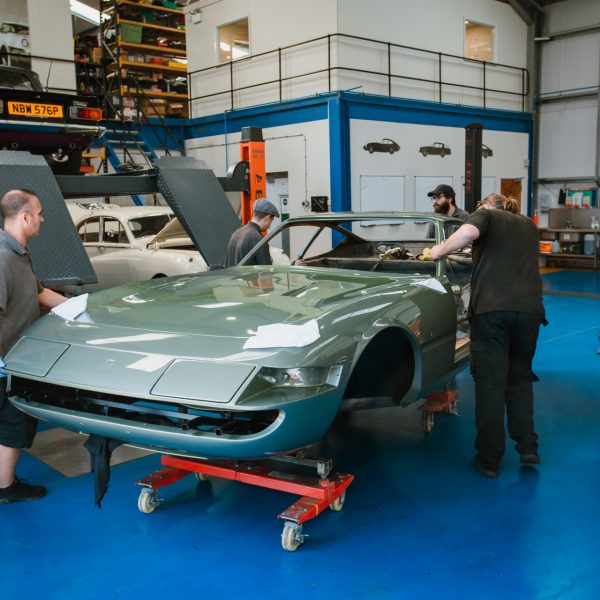
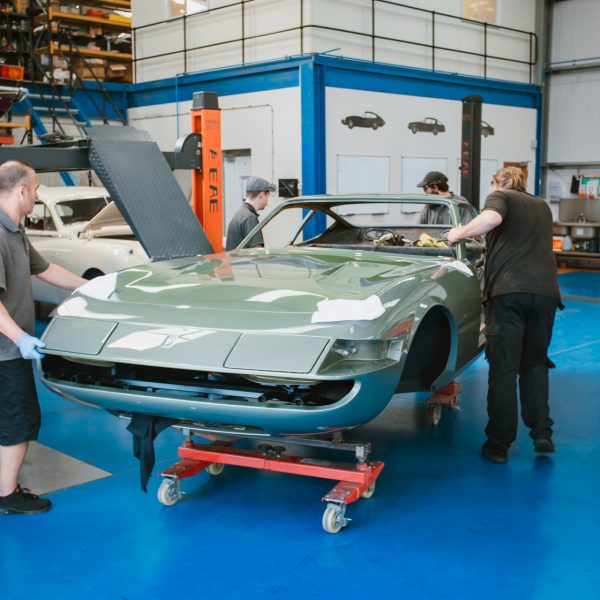
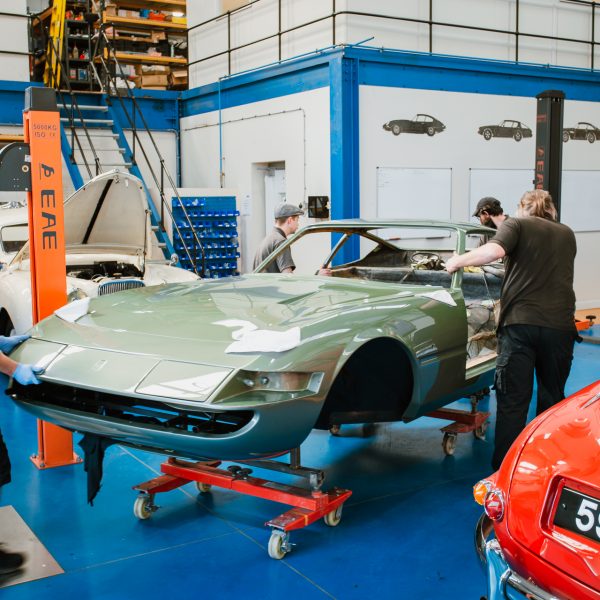
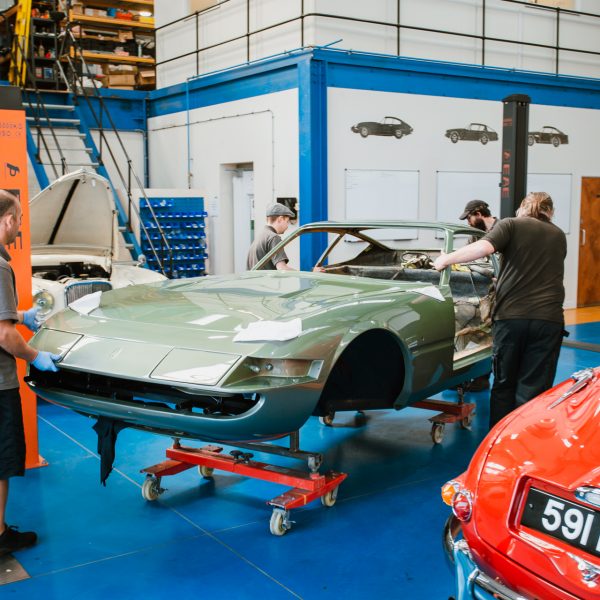
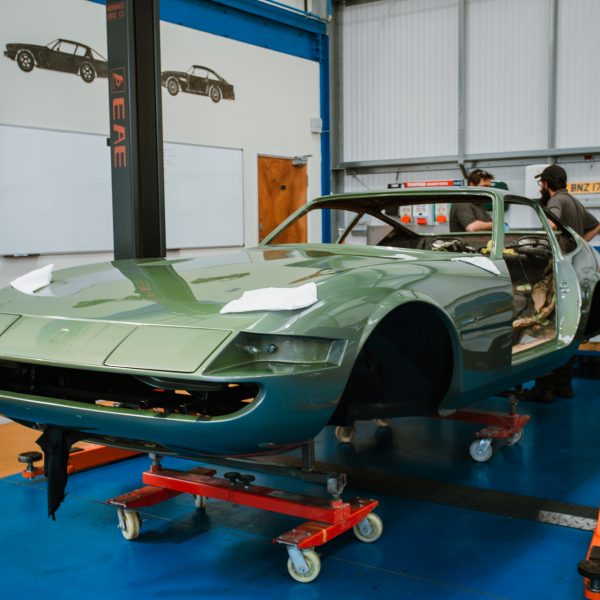
This week we’ve welcomed the 1979 Arrow Ferrari Daytona back into the workshop after it’s been in storage for a little bit of time. The

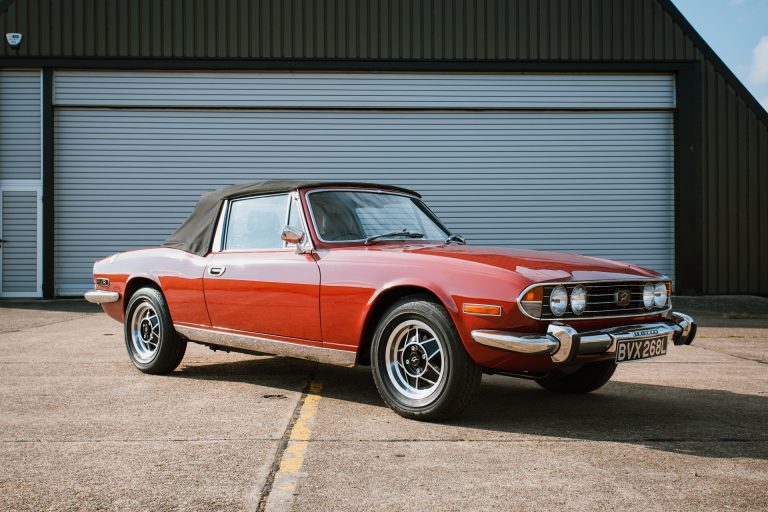
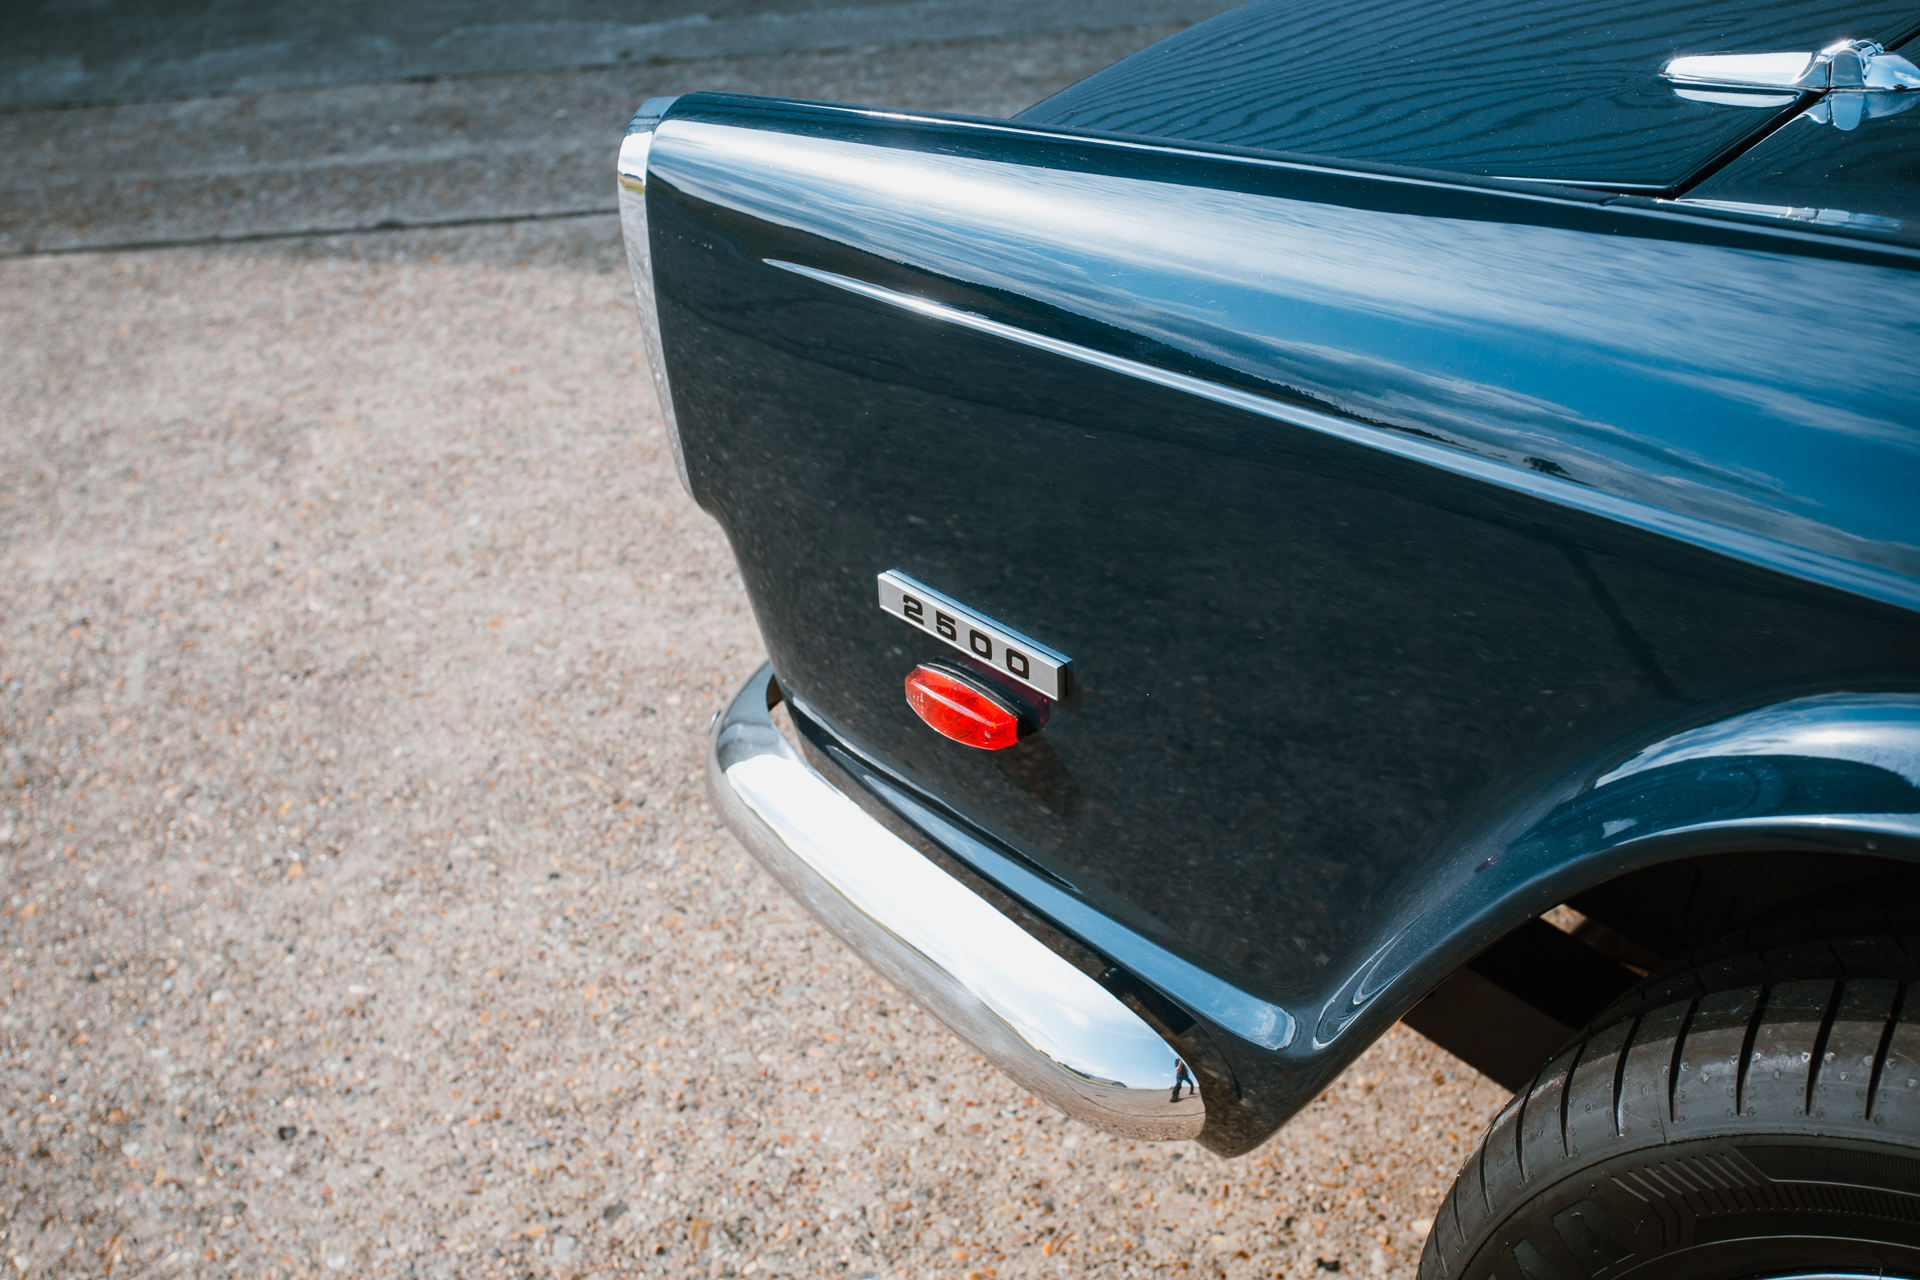
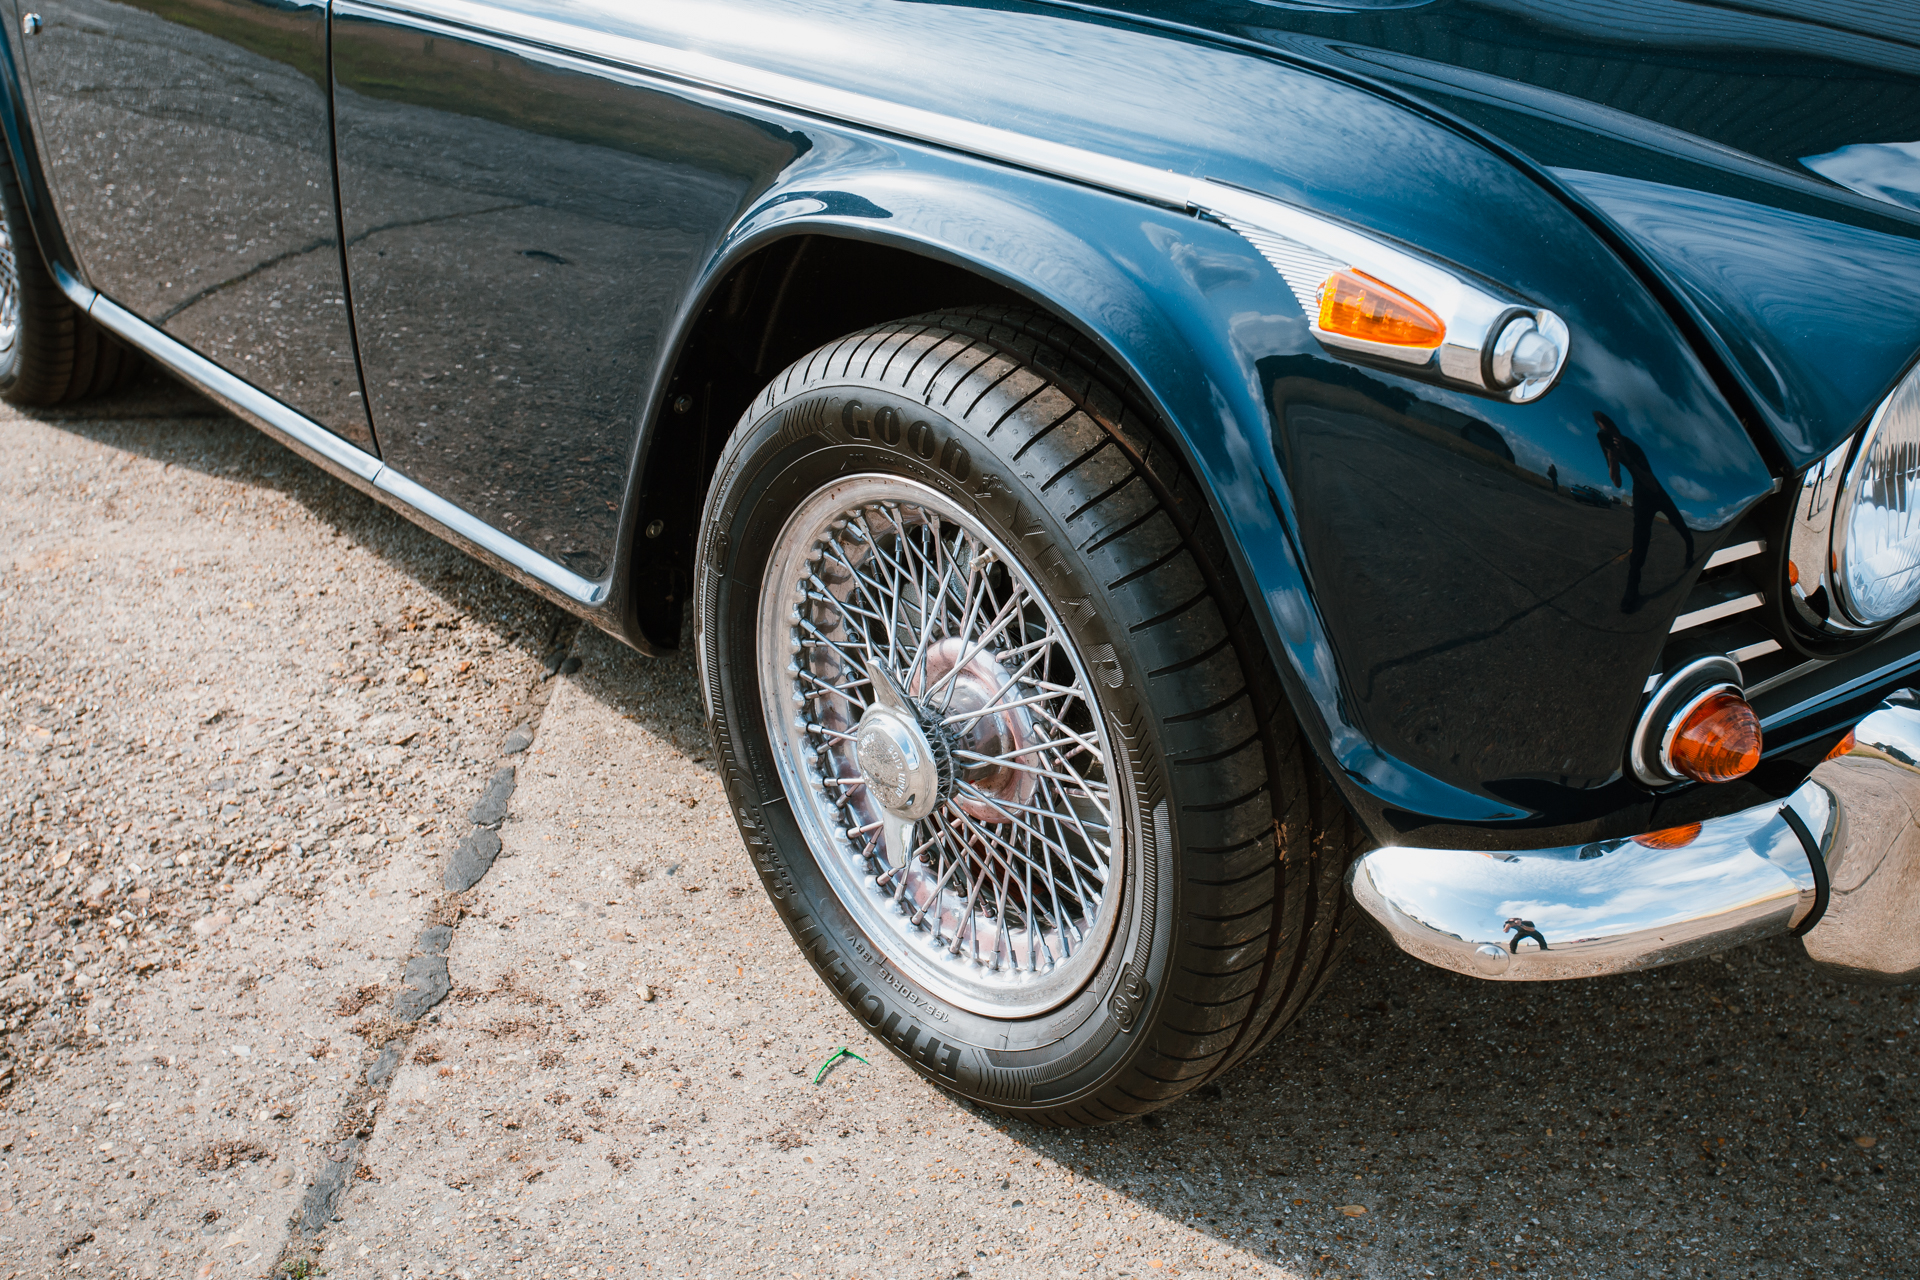
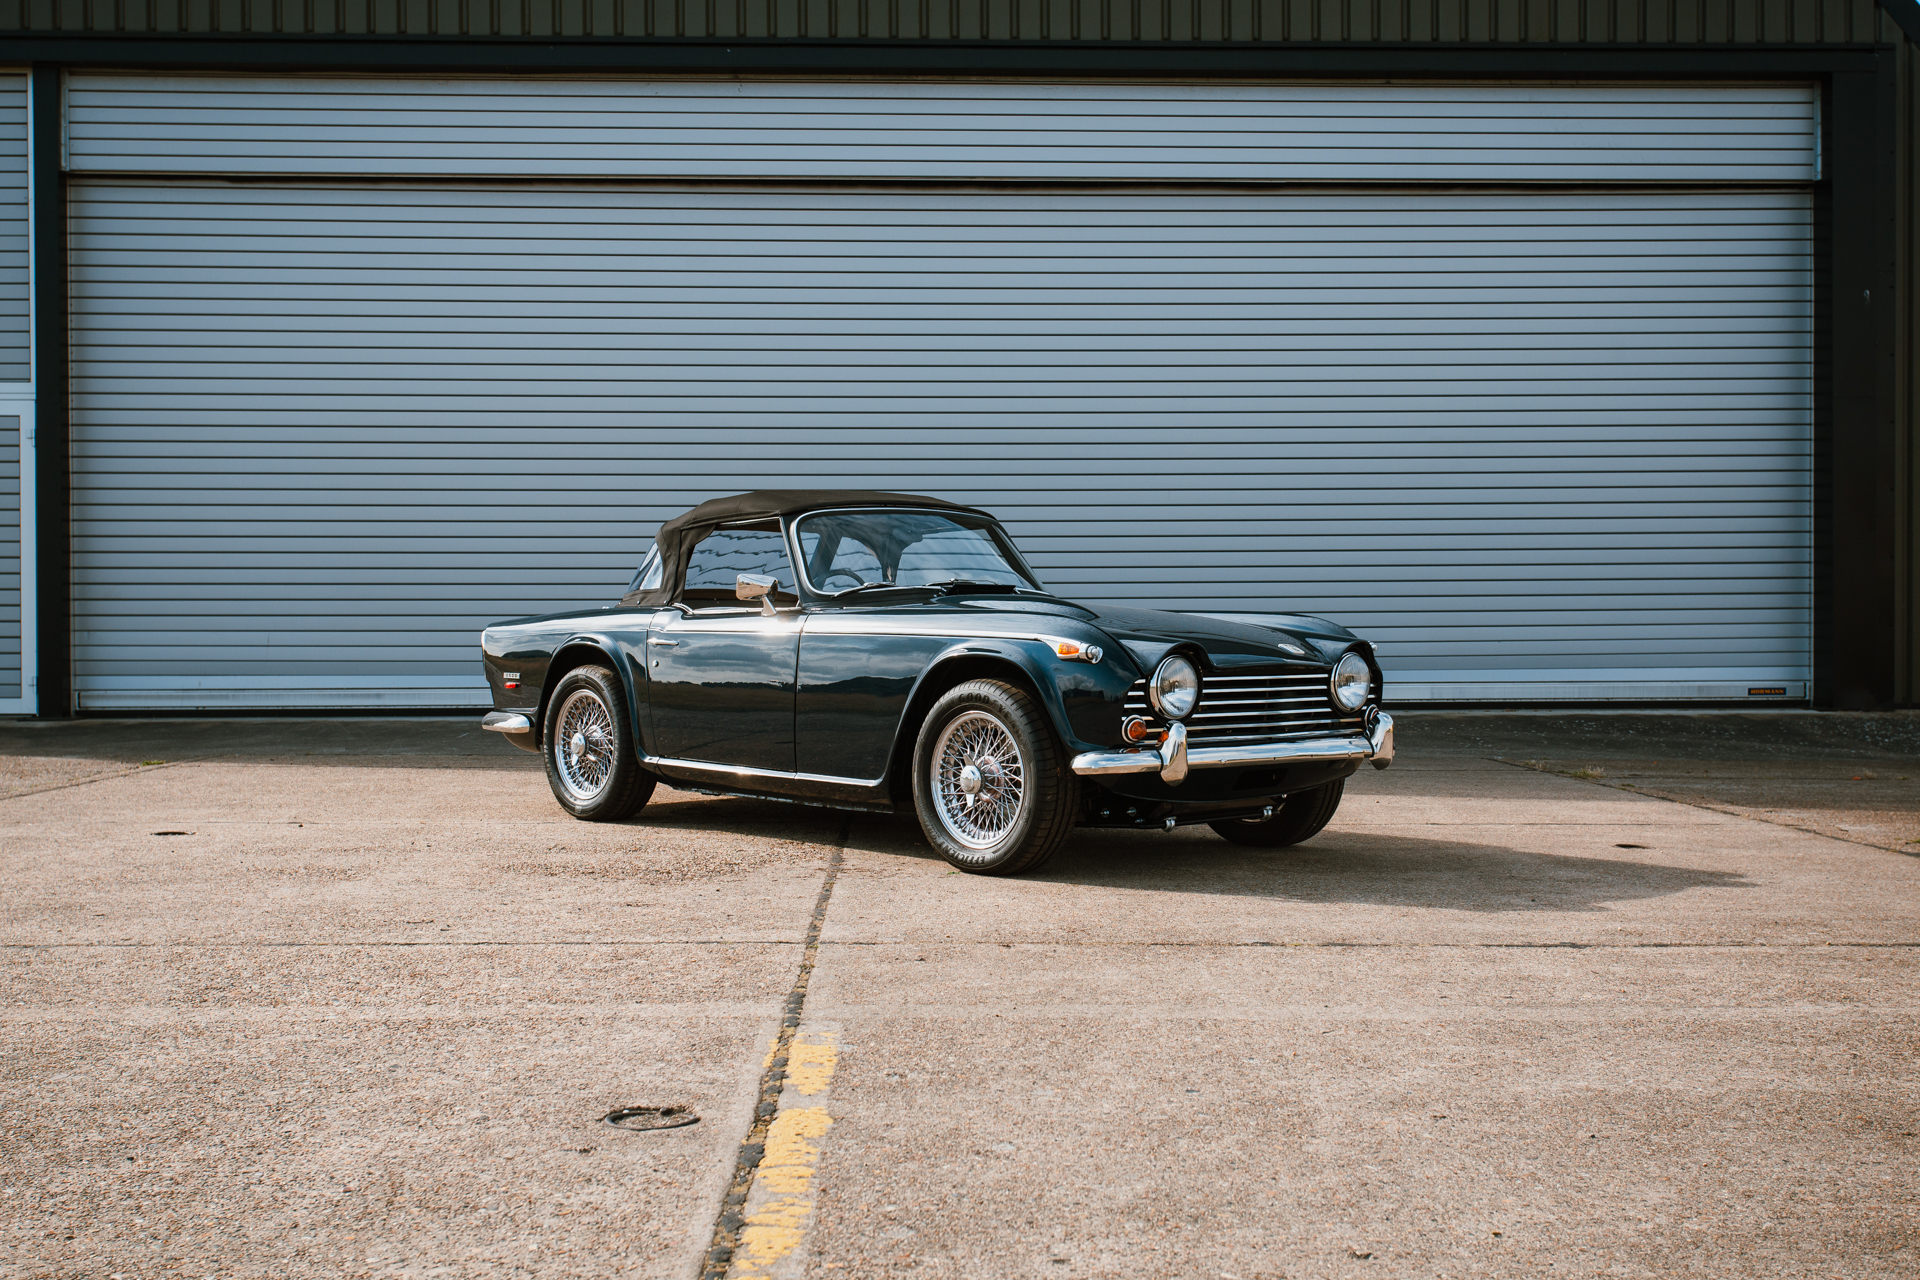
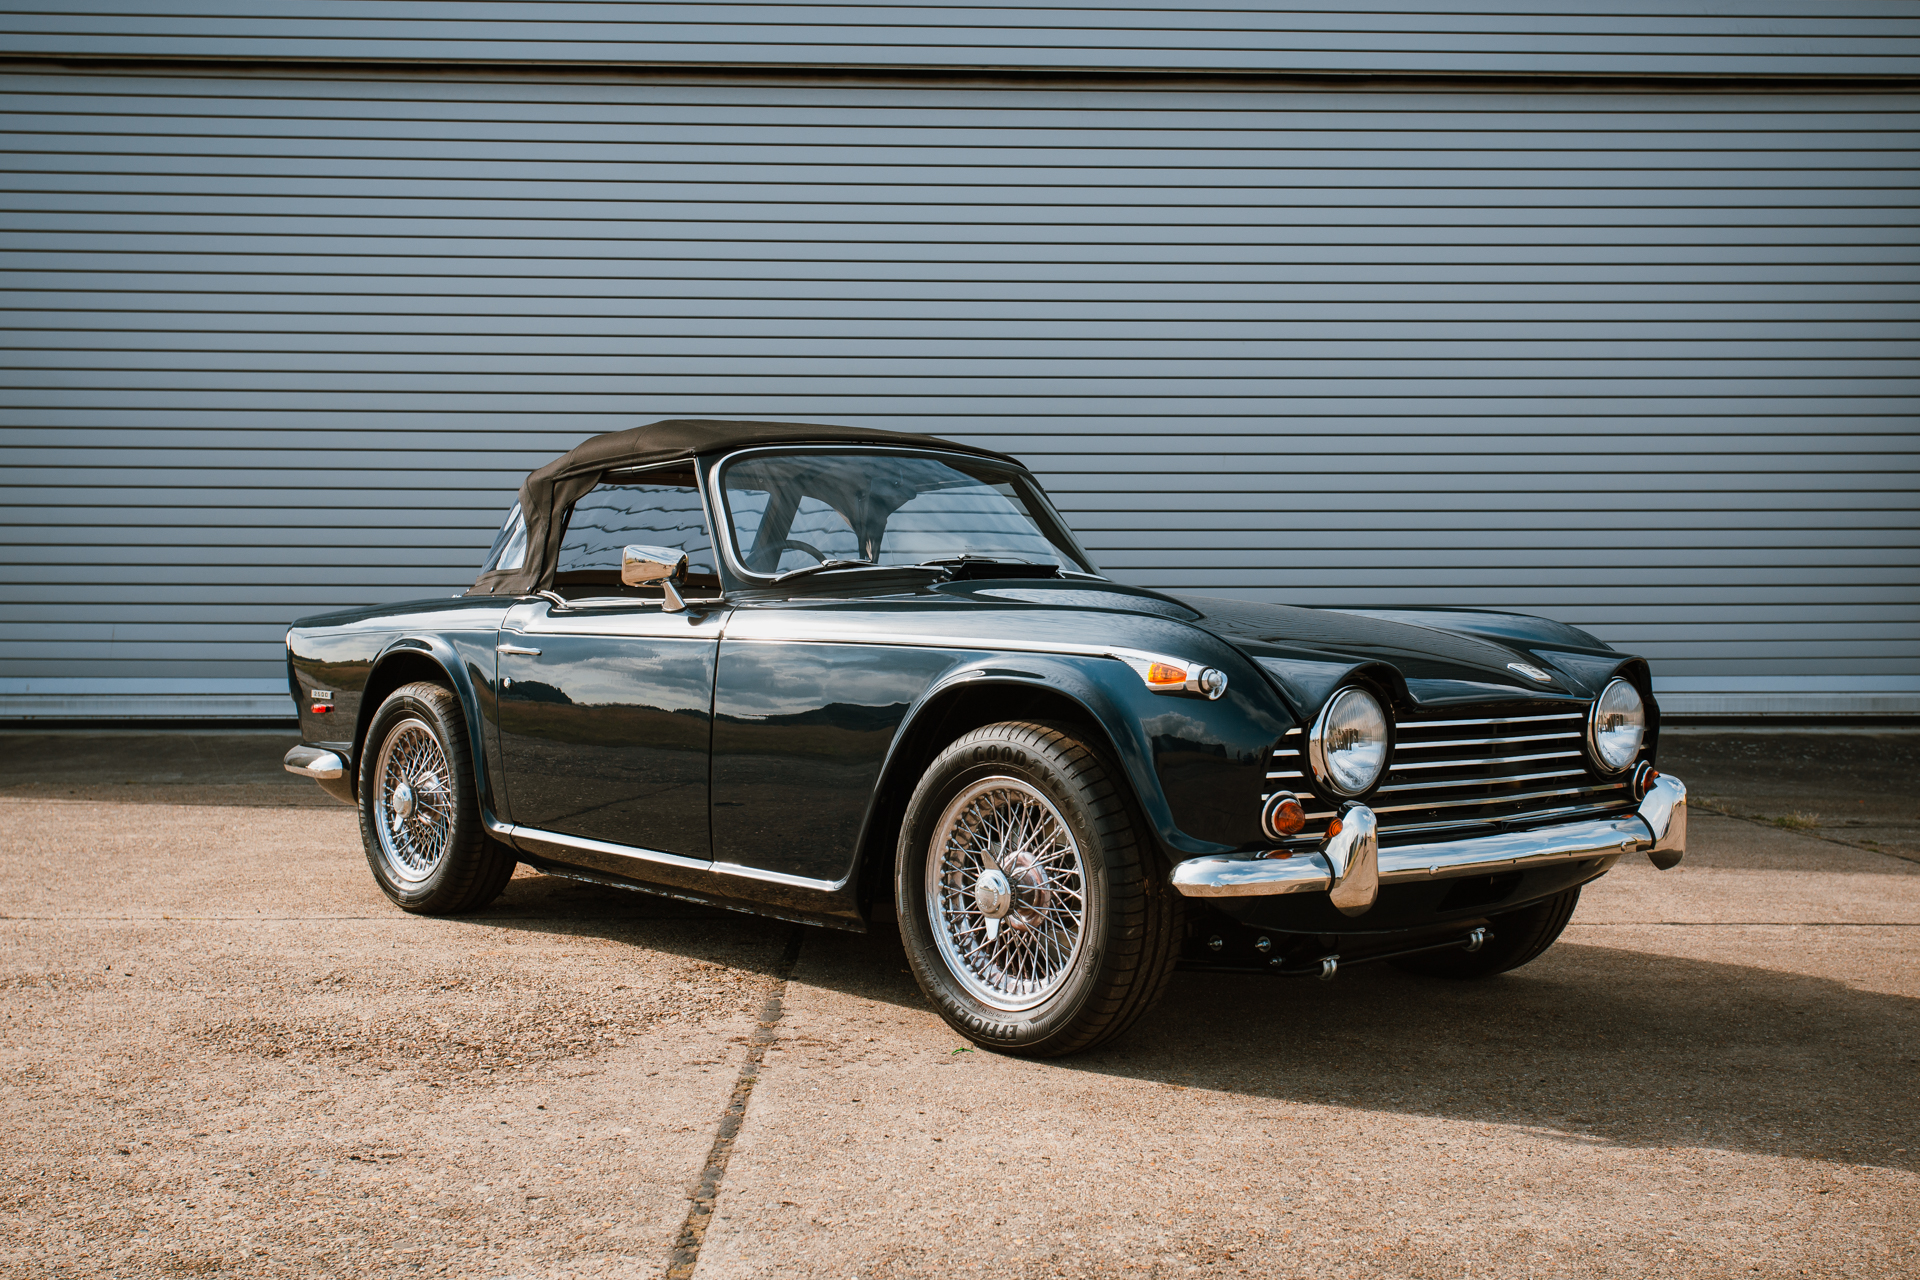
You can read about the full story of this car here! At the start of November 2019, this 1968 Triumph TR5 came into our workshop
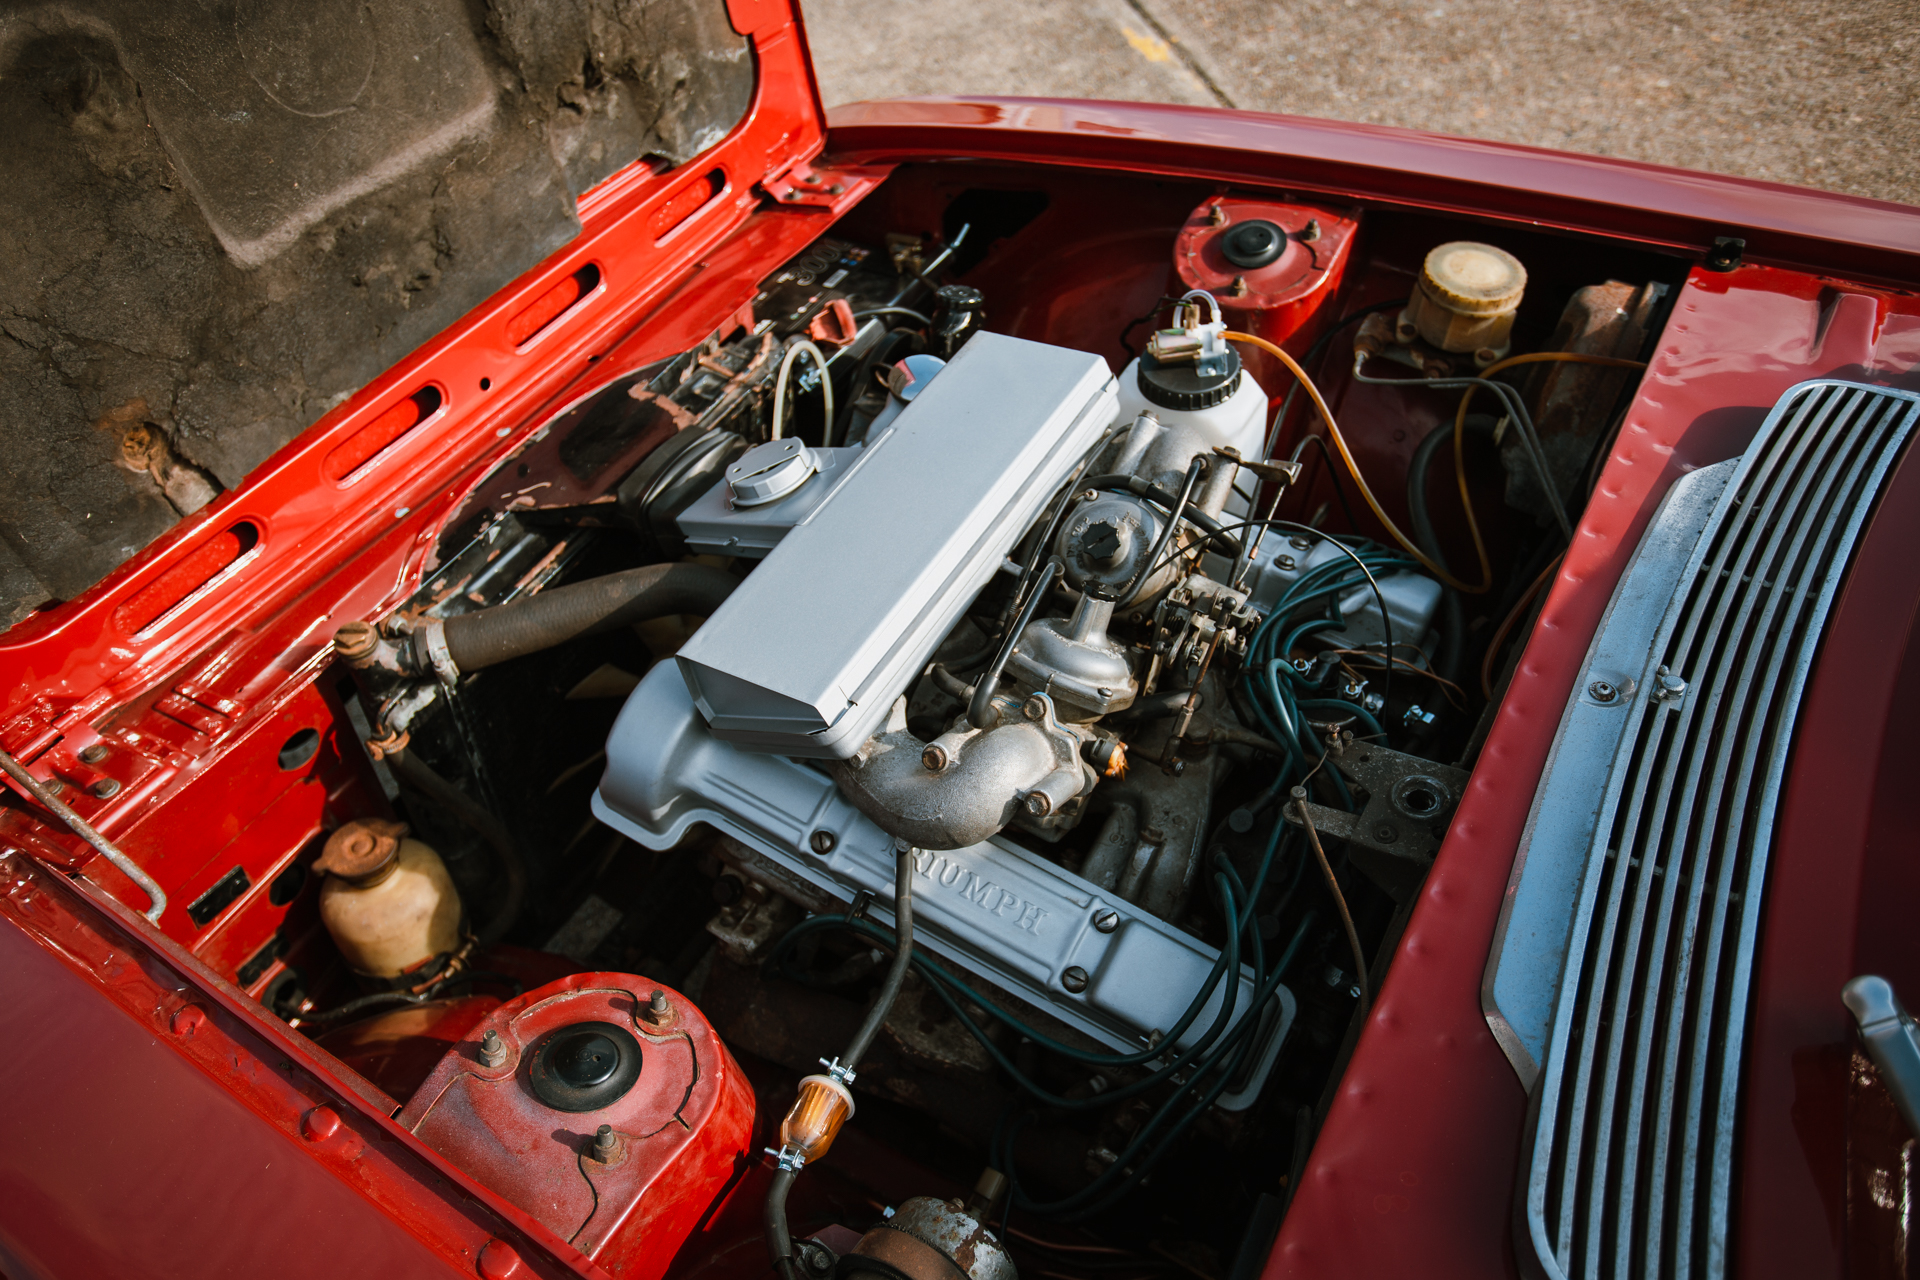
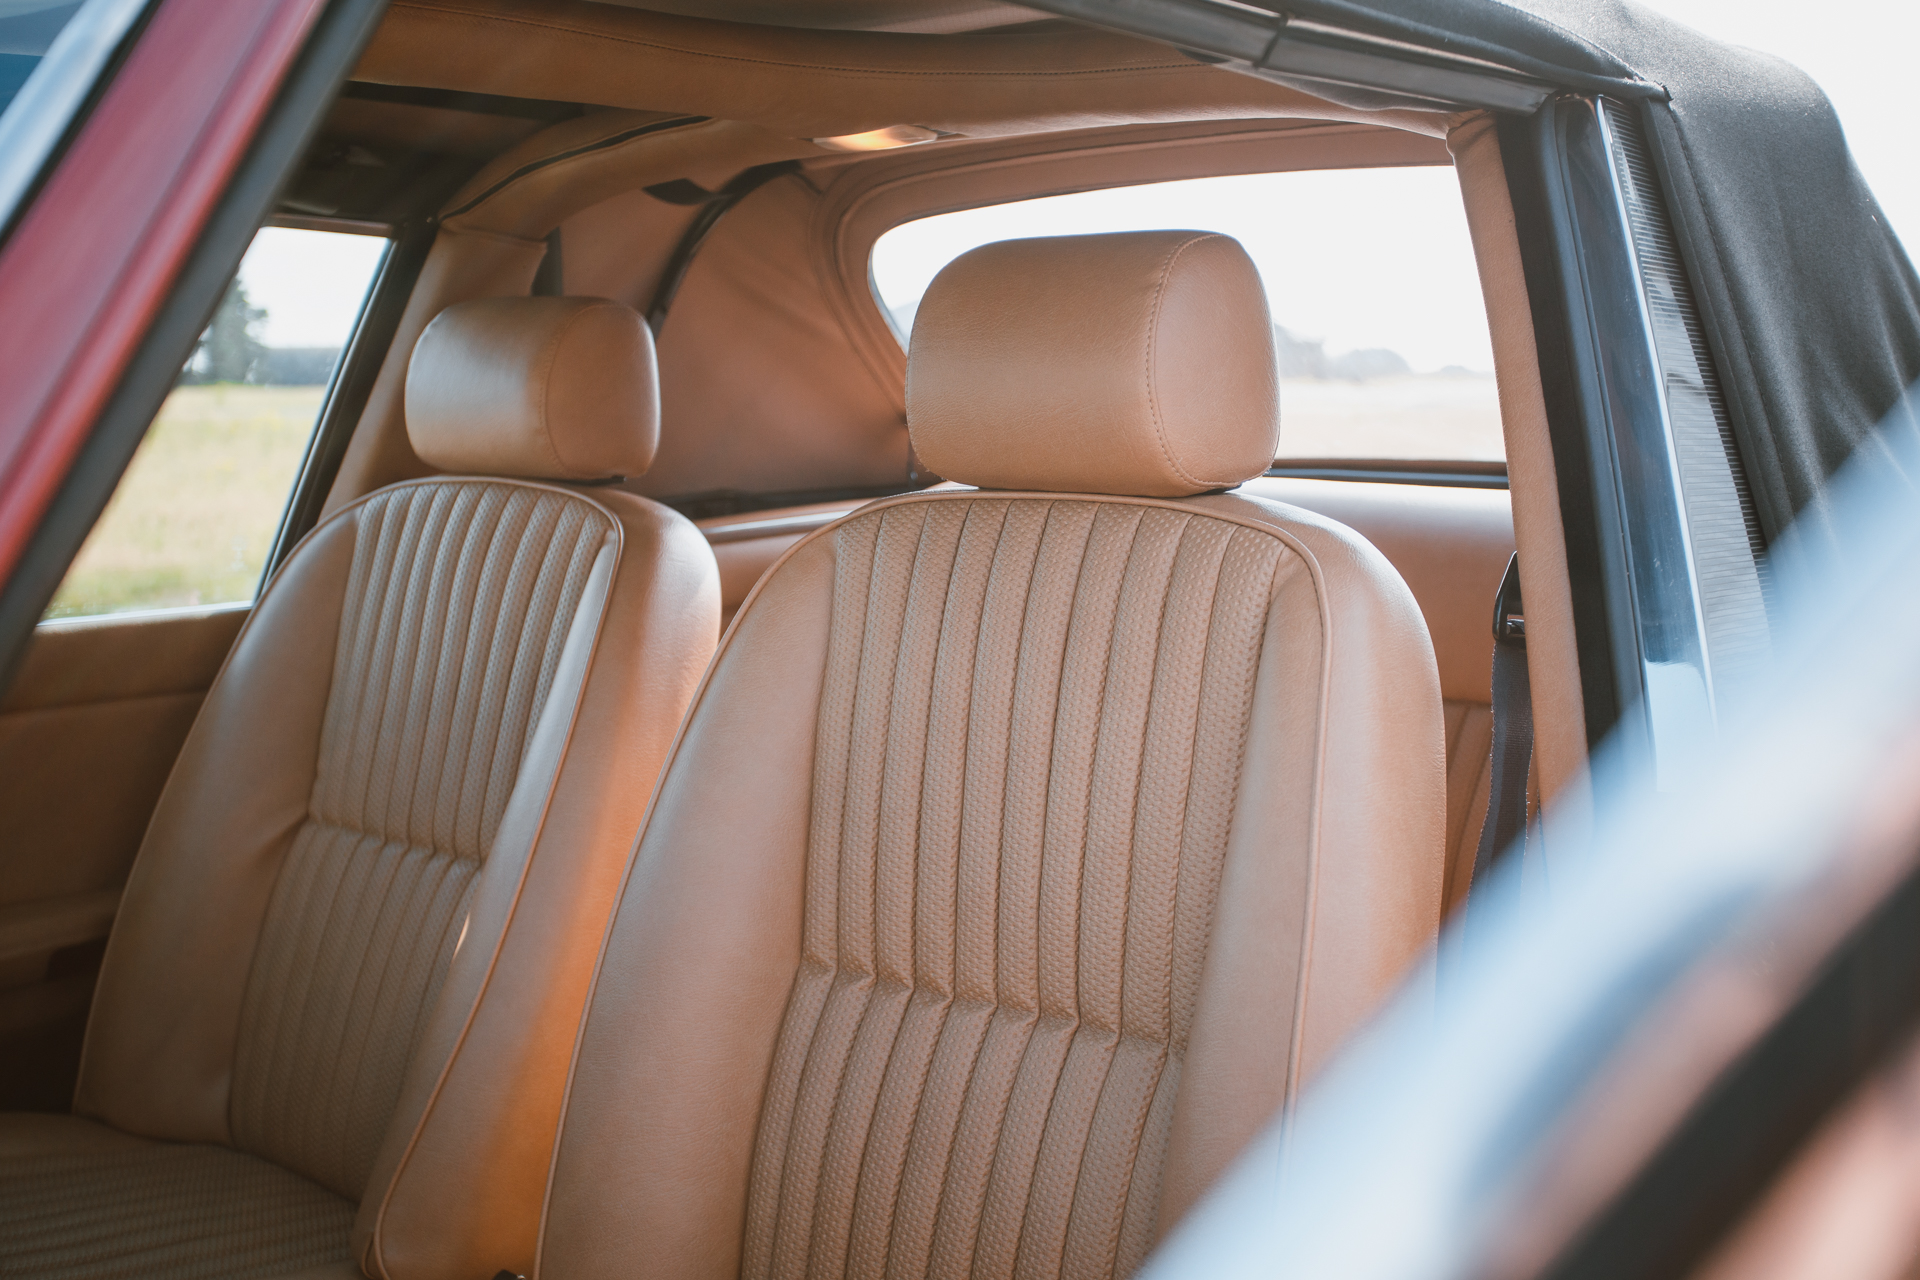
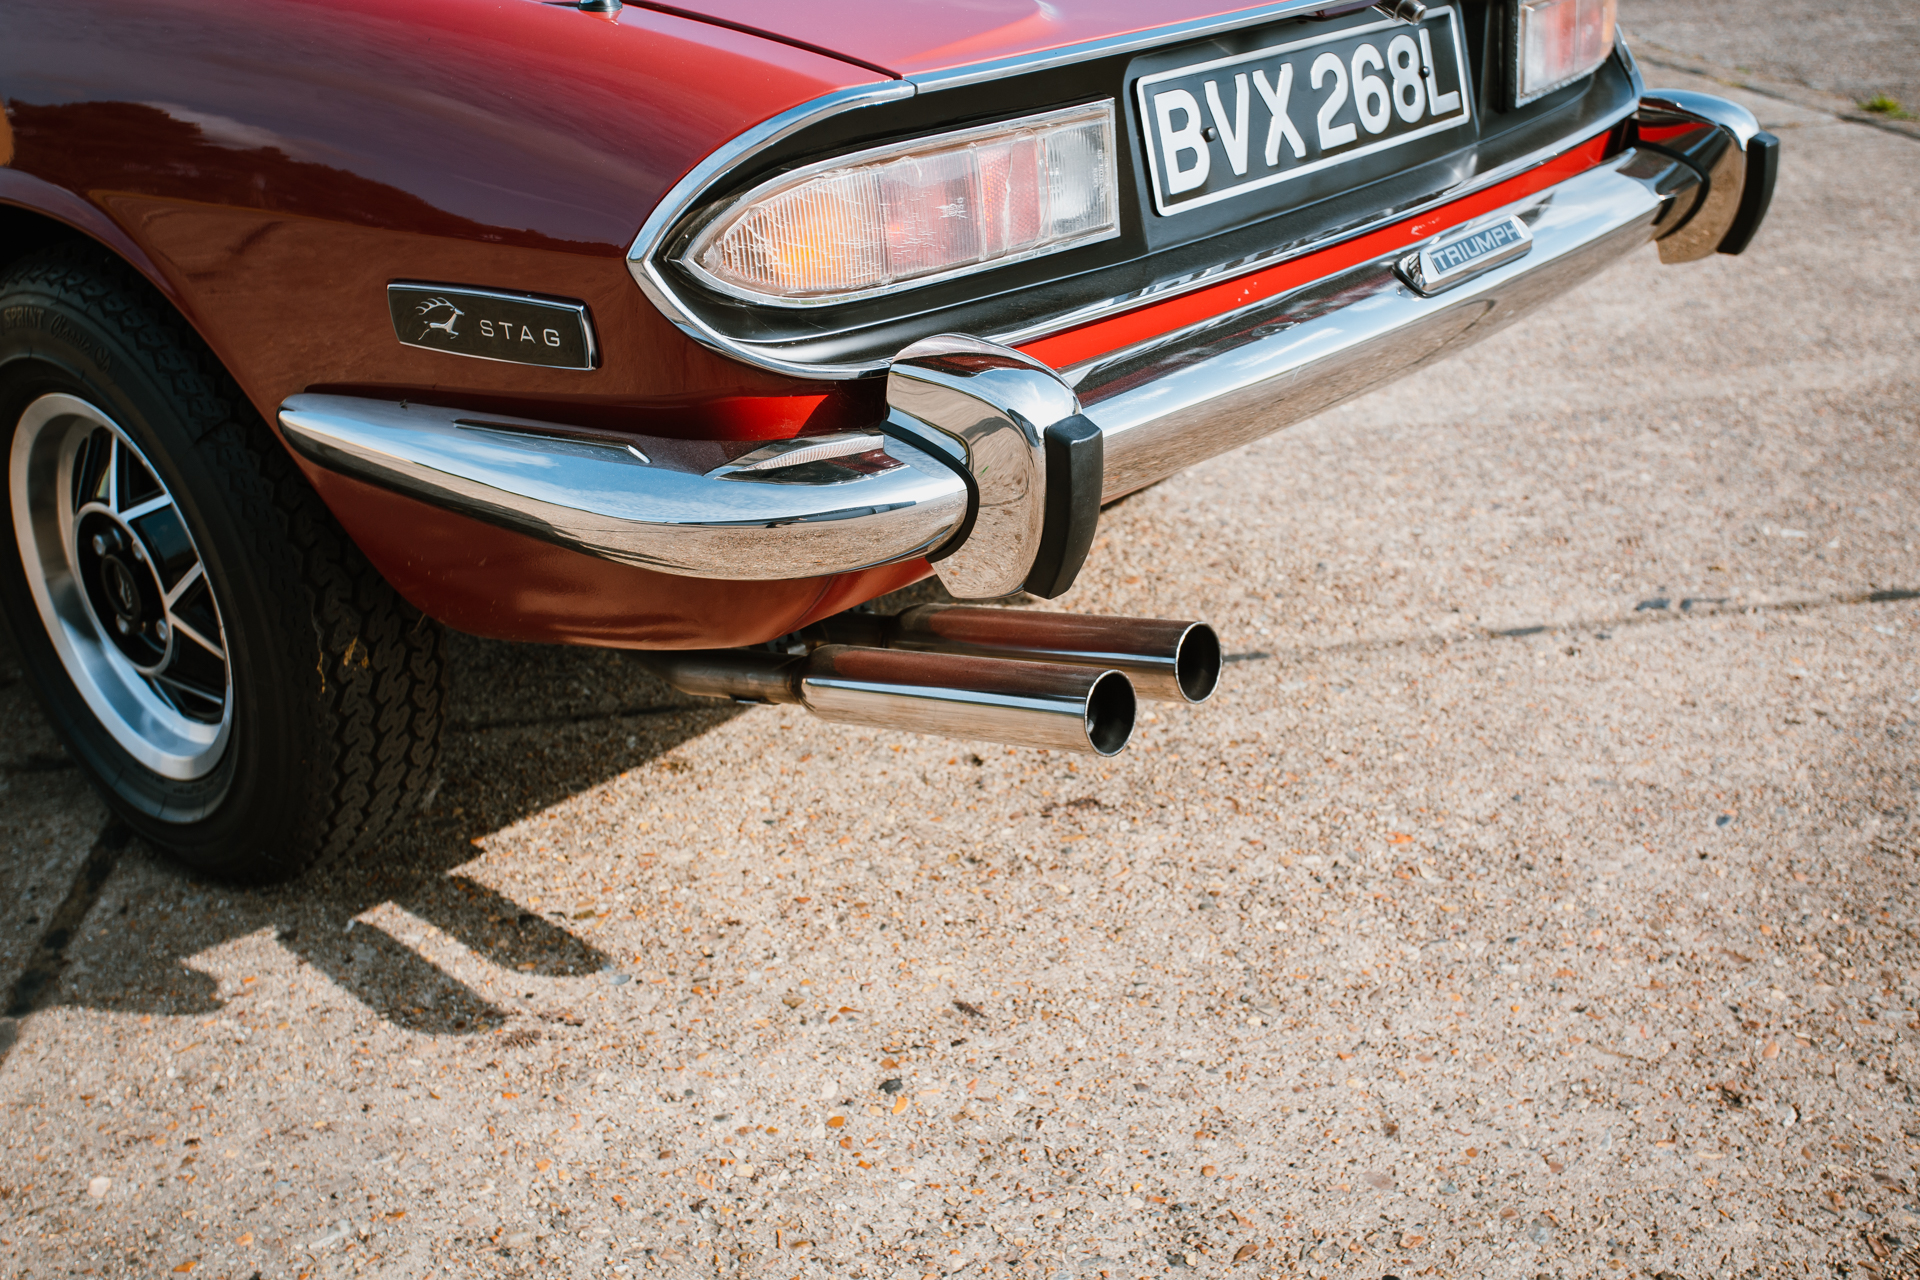
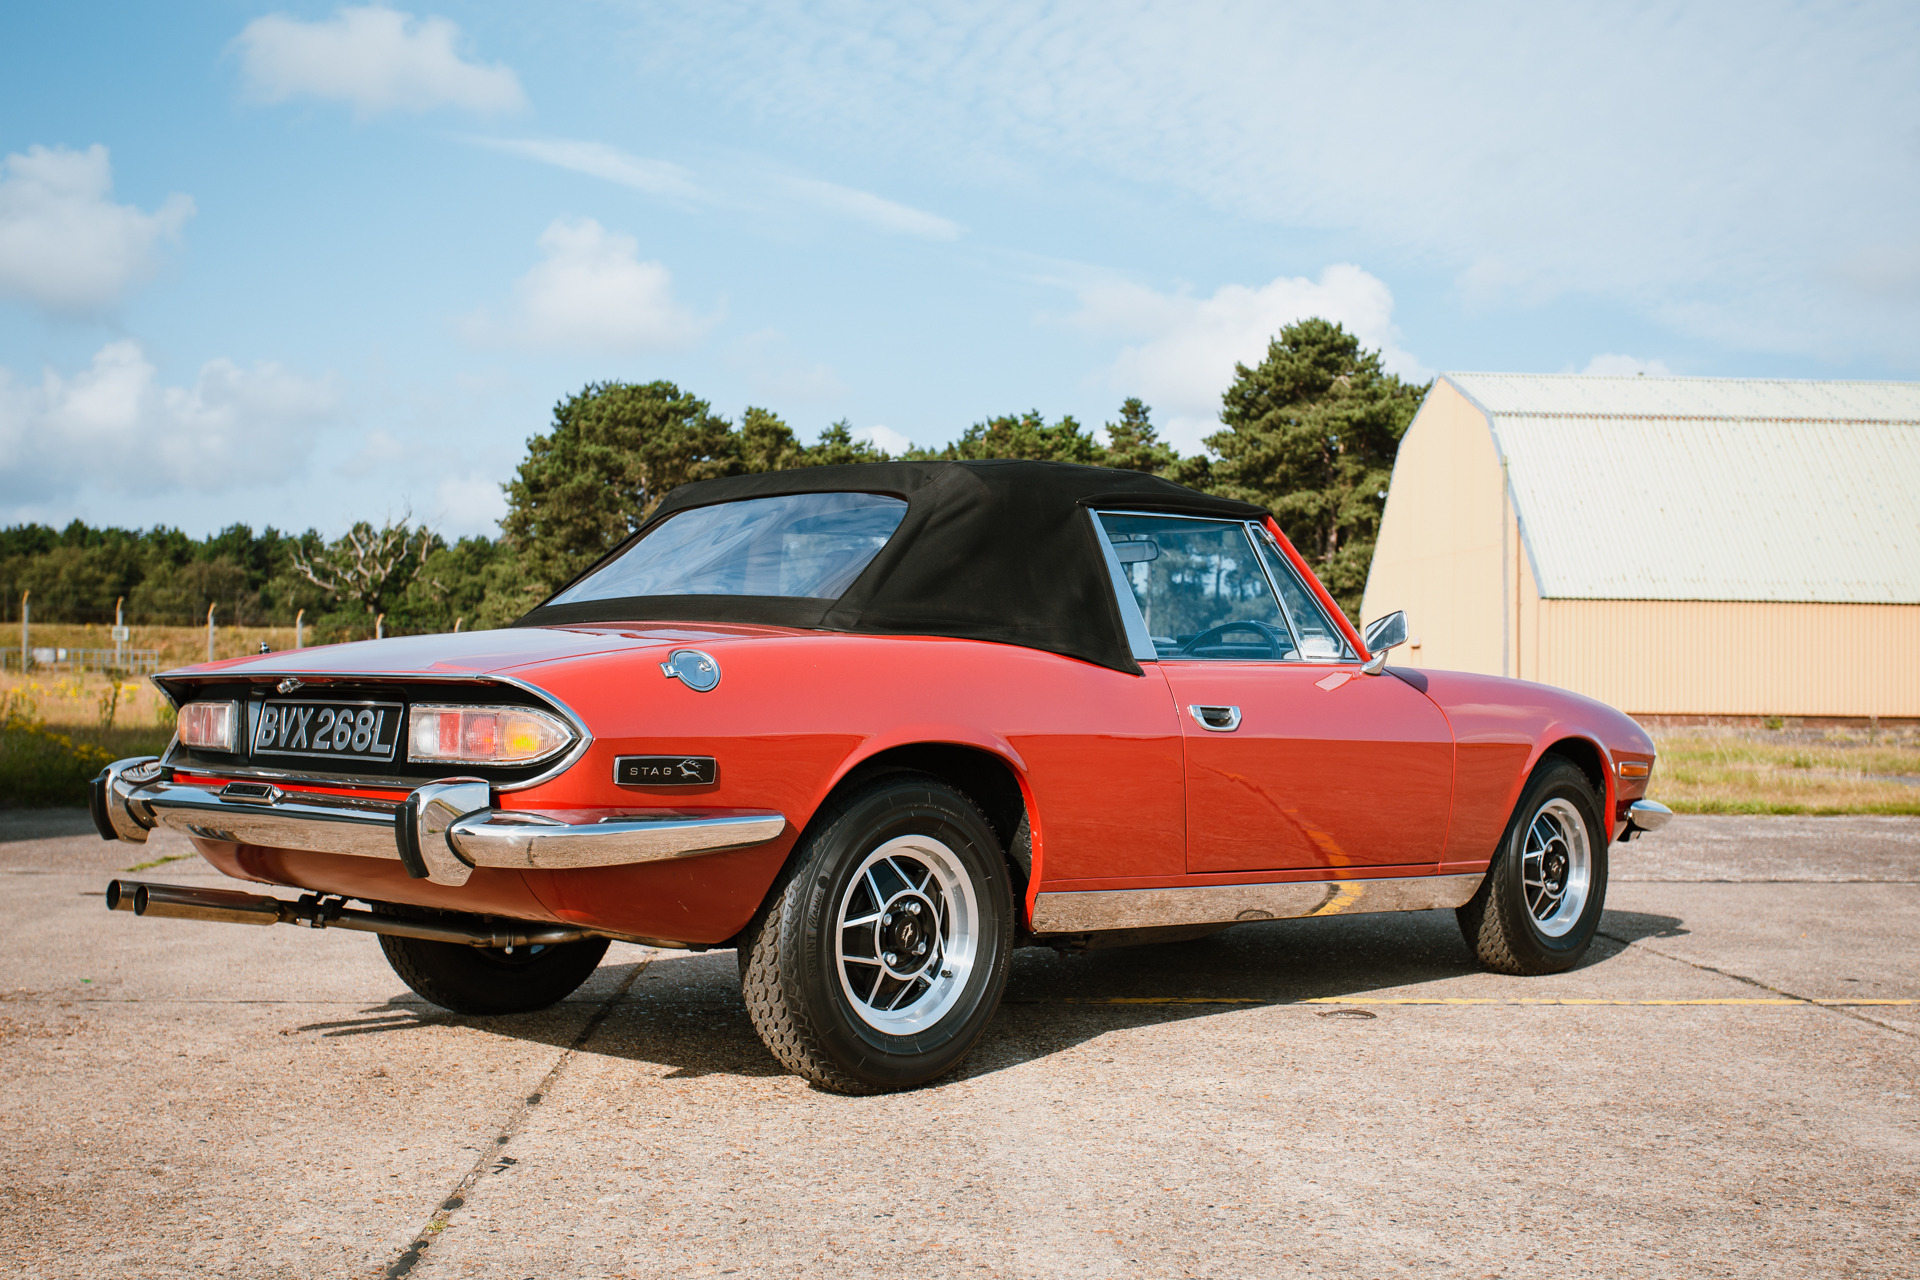
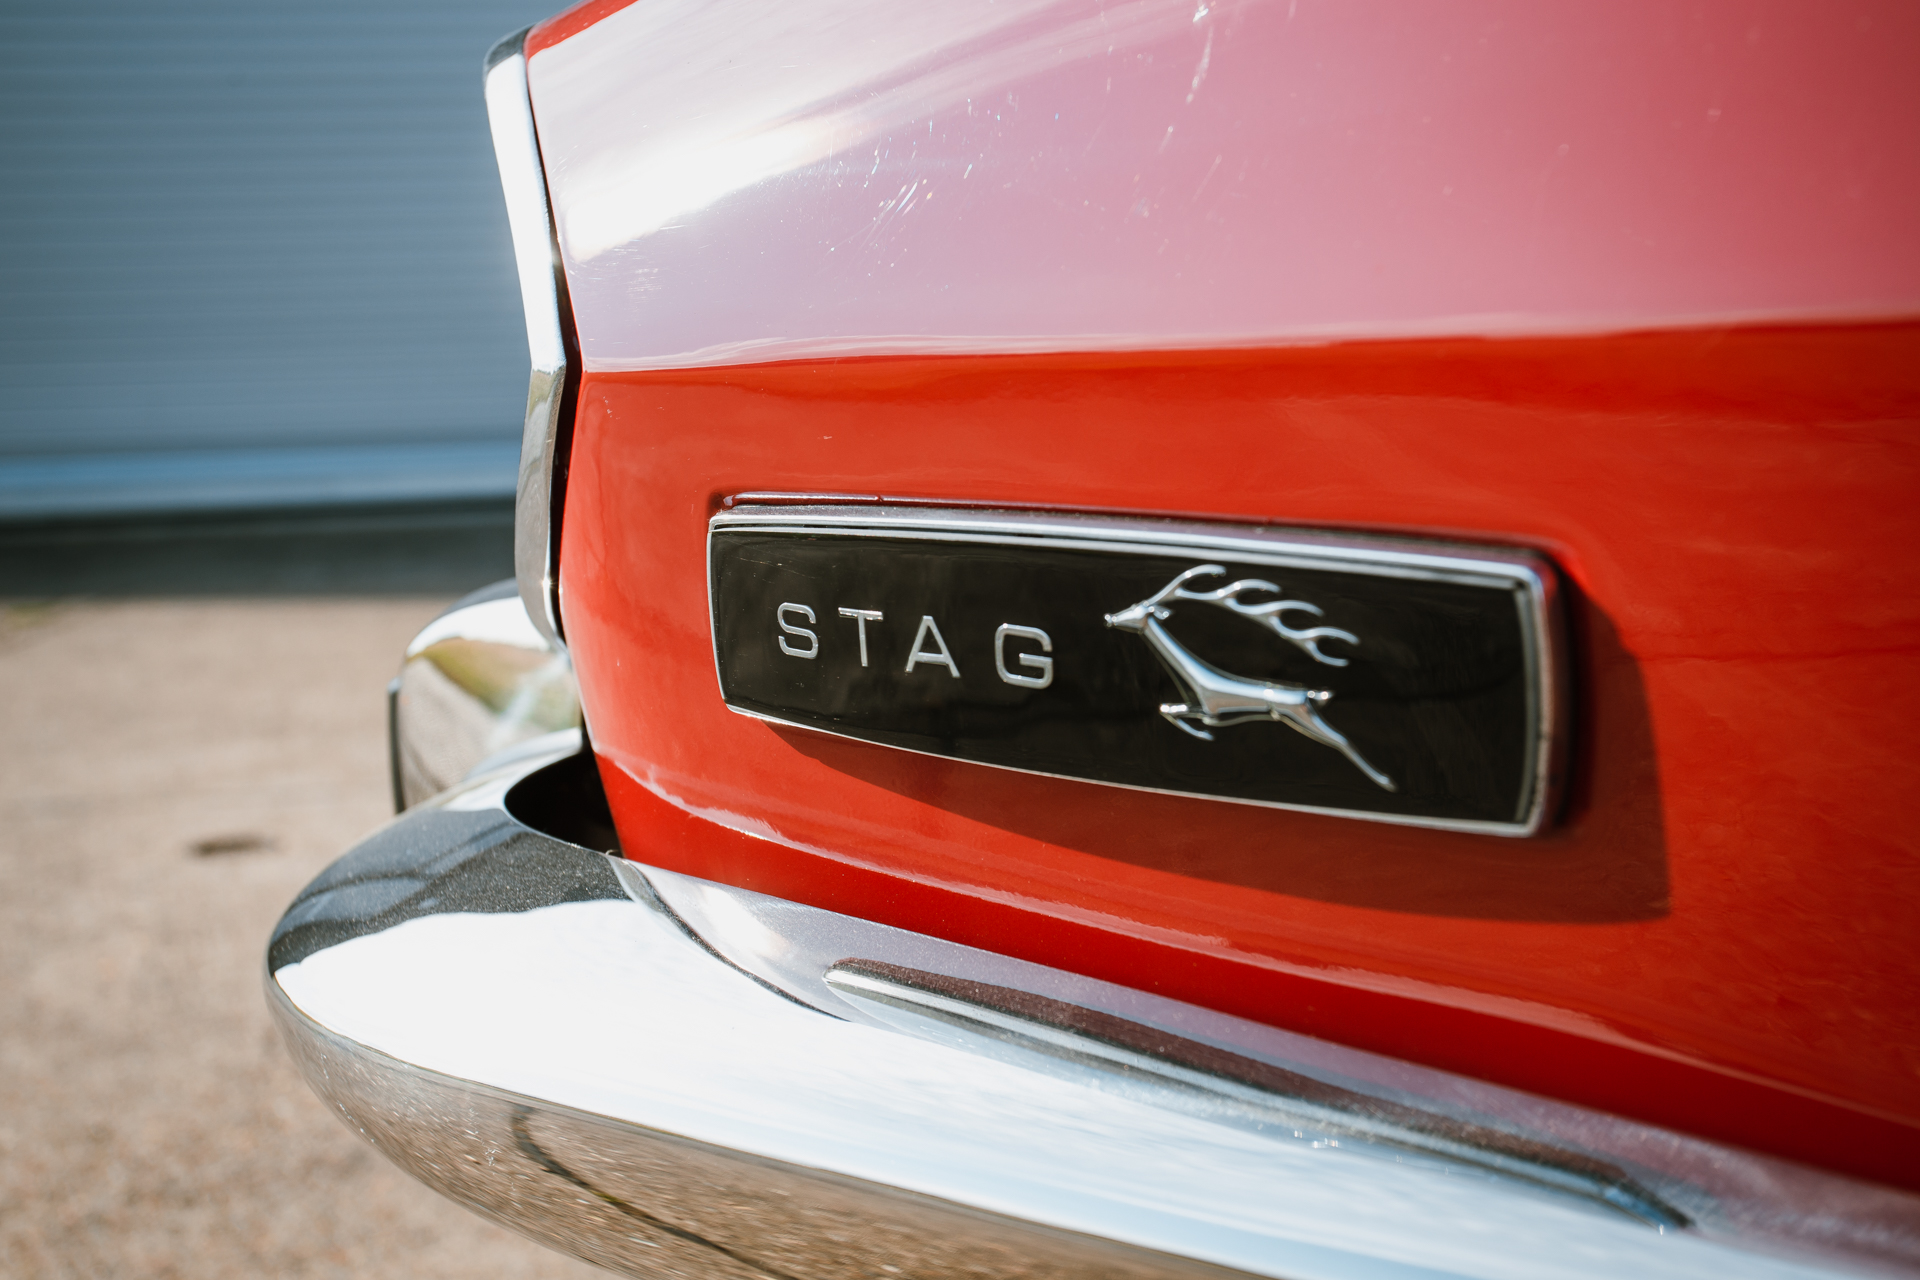
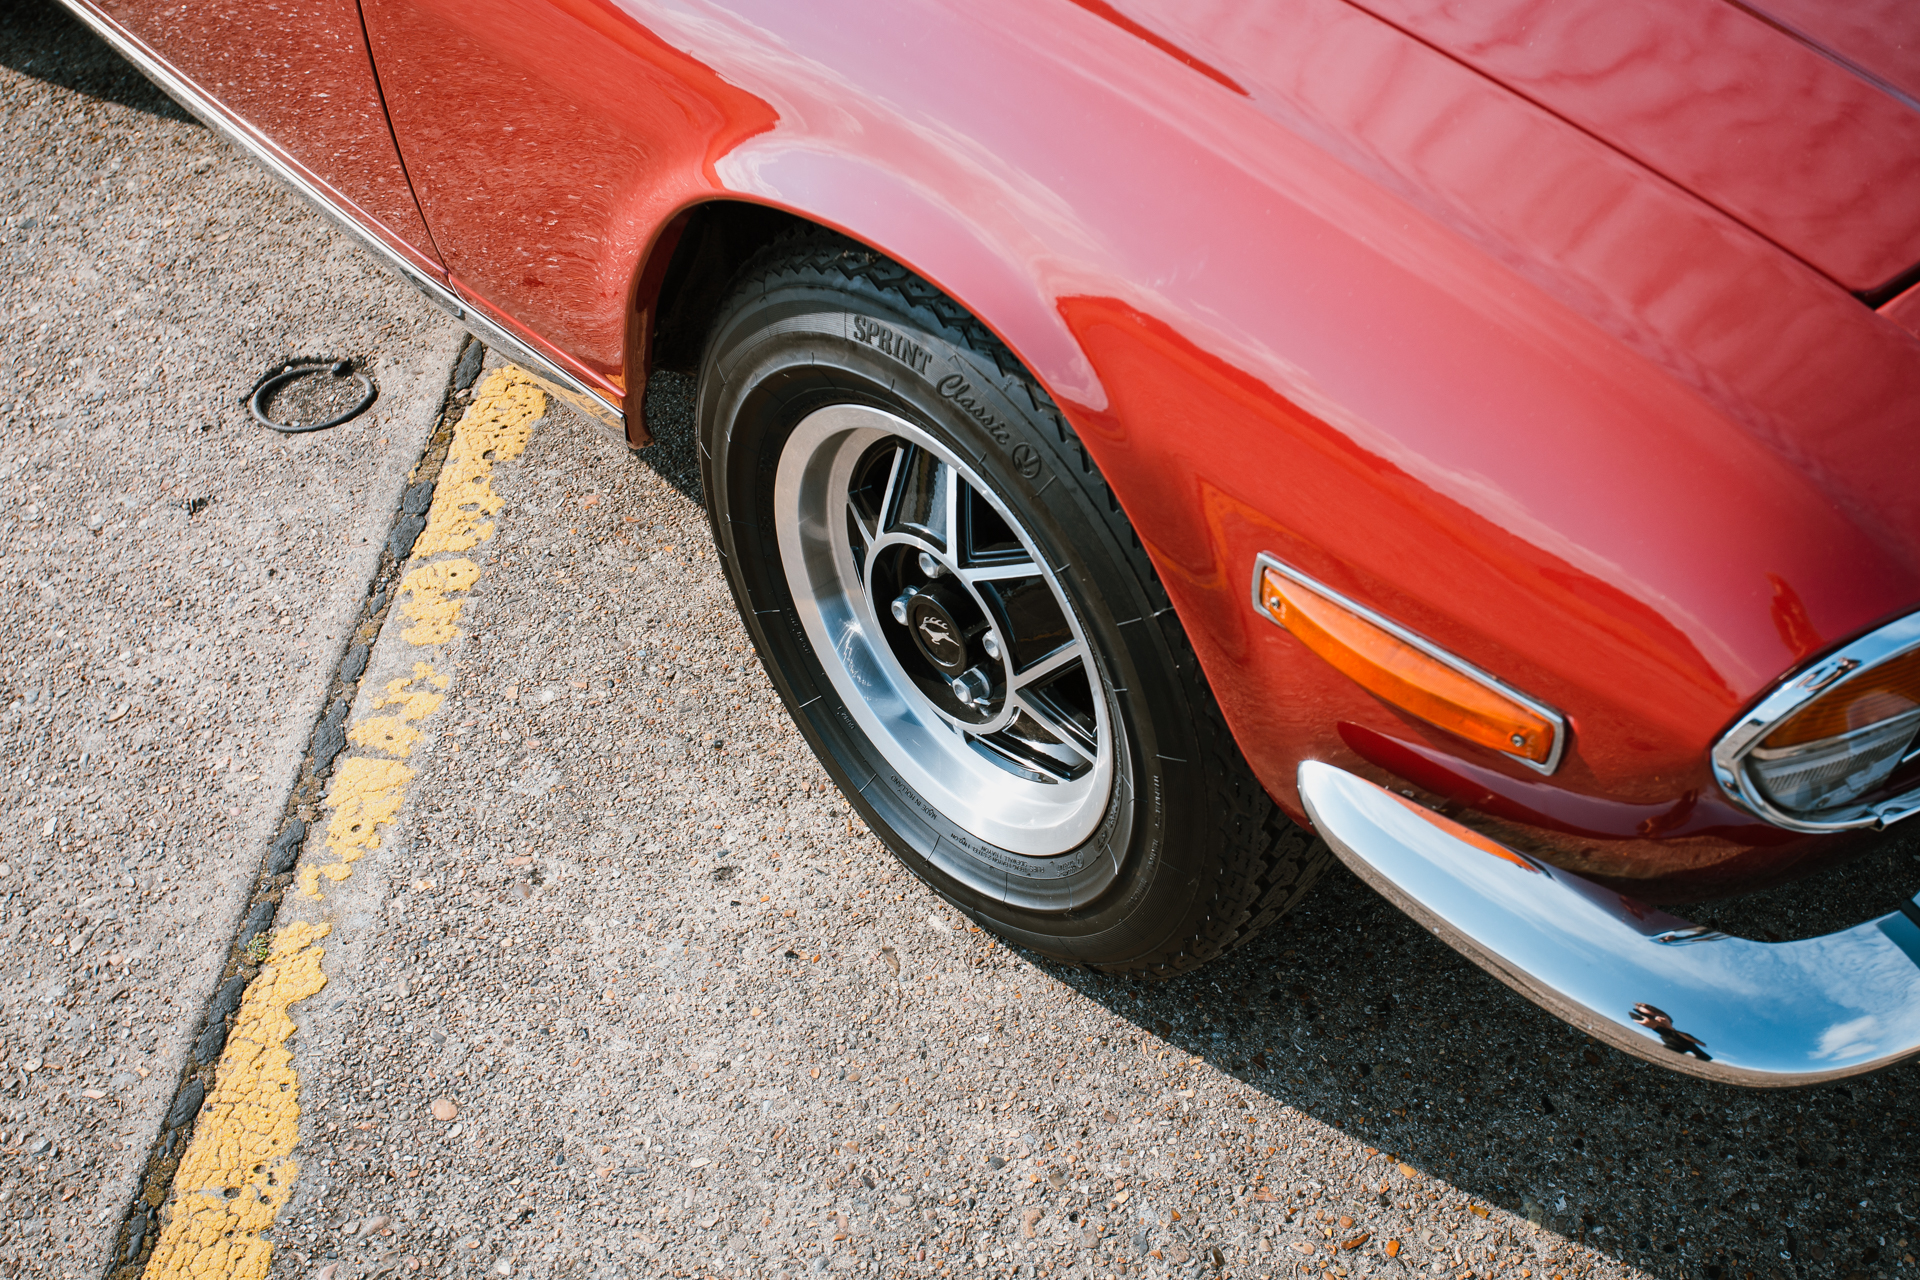
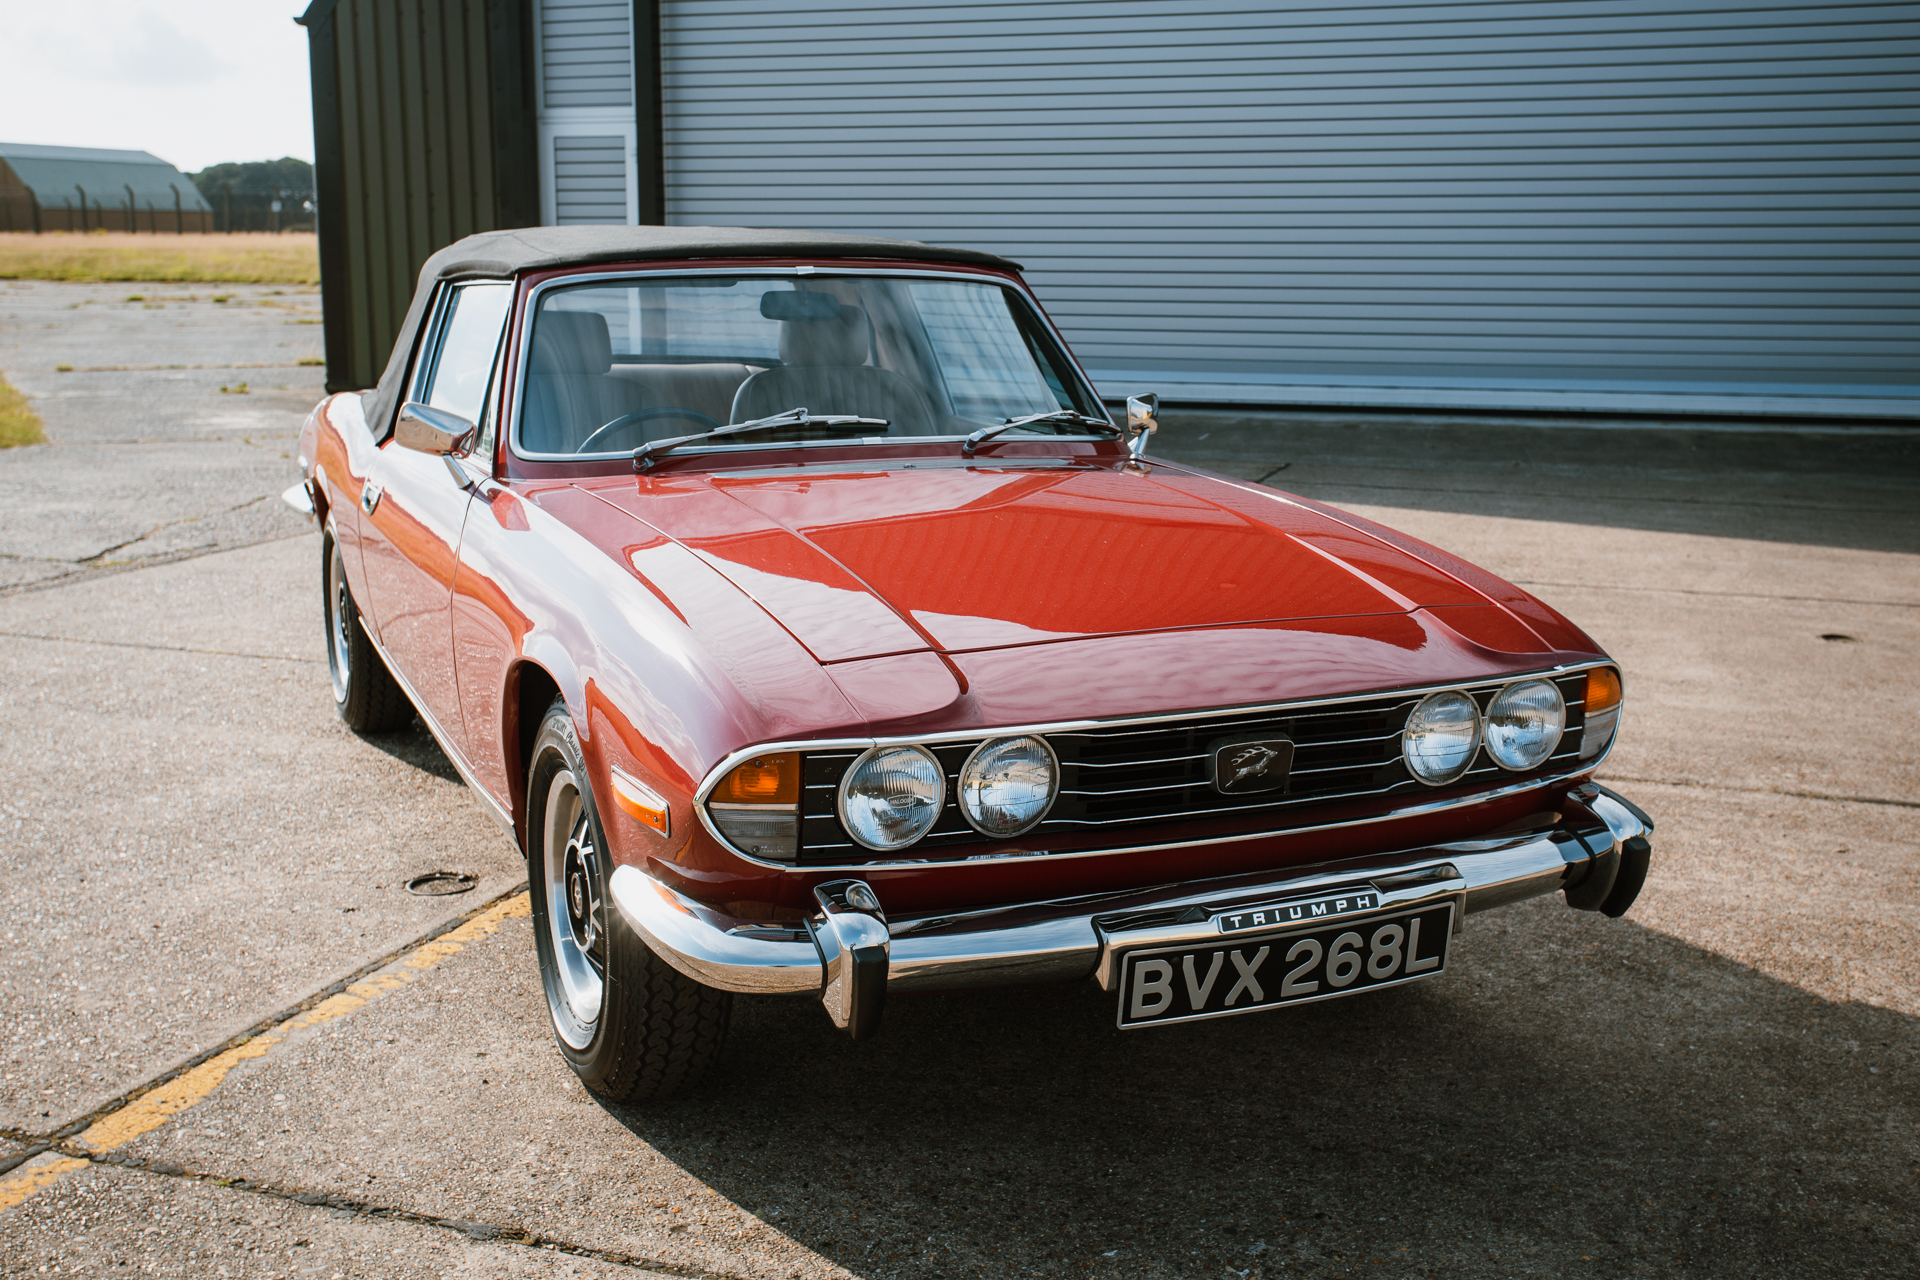
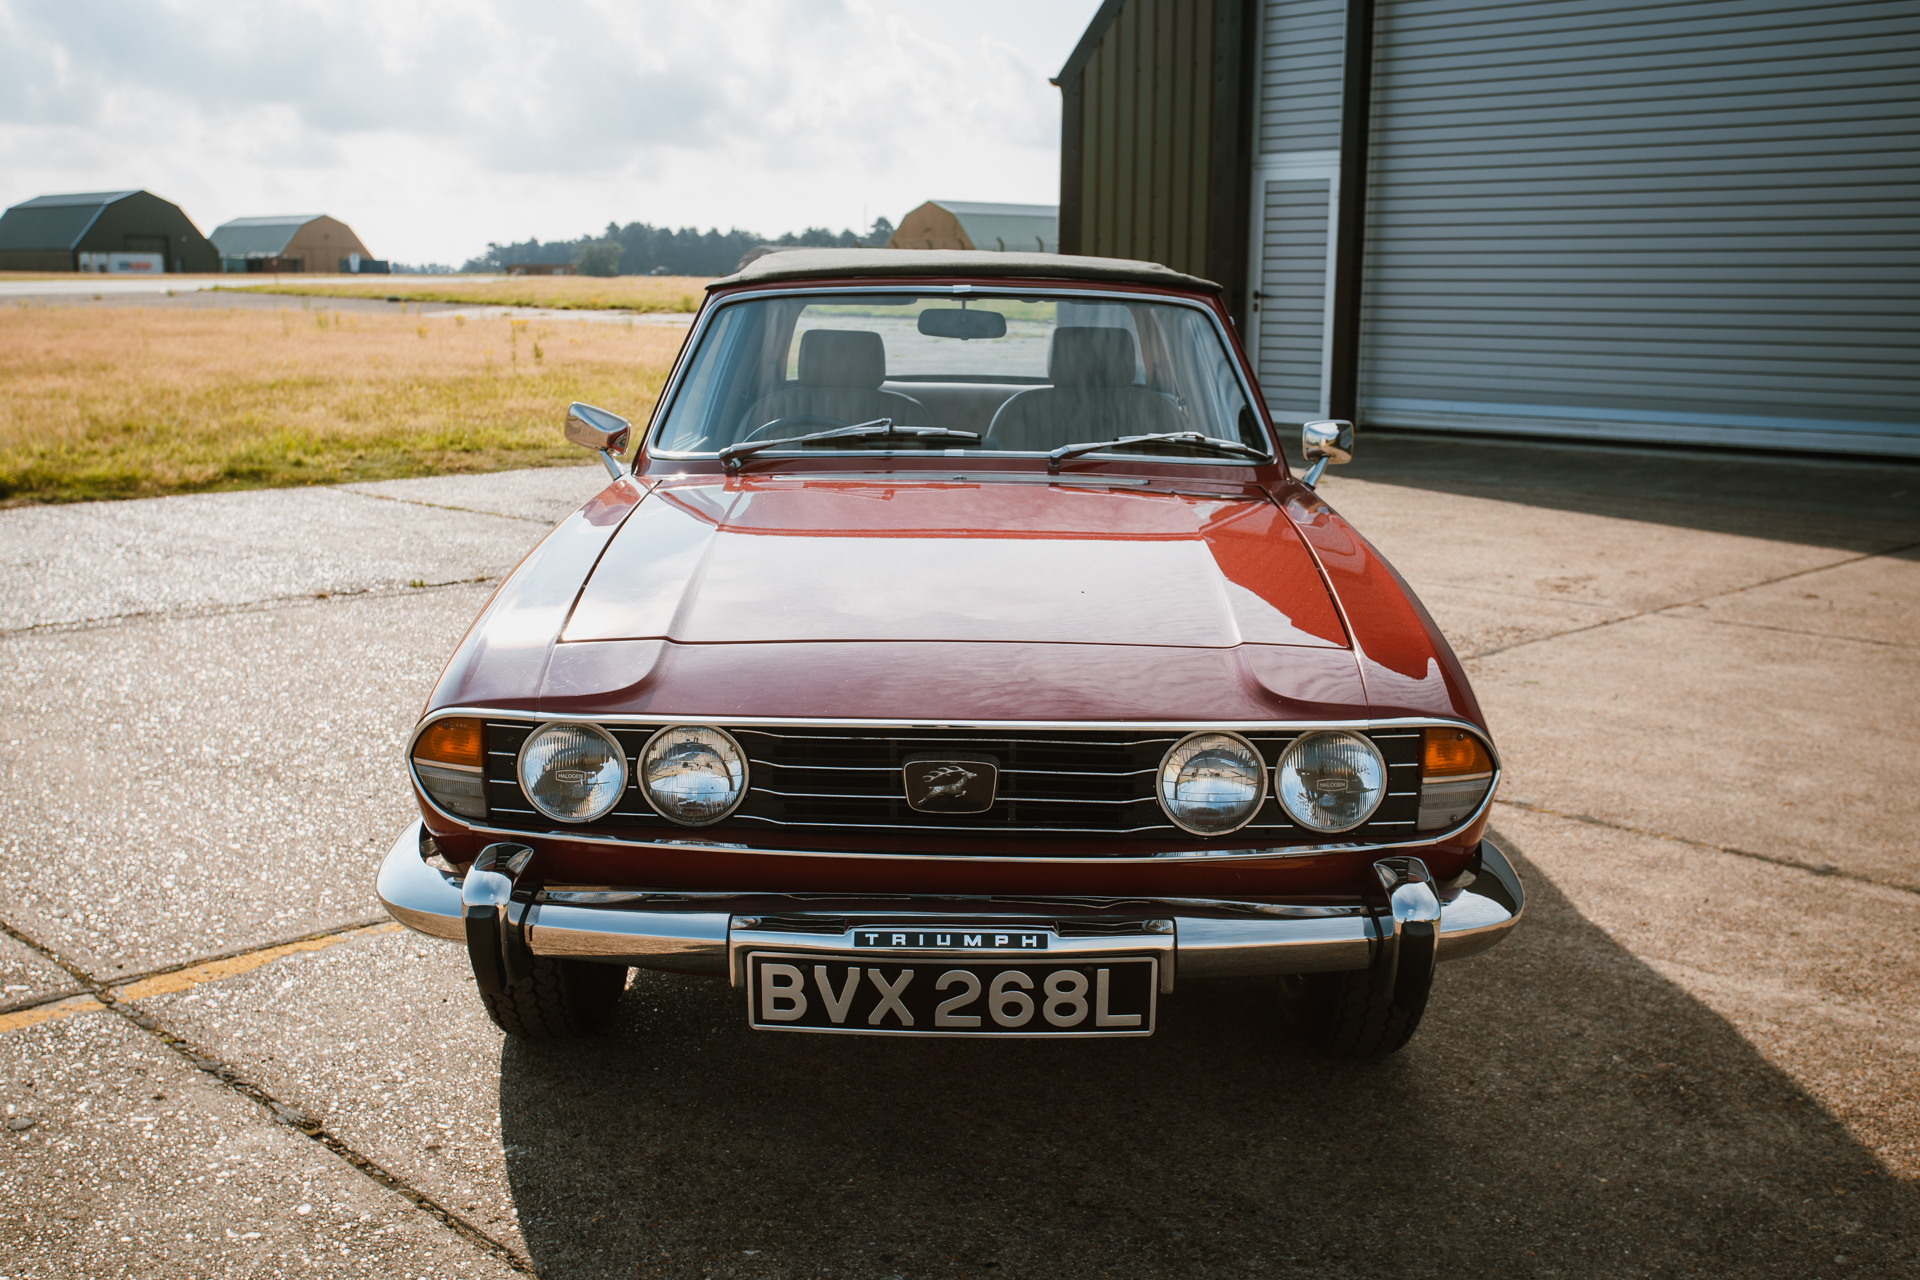
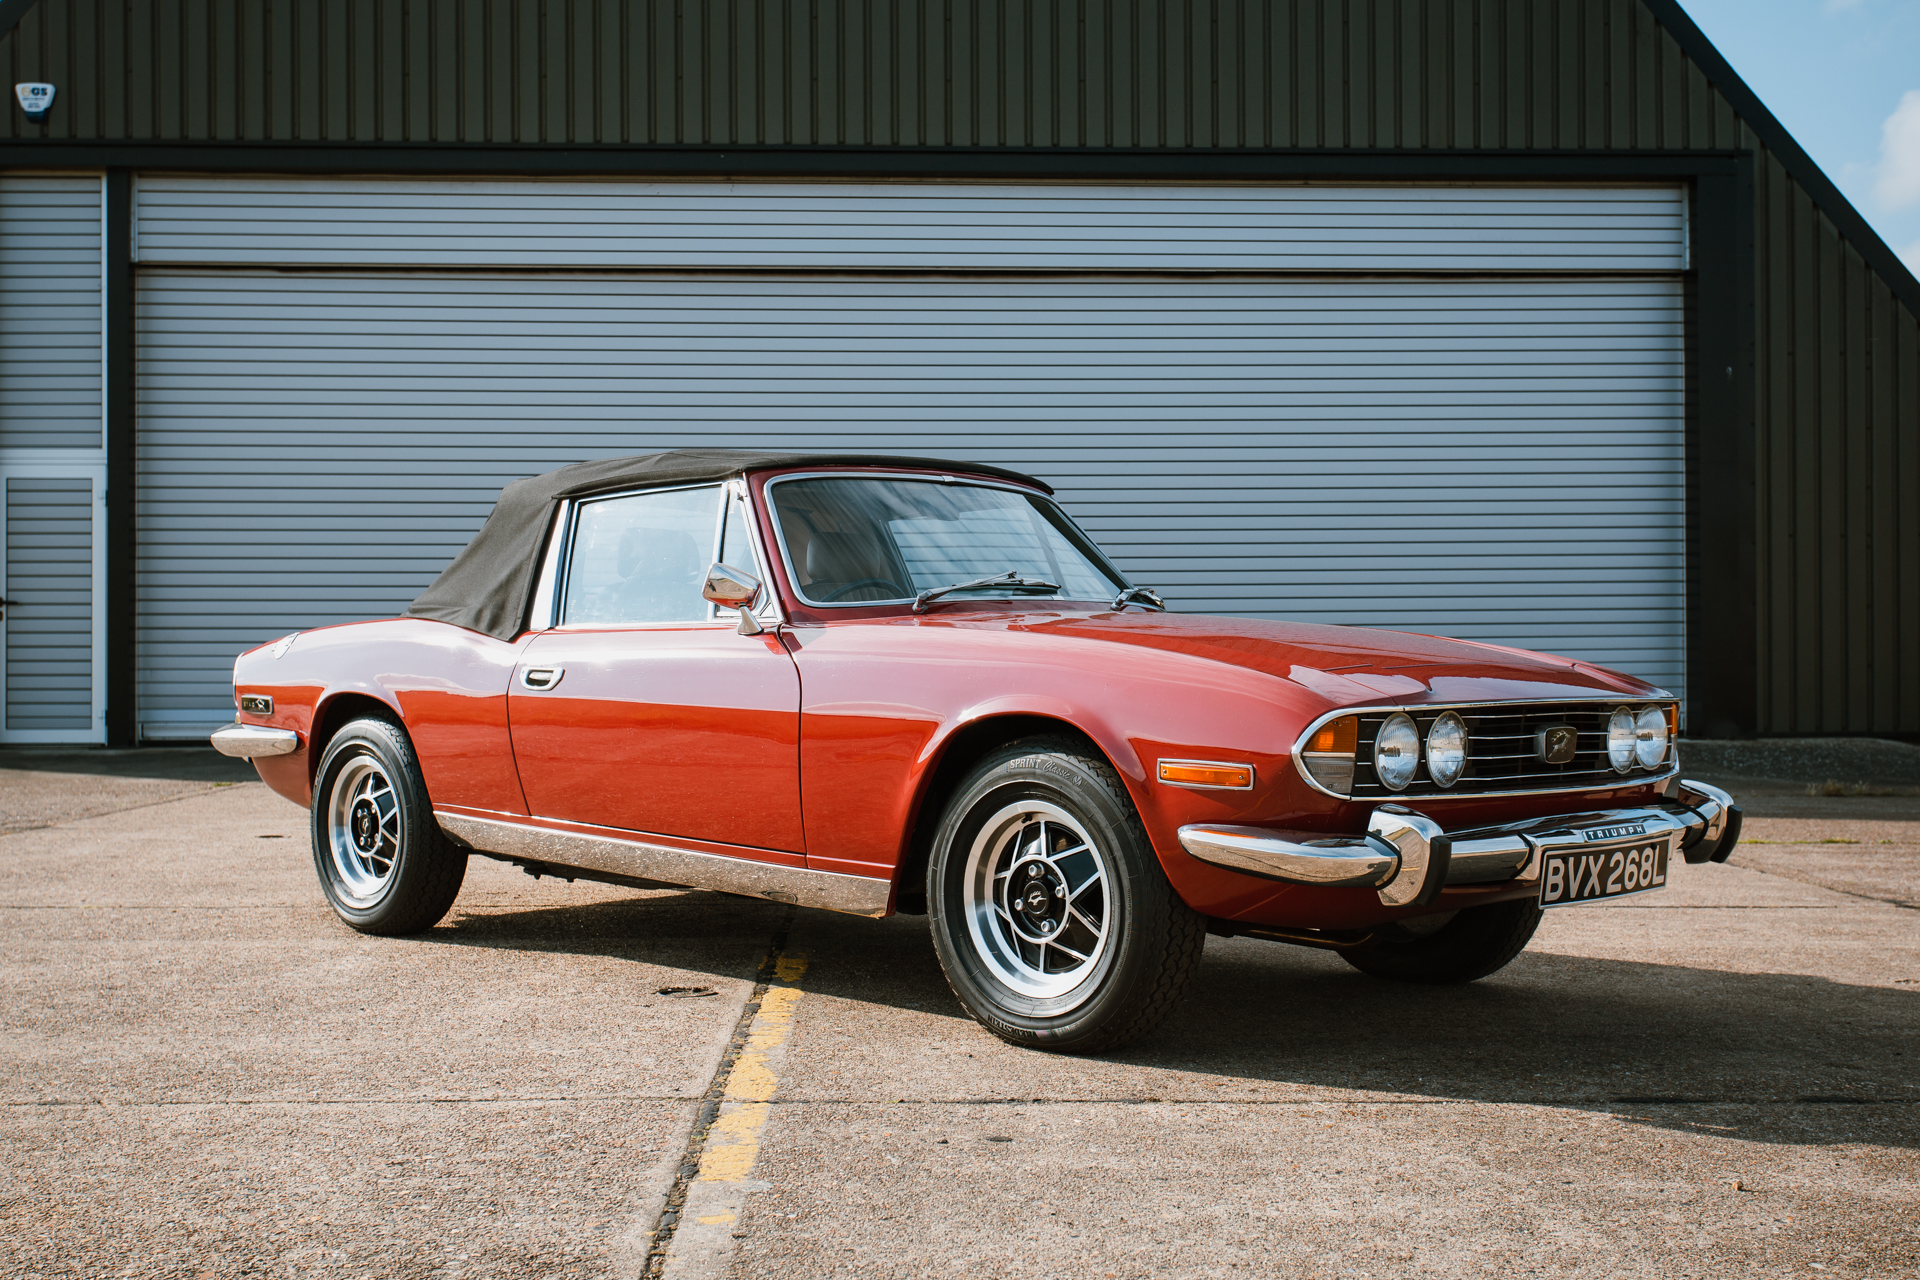
The 1973 Triumph Stag has now come to its completion stage! It’s had quite the journey! You can read in full detail about all the

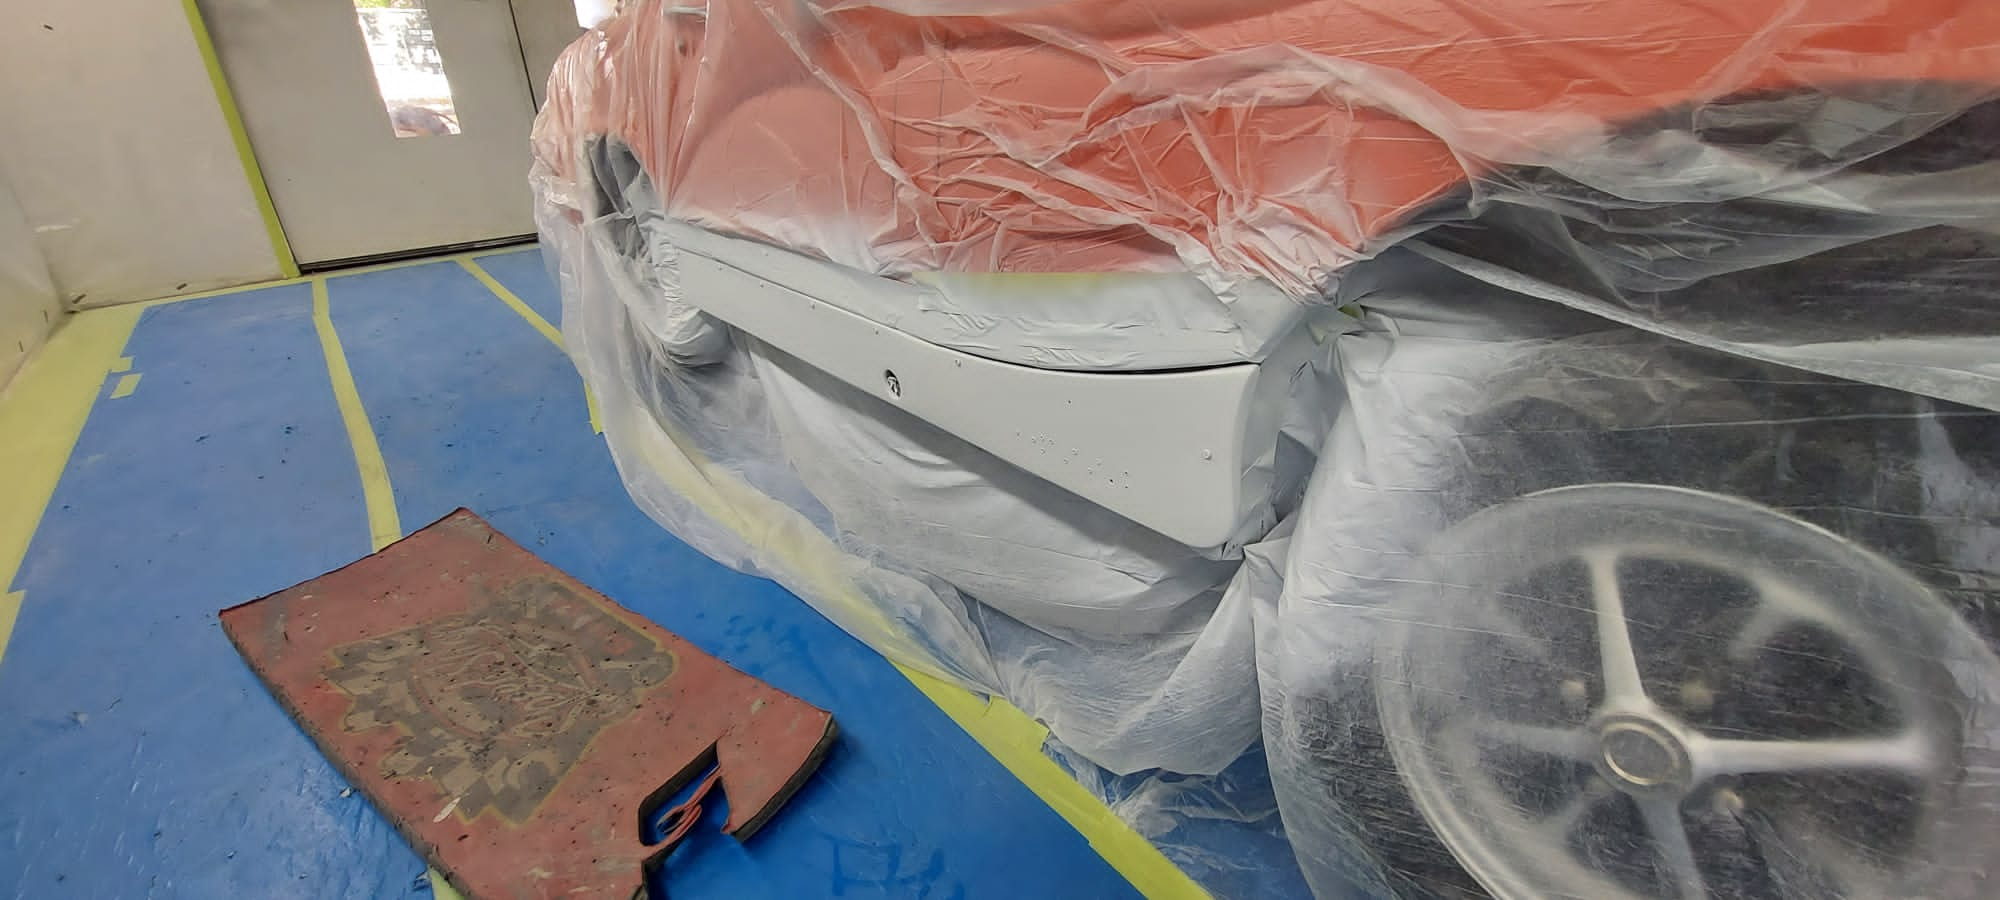
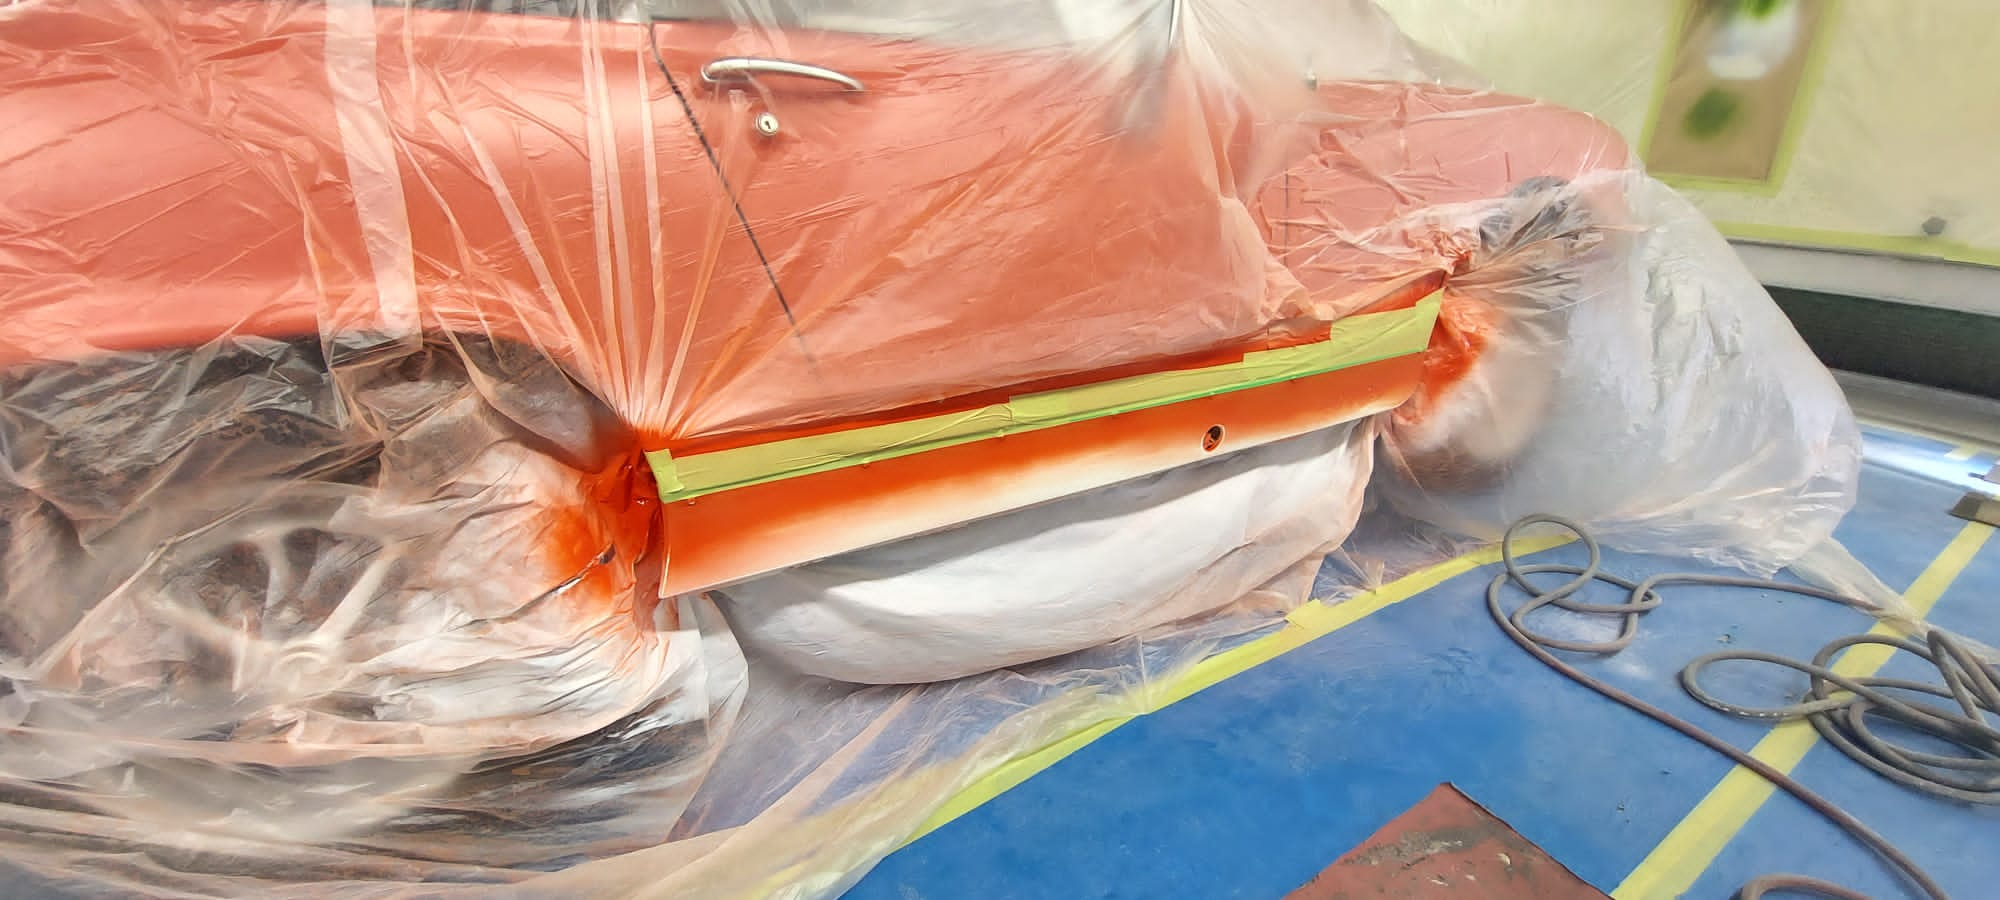
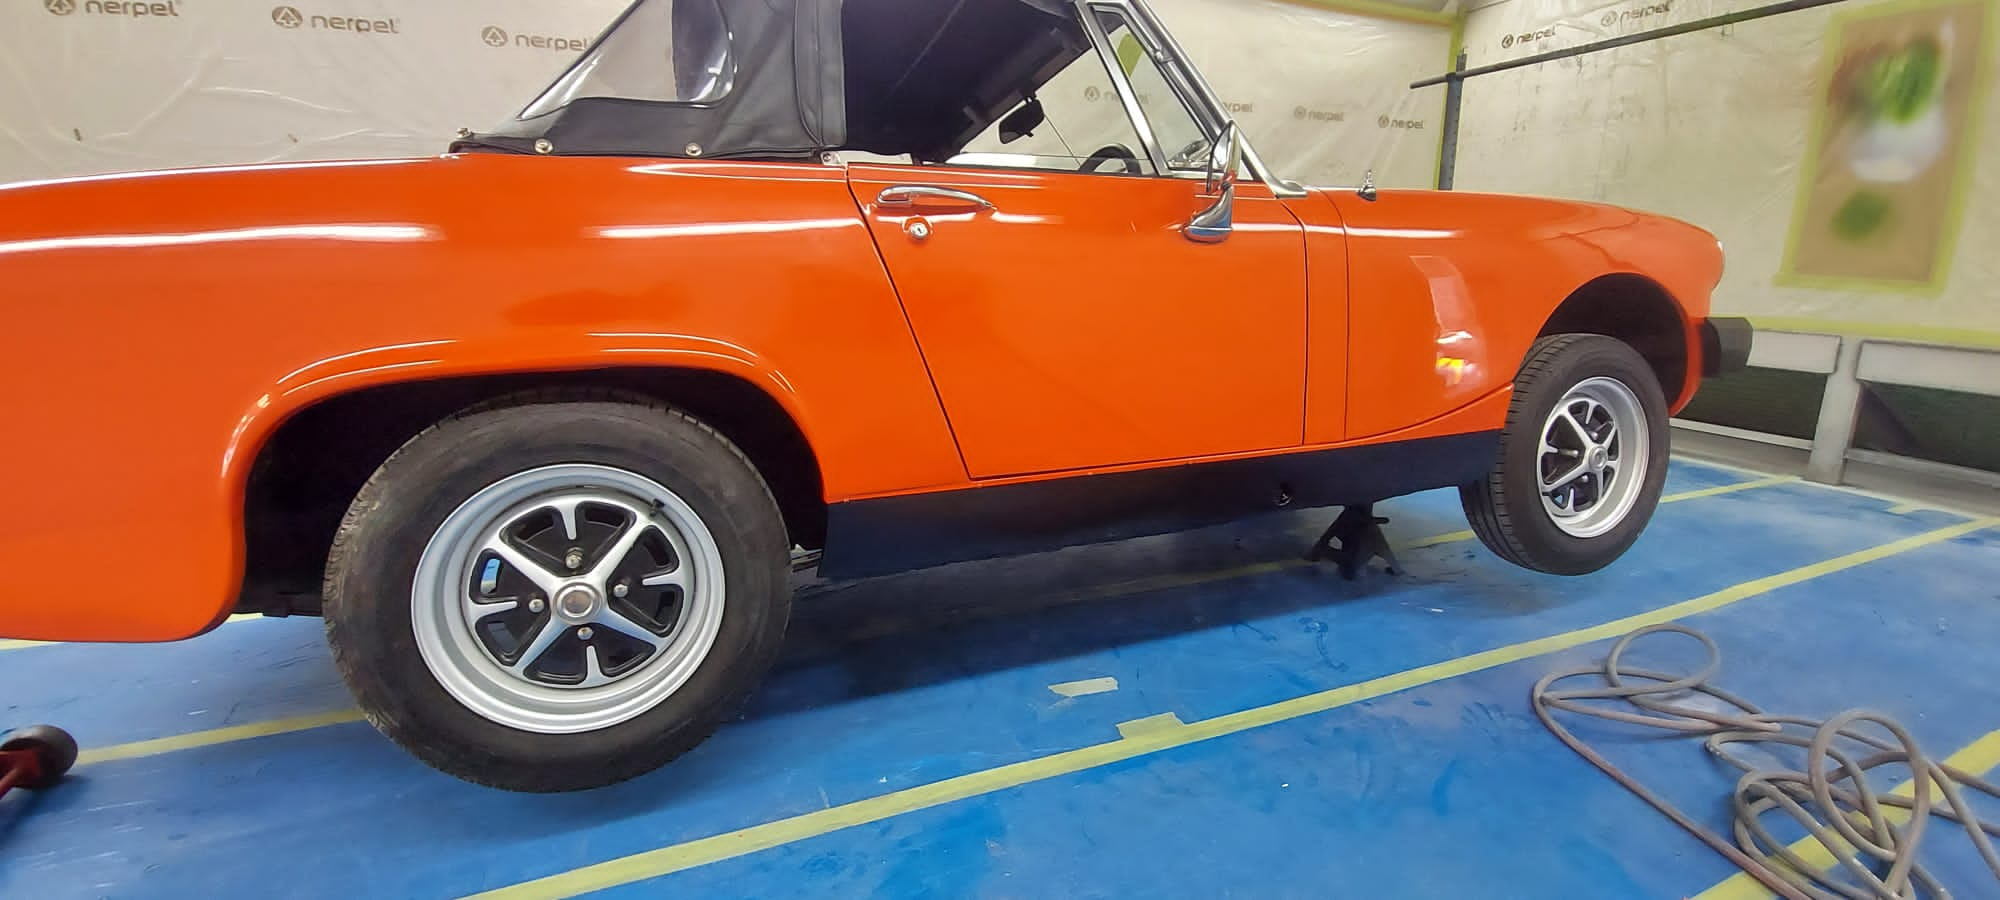
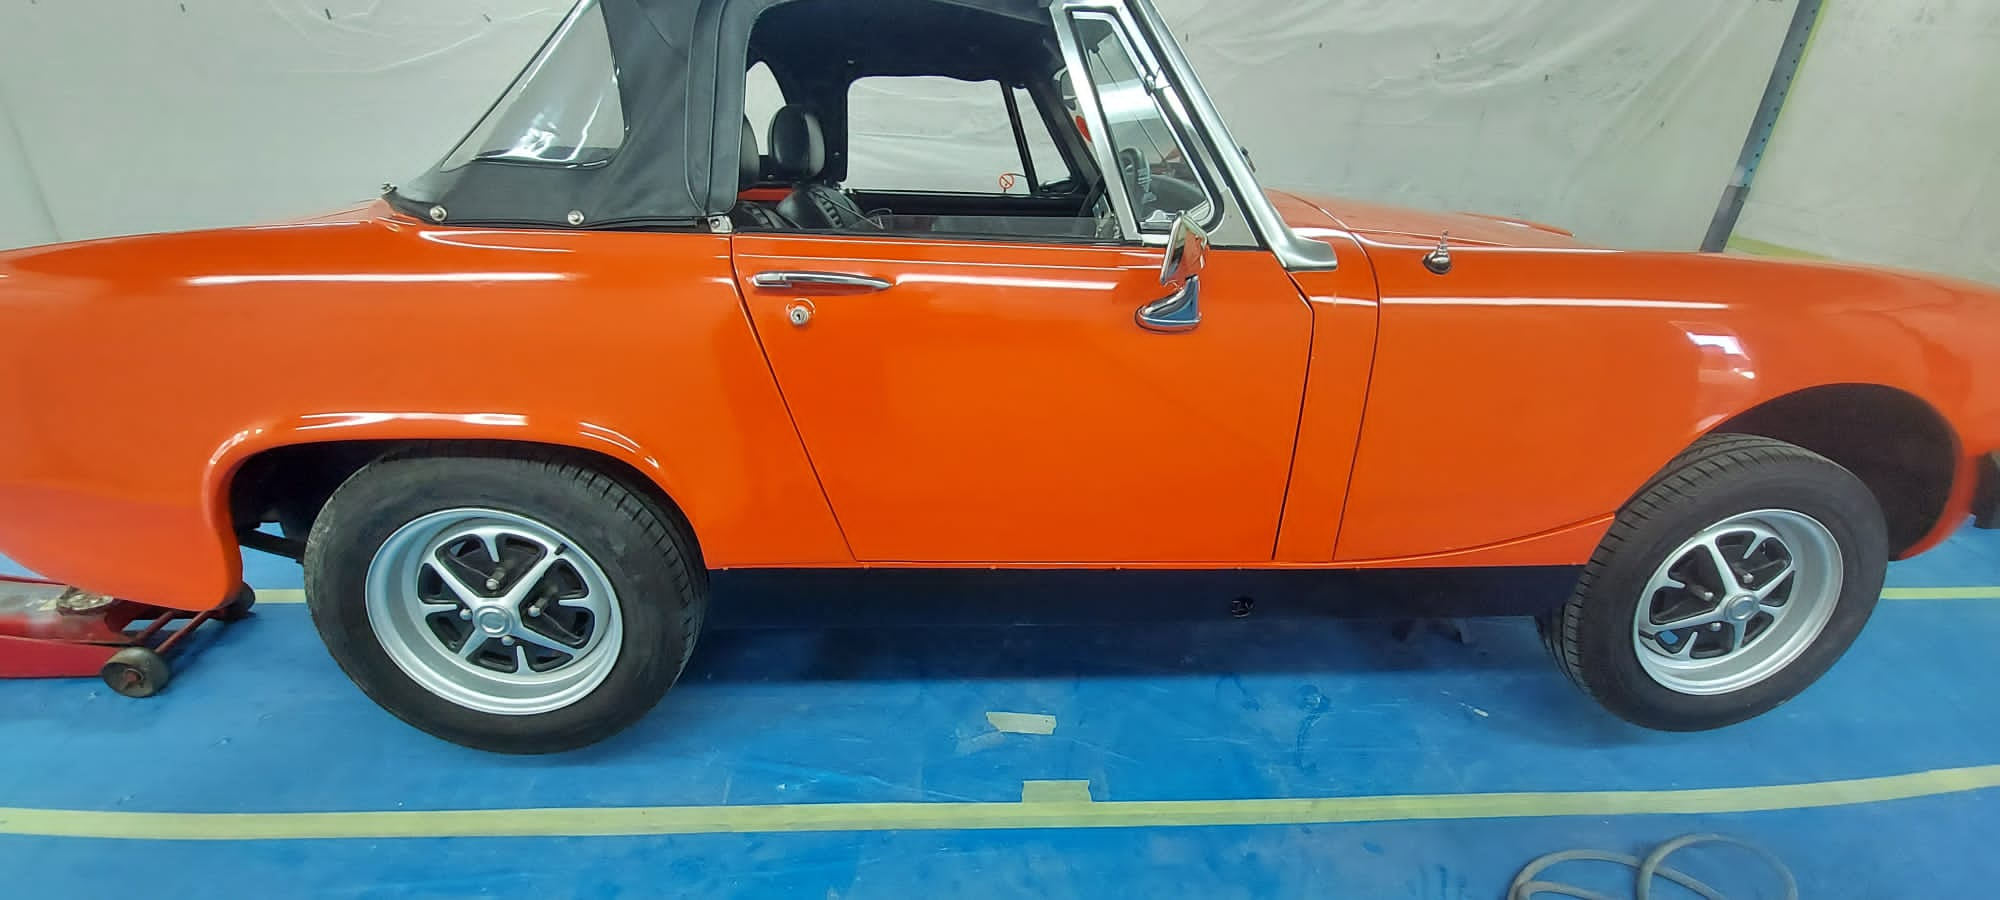
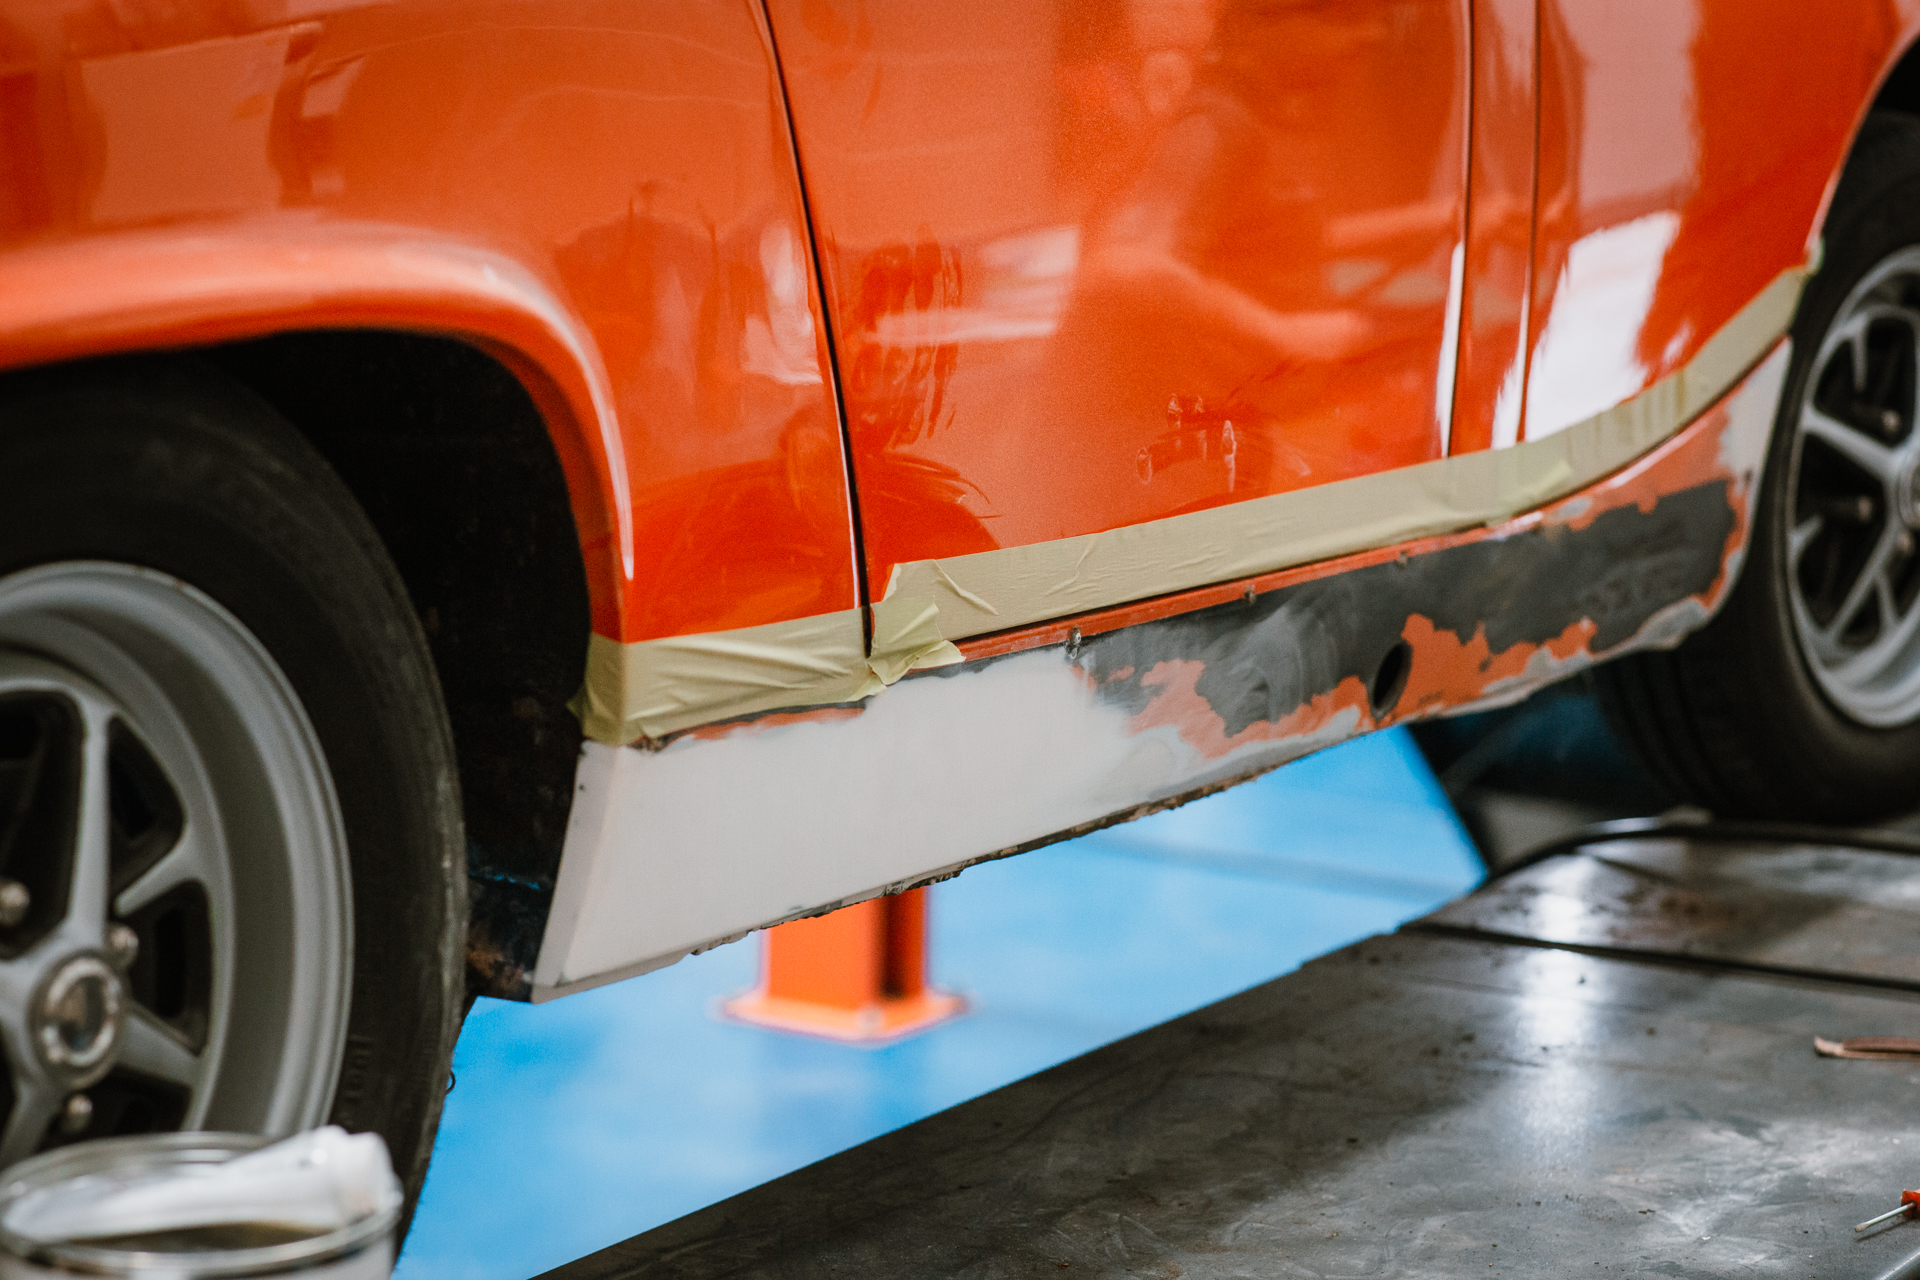
After Scott’s repair work on the offside sill of the blaze orange 1979 MG Midget, the car has since been taken into the paint shop

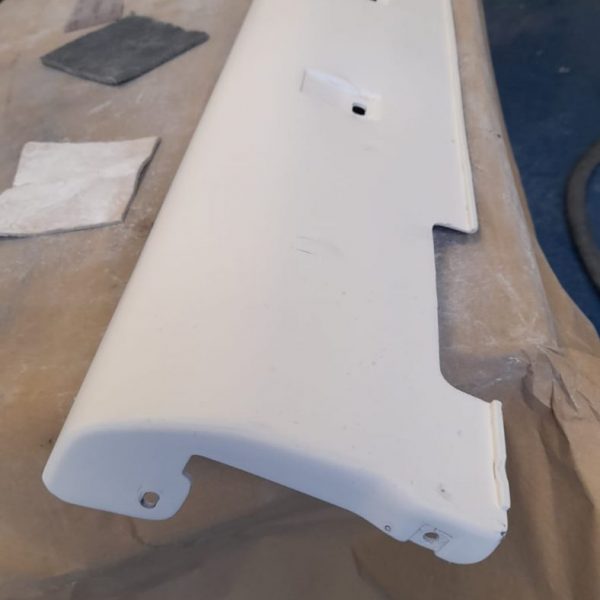
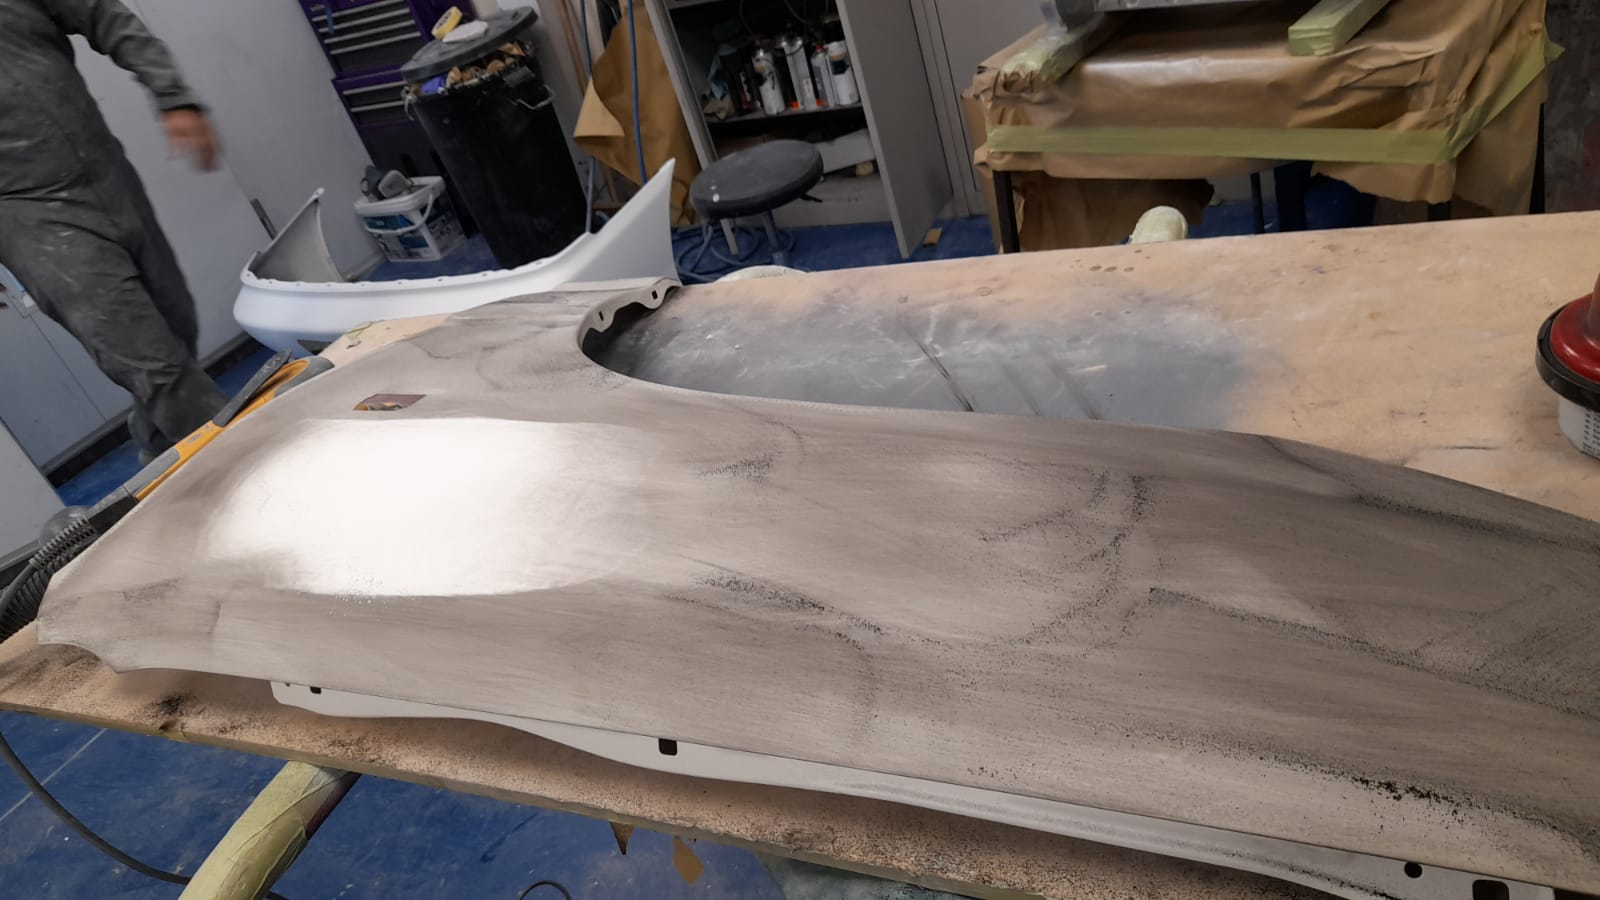
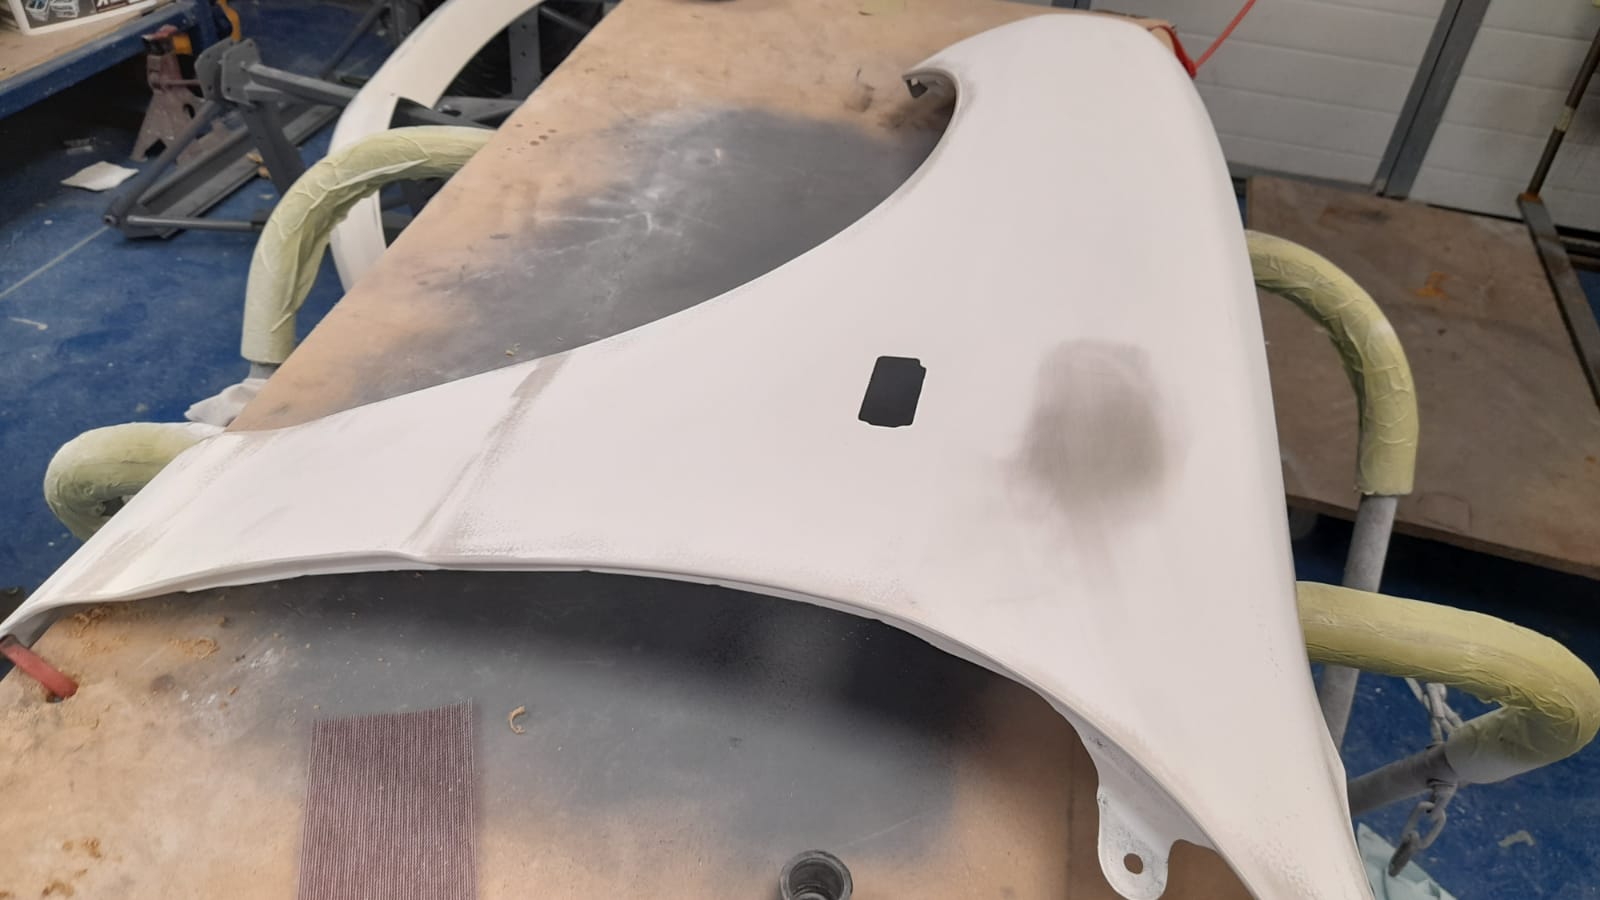
We check in to our DB2/4 restoration as Clinton is finalising the bonnet fabrication. Clinton has fabricated brand new hinges and completely reshaped the lower
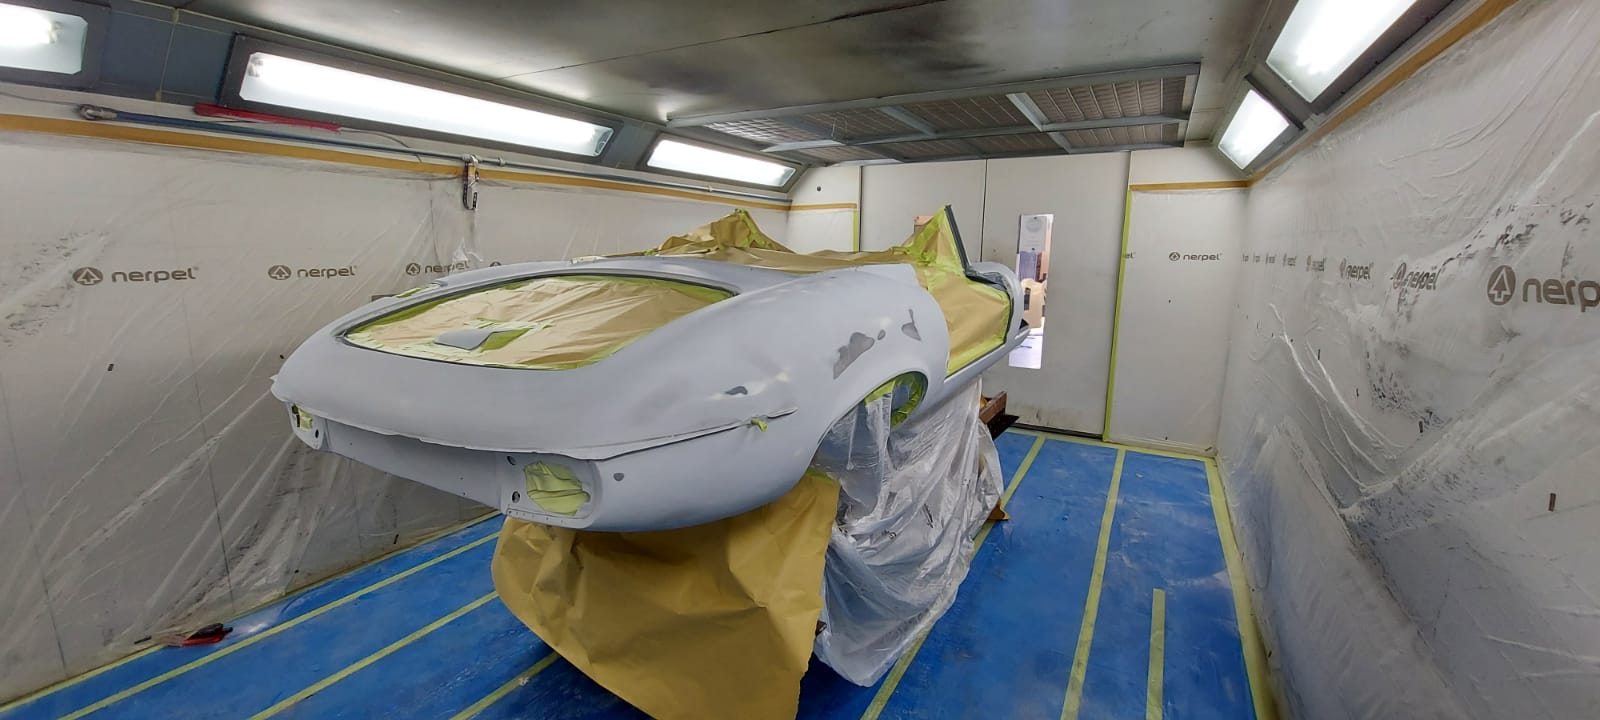
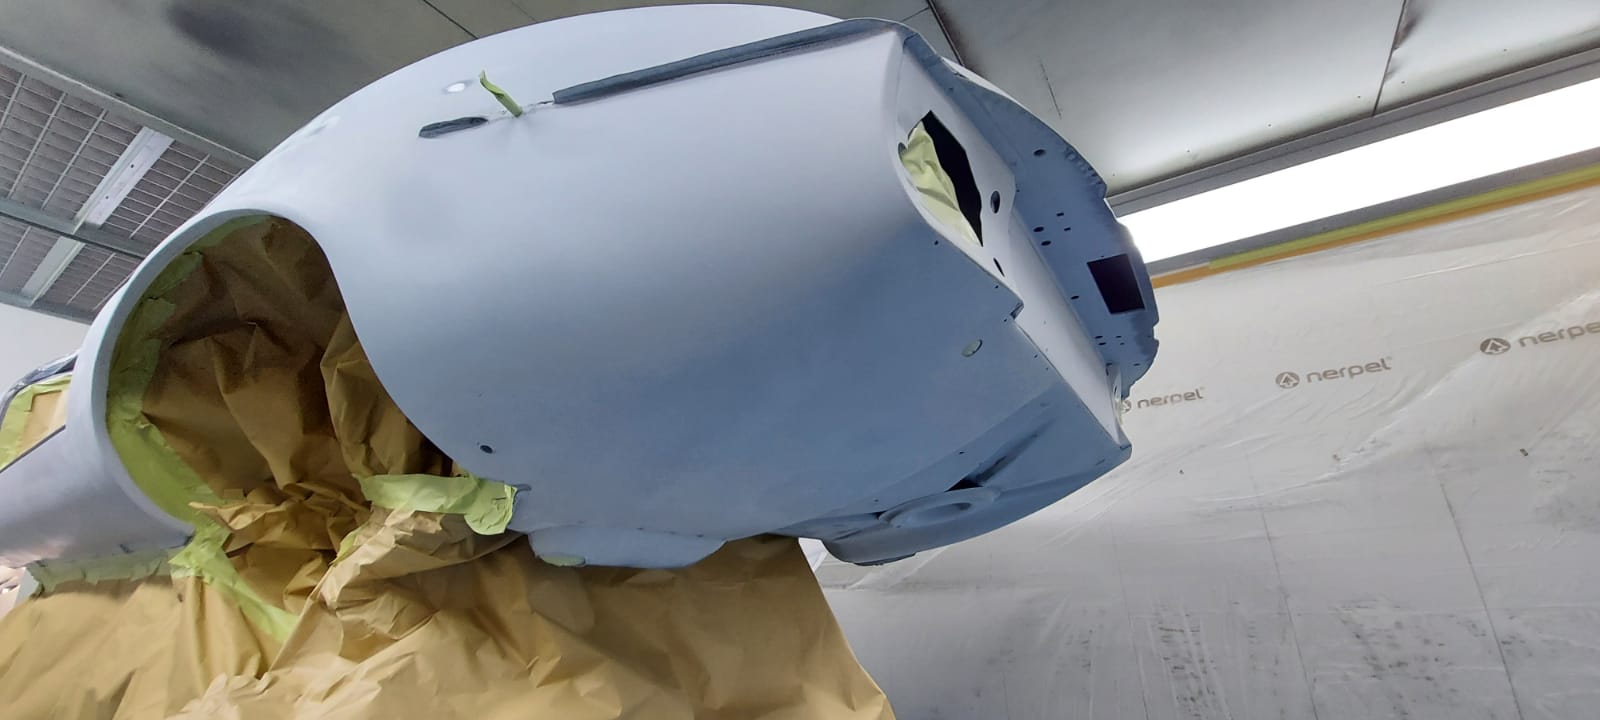
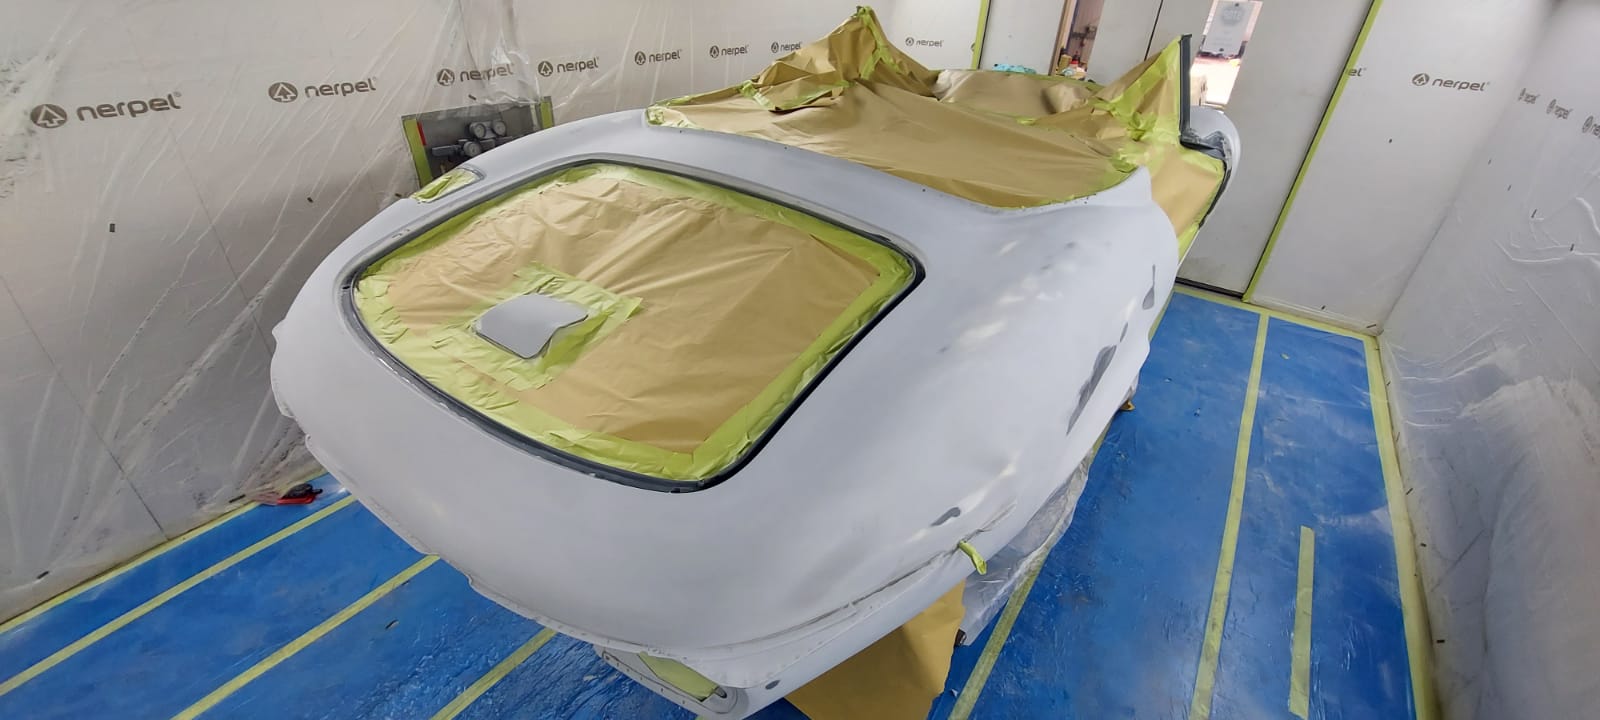
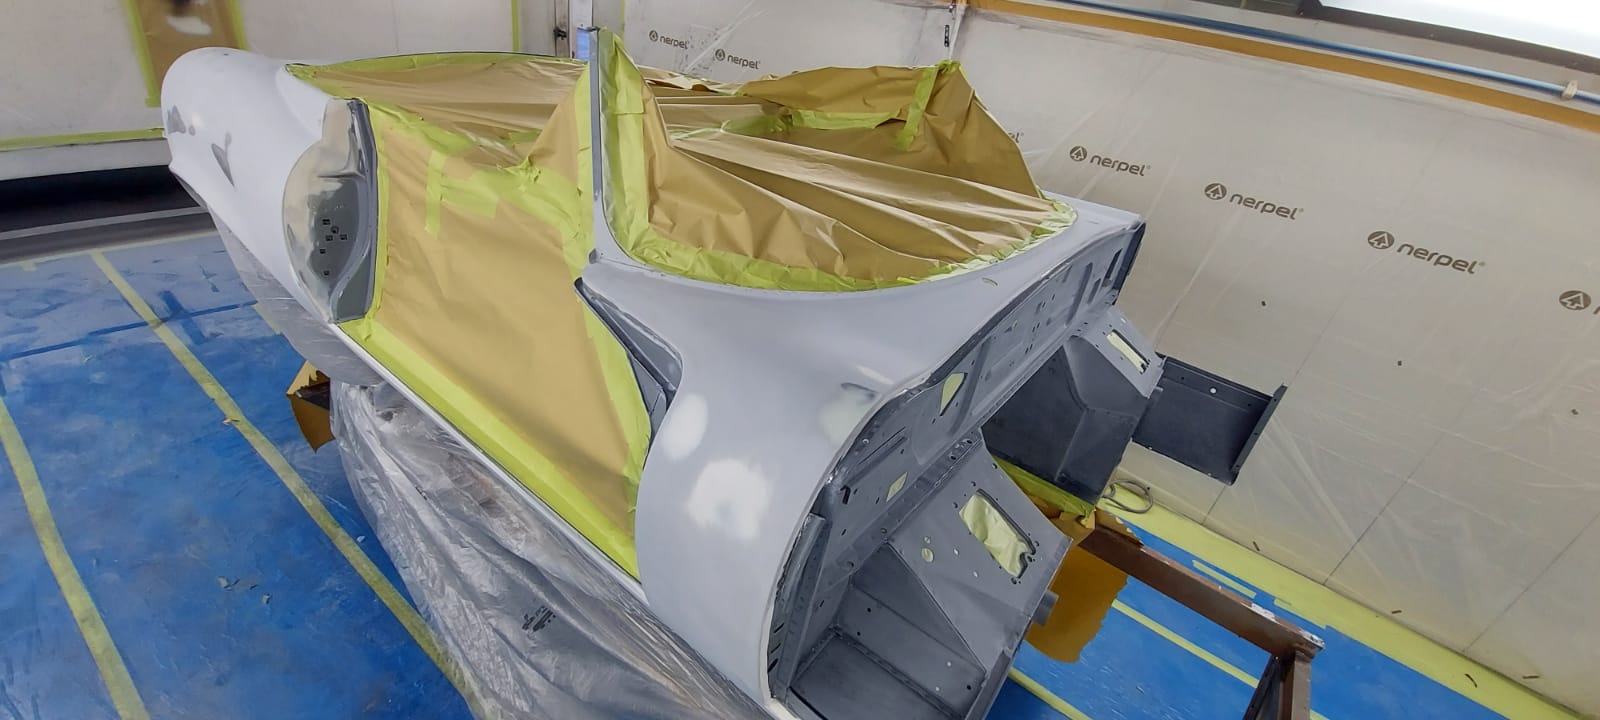
Lydia has been sanding down the primer on the front frame for the 1973 Jaguar E-Type Series 3. This was simply done with 500-grade soft
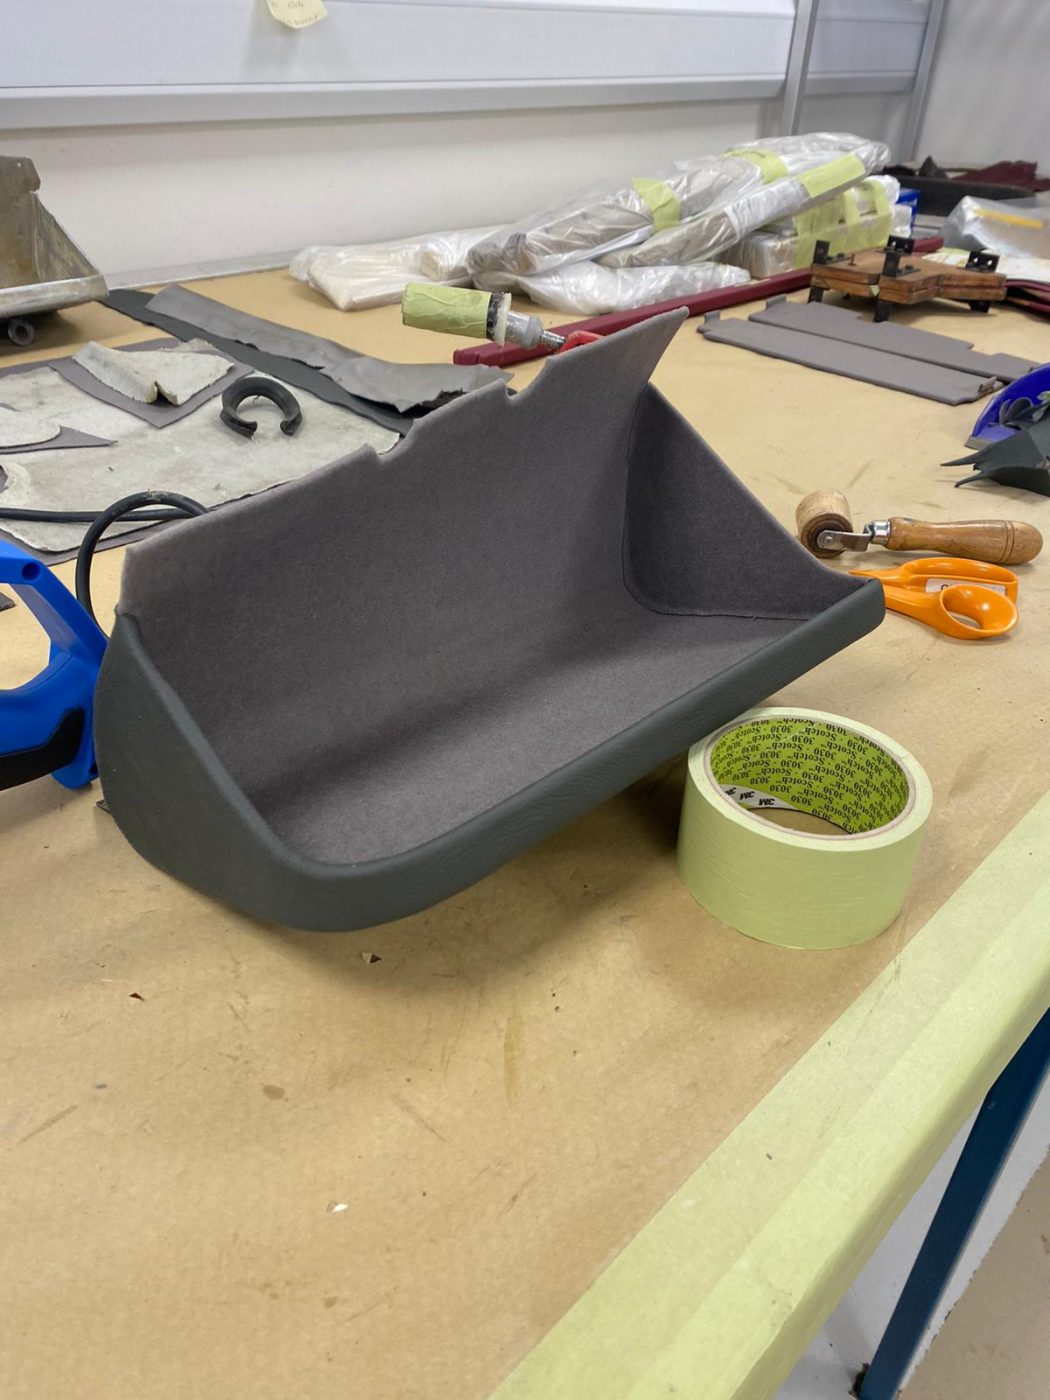
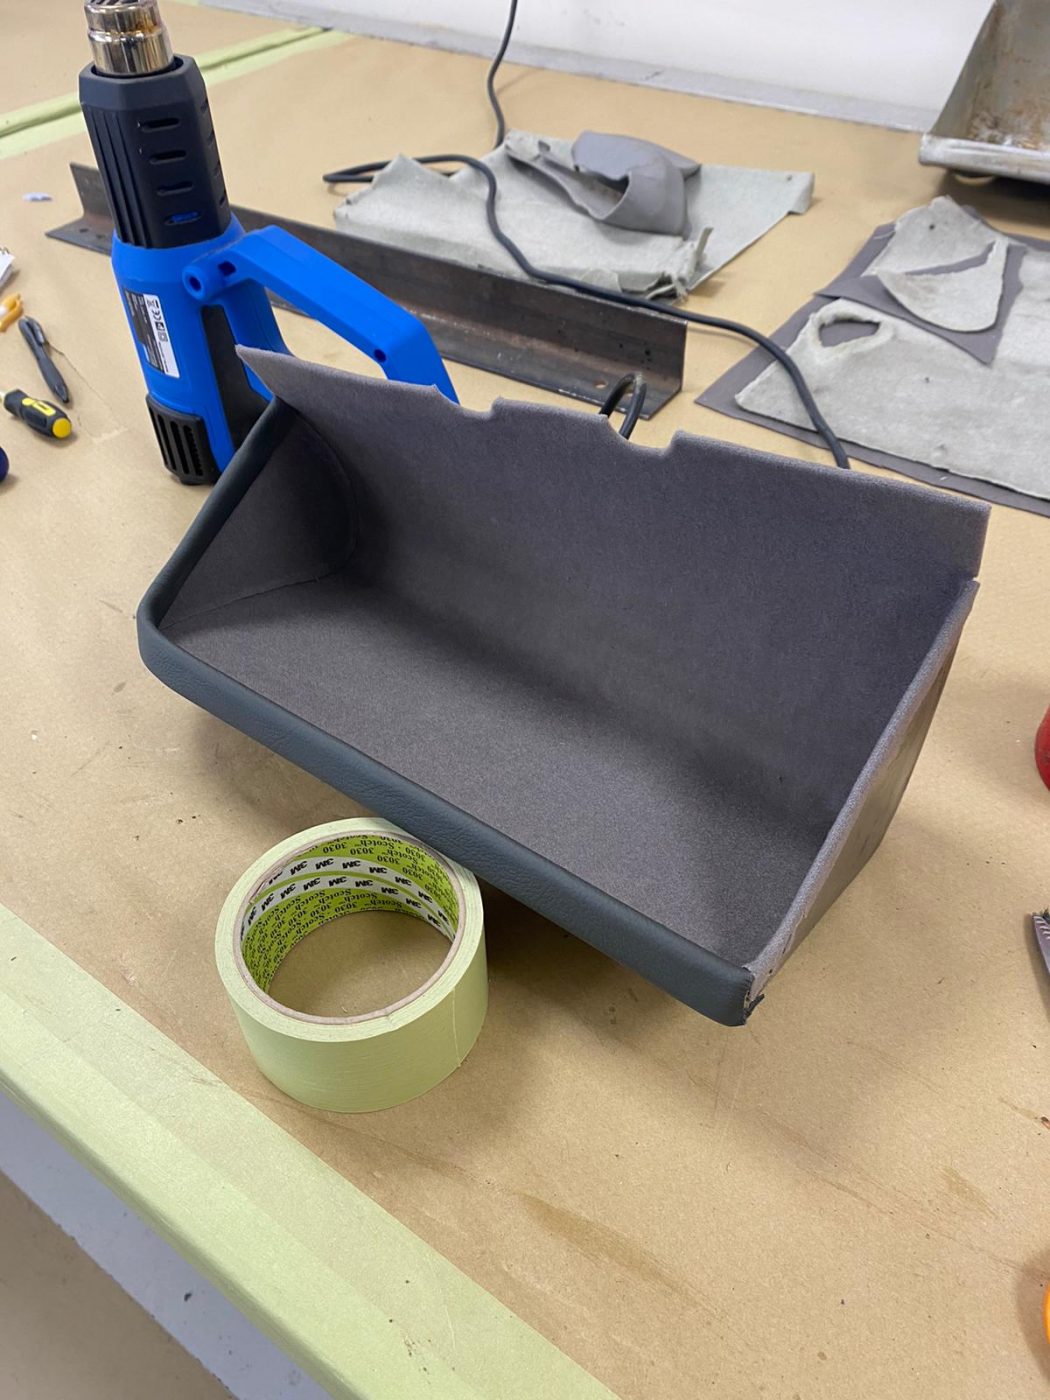
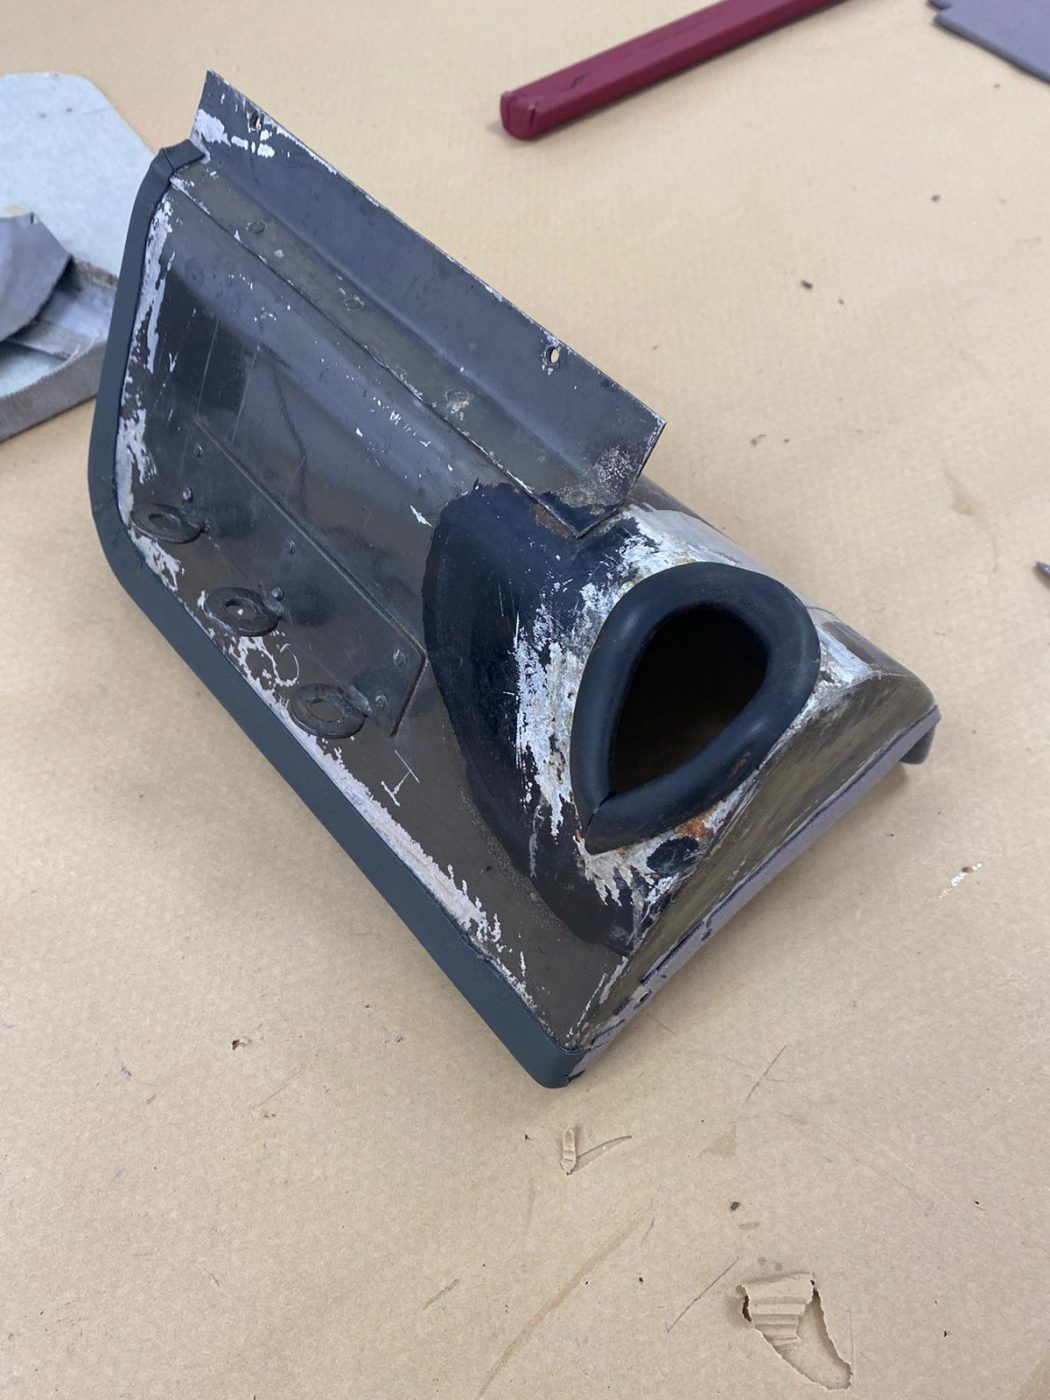
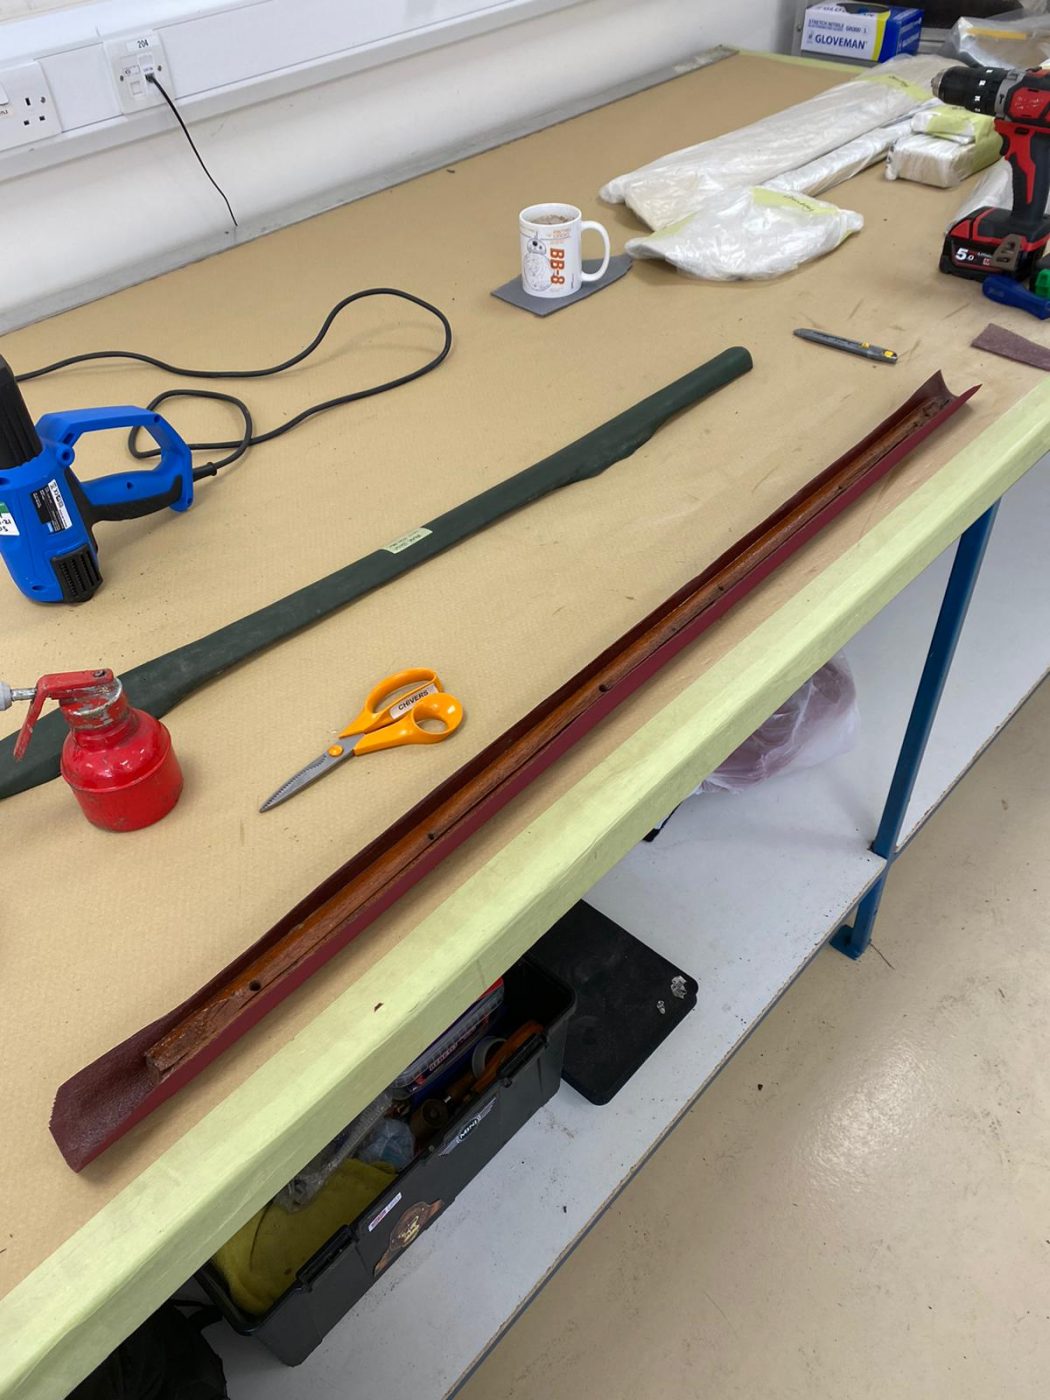
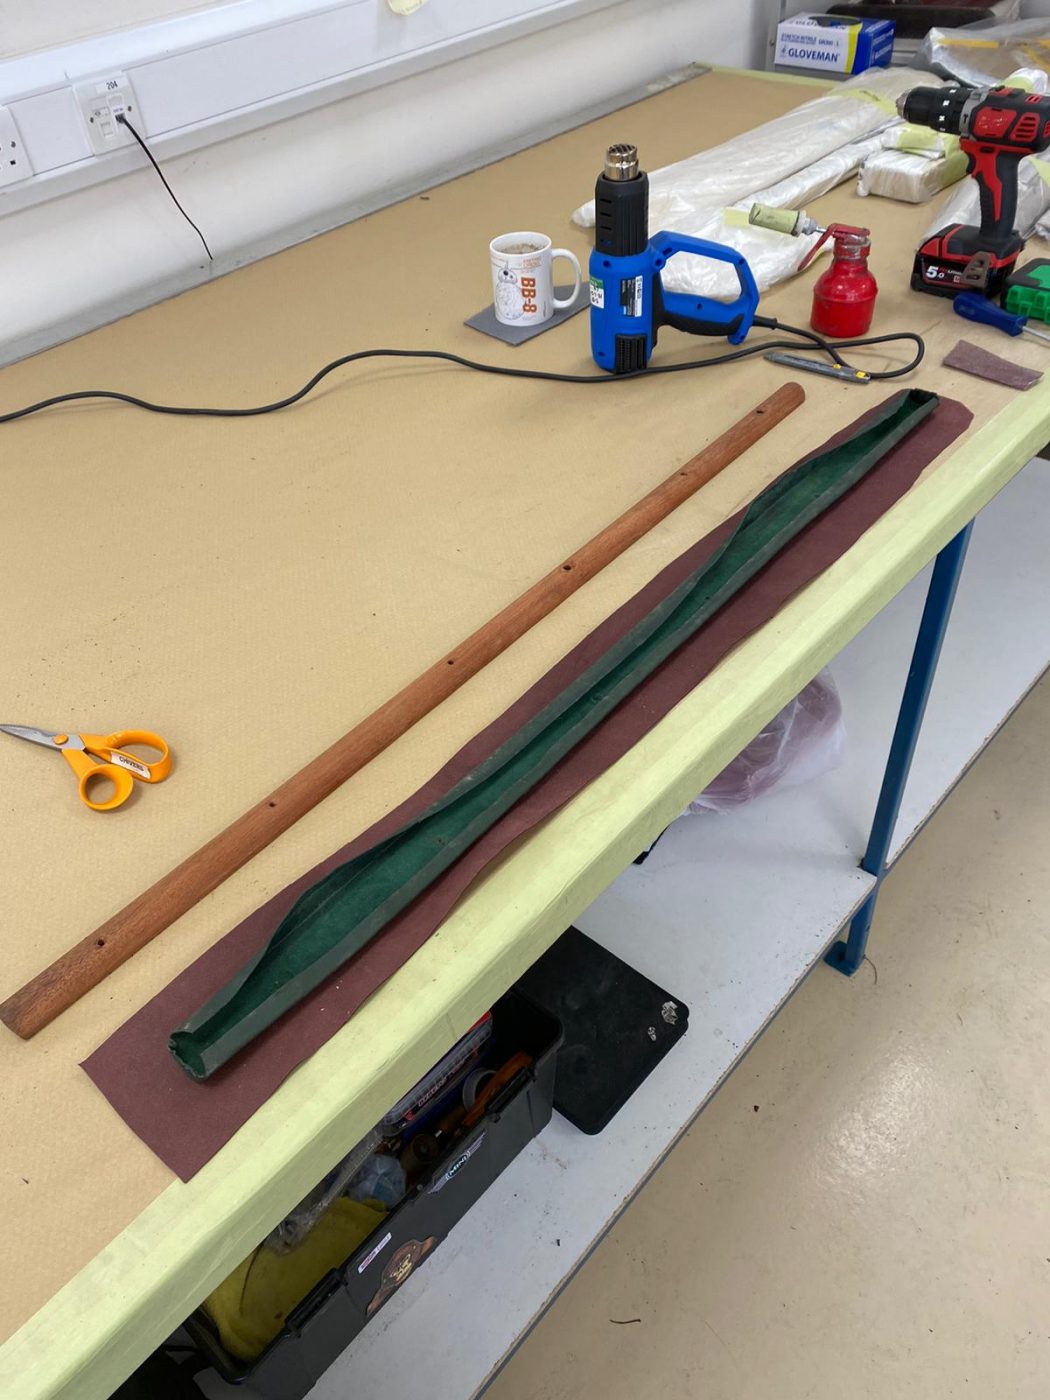
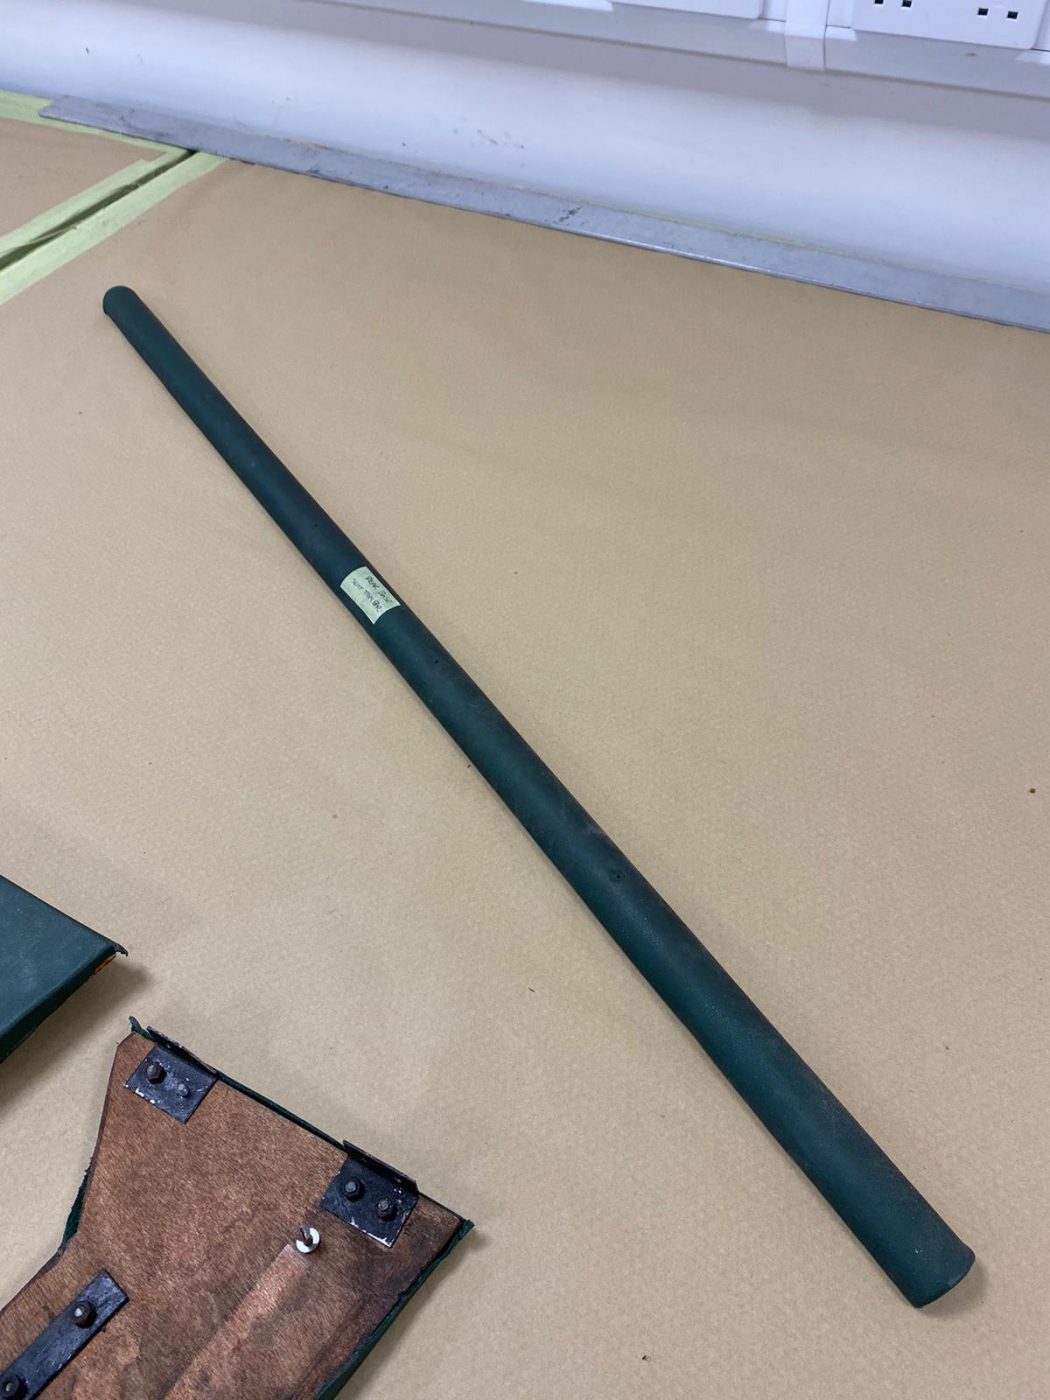
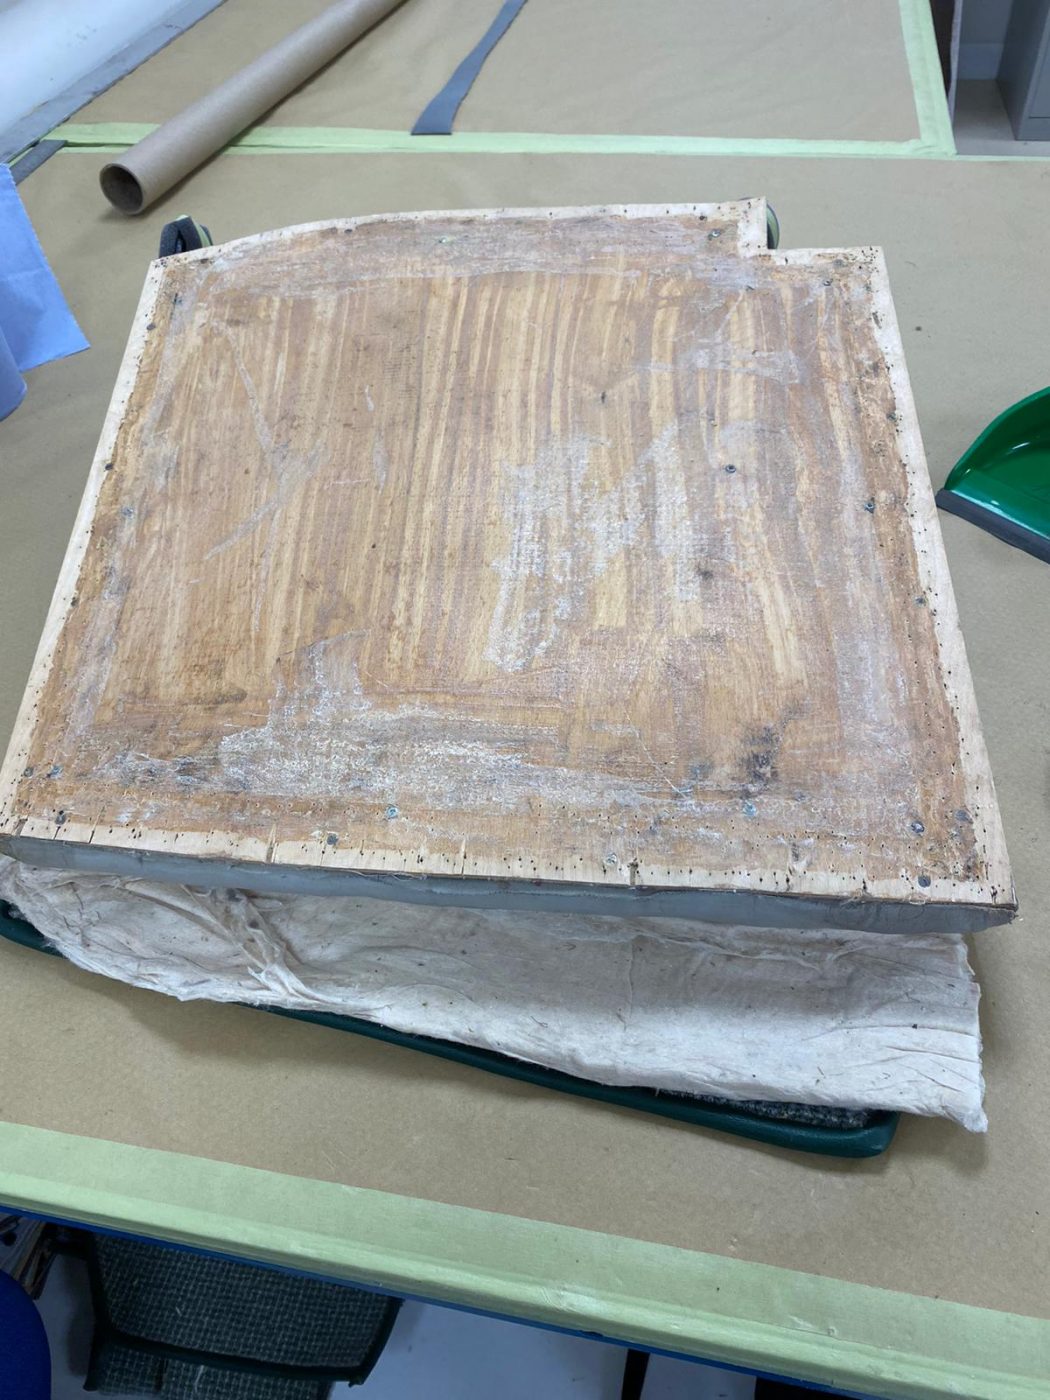
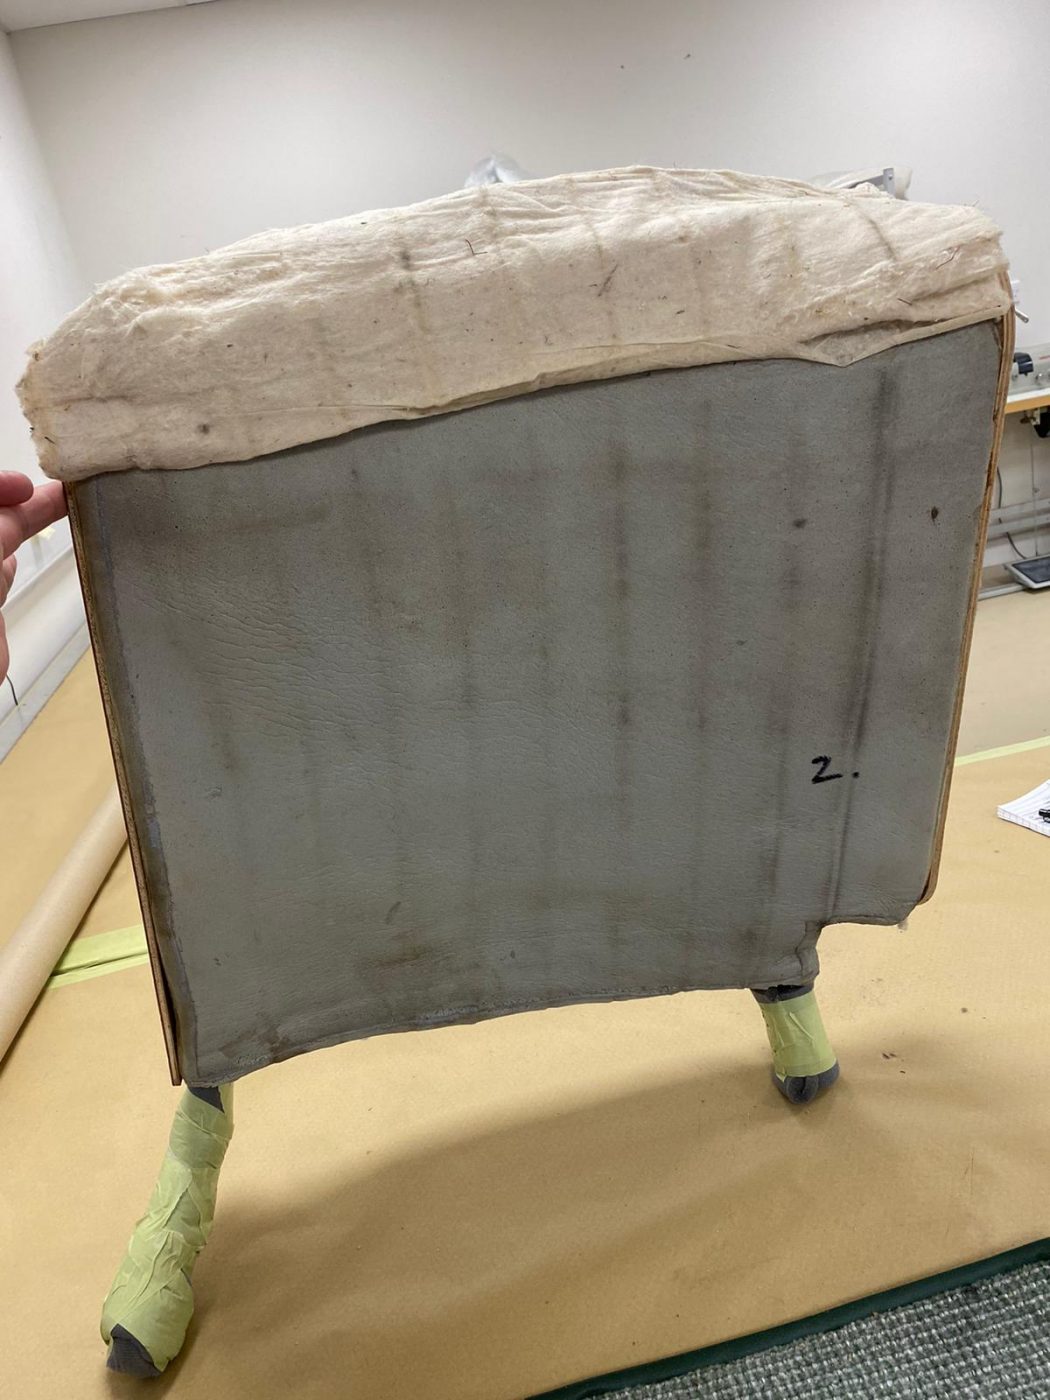
Brian has been continuing the interior trim work for the 1955 Aston Martin DB 2/4. This time, he’s been working on a pair of dash
Ady has taken a trip up the road to Coltec Racing to pressure test the Jaguar Mk VII engine. During pressure testing all-bar-one of the
The 1973 Jaguar E-Type Roadster Series 3 has had another layer of primer sprayed on. This comes after sanding and repair work was done to
Chris and Lydia have been continuing their work on the 1998 Honda Integra Type R in the paint shop. As before, Chris has been spraying
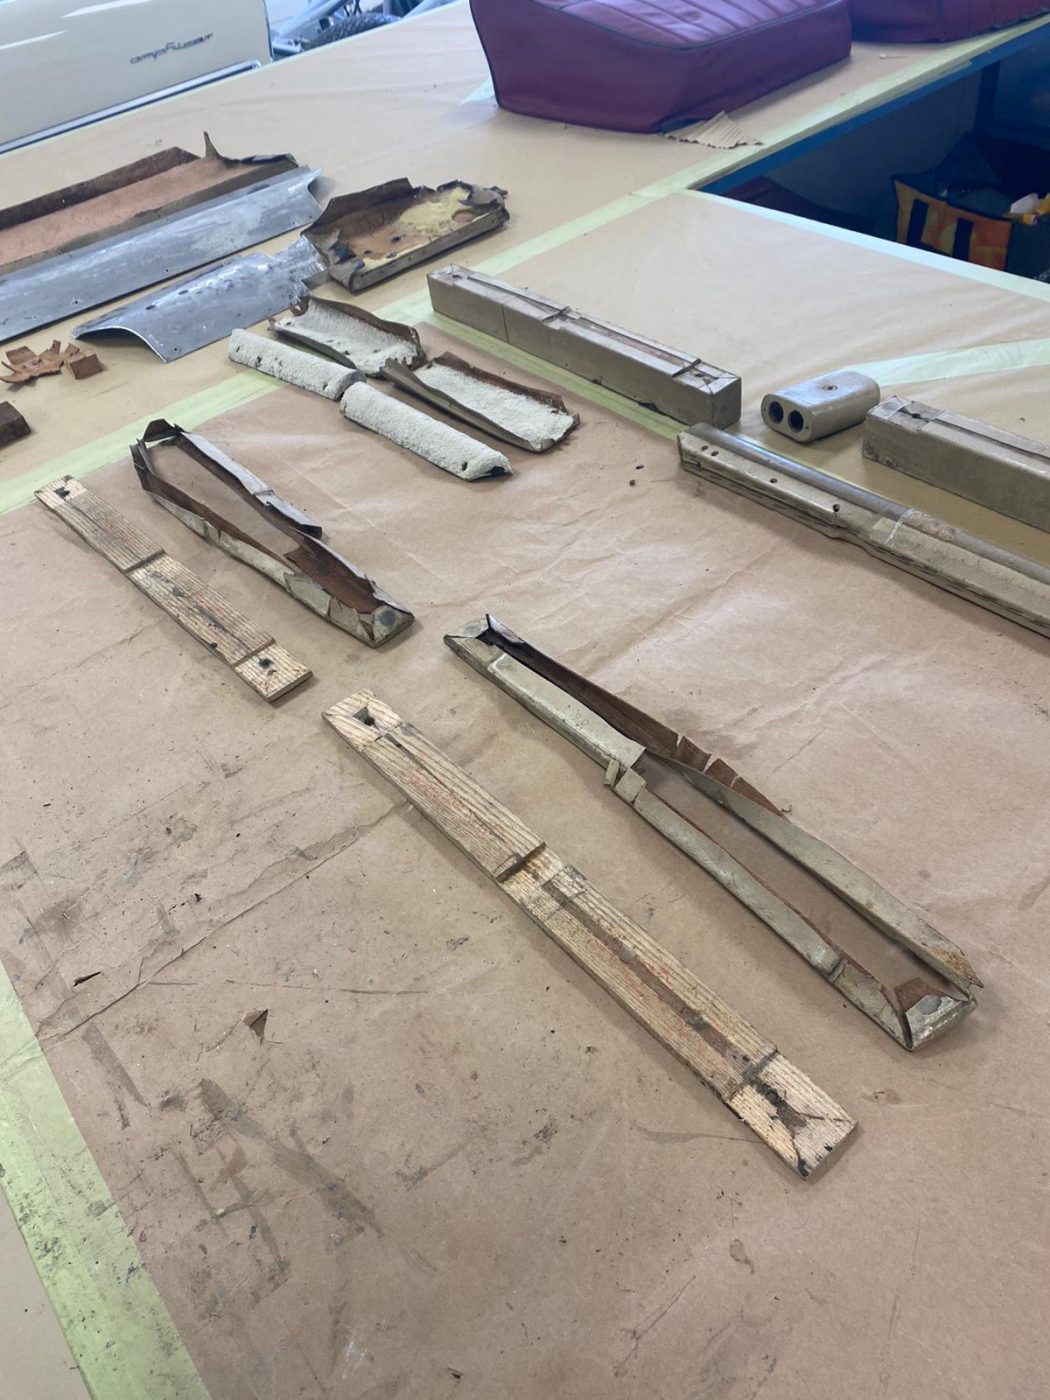
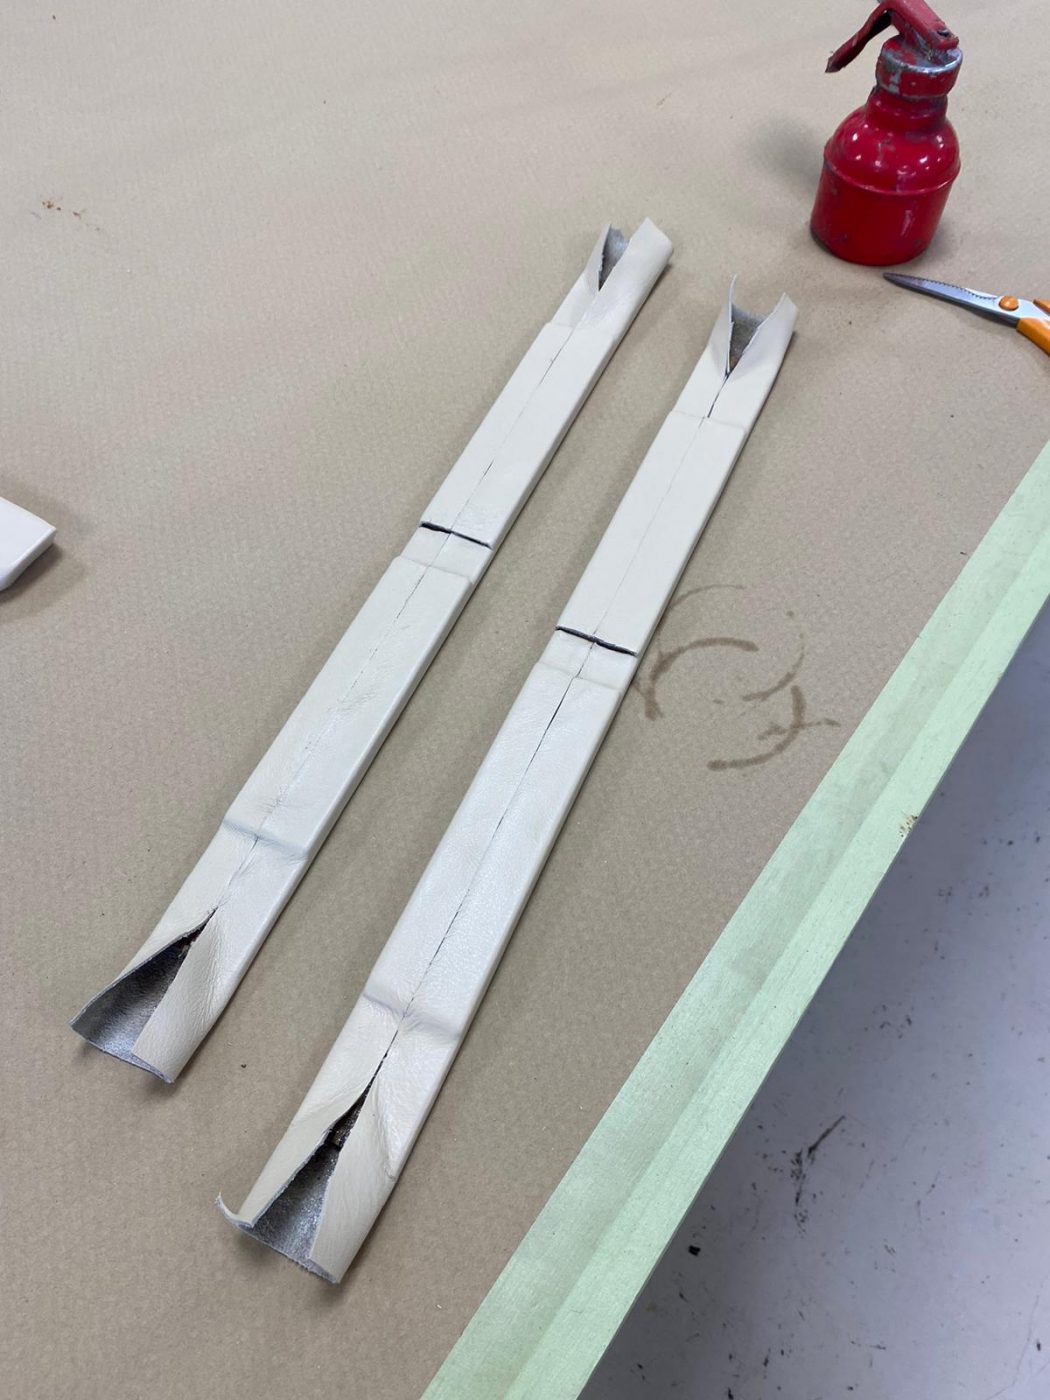
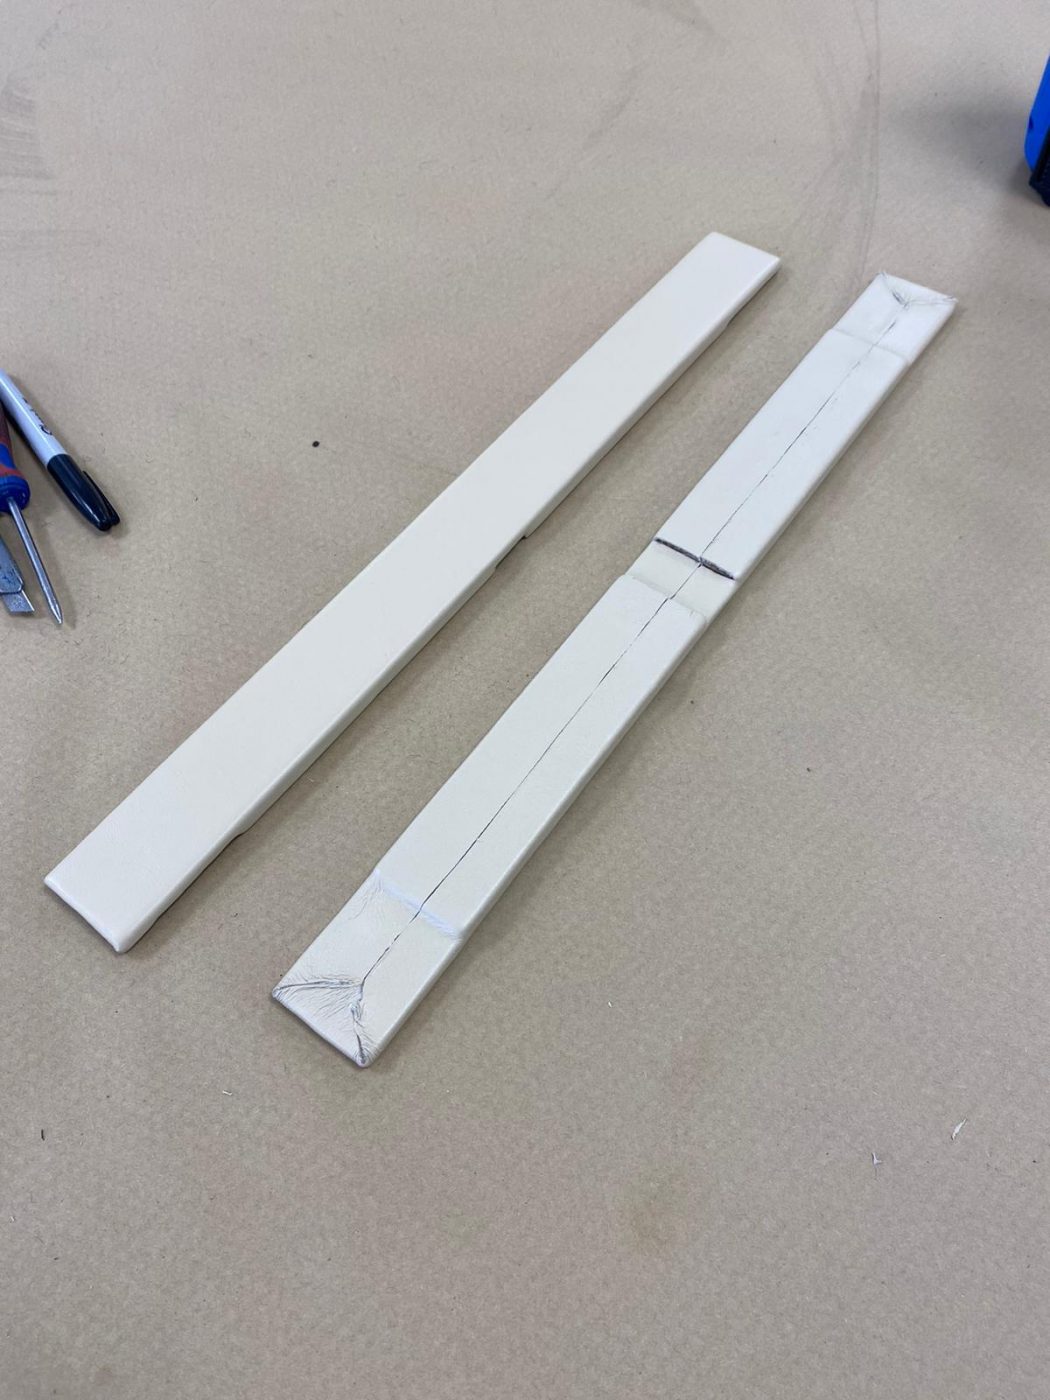
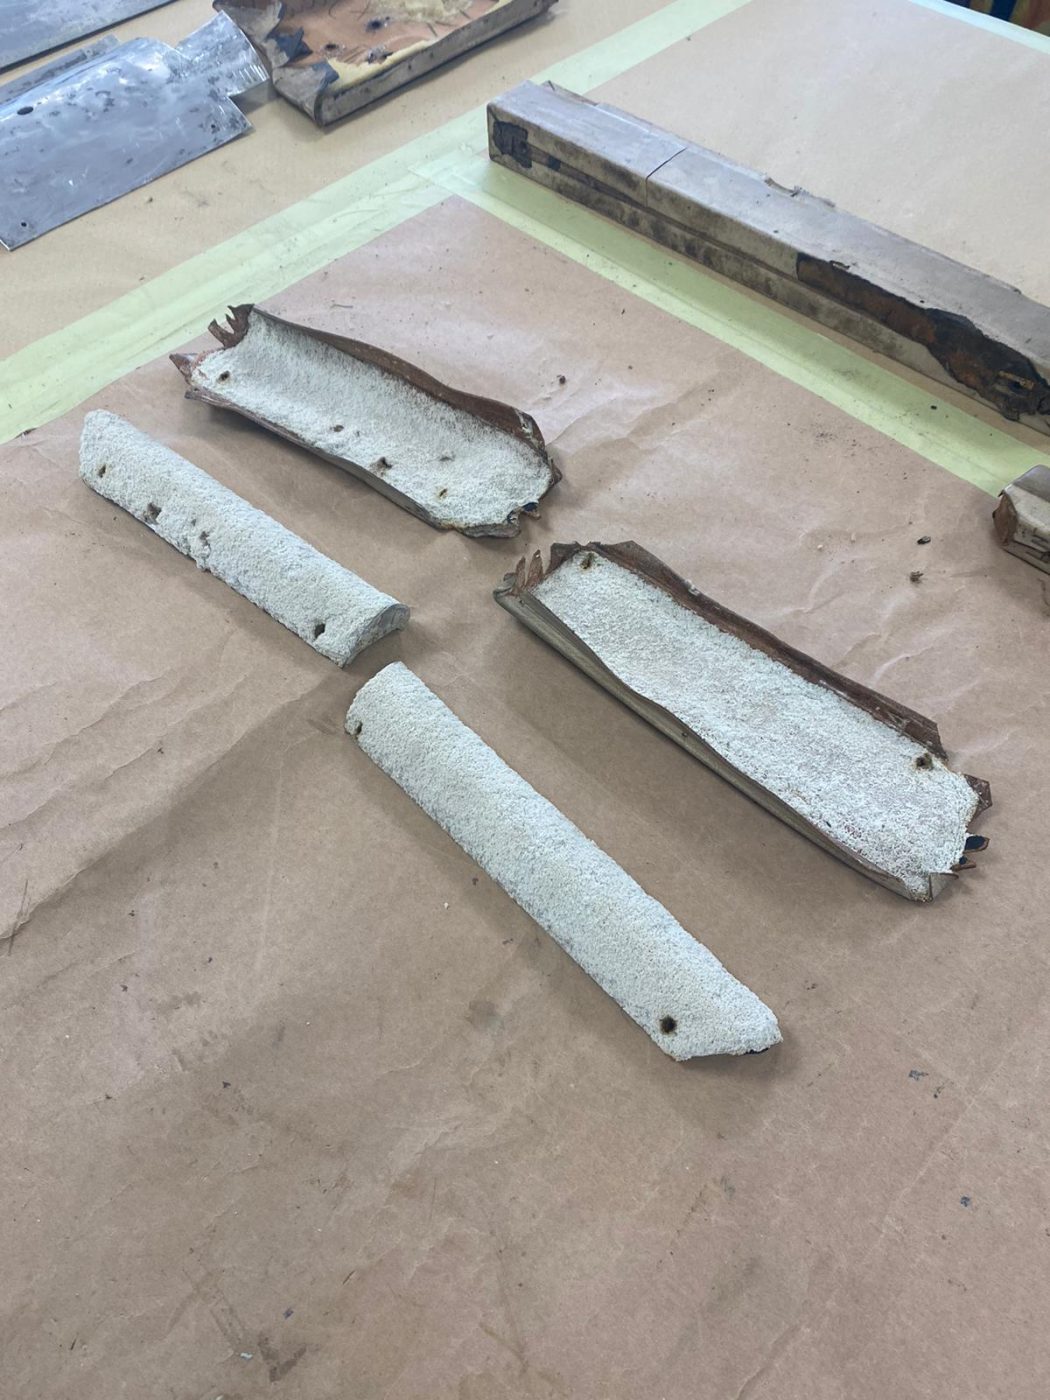
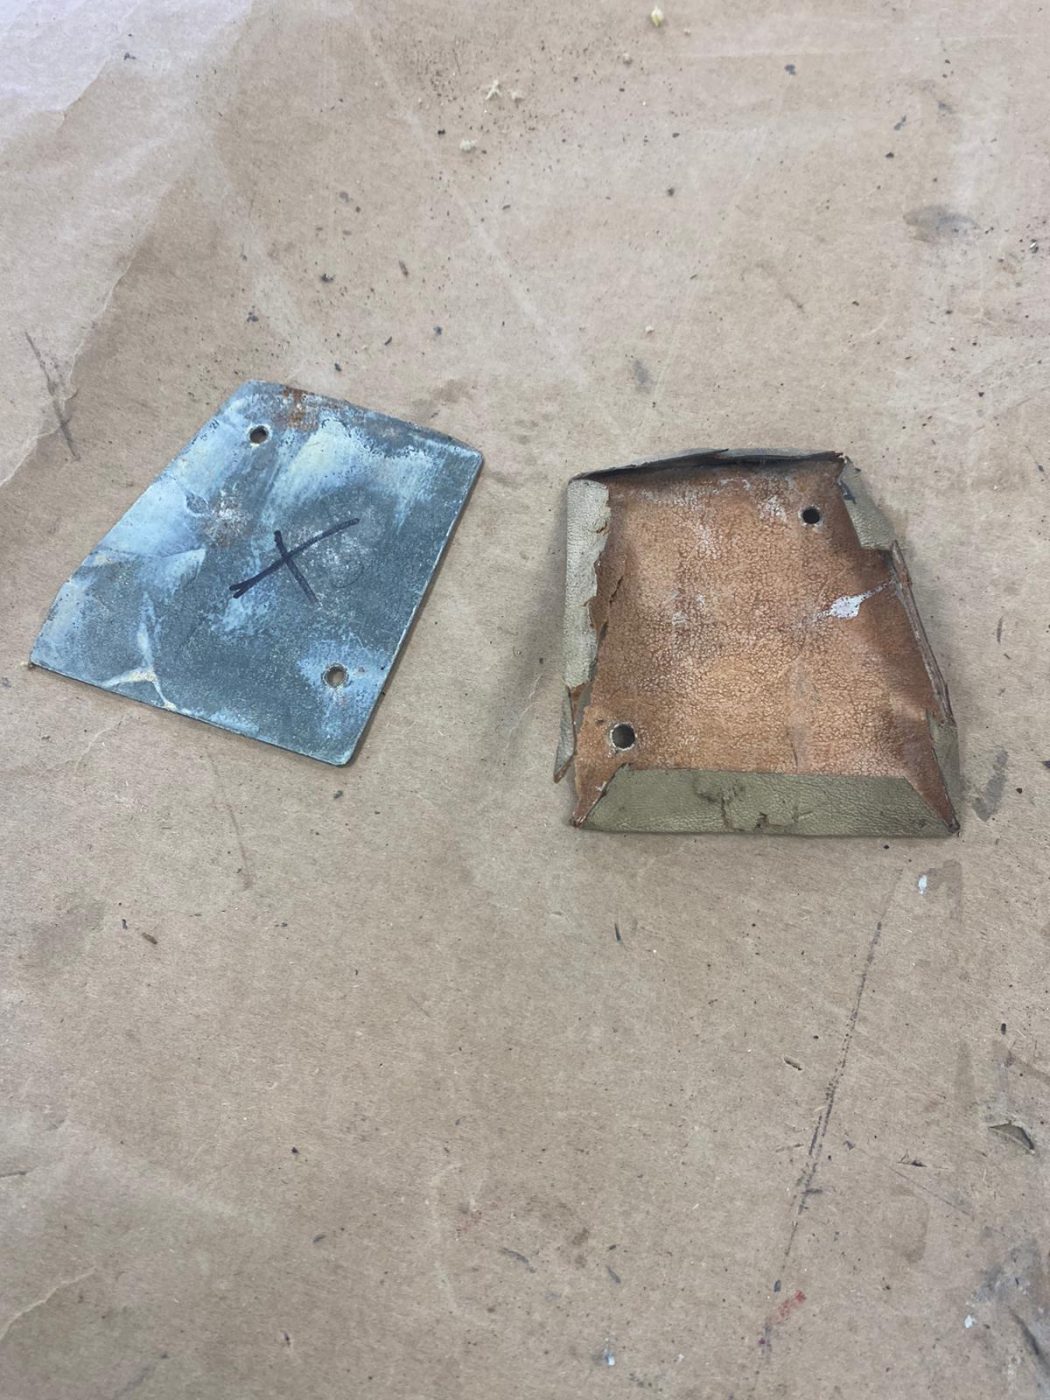
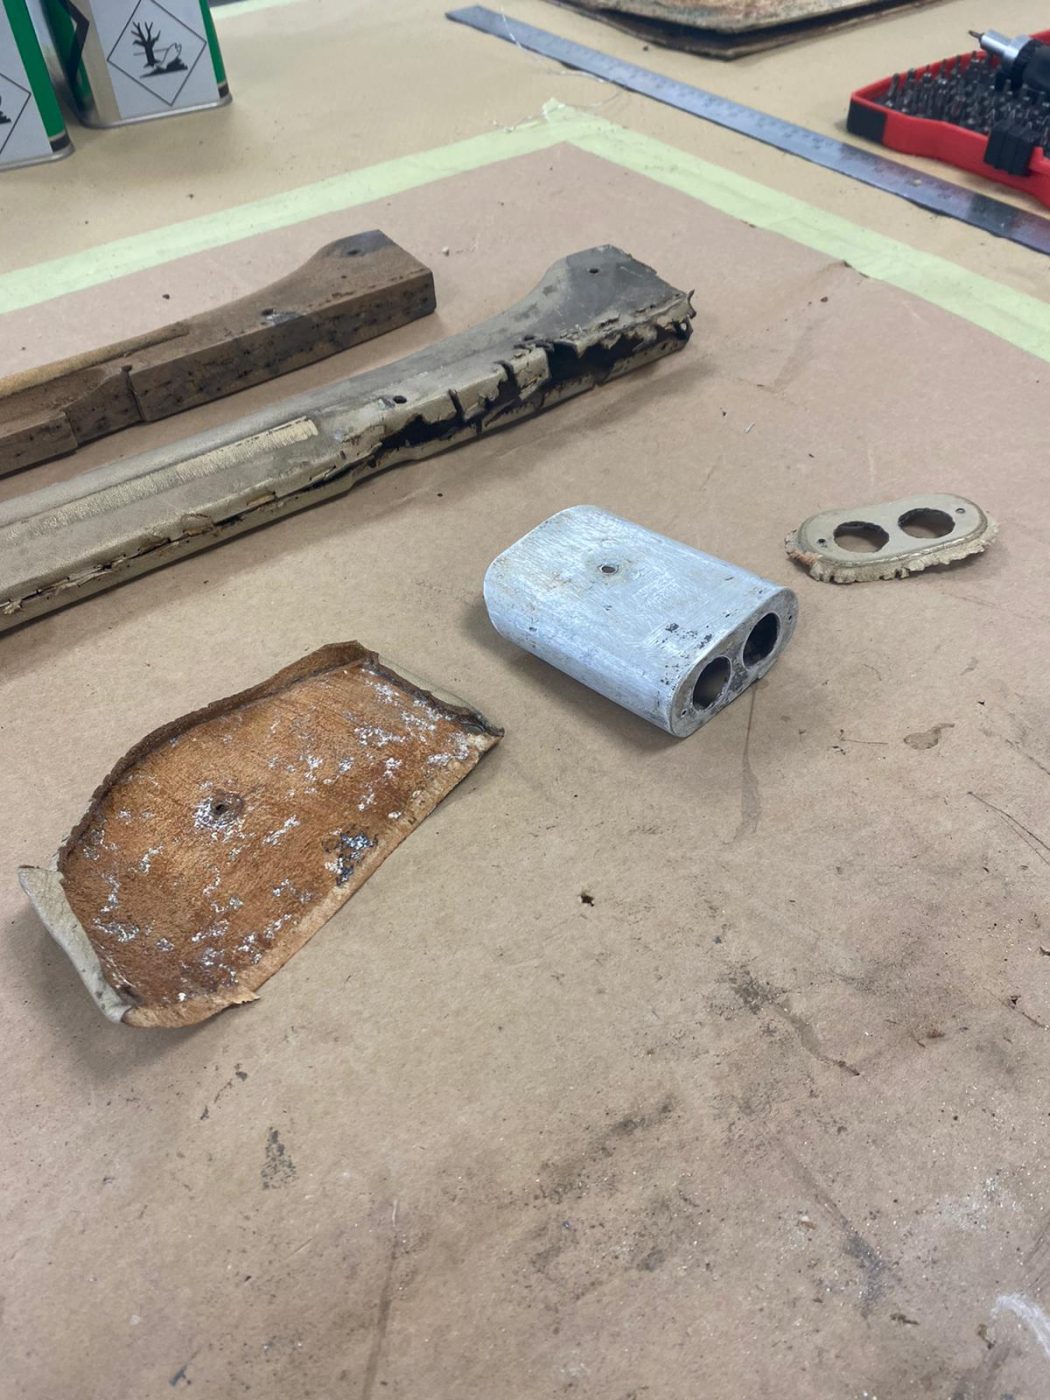
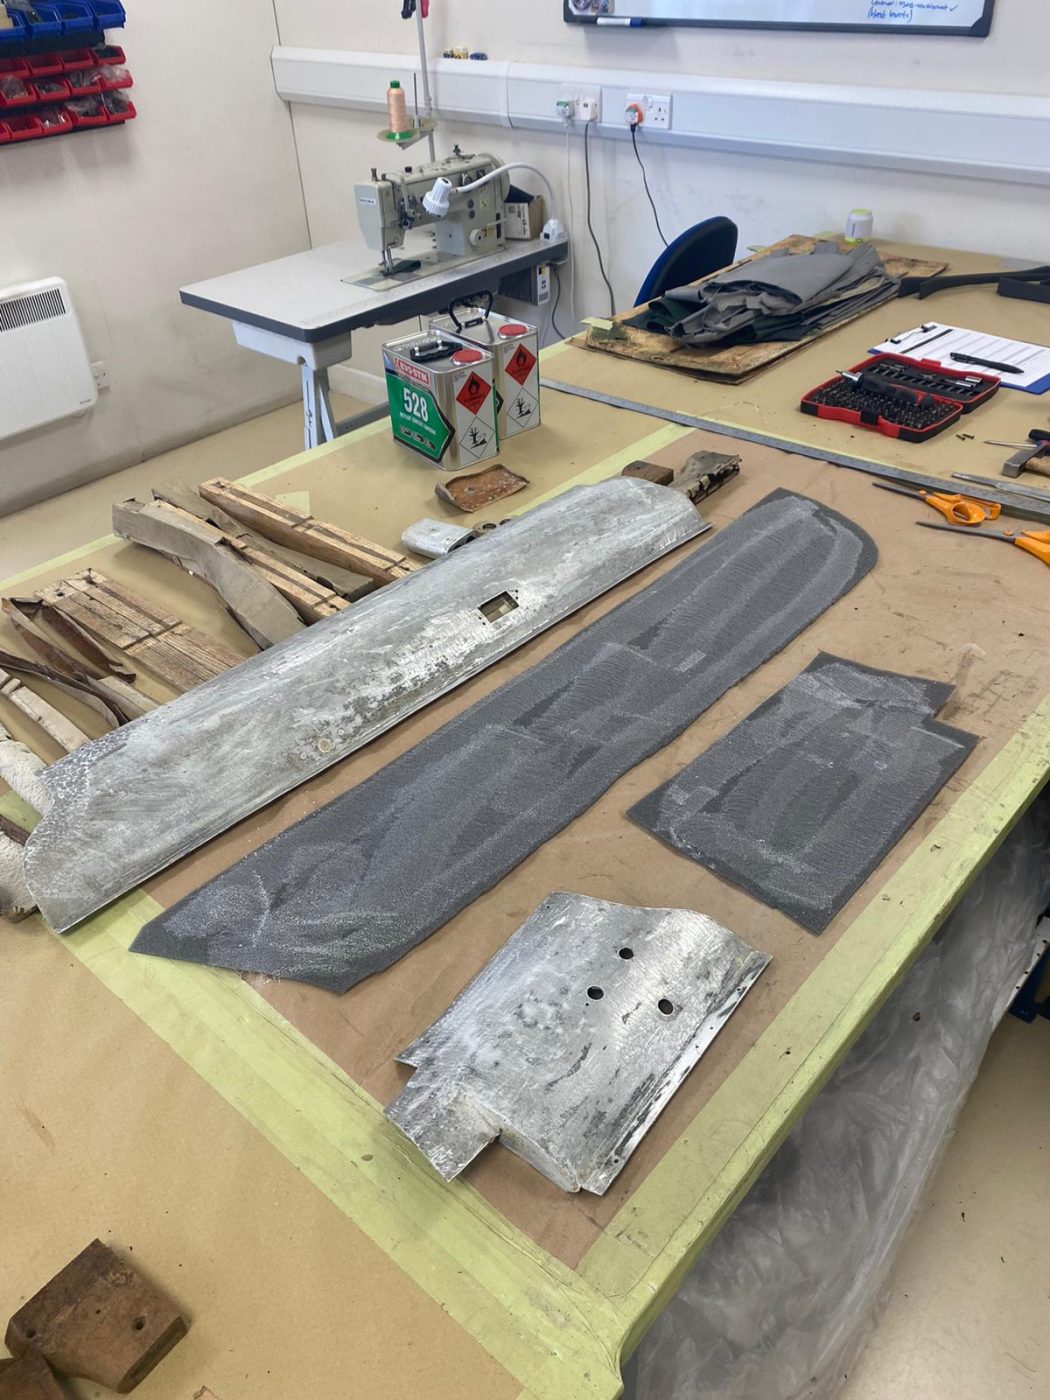
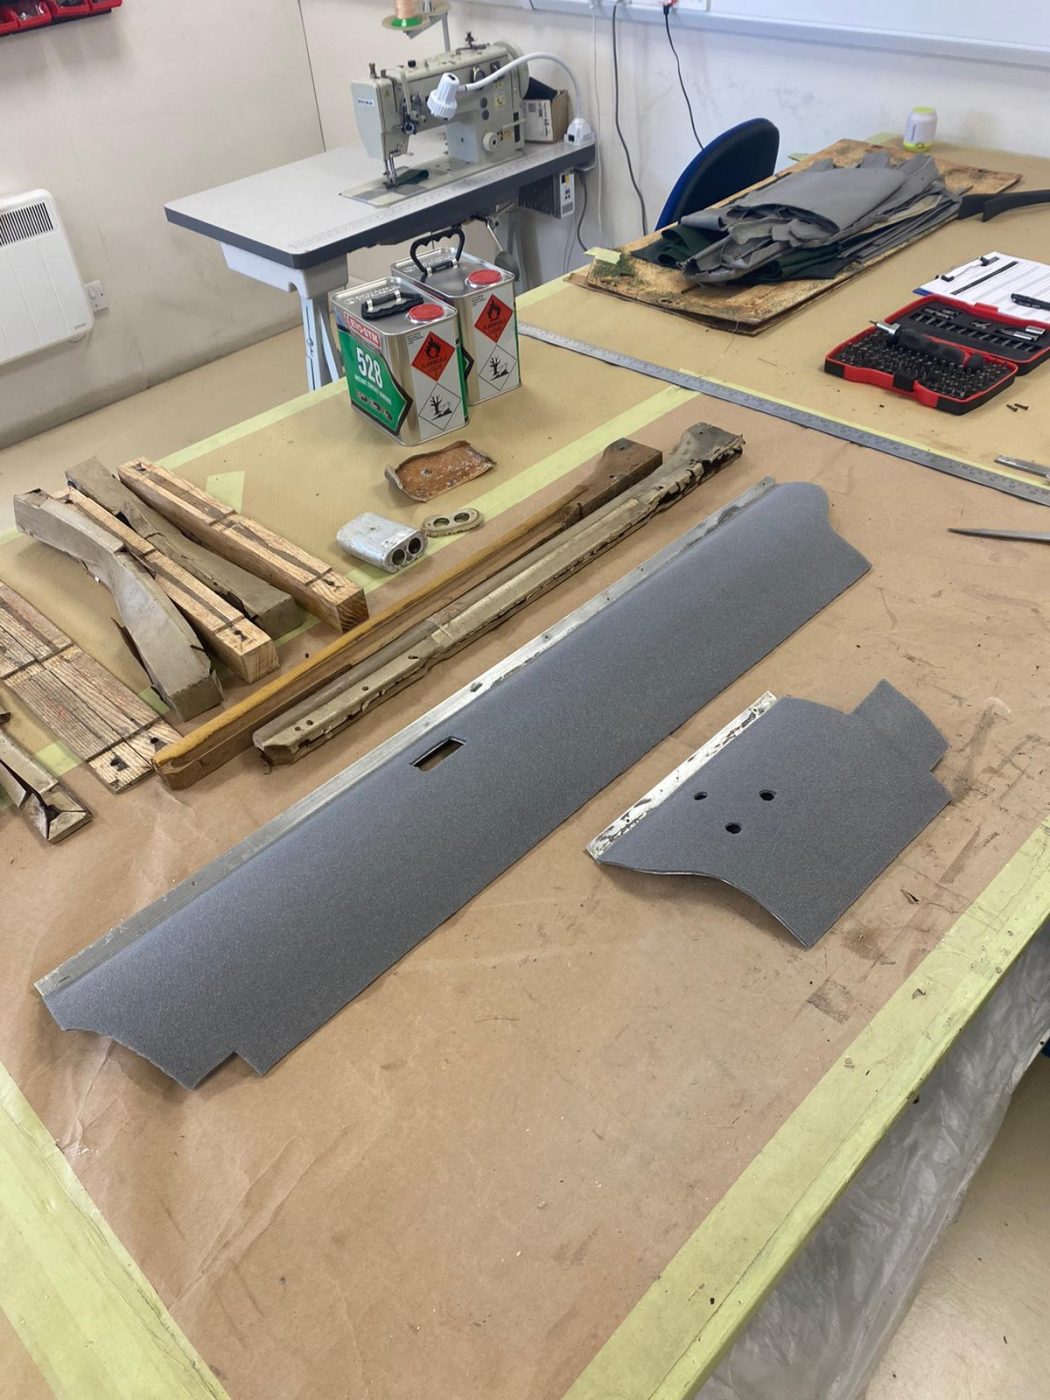
Brian has been re-covering more panels for the 1955 Aston Martin DB 2/4. This time it’s been the lower A posts, the dash side panels,
Chris has been re-painting the engine for the 1973 purple MG B GT V8. He painted the engine in sections, masking up along the way
James has been working on the 1998 Honda Integra Type R. He’s repaired a section on the lower quarter panel by fabricating and welding. It’s
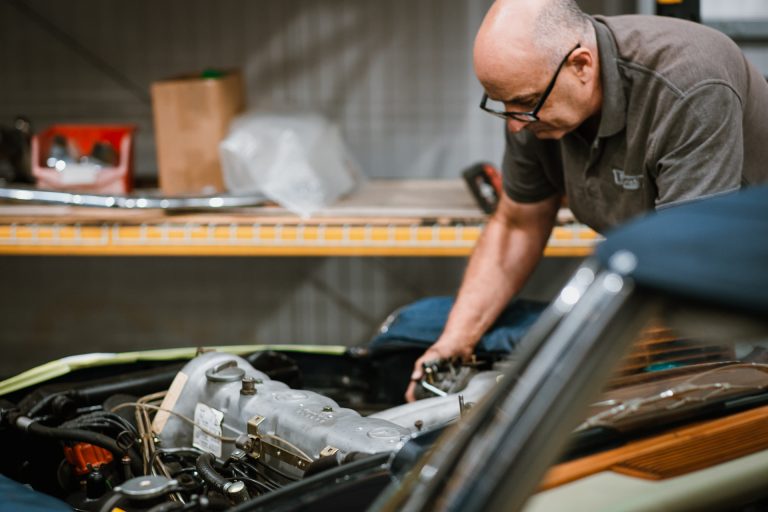
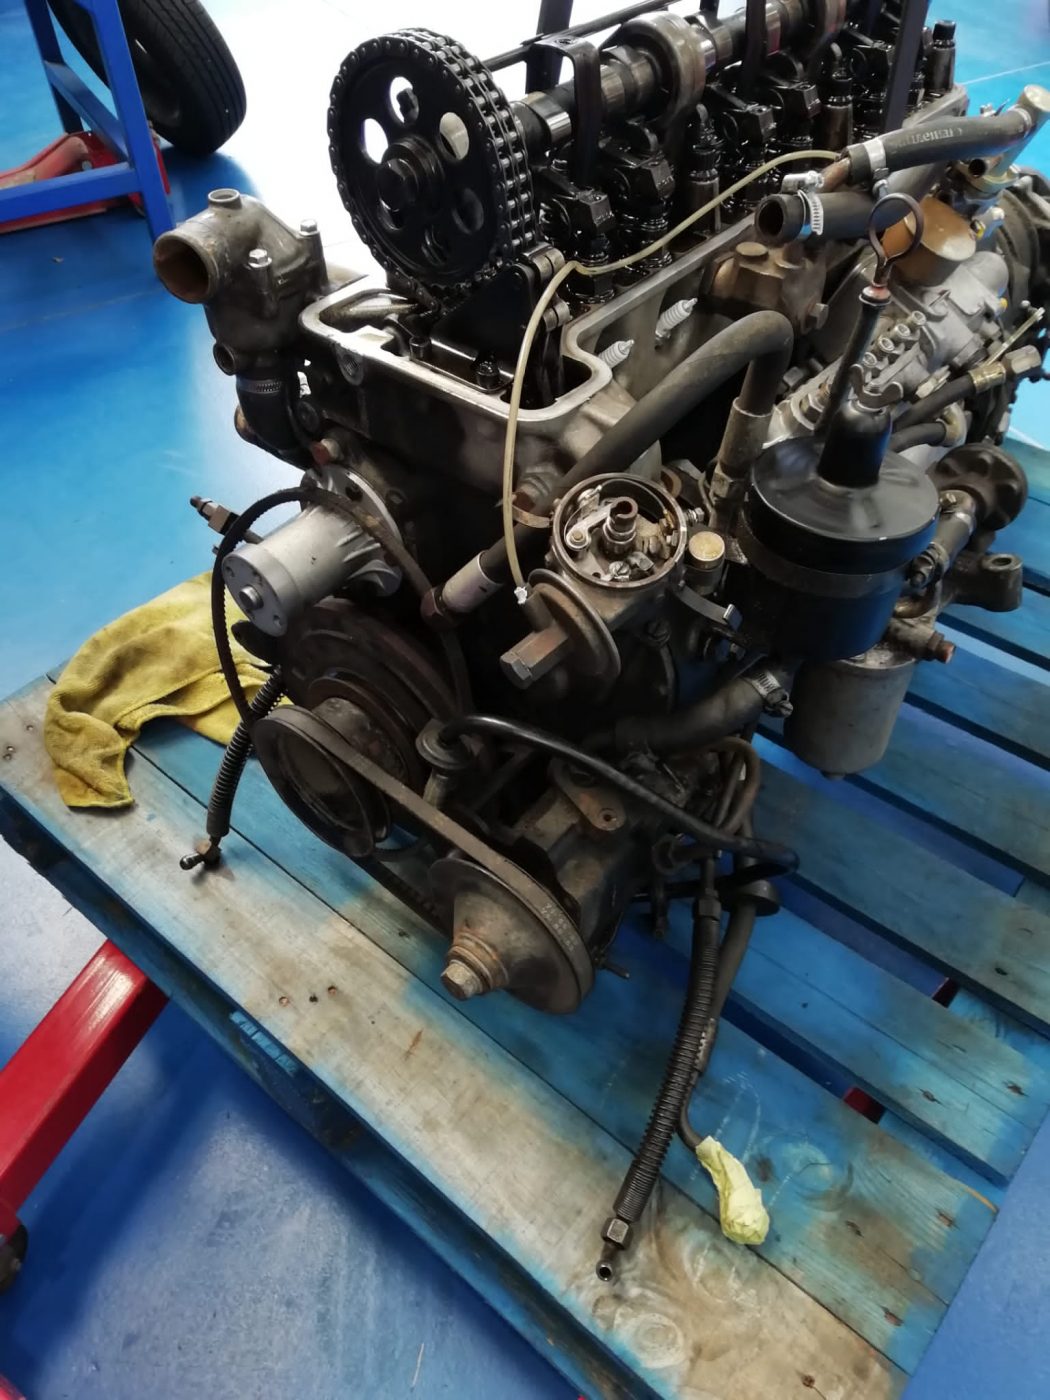
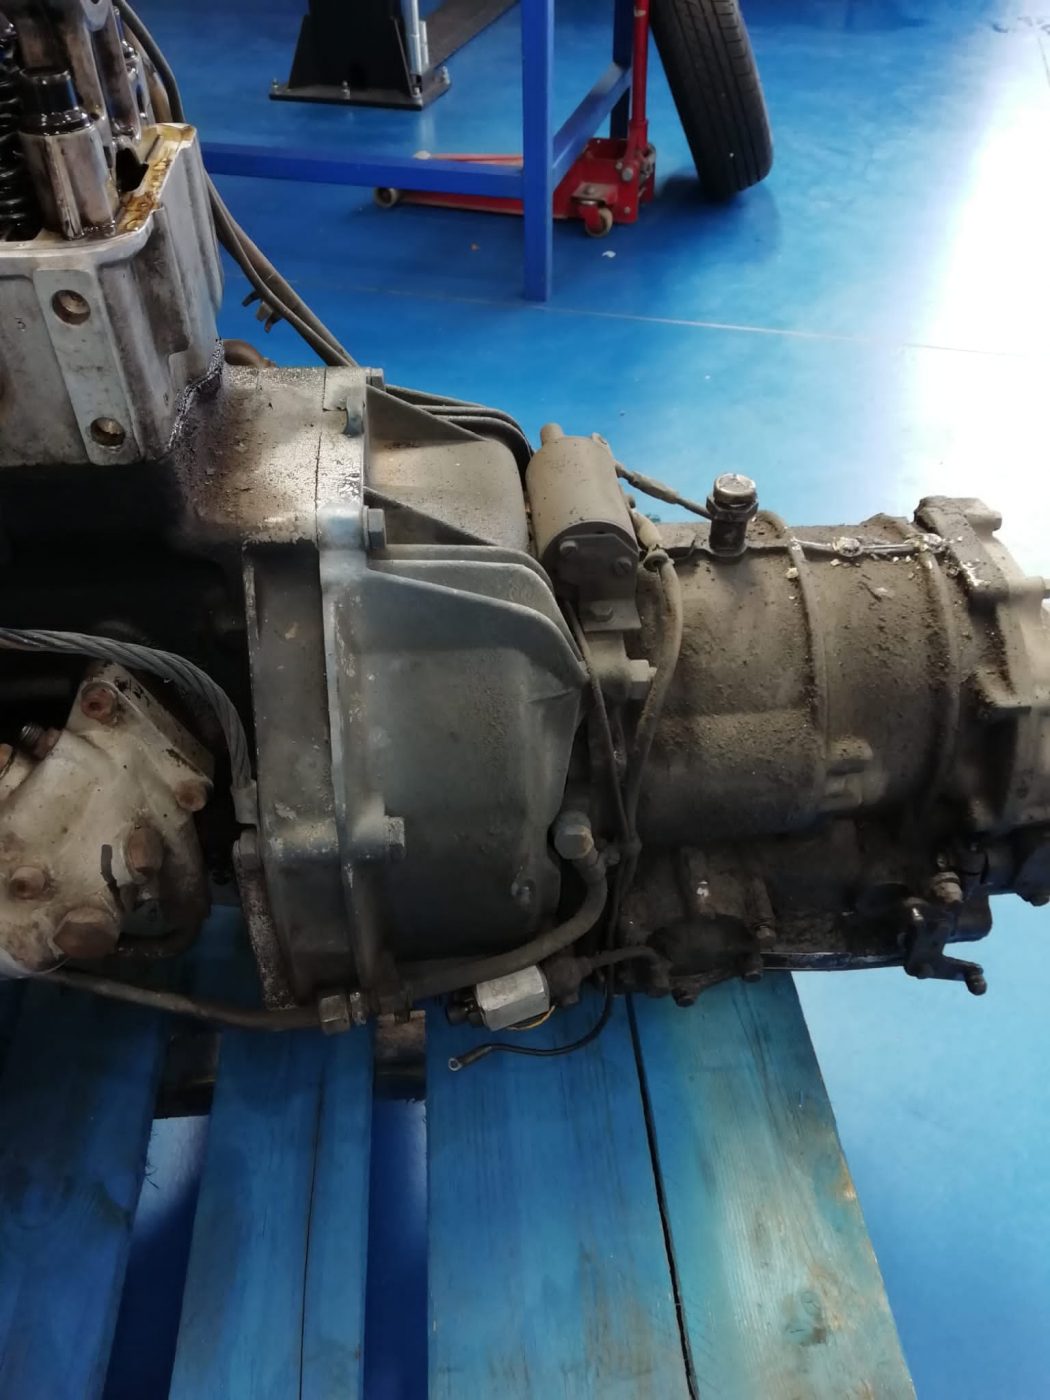
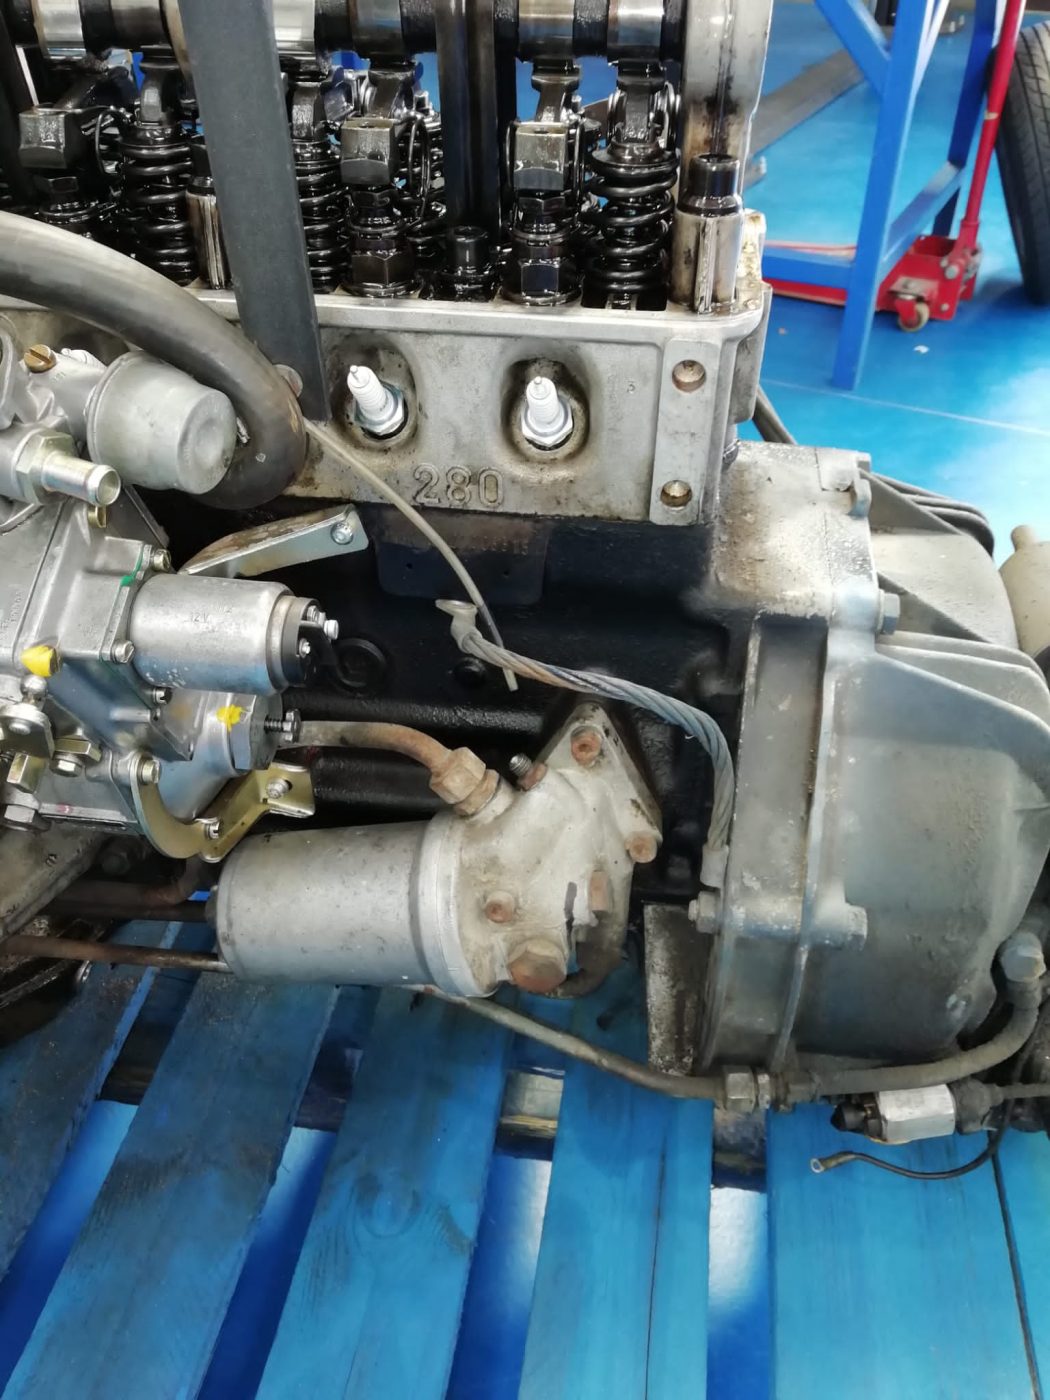
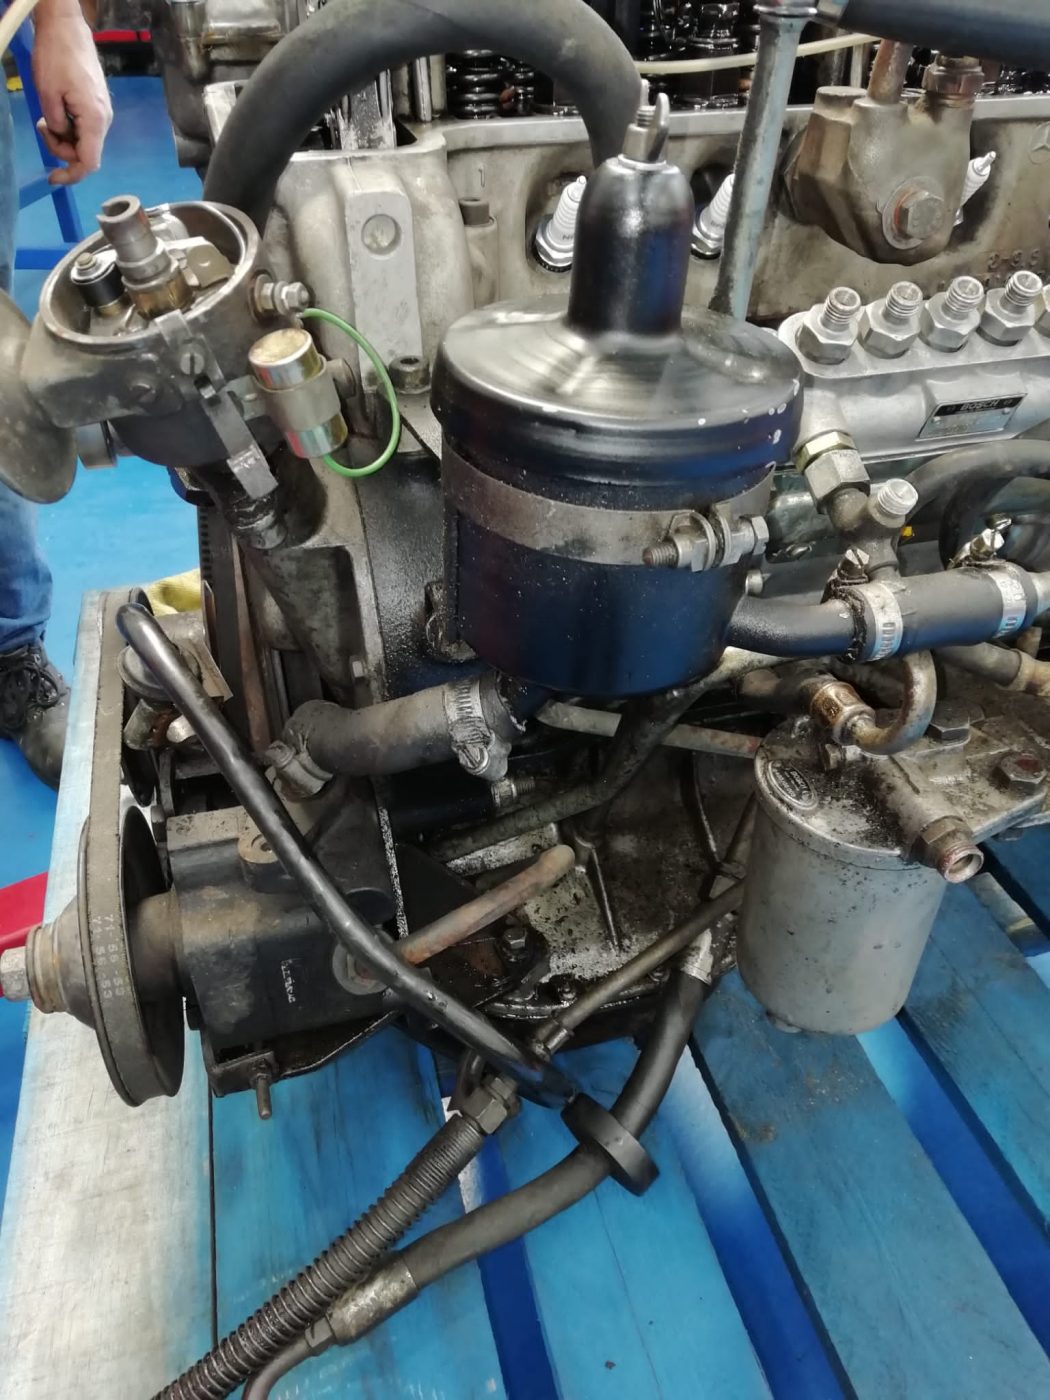
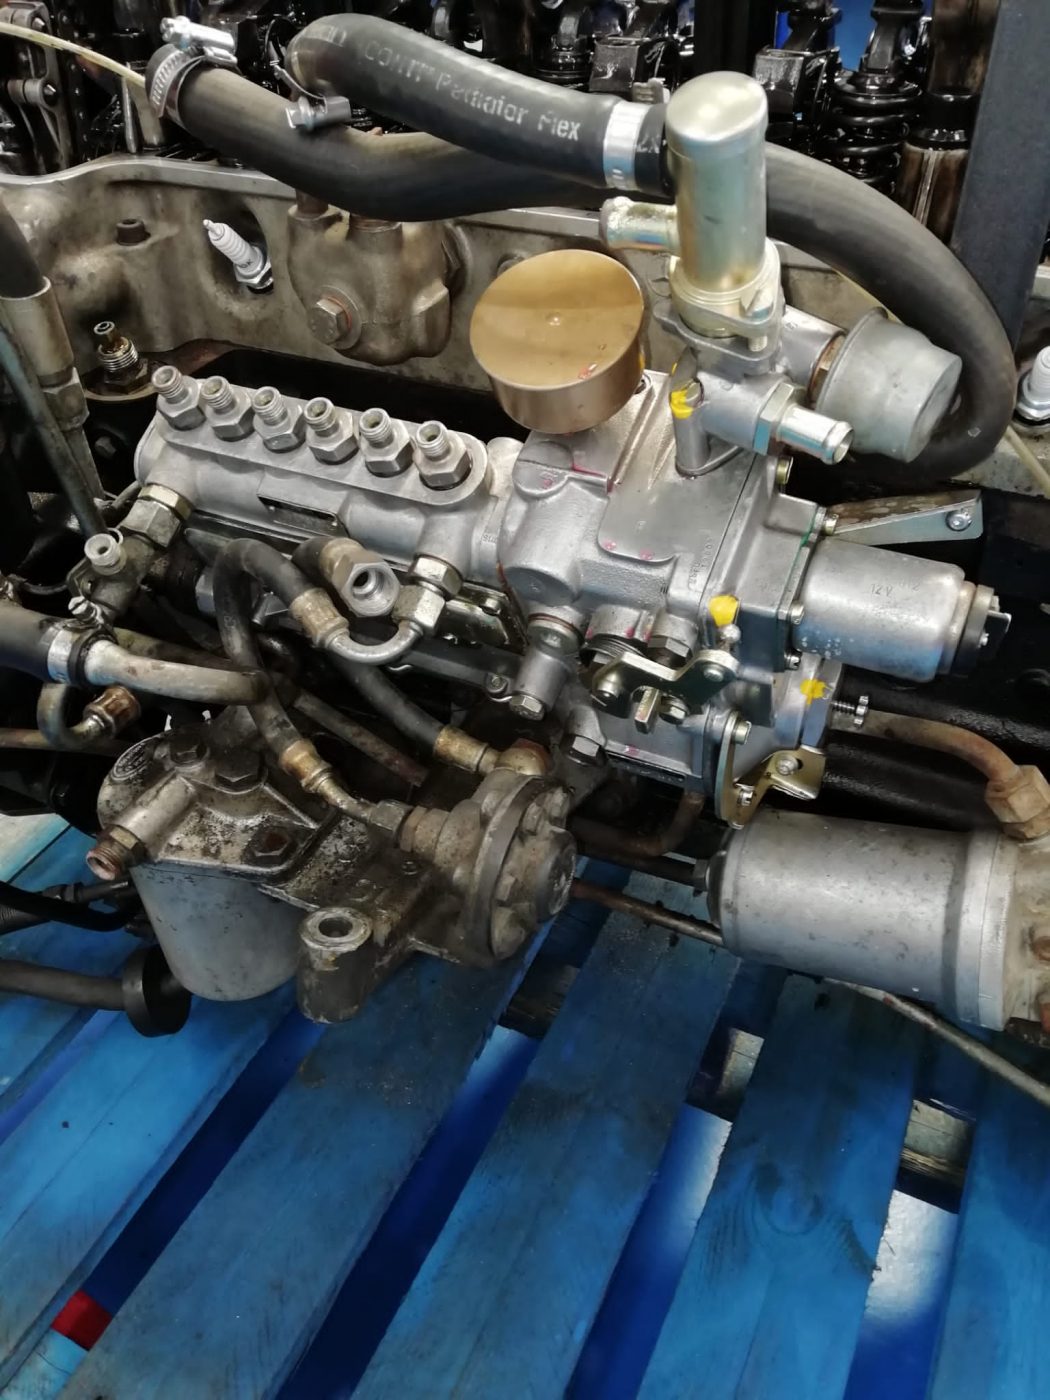
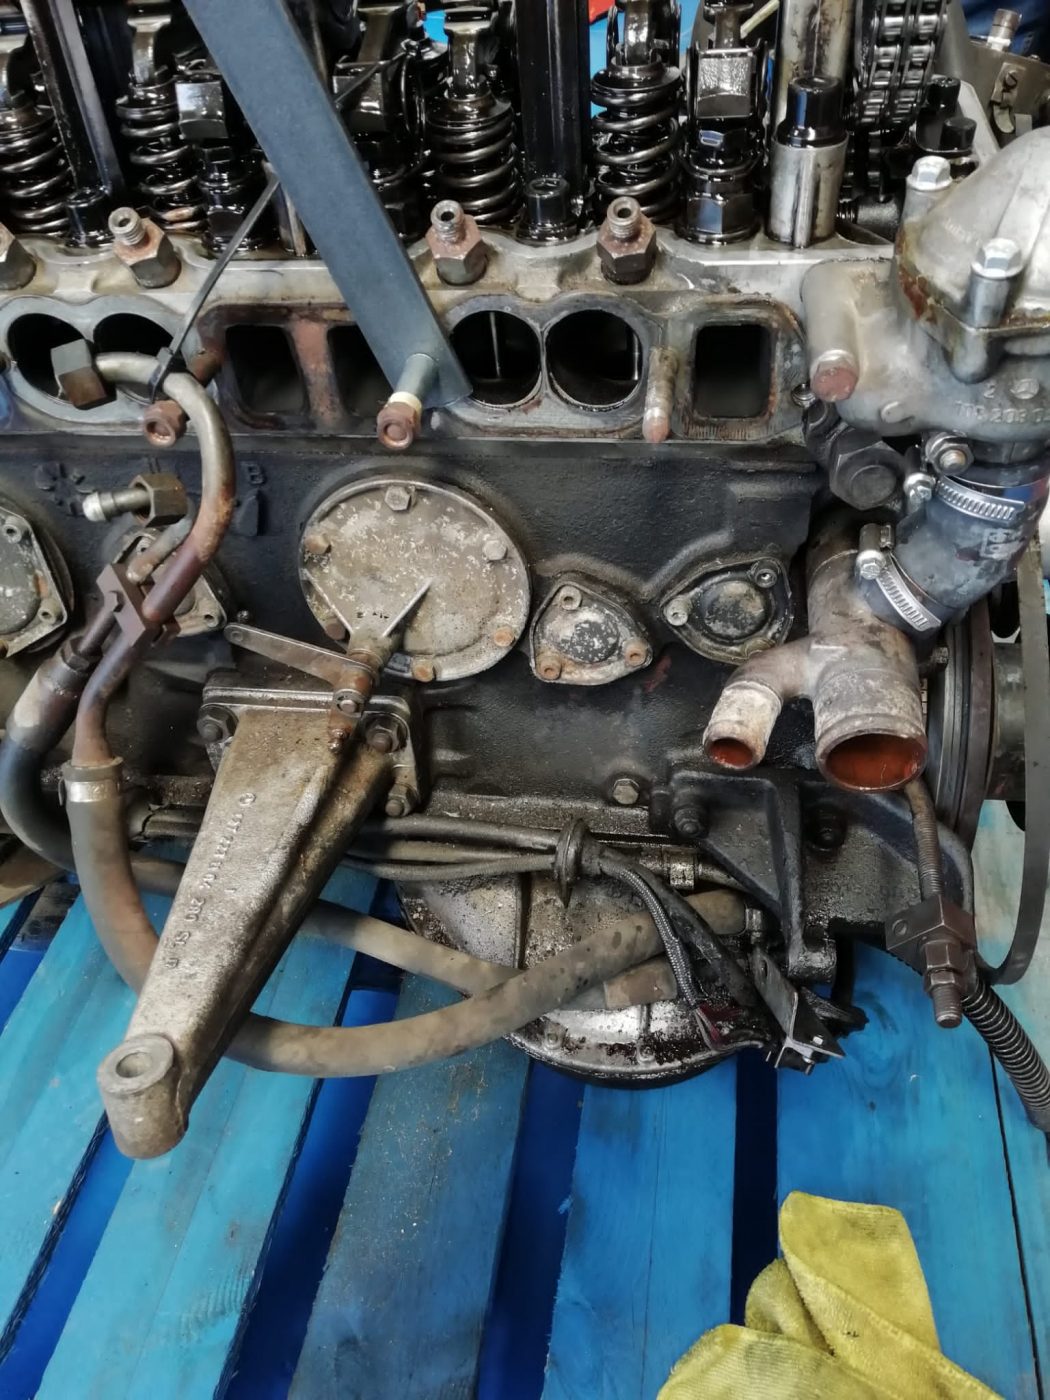
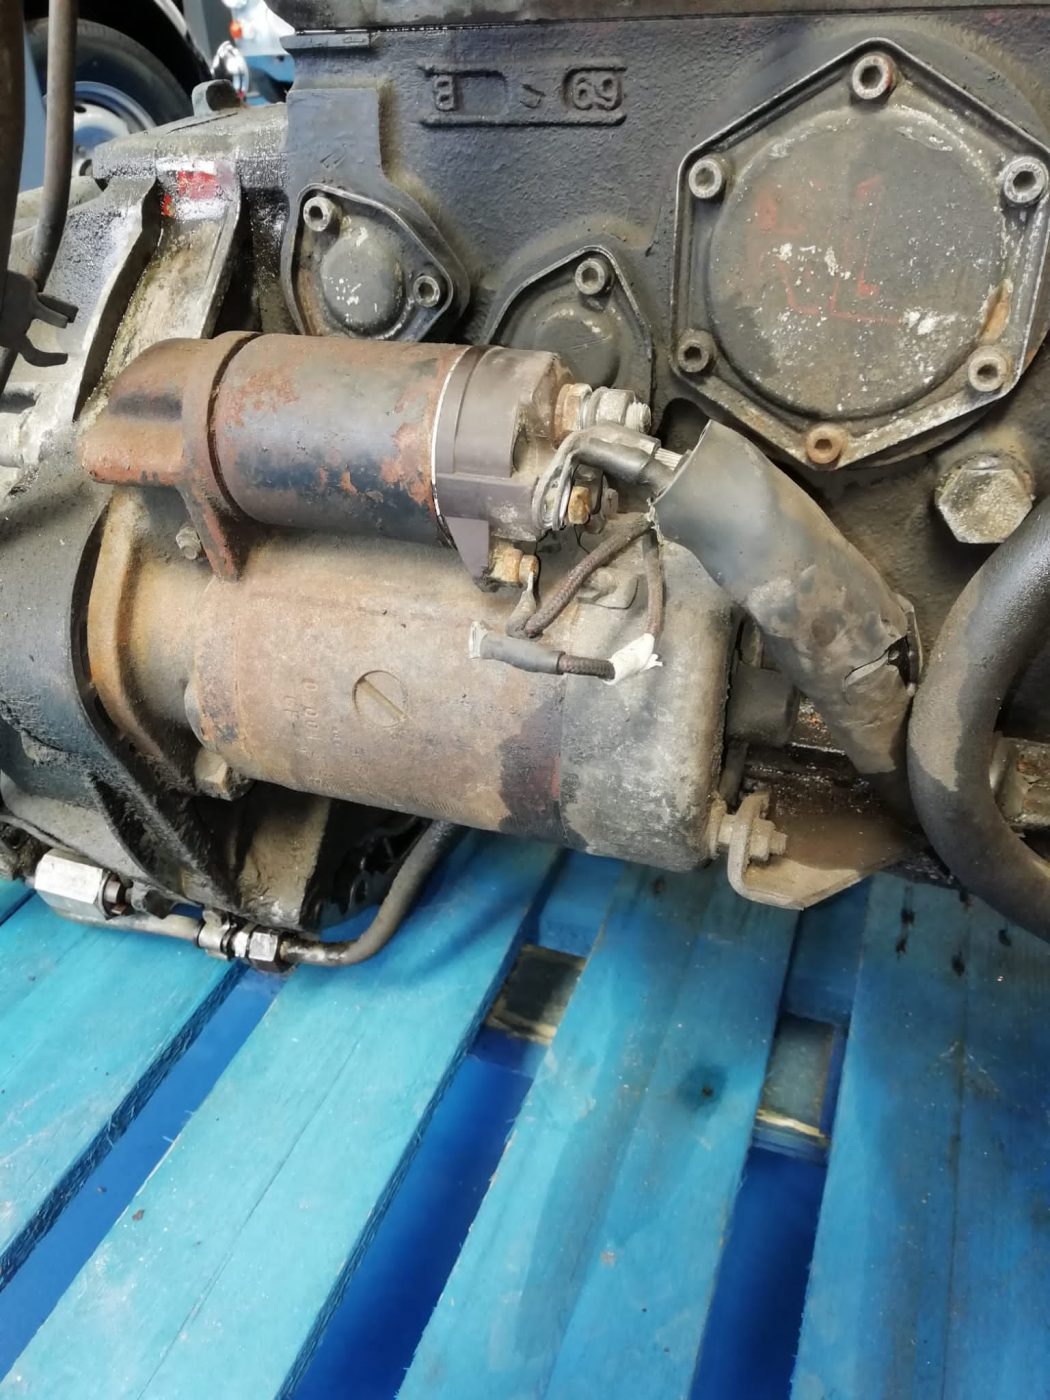
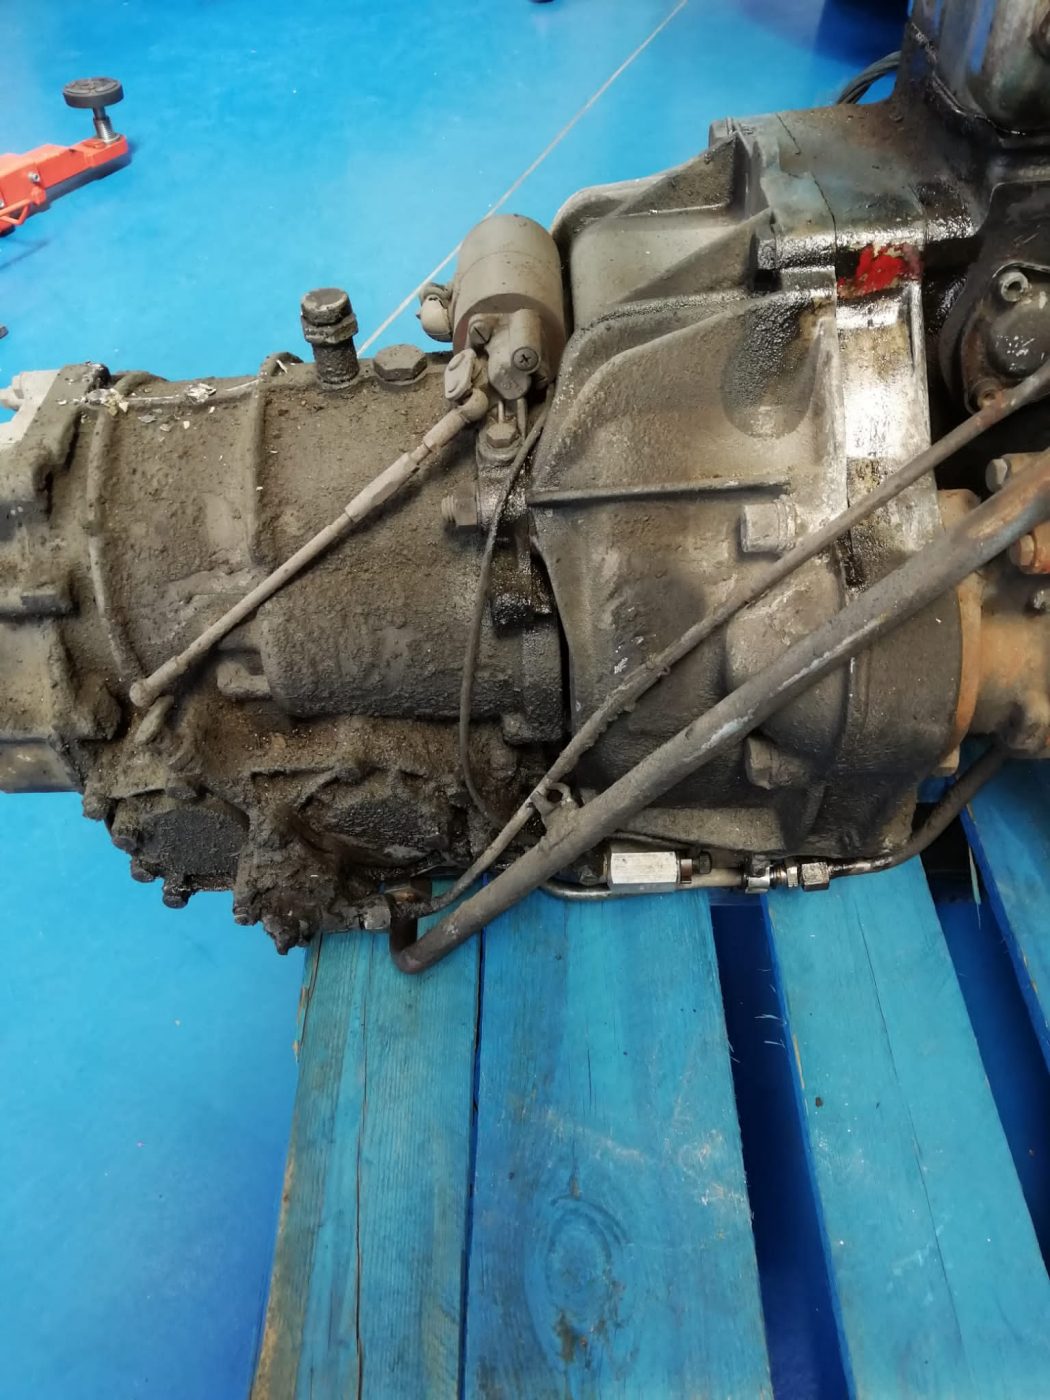
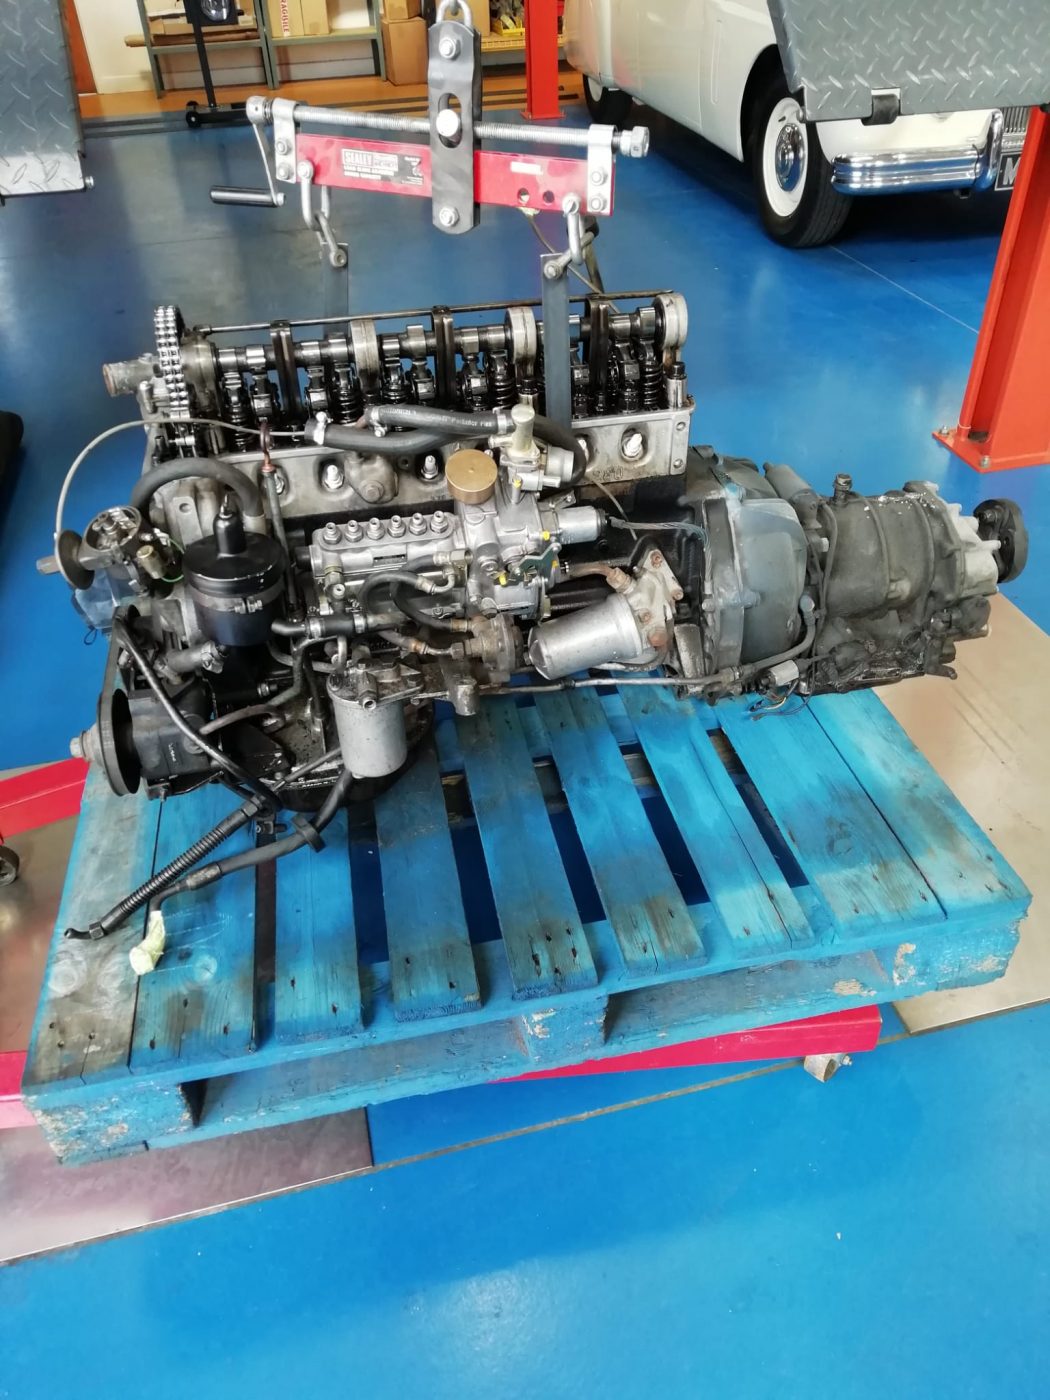
Paul has successfully removed the engine from our beautiful blue 1969 Mercedes 280SL Pagoda. The engine will be rebuilt by Ady and the engine bay
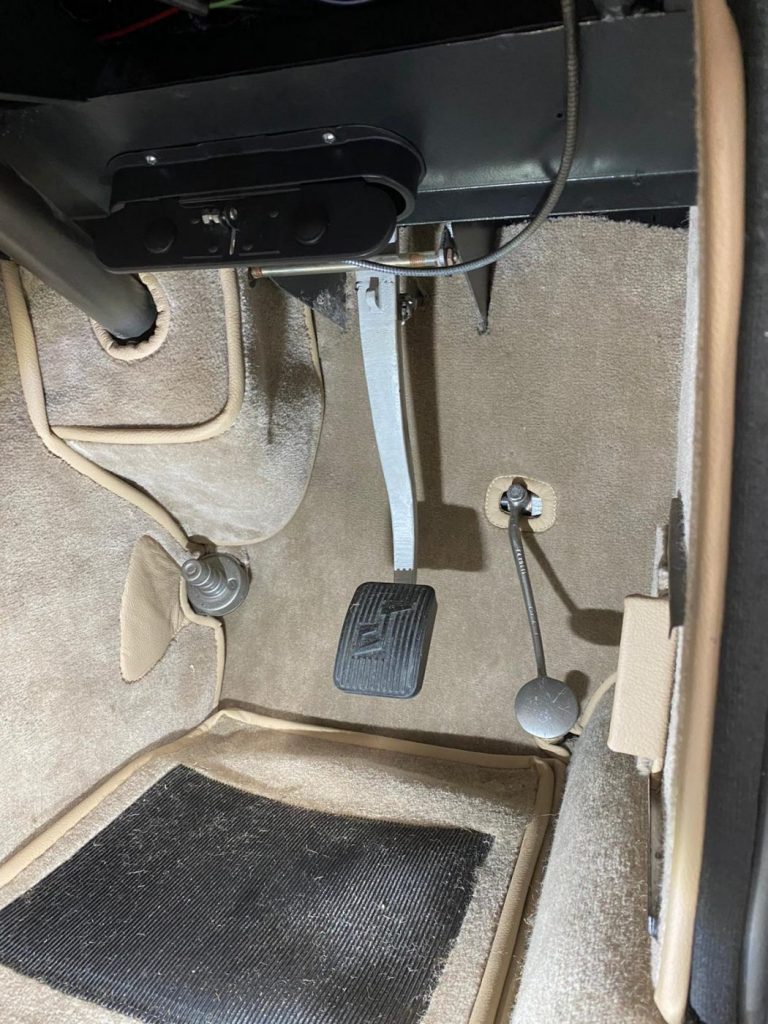
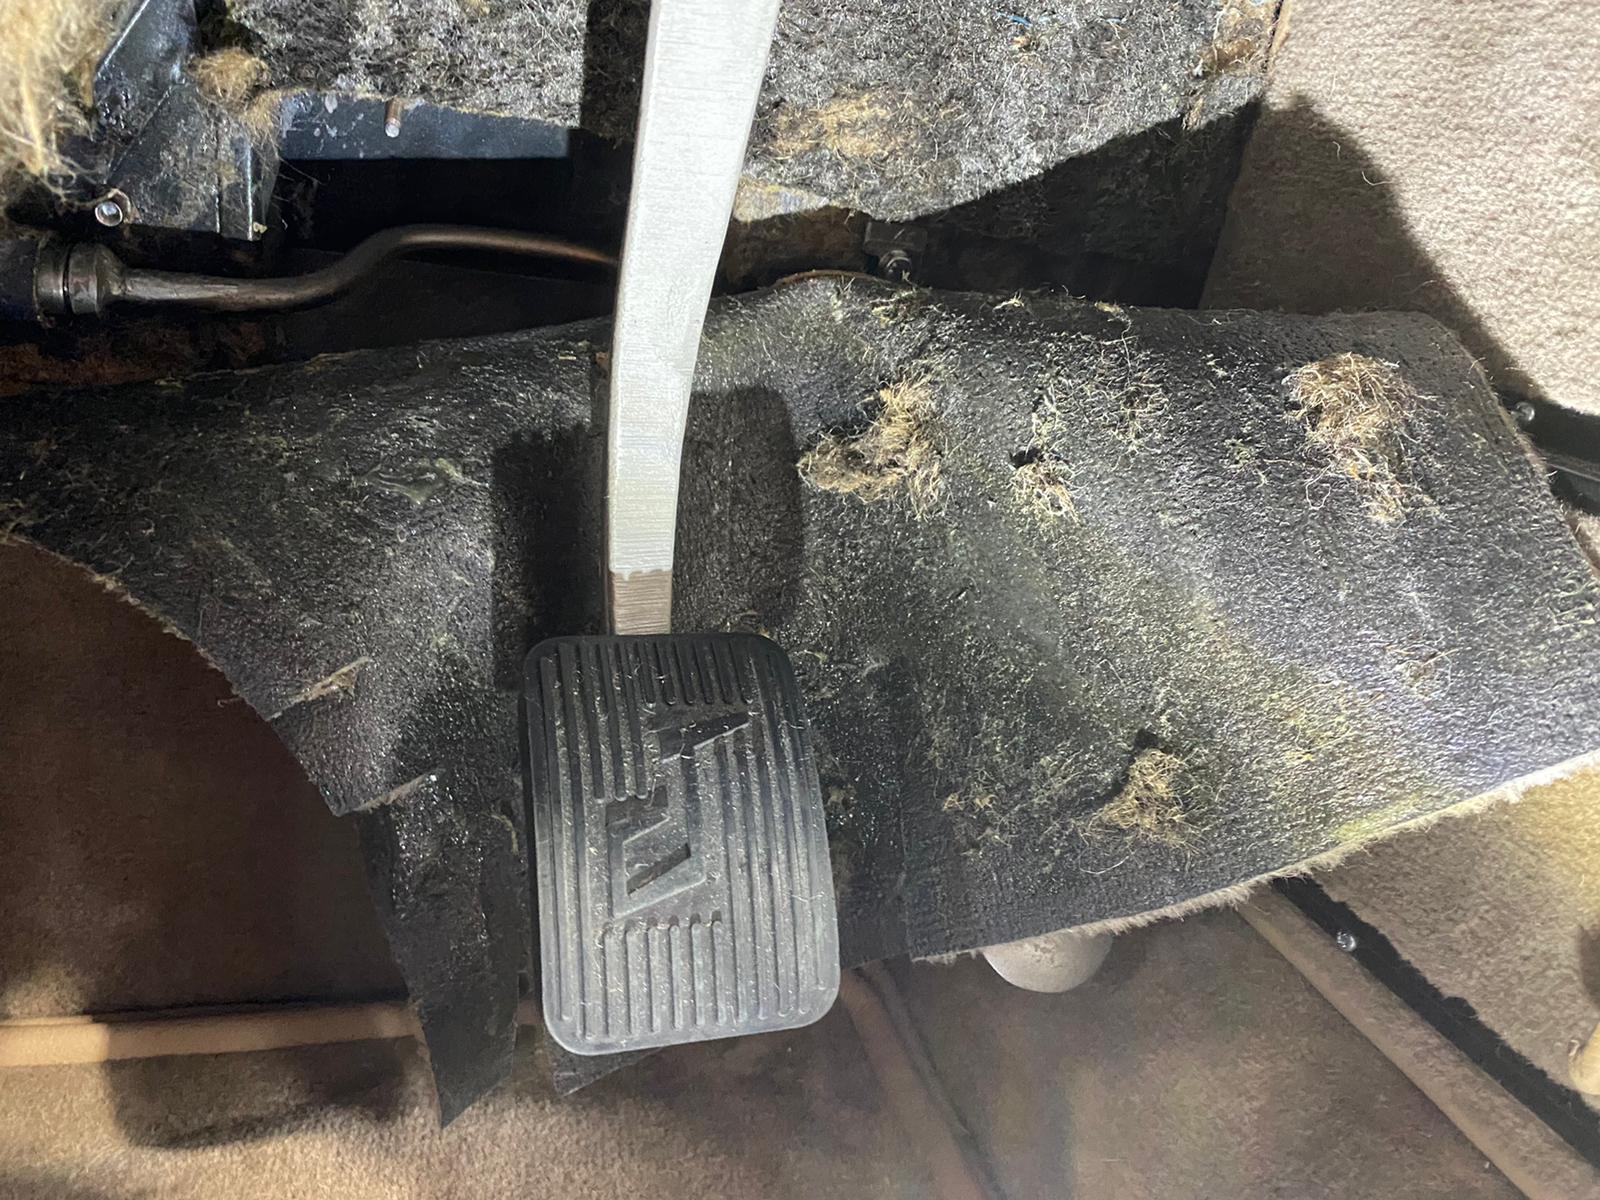
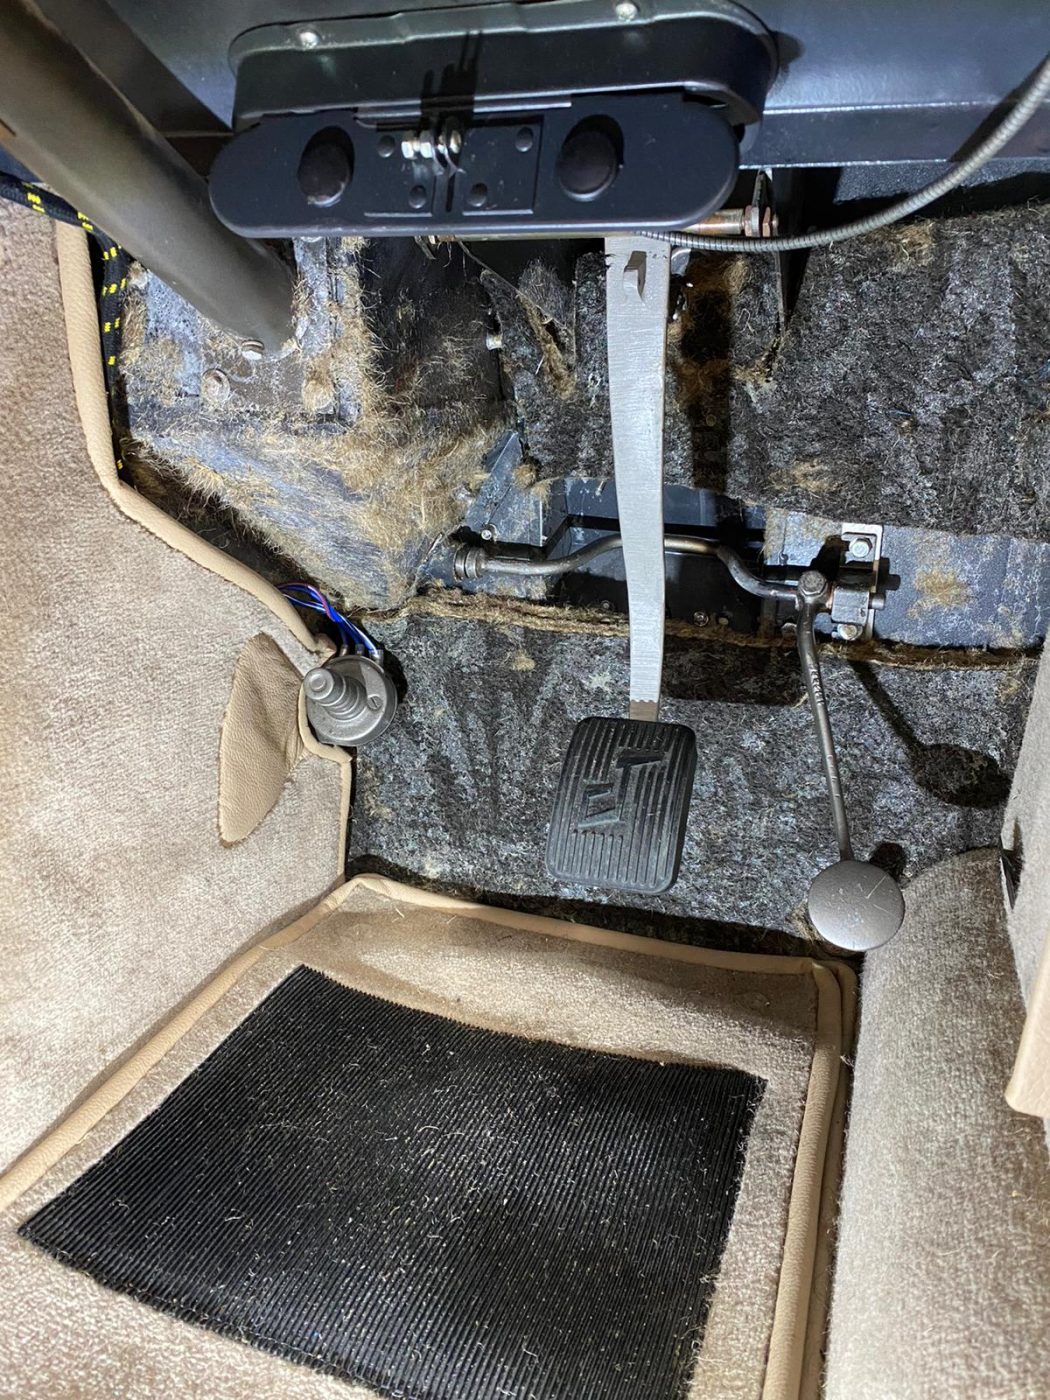
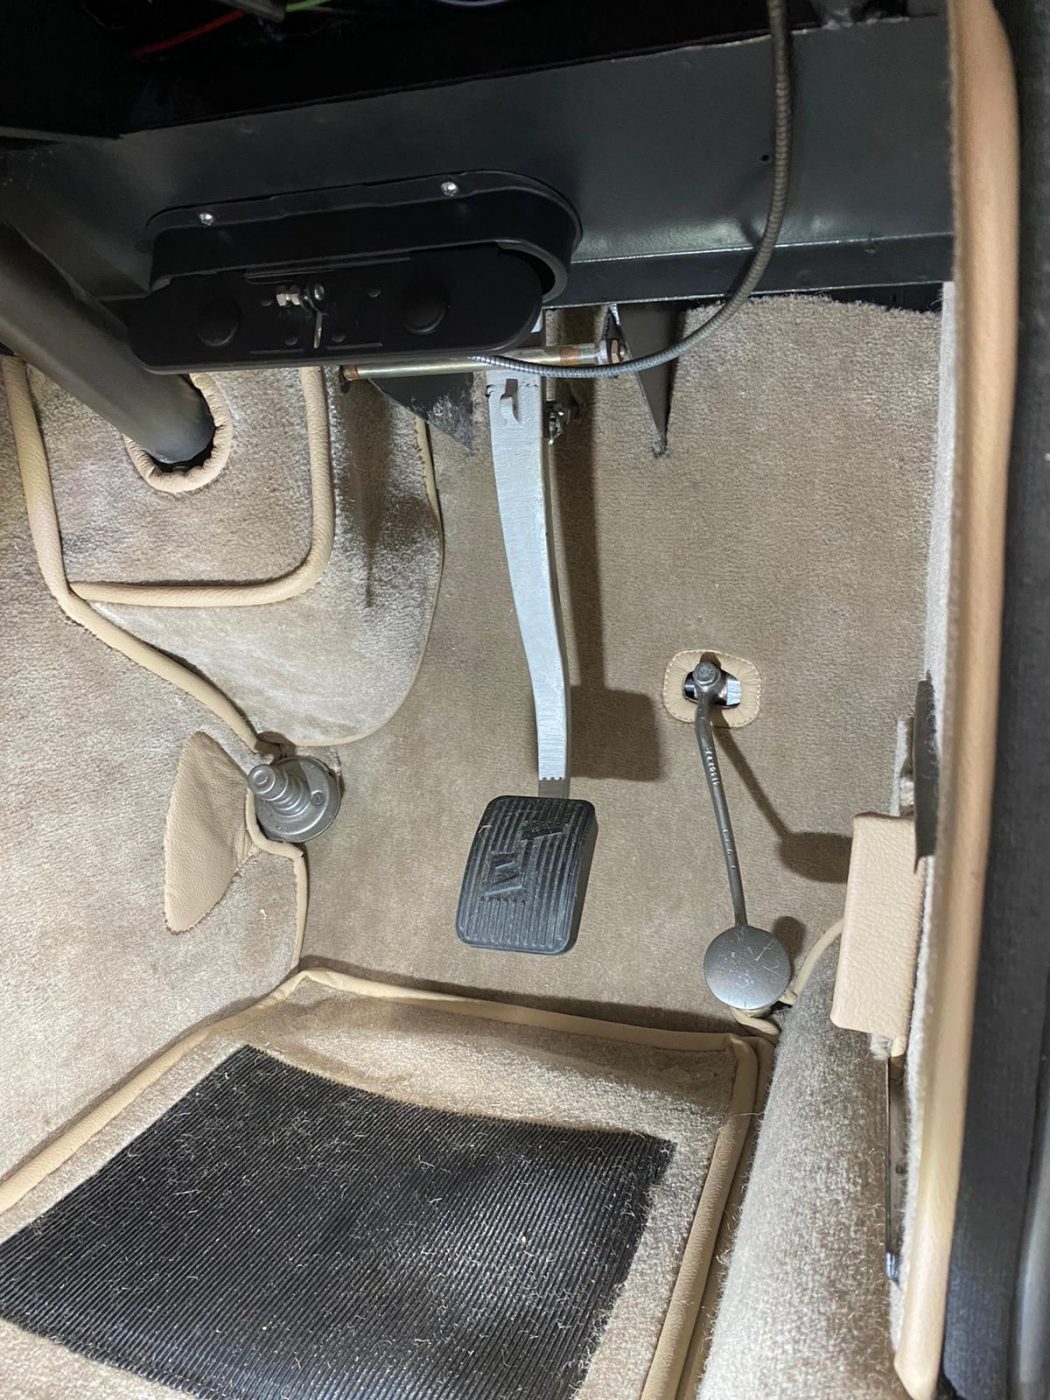
Kath has been laying the carpet back down in the peony red 1960 Jensen 541S. The pedals needed some adjustment, so the sound deadening and
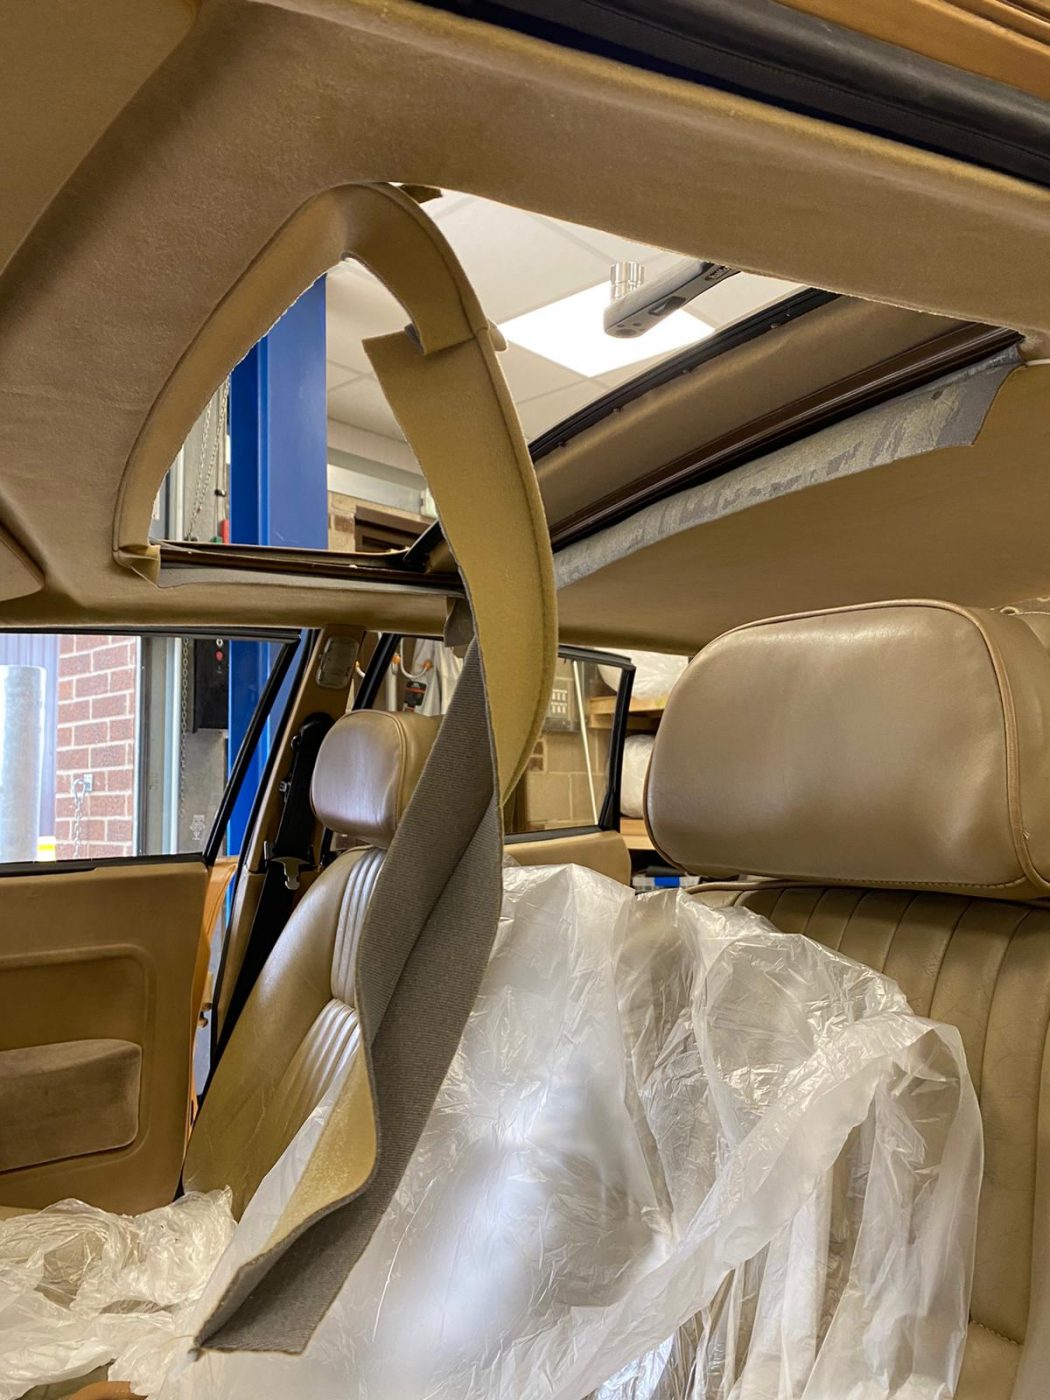
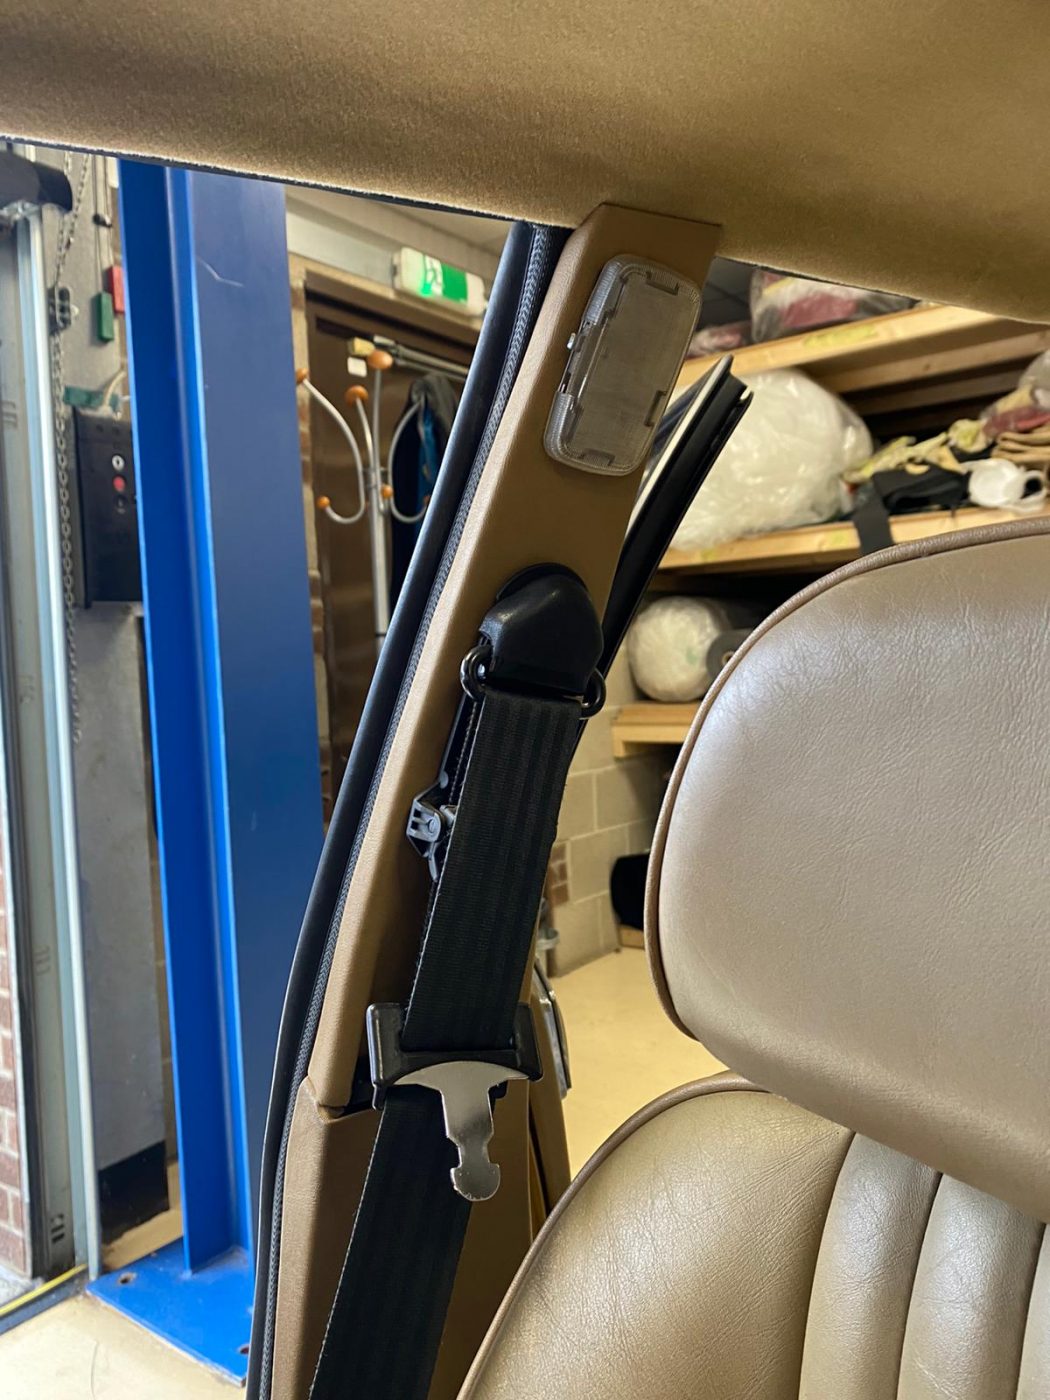
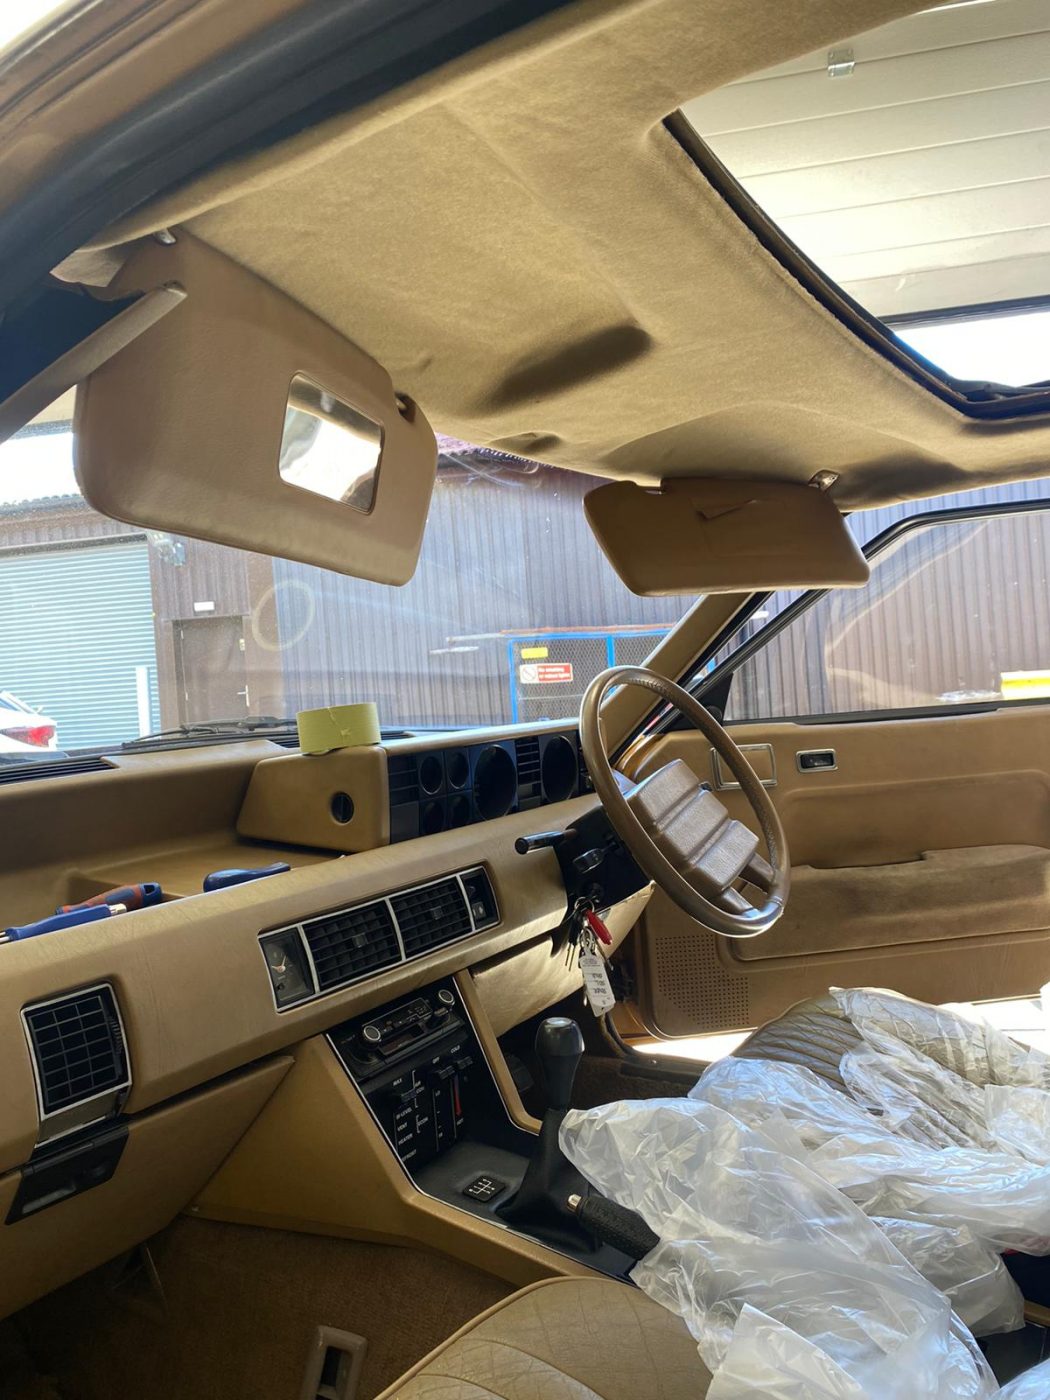
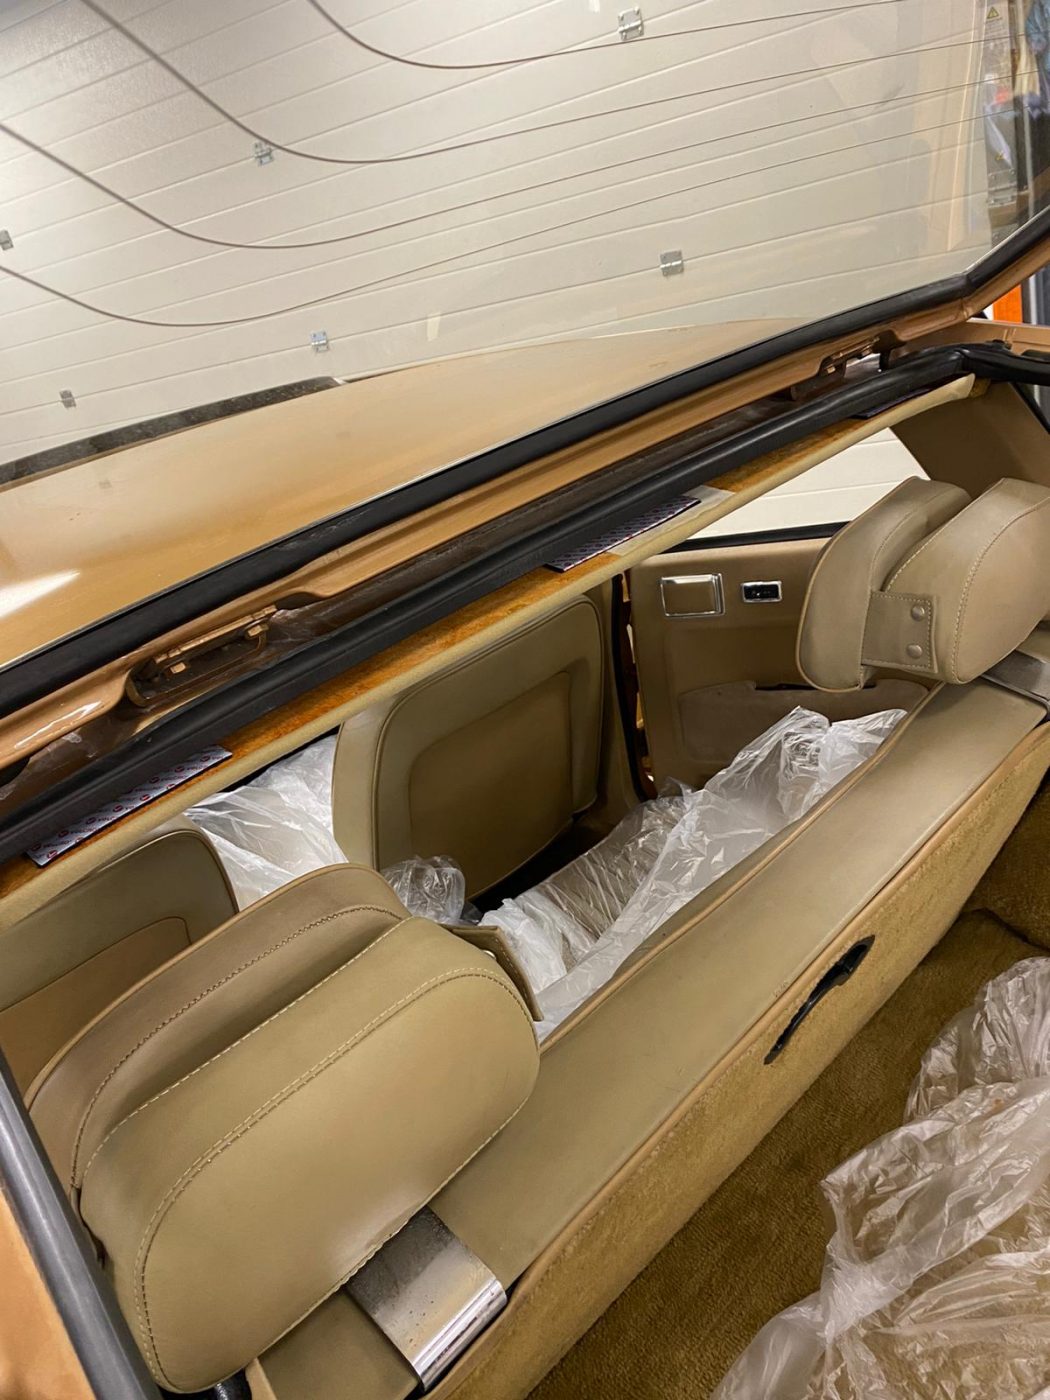
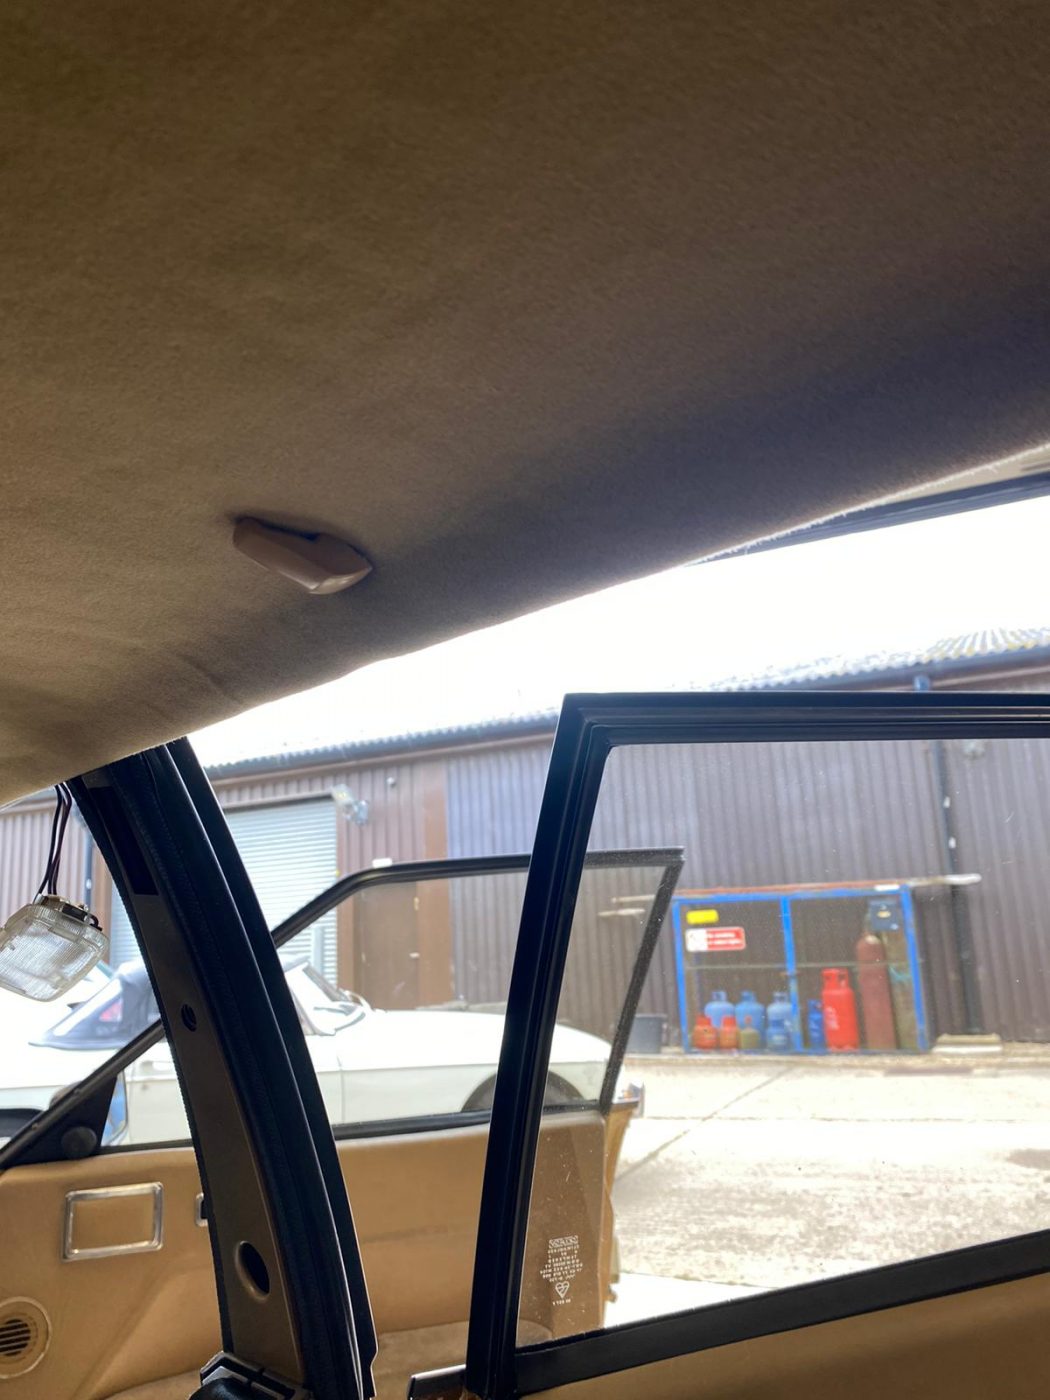
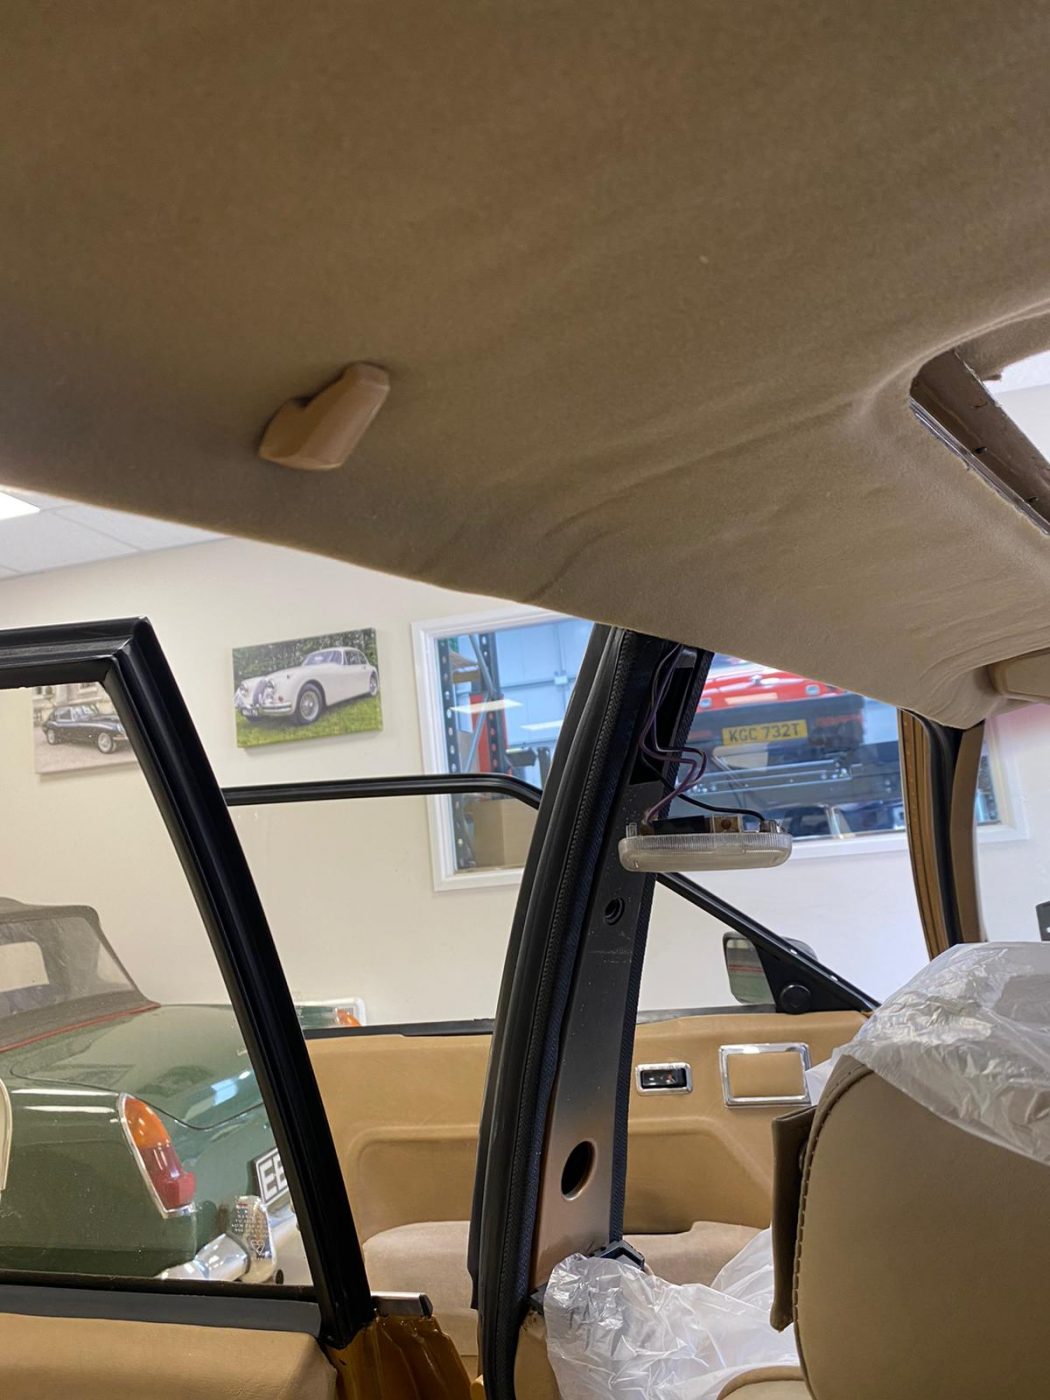
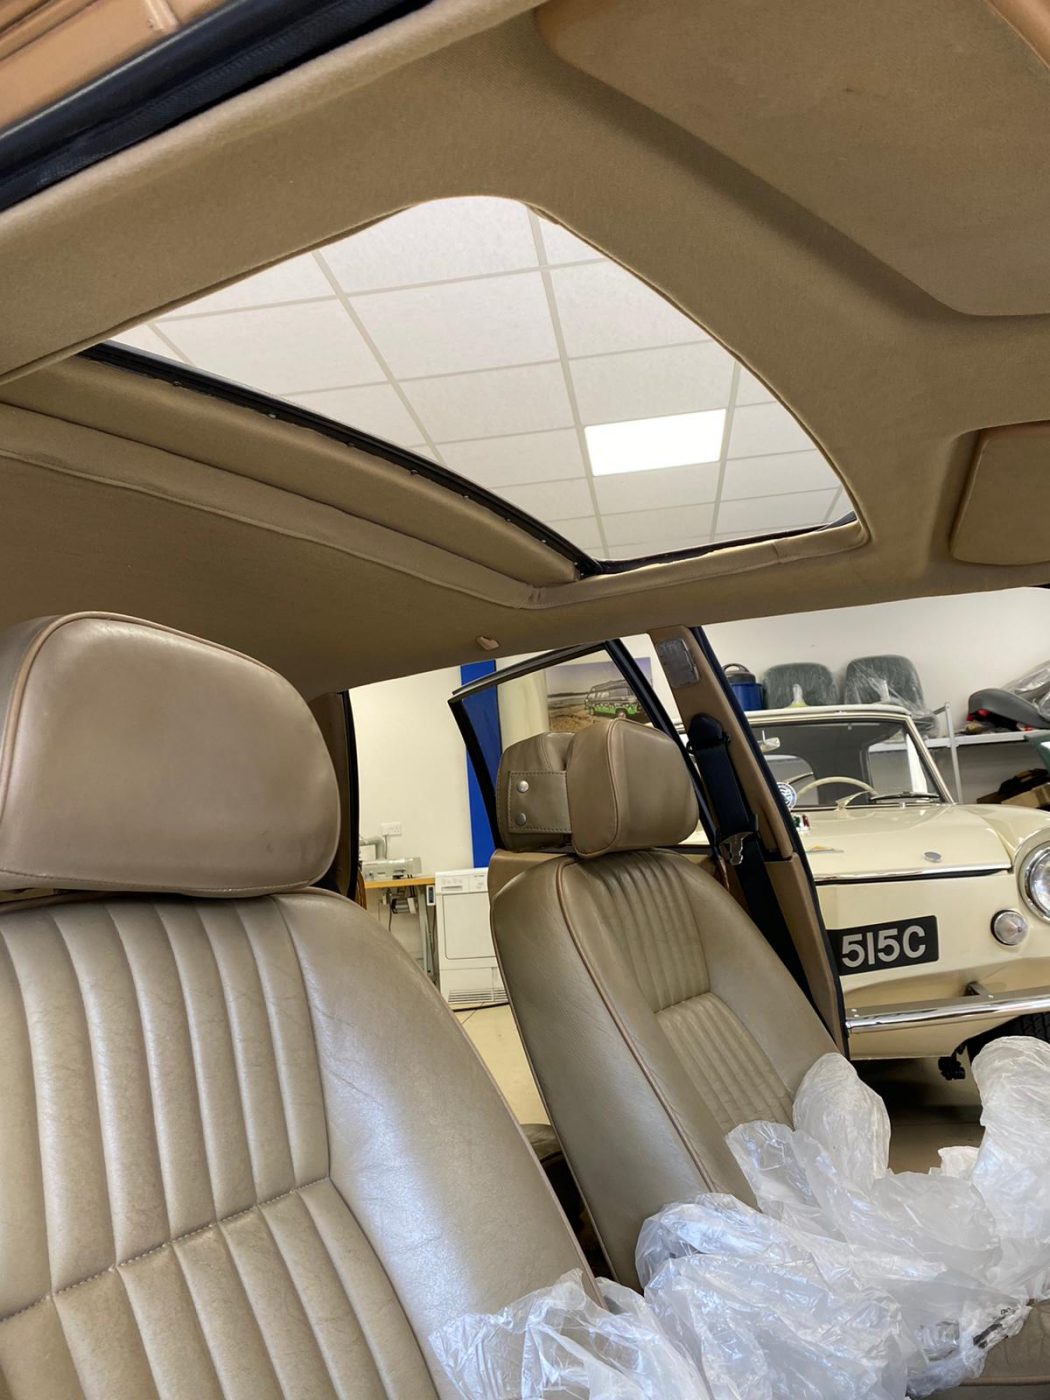
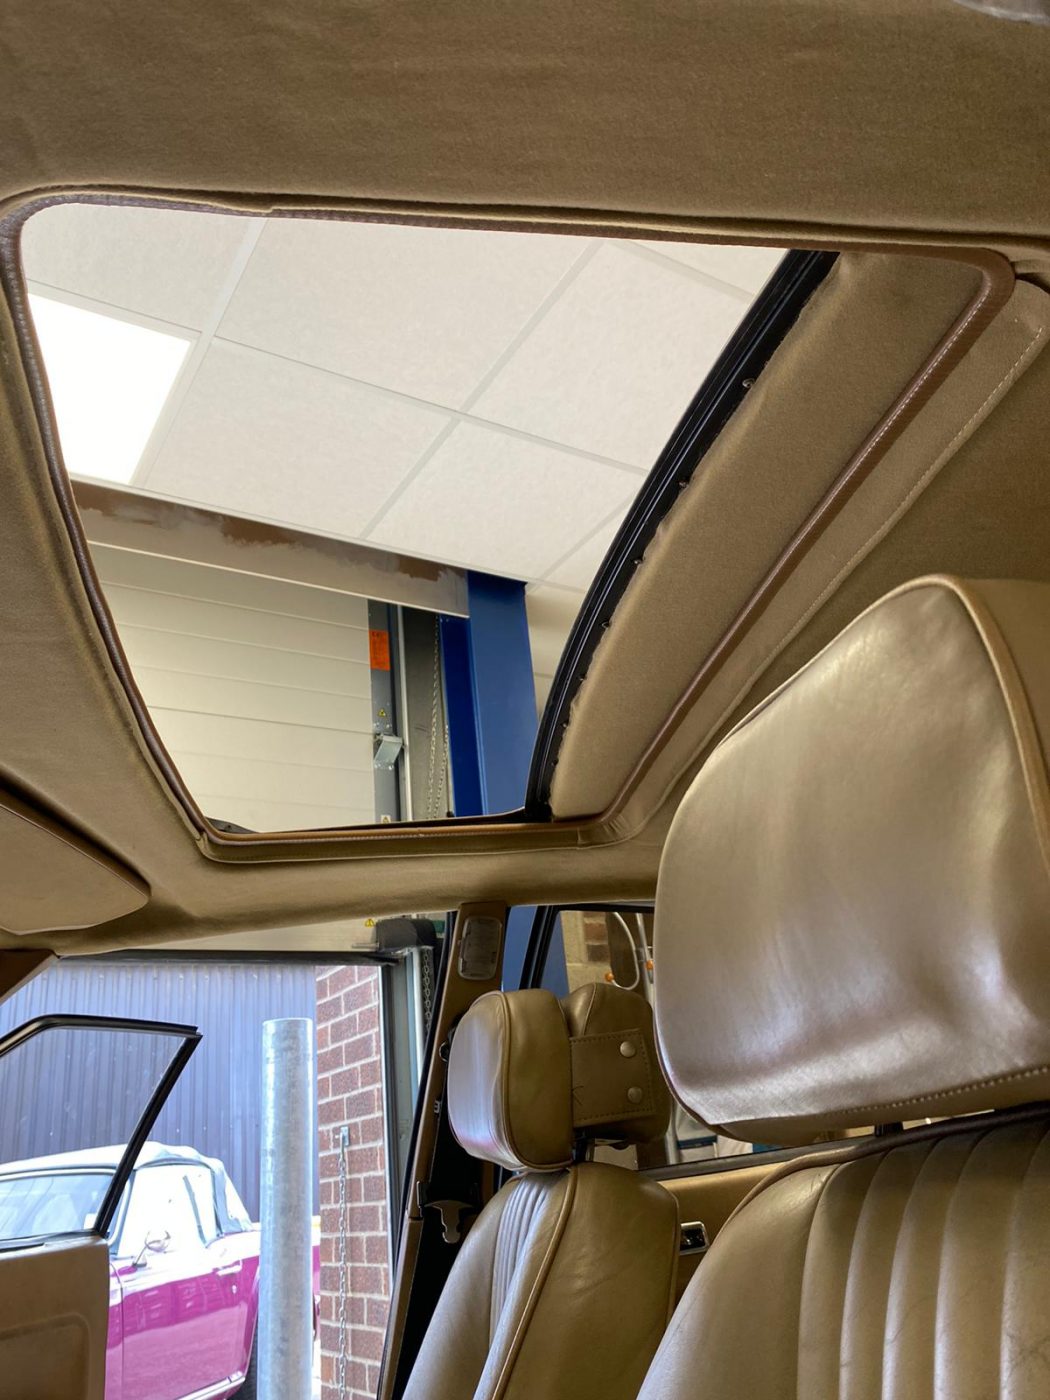
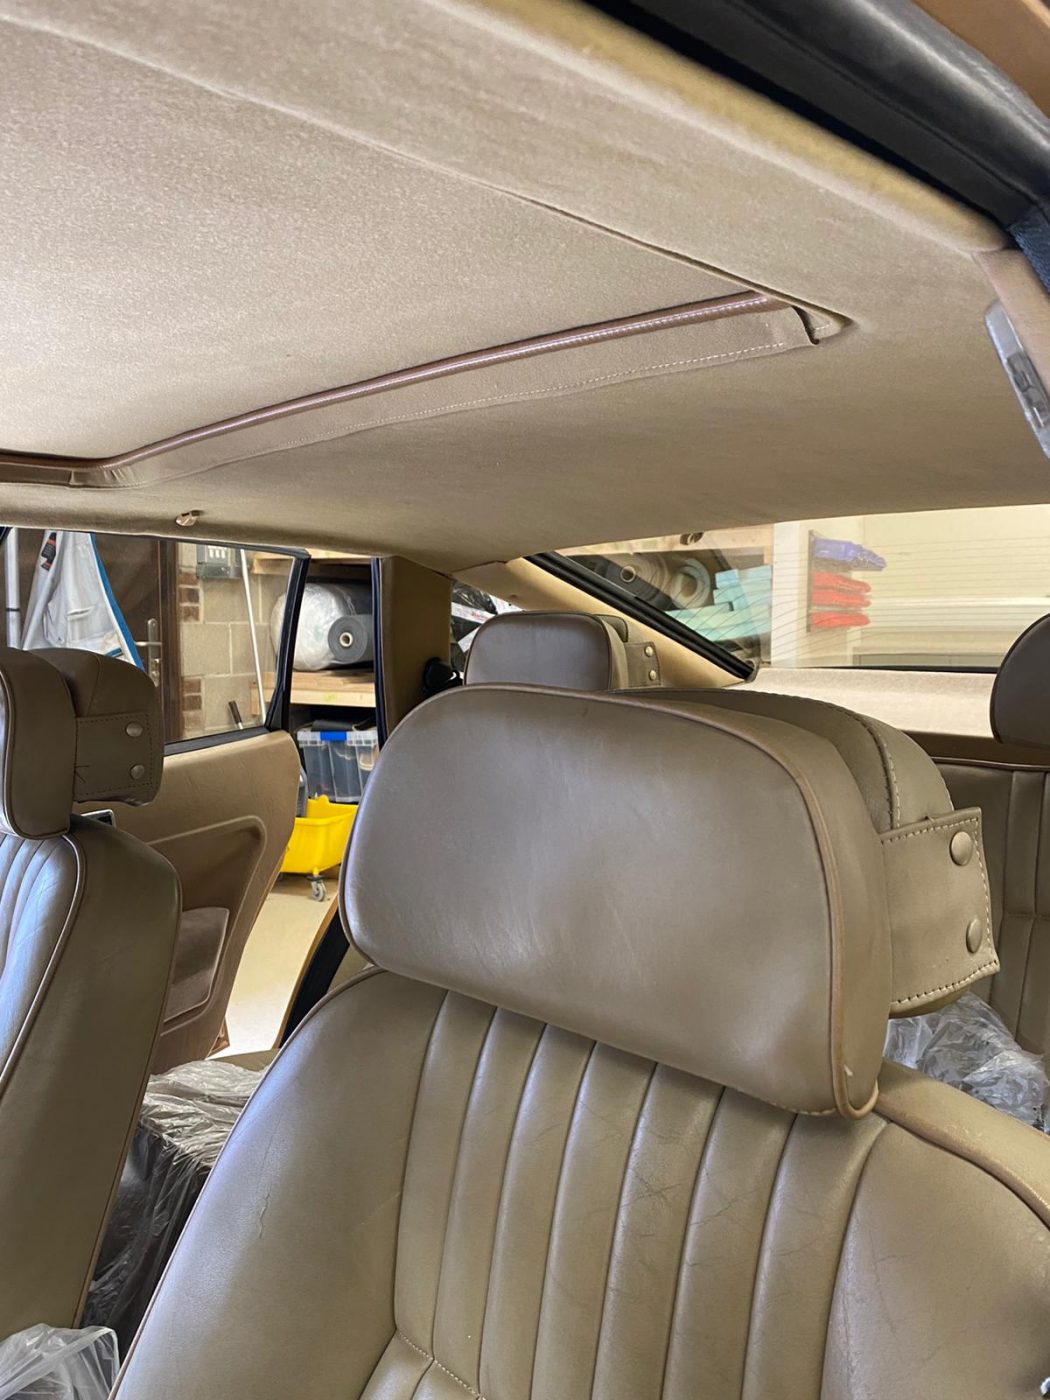
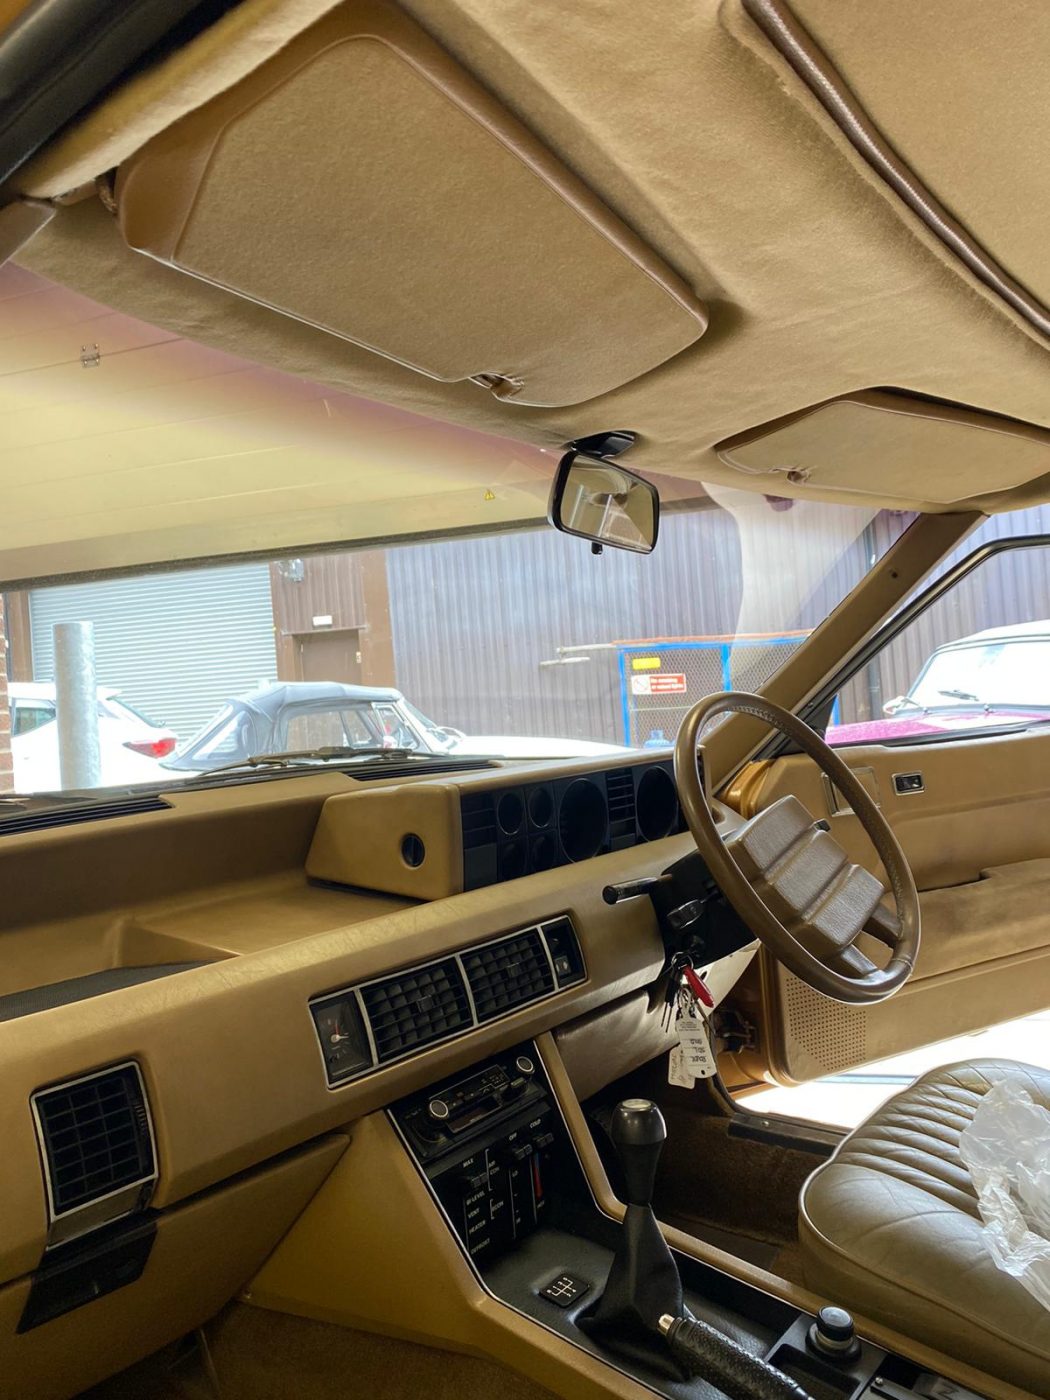
Brian has been finishing the headlining fitting for the 1981 Rover SD1 Vanden Plas. In this last post about it, you can see that he

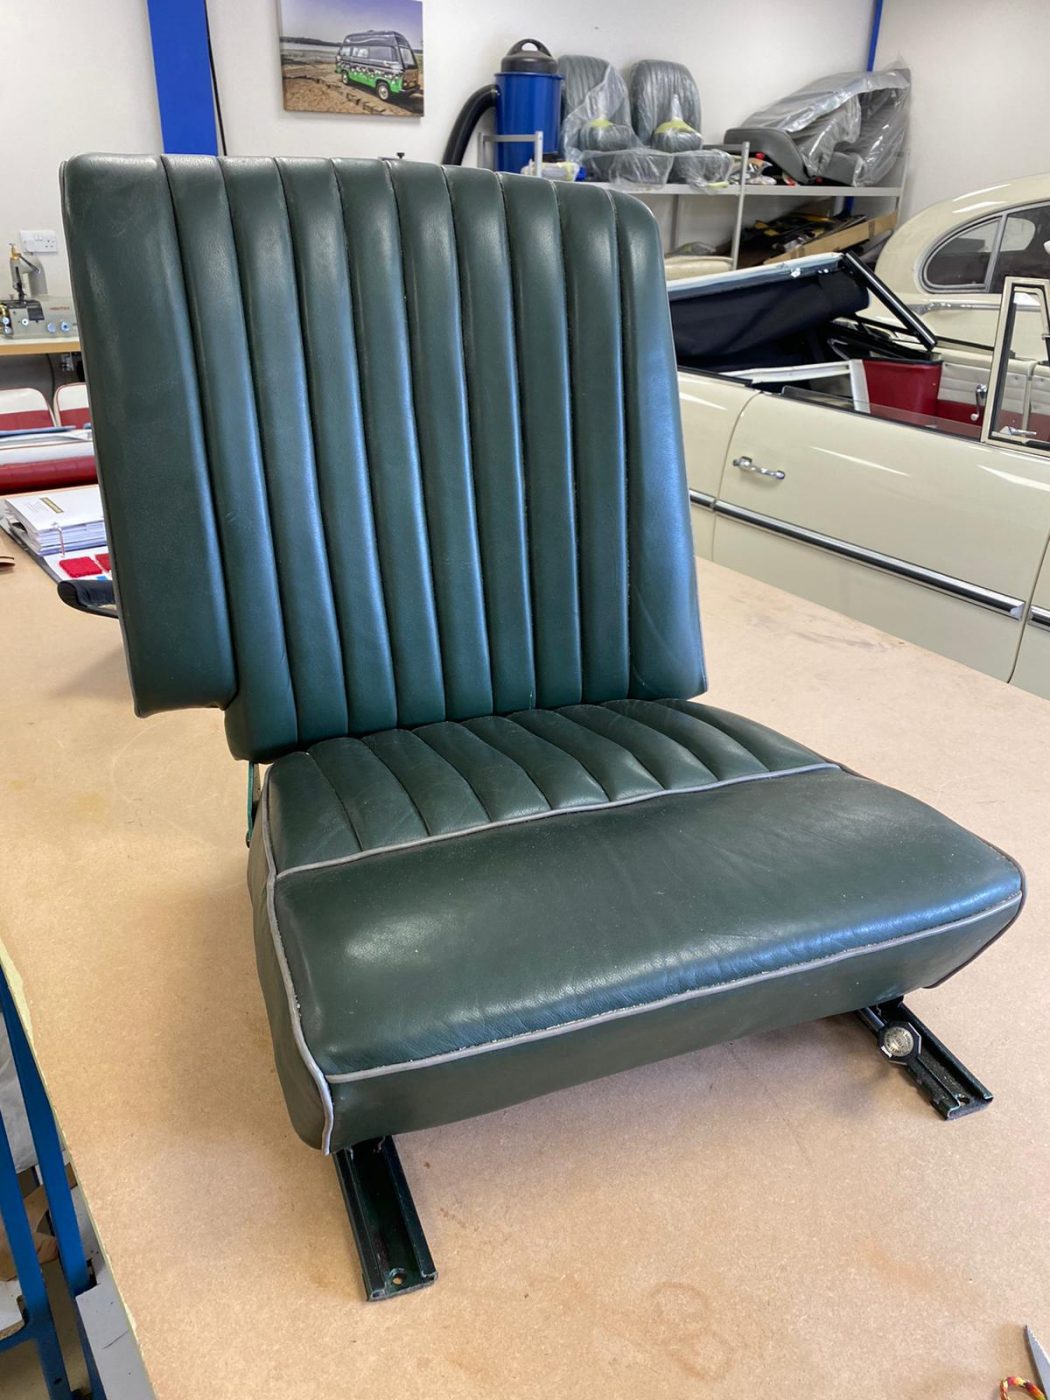
Kath has been finishing up the fitting of the front squab seat covers for the 1955 Aston Martin DB 2/4. At the end of last
With our VW Golf GTI and Rover 3500 SD1 draws coming up very soon, Charlotte takes you on a tour of the current collection we
Thanks to Exotic Cars Of East Anglia for sharing our 1983 VW Golf GTI competition.
Back on the 26th July 2021 Coby Morton received the amazing news that he has won our 1979 MG Midget 1500. When carrying out the
What a weekend! Now we’re back at base, it’s time for a re-cap of another classic car-fueled weekend. After a canceled 2020 show, Helmingham hall

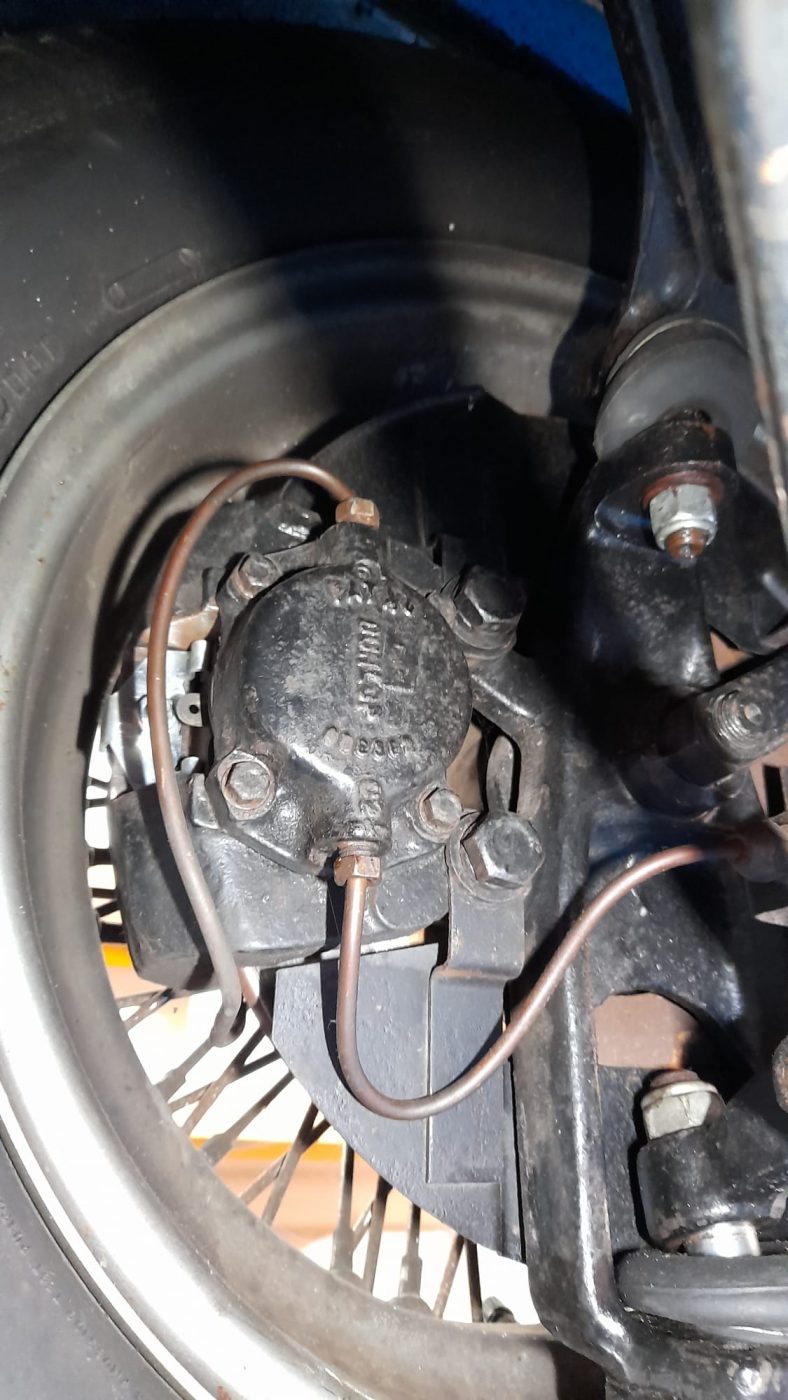
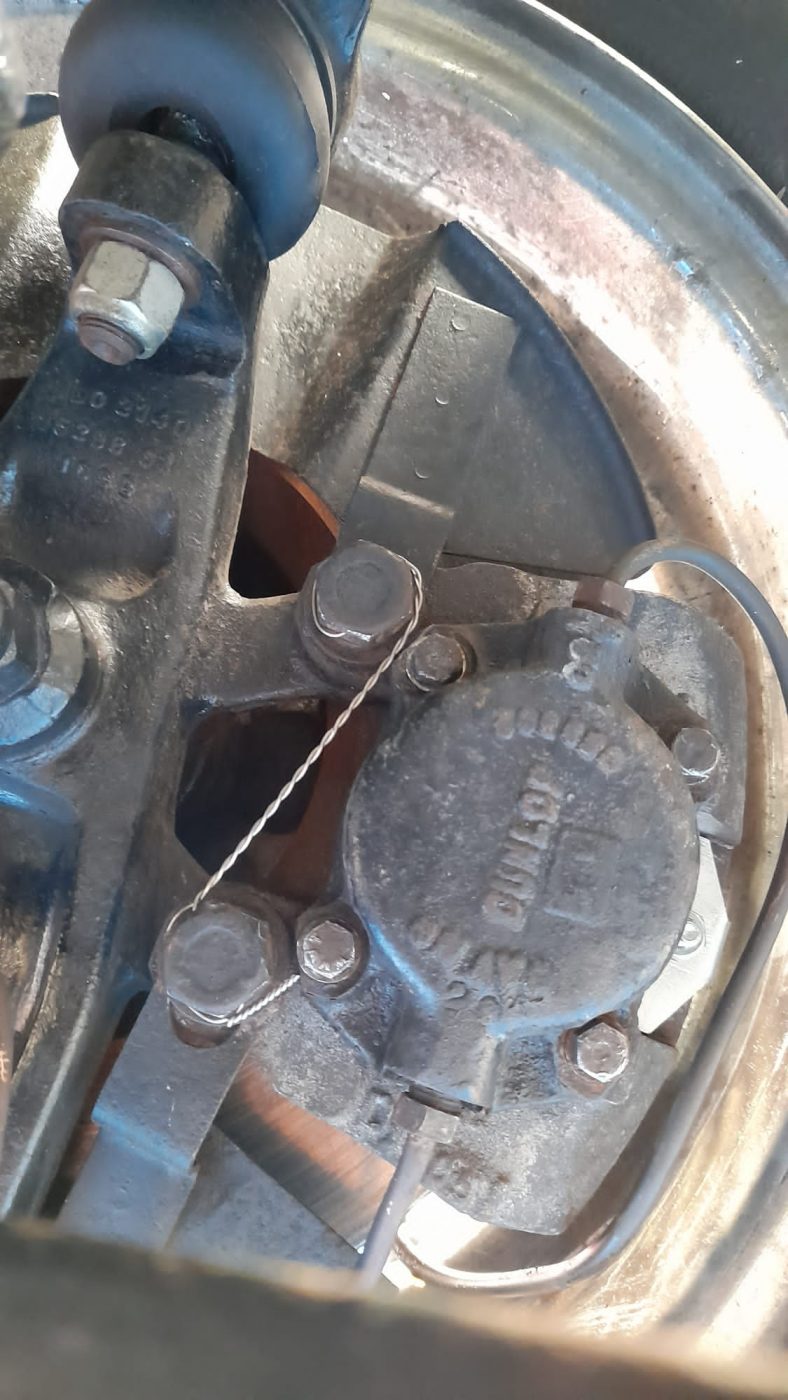
Scott has been working on the 1968 Jaguar E-Type Series 1.5 4.2. He’s replaced the brake line that connects to the rear axle, bled the

Dave has been carrying out work on the 1975 magenta Triumph TR6. Here’s a list and a look at what he’s been up to! There
Brian has been re-covering more panels for the 1963 Bentley S3 Chinese Continental. This time, he’s done the panels that go underneath the dash, the

Lydia has been helping Chris in the paint shop with the 1998 Honda Integra Type R panels. Chris has been priming them, and then Lydia
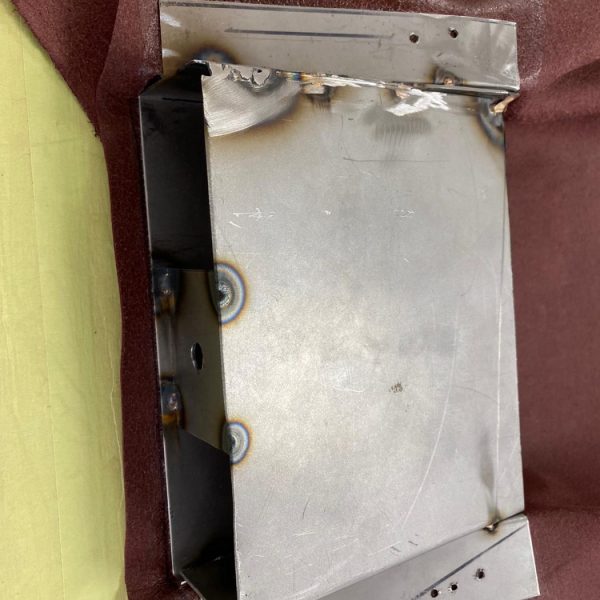
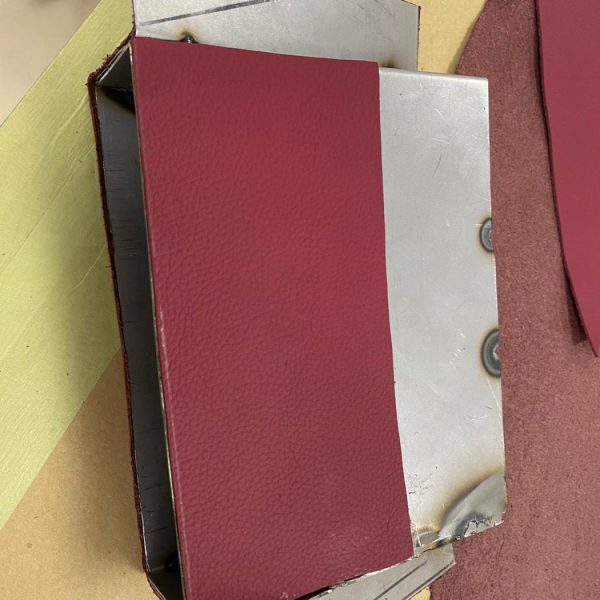
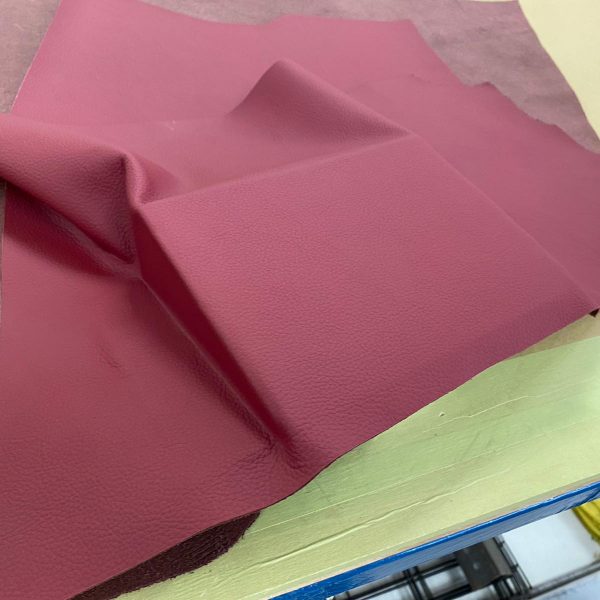
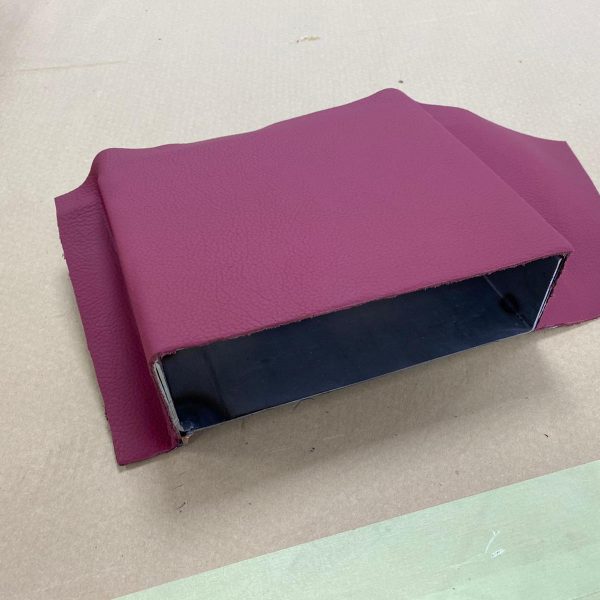
Tamas has fabricated and welded together a new stereo box for the white 1954 Jaguar Mk VII. Kath has then covered it in dark red
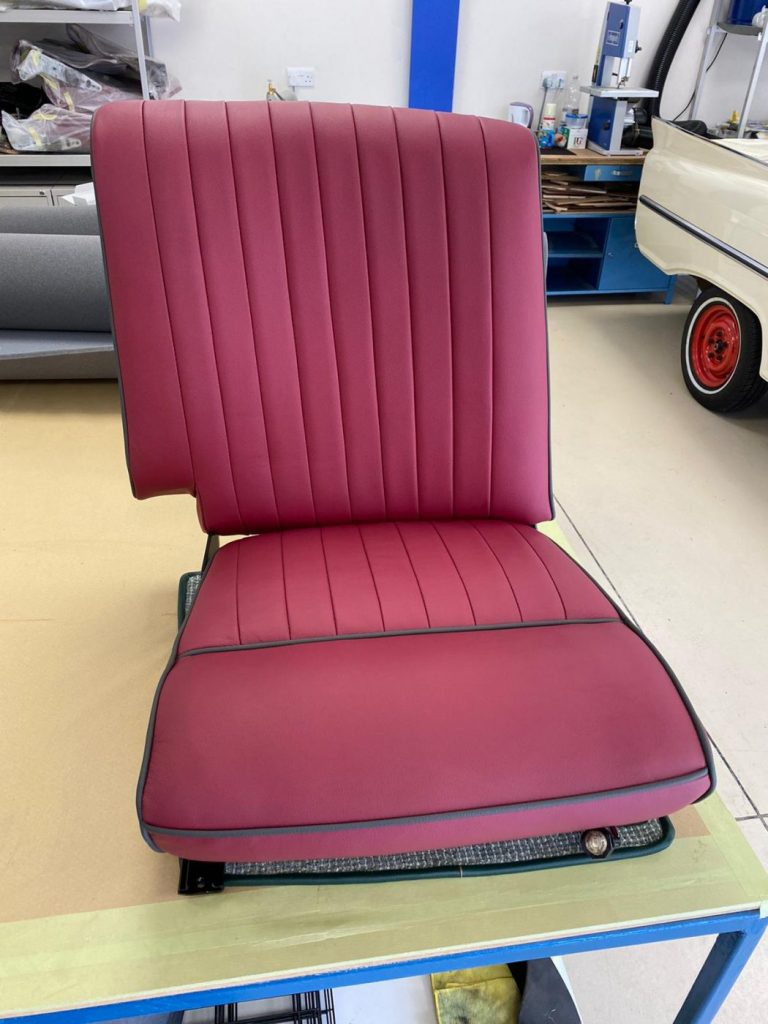
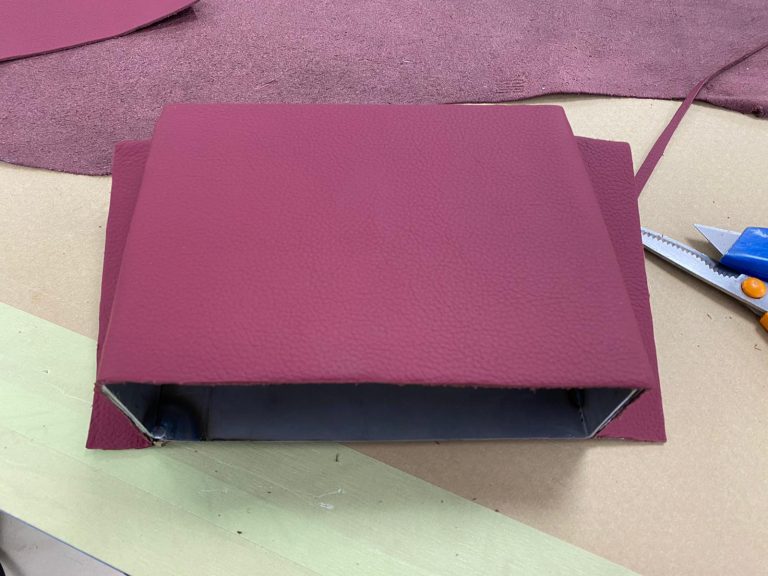
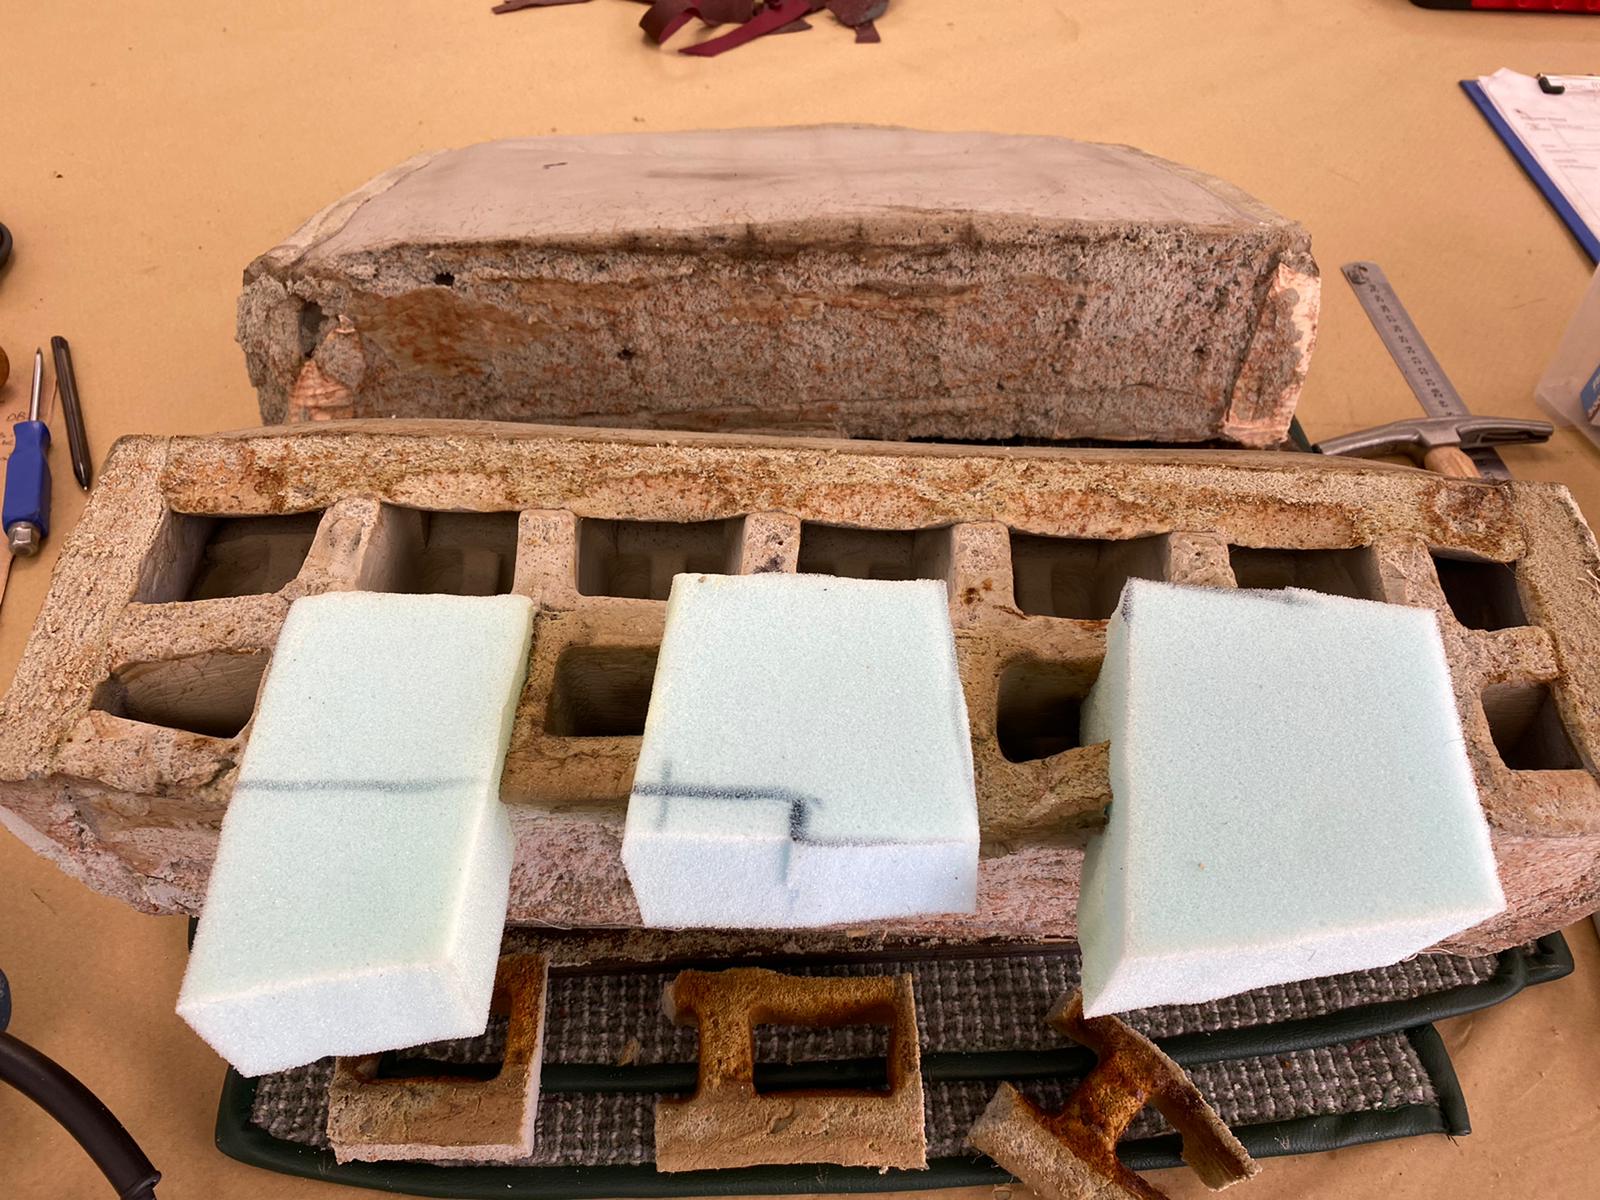
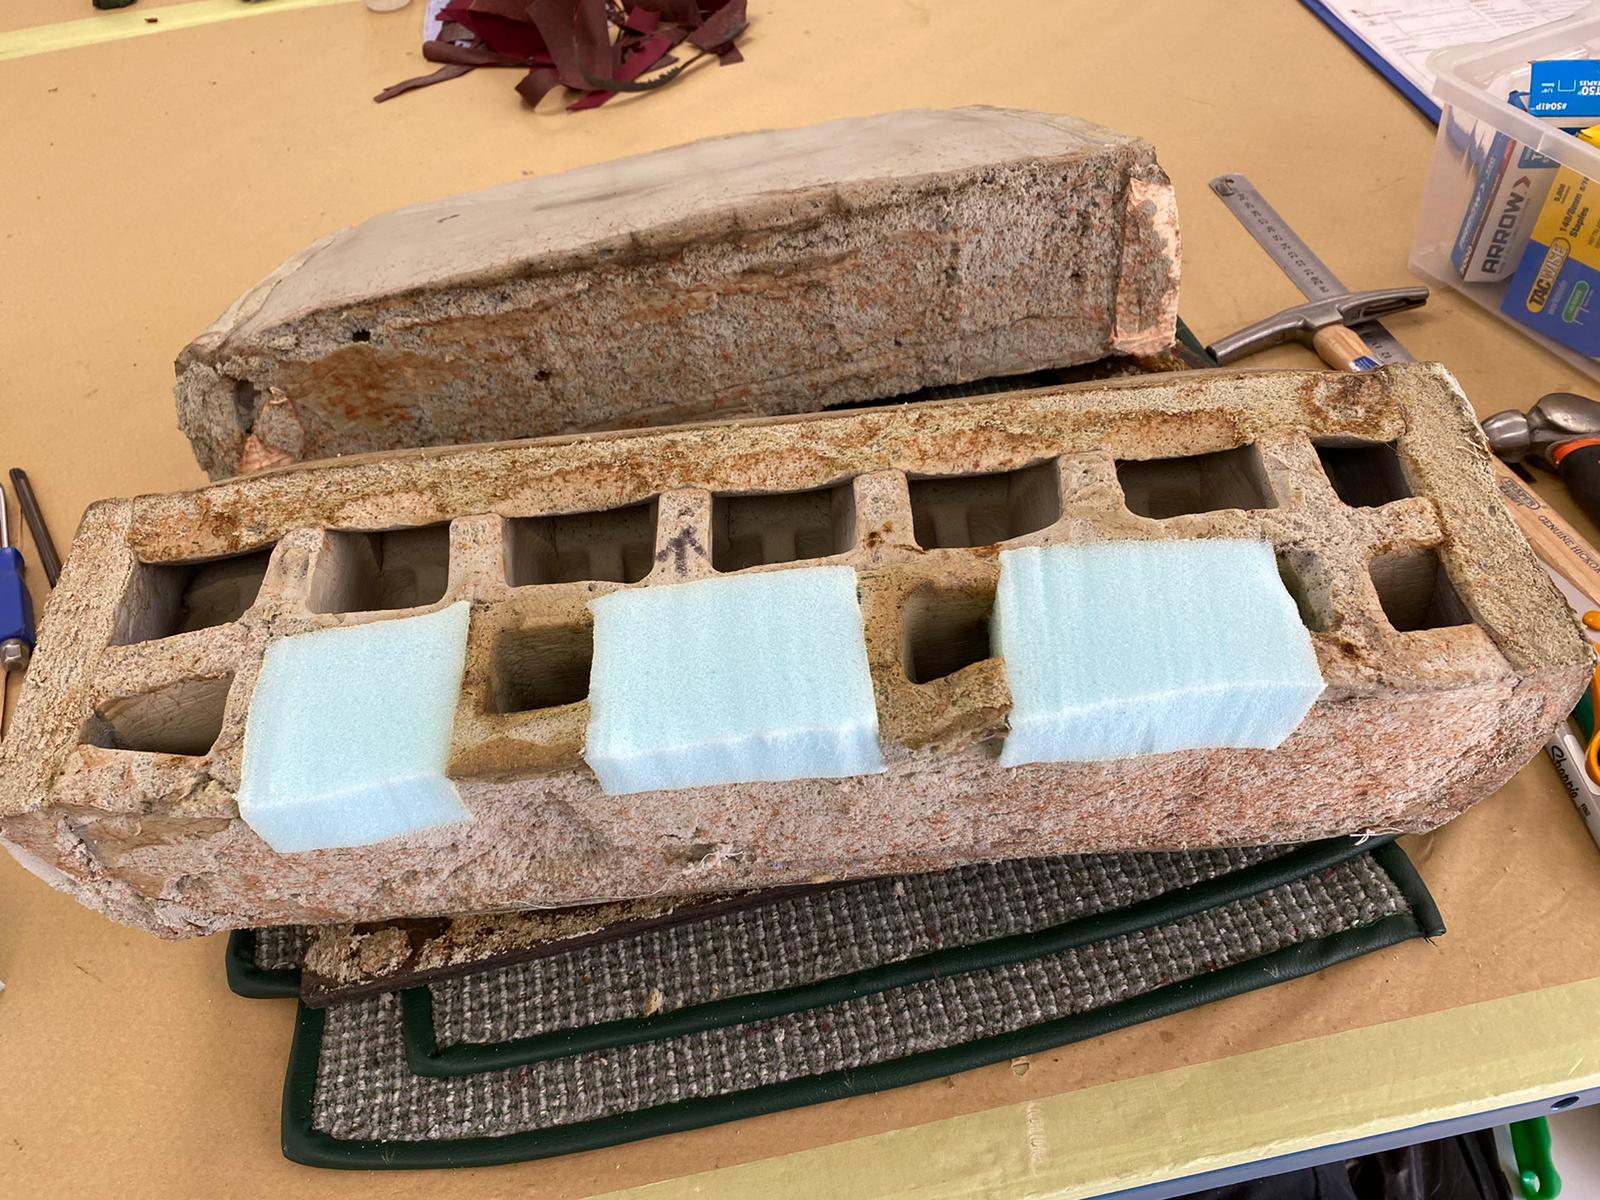
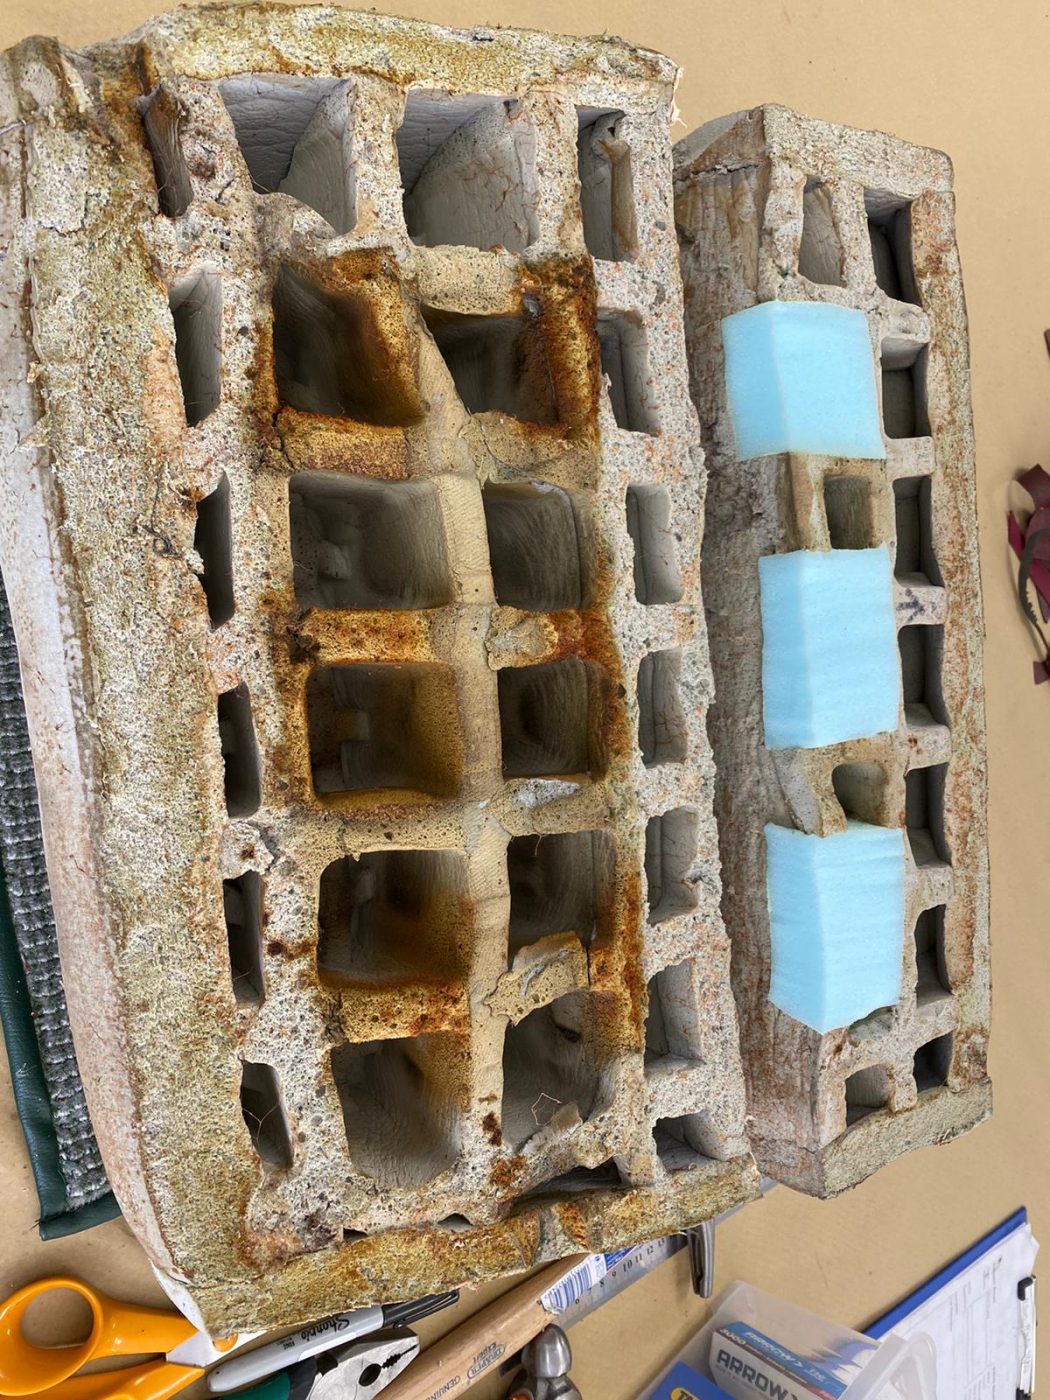
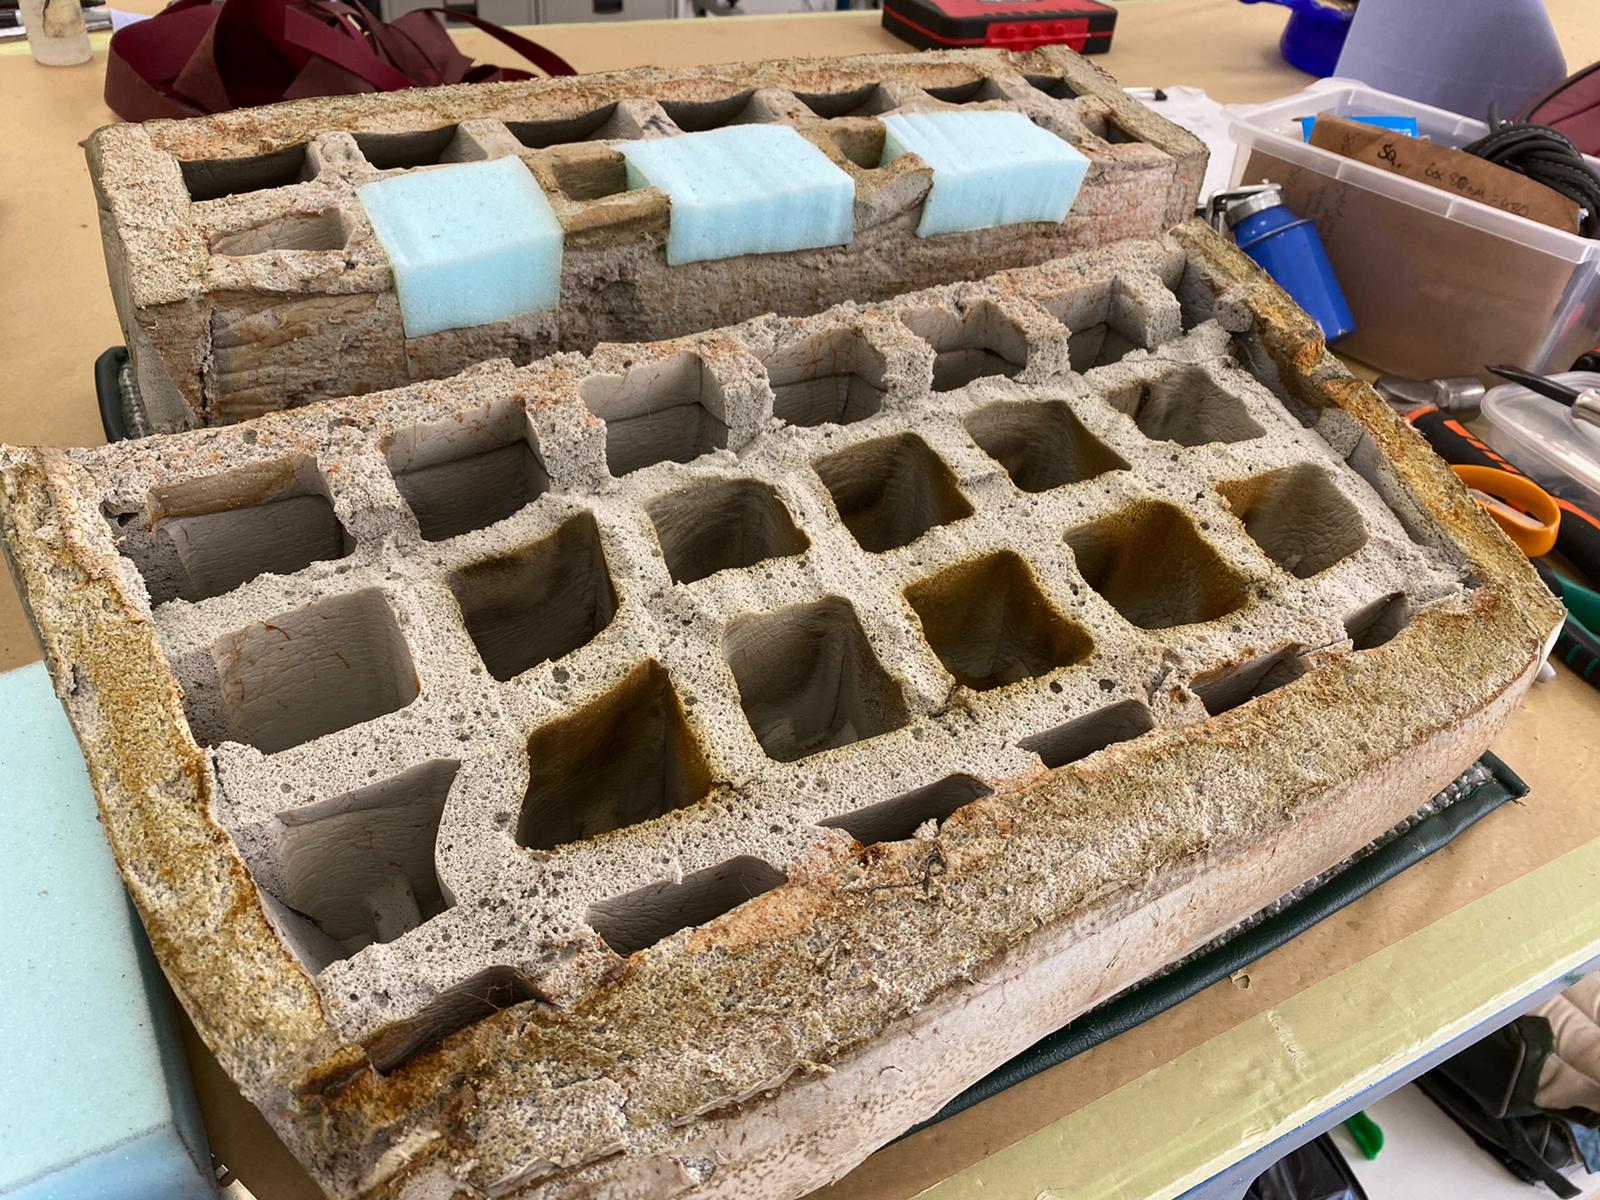
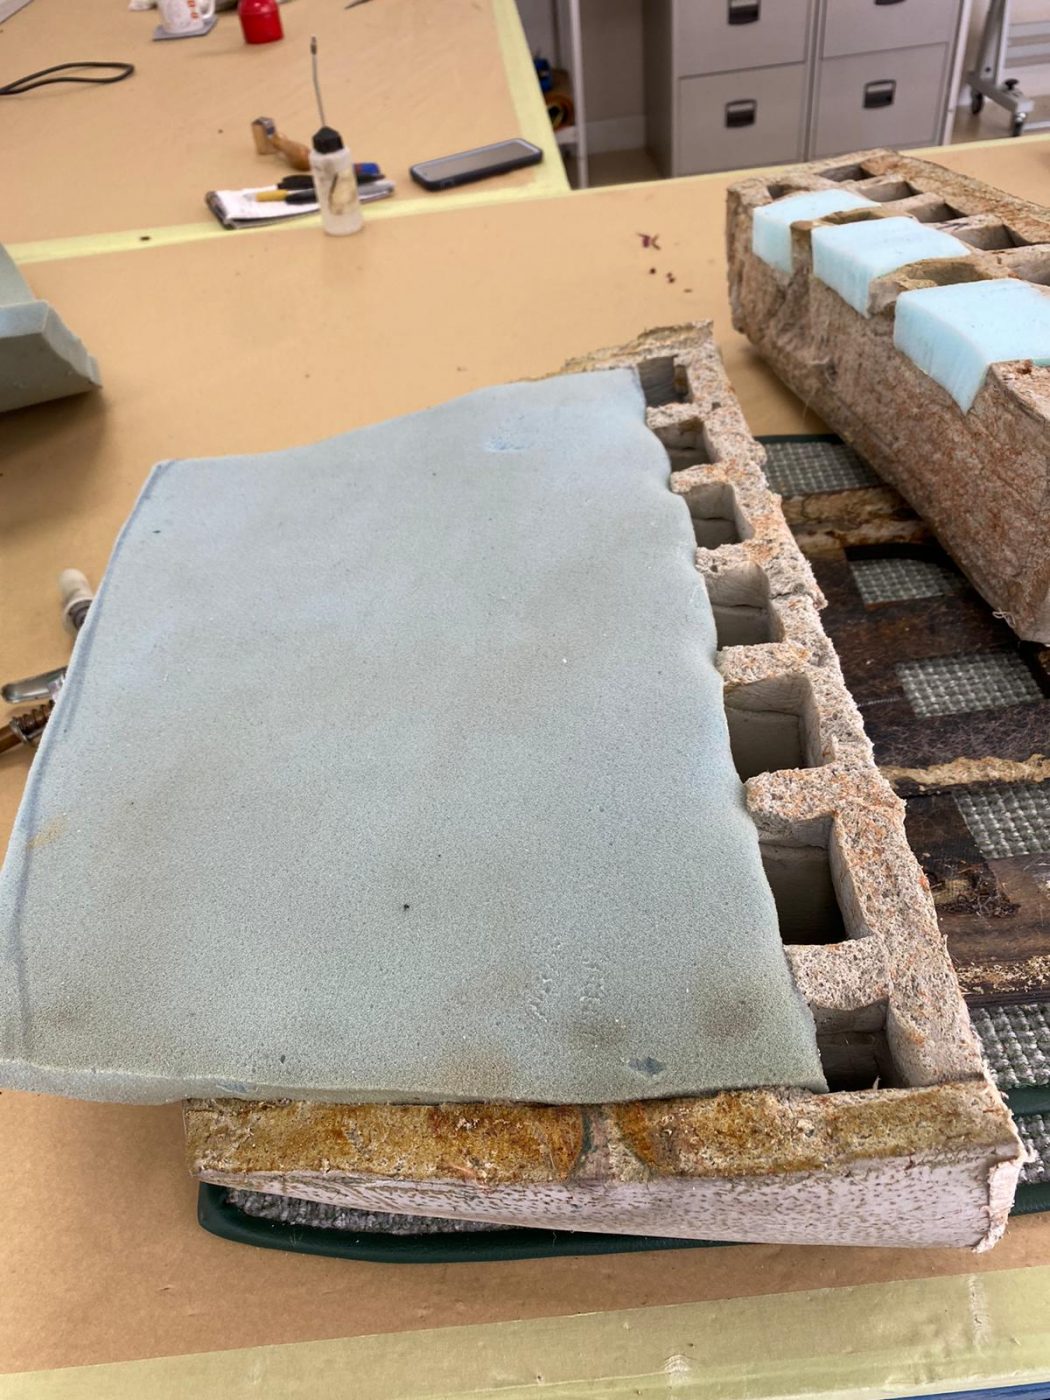
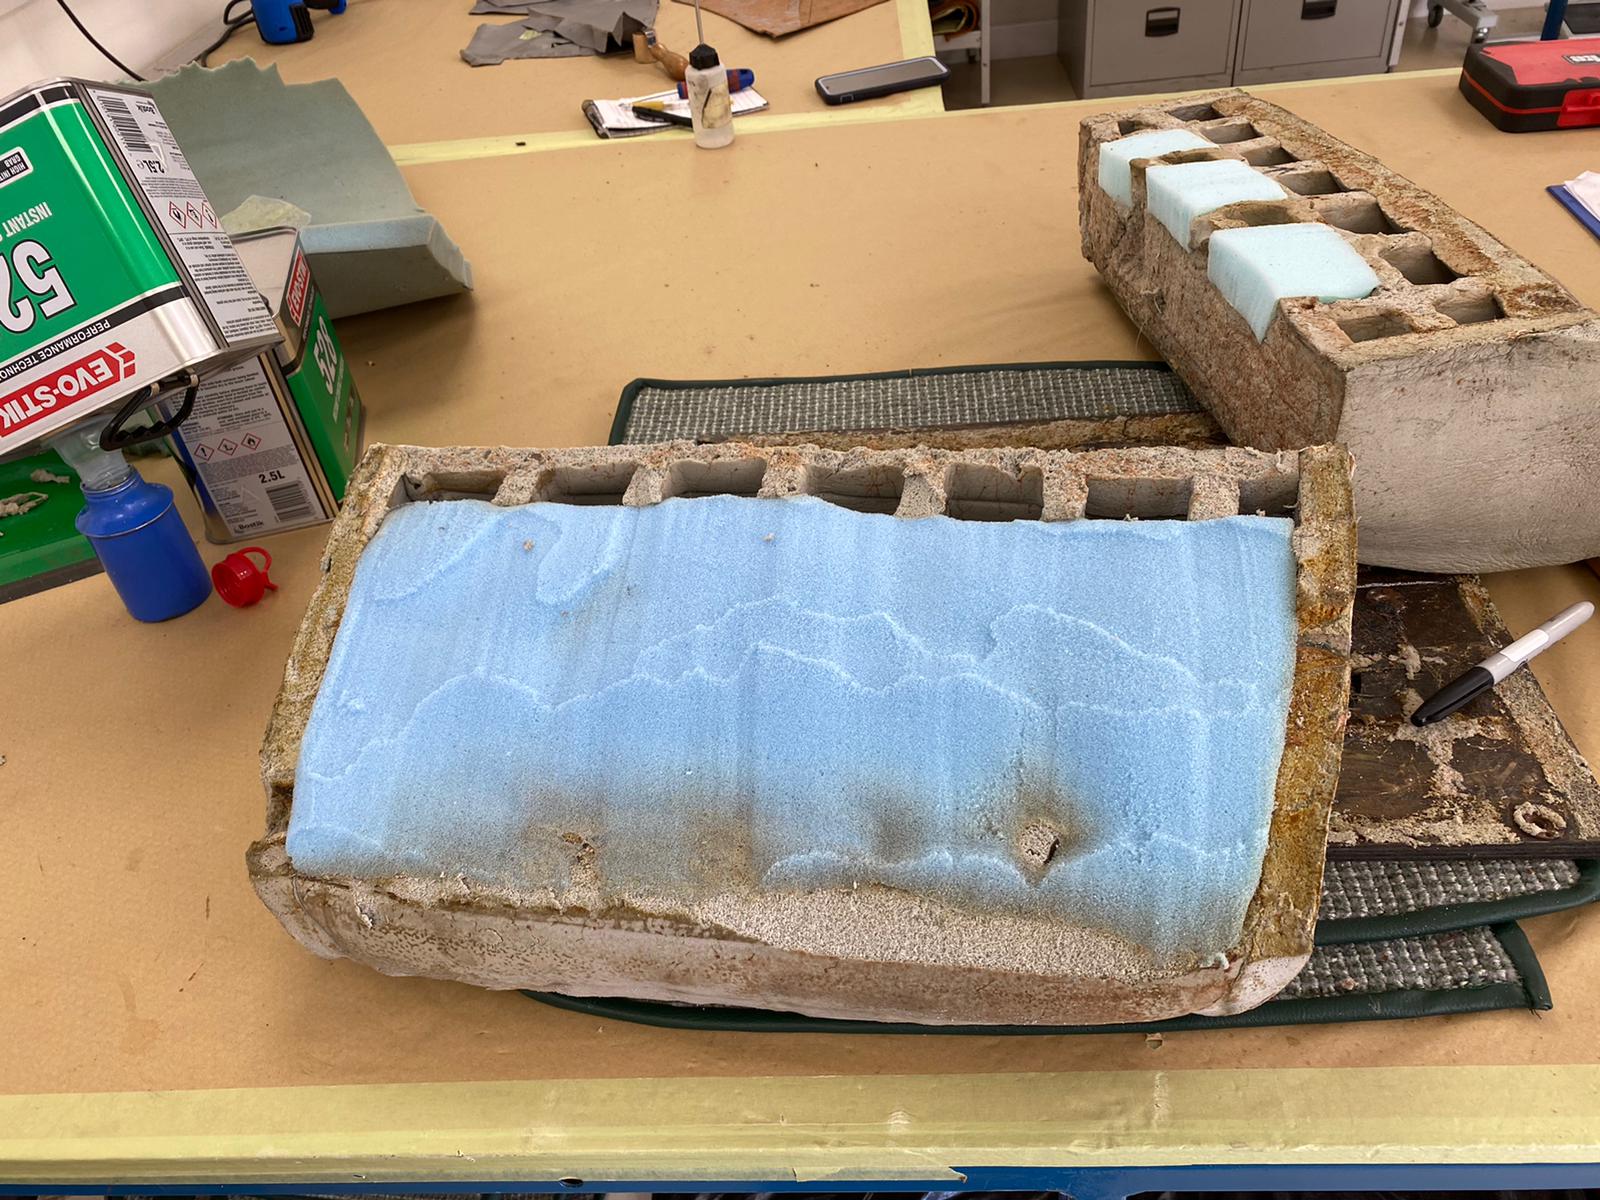
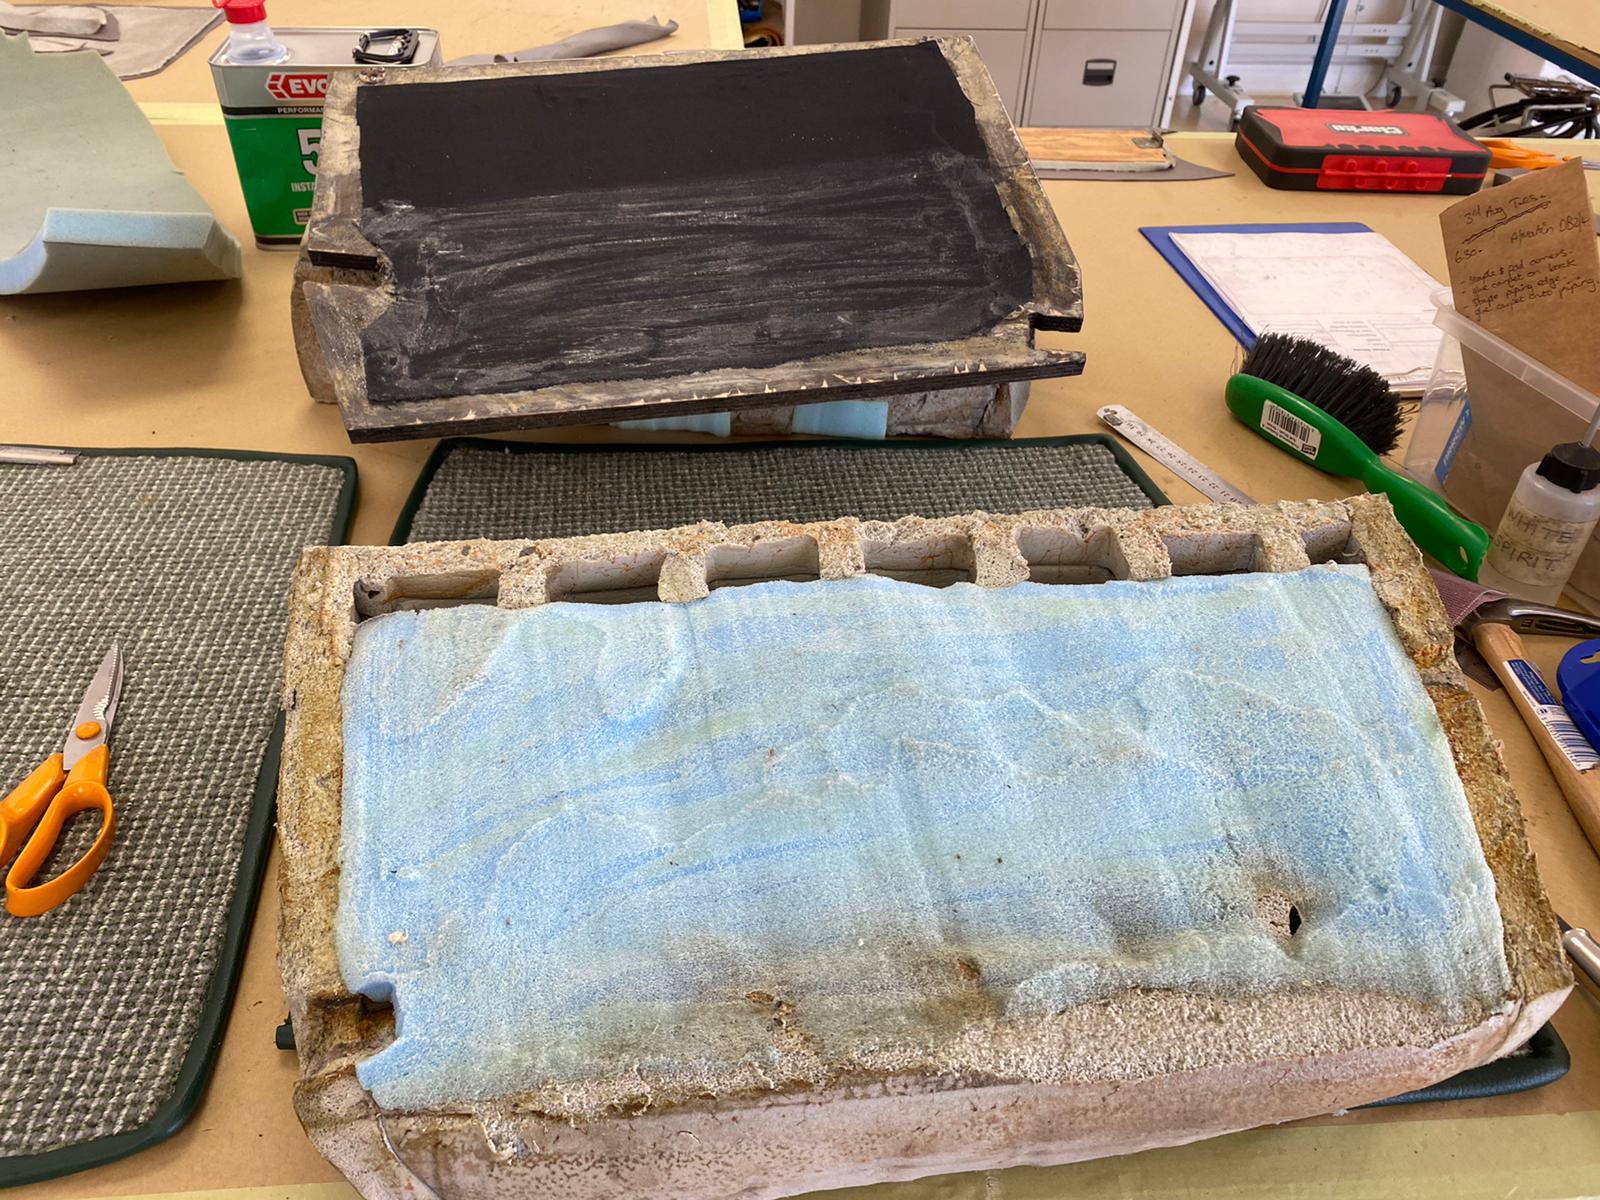
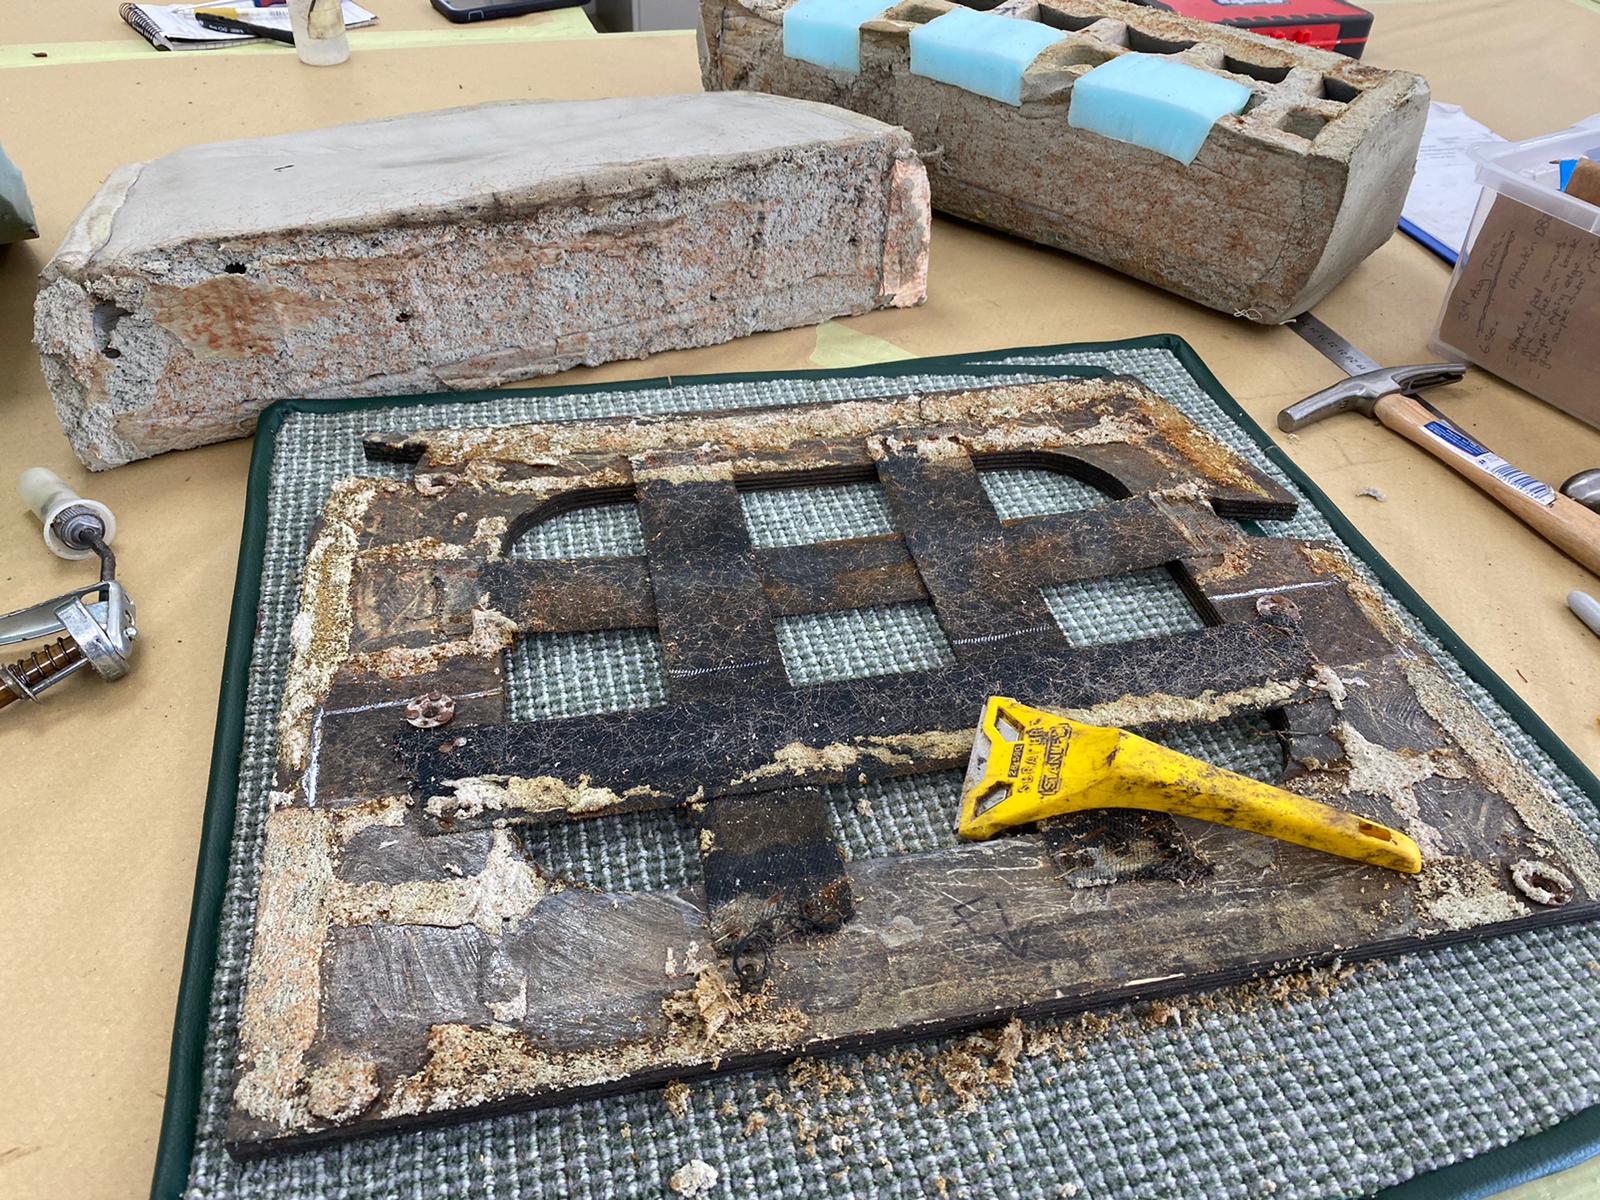
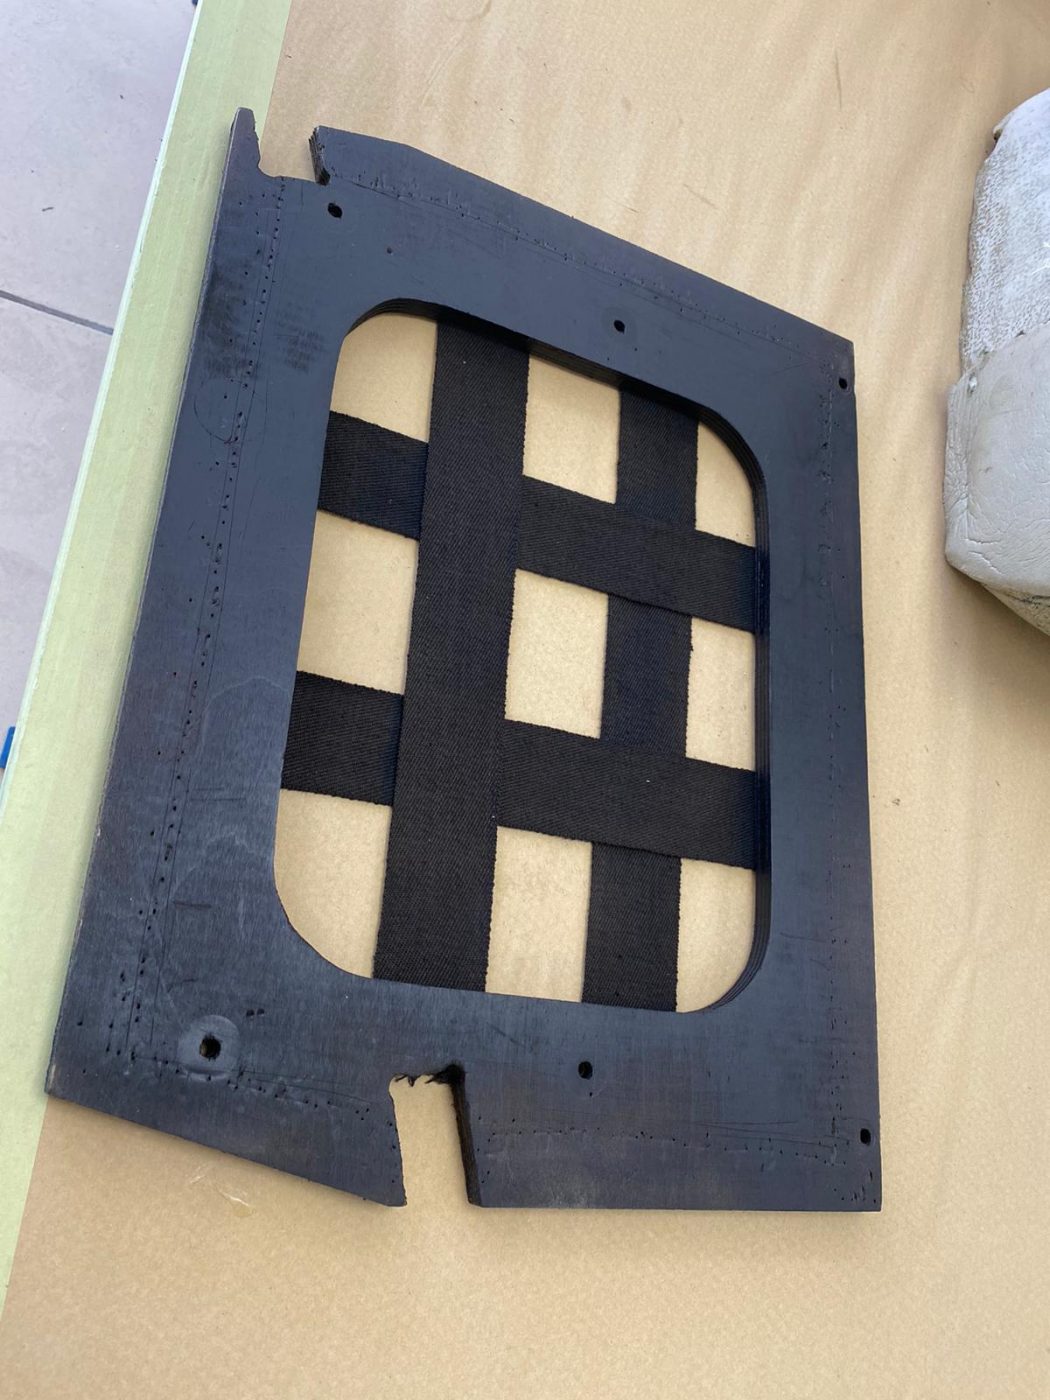
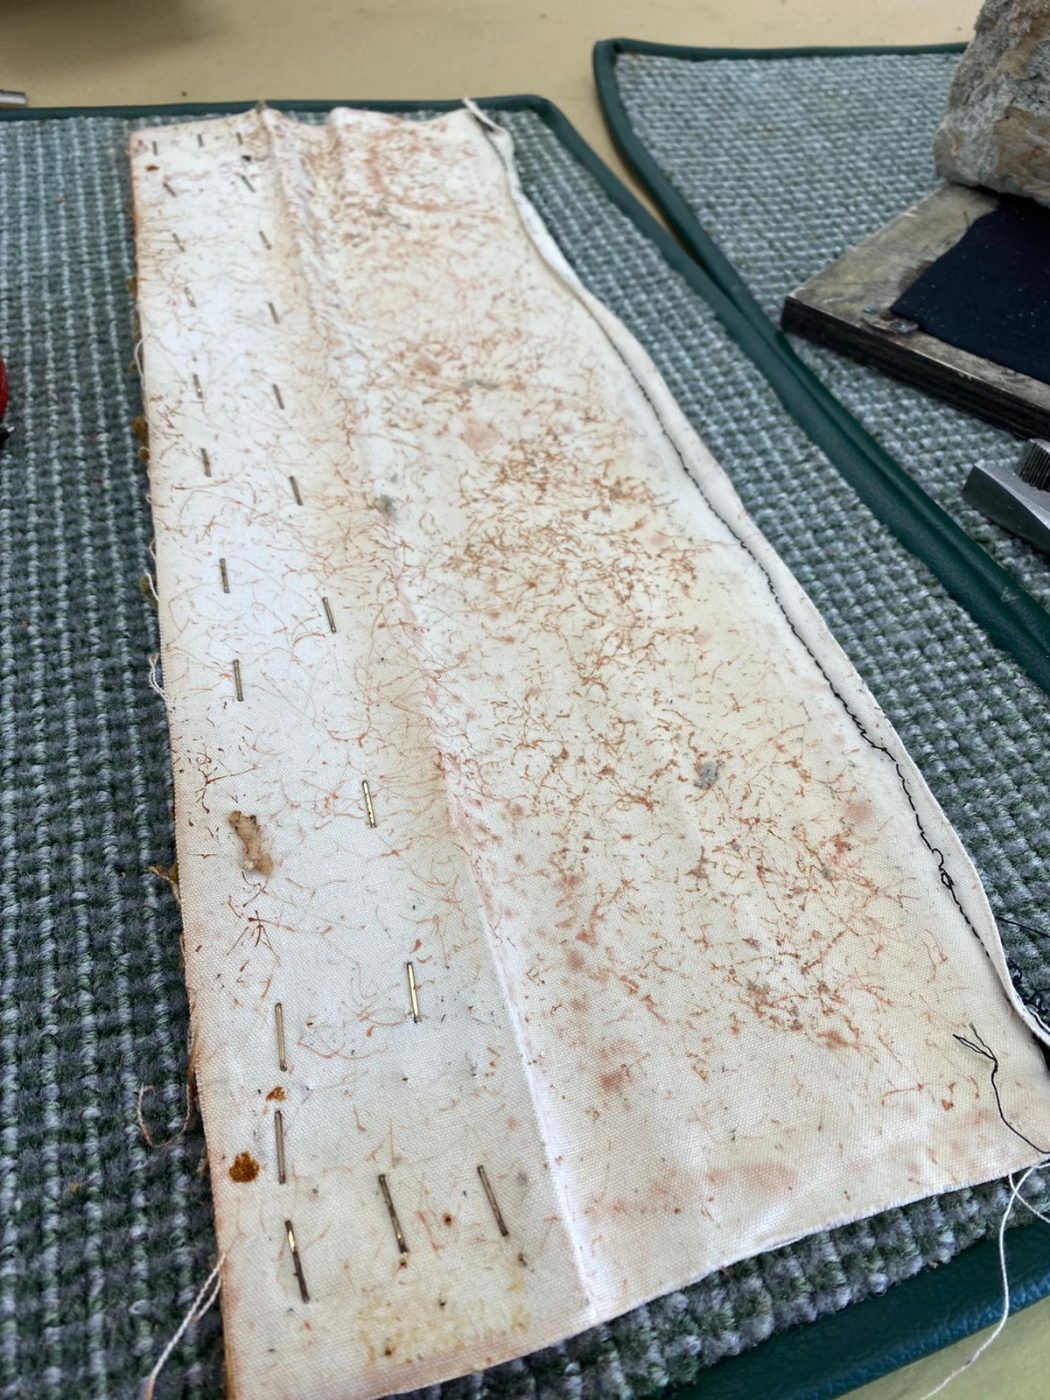
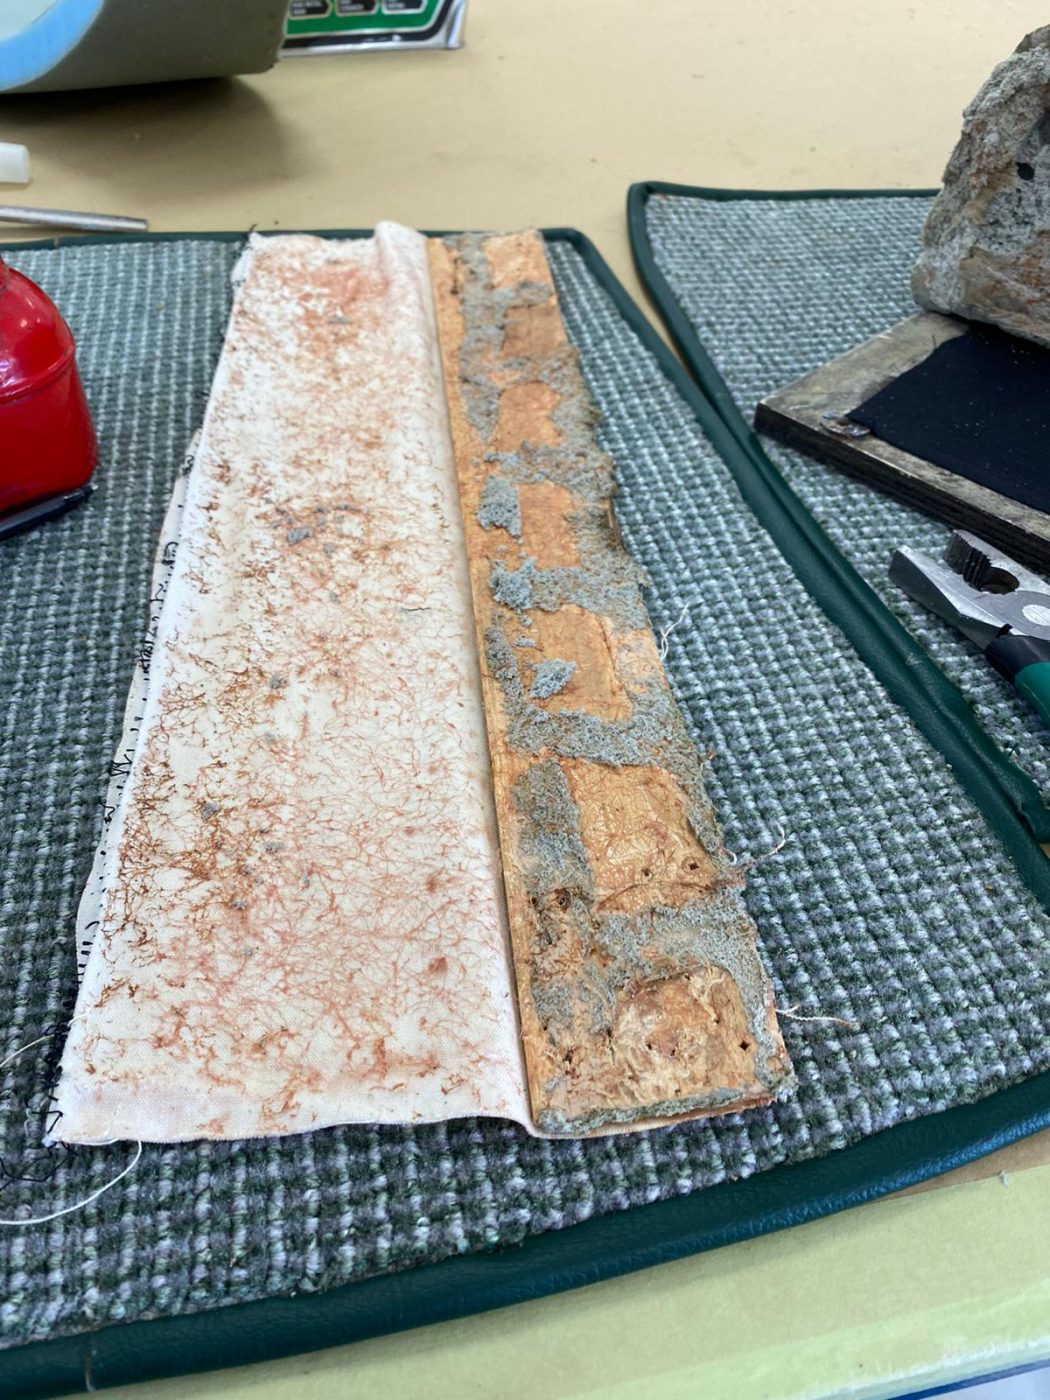
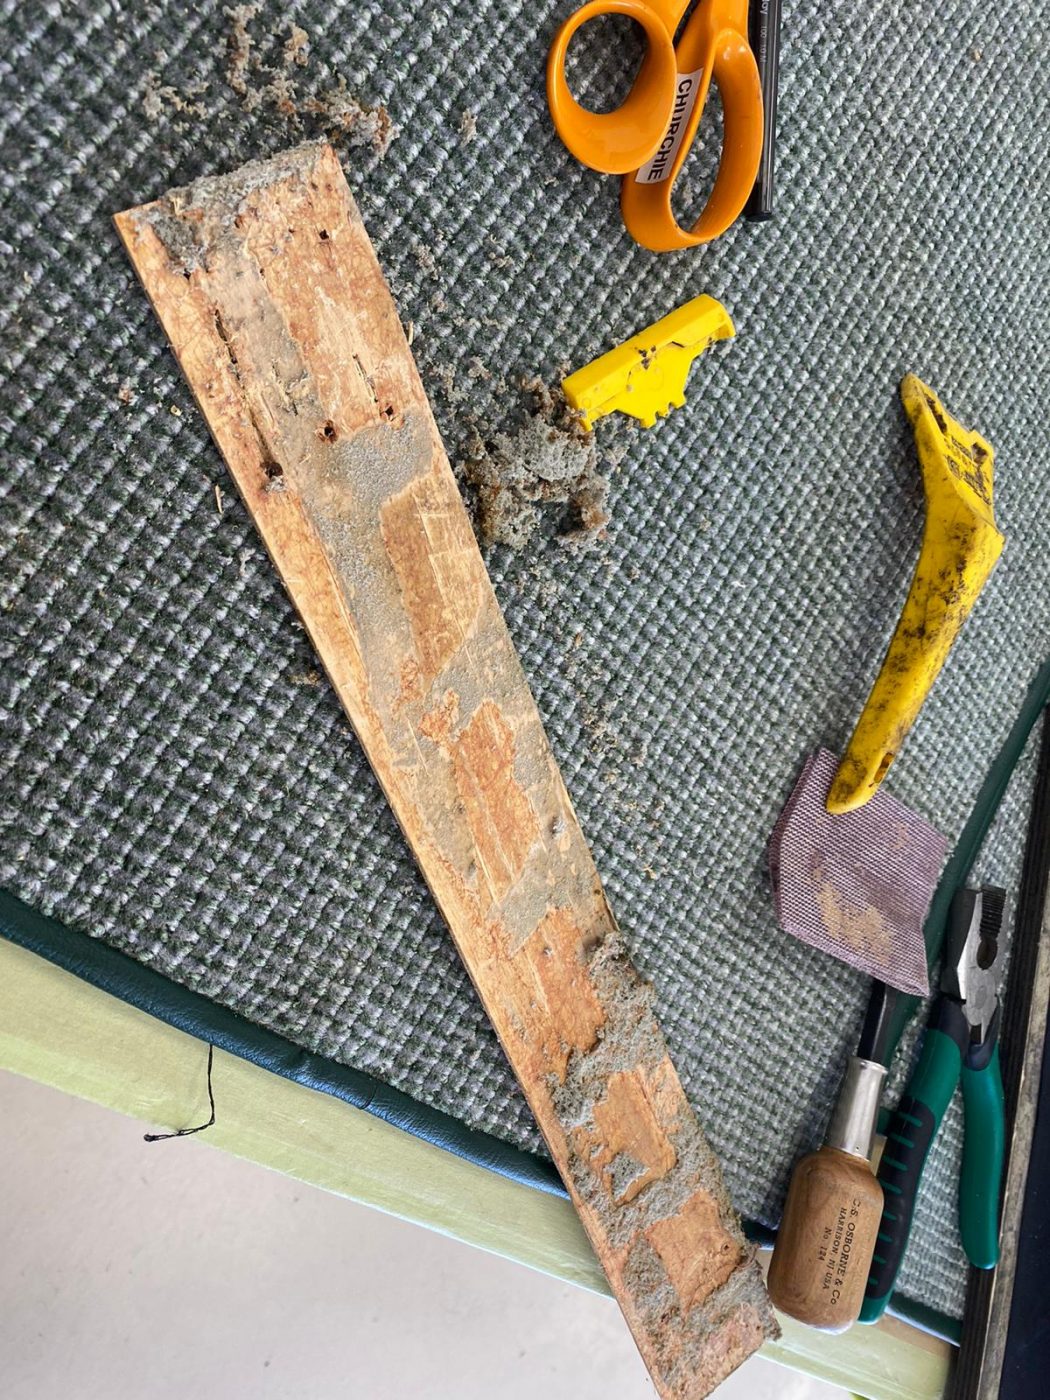
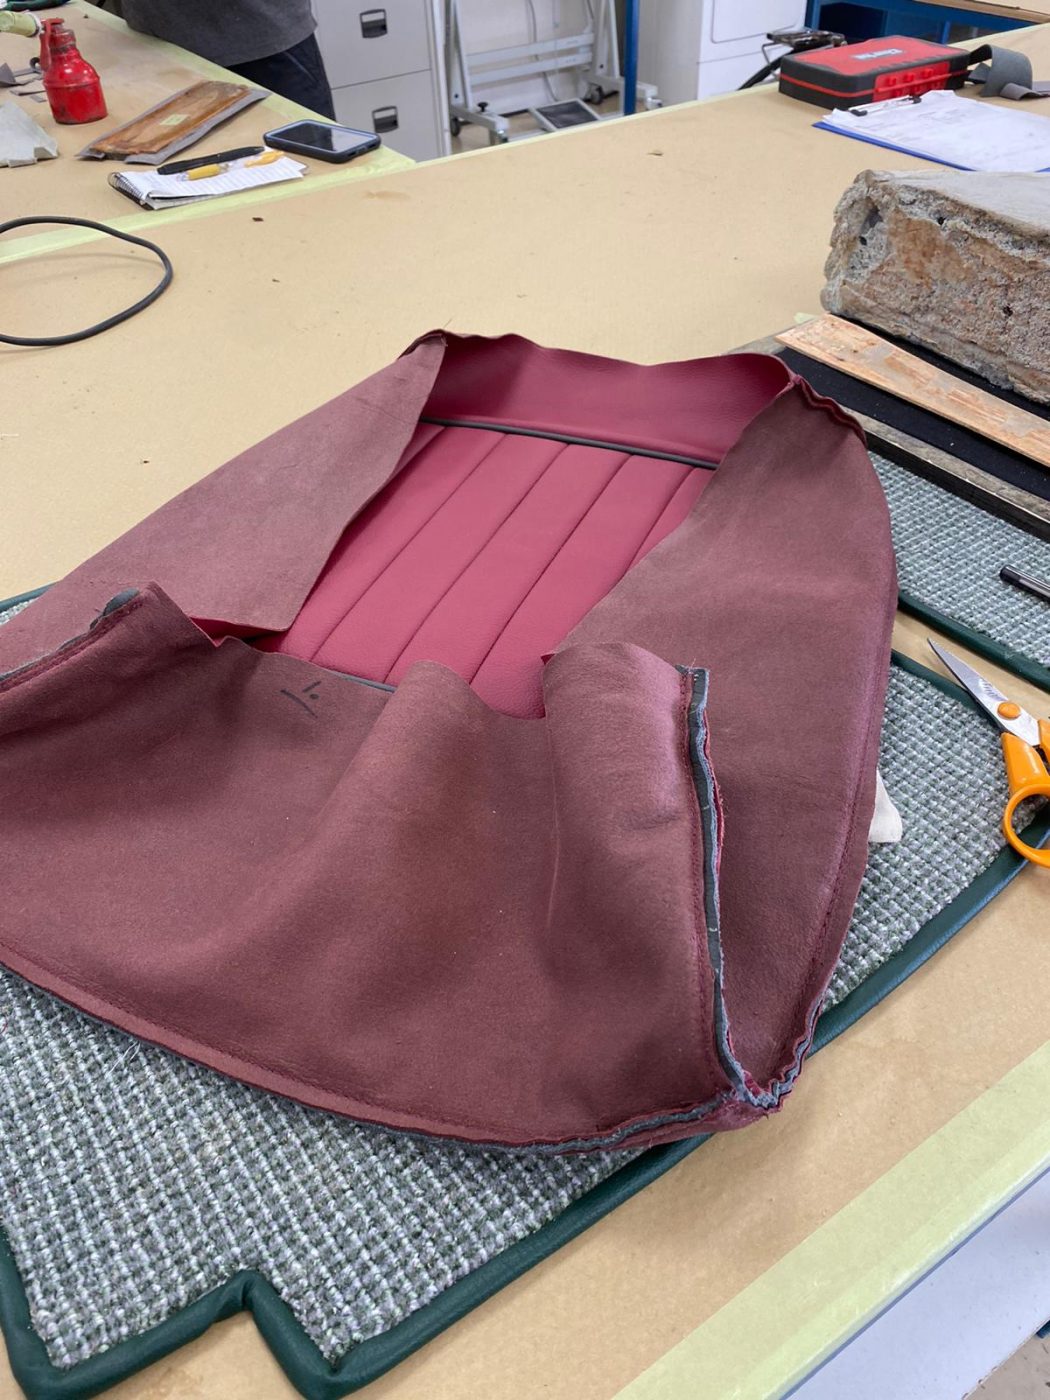
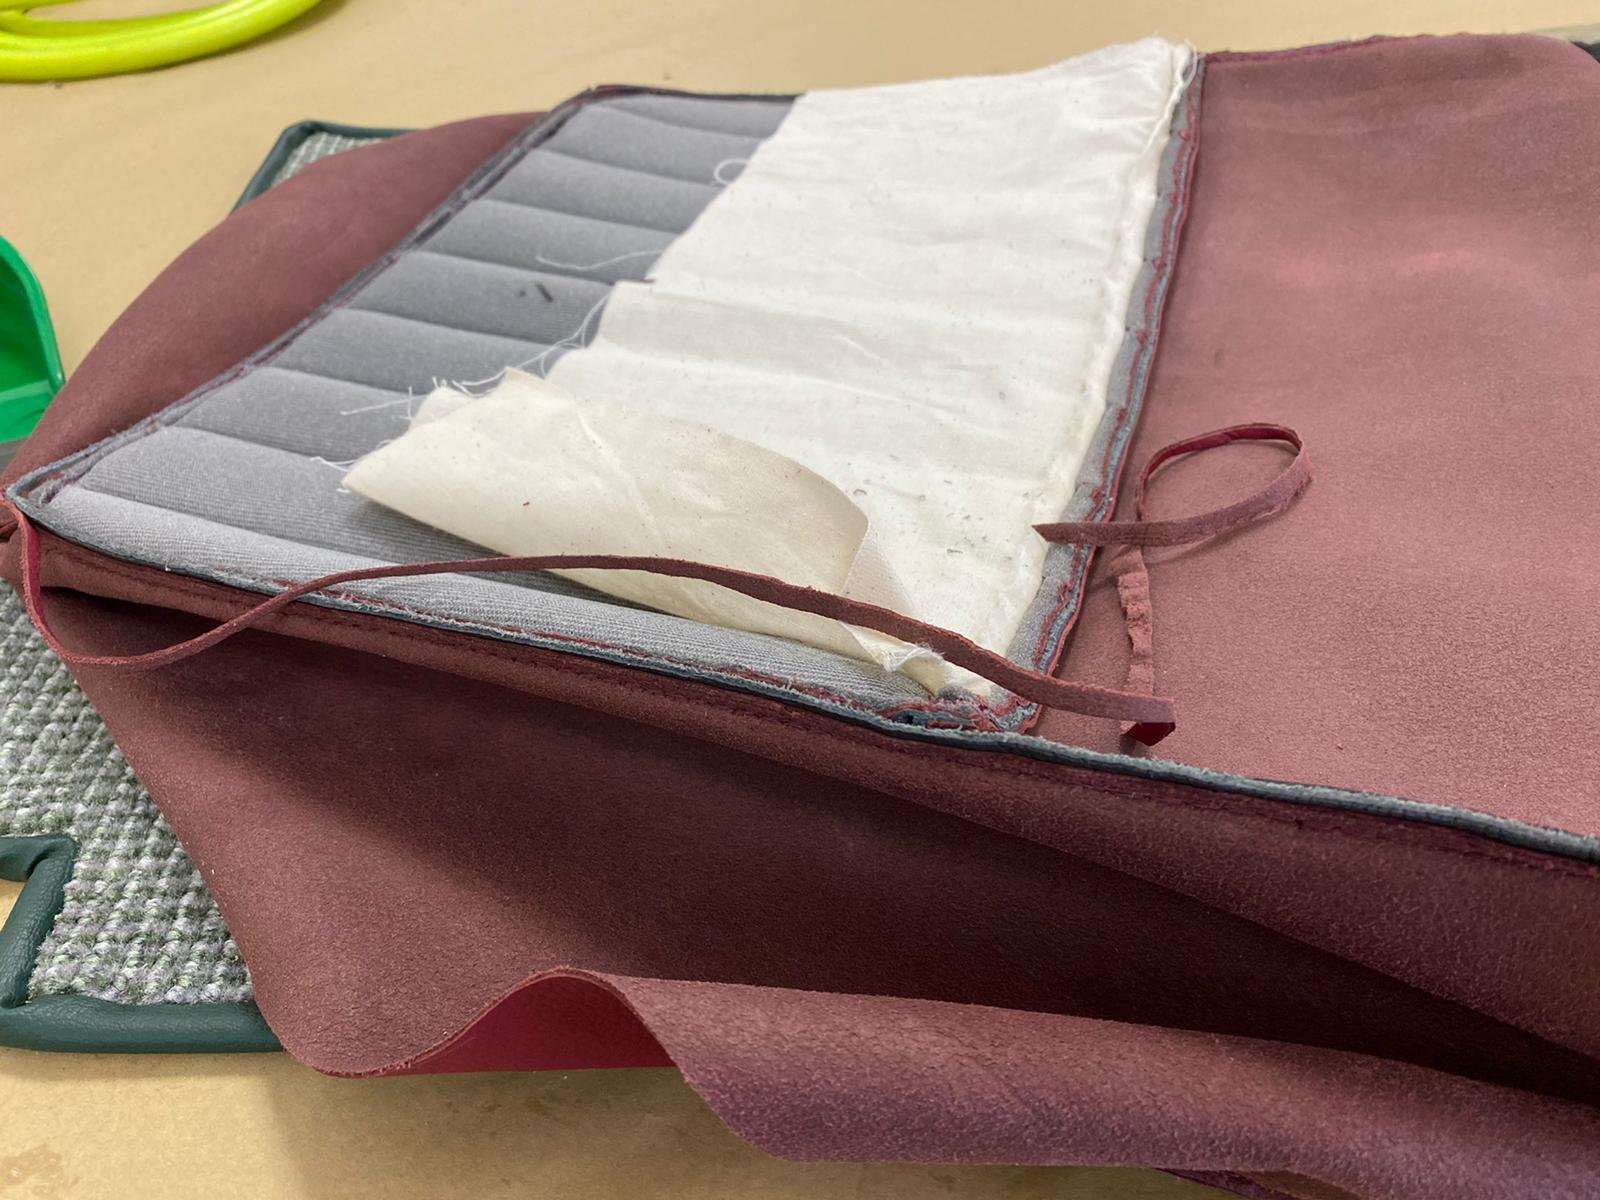
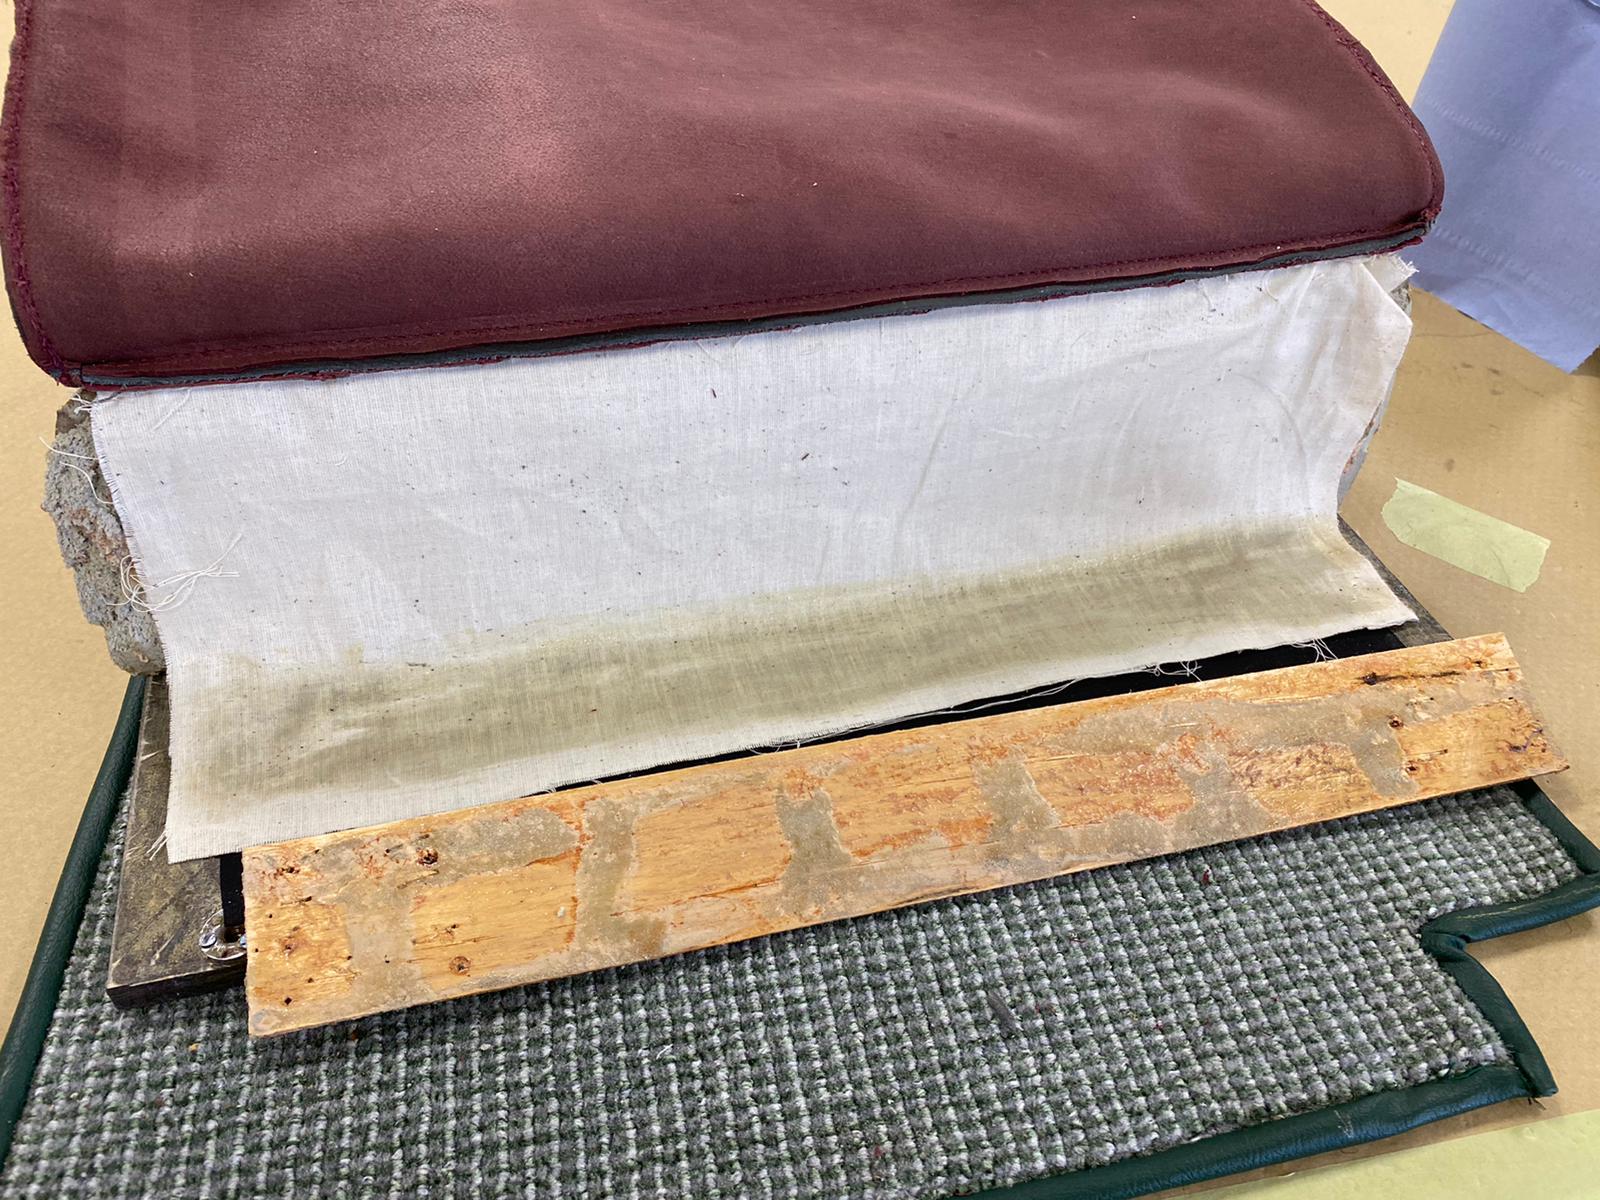
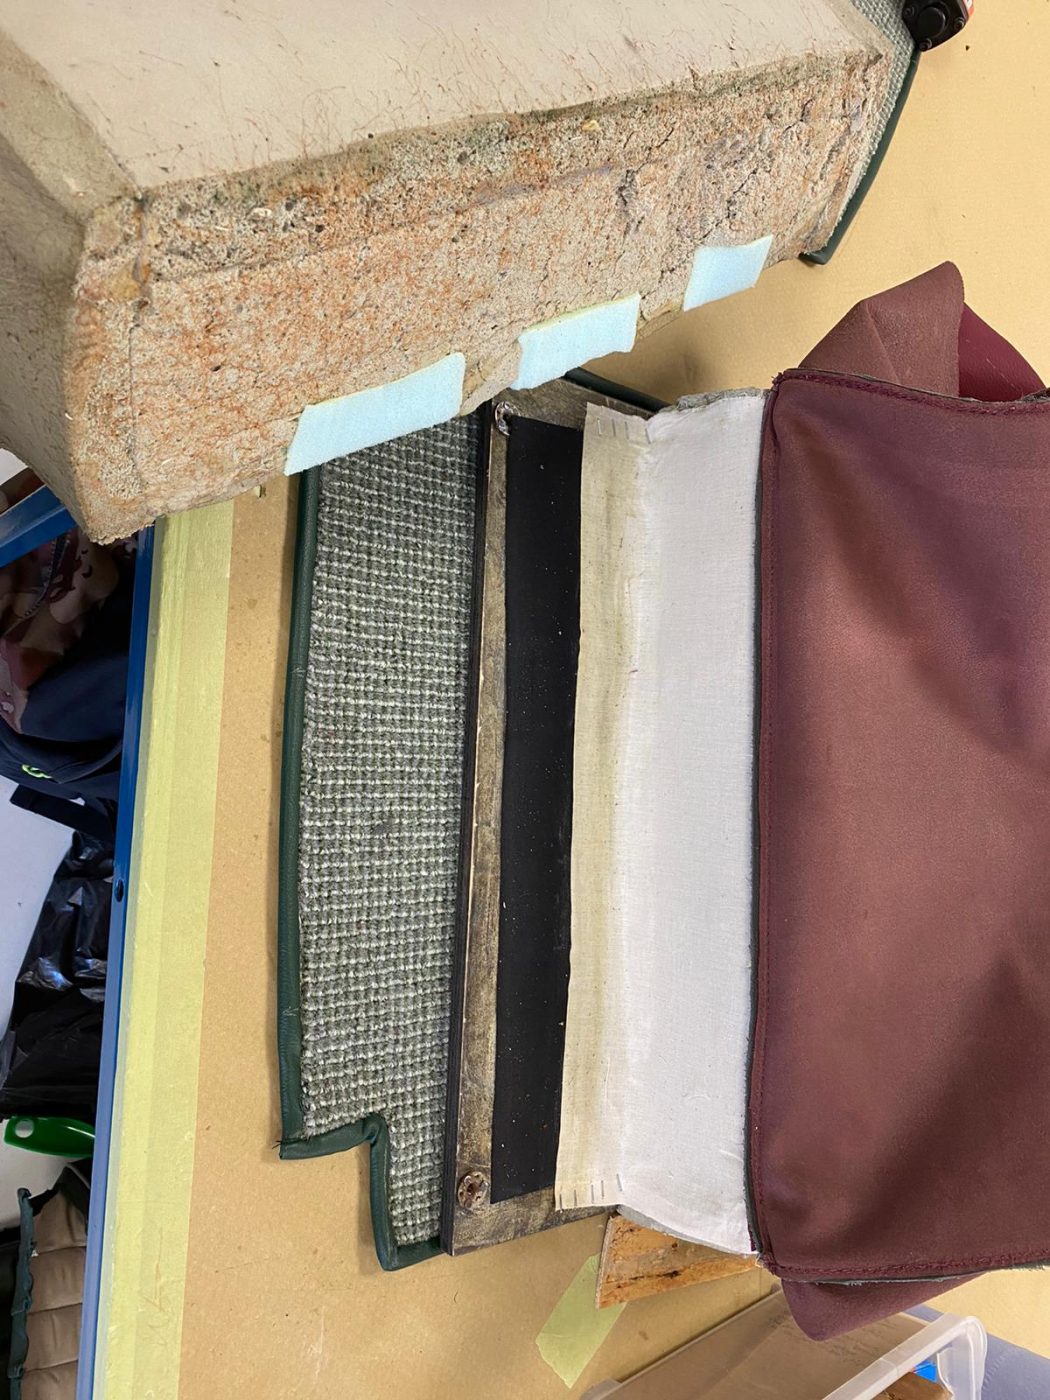
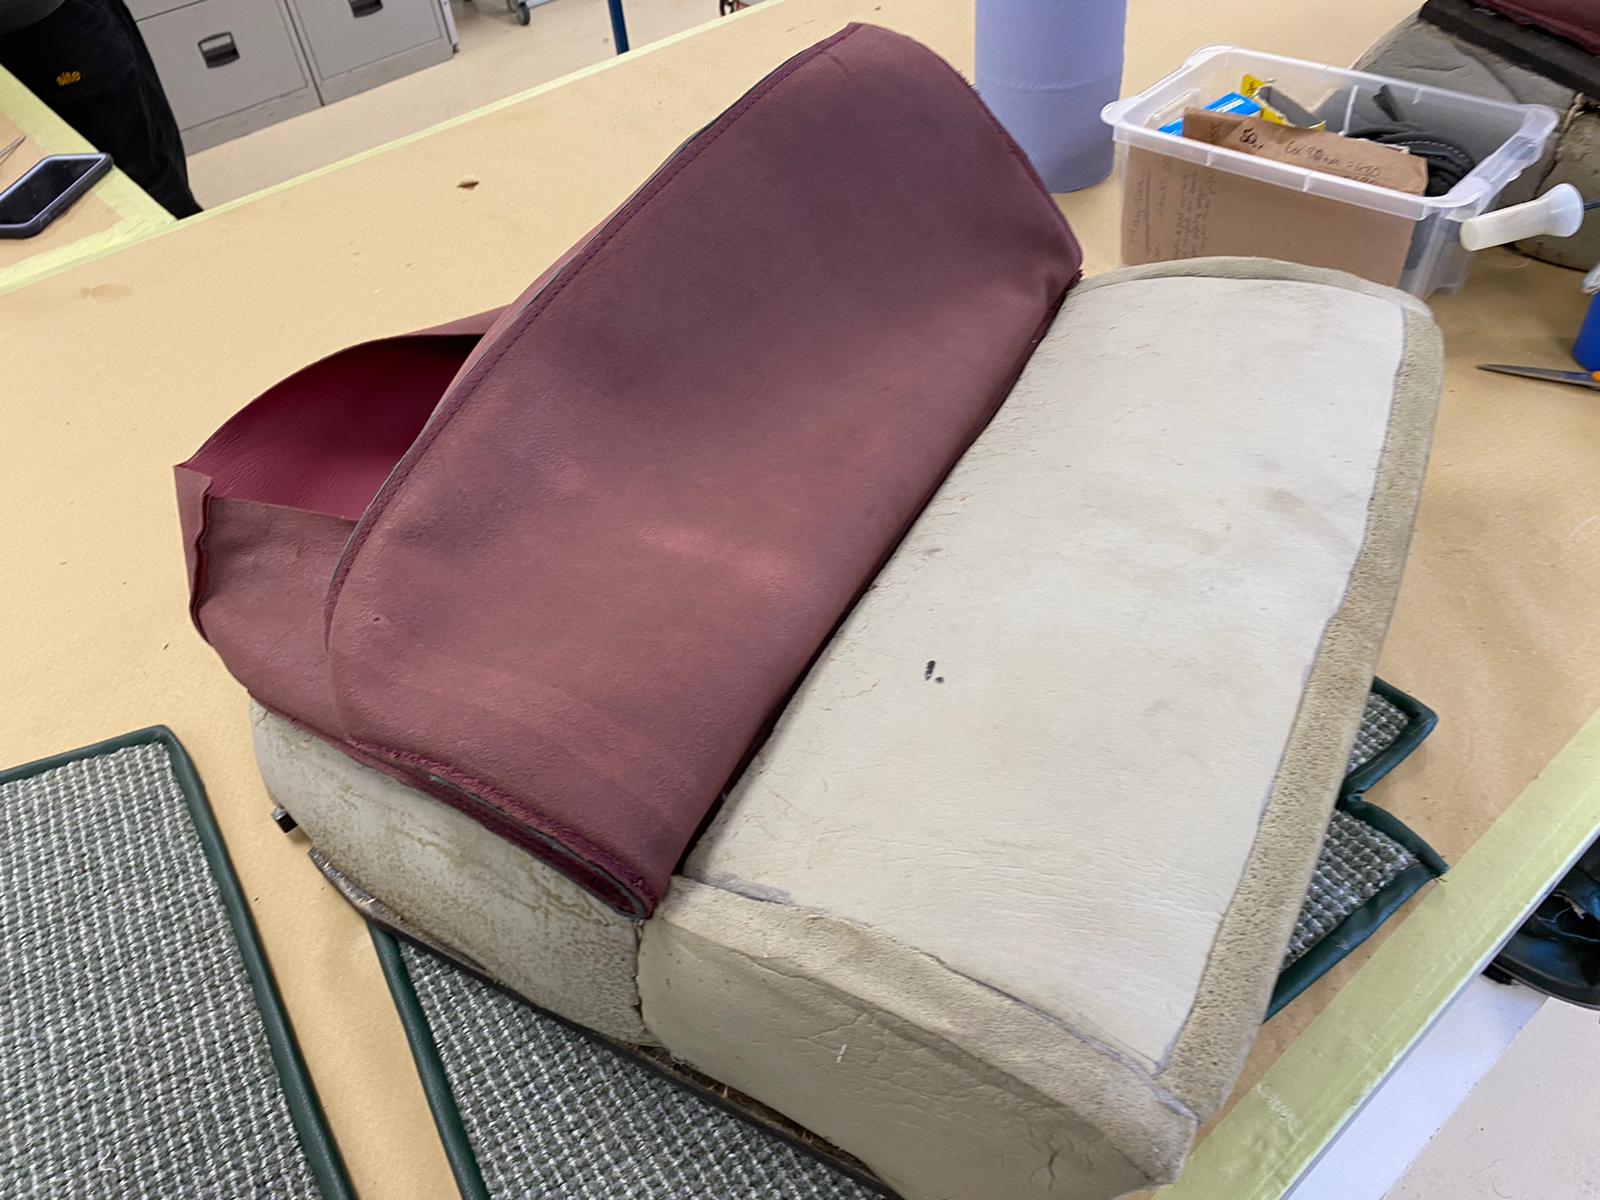
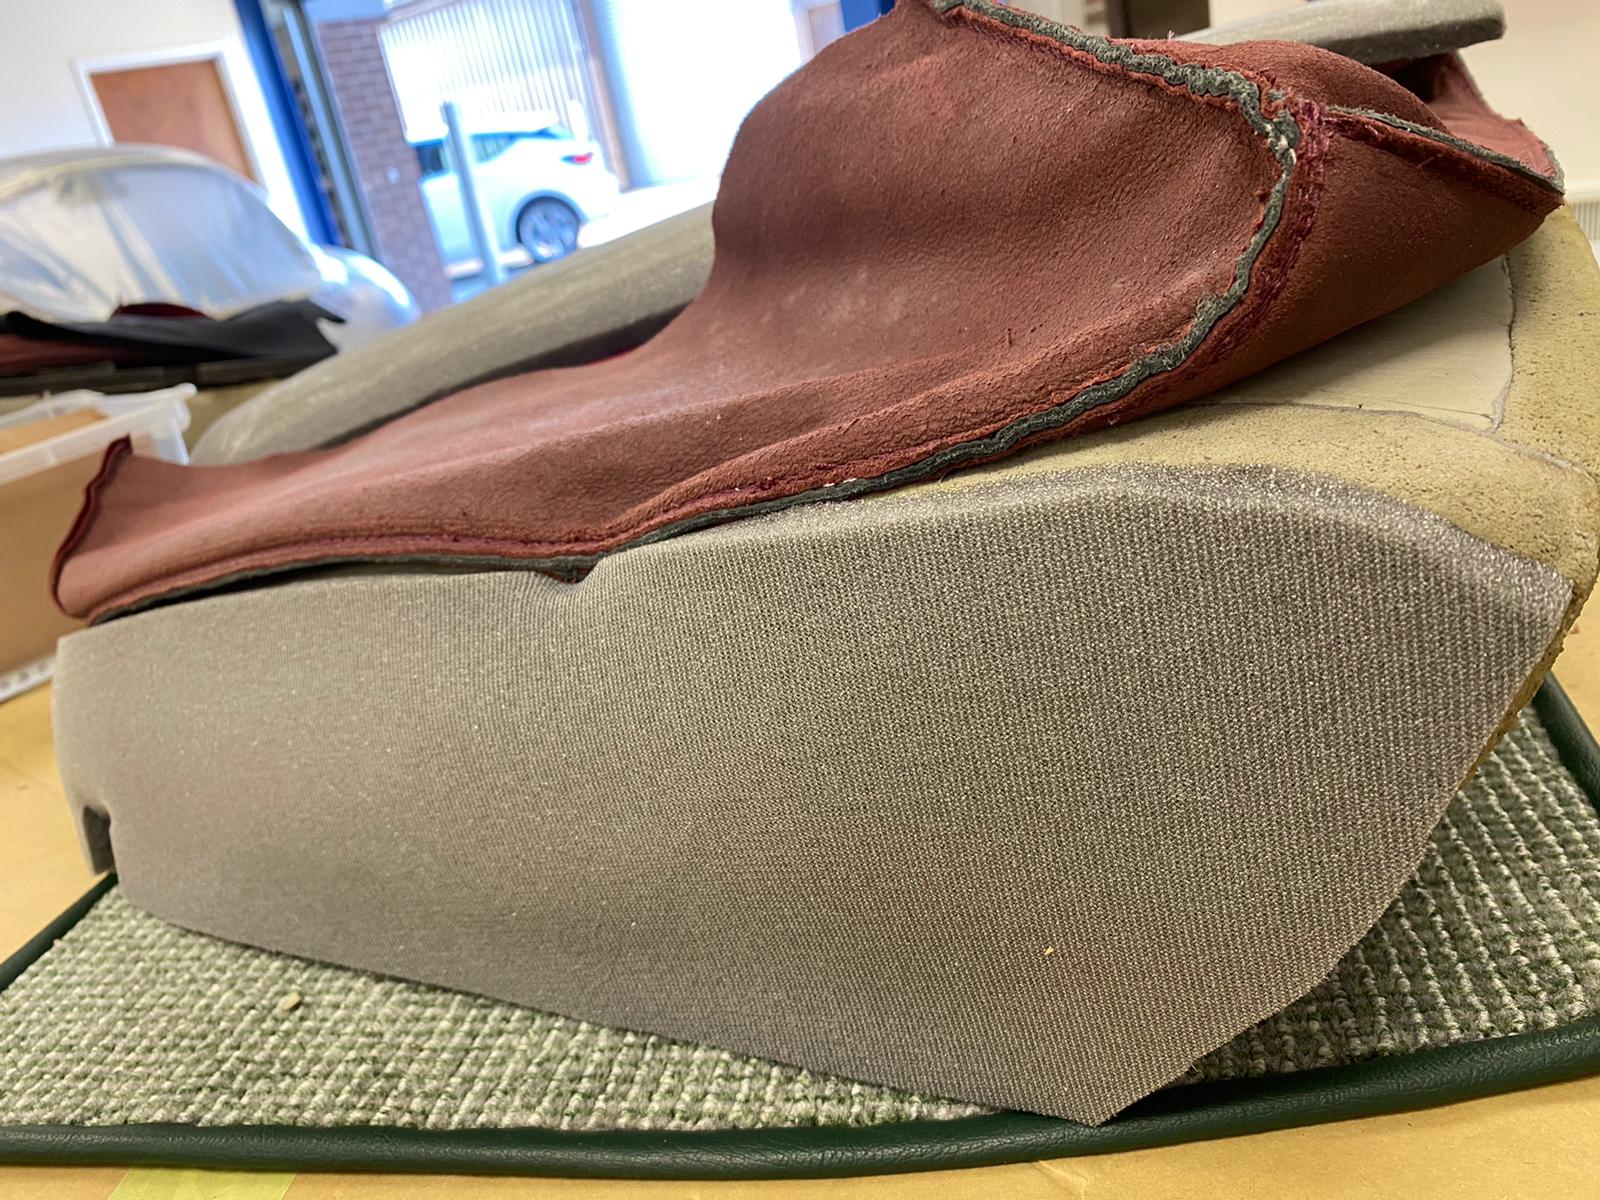
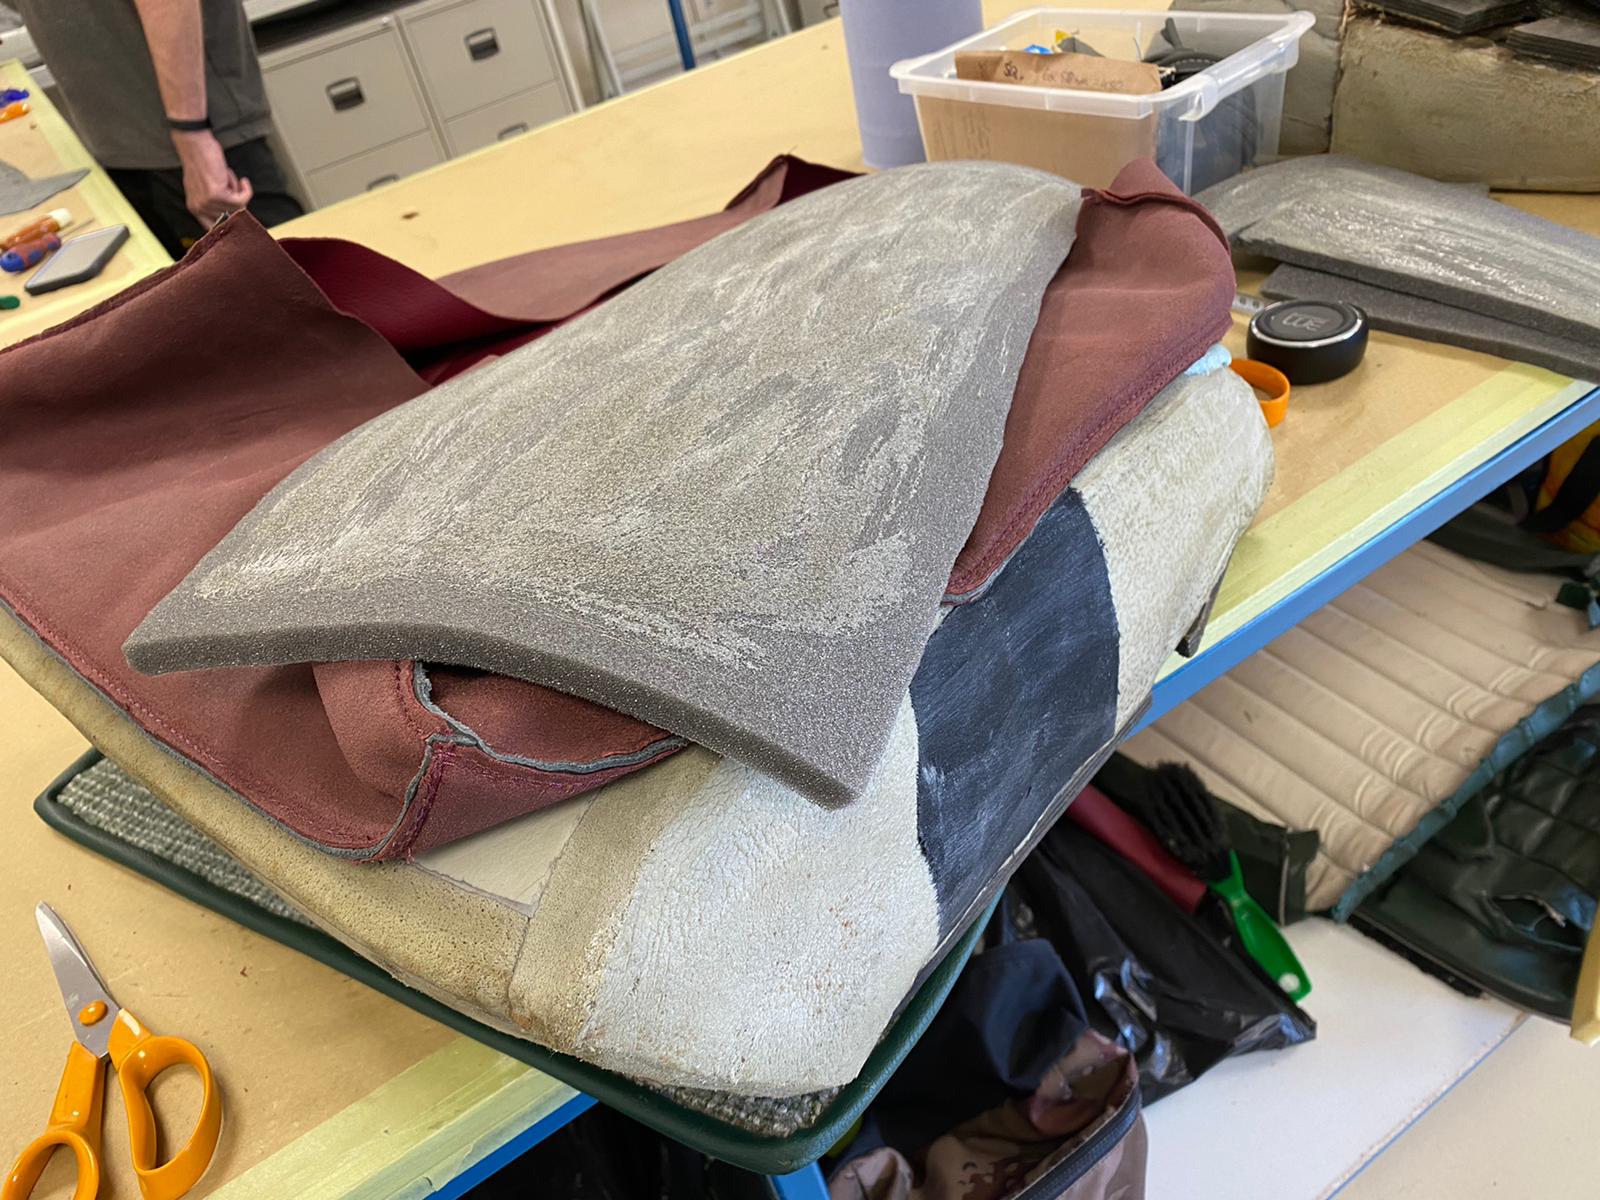
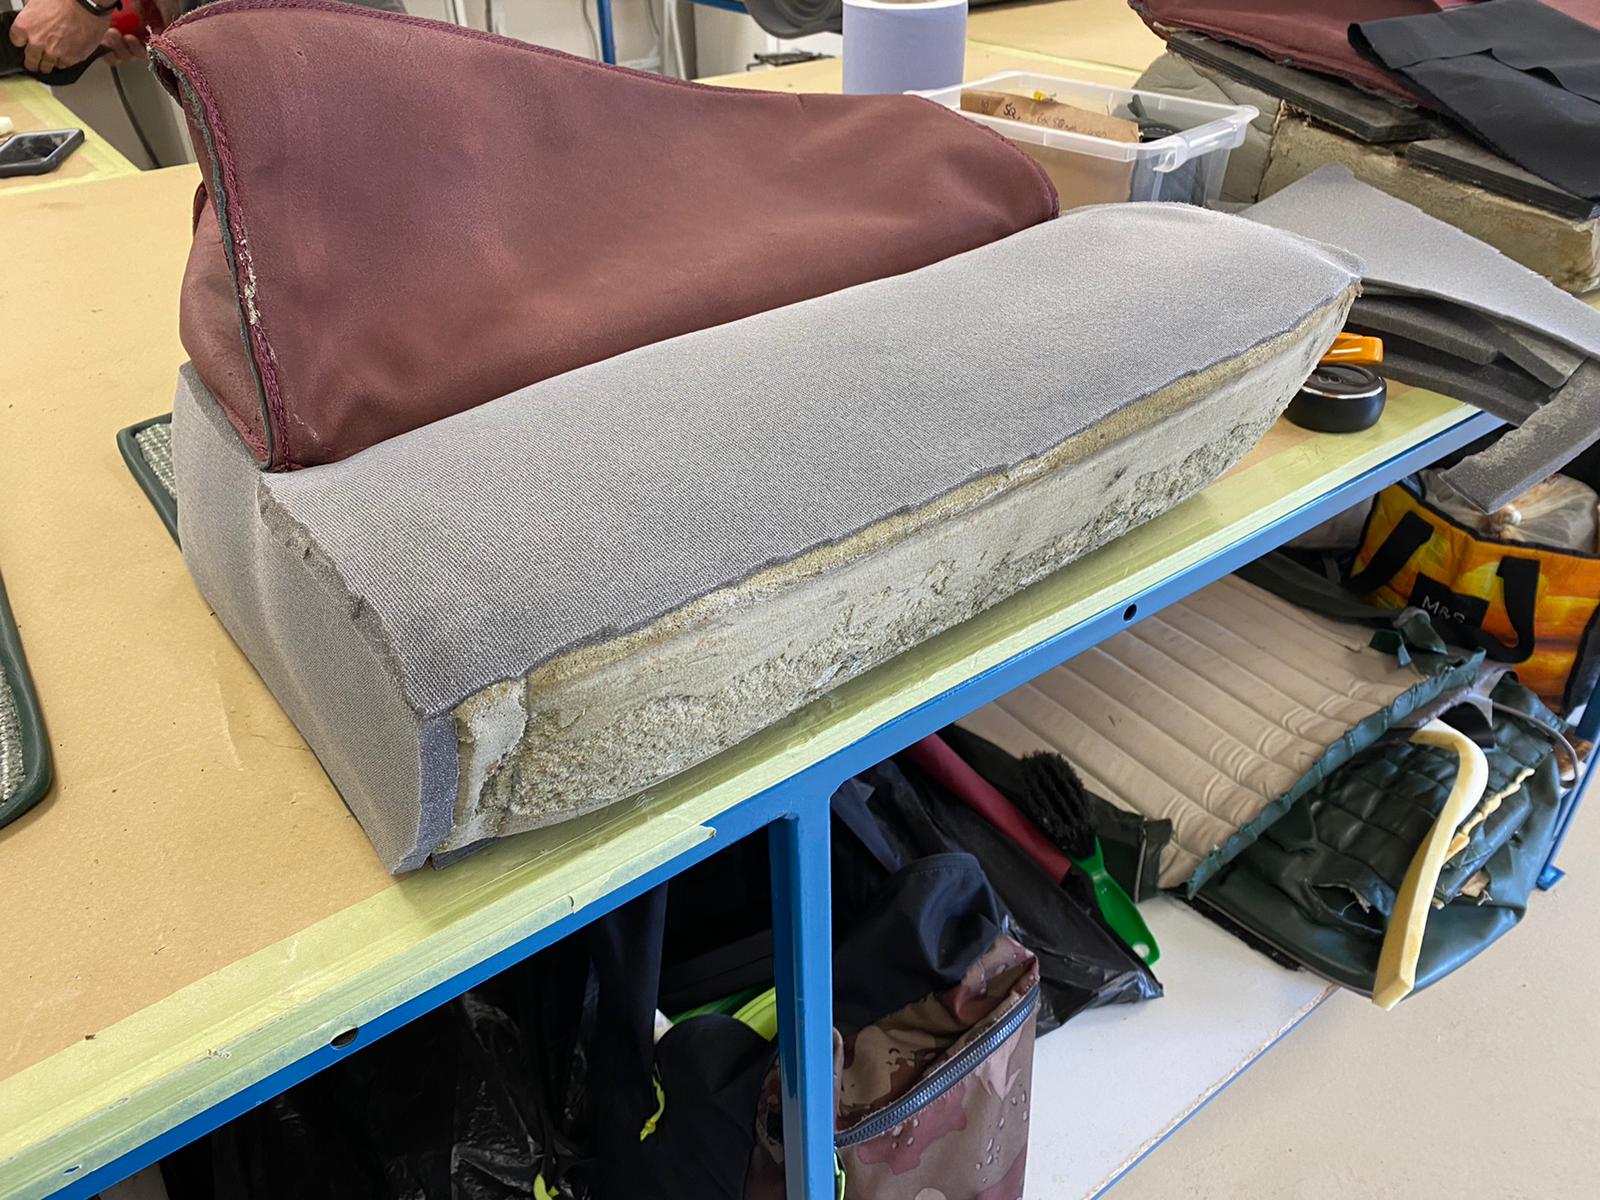
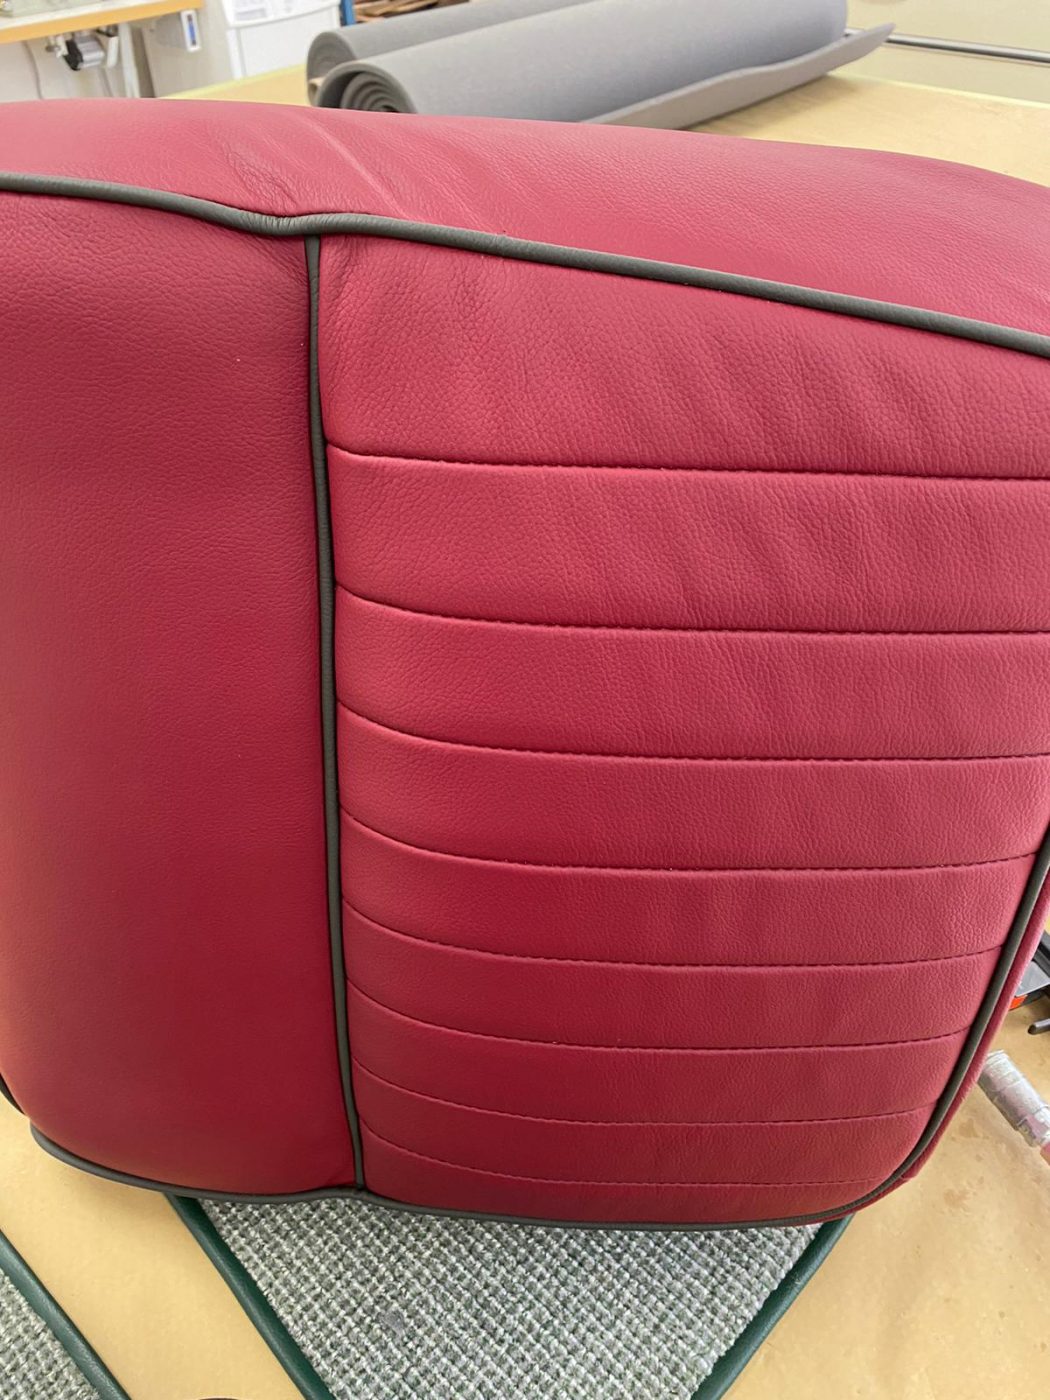
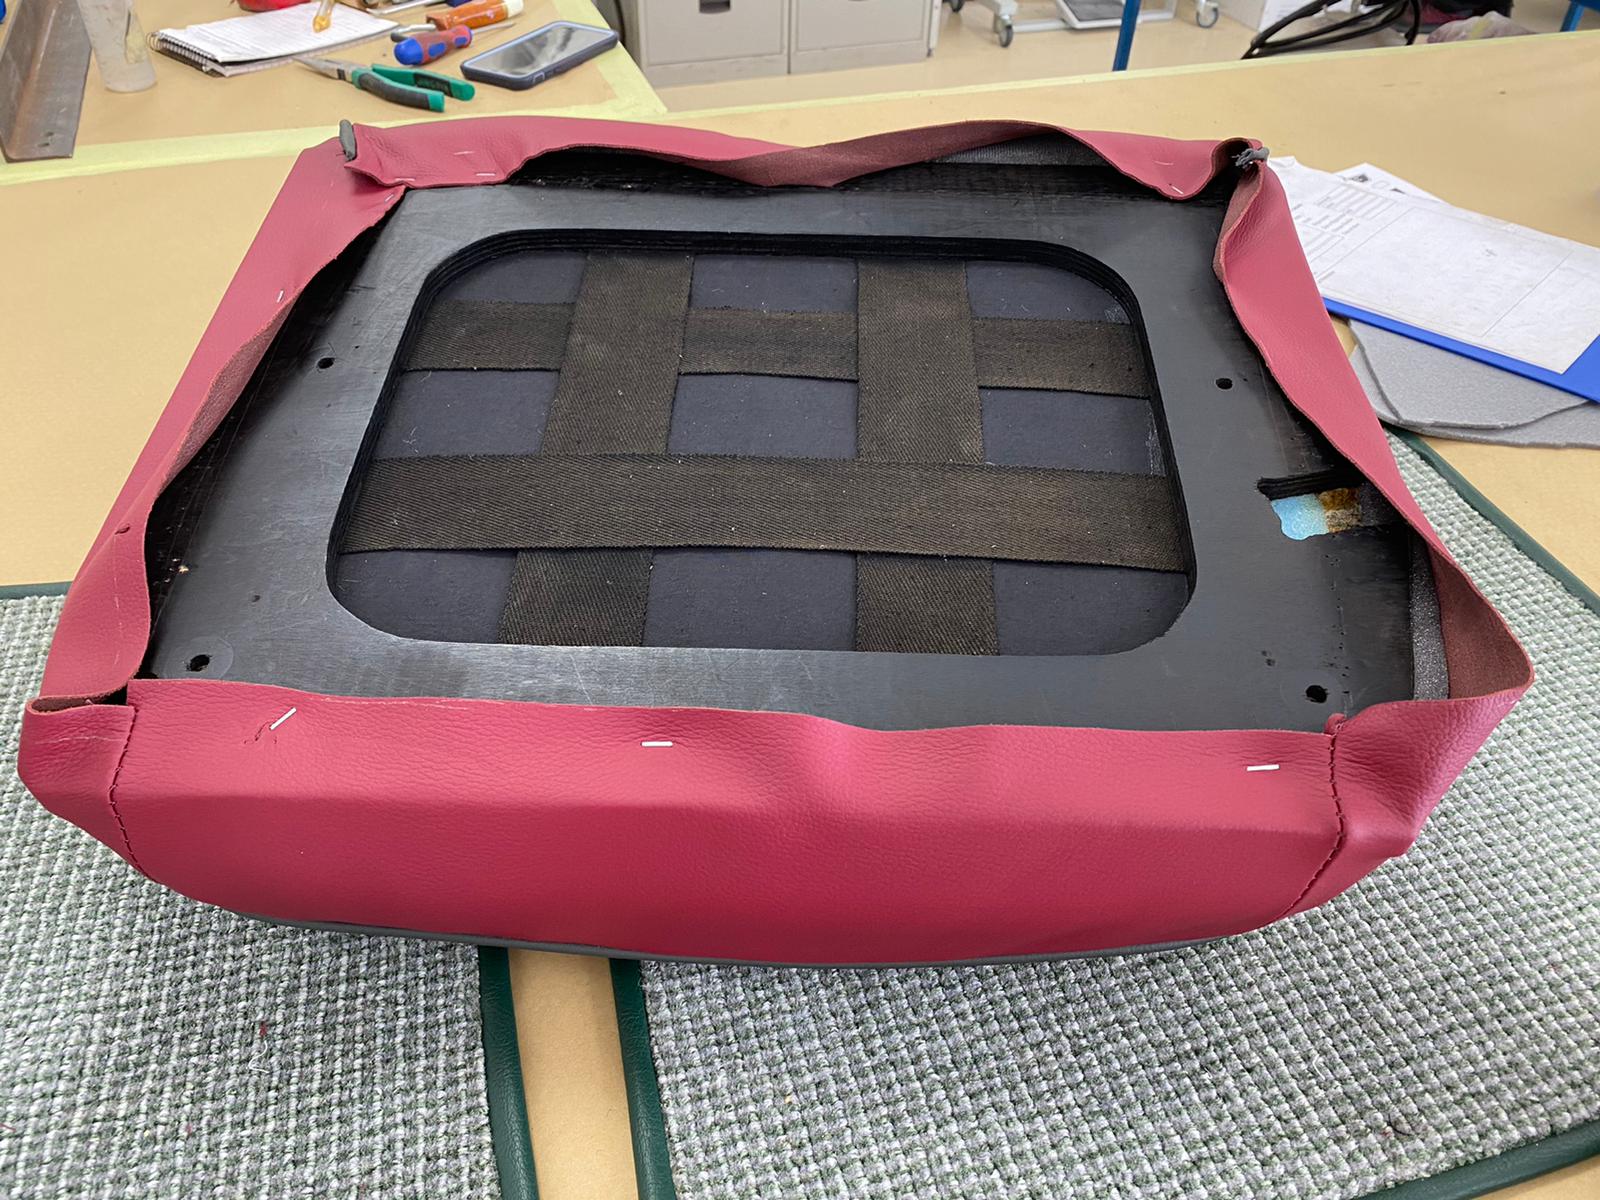
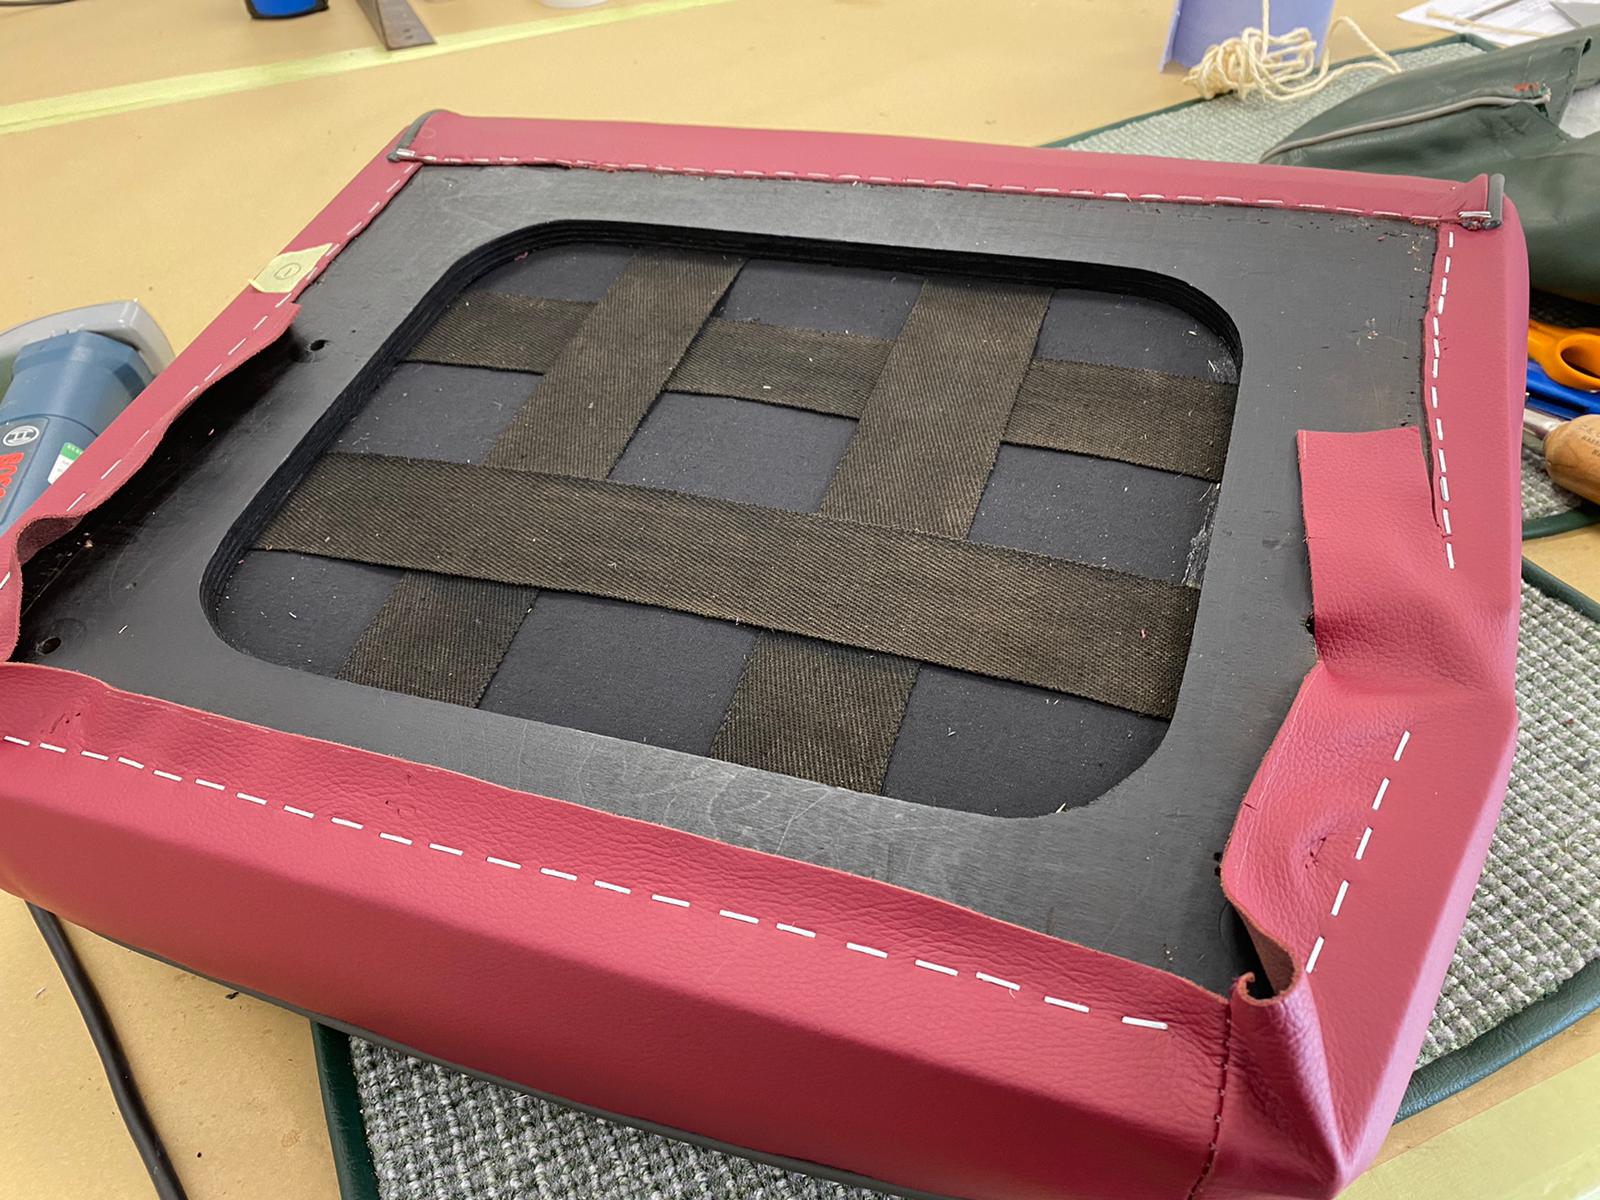
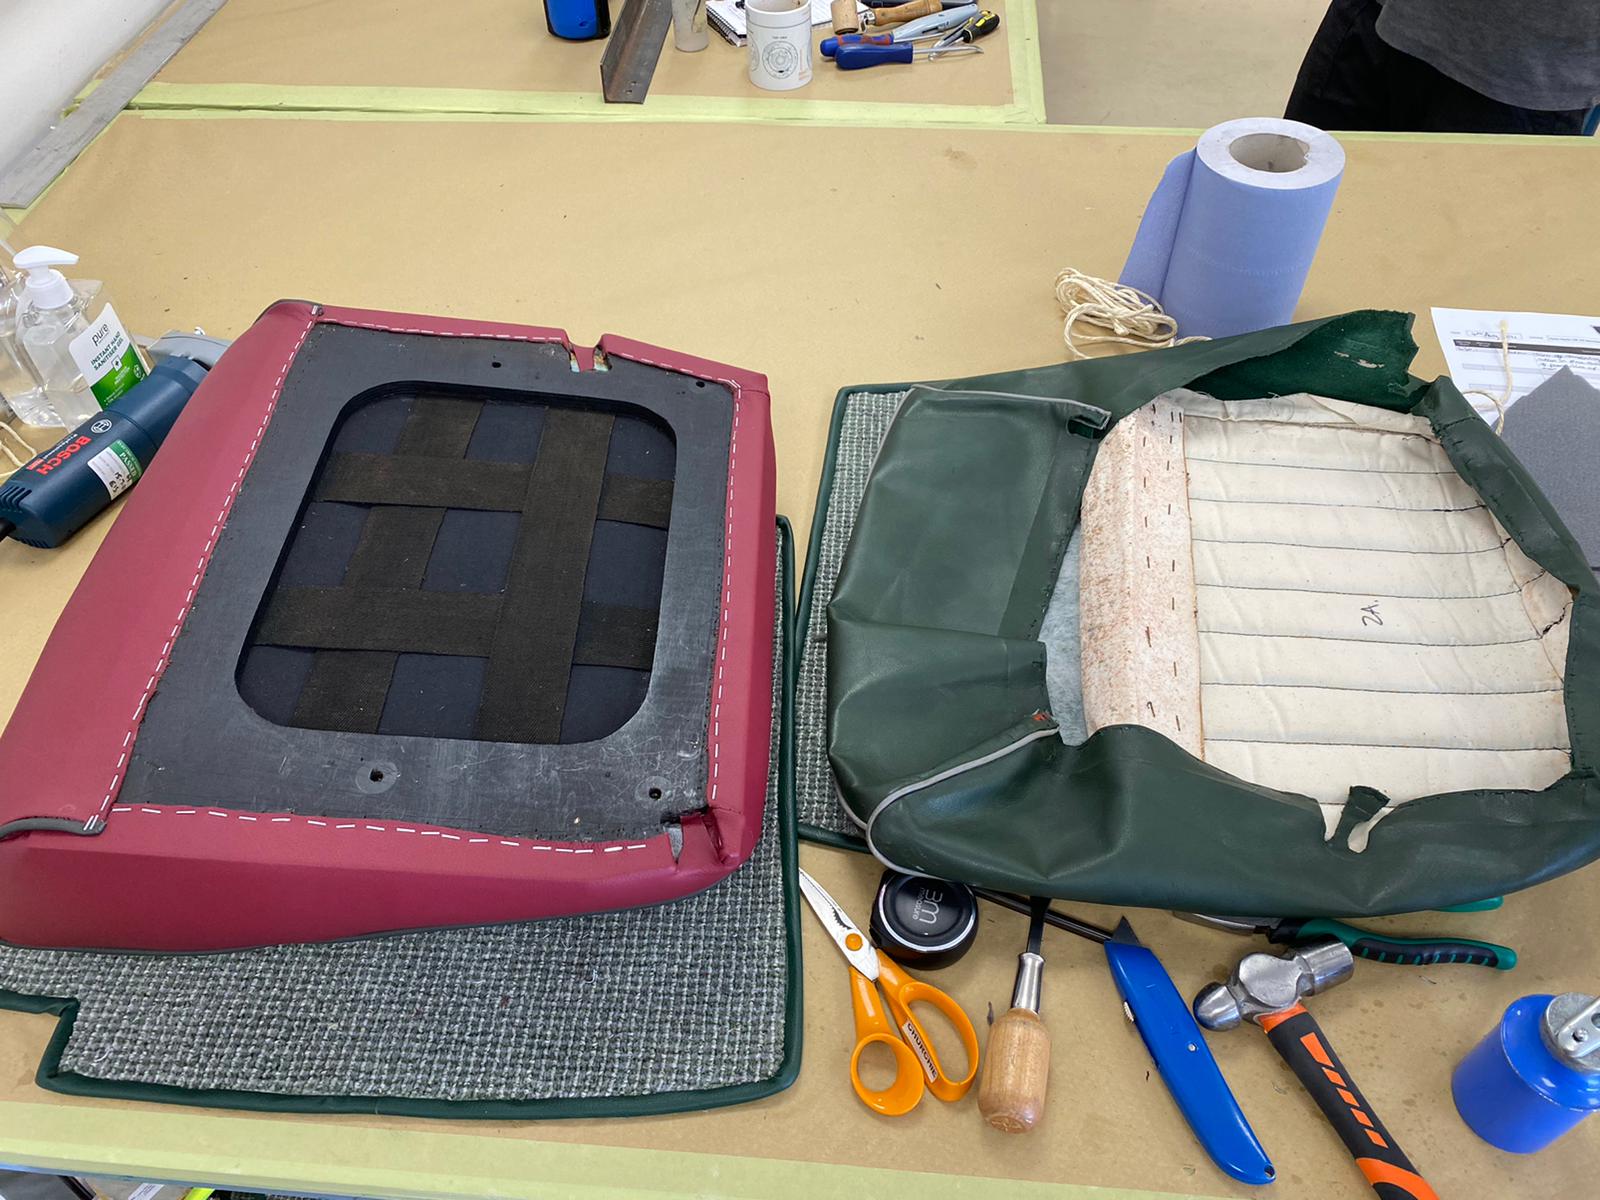
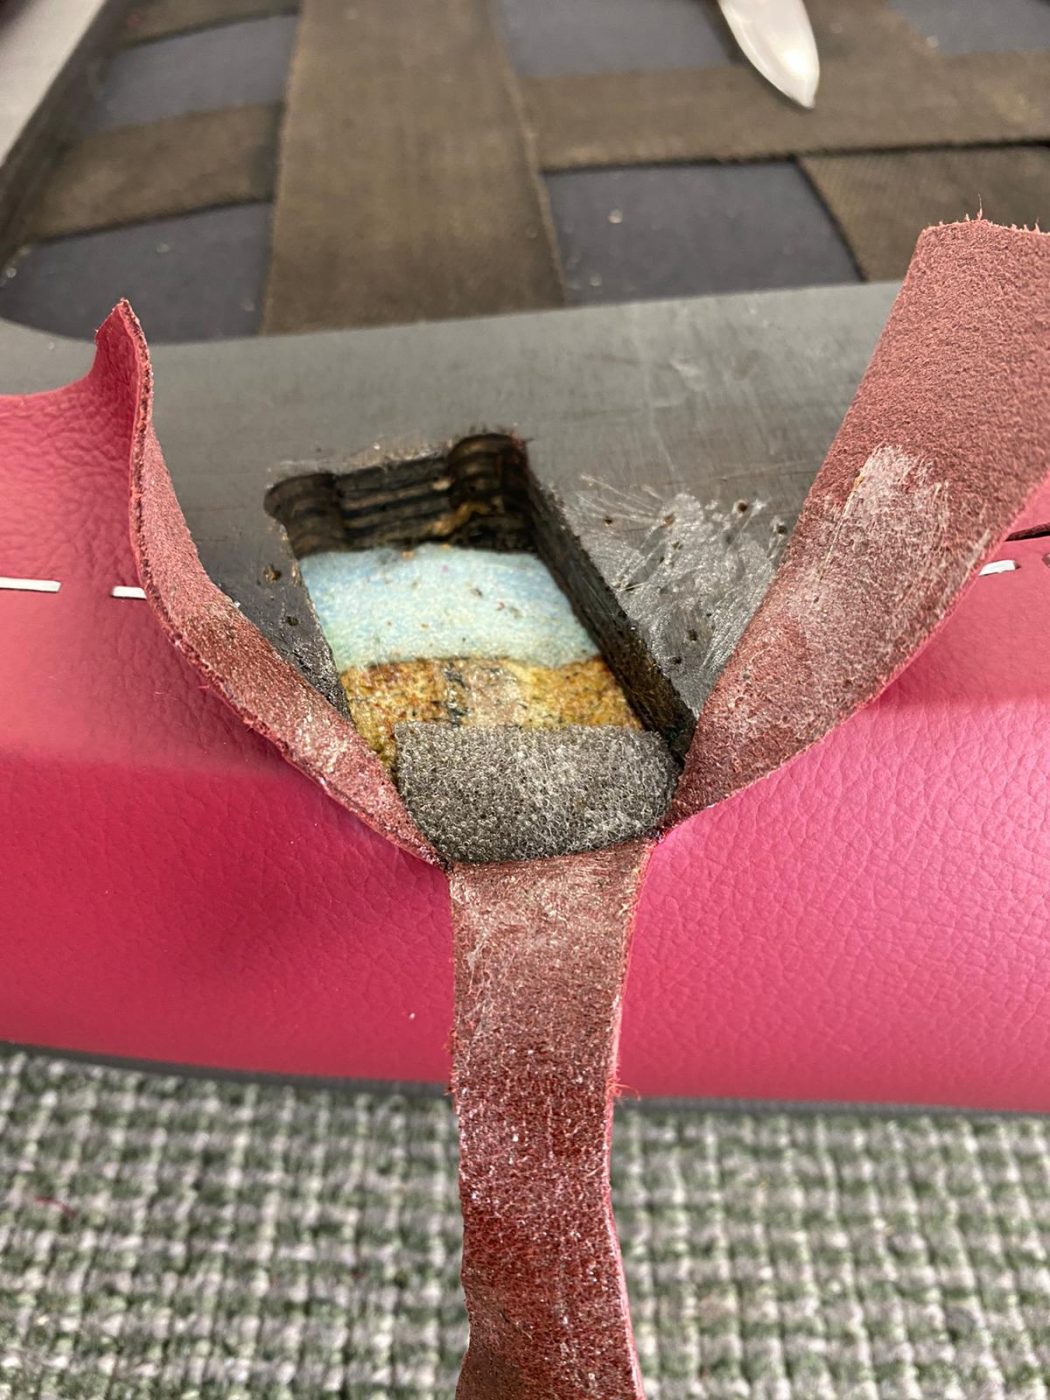
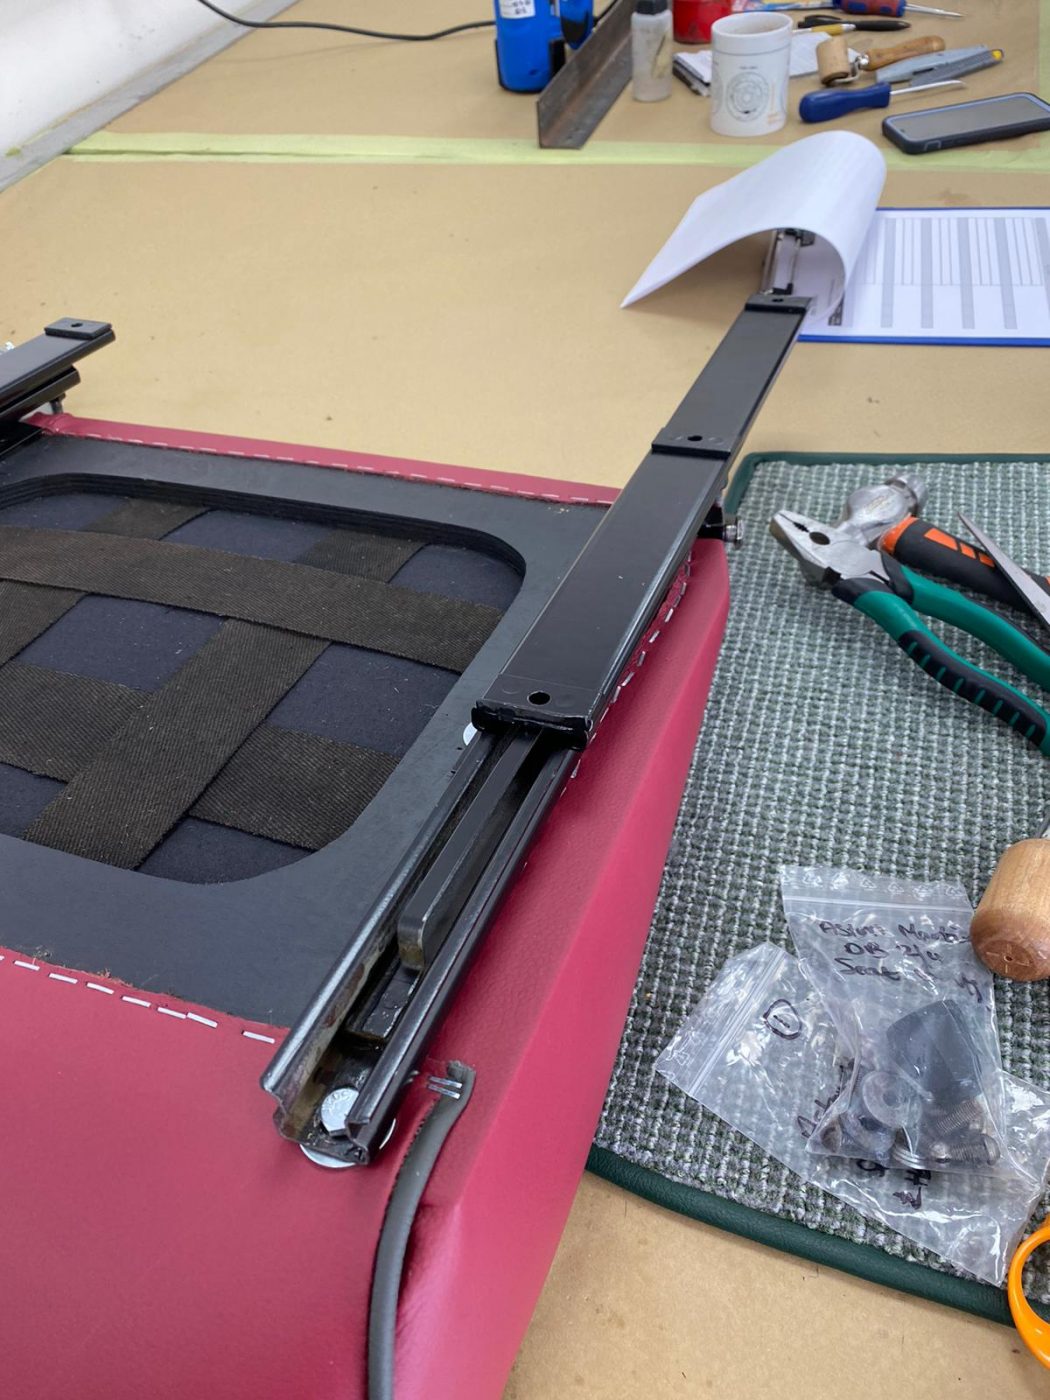
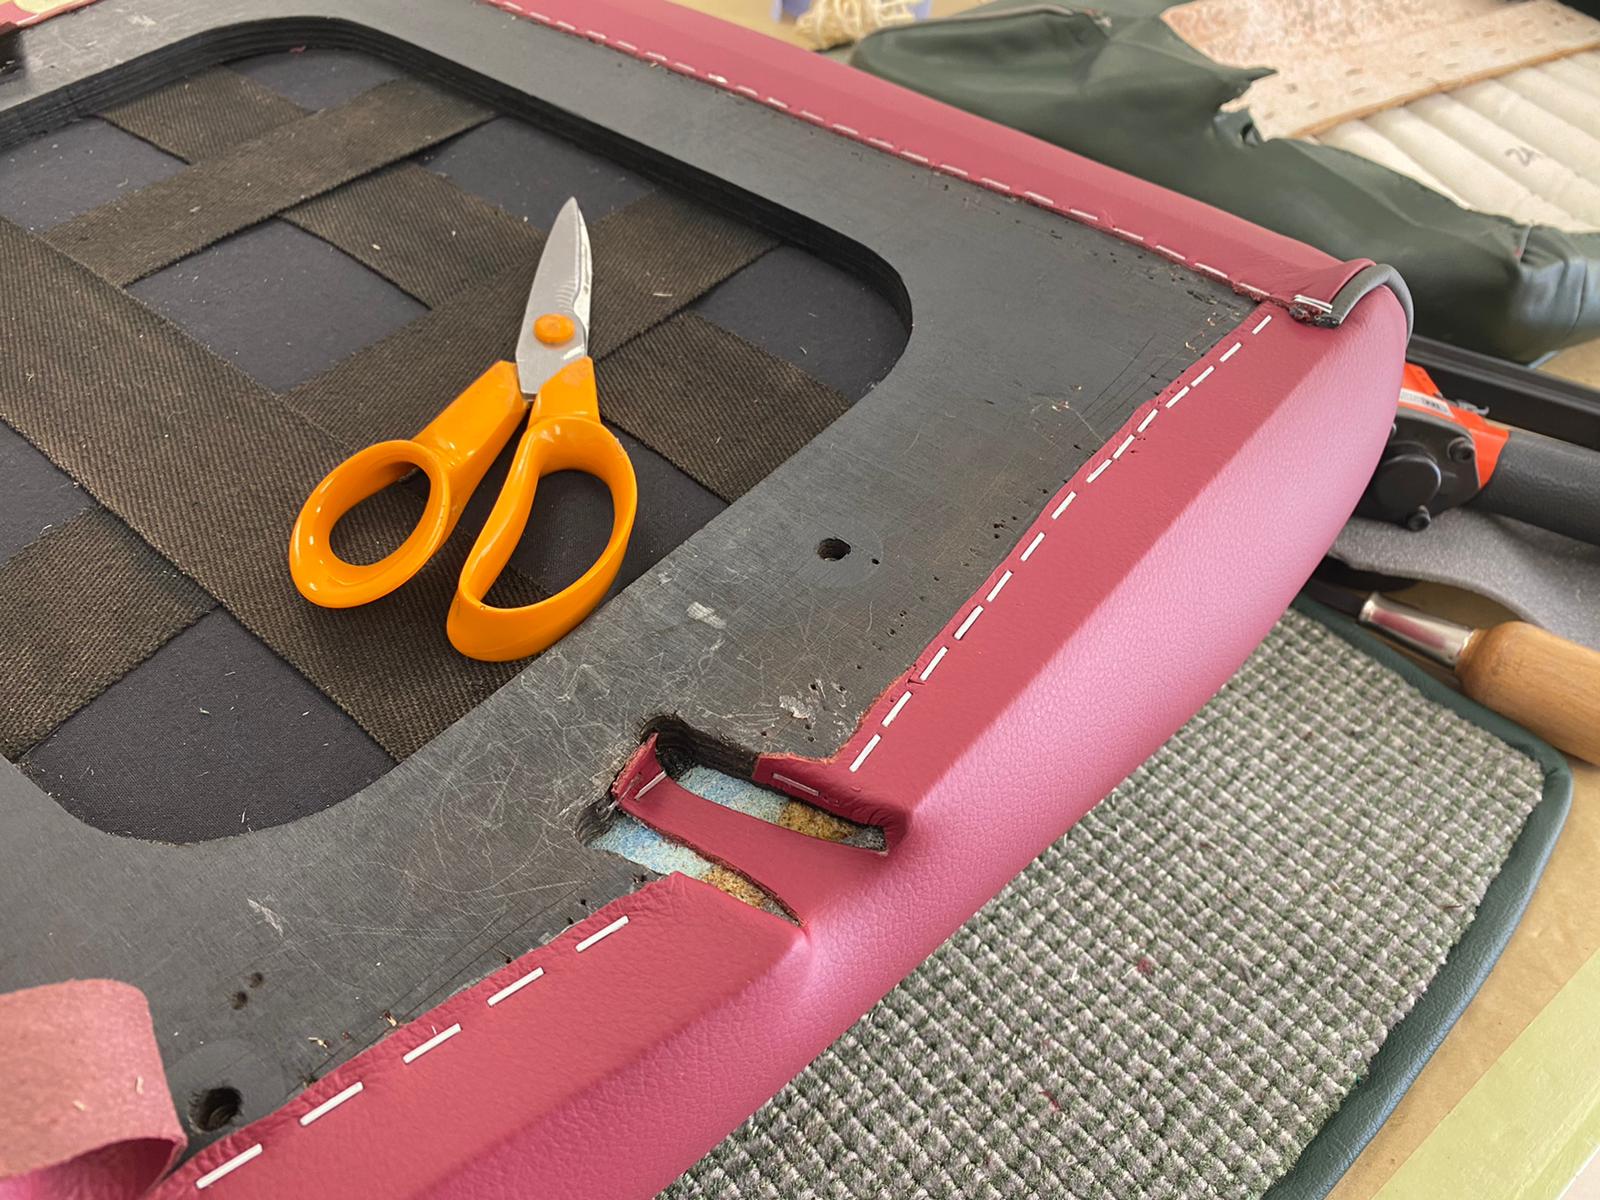
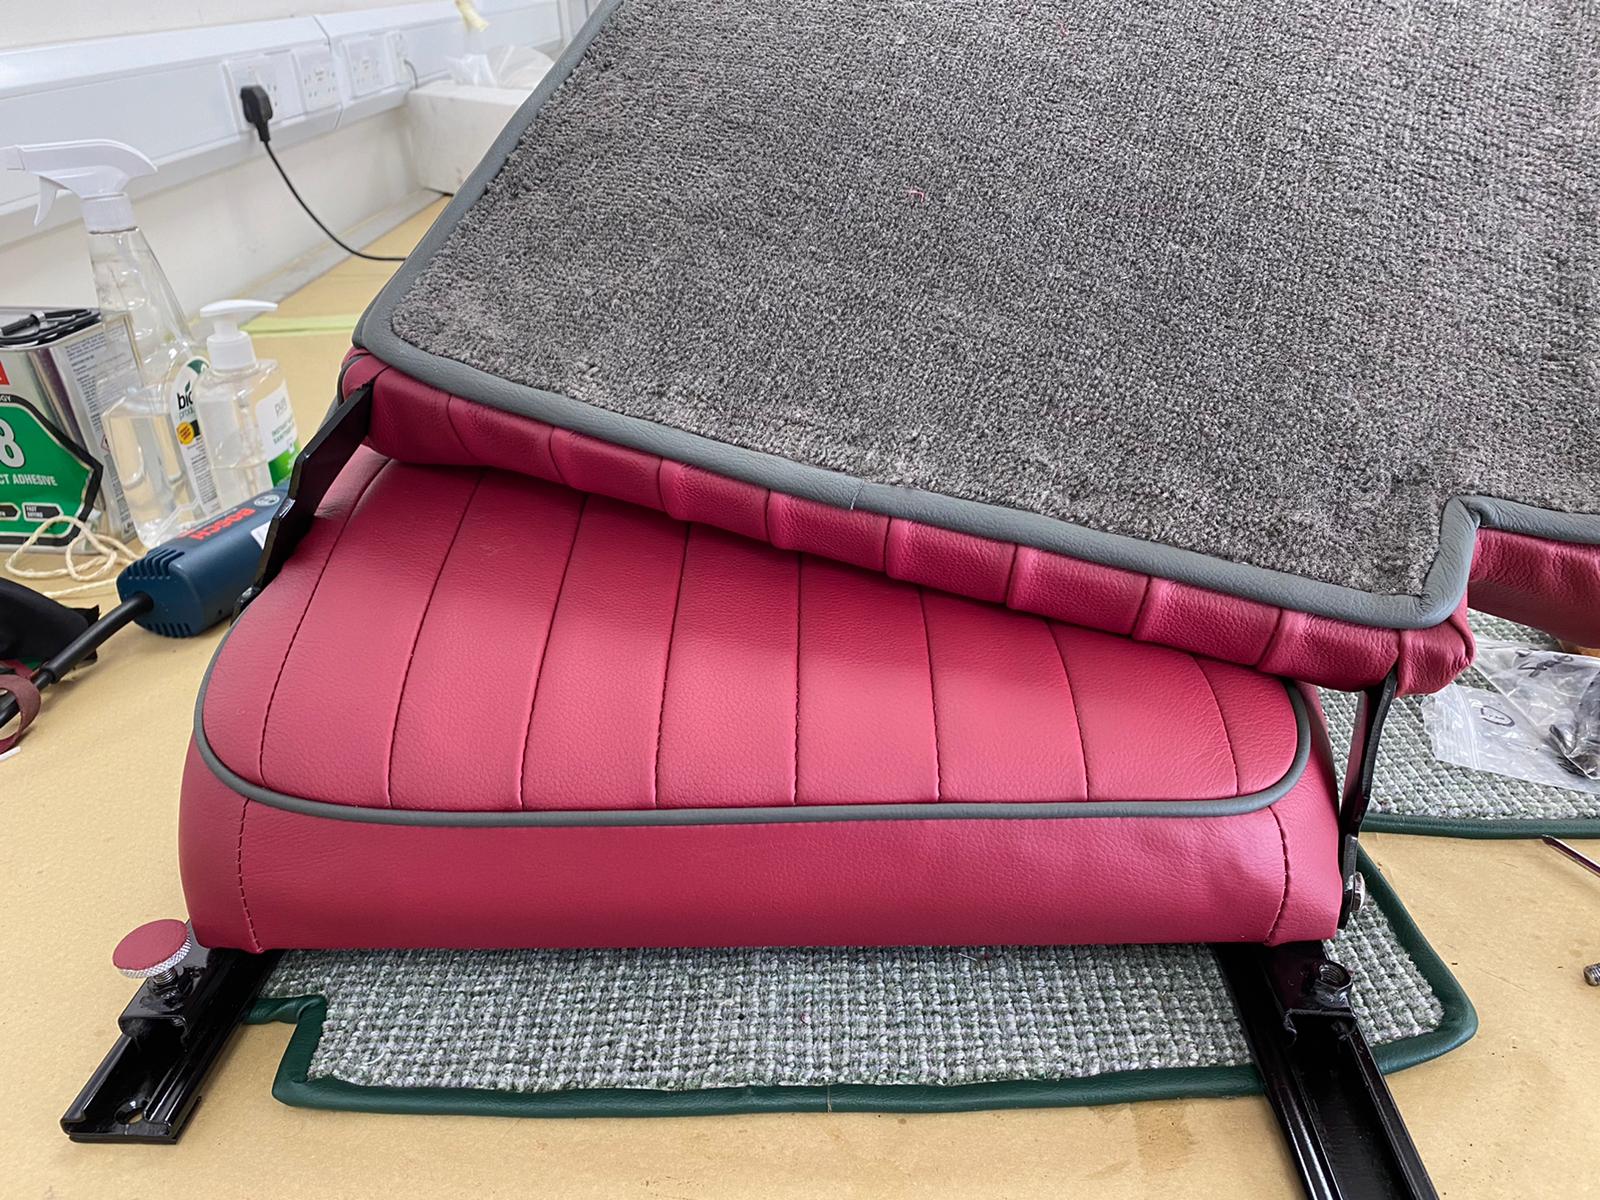
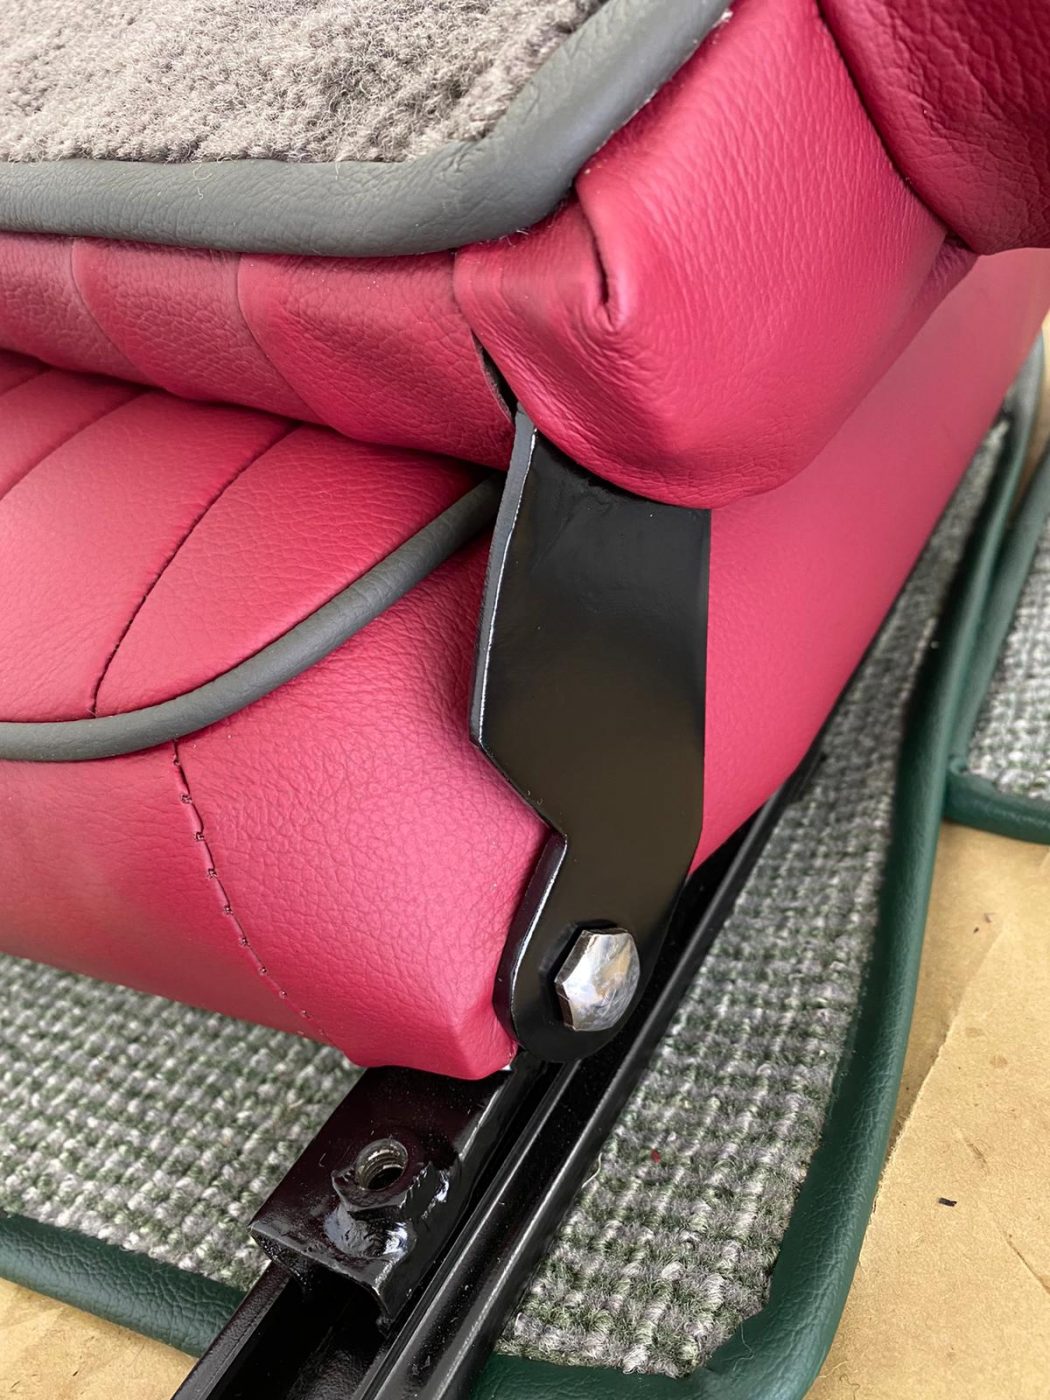
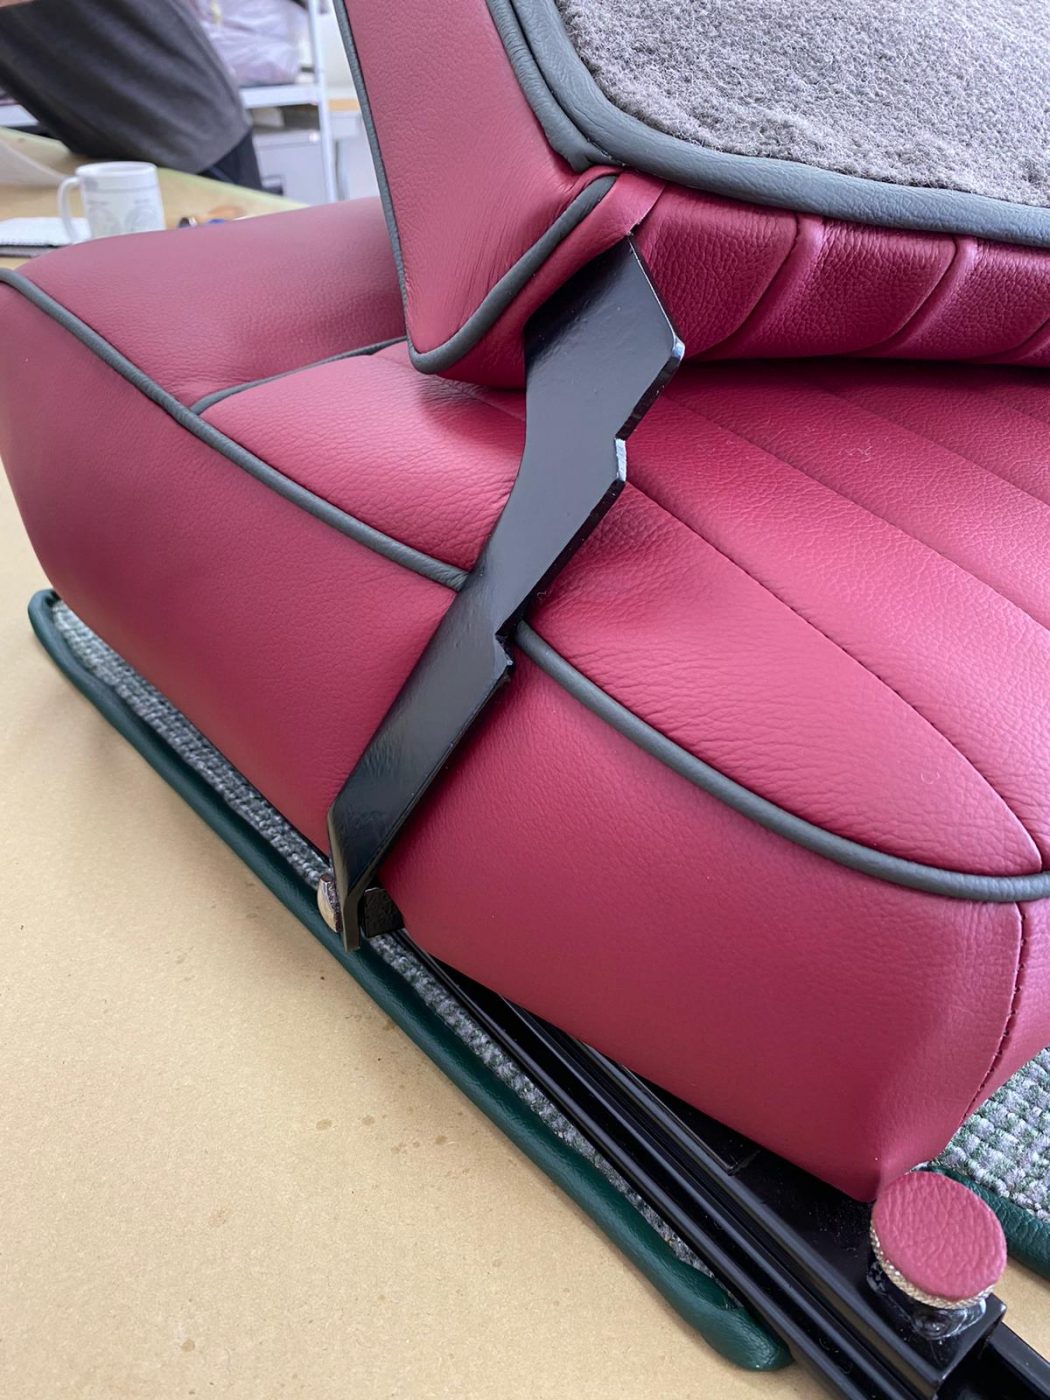
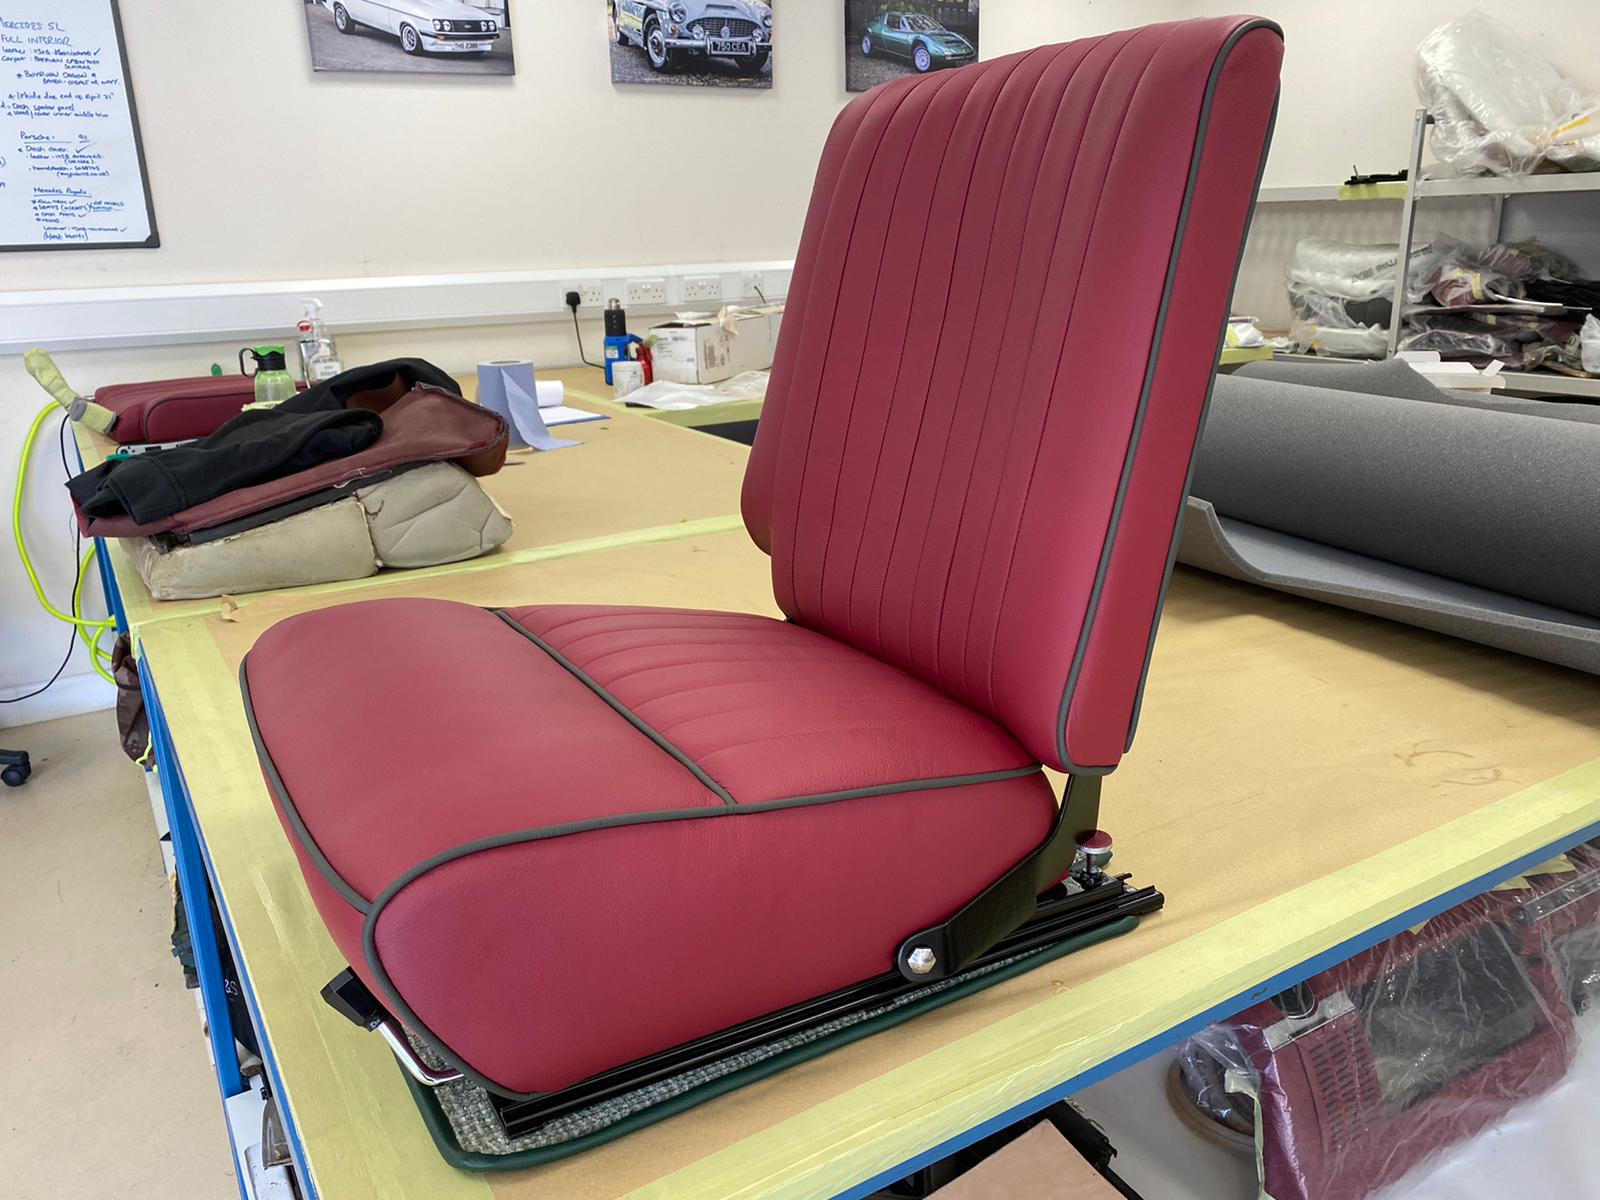
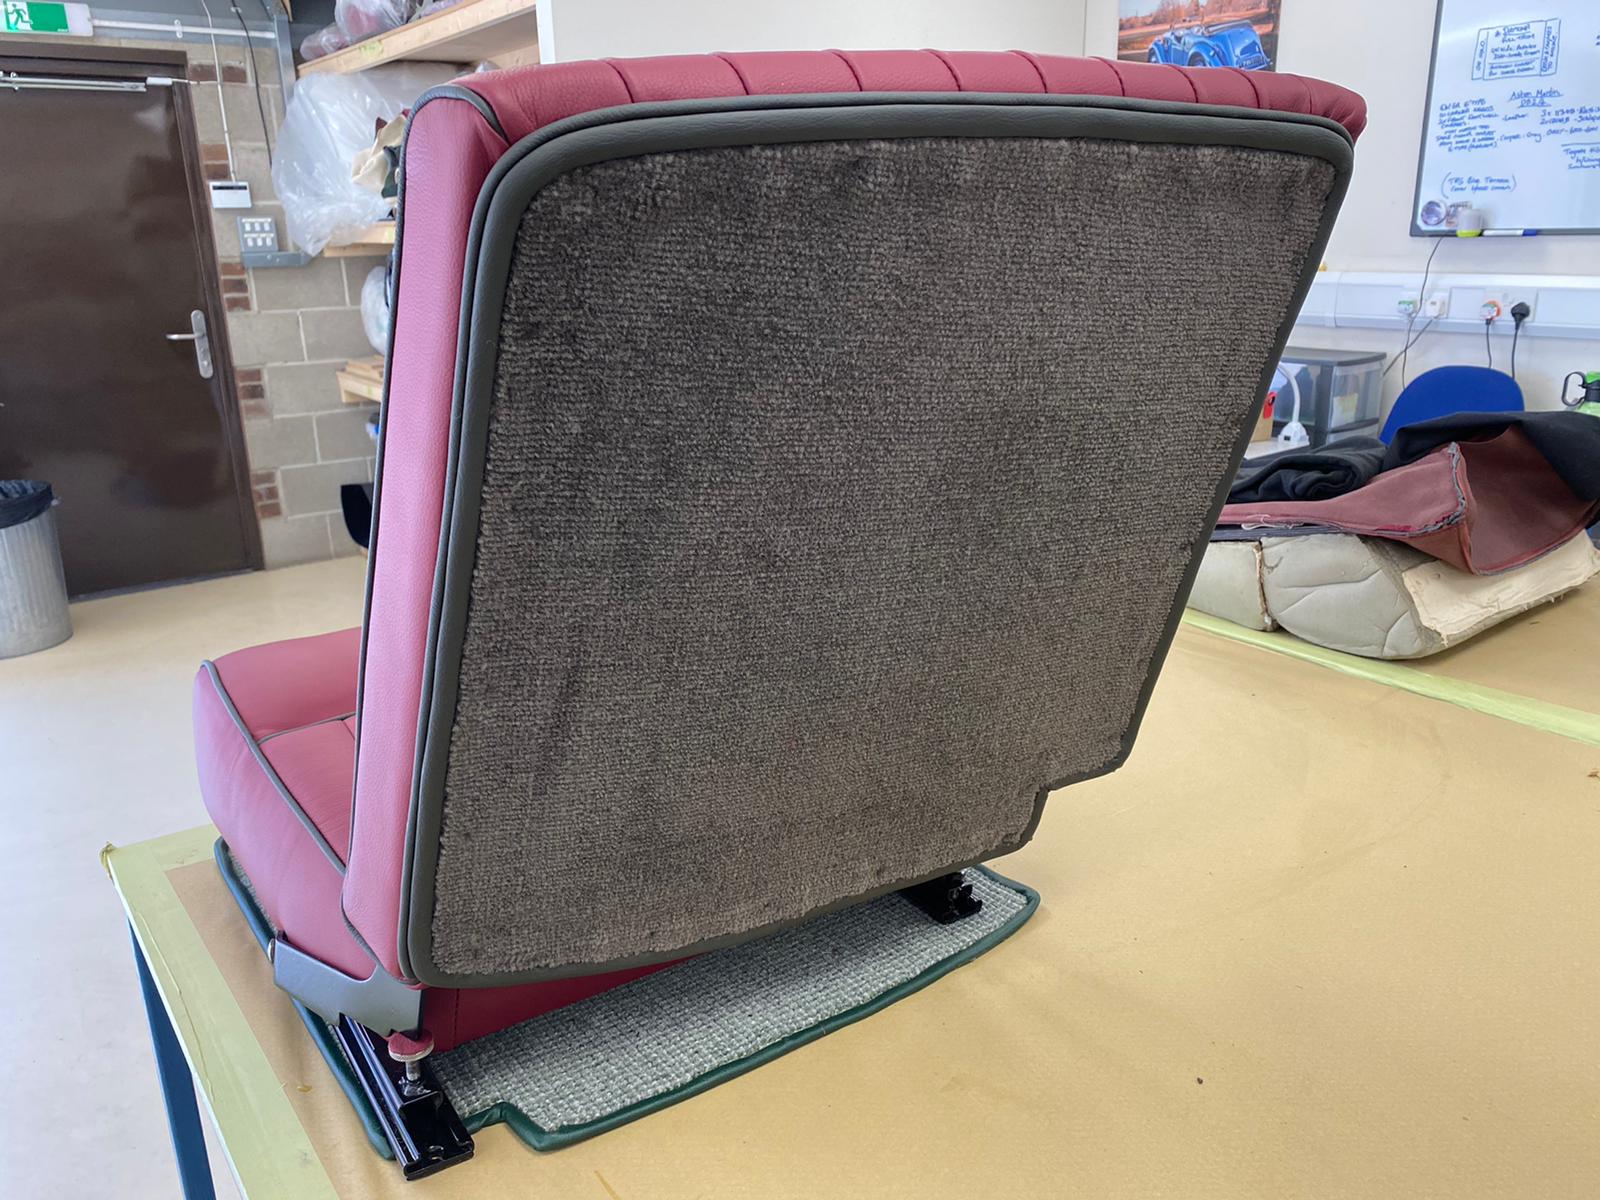
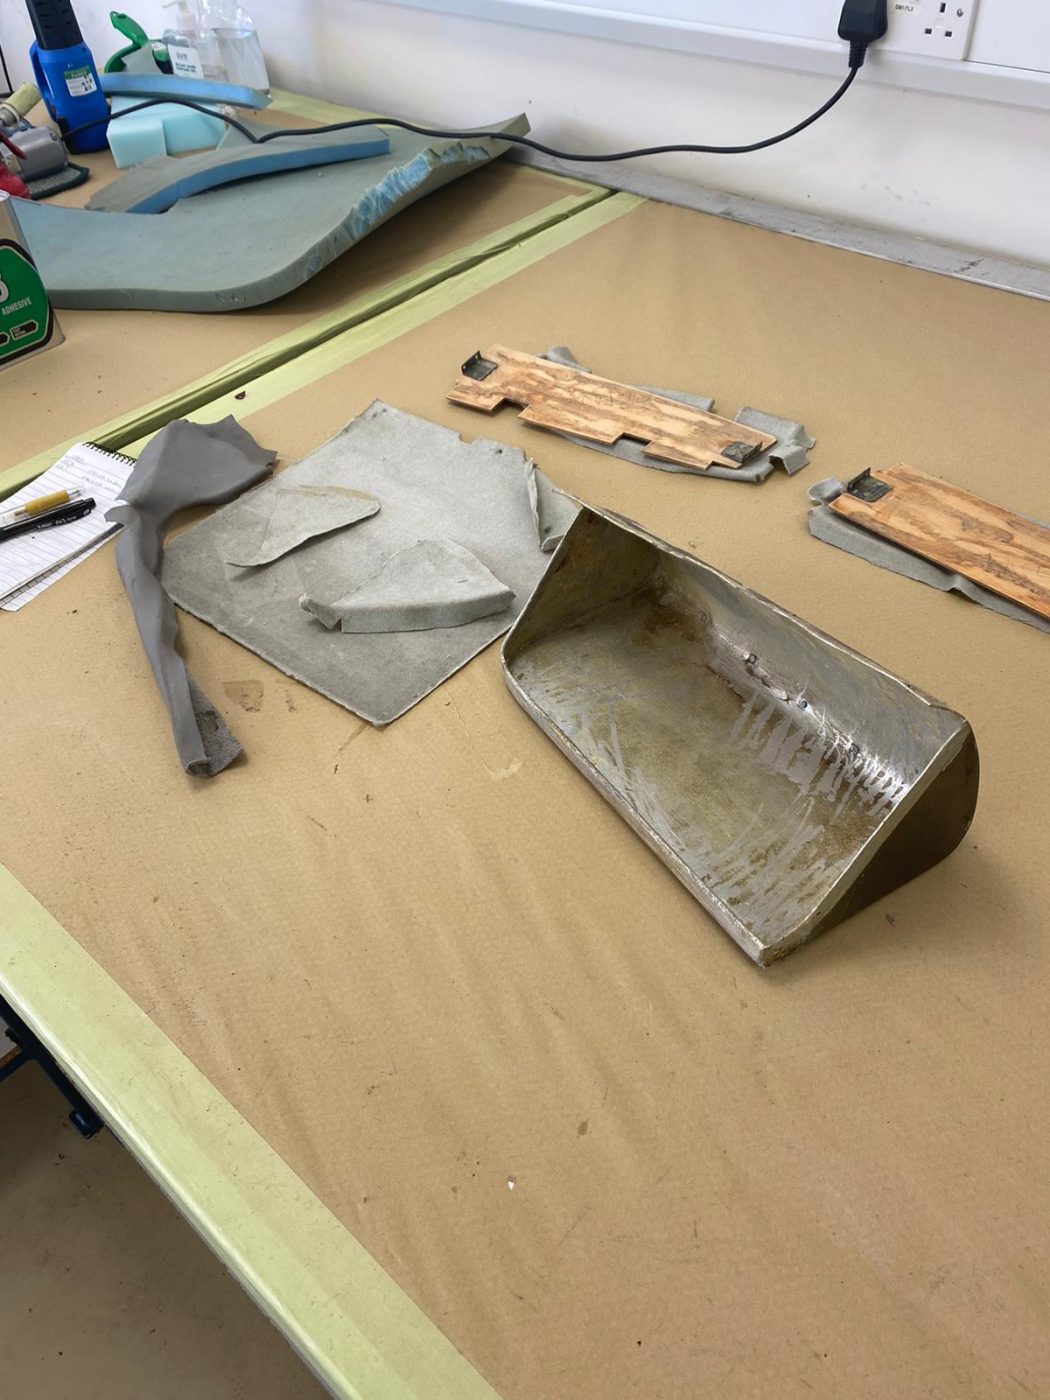
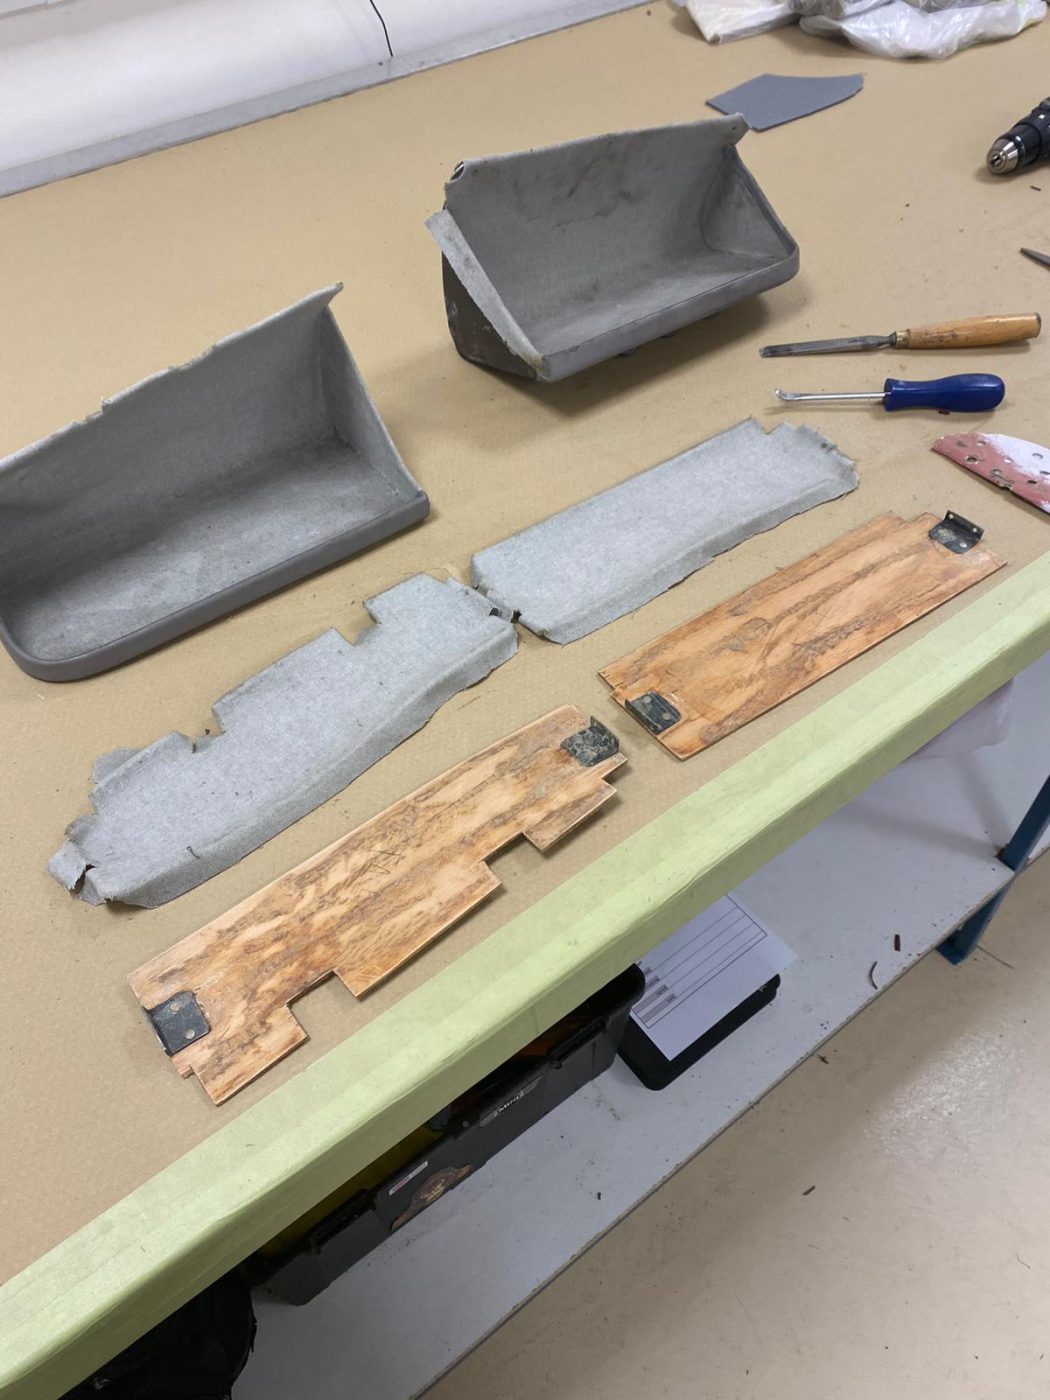
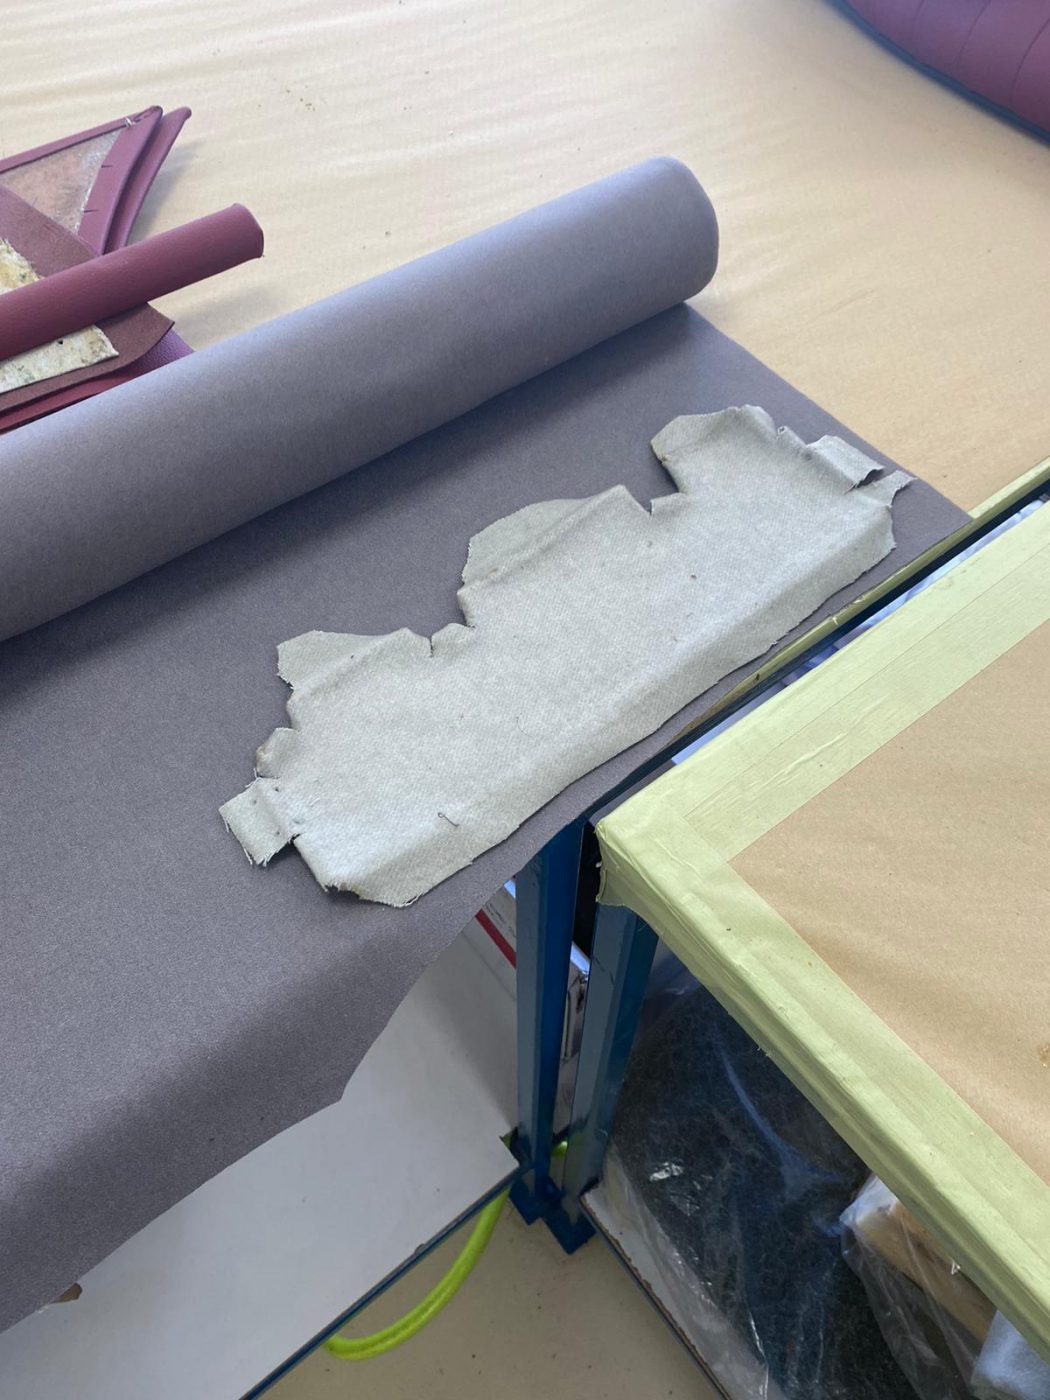
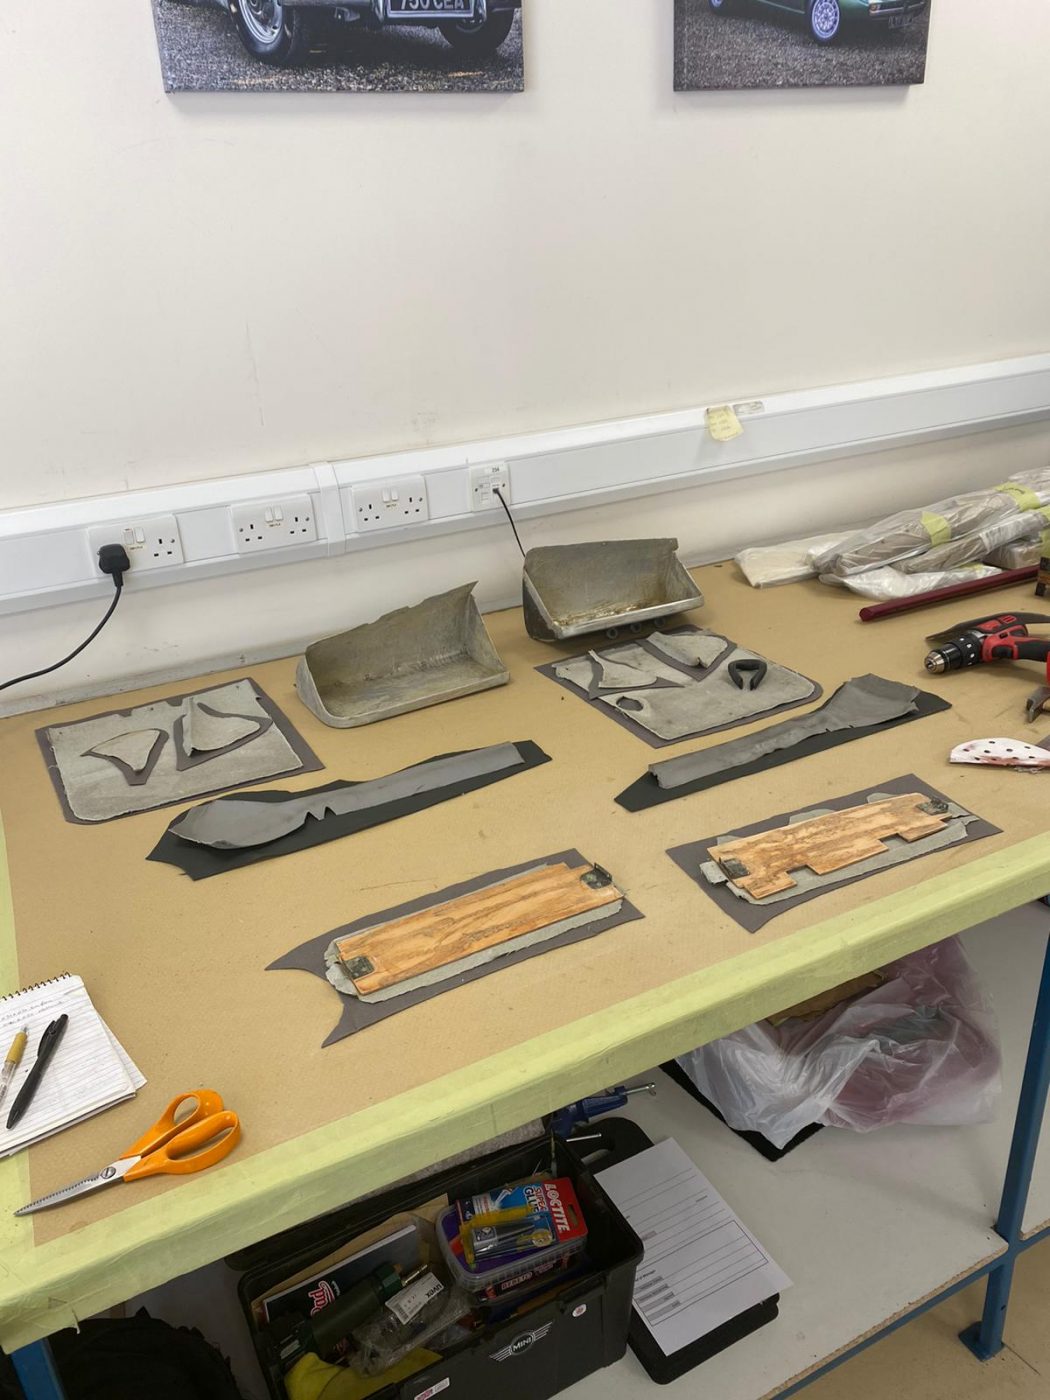
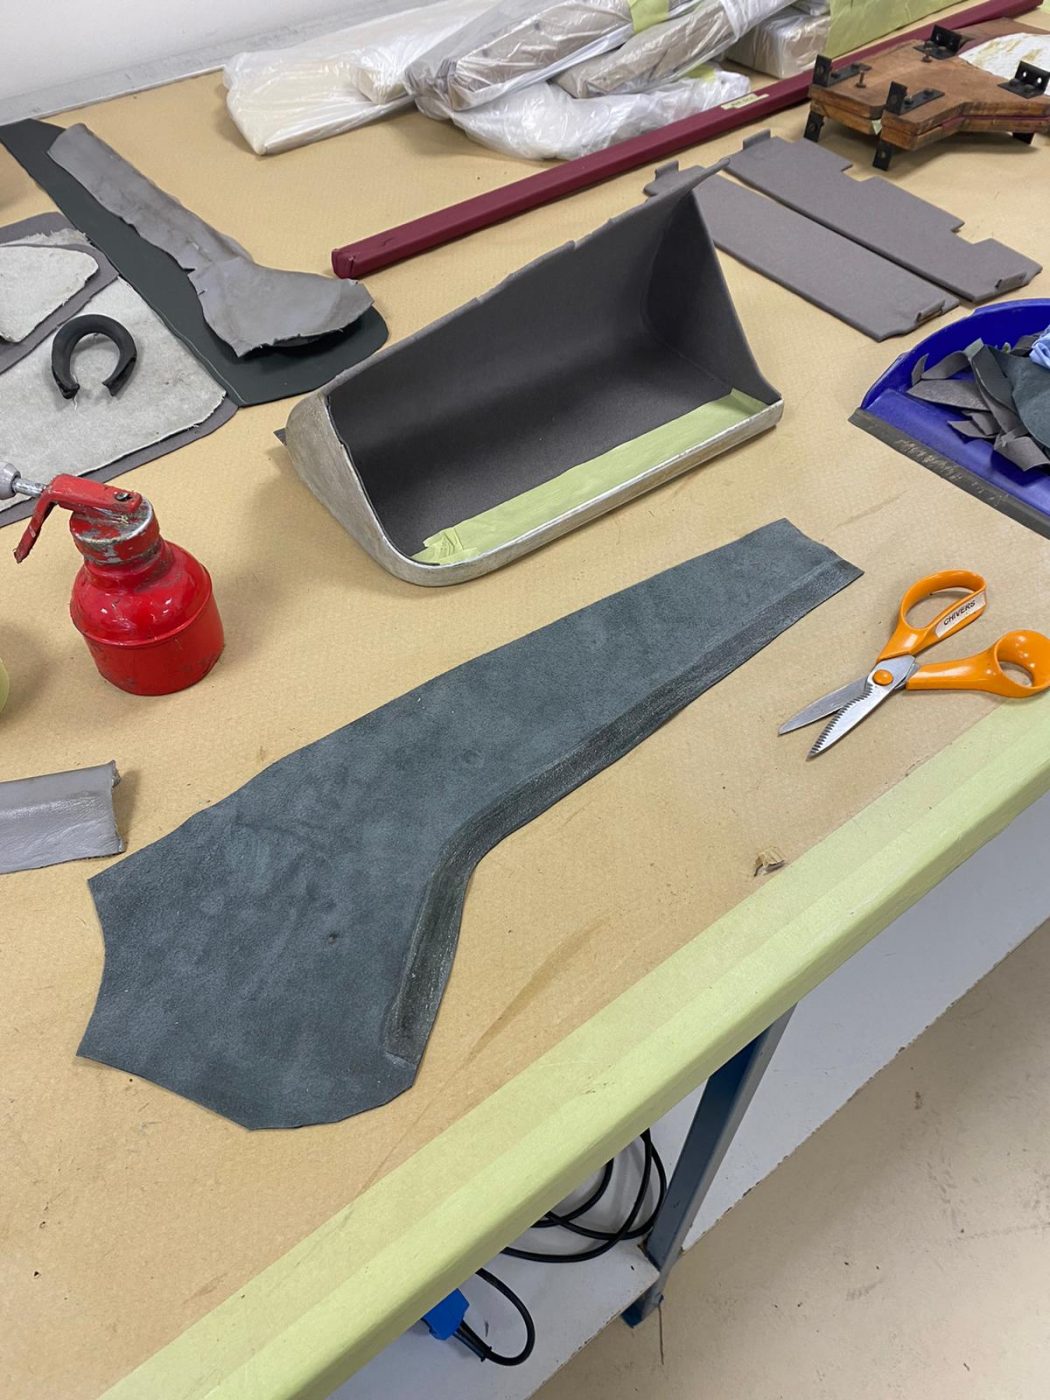
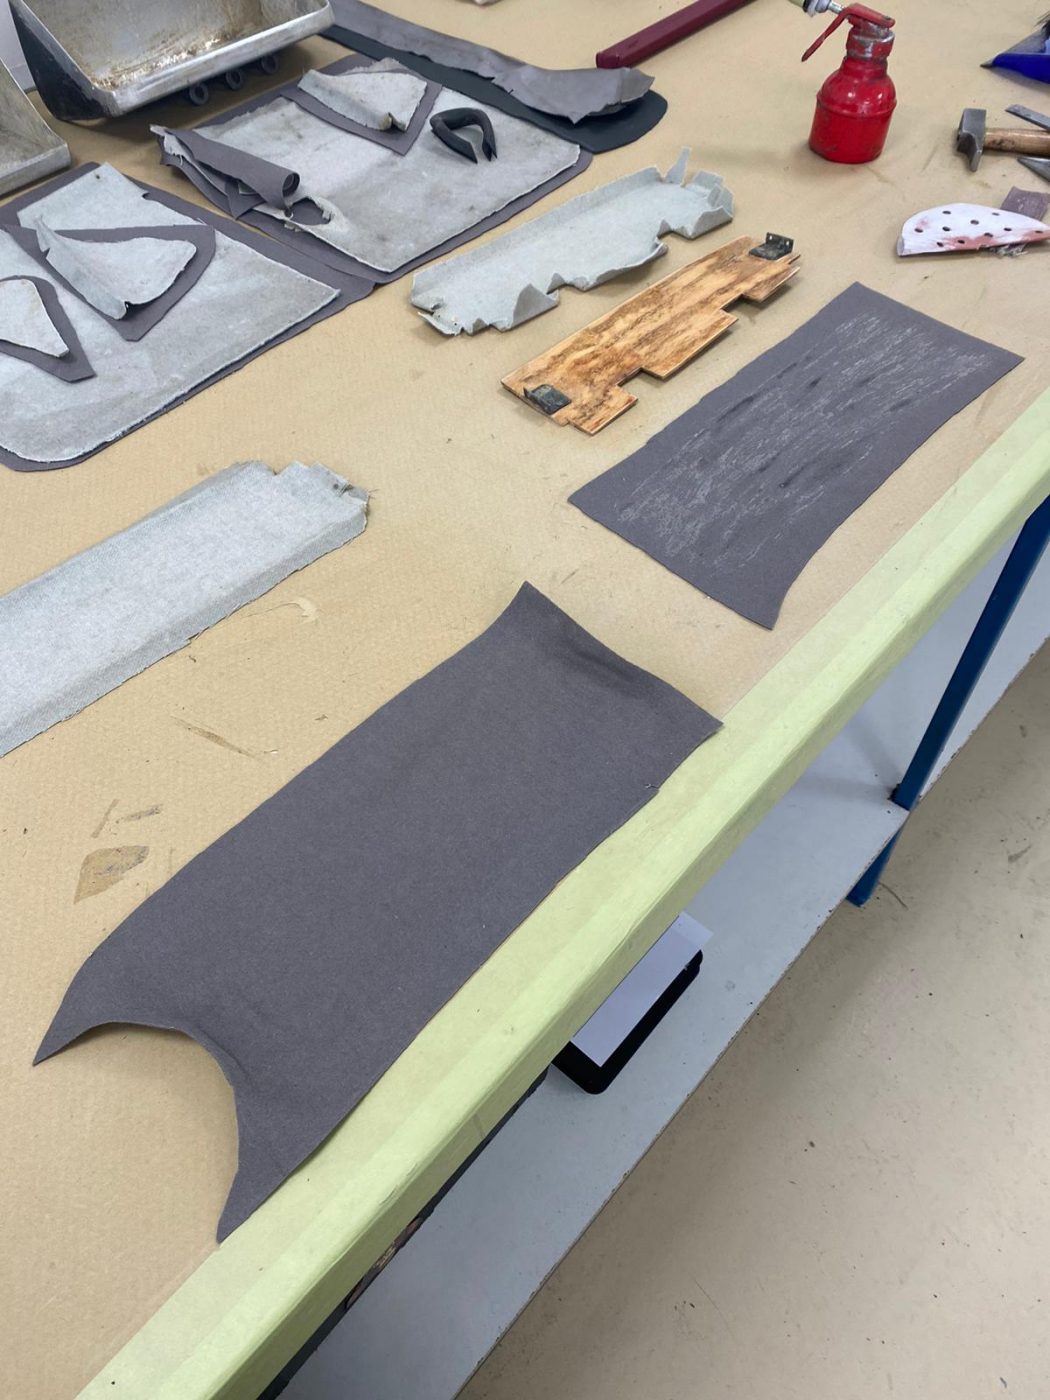
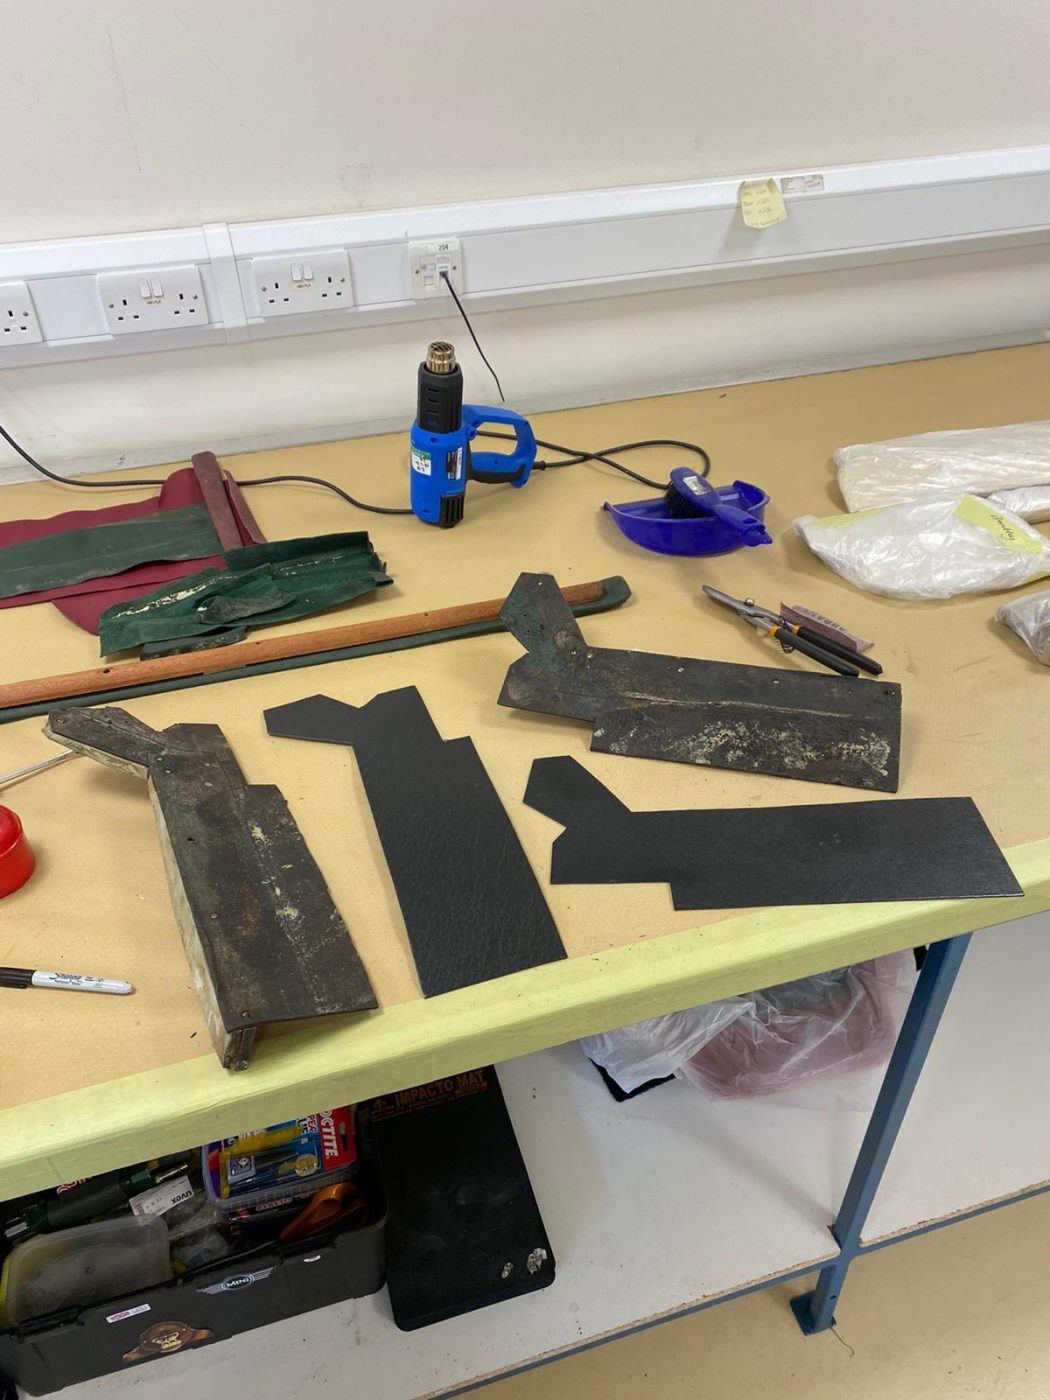
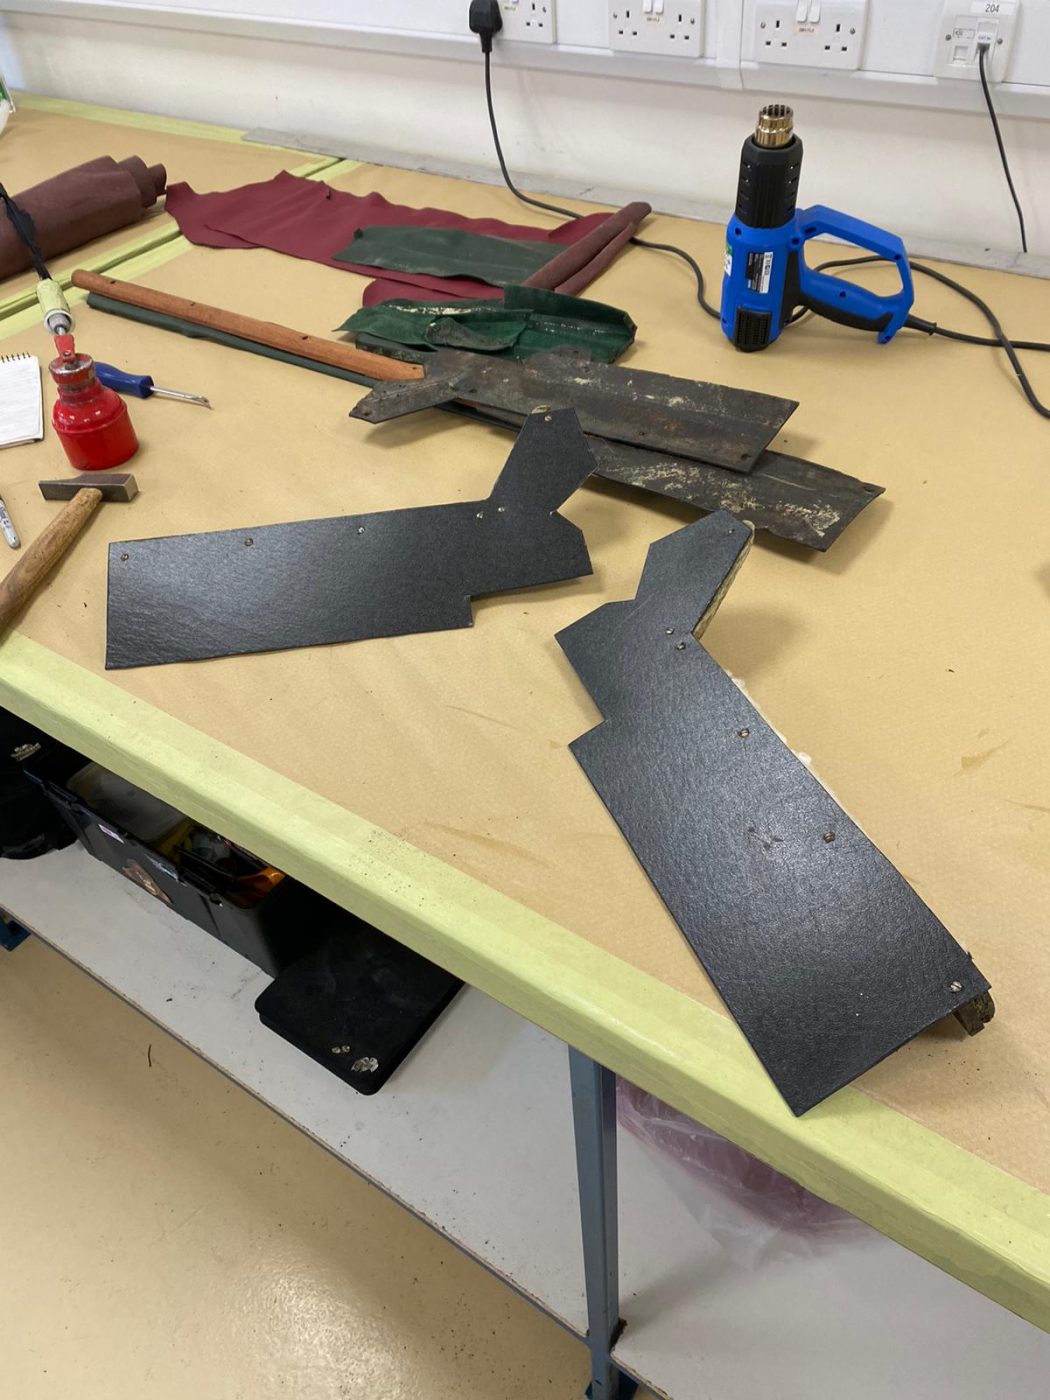
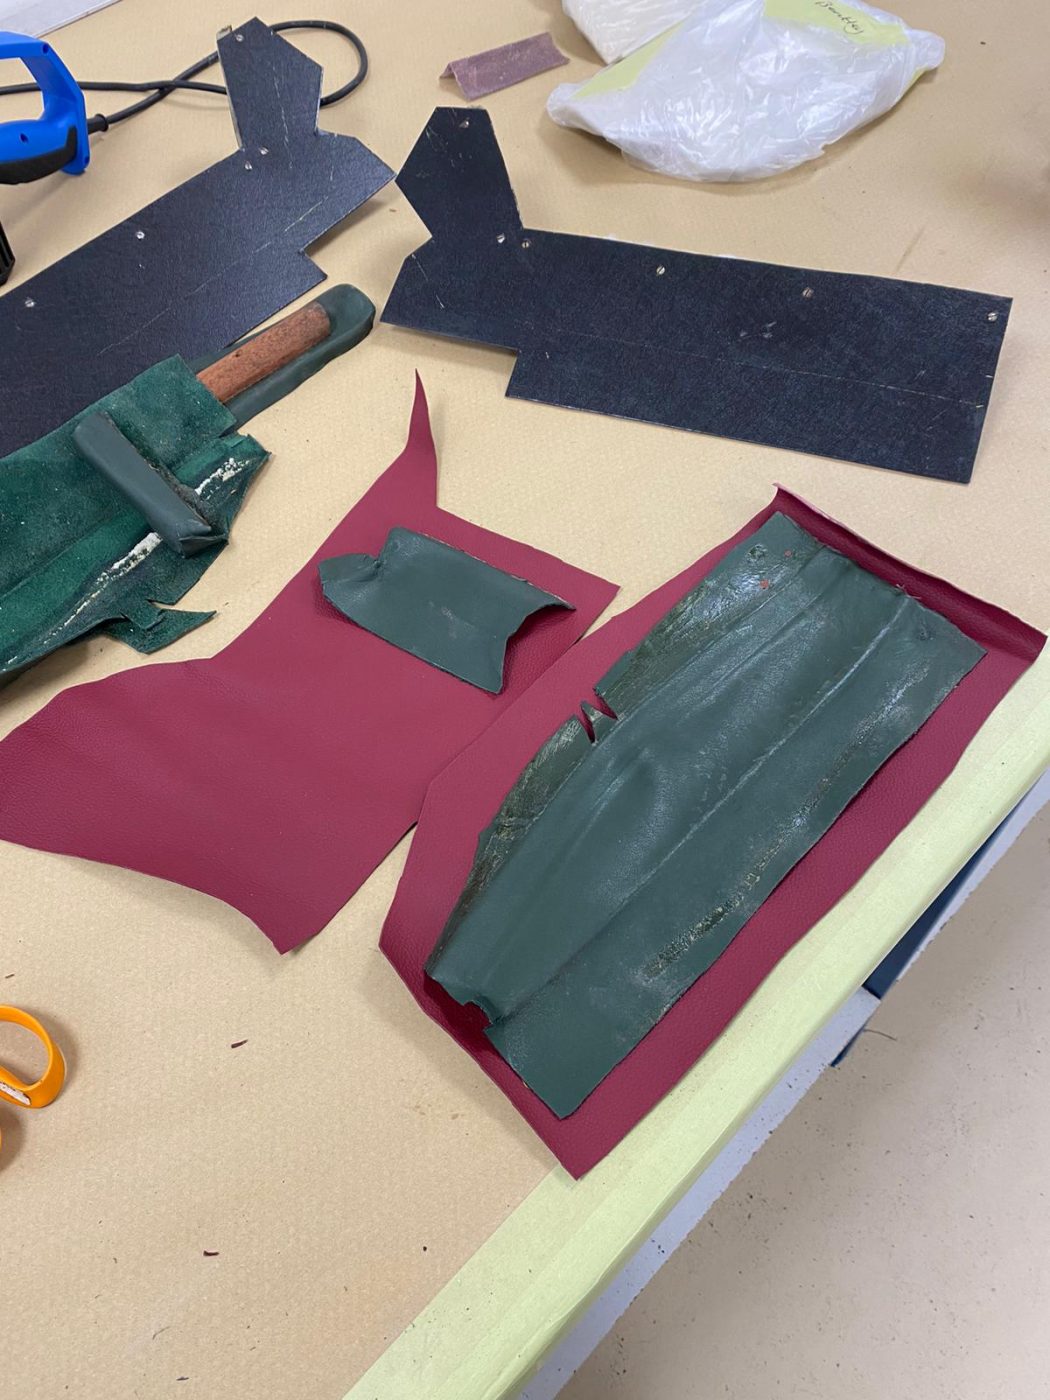
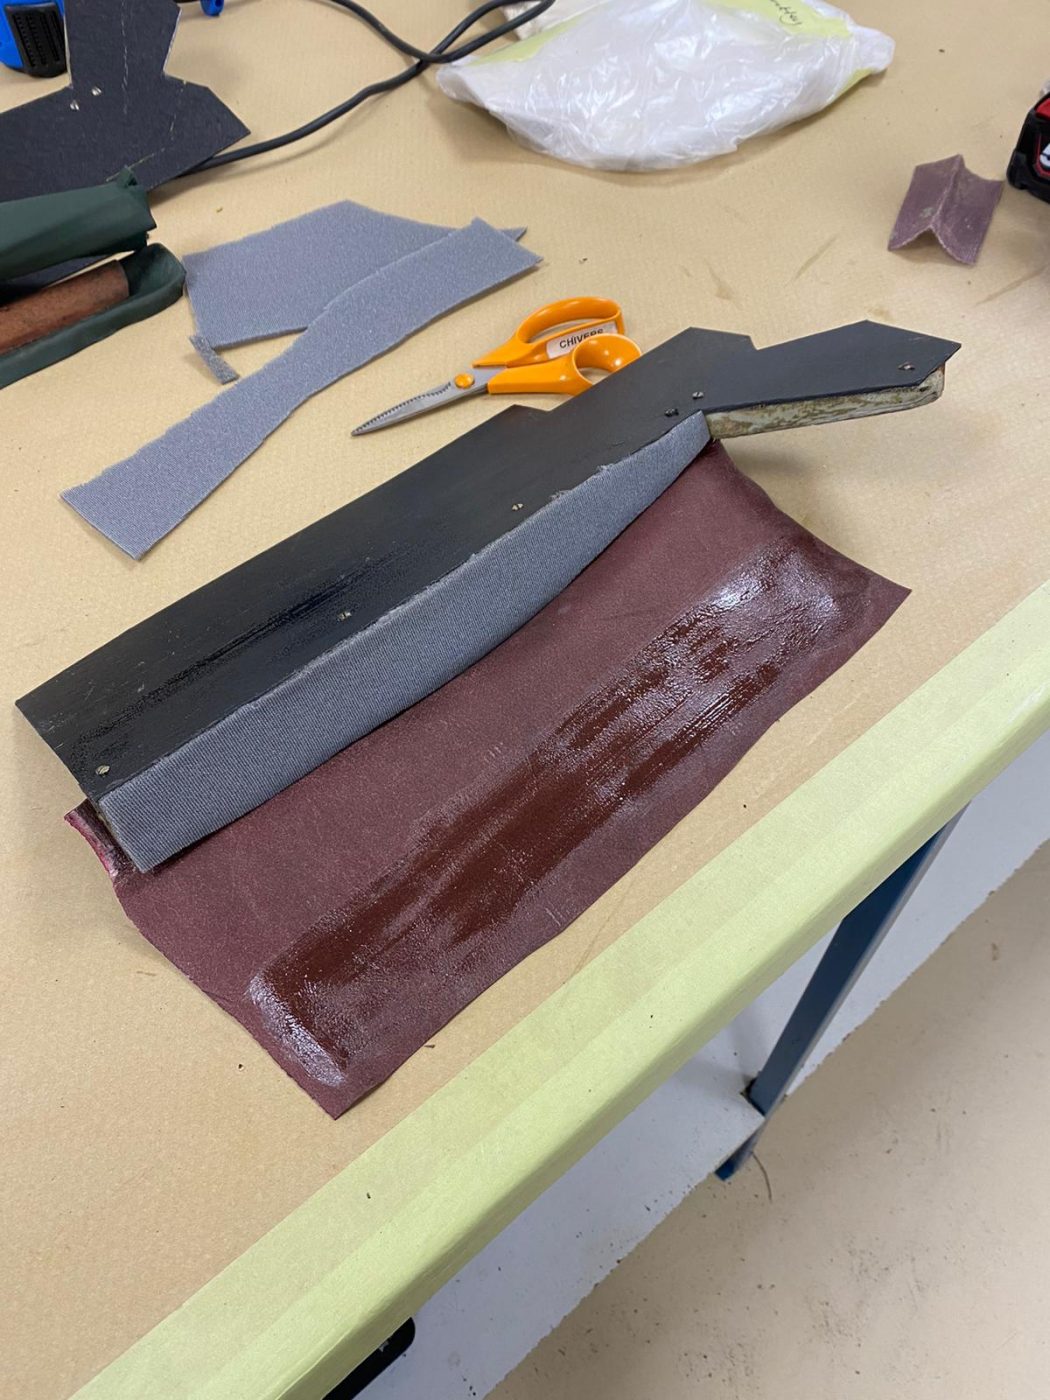
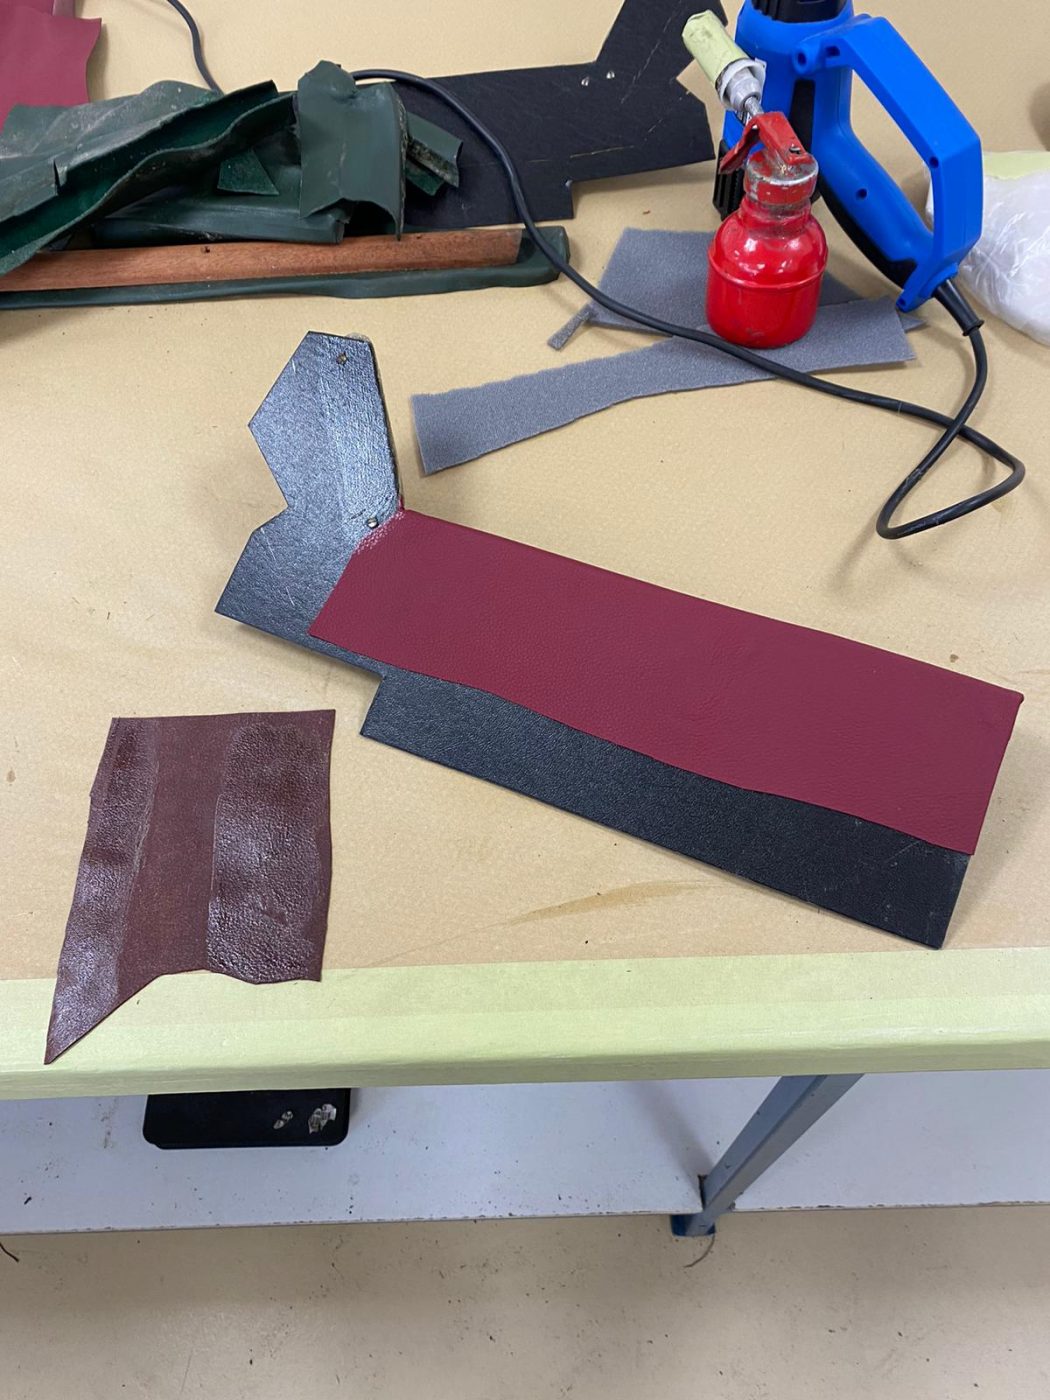
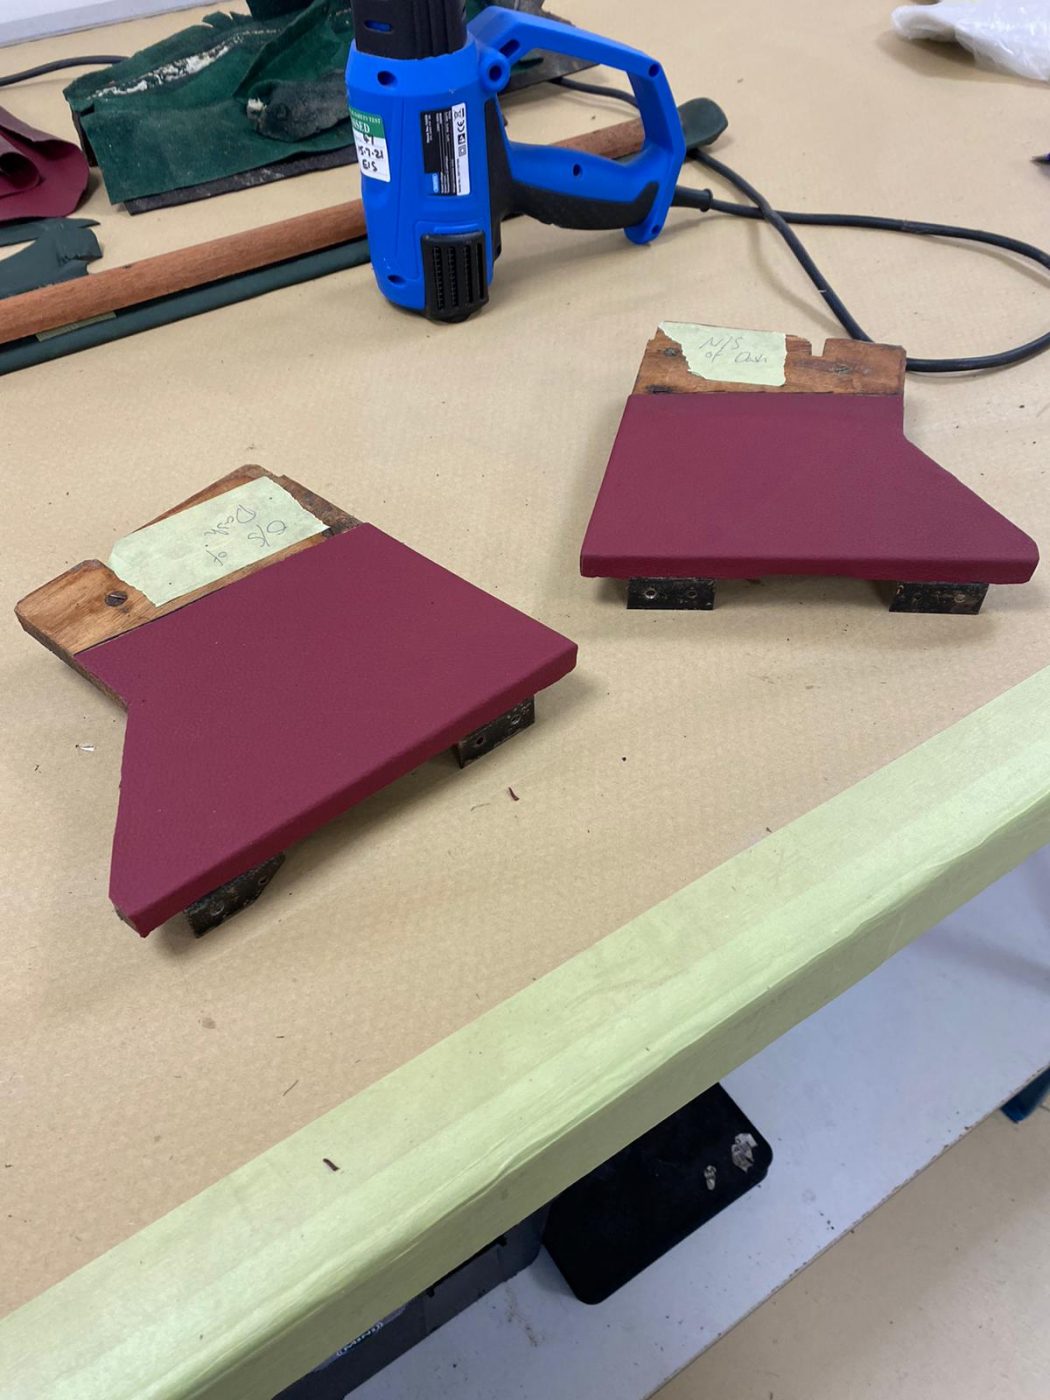
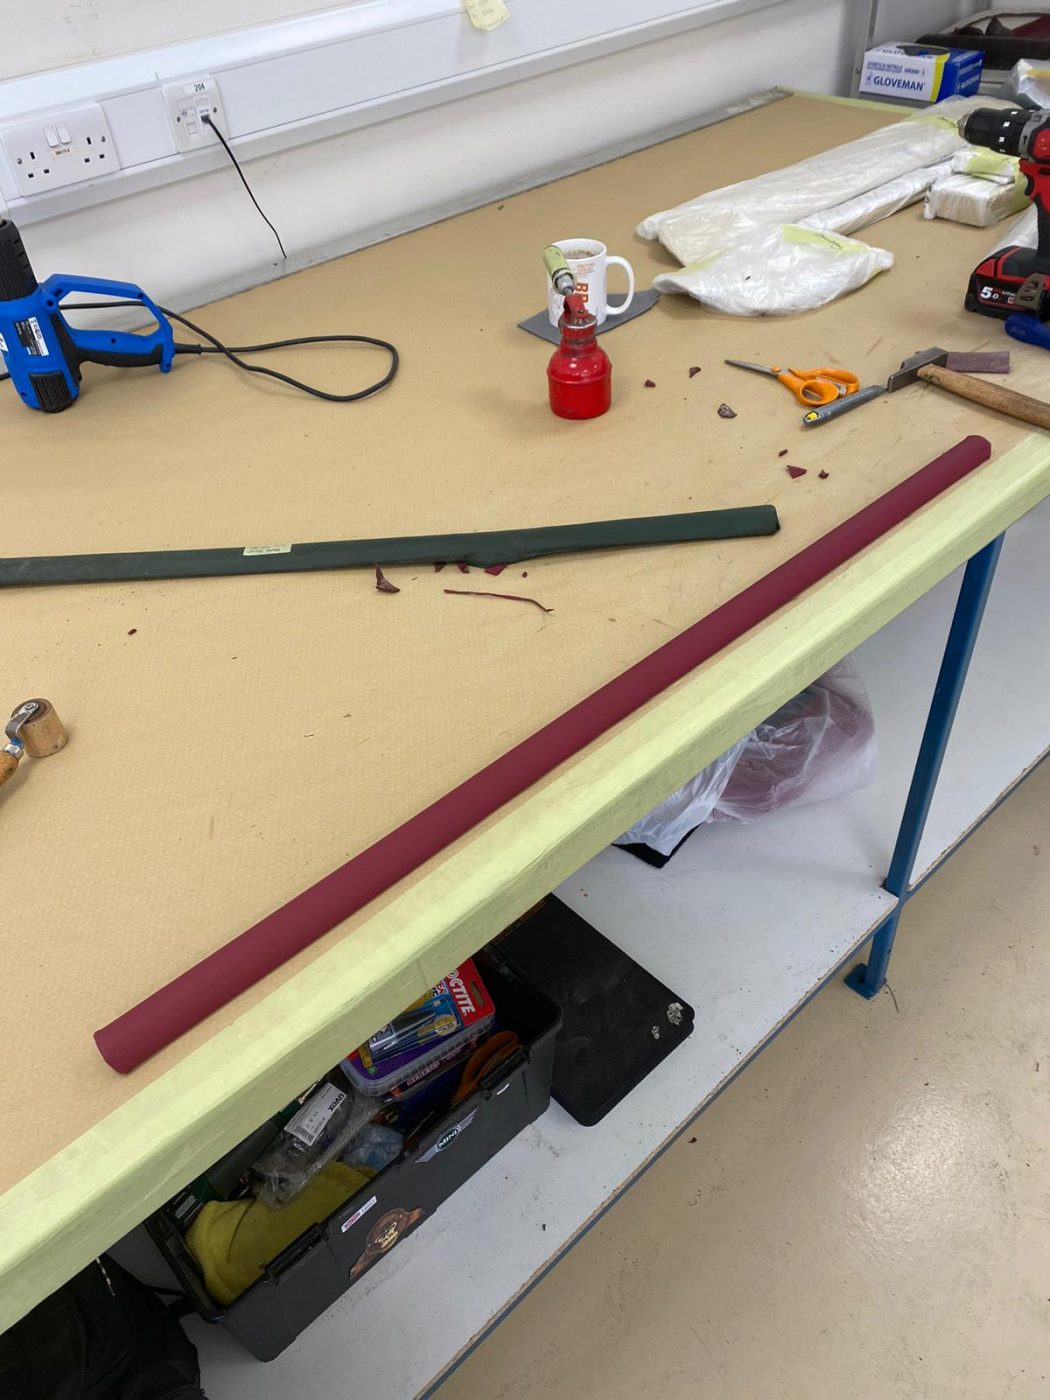
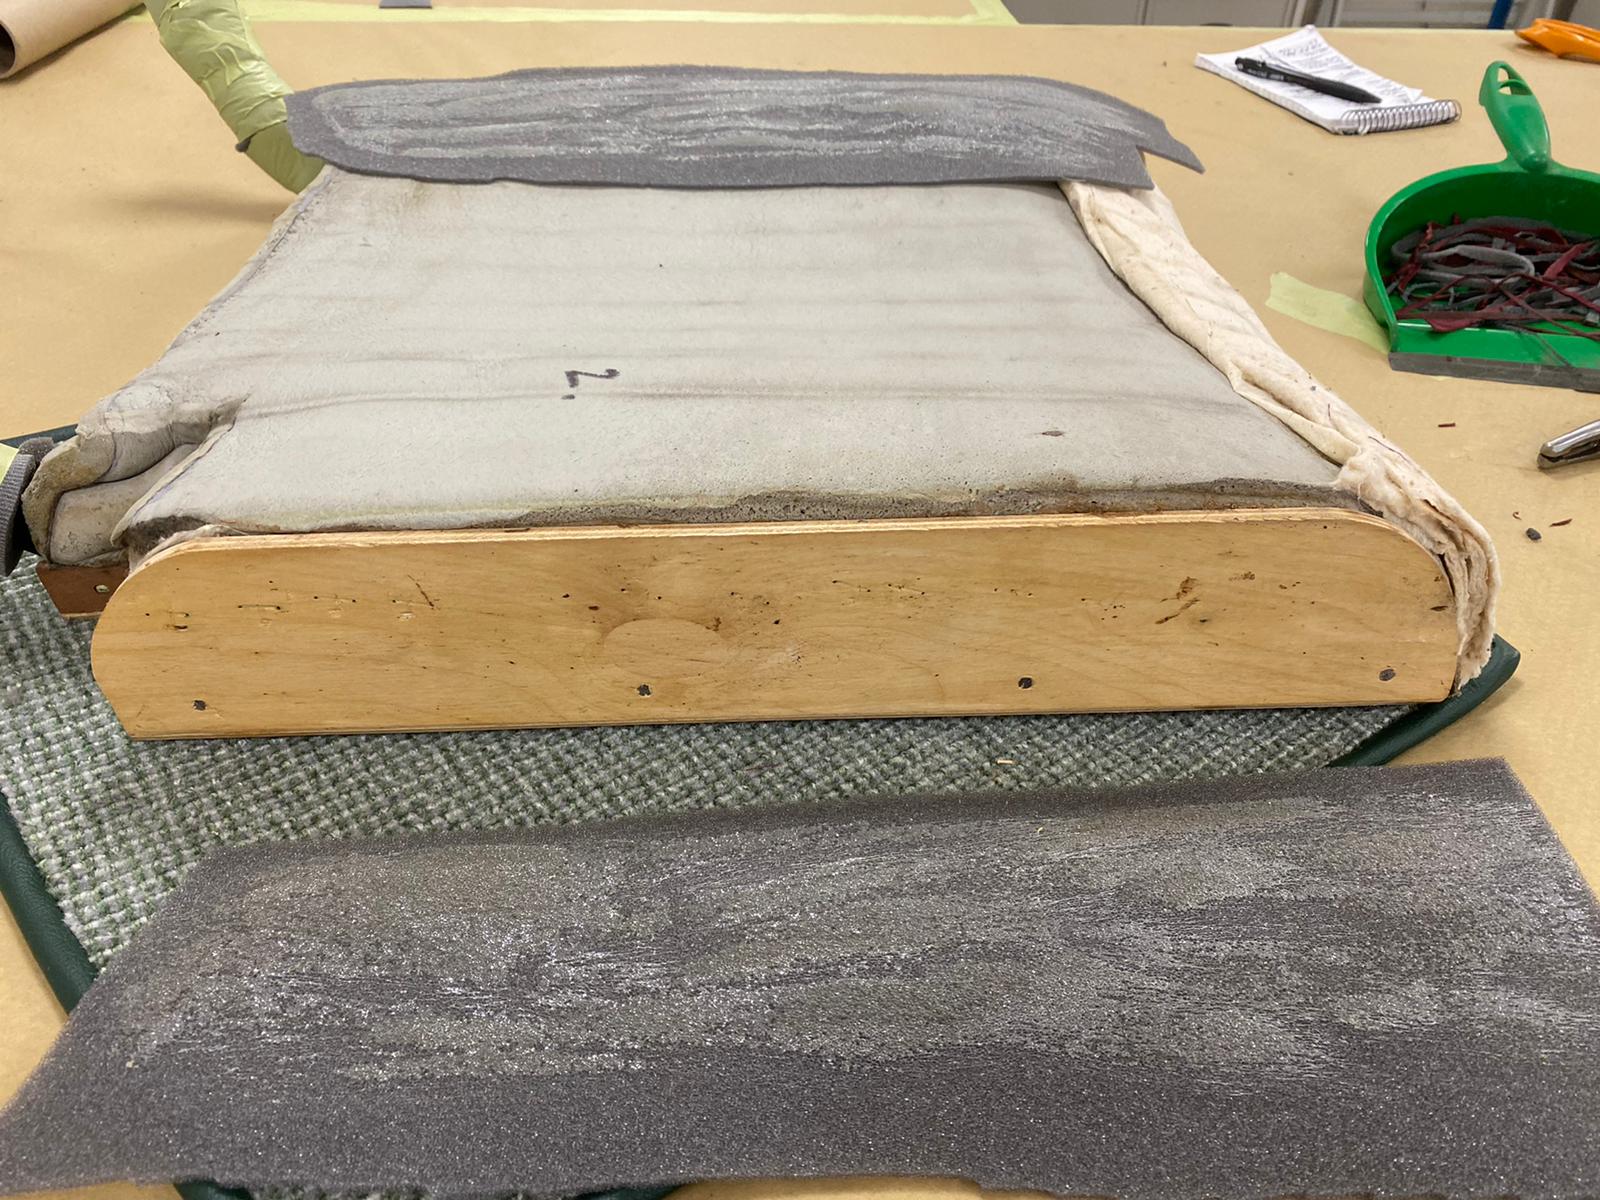
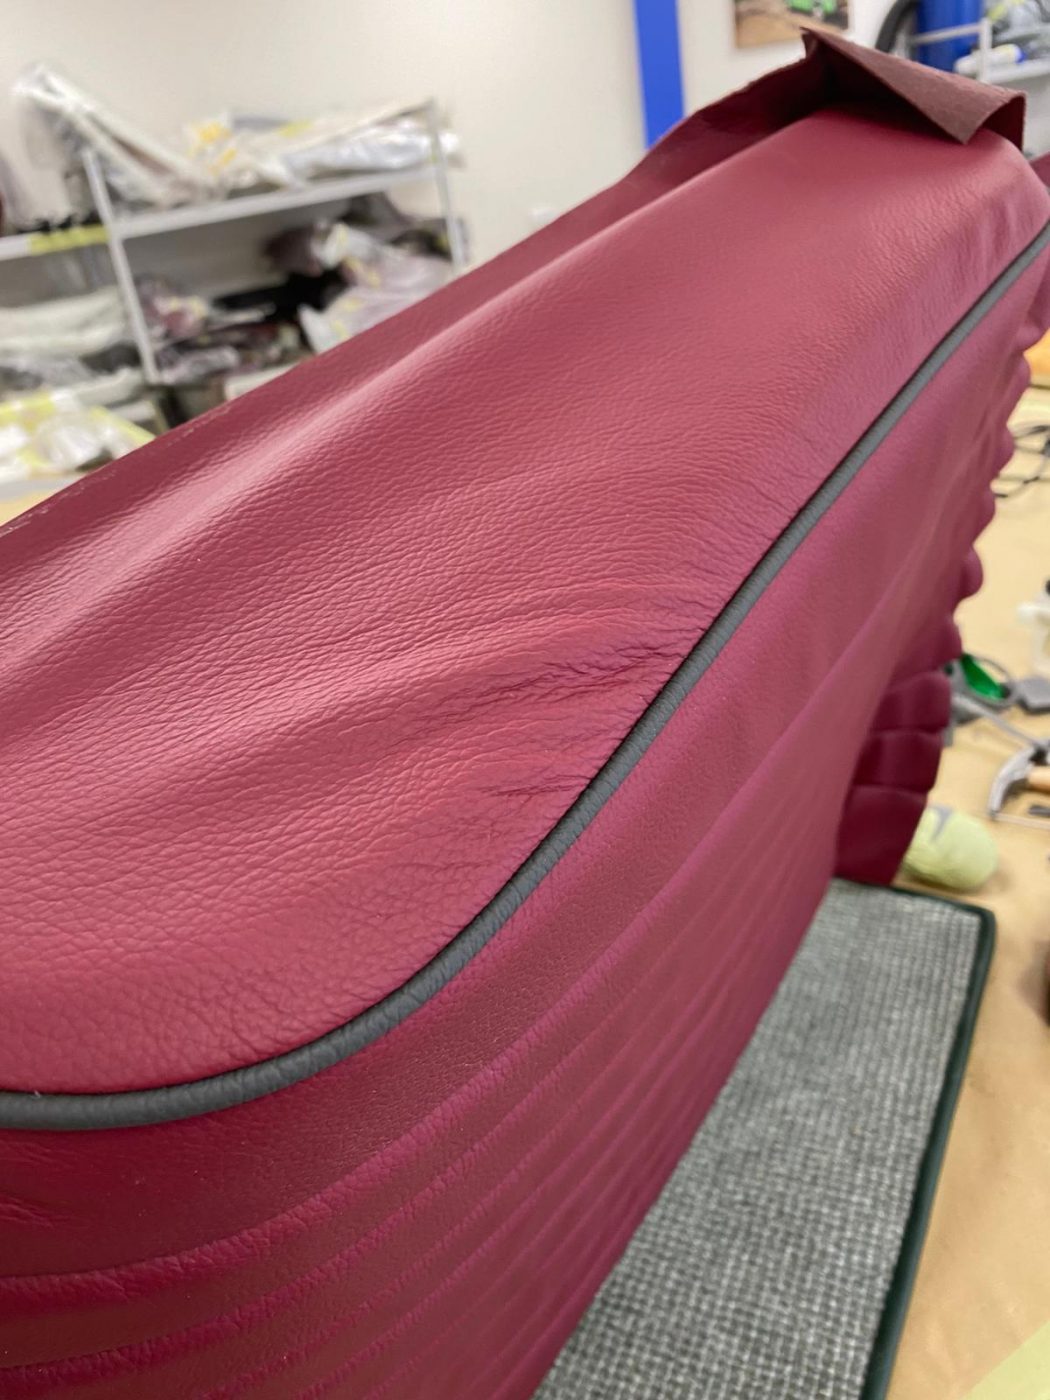
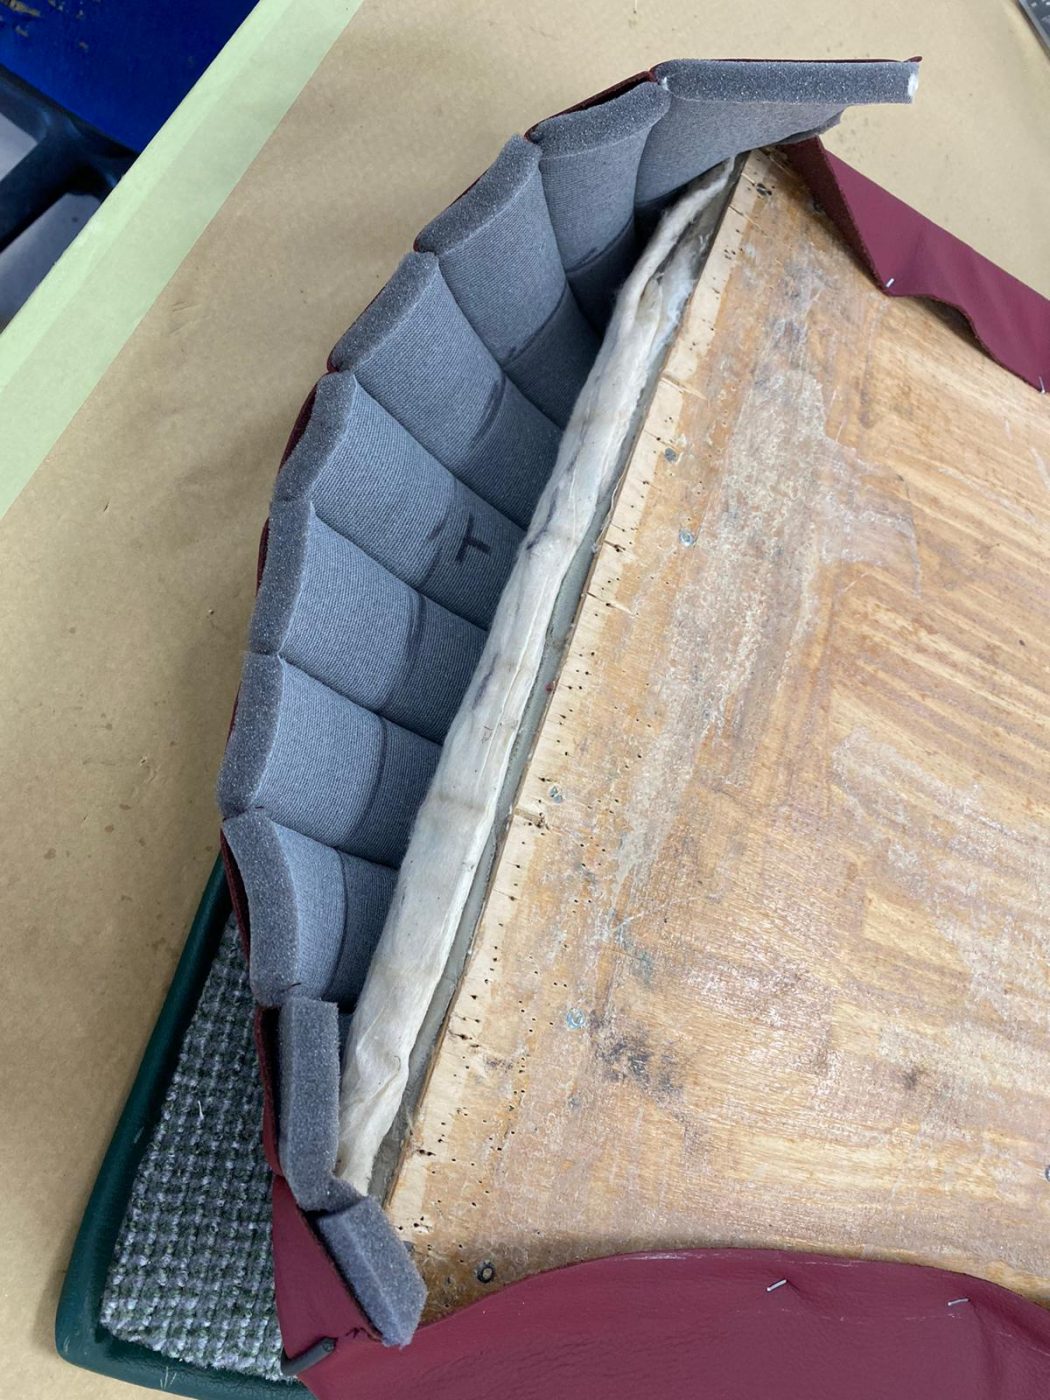
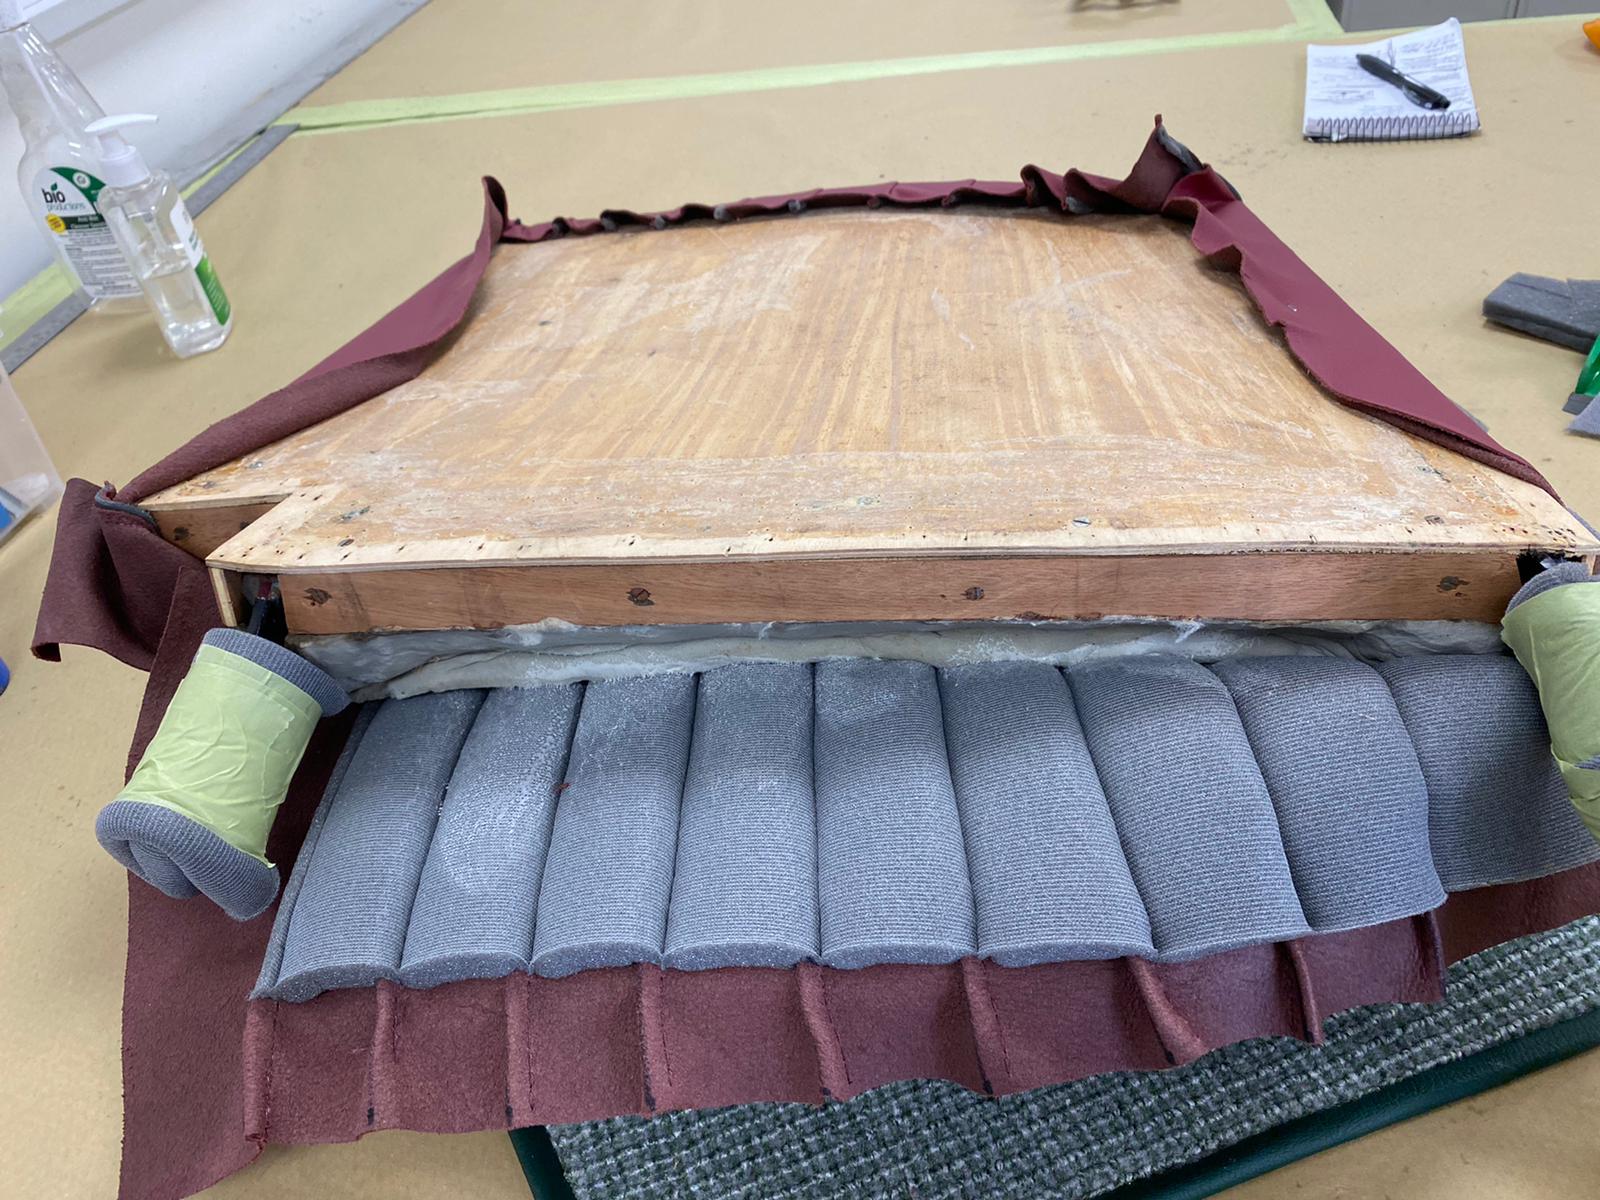
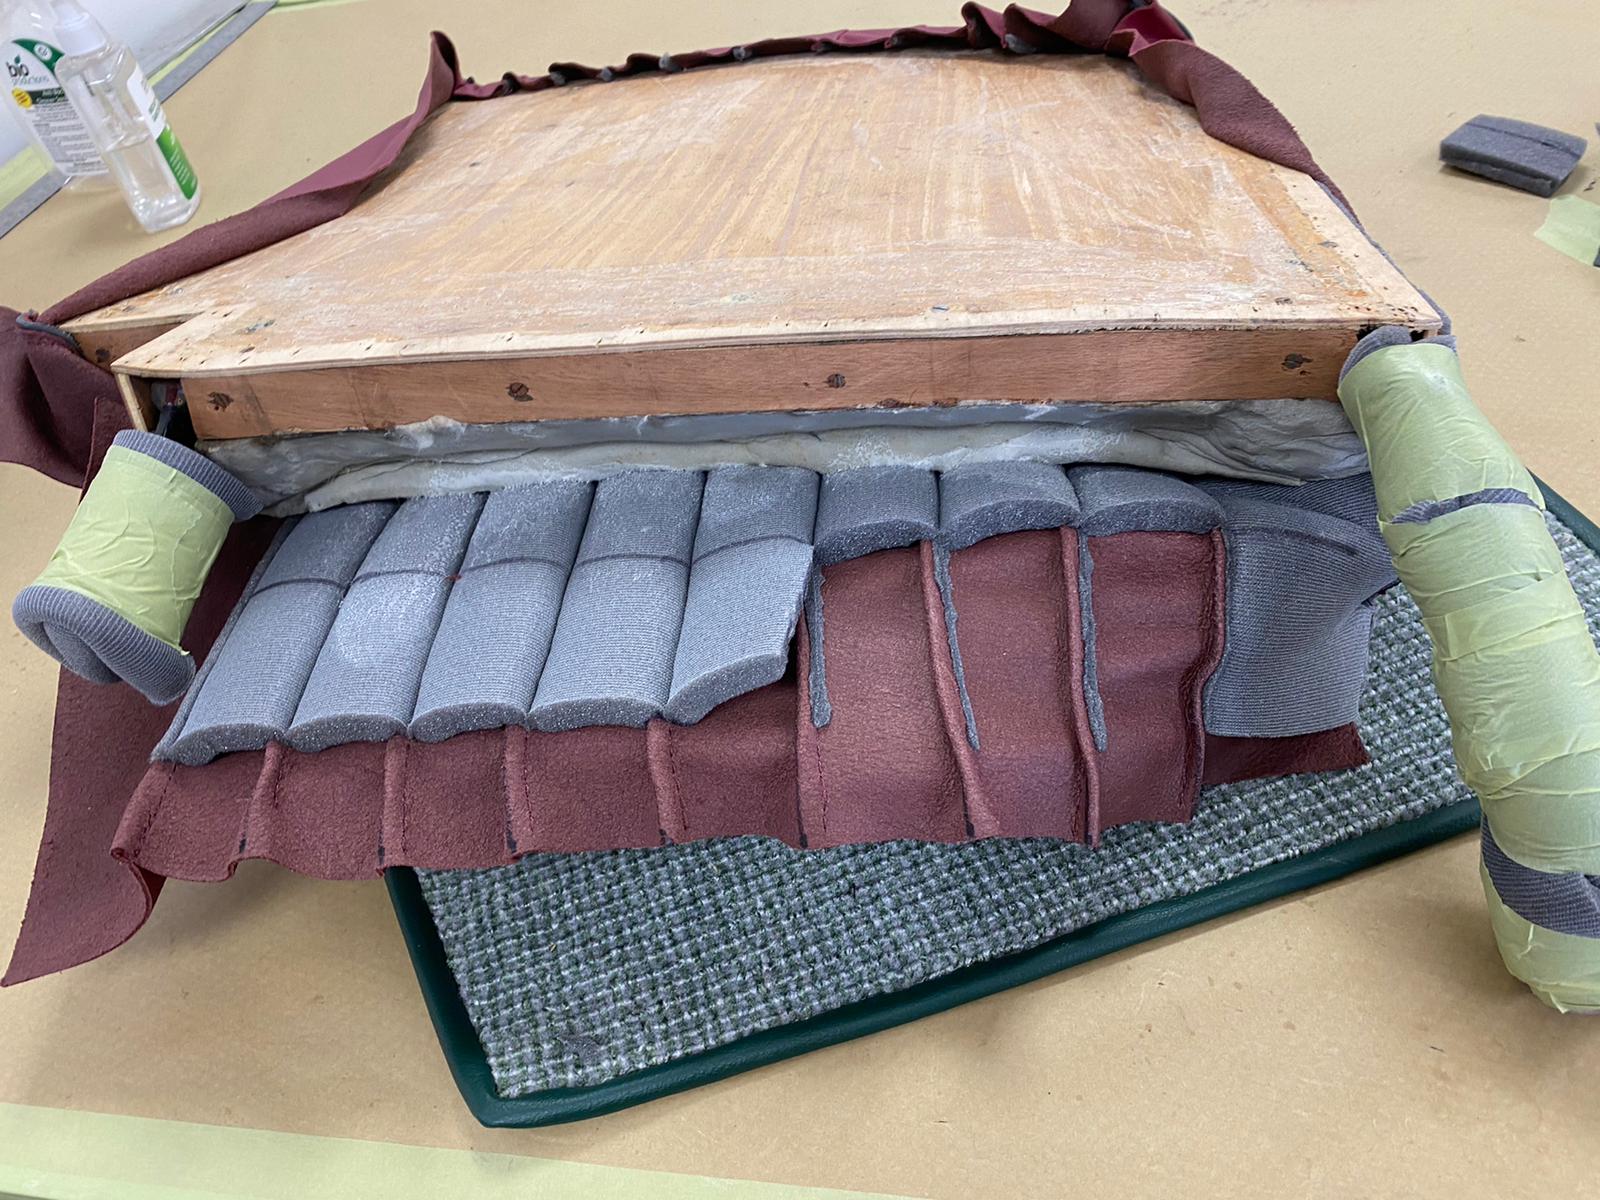
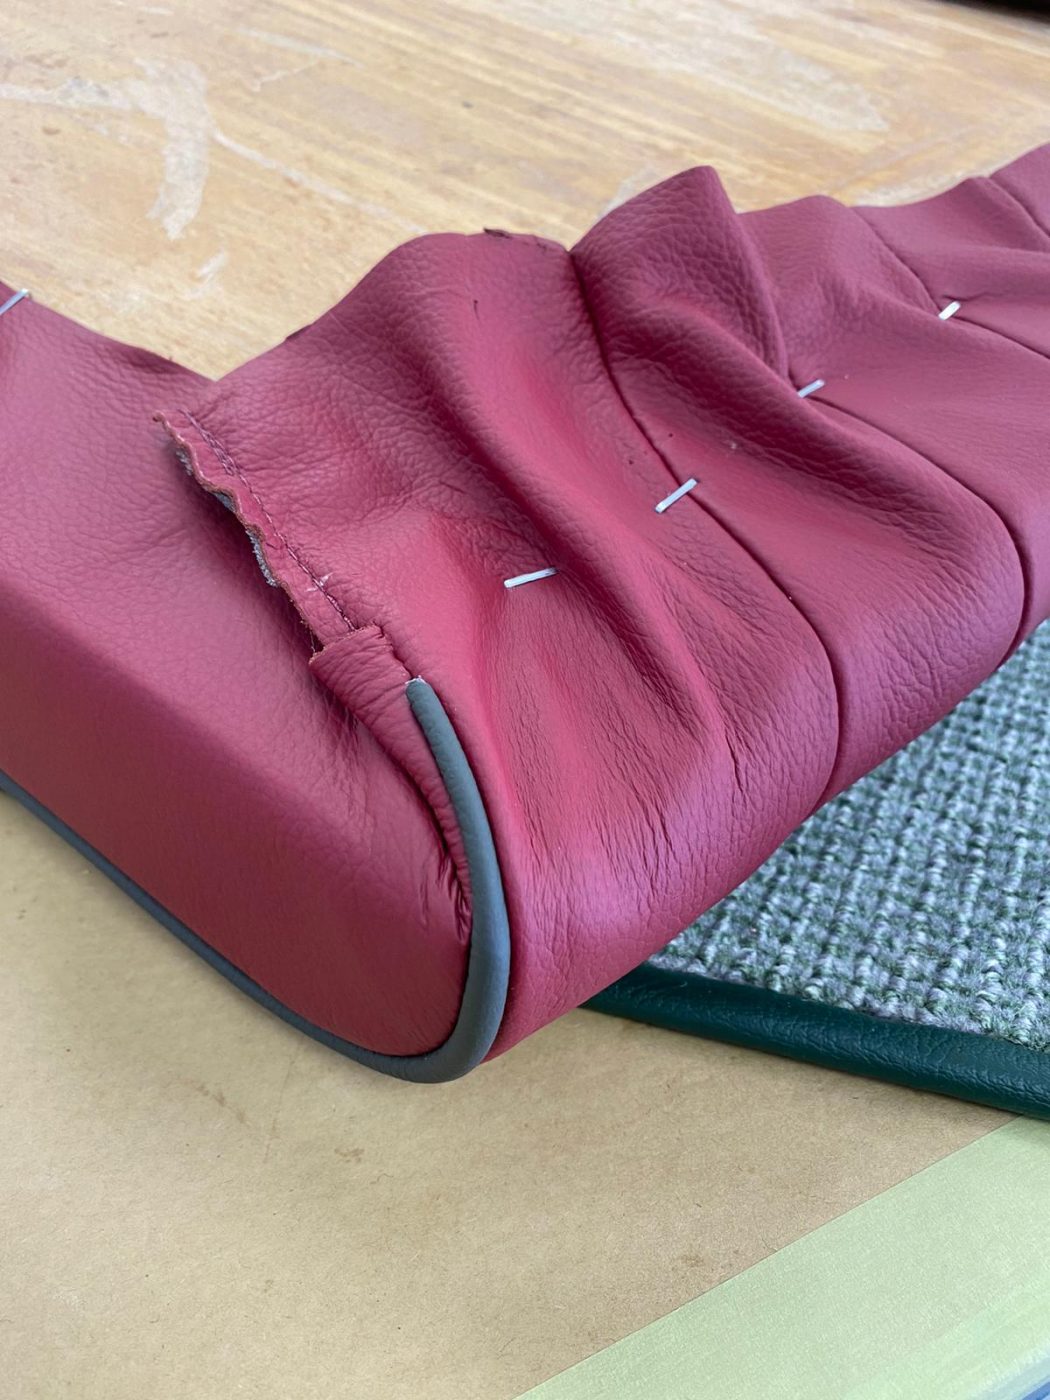
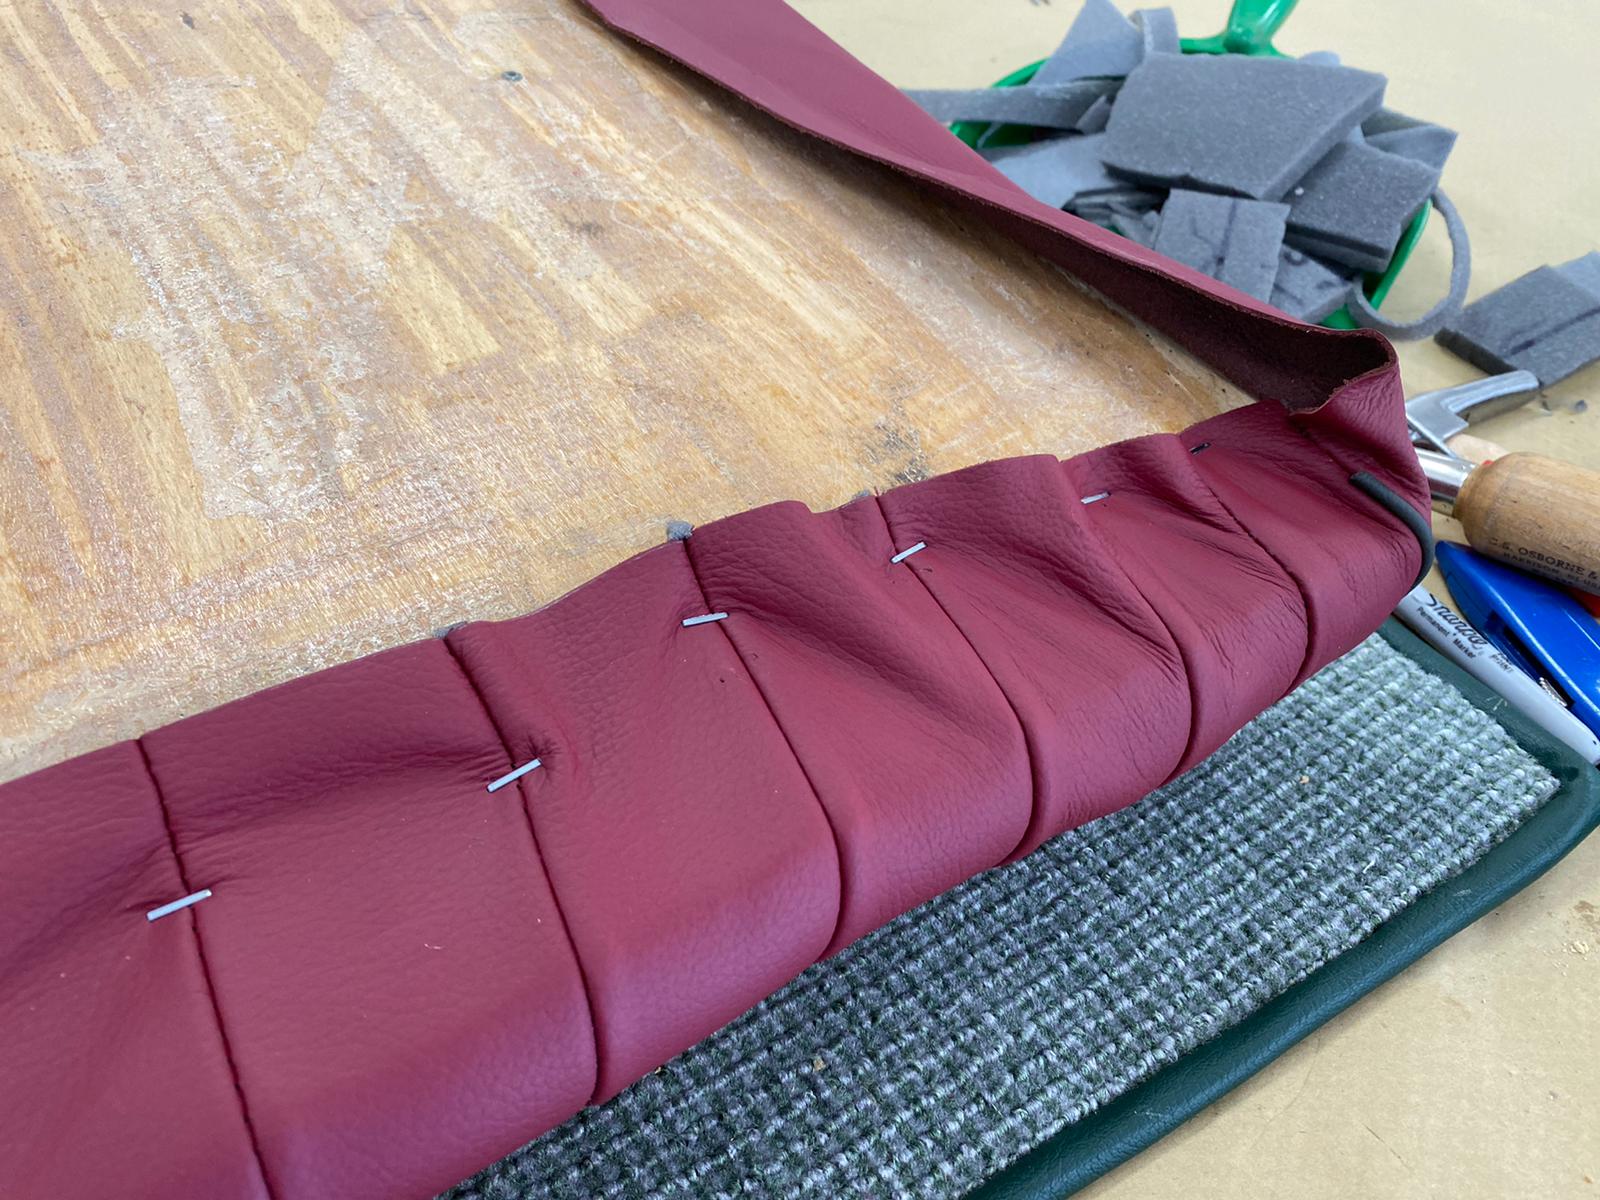
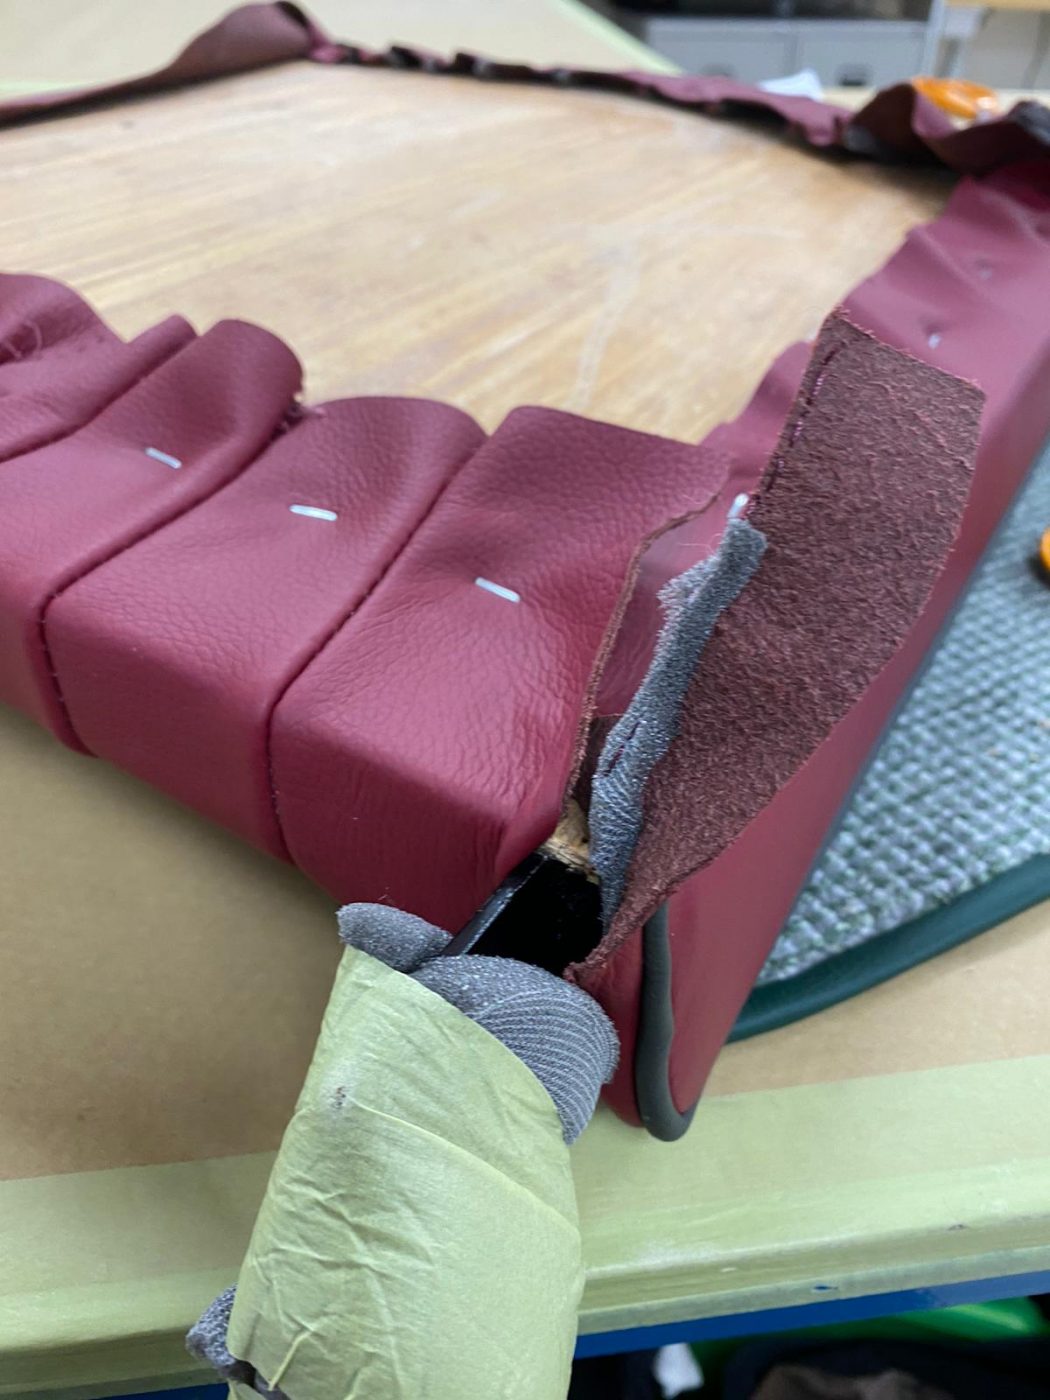
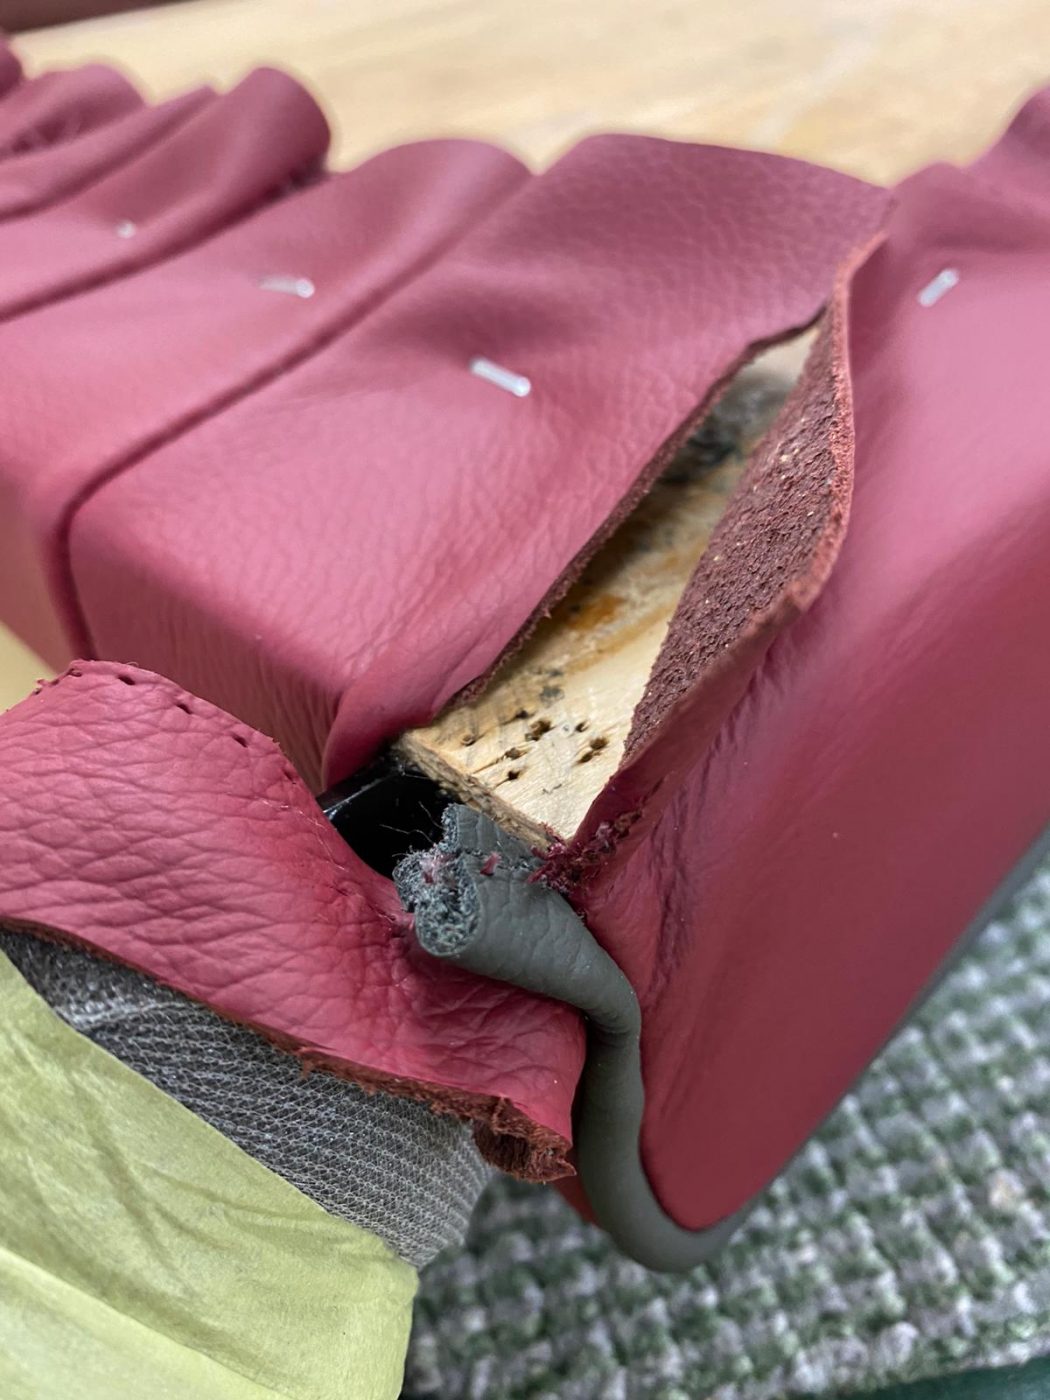
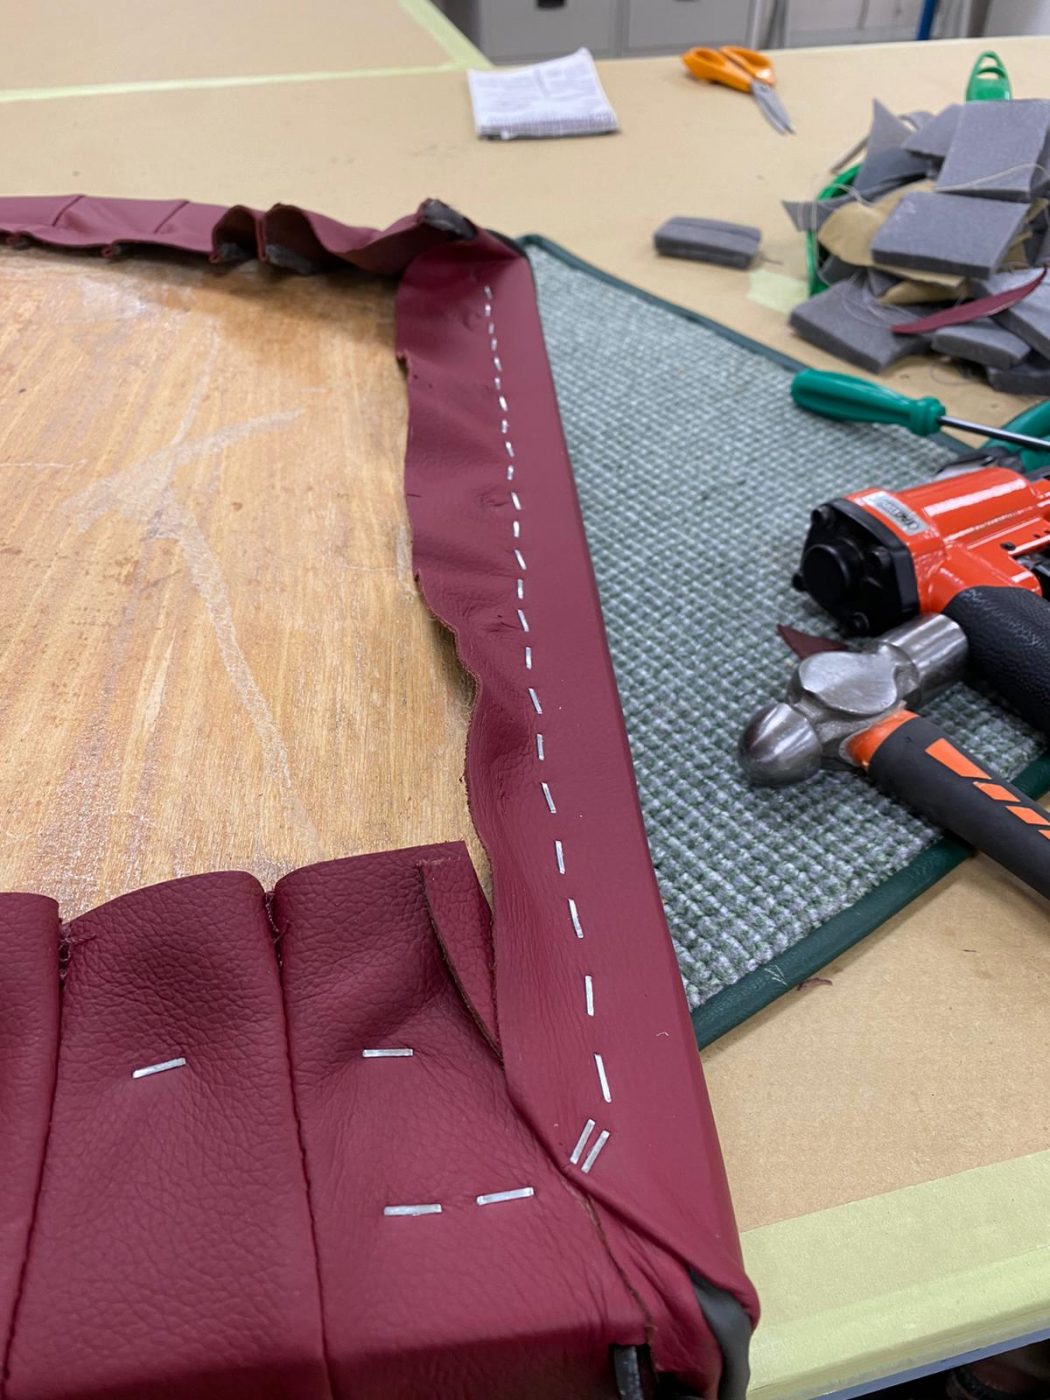
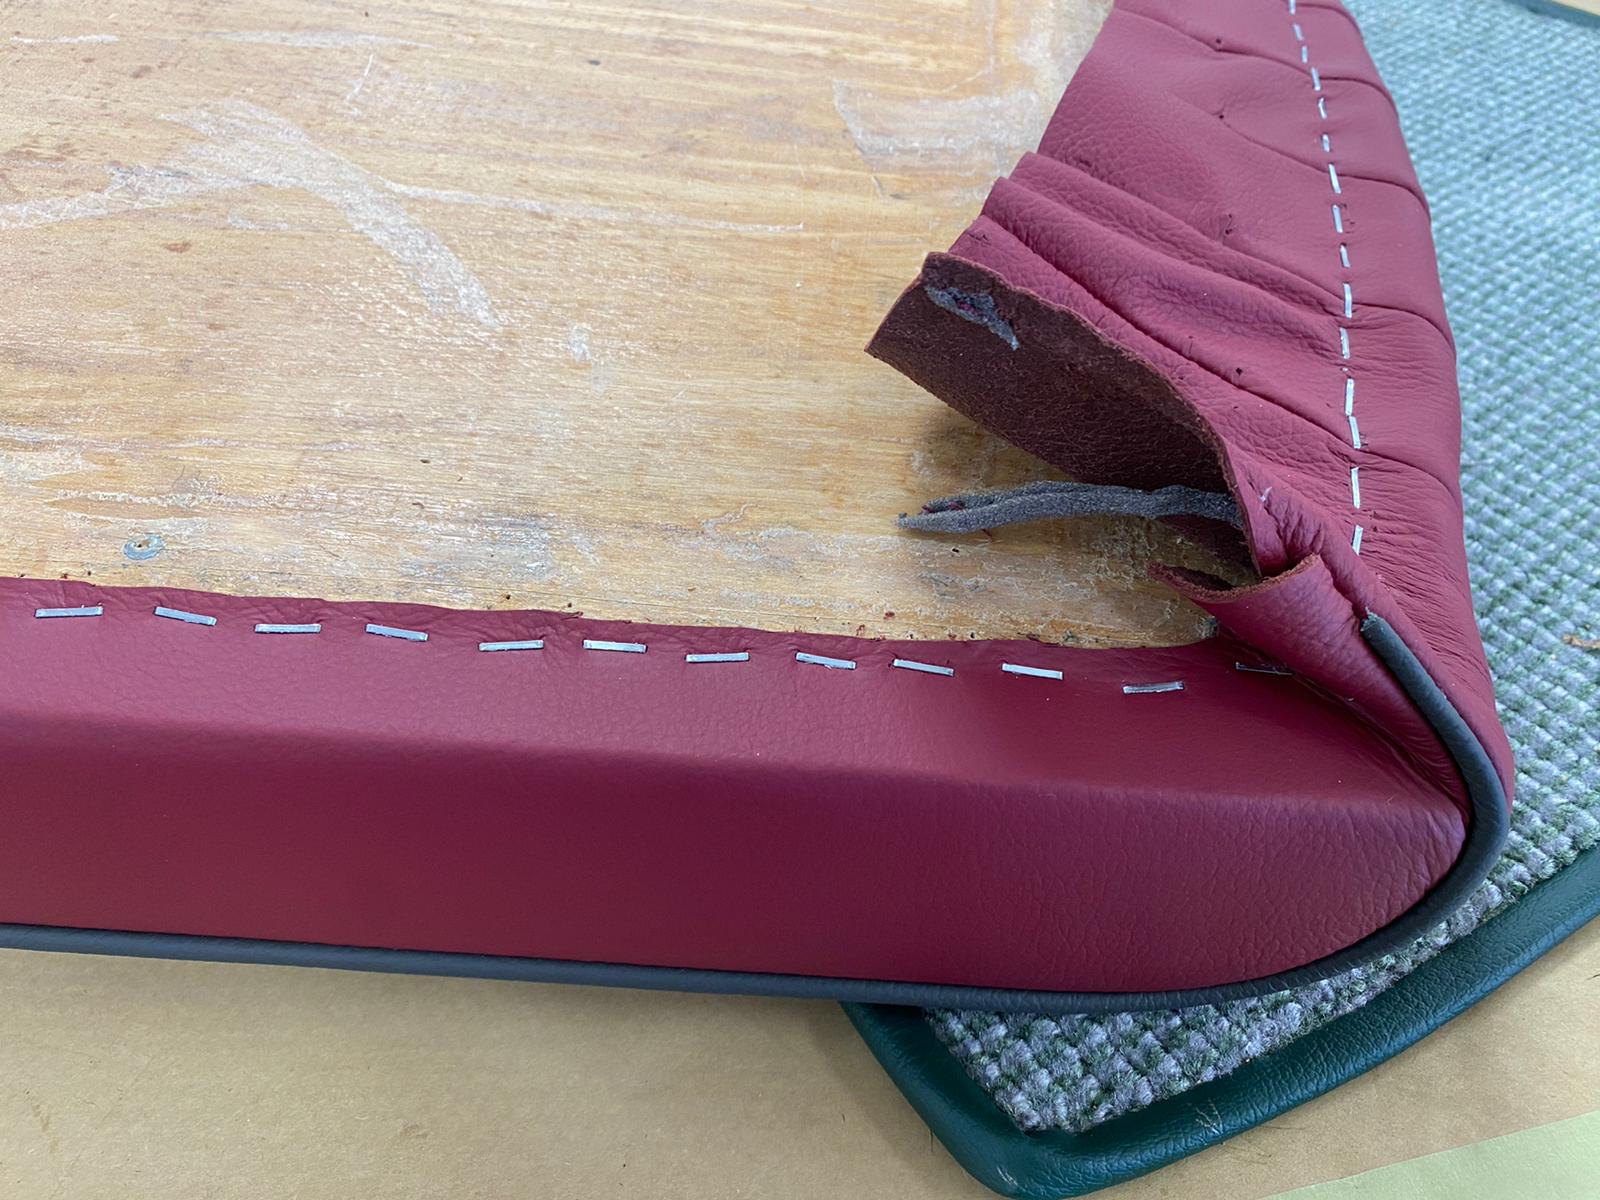
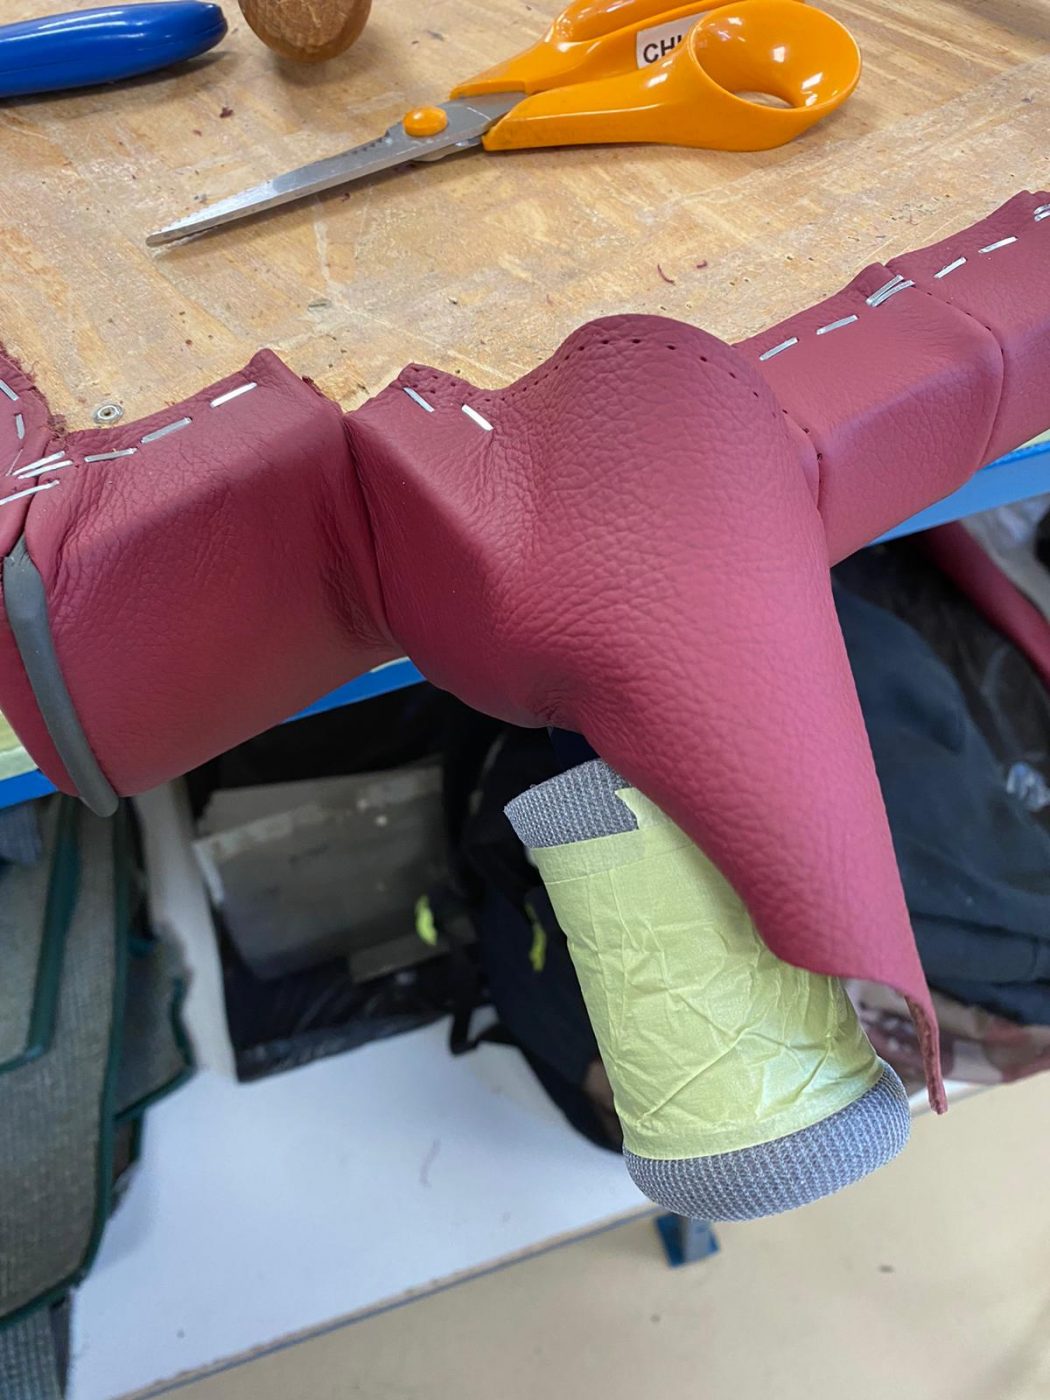
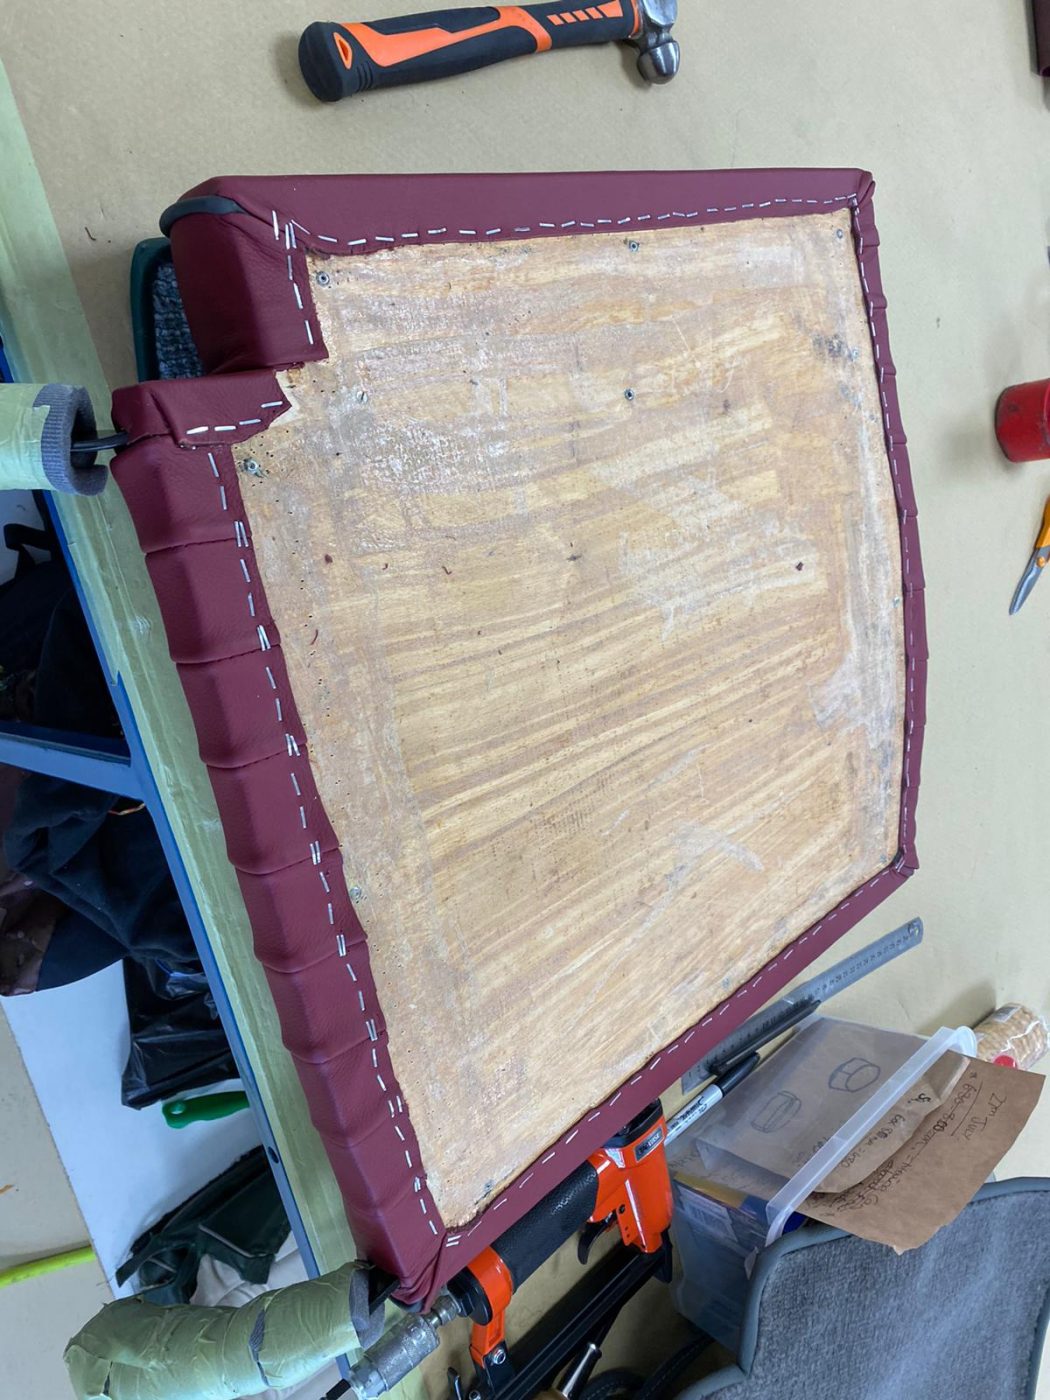
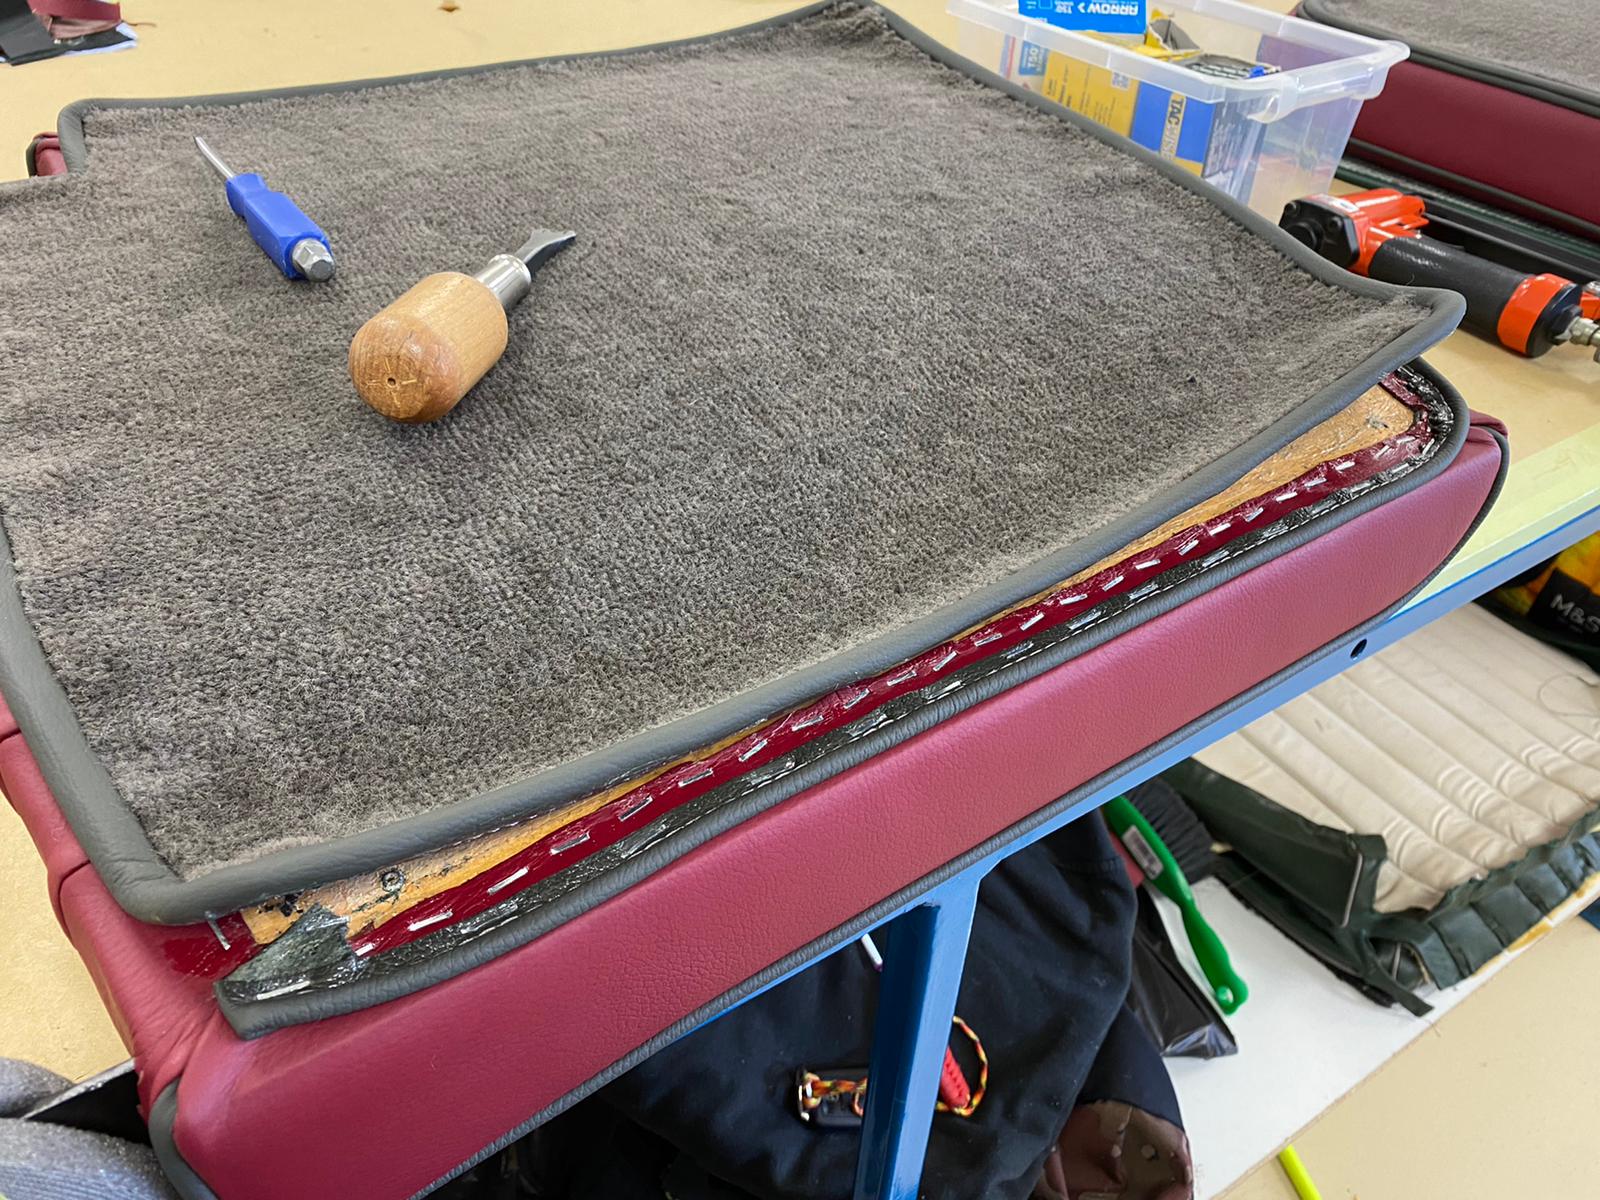
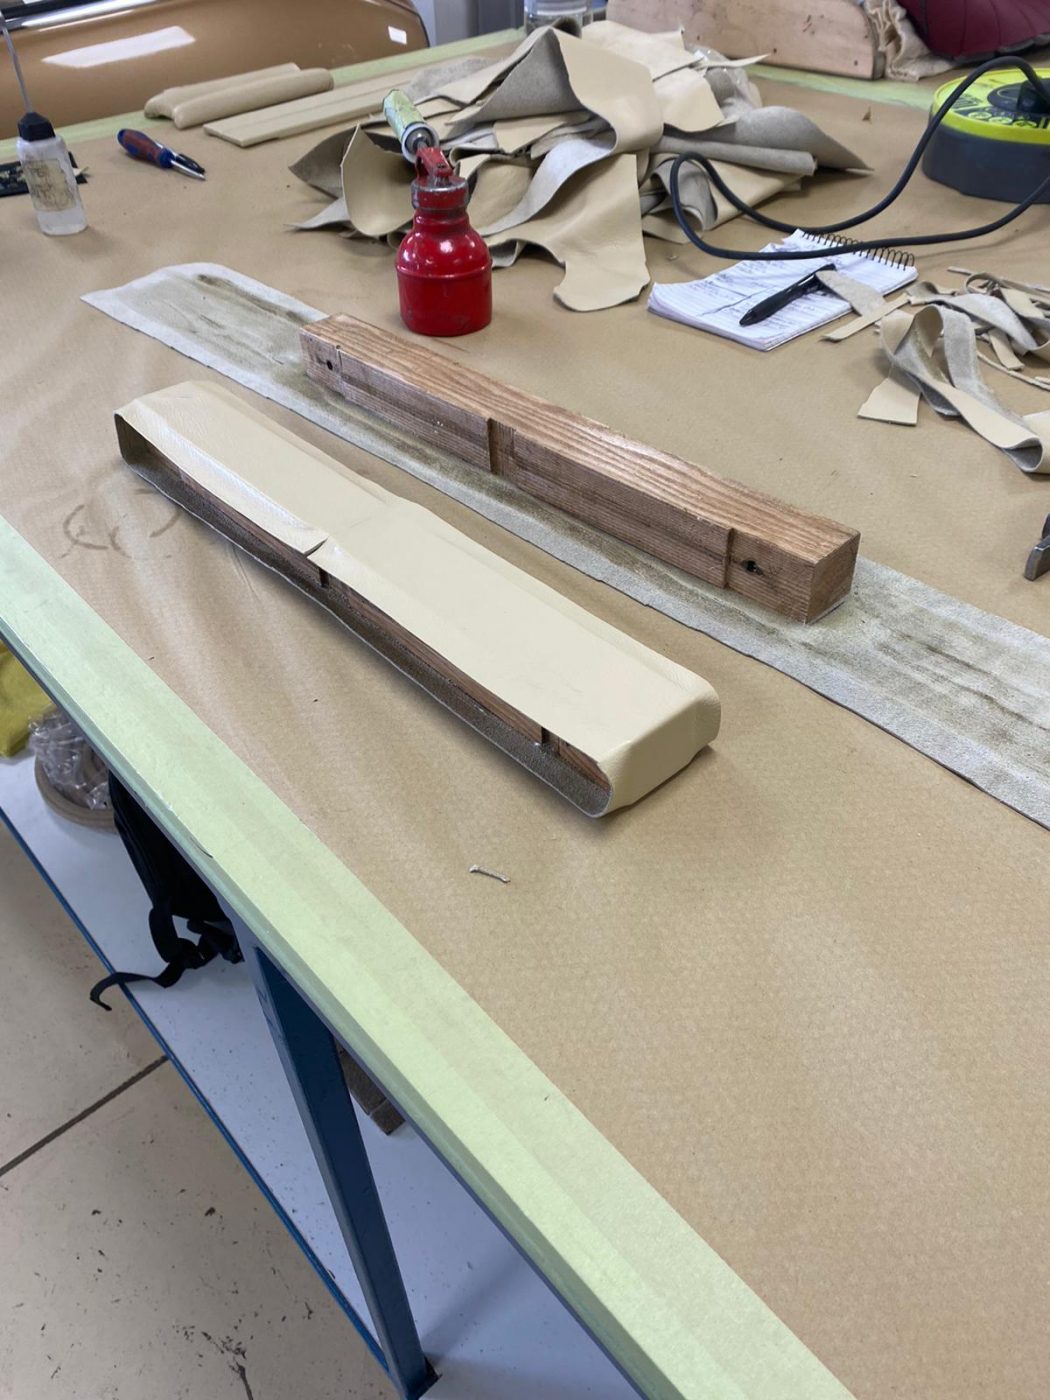
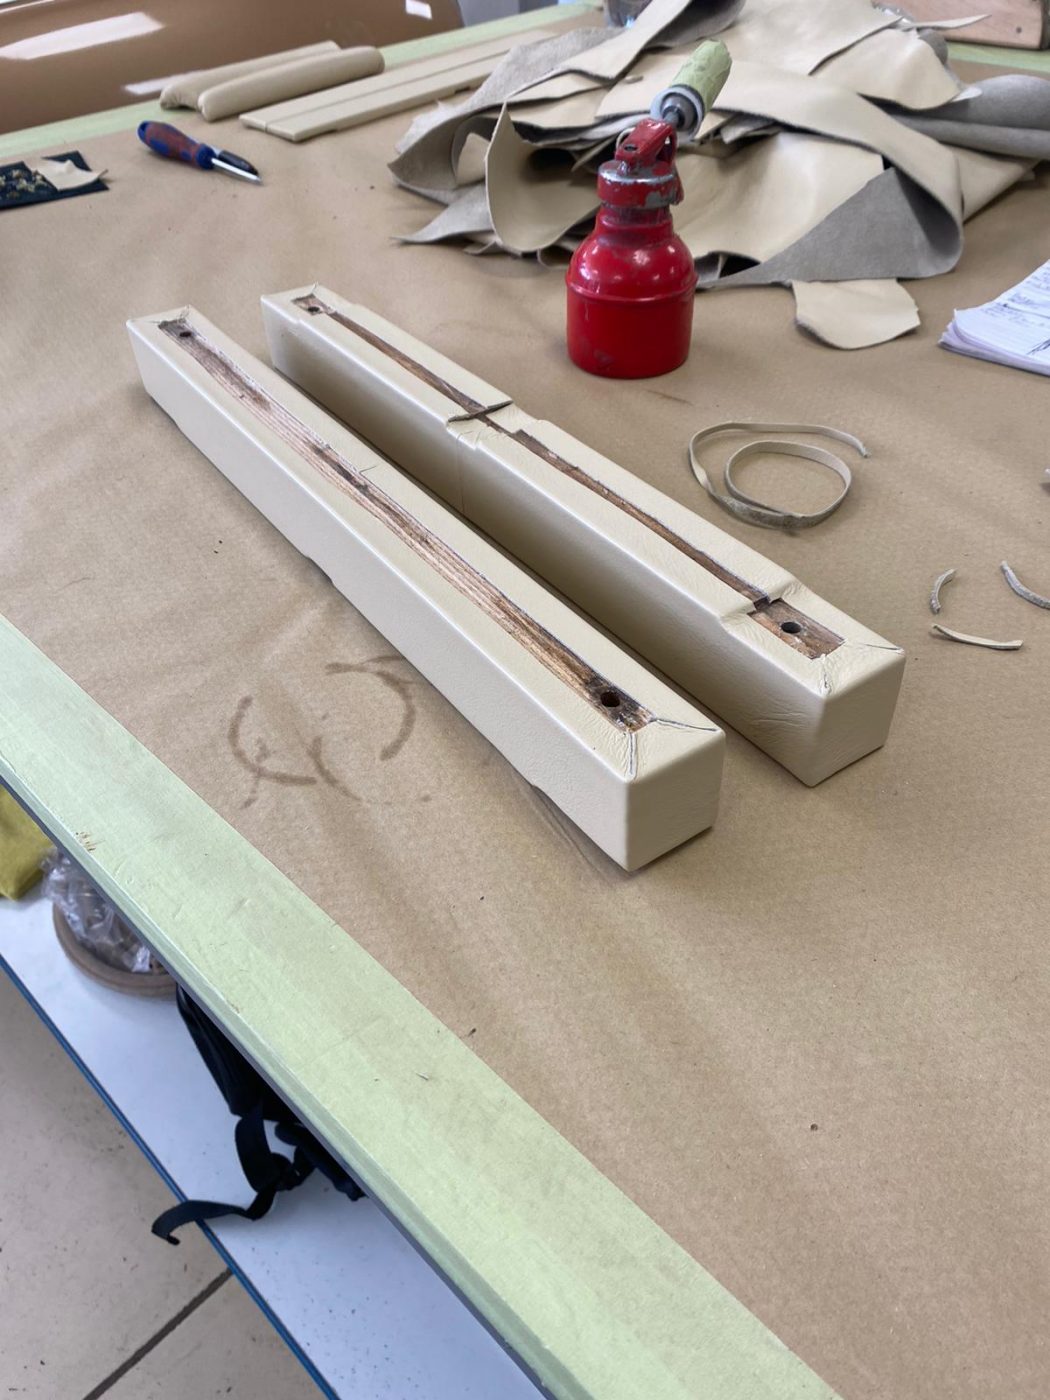
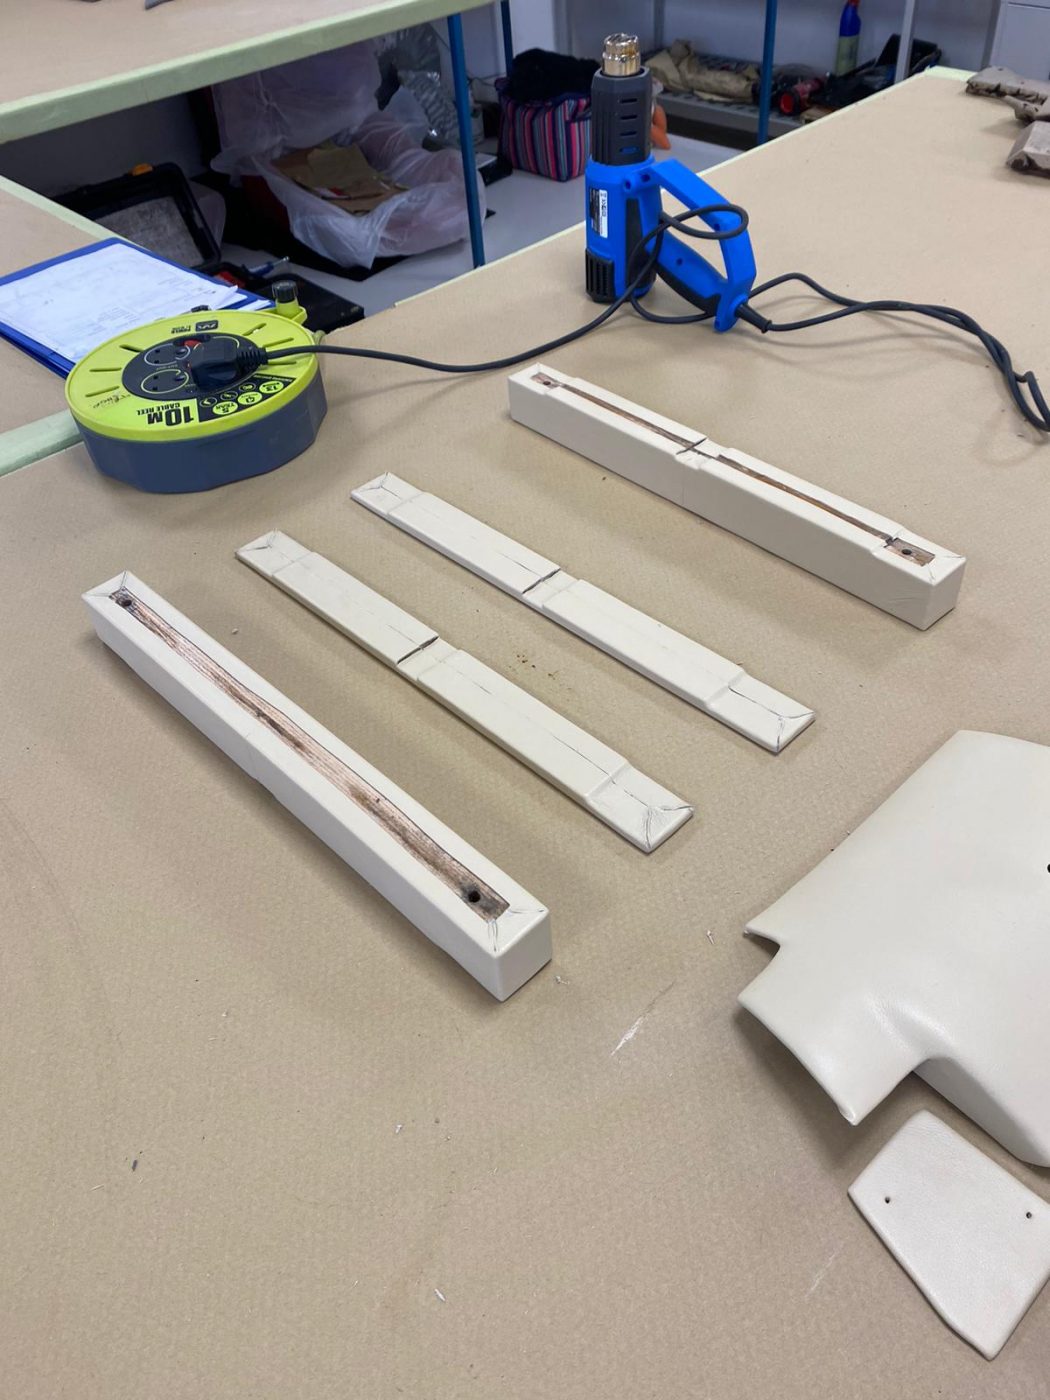
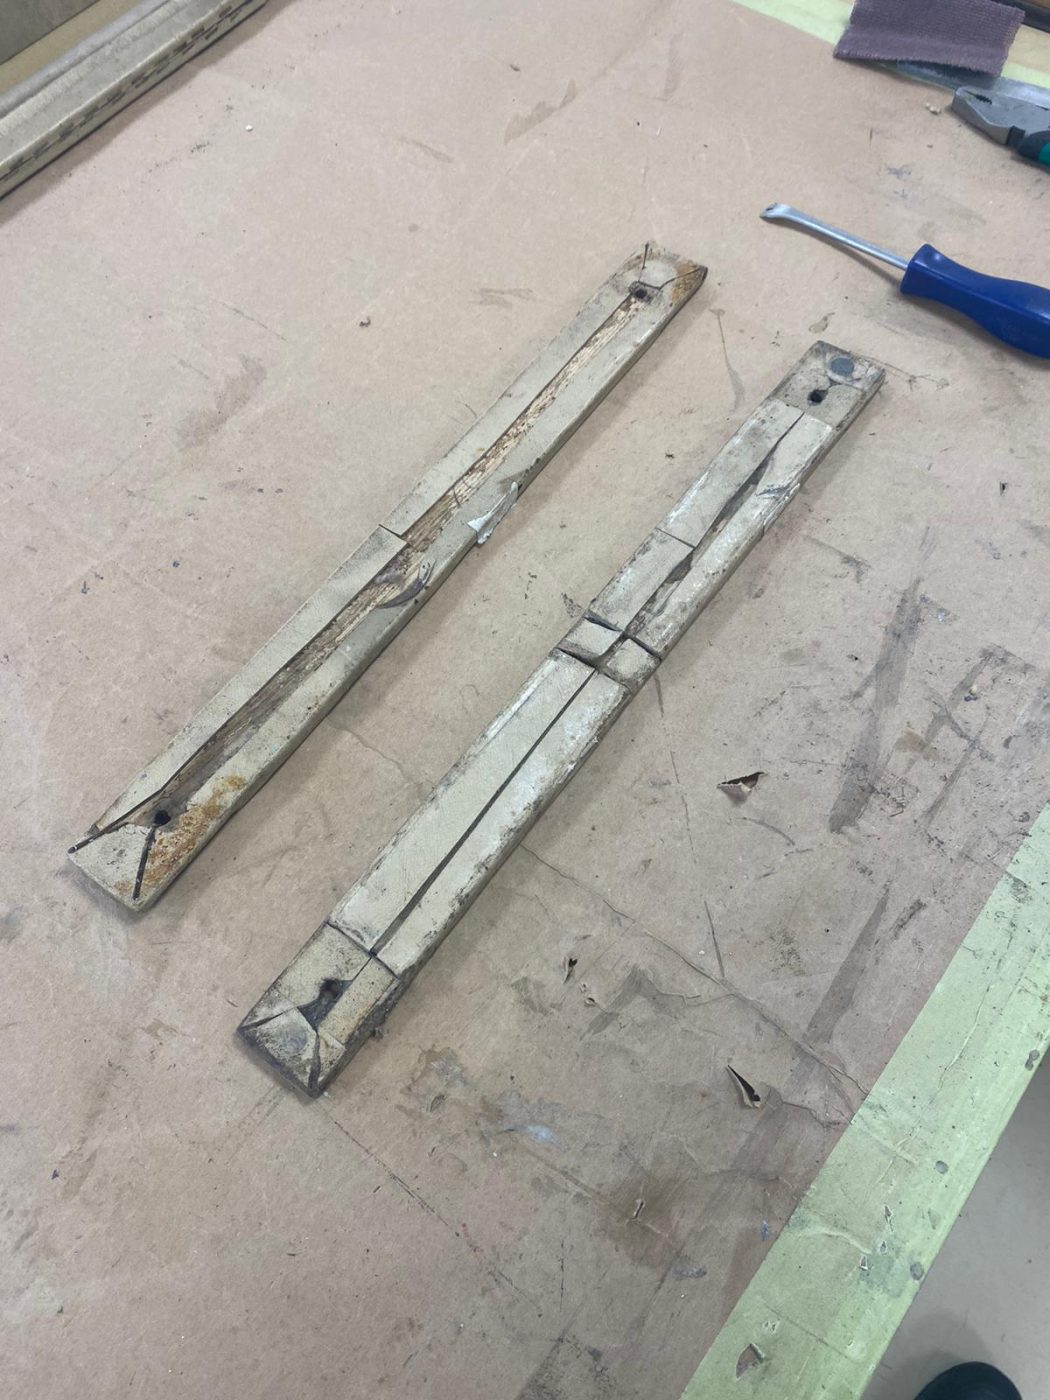
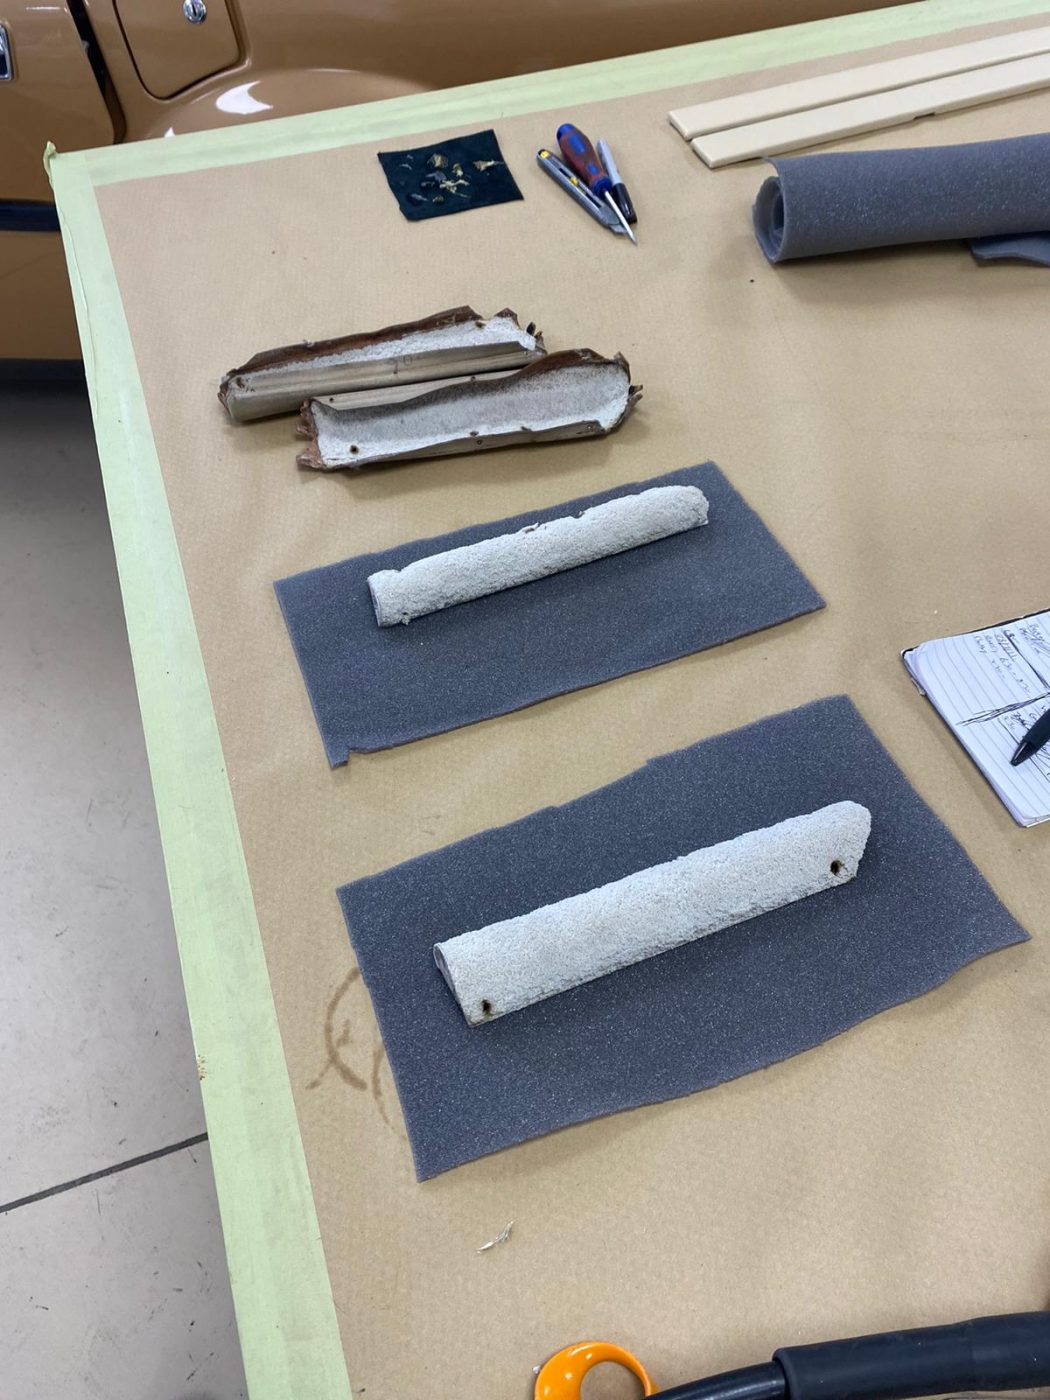
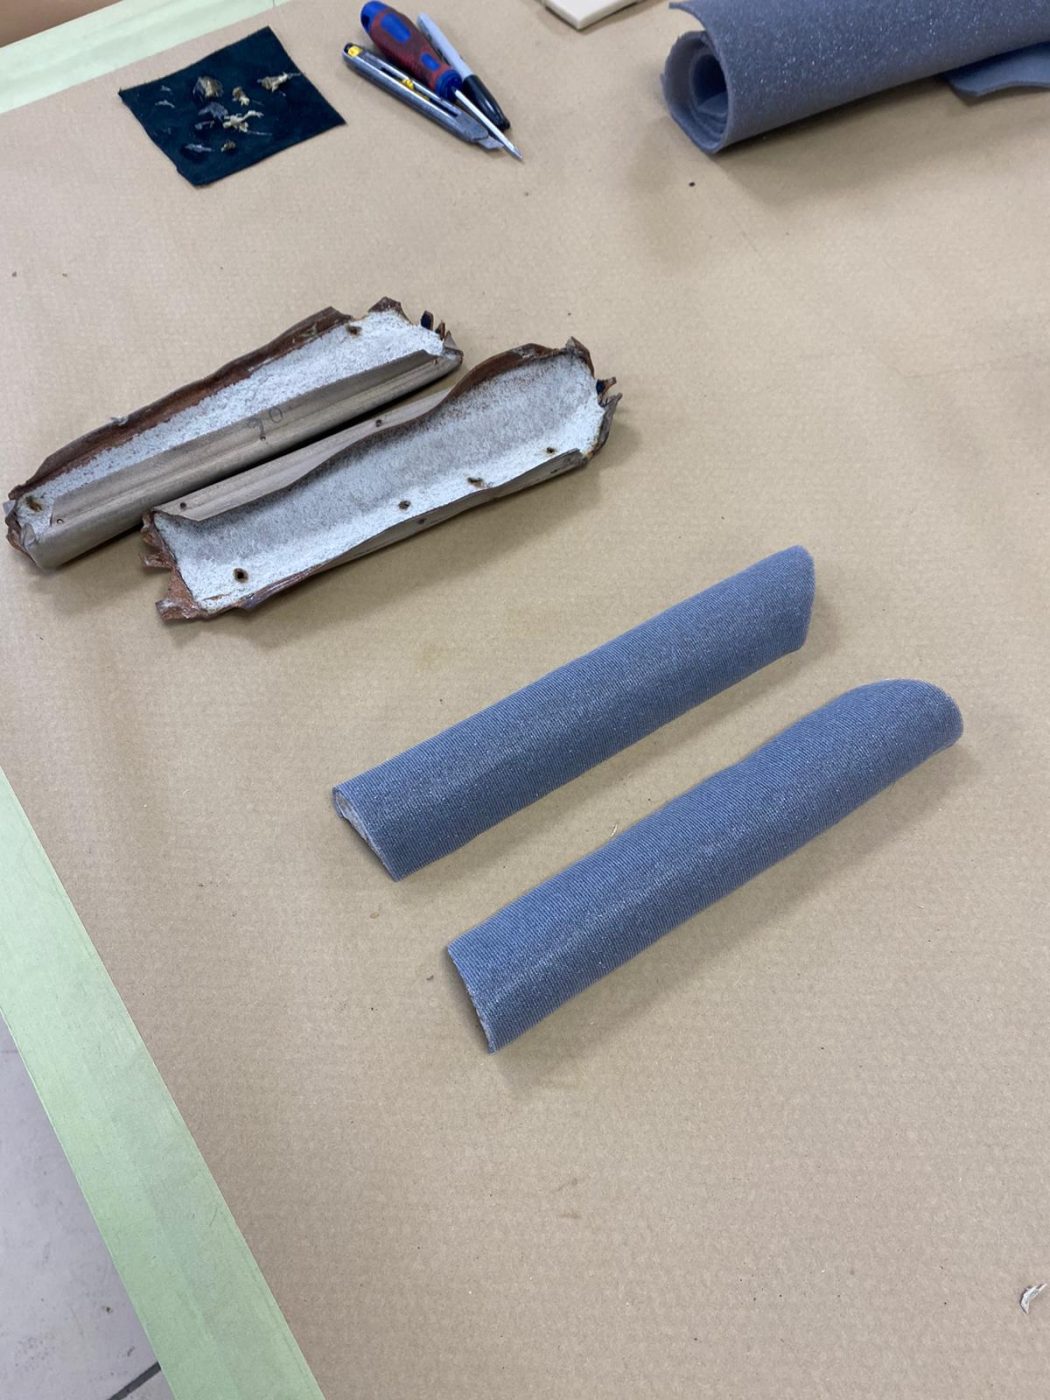
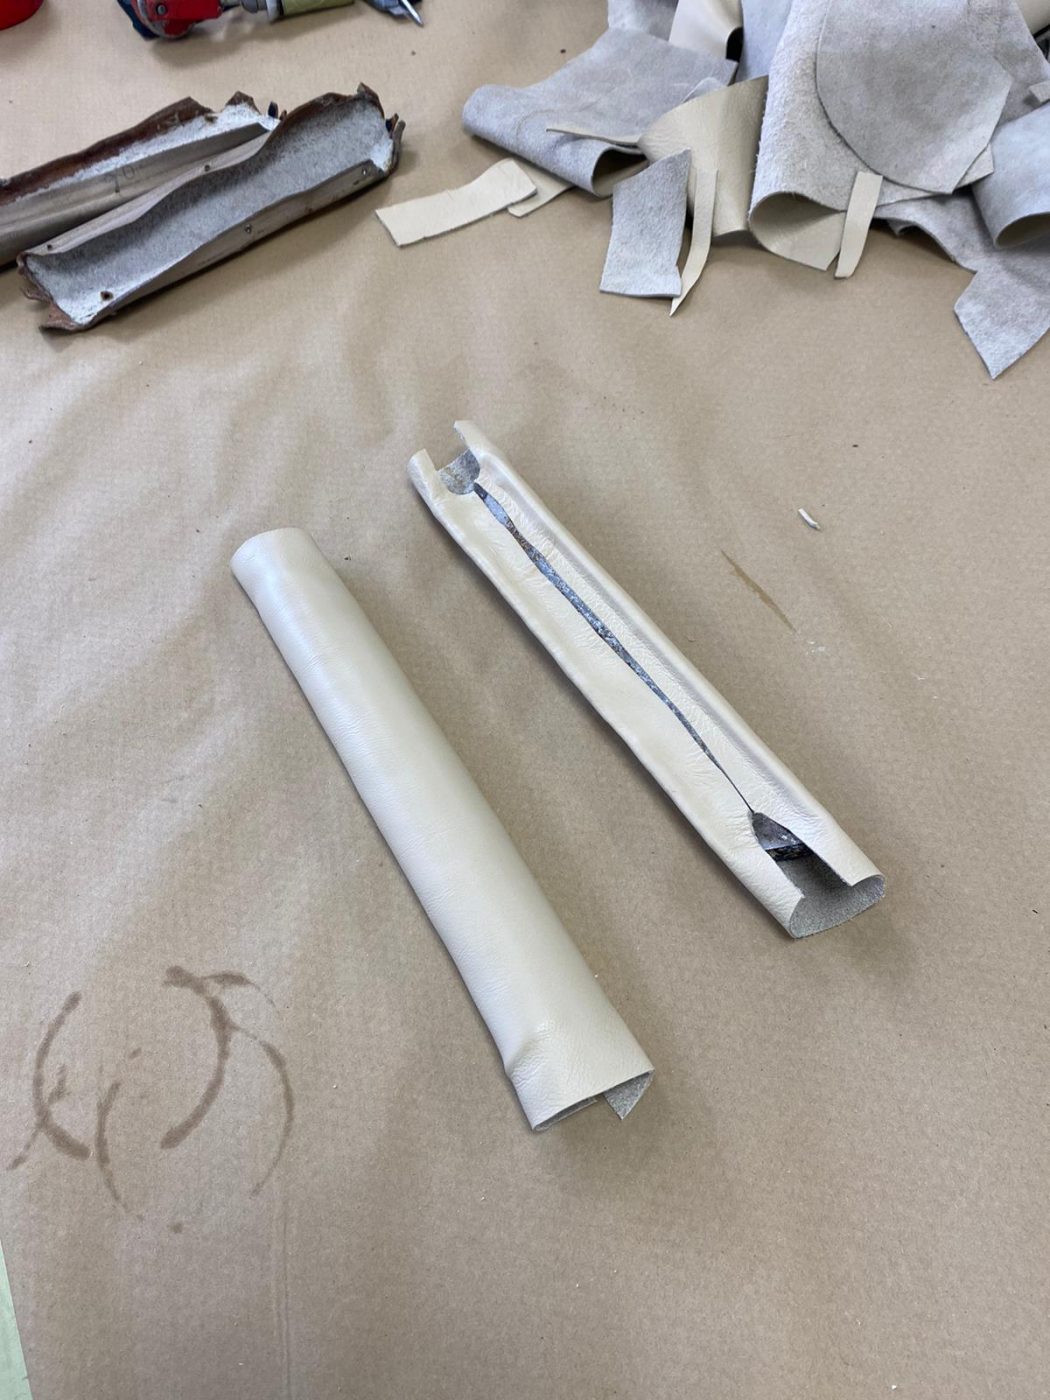
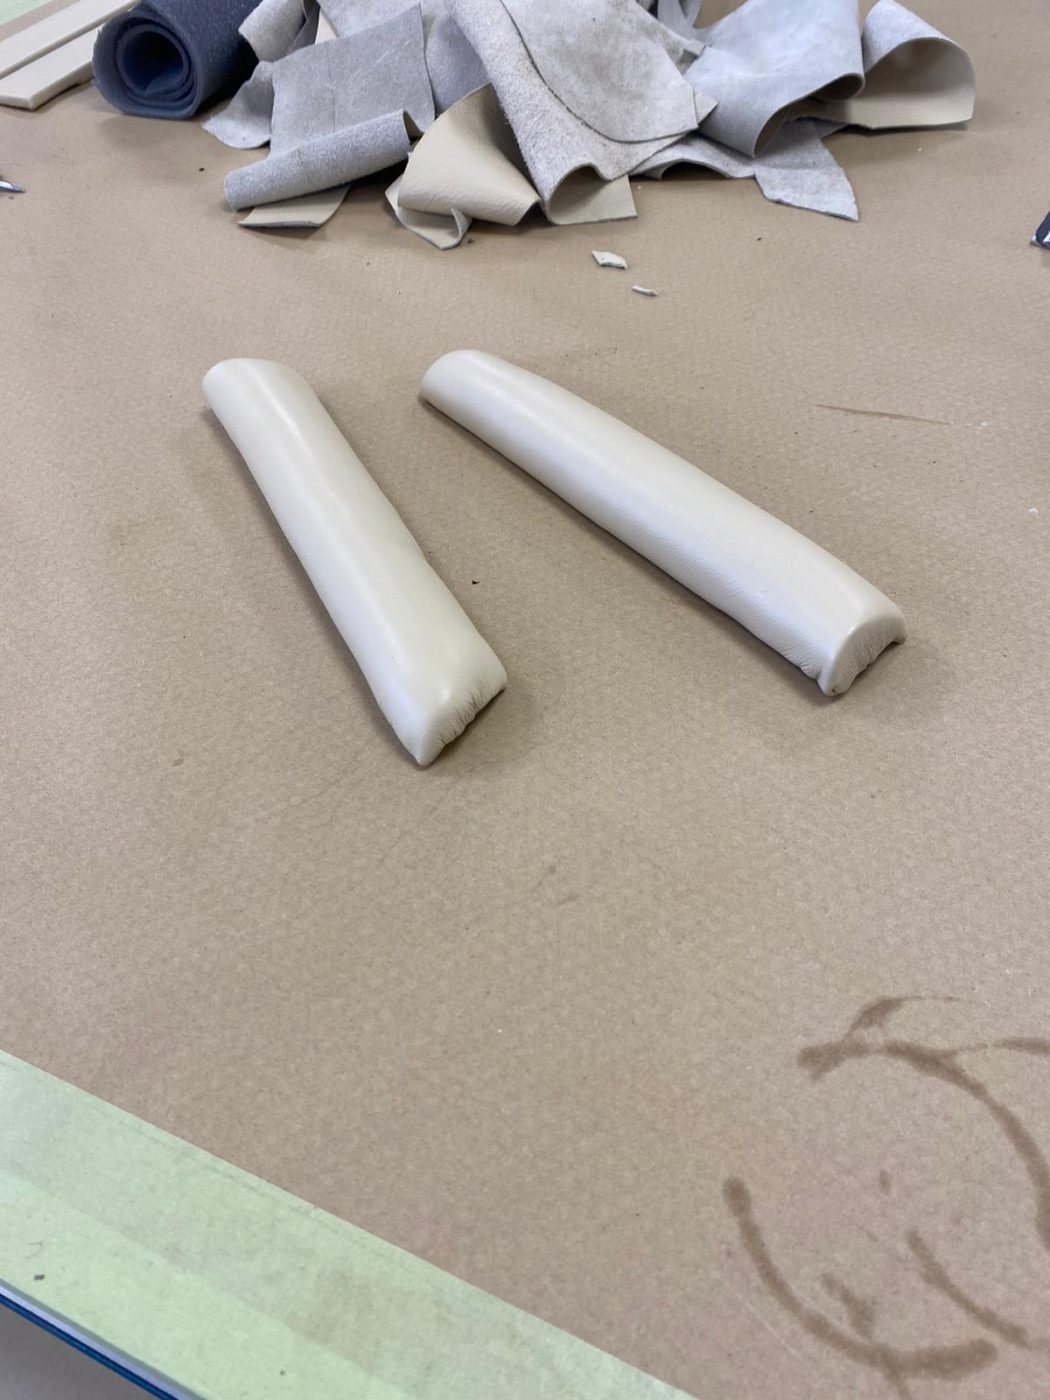
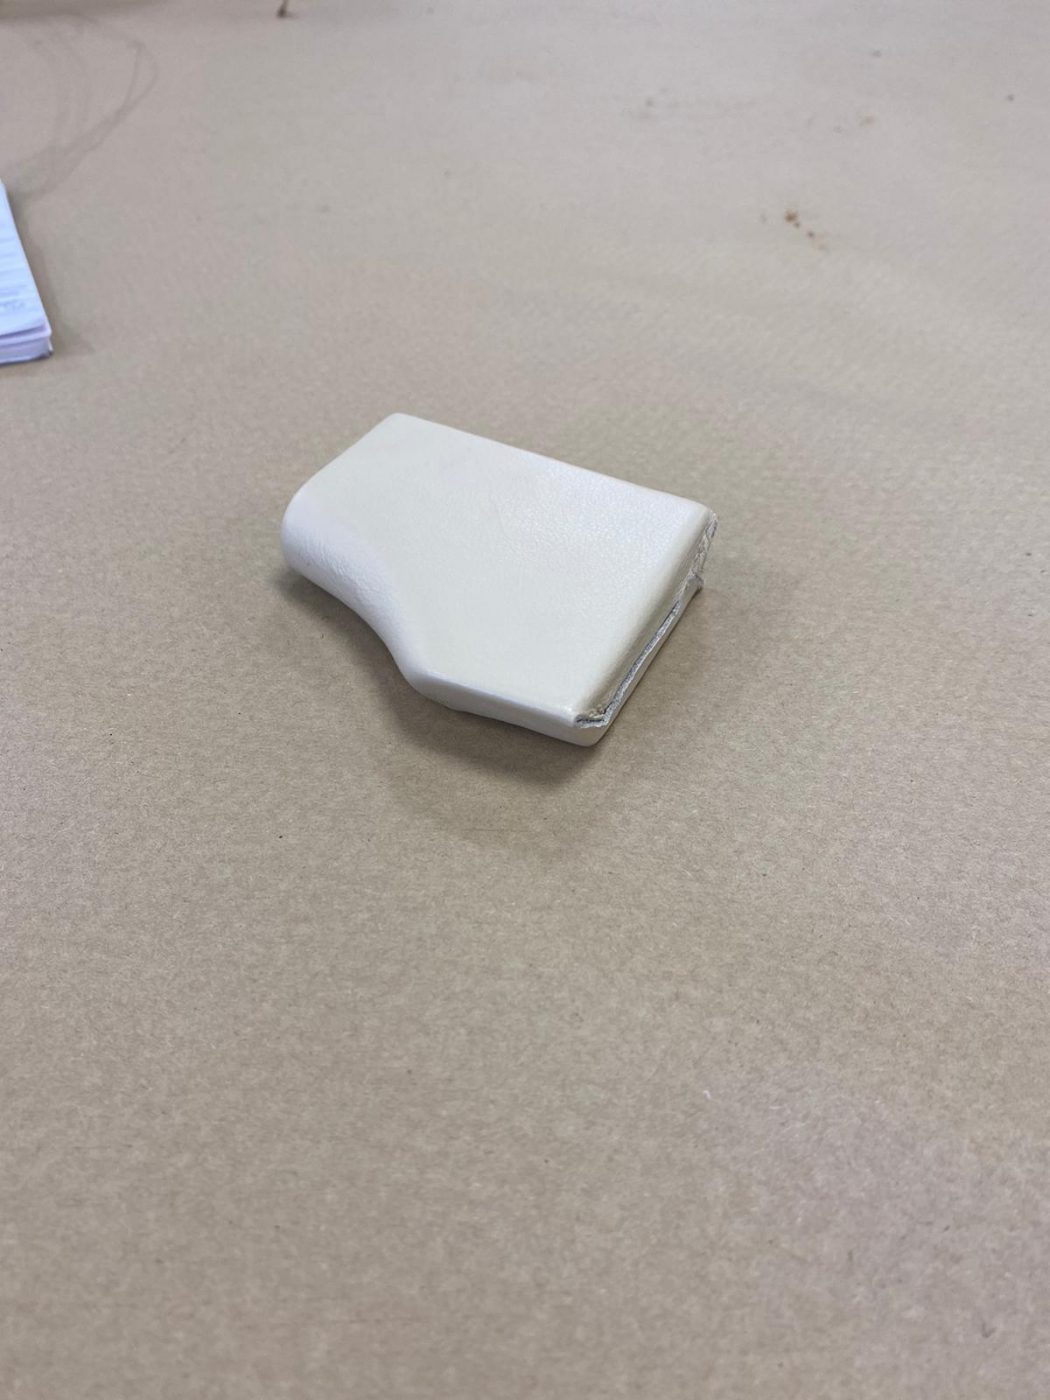
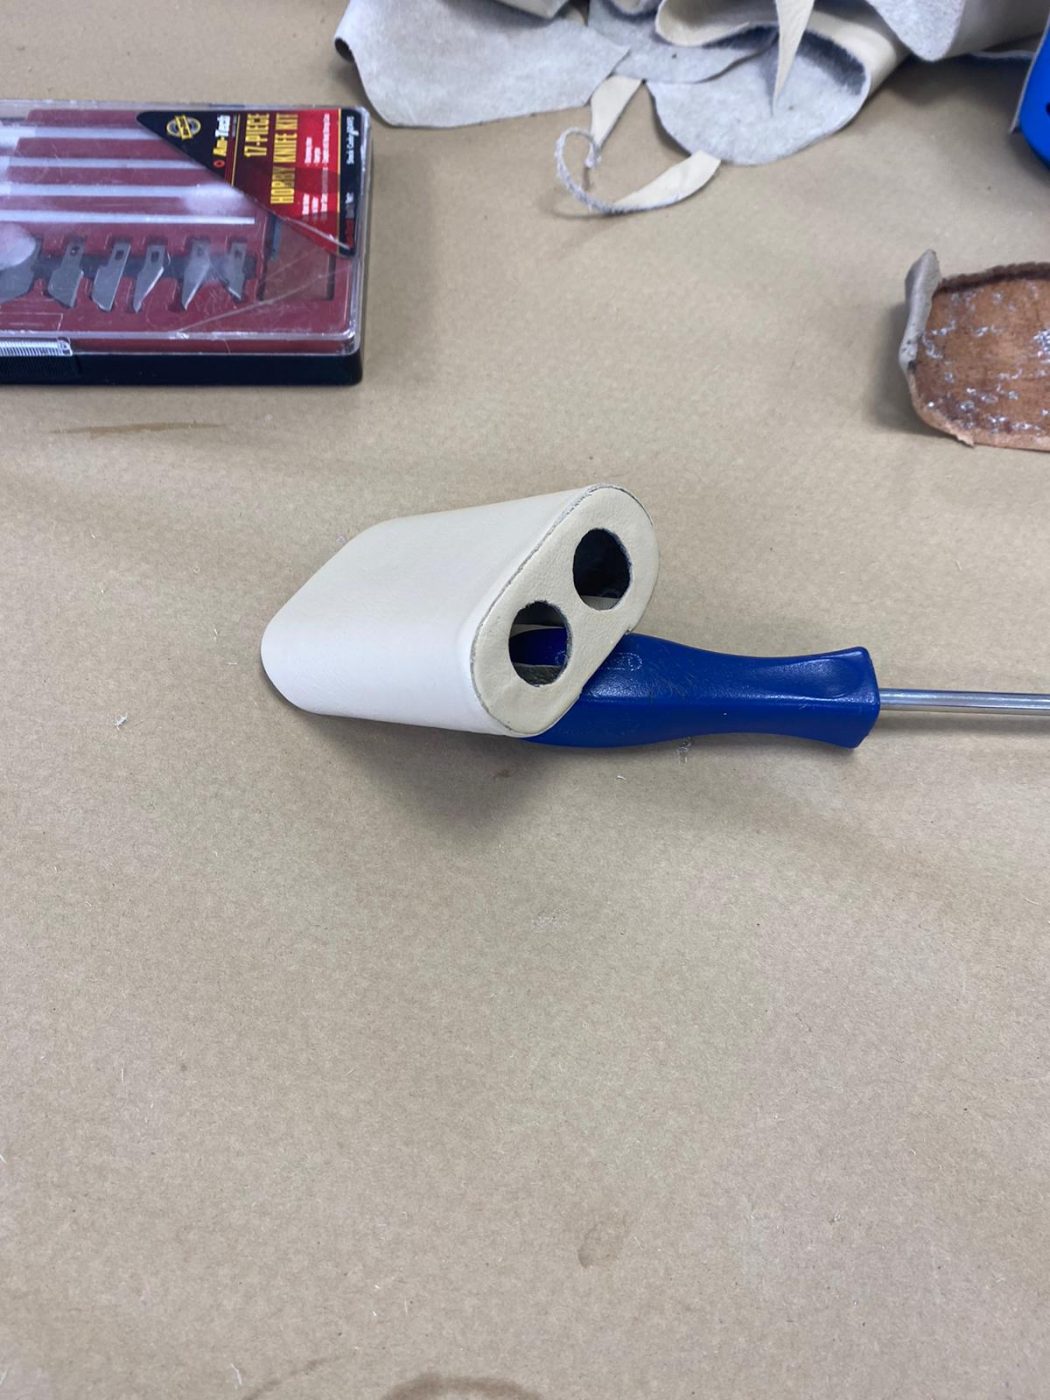
Kath has been doing more seat work for the 1955 Aston Martin DB 2/4. This time around she’s been fitting the front base seat covers onto their foams and frames. She’s already sewn up the new front bases, which you can read about here.
The process started with Kath adding sections of new foam to the original, where it had deteriorated, and blending it in. She then cleaned off old glue from the wood around the straps and re-painted it. She also tightened up the straps after becoming loose from age. Kath took the original strip of wood from the gap in the foam, cleaned it up and attached it to the end of the calico piece that was sewn into the new front base seat. This piece of wood gets attached to the underneath of the foam and straps frame and helps keep the middle piped section down into place. Kath glued a piece of black calico to the wooden frame, to give a neat finish behind the straps. The front base seat could then finally be stapled onto the wooden frame. After that was done, the metal seat sliders were fixed onto the underneath of the seat and the matching front squab was attached to it on top.
Kath is now in the process of fitting up the other front base, so stay tuned!


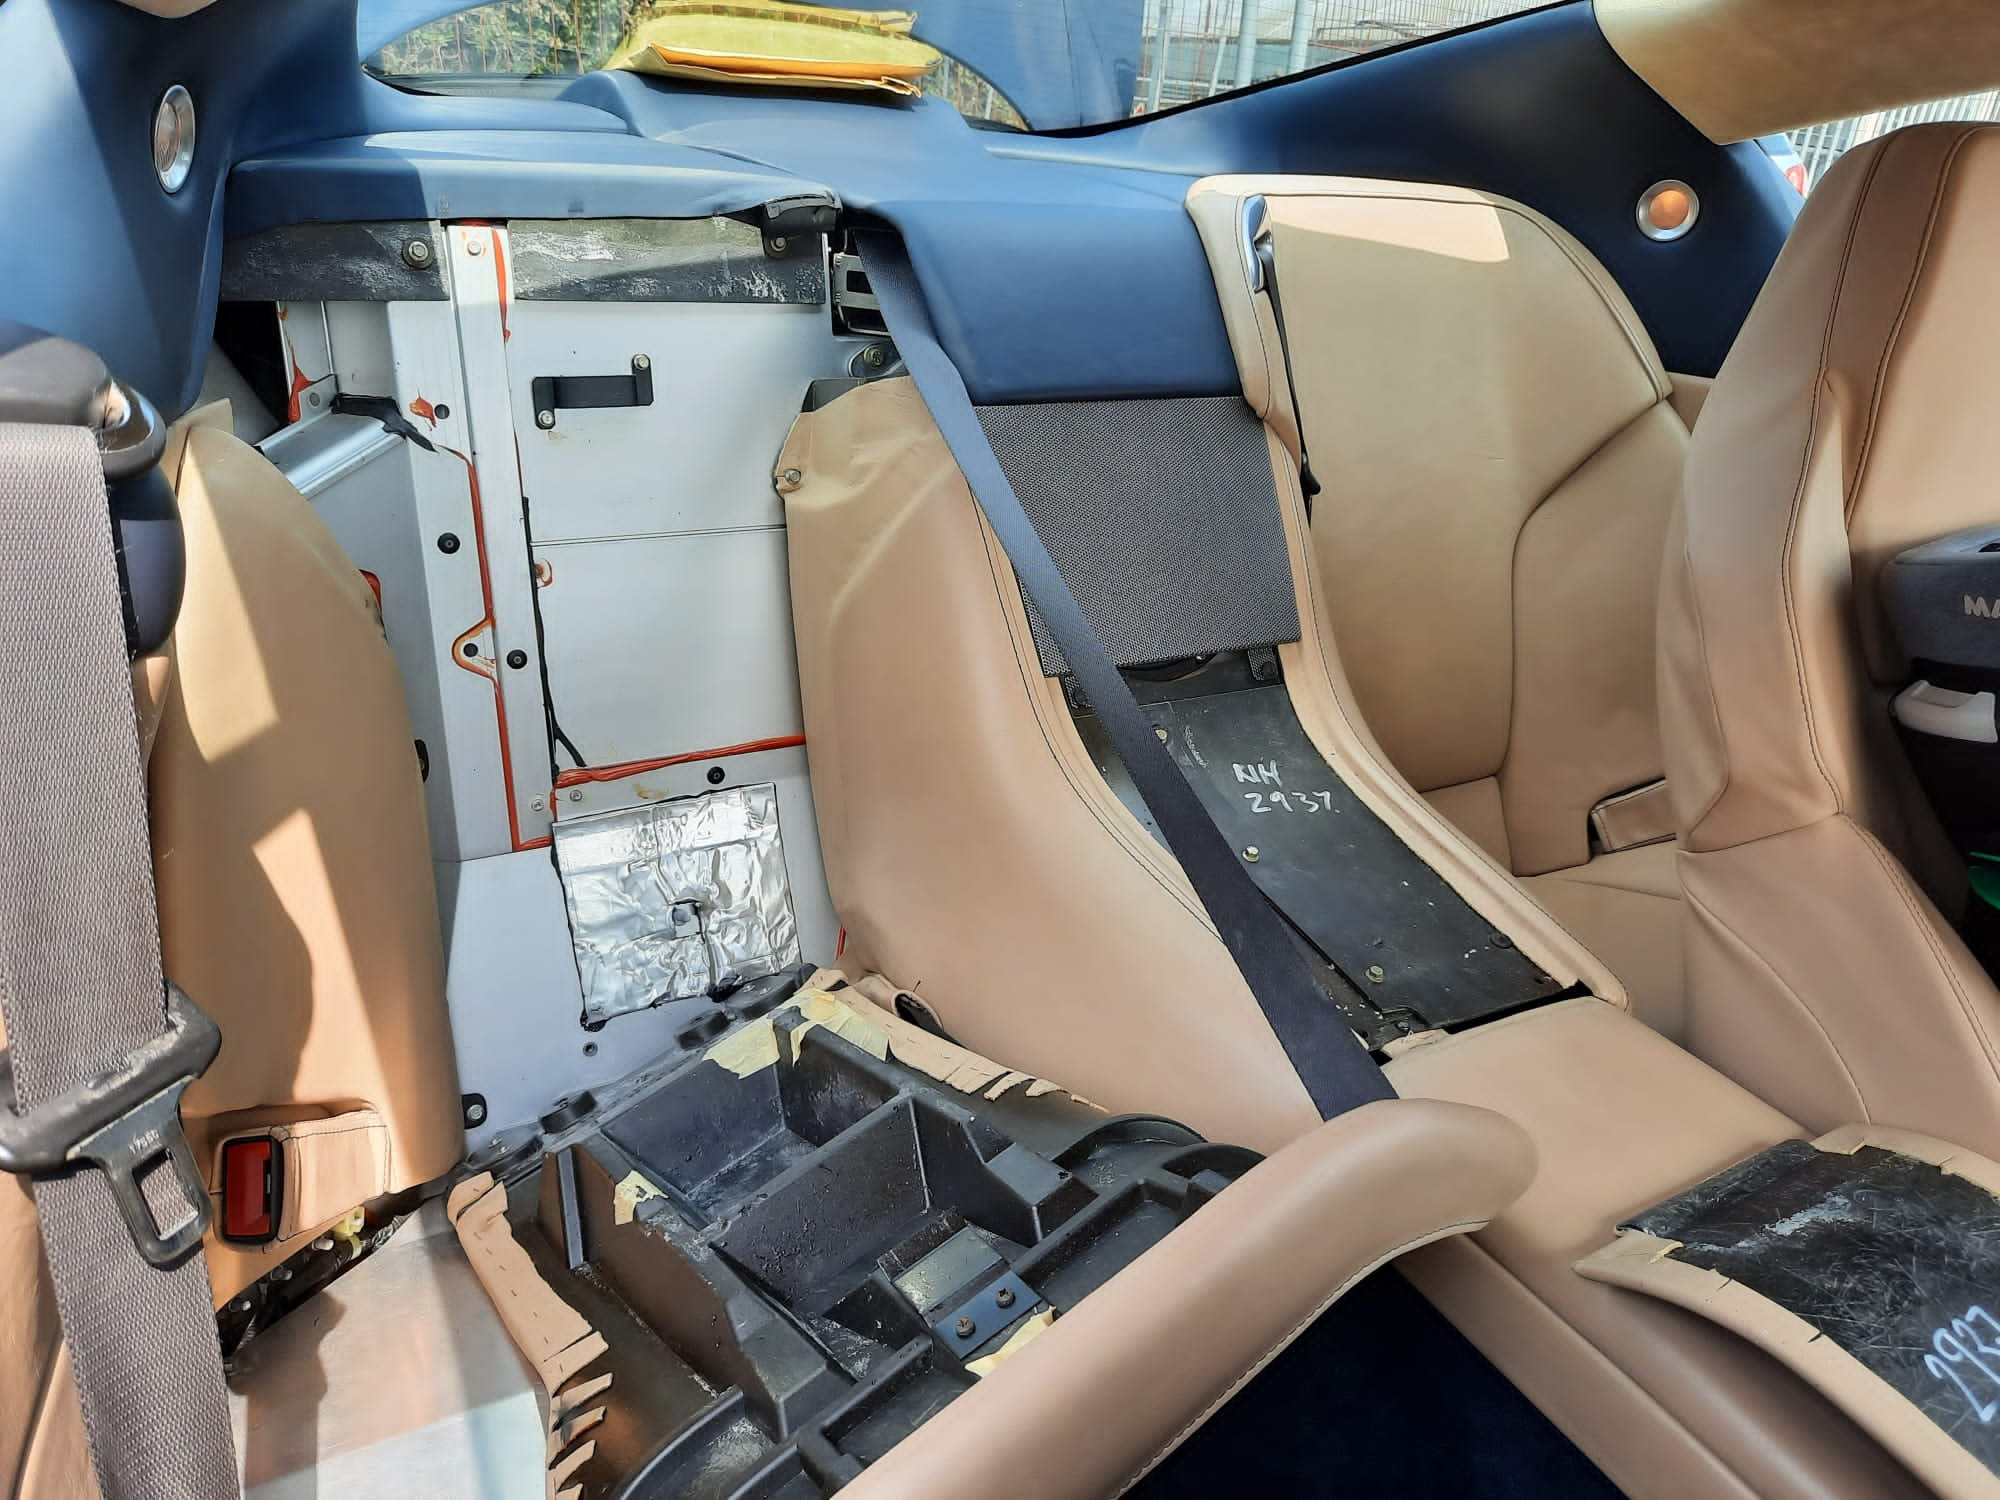
Mauro has been doing a little work on our 2005 Aston Martin DB 9. The panel that went from the rear seats to the parcel shelf in the middle was rattling so he took it all apart and adjusted the metal bracket that holds it in place.


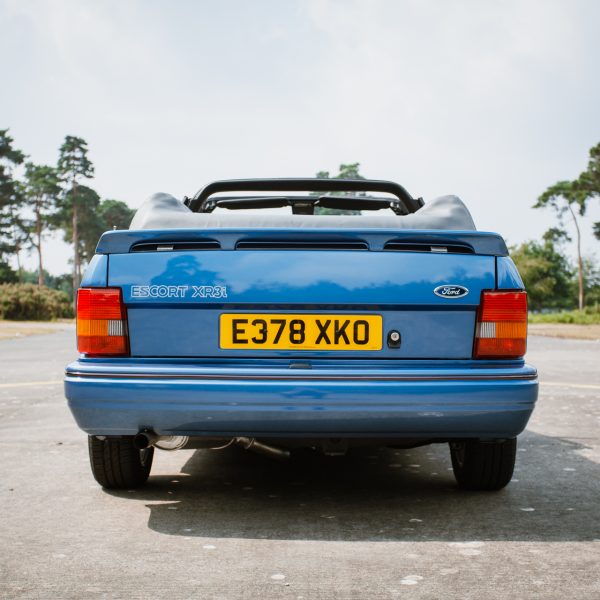
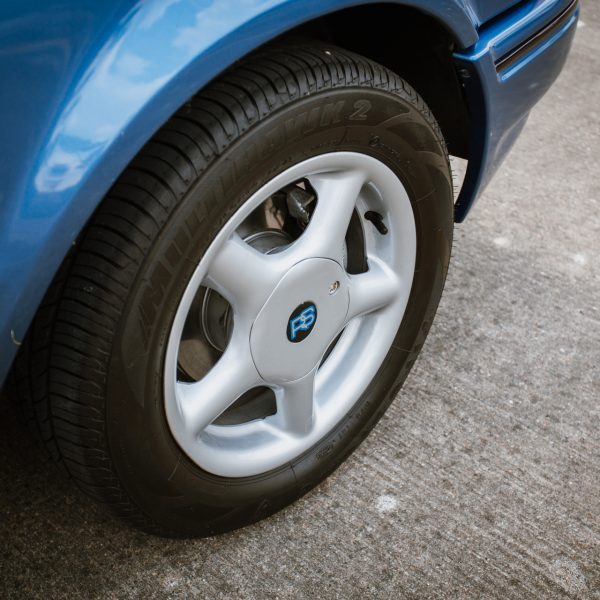
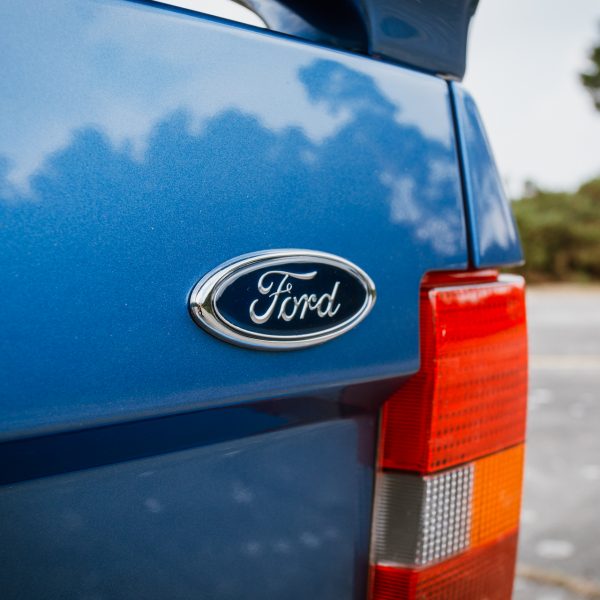
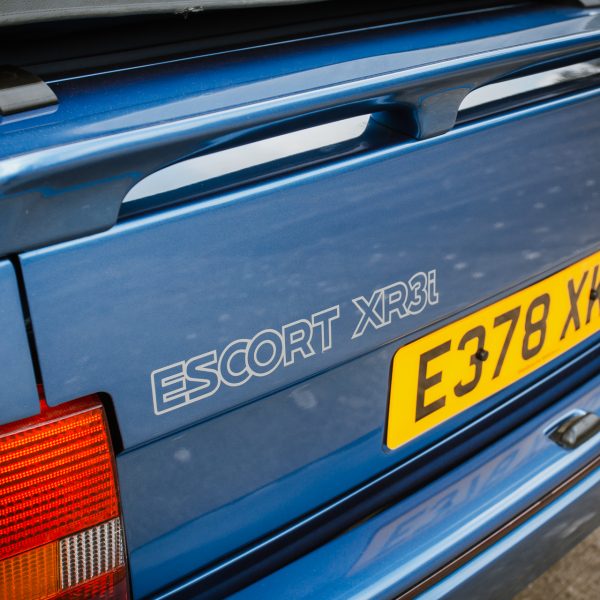
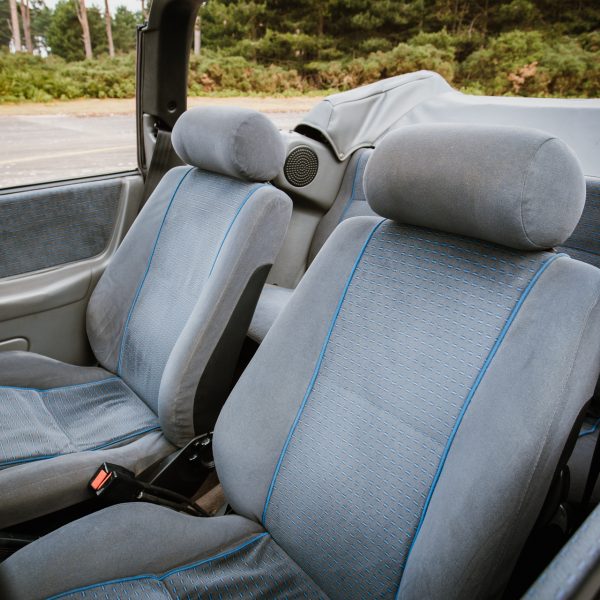
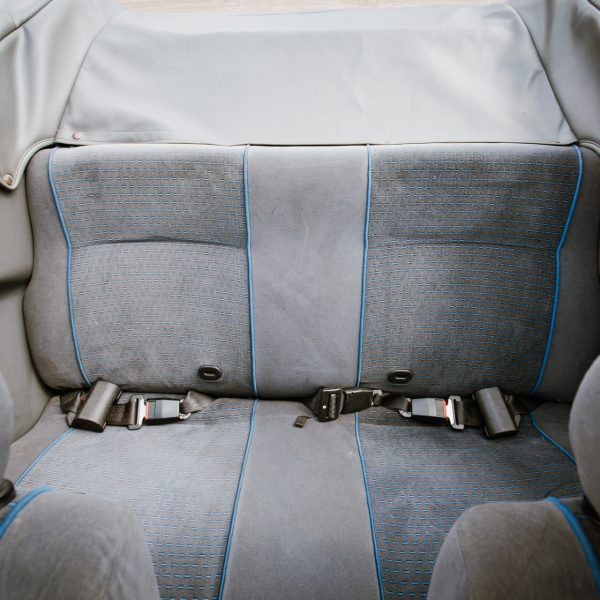
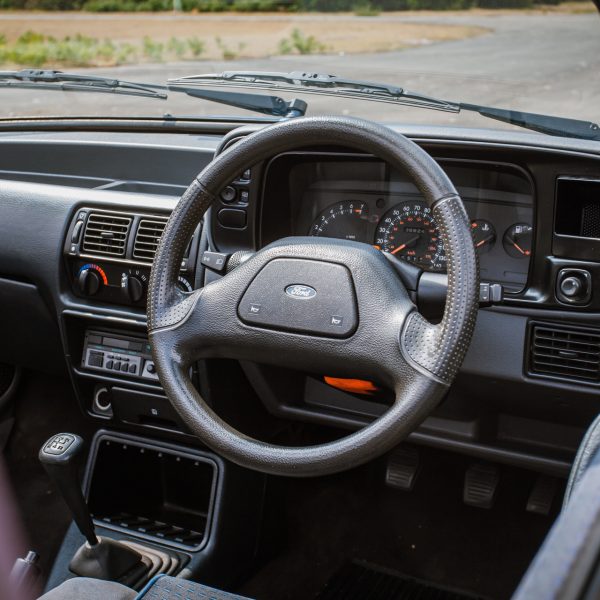
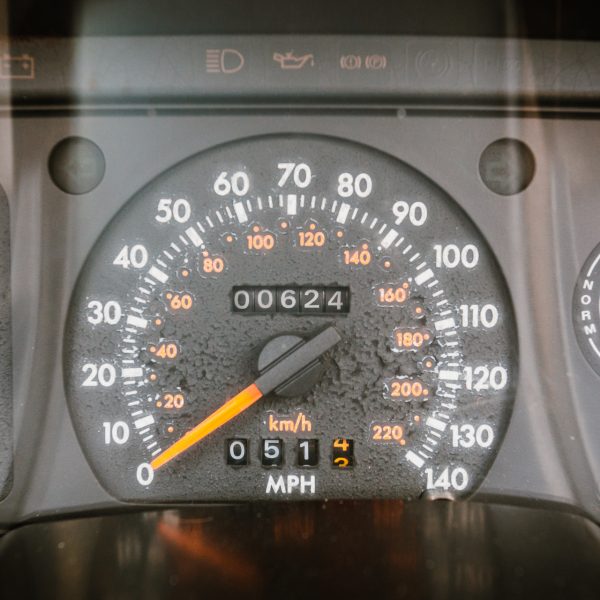
Launching today is this 1988 blue Ford Escort 1600 Cabriolet!
The Ford Escort was originally produced as a small family car, manufactured from 1968 to 2003. There were six different model variations throughout its time and this is the fourth one. It’s instantly recognisable as an updated version of the previous model, taking styling cues from the then recently introduced Scorpio/Granada III.
We don’t have much history on the car itself, but we know that it’s been restored relatively recently, the paintwork is in fantastic condition, along with the interior and it’s been well looked after throughout its life.

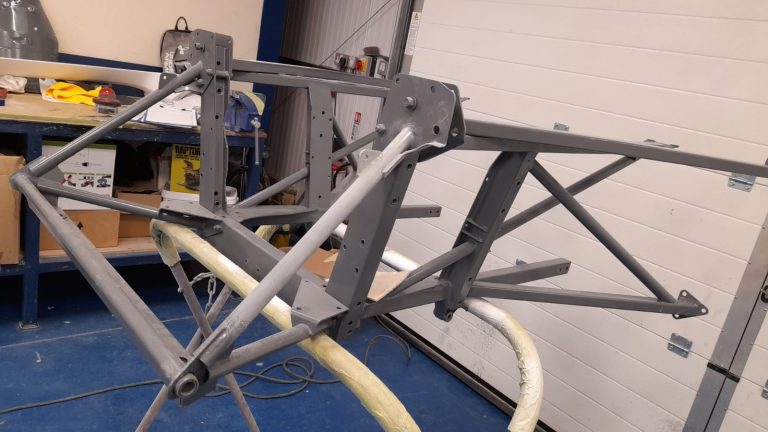
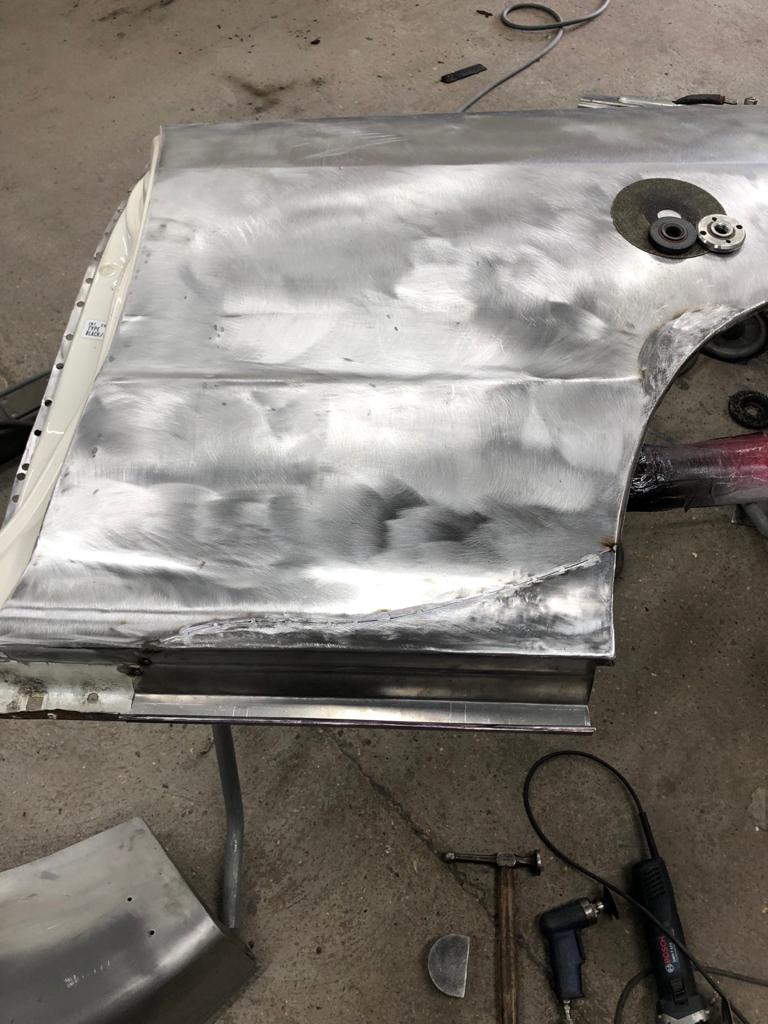
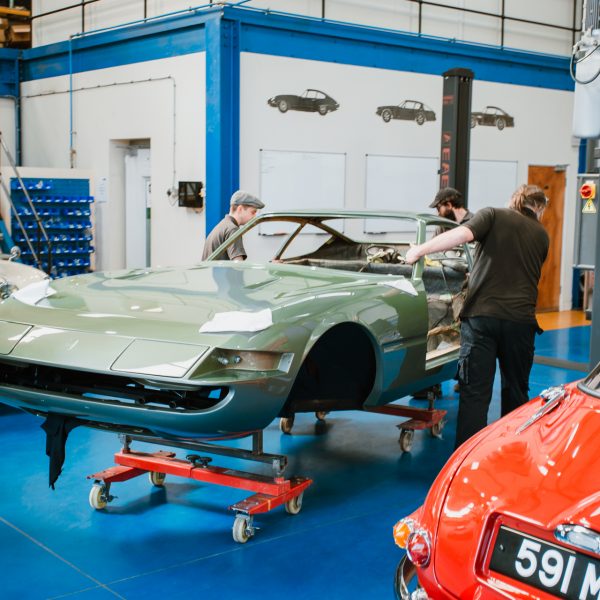
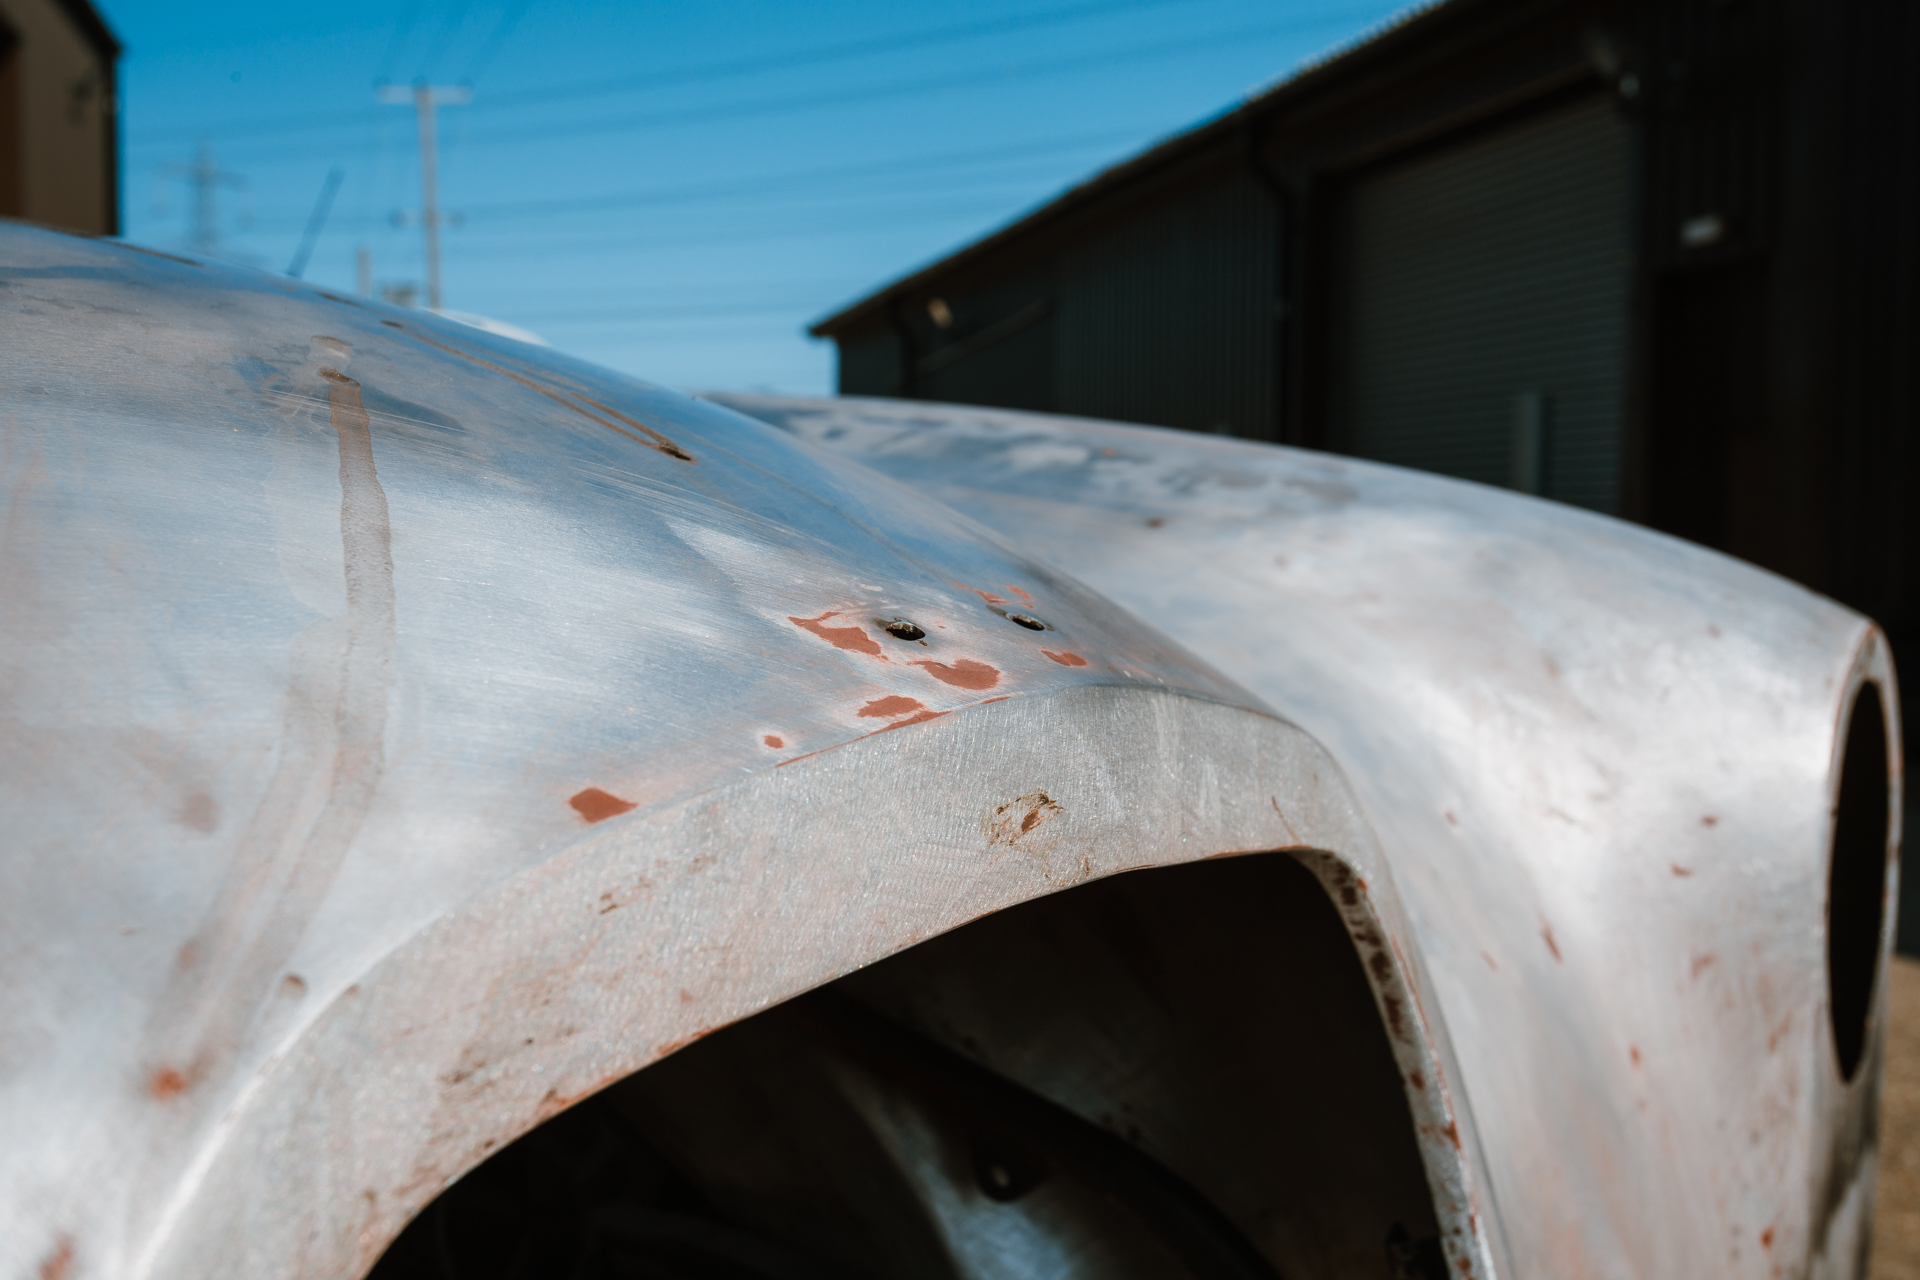
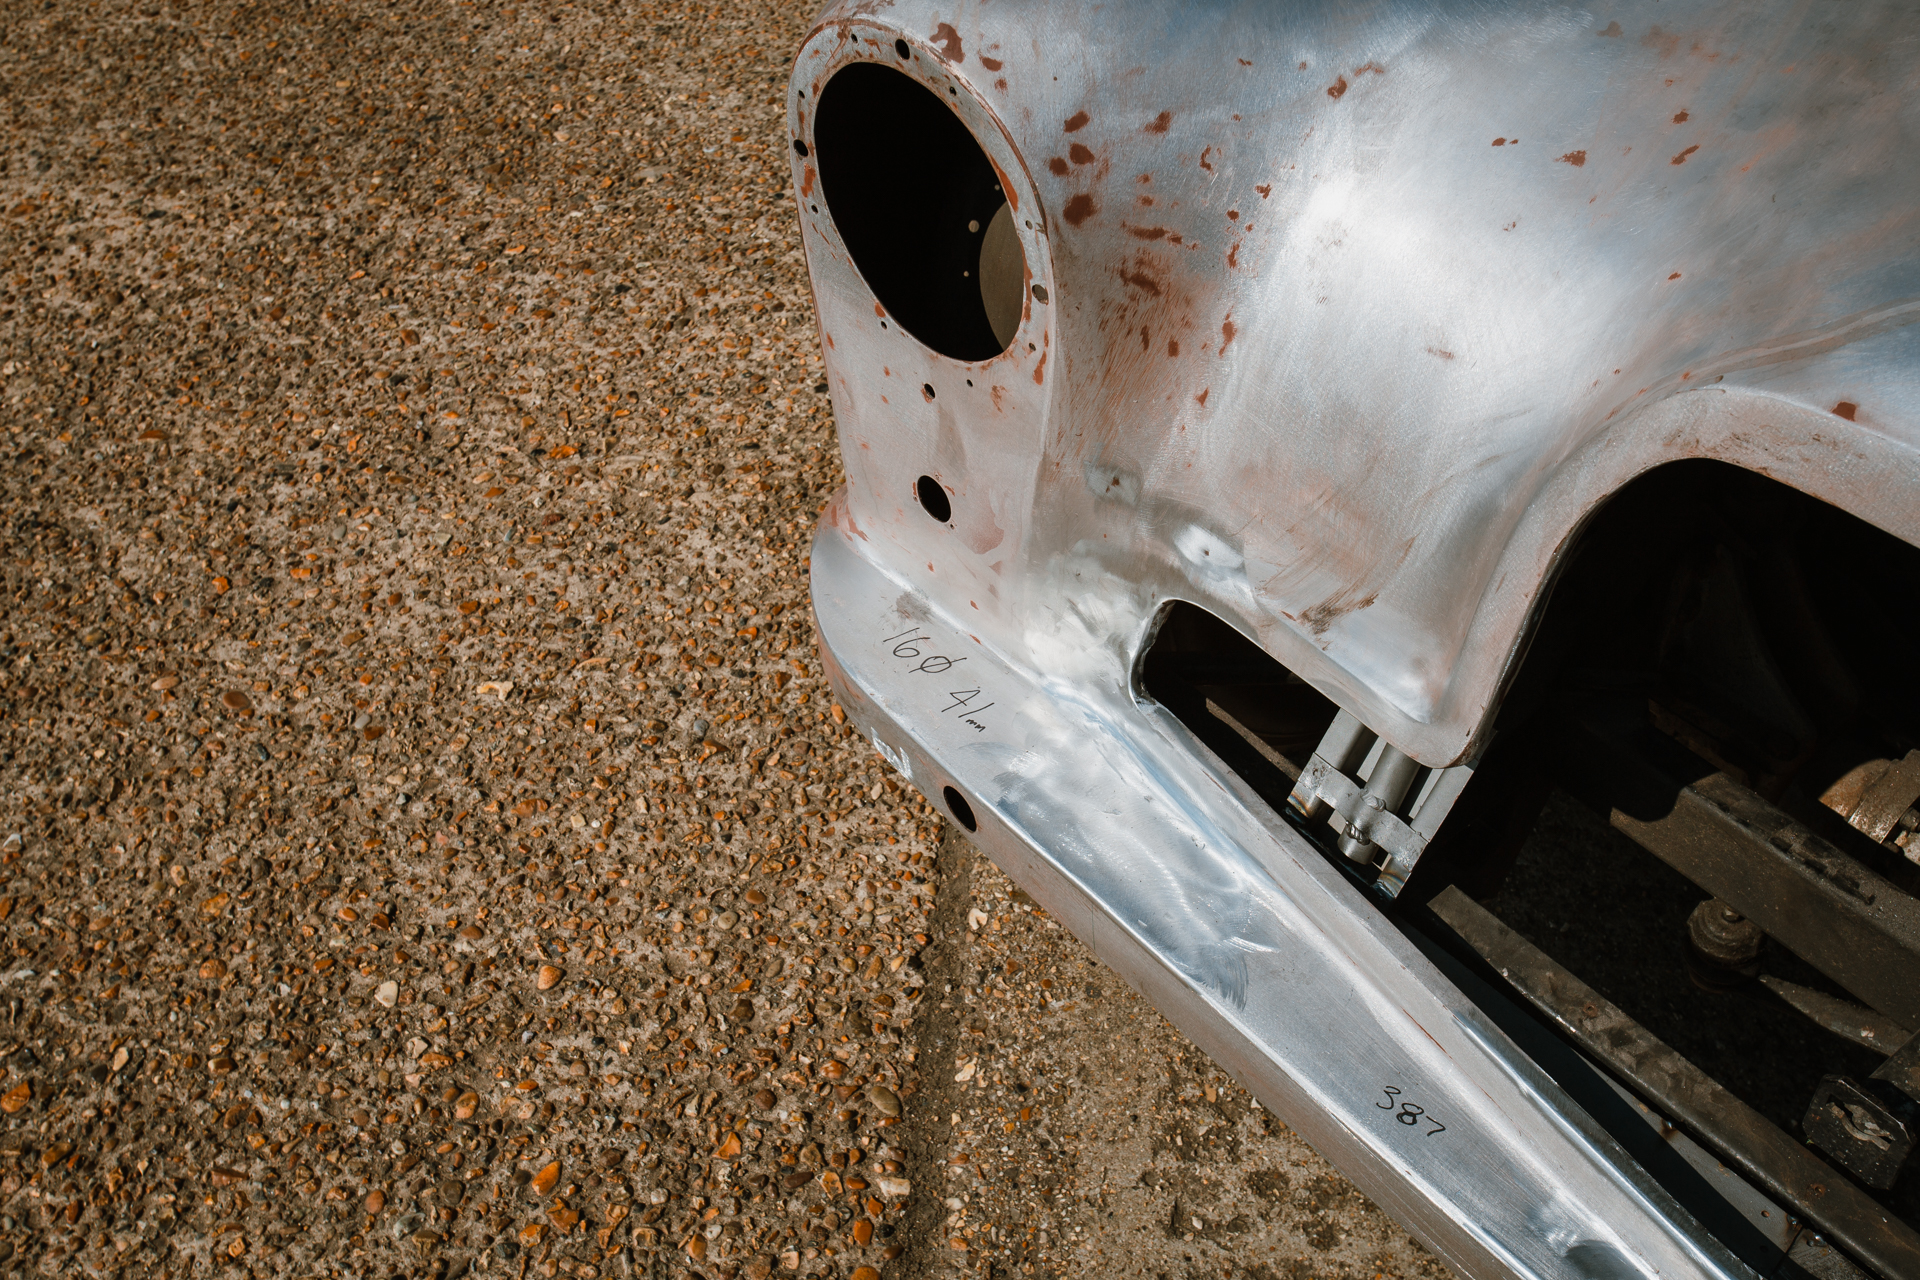
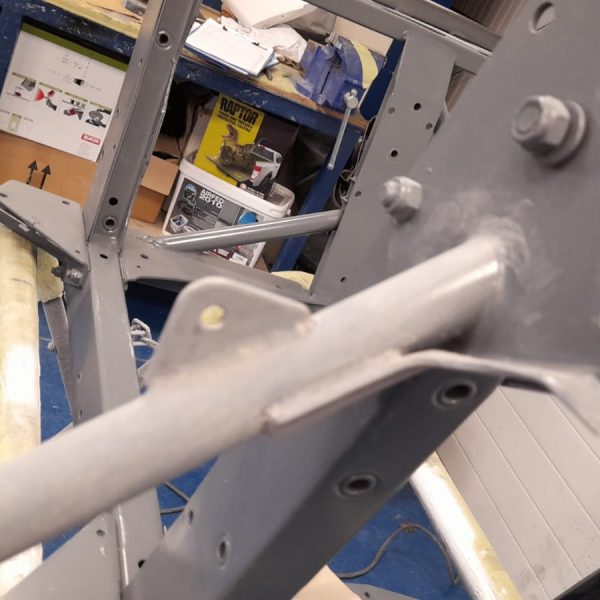
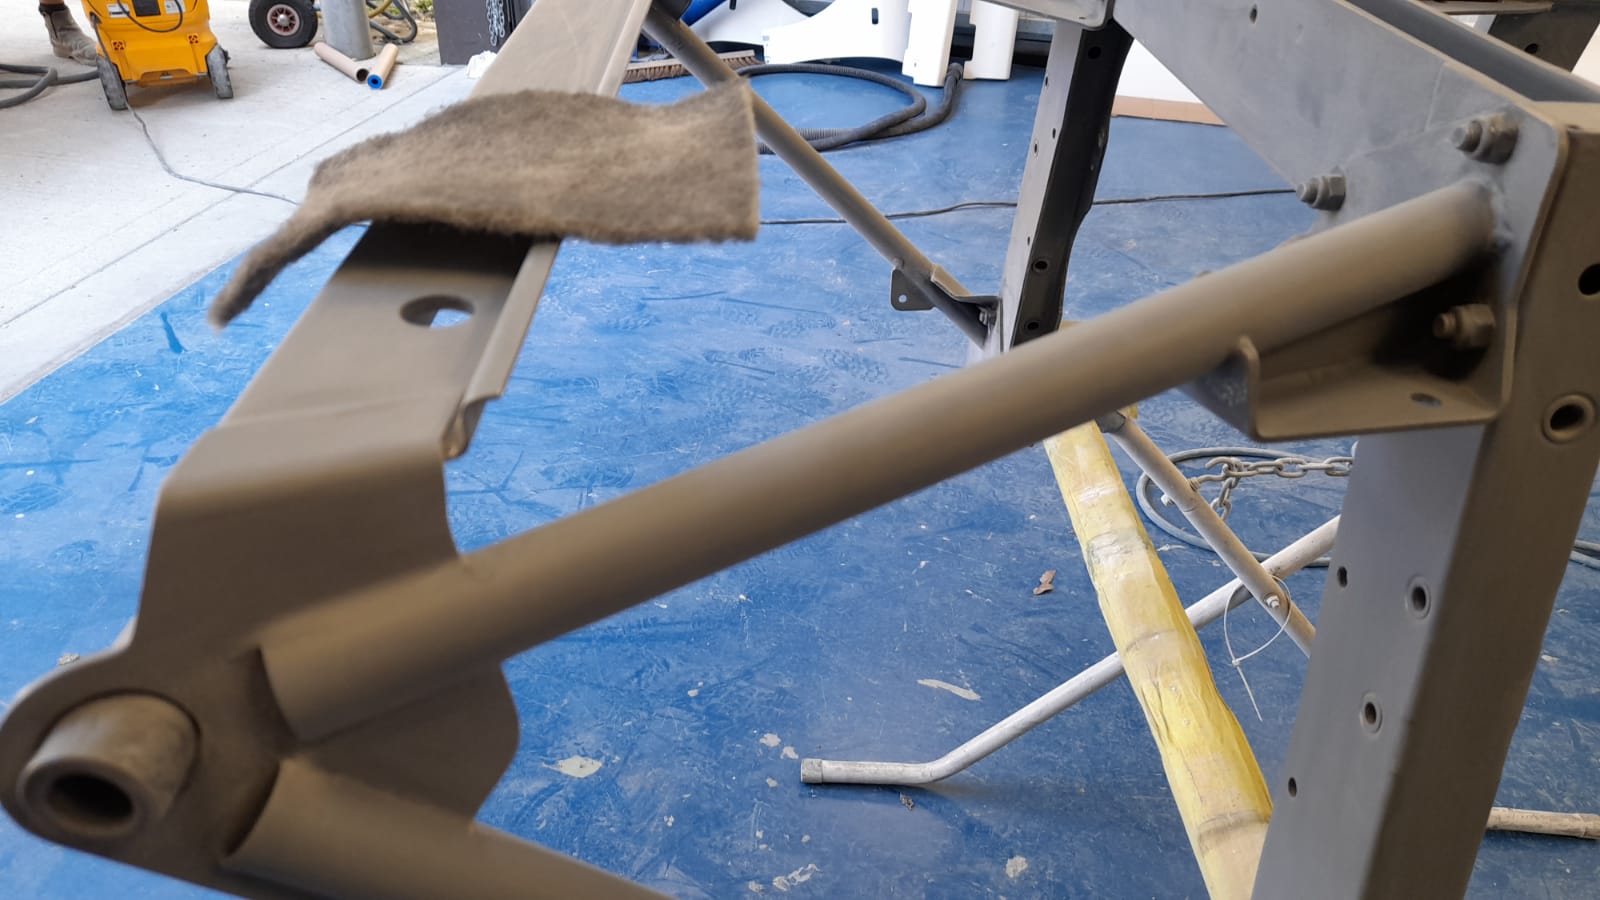
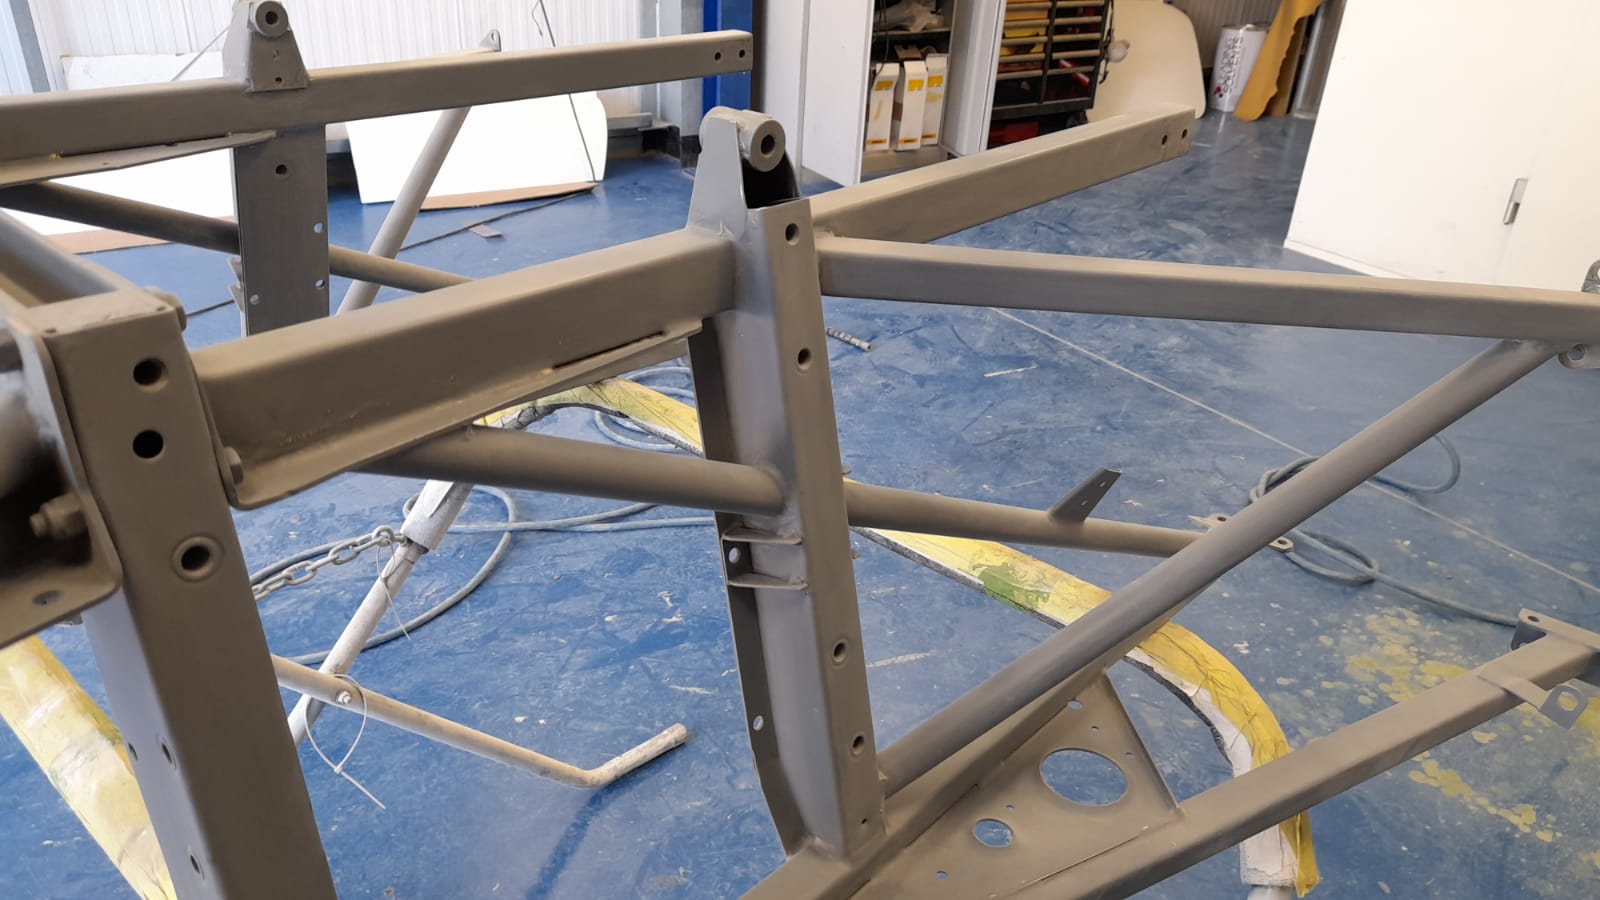
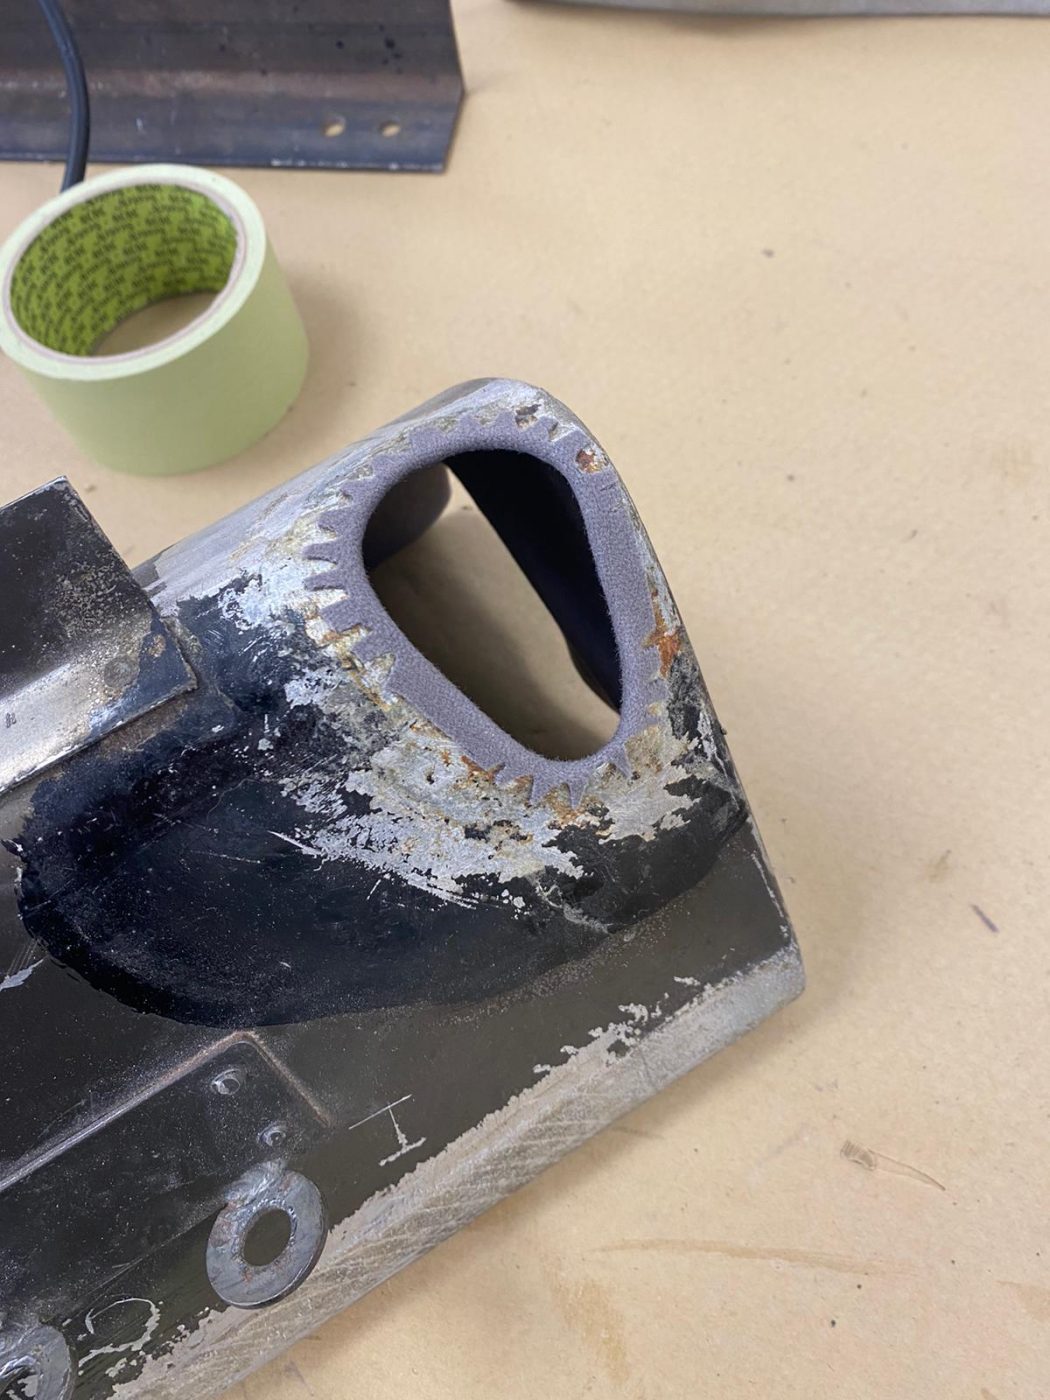
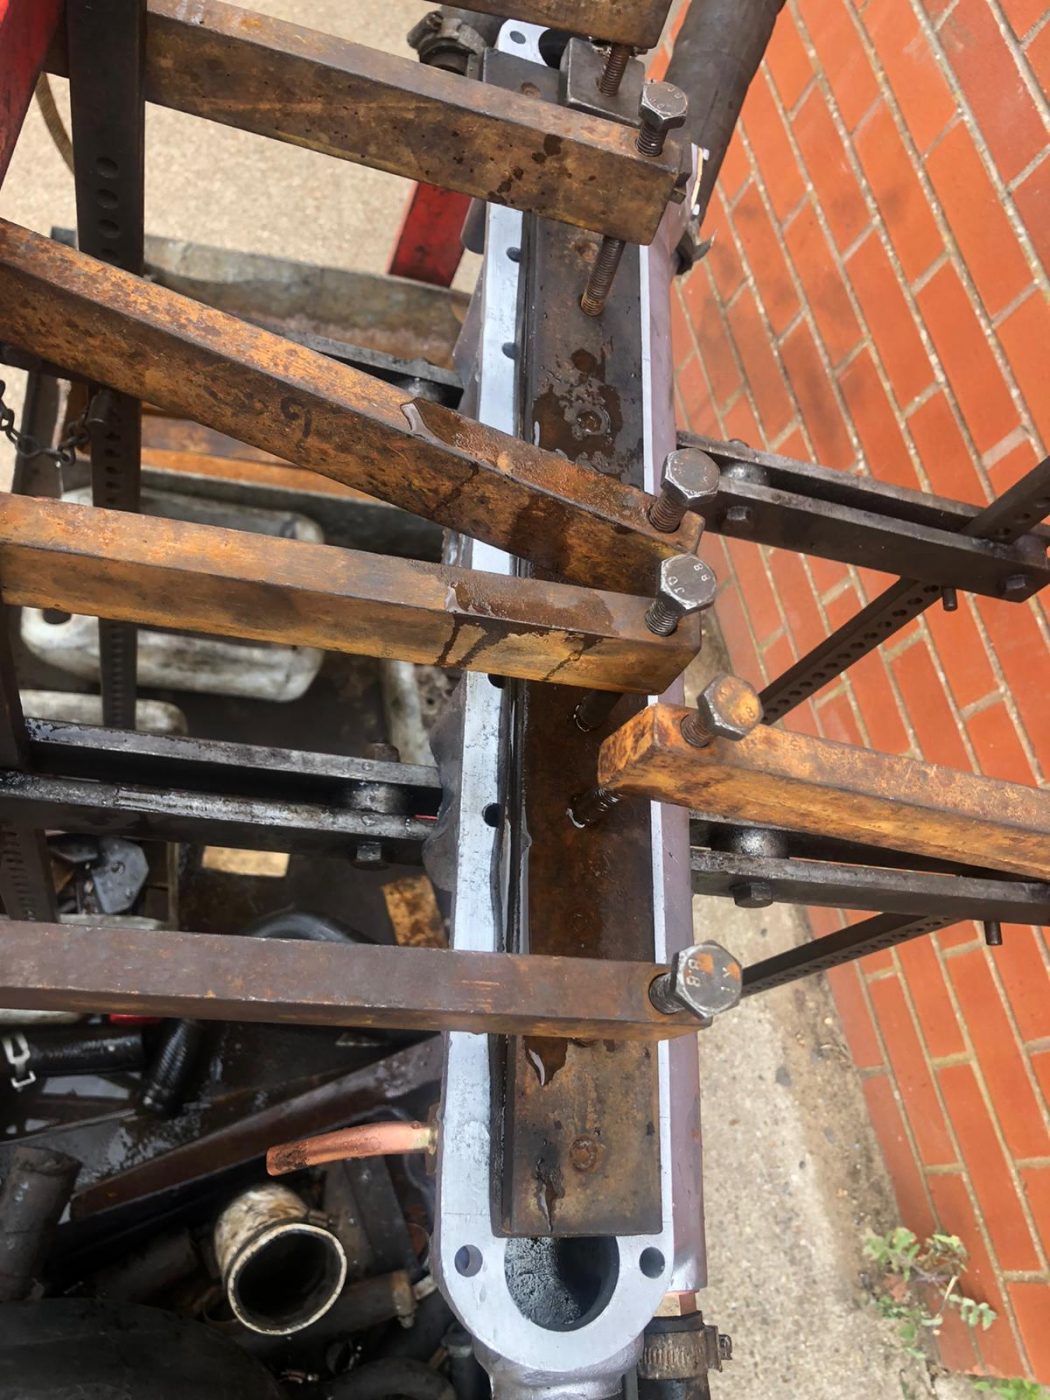
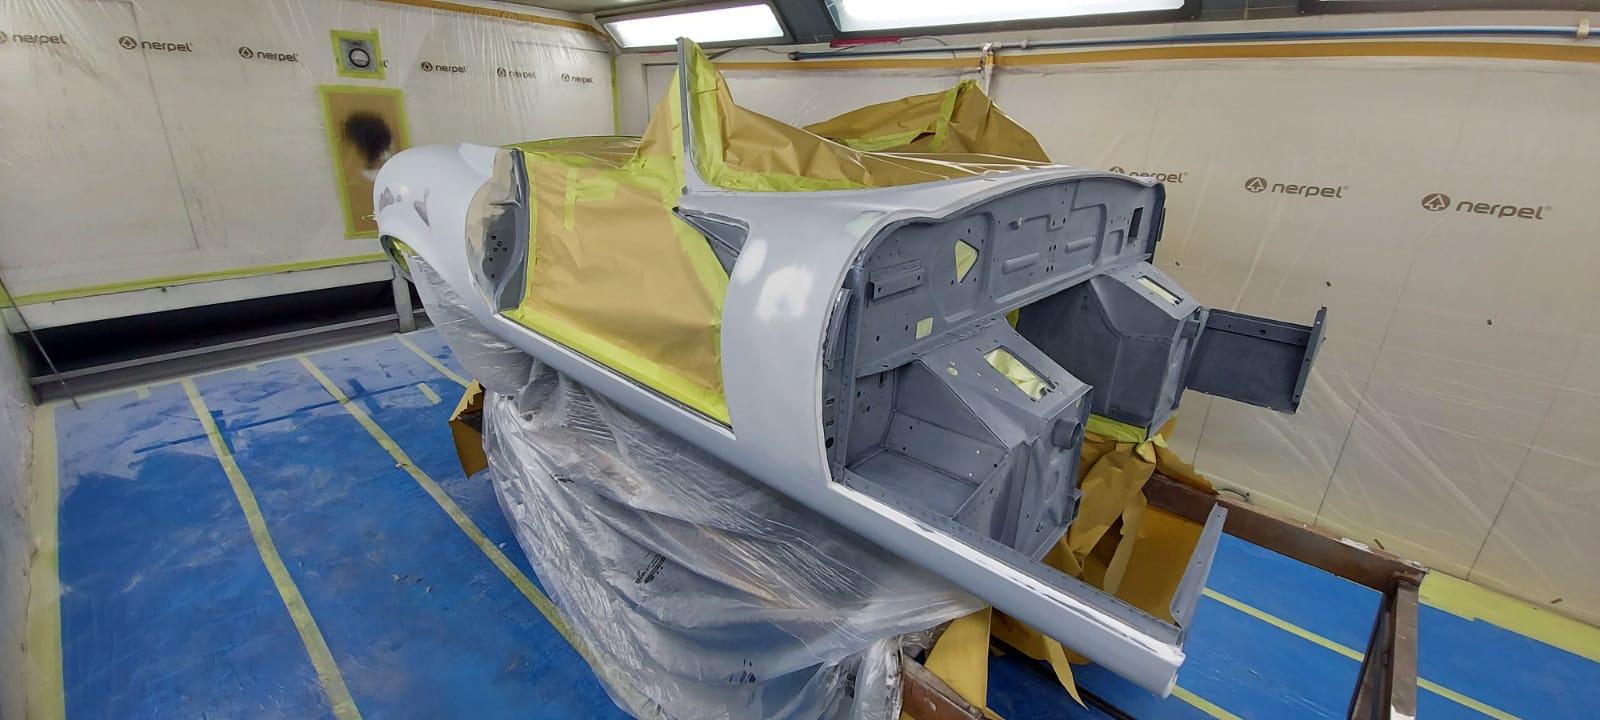
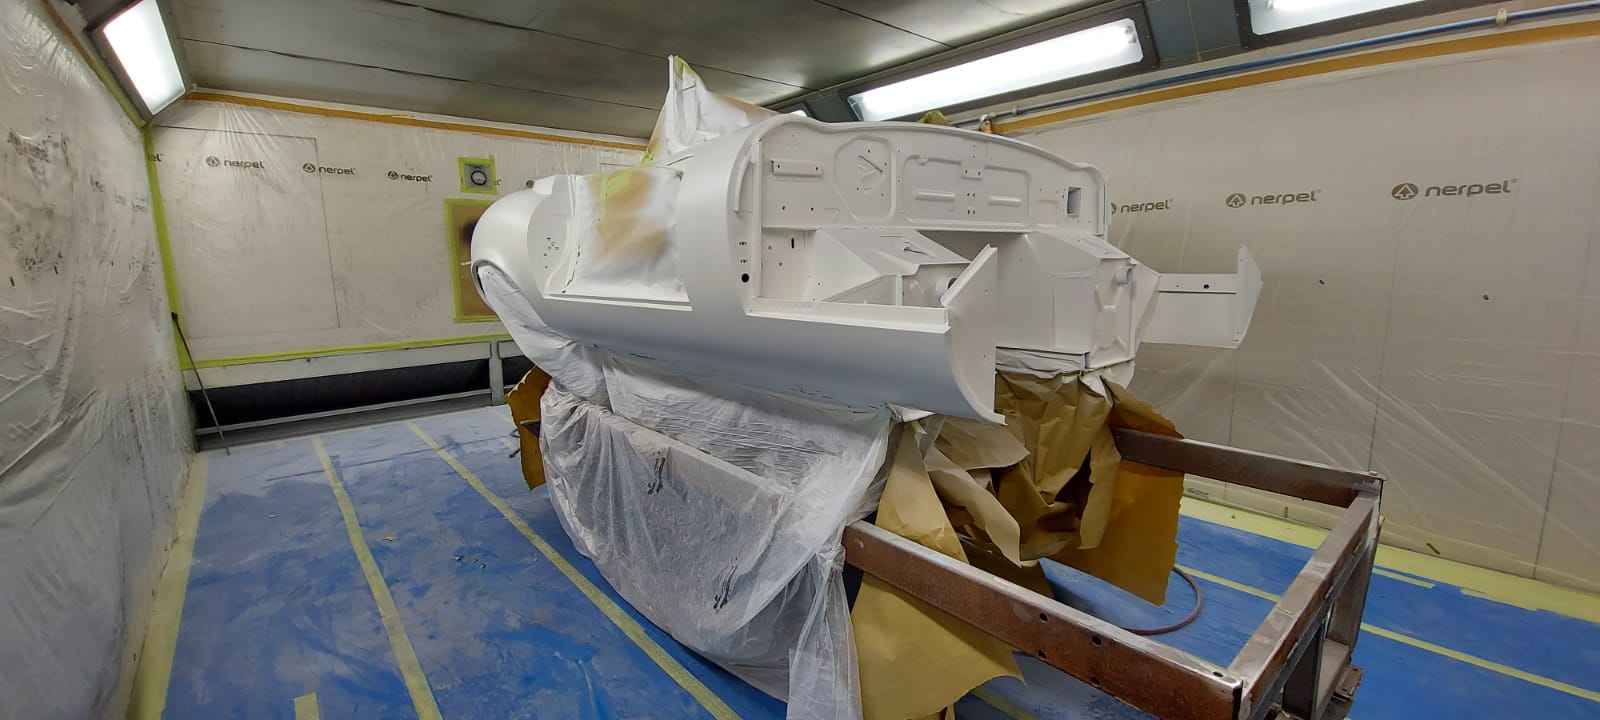
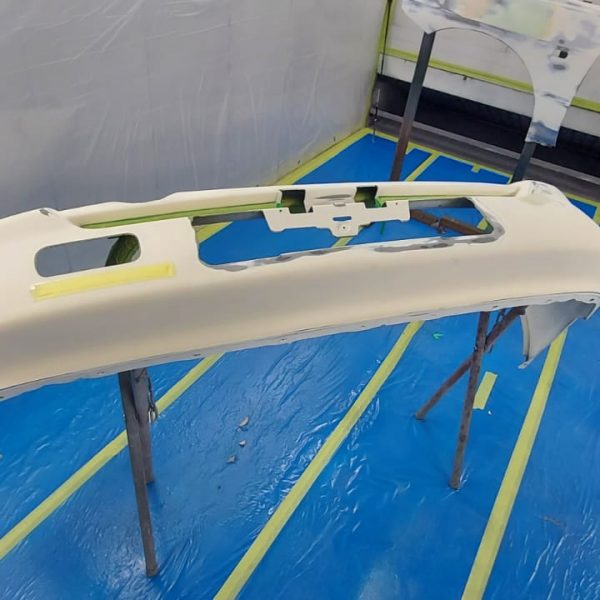
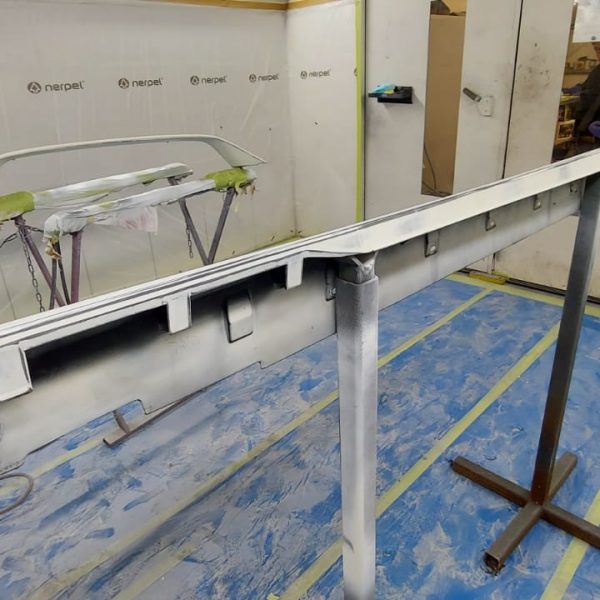
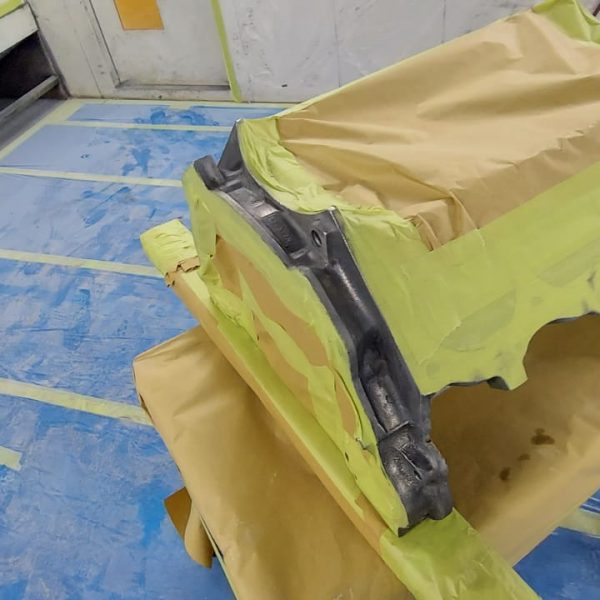
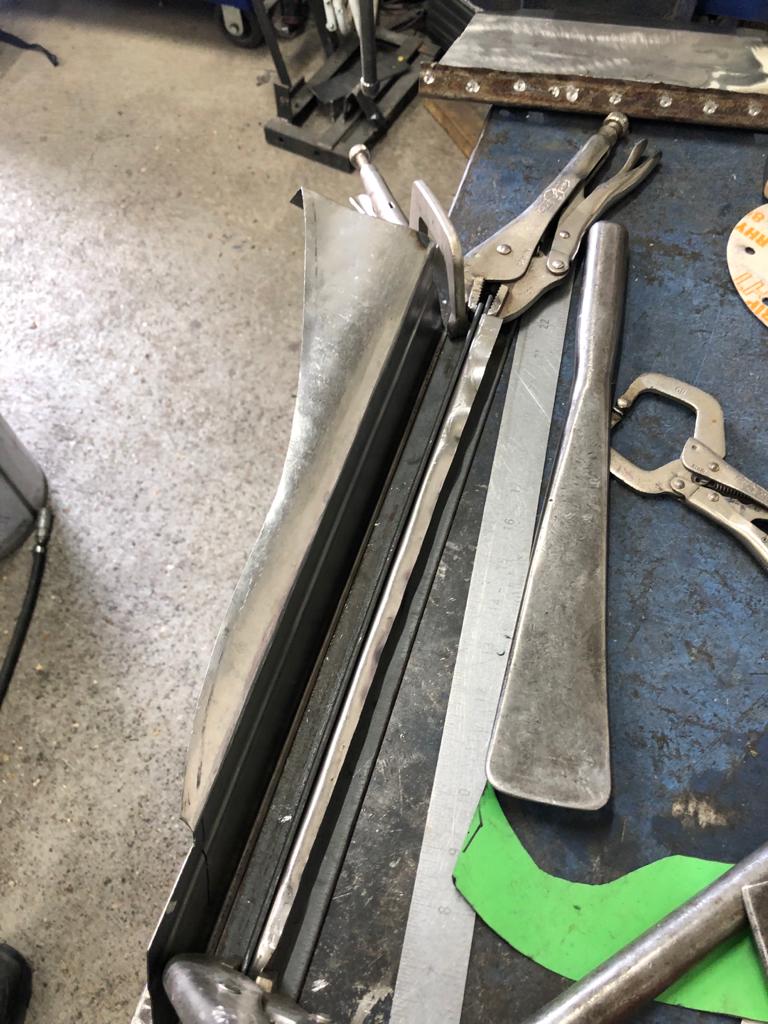
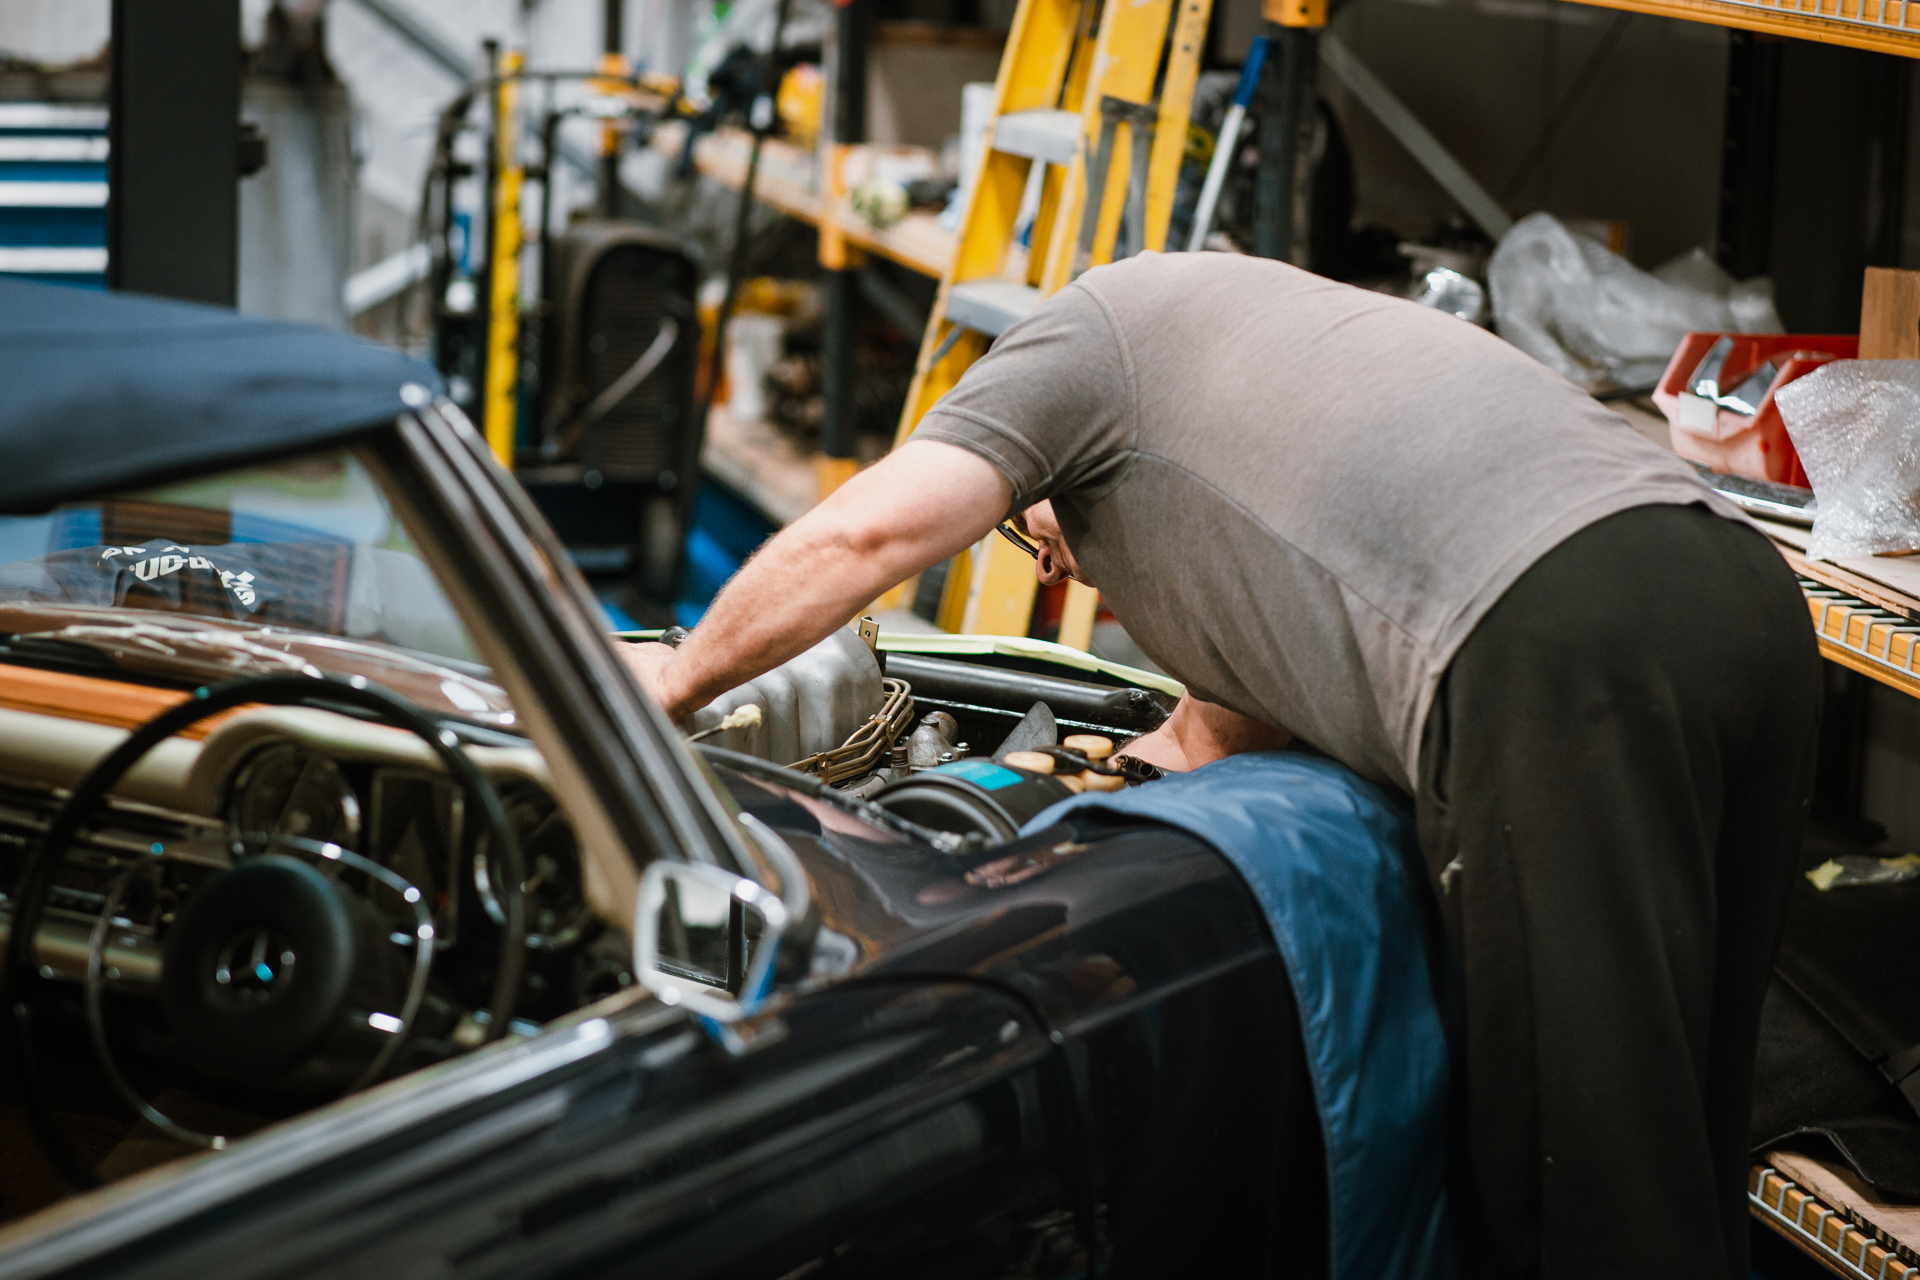
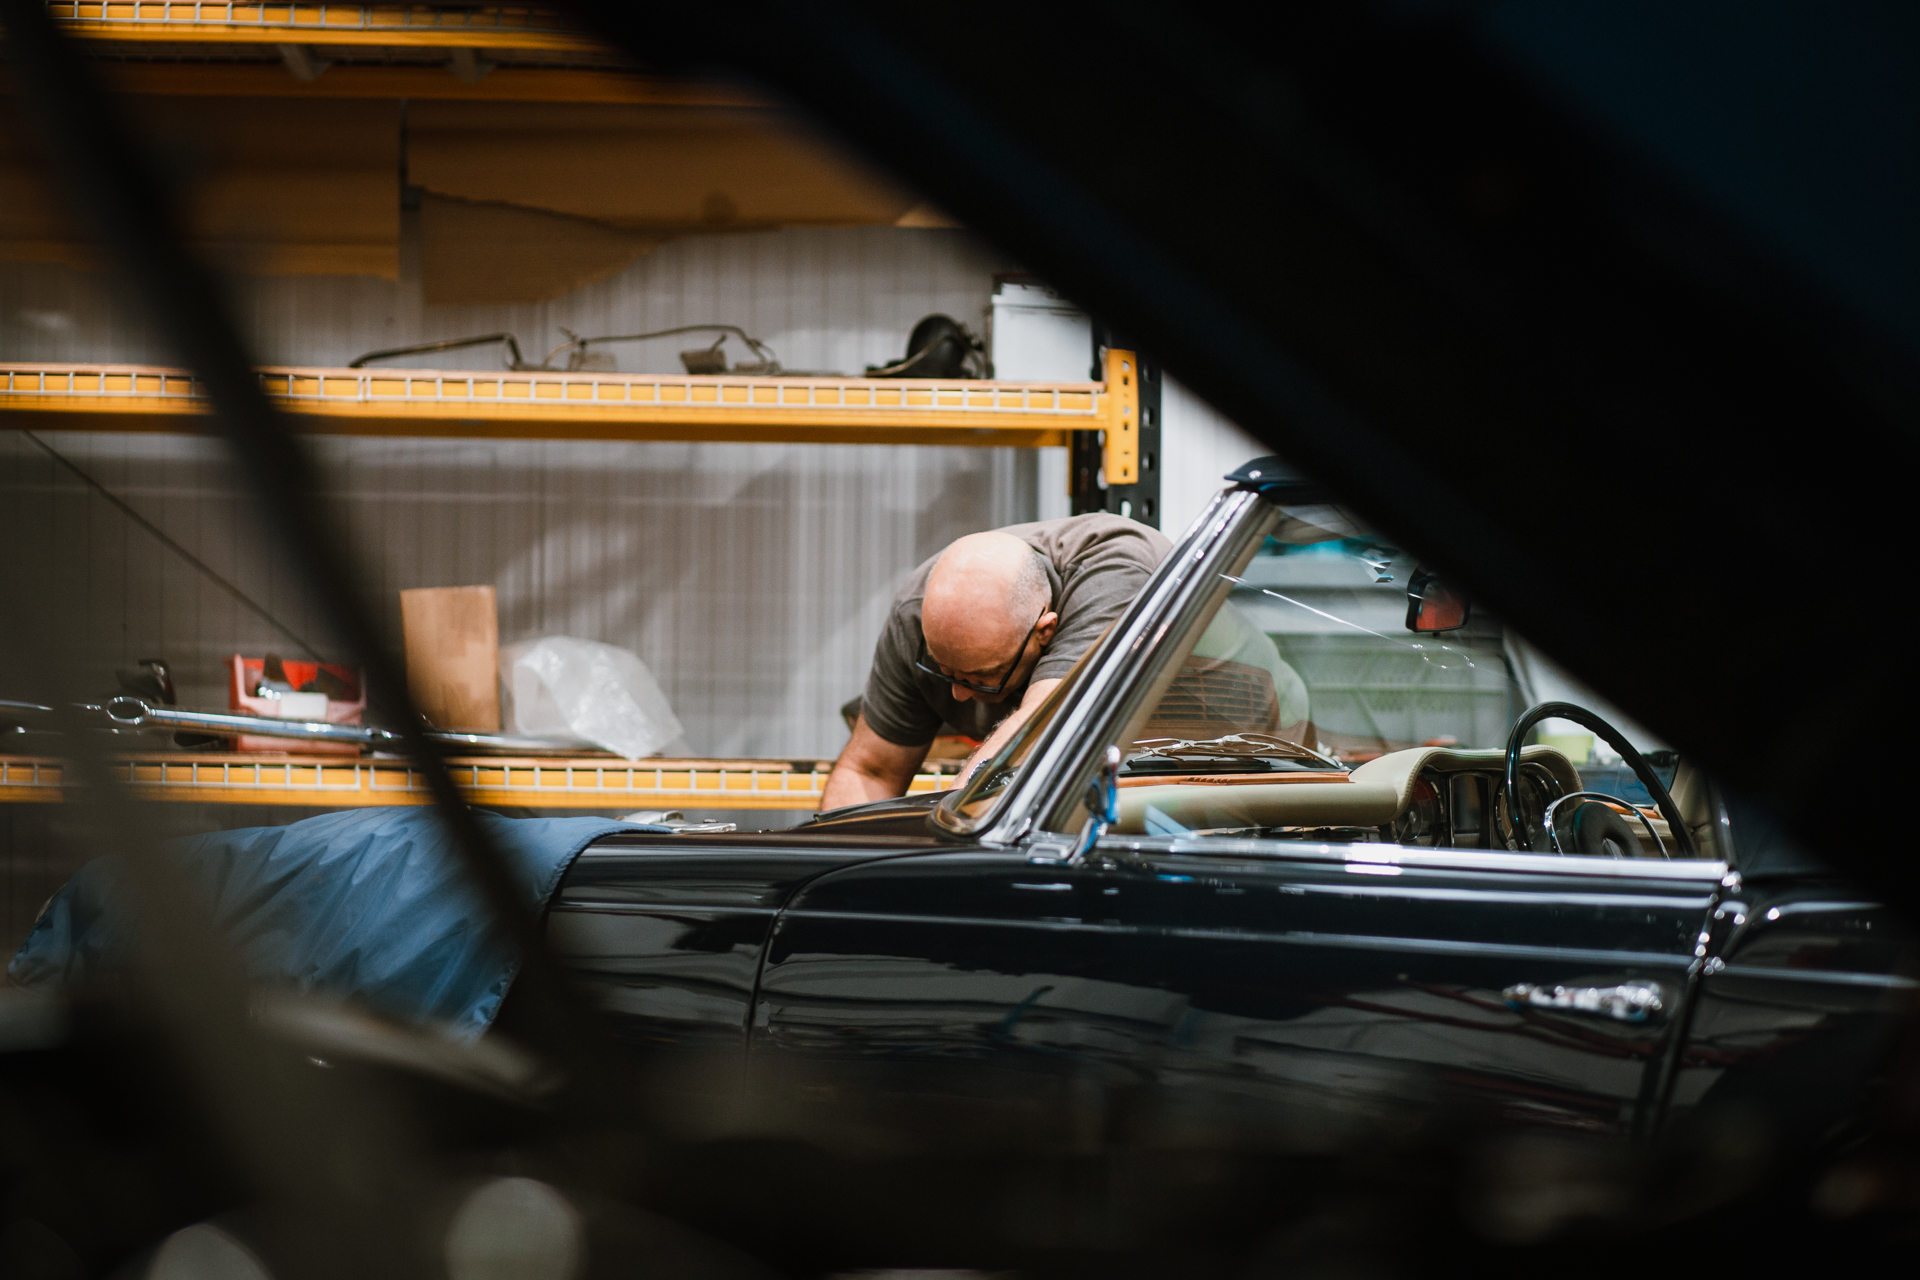
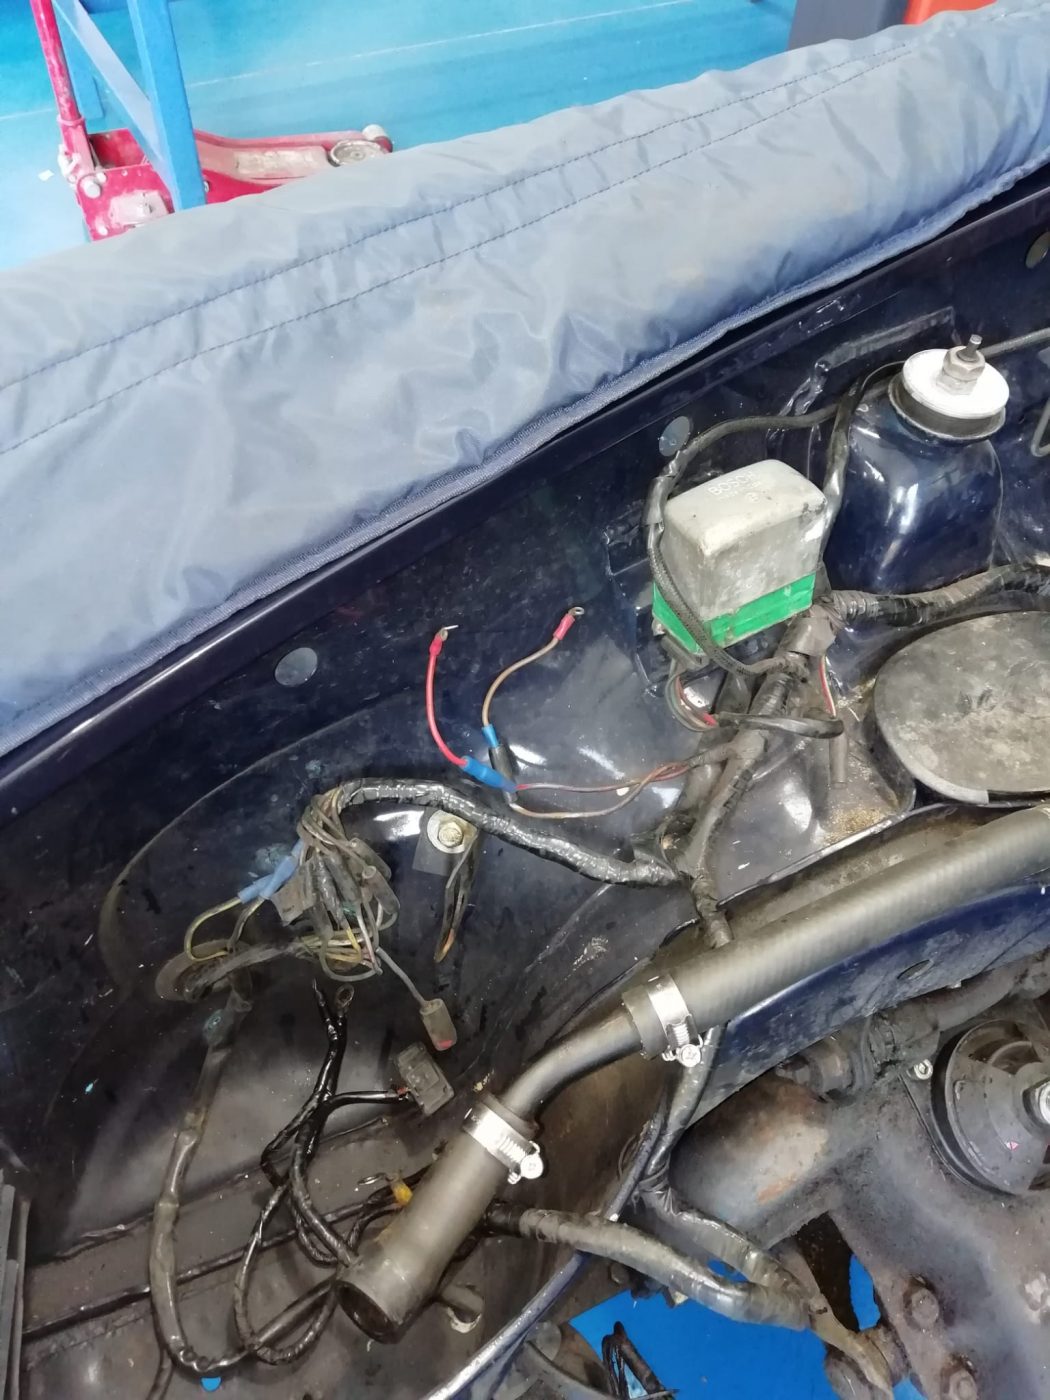
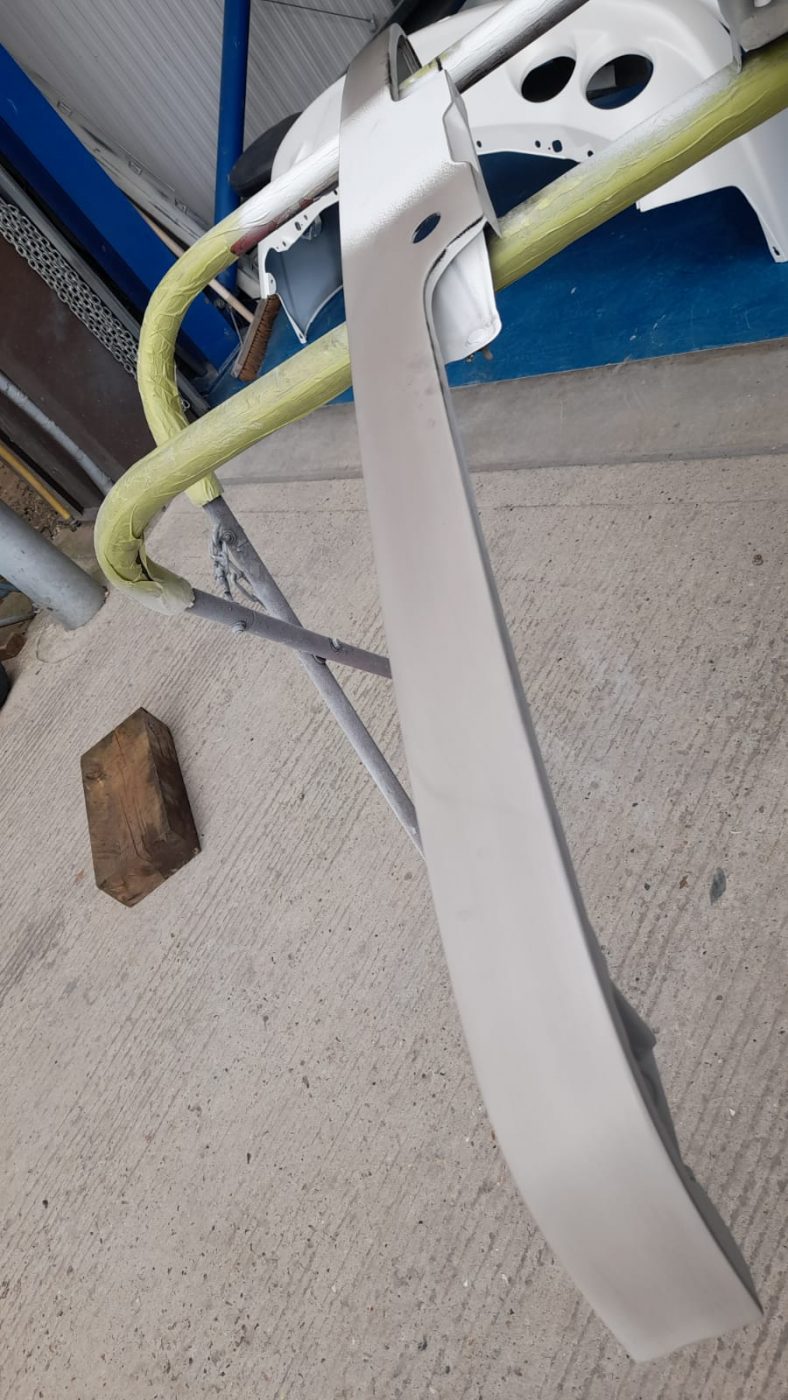
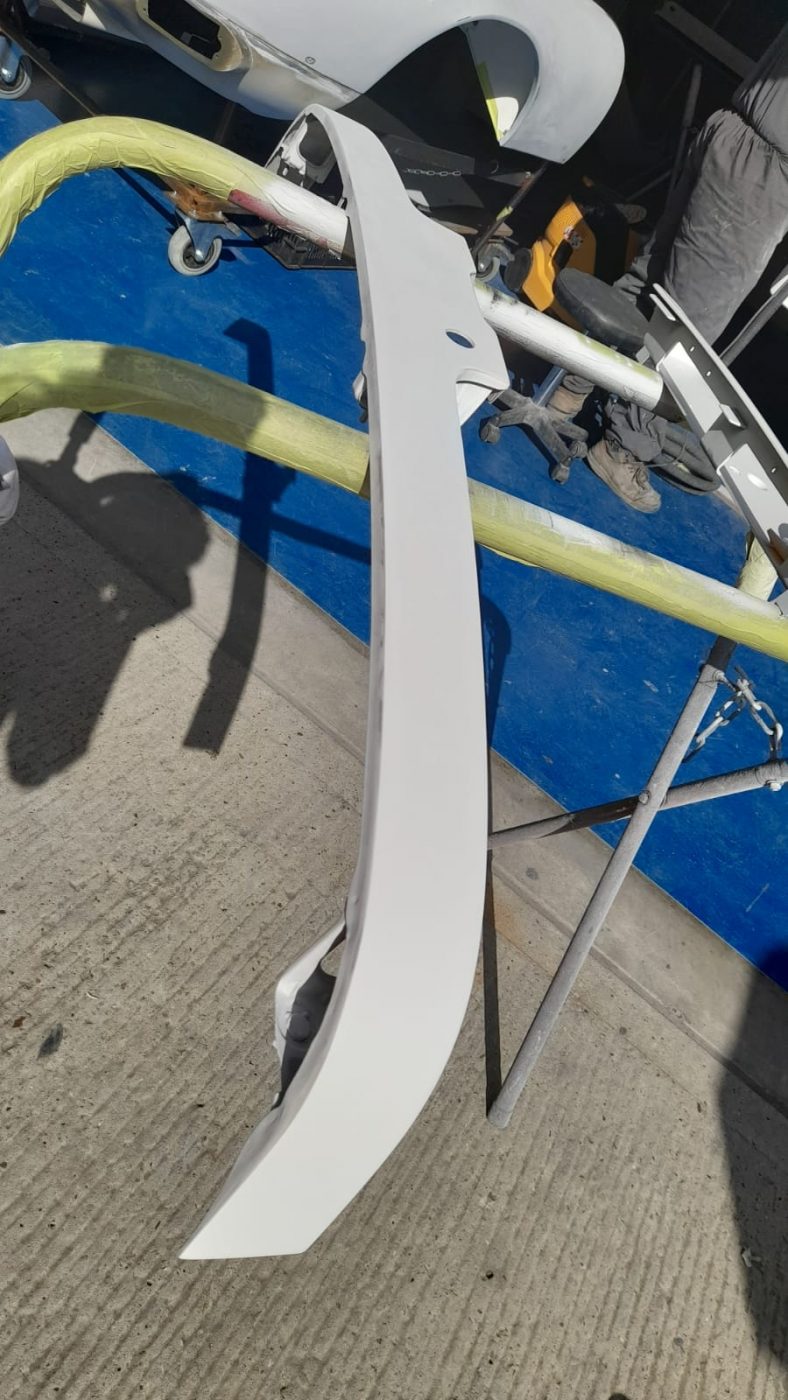
Up to now, our 1955 Aston Martin DB2/4 was not uncovering too many hidden issues. Naturally, we had a lot of repairs and re-shaping to do but nothing too scary.
Having carried out a full bare metal strip down of the car Clinton has uncovered some very questionable repairs that have been done at some stage in its life. The entire rear opening is completely out of shape due to previous damage. Most of the opening is being held in by reinforced steel attached to the aluminium body to strengthen and hold the shape.
This is absolutely not correct and must be addressed. Not a small job to carry out but one that is essential if we are to complete this project to the exacting standards that it should be. Clinton will need to cut out sections at a time, remove the steel work and re-shape the aluminium back to what it should.
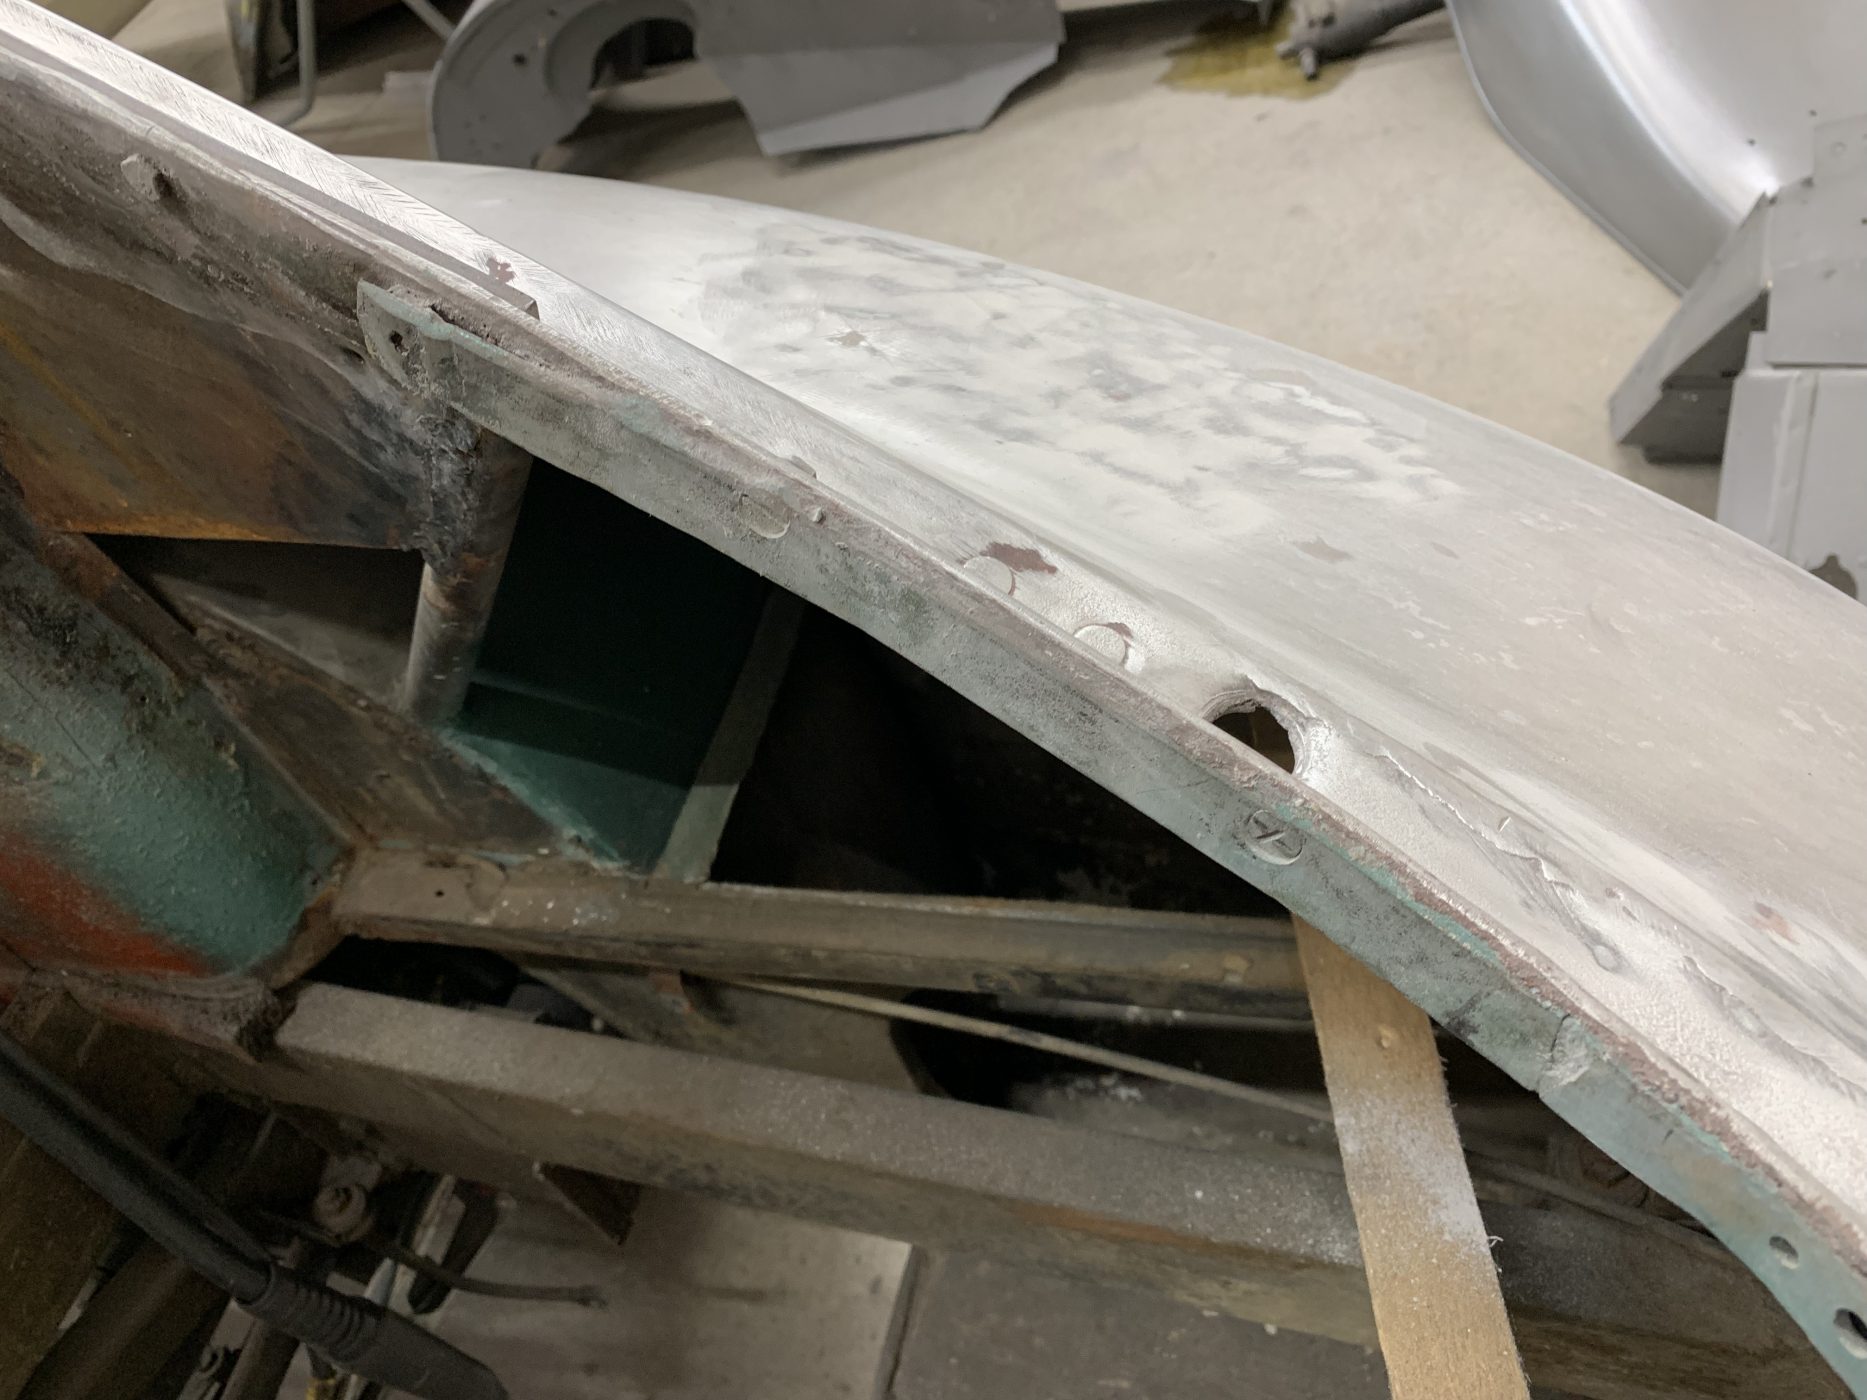
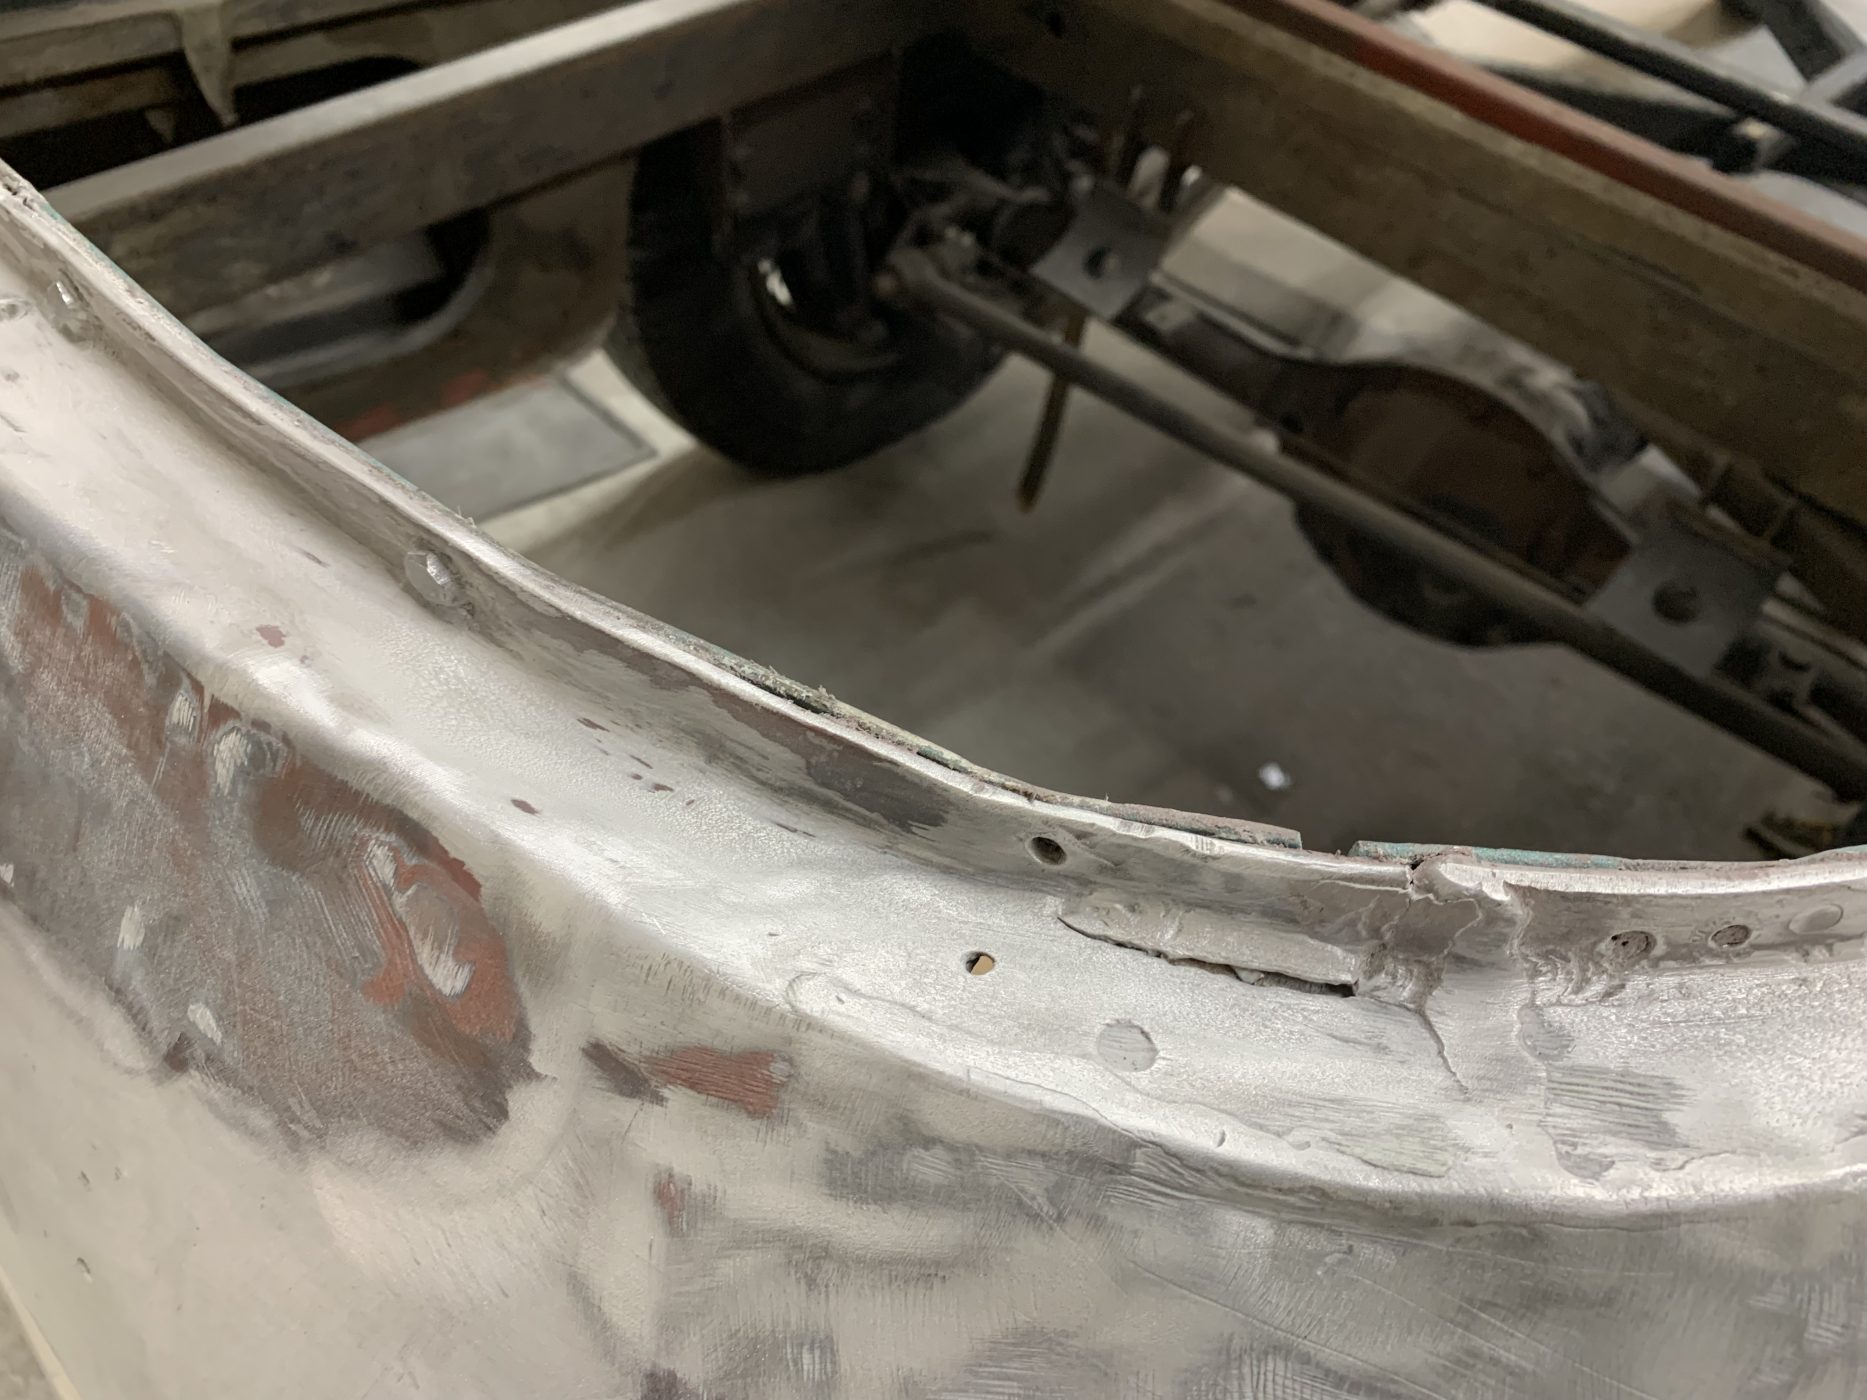

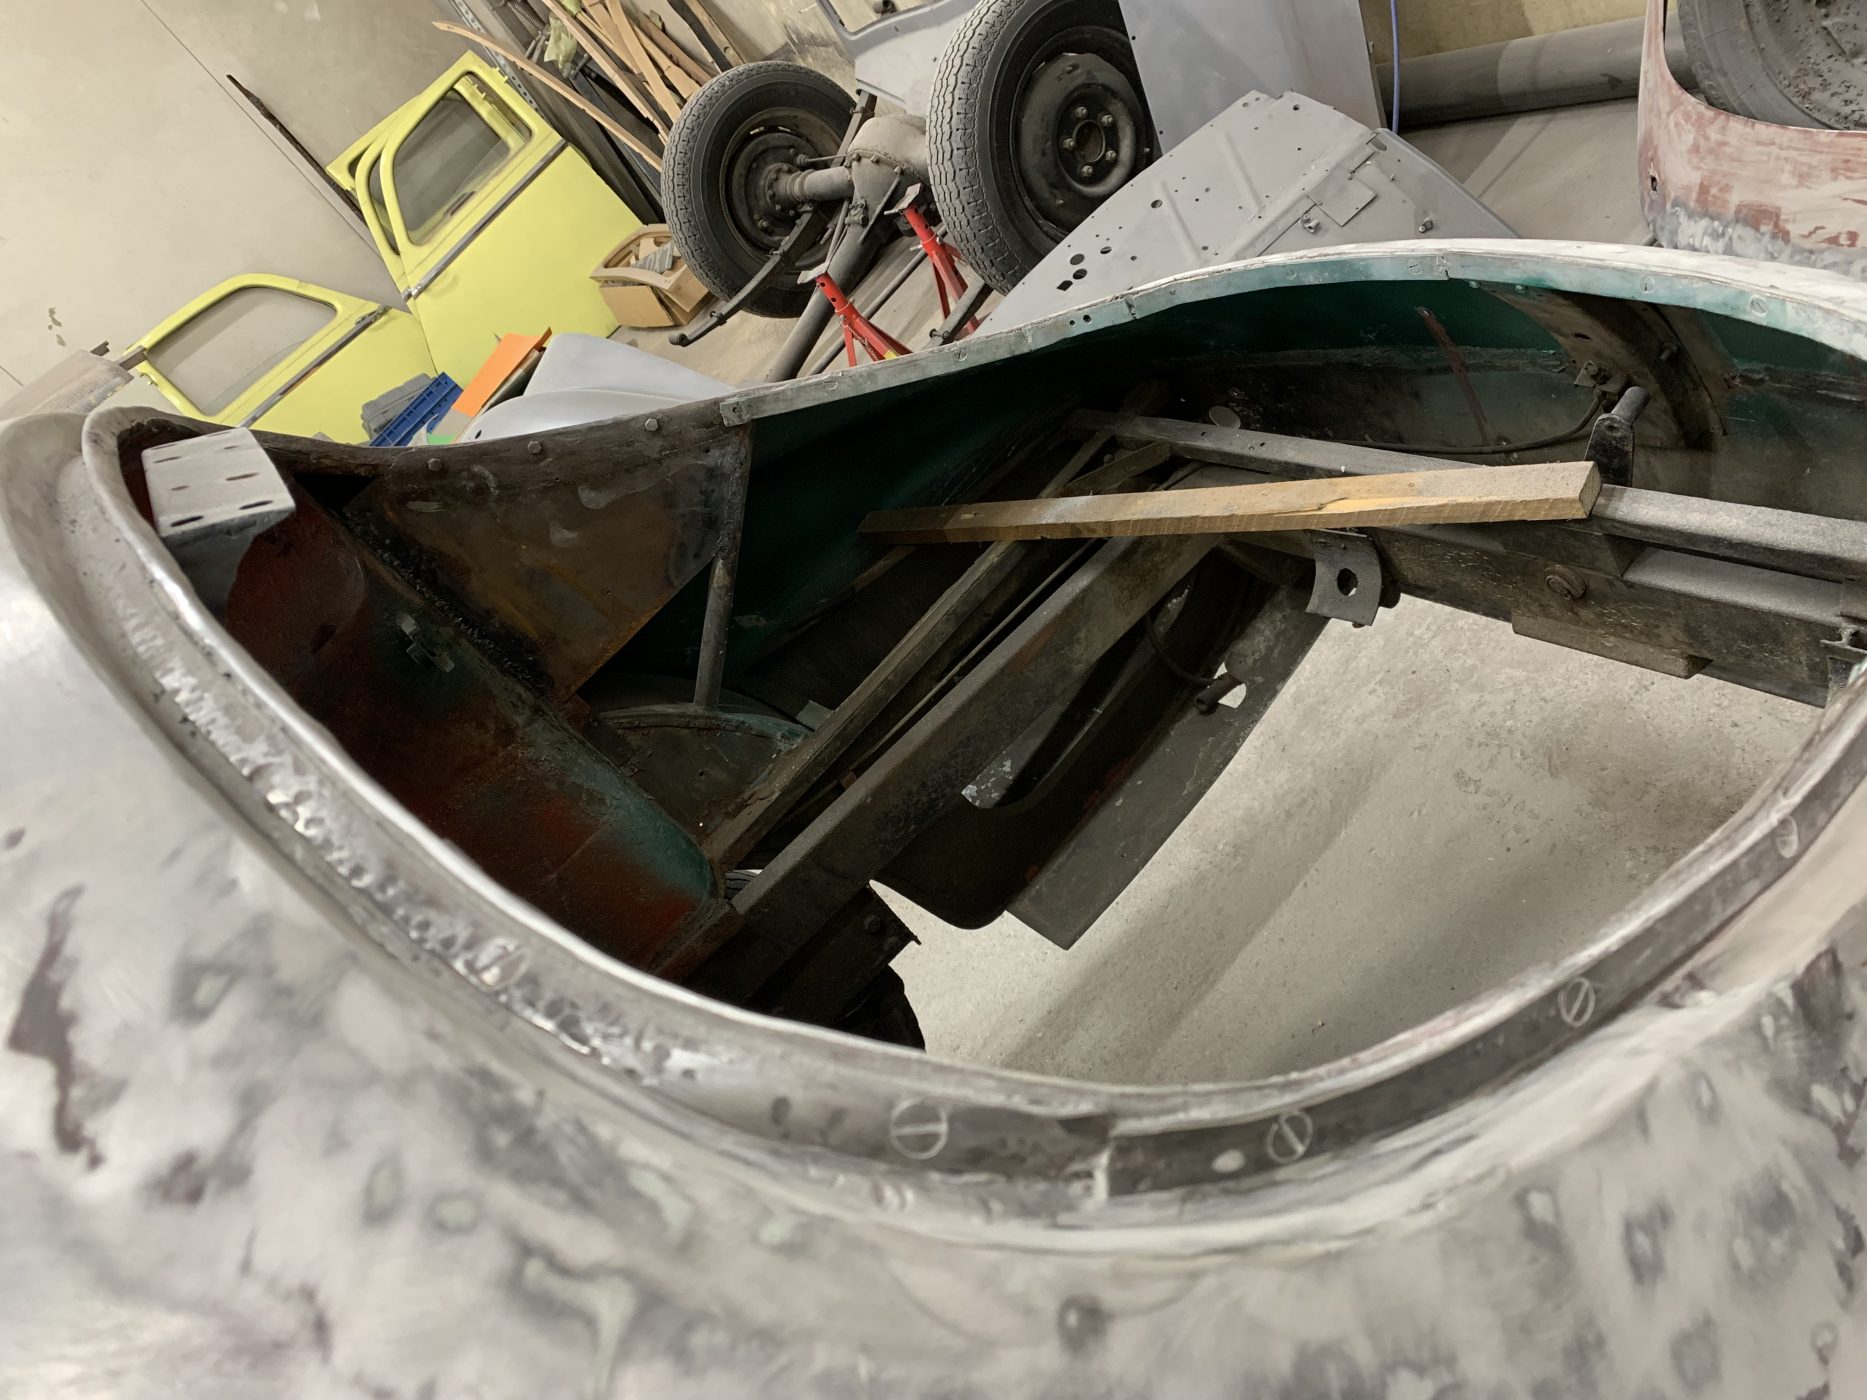
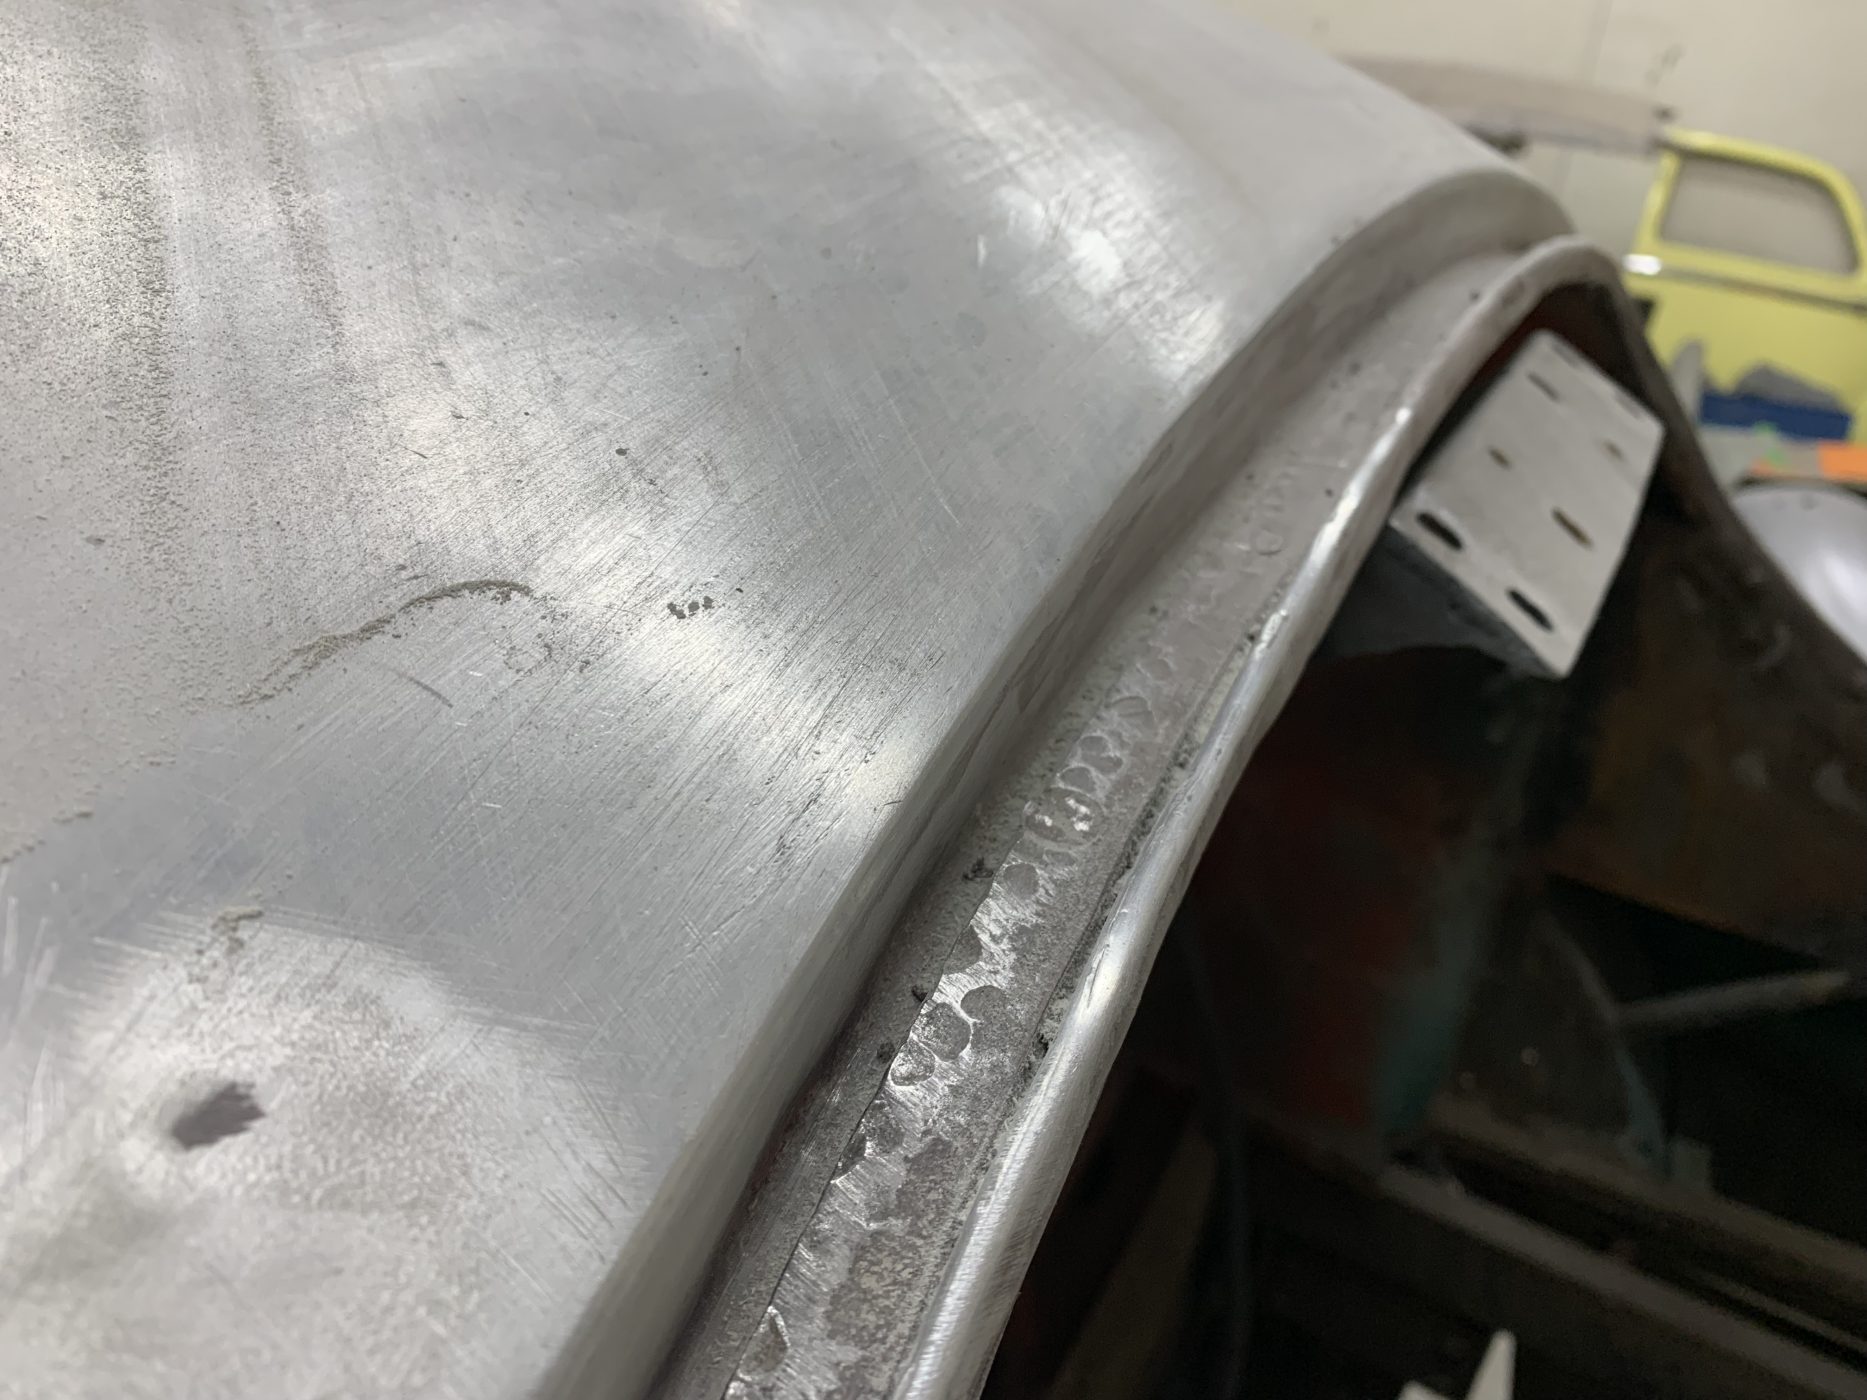
The video shows the entire area and how extra metalwork is fitted to help strengthen the aperture.
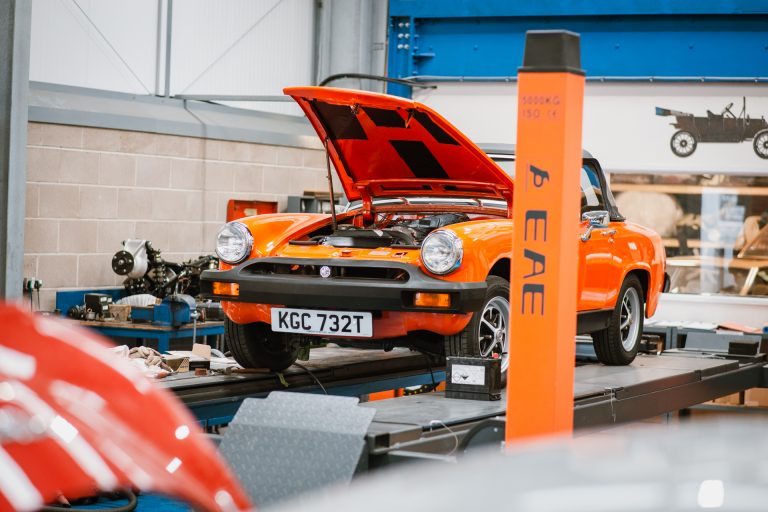
This week we’ve welcomed the 1979 Arrow Ferrari Daytona back into the workshop after it’s been in storage for a little bit of time. The last time it was in here was back in March when the body had just been painted and the seats had finished being re-upholstered. You can read about its progress so far here. Stay tuned for updates!

You can read about the full story of this car here!
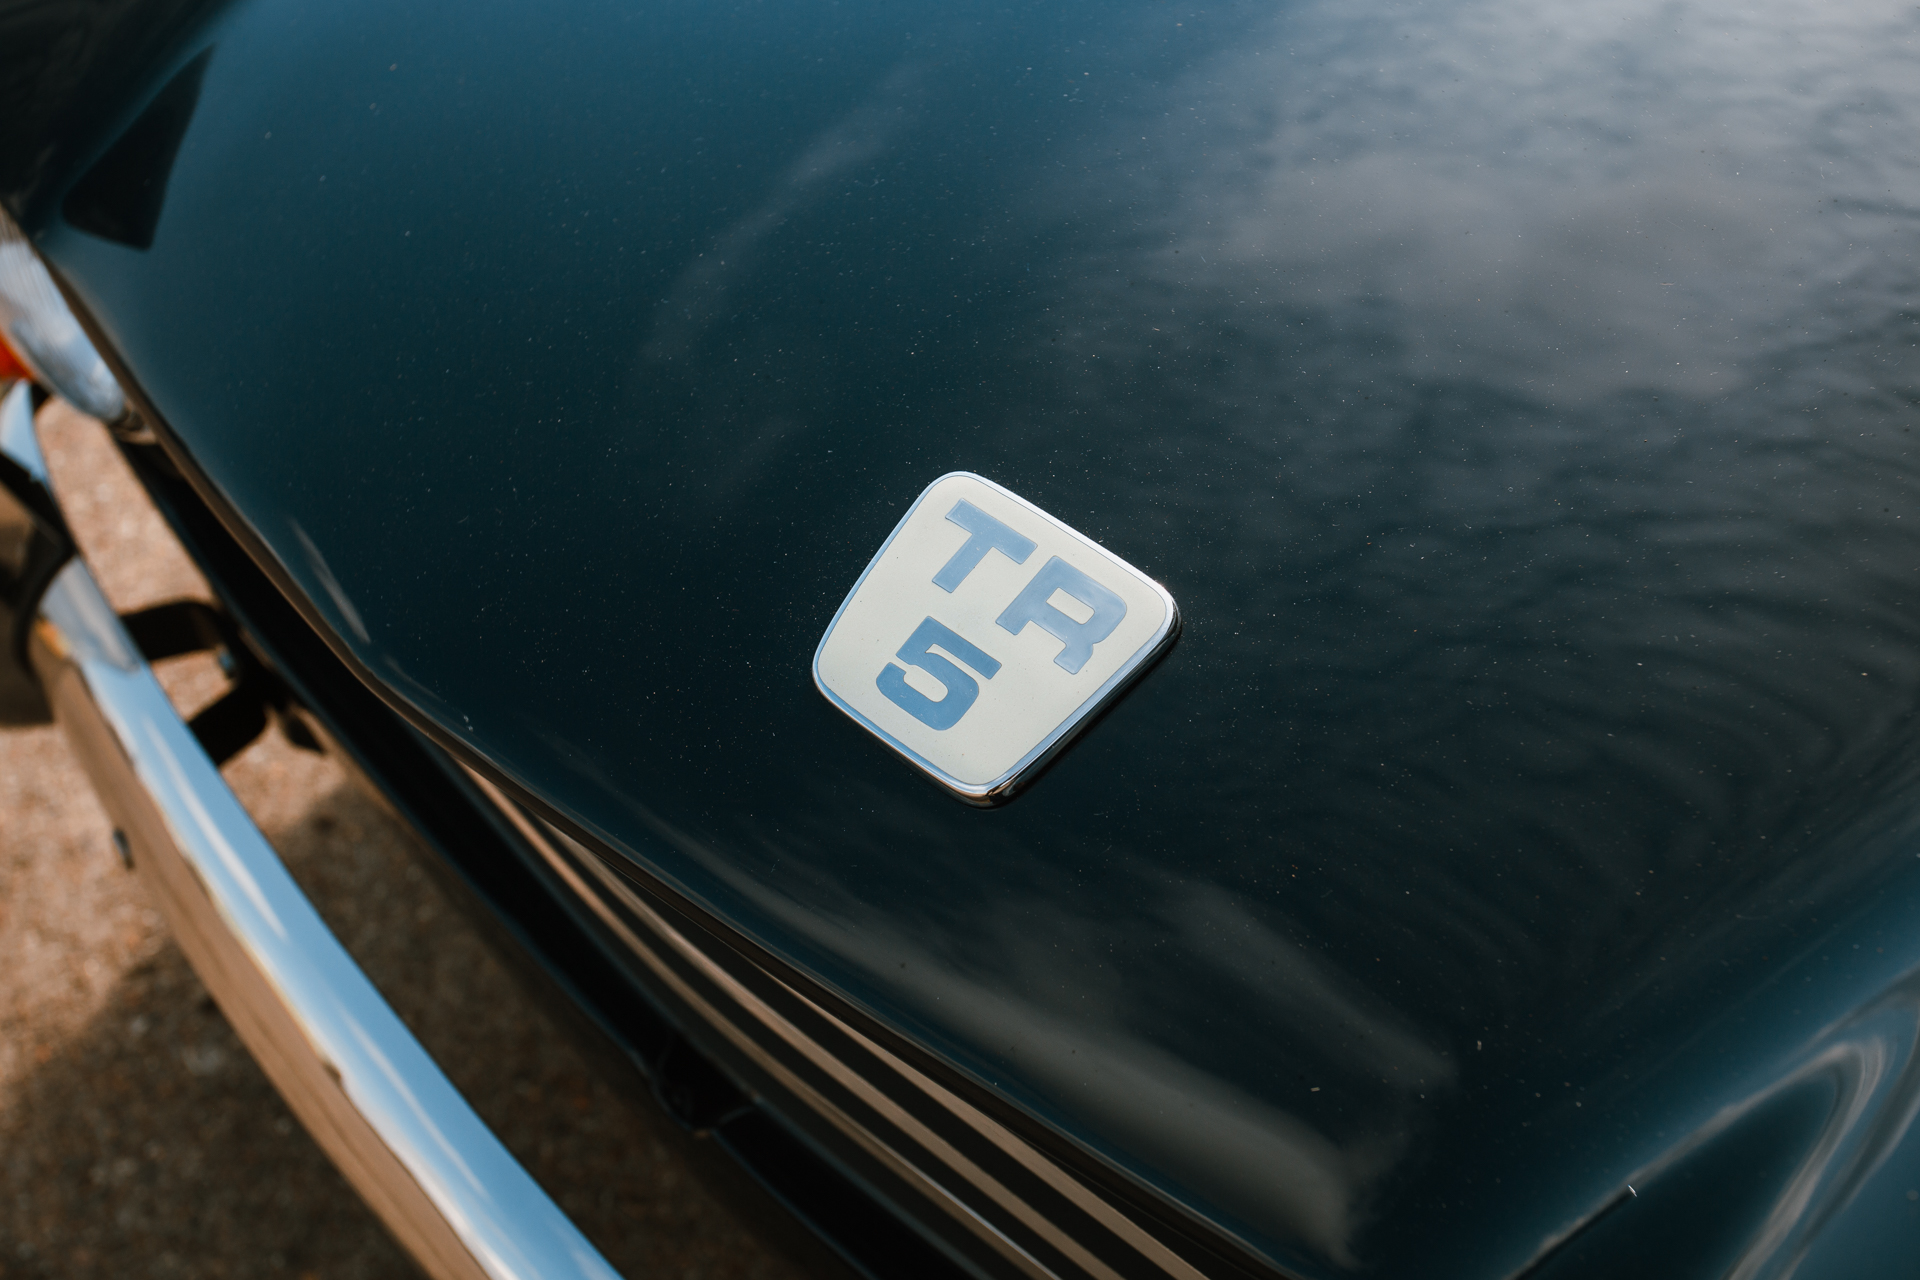
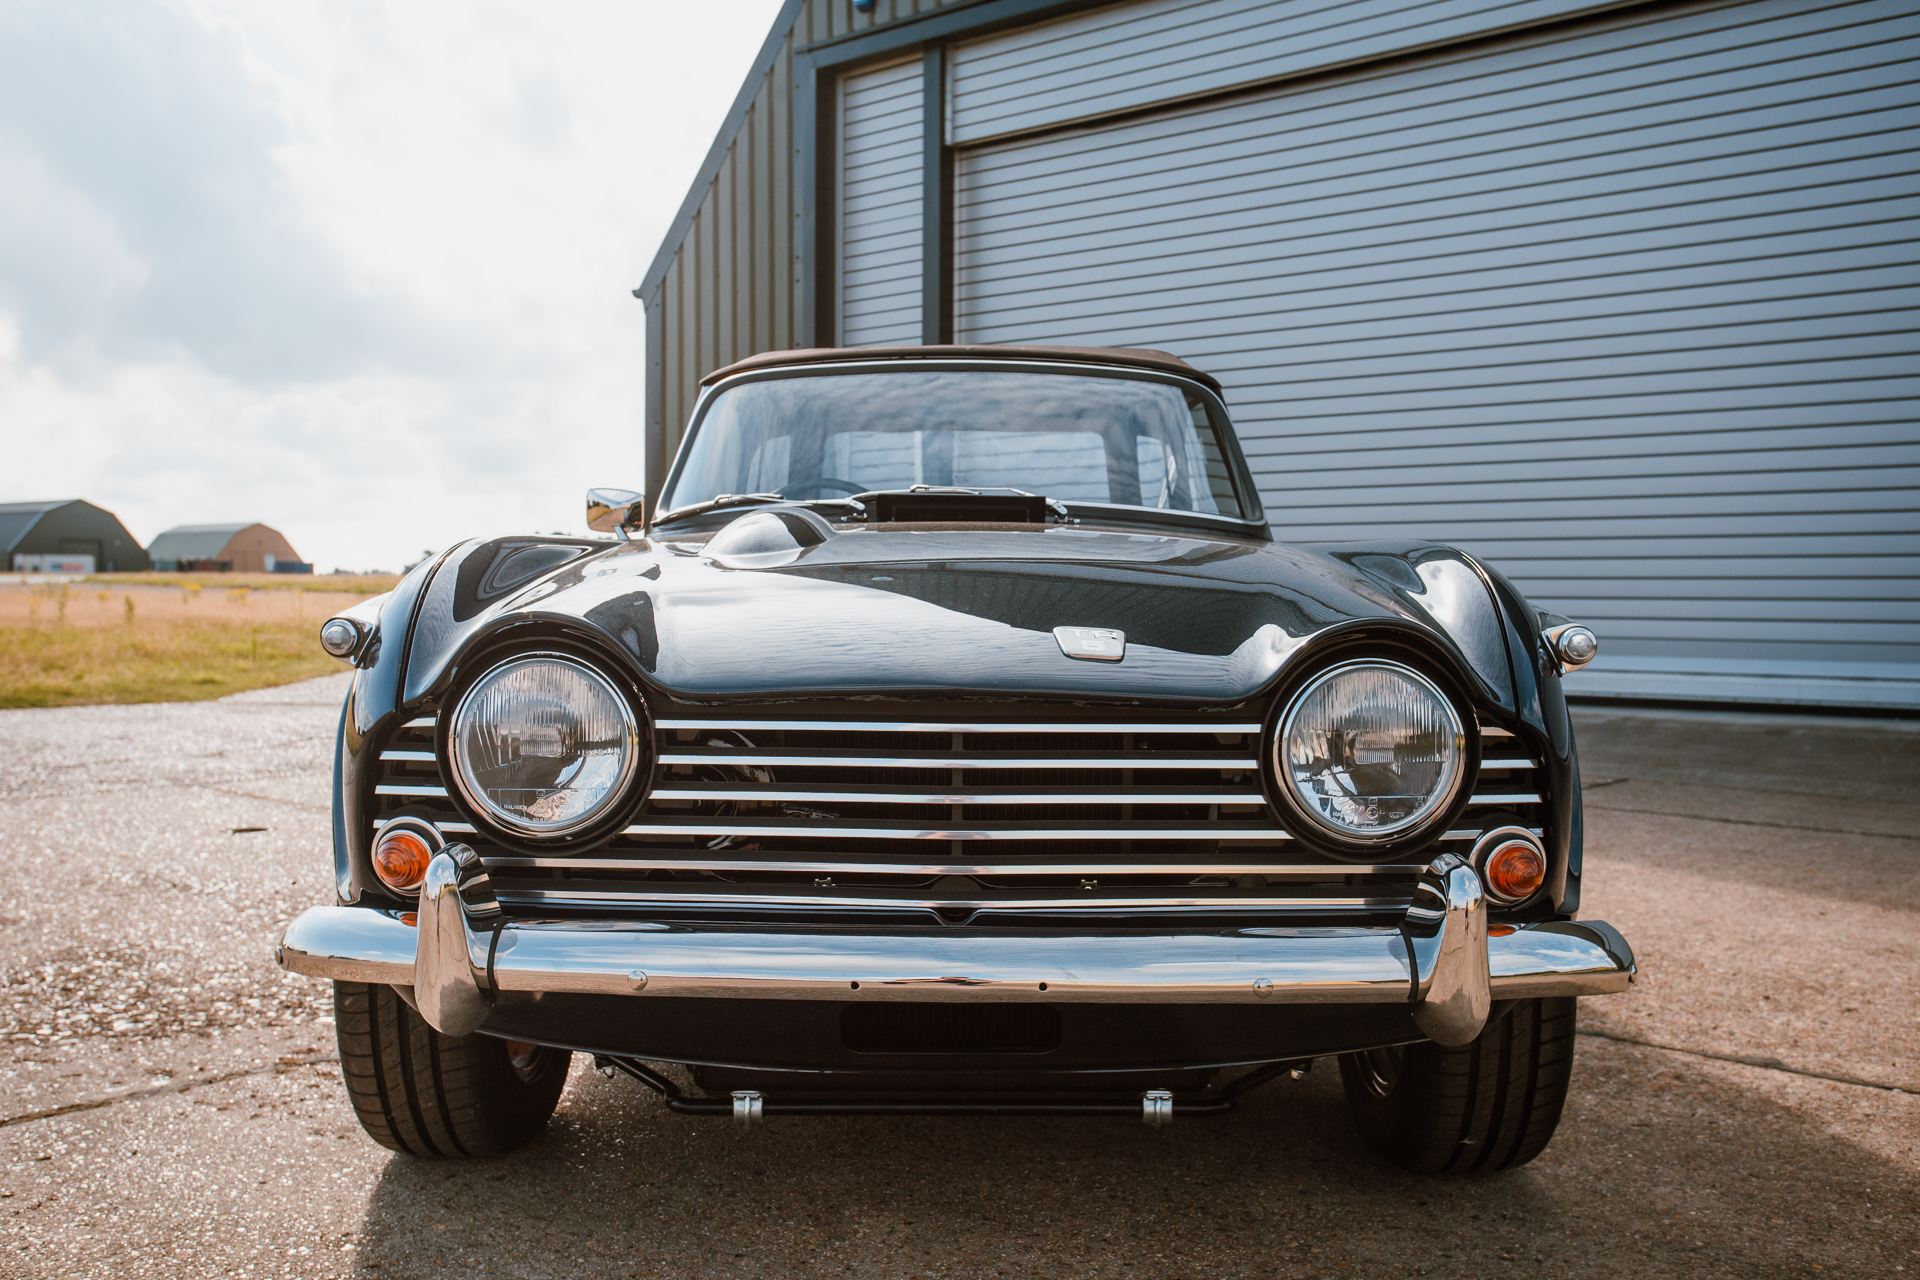
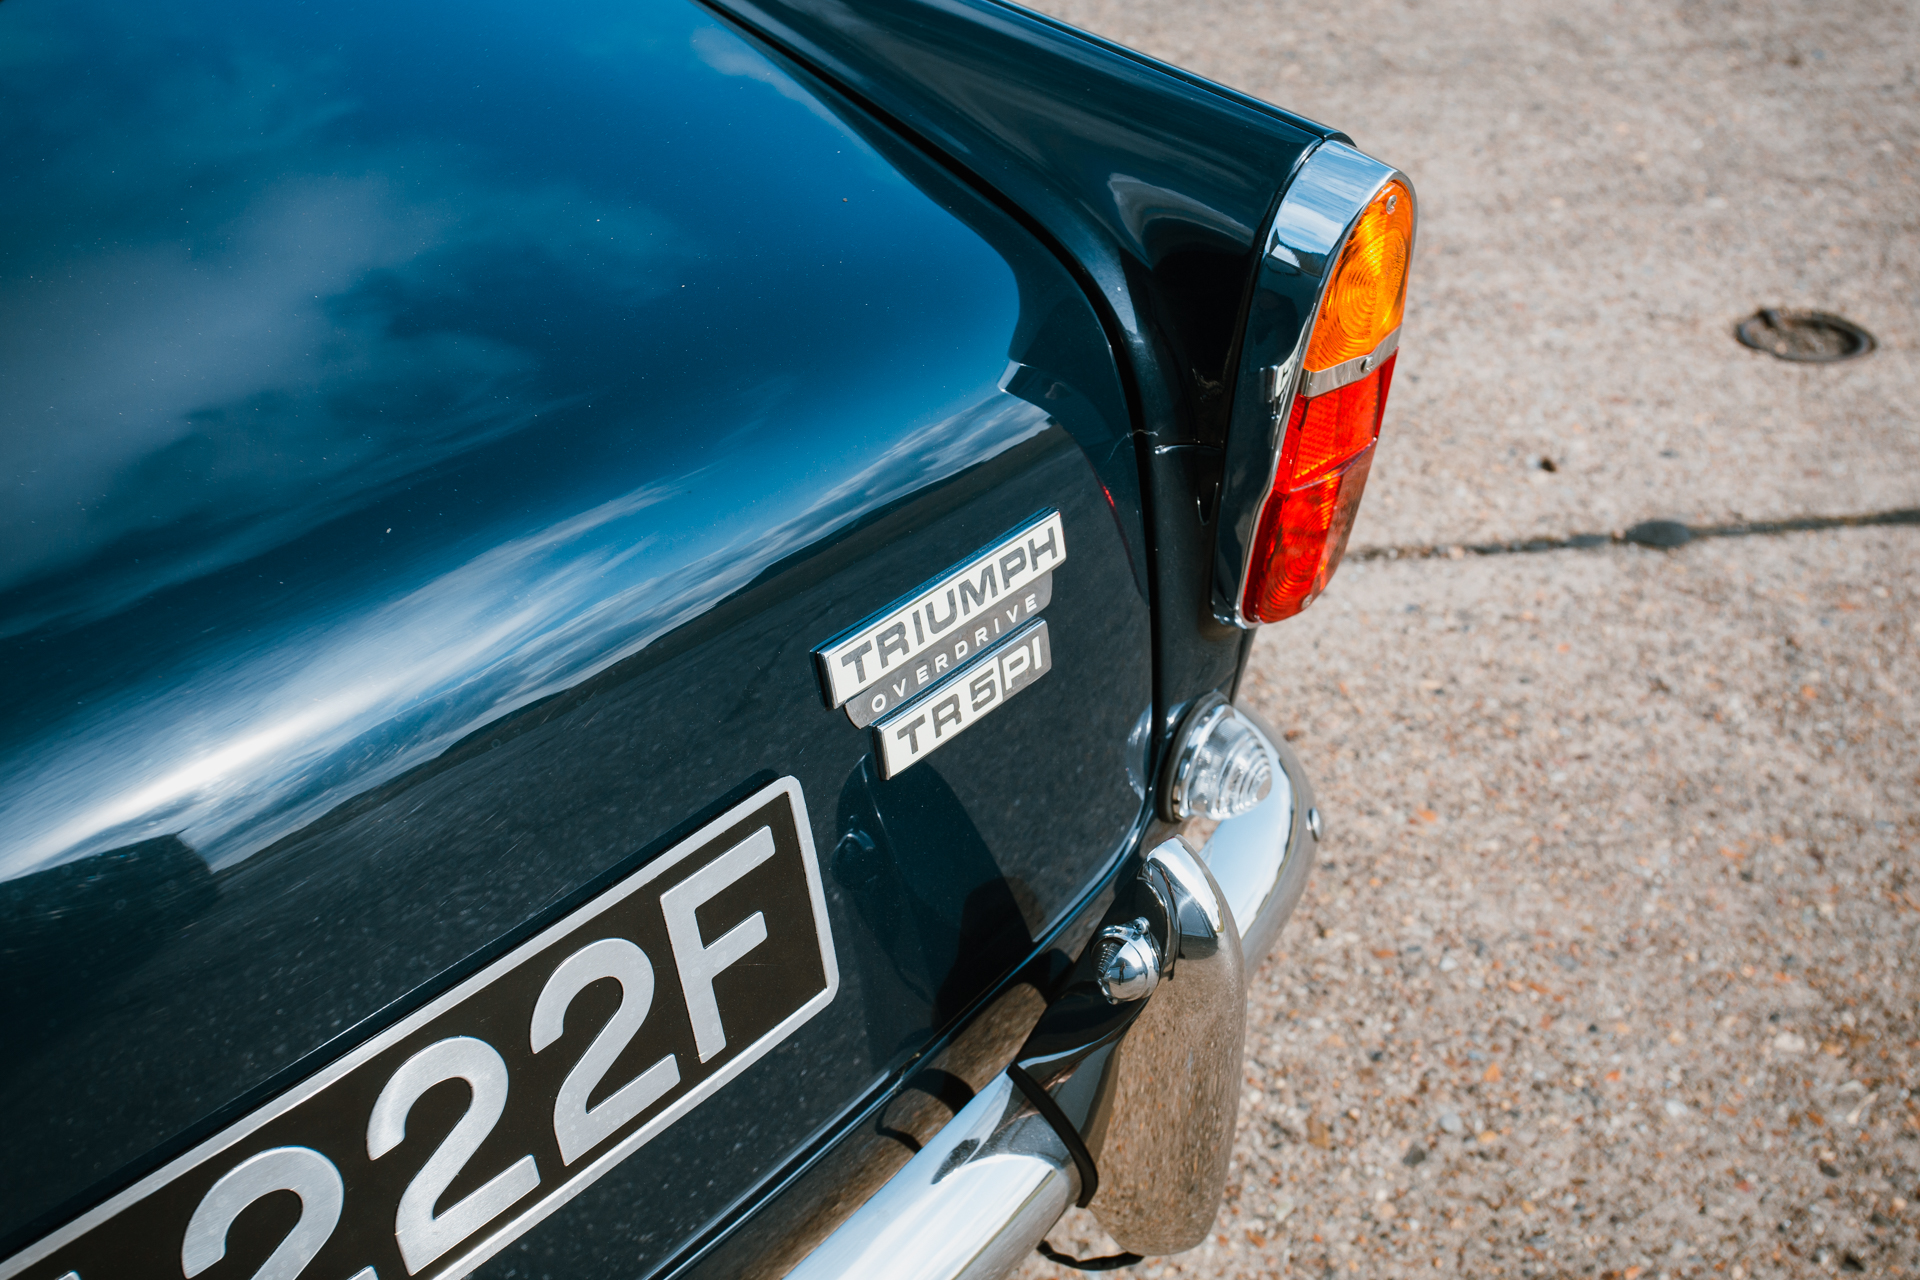
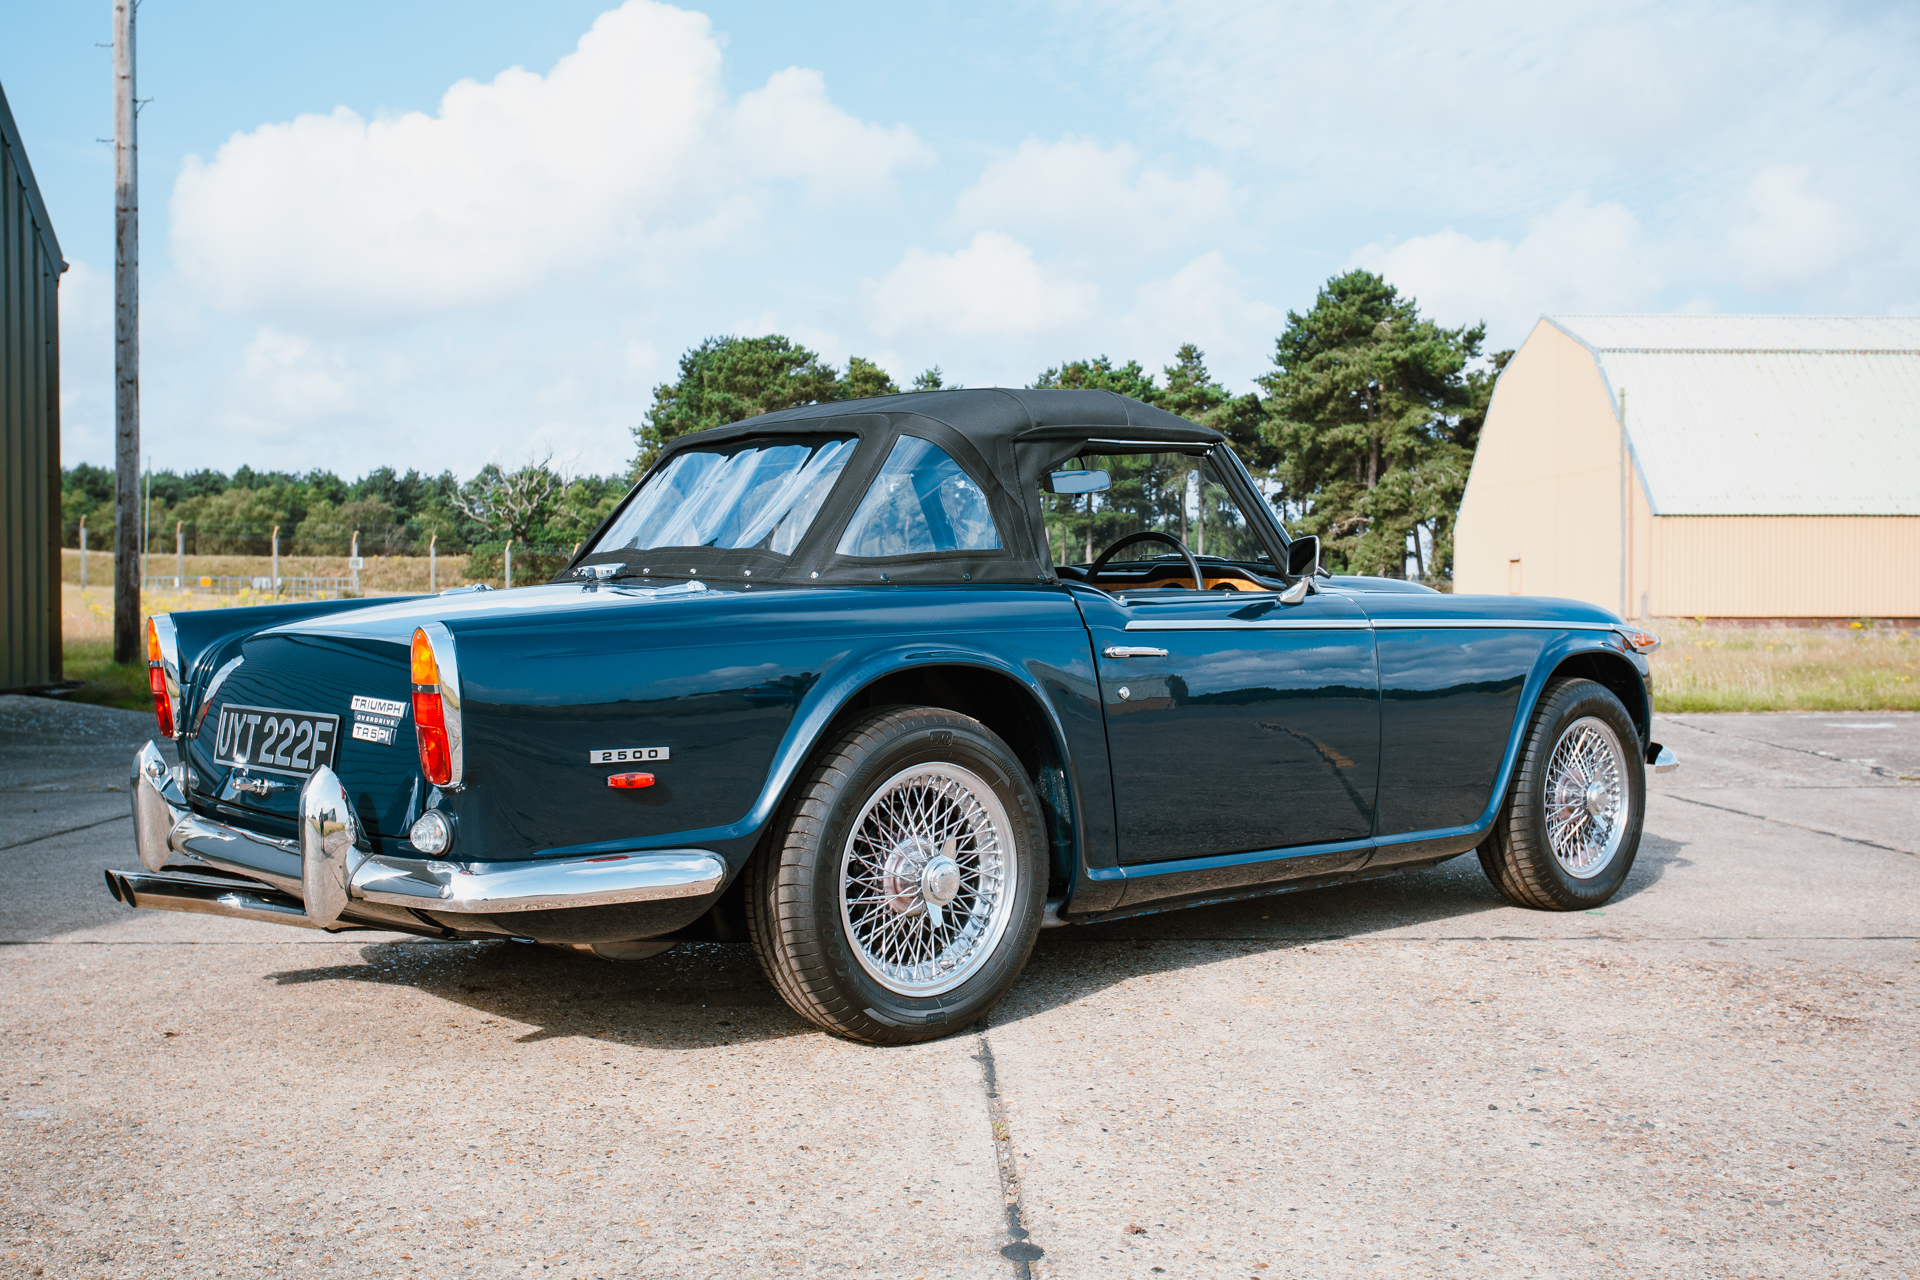
At the start of November 2019, this 1968 Triumph TR5 came into our workshop as a part restoration. In January 2020, the components were stripped to assess which parts could be refurbished and which parts needed to be replaced. In February 2020, the interior work began and the chassis was built up. In March 2020 the seats were finished, the body shell was repaired and we welcomed in a delivery of parts. In April 2020 more body shell repair work was carried out. In October 2020 the body was mounted onto the chassis and electronics were carried out. In November 2020 heat resistant paint was applied to areas. In January 2021 engine bay work was carried out, work on corrosion was carried out, colour matching to the paintwork was done and windows were fitted. And from then to June this year, the finishing touches were put into place.
Fast forward to today, where the car is now complete and ready to go!

The 1973 Triumph Stag has now come to its completion stage! It’s had quite the journey! You can read in full detail about all the work that was done to it here.
In March this year, the journey began with the interior restoration. The seats were all stripped apart and the frames were given a spruce up. In April, the hood frame was given a clean, inspection and repaired. Also in April, the kits arrived for the new interior and Kath and Brian began the process of fitting it all. In May more of the new interior was put in, including the door cards, carpet and tonneau cover. Also in May paintwork was done, oil leaks were inspected, carburettor work was carried out and the steering rack was overhauled. In June a new ball point was installed, we waited for wipers and a bumper to turn up and the heater and gearbox were given some attention!
So after all that work, it’s now good to go!
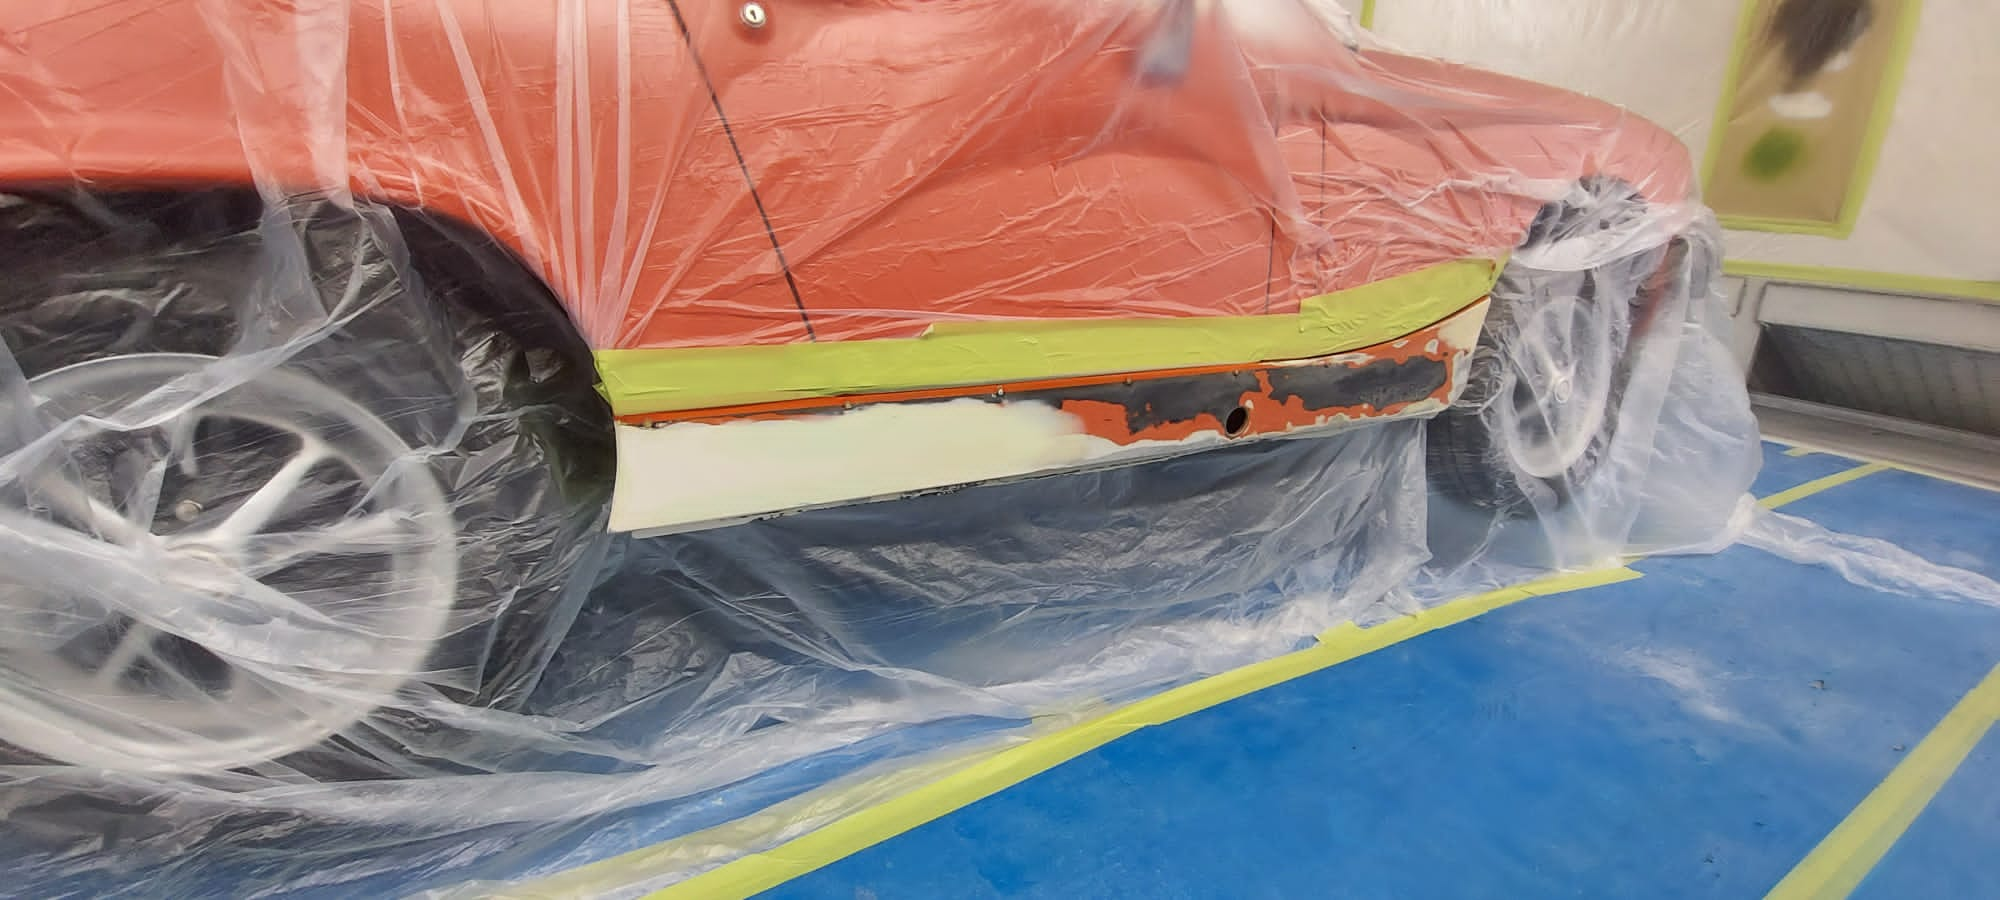
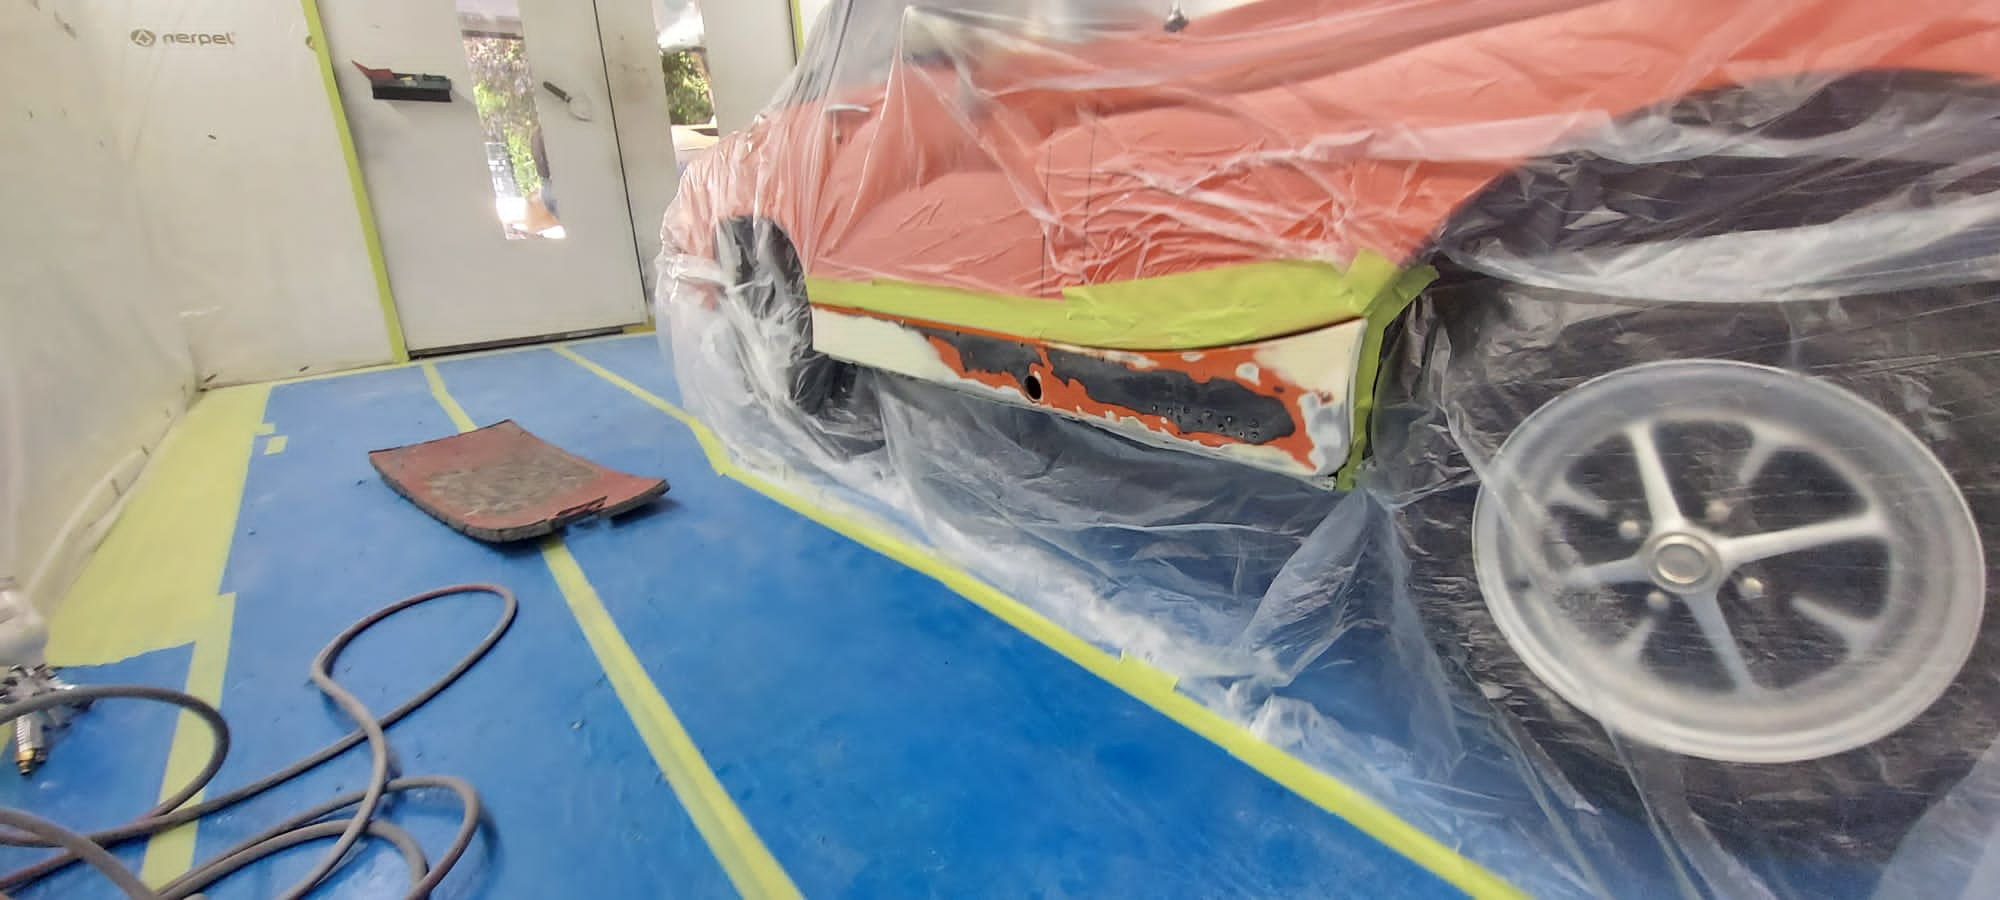
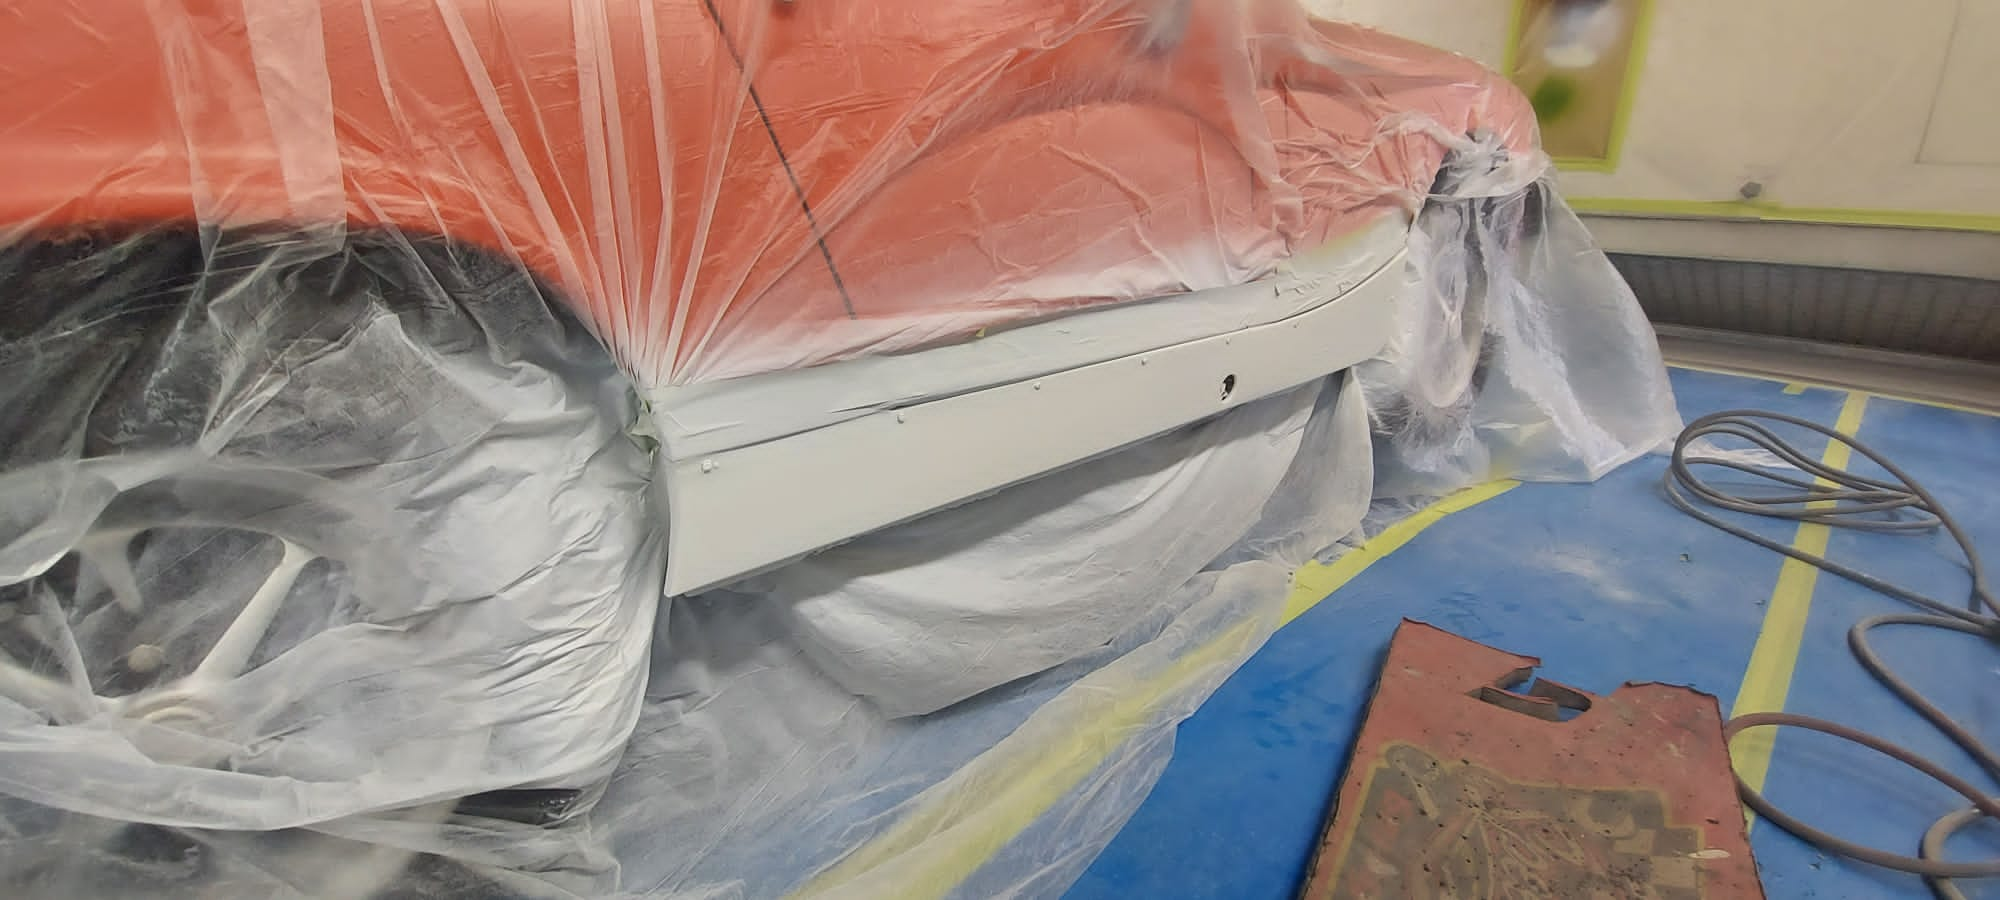
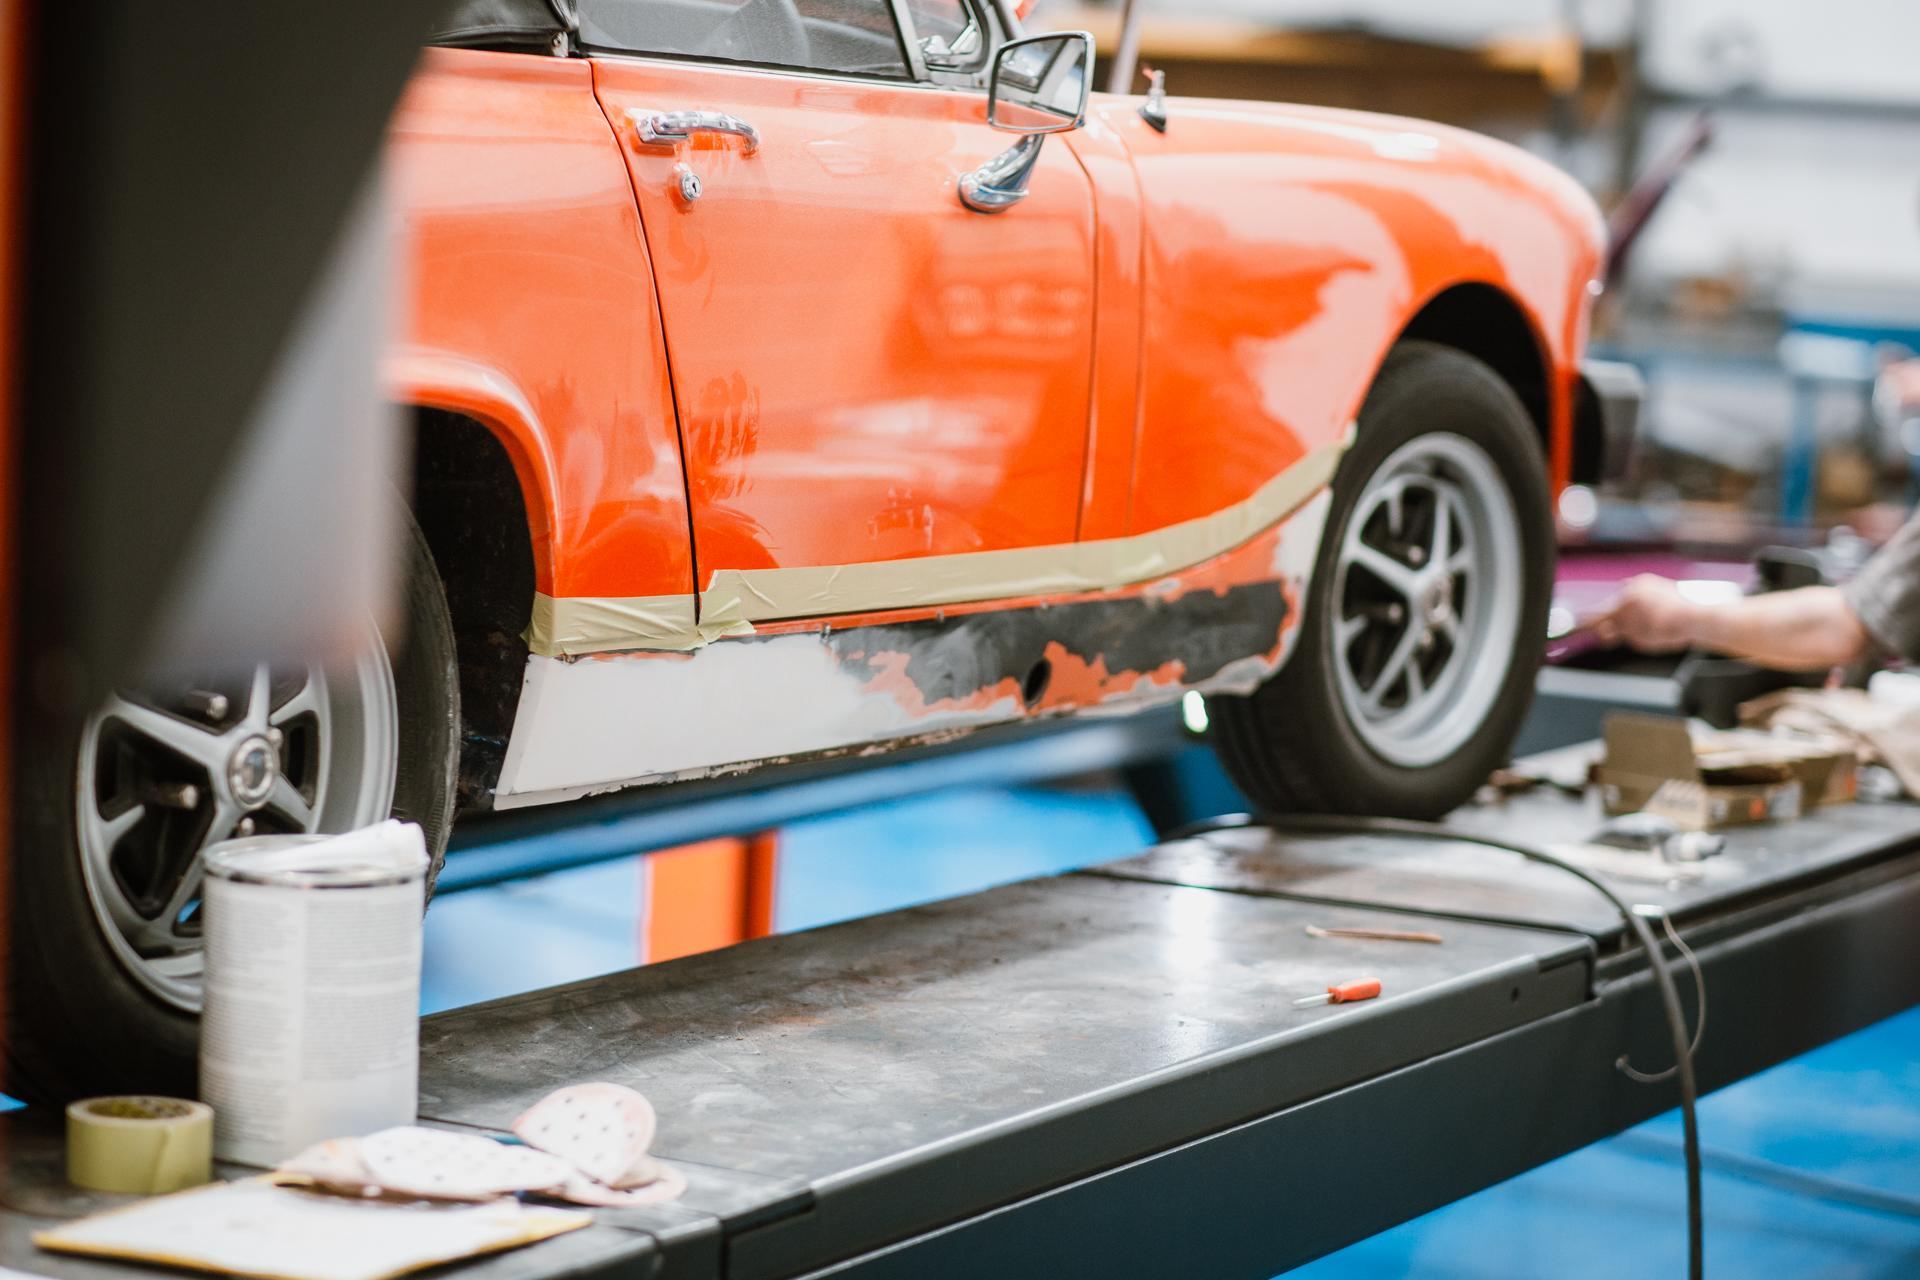
After Scott’s repair work on the offside sill of the blaze orange 1979 MG Midget, the car has since been taken into the paint shop where it had the sills re-painted and the underneath was sealed.
This car was a competition car, back on the 26th of July, and we’ll be delivering it to its rightful winner tomorrow!
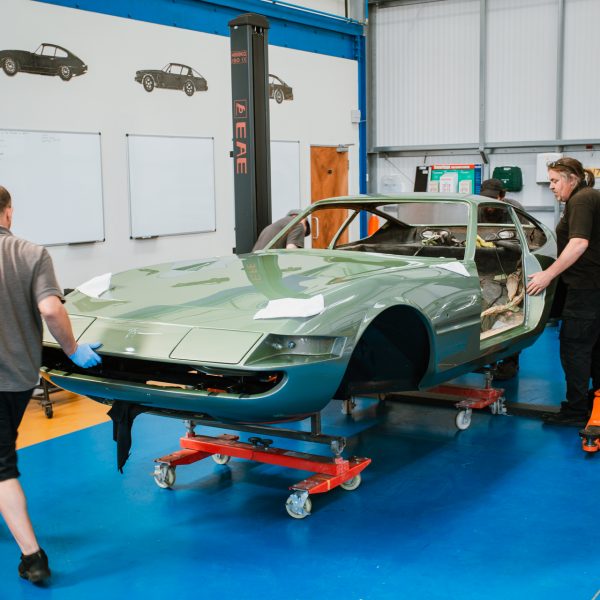
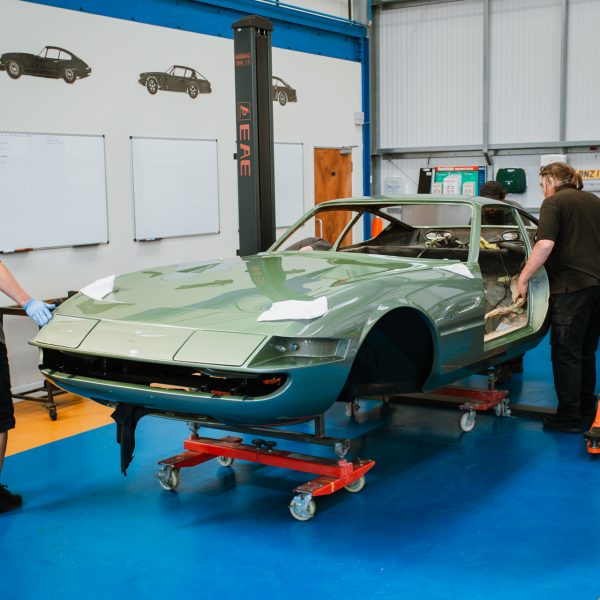
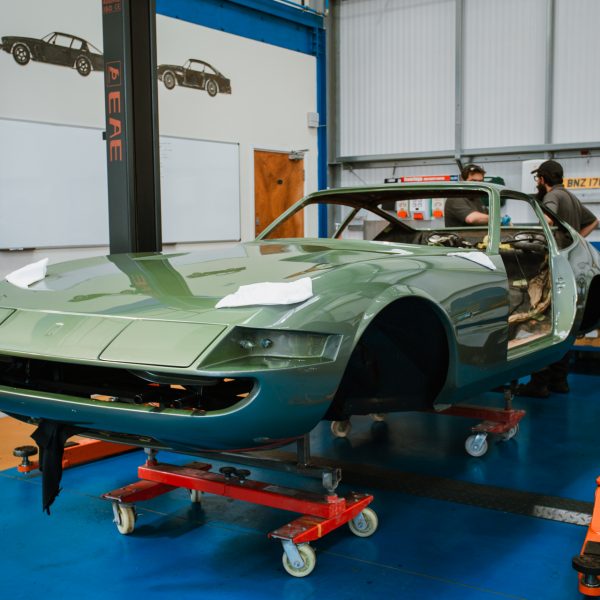
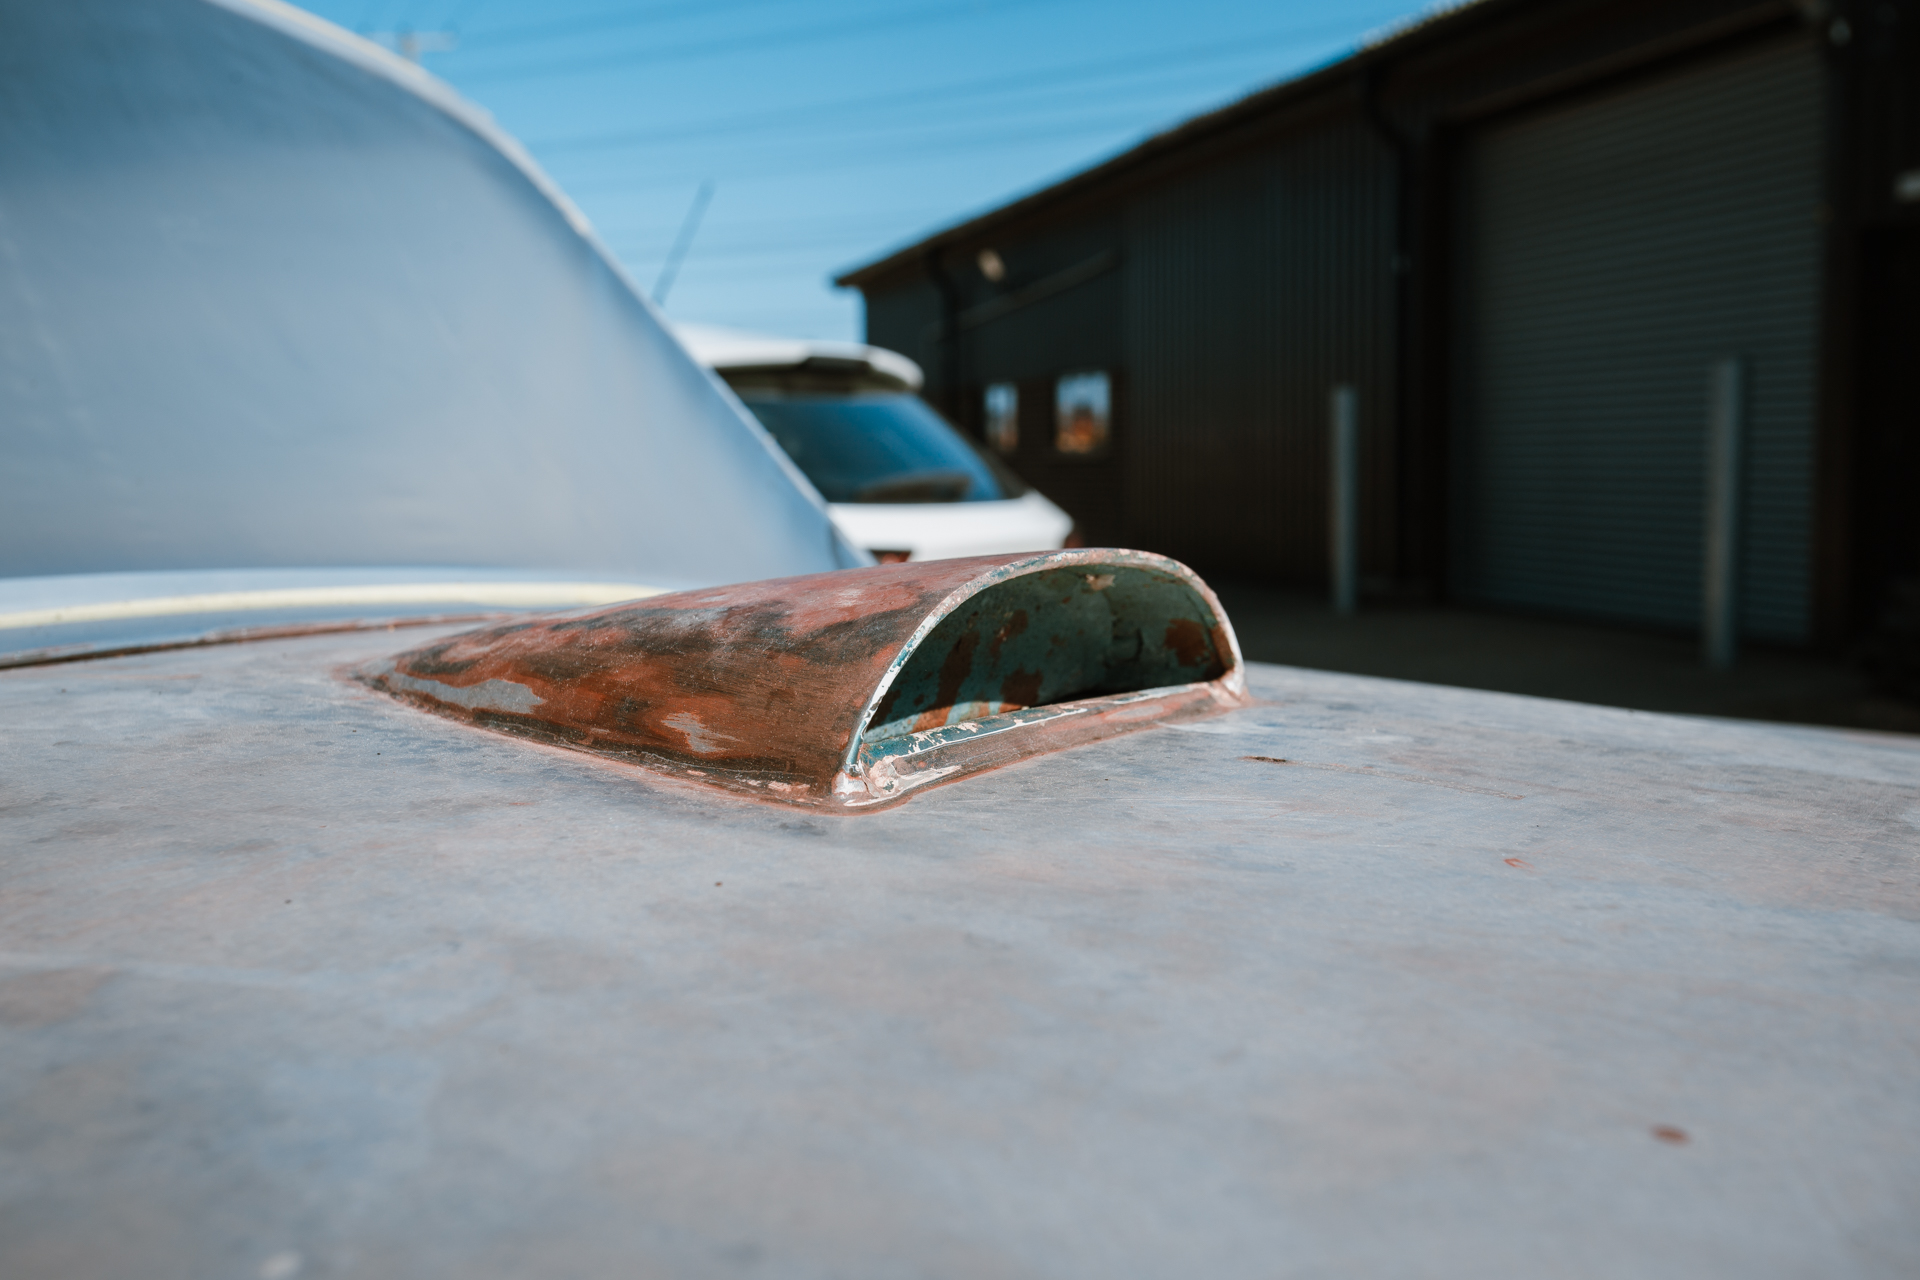
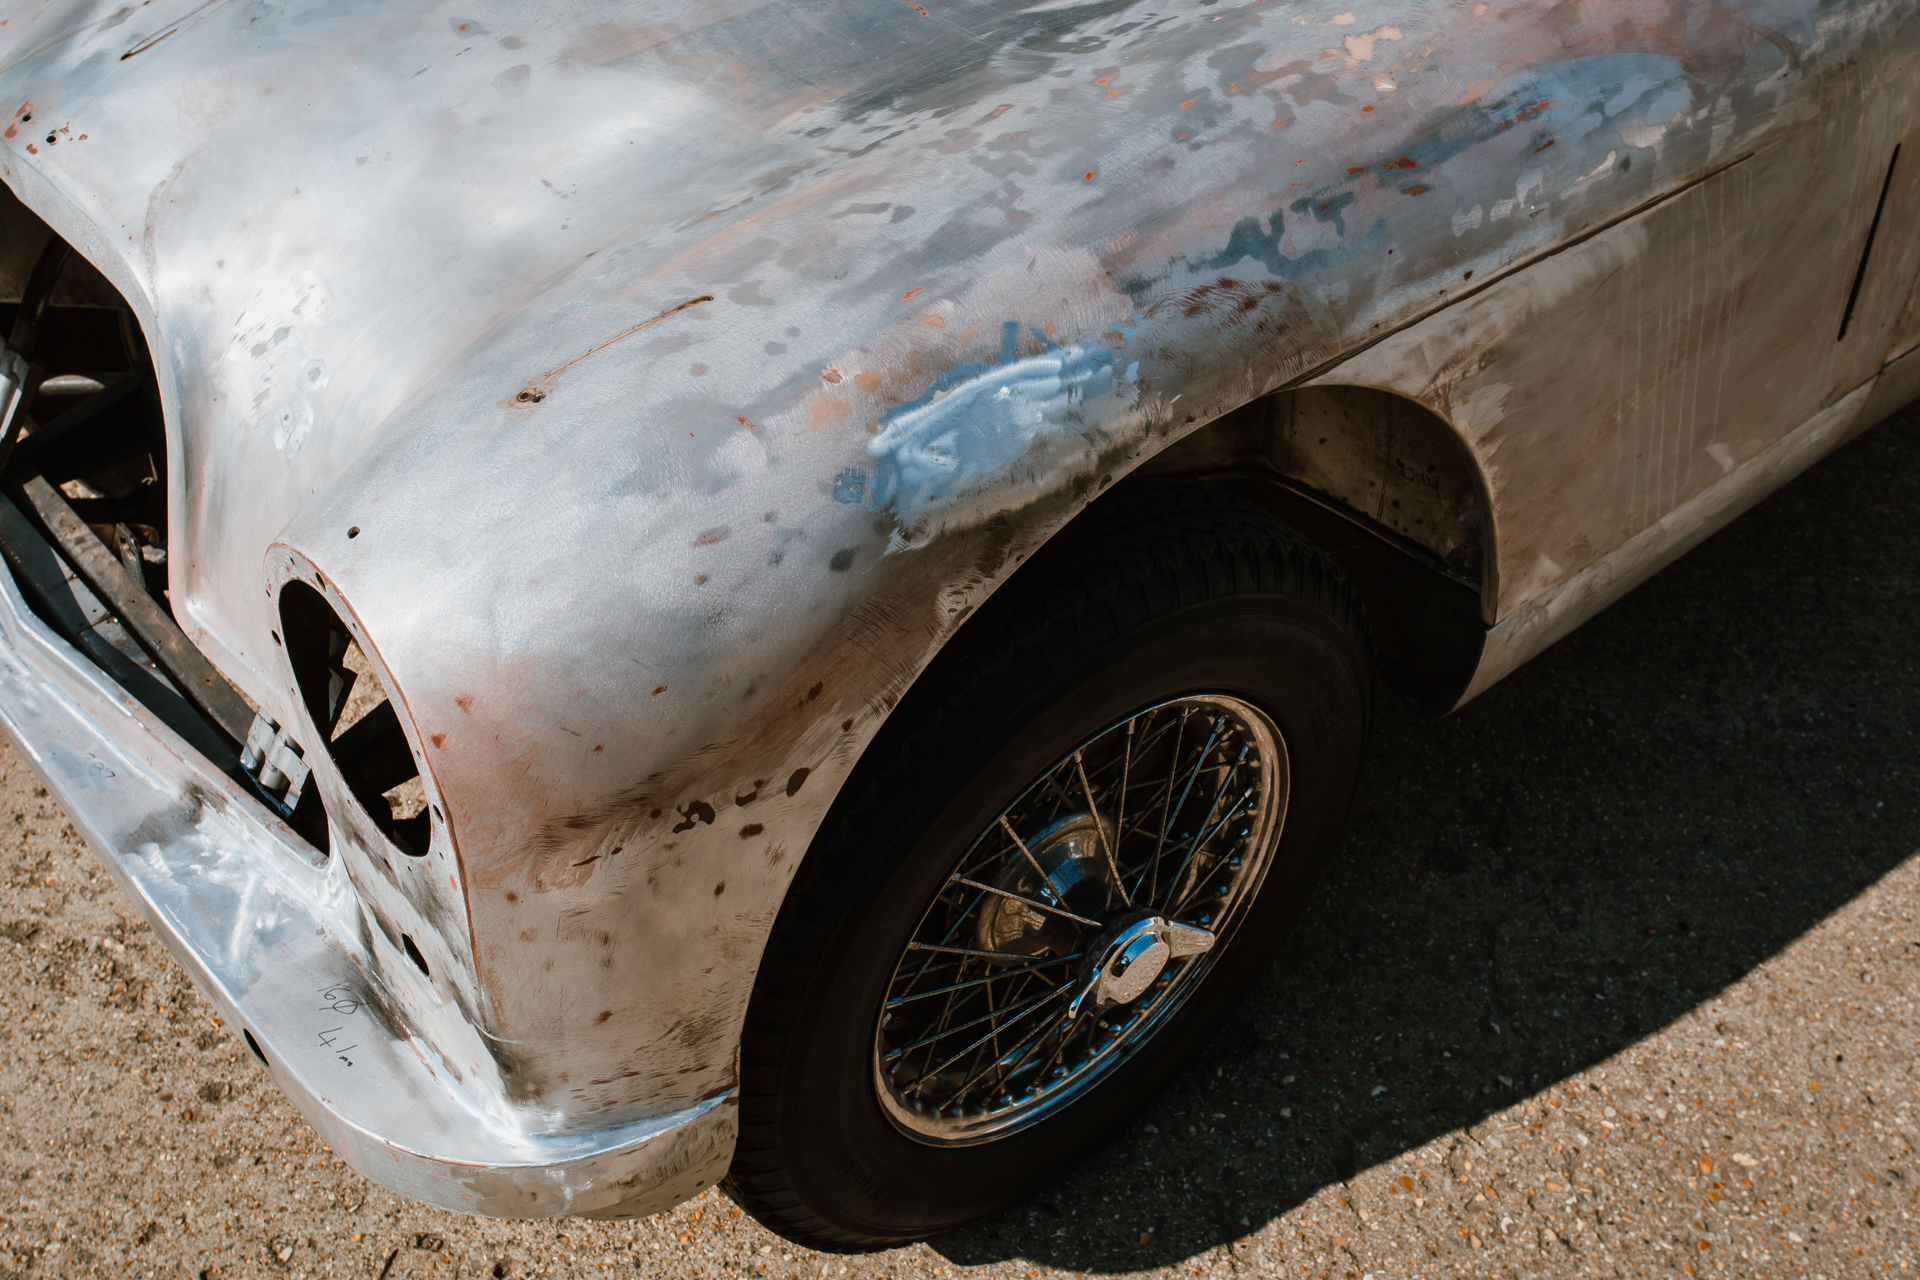
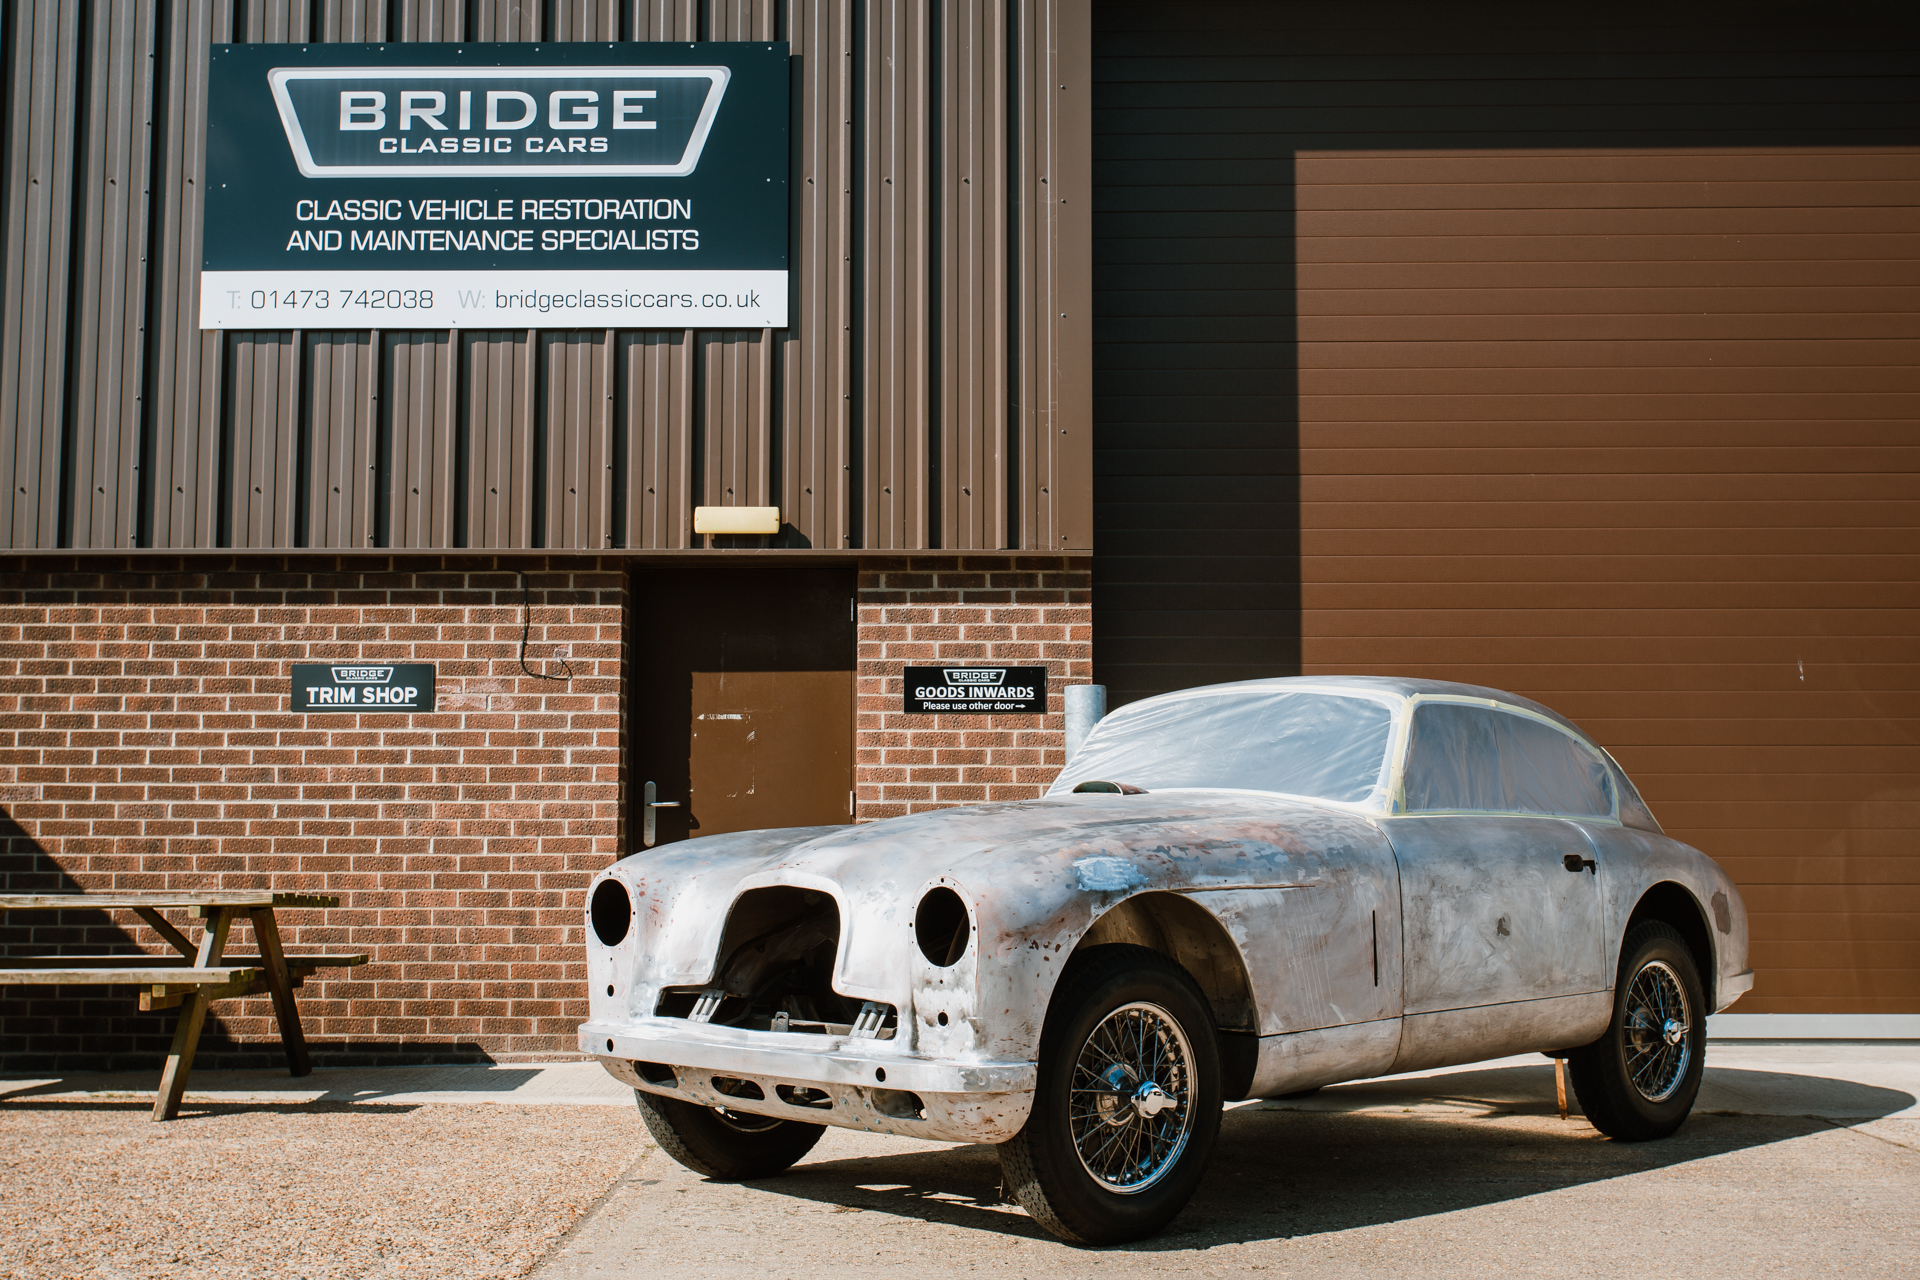
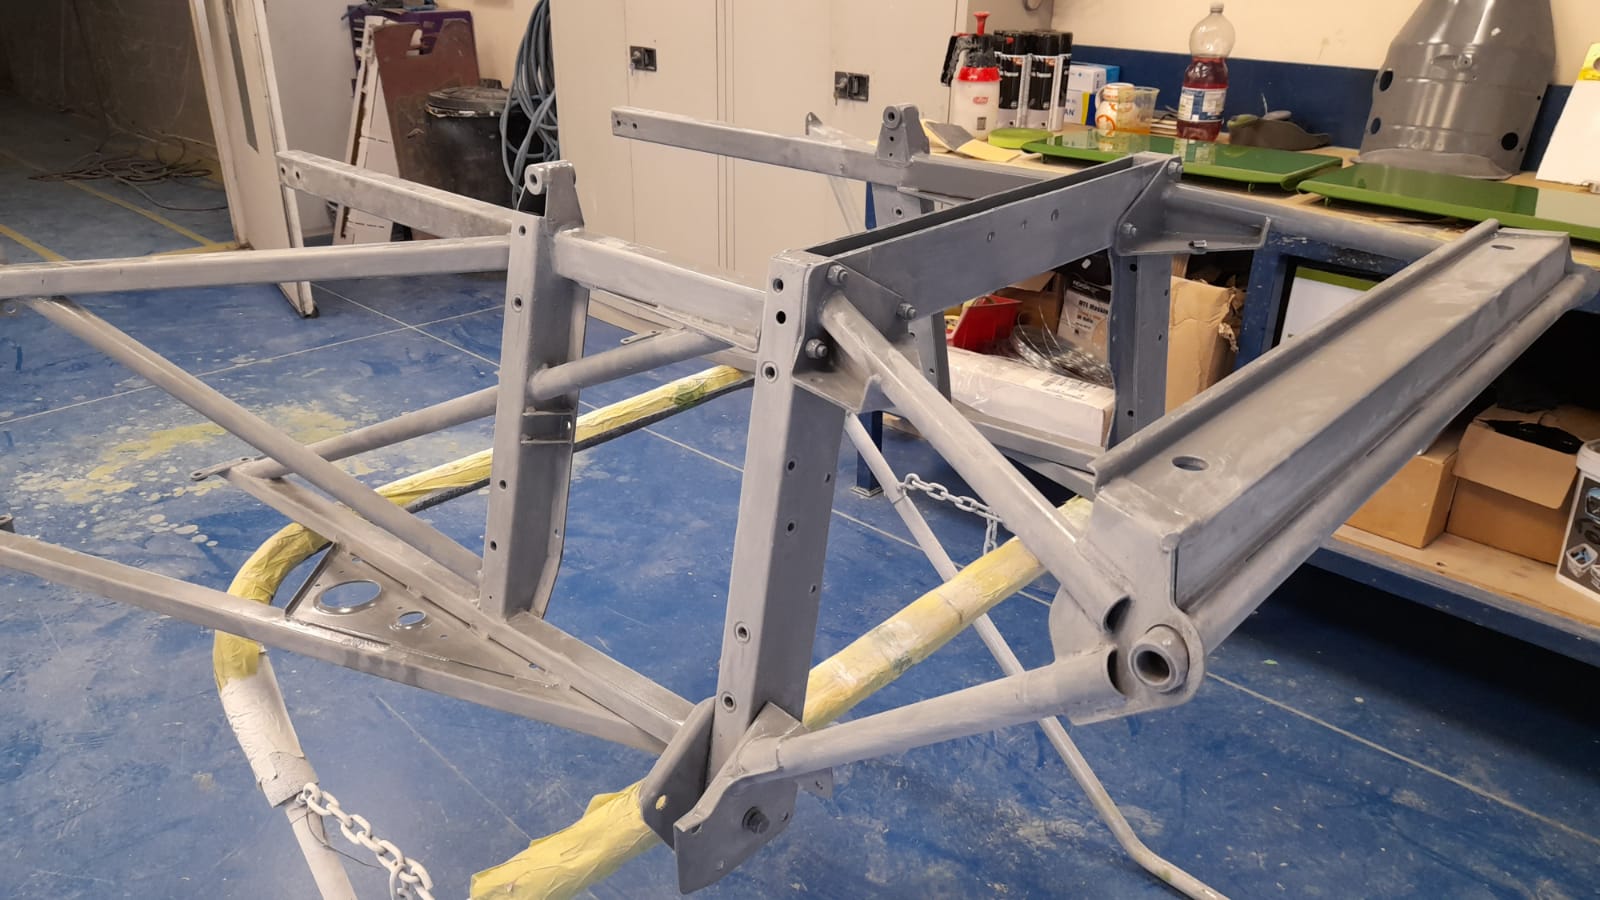
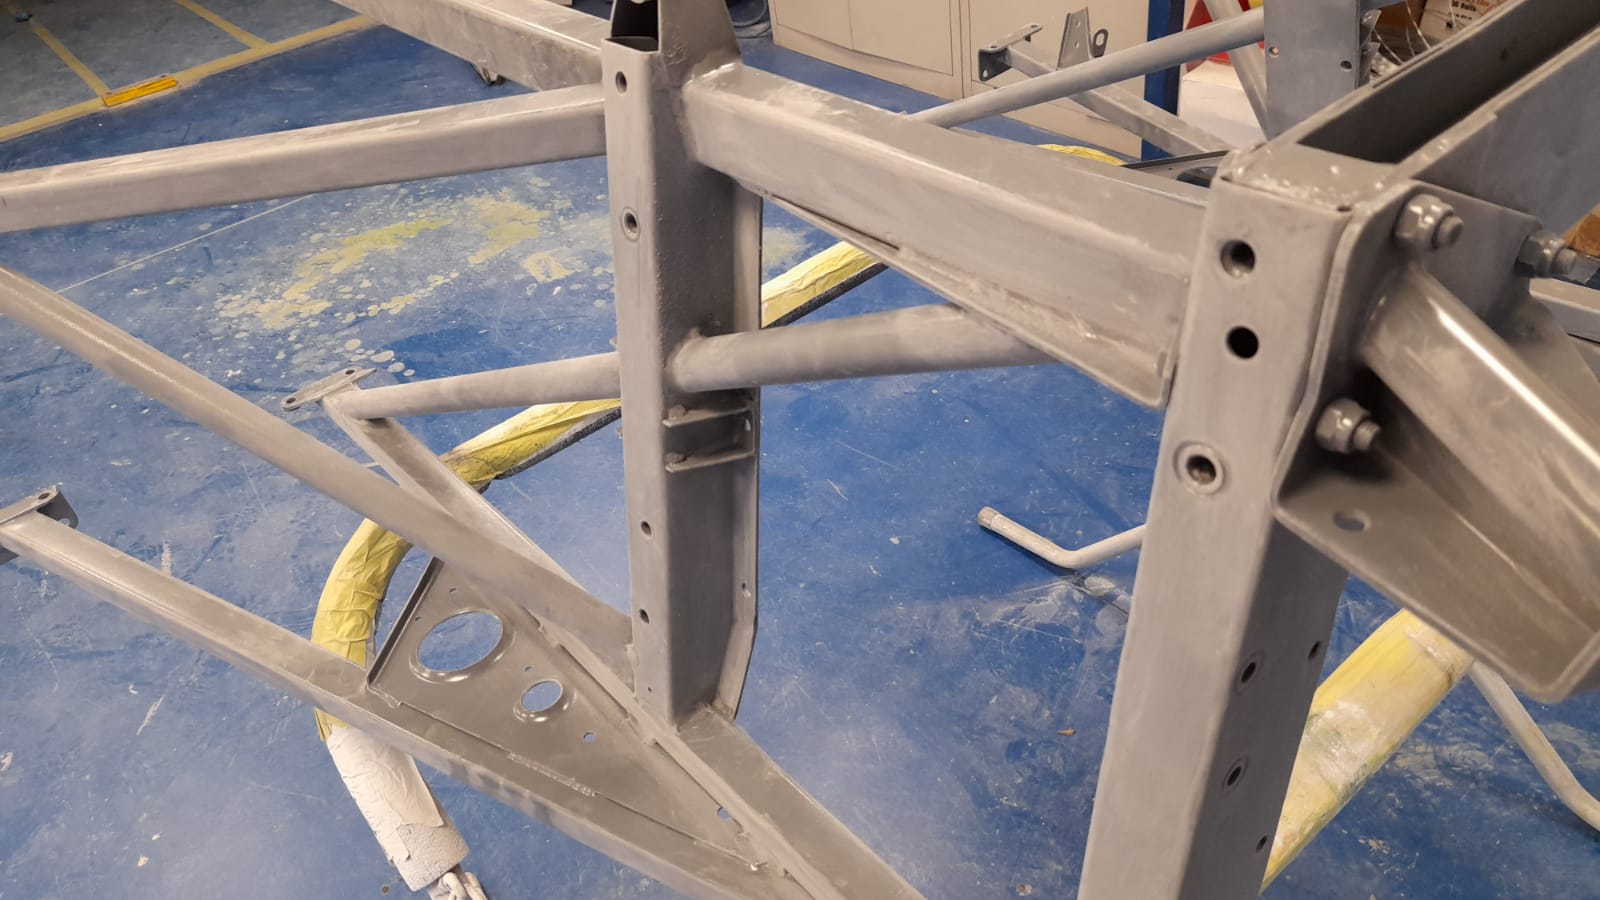
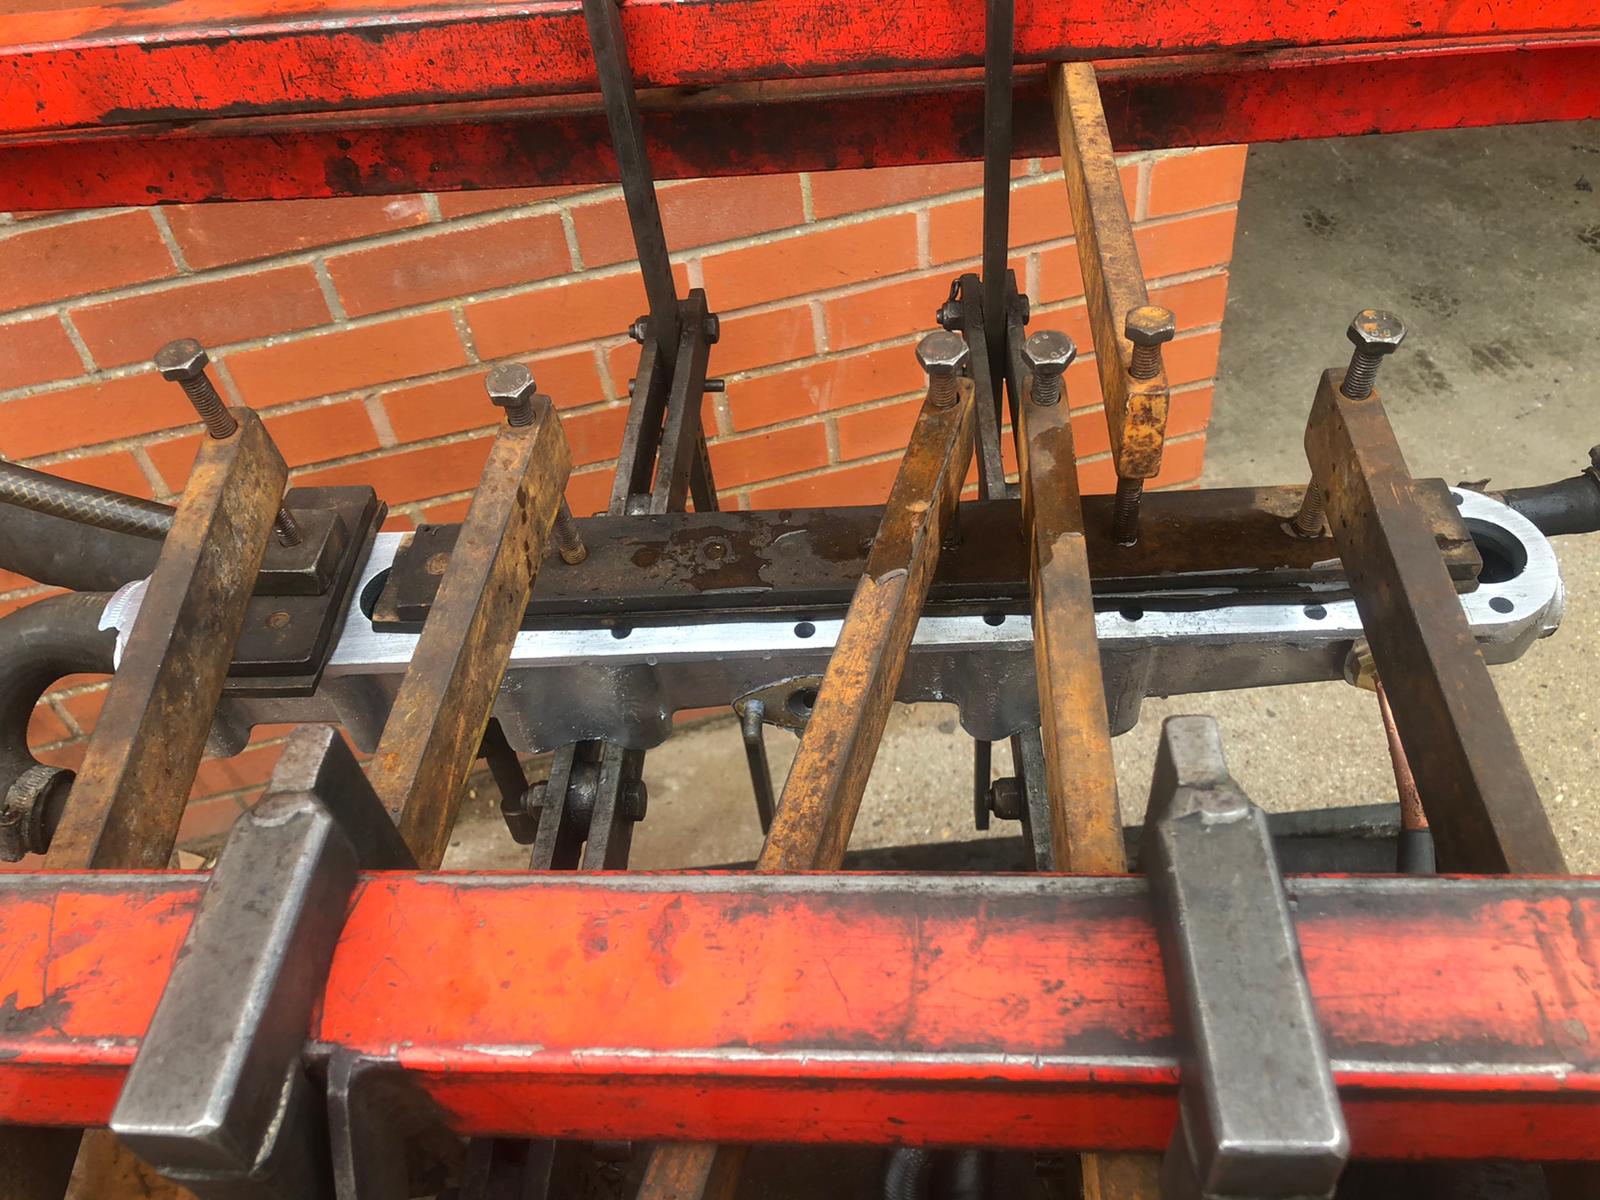
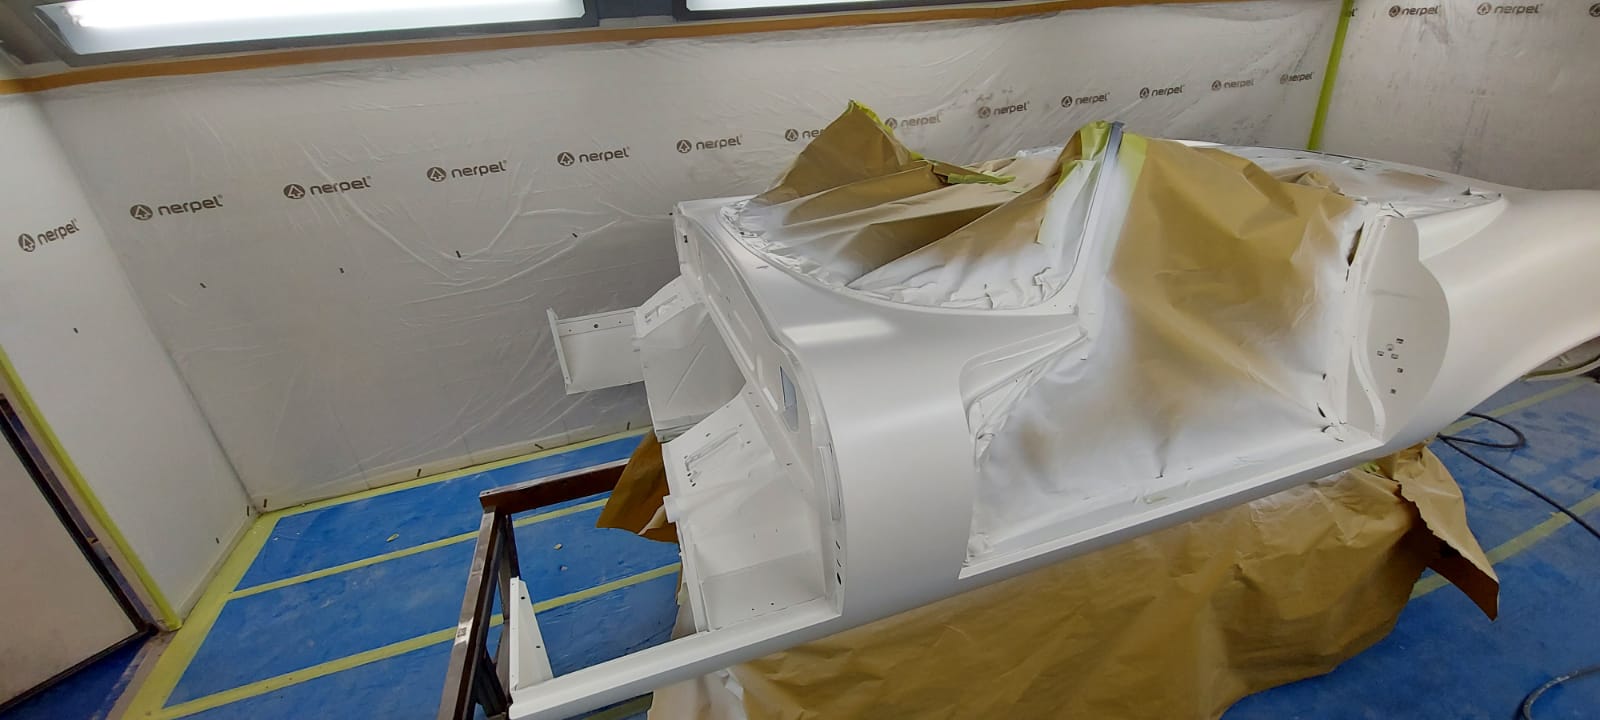
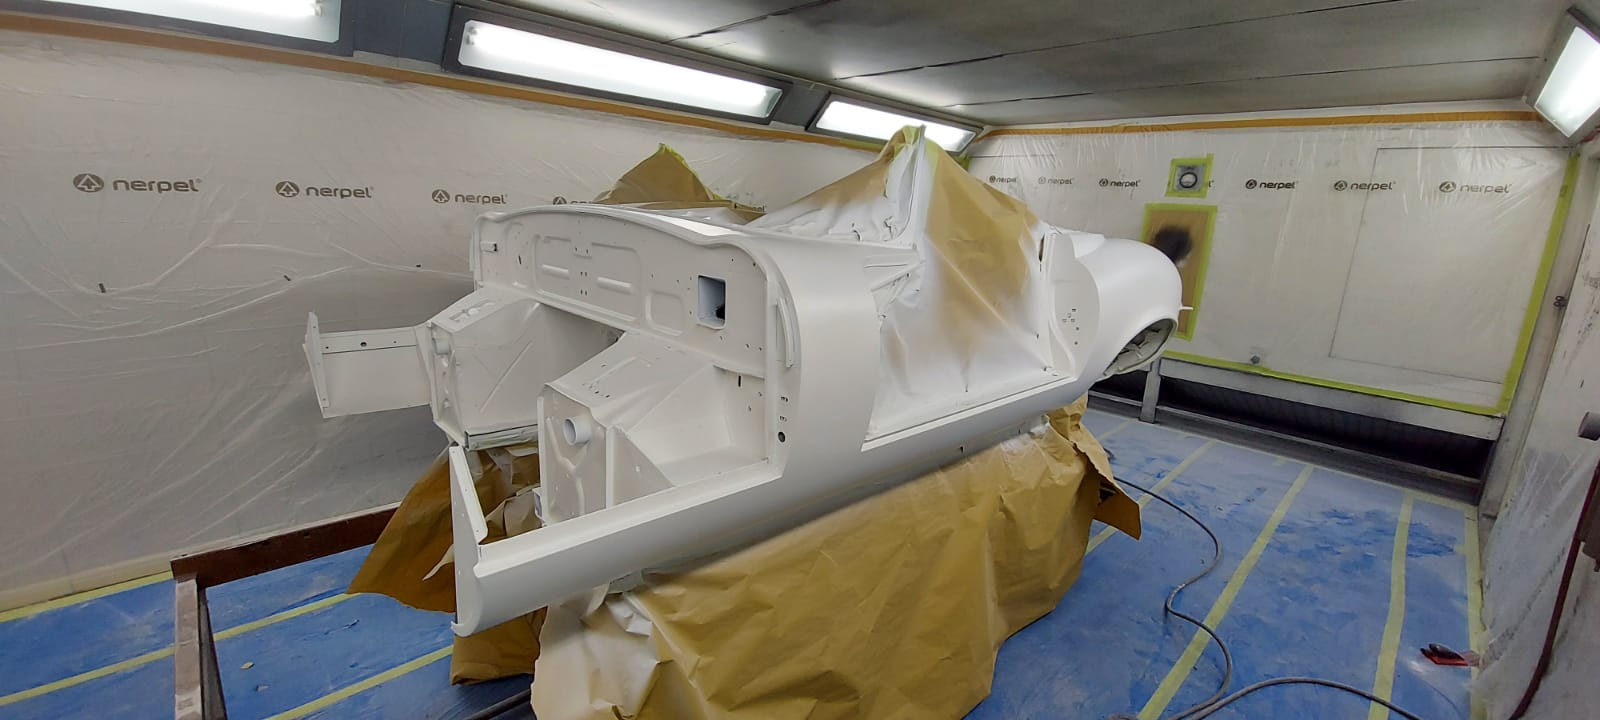
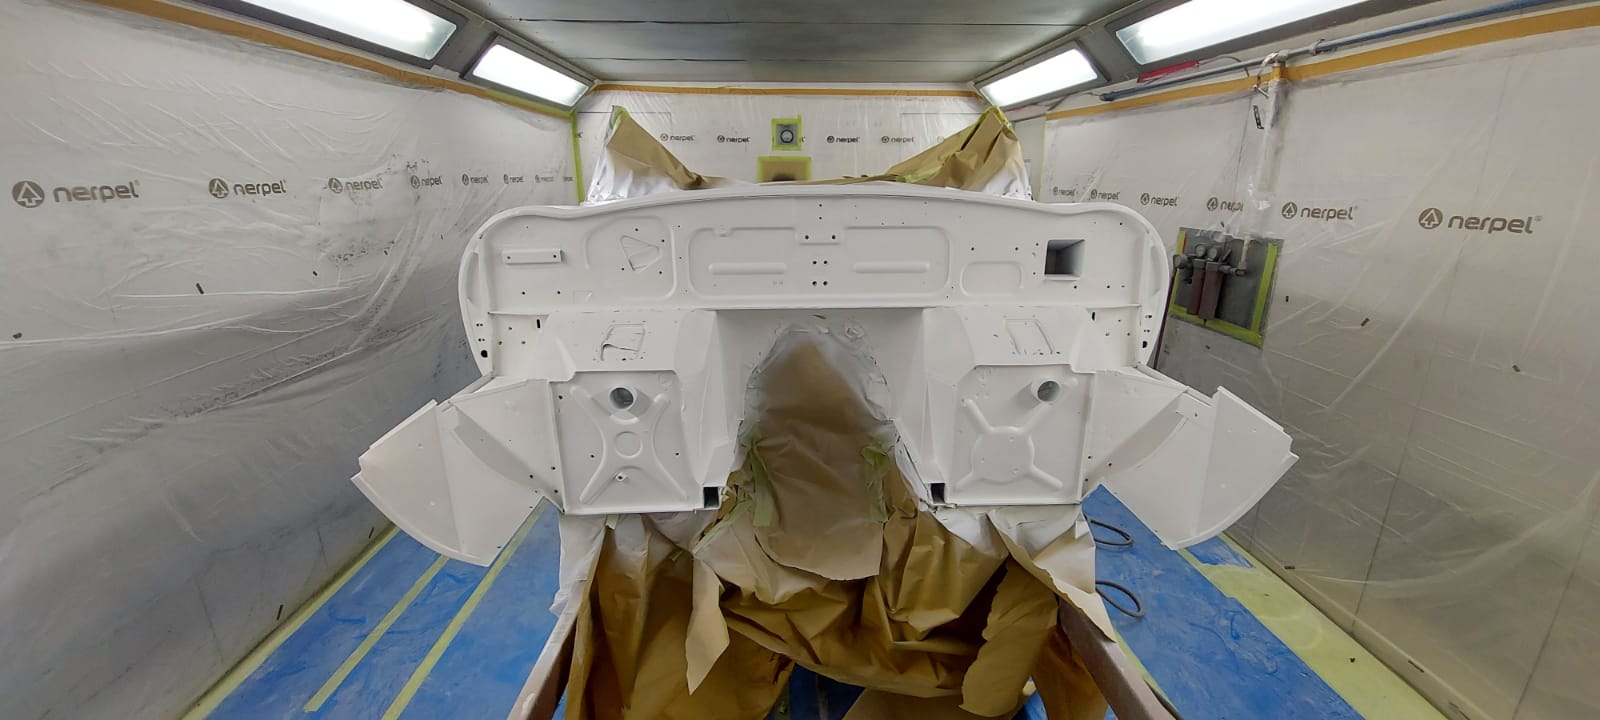
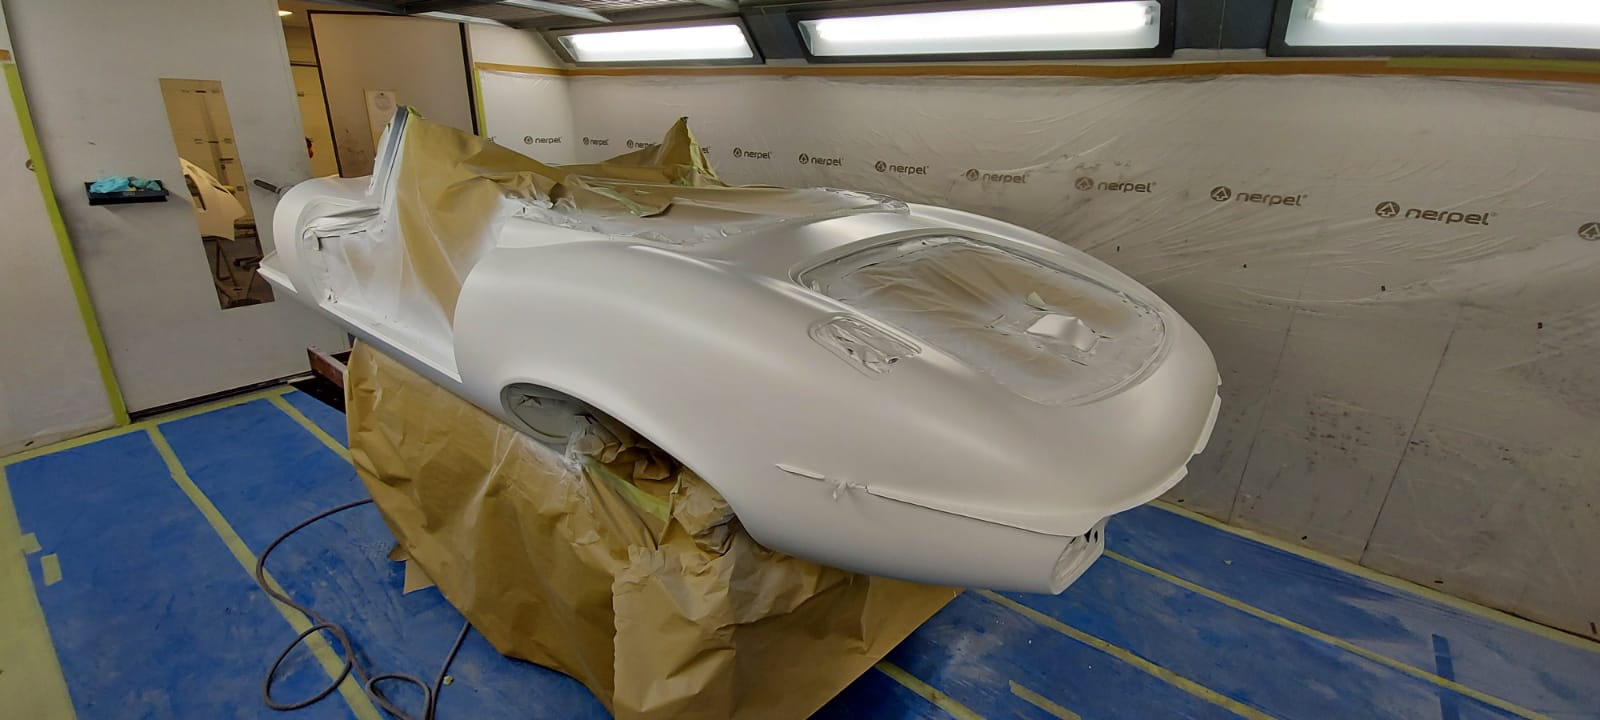
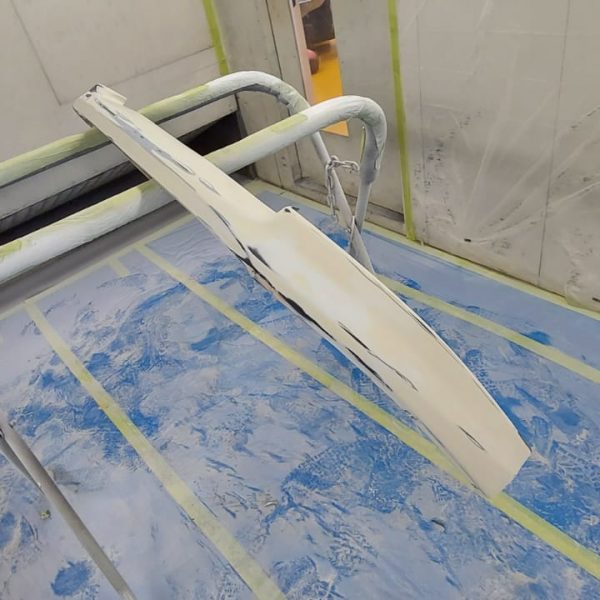
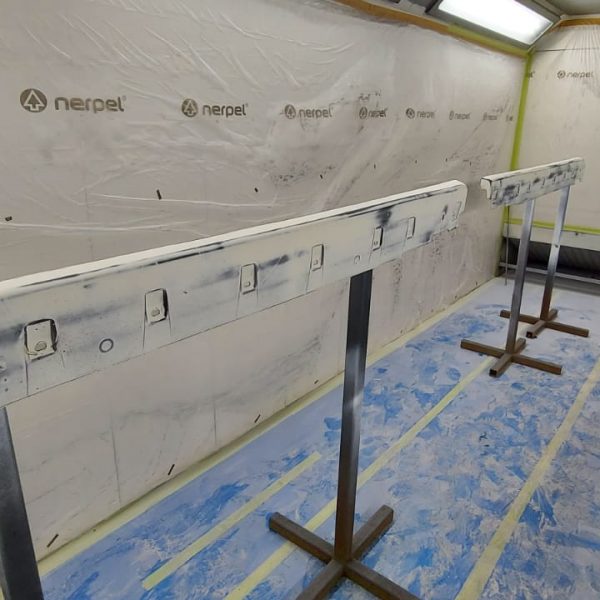
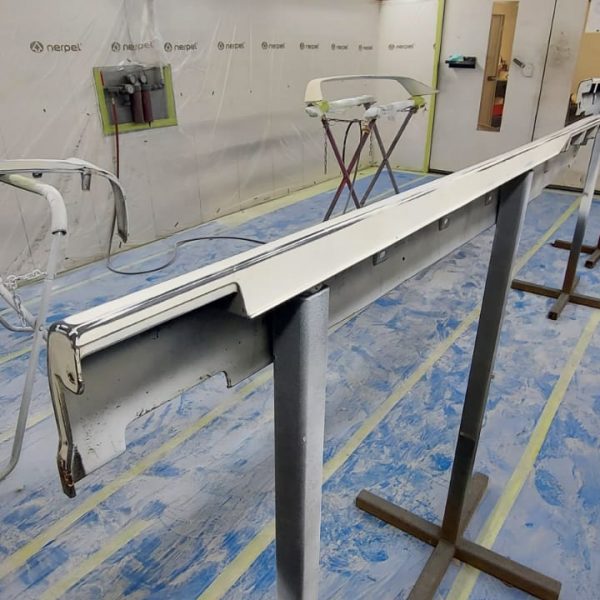
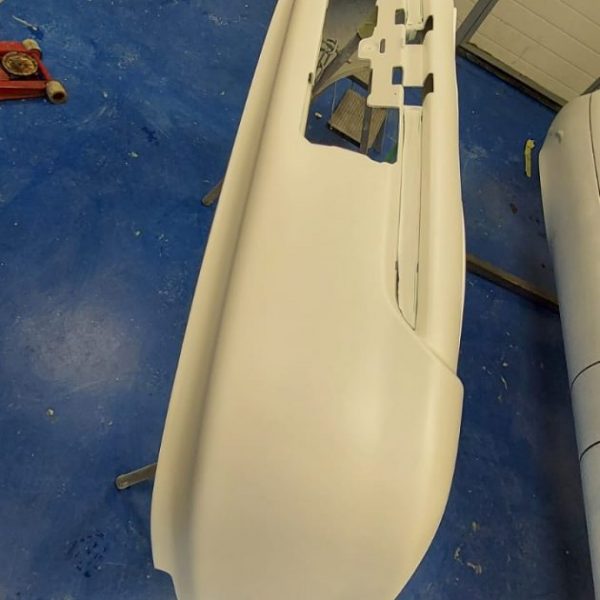
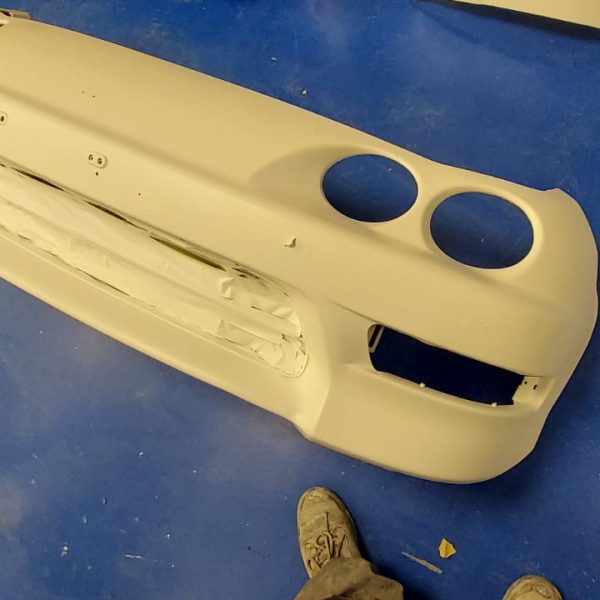
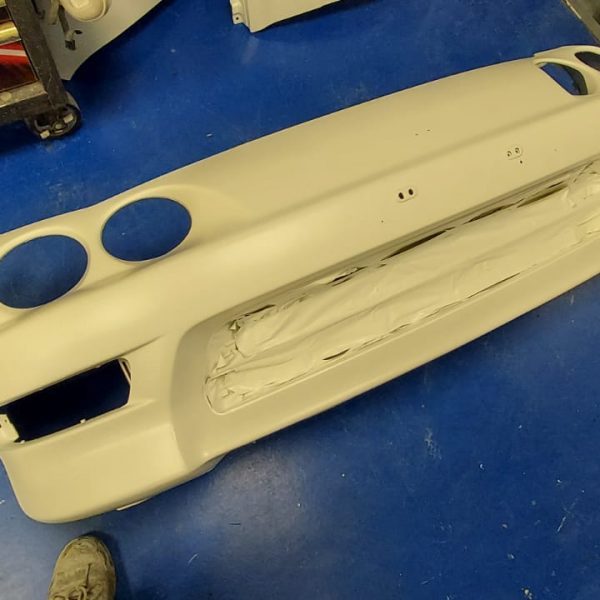
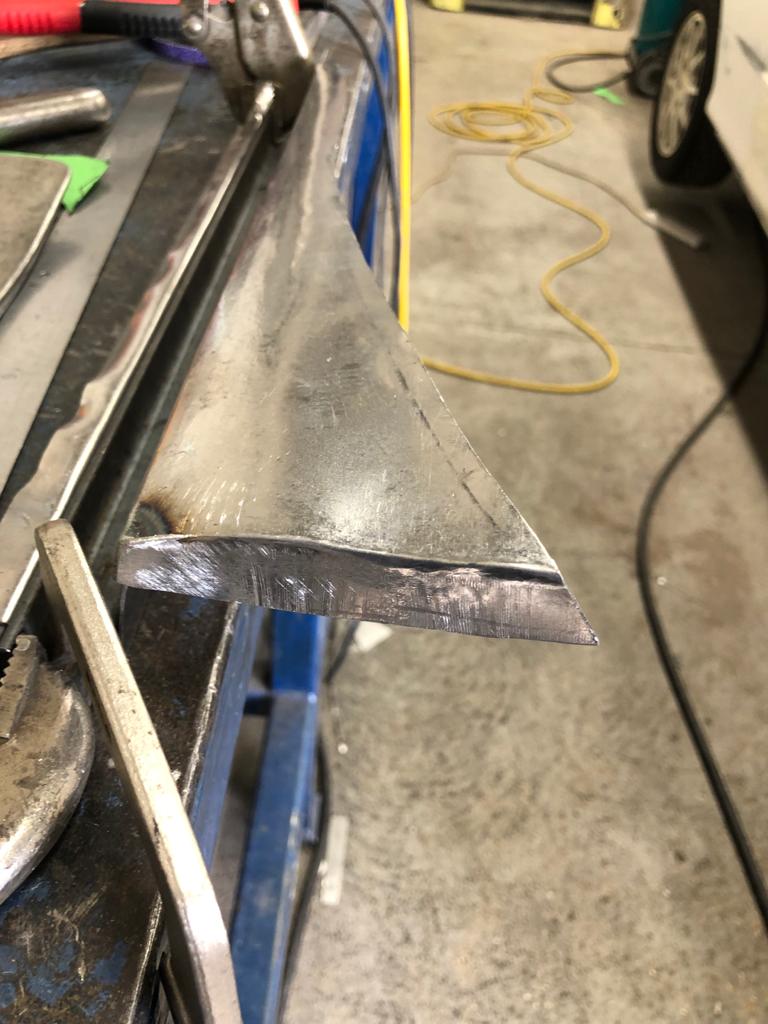
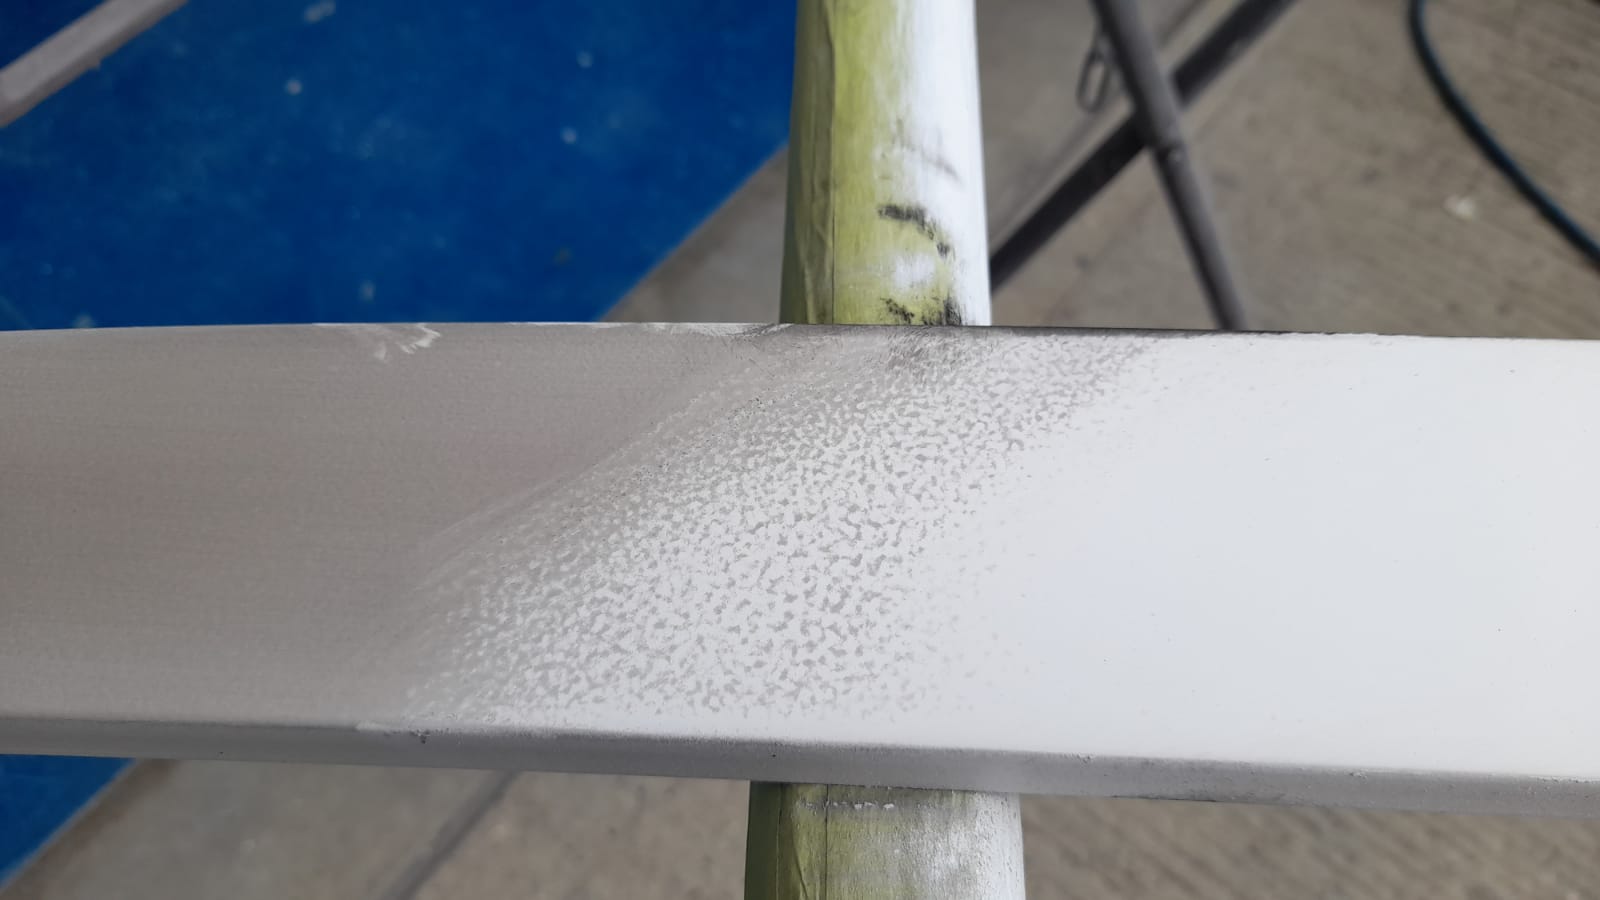
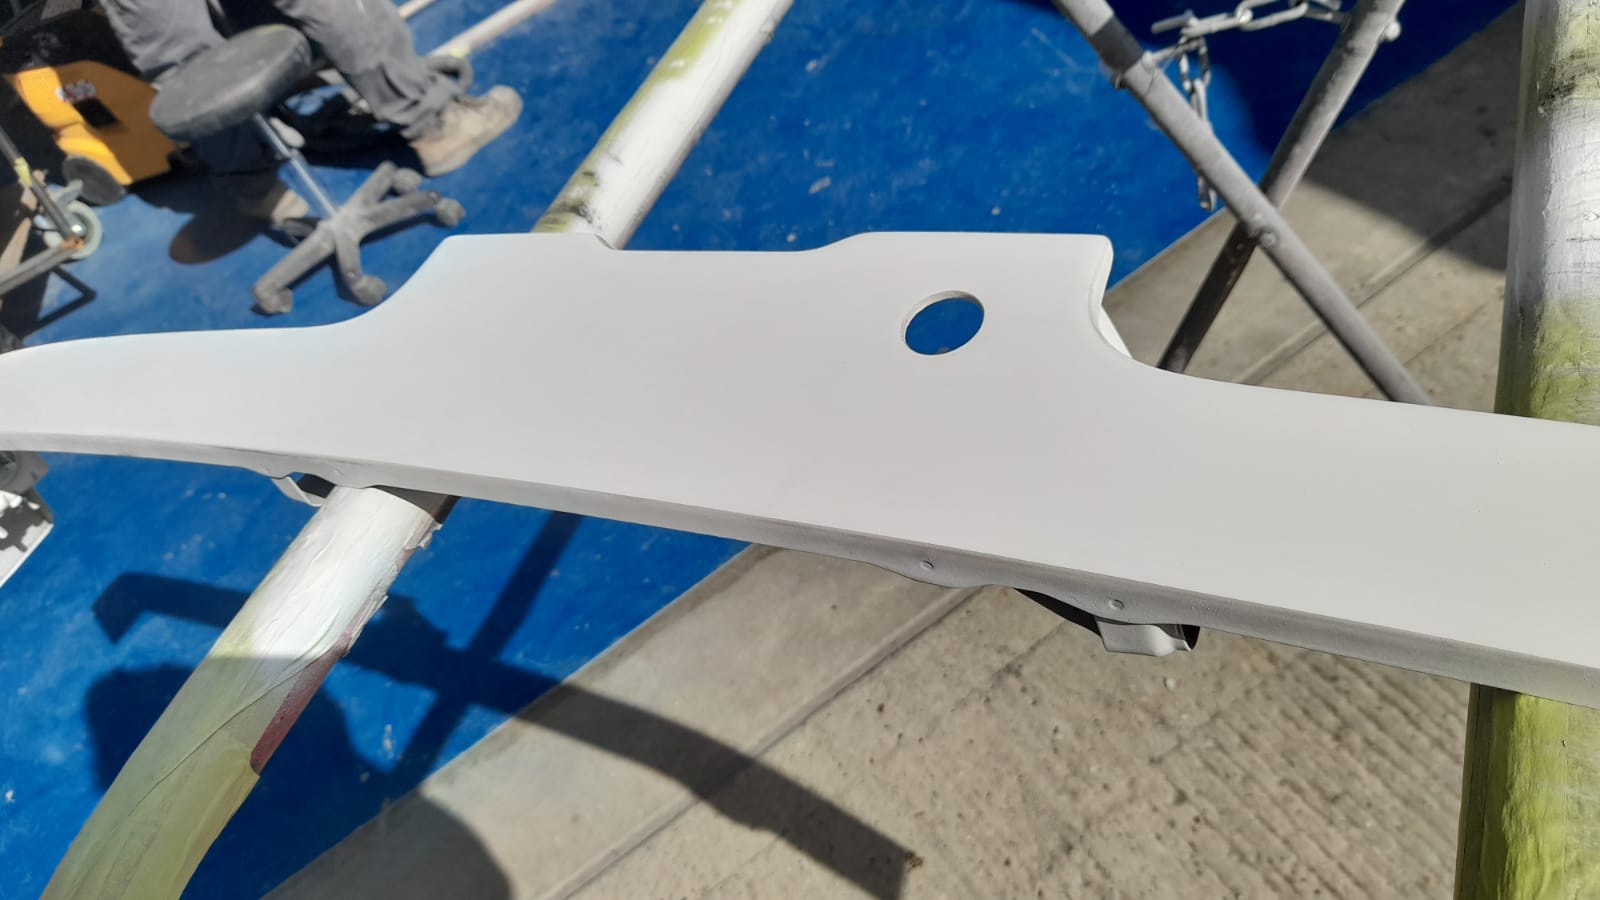
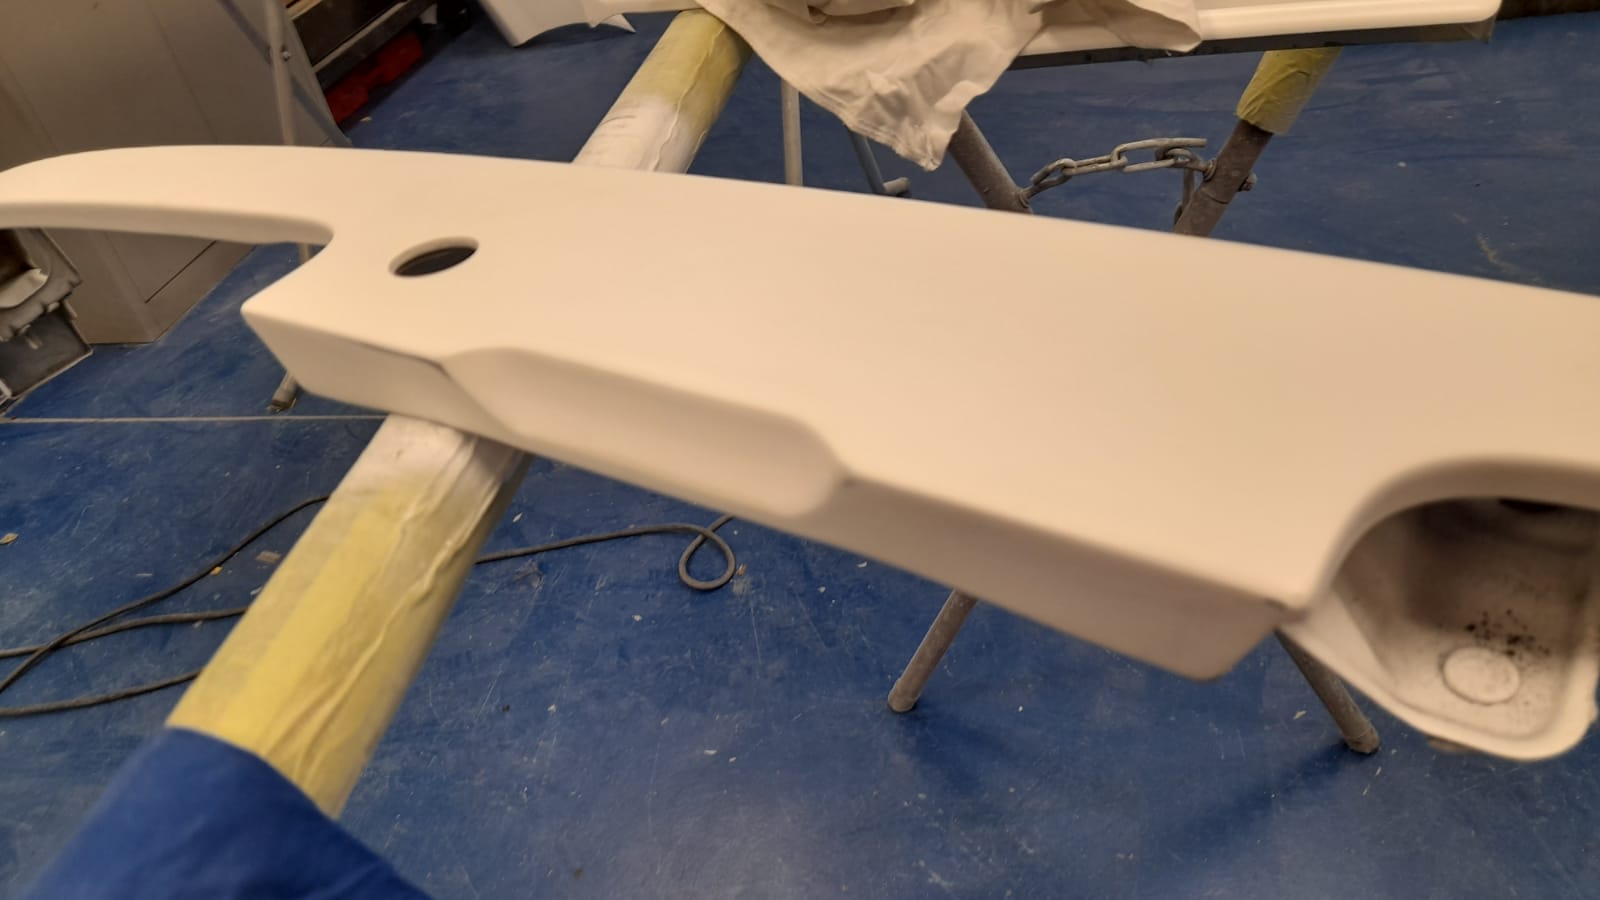
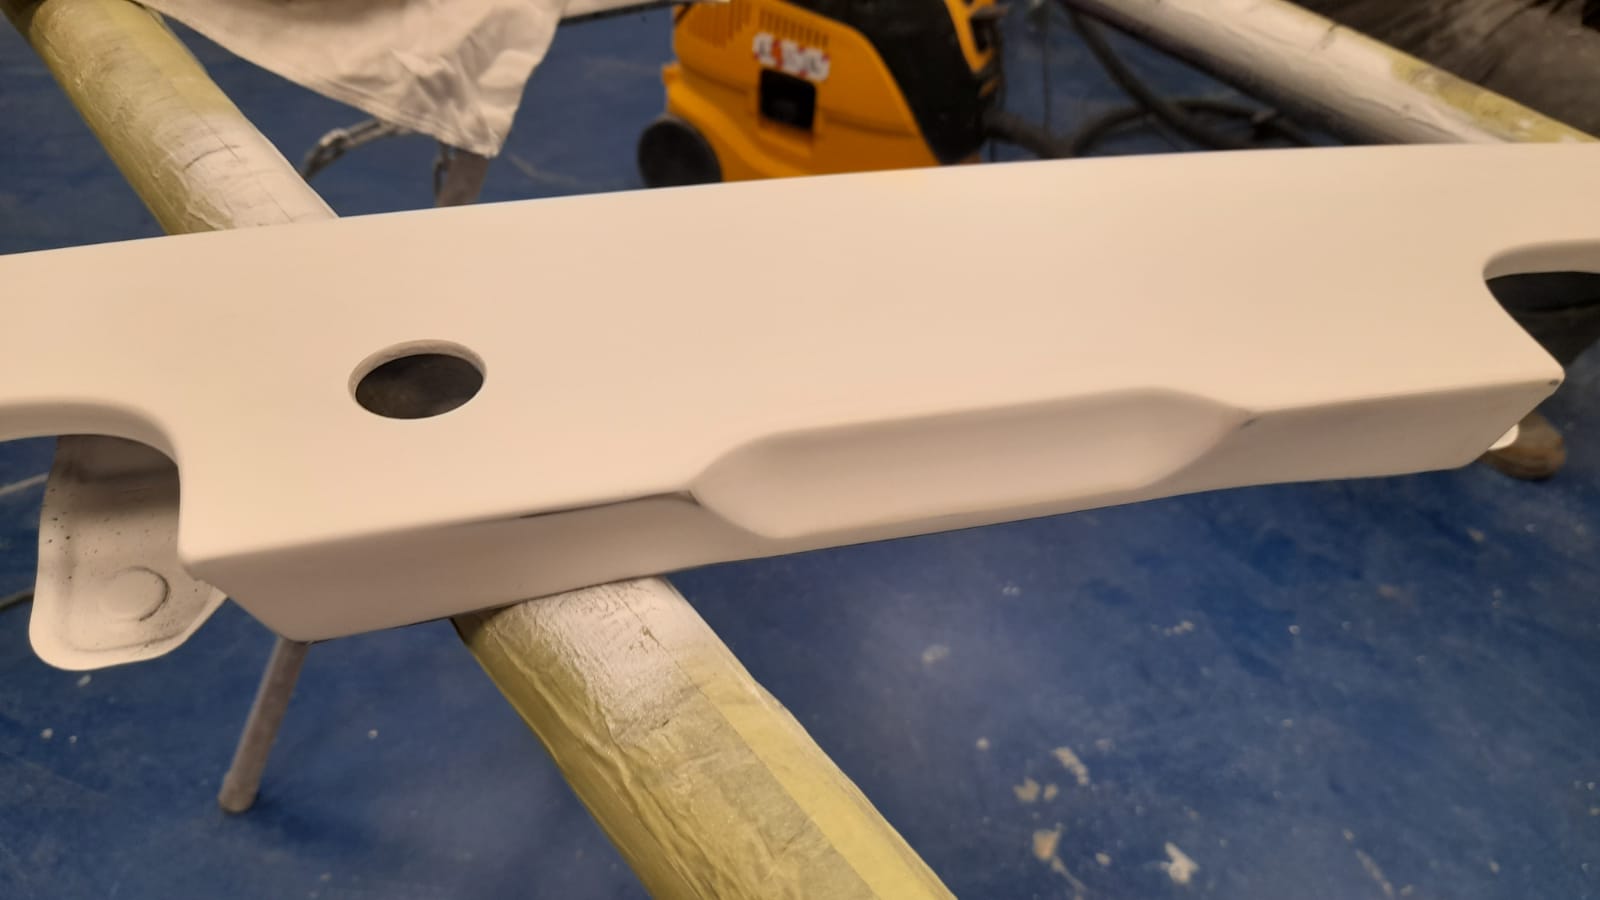
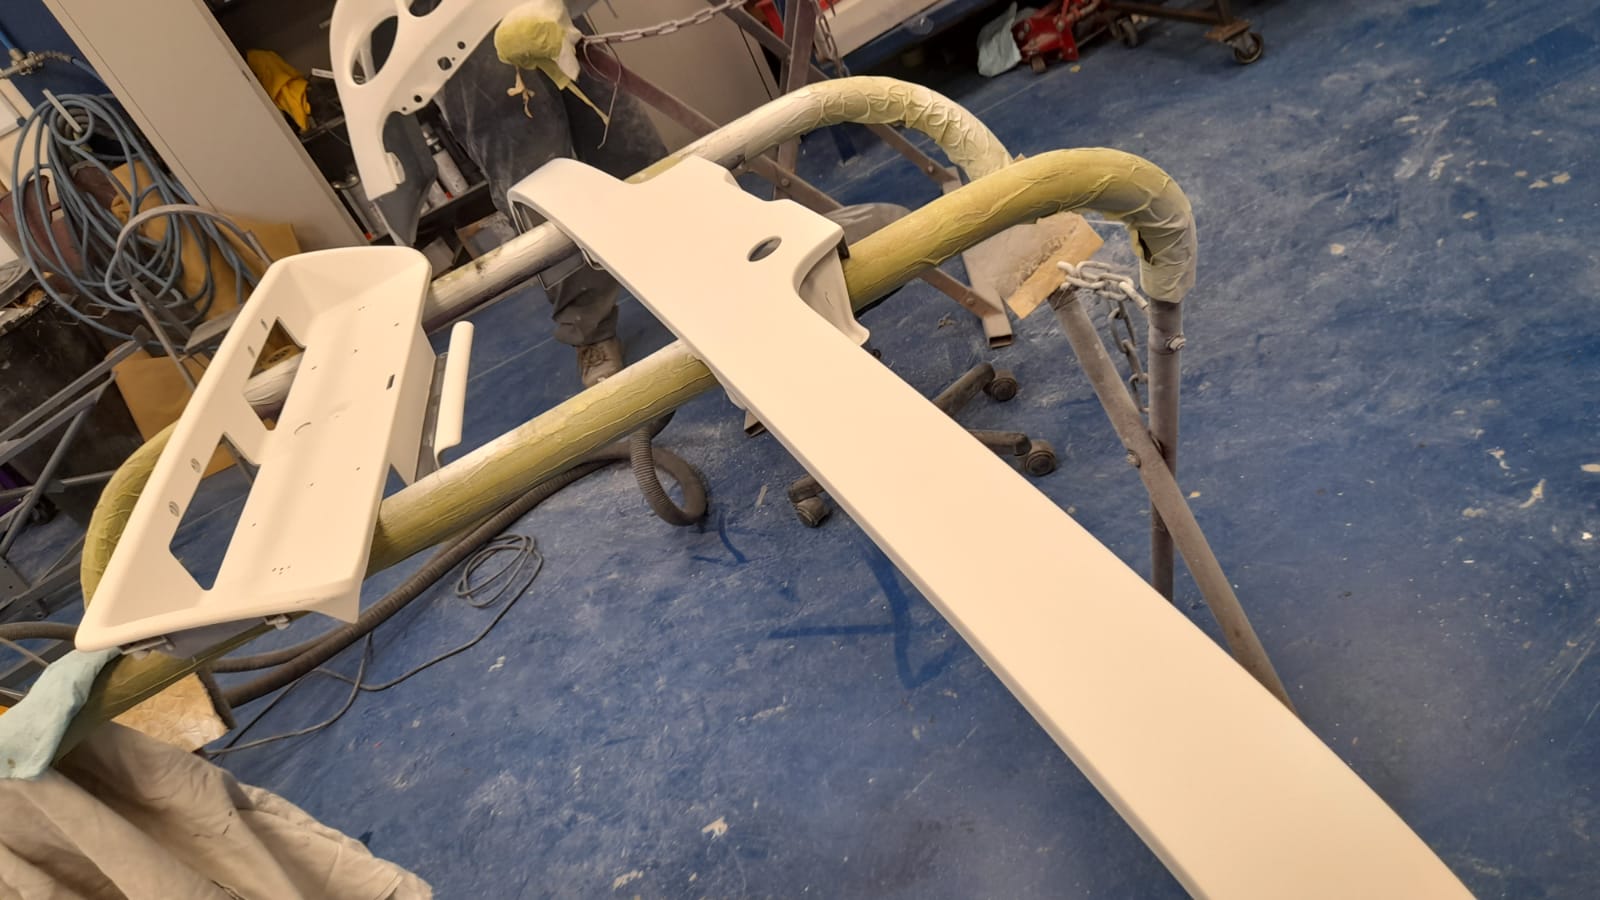
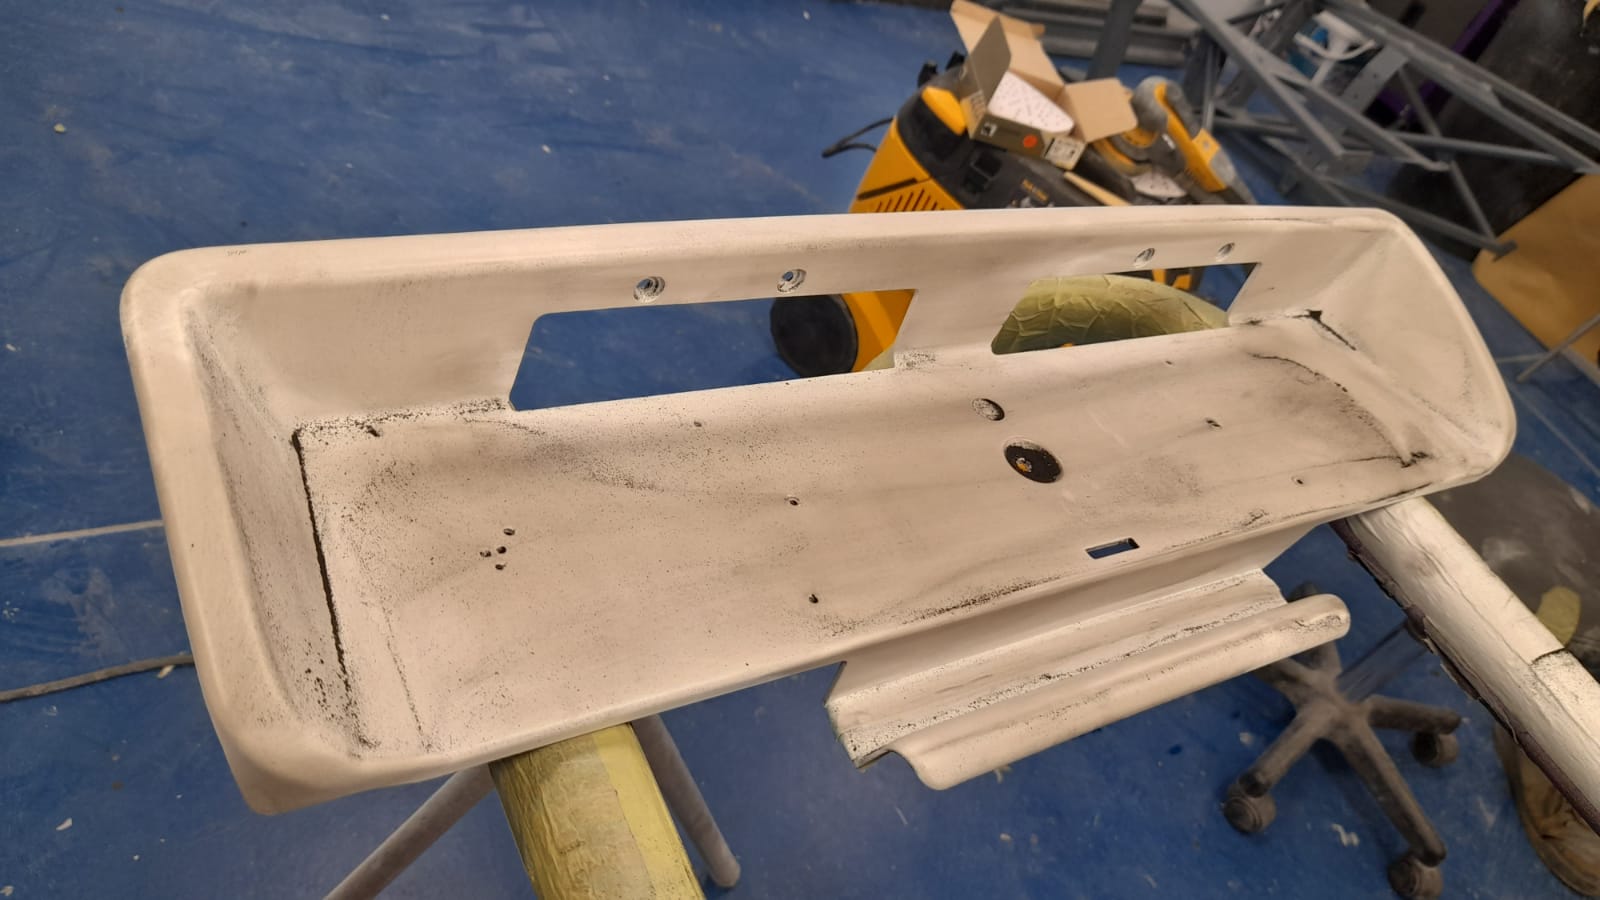
We check in to our DB2/4 restoration as Clinton is finalising the bonnet fabrication. Clinton has fabricated brand new hinges and completely reshaped the lower bumper moulding, letting in fresh metal when neccaasary. ‘The car can warp over time, so what may be a very small warpage has a knock-on effect and can result in panels sitting out of alignment across the entire car’ Clinton explains. The only way to ensure we achieve the best possible restoration is by going to the extent Clinton has with the fabrication and preparation of the bodywork.
The next step will be to make sure all of the panels are correctly aligned, ensuring the gaps are all uniform and tidy.
Lydia has been sanding down the primer on the front frame for the 1973 Jaguar E-Type Series 3. This was simply done with 500-grade soft sanding pads all over. This is all prep for the final coat of paint!
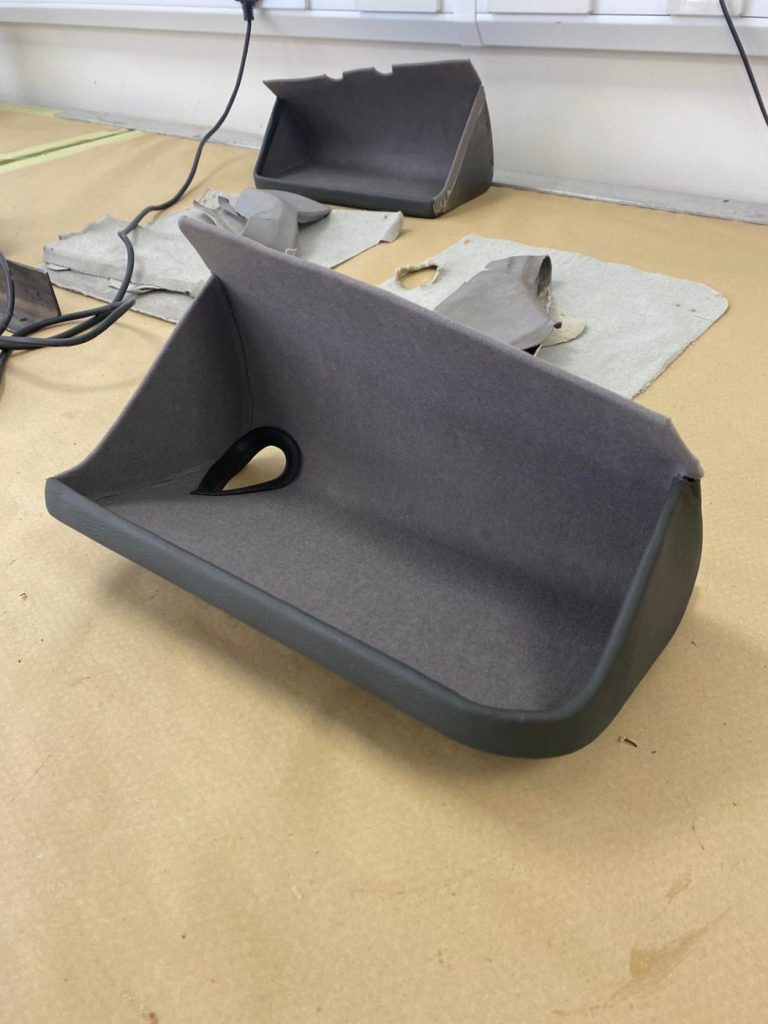
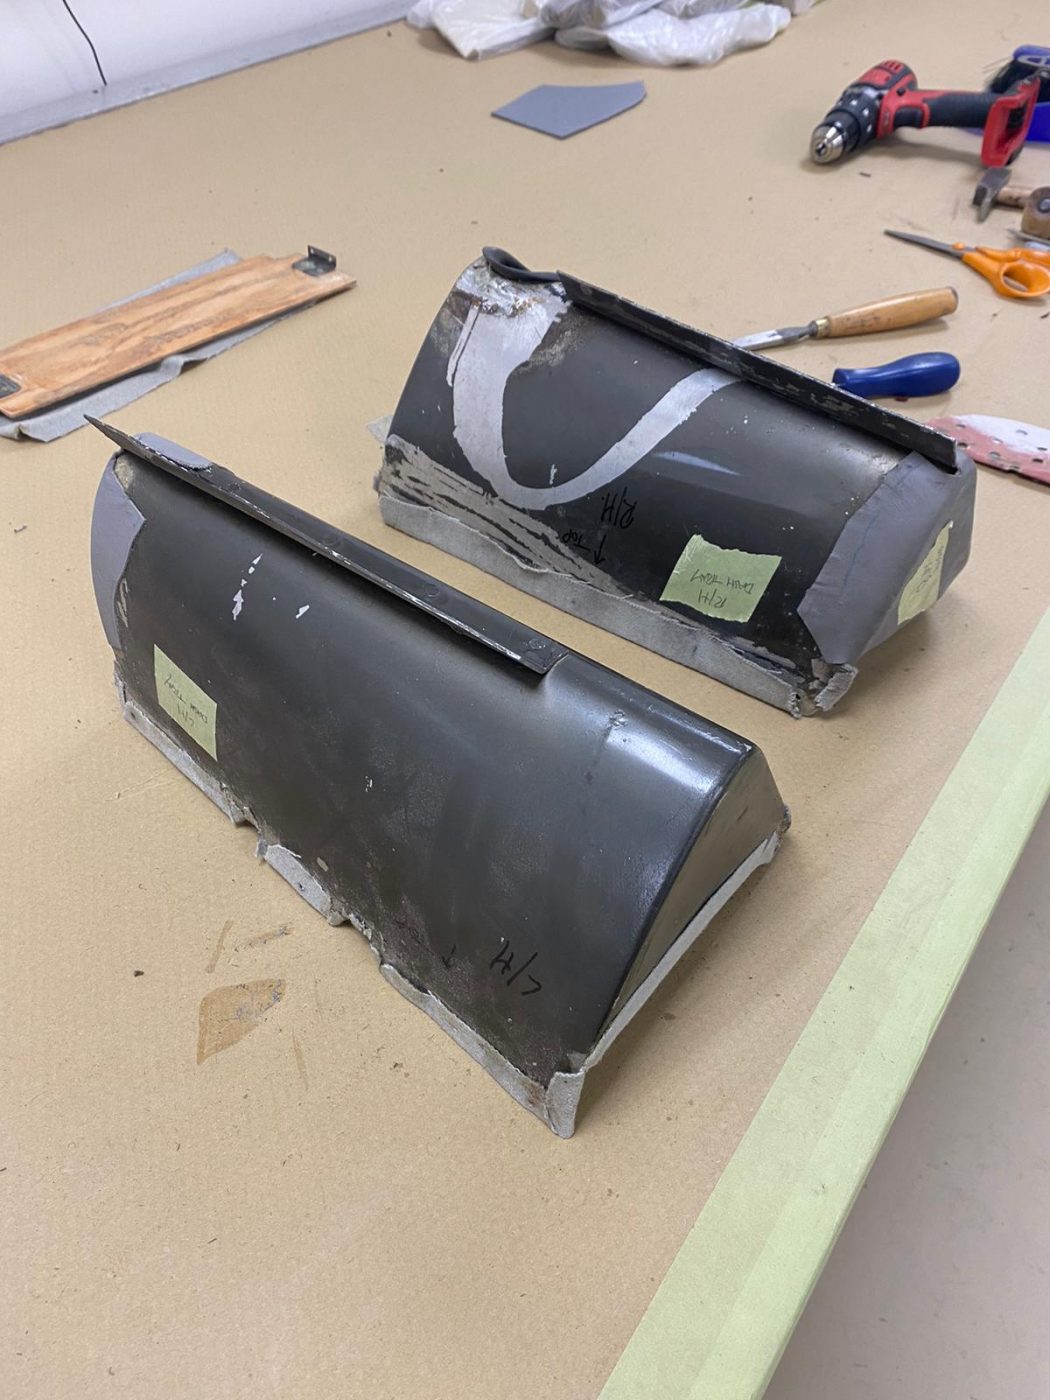
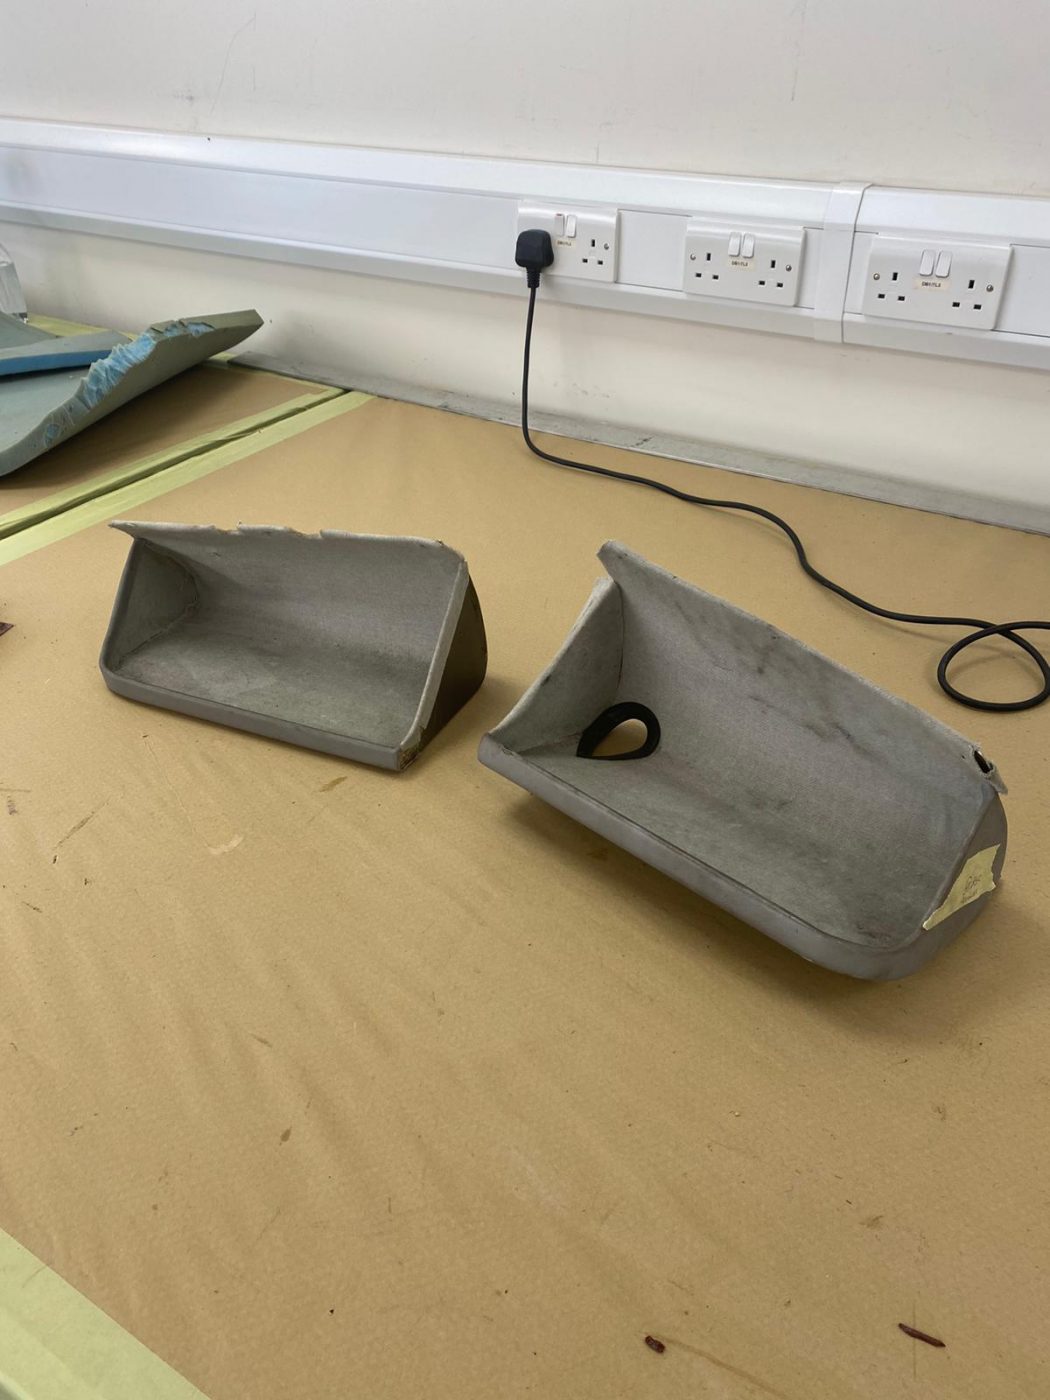
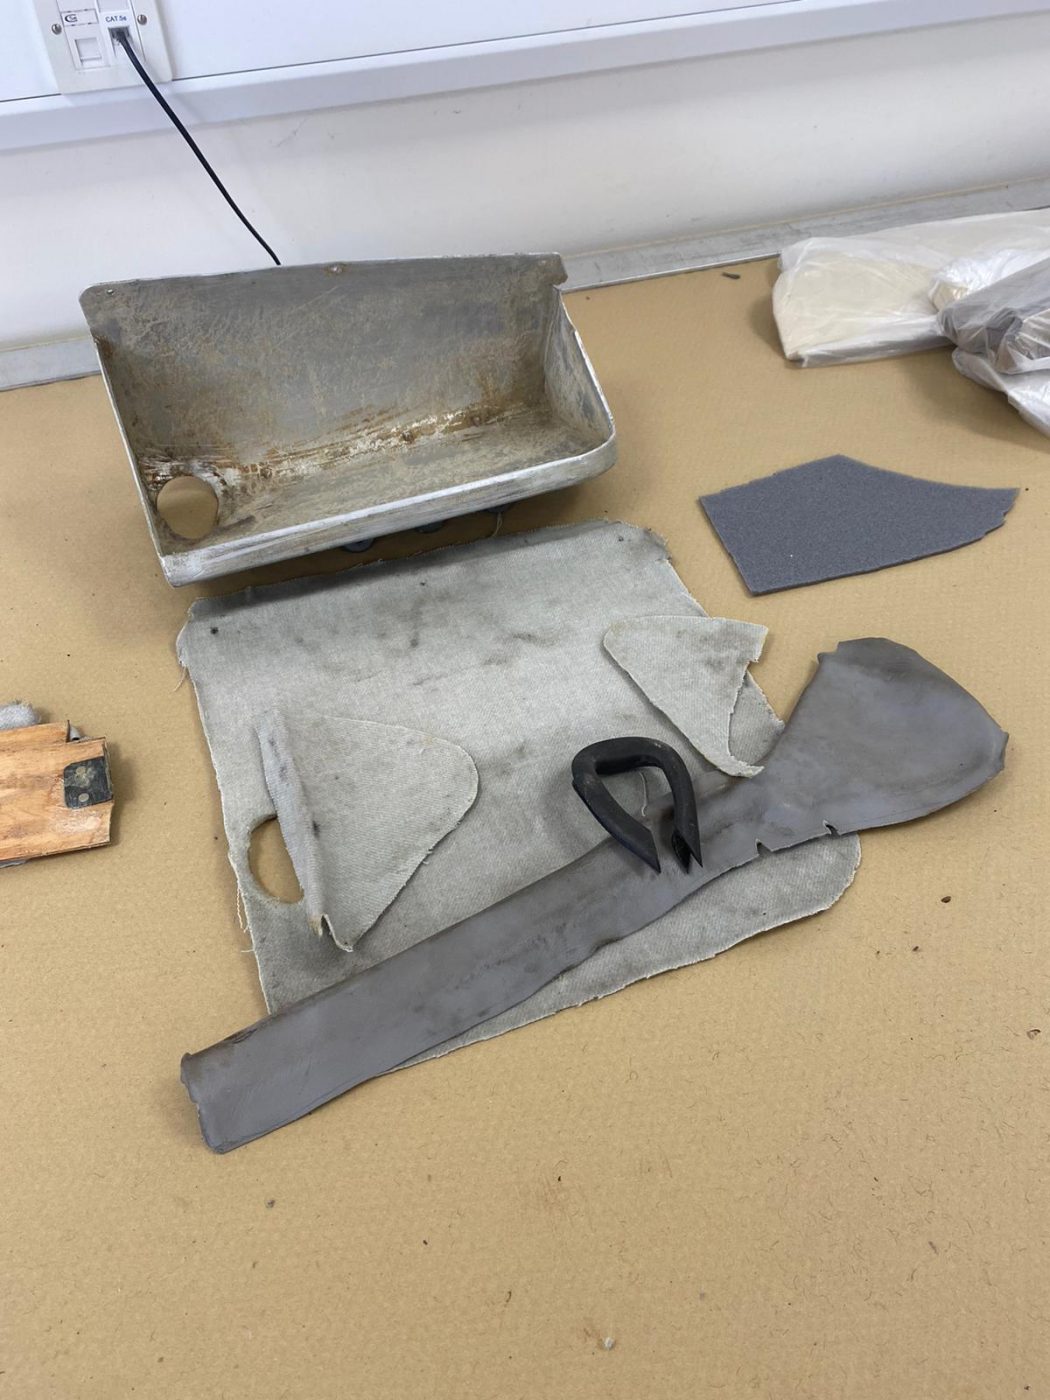
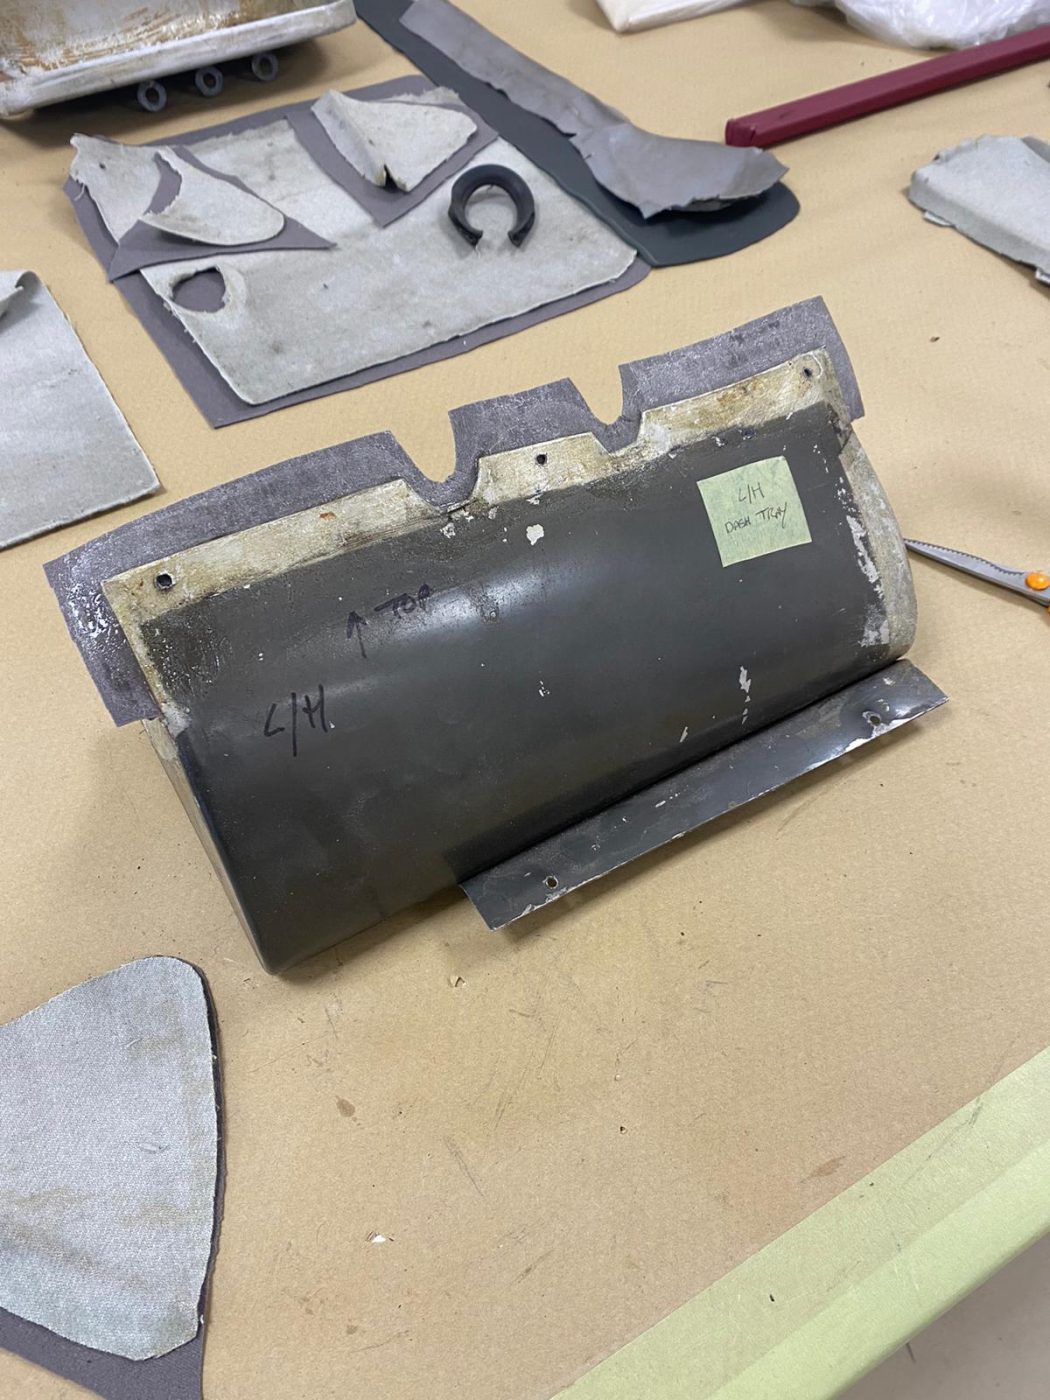
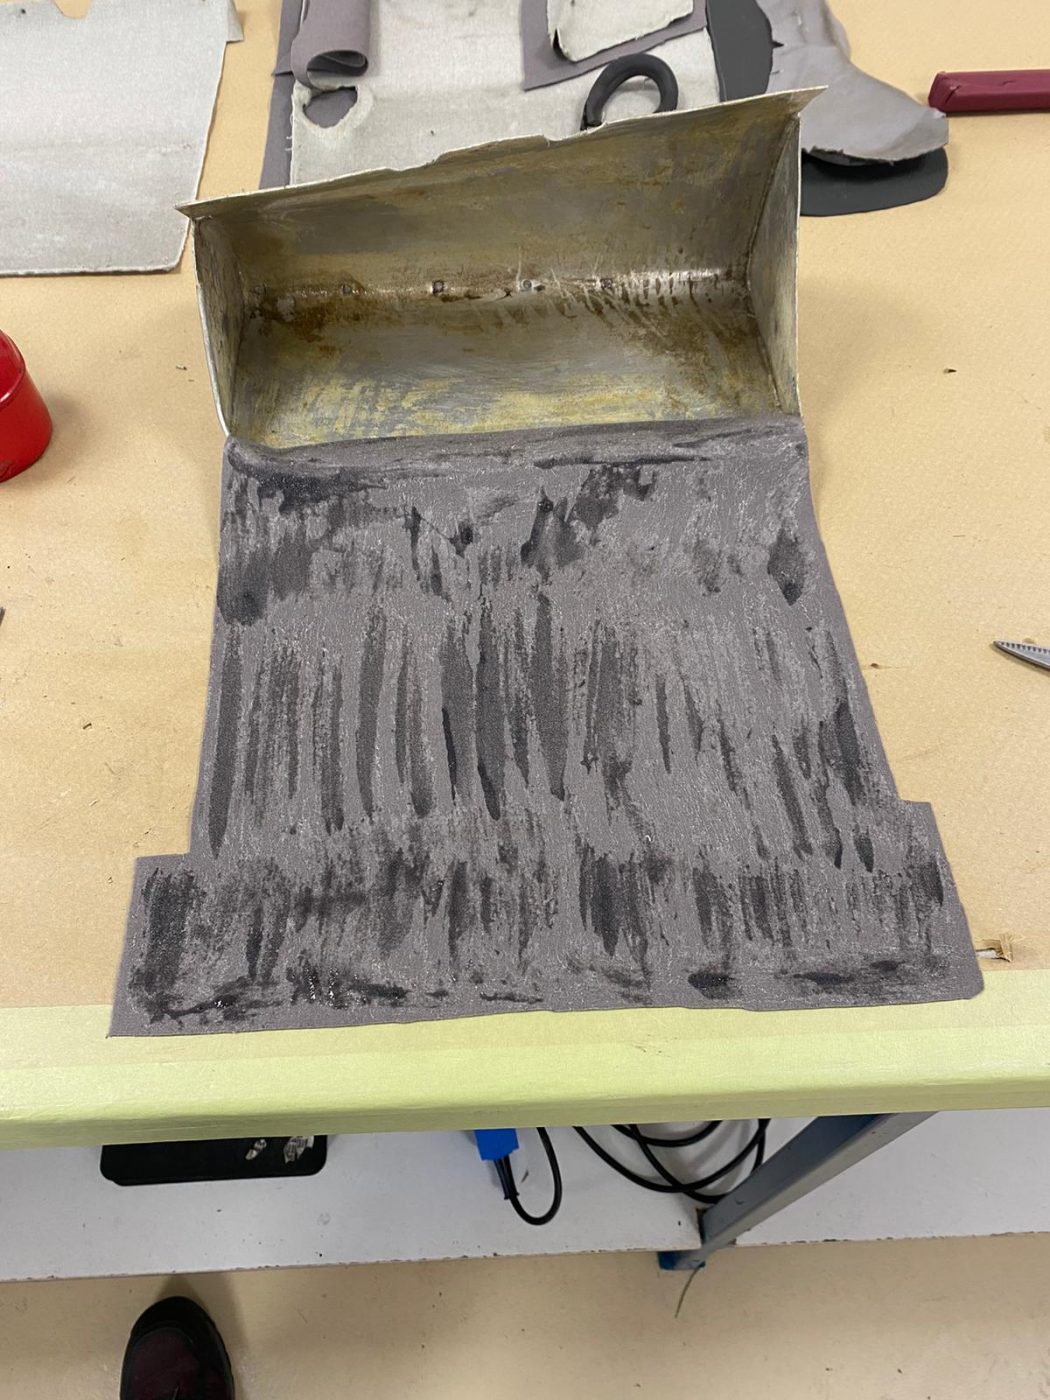
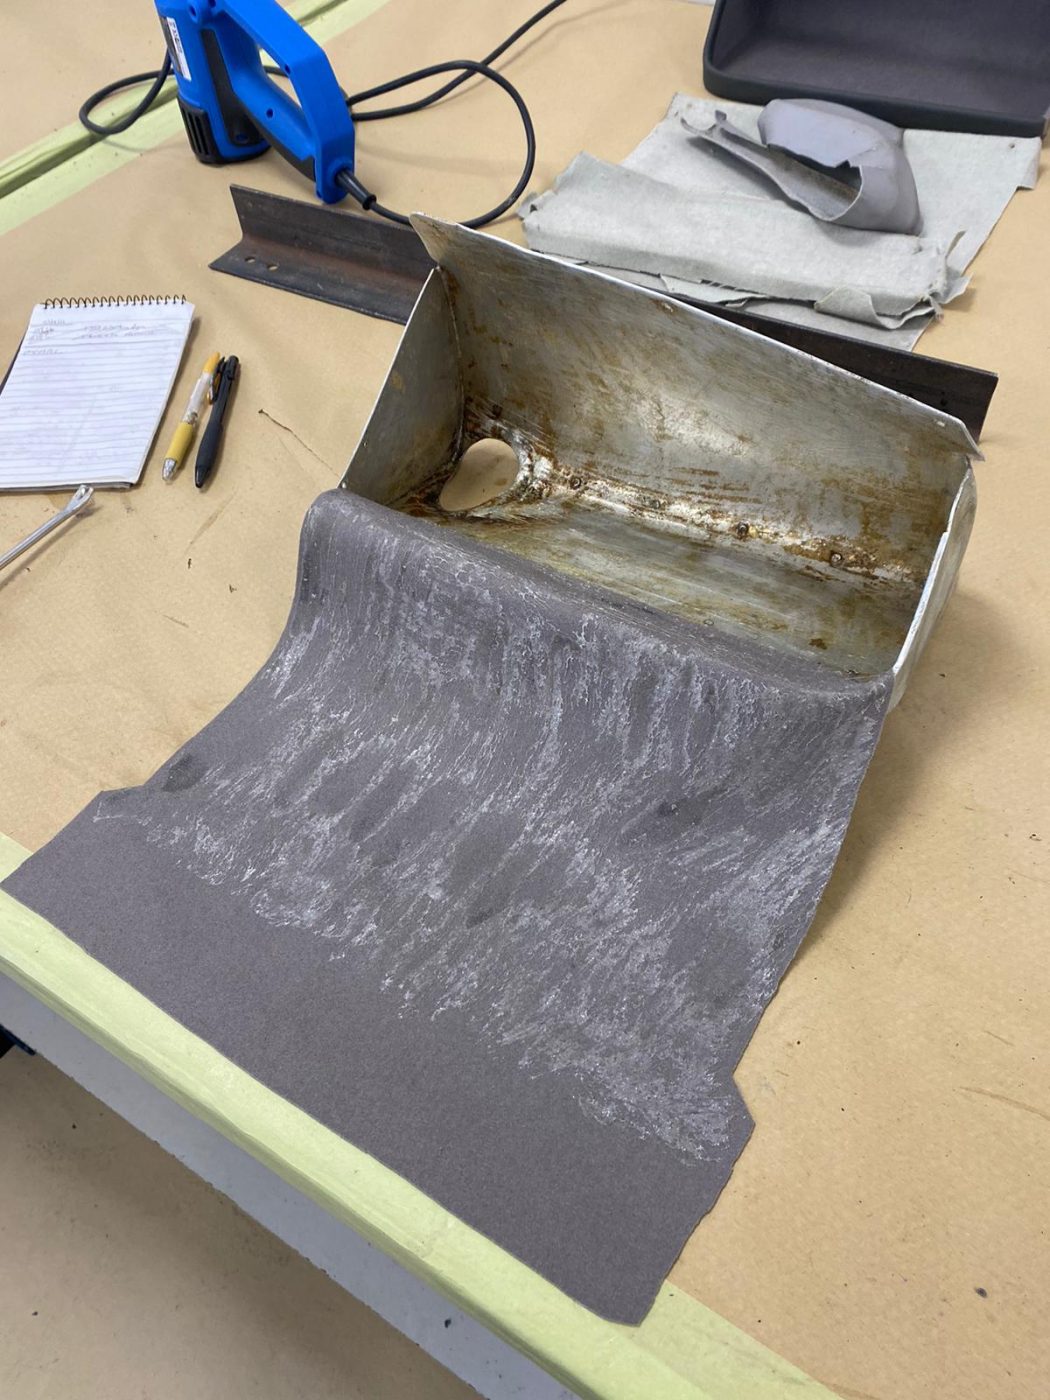
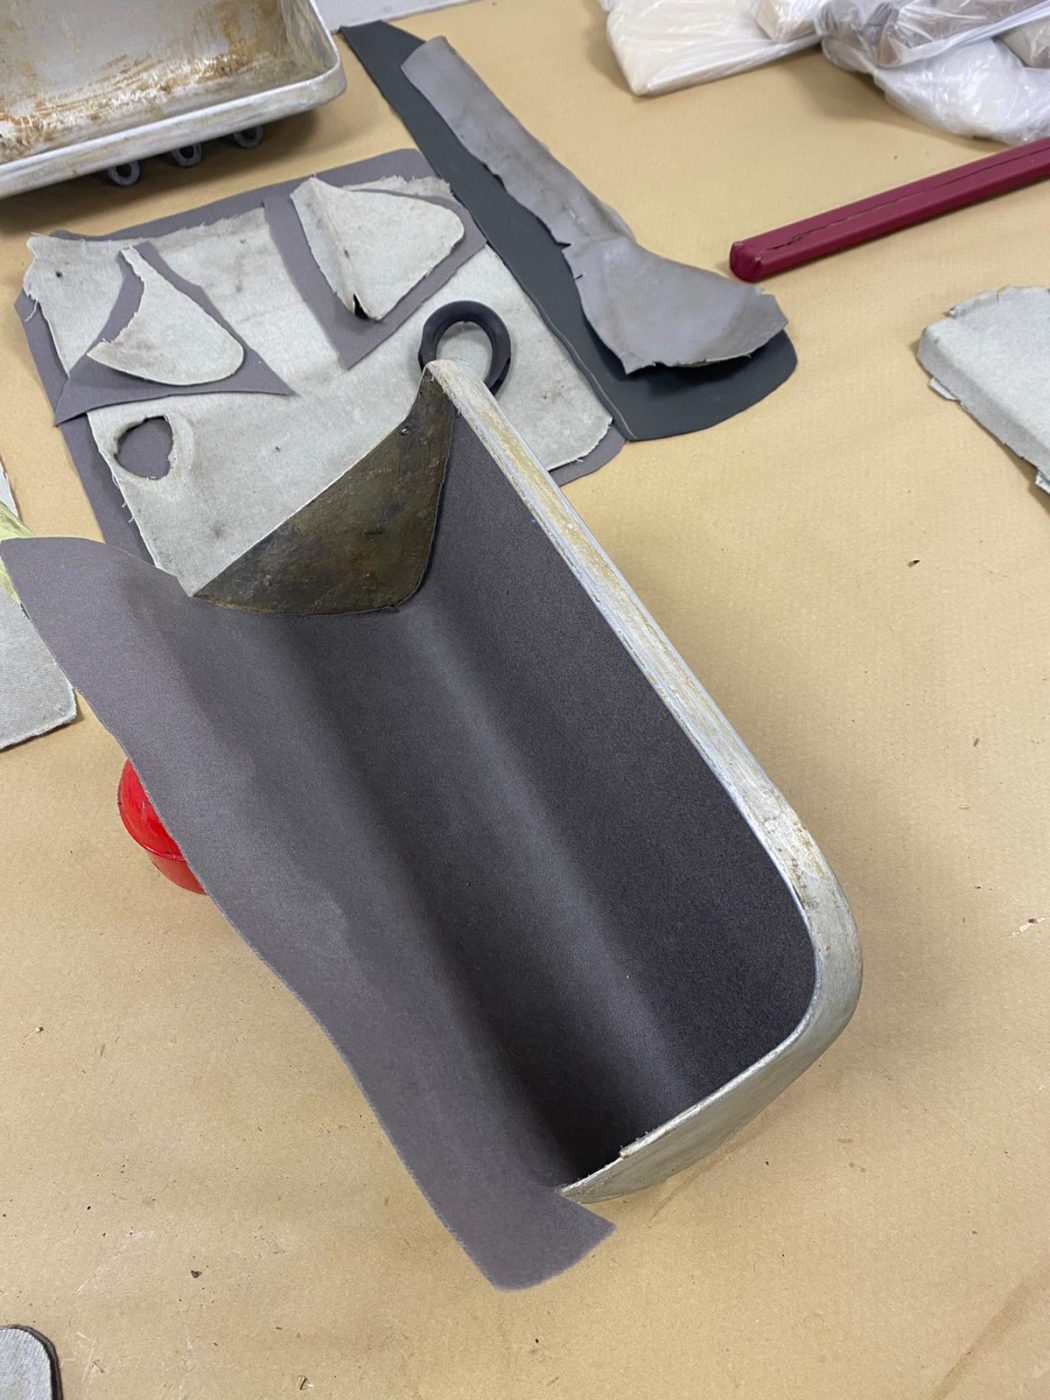
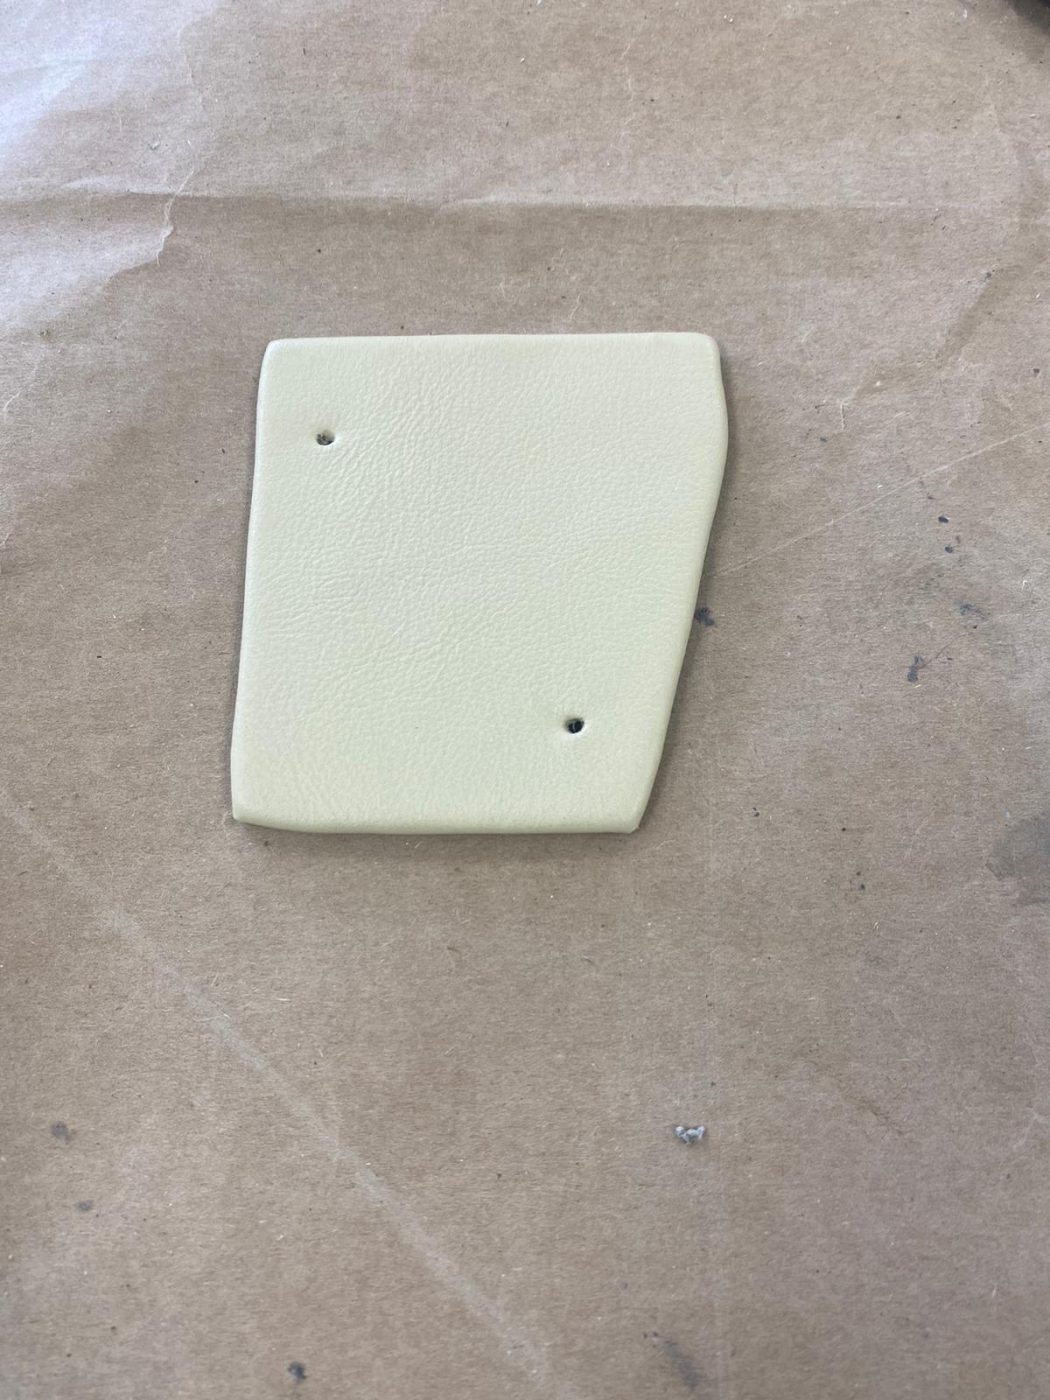
Brian has been continuing the interior trim work for the 1955 Aston Martin DB 2/4.
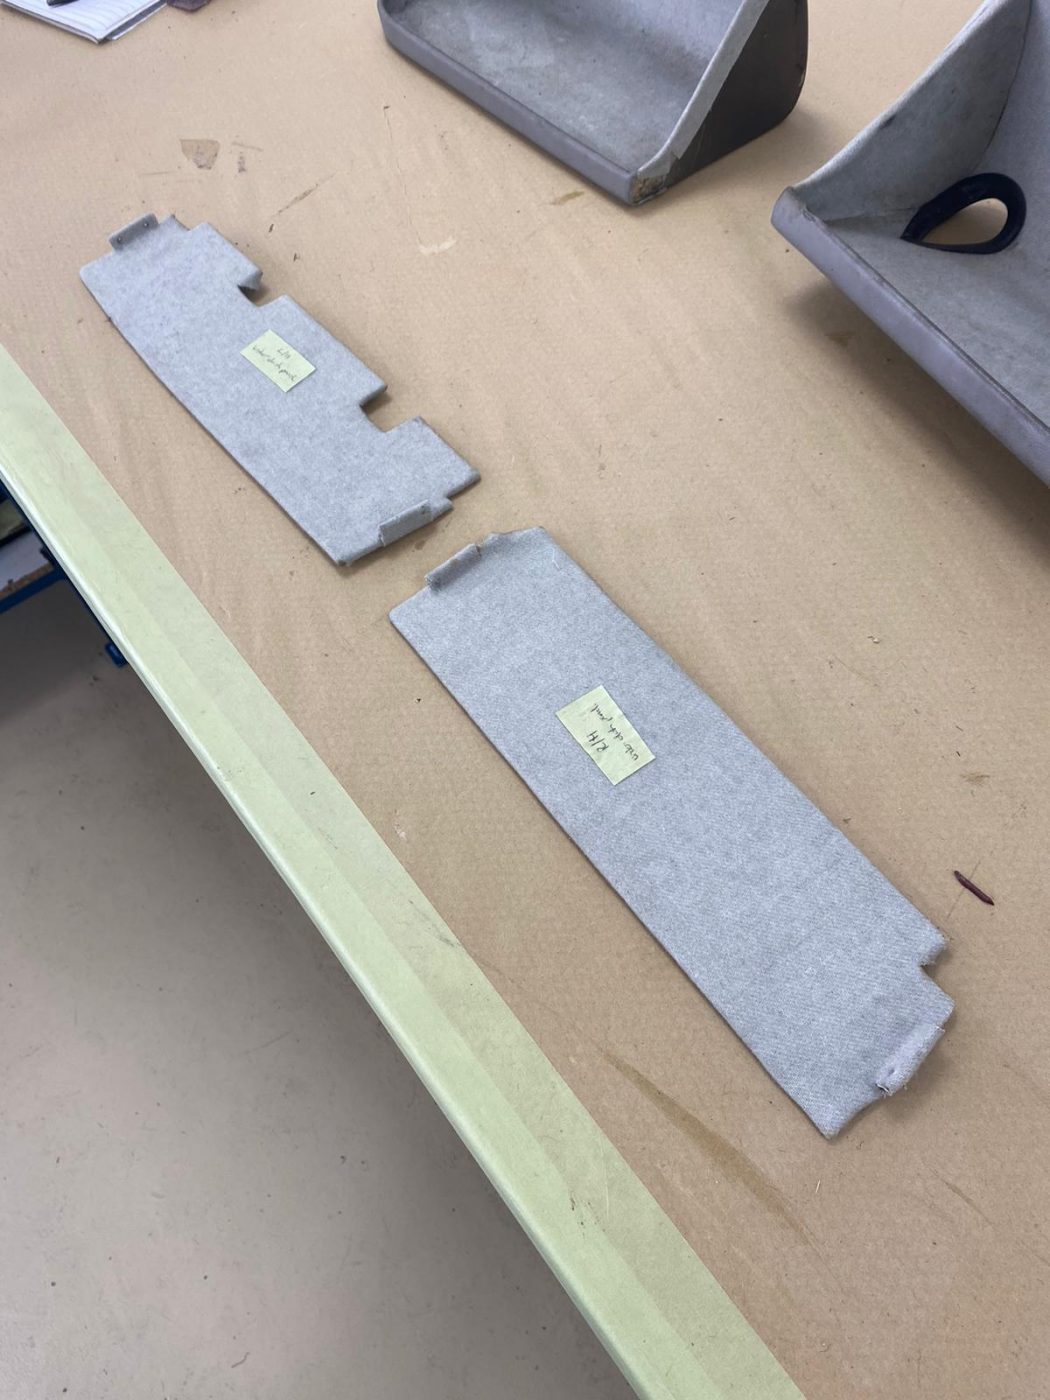
This time, he’s been working on a pair of dash trays and a pair of under dash panels. For the dash trays, Brian started the process by taking off the rubber lip that went around the hole, then took off the original fabric pieces. He cleaned off as much original glue from the metal frame of the under dash panels. He then lay out the new headlining fabric chosen for the car, and placed the original fabric pieces on top of it, using them as patterns. Once marked out around, Brian cut out the new fabric and the first piece to glue onto the metal was the centrepiece. Glue was applied to the back of the fabric and to the metal and then Brian slowly attached the fabric to it, after the glue had gone tacky, making neat cuts around the hole so the material sat nicely. The inside sides were also covered in headlining fabric. Brian then cut out grey leather for the outside of the under dash panels. These pieces were glued on, then the finishing touch was to place the rubber lip back on.
For the under dash panels, Brian simply took the original headlining fabric off them, sanded down the excess old glue, used the original fabric pieces as patterns on the new headlining fabric, cut out, and glued the new material onto them.


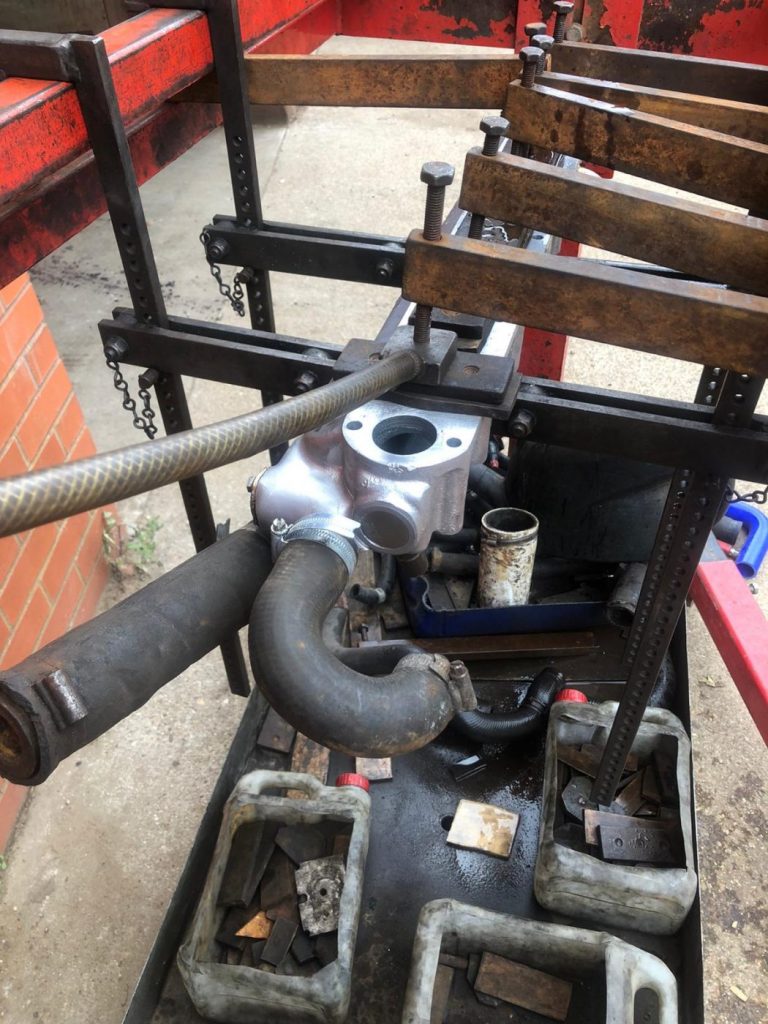
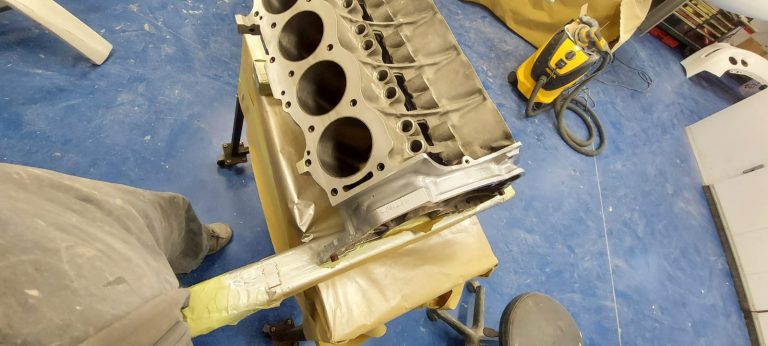
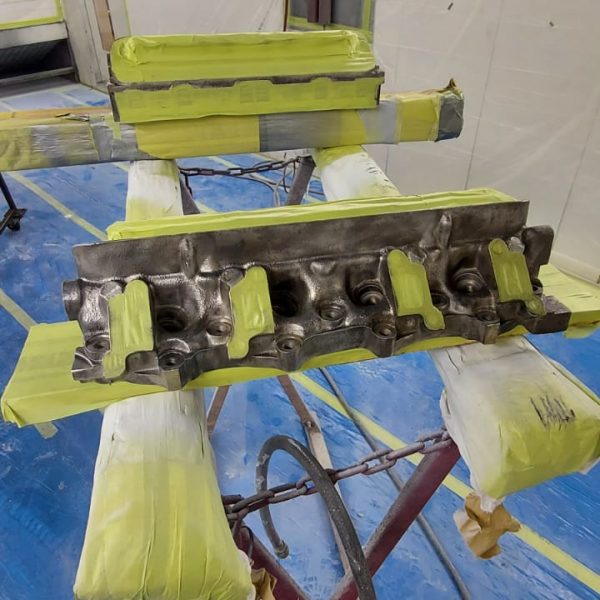
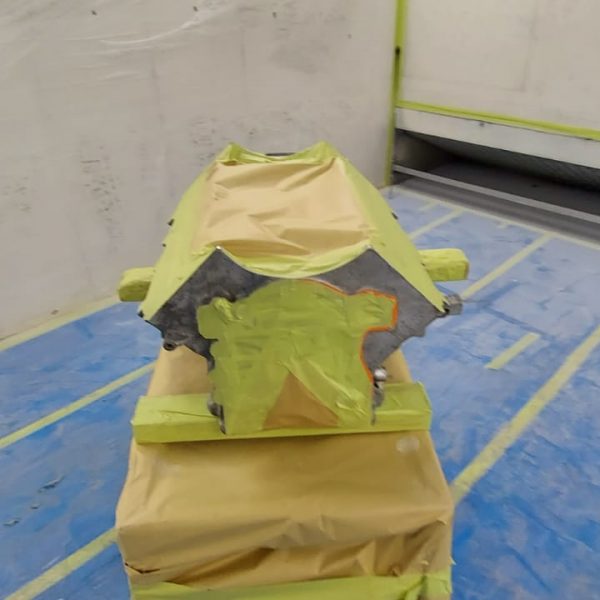
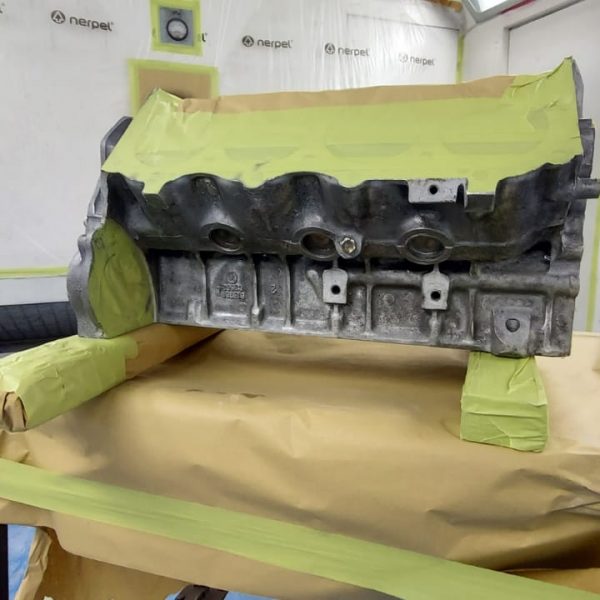
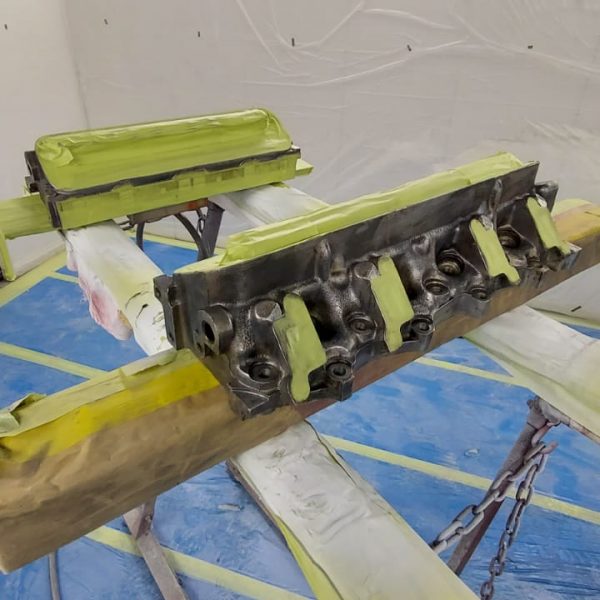
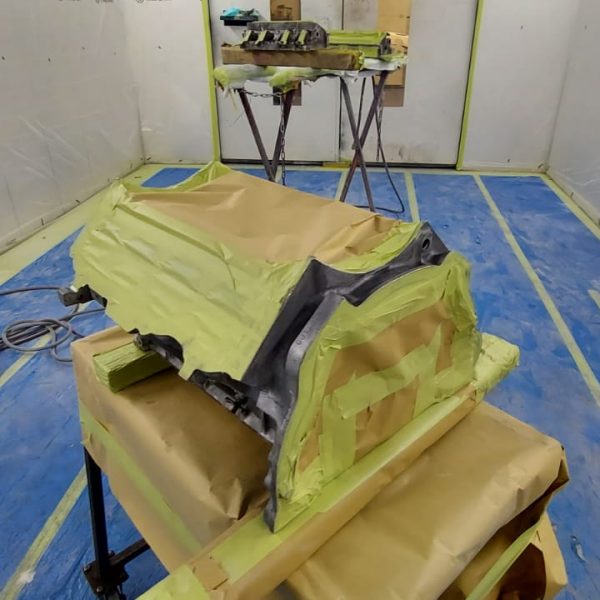
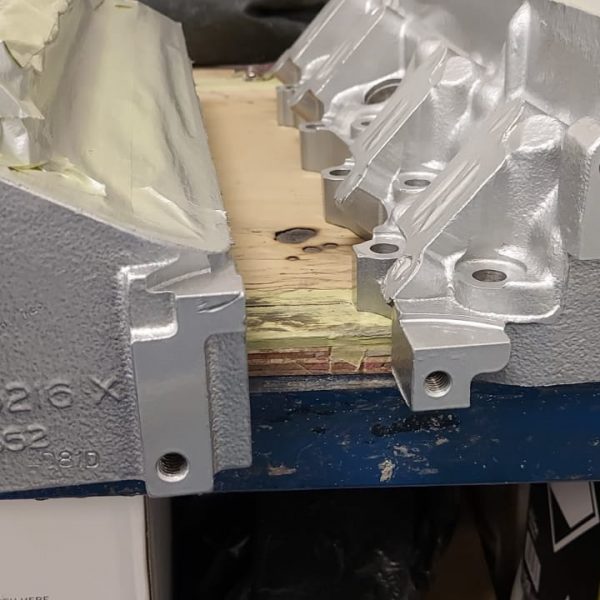
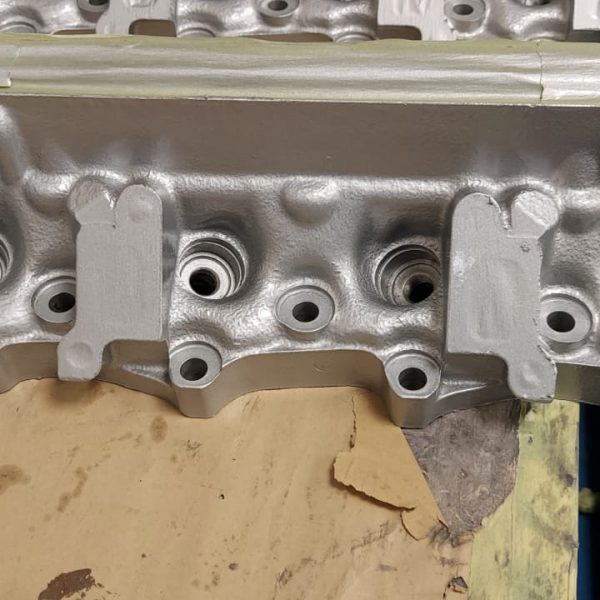
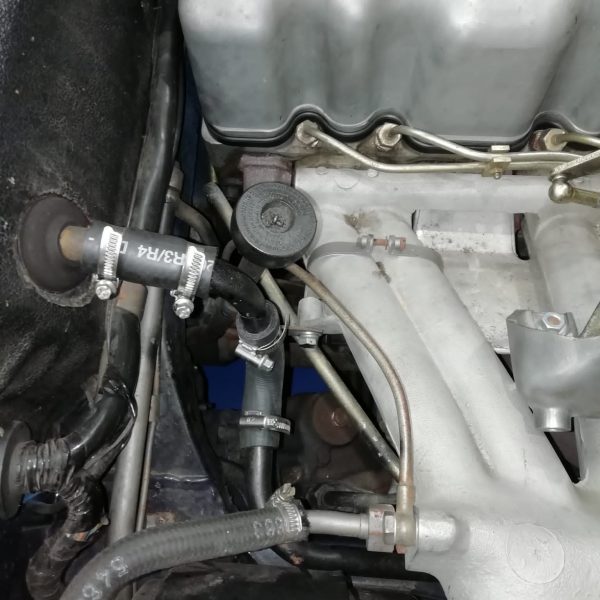
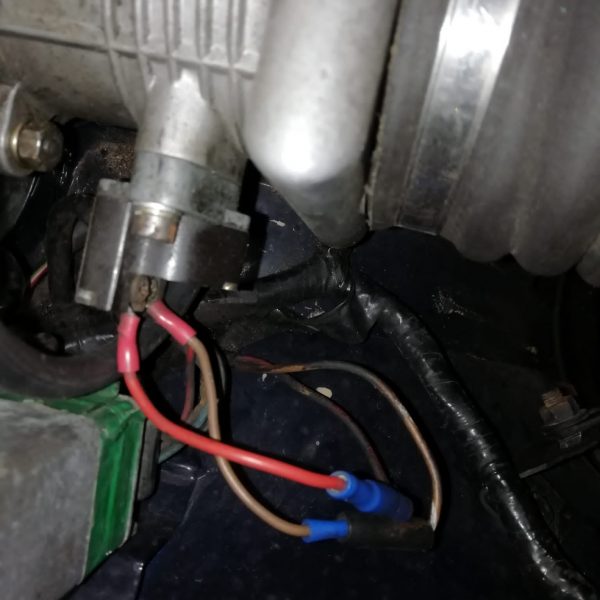
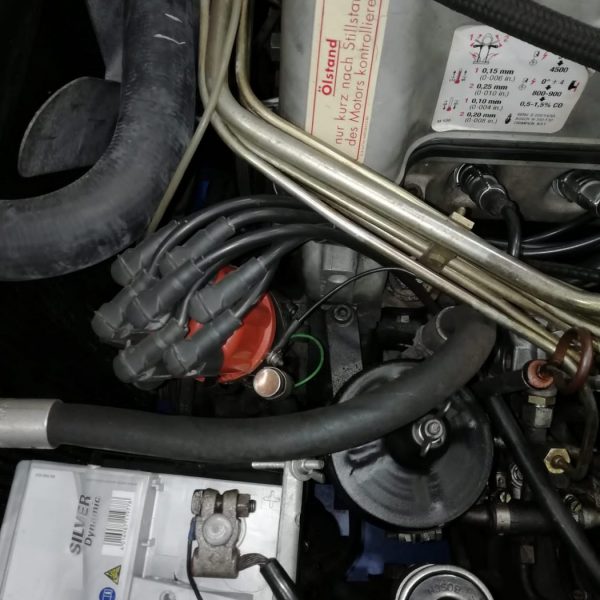
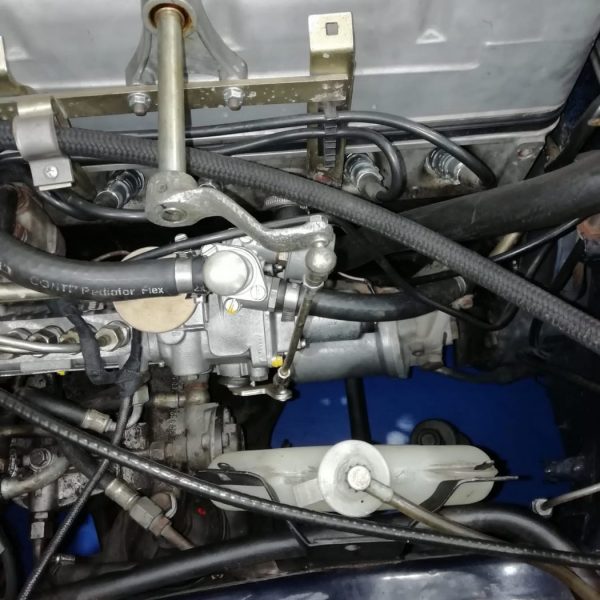
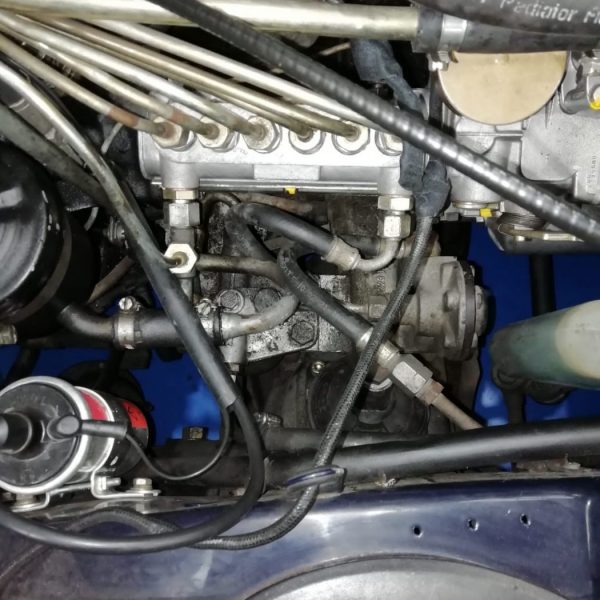
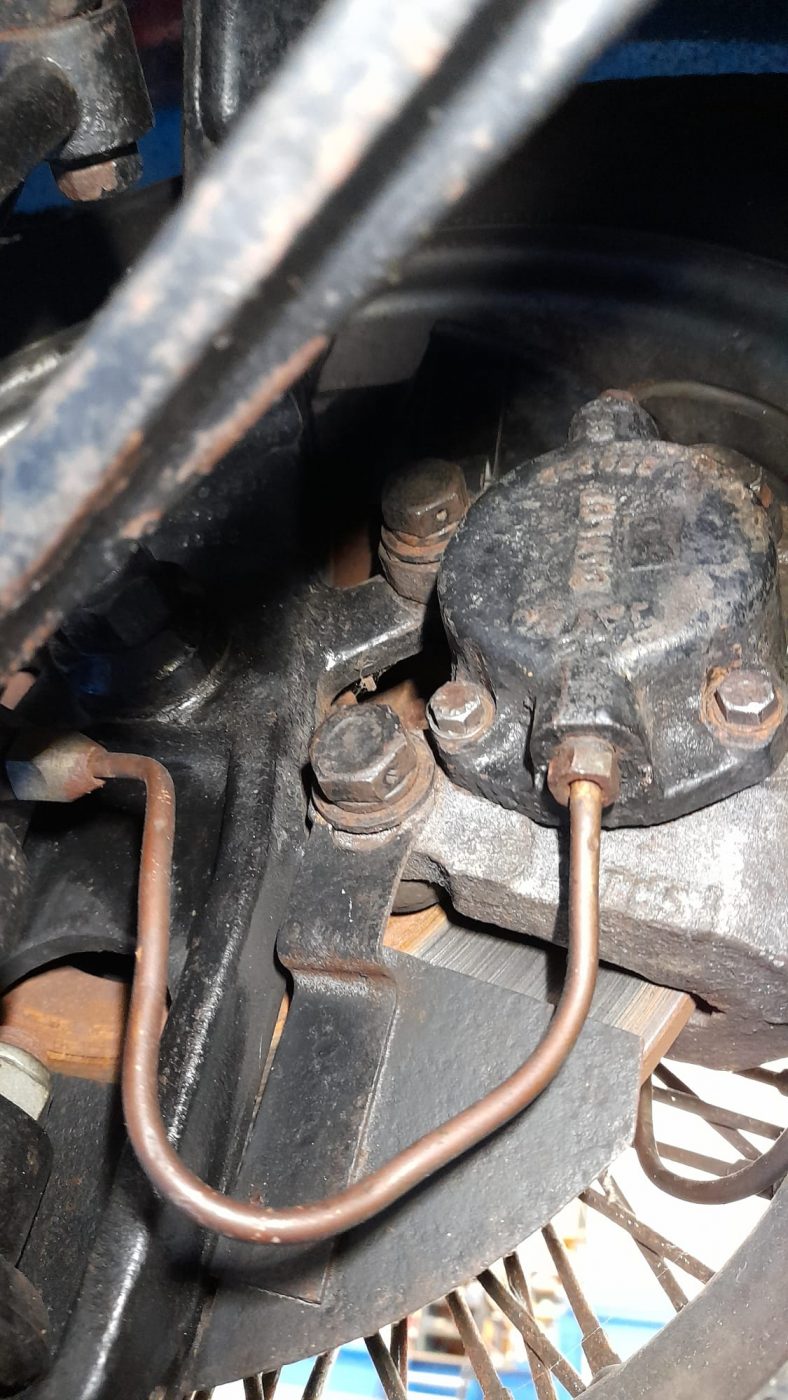
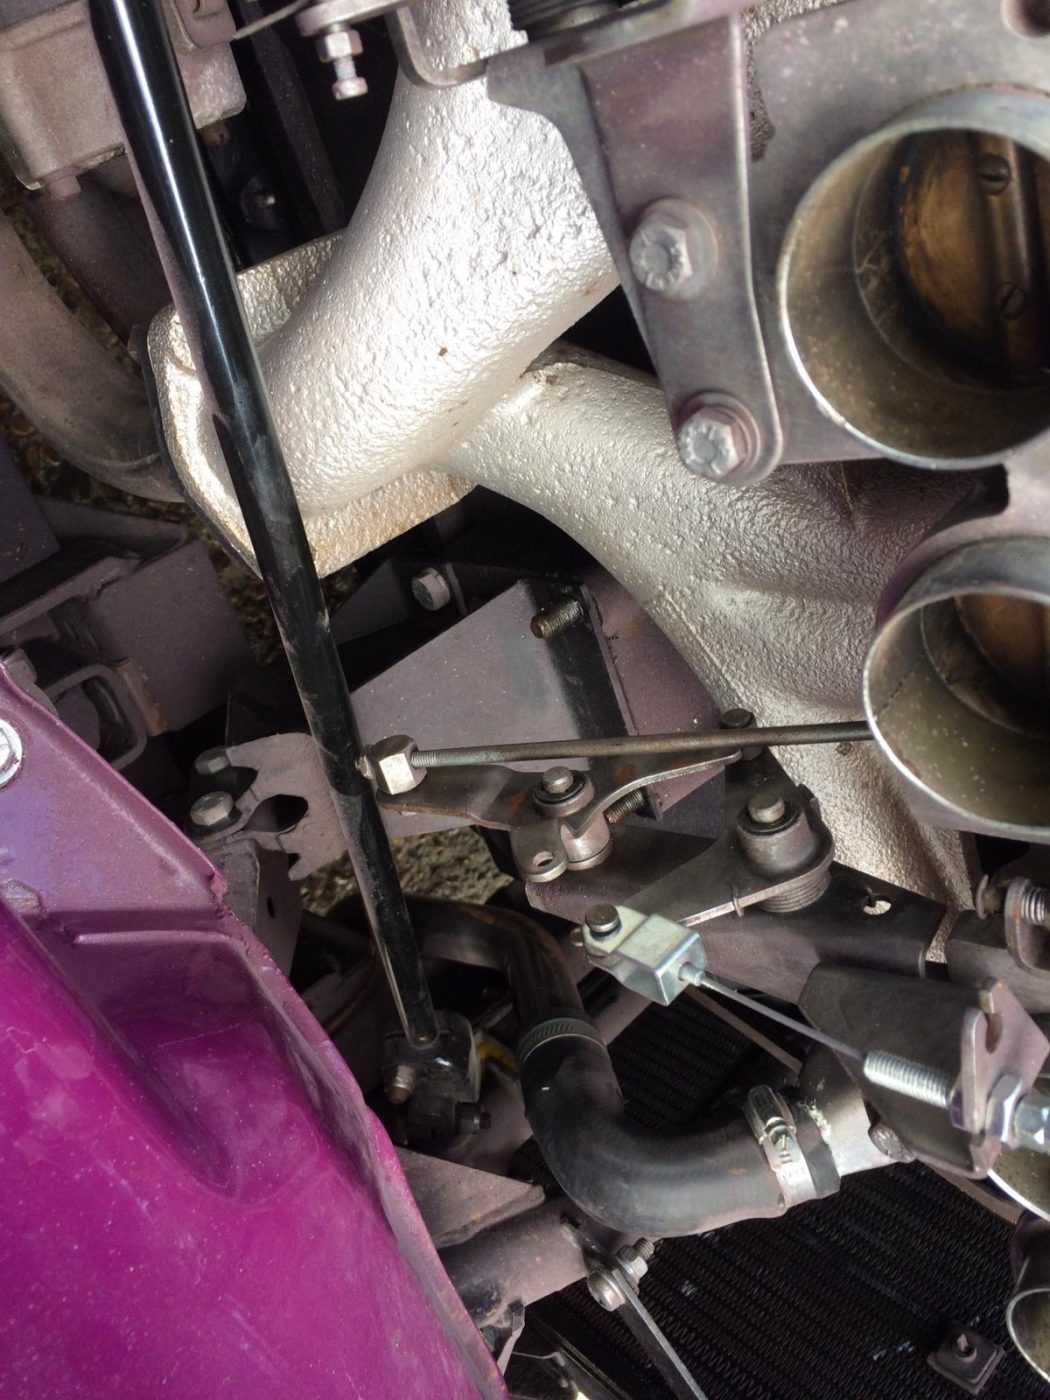
Ady has taken a trip up the road to Coltec Racing to pressure test the Jaguar Mk VII engine.
During pressure testing all-bar-one of the outlets are blanked off and then compressed air is fed into the open port on the inlet manifold, this way we can find if the cylinder head is leaking.
It is always worth getting a pressure test because if anything is cracked internally, it will not be visible, however by using our methods we can easily check if any cracks within your components, before repairing and putting your vehicle back to its best condition.

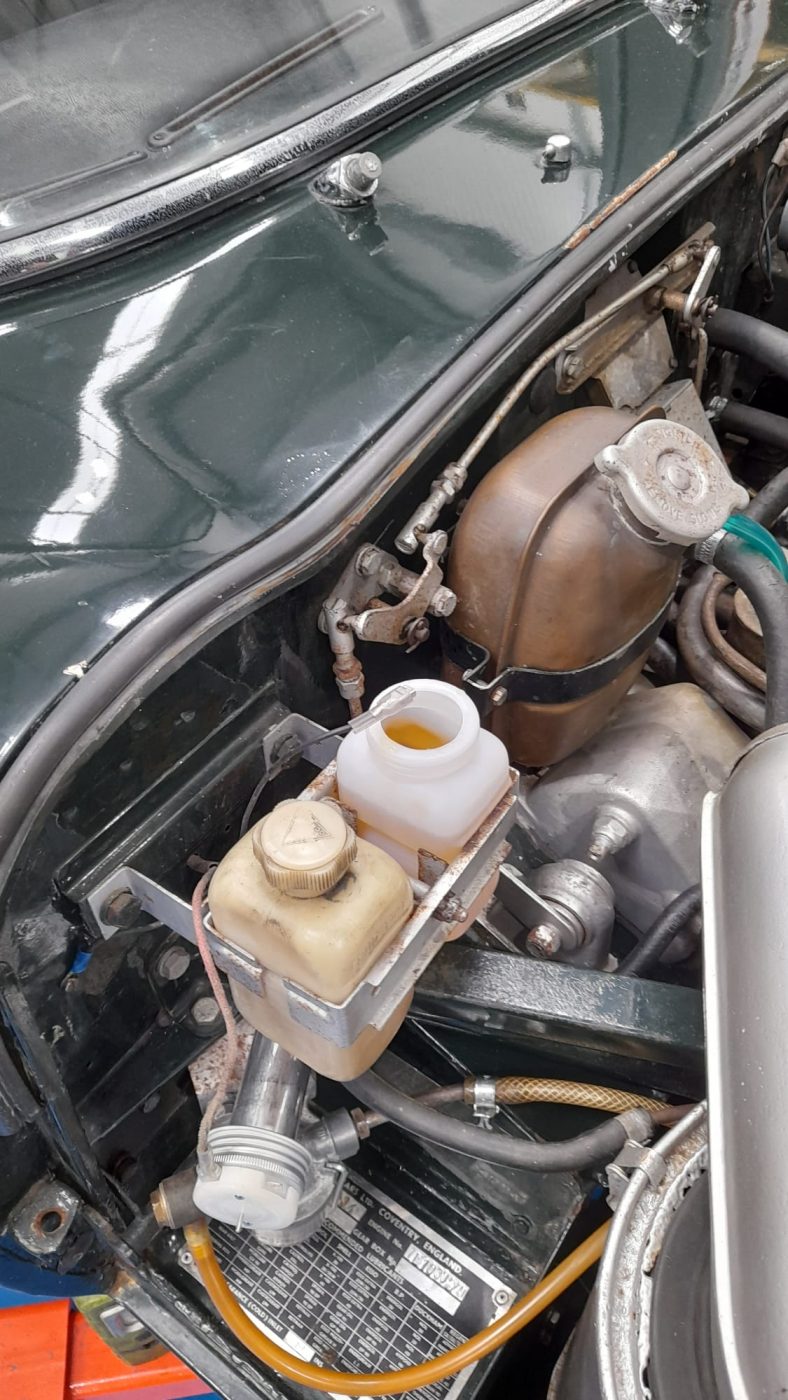
The 1973 Jaguar E-Type Roadster Series 3 has had another layer of primer sprayed on. This comes after sanding and repair work was done to the car last week. The body of the car and the doors were primed on this occasion.


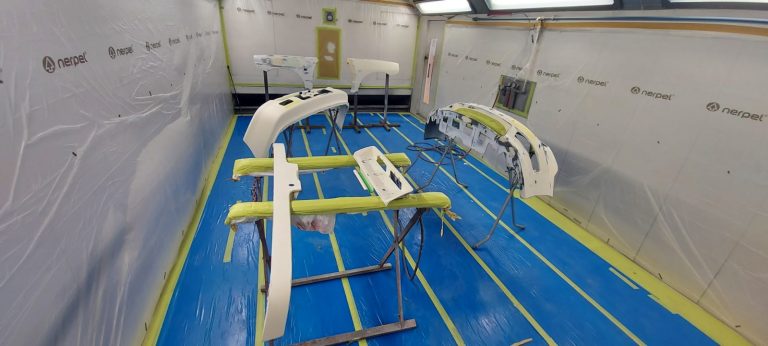
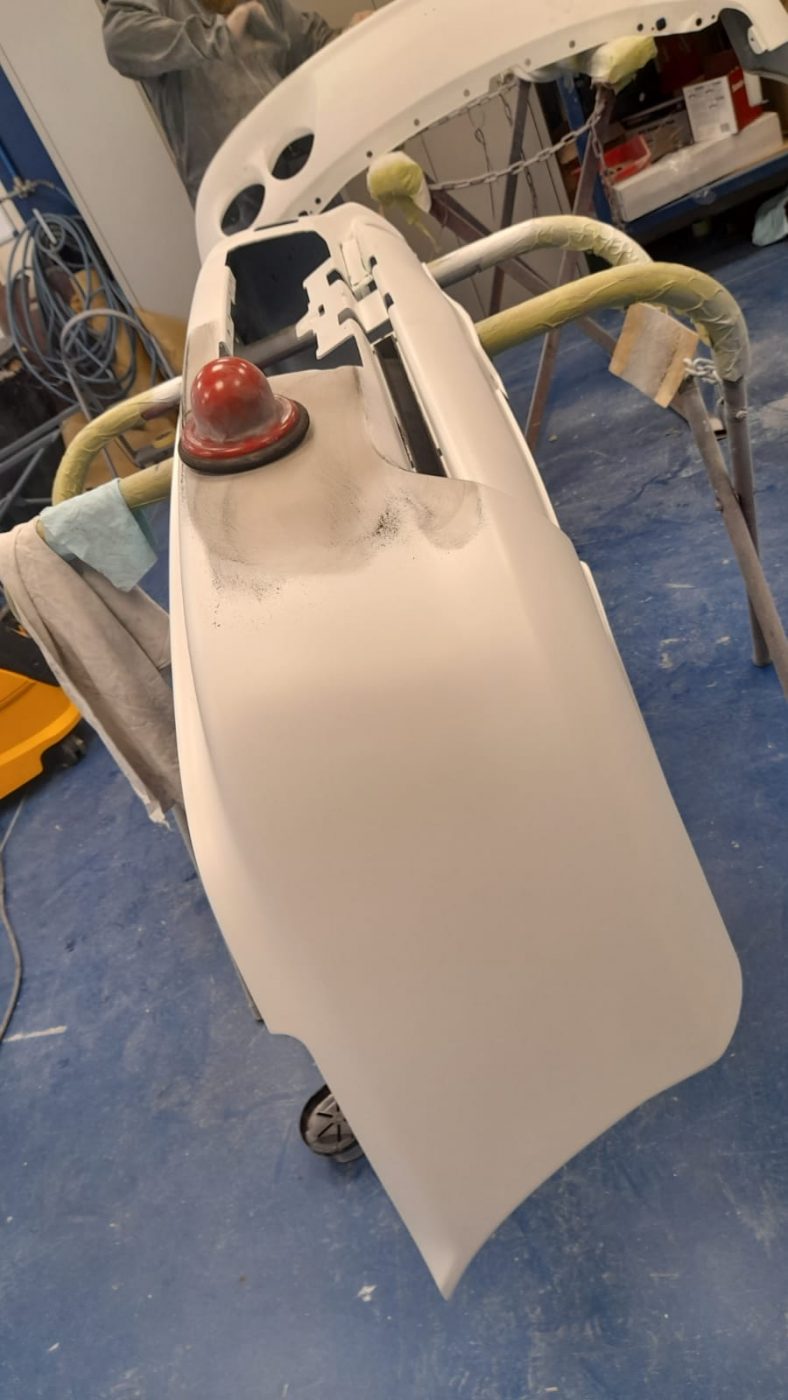
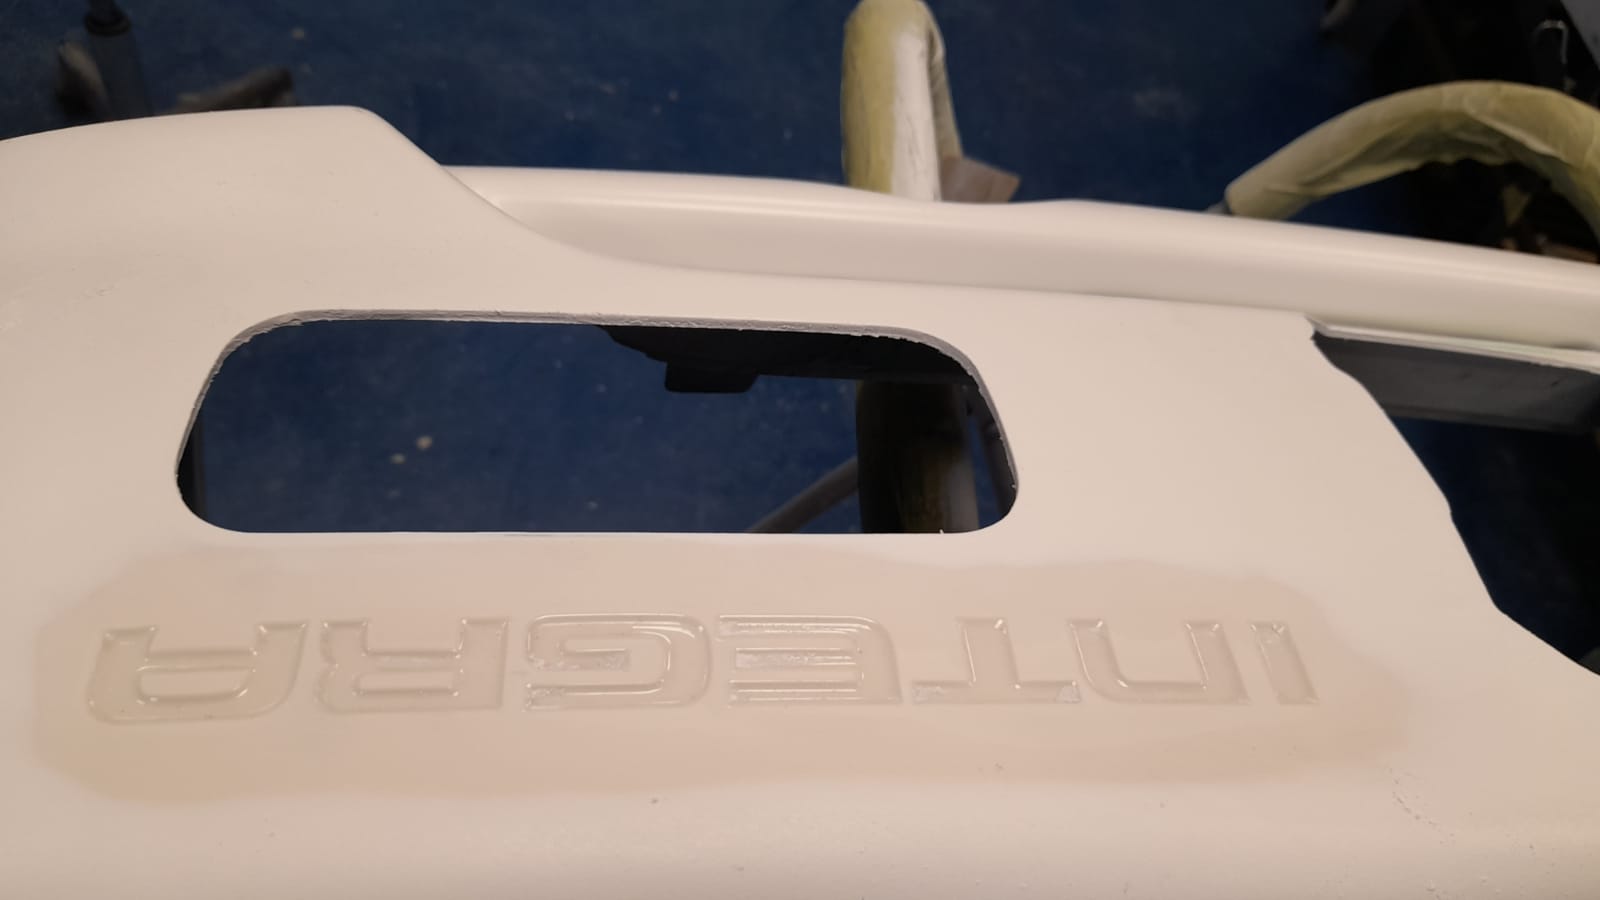
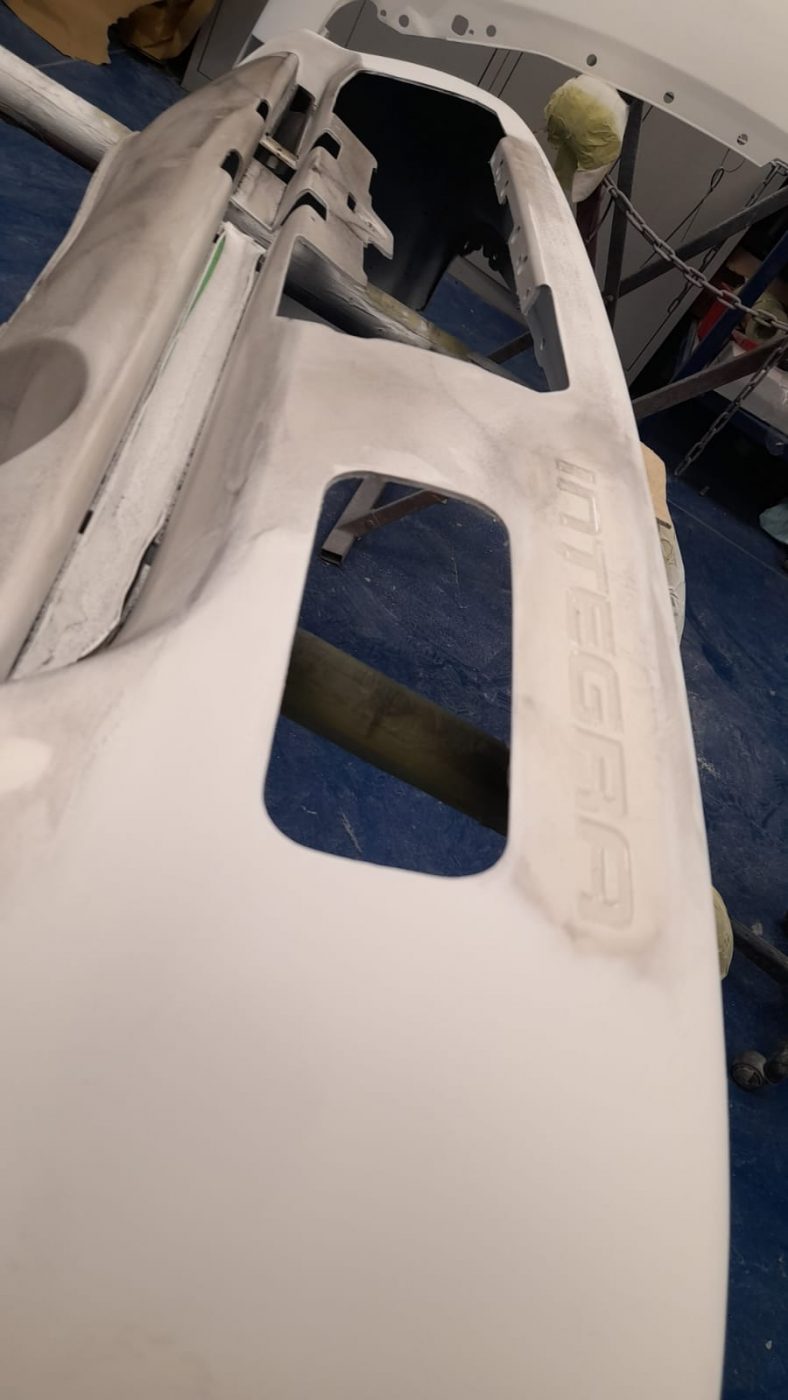
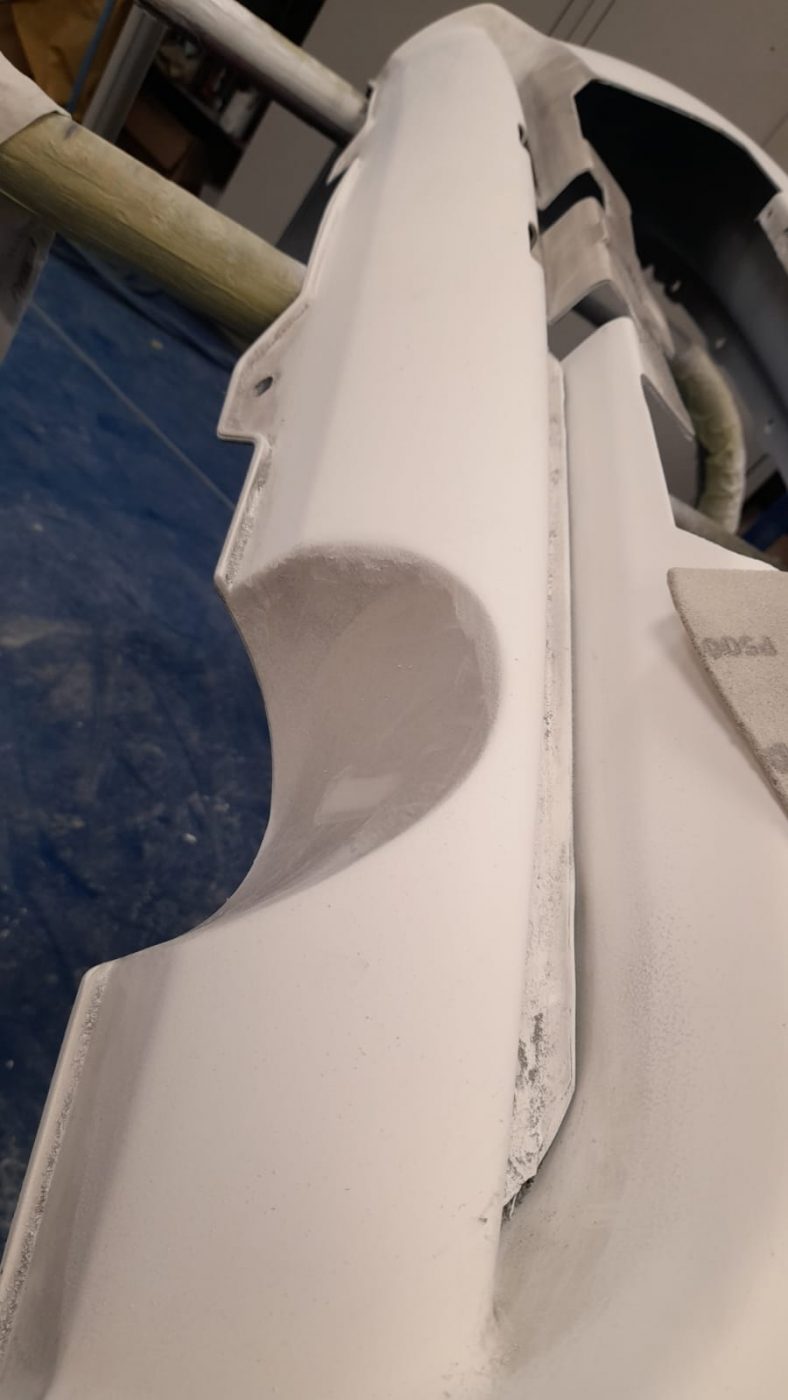
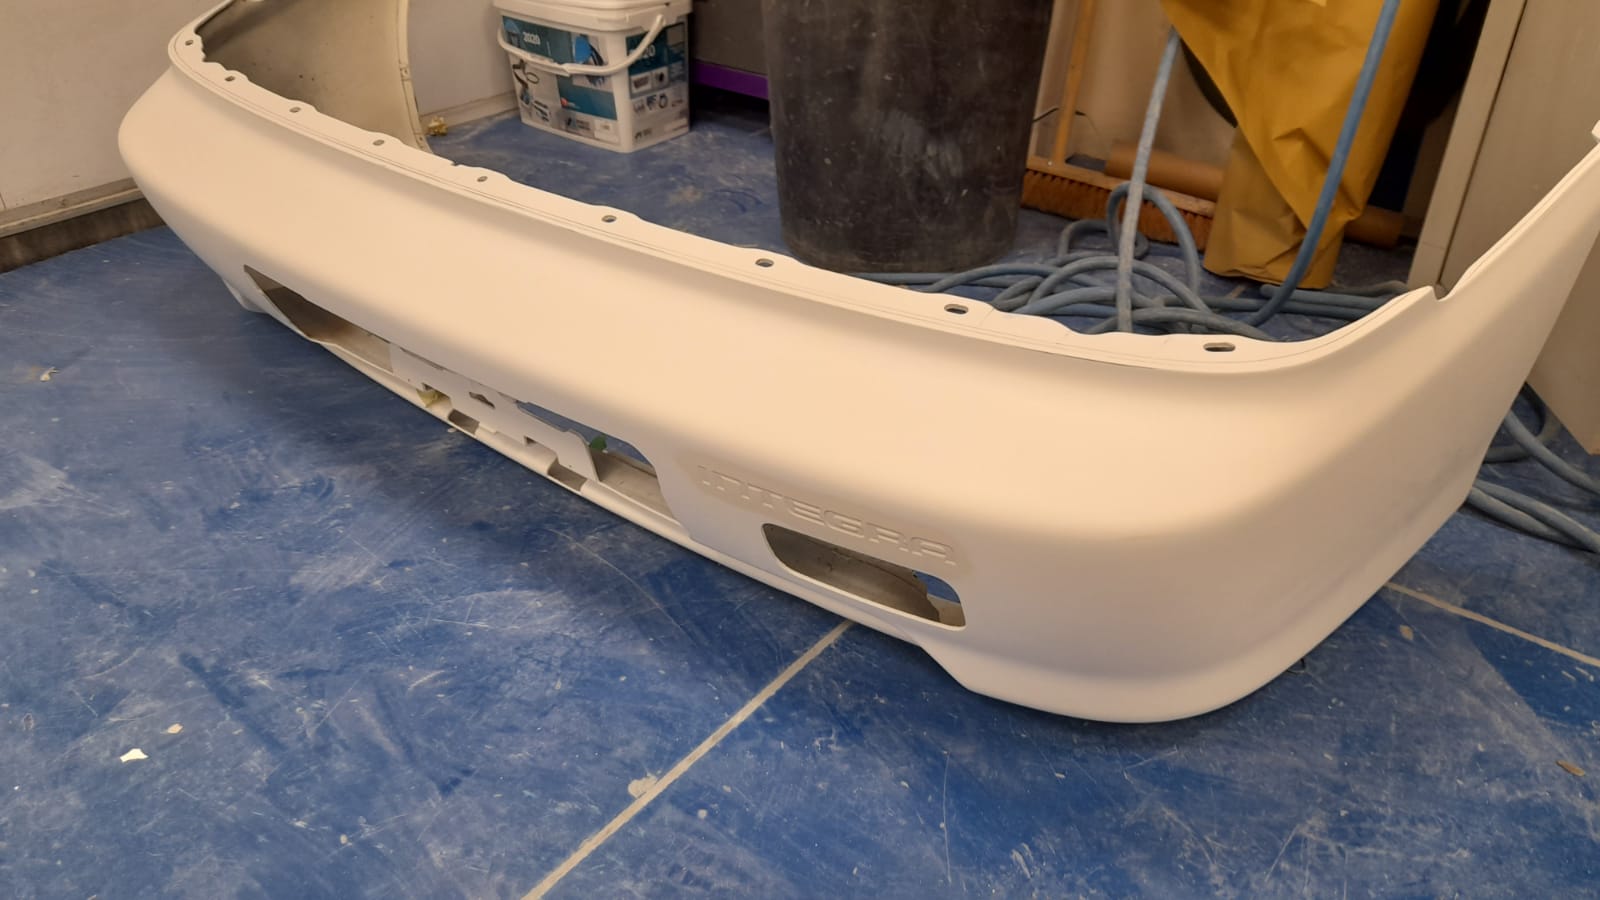
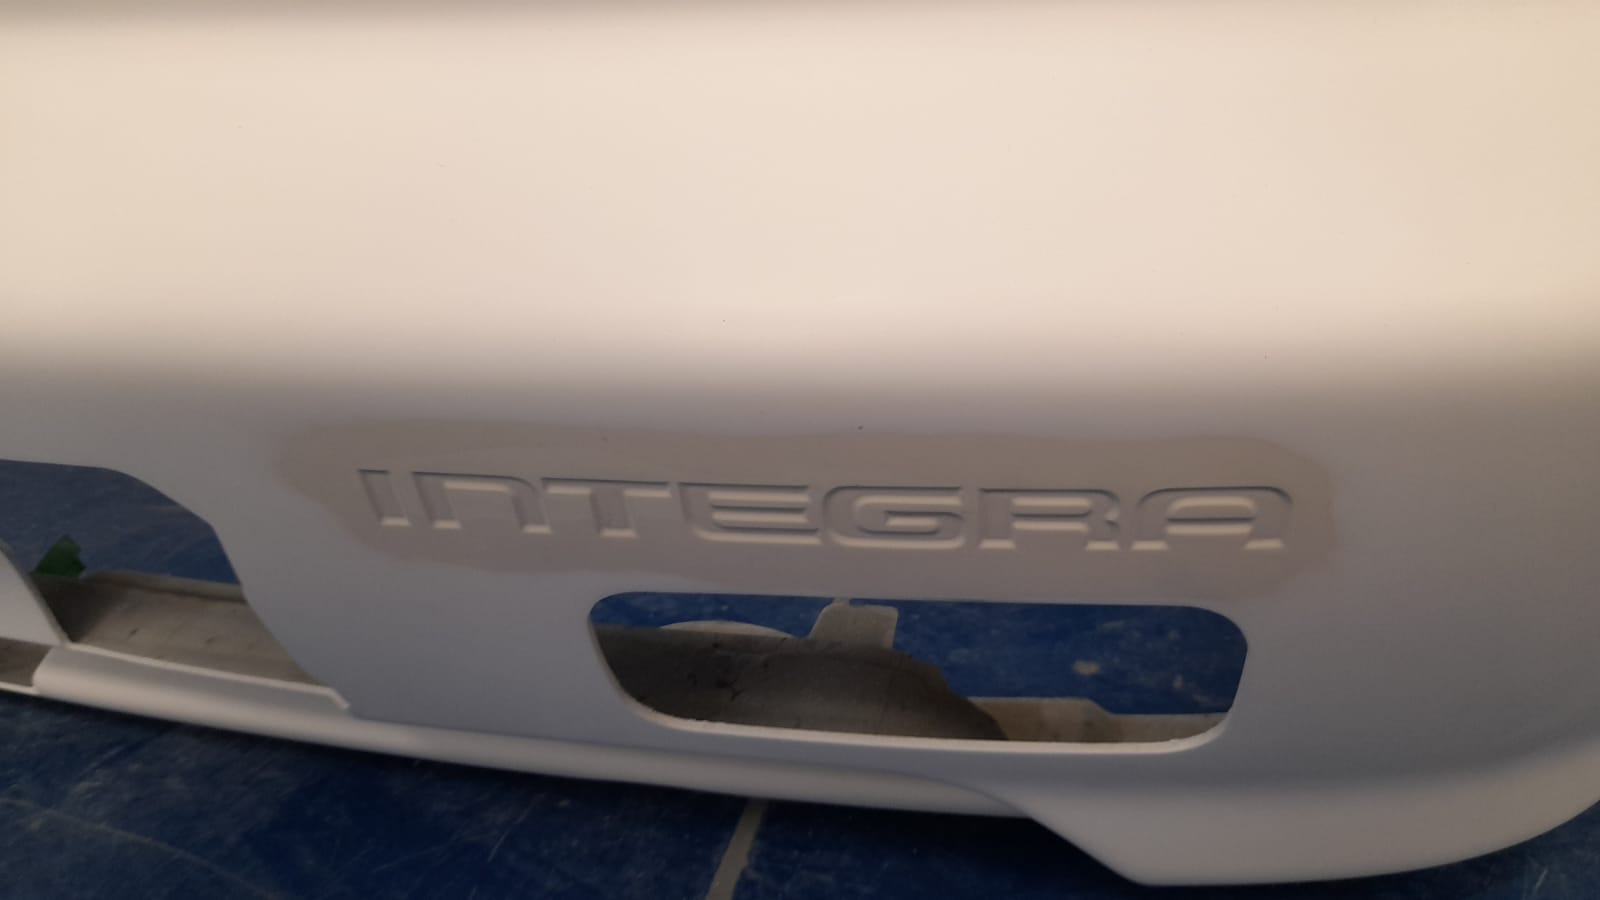
Chris and Lydia have been continuing their work on the 1998 Honda Integra Type R in the paint shop.
As before, Chris has been spraying primer onto various panels from the car, including the front and rear bumpers, the sills, the registration plate panel, the spoiler and the wings.
Lydia has then been sanding down this primer, using either a block sander, DA sander or by hand. She covered each panel in black guide coat beforehand to help see how much sanding needed to be done. You can read about last week’s work on them here. https://bridgeclassiccars.co.uk/more-stages-of-the-prep-work-for-the-honda-integra/


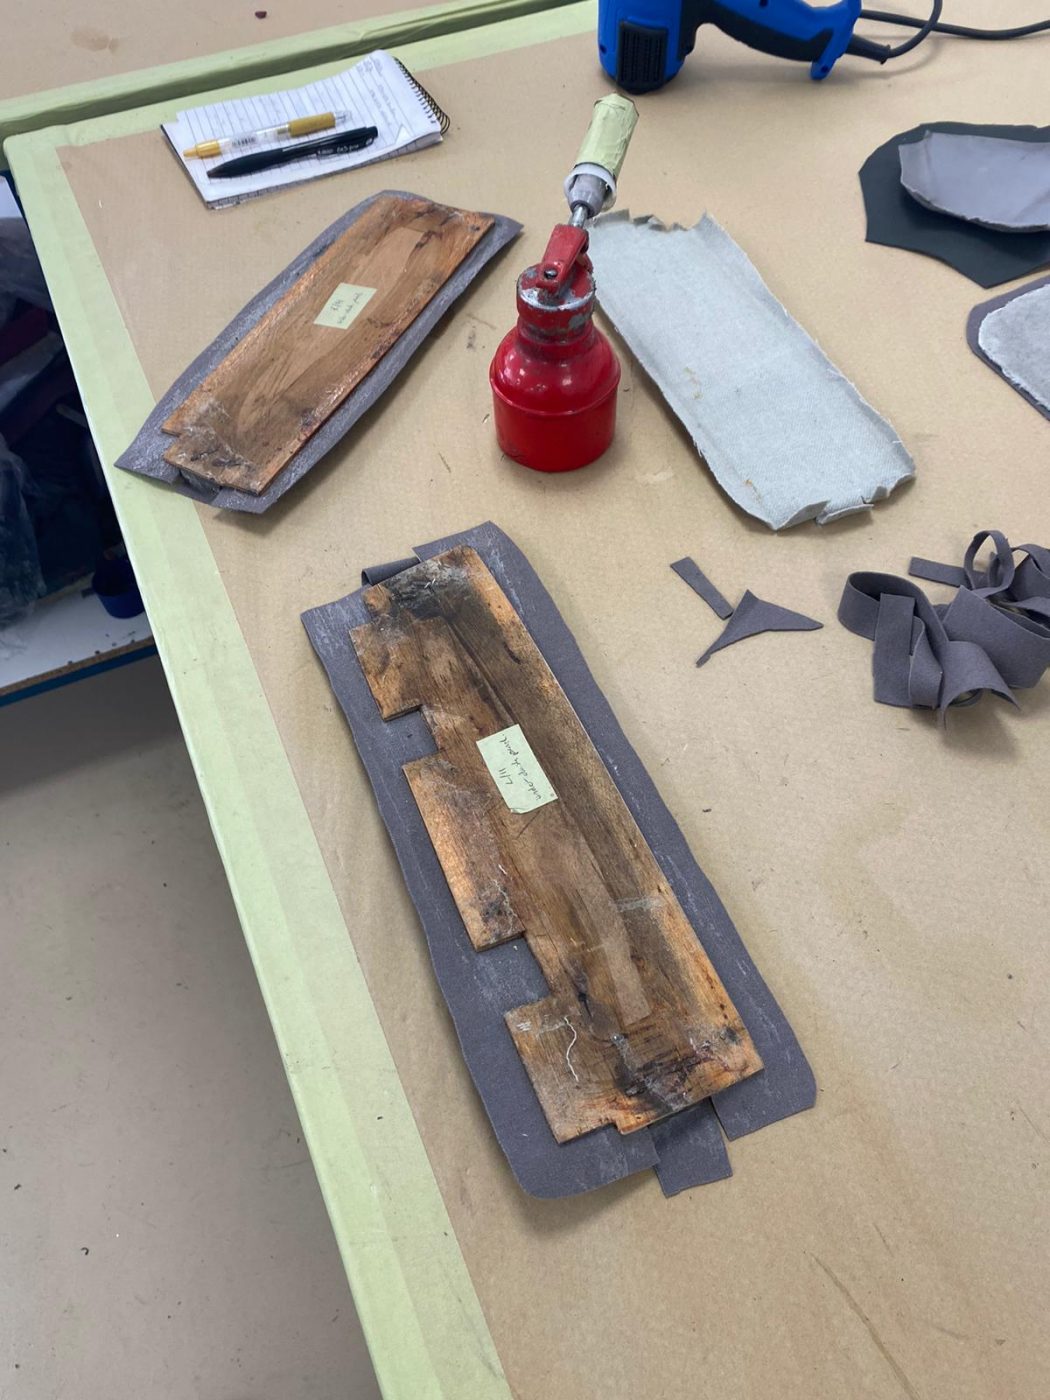
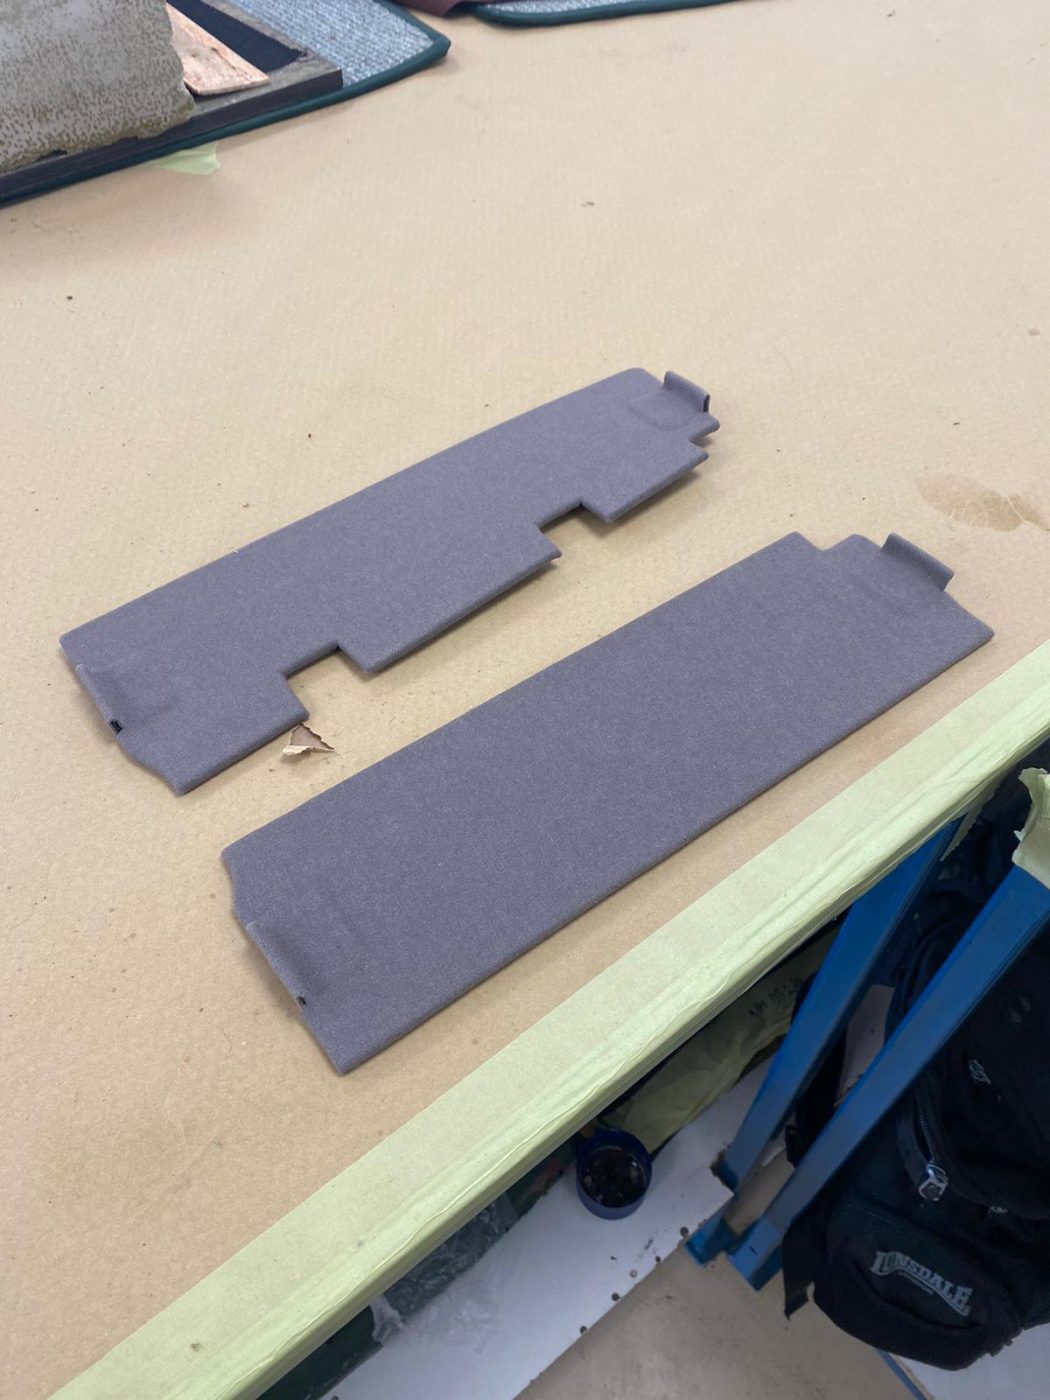
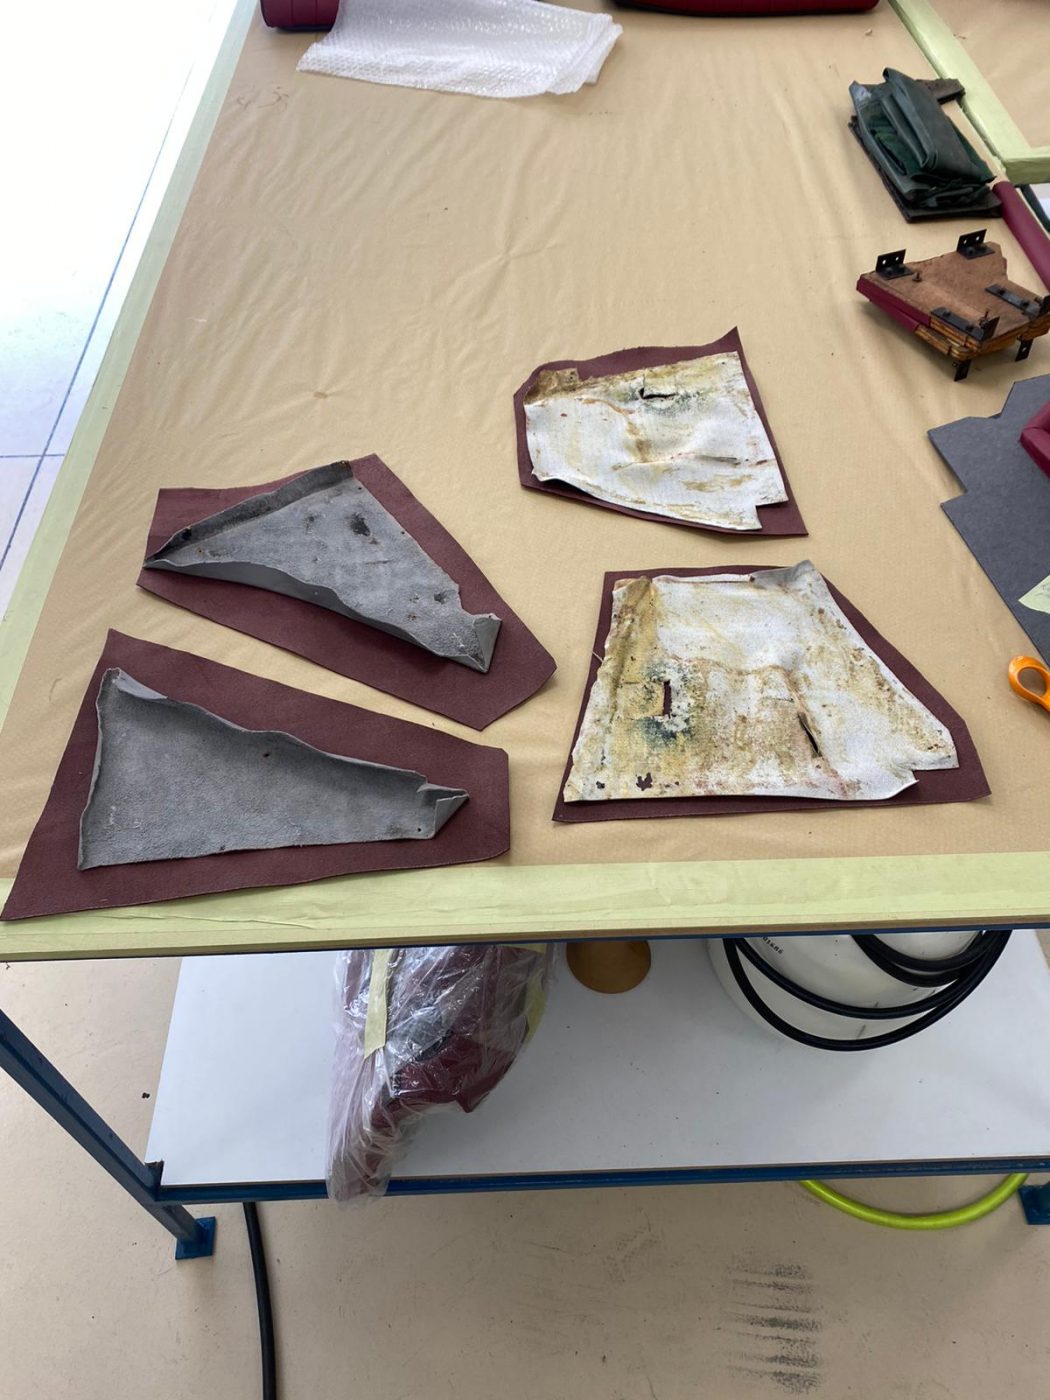
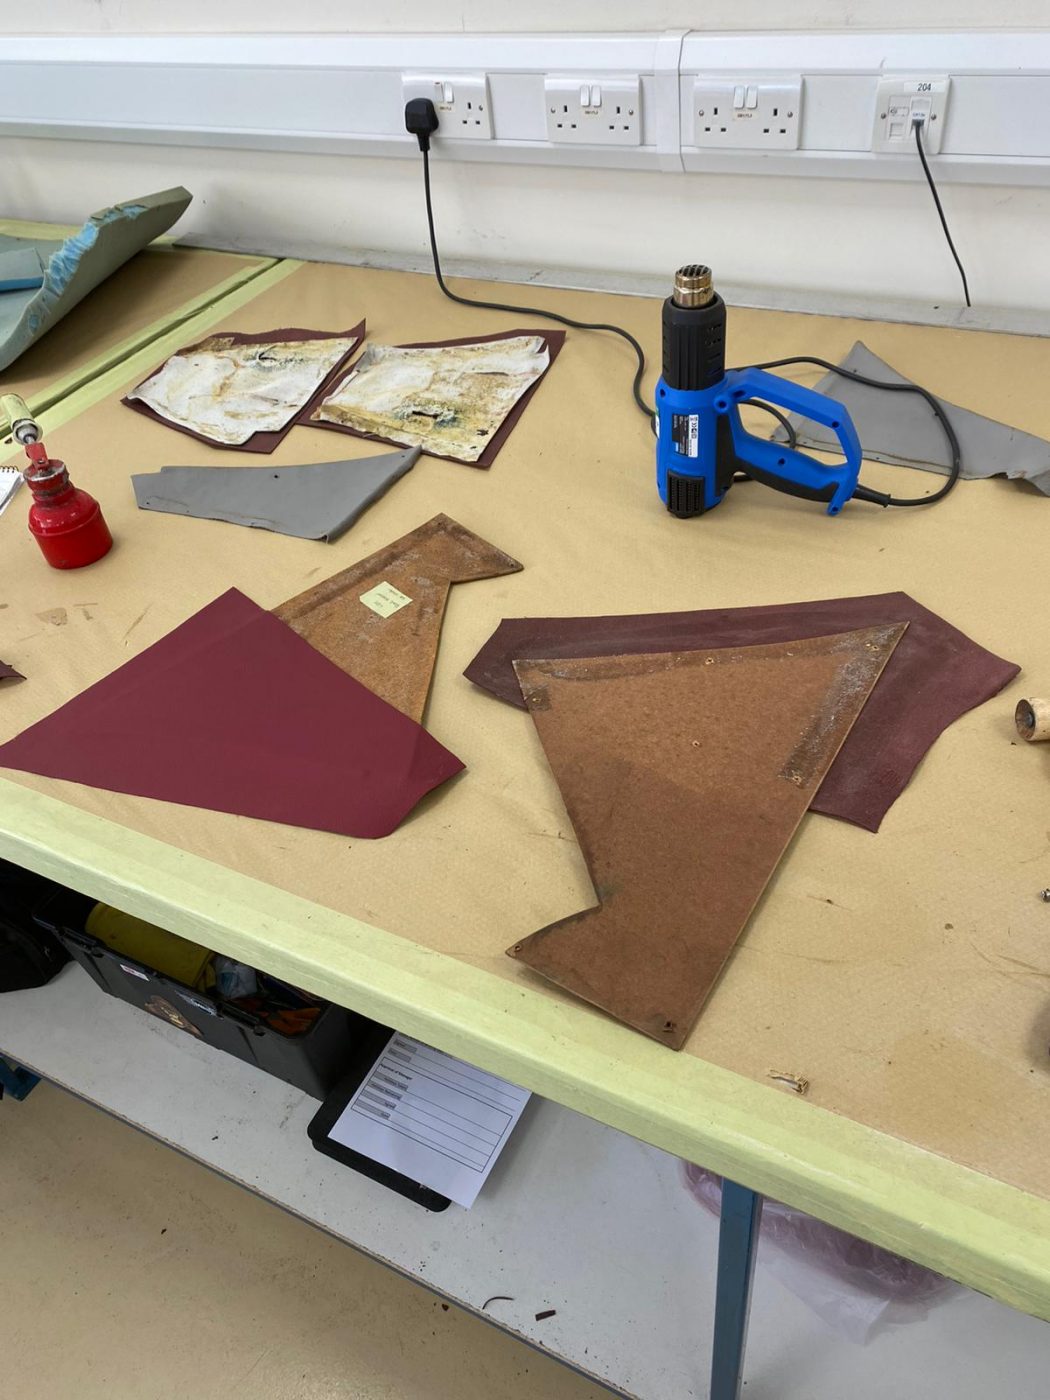
Brian has been re-covering more panels for the 1955 Aston Martin DB 2/4.
This time it’s been the lower A posts, the dash side panels, the rear seat front rail and the boot side panels. He took the original leather off all of them and cleaned off any old glue that was left behind. He then used the original leather pieces as patterns on the new leather, marked out around them and cut them out. The new leather pieces were then glued onto their associated panels, and any foam was added where need be.


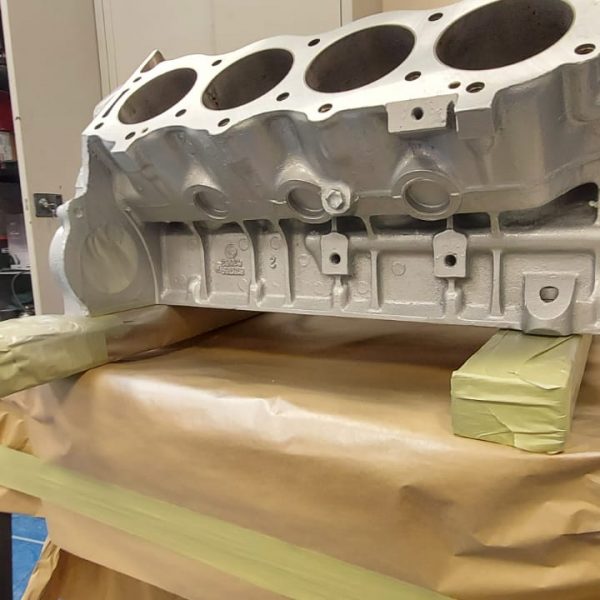
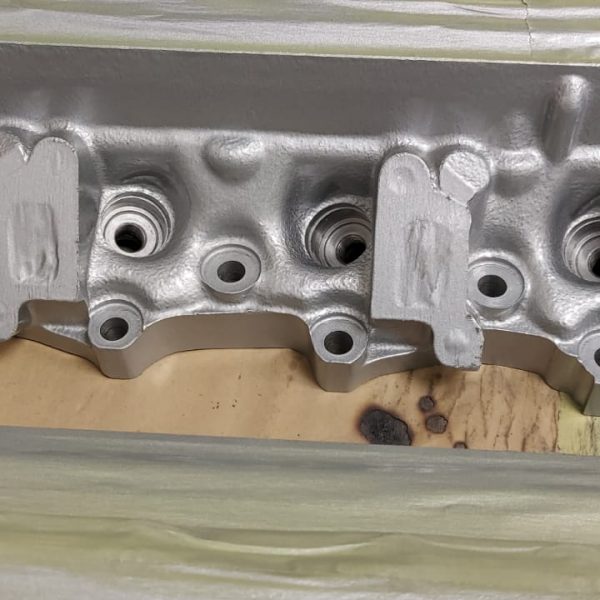
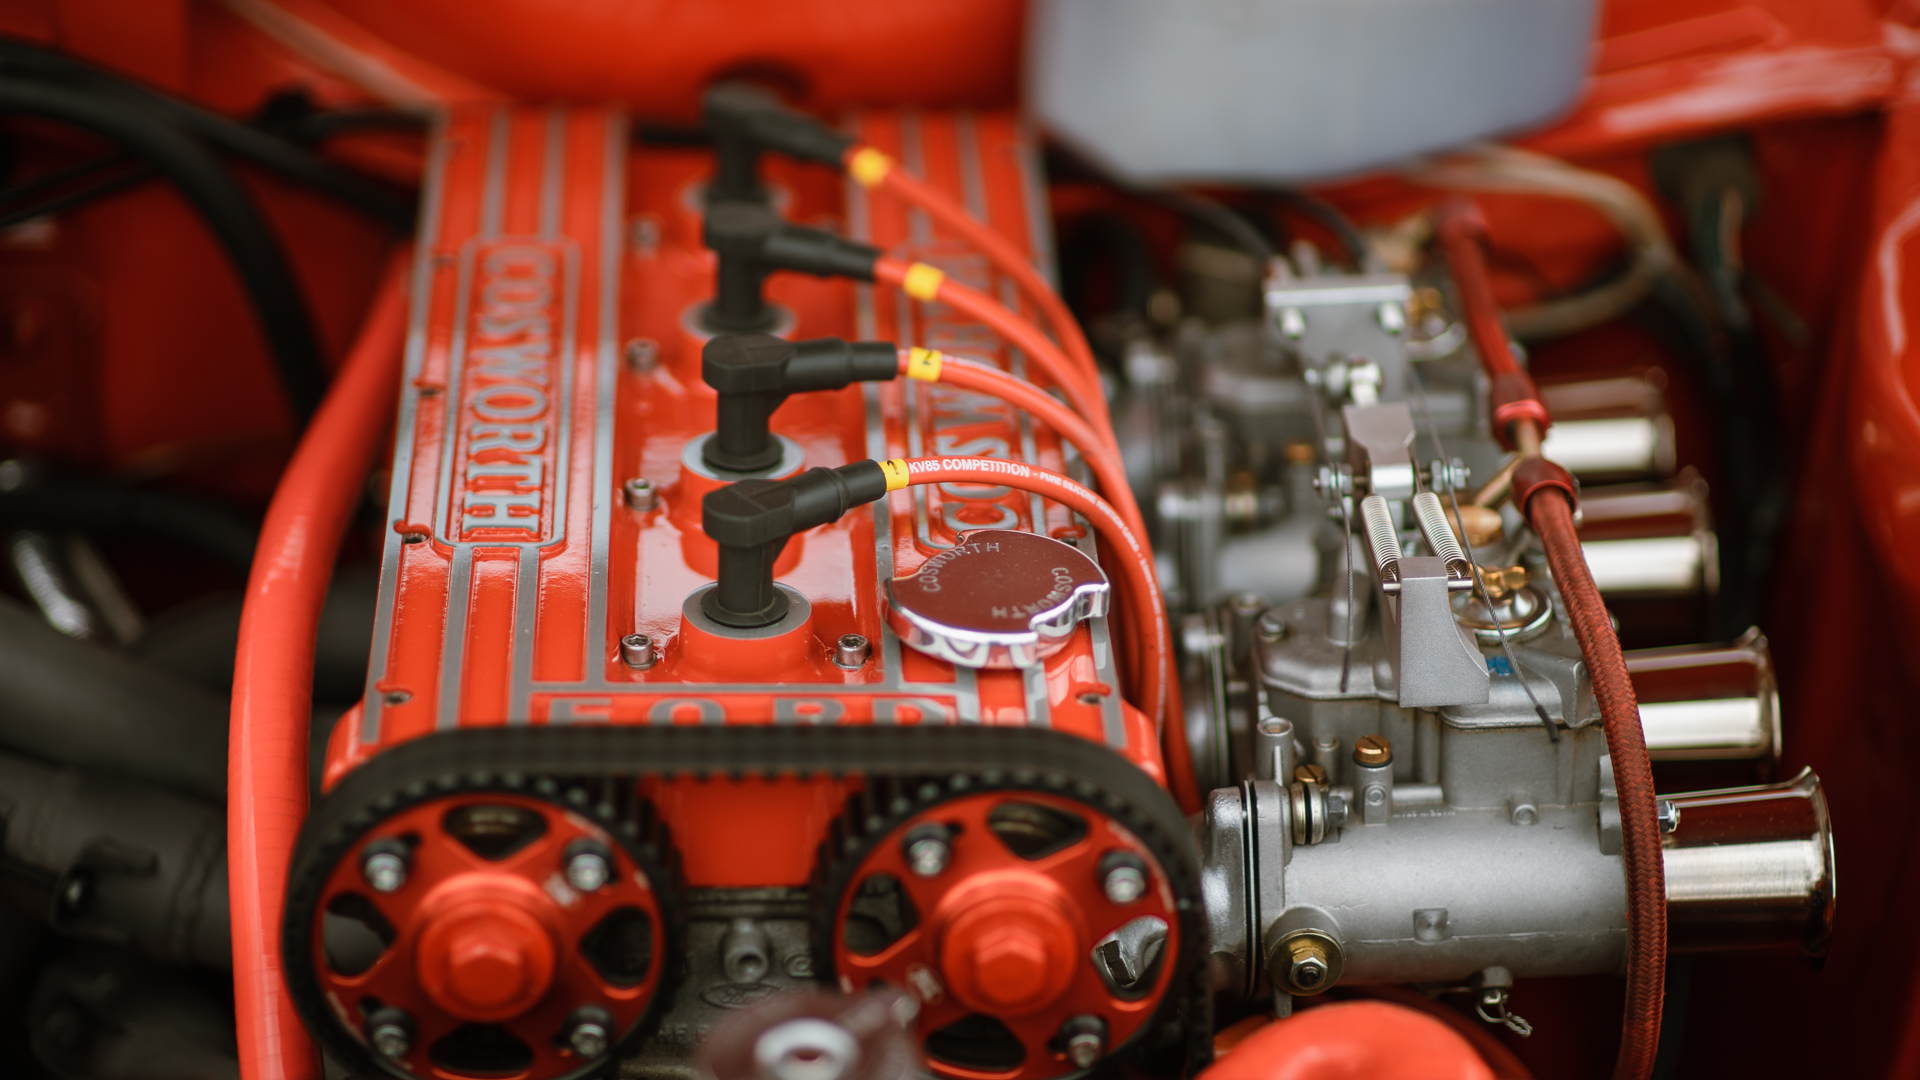
Chris has been re-painting the engine for the 1973 purple MG B GT V8.
He painted the engine in sections, masking up along the way with tape.

James has been working on the 1998 Honda Integra Type R.
He’s repaired a section on the lower quarter panel by fabricating and welding. It’s now ready to be re-fitted back onto the car.
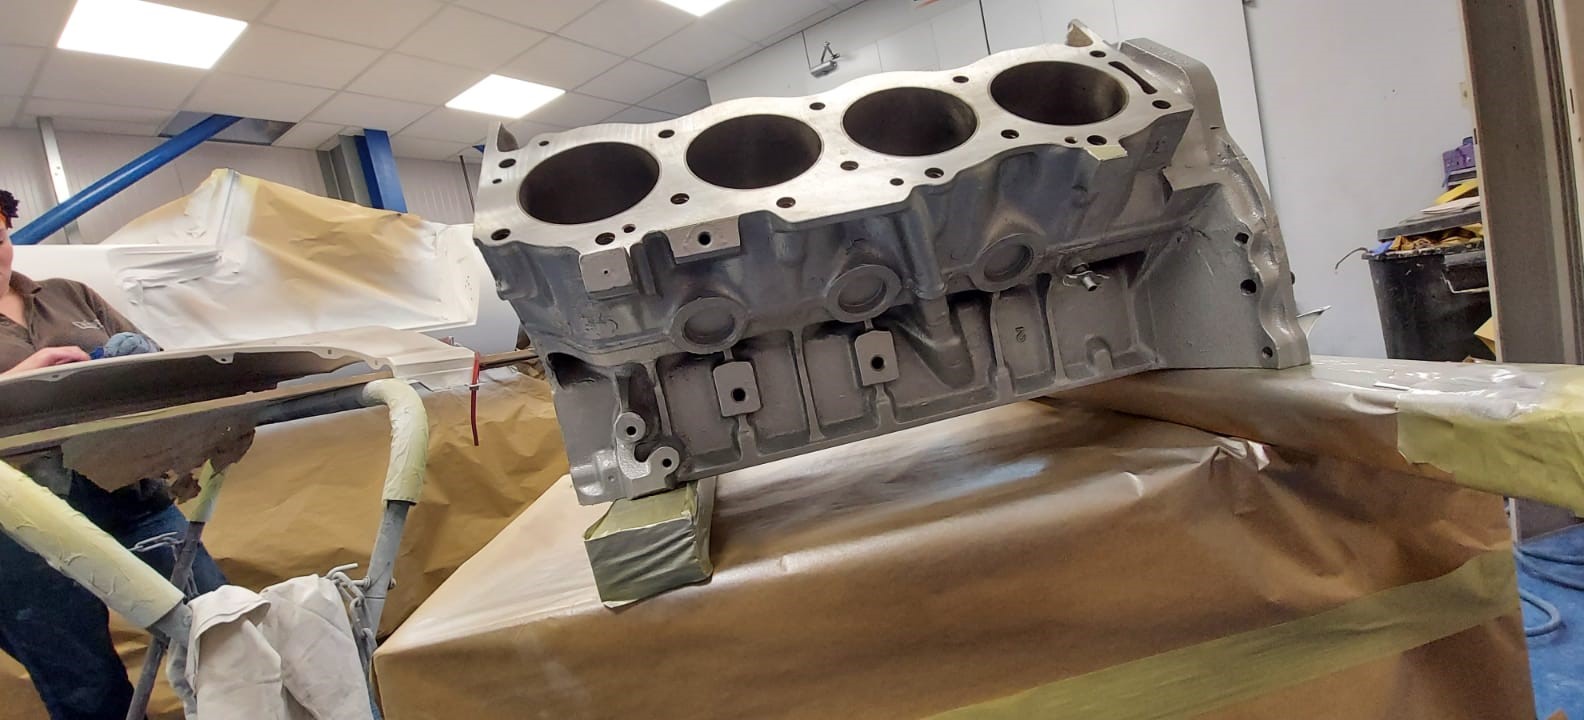
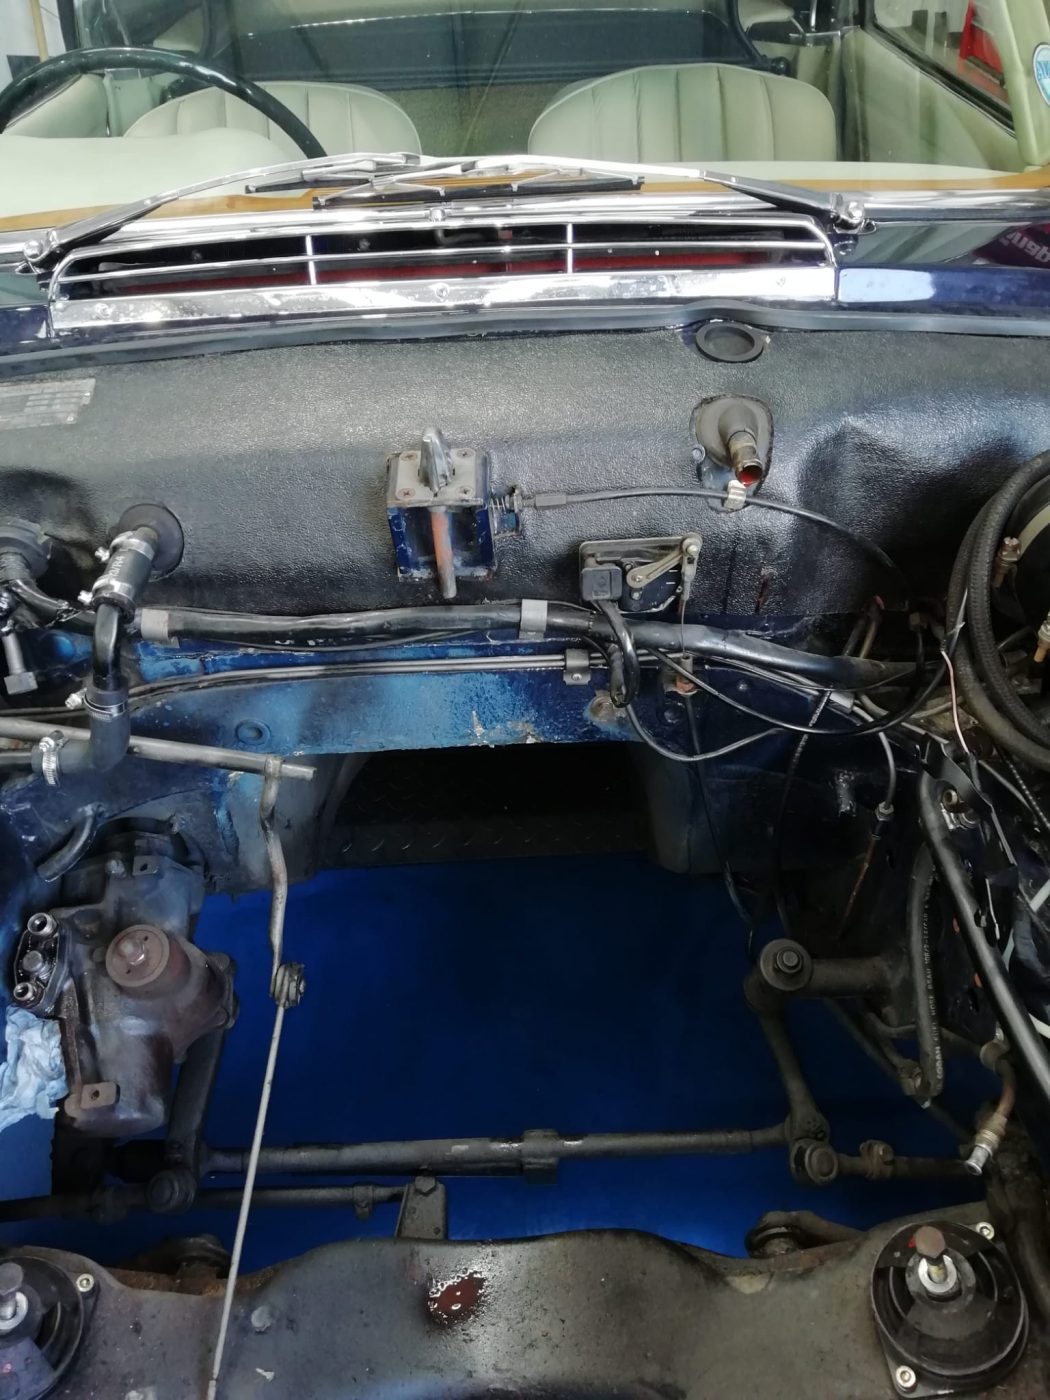
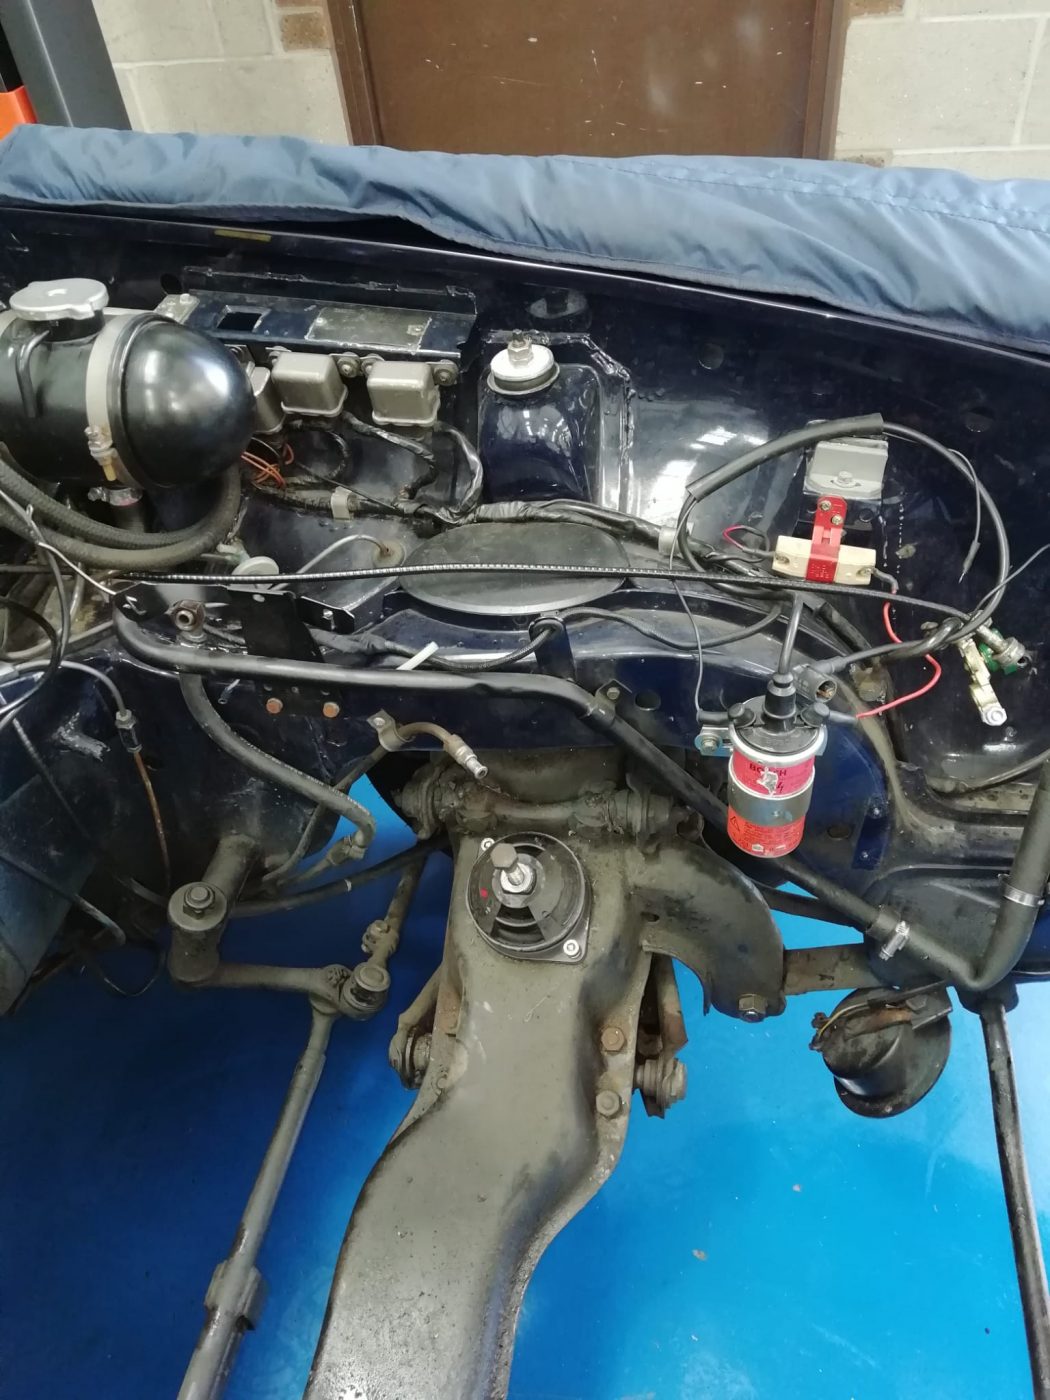
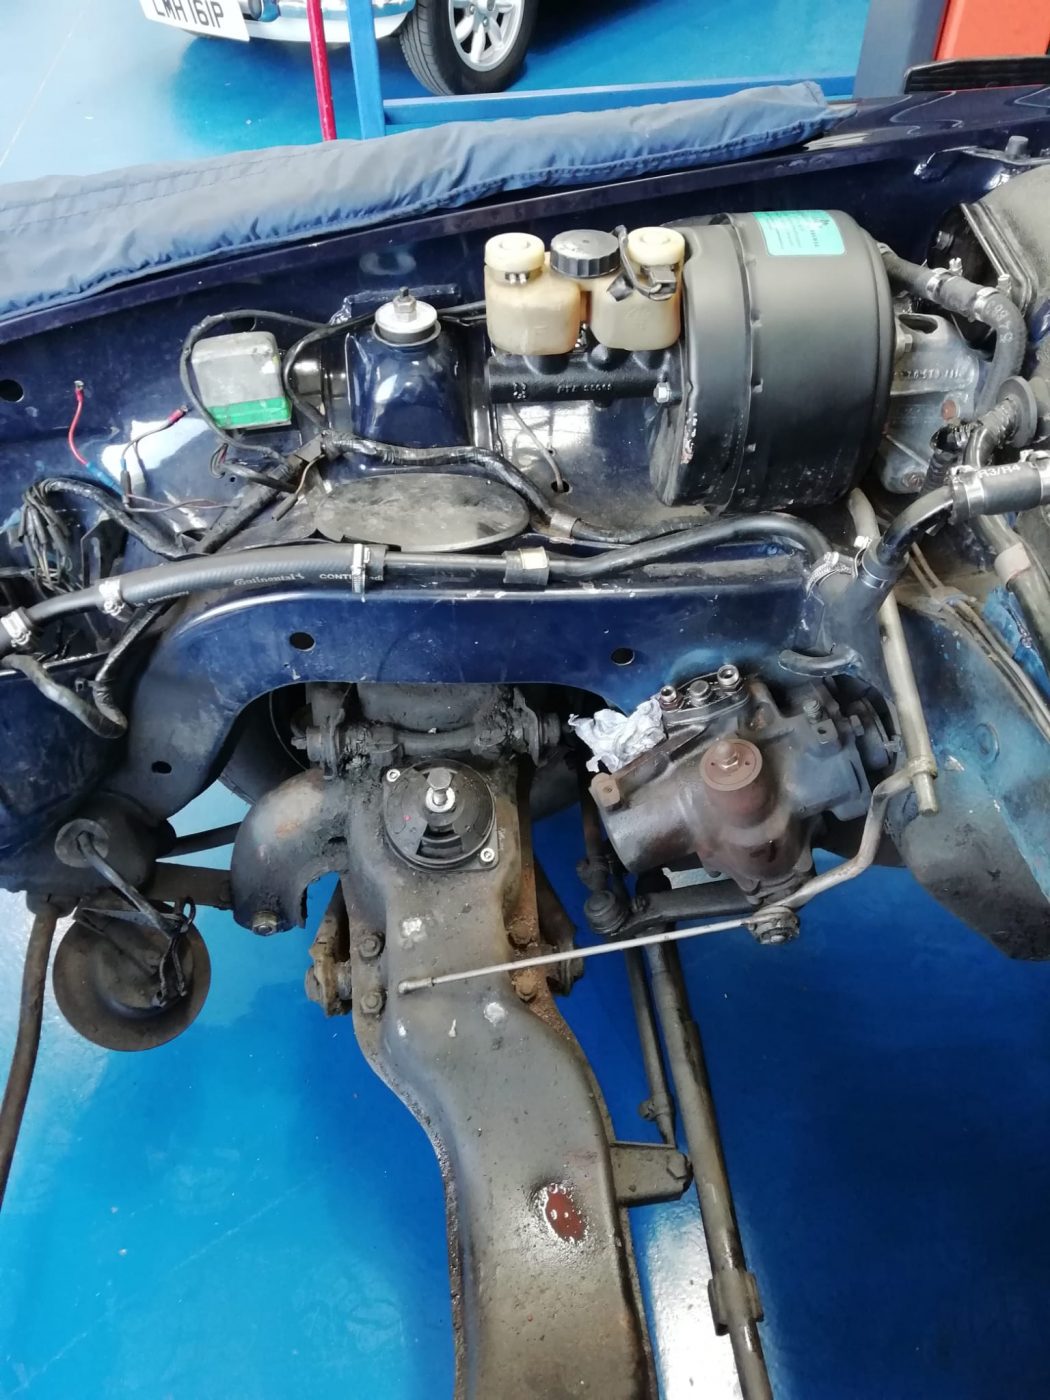
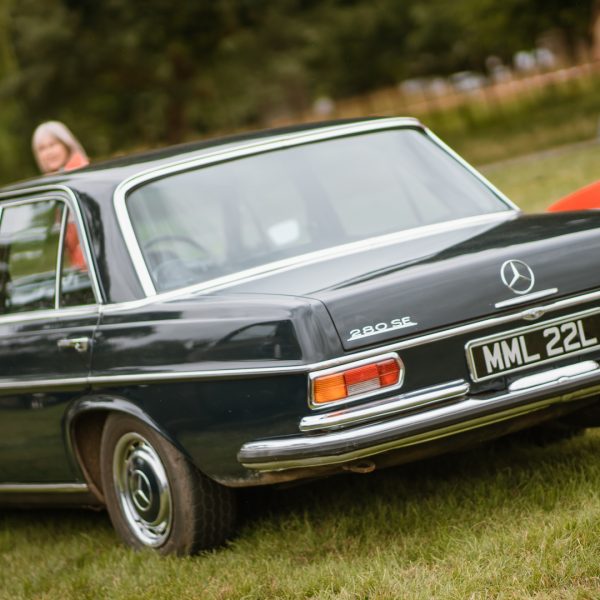
Paul has successfully removed the engine from our beautiful blue 1969 Mercedes 280SL Pagoda. The engine will be rebuilt by Ady and the engine bay will be detailed as part of the project.
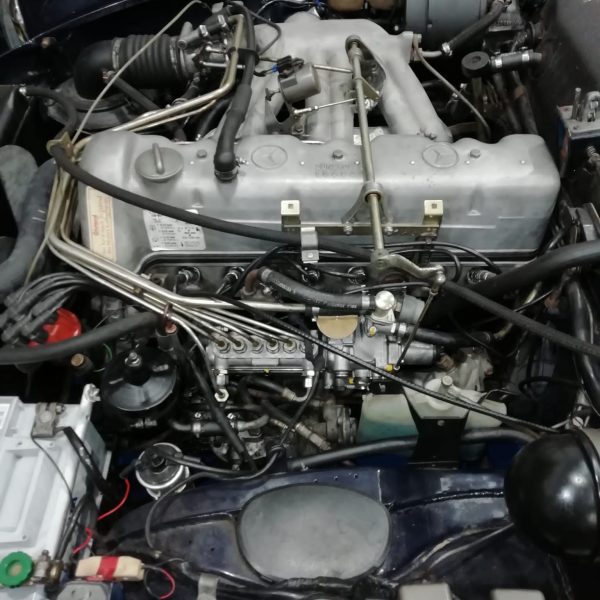
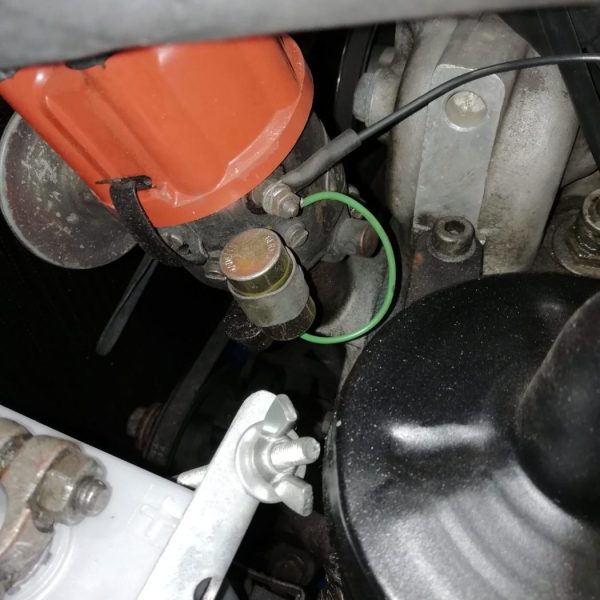
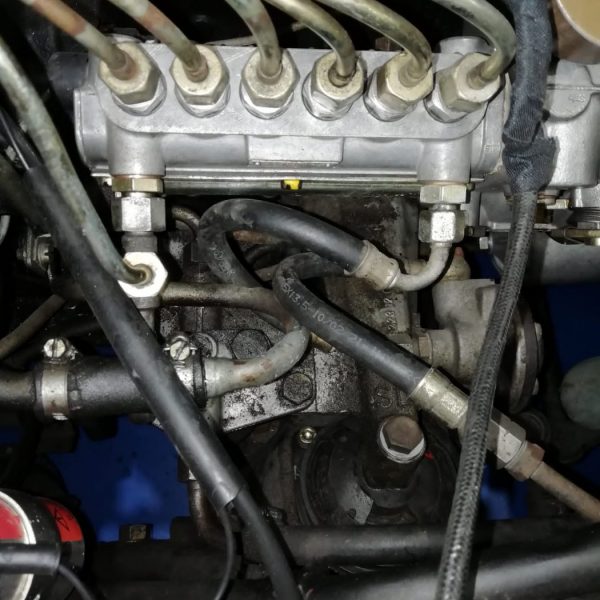
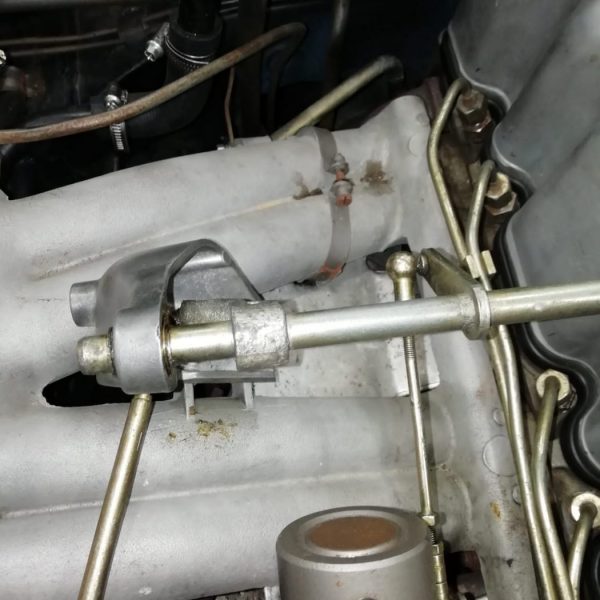

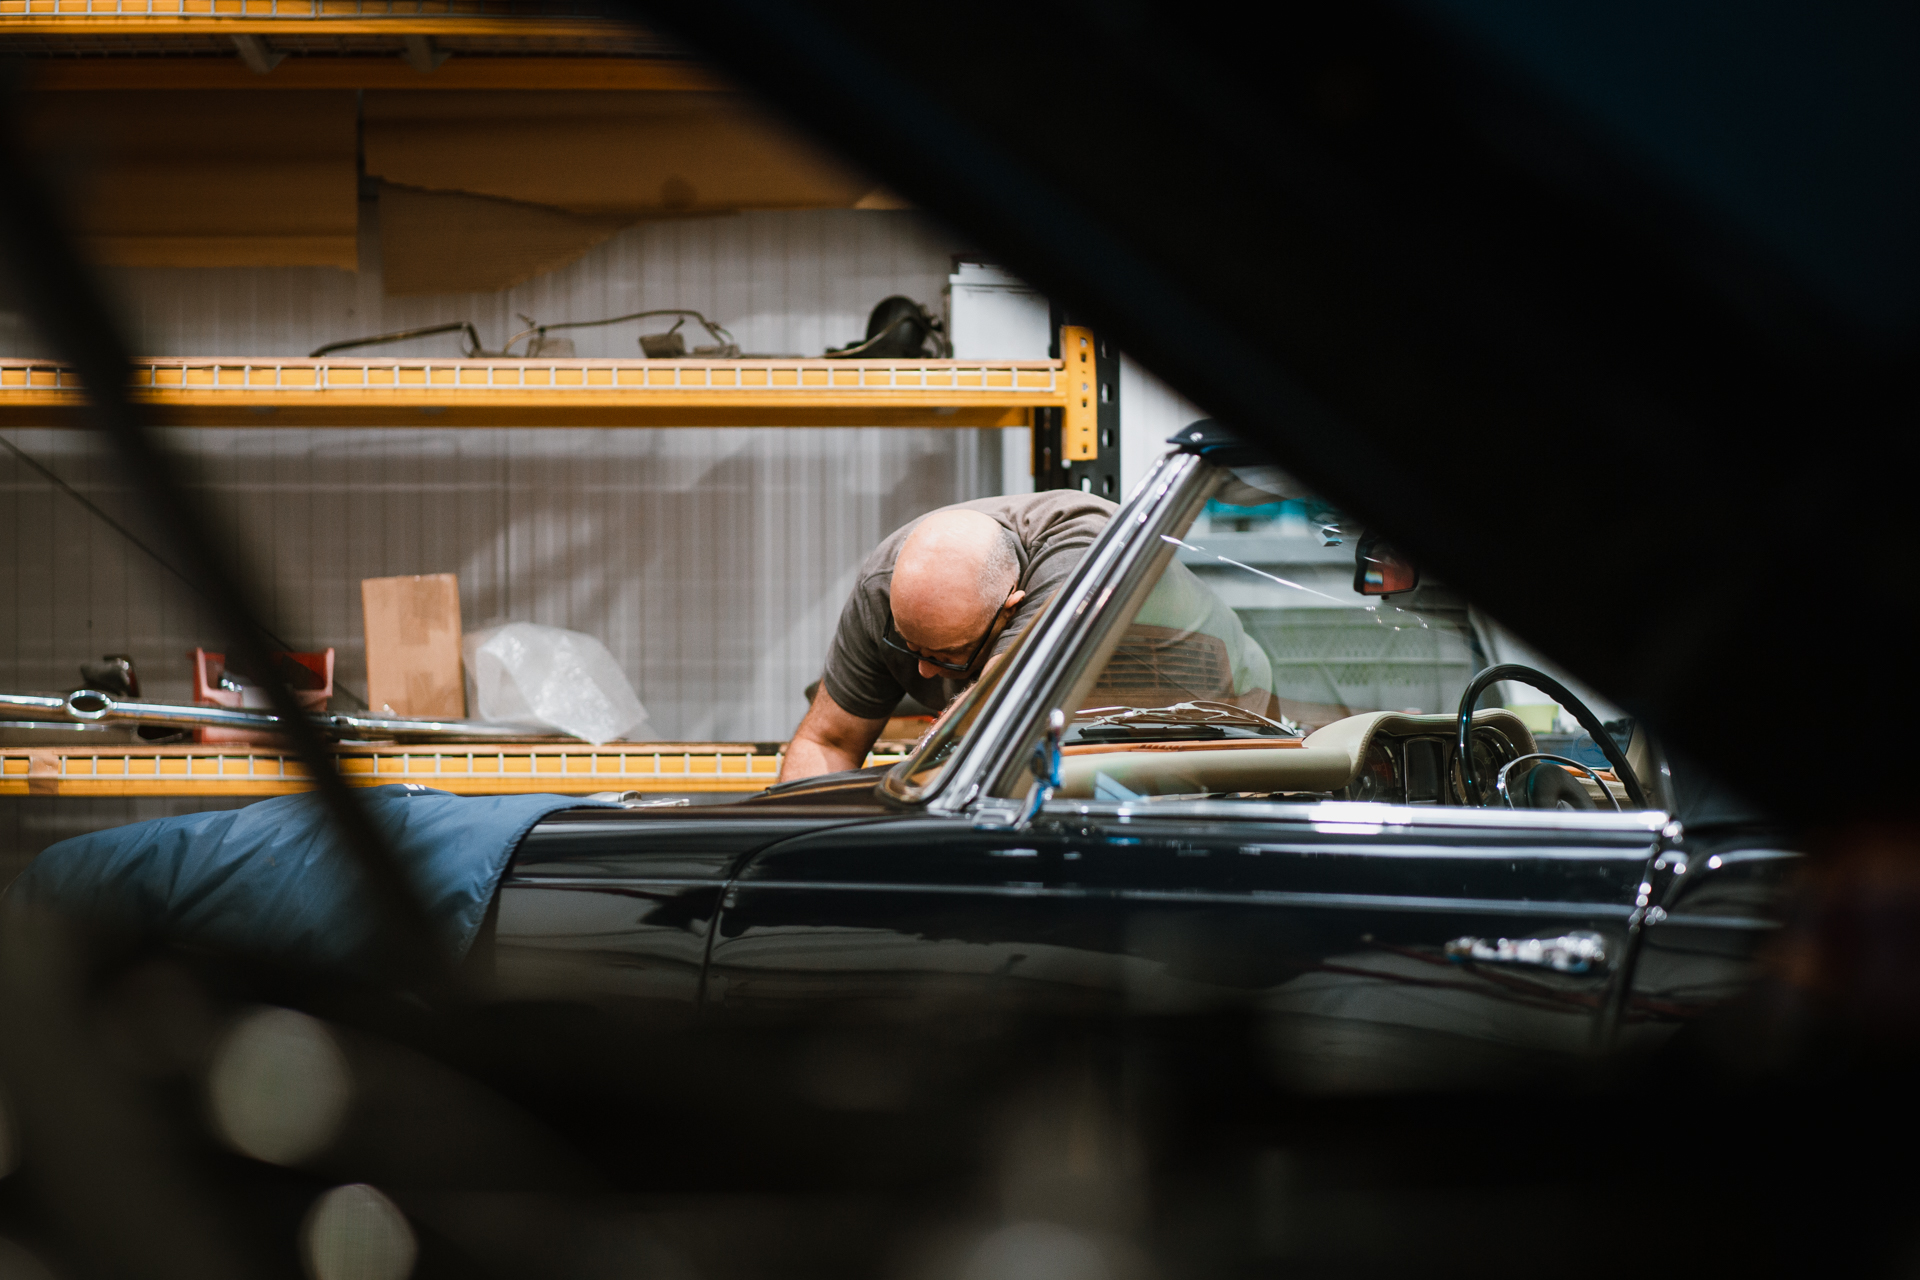
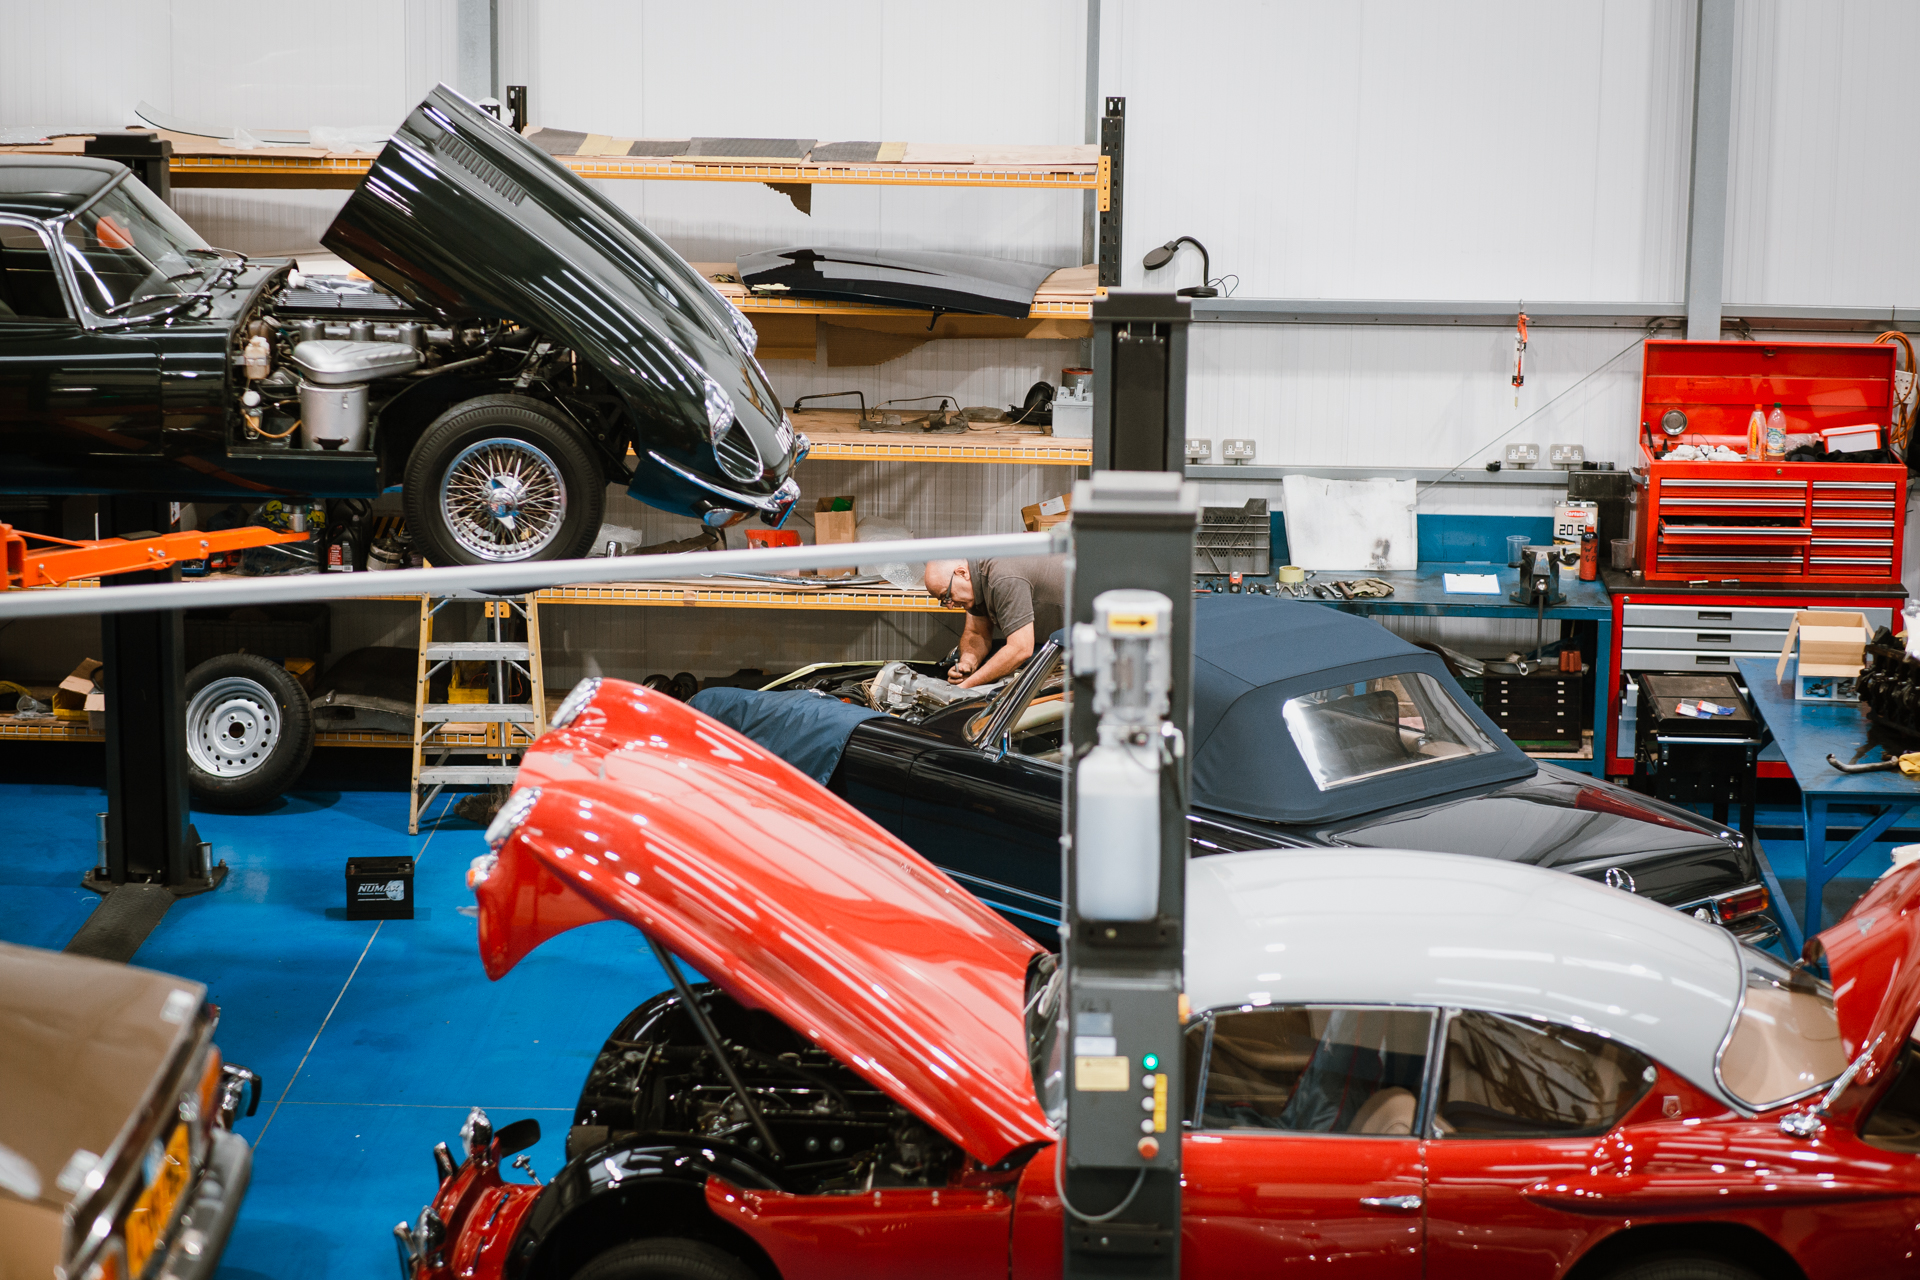
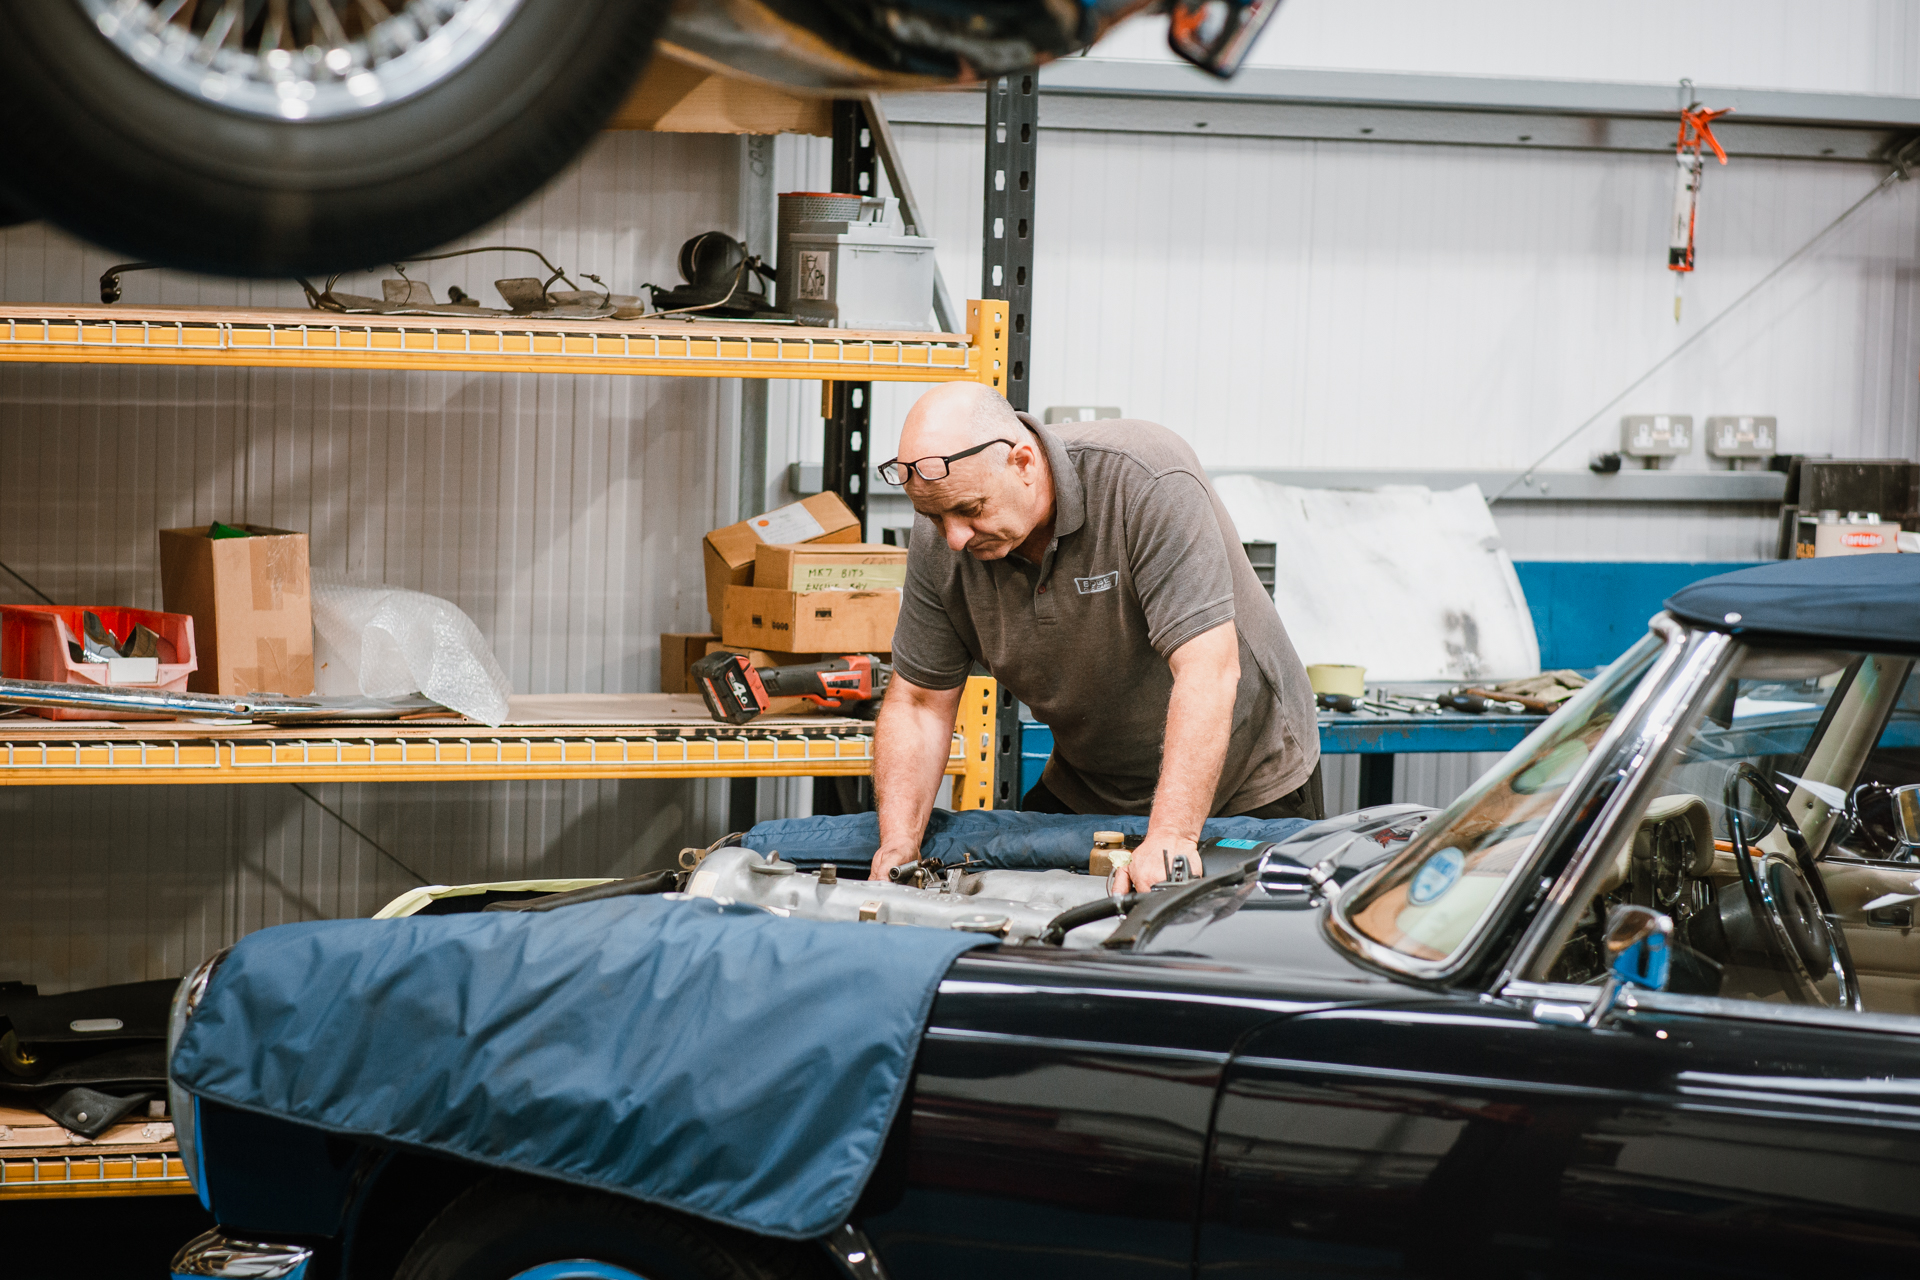
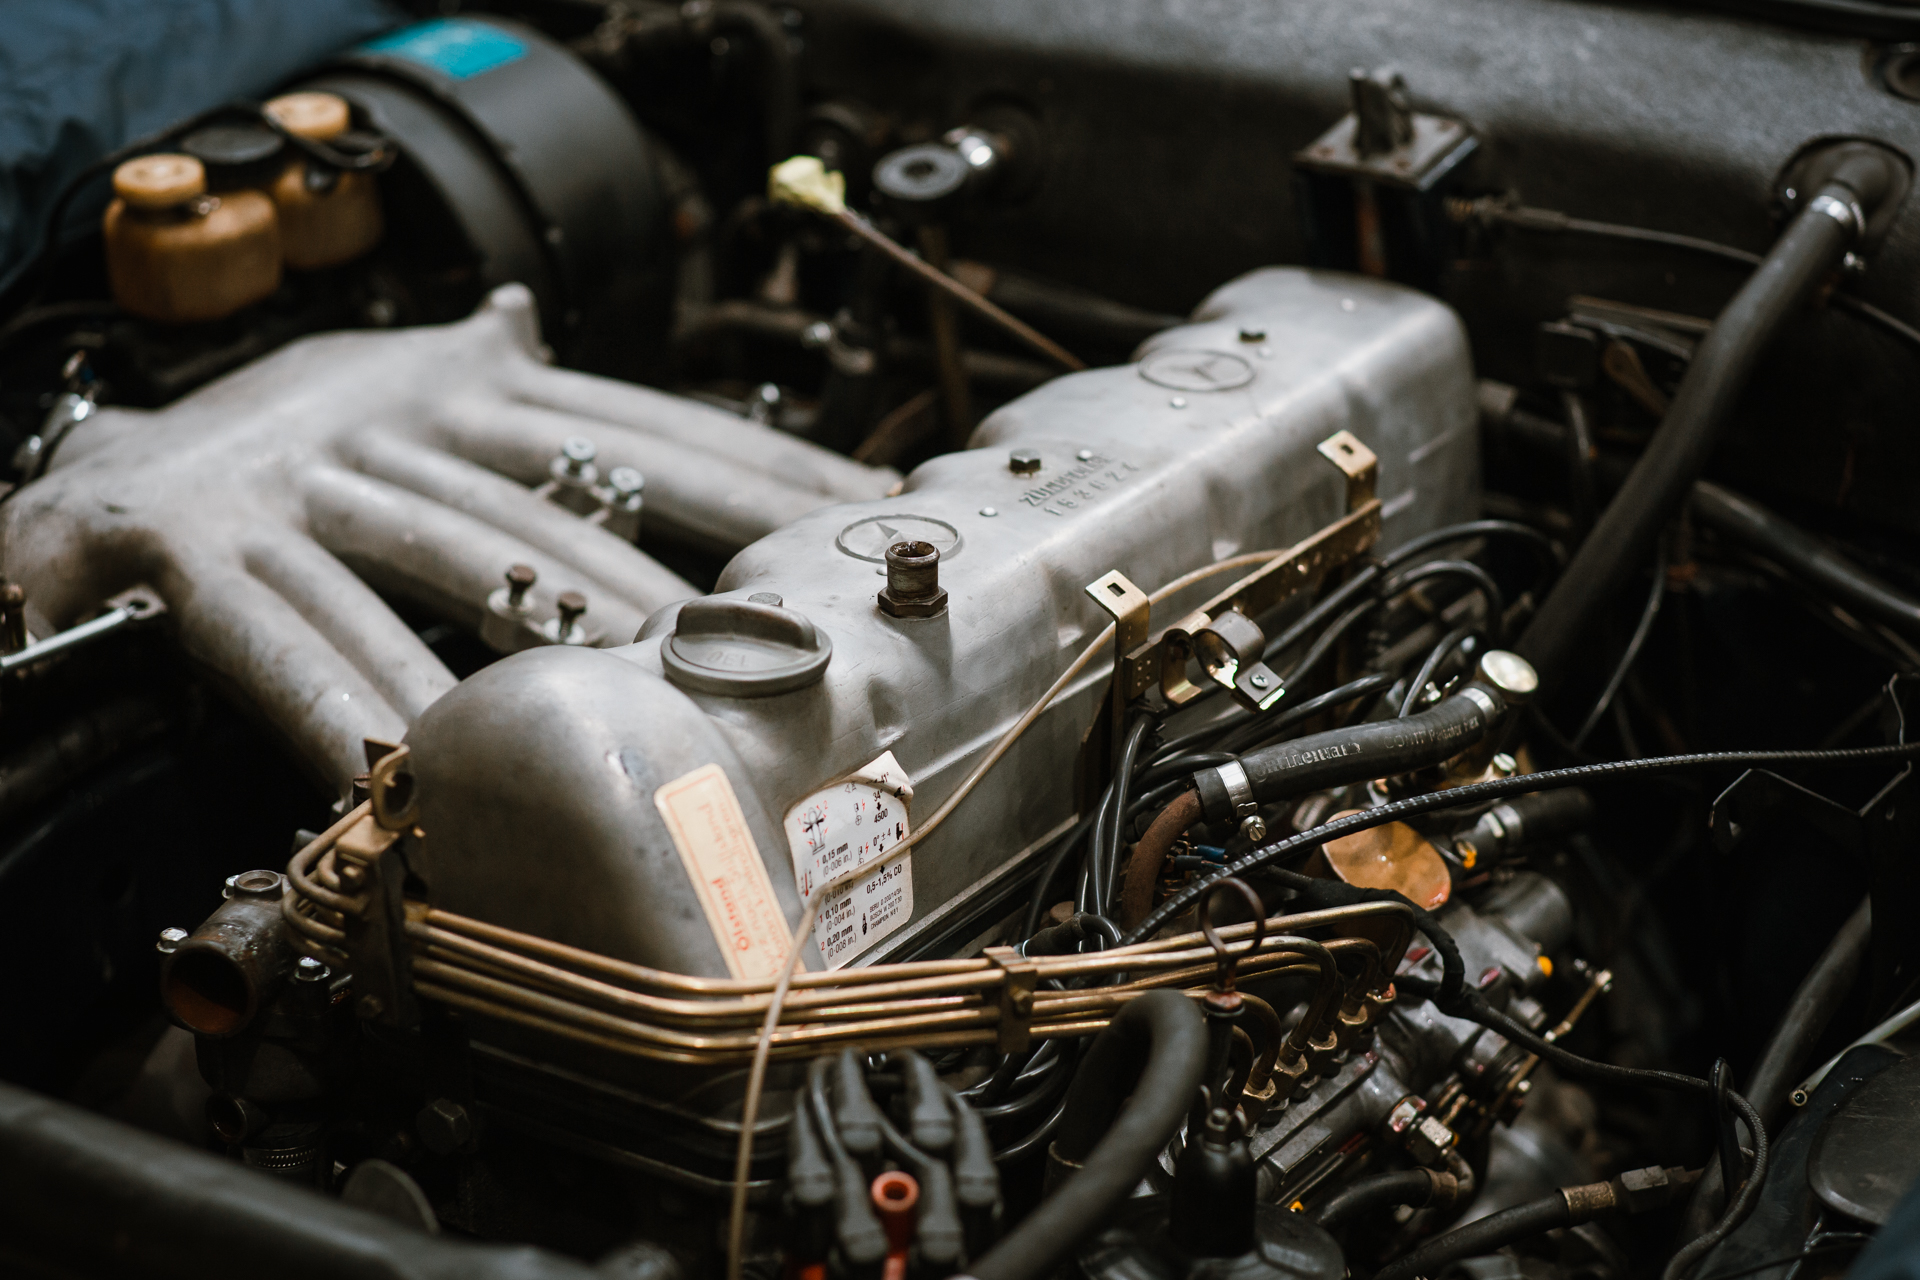

Apart from a couple of small paint imperfections the engine bay is very good order so a really good clean followed by some touching up in places will present us with a lovely space to return the engine to once completed.

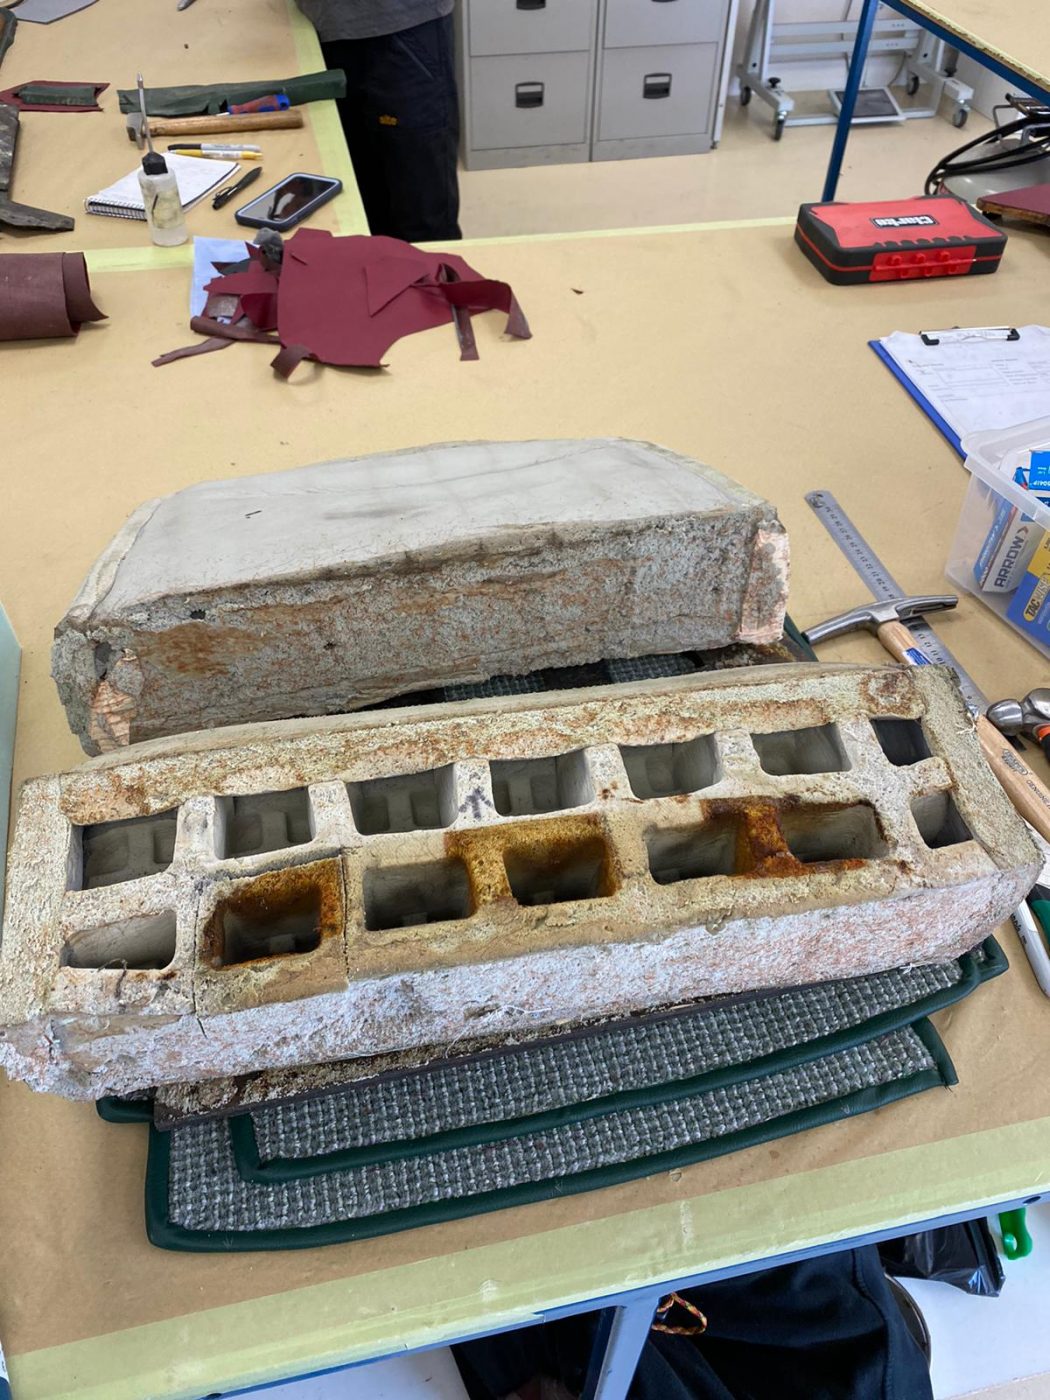
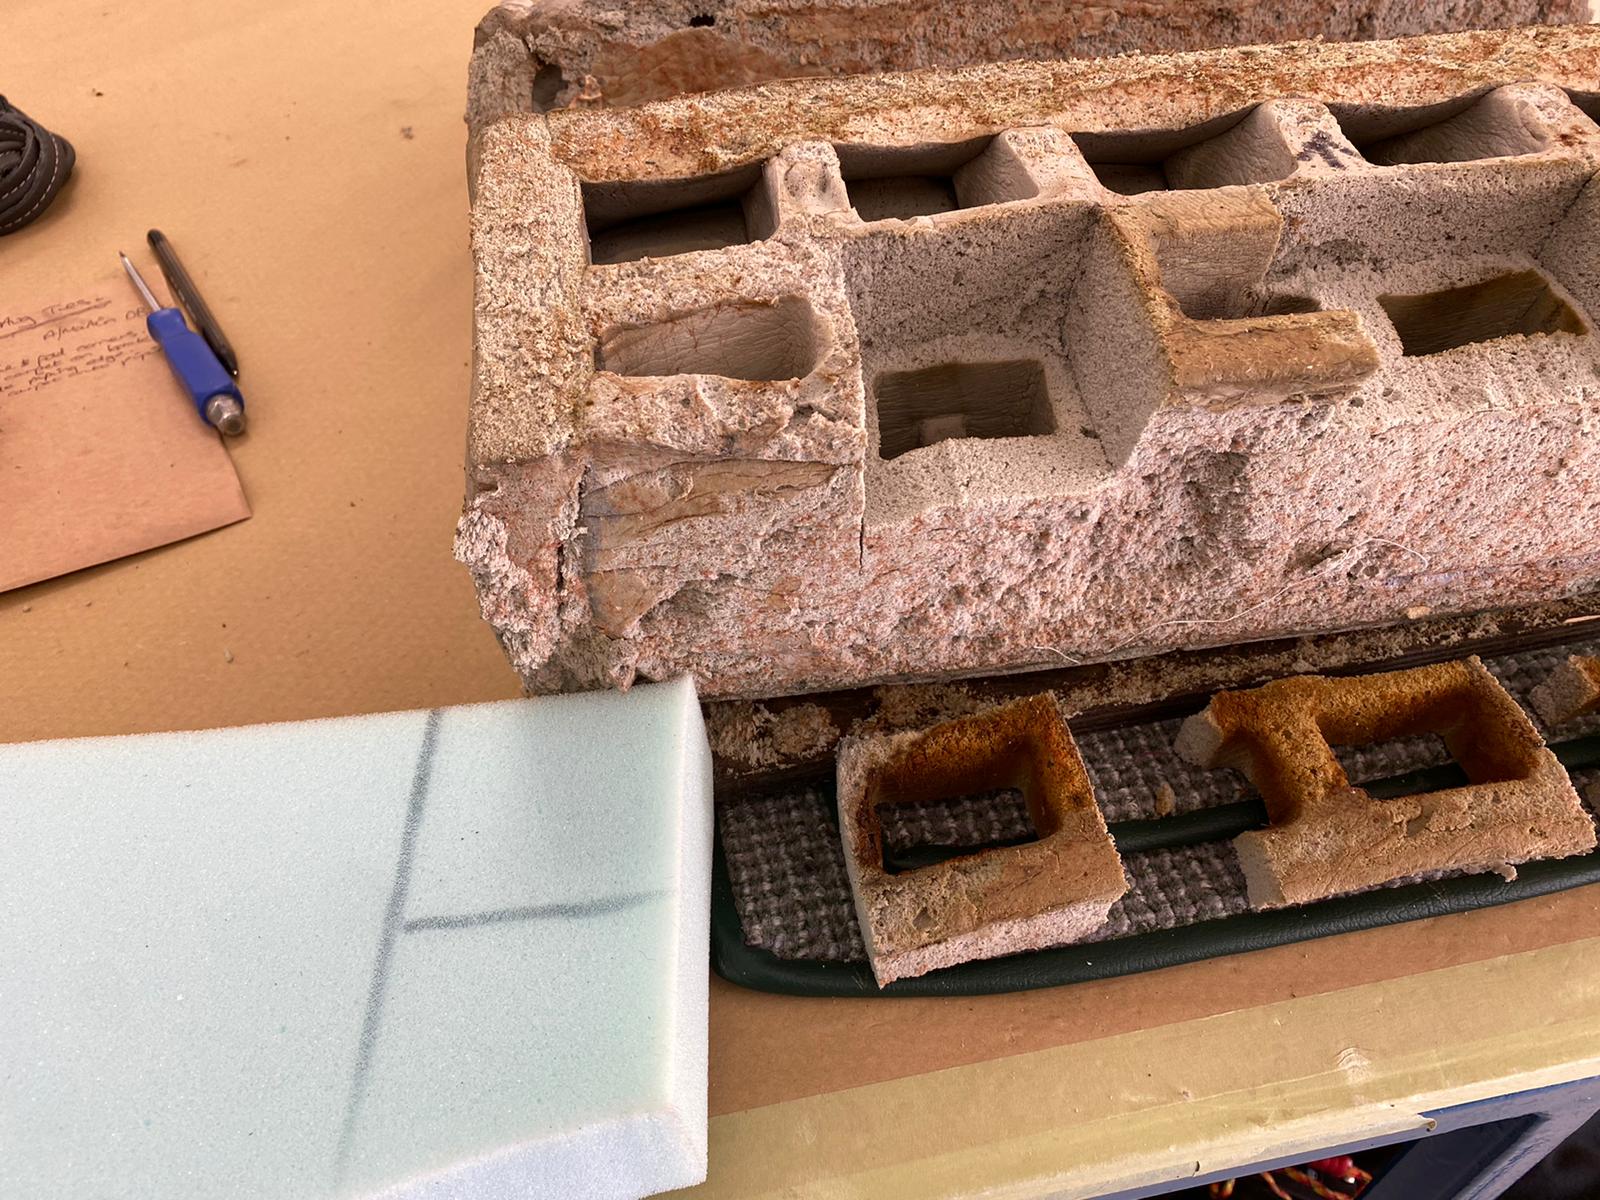
Kath has been laying the carpet back down in the peony red 1960 Jensen 541S. The pedals needed some adjustment, so the sound deadening and carpet were glued back down after this was done.
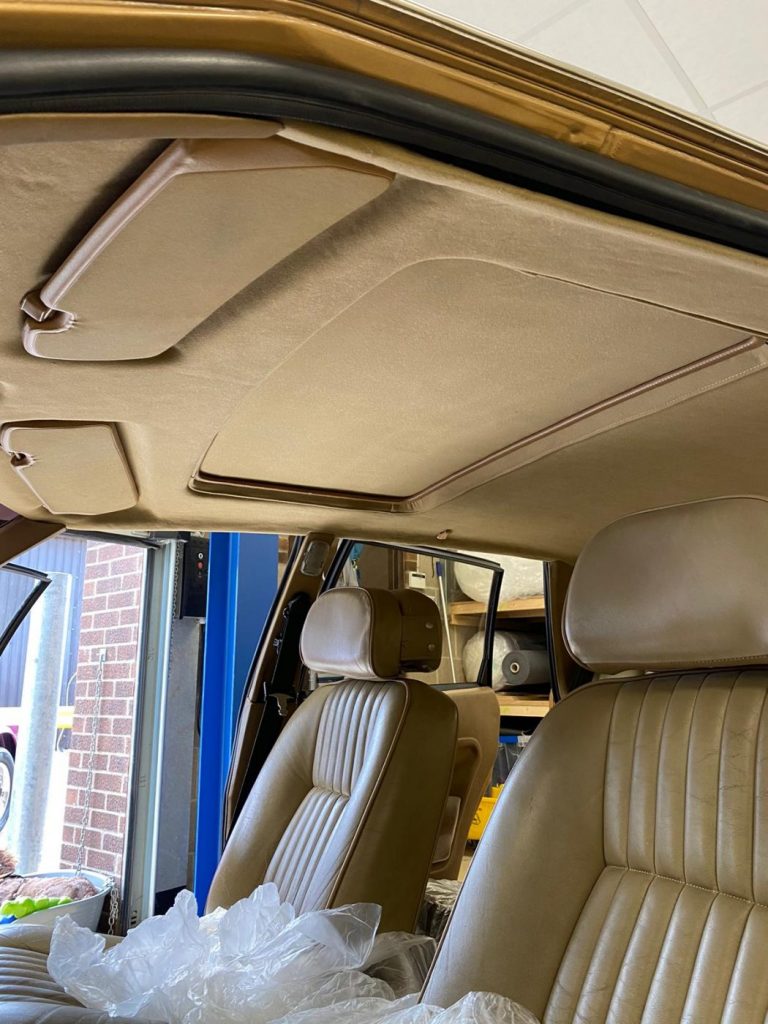
Brian has been finishing the headlining fitting for the 1981 Rover SD1 Vanden Plas.
In this last post about it, you can see that he was glueing in the sunroof section. https://bridgeclassiccars.co.uk/headlining-work-continues-for-the-vanden-plas/ The board with the main piece of headlining on slid in from the back of the car. Brian had to take out the panels with the seatbelts attached, to put the headlining back in, and then they got put back into place.
Don’t forget, you can win this car! Just click on the following link to find out more information about the car and how to enter! https://www.bridgeclassiccarscompetitions.co.uk/product/1981-rover-sd1/


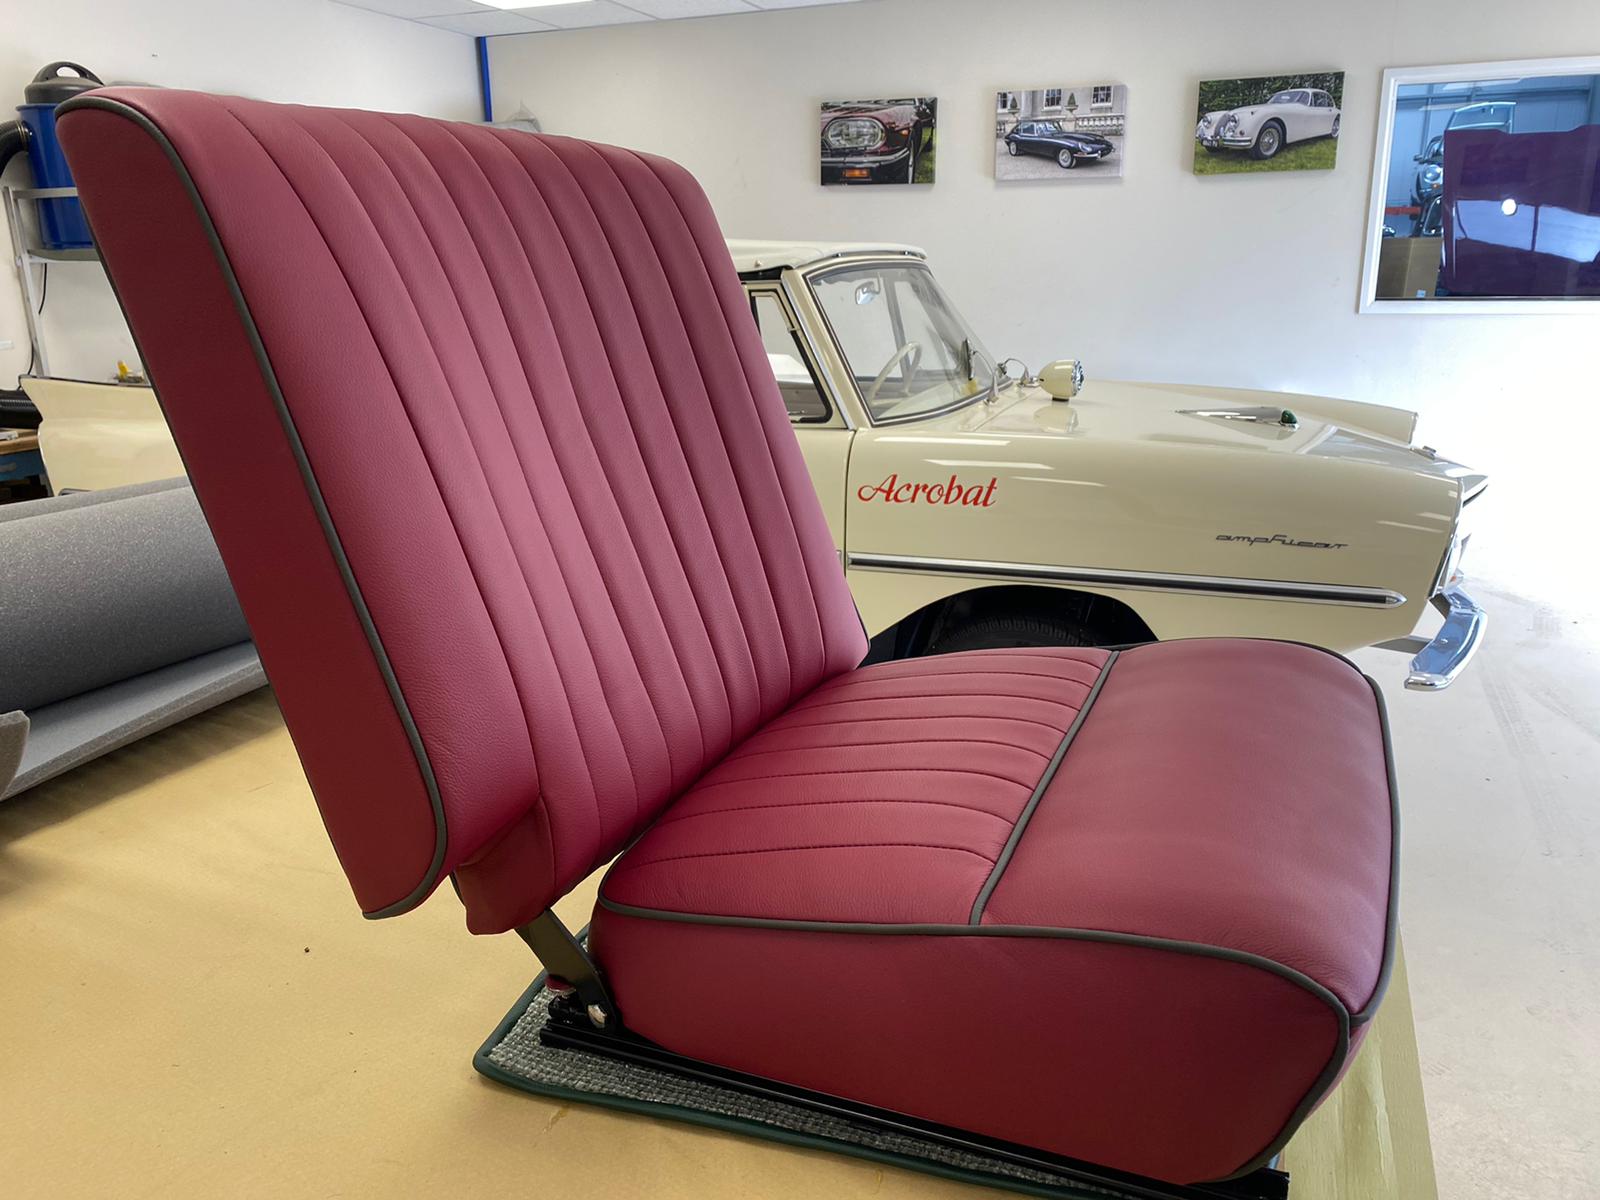
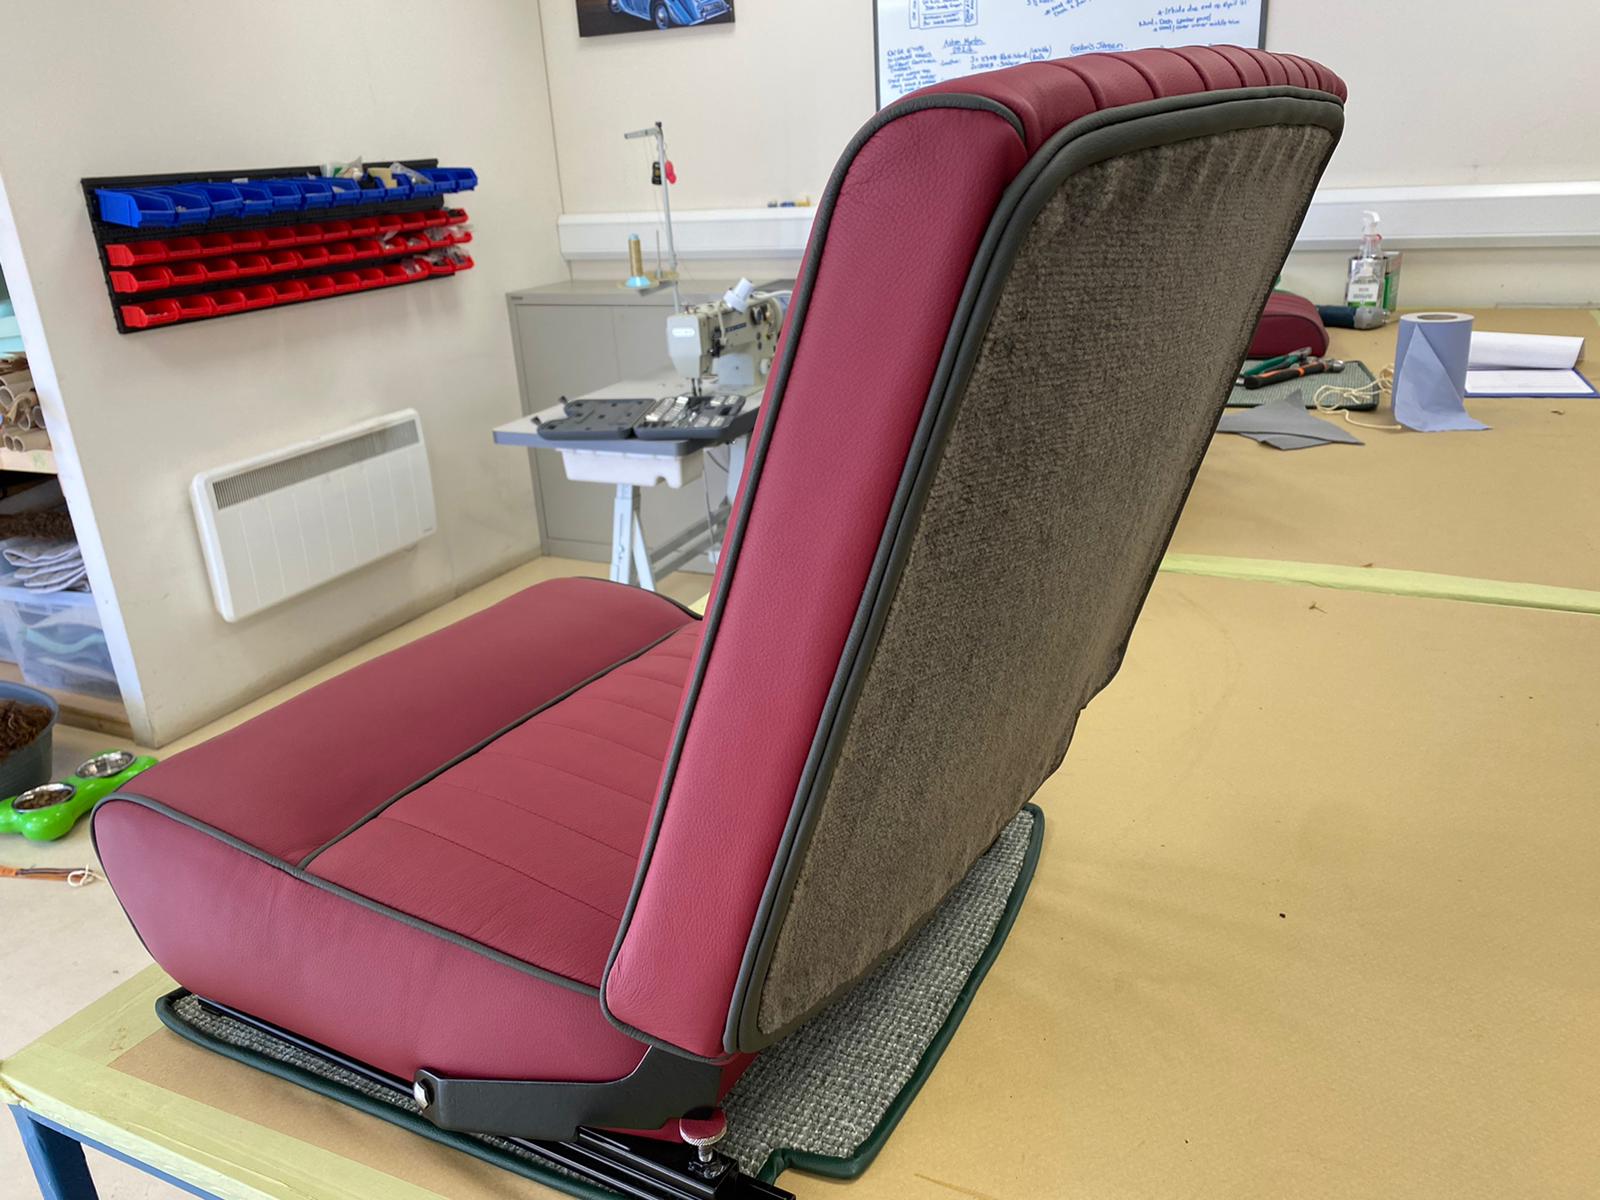
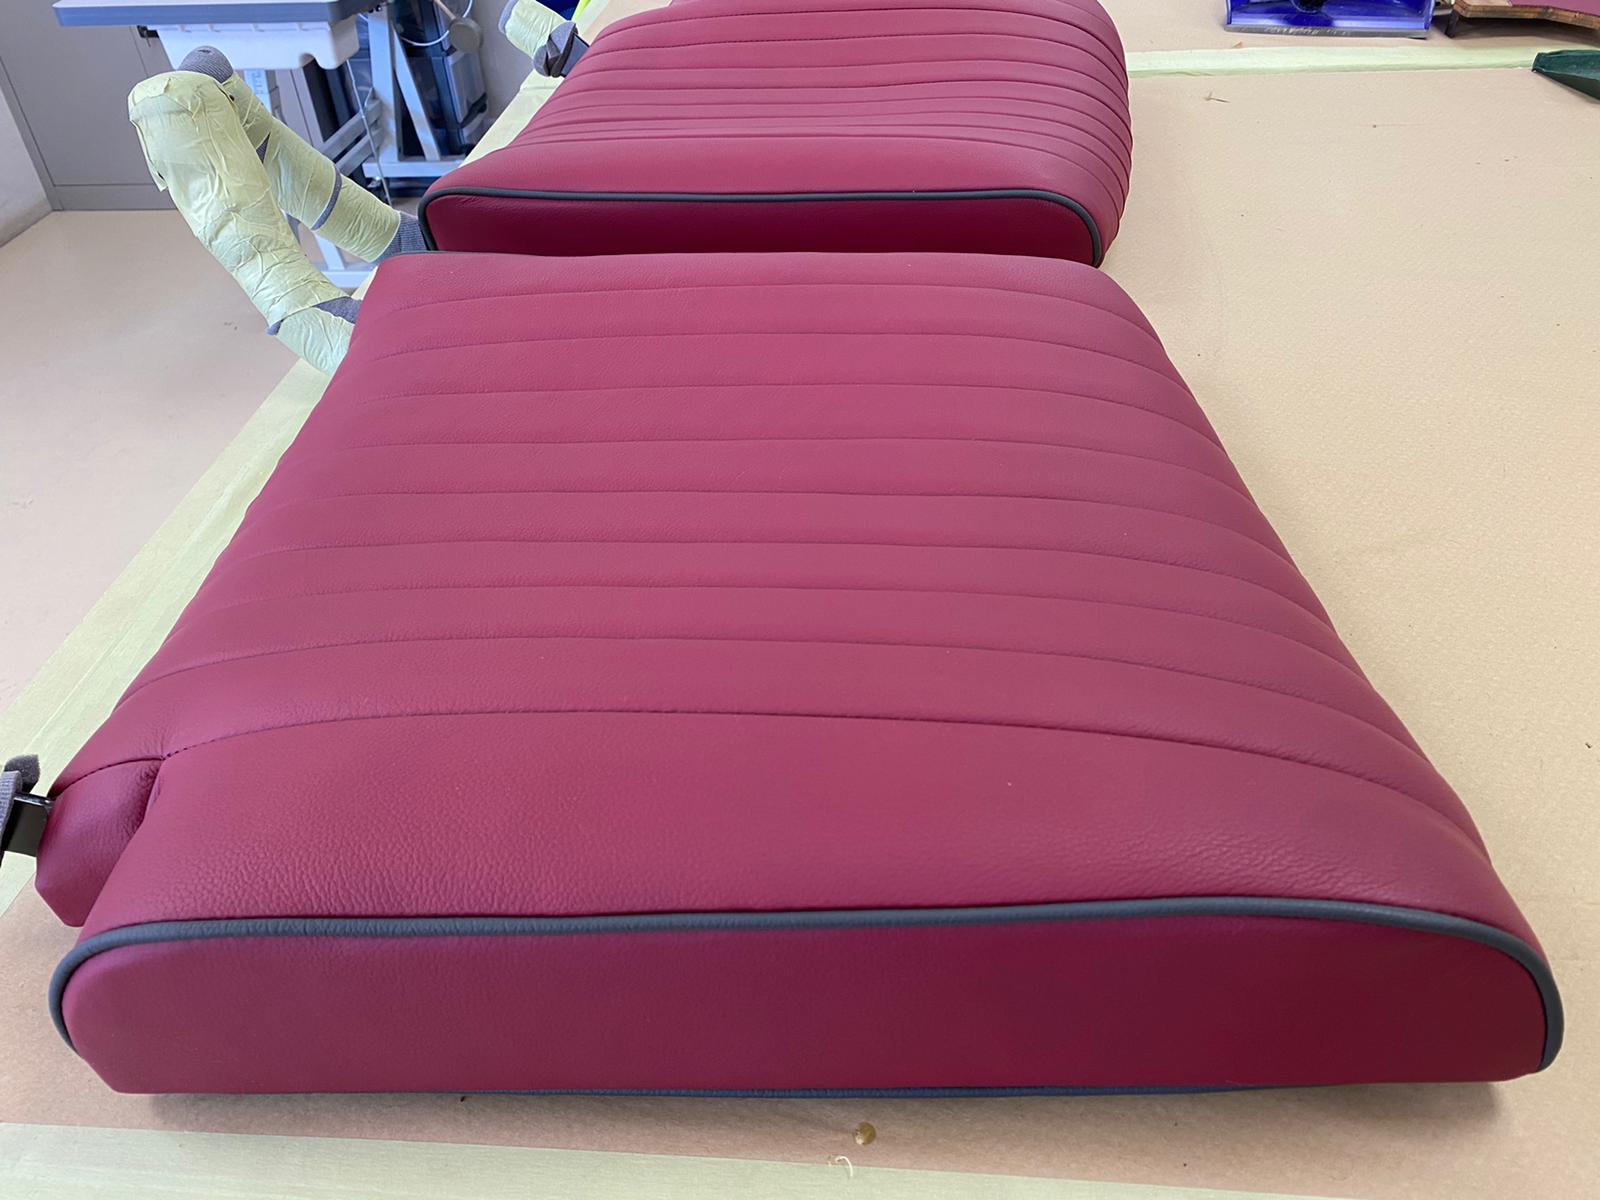
Kath has been finishing up the fitting of the front squab seat covers for the 1955 Aston Martin DB 2/4.
At the end of last week, she completed the first front squab, which can be read about here. https://bridgeclassiccars.co.uk/the-start-of-the-aston-martin-seat-fitting/ It was exactly the same process for this second front squab seat.


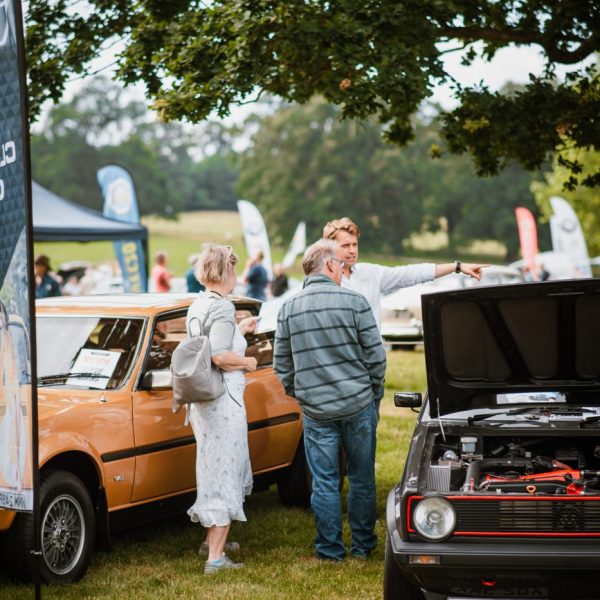
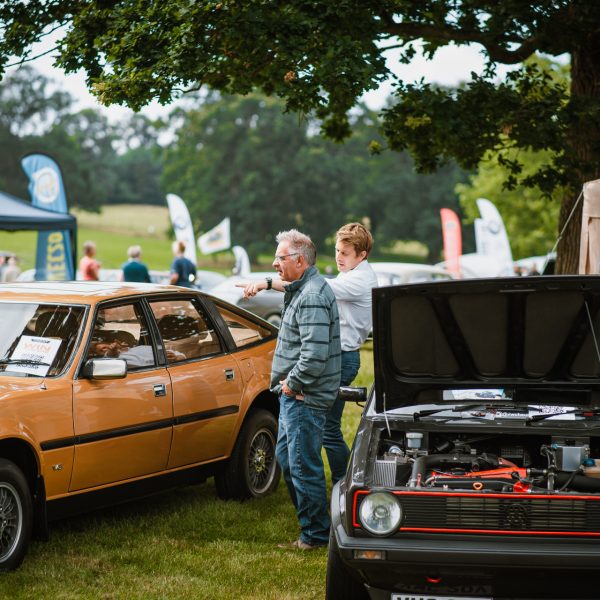
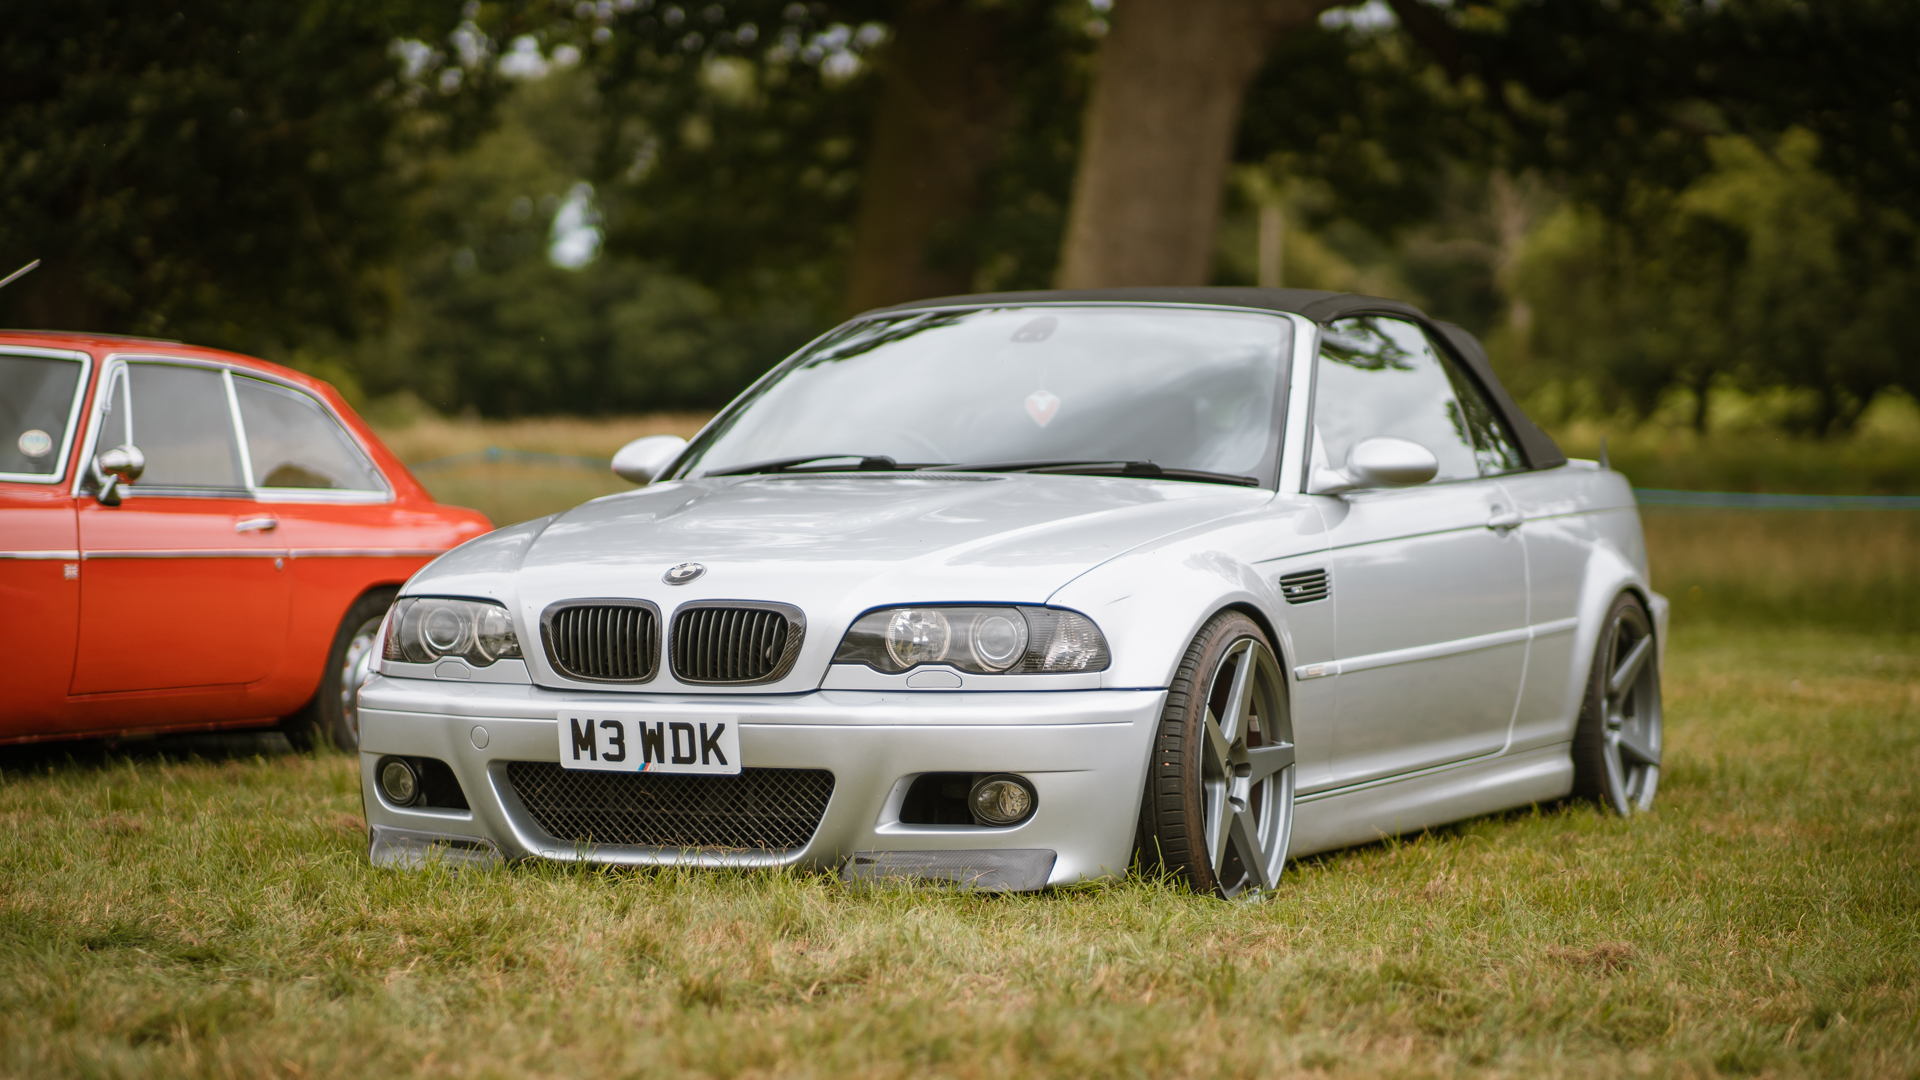
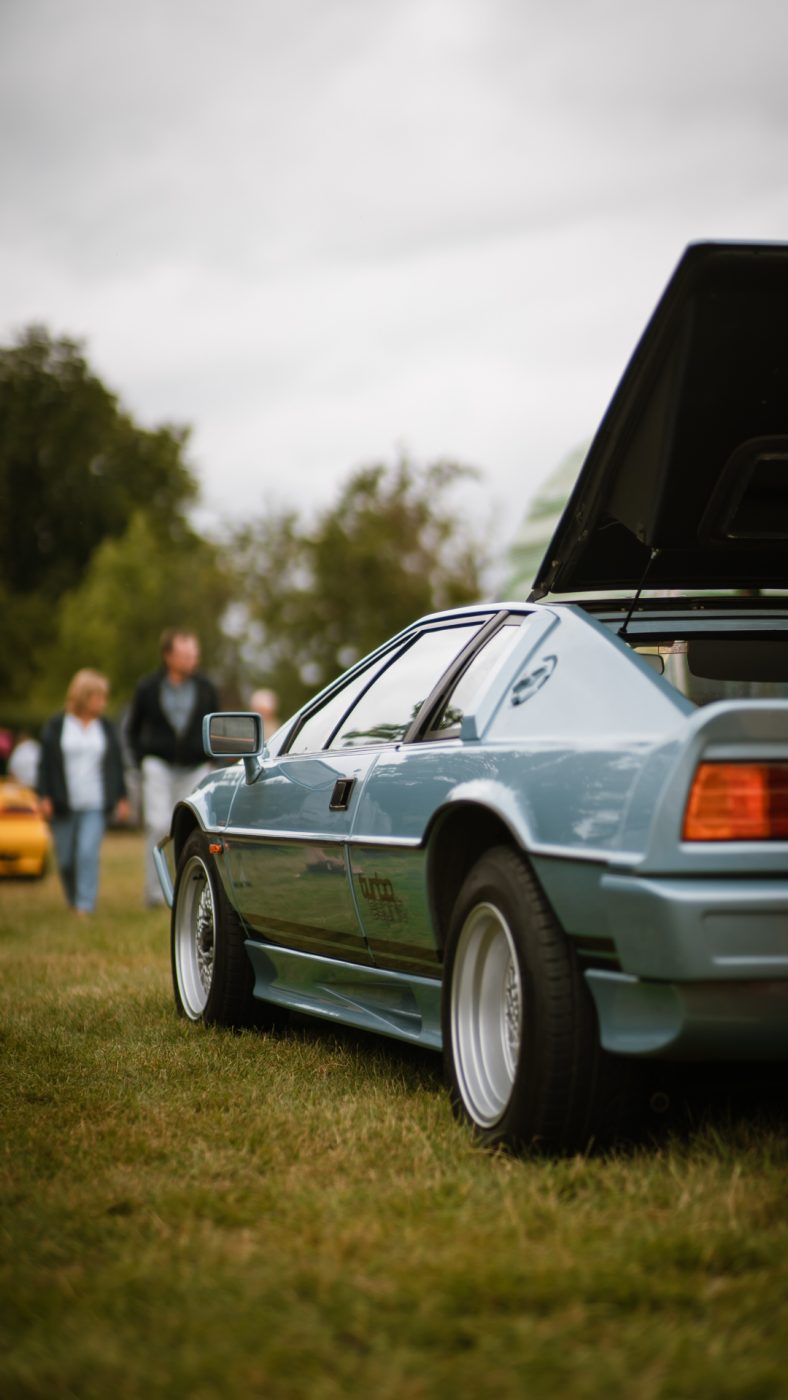
With our VW Golf GTI and Rover 3500 SD1 draws coming up very soon, Charlotte takes you on a tour of the current collection we have in the Hangar. Good luck for this Friday if you’re in the draw!
Thanks to Exotic Cars Of East Anglia for sharing our 1983 VW Golf GTI competition.

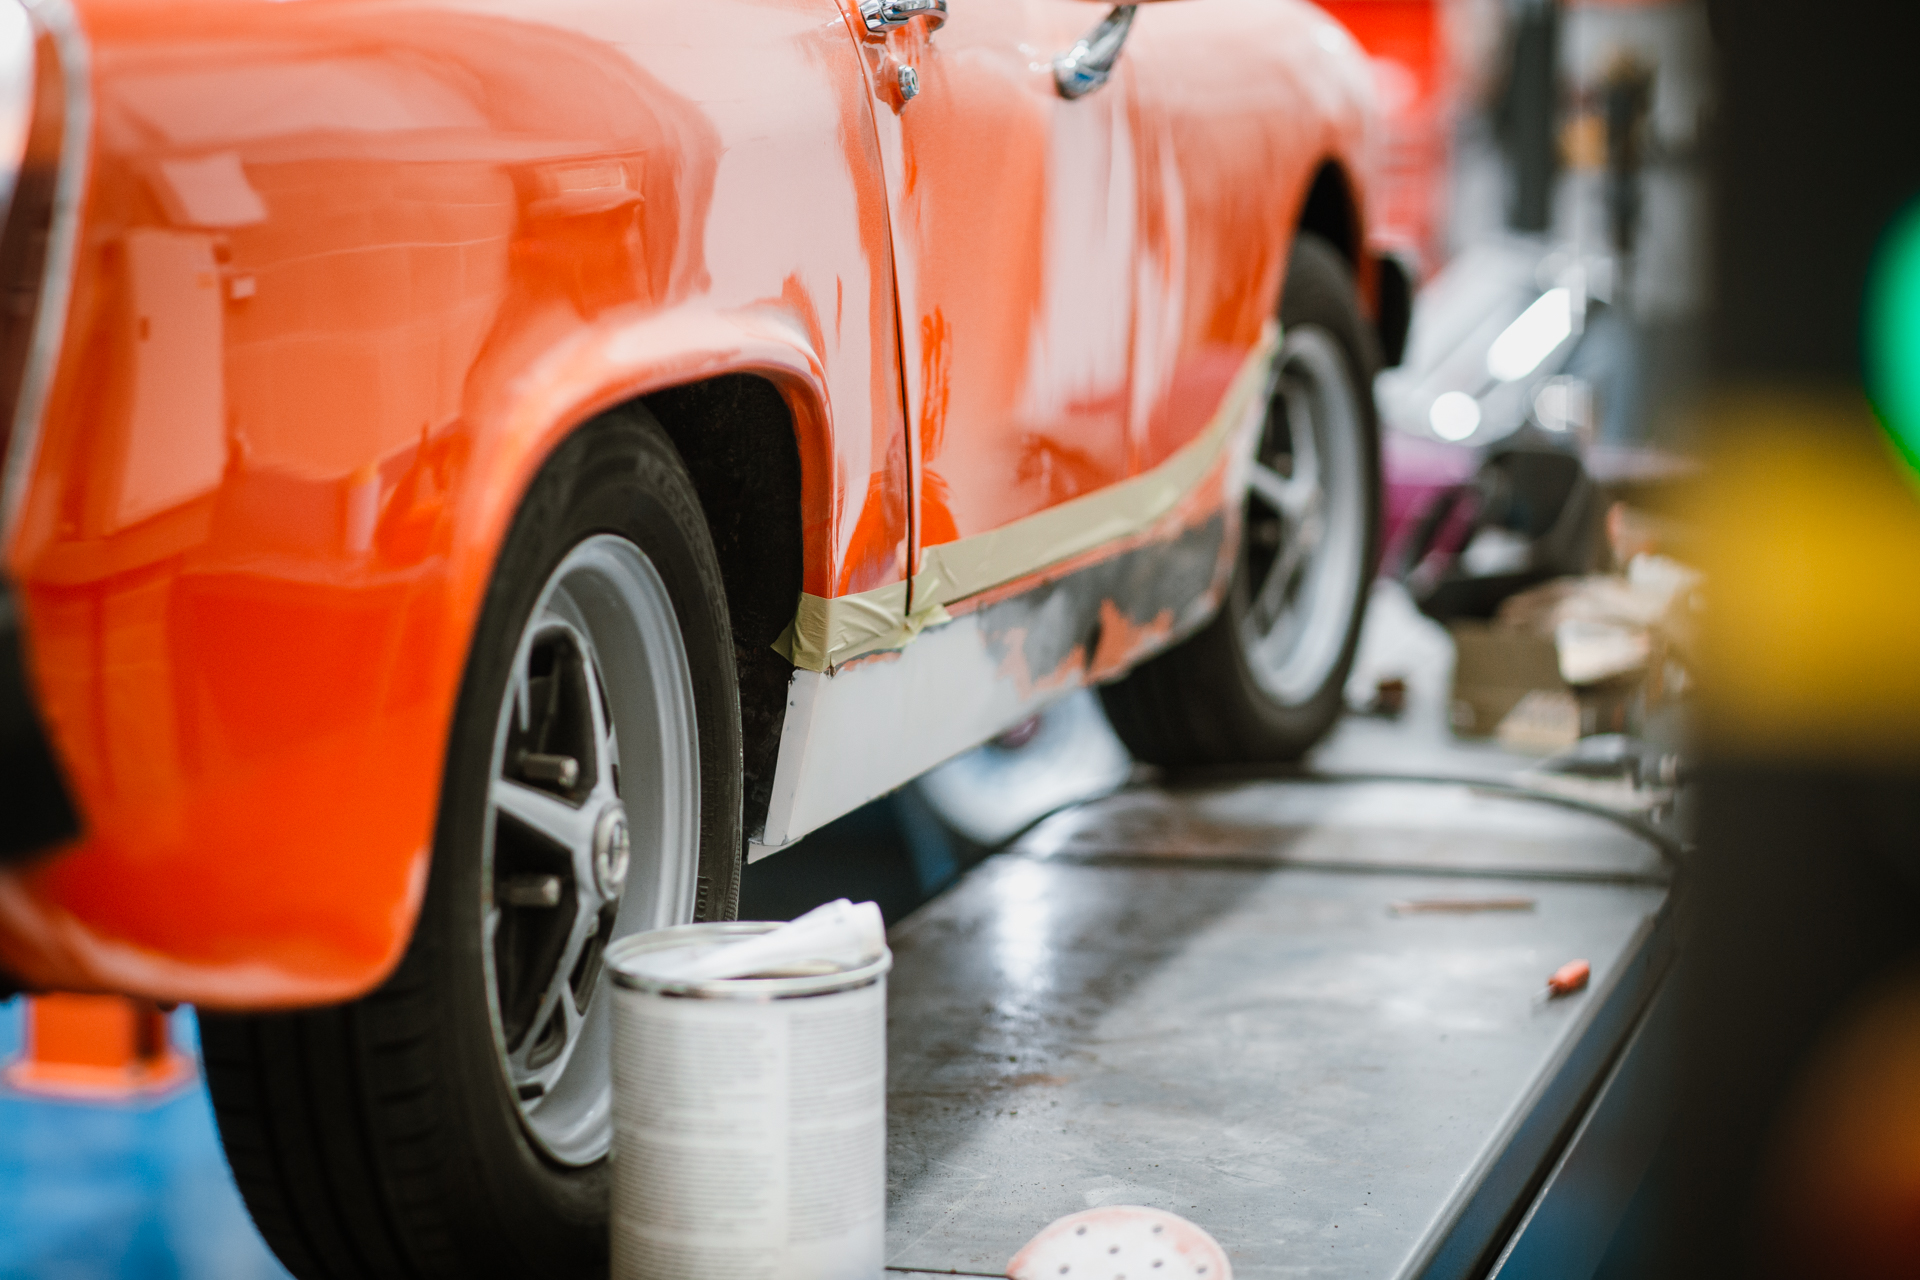
Back on the 26th July 2021 Coby Morton received the amazing news that he has won our 1979 MG Midget 1500. When carrying out the Pre Delivery Inspection checks in our workshops we discovered a small area of corrosion that needed to be repaired. Scott got to work immediately cutting out the area of interest and replacing the metal work with new.
The car is now in the paint shop with Matt and Chris to have the sills painted and the underneath sealed.
Hopefully we’ll be handing the keys over to Coby later this week. it may have taken a little longer to deliver than expected but as we often say, it’s the attention to detail that counts!

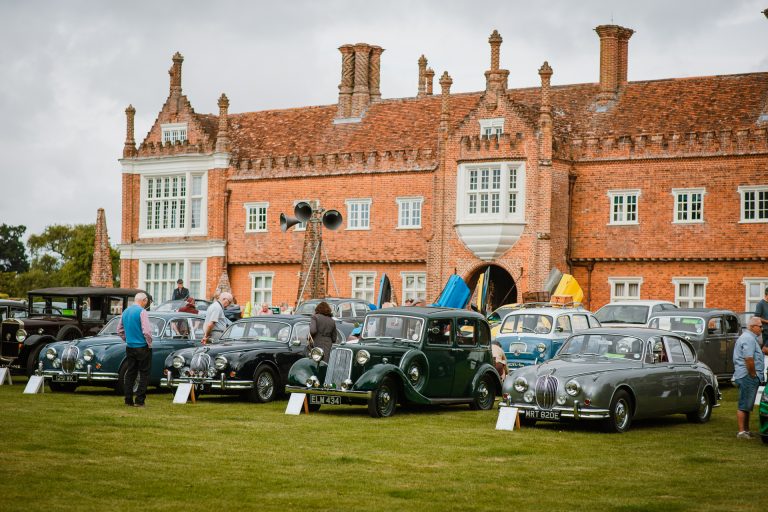
What a weekend! Now we’re back at base, it’s time for a re-cap of another classic car-fueled weekend. After a canceled 2020 show, Helmingham hall played backdrop for a wonderful show. Charlotte and the Bridge team were all at the show to present our restoration projects and current competition lineup. We even closed out the show by drawing the winner of our 1959 Jaguar MK1 which was Shaun Clarke, with ticket number 1486.
Here are a few snaps we took at the show.

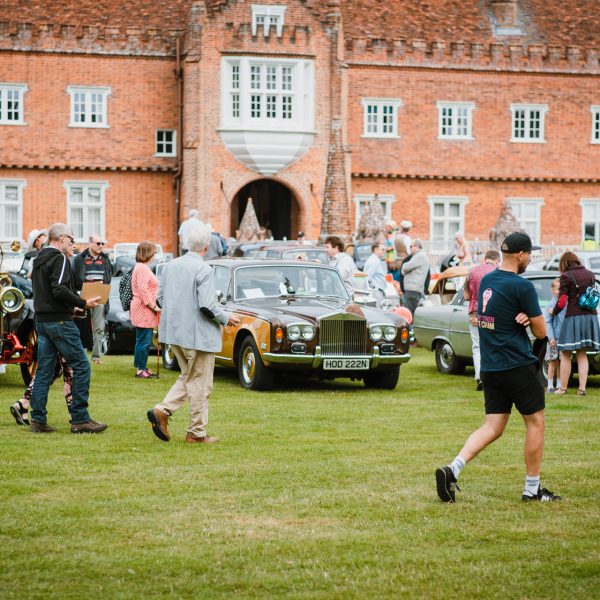
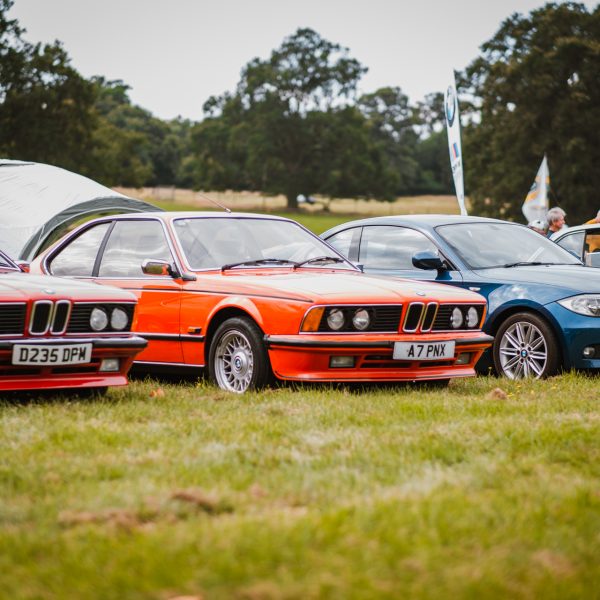

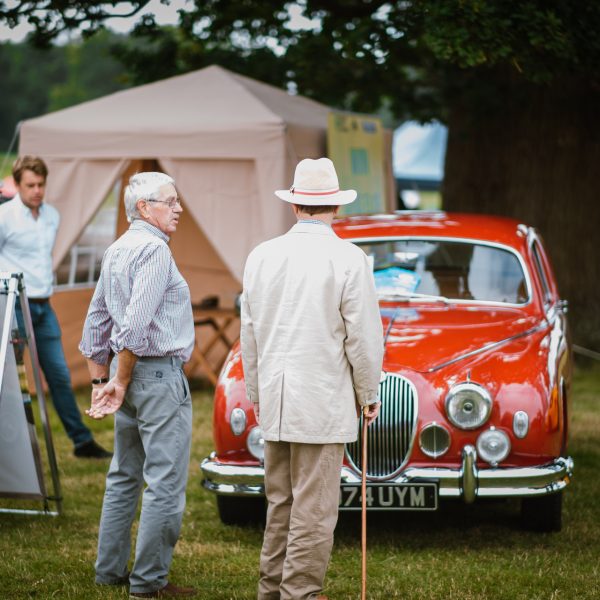
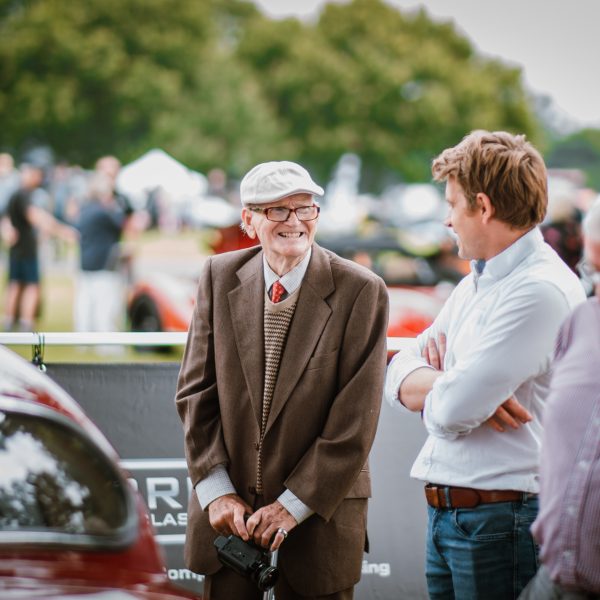
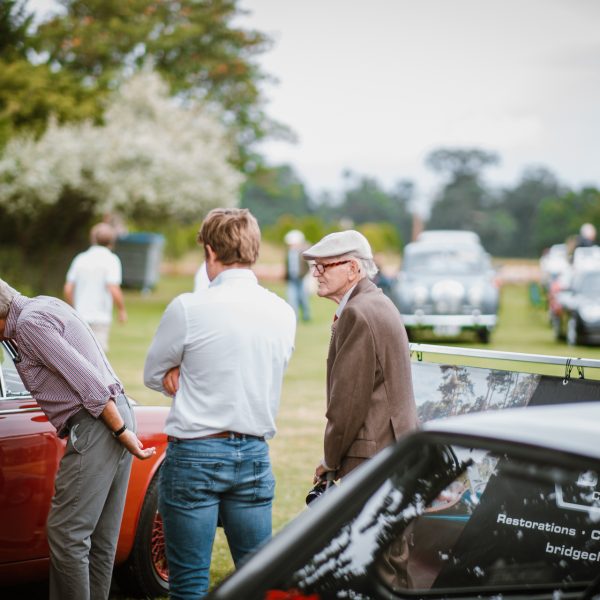
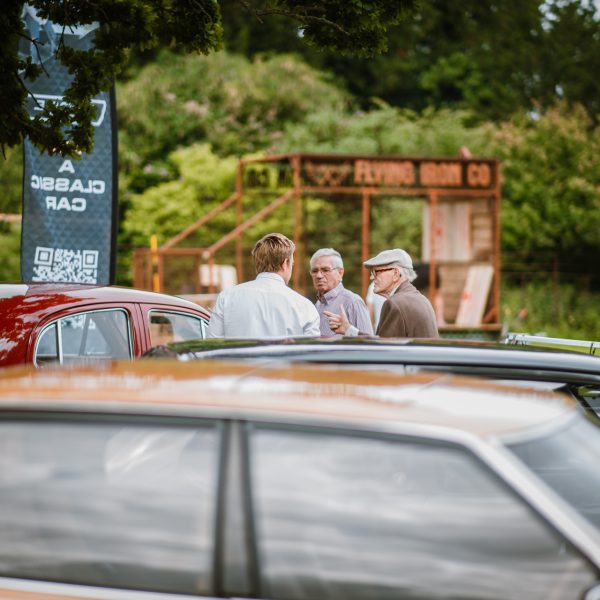
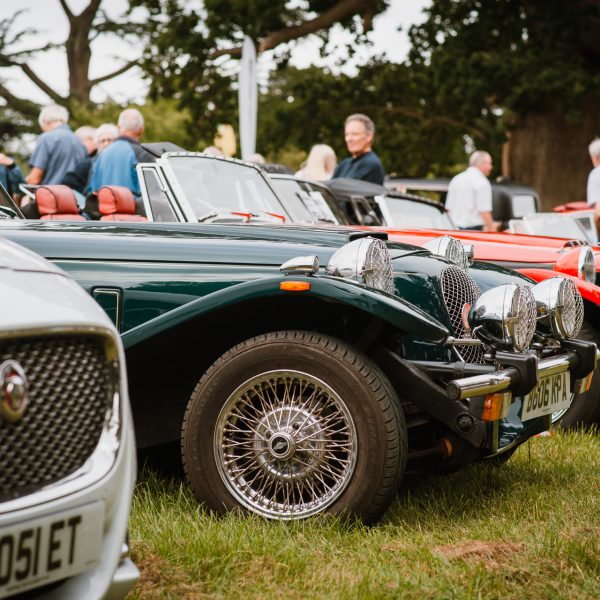
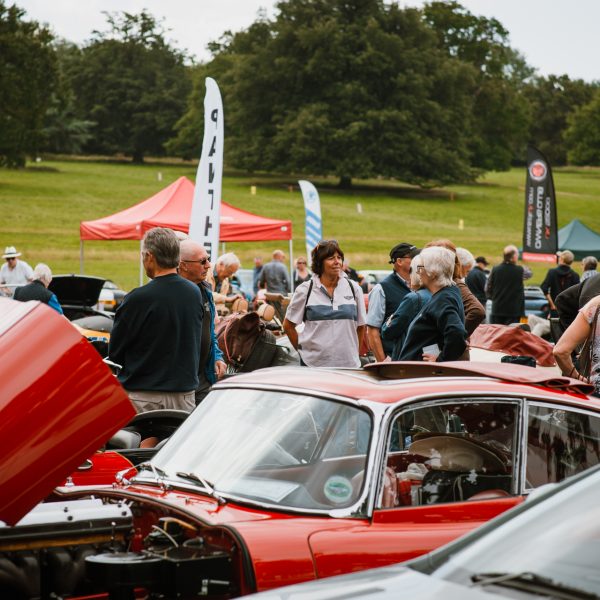
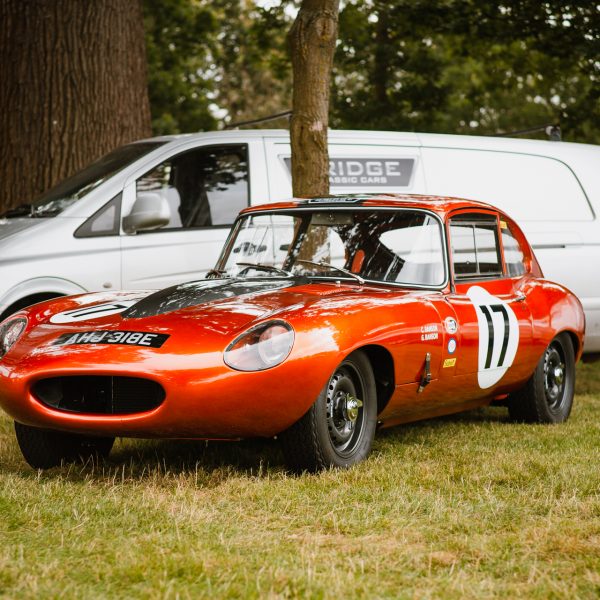
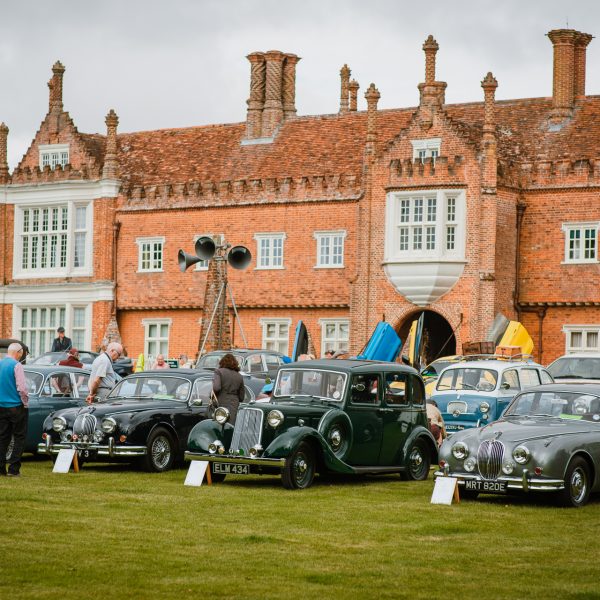
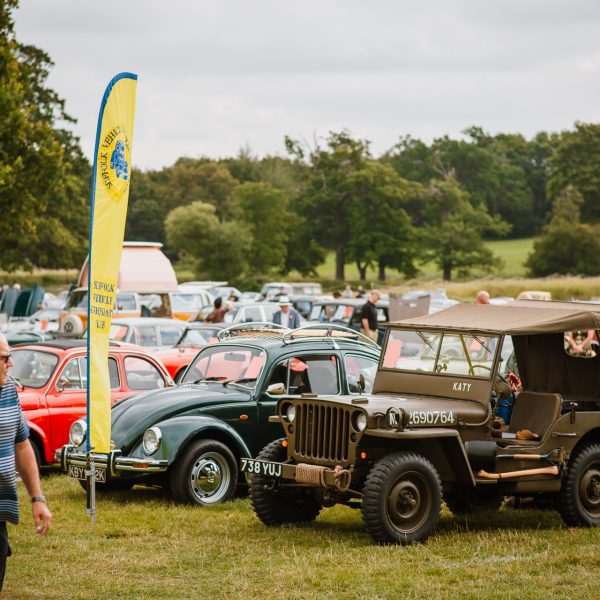
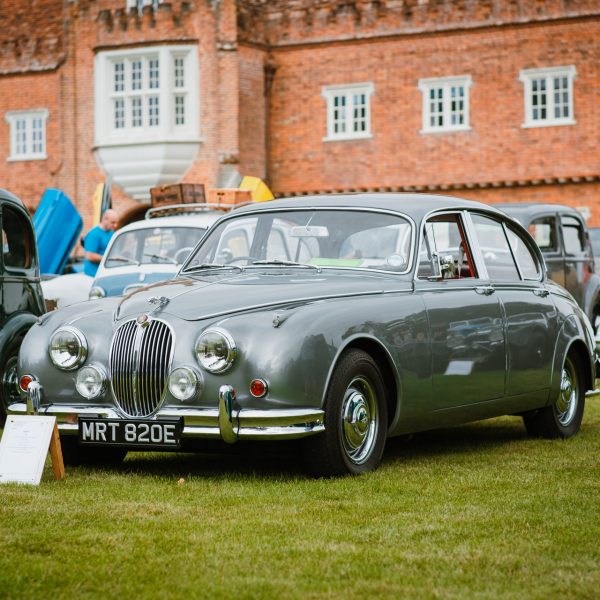
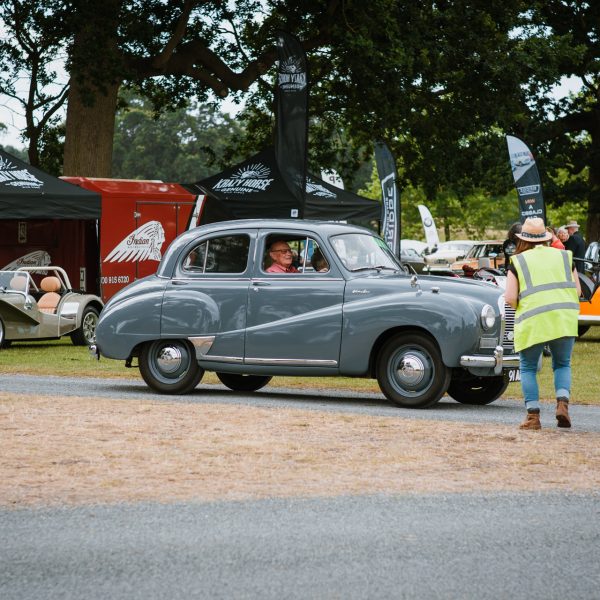
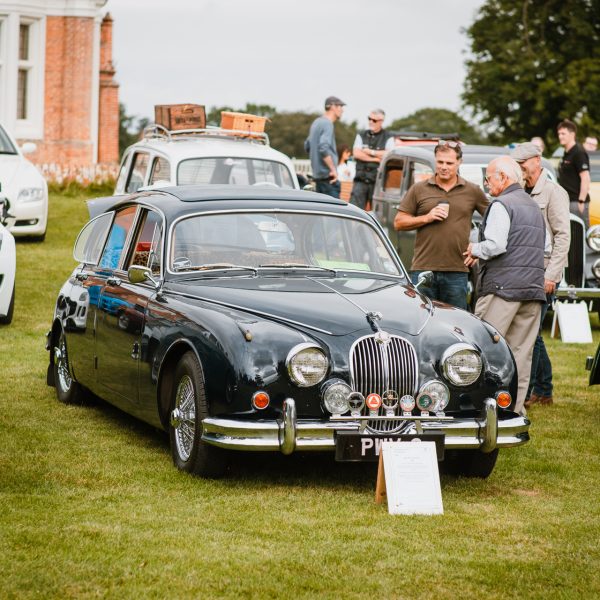
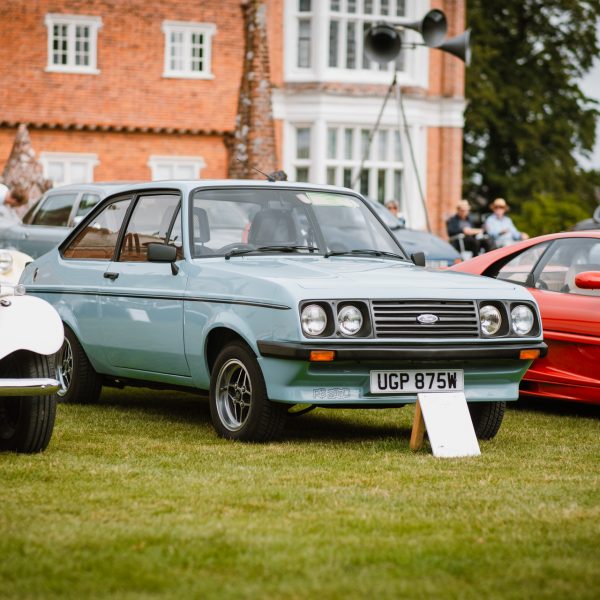
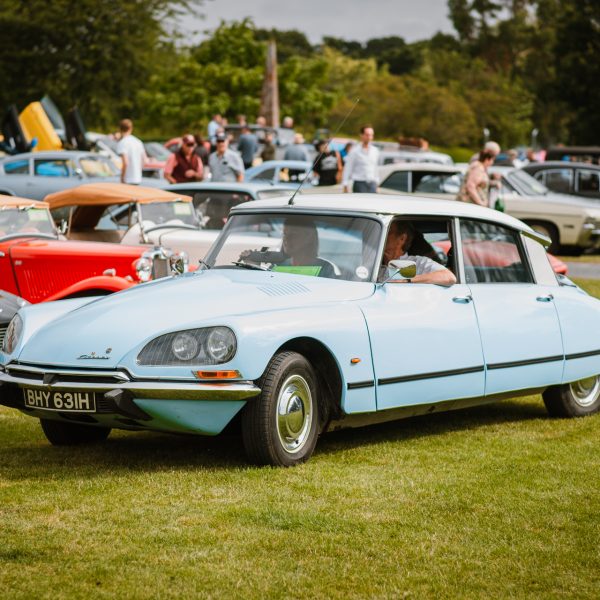
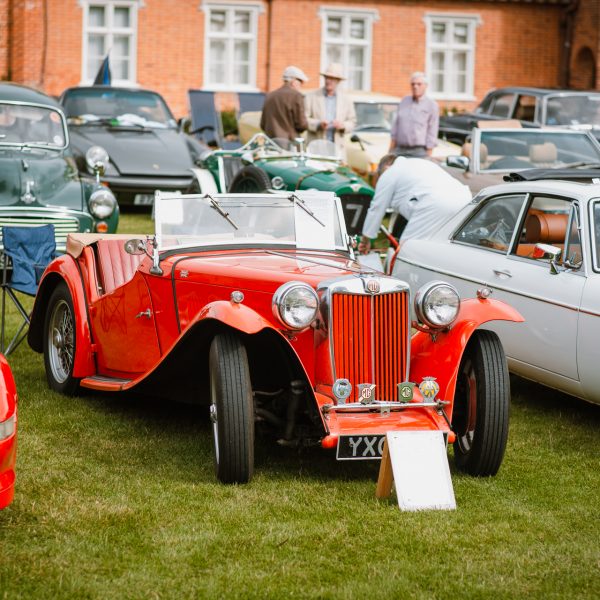
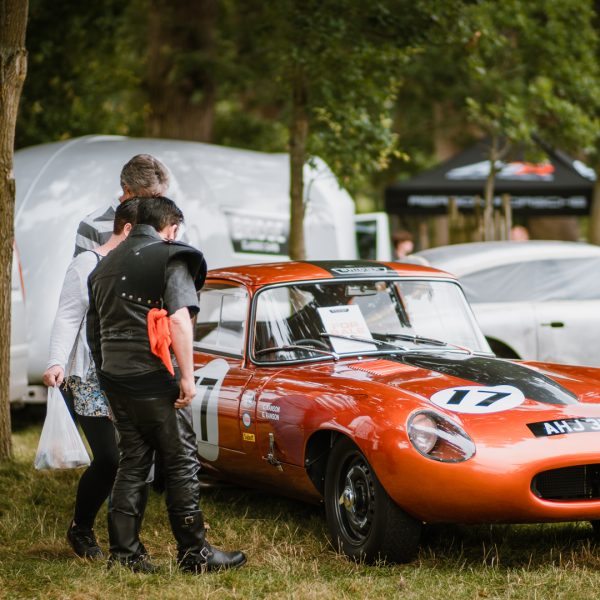
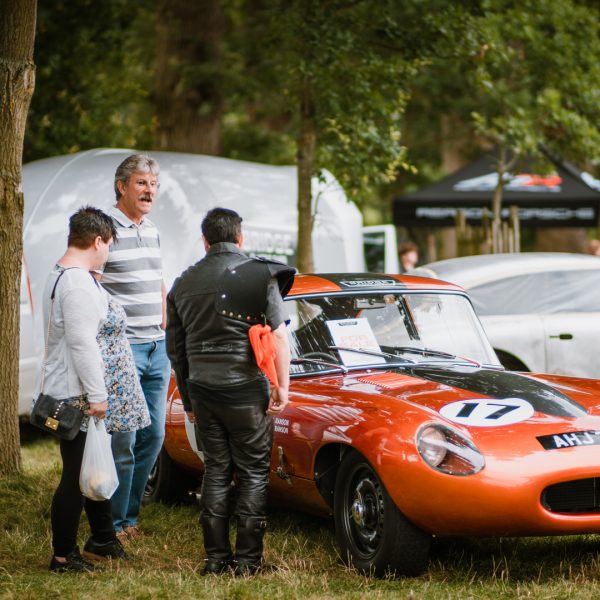
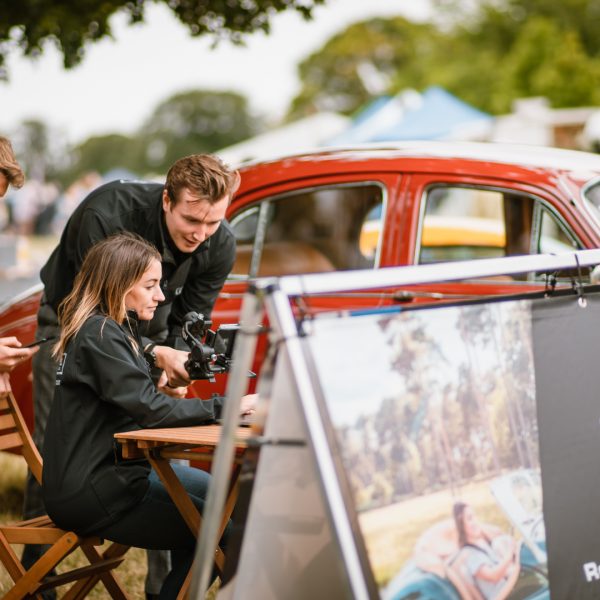
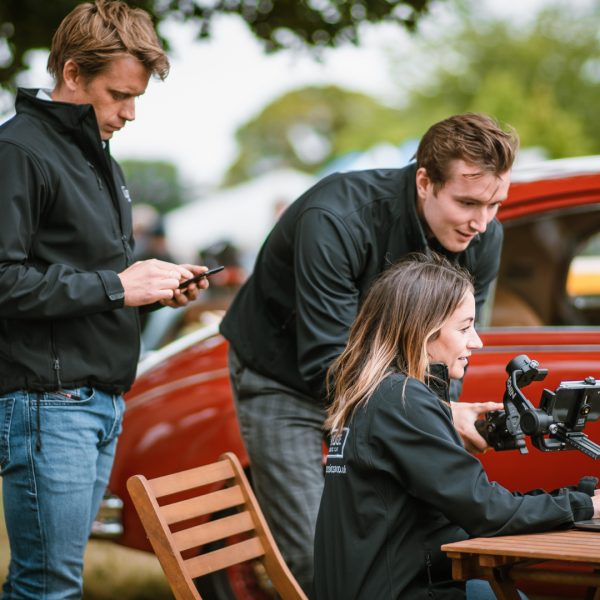
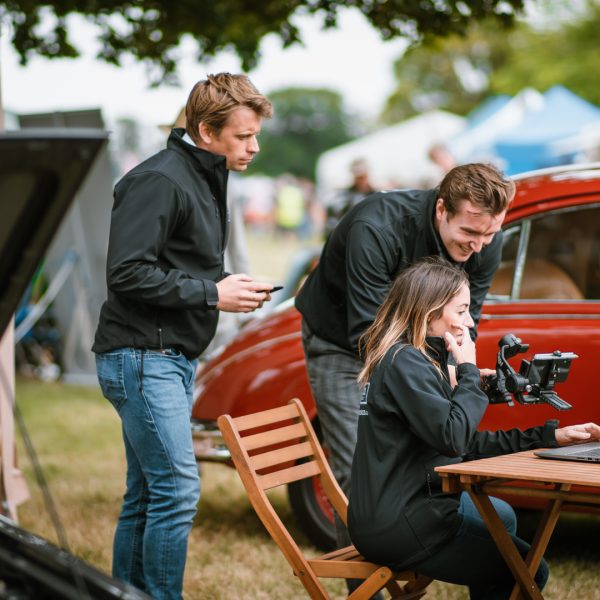
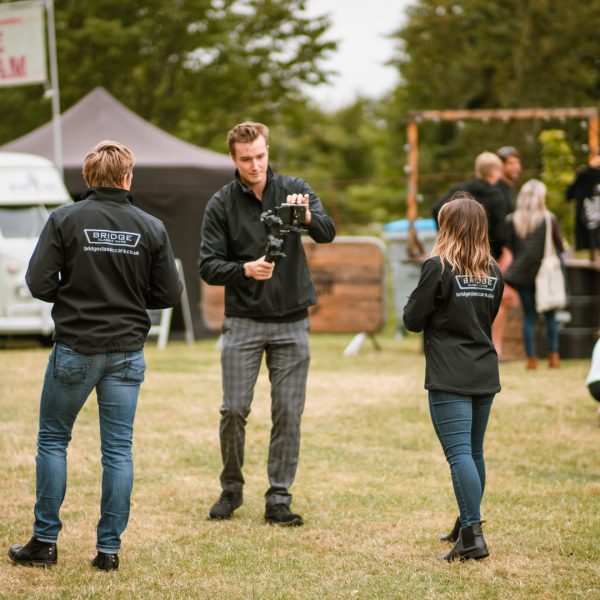
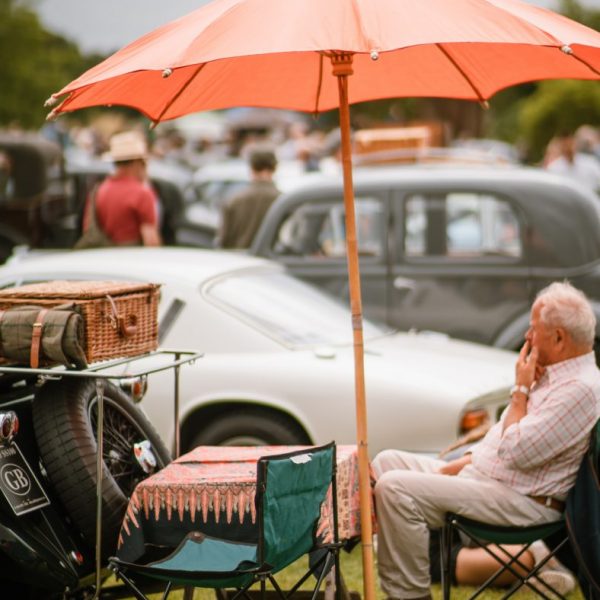

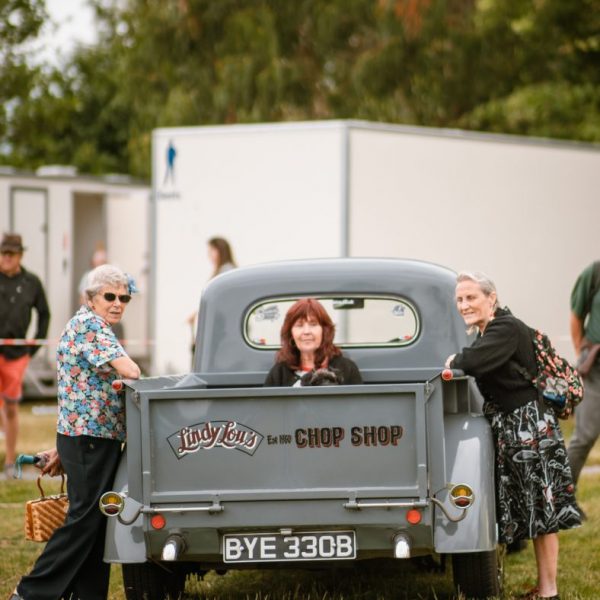
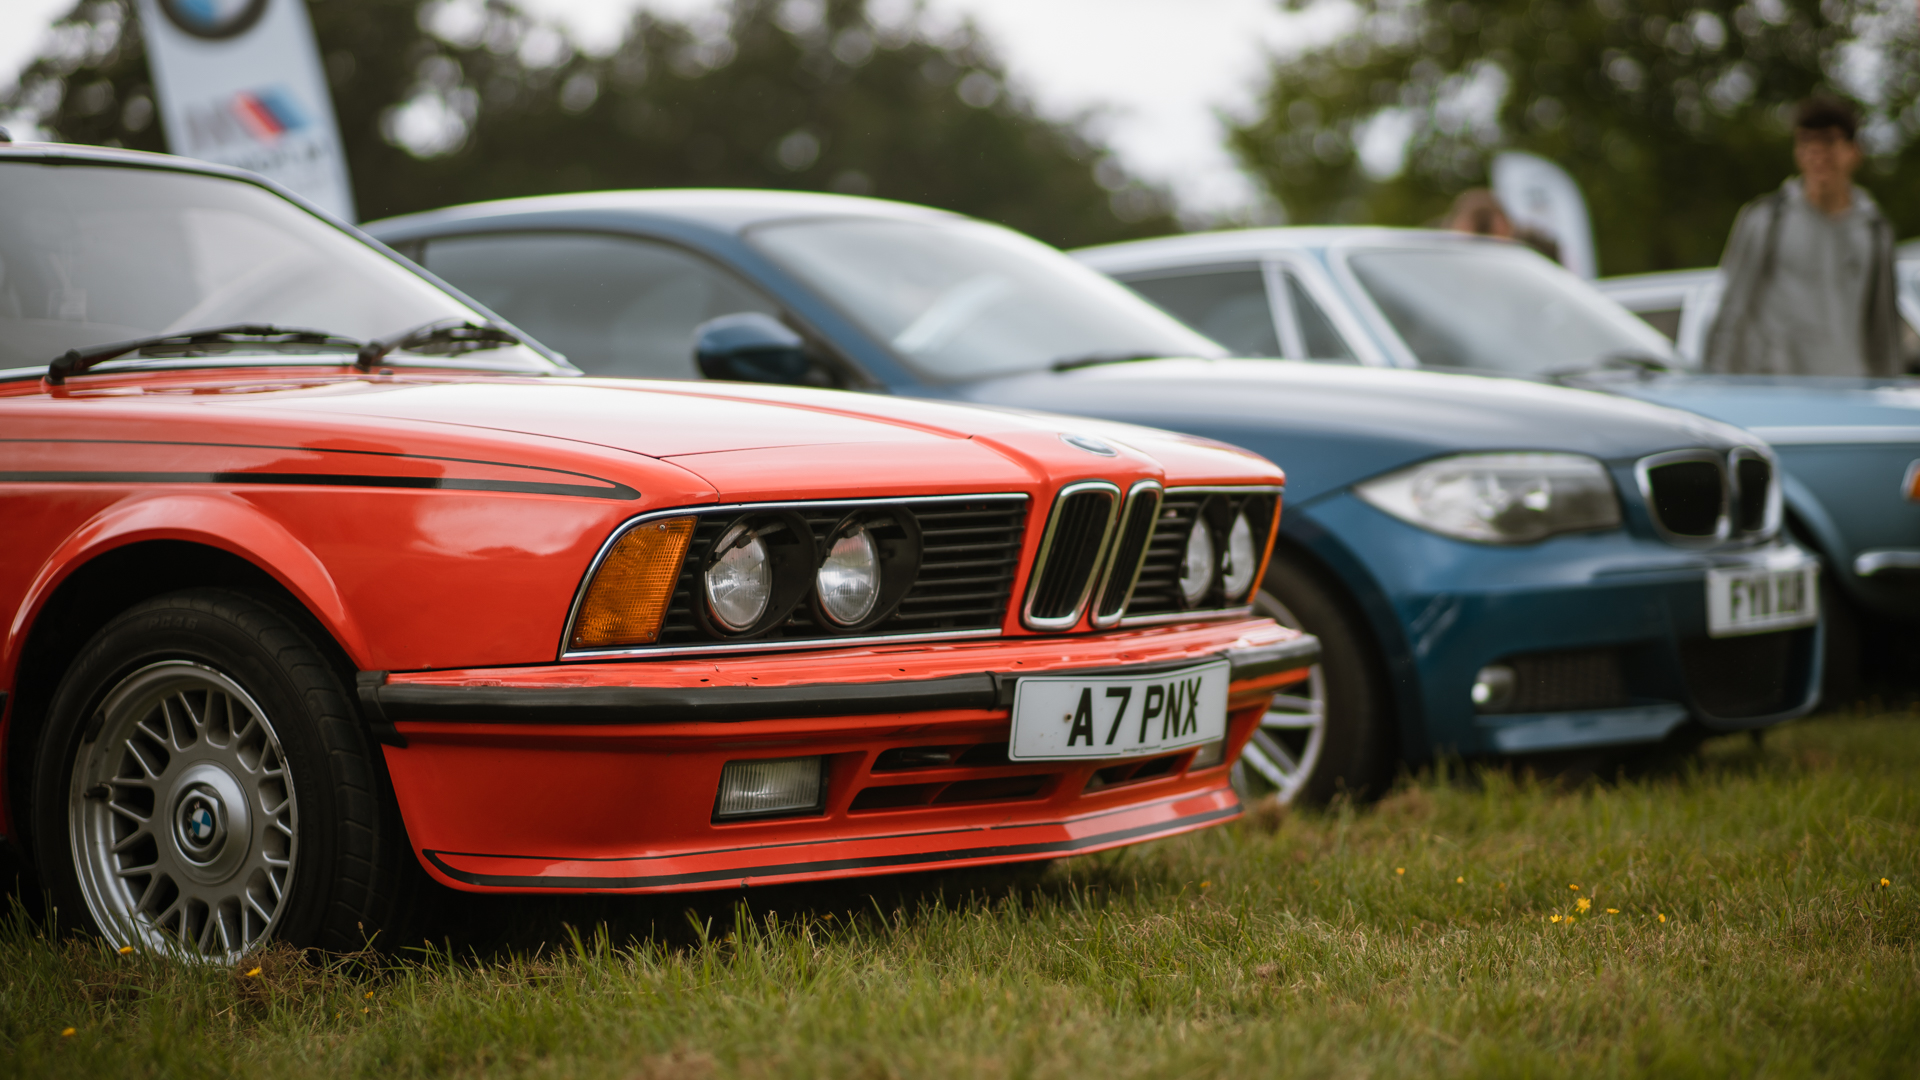
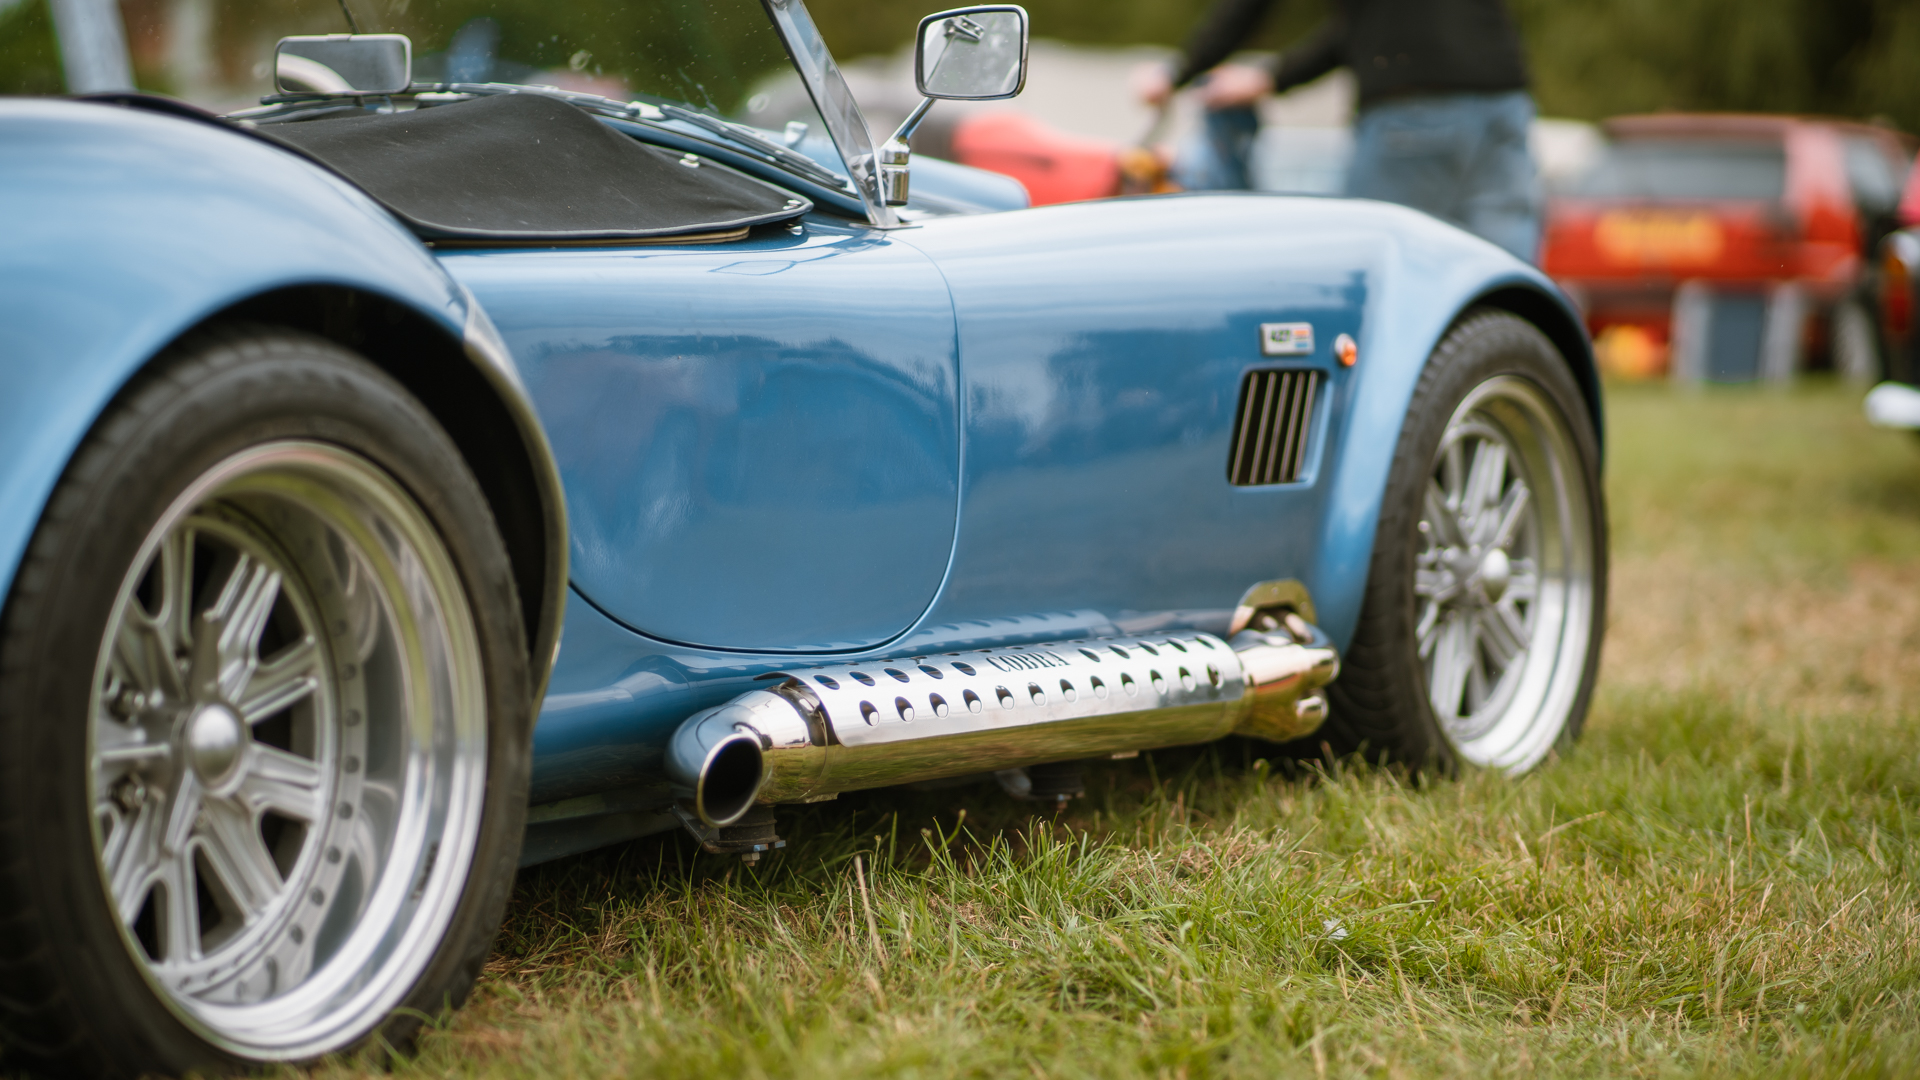
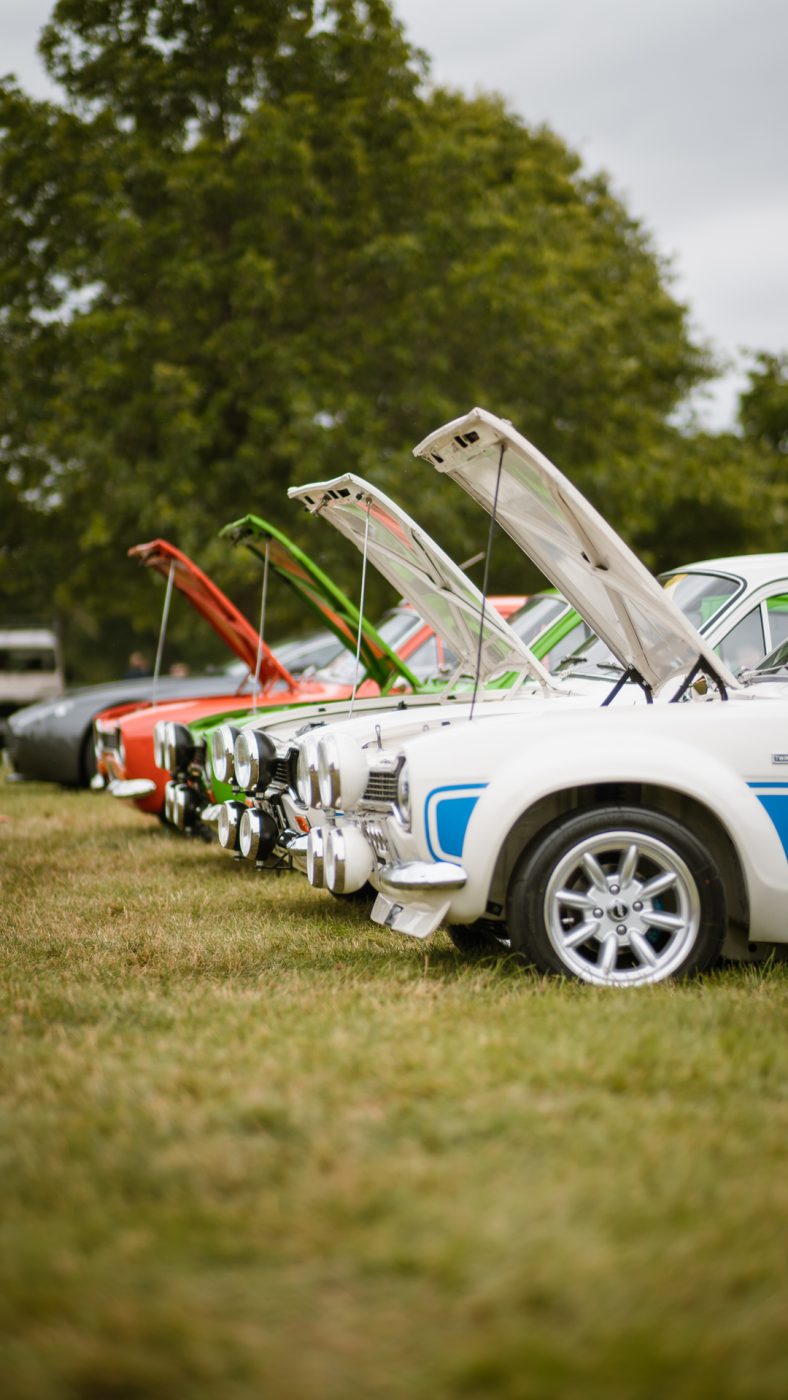
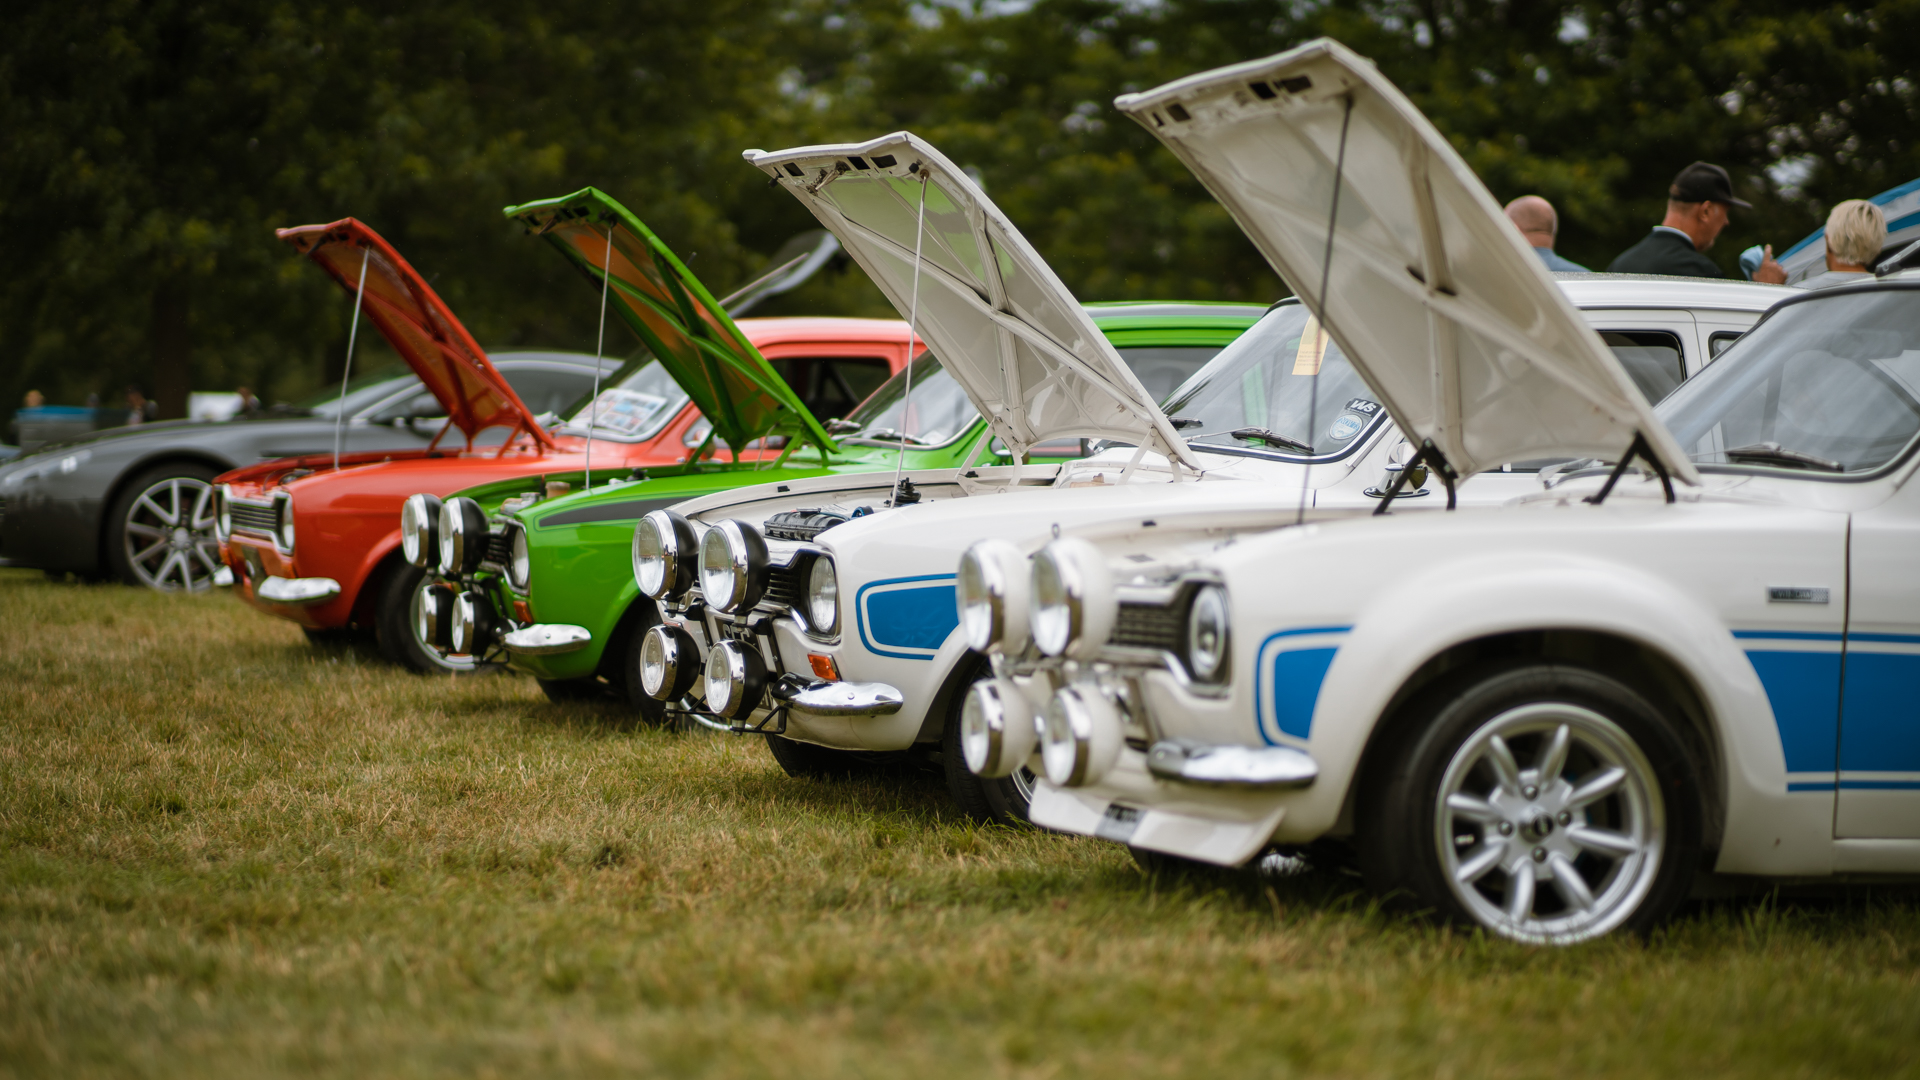
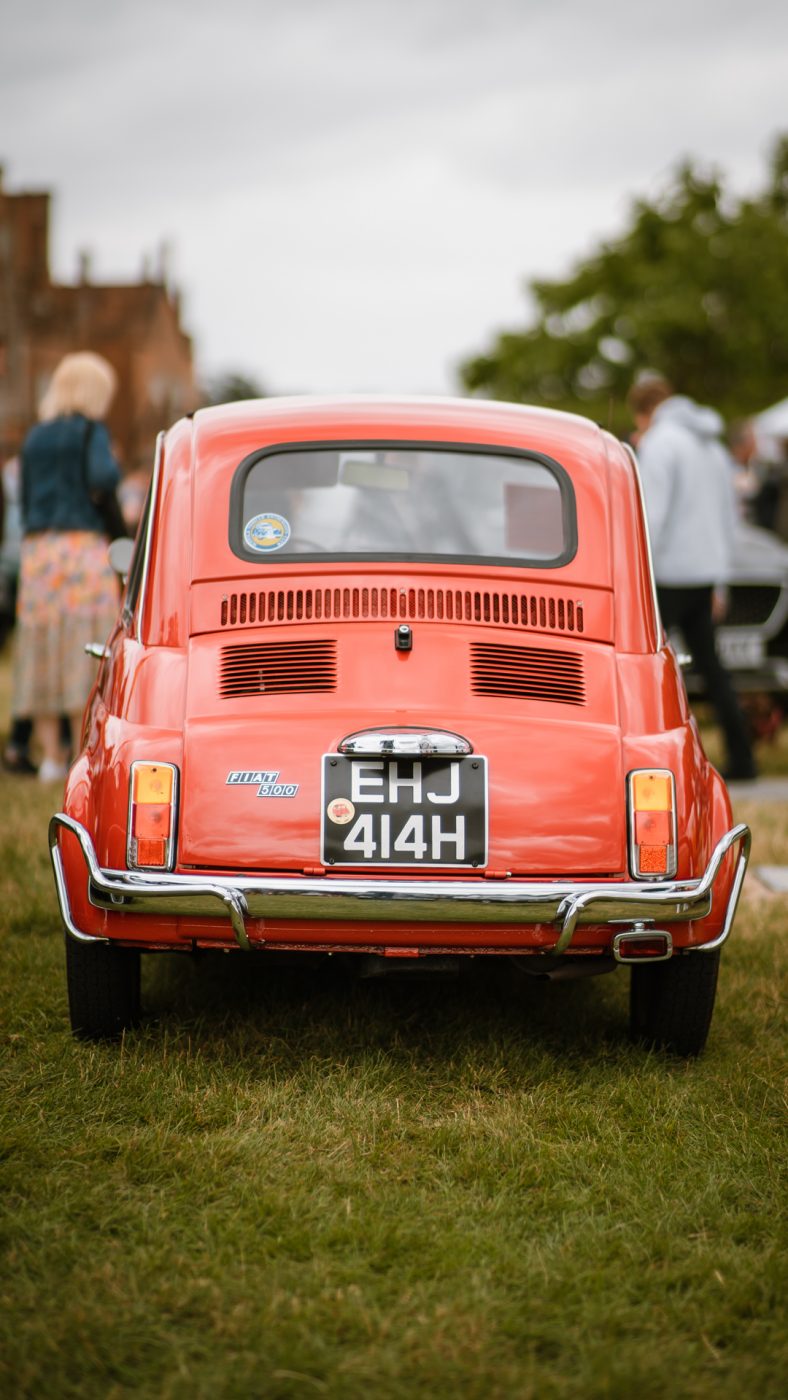
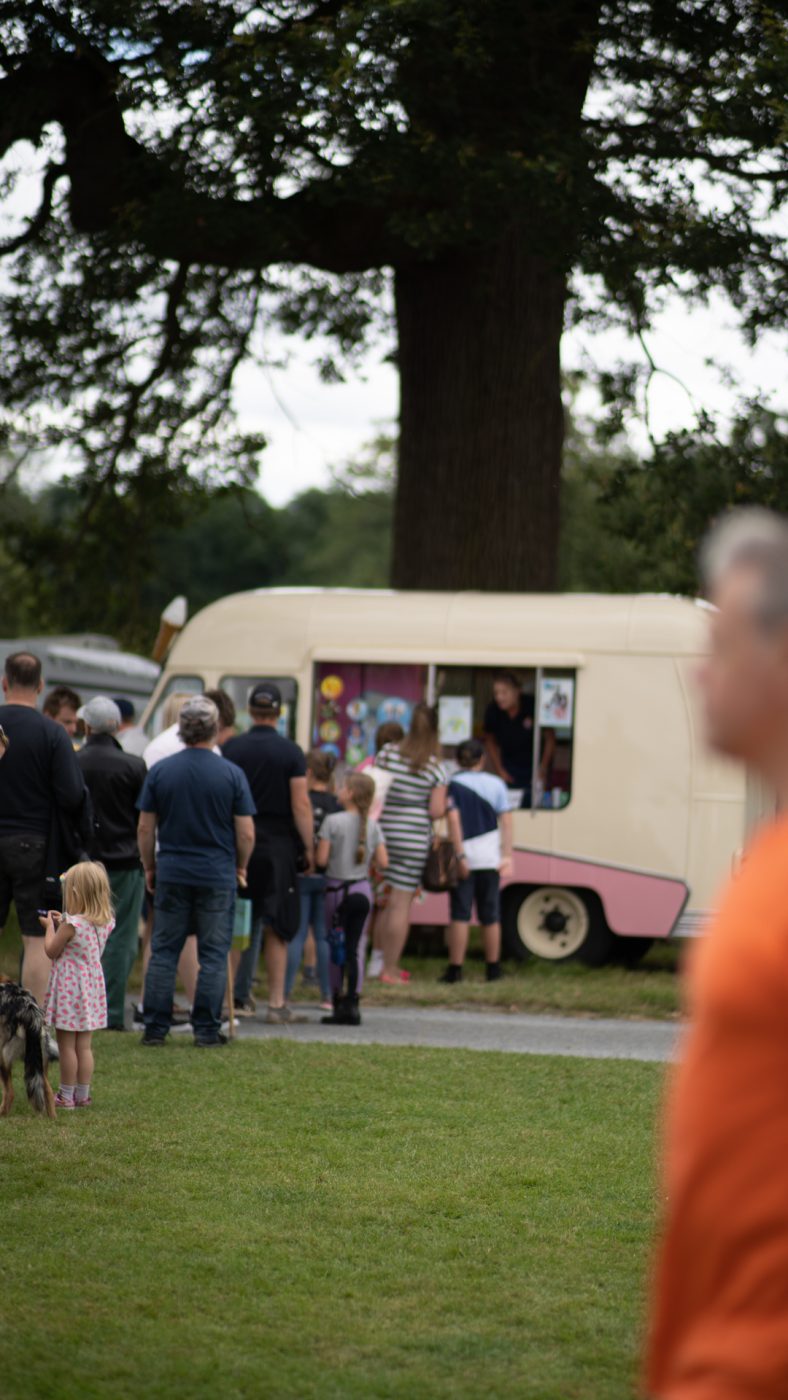
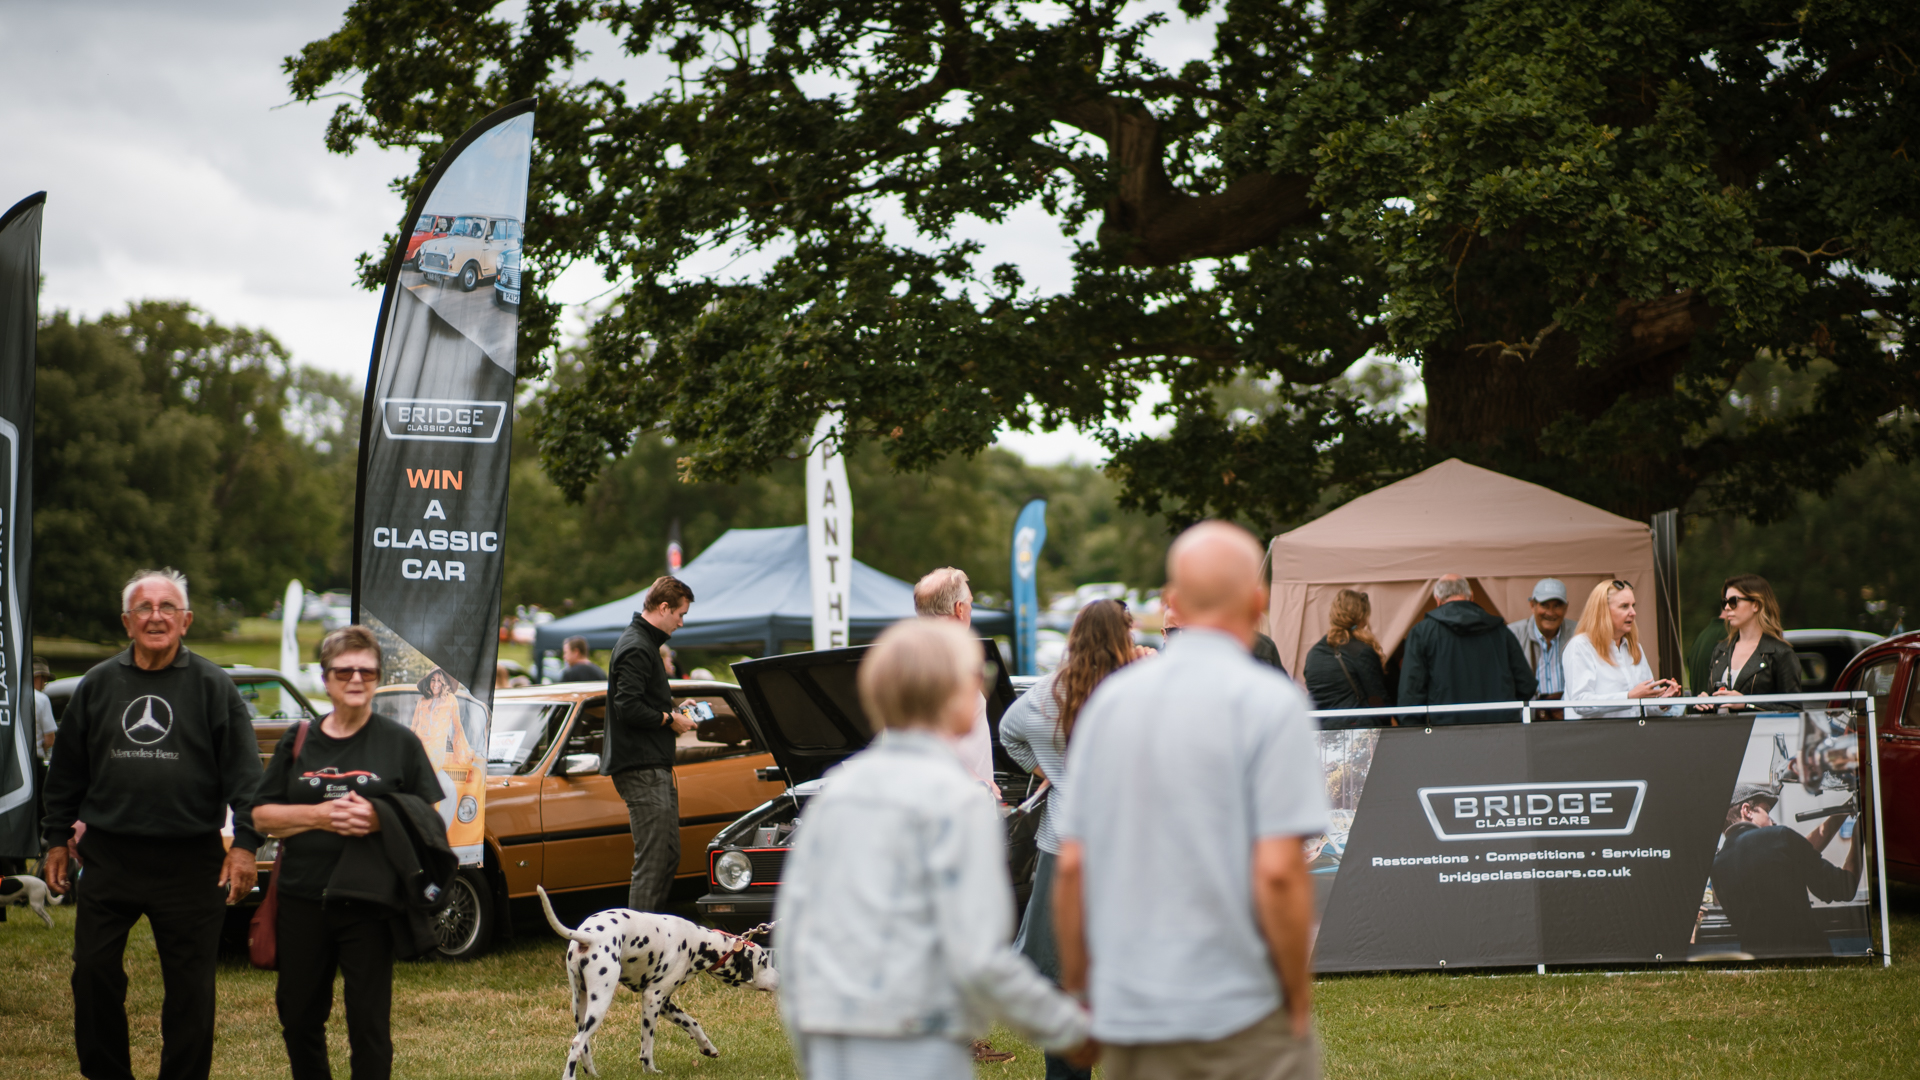
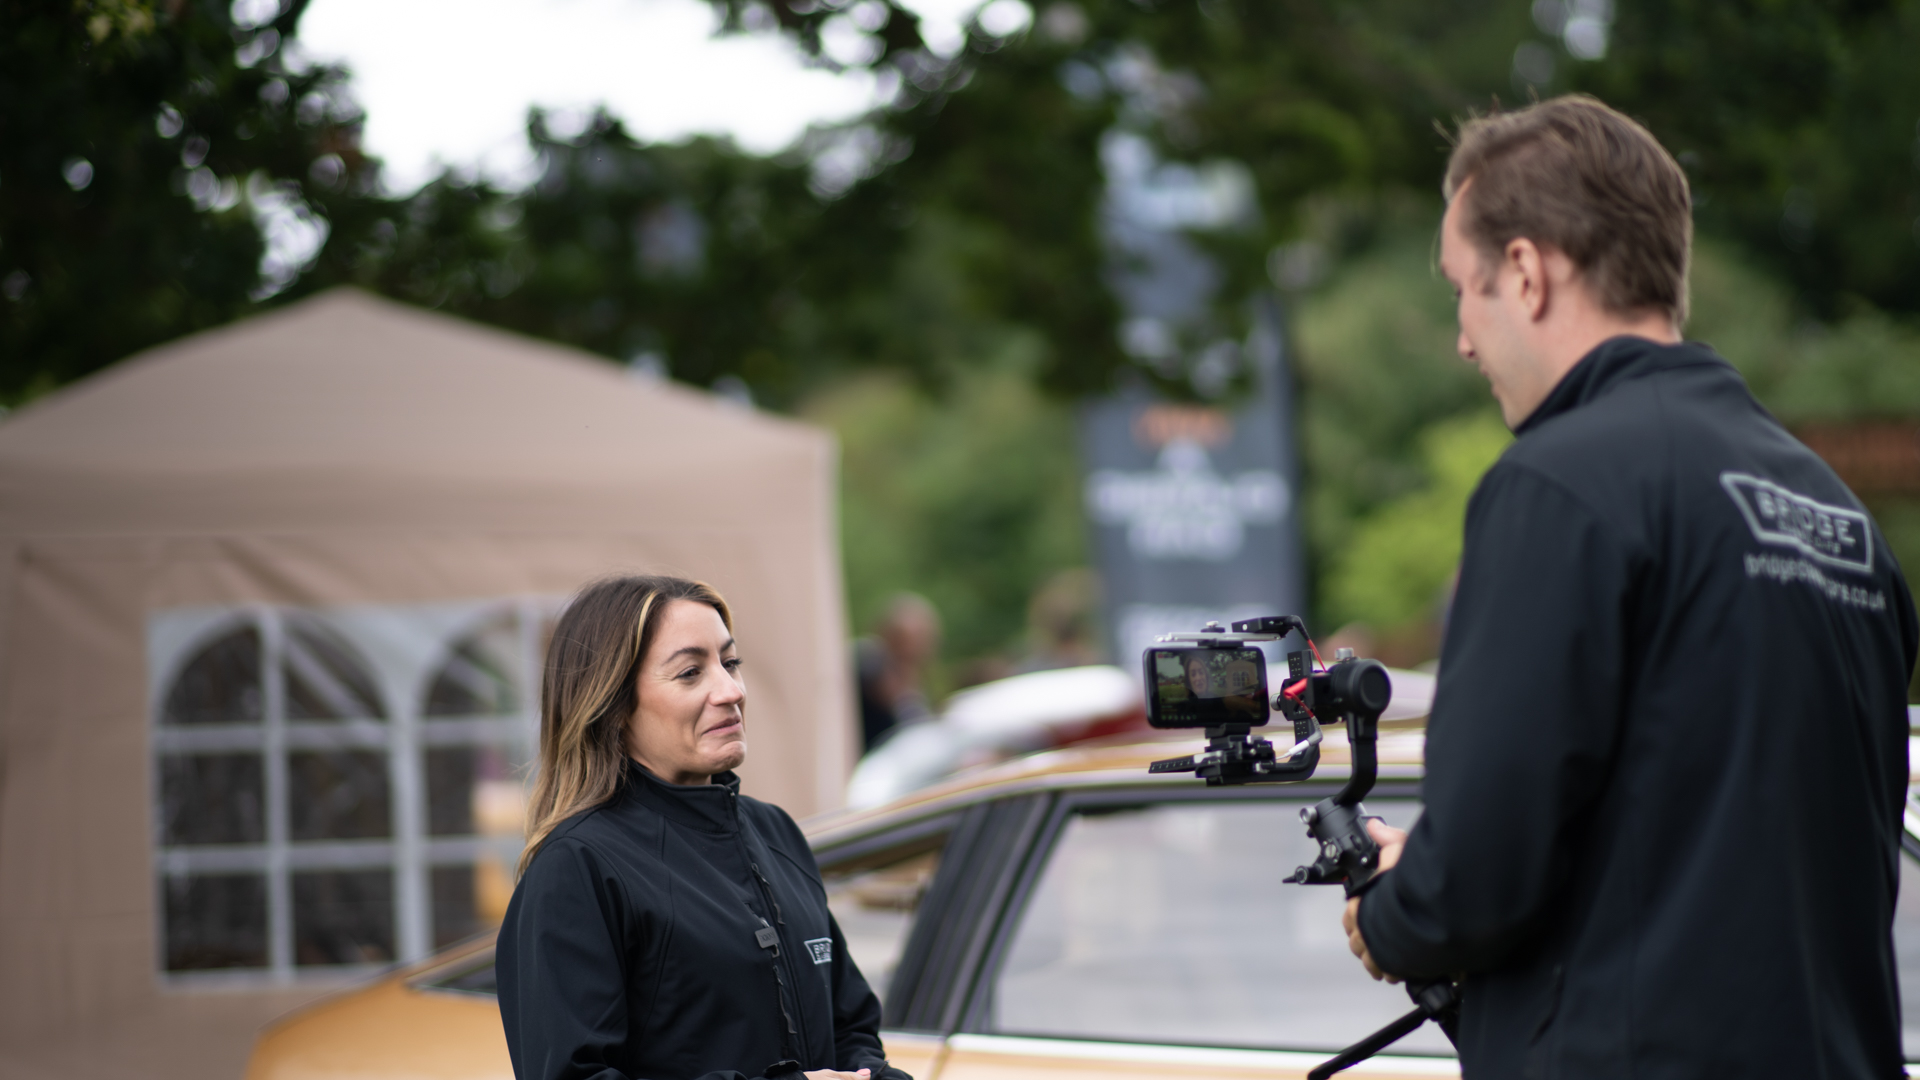
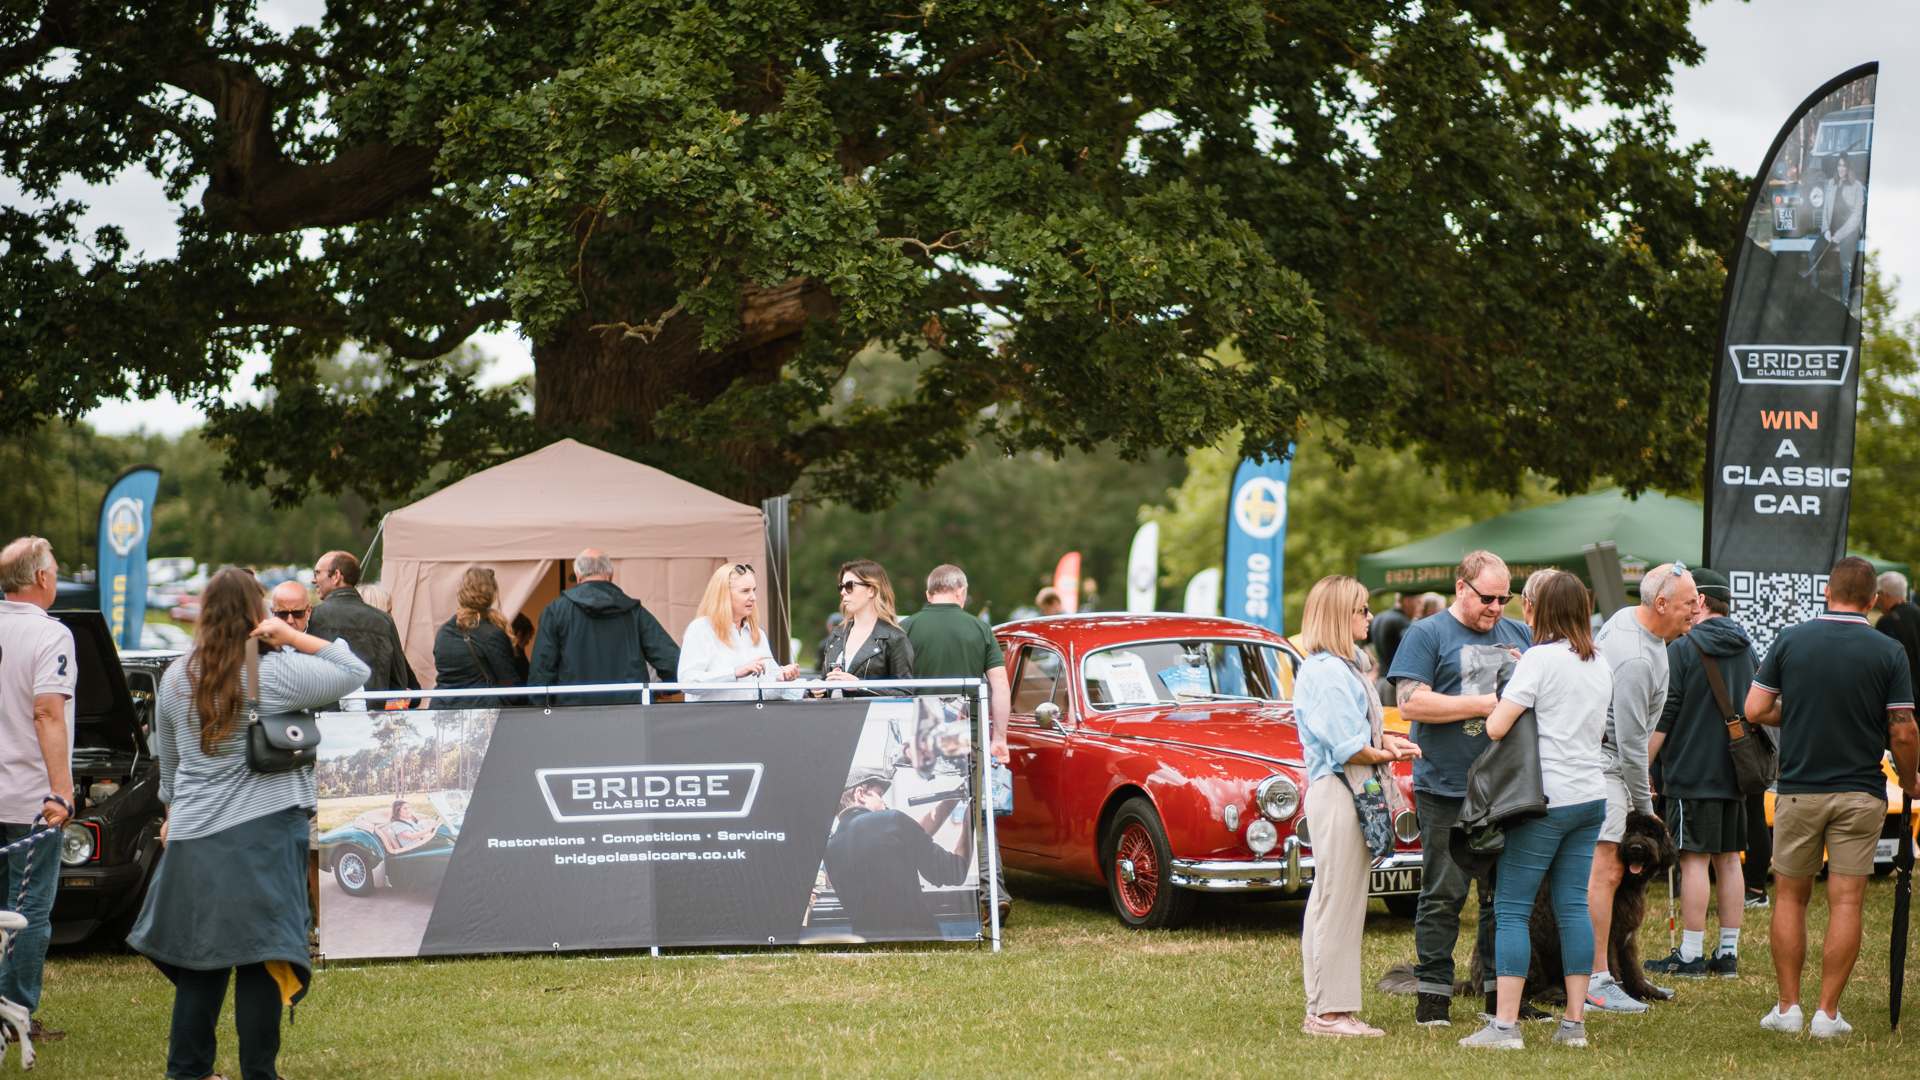
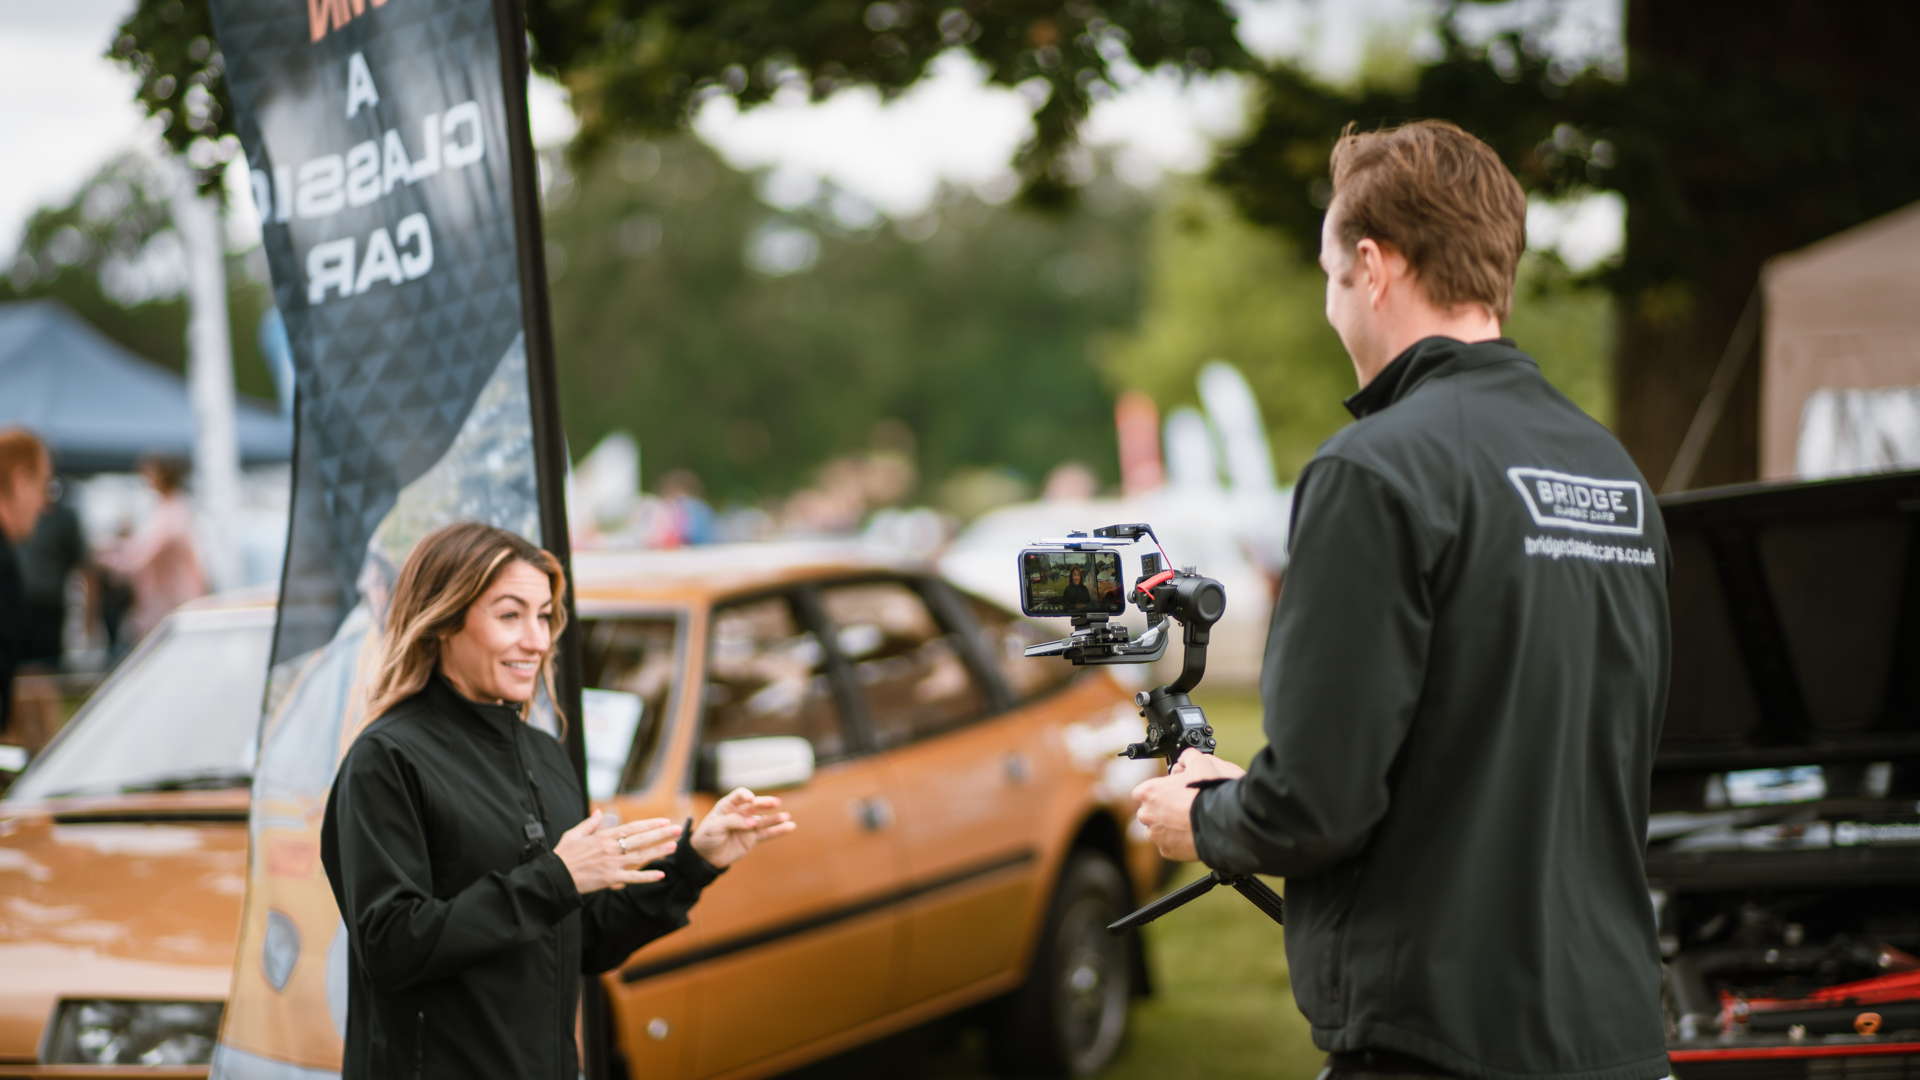
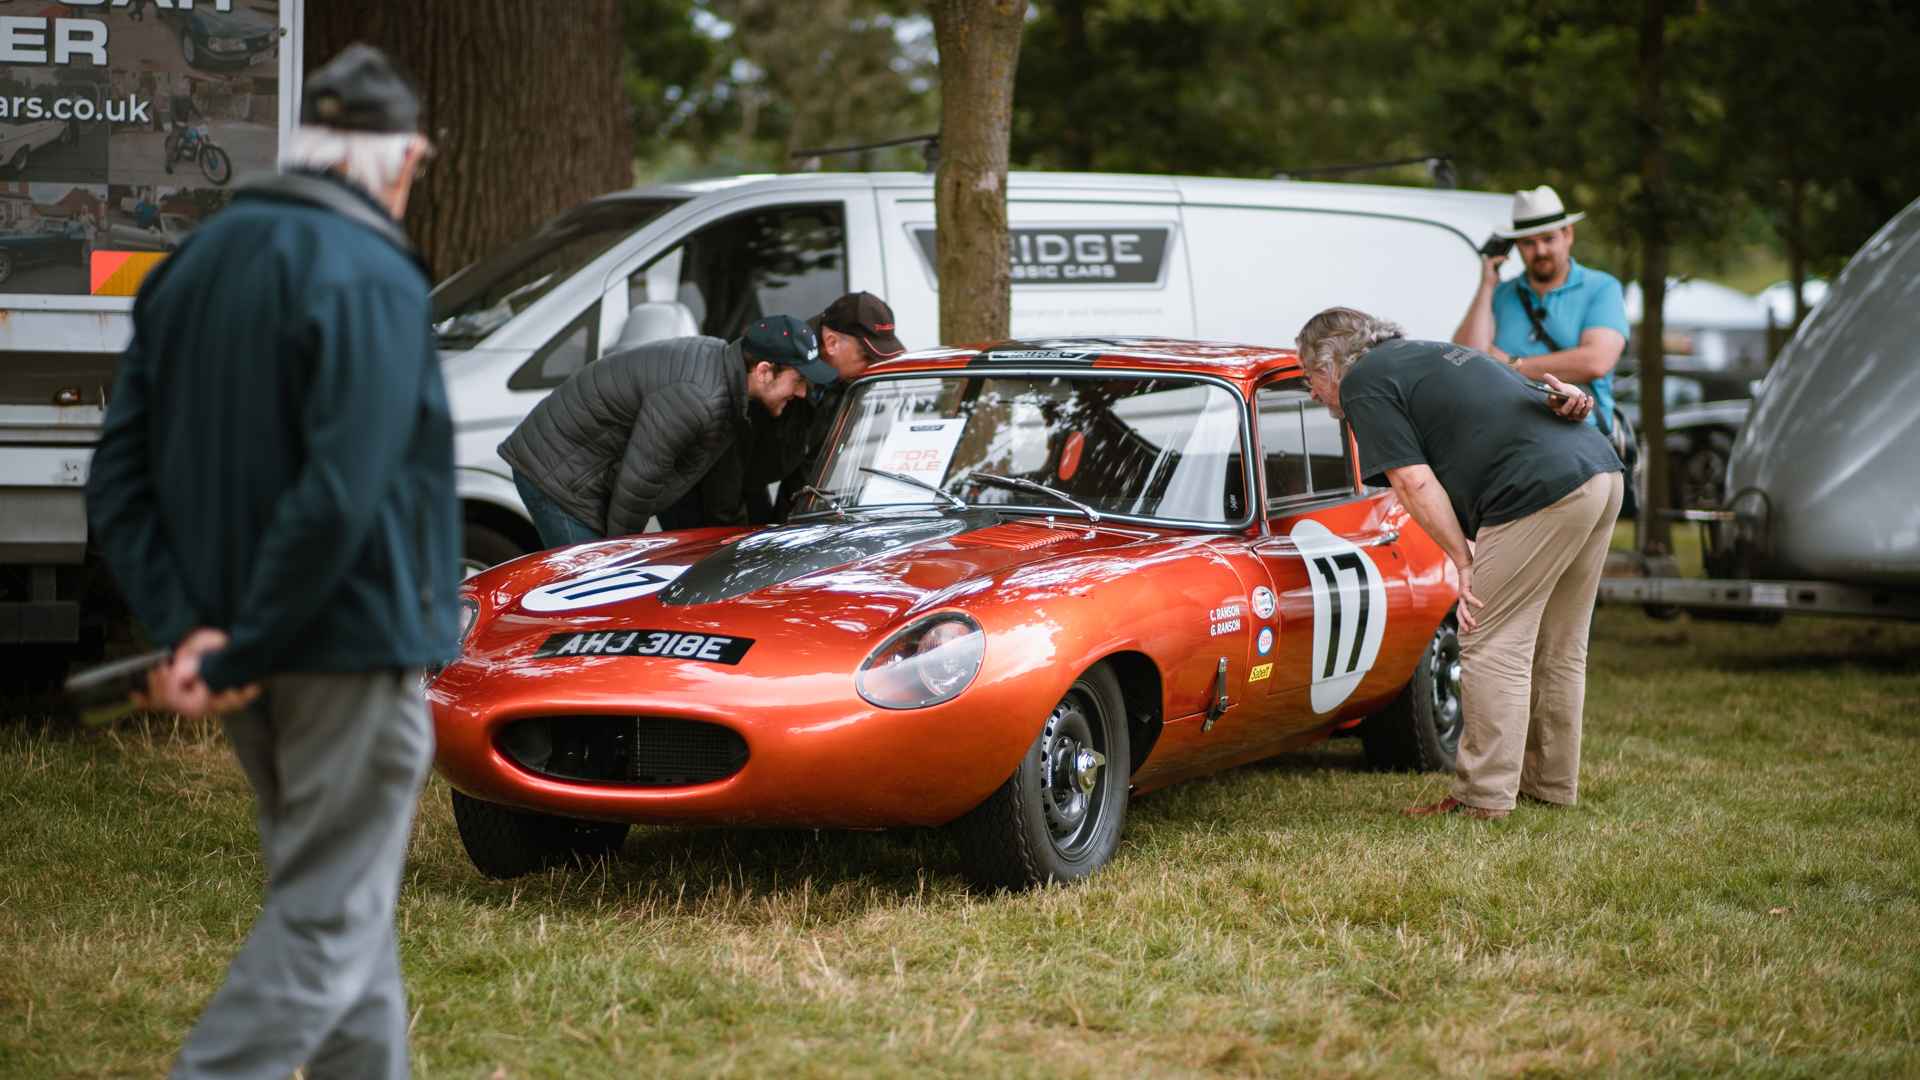
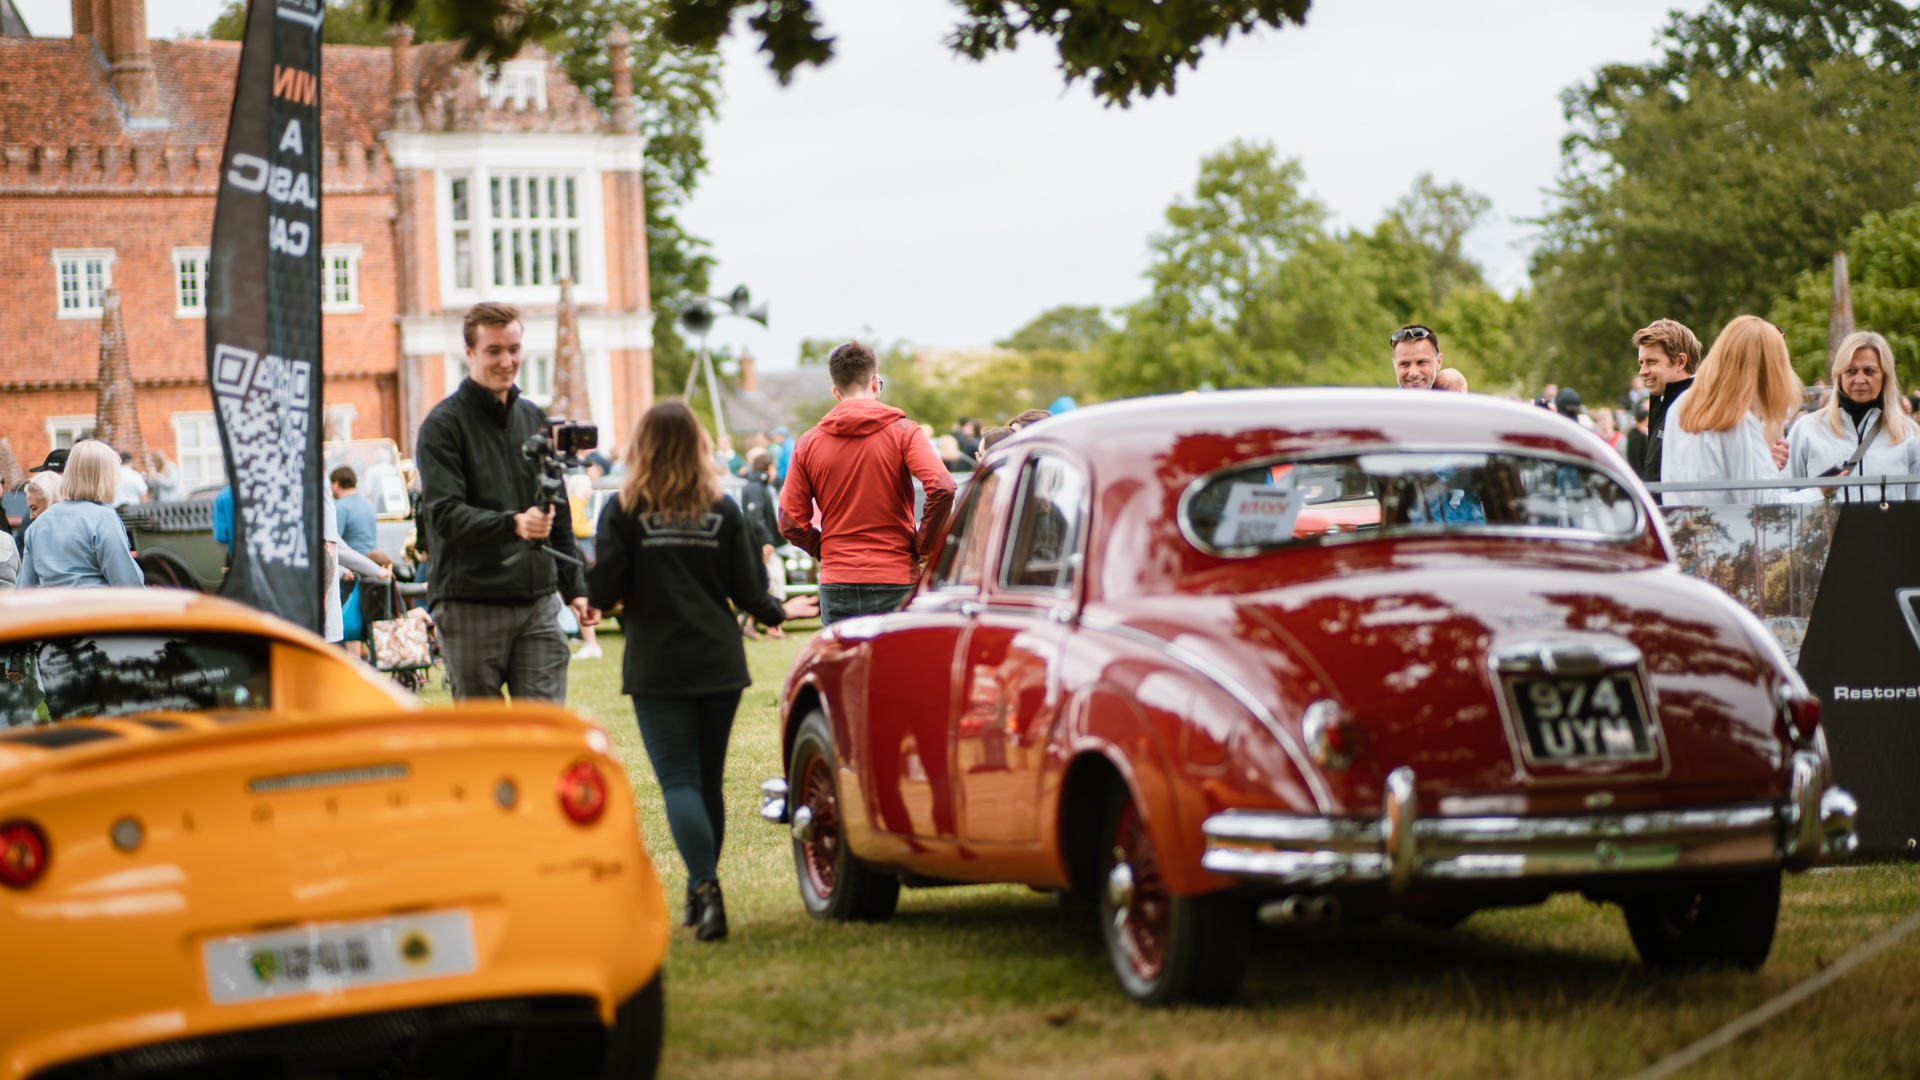
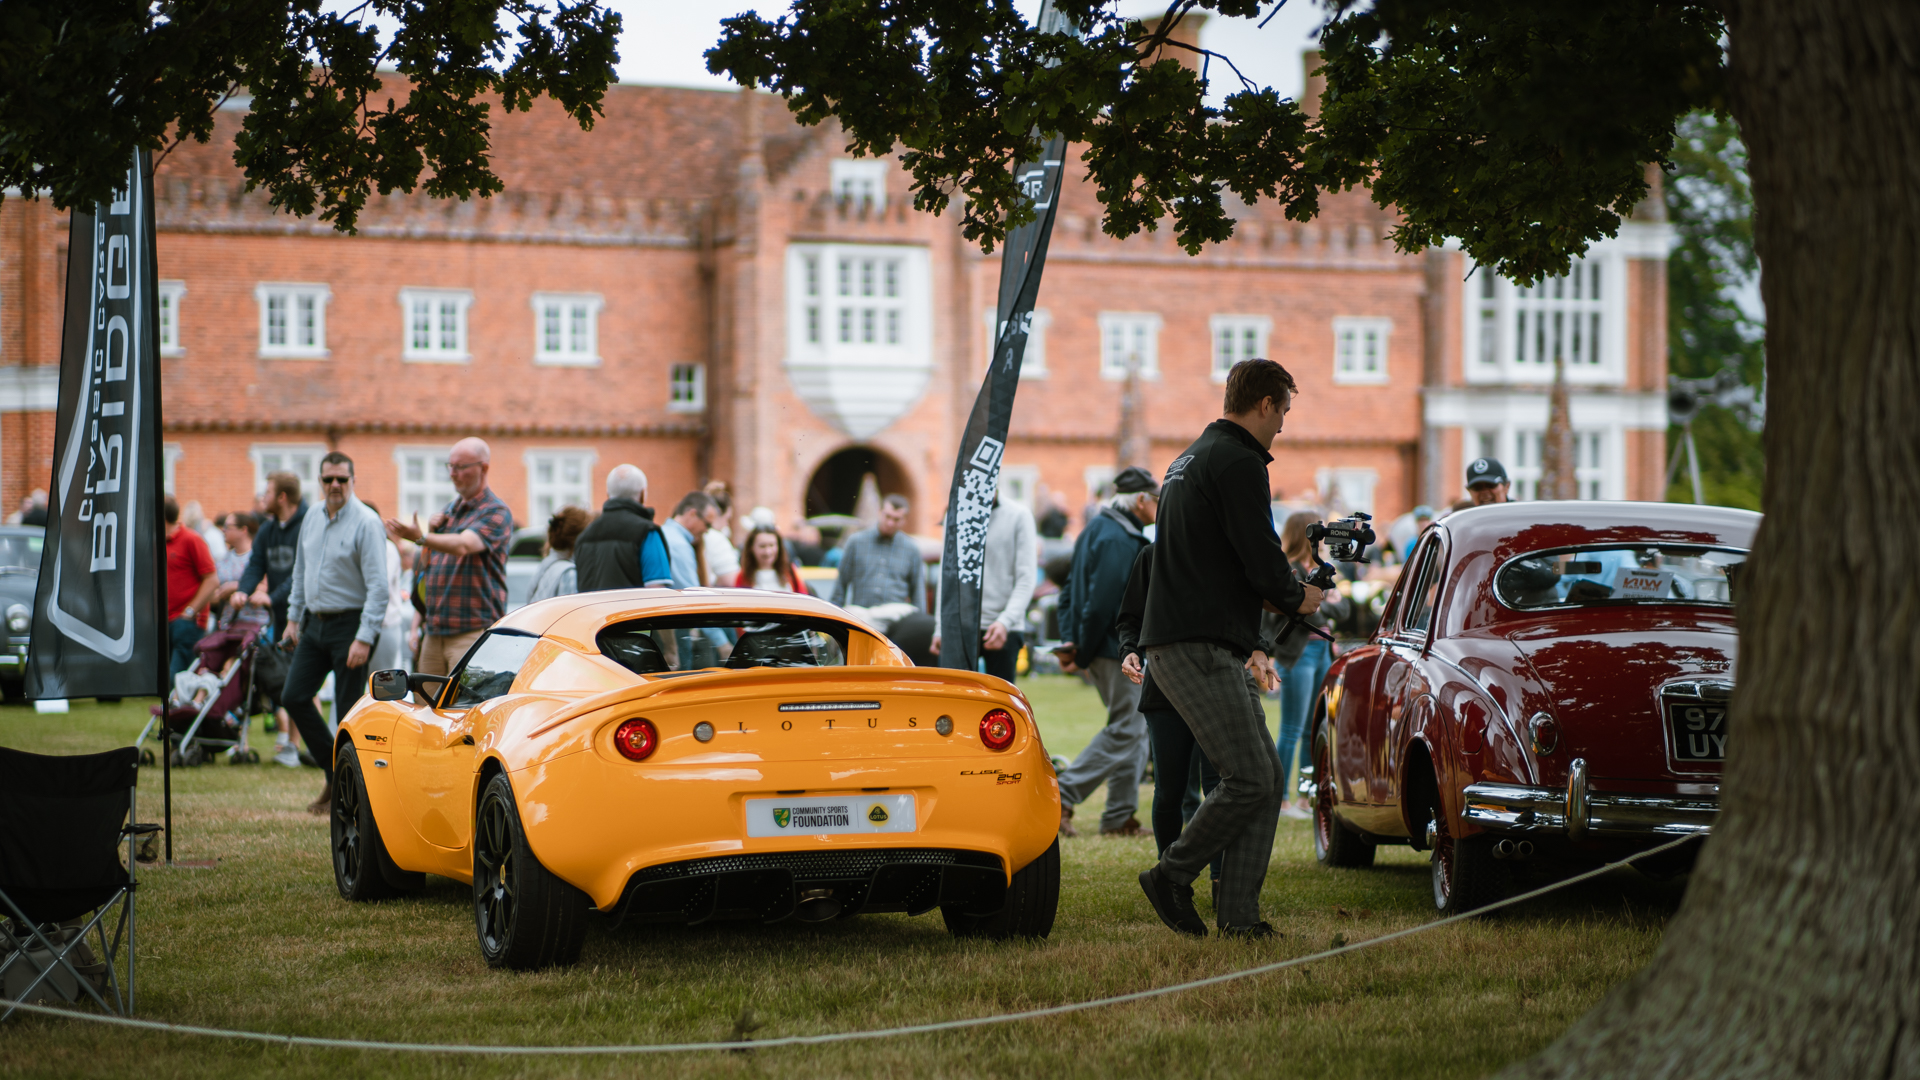
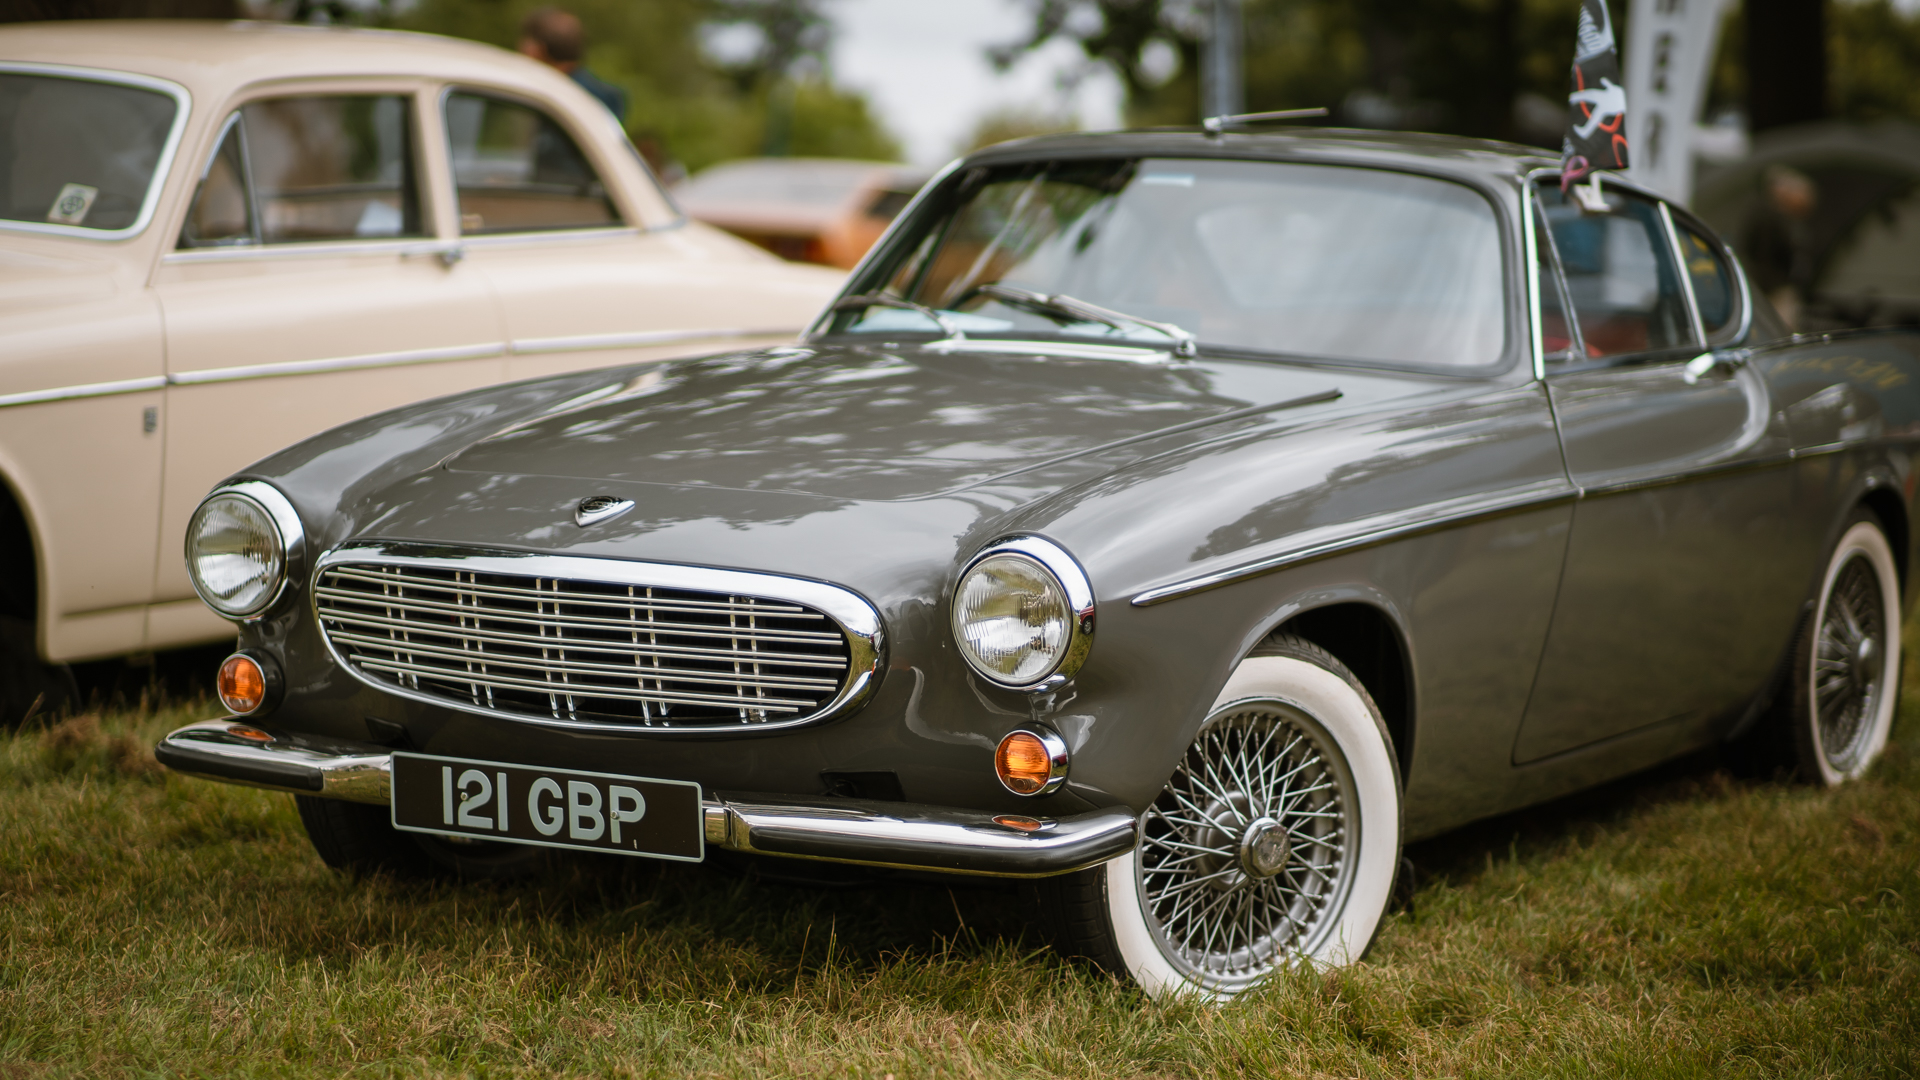
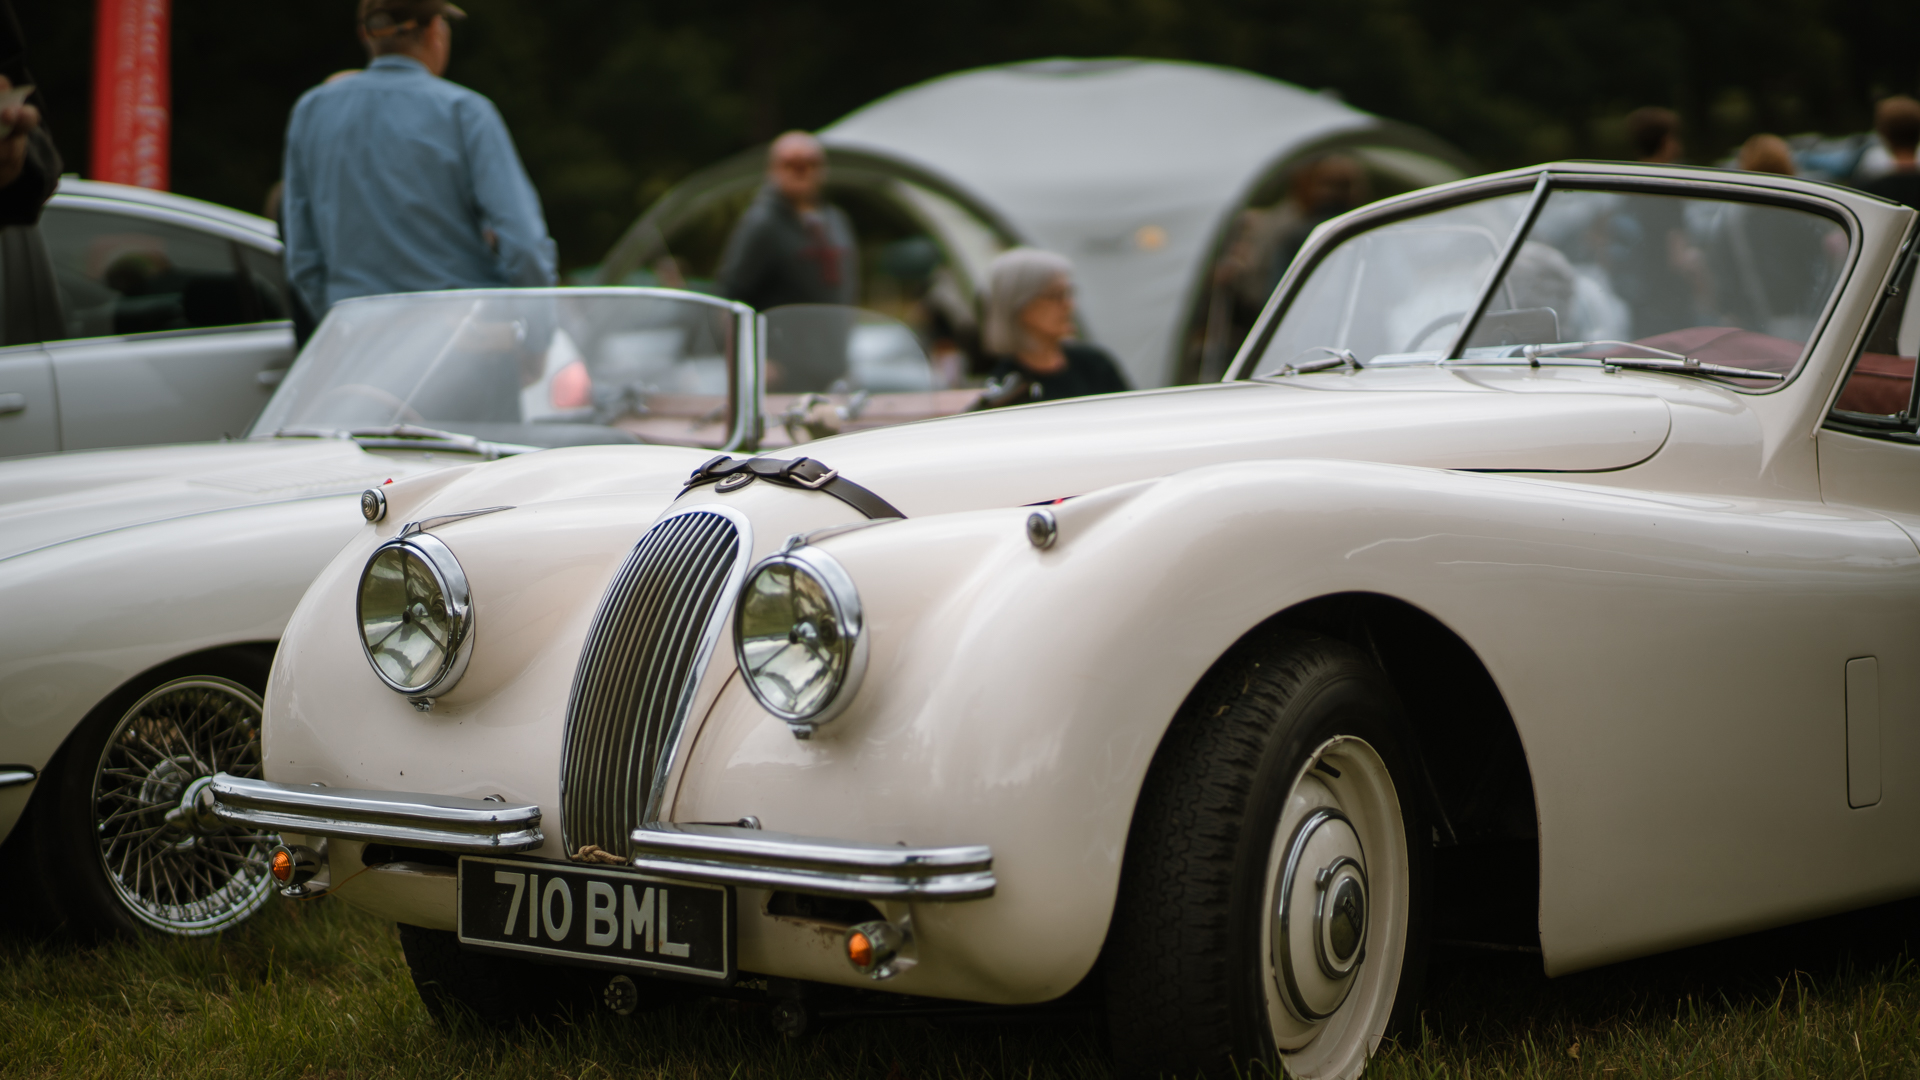
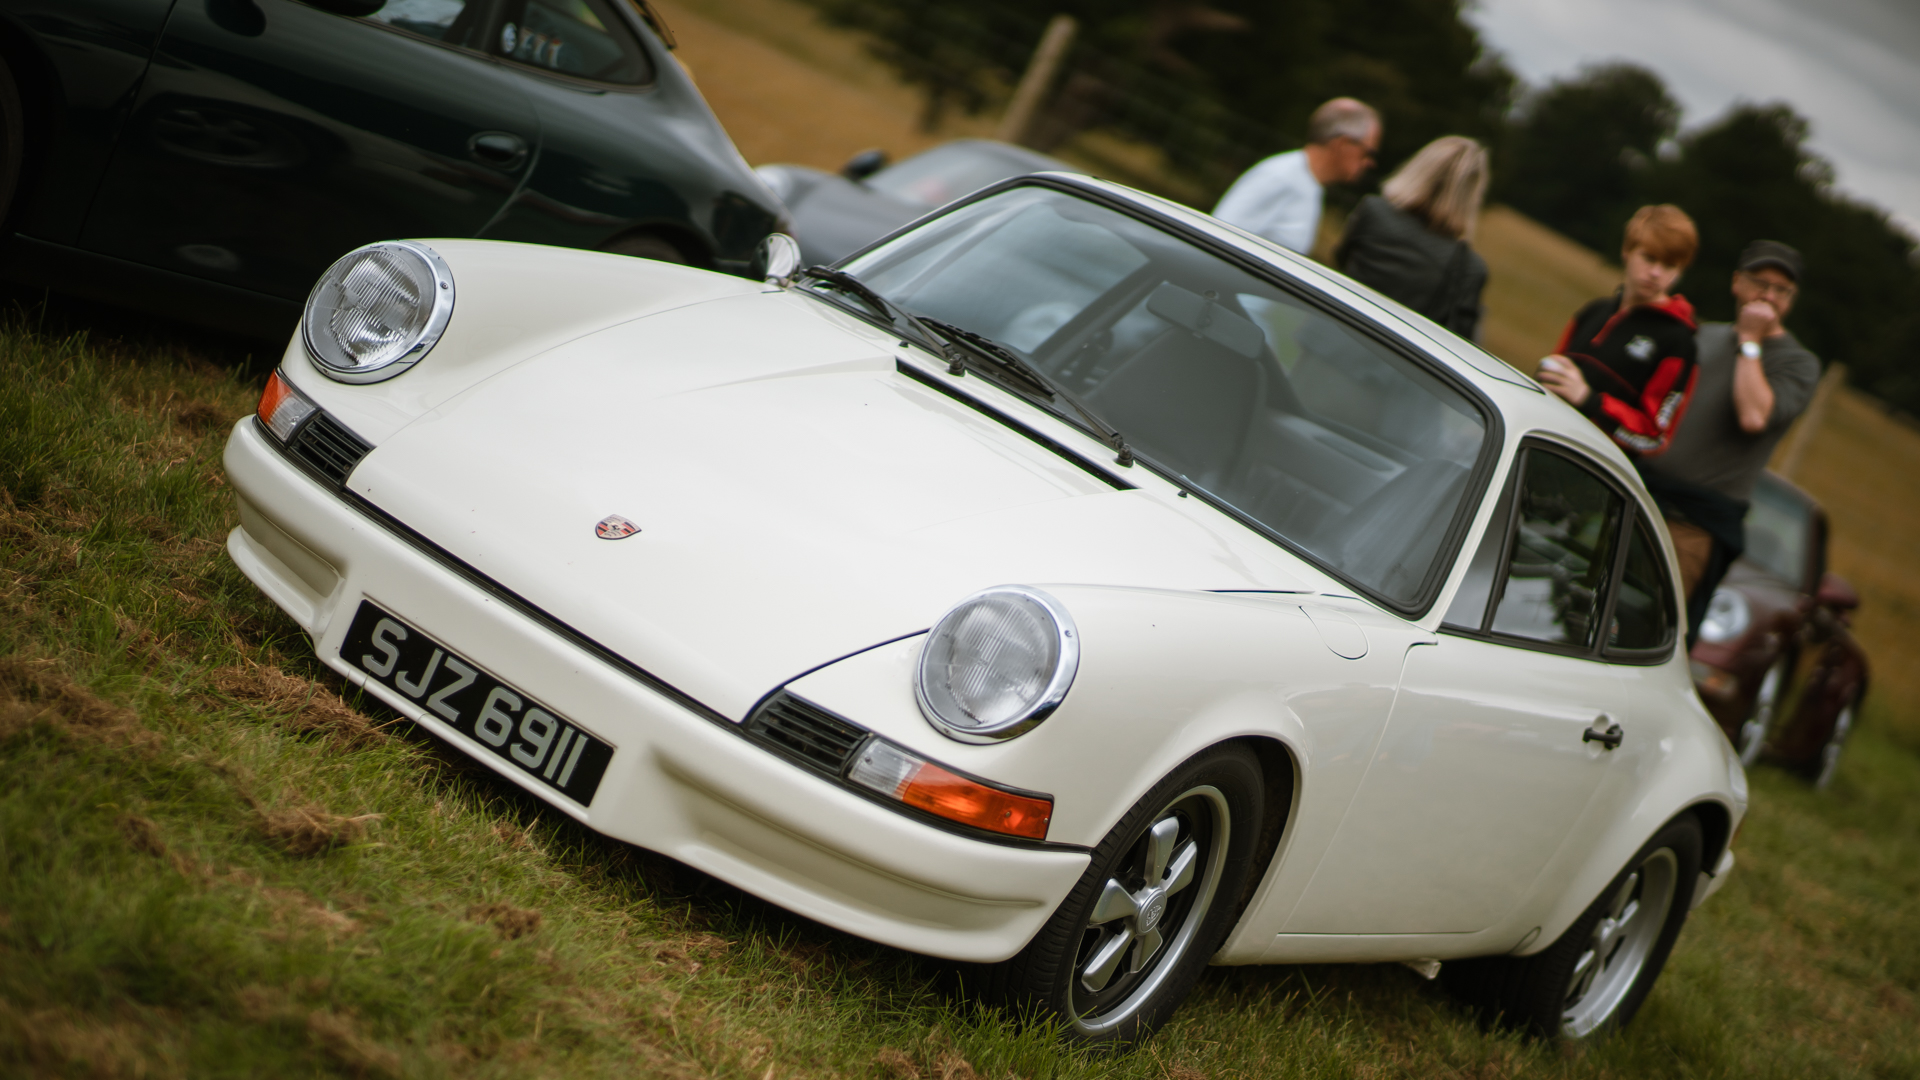
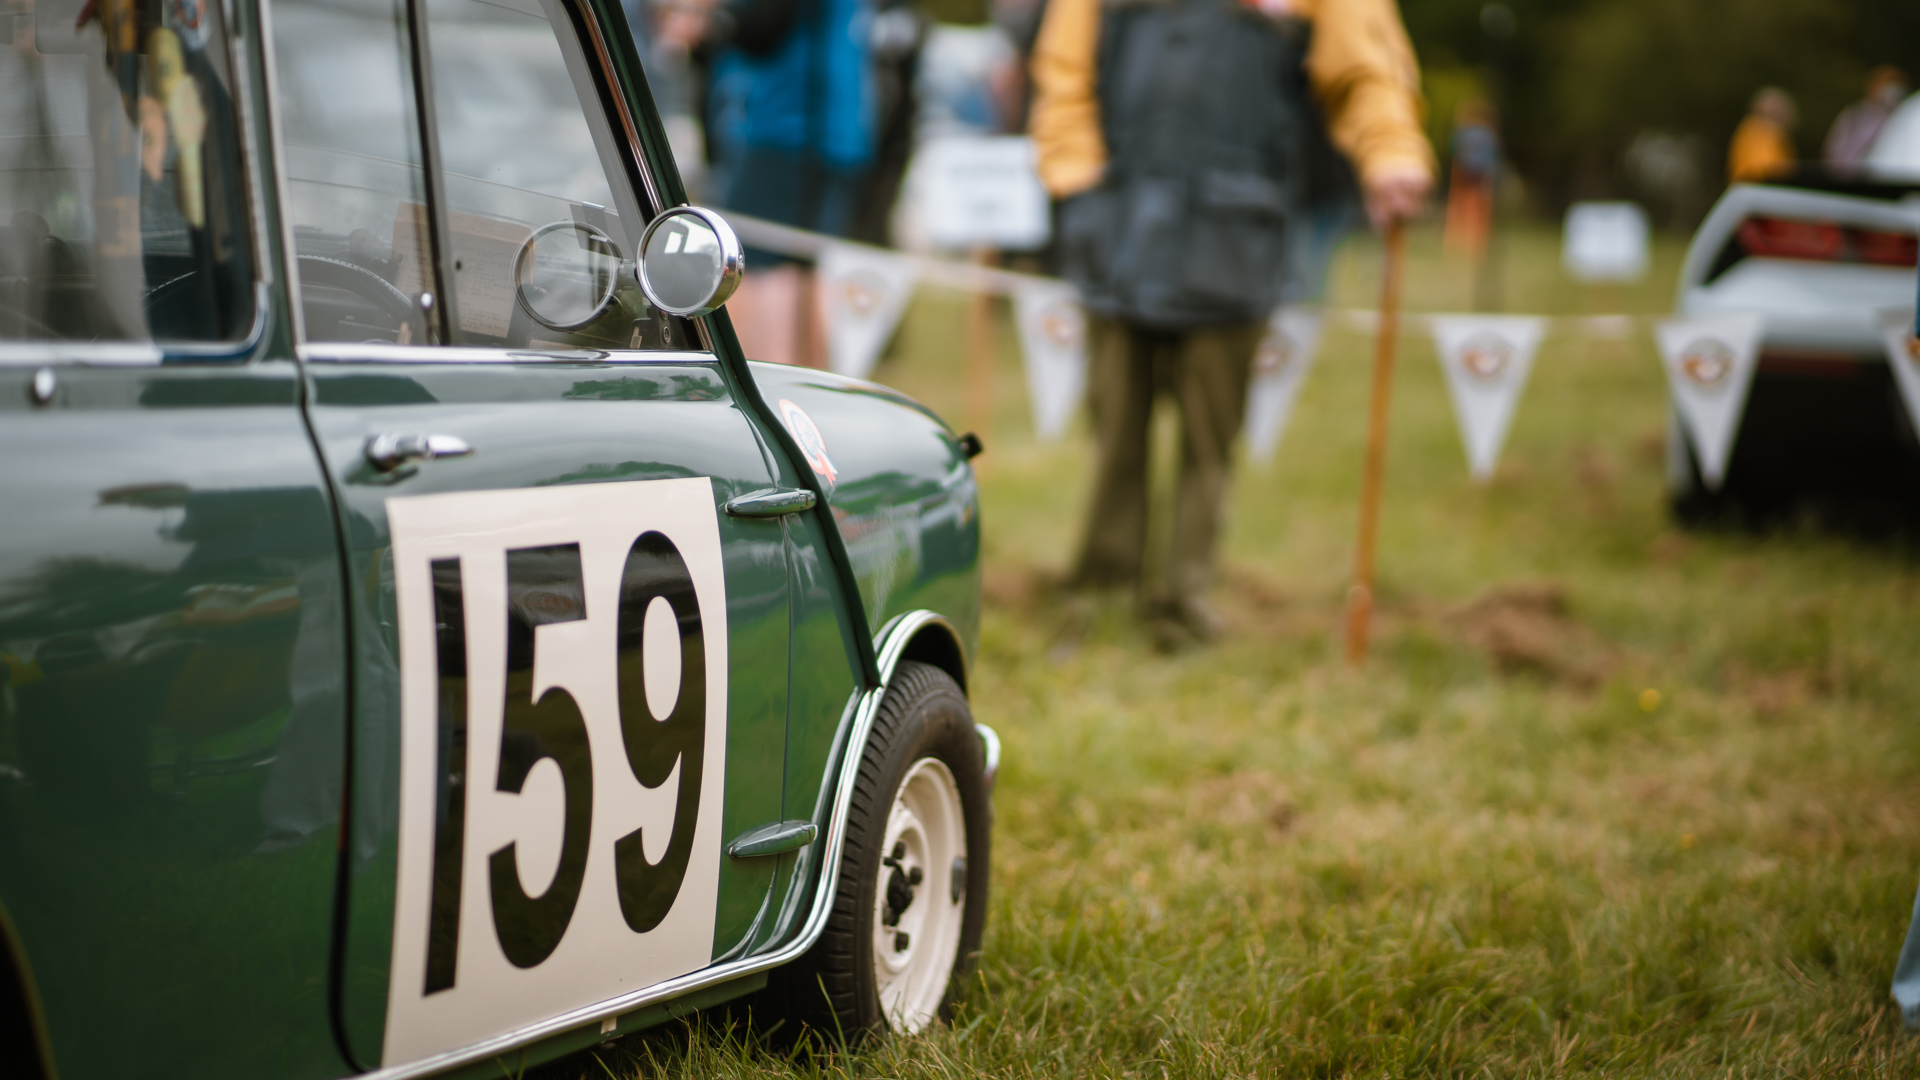
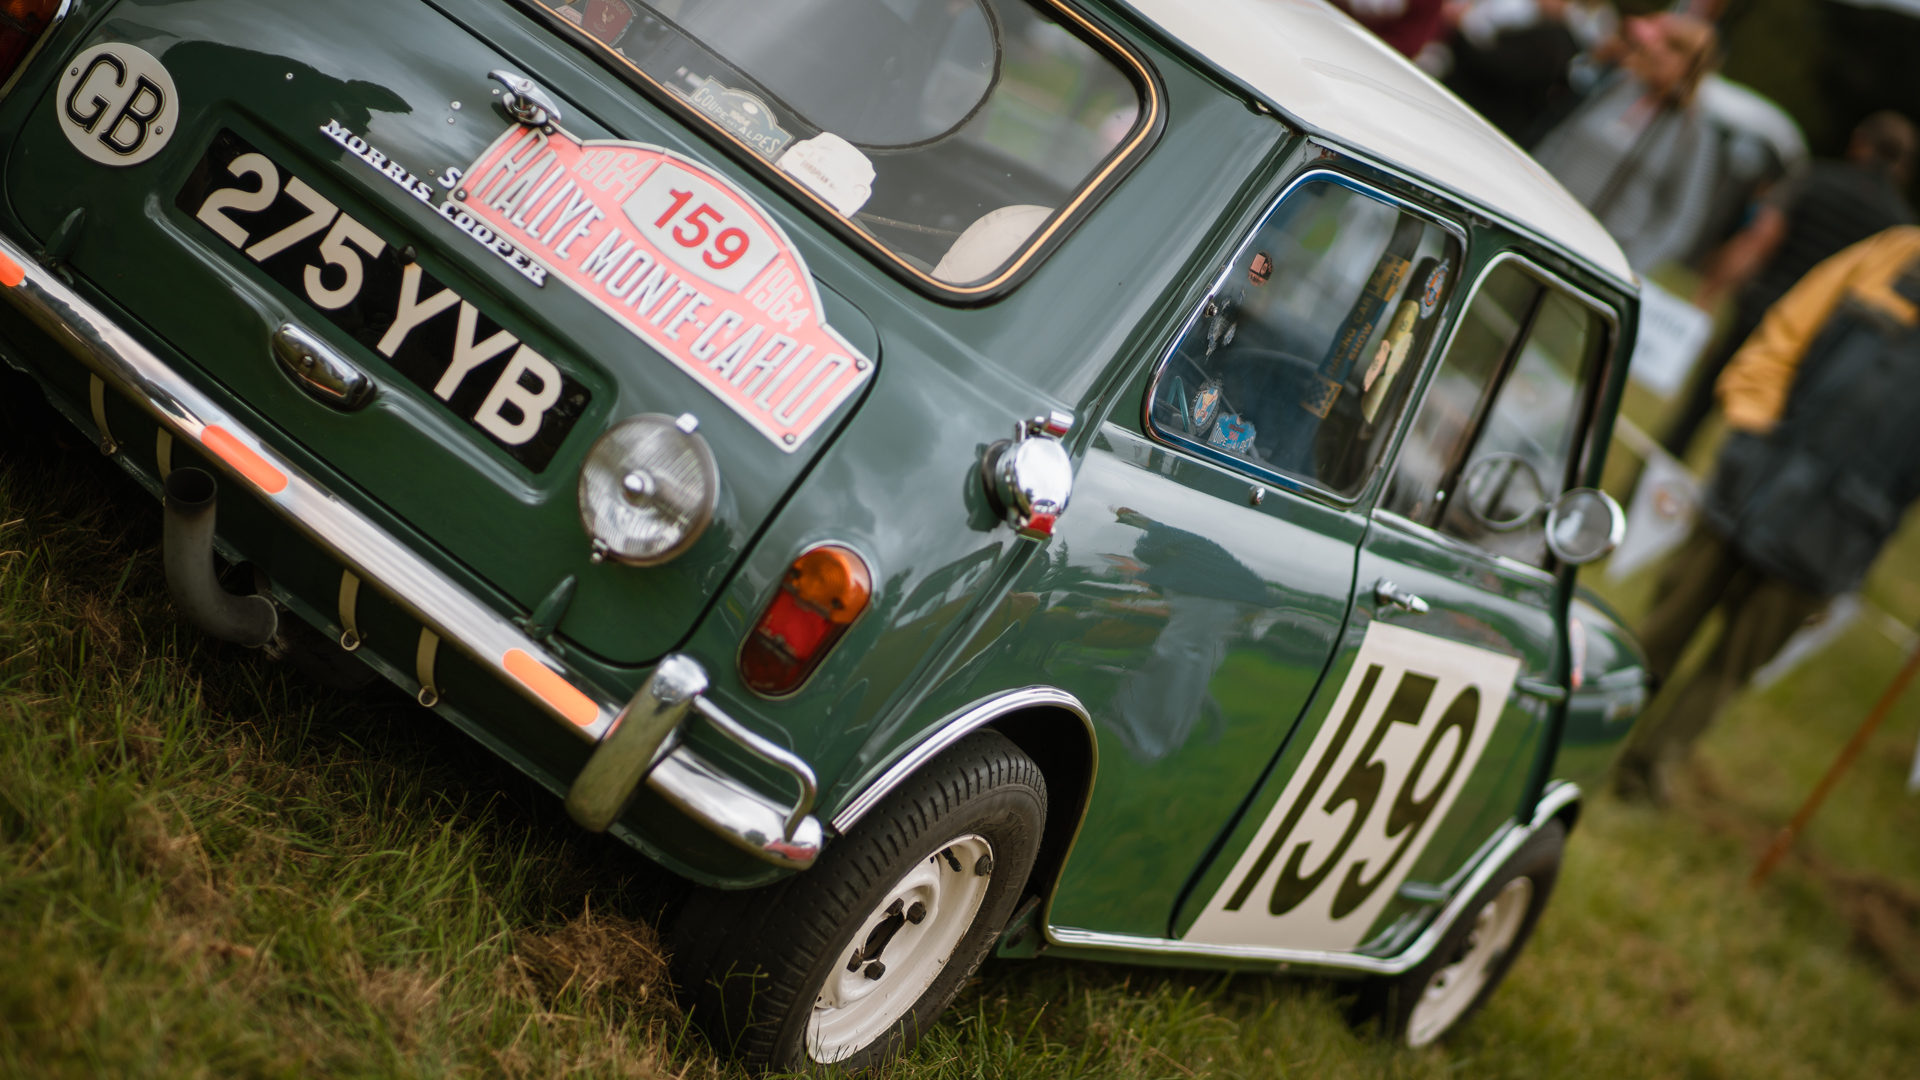
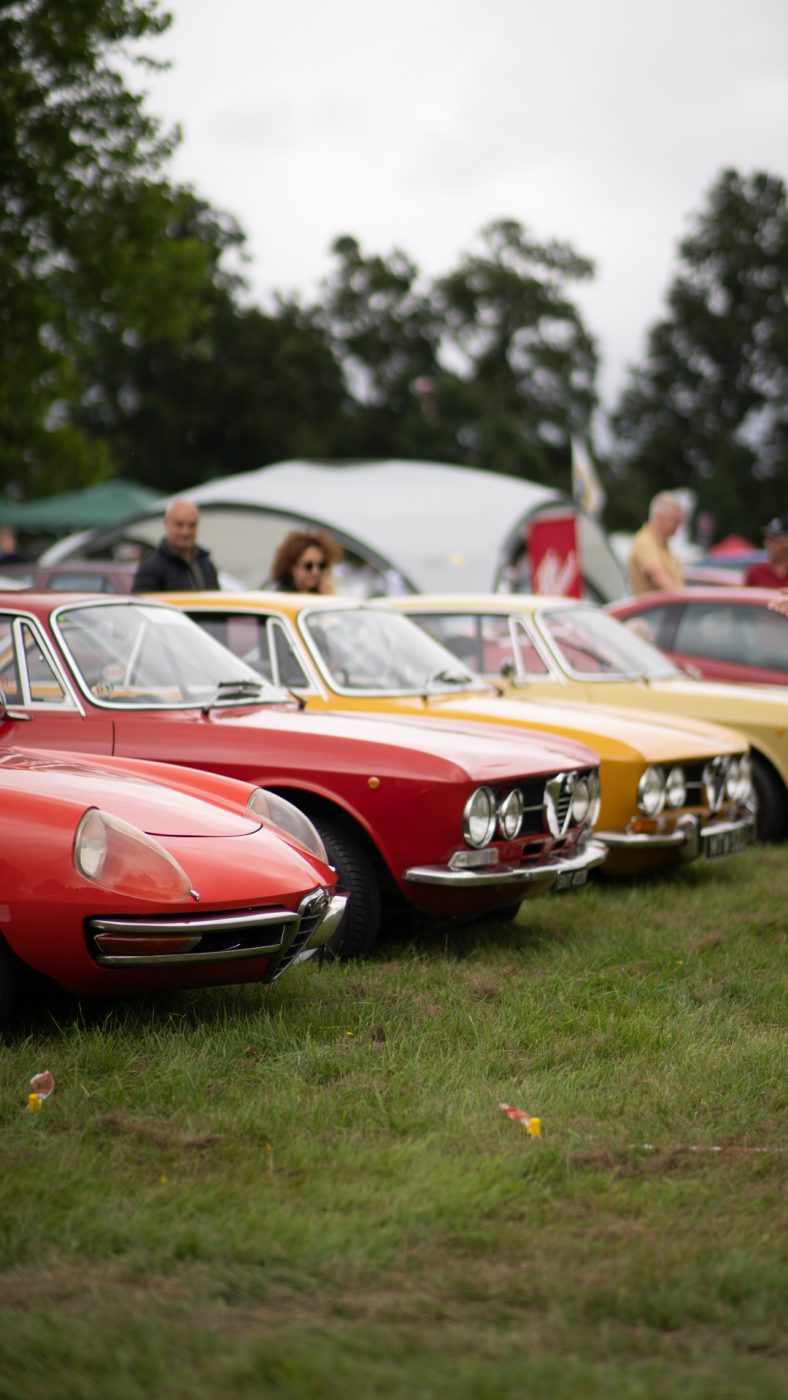
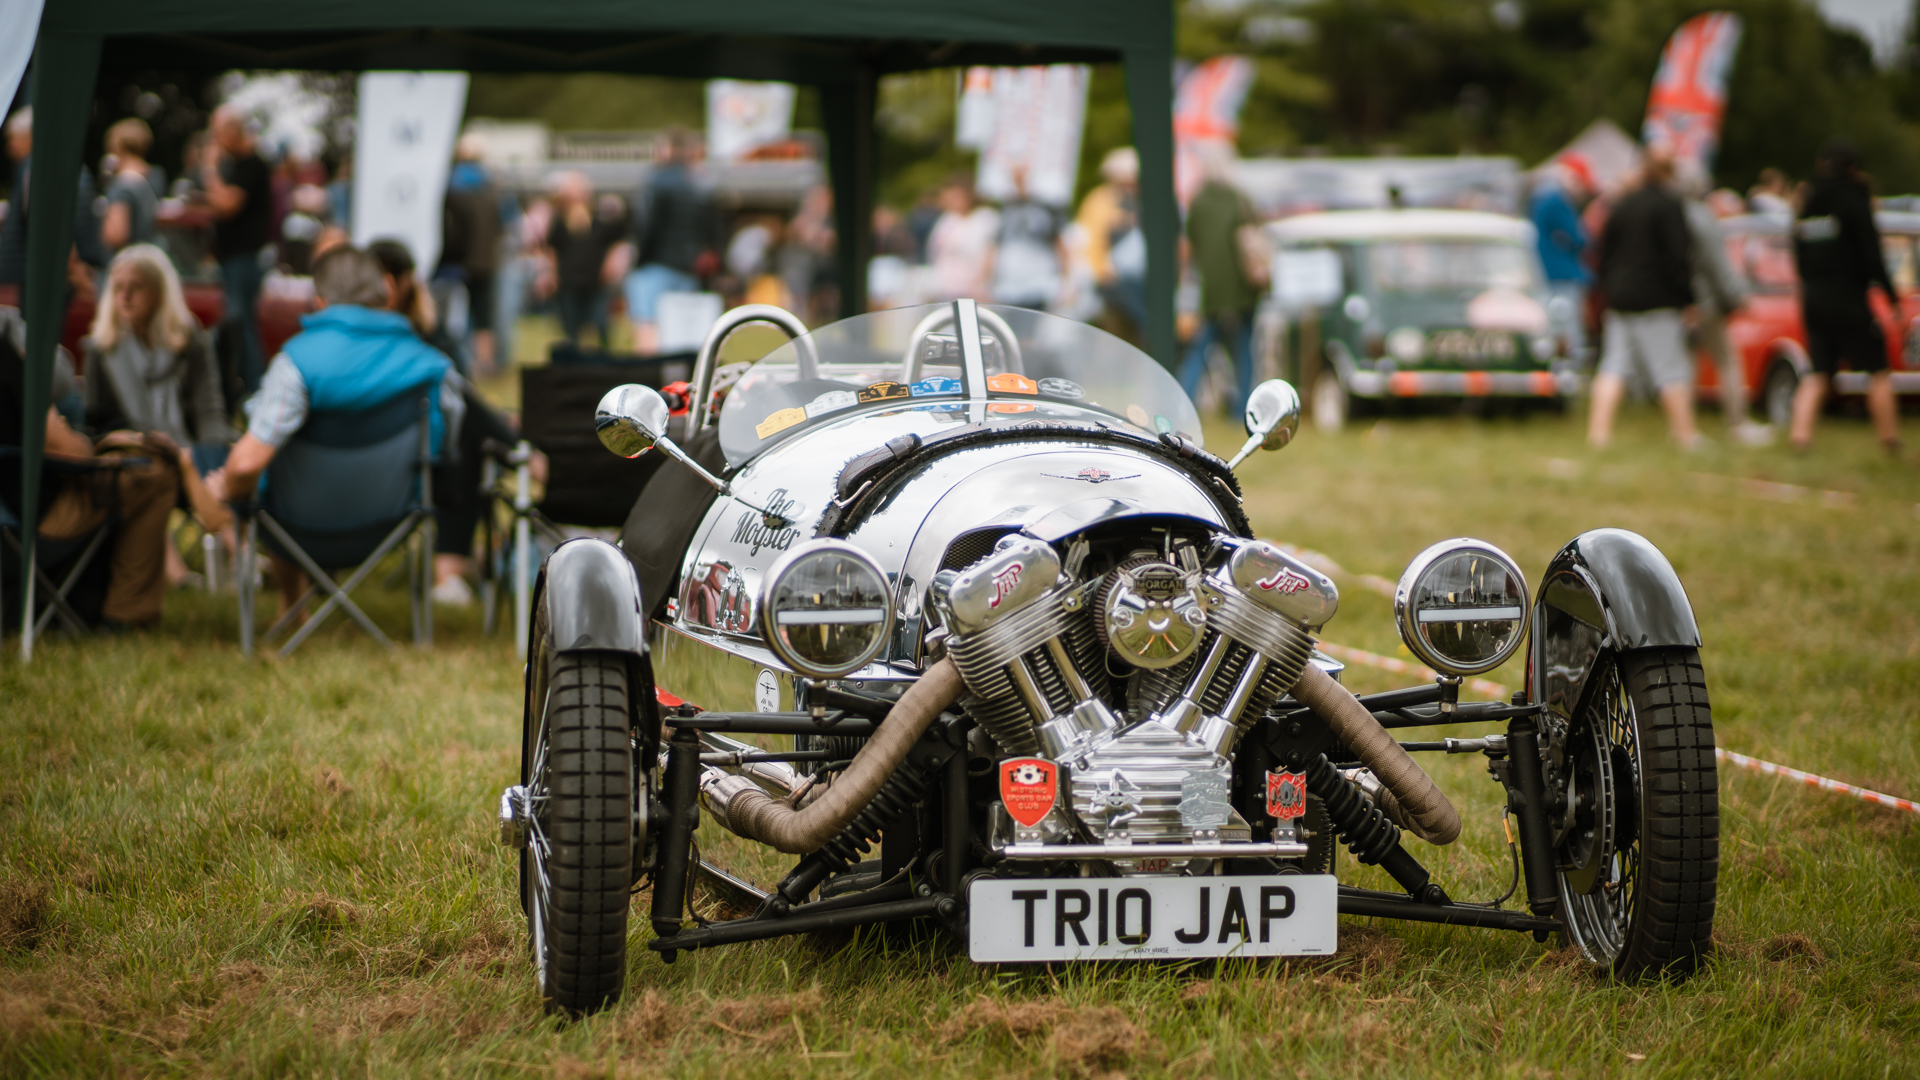
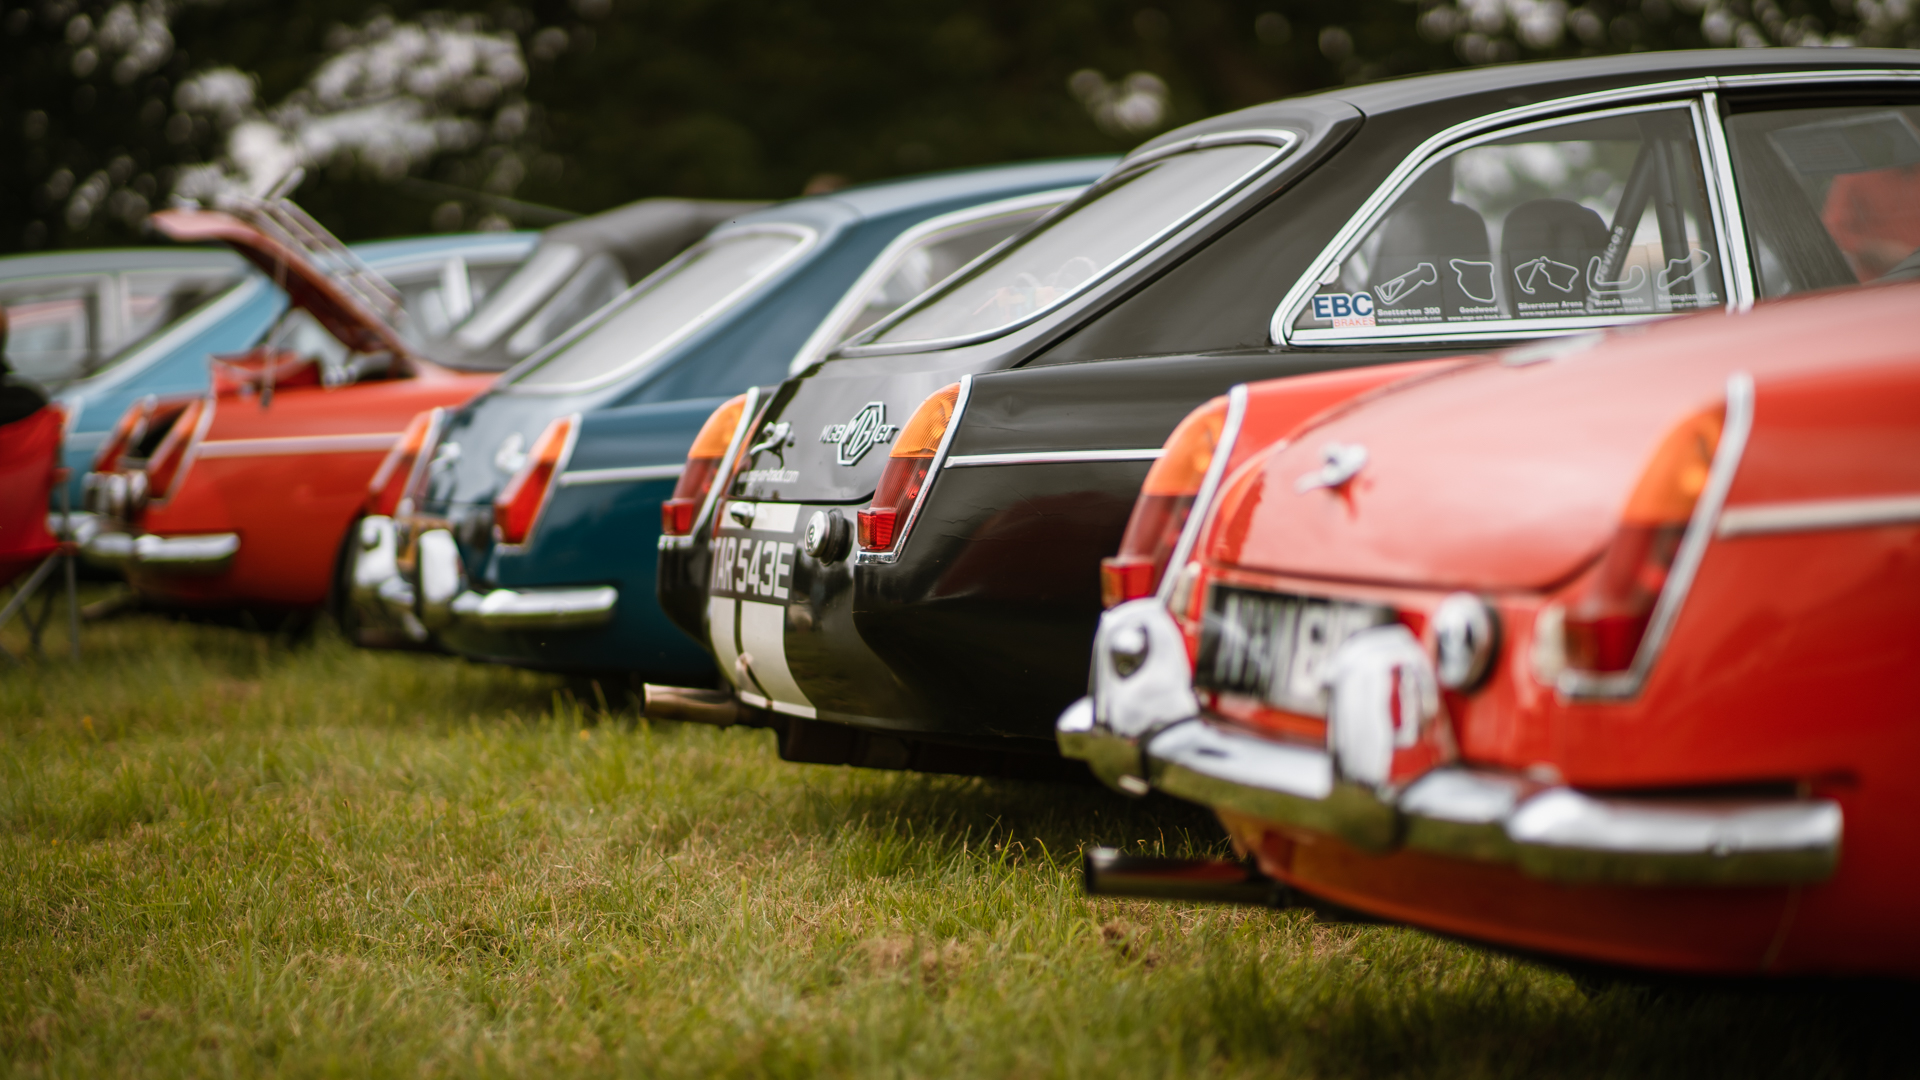
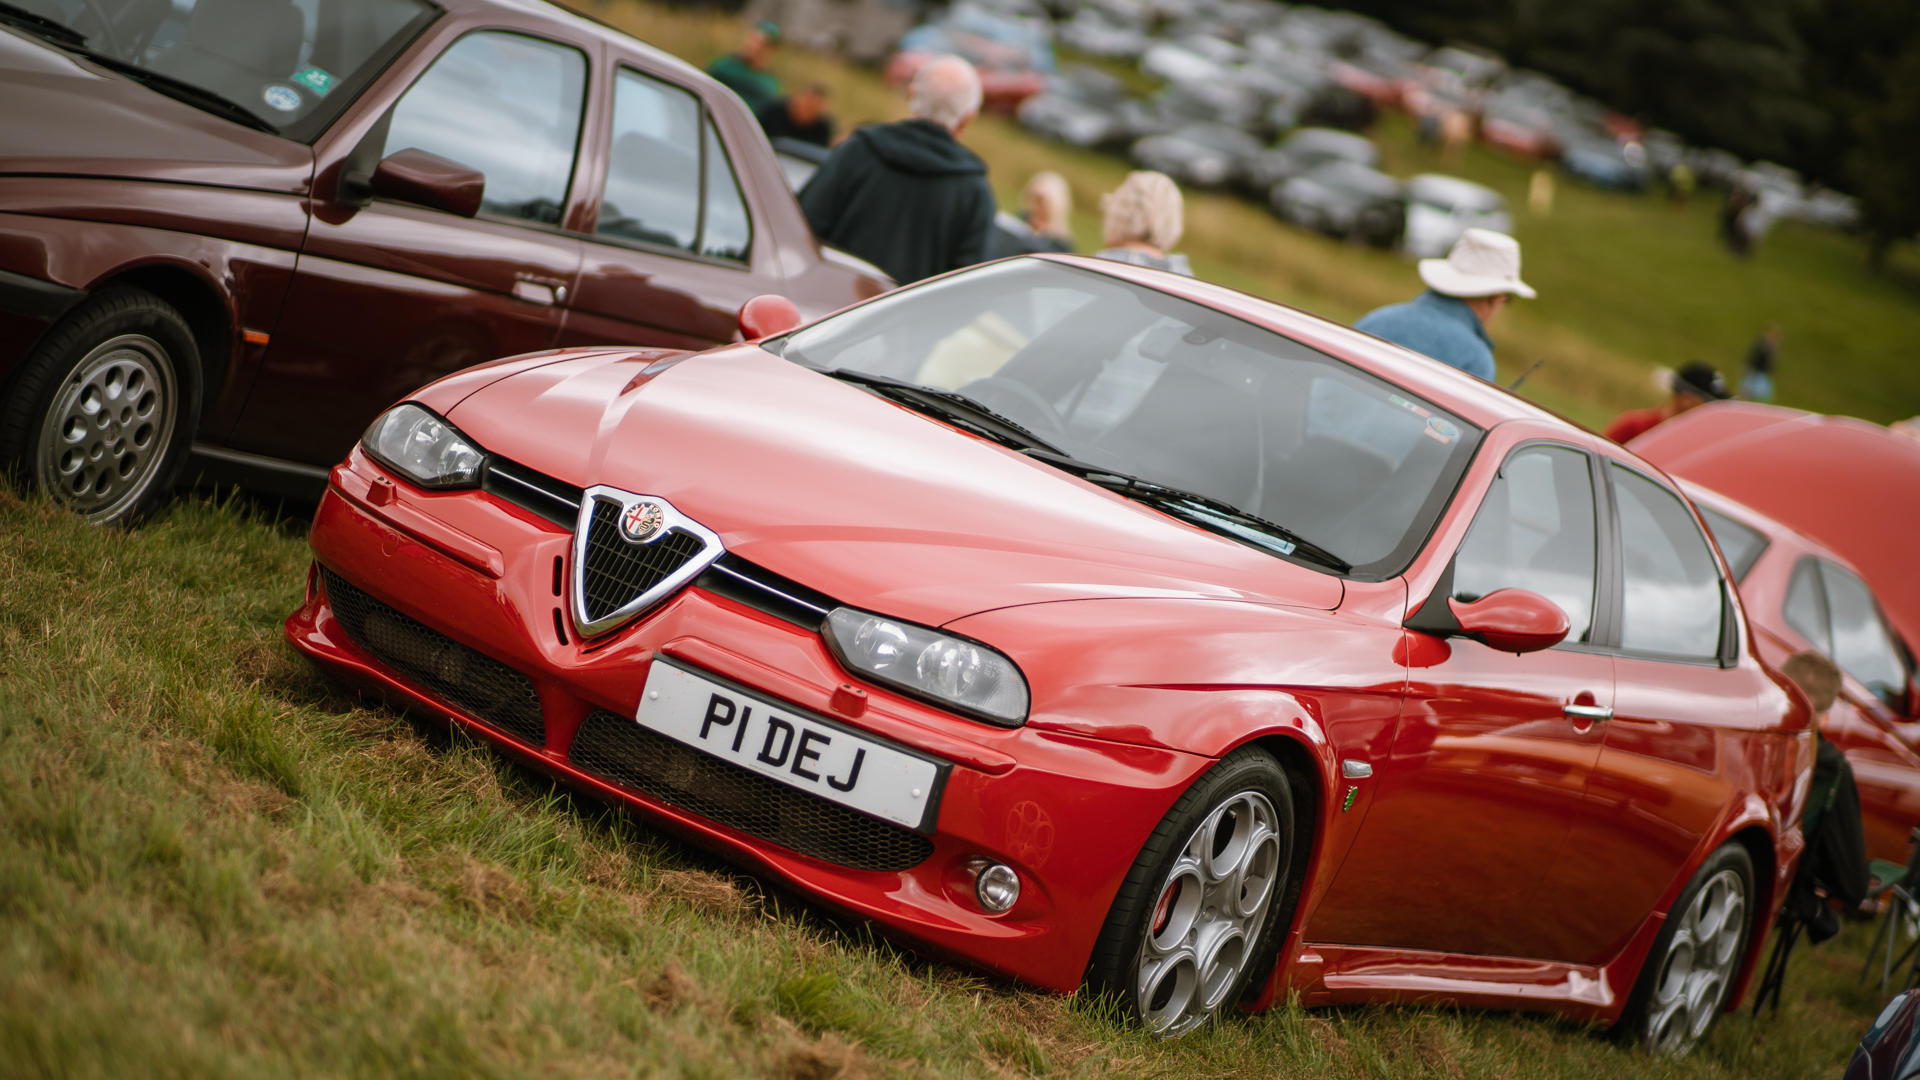
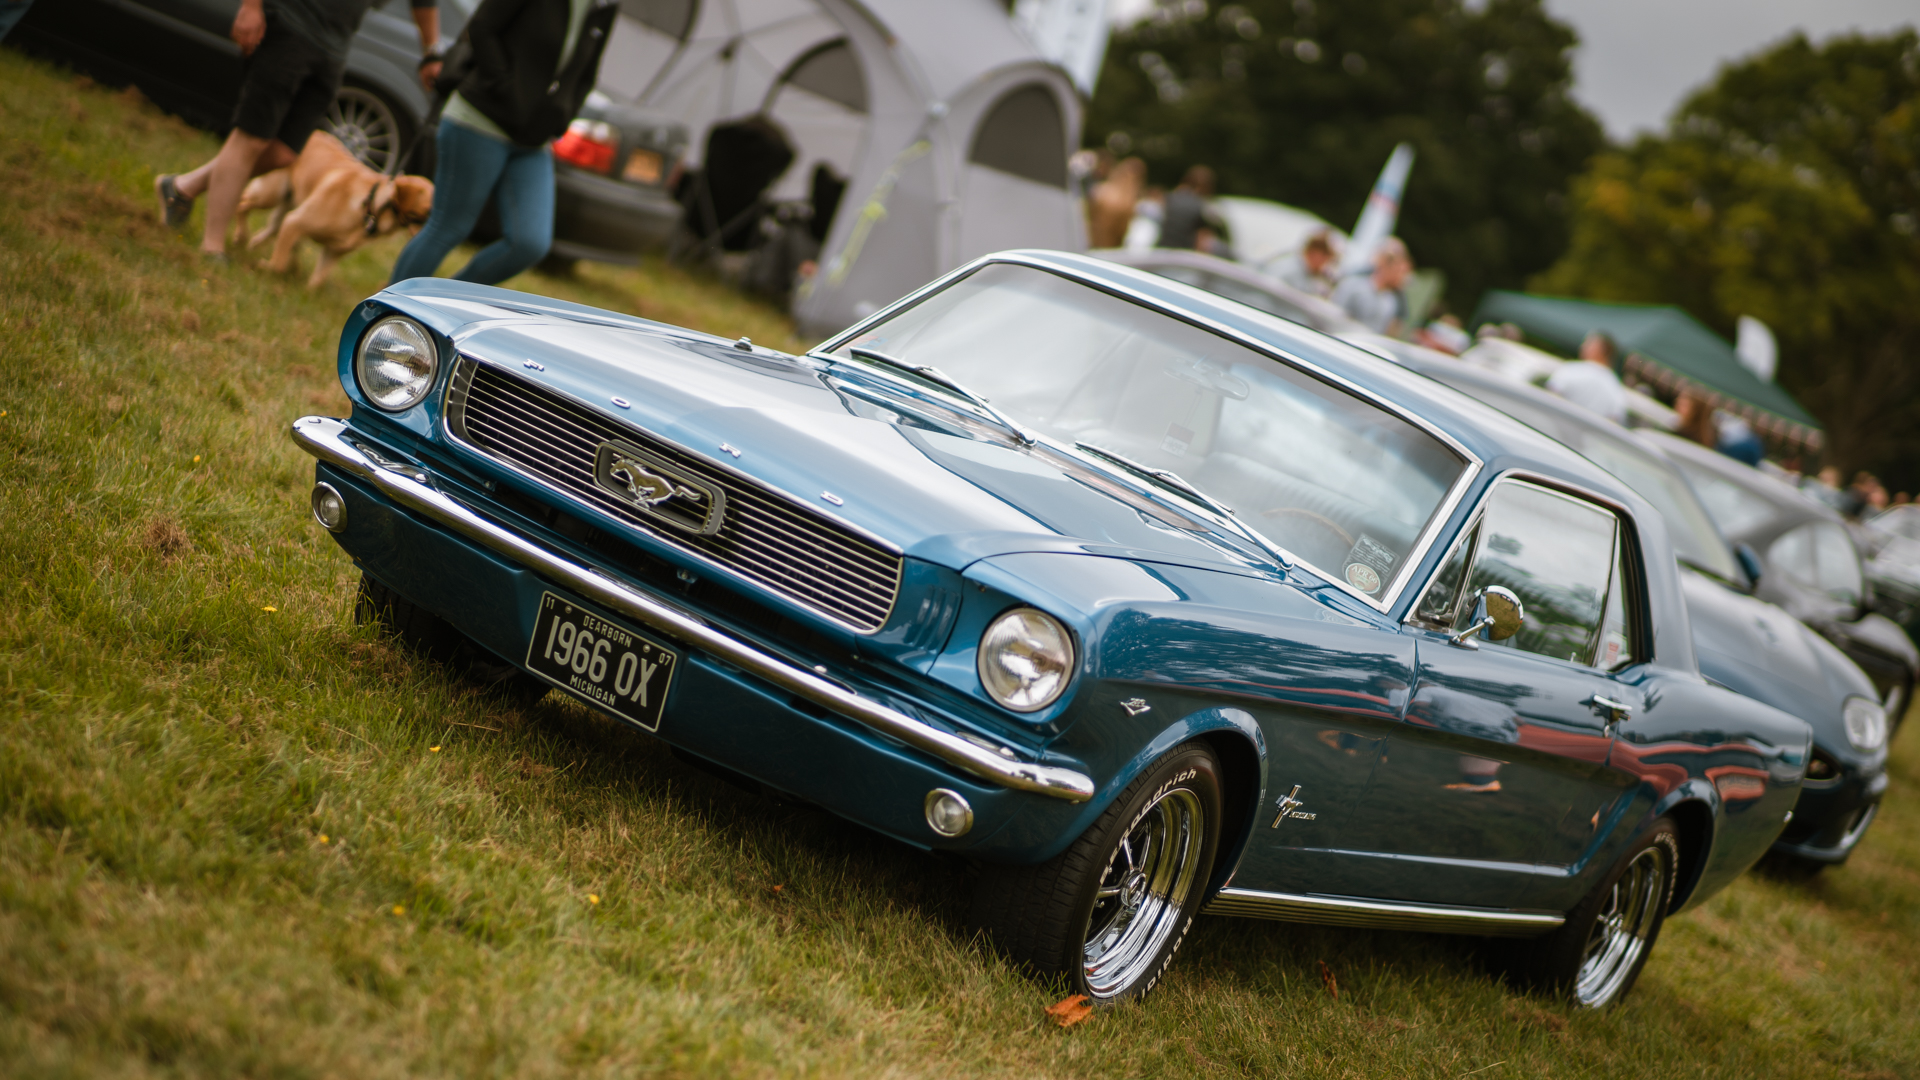
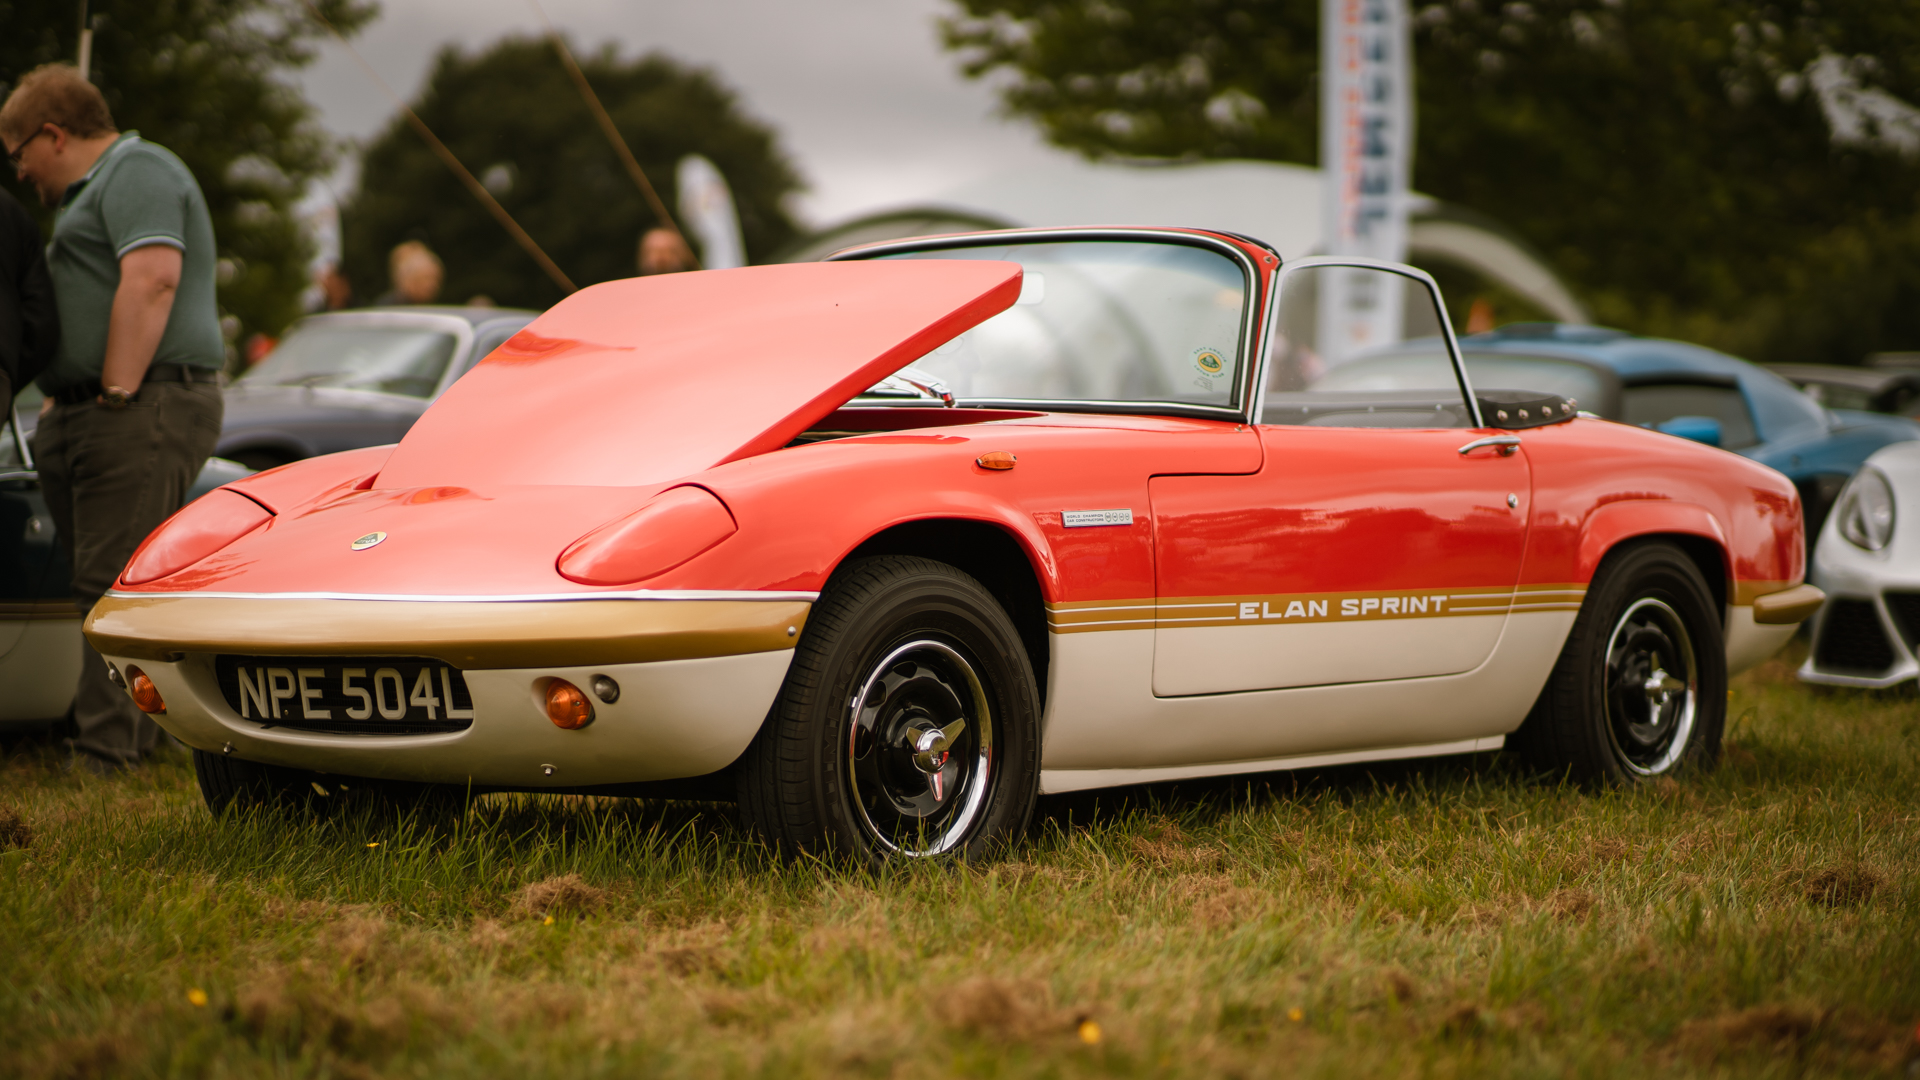

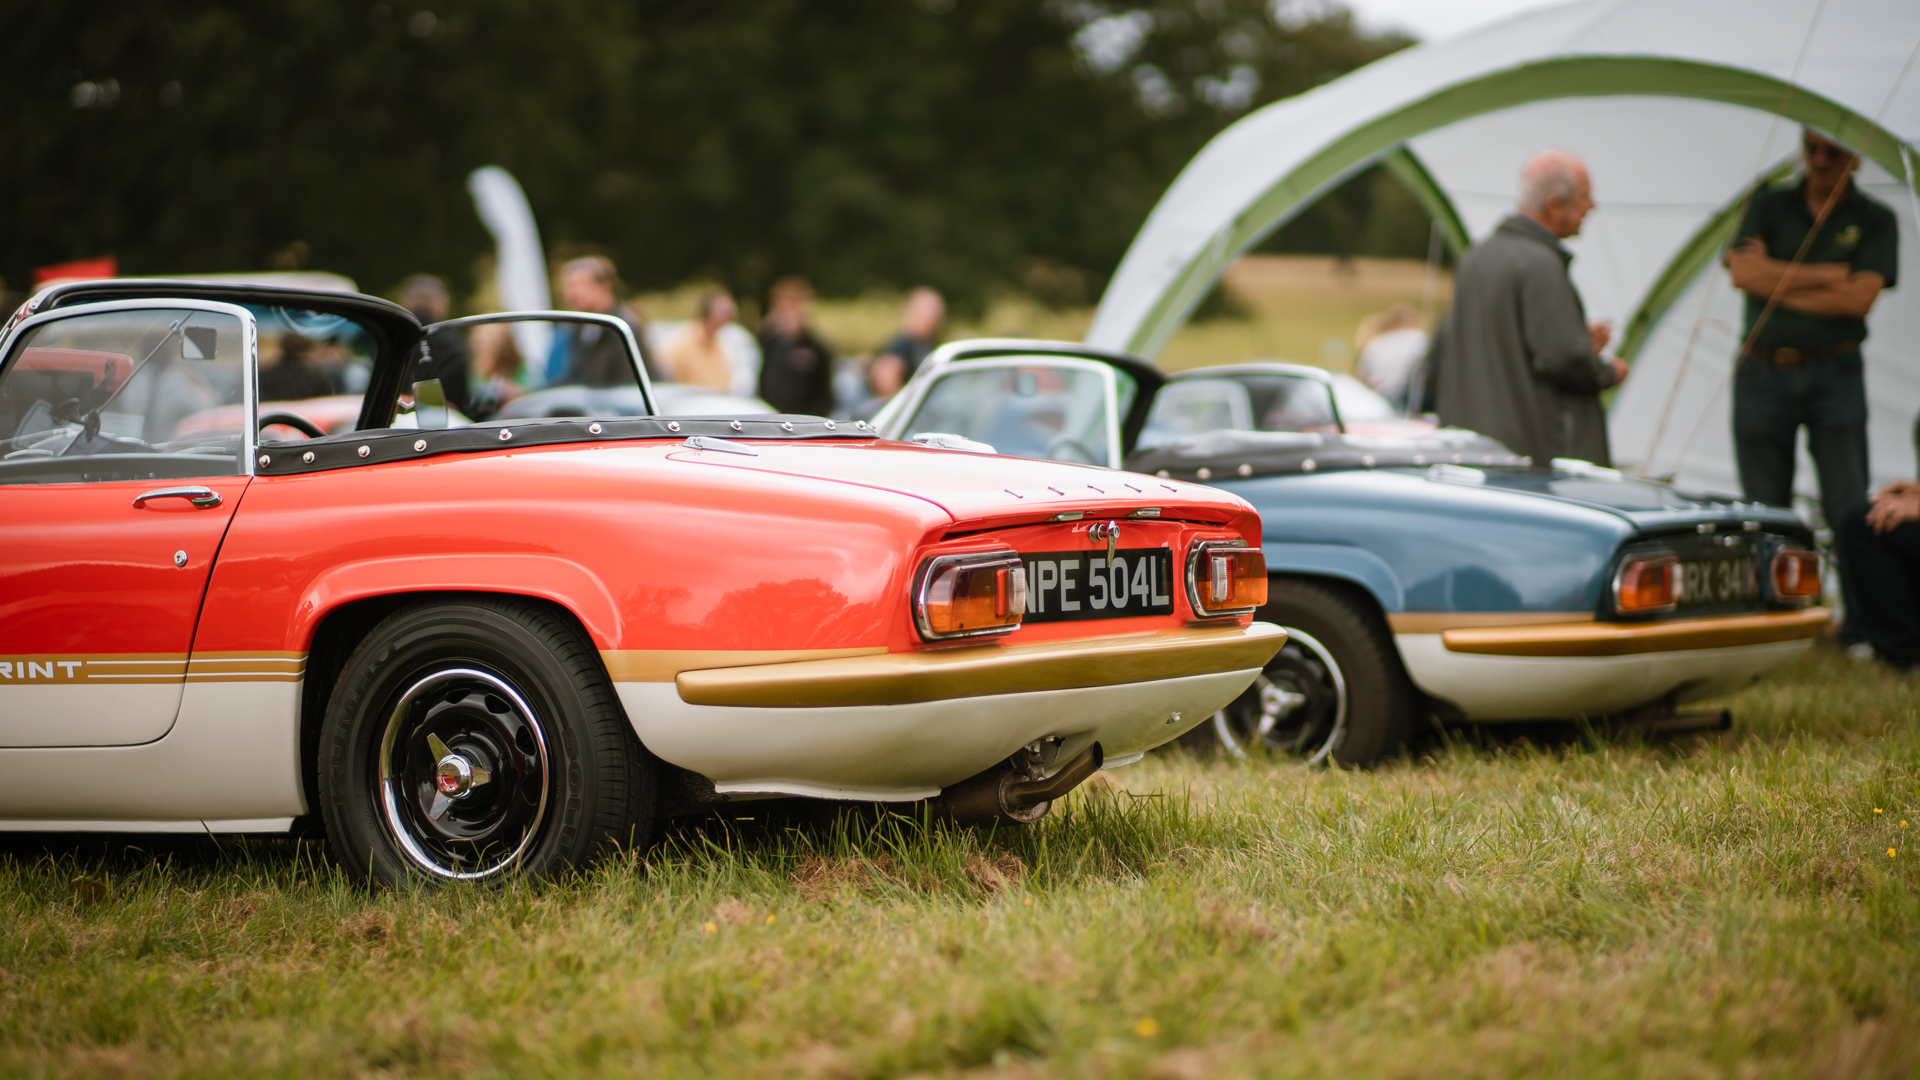
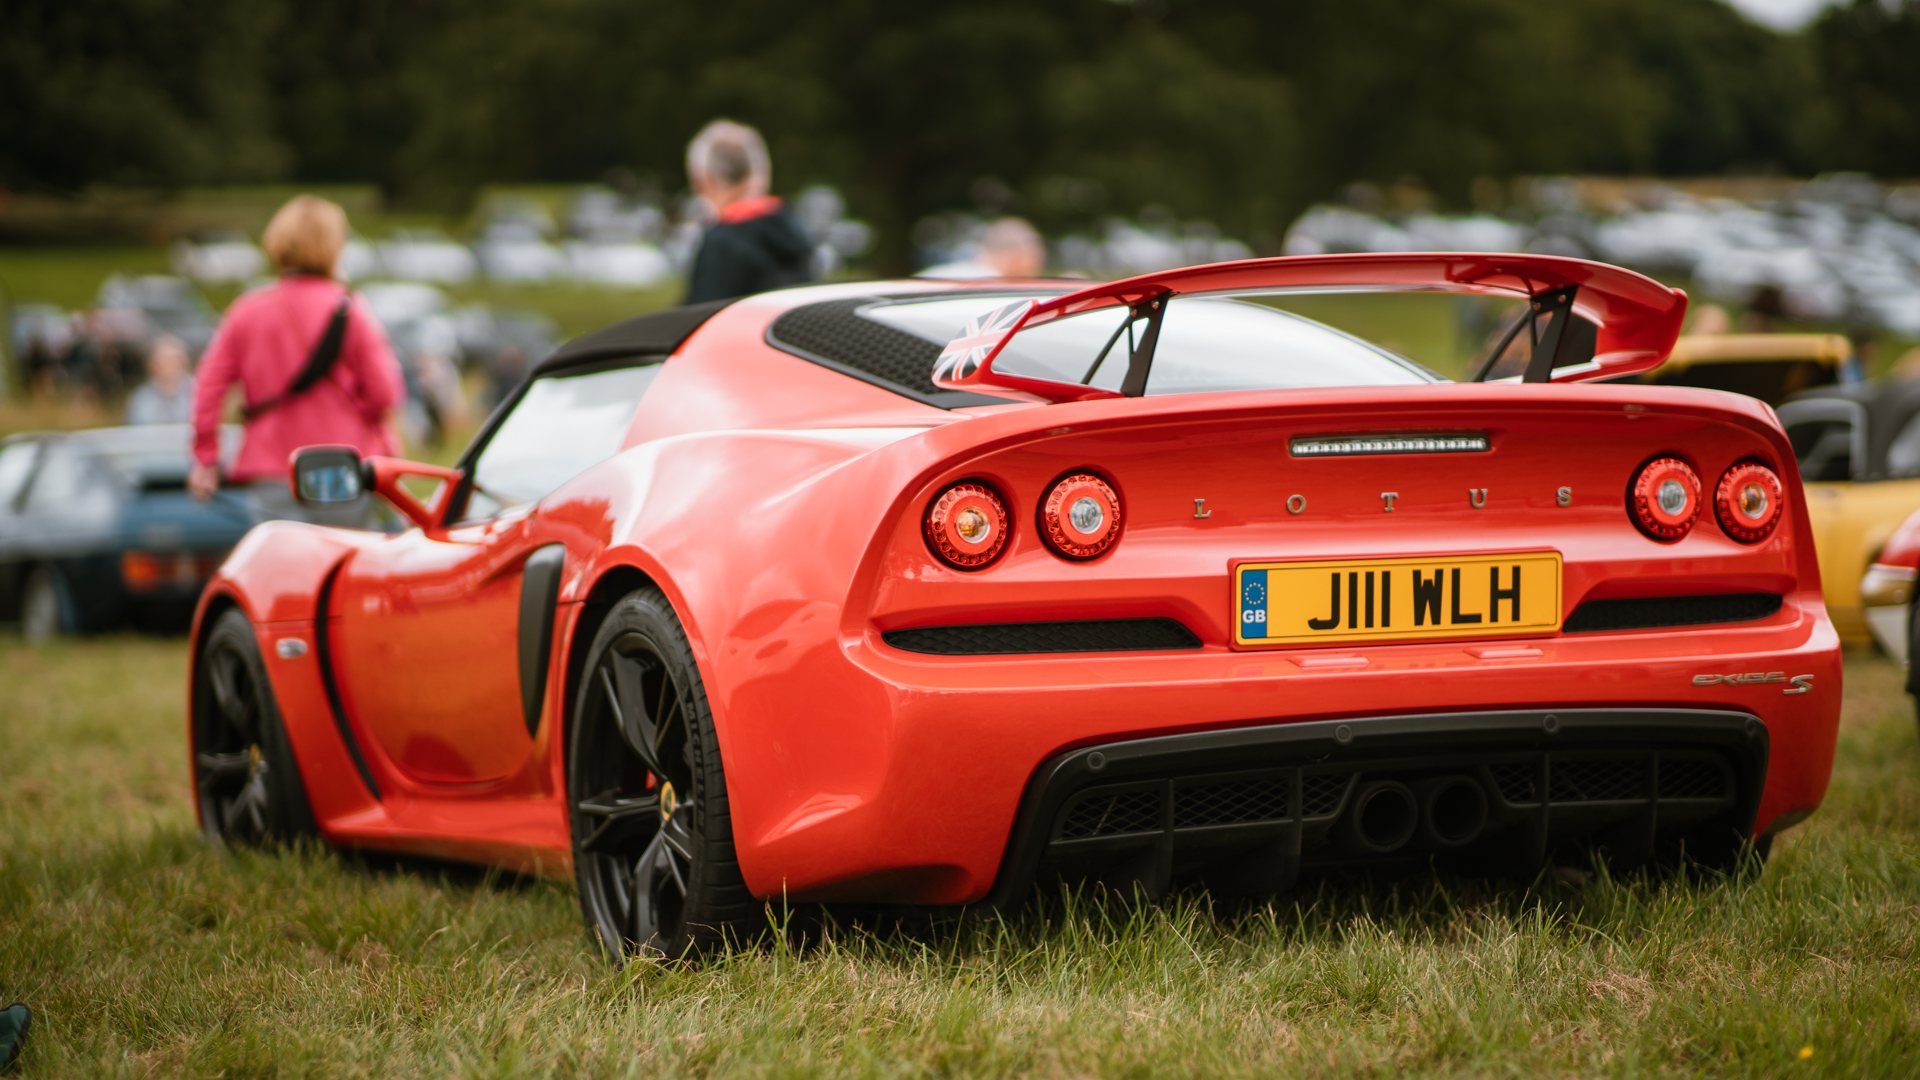
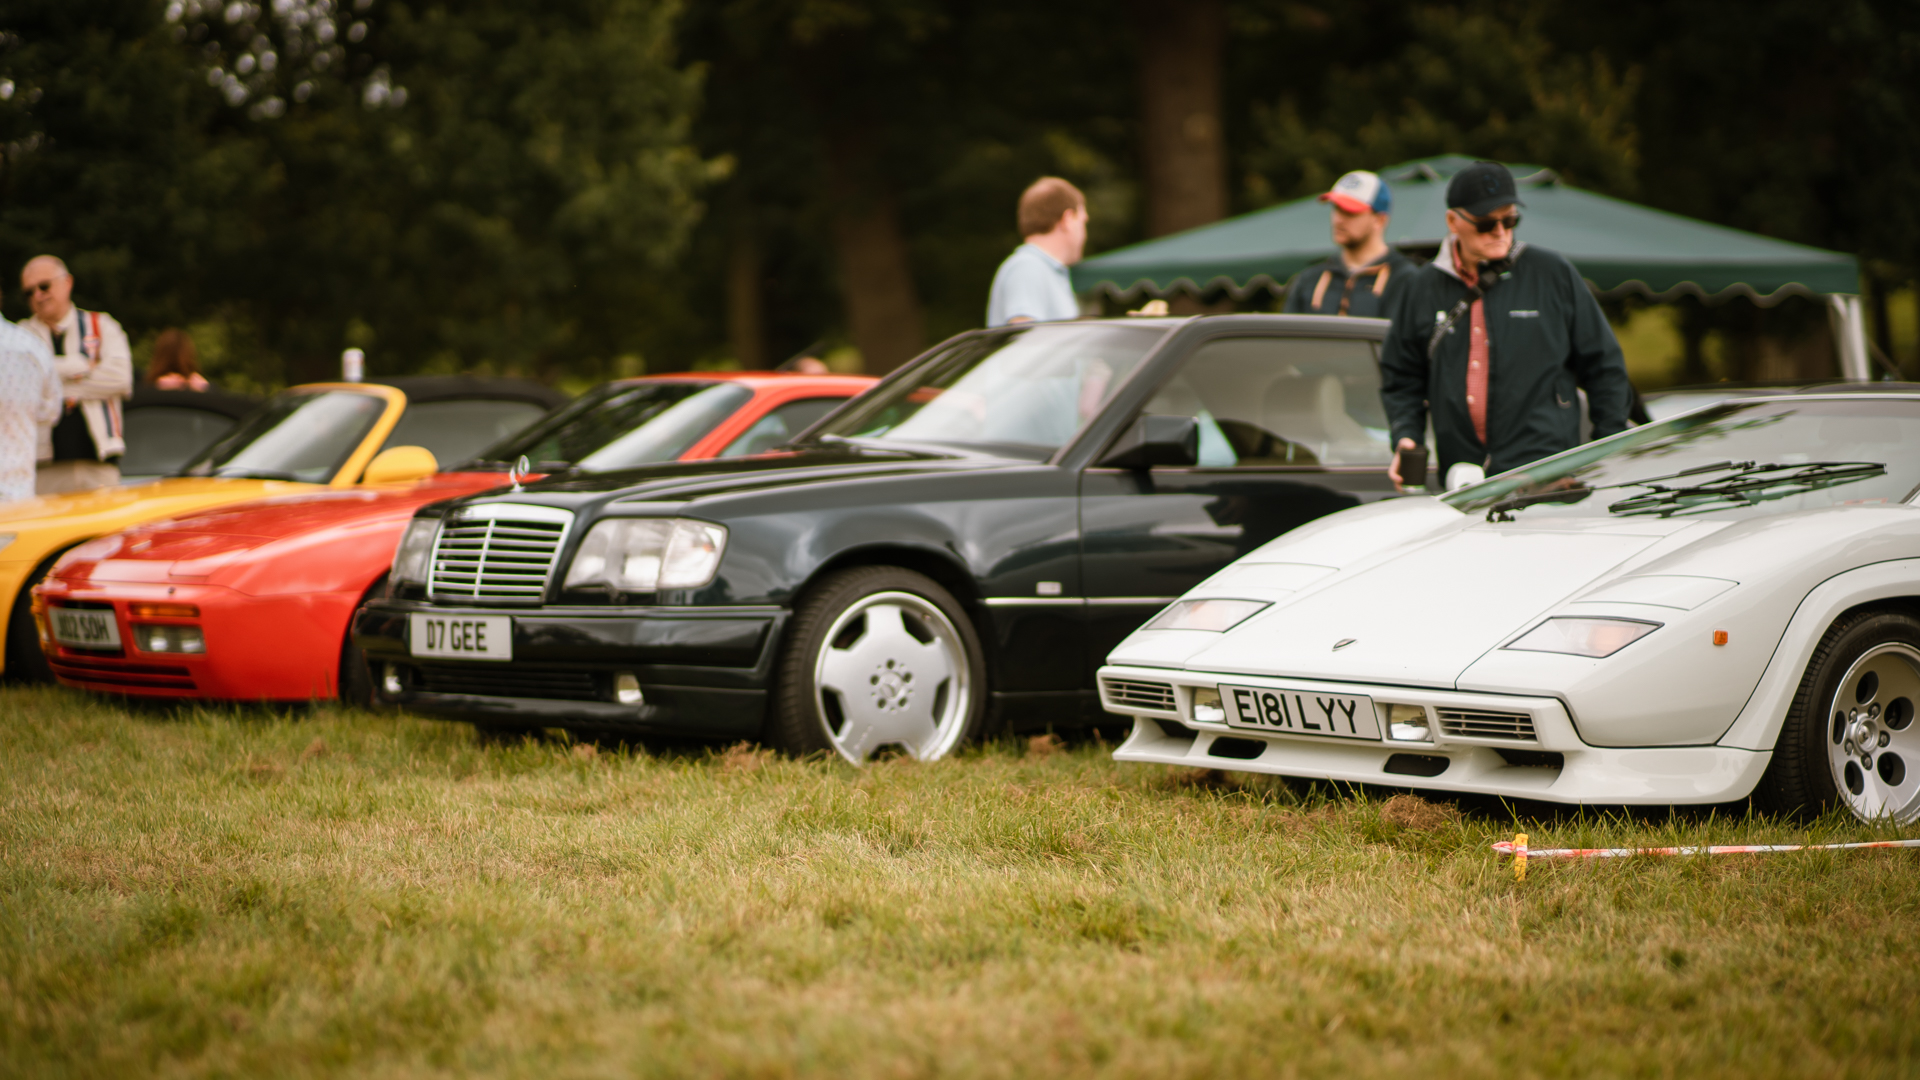
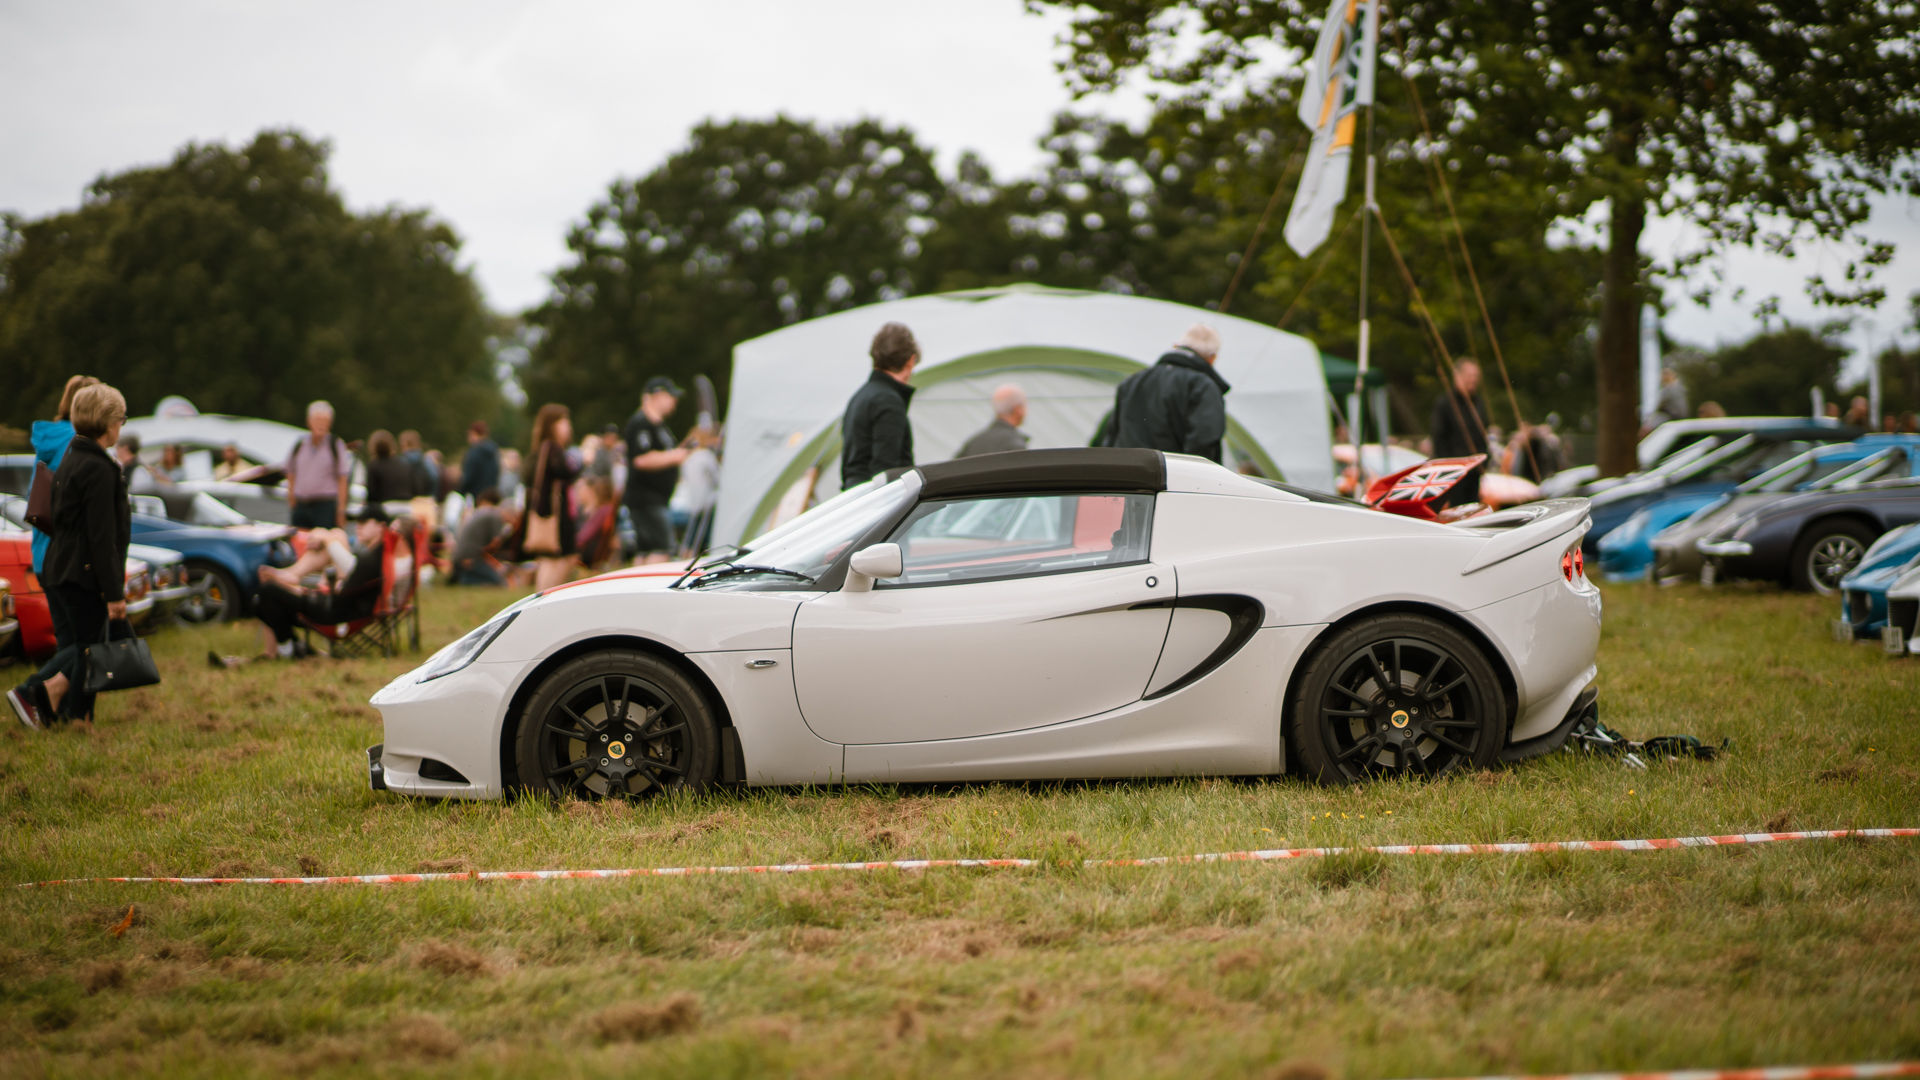
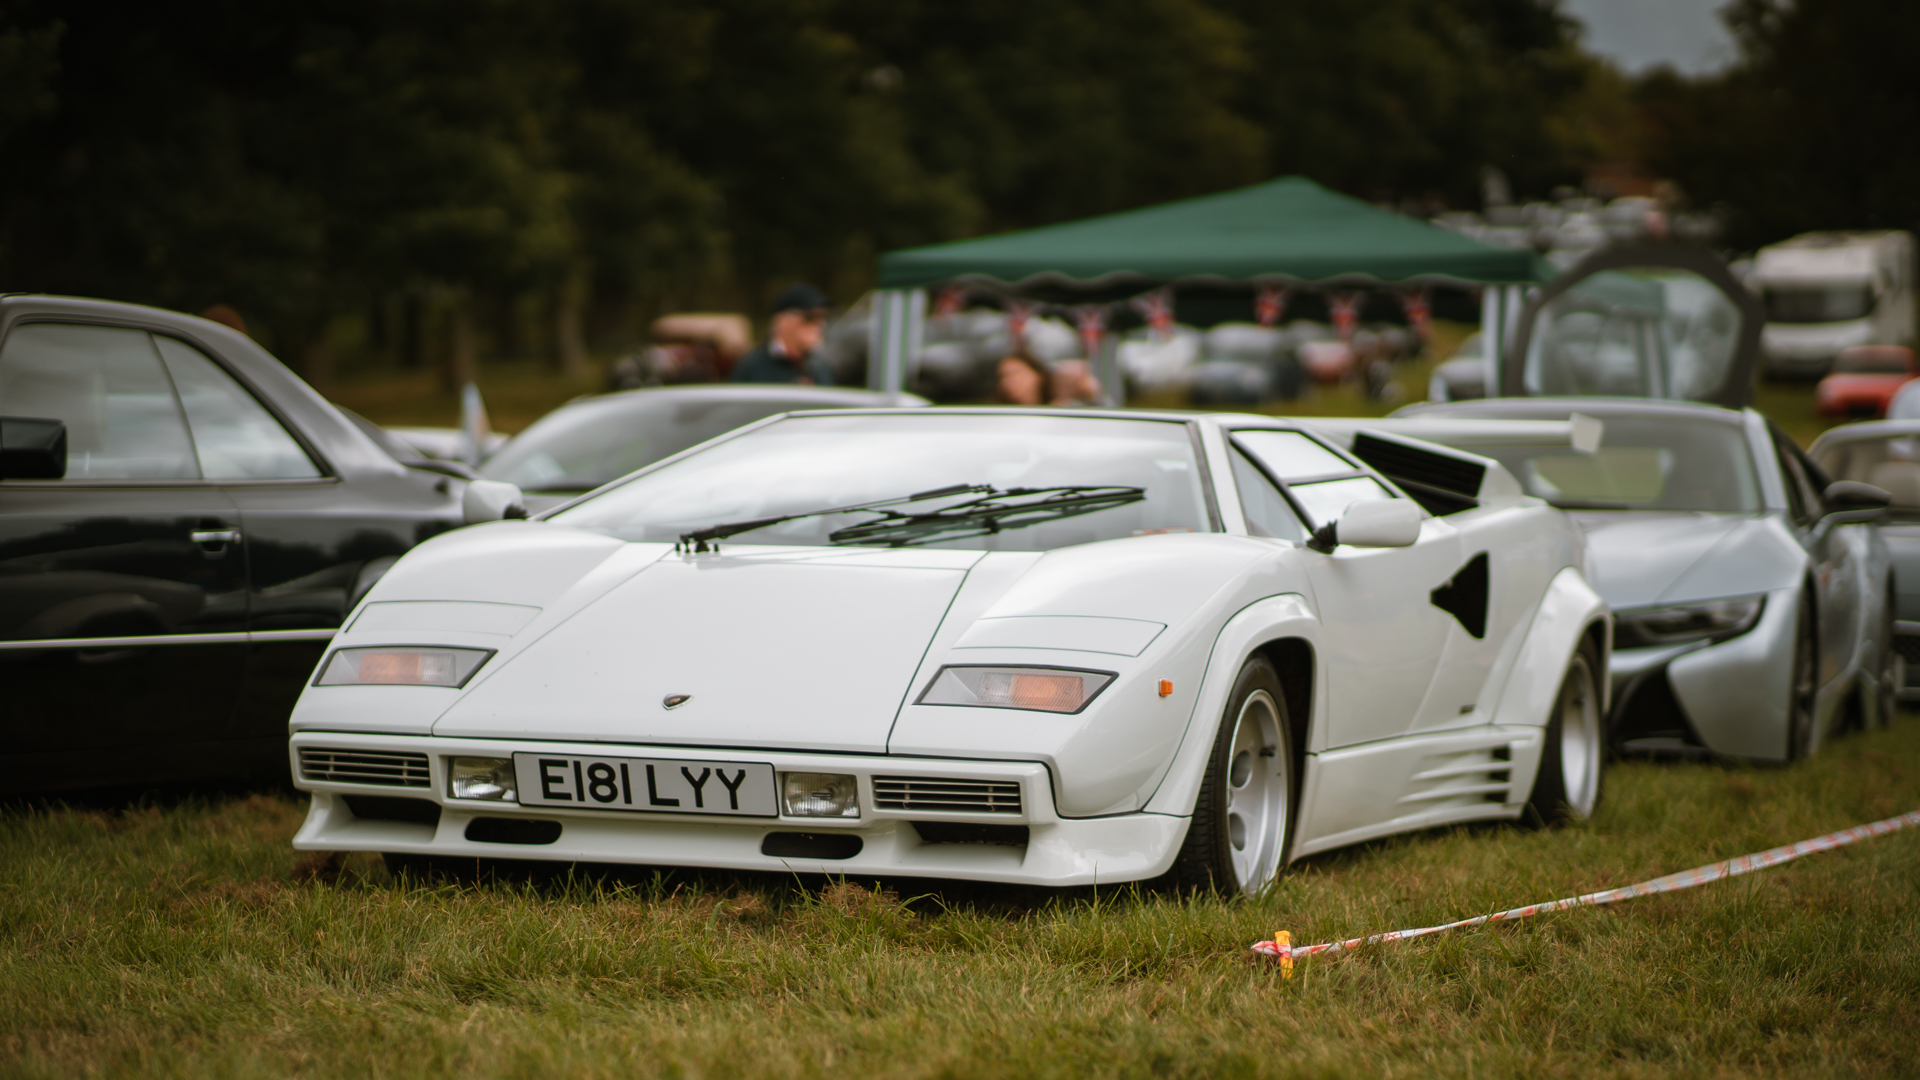
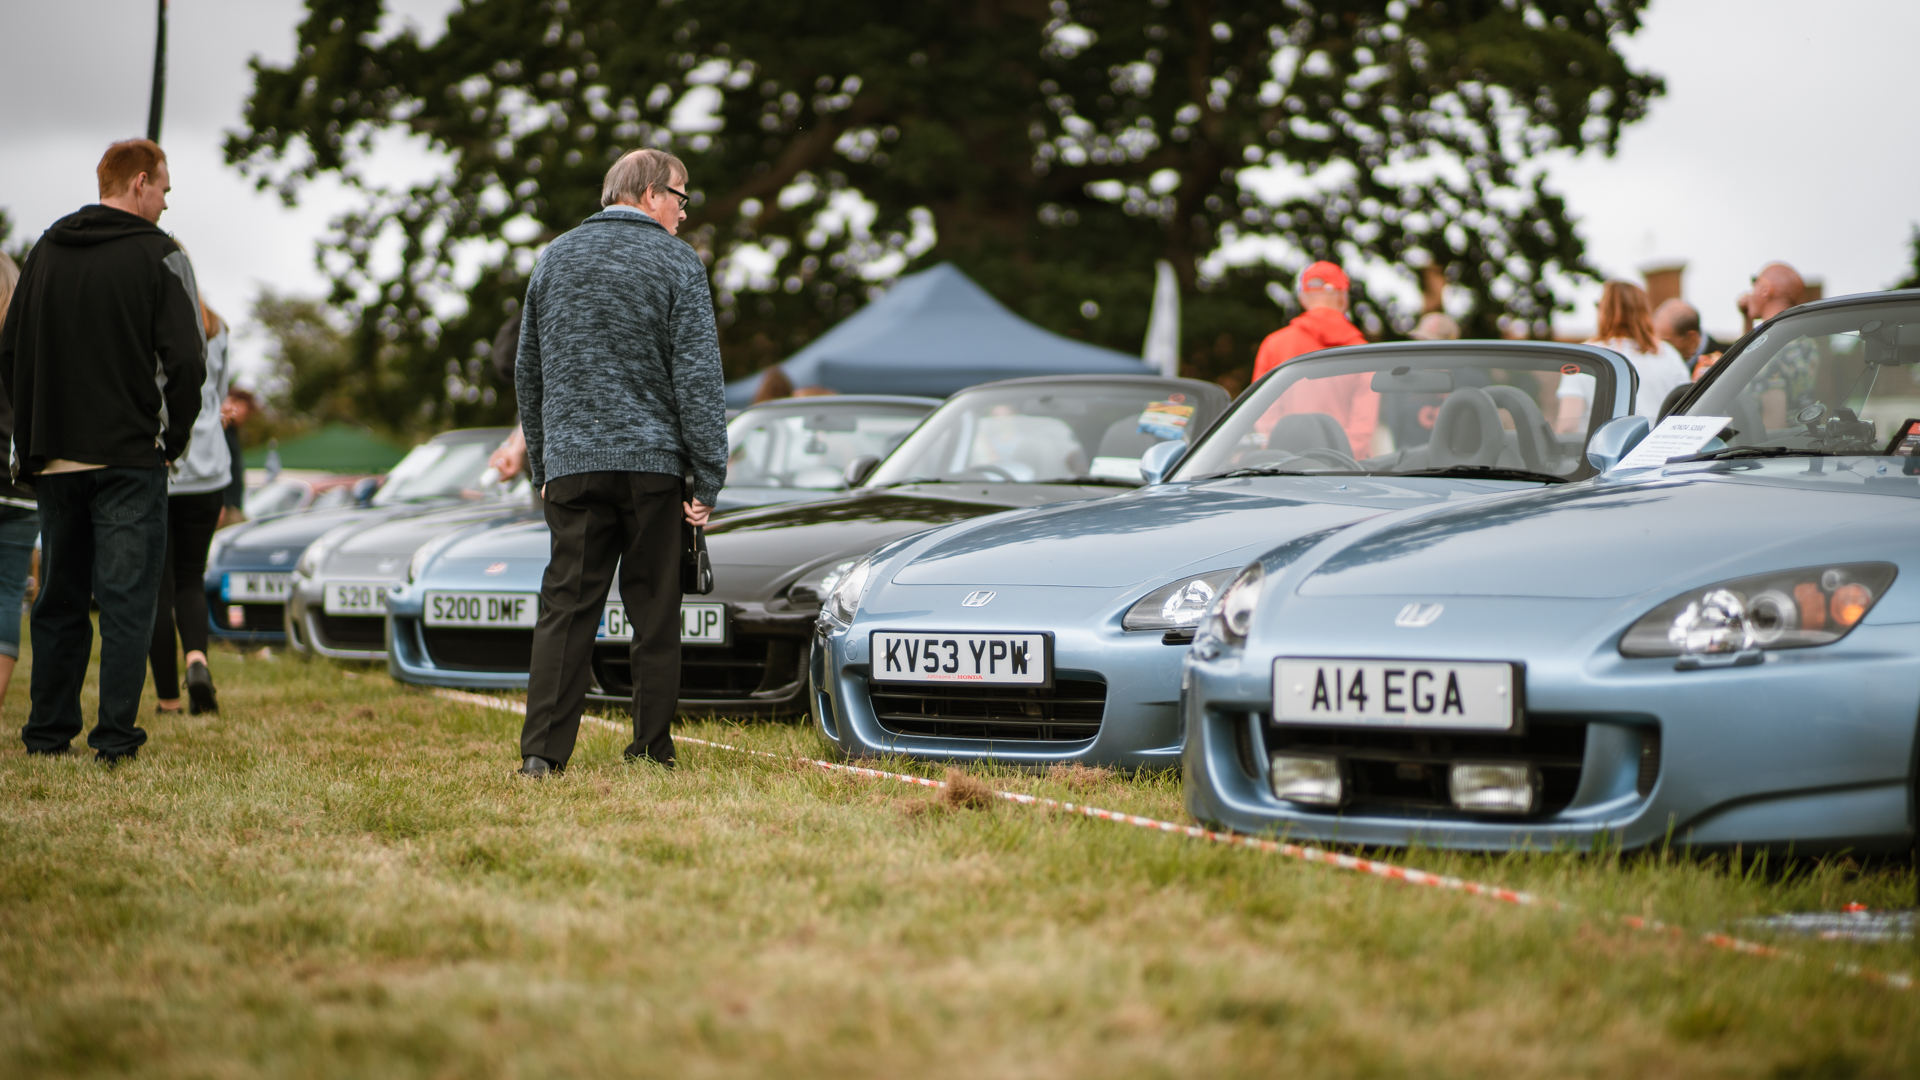
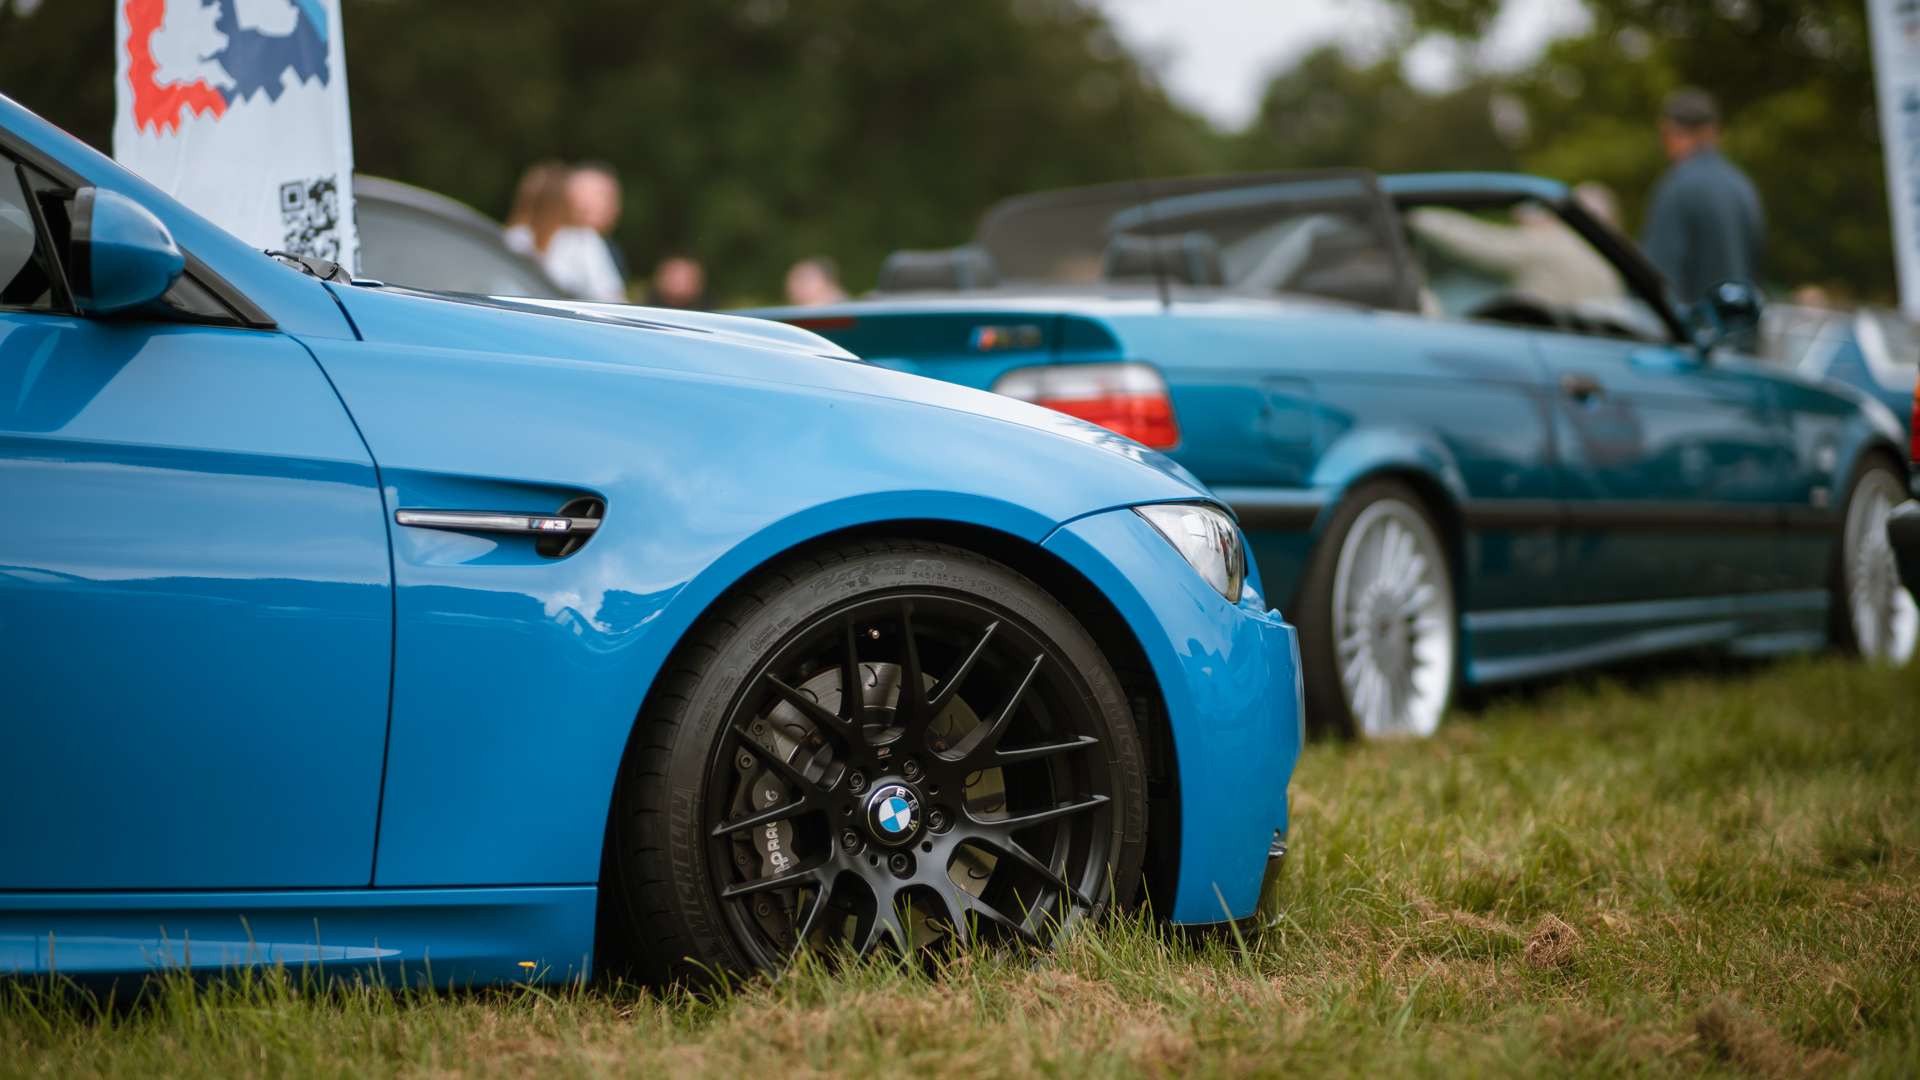
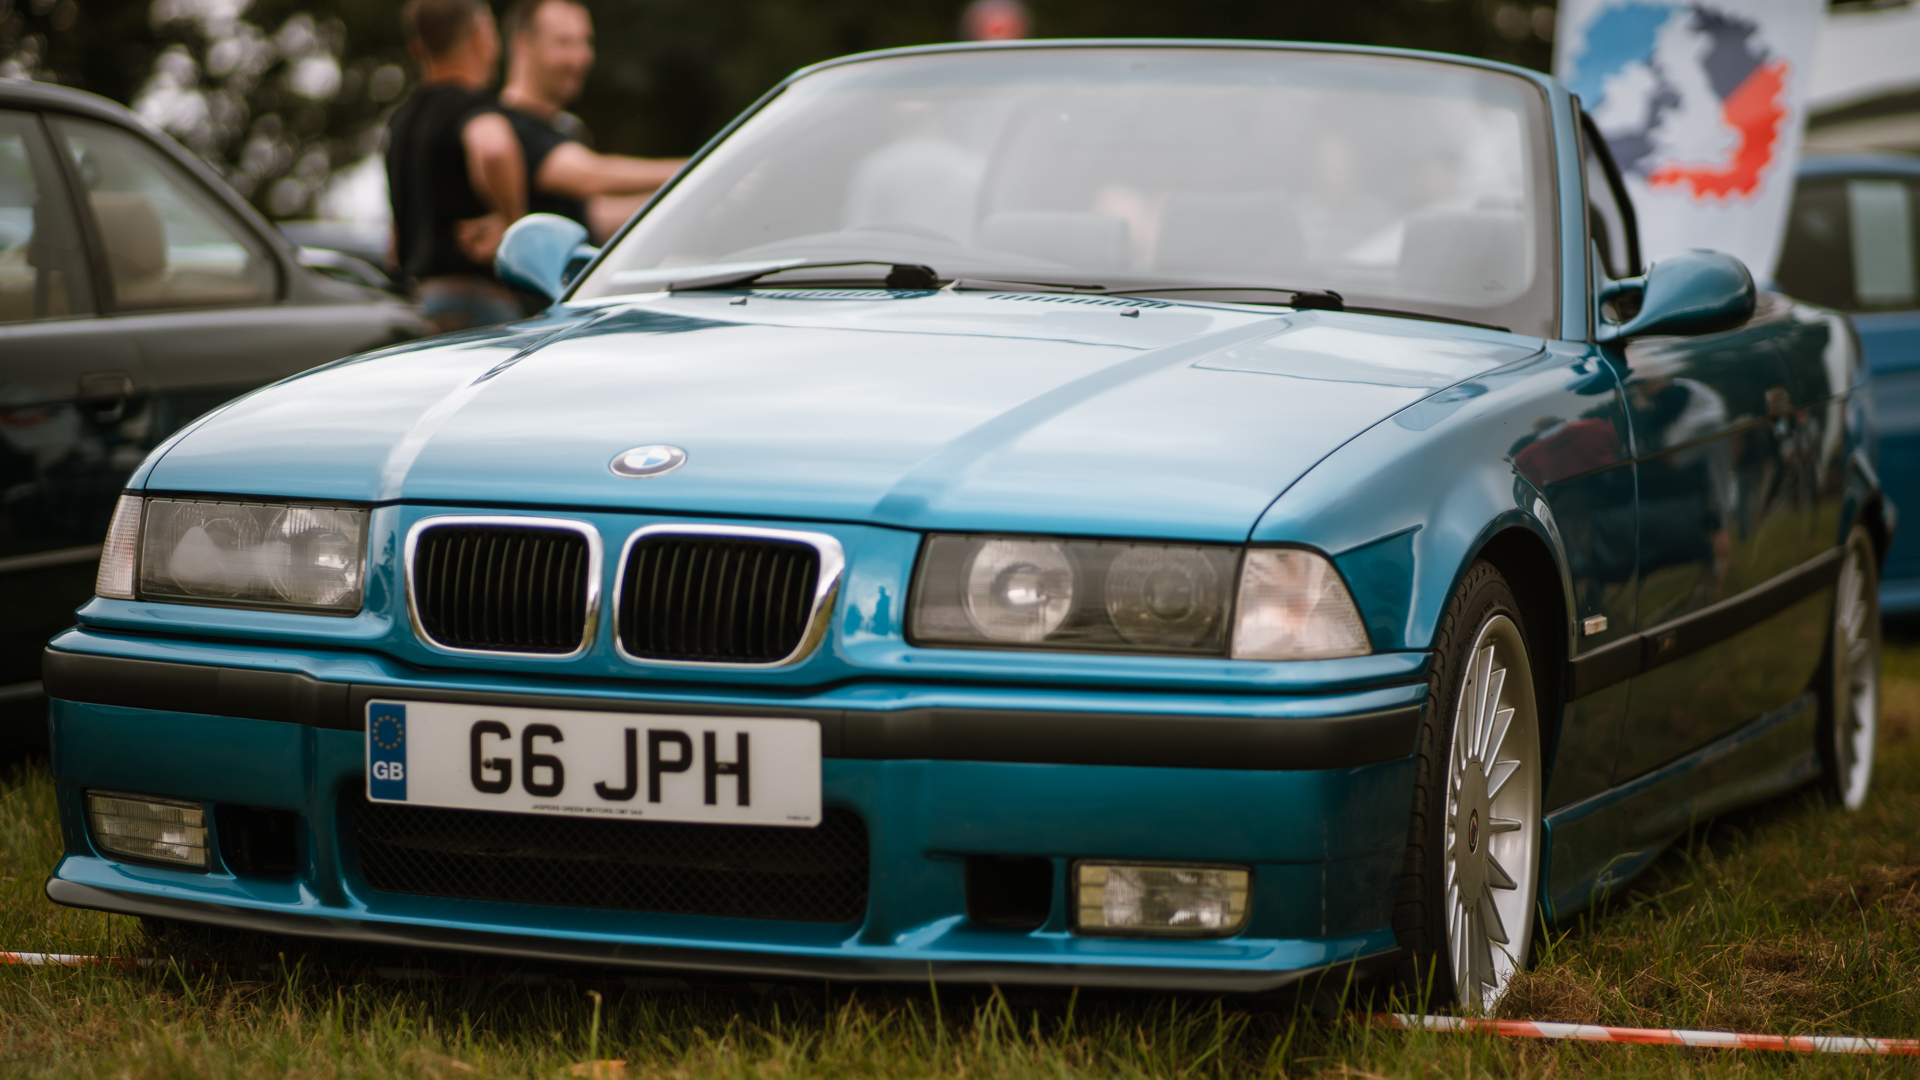
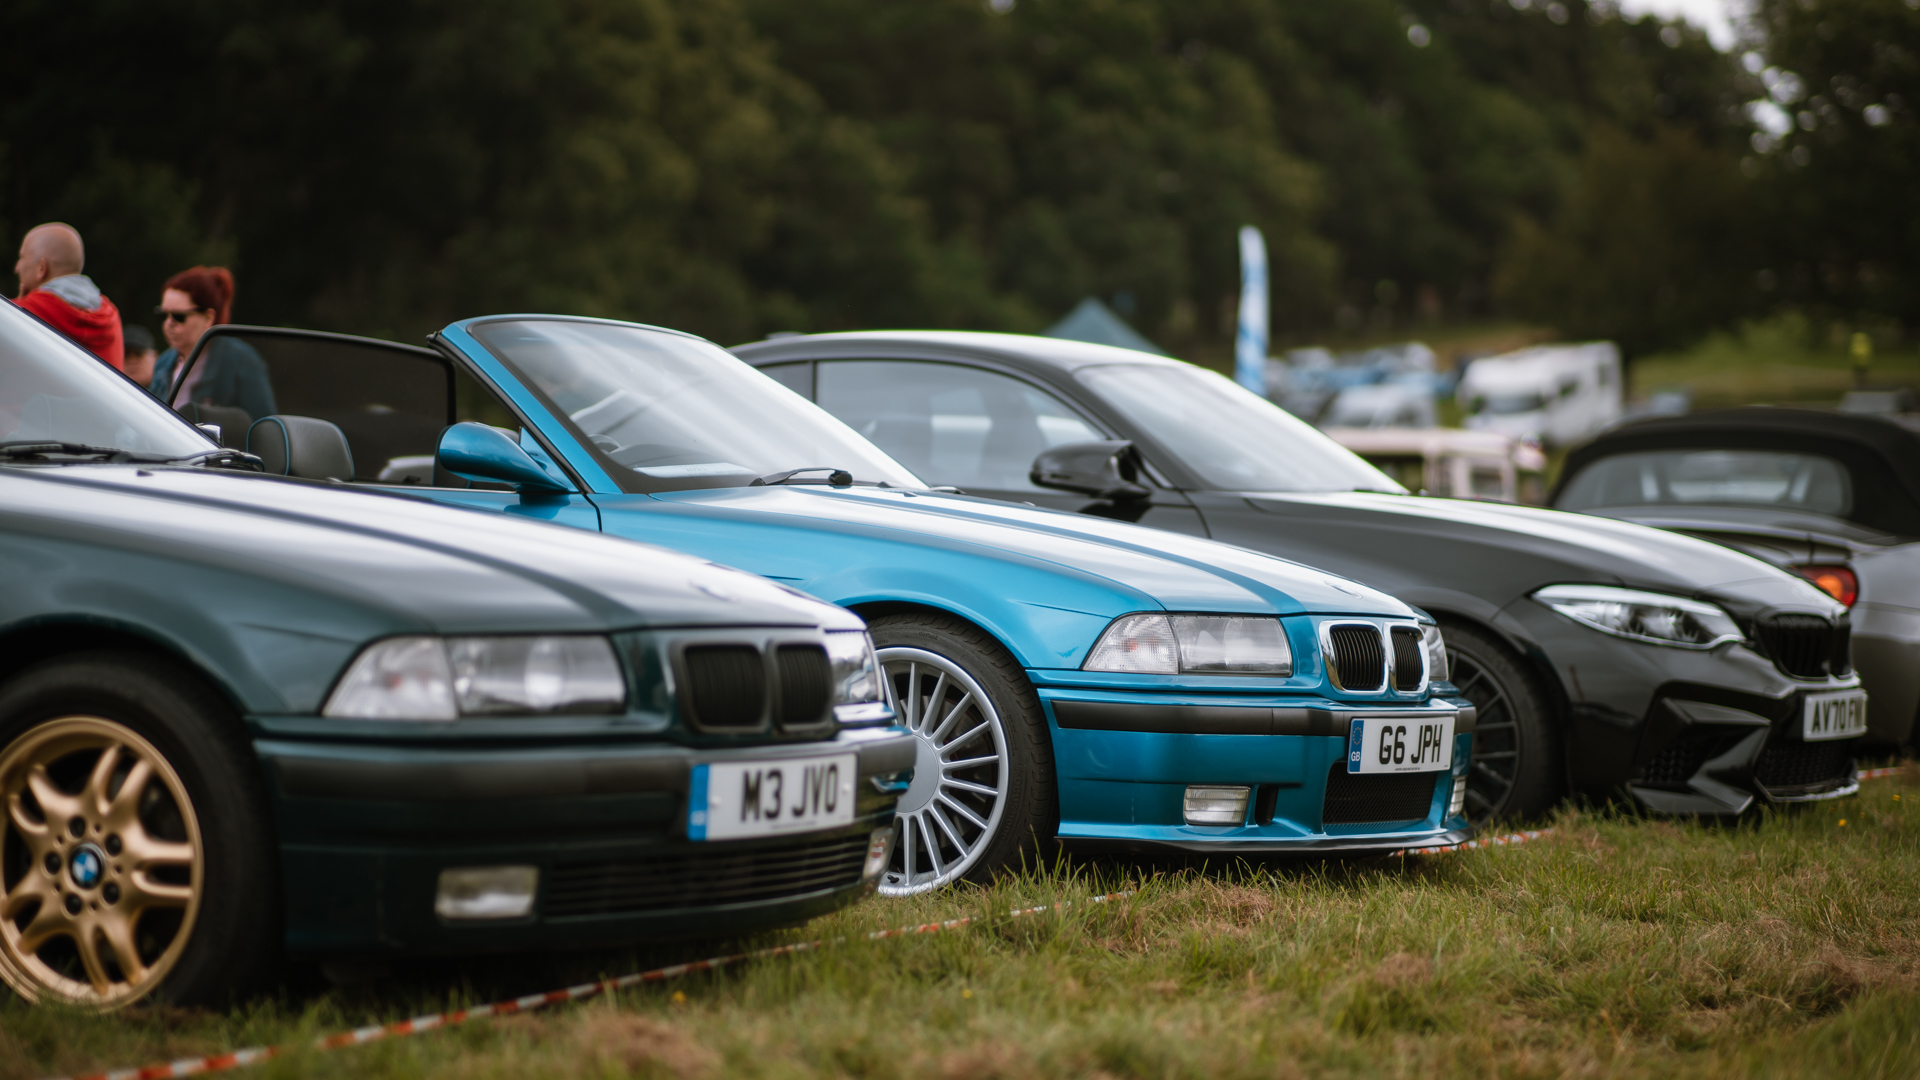
Were you at the show? It was lovely to meet so many of you yesterday.
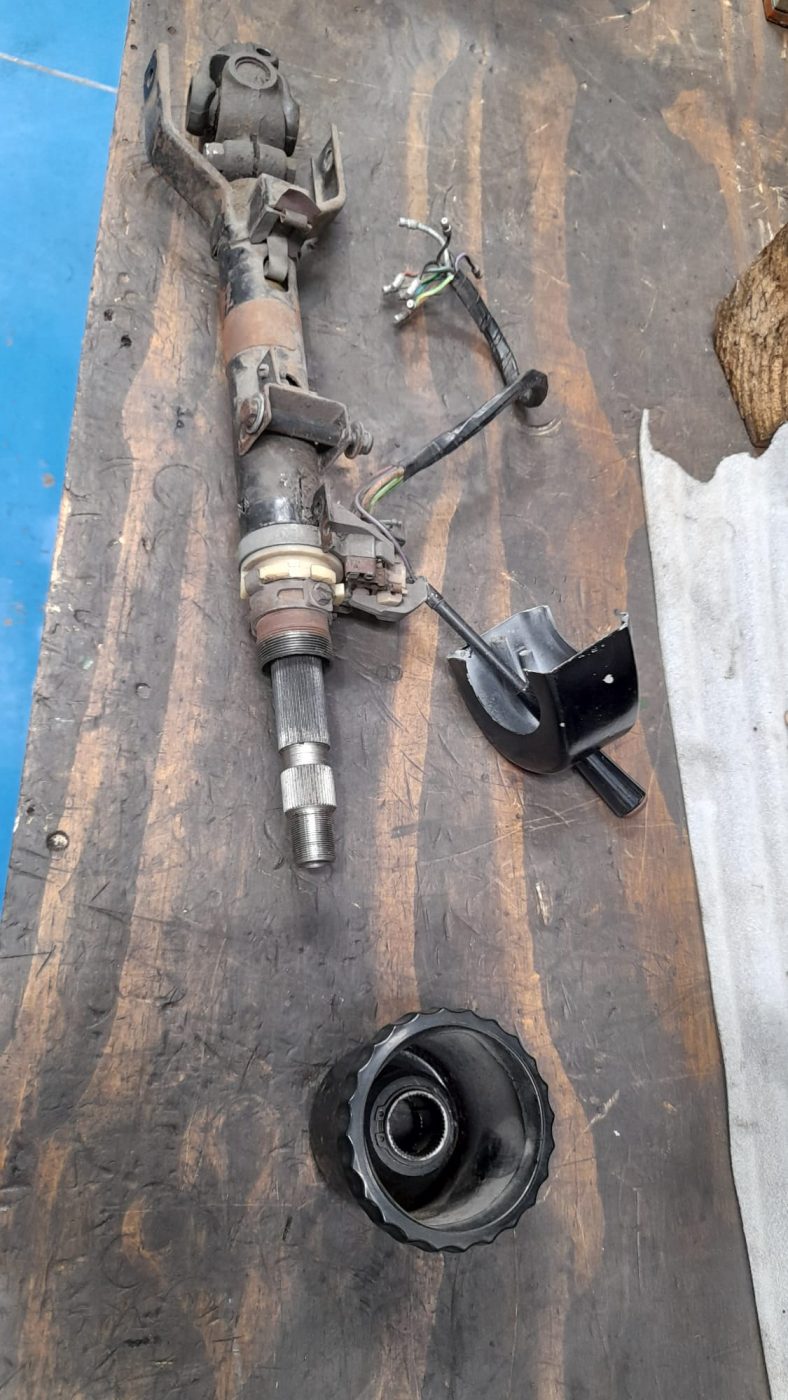
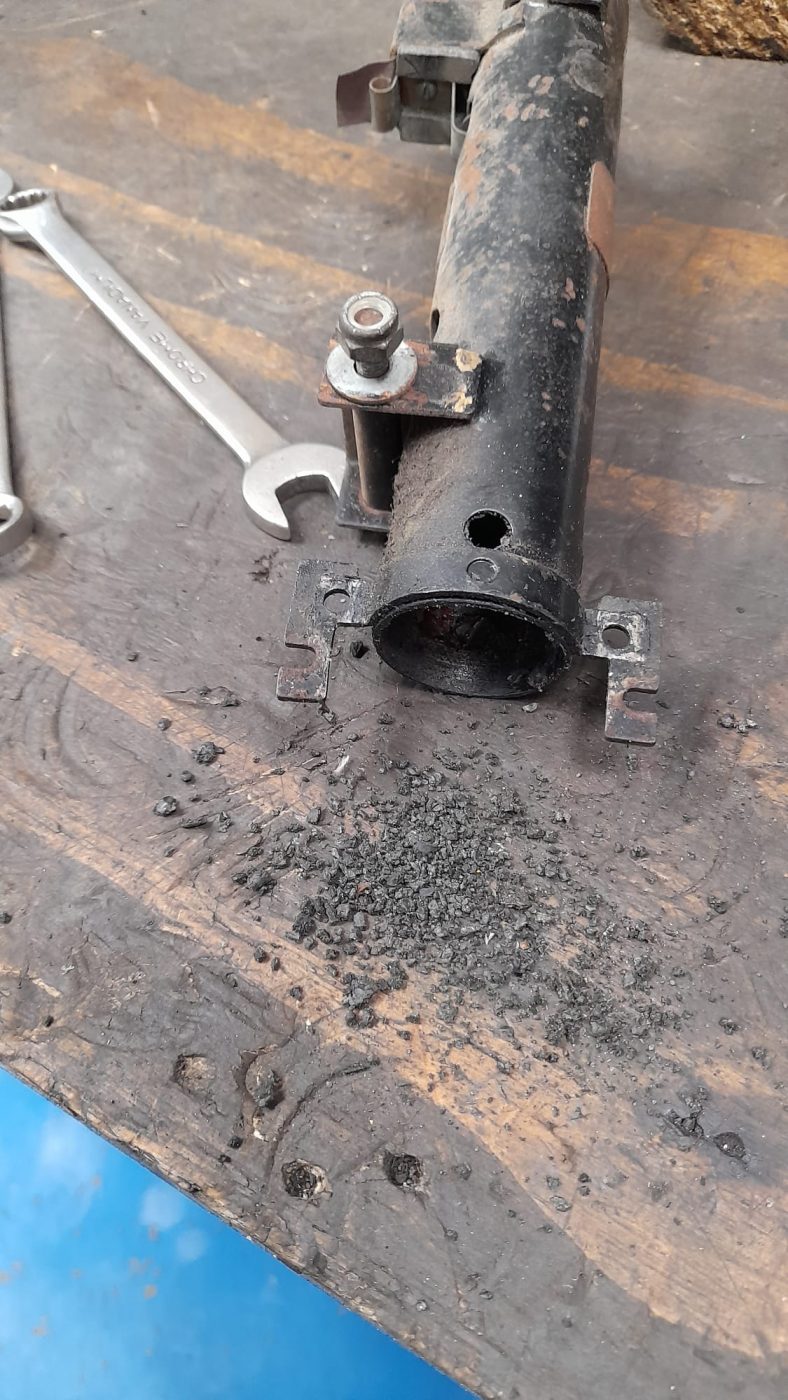
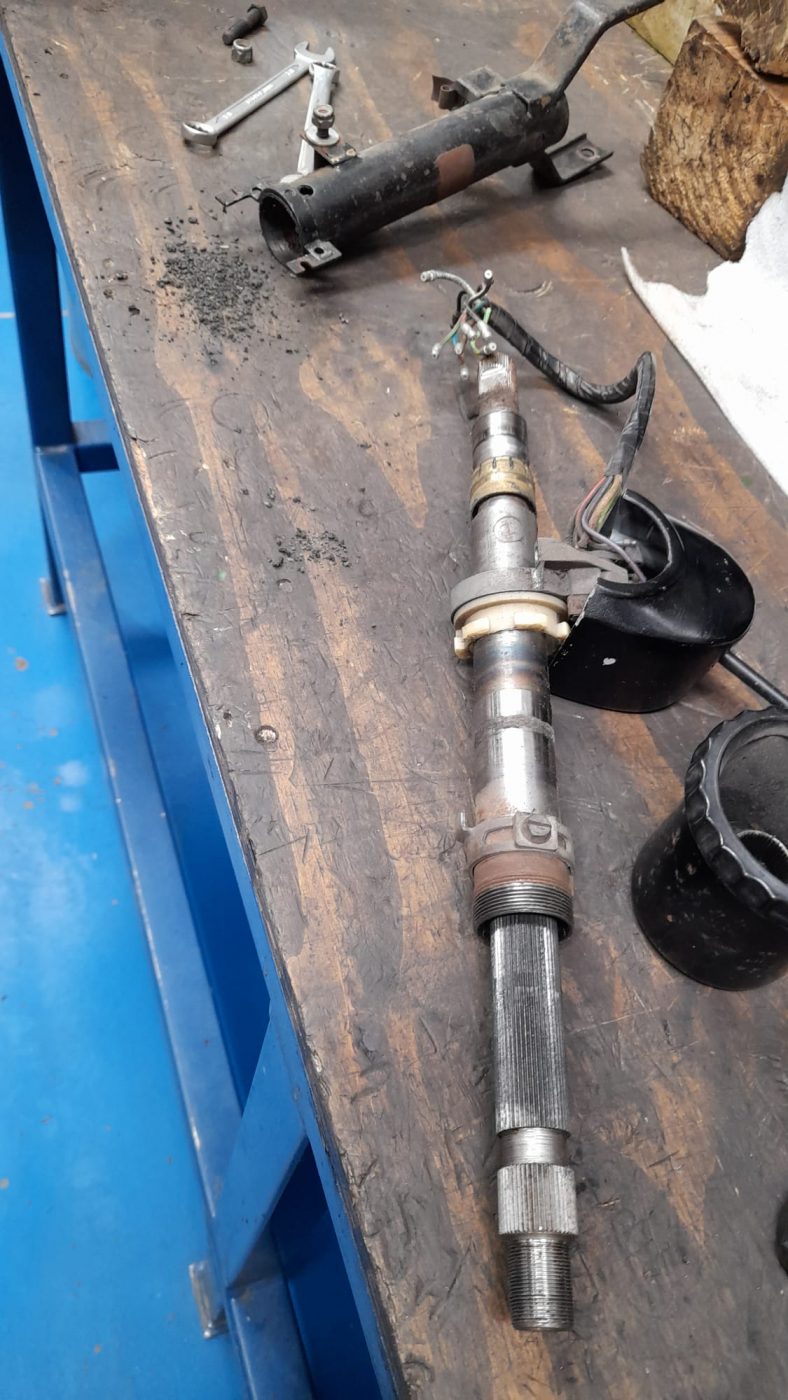
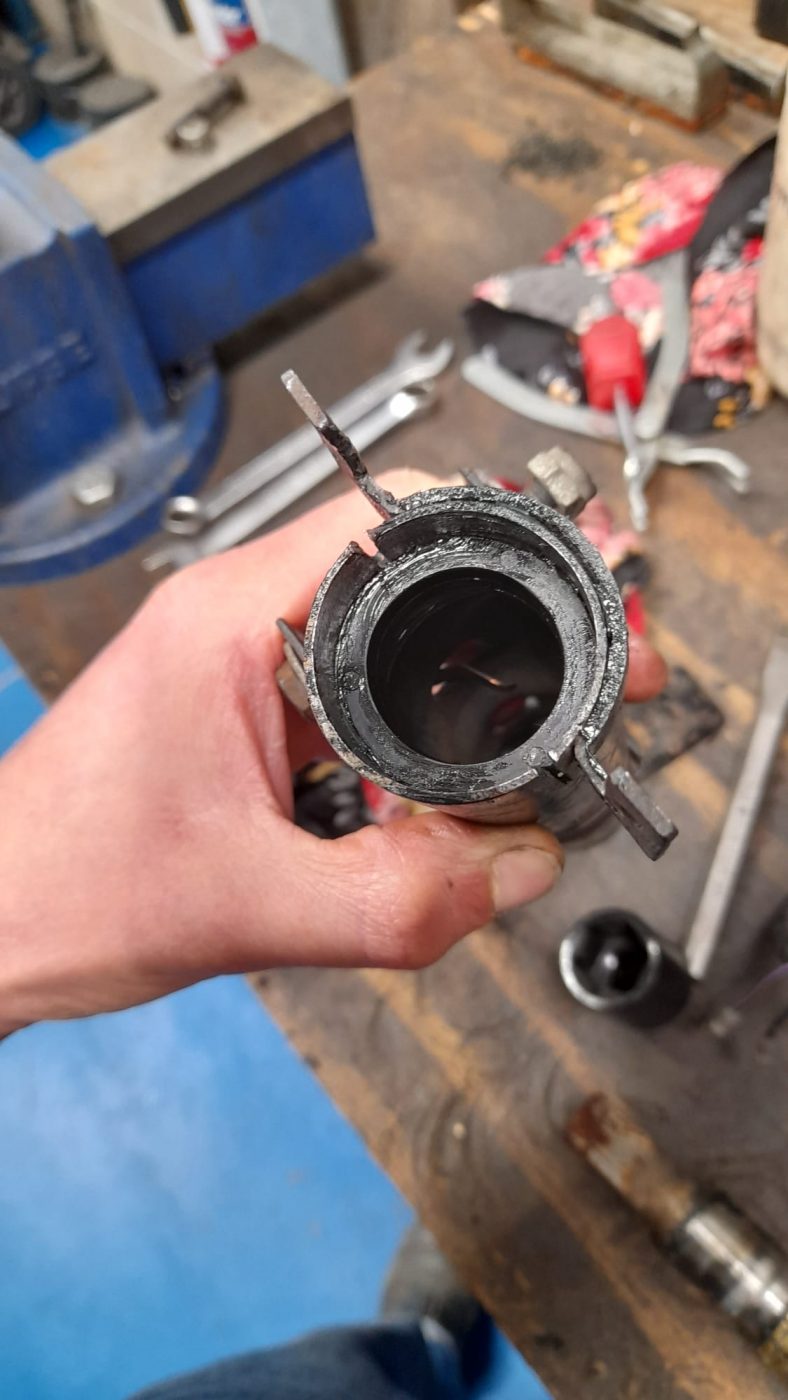
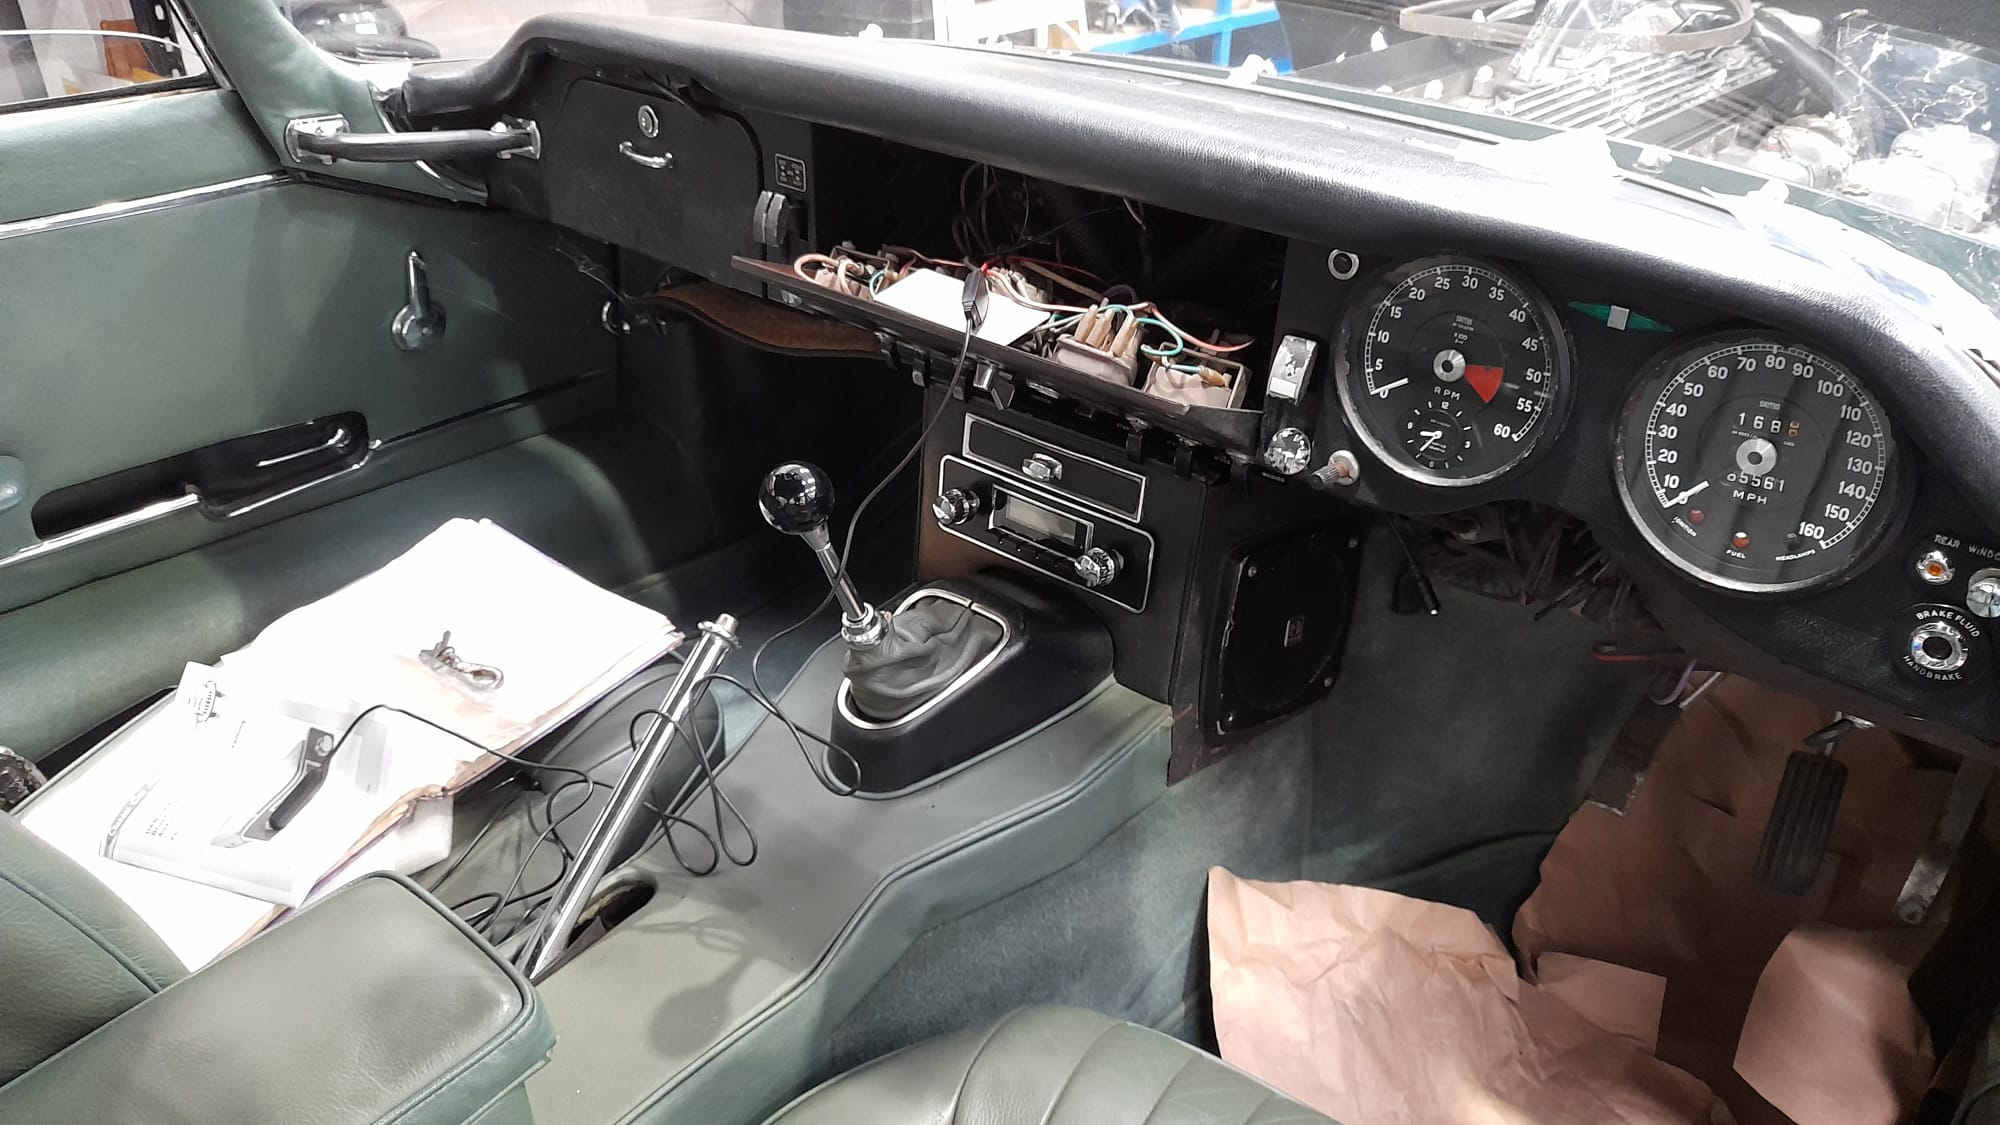
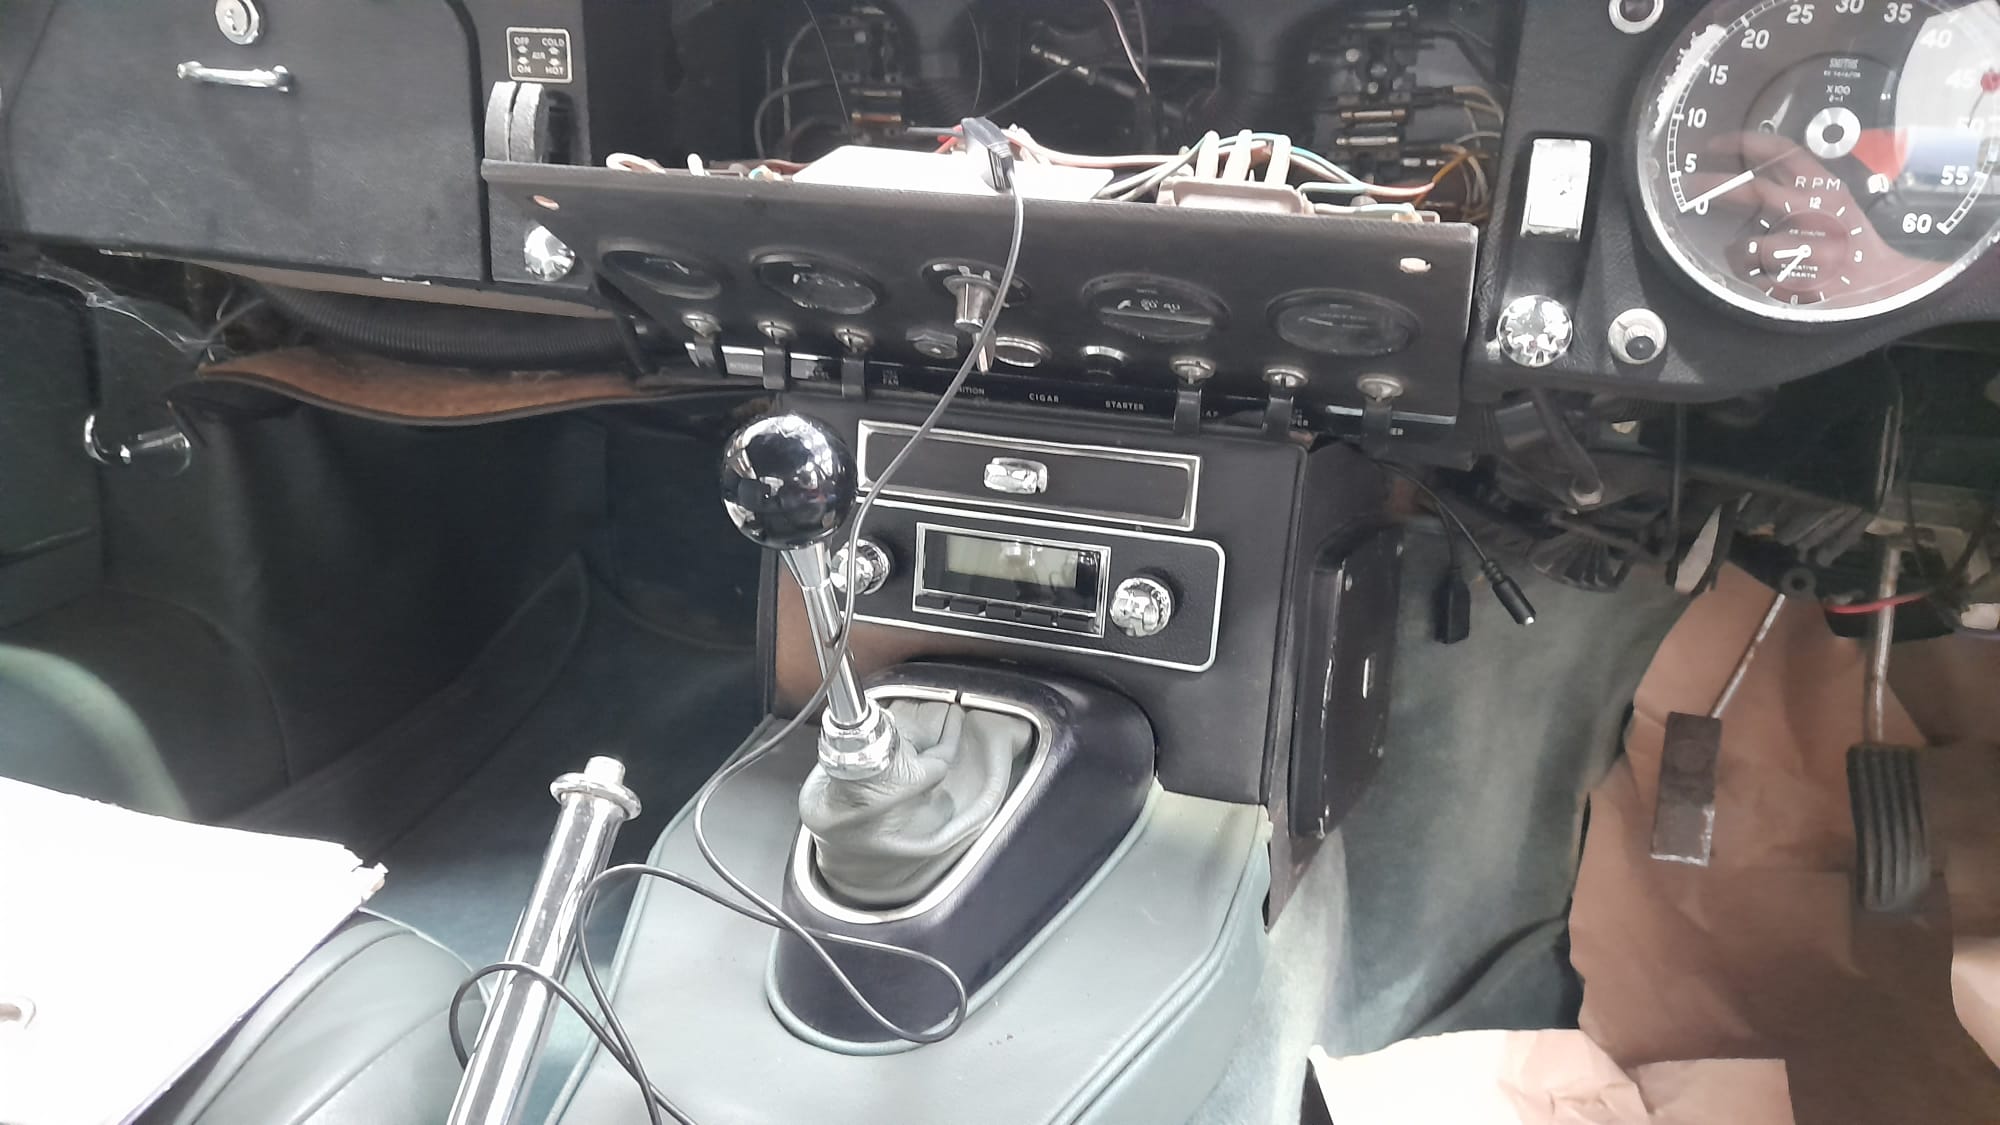
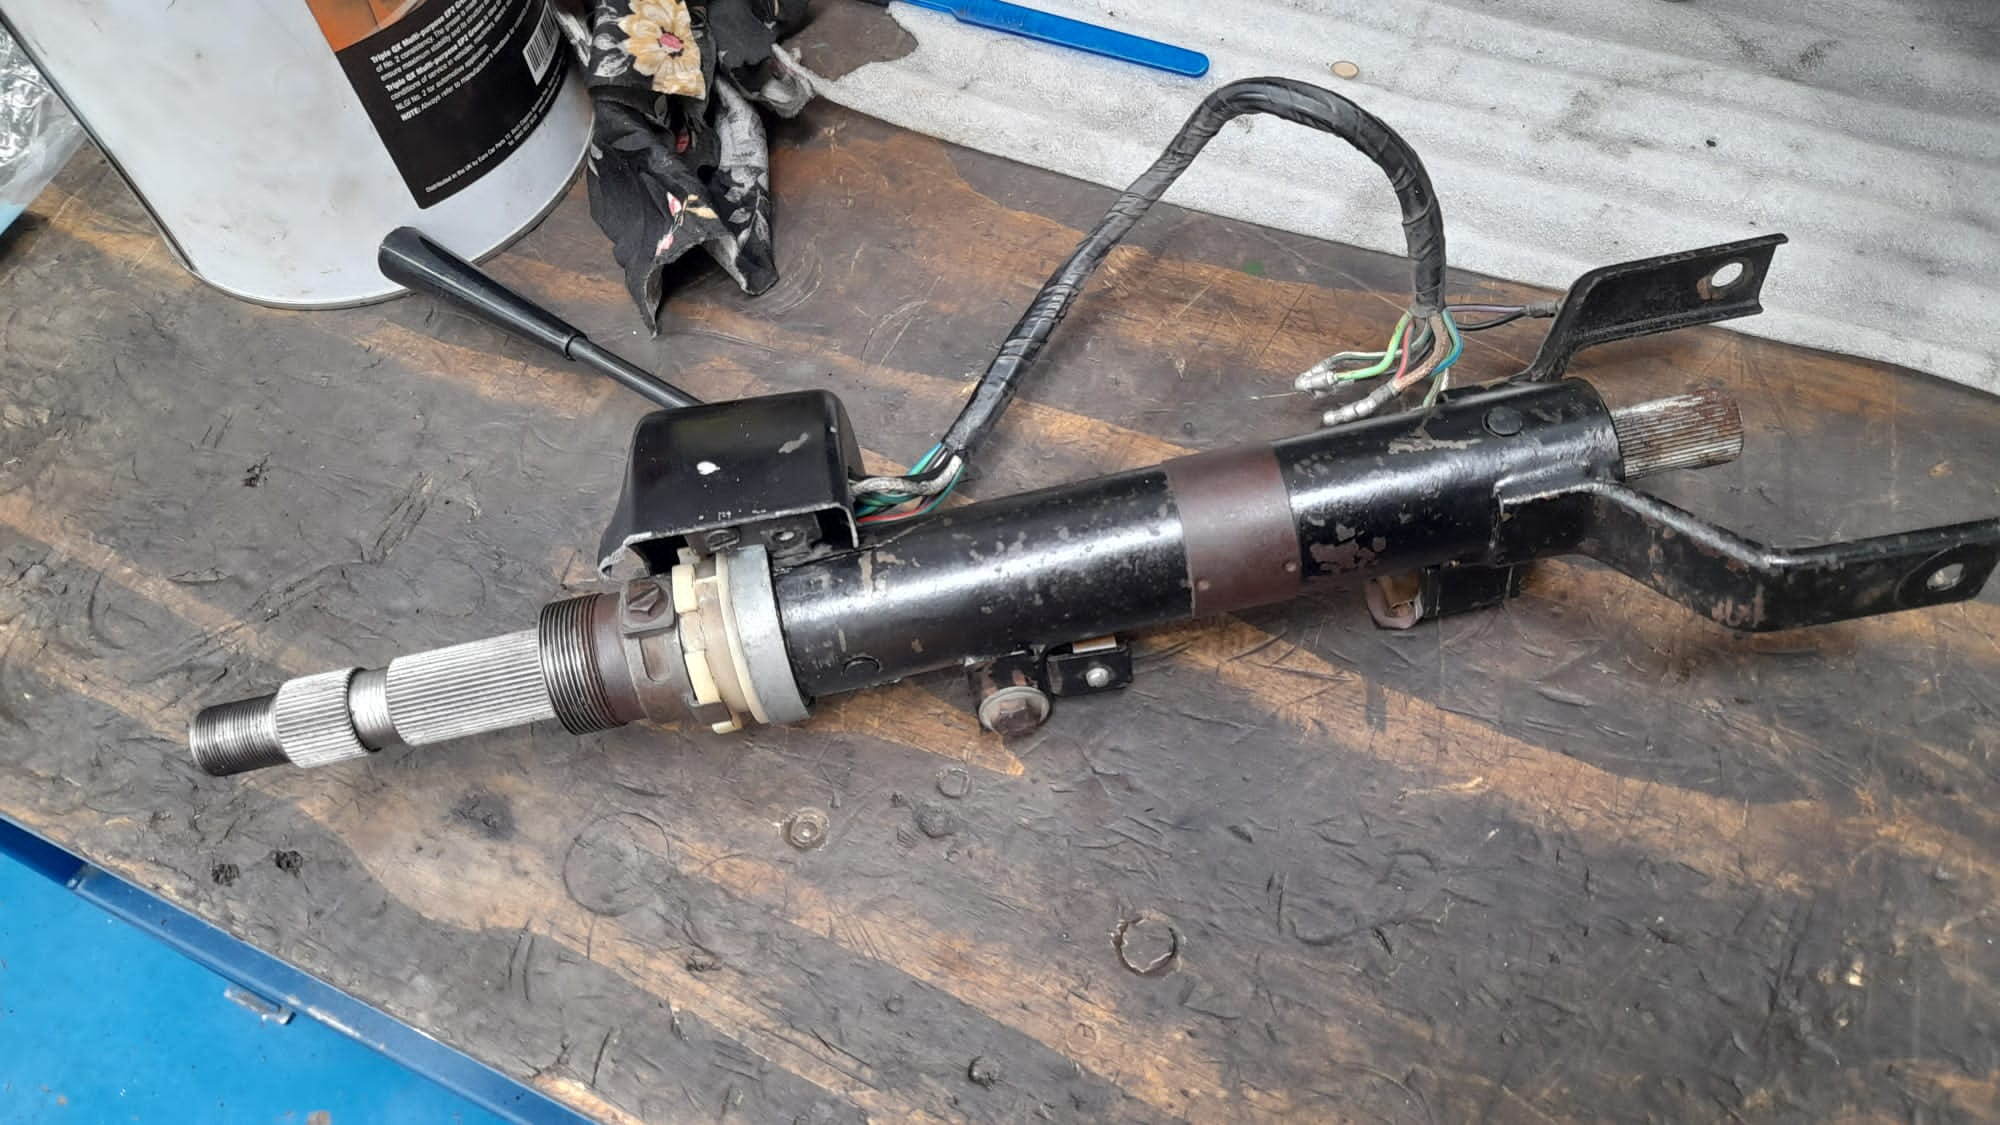
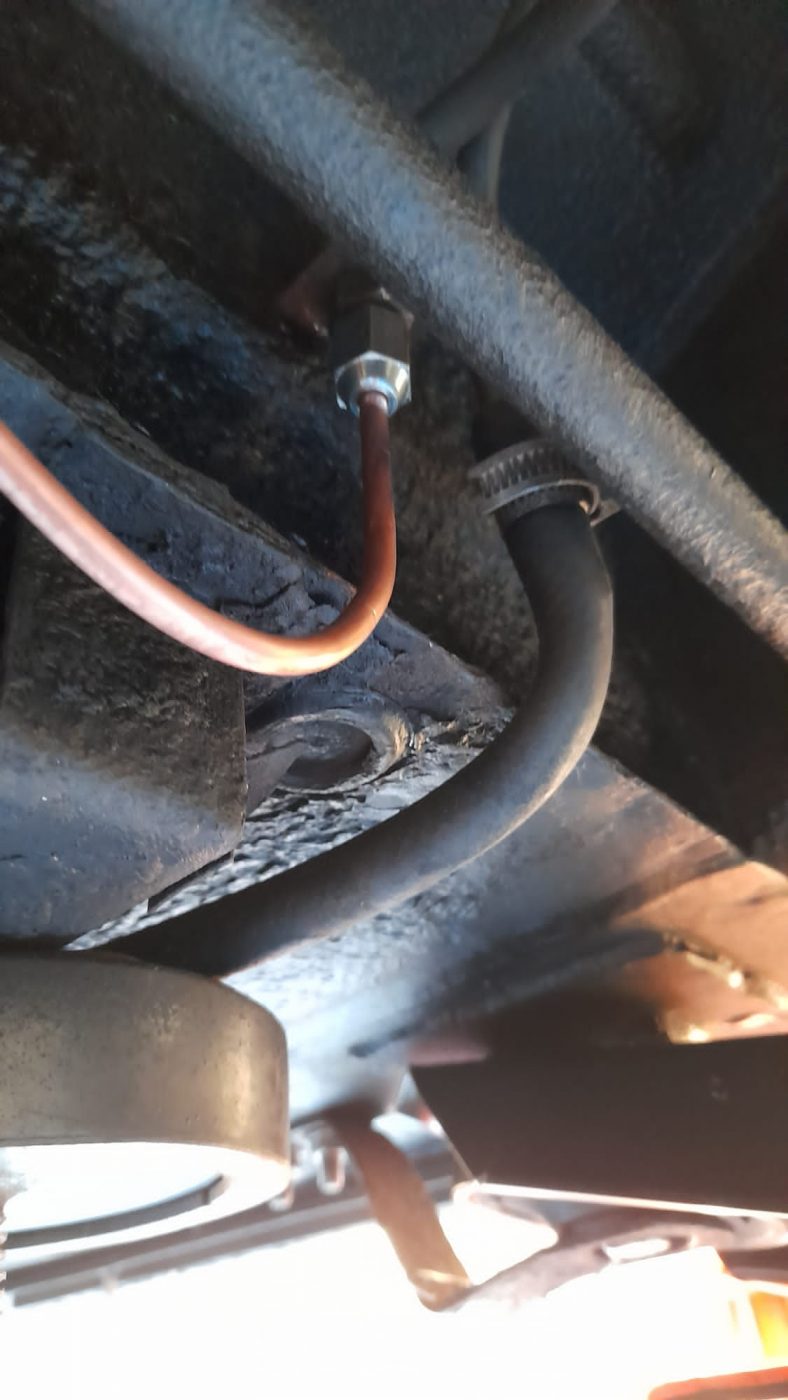
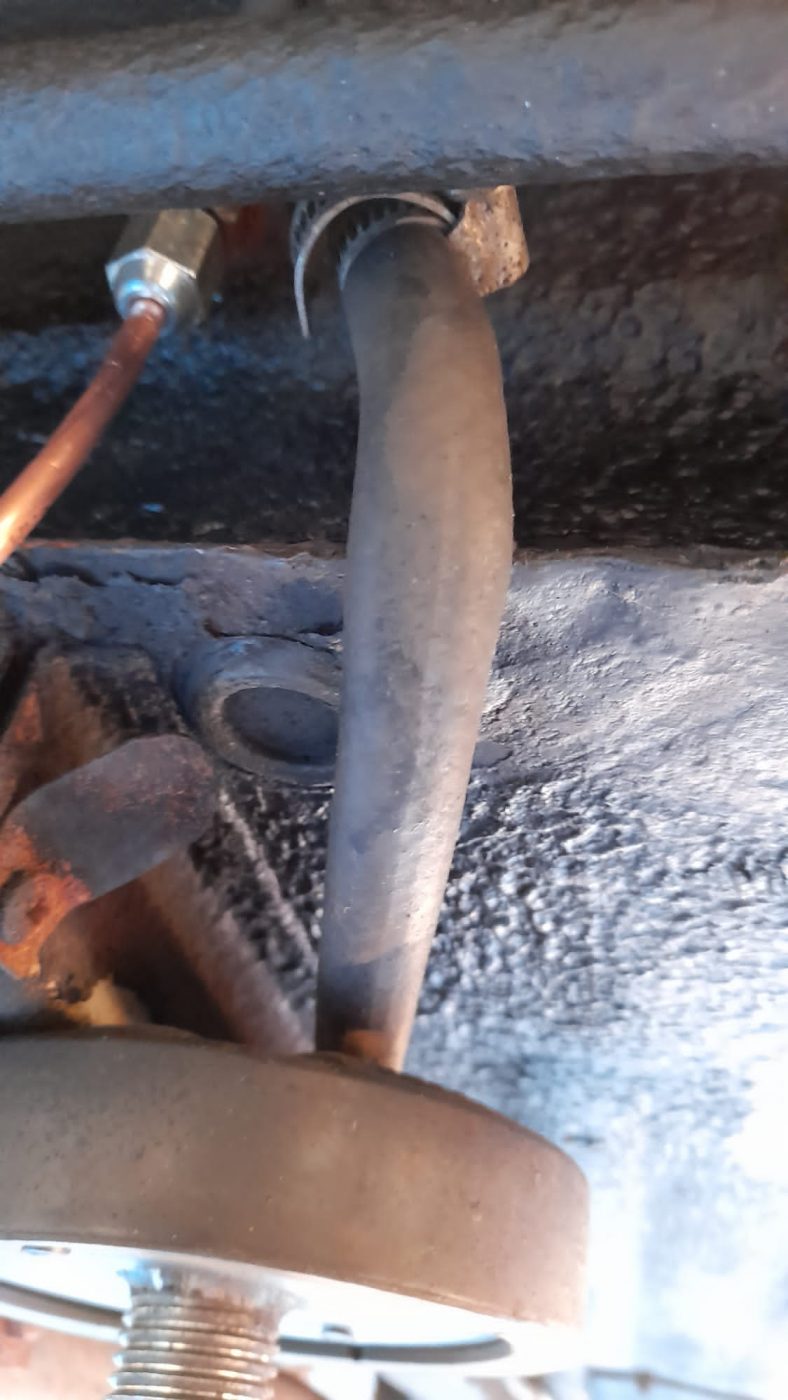
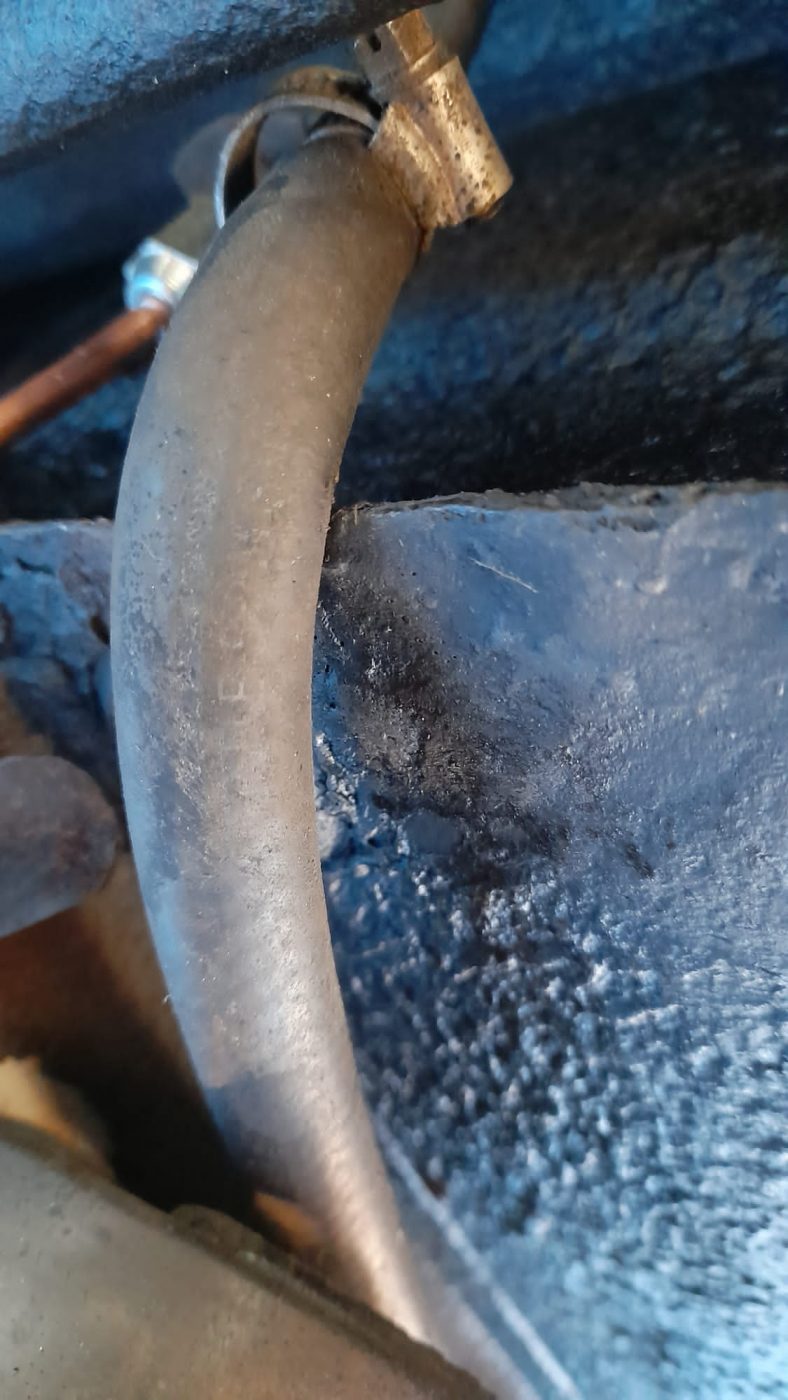
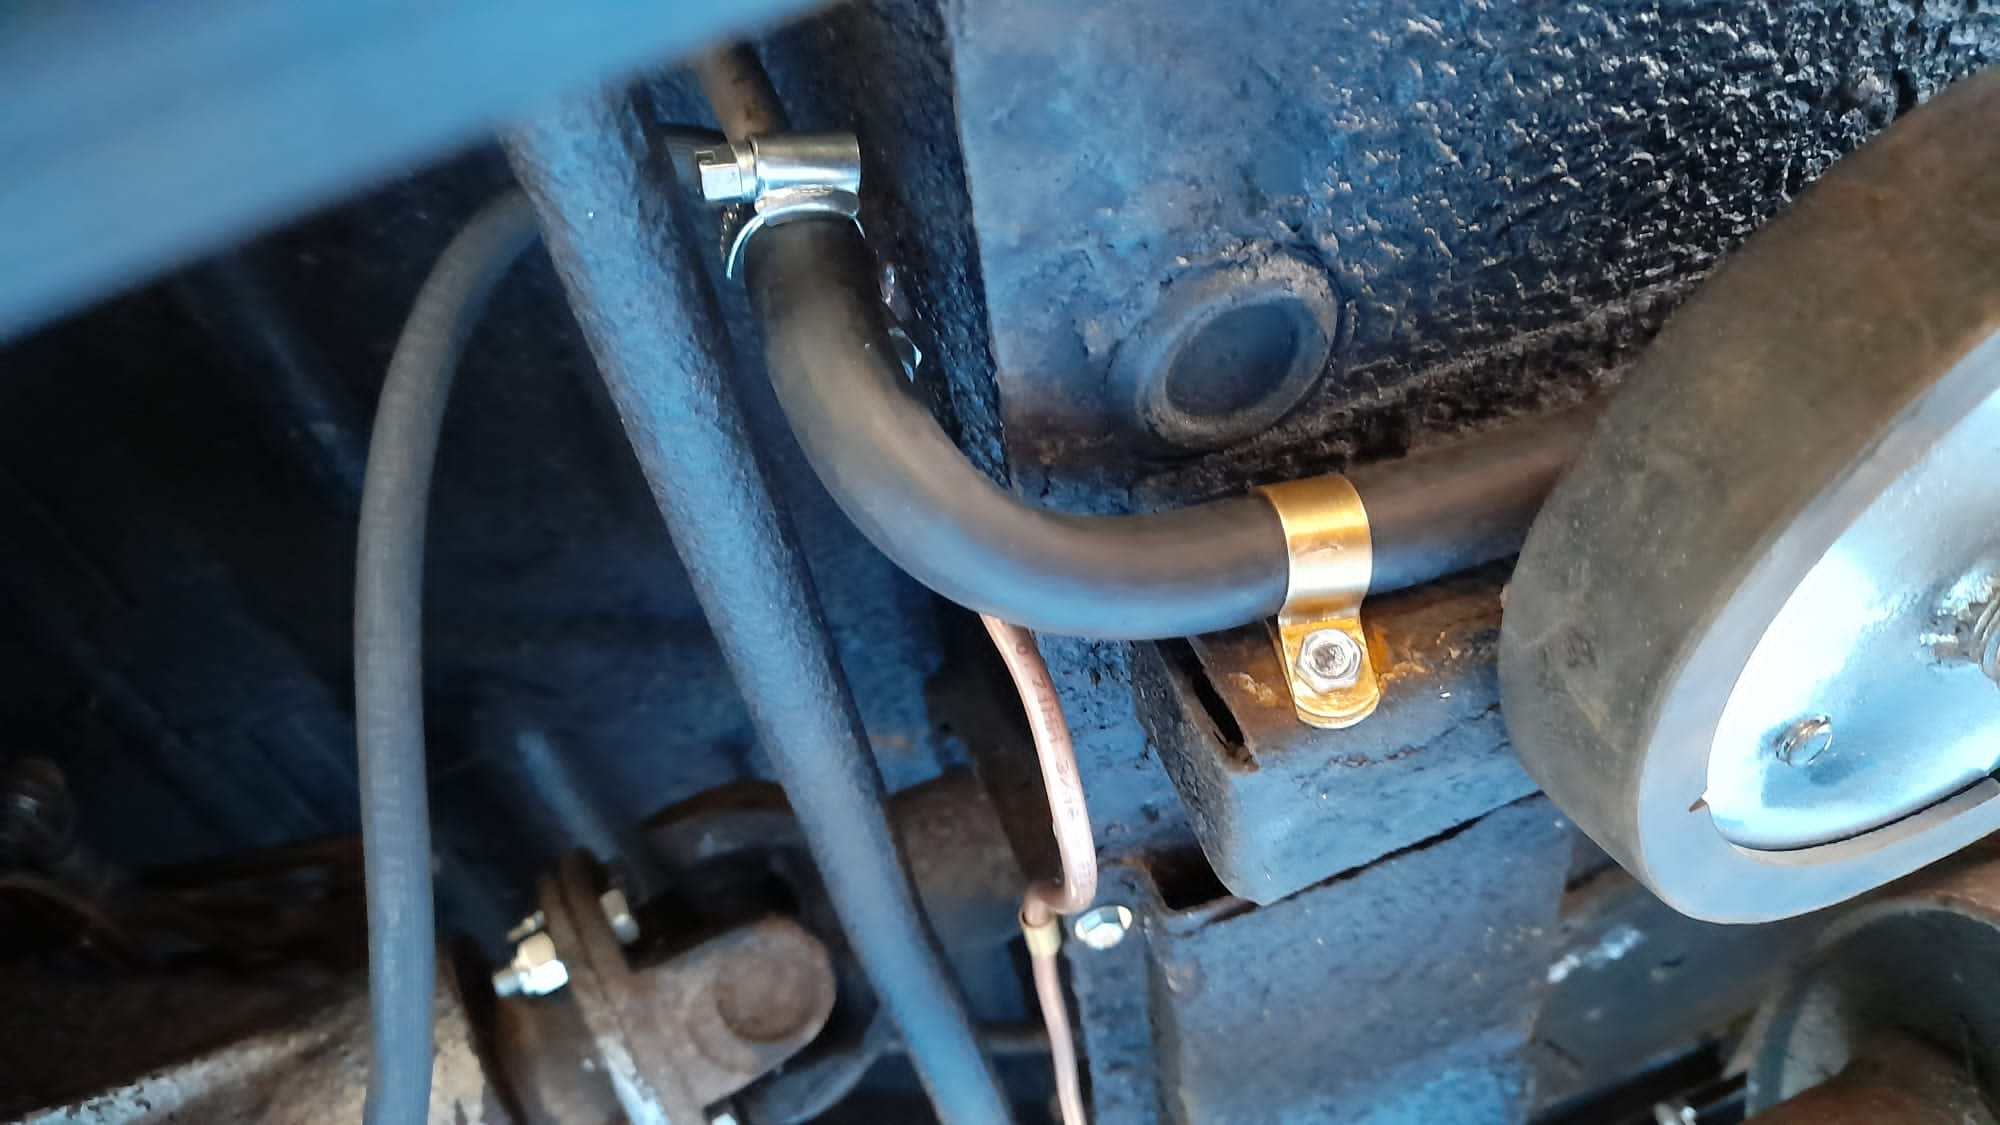
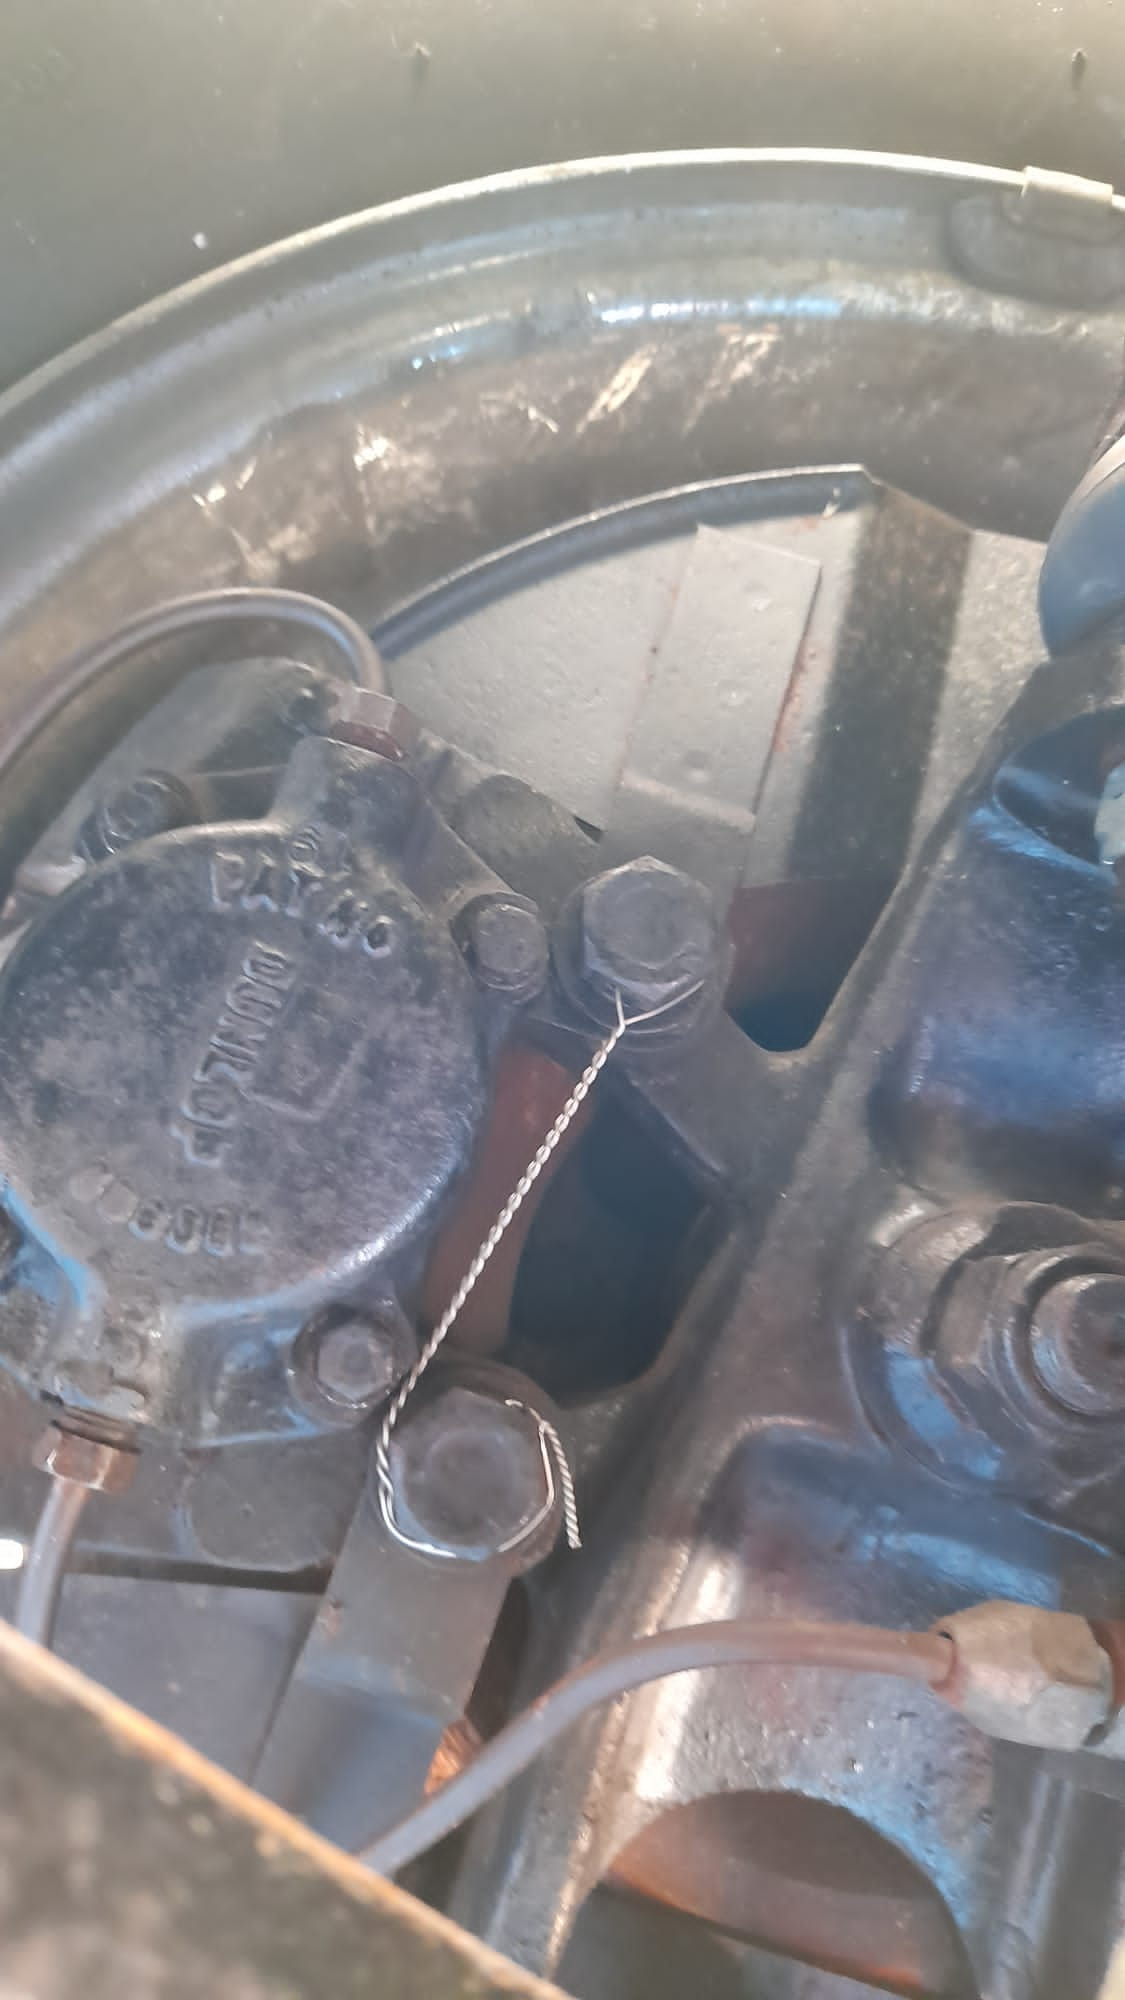
Scott has been working on the 1968 Jaguar E-Type Series 1.5 4.2.
He’s replaced the brake line that connects to the rear axle, bled the brakes, the bushes have been replaced in the steering column, because they were worn out, he’s lock wired any bolts that needed to be, fitted a new radio and replaced the fuel line because it had been badly fitted before!

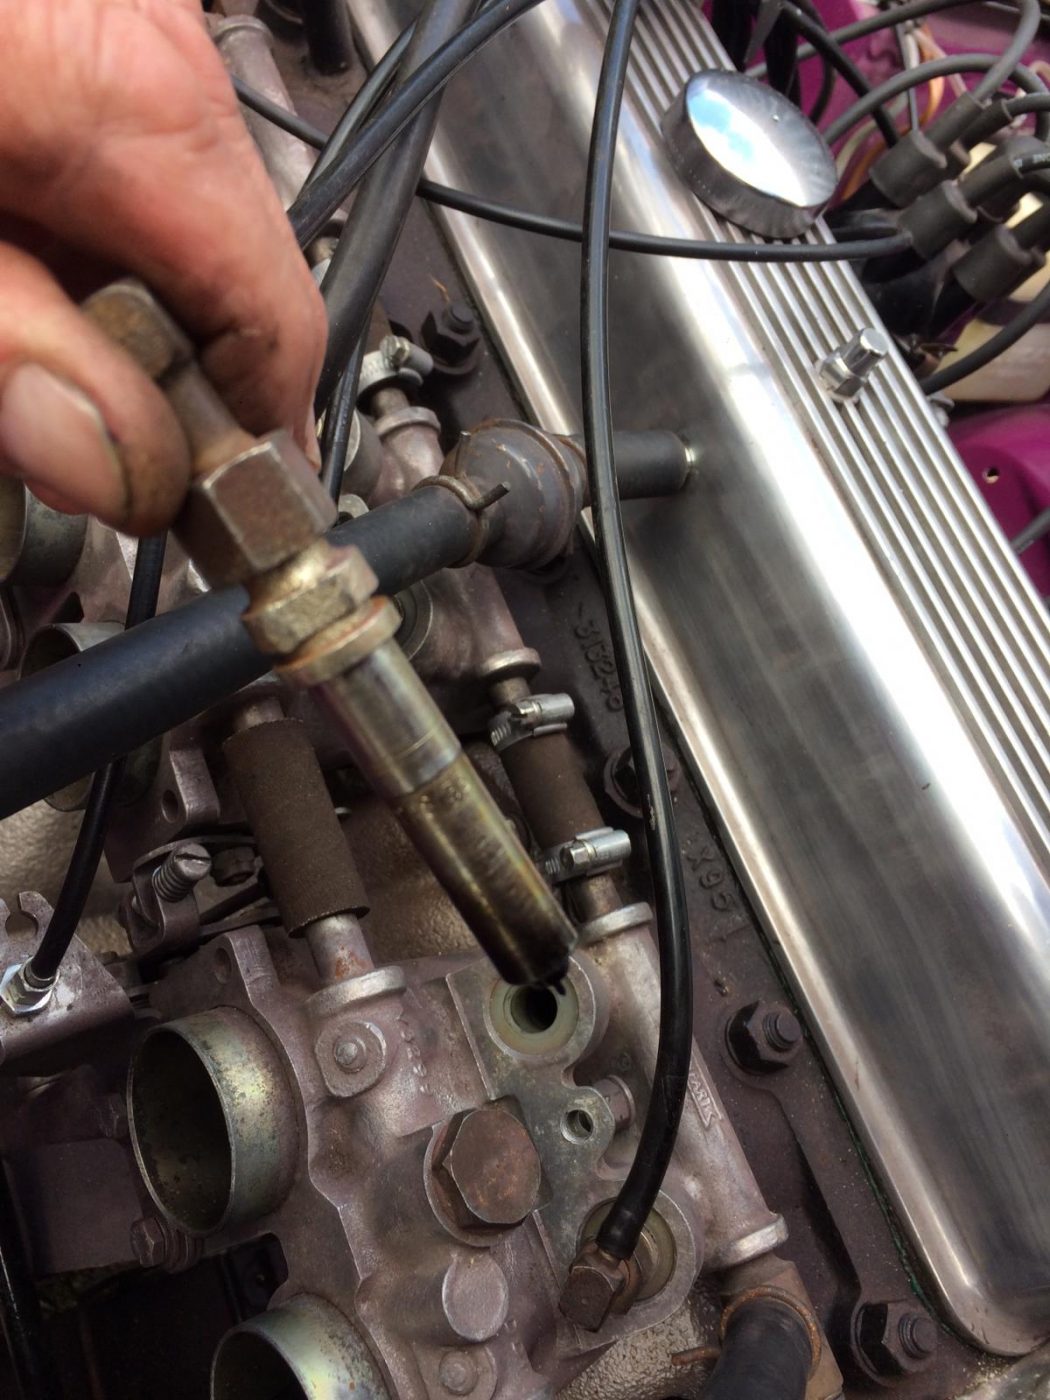
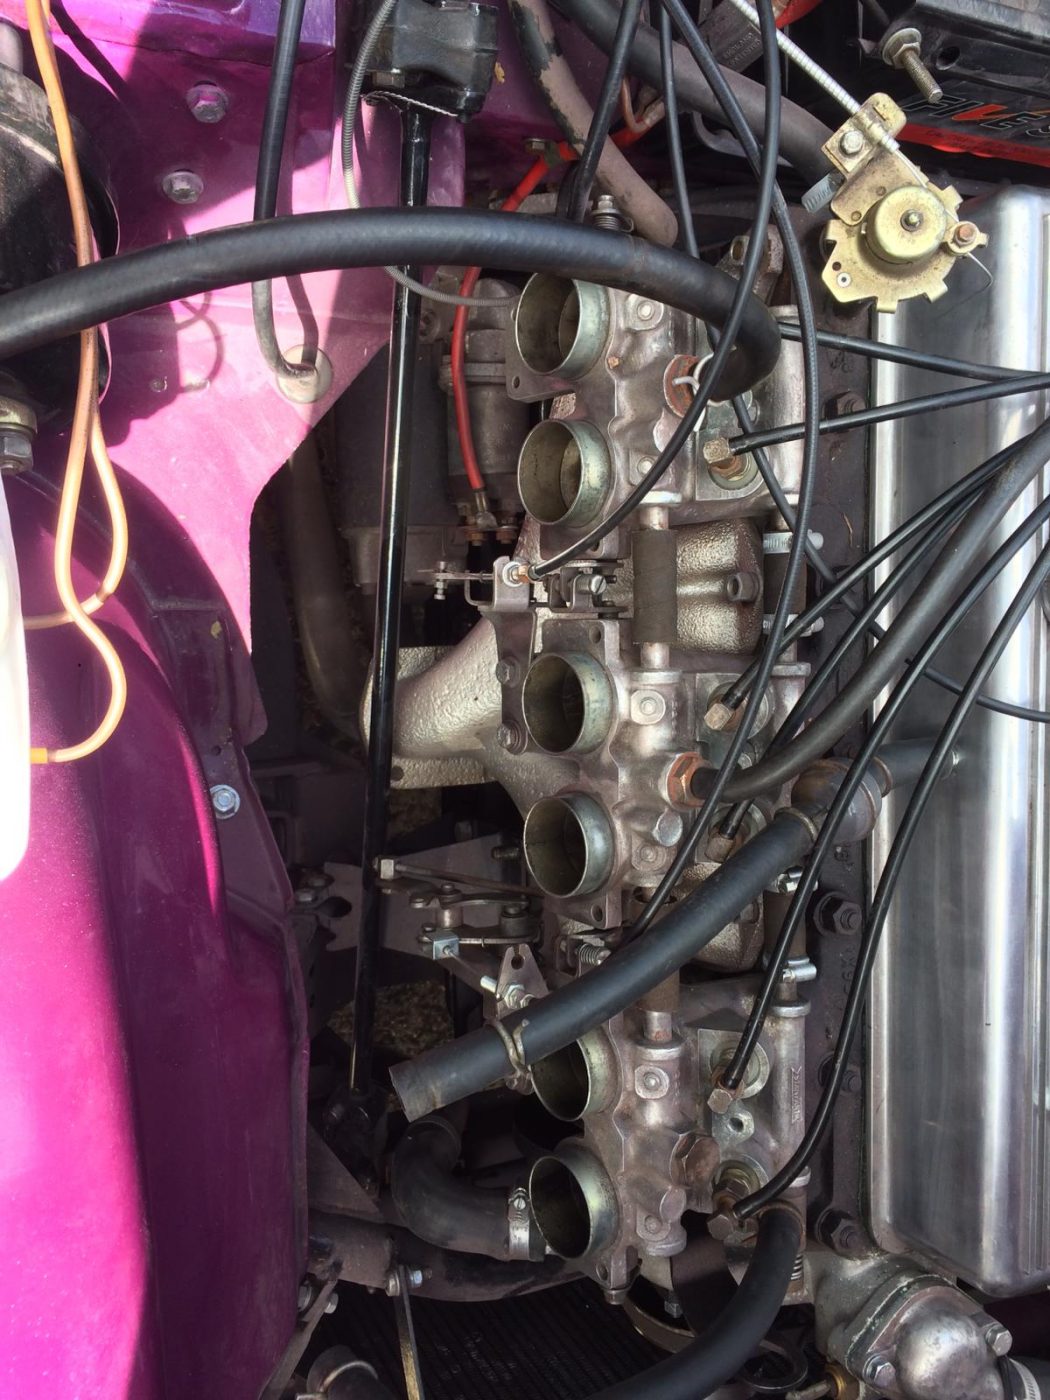
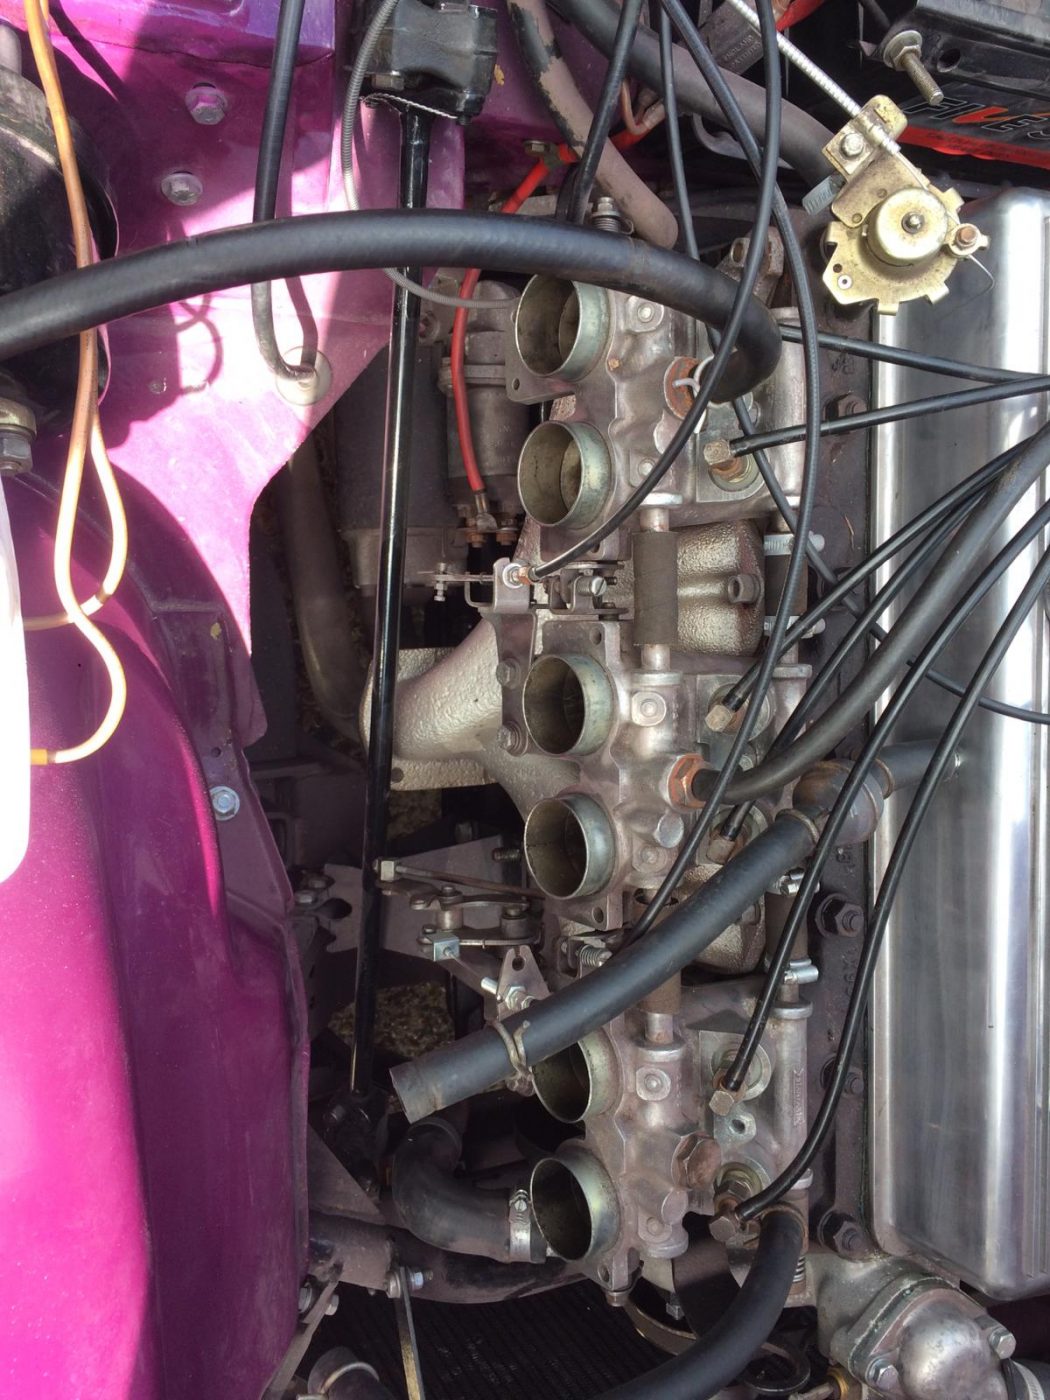
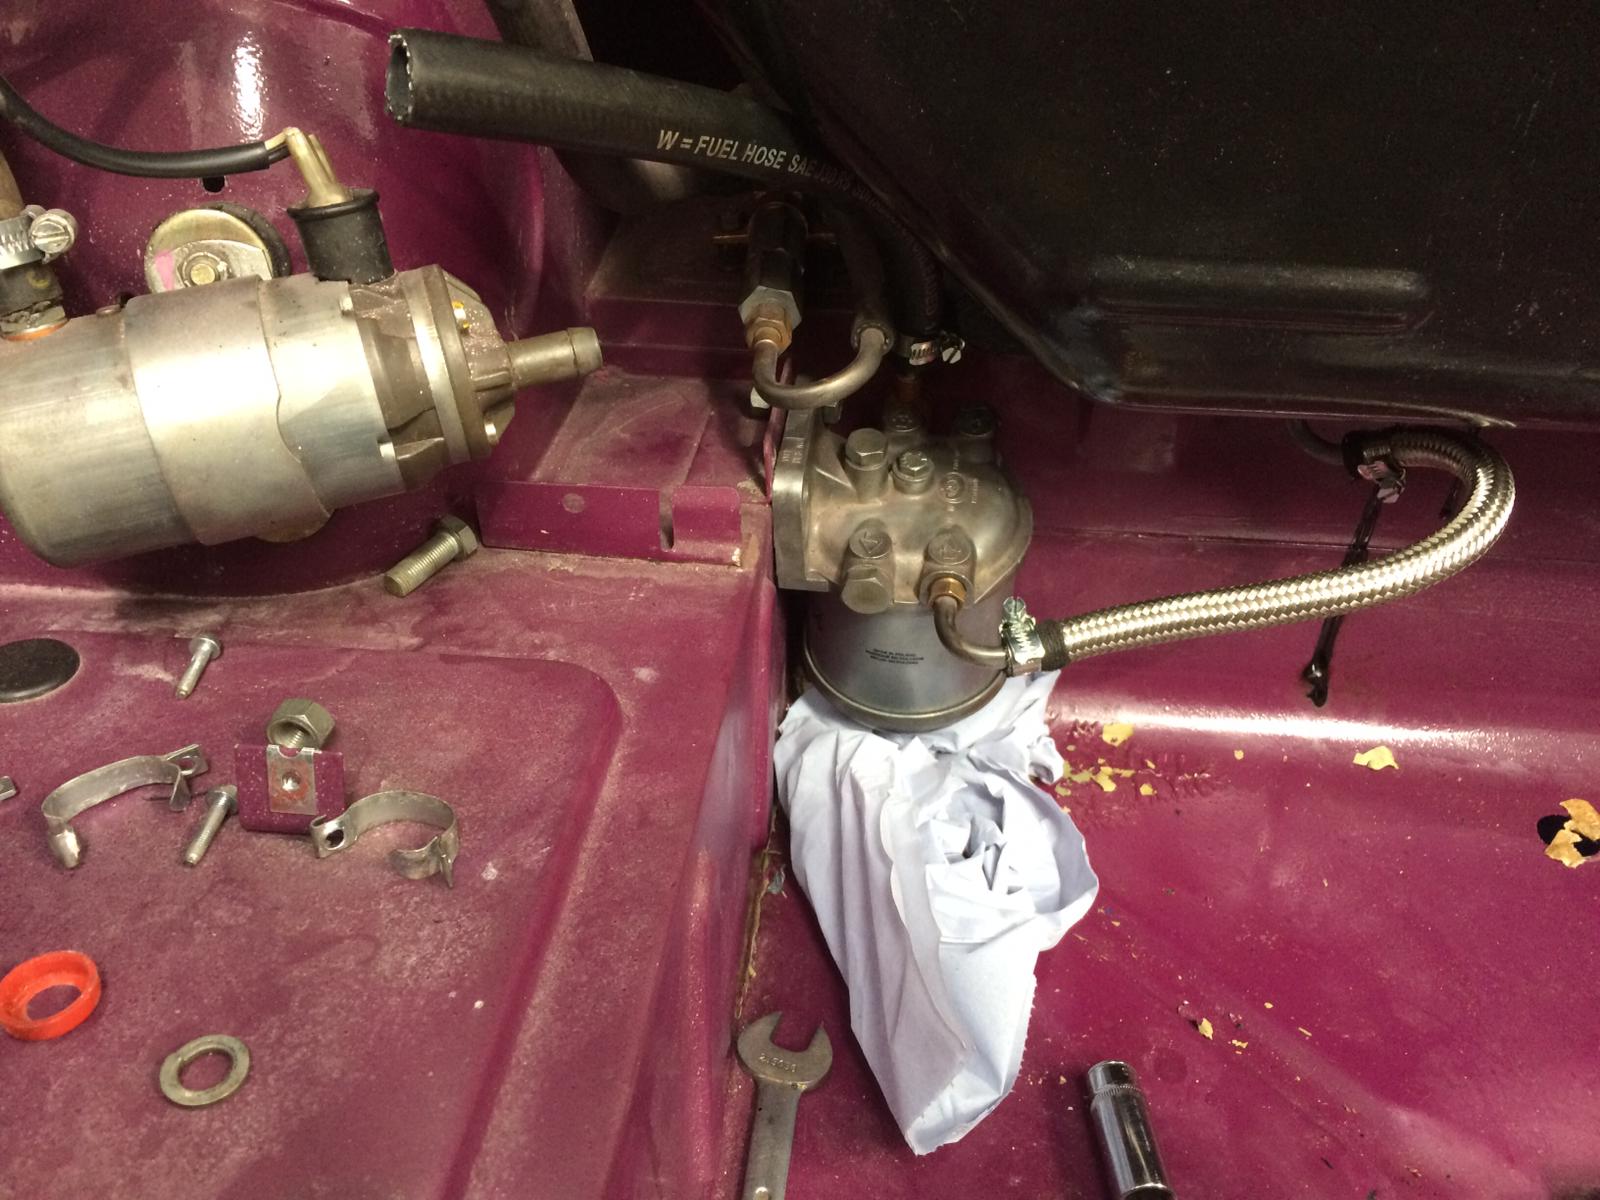
Dave has been carrying out work on the 1975 magenta Triumph TR6. Here’s a list and a look at what he’s been up to!
There were problems with the horn so a new plate was ordered, the earth coil needs re-instating, replaced the fuel filter in the boot, the pipe got replaced, the fuel was drained a couple of times because of debris in it, Dave lubricated to free up the butterflies in the engine bay, each injector was removed to get the air out of the pipes, he set out linkage in sequence, which was done with a vacuum metre, there was oil in the distributor, so Dave cleaned it out, and put it all back together again, the clutch had to be made longer and now works fine, the wiper motor needs attention, and he’s set the points up!

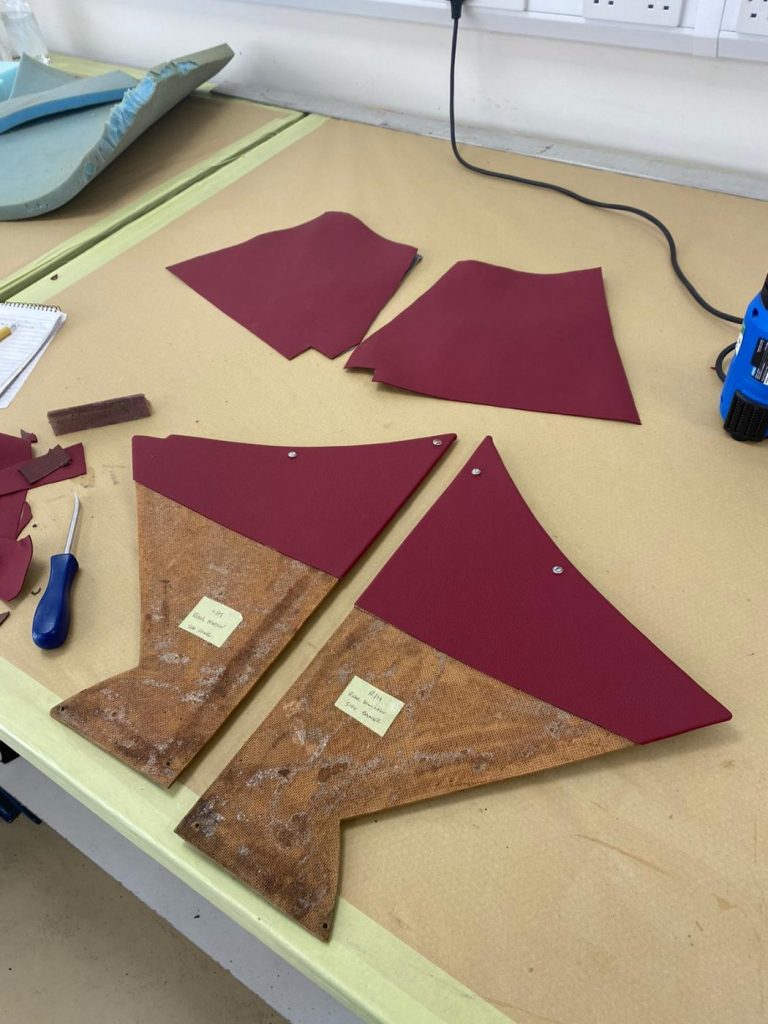
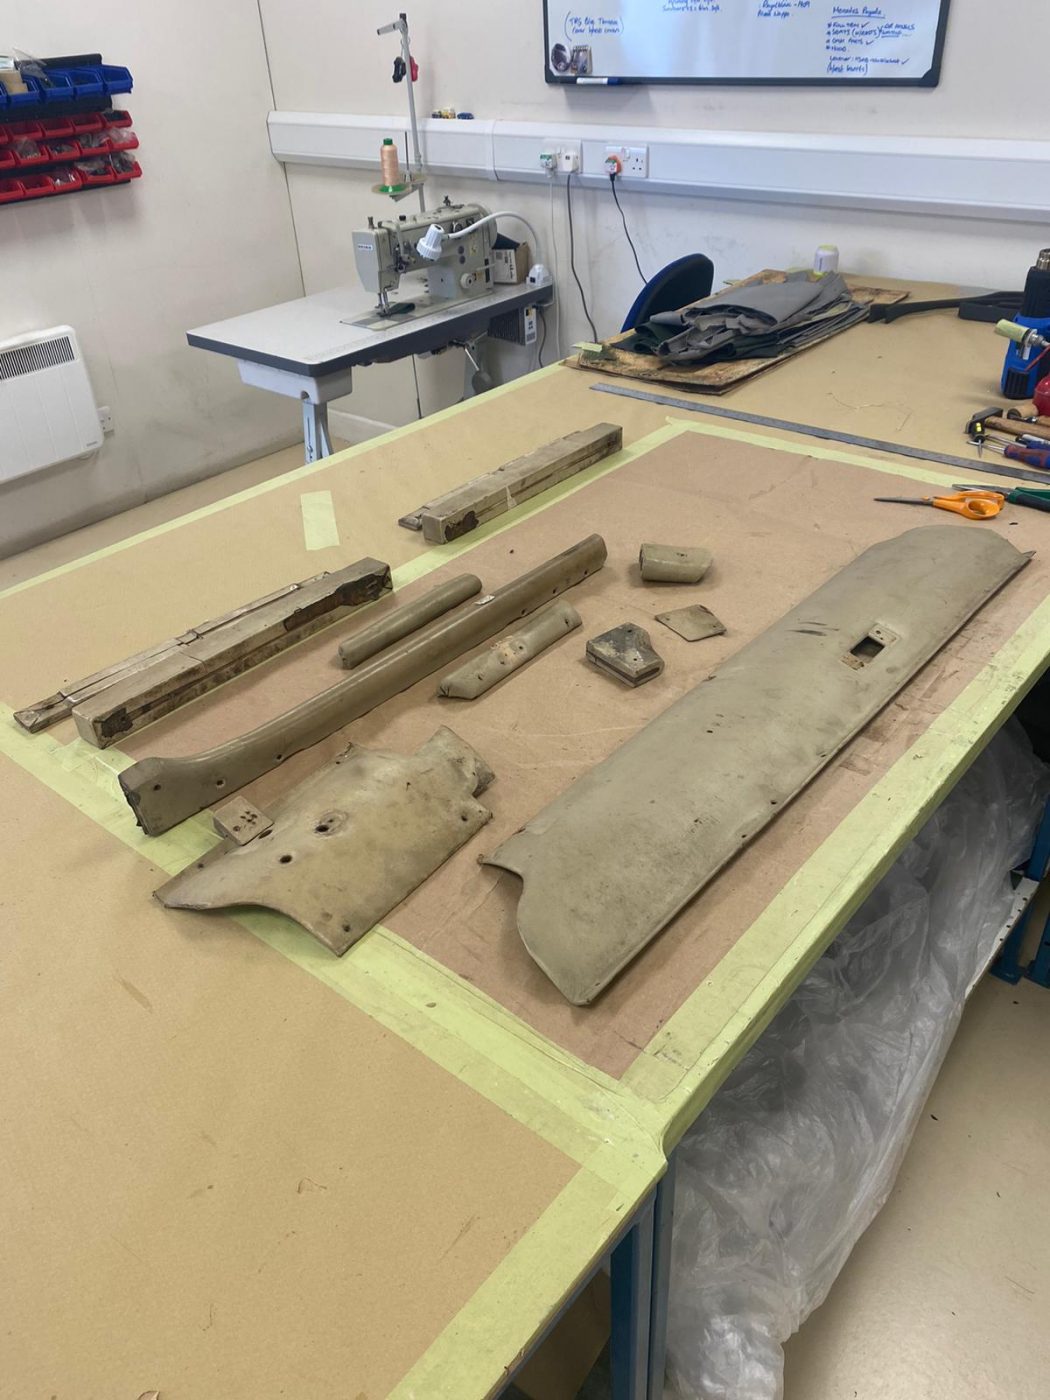
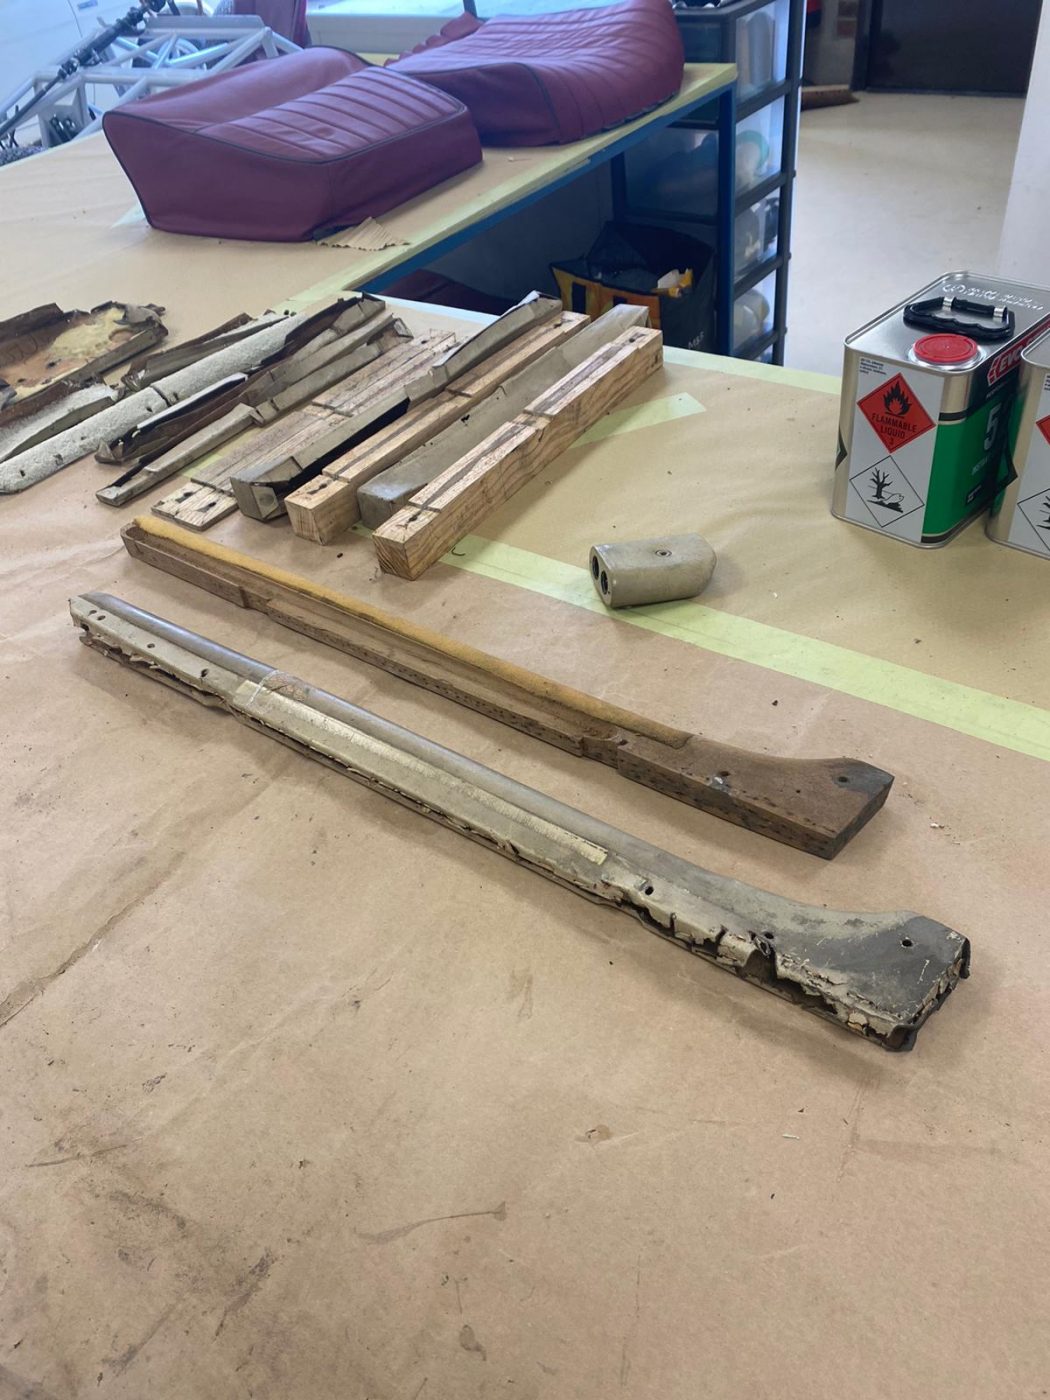
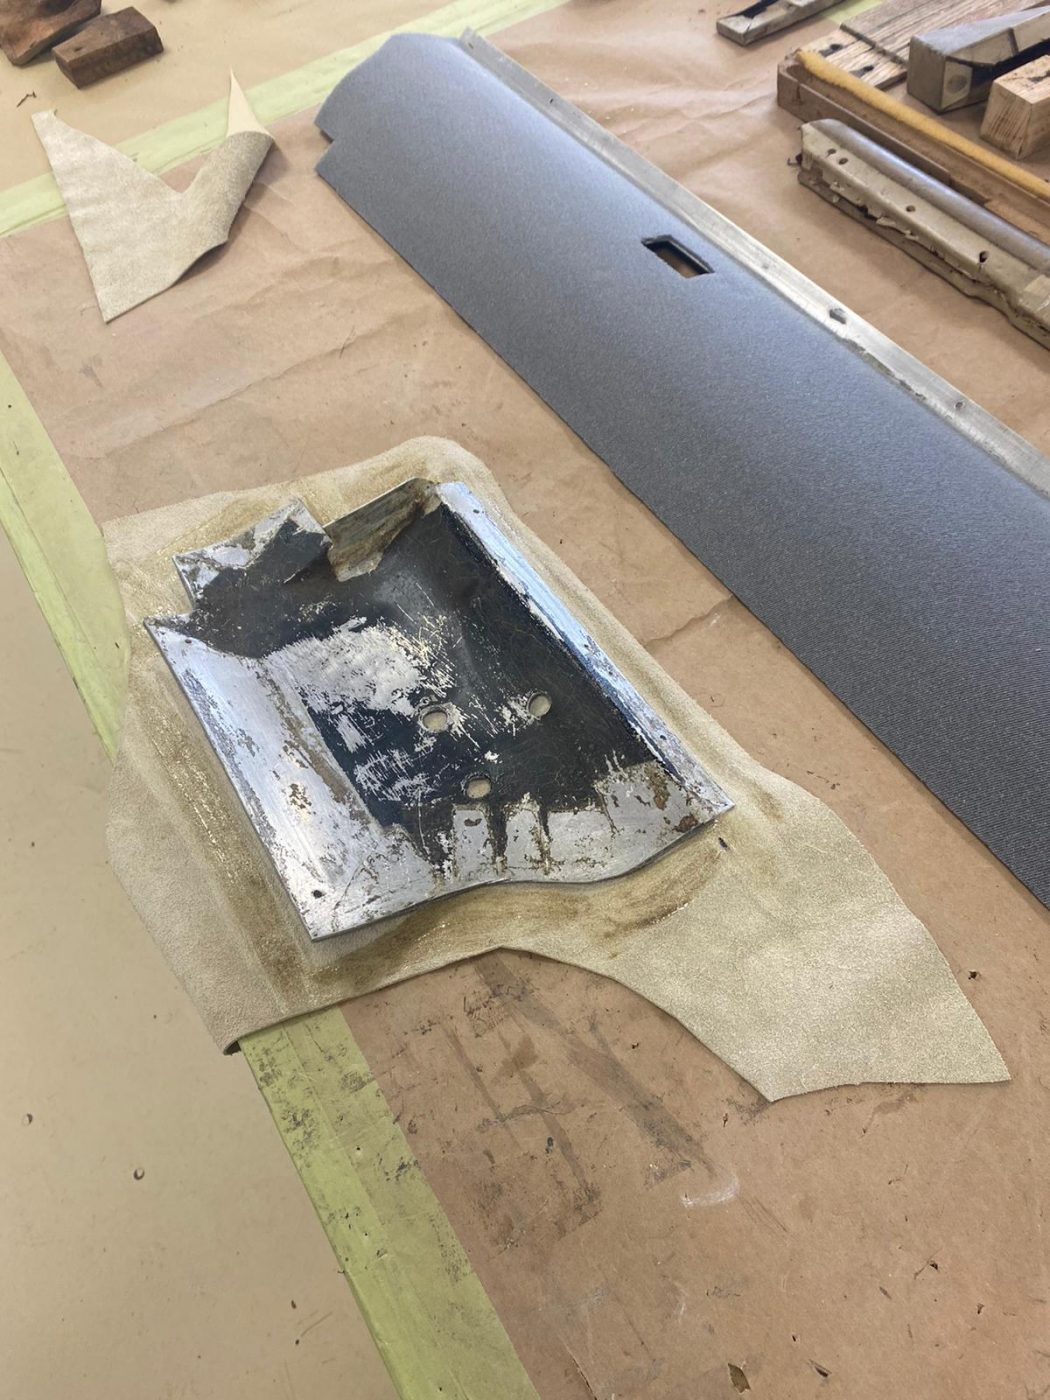
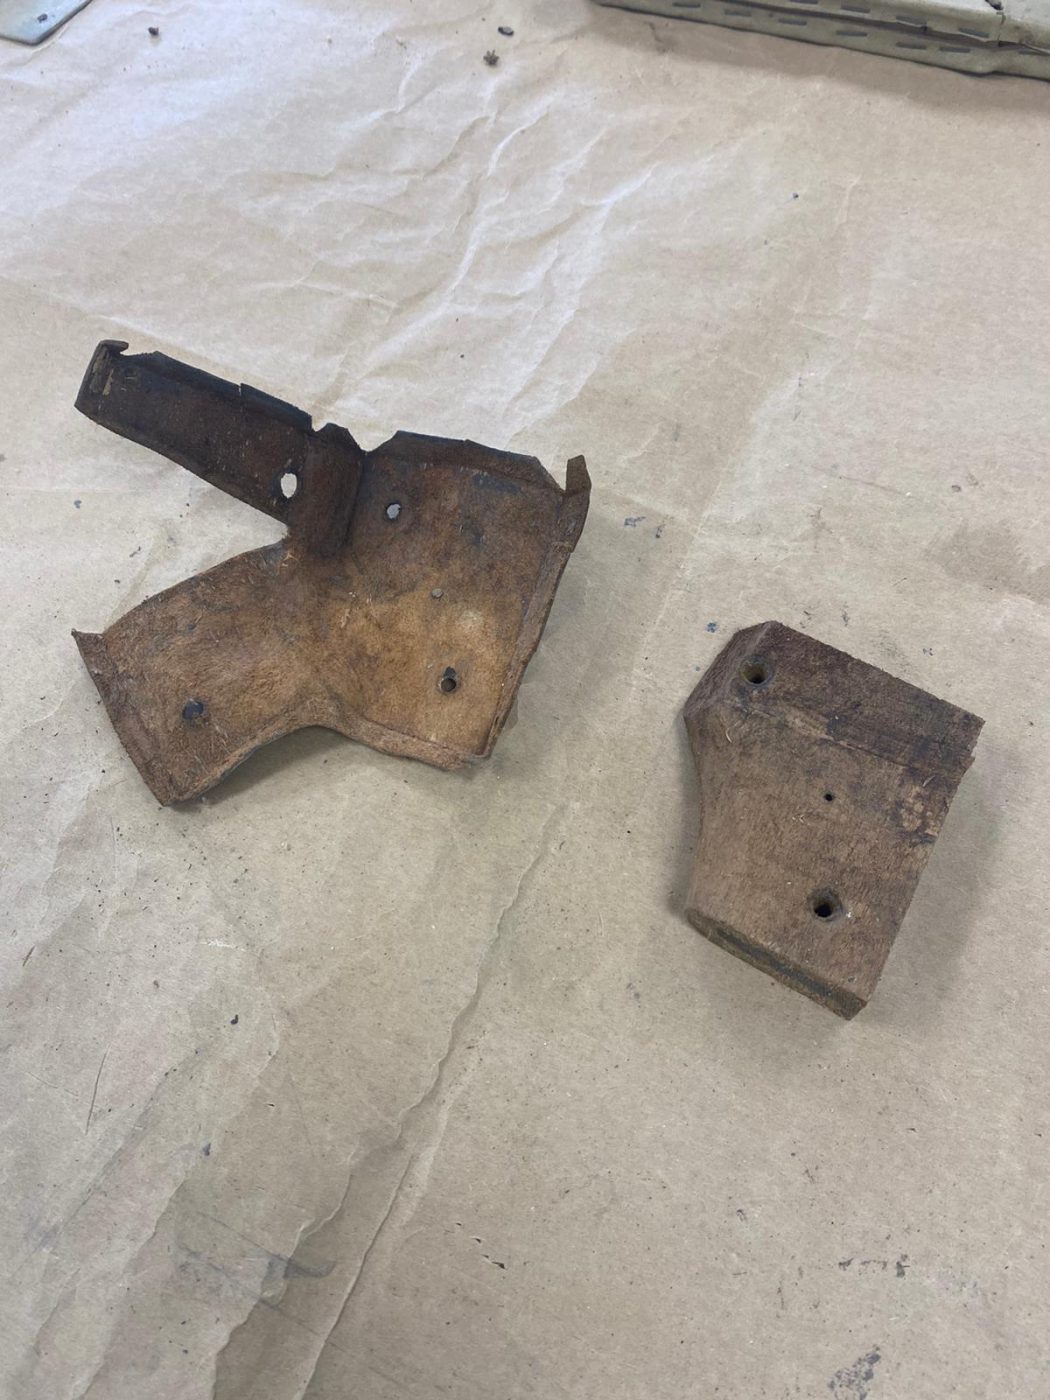
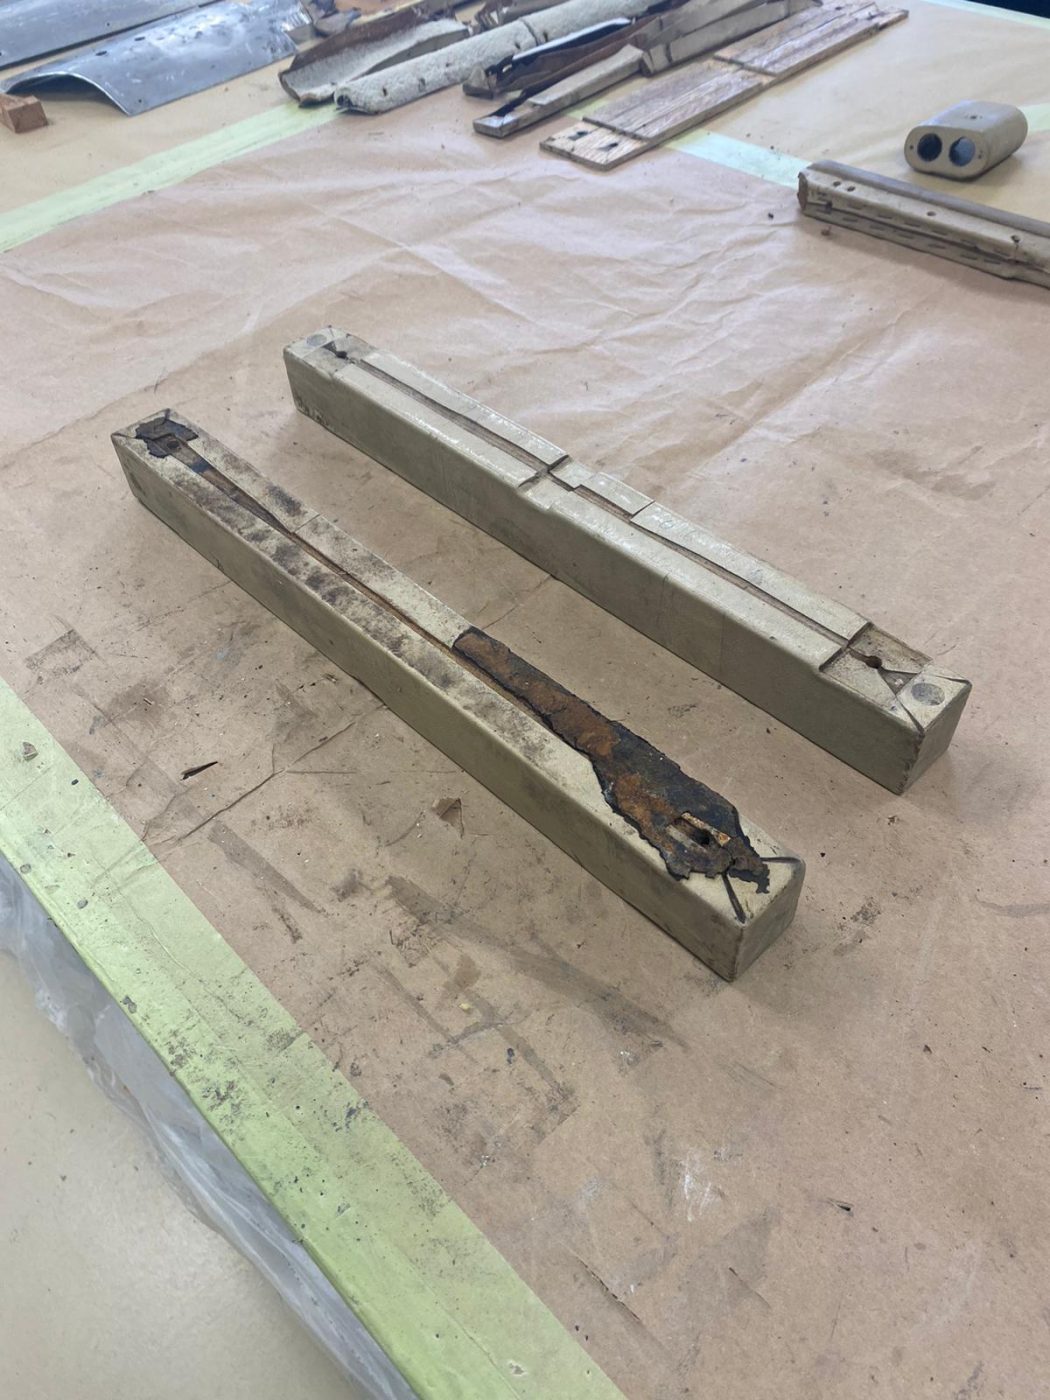
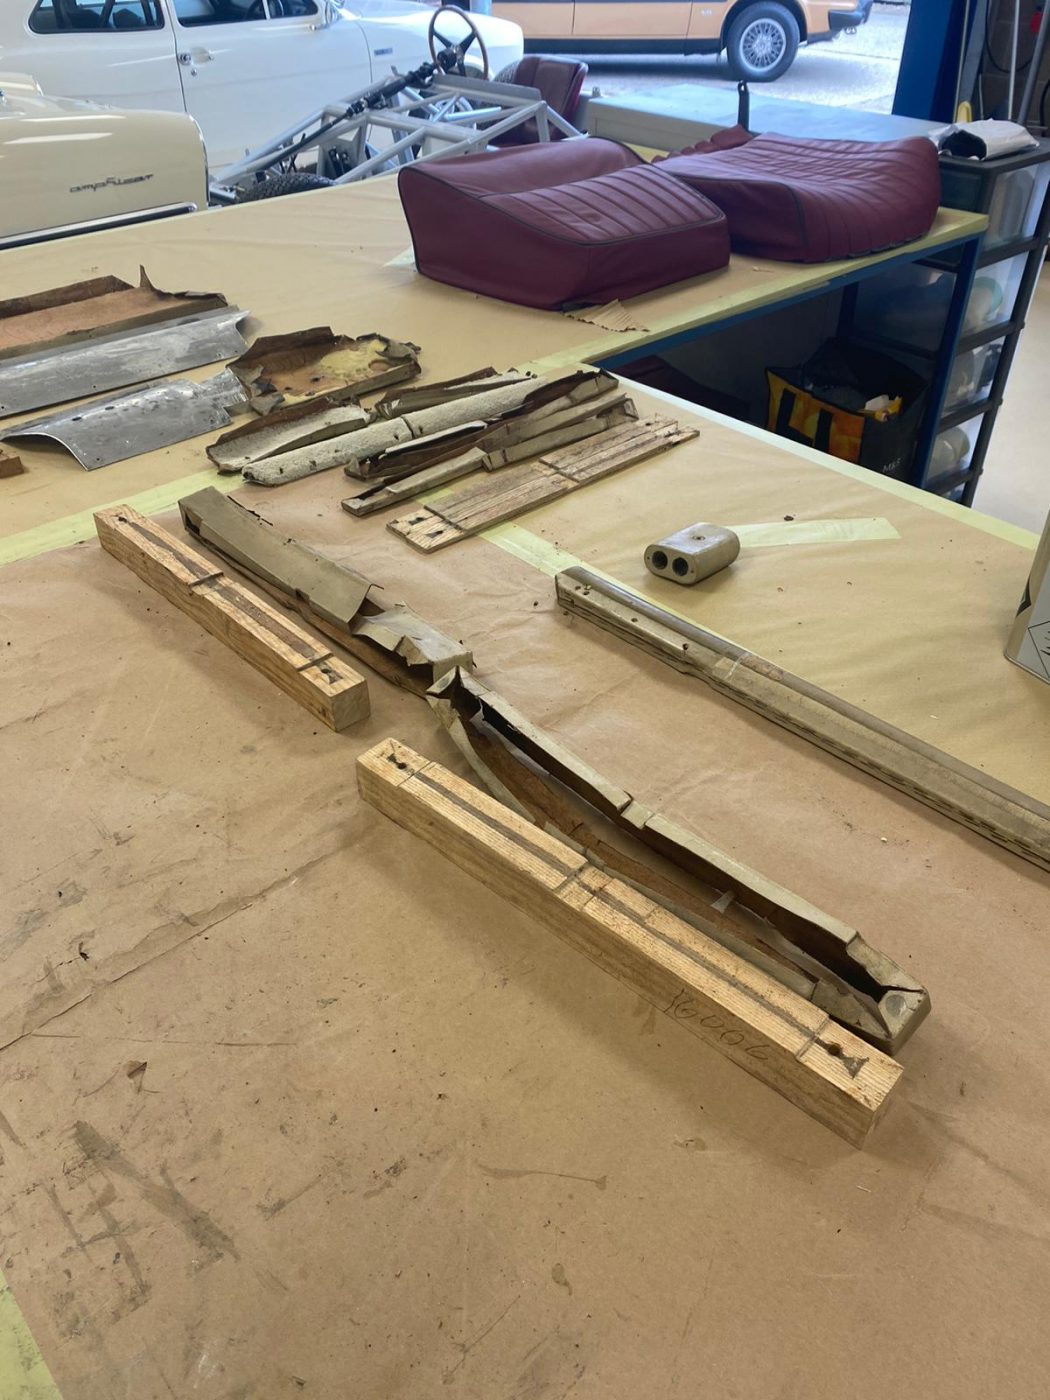
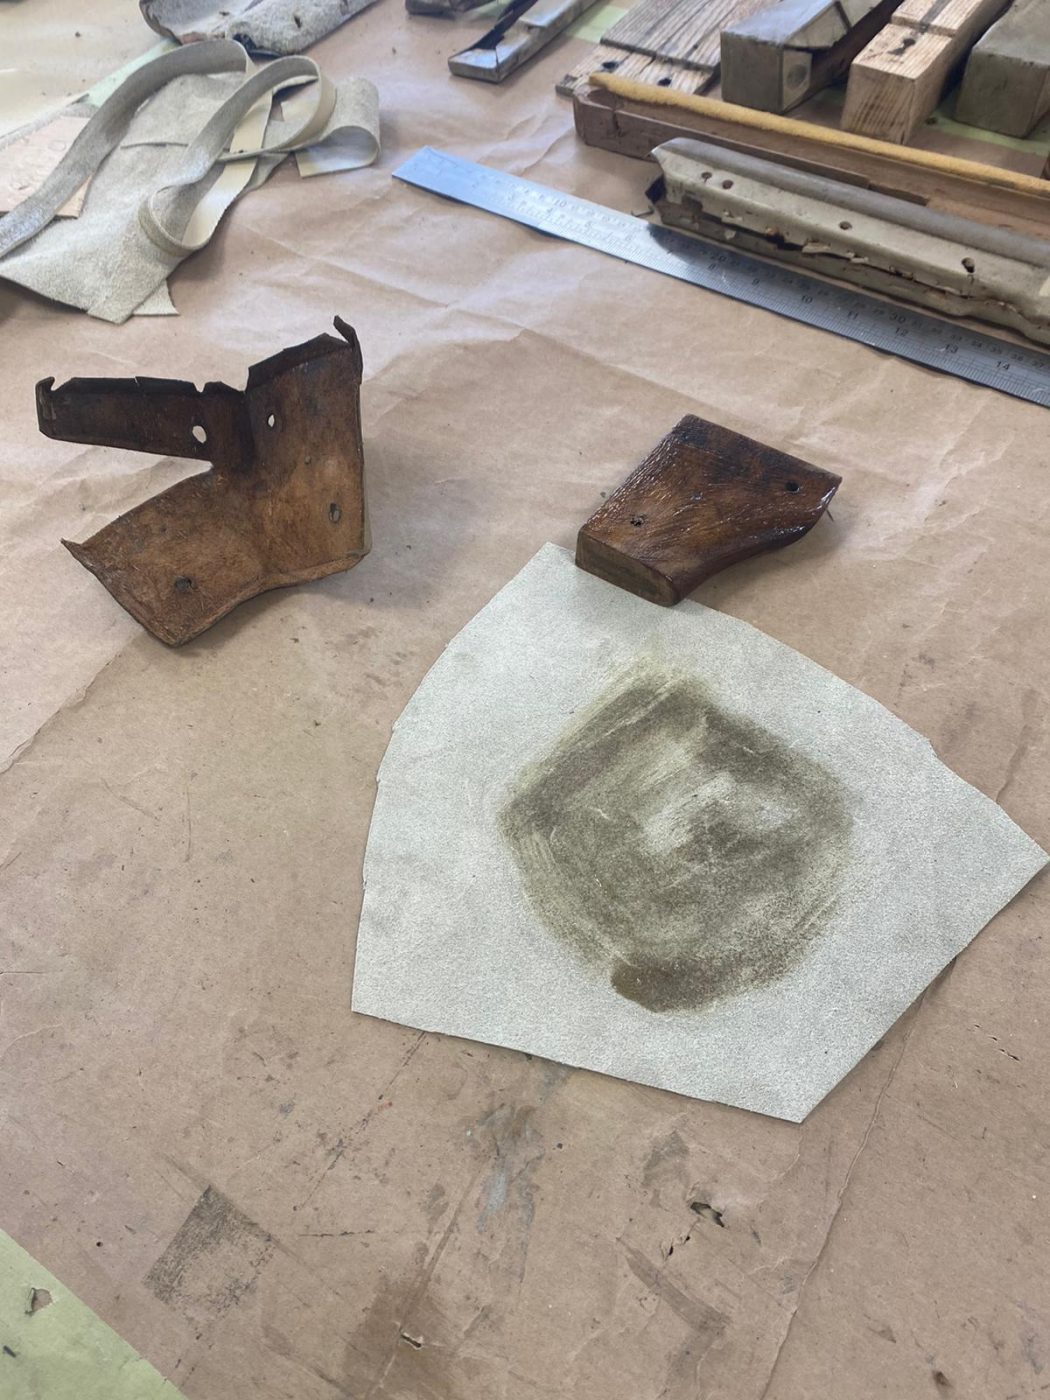
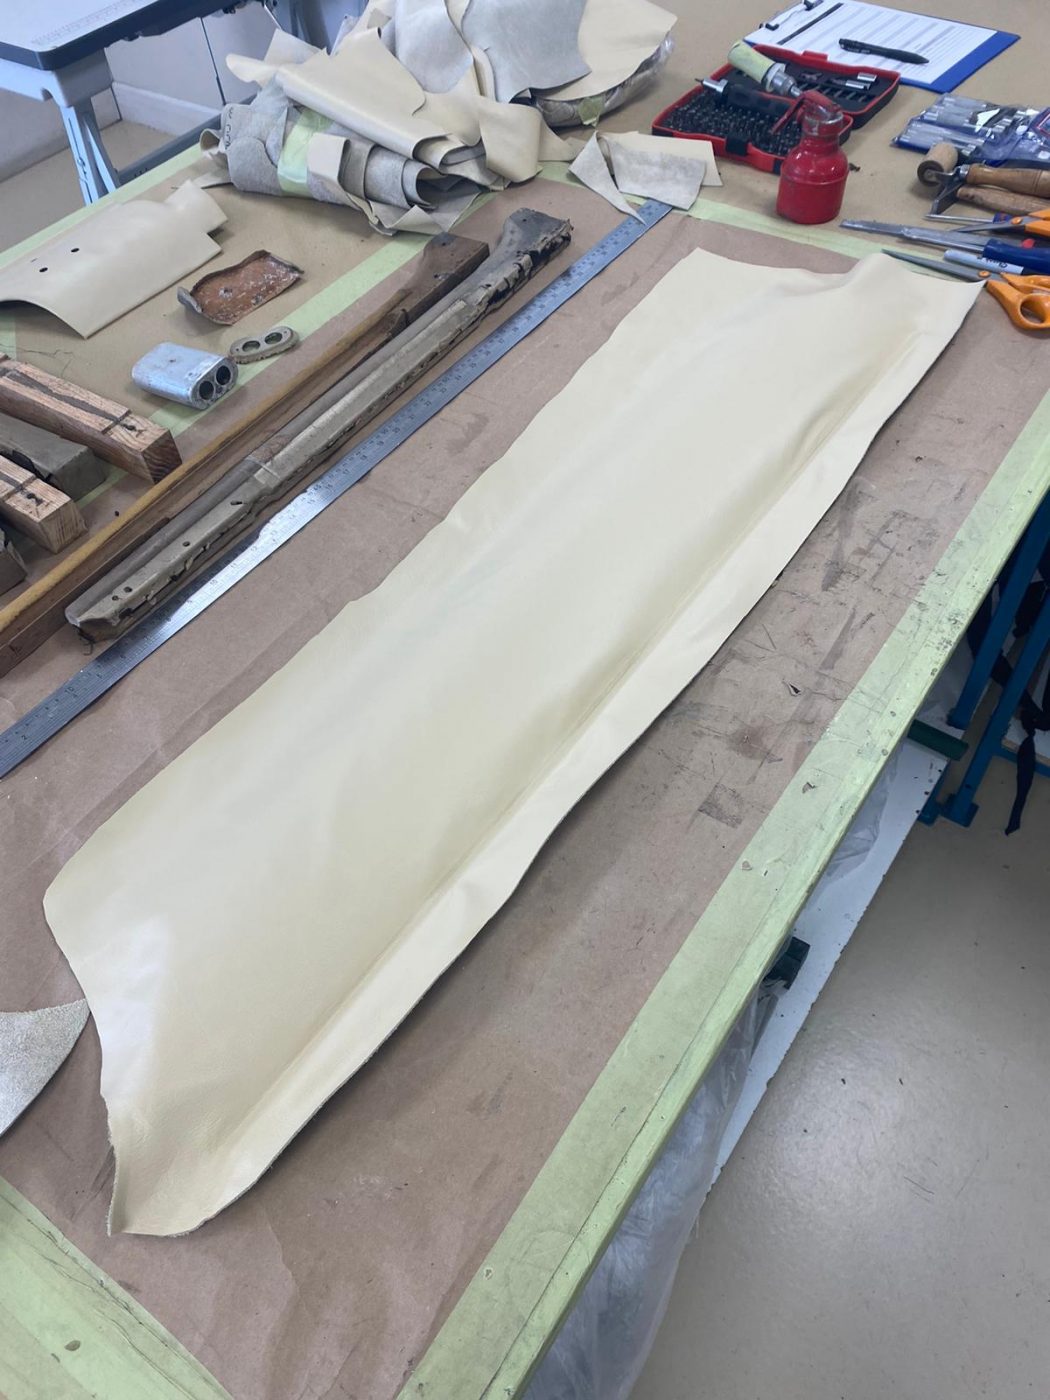
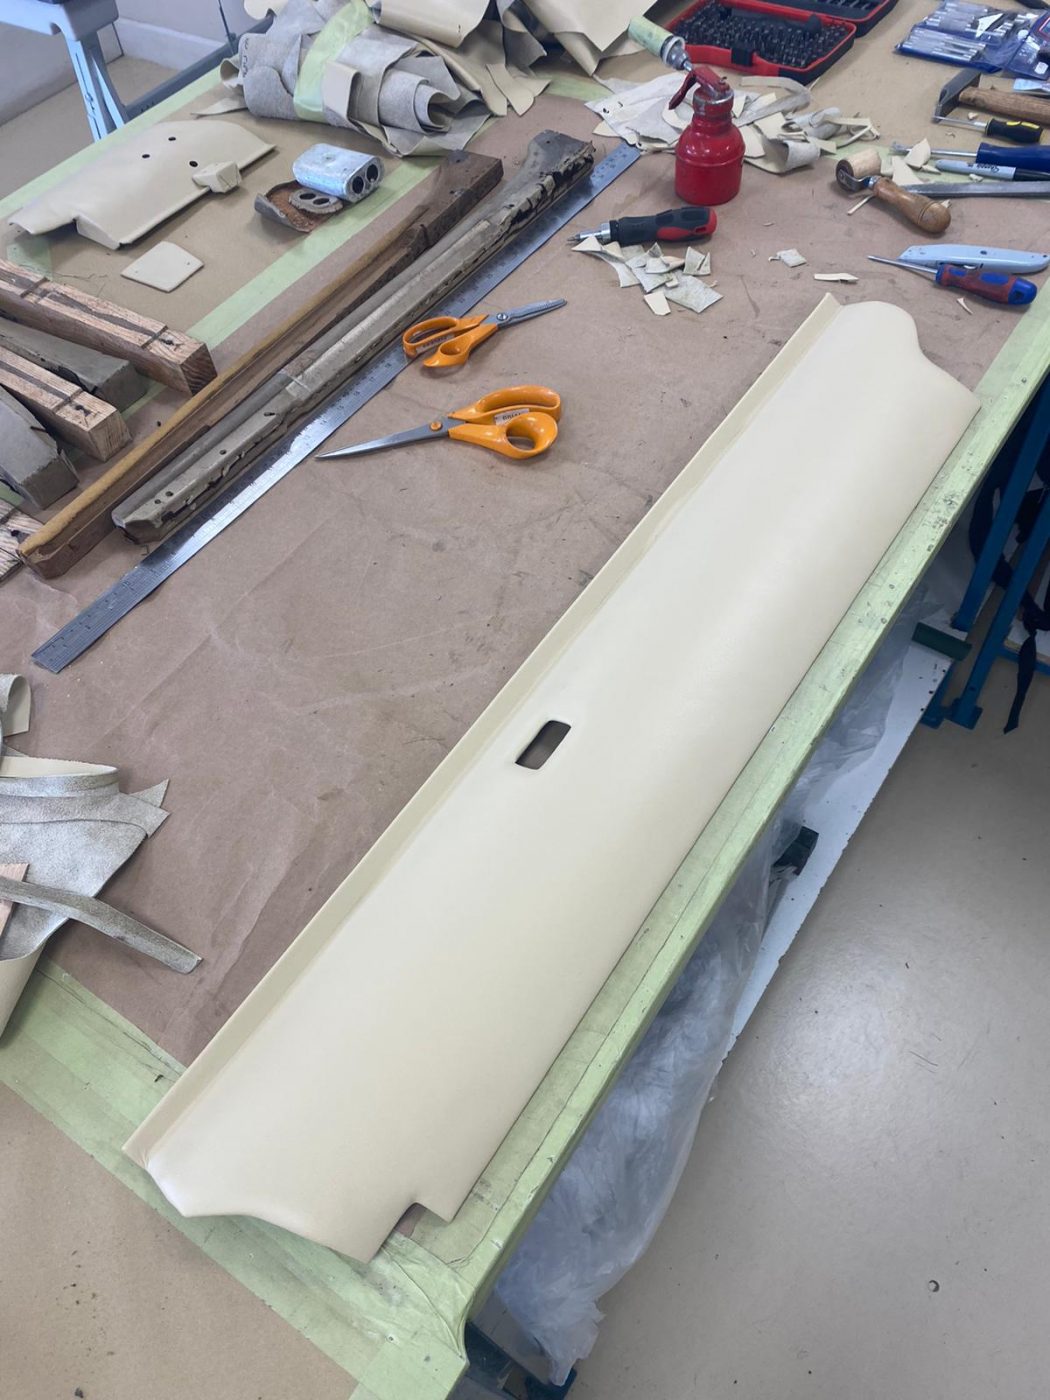
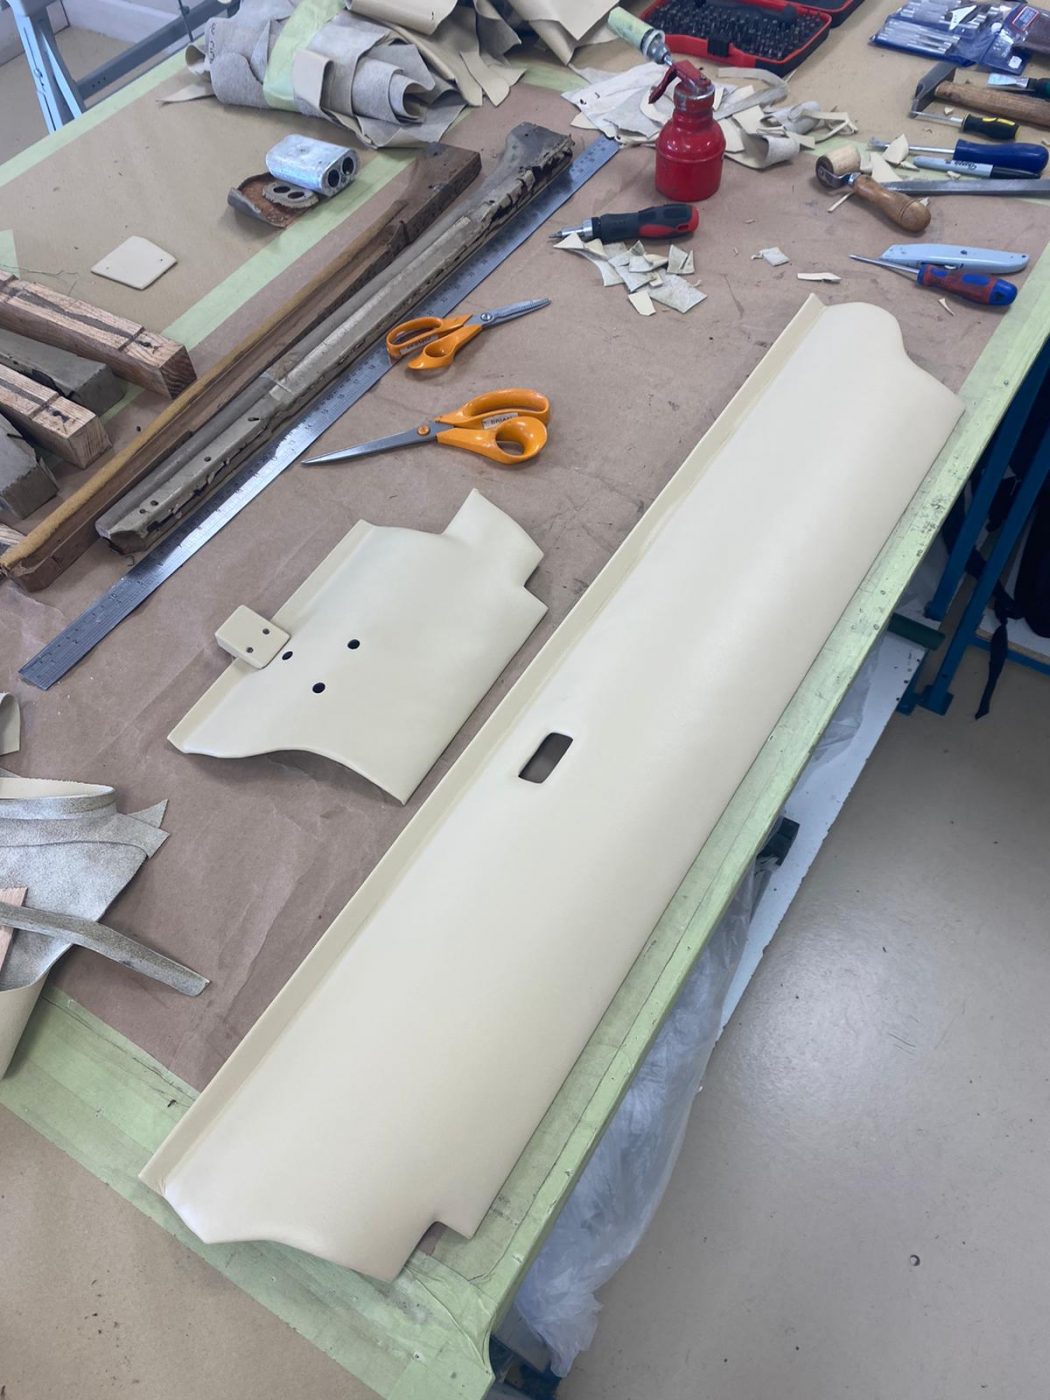
Brian has been re-covering more panels for the 1963 Bentley S3 Chinese Continental.
This time, he’s done the panels that go underneath the dash, the dash rail panel, corner panel, the metal plate that goes with it, padded dash panels, and front-seat support wood.
He stripped the original leather off all of them, and any old foam that was underneath. Then sanded off the old glue. Most of the metal panels had 3mm foam glued onto them first, before adding the new leather on top and glueing underneath. The rest of the panels just had the new leather glued directly onto them.


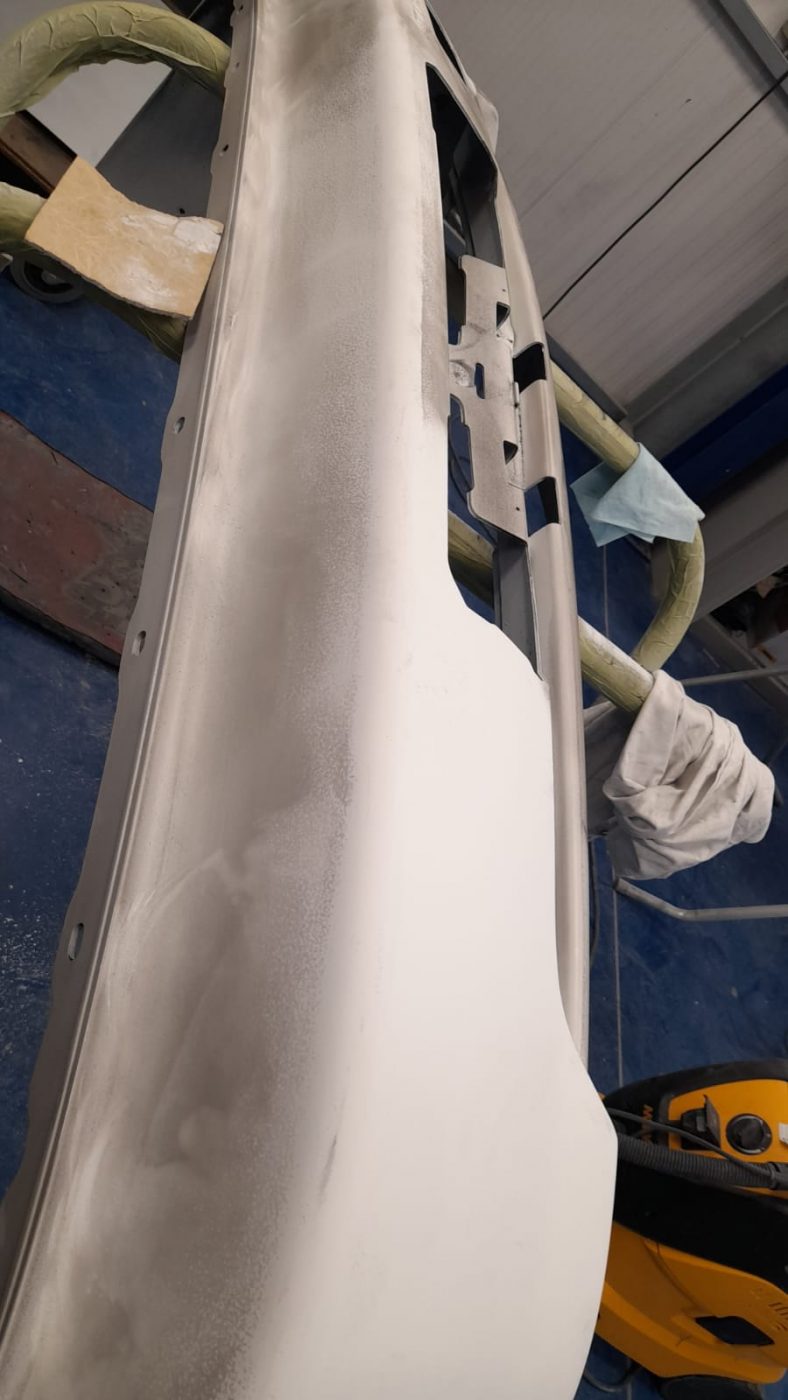
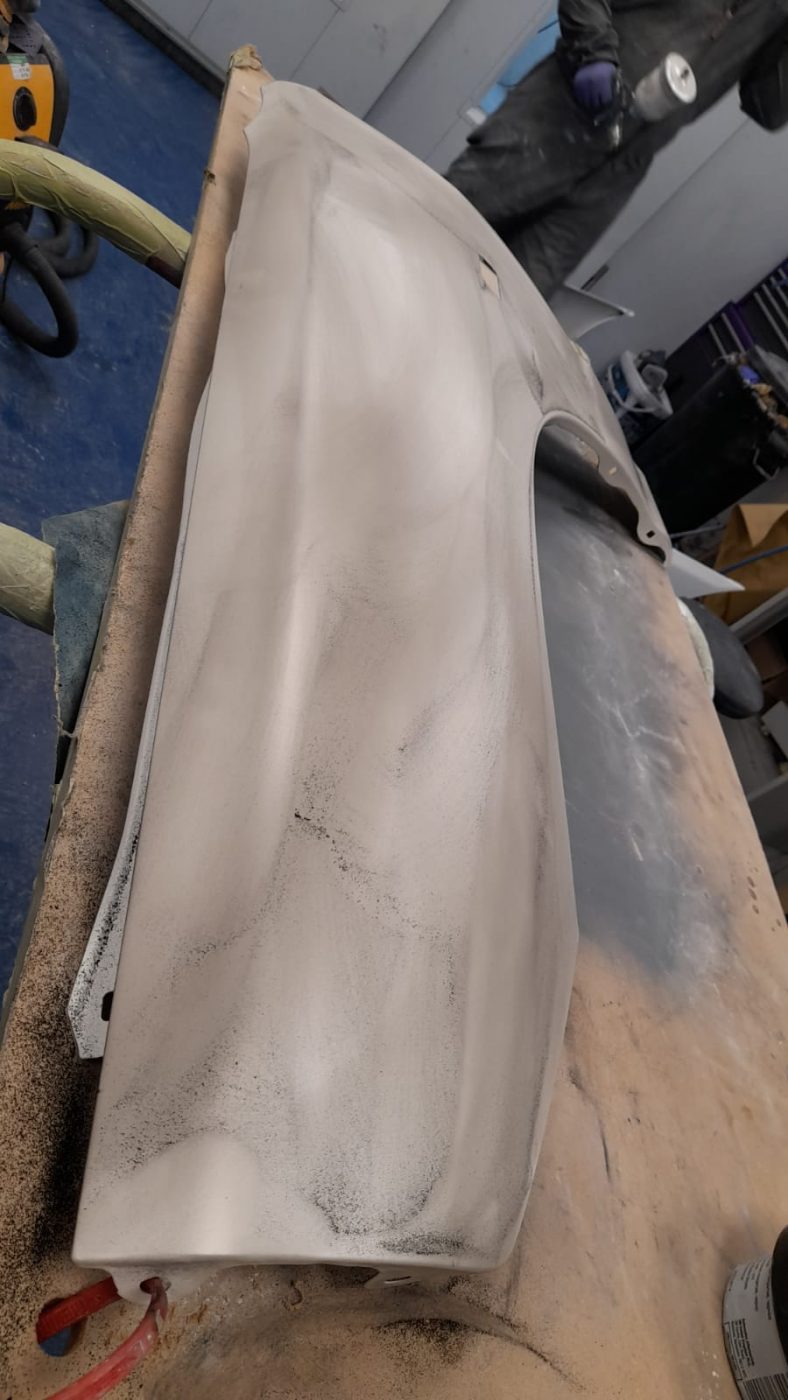
Lydia has been helping Chris in the paint shop with the 1998 Honda Integra Type R panels.
Chris has been priming them, and then Lydia has been coating them in black guide coat, which shows the imperfections in the primer surface when sanded down. She sanded each panel down until no guide coat could be seen anymore. This was done with a mixture of blocking, using a DA and sanding by hand. Lydia then went over each panel with a grey scotch pad lightly and cleaned off any sanding dust with pre-clean.
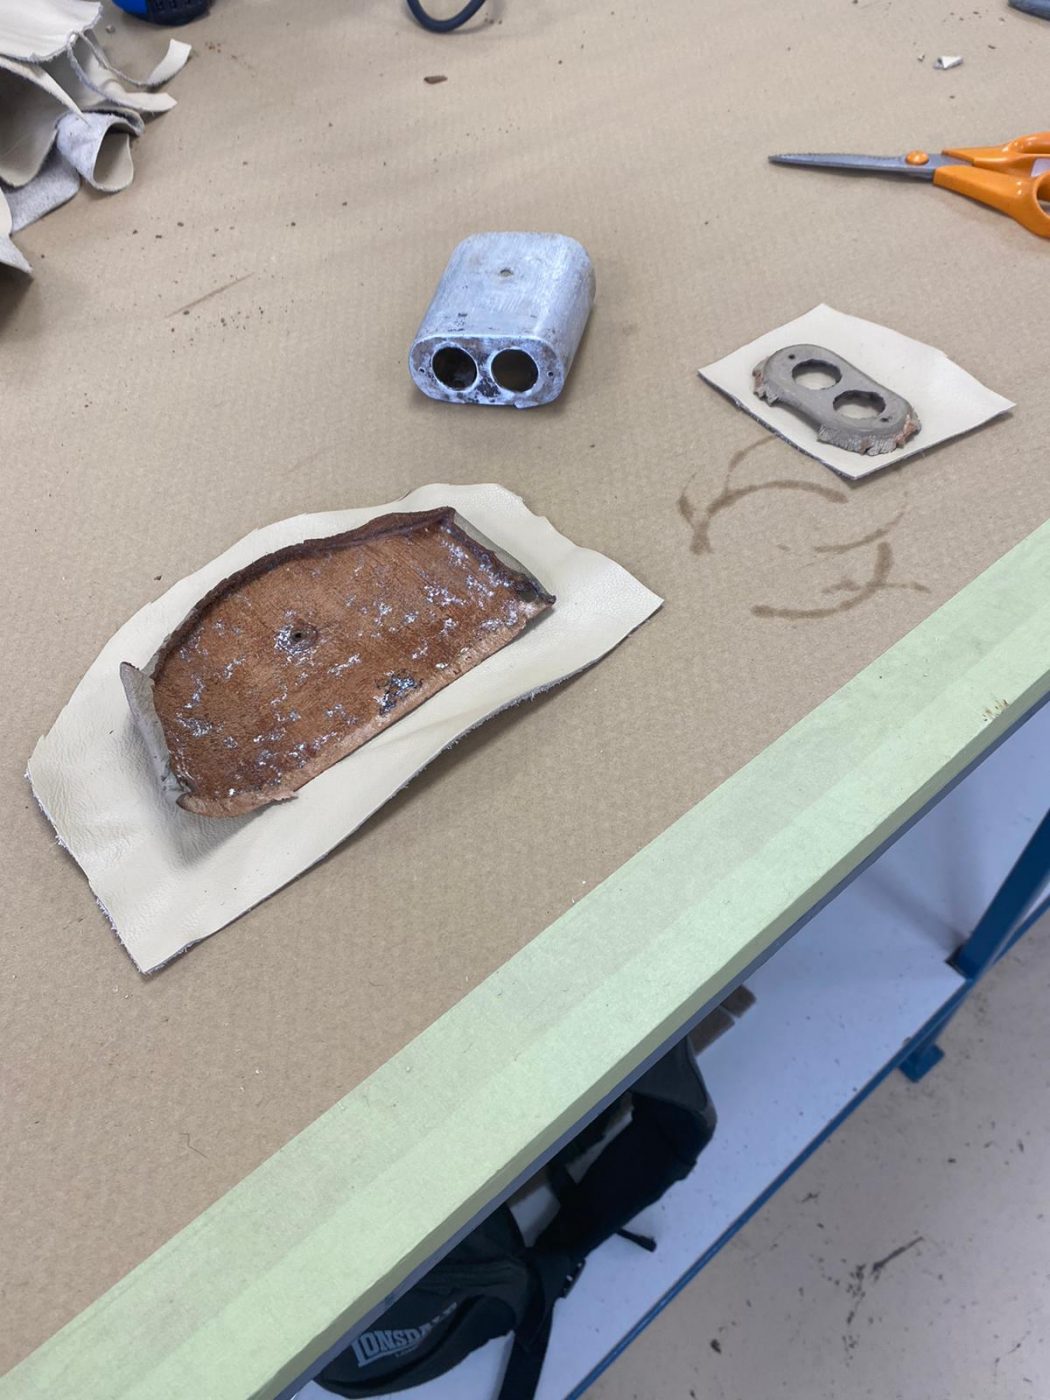
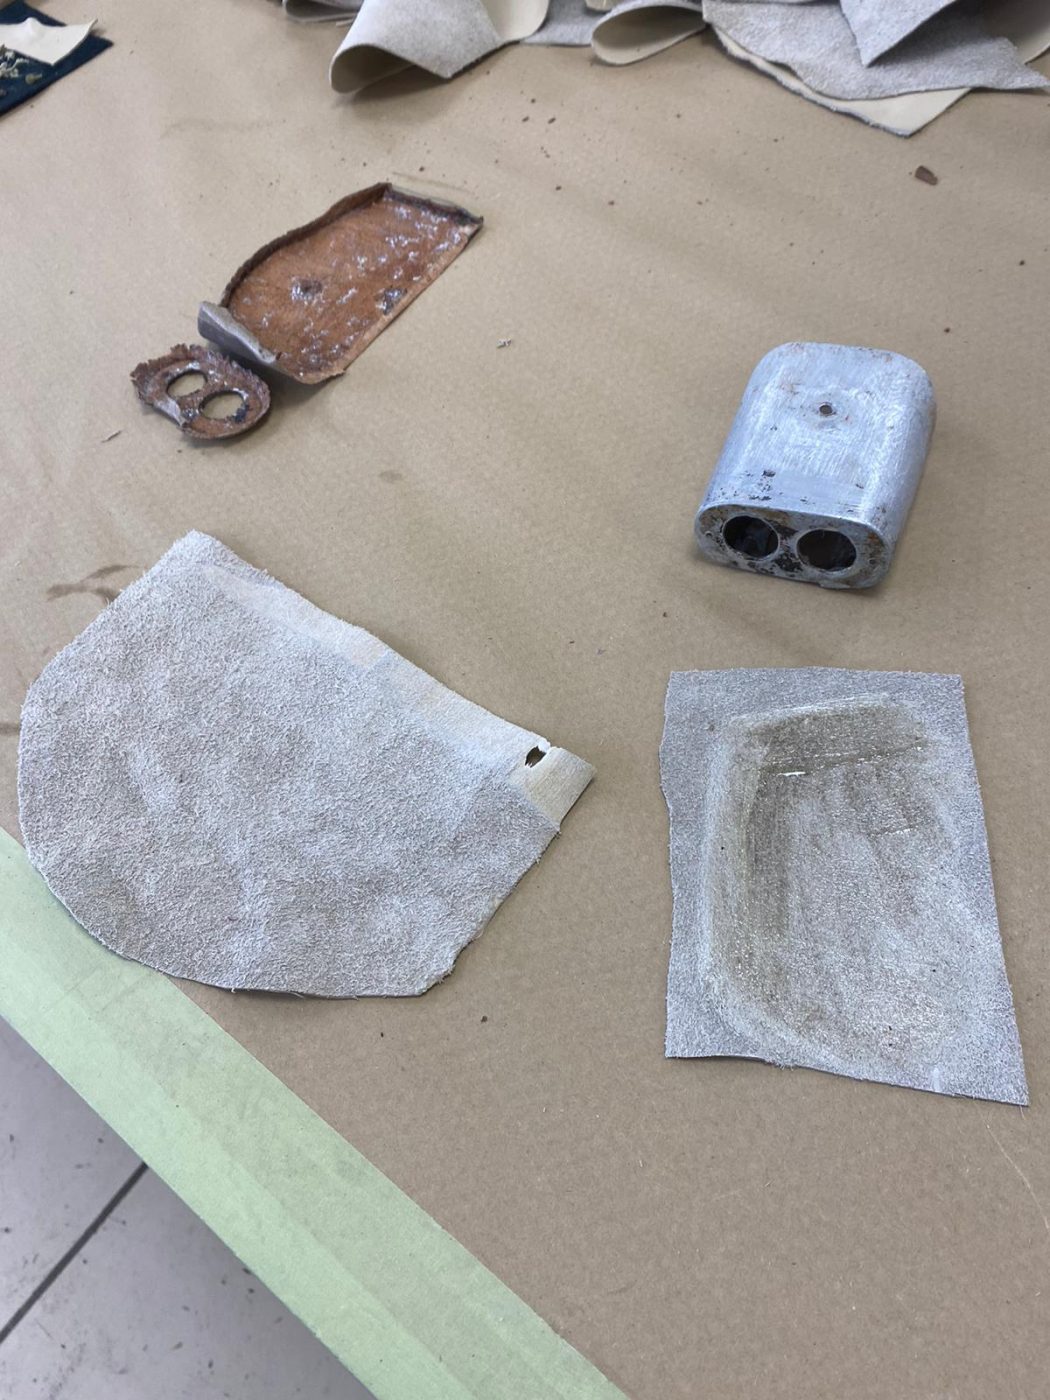
Tamas has fabricated and welded together a new stereo box for the white 1954 Jaguar Mk VII. Kath has then covered it in dark red leather, ready to go in the car!