White E-Type In For Paint Prep
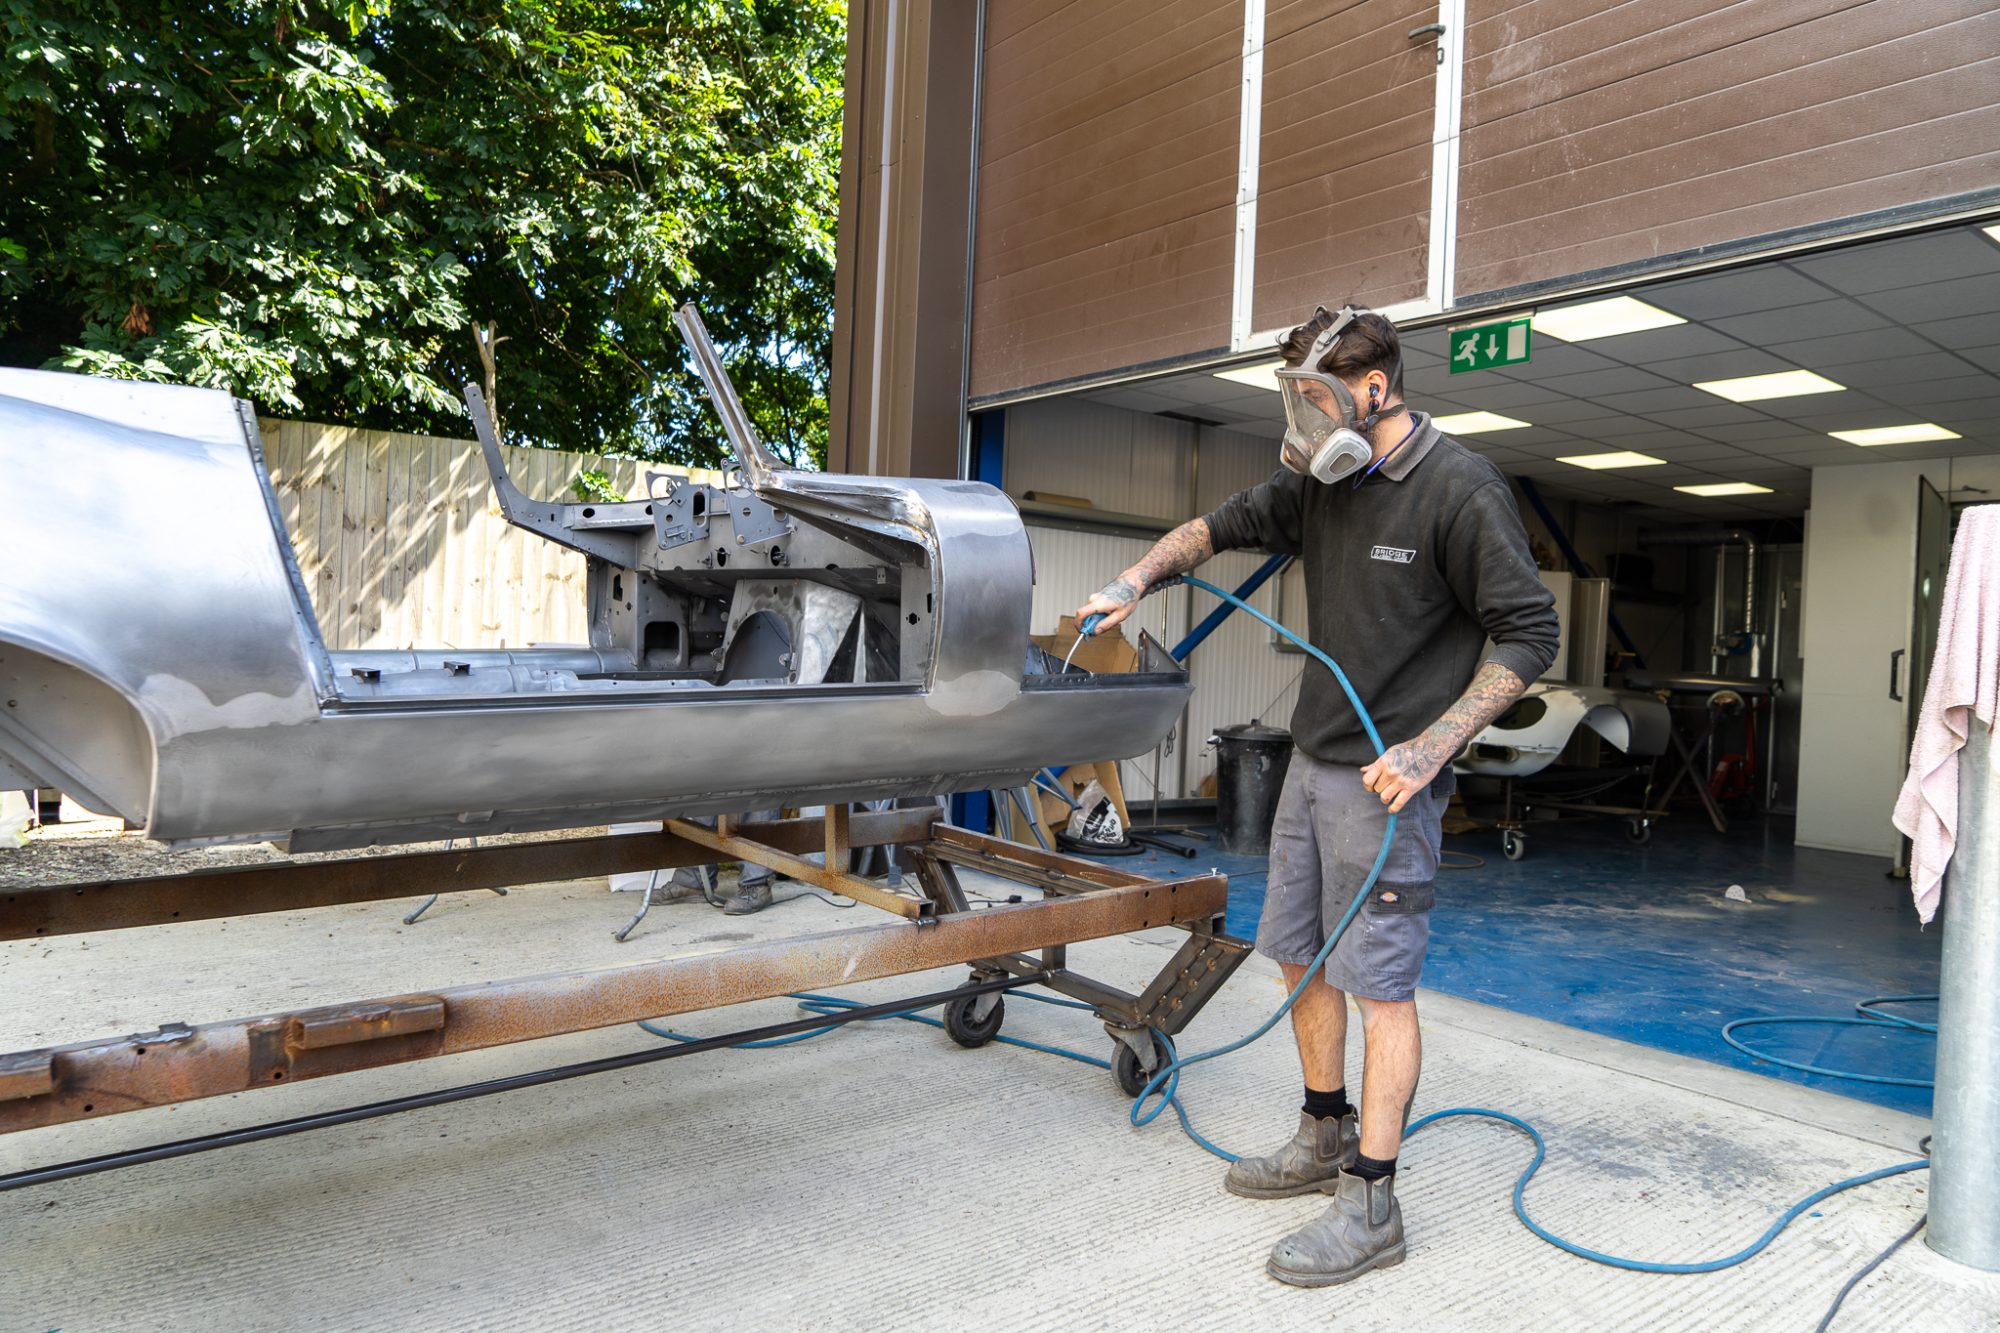
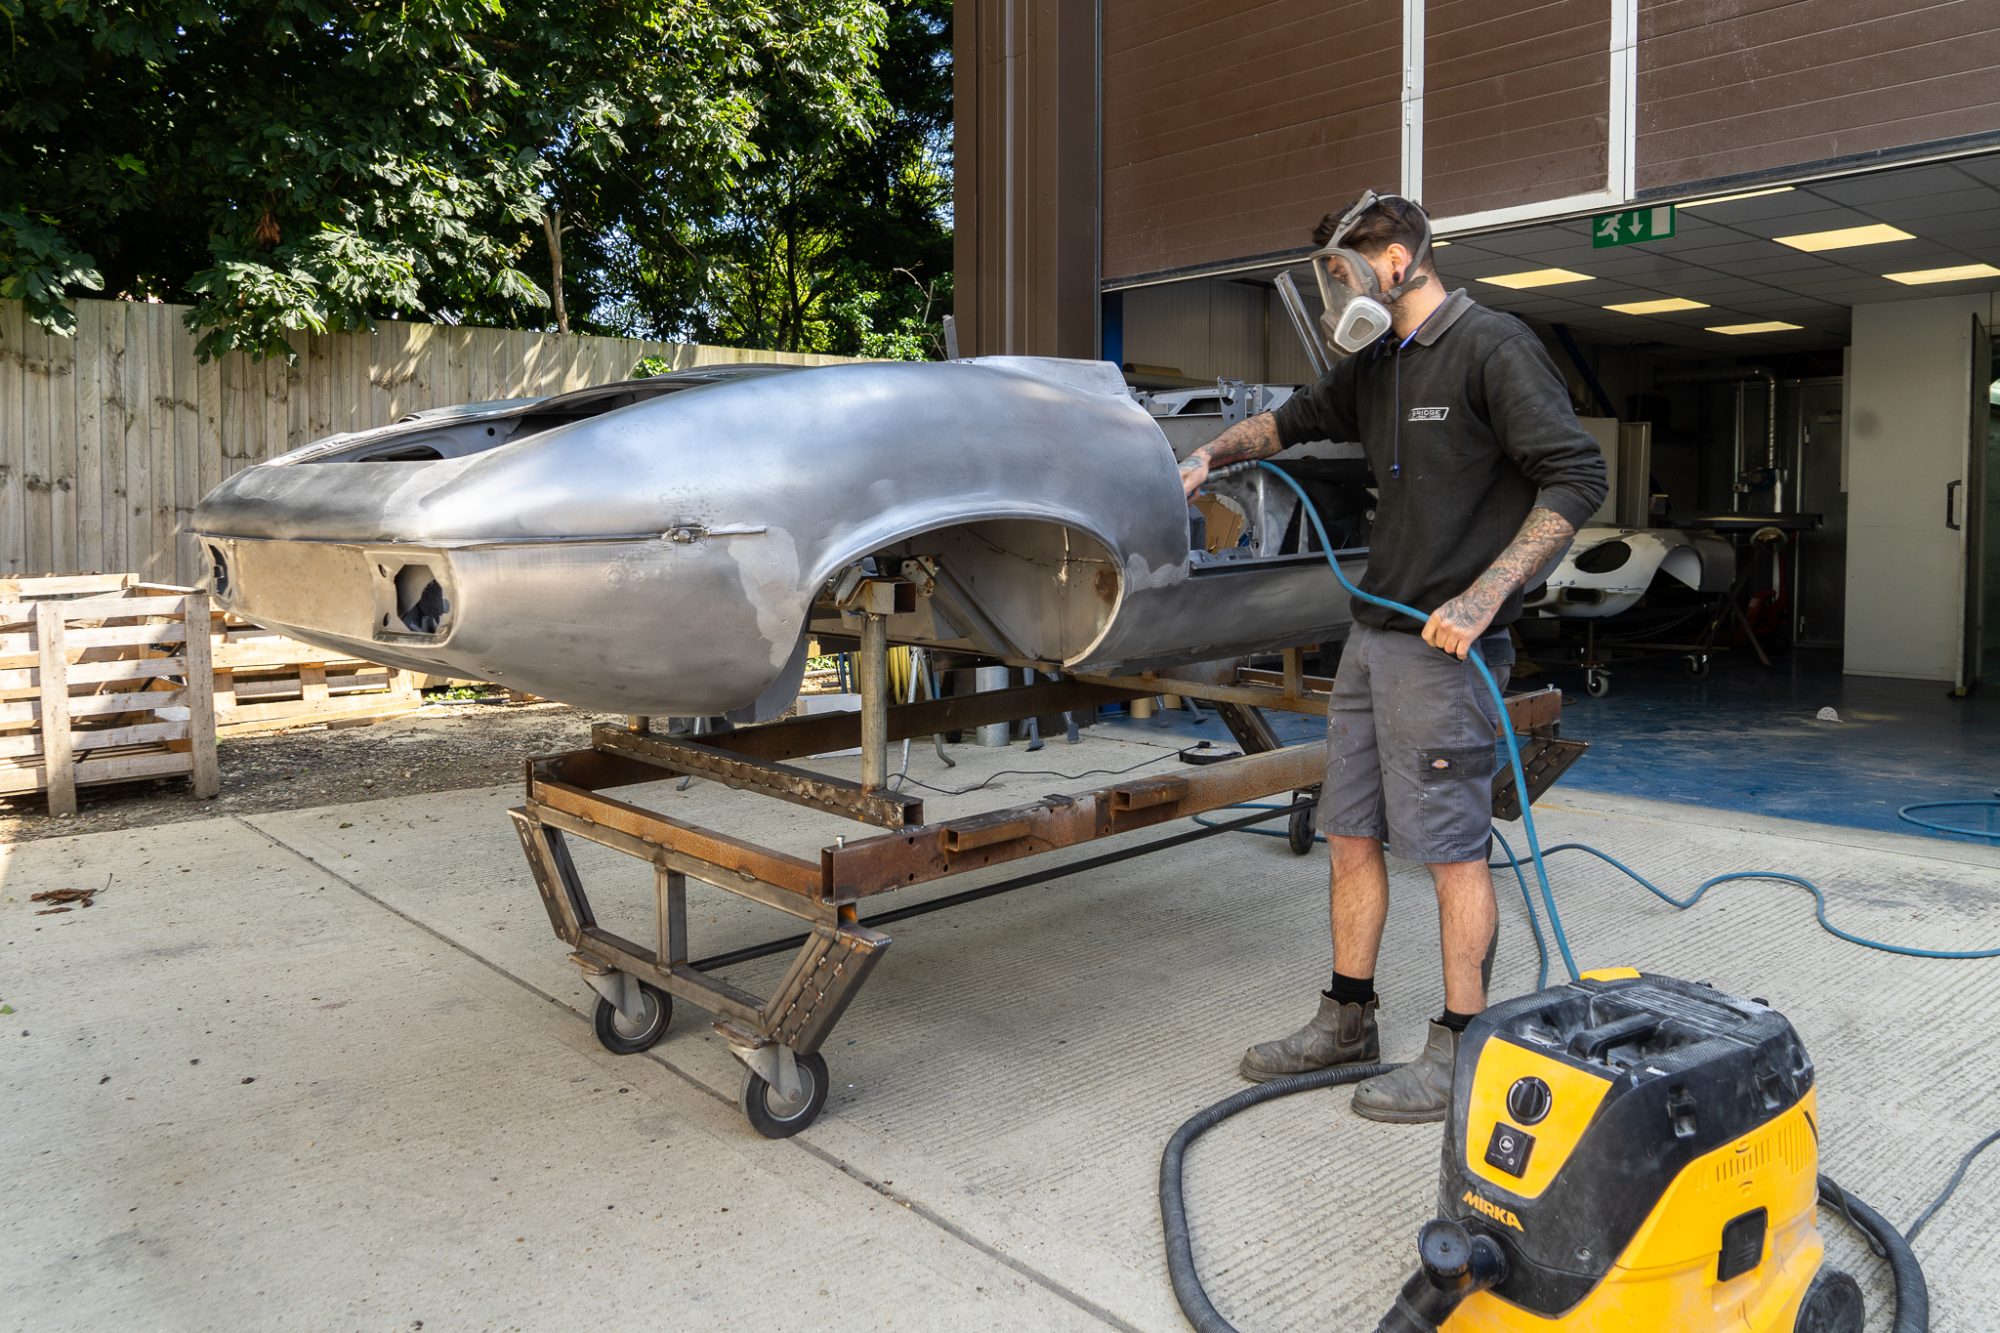
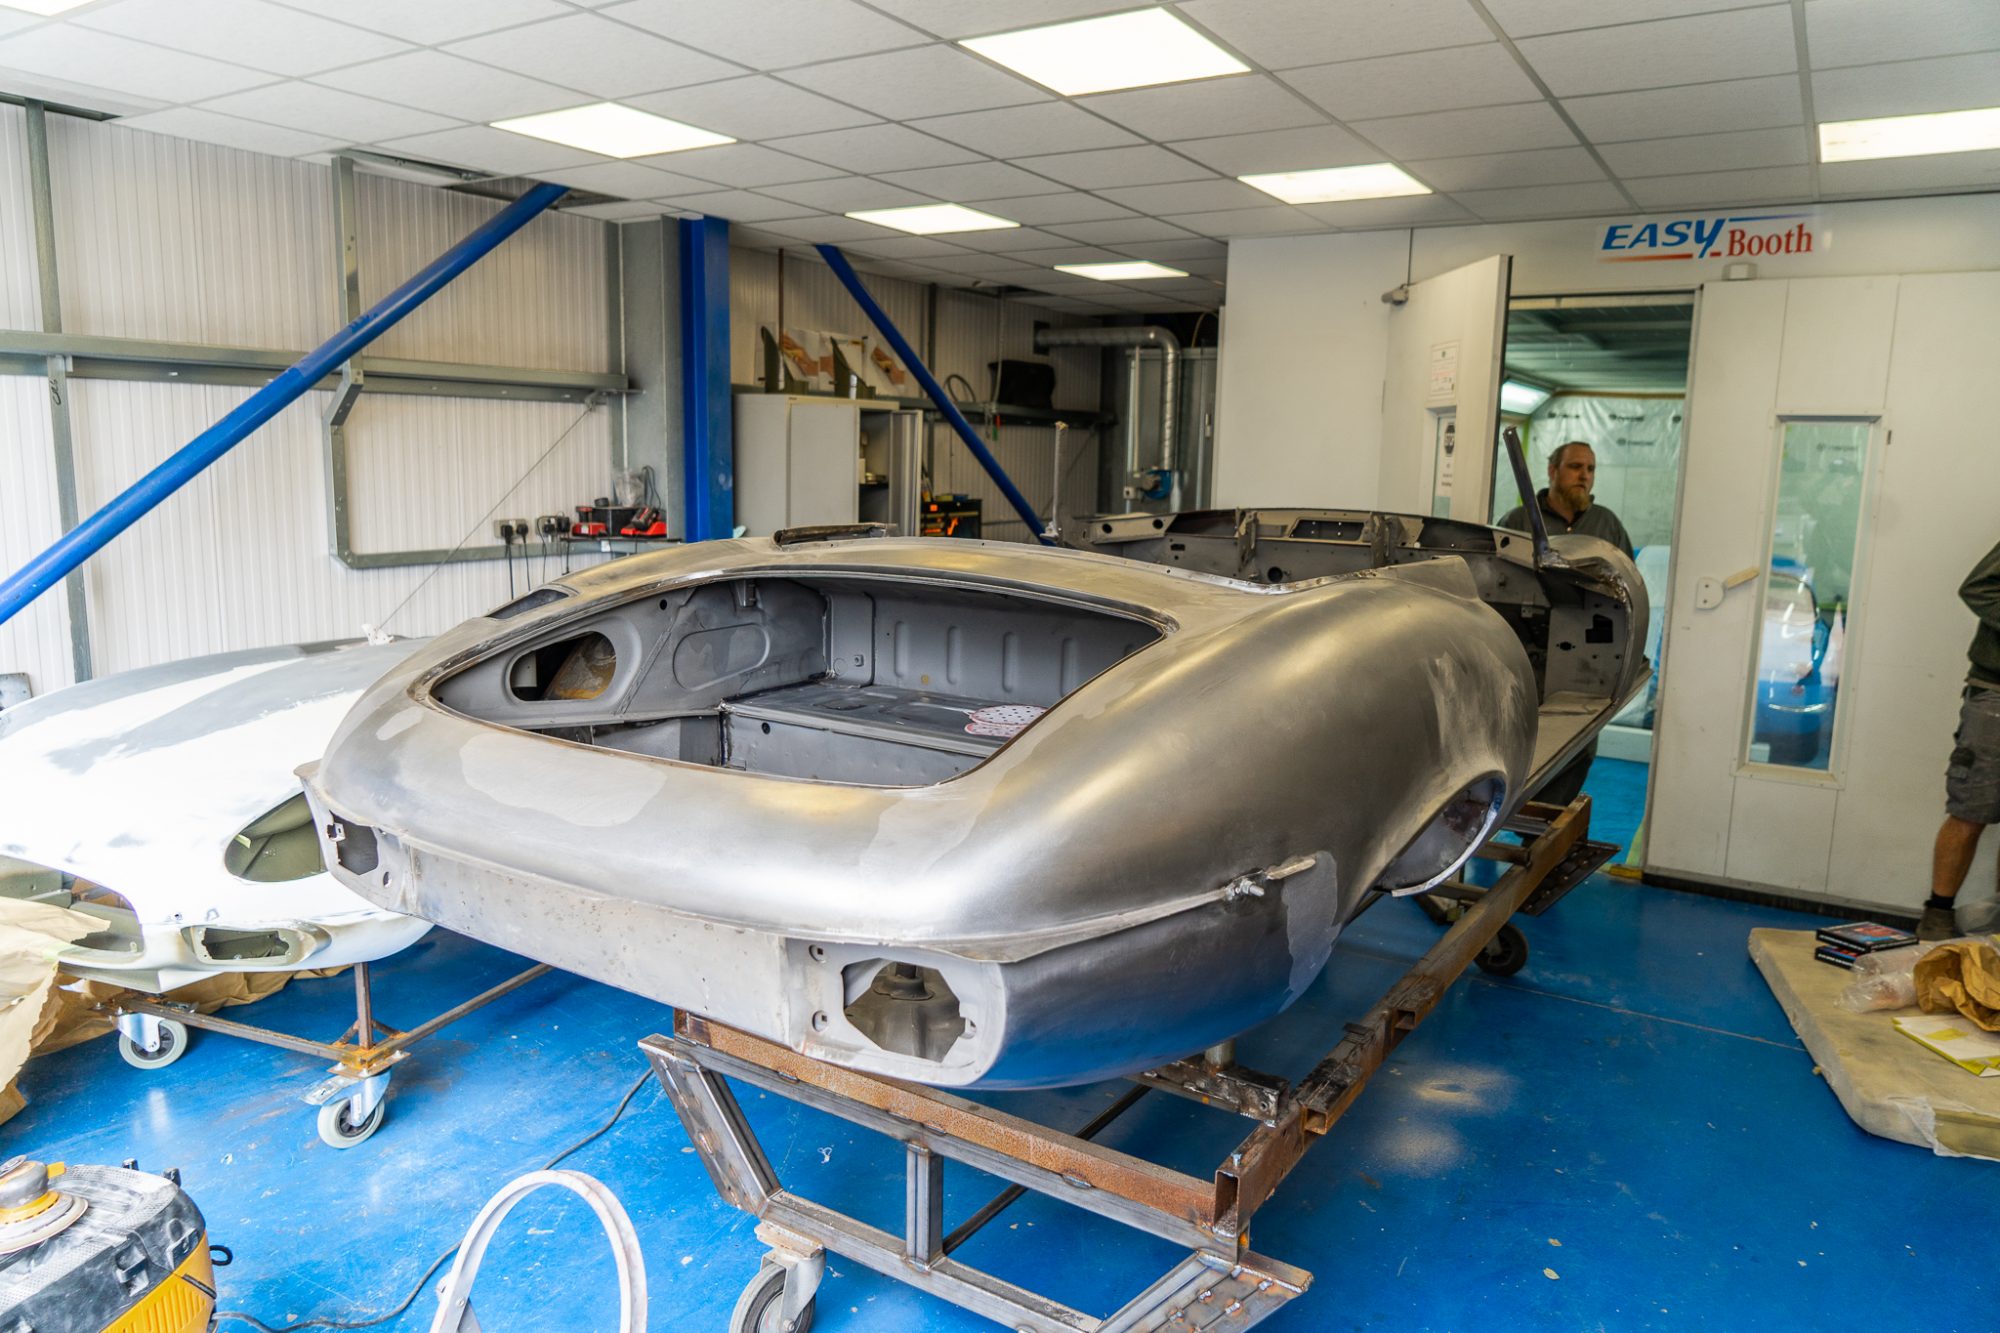
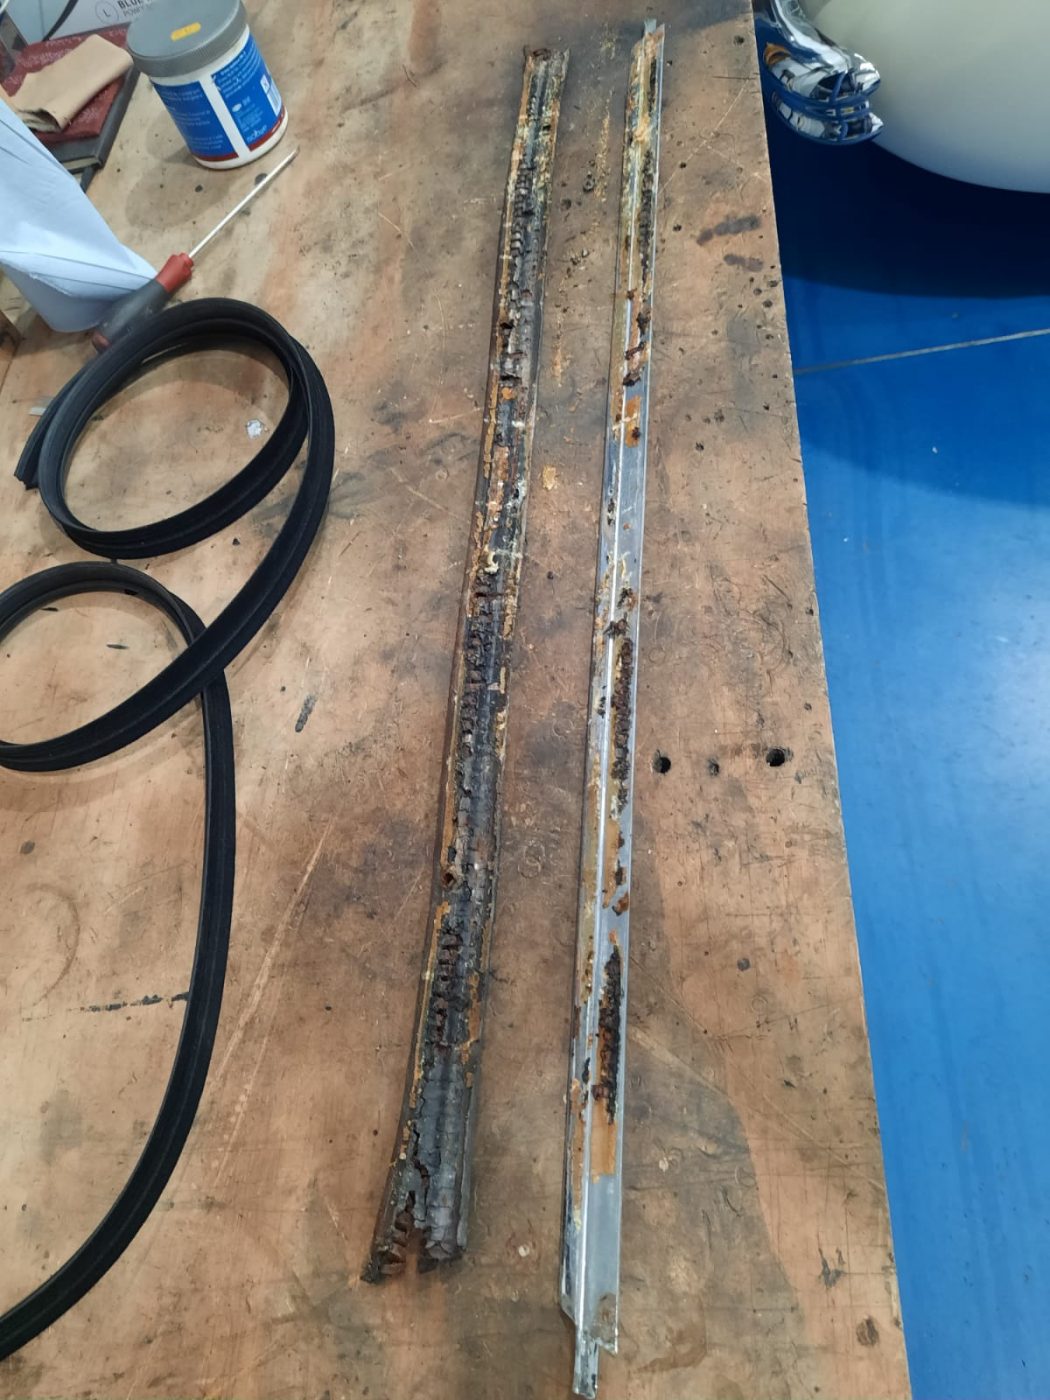
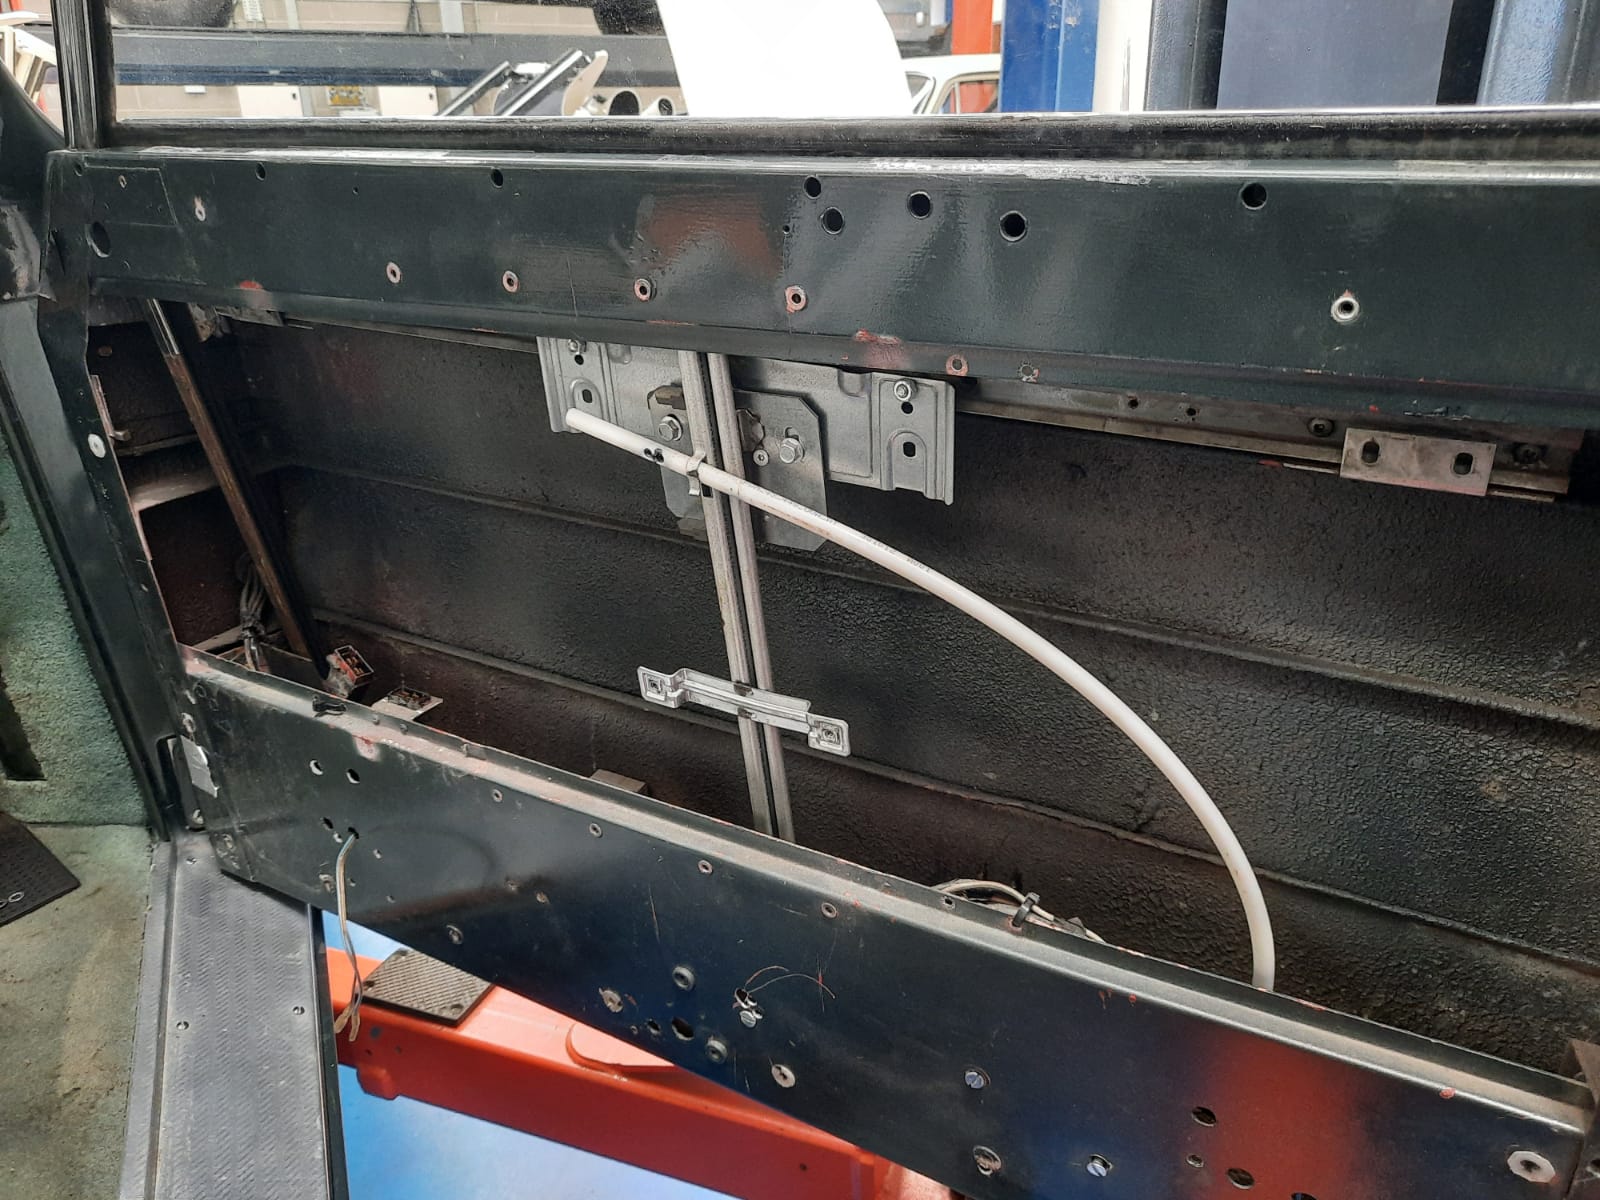
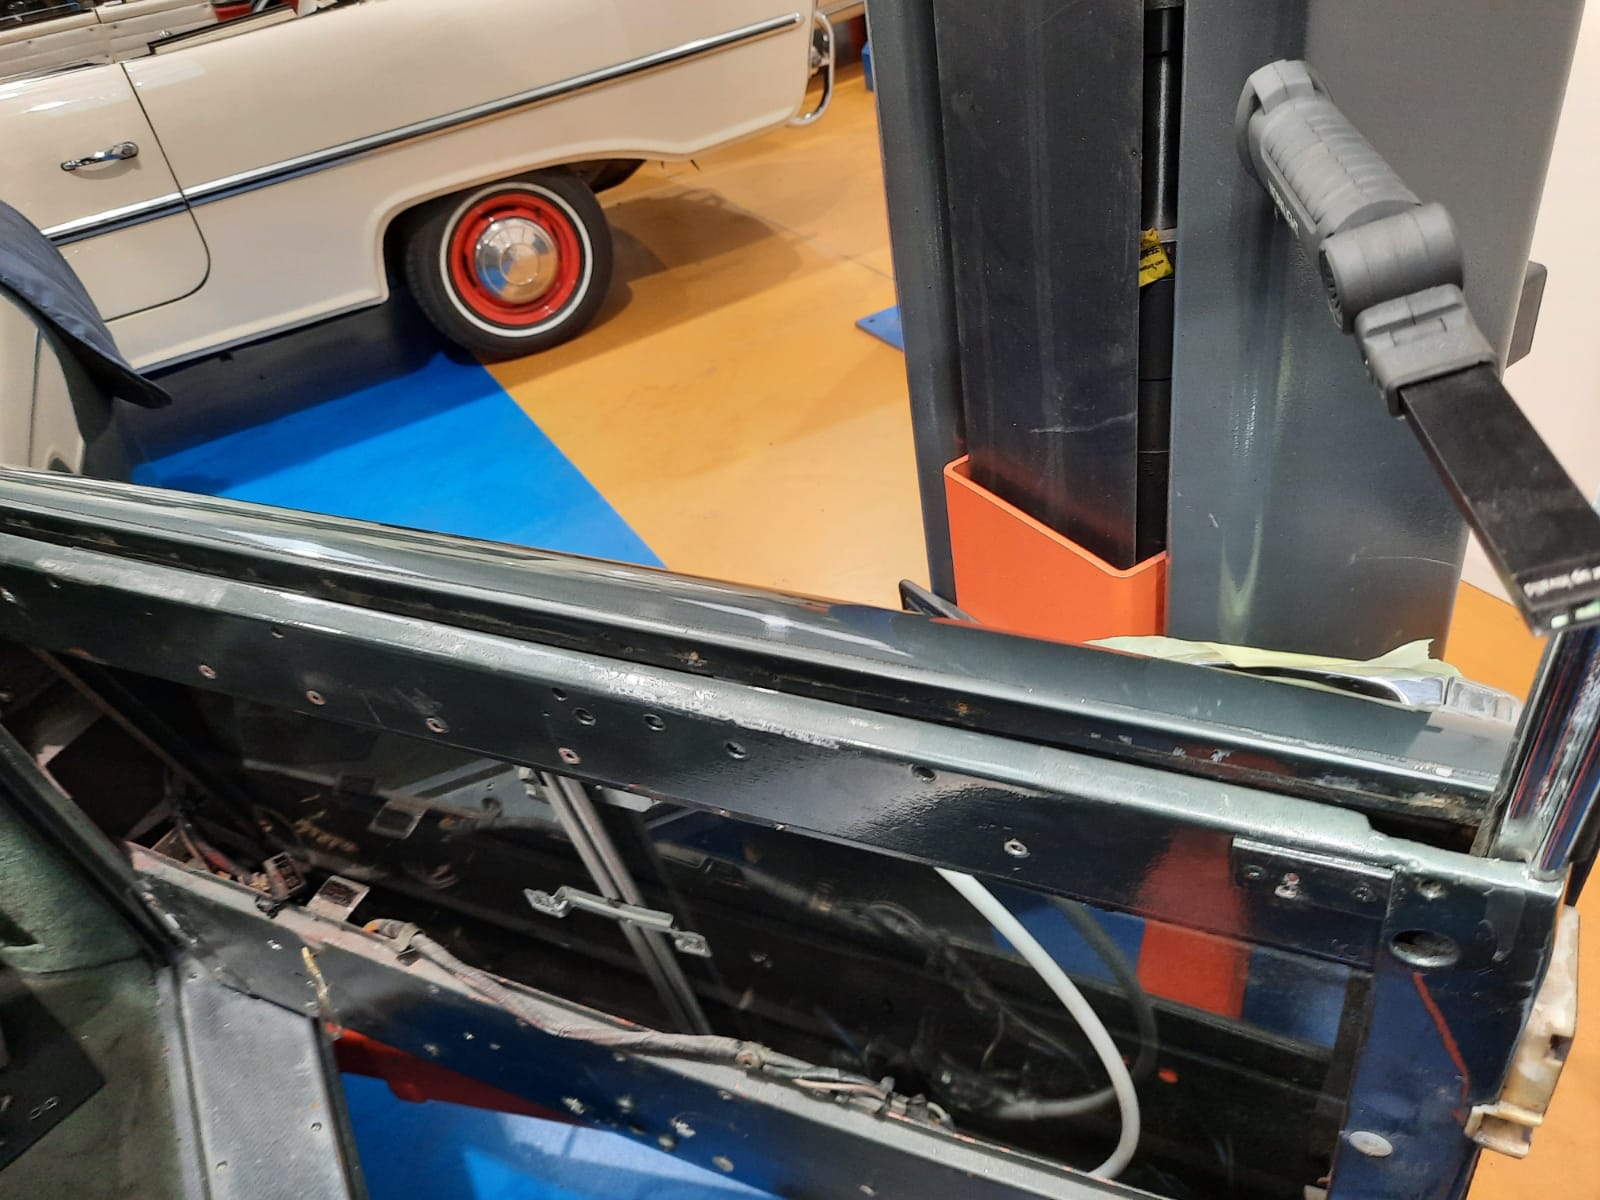
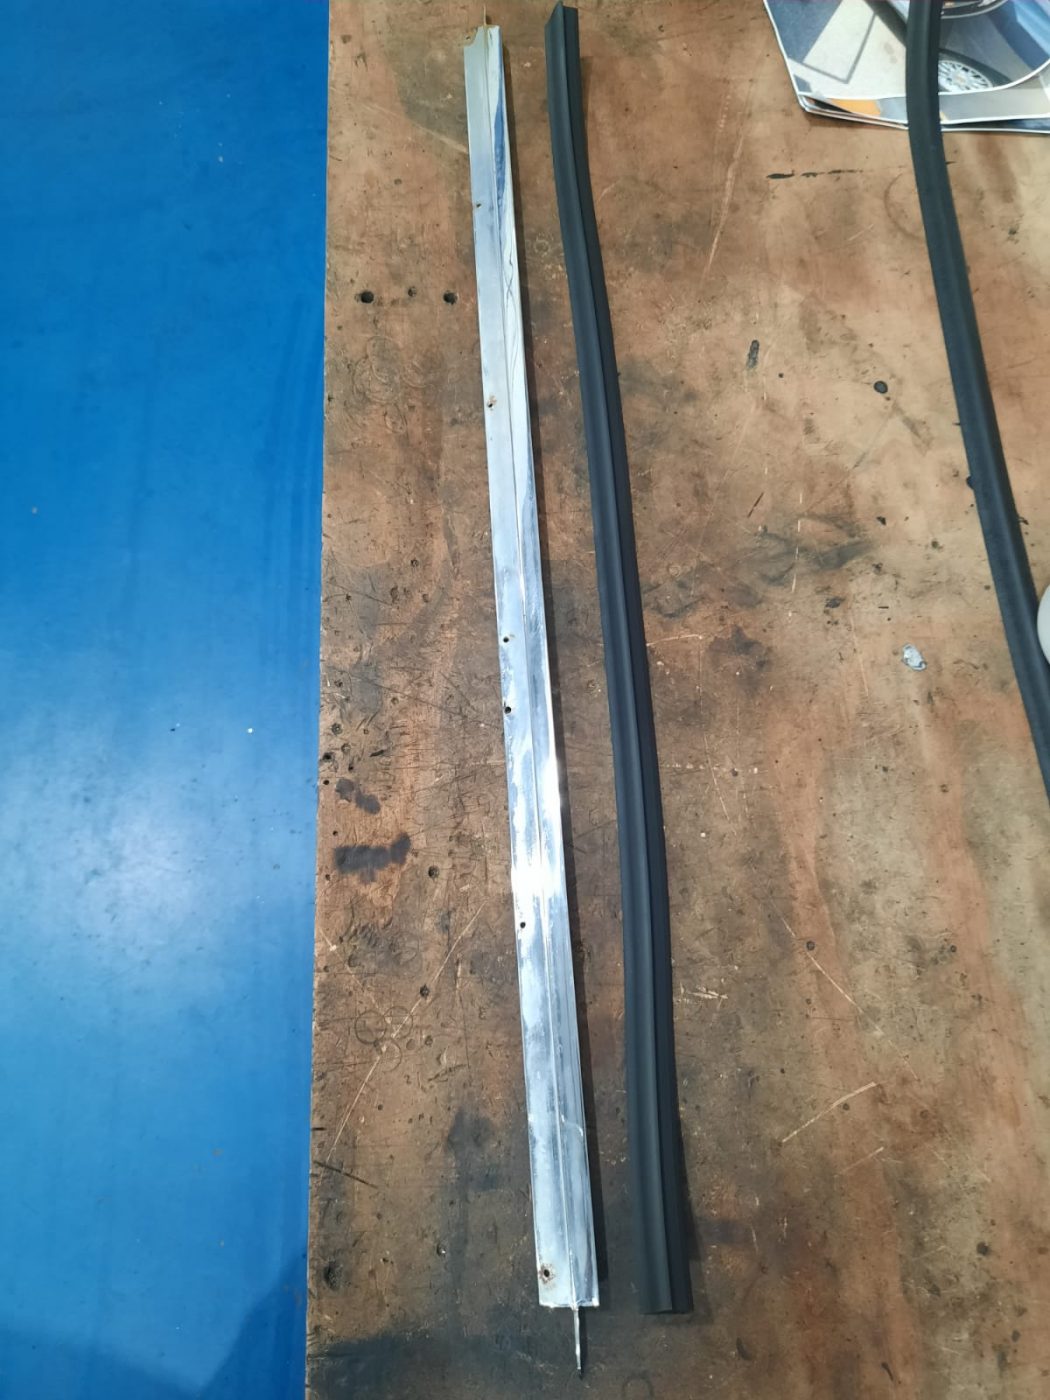
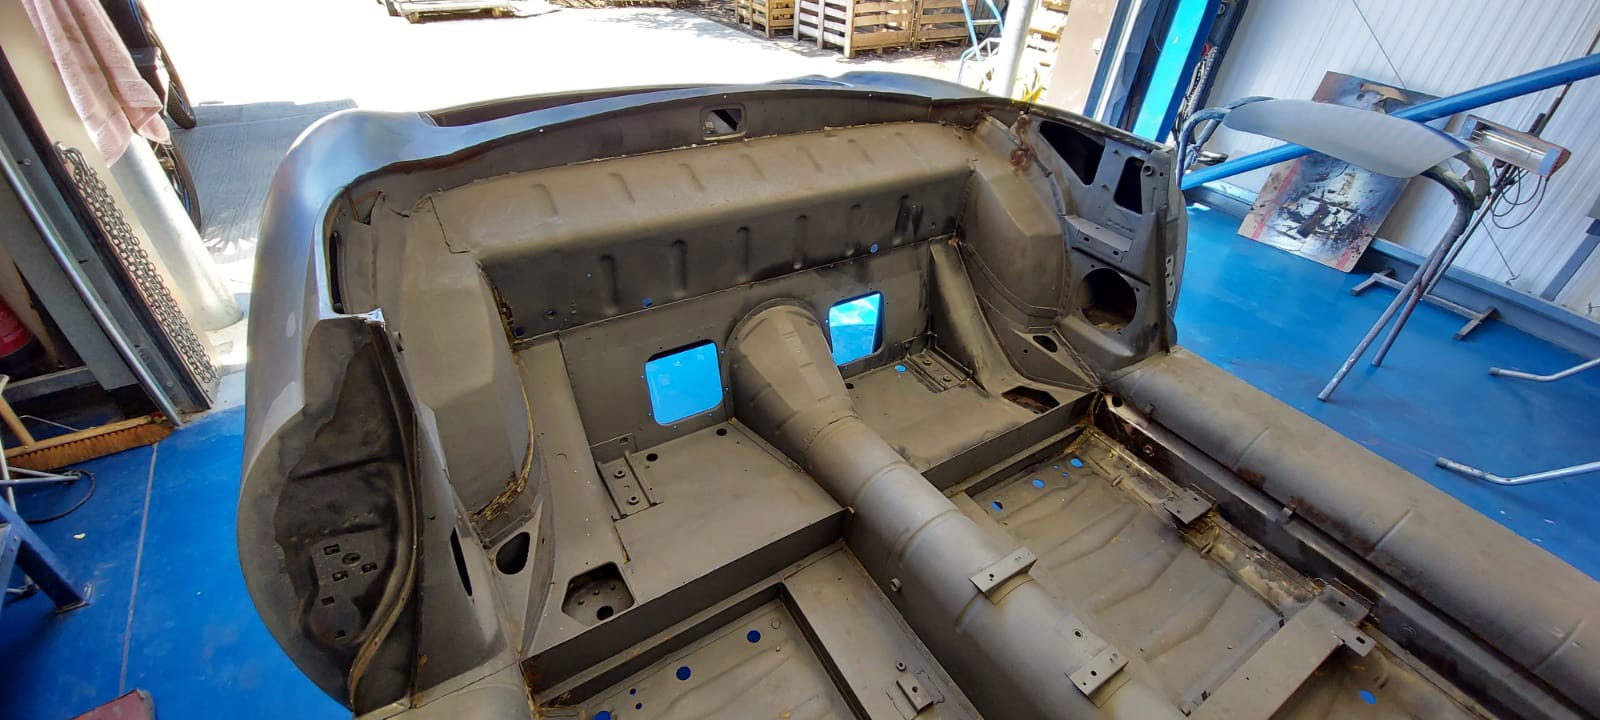
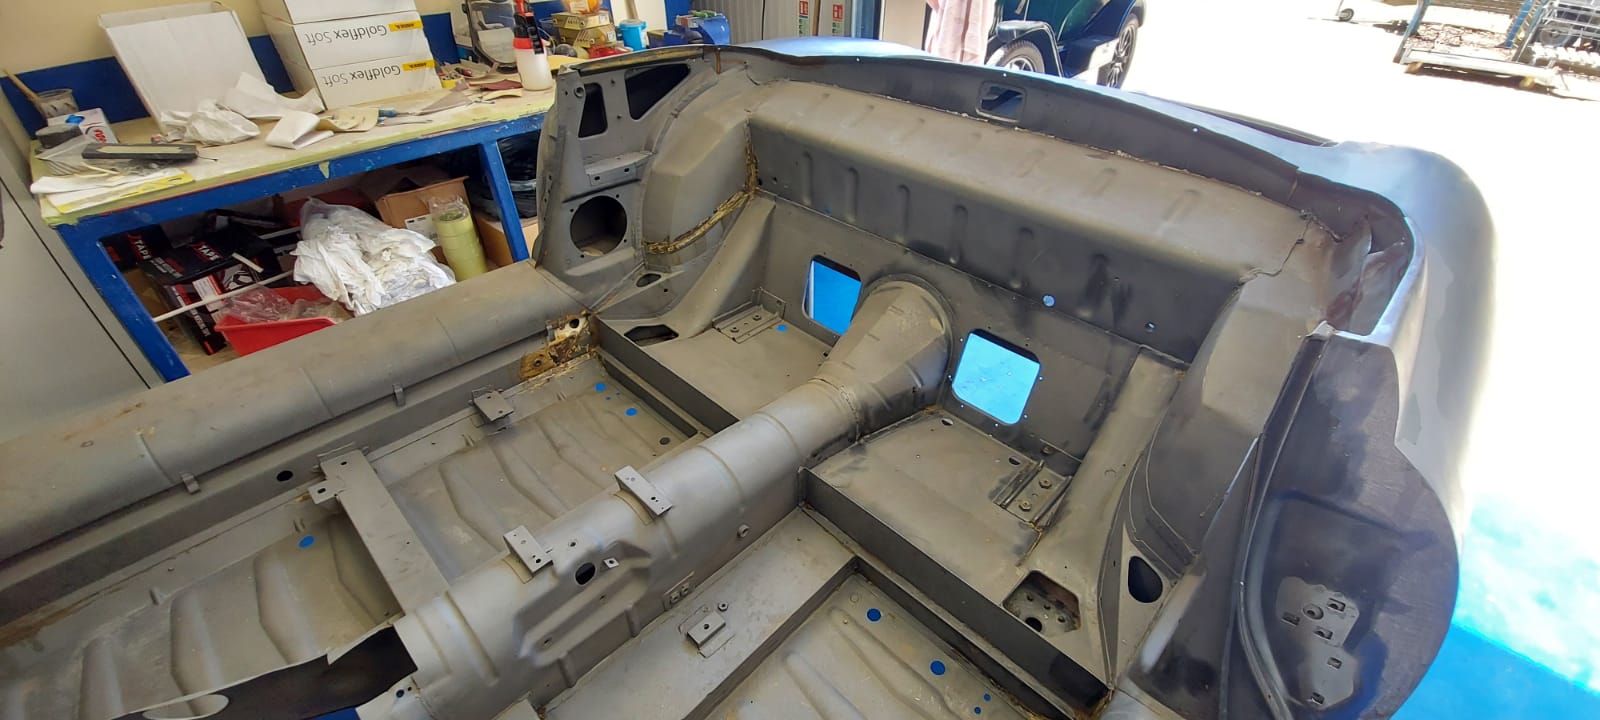
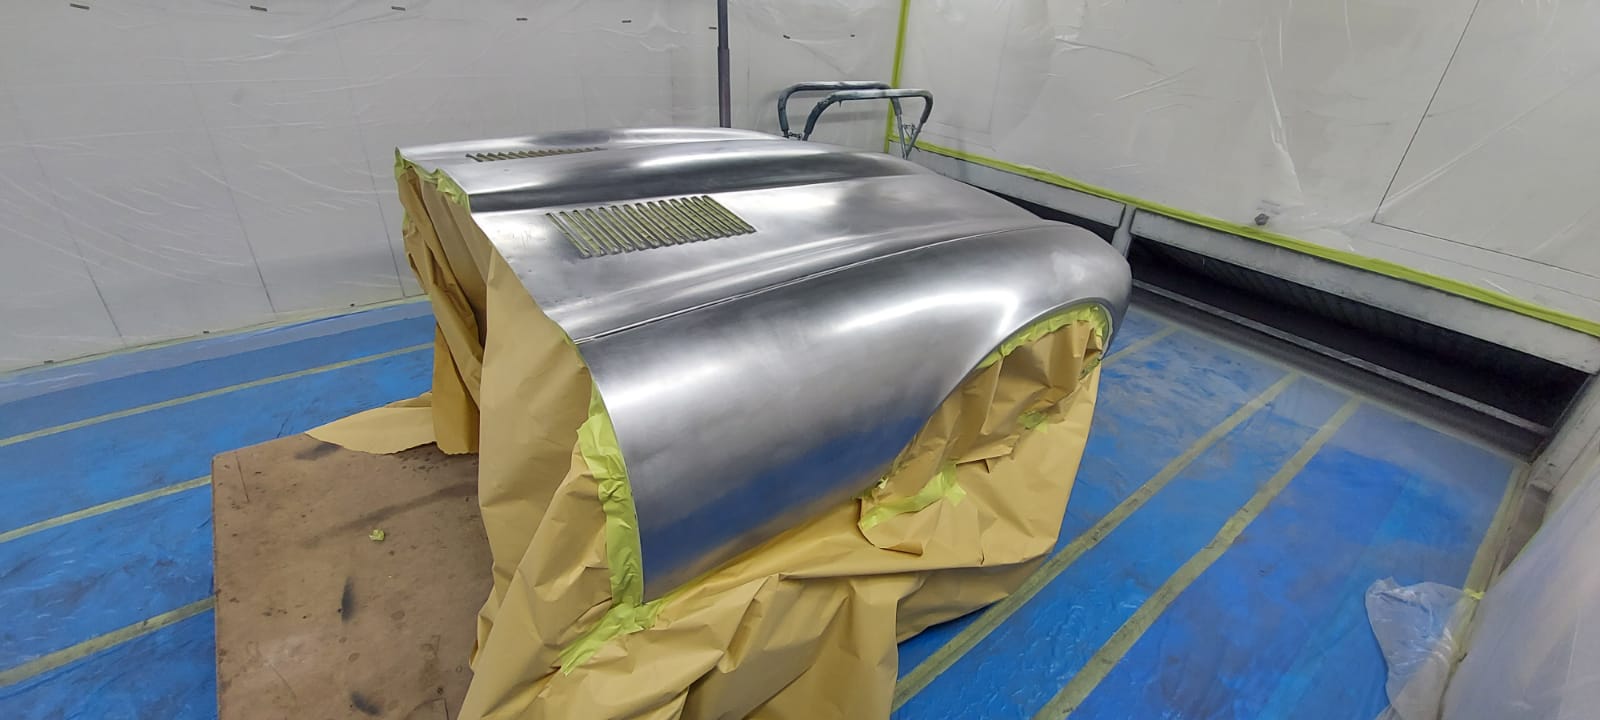
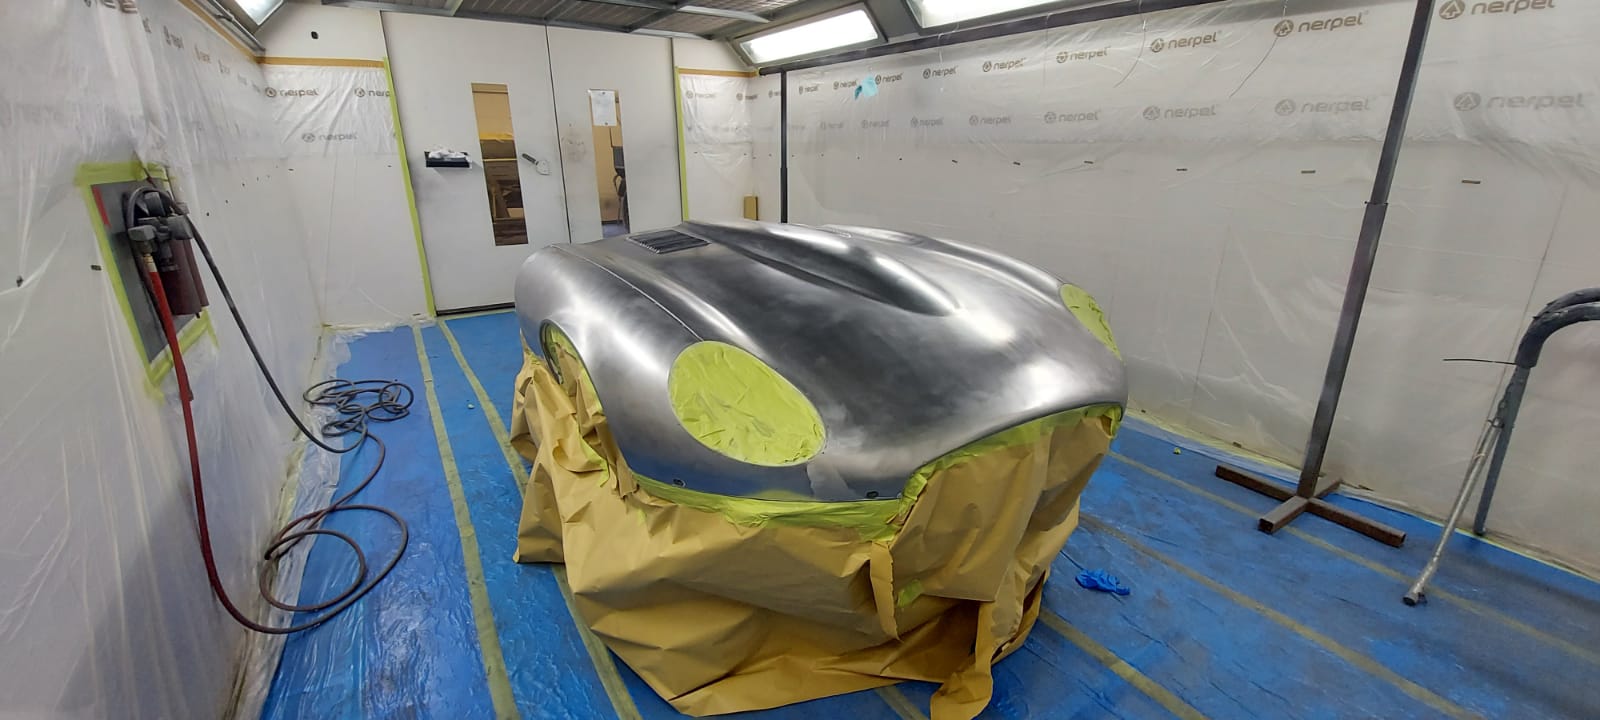
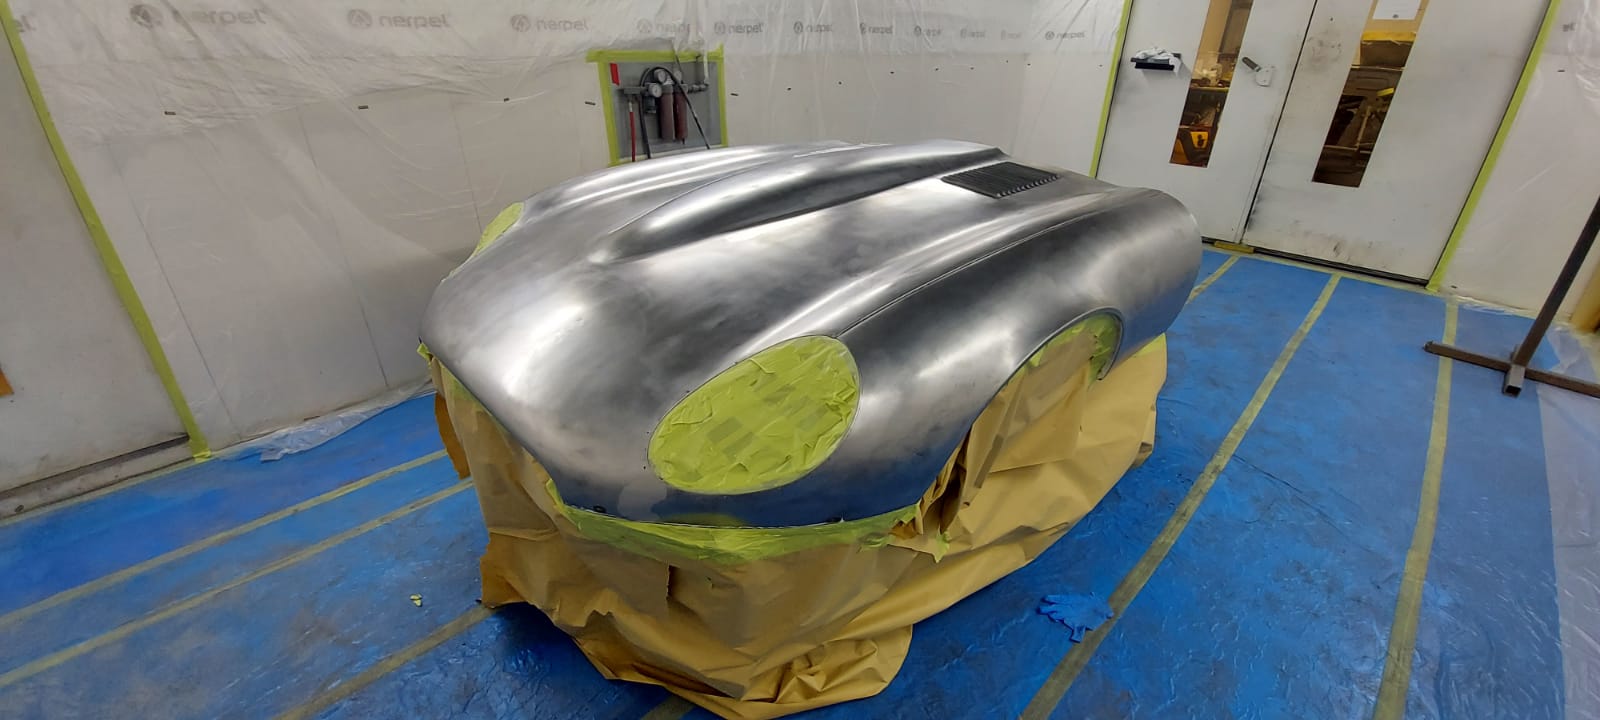
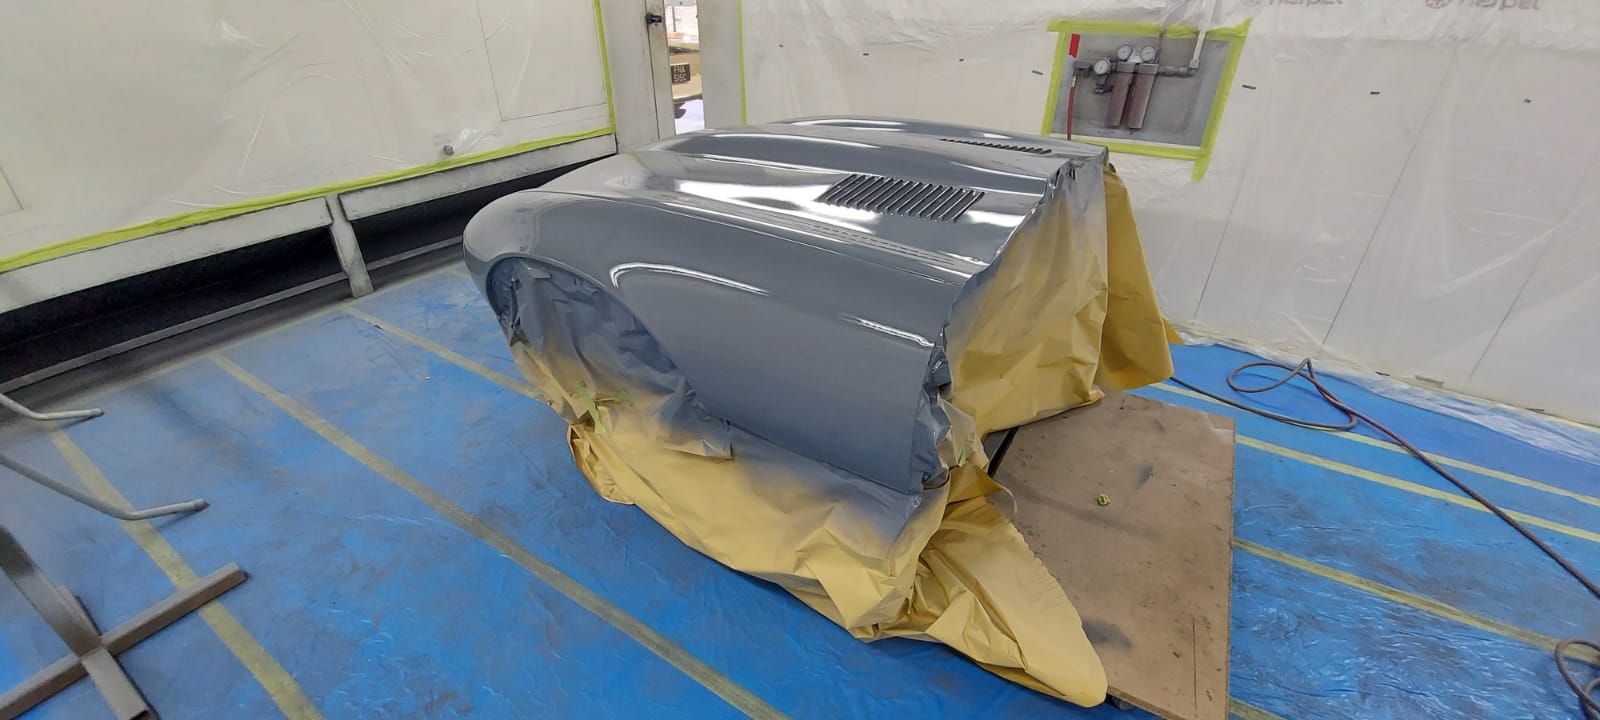
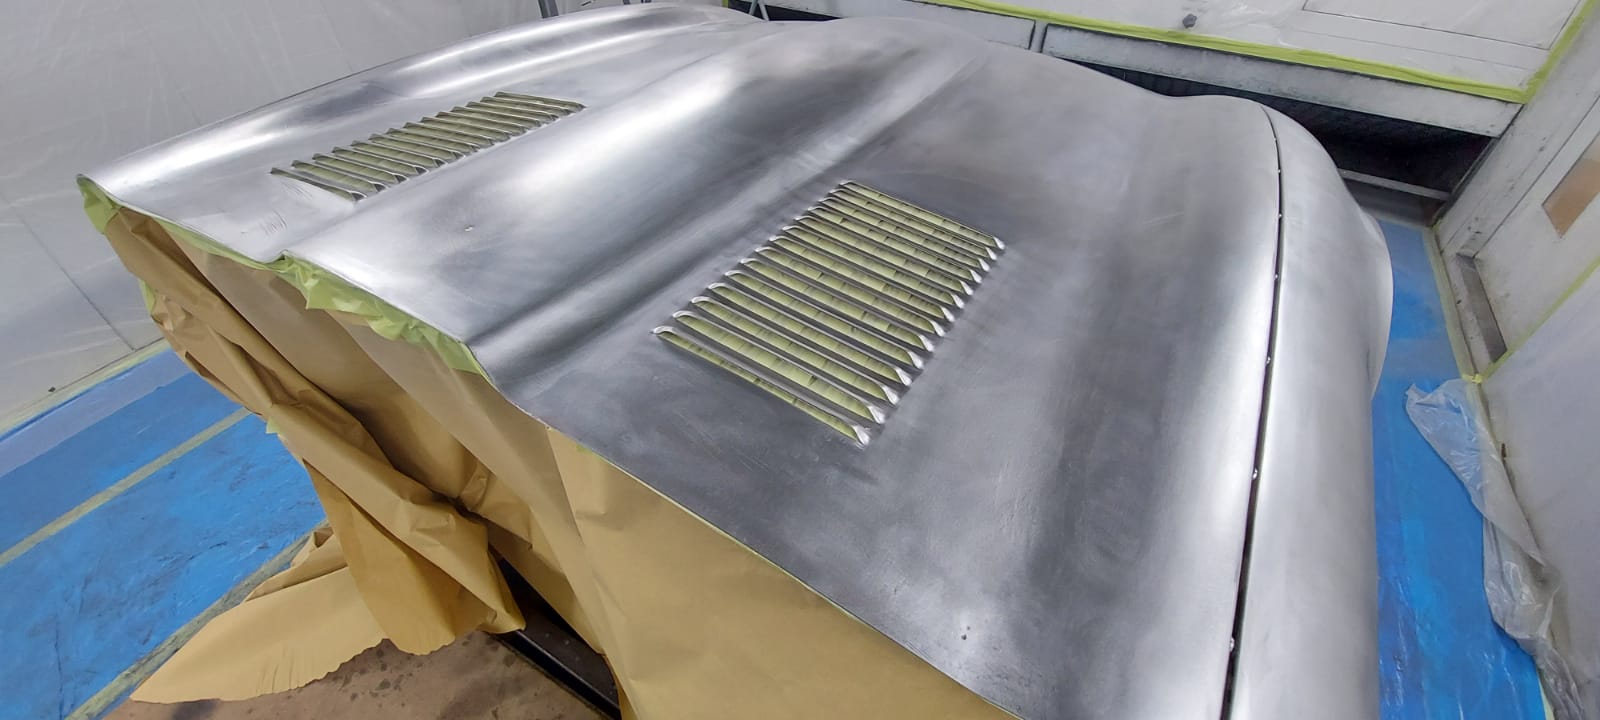
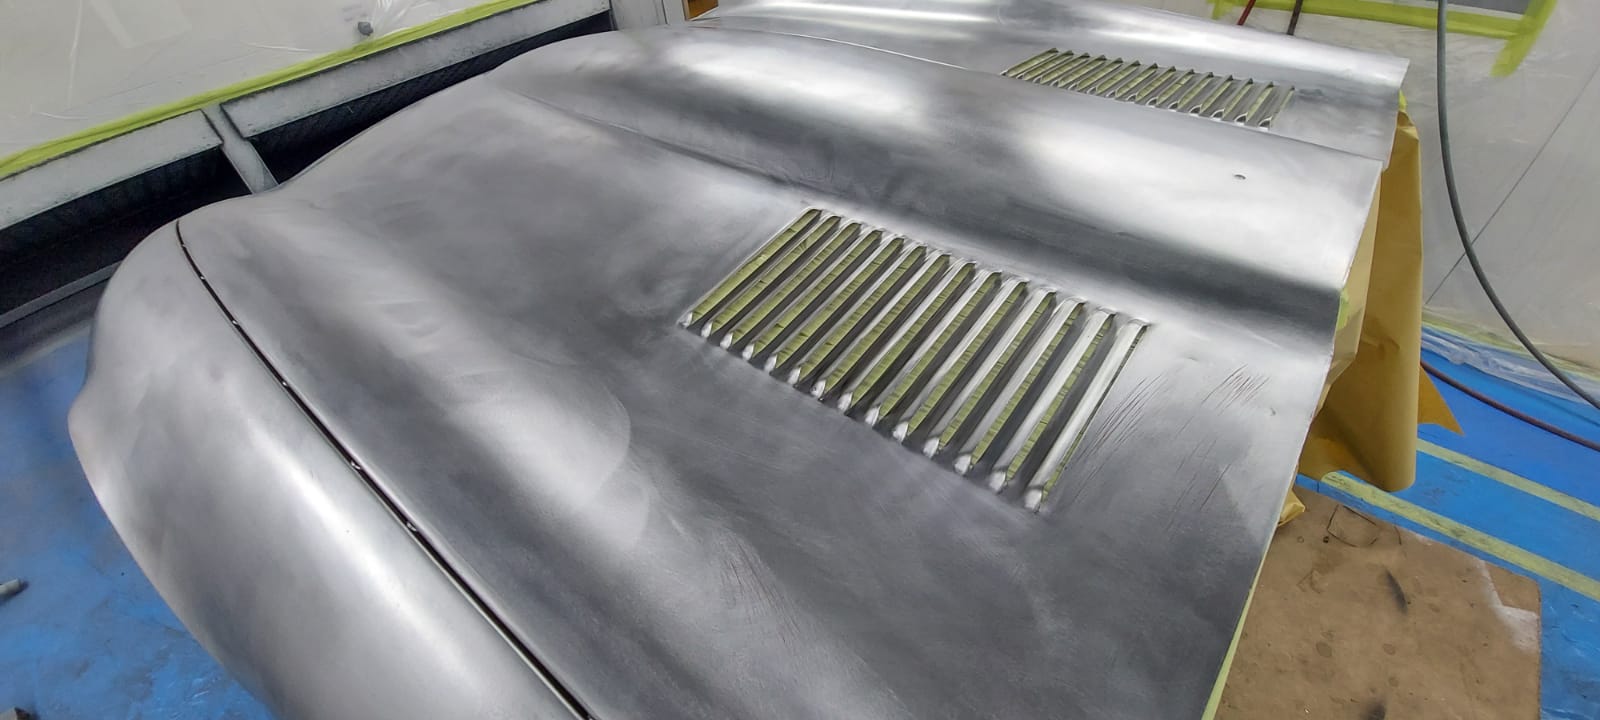
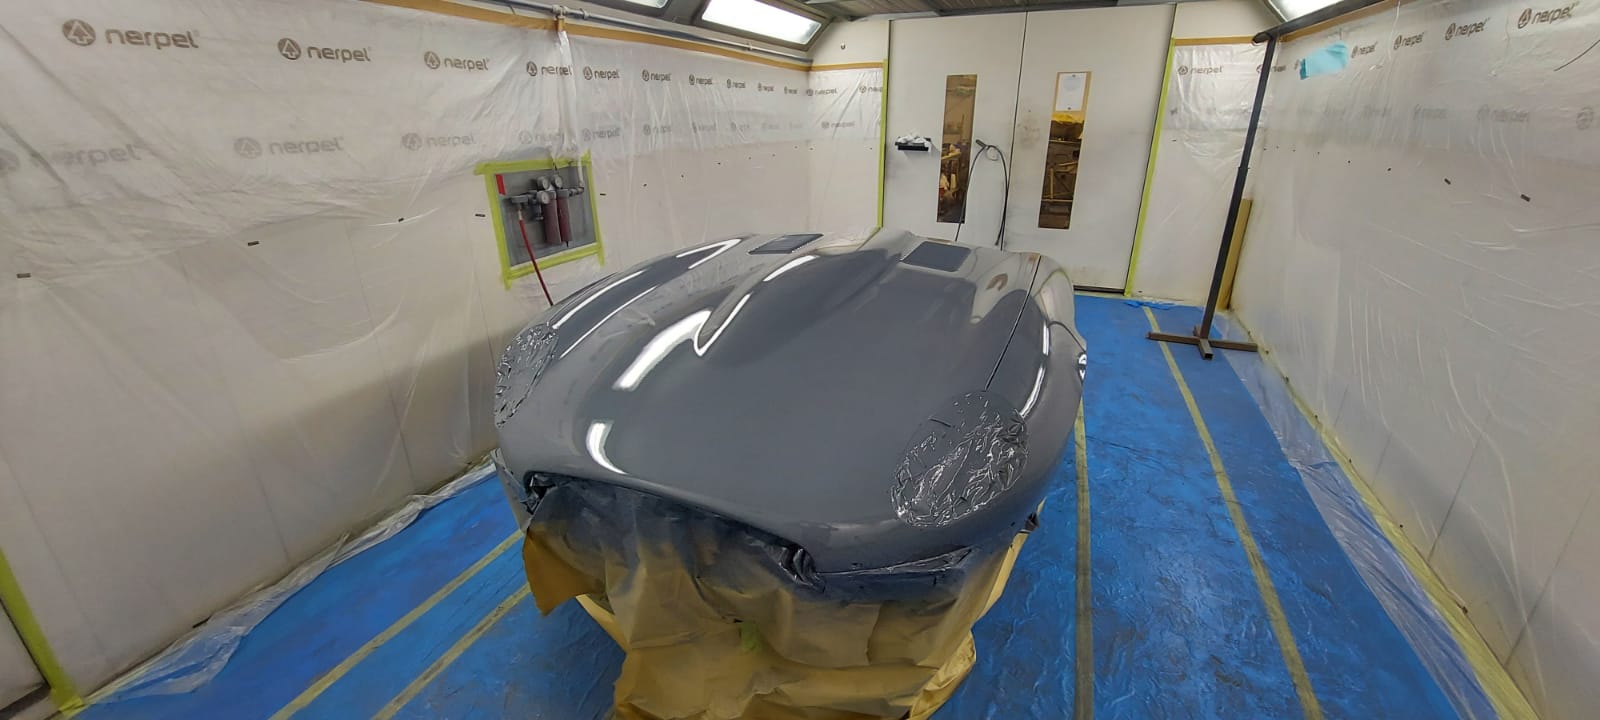
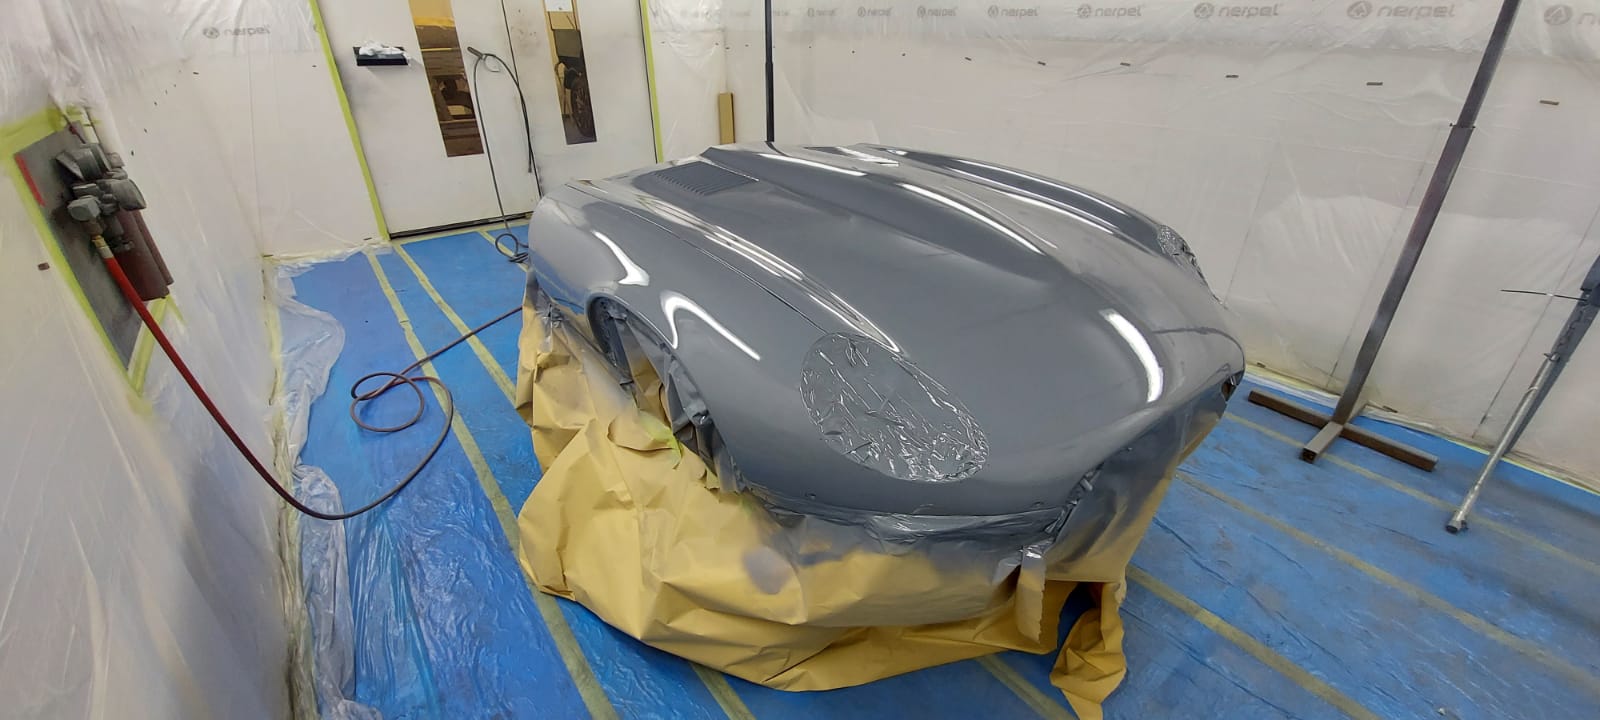
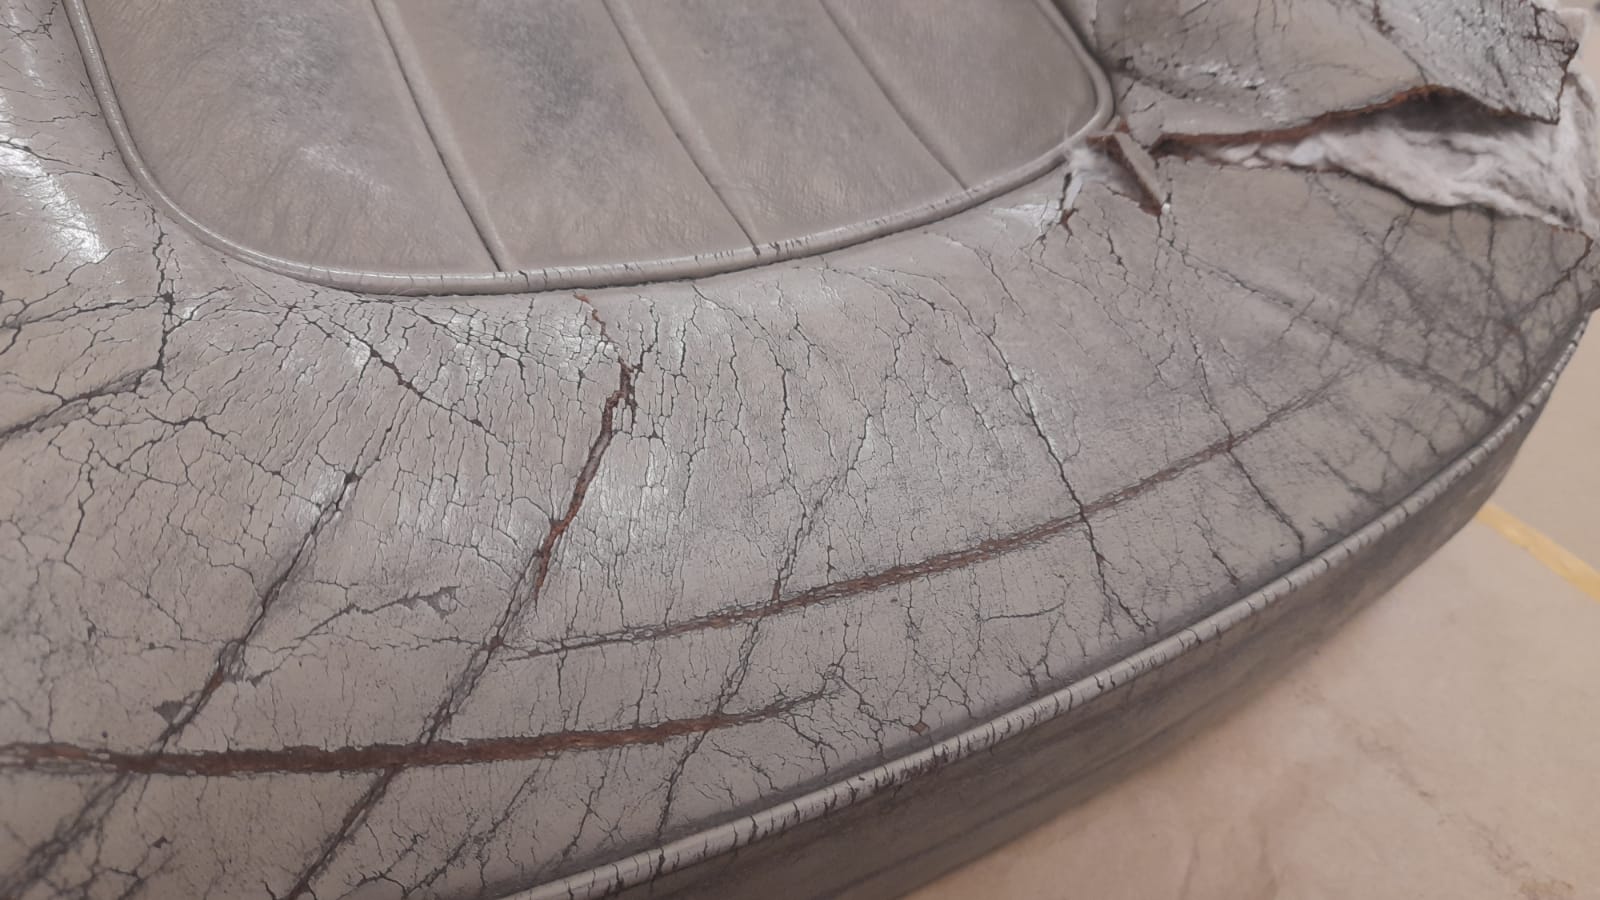
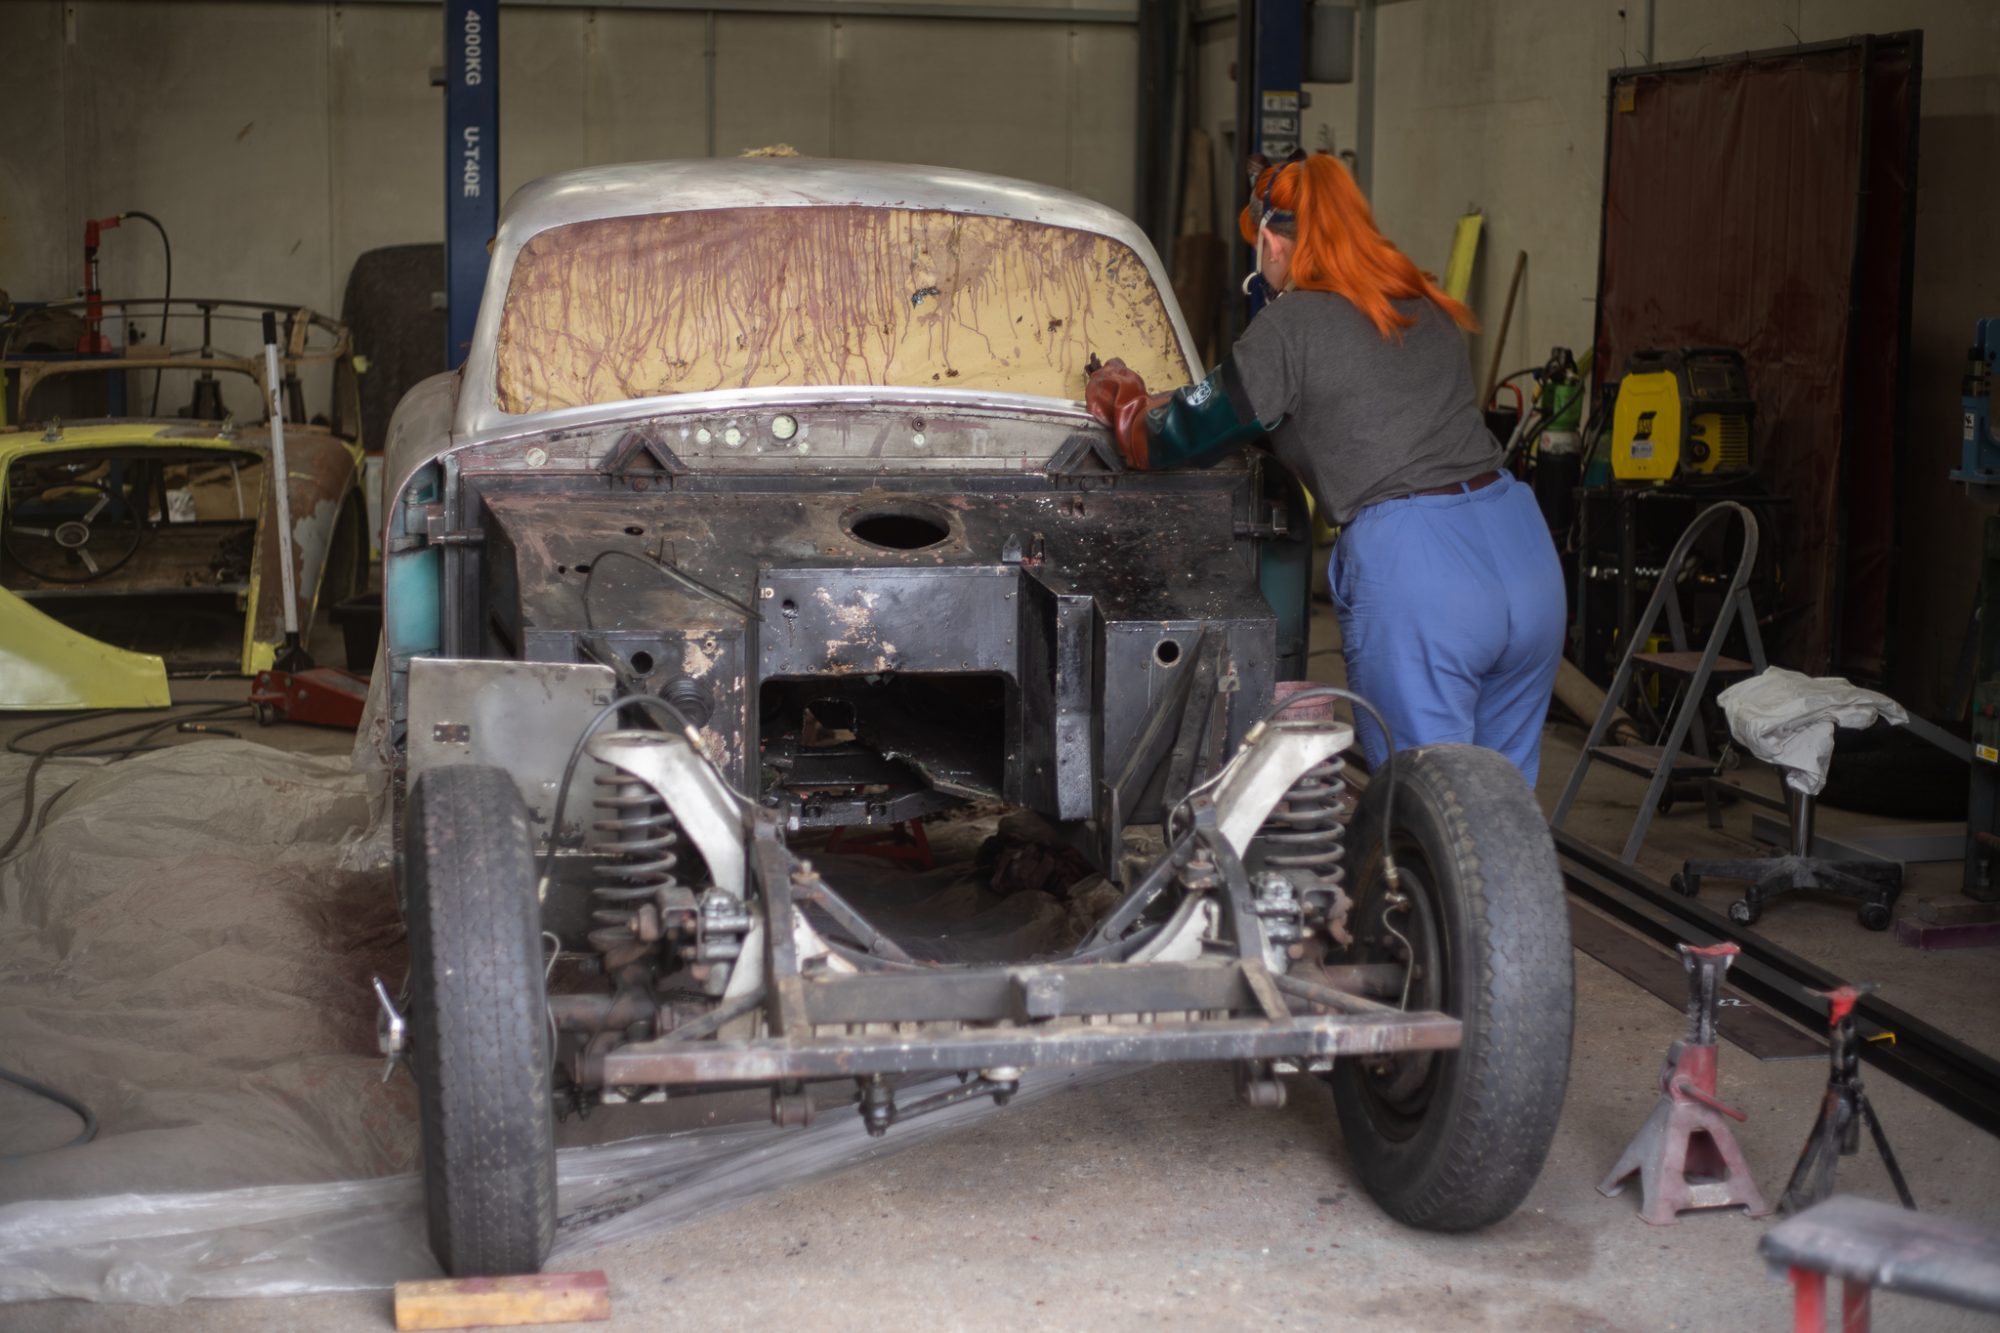
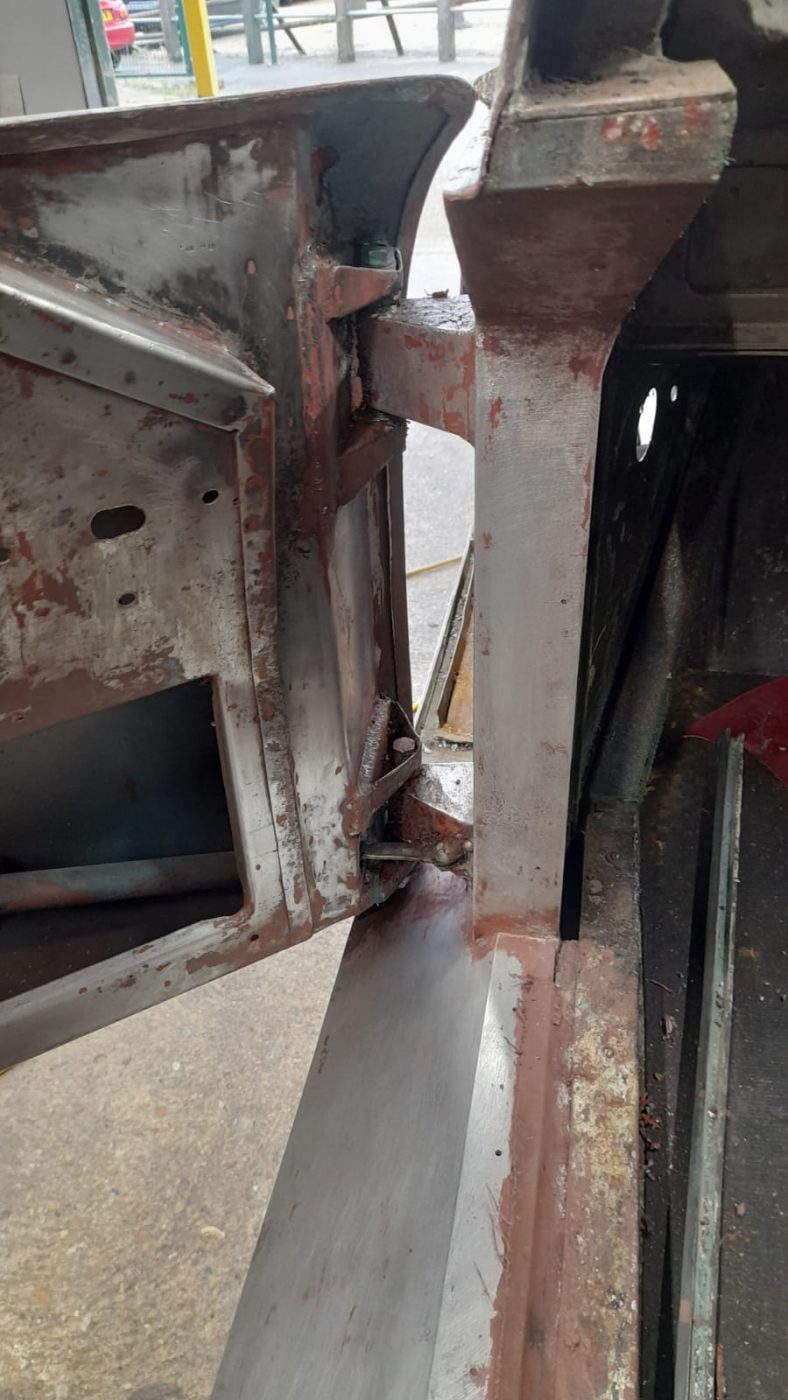
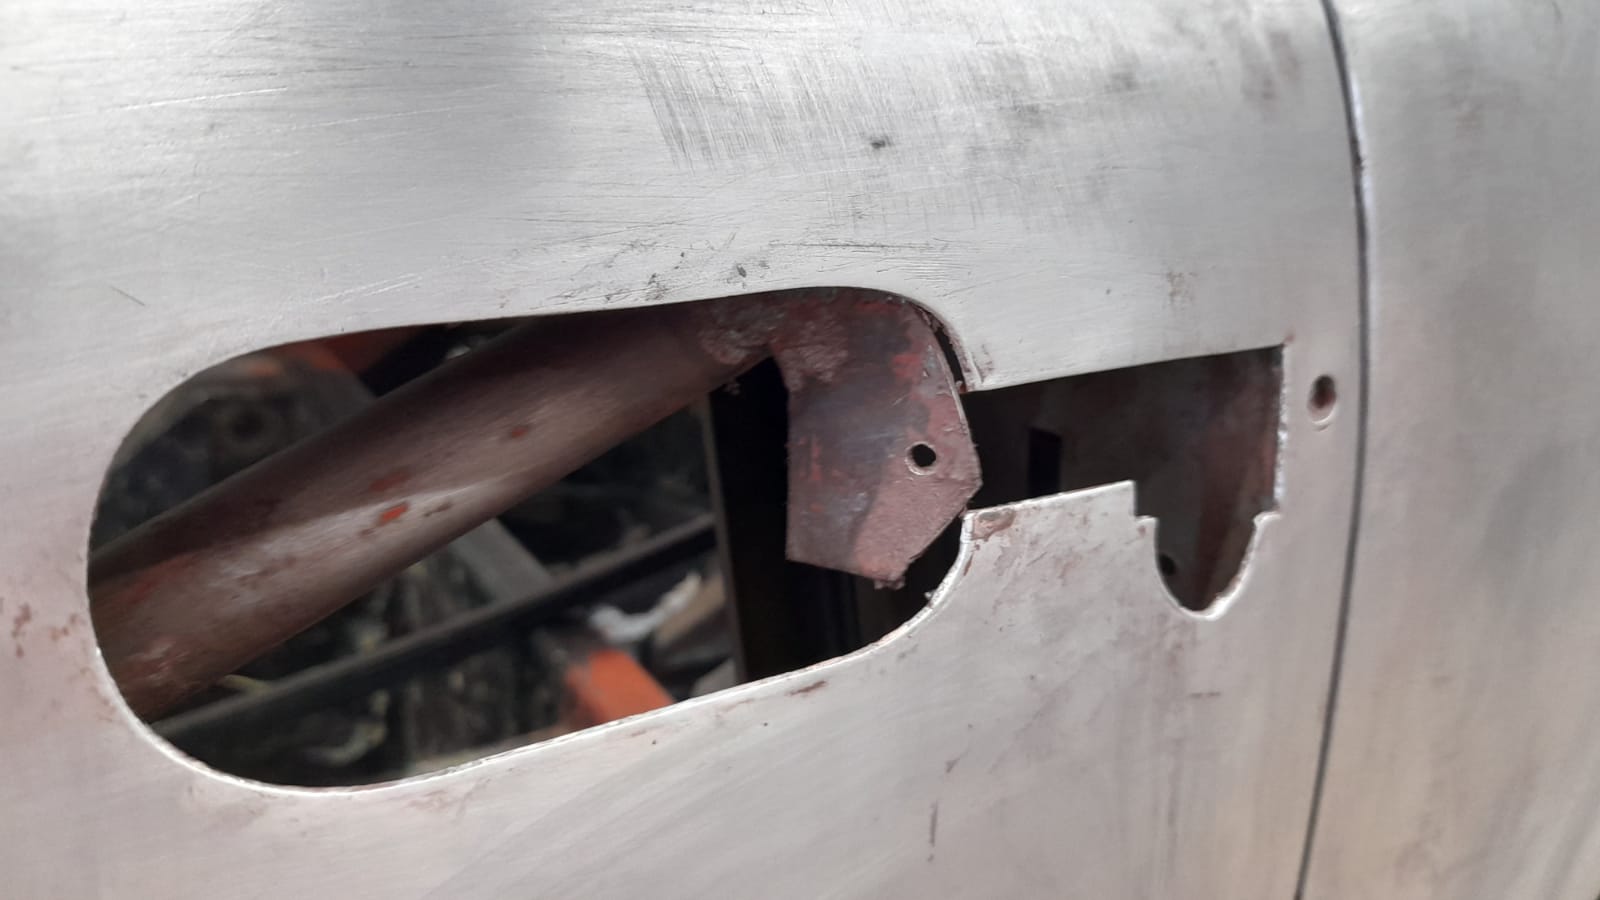
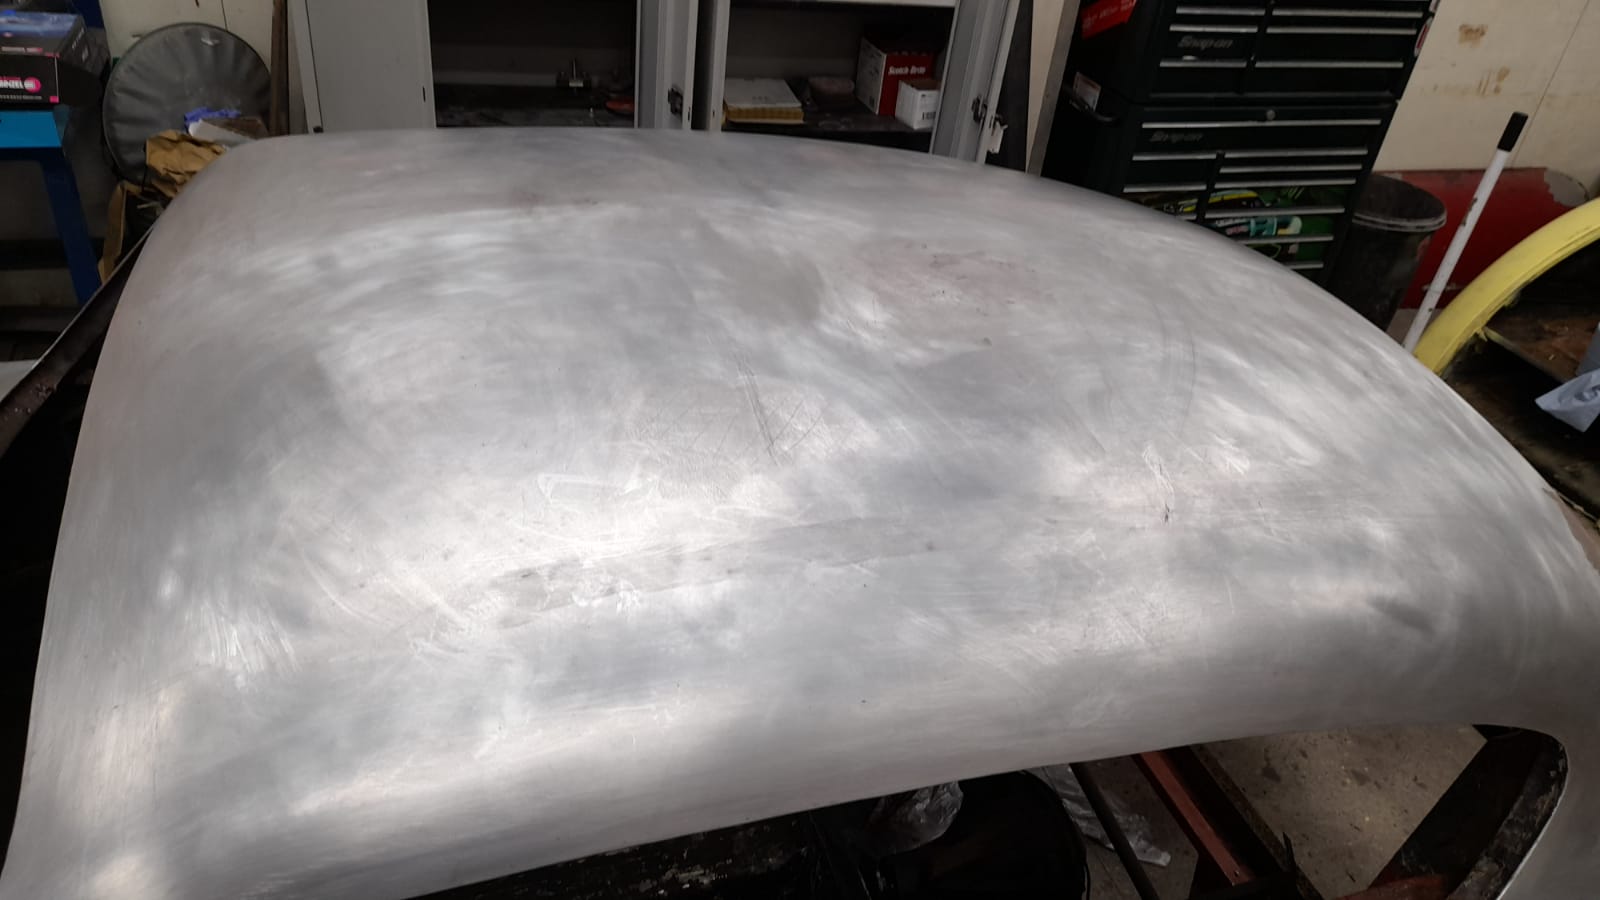
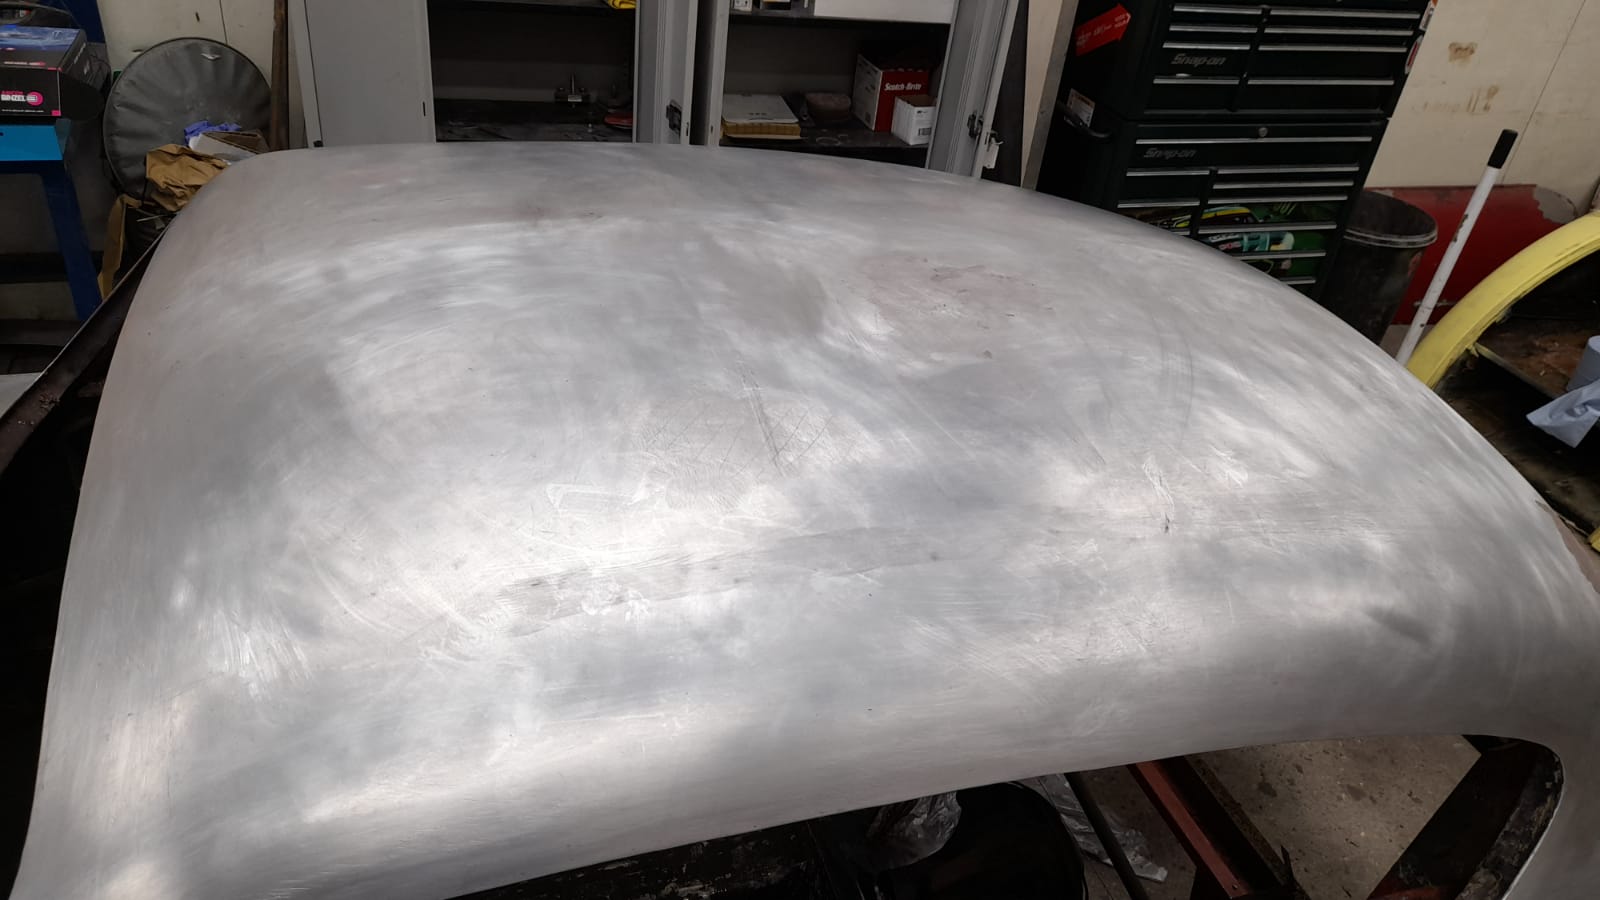
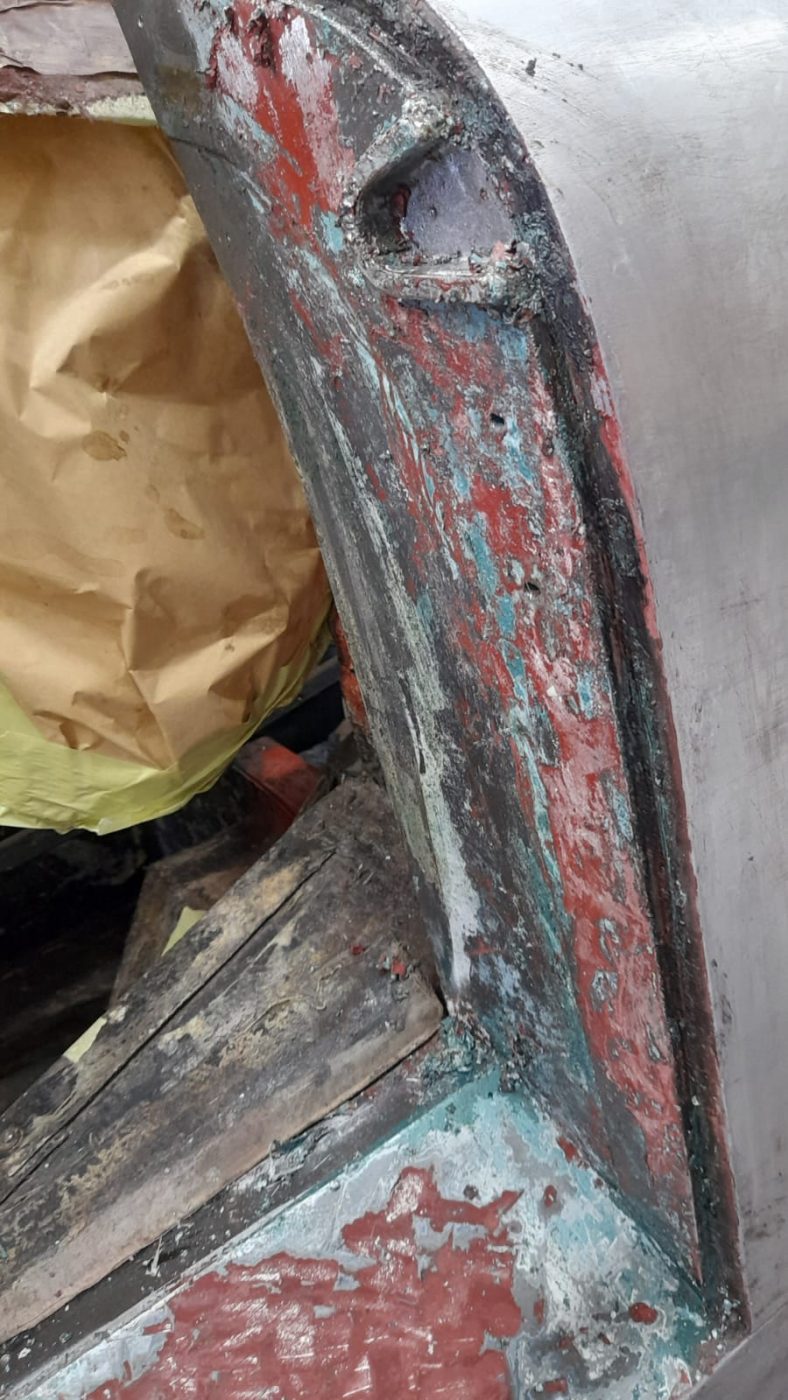
Our 1973 White E-Type Roadster is in the paint booth and being prepared for paint. Matt has been getting it read for epoxy primer by


Our 1973 White E-Type Roadster is in the paint booth and being prepared for paint. Matt has been getting it read for epoxy primer by
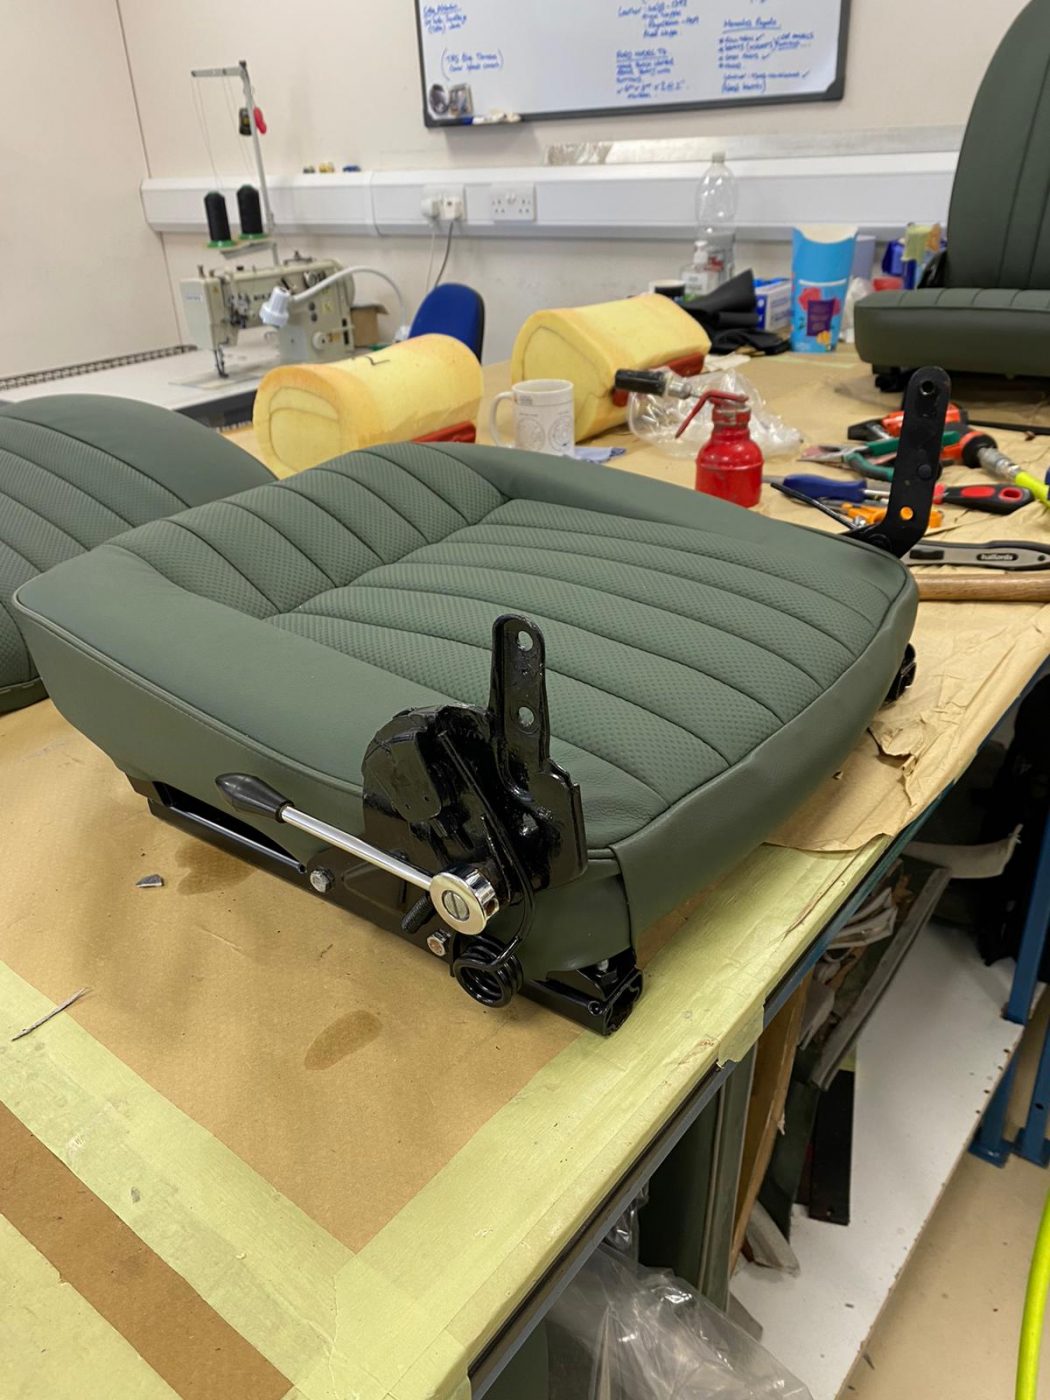
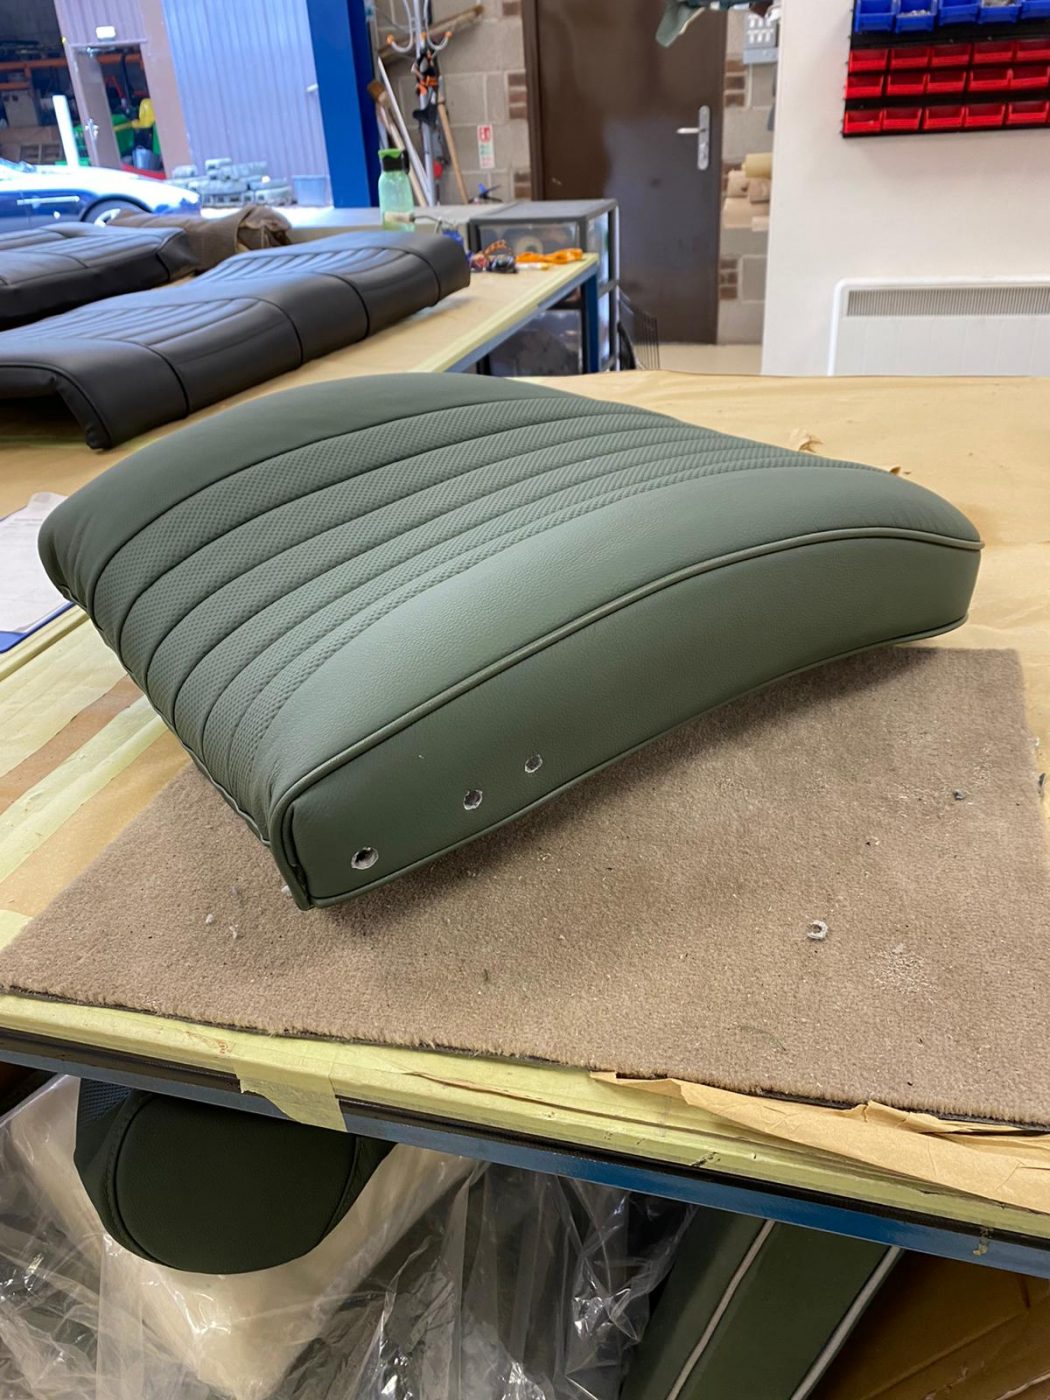
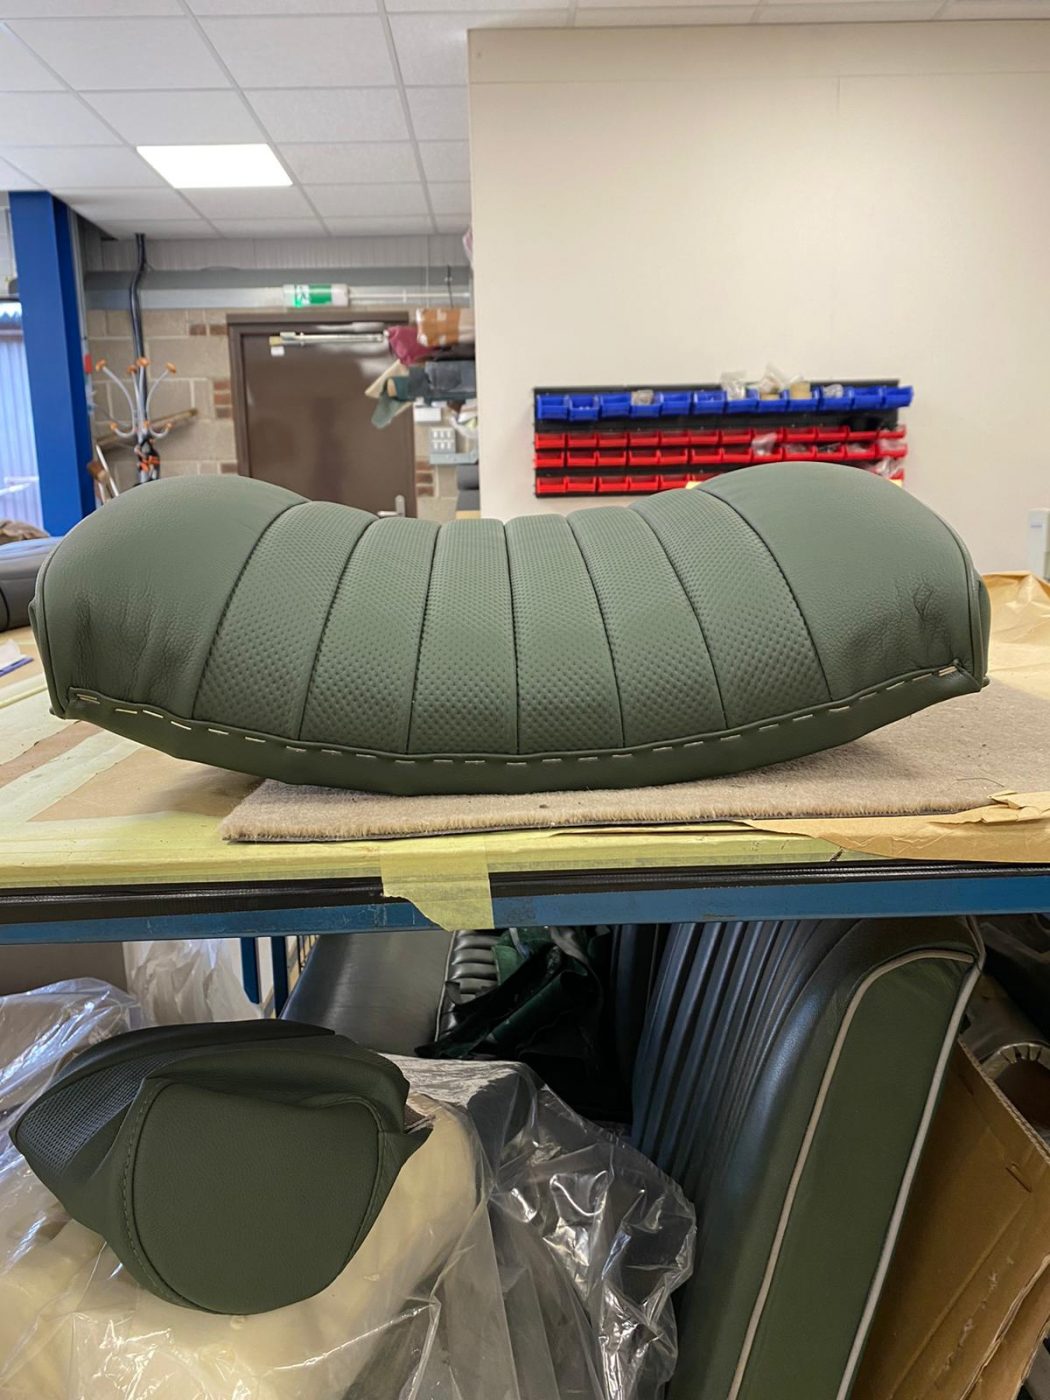
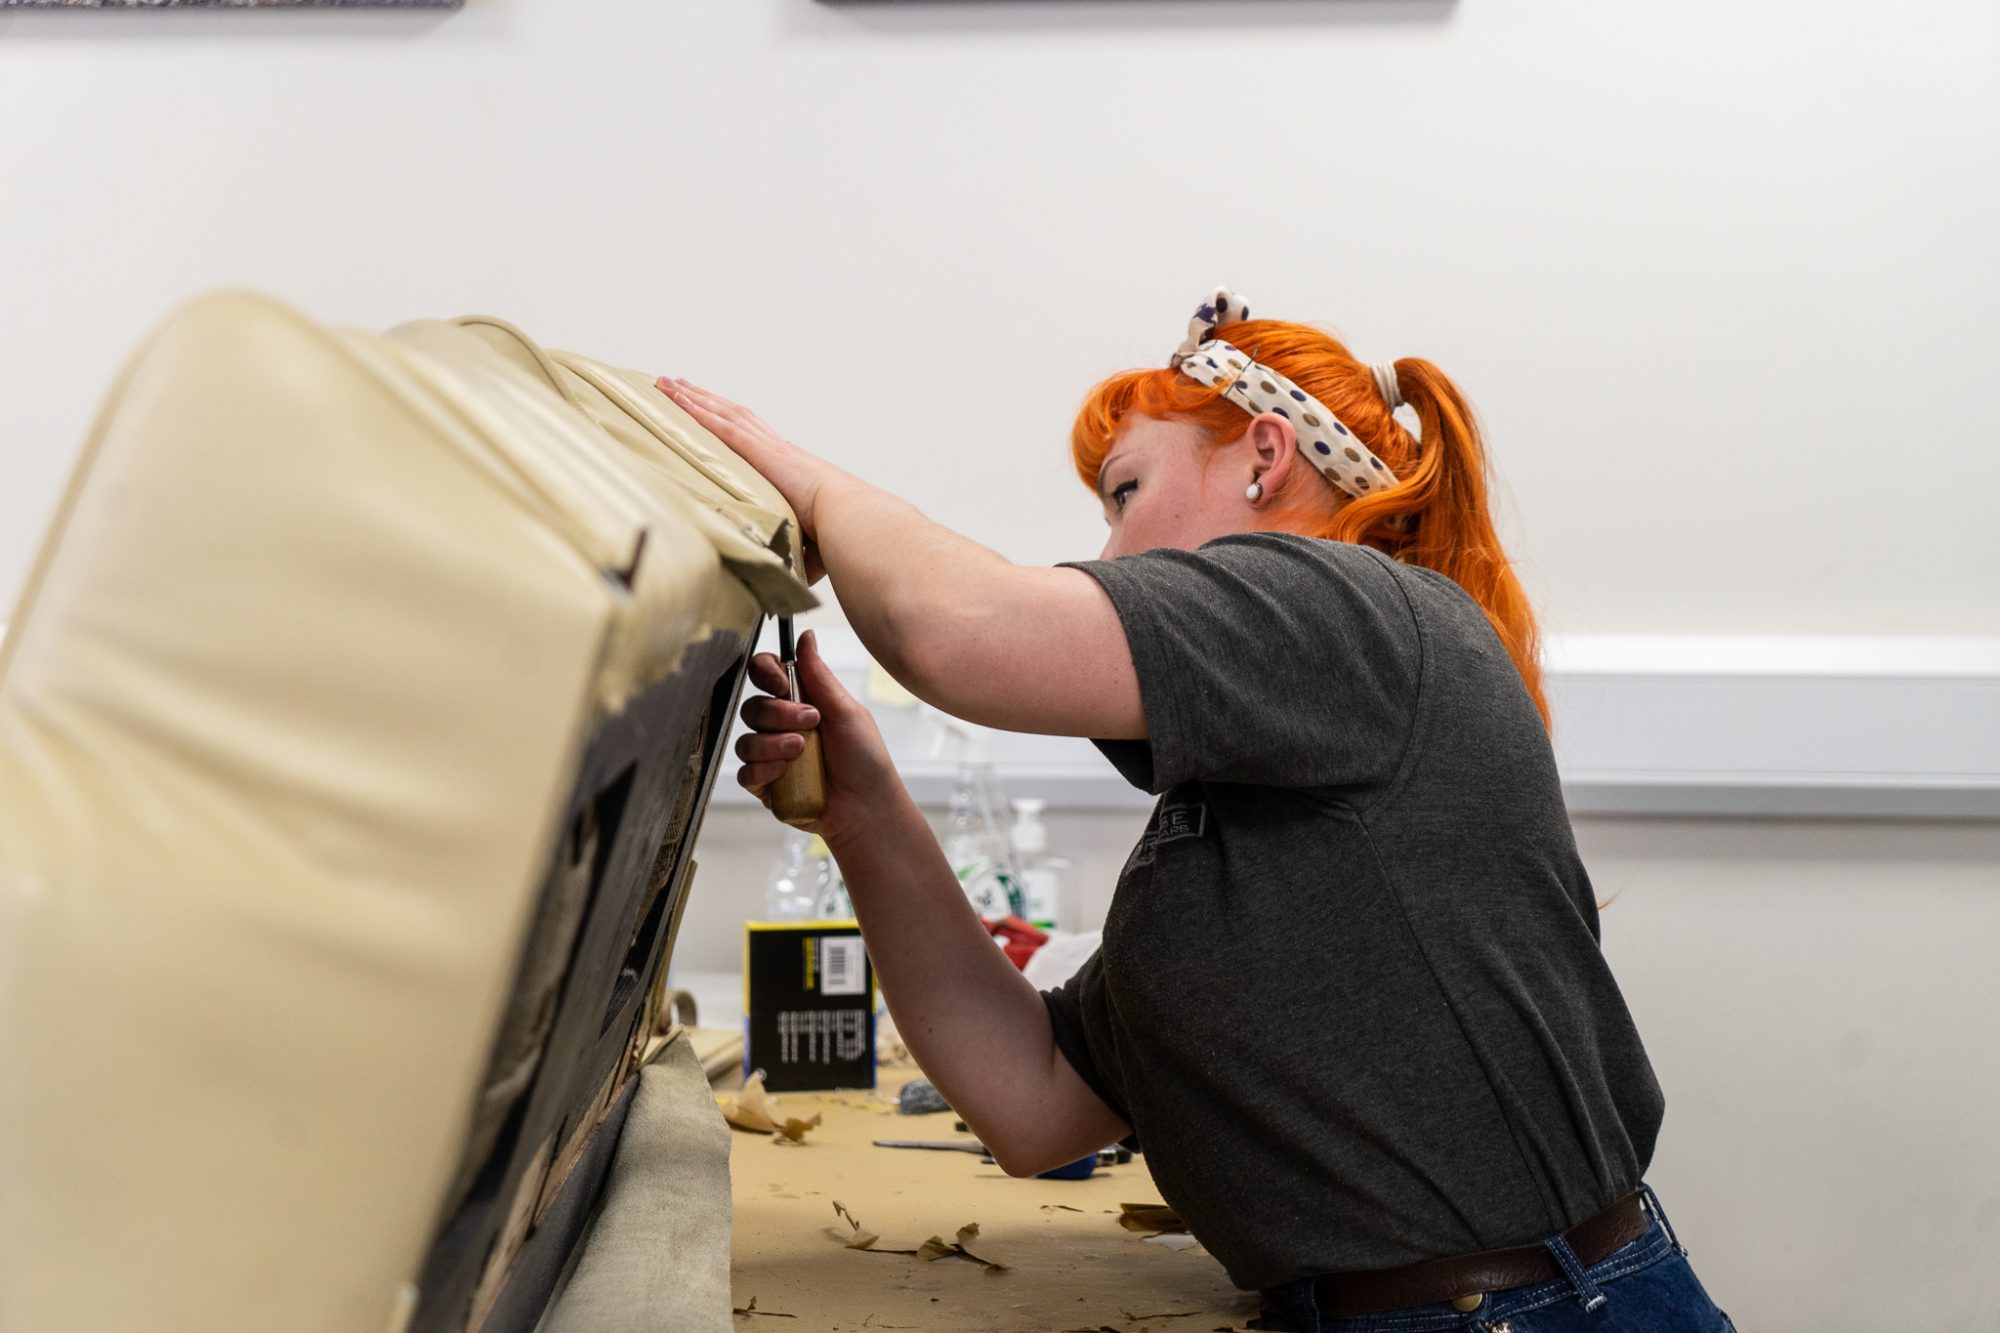
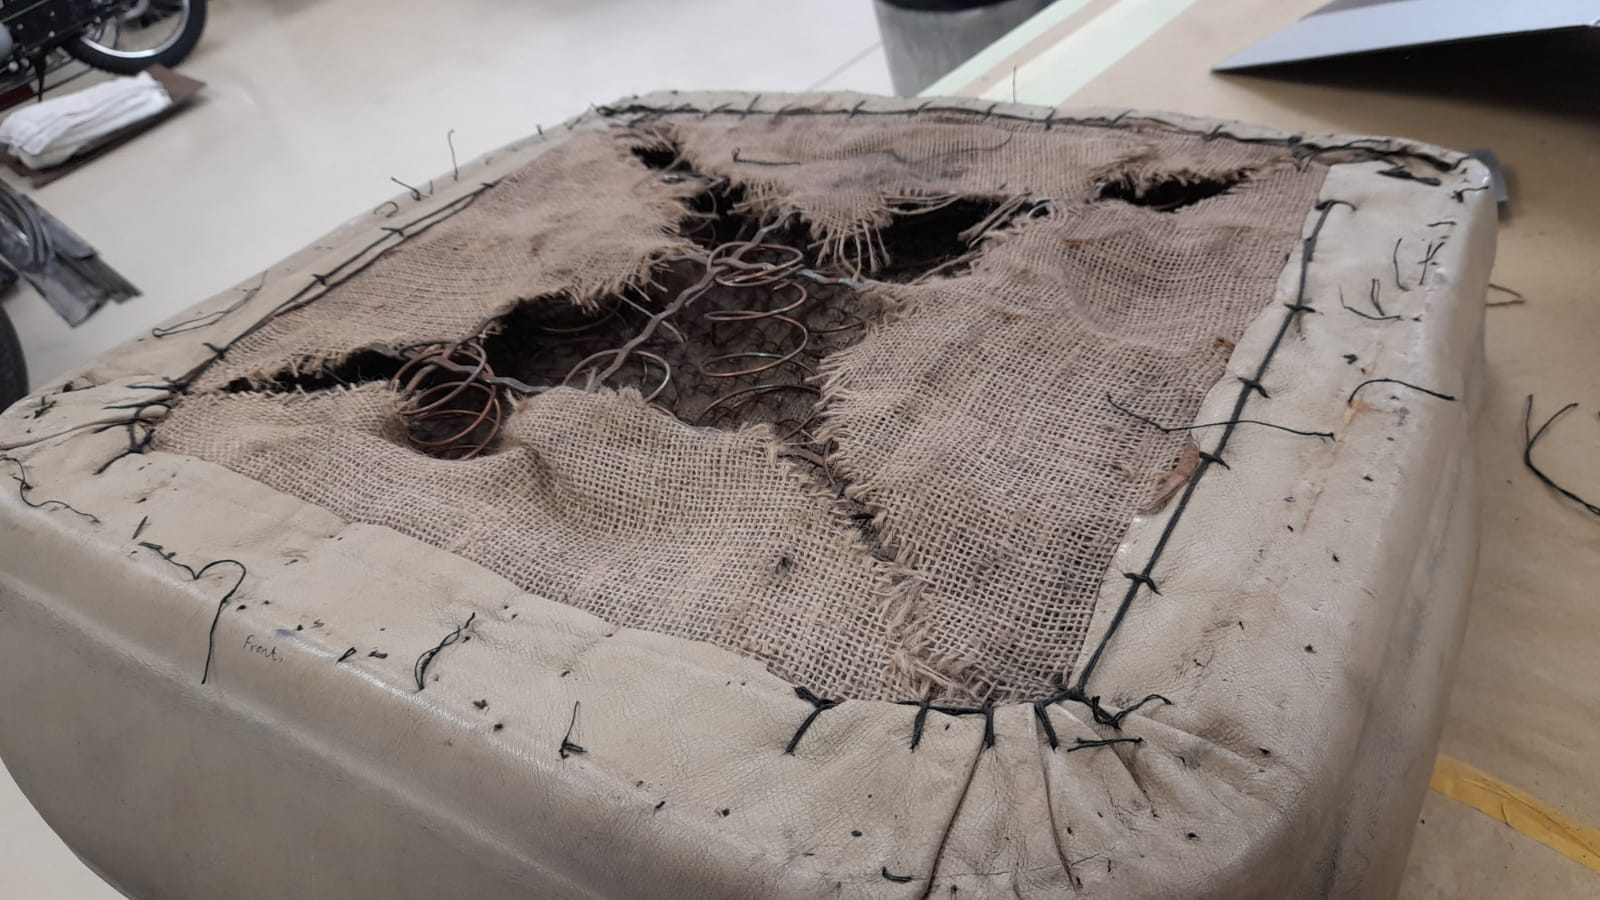
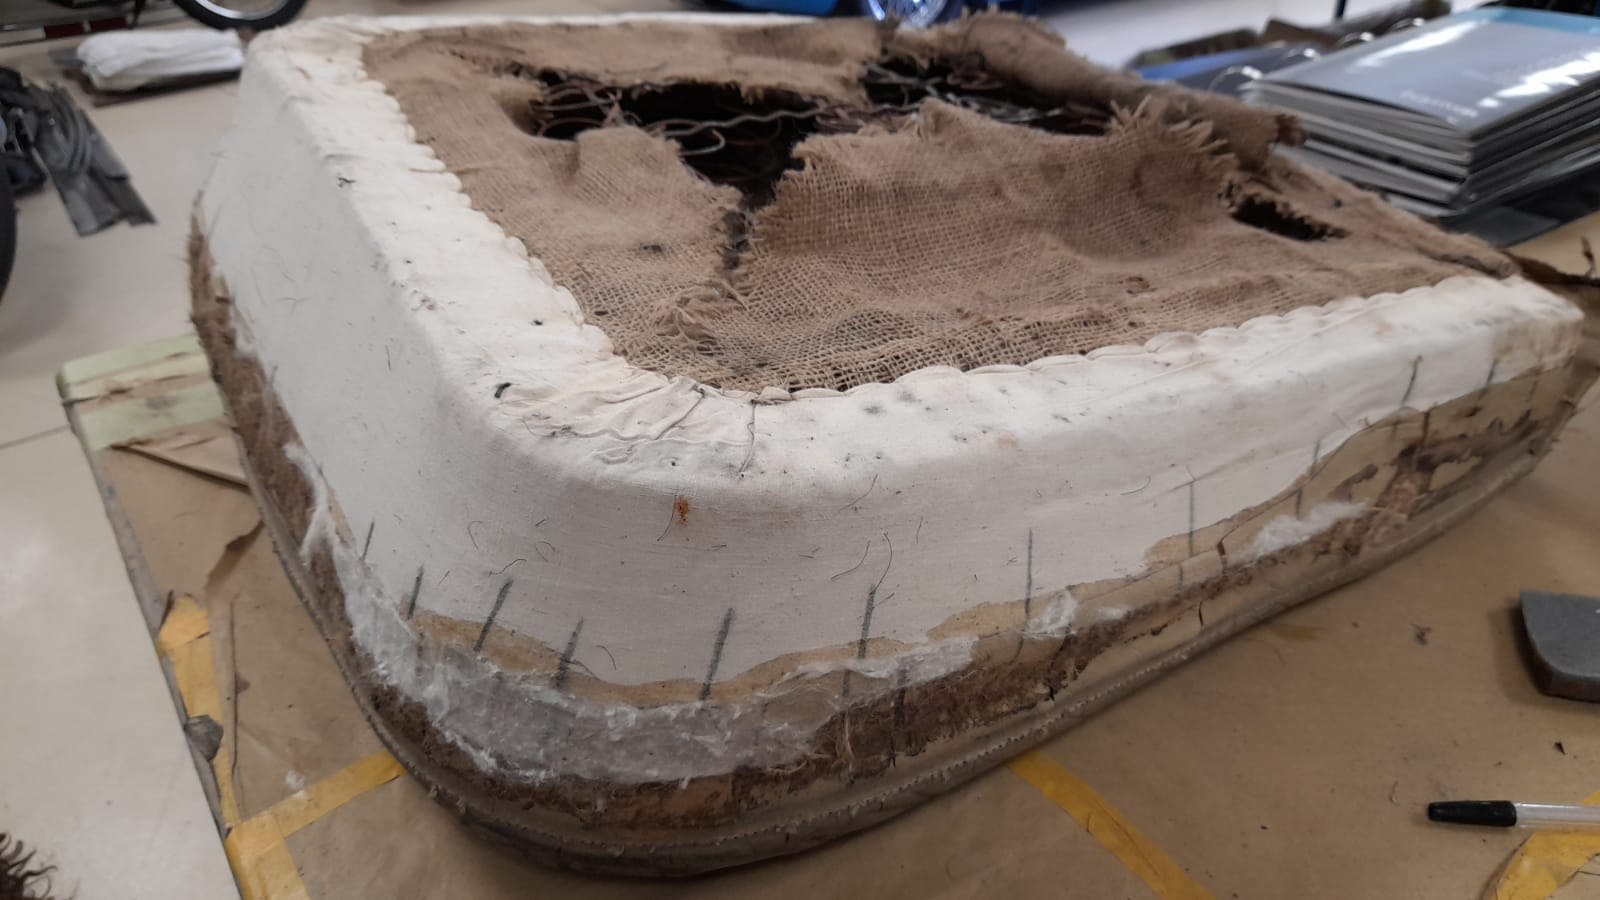
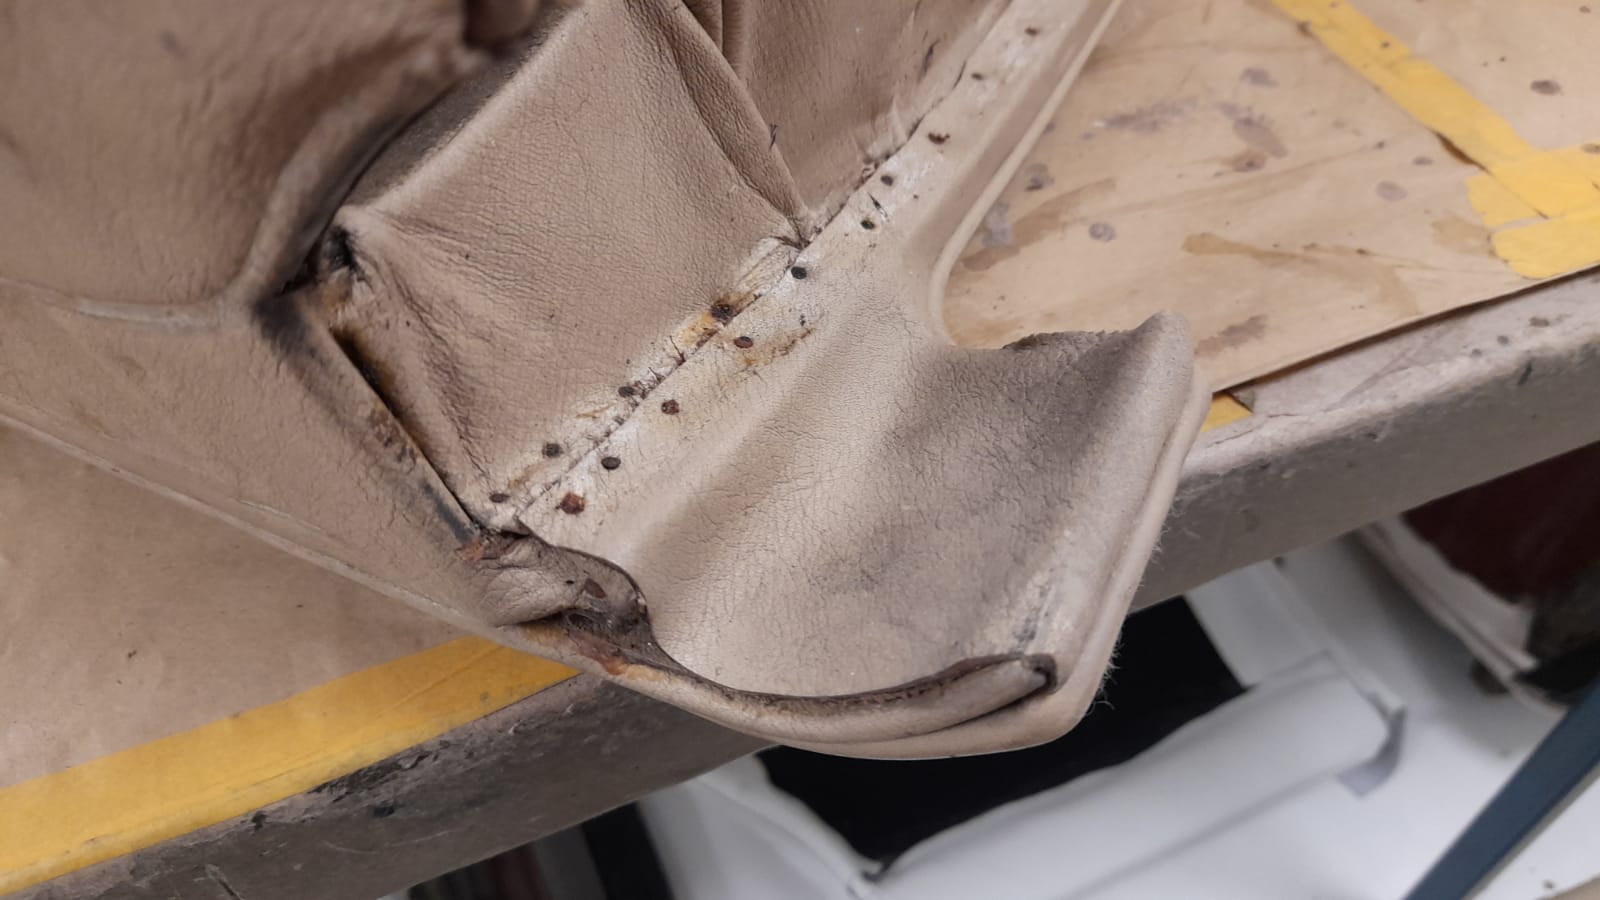
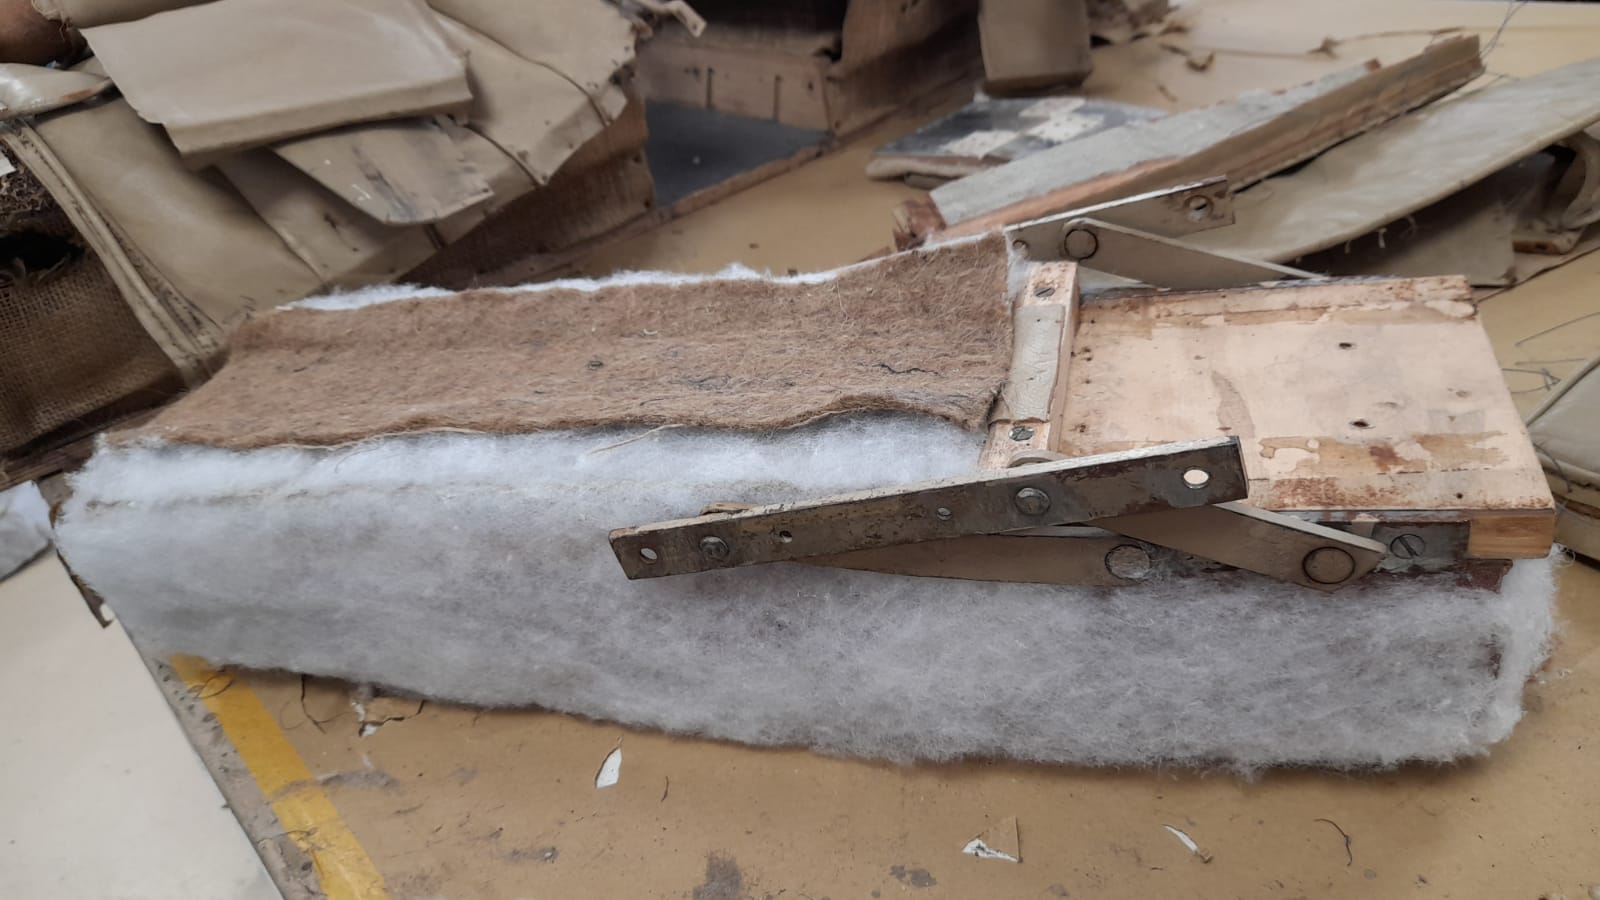
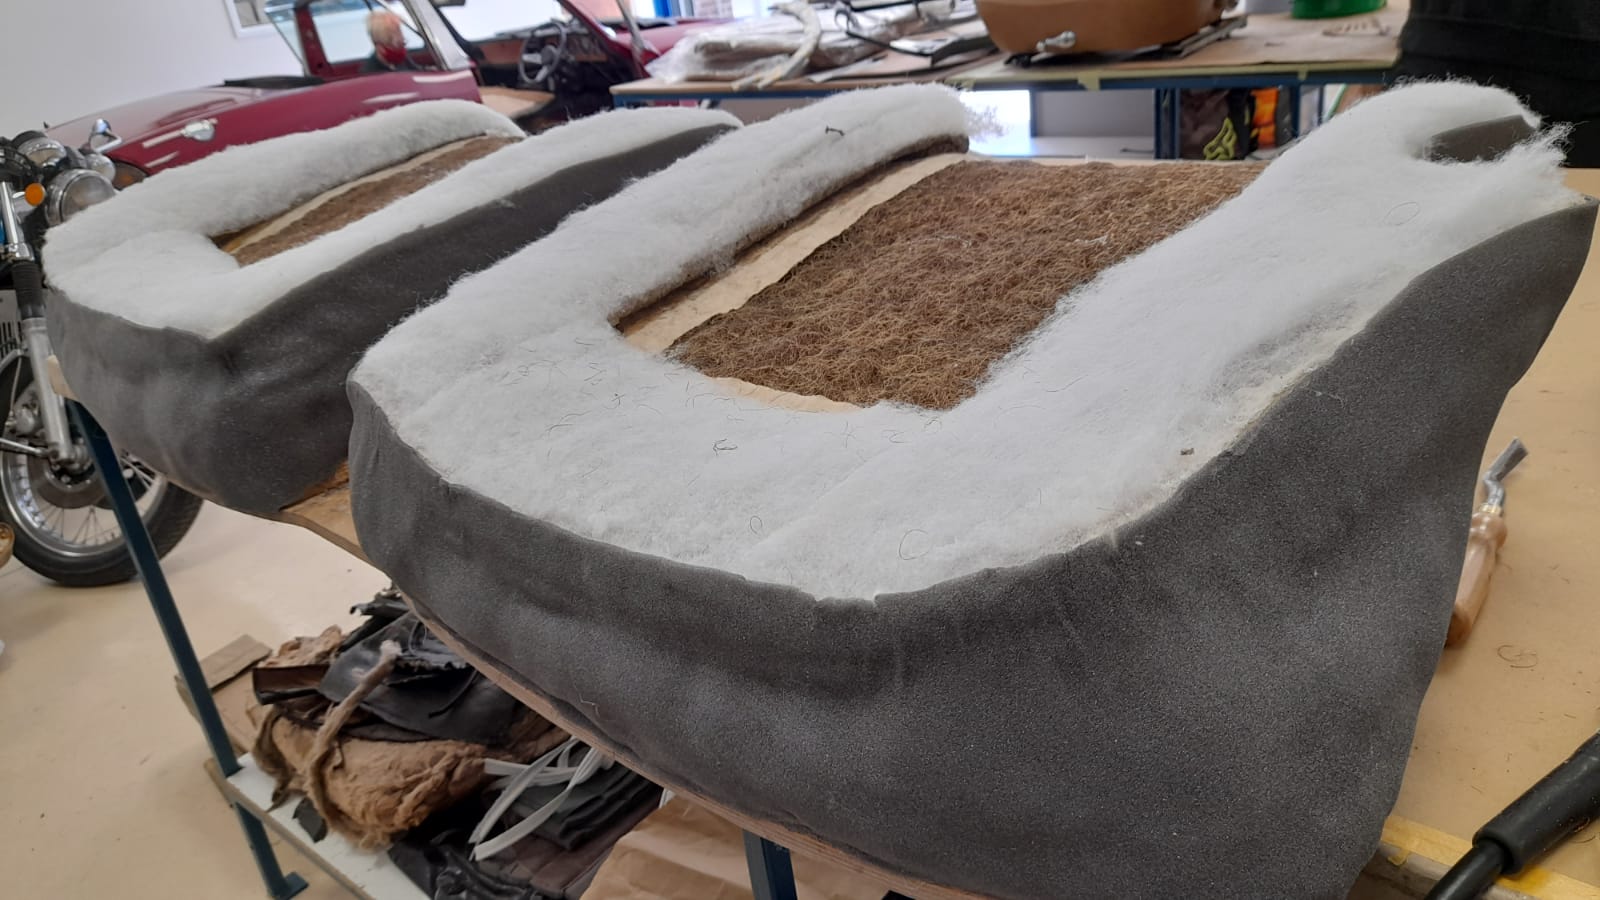
Our 1915 Model T’s front seats went down so well with its owner, he’s requested that we also cover the bench seats in the back
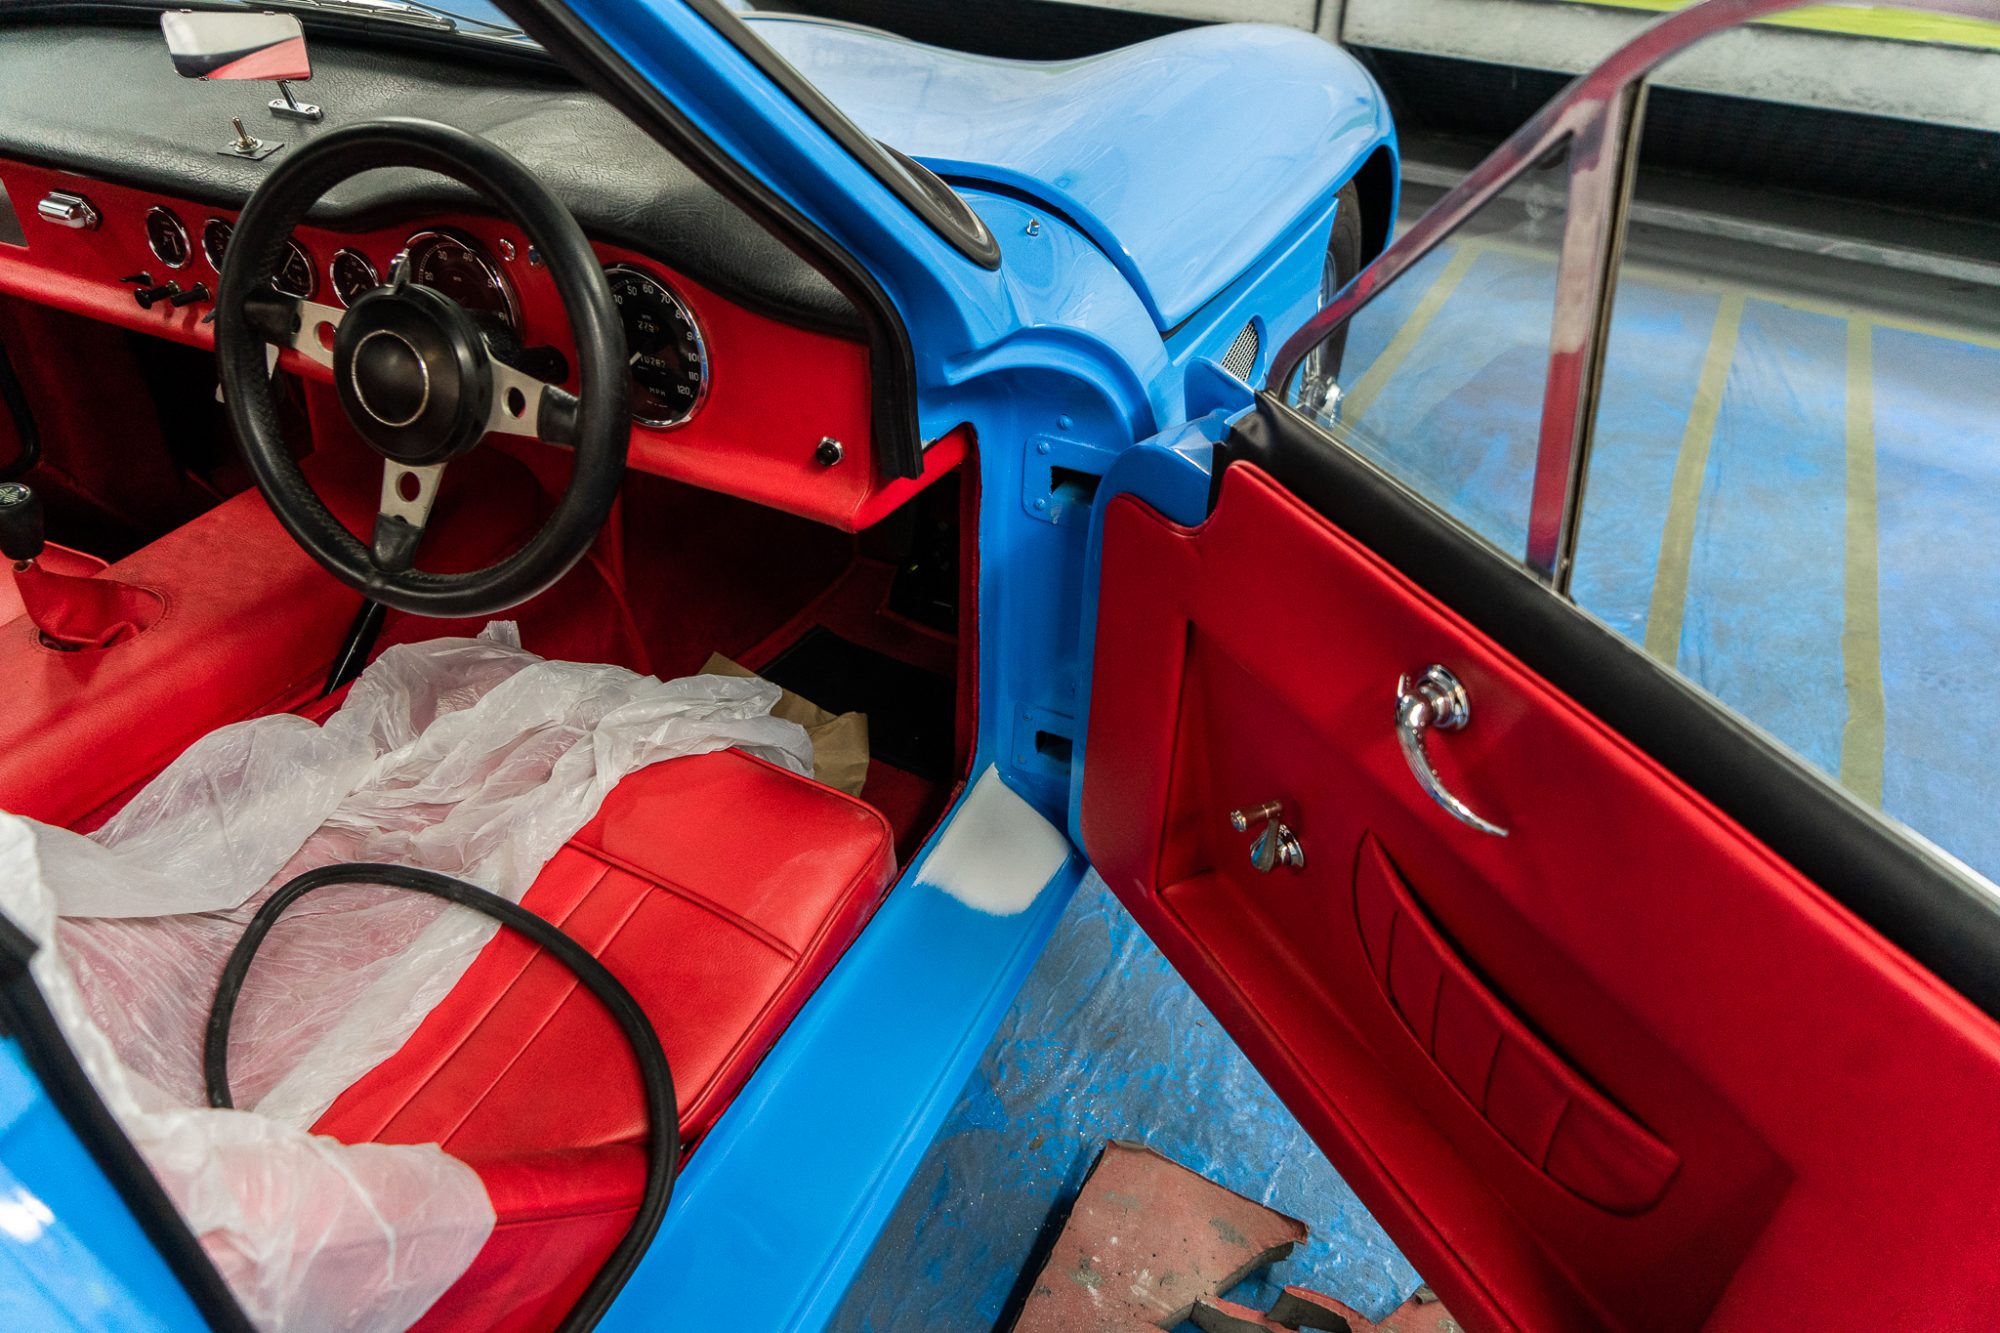
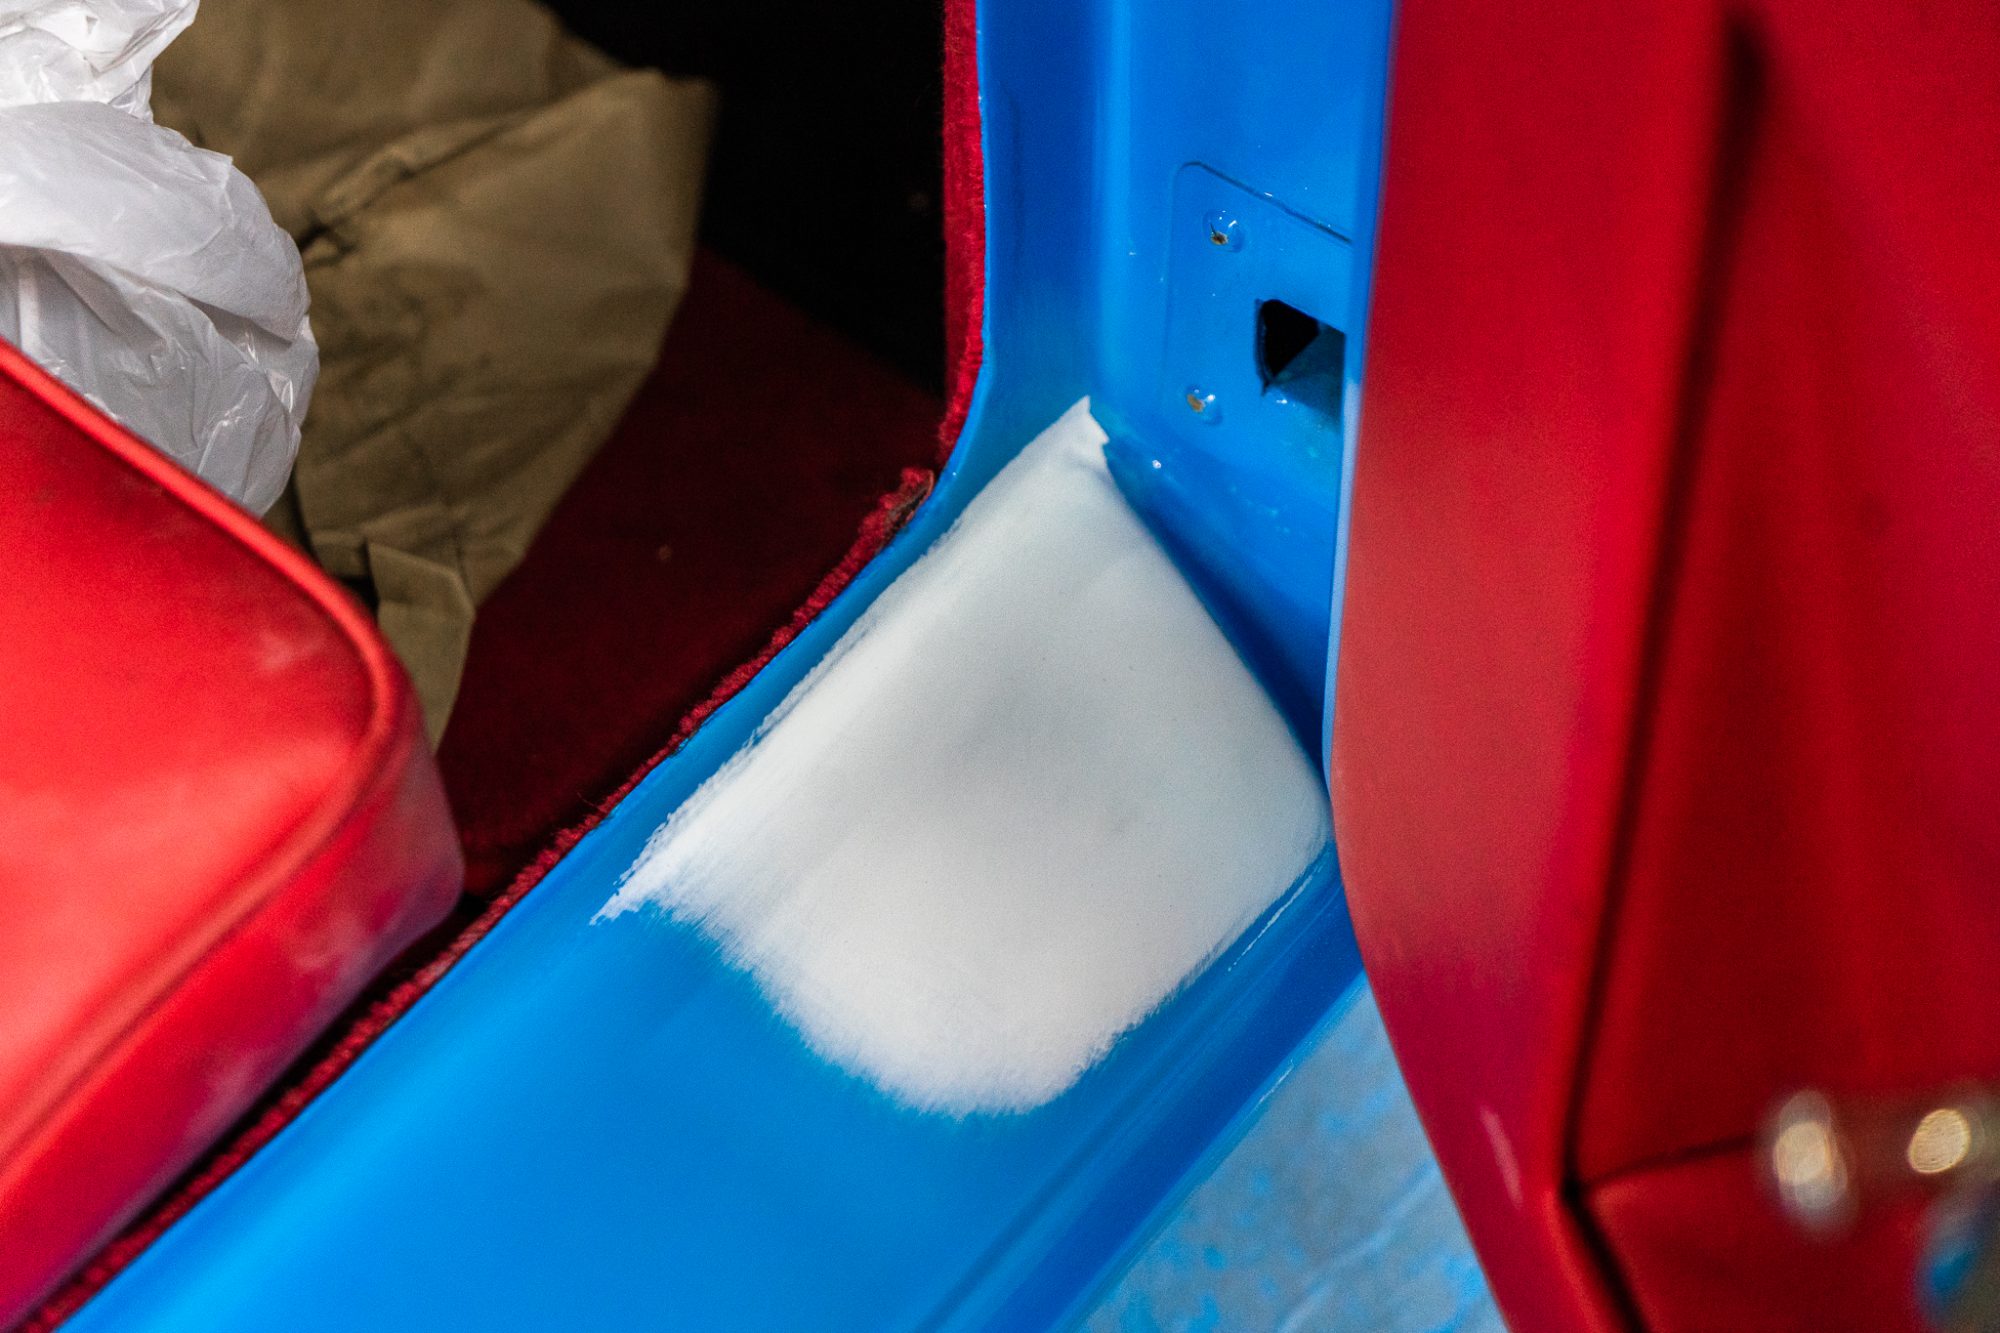
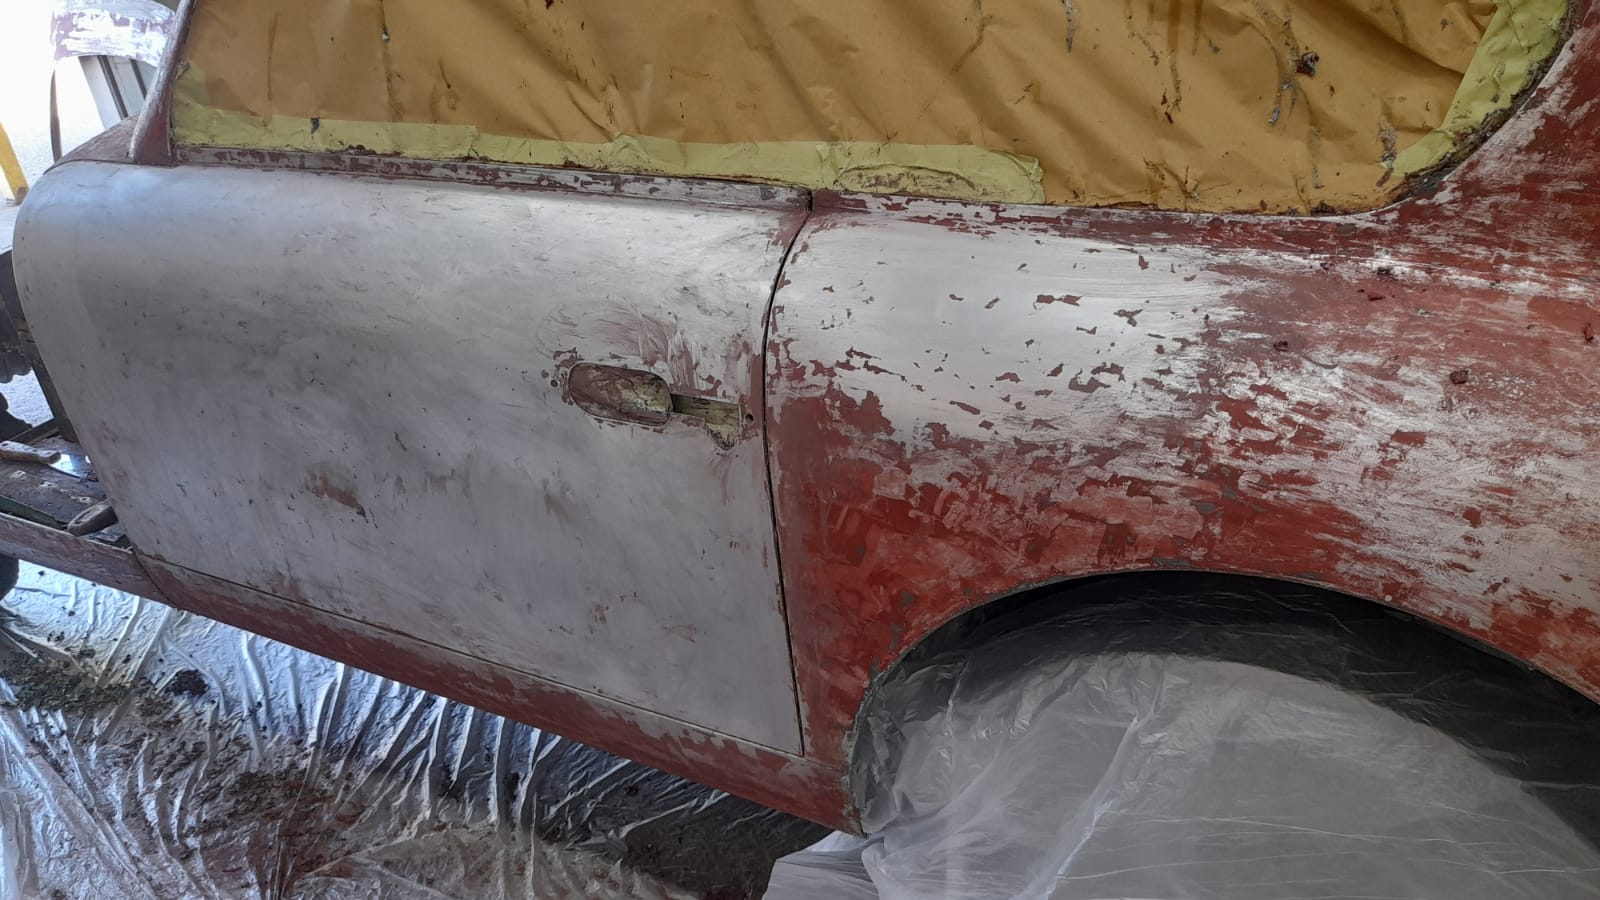
We’ve added a small paint touch up on our 1962 TVR Grantura as the door had been rubbing on the sill. Chris, our paint shop
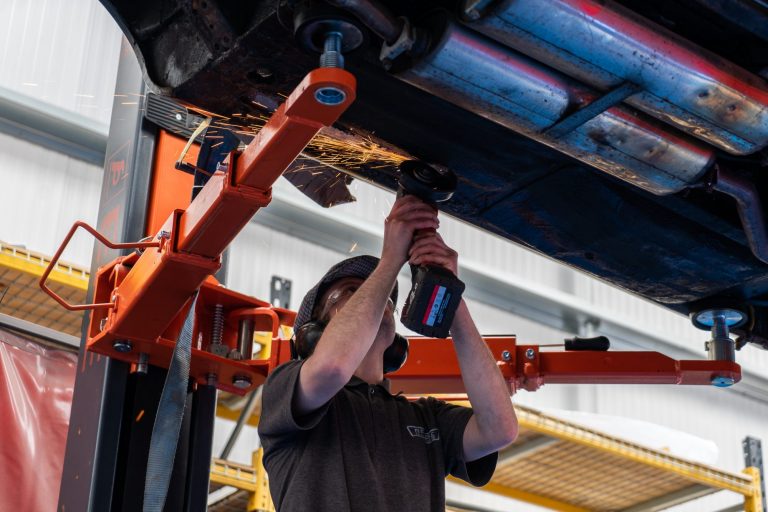
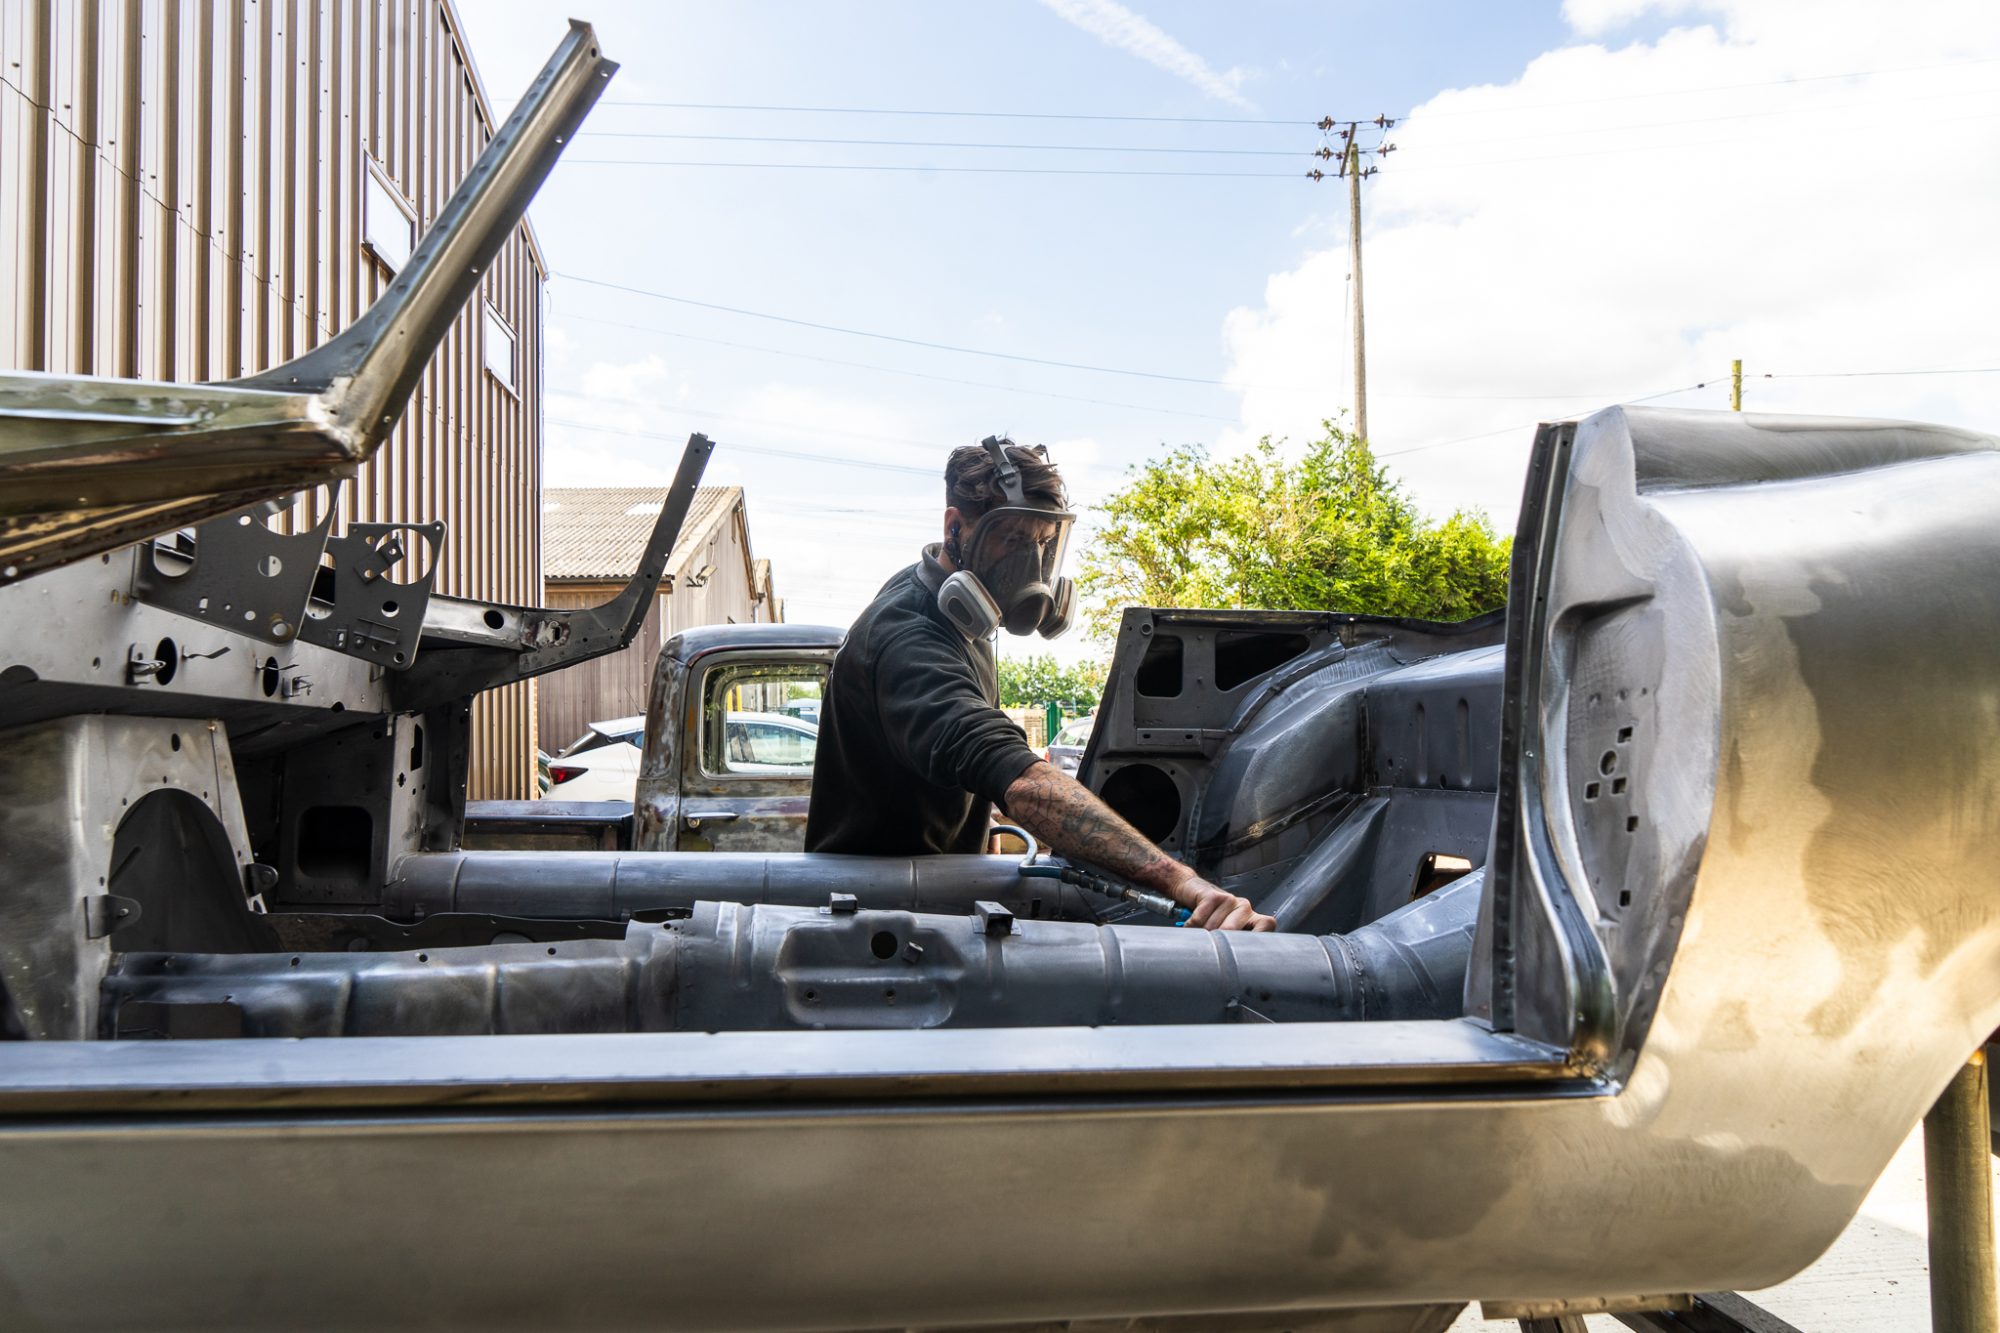
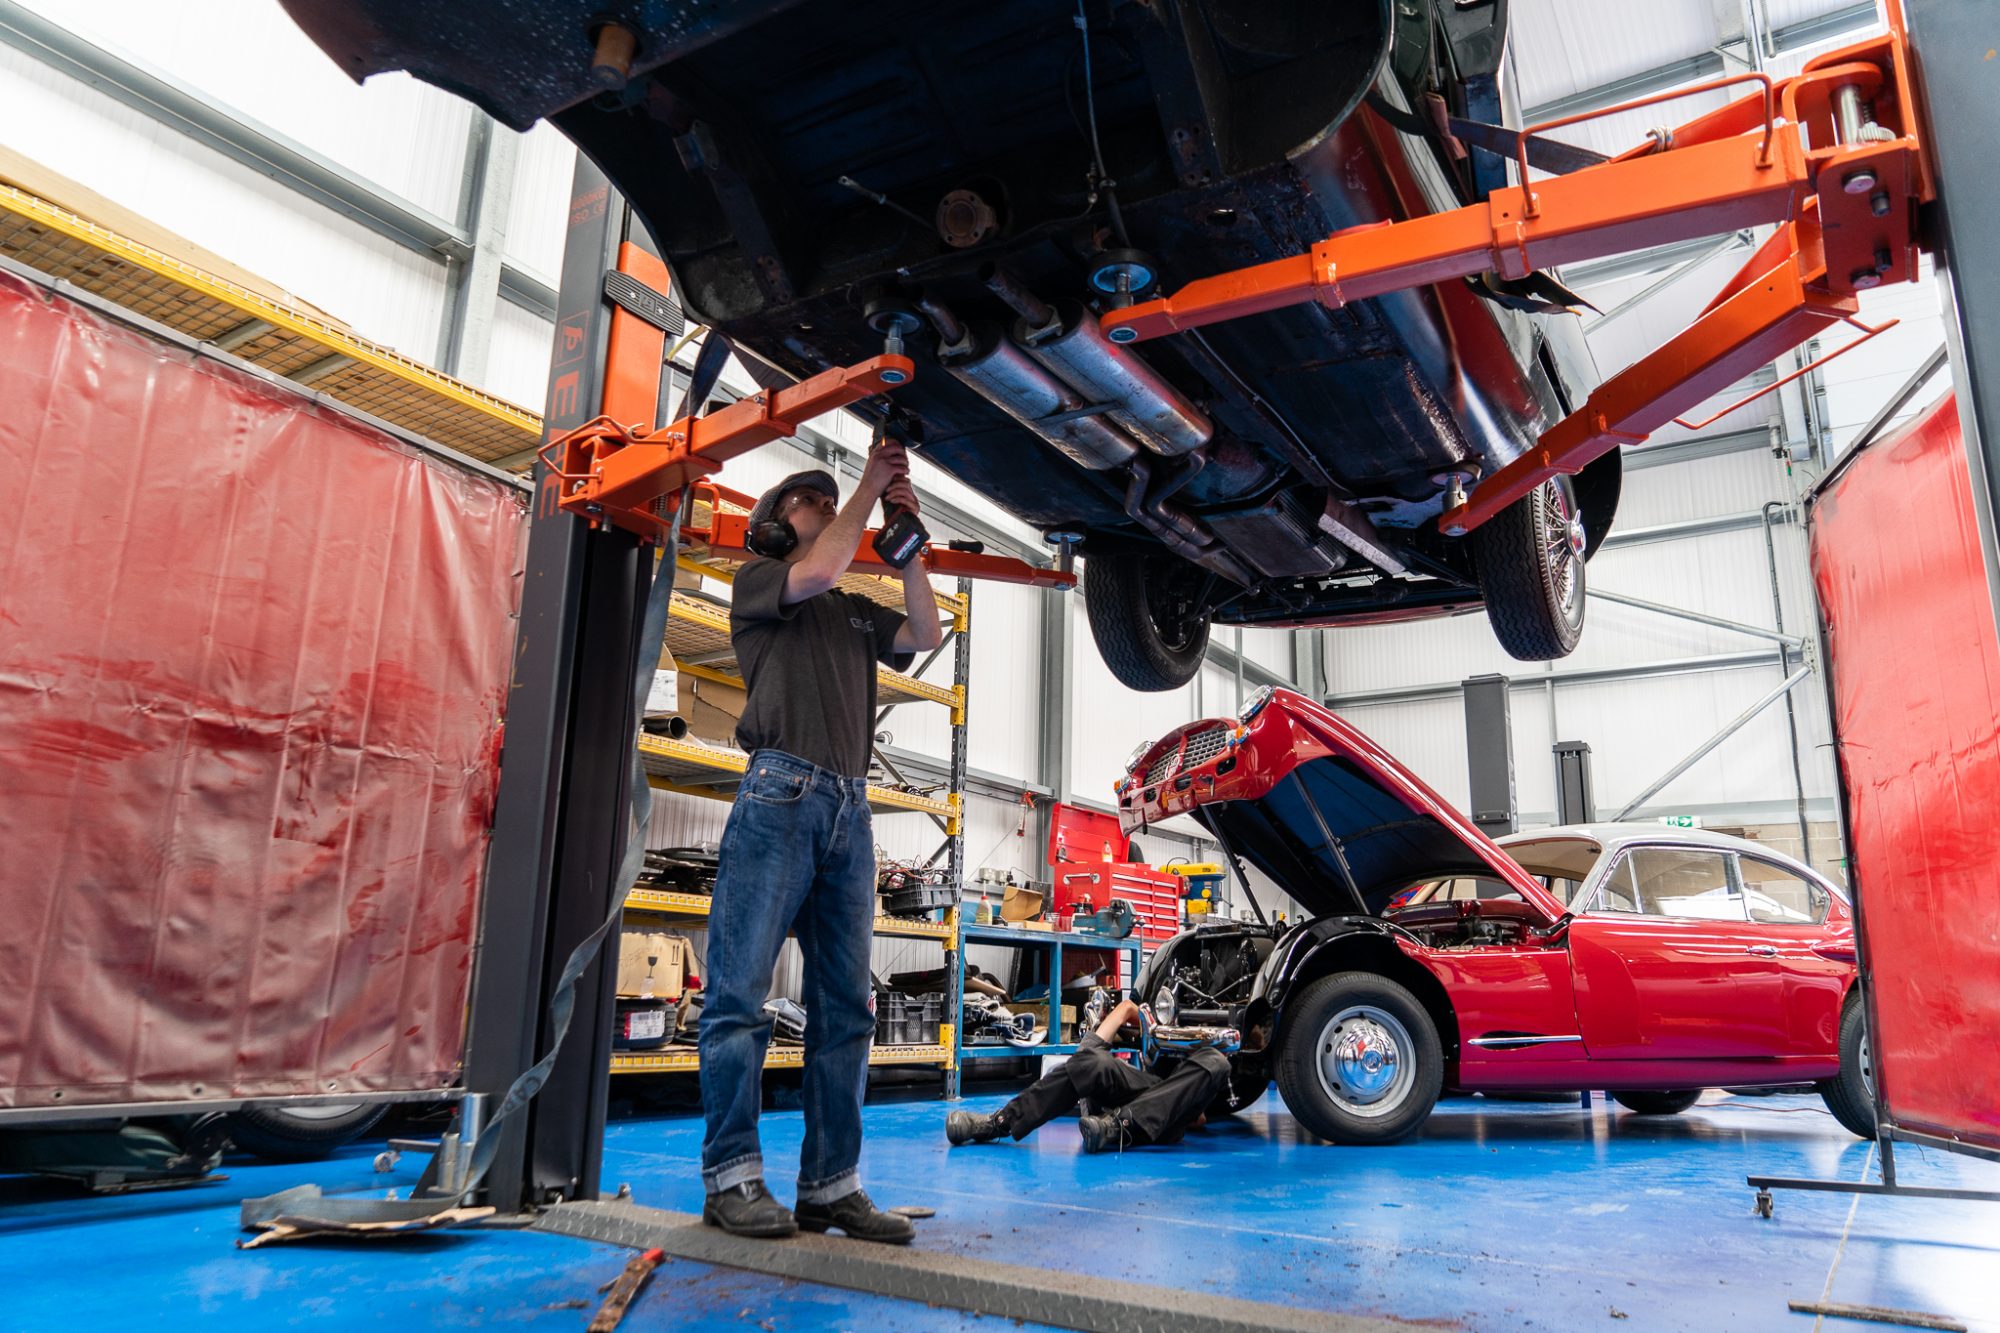
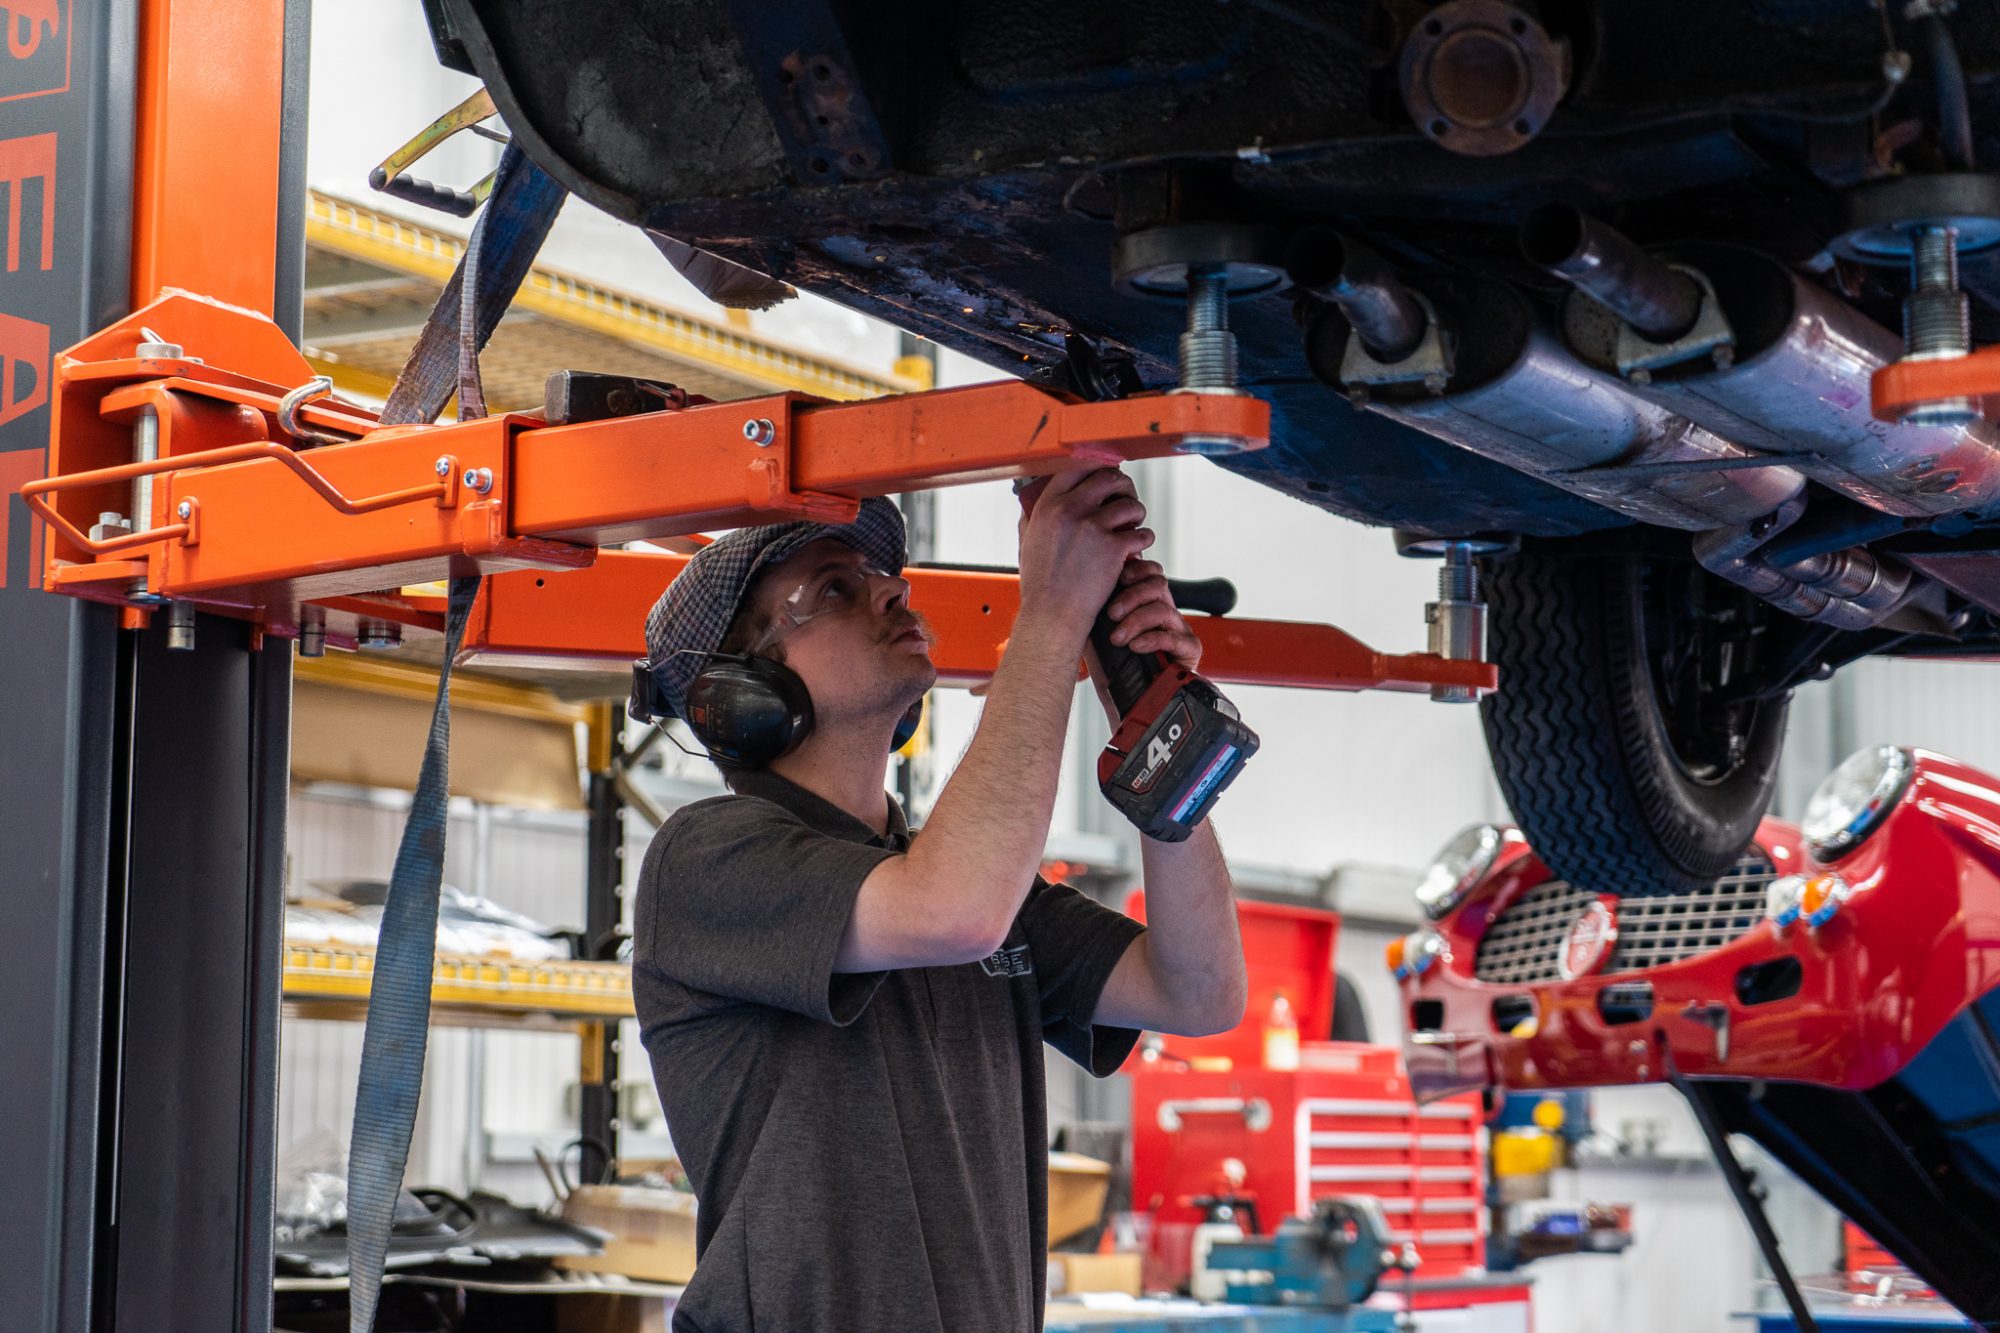
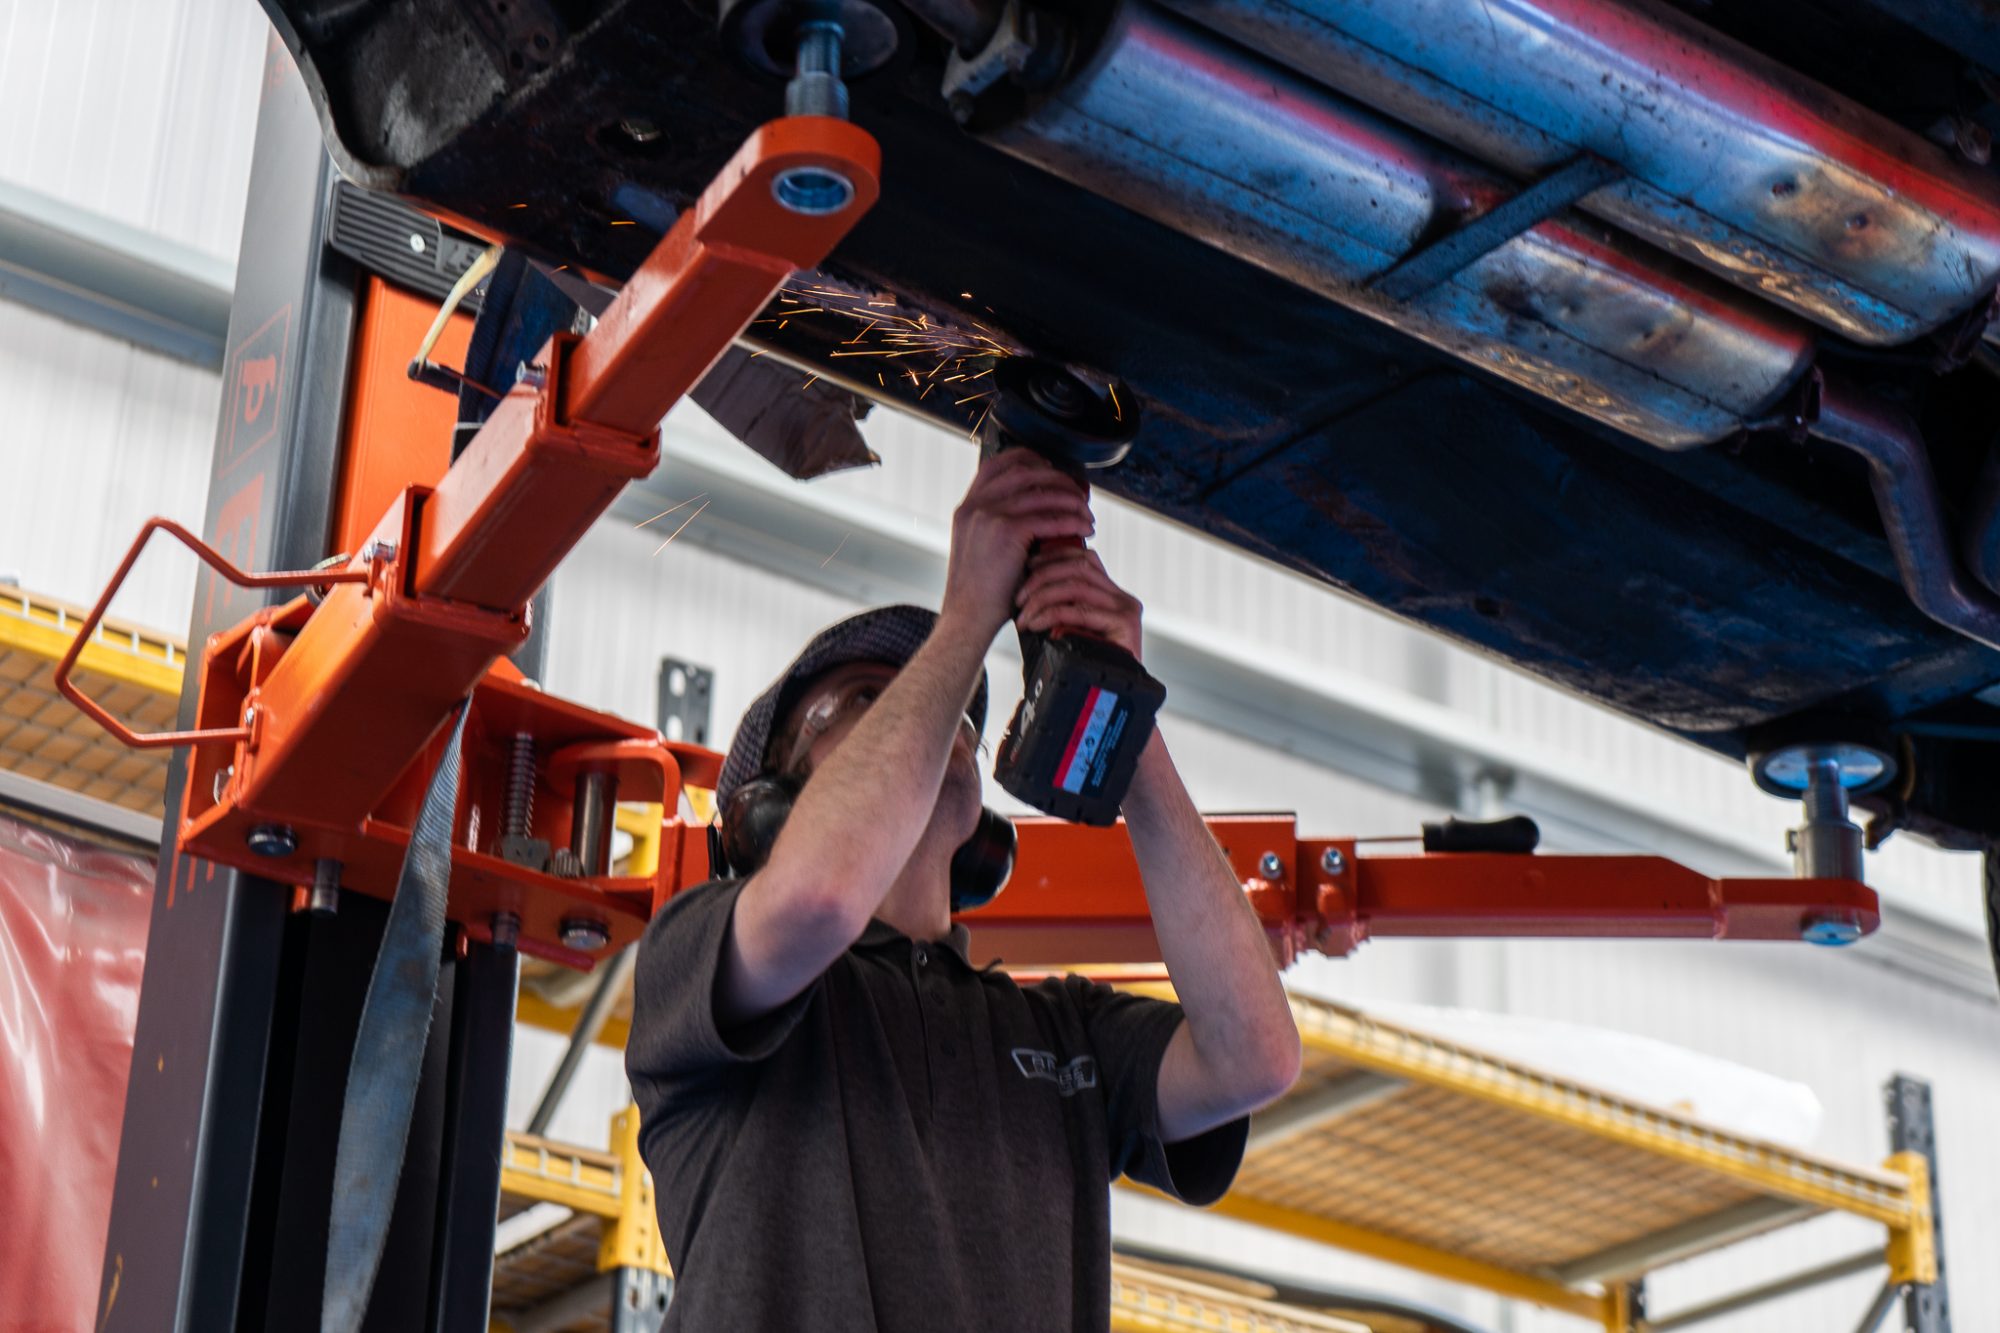
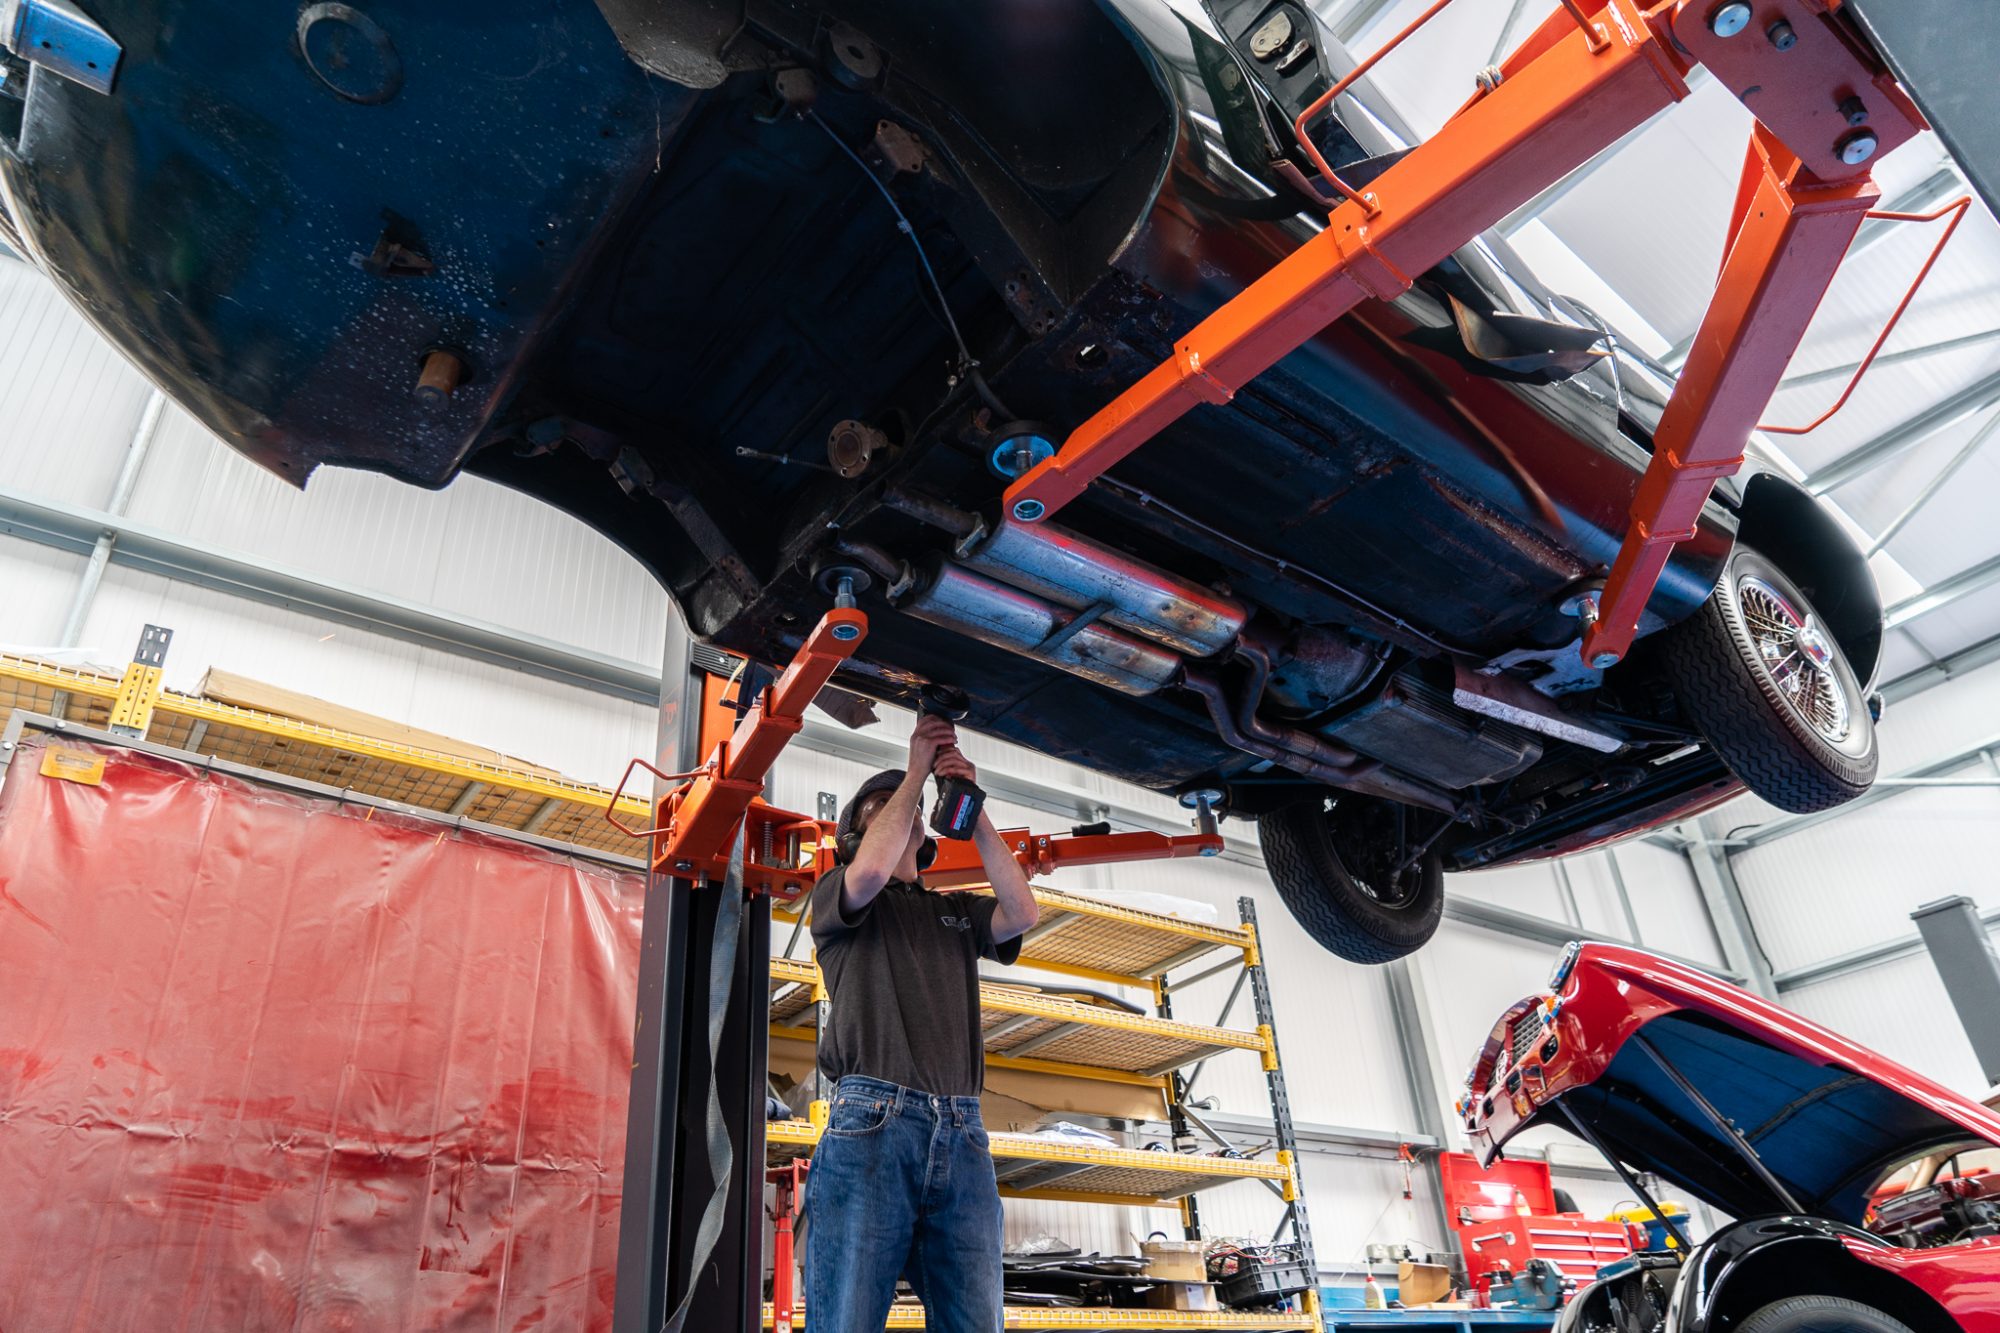
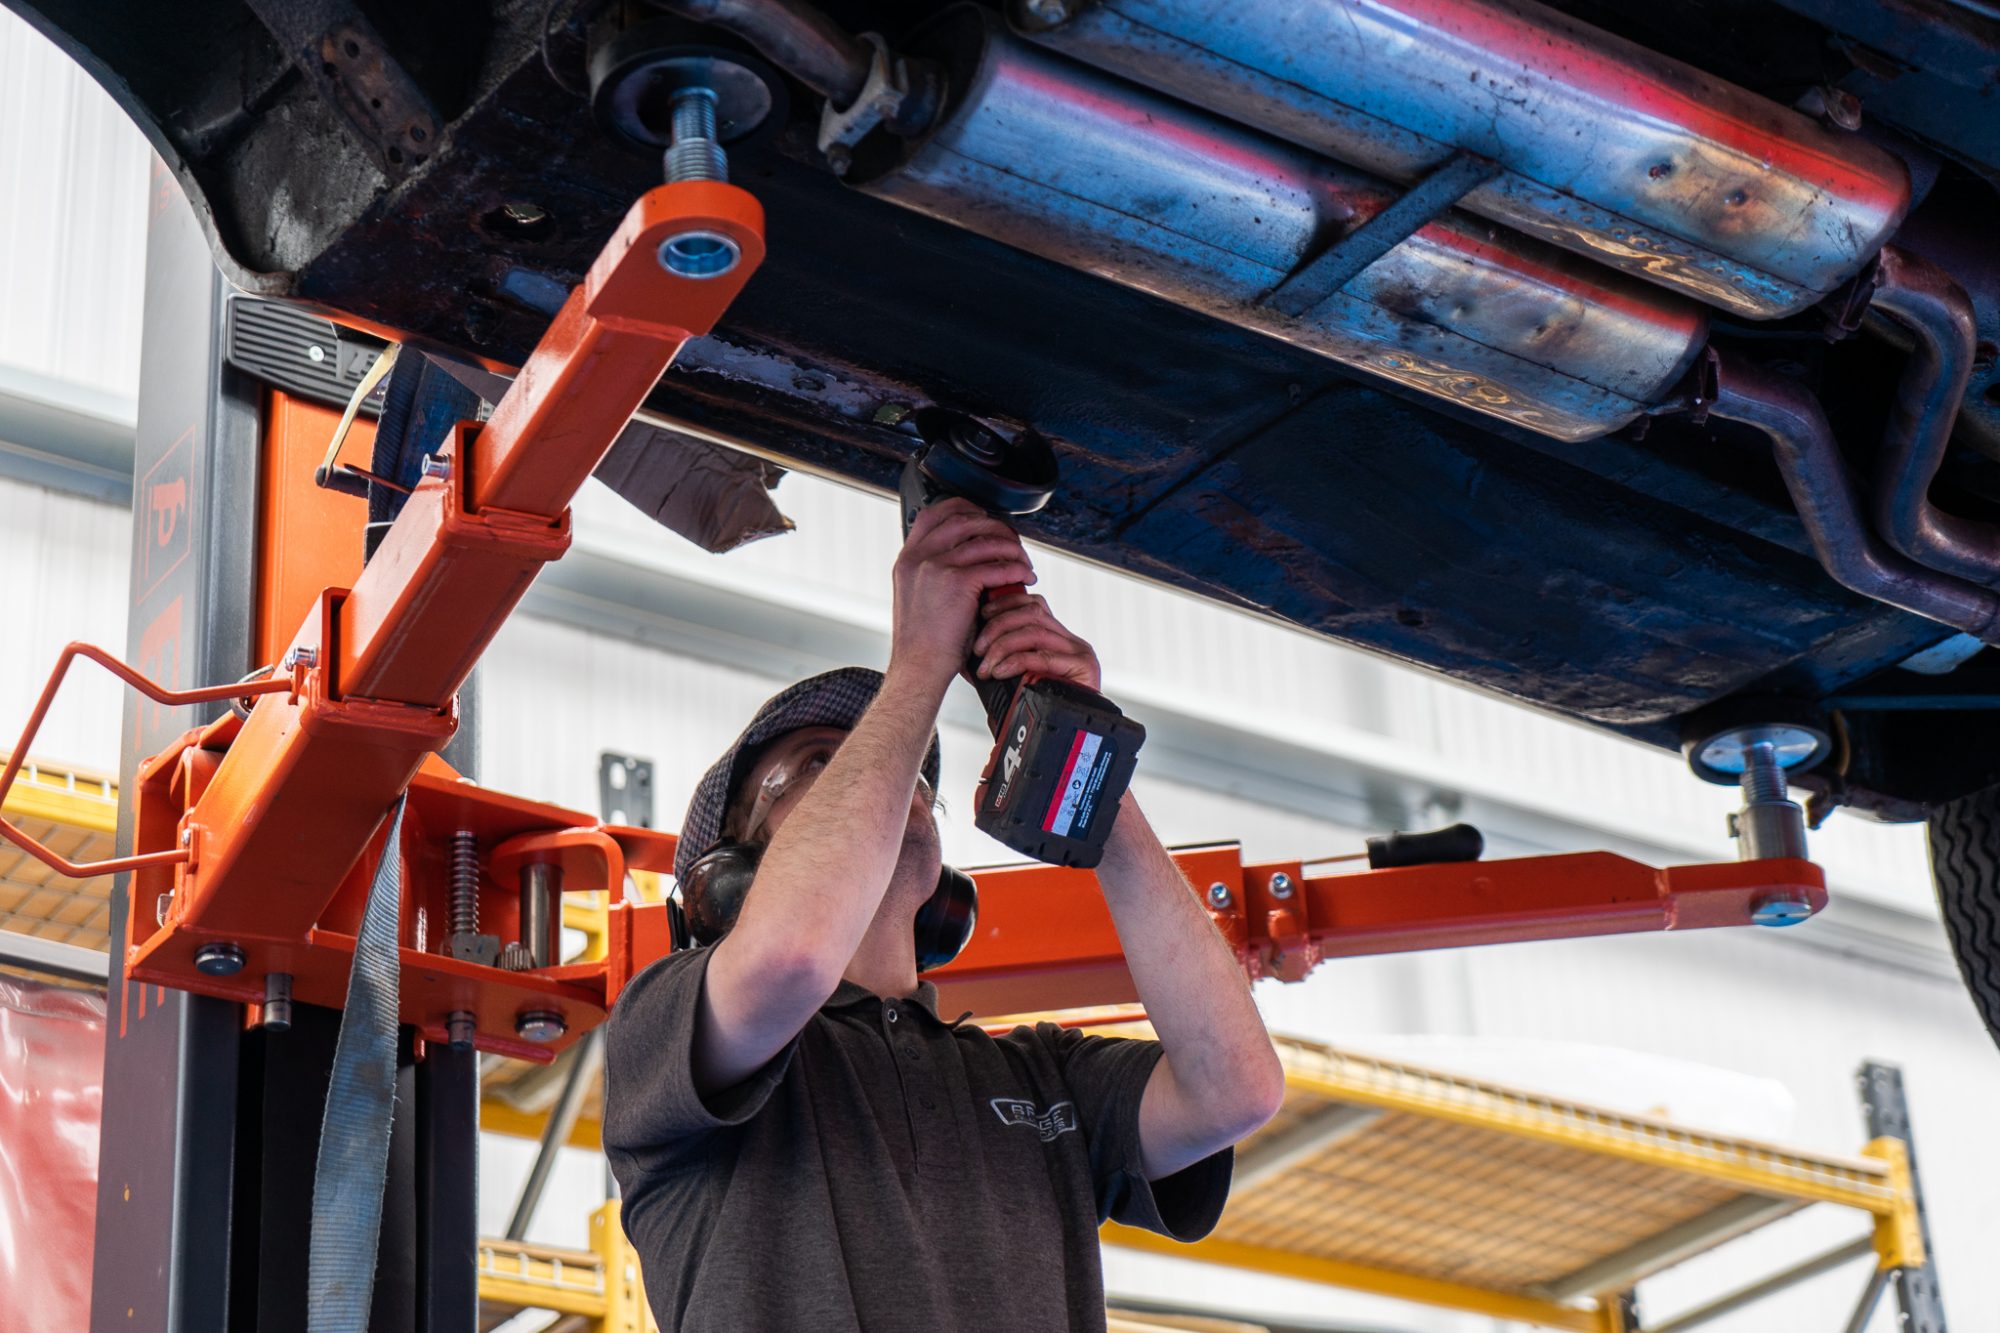
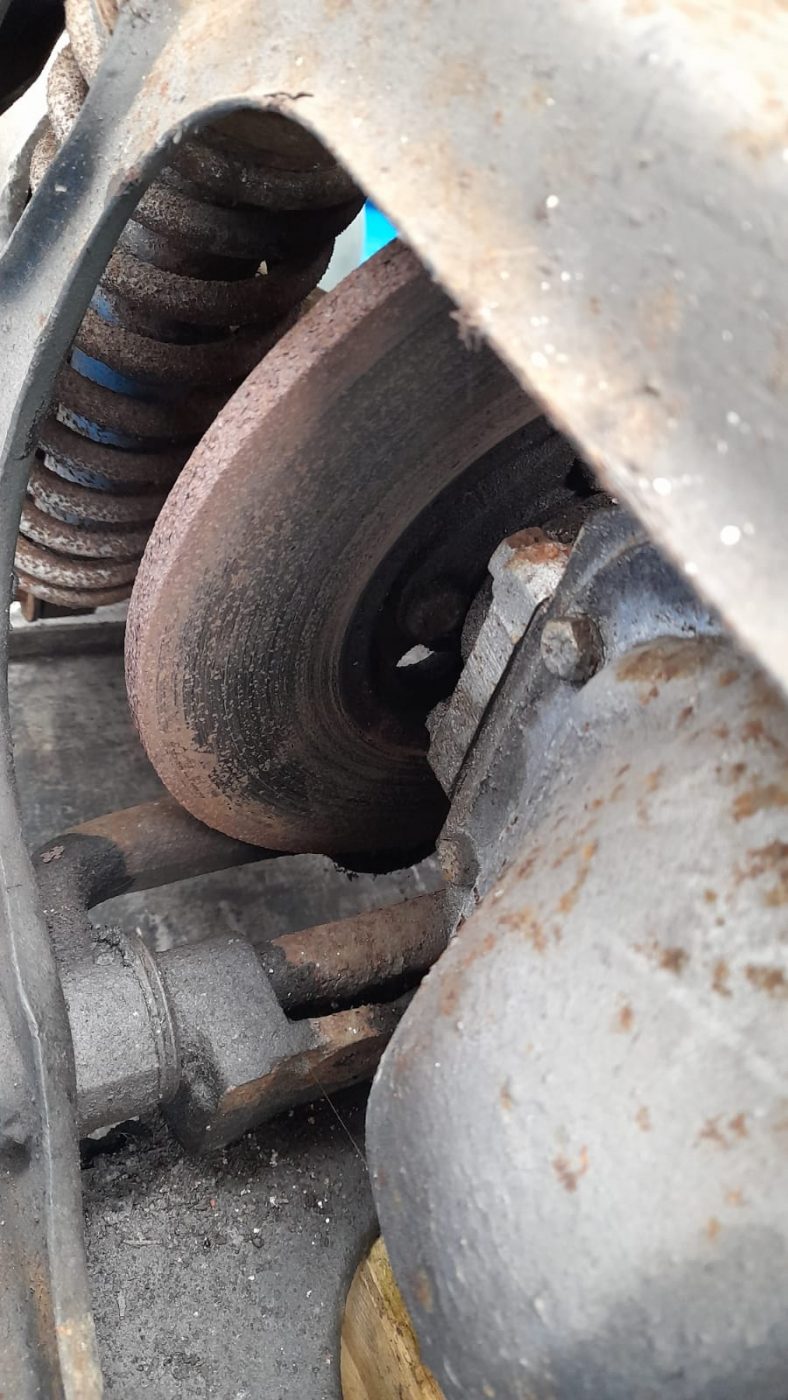
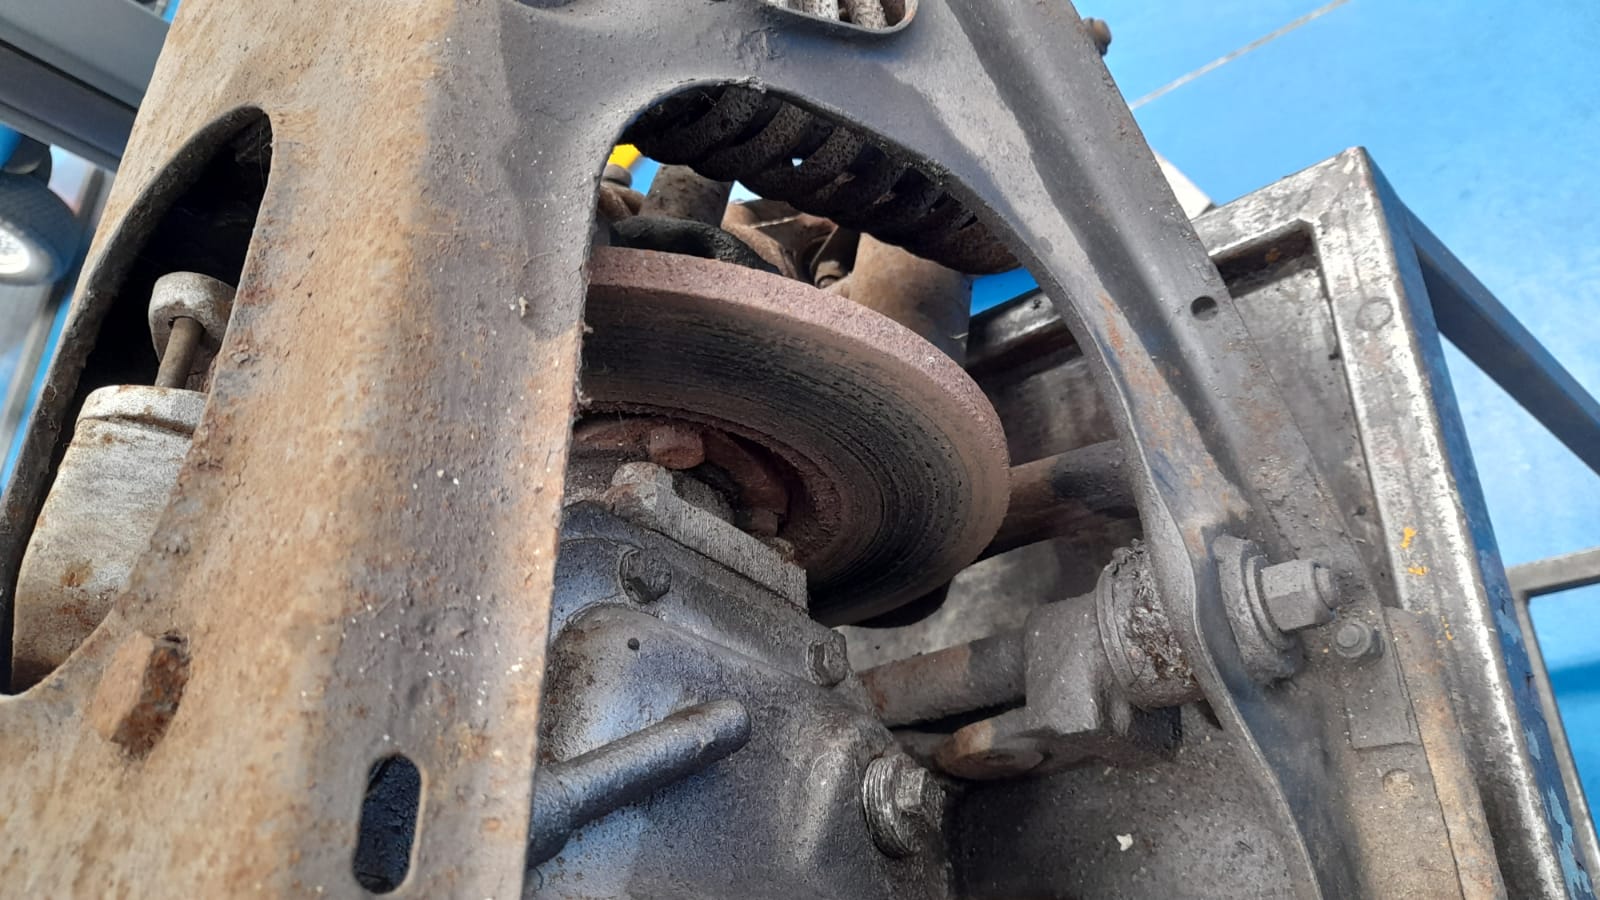
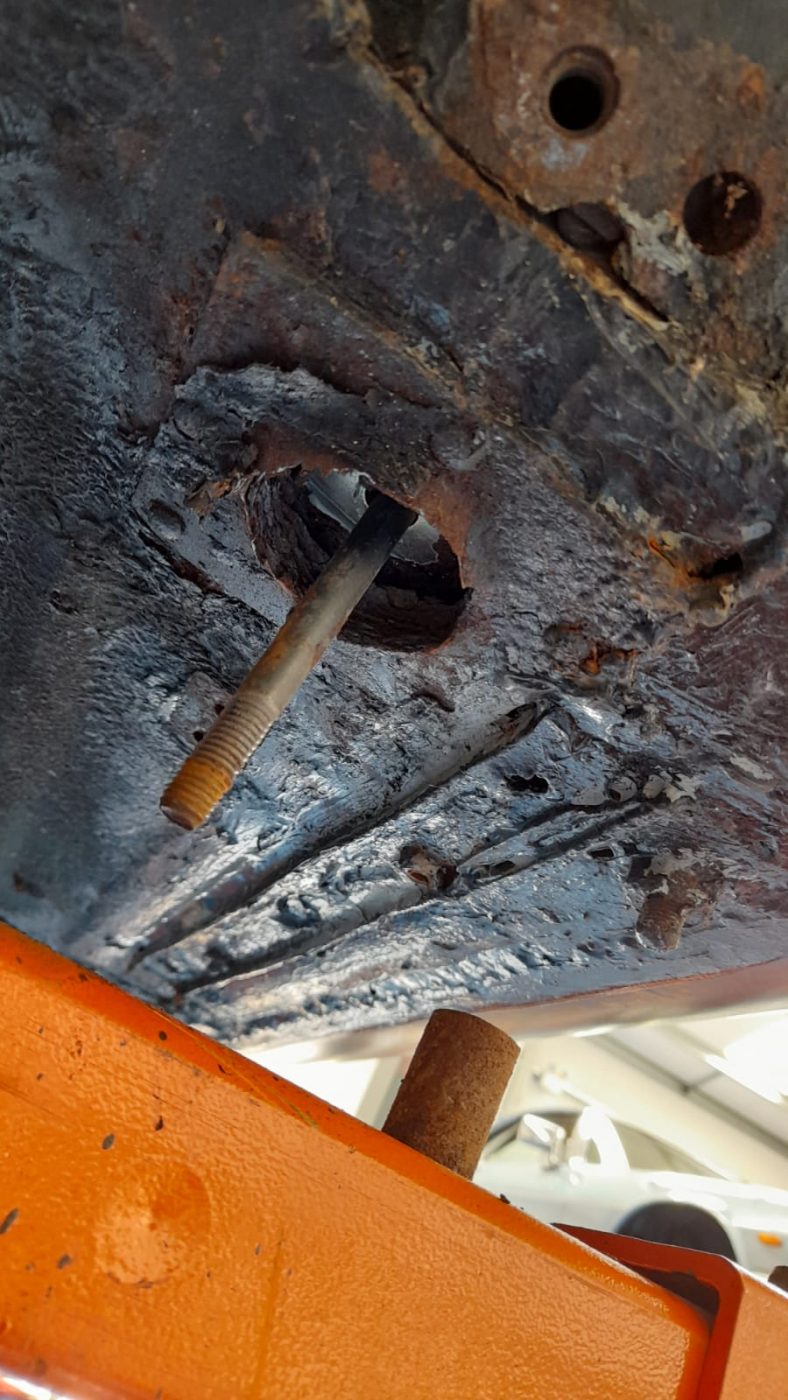
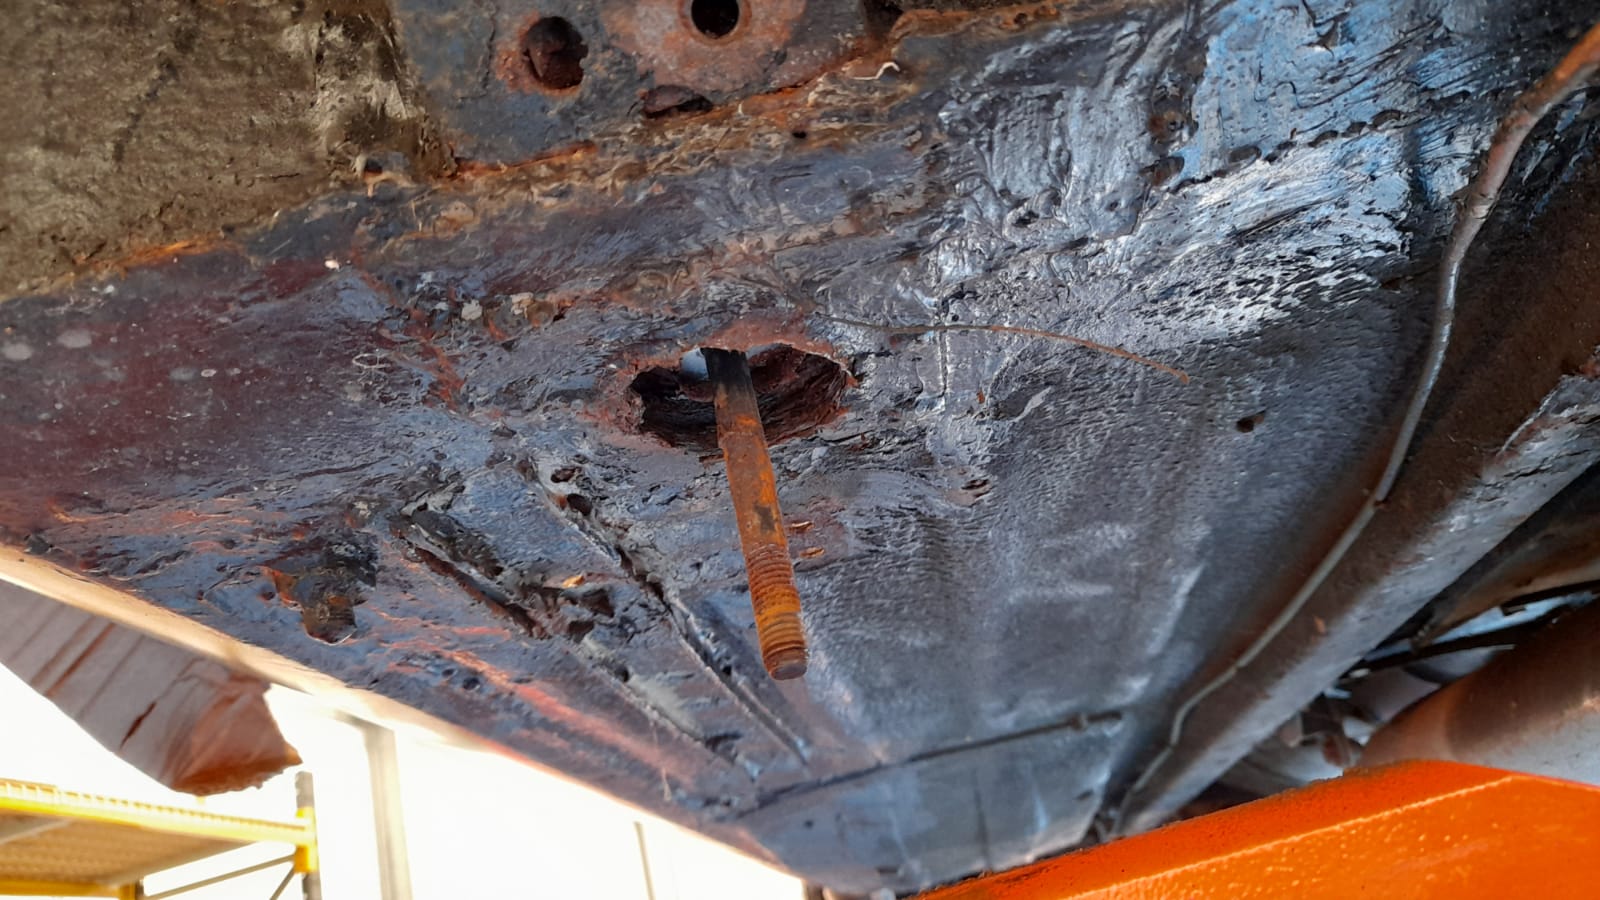
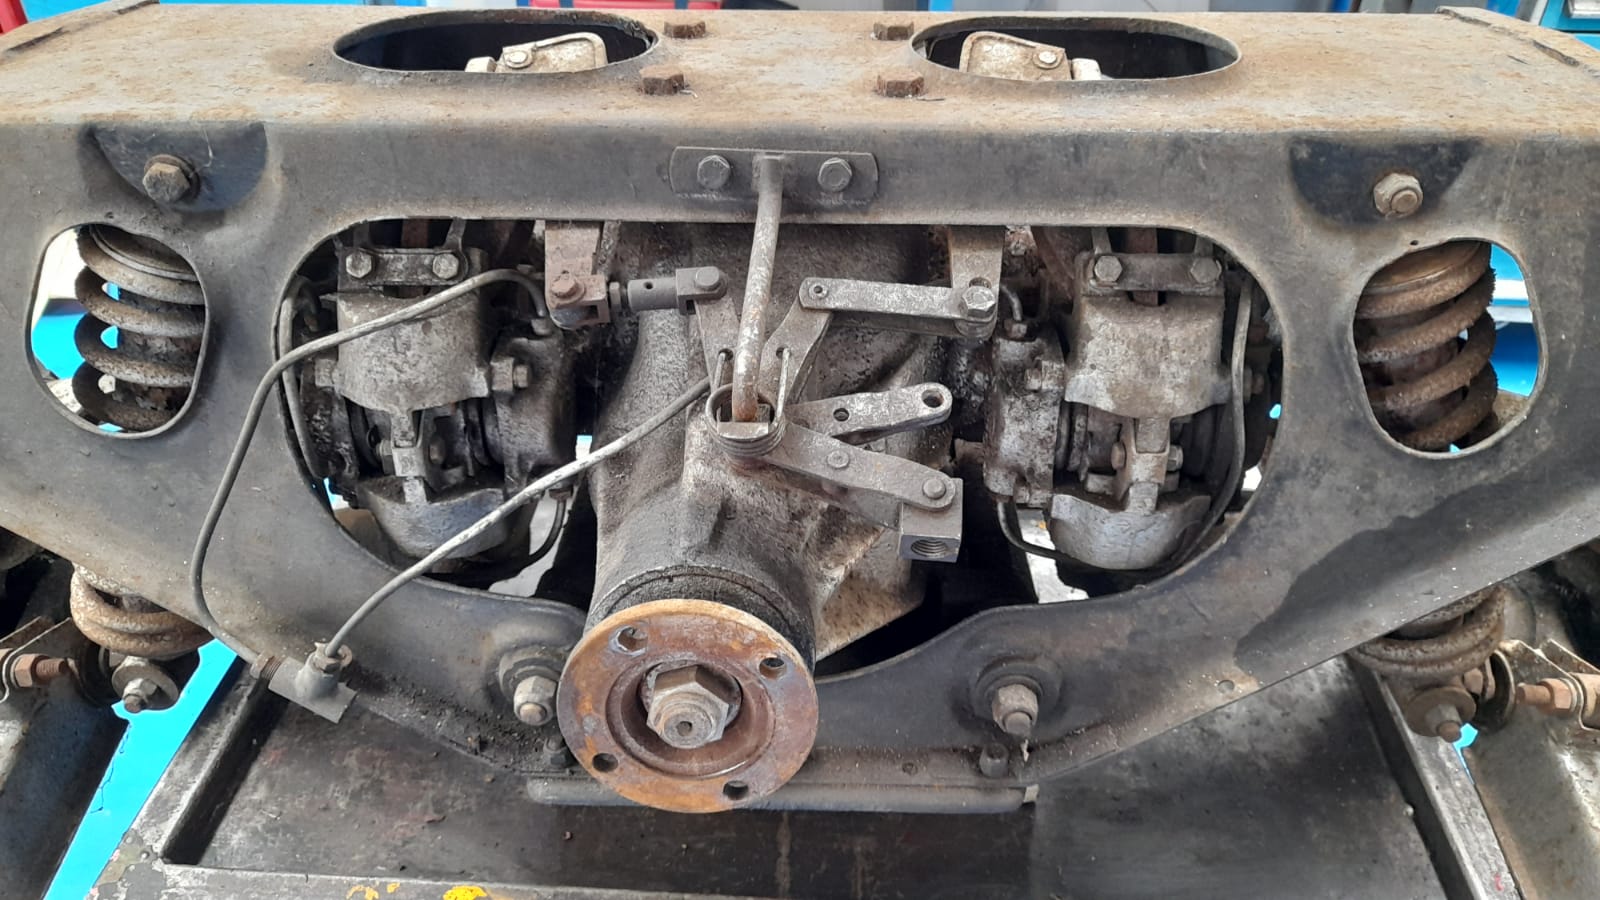
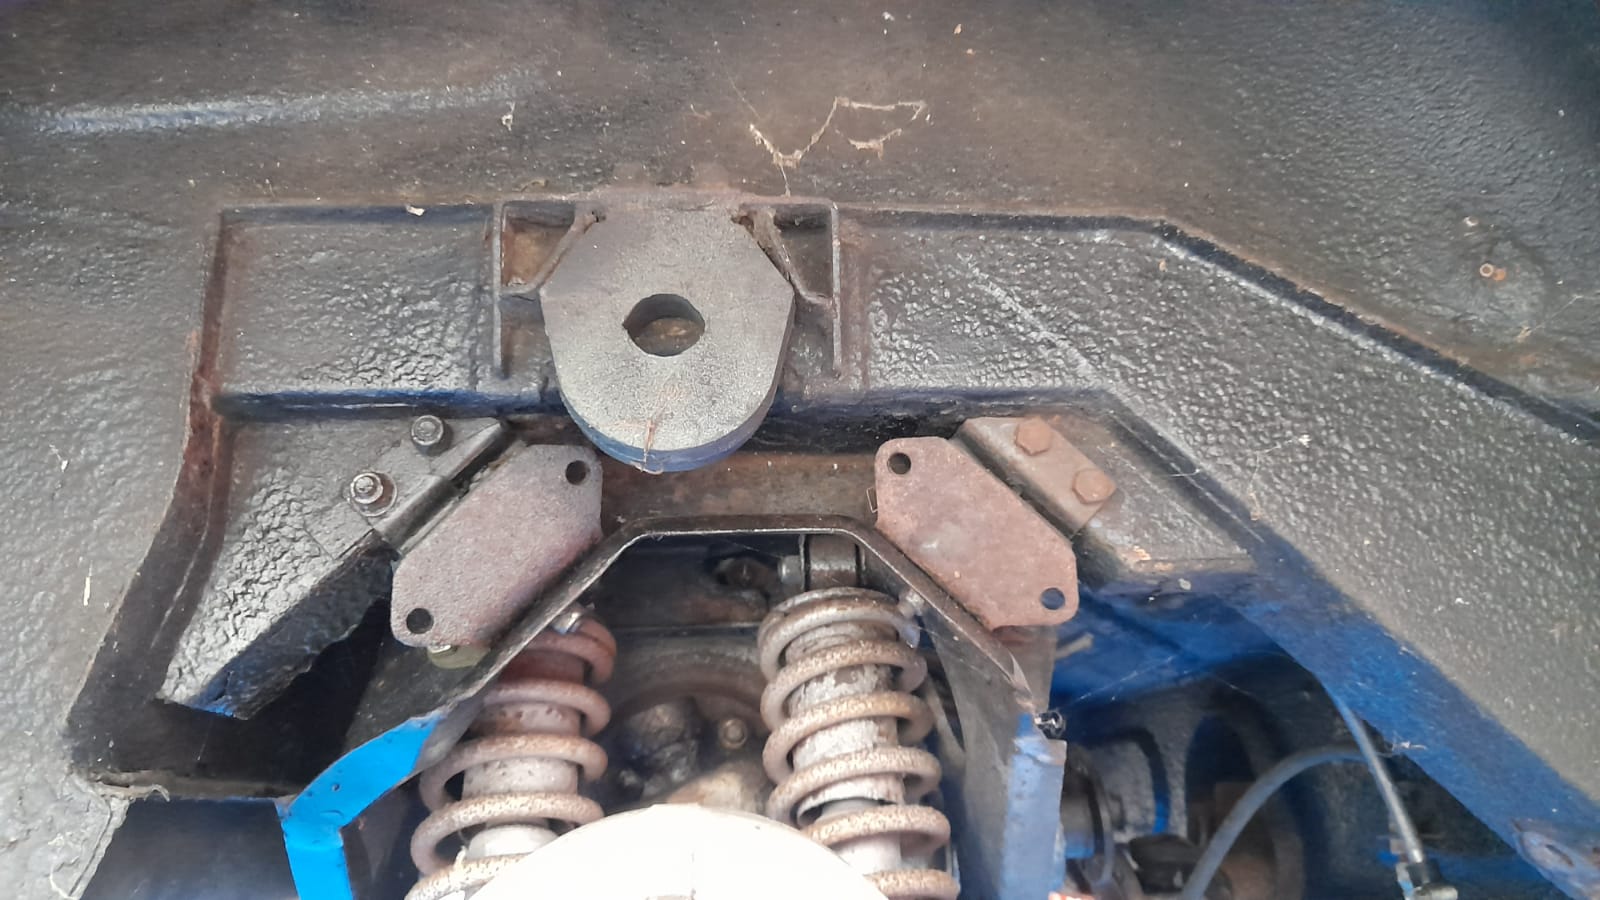
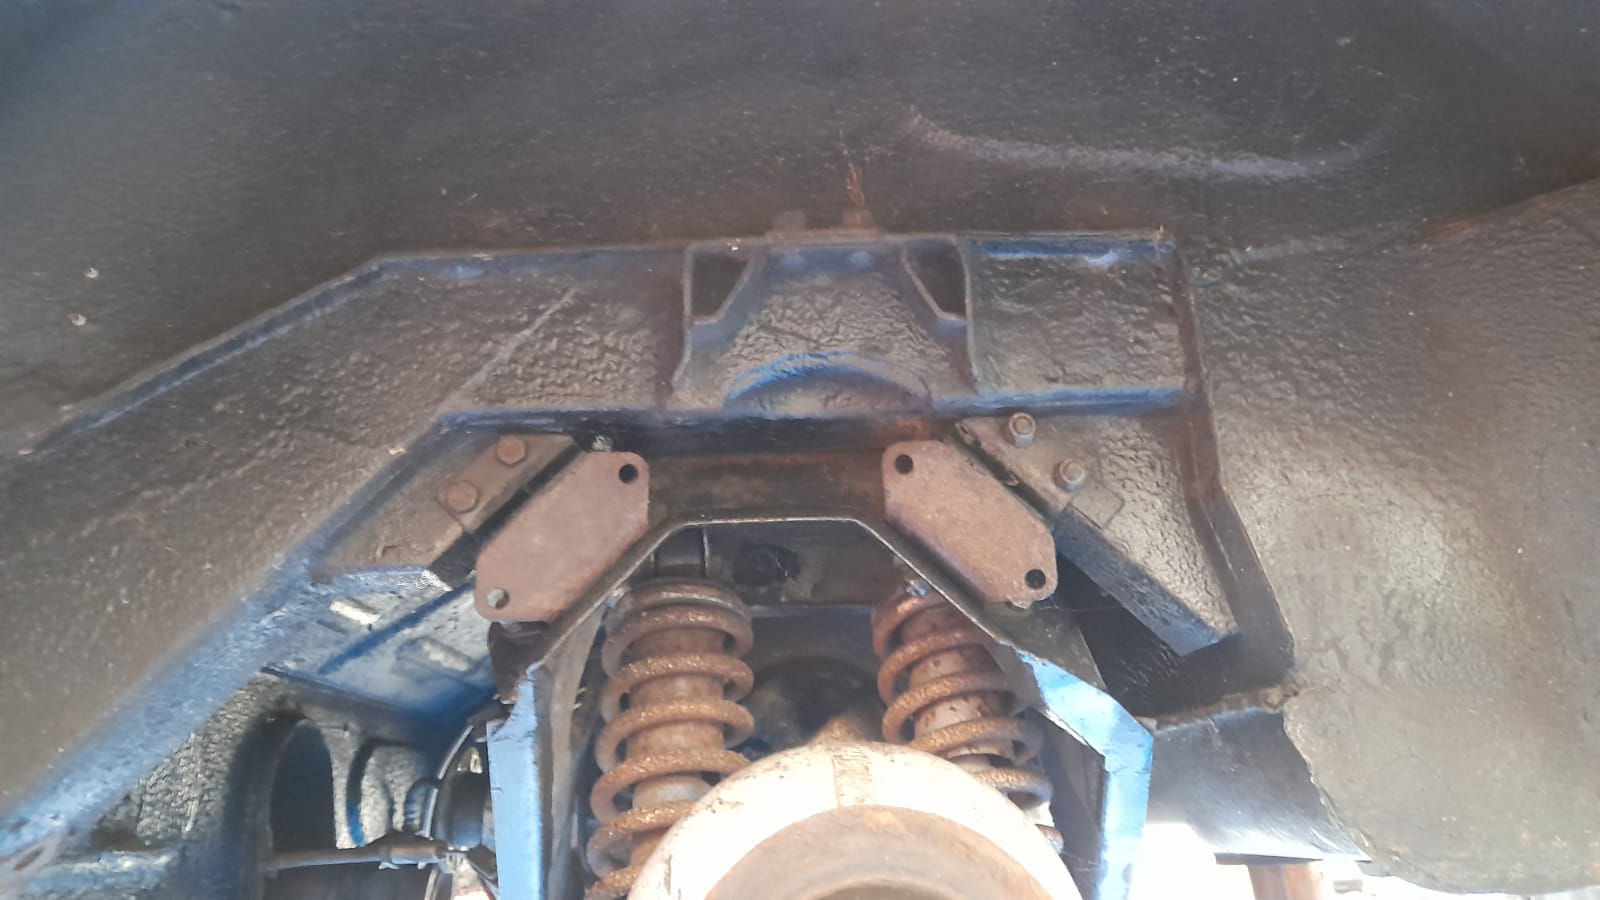
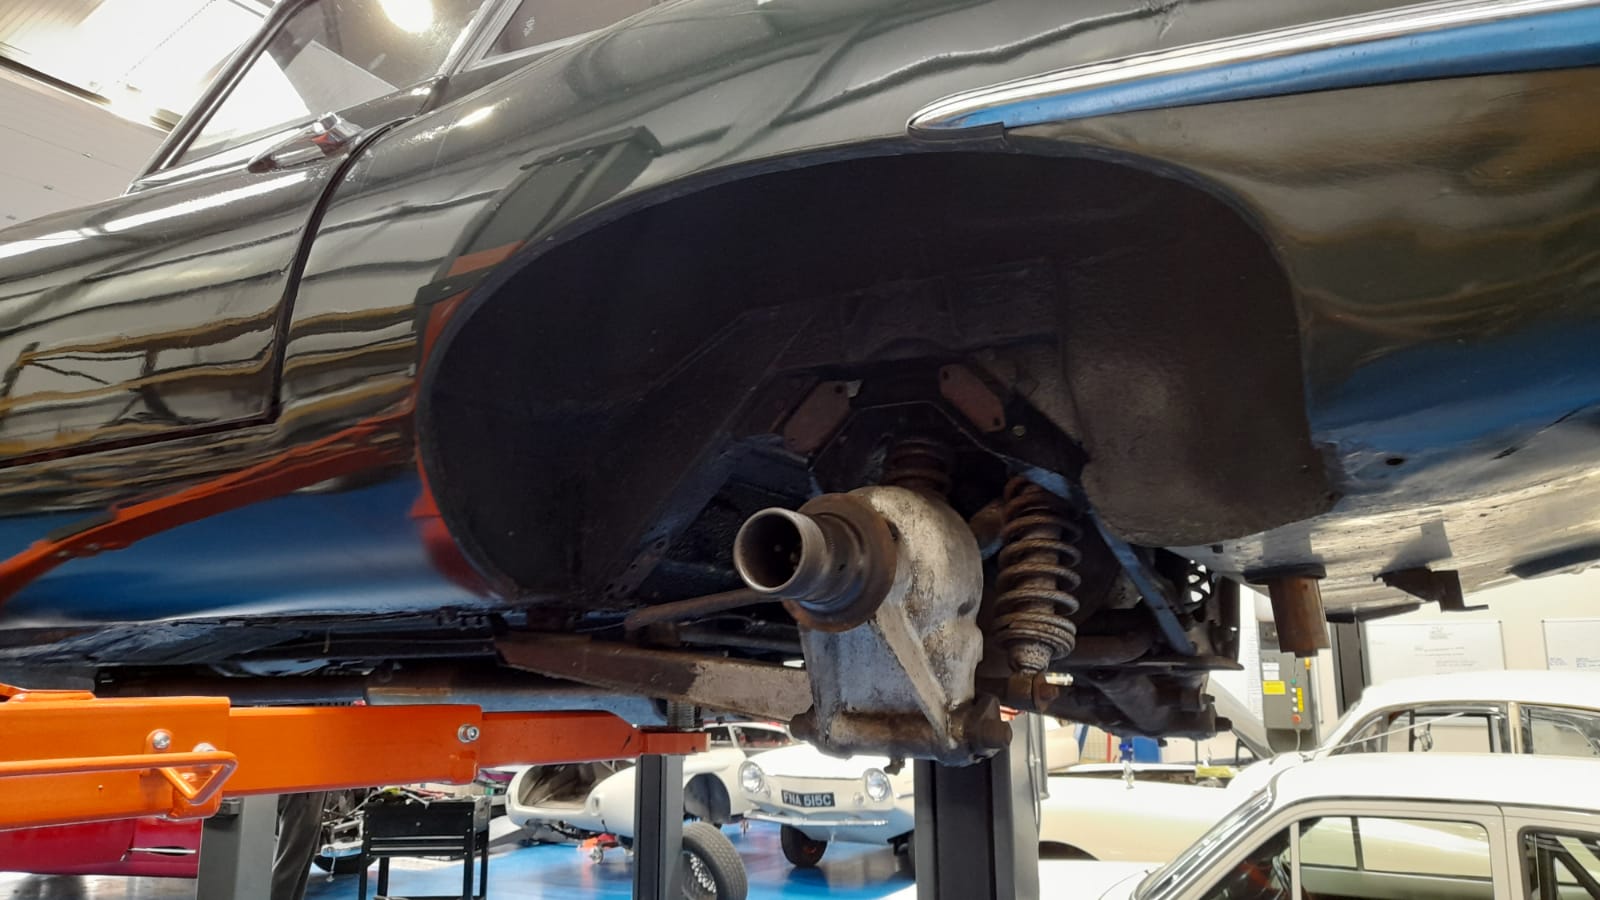
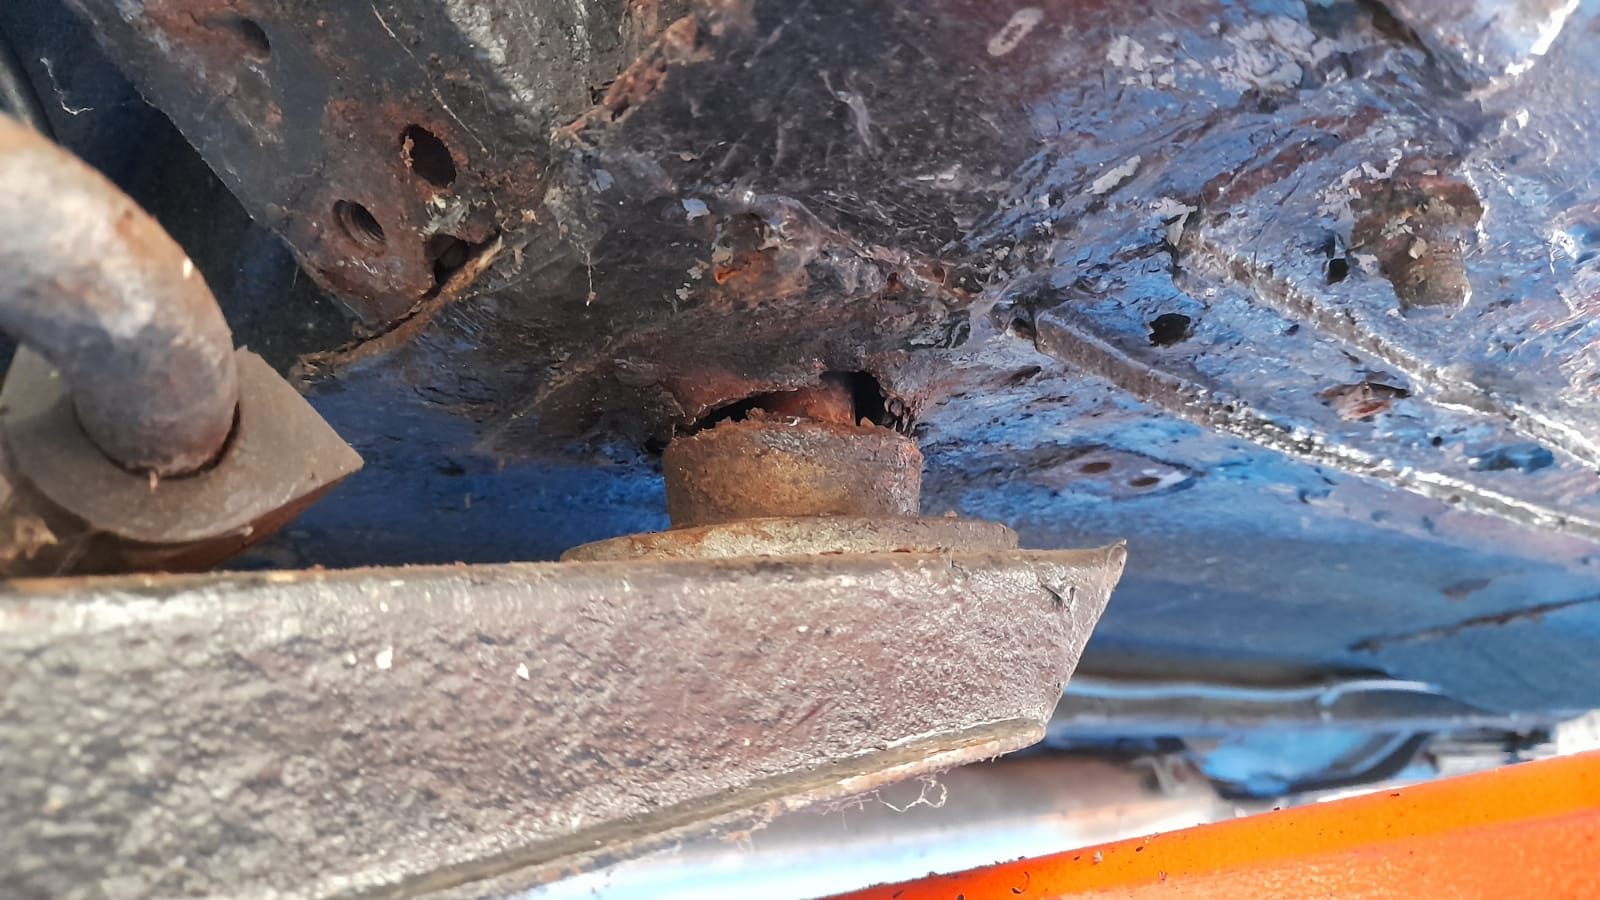
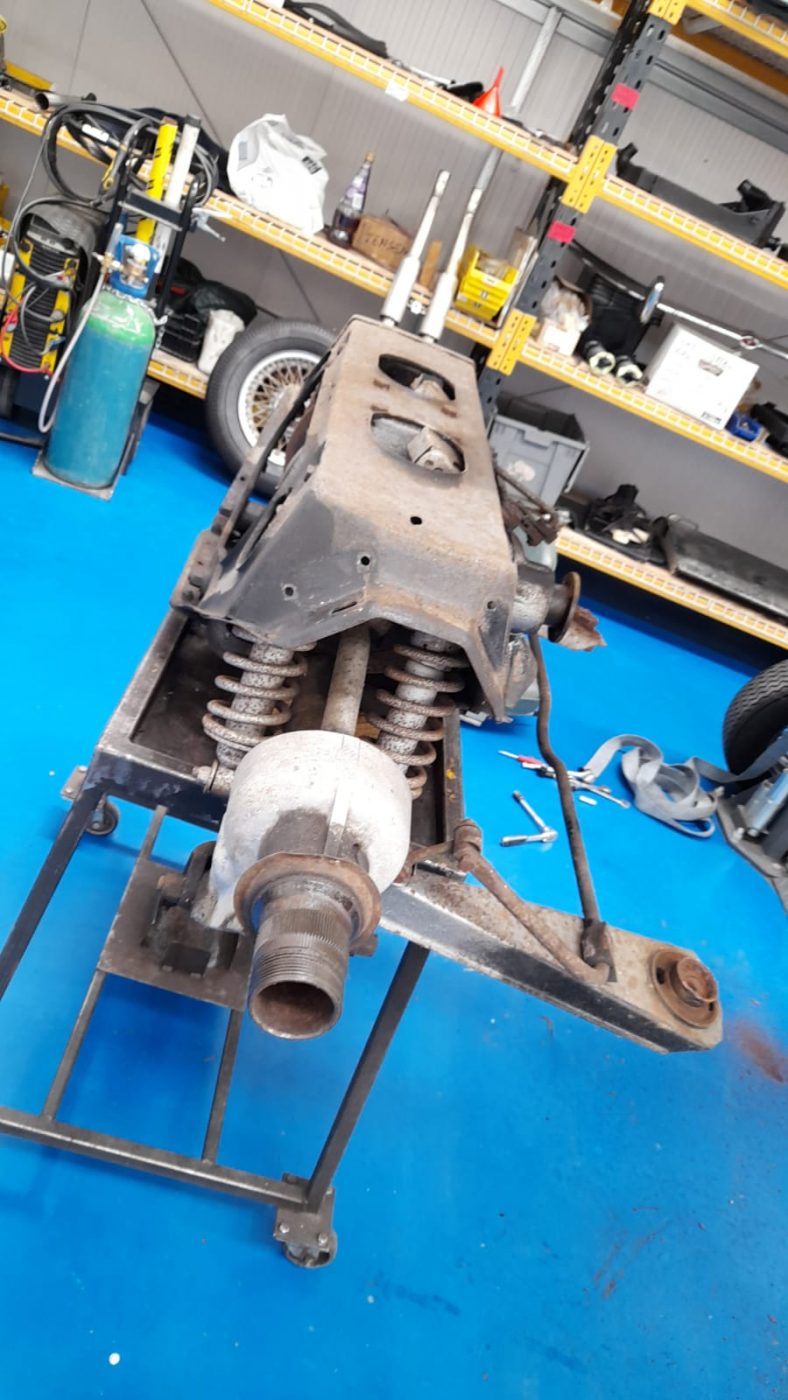
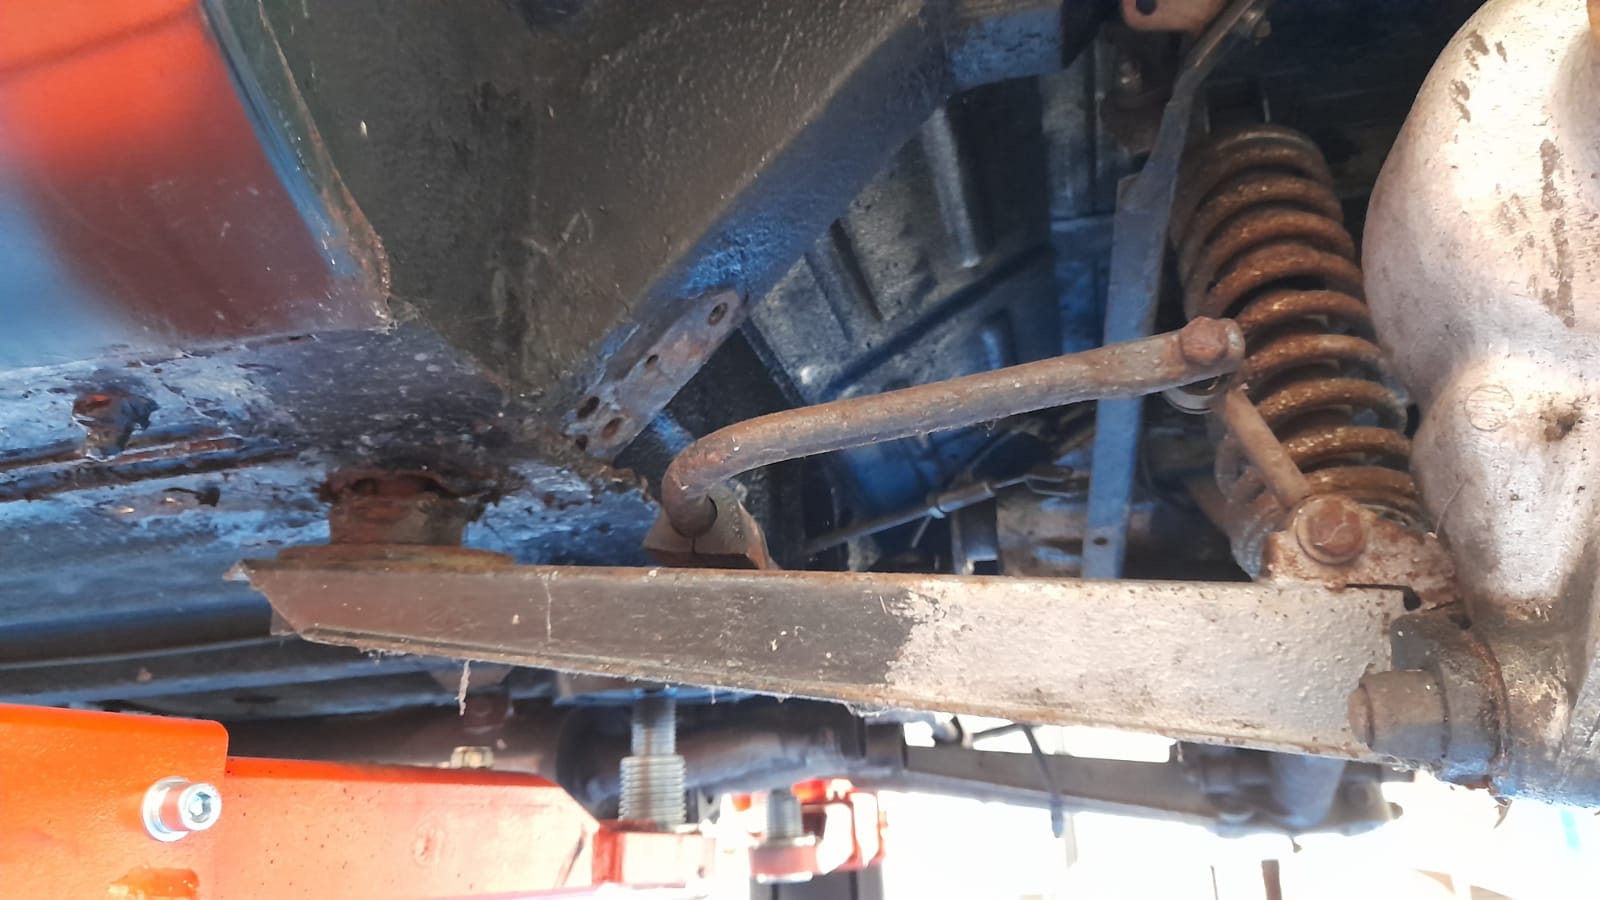
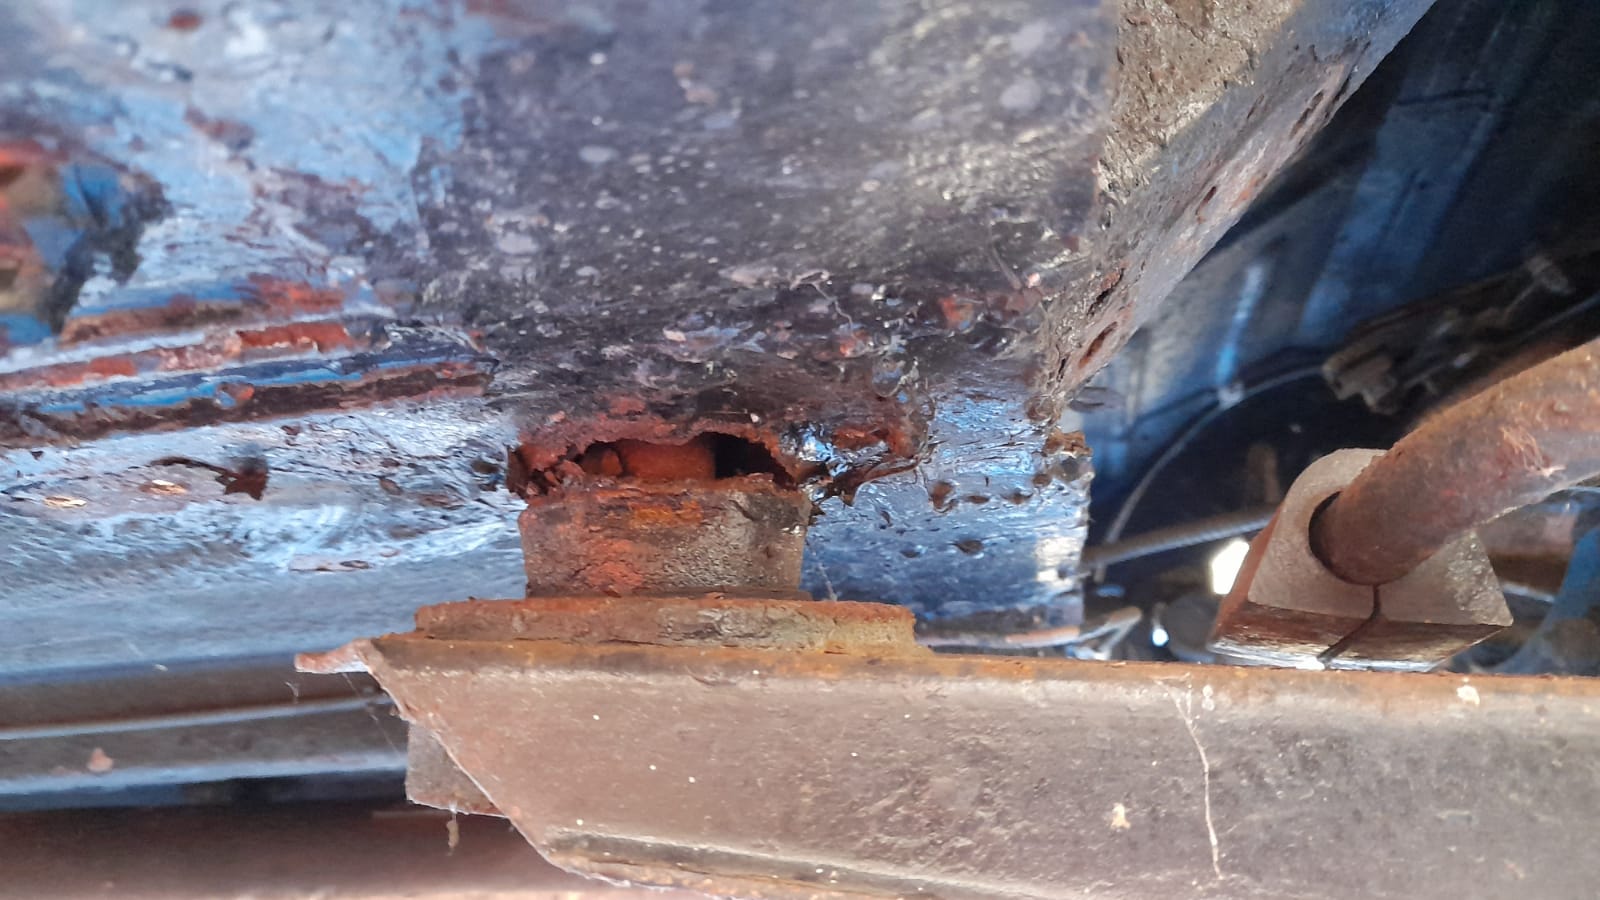
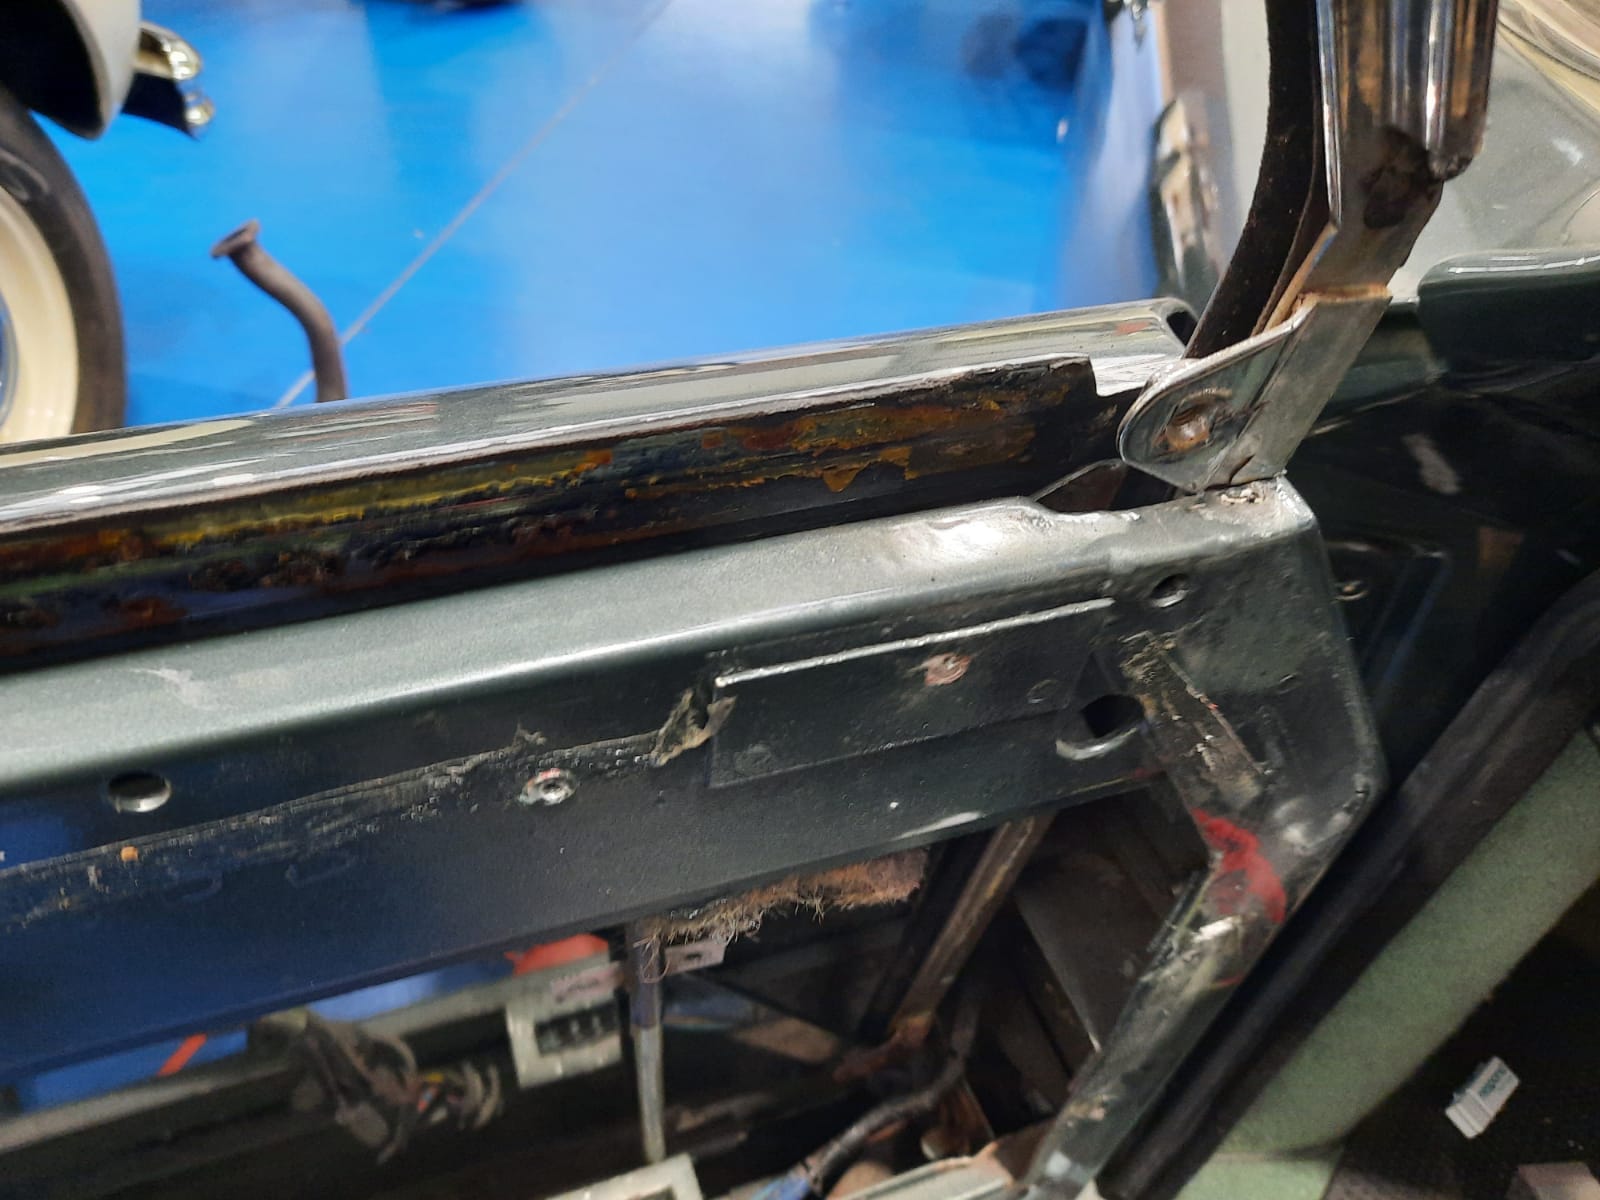
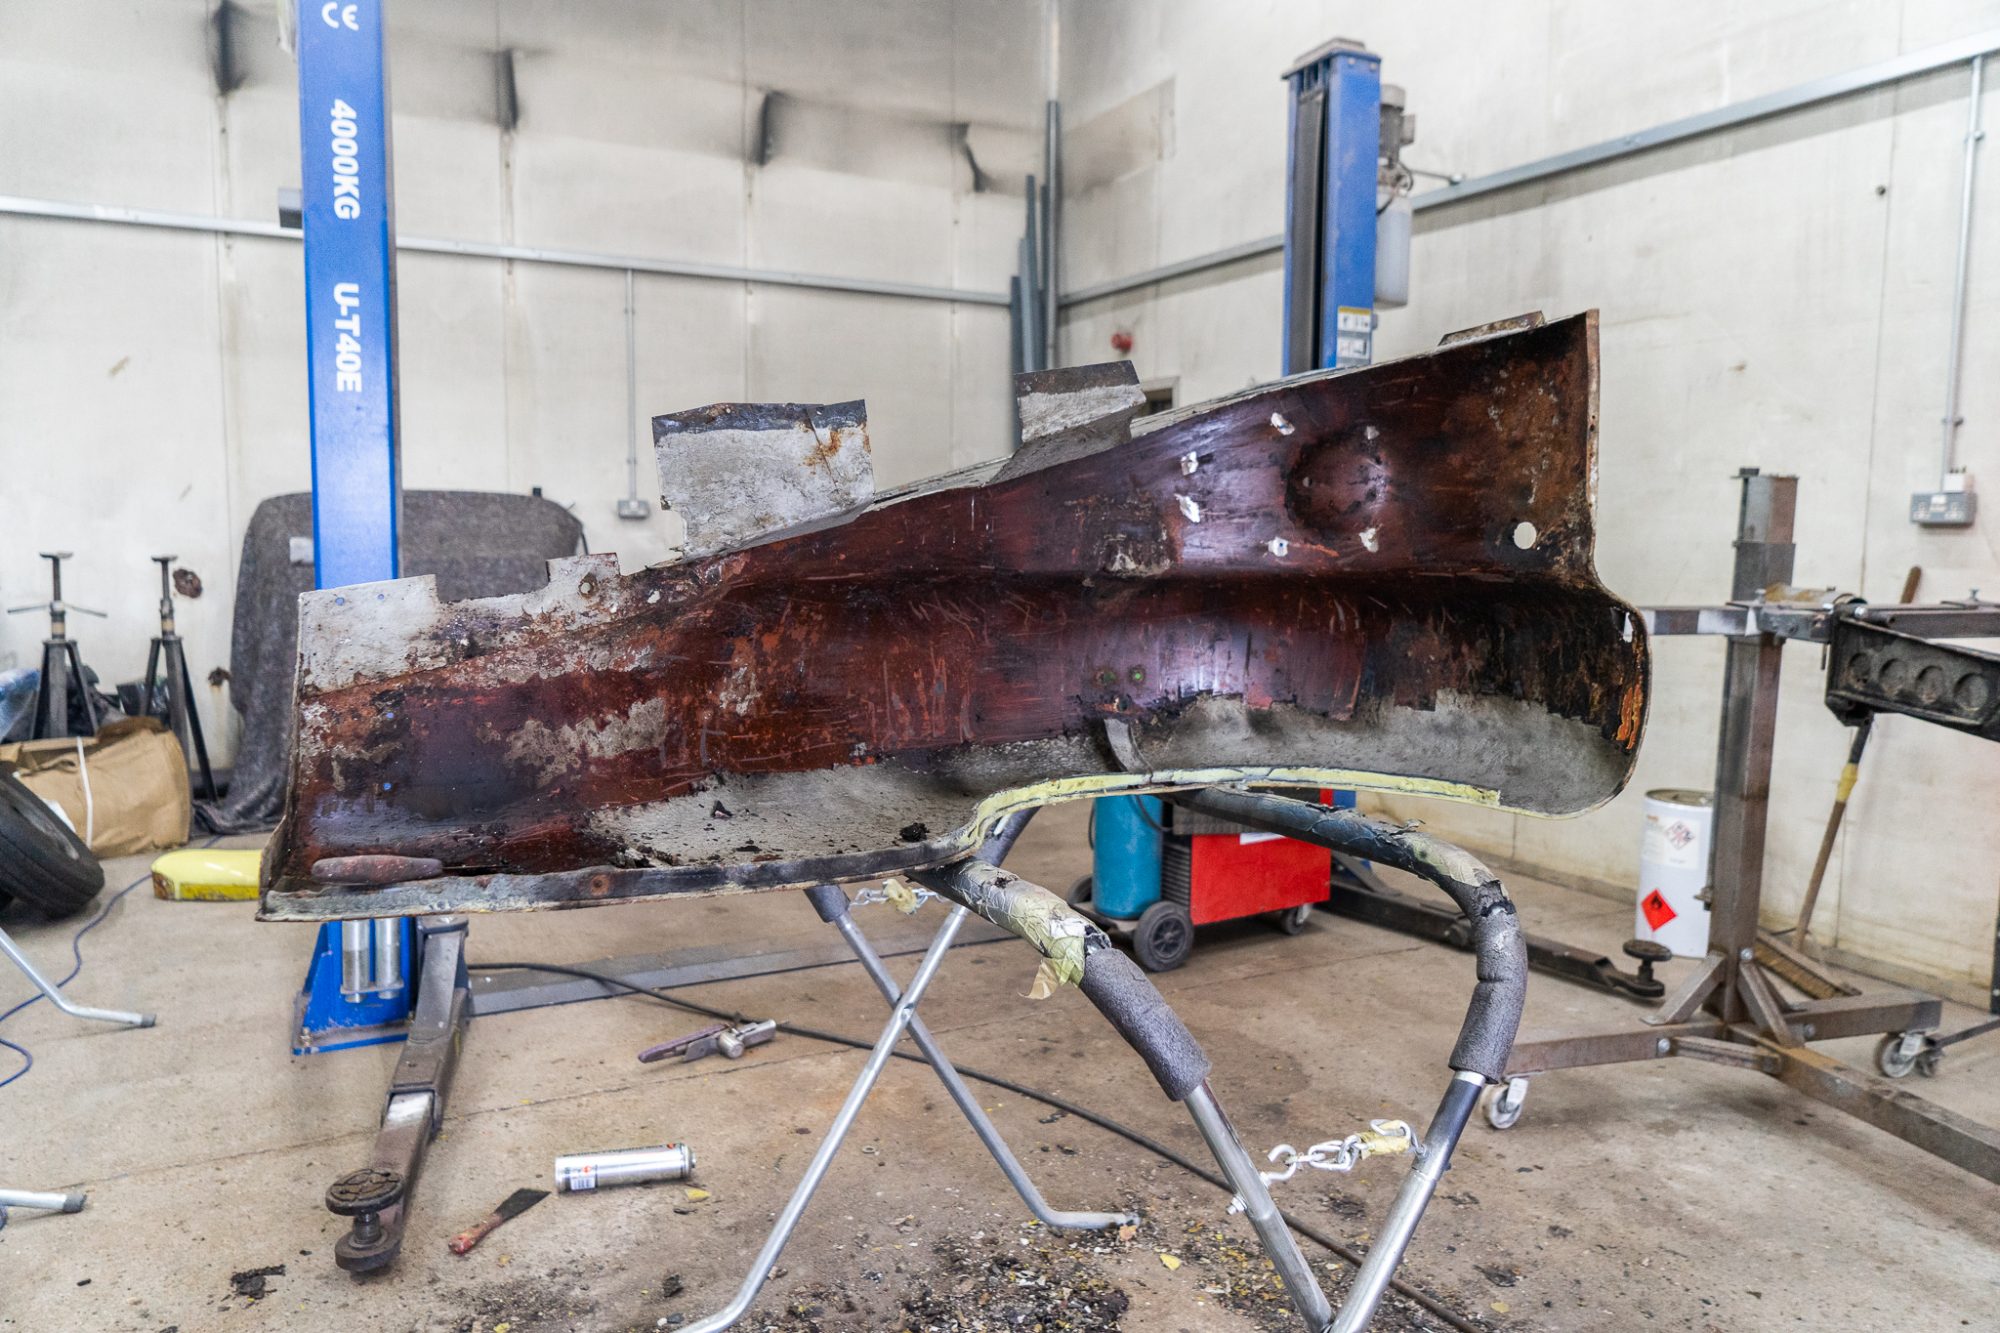
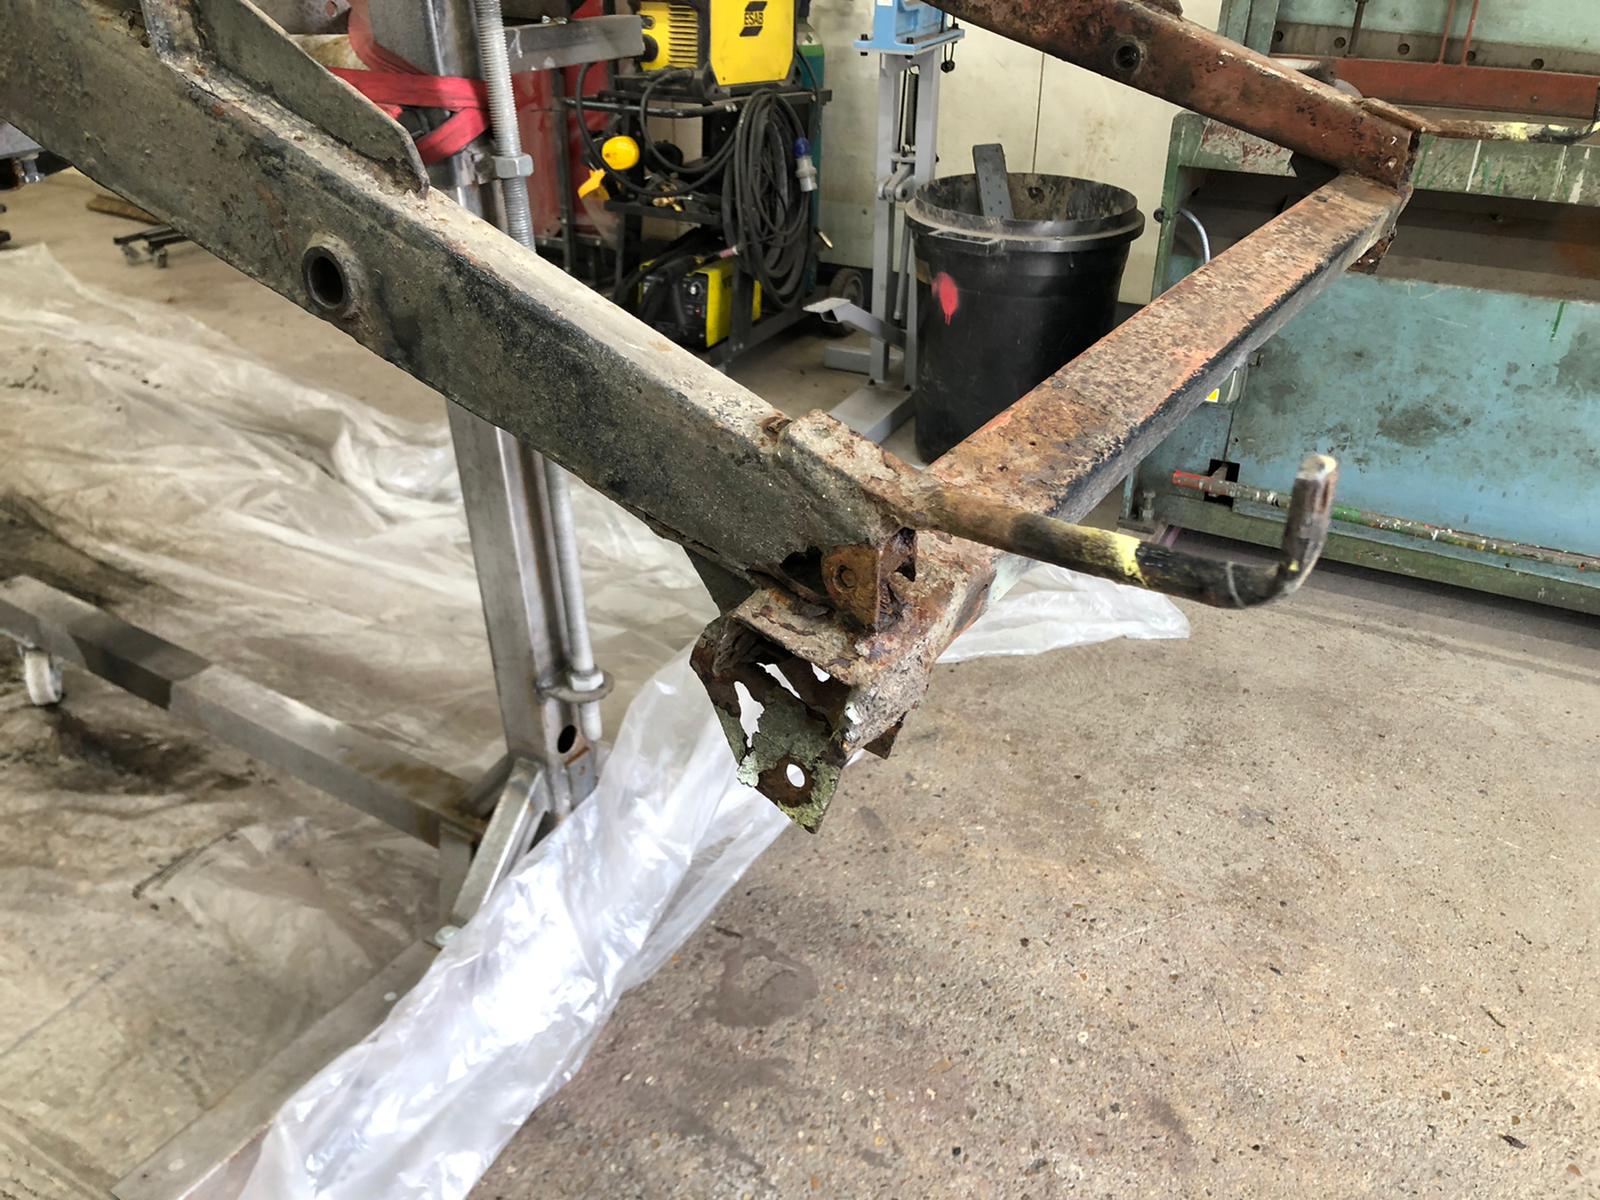
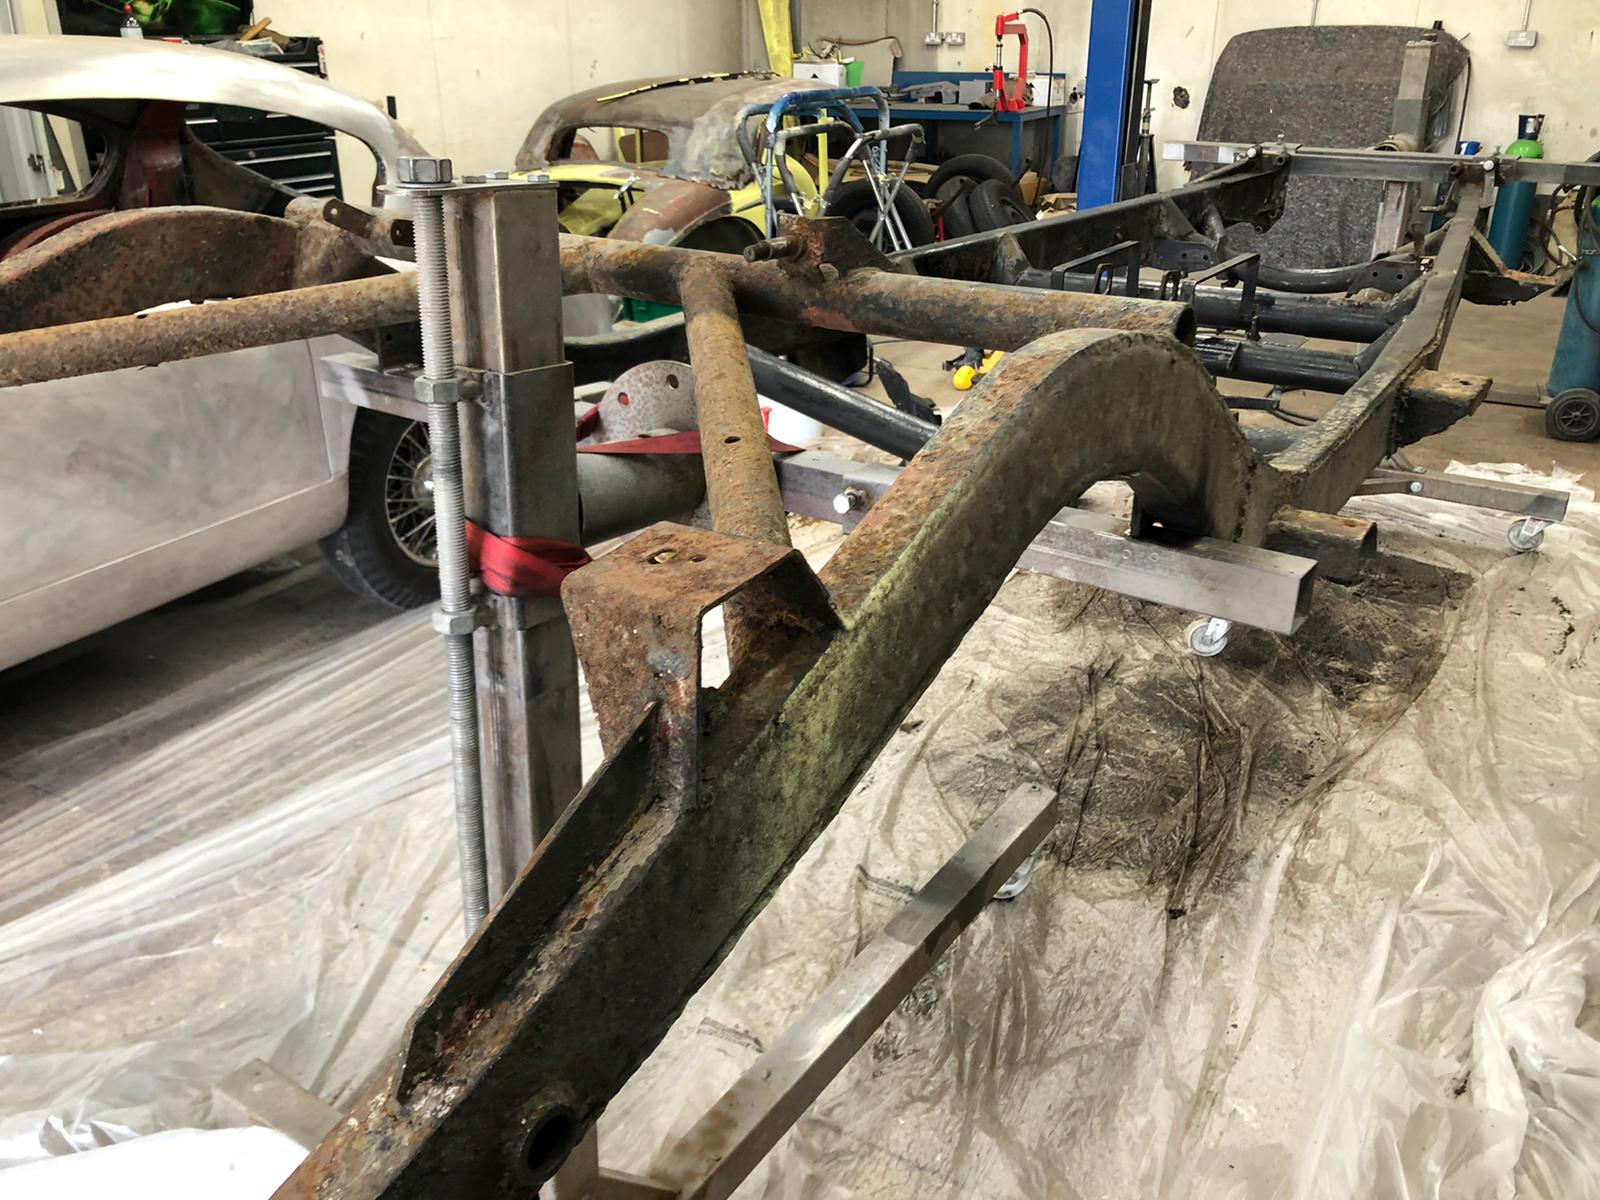
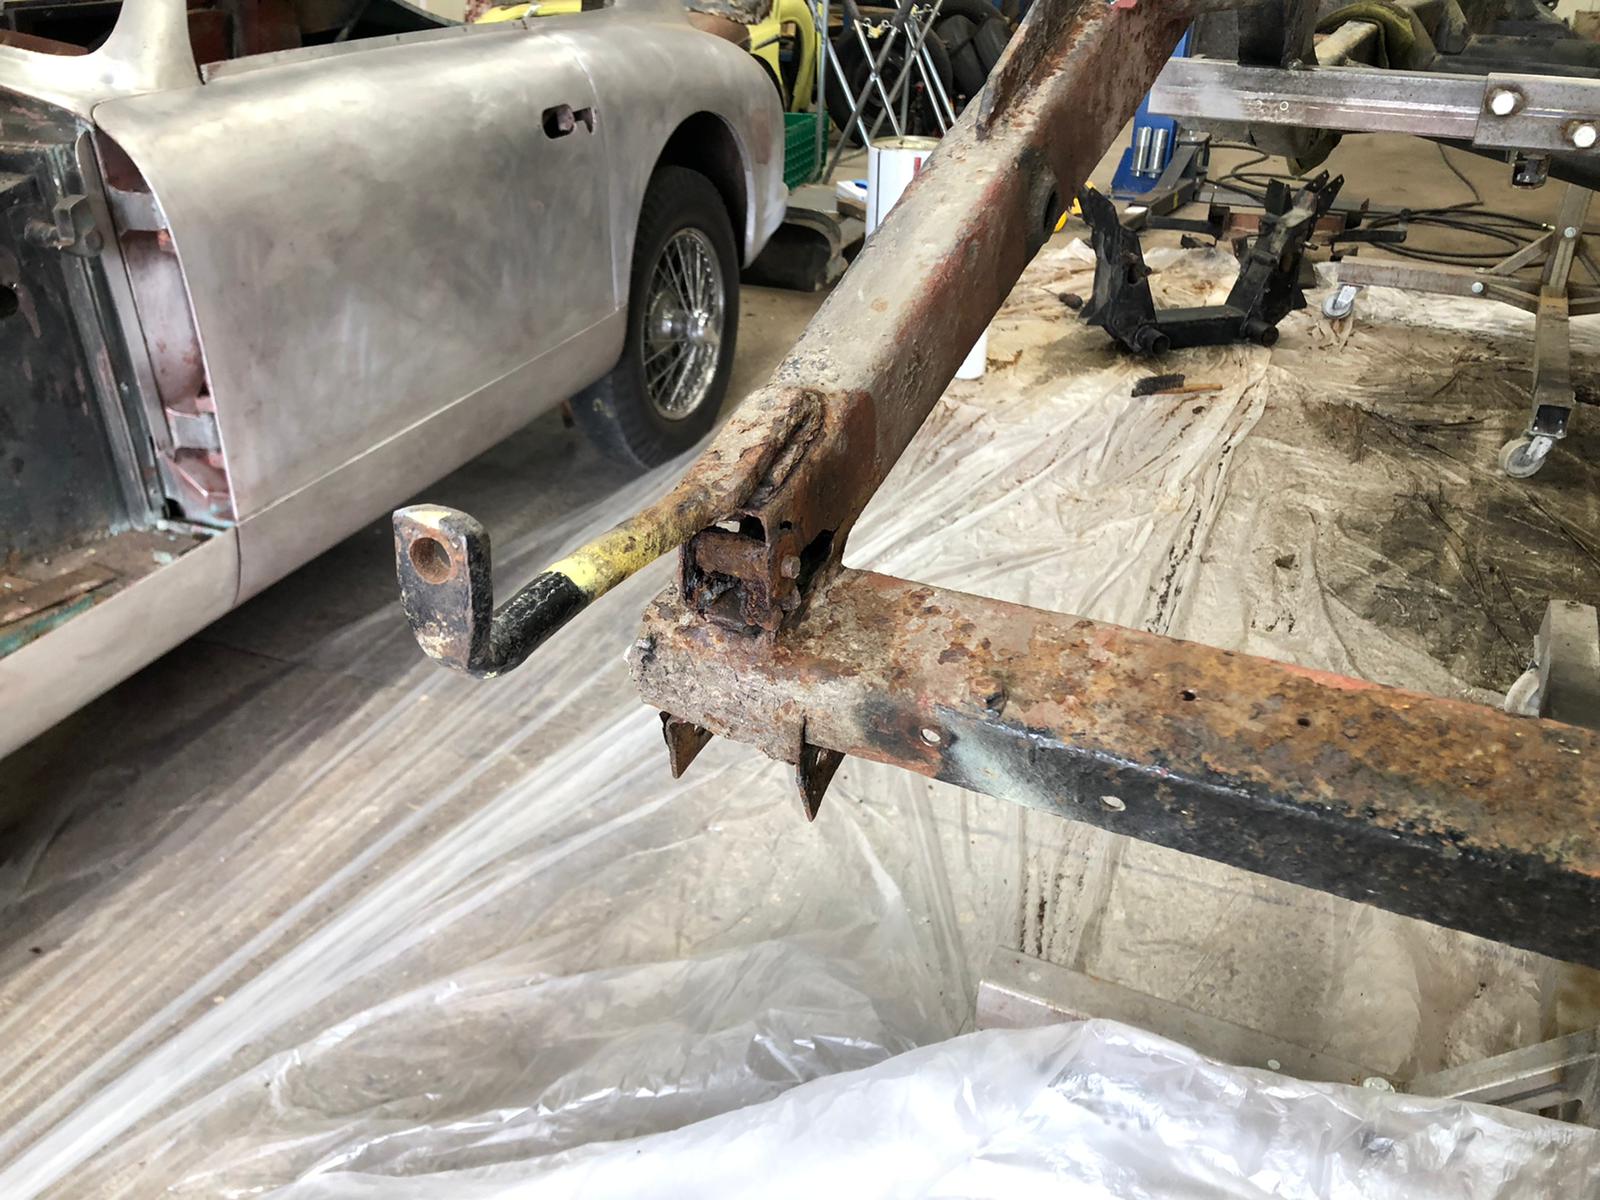
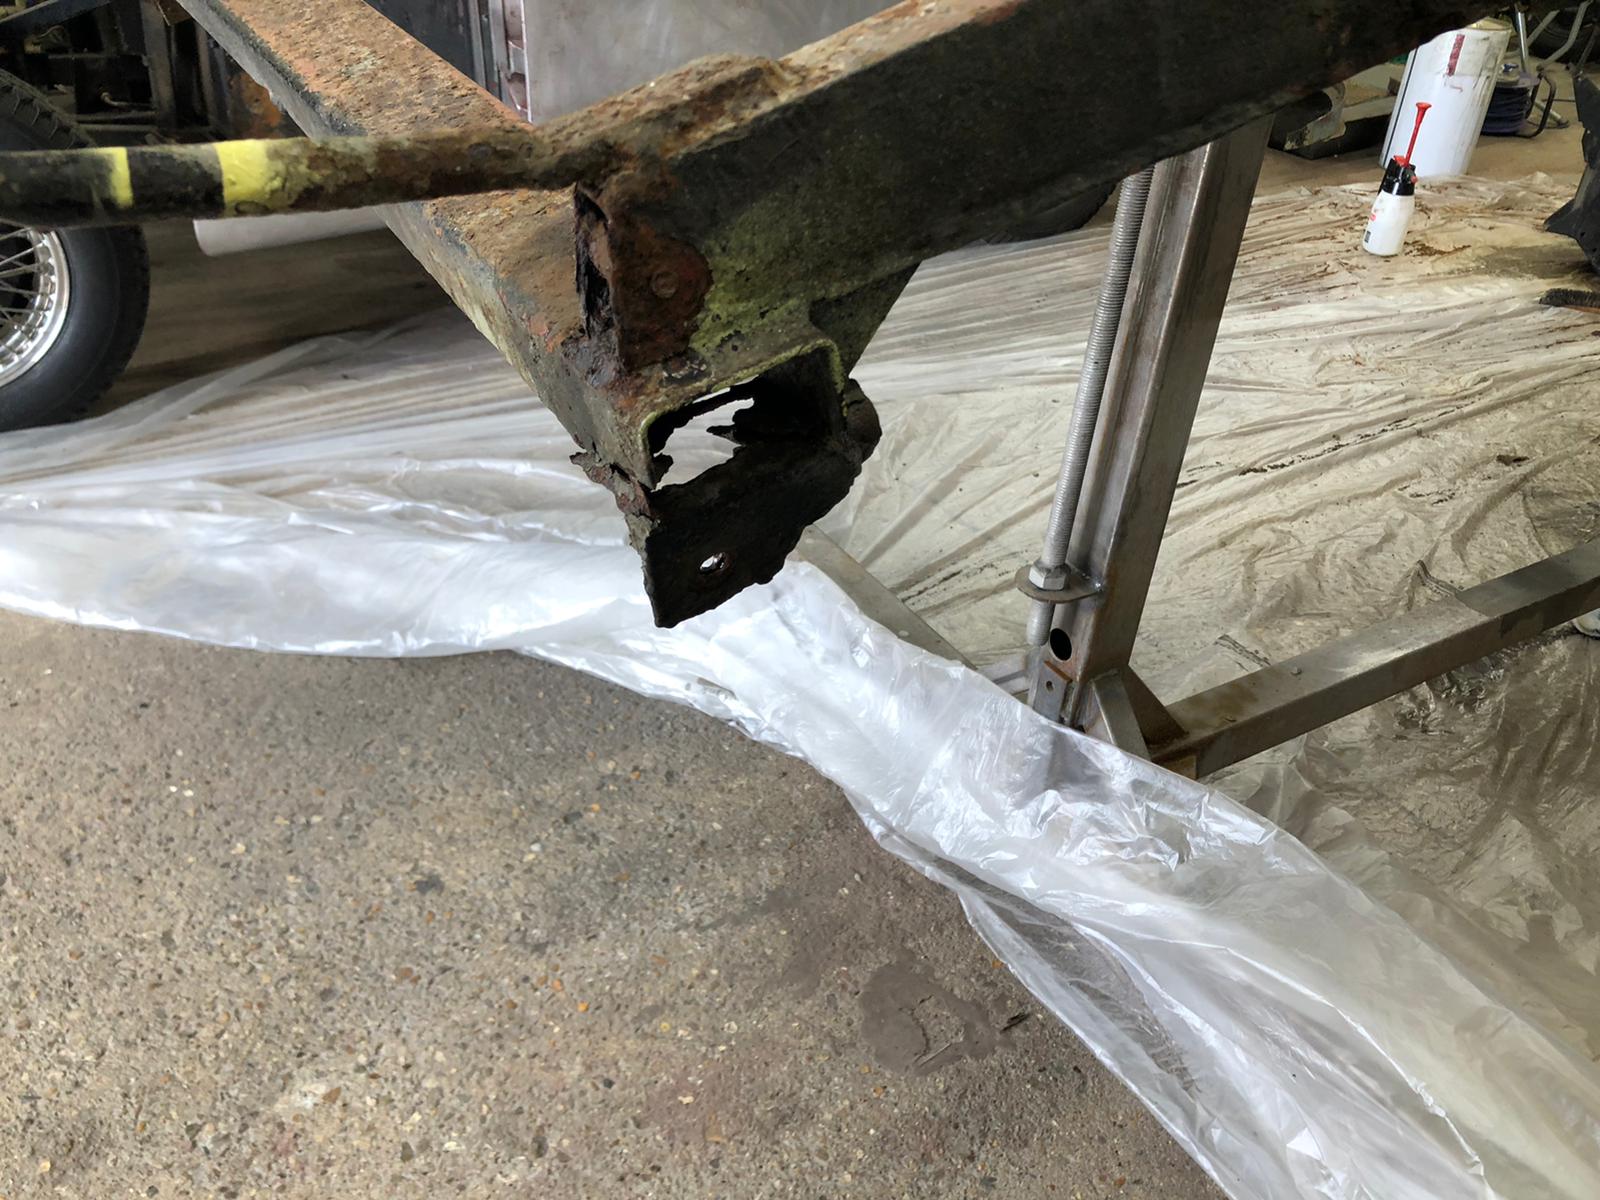
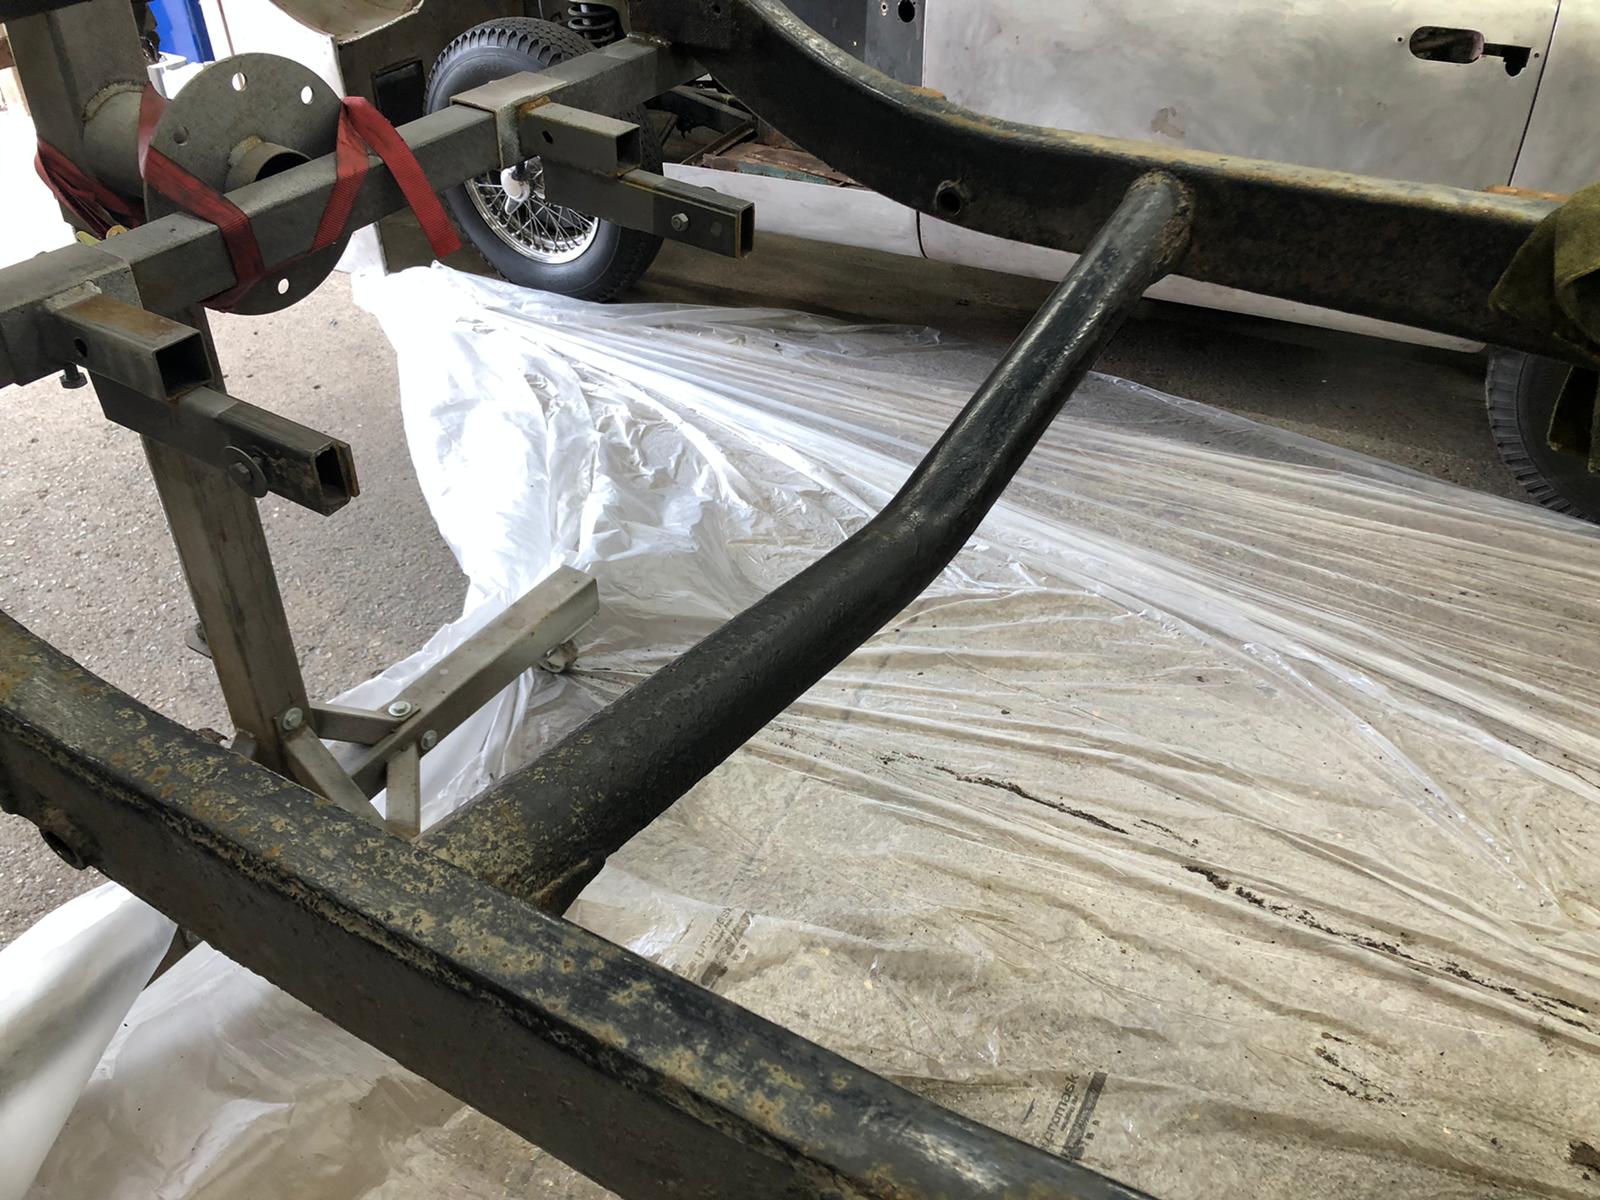
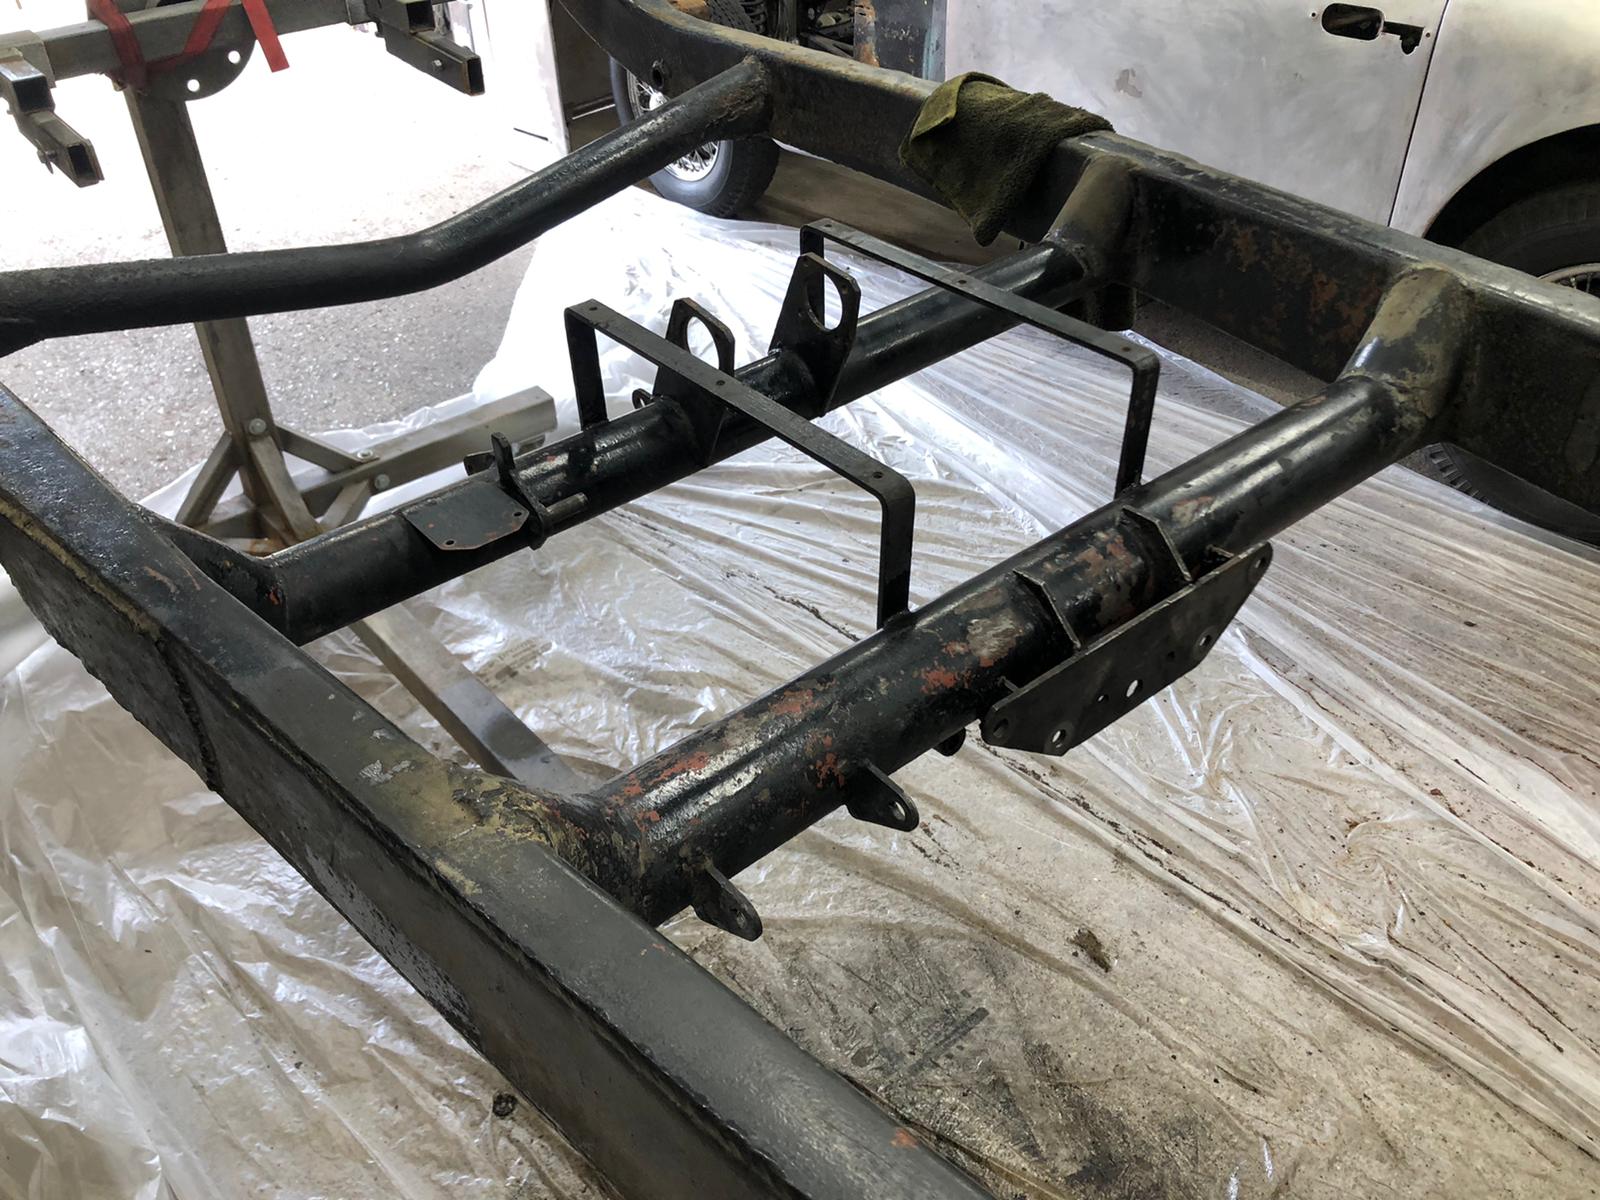
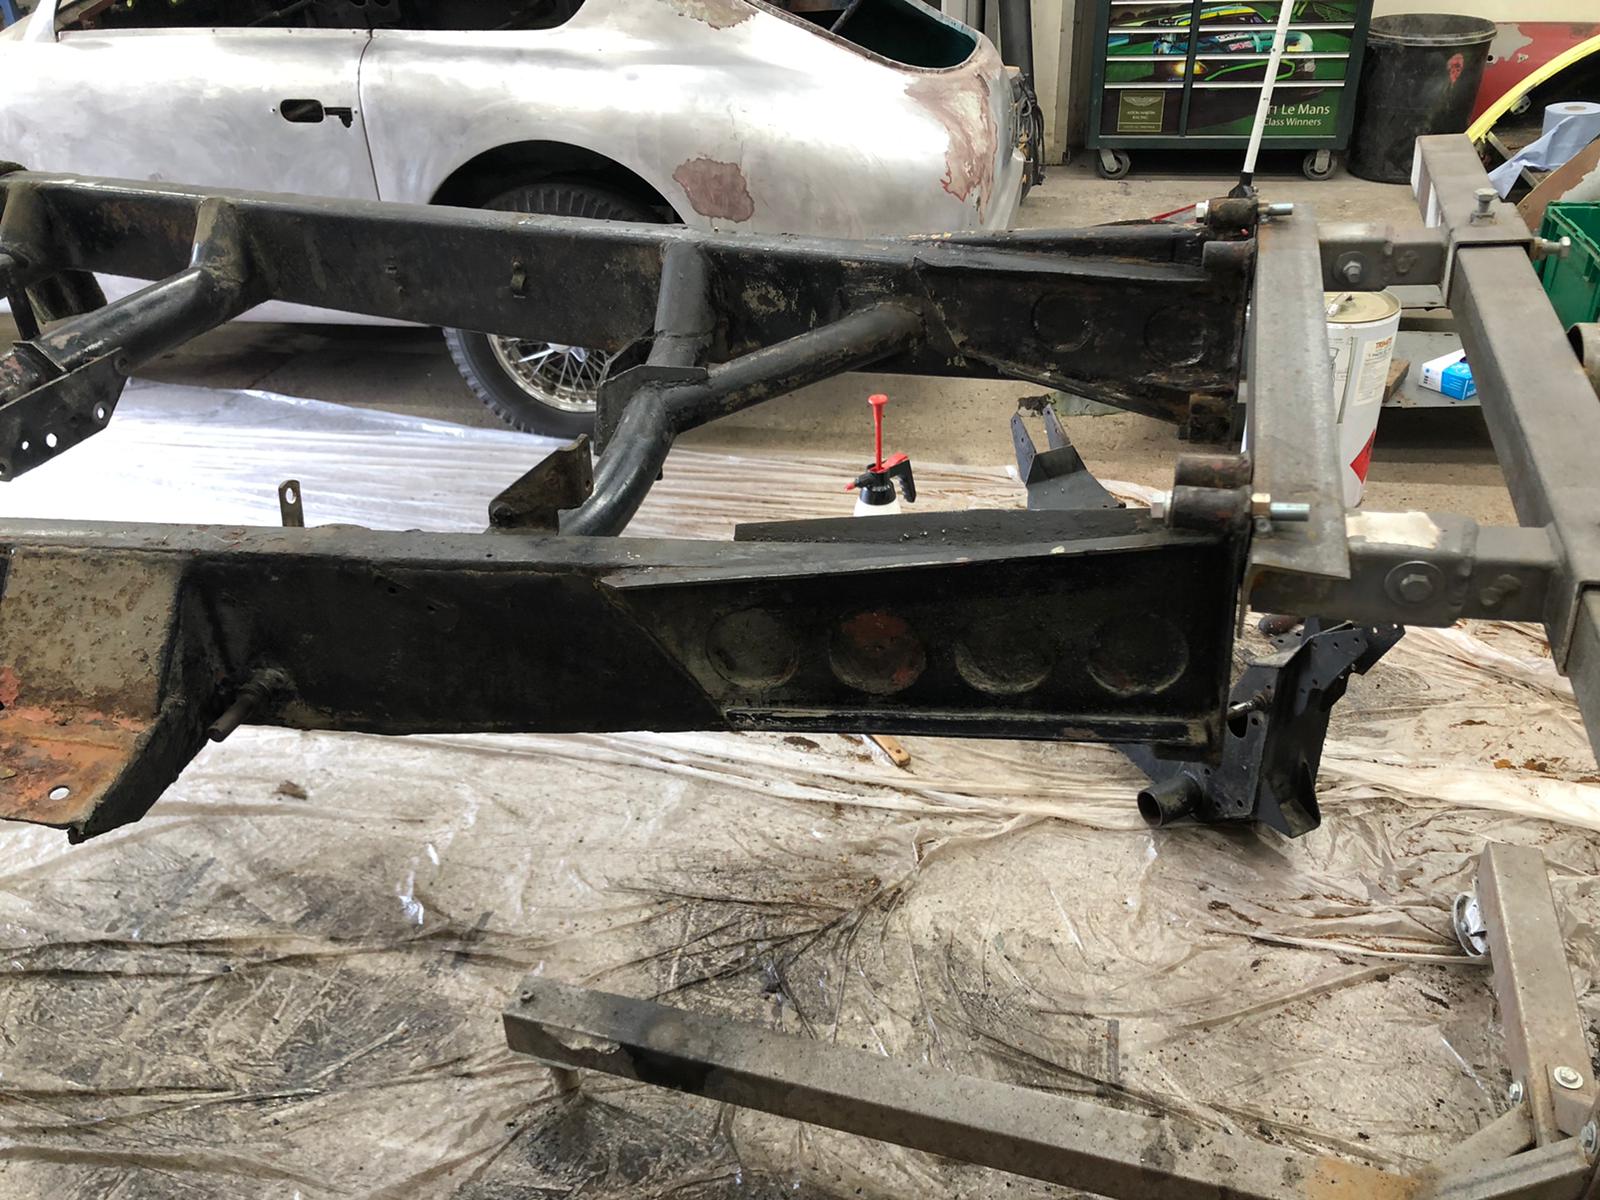
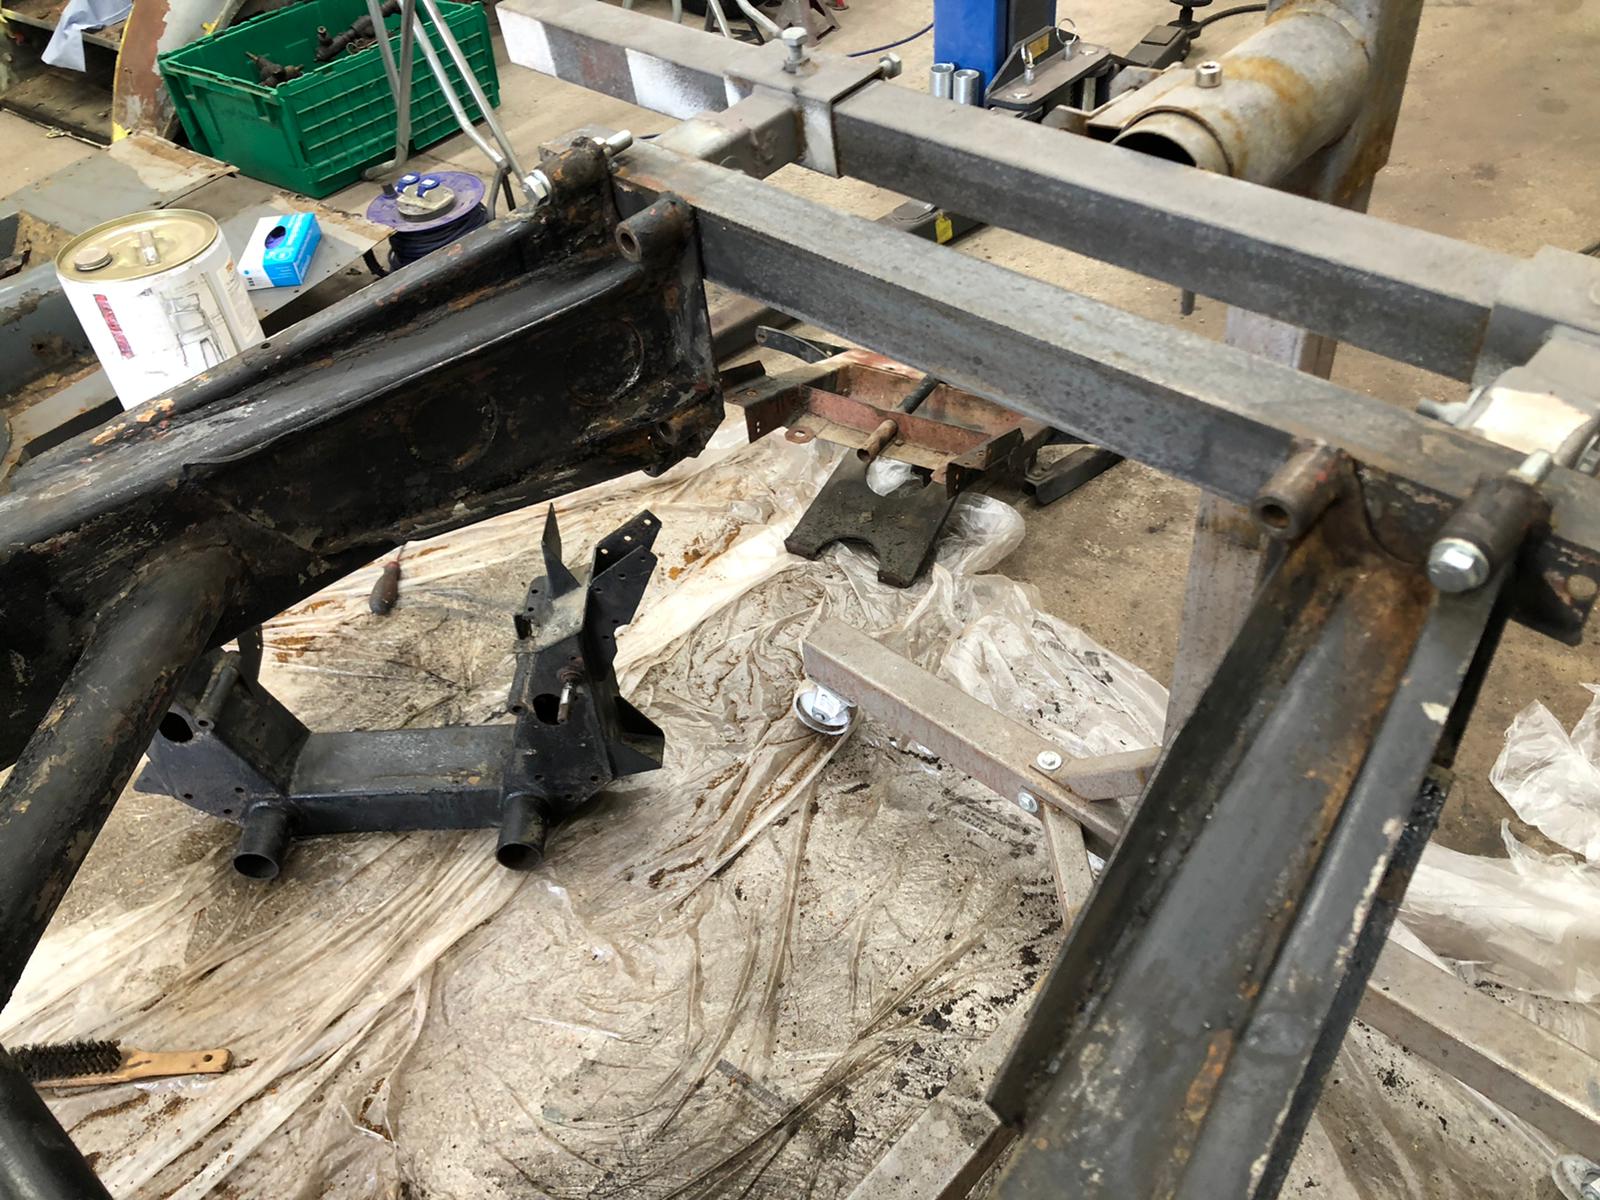
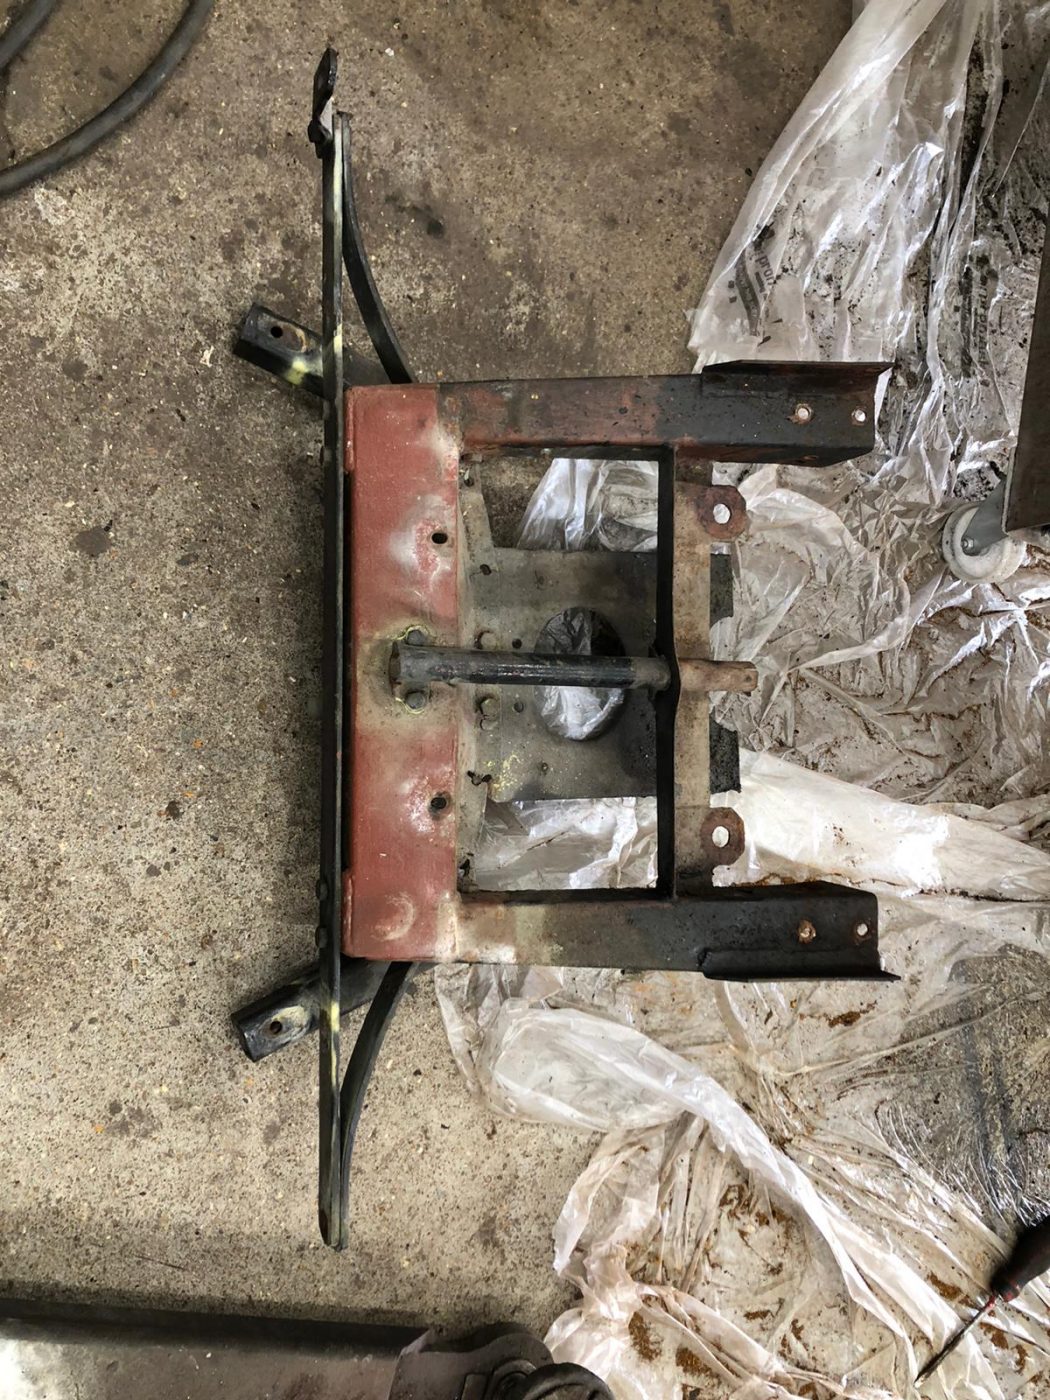
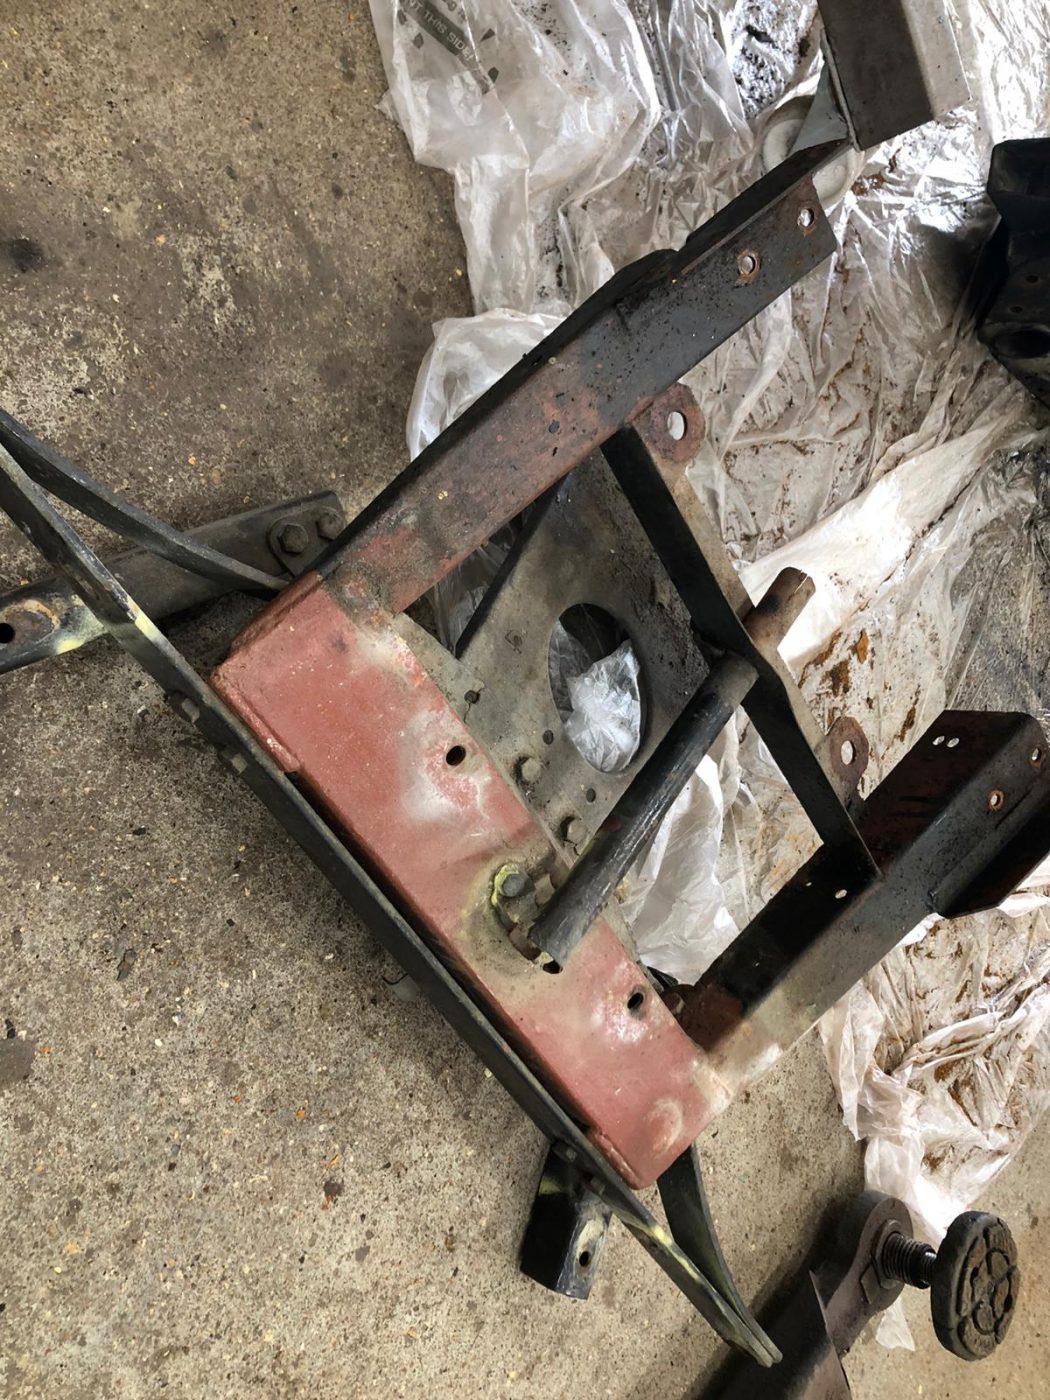
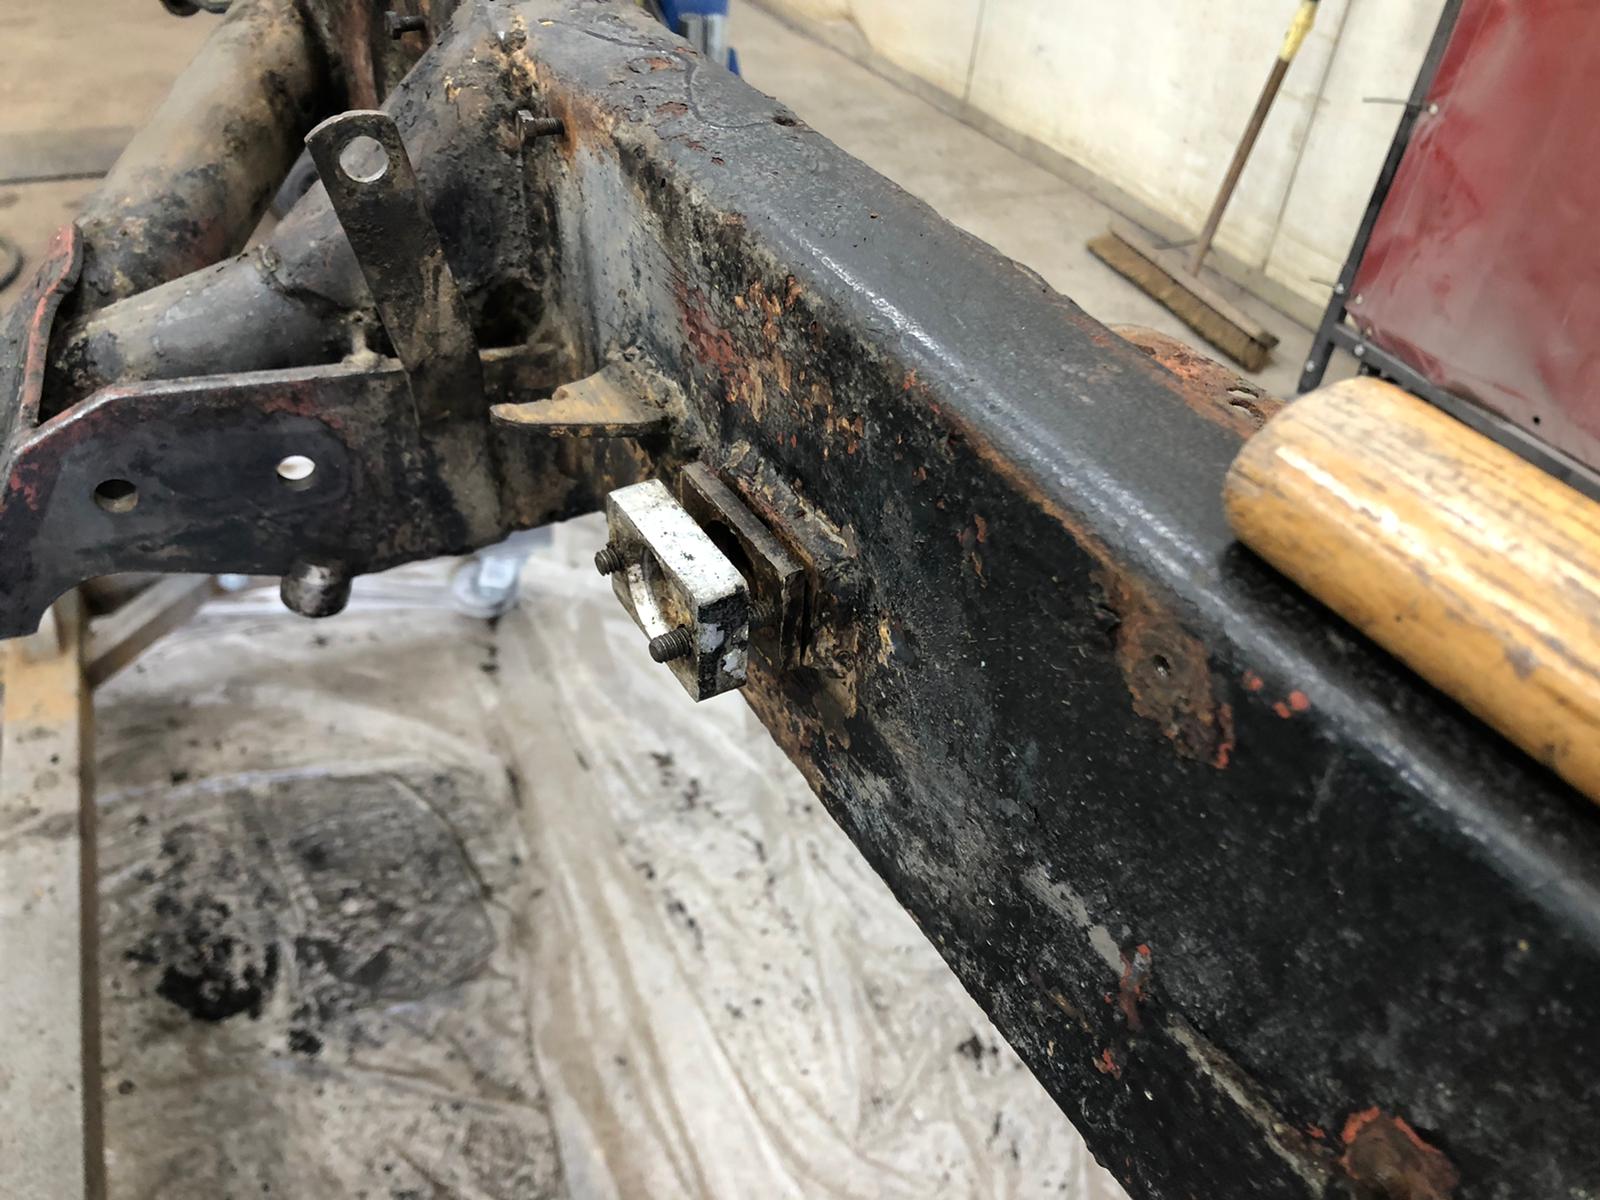
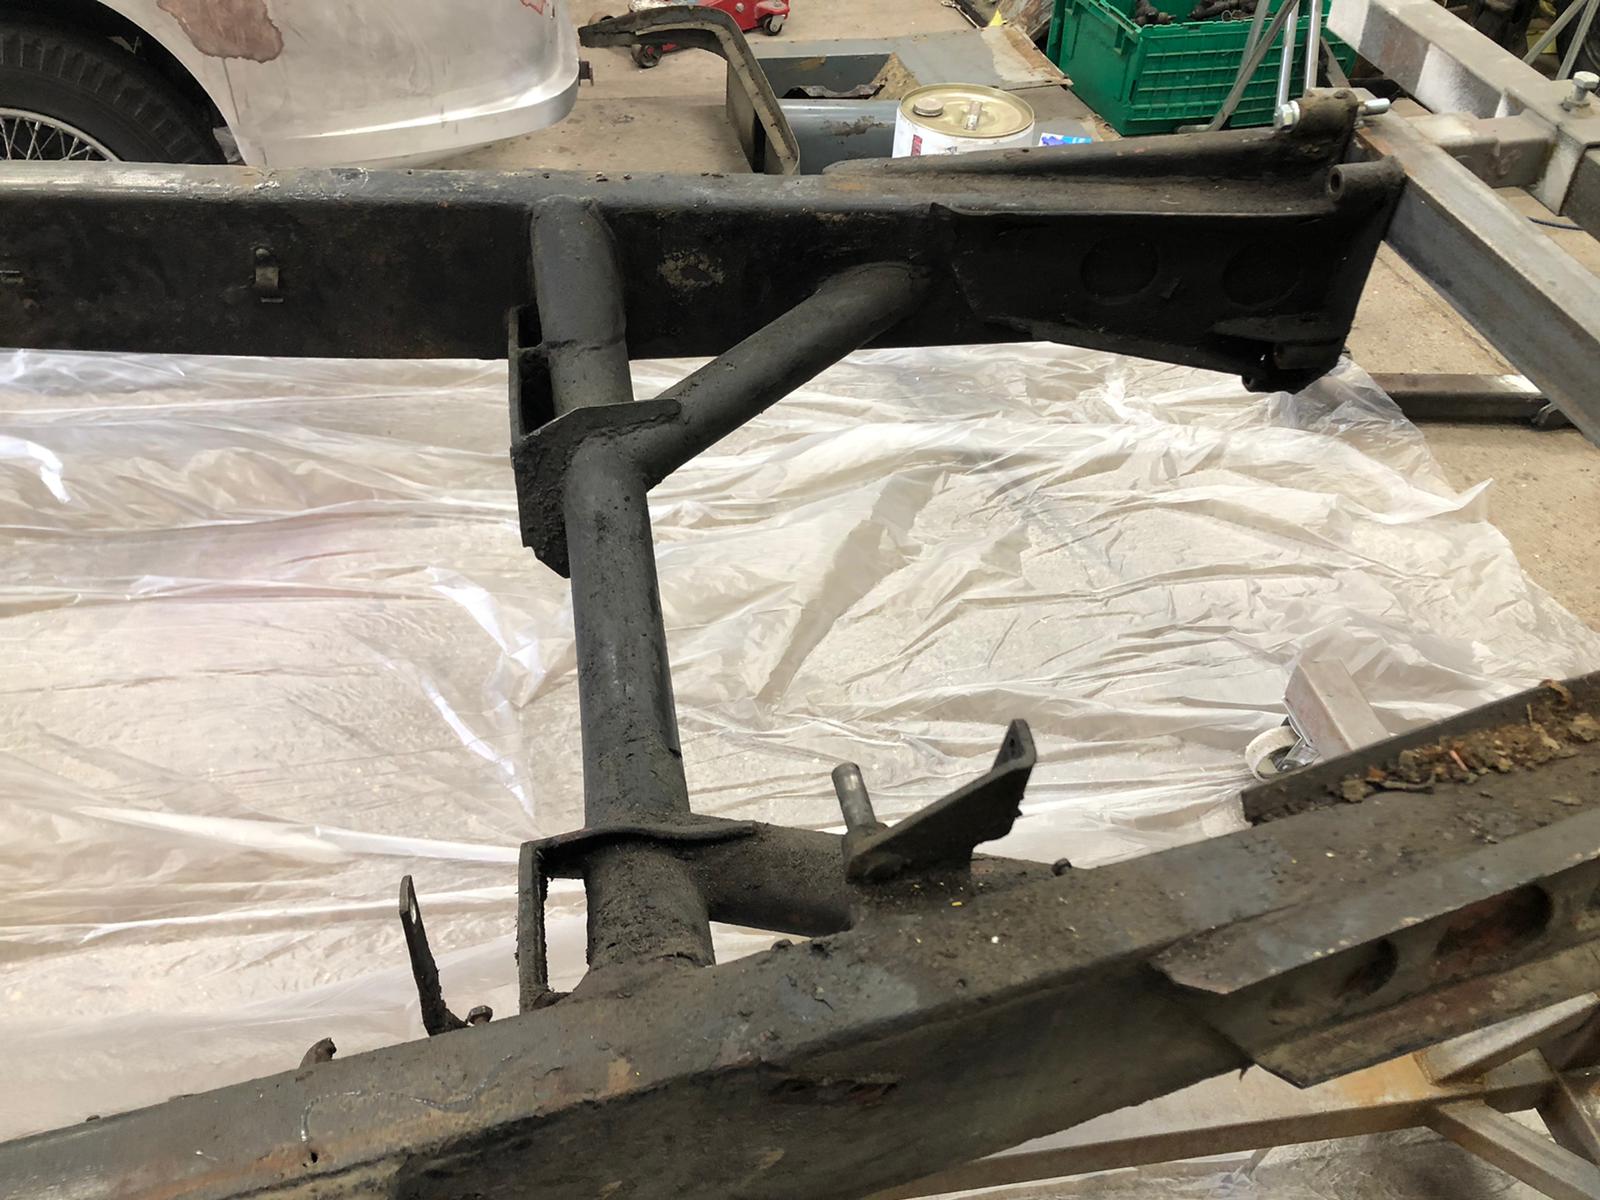
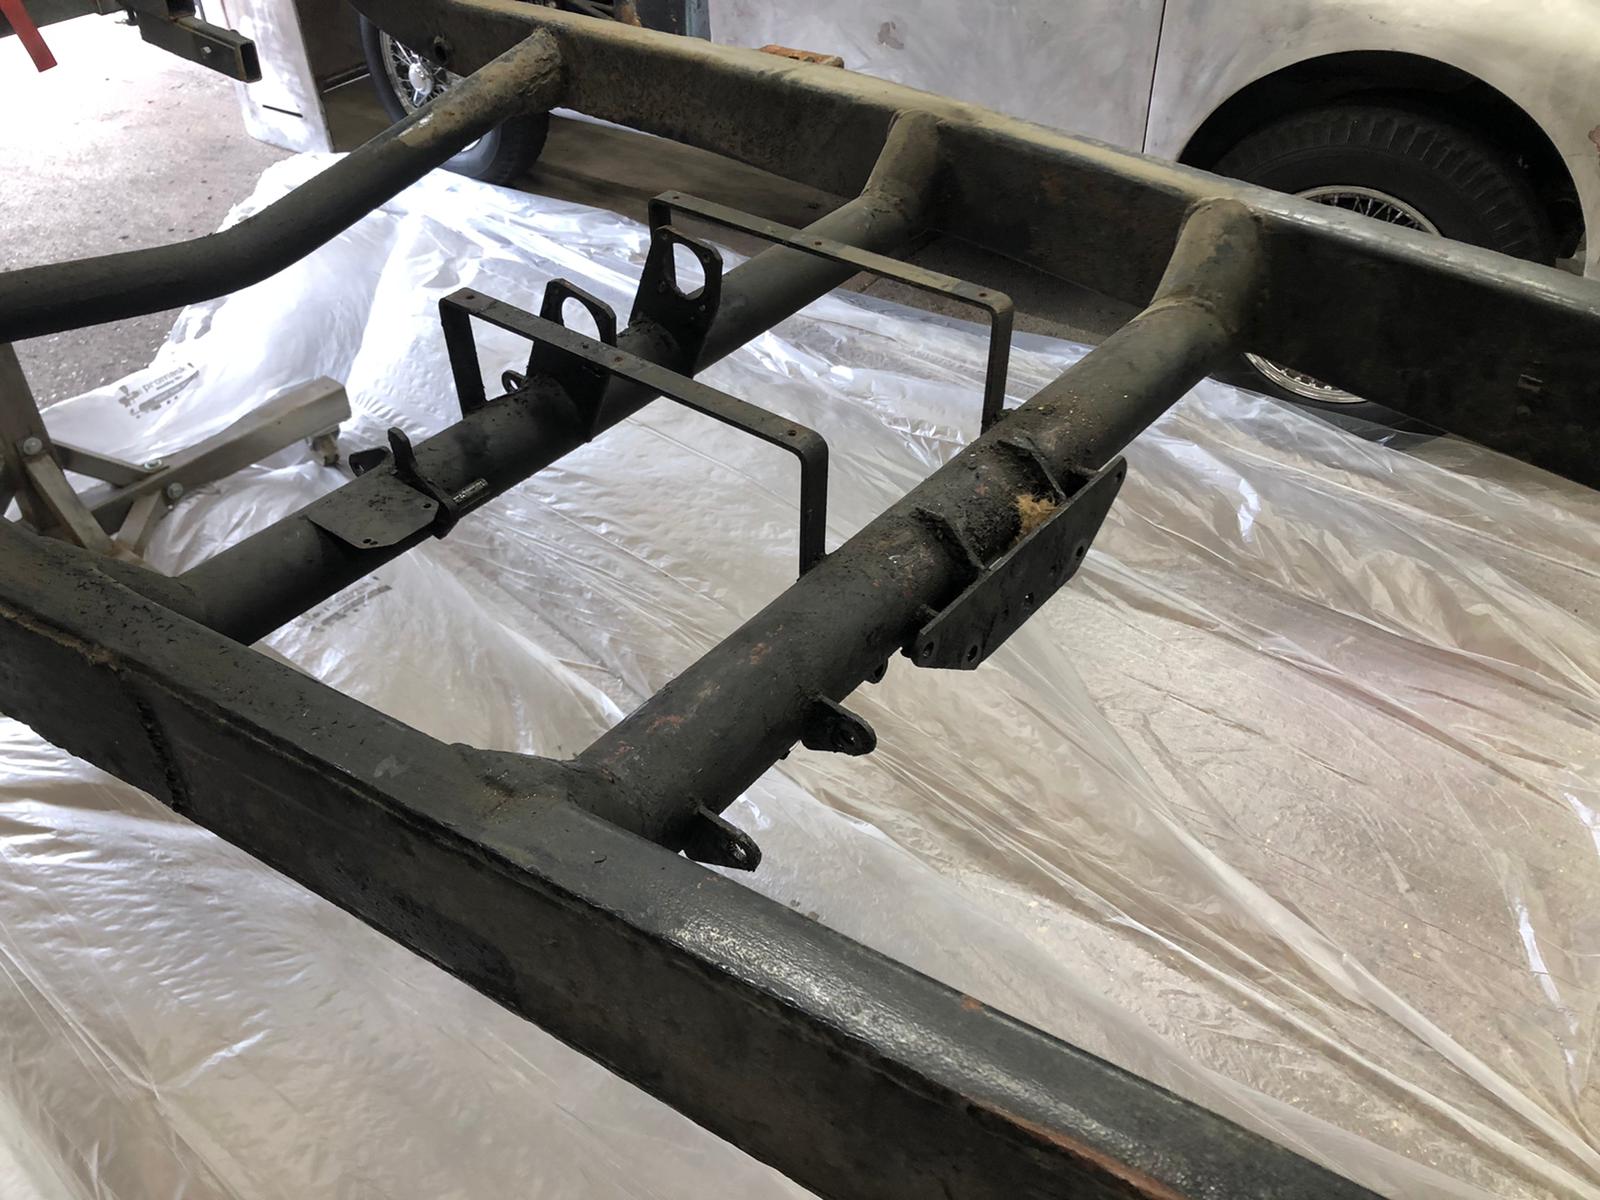
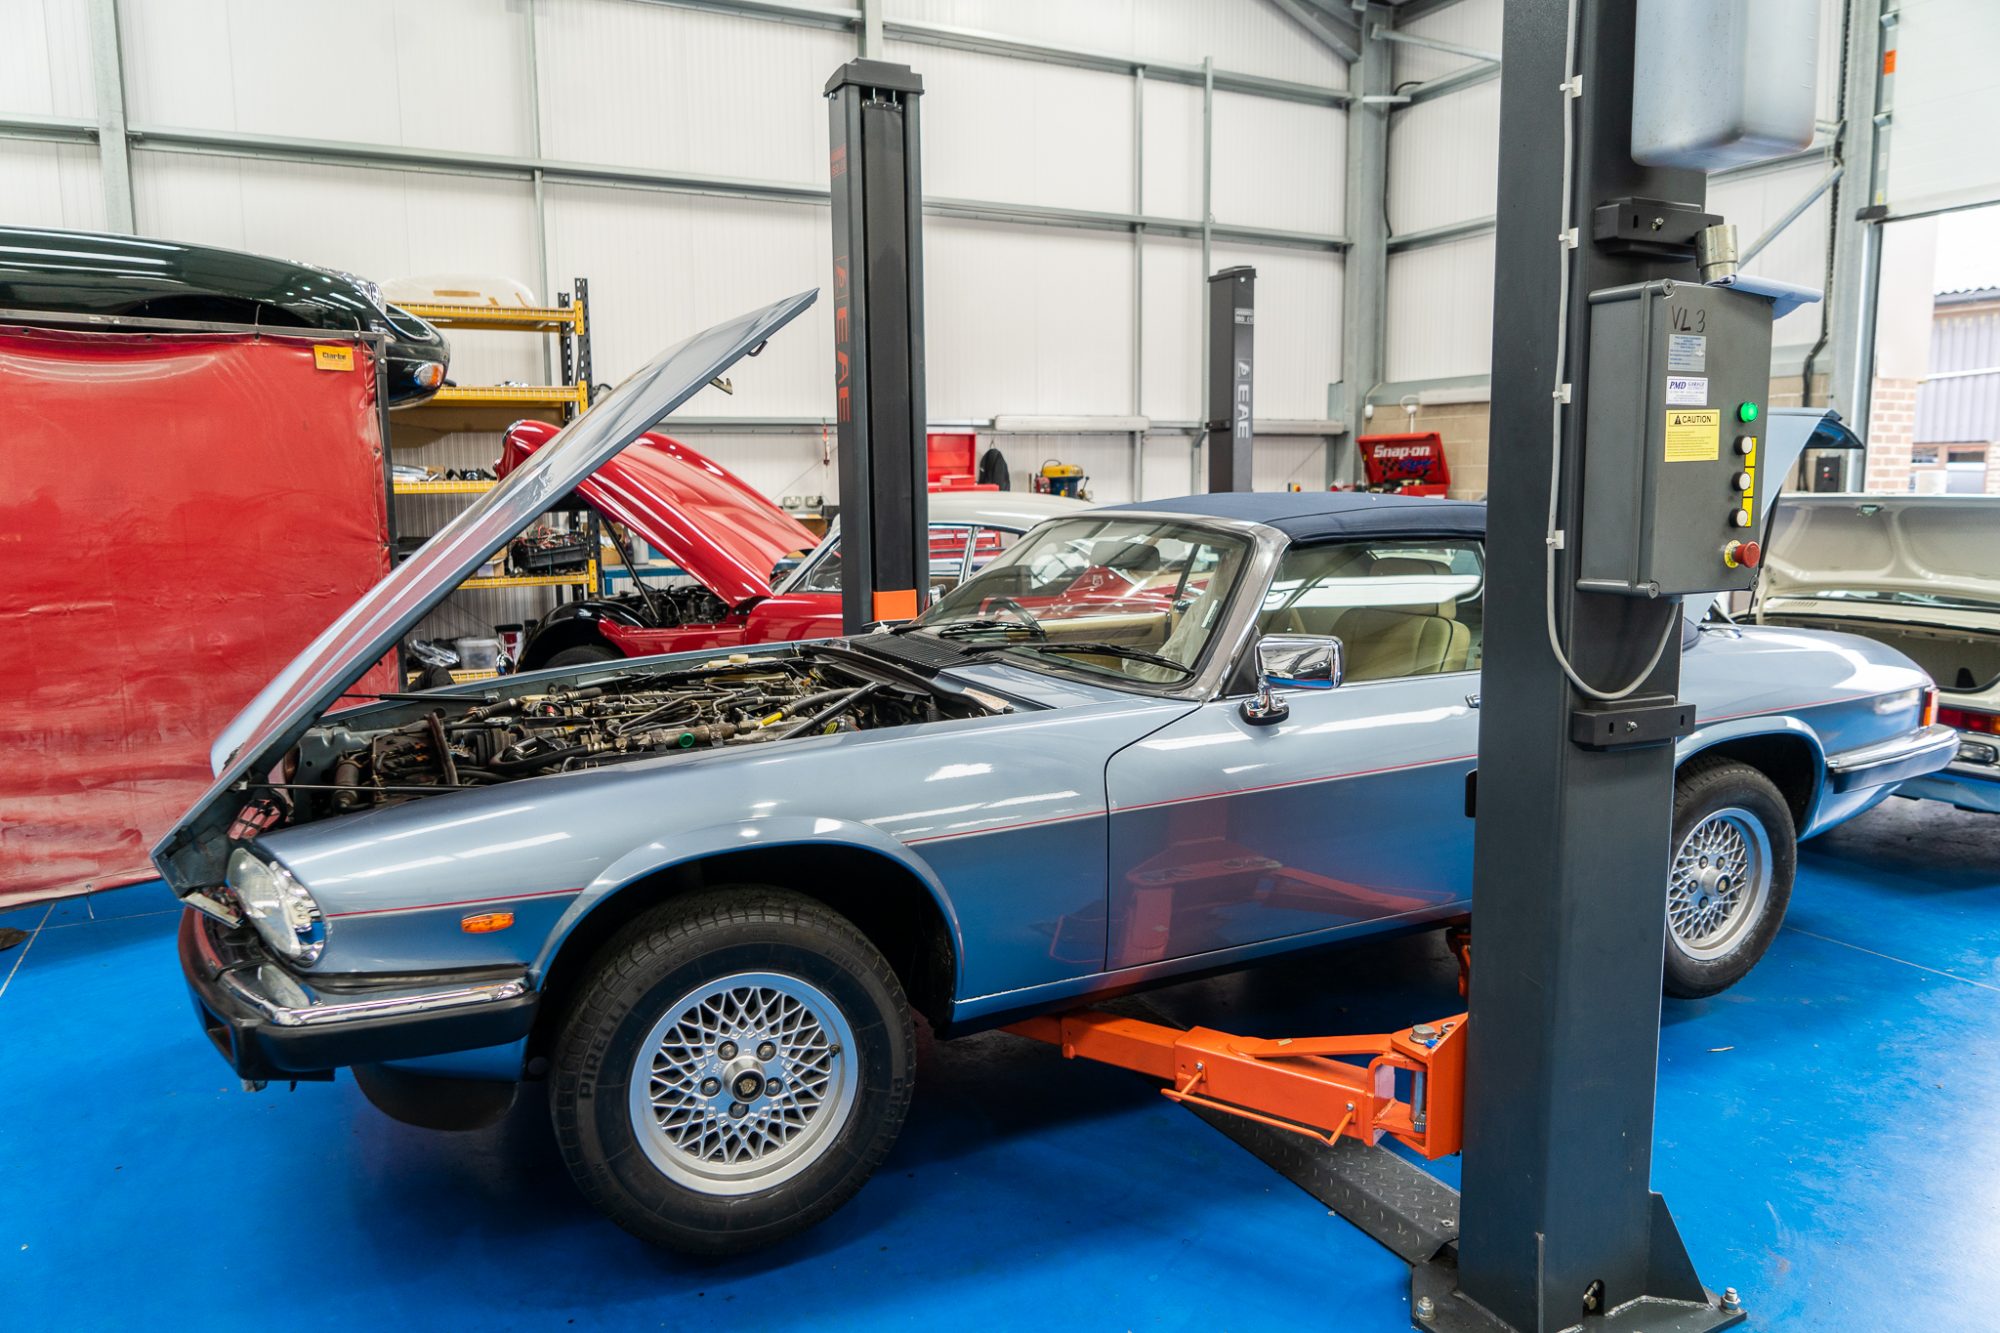
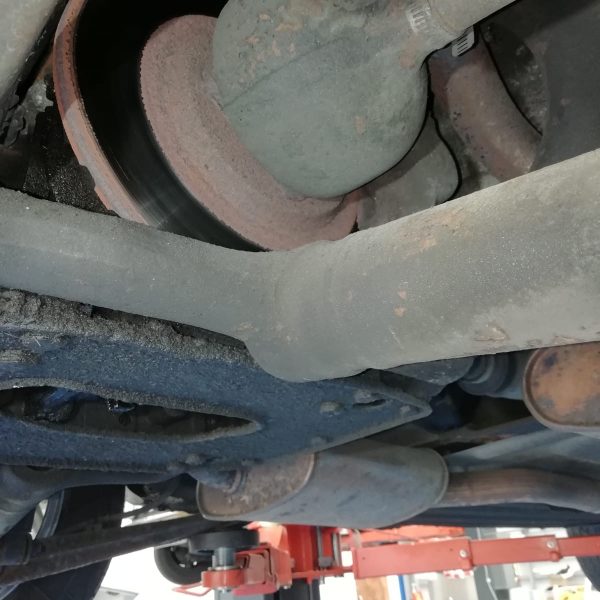
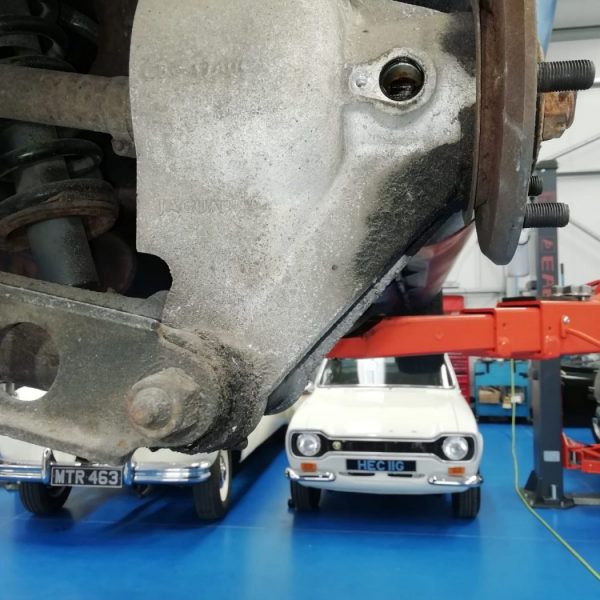
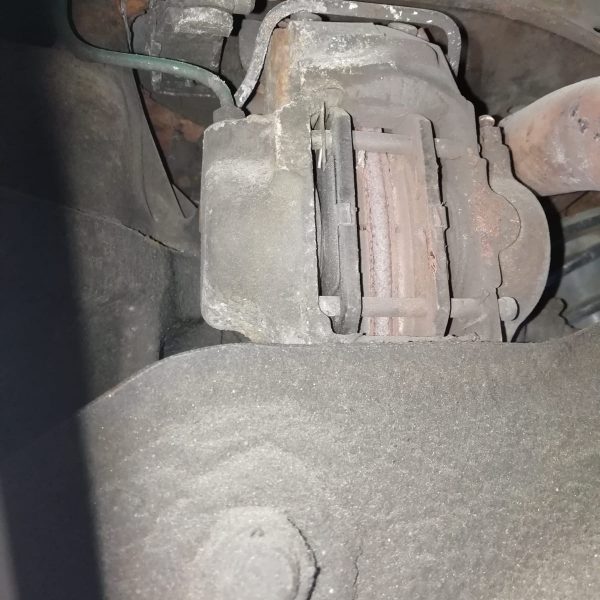
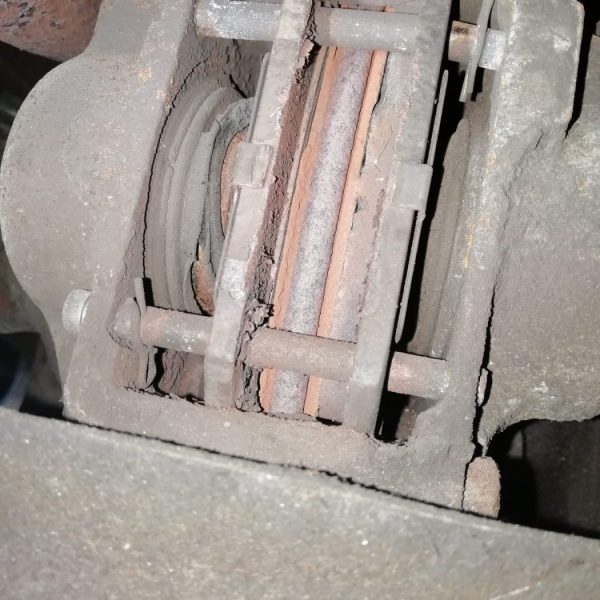
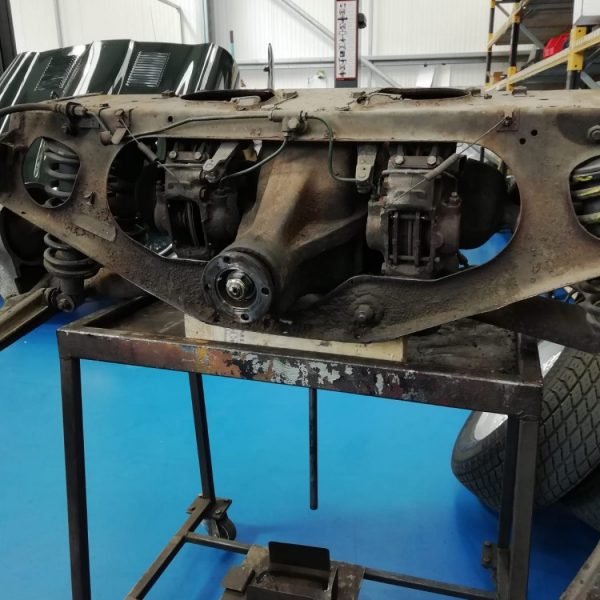
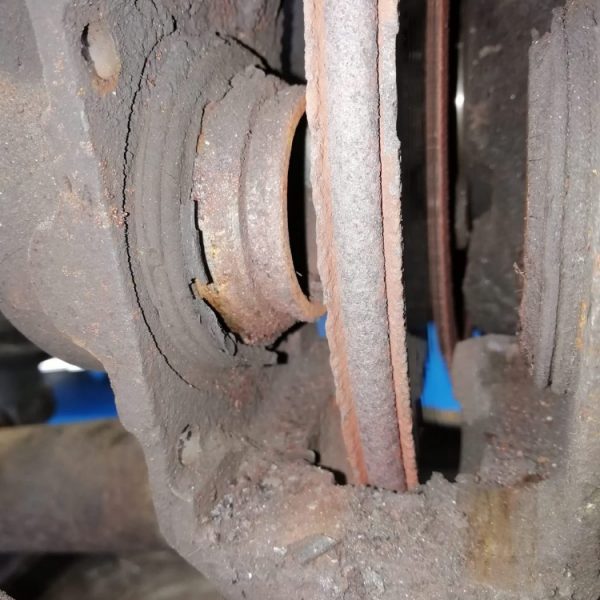
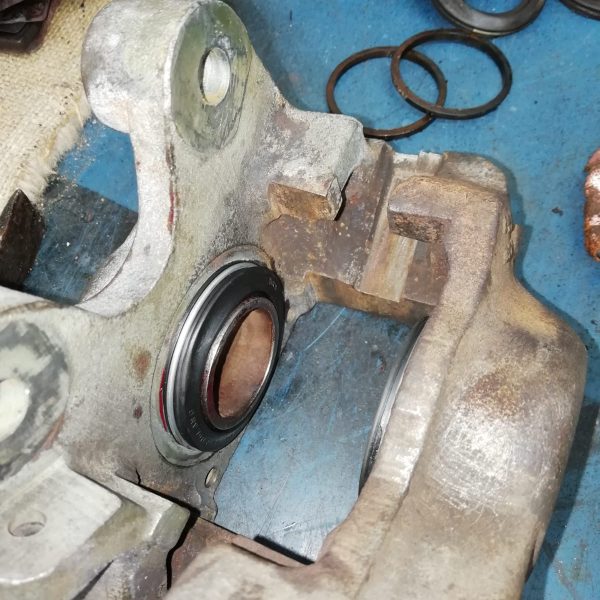
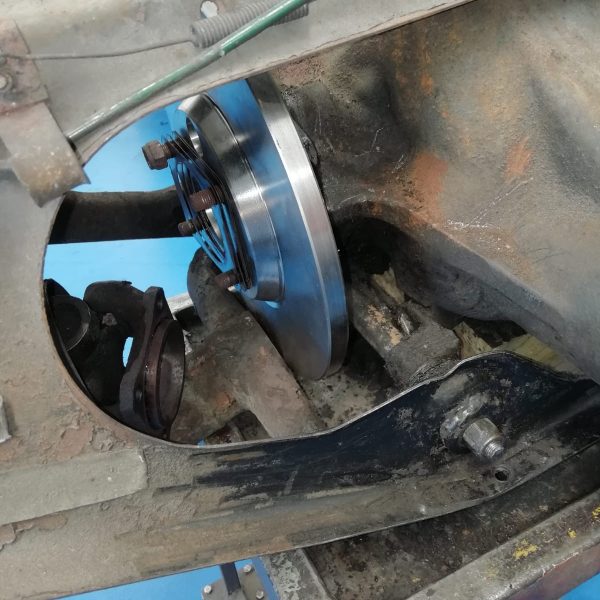
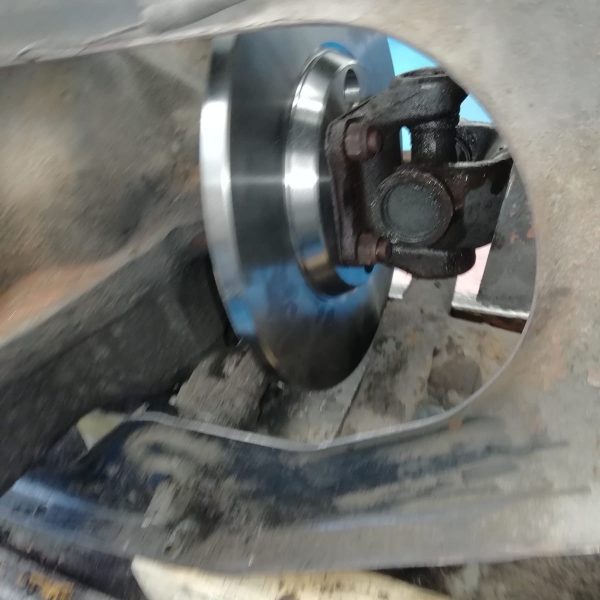
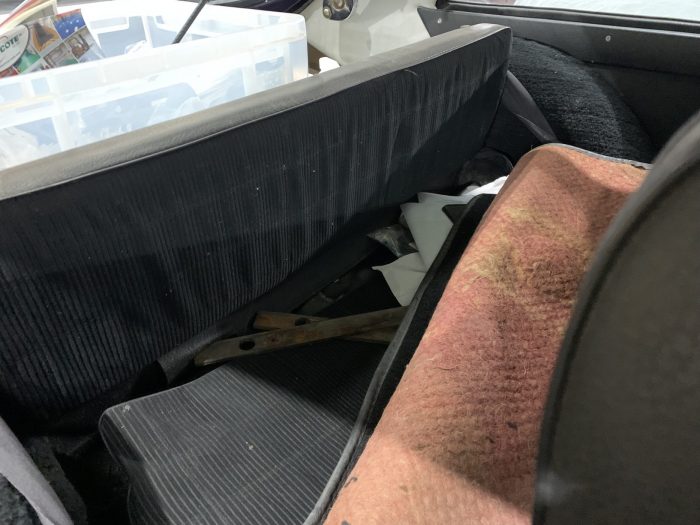
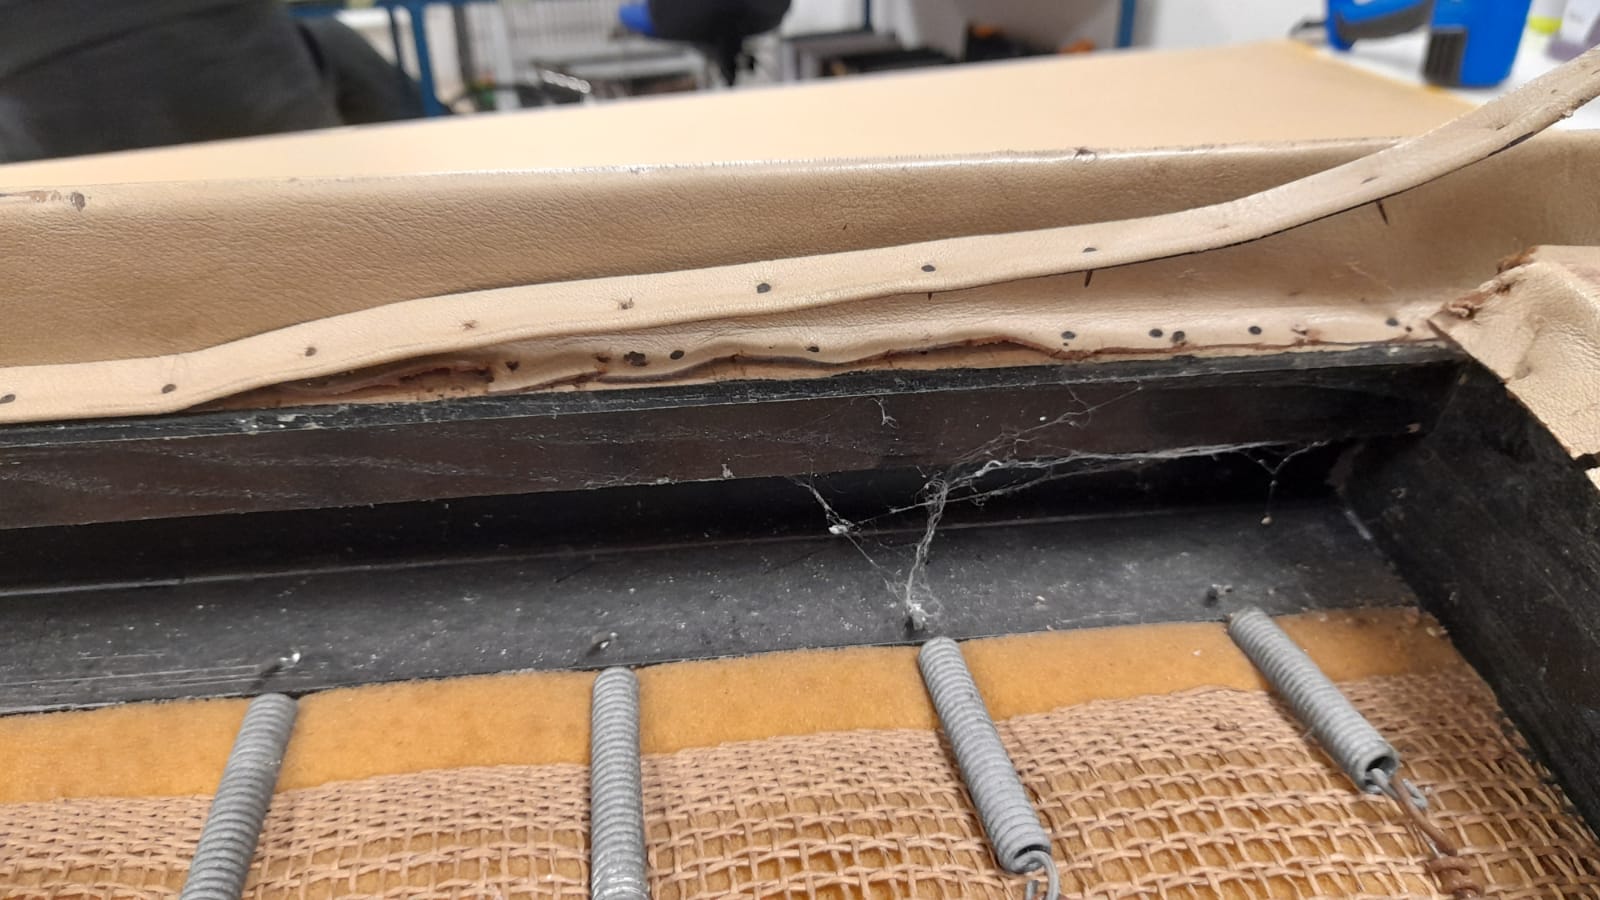
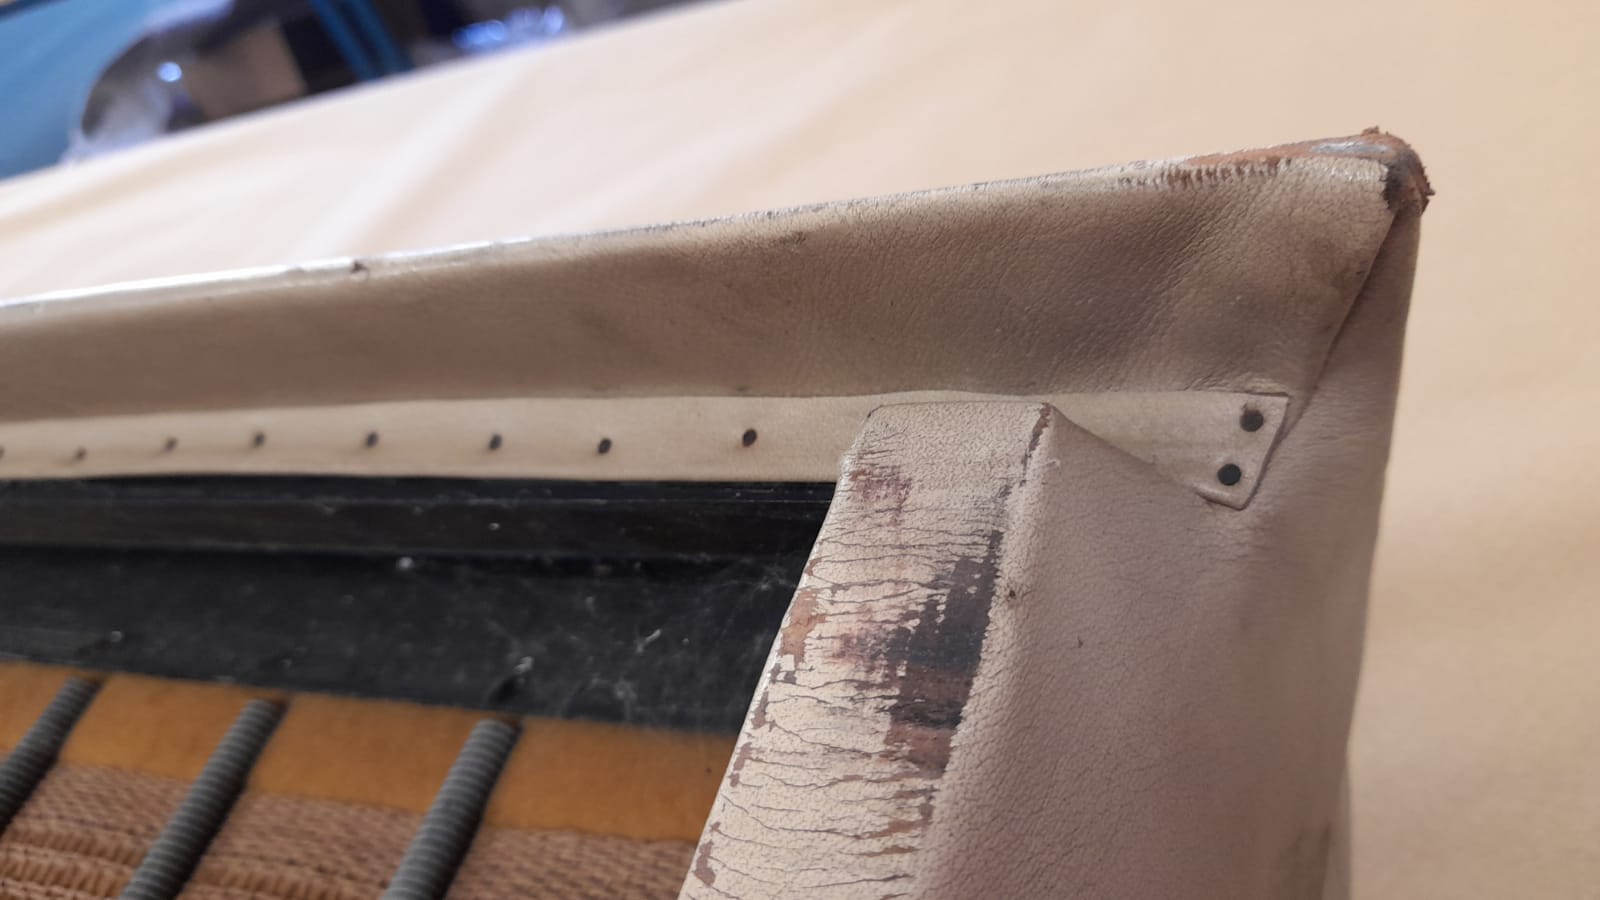
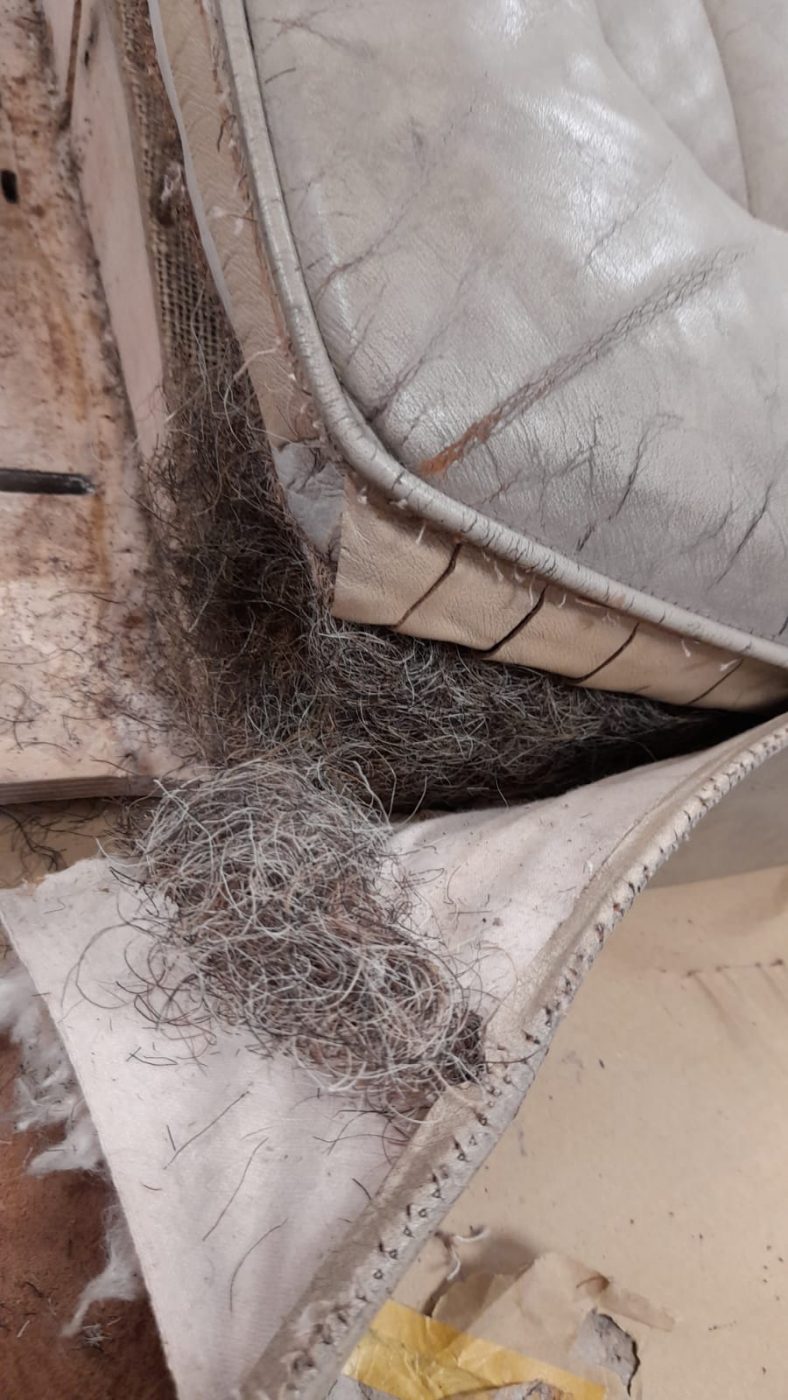
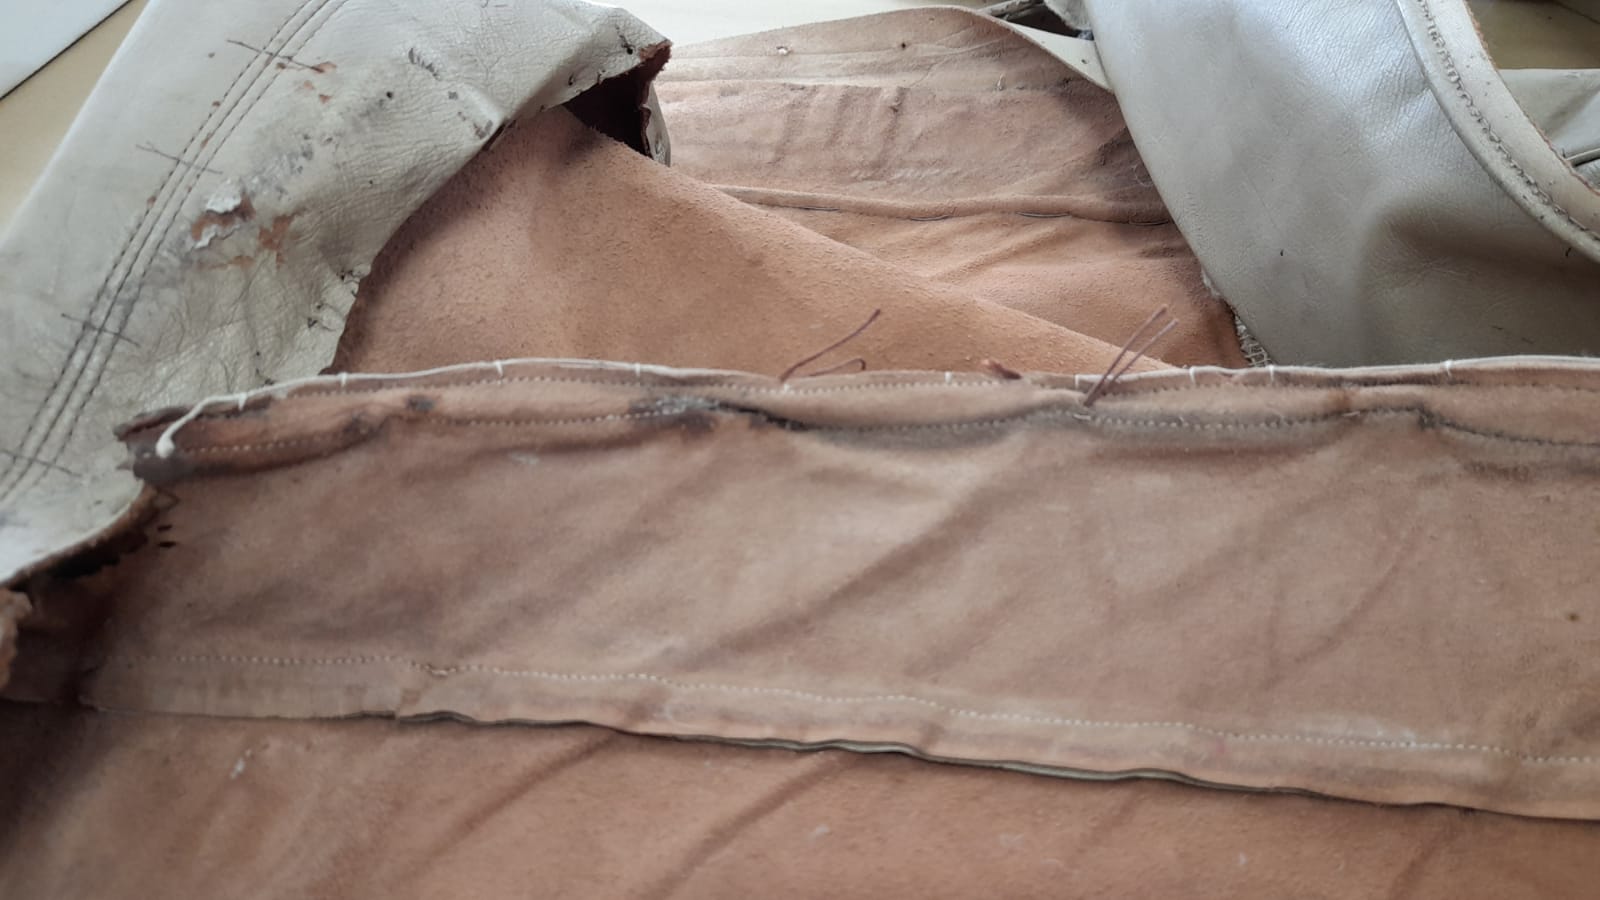
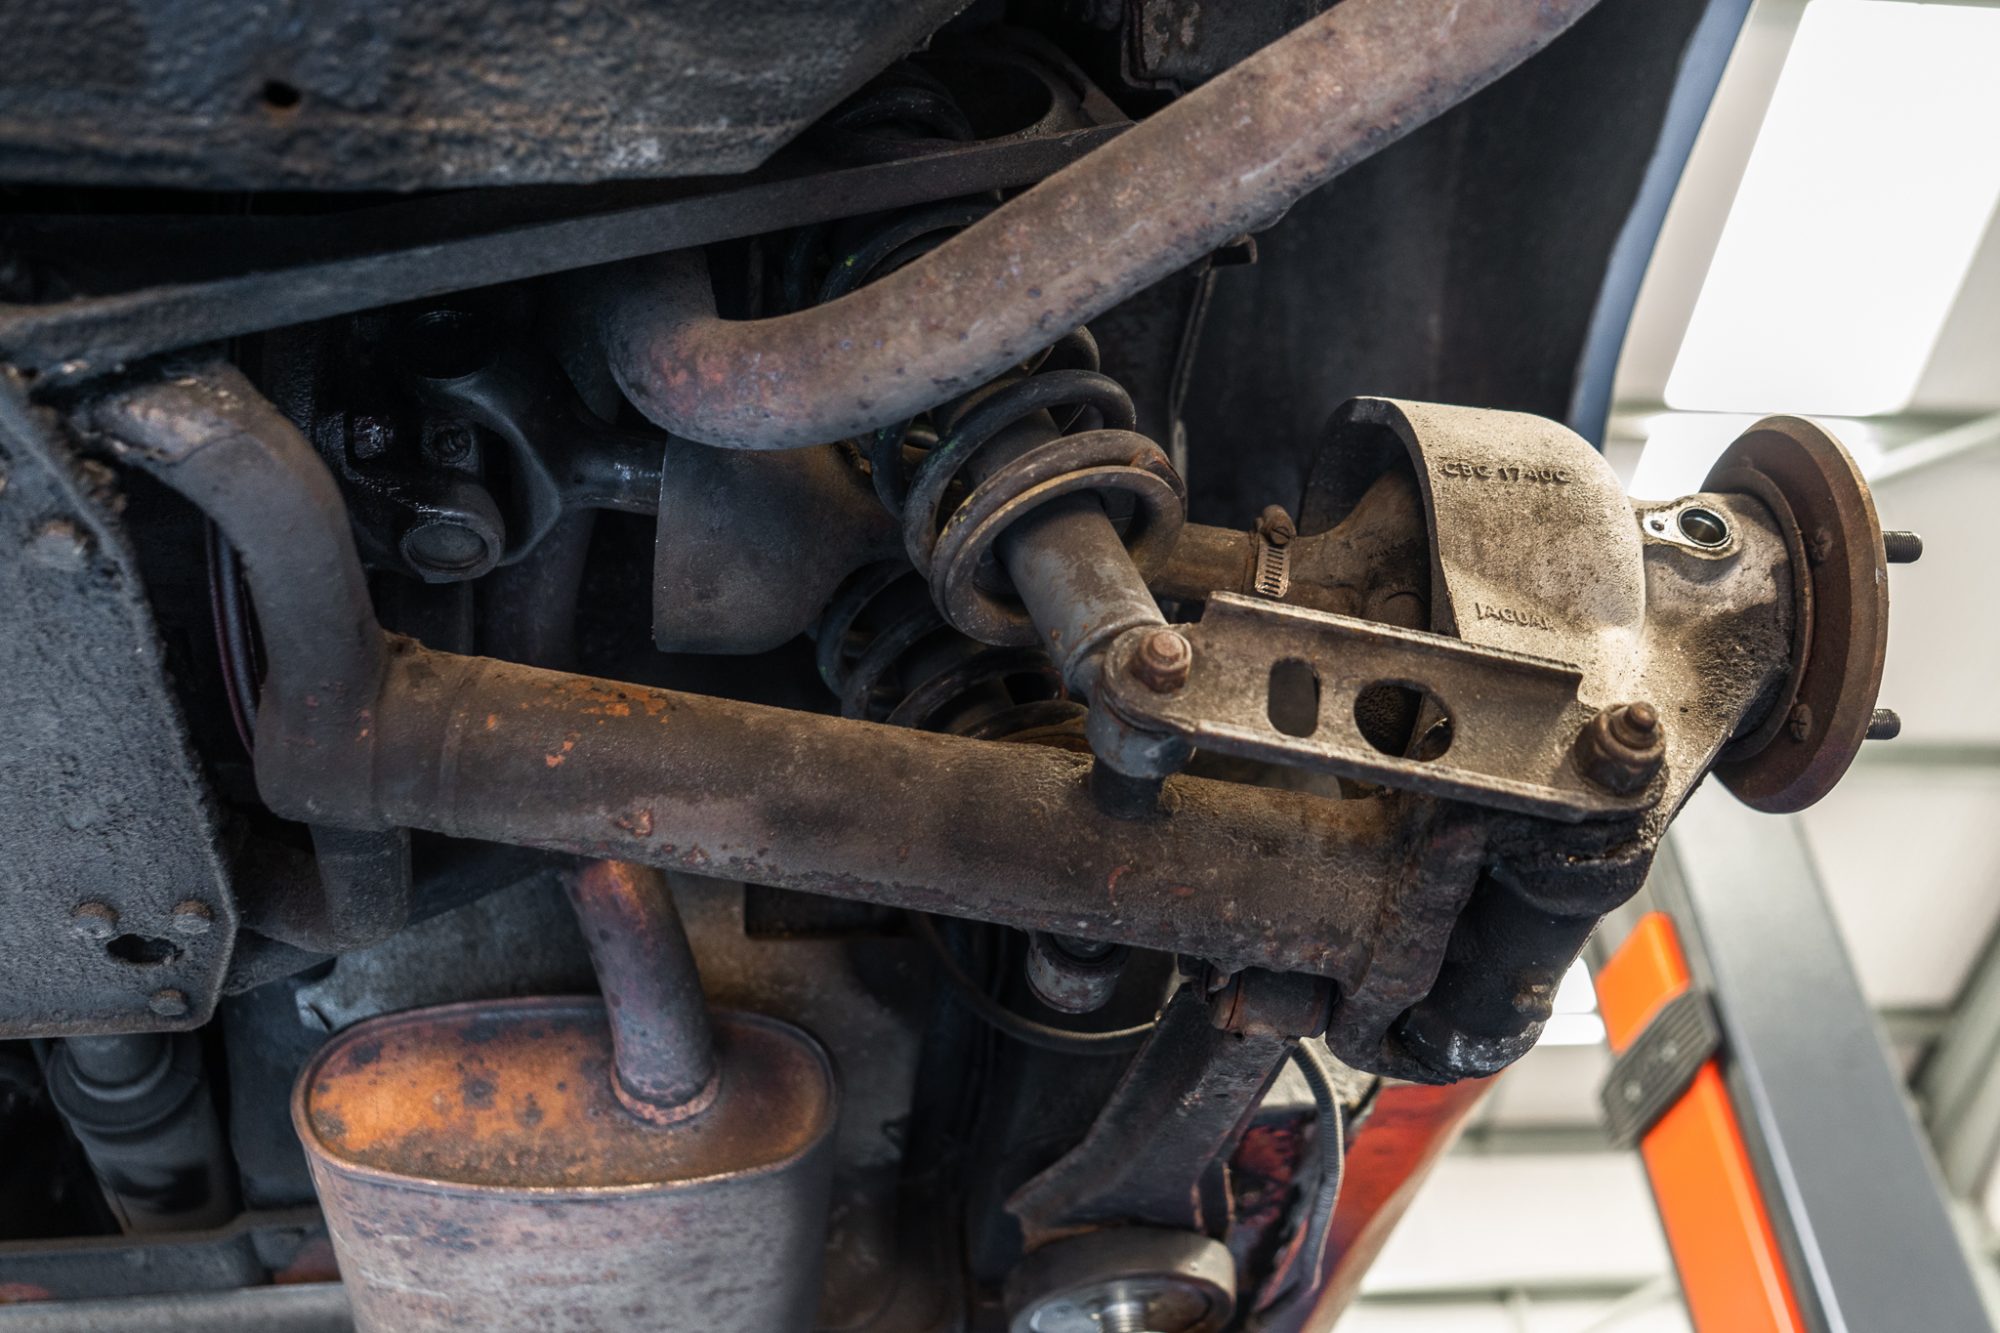
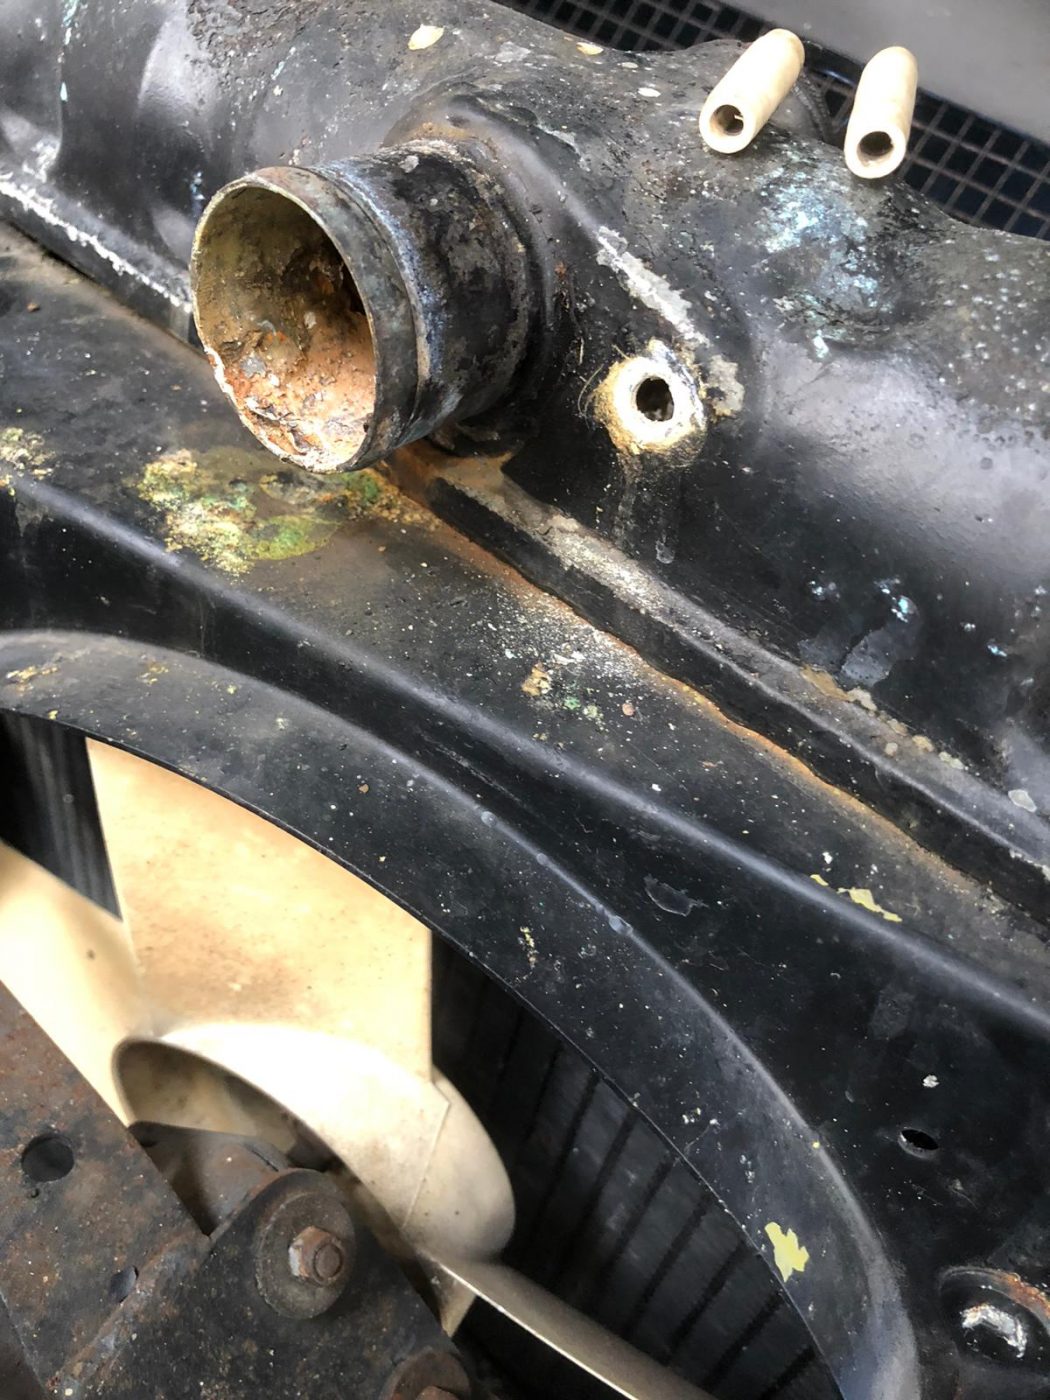
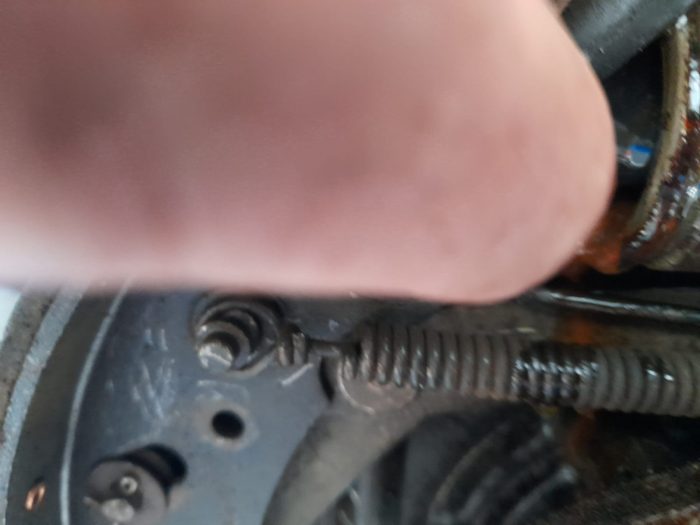
Scott has removed the rear axel on our 1968 Jaguar E-Type Series 1.5 to fit new brakes and started spot welding the seat mounts from

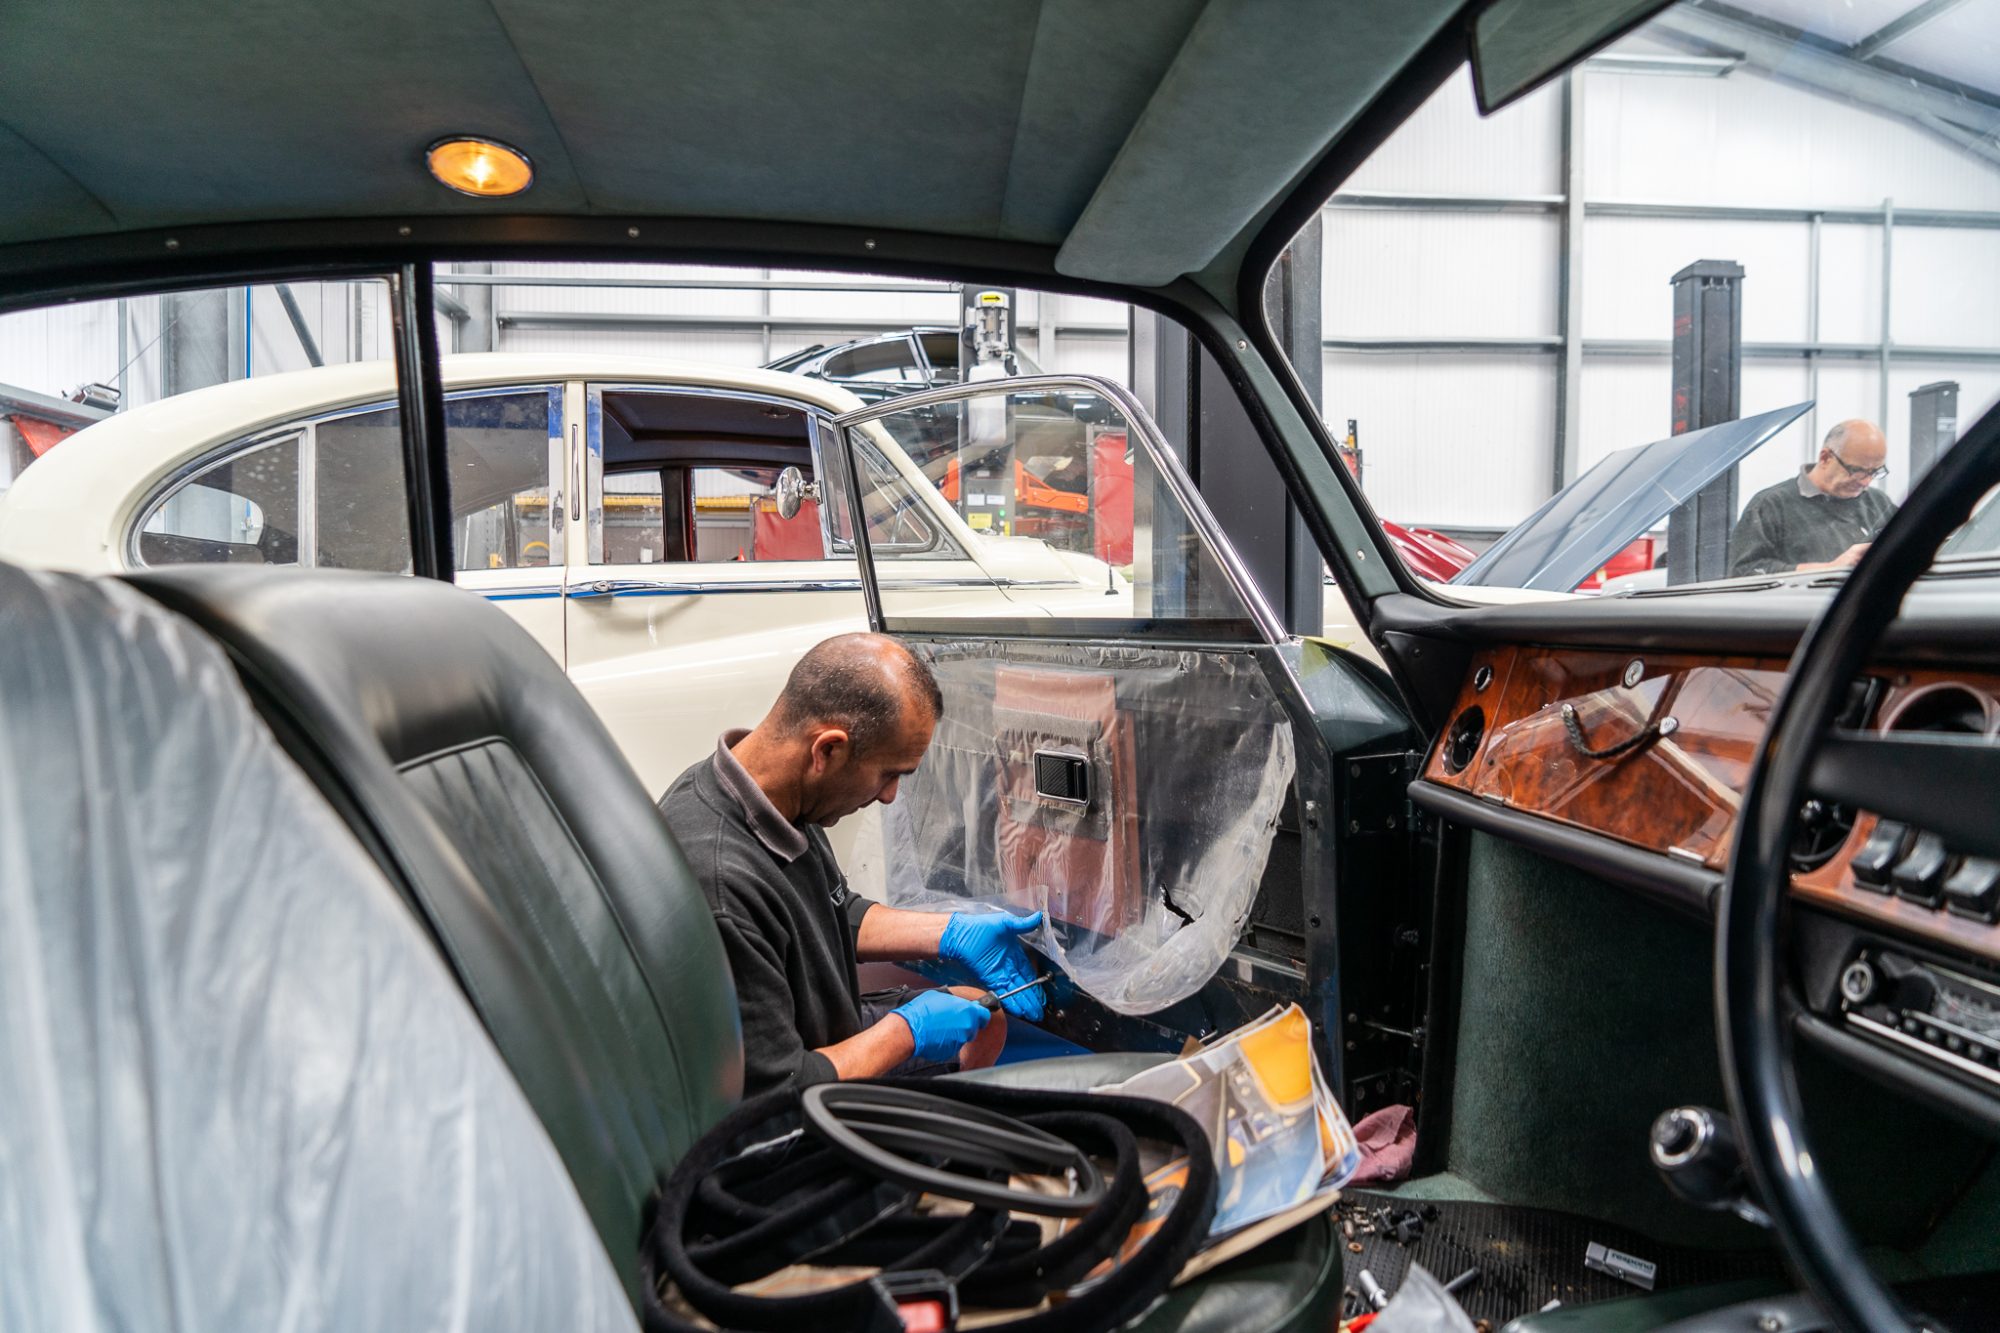
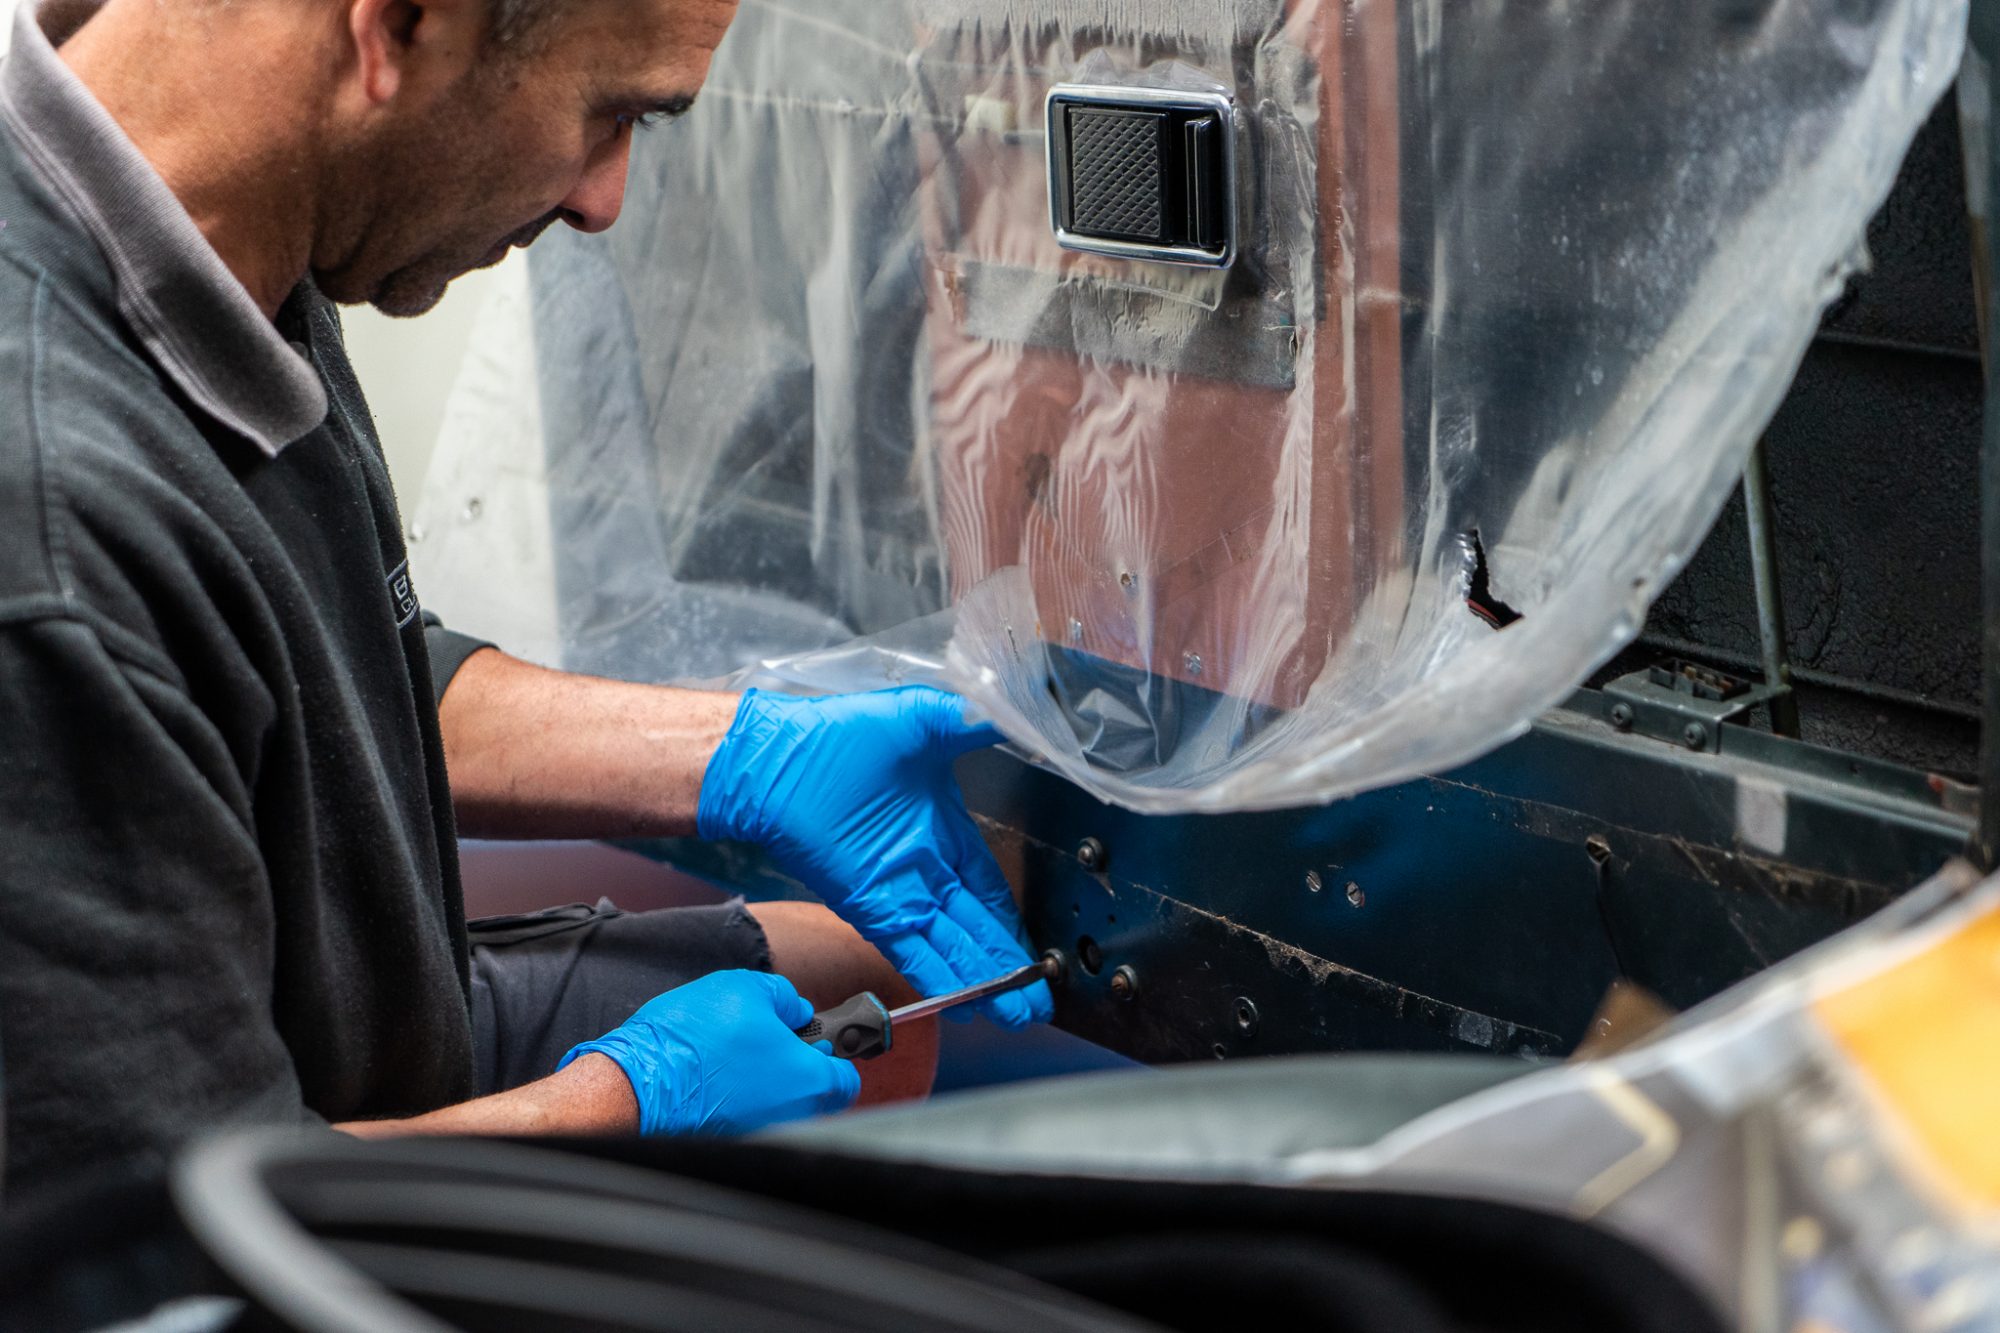
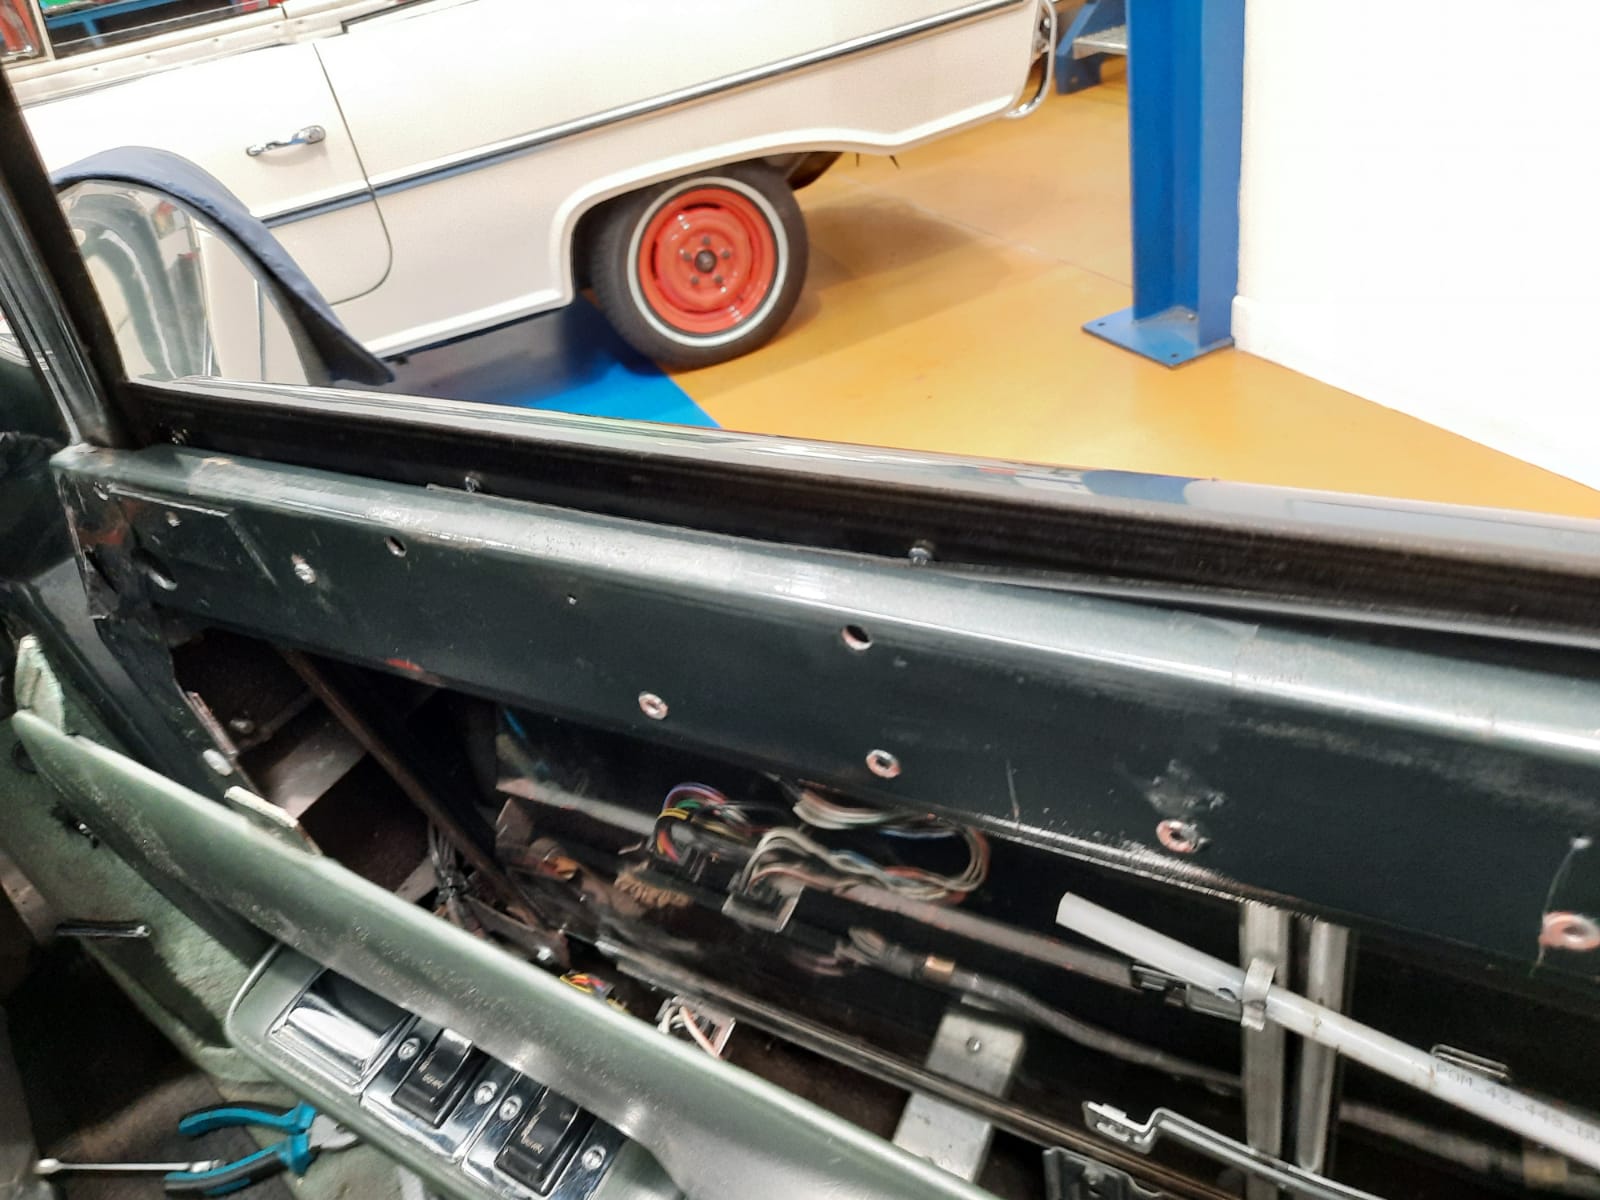
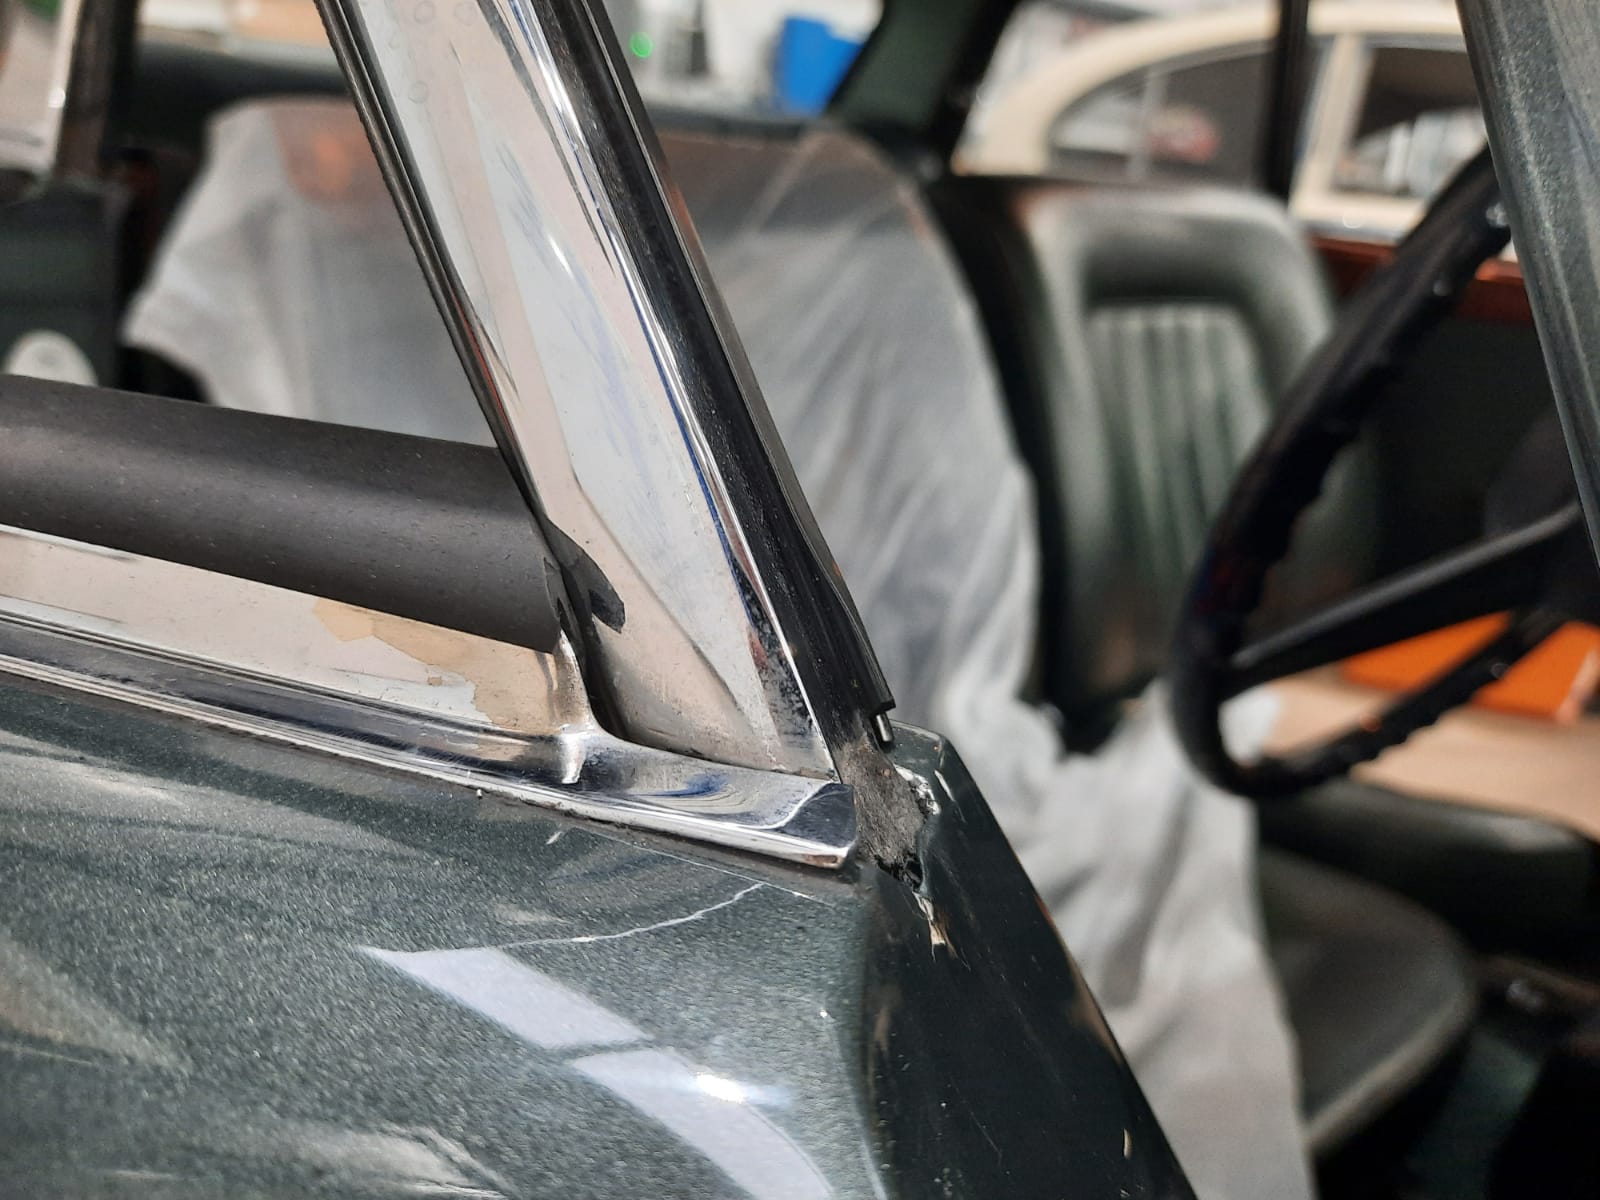
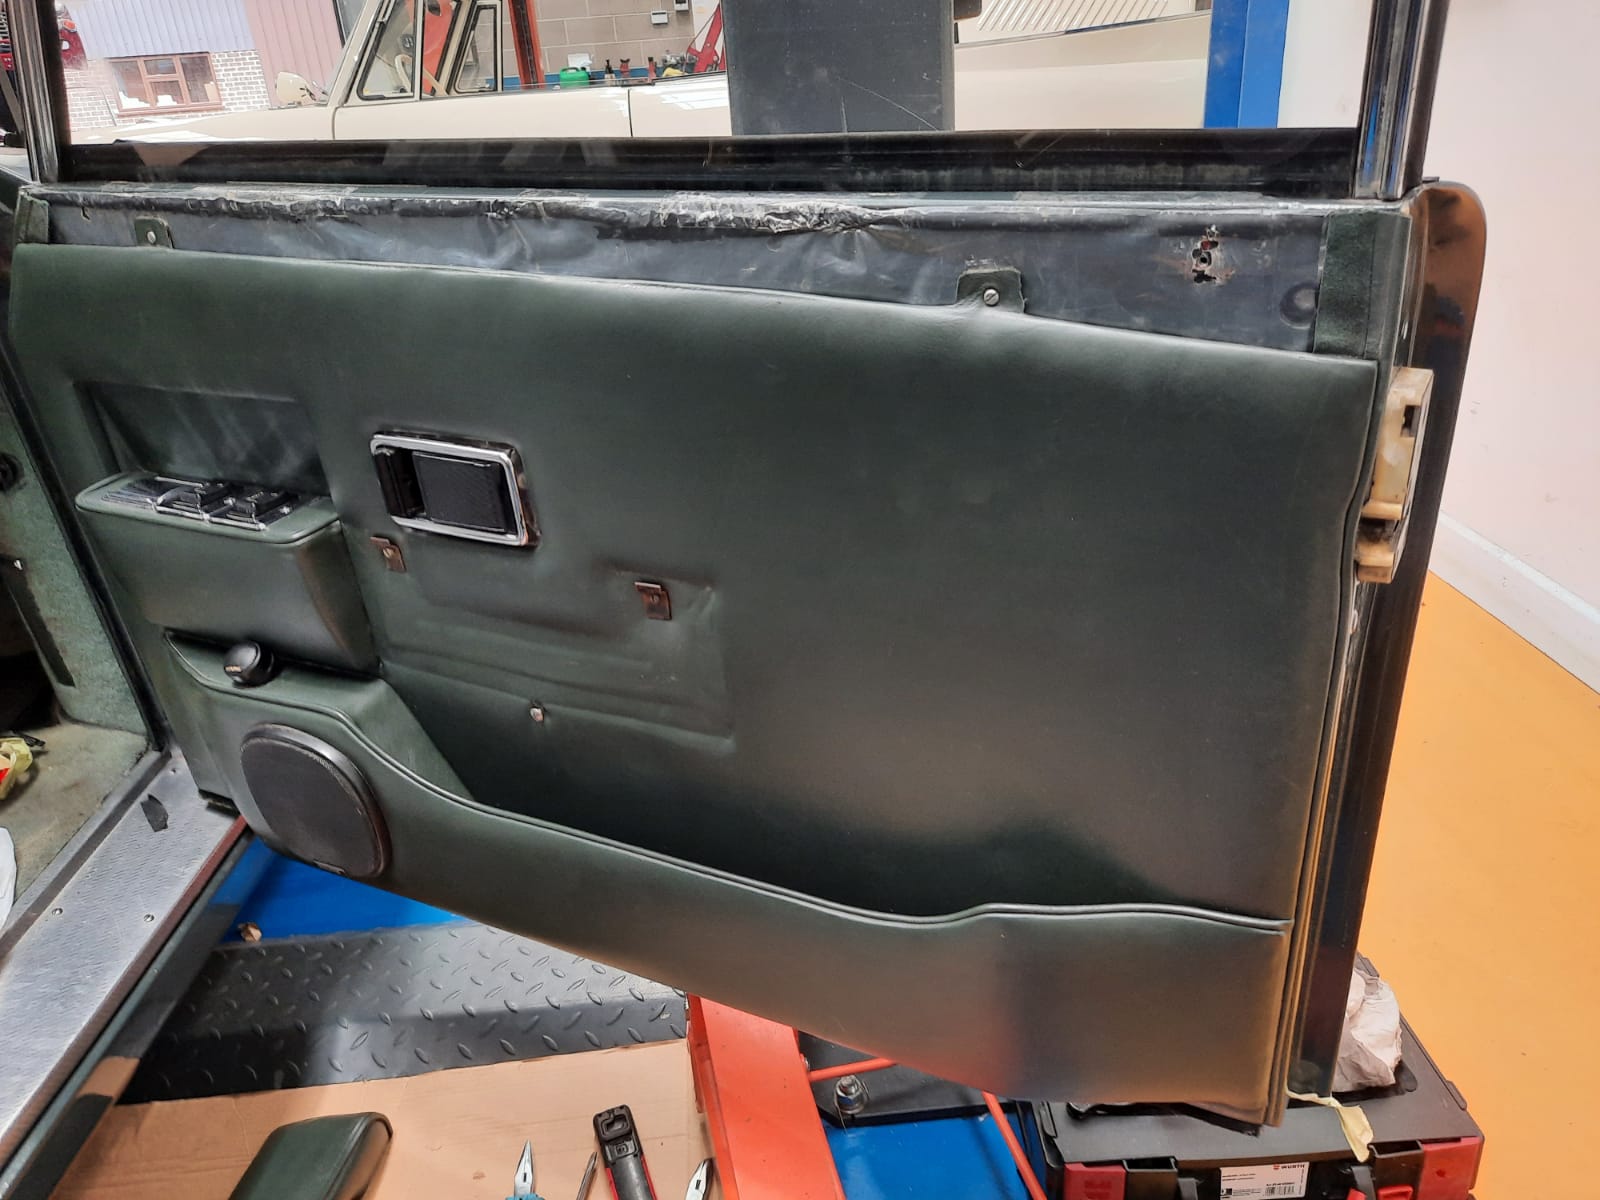
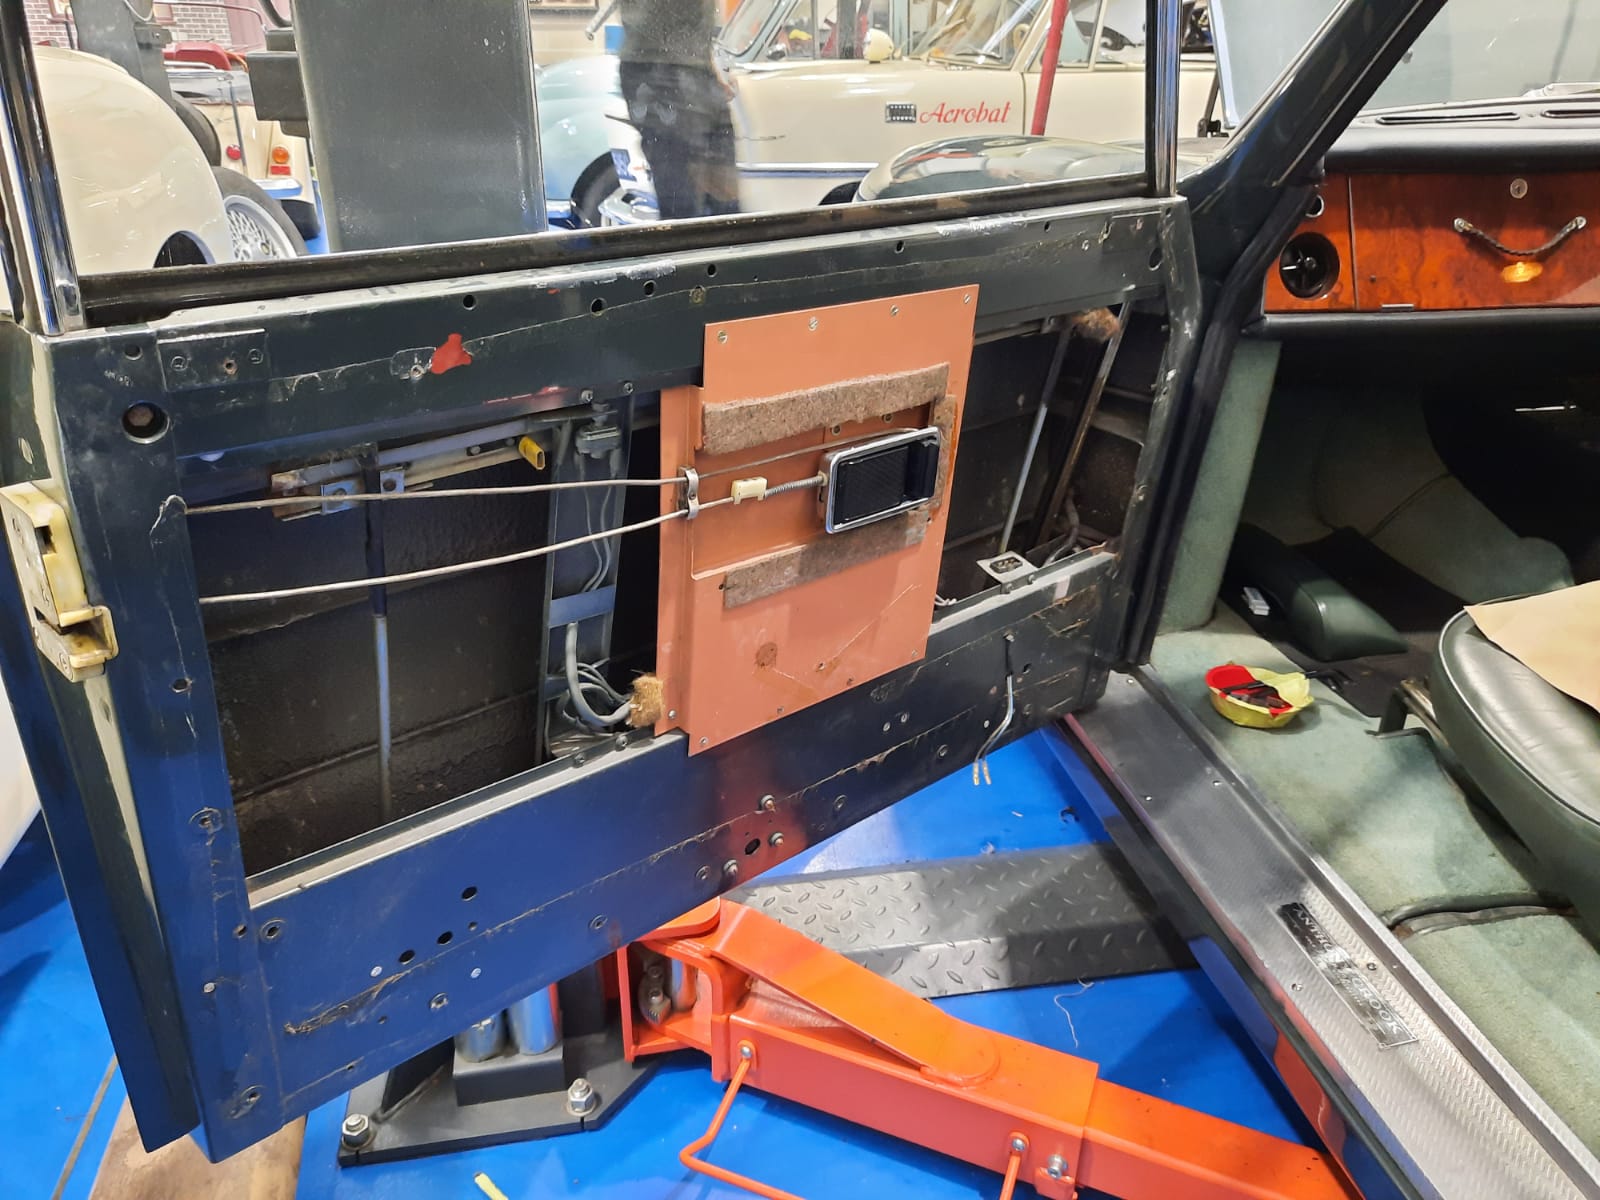
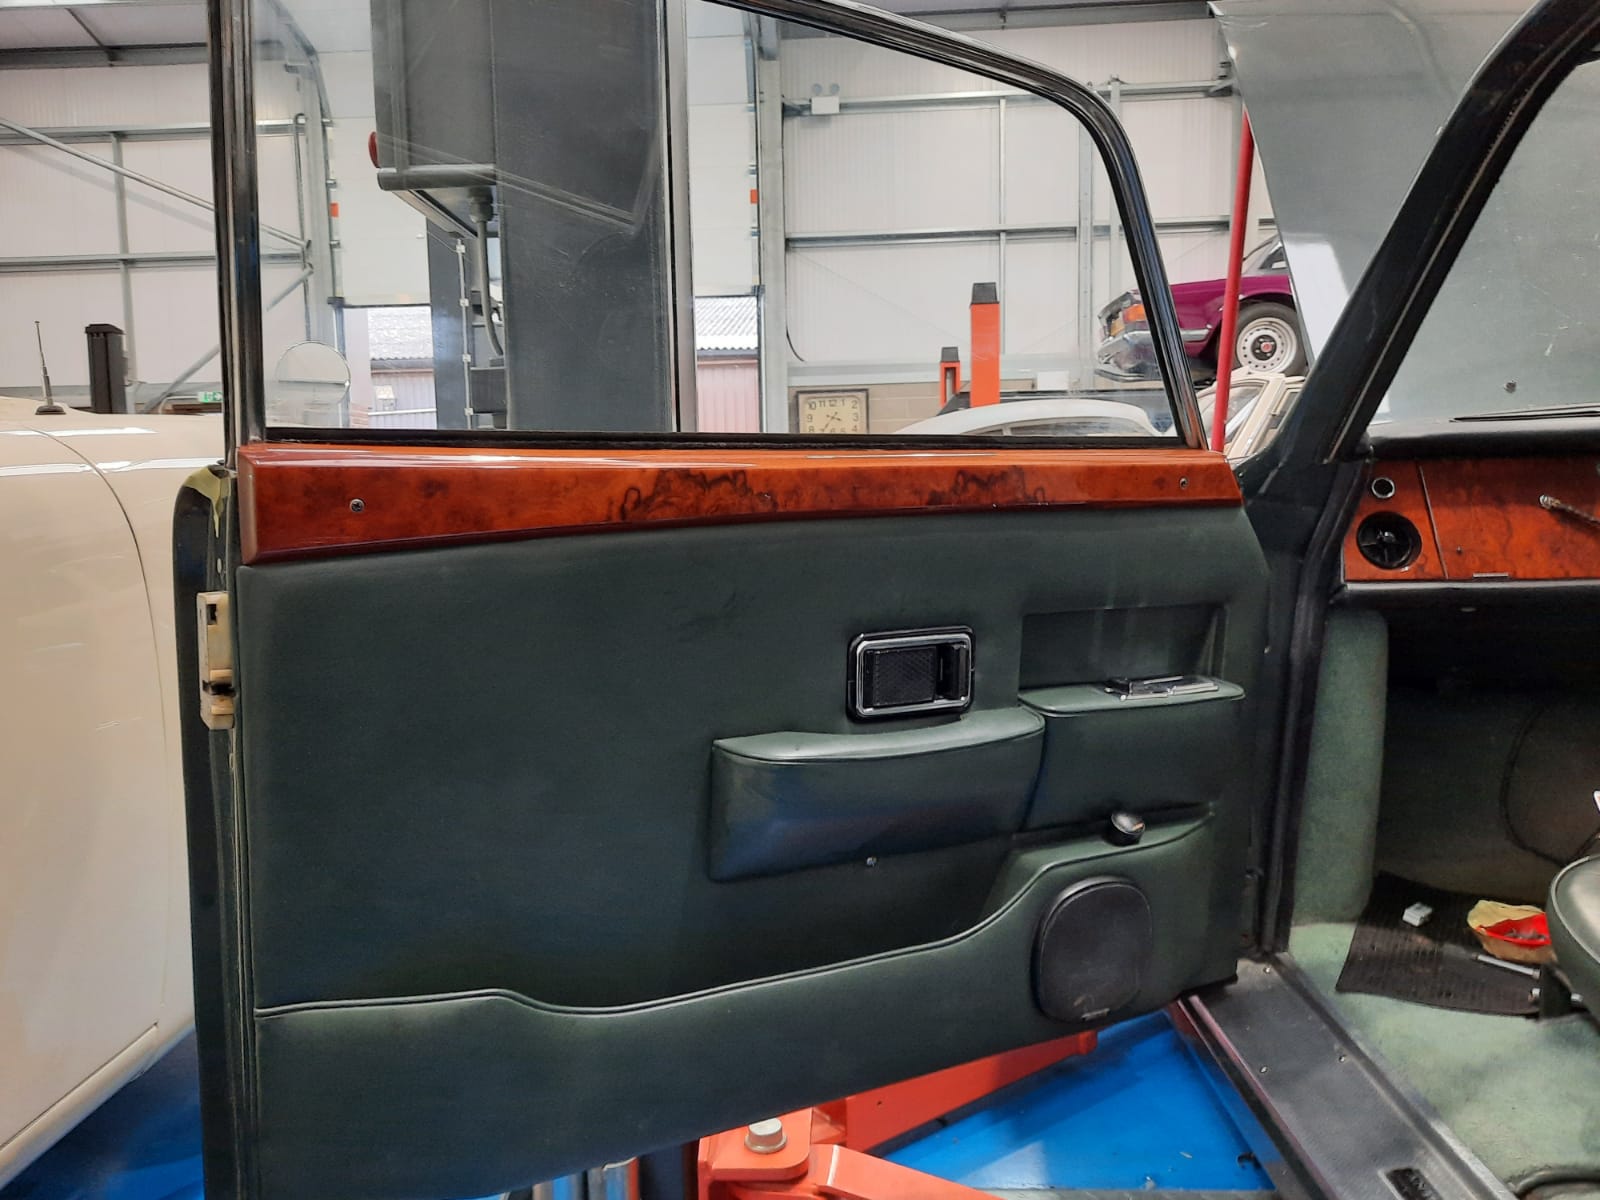
We’ve been stripping the door of our 1974 Bristol so that we can access the rubber to replace it. This includes Mauro taking apart both

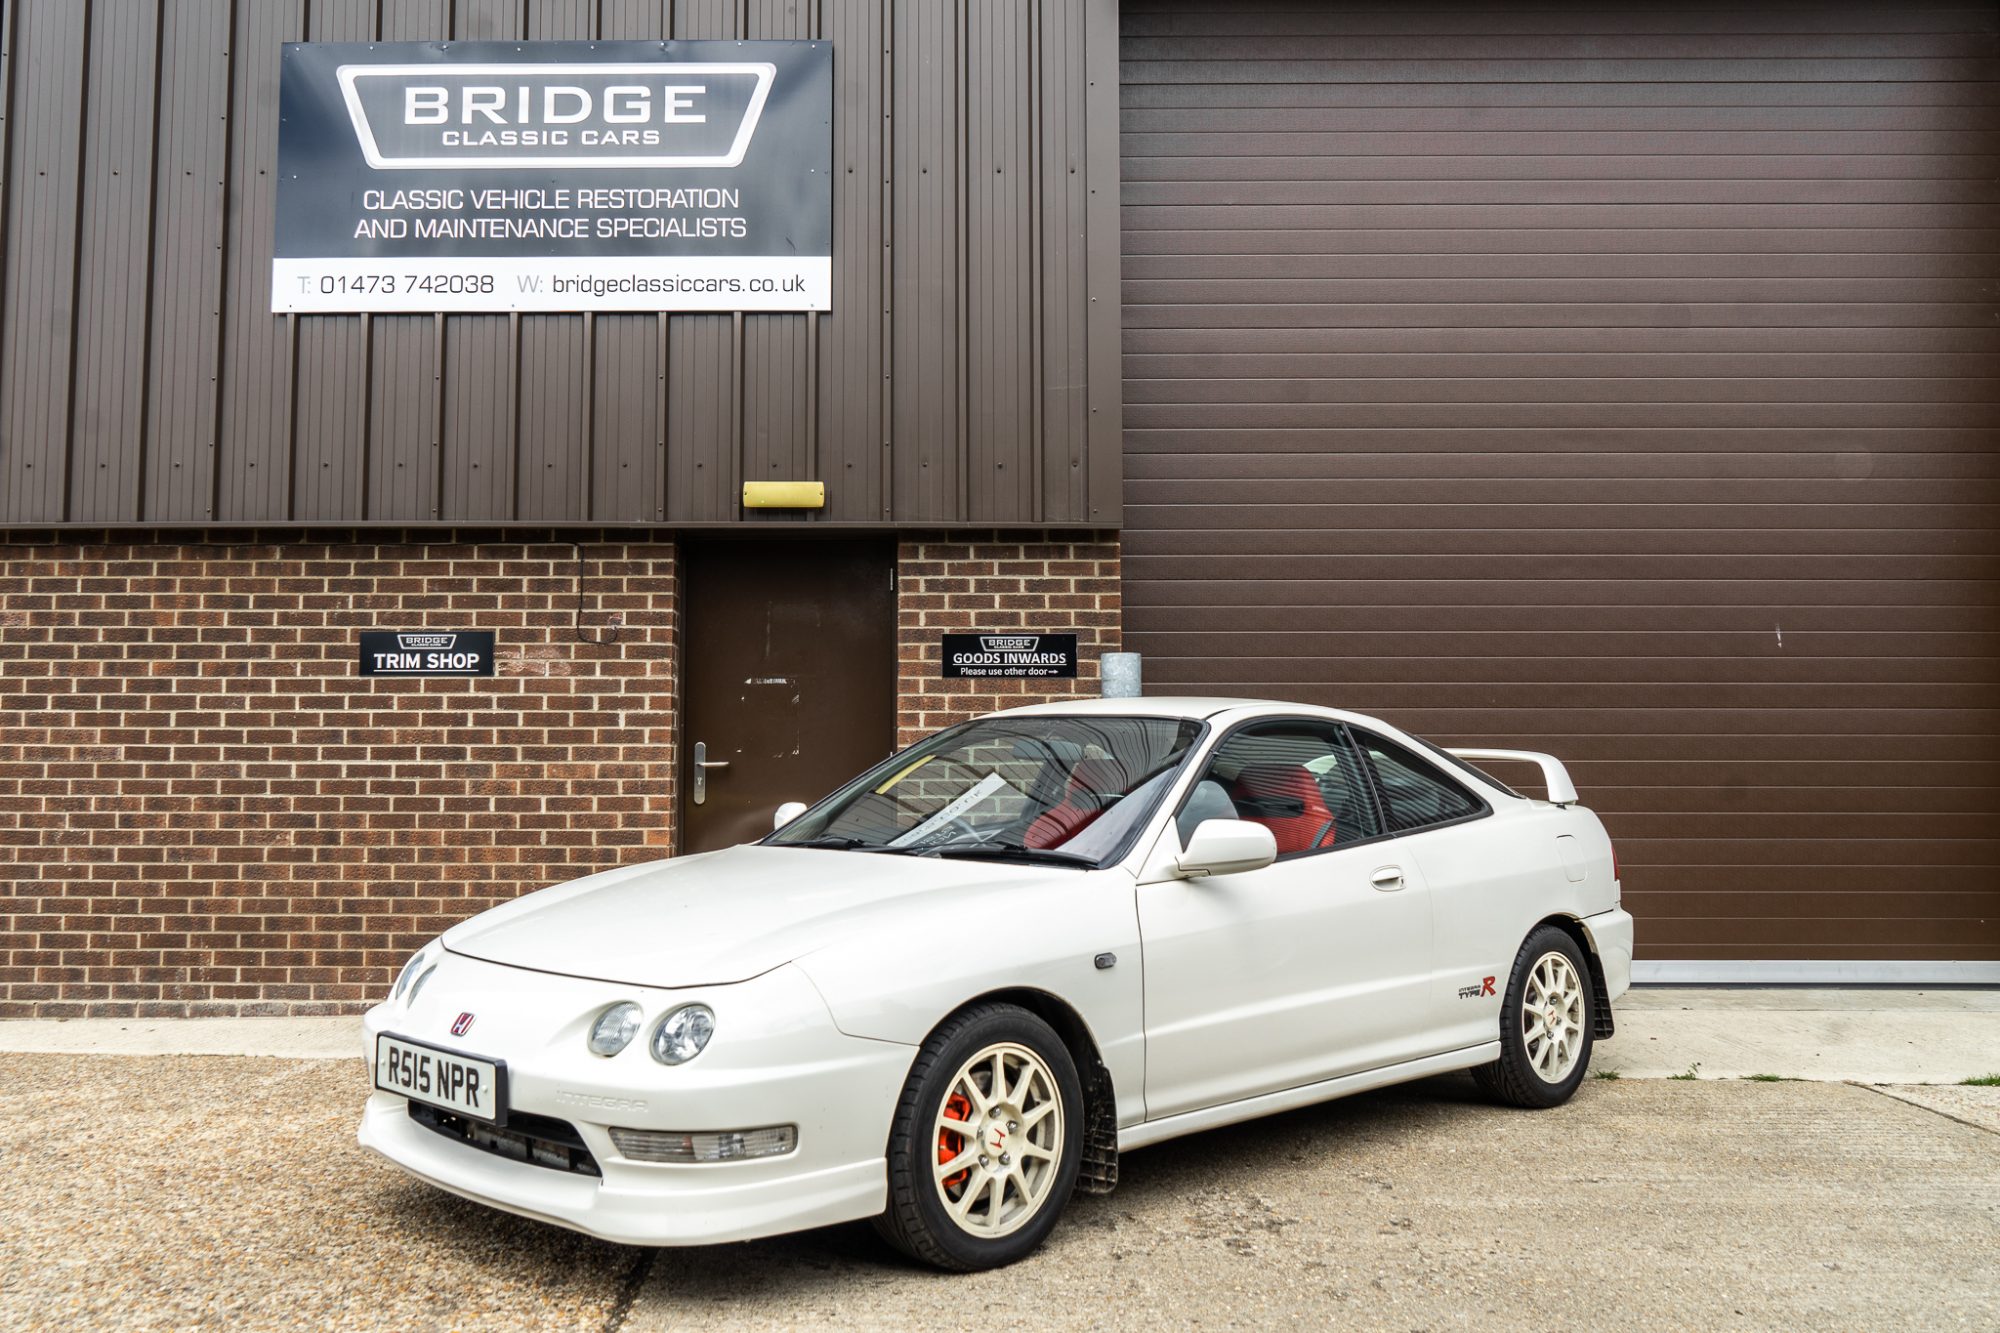
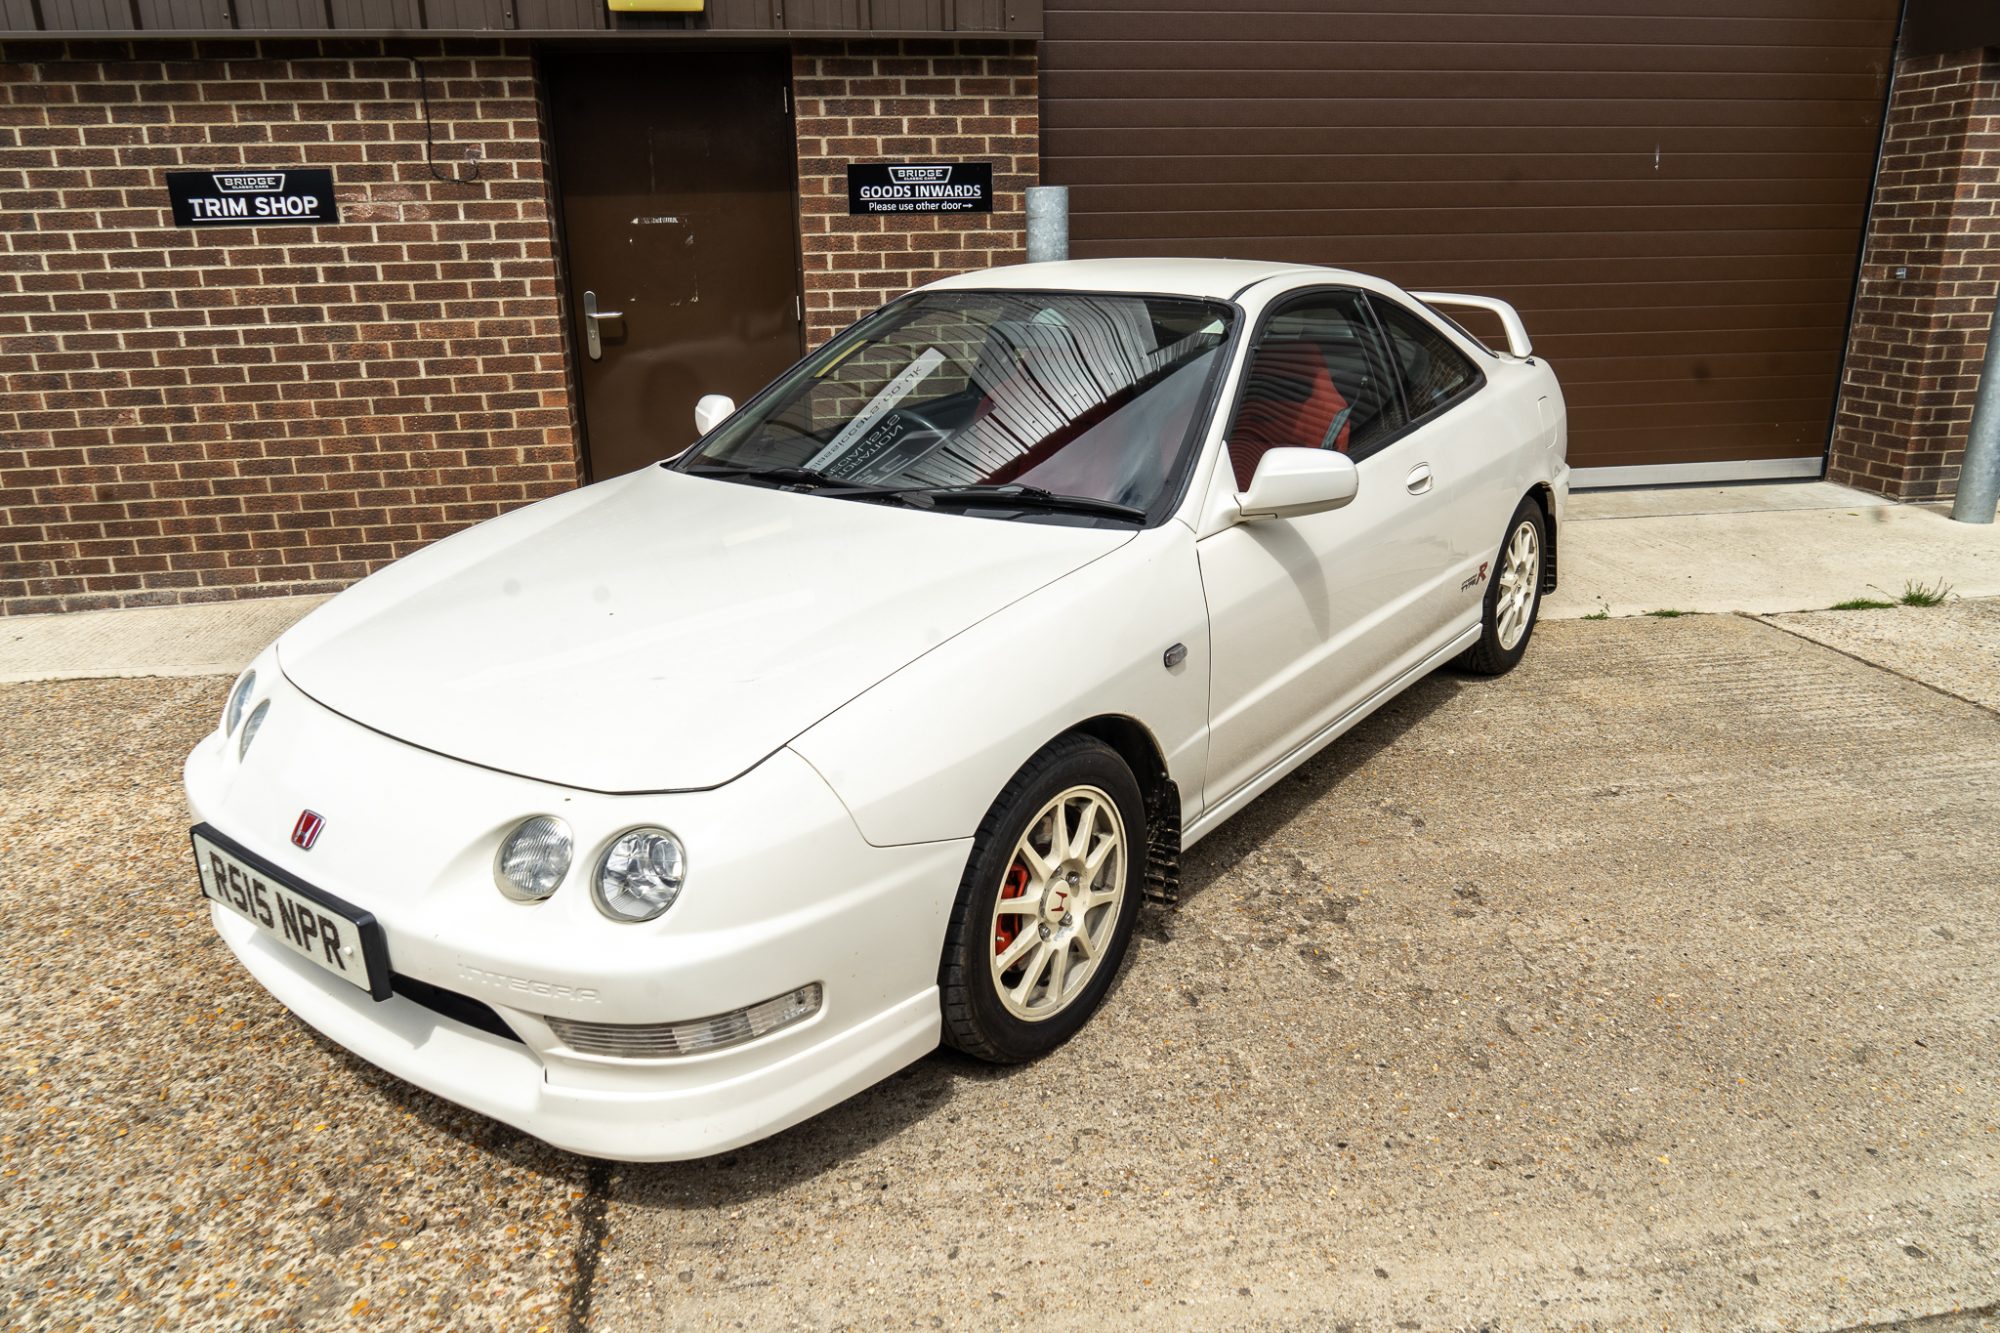
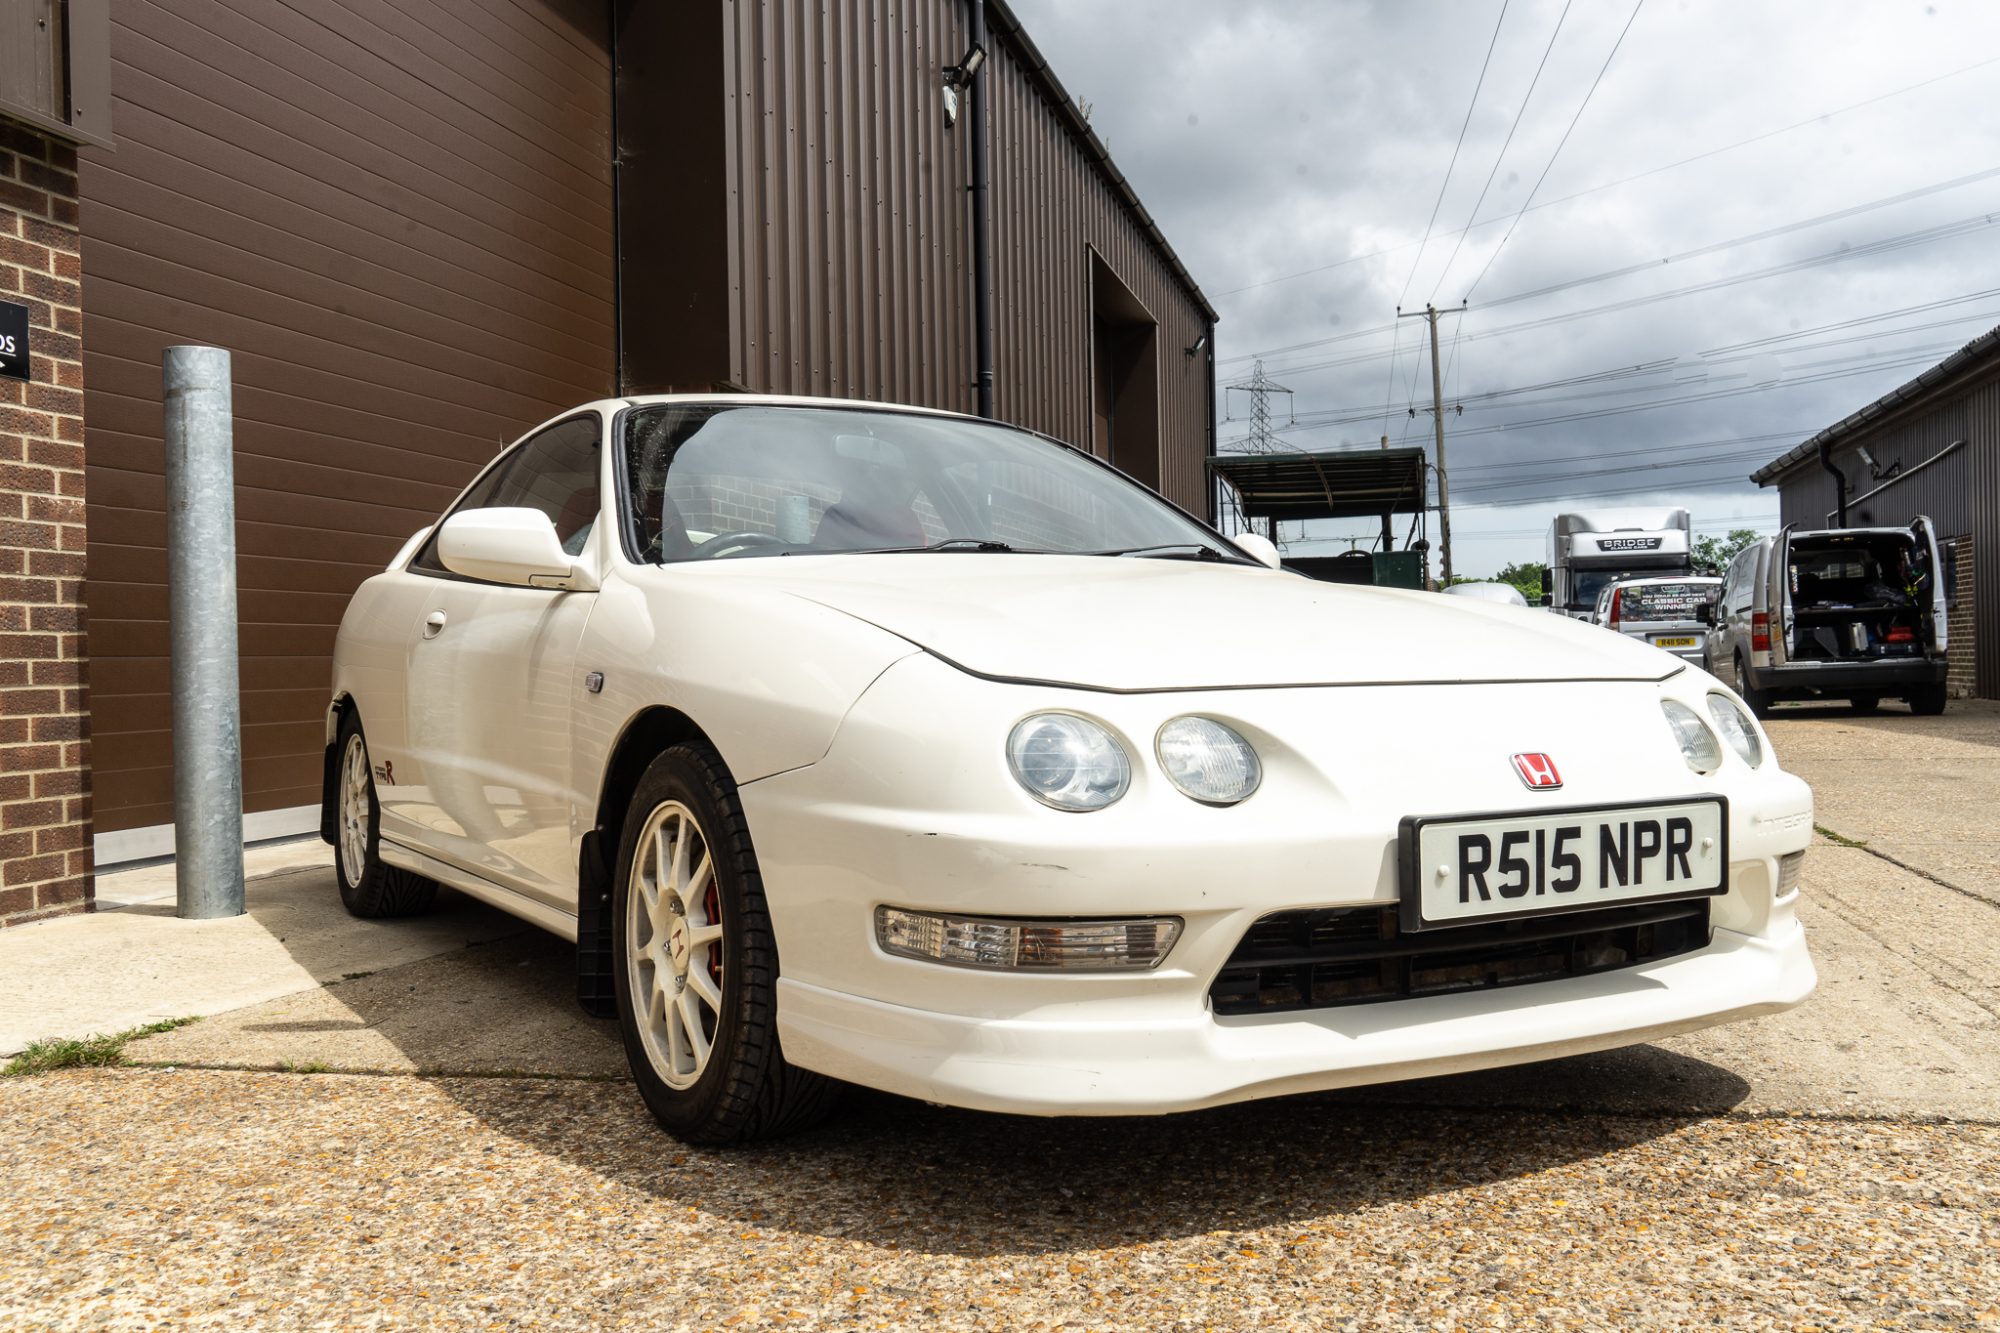
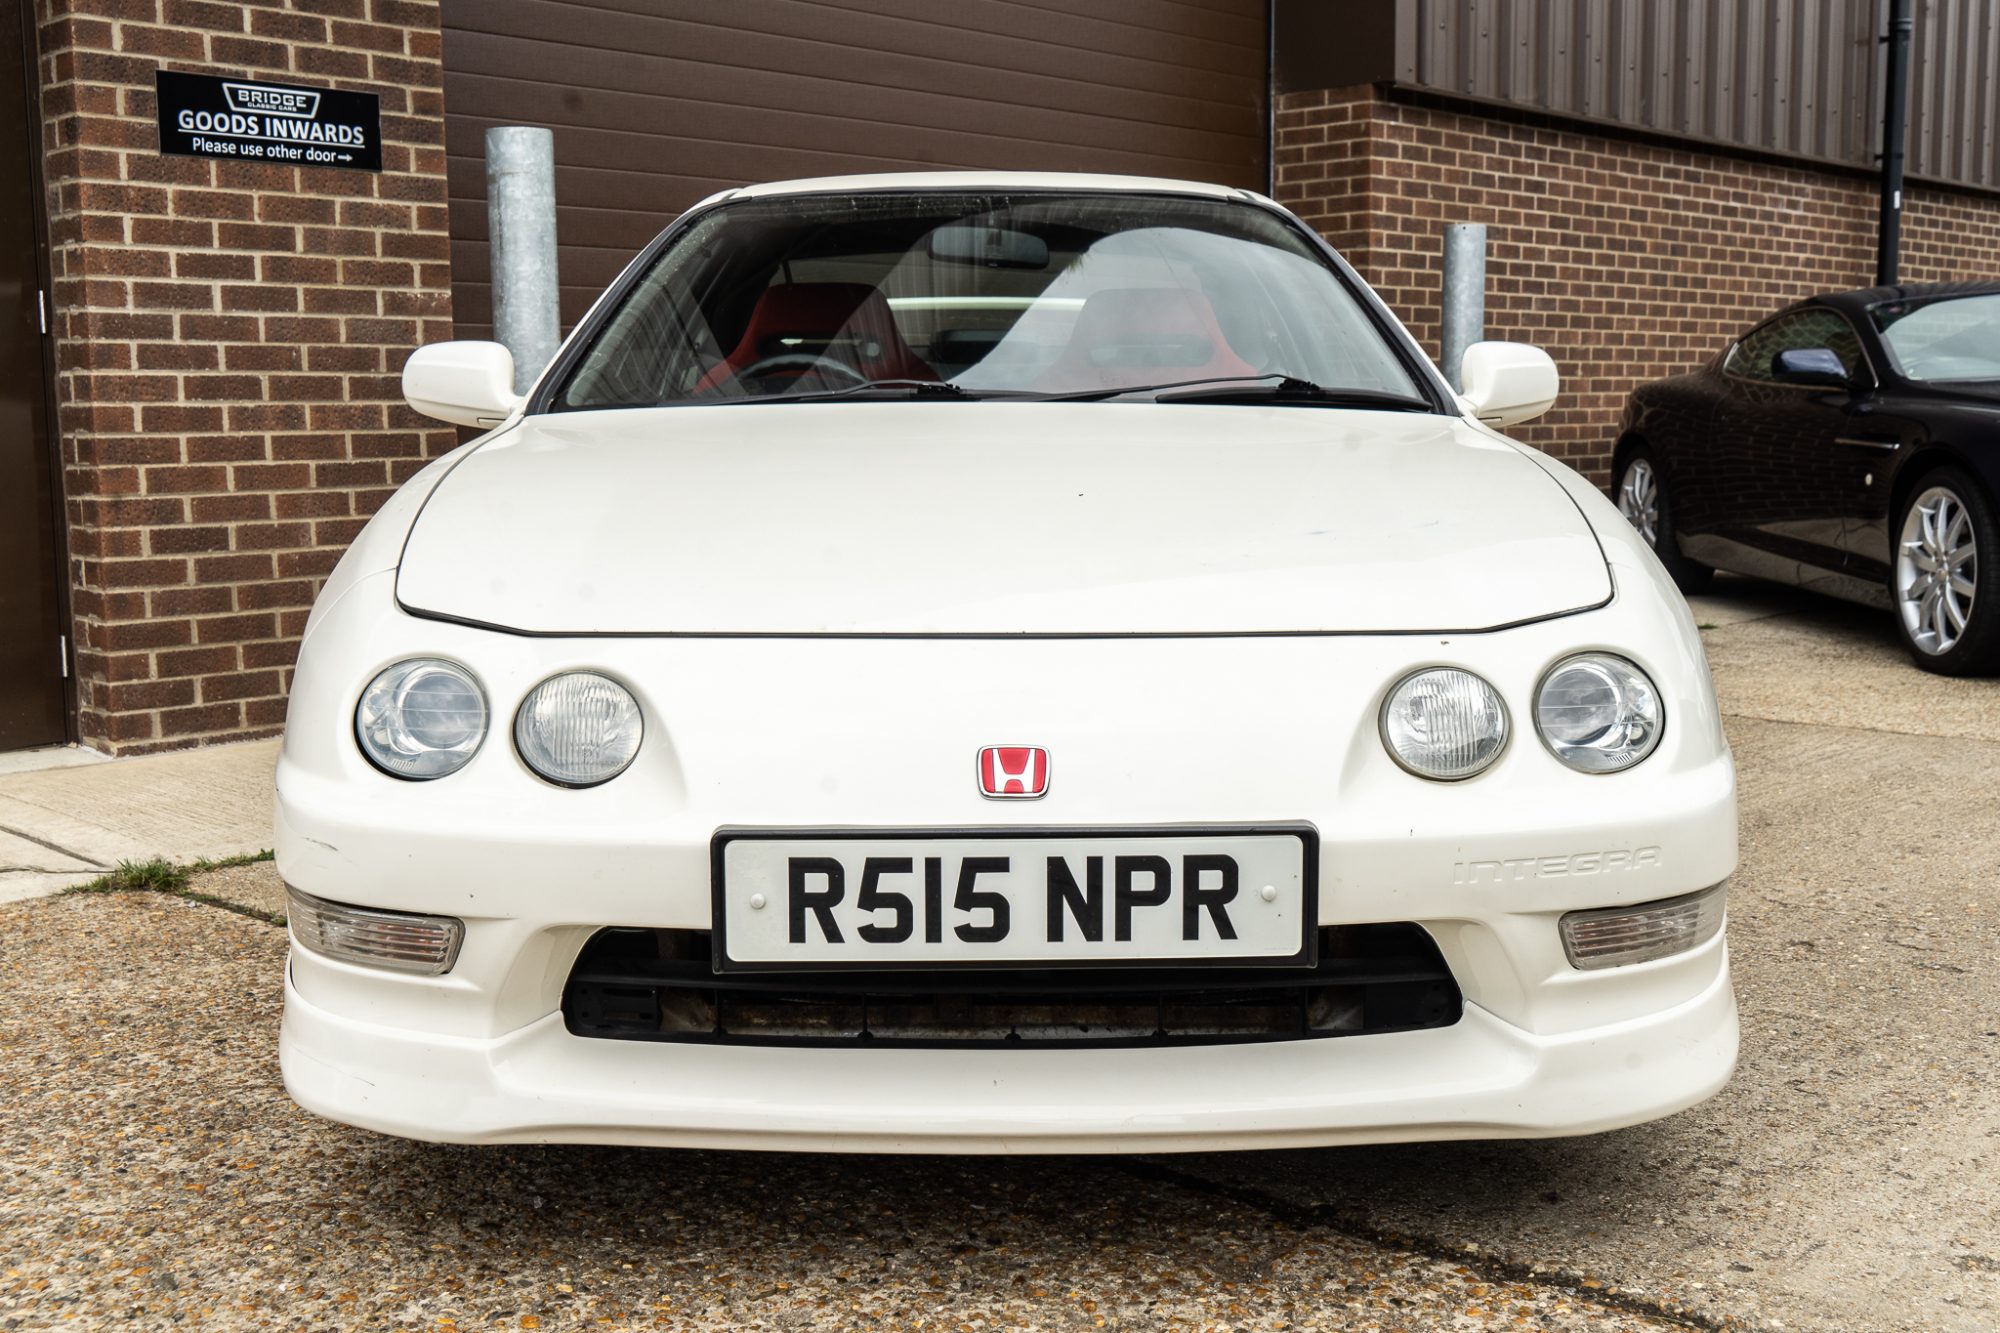
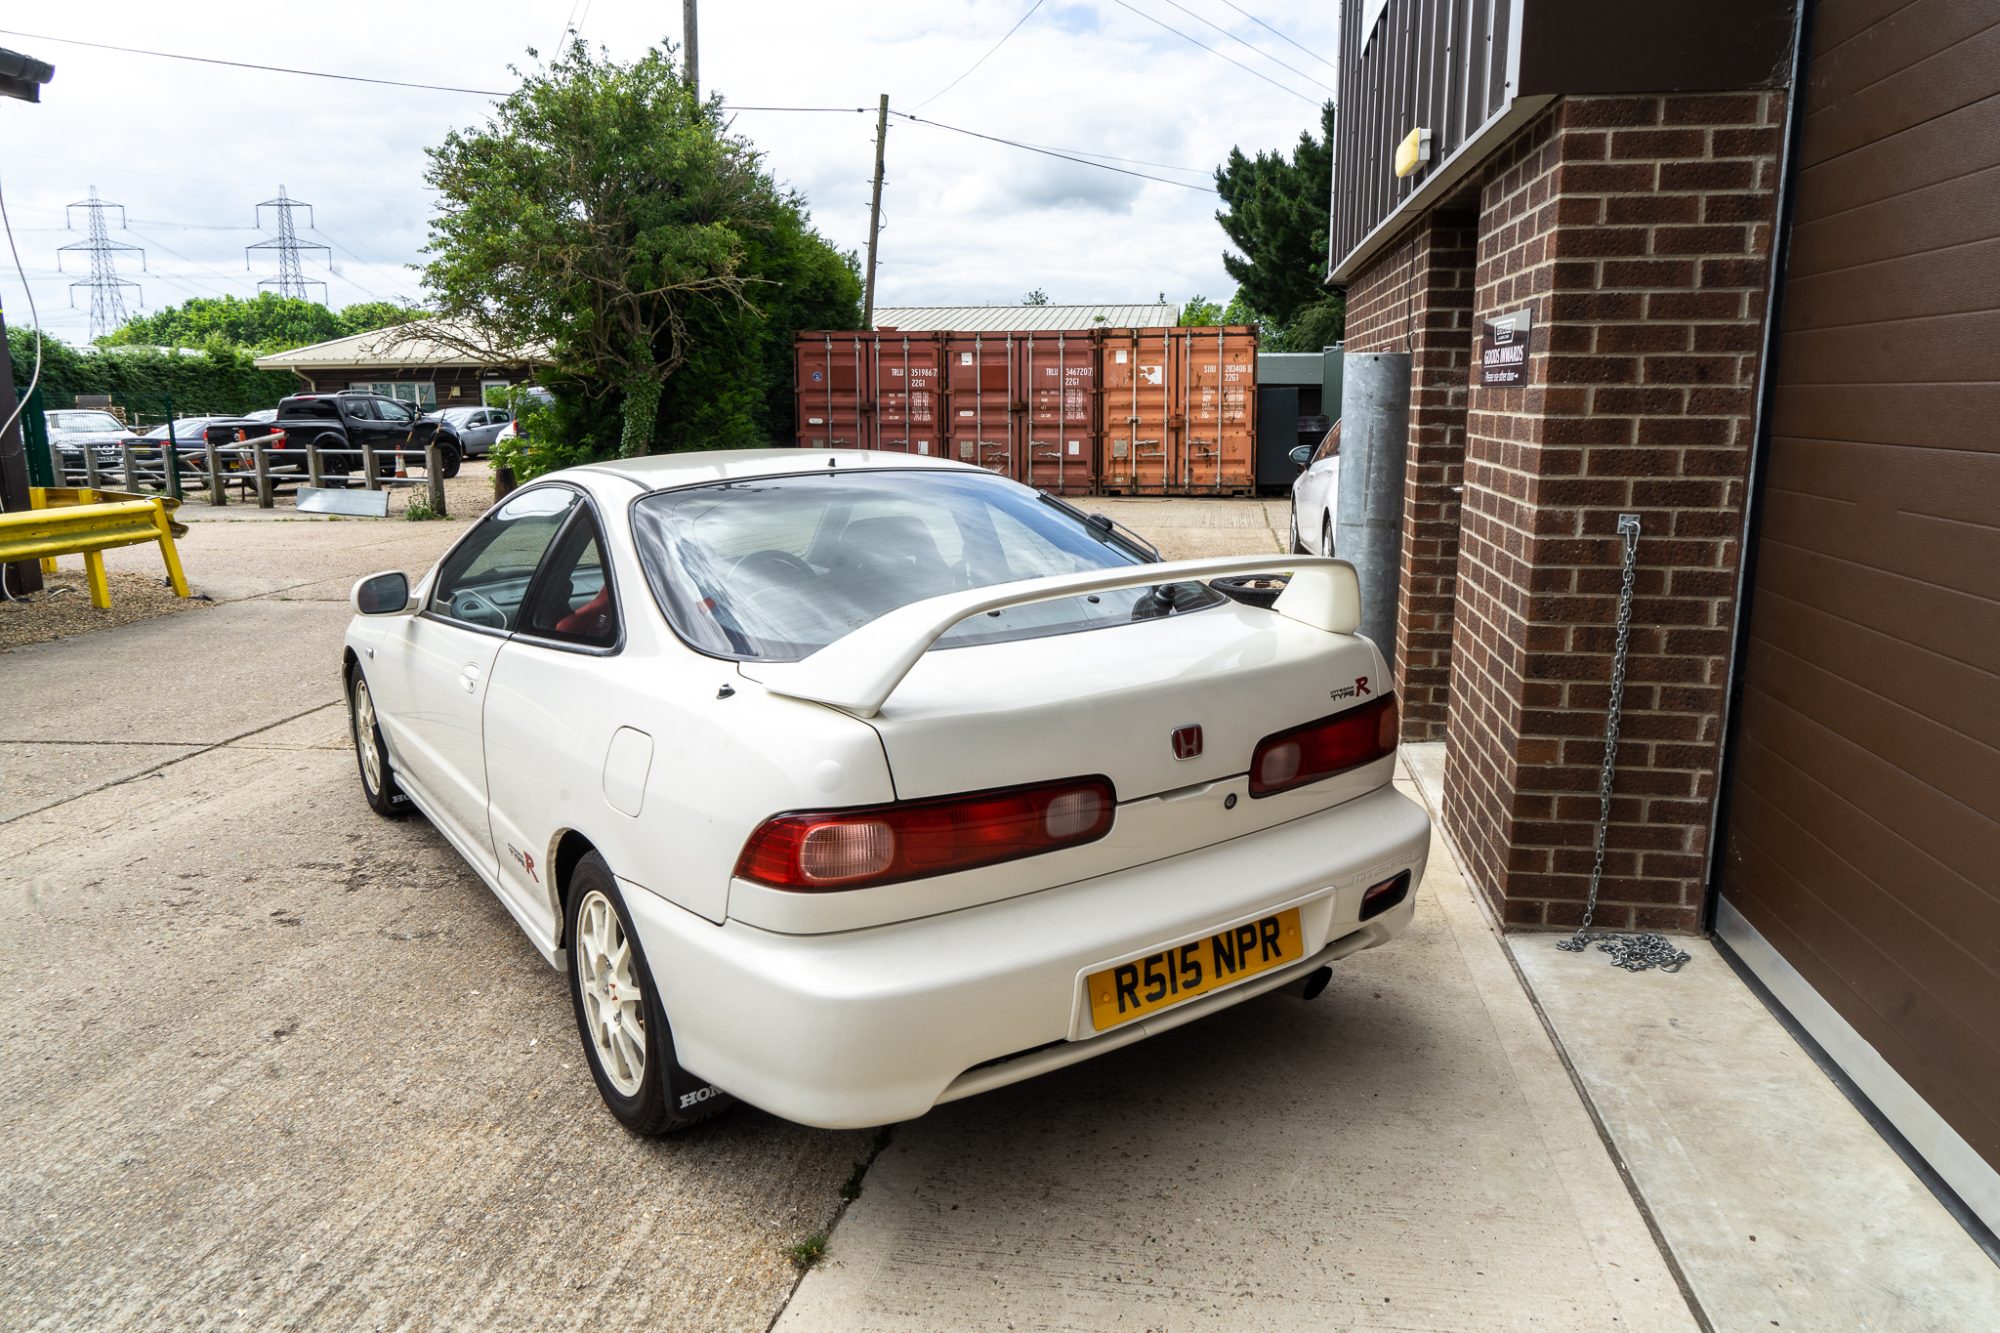
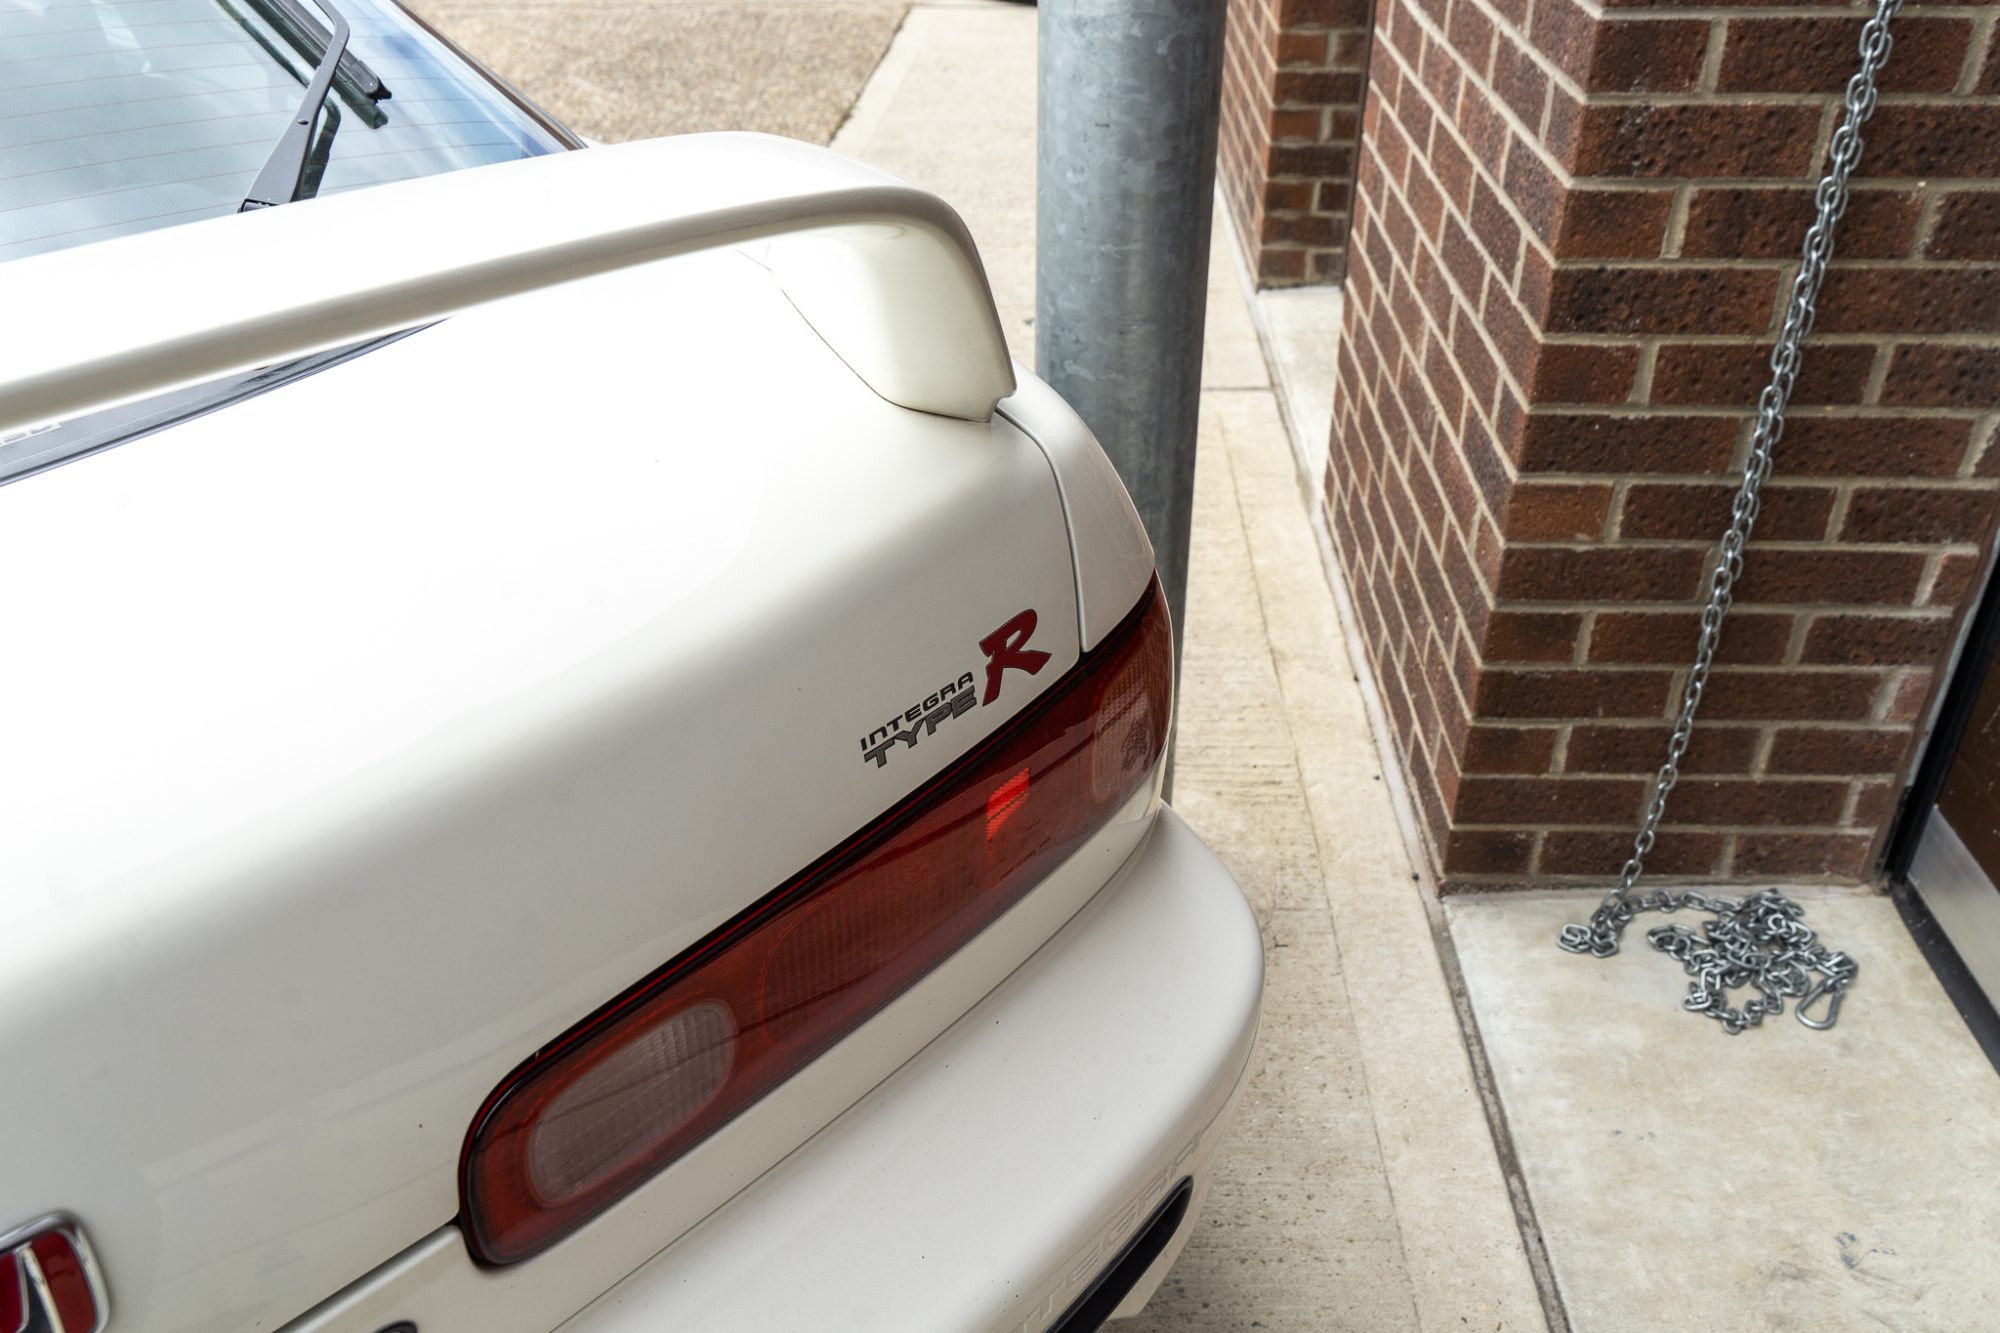
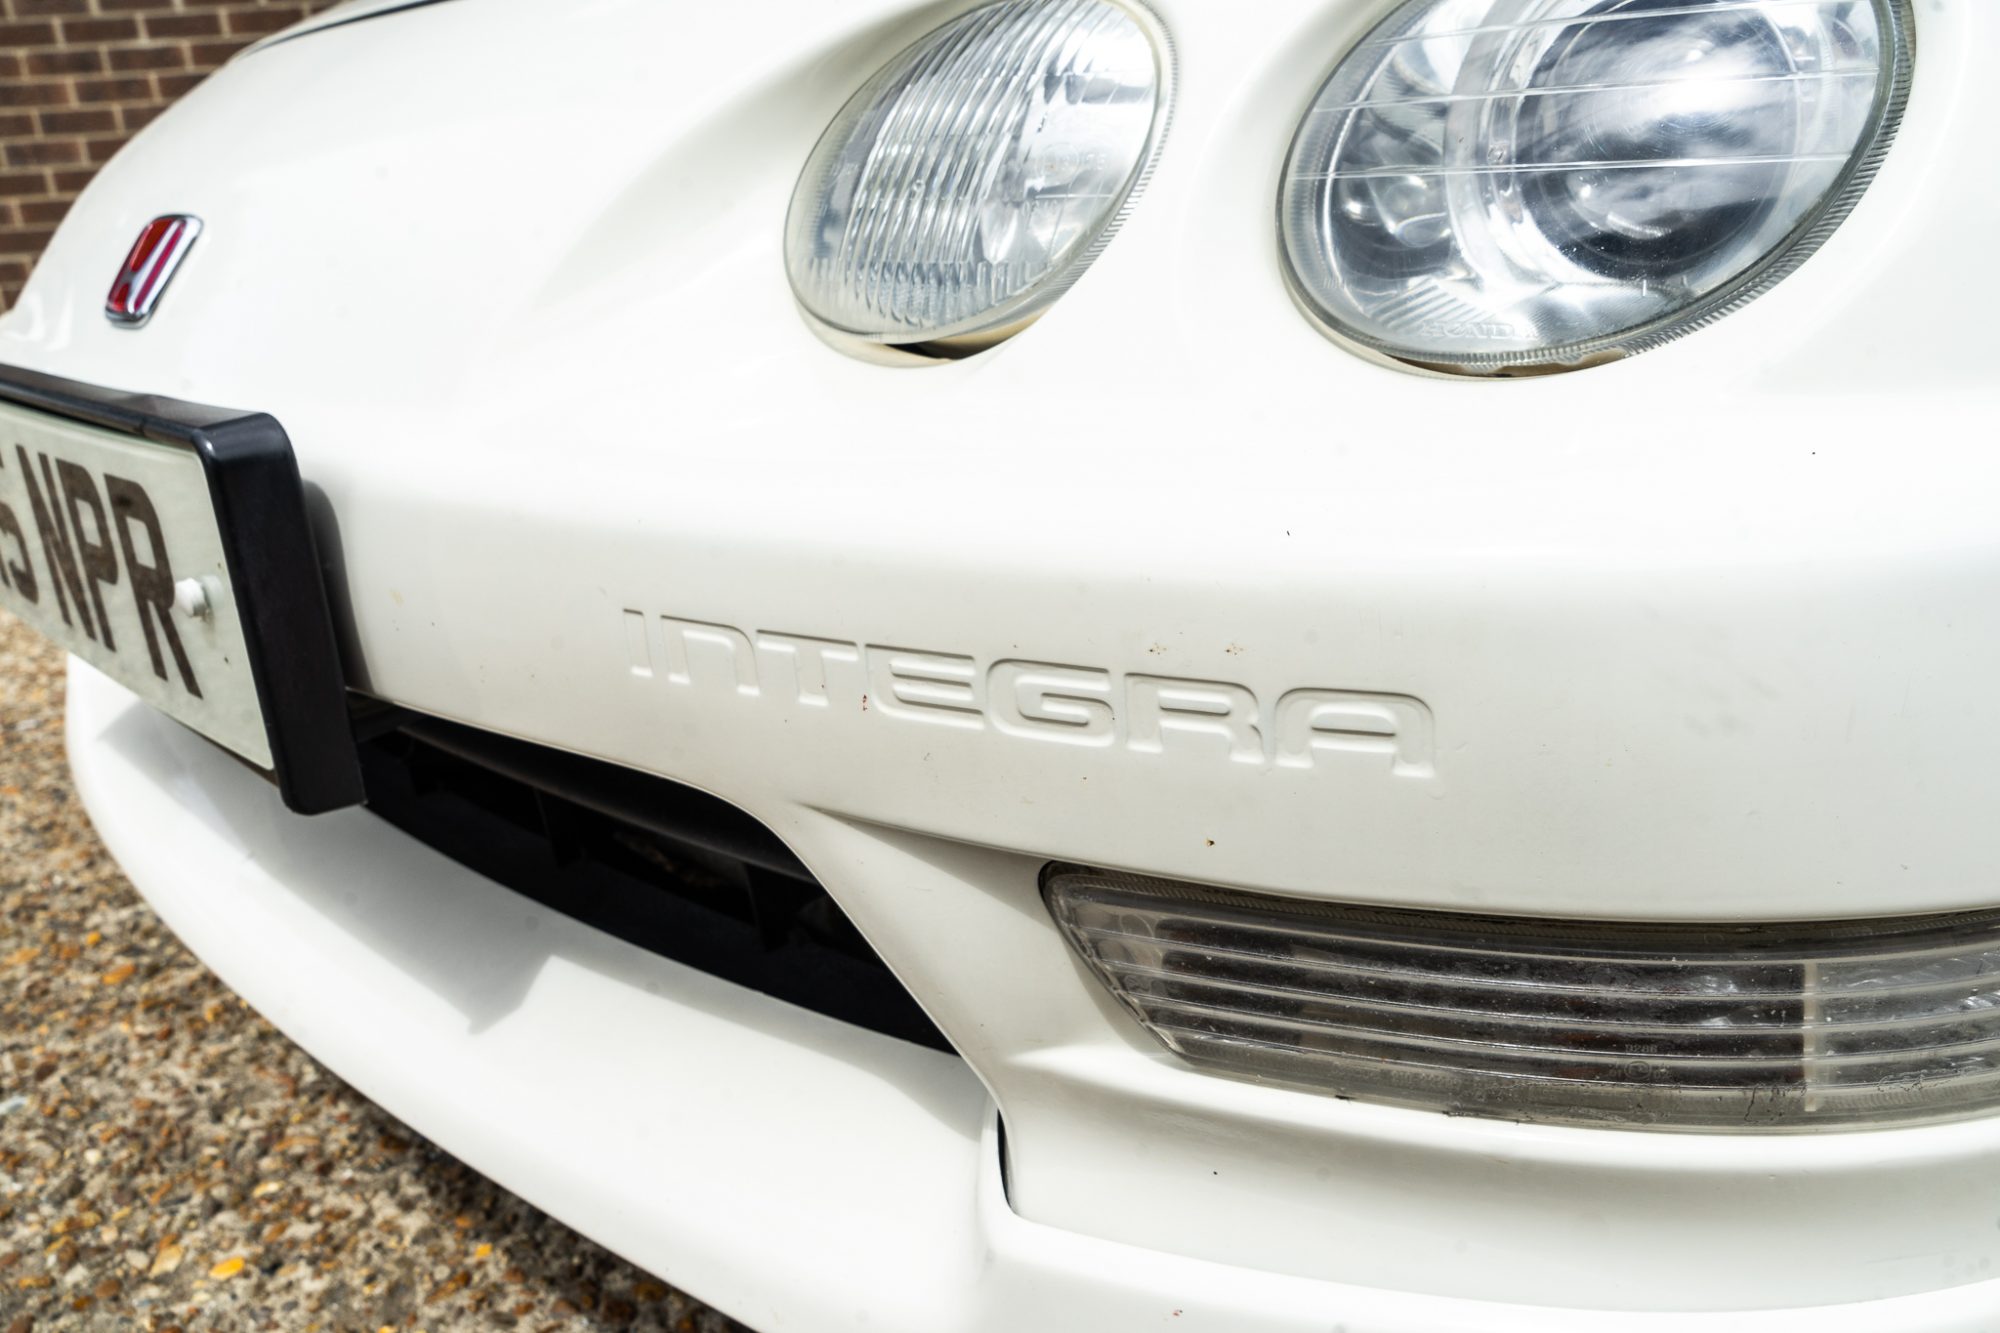
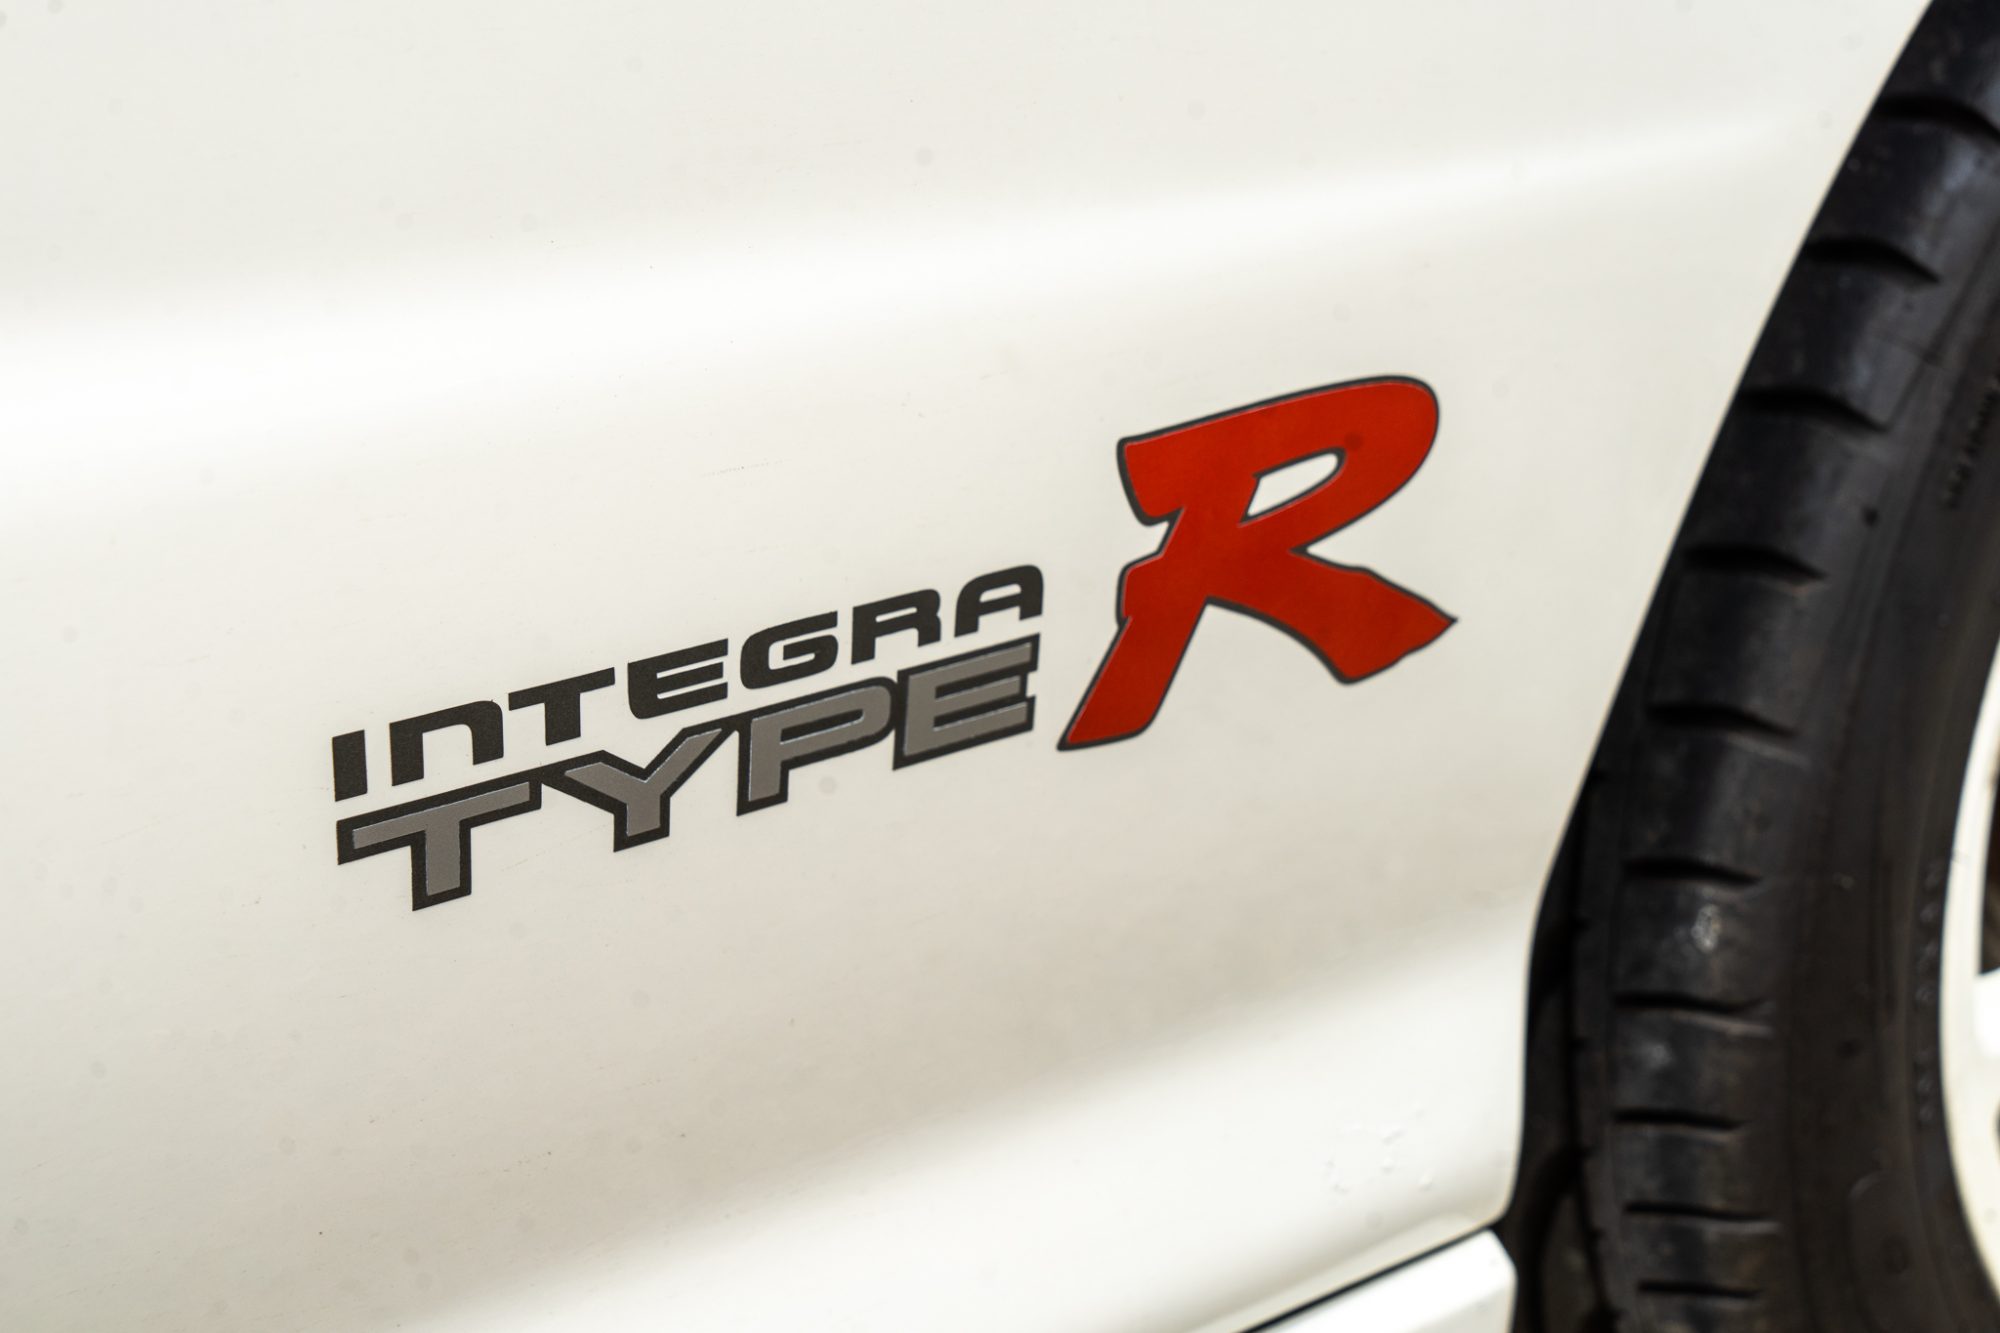
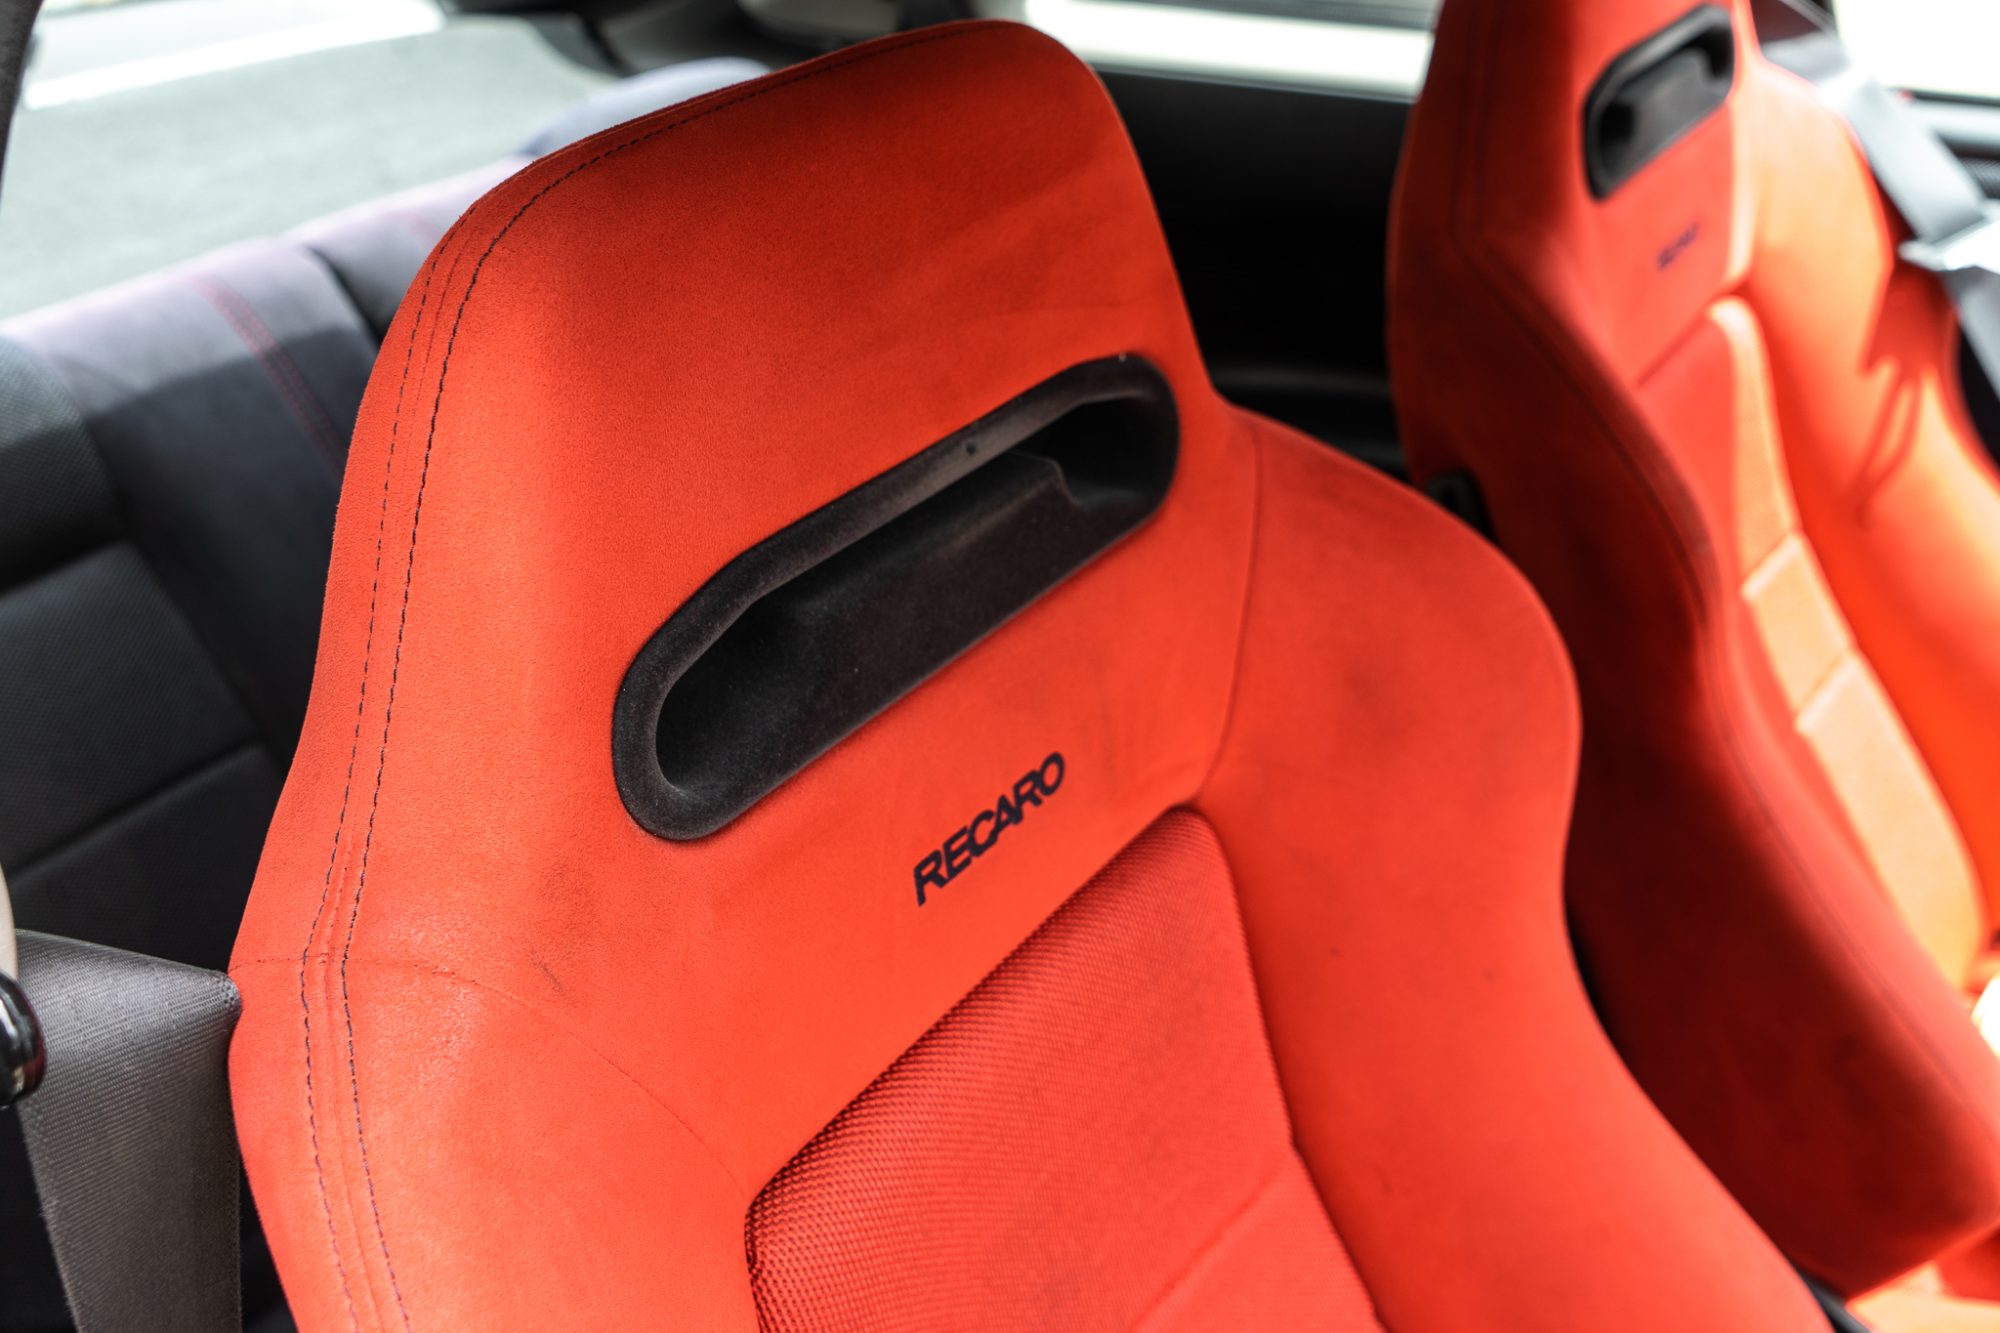
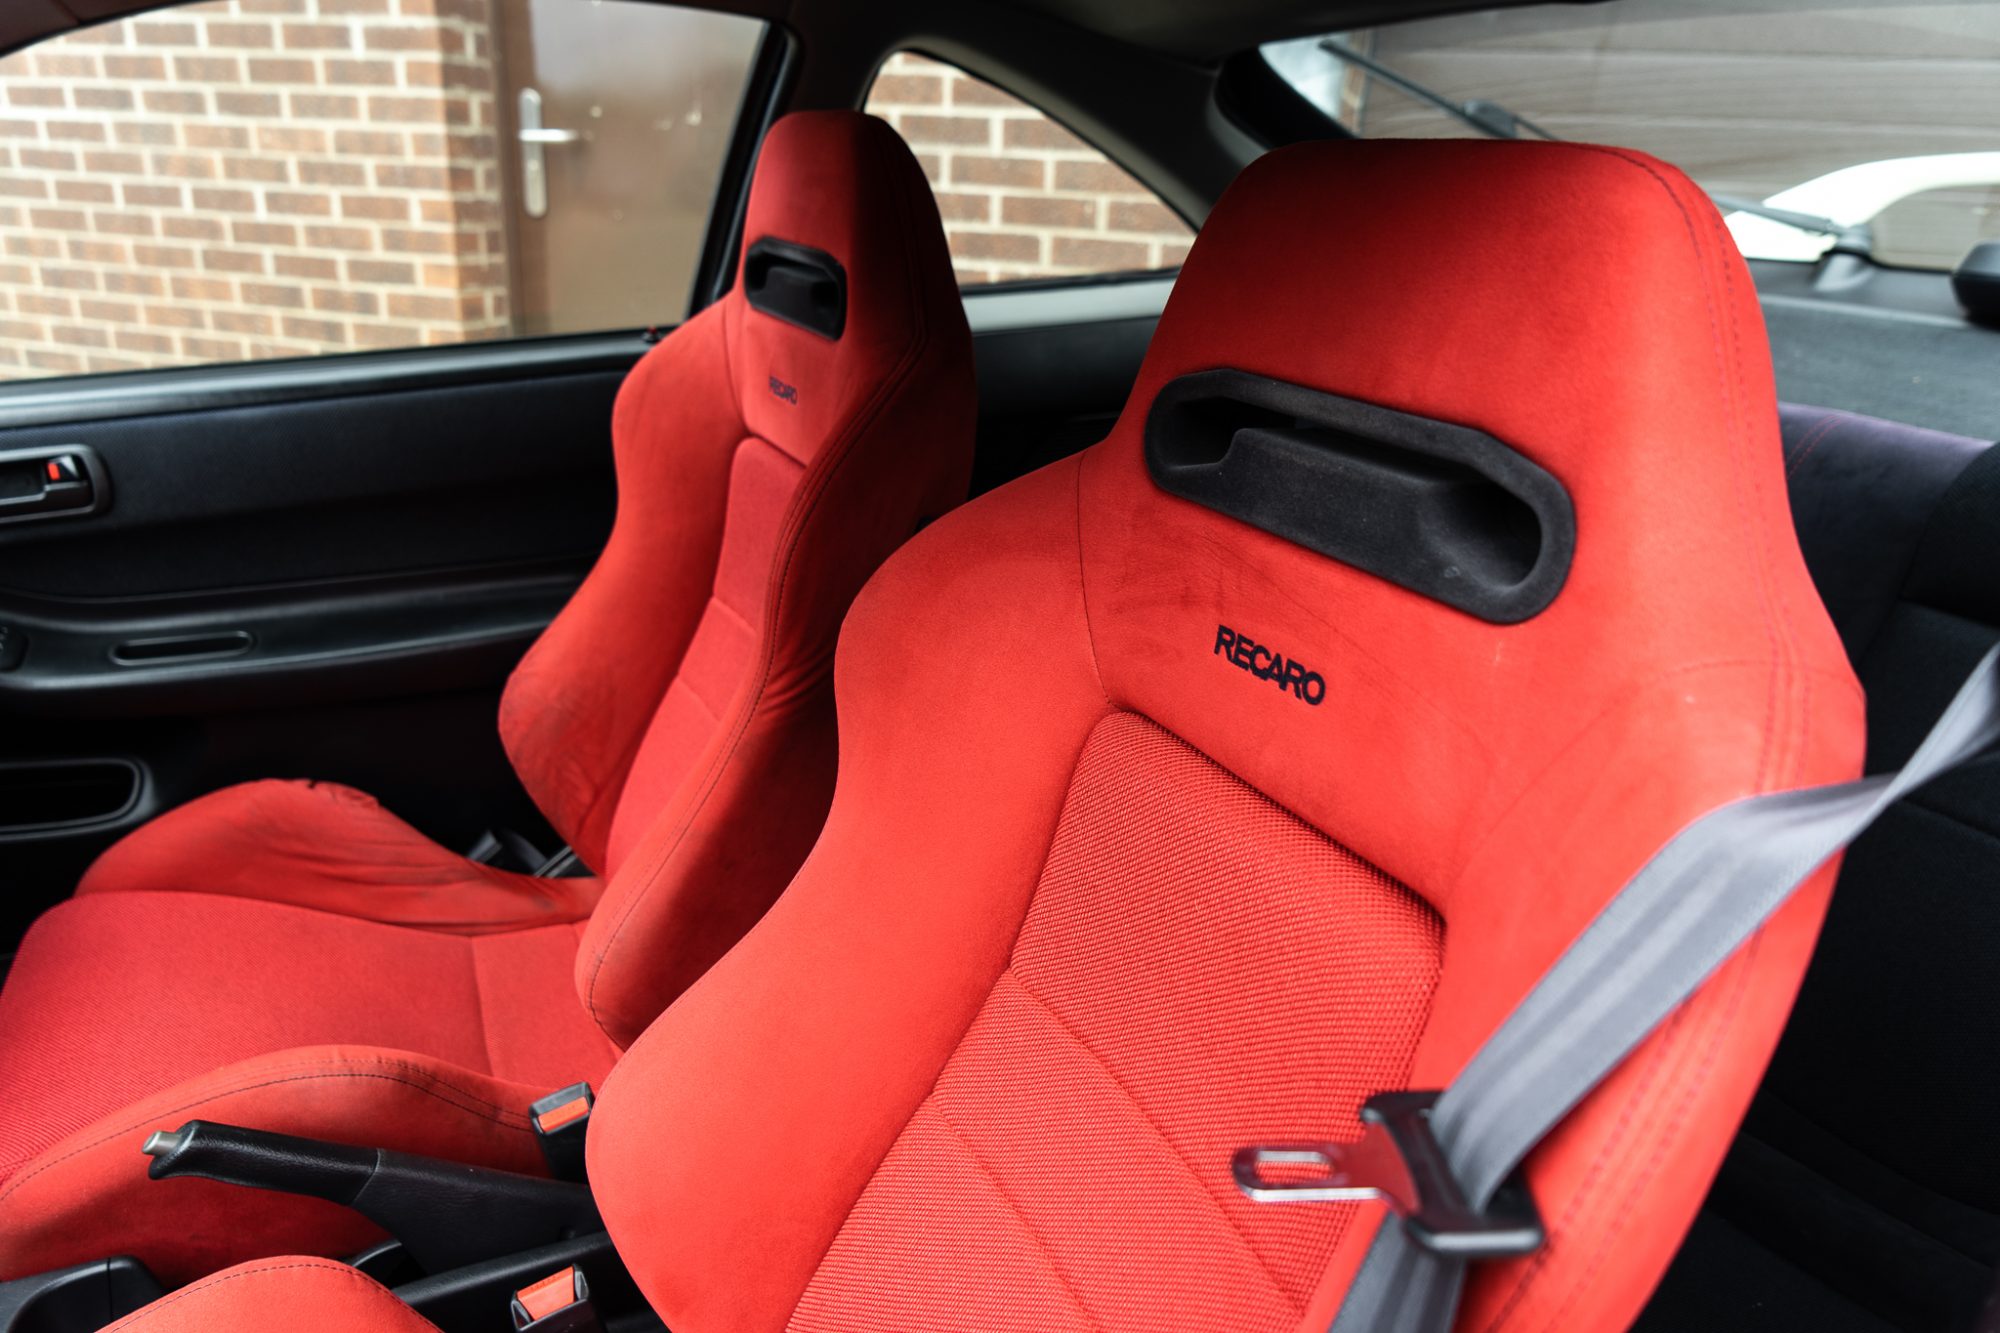
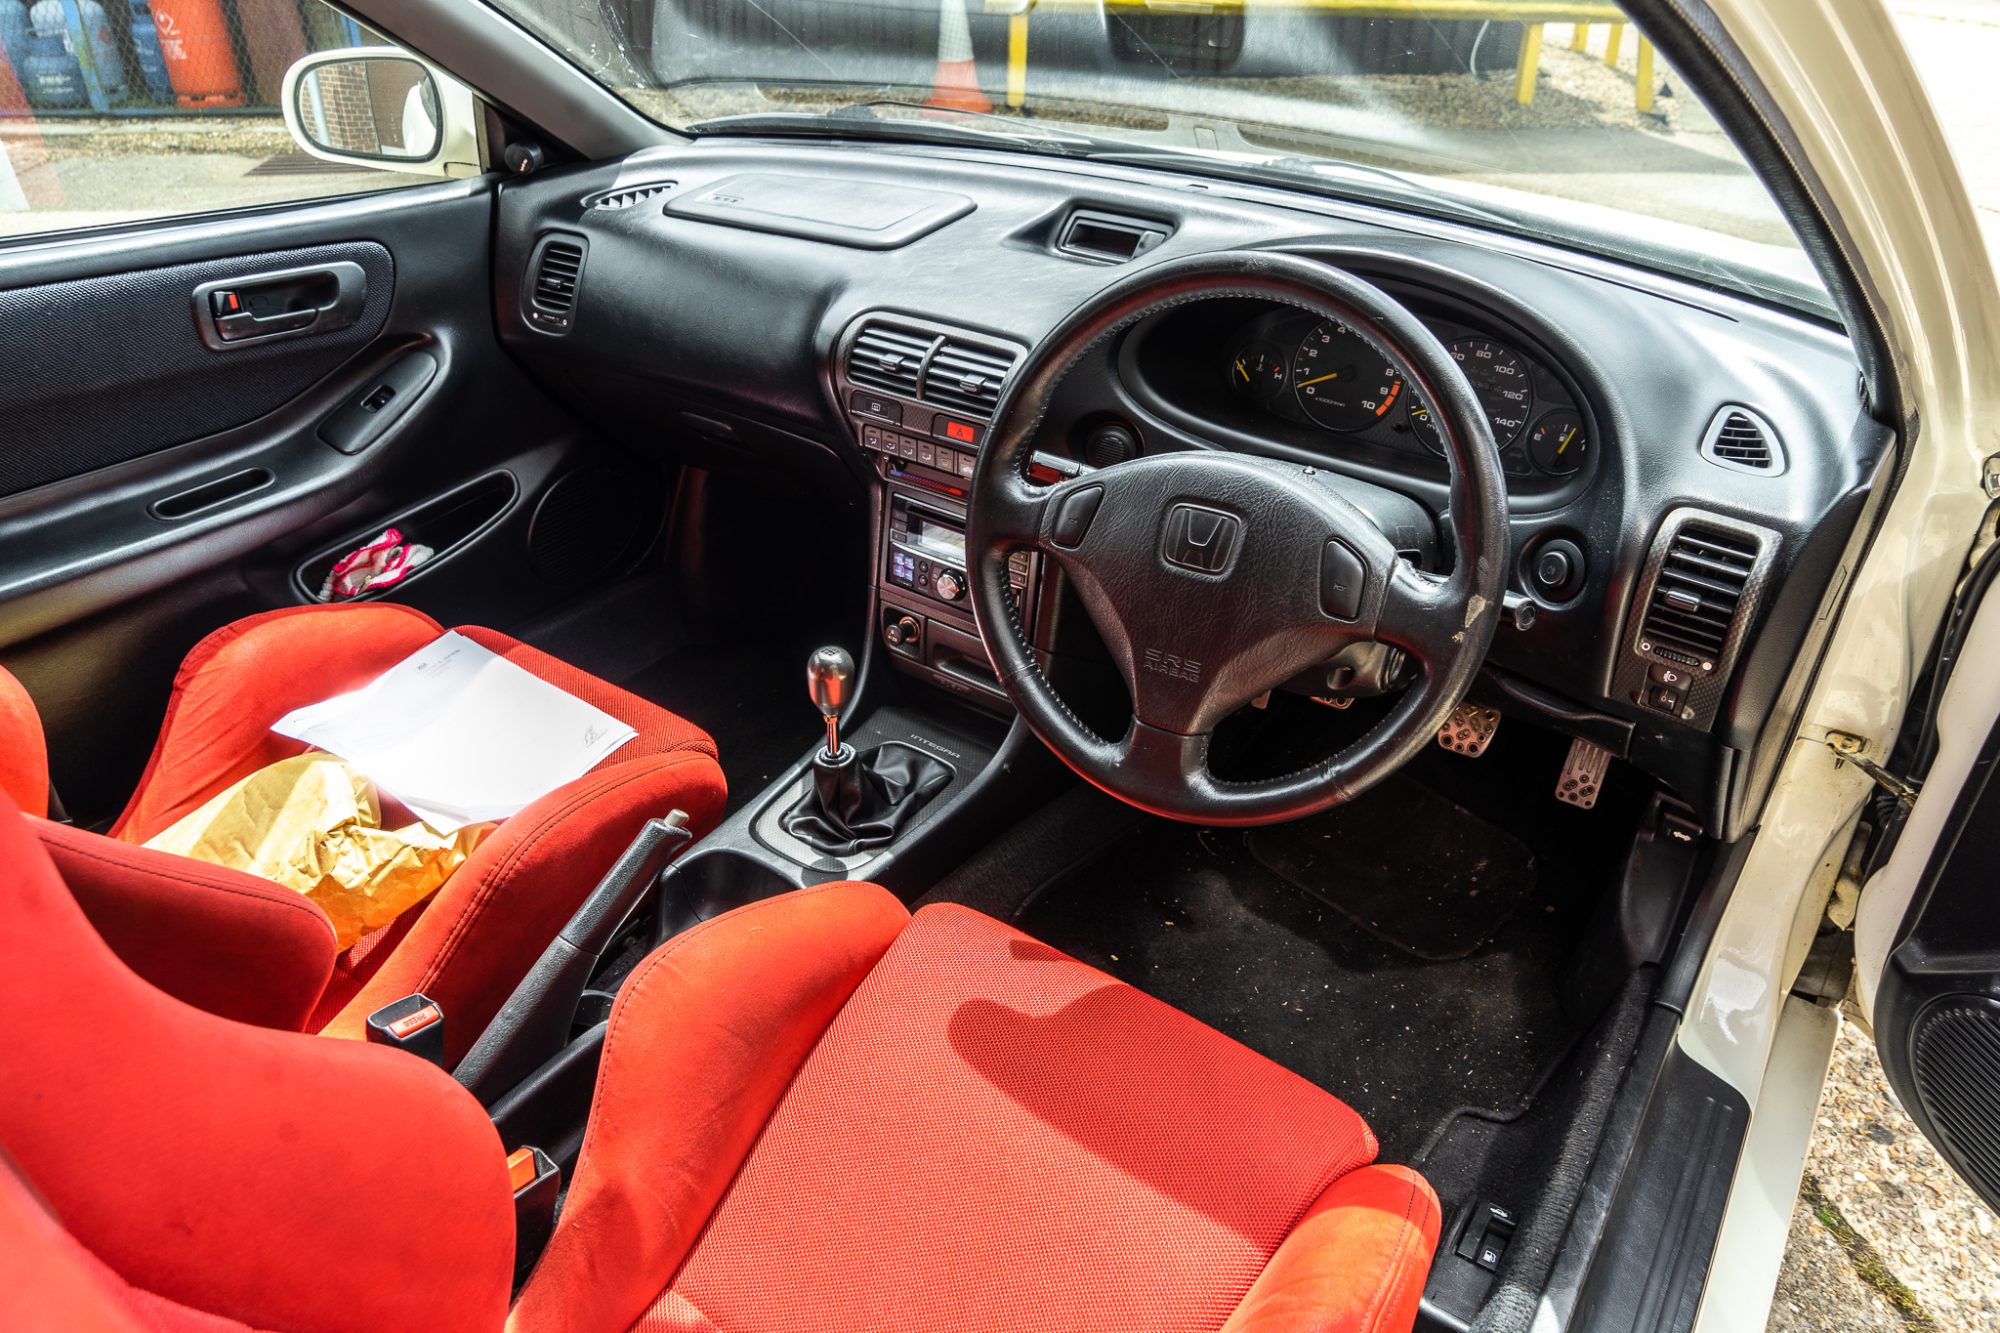
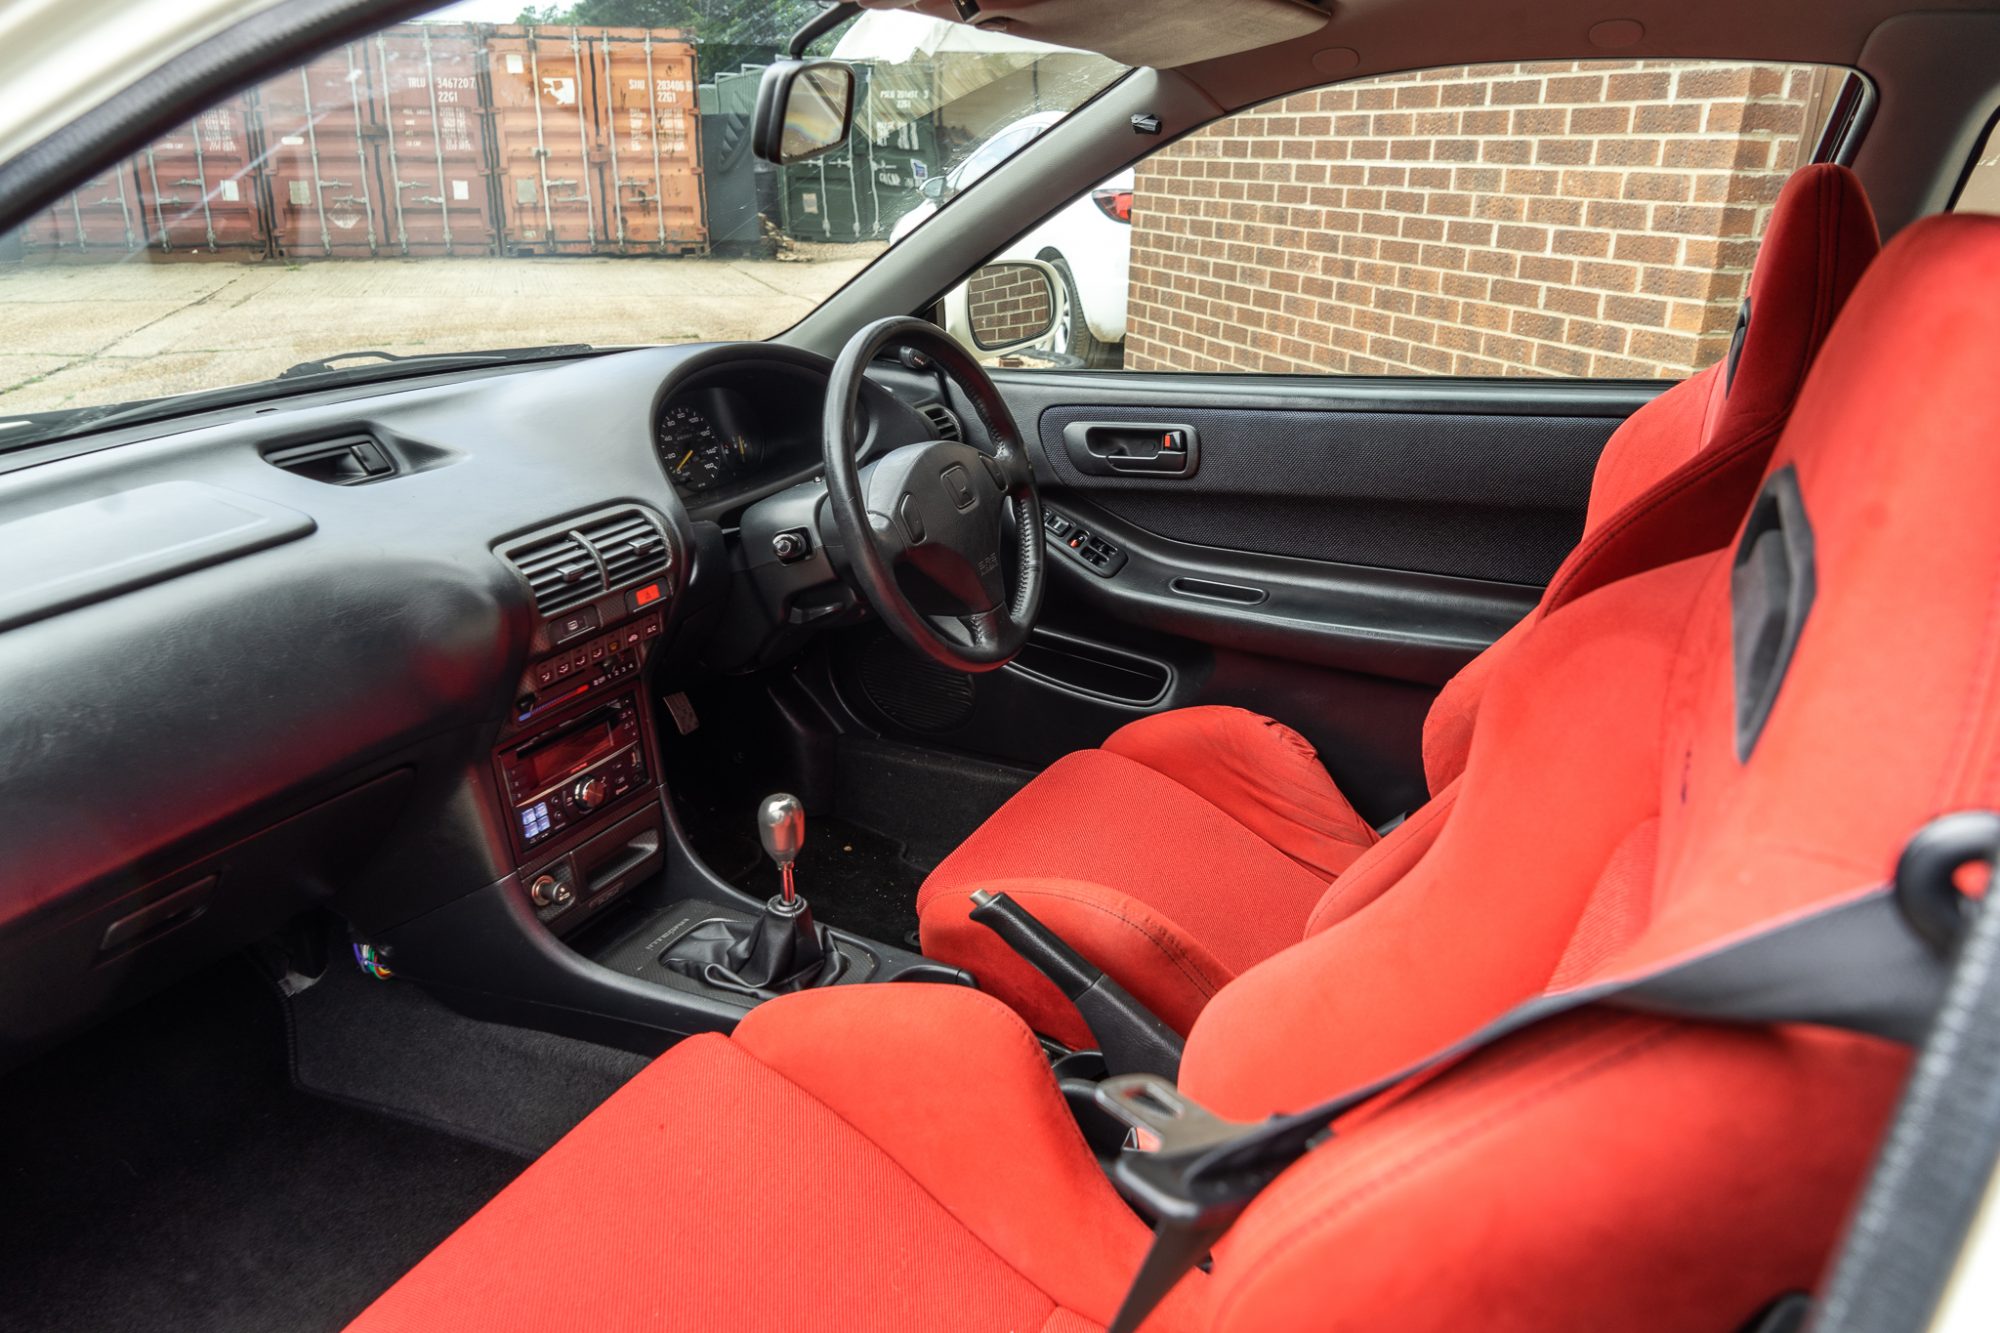
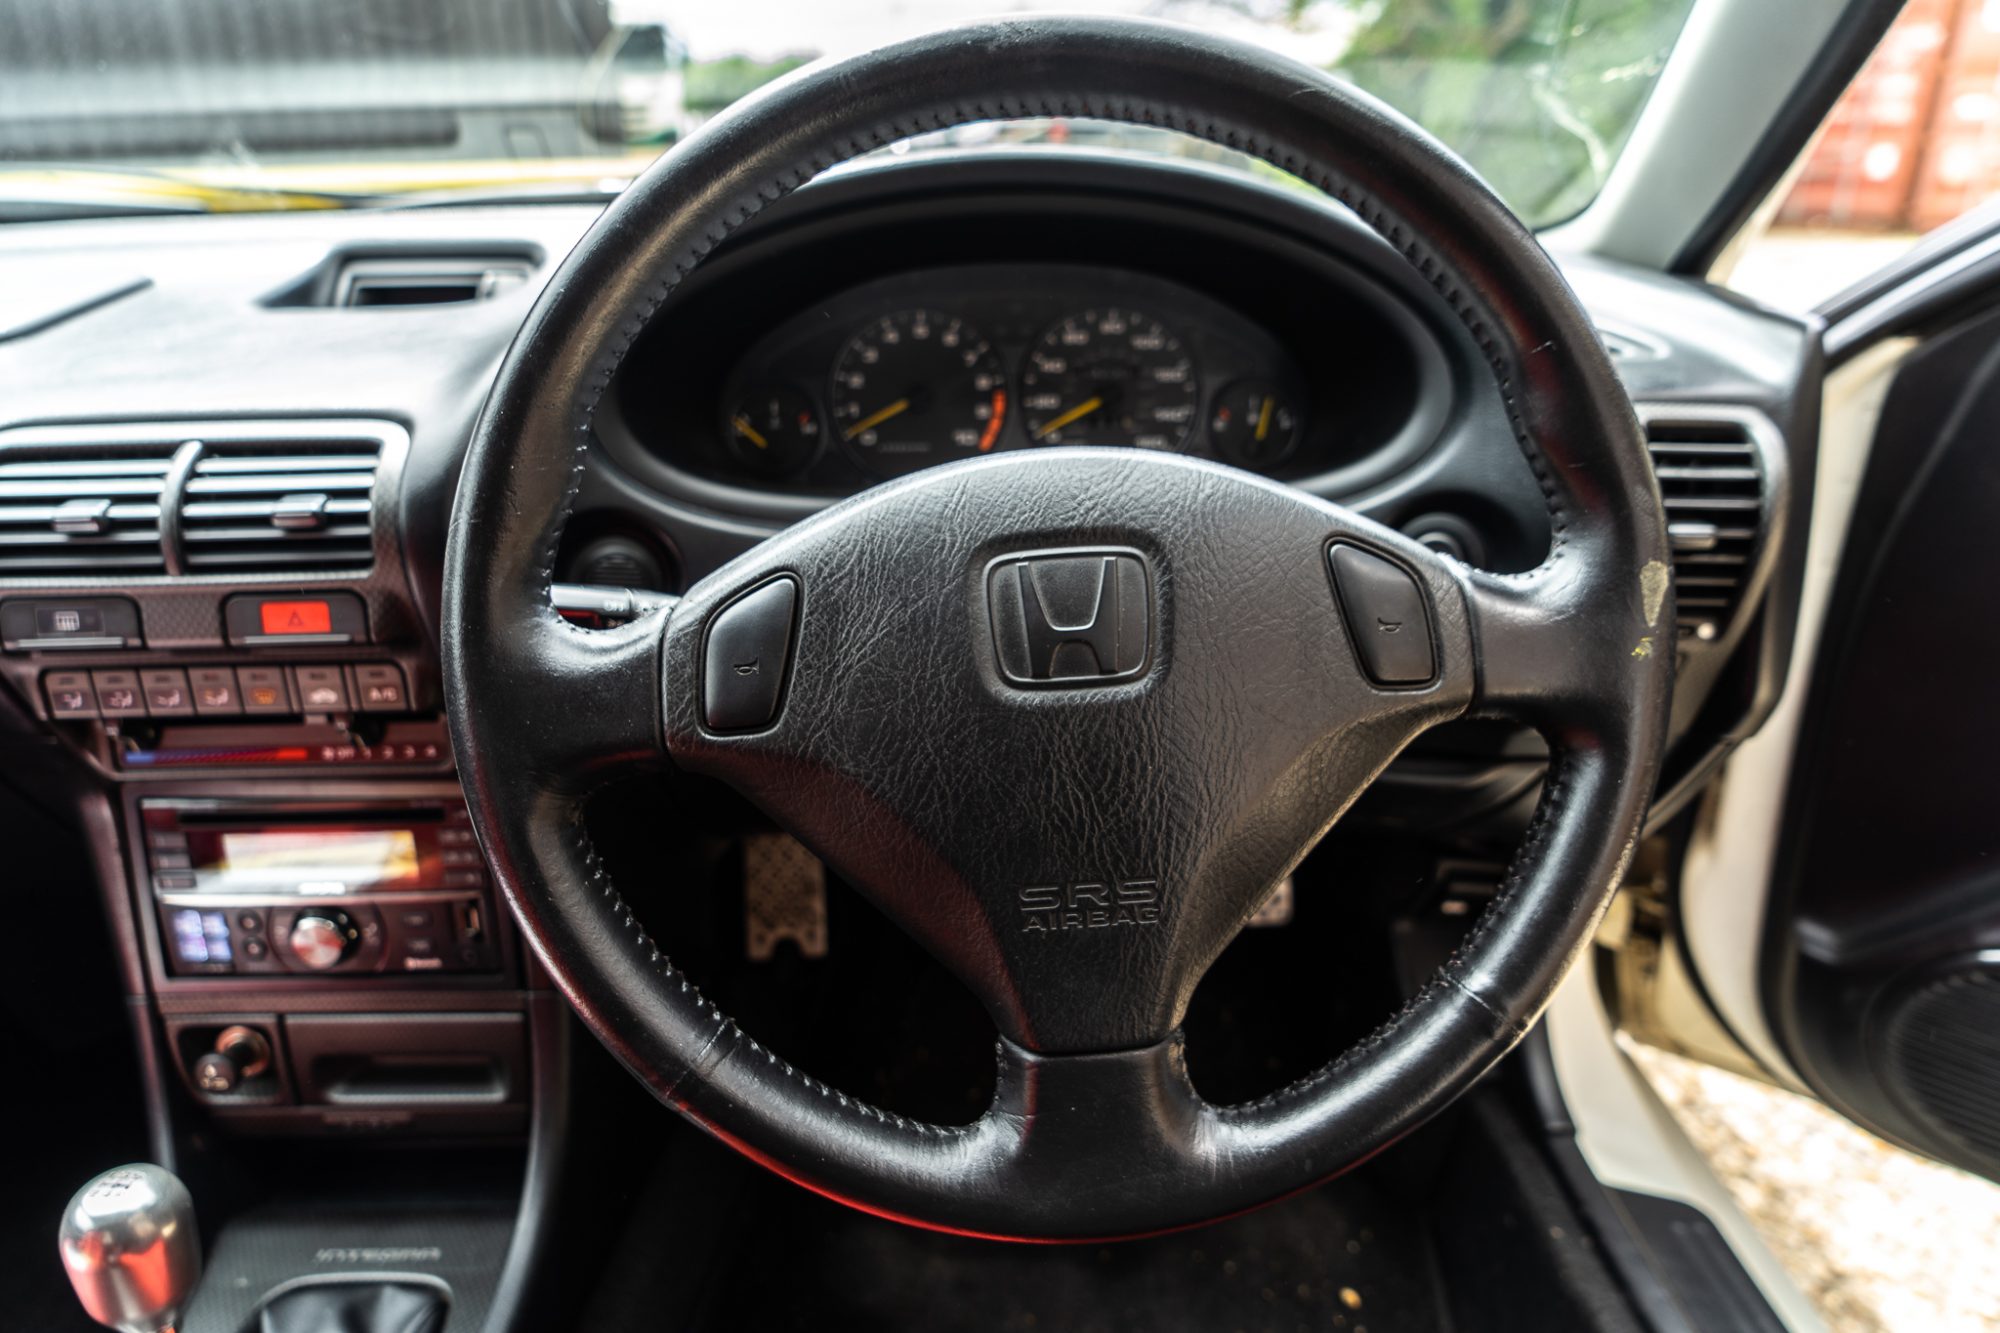
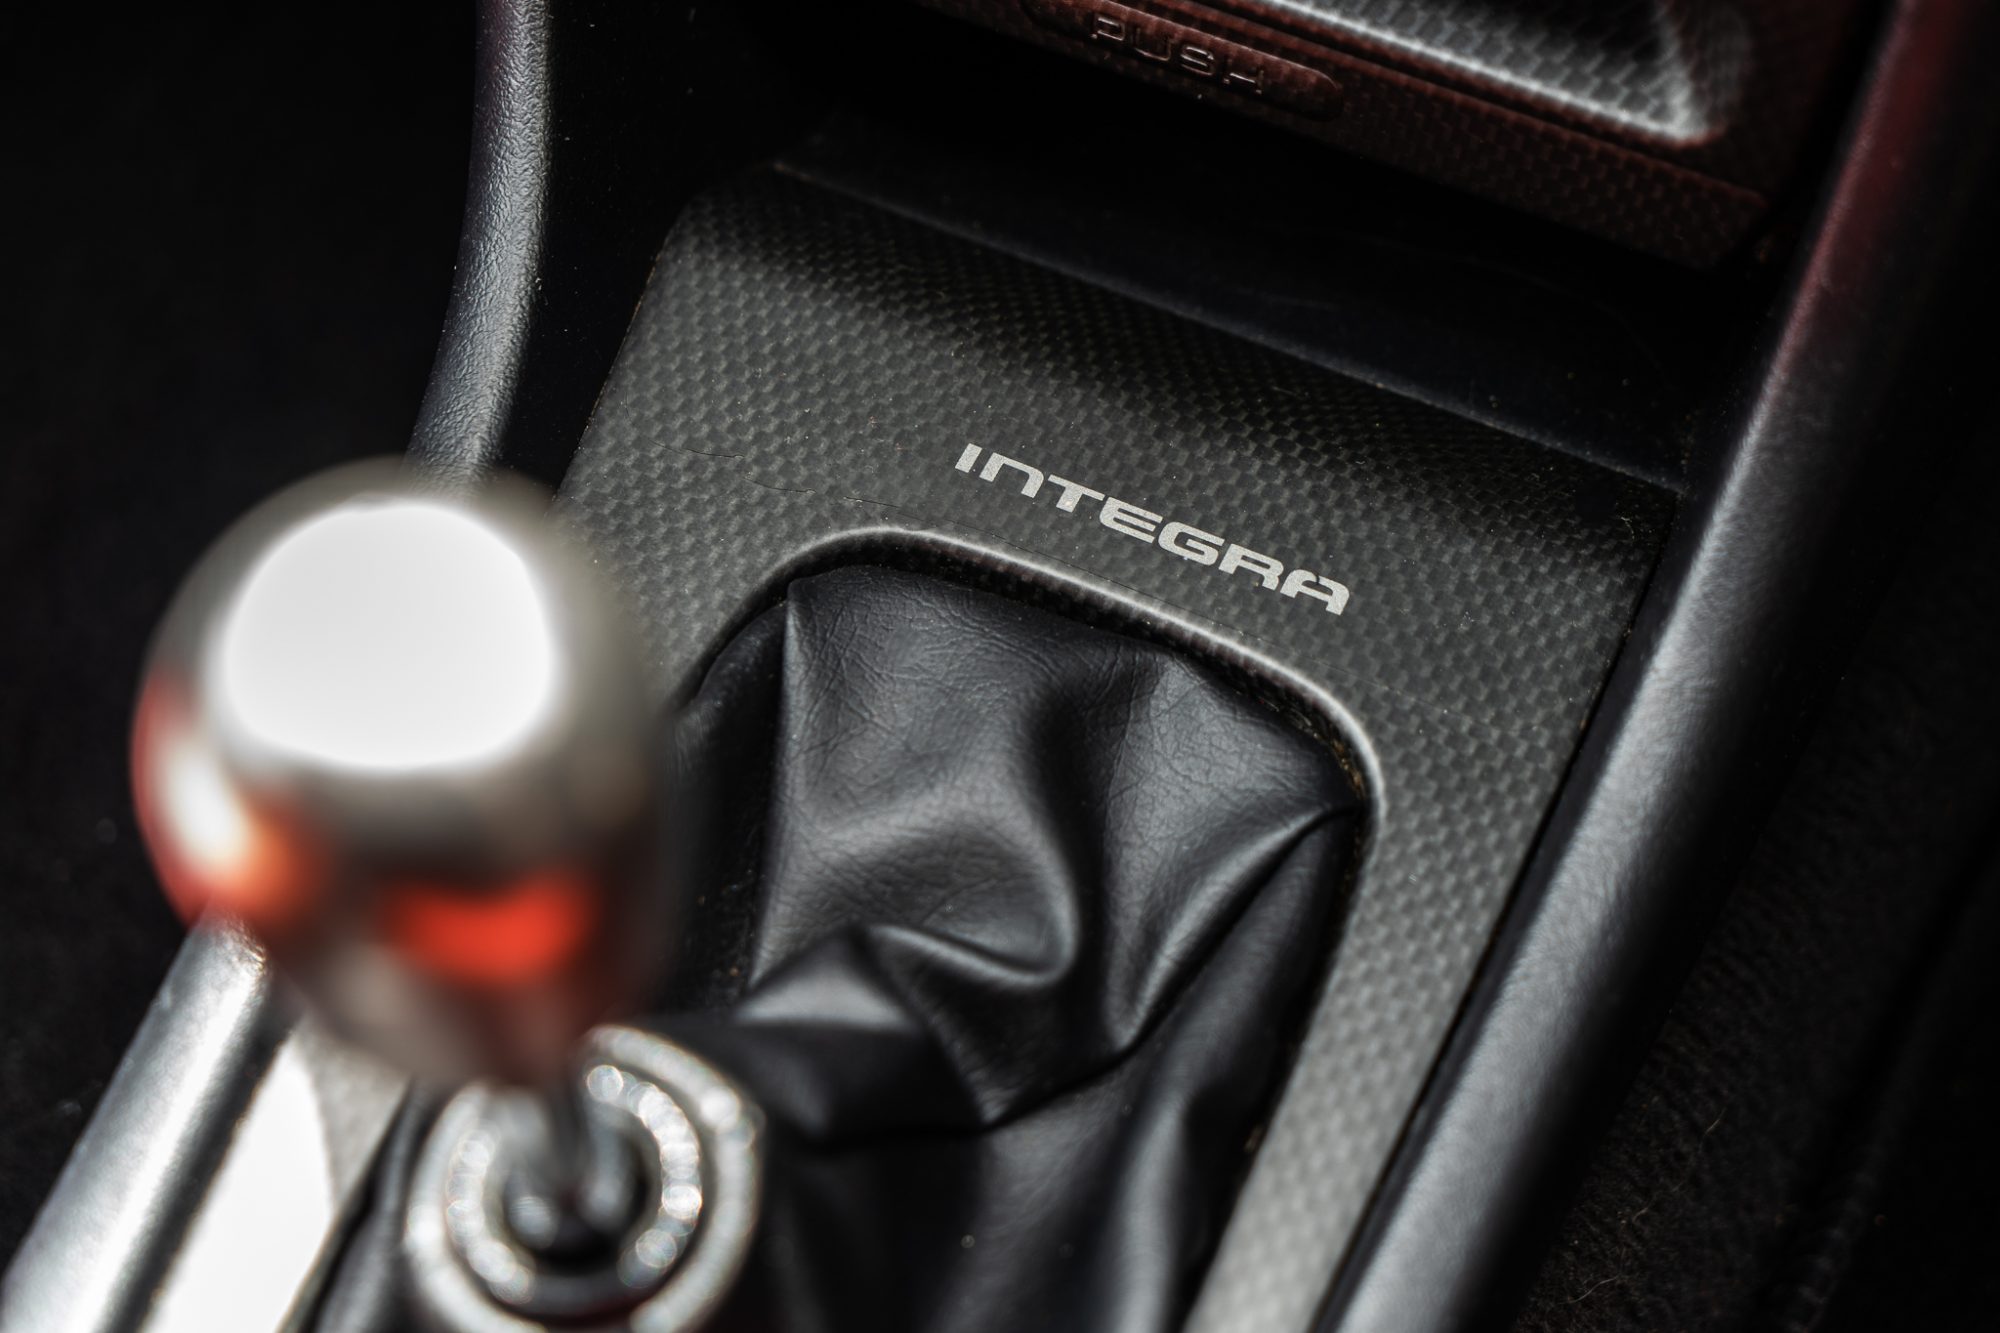
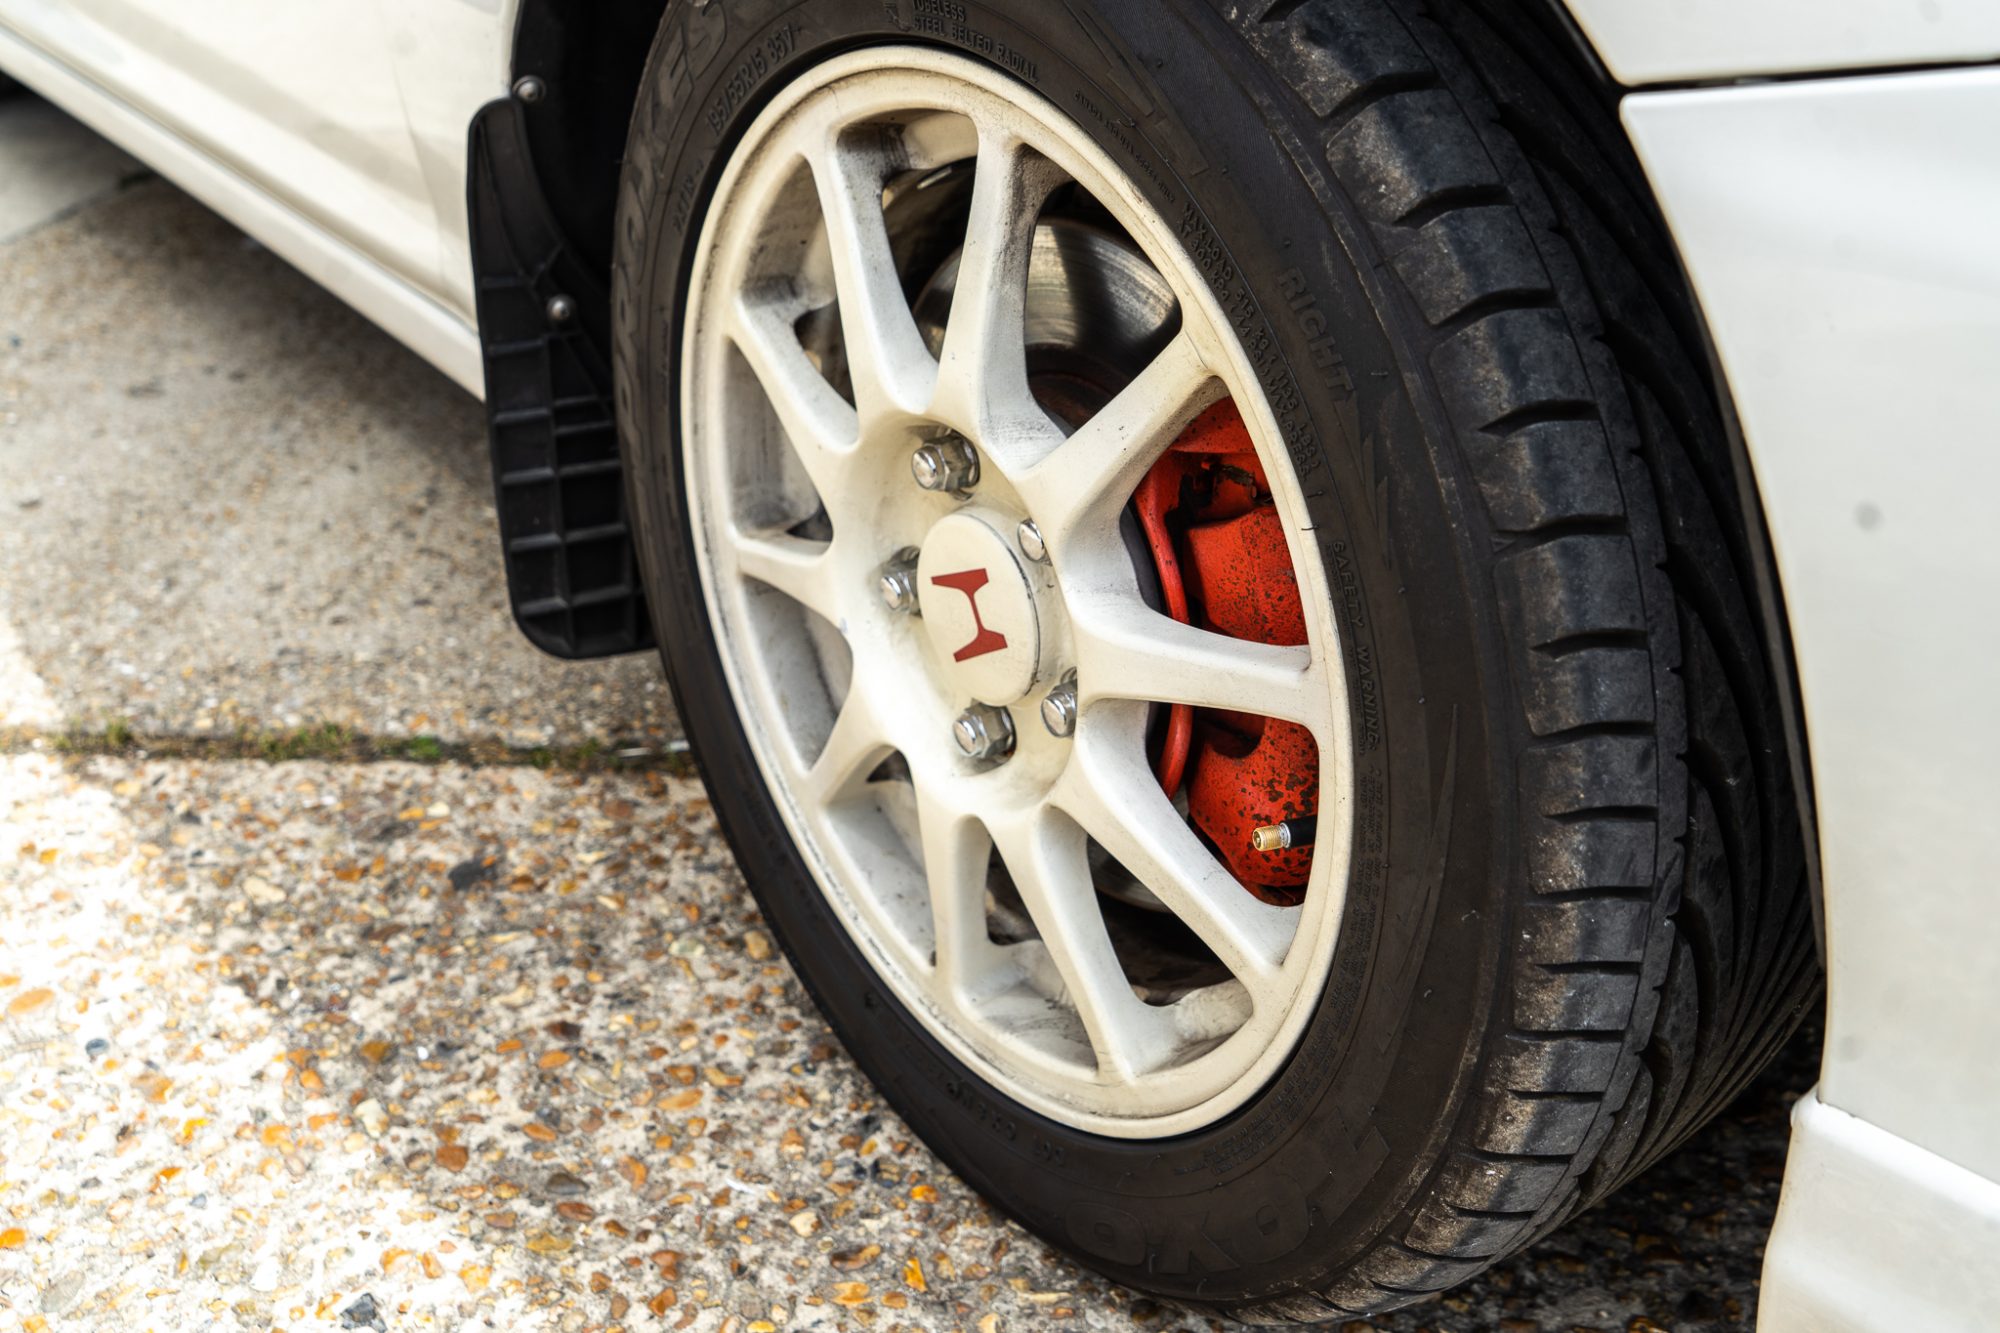
This 1998 Honda Integra Type R has come in today to have some paintwork attended to. We’re removing the engine and gearbox to be able
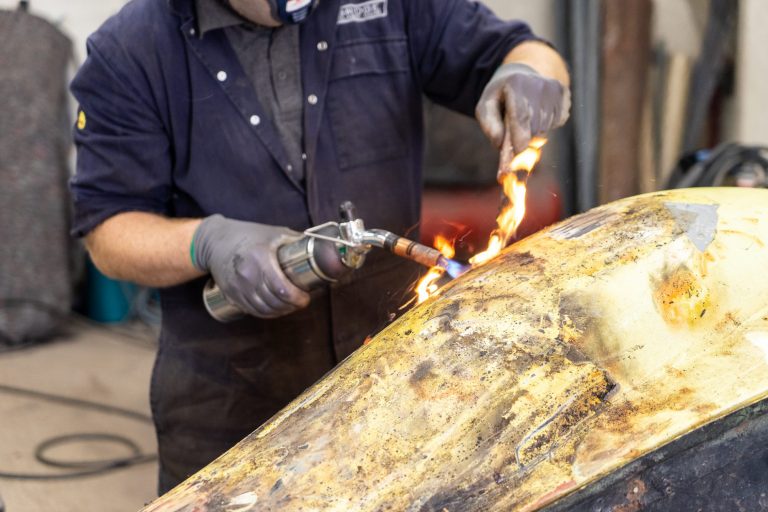
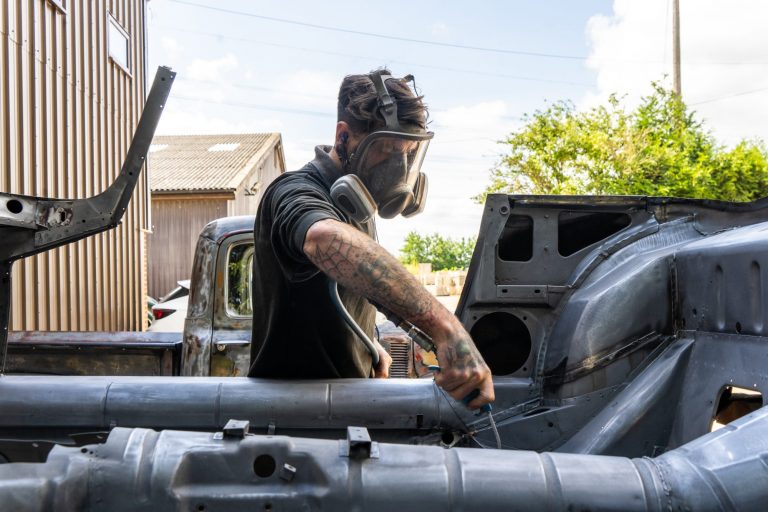
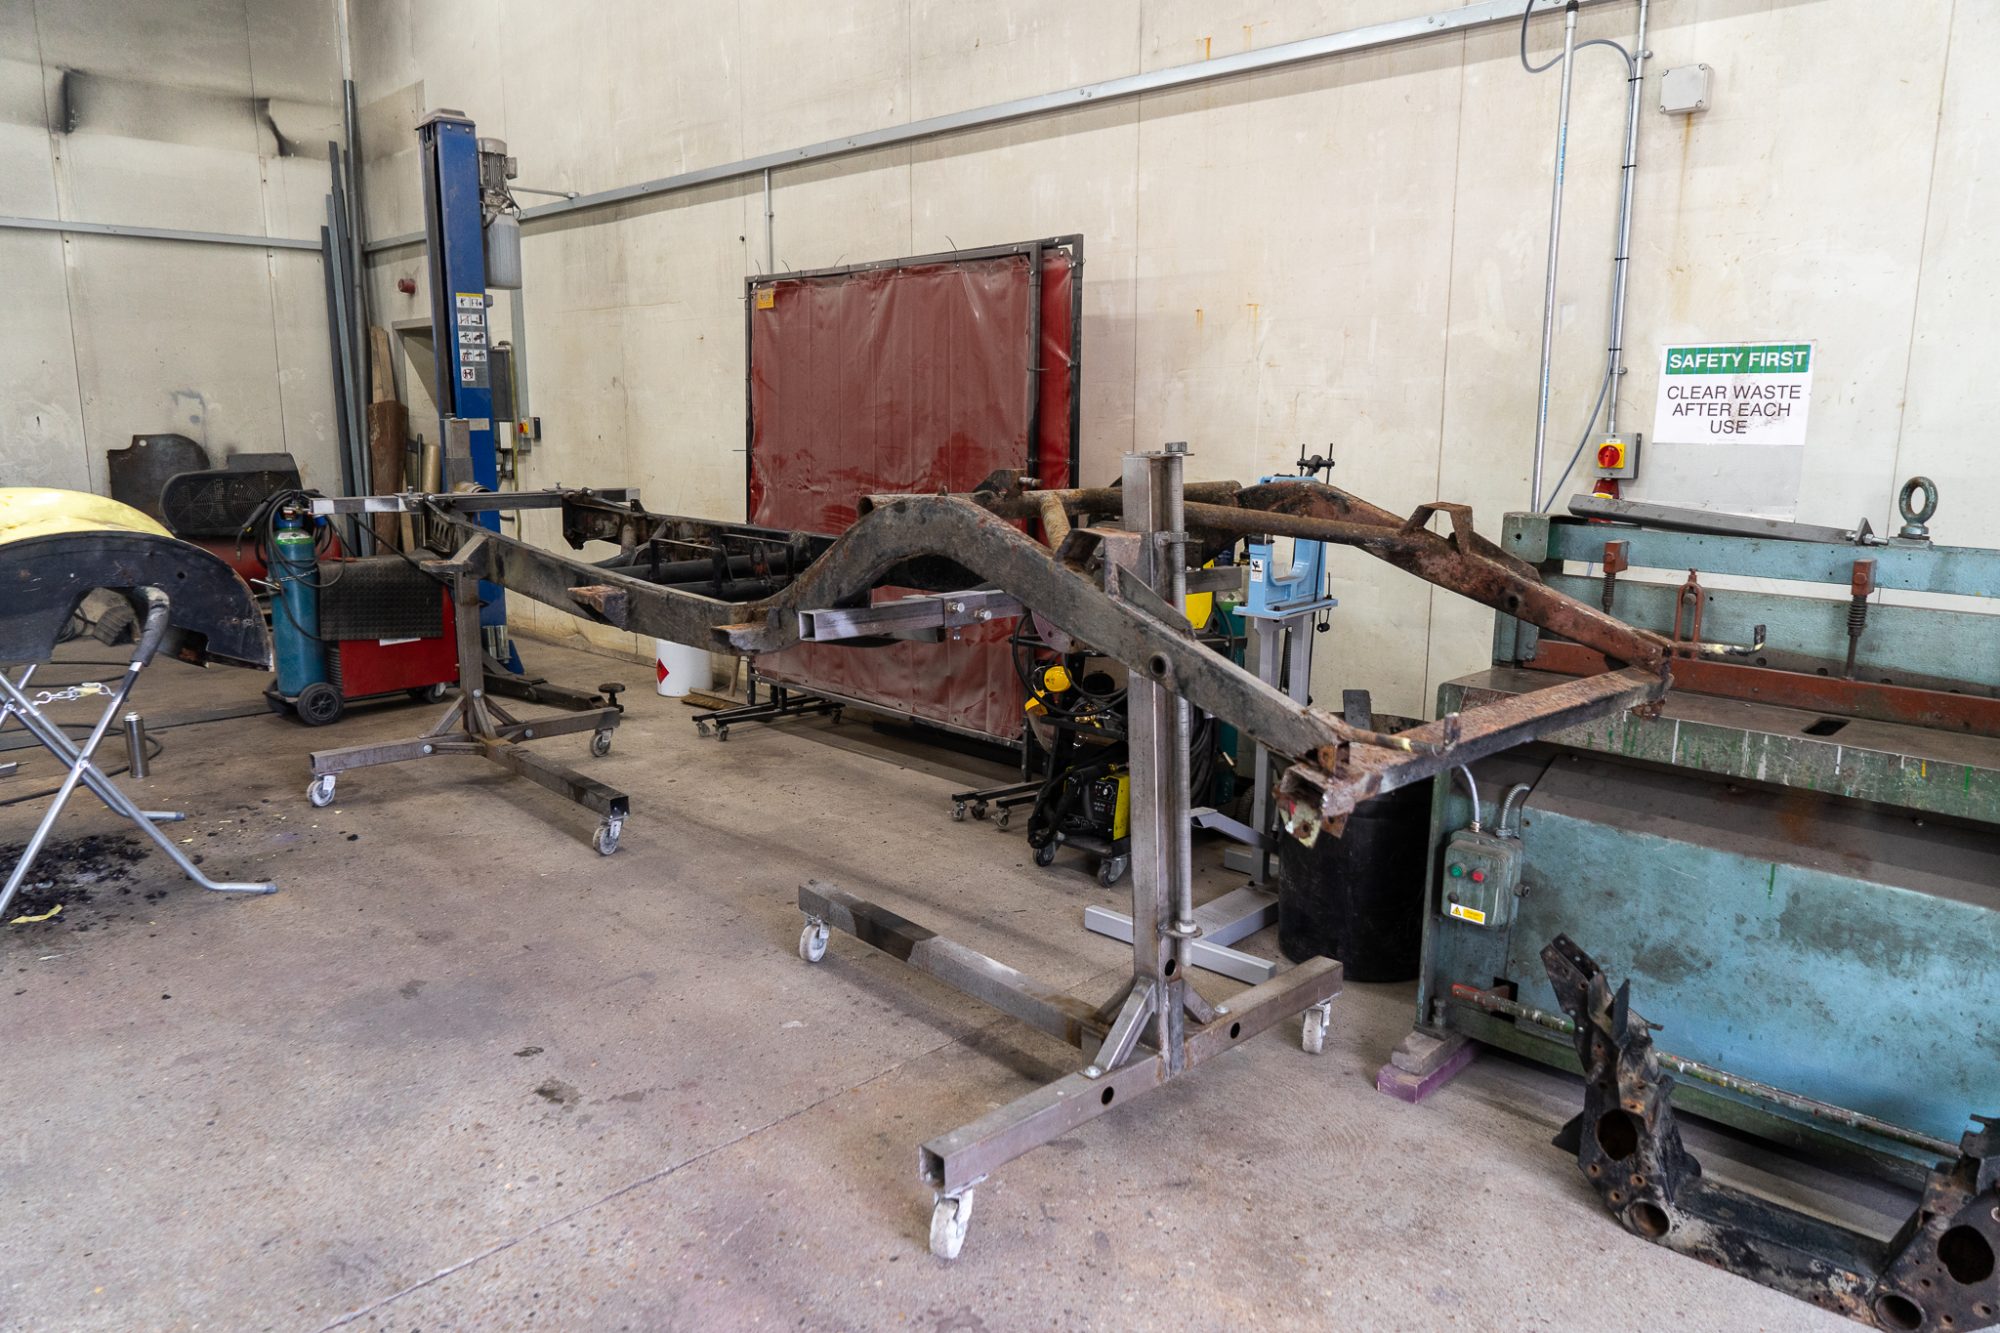
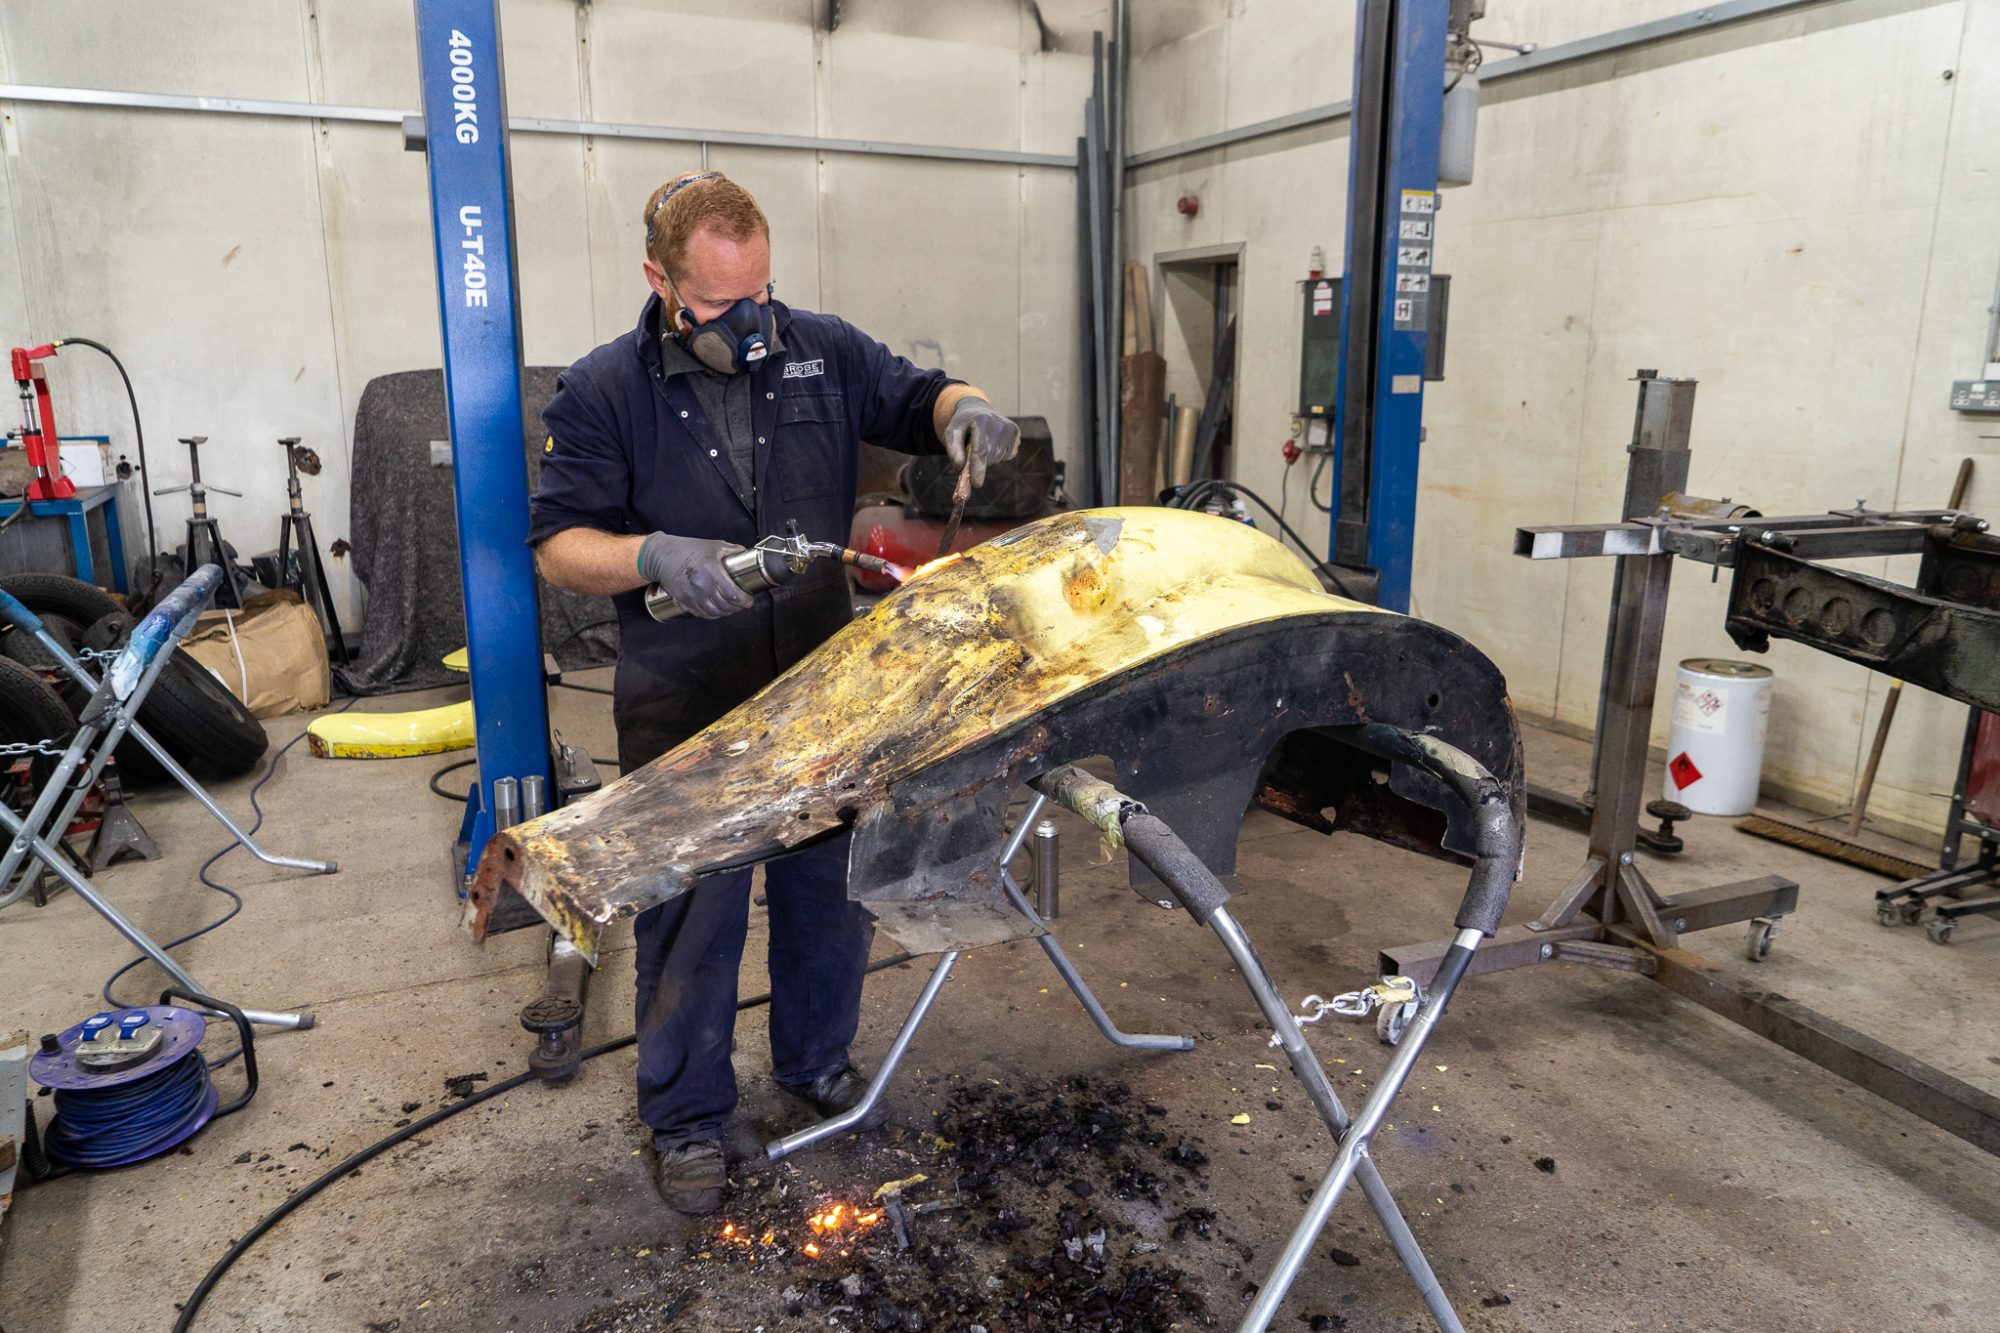
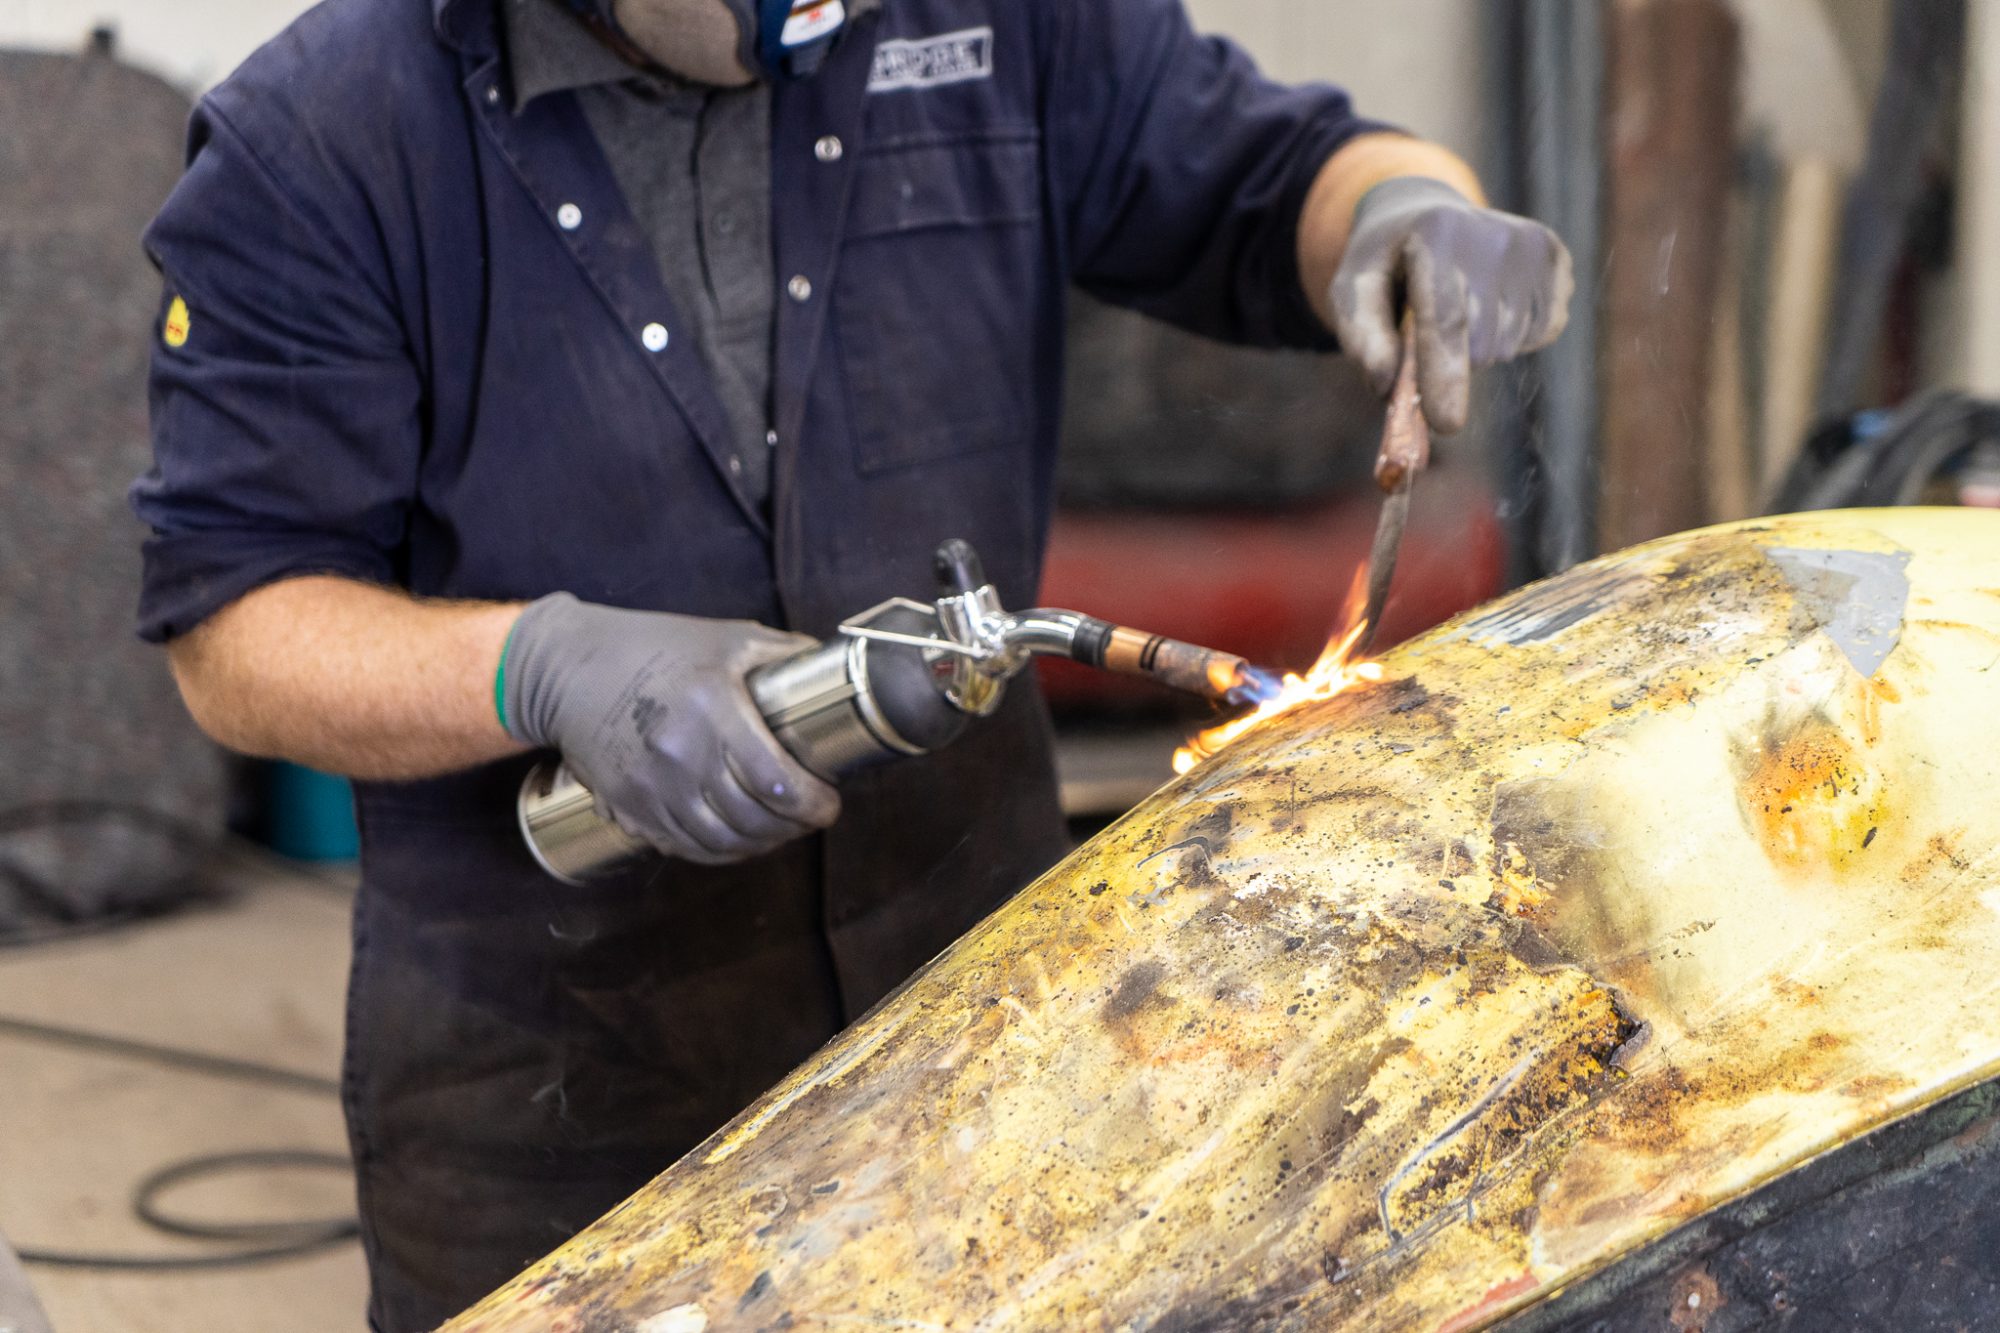
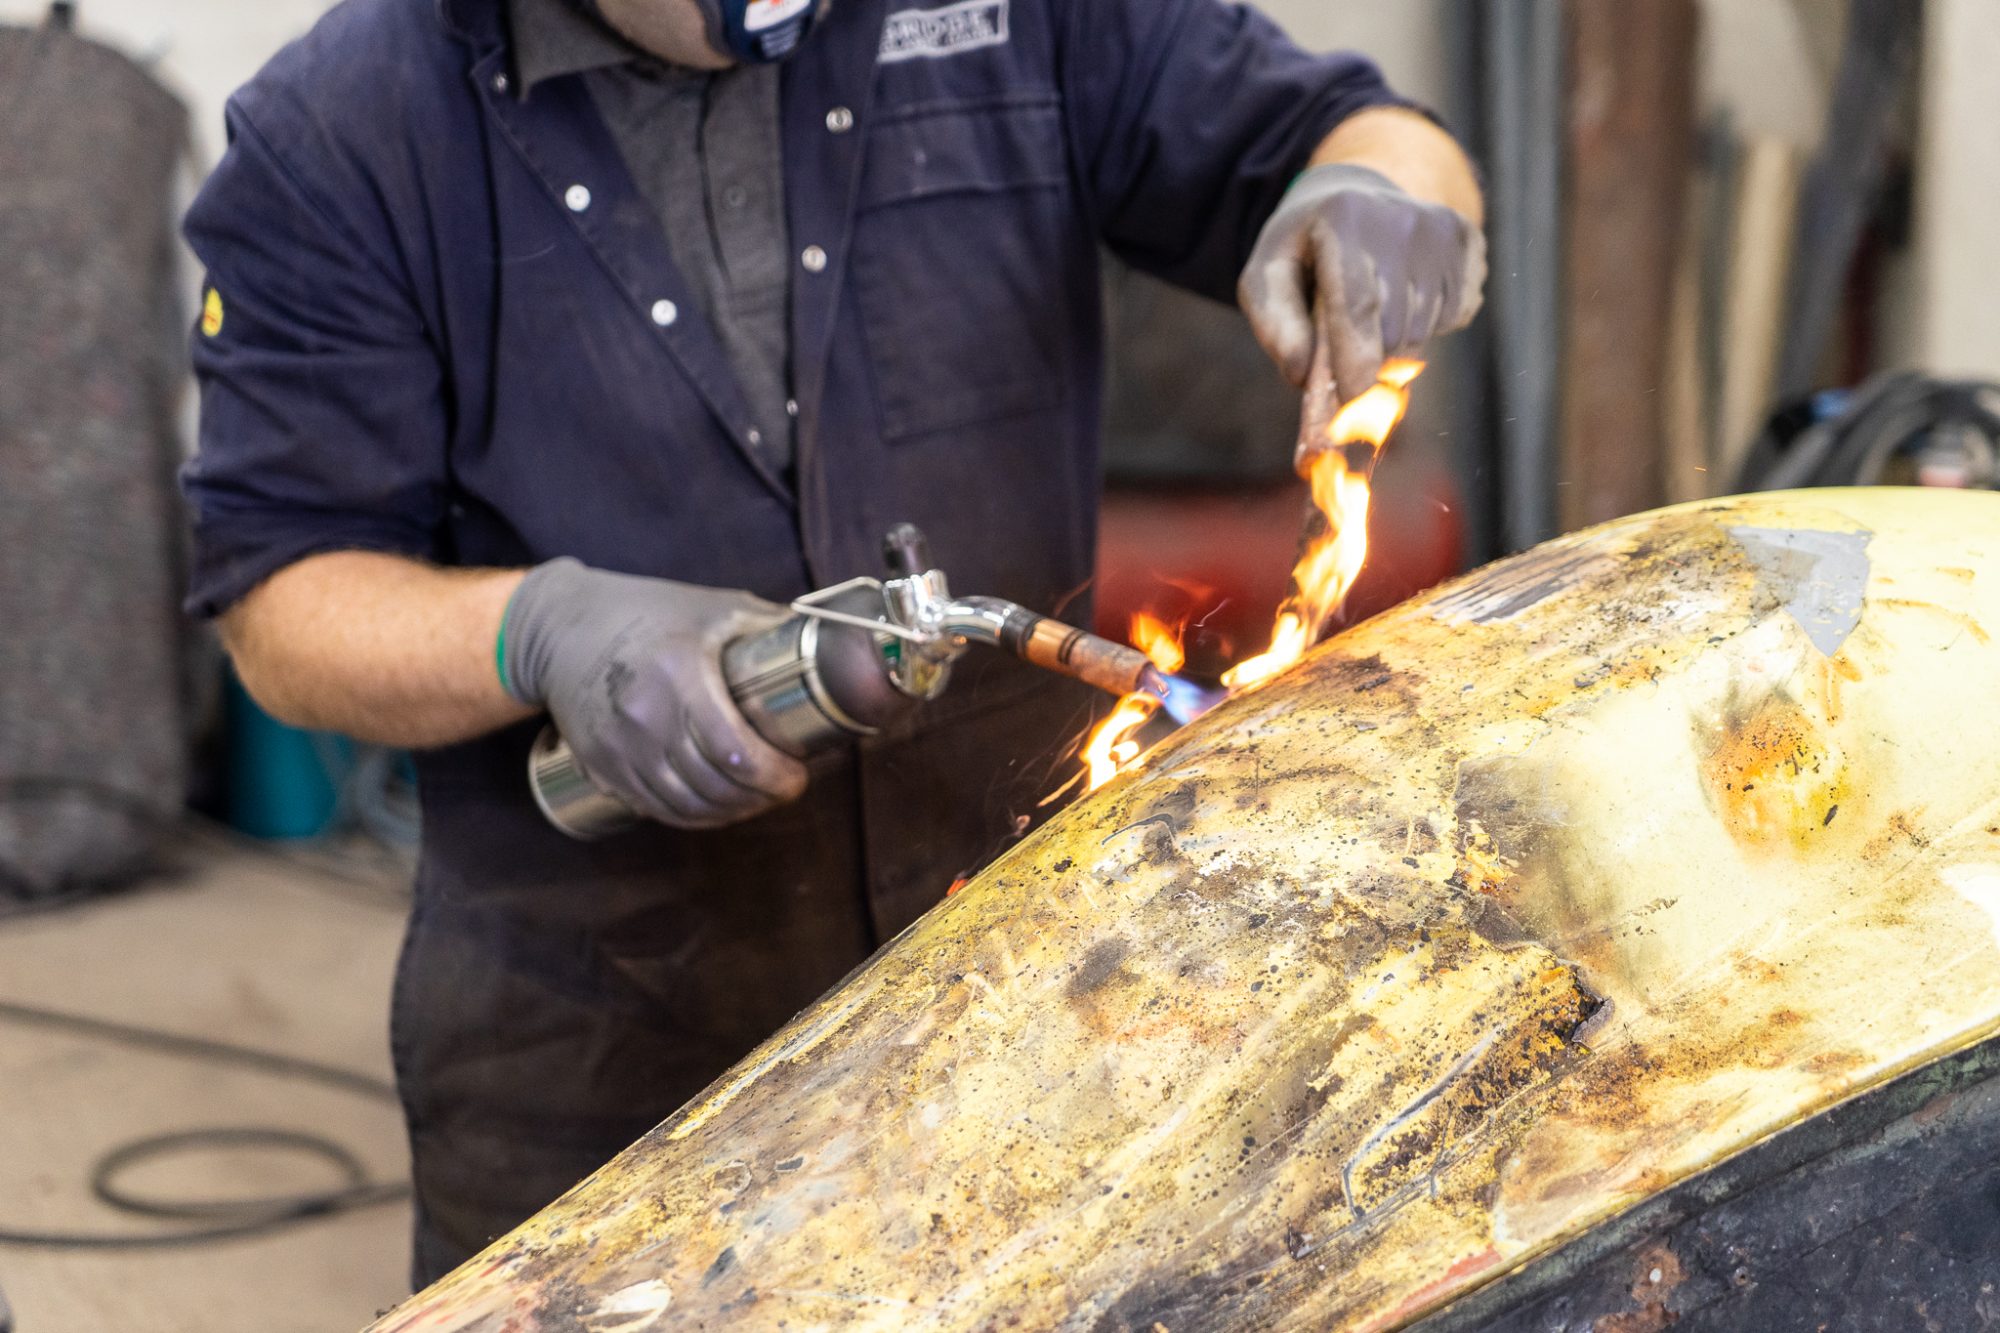
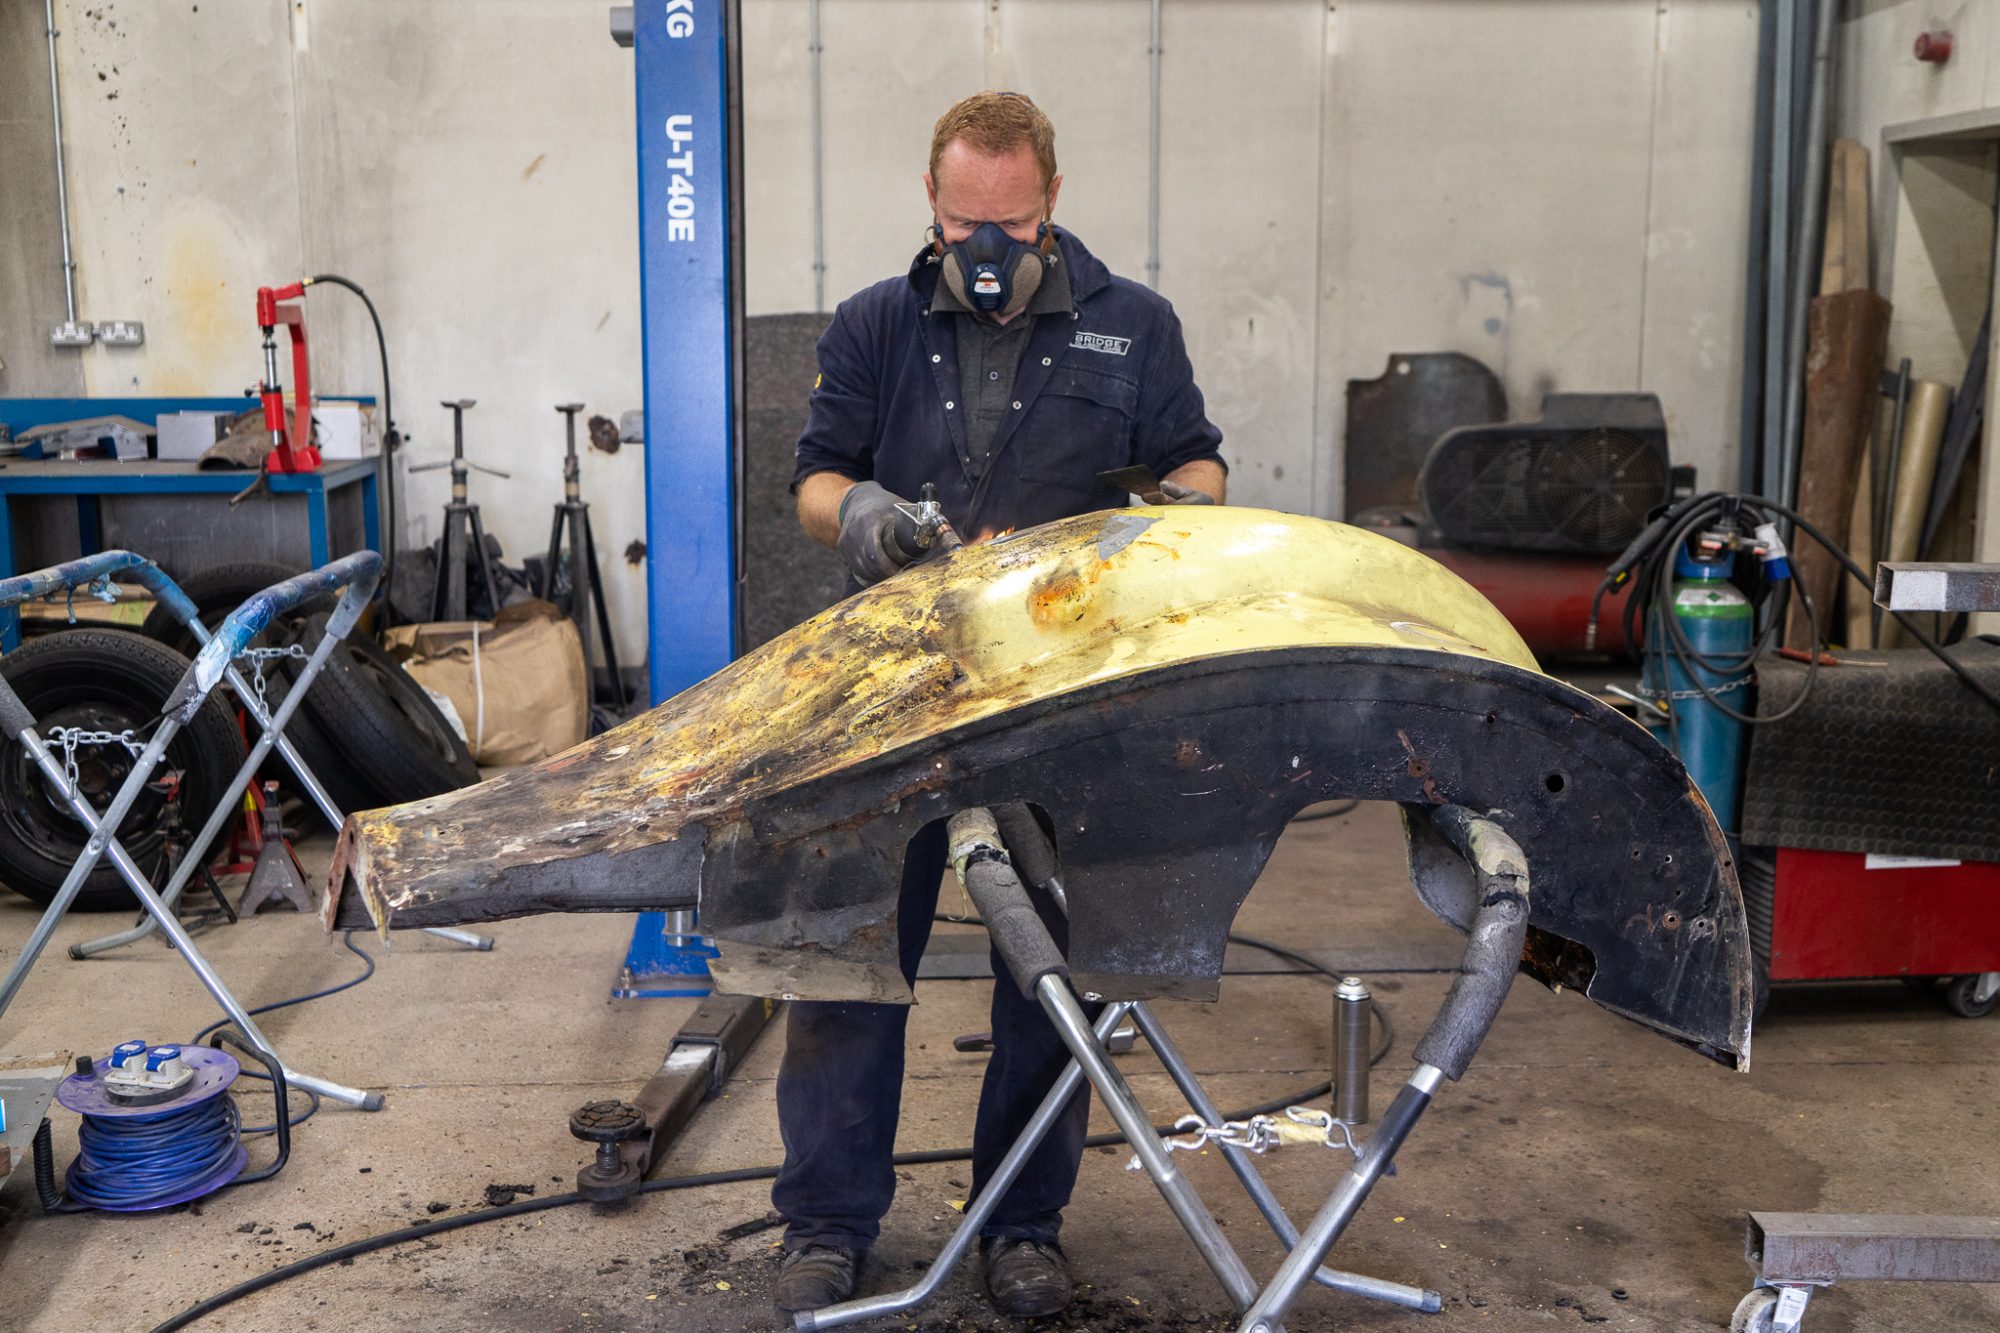
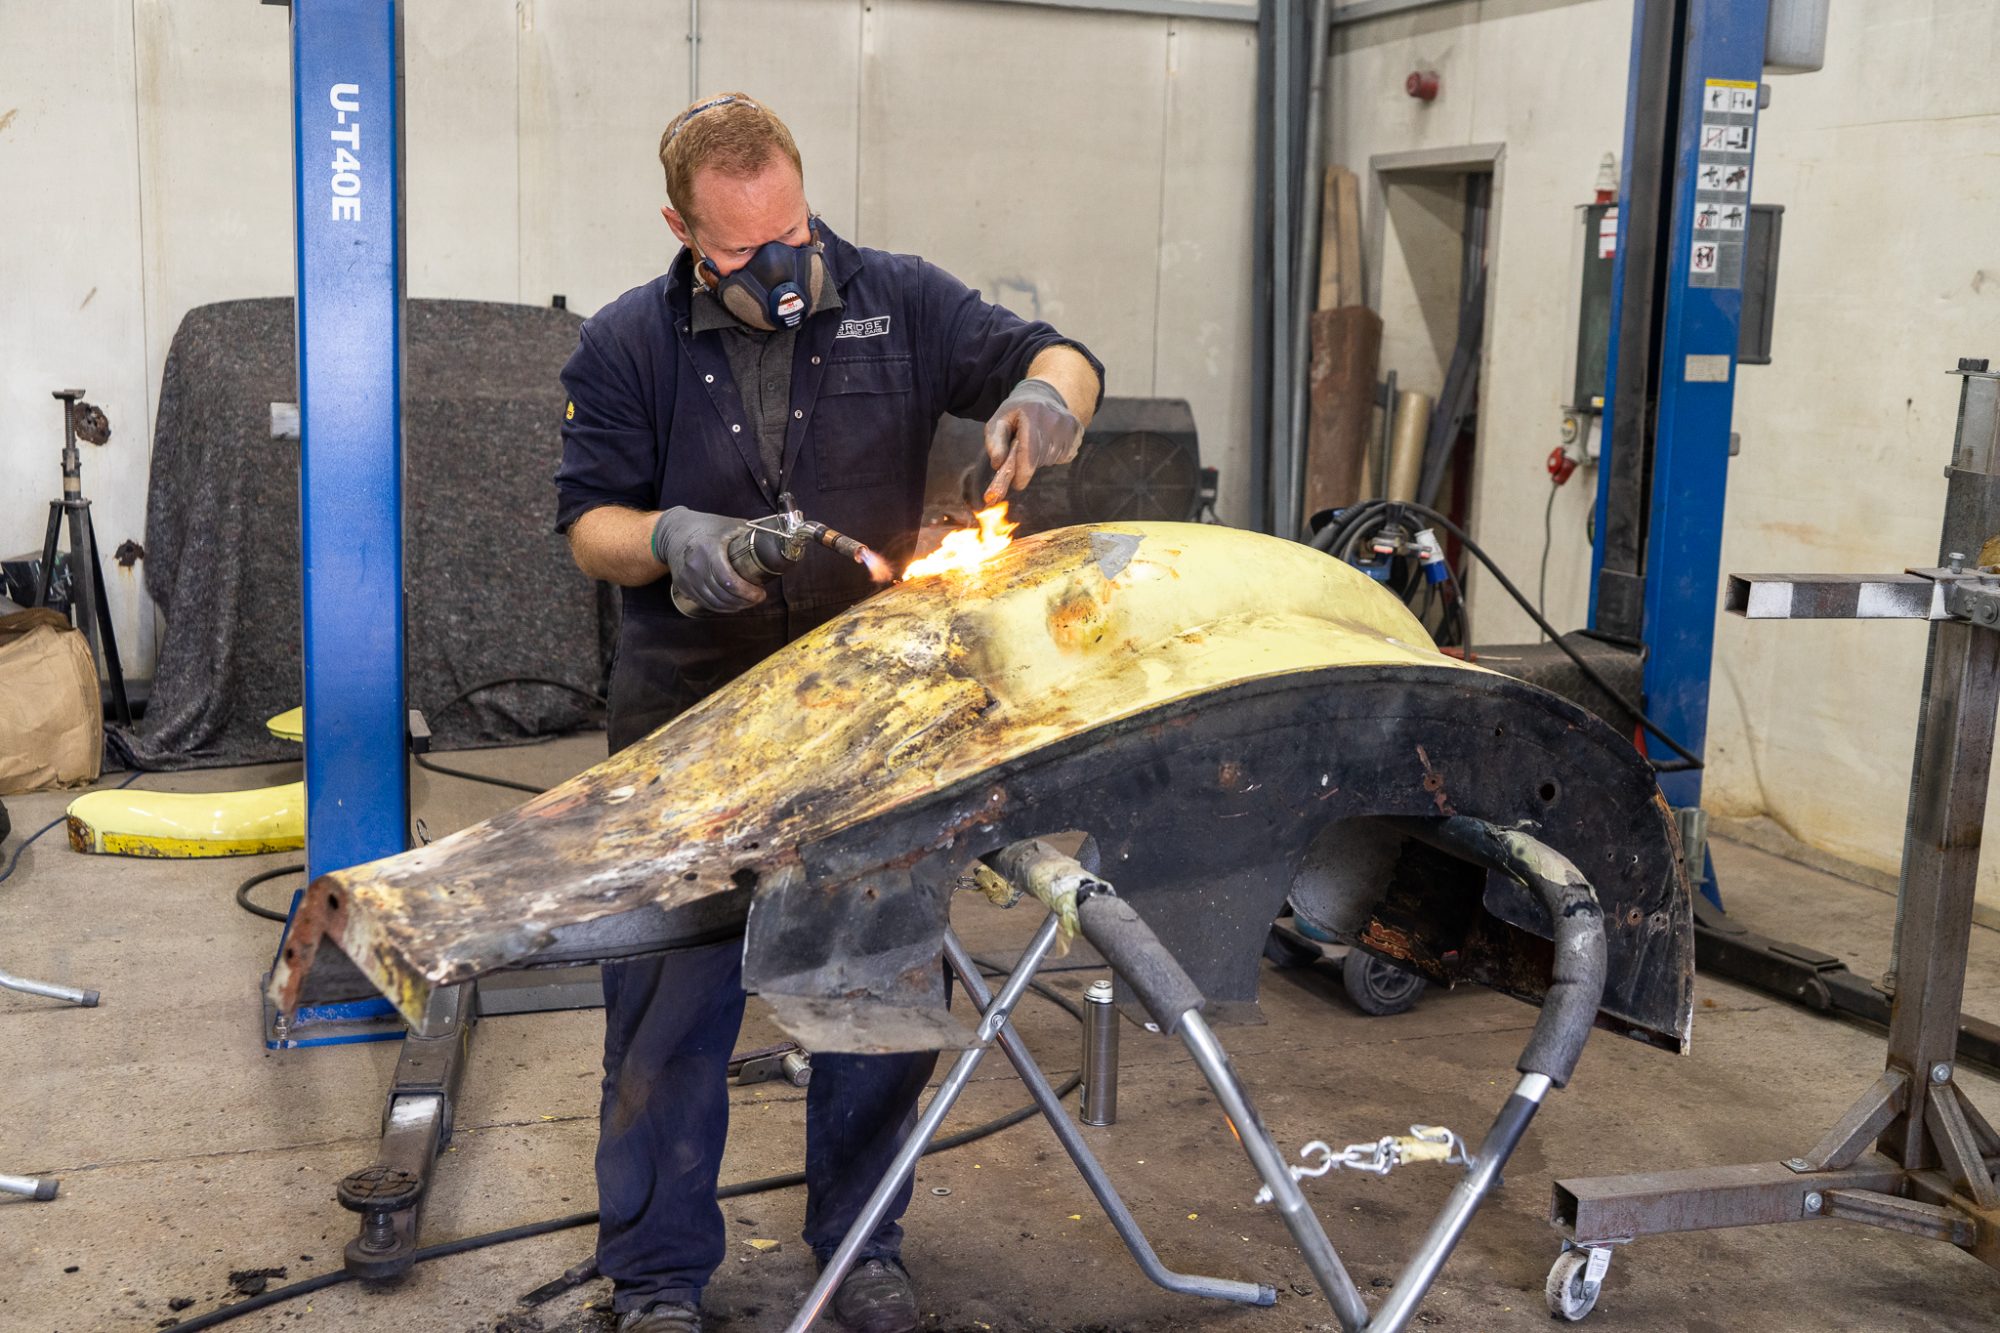
Pricey has been burning off leftover under-sealer and old paint before it goes to sandblasting. He then scrapes it off so that as little is

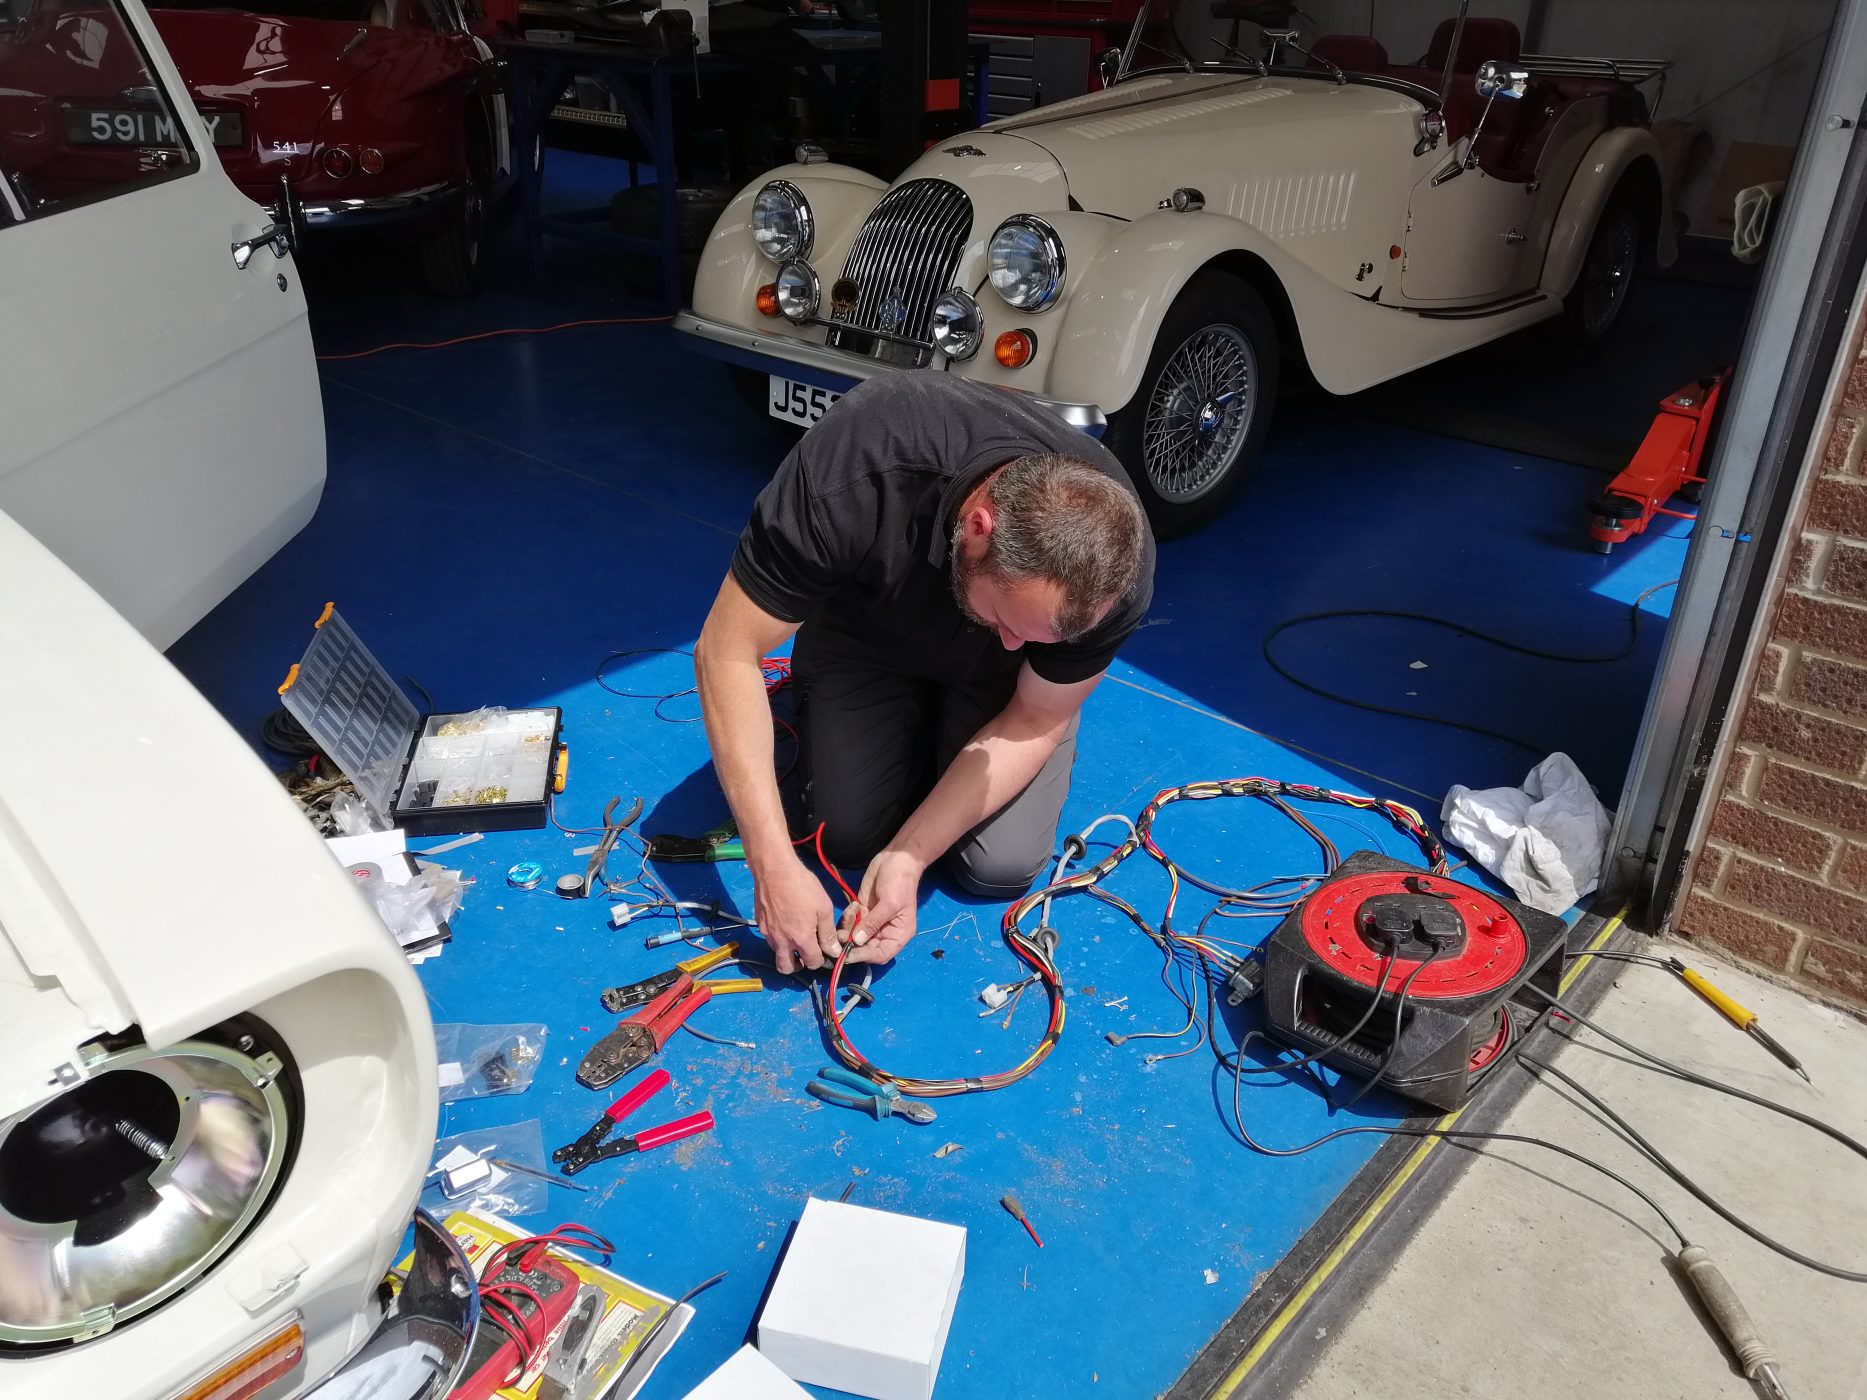
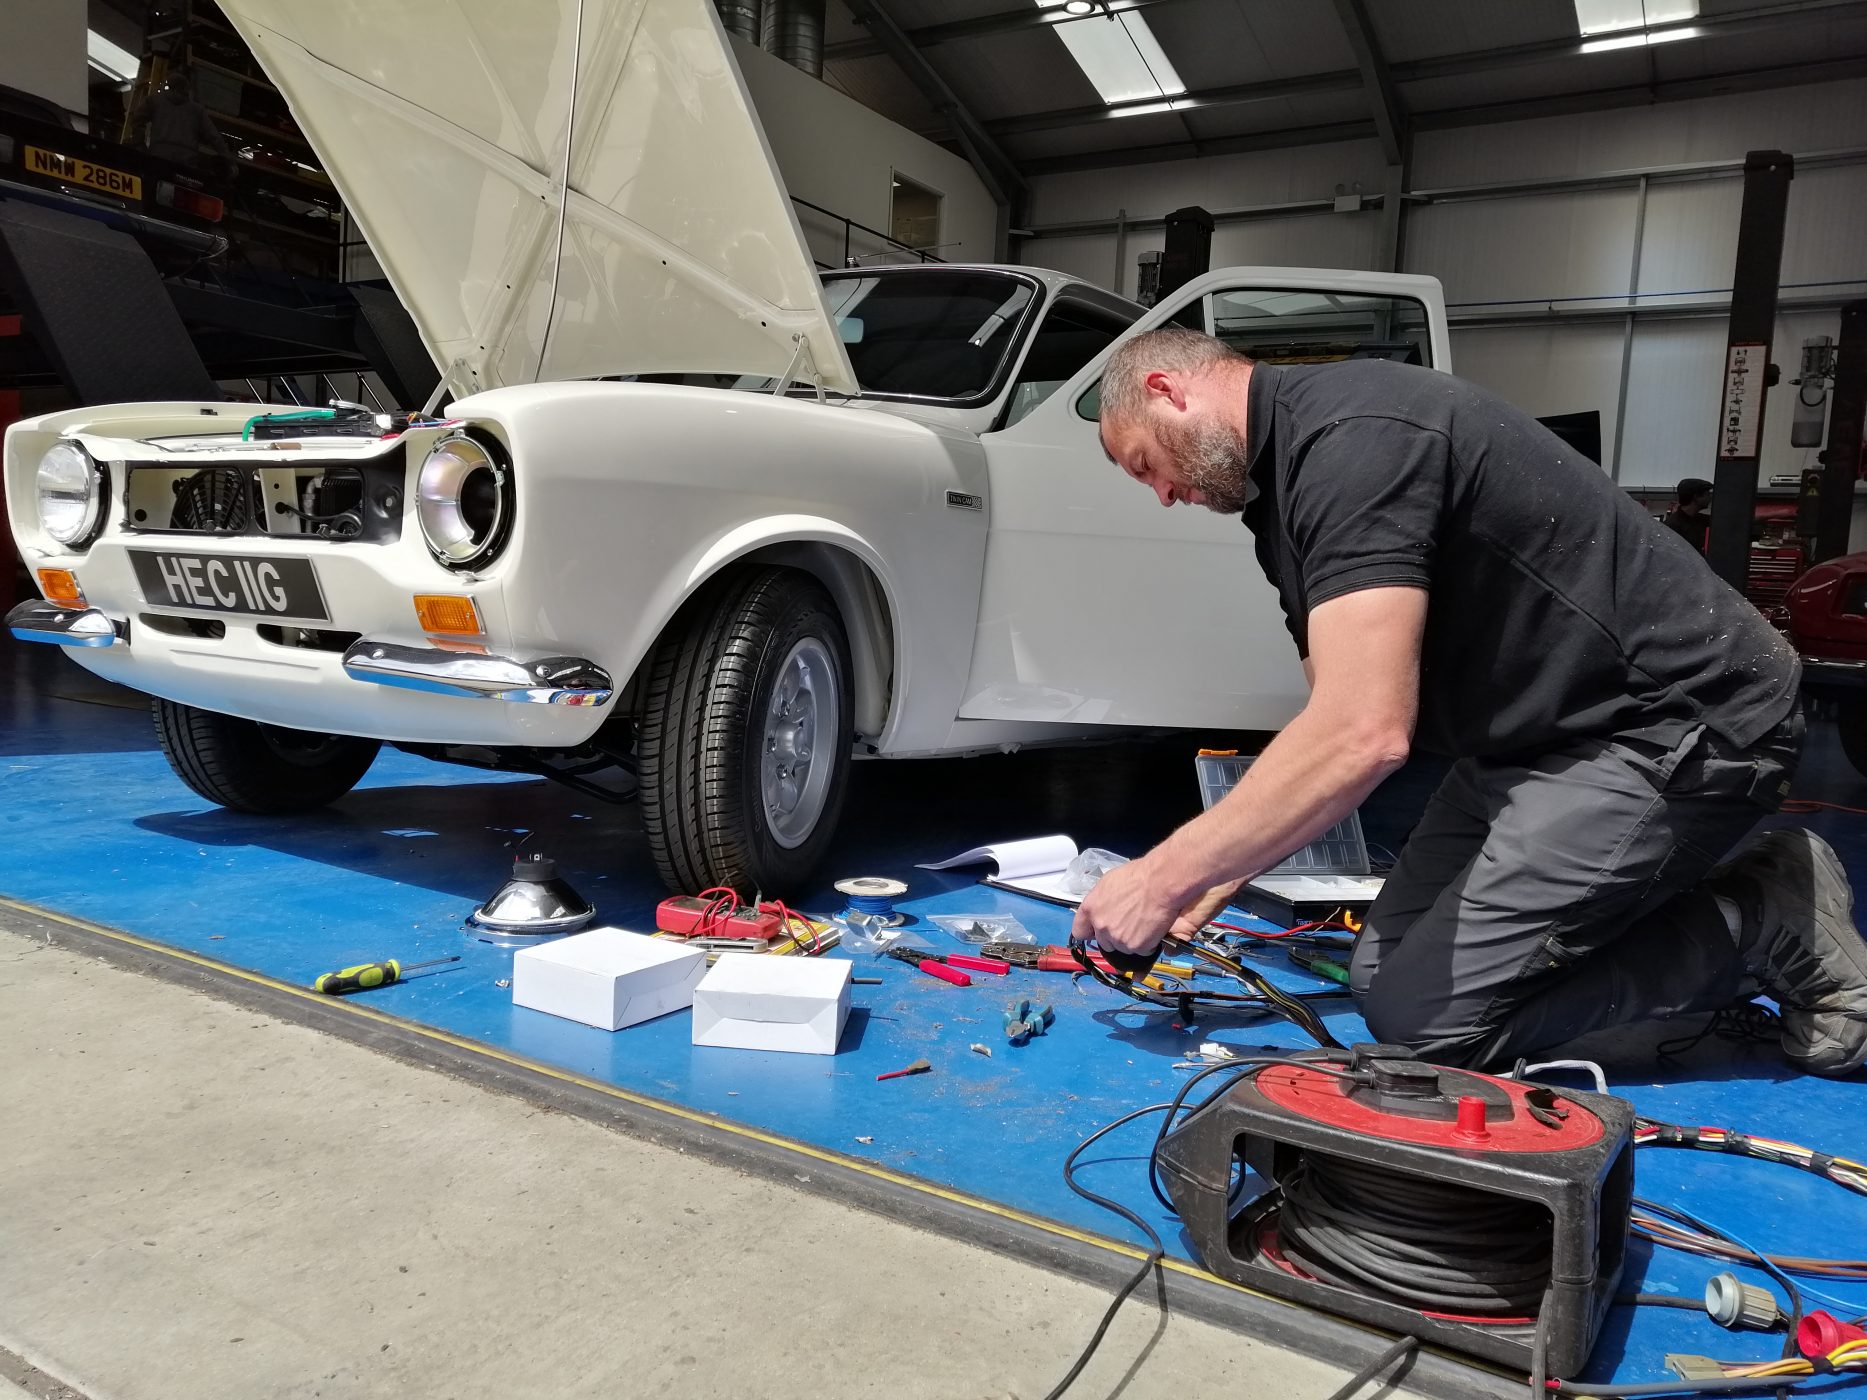
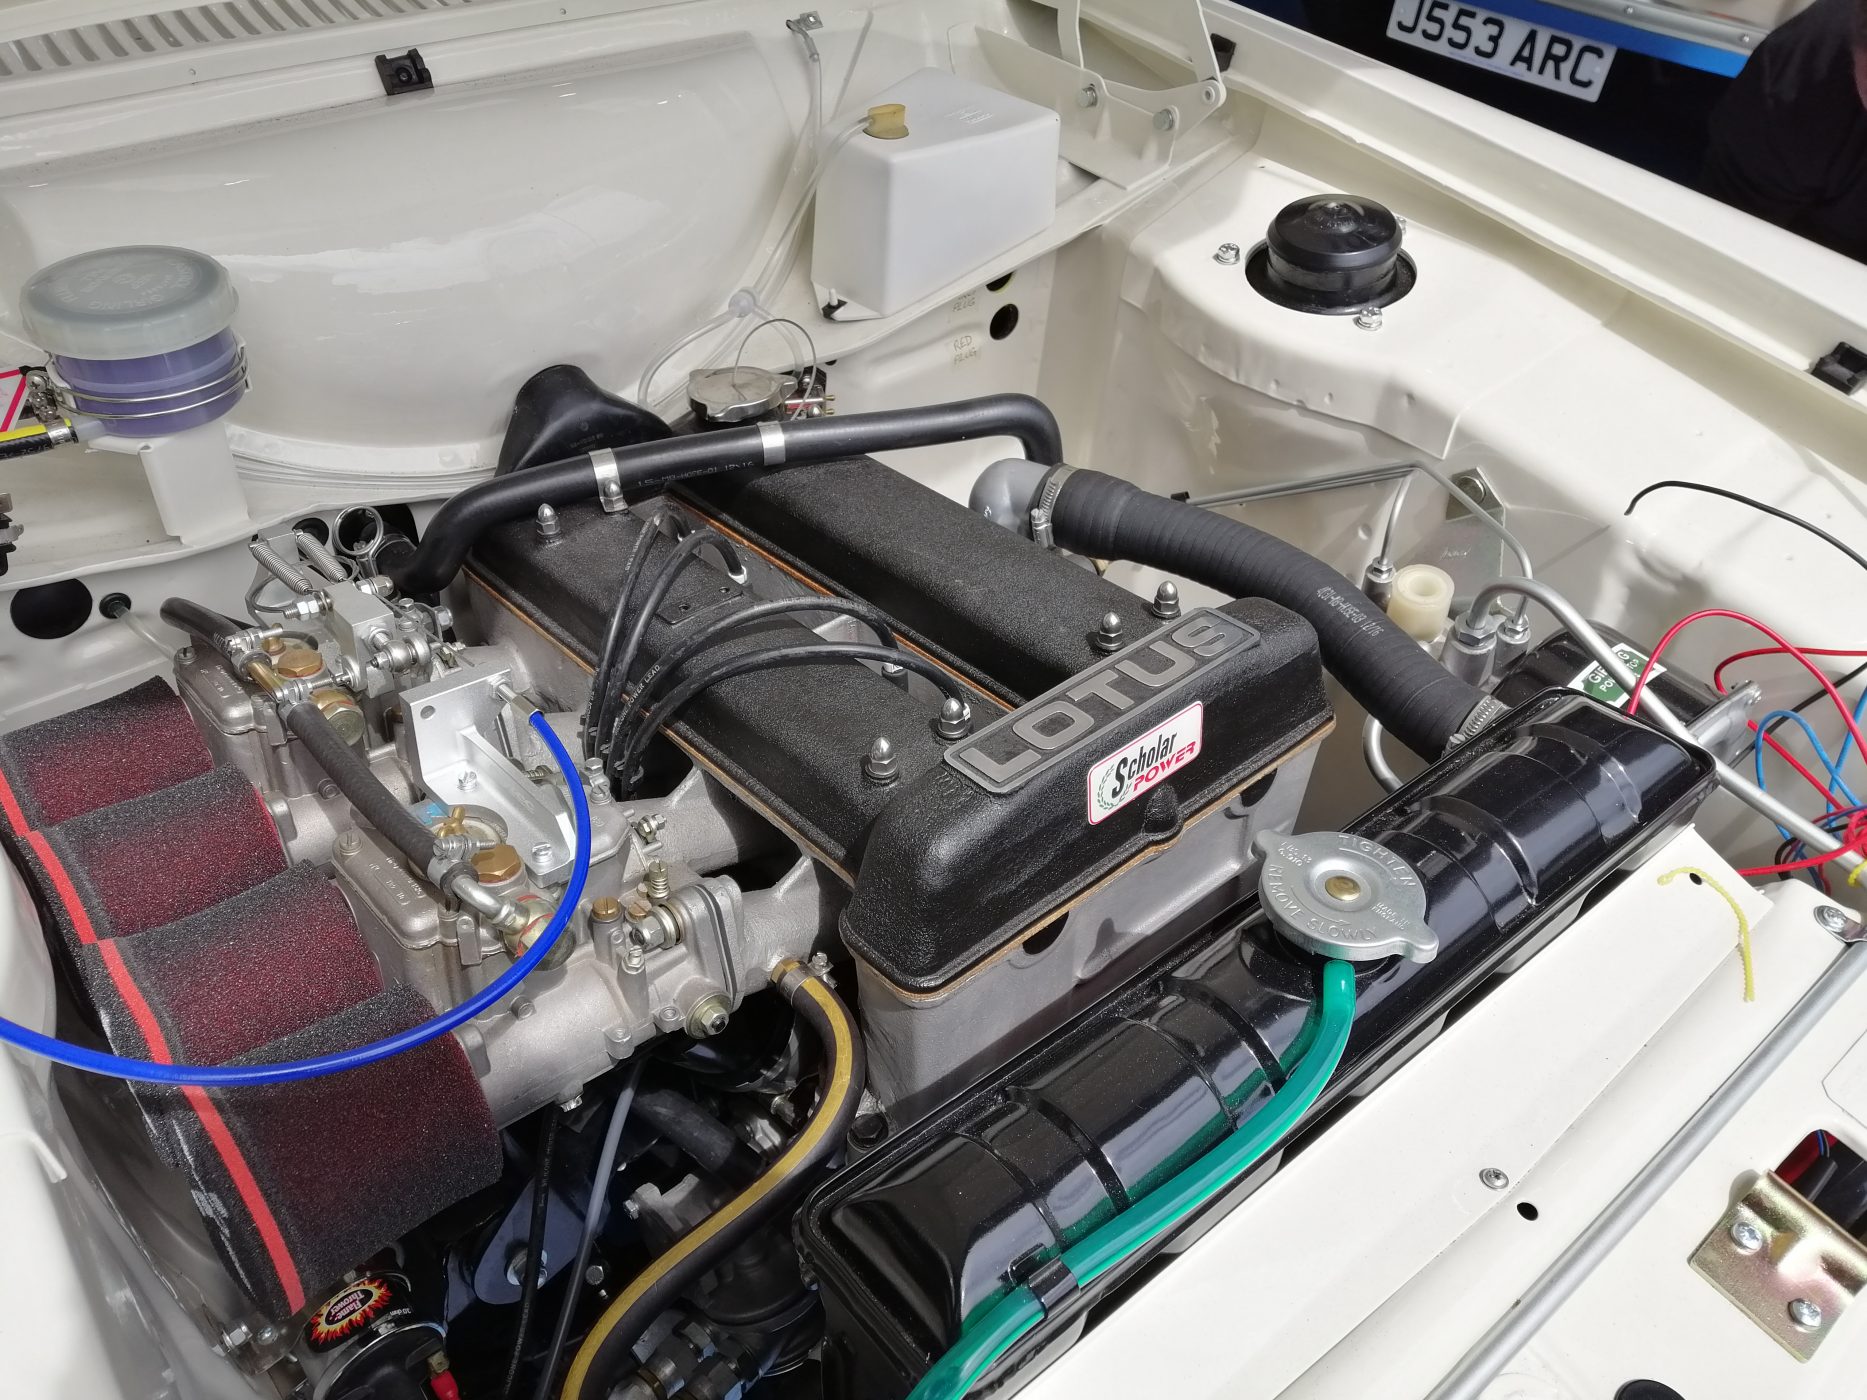
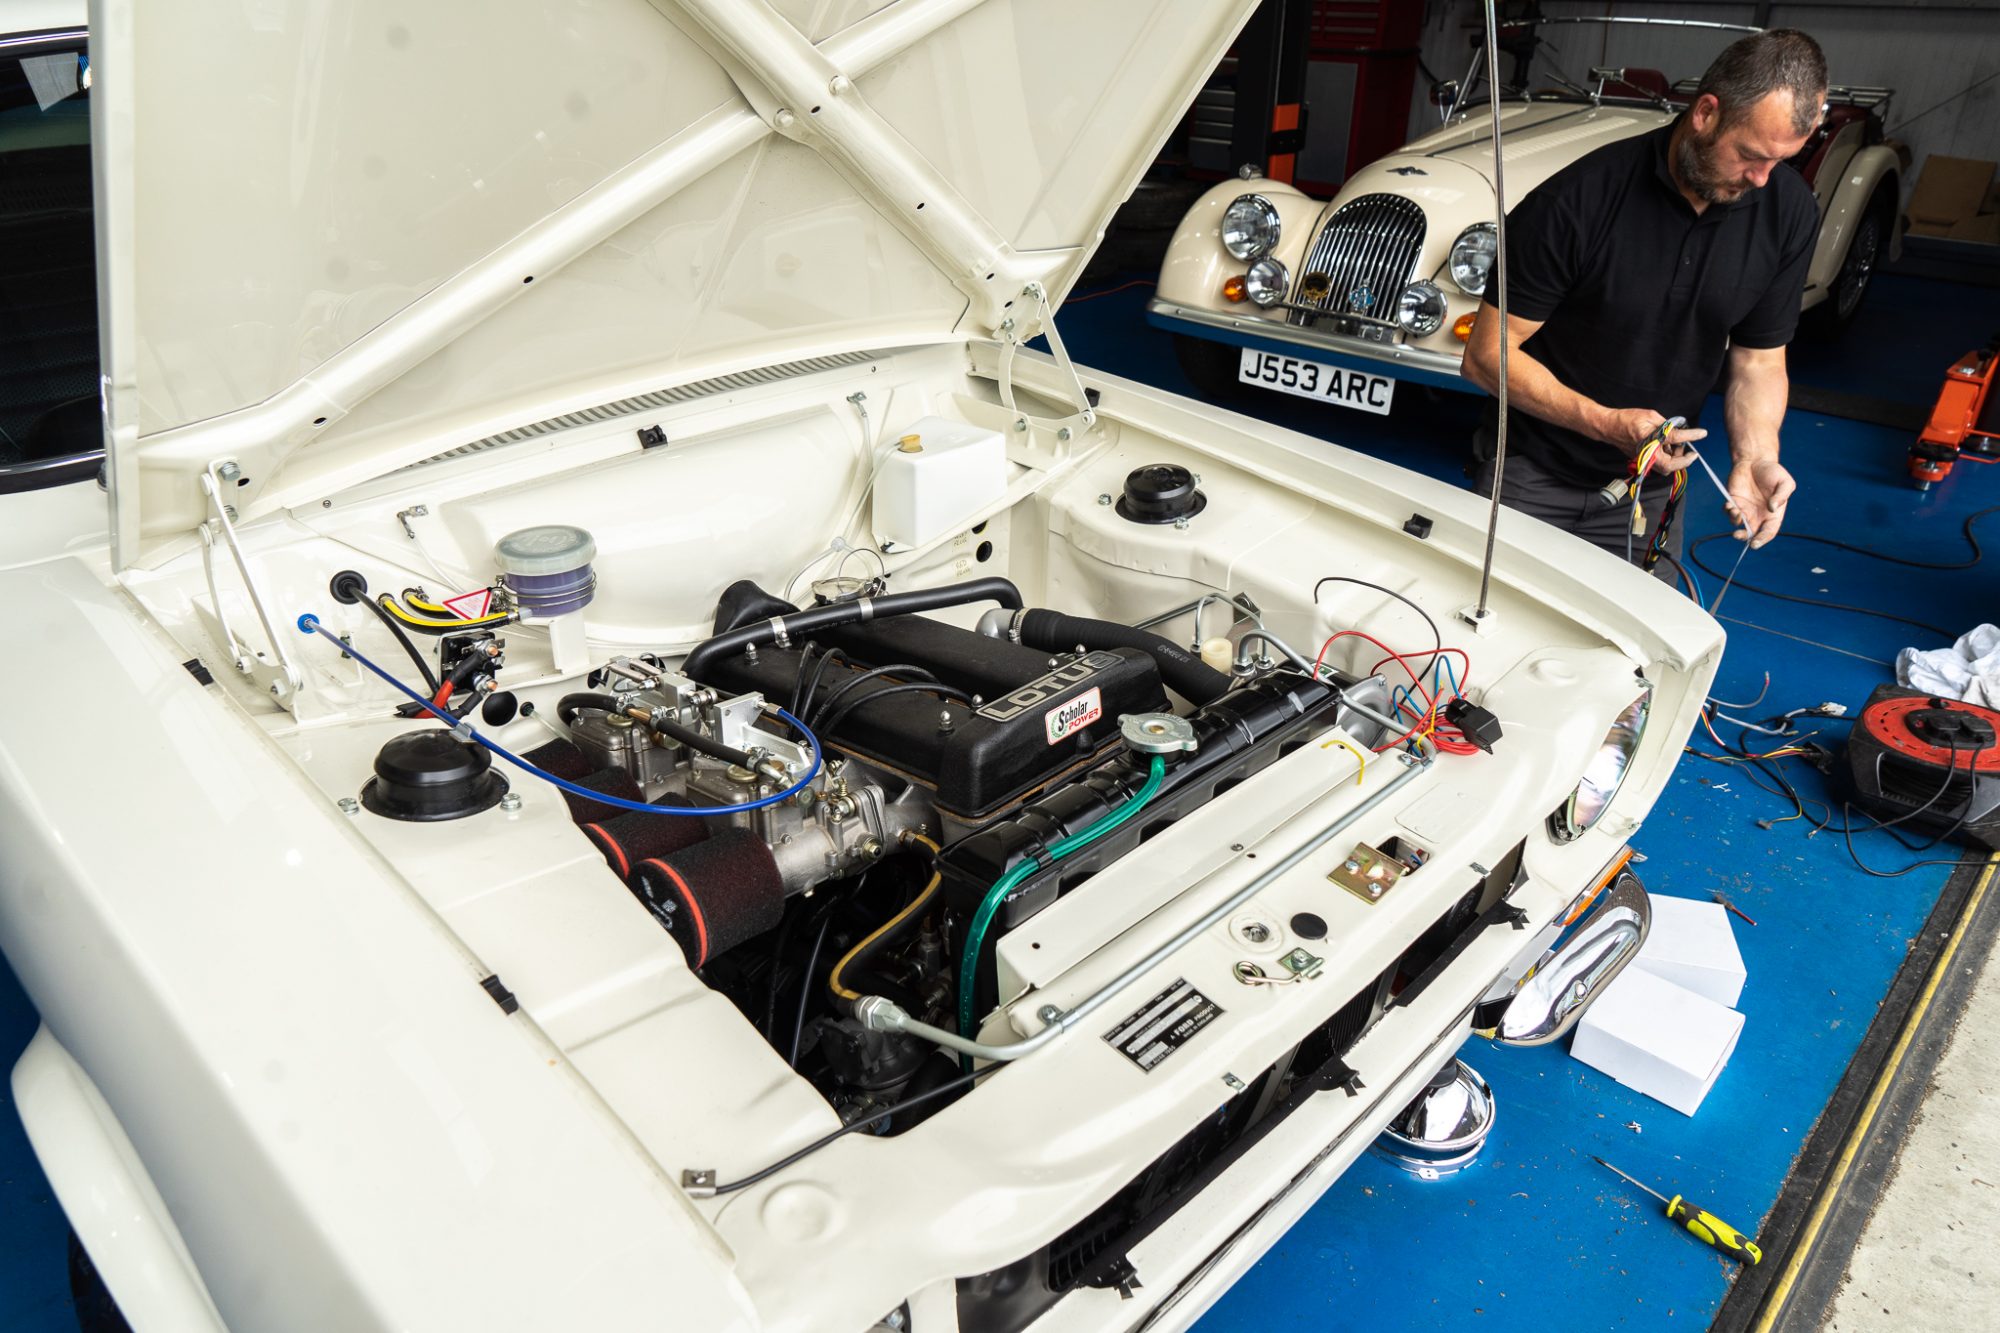
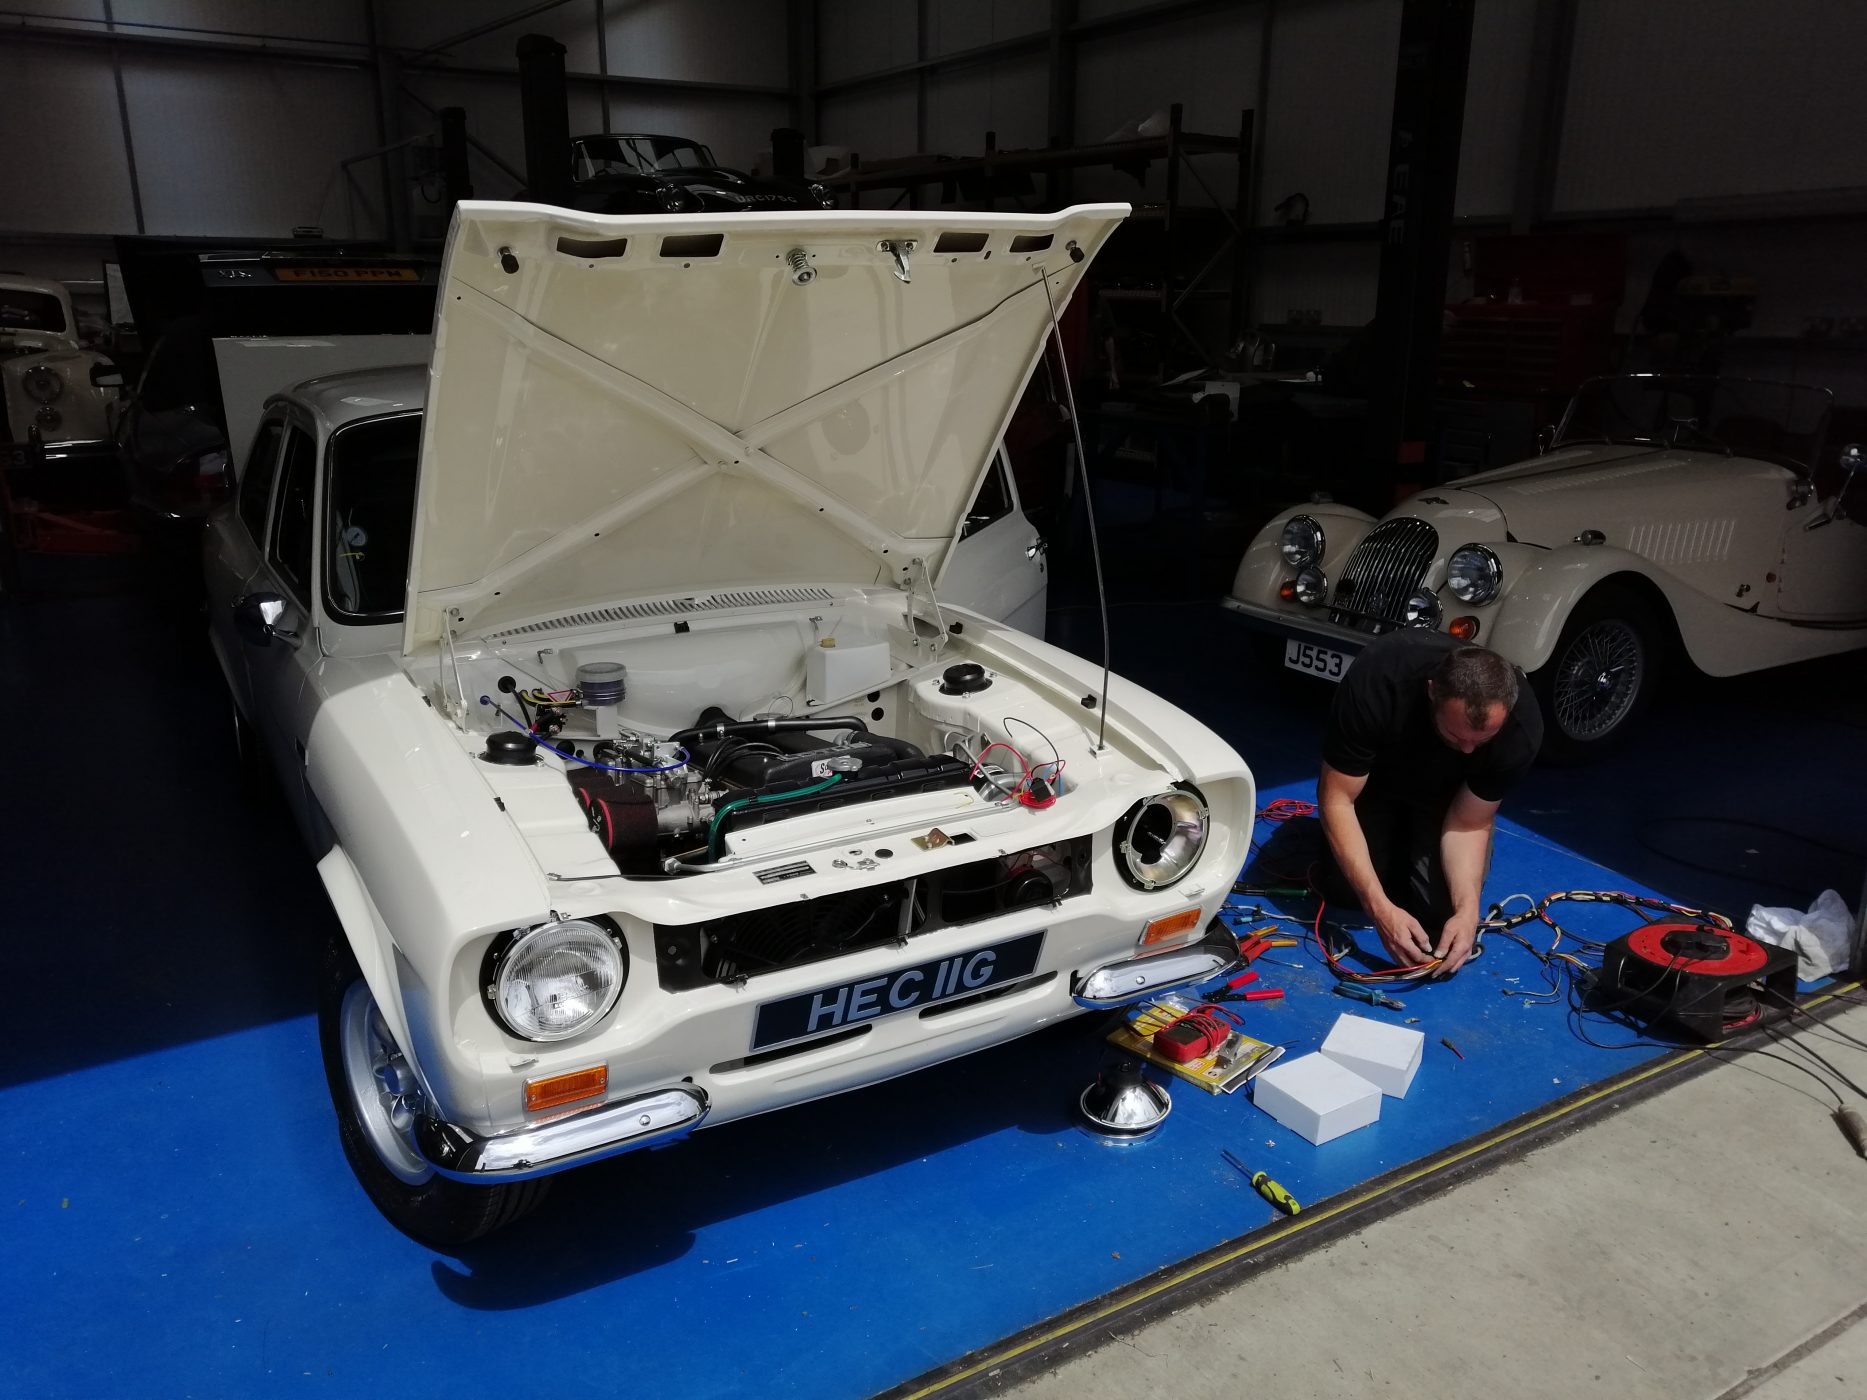
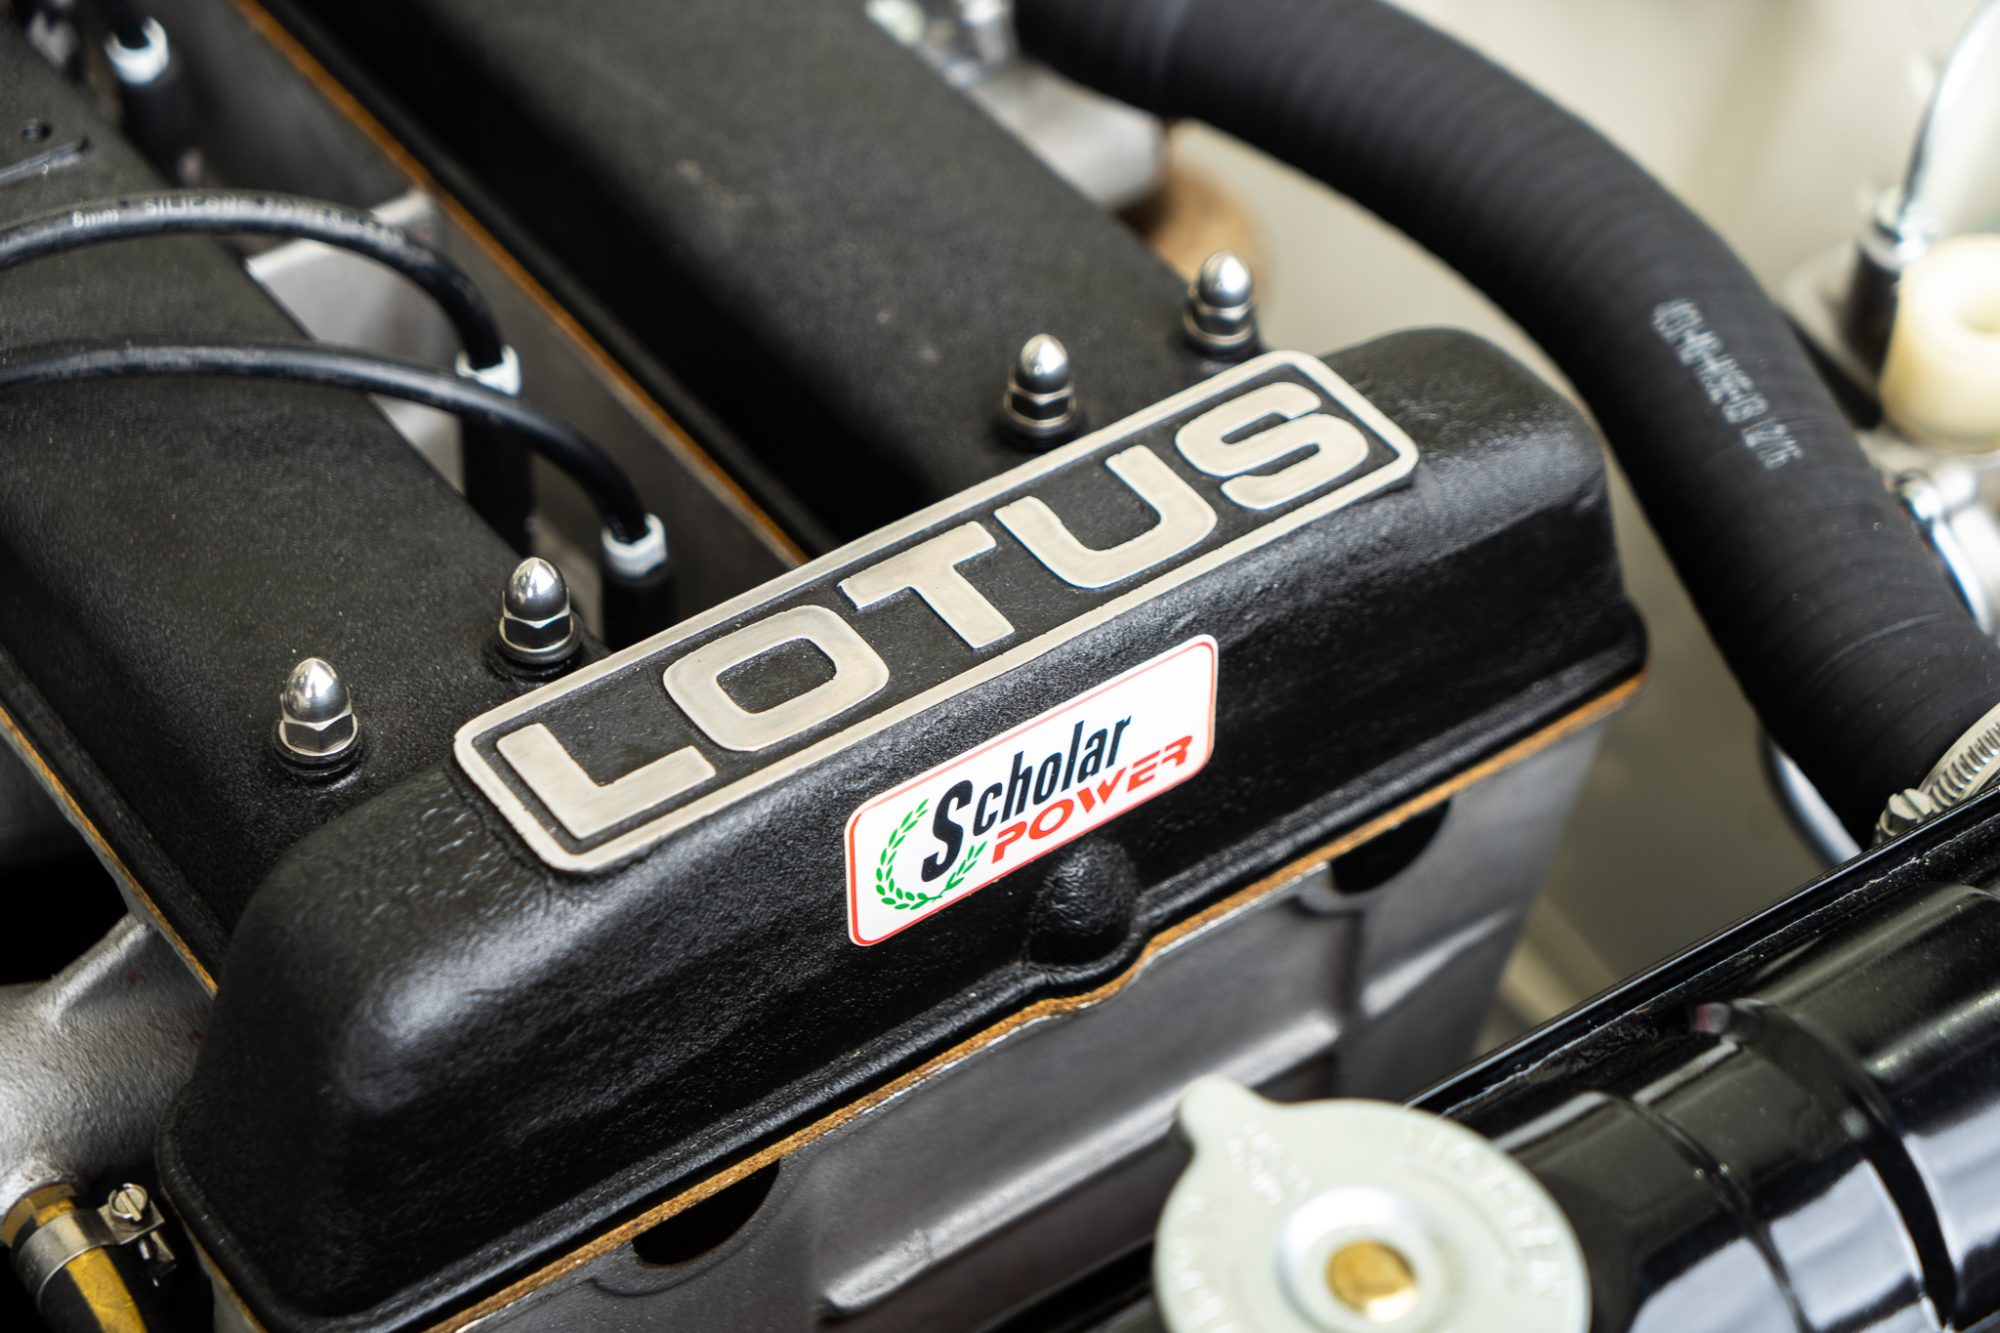
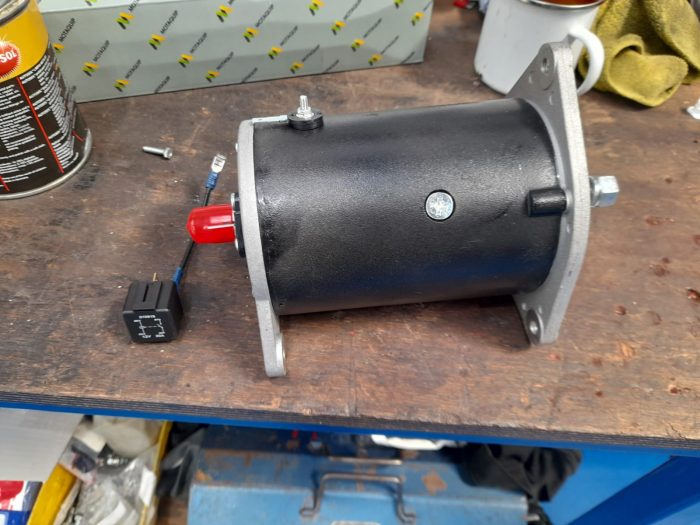
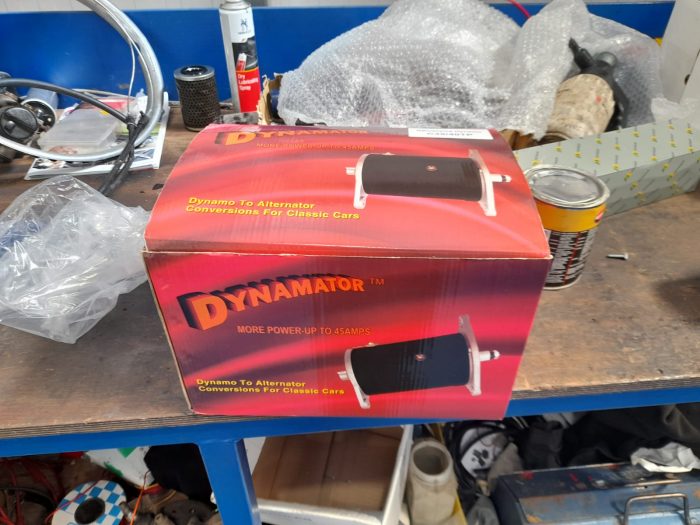
John, from Baylham Automotive Solutions has been working on our 1969 Ford Escort Twin Cam which needs a full rewire to modernise the loom to

As part of its pre-delivery inspection, we’ve carried out a thorough service and our technician Paul is currently addressing the issues that have arisen from
We recently had a photographer from Car and Classic come over to Bentwaters to photograph our stunning Chevron B20 for an upcoming auction. The Car

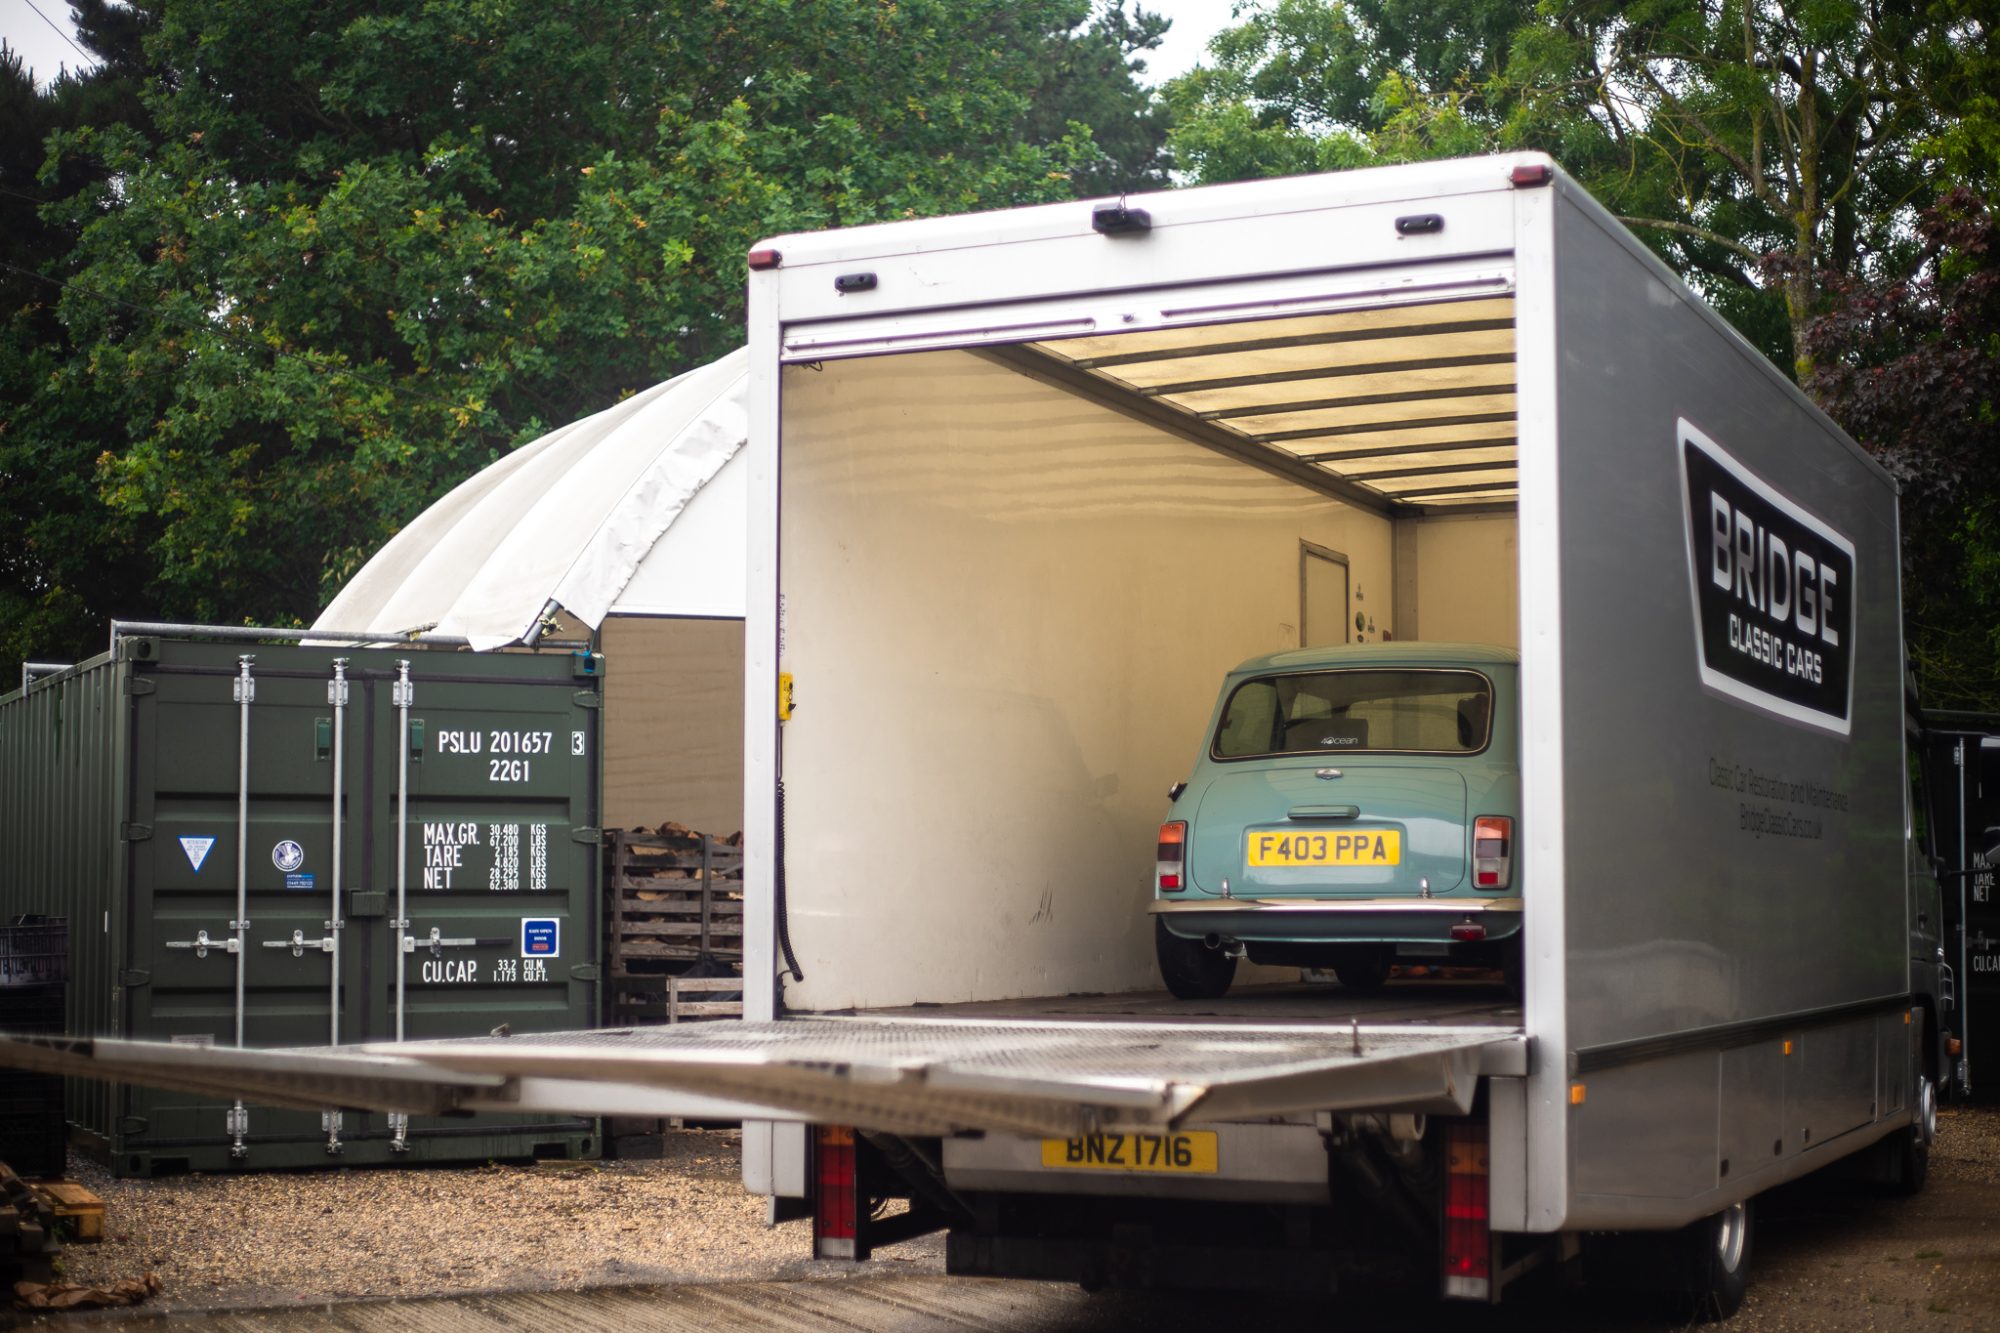
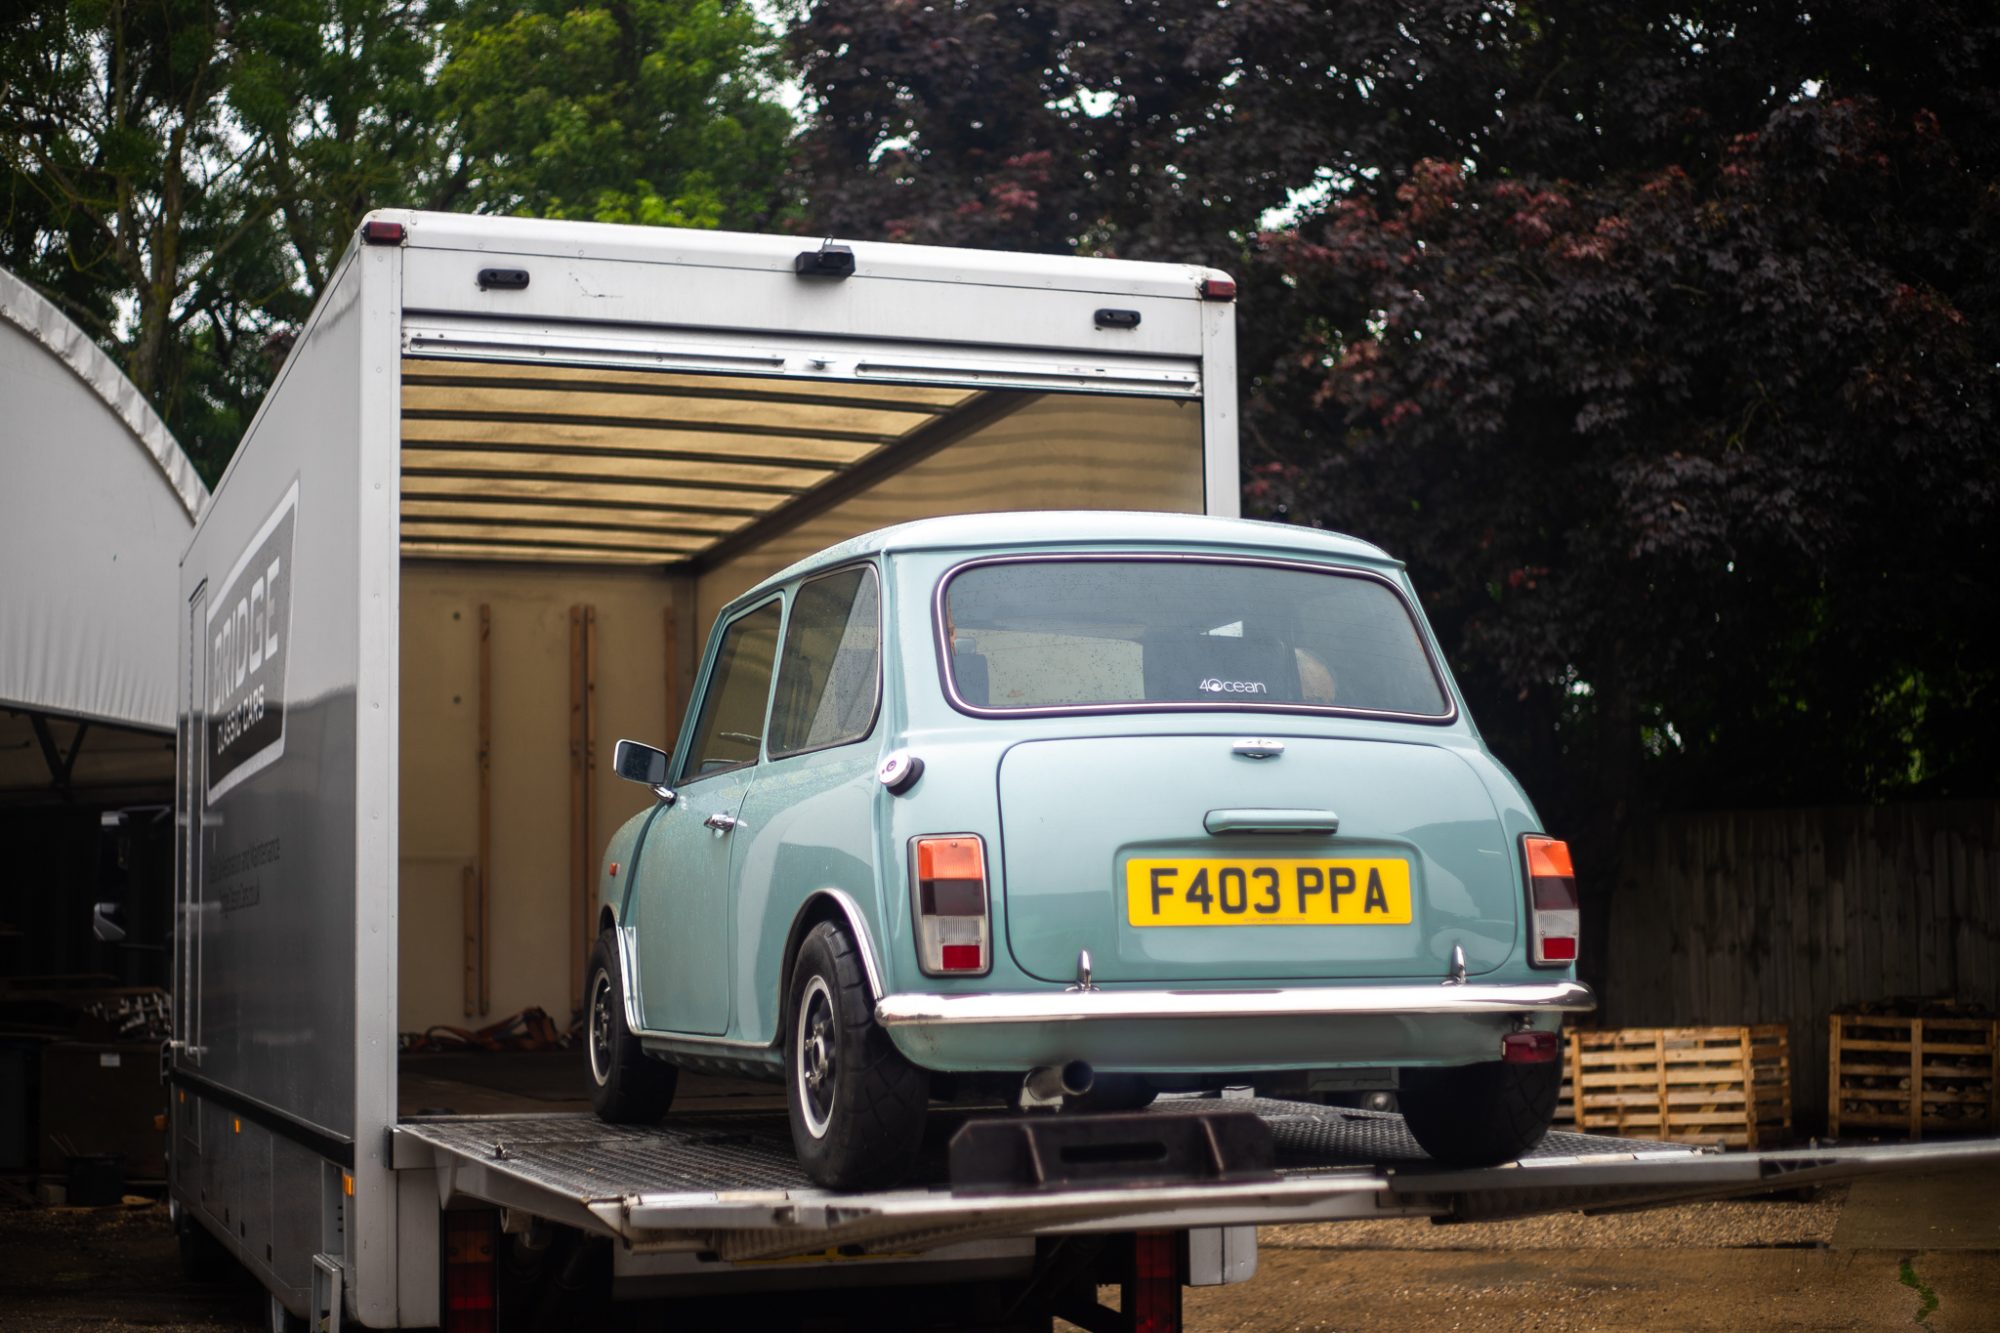
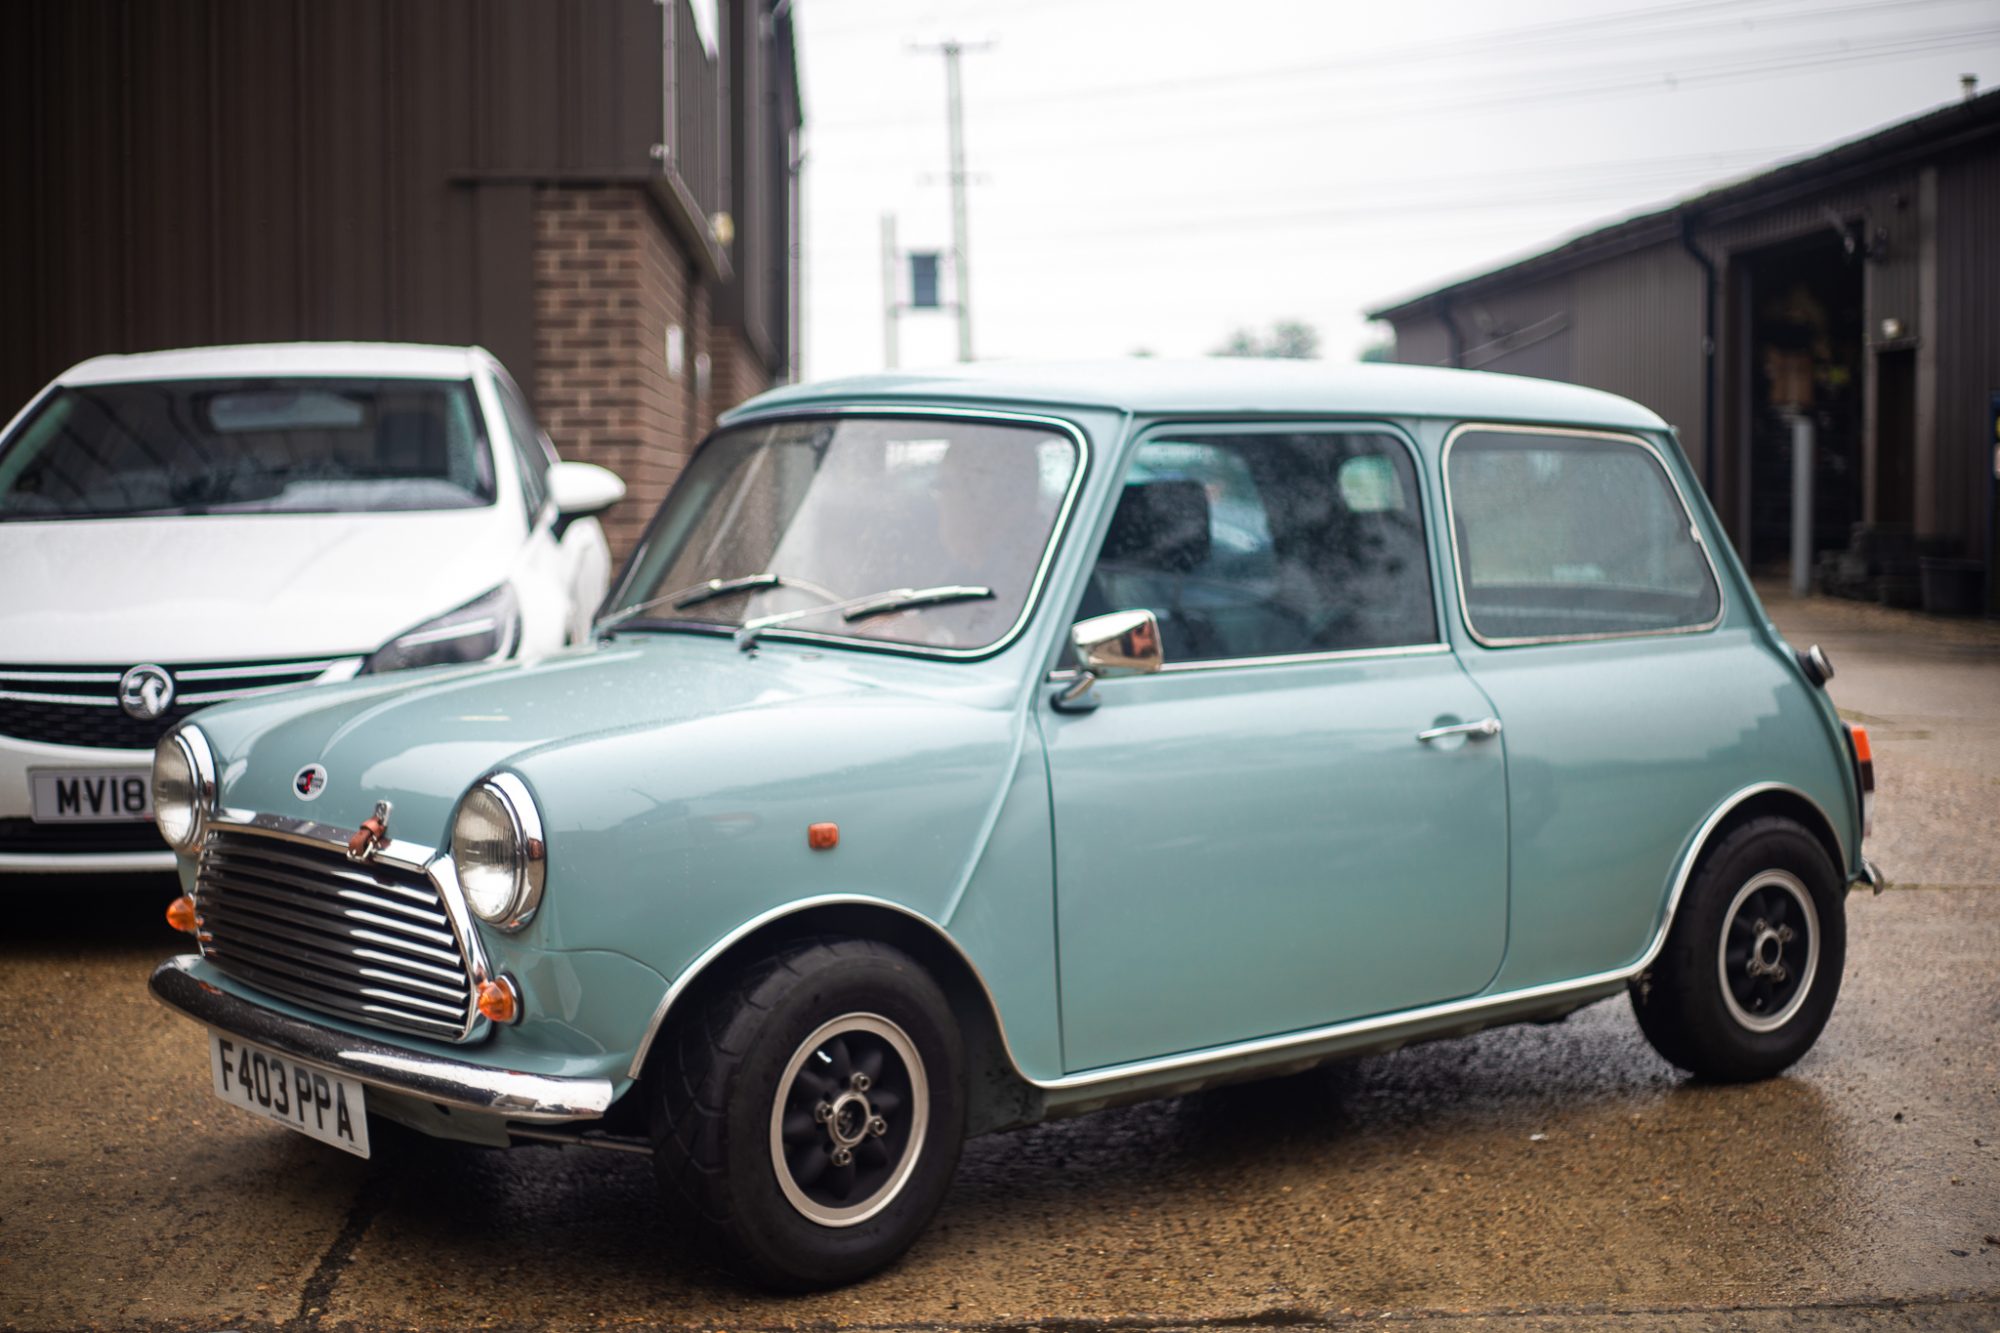
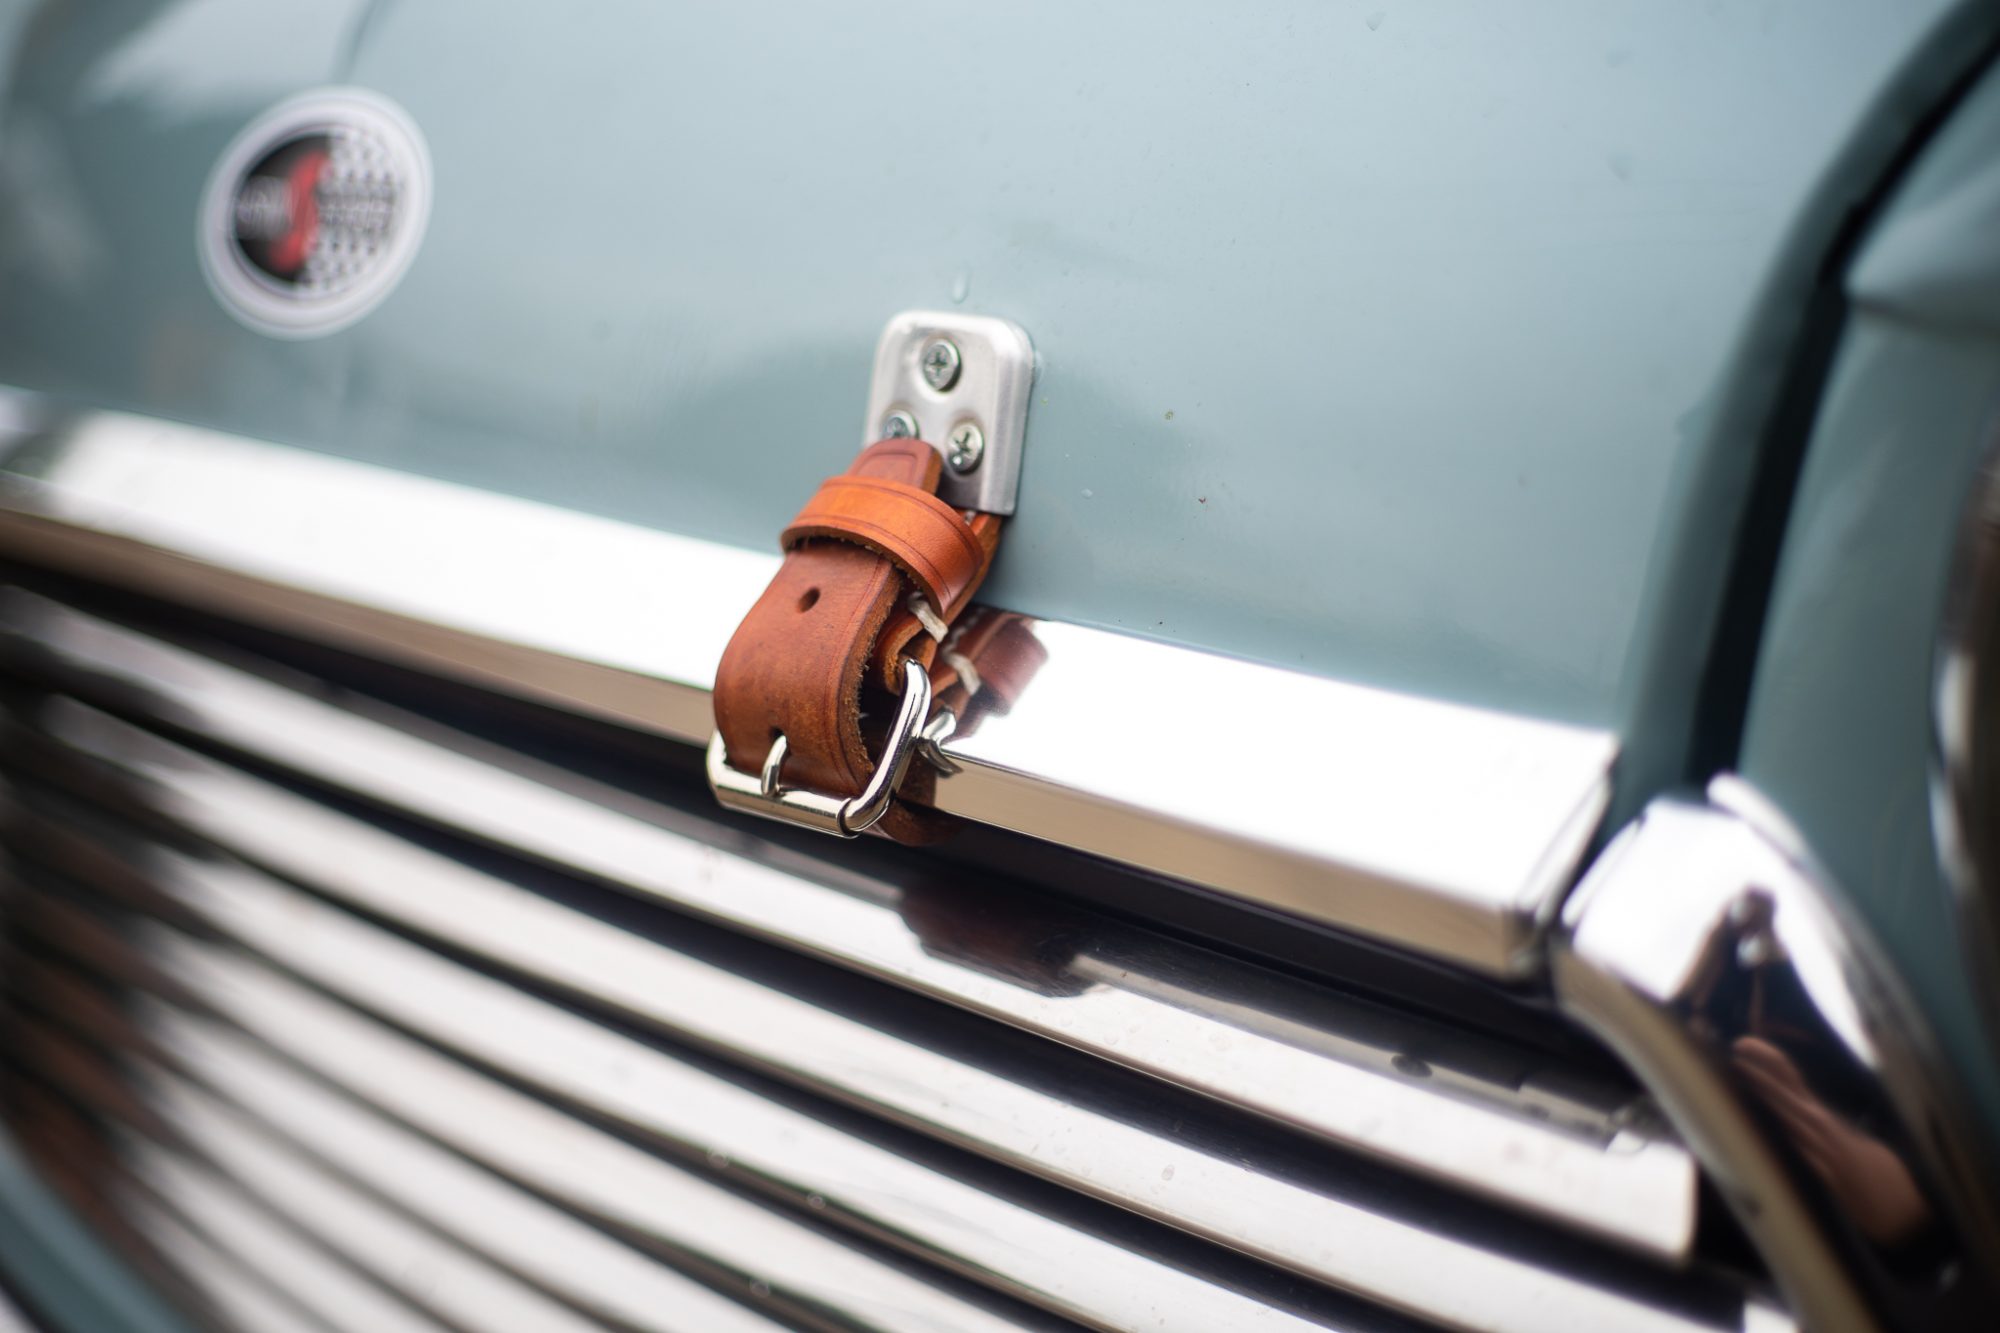
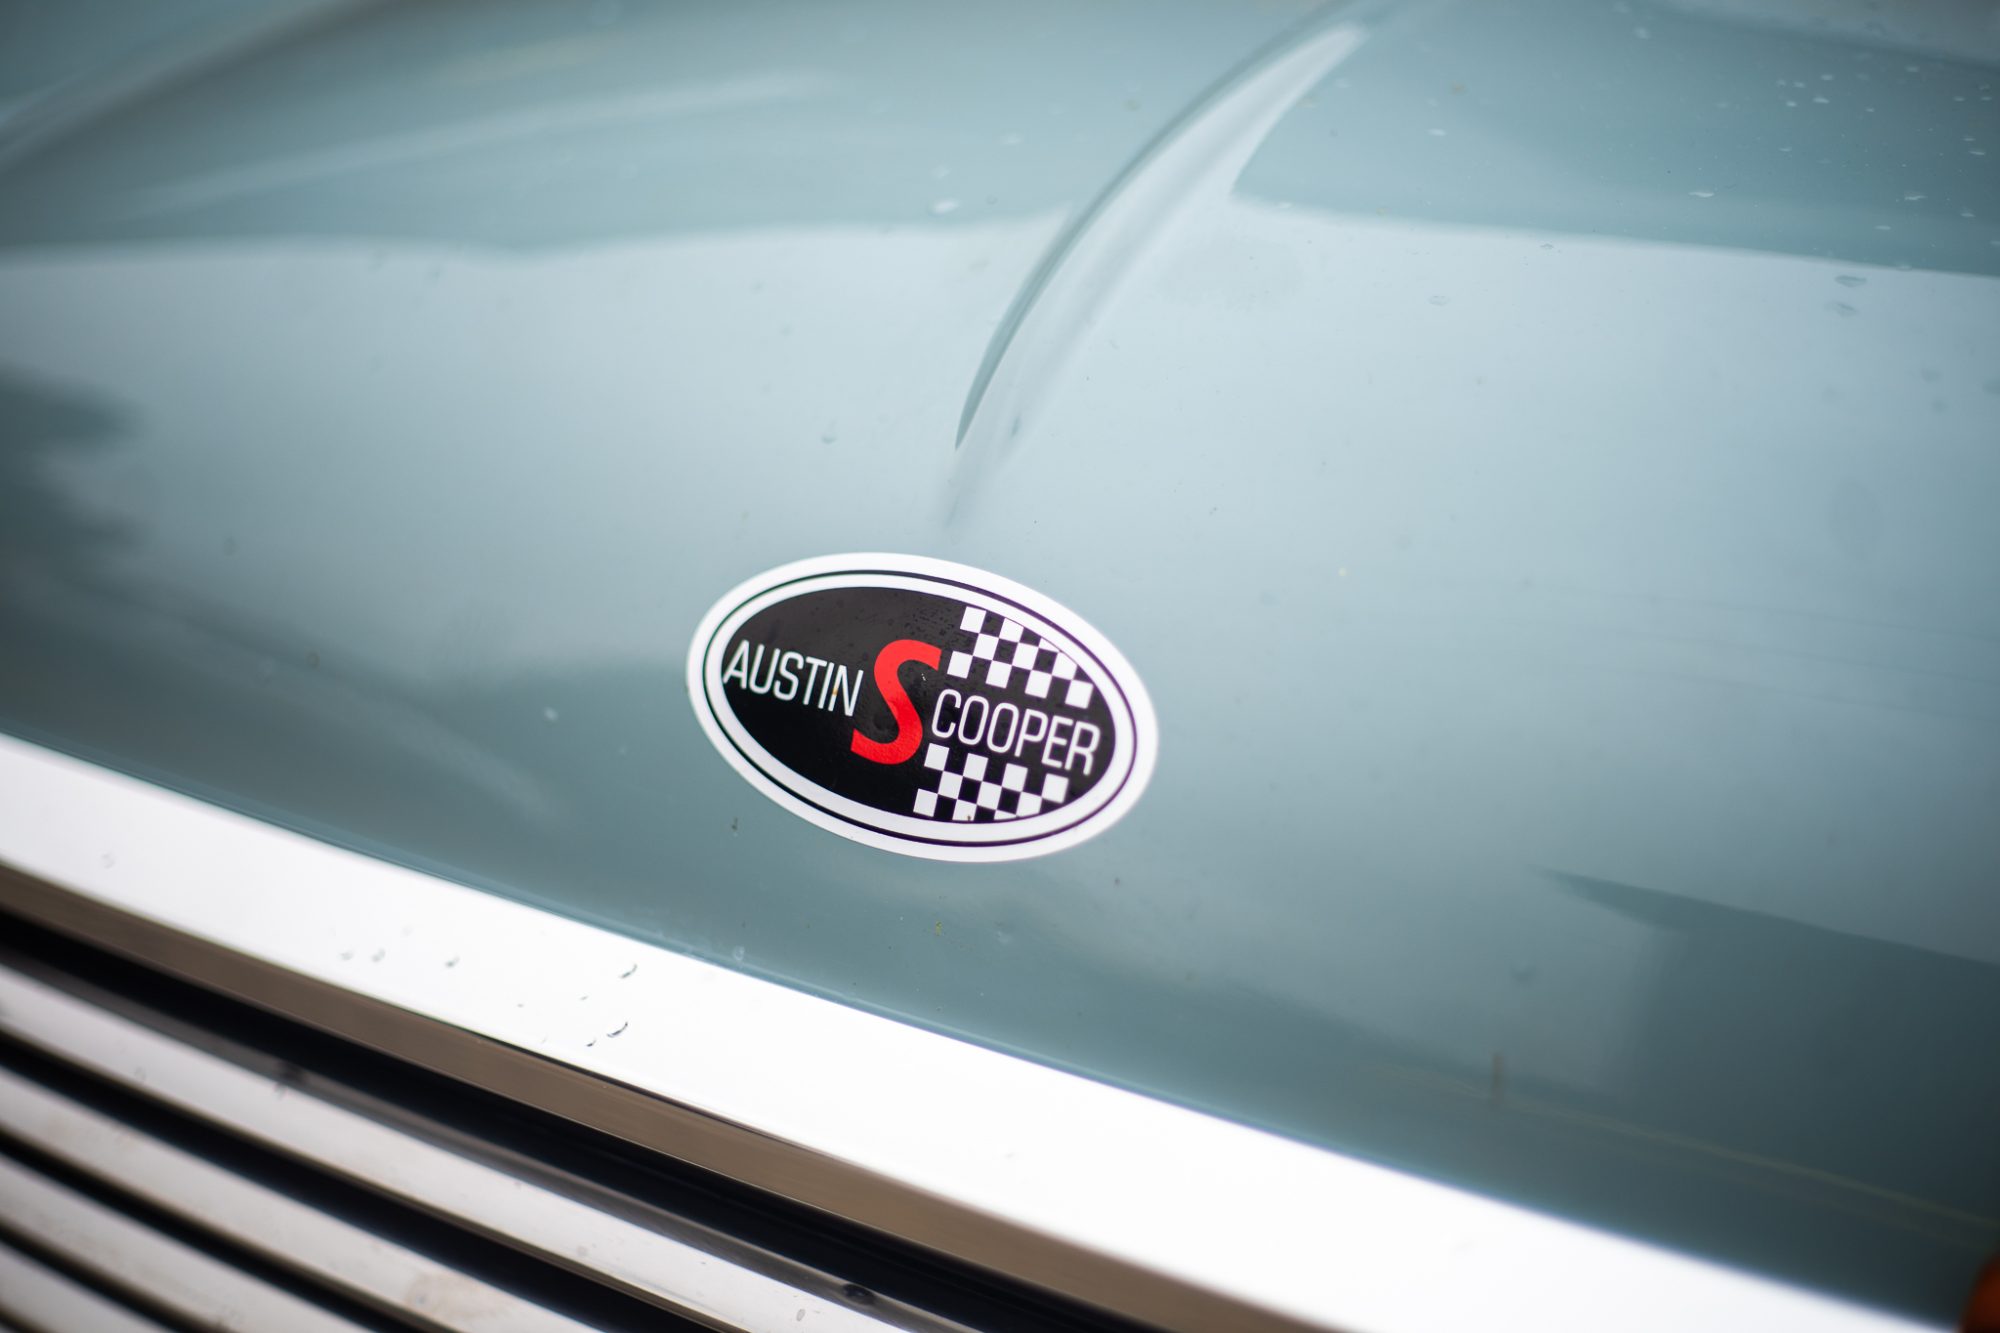
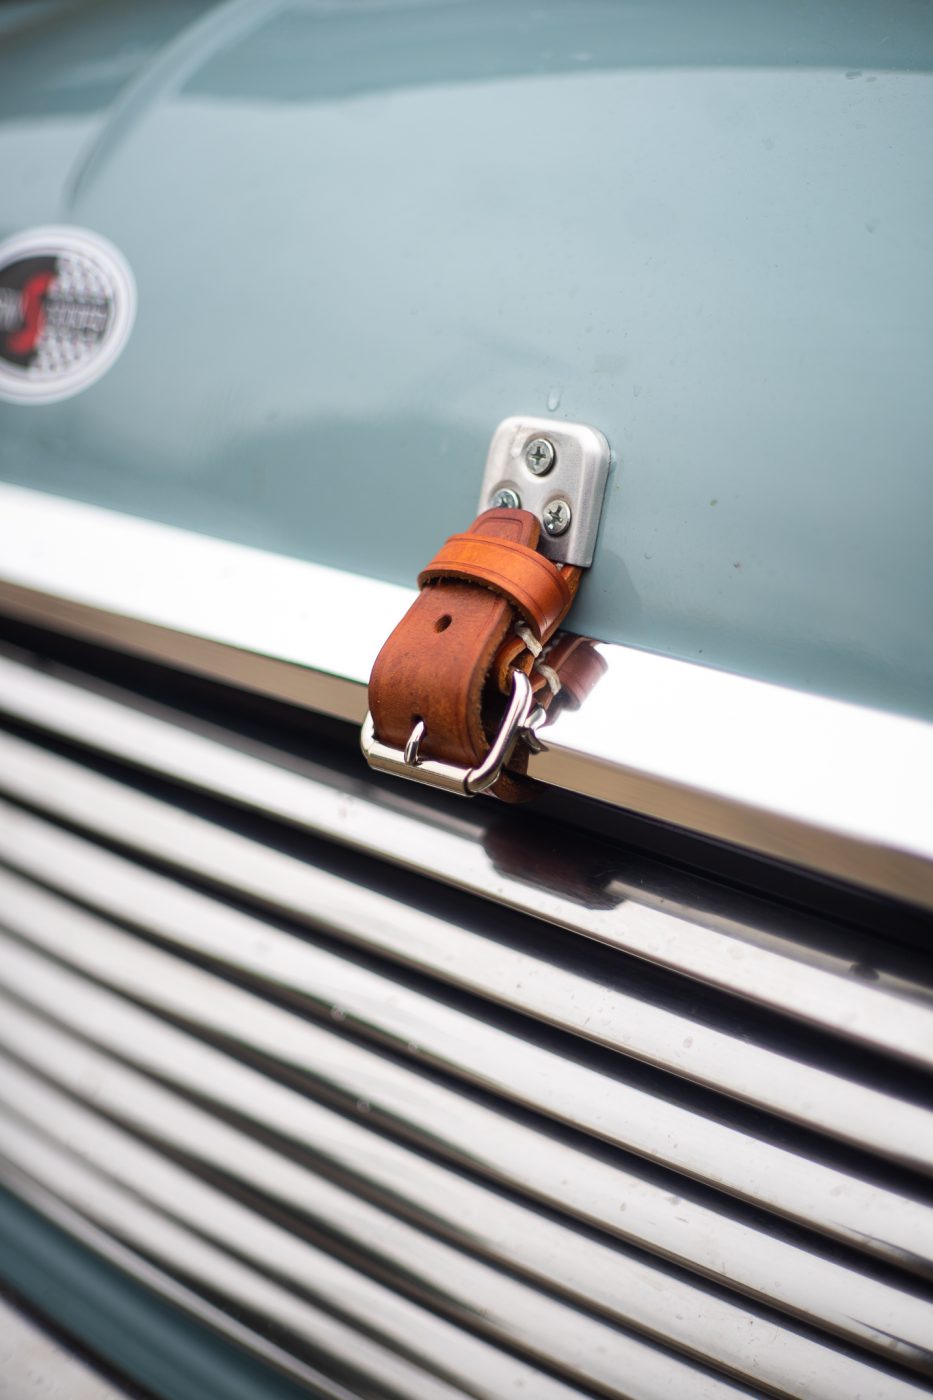
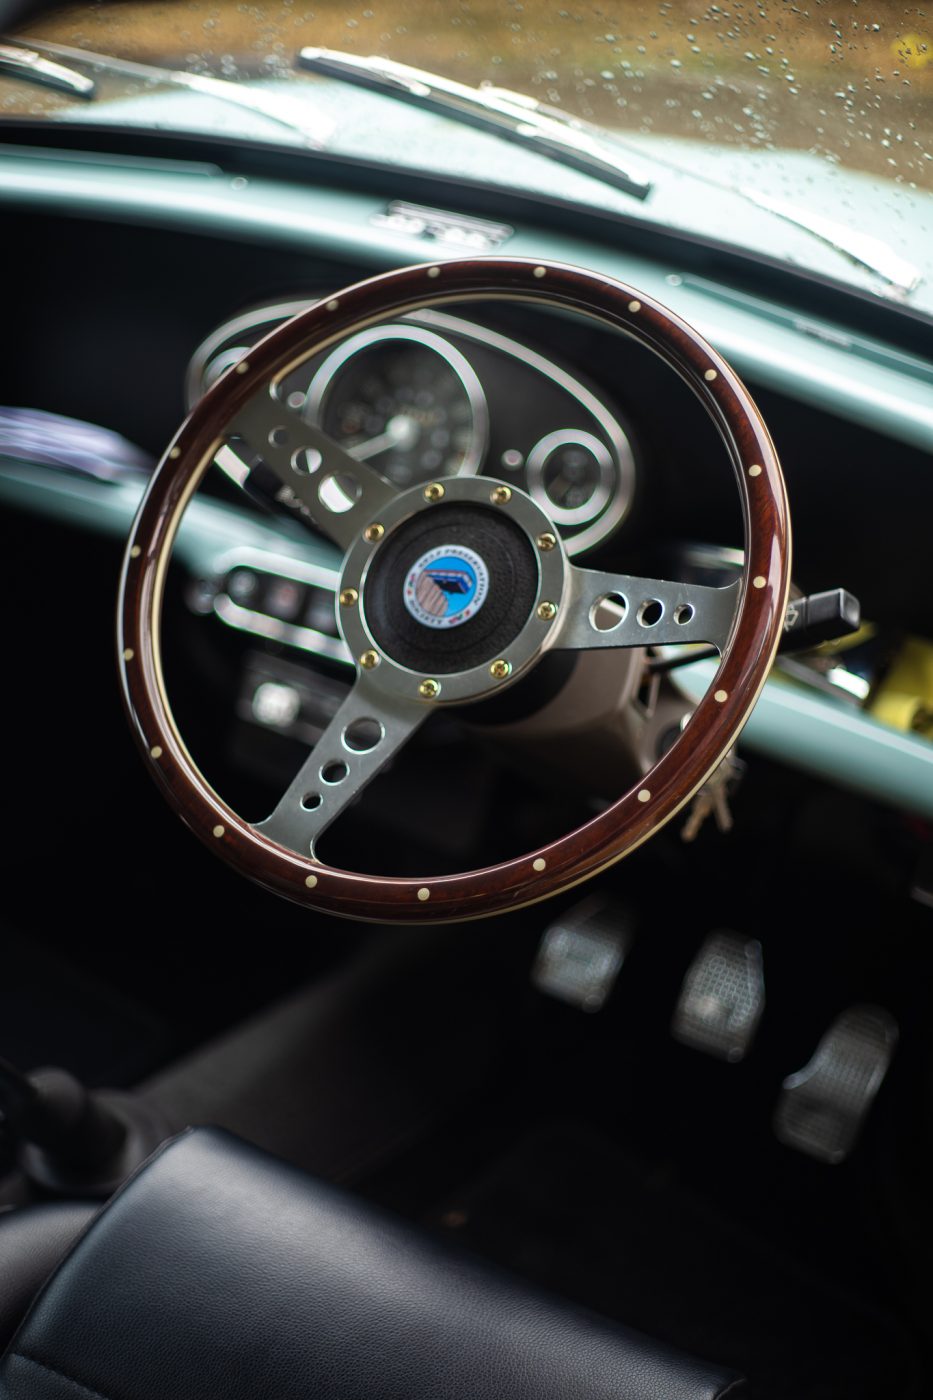
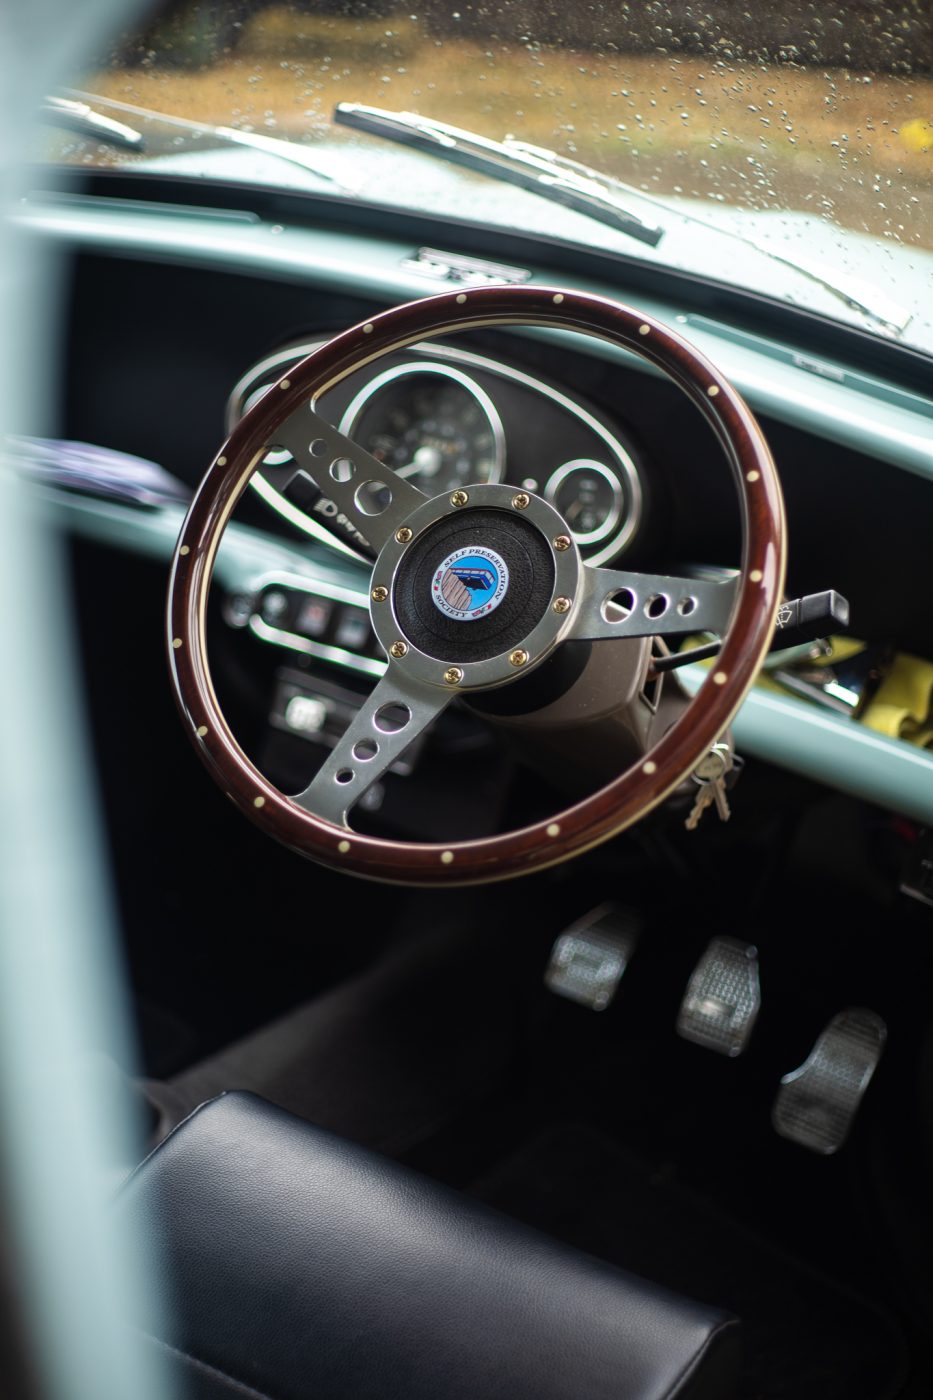
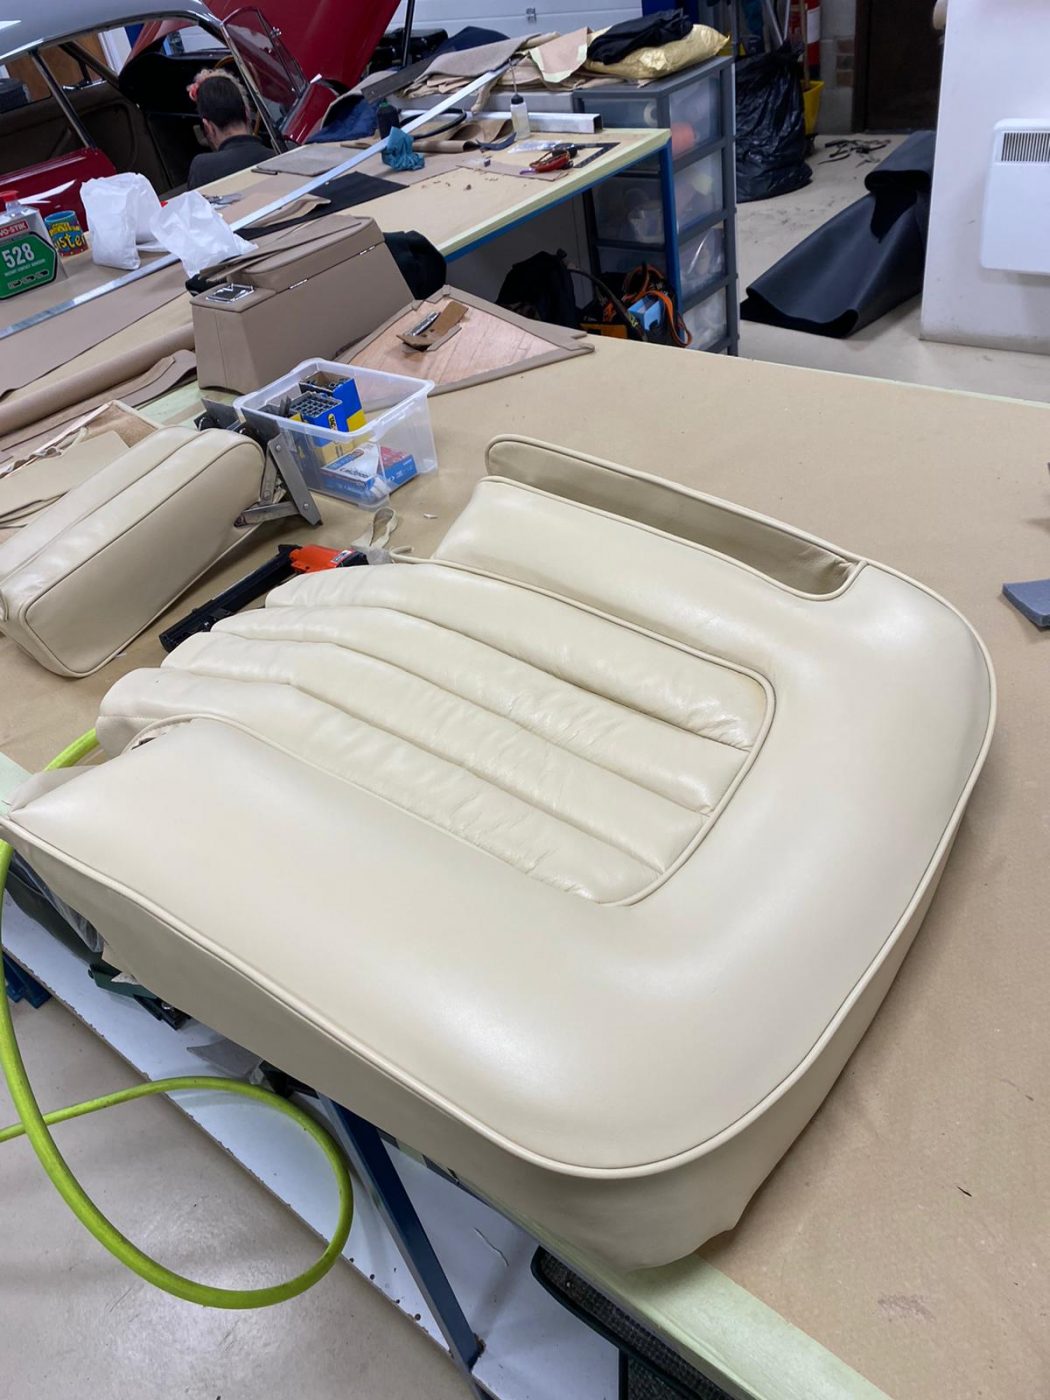
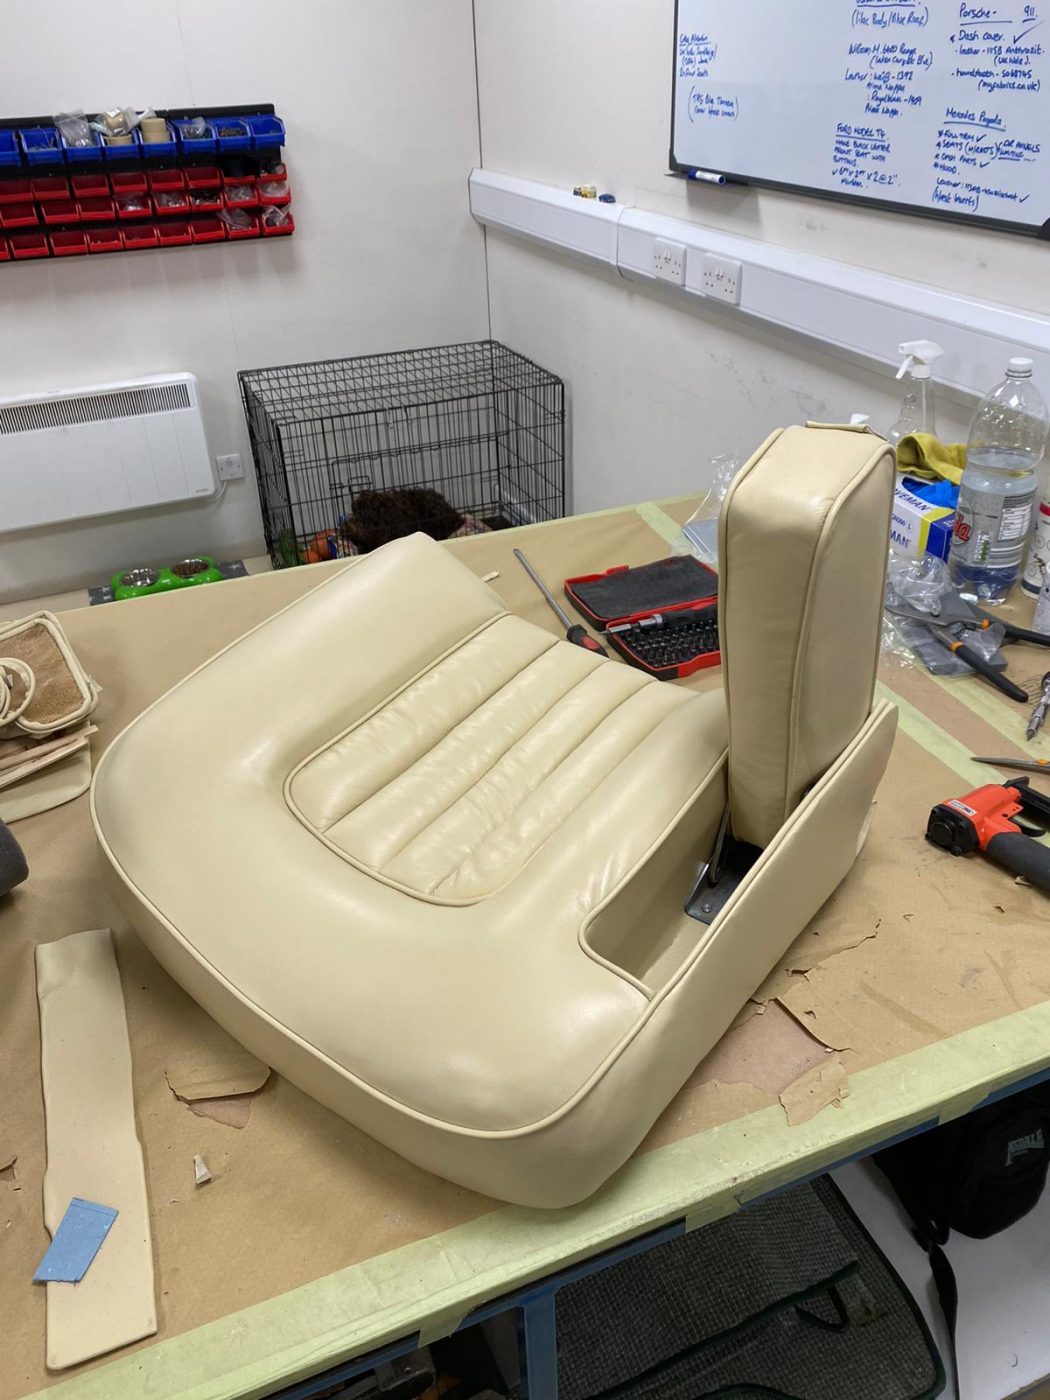
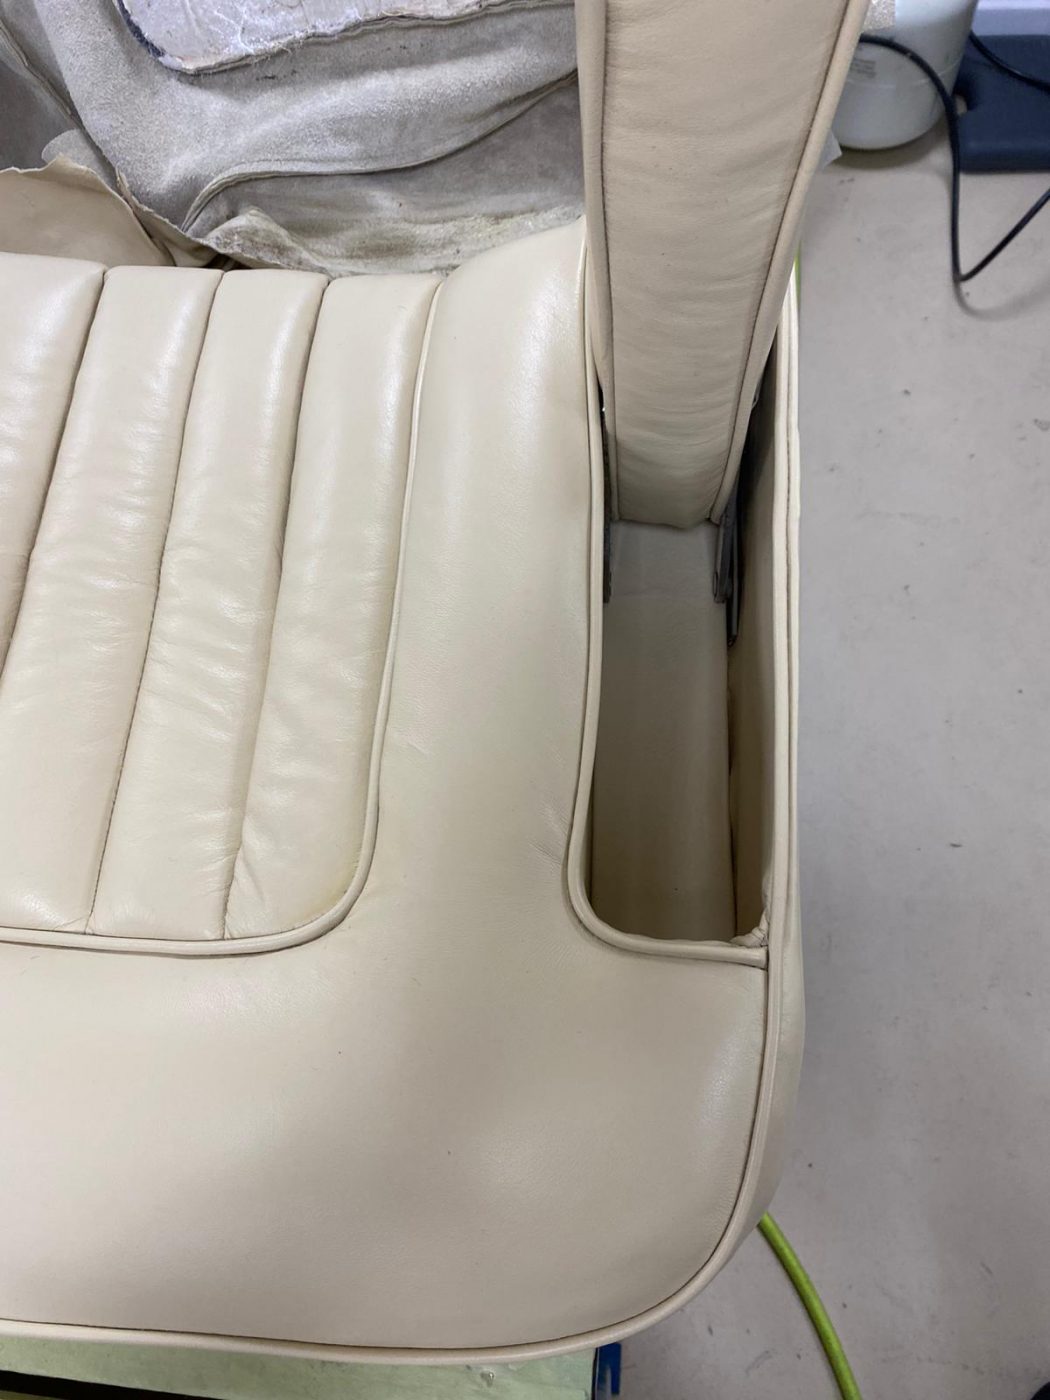
Our little blue Austin Mini has finally landed in the workshop and is ready to be fitted with its new back seats and have a
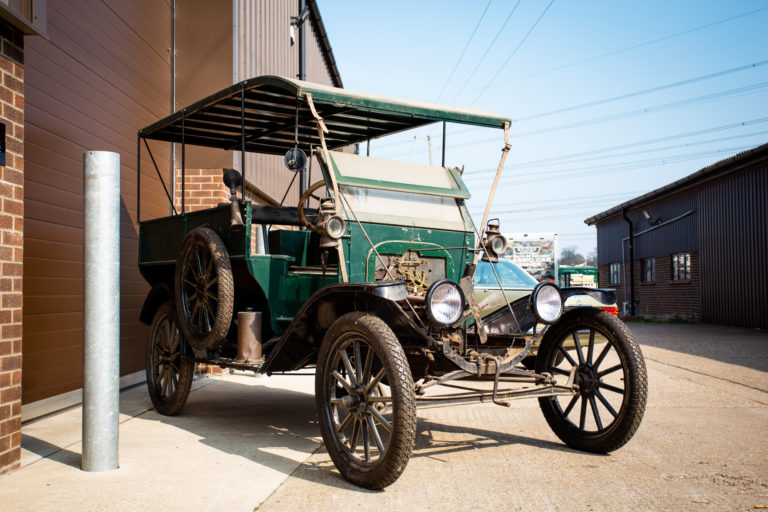
We’ve been contacted by a gentleman who has told us he had worked on our Ford Model T as a young mechanic back when Potters
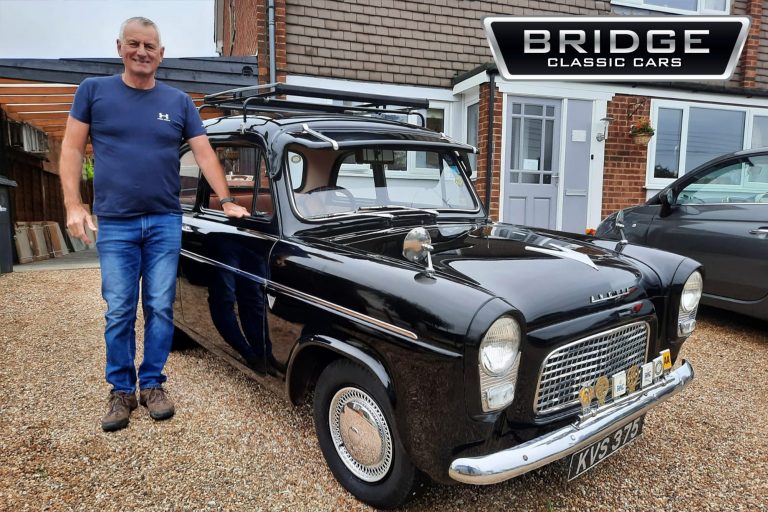
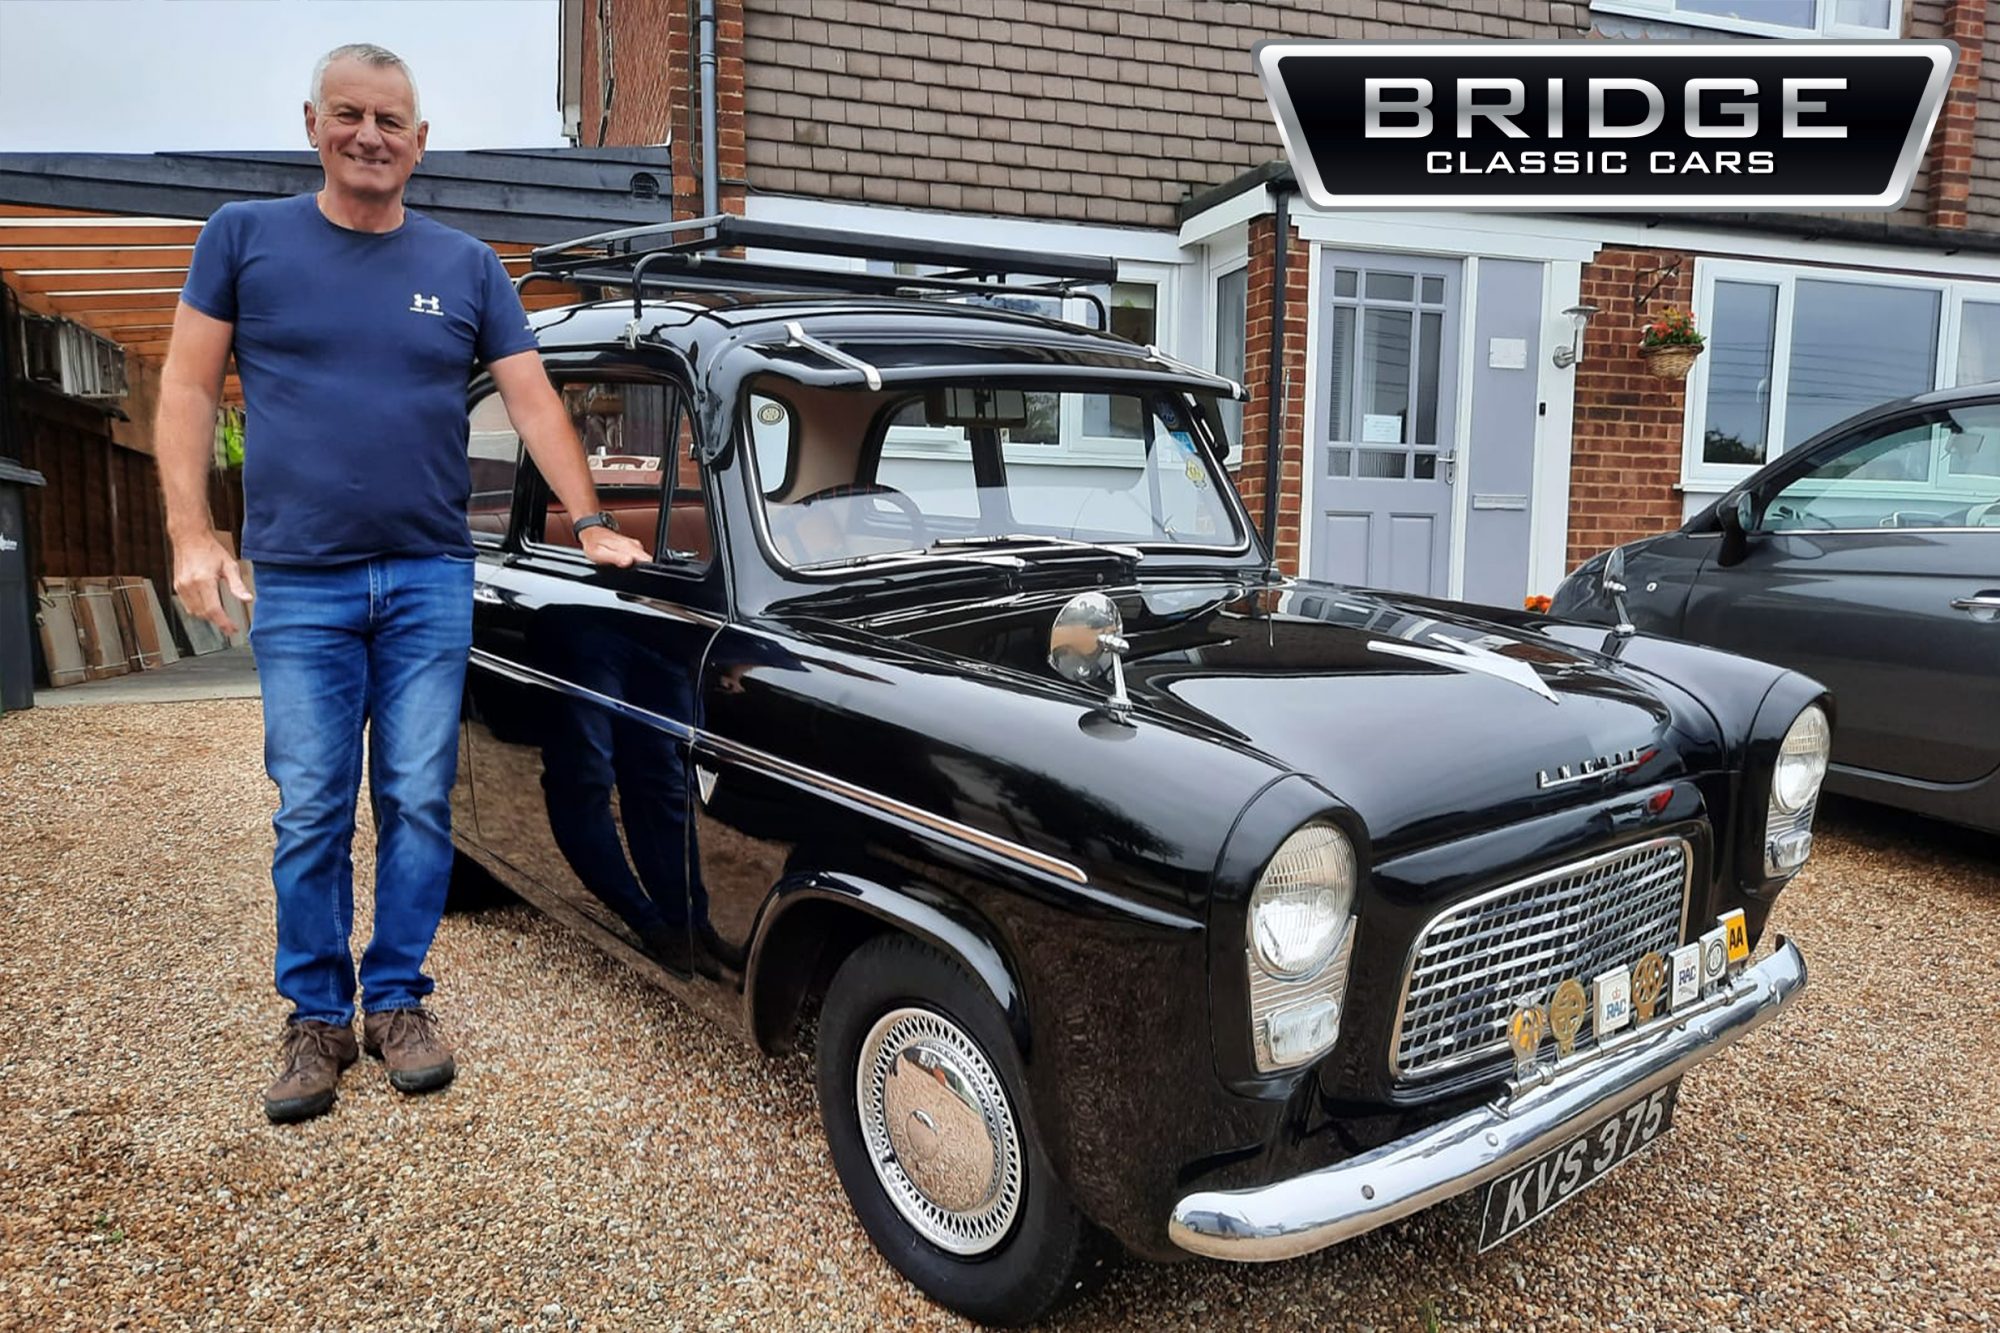
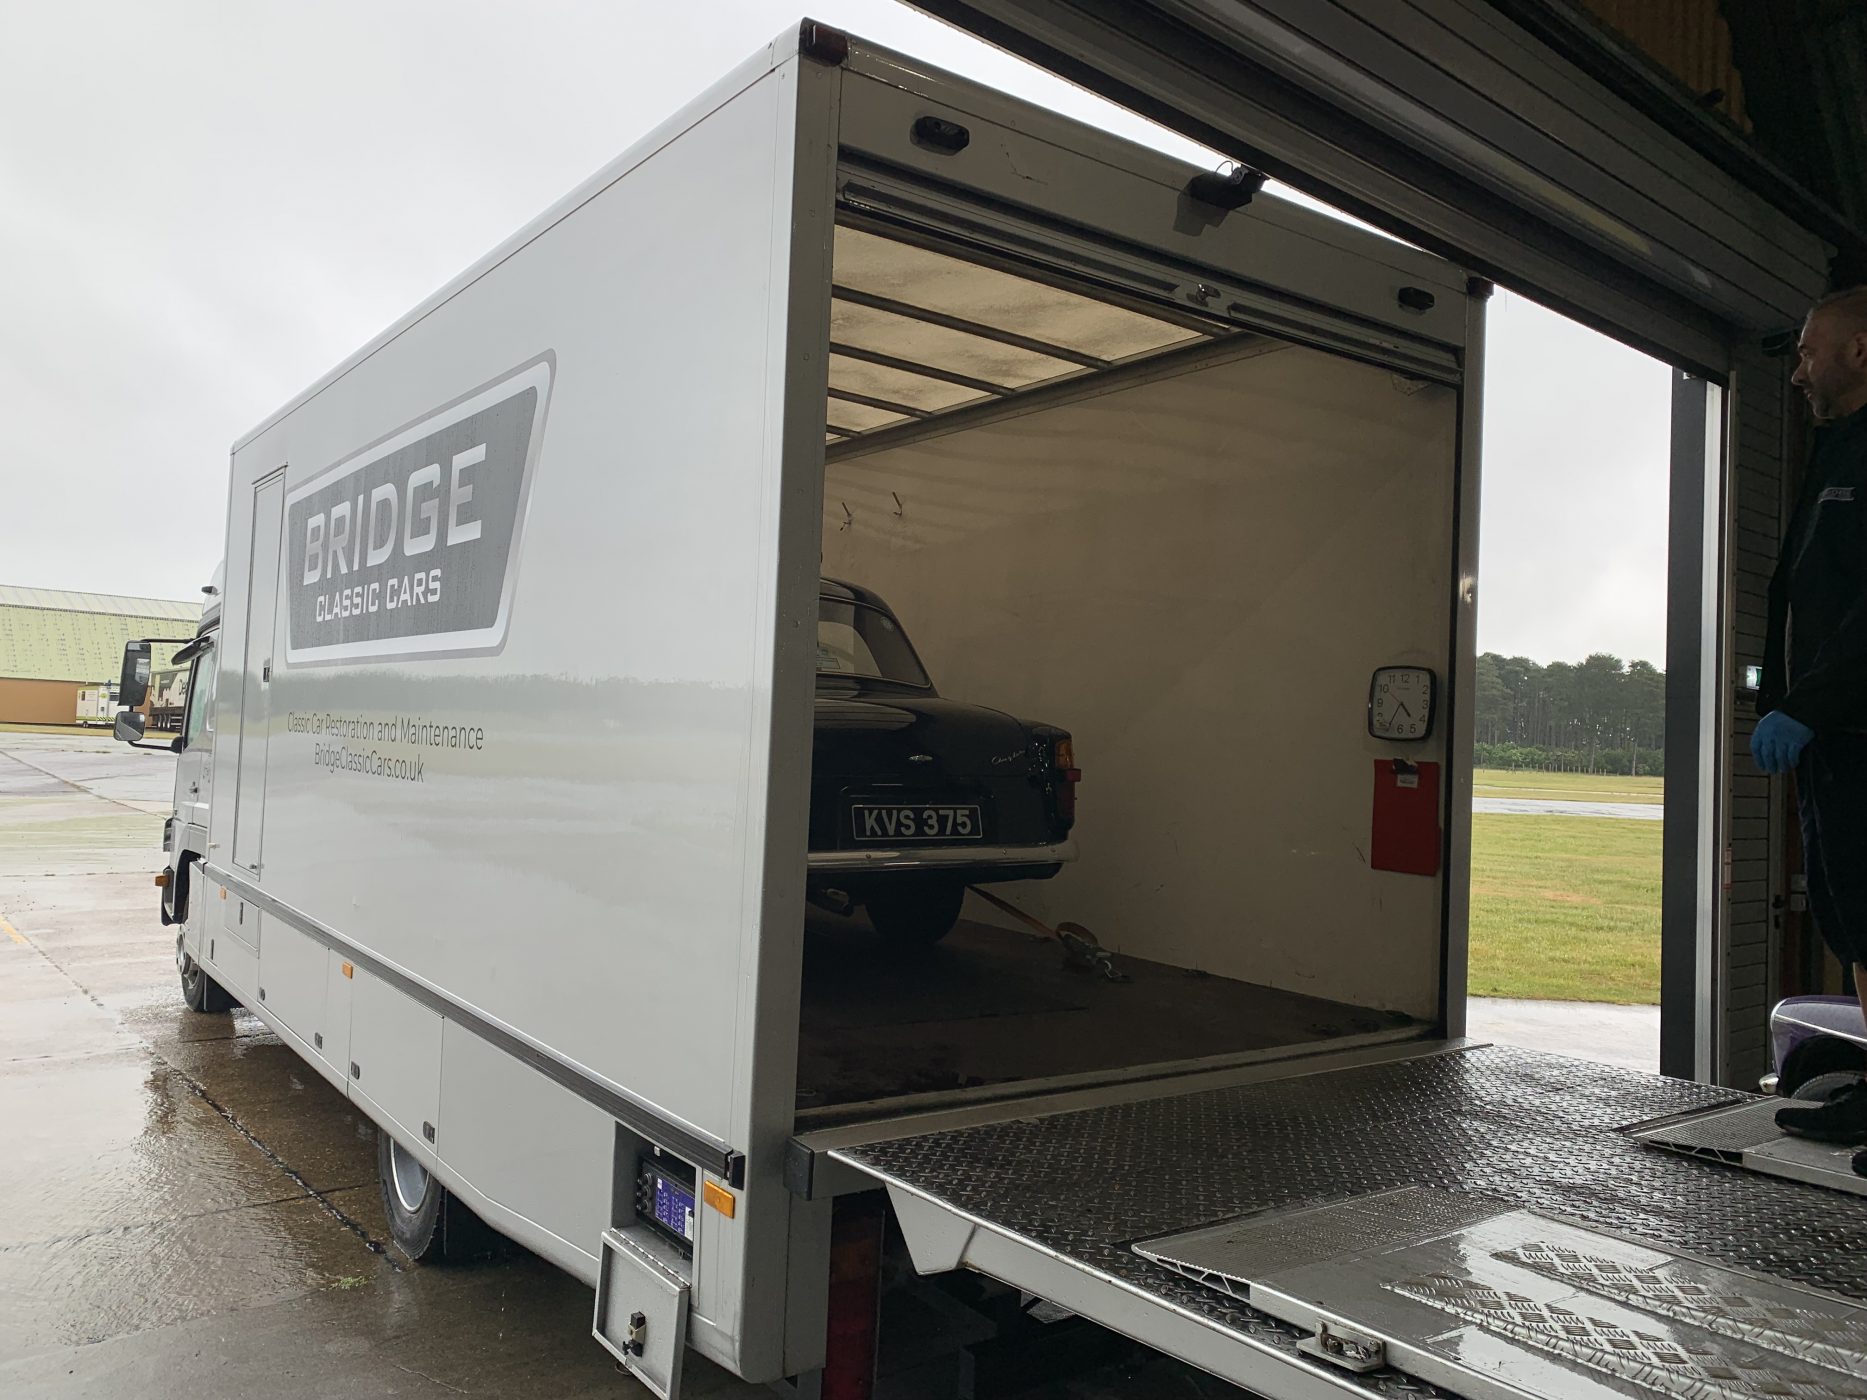
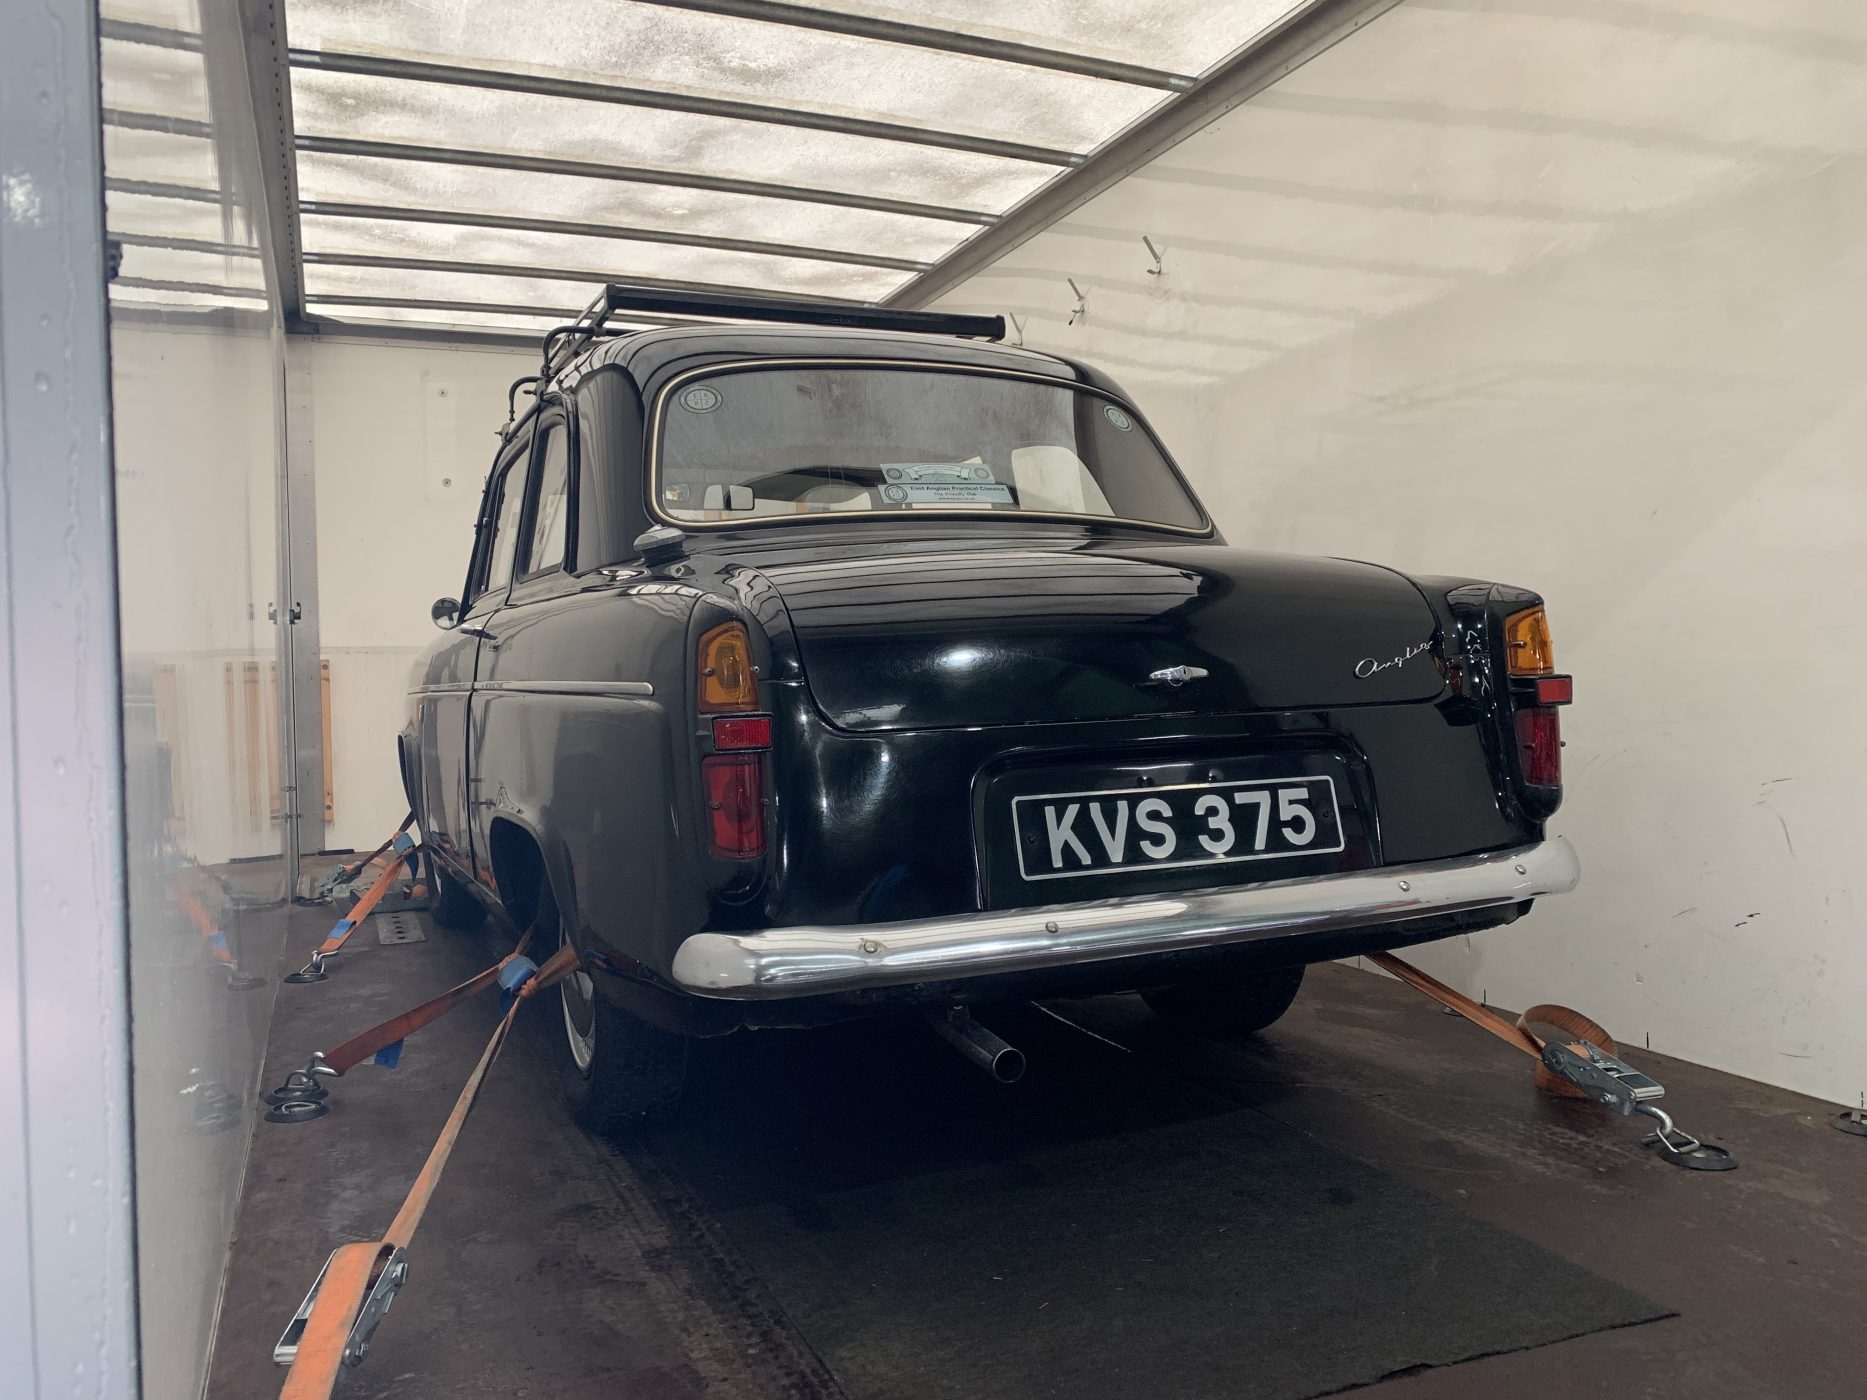
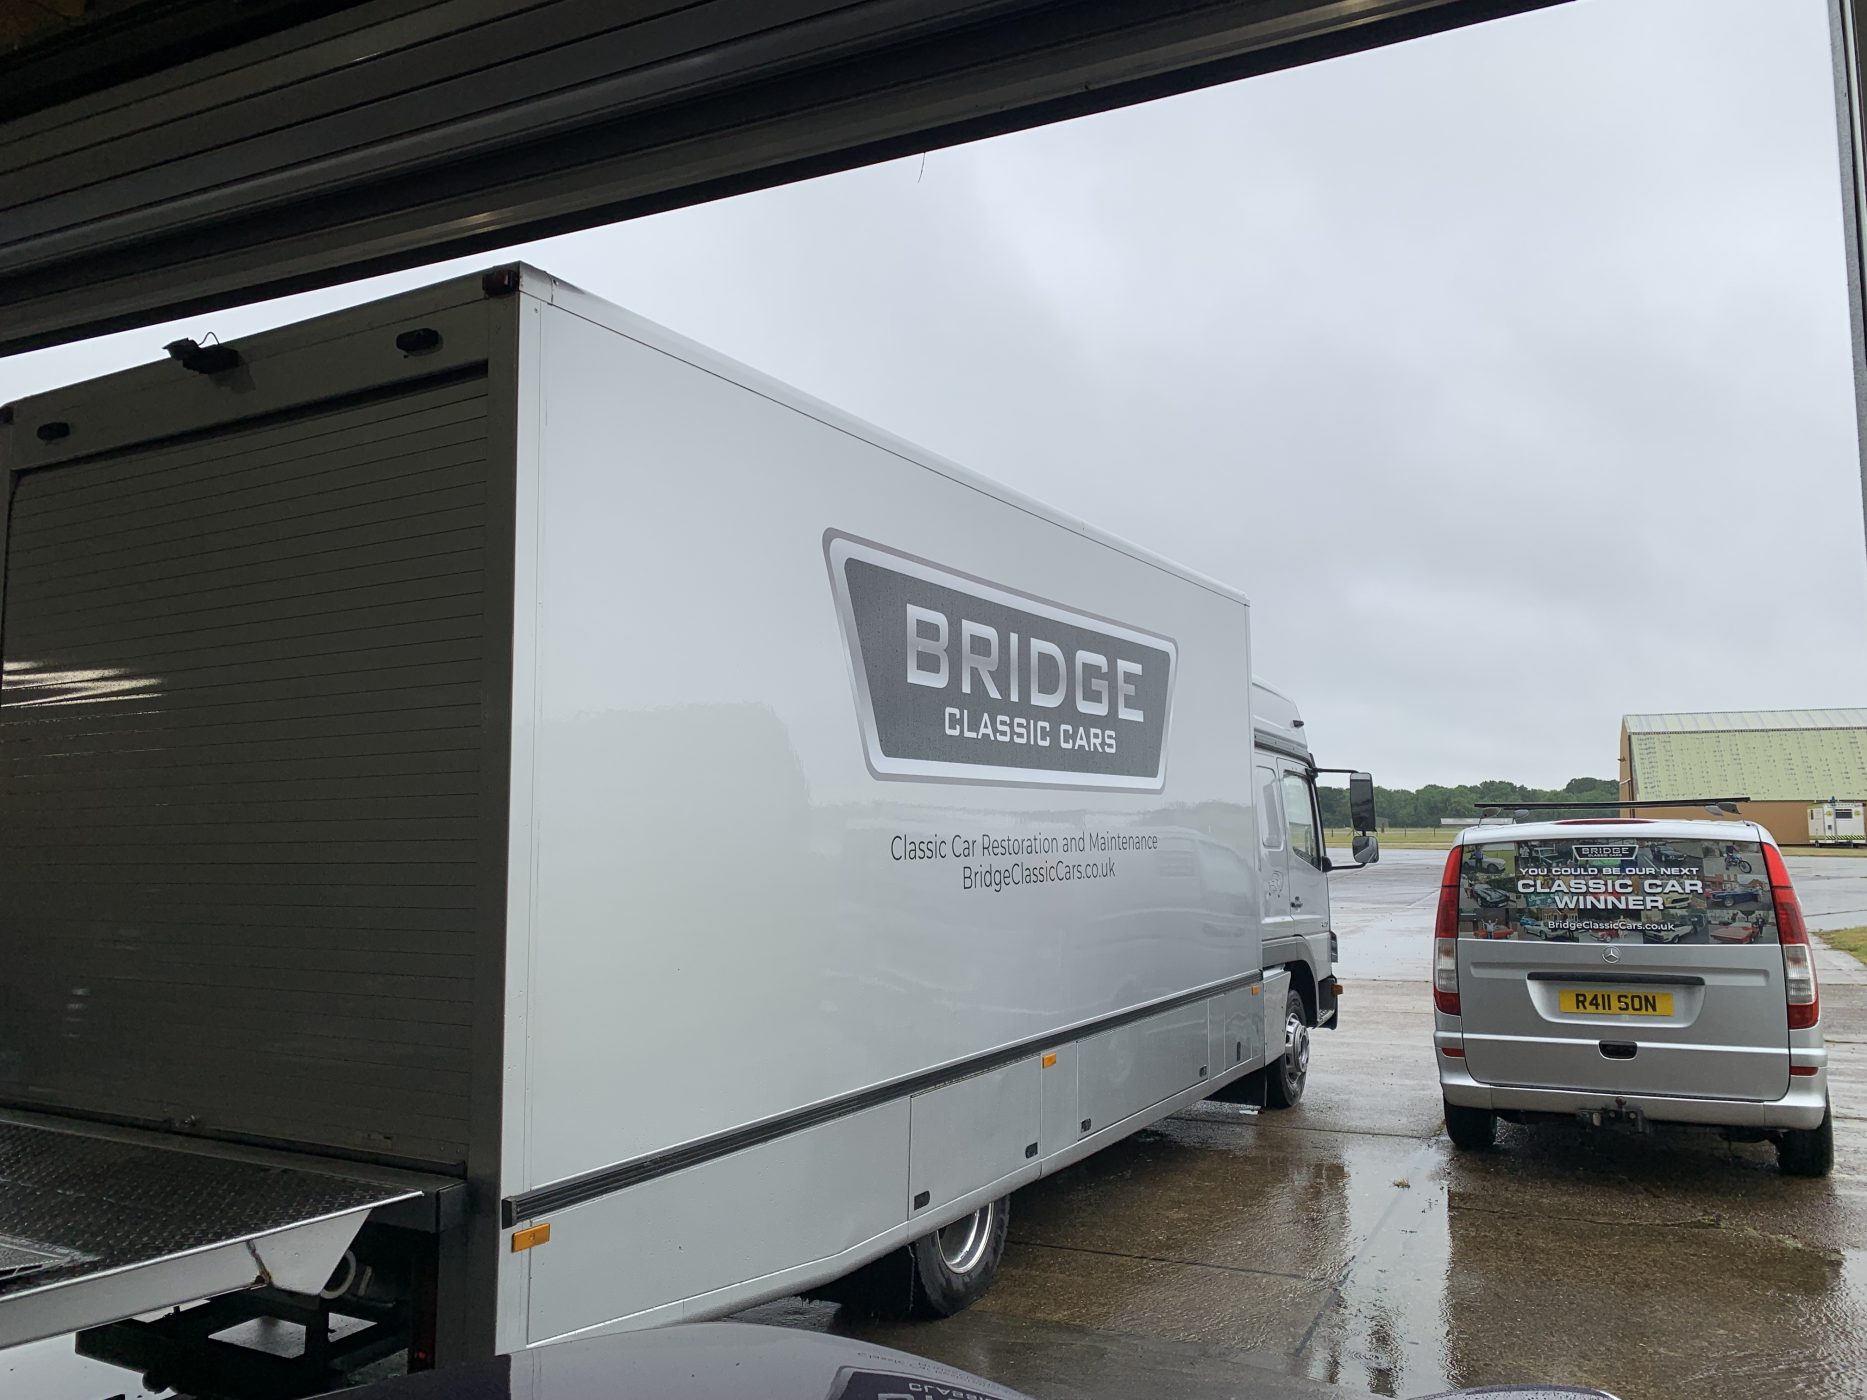
We’ve just delivered Kevin’s 1959 Ford Anglia. Kevin tells us he’s been entering since our 1976 Triumph Spitfire, which was our fourth ever competition! Perseverance

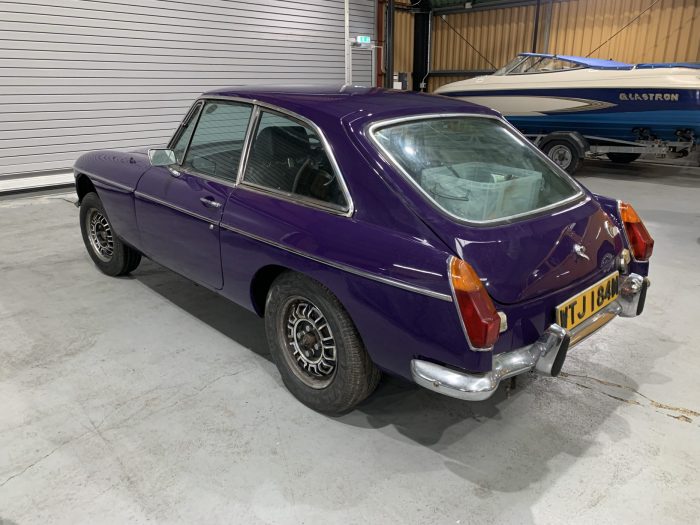
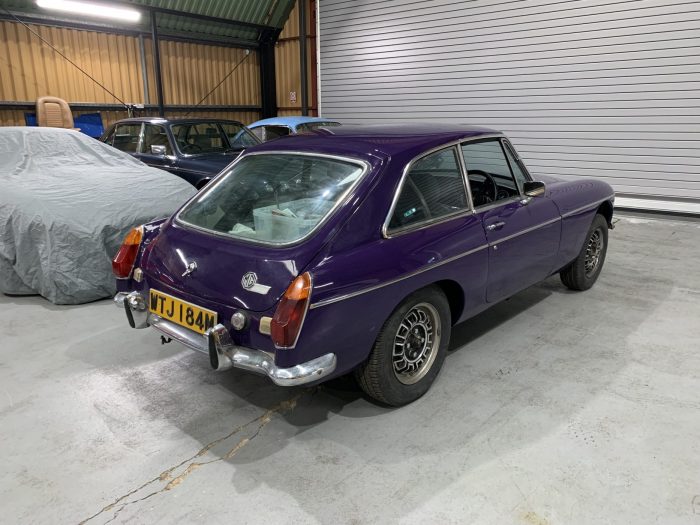
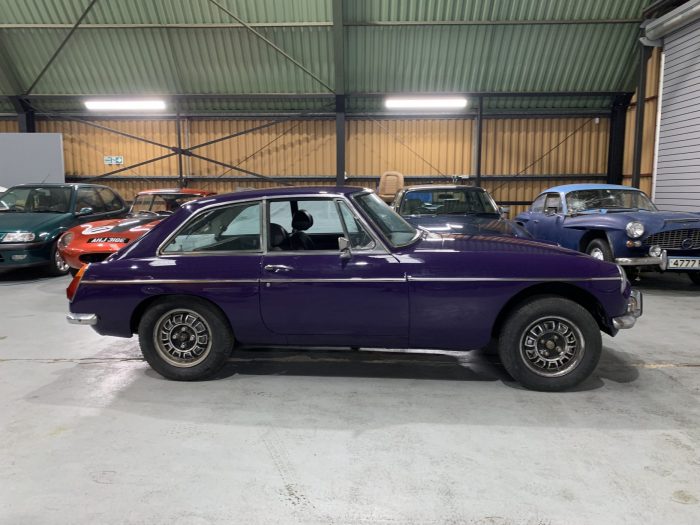
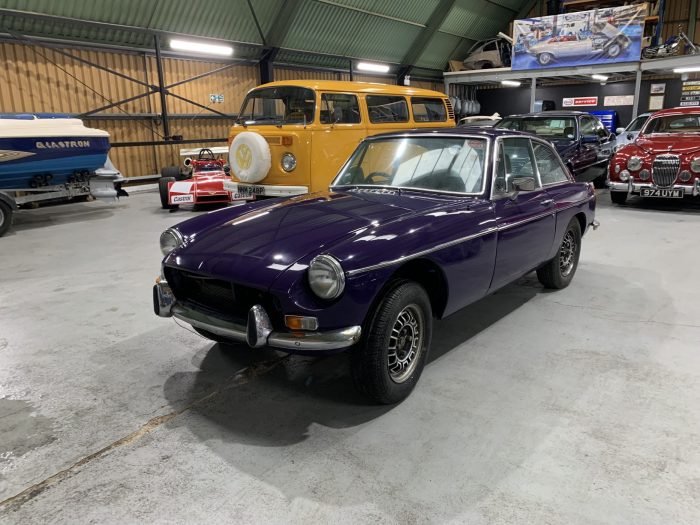
We’ve been working on the engine for this MG B V8 and now the rest of the car has finally come in for us to
Our 1960 MG A’s owner got in touch to tell us that it’s his classic’s 60th birthday, marking 60 years since it was first registered.

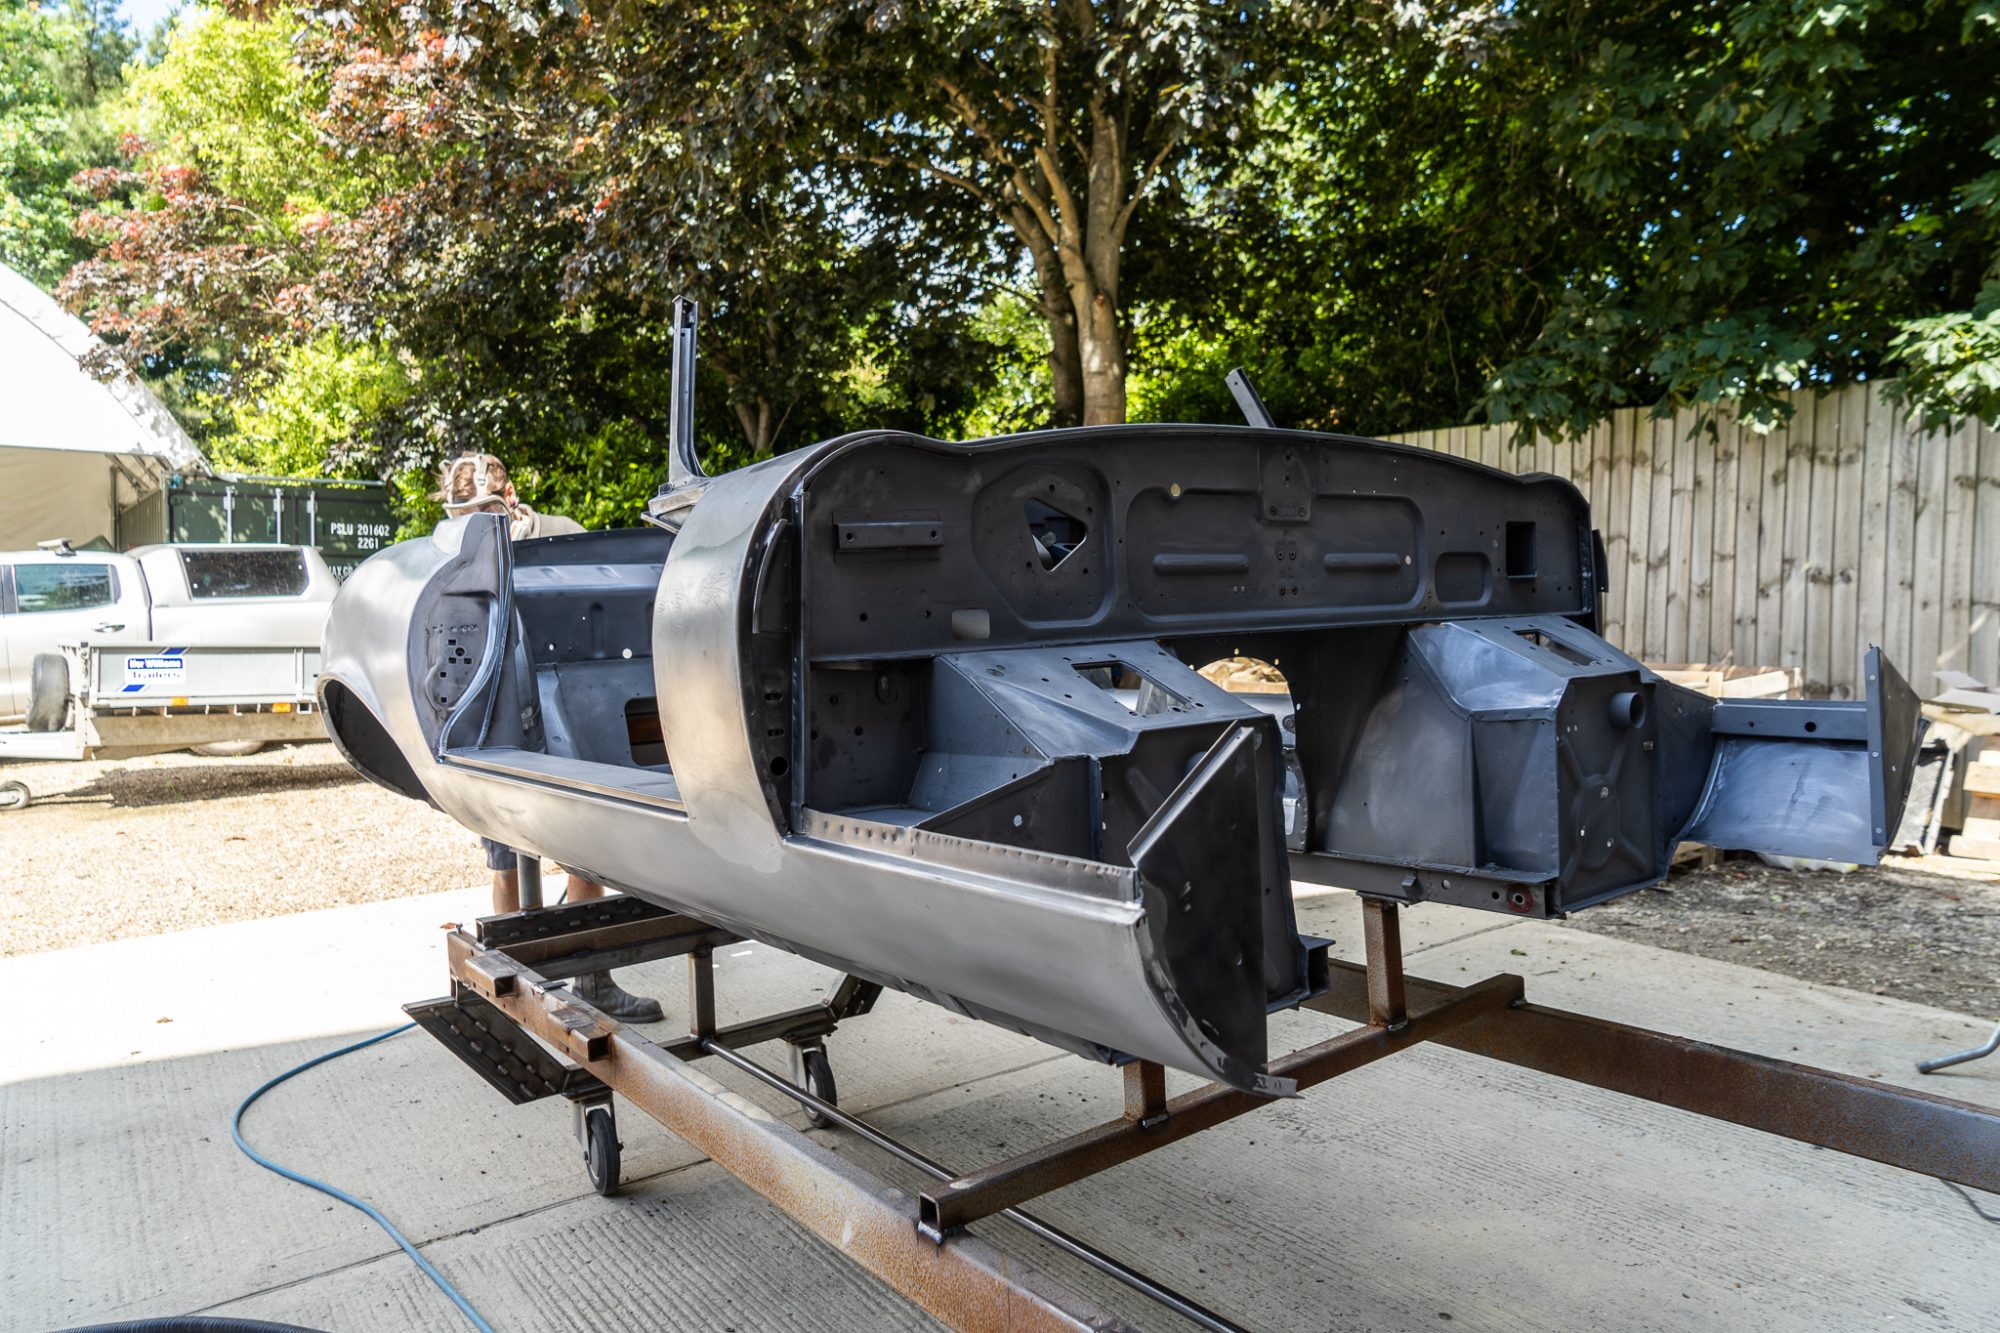
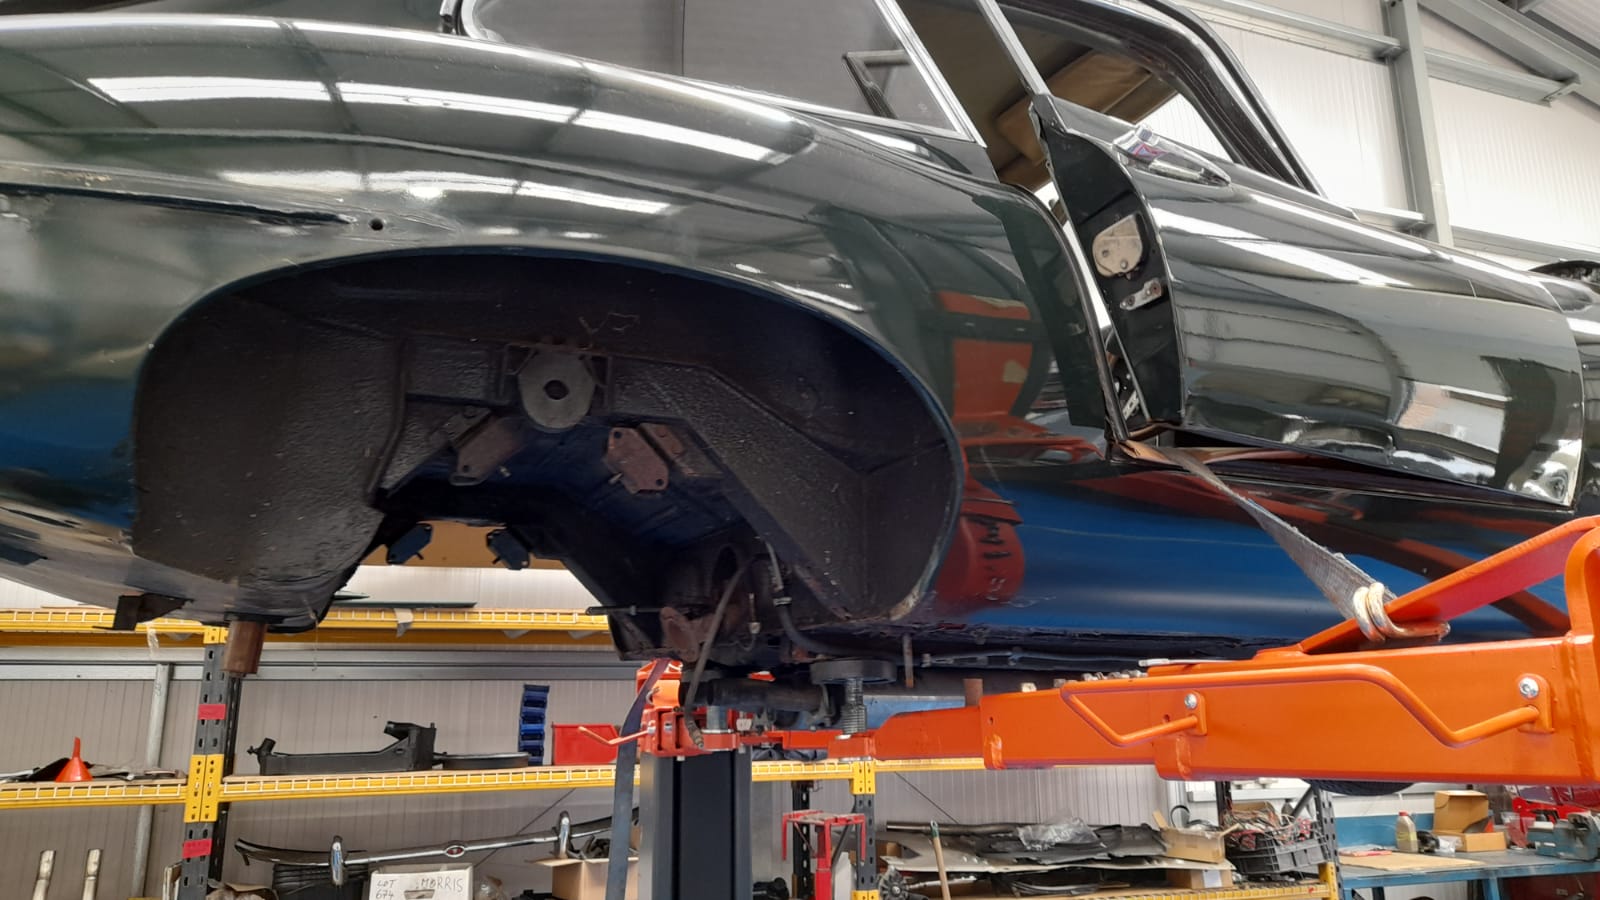
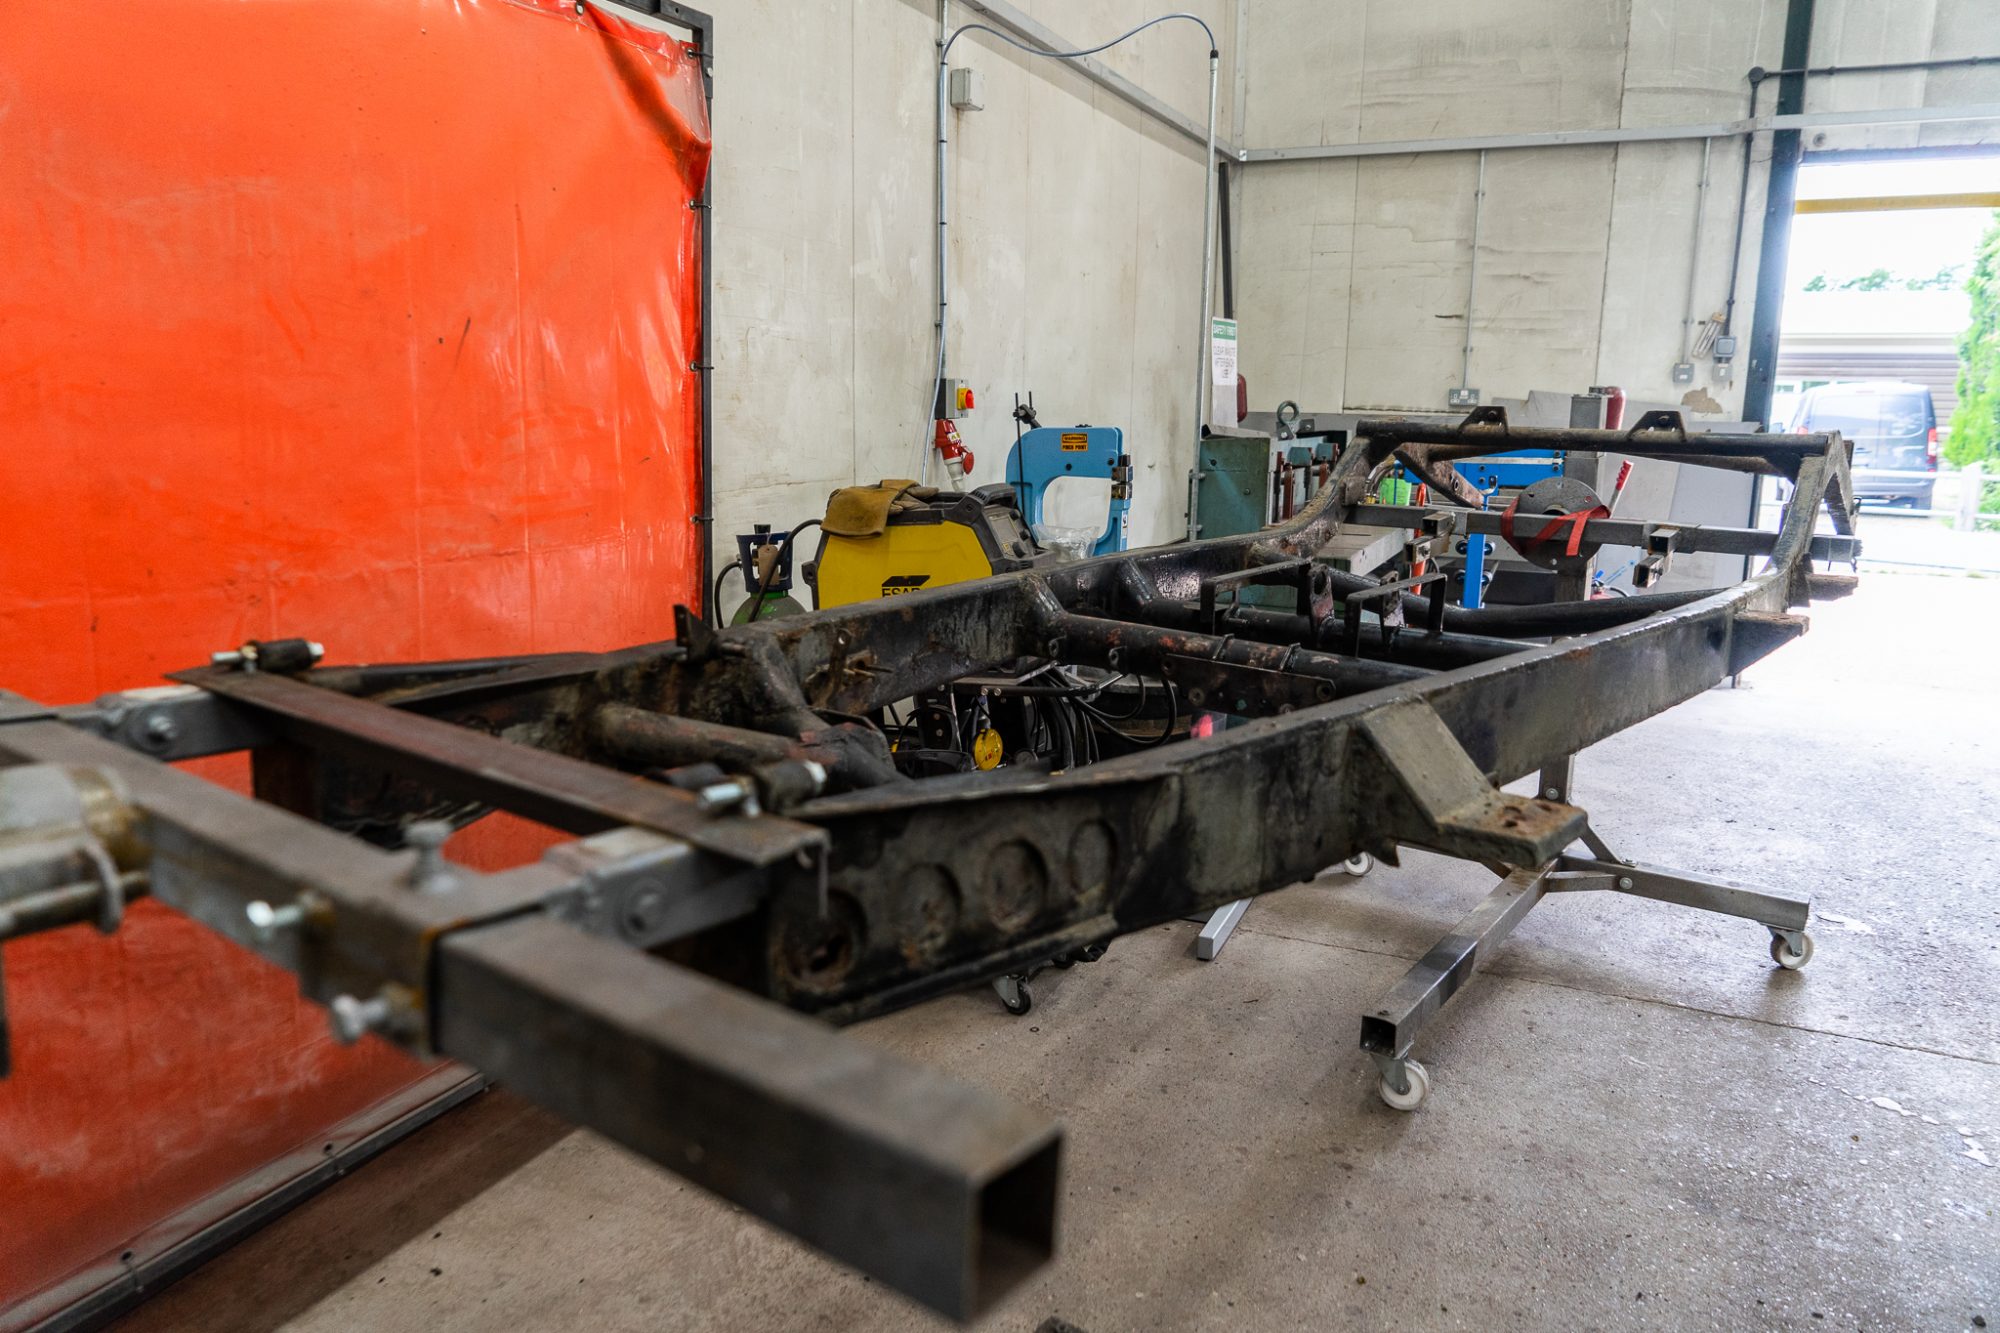
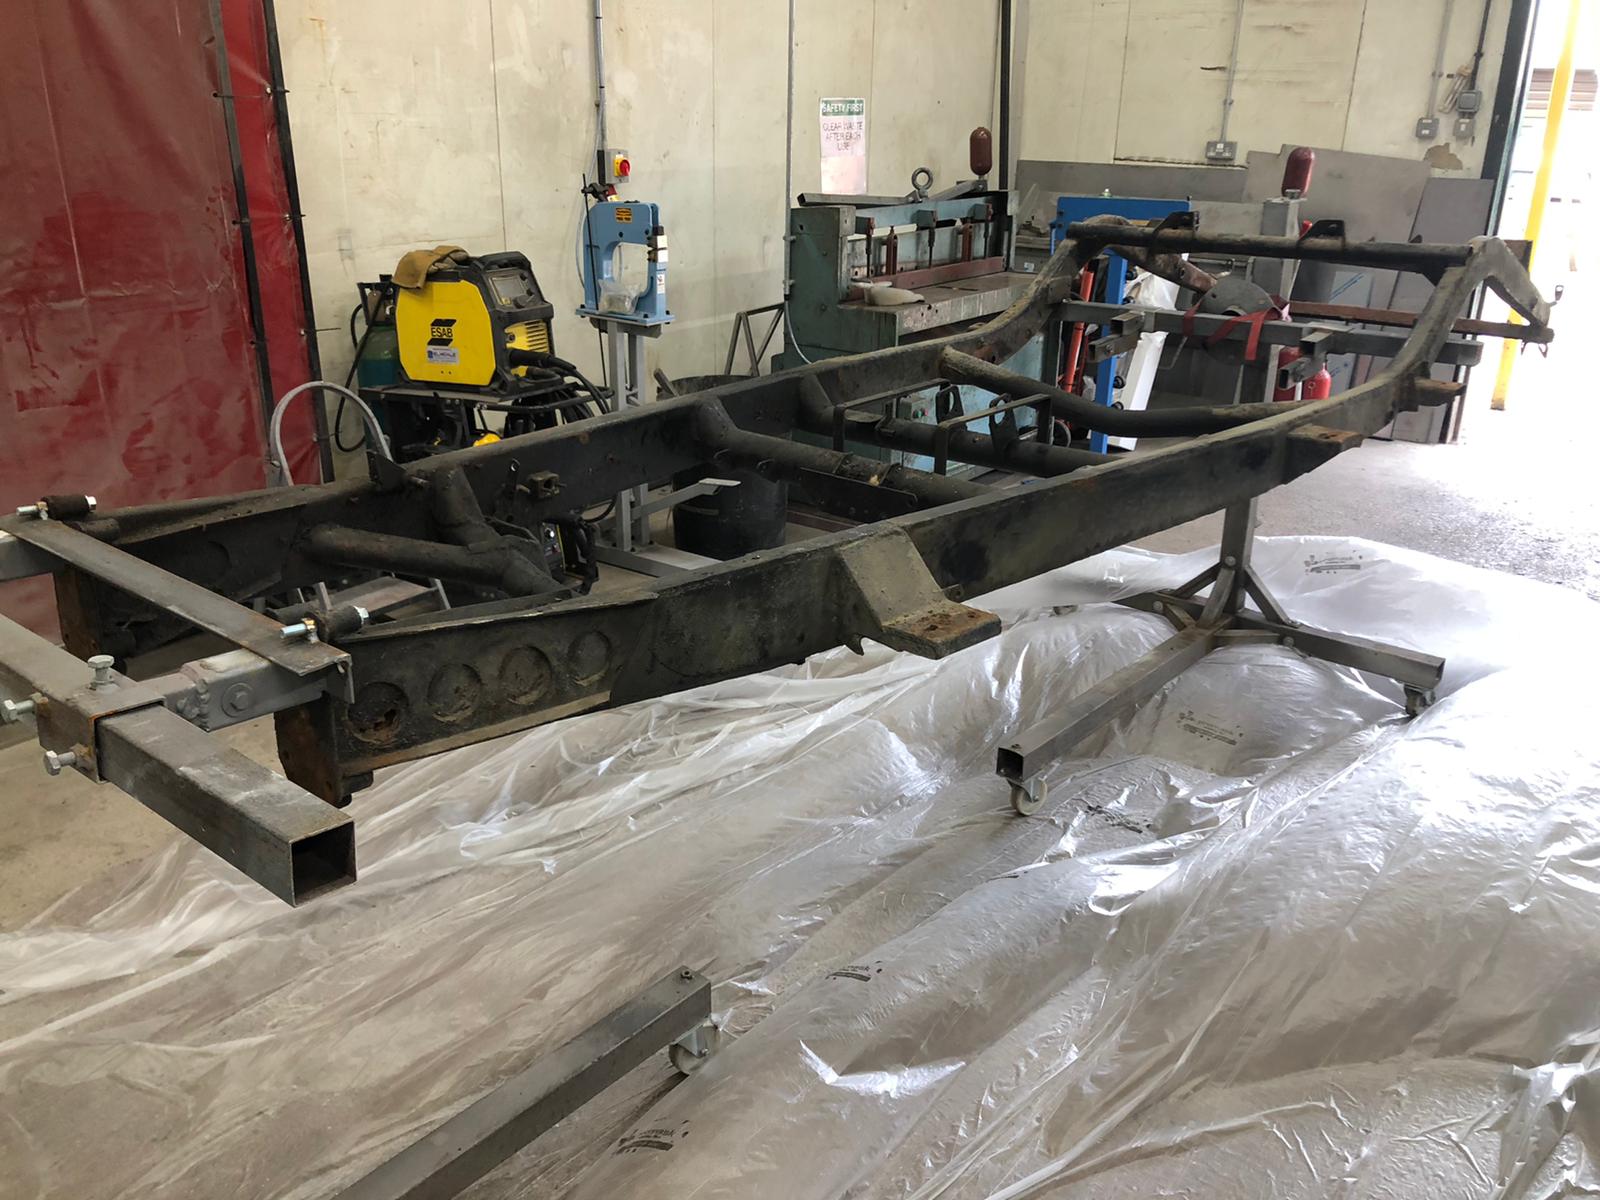
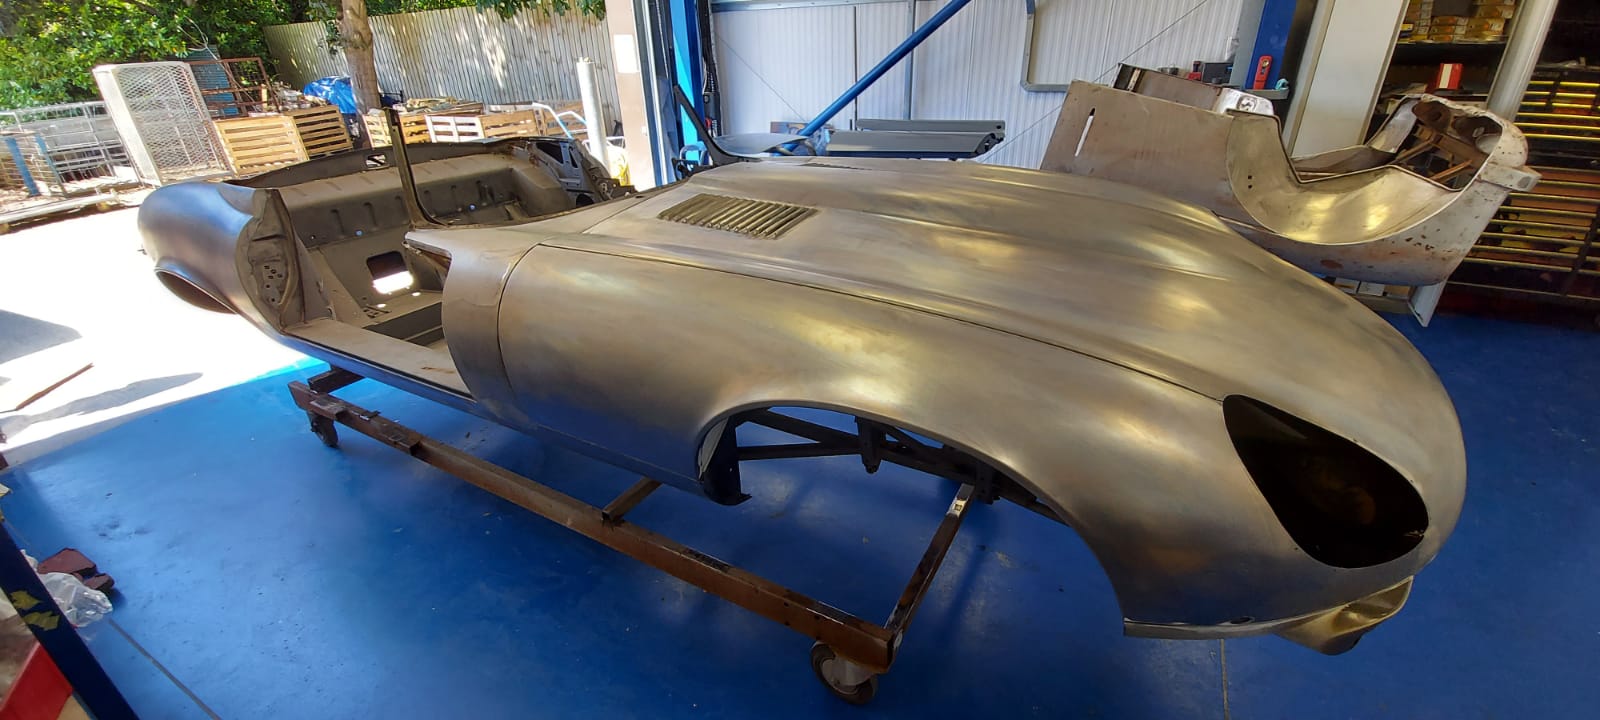
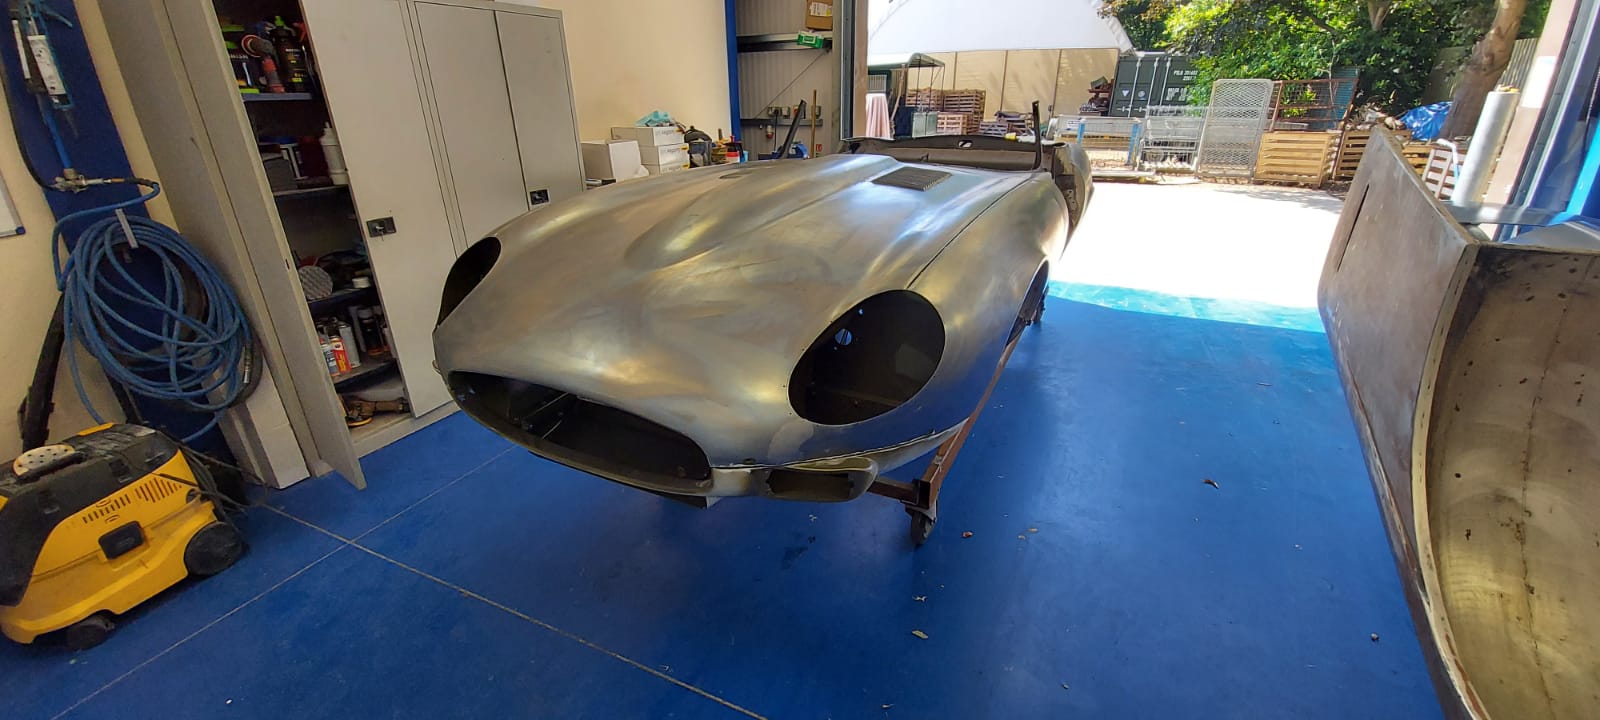
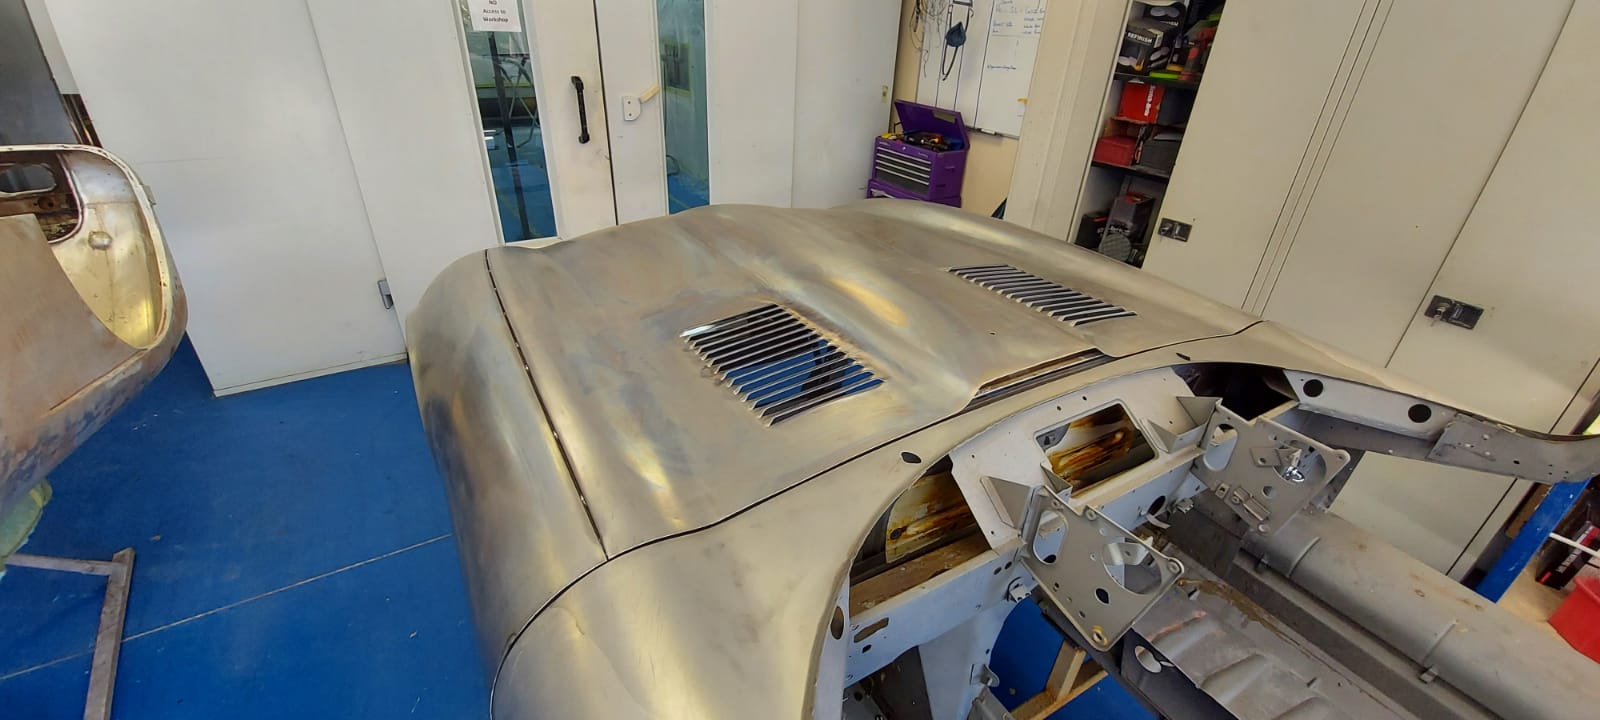
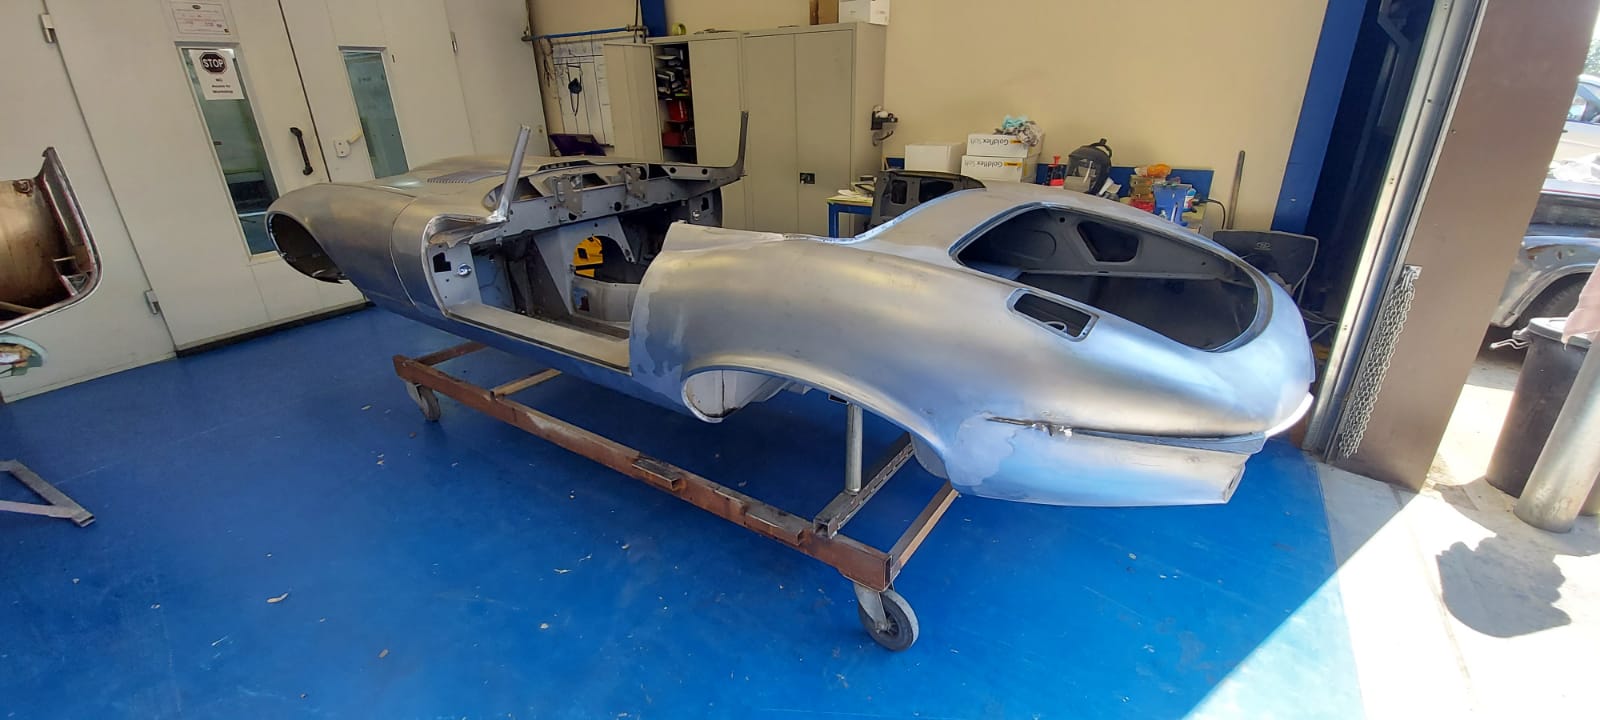
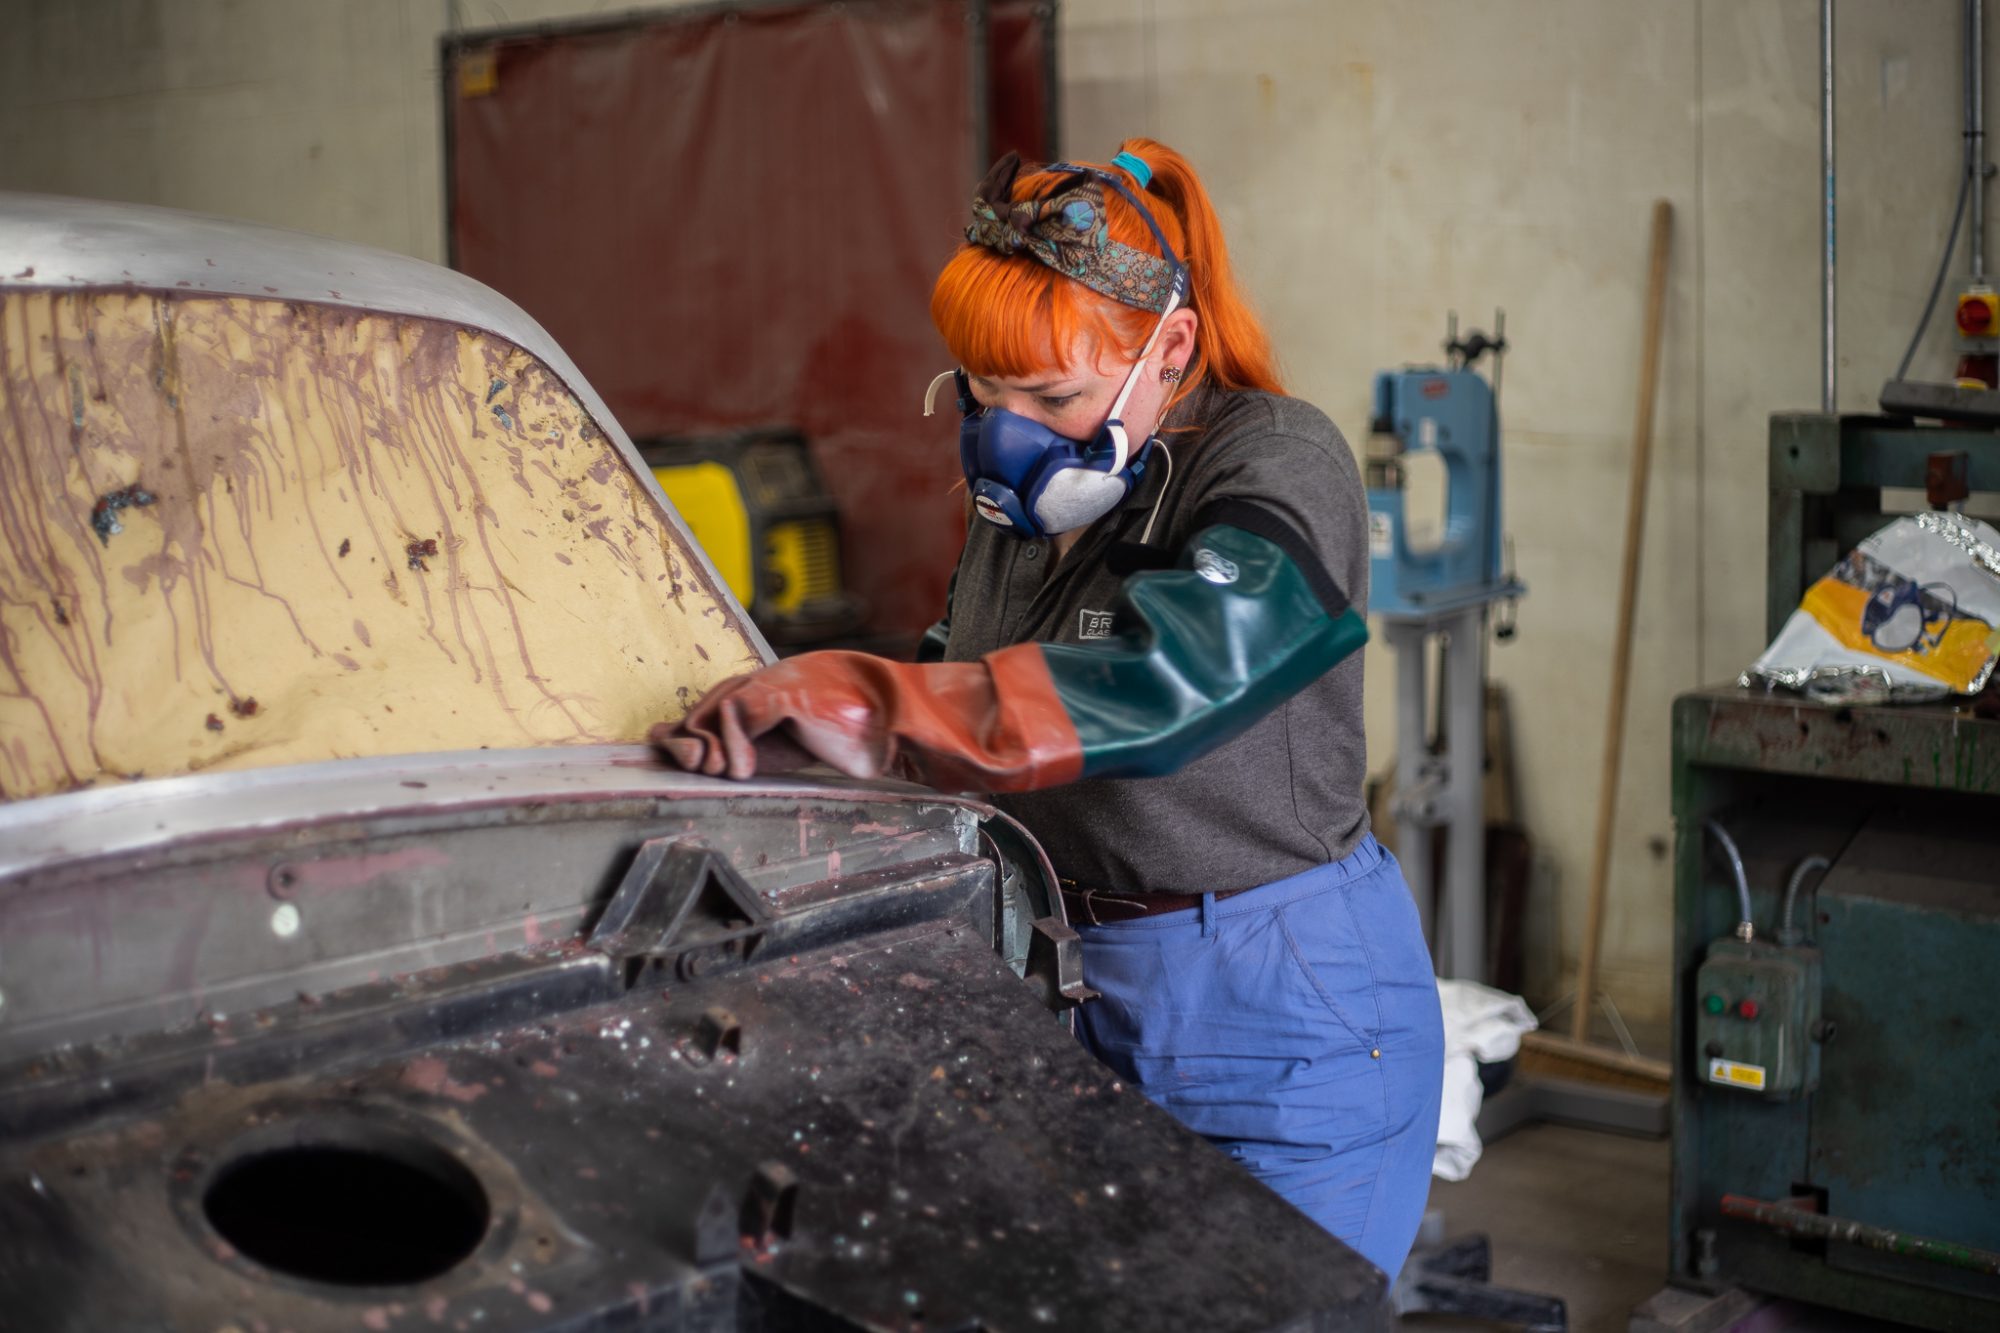
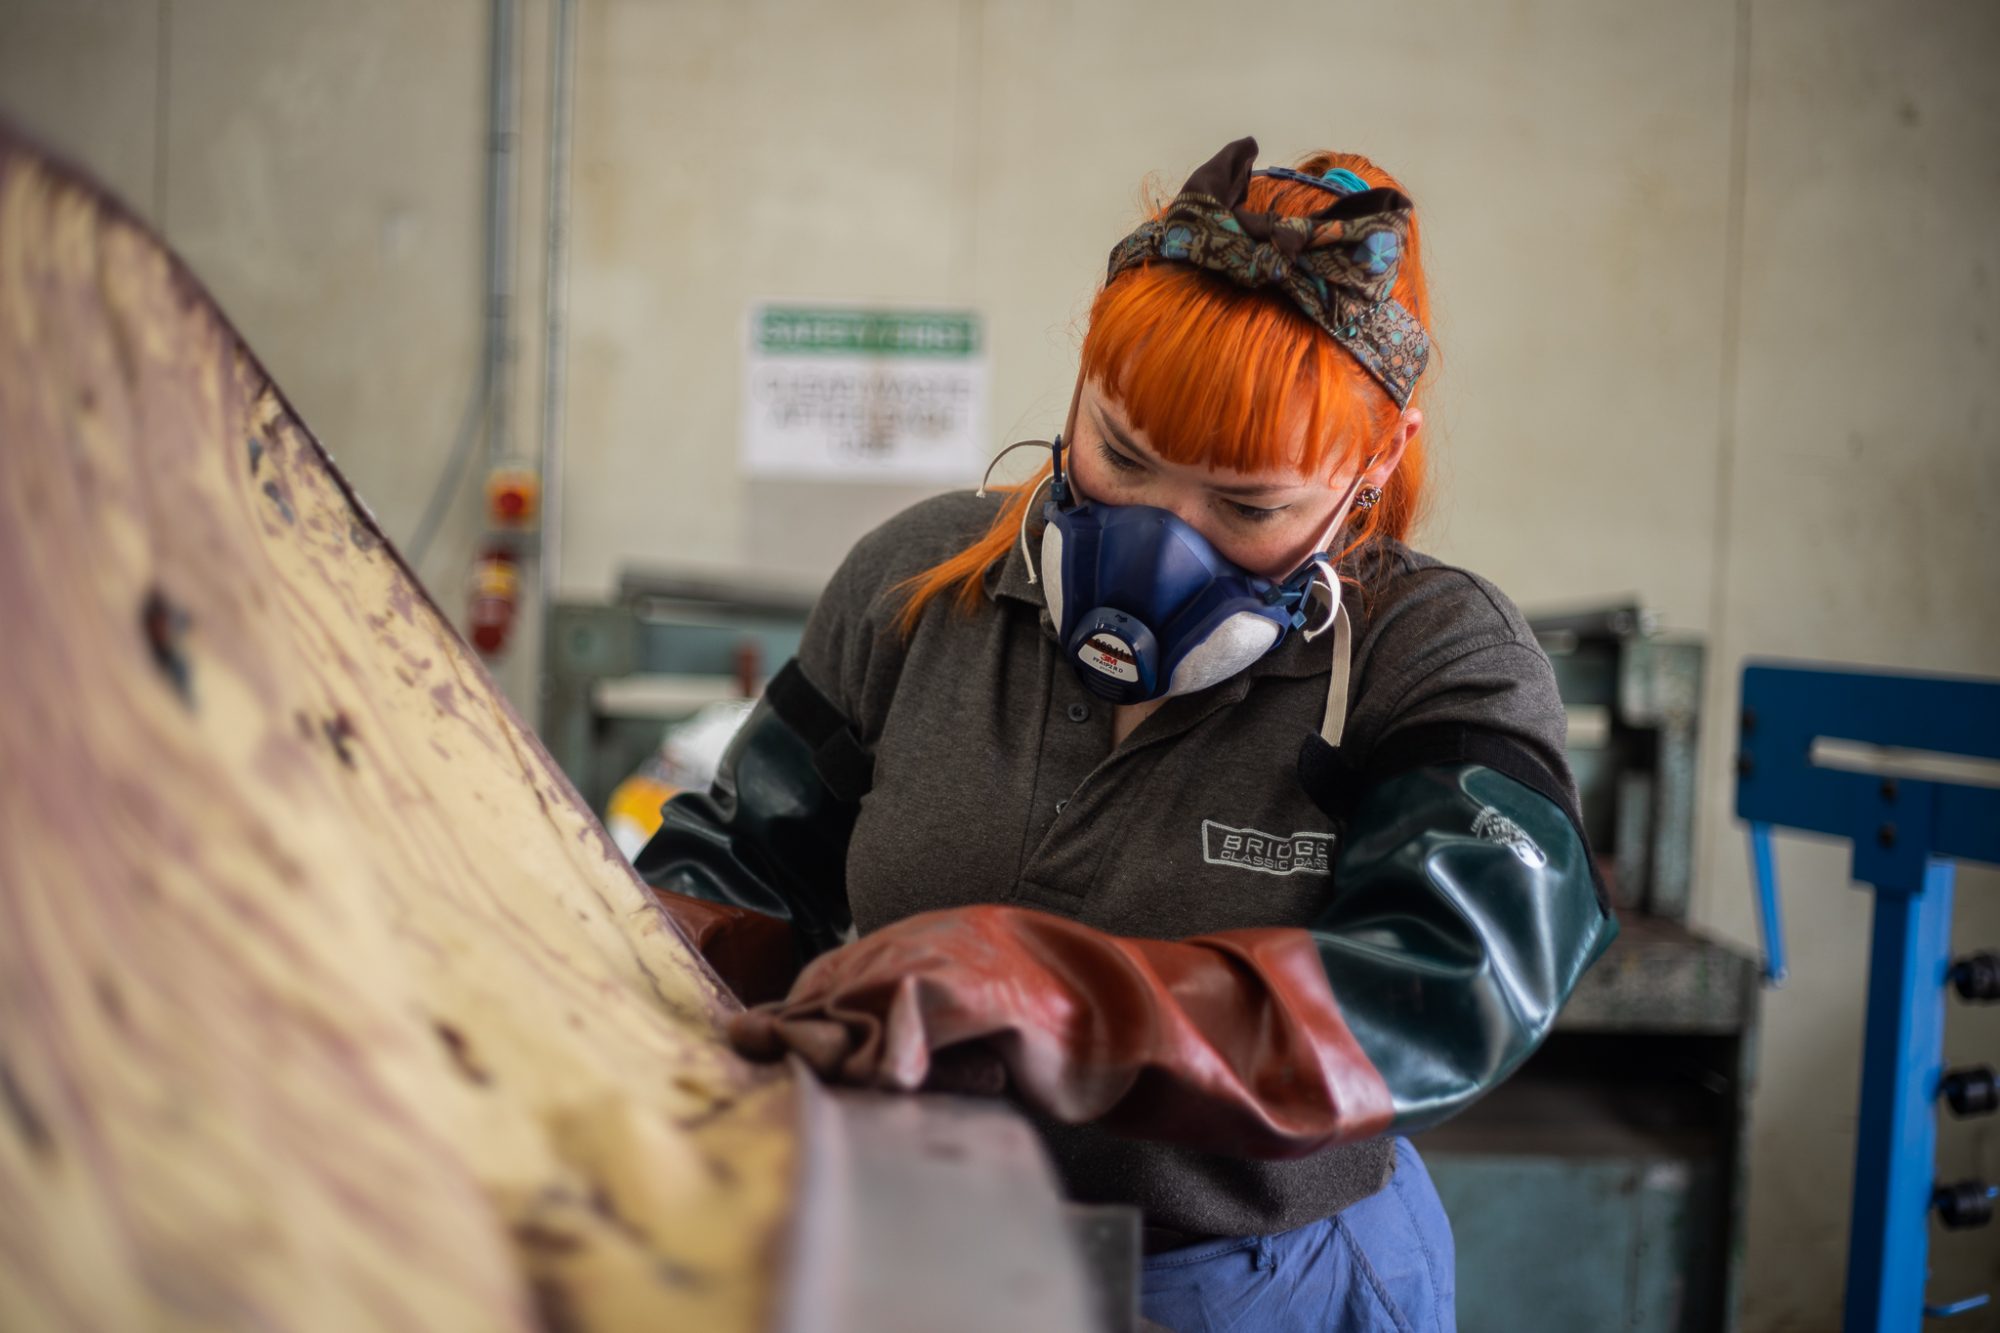
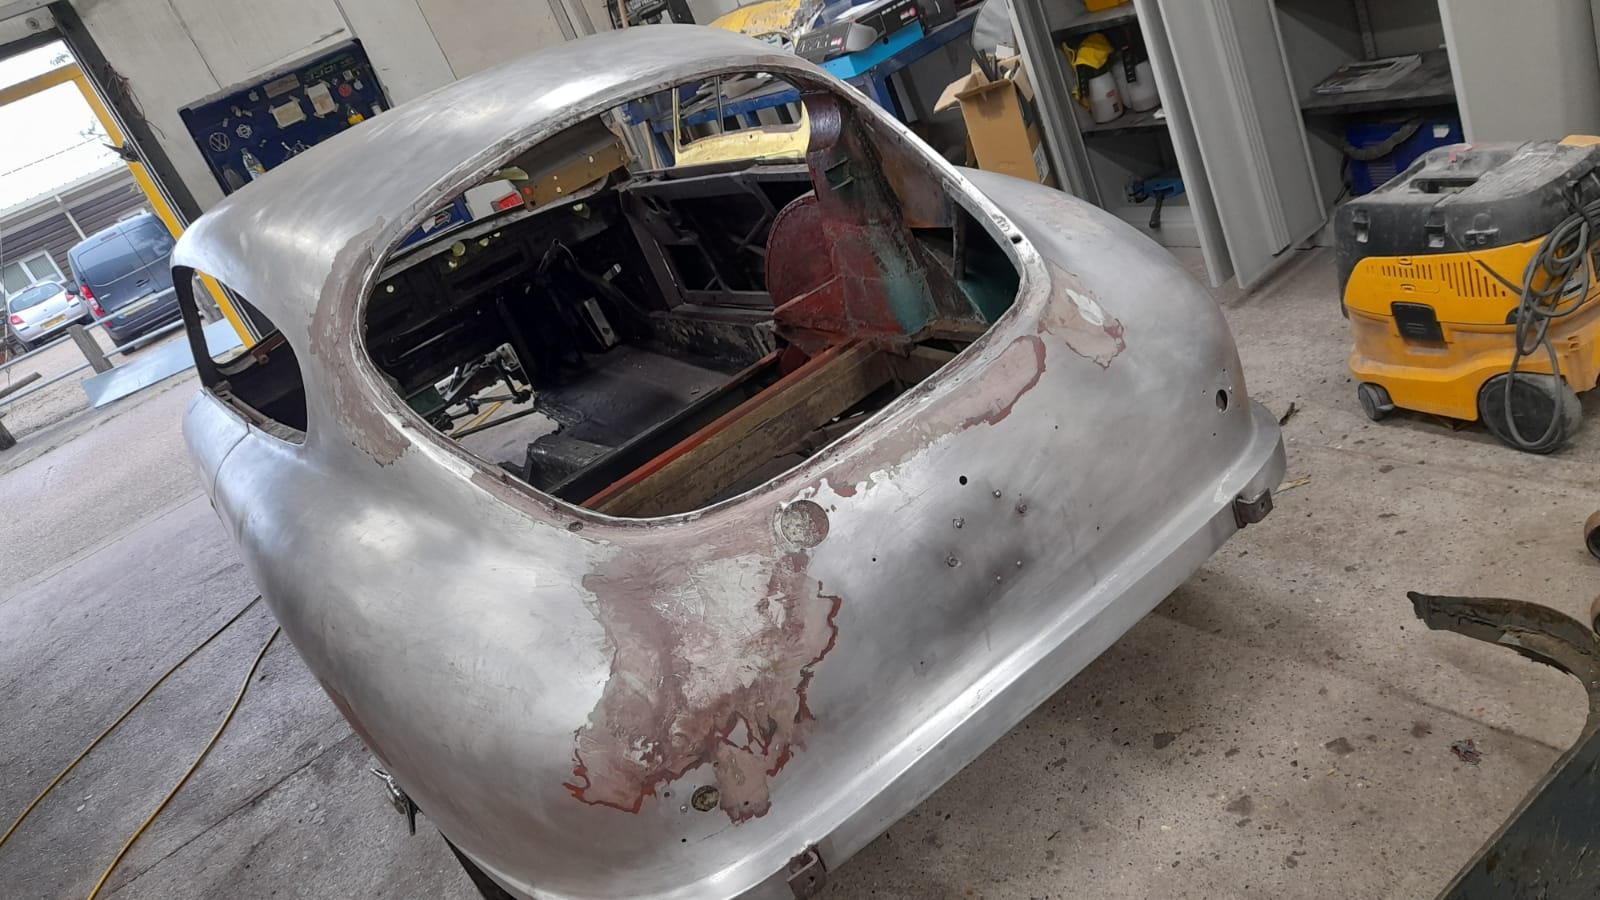
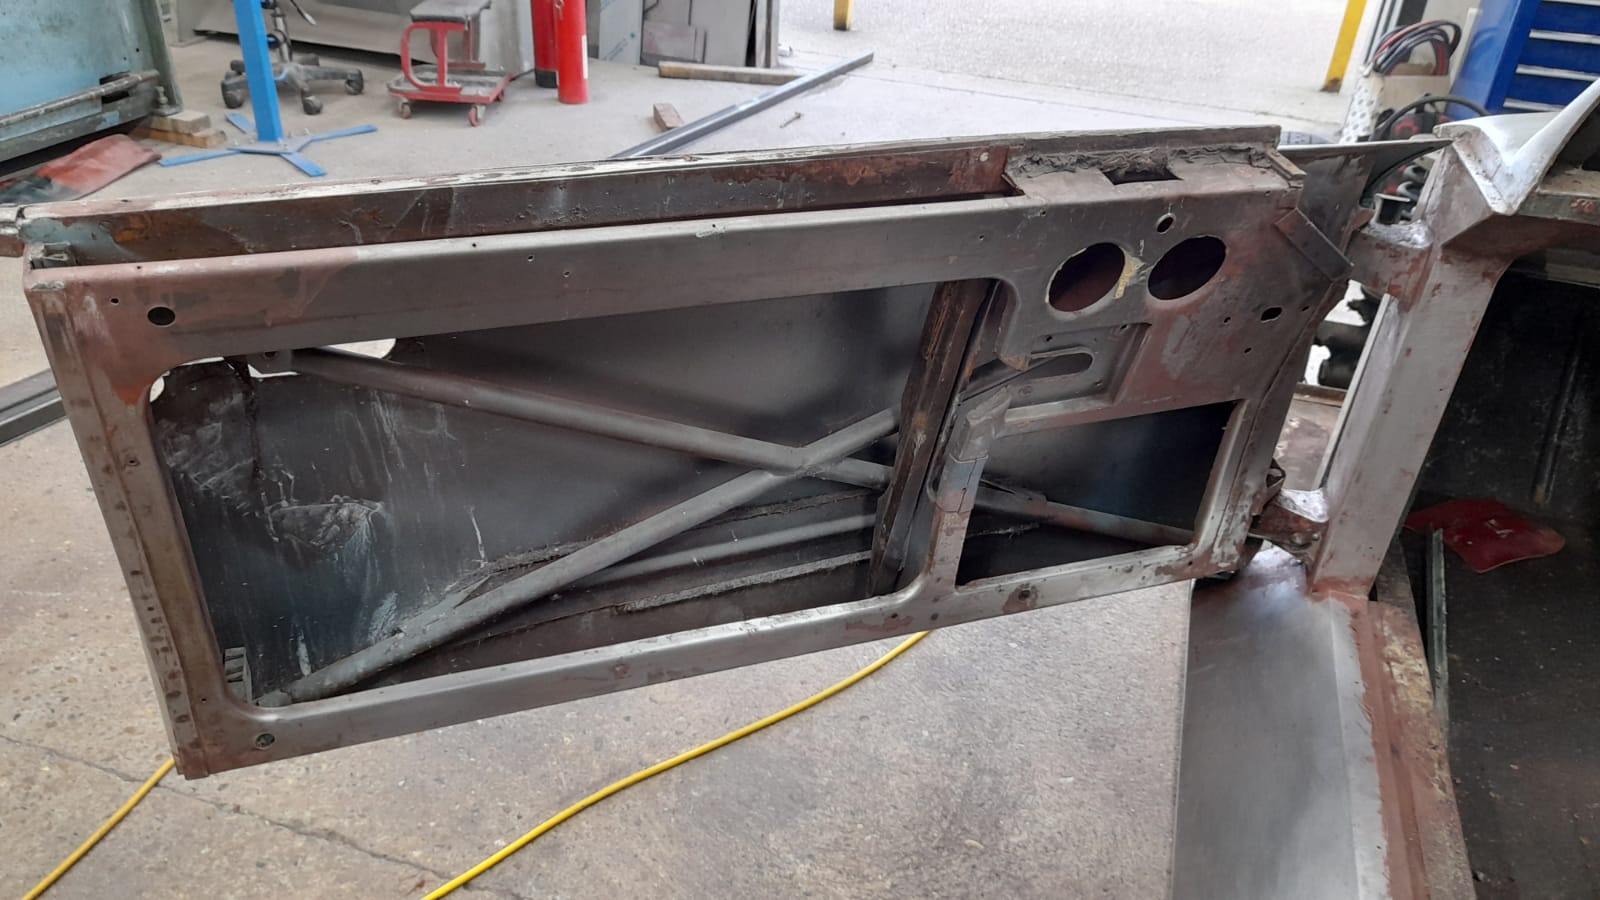
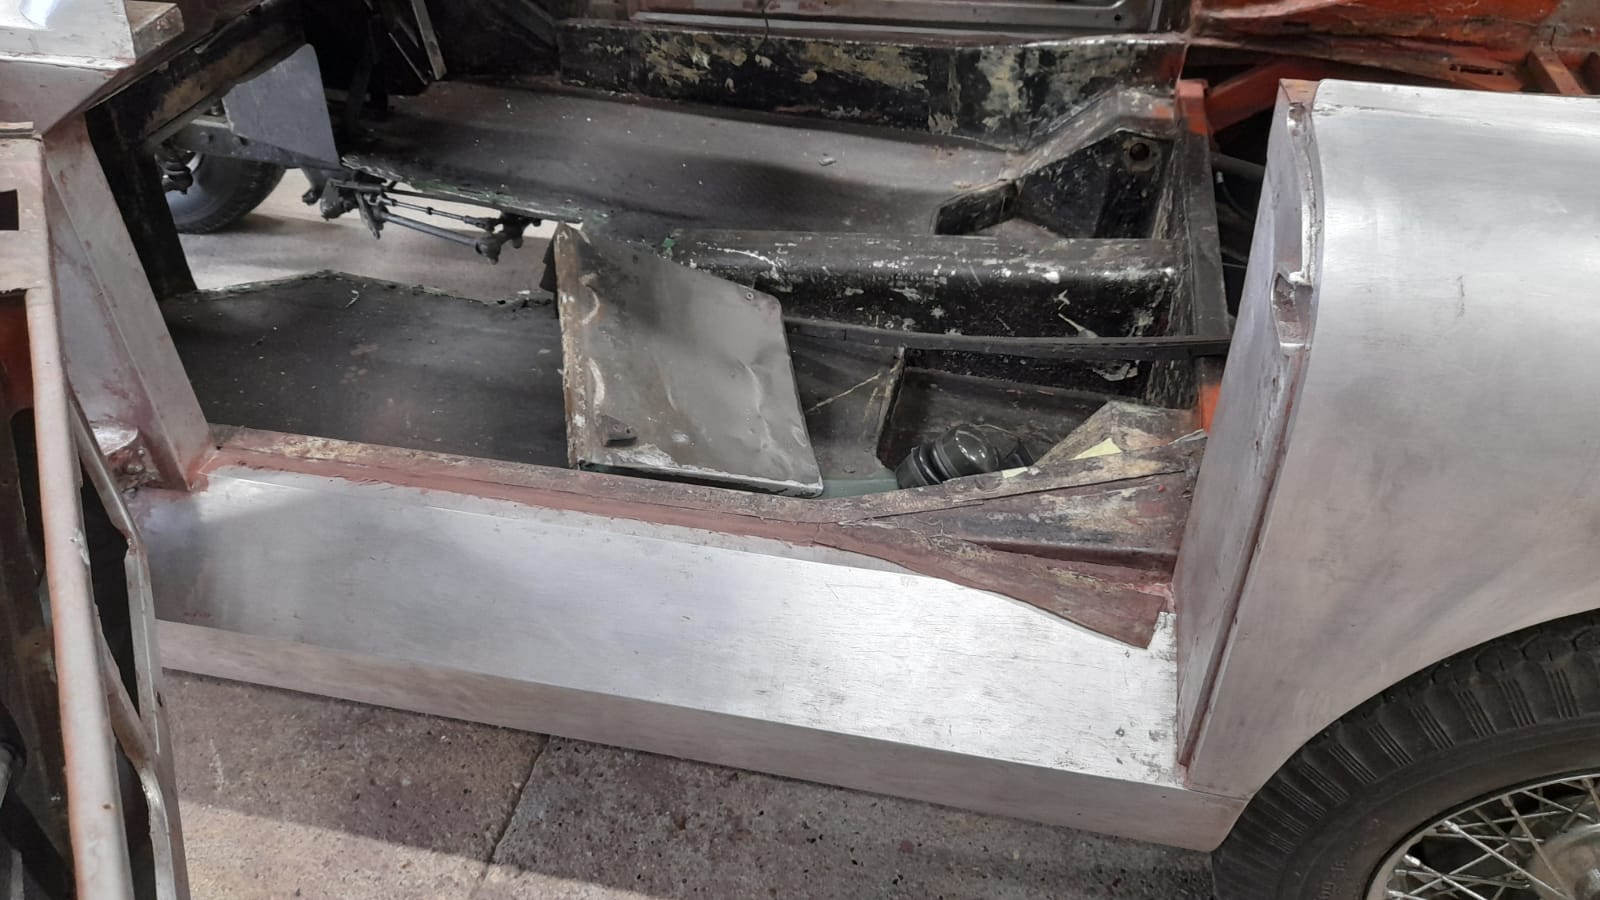
The body of our 1973 Jaguar Series 3 Roadster has made its way to our paint shop to start on the colour prep which includes
Take a look at the Behind The Scenes (BTS) of last night’s live draw. Congratulations to Kevin Collett who won our Ford Anglia.
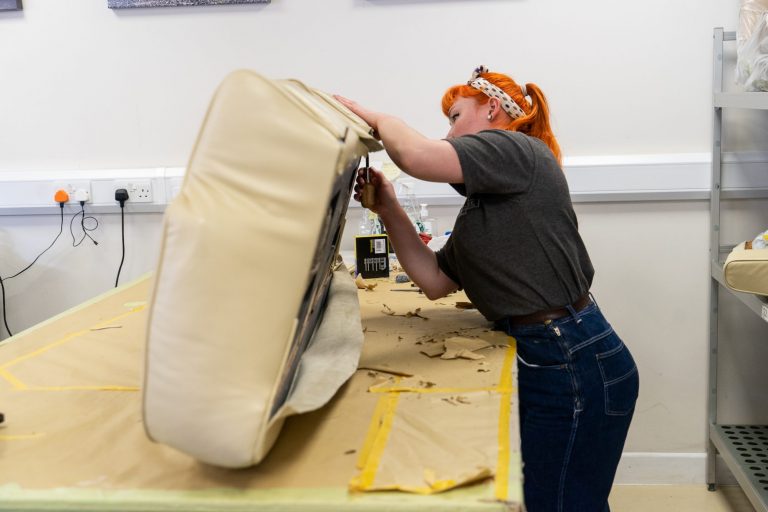
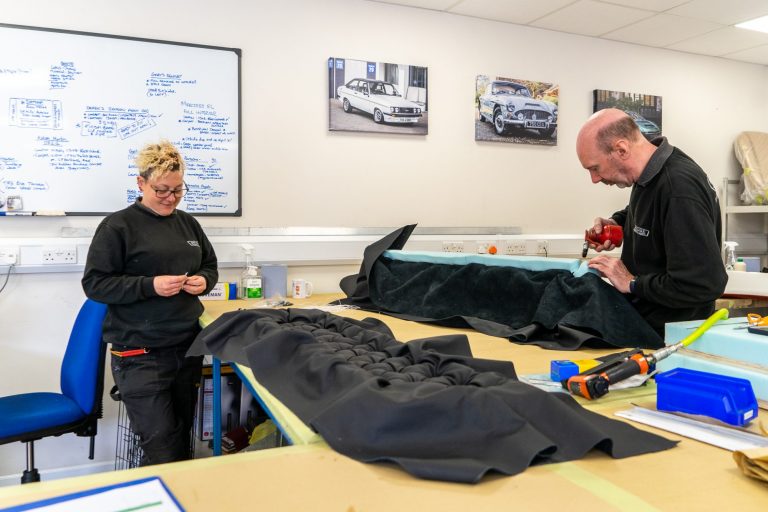
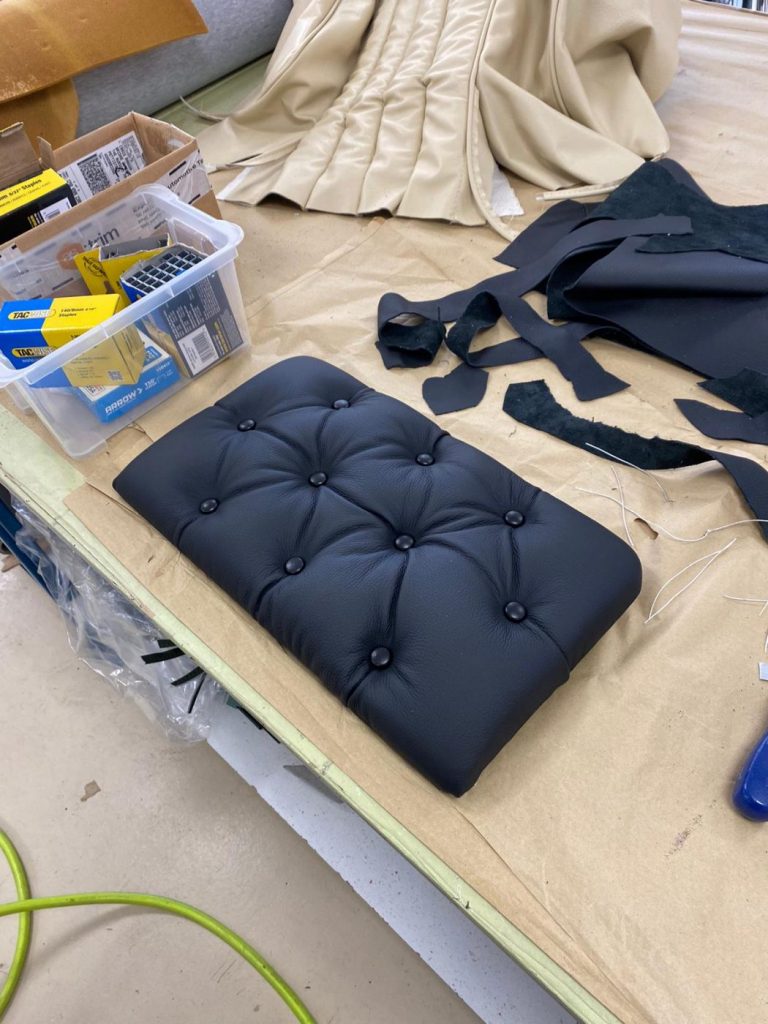
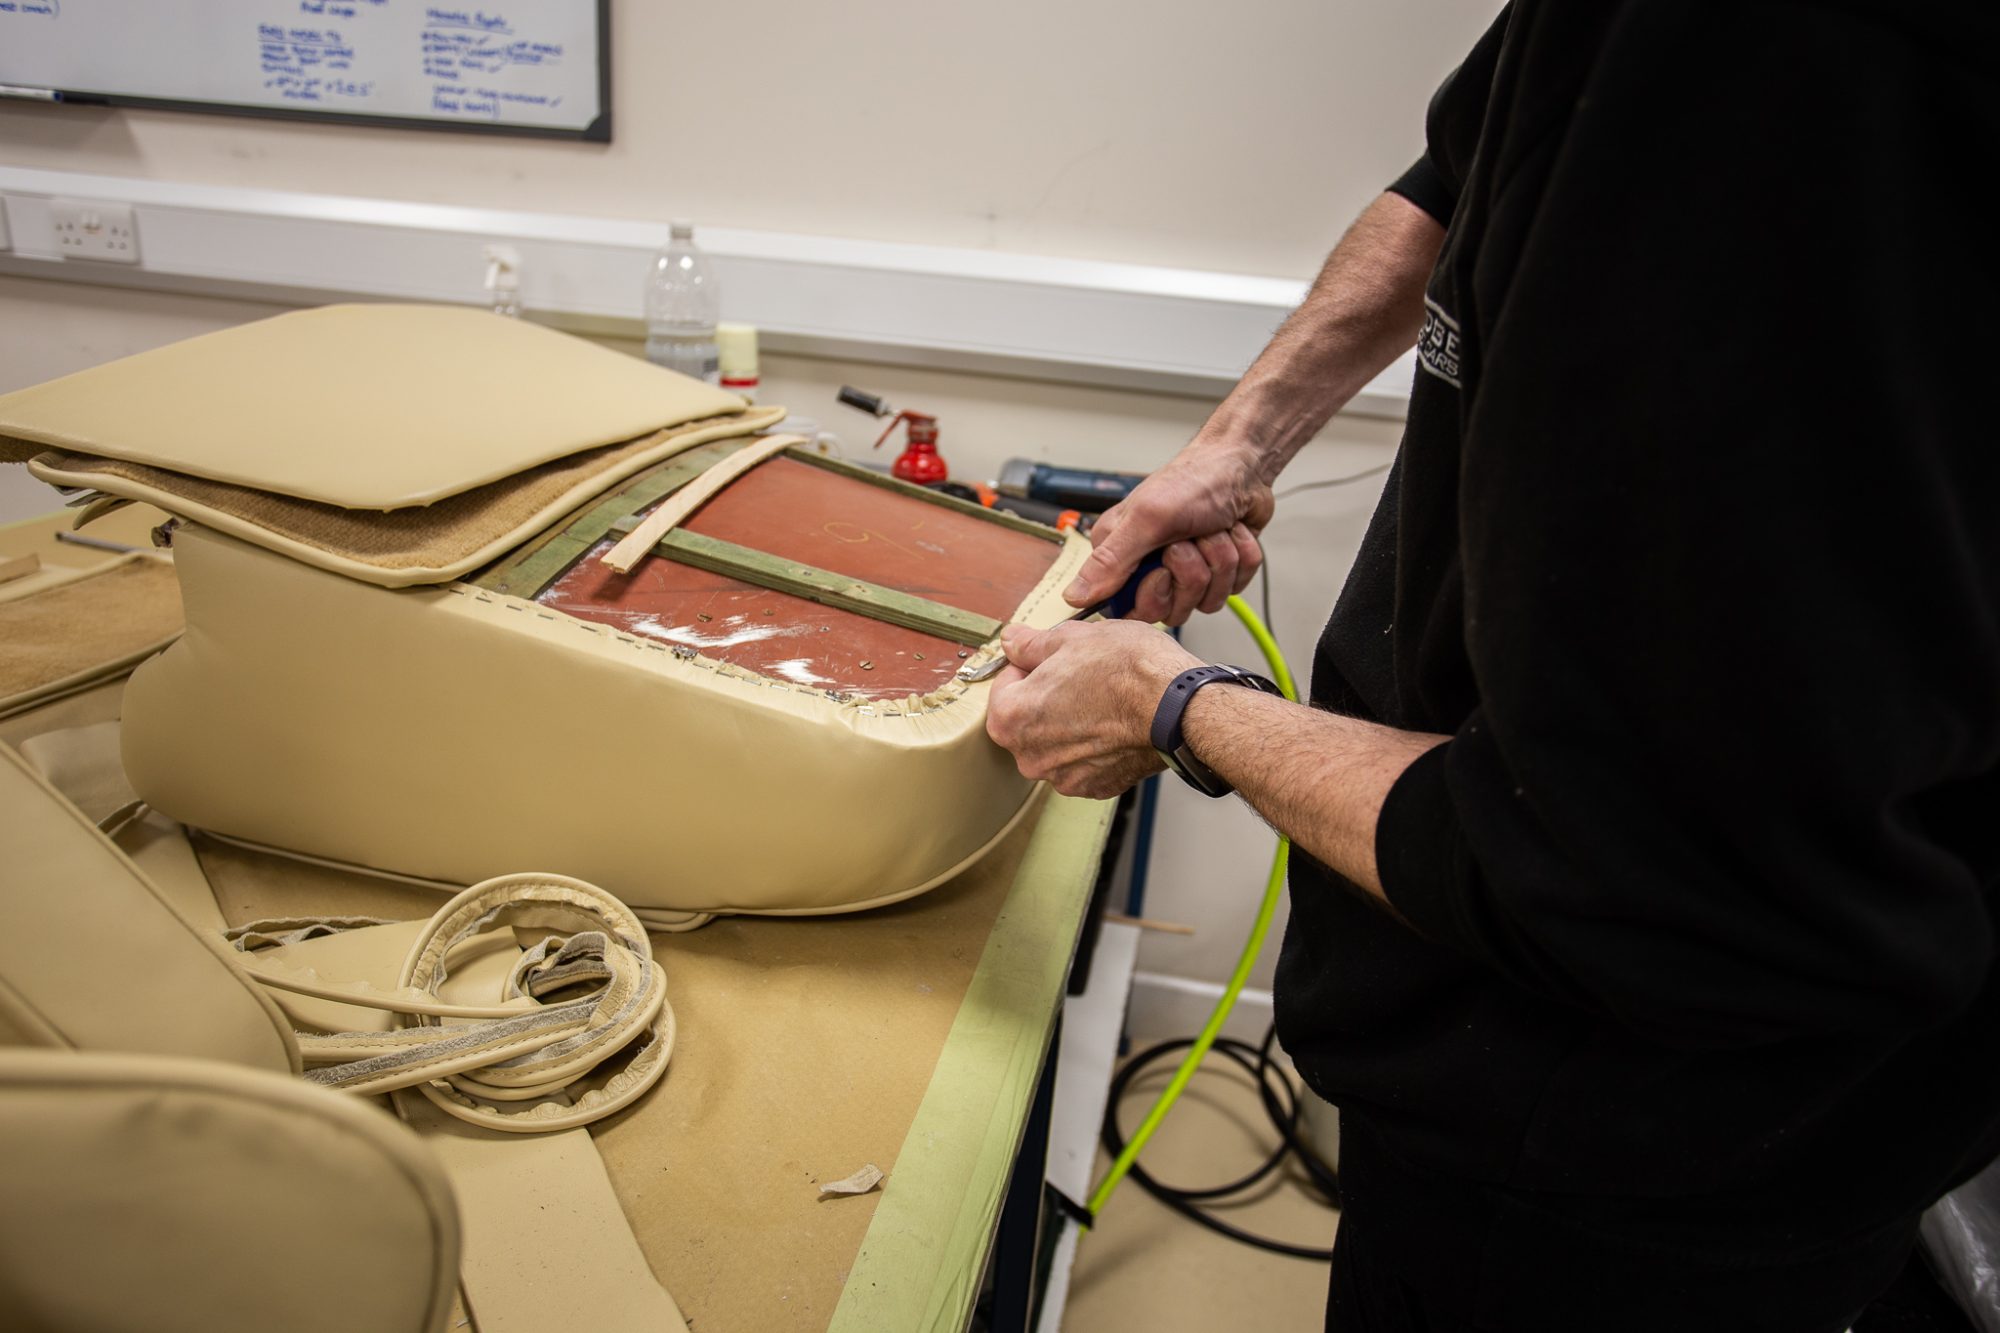
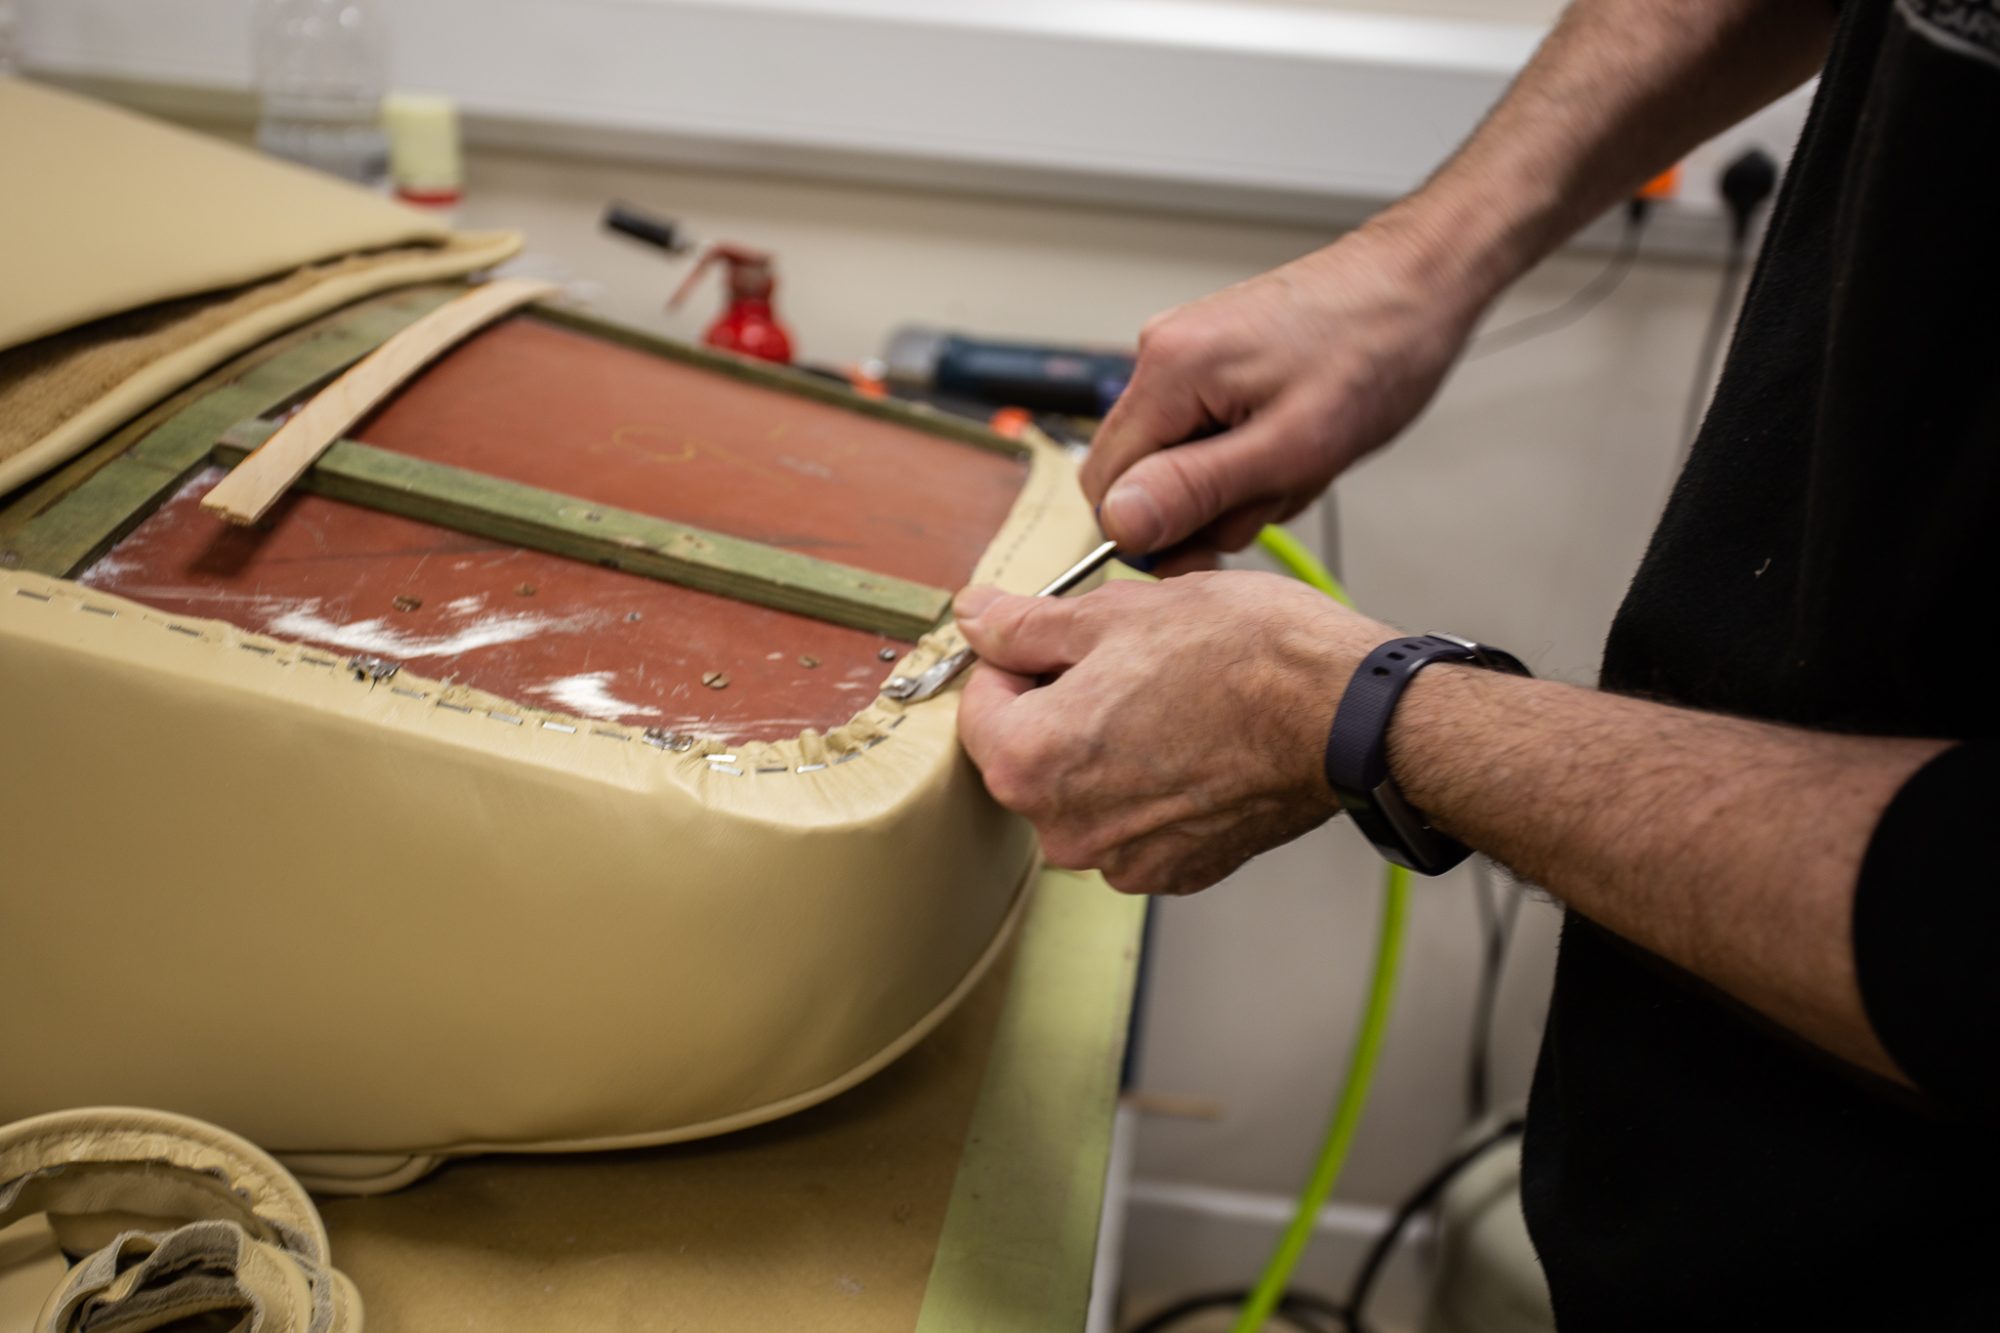
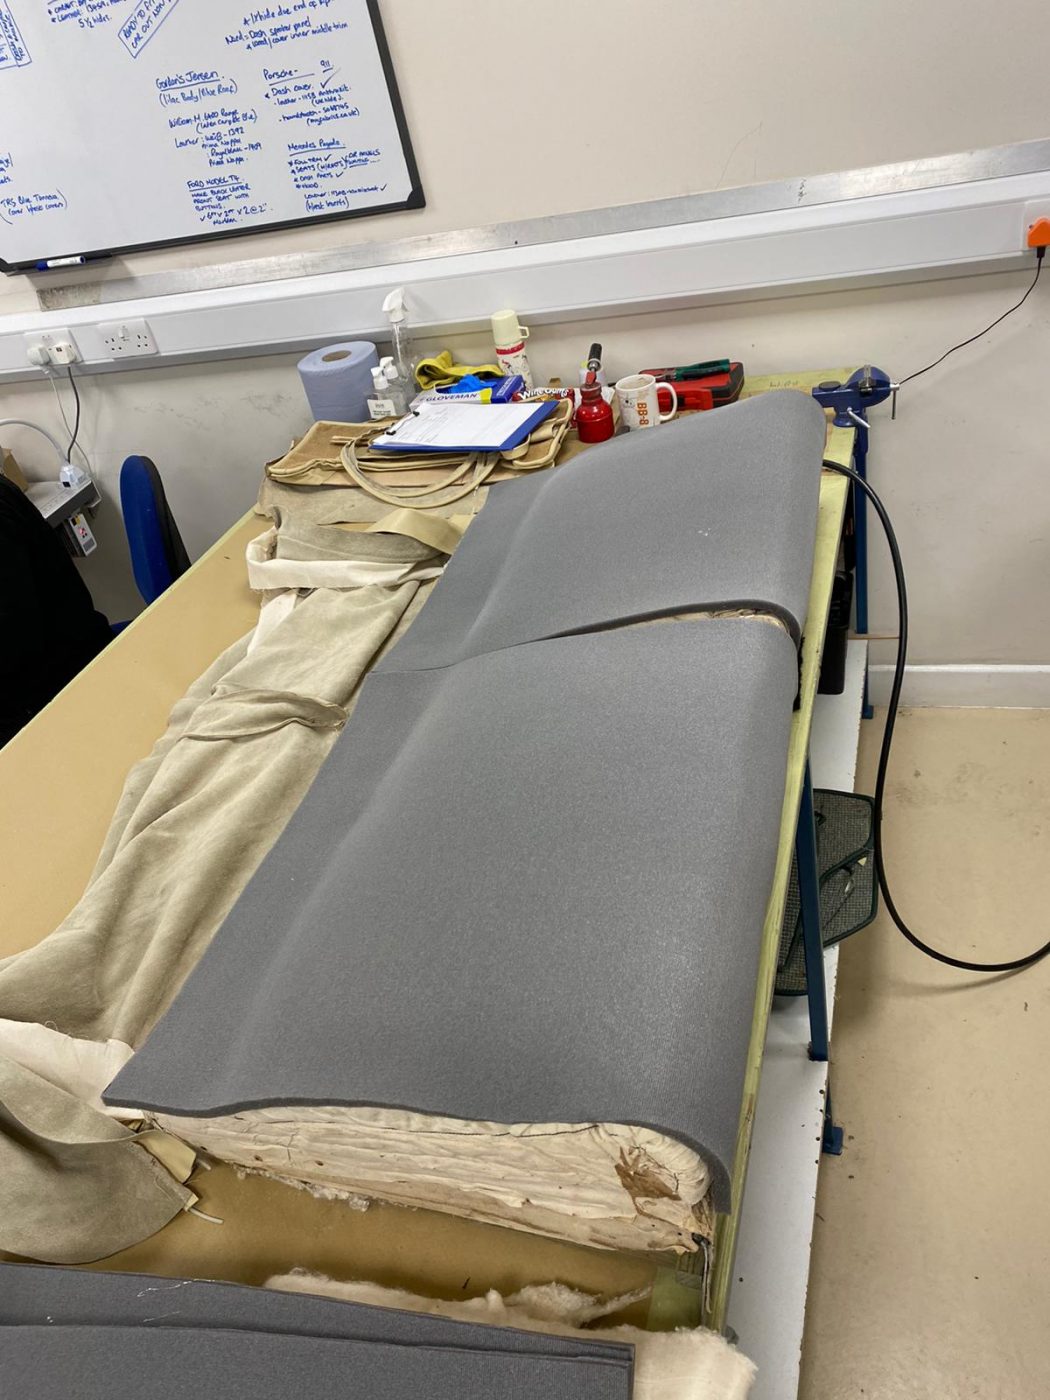
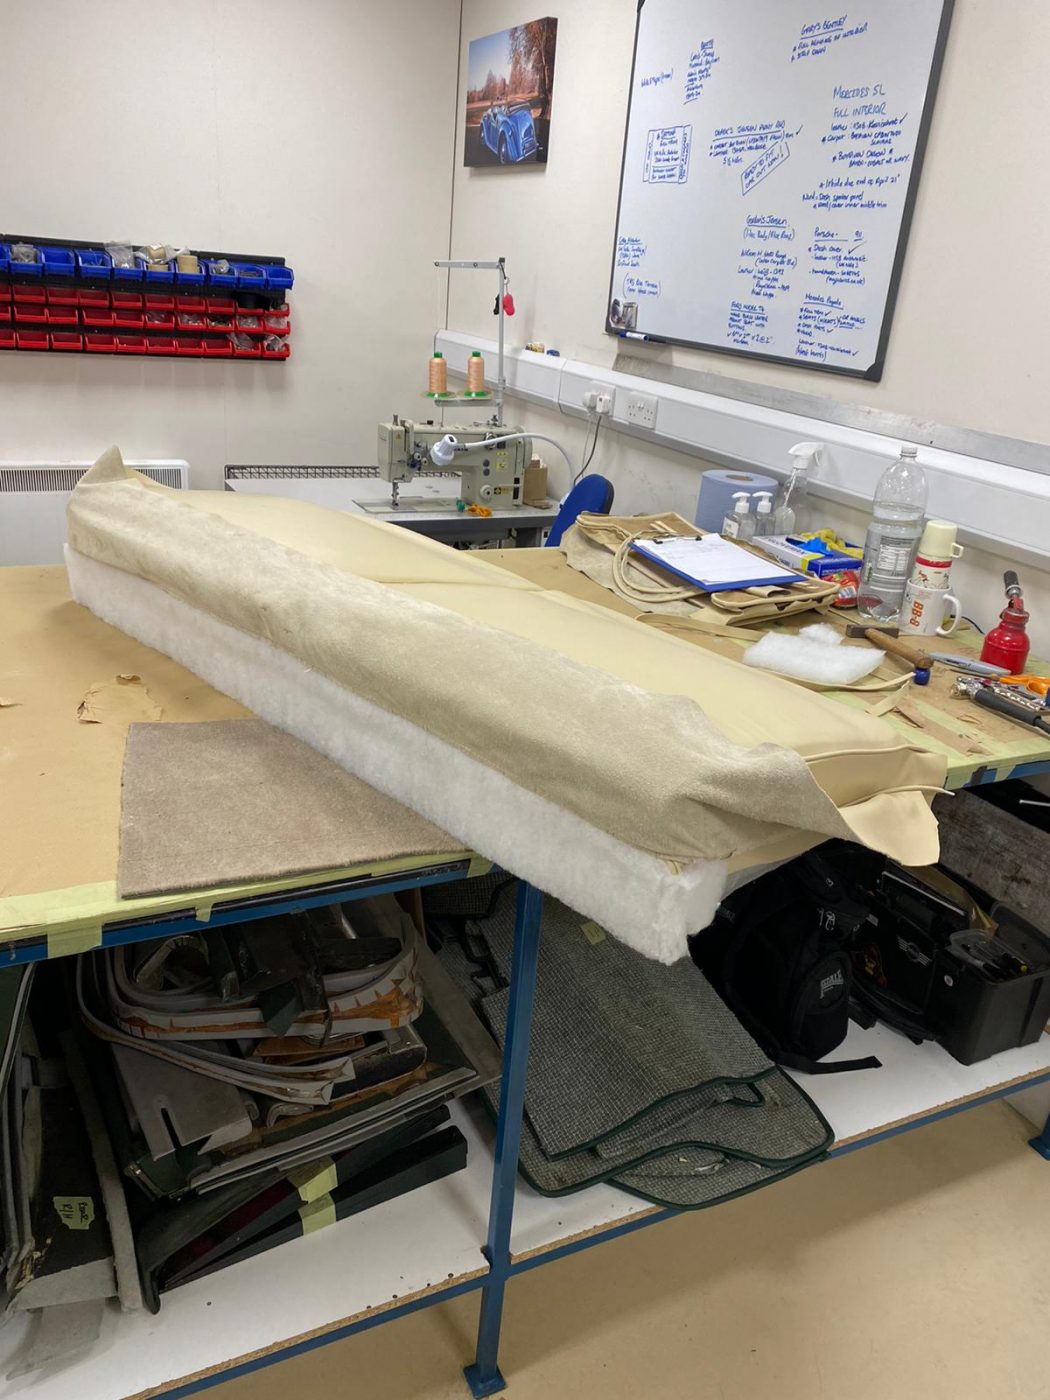
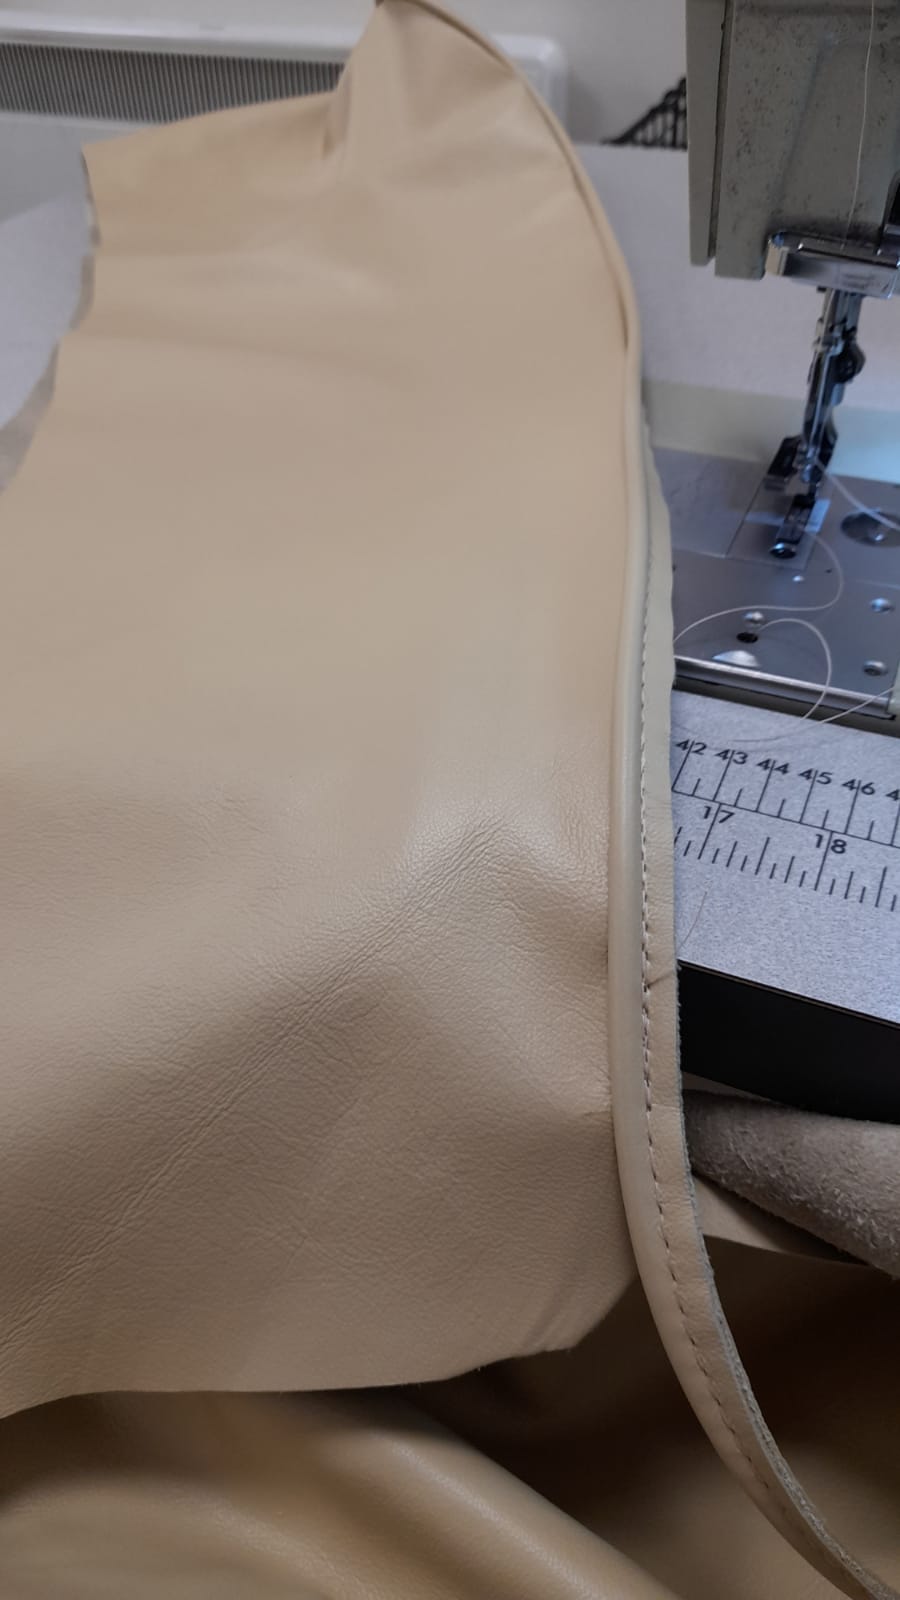
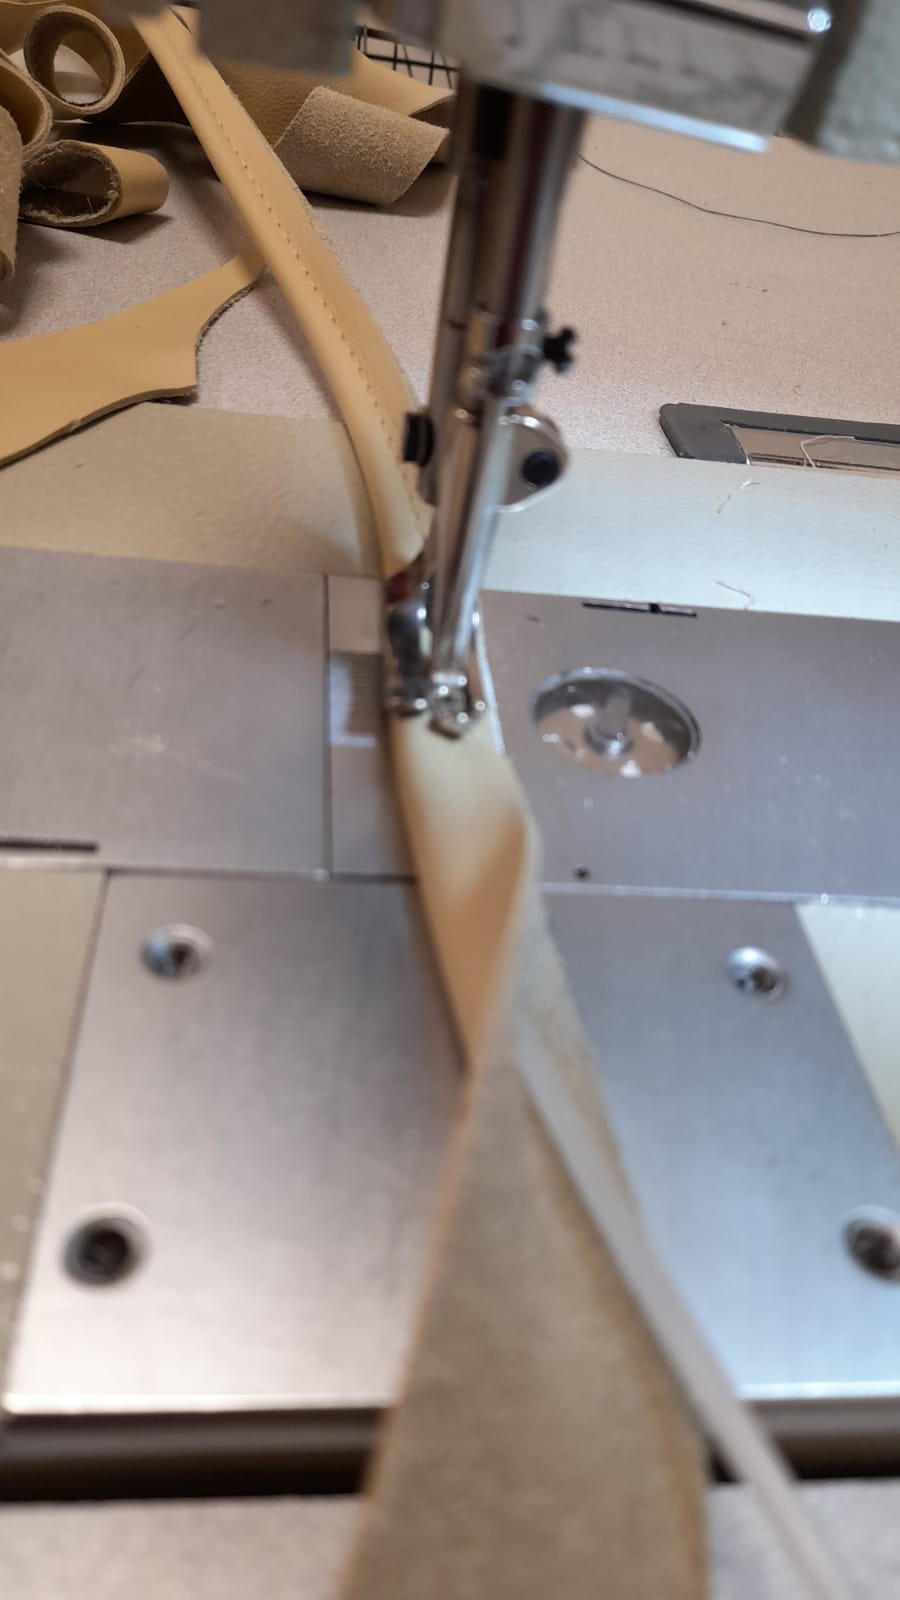
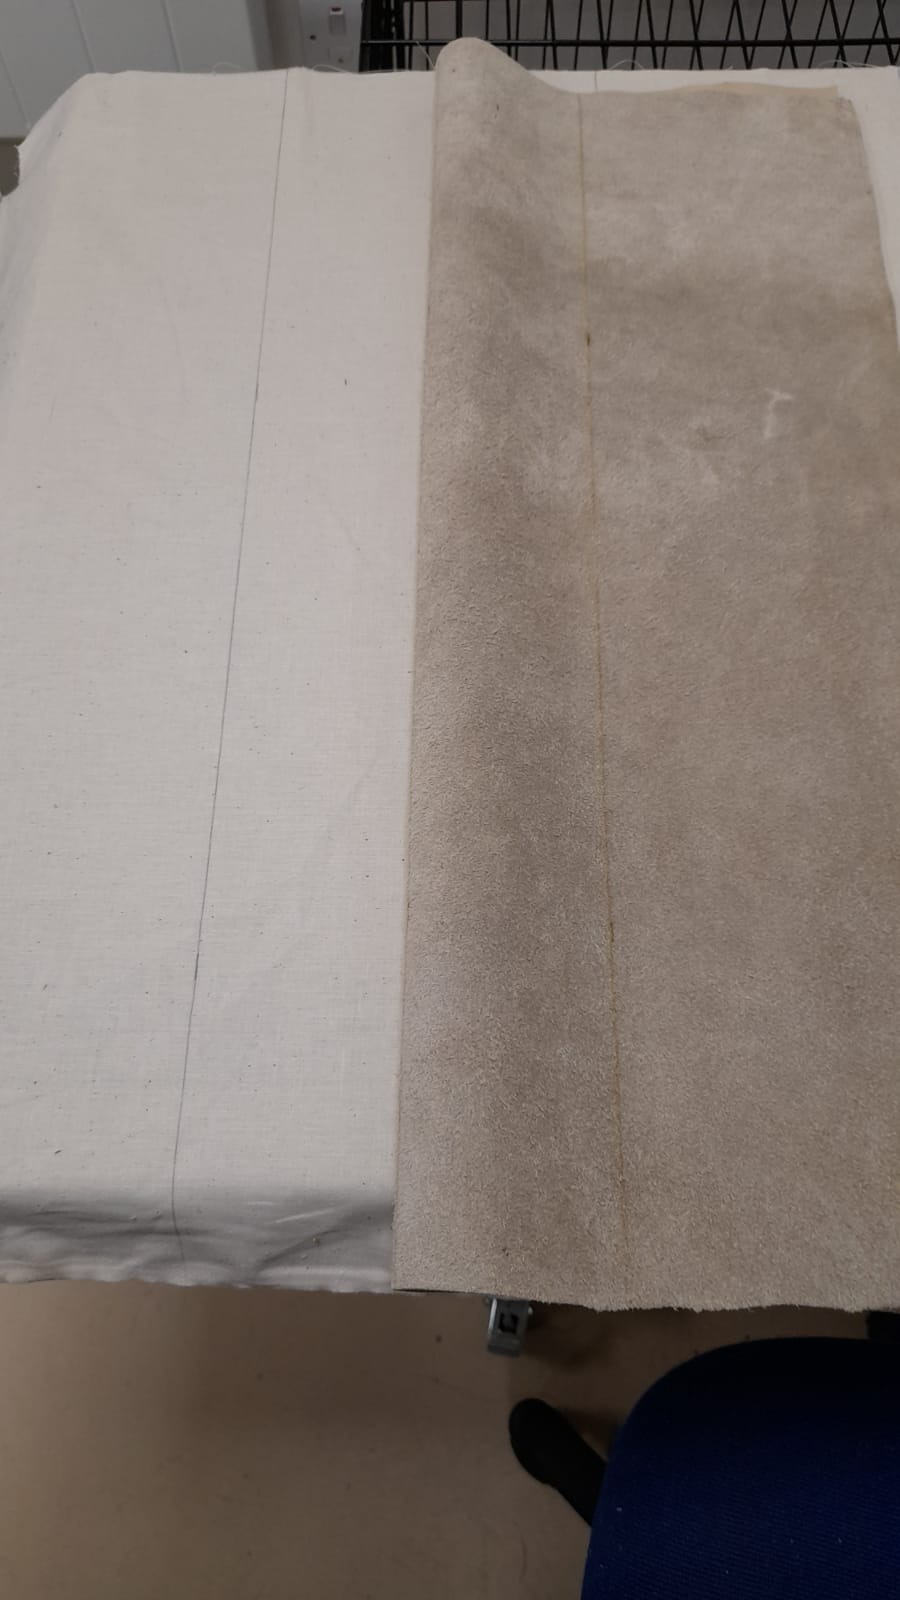
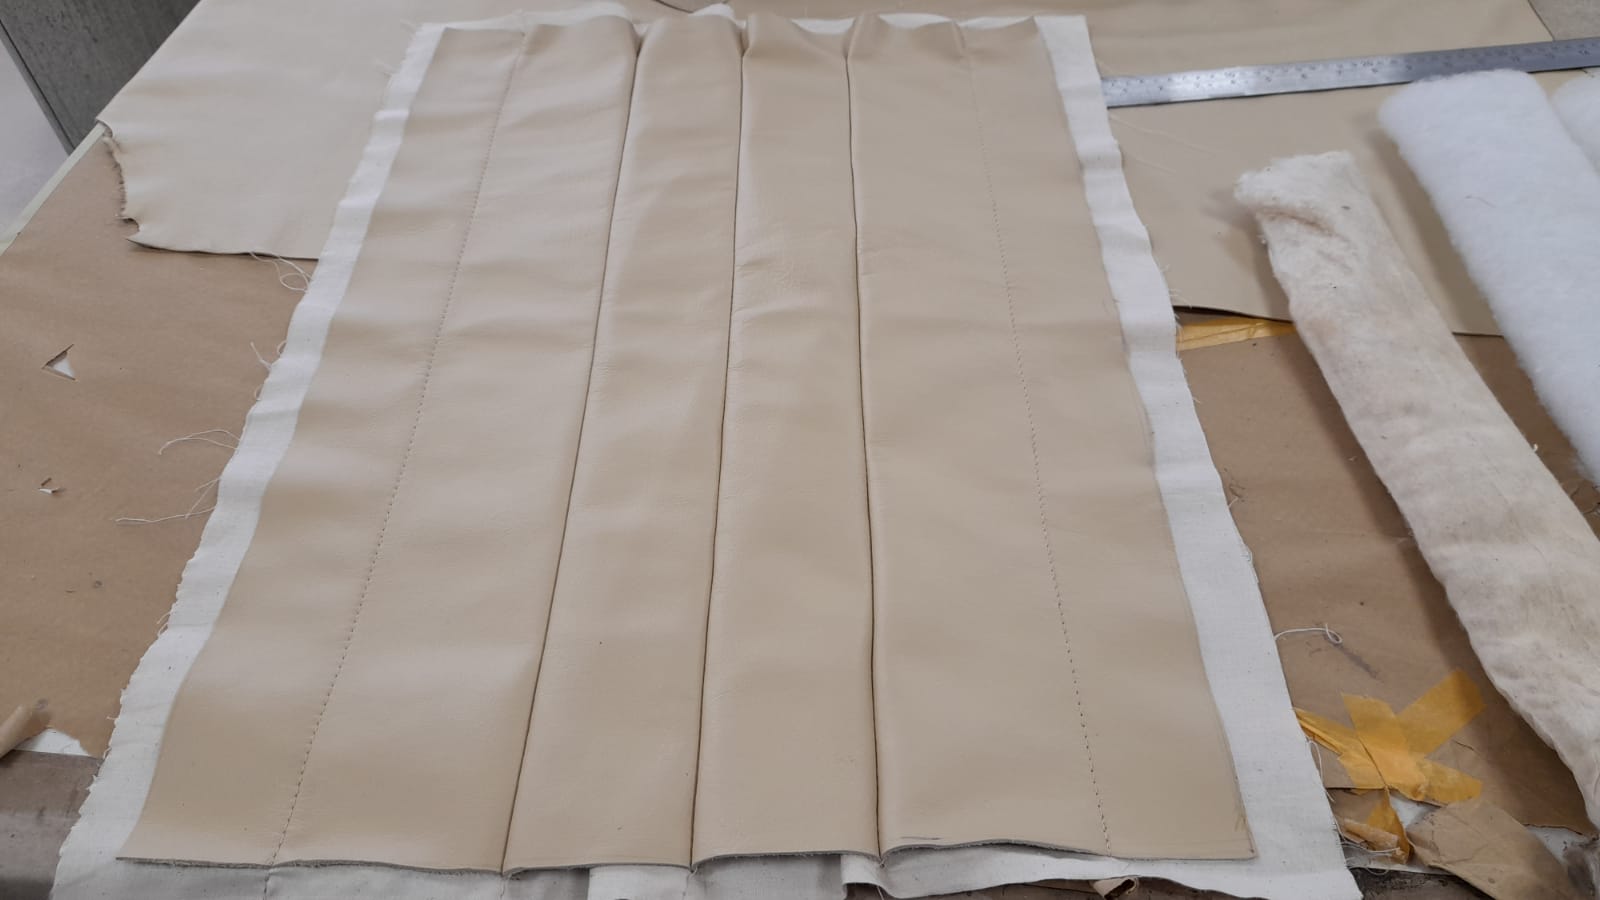
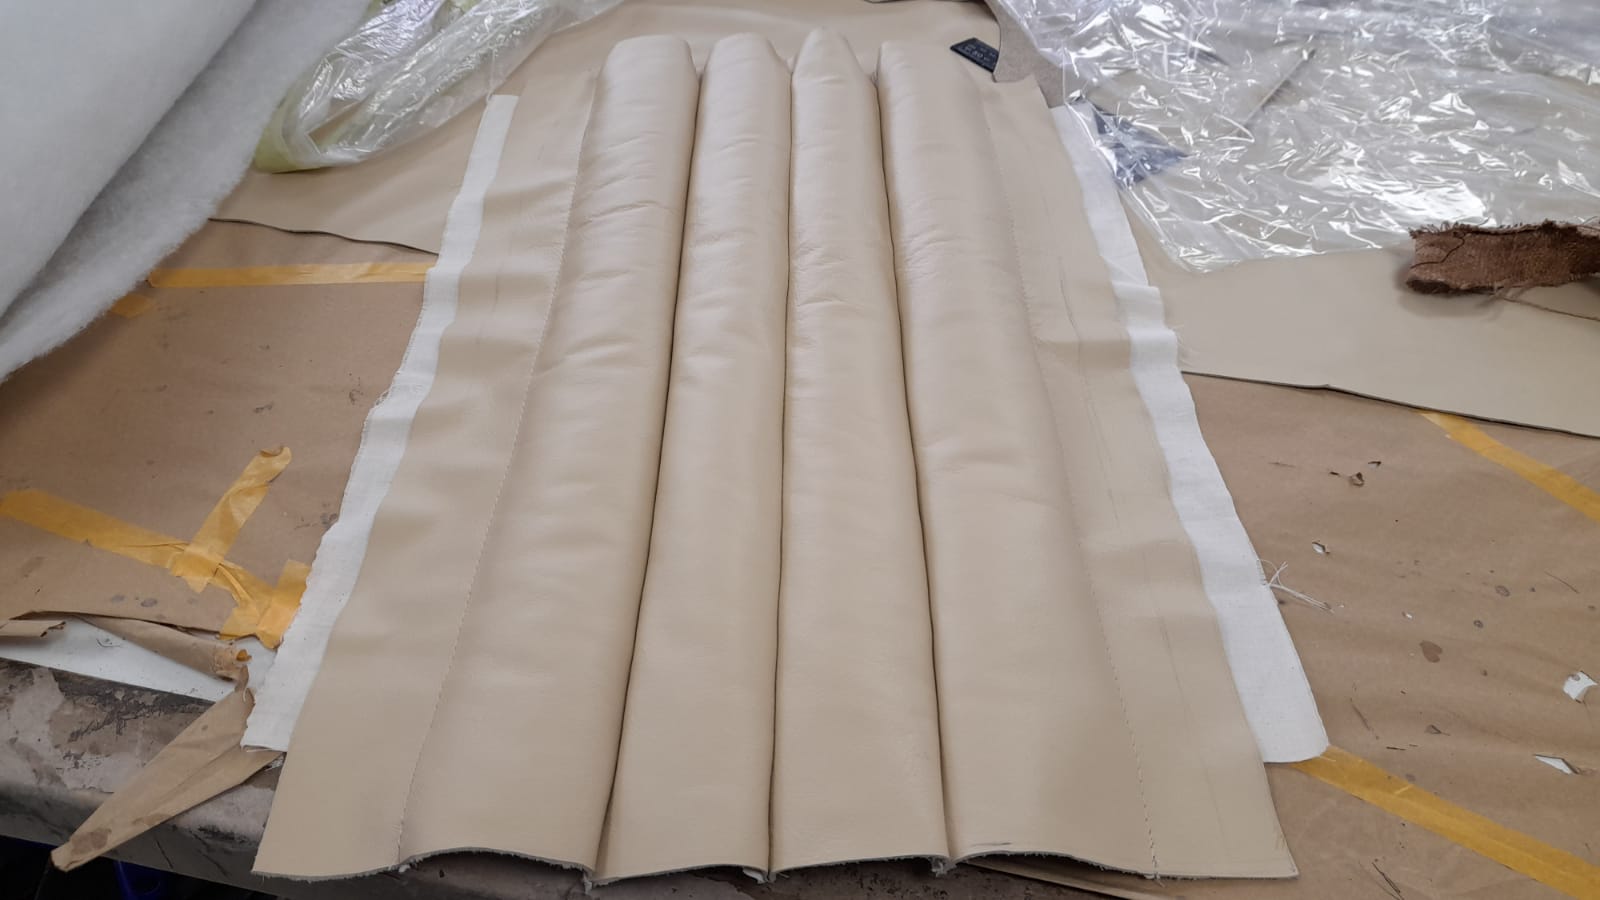
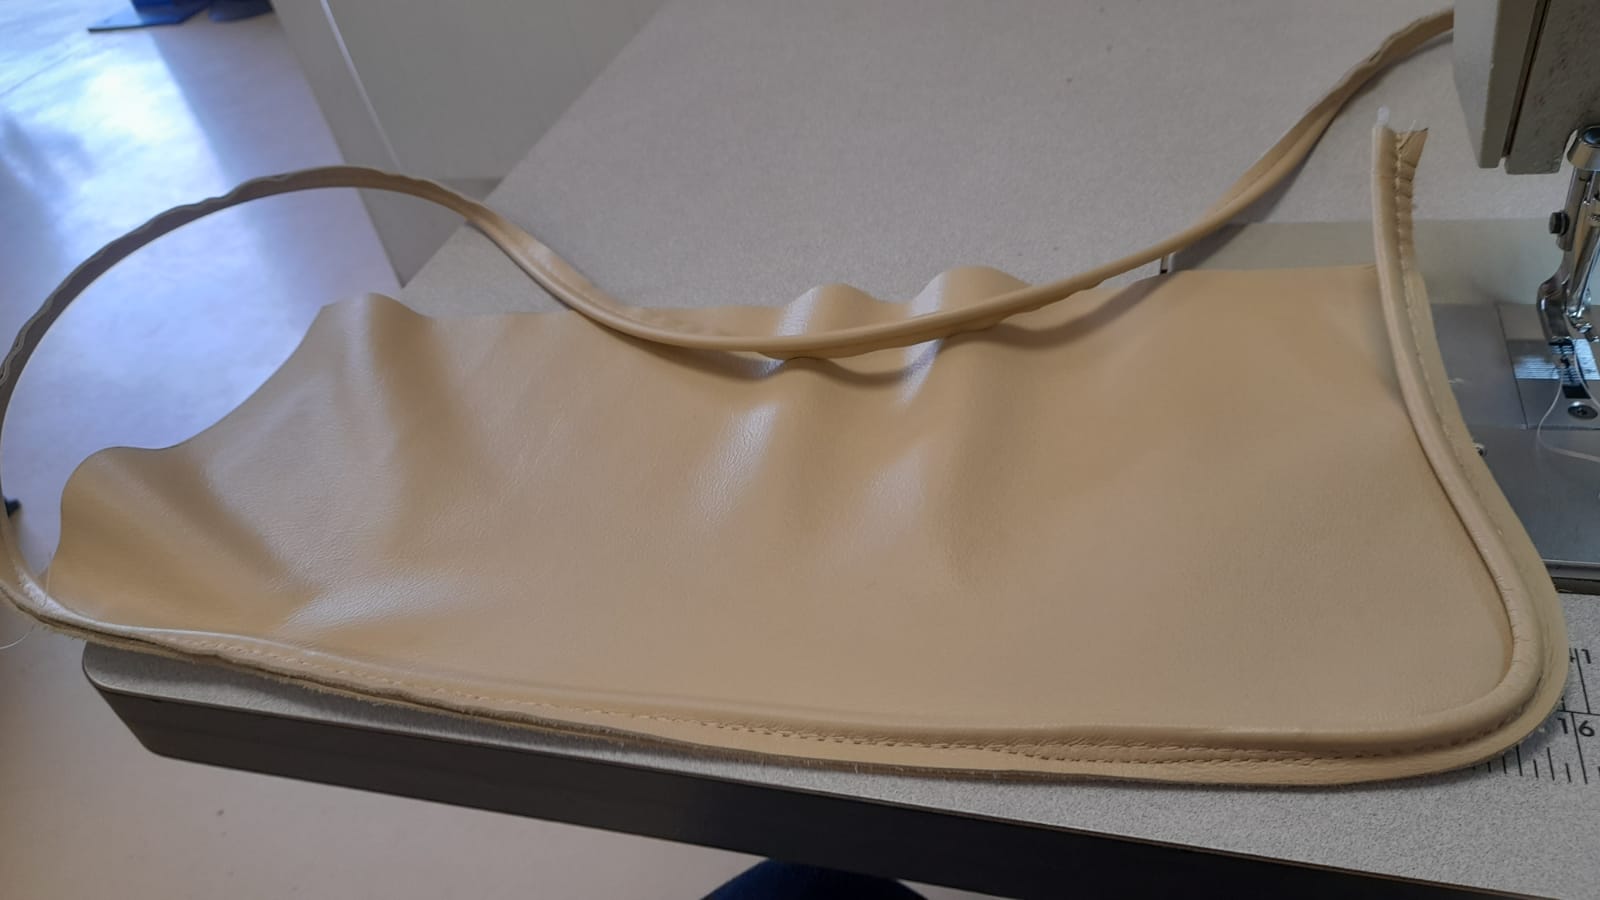
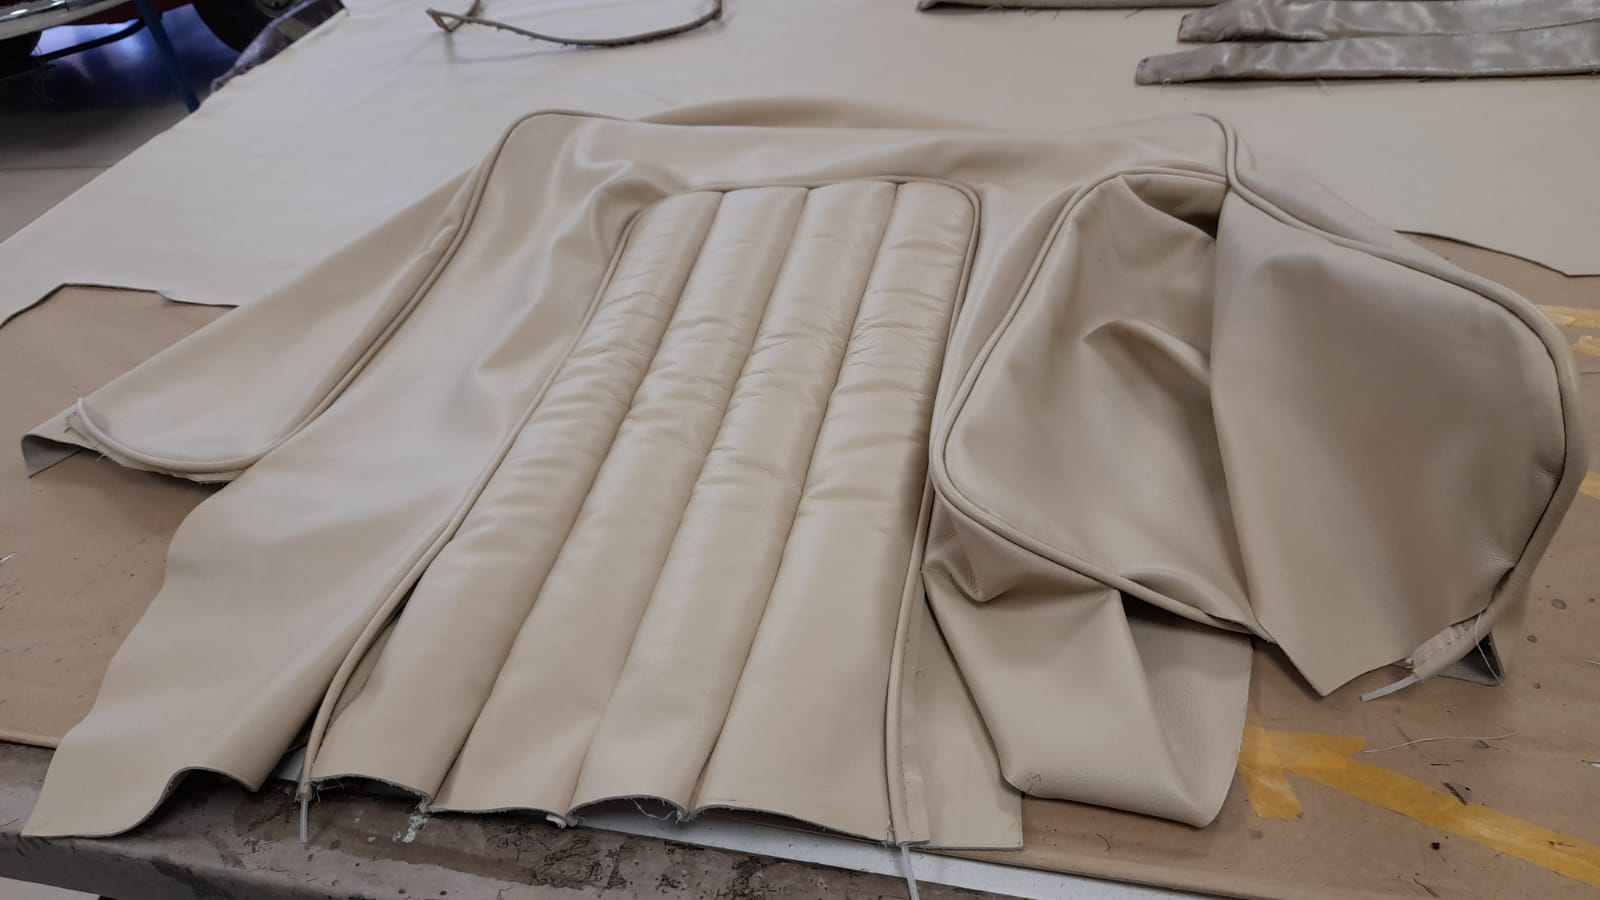
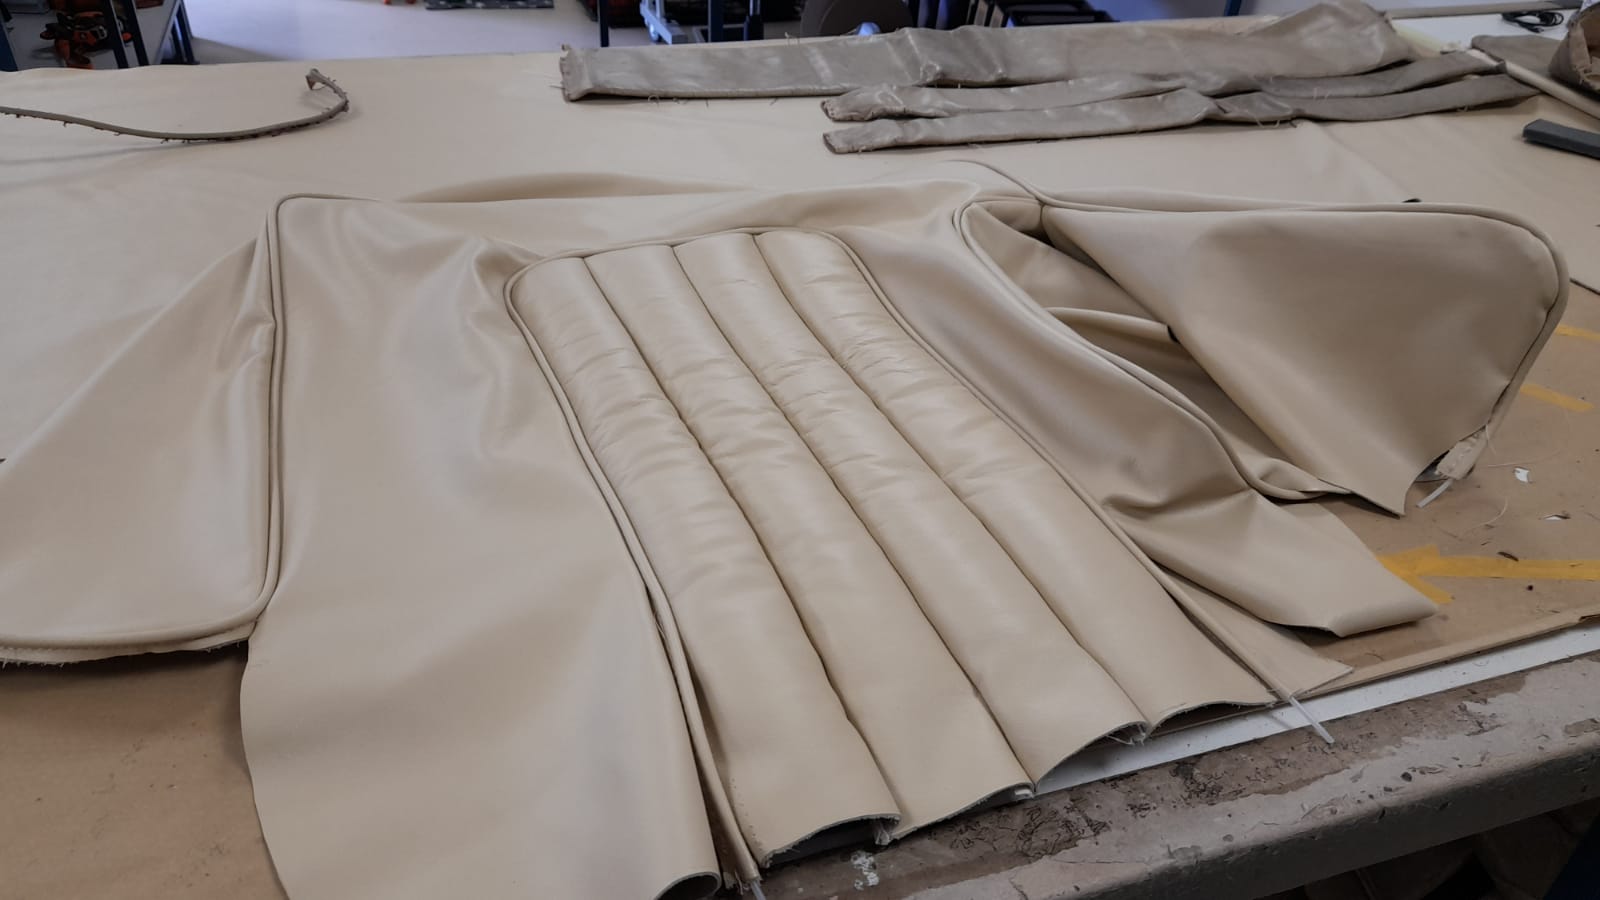
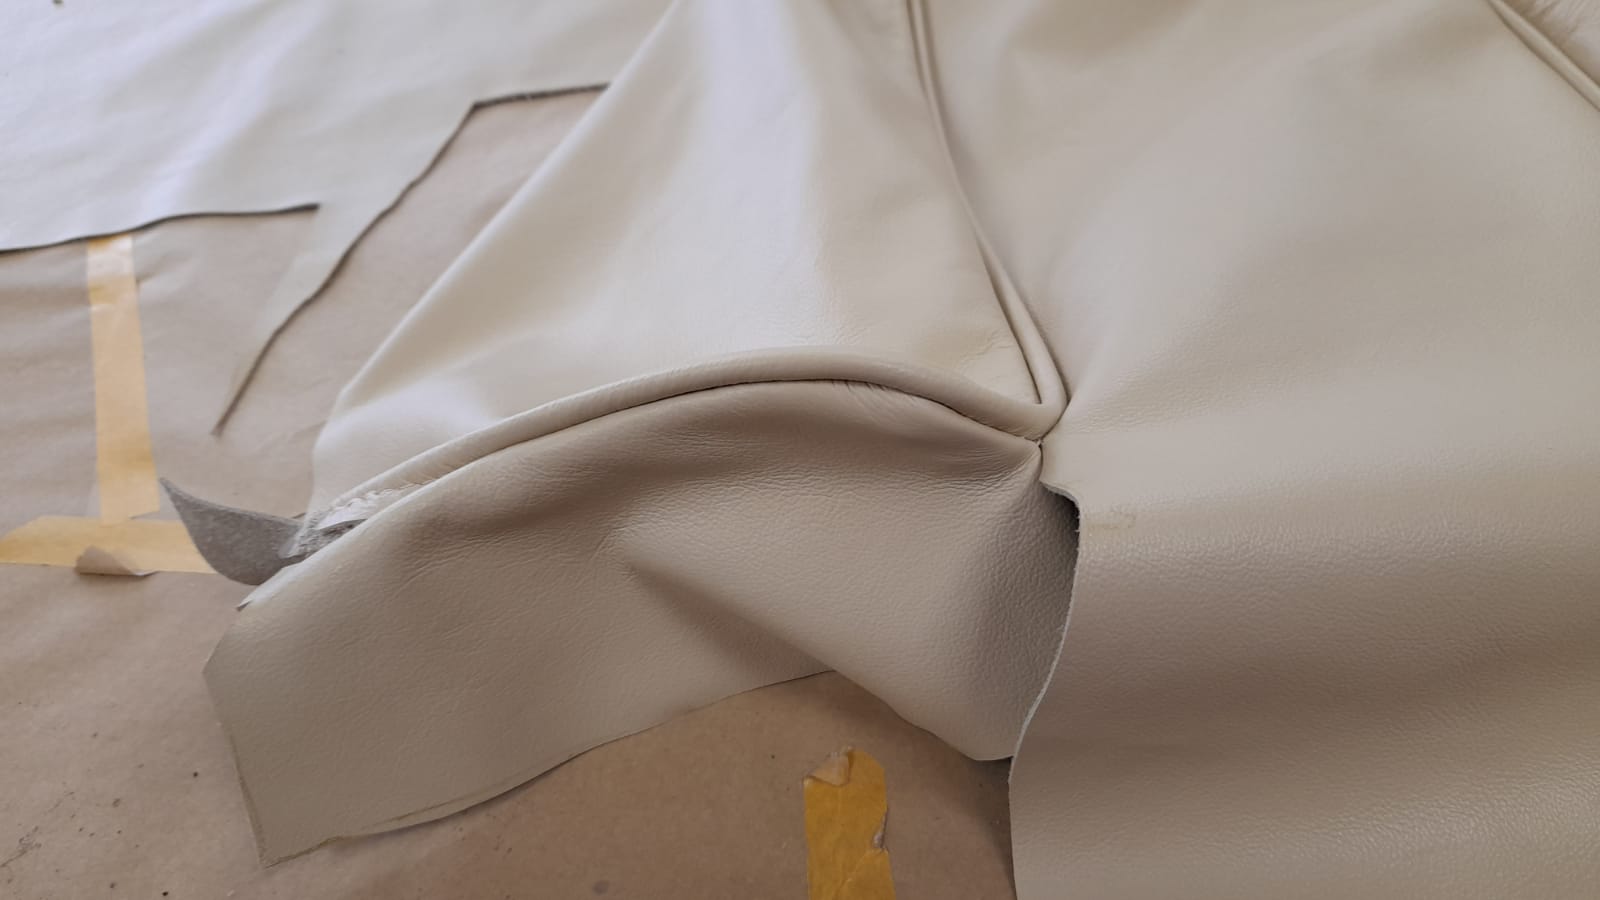
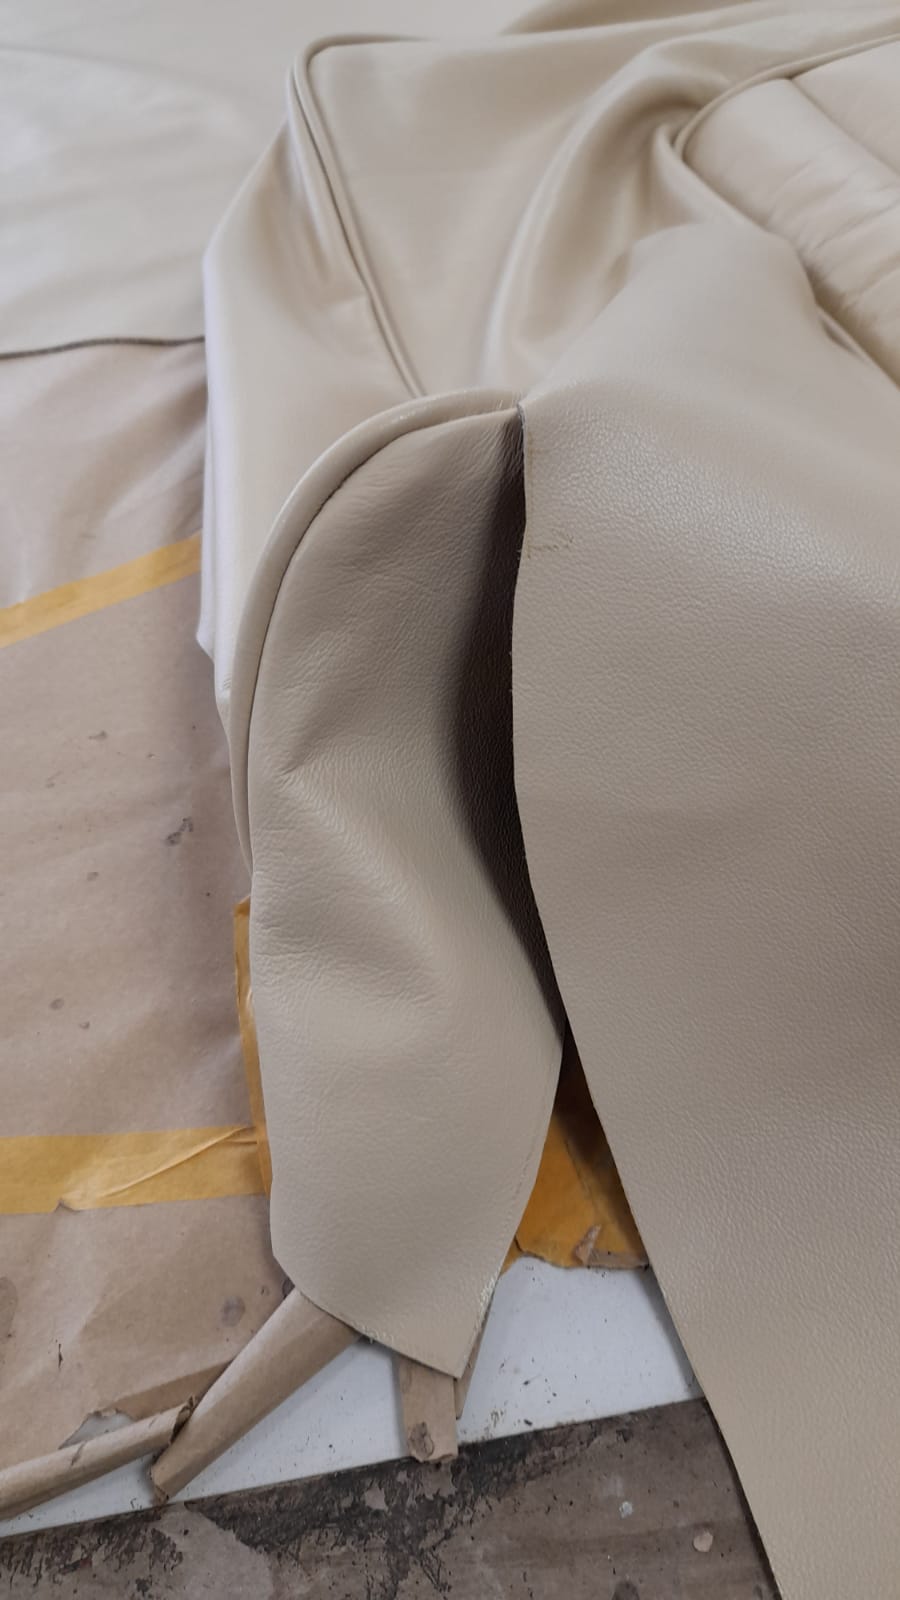
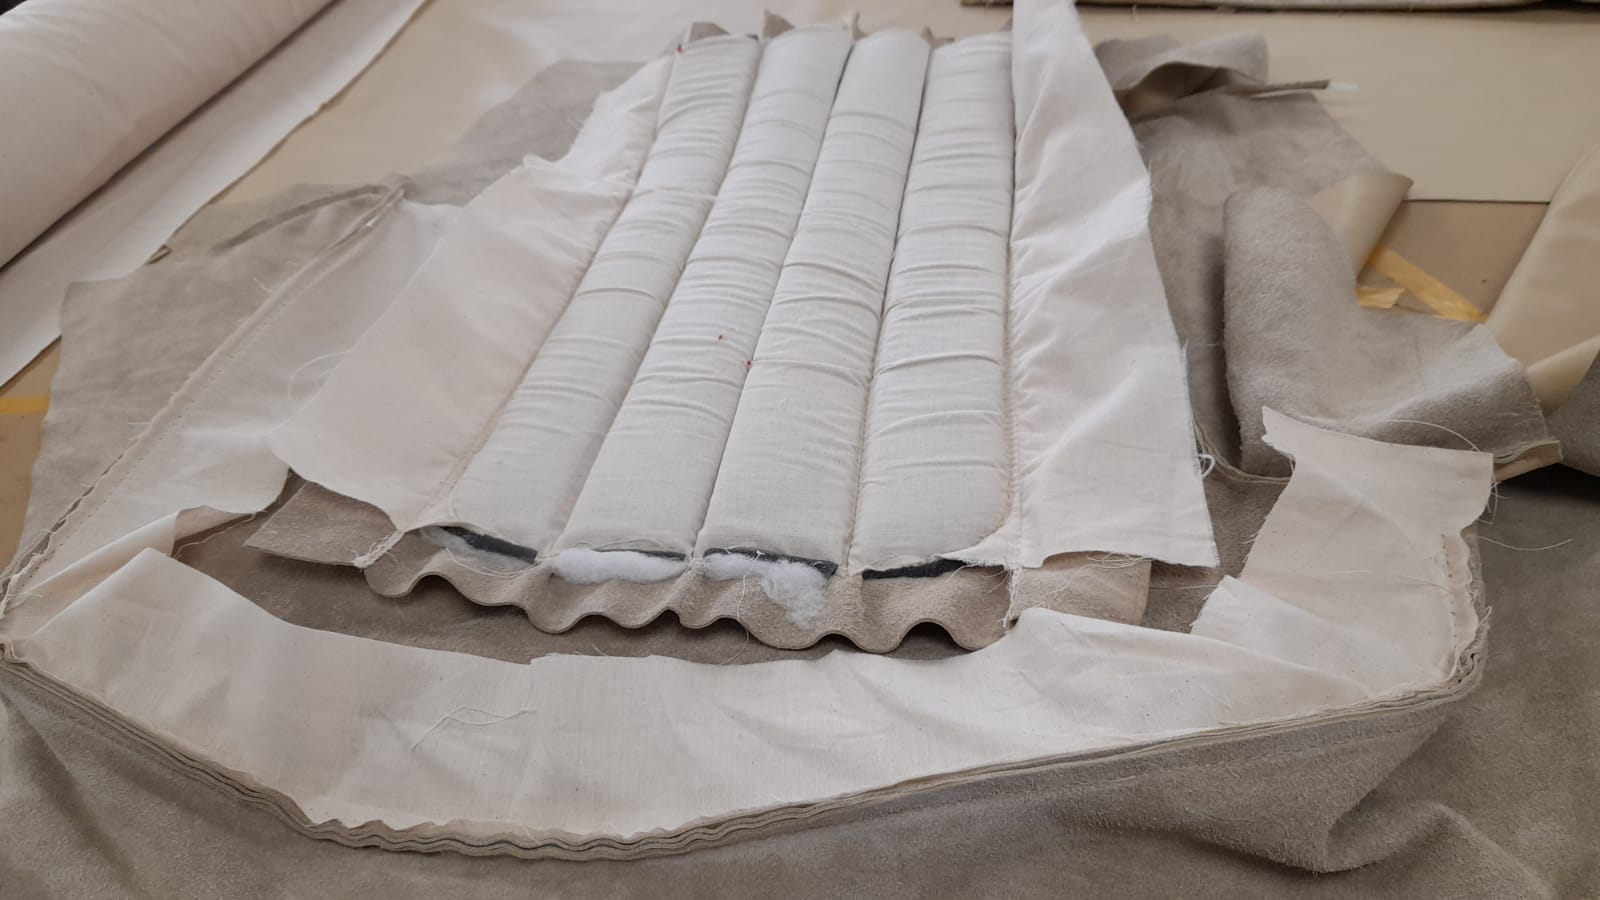
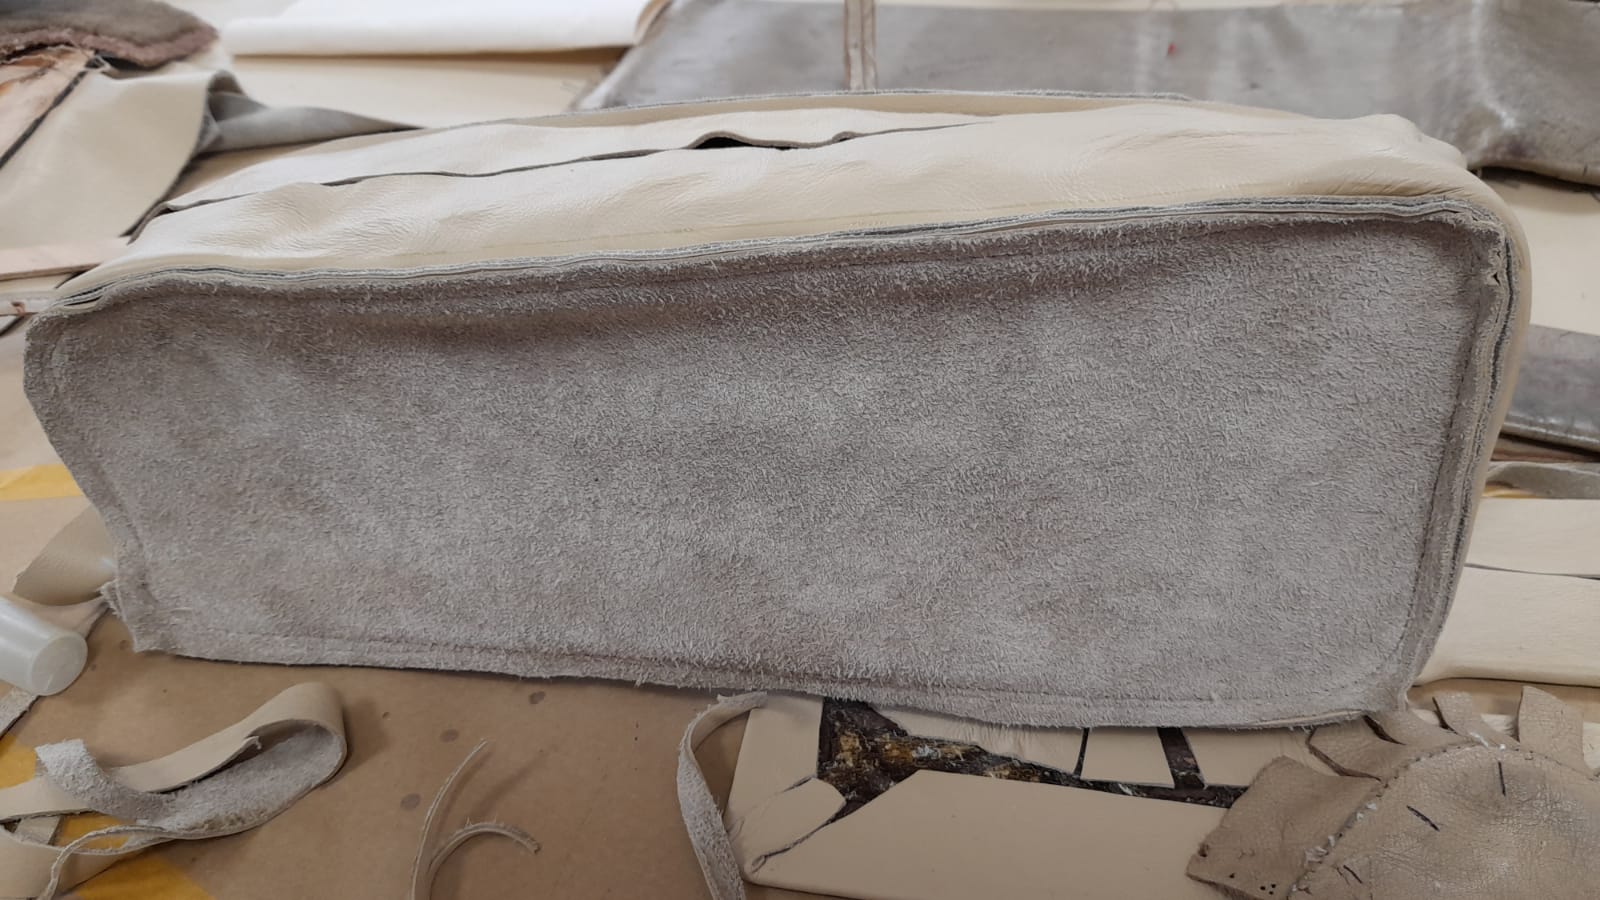
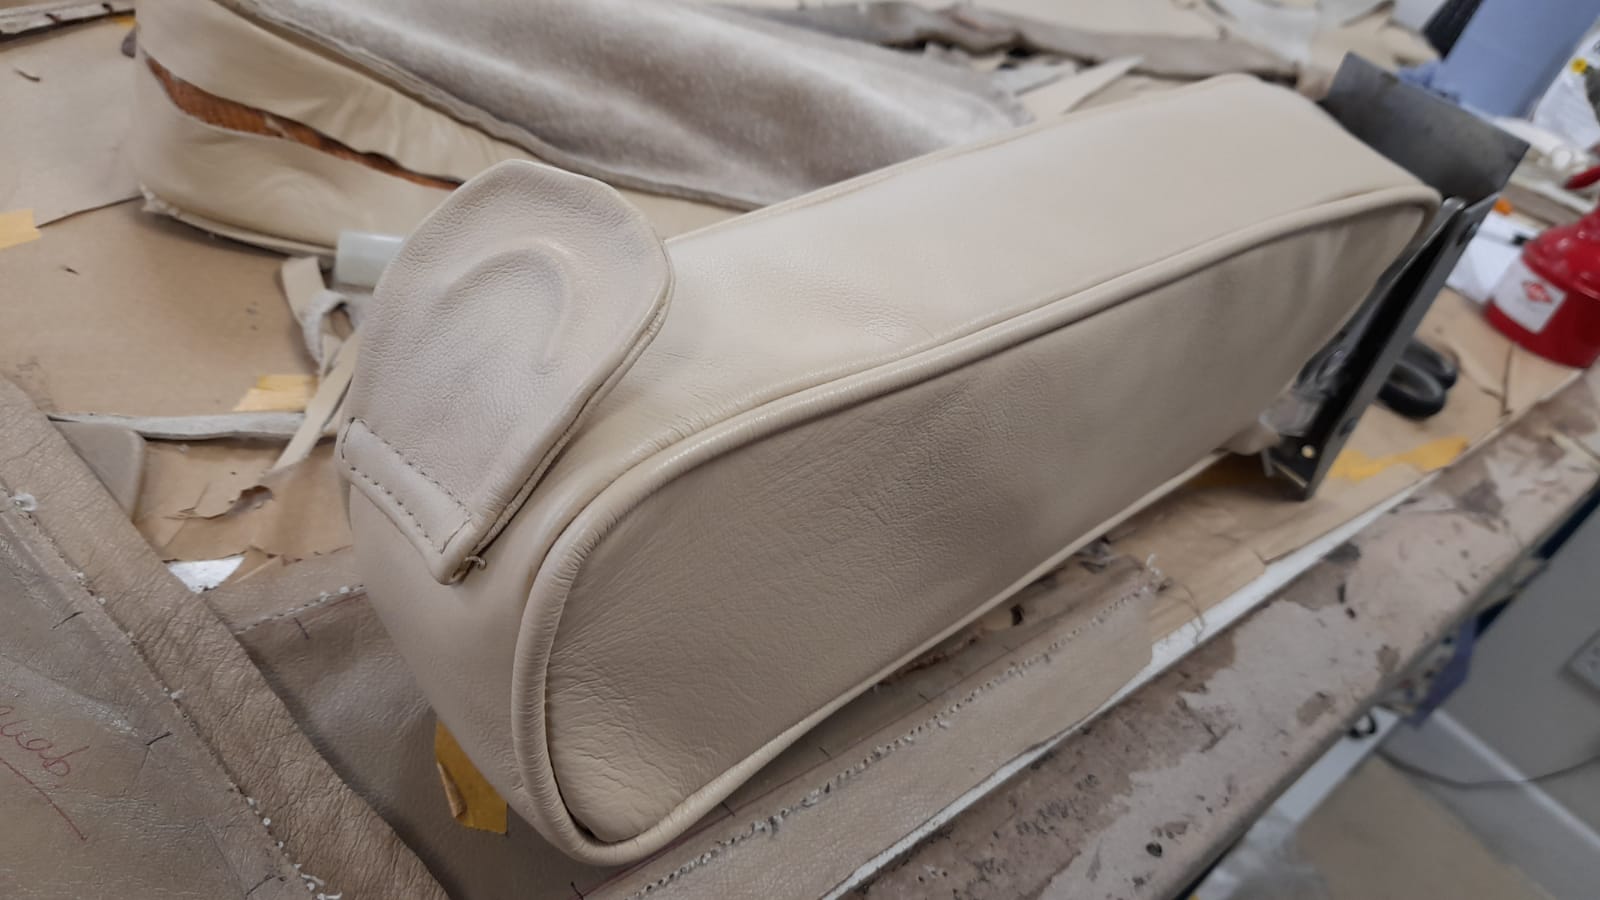
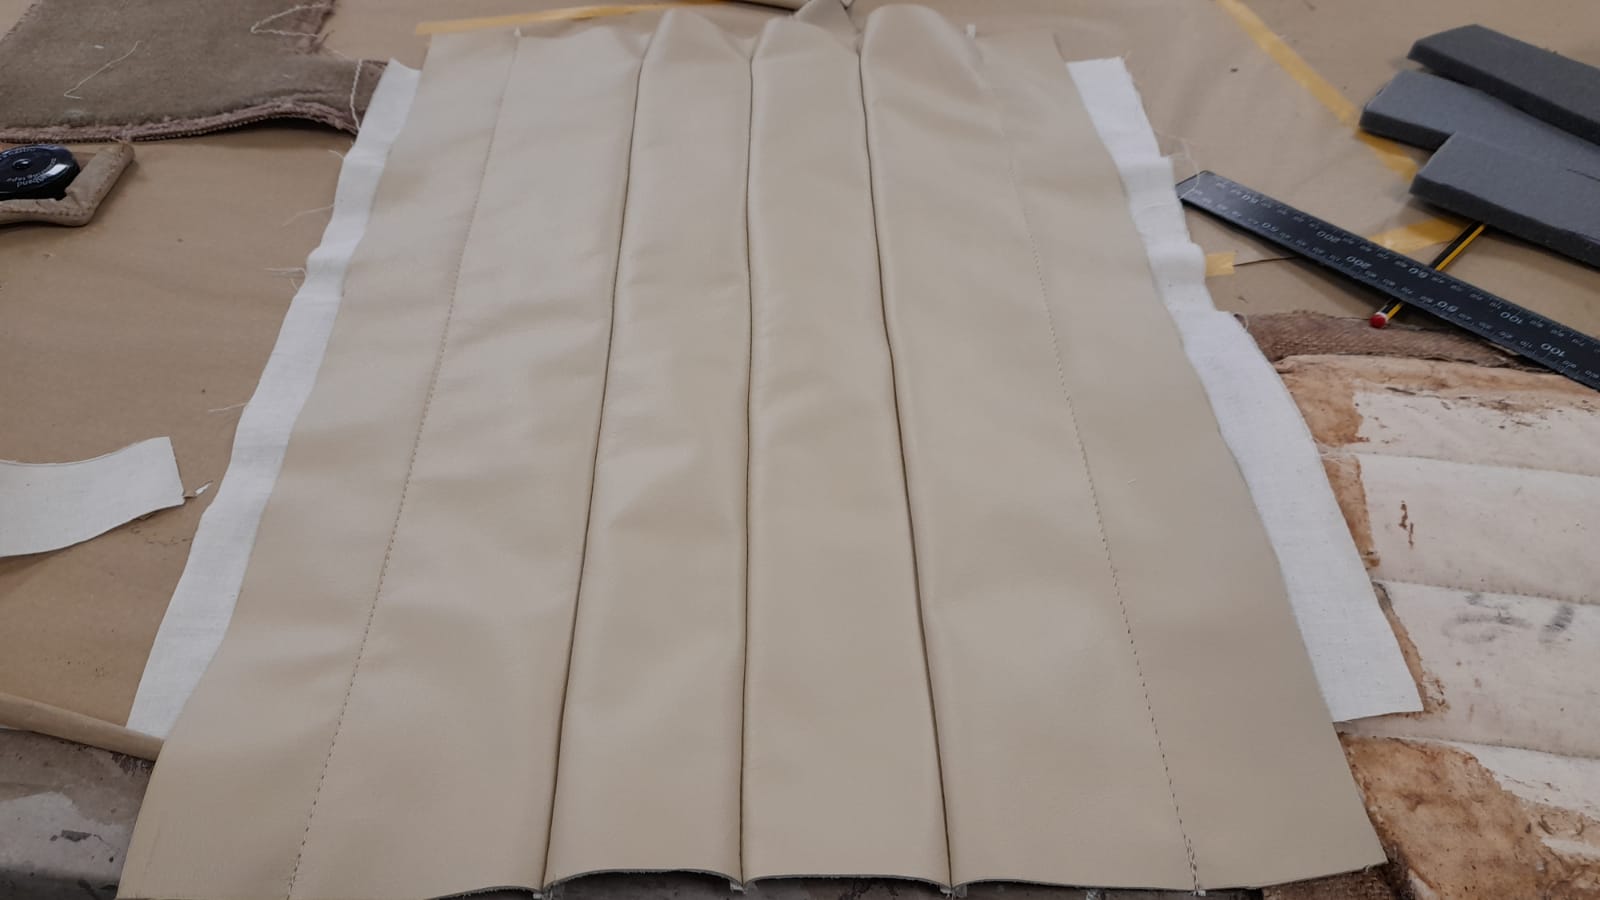
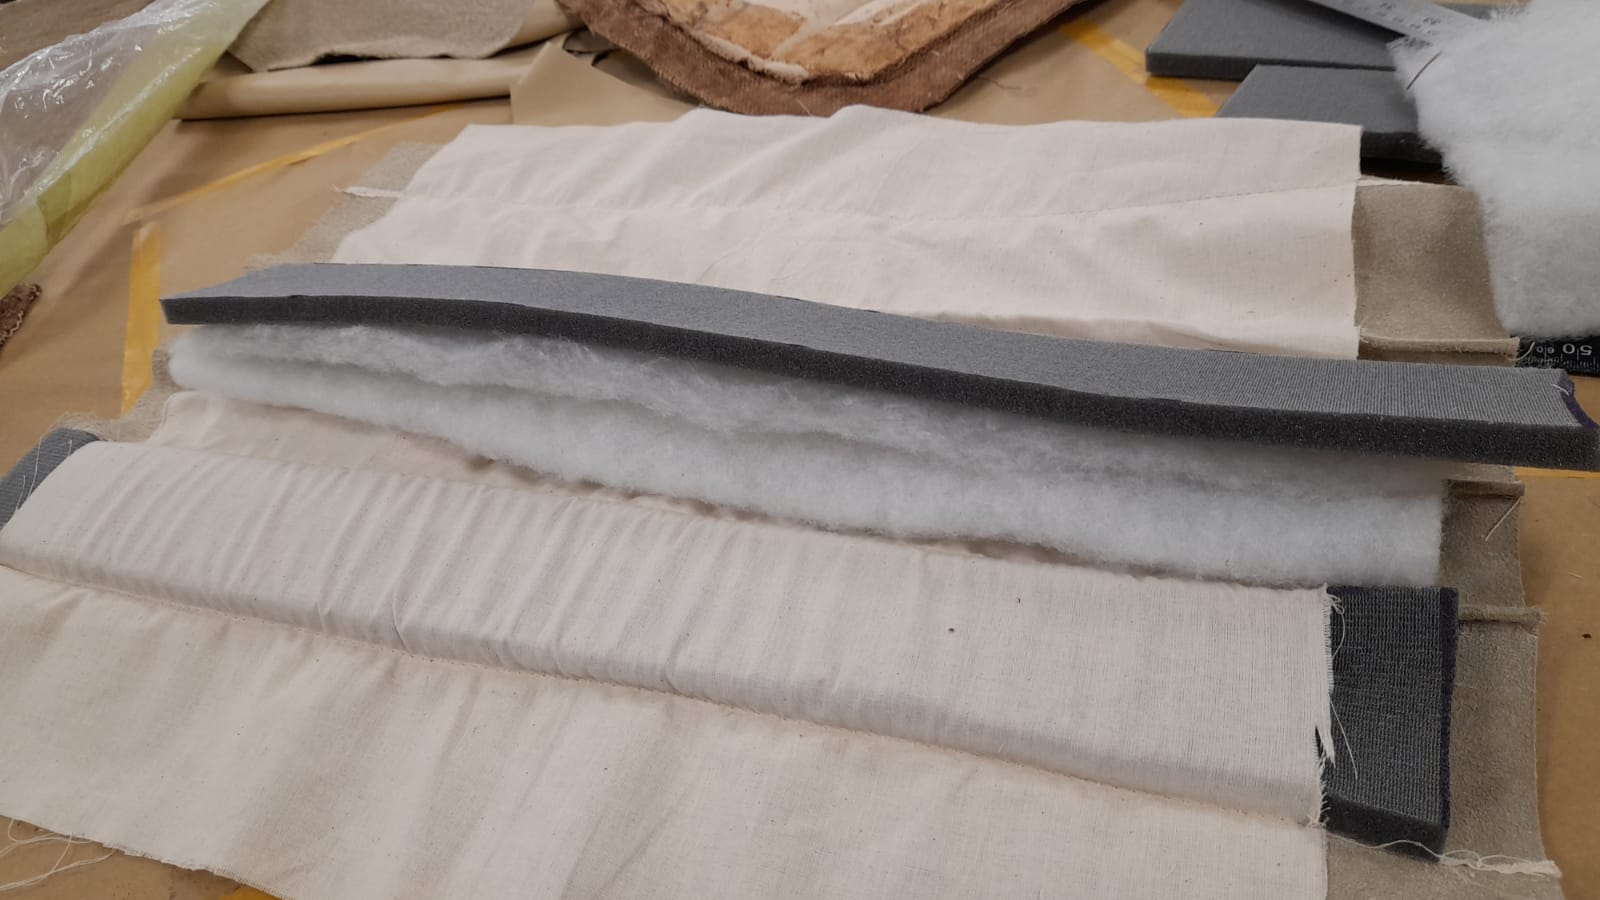
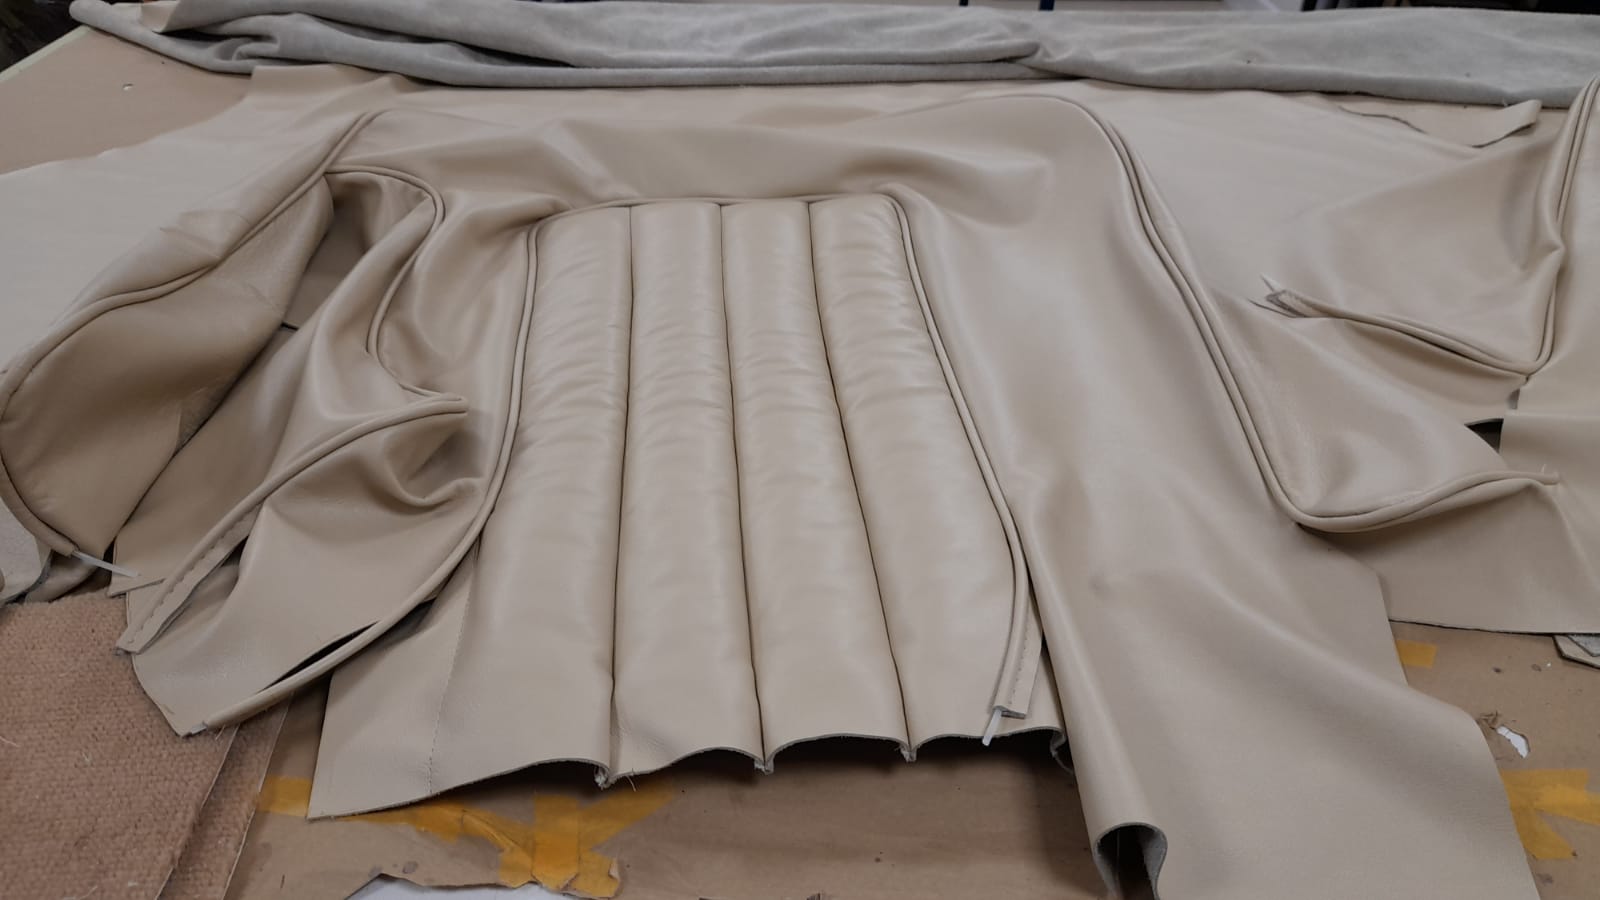
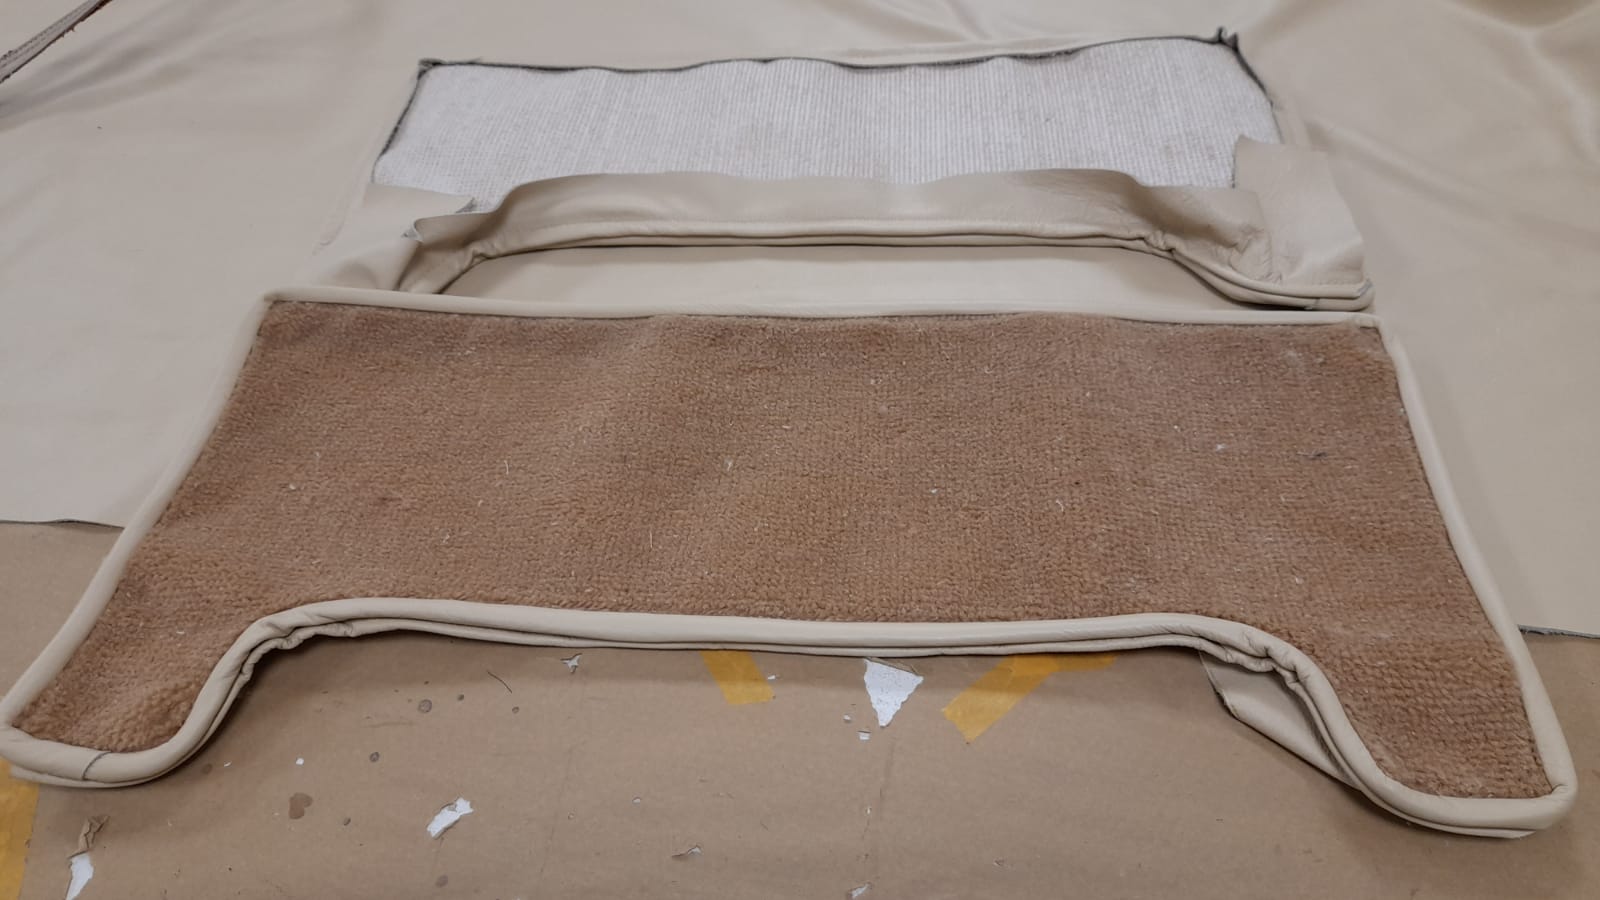
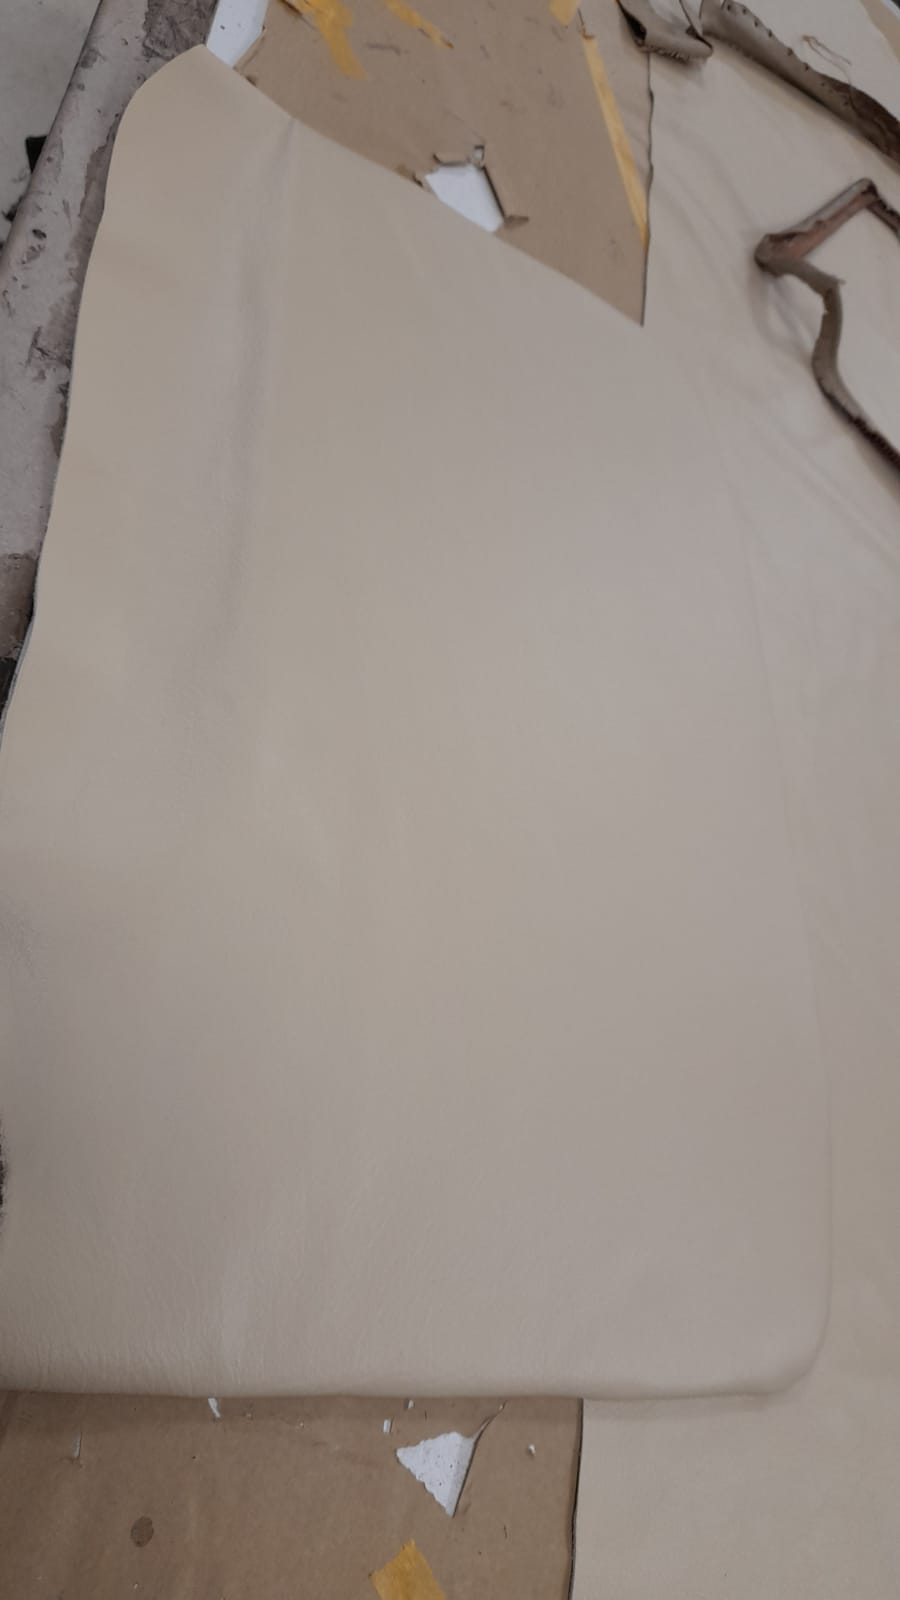
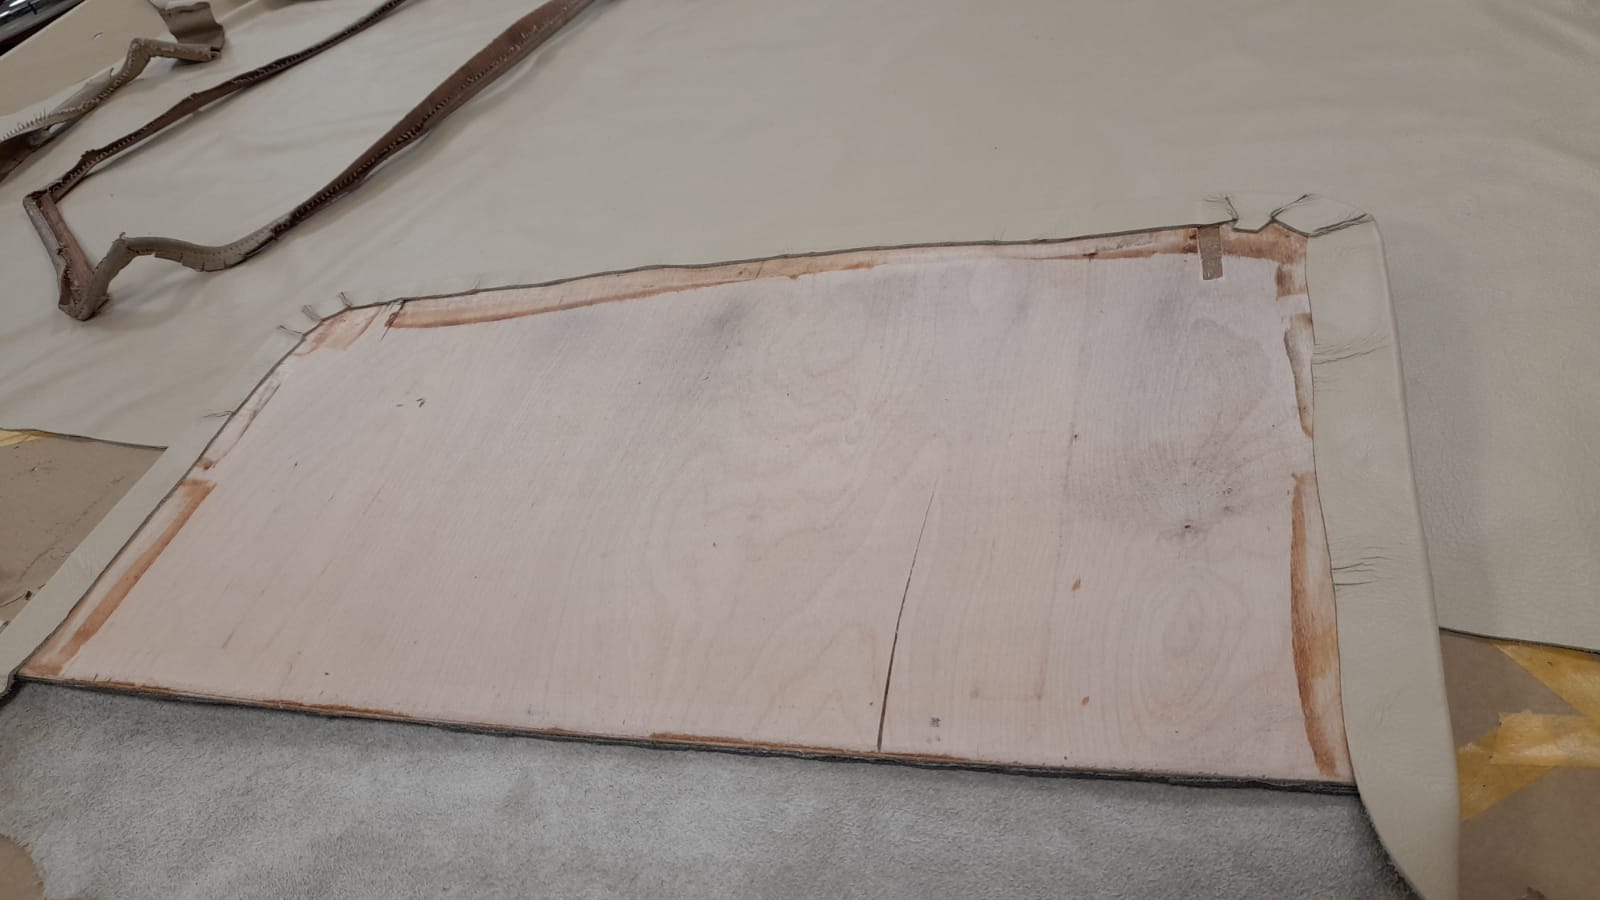
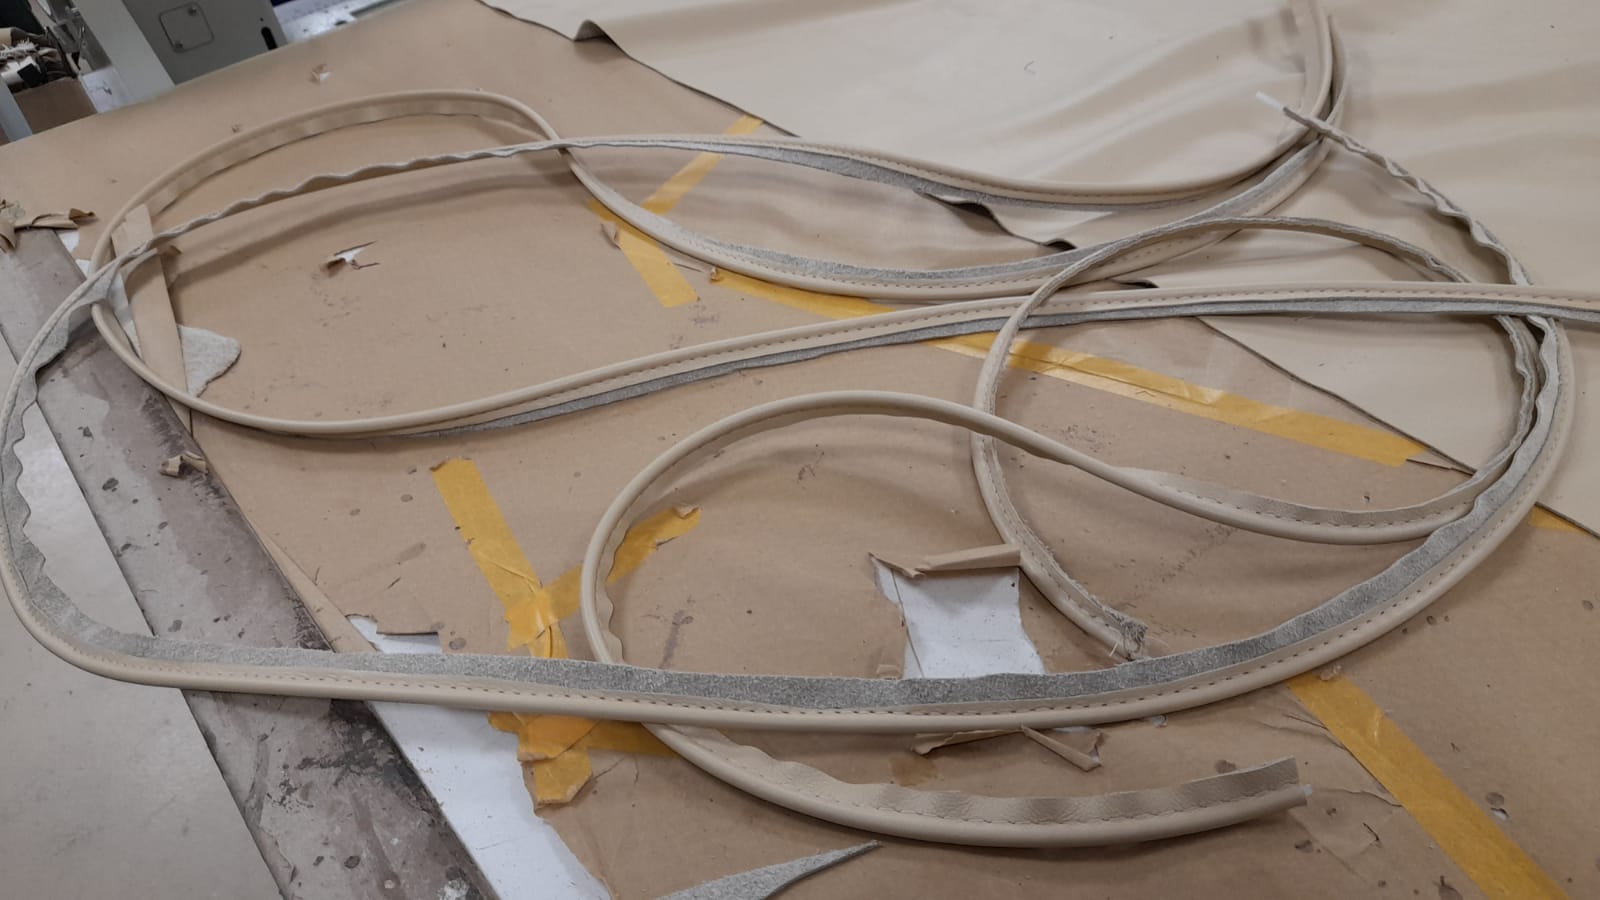
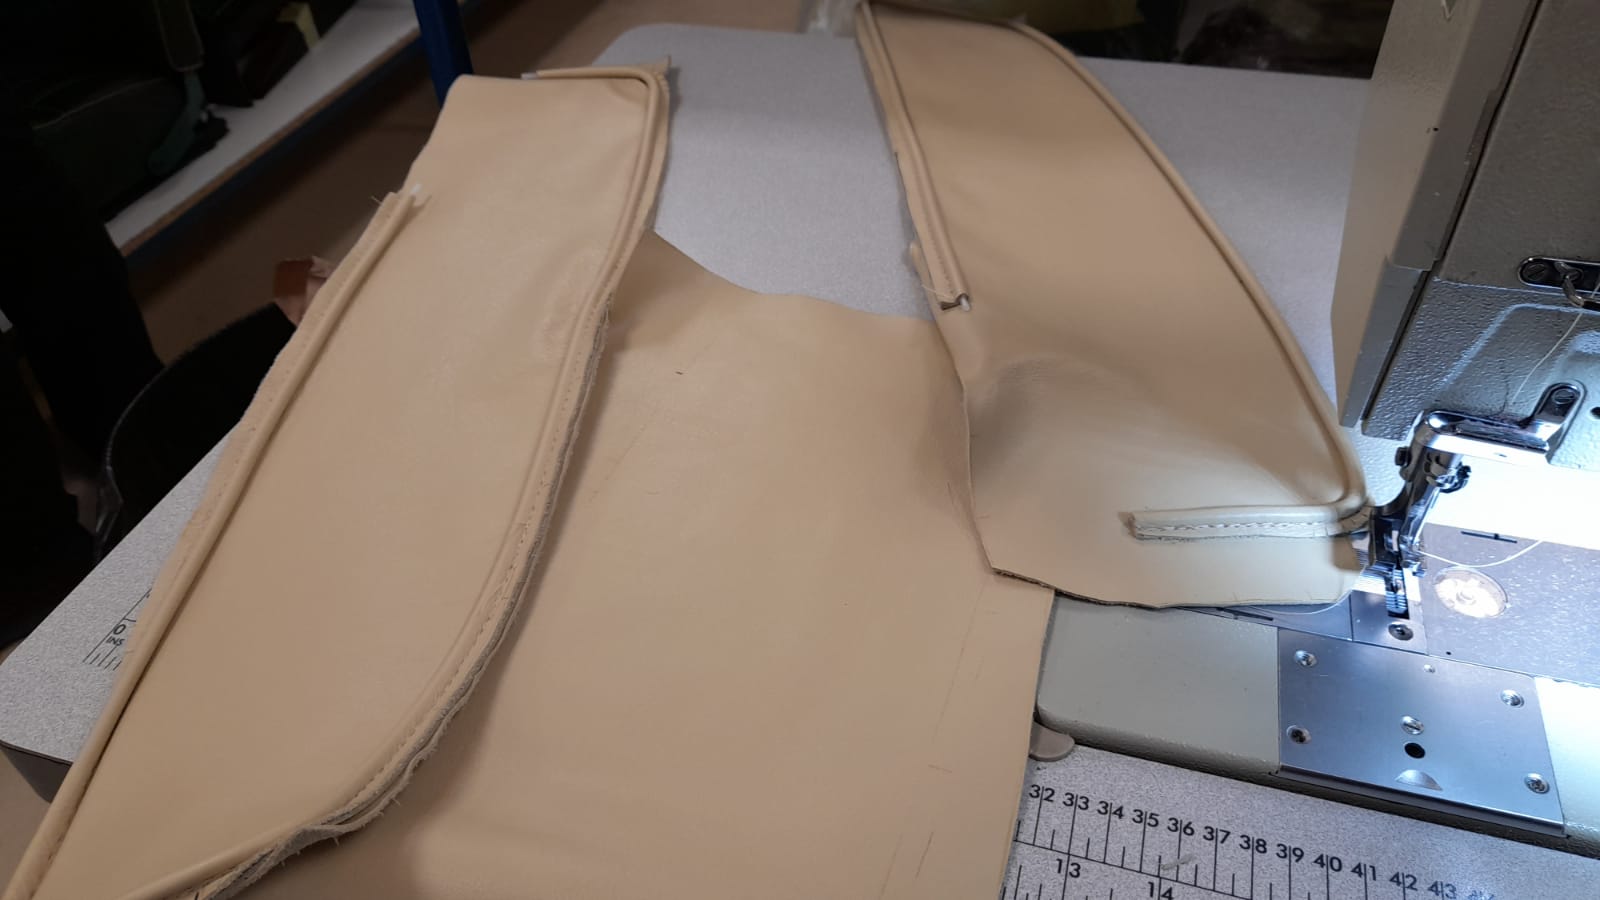
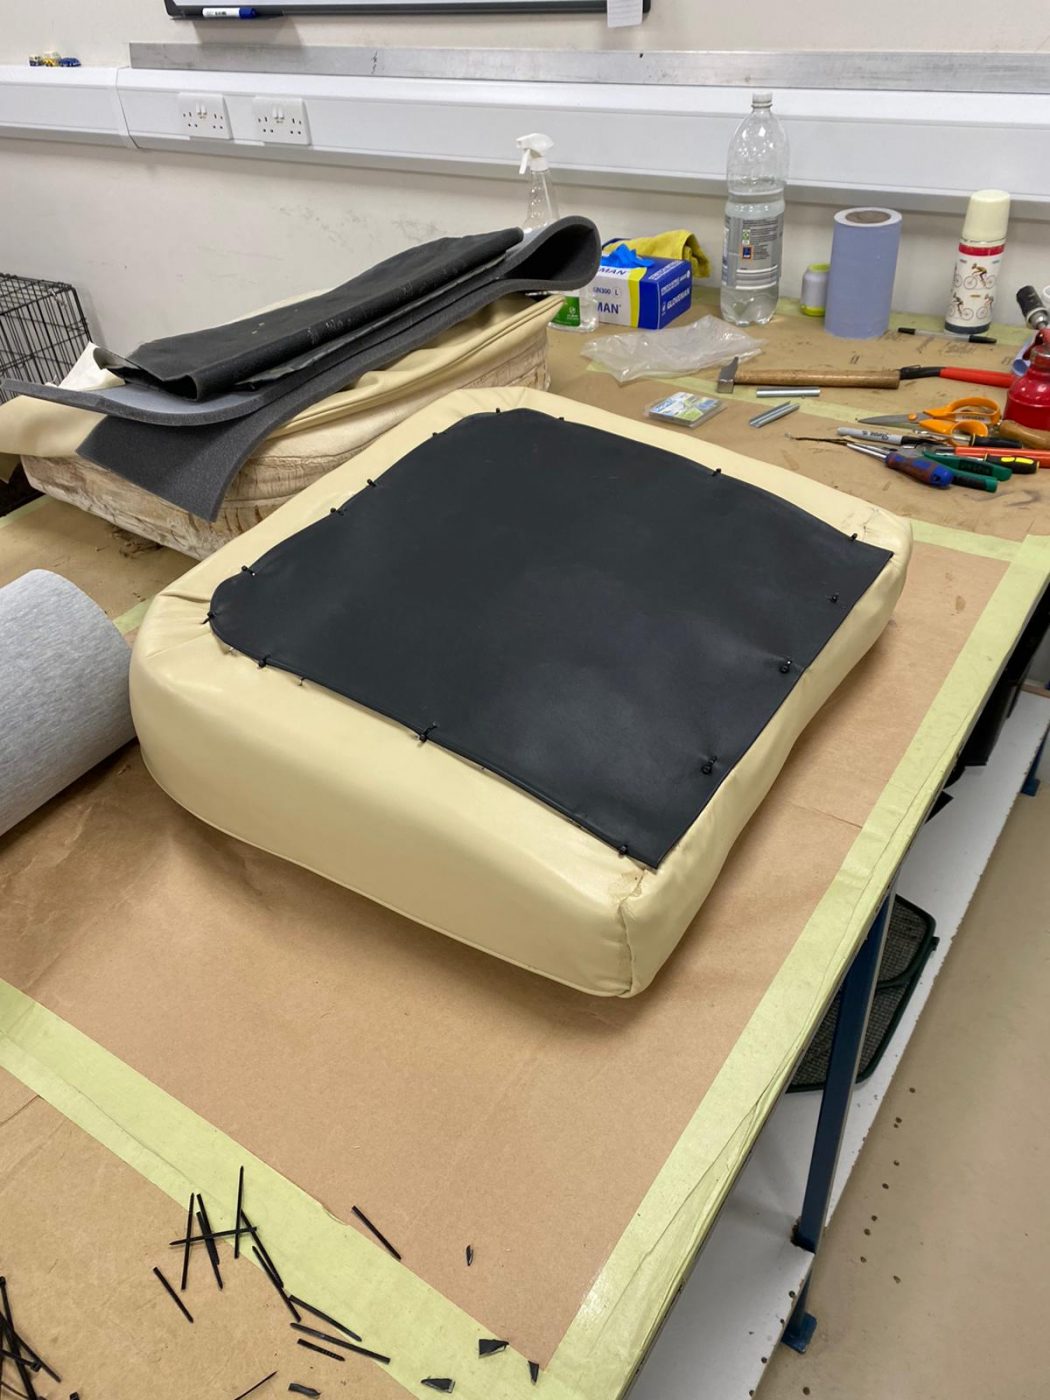
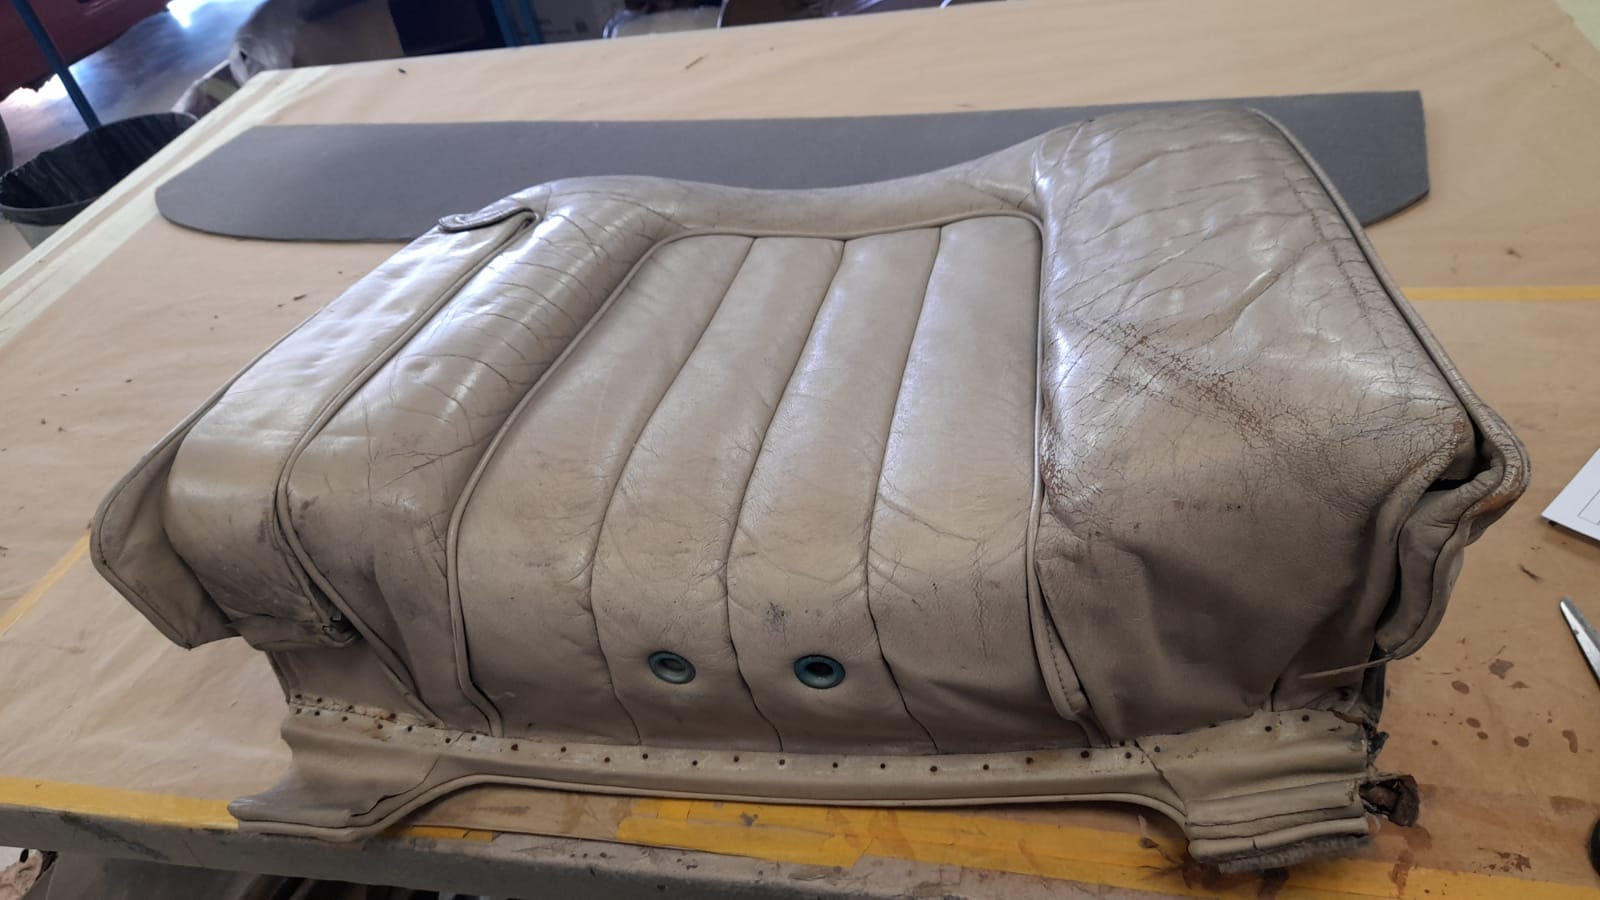
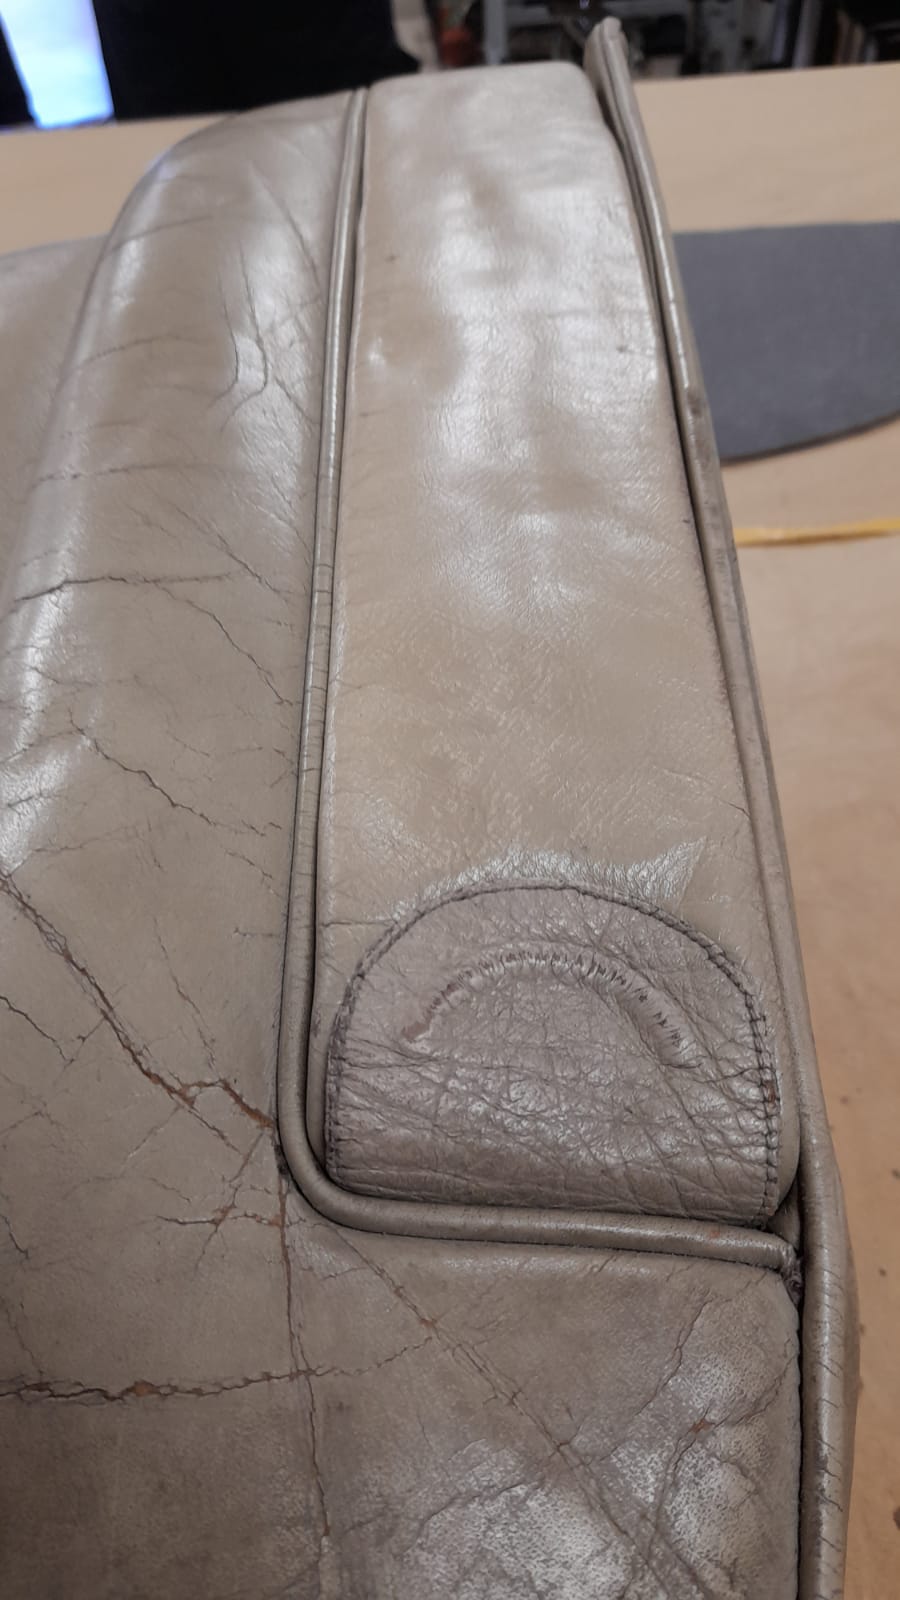
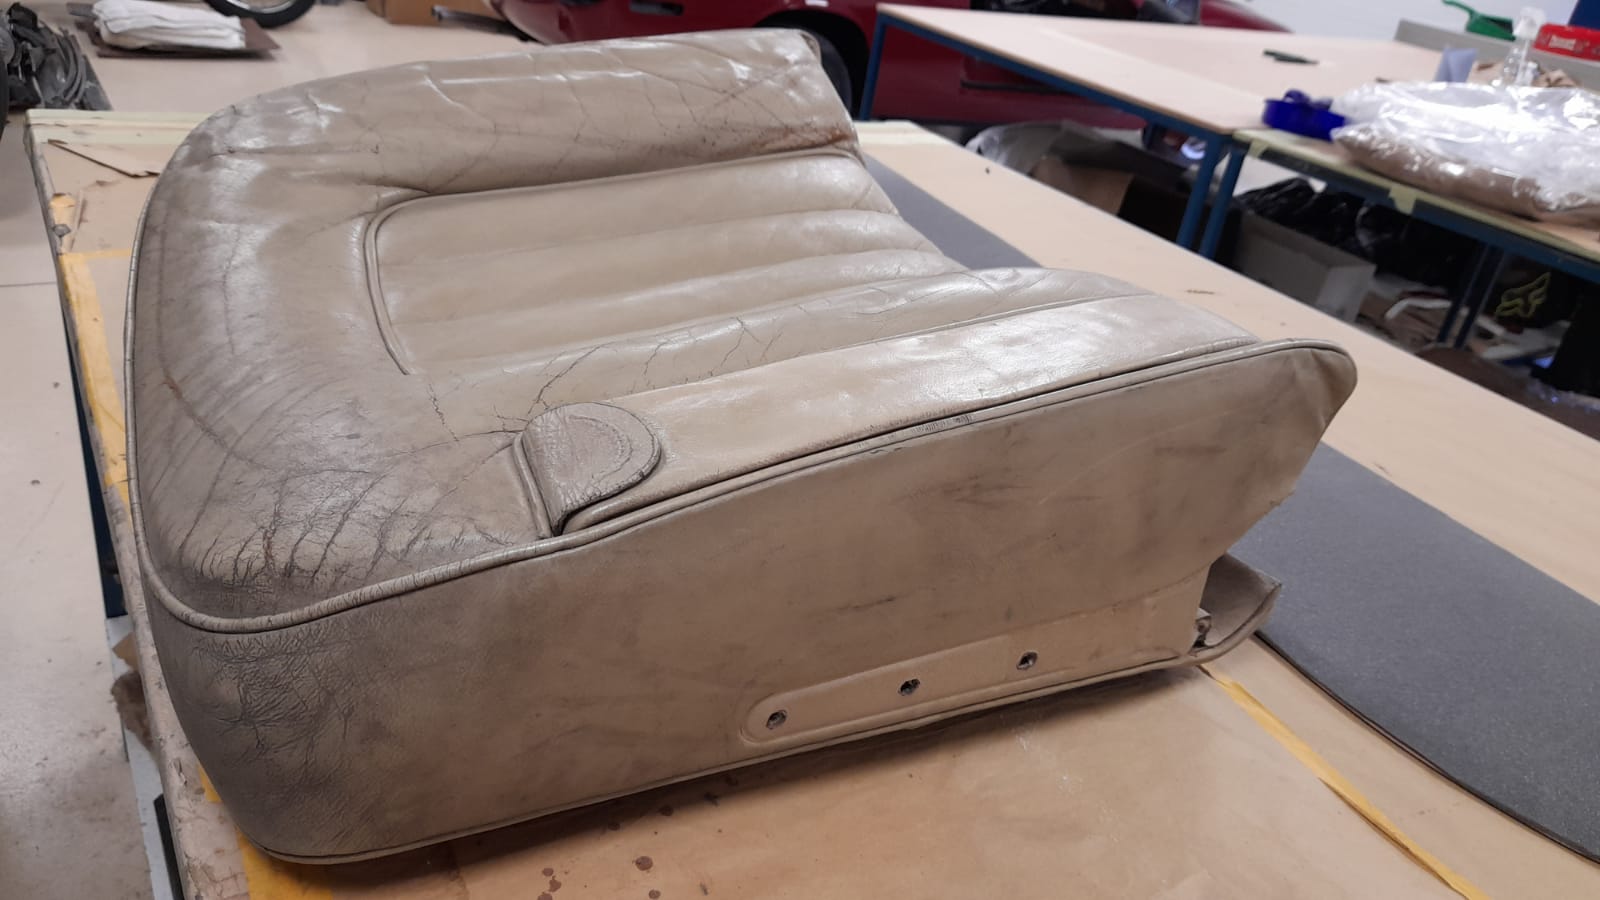
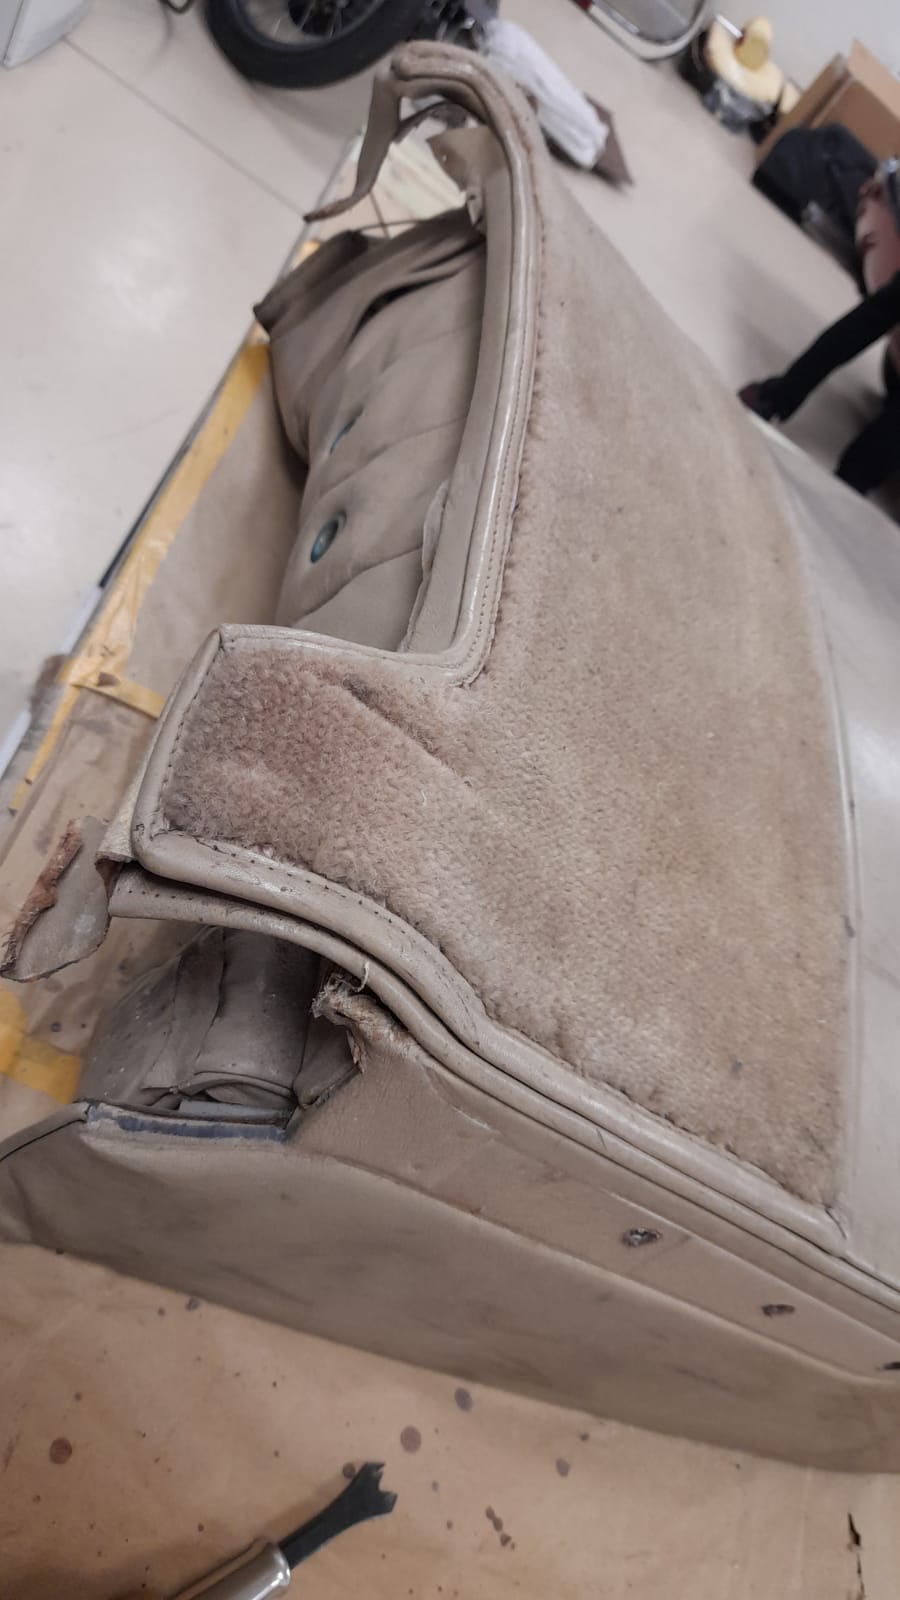
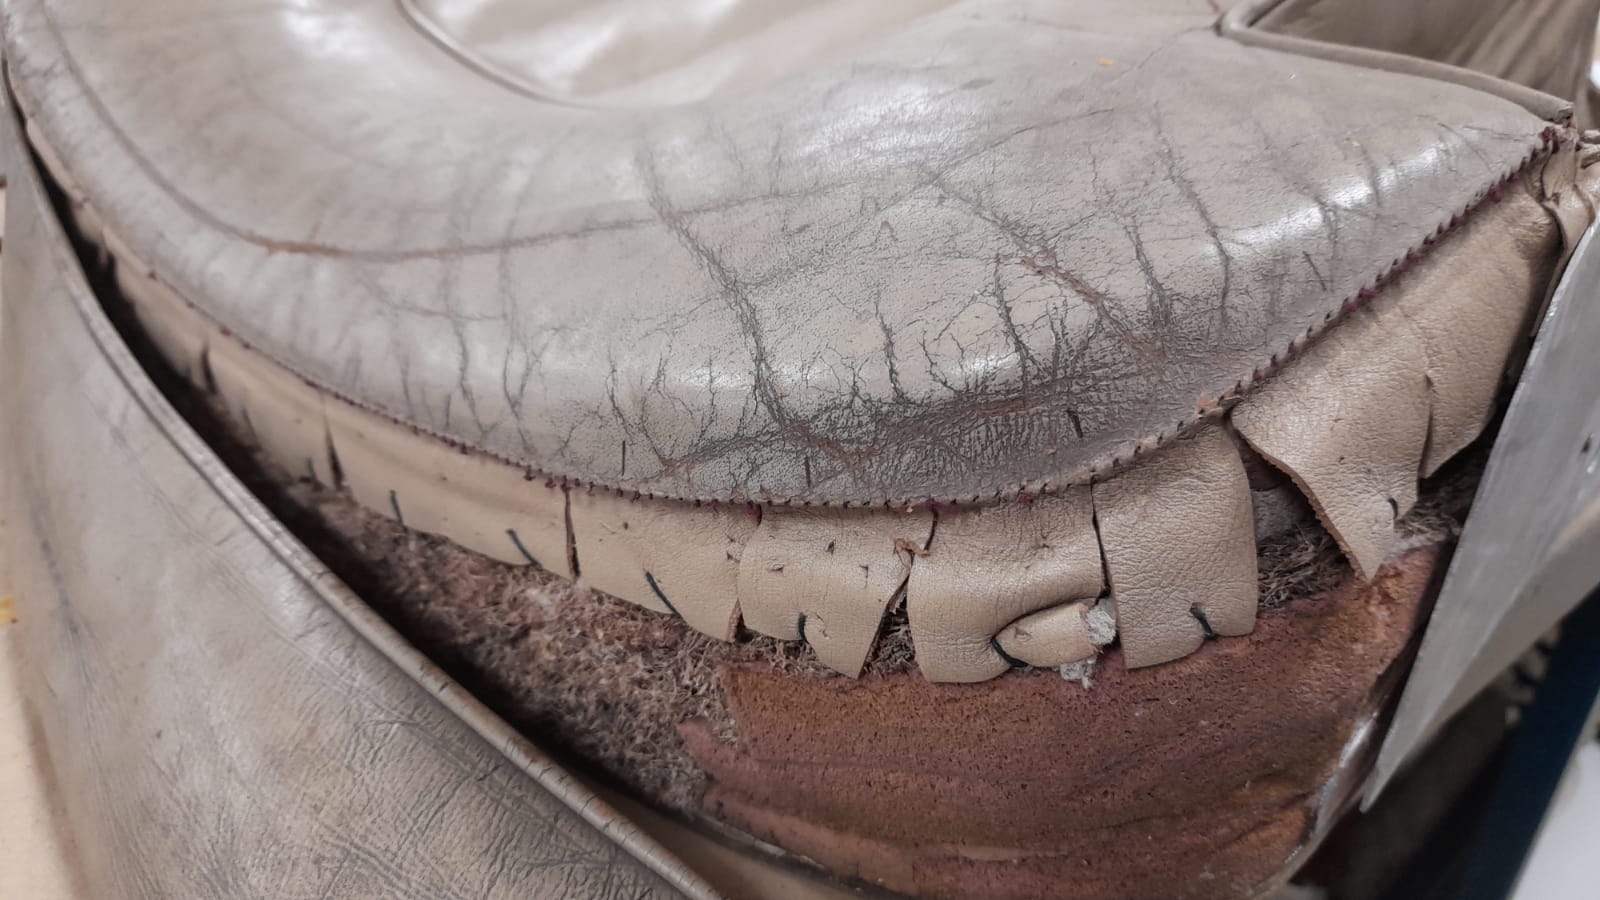
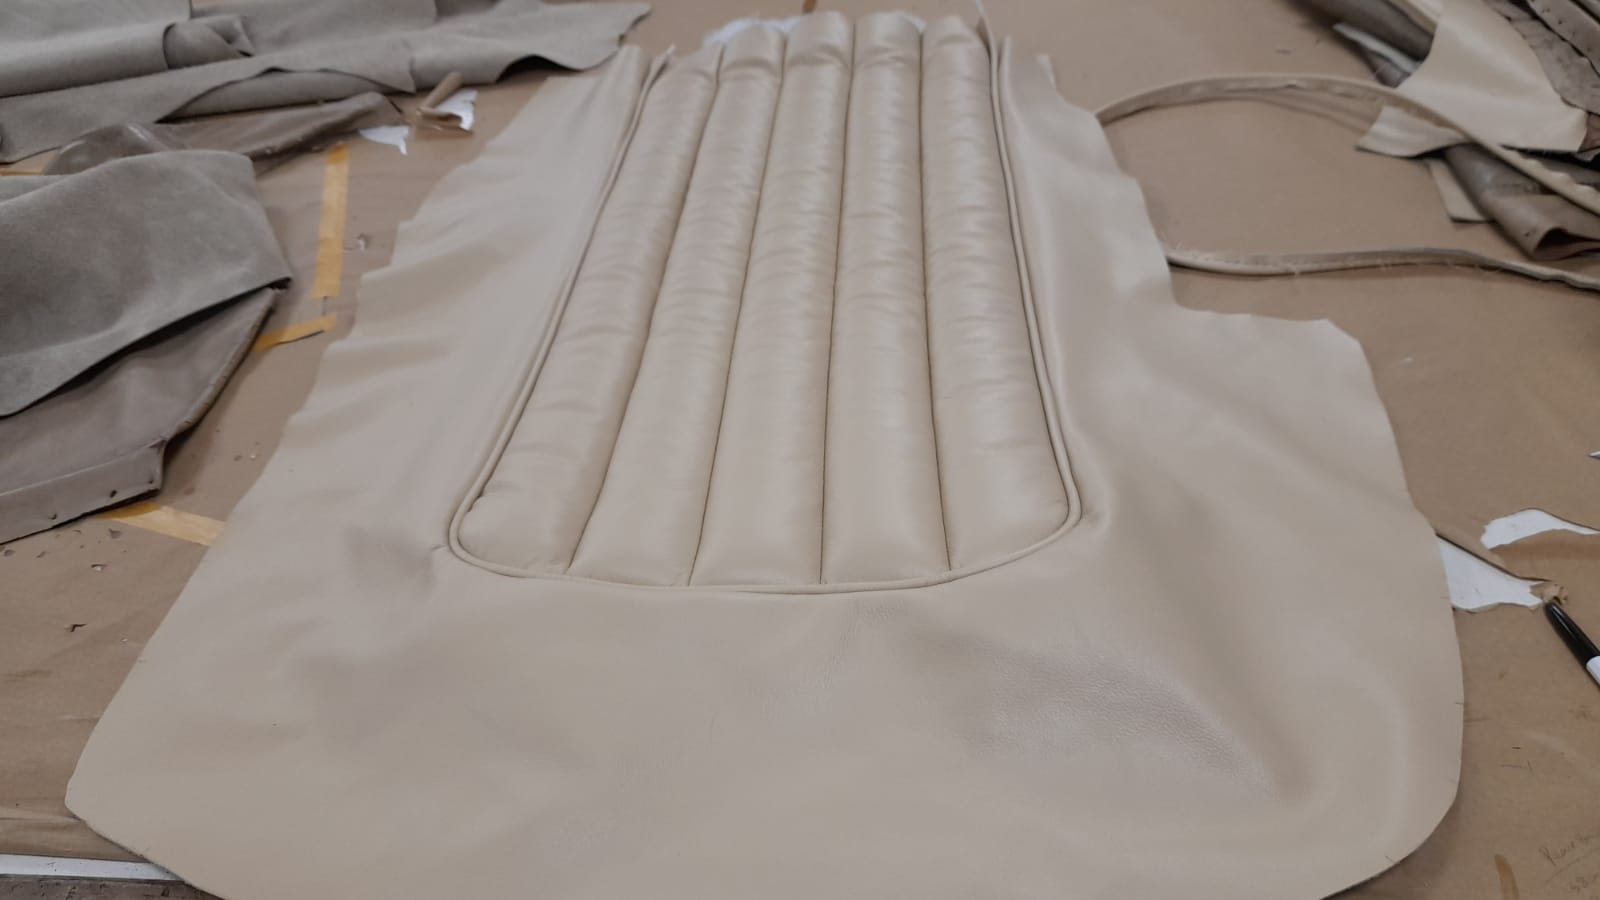
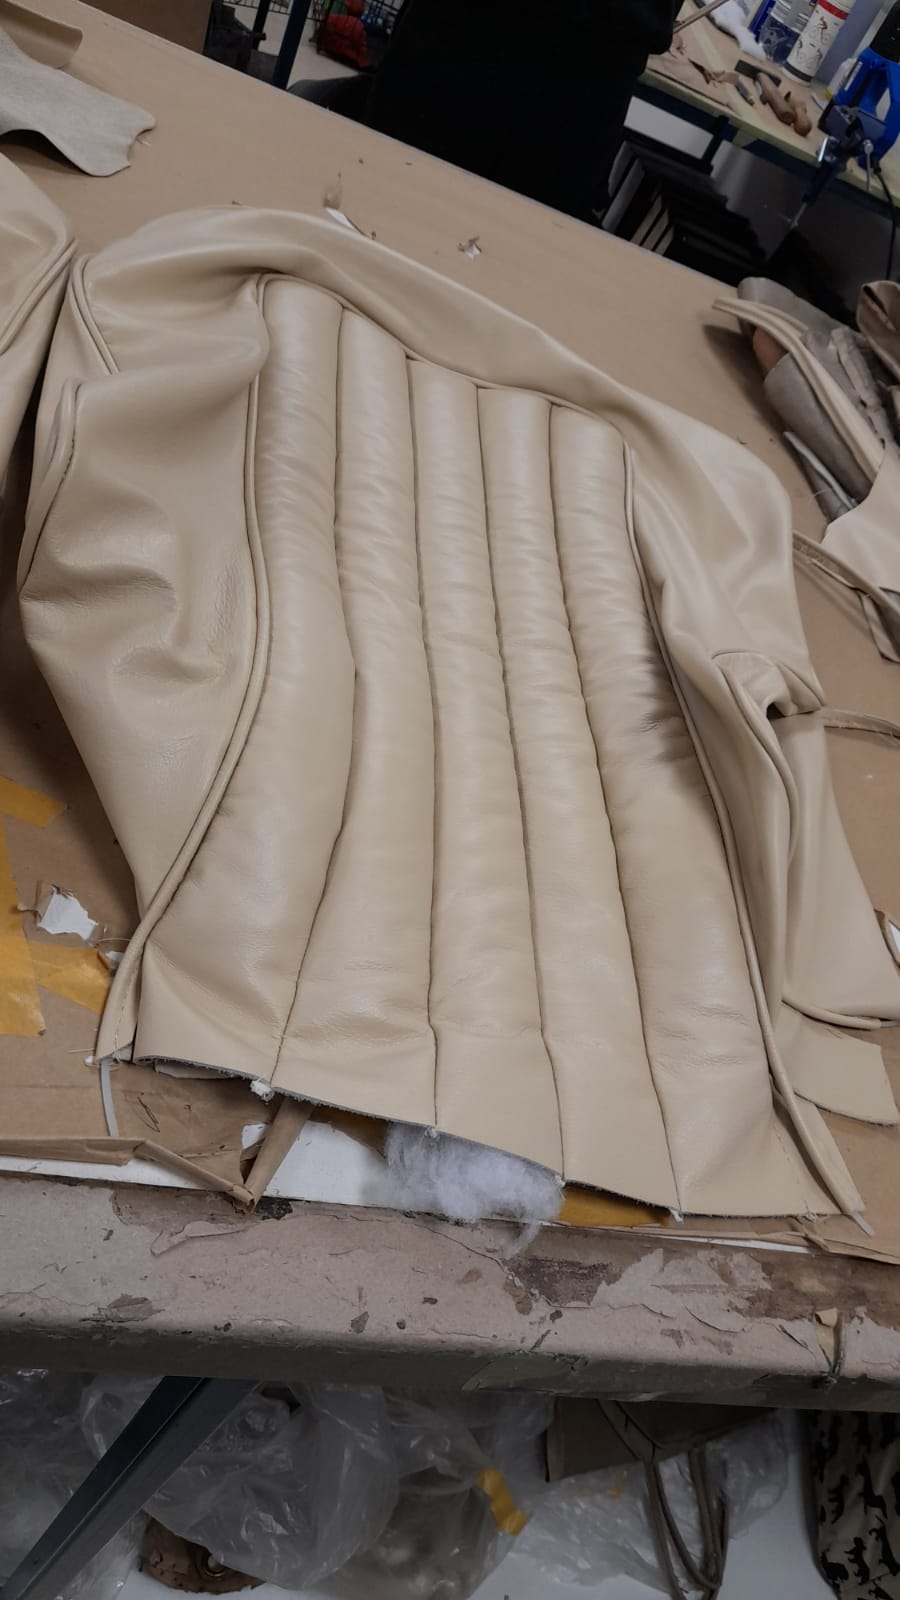
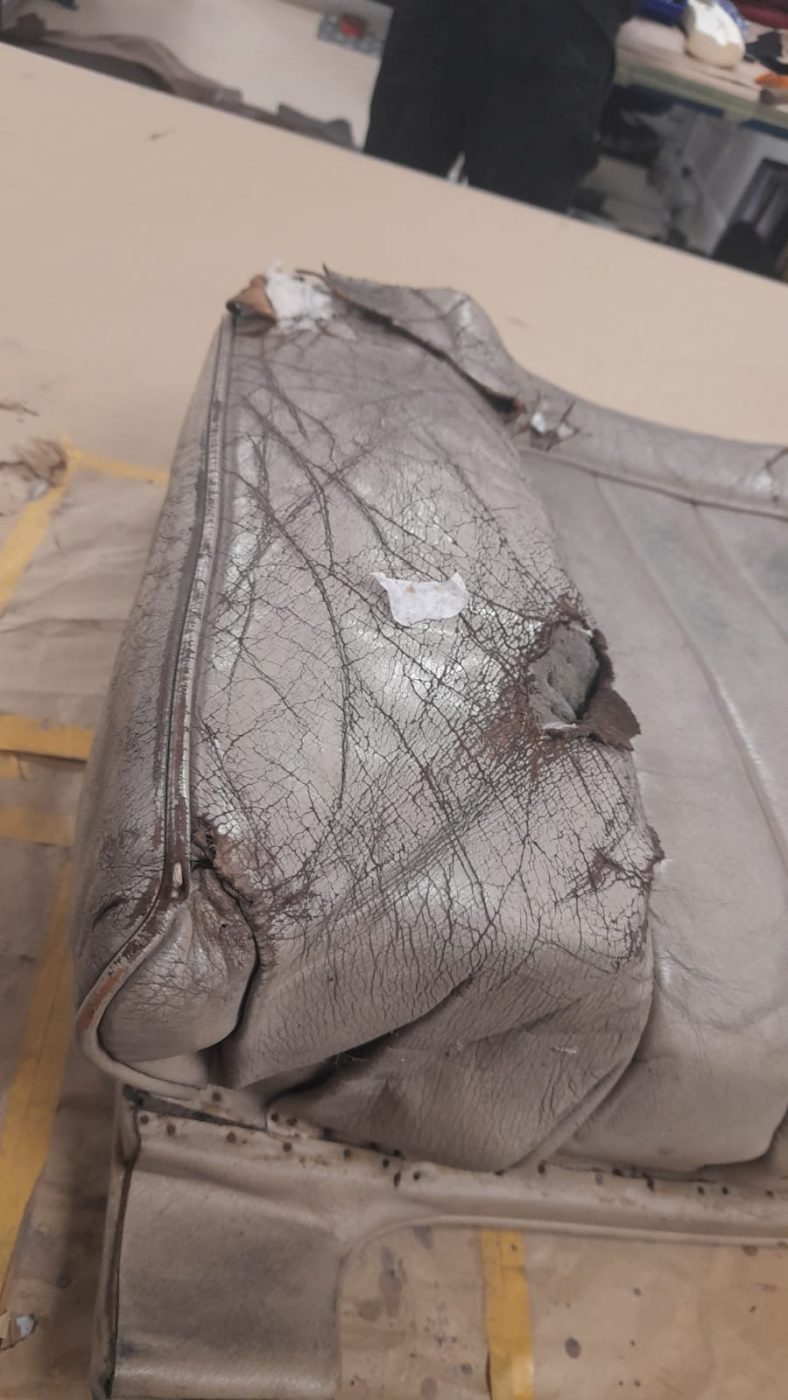
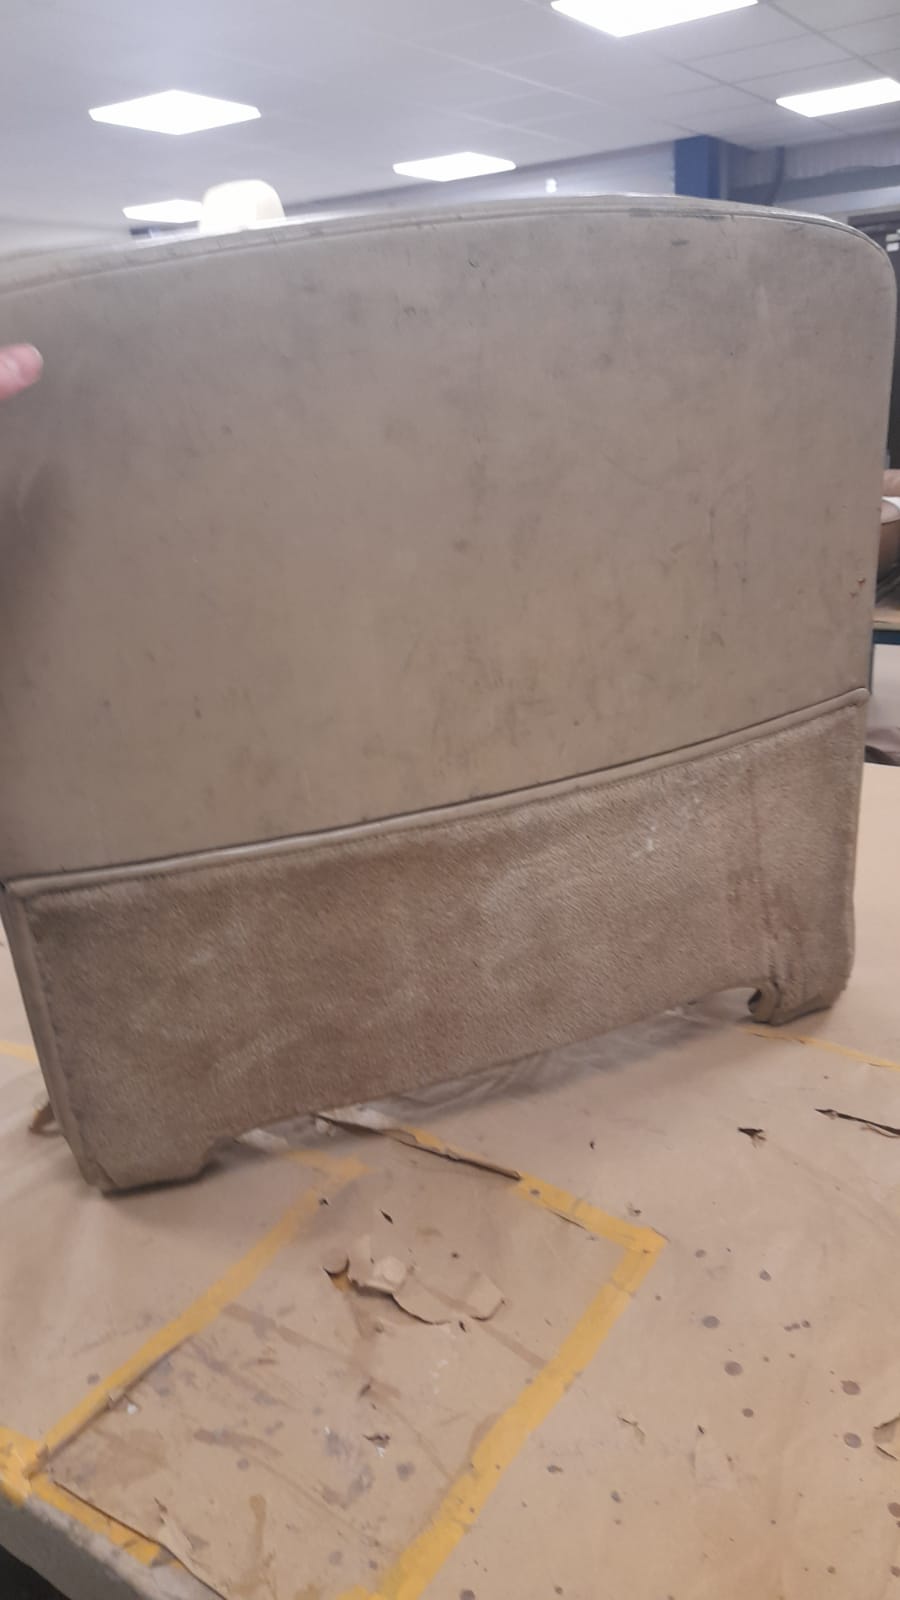
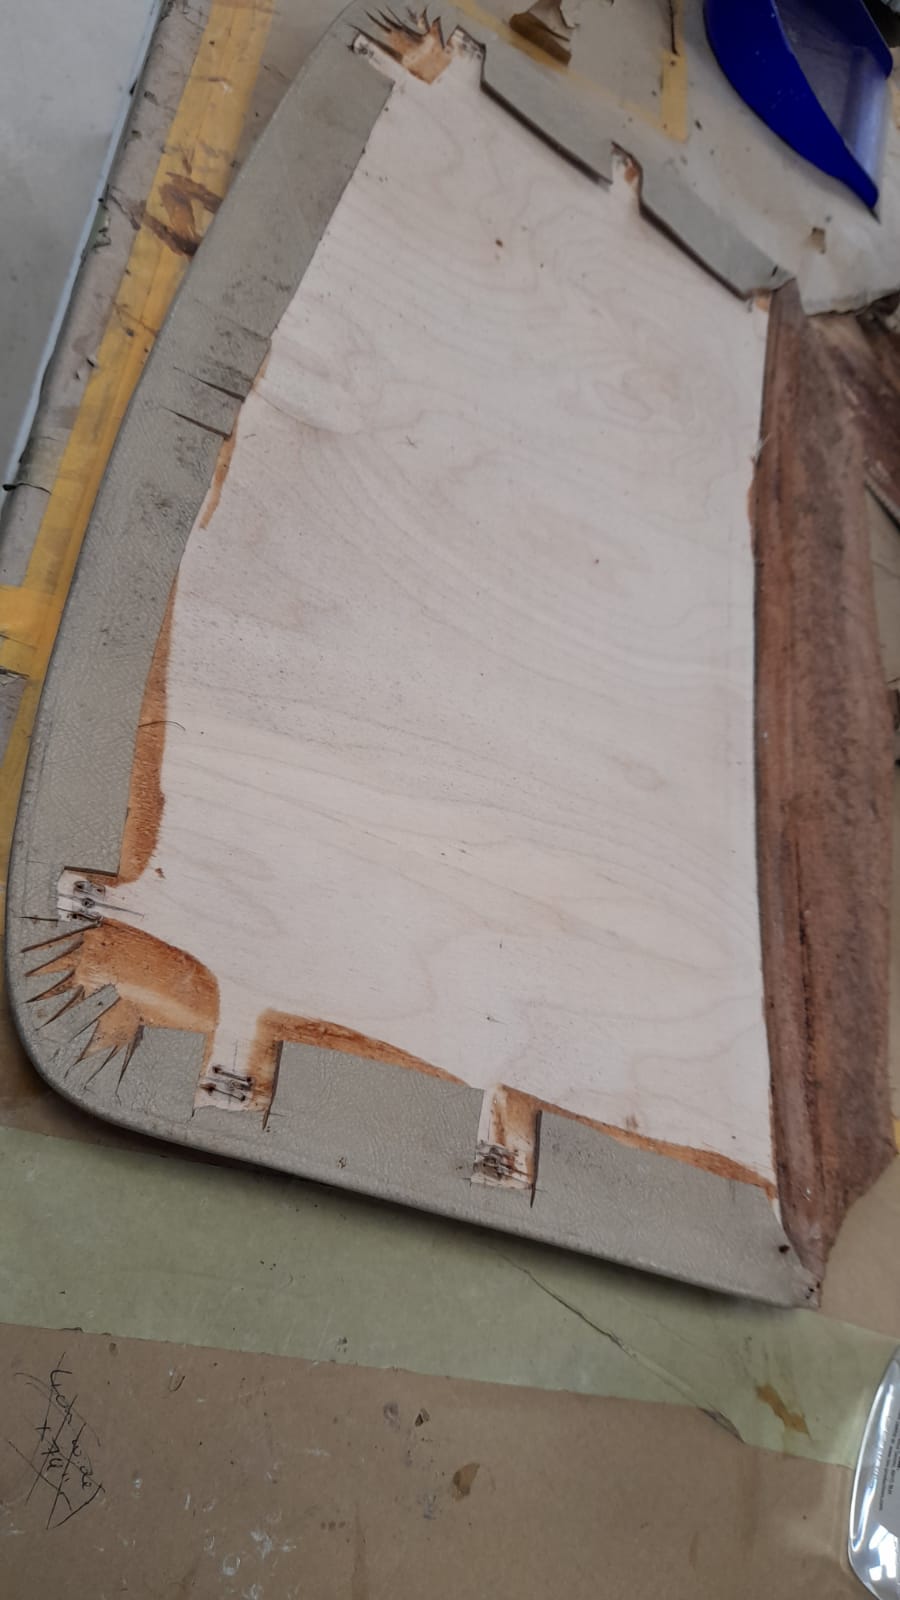
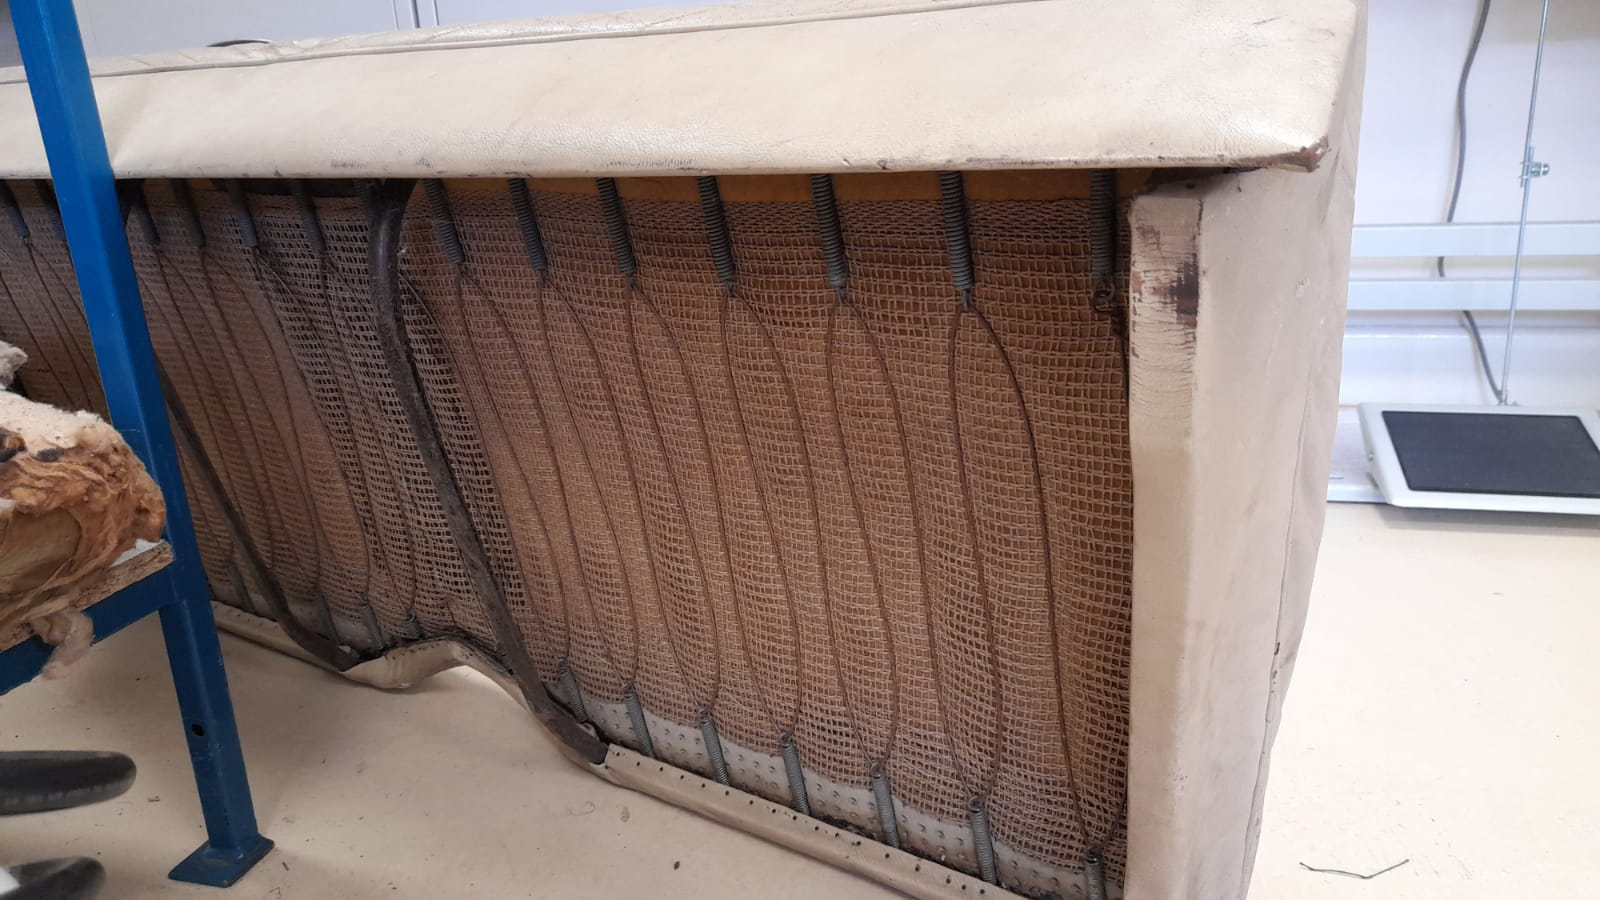
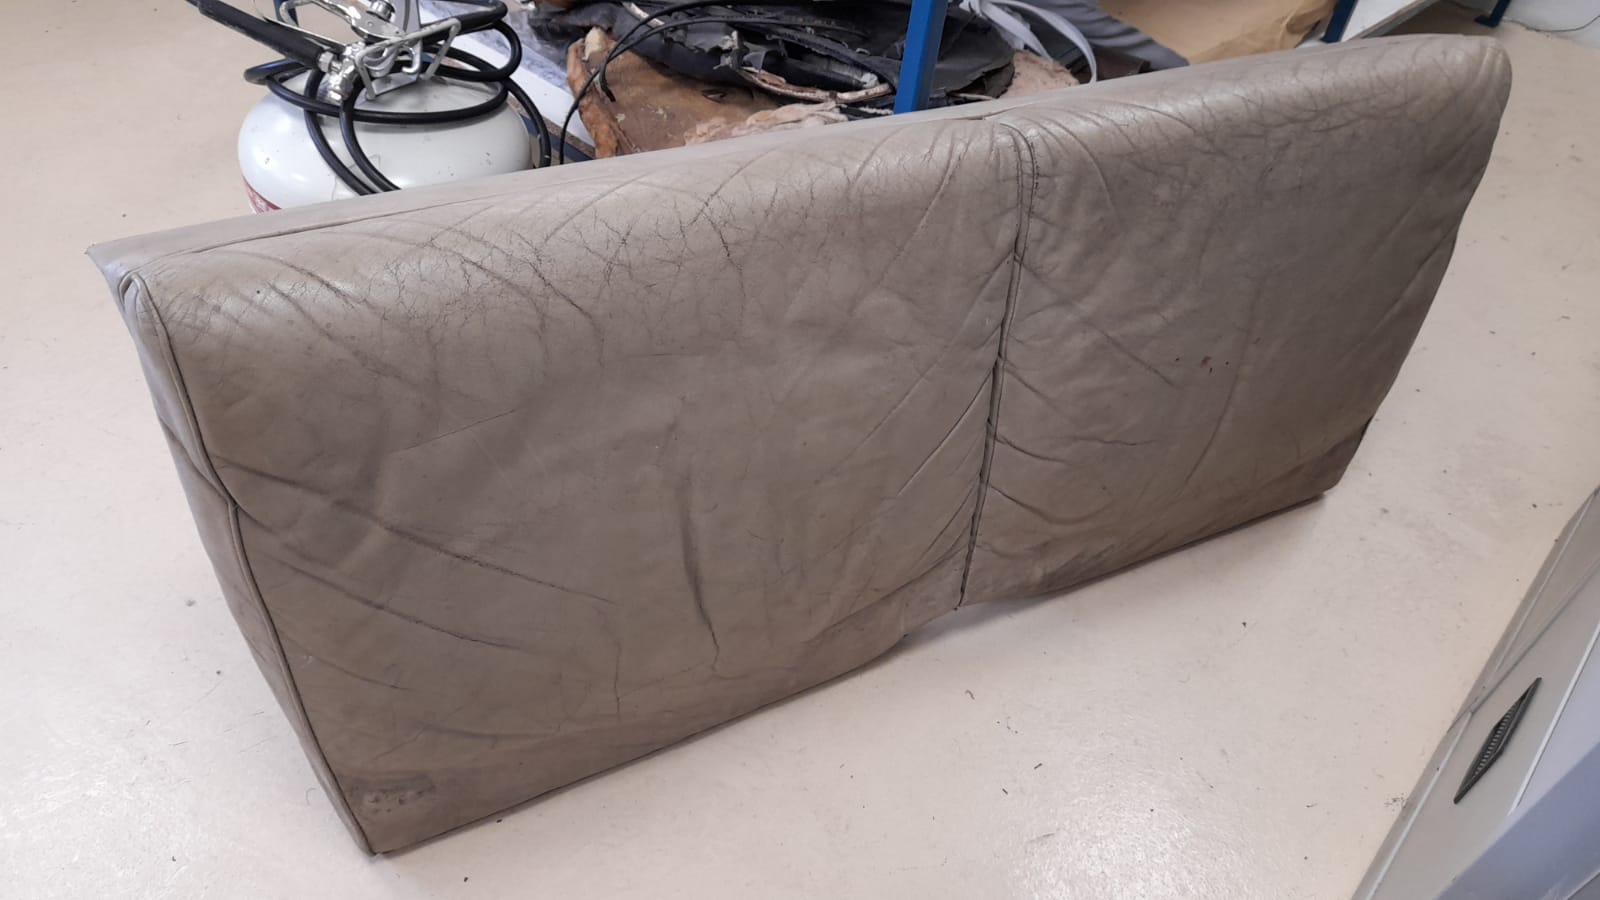
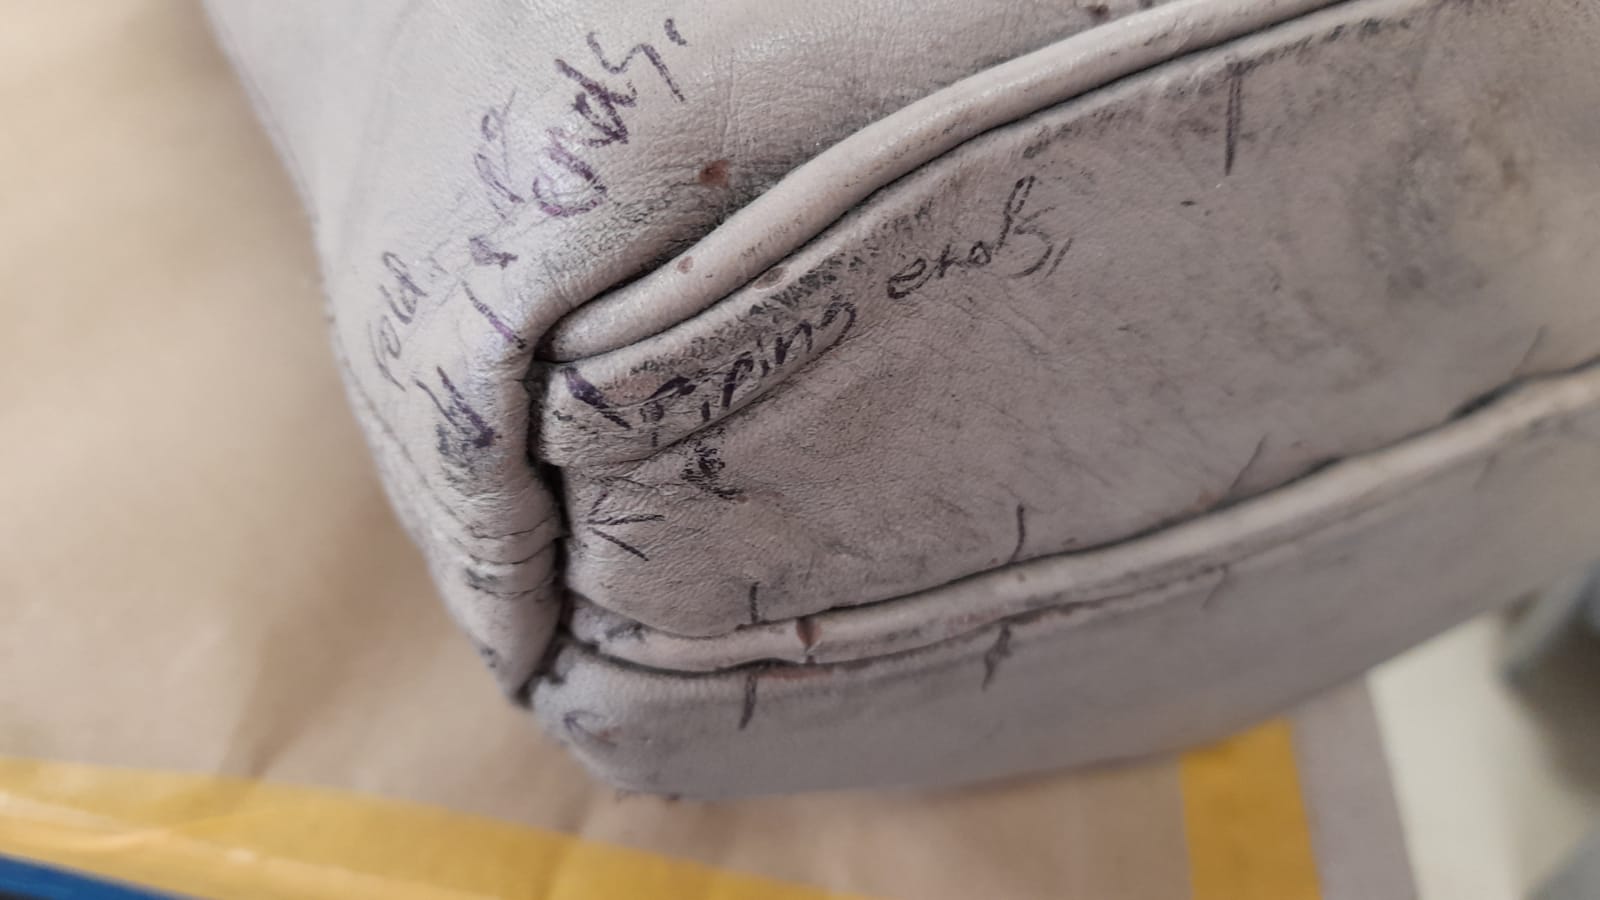
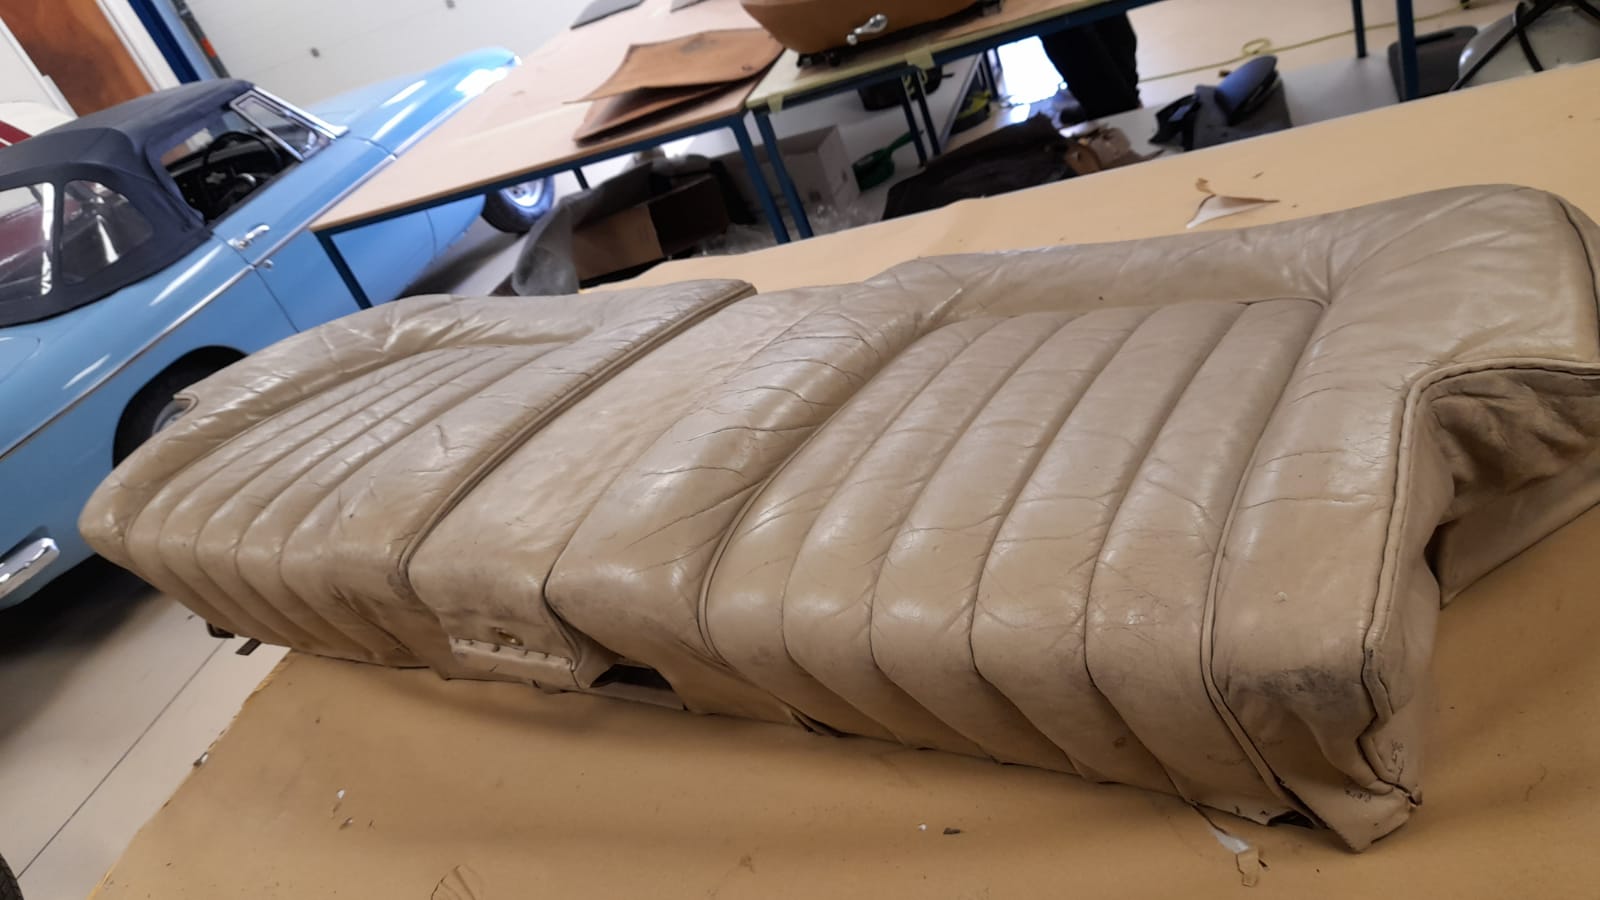
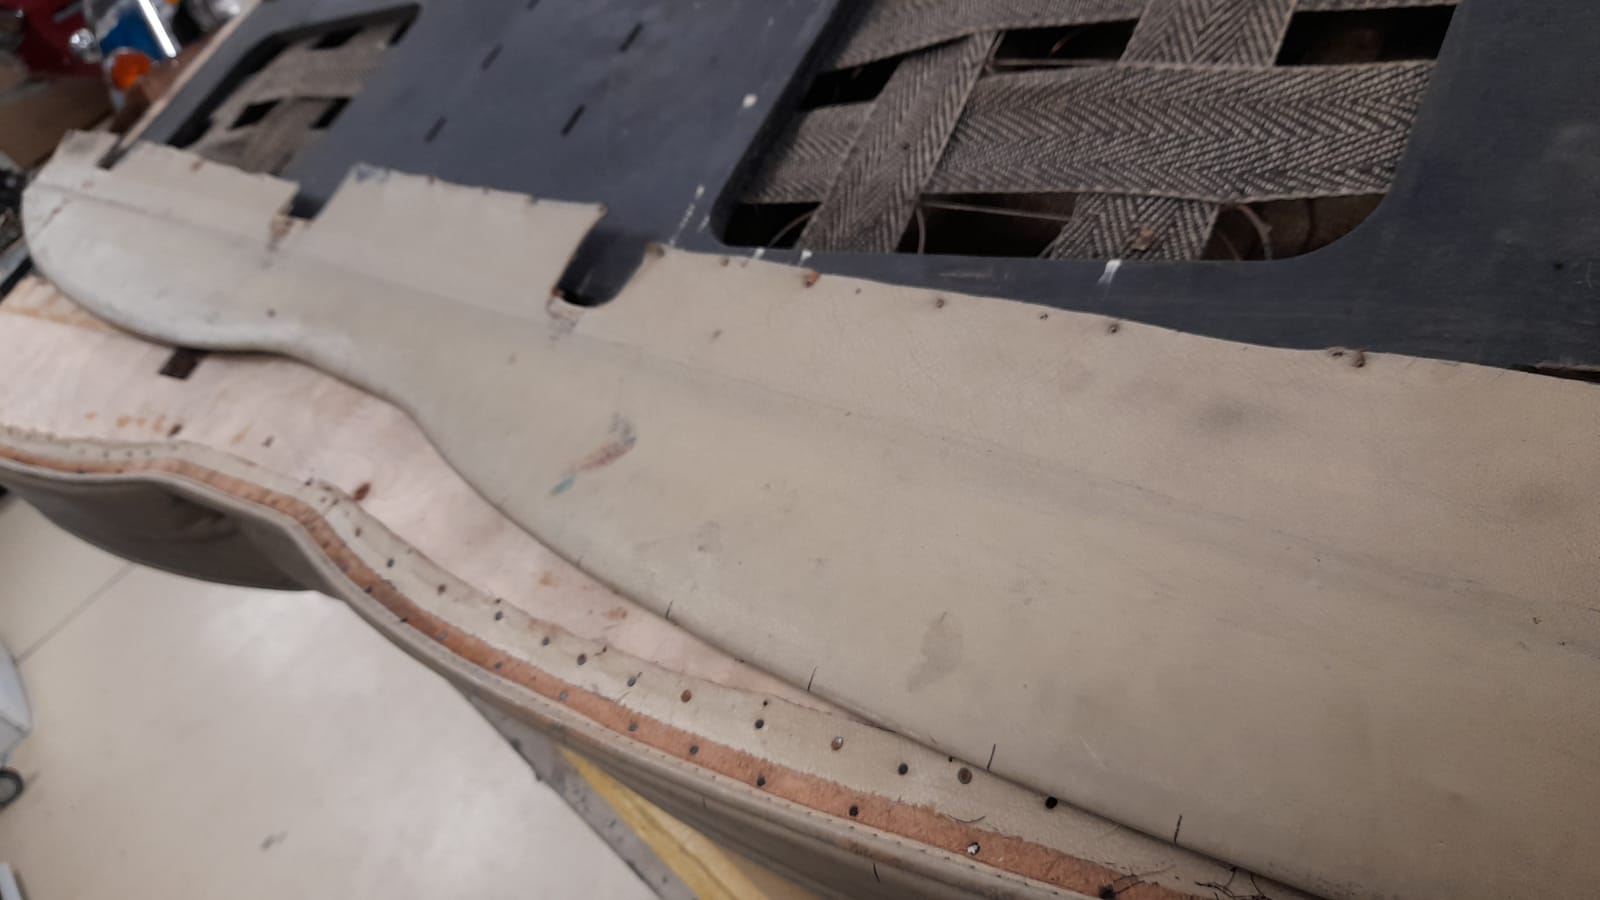
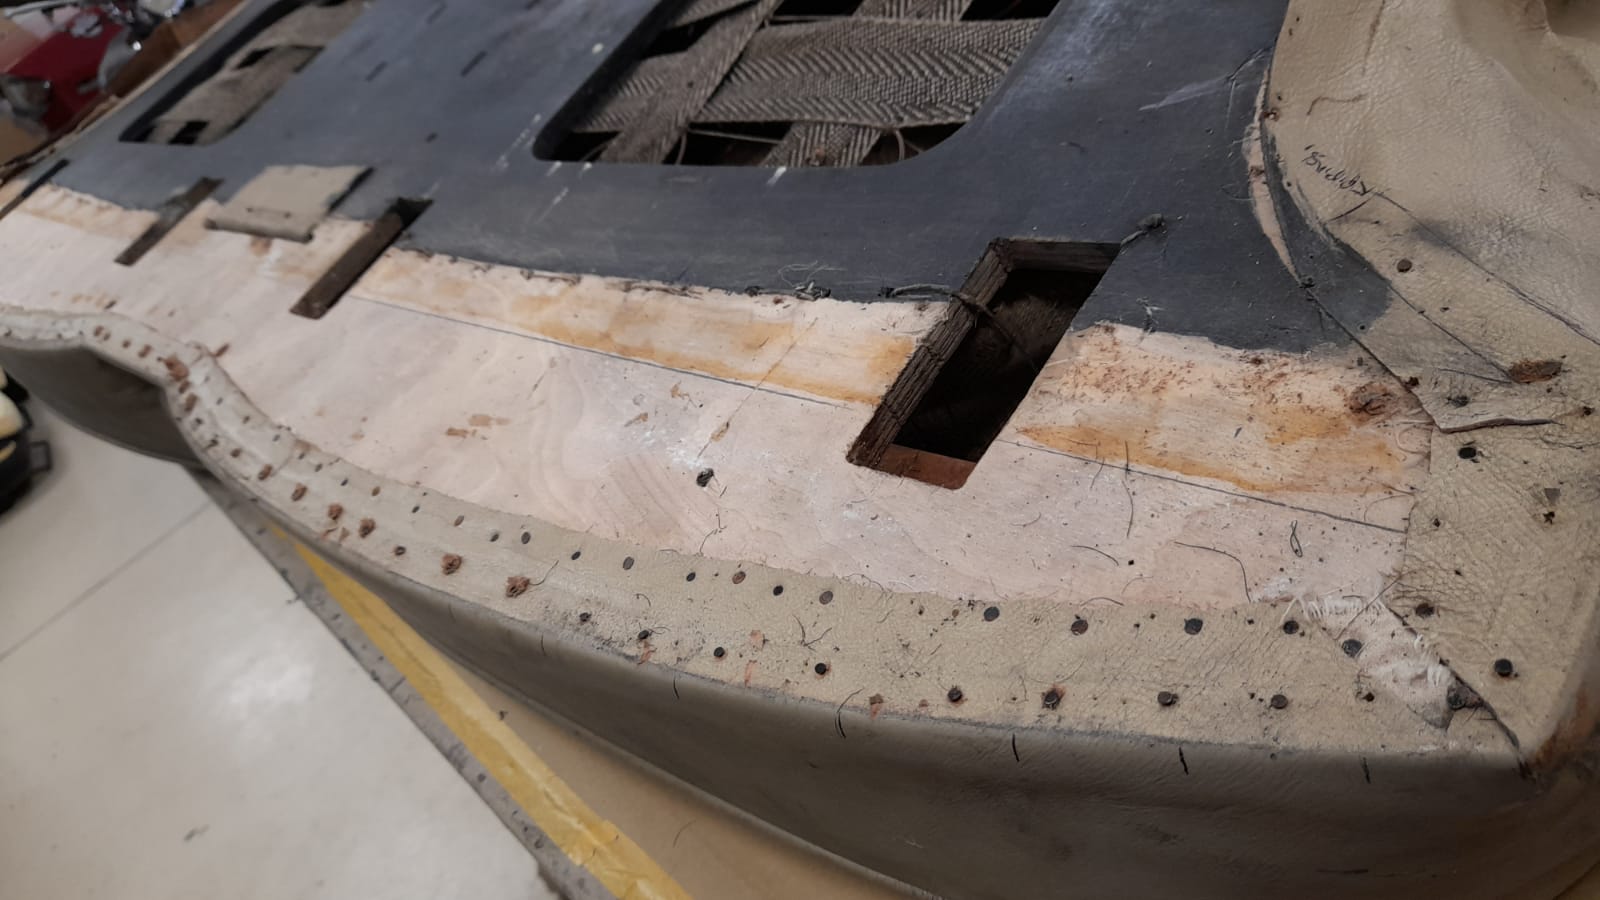
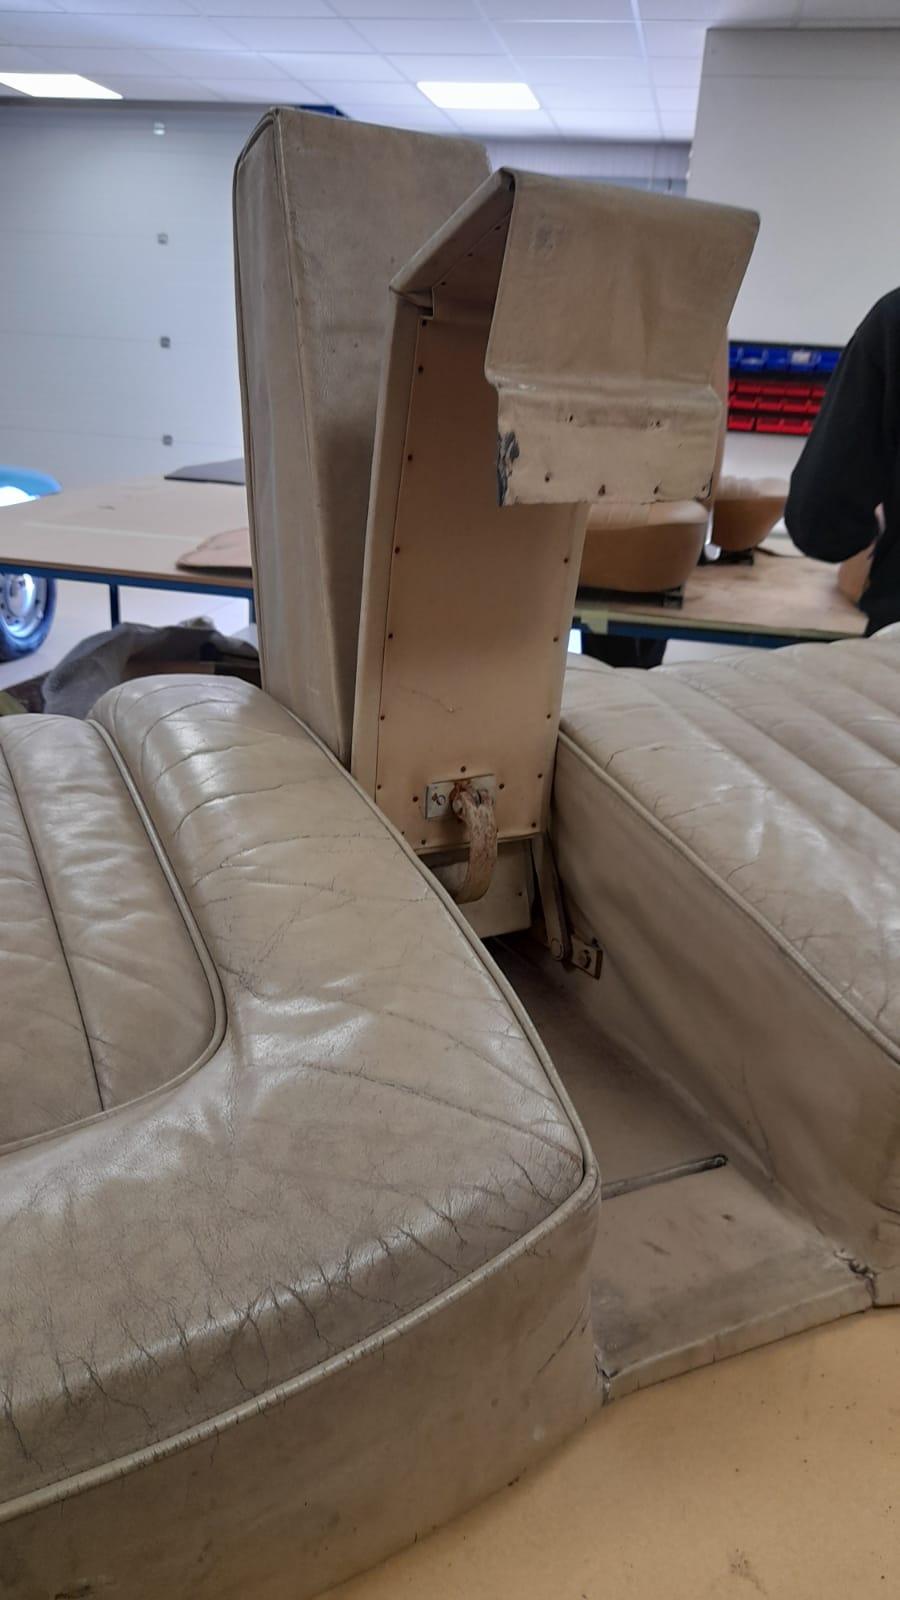
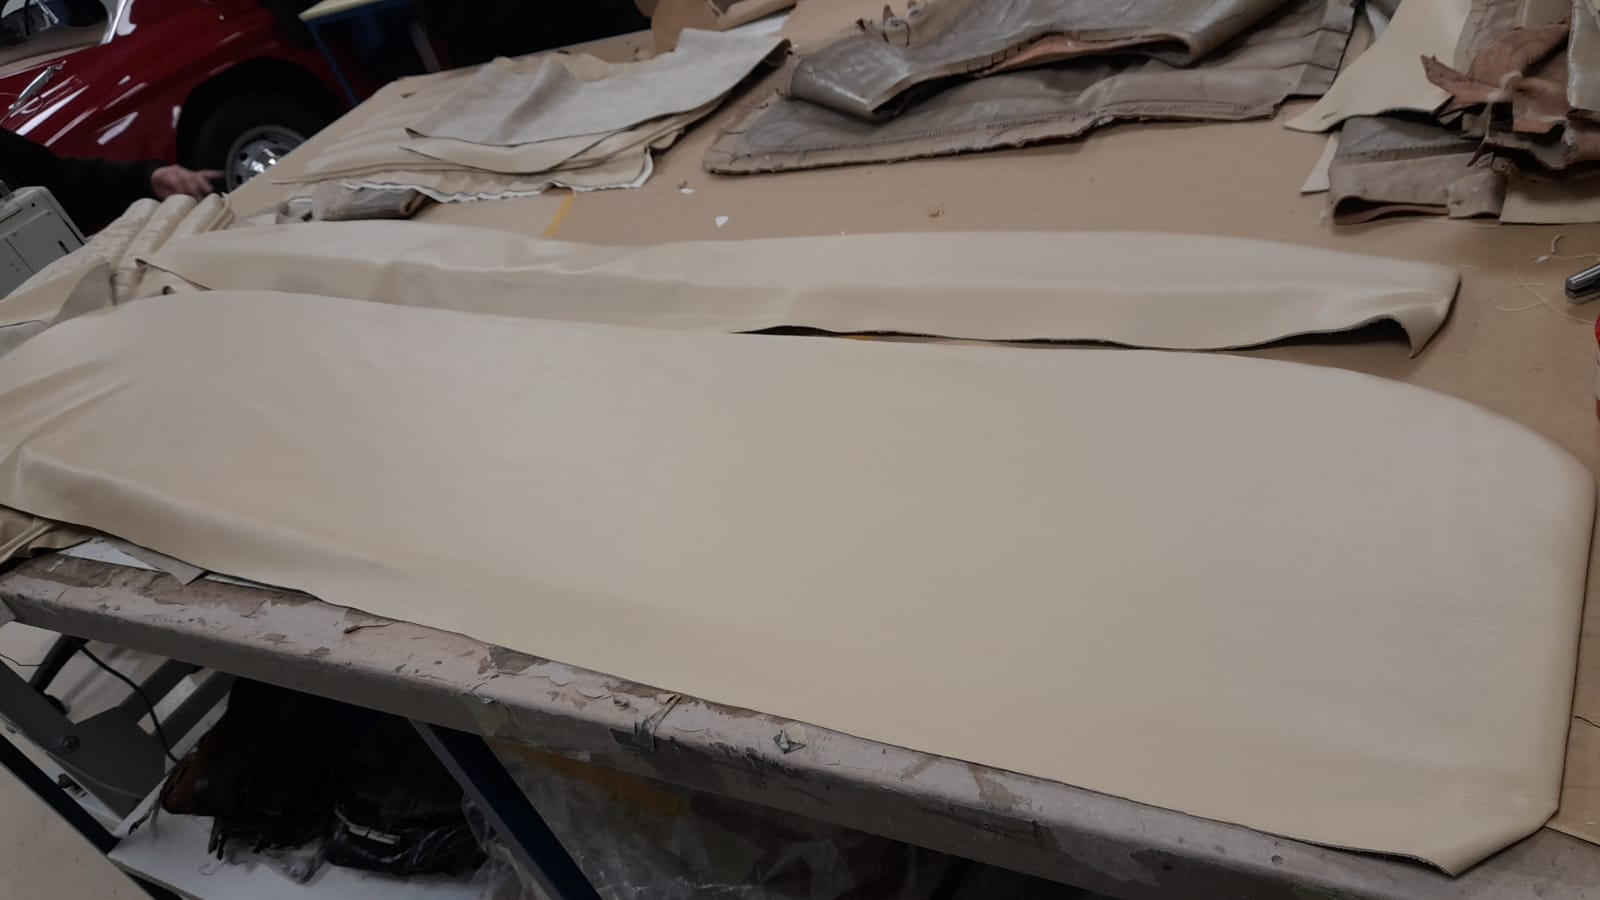
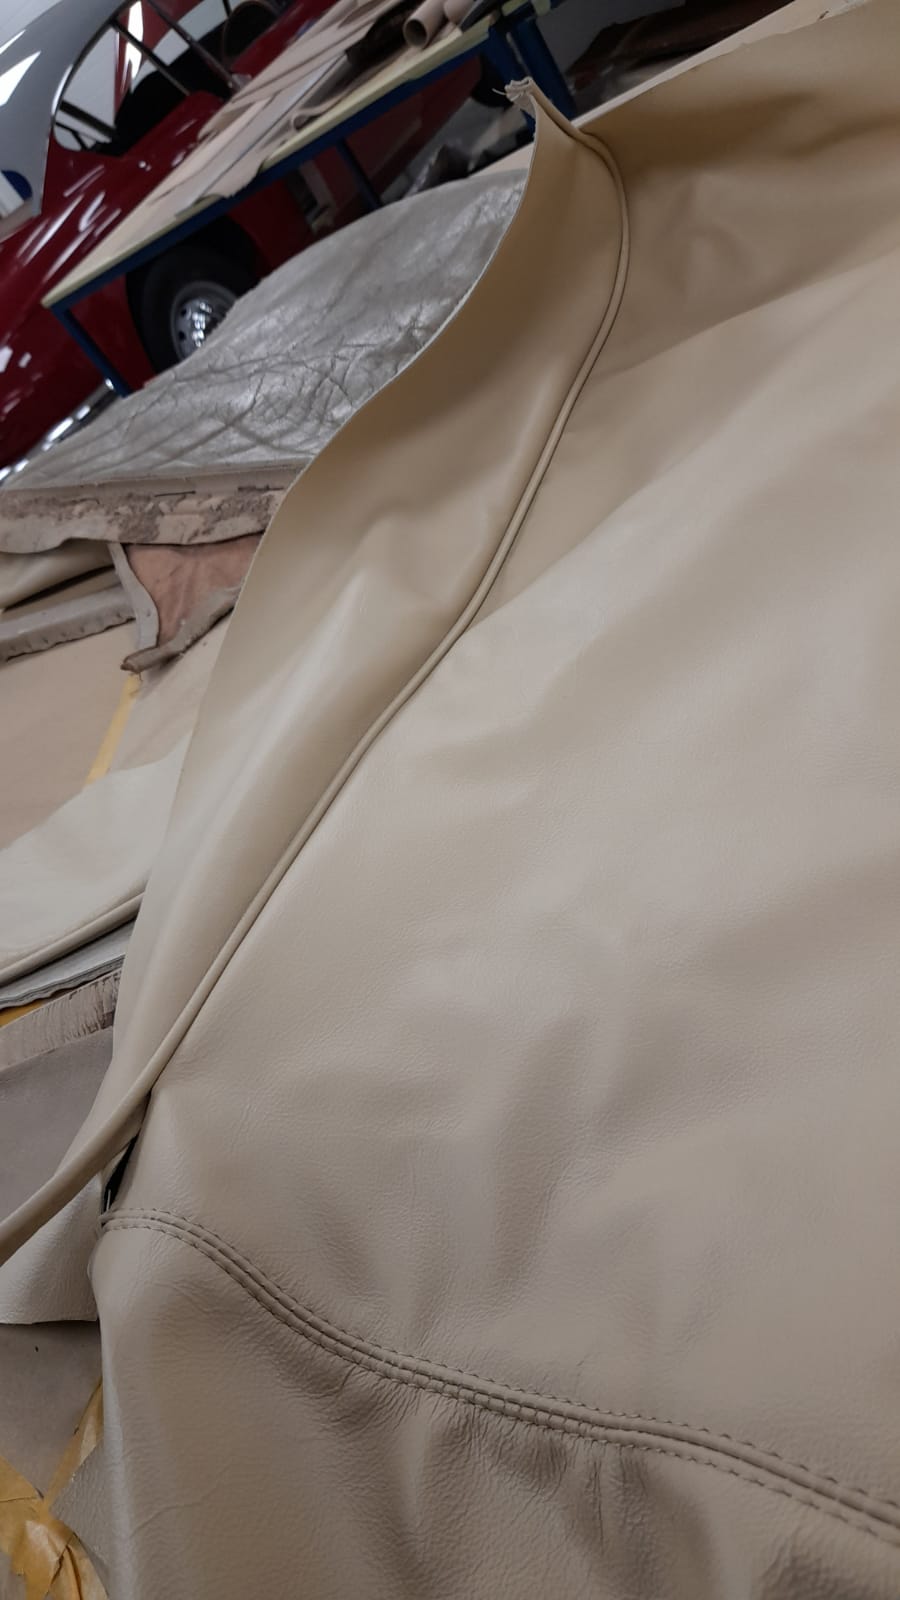
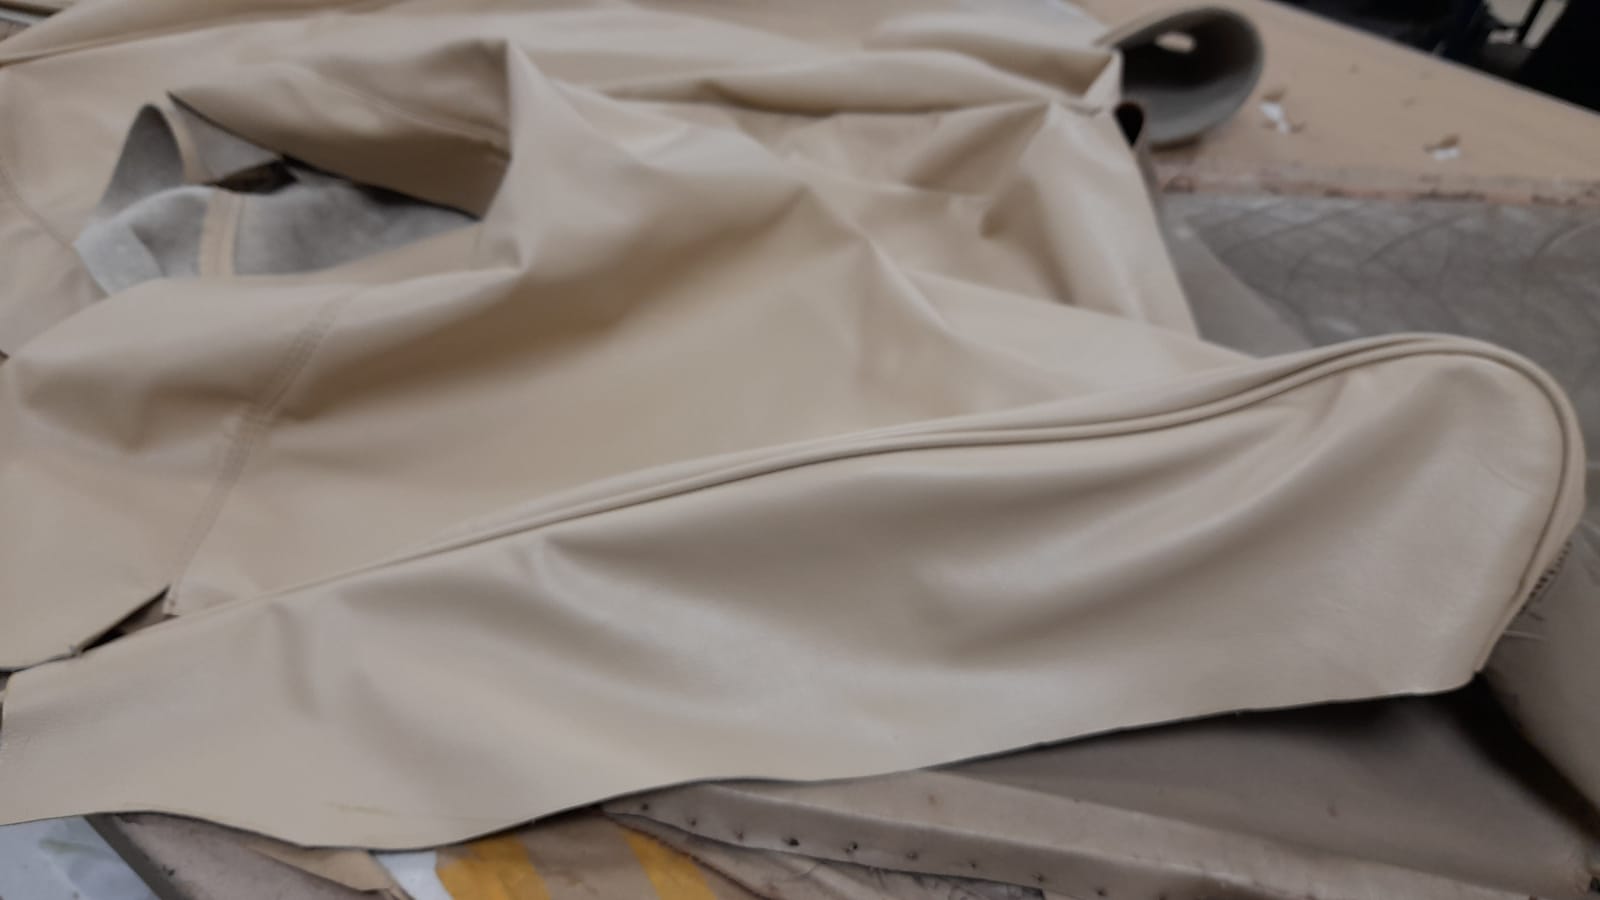
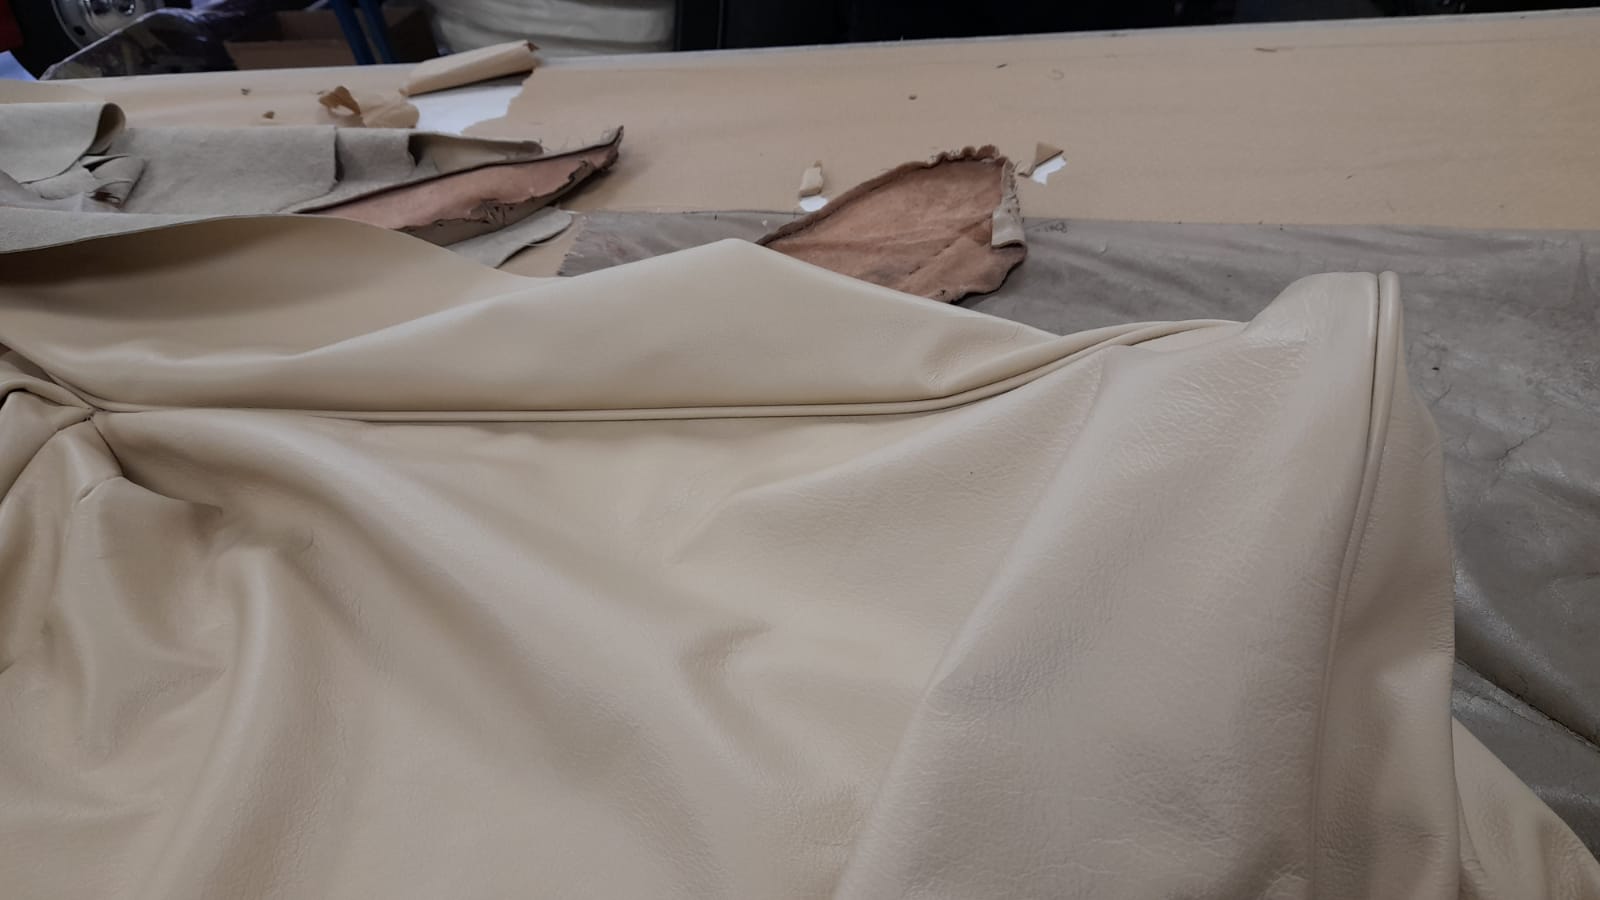
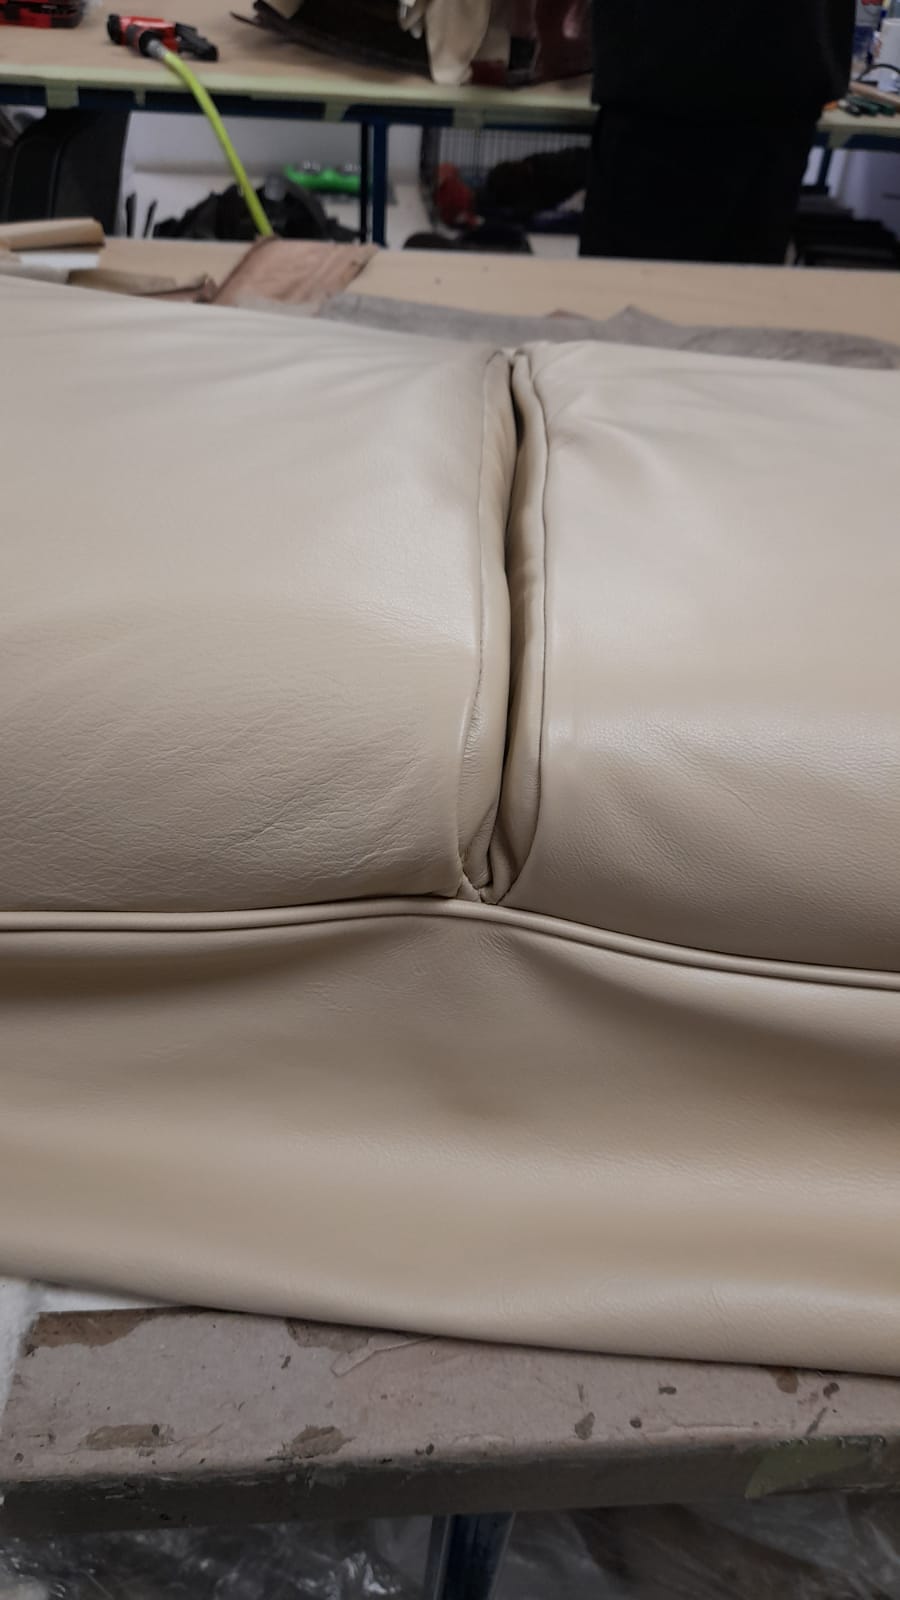
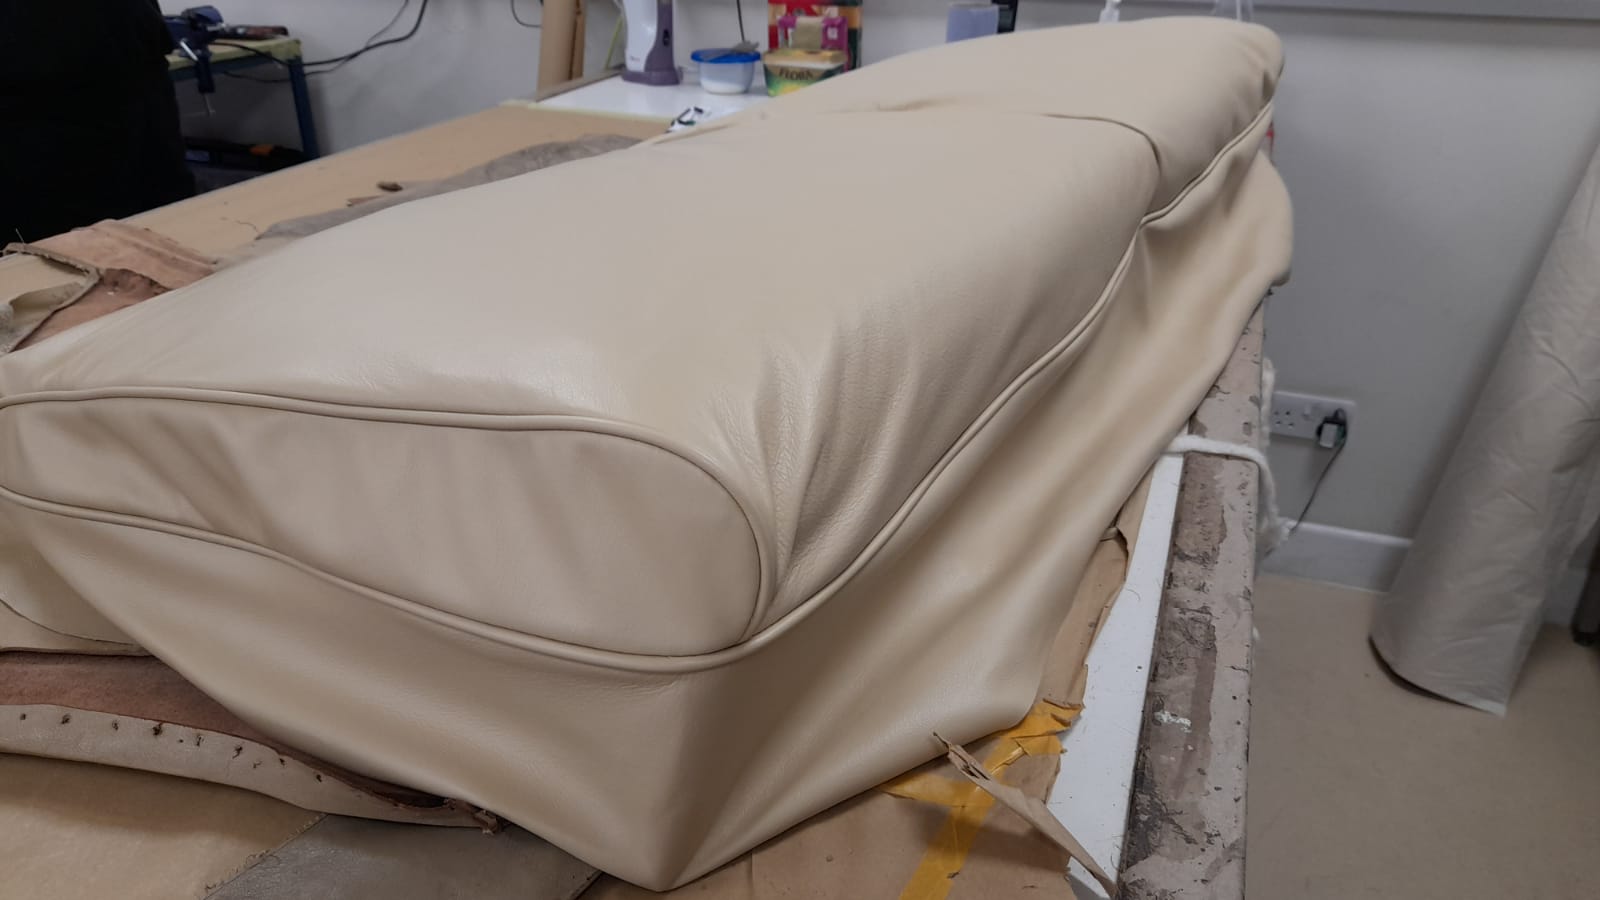
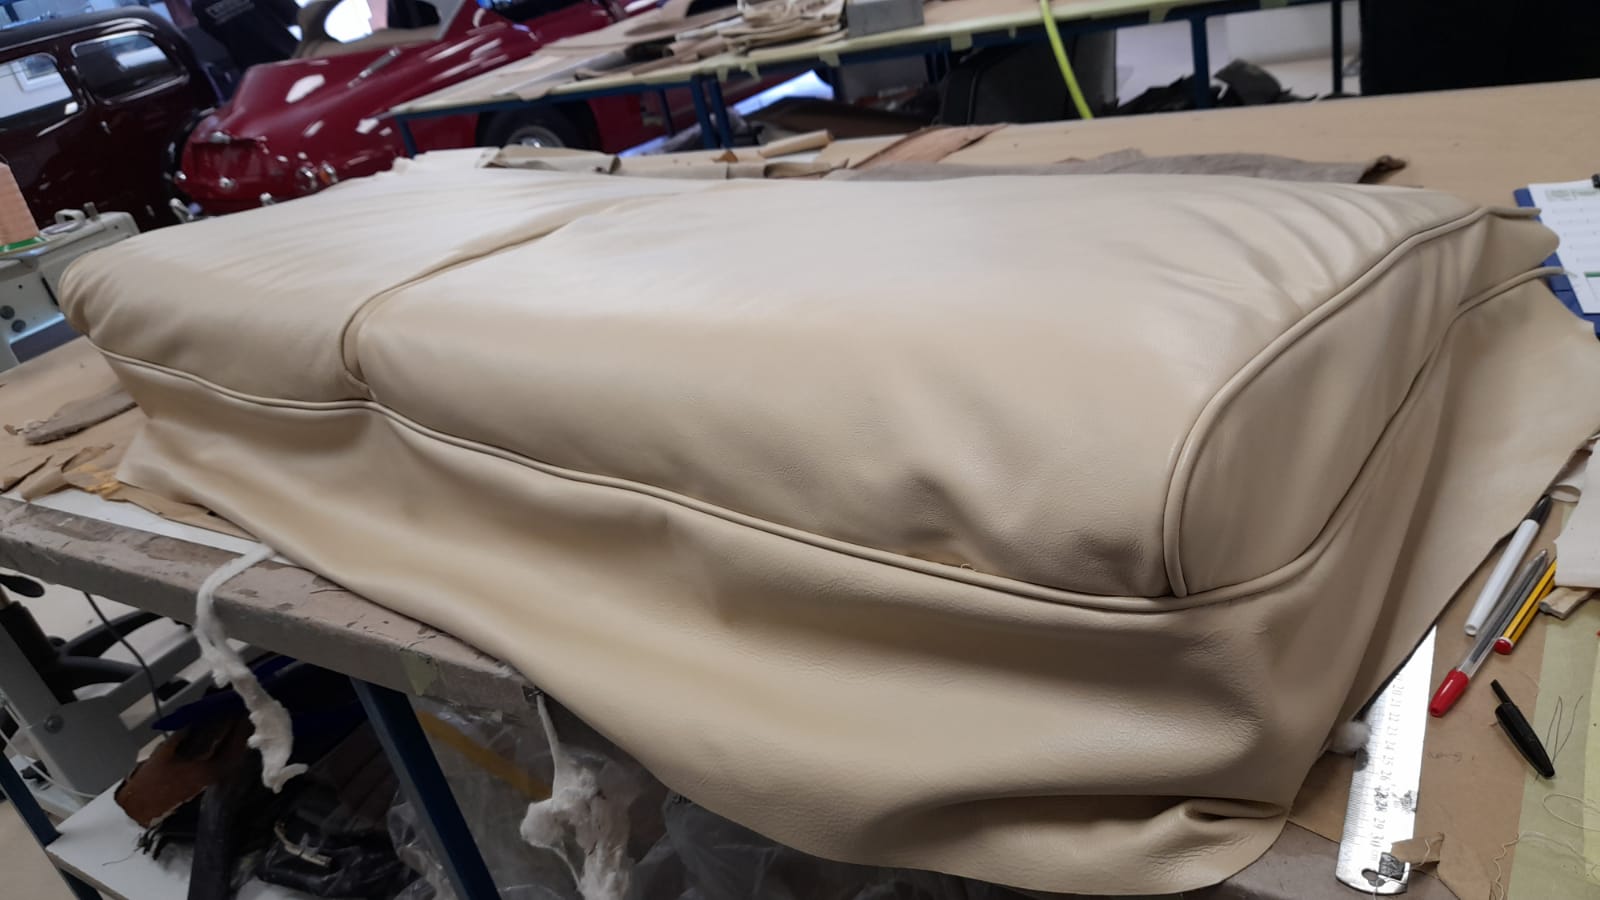
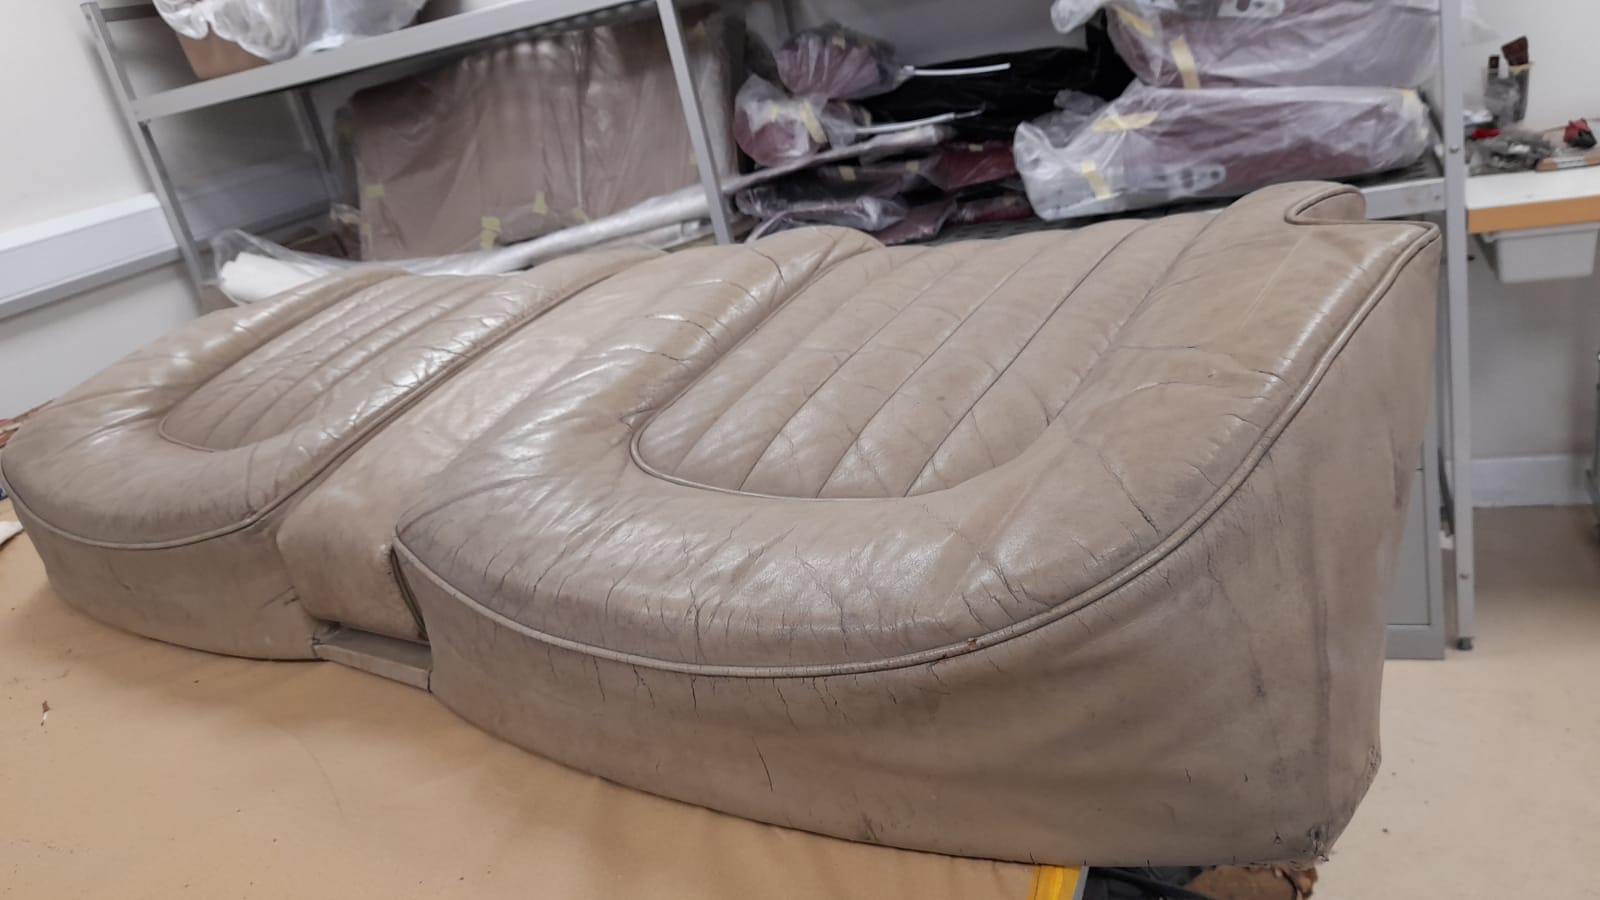
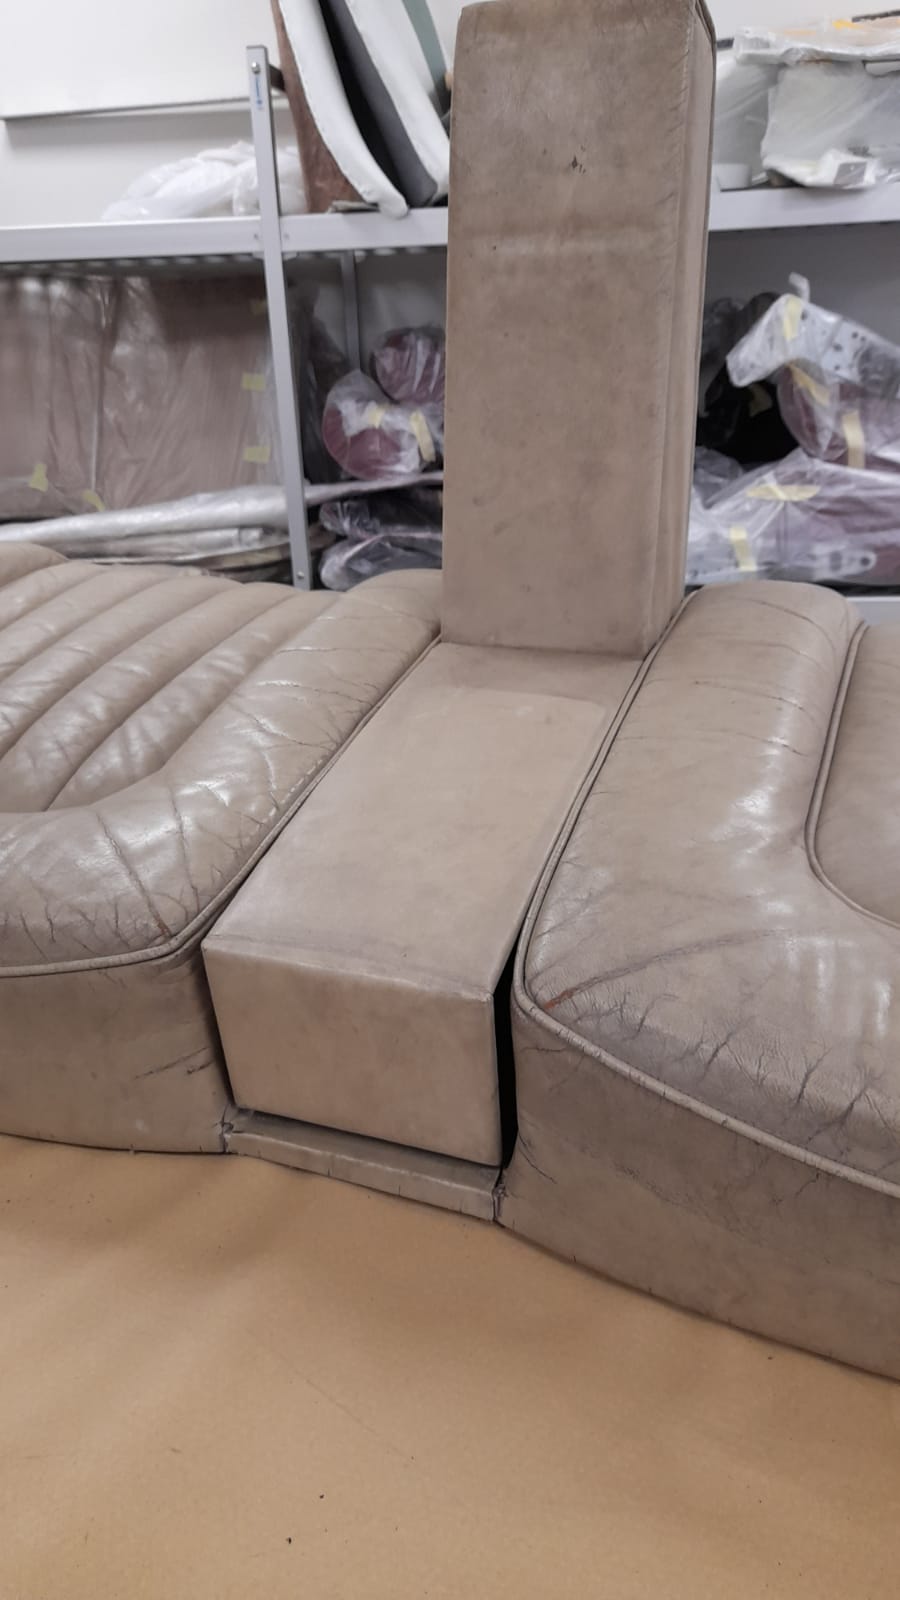
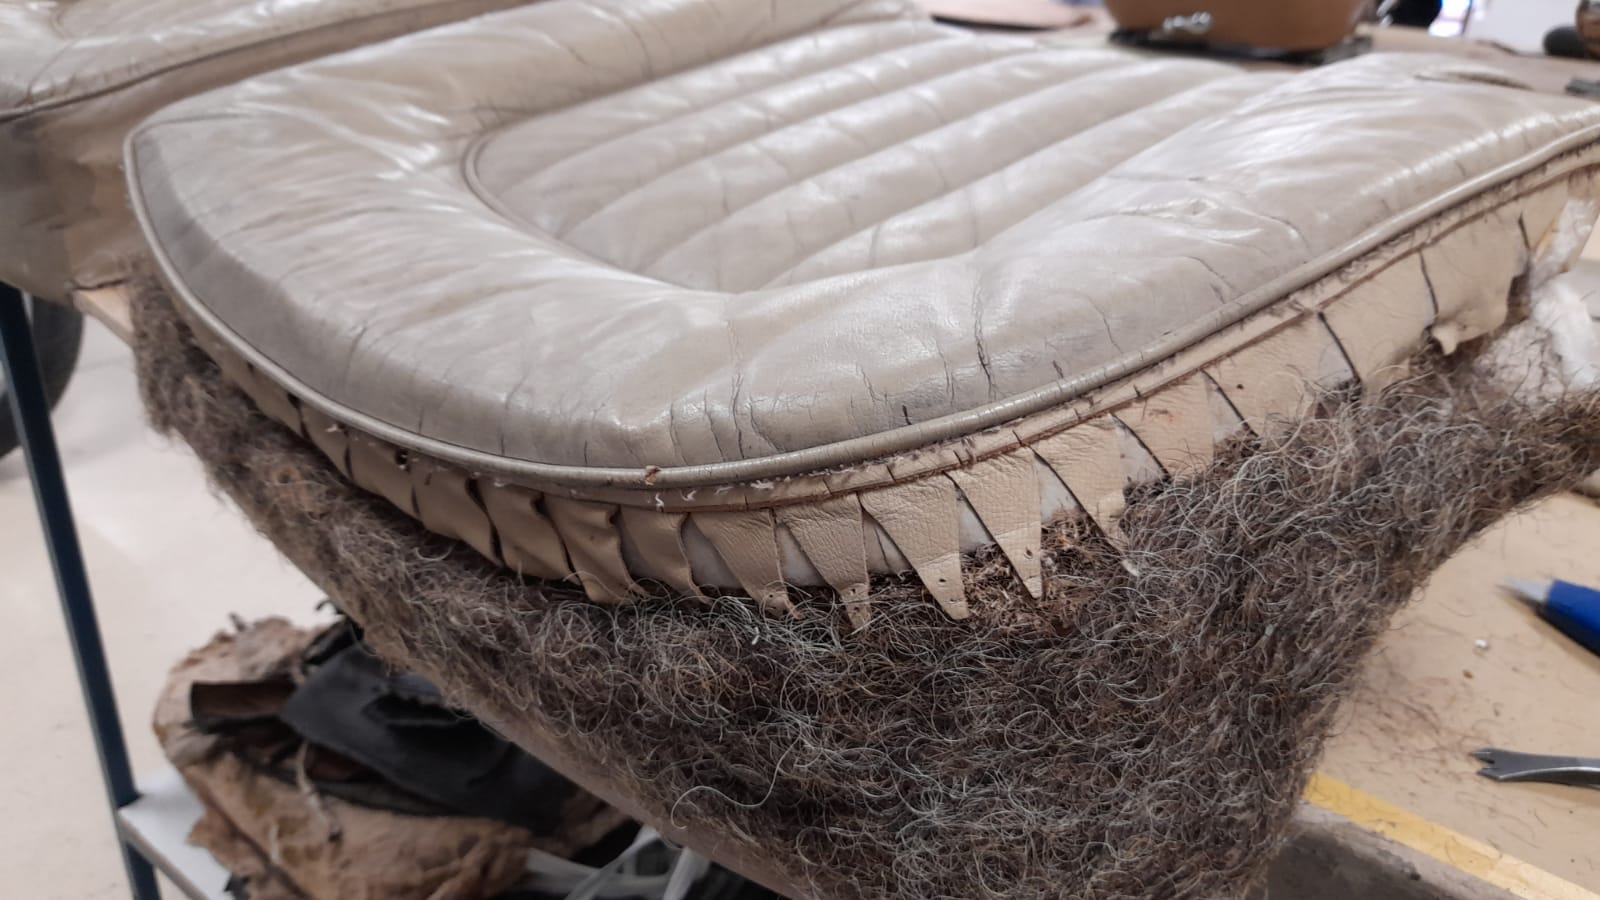
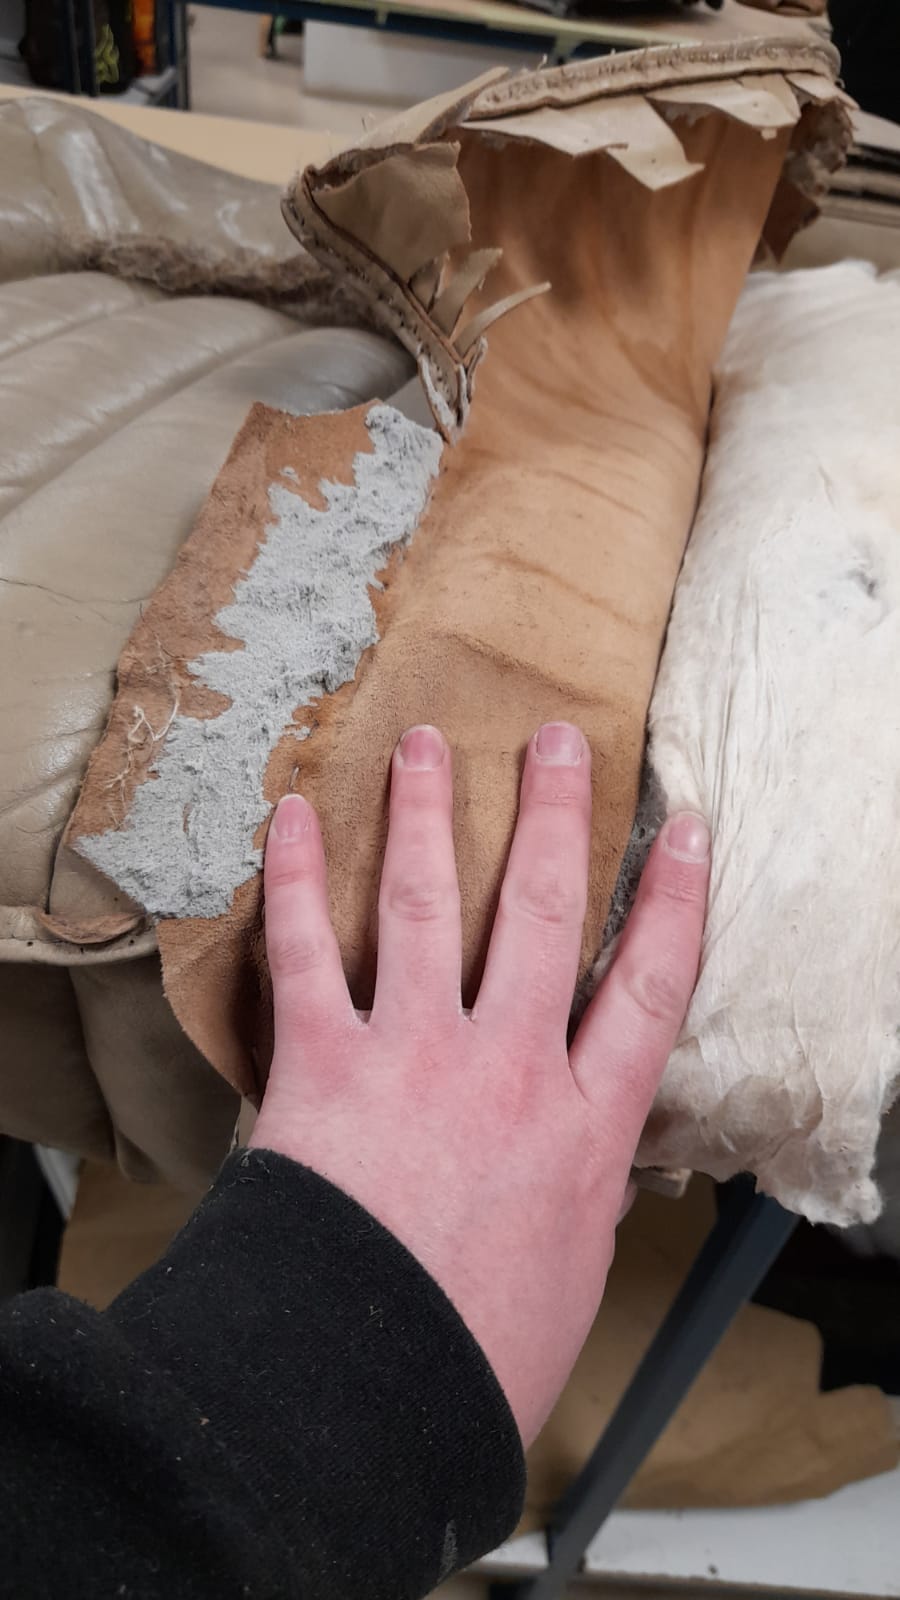
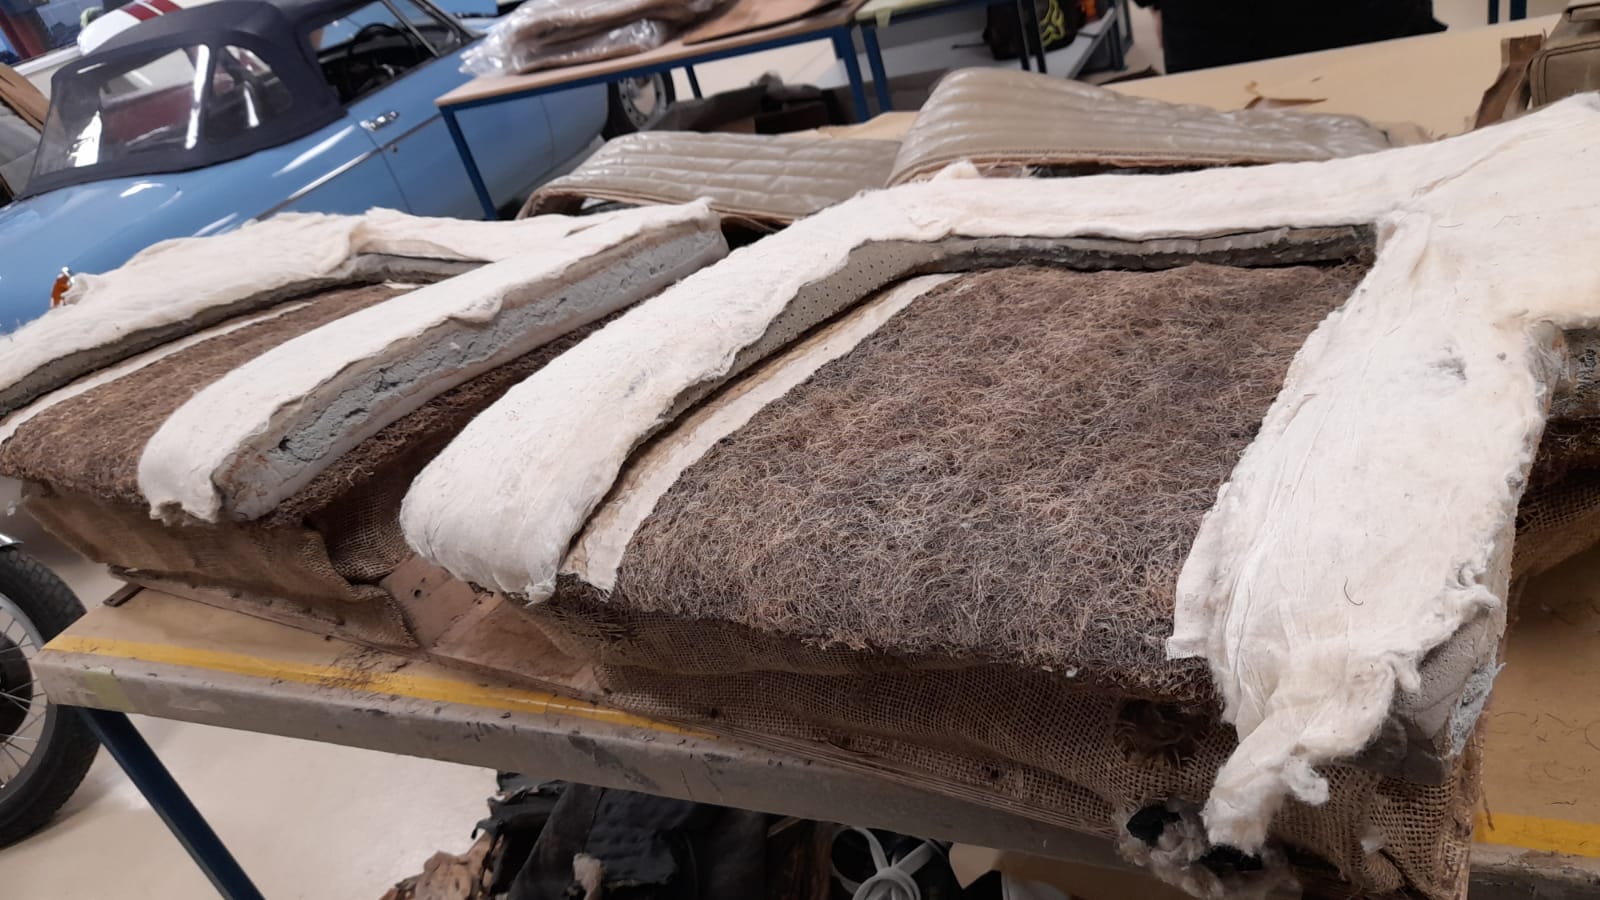
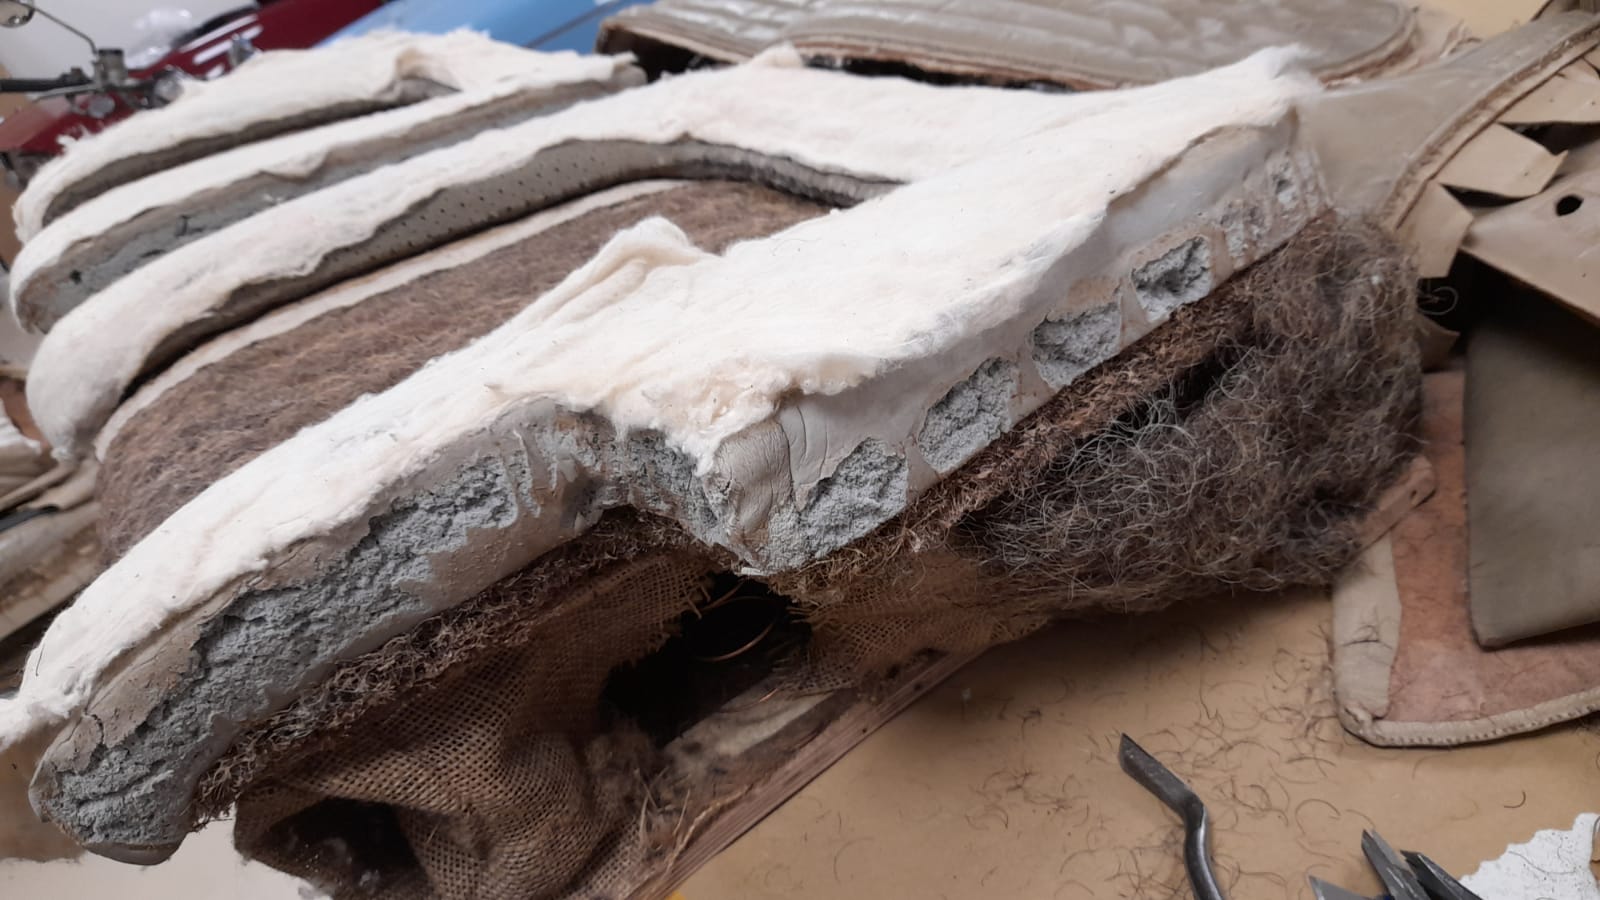
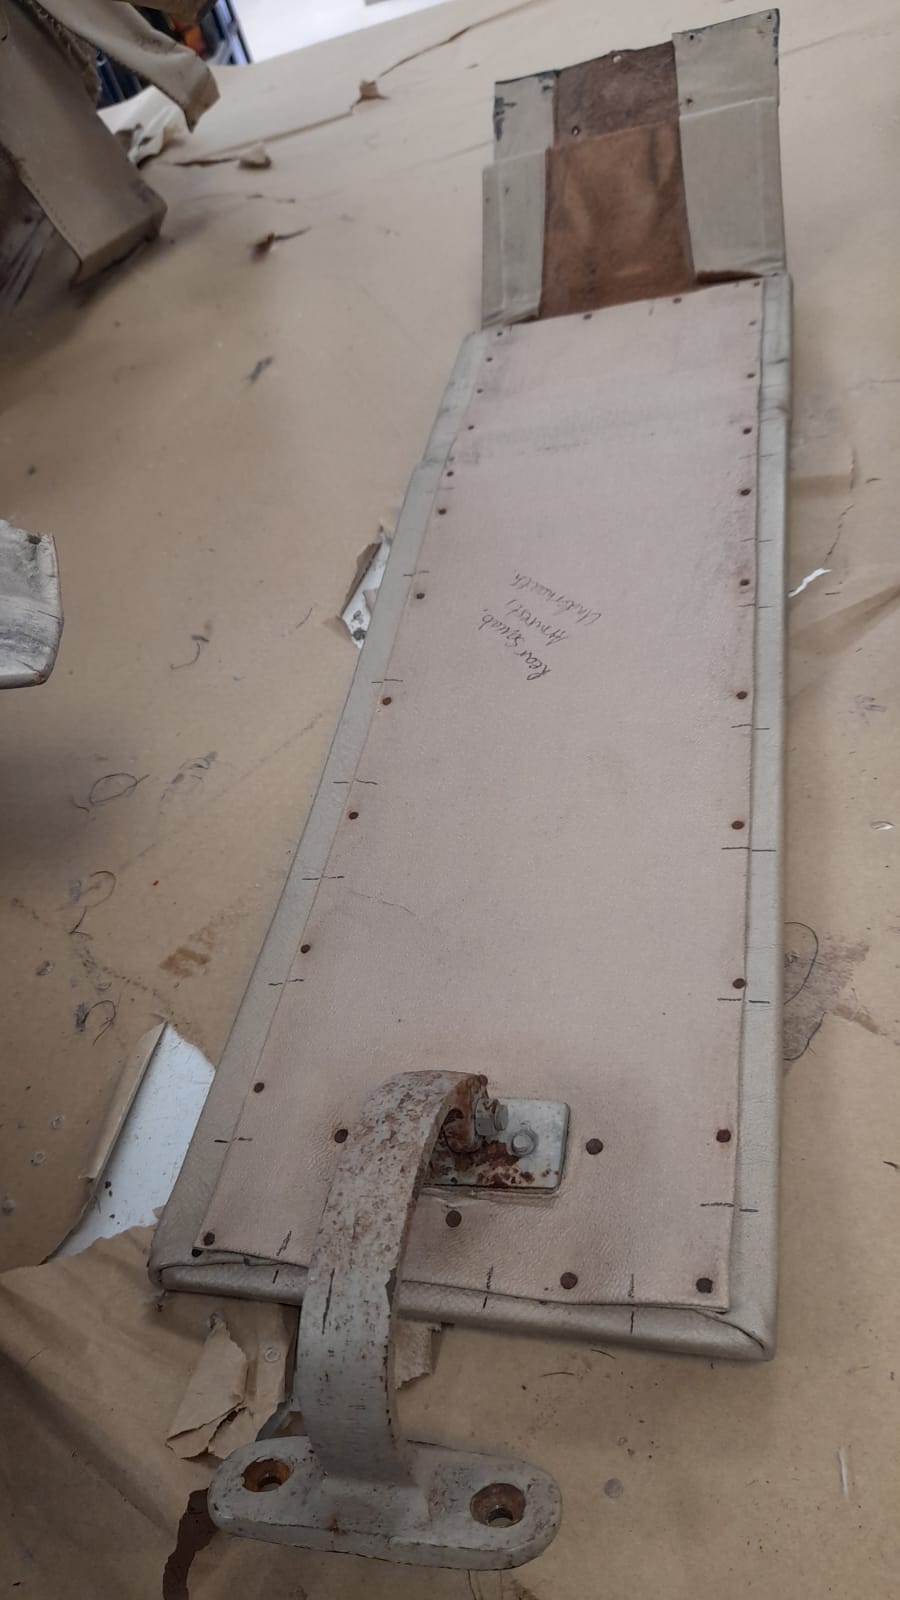
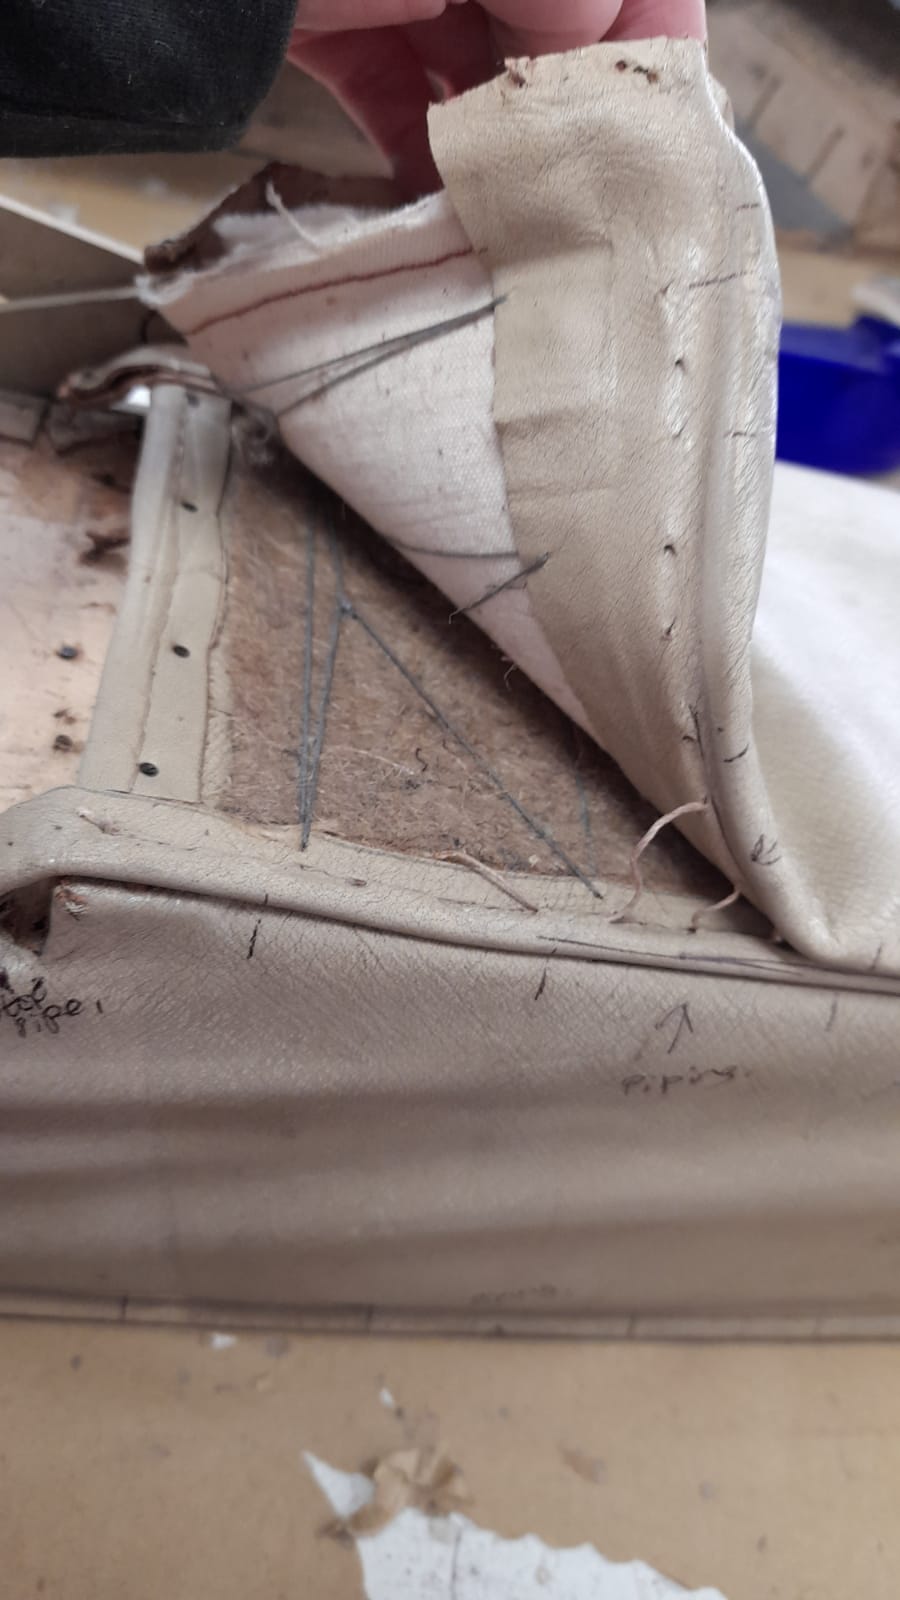
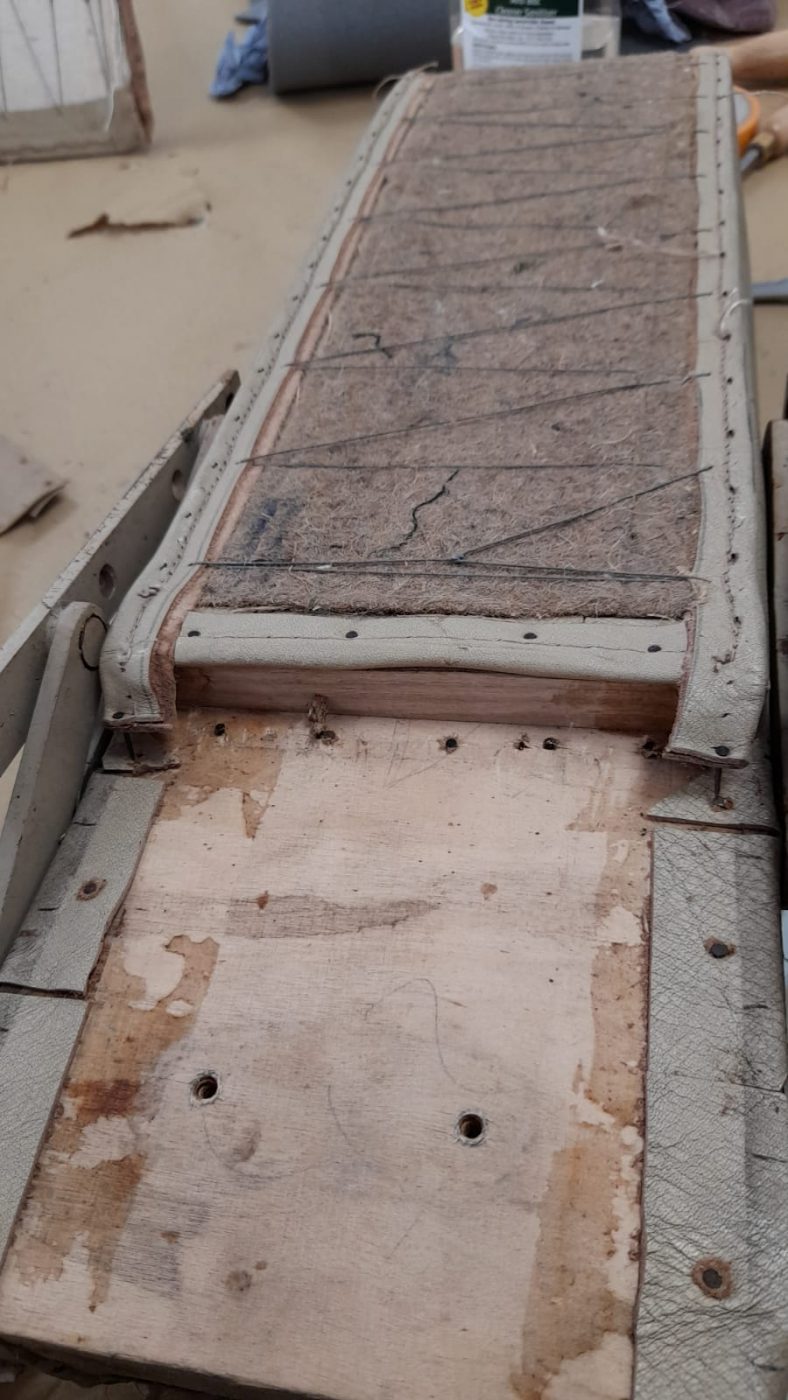
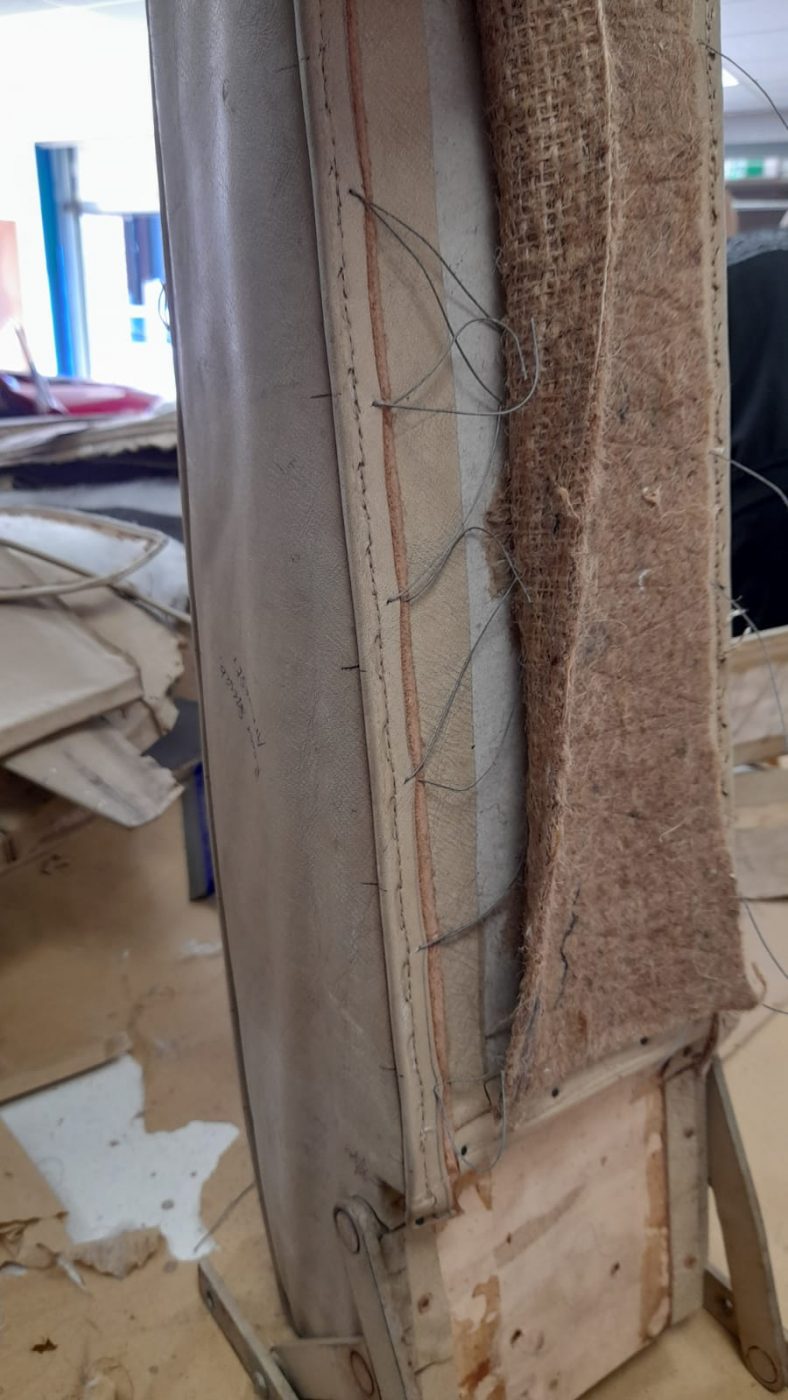
Lydia has been working on re-doing the seats on a Bentley Continental. She’s totally recovered them with new leather which she fitted after testing her

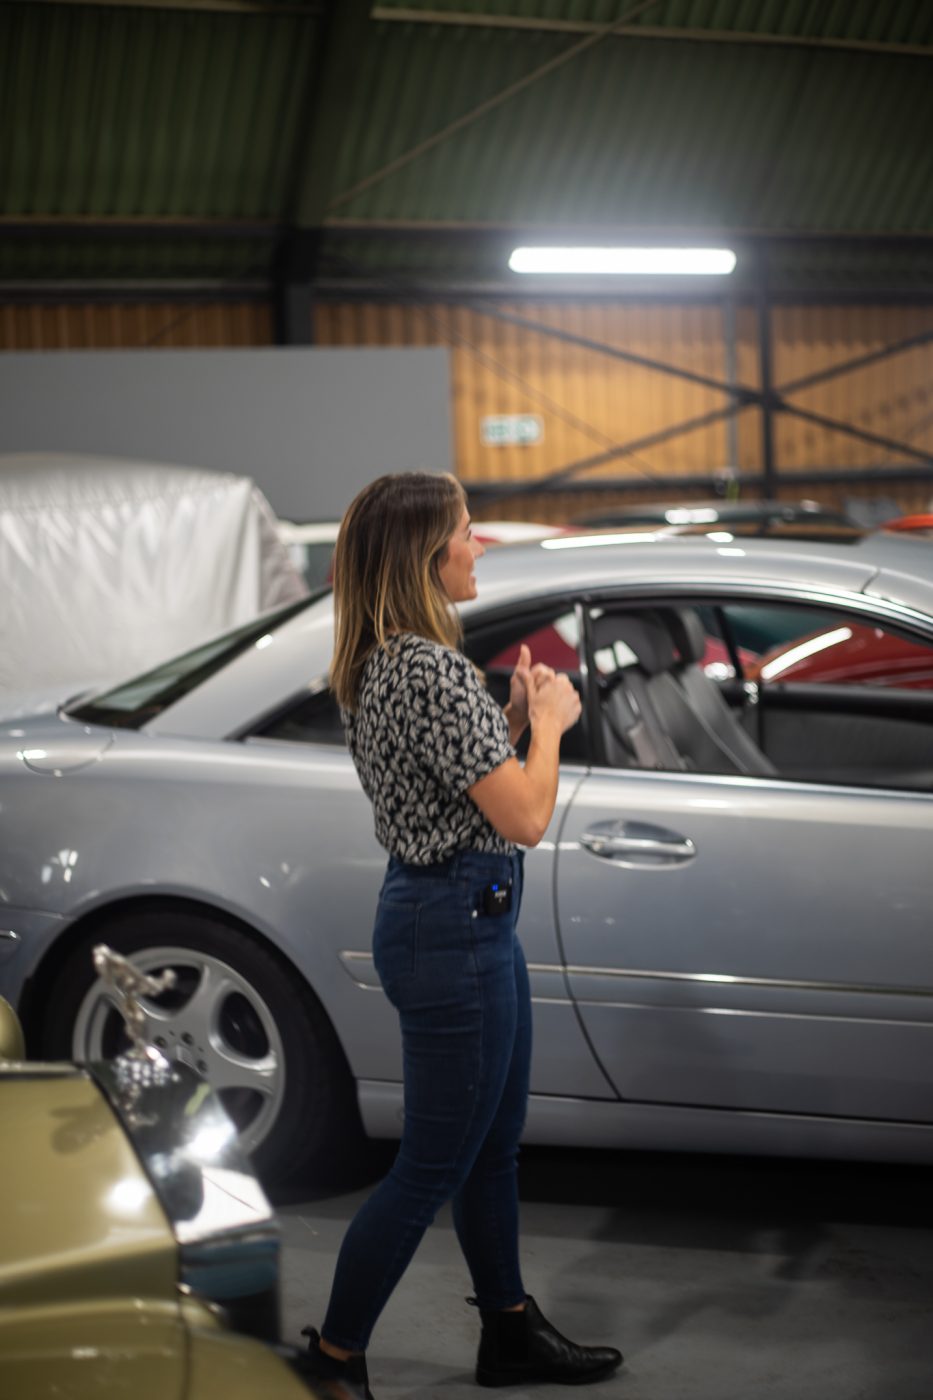
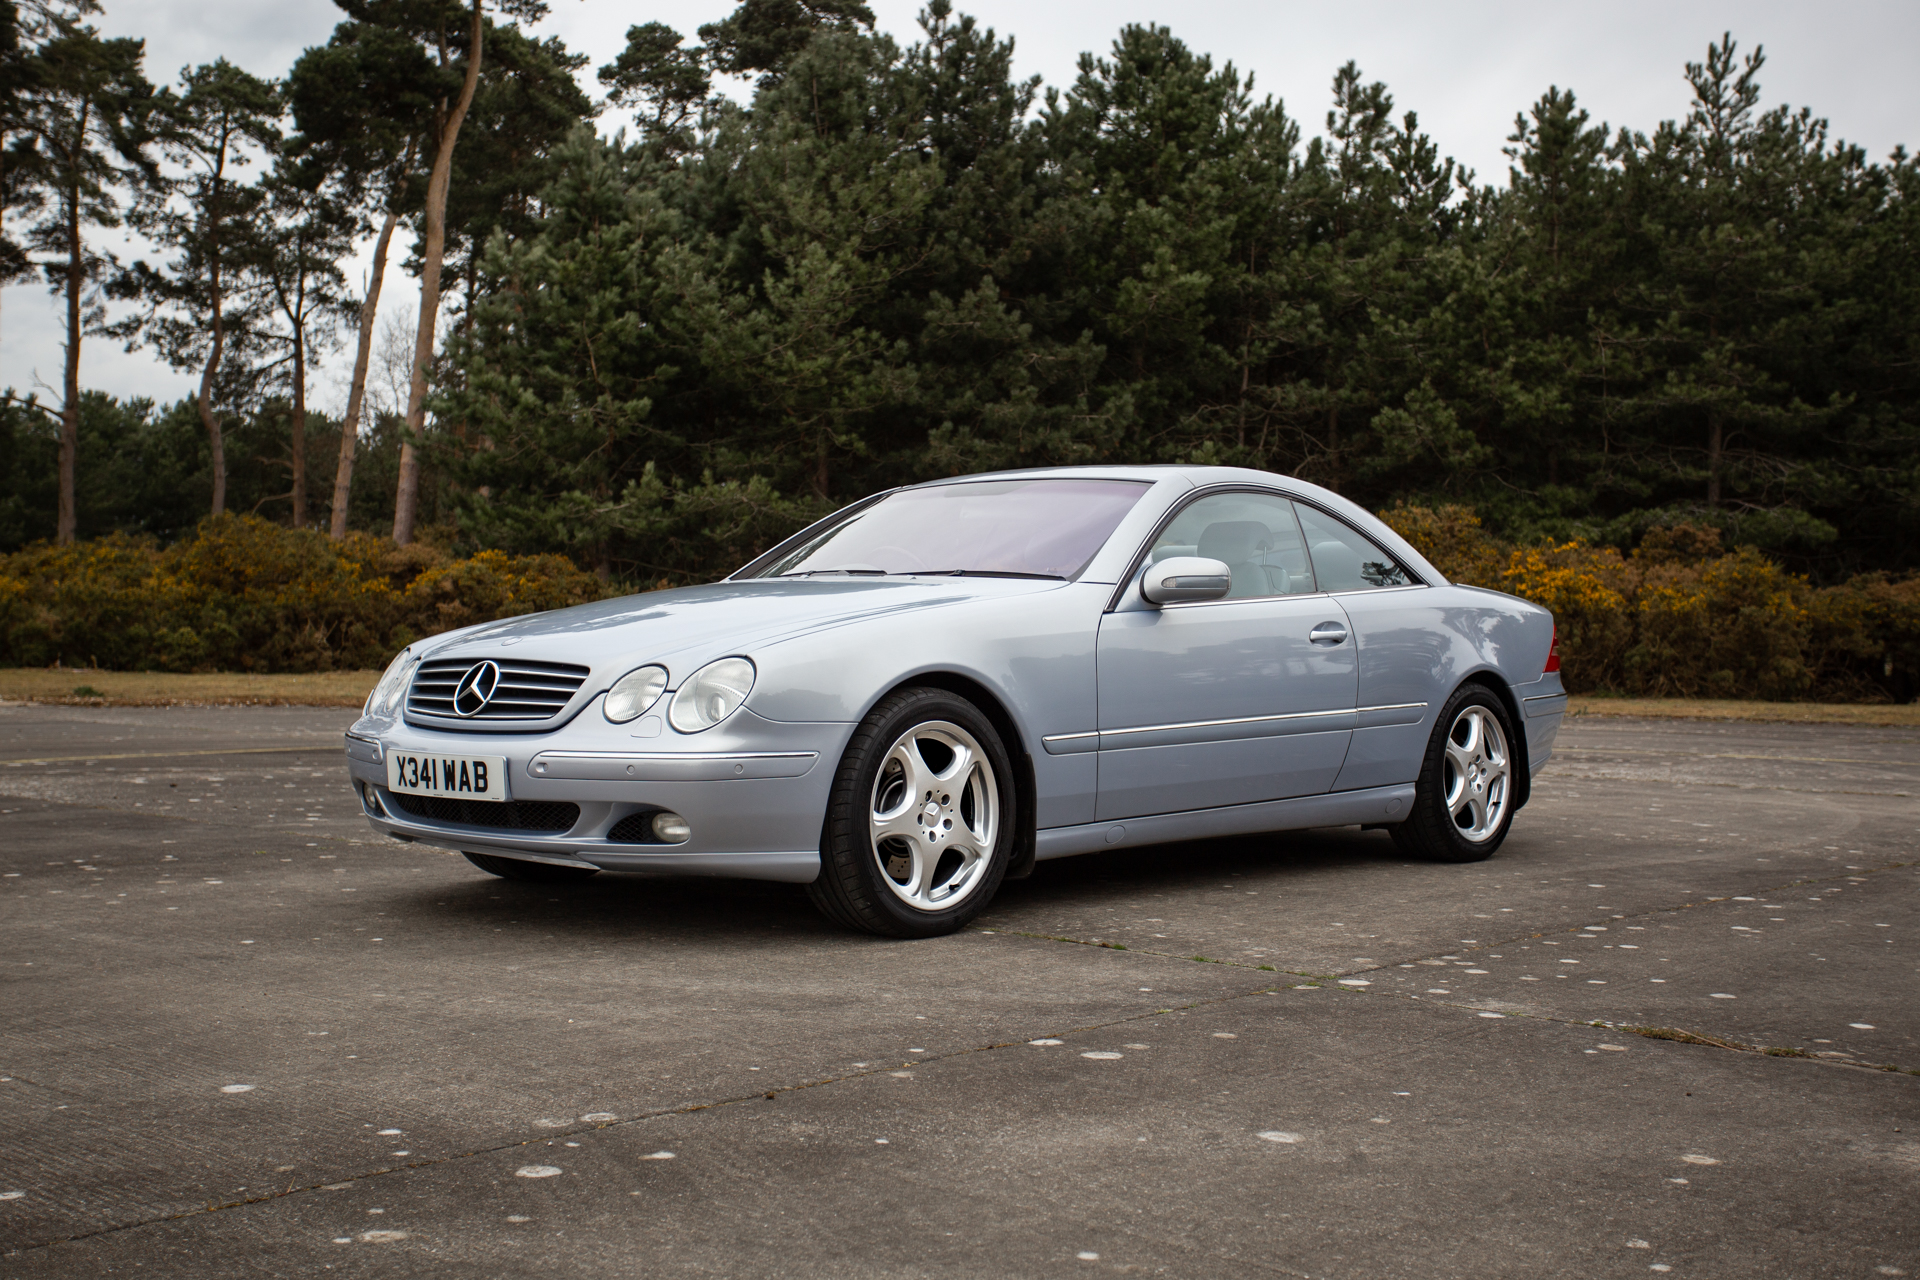
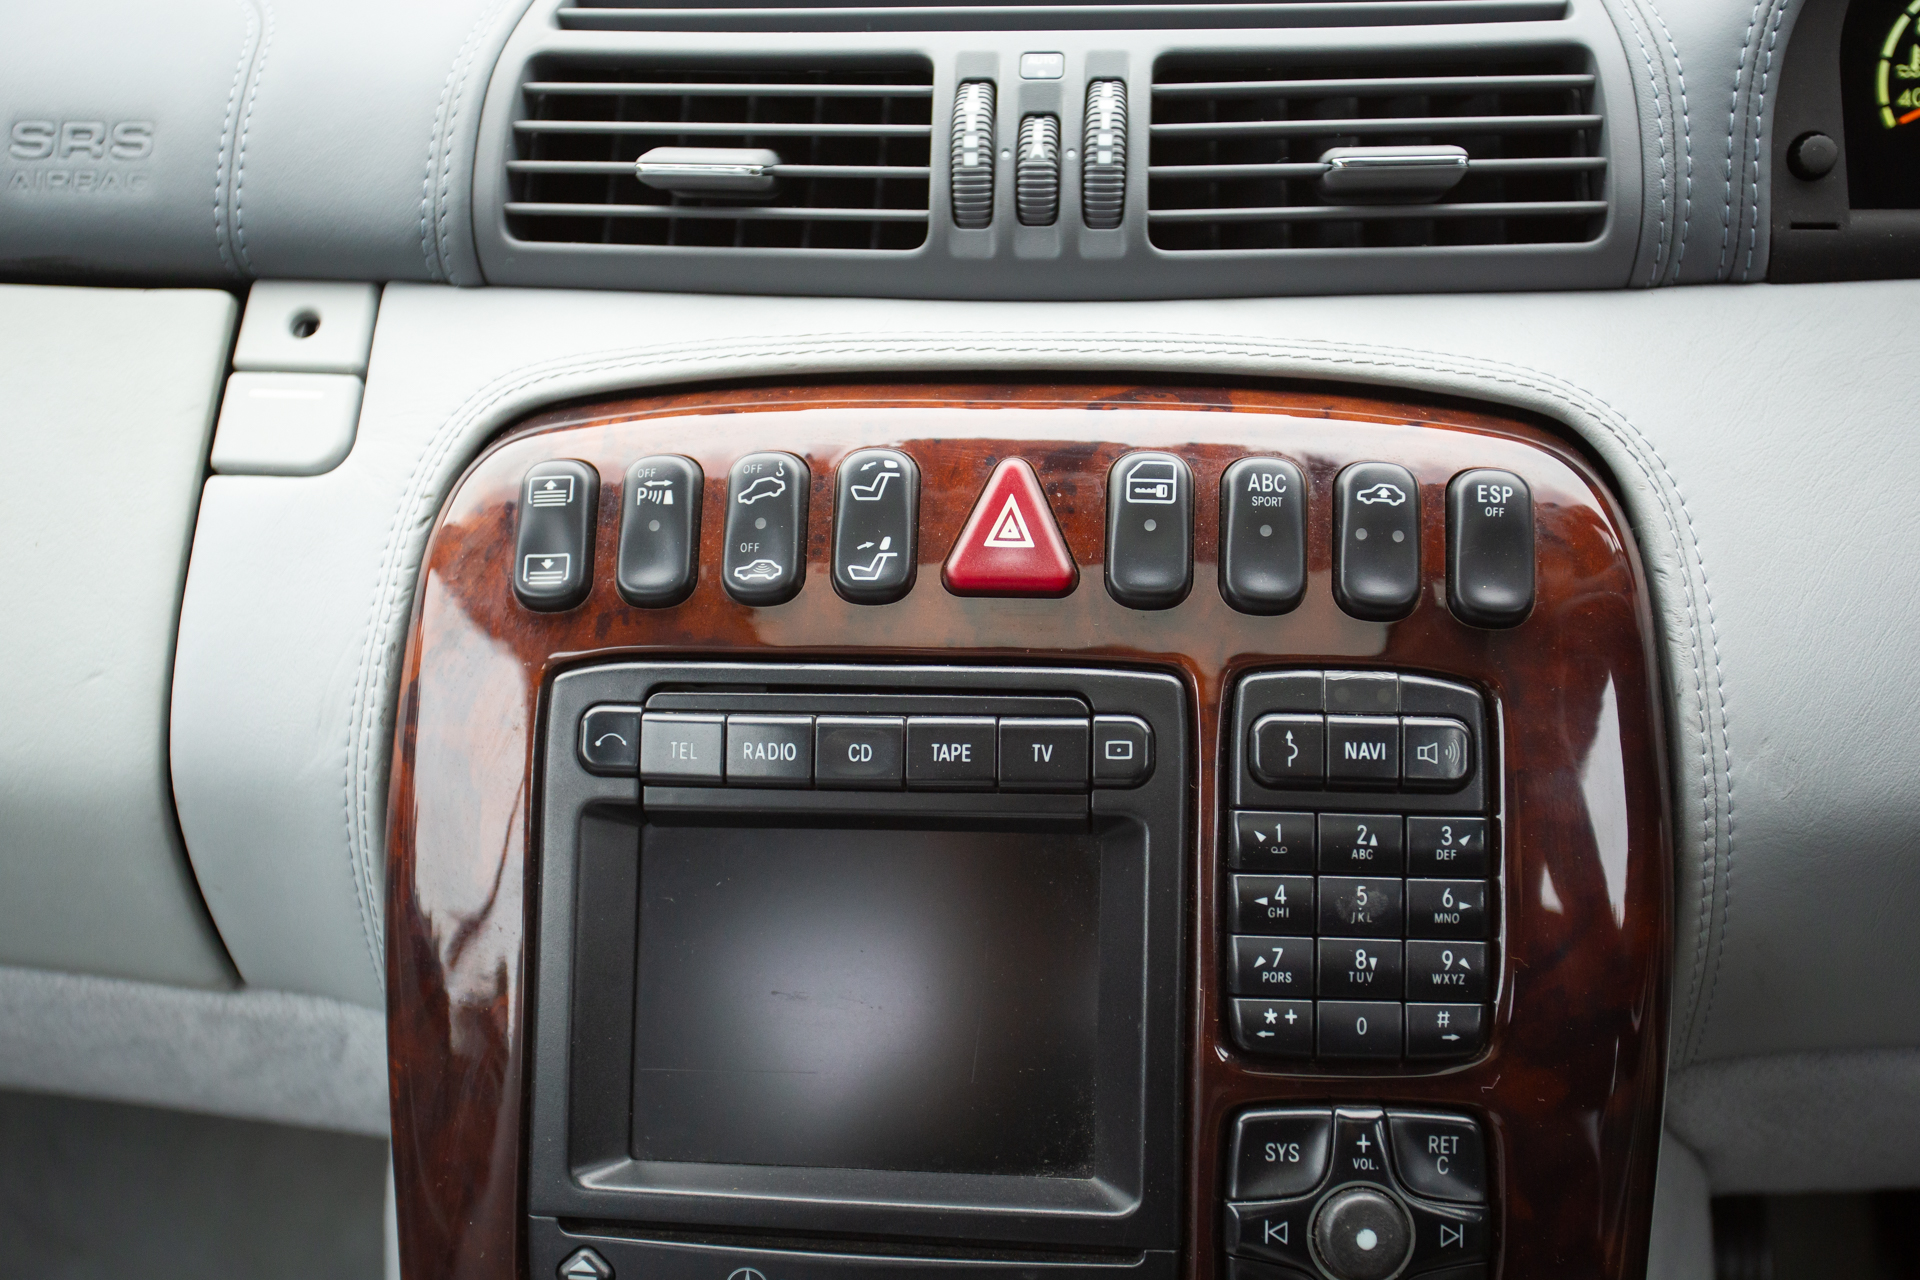
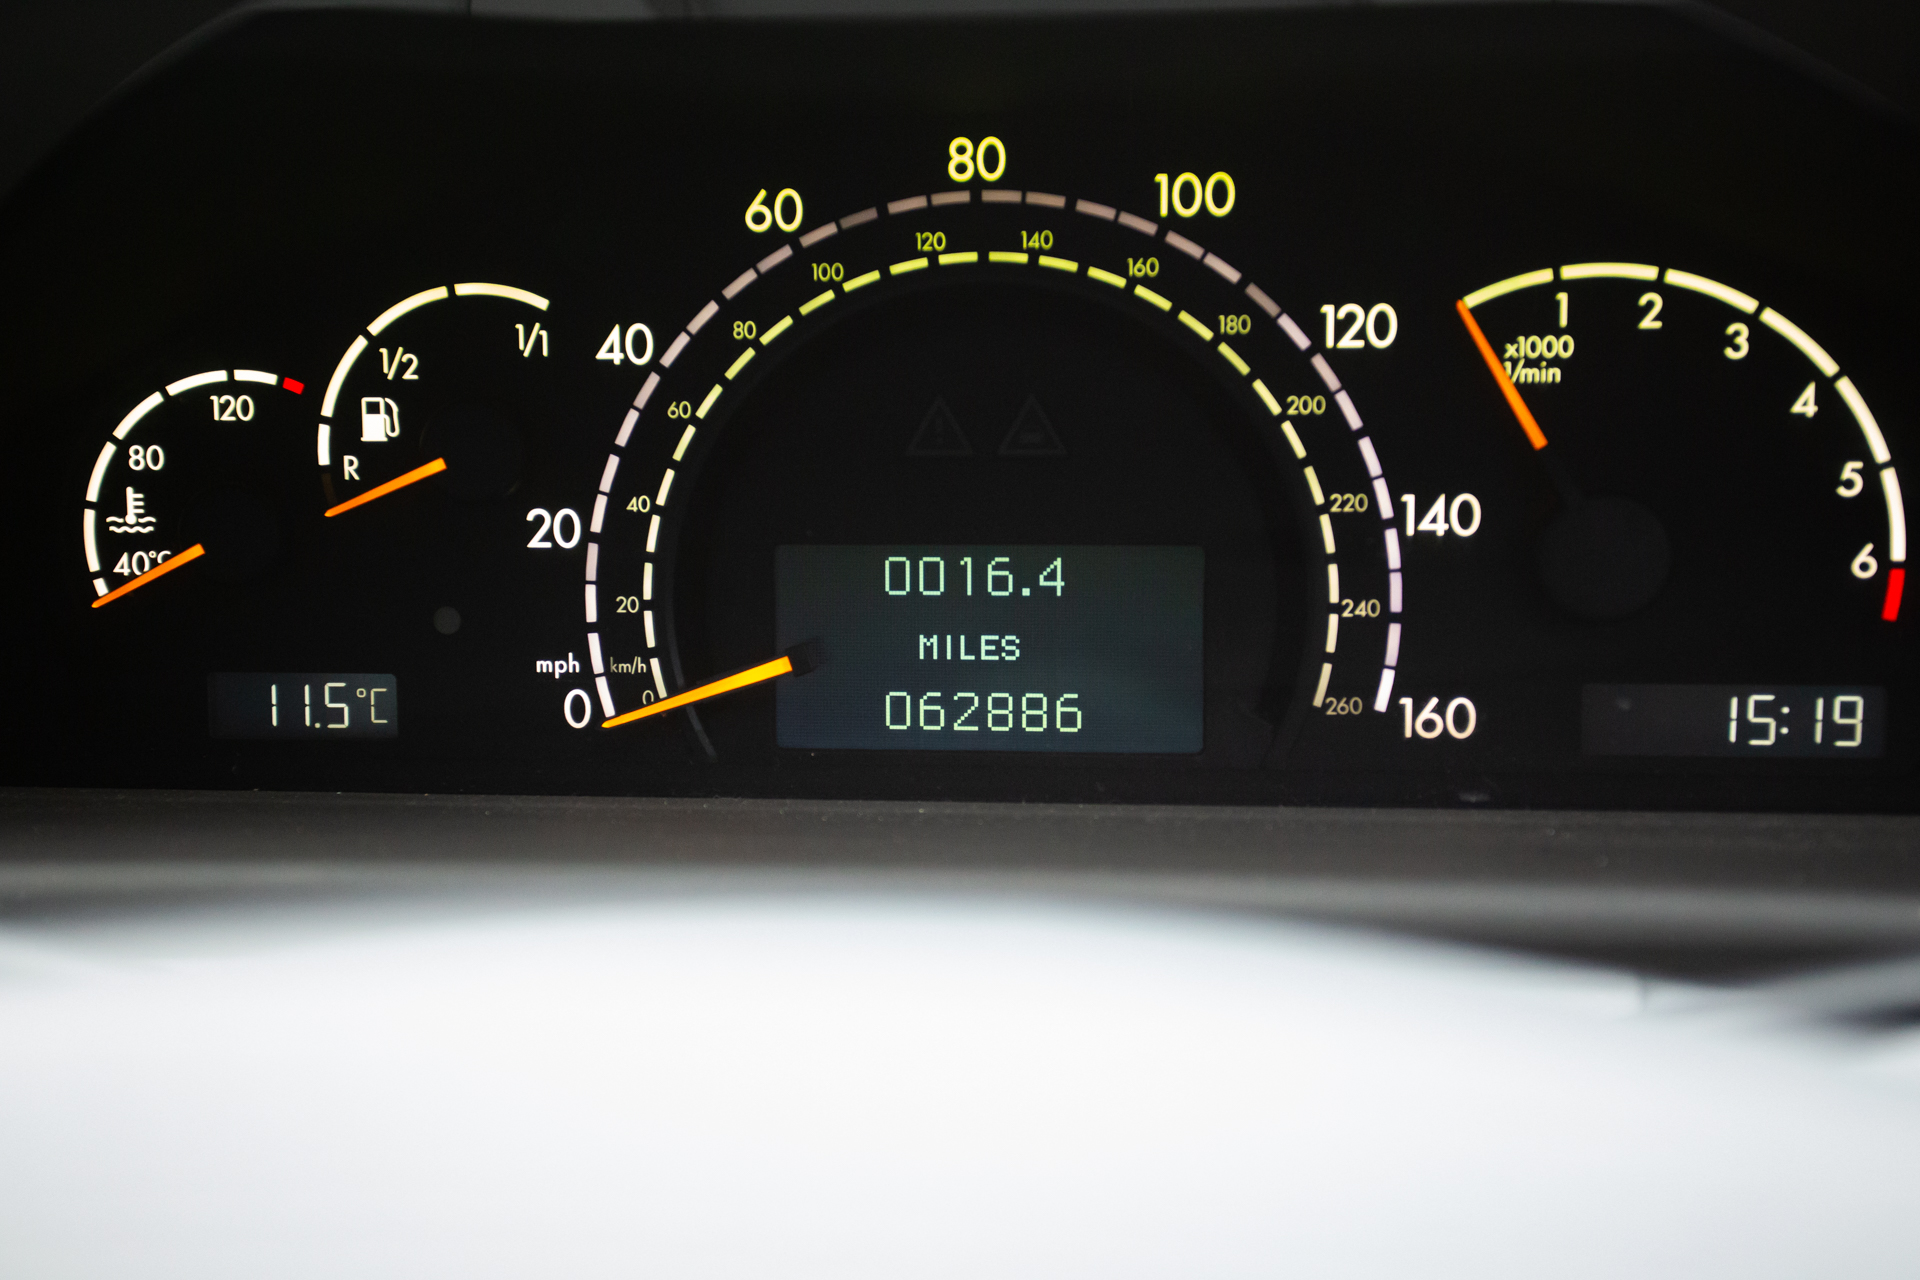
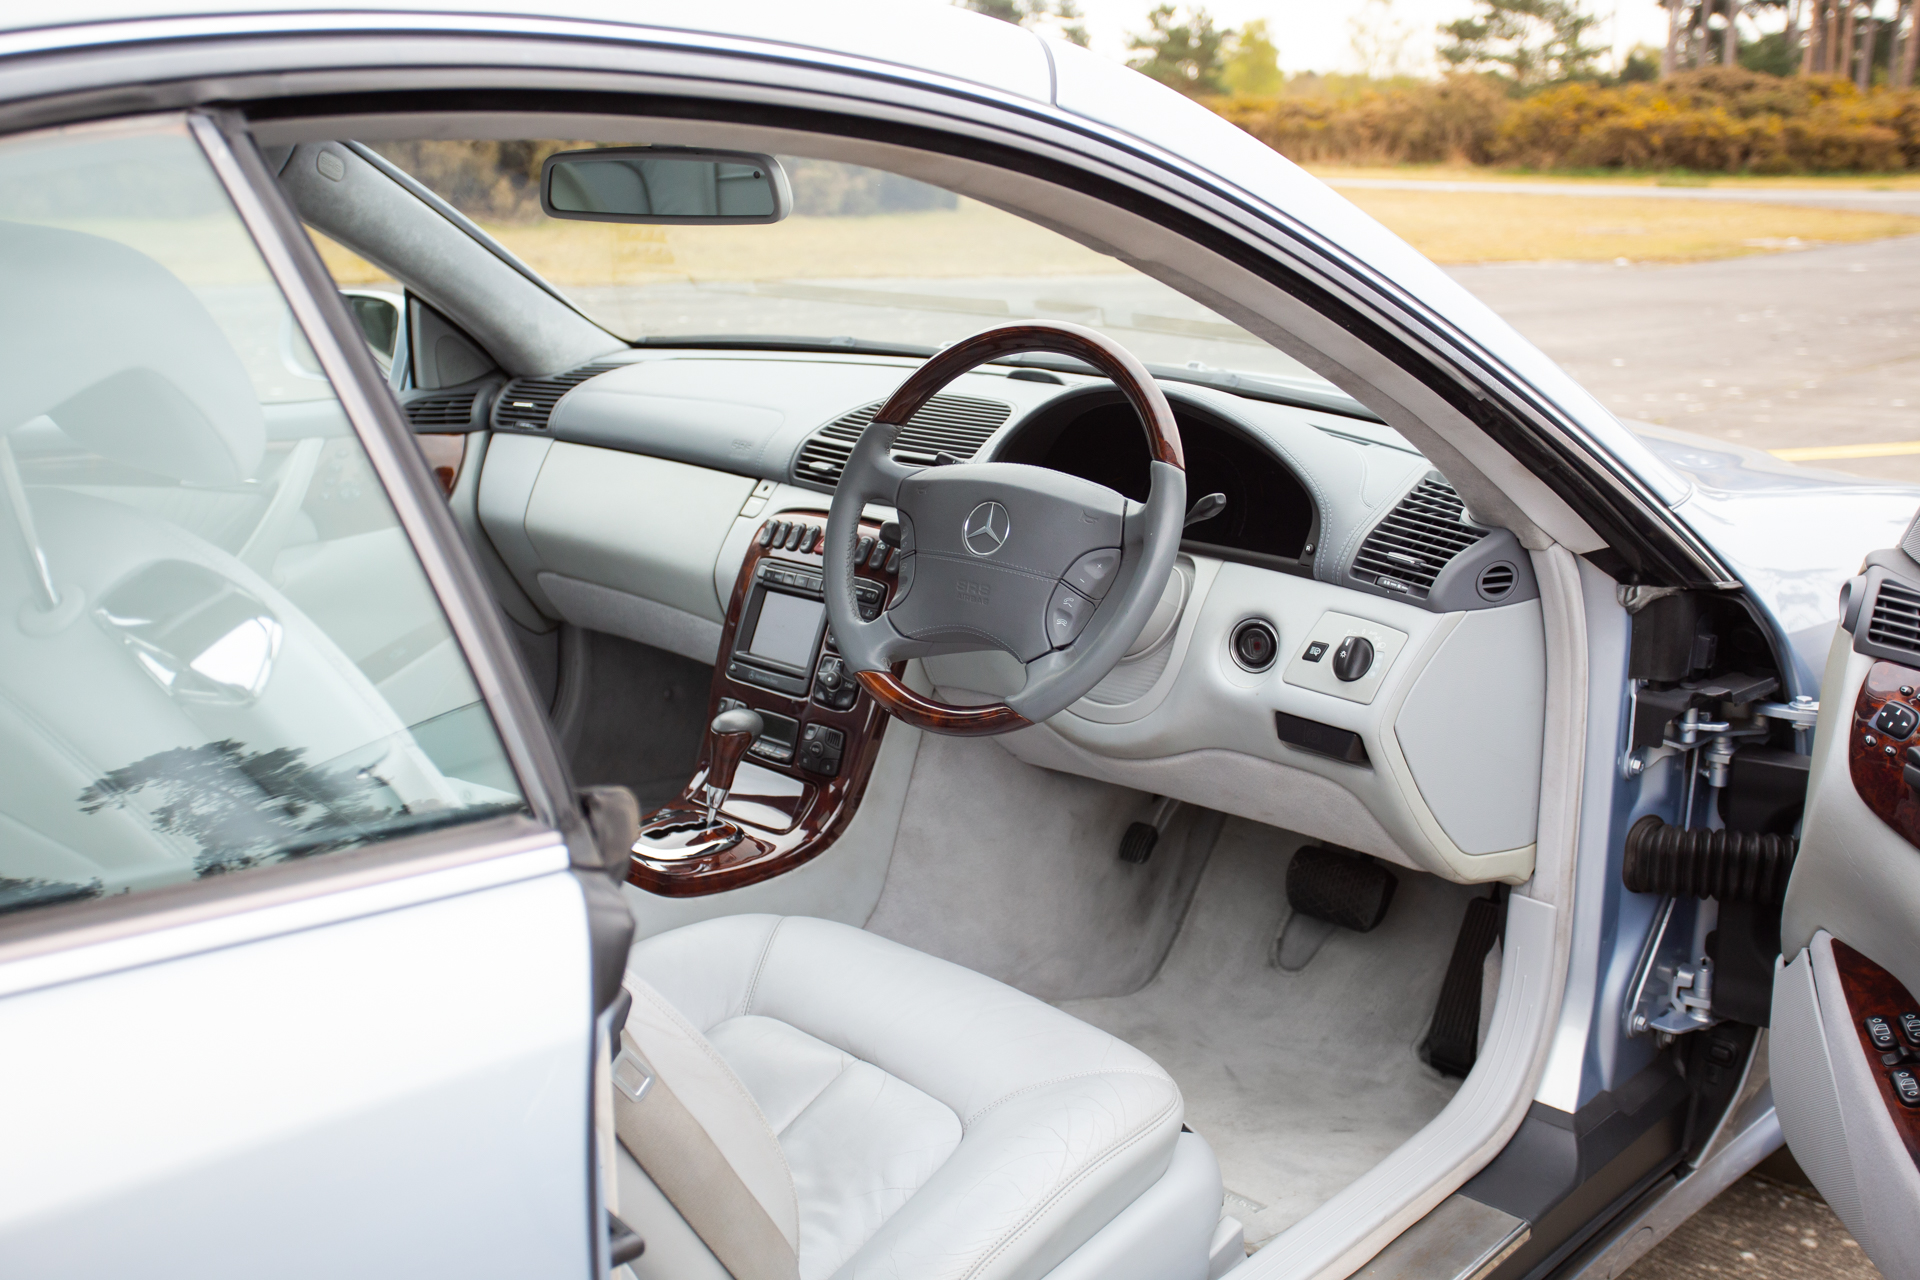
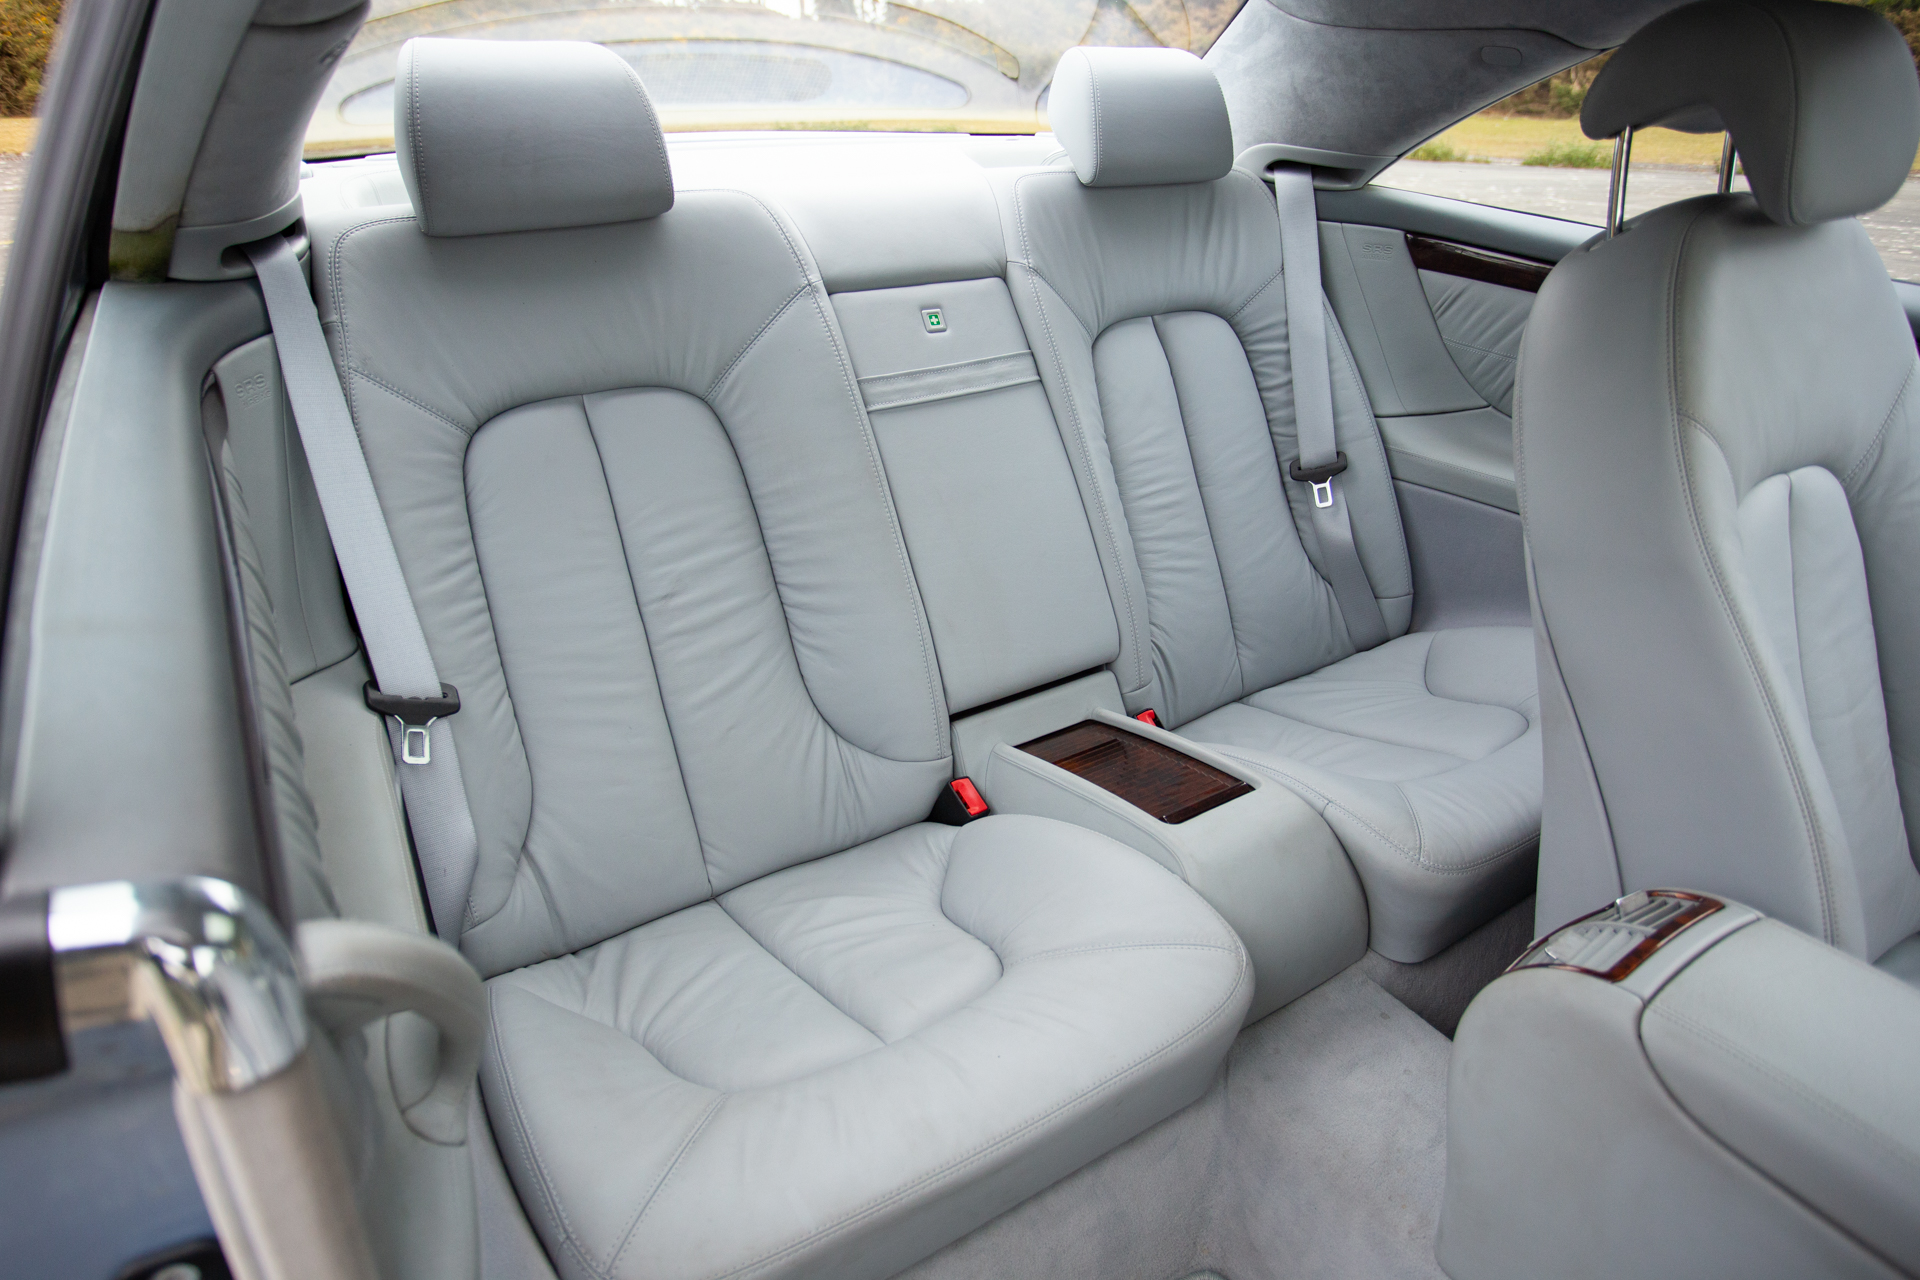
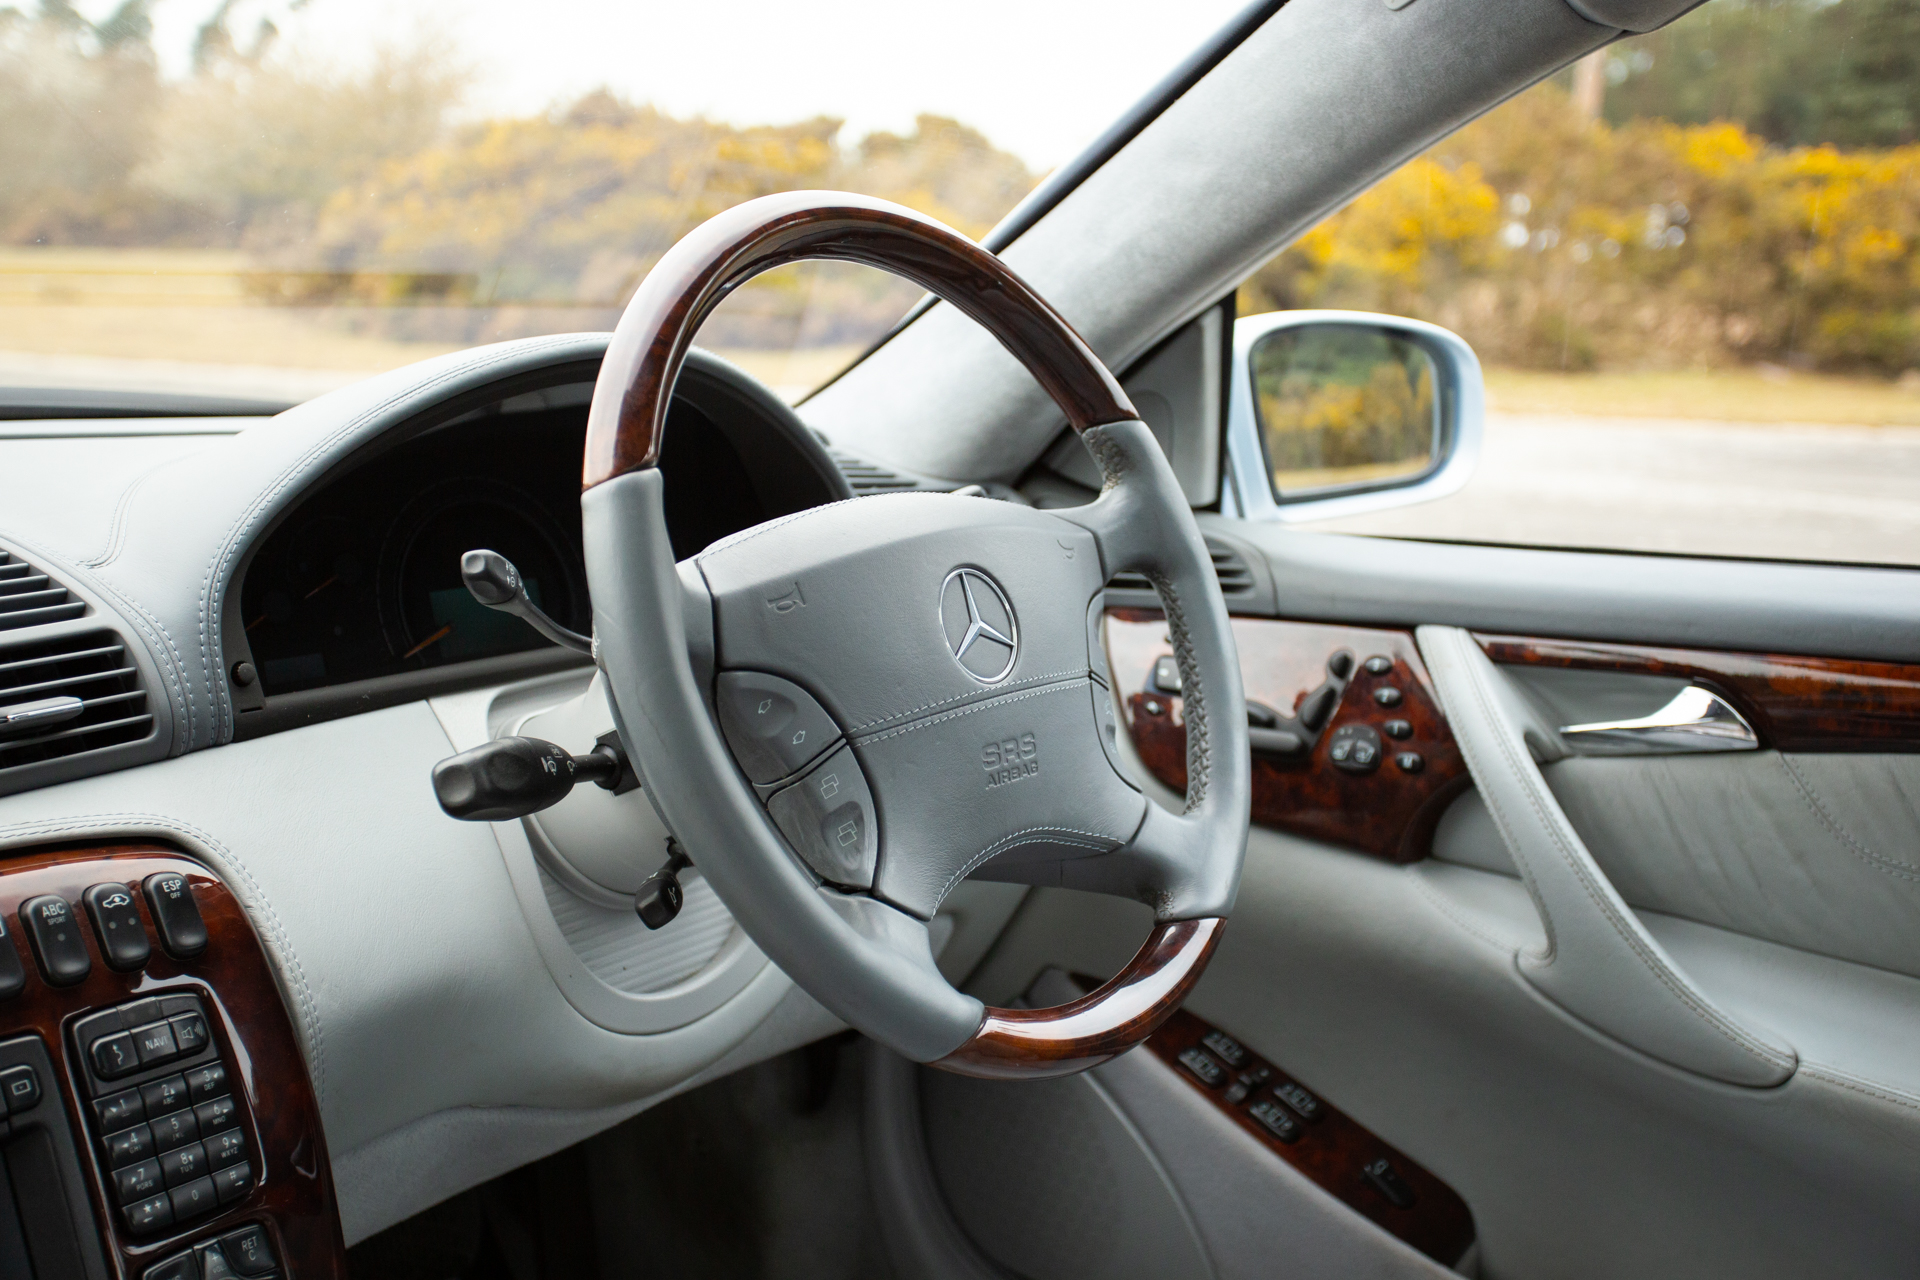
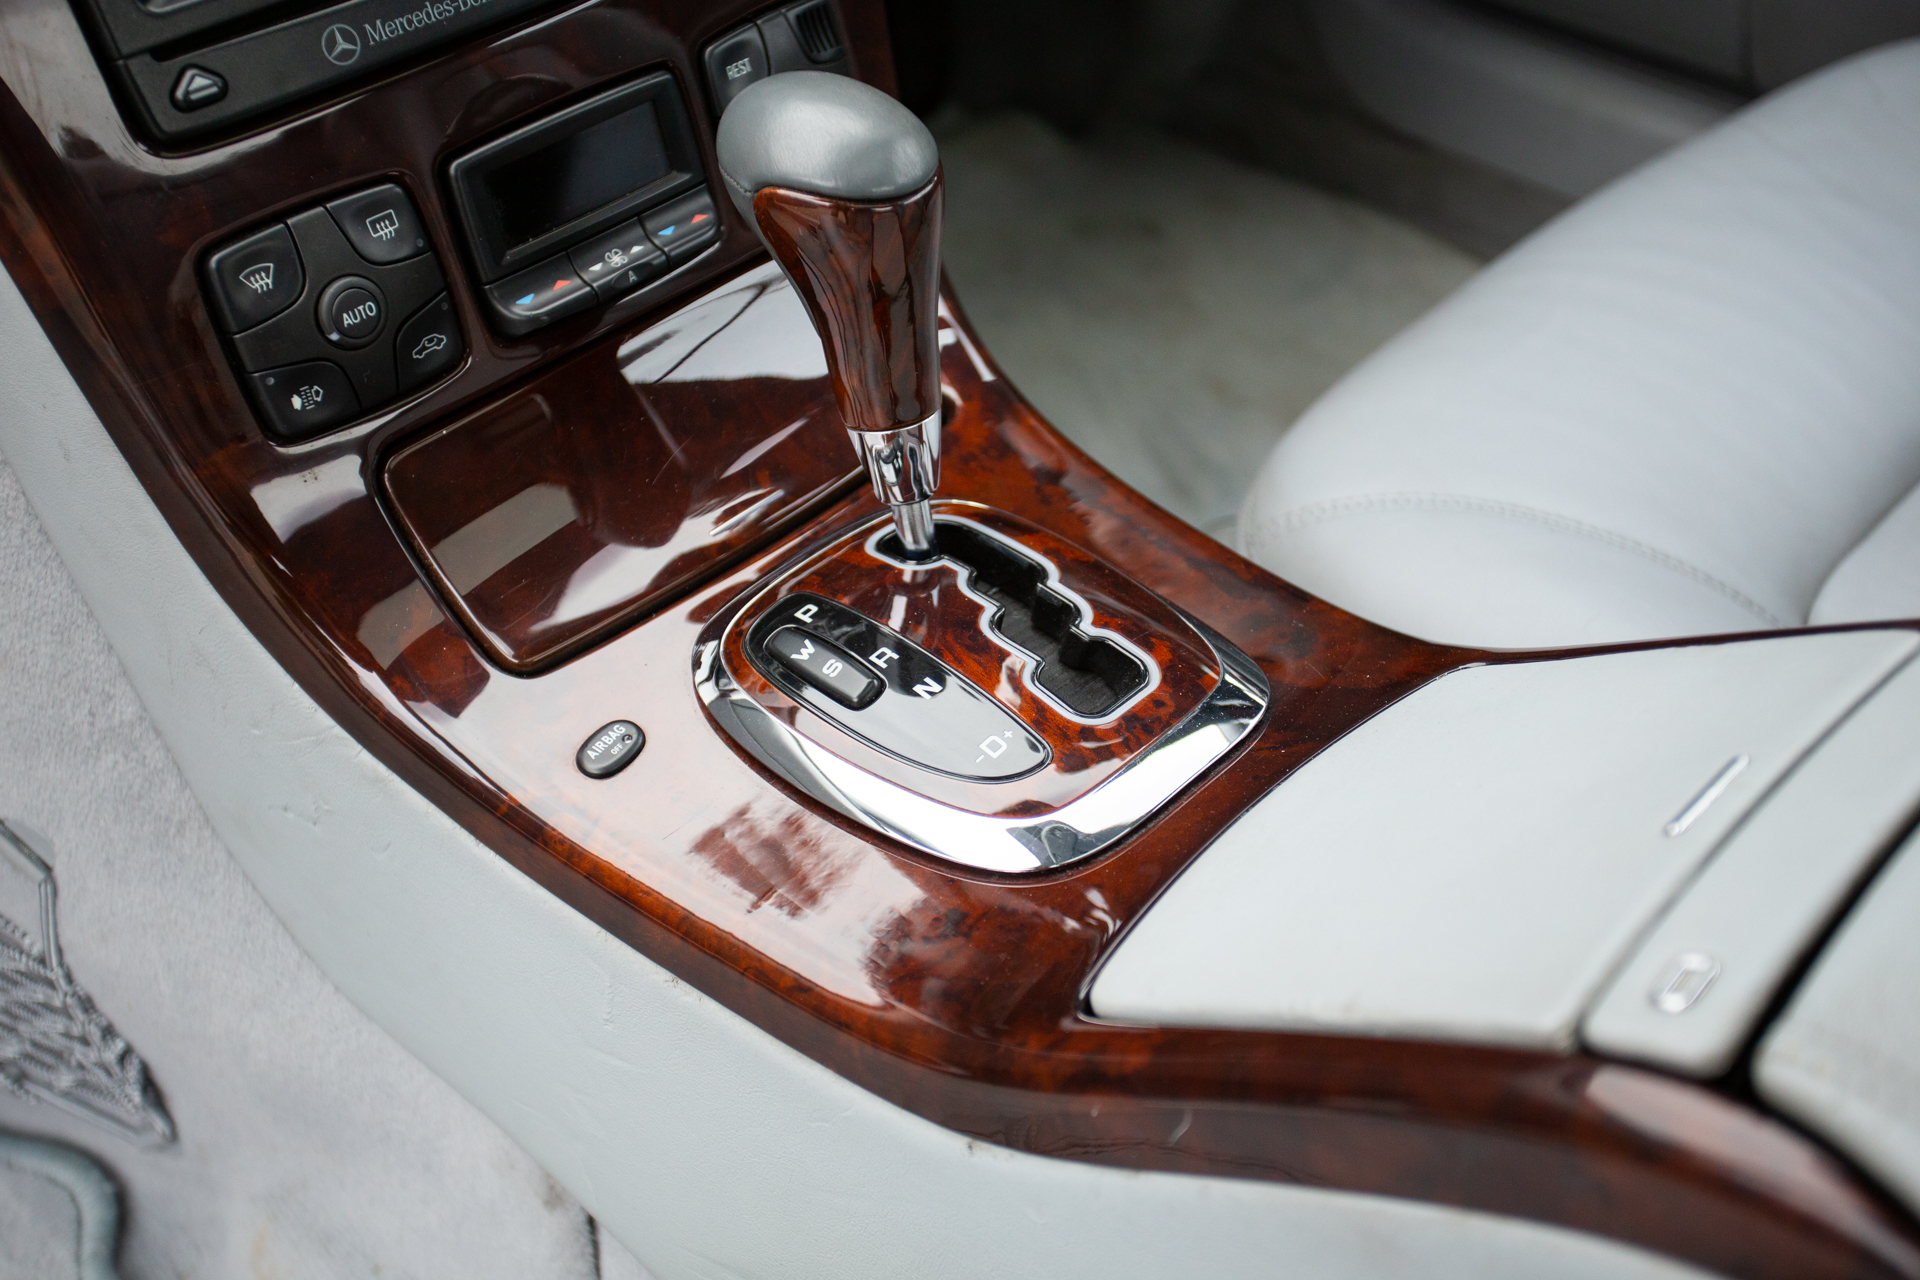
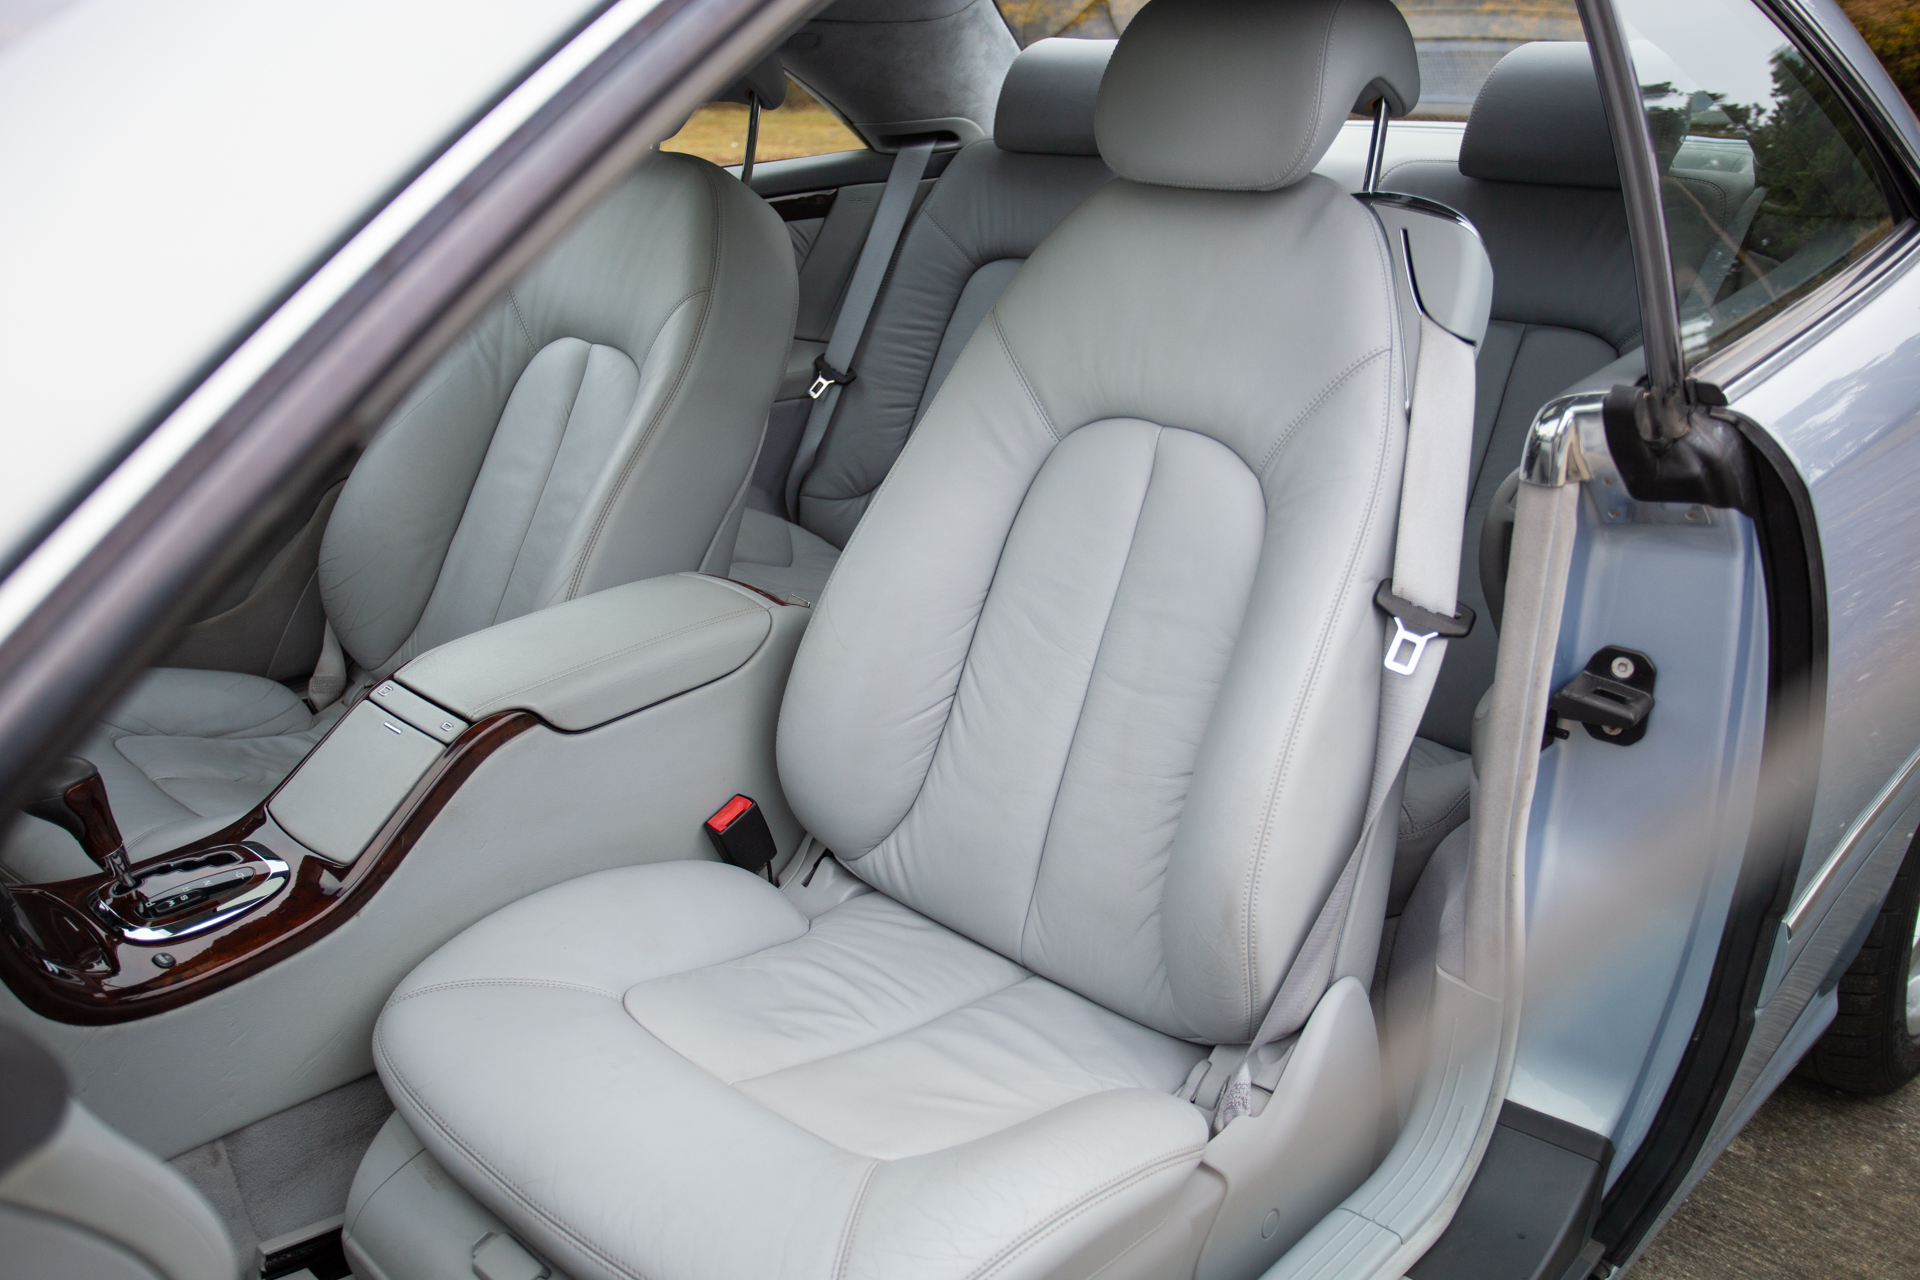
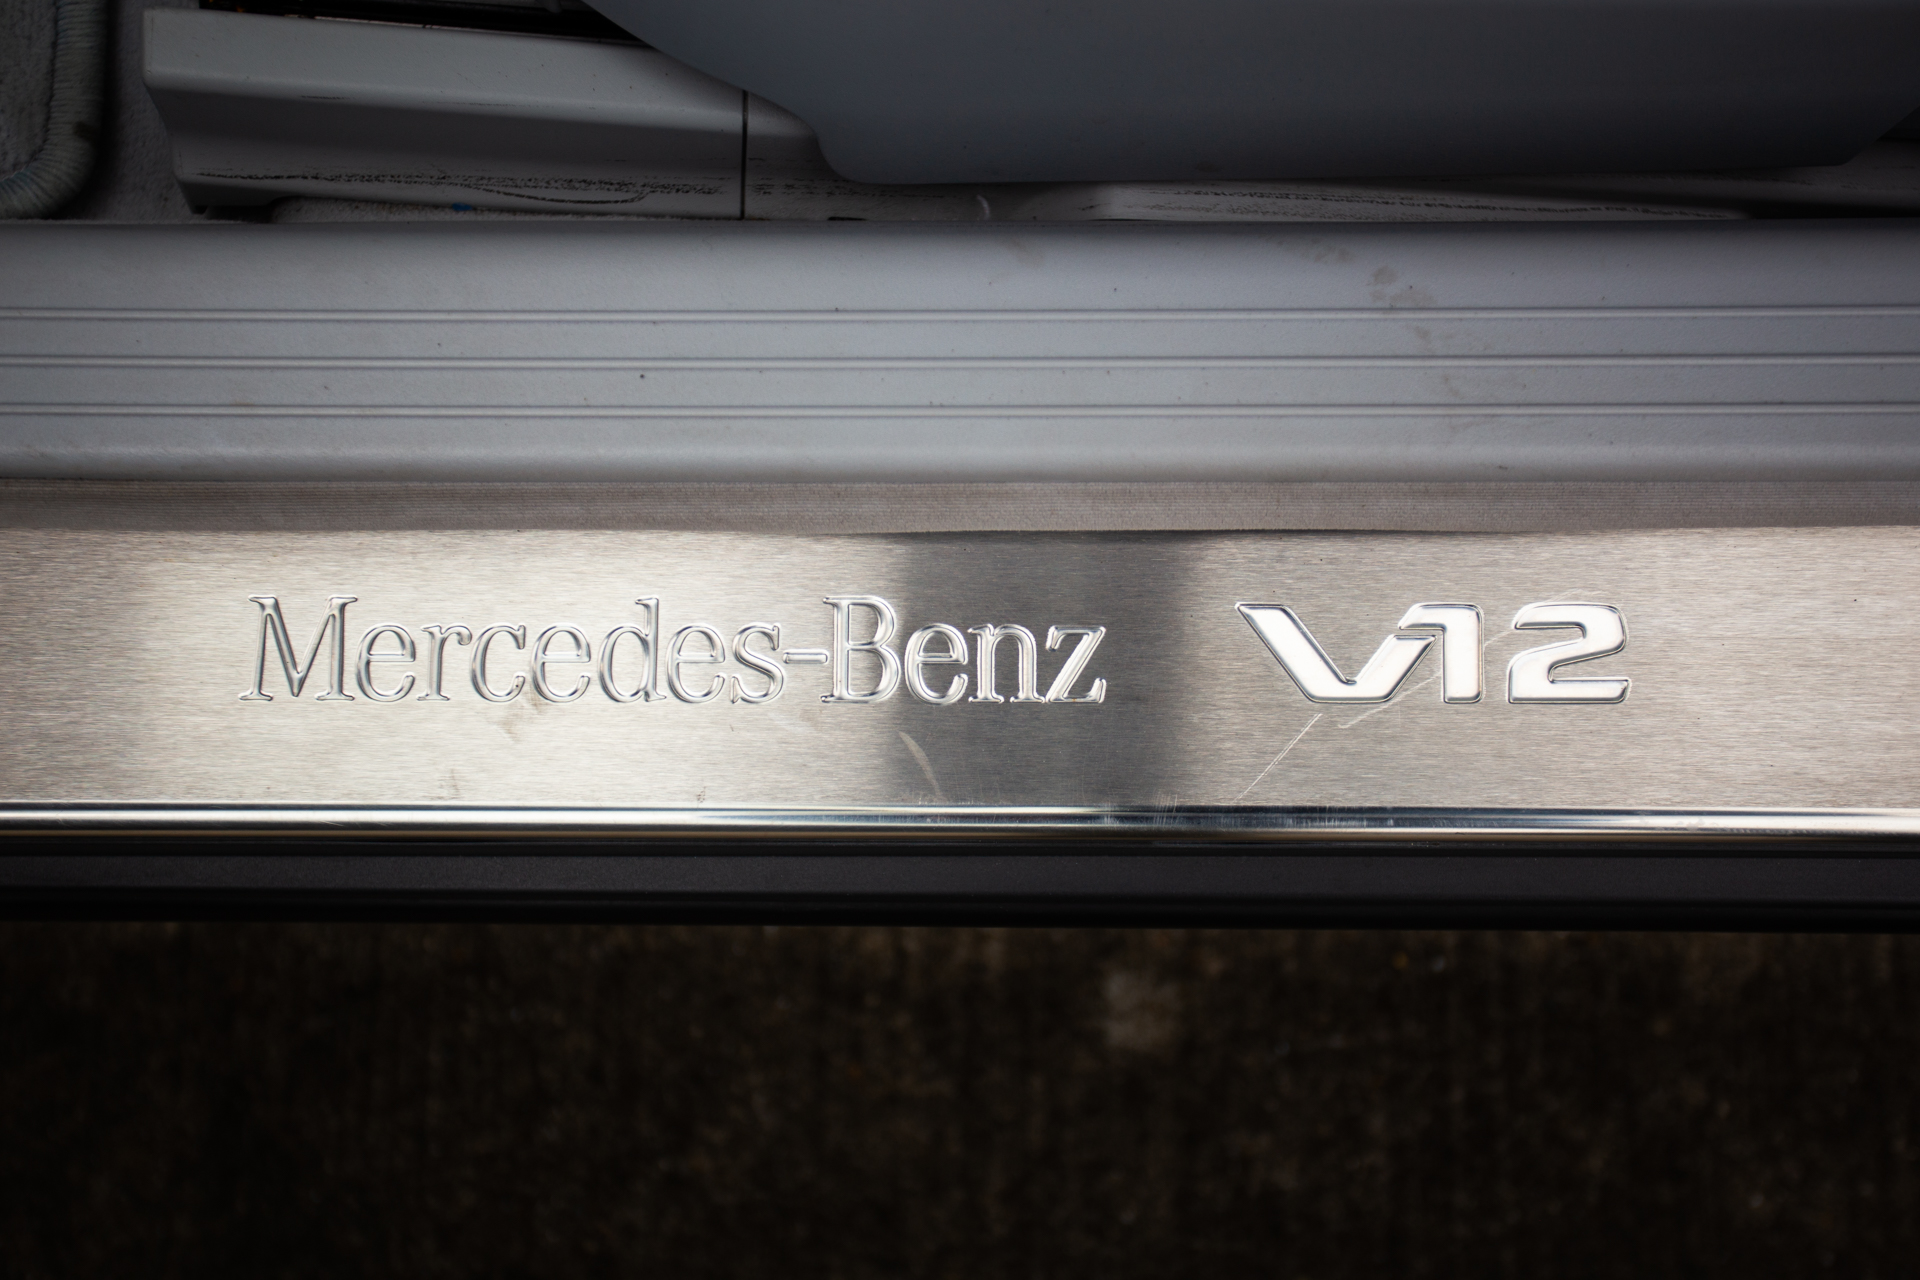
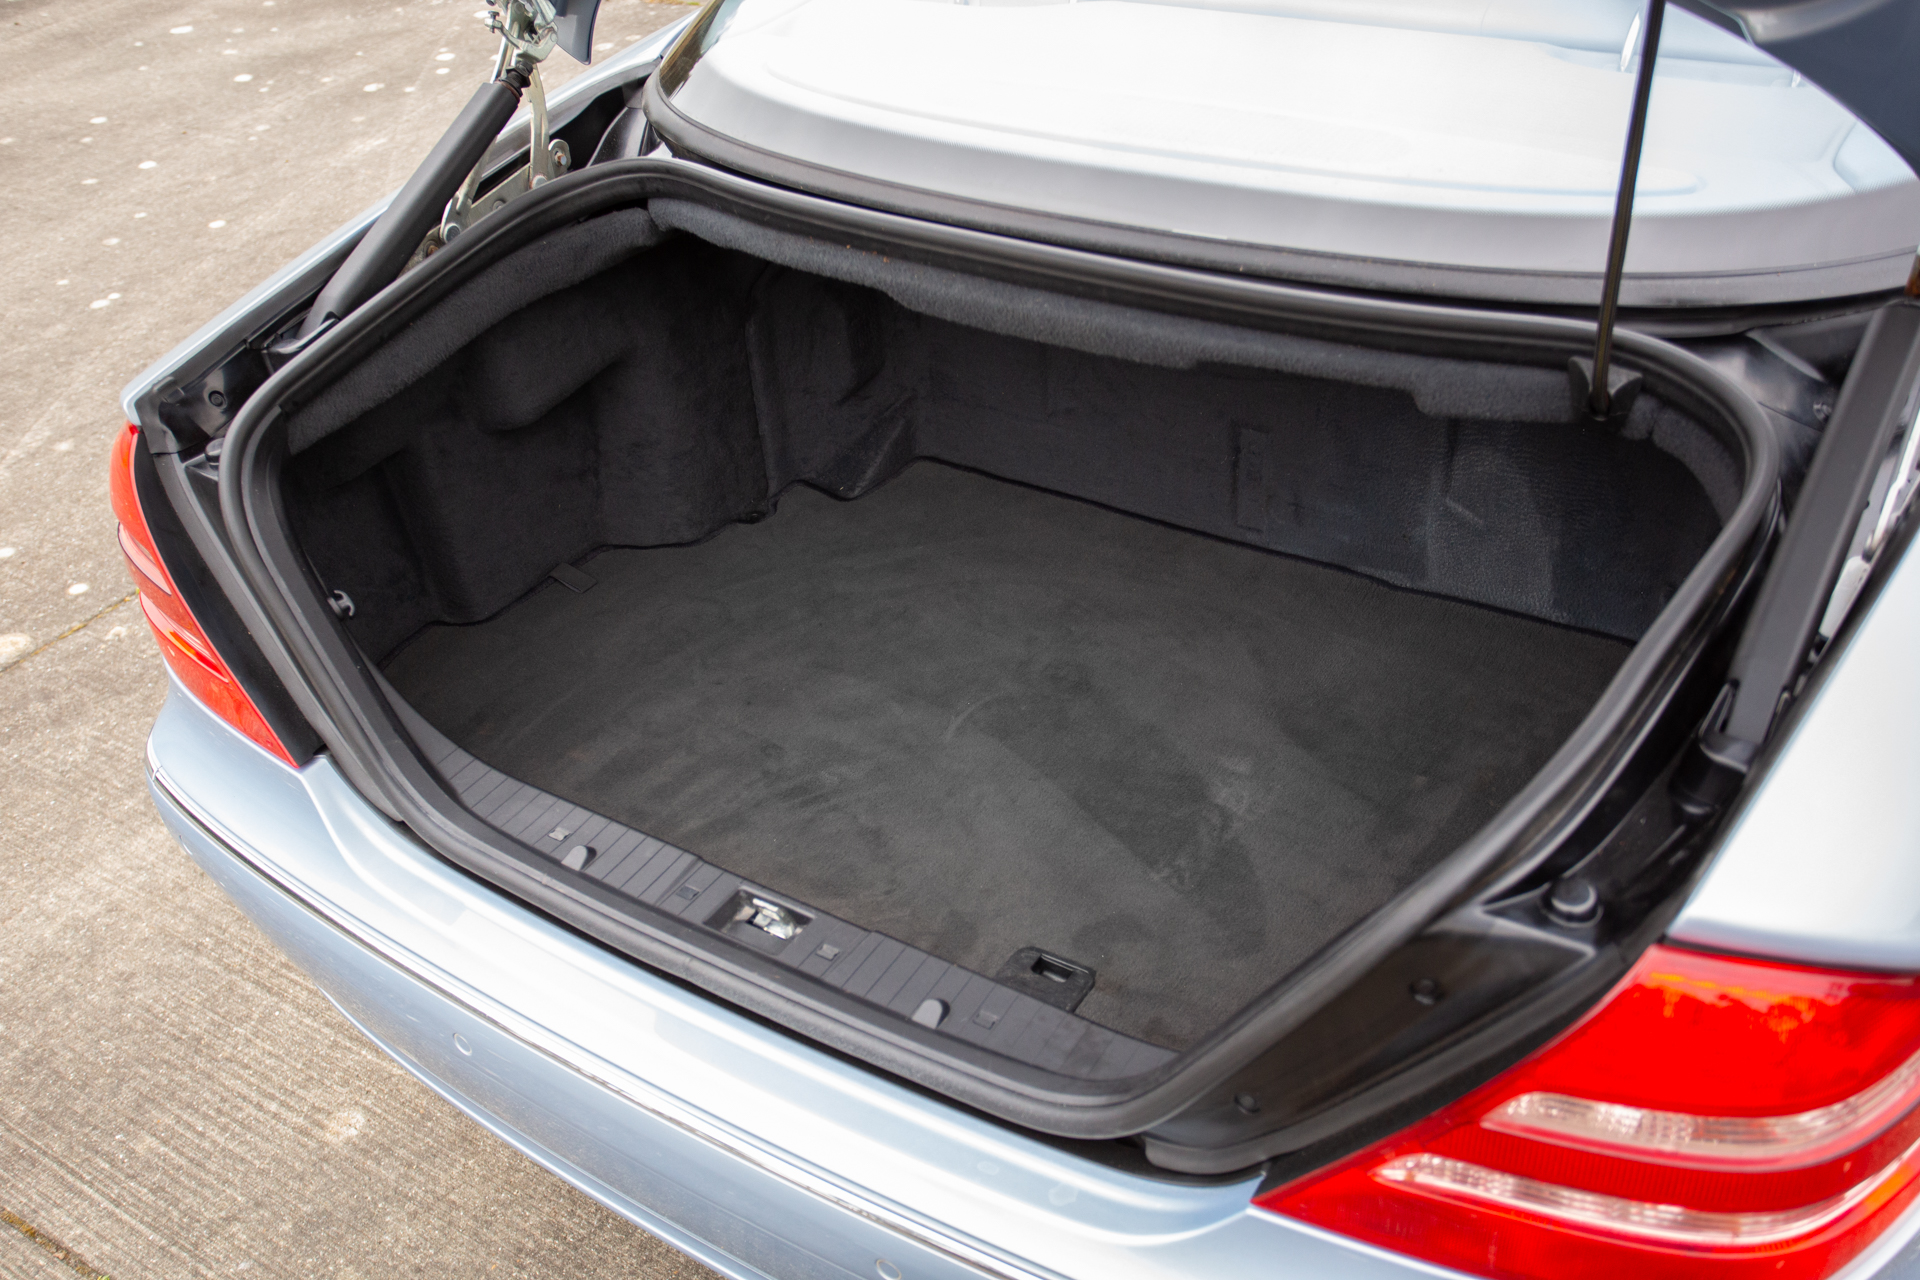
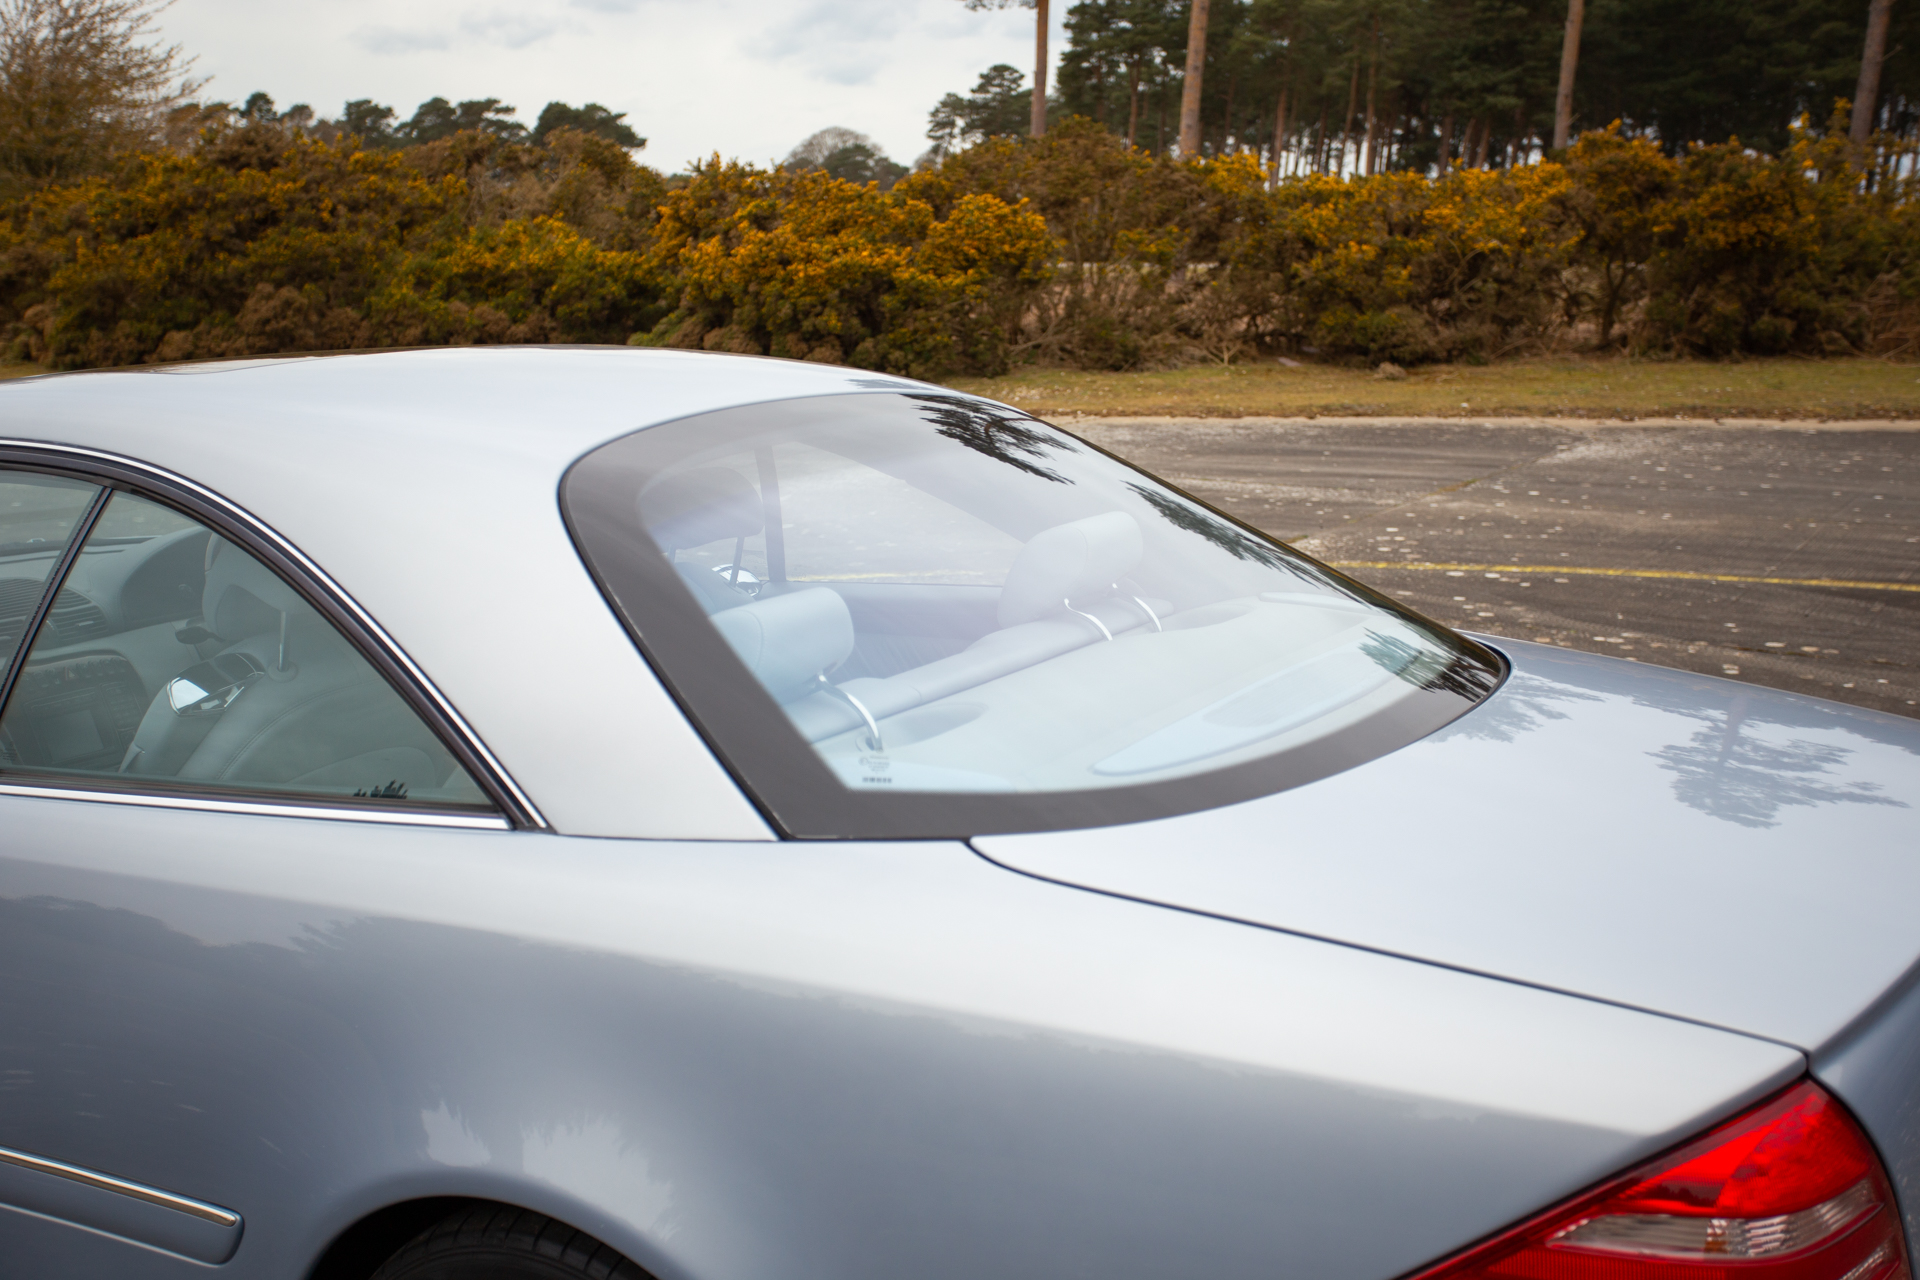
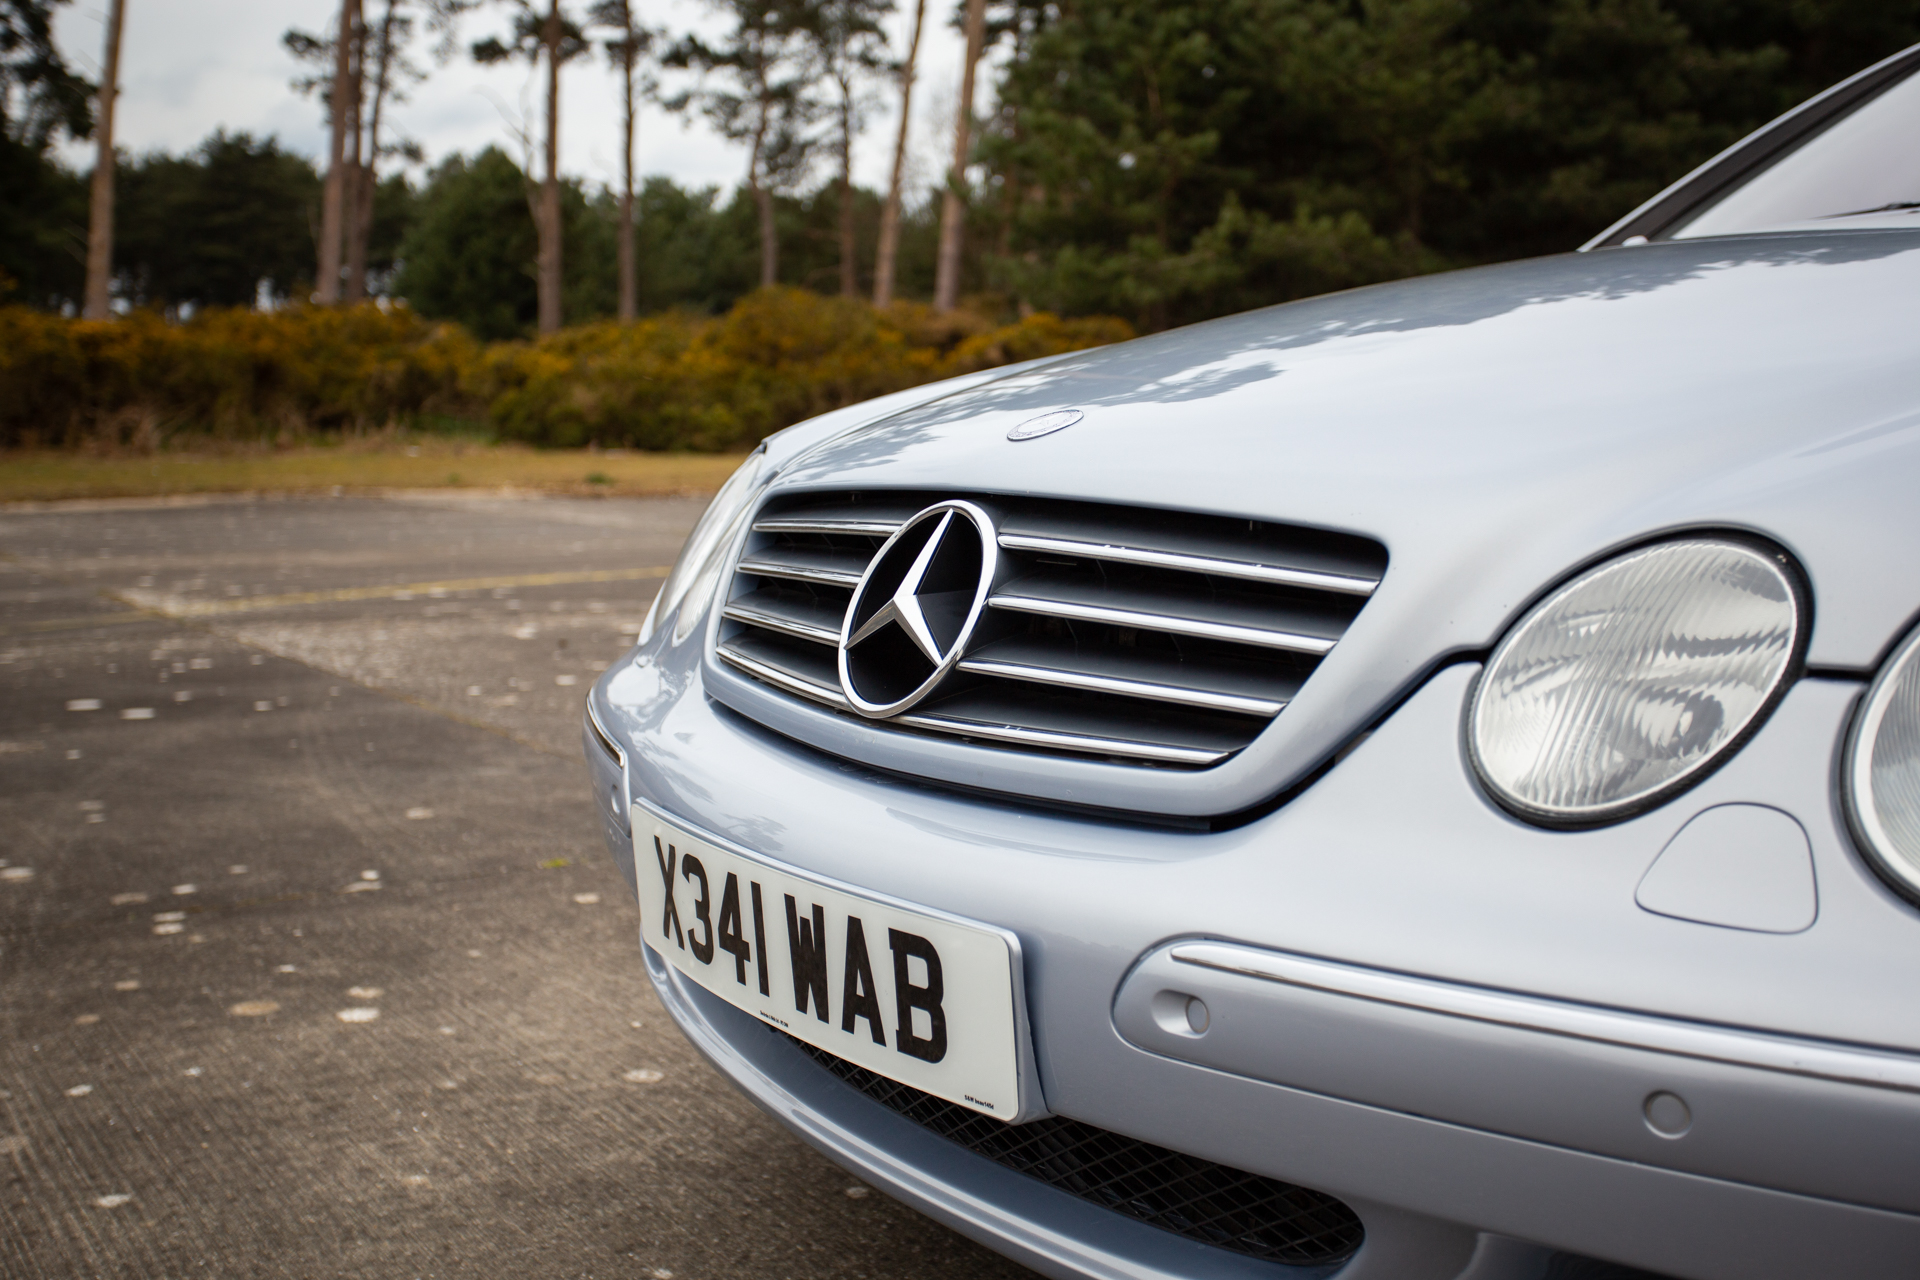
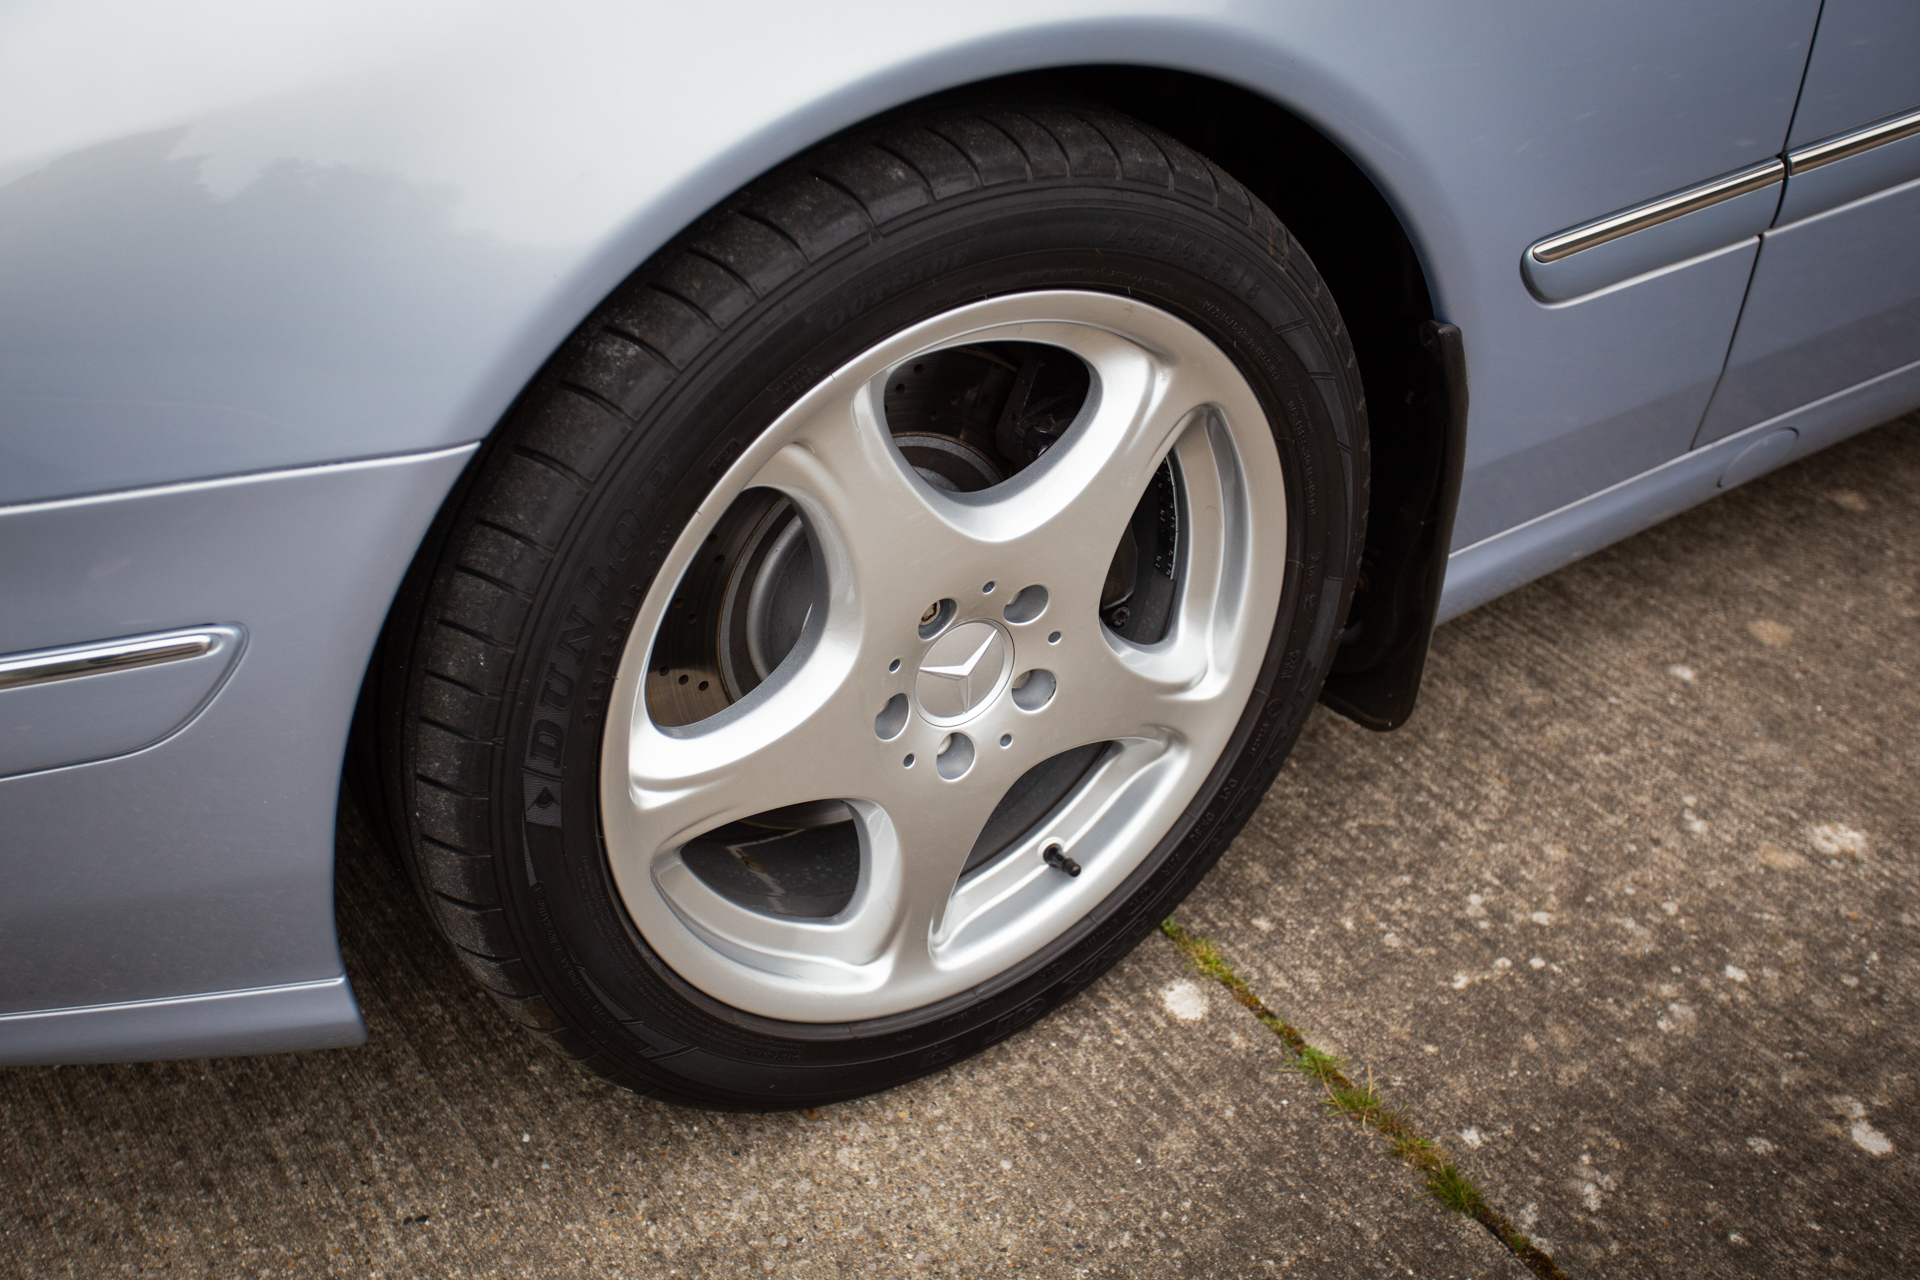
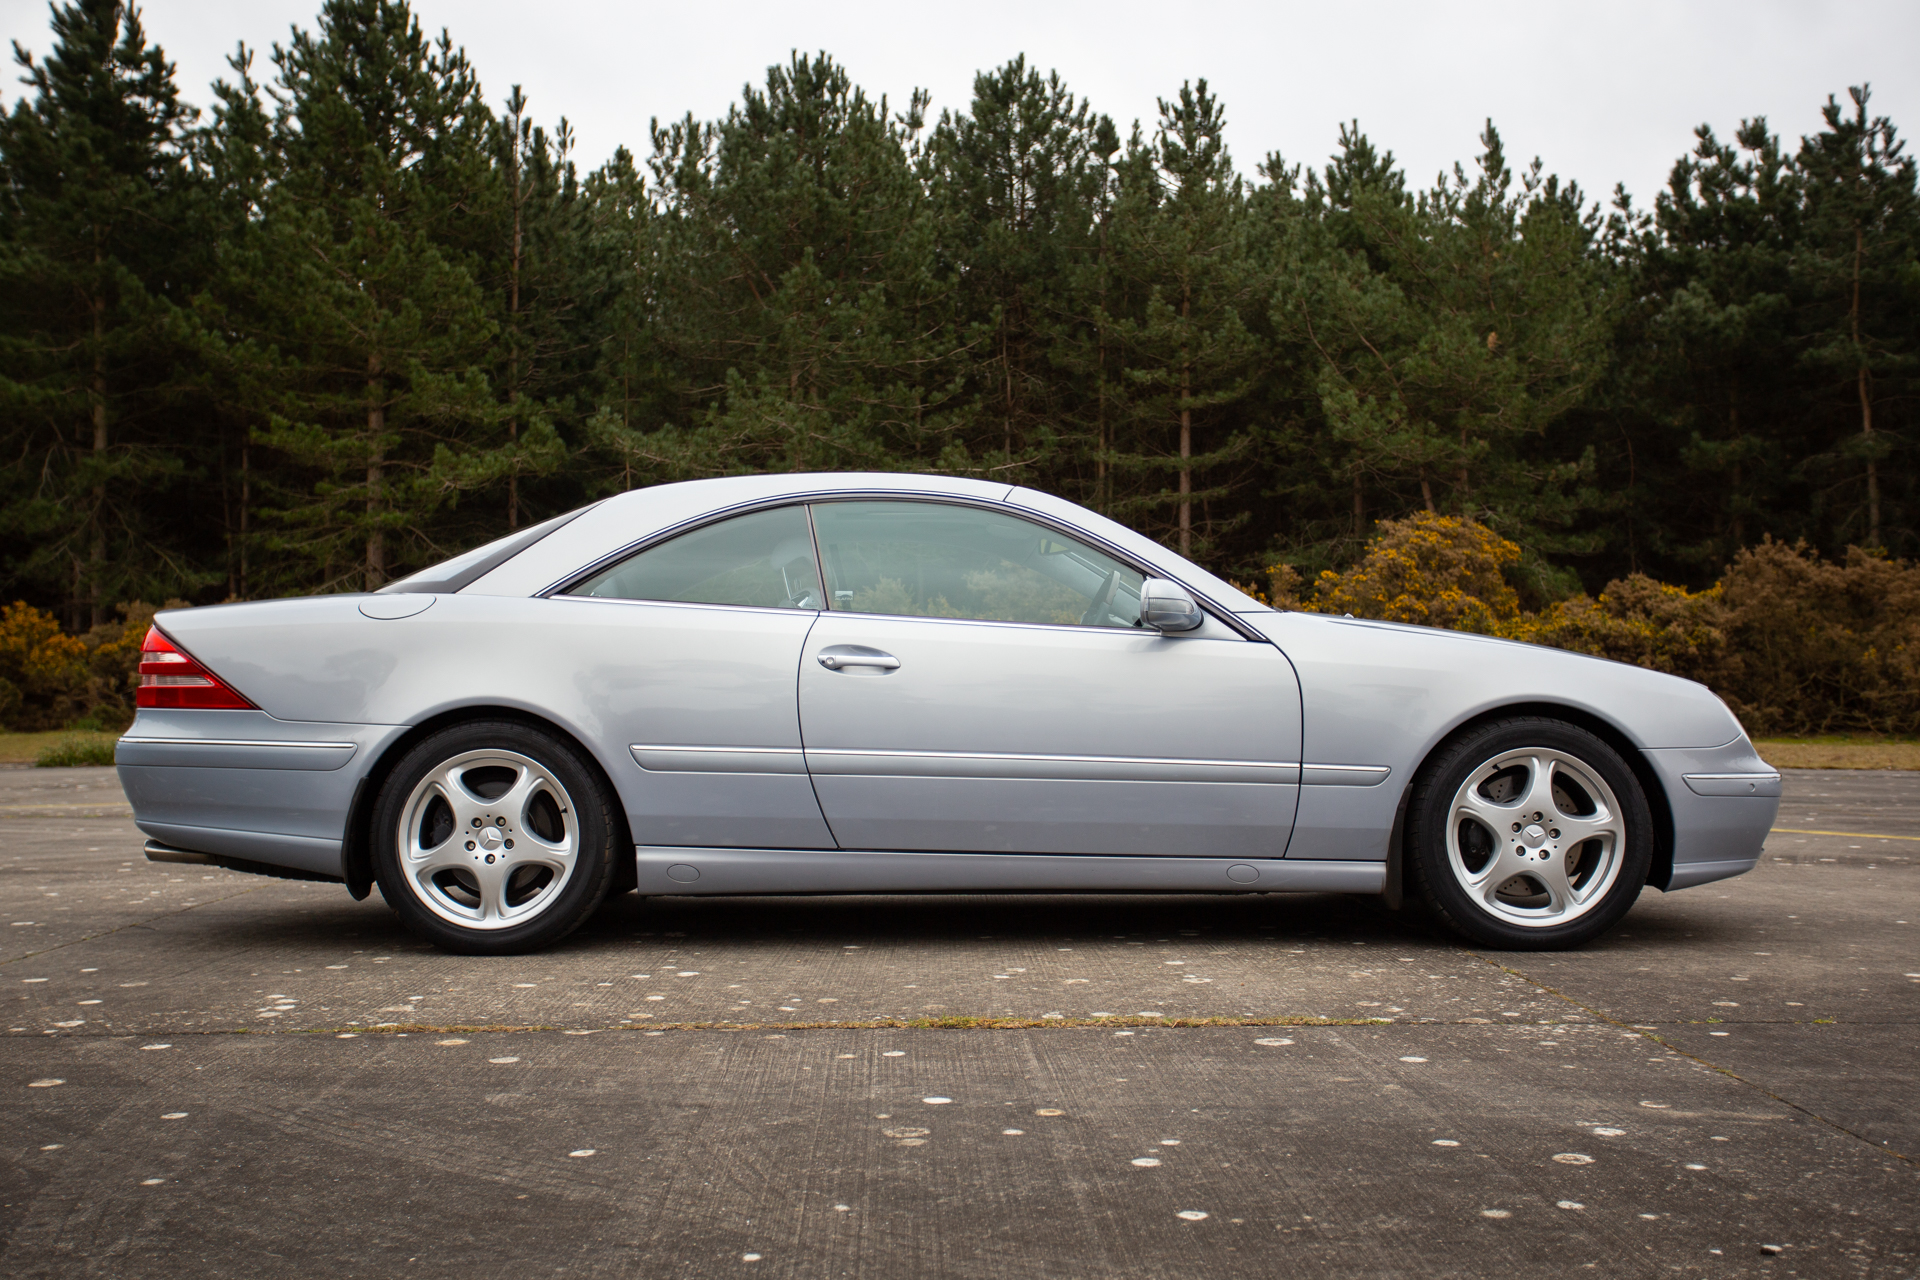
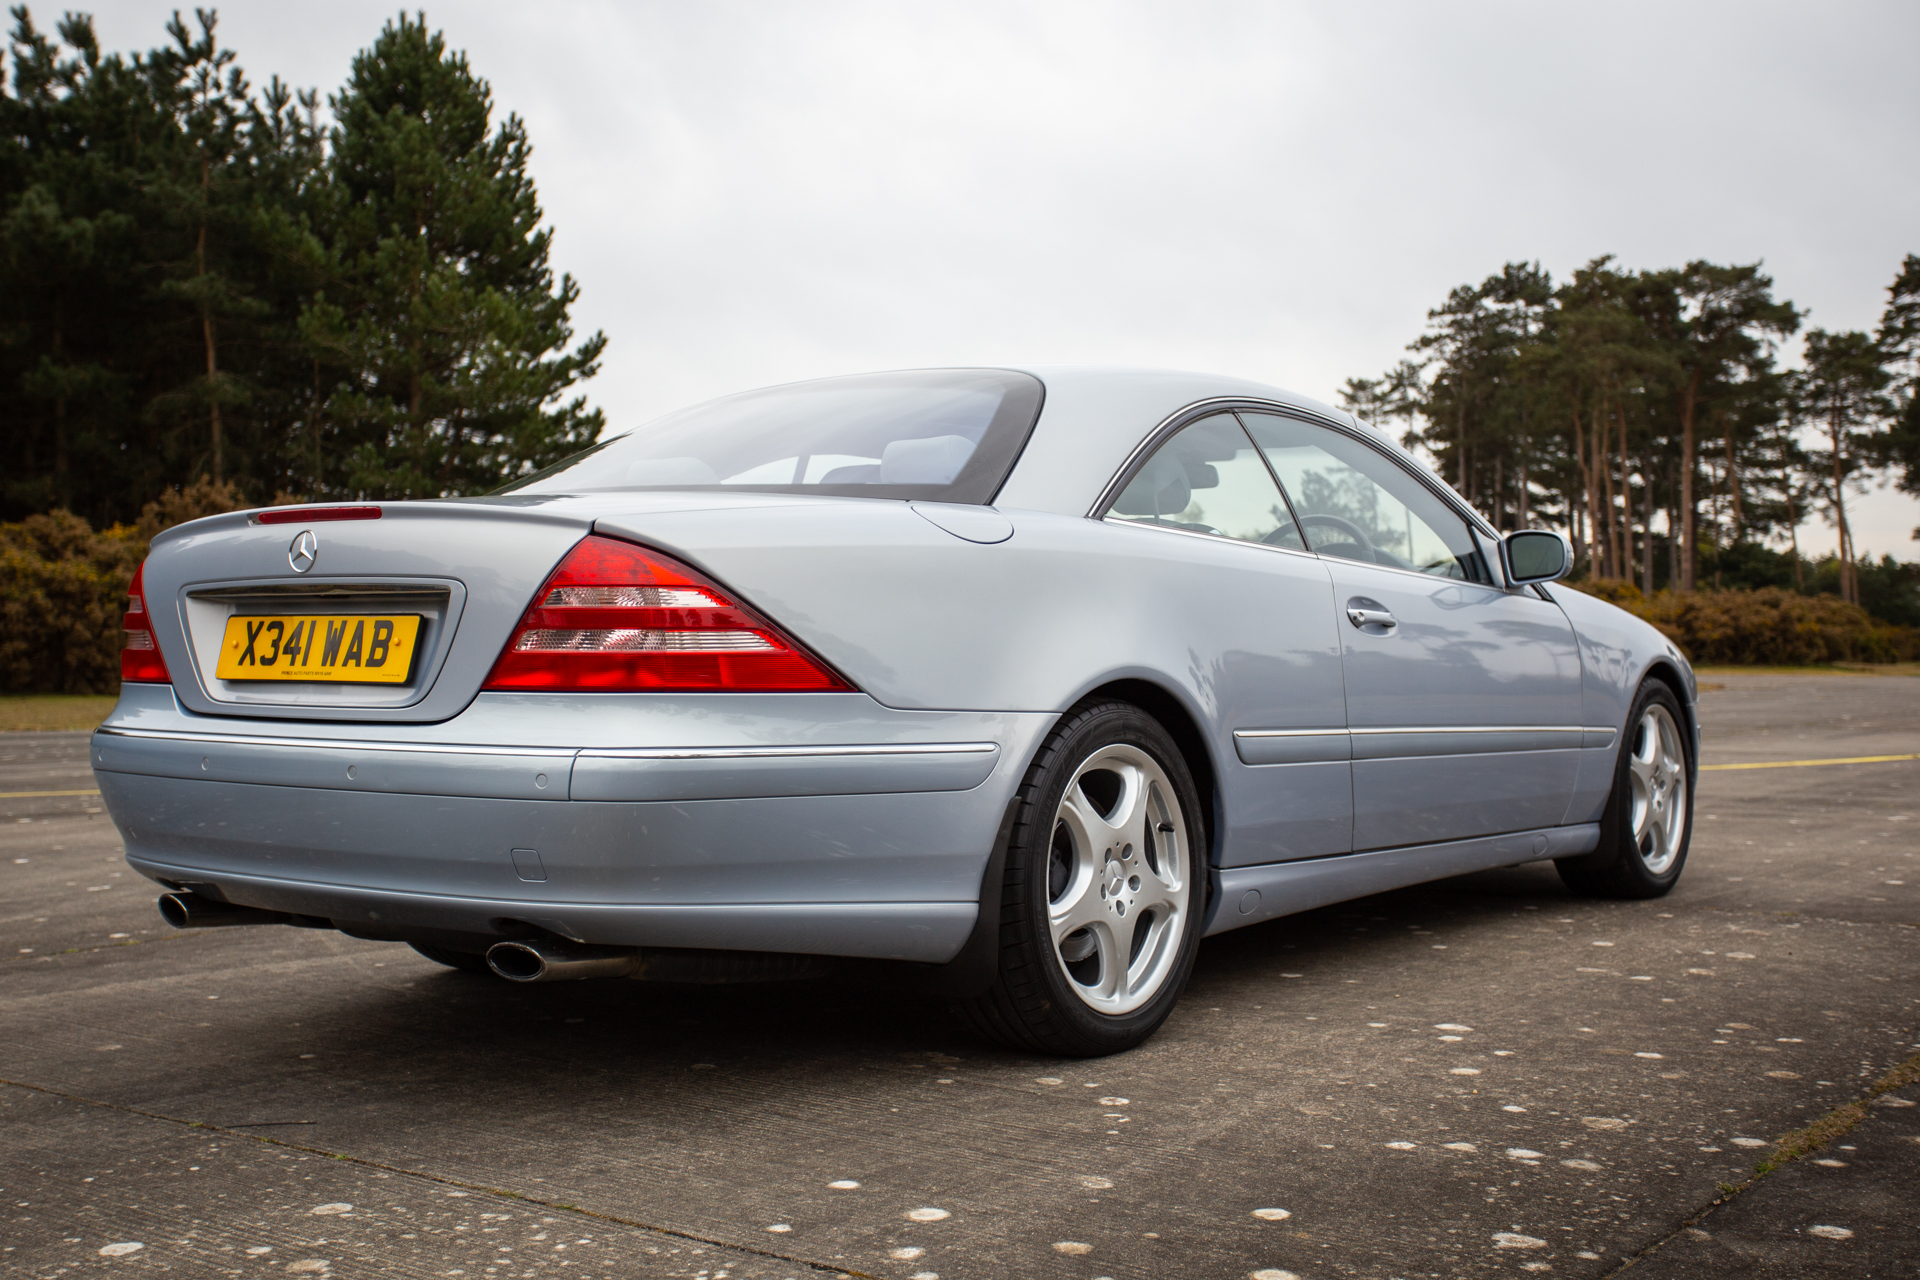
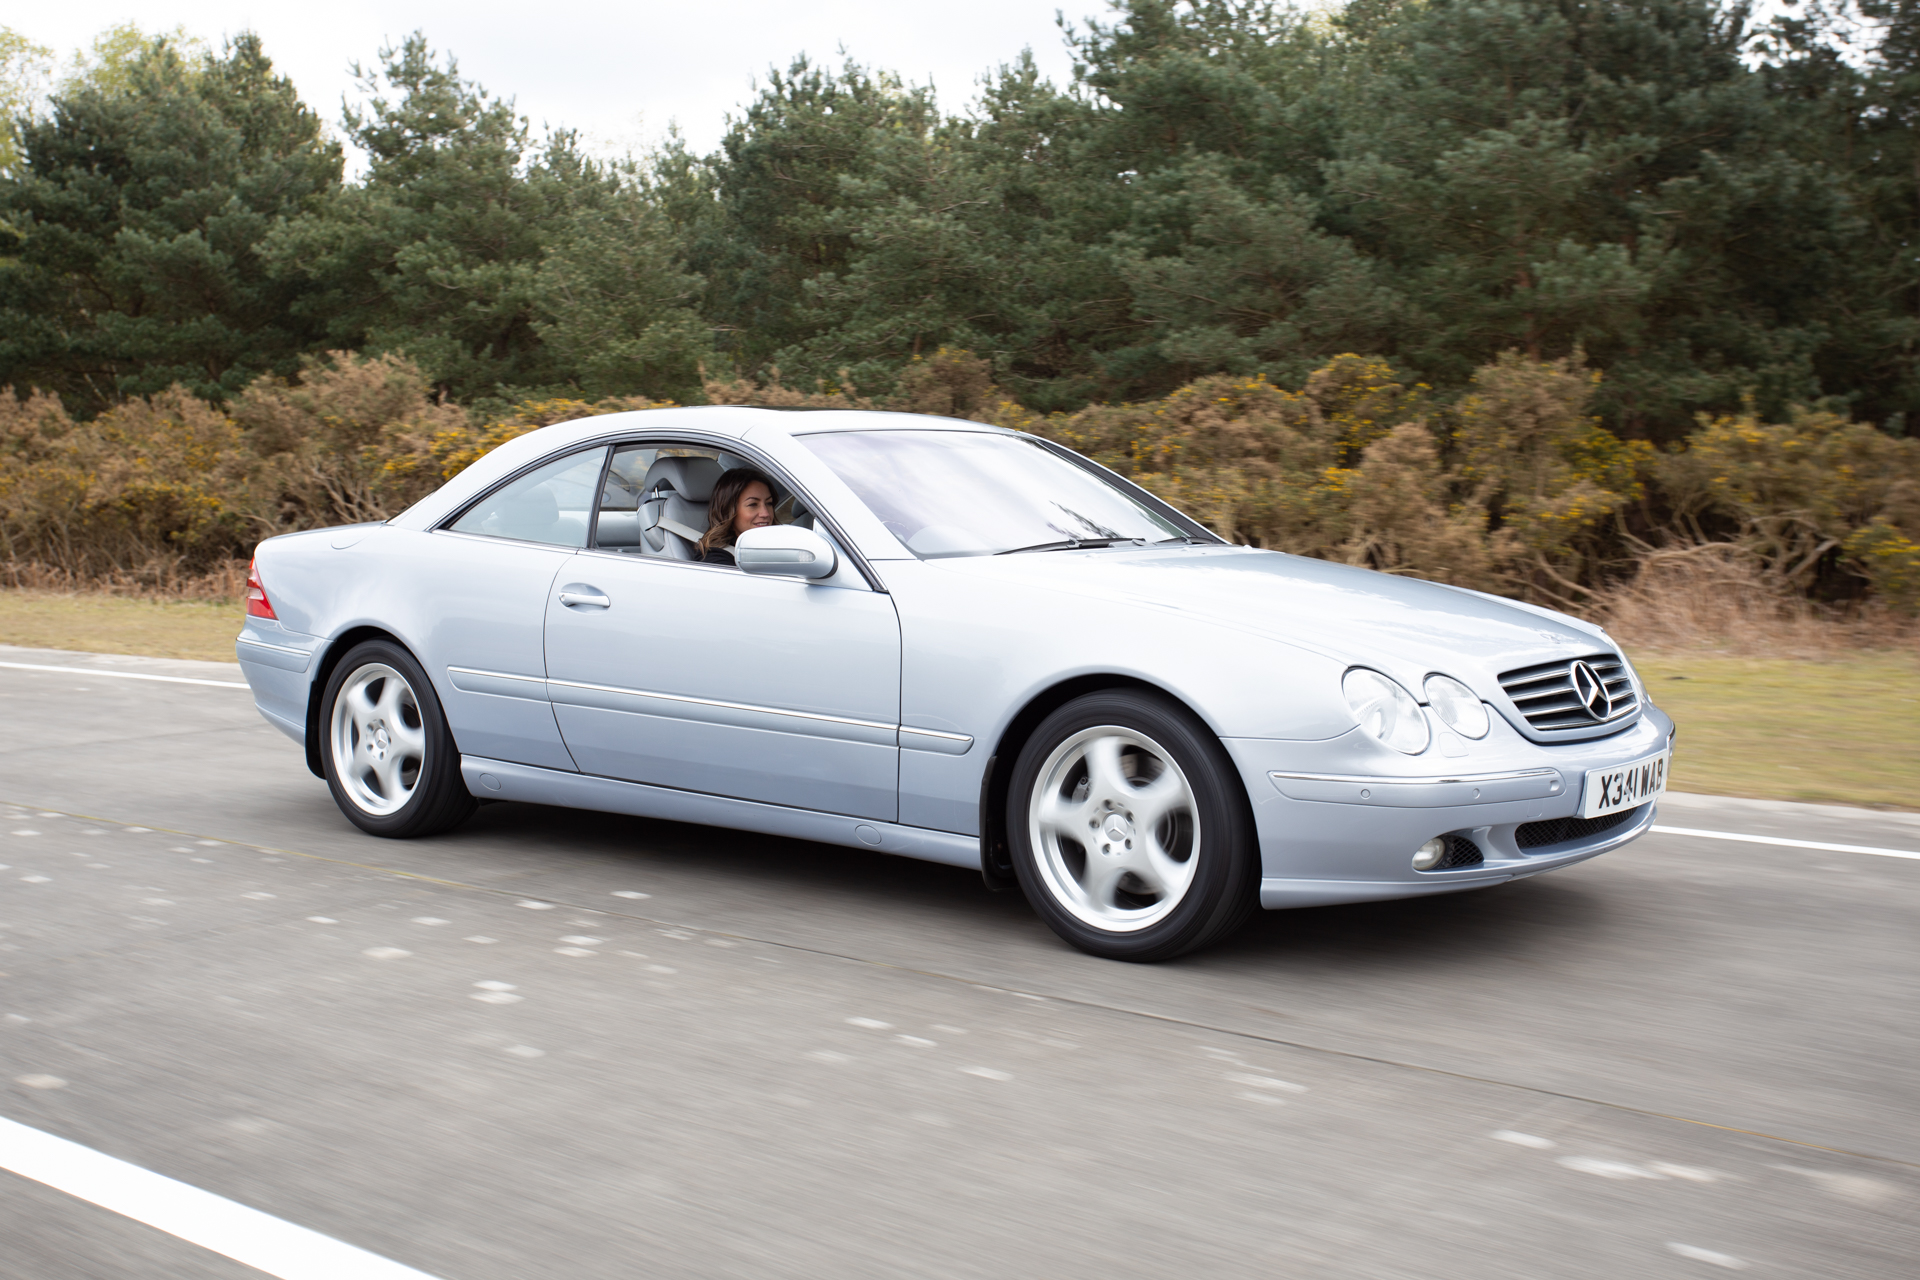
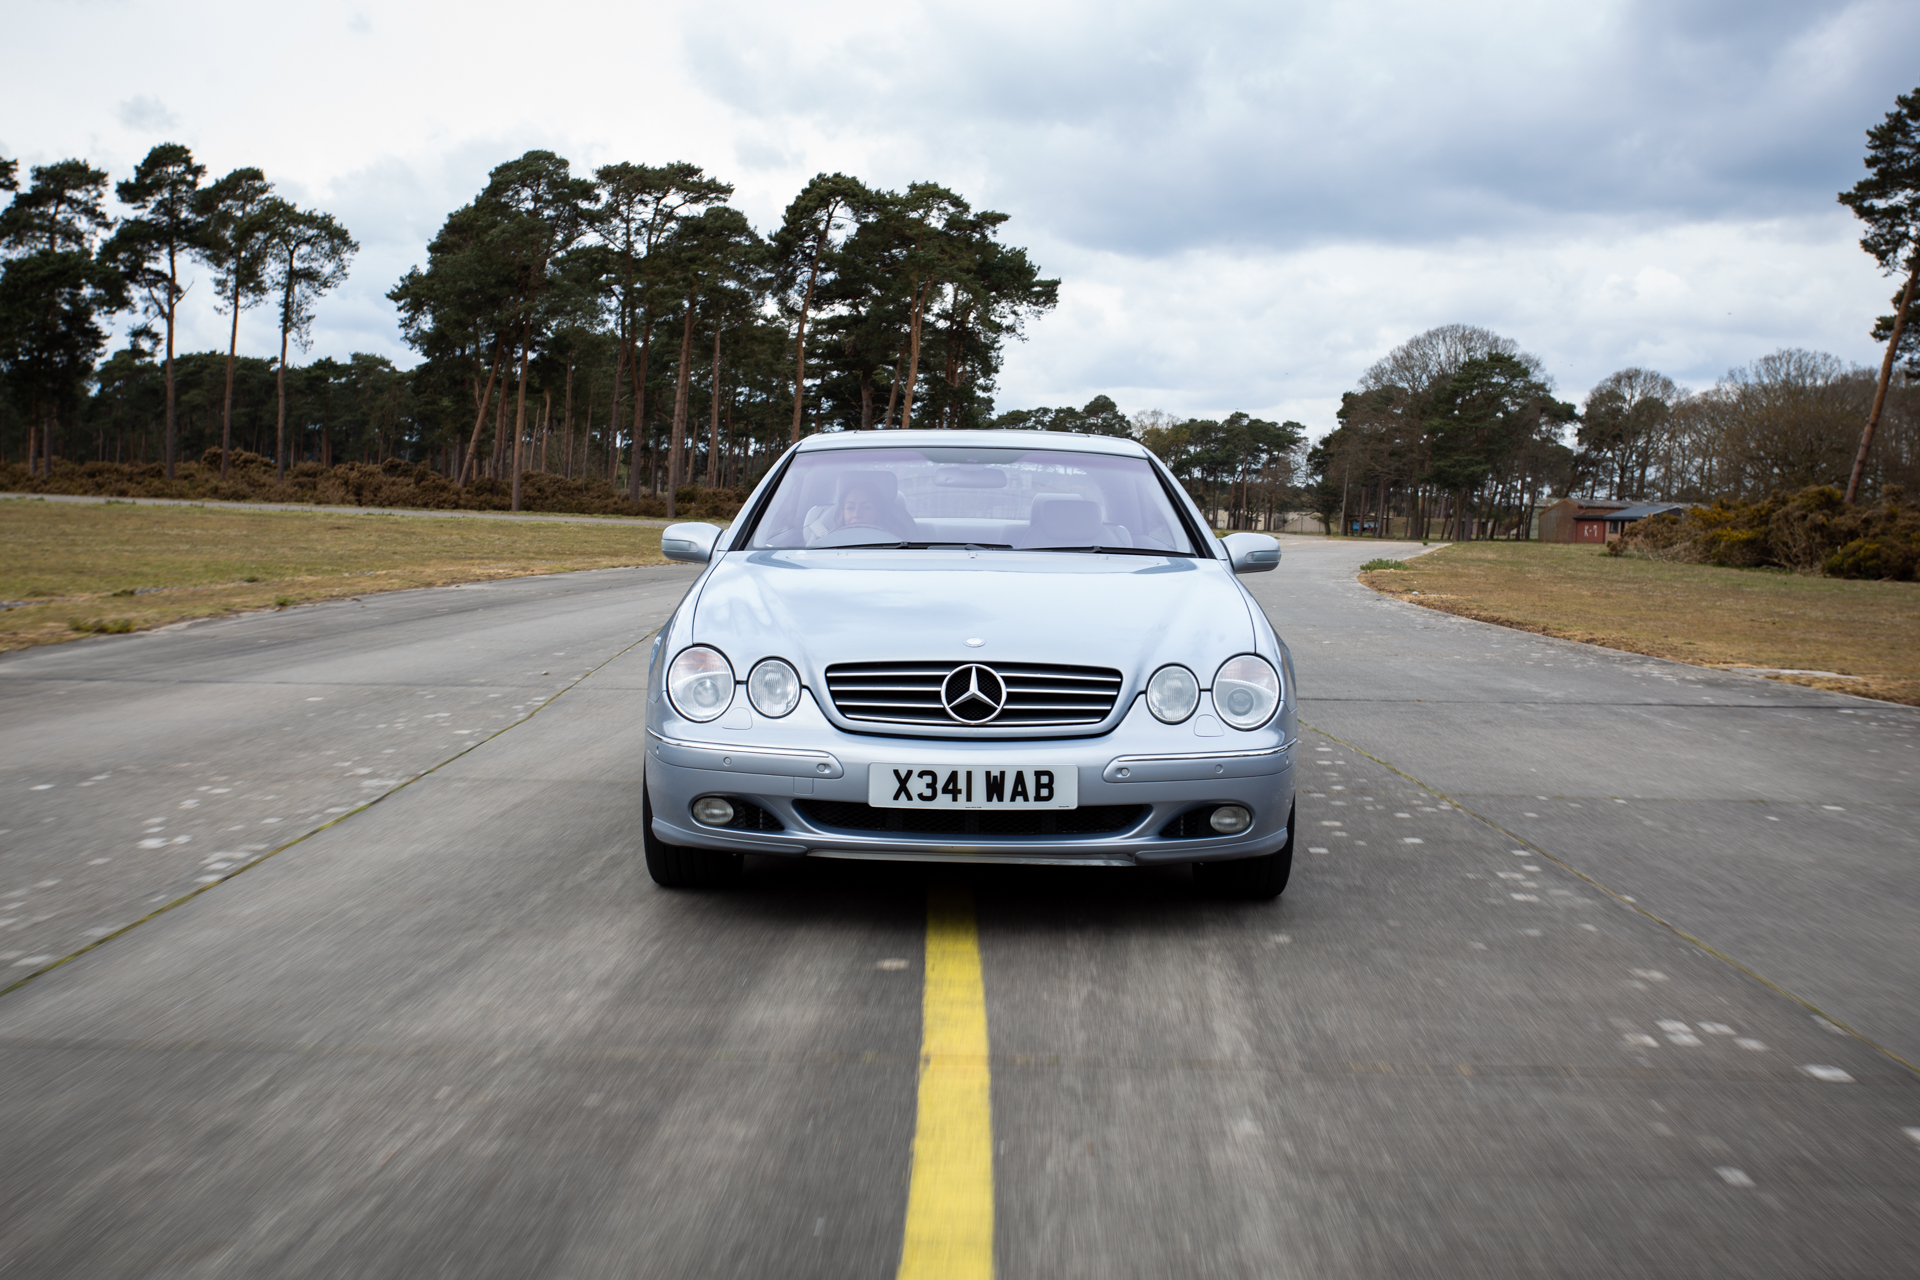
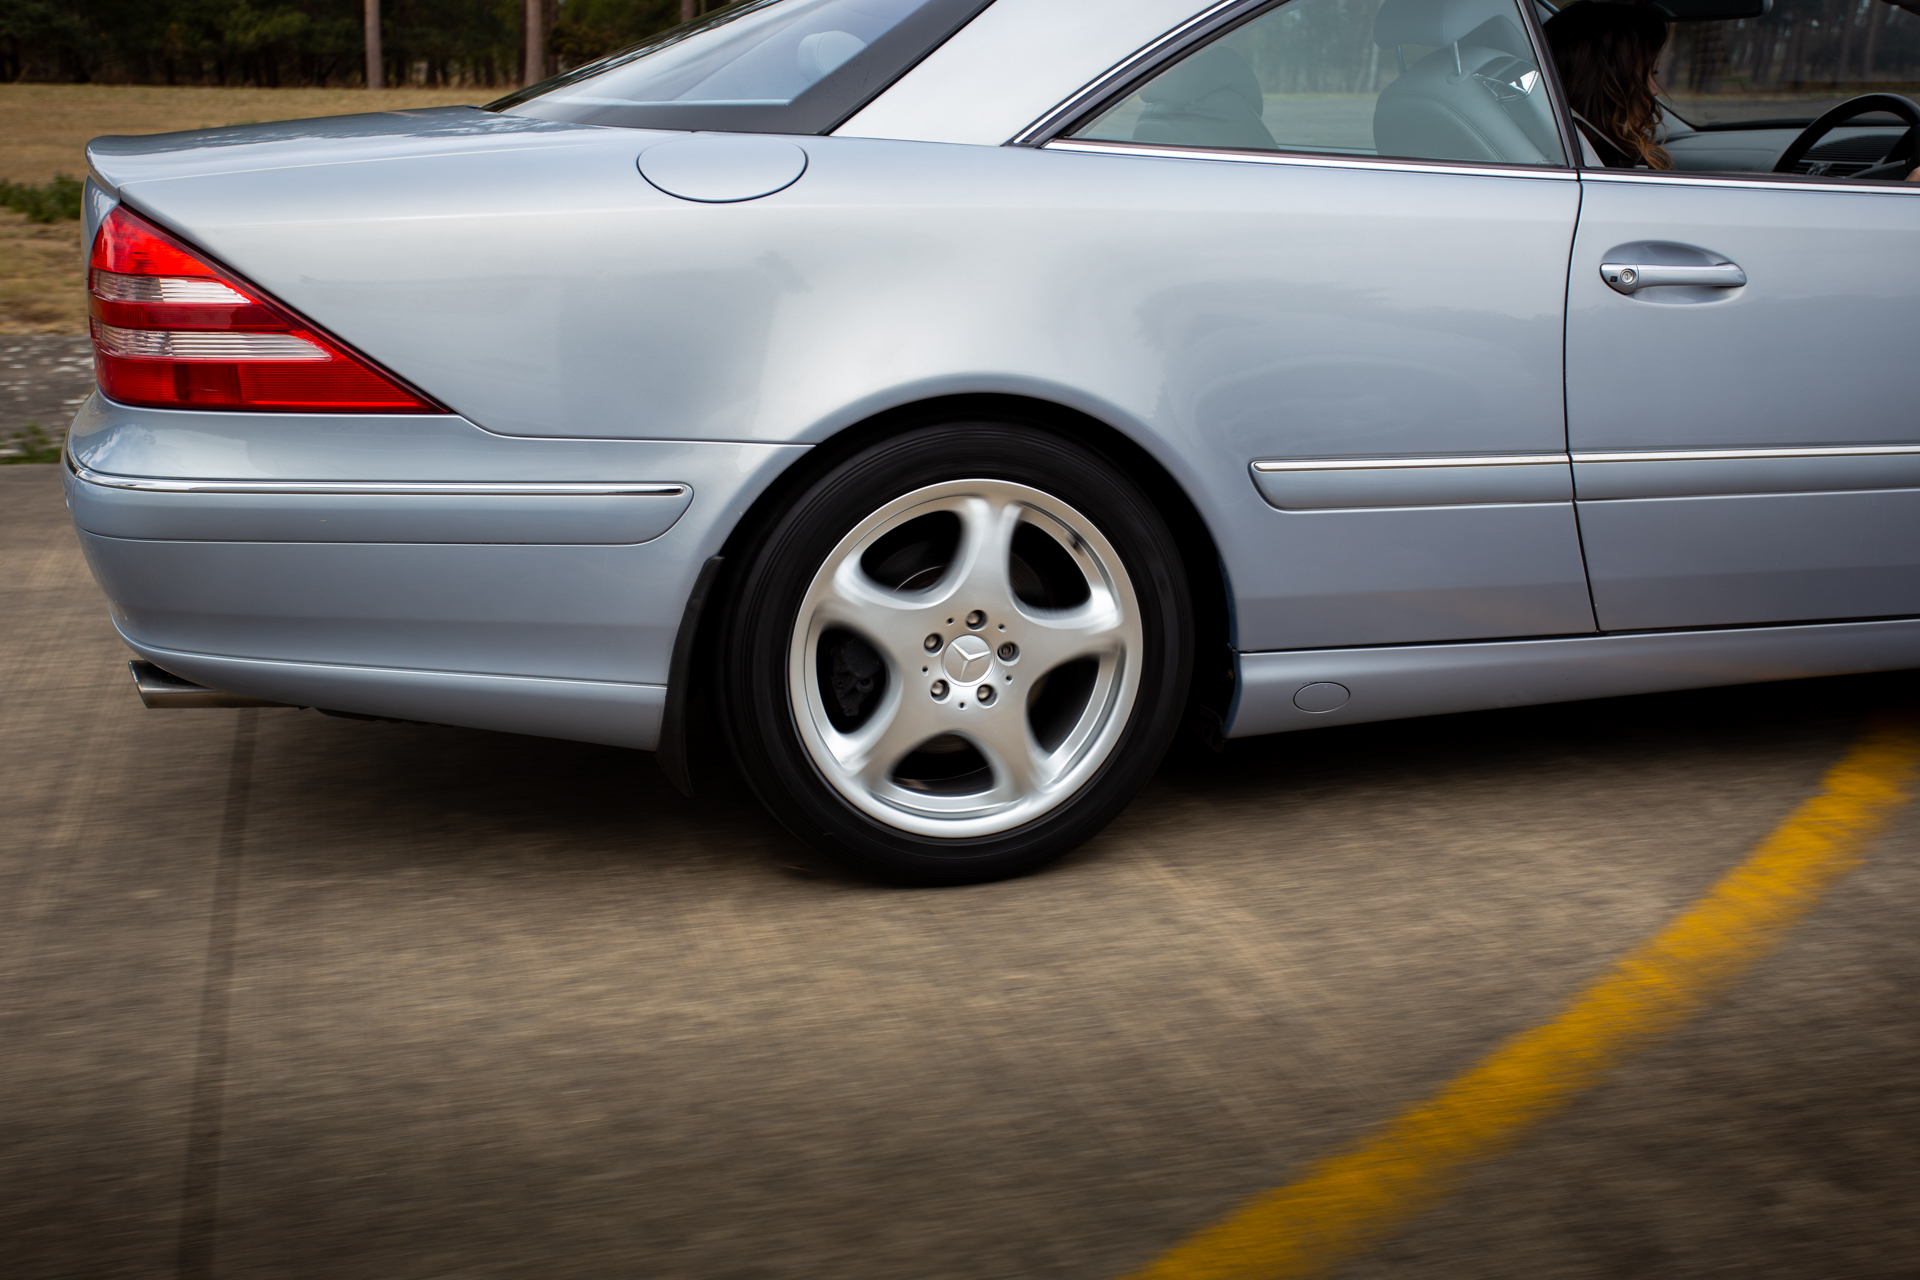
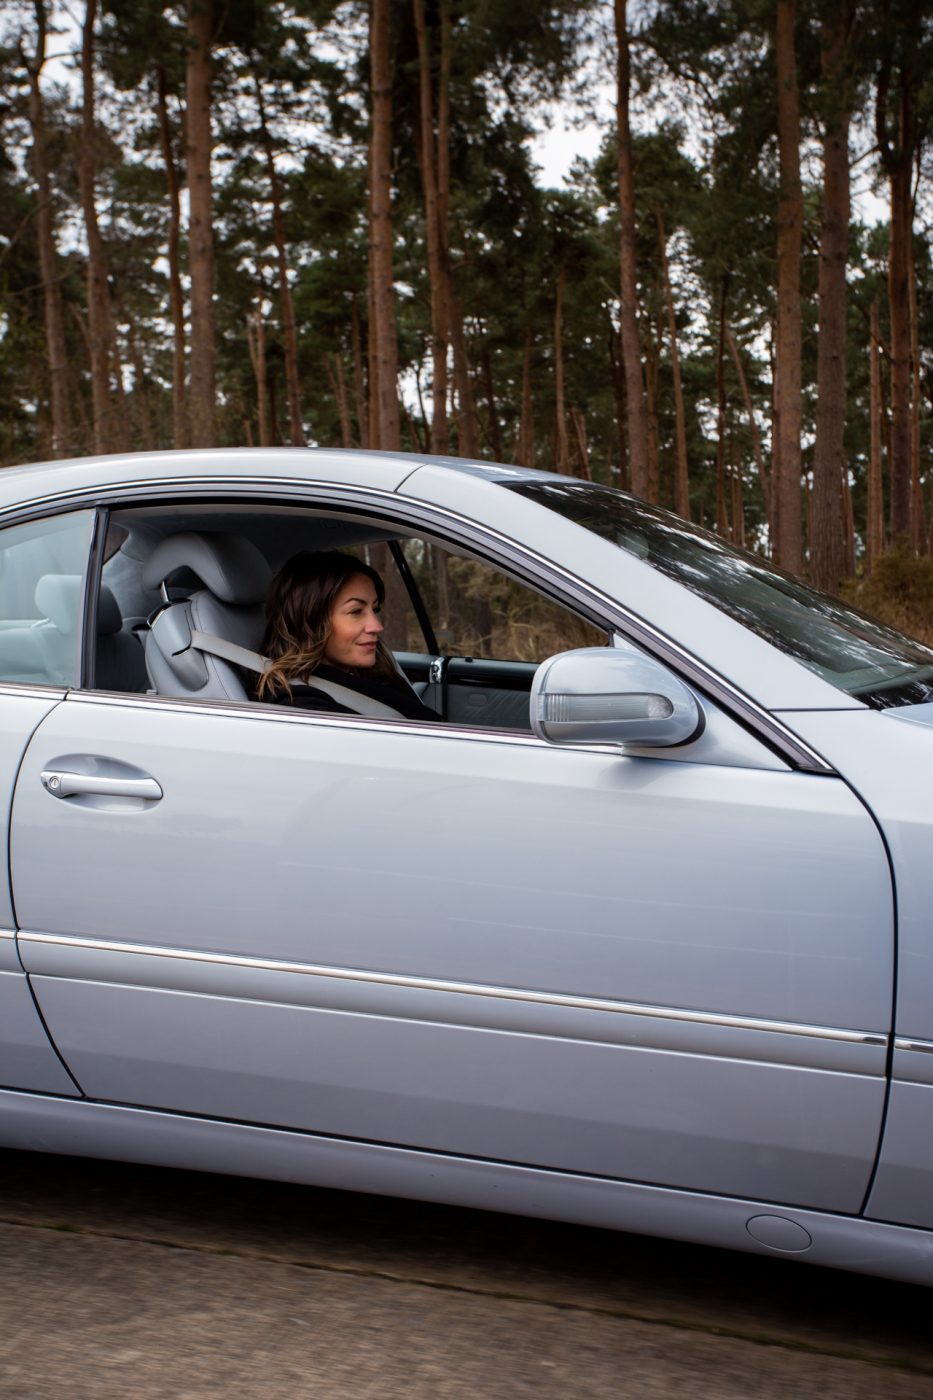
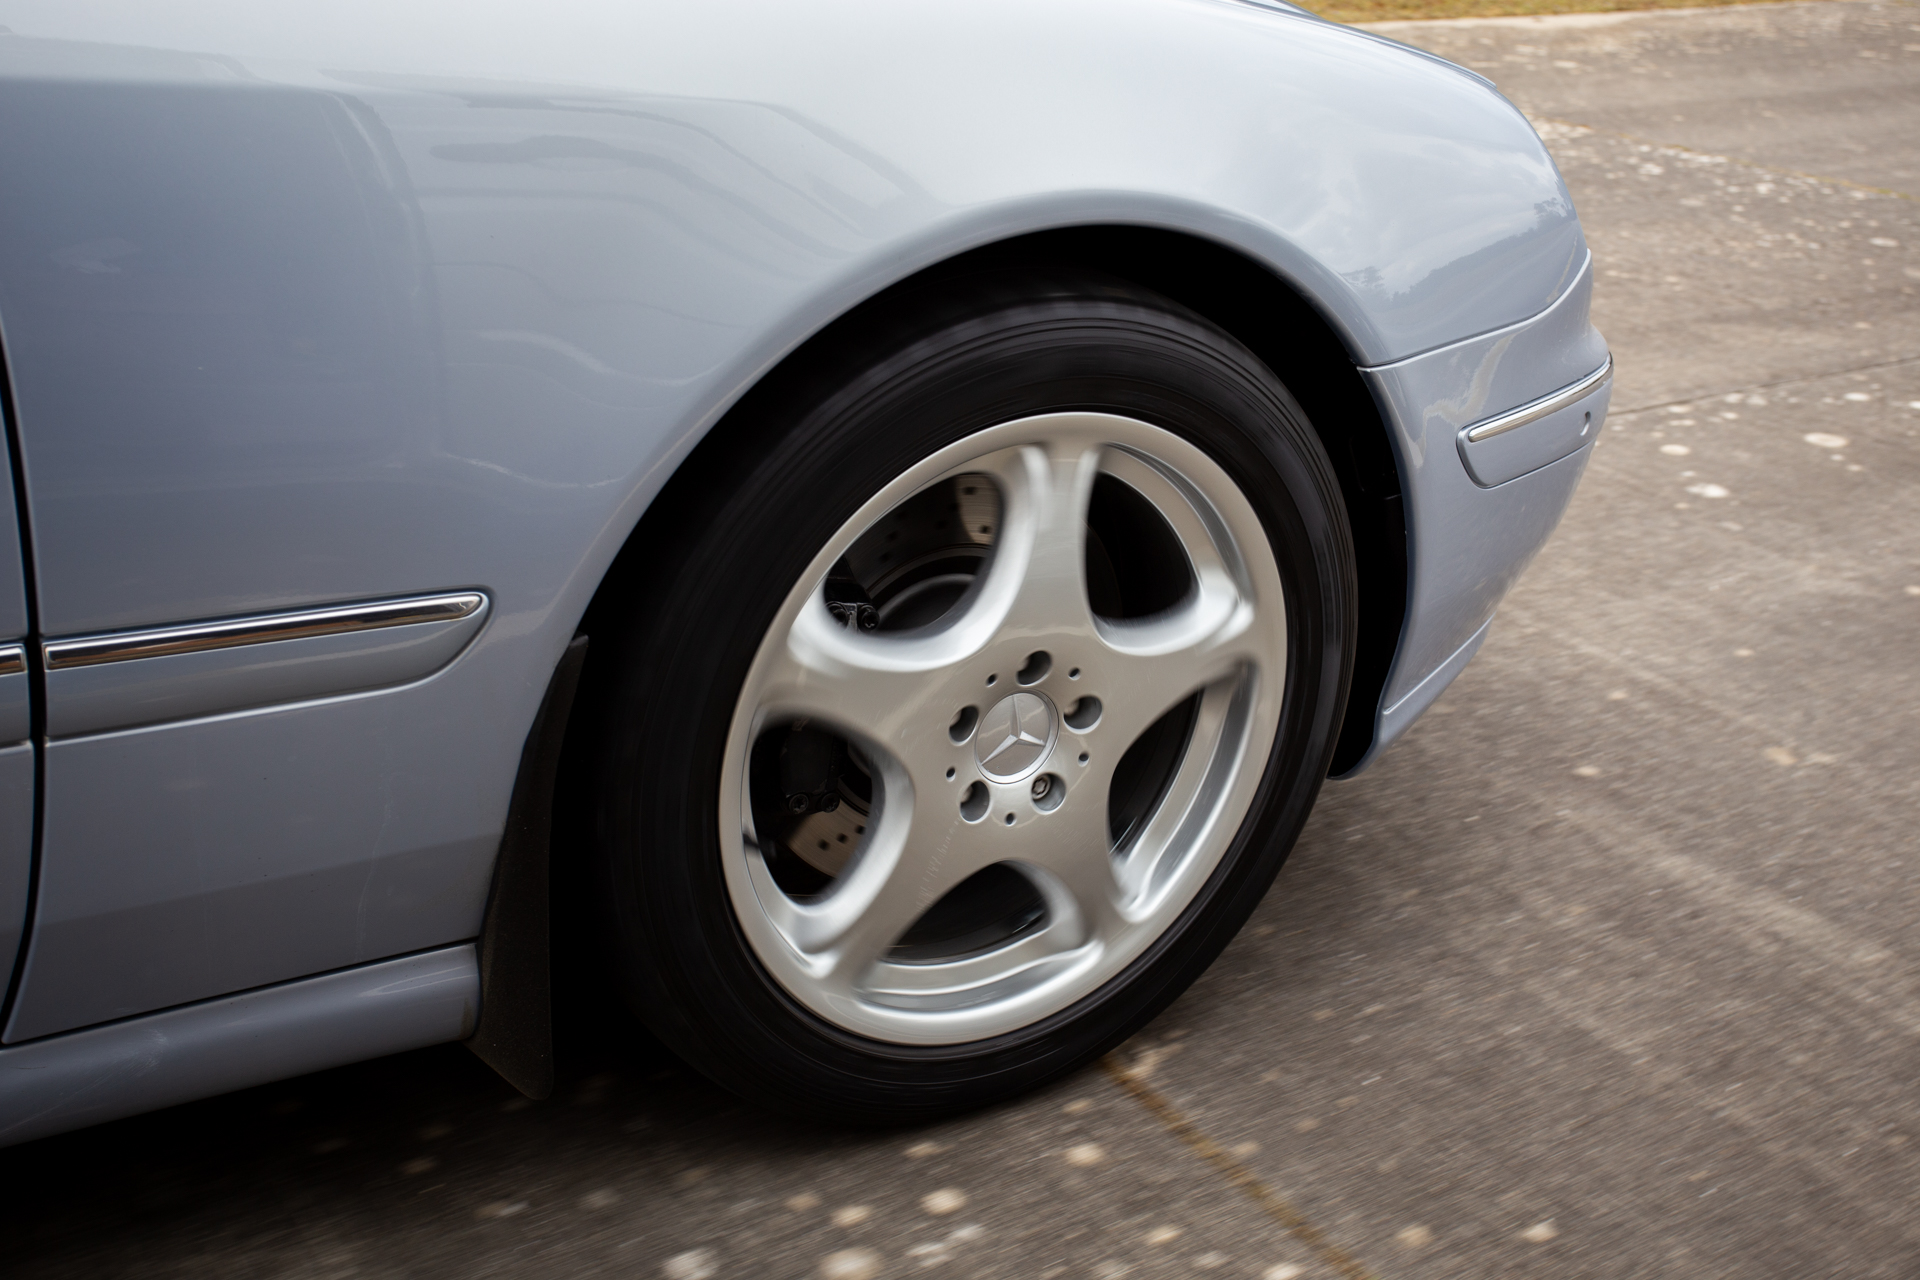
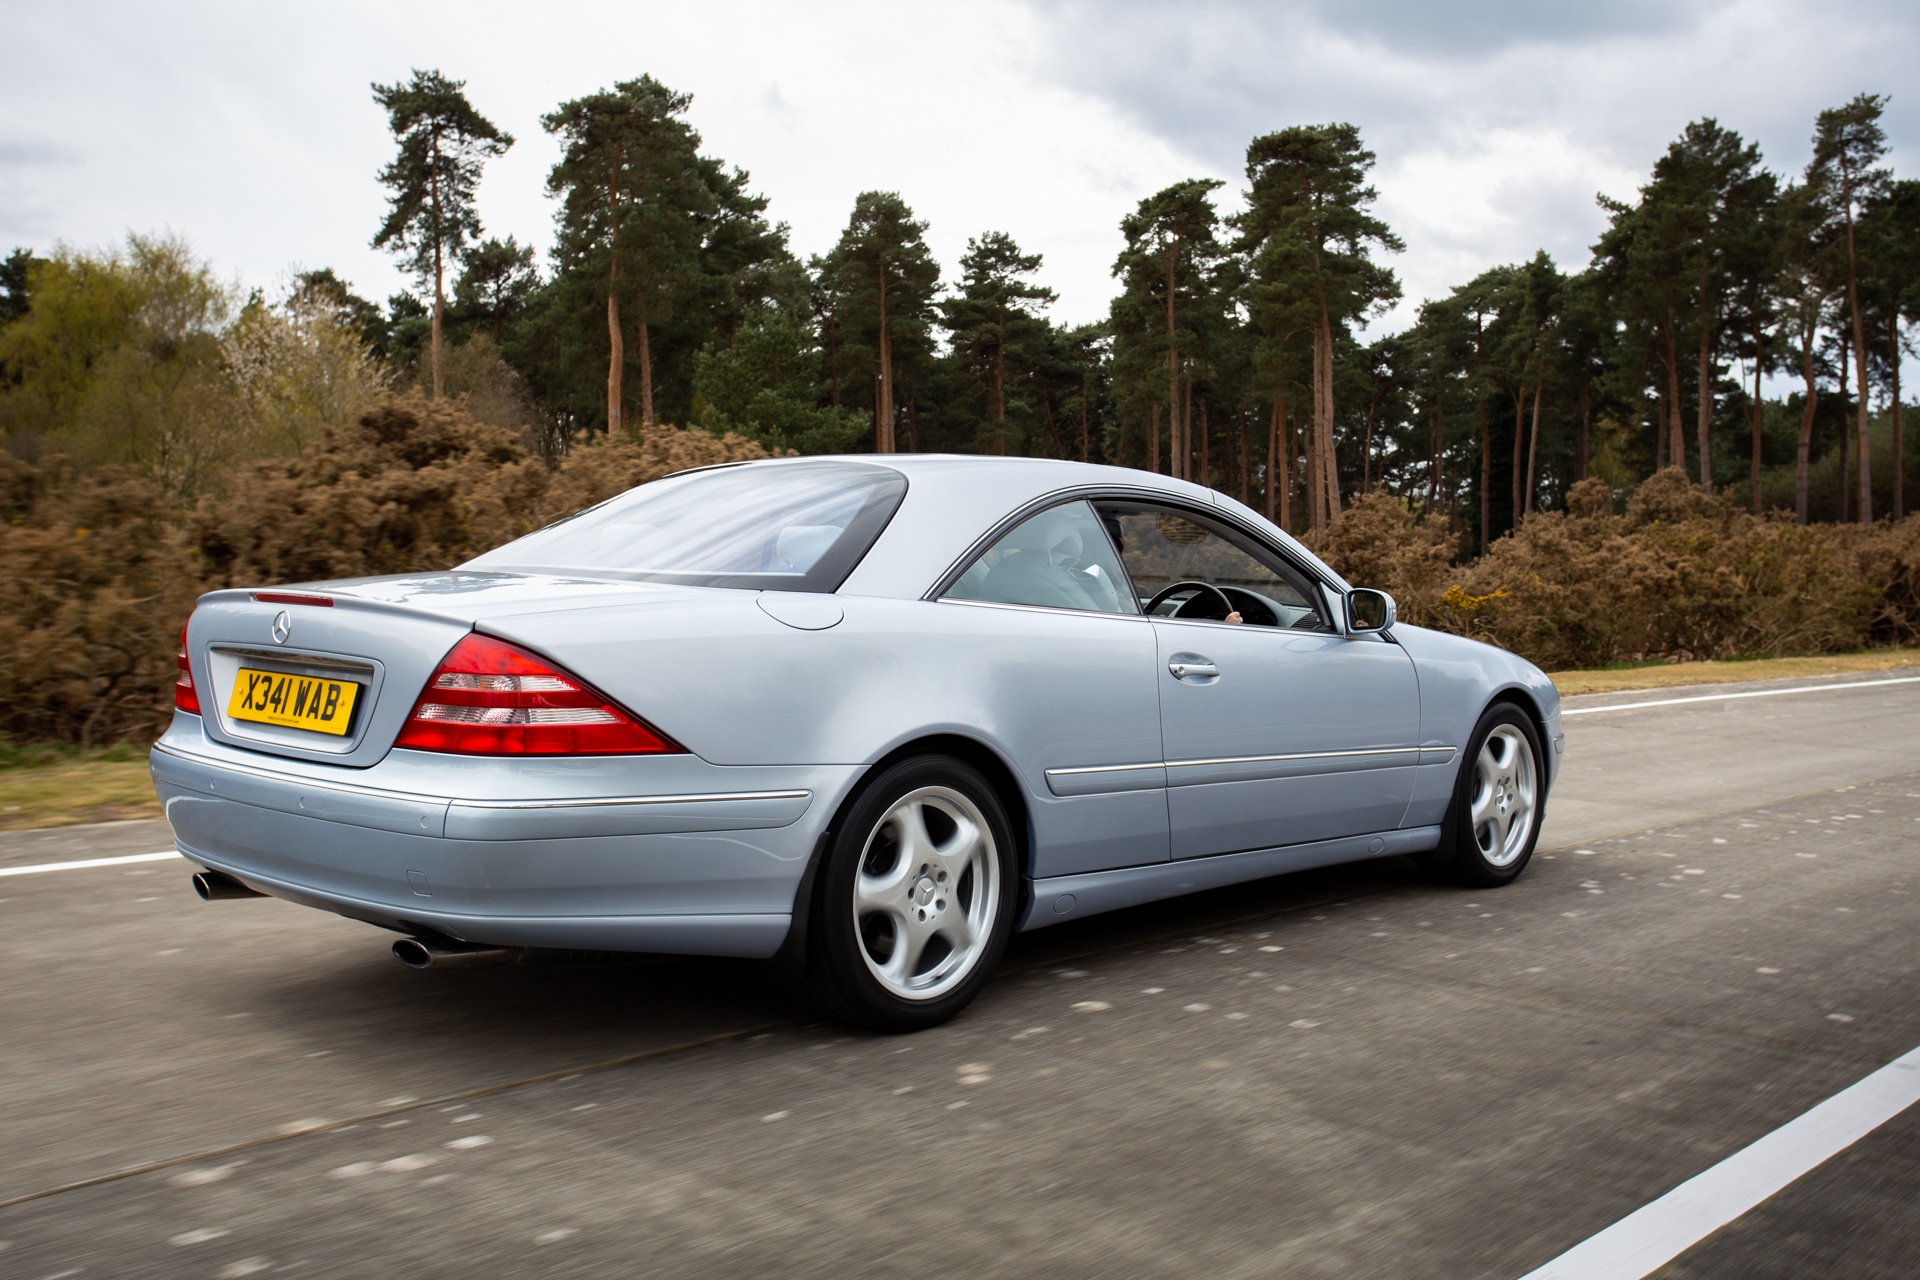
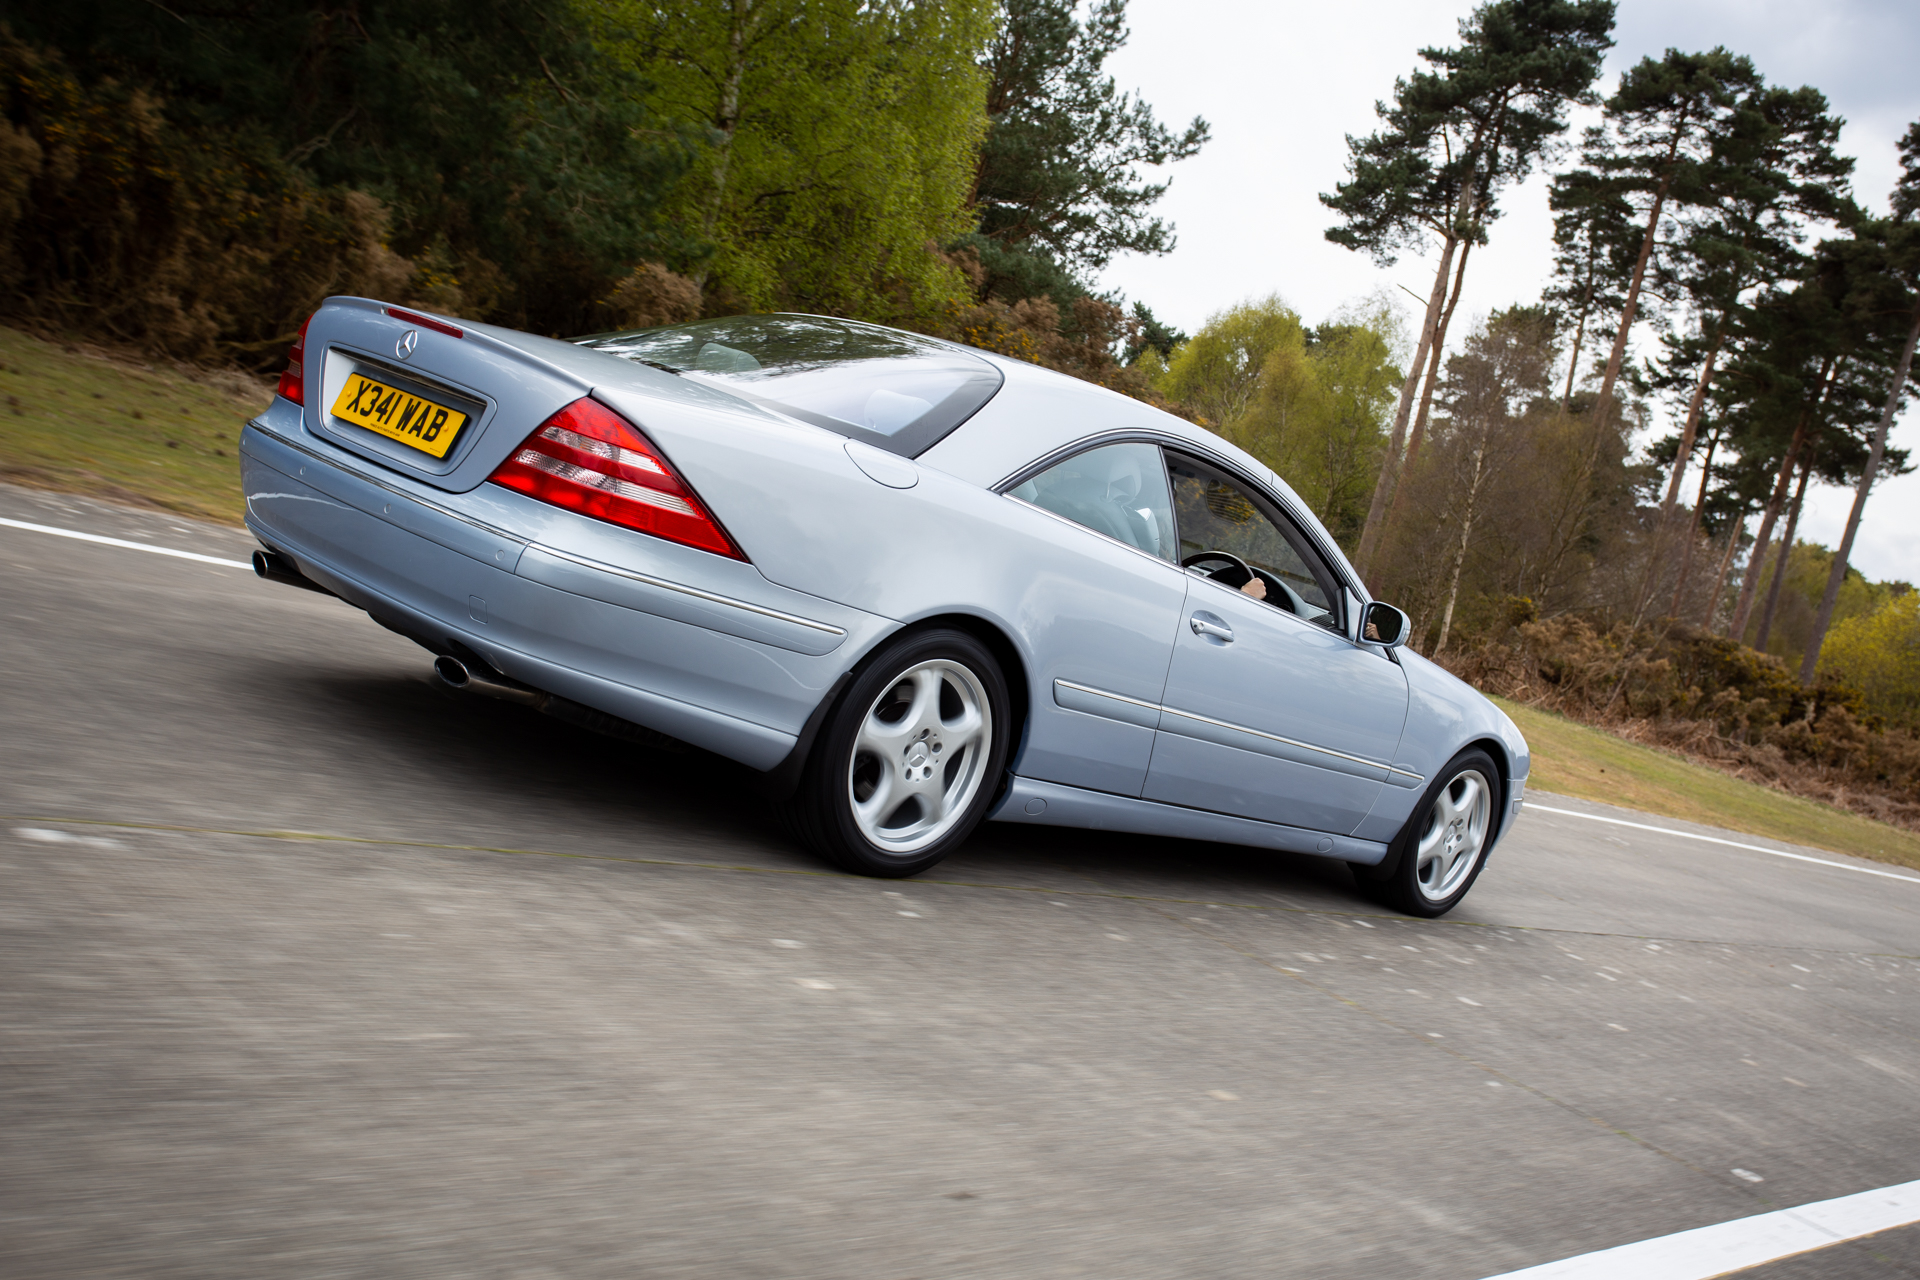
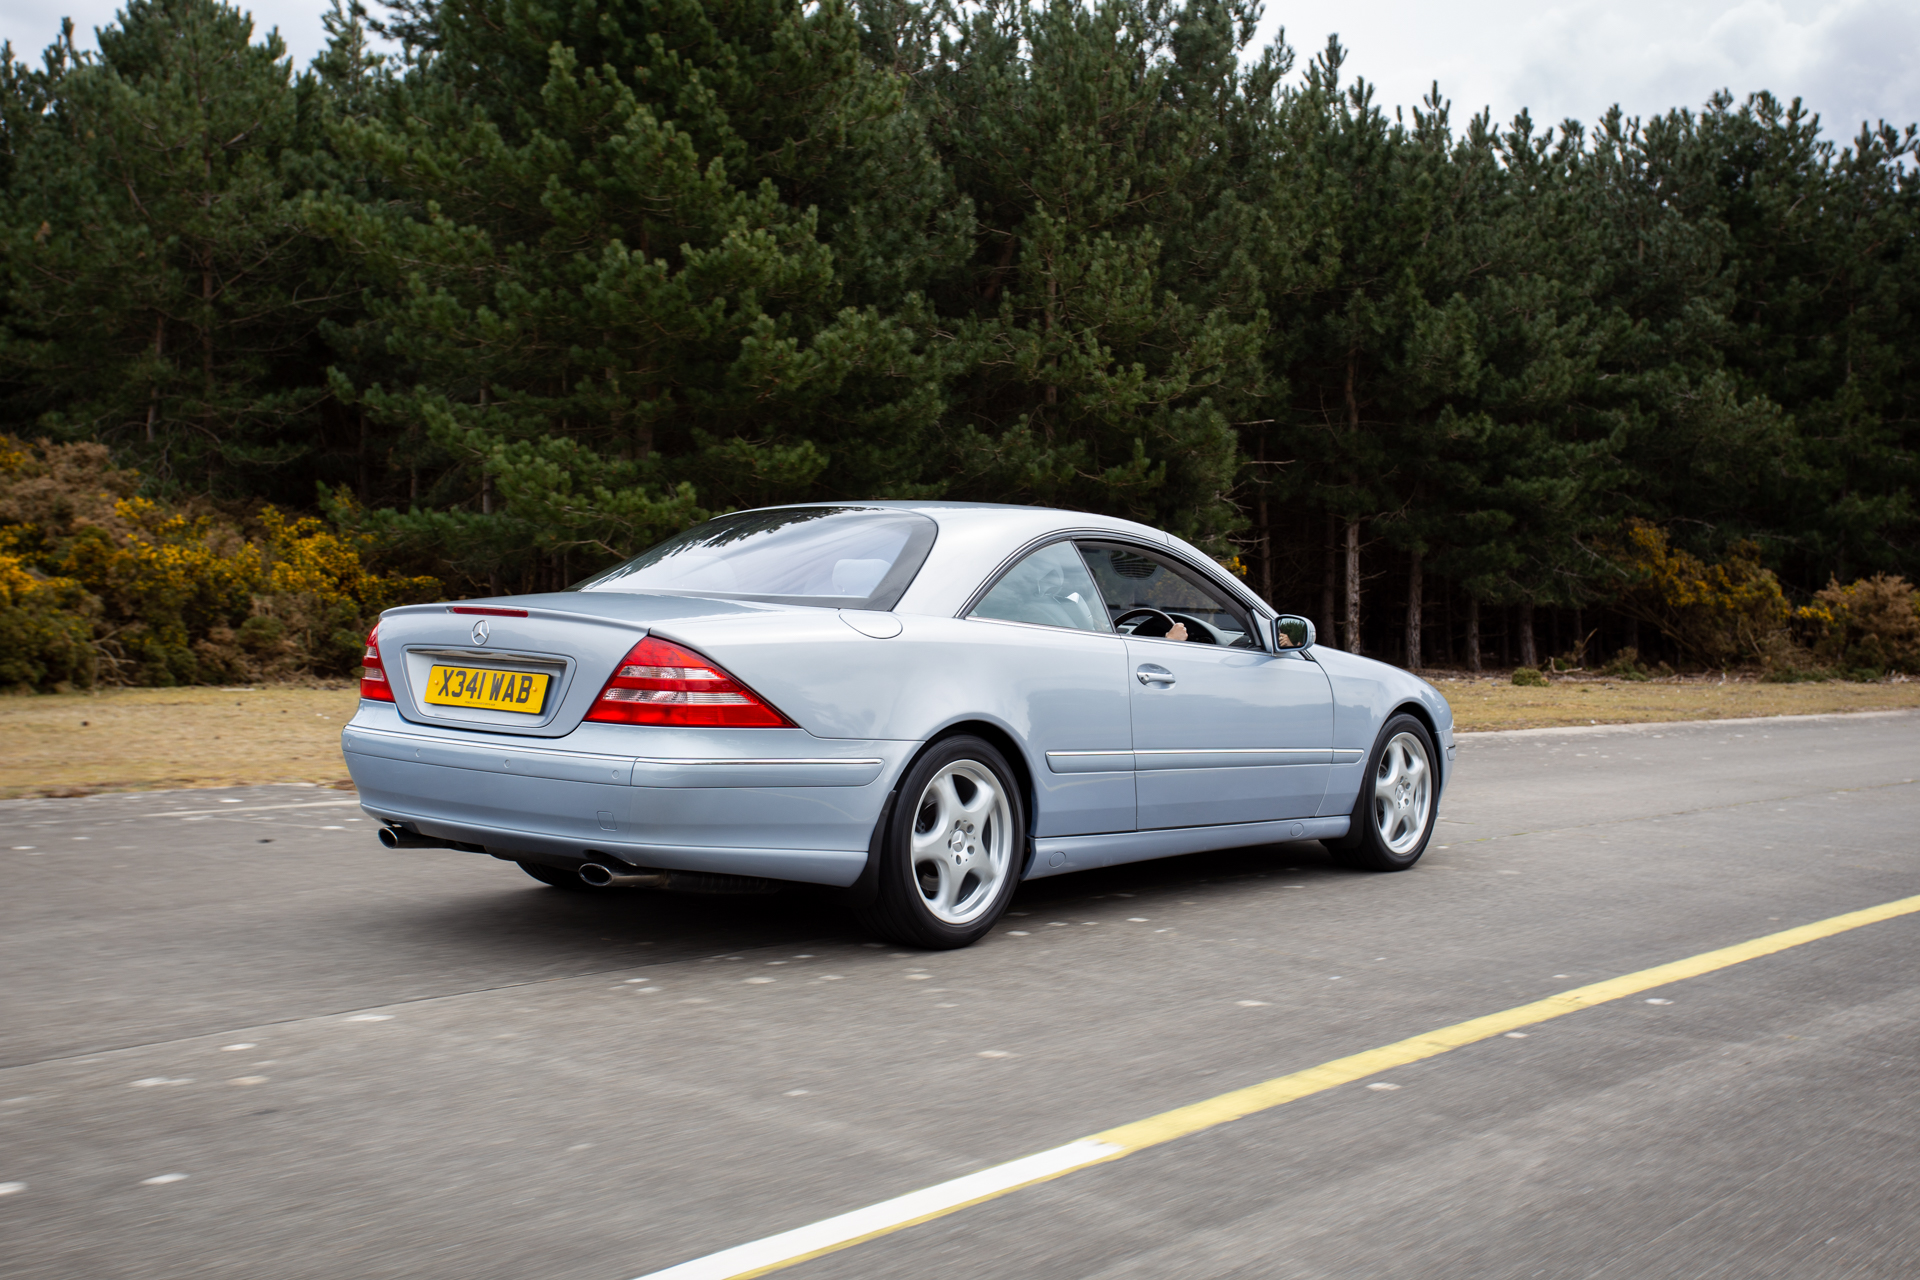
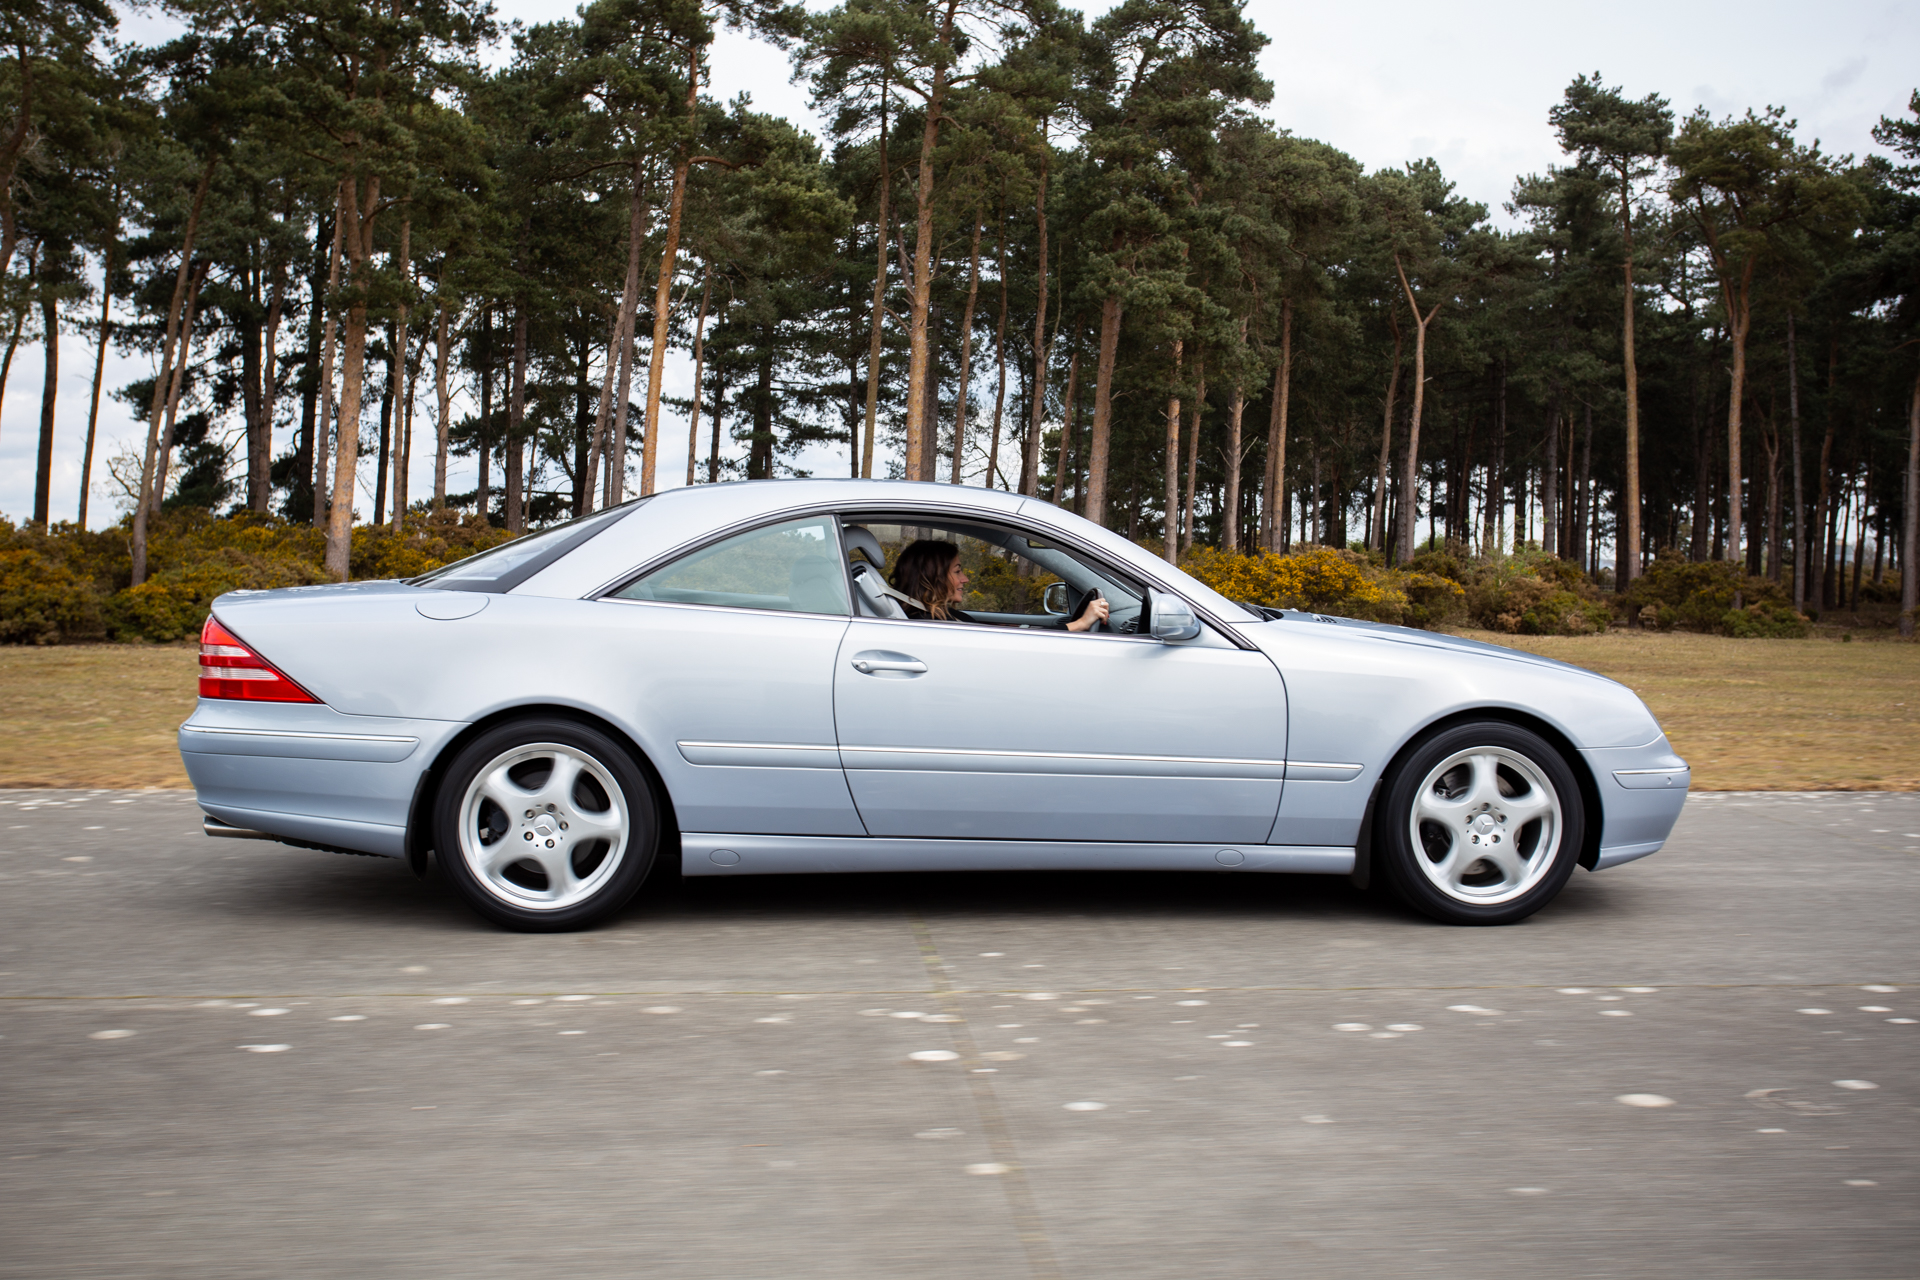
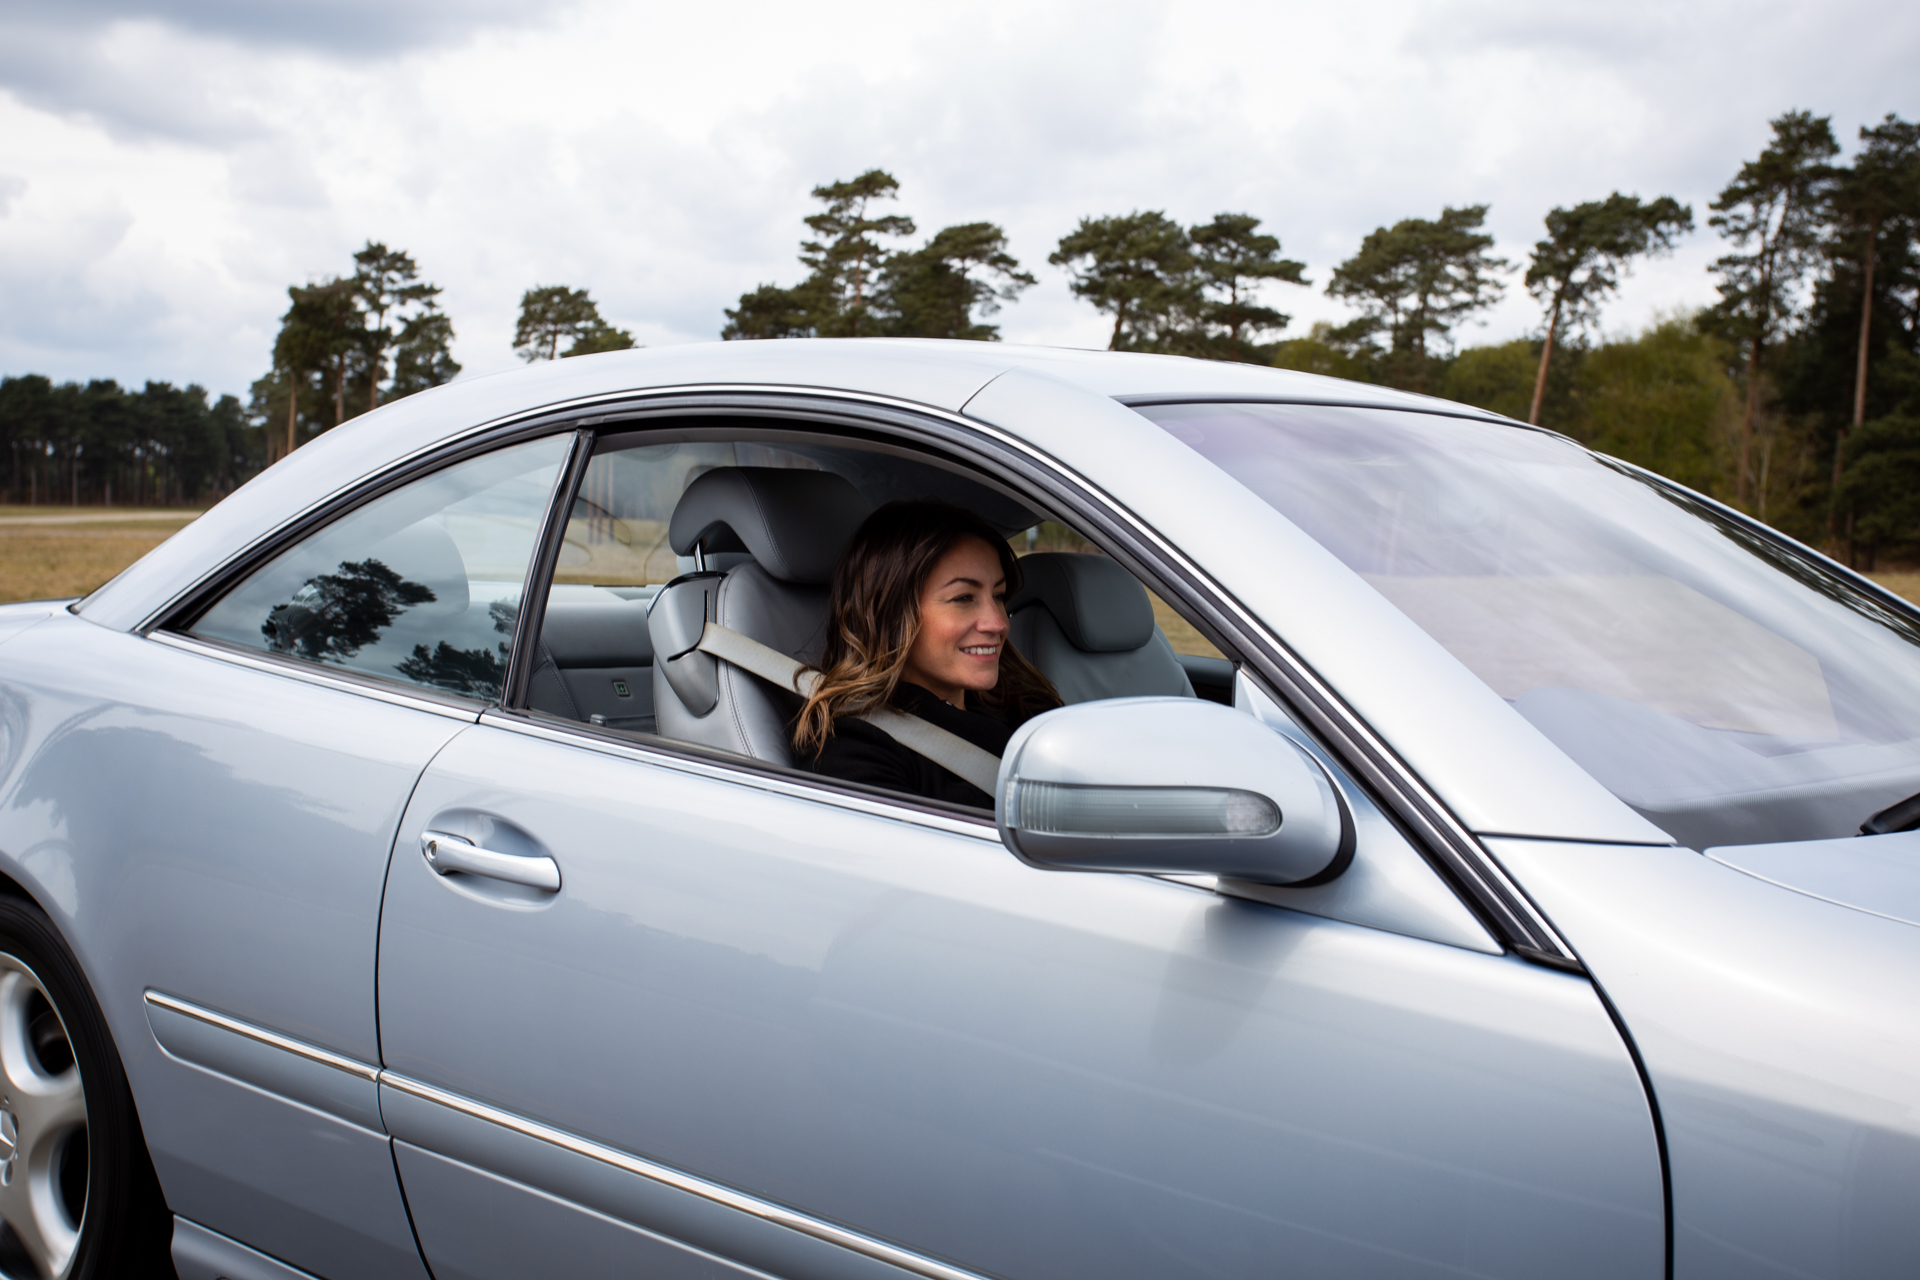
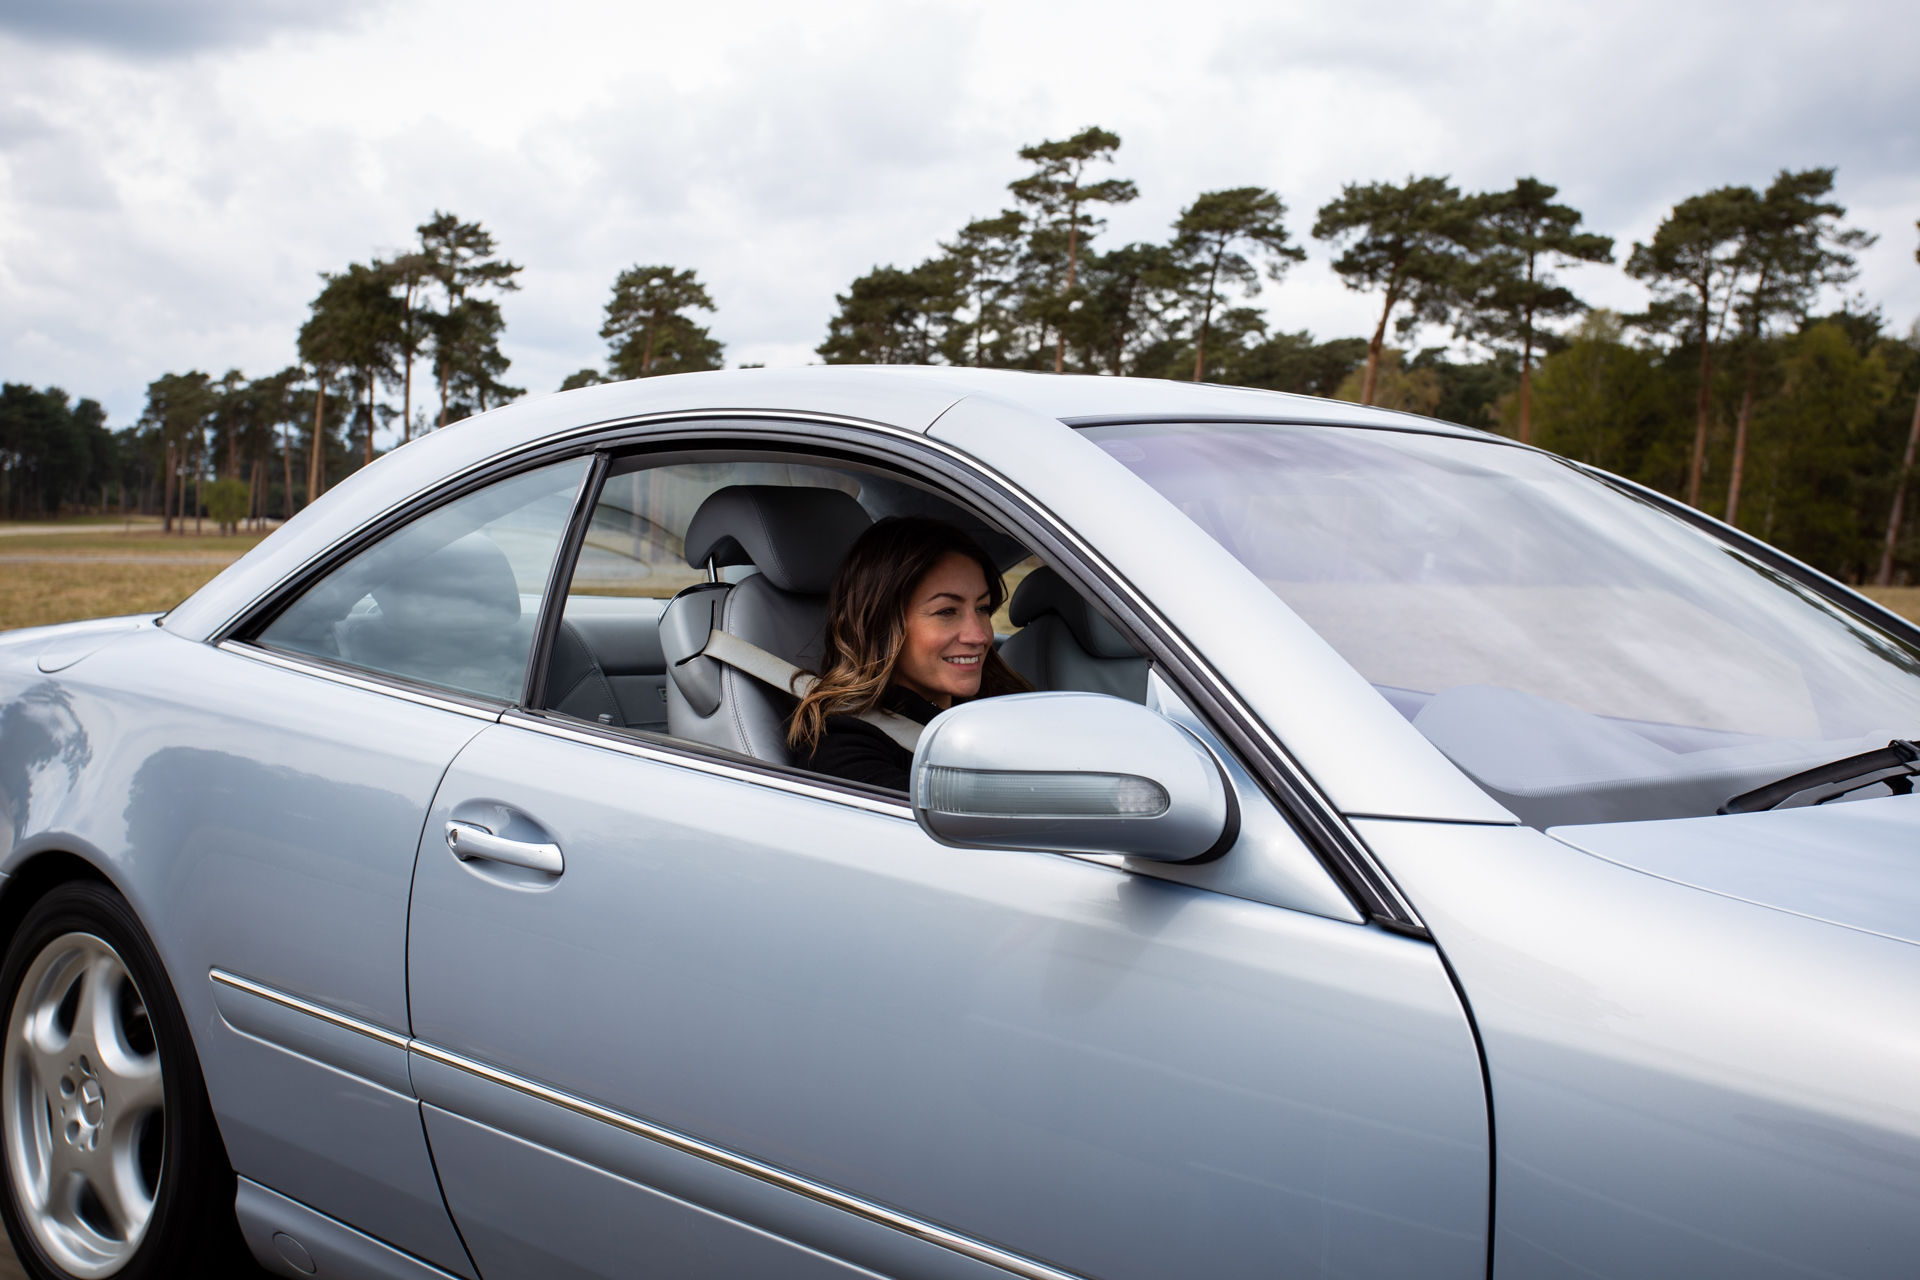
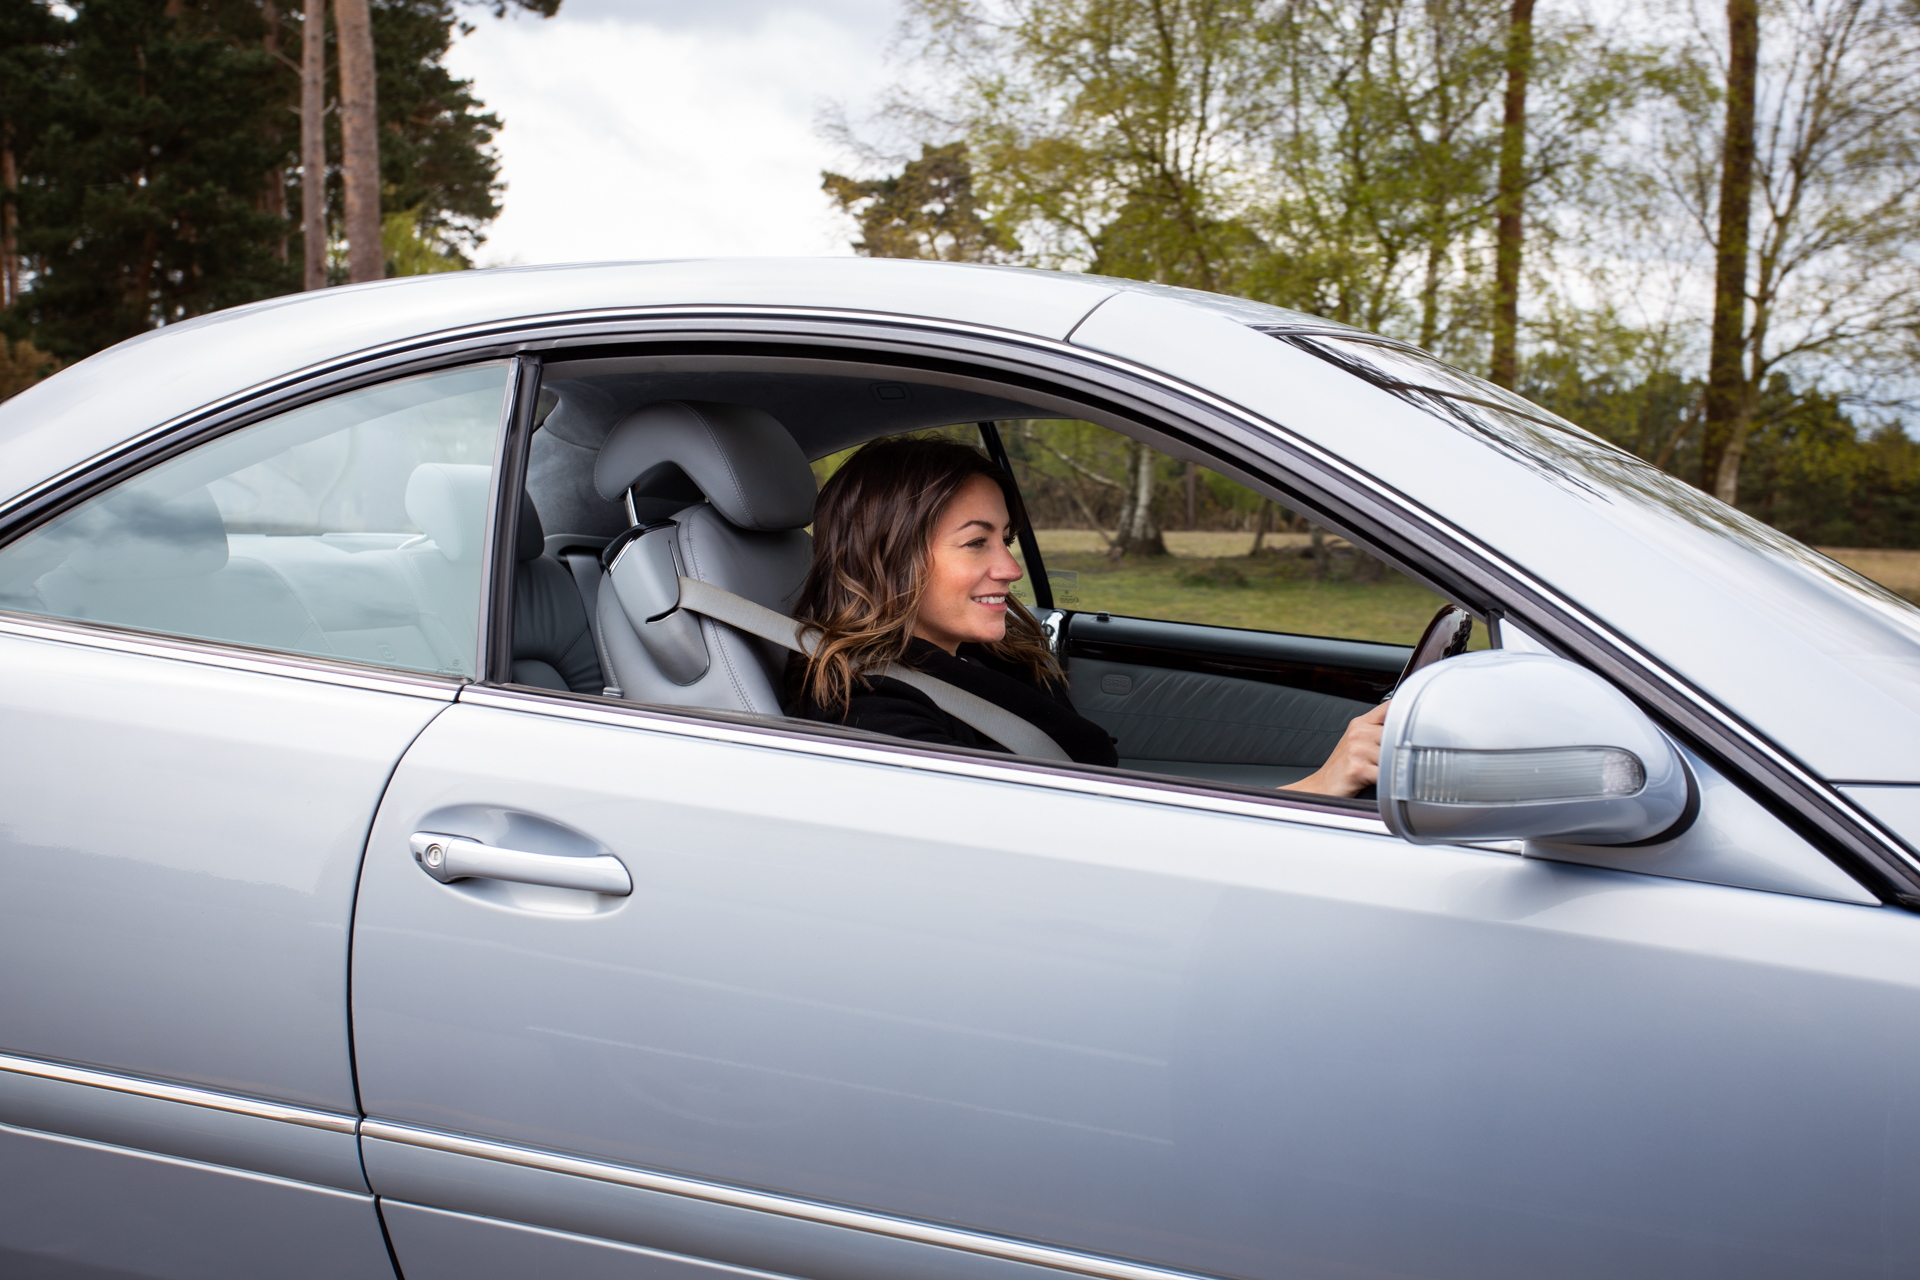
The team headed over to Bentwaters recently to shot our Mercedes CL600, our recent competition car. Although an overcast day, the lighting was perfect to
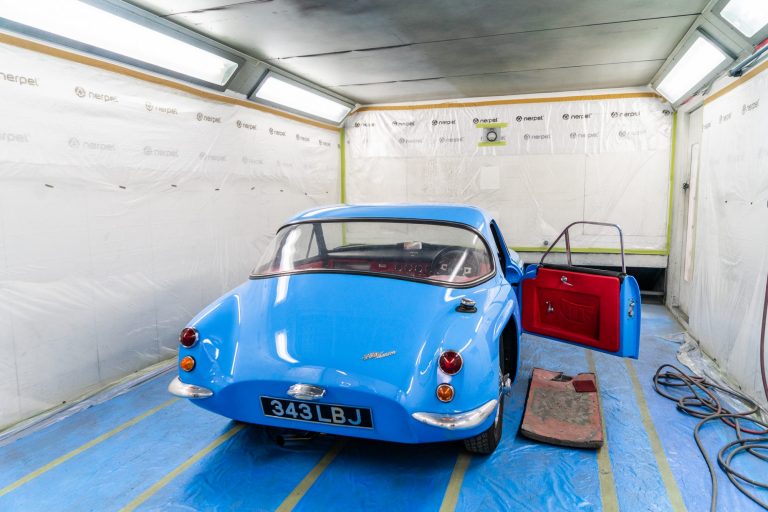
The gearbox has been crunching in our 1965 Amphicar so we’ve removed it to try and address the issues with the syncro-mesh when changing down

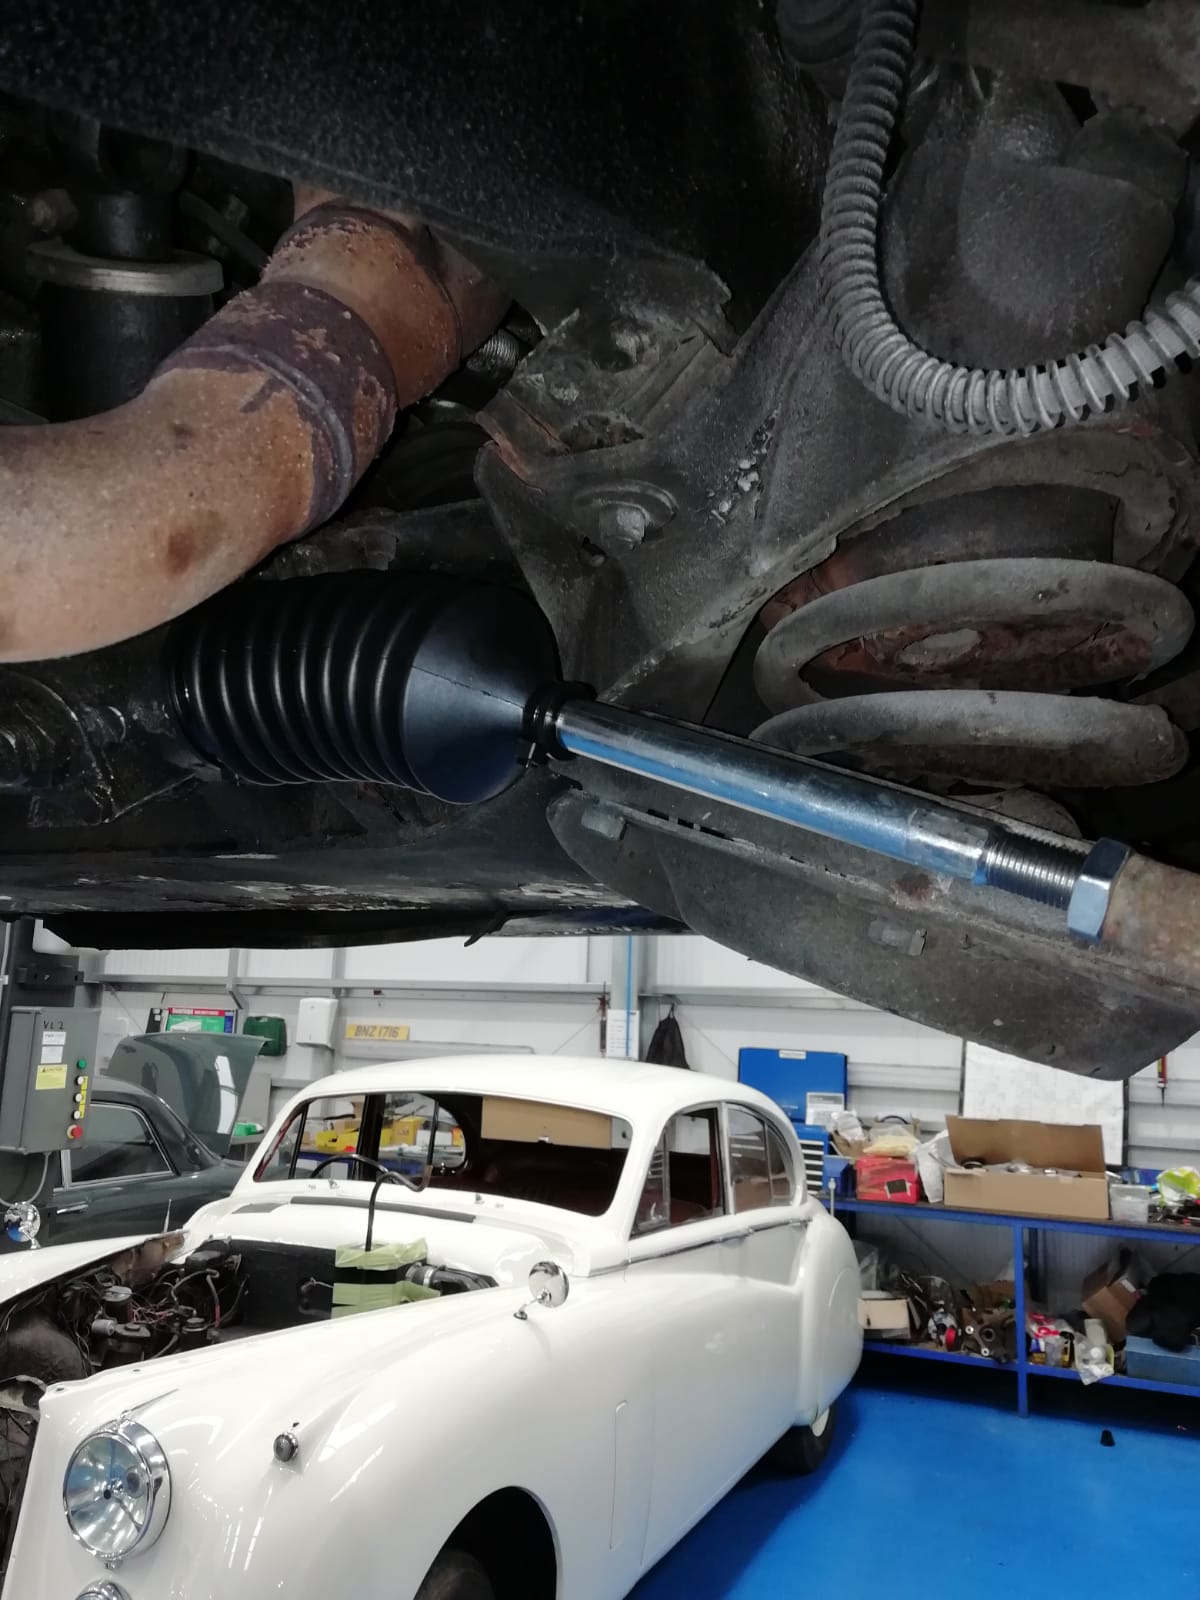
Paul has been working on Craig’s 2005 Aston Martin DB9 which recently showed some severe signs in its power steering. The bushings had been wearing

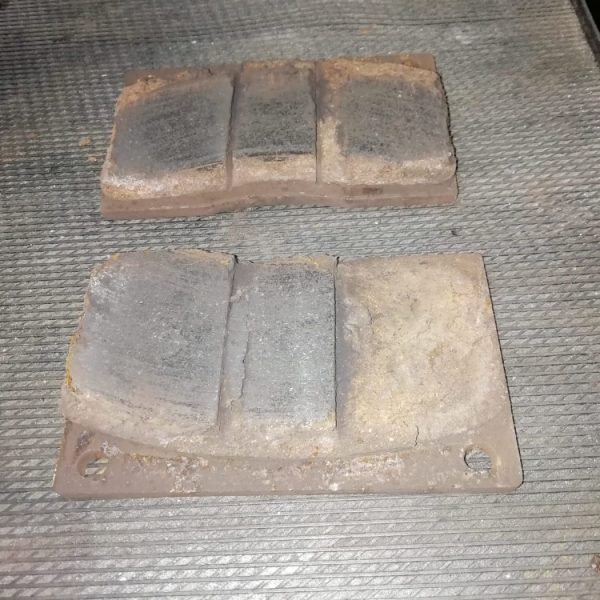
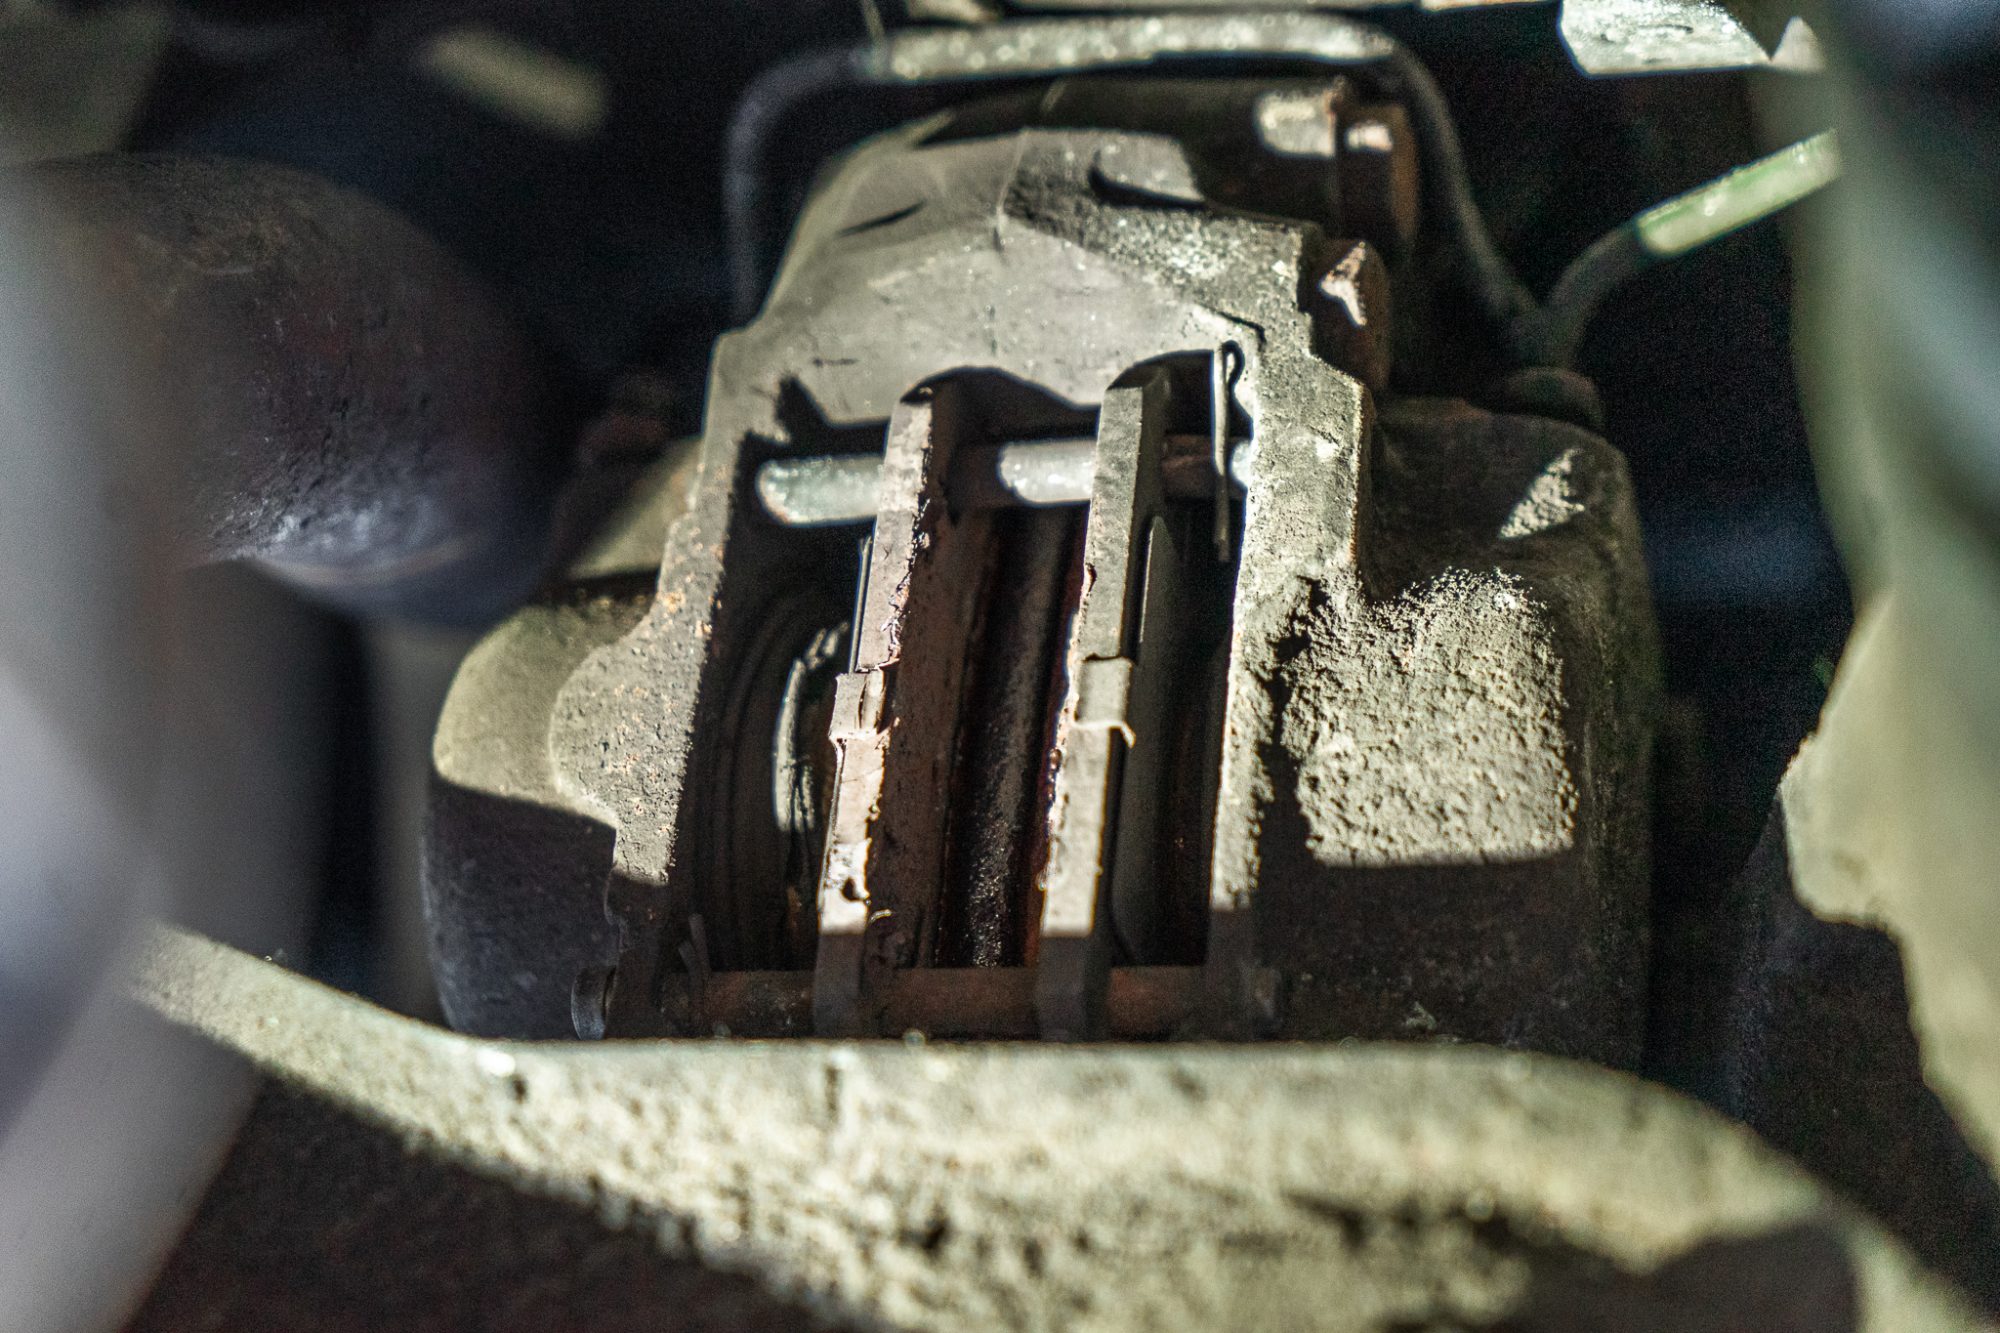
Our 1989 Jaguar XJS that has recently been finished is currently undergoing a pre-delivery inspection during which we’ve discovered it needs new brakes.

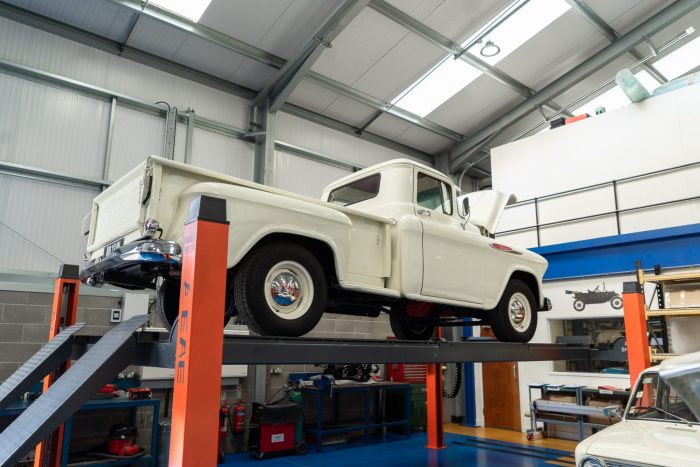
We’ve got this fantastic 1957 3600 Chevrolet Truck in for a new clutch however we’re currently waiting on the parts to arrive. So until then,
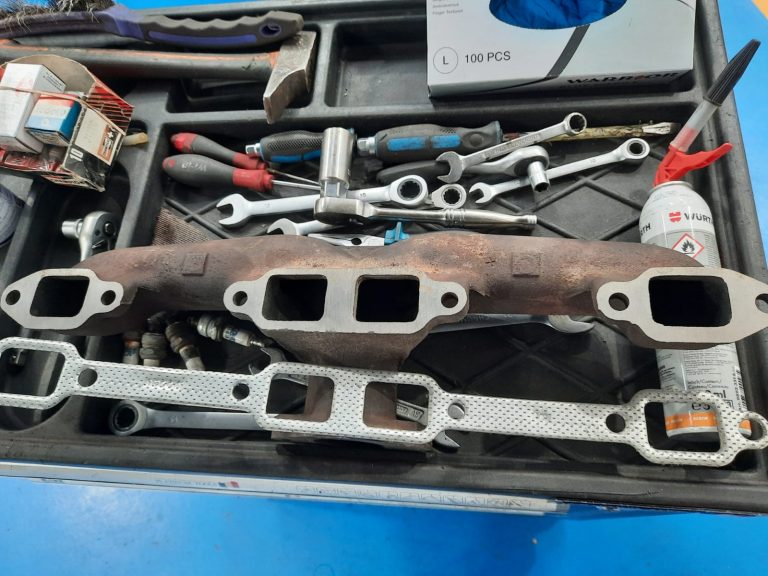
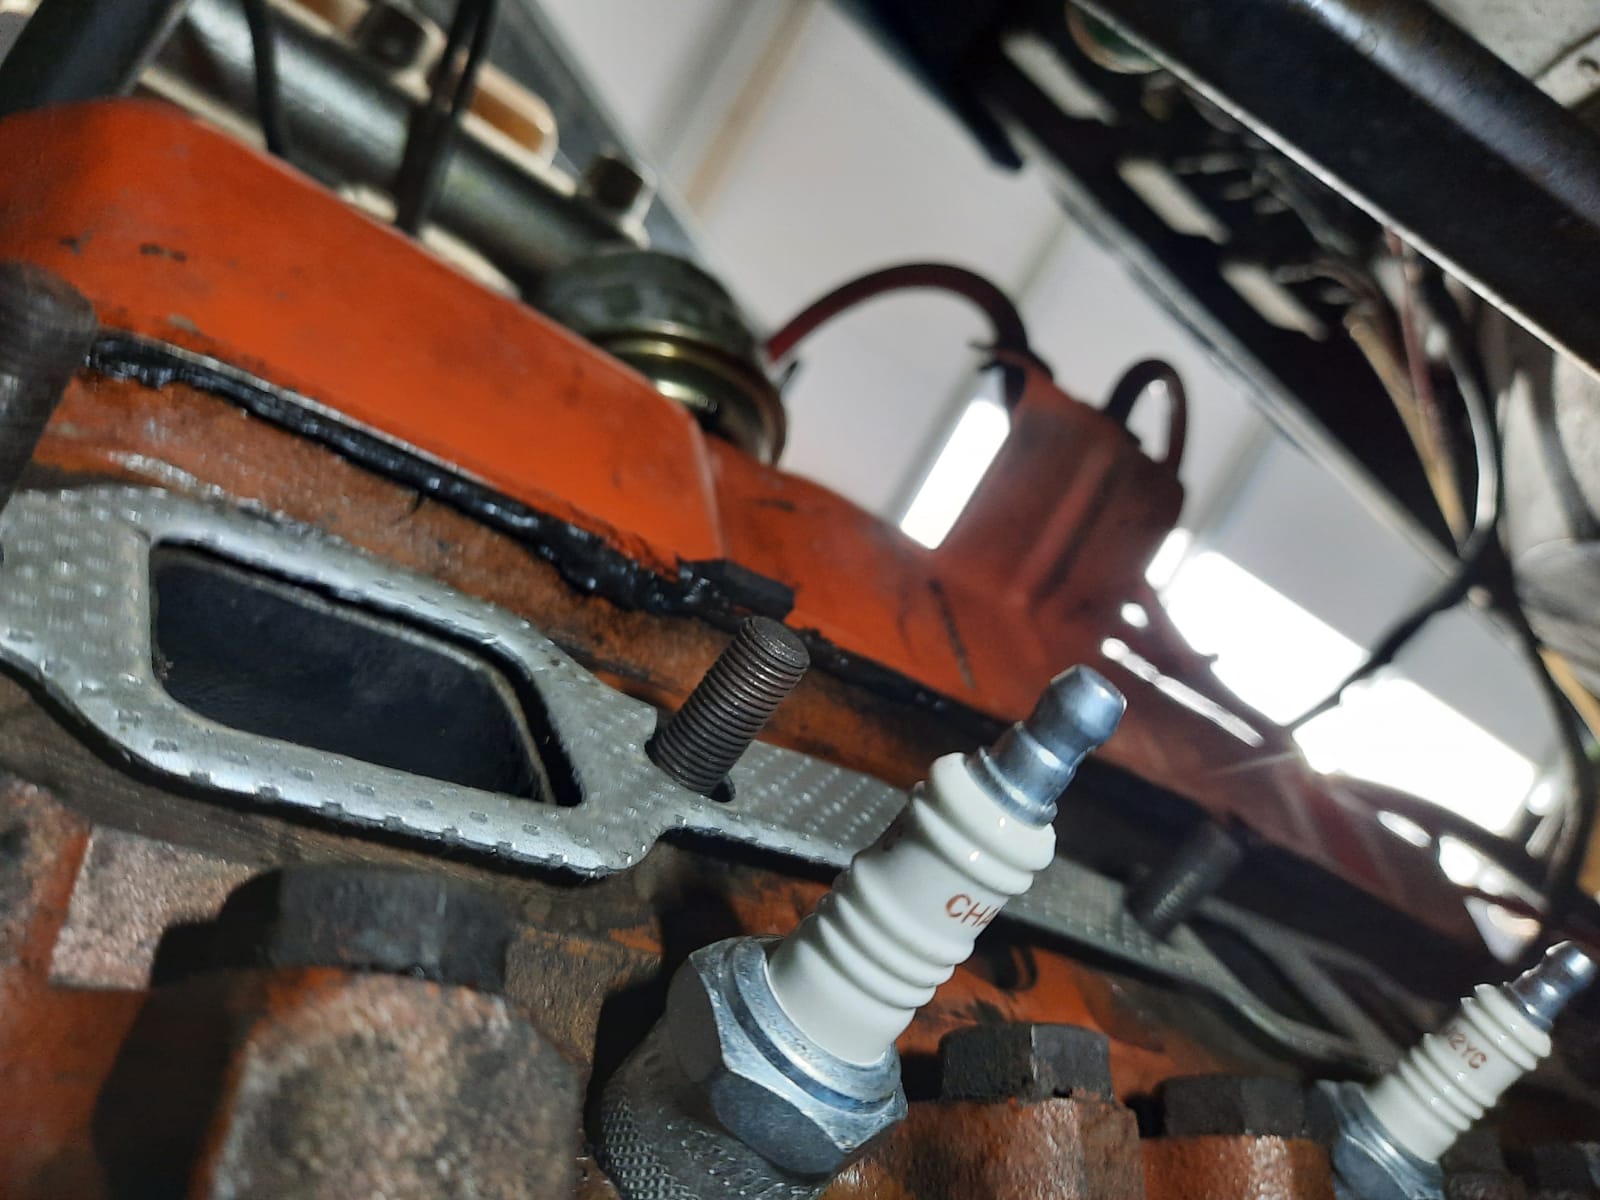
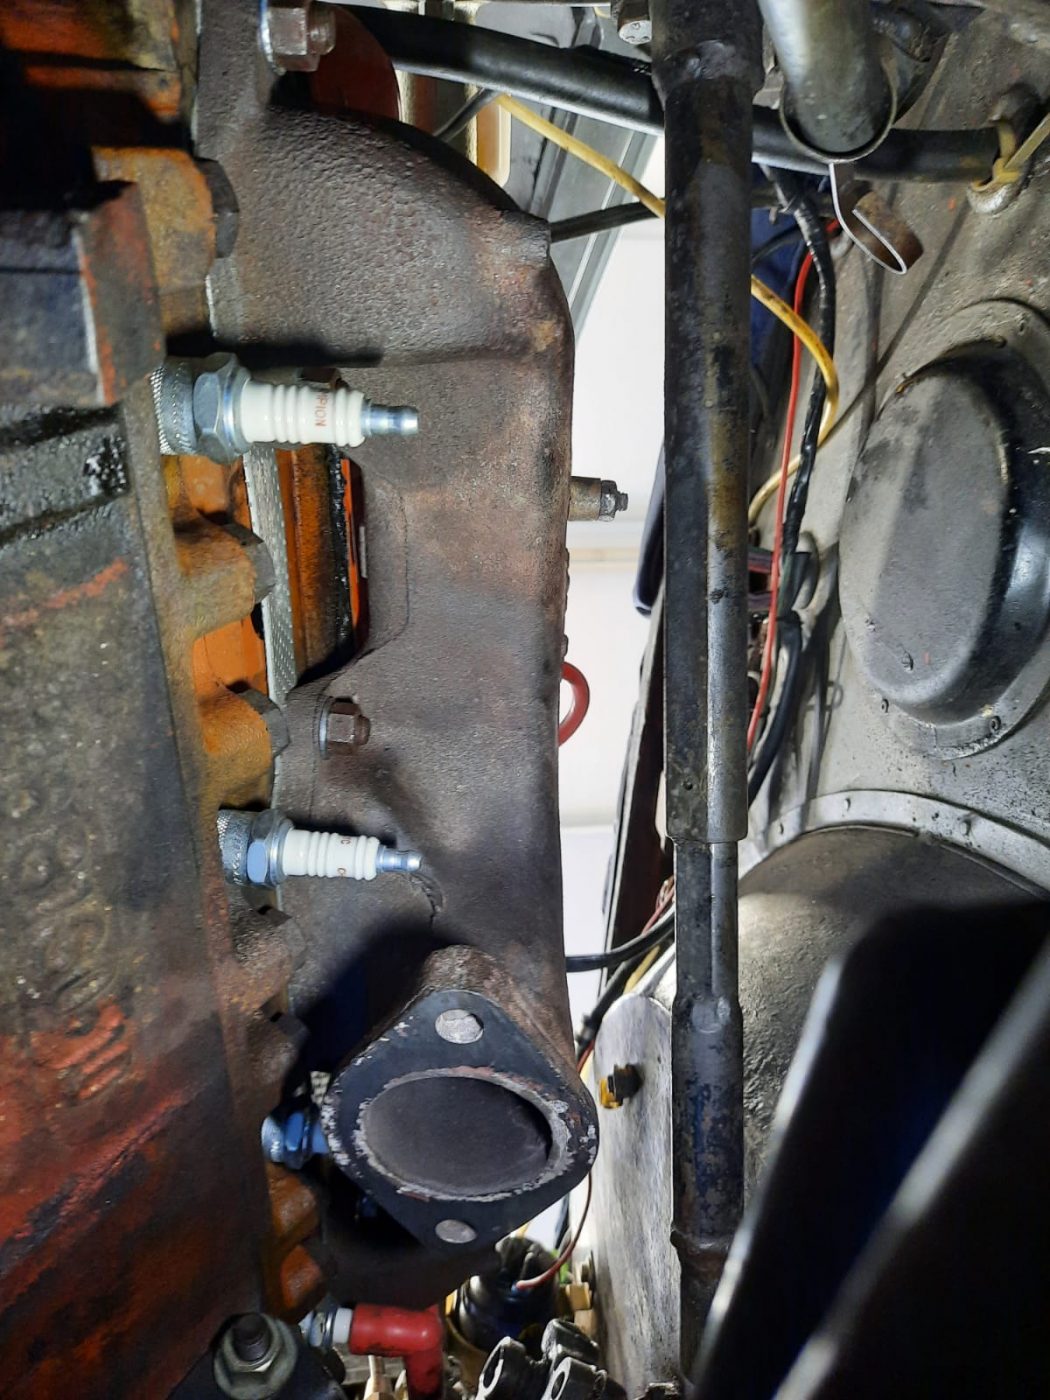
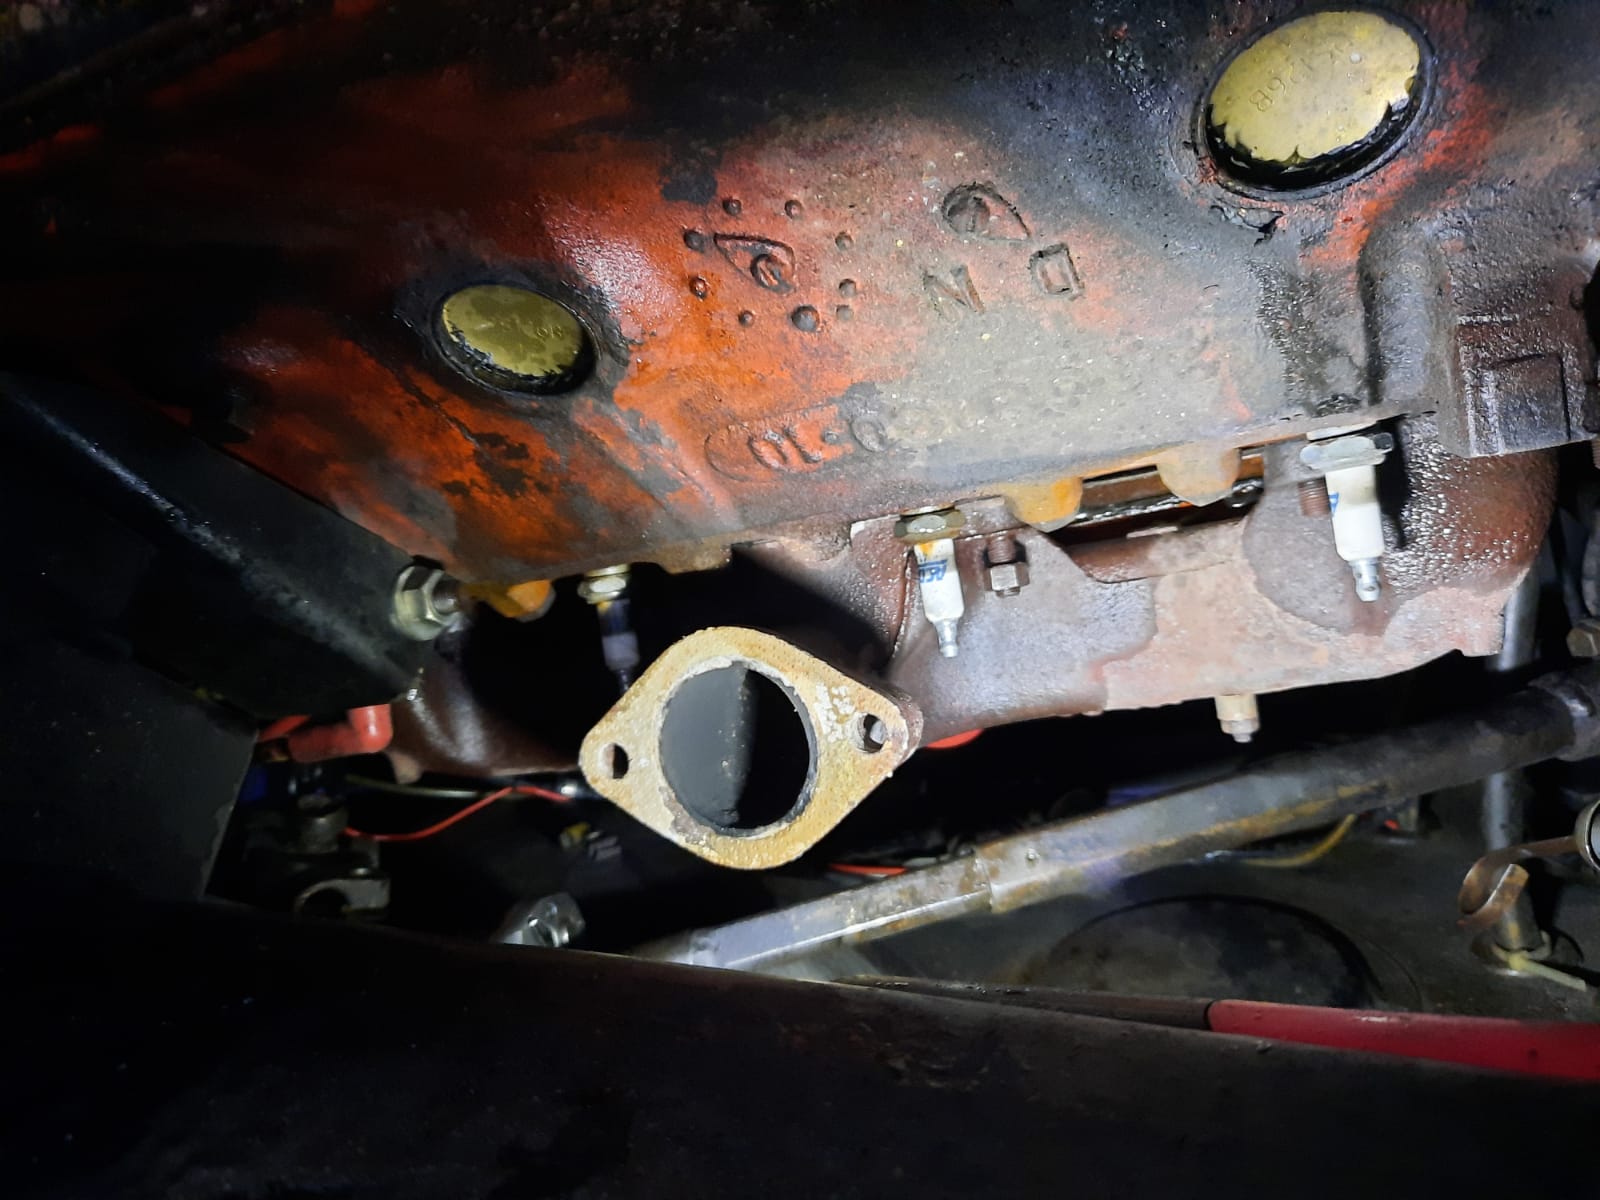
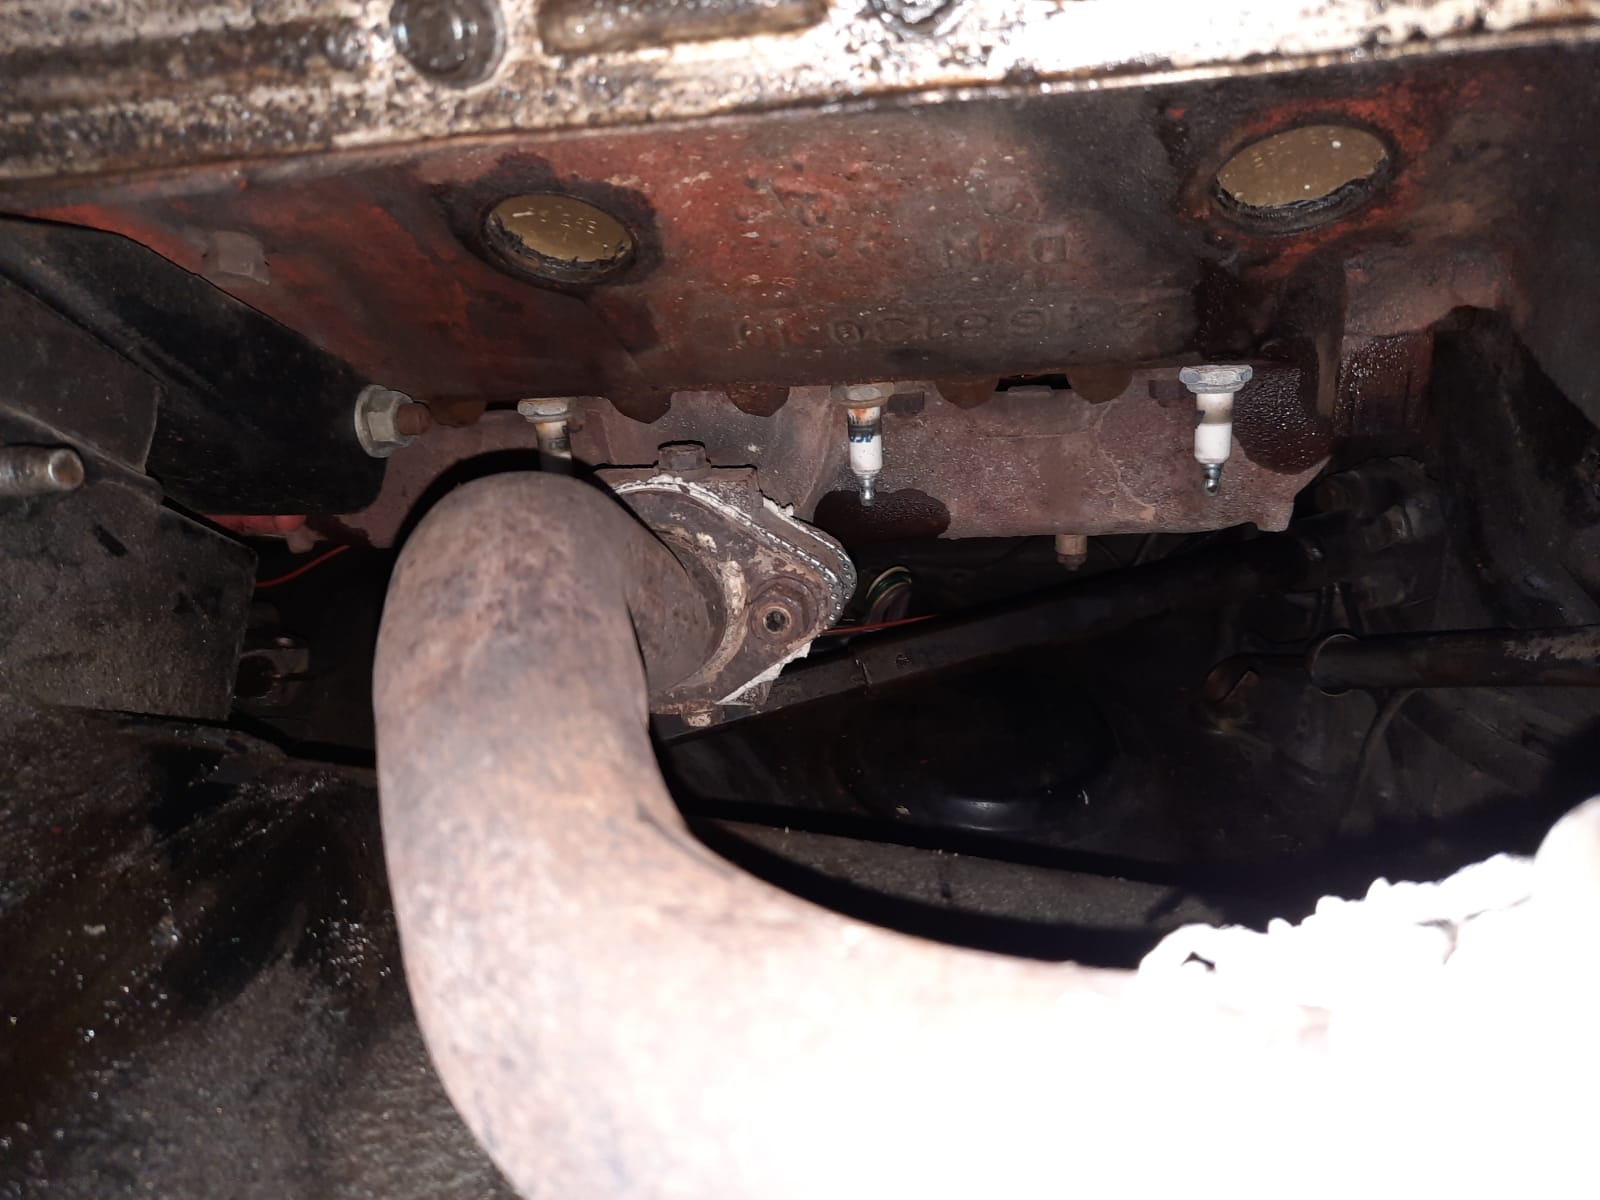
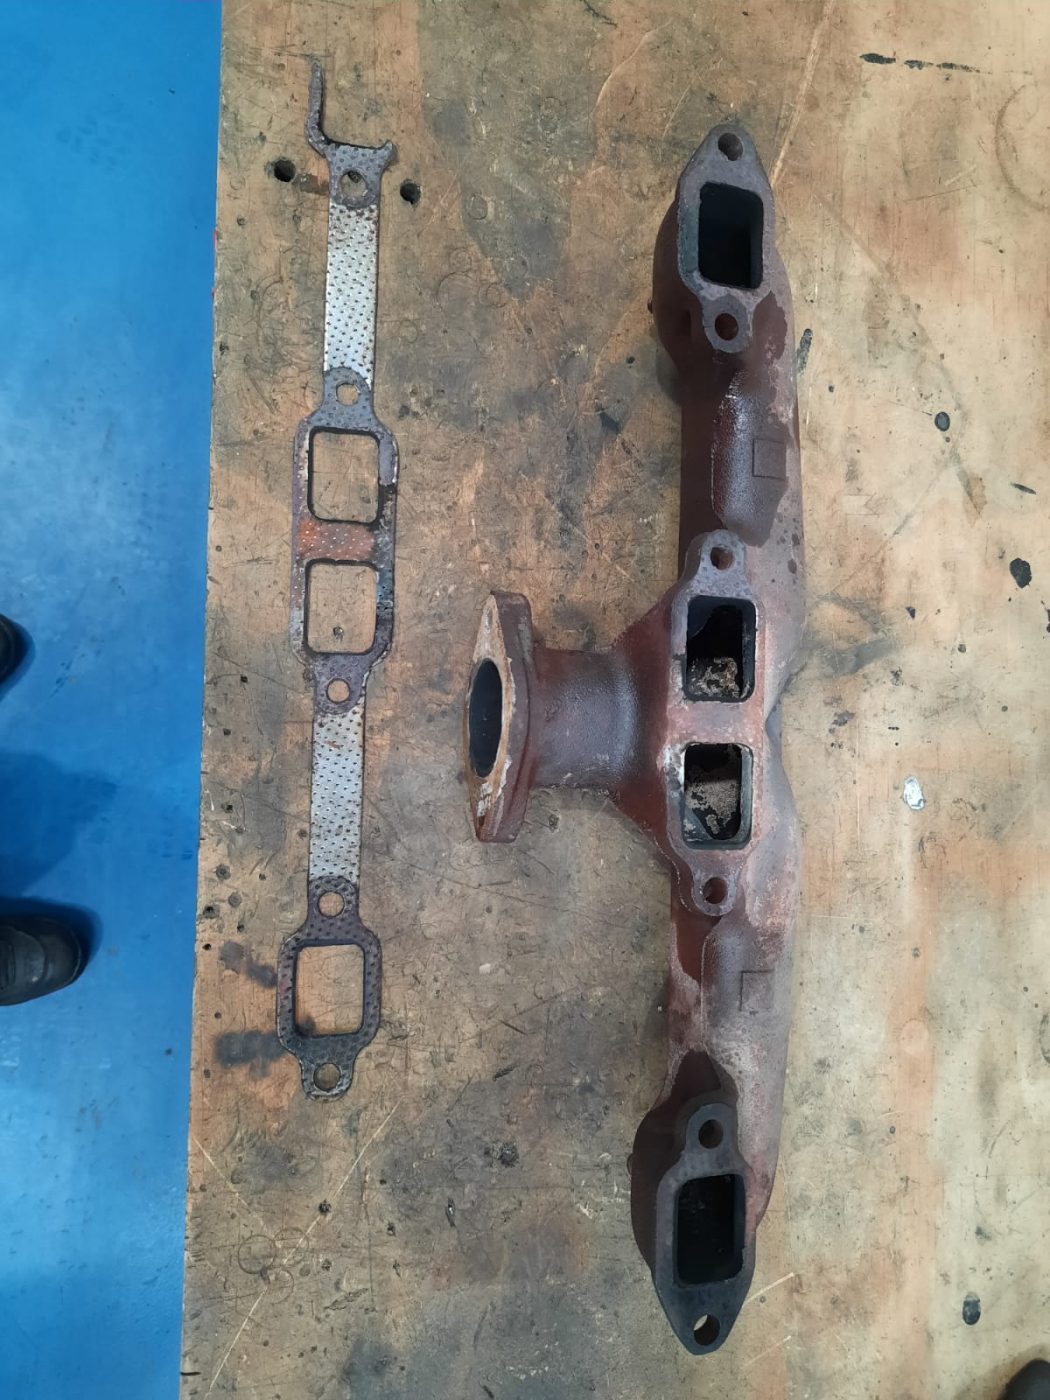
Mauro has been working on our 1973 Bristol which has had its exhaust manifold refacing due to leaking. He’s also added new spark plugs.
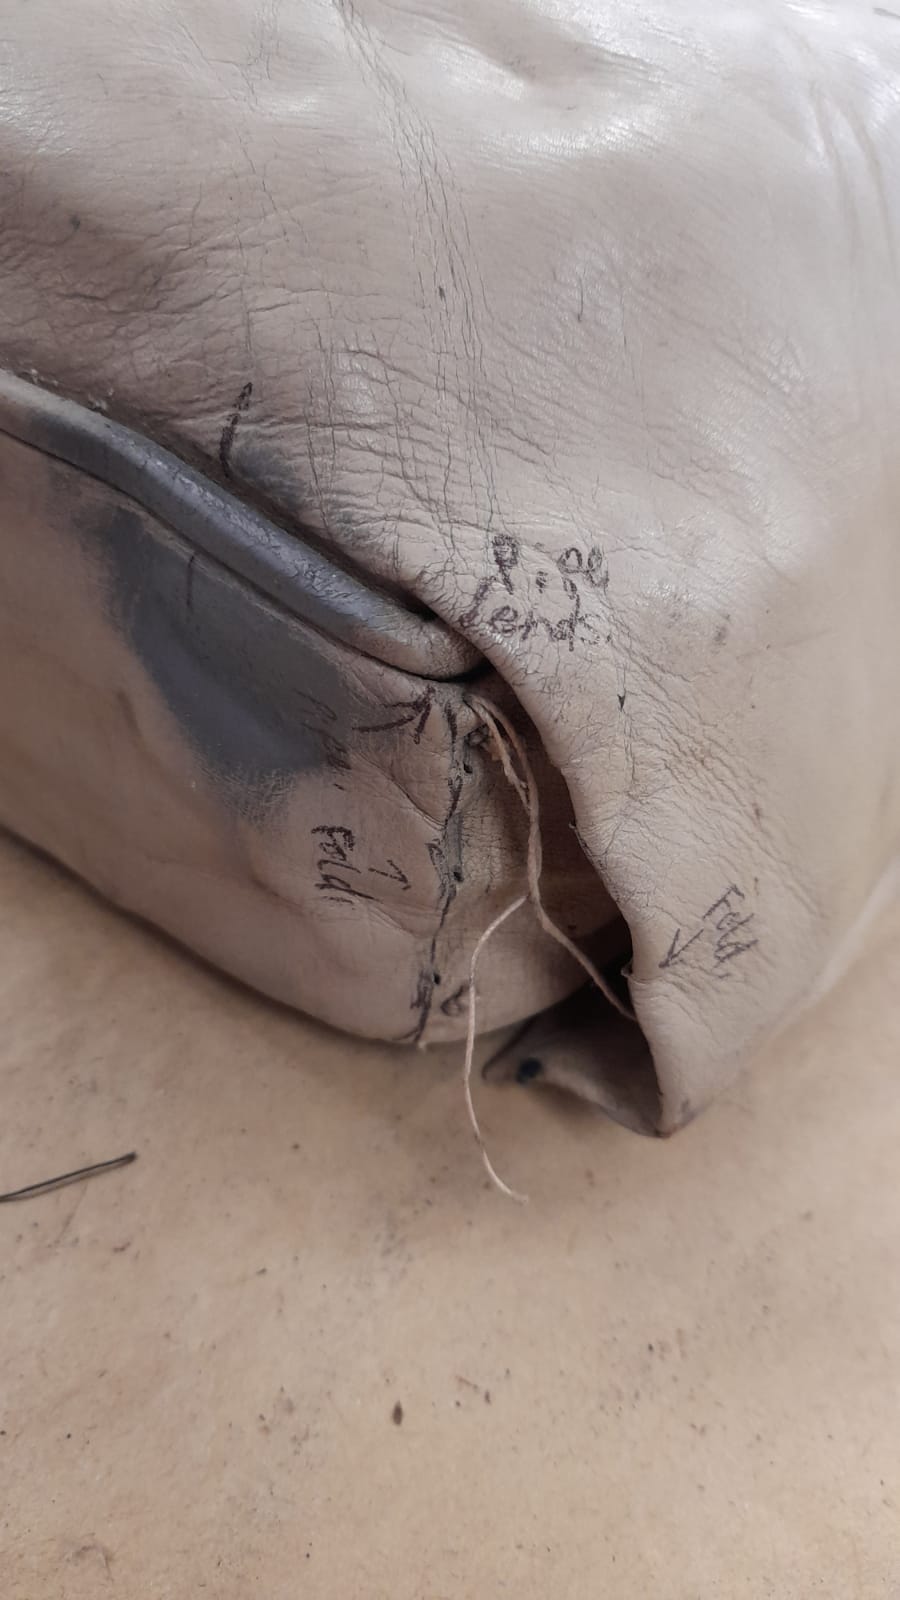
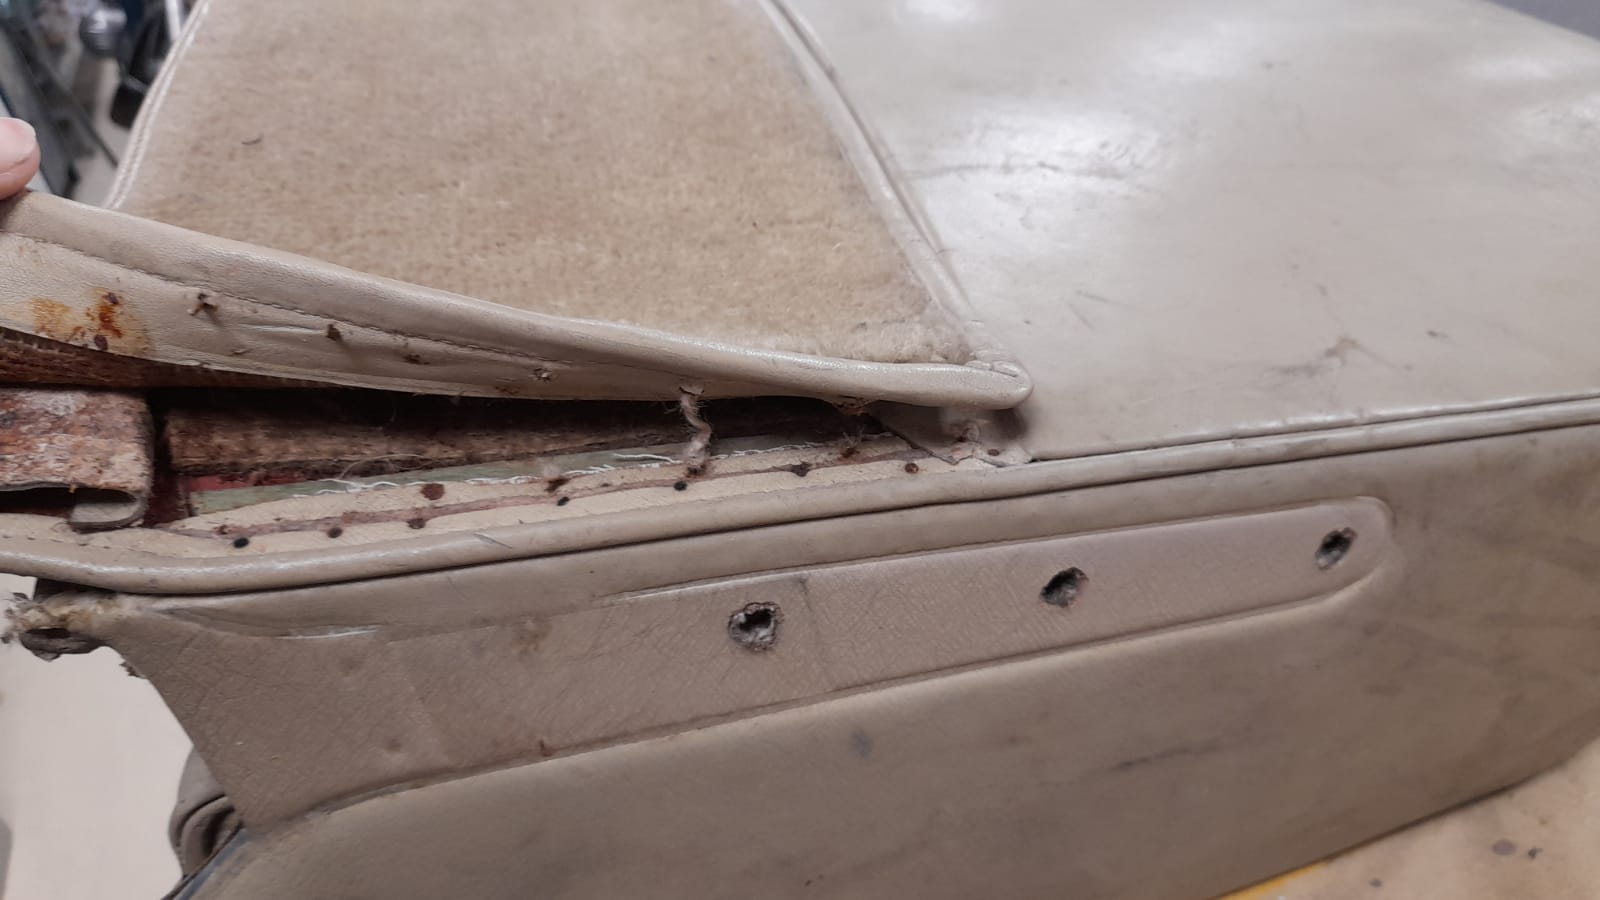
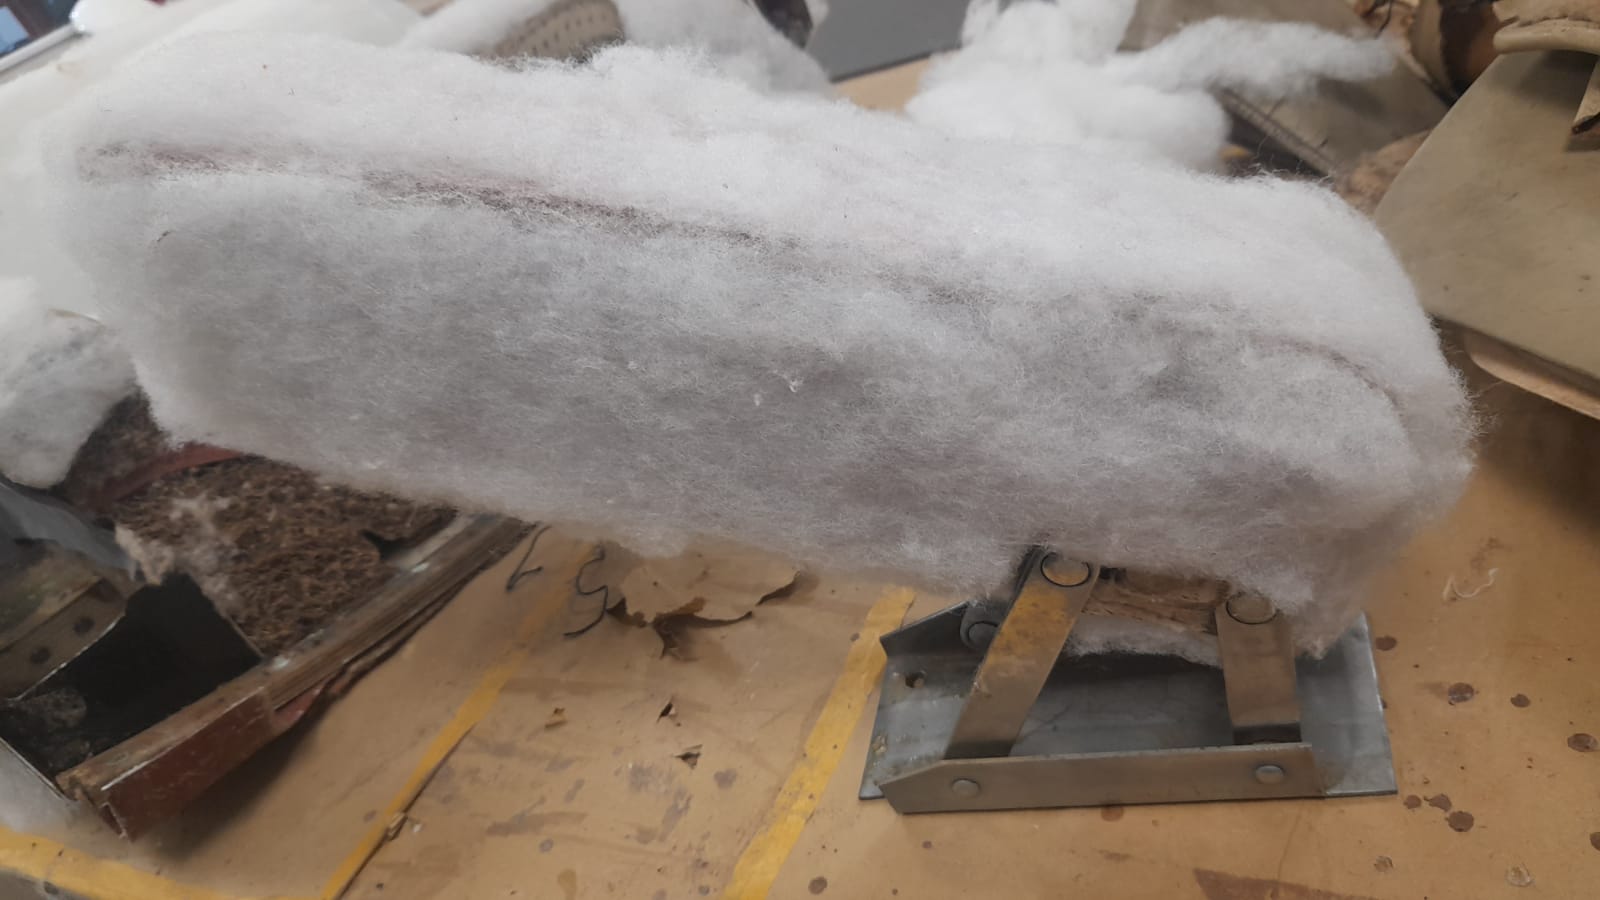
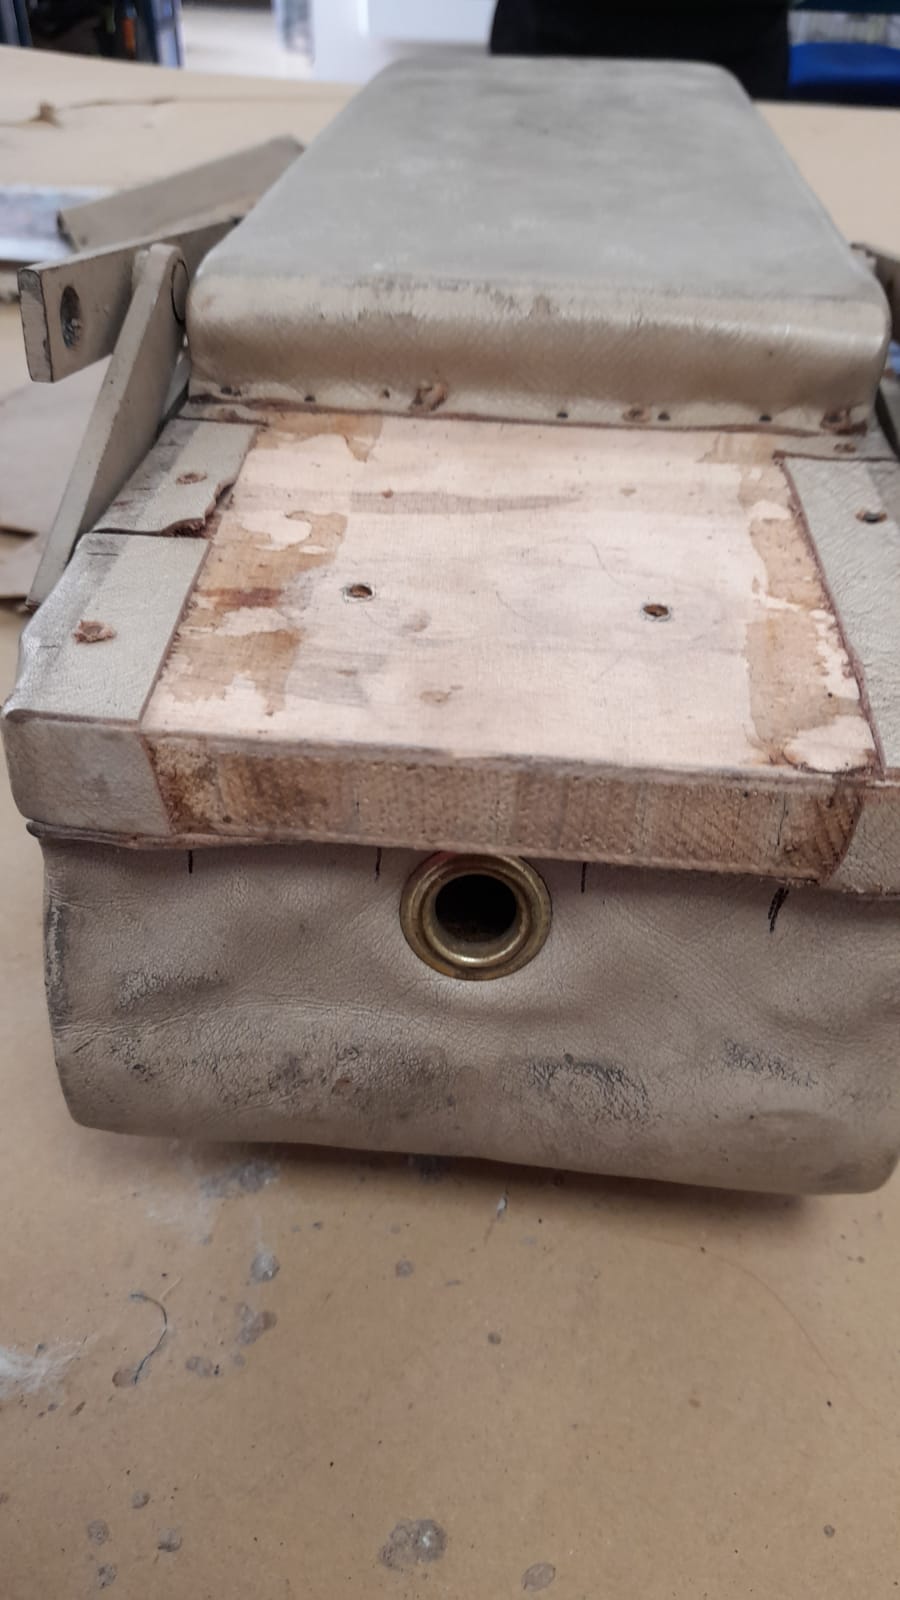
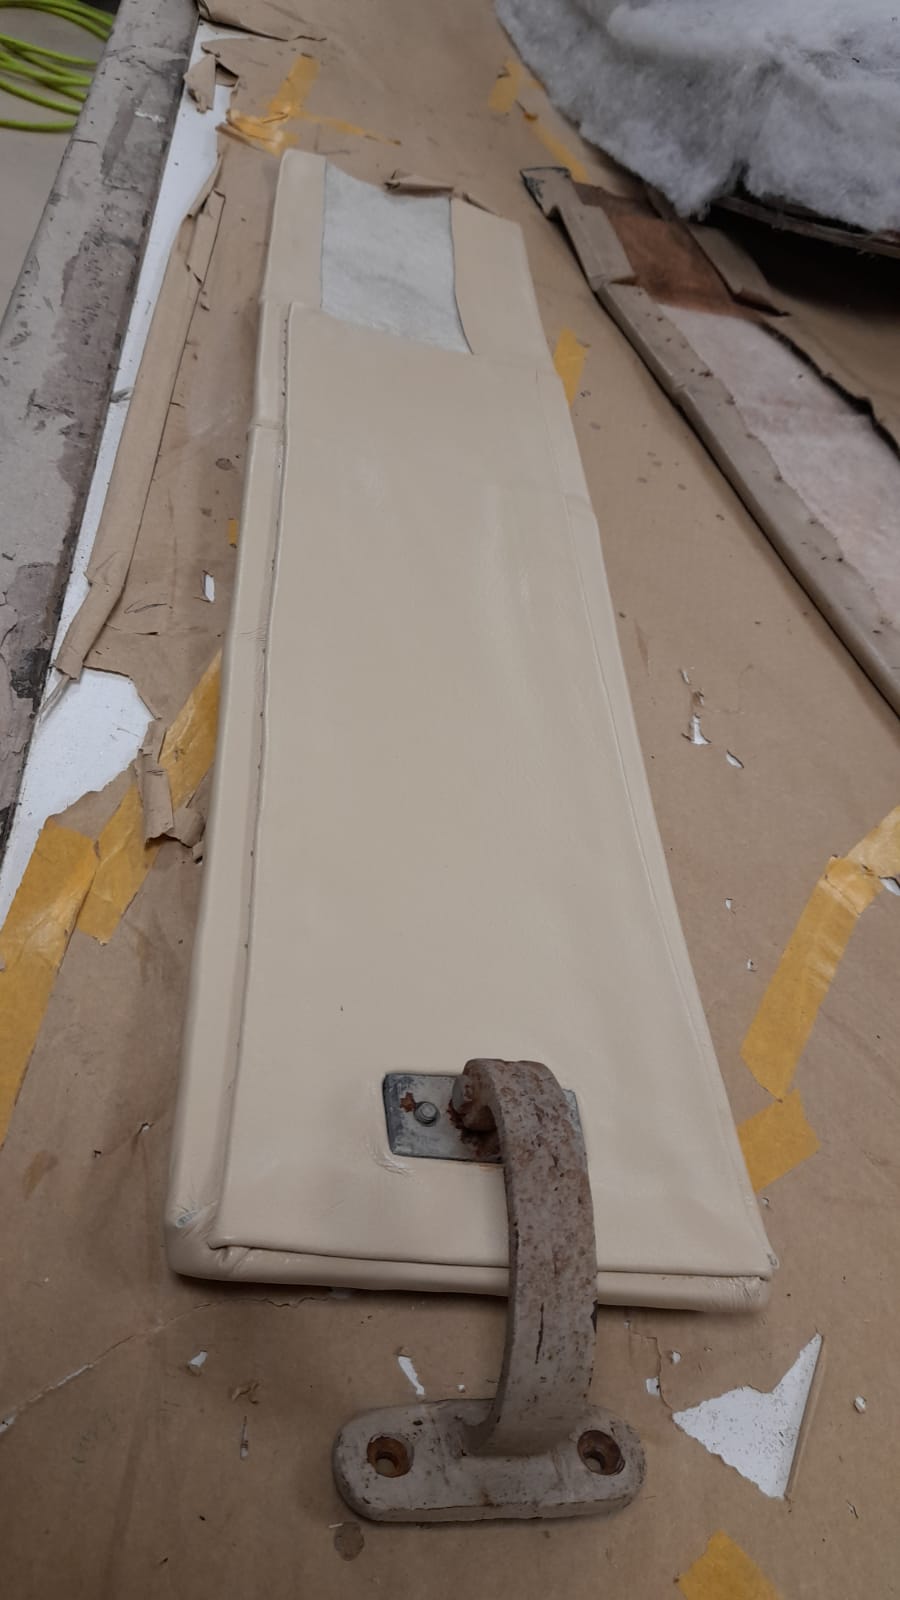
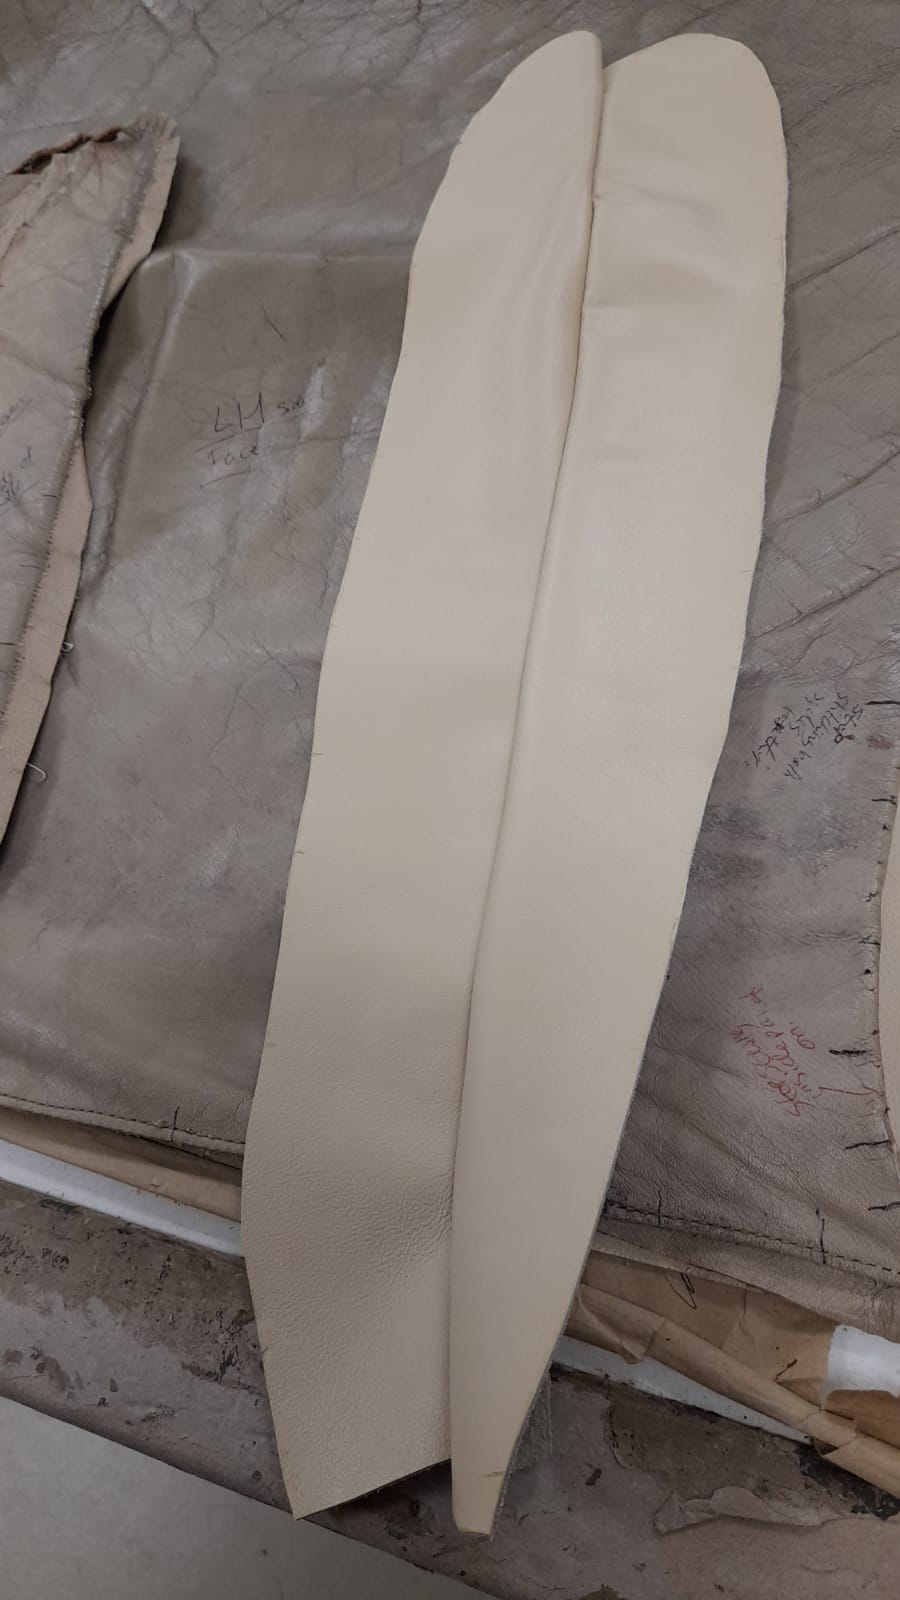
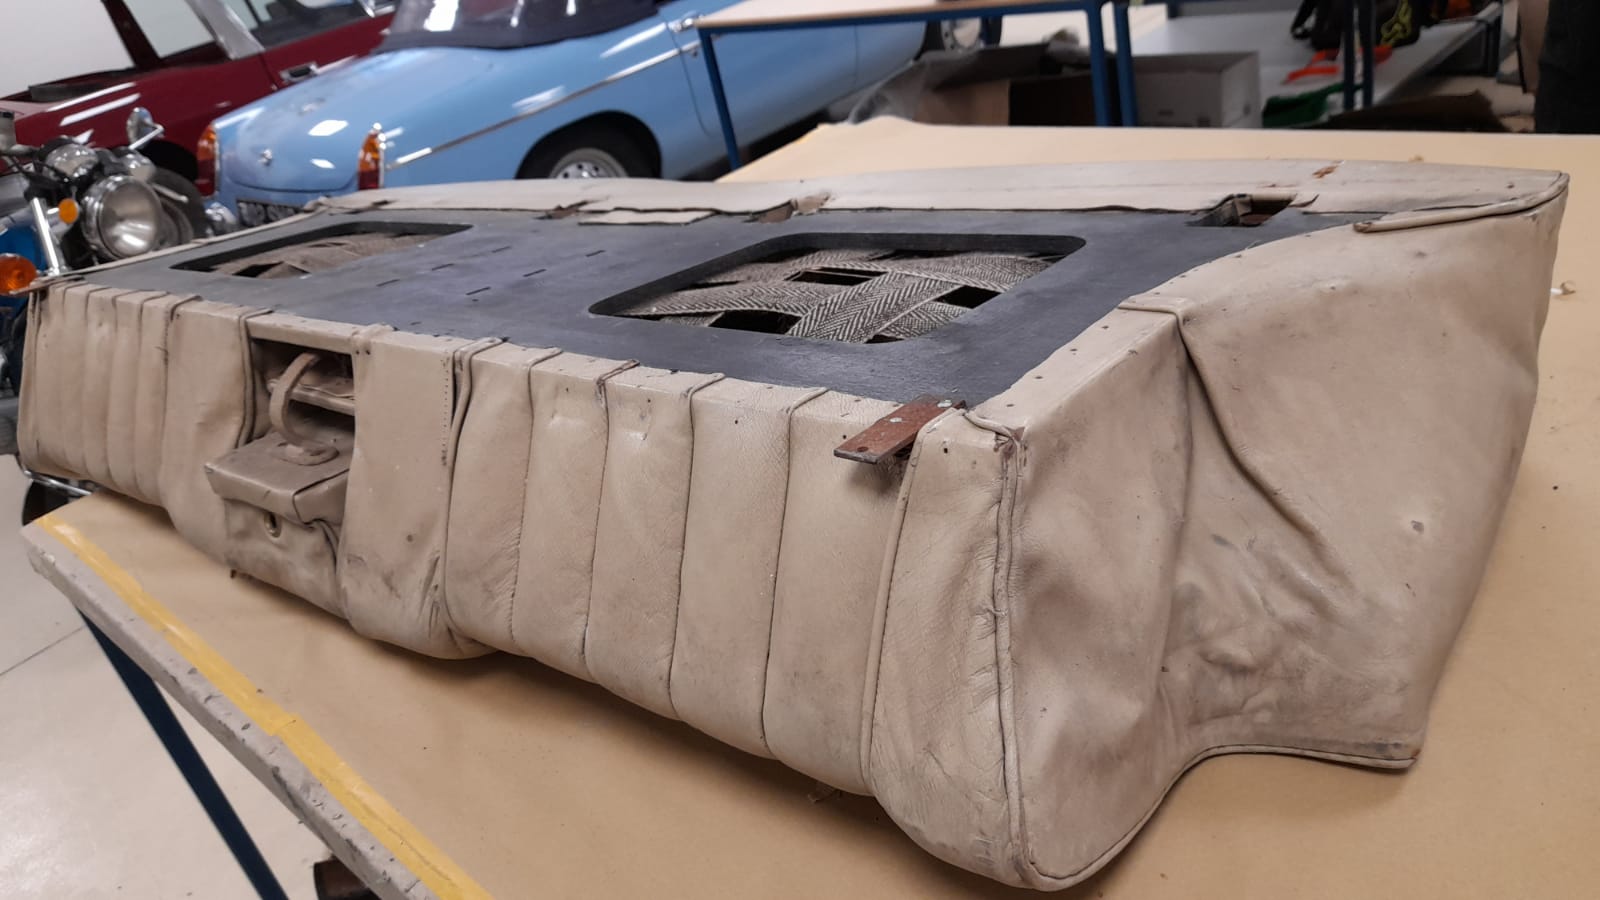
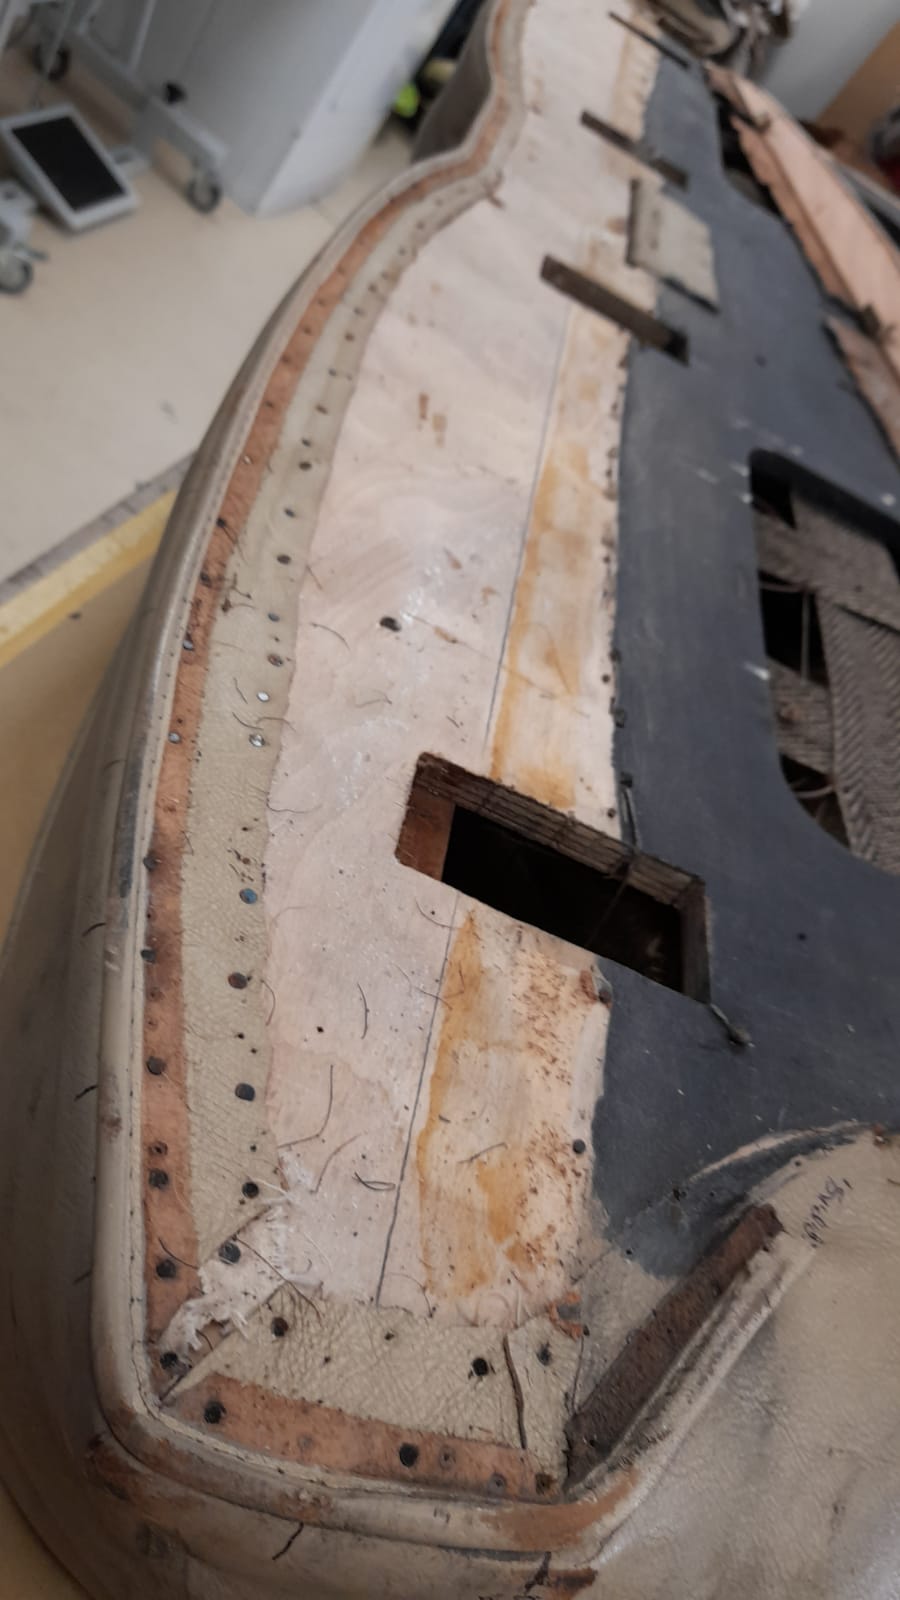
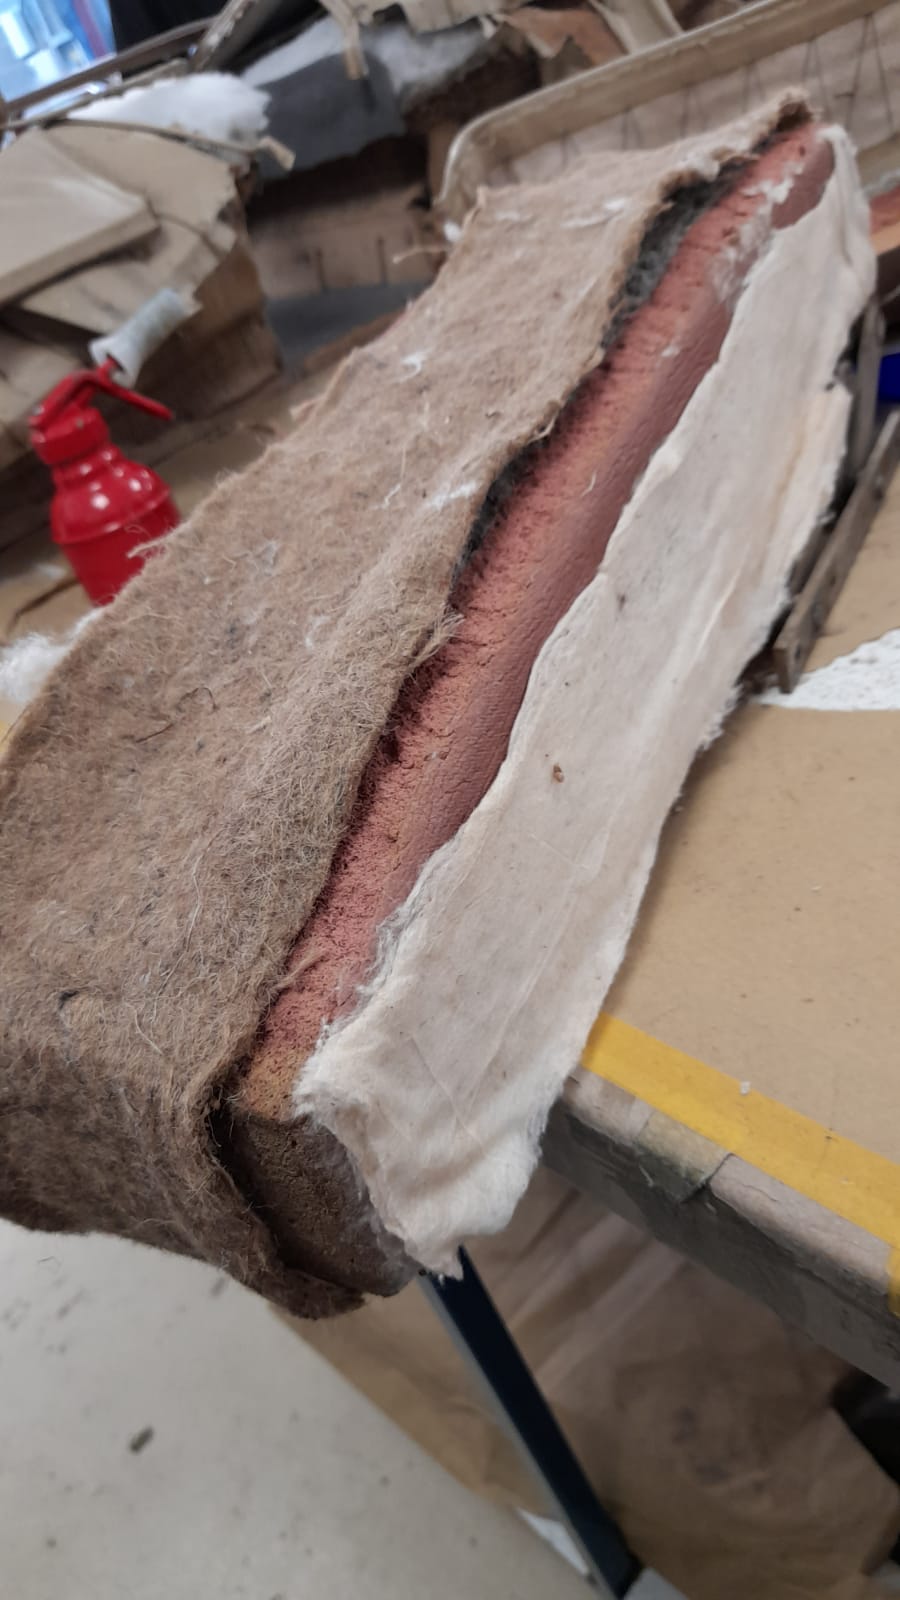
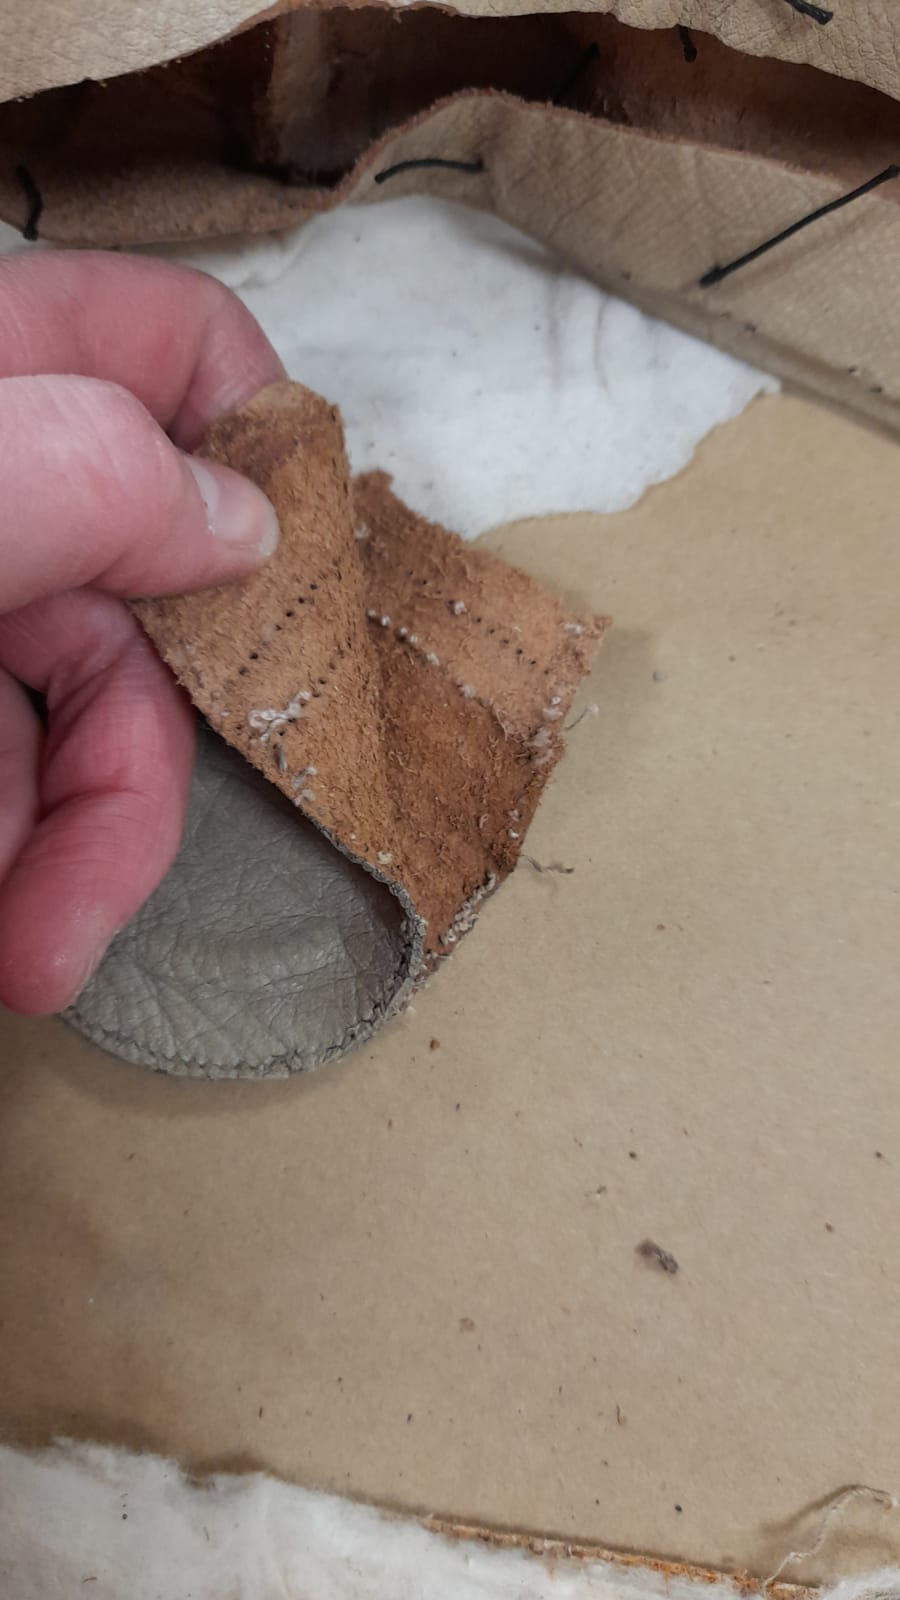
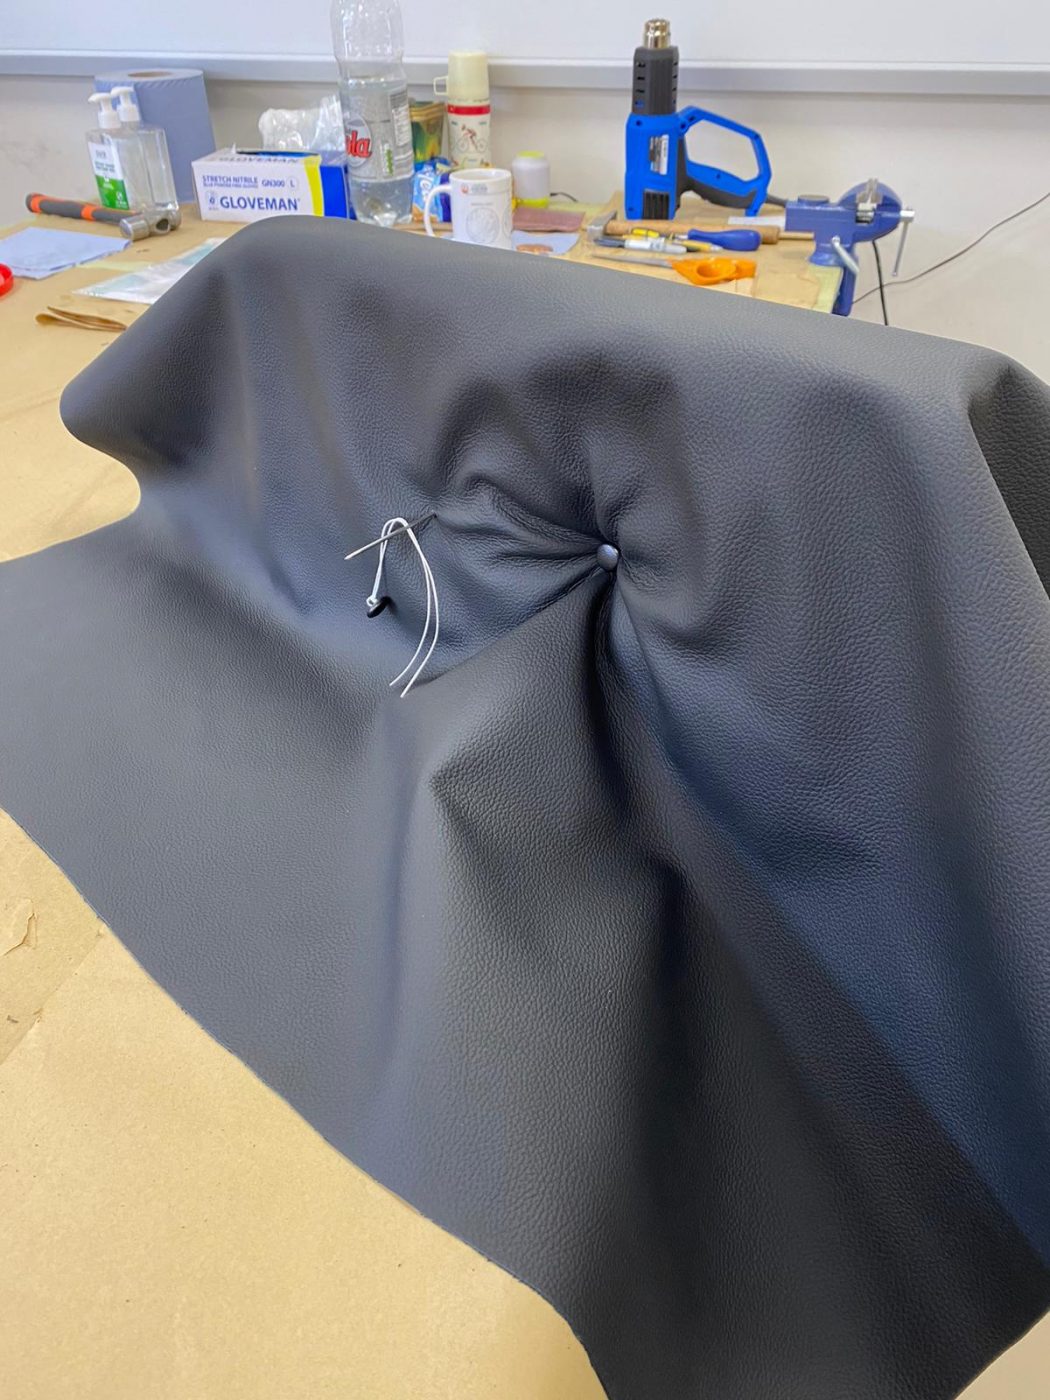
We’ve also created a cover for the battery box on our 1915 Ford Model T. Brian put together the foam and leather, and then added

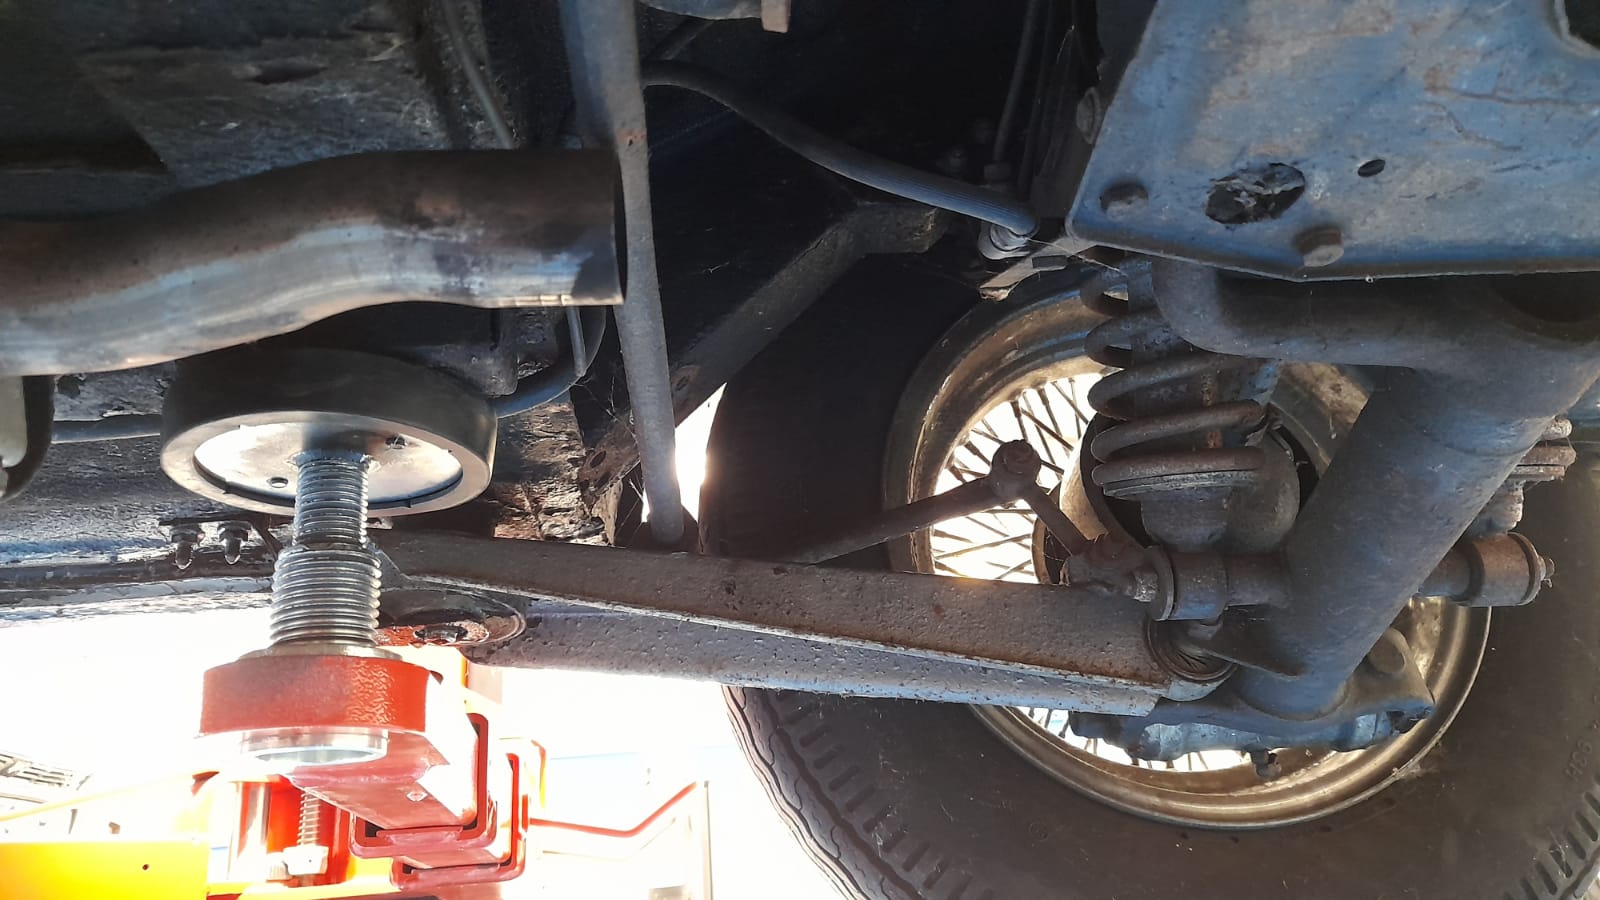
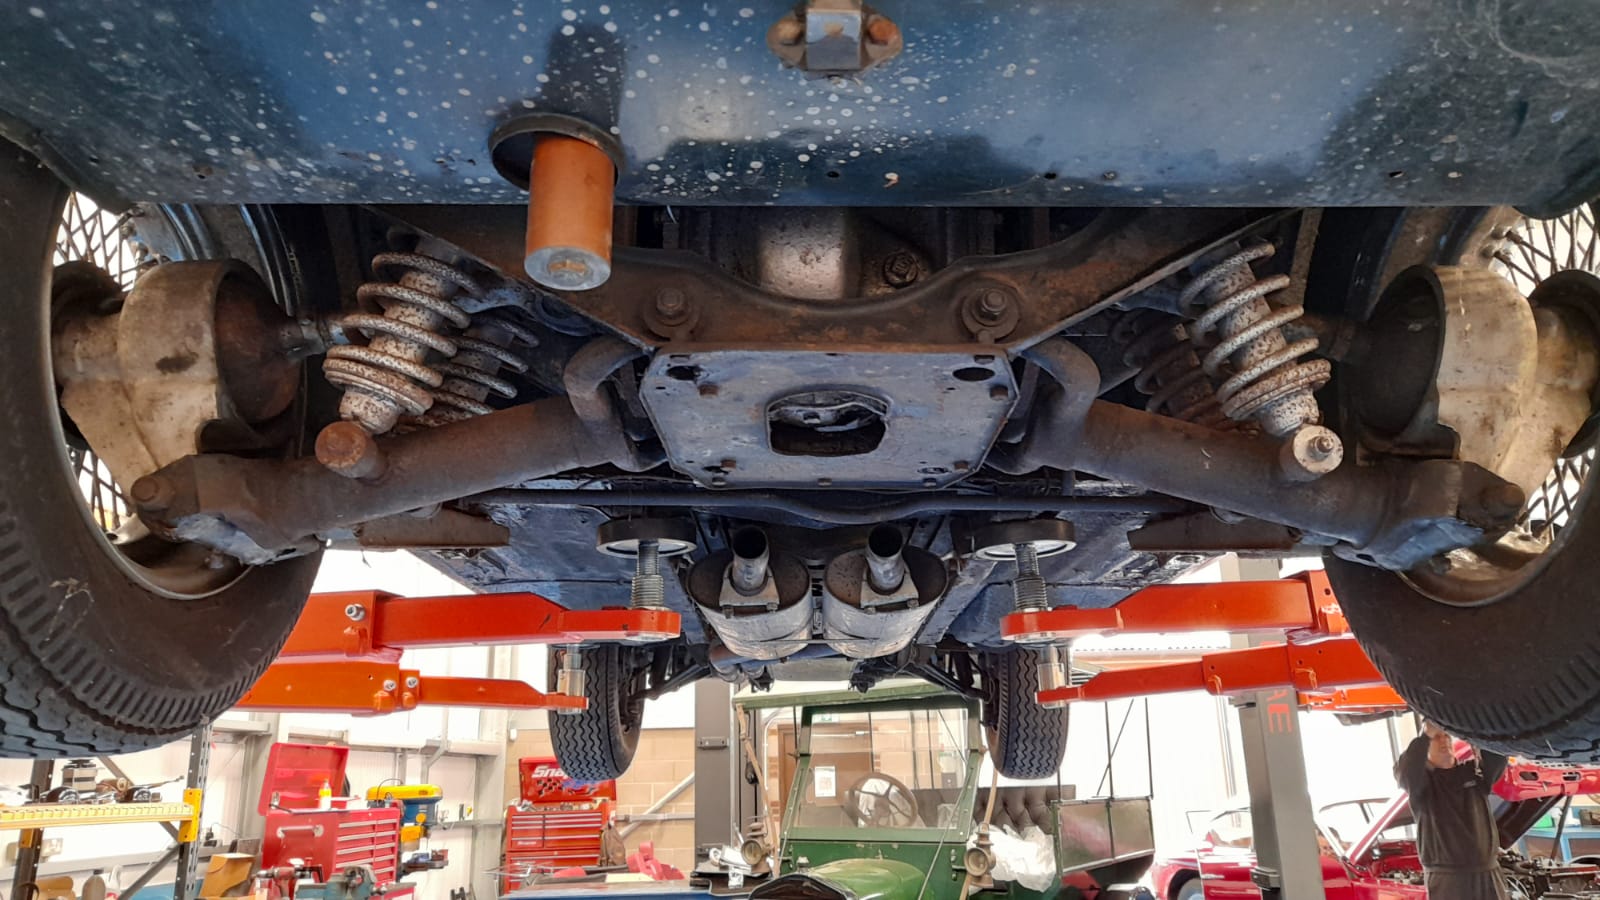
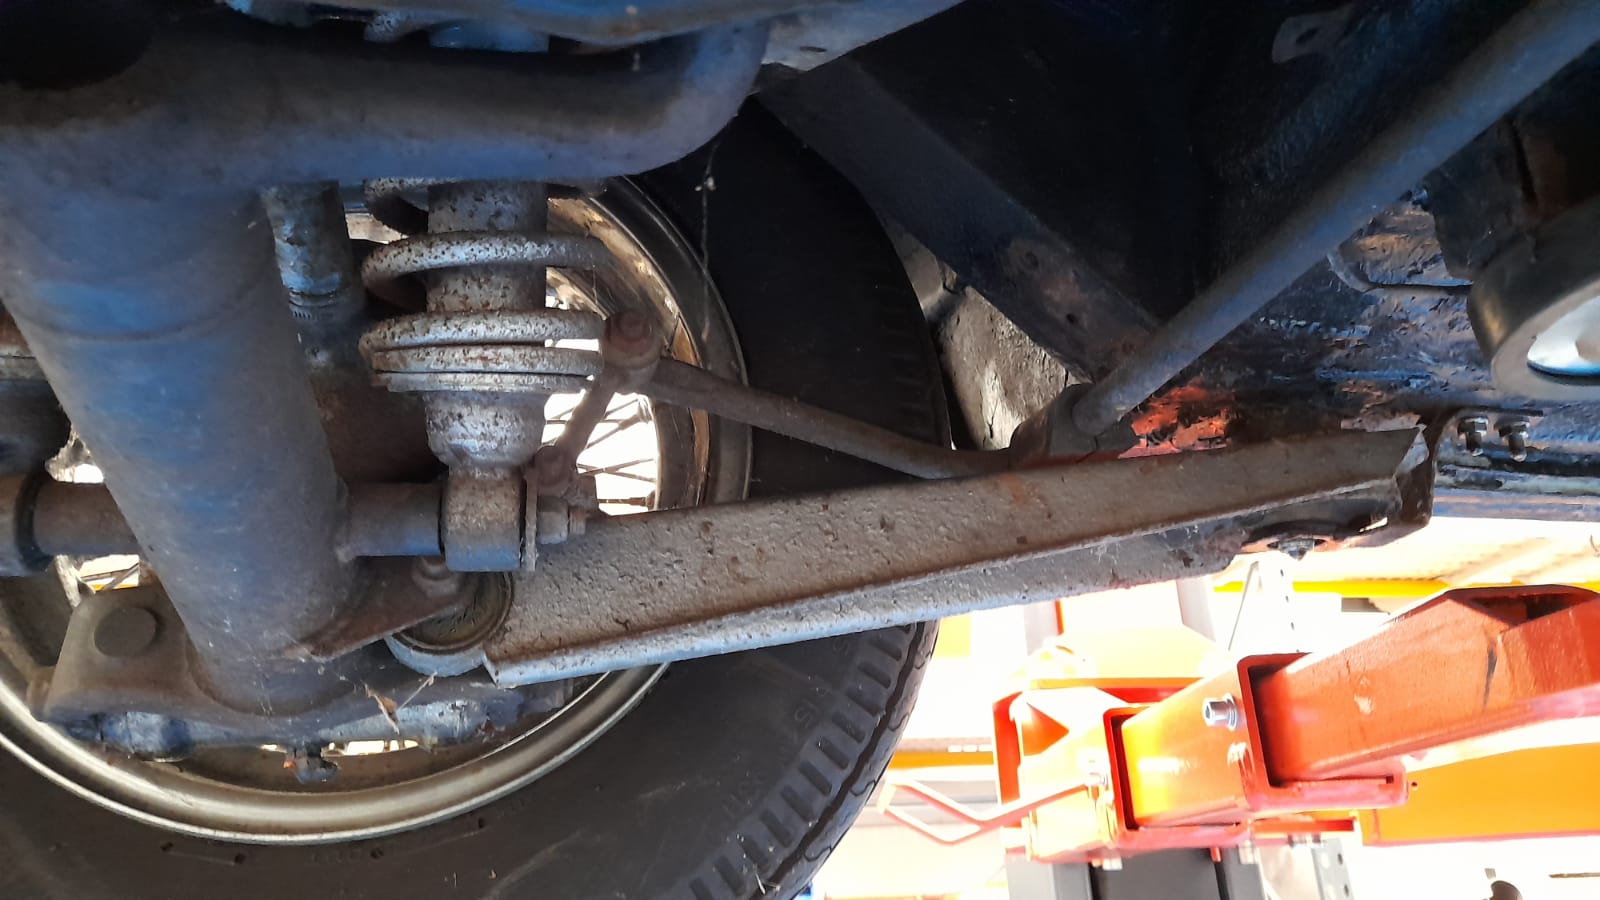
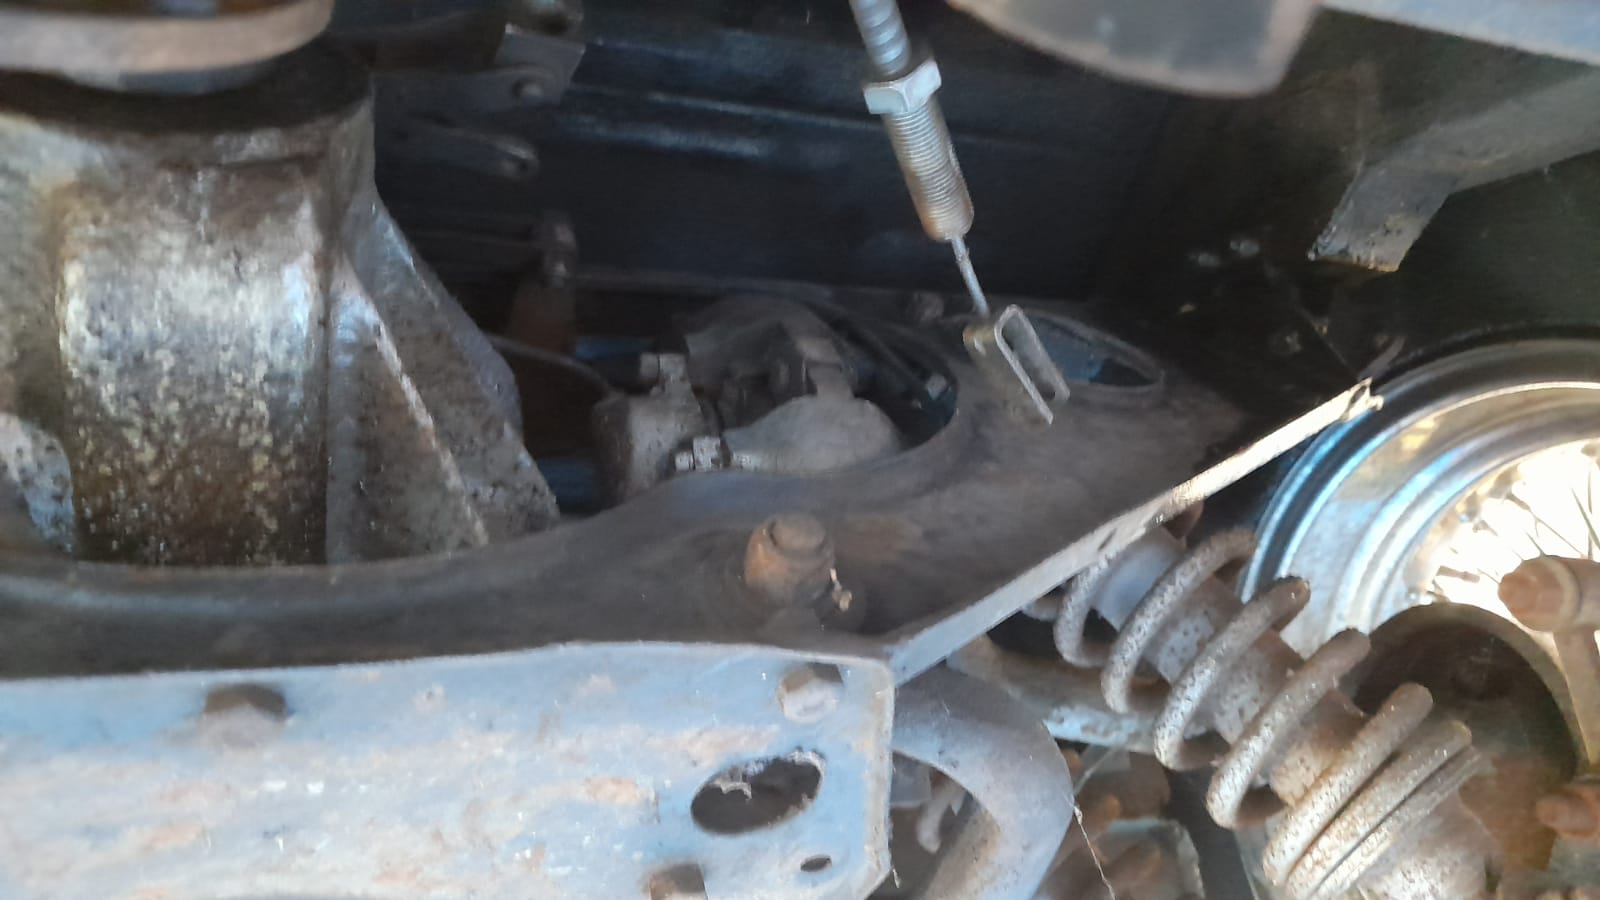
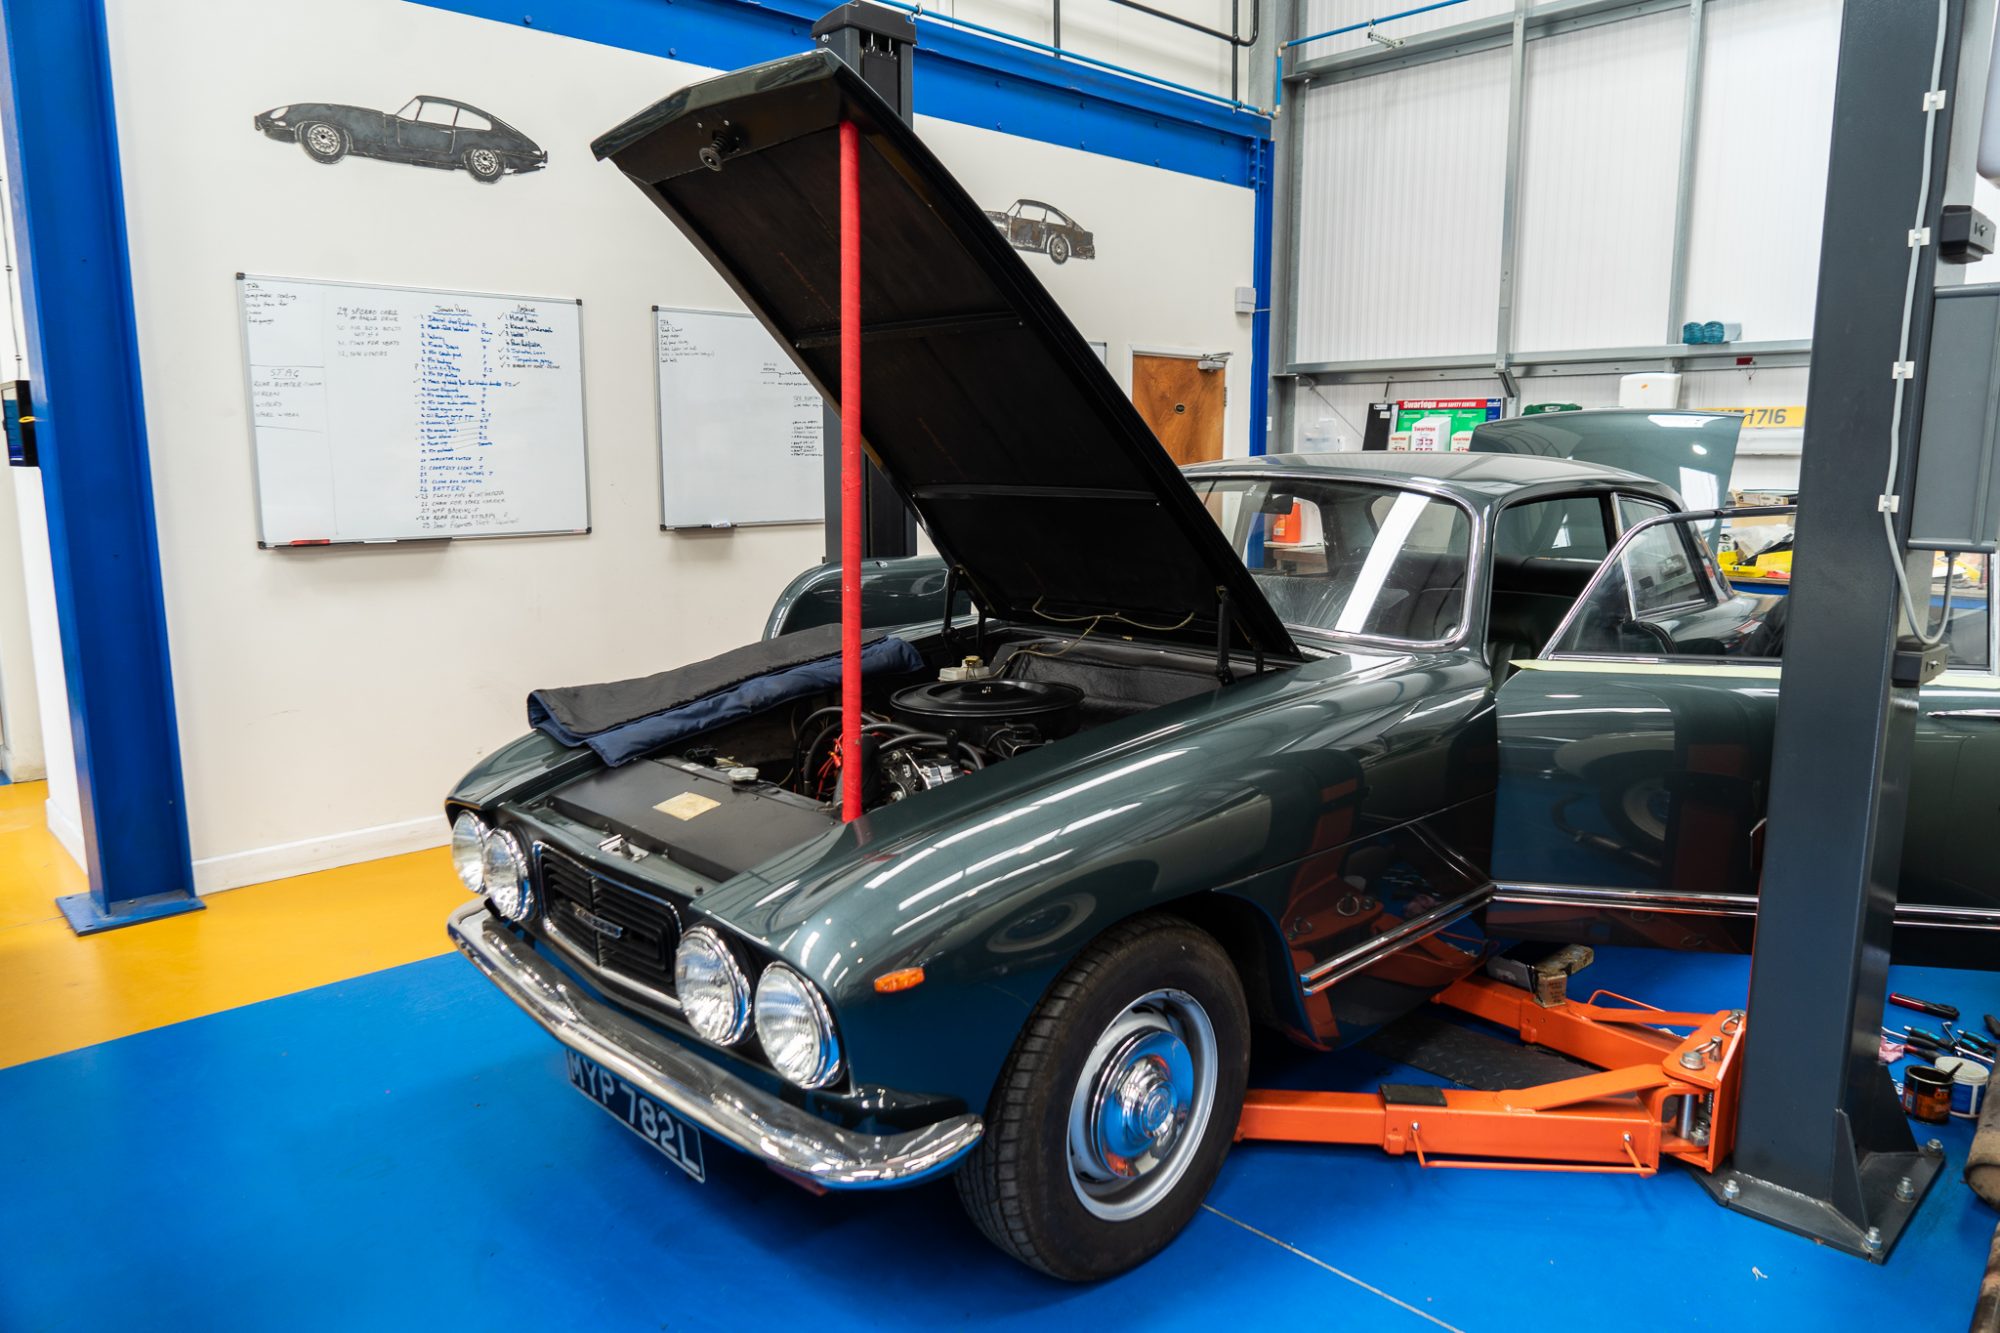
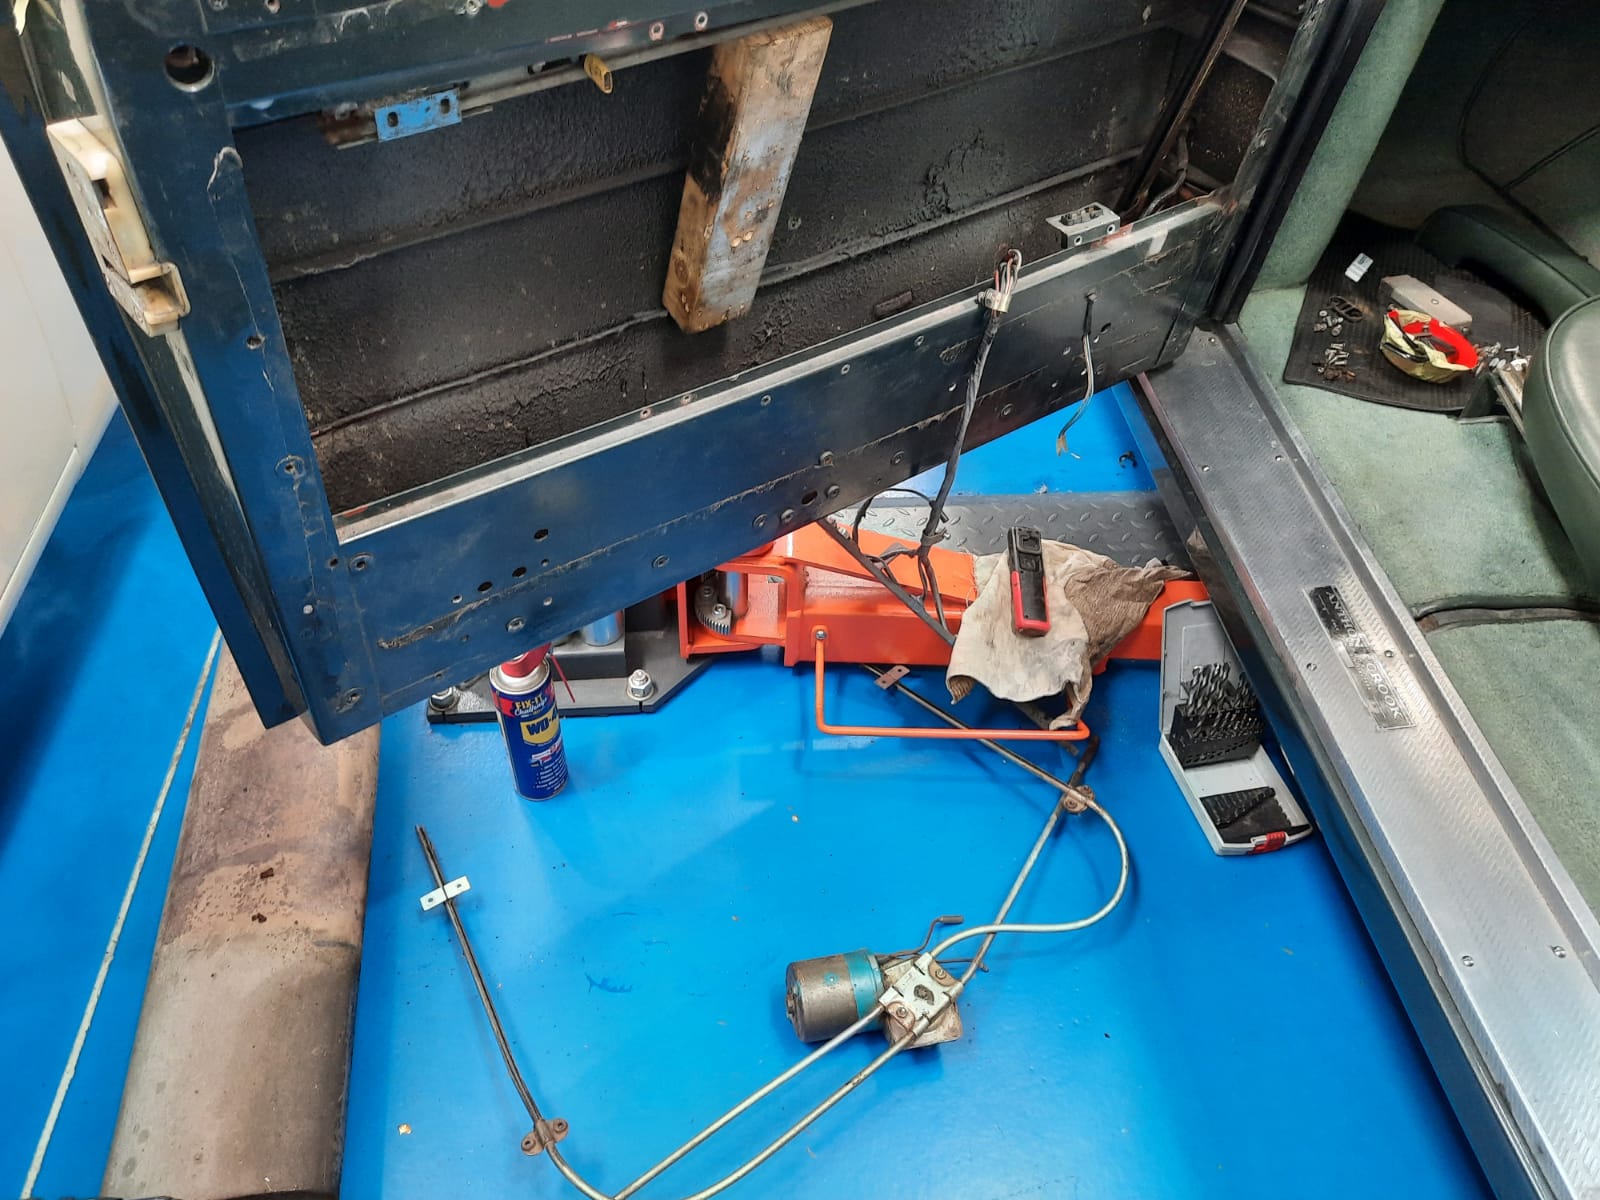
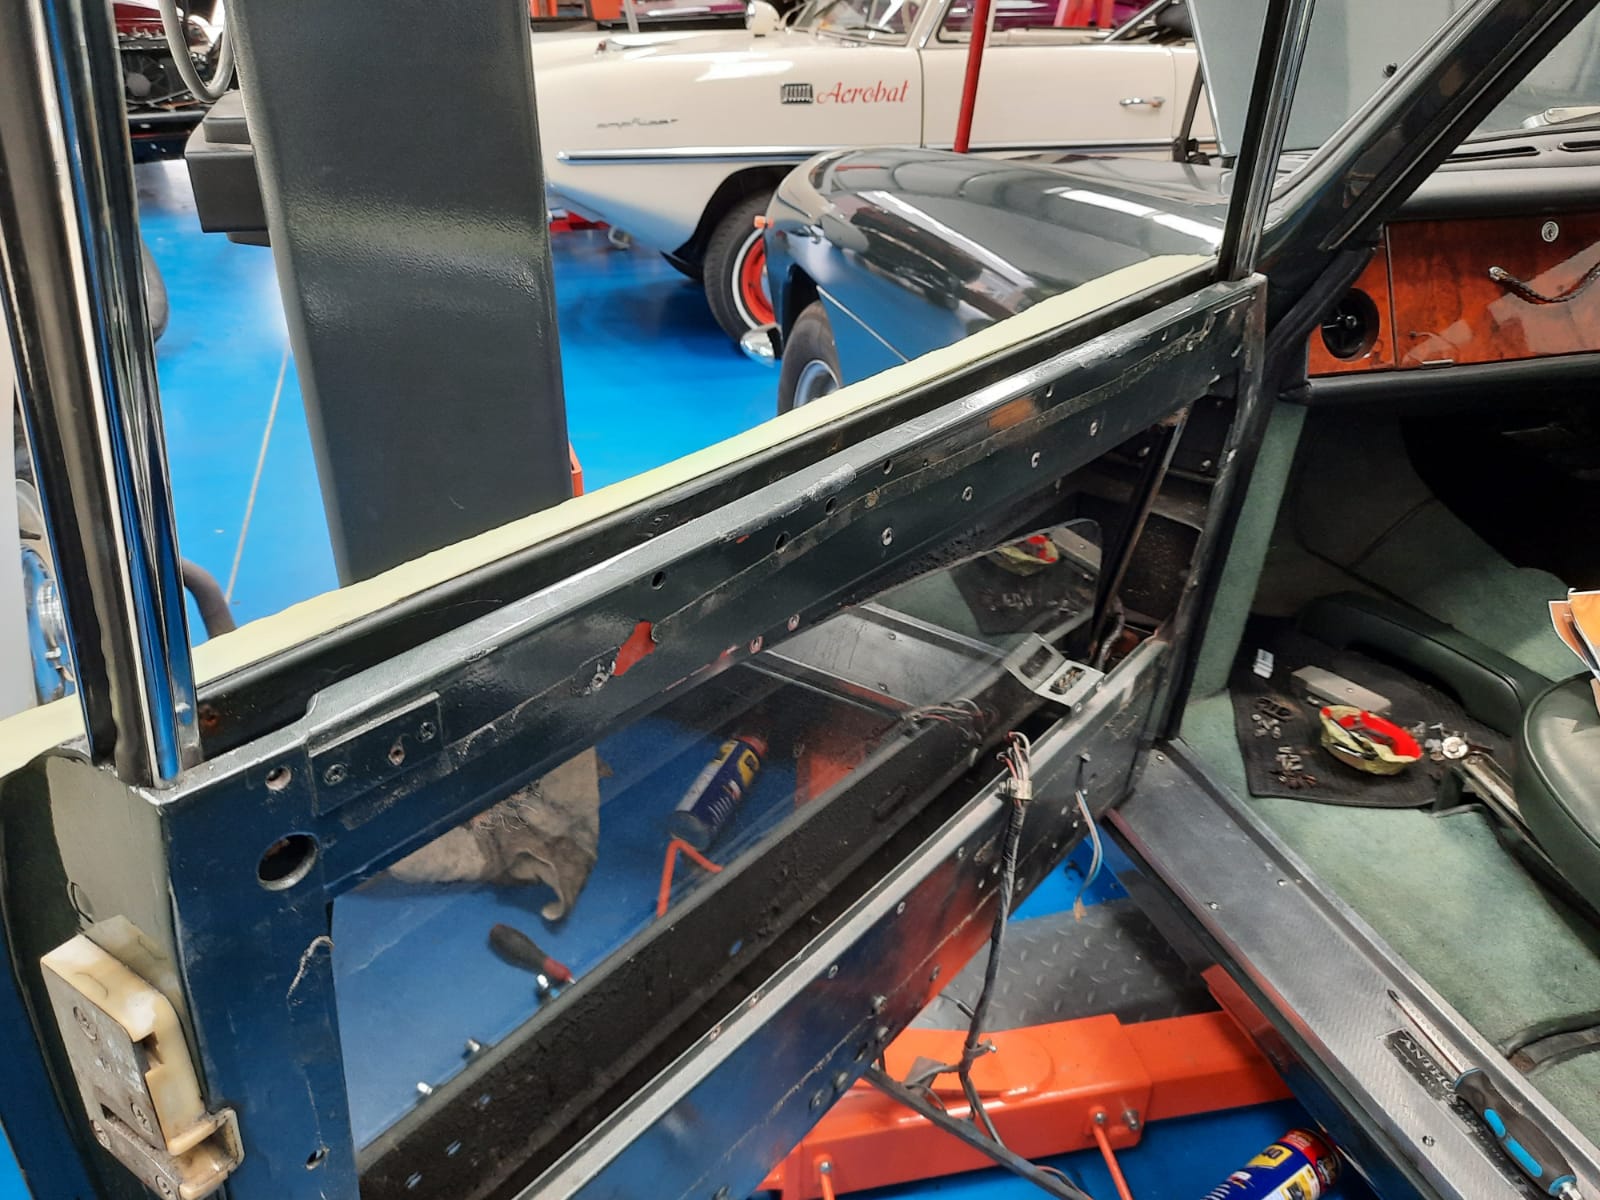
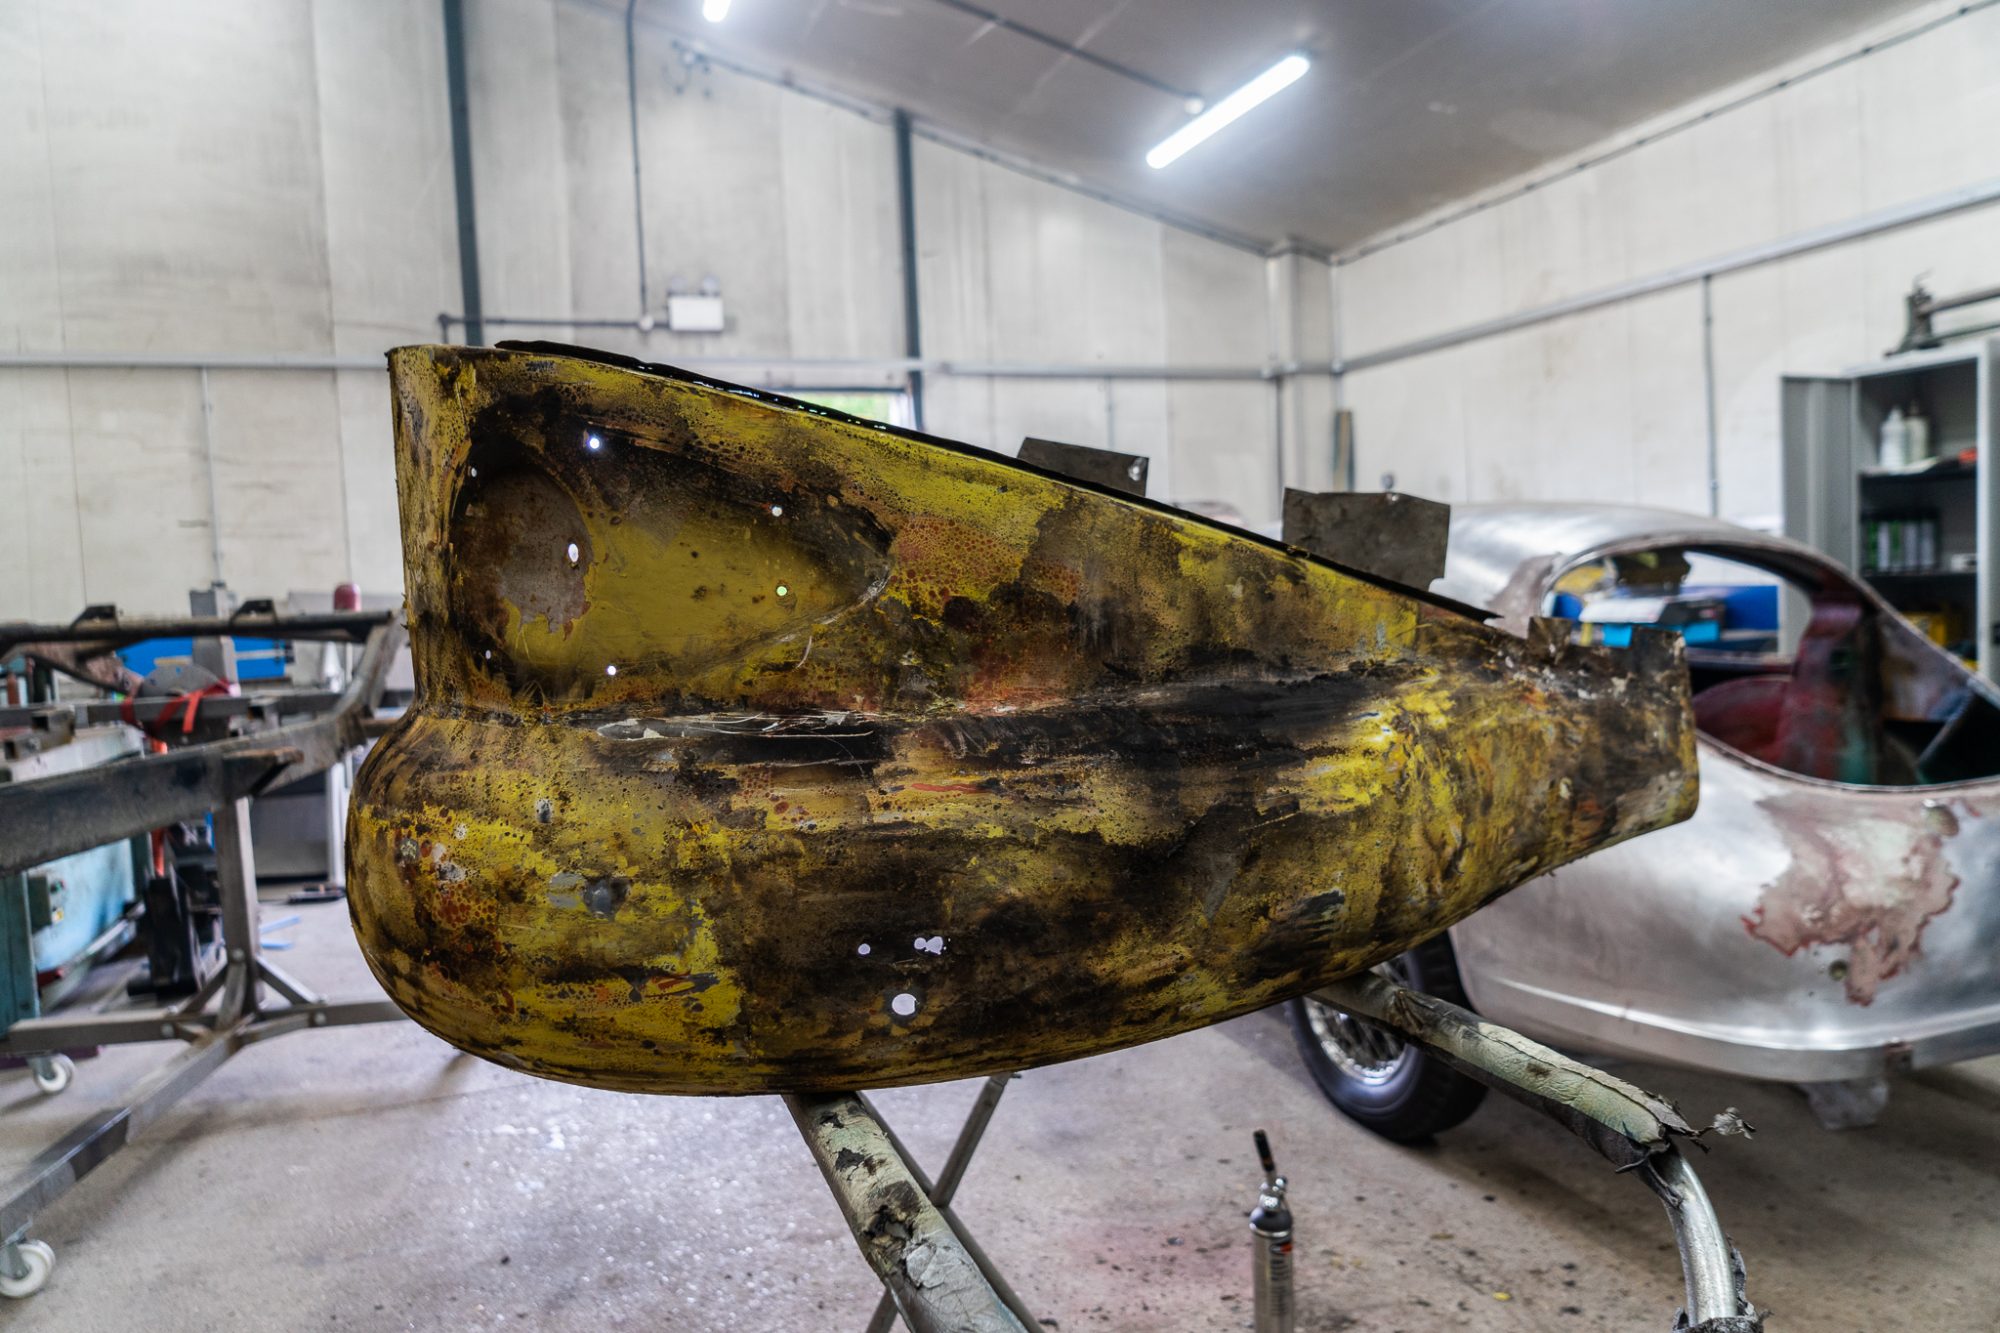
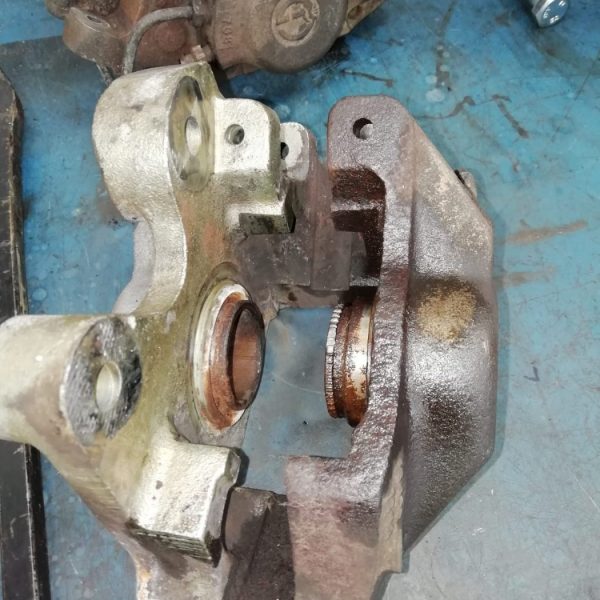
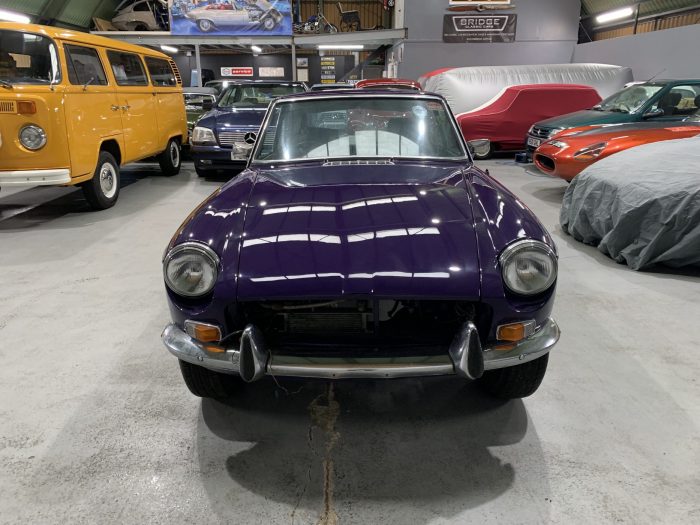
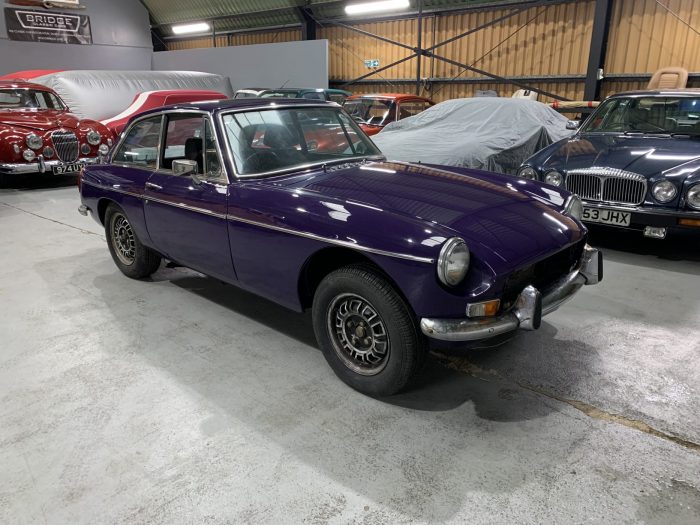
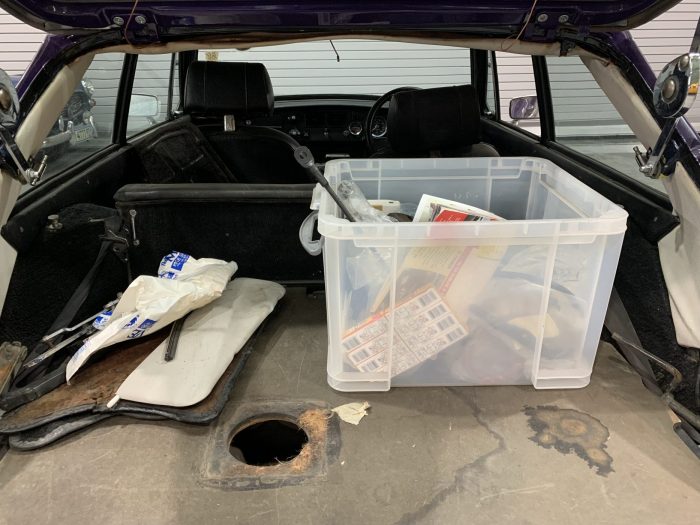
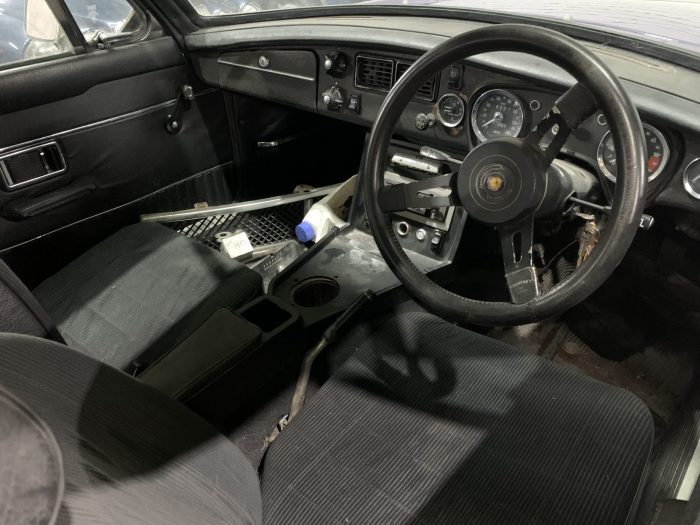
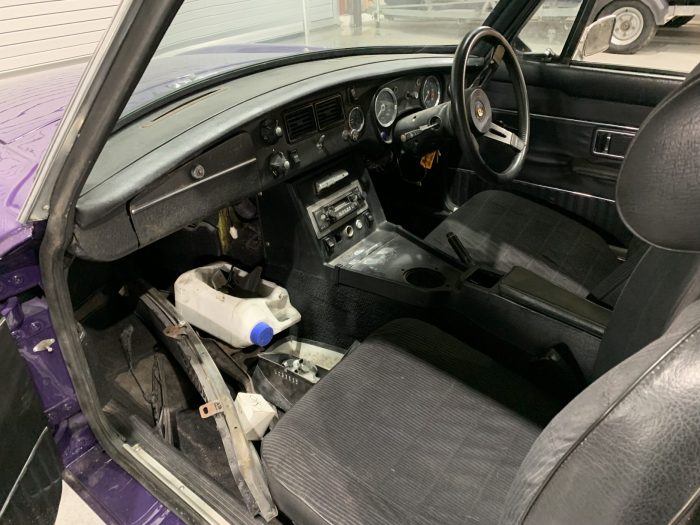
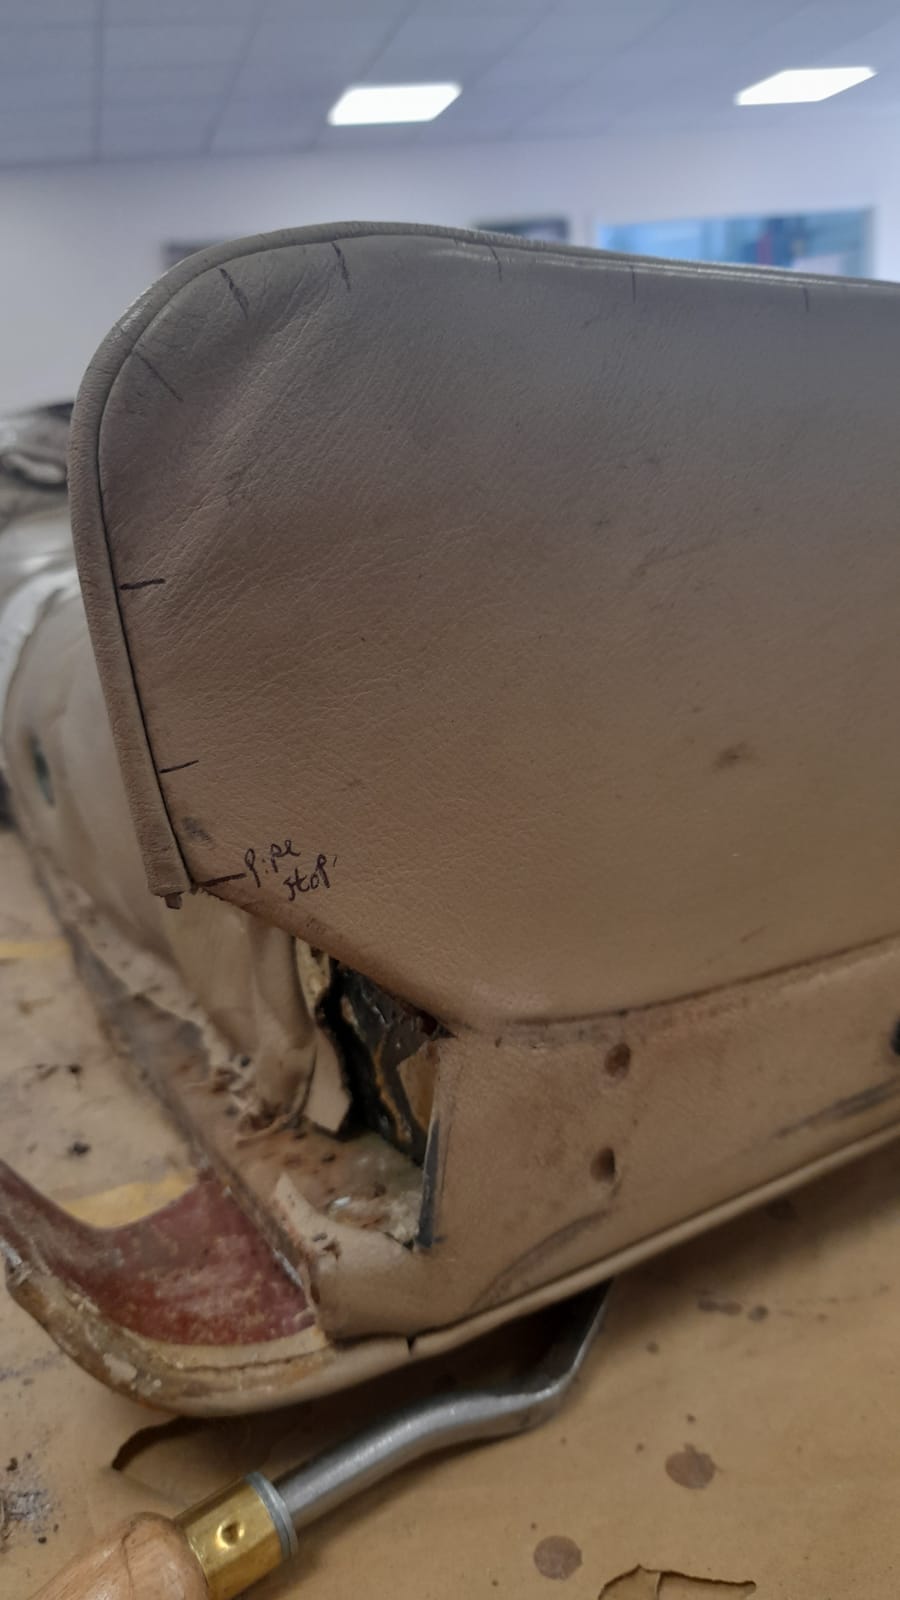
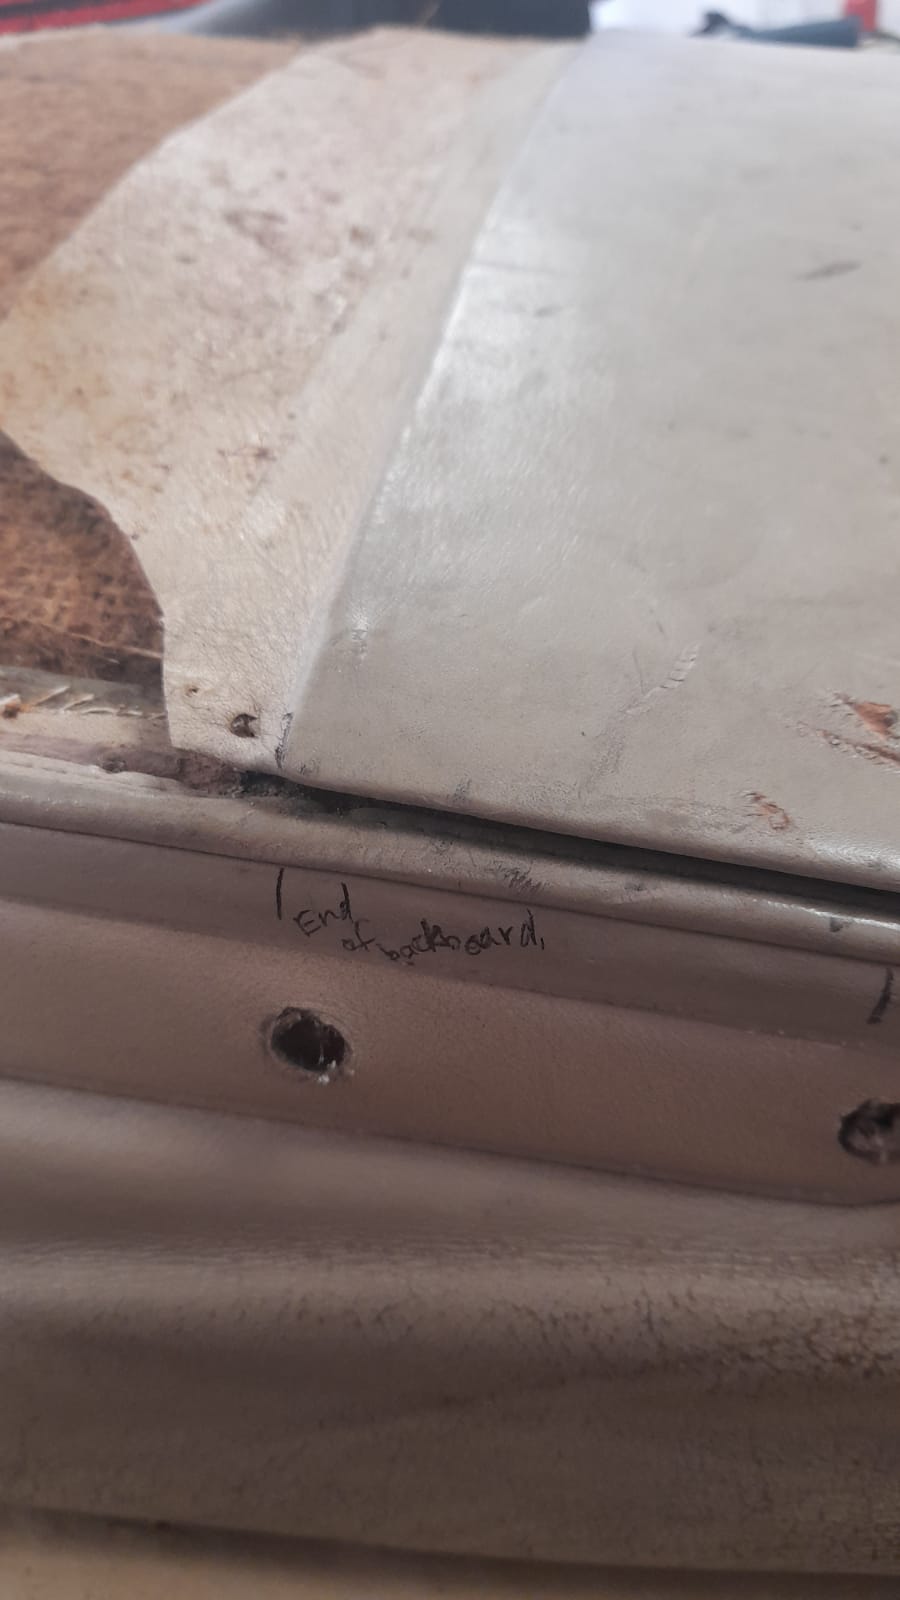
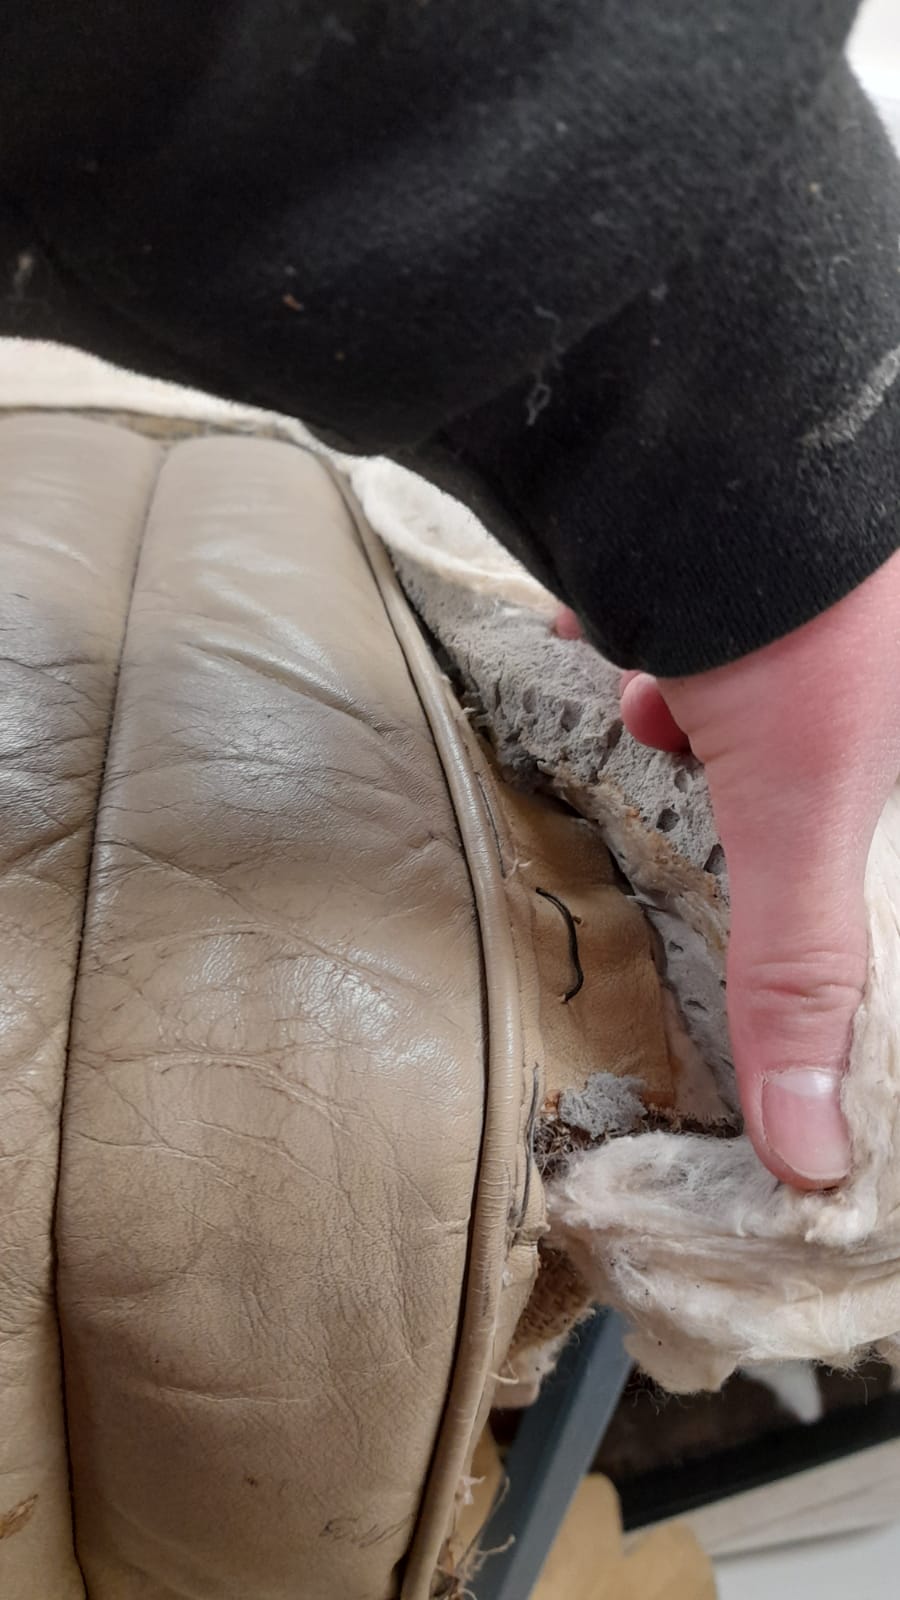
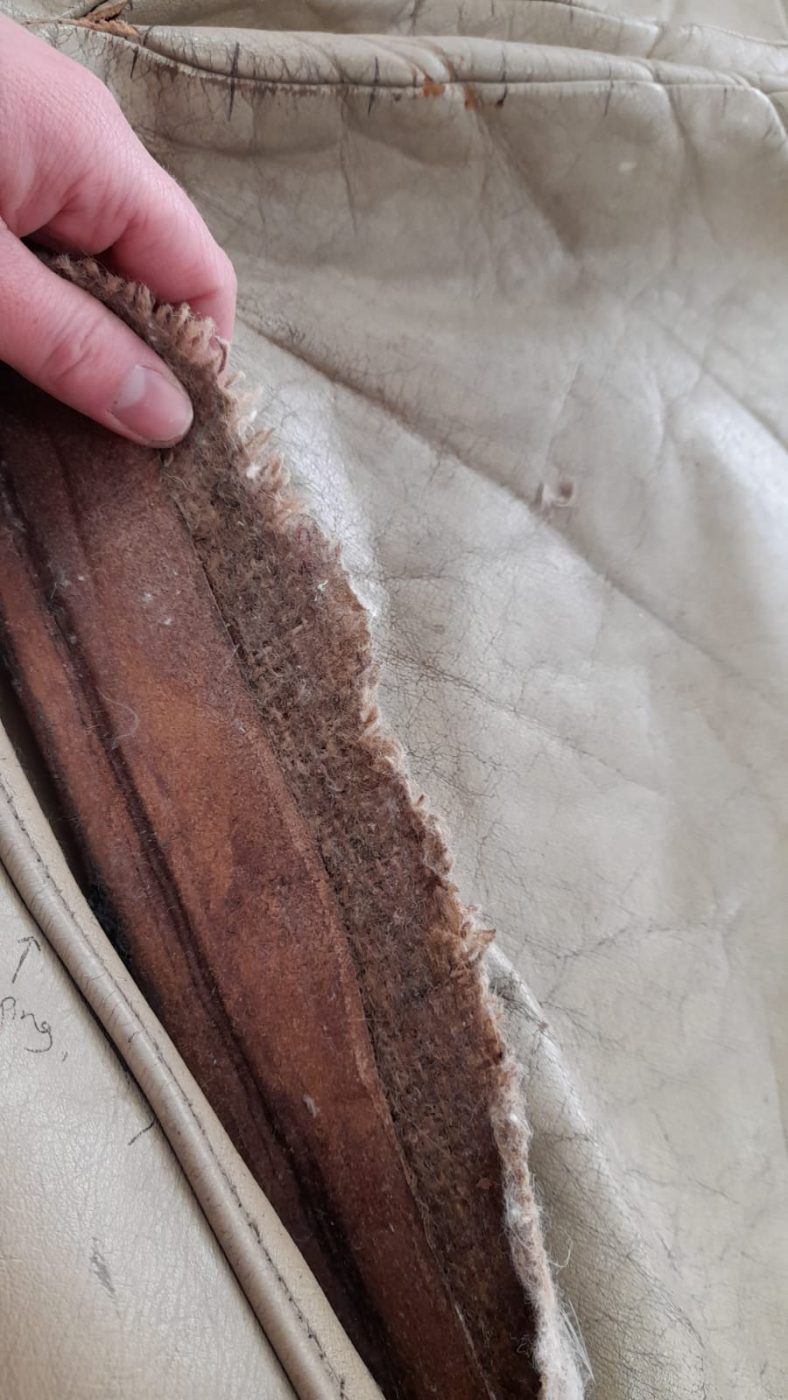
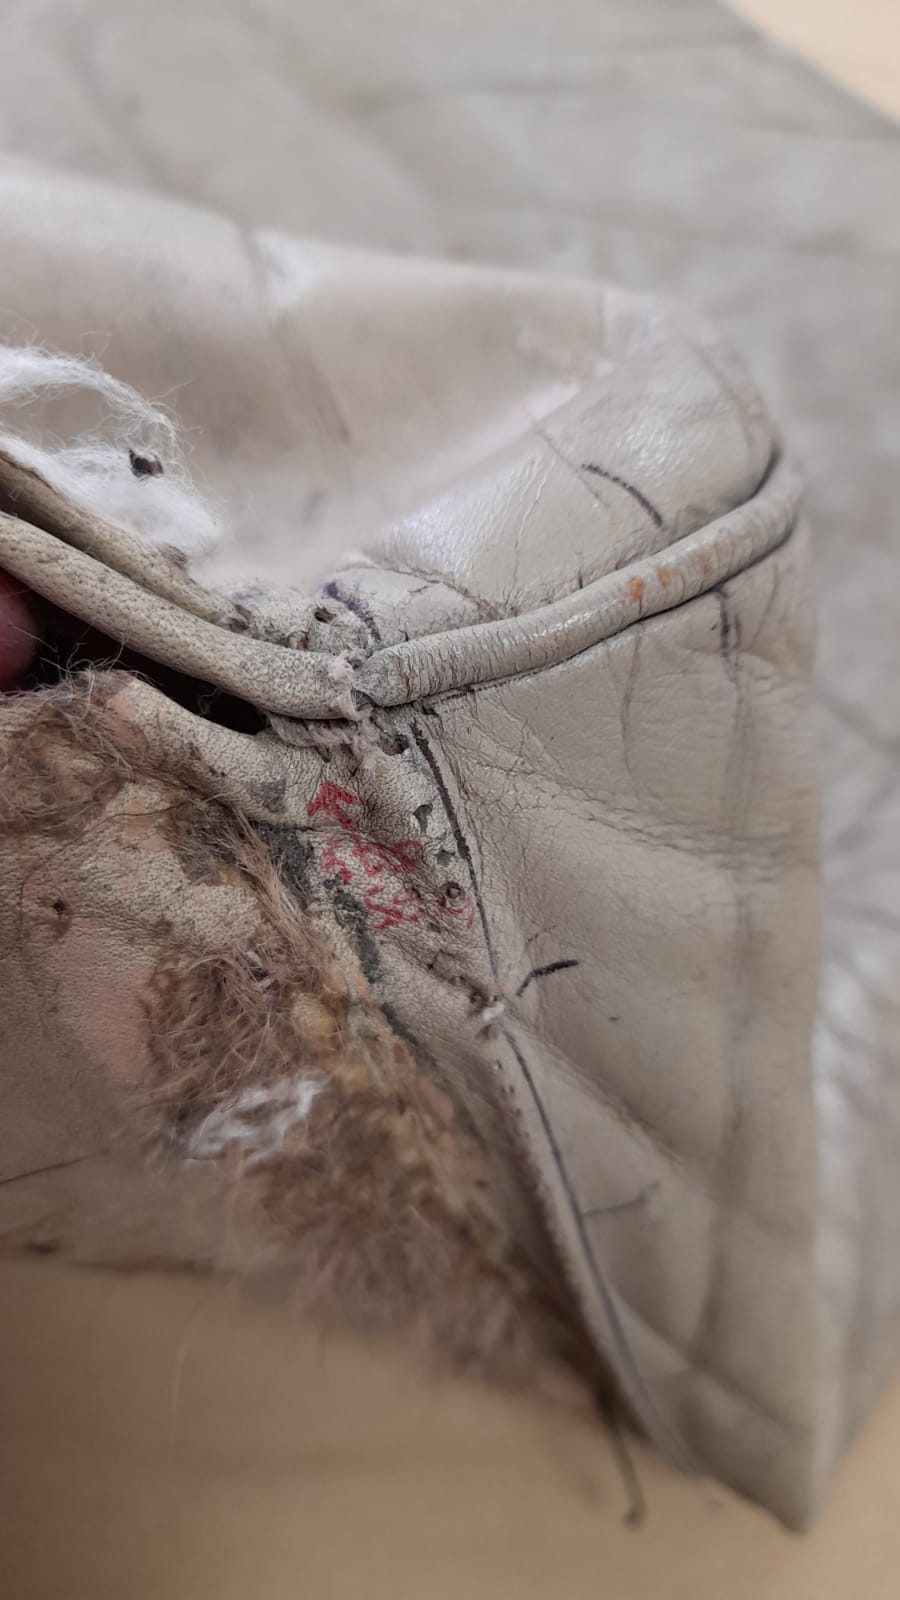
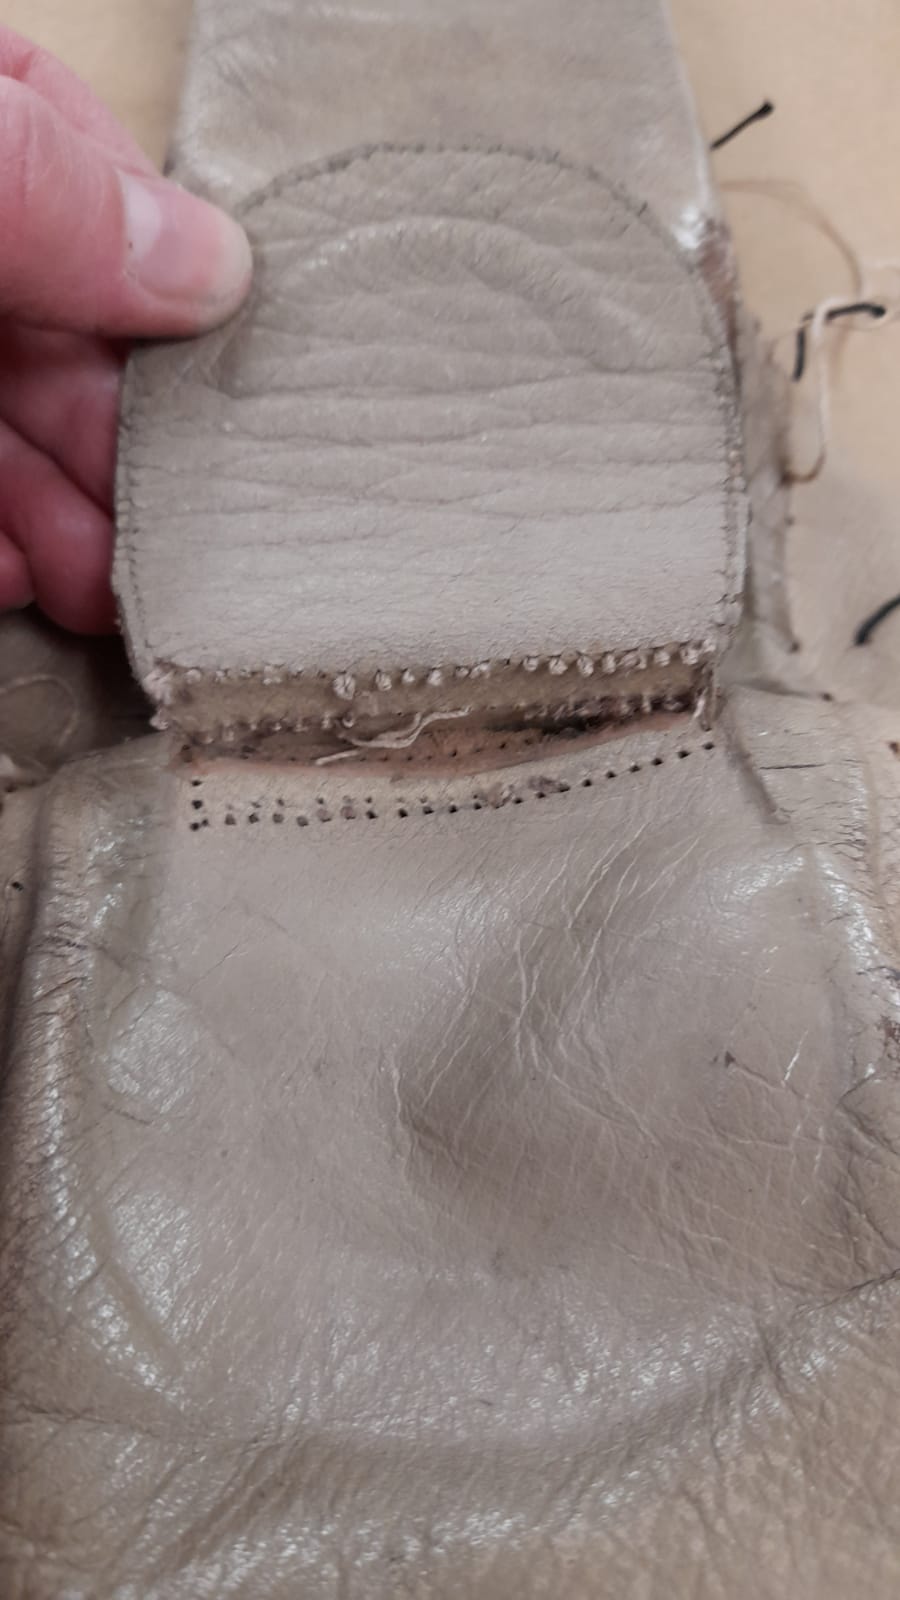
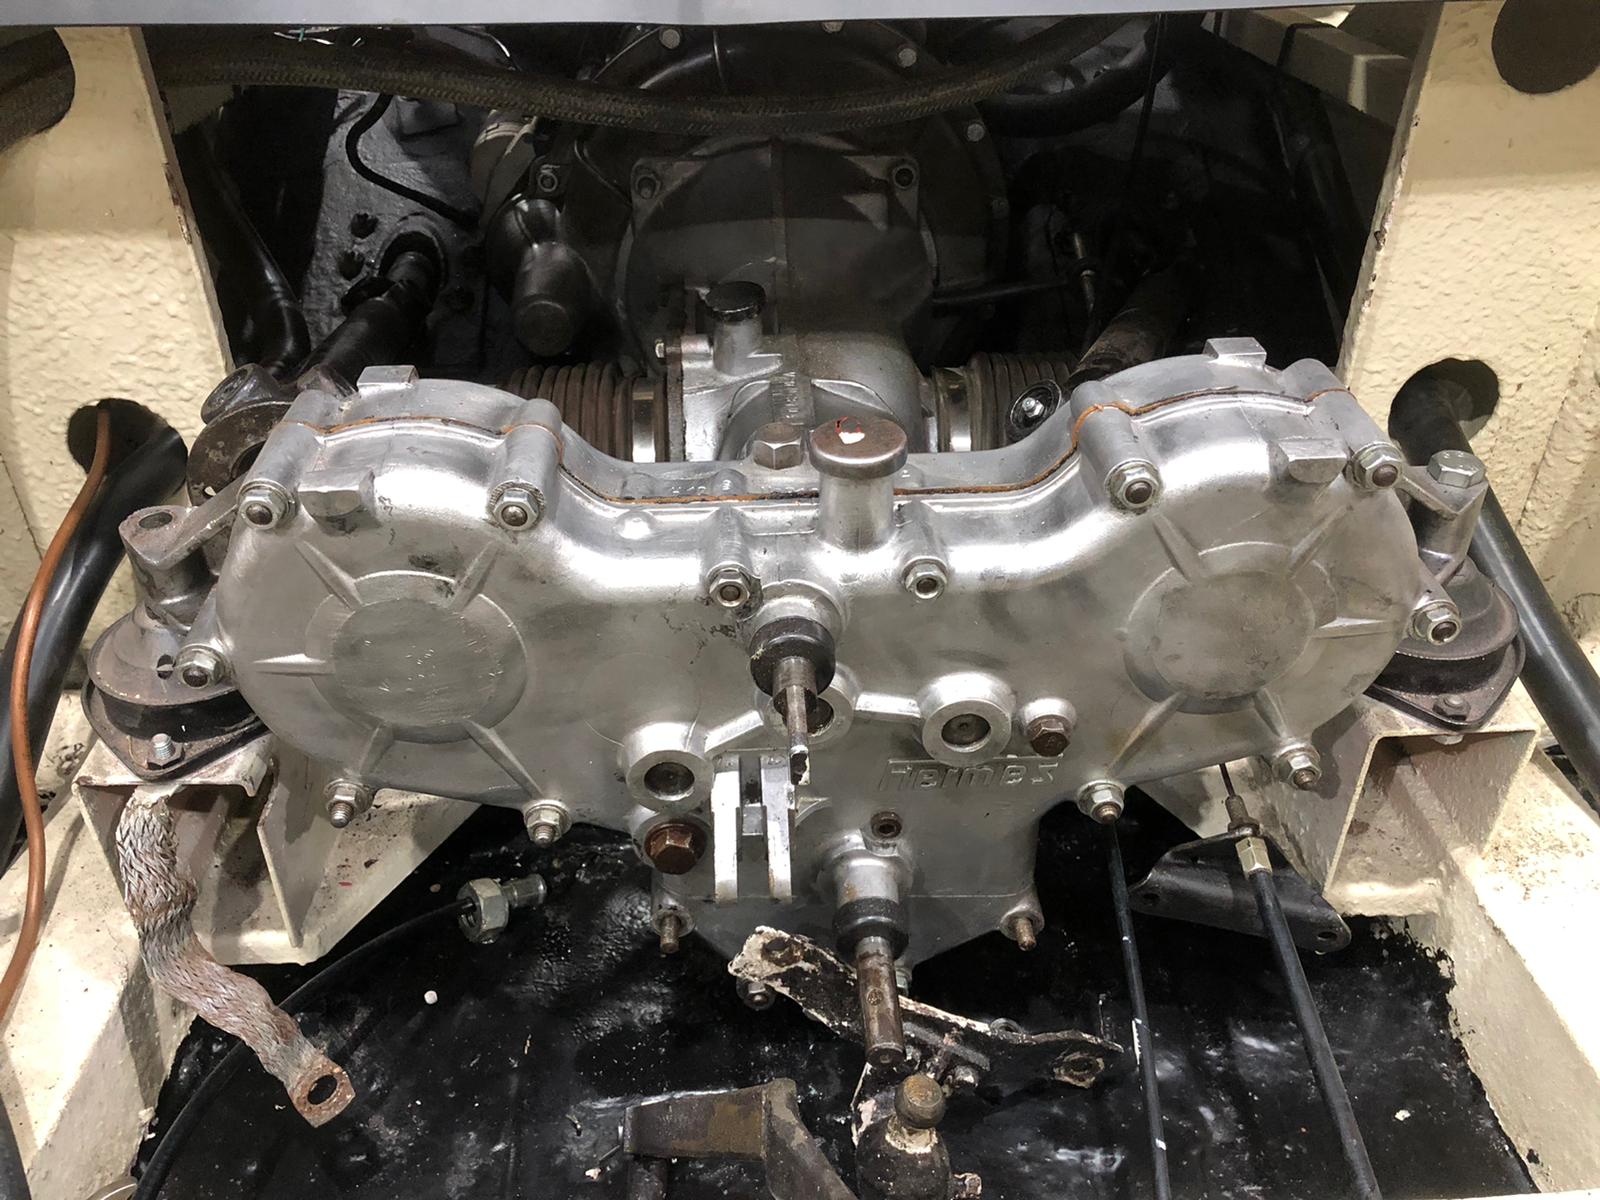
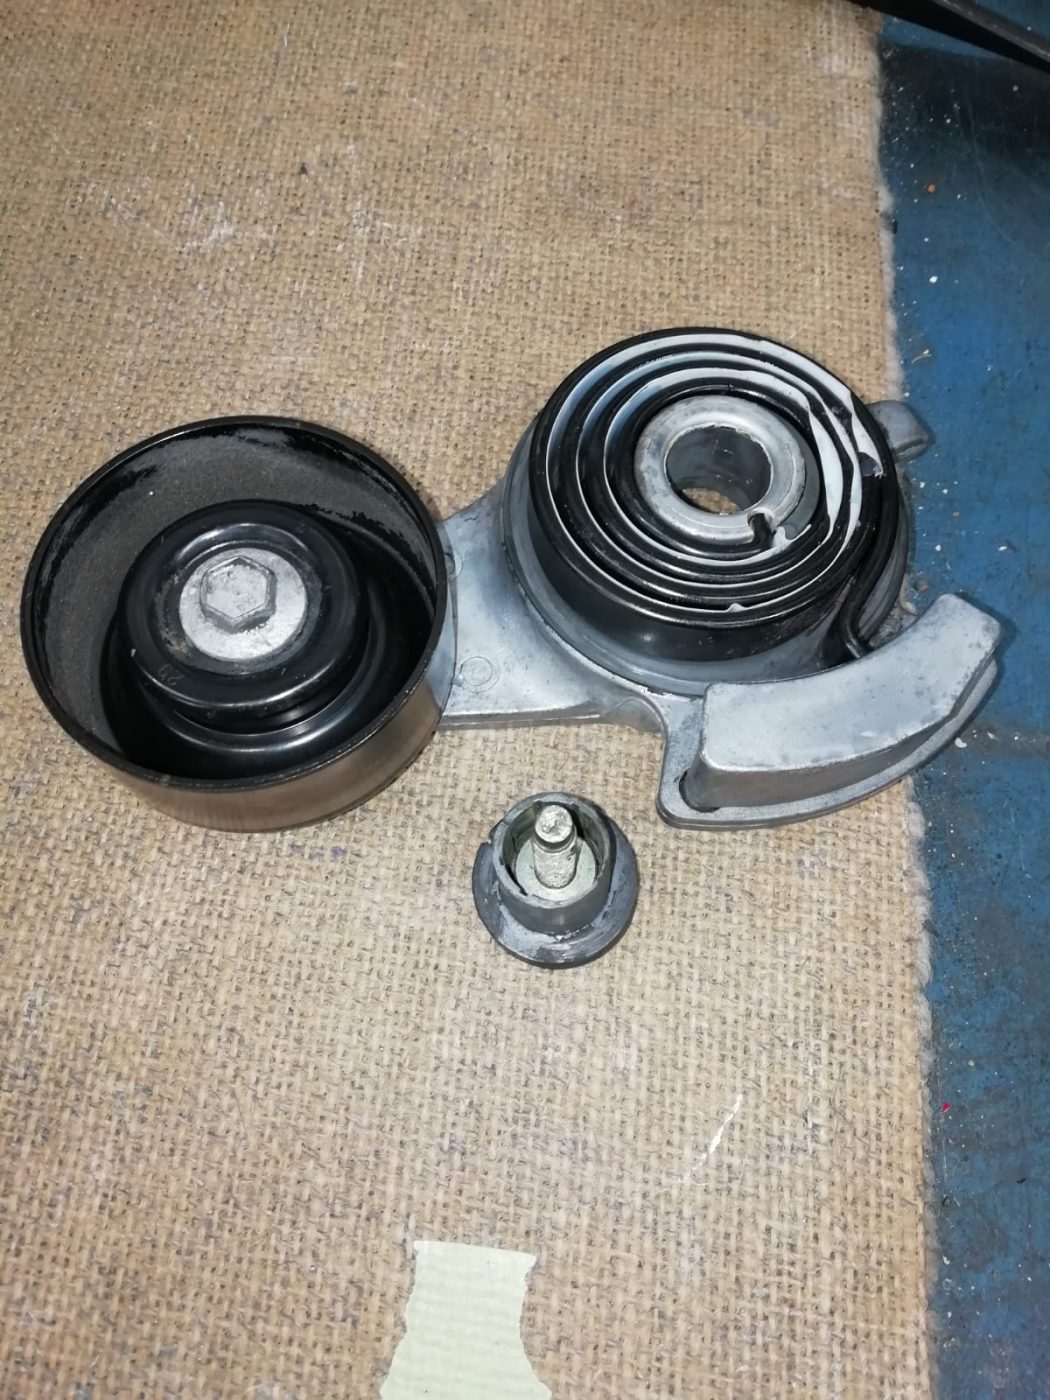
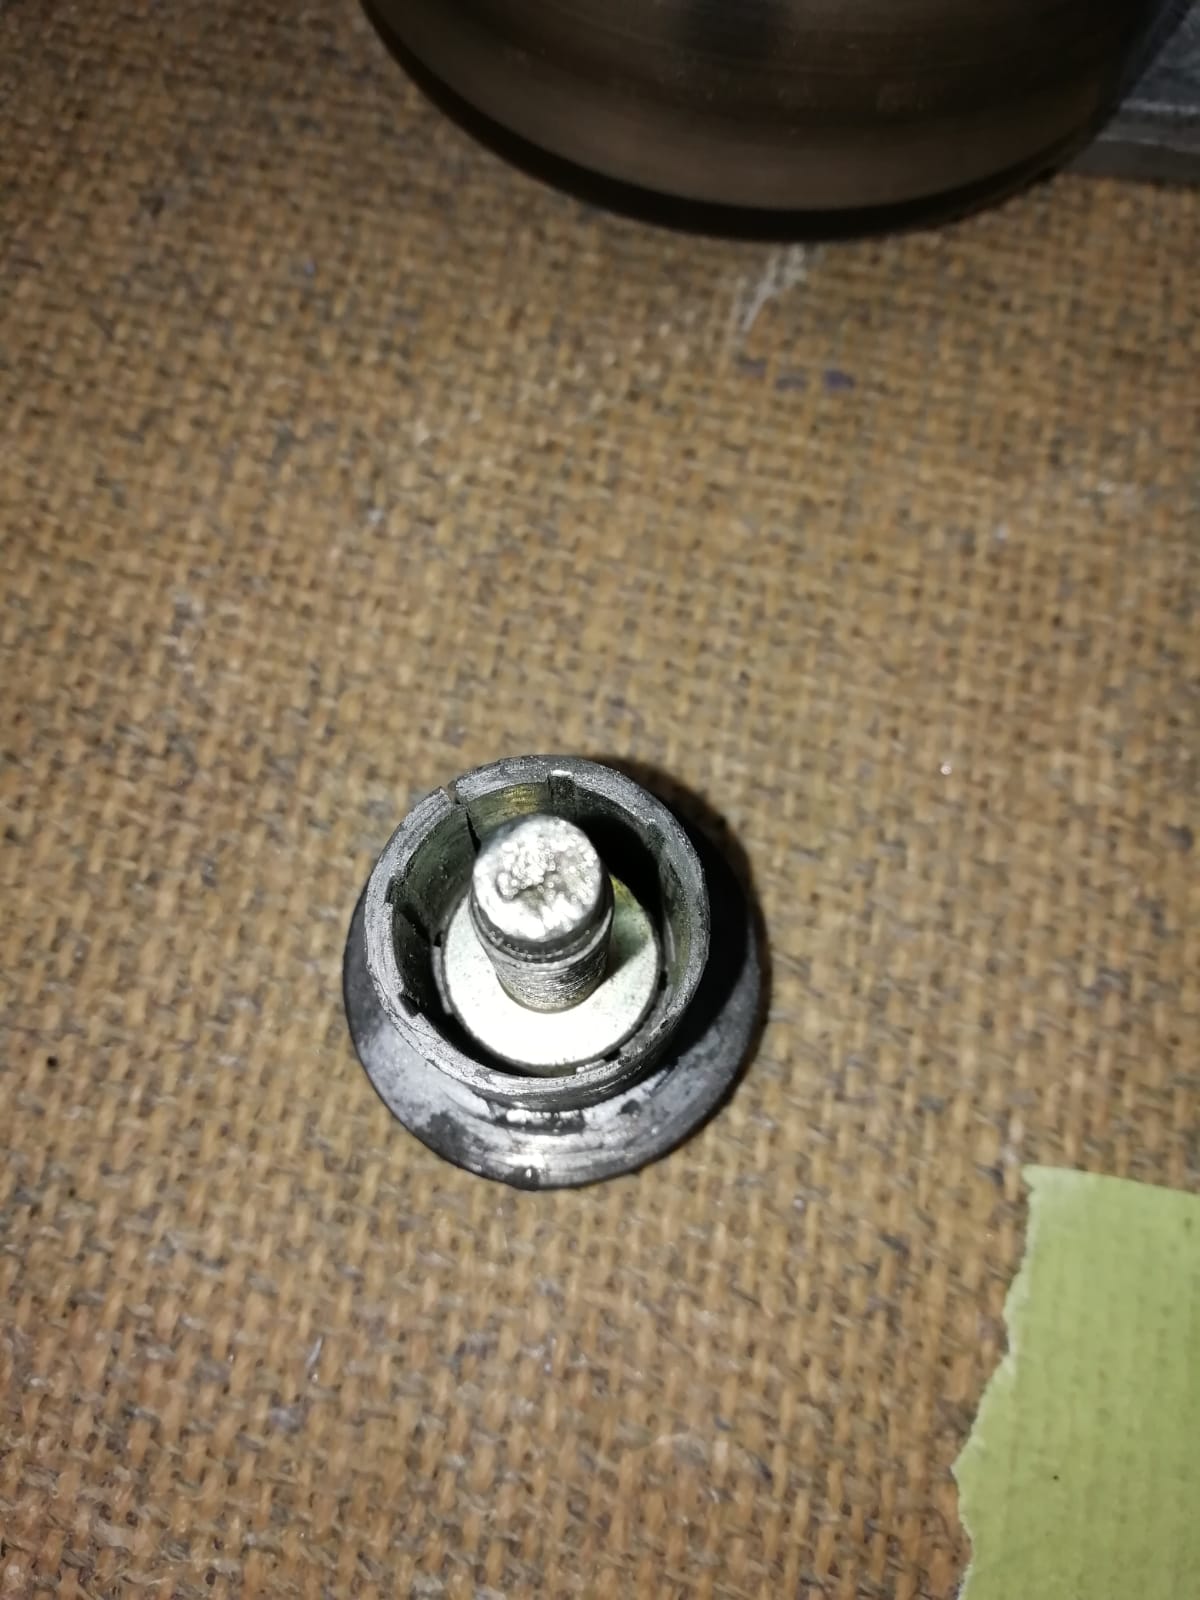
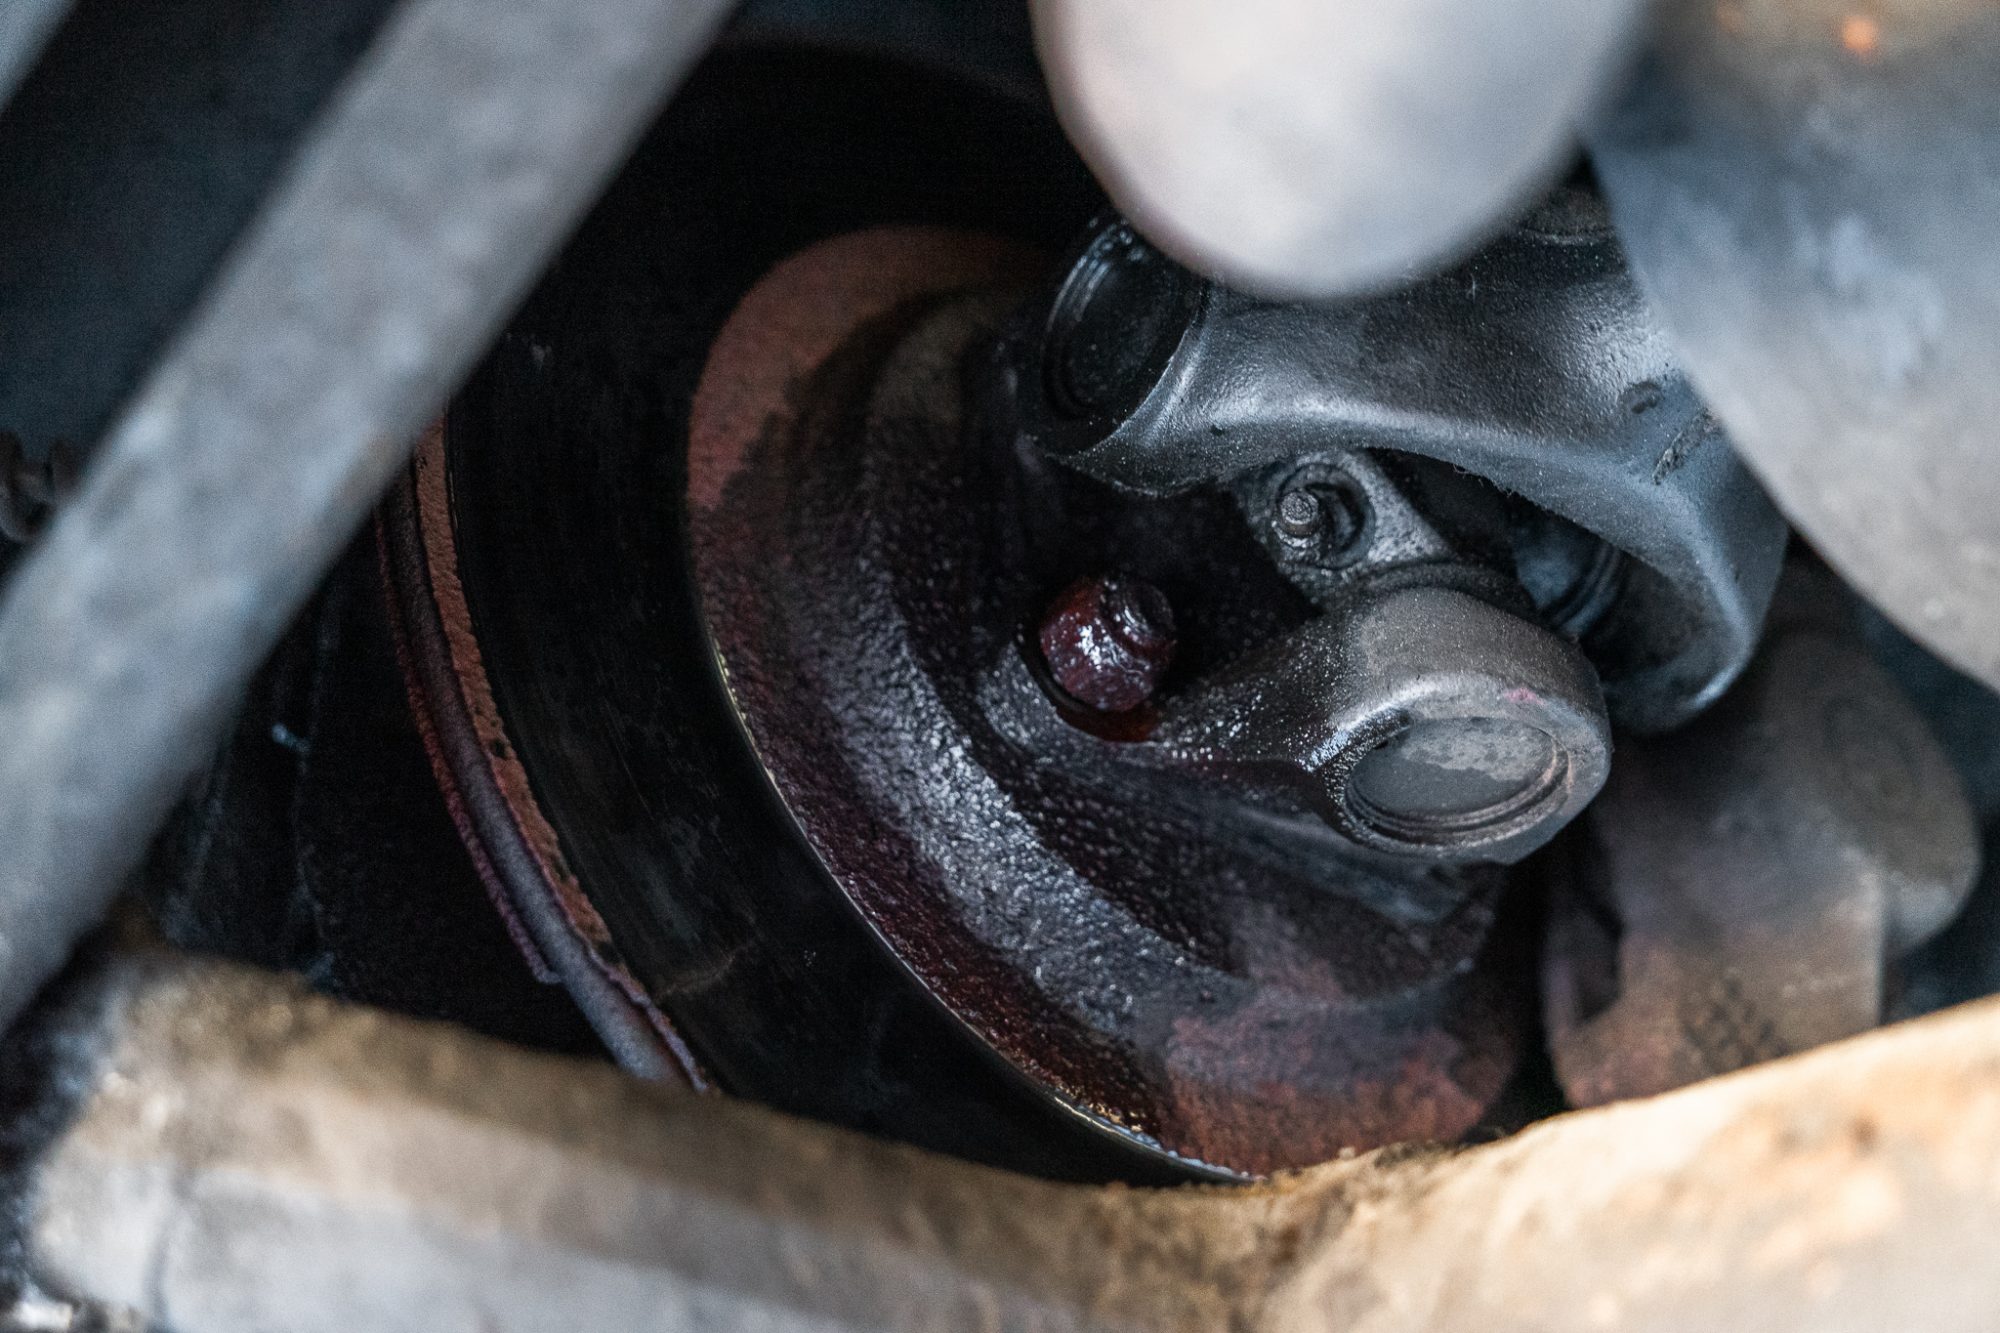
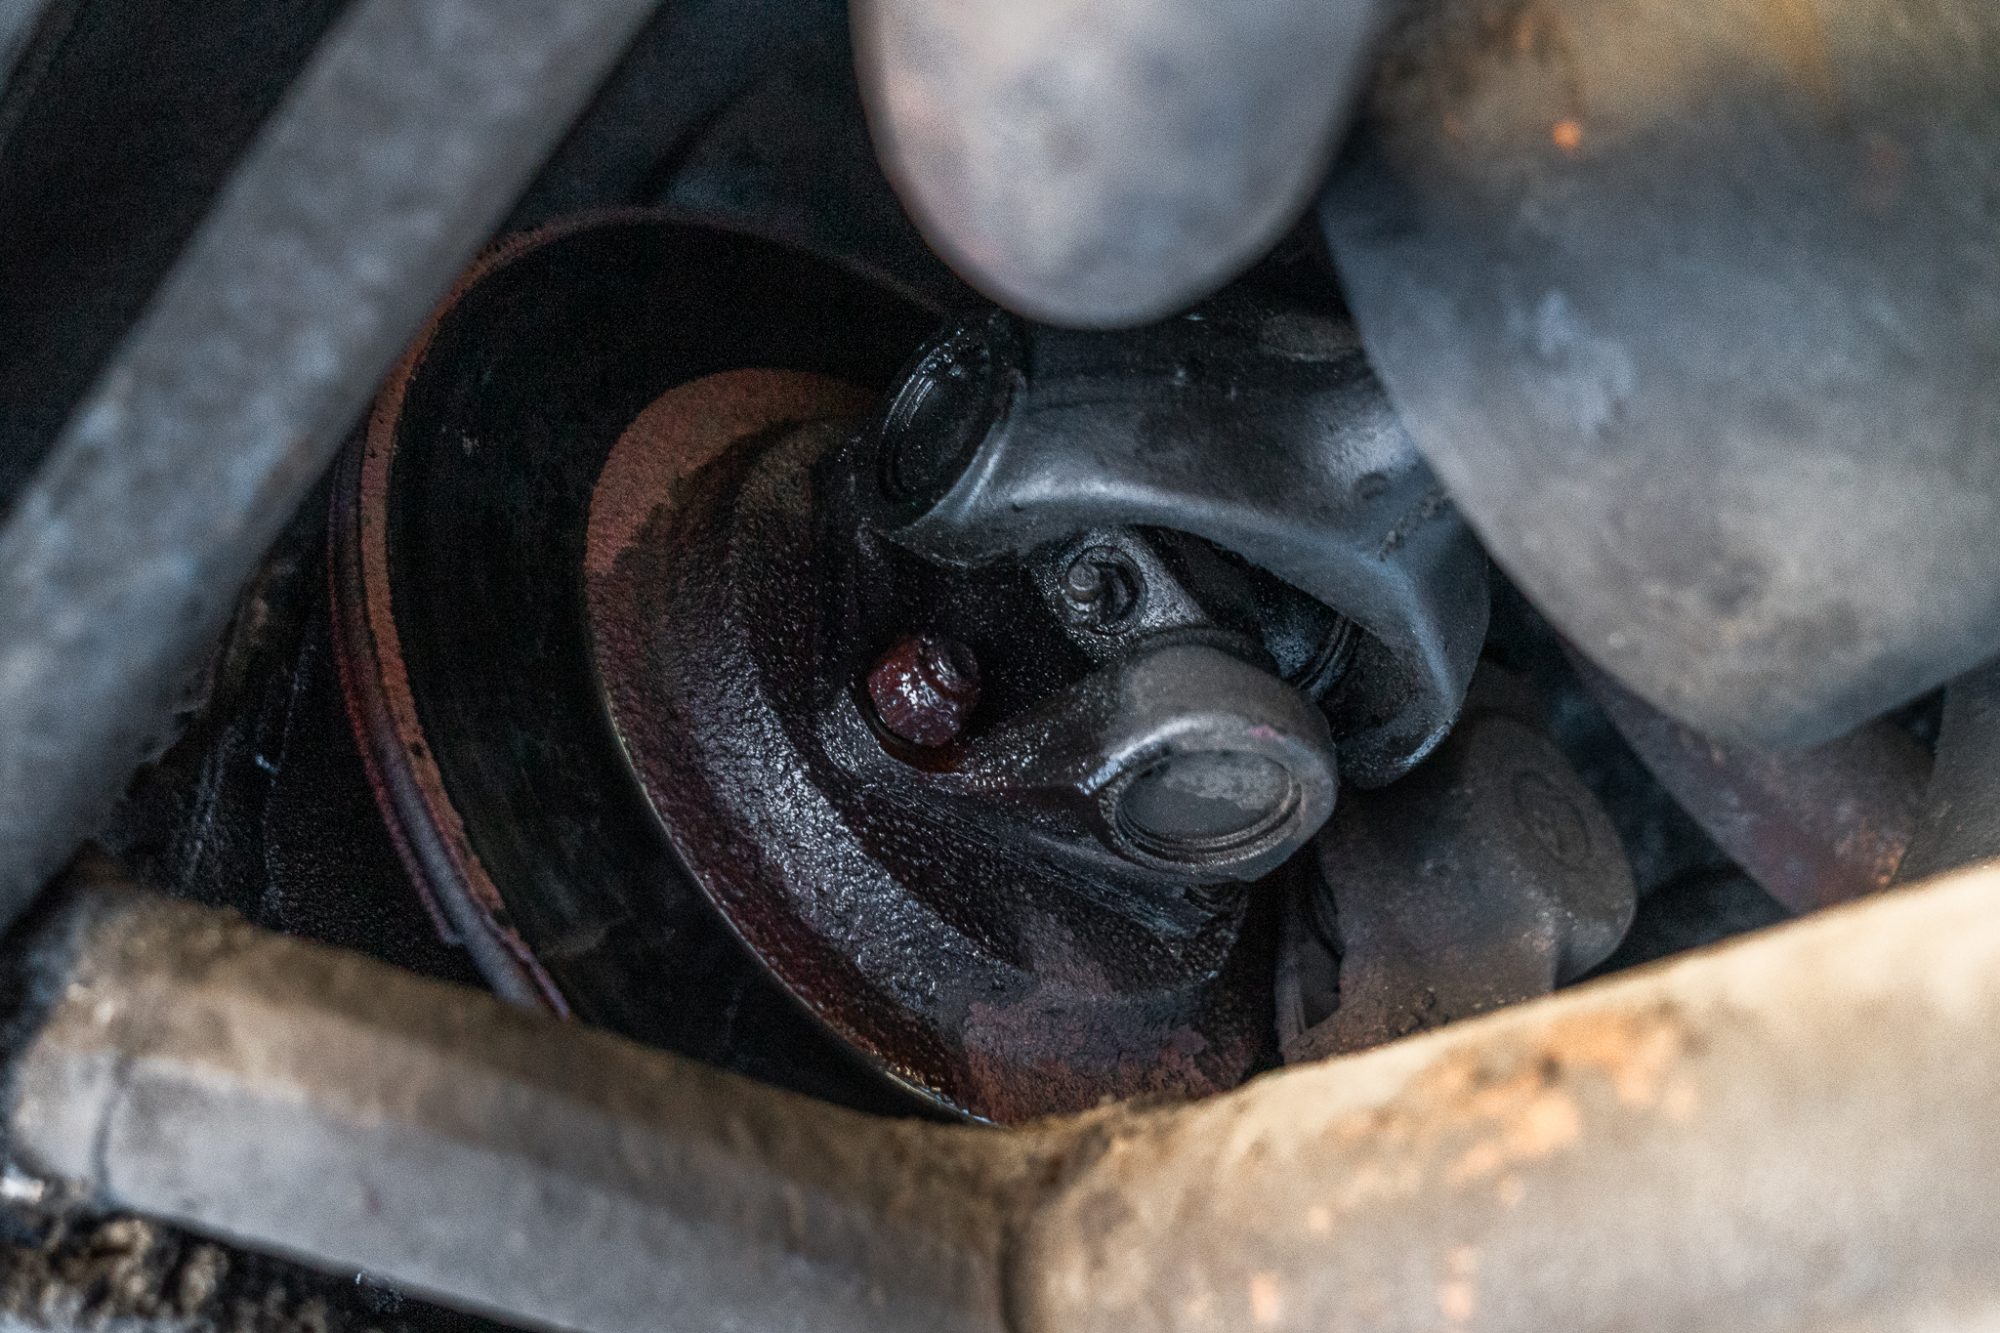
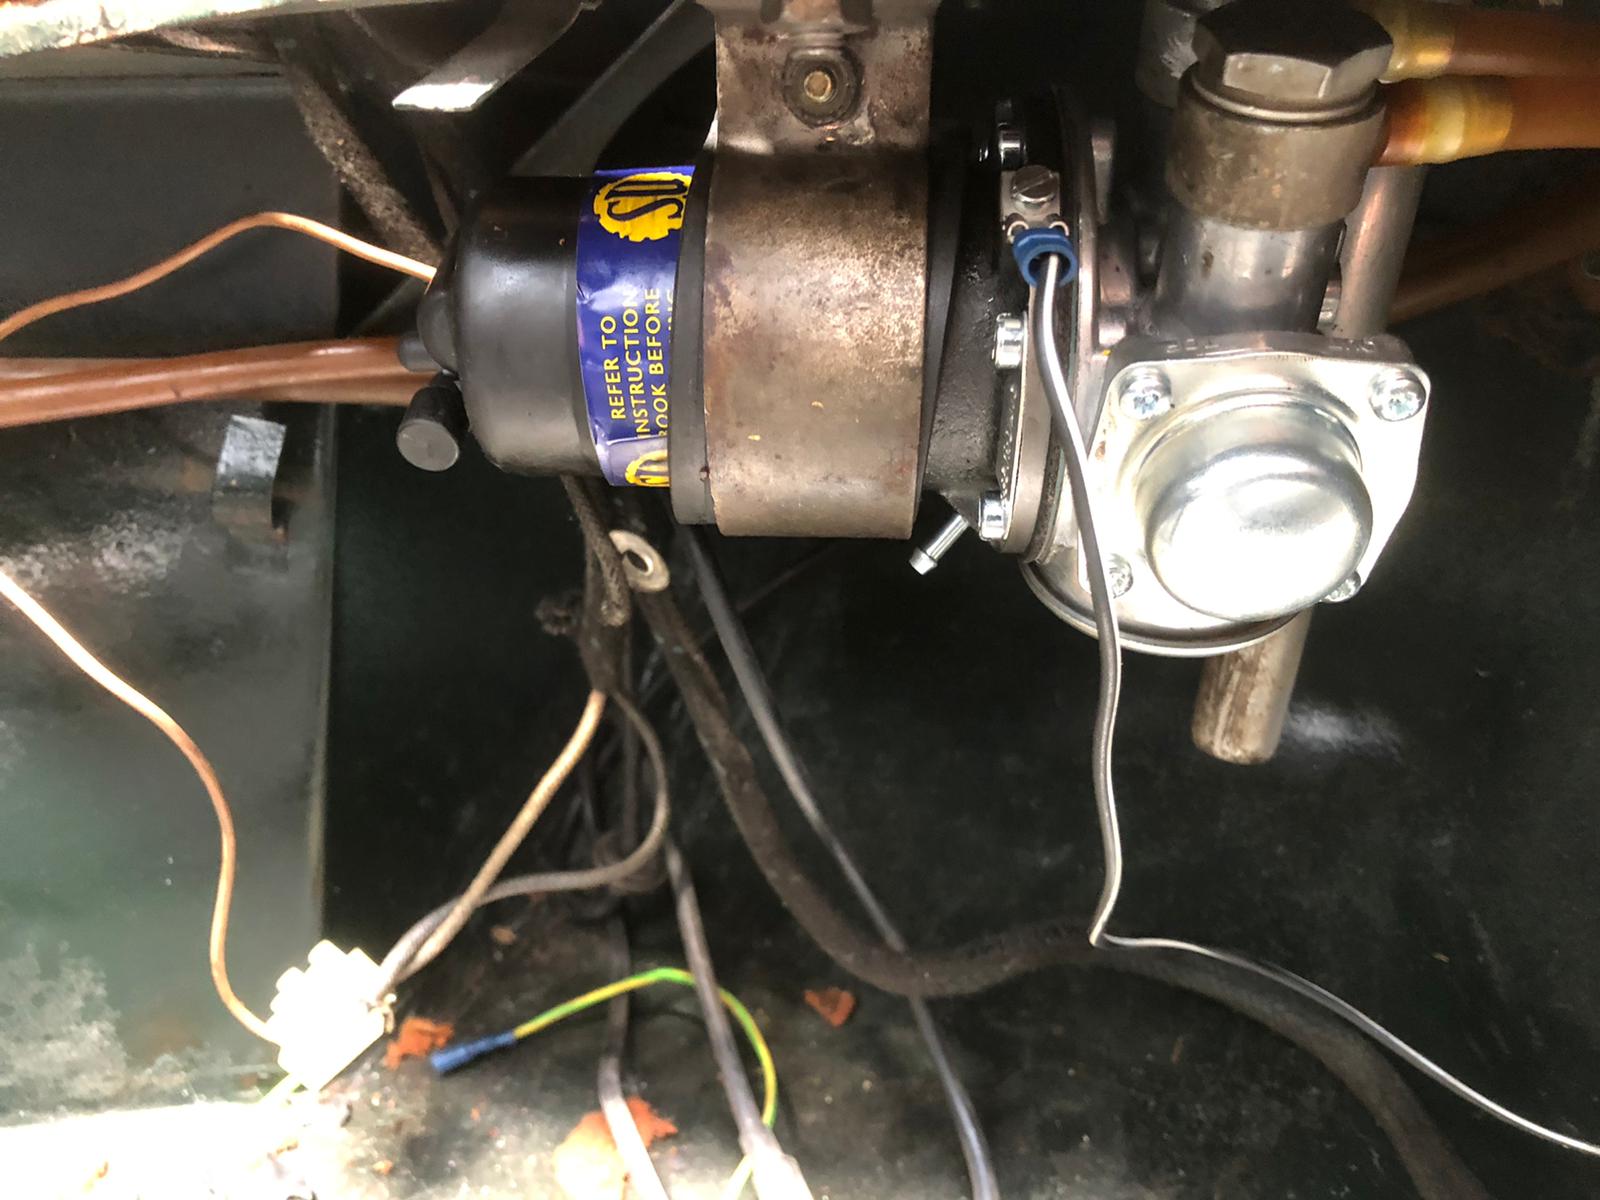
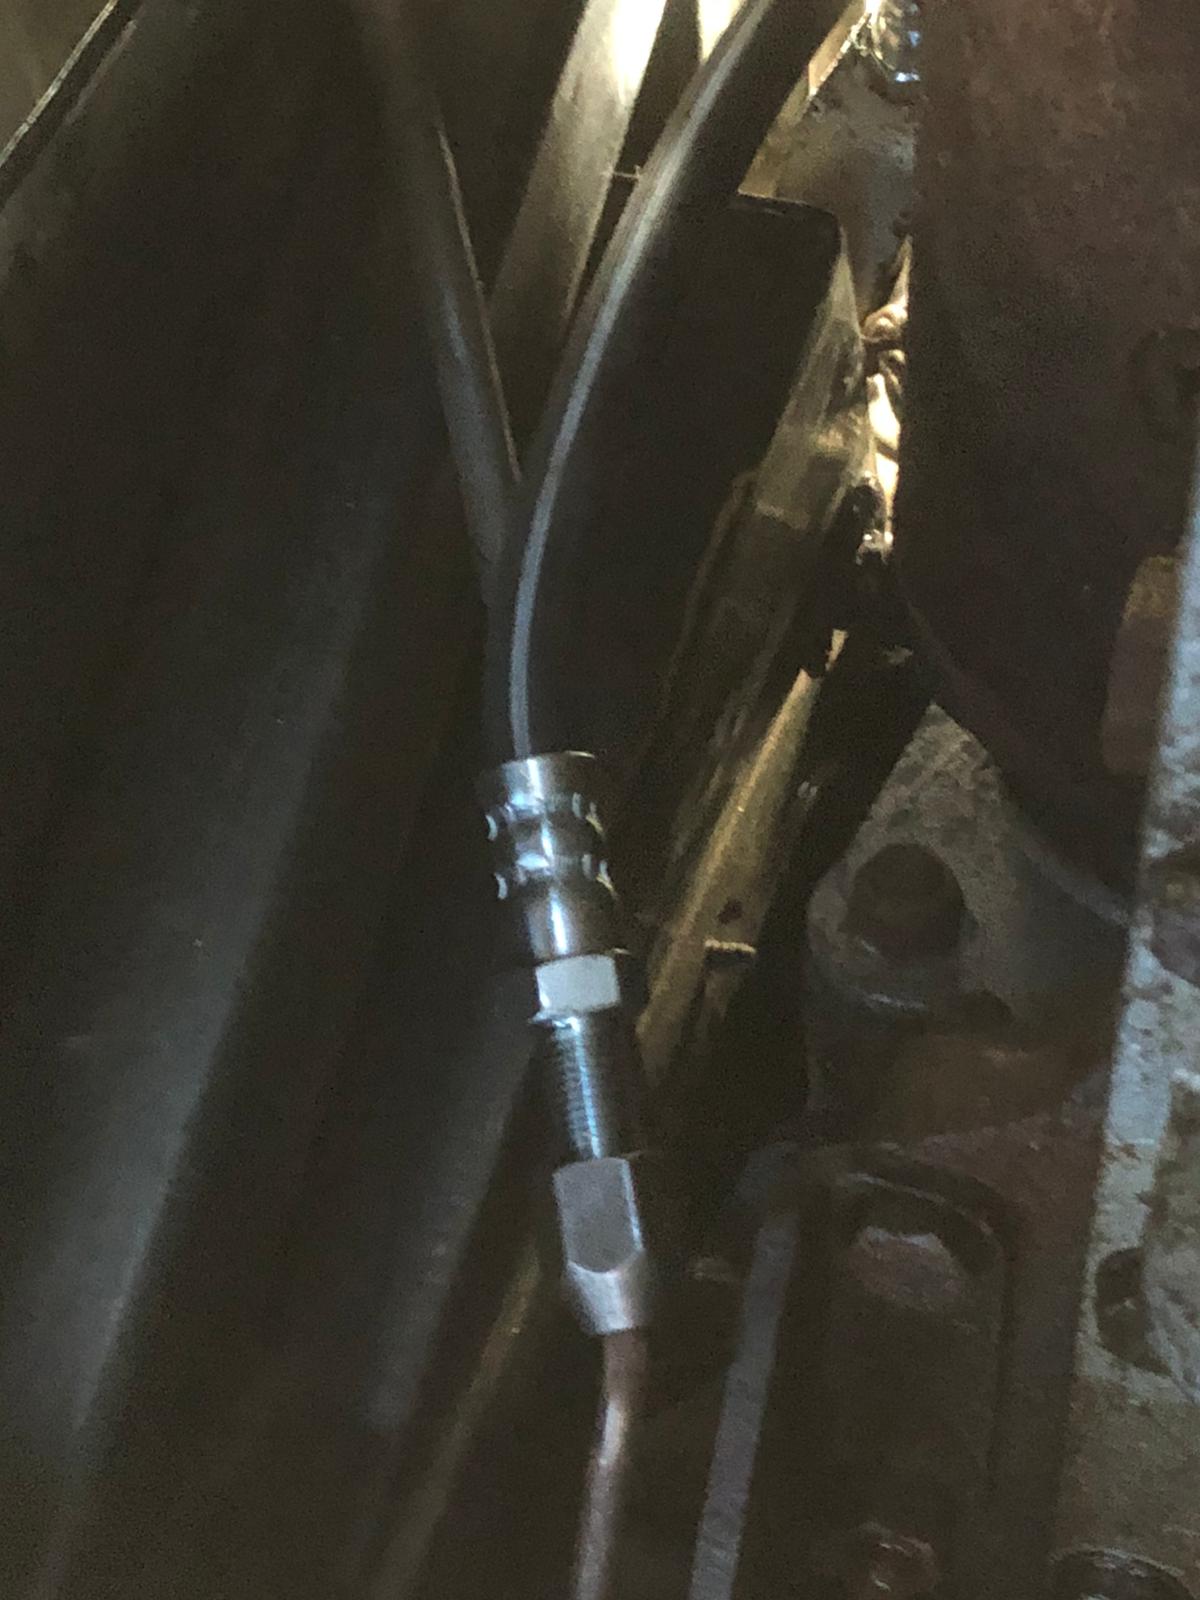
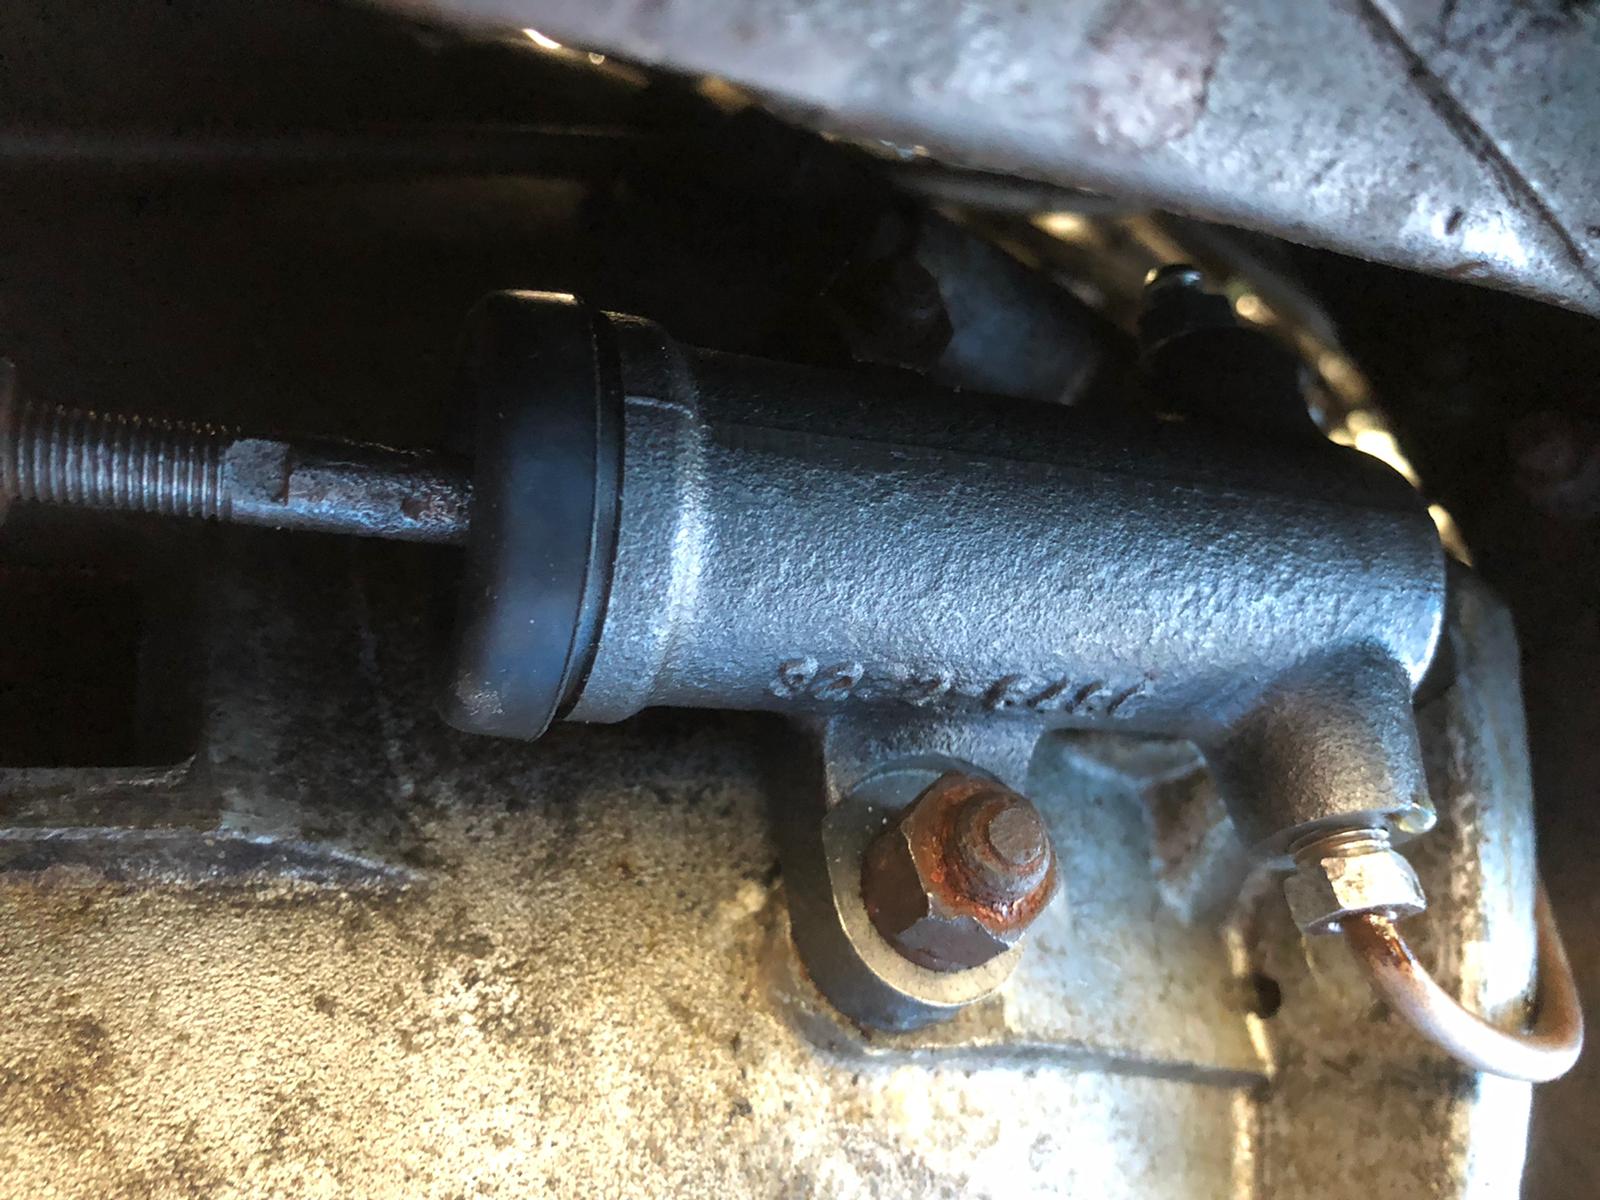
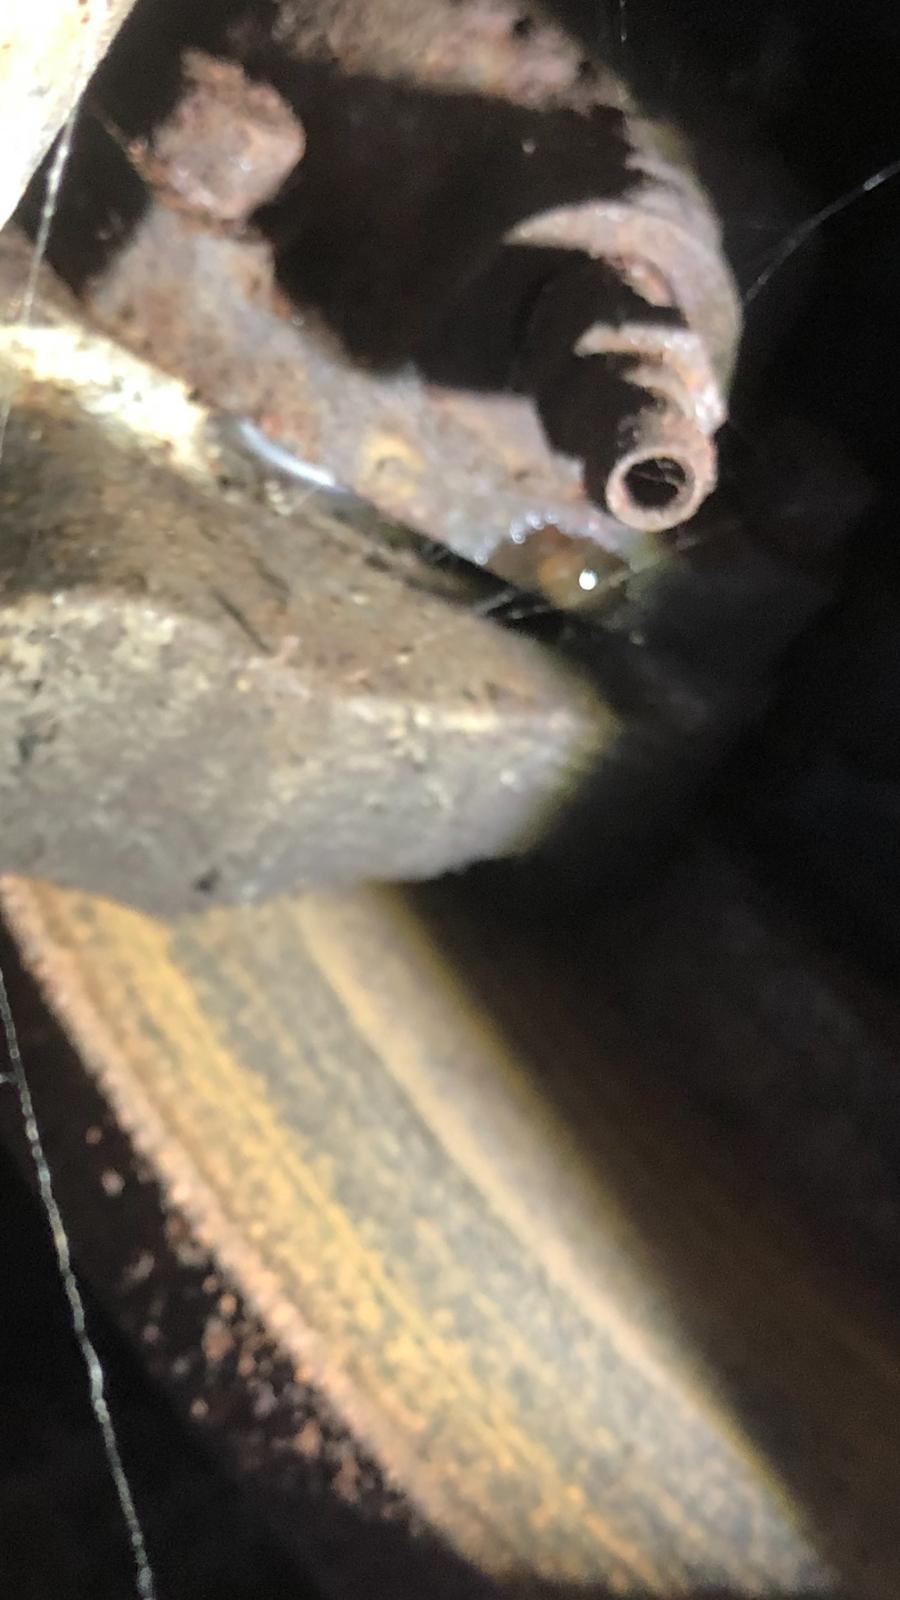
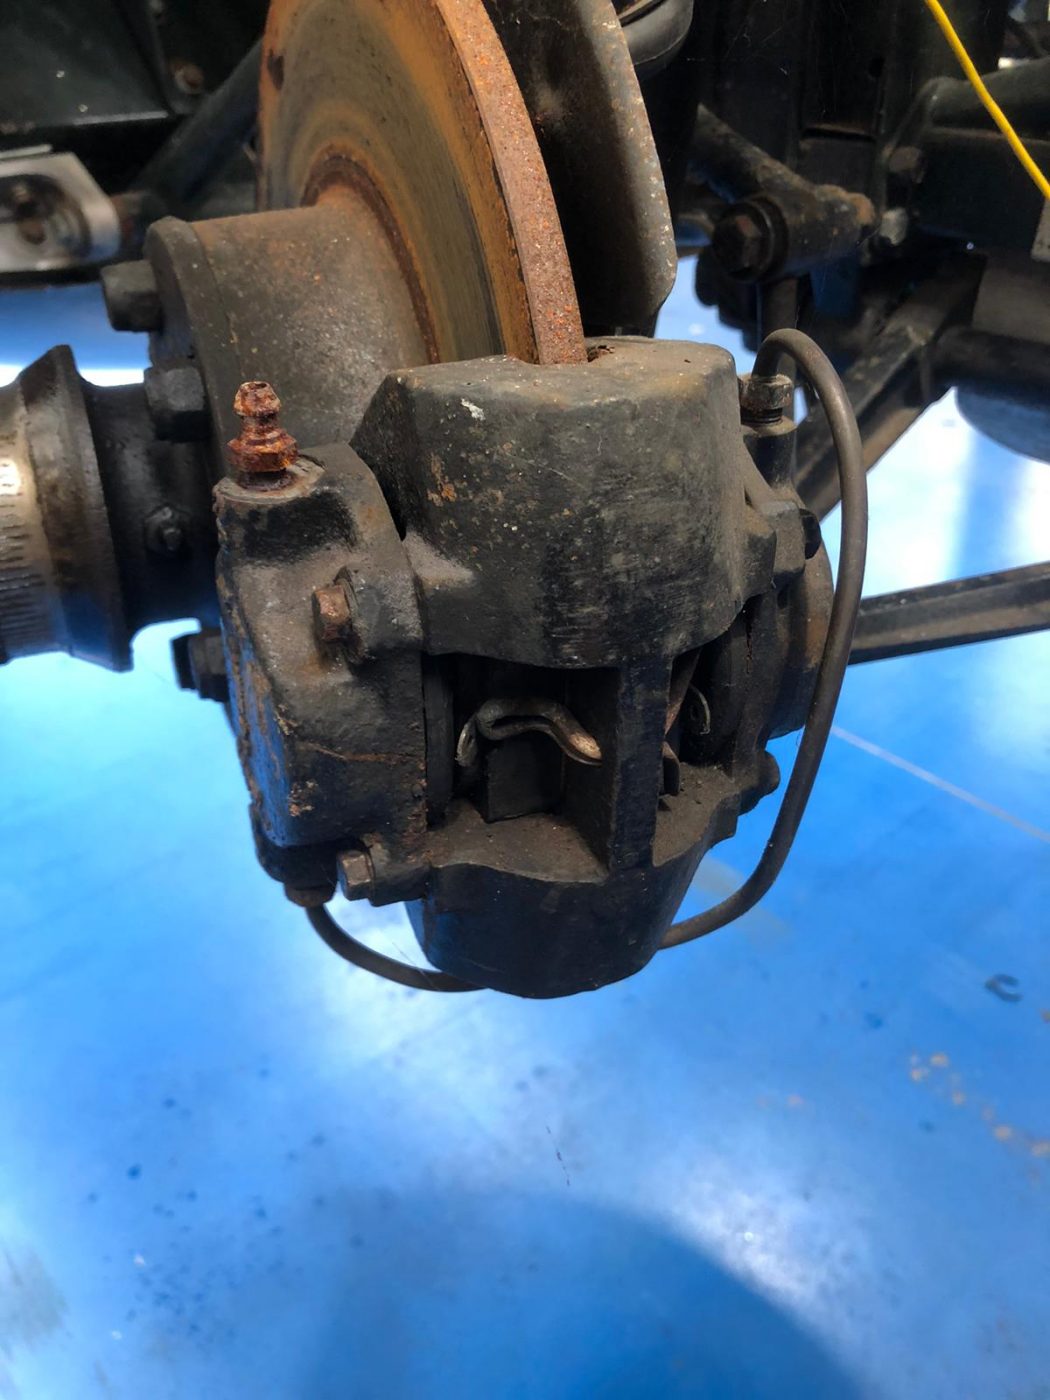
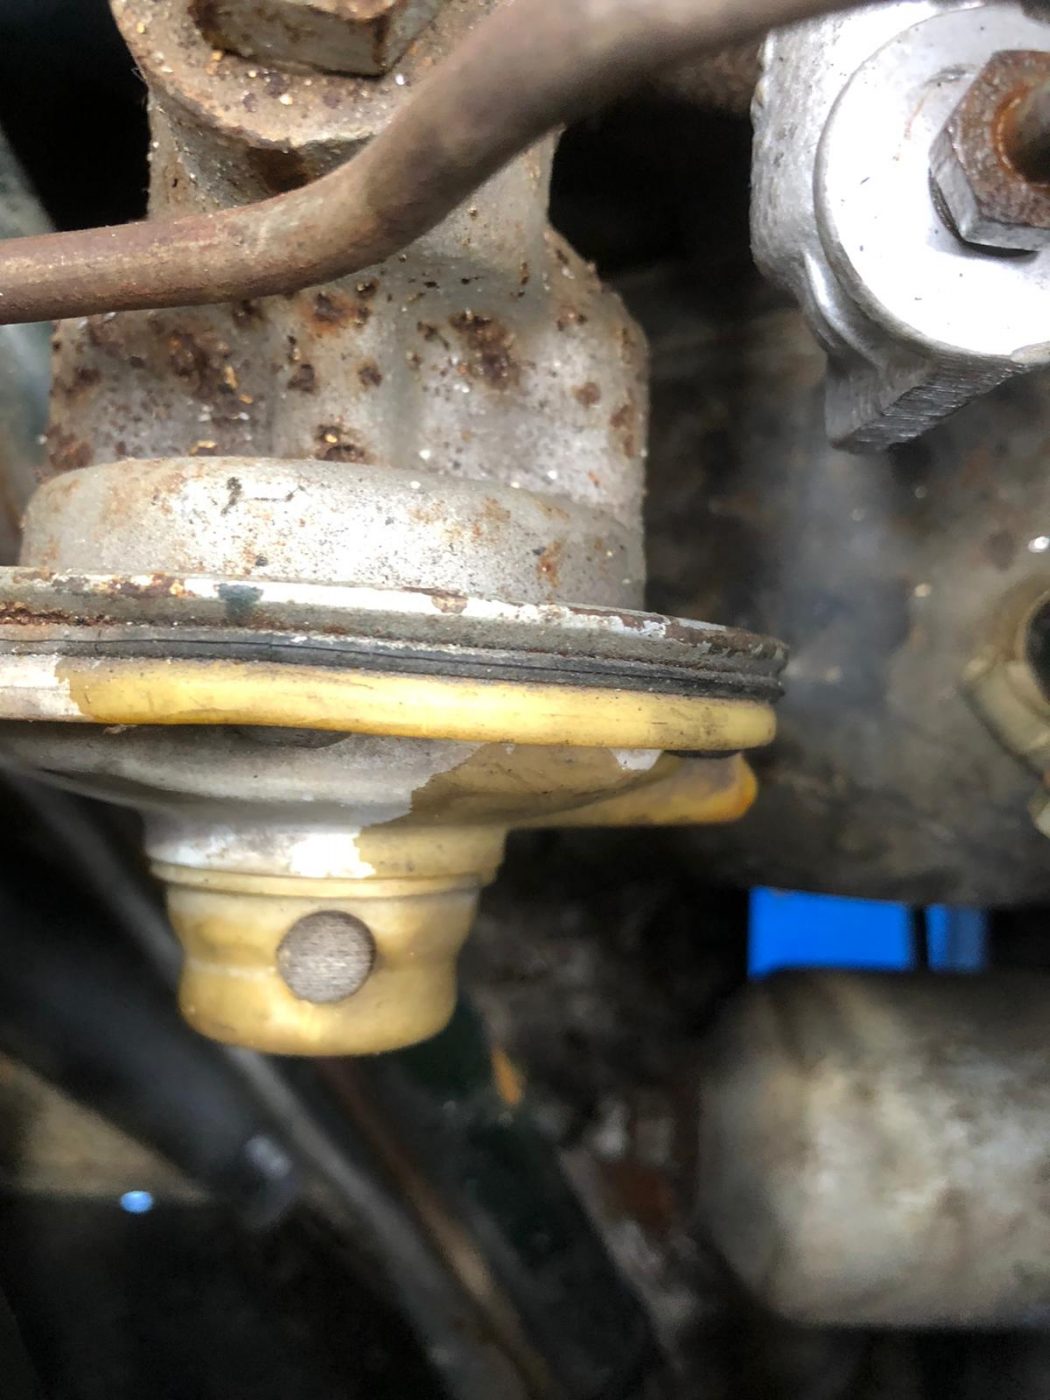
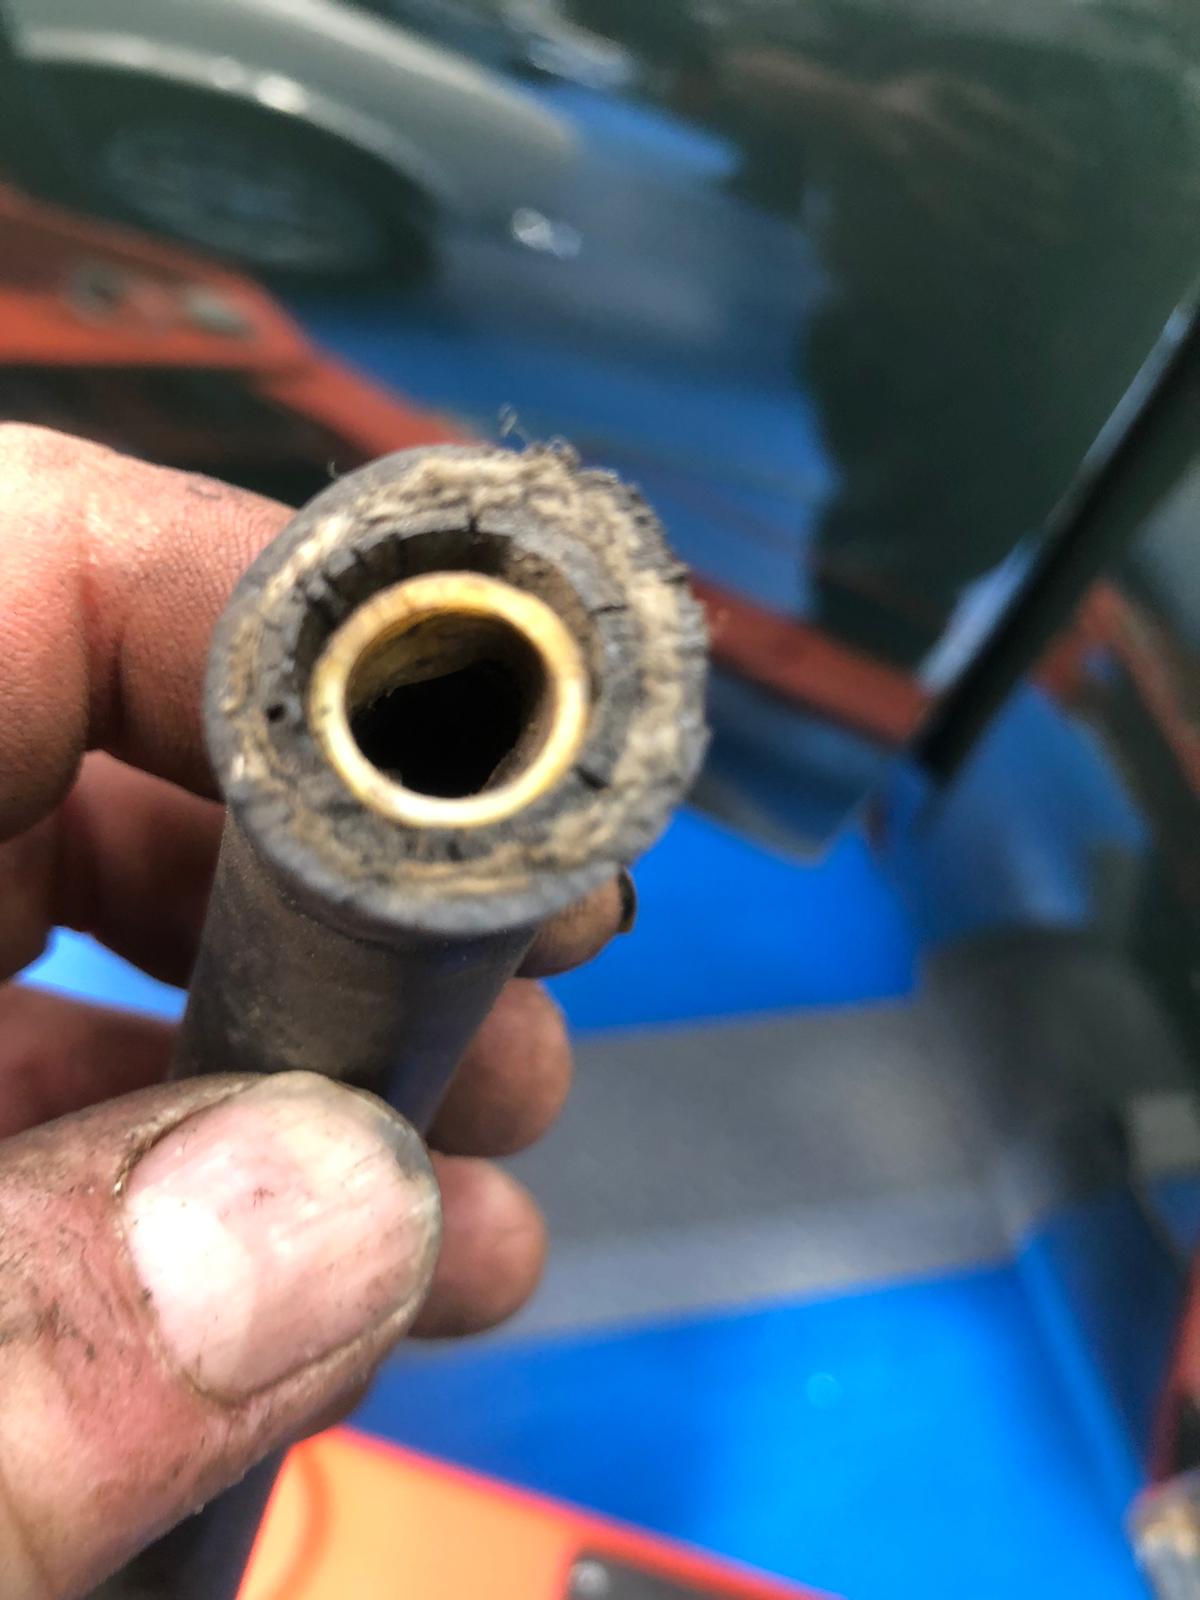
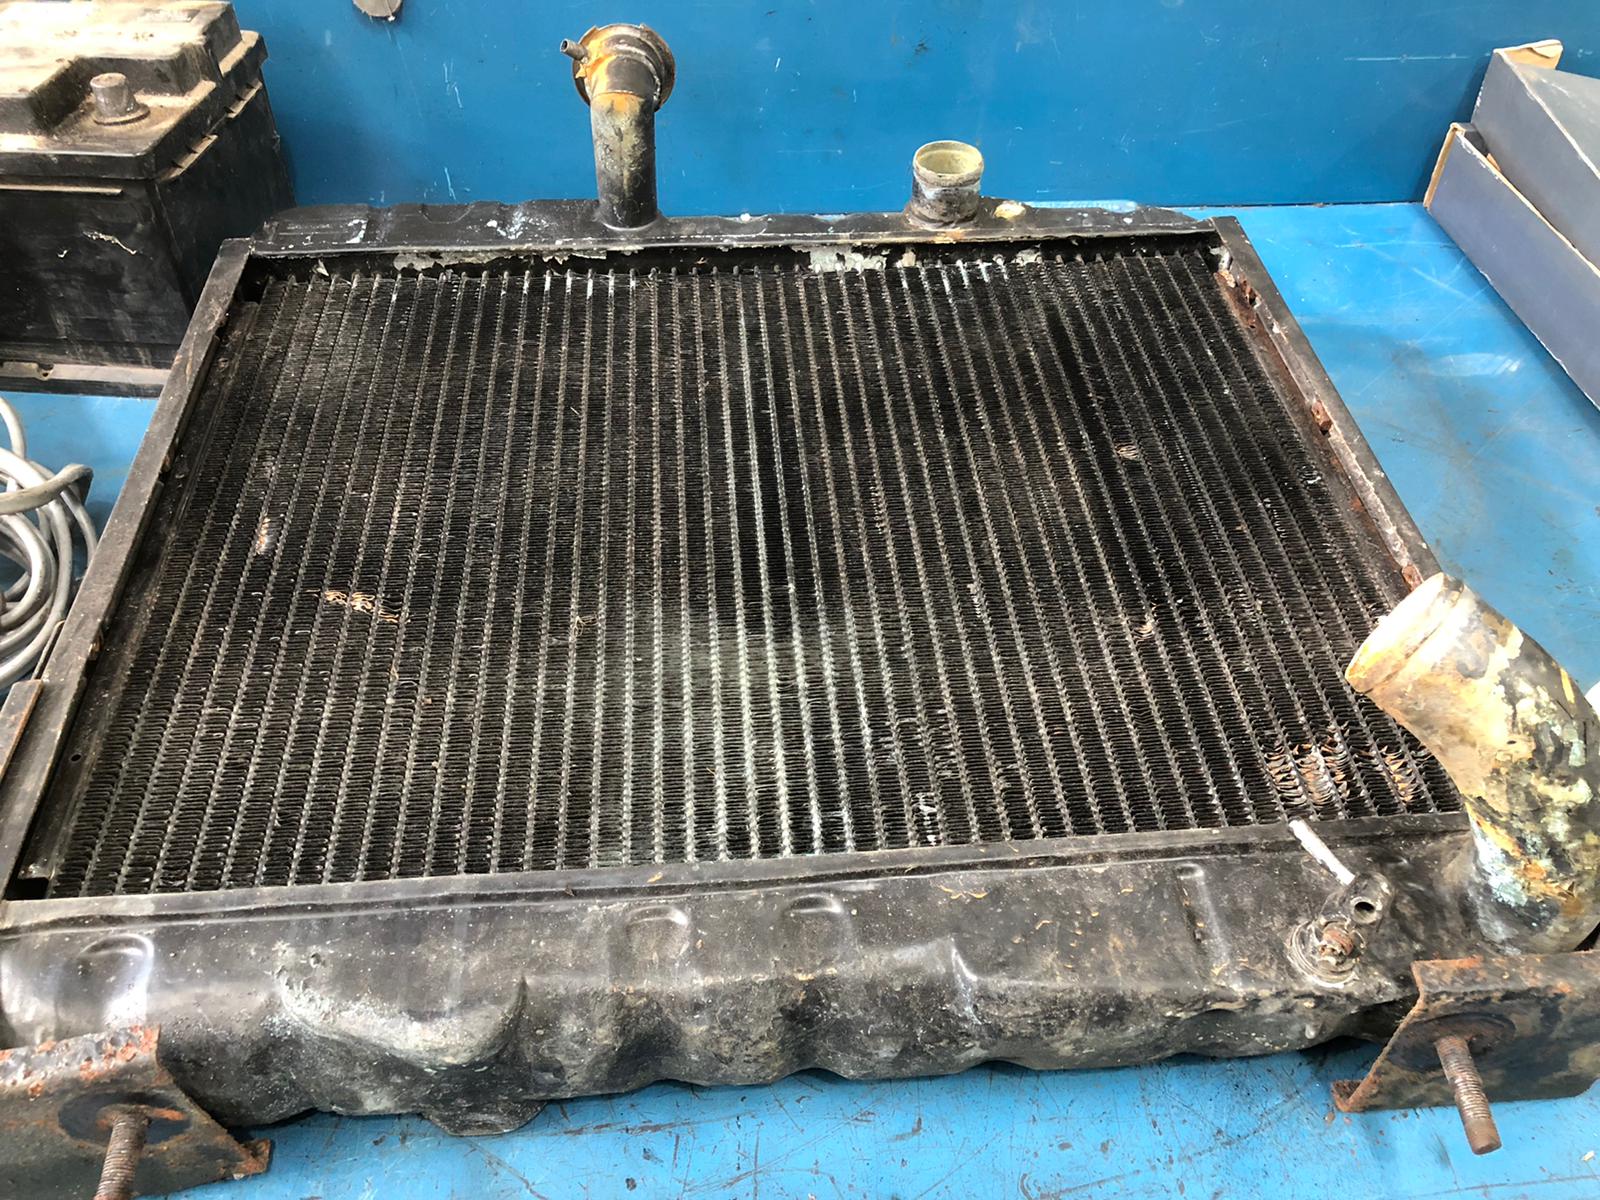
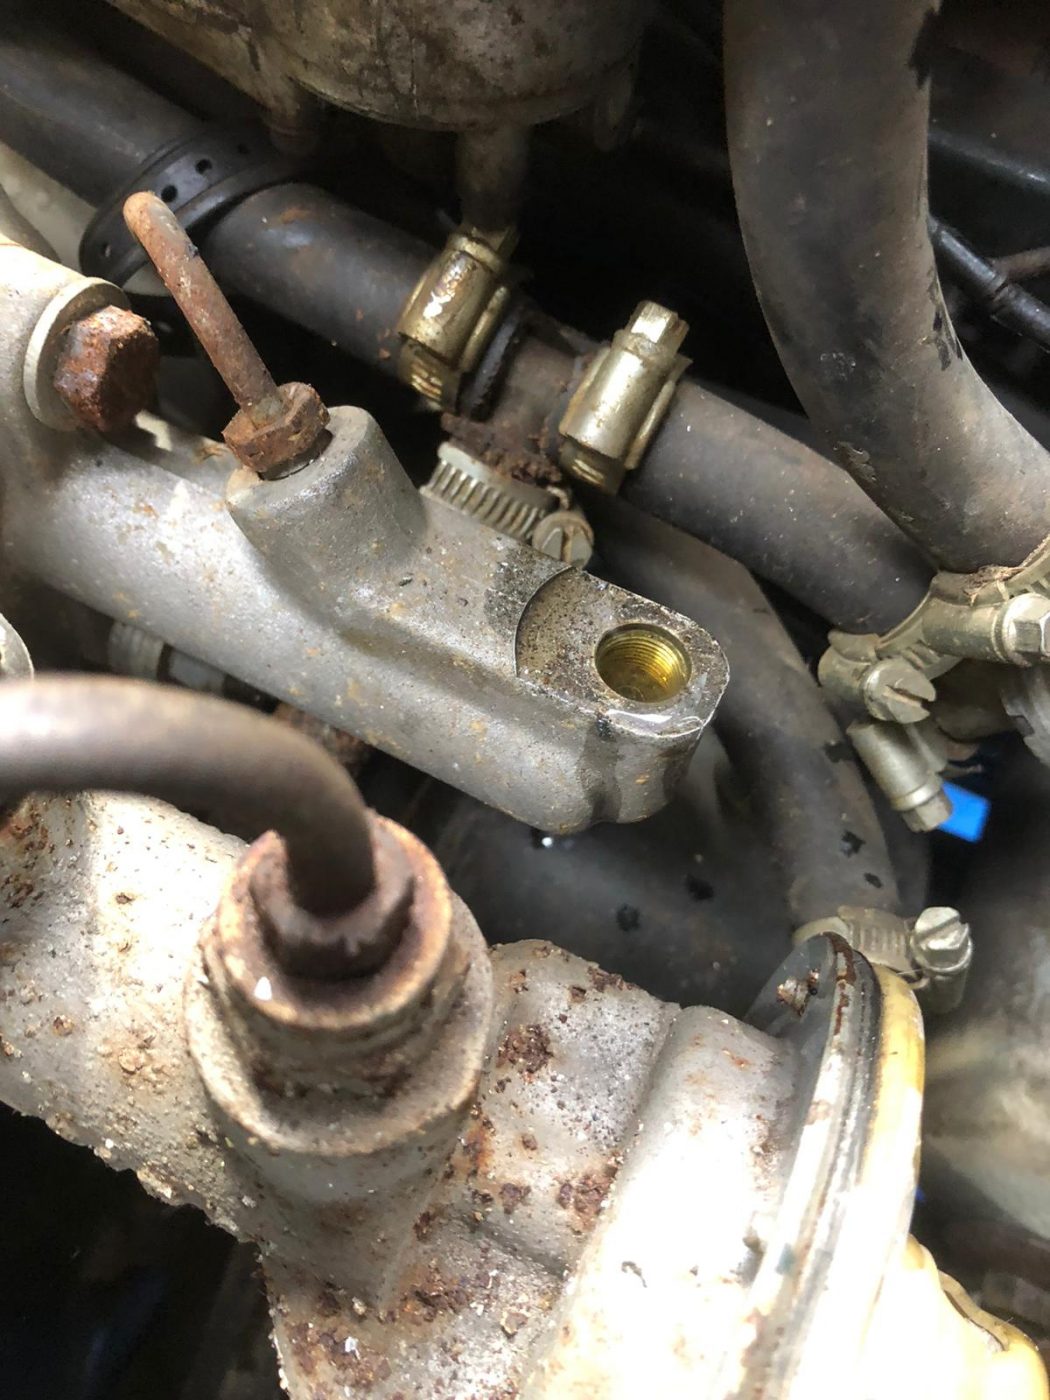
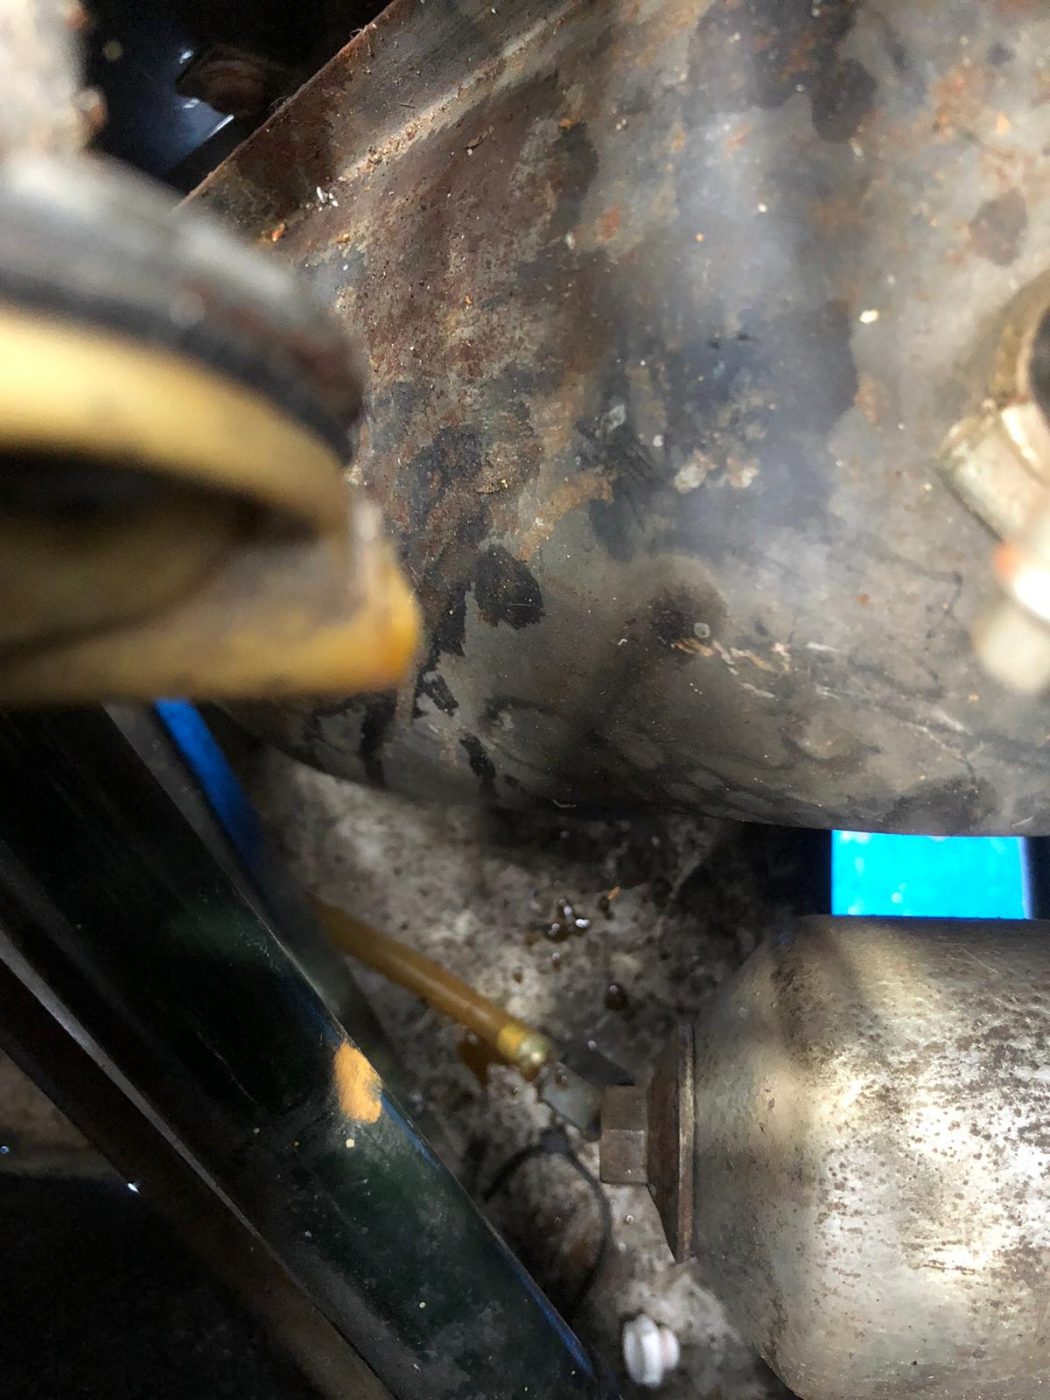
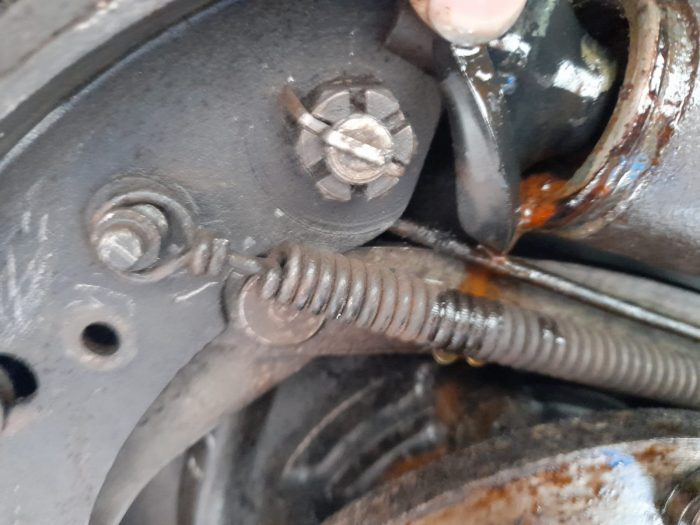
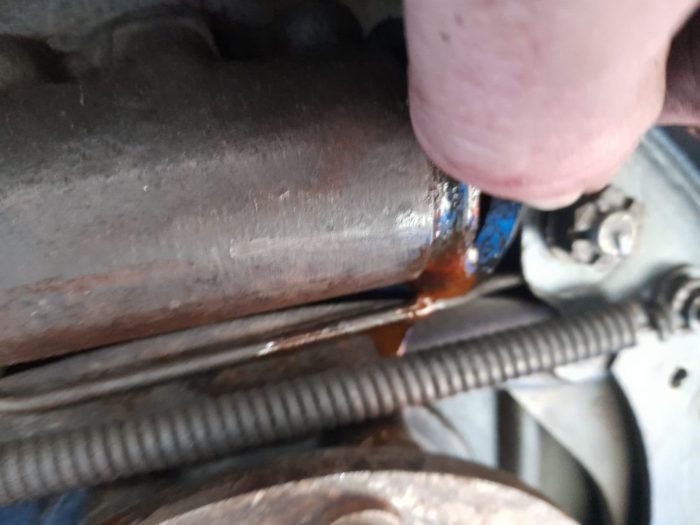
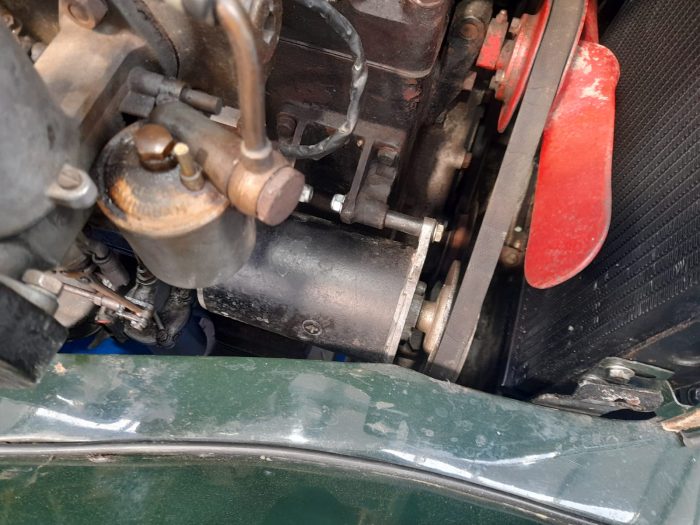
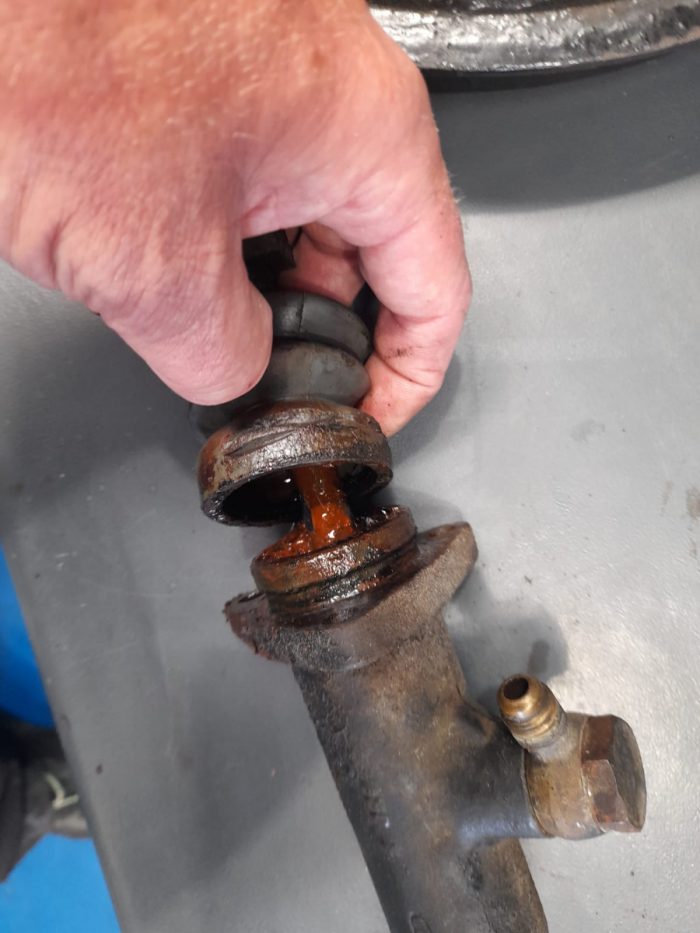
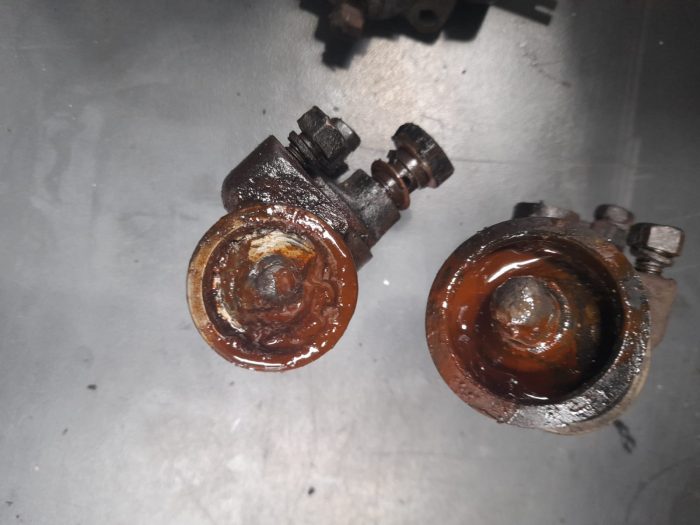
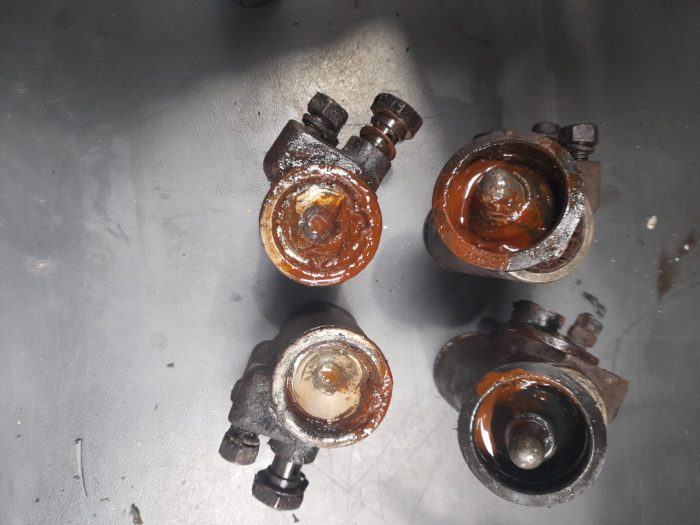
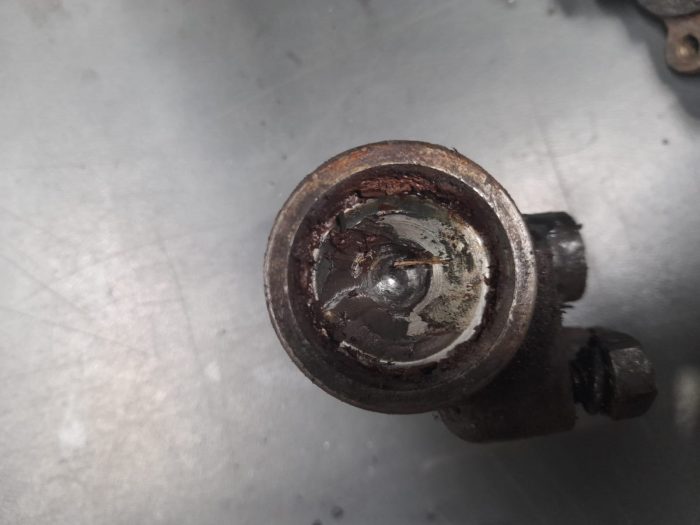
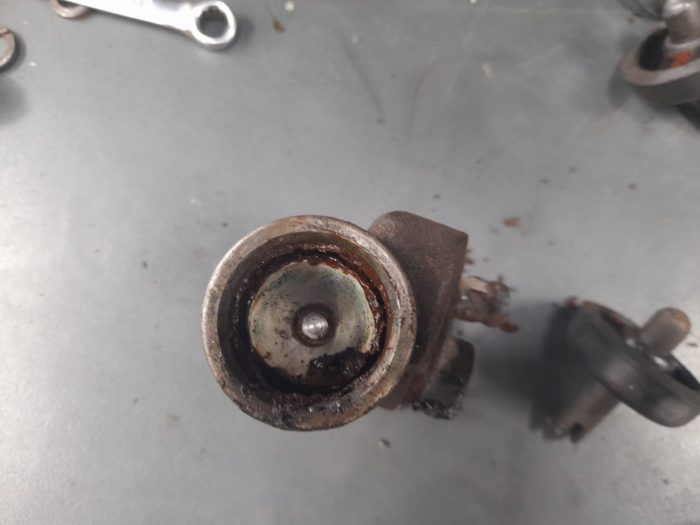
Ady has been working on our 1968 Jaguar E-Type Series 1.5 Coupe. He’s taken the clutch mater cylinder off, identified that the pipe on the

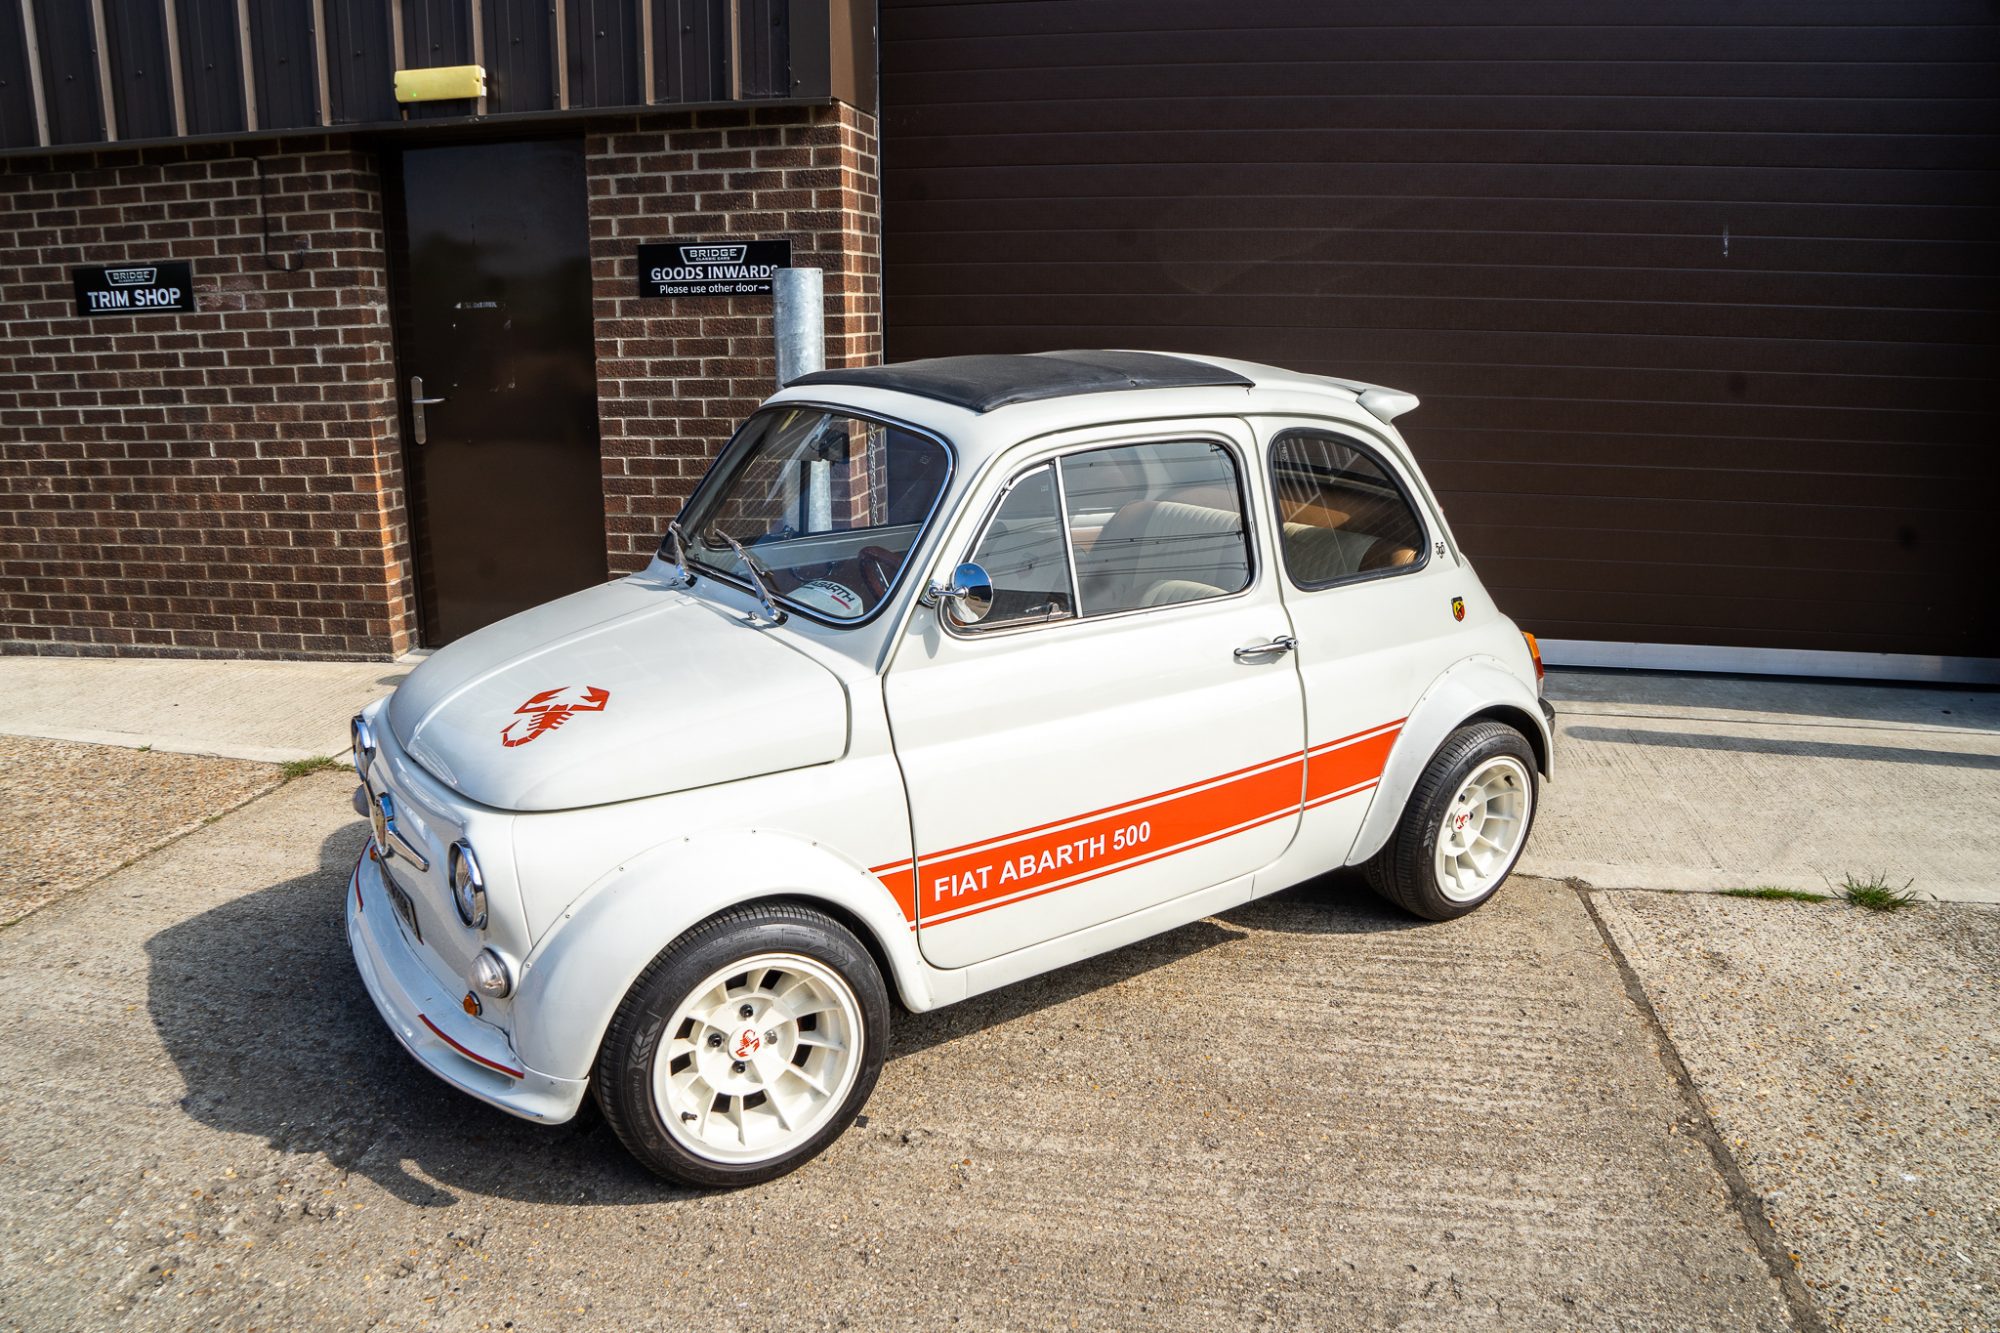
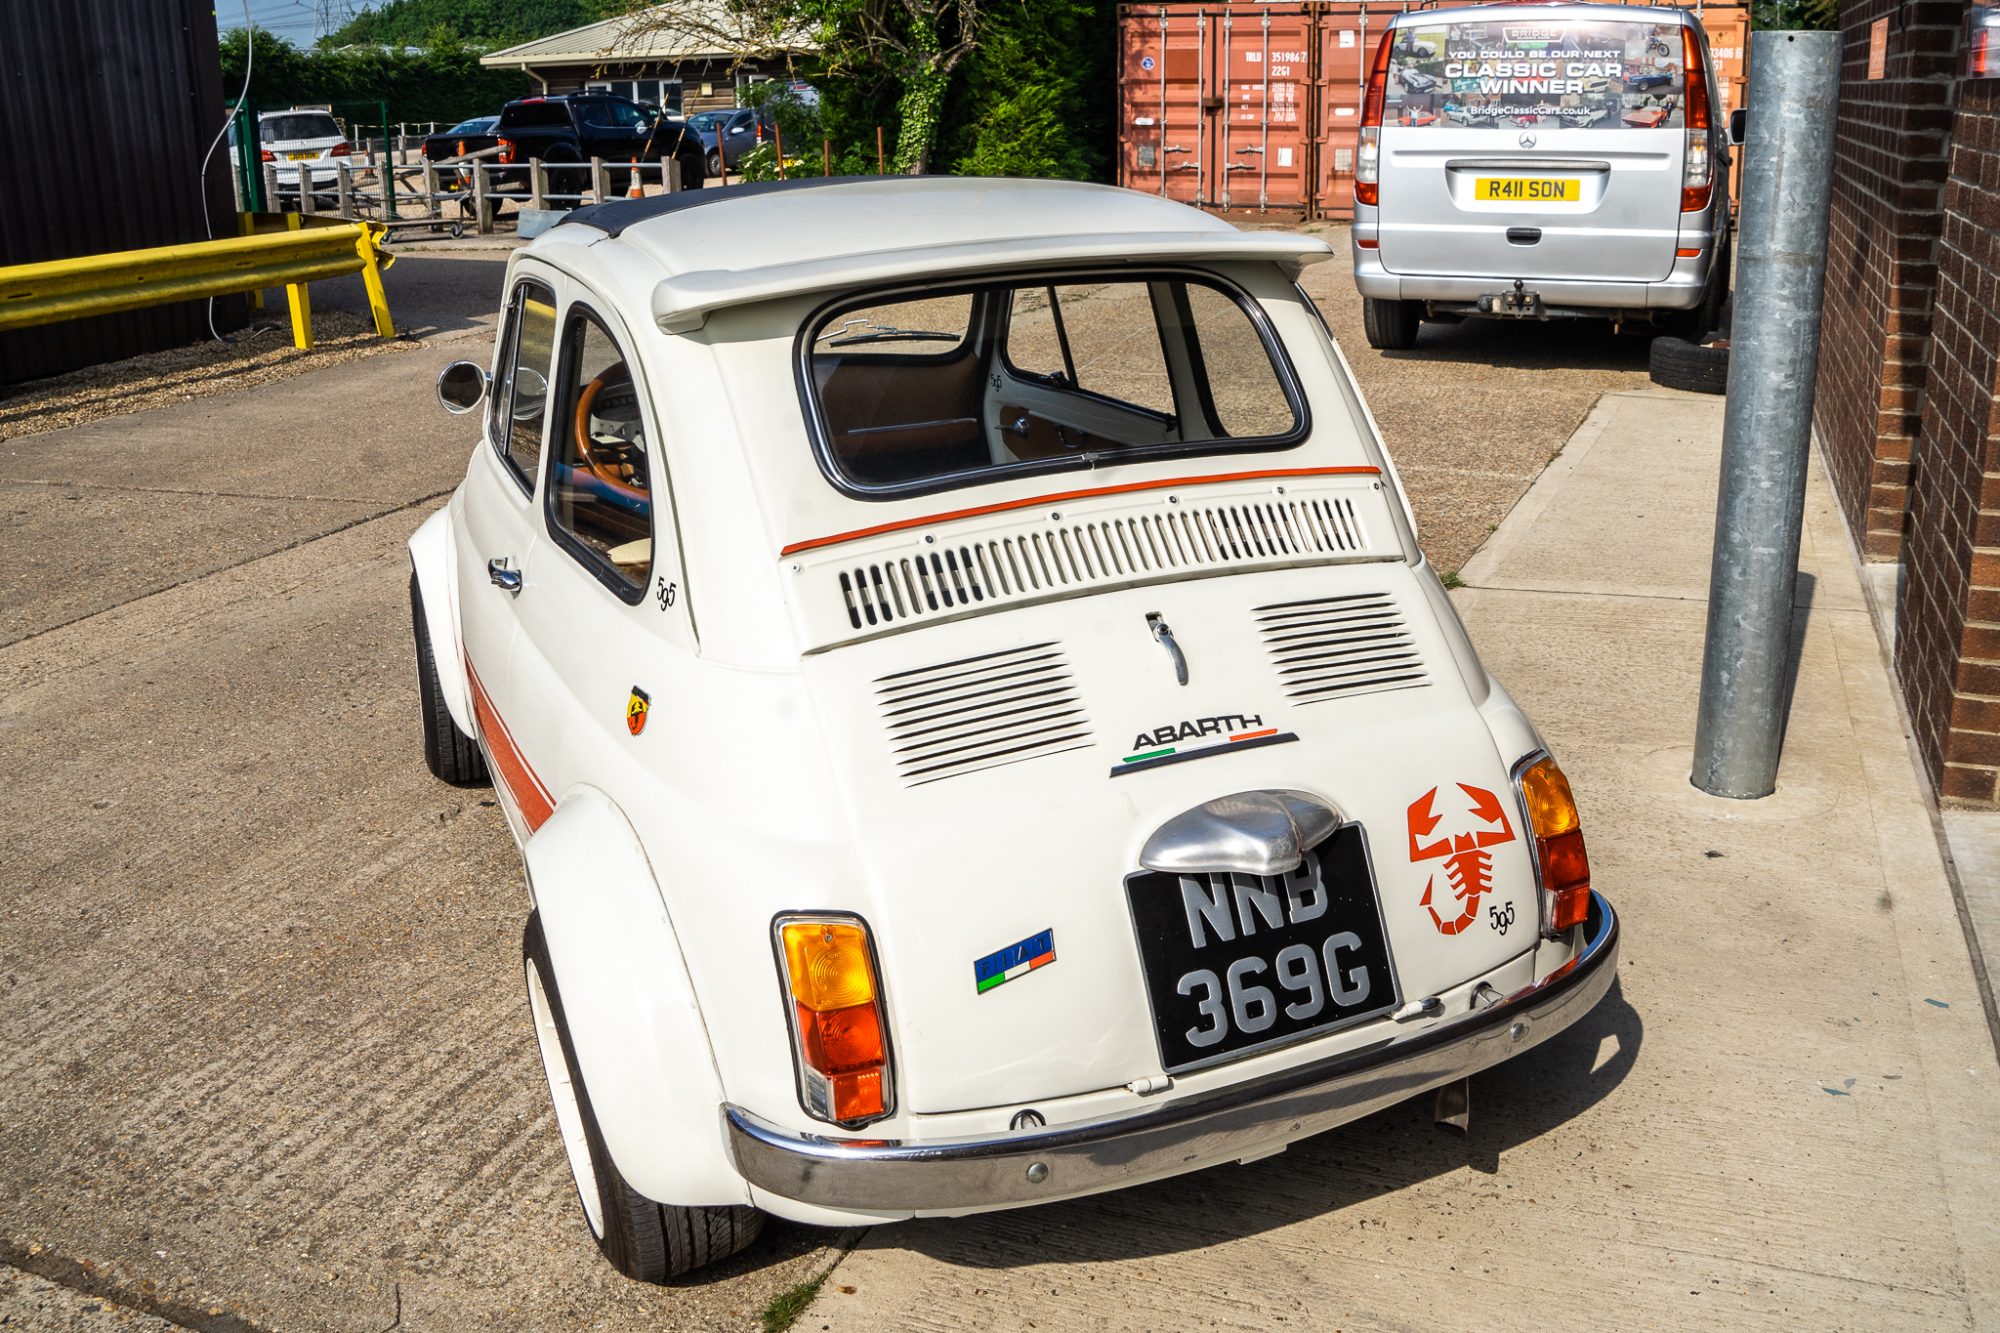
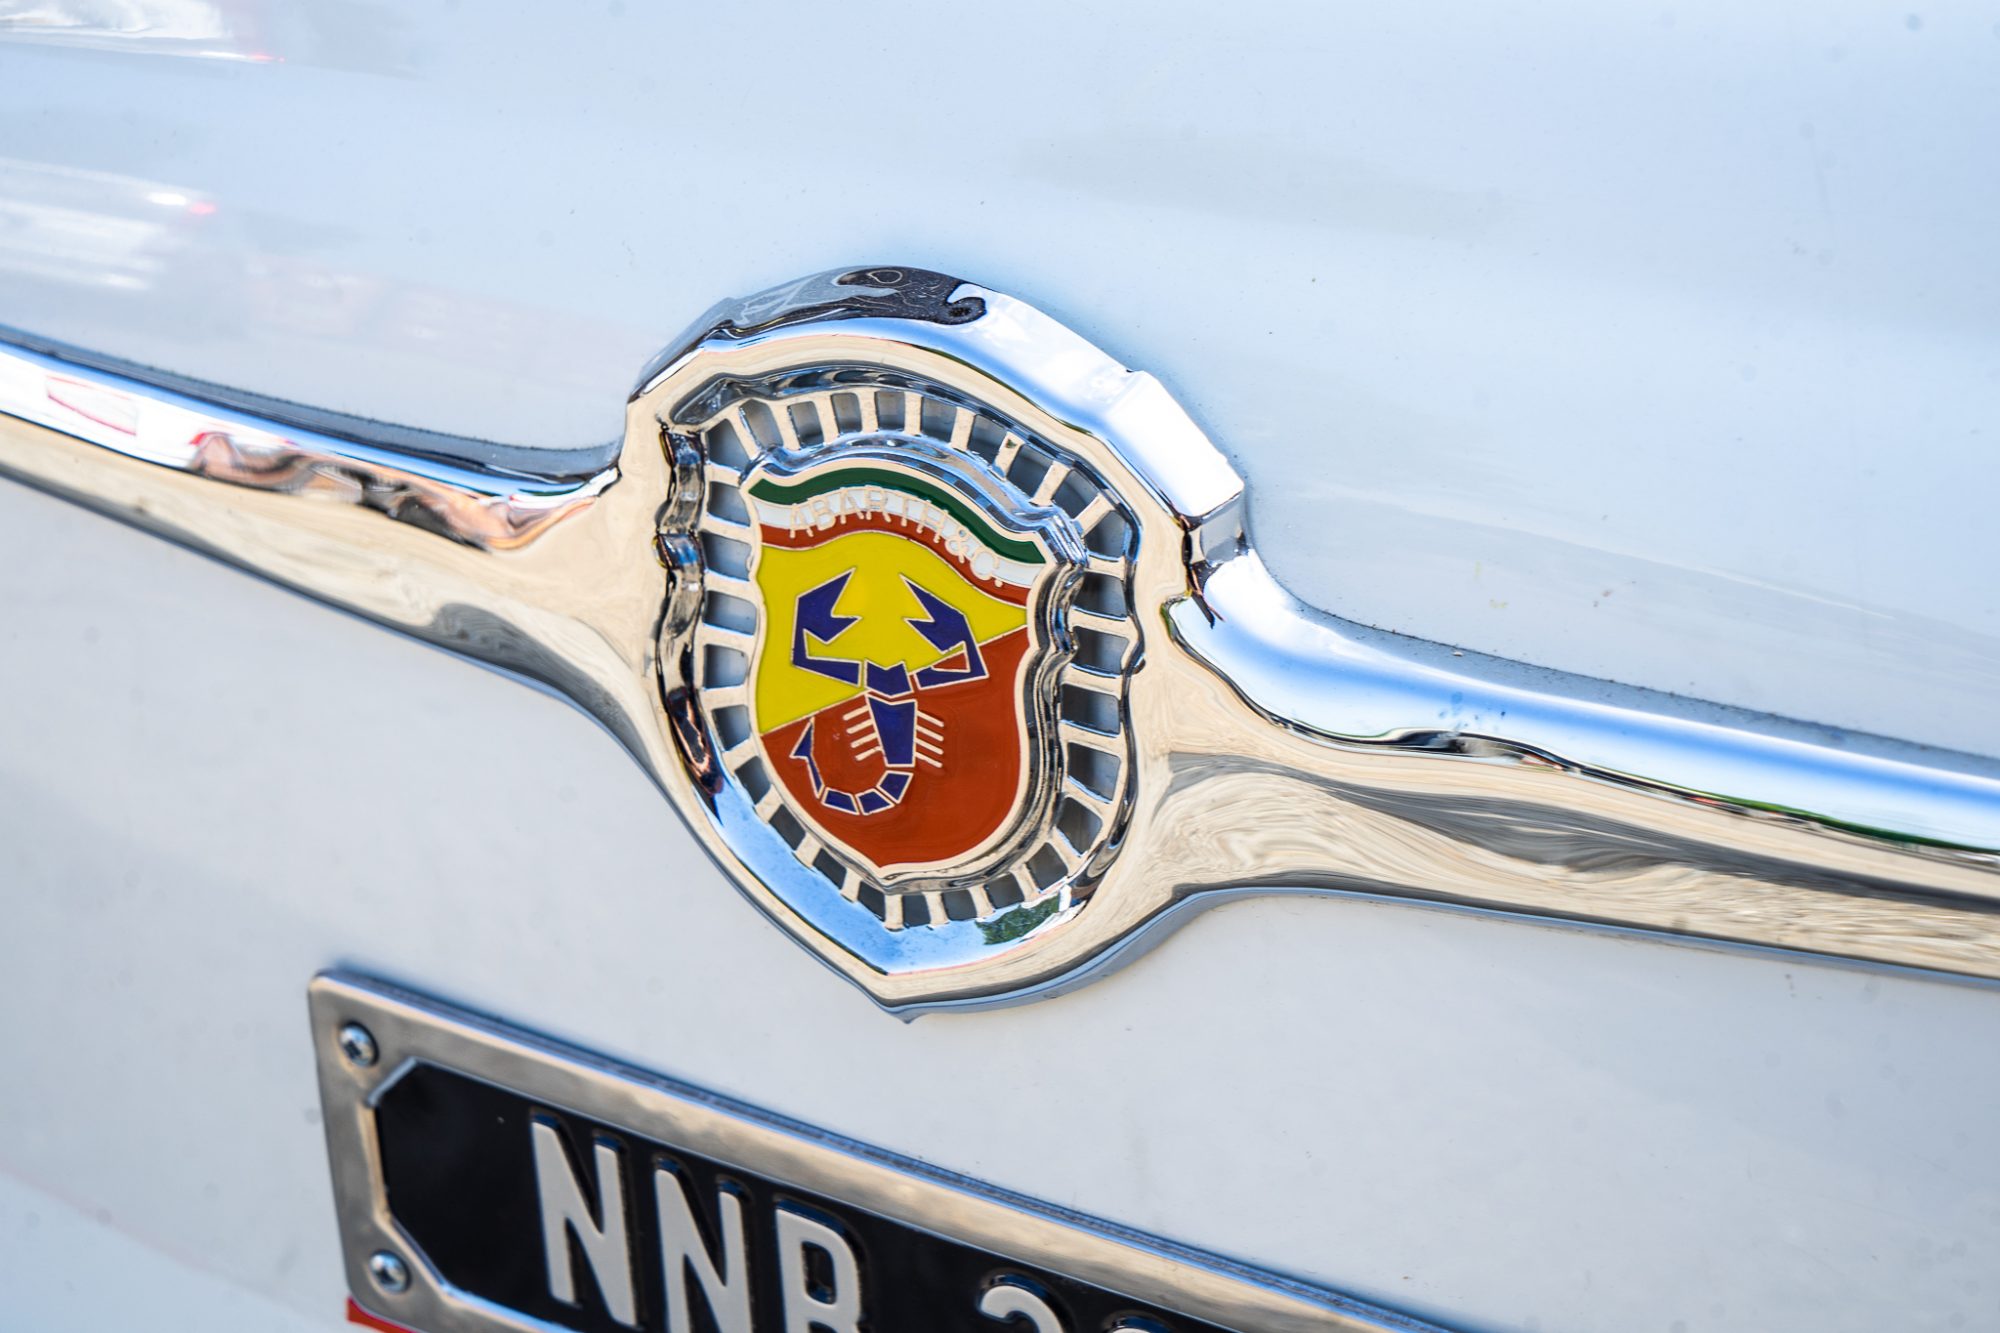
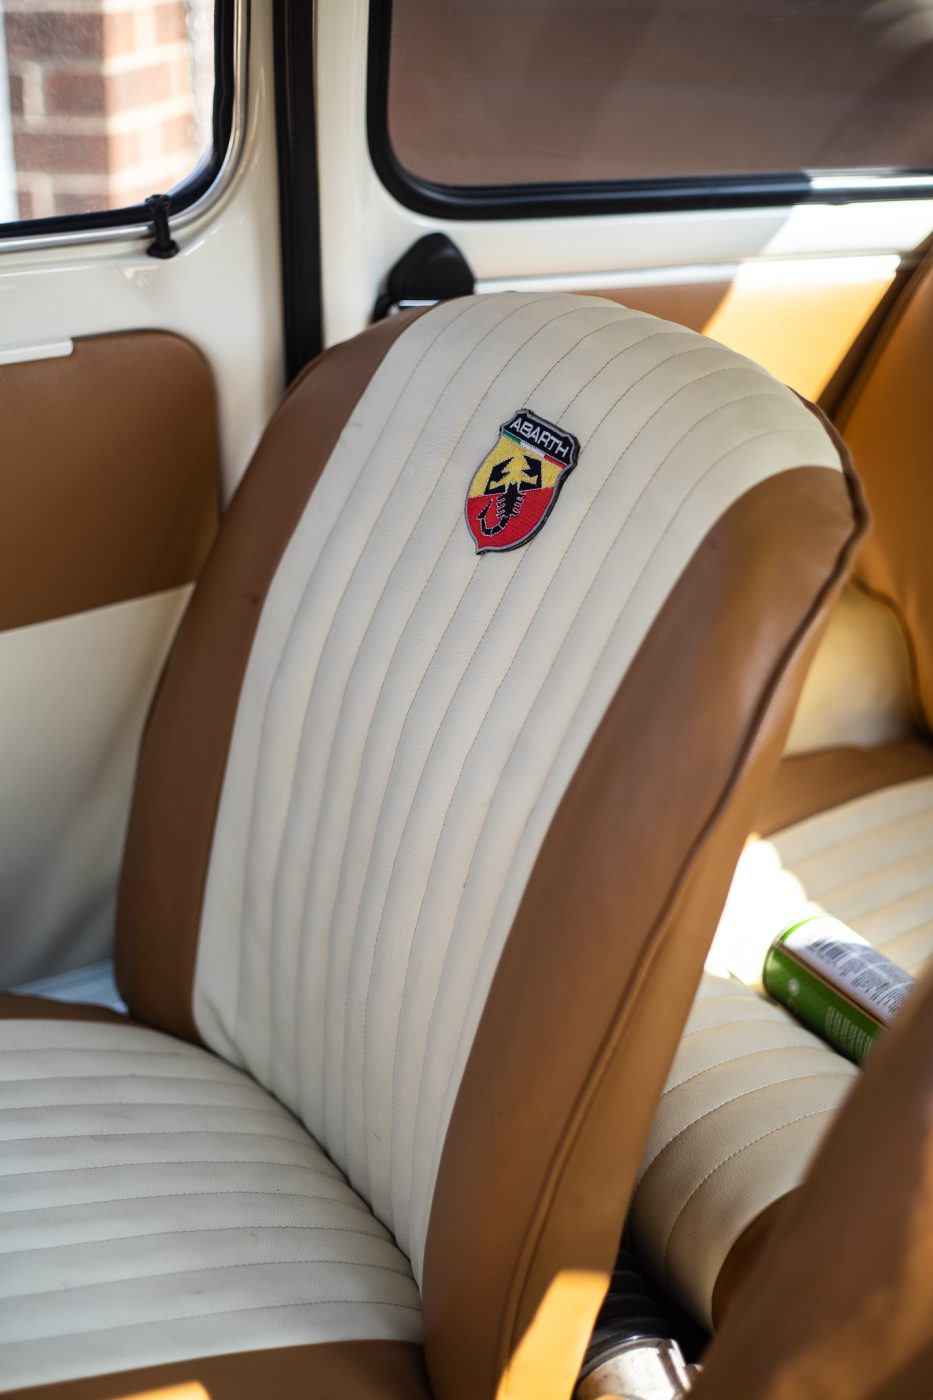
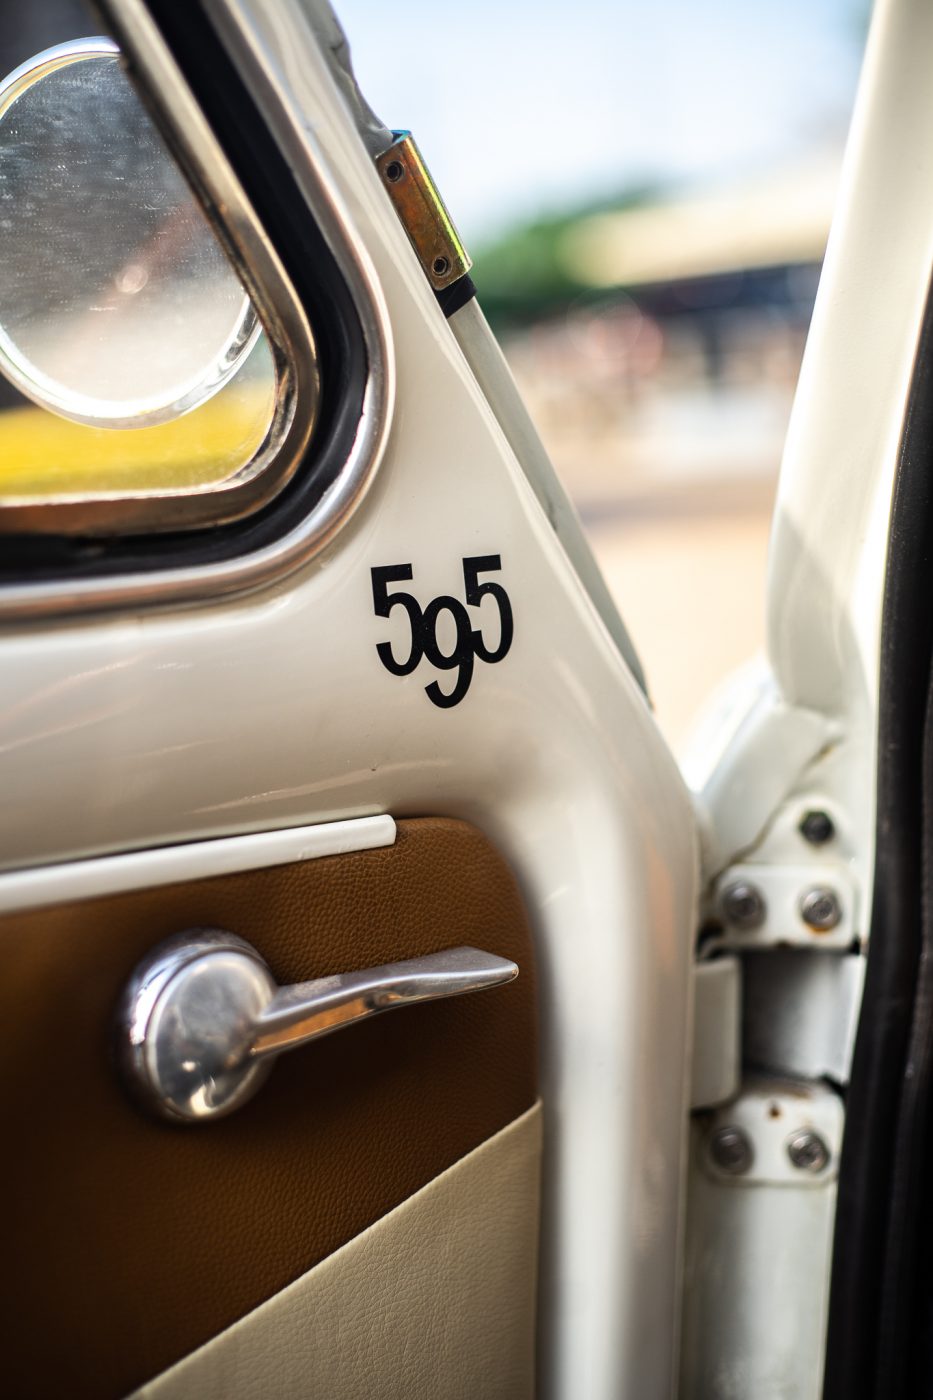
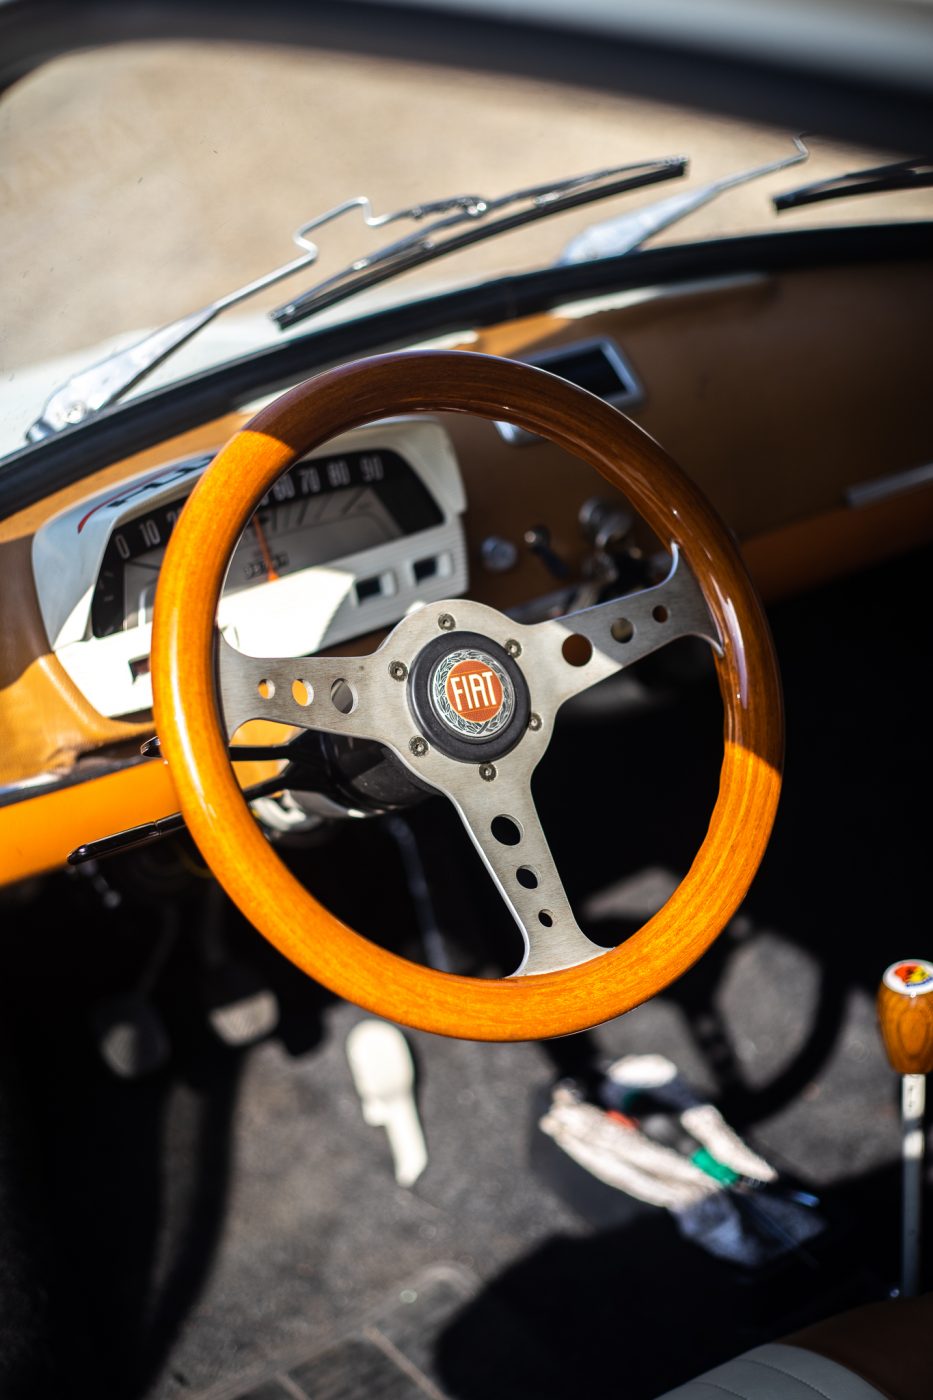
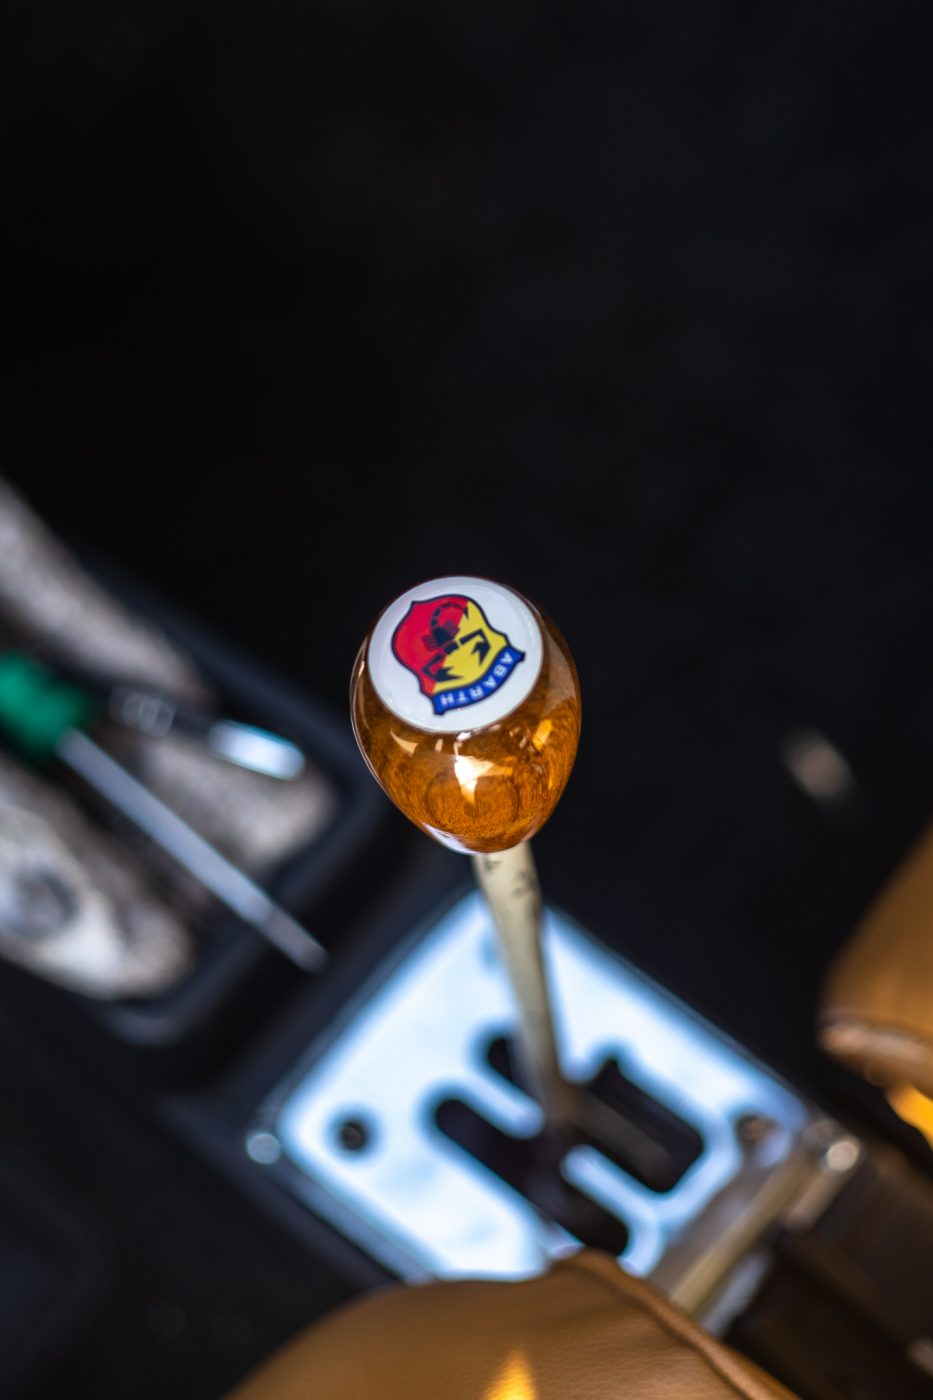
Our Fiat 500 has passed in MOT with flying colours and has now been completed and awaiting collection. We’re delighted to see this little Italian
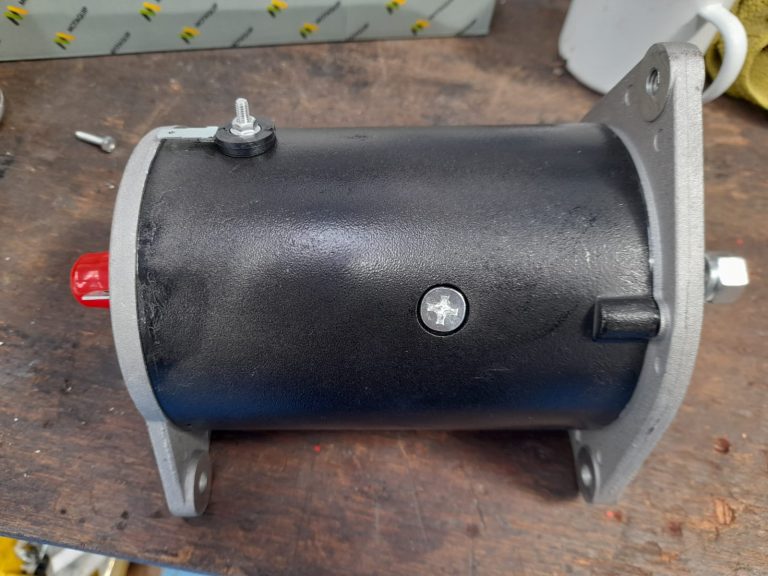
John recently completed the work on our Triumph Dolomite as the wheel cylinders were leaking and ceased, he replaced the dynamo, and then took apart
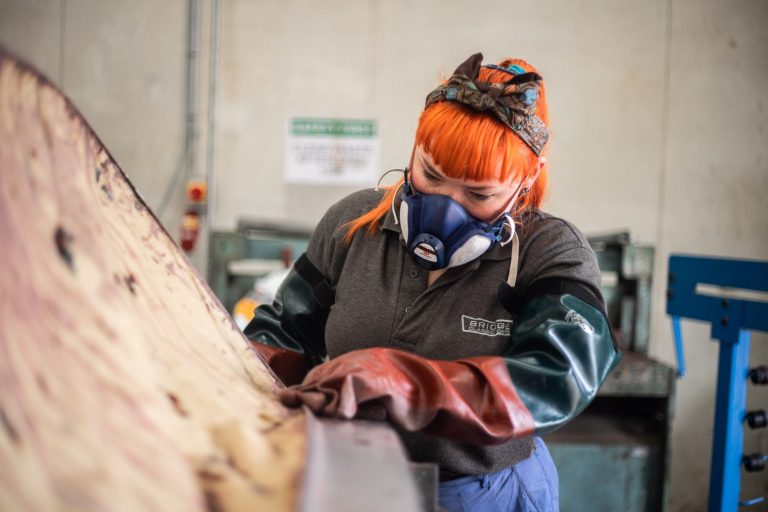
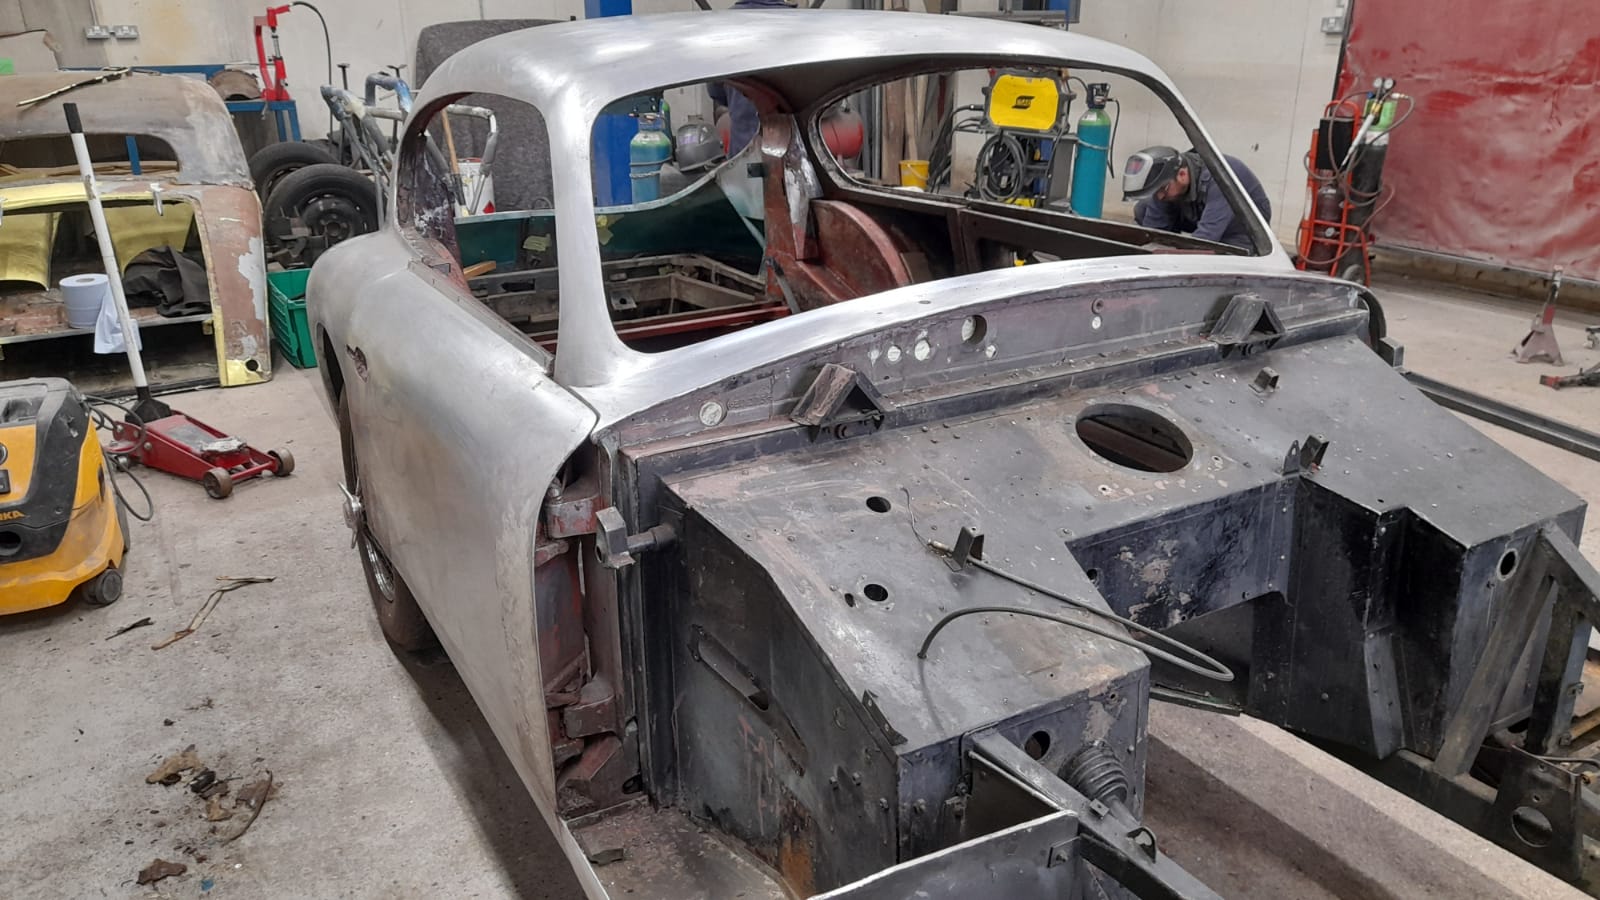
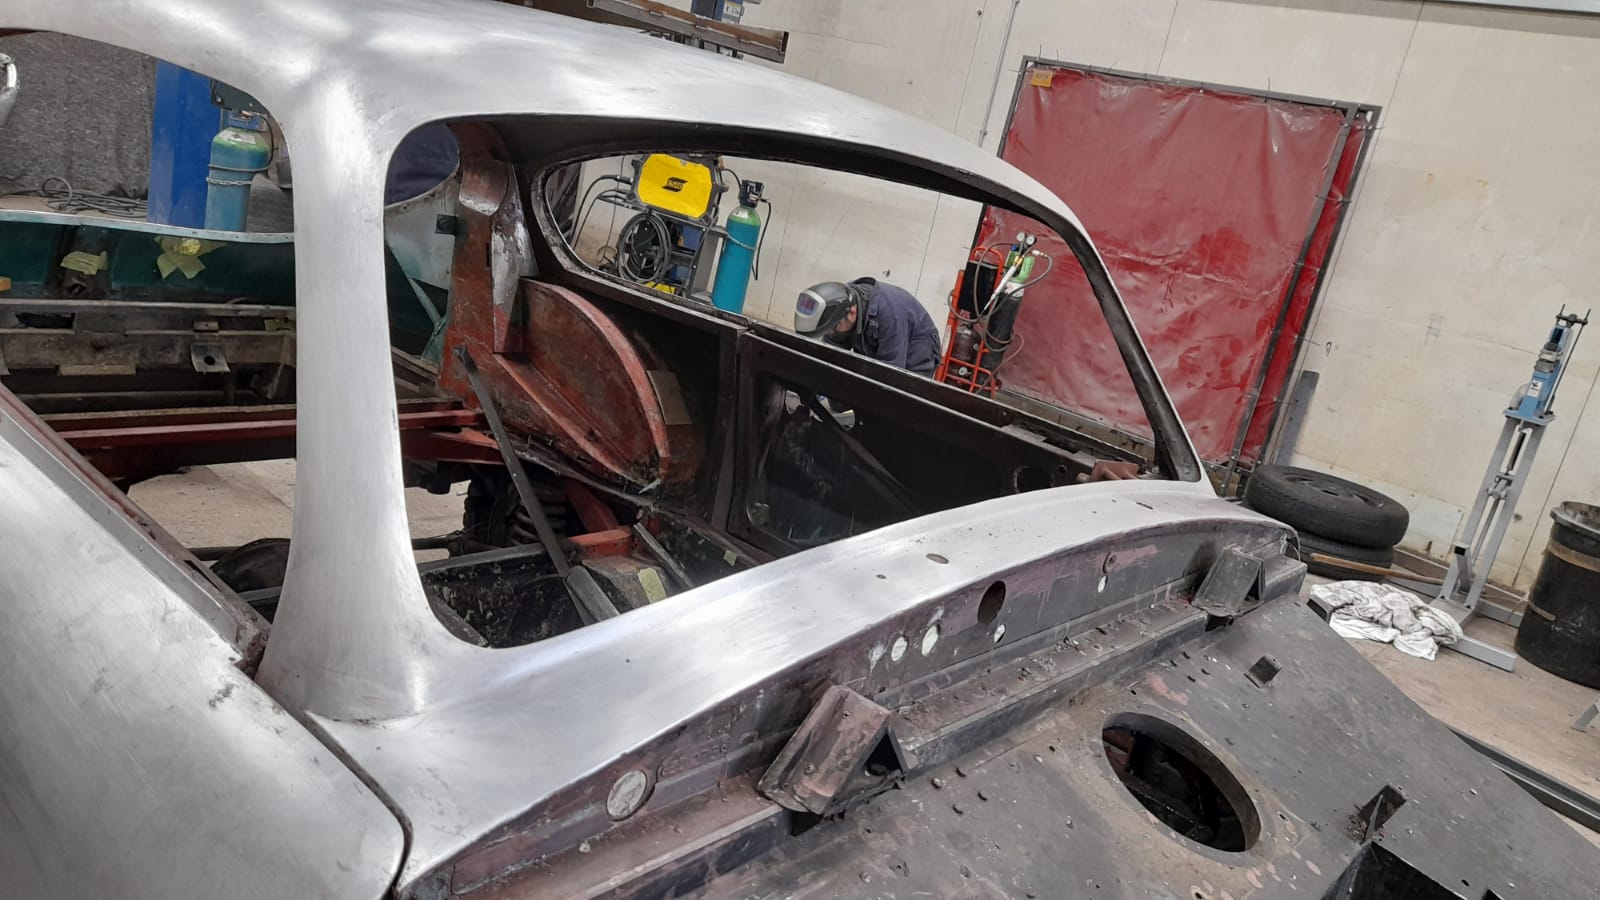
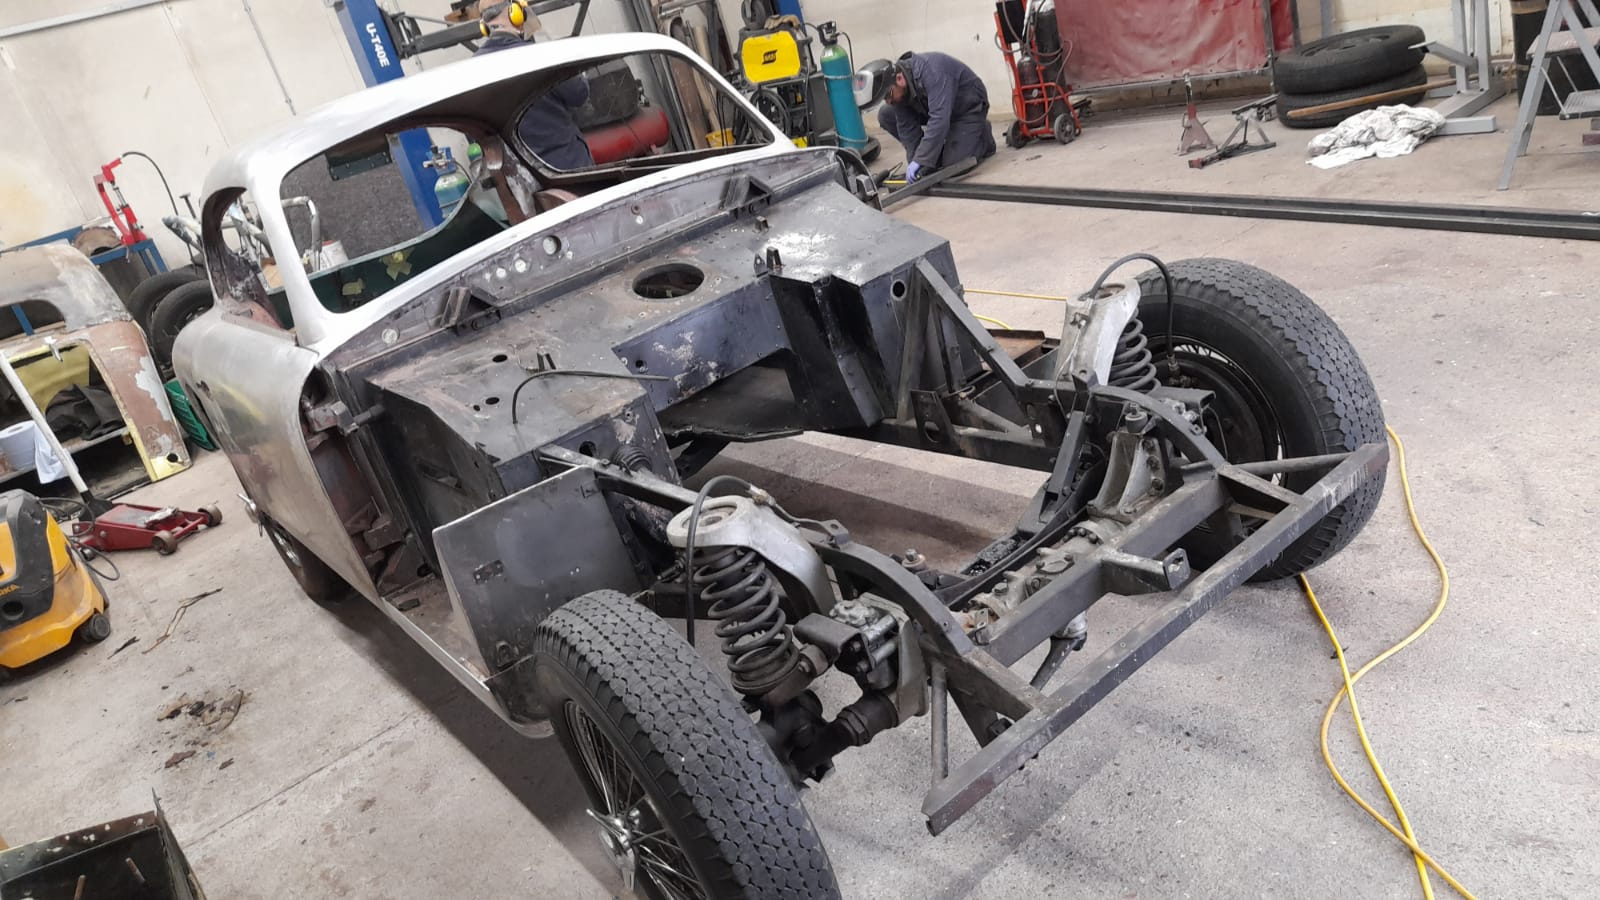
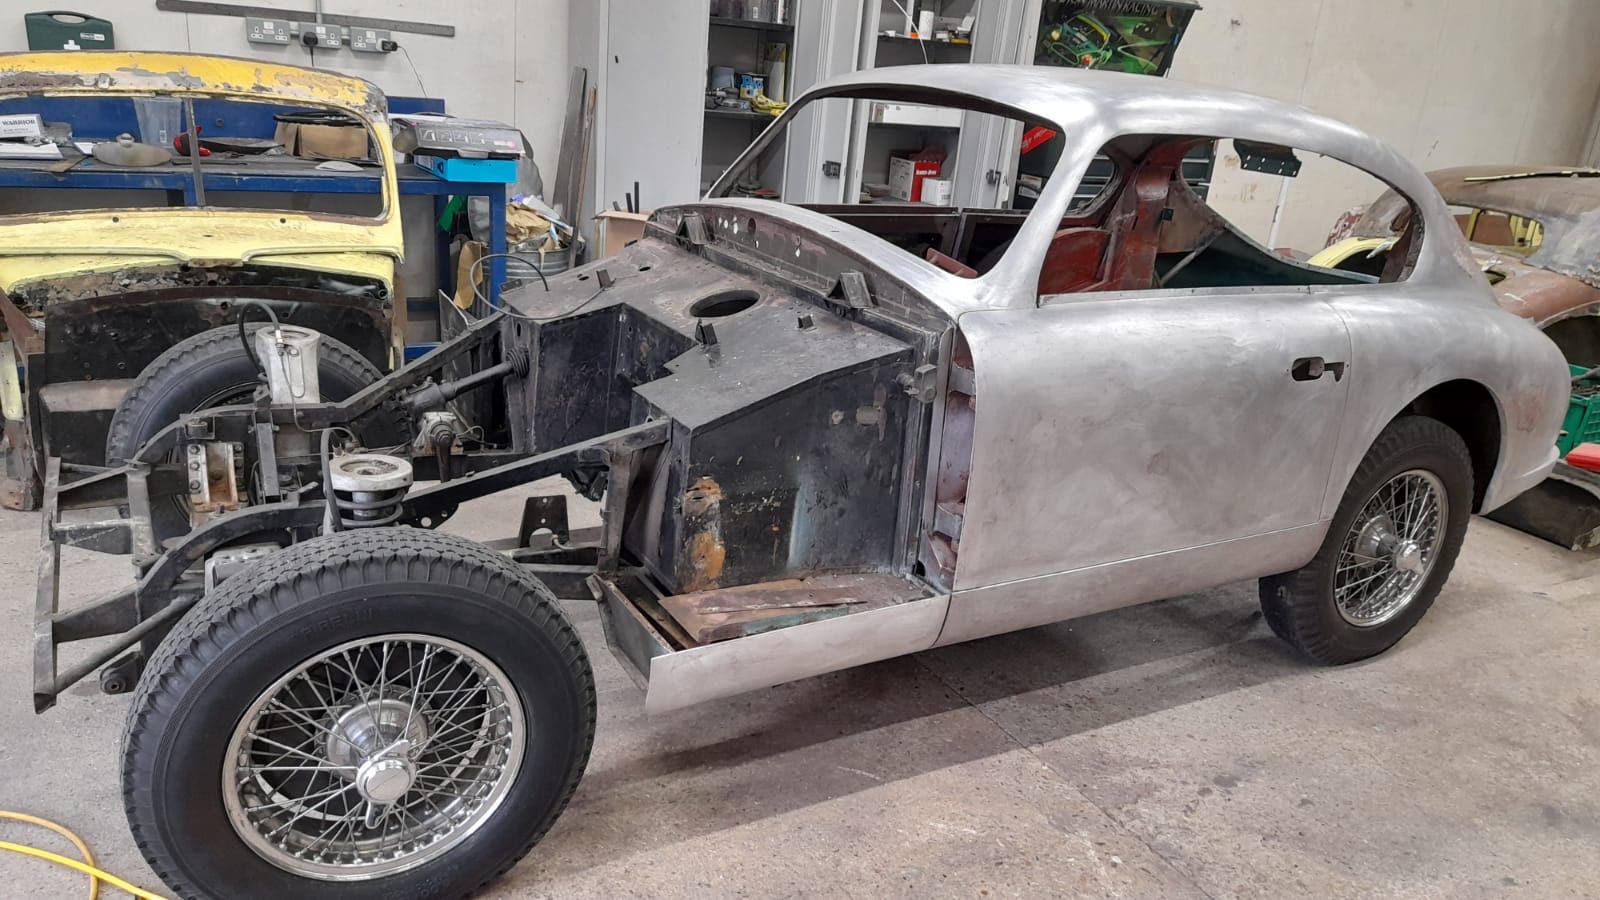
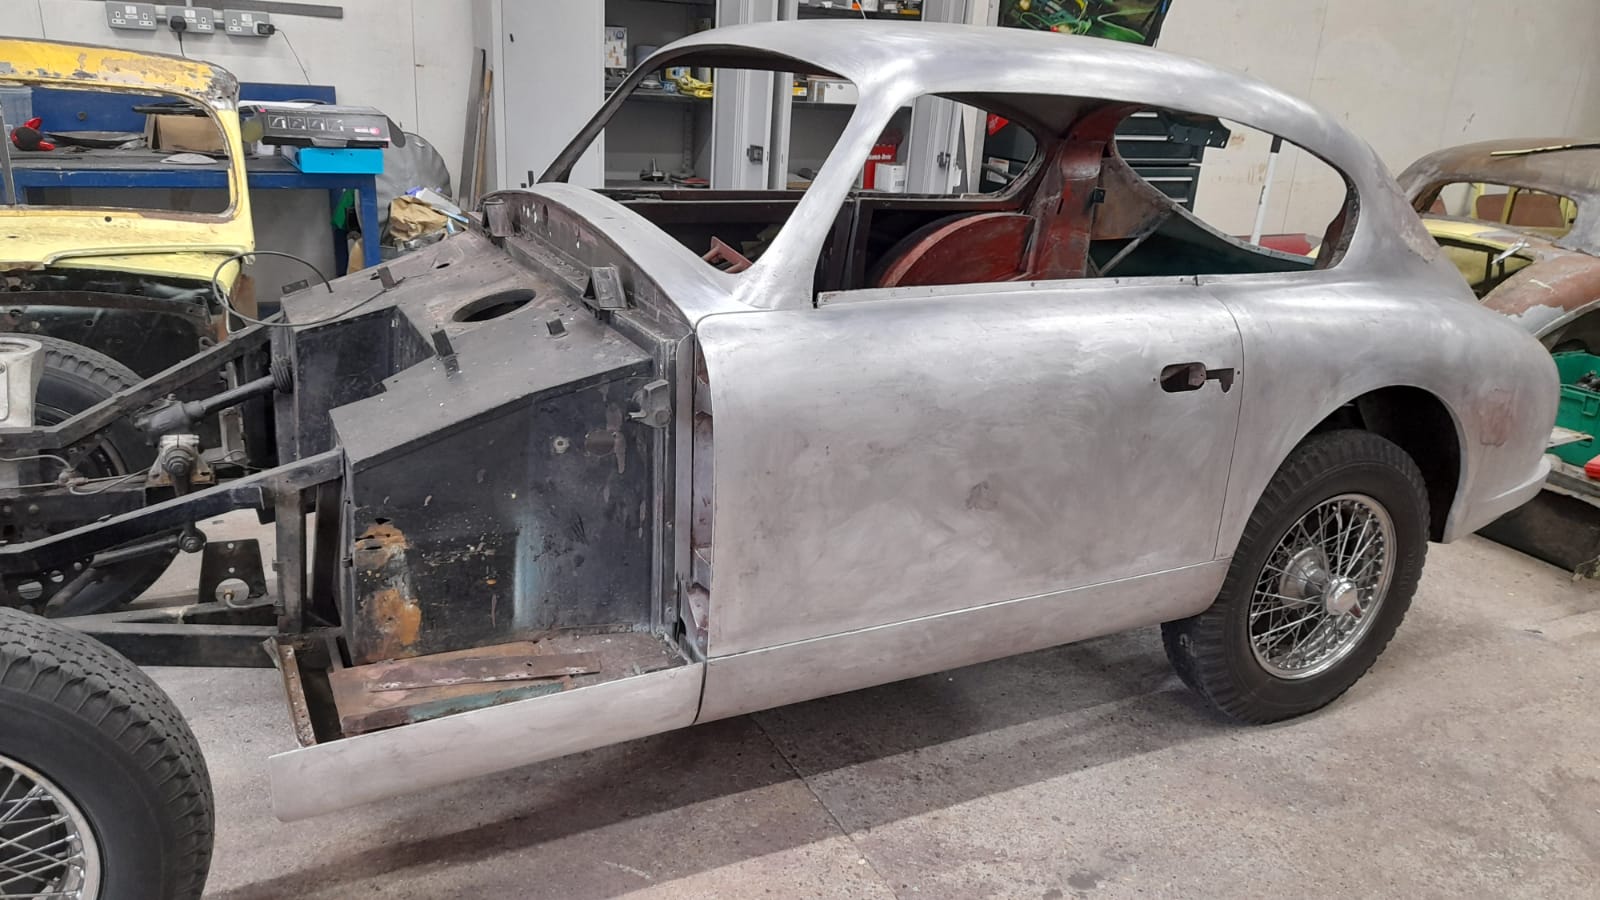
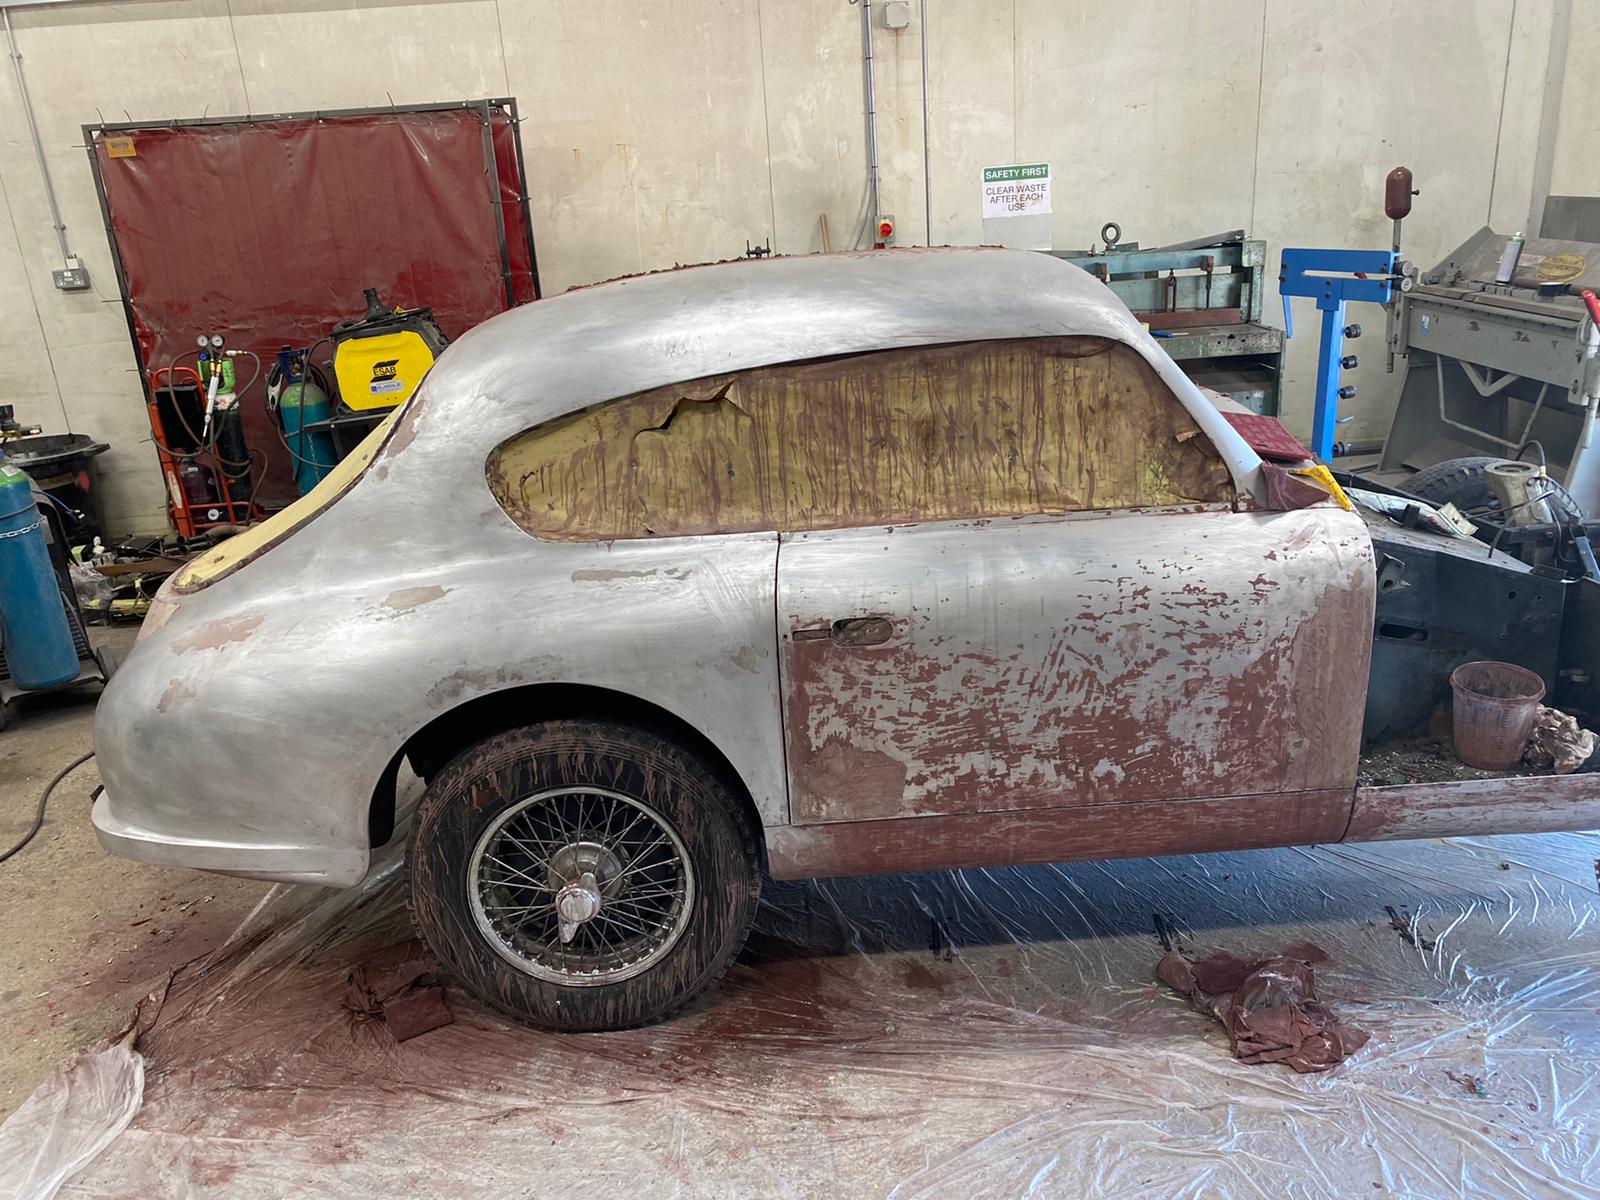
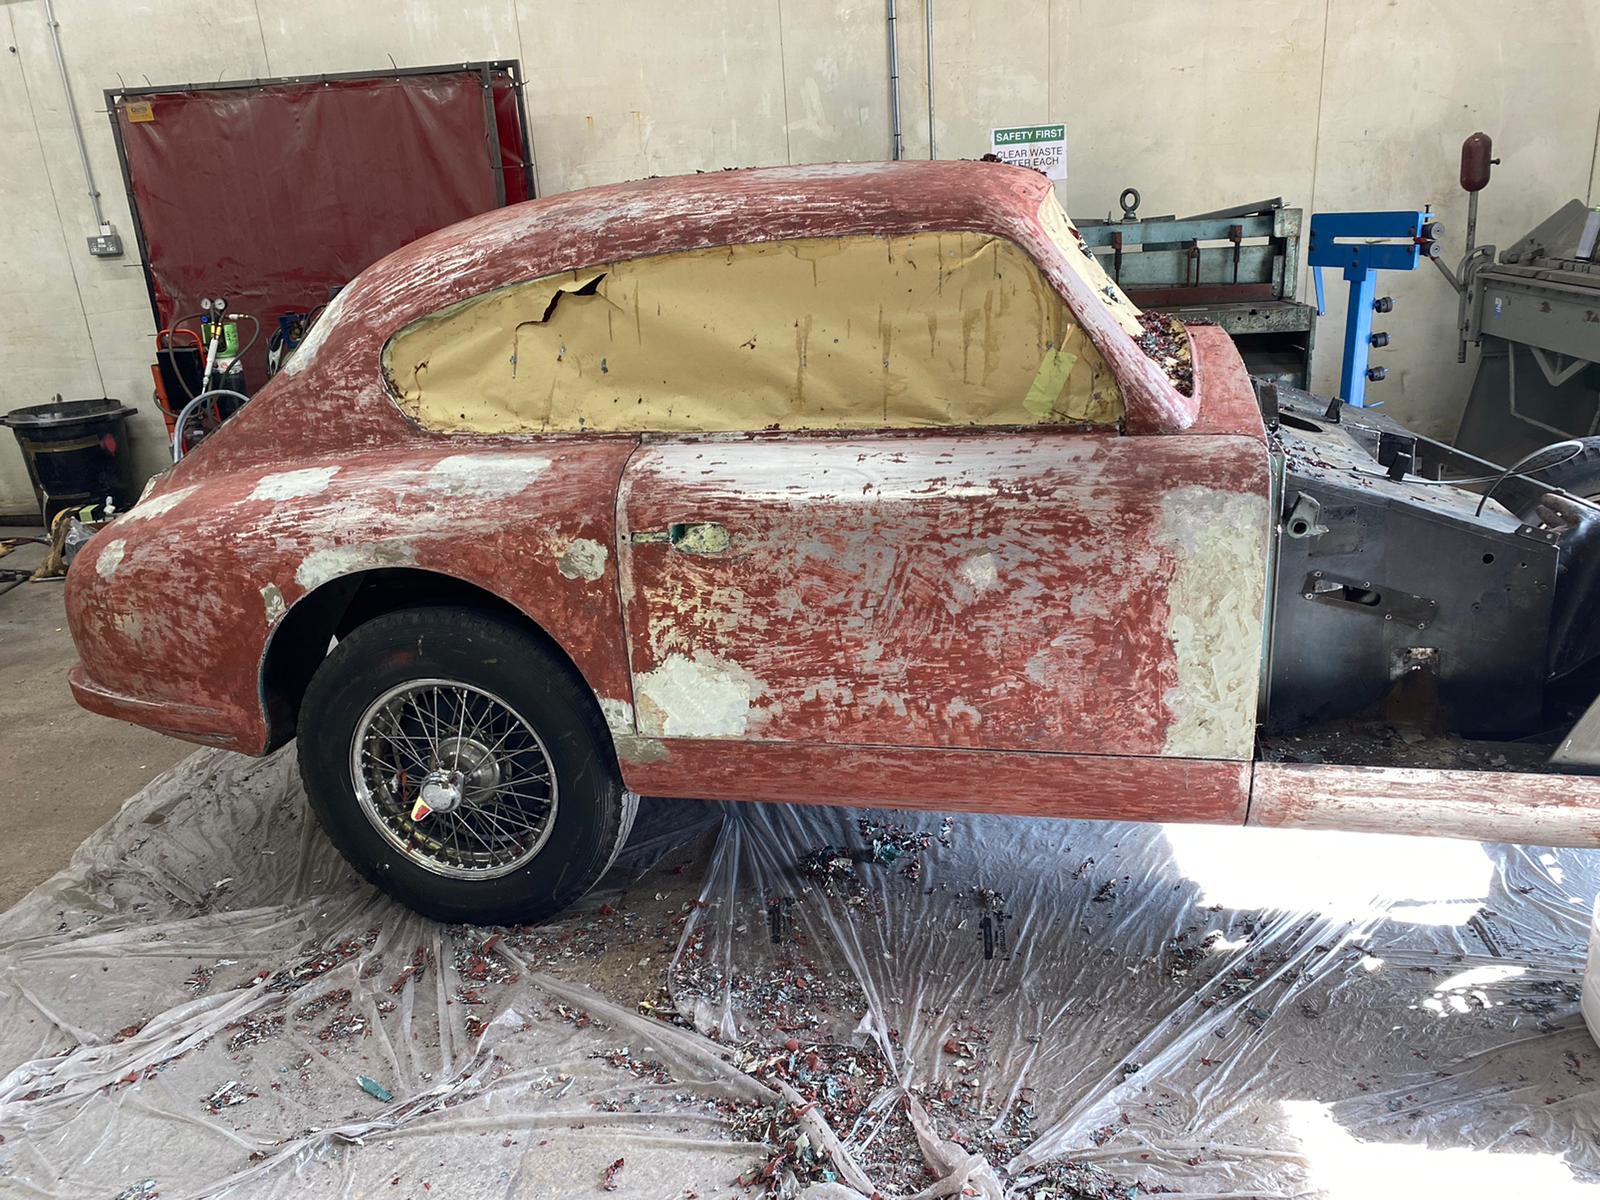
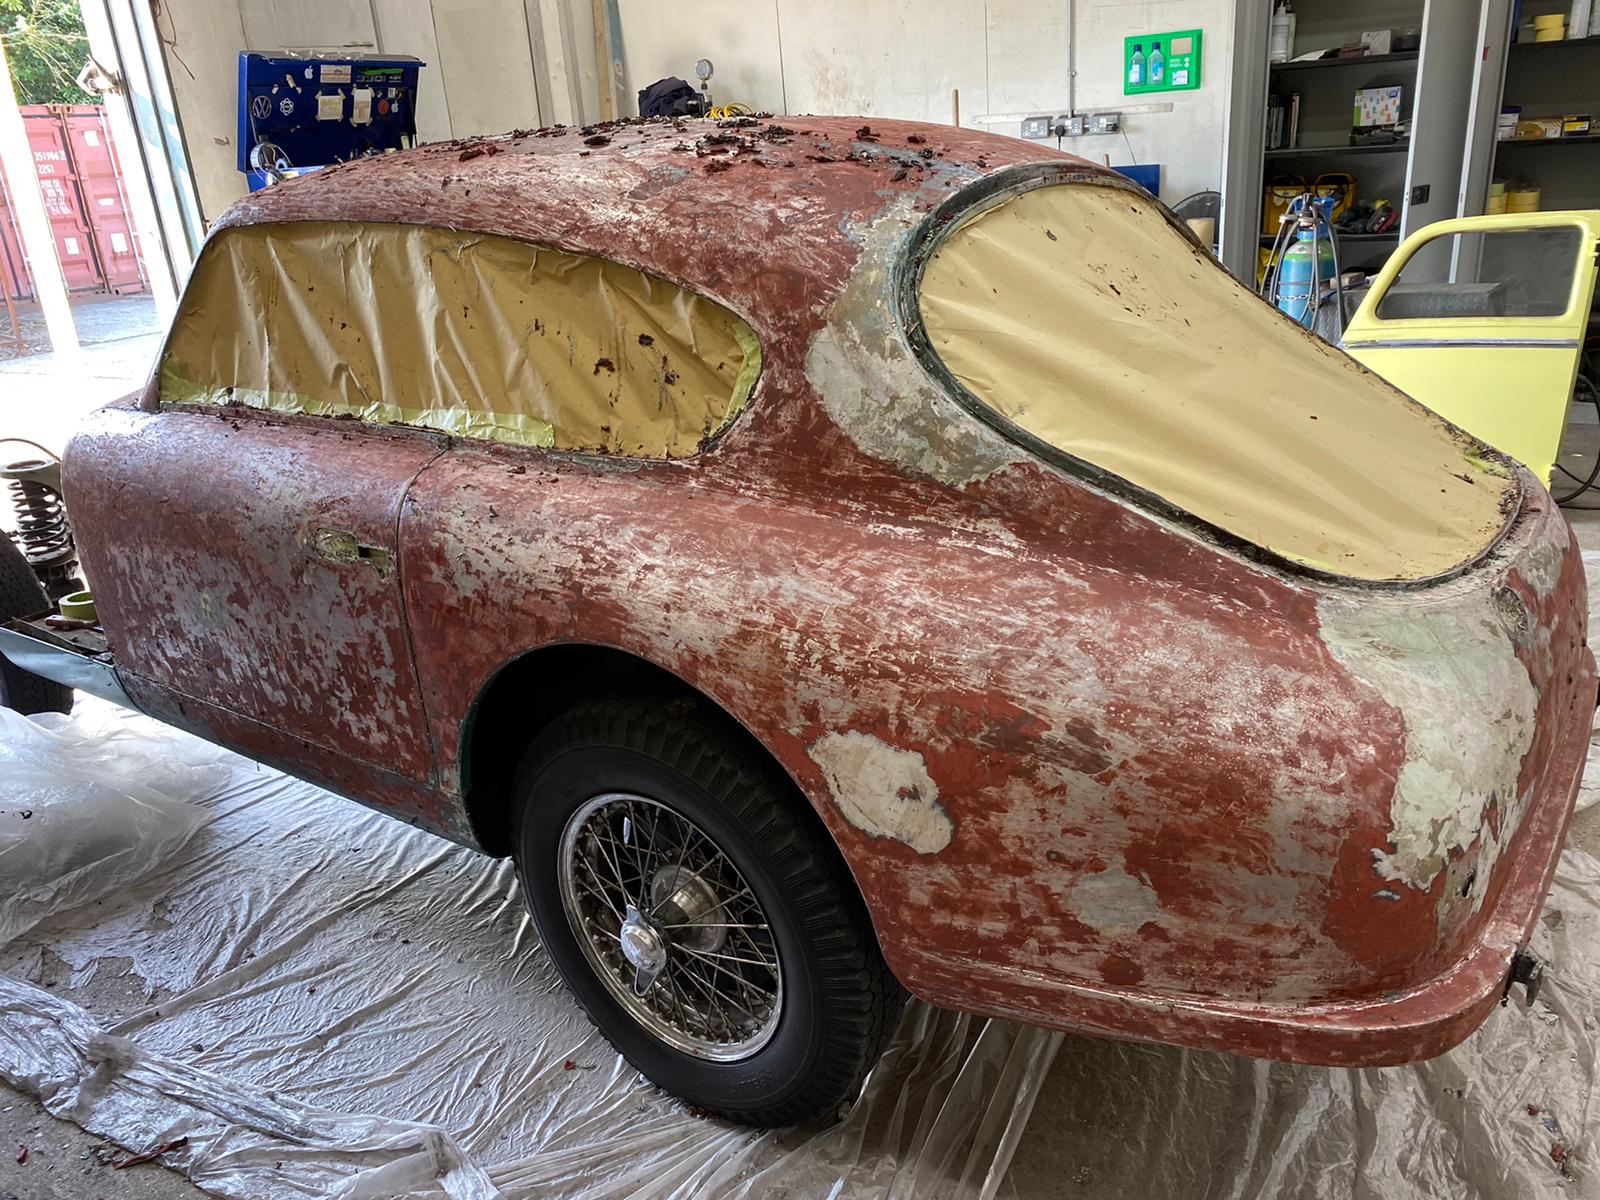
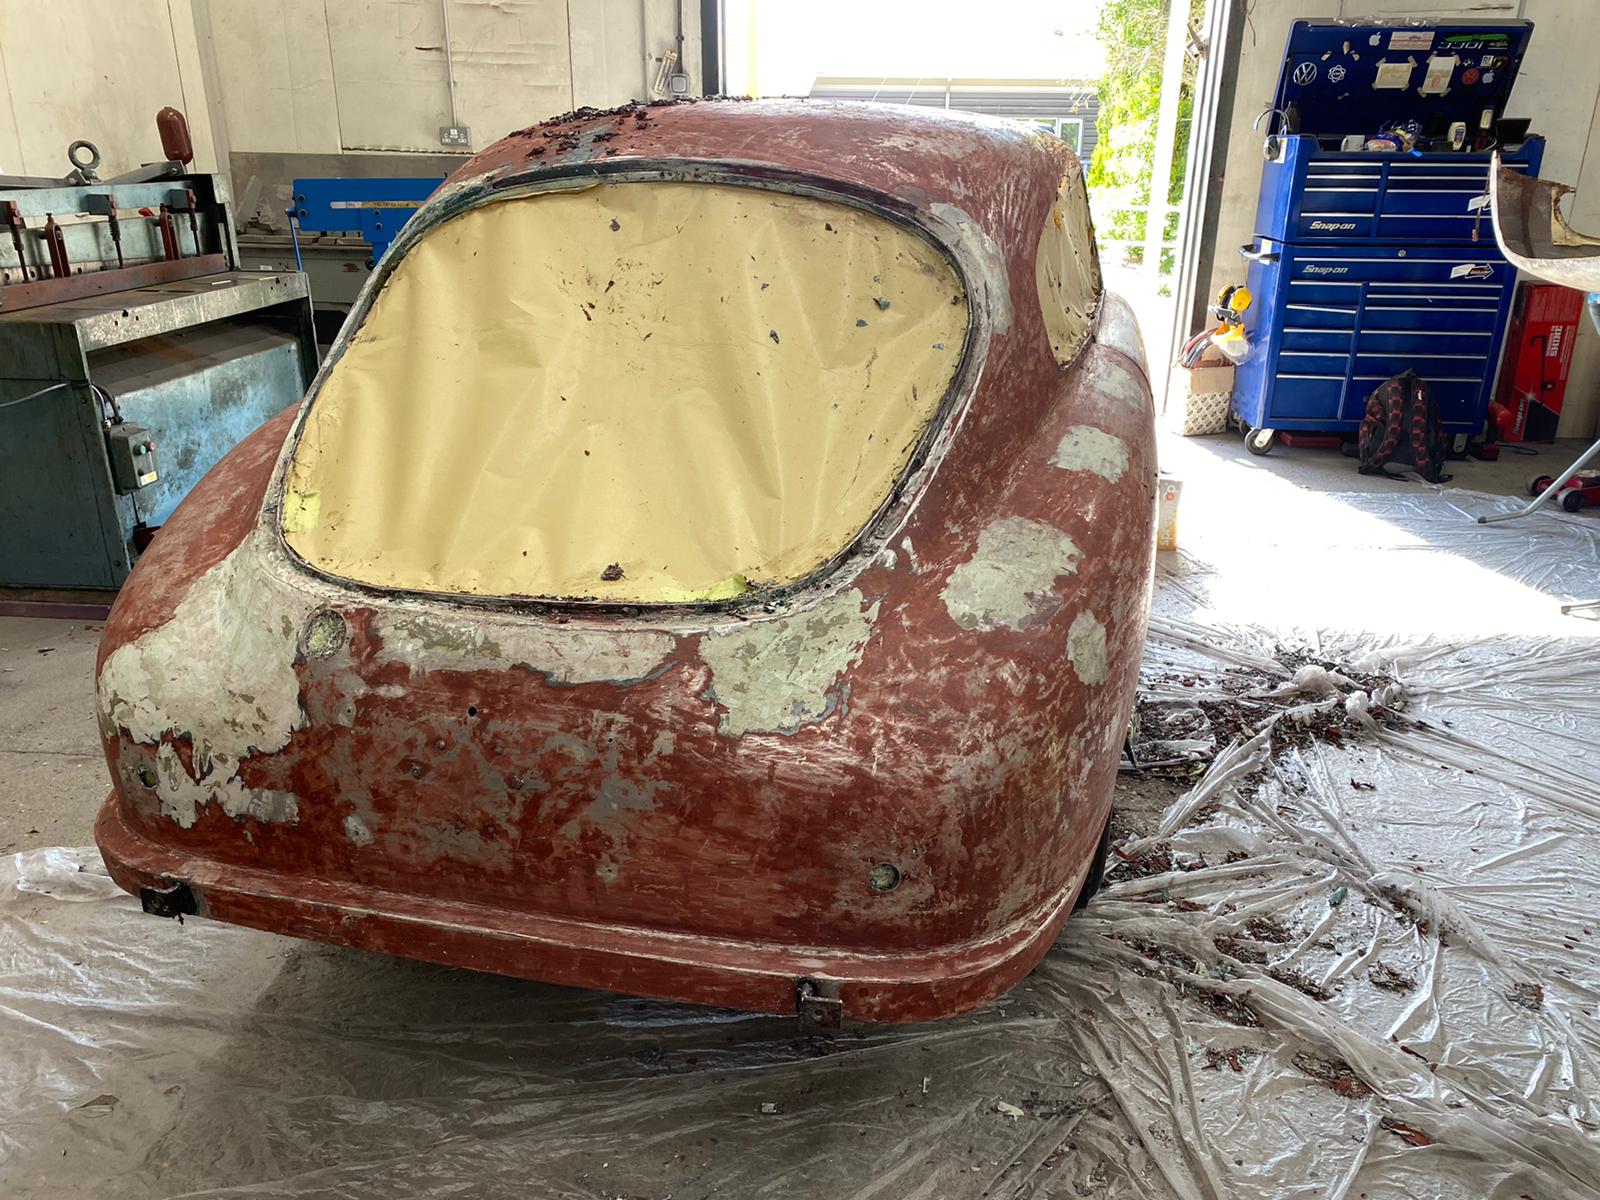
We’ve pulled in the helpful hands of Kath and Lydia to tackle the paint stripping on our Aston martin DB2/4 Mark I. Normally found in

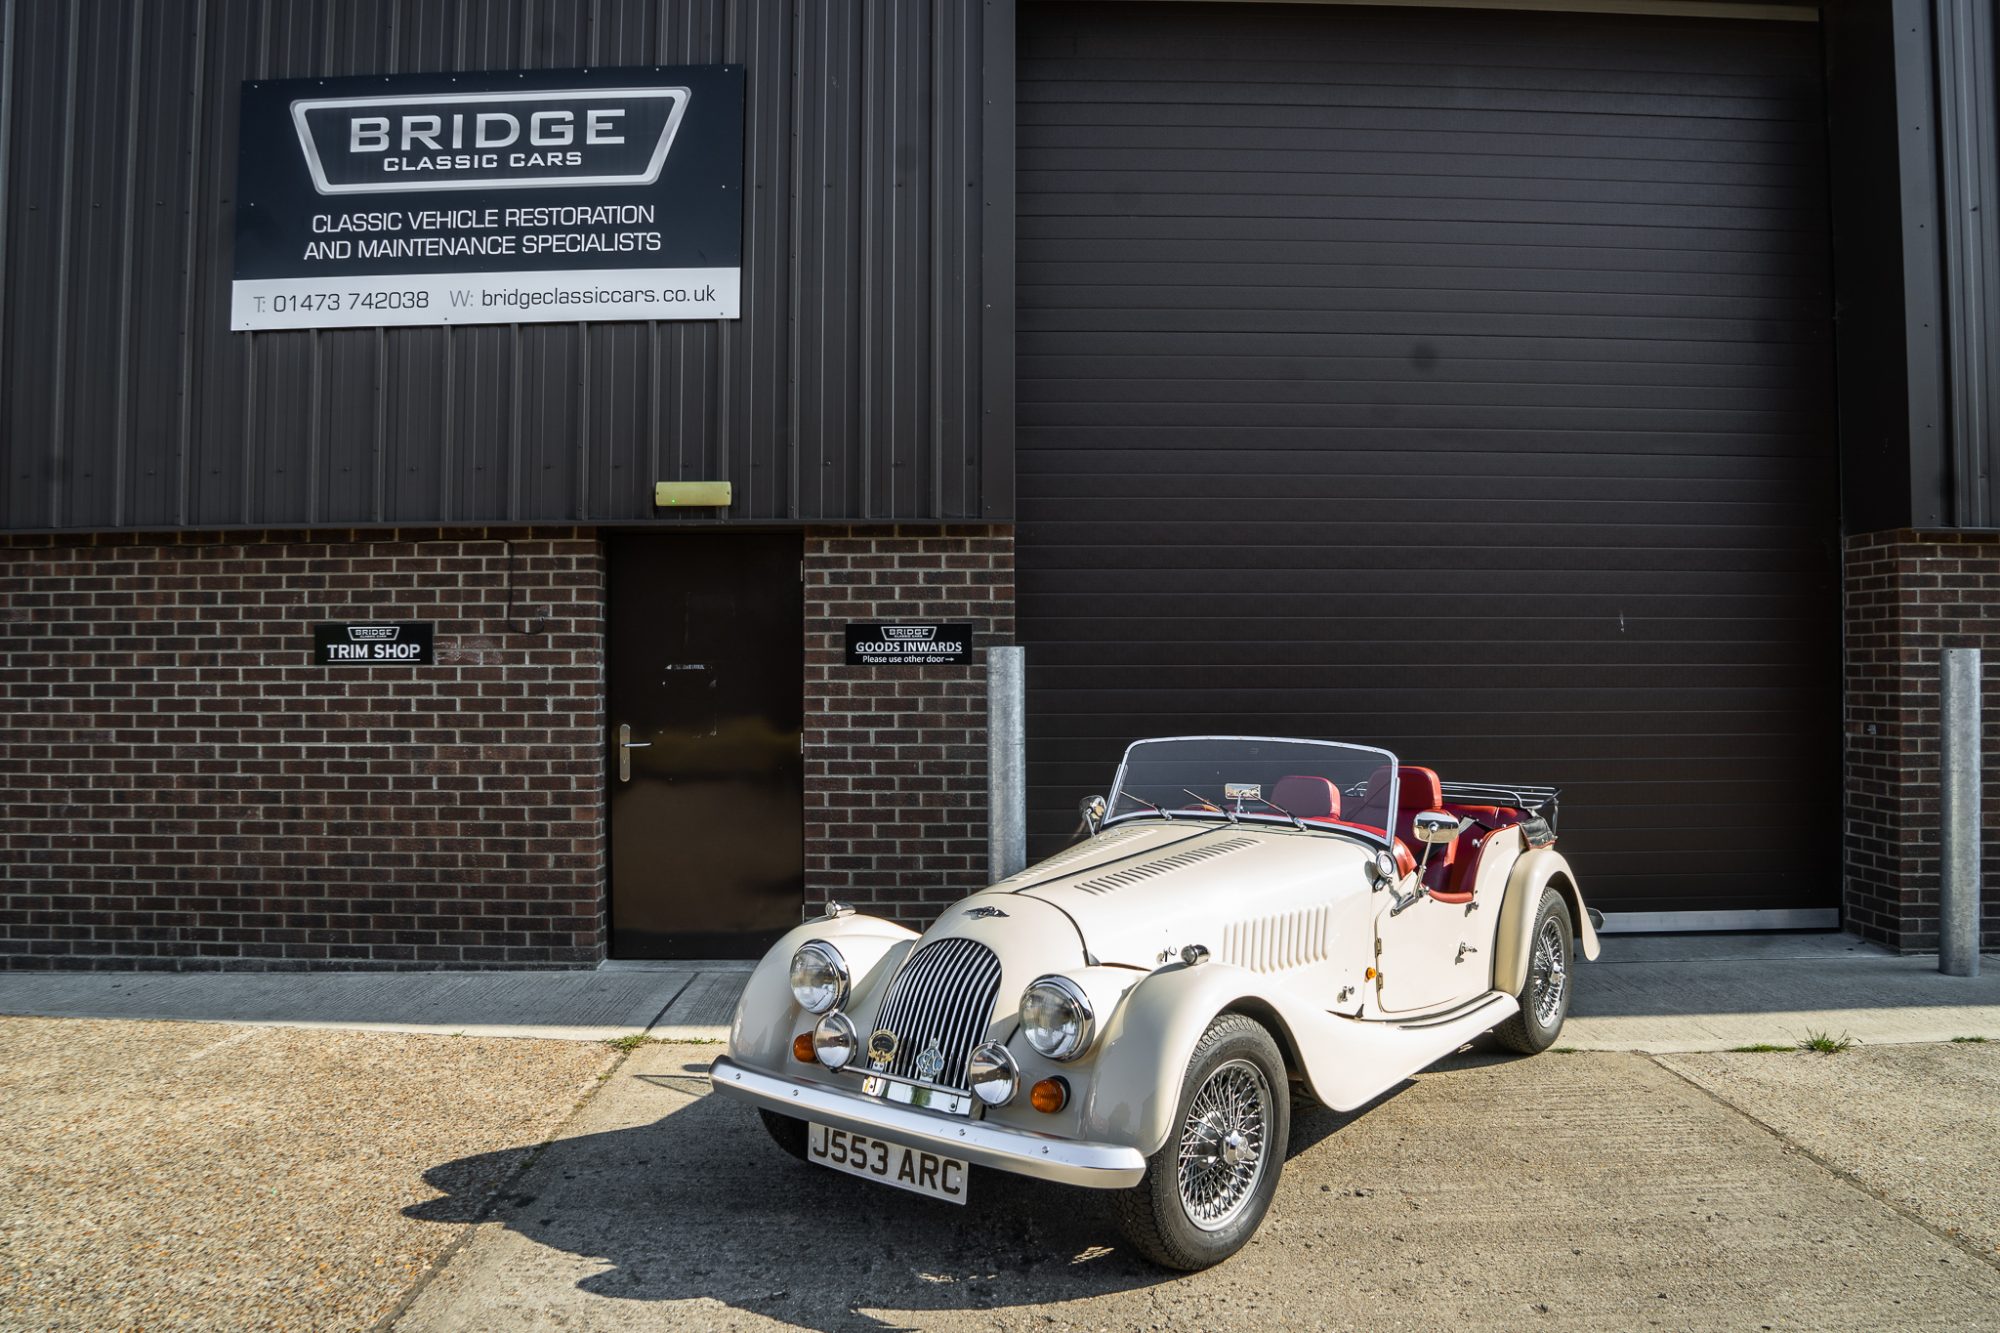
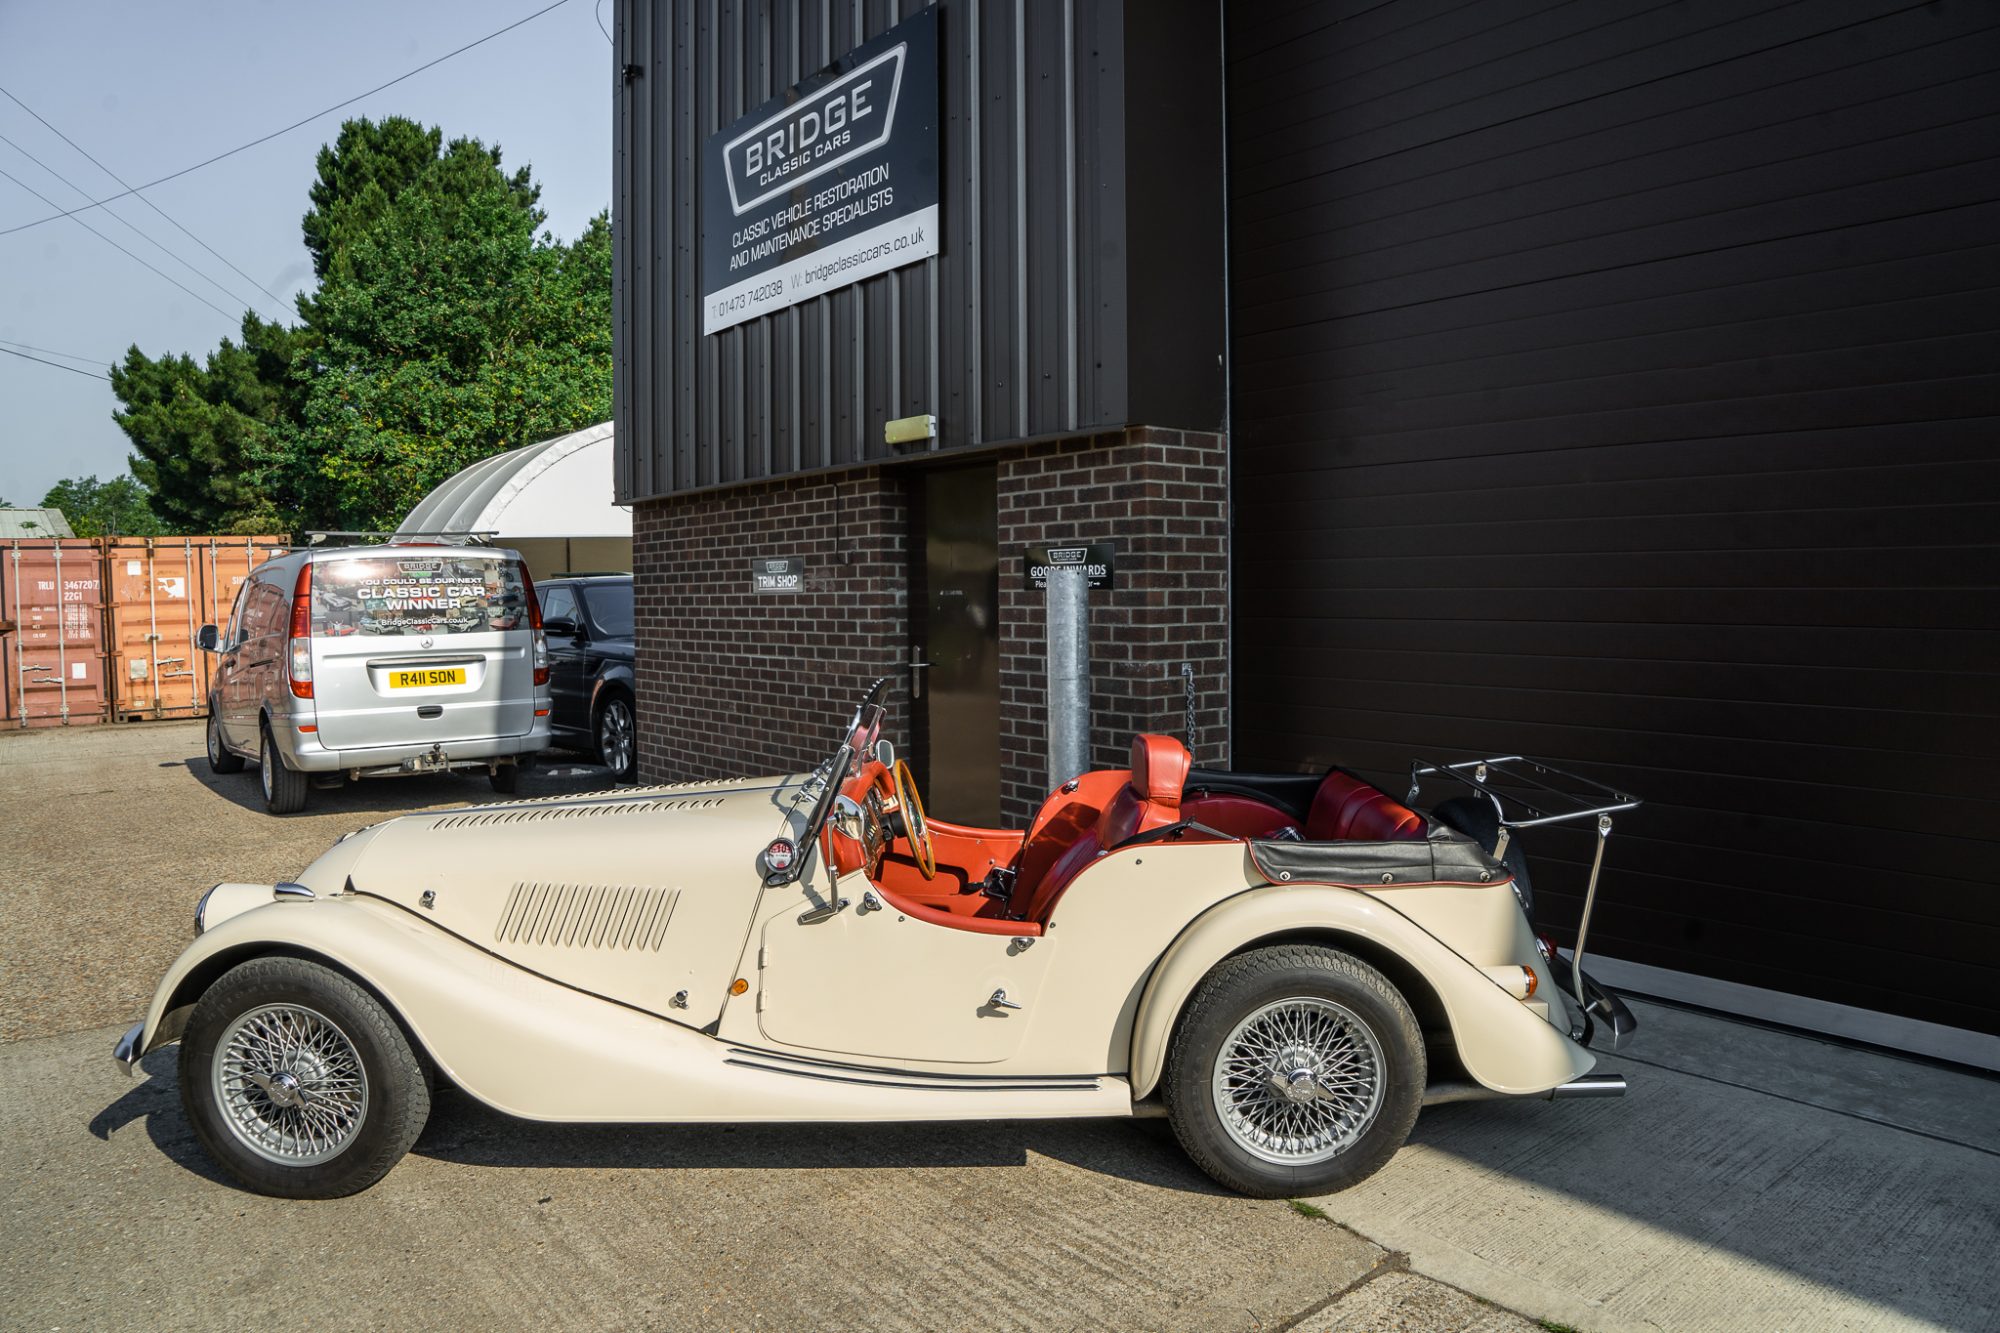
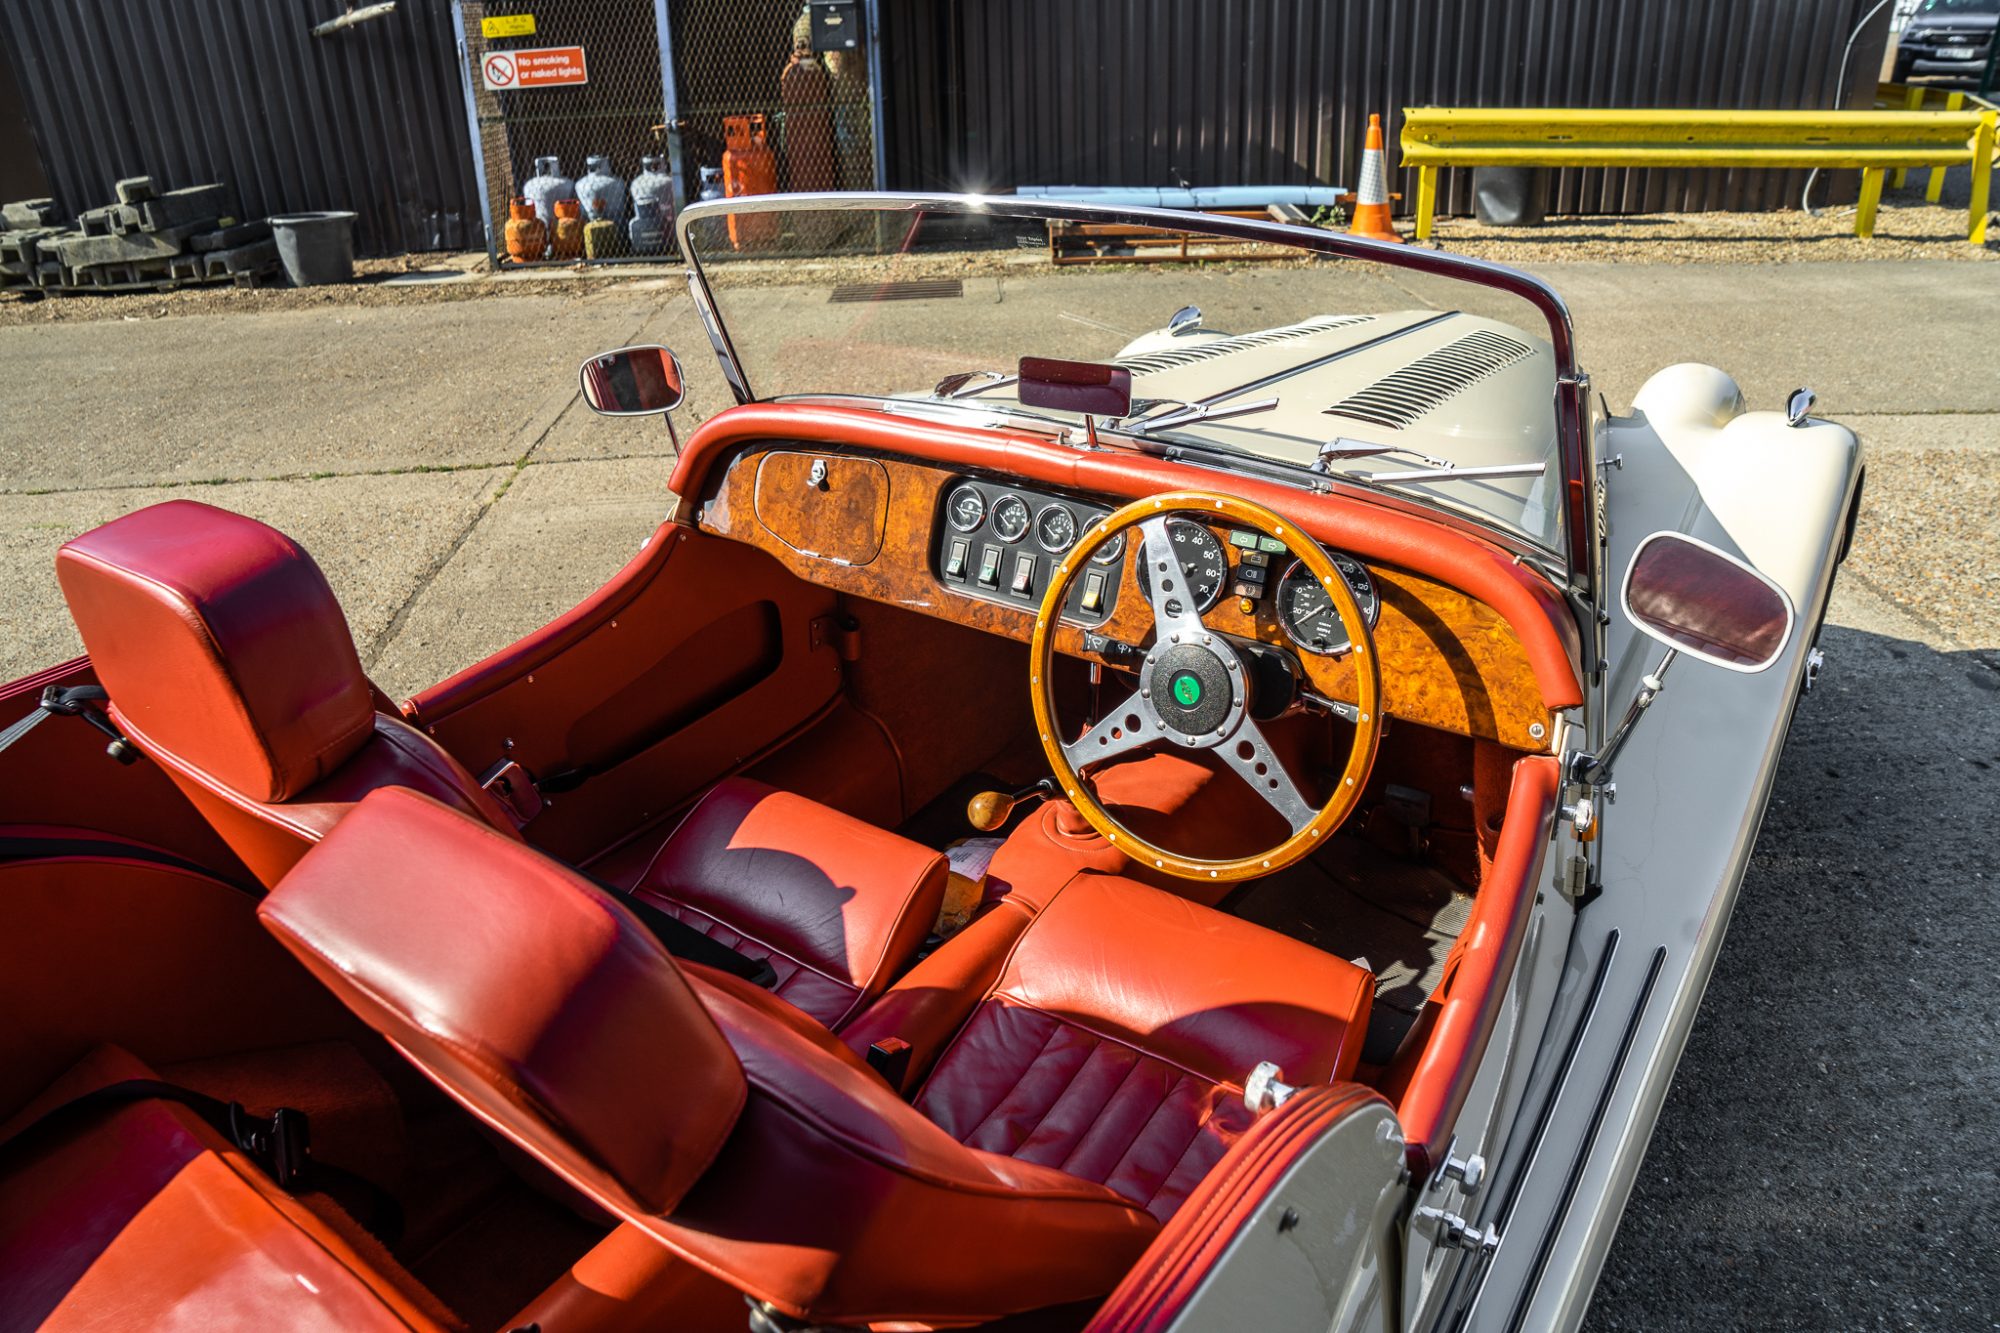
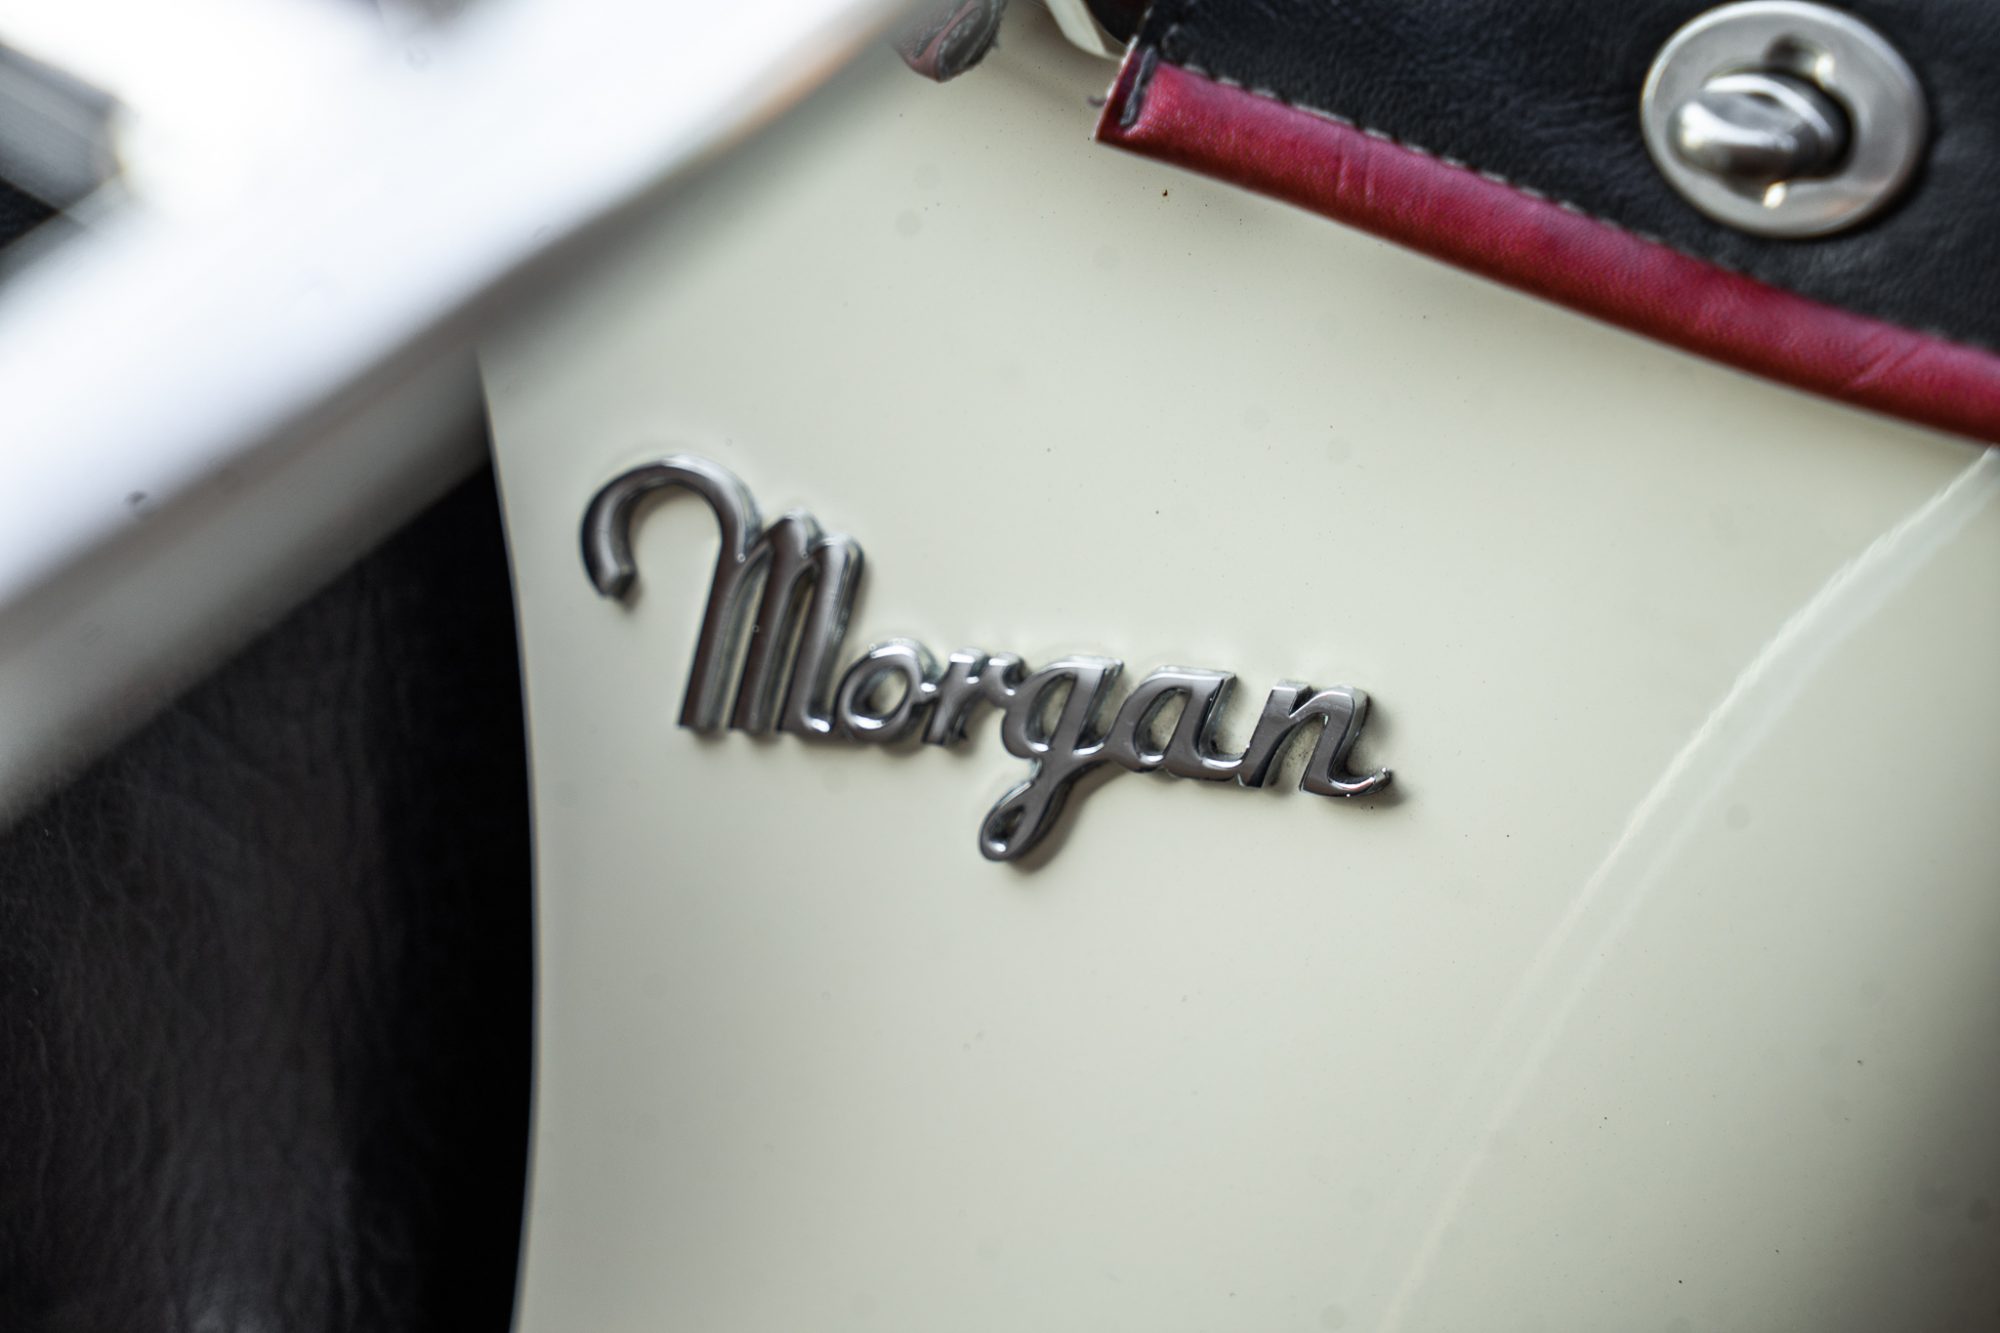
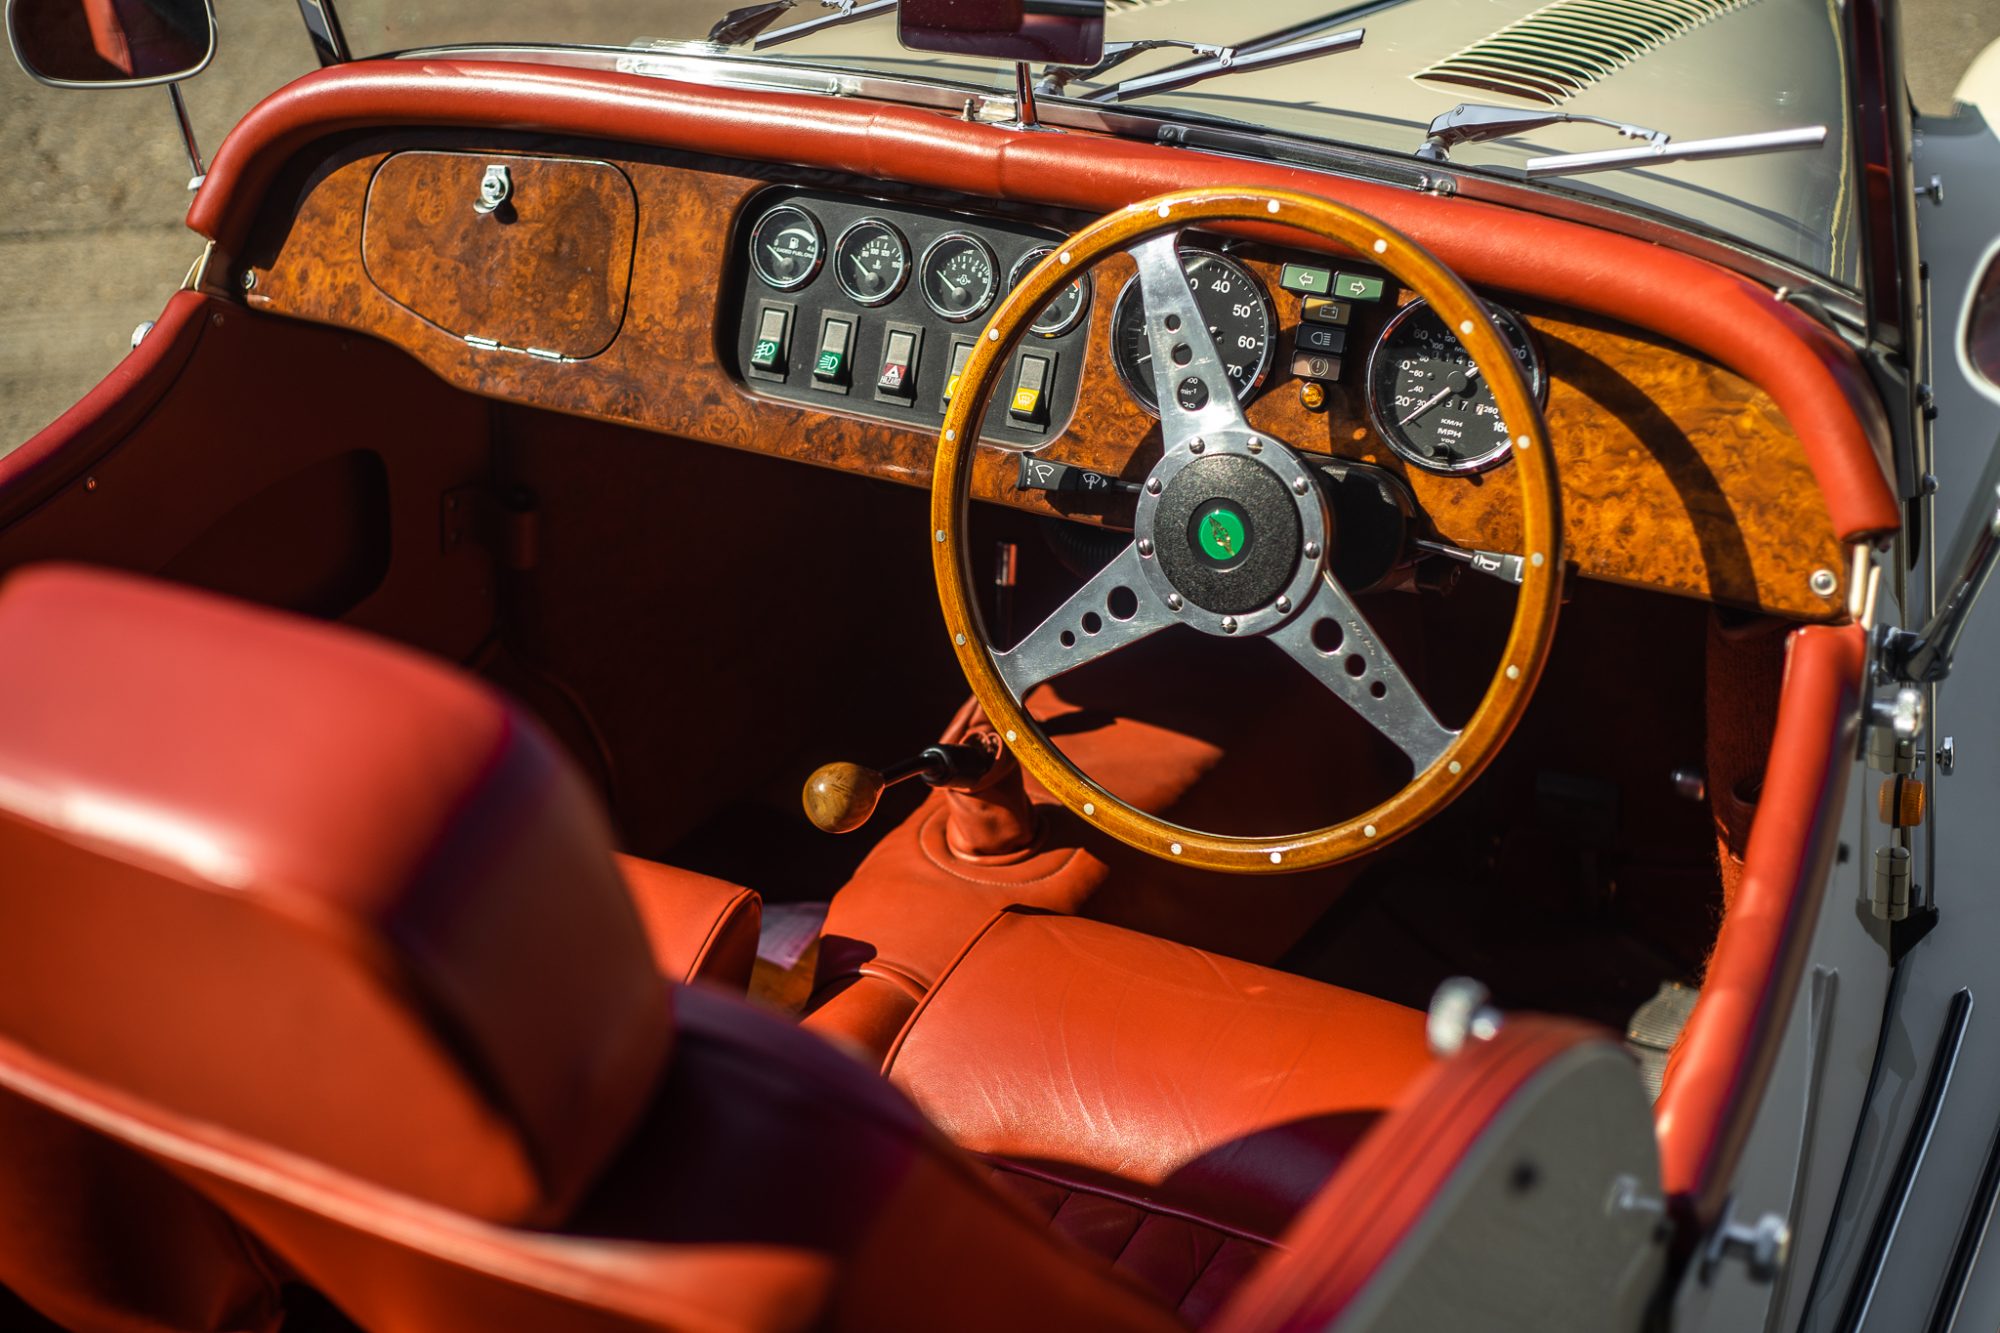
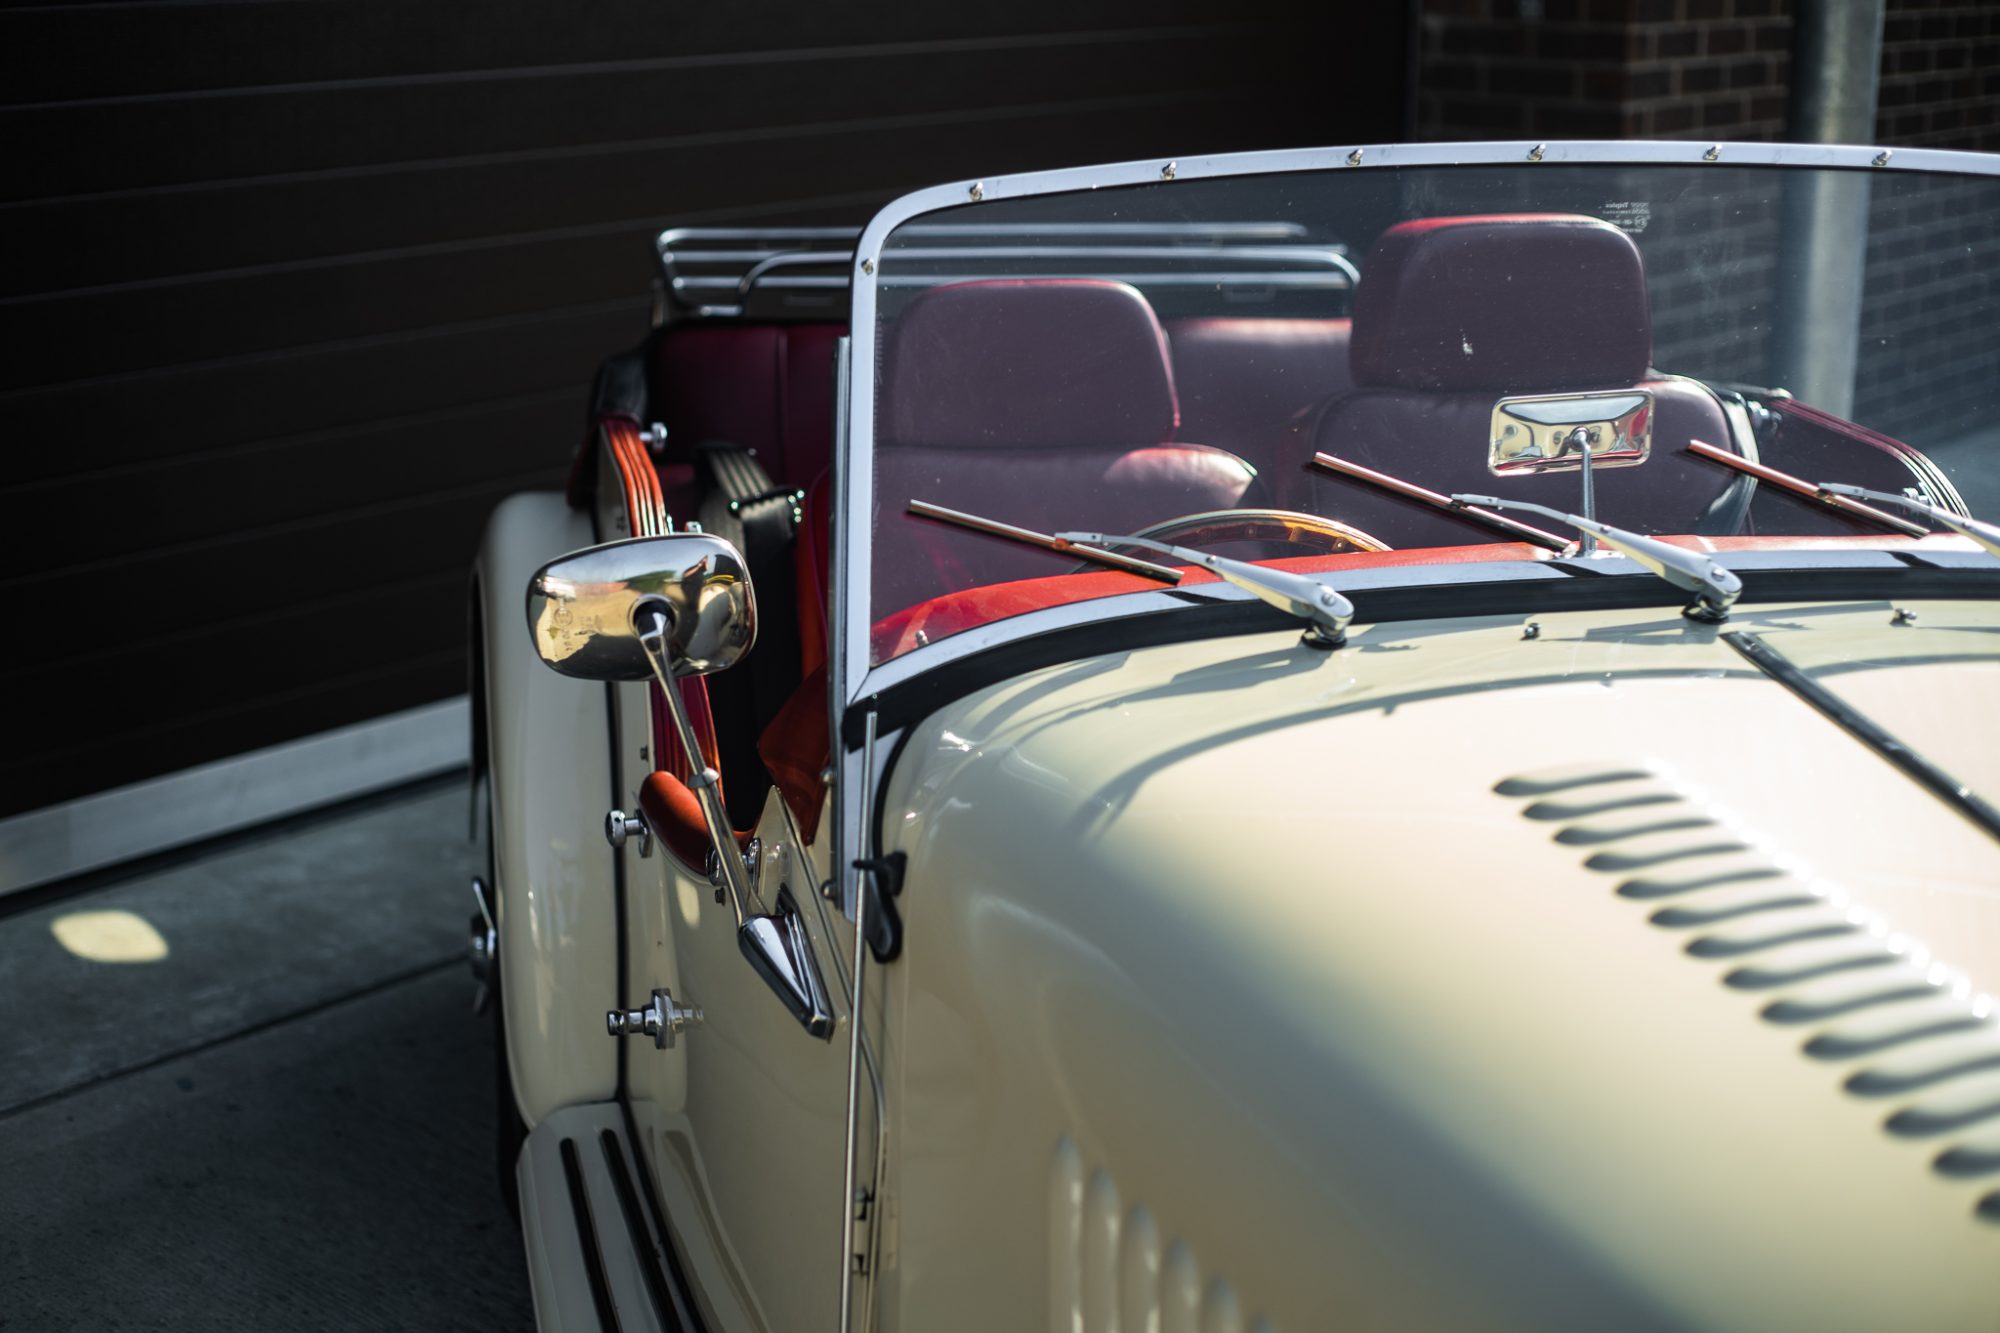
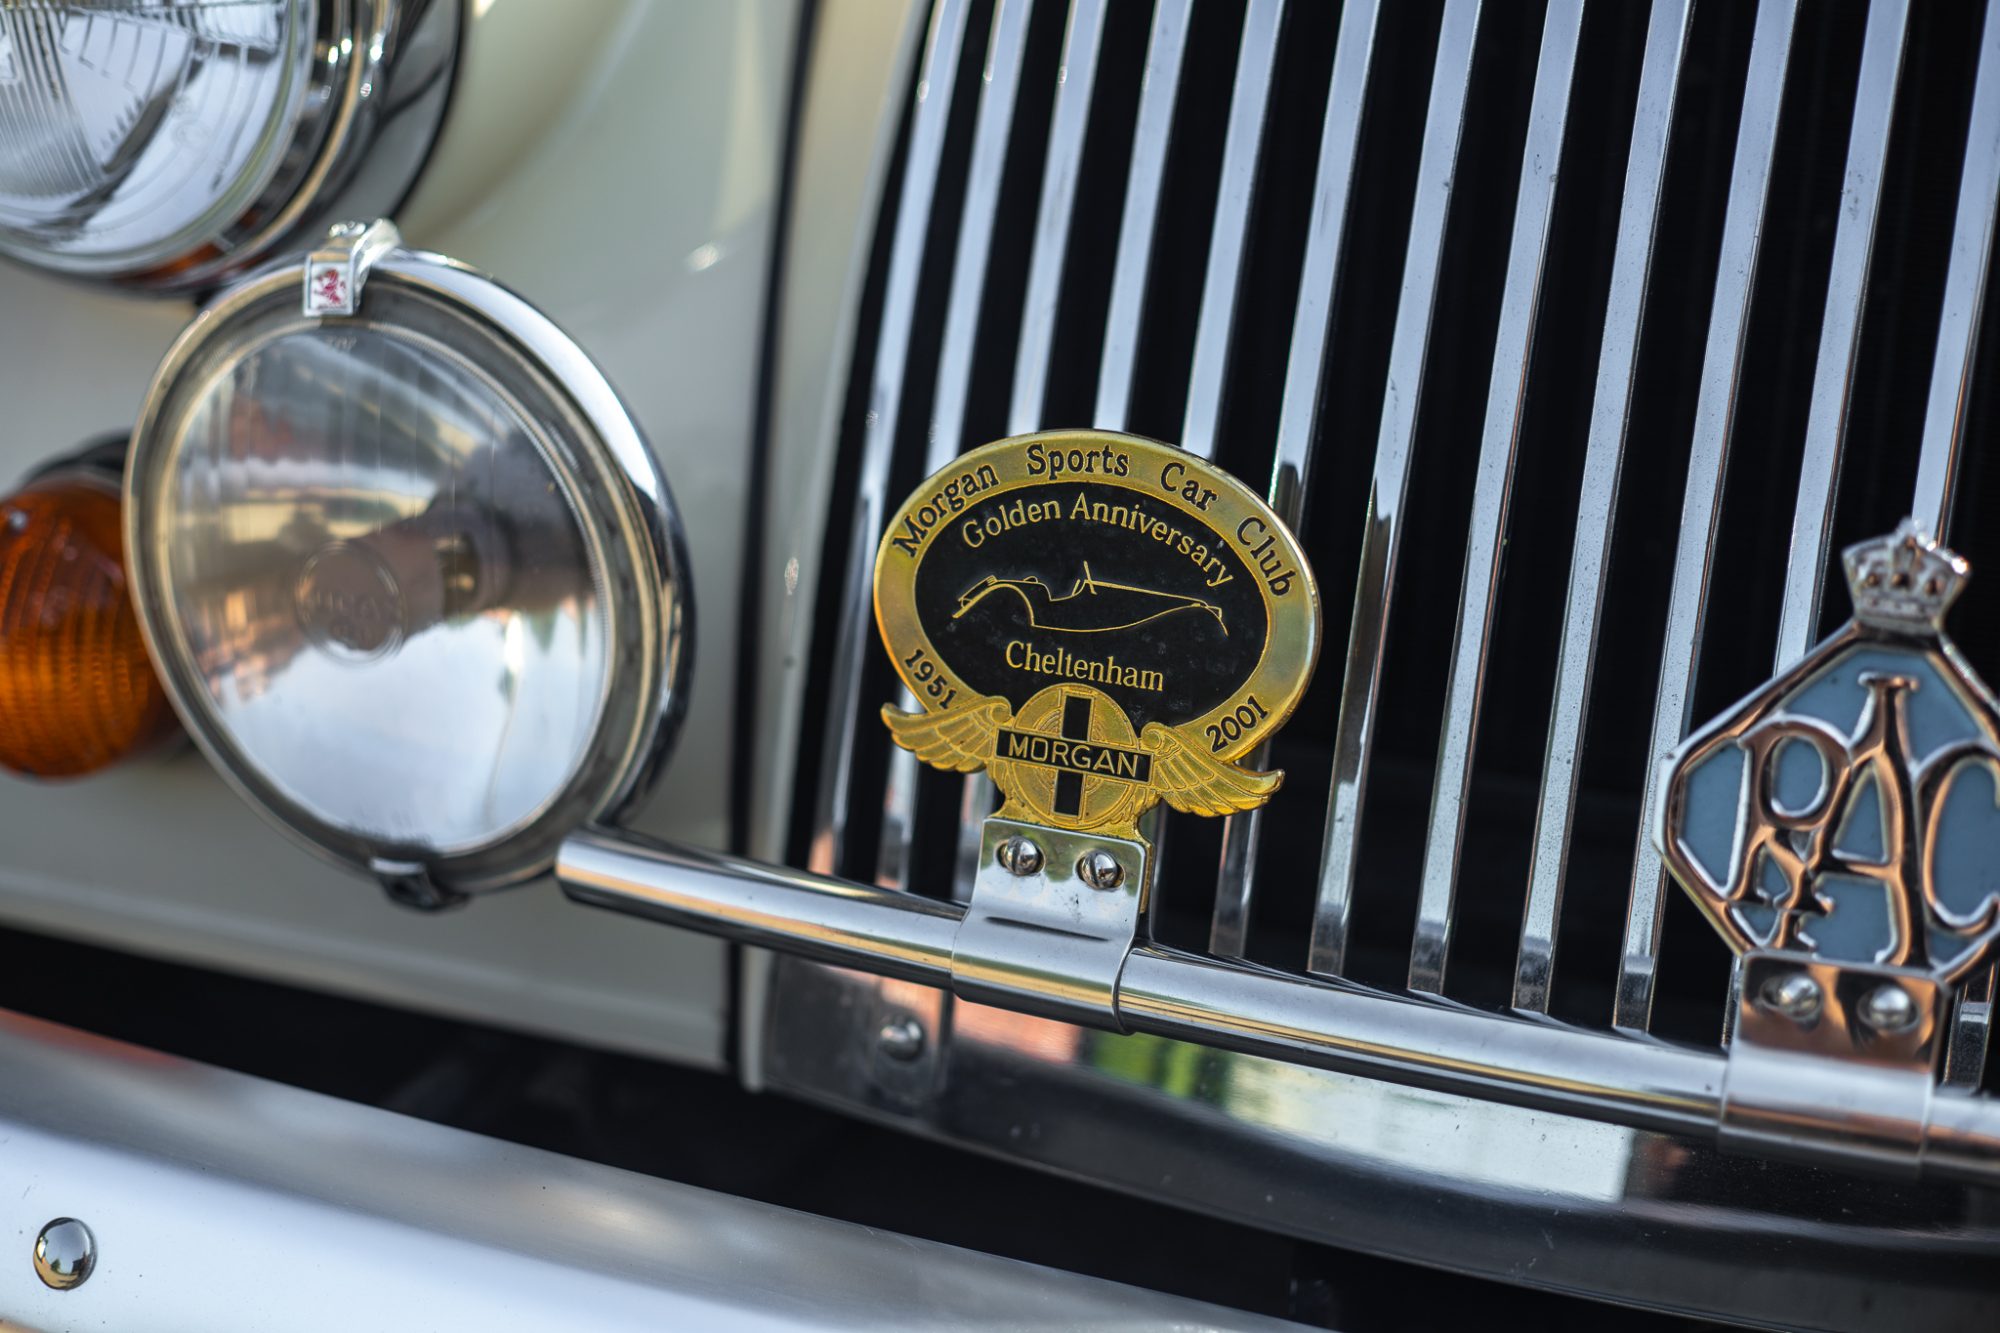
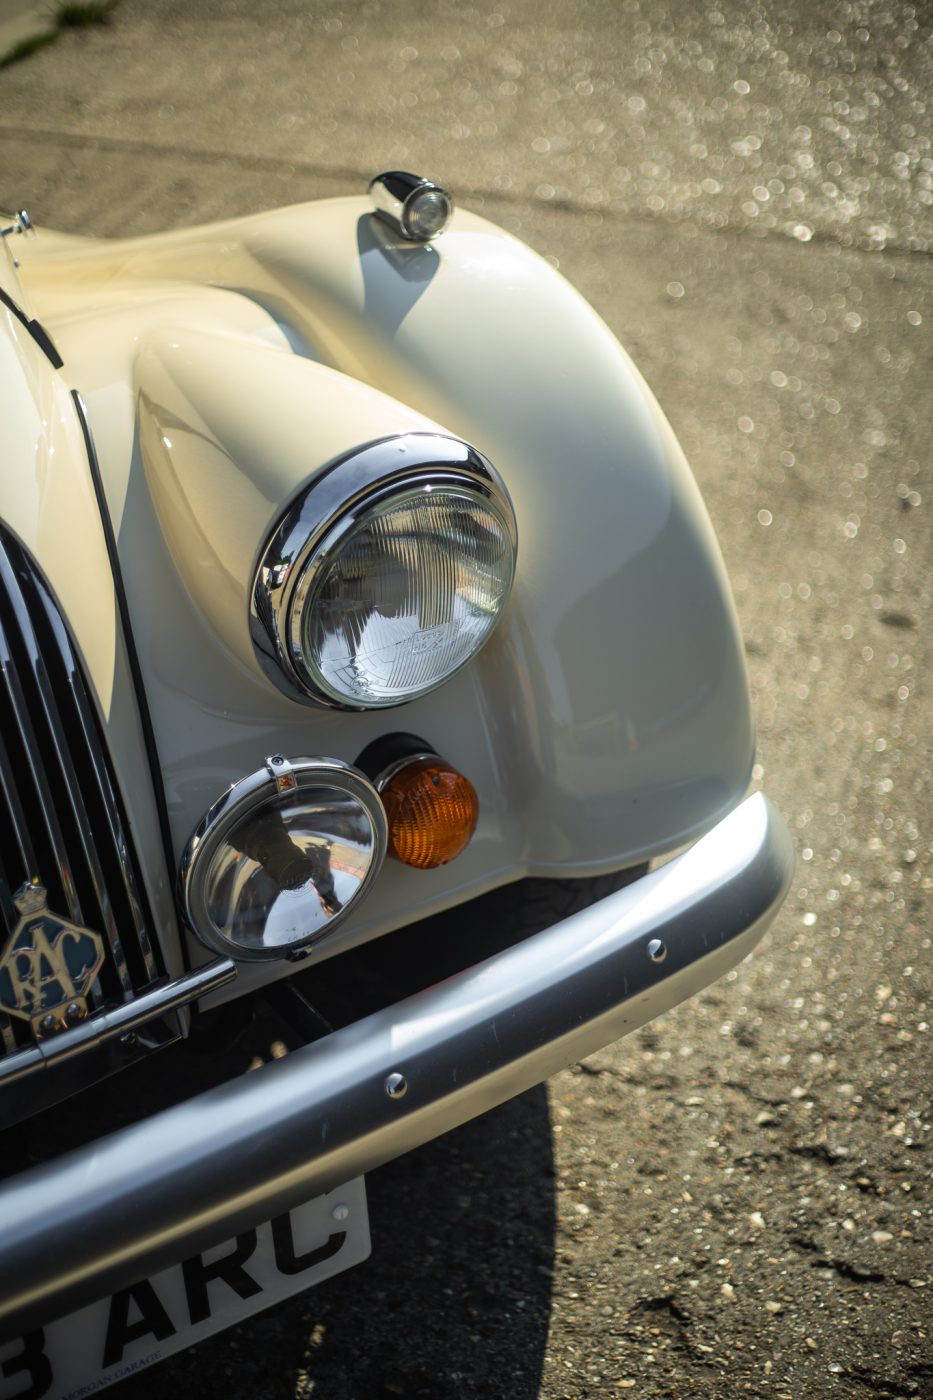
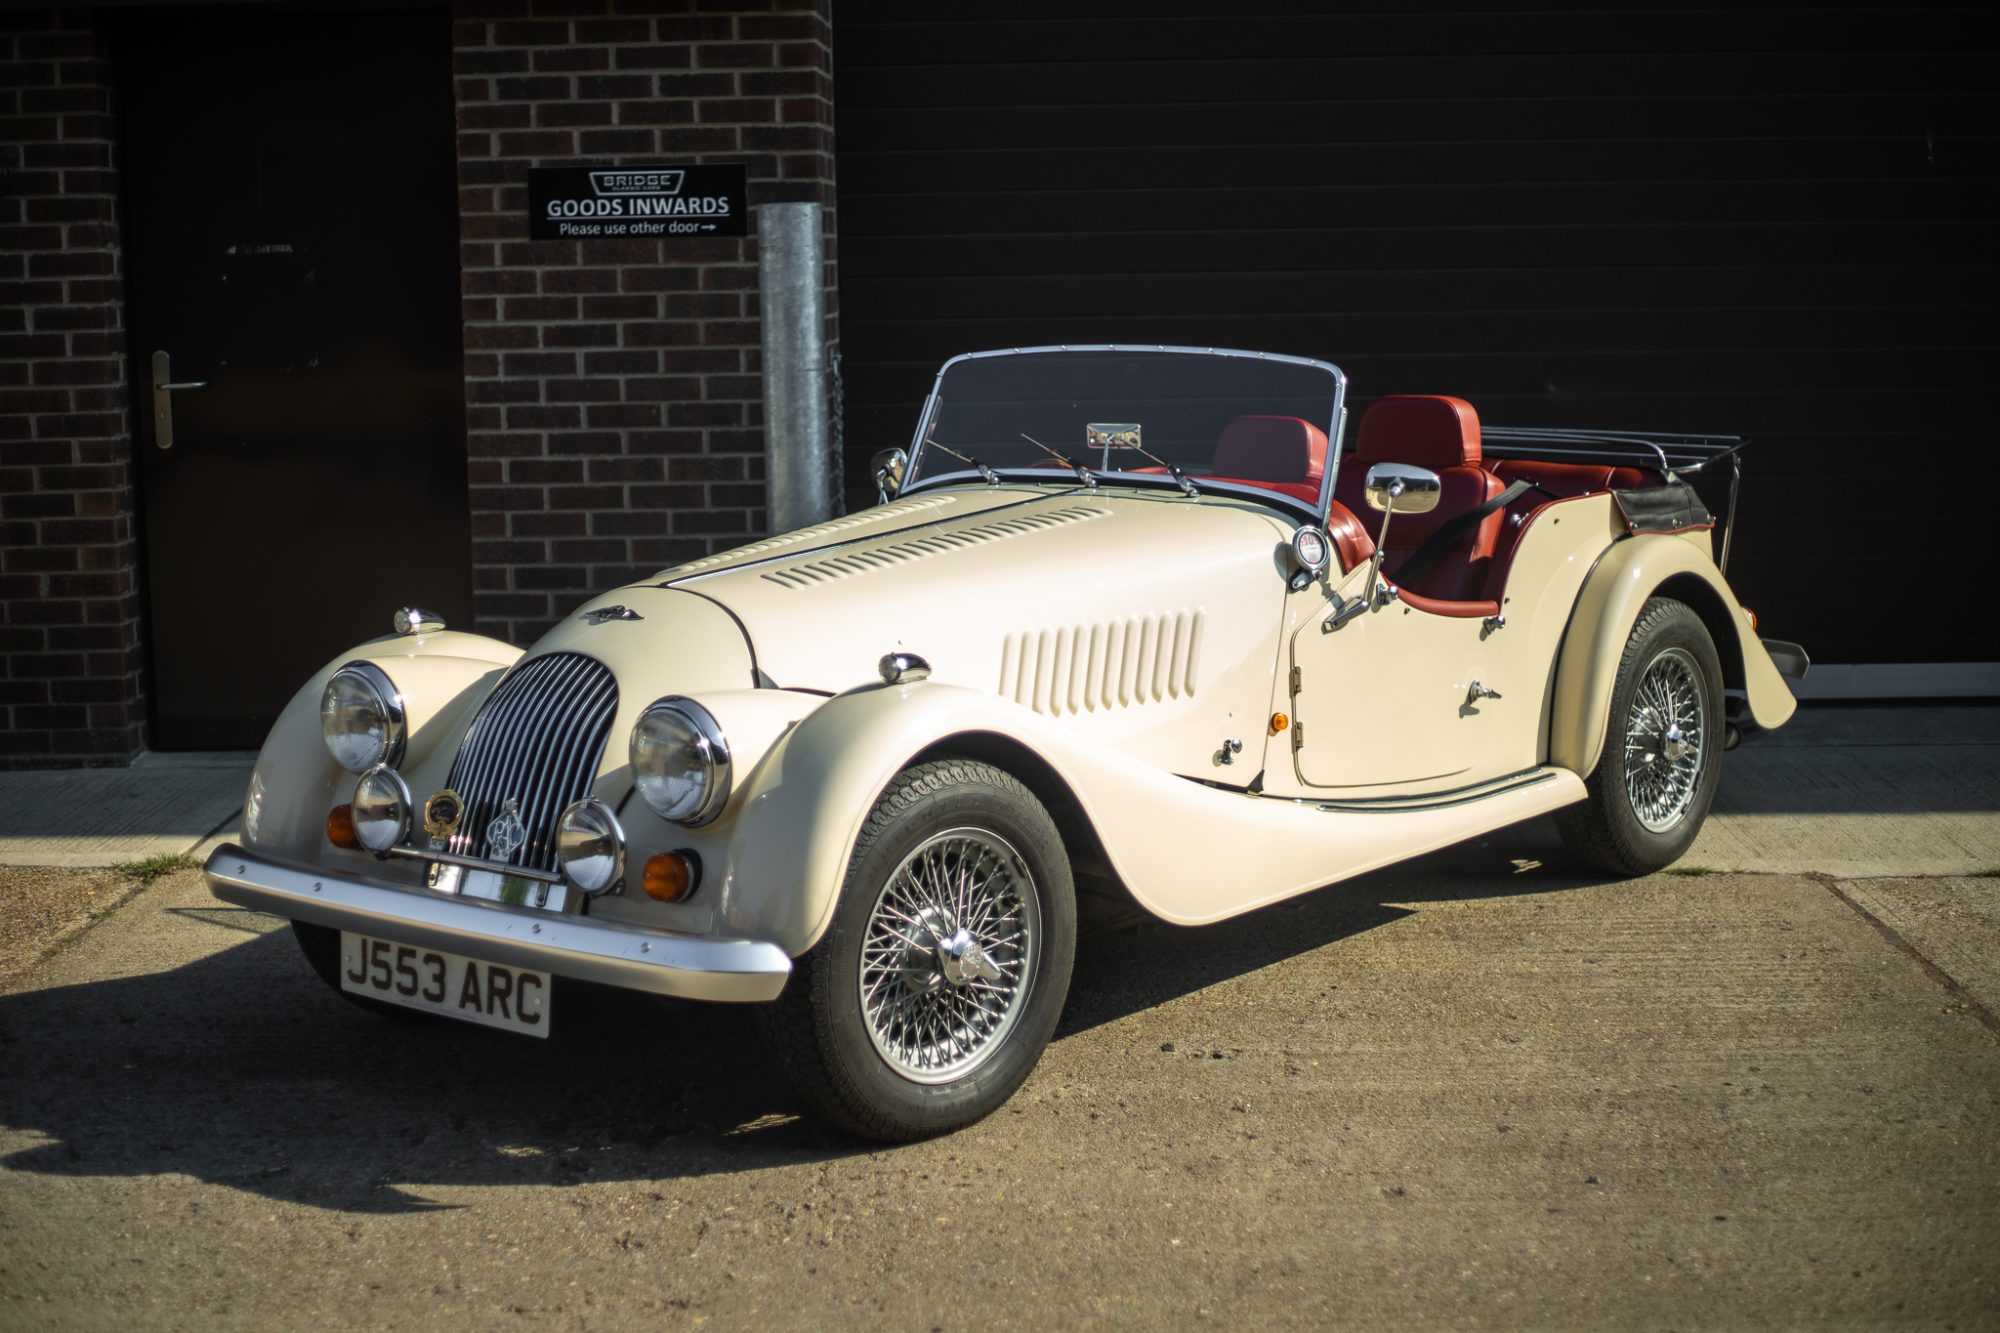
This 1992 Morgan 4/4 has come in for a service and some amends such as a new exhaust, brakes to be checked, drain oil out
Our 1973 White E-Type Roadster is in the paint booth and being prepared for paint. Matt has been getting it read for epoxy primer by removing excess sealer and cleaning the welds. This E-Type, which used to be white, will soon be a new shade…


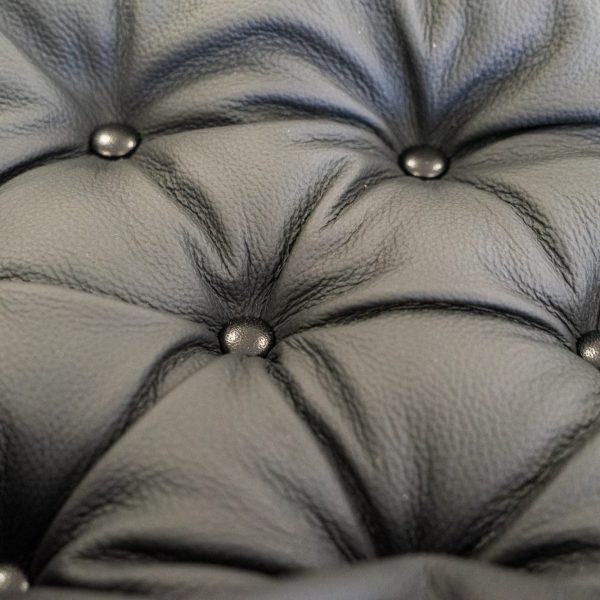
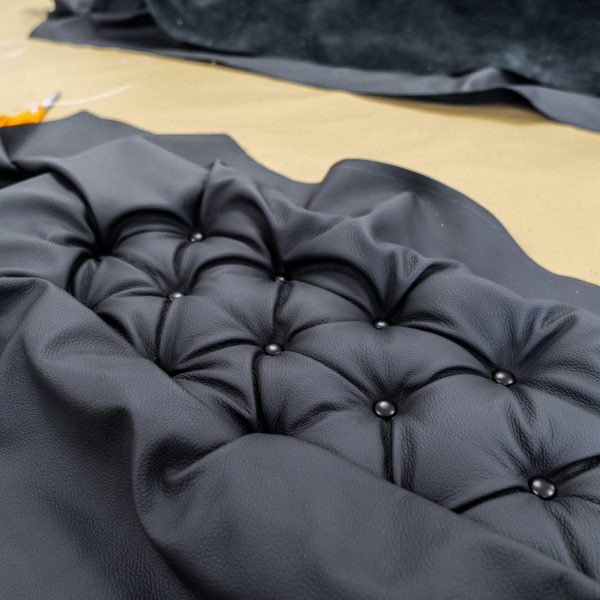
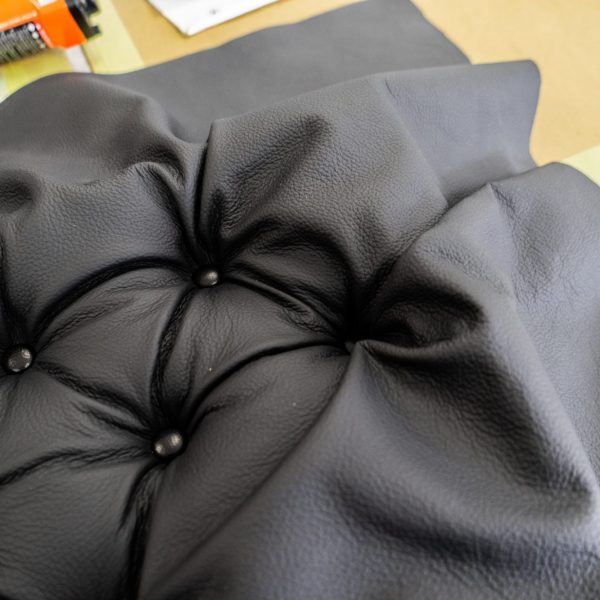
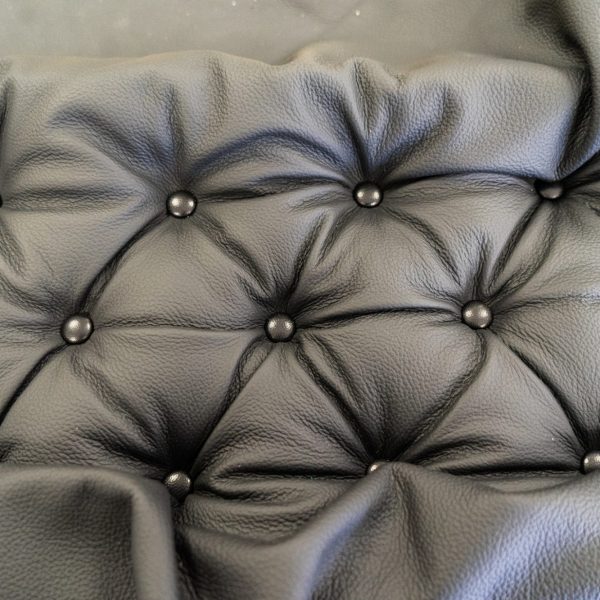
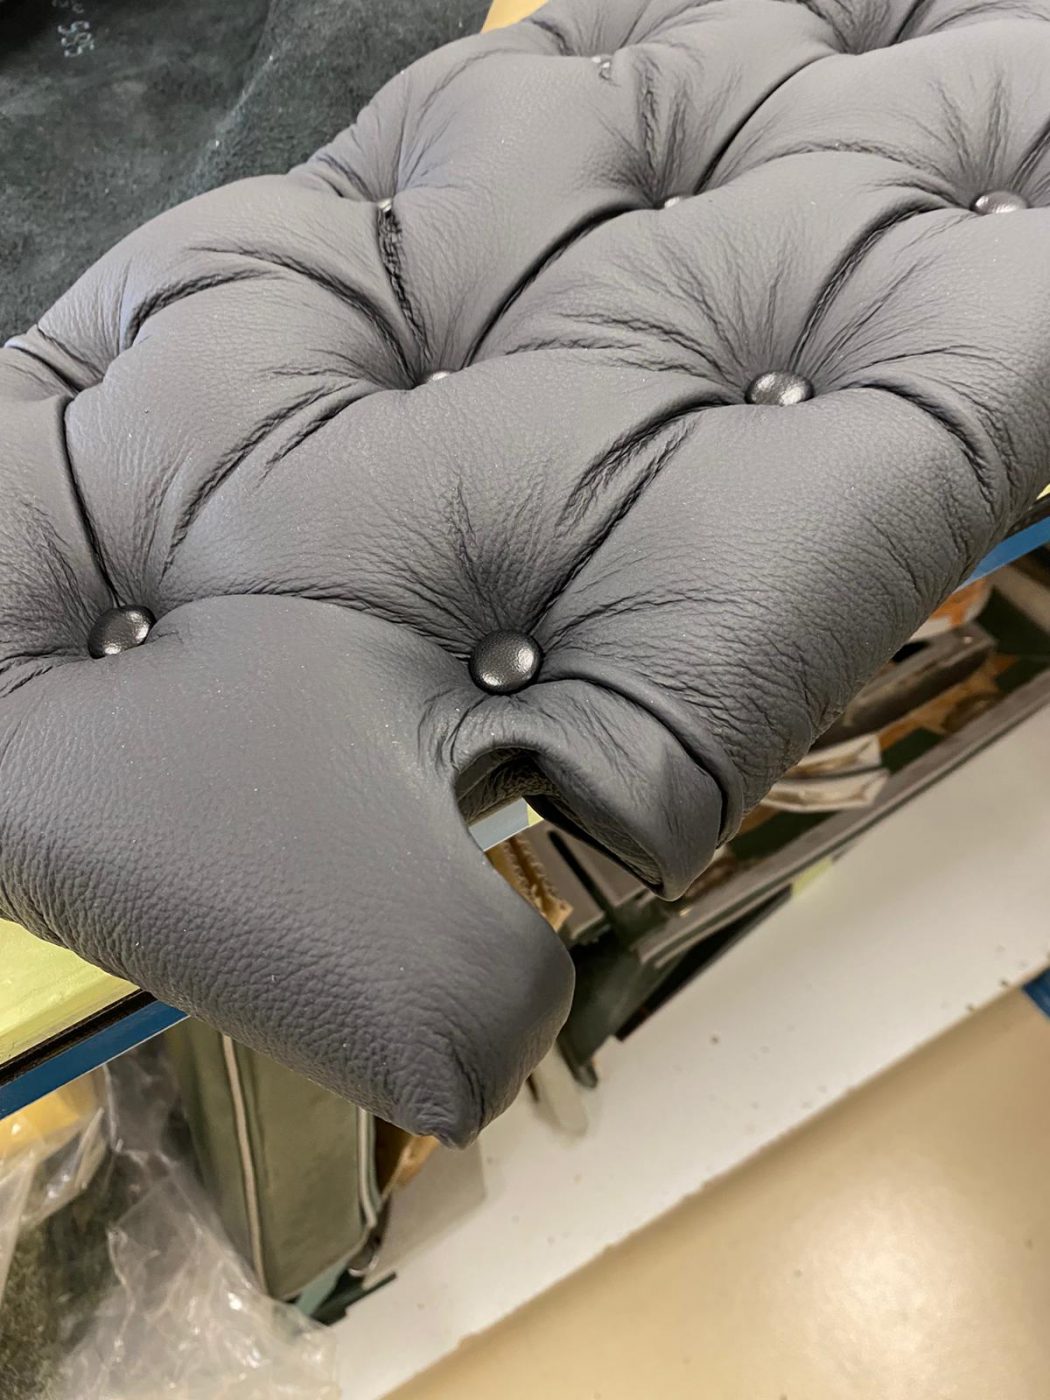
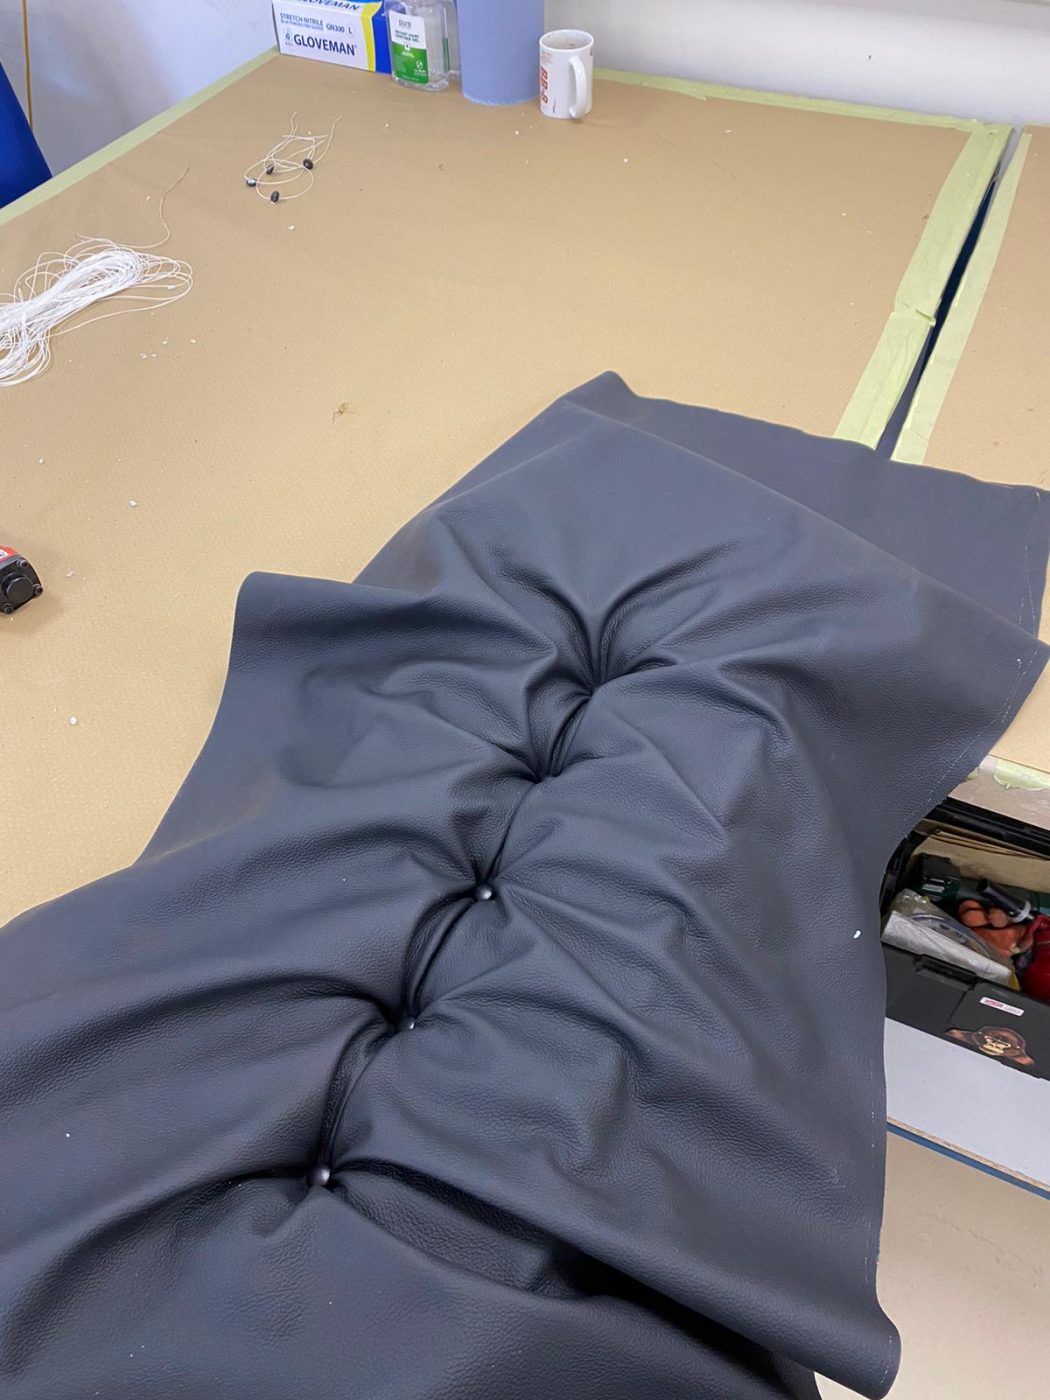
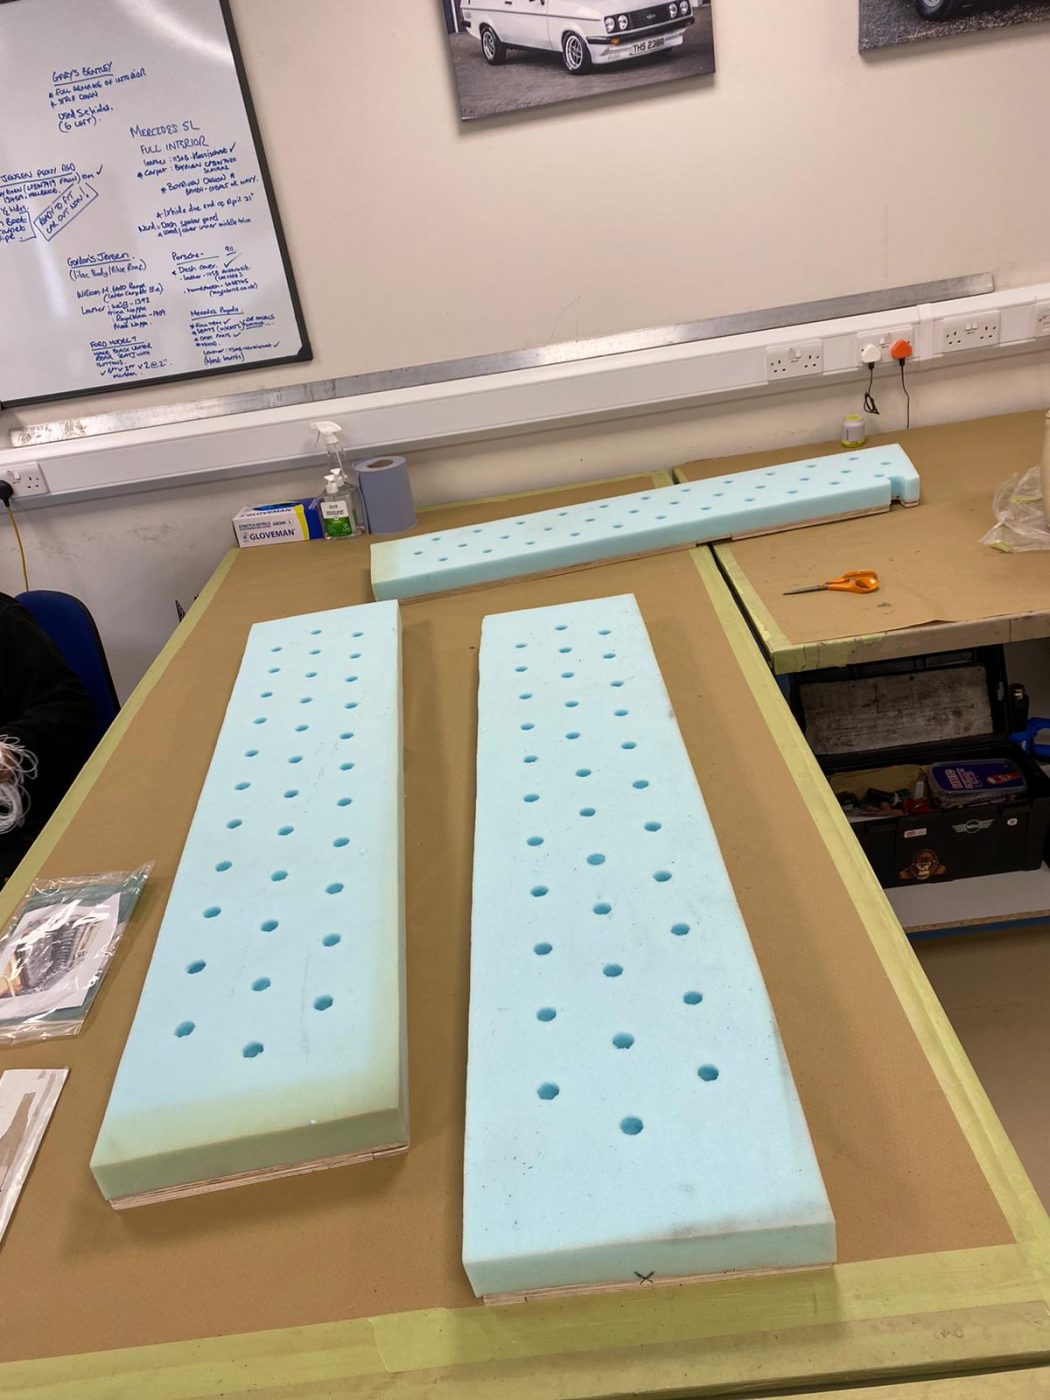
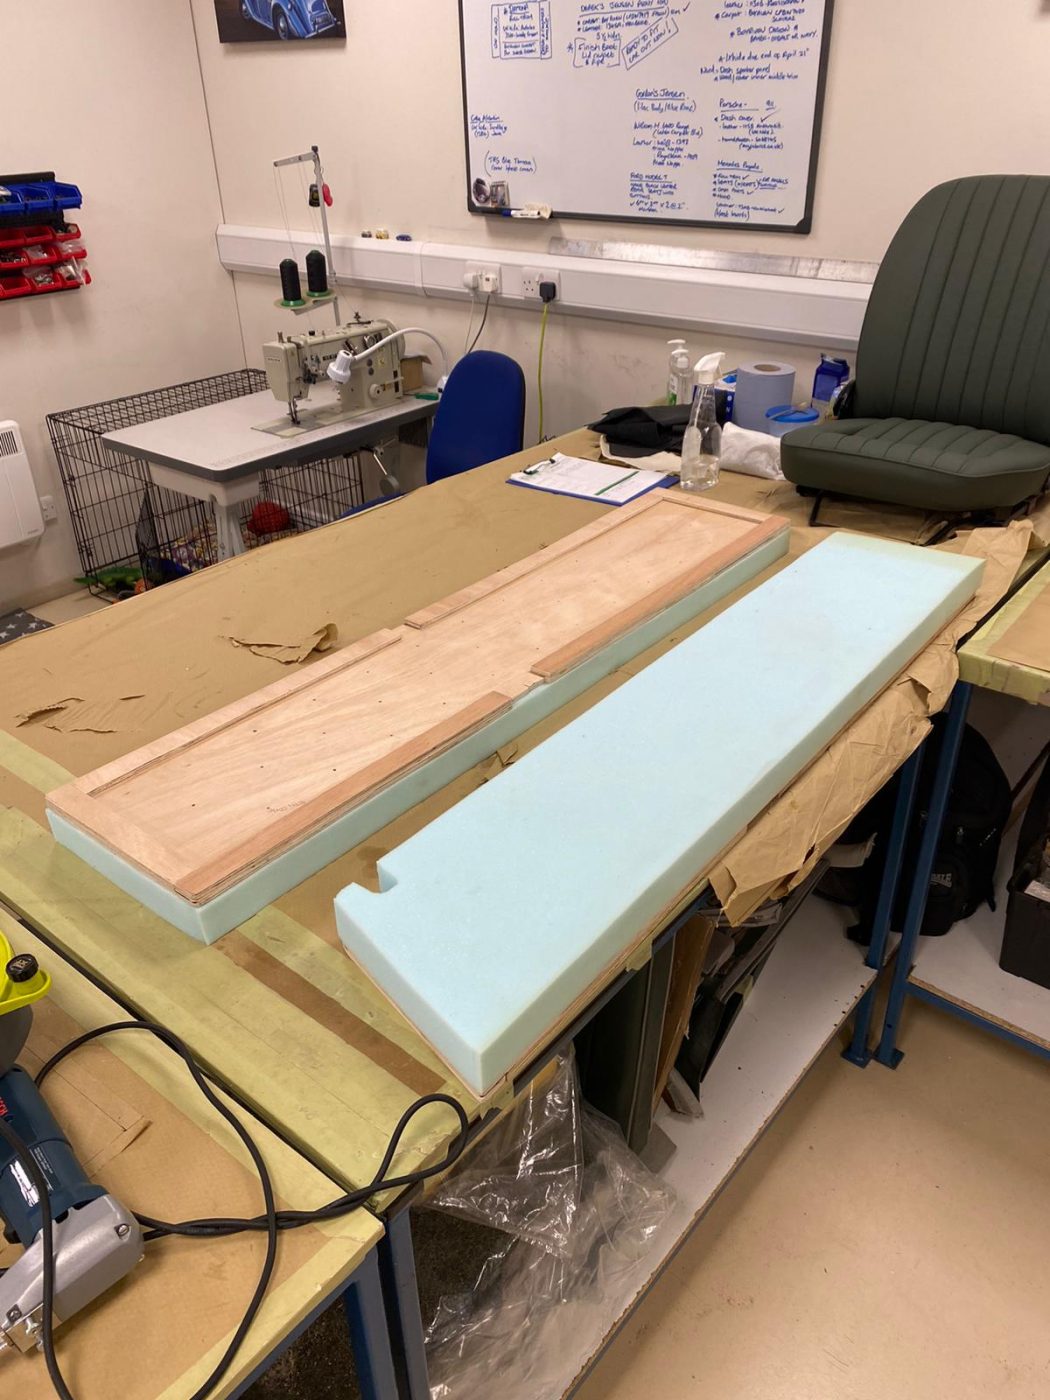
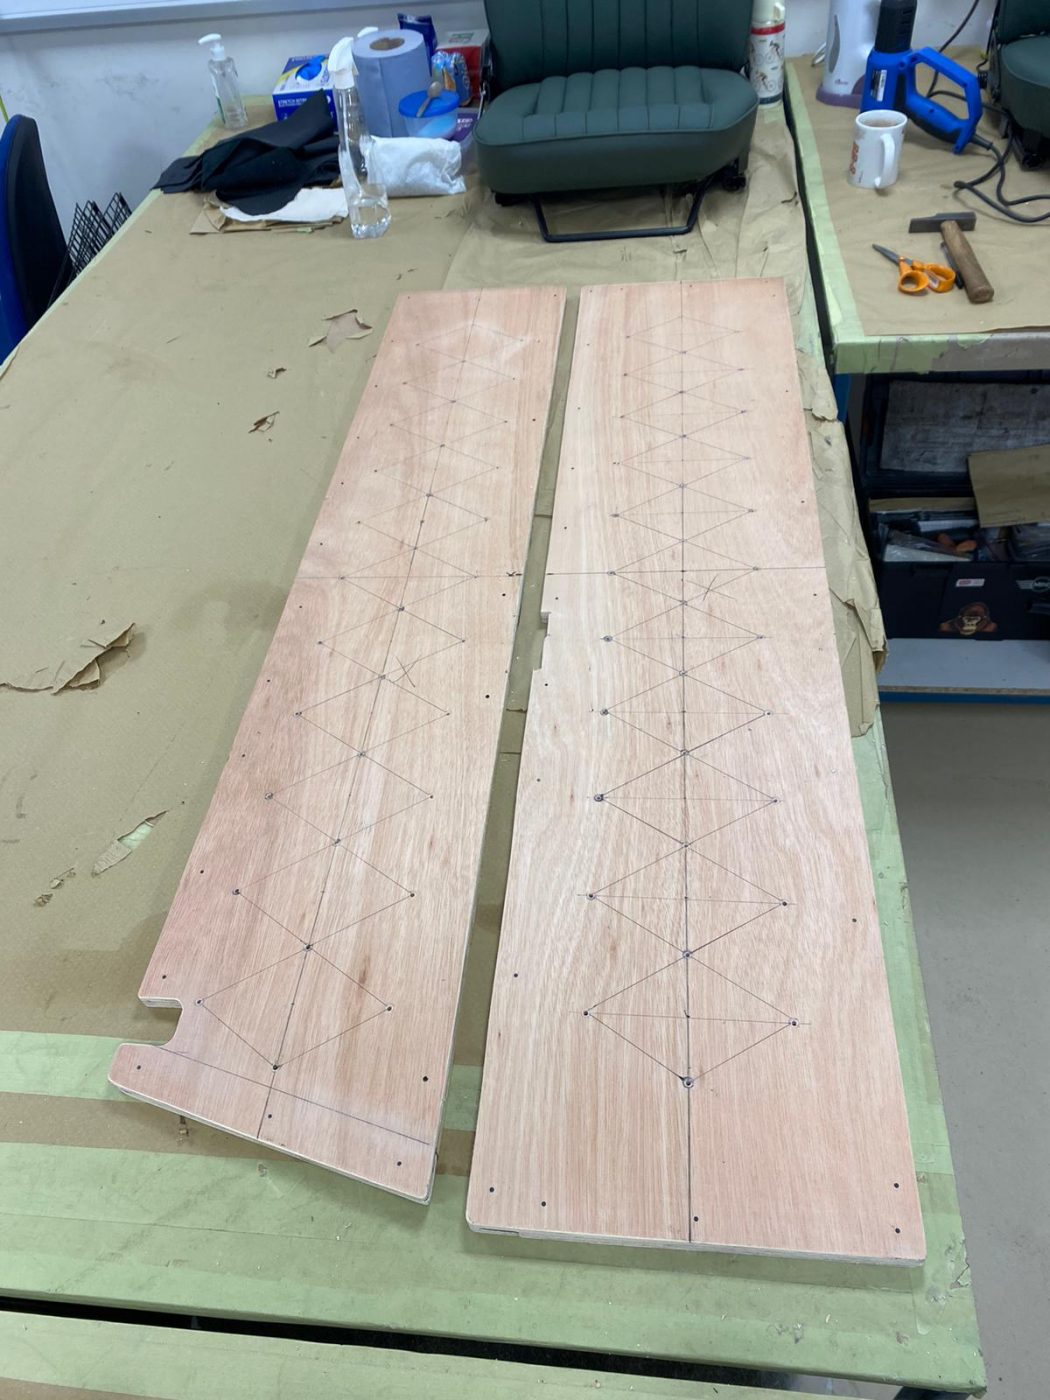
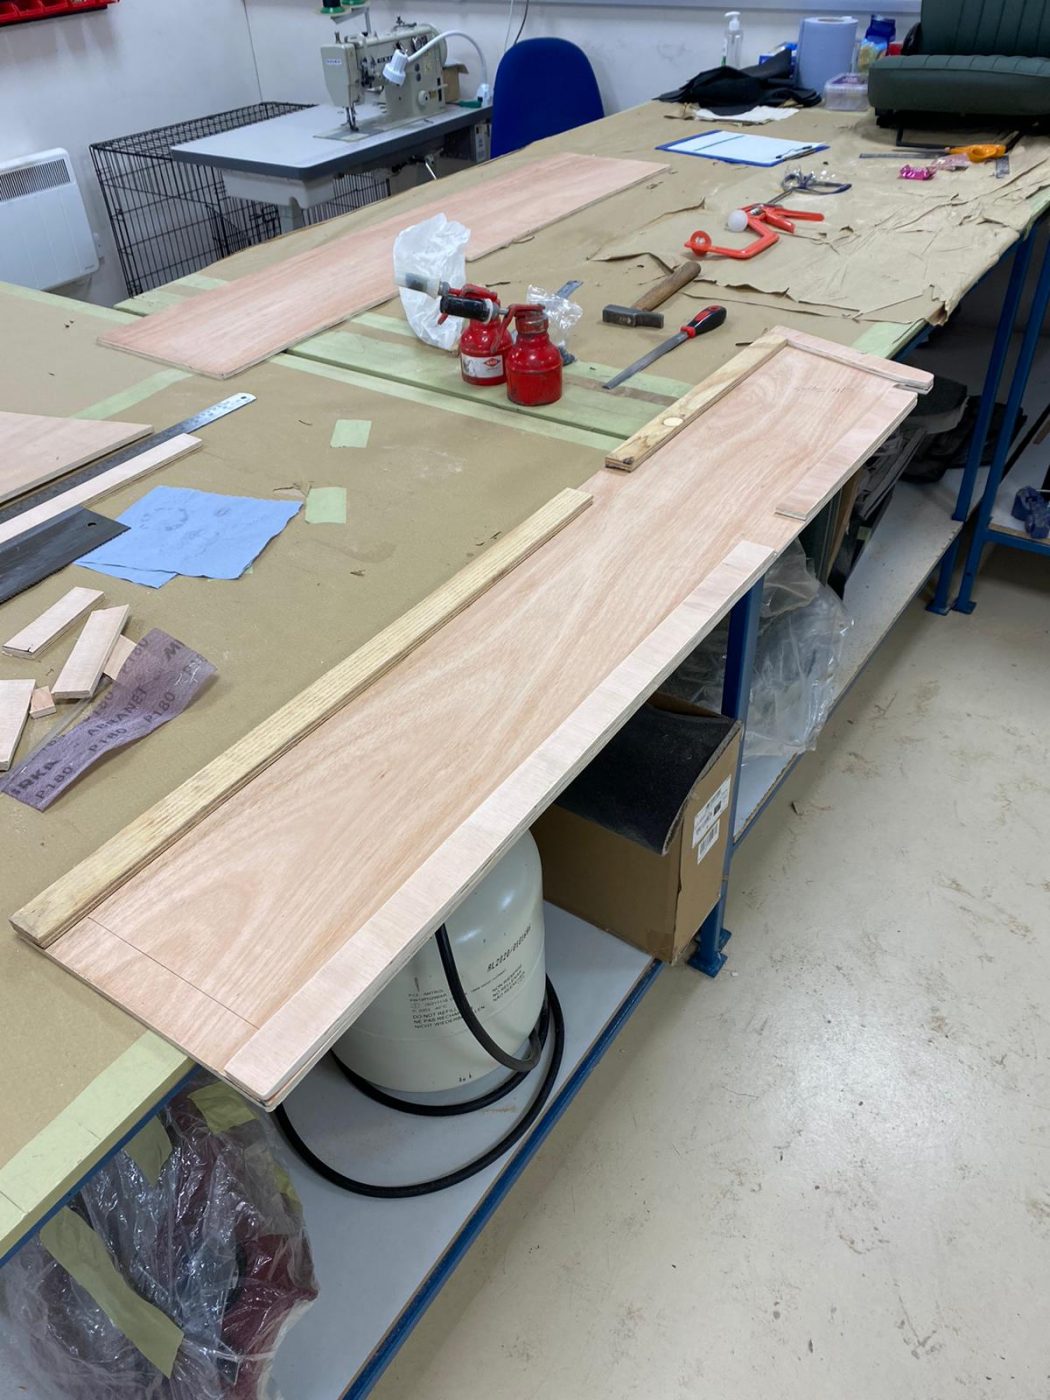
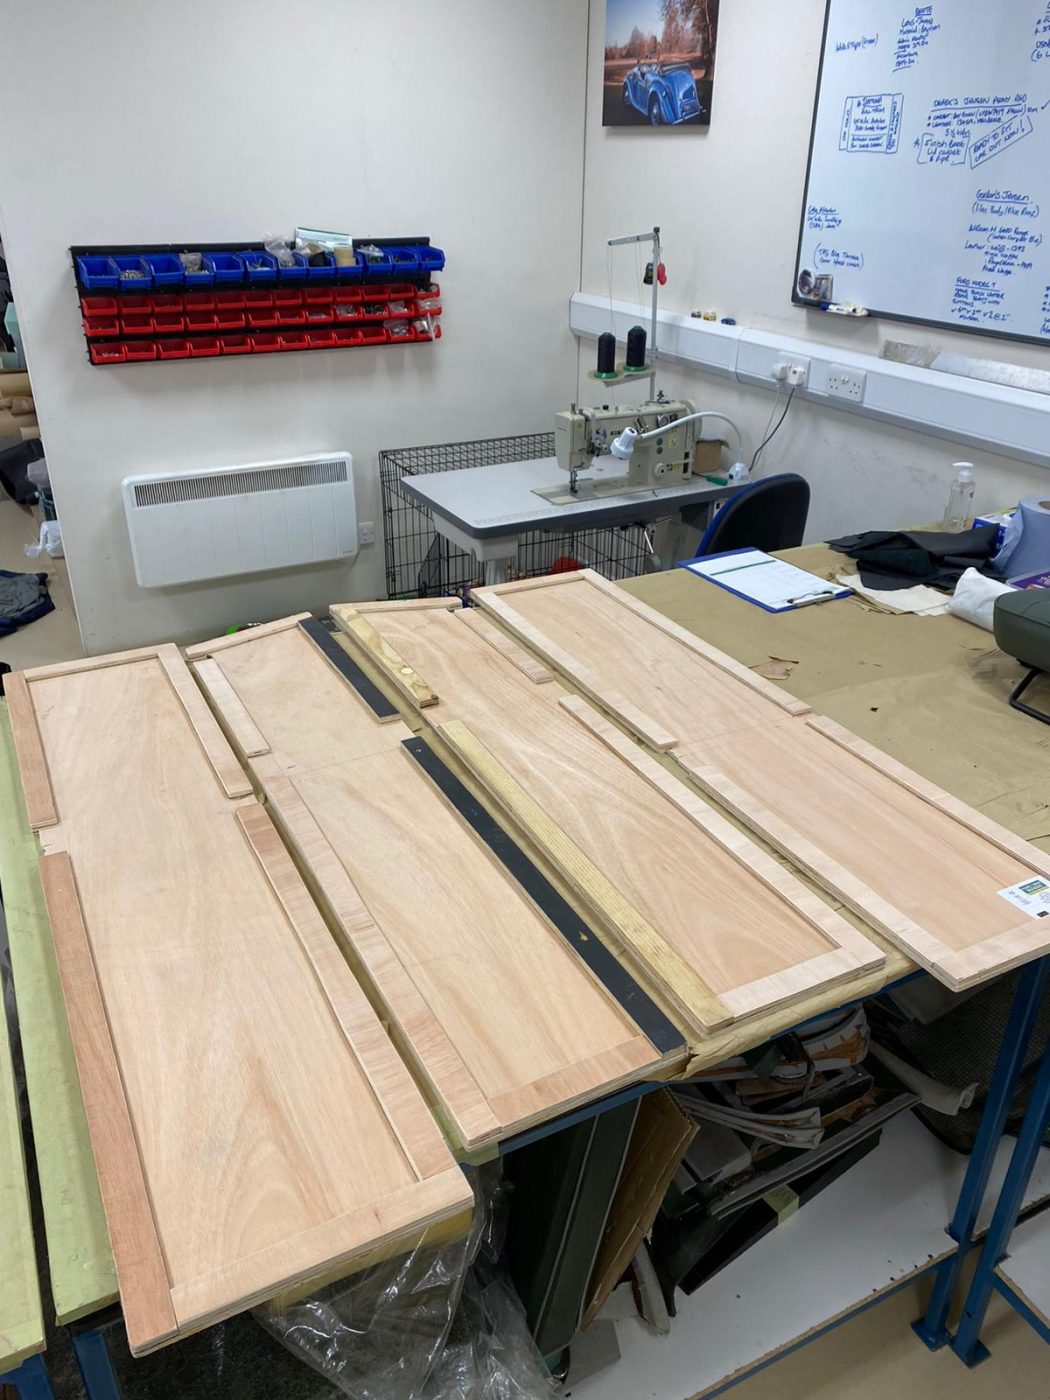
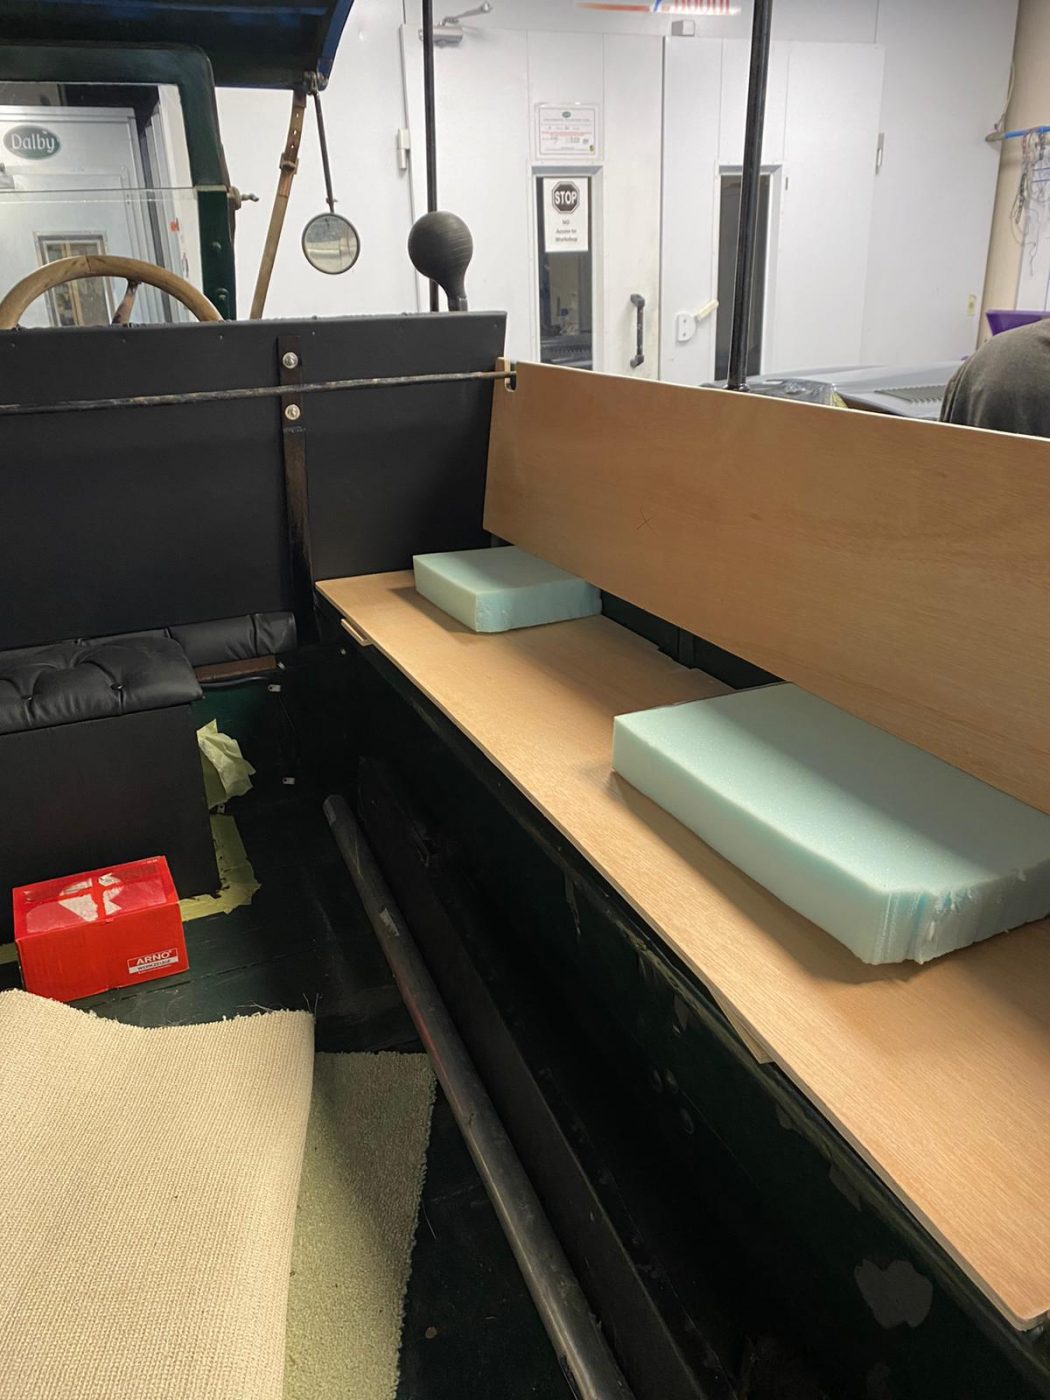
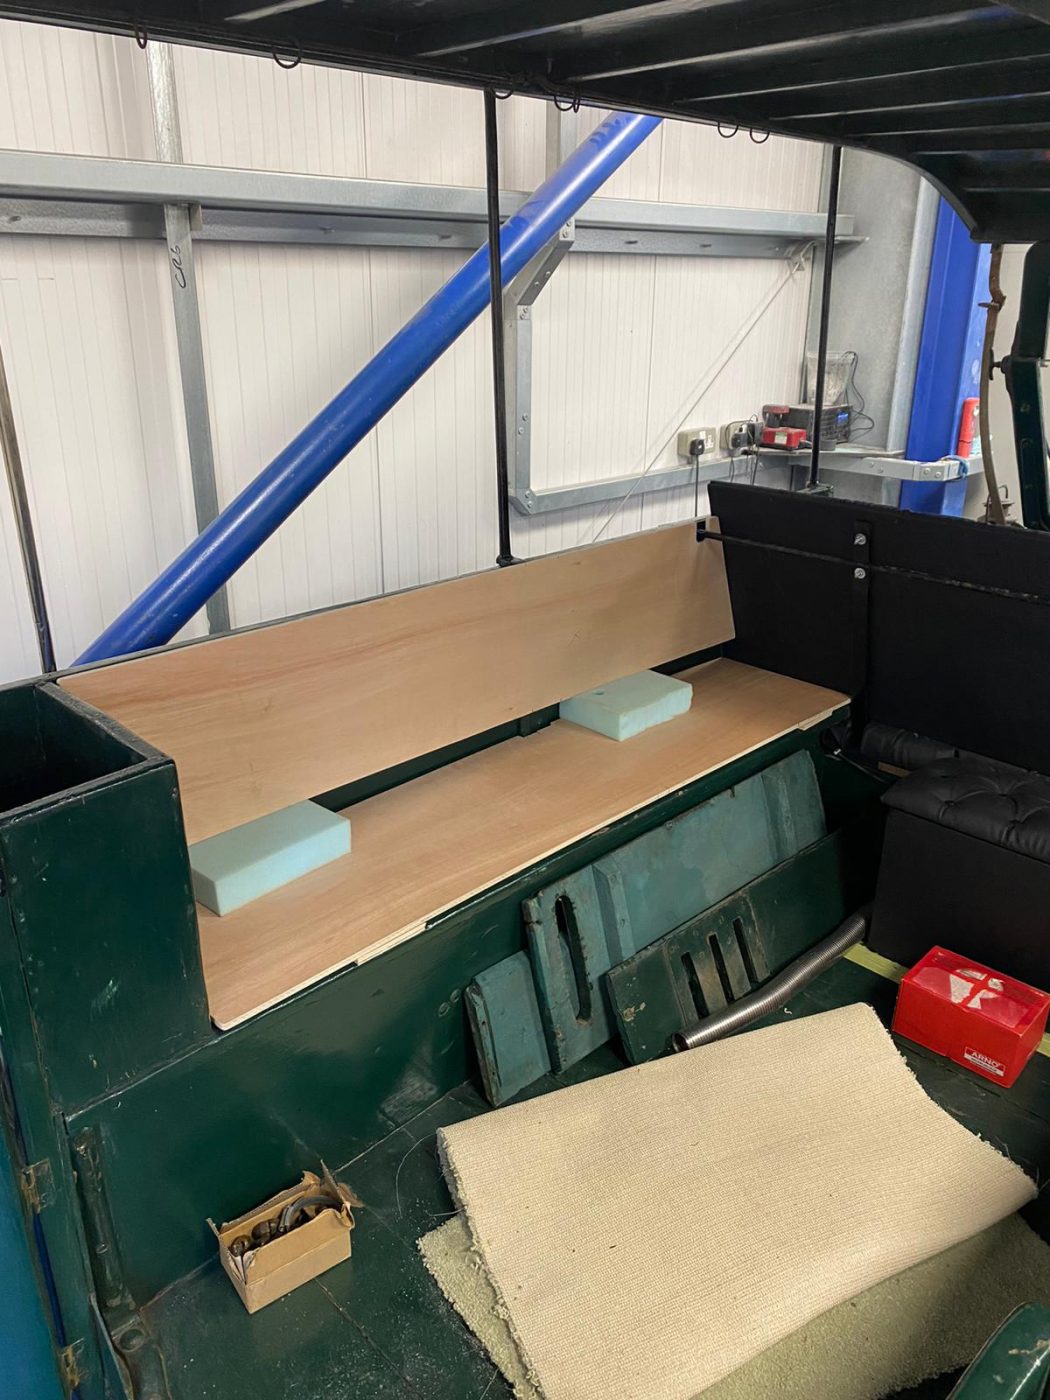
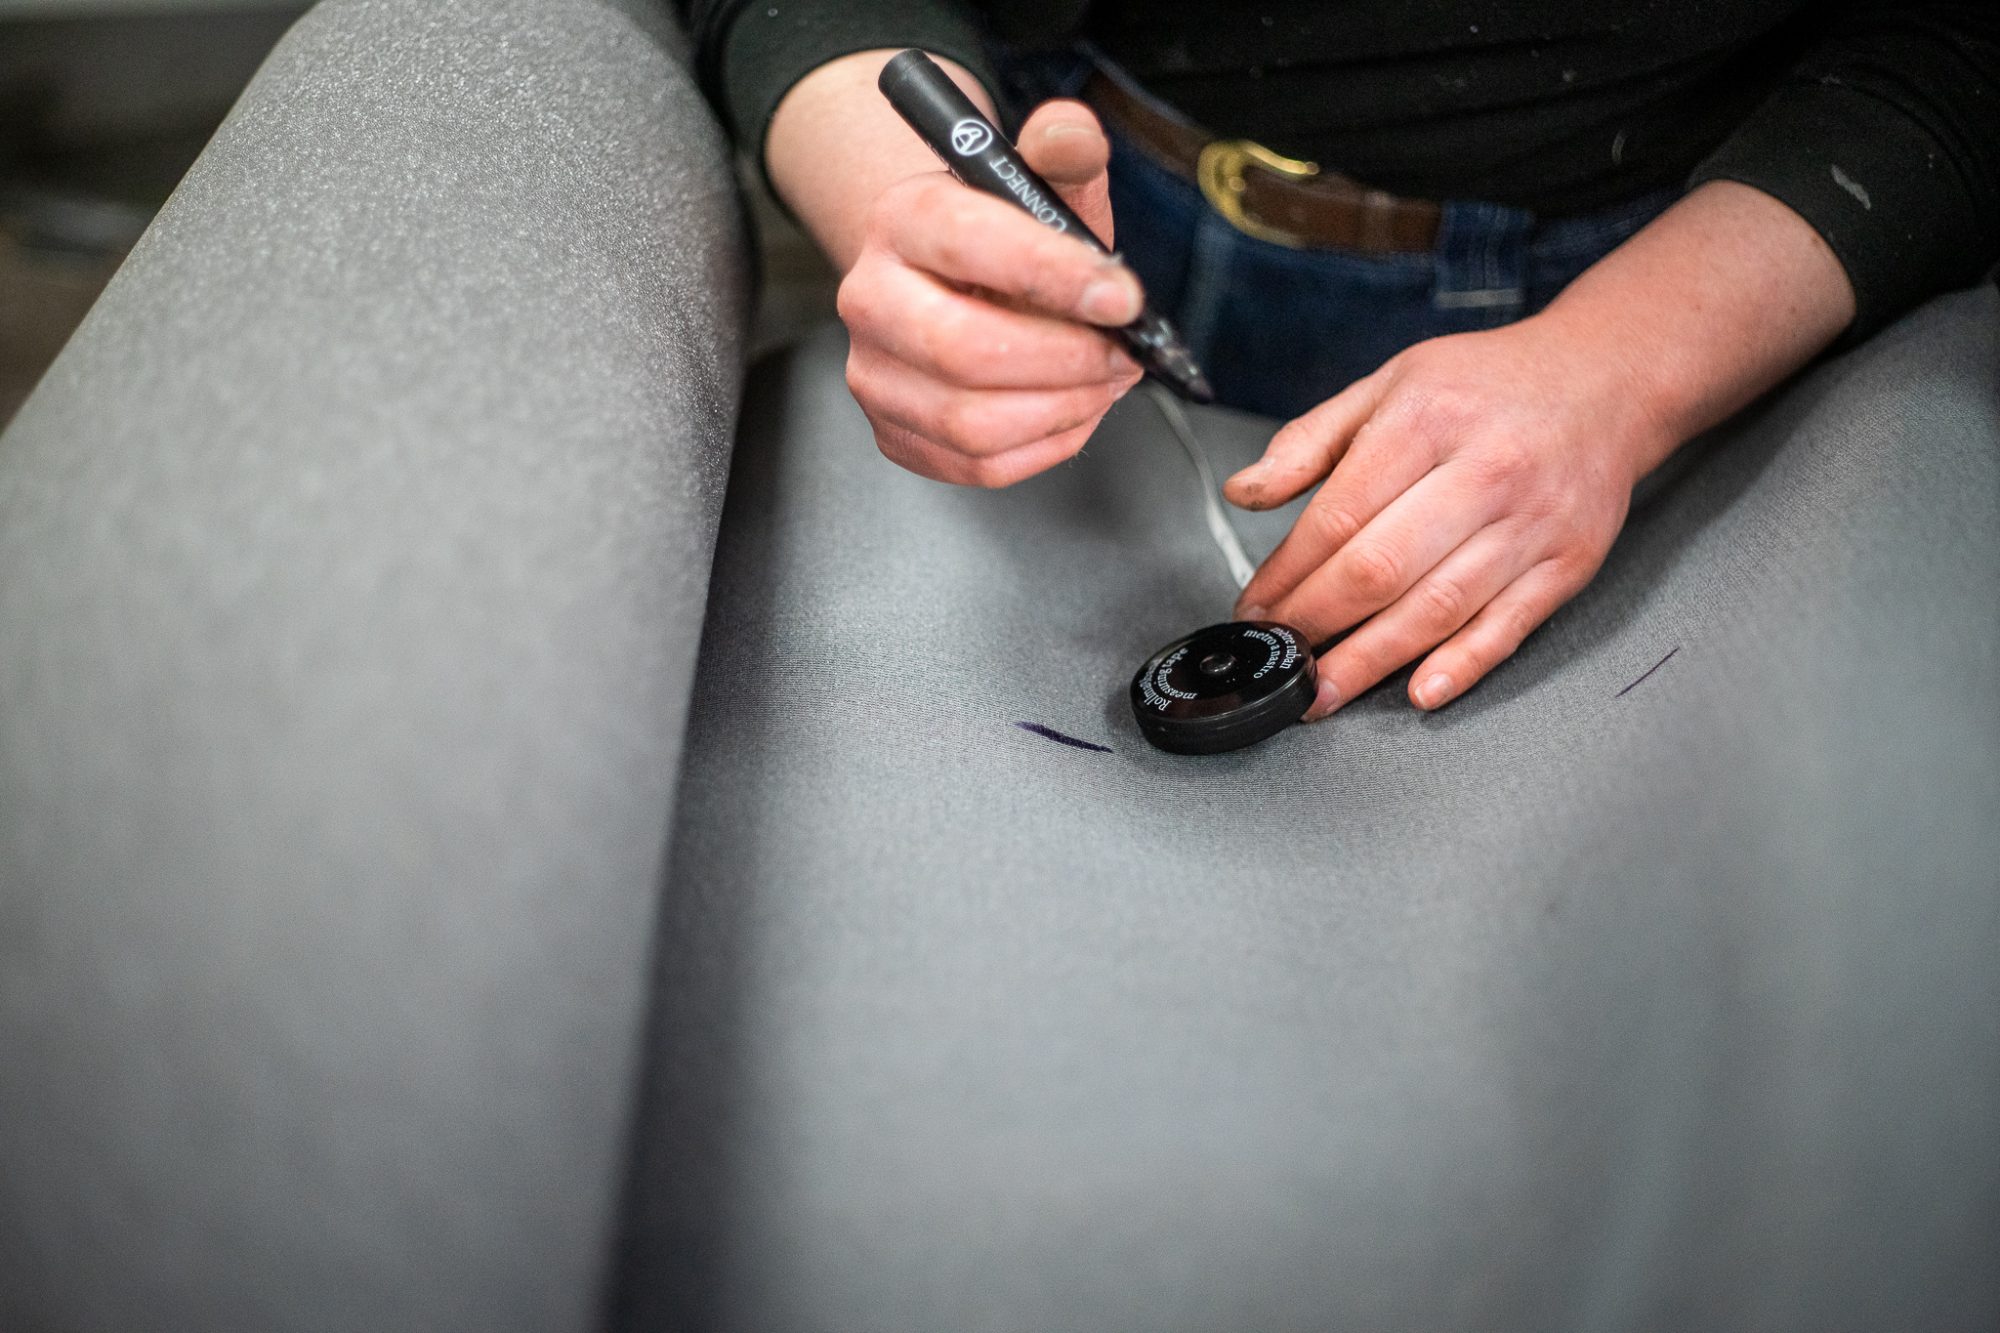
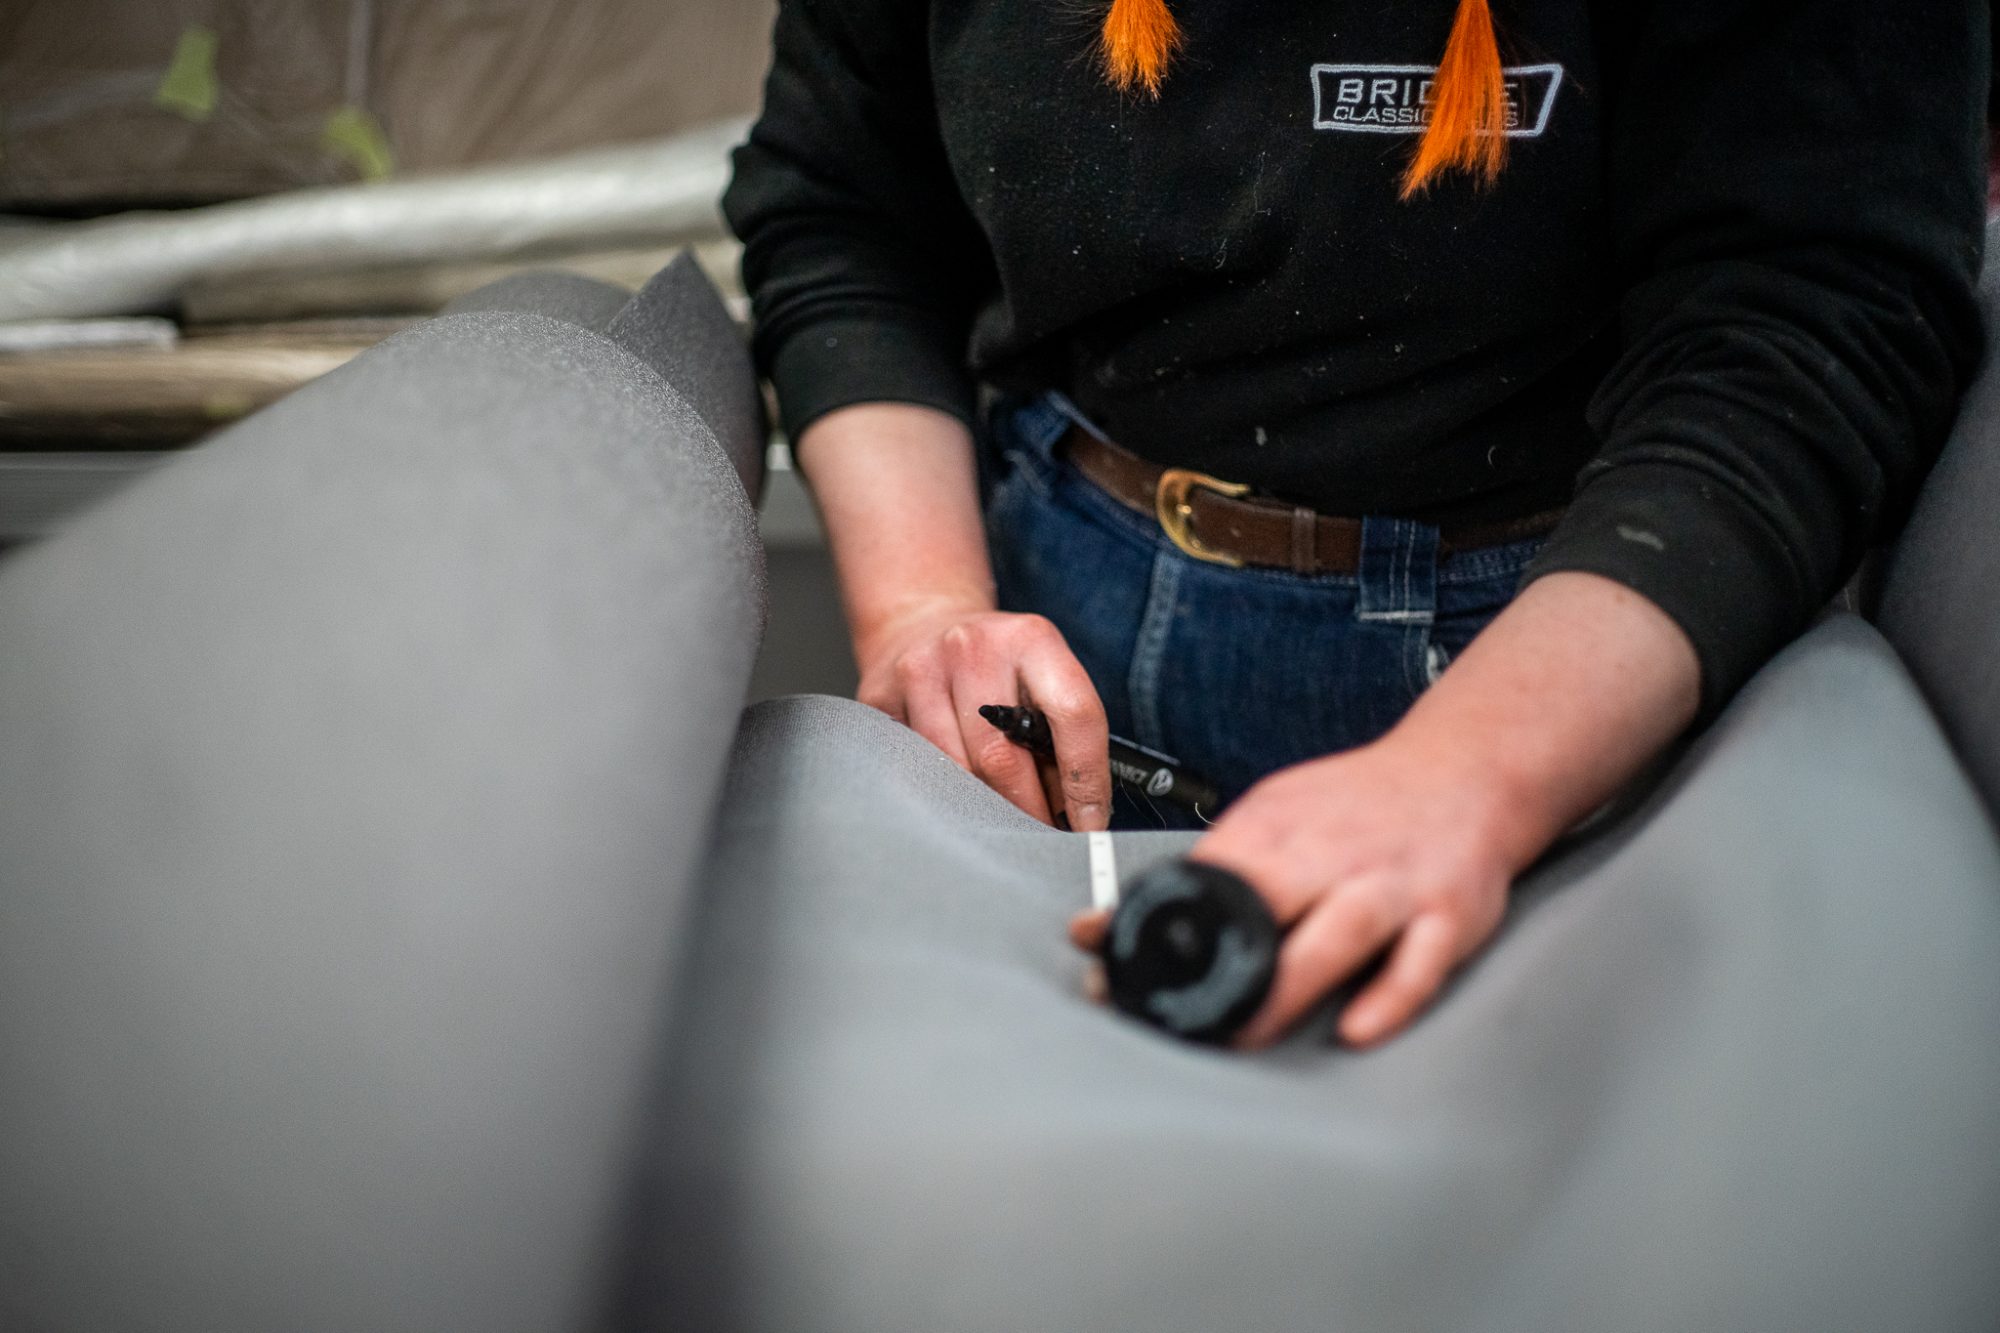
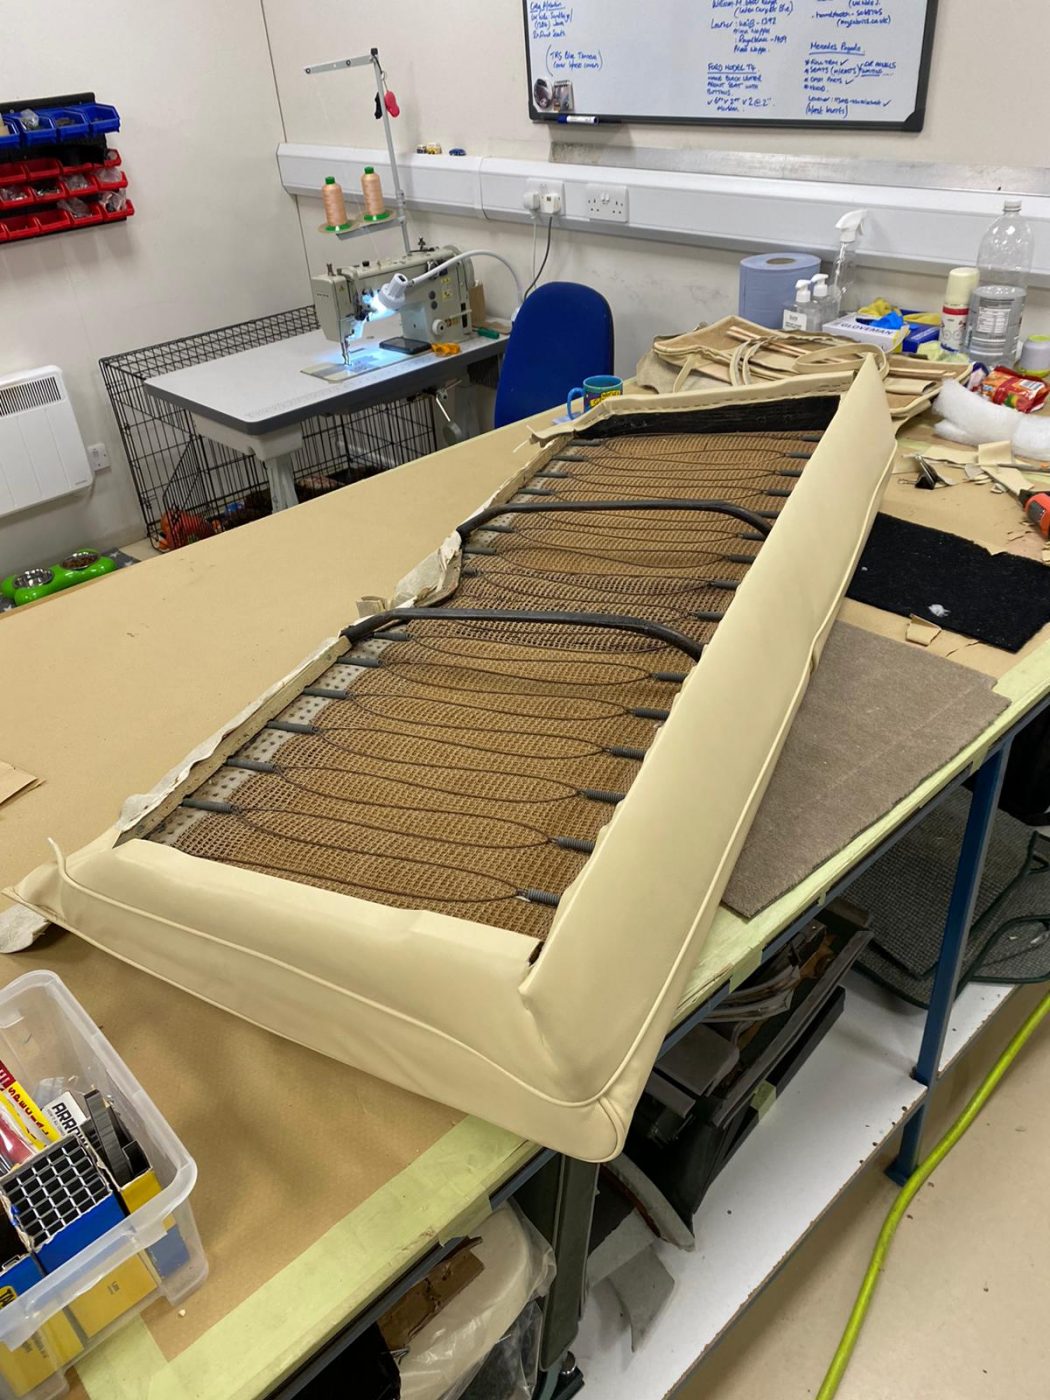
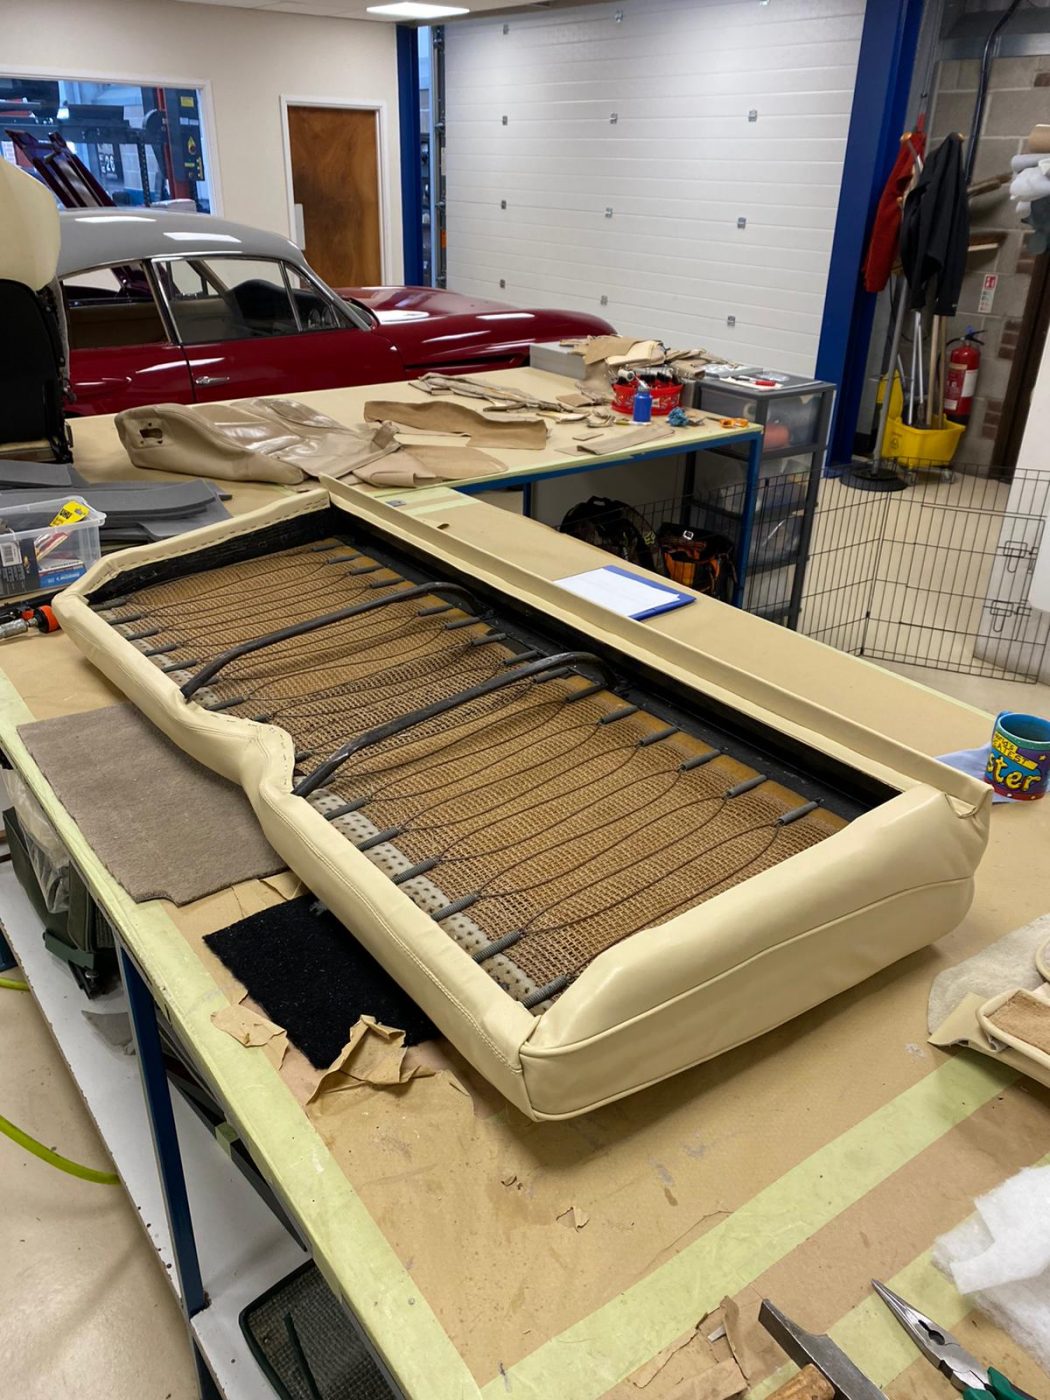
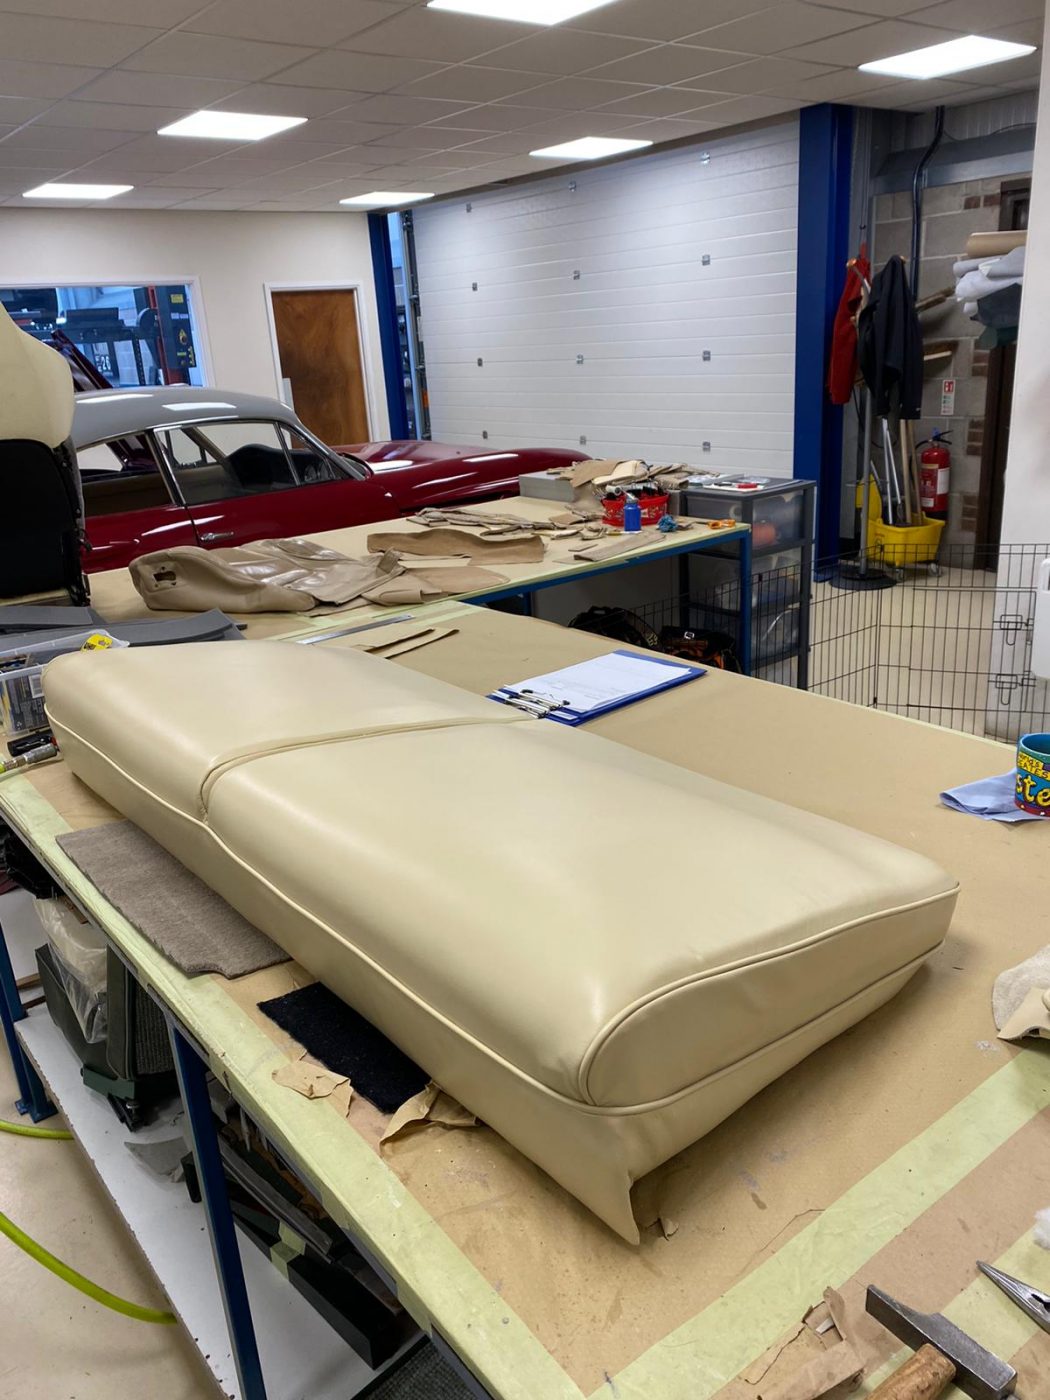
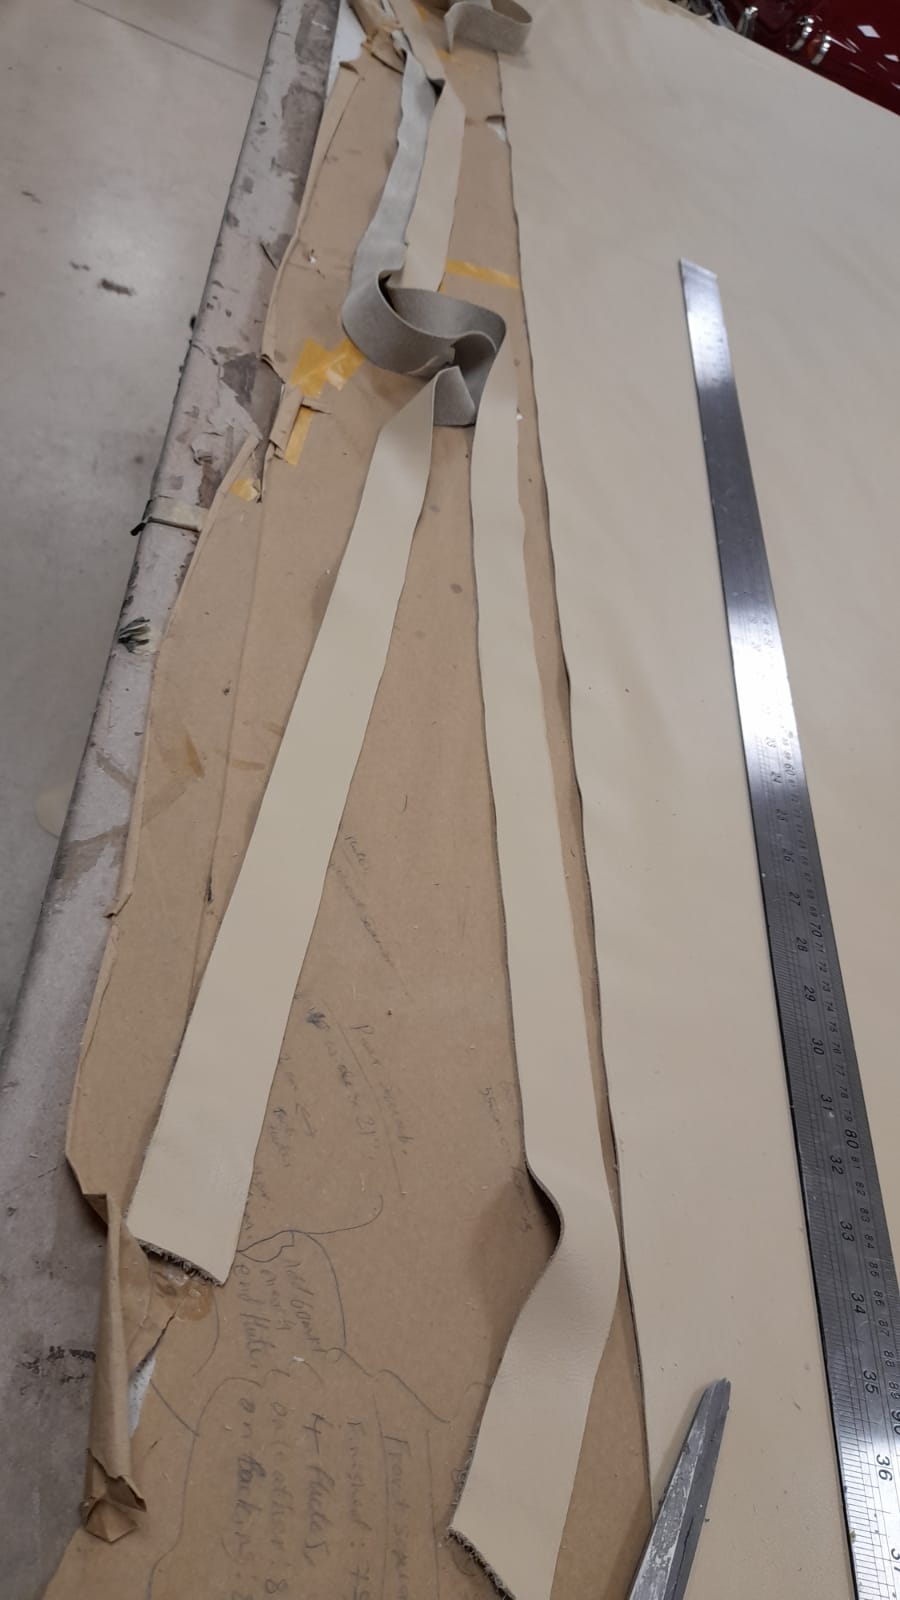
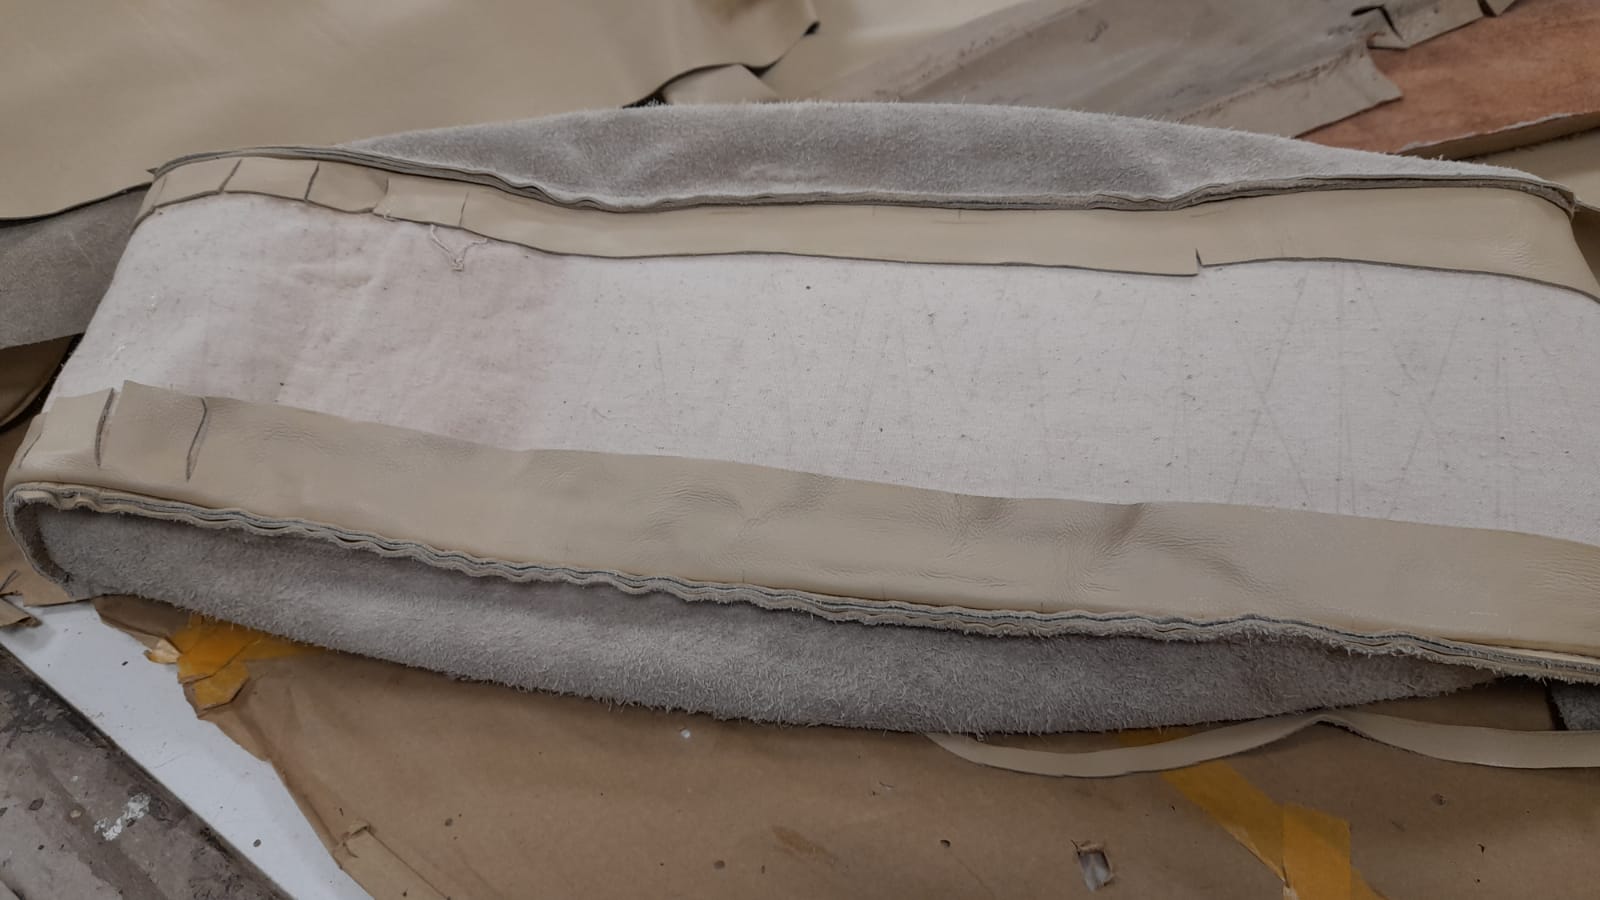
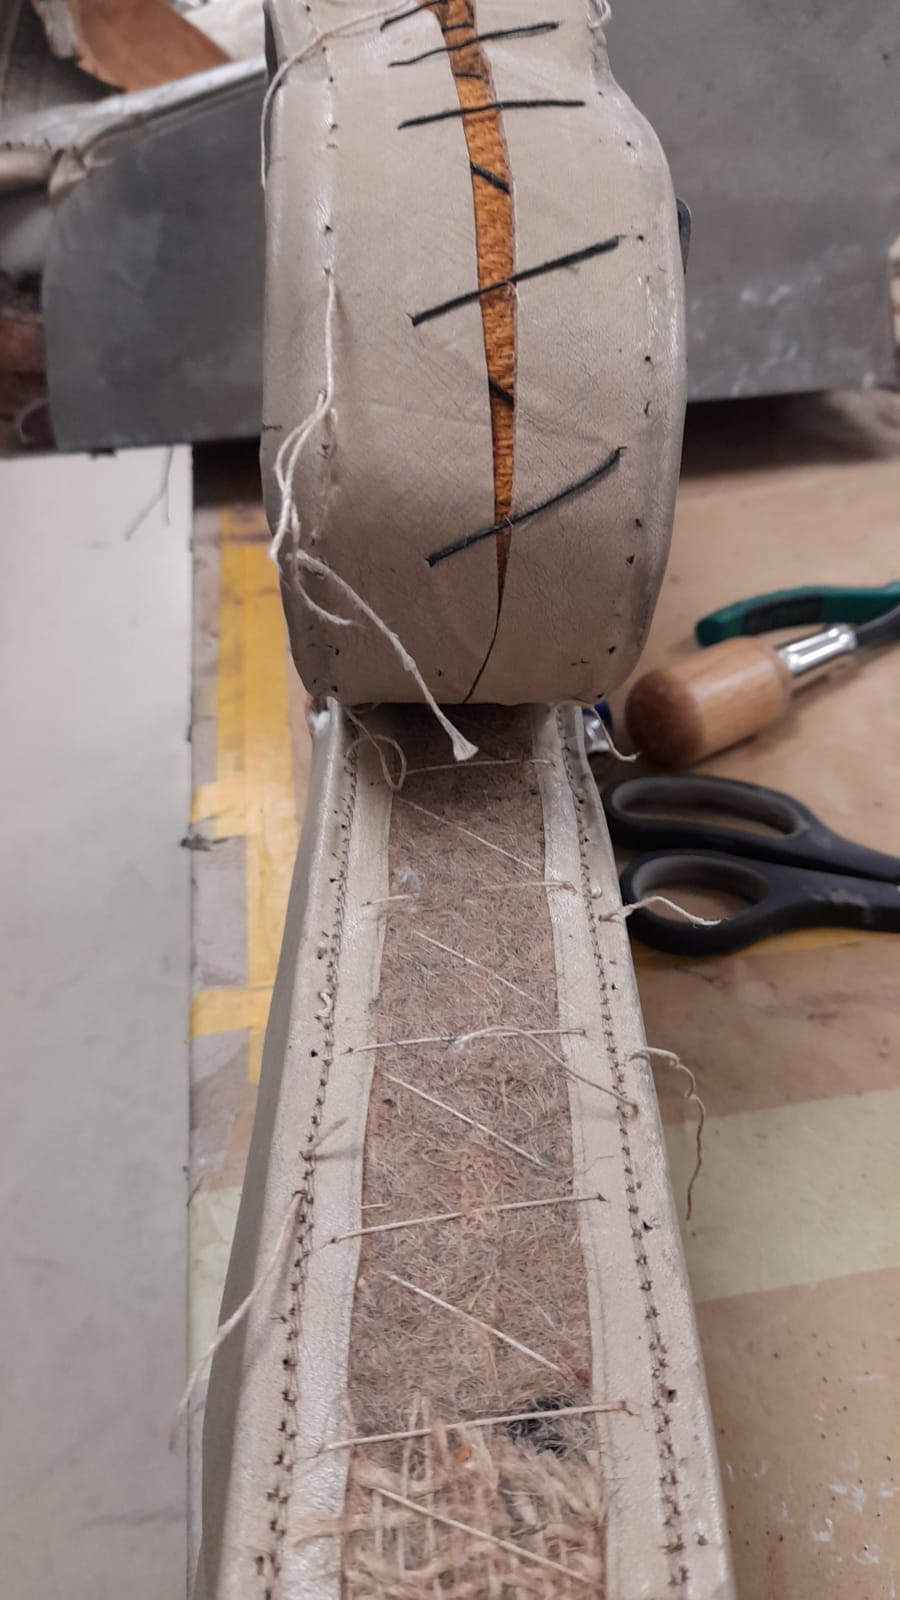
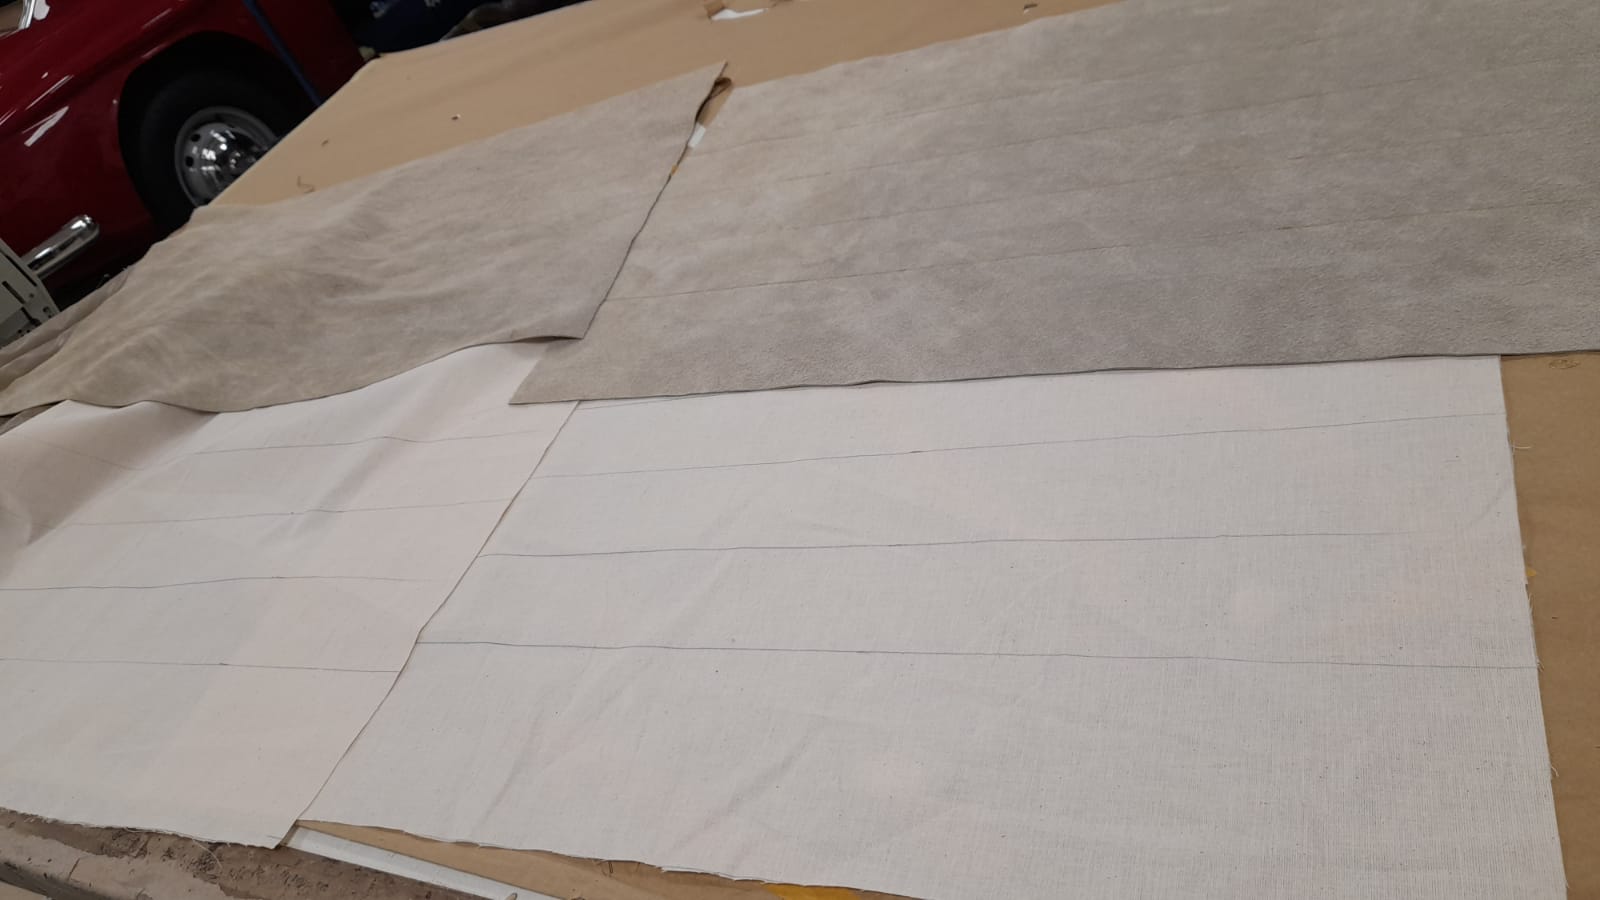
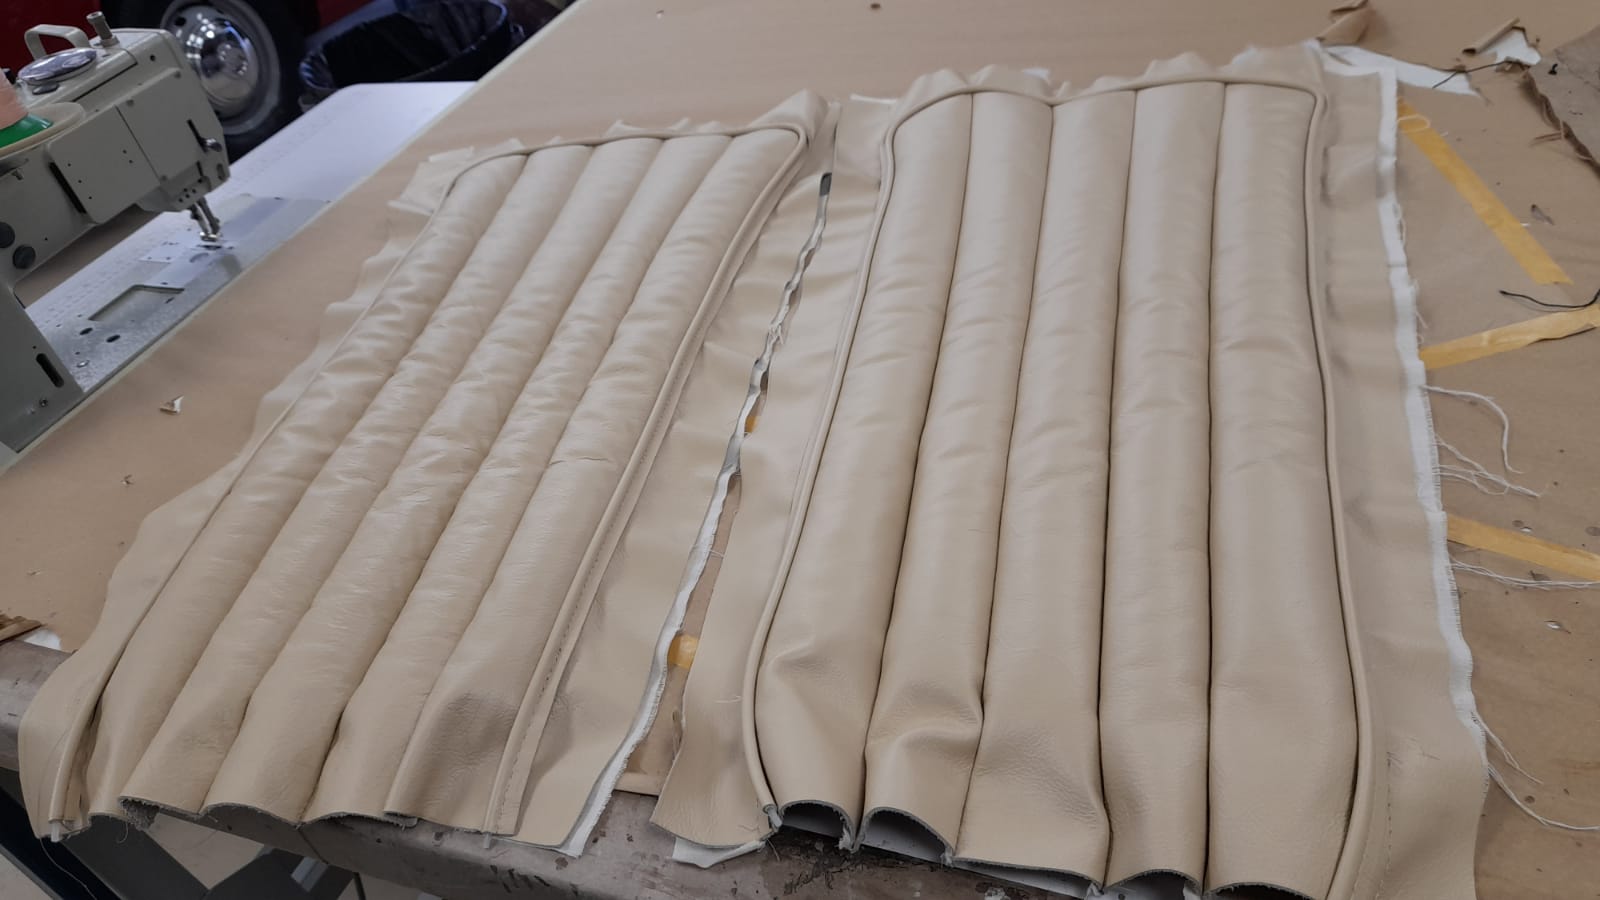
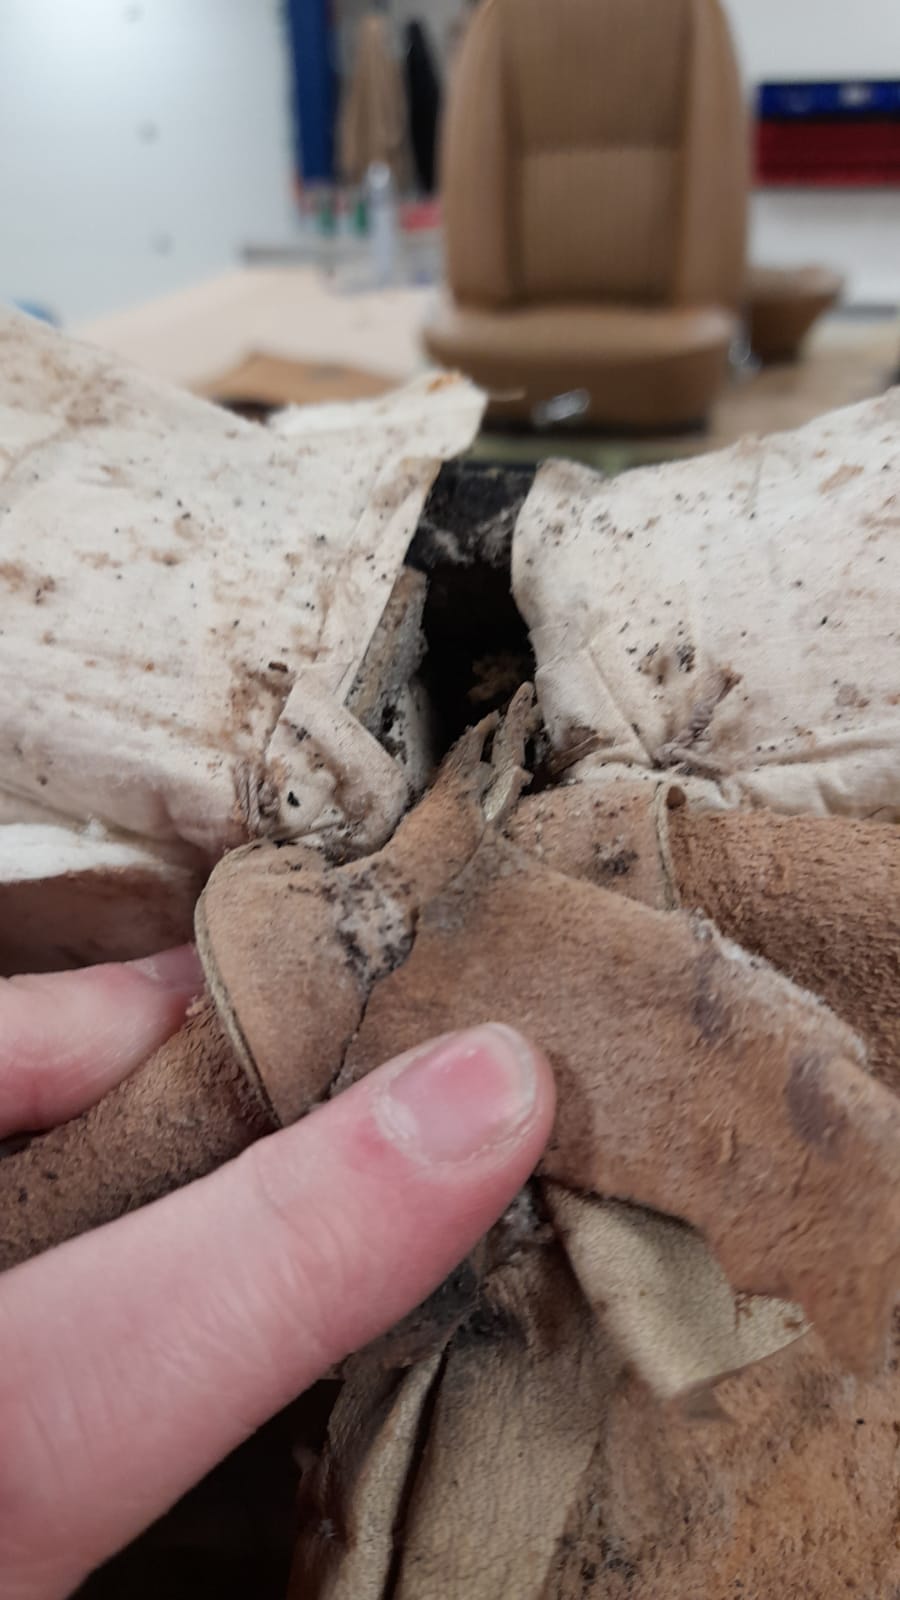
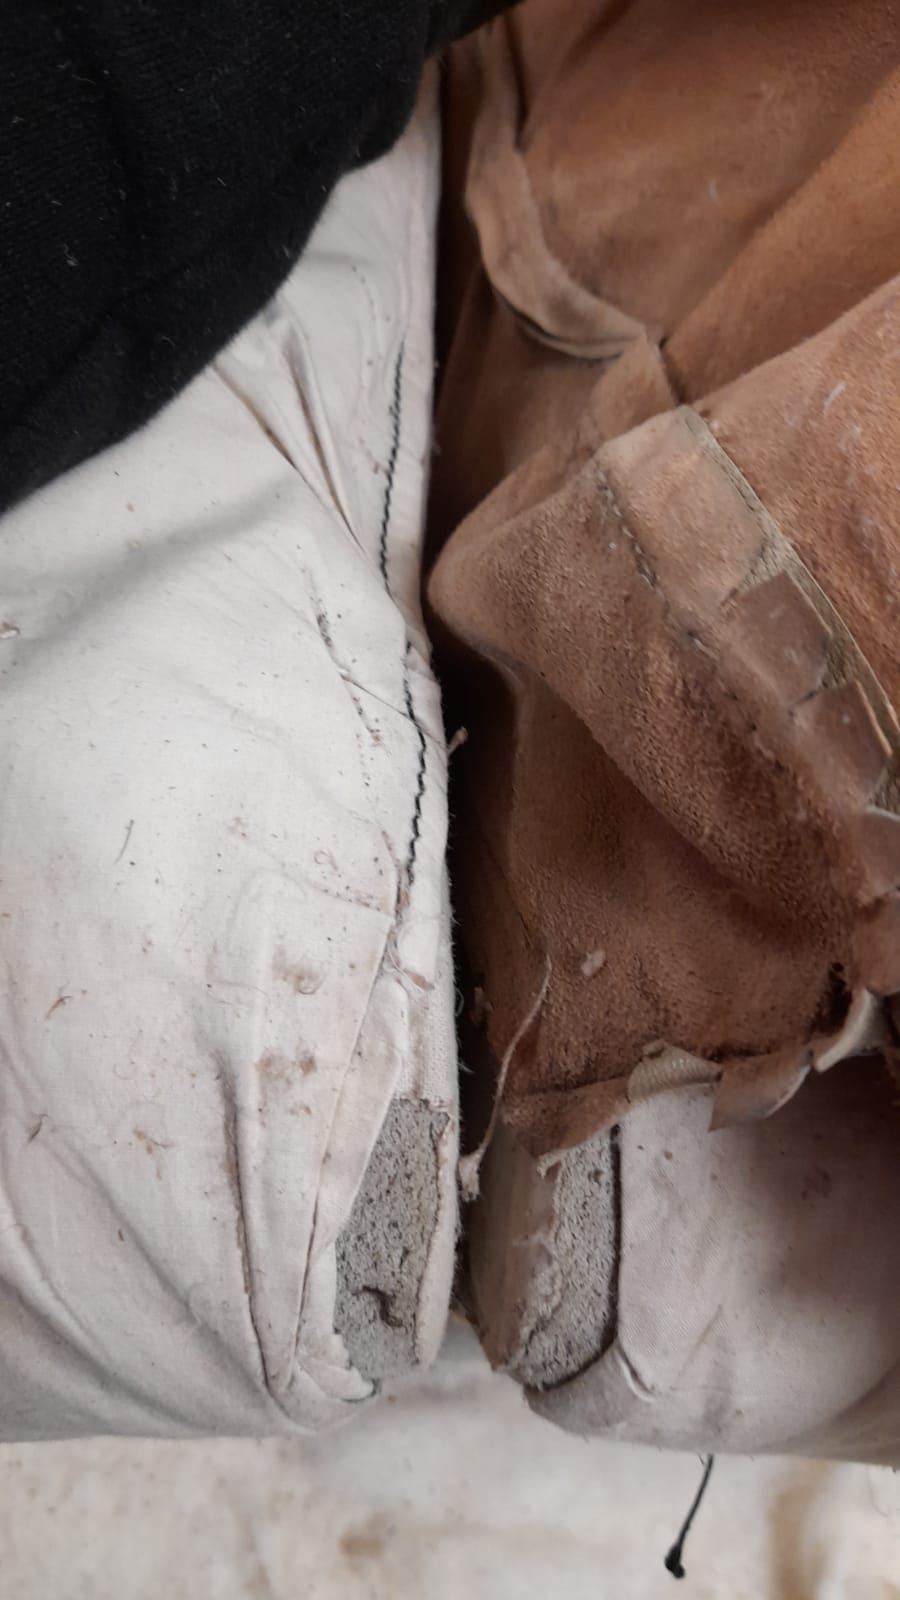
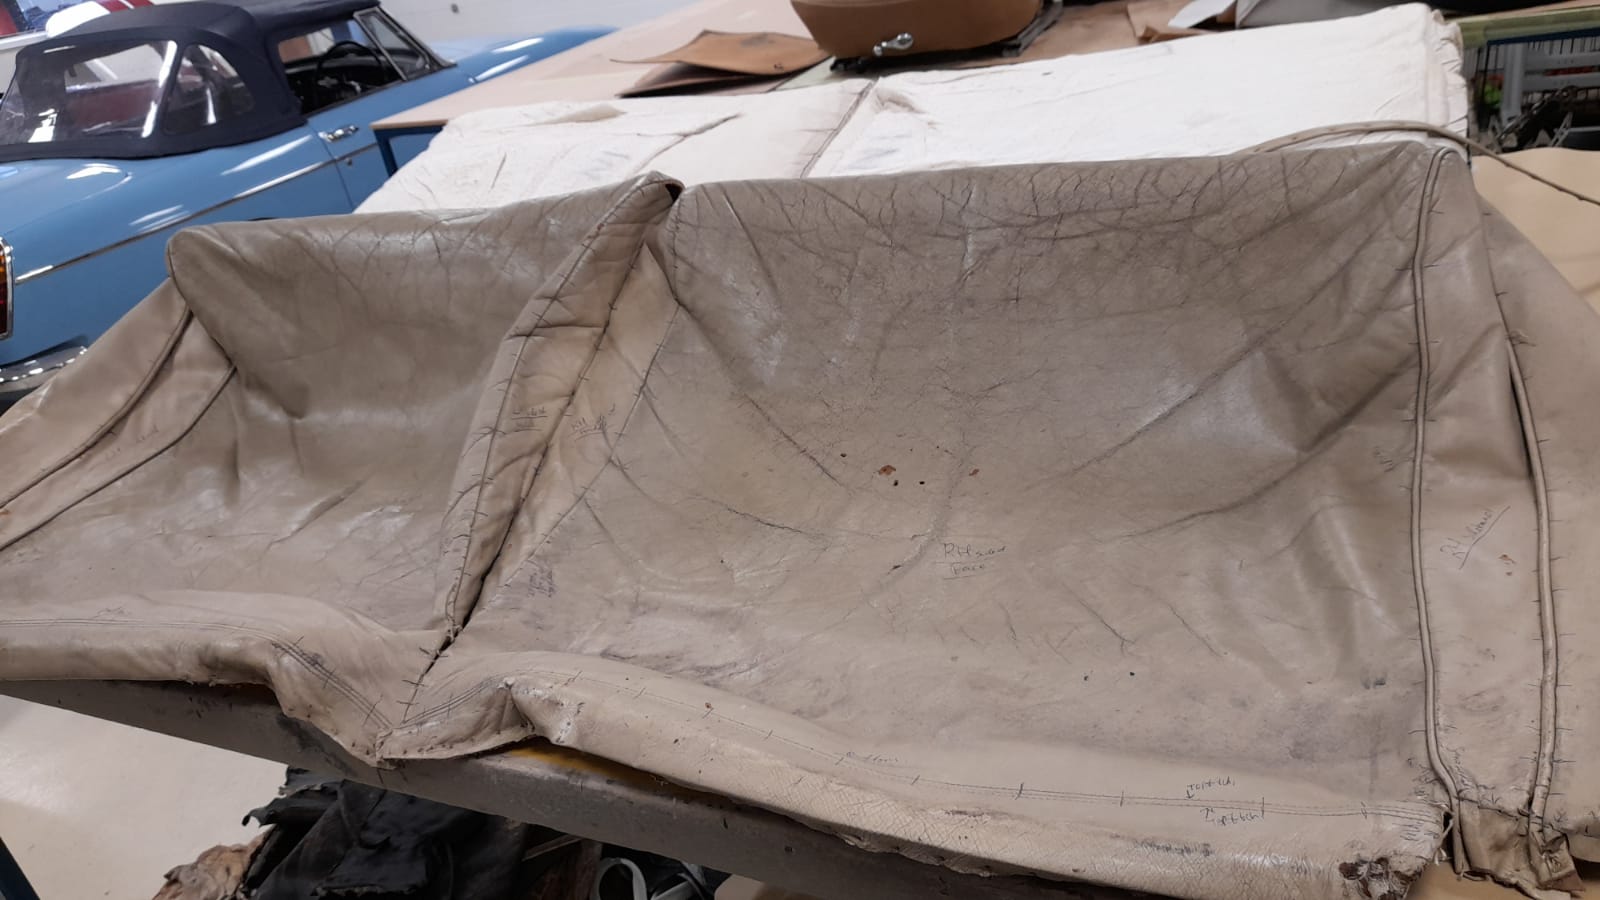
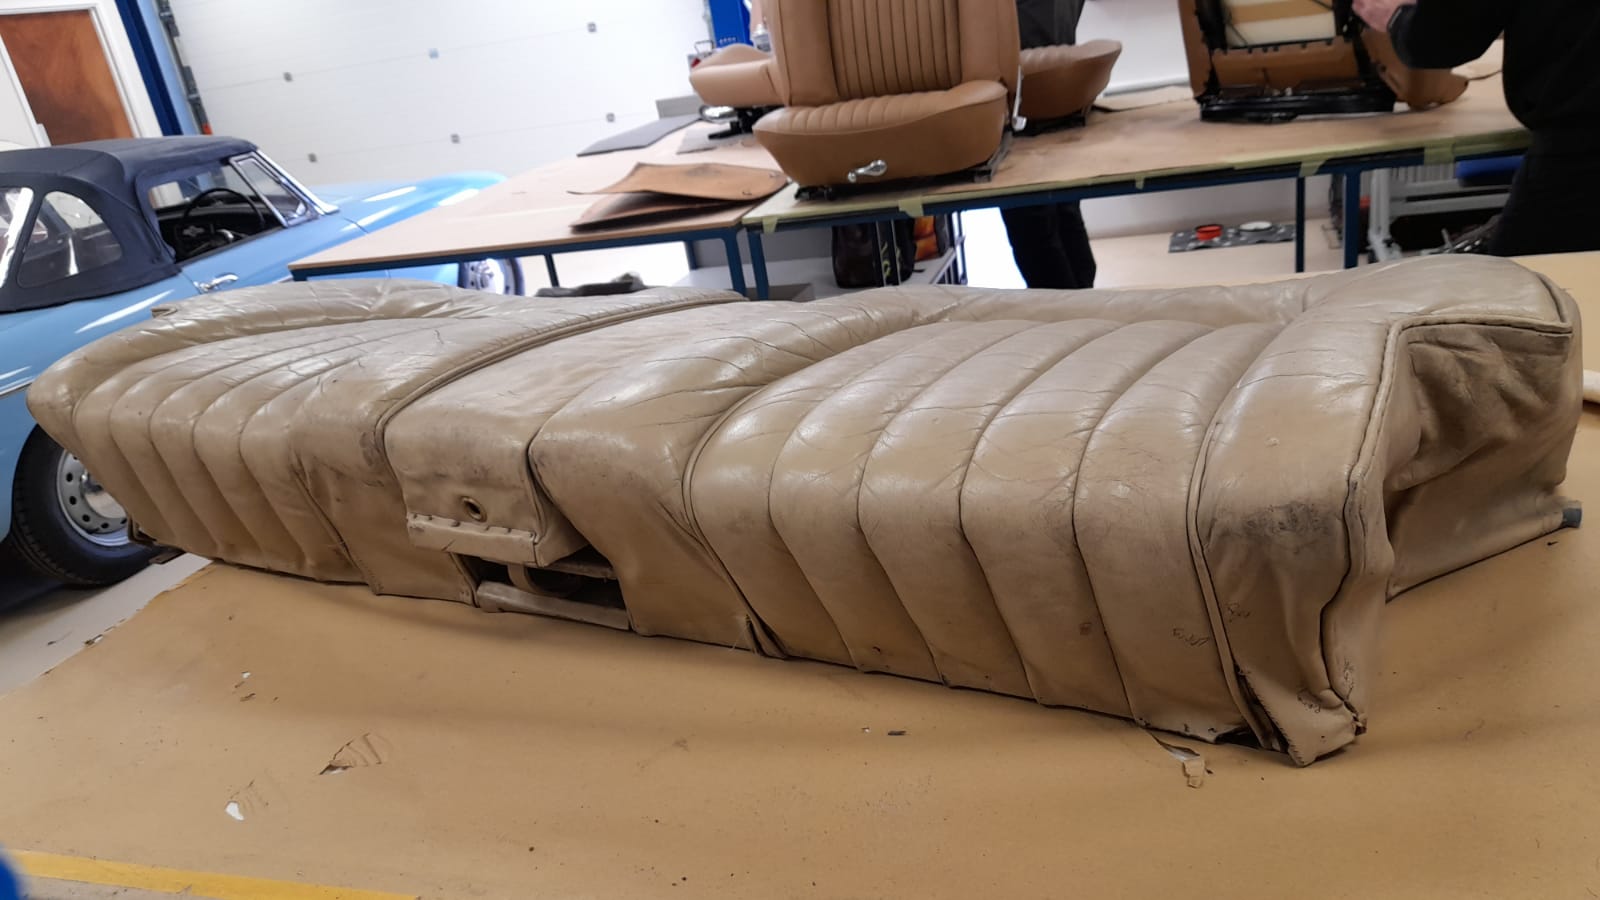
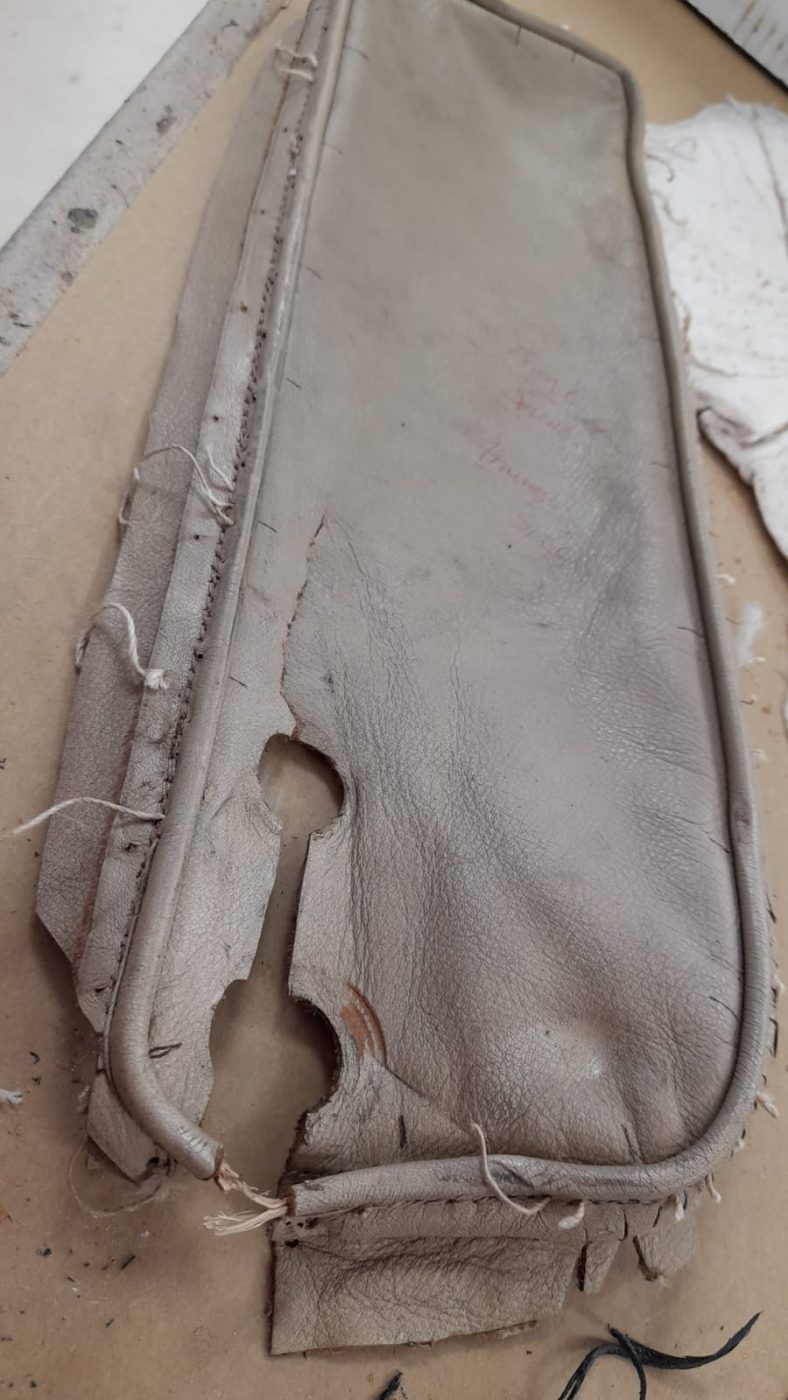
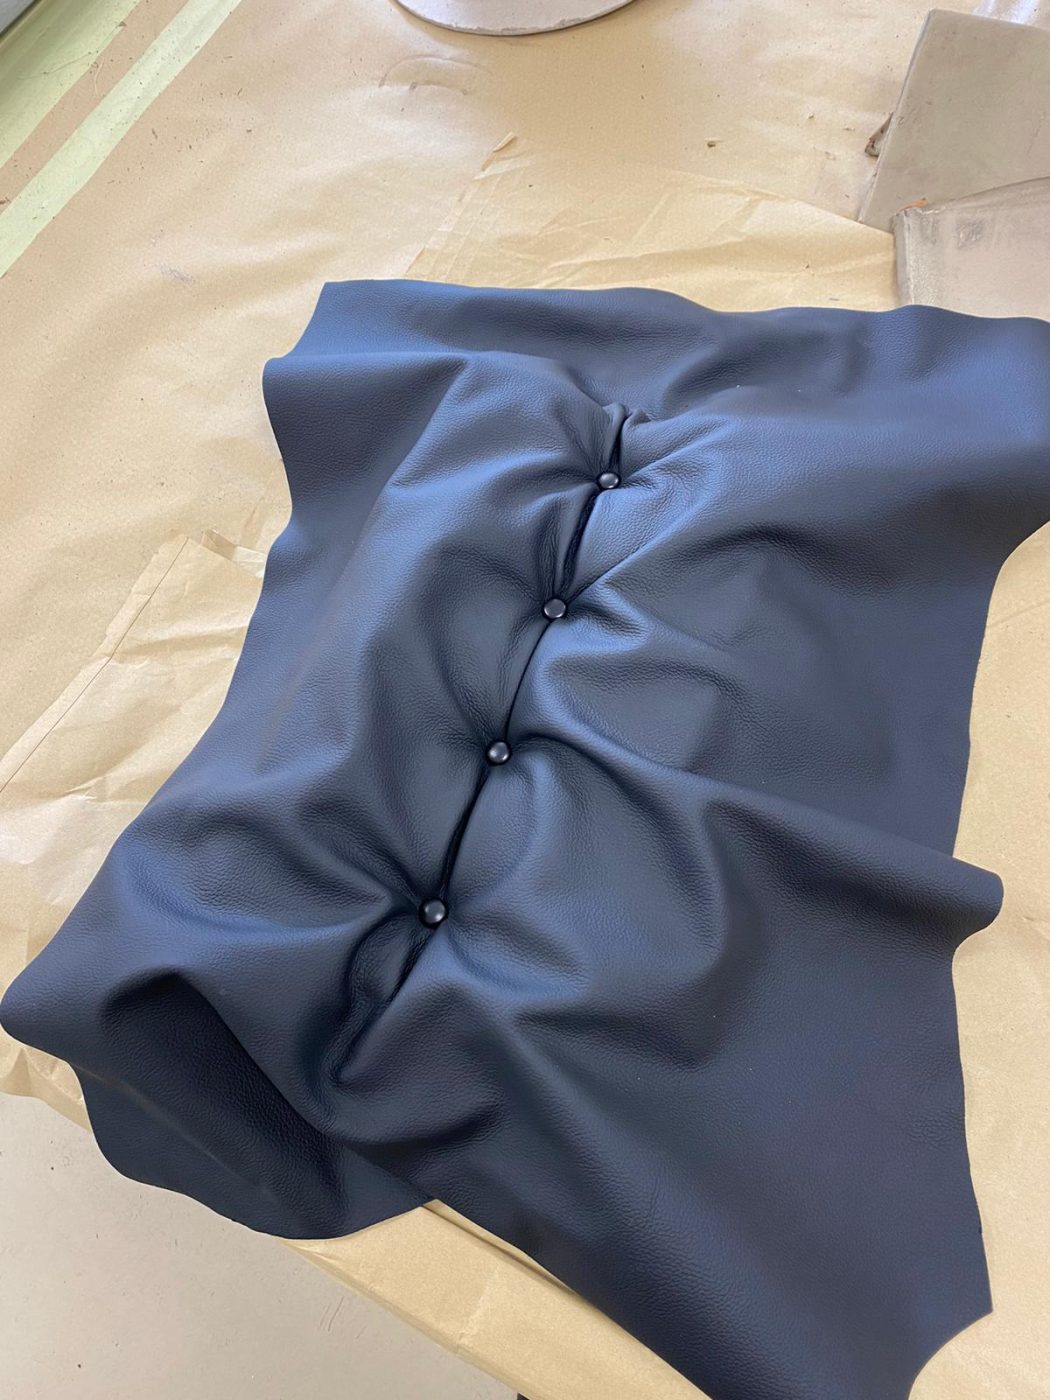
Our 1915 Model T’s front seats went down so well with its owner, he’s requested that we also cover the bench seats in the back with the same intricate hand styled buttoned leather. Being hand made, Kath and Brian need to work closely together to make sure that they mimic each others work as closely as possible.


We’ve added a small paint touch up on our 1962 TVR Grantura as the door had been rubbing on the sill. Chris, our paint shop manager, has address the issue.

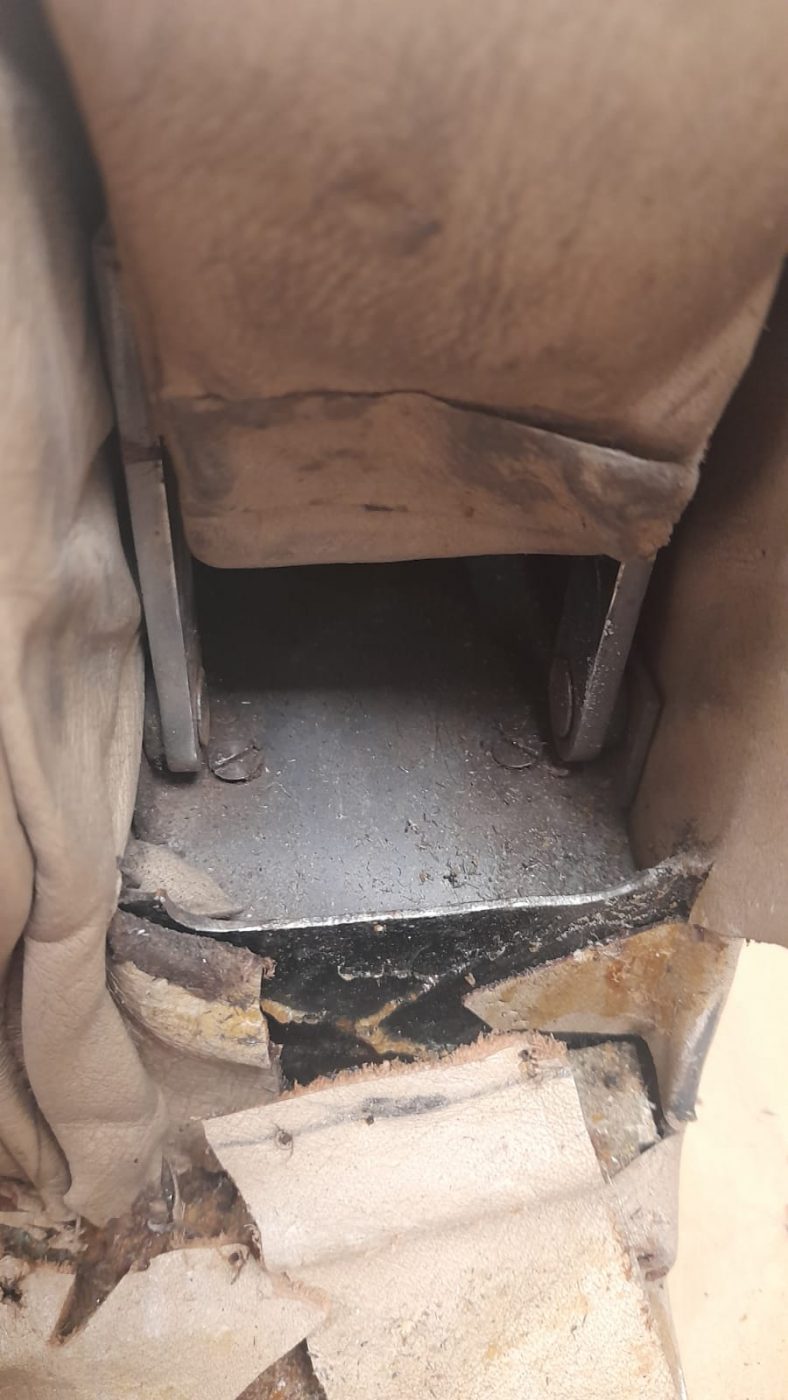
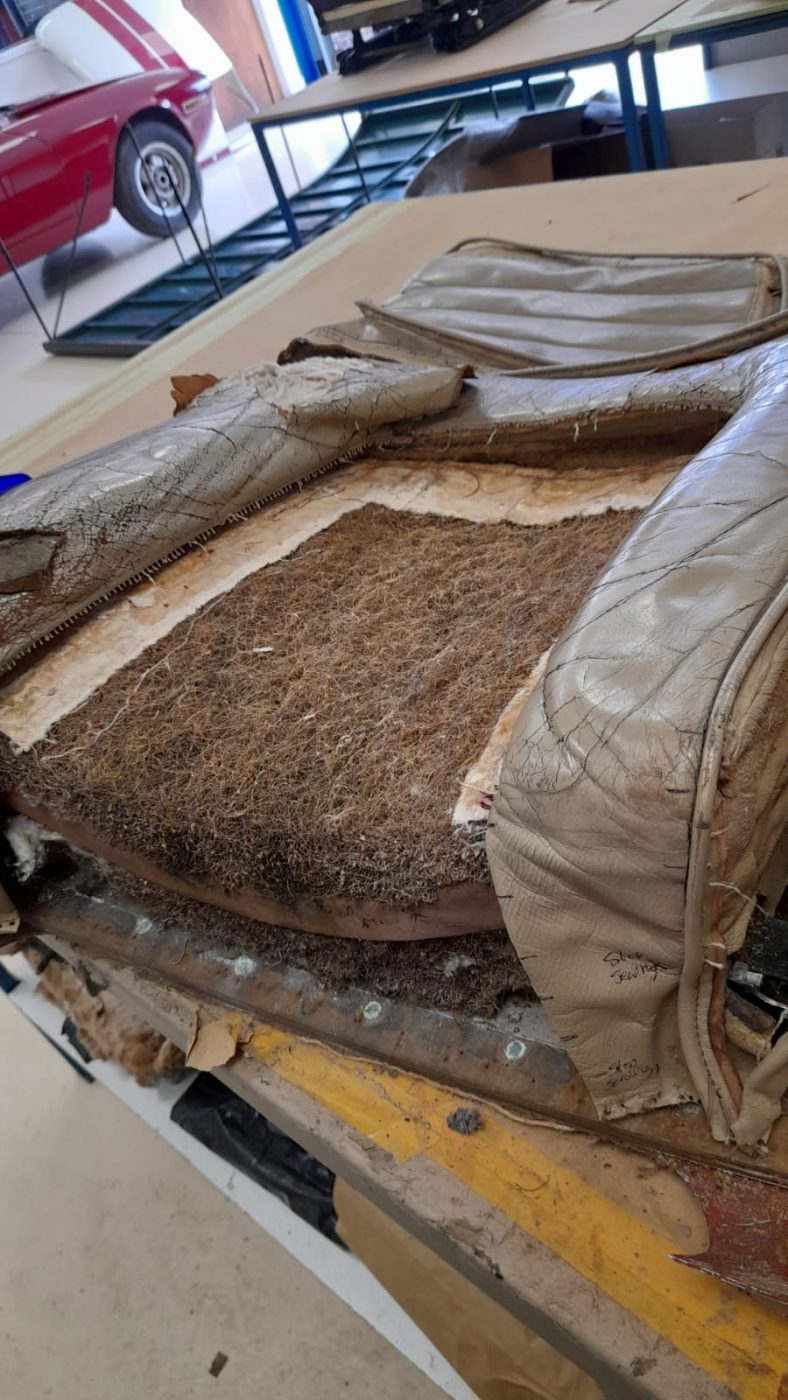
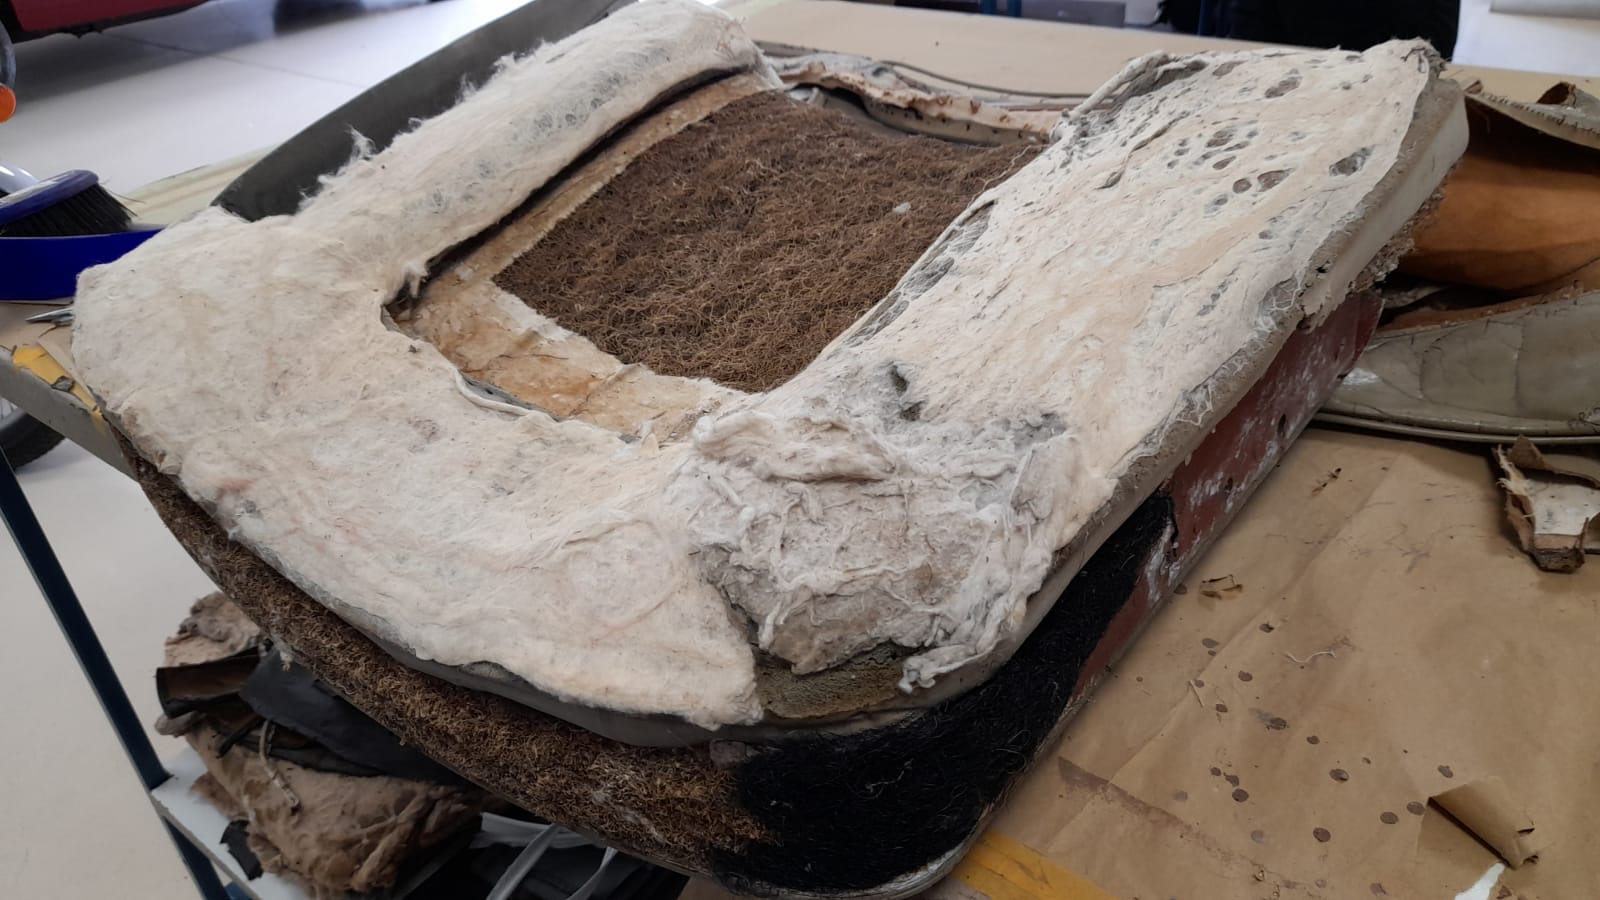
Scott has removed the rear axel on our 1968 Jaguar E-Type Series 1.5 to fit new brakes and started spot welding the seat mounts from underneath which were showing signs of wear.


We’ve been stripping the door of our 1974 Bristol so that we can access the rubber to replace it. This includes Mauro taking apart both door cards to fit fresh seals.


This 1998 Honda Integra Type R has come in today to have some paintwork attended to. We’re removing the engine and gearbox to be able to sandblast and paint corroded under bonnet bracketry and weld in new metal to replace parts lost to corrosion.
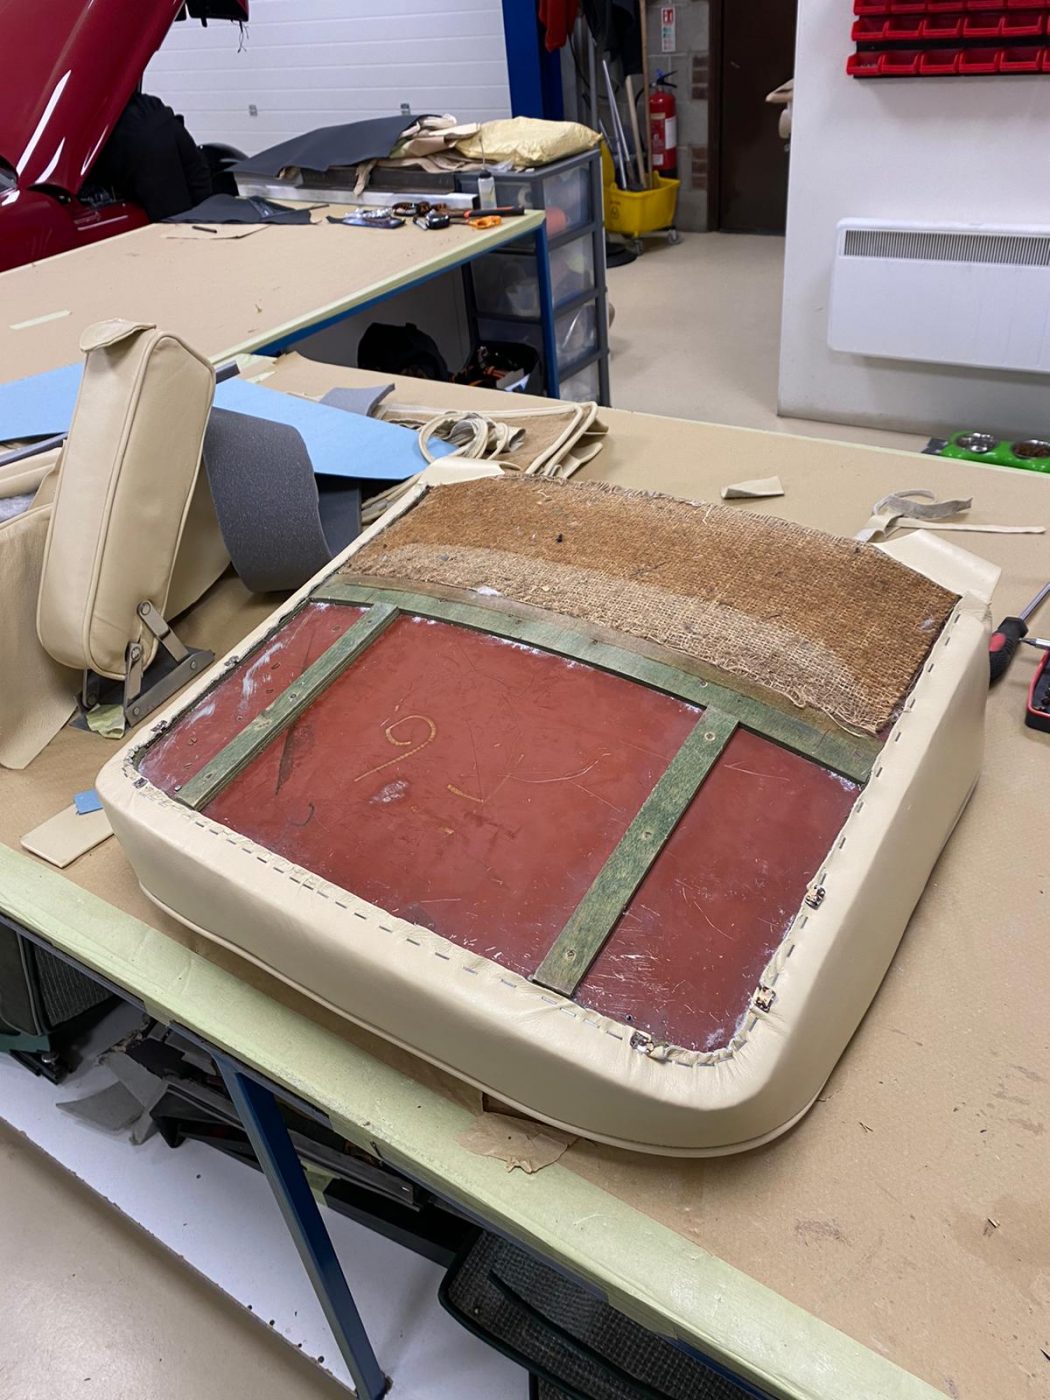
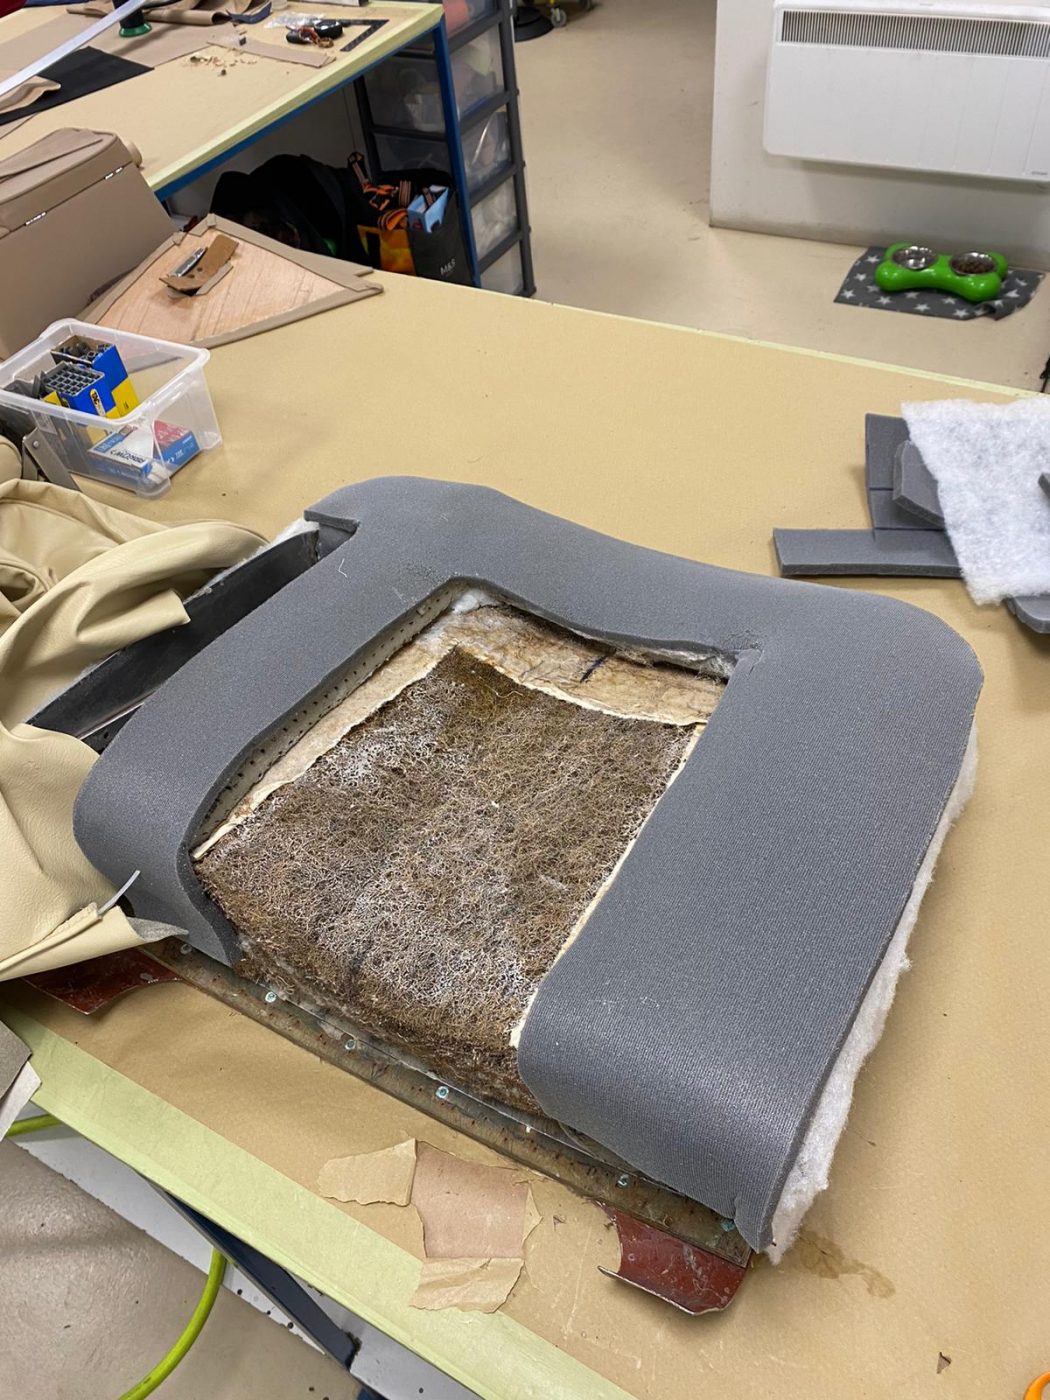
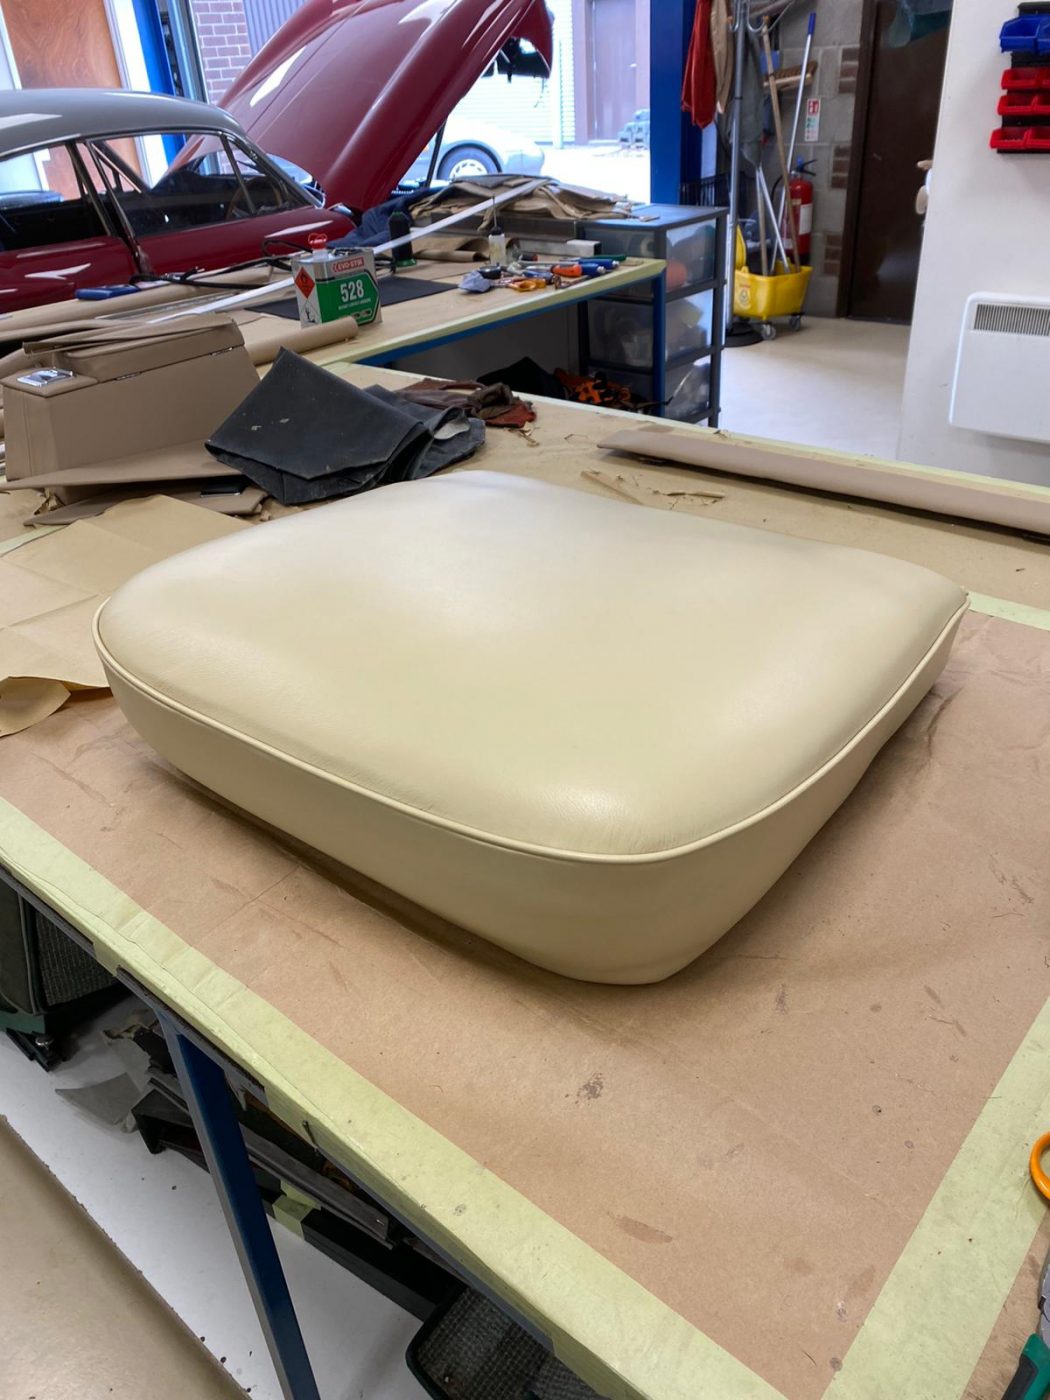
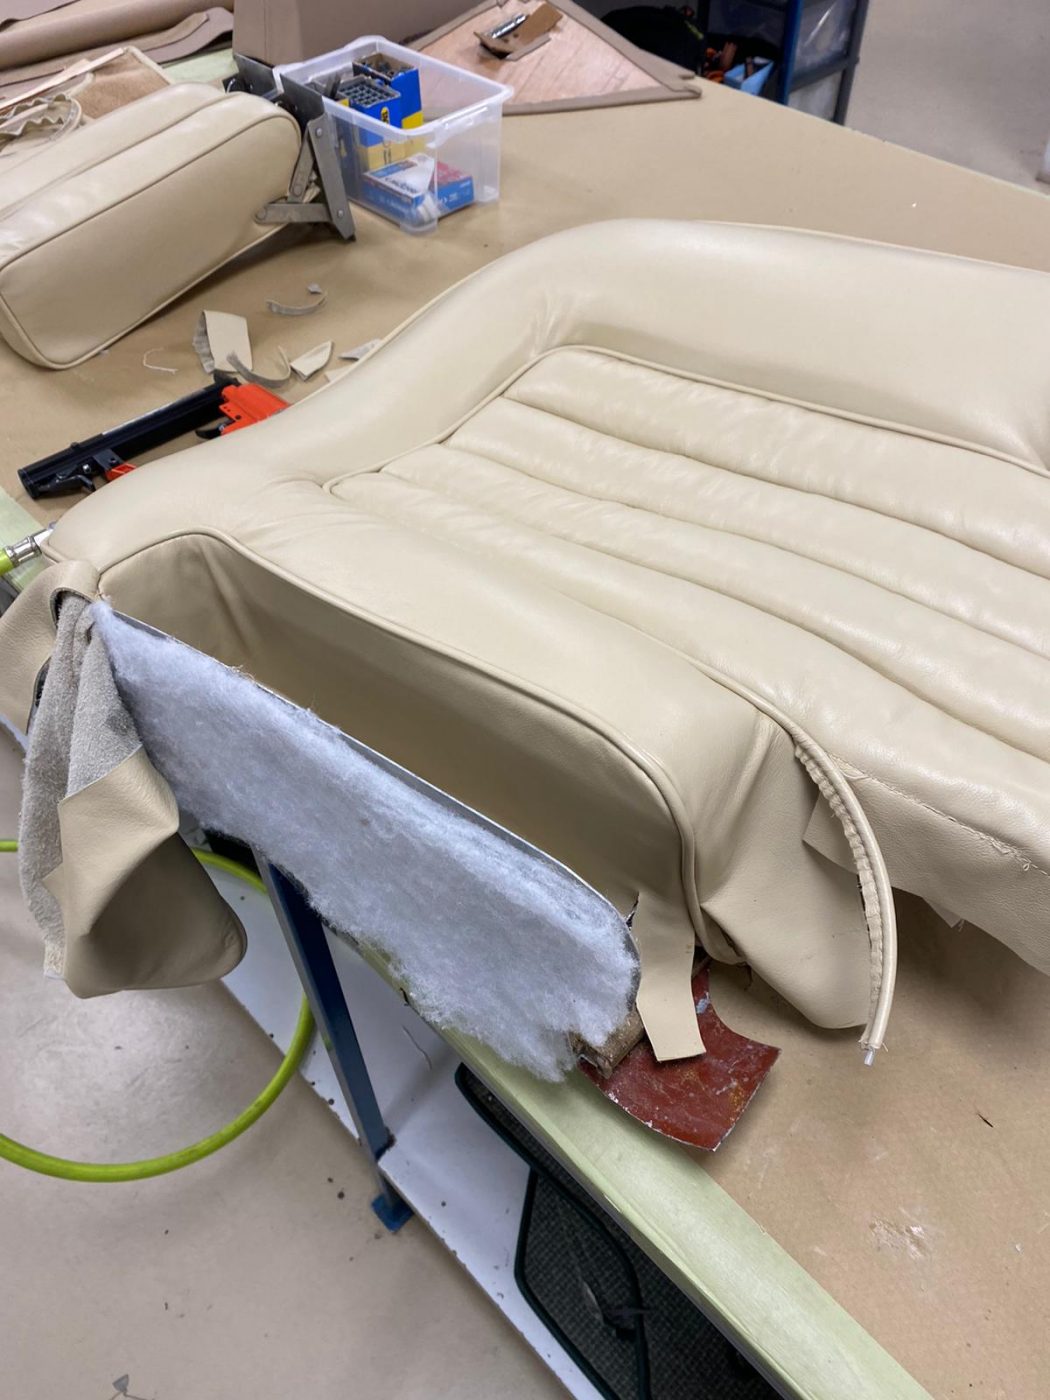
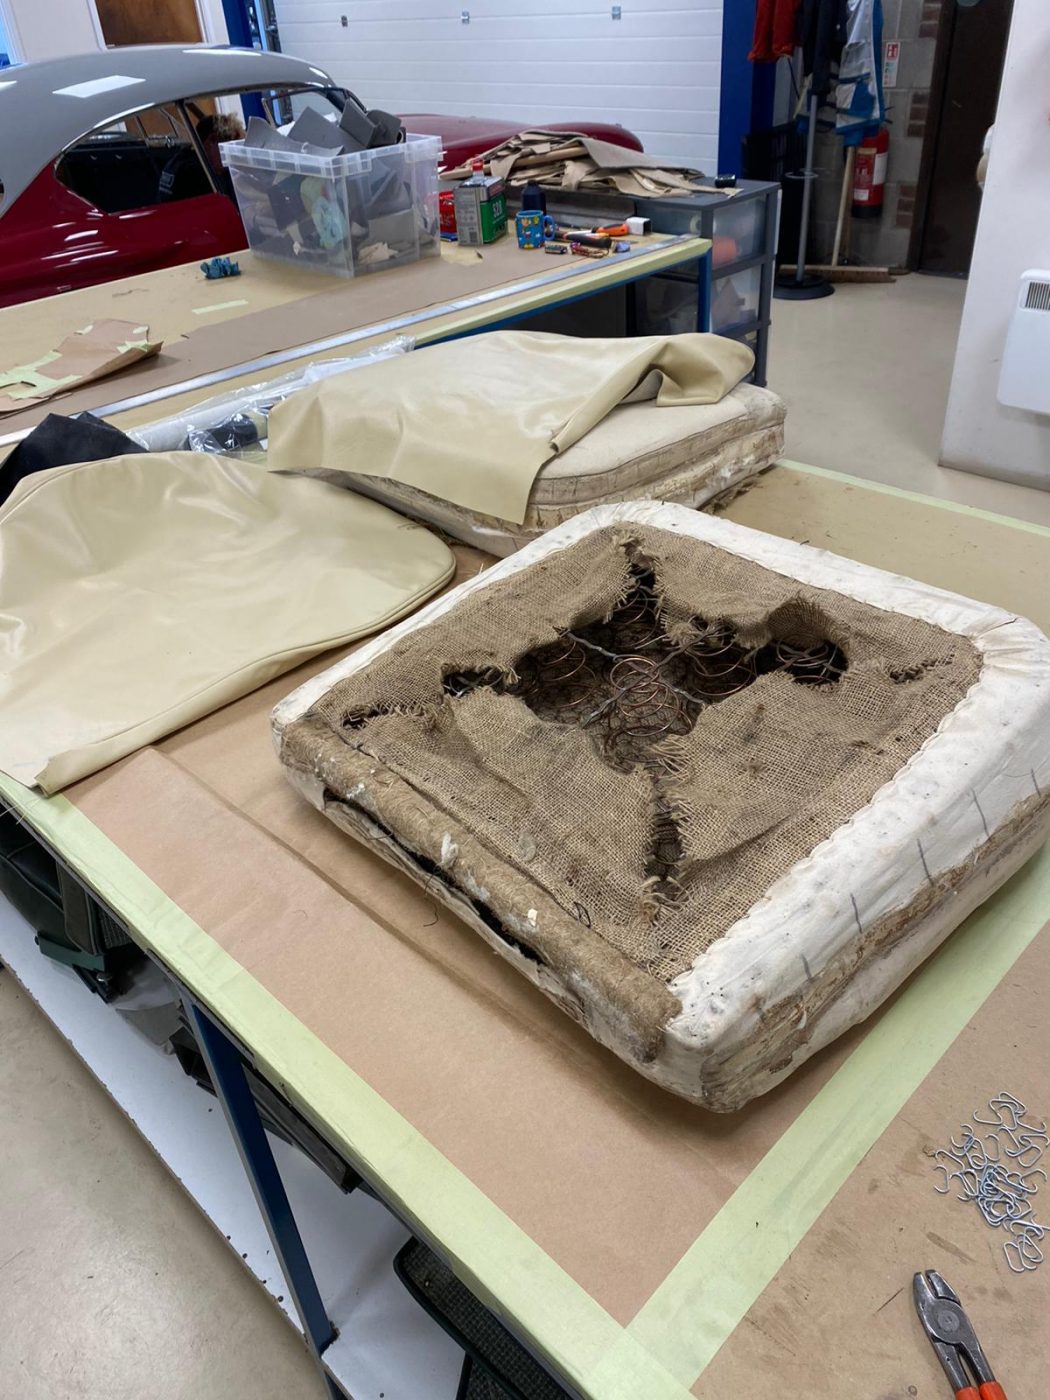
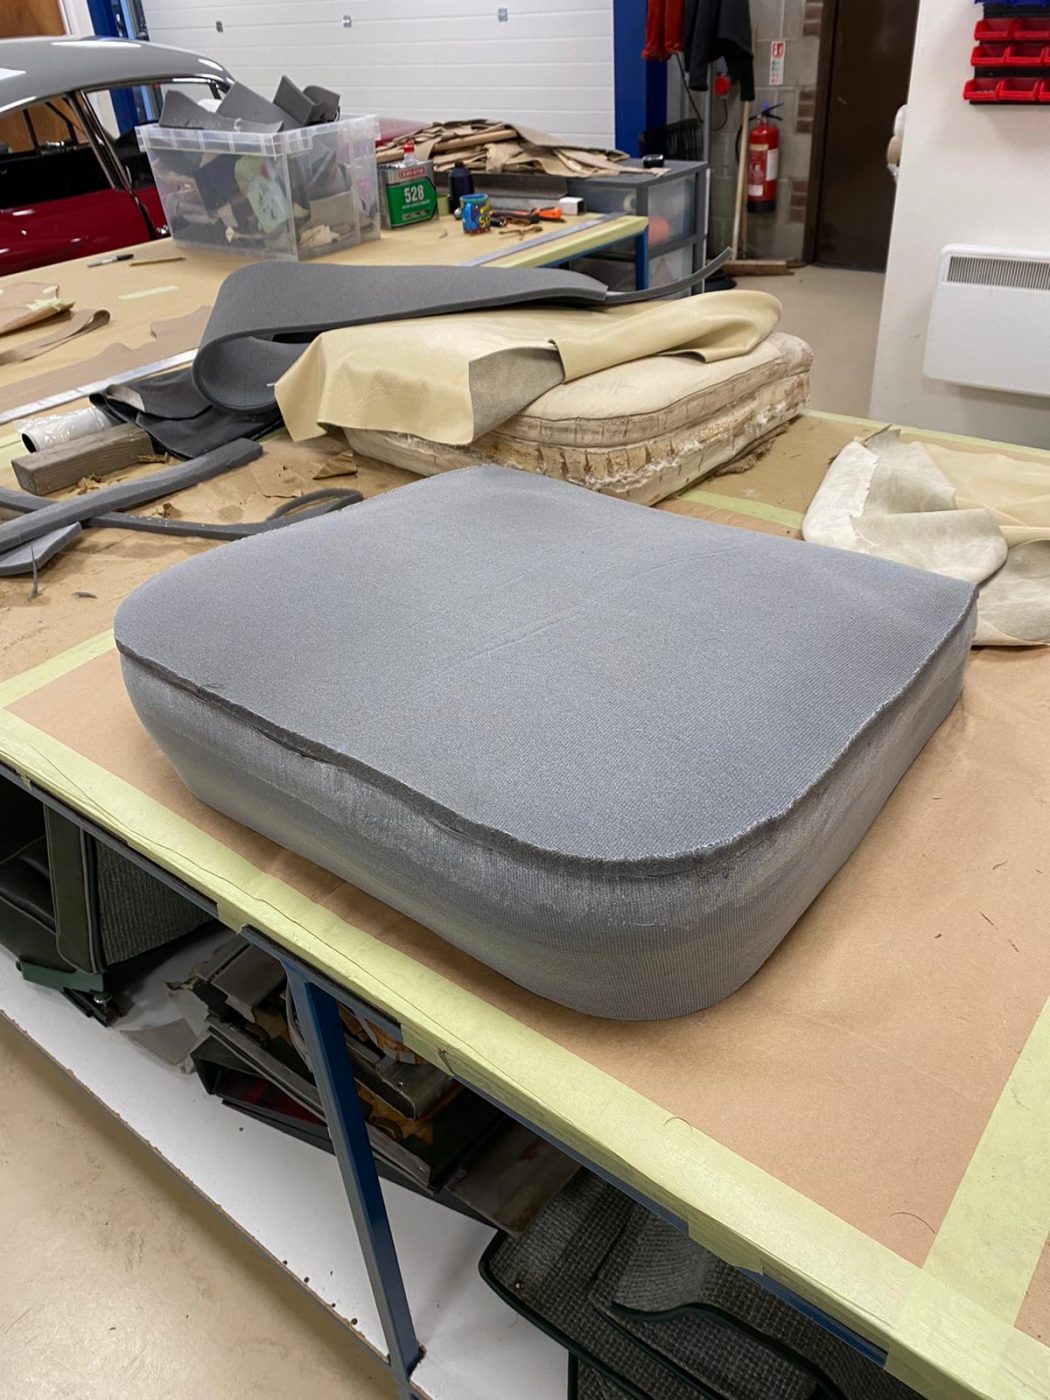
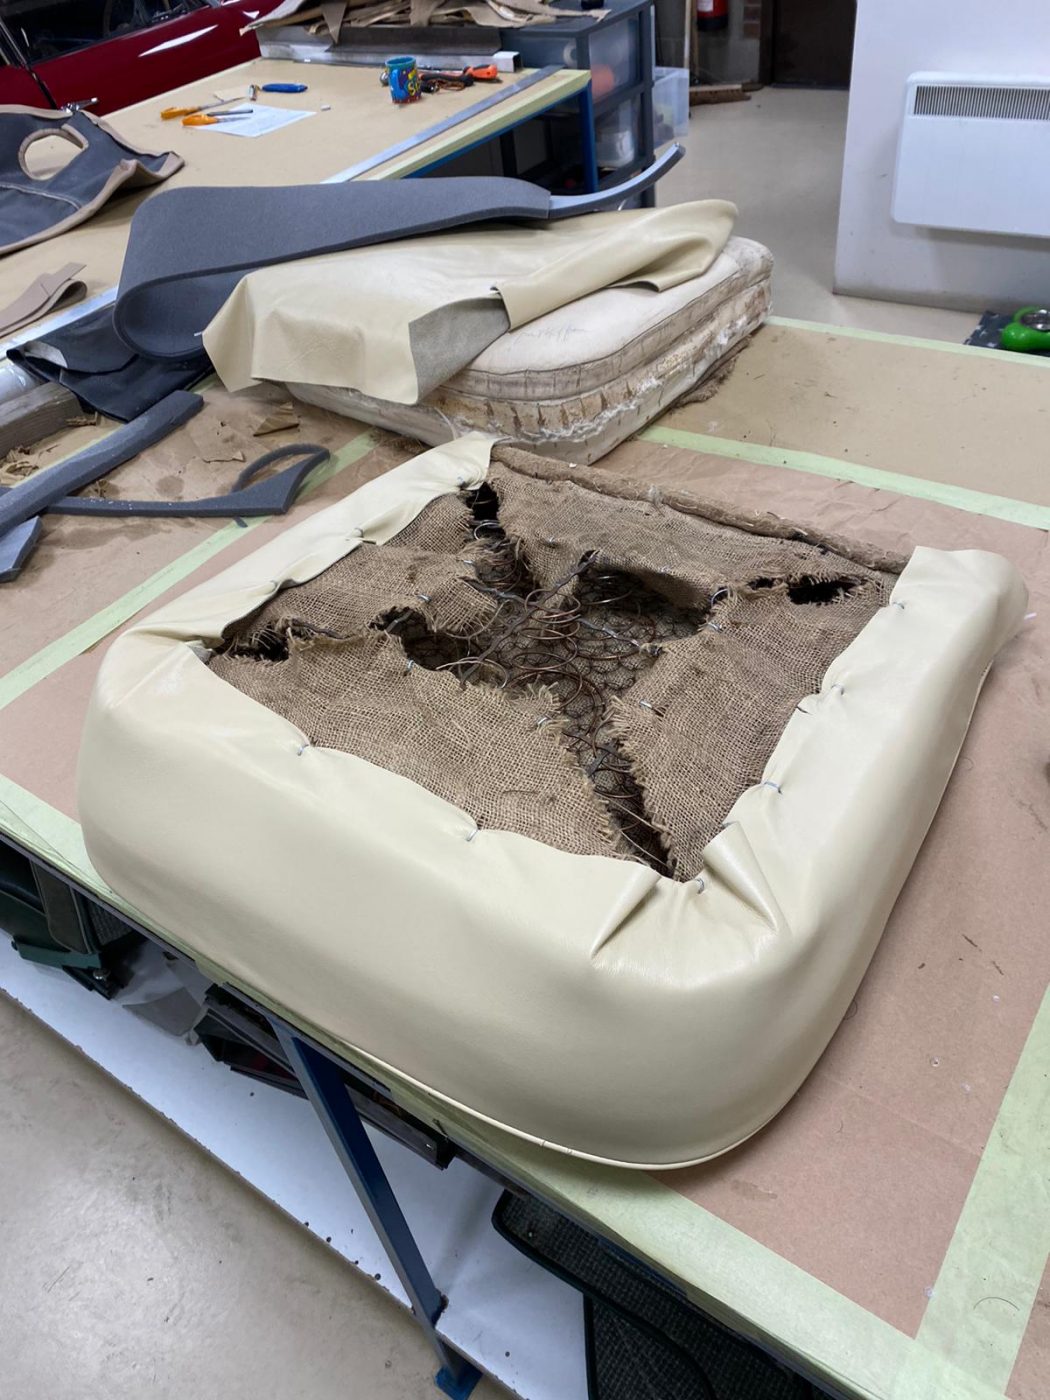
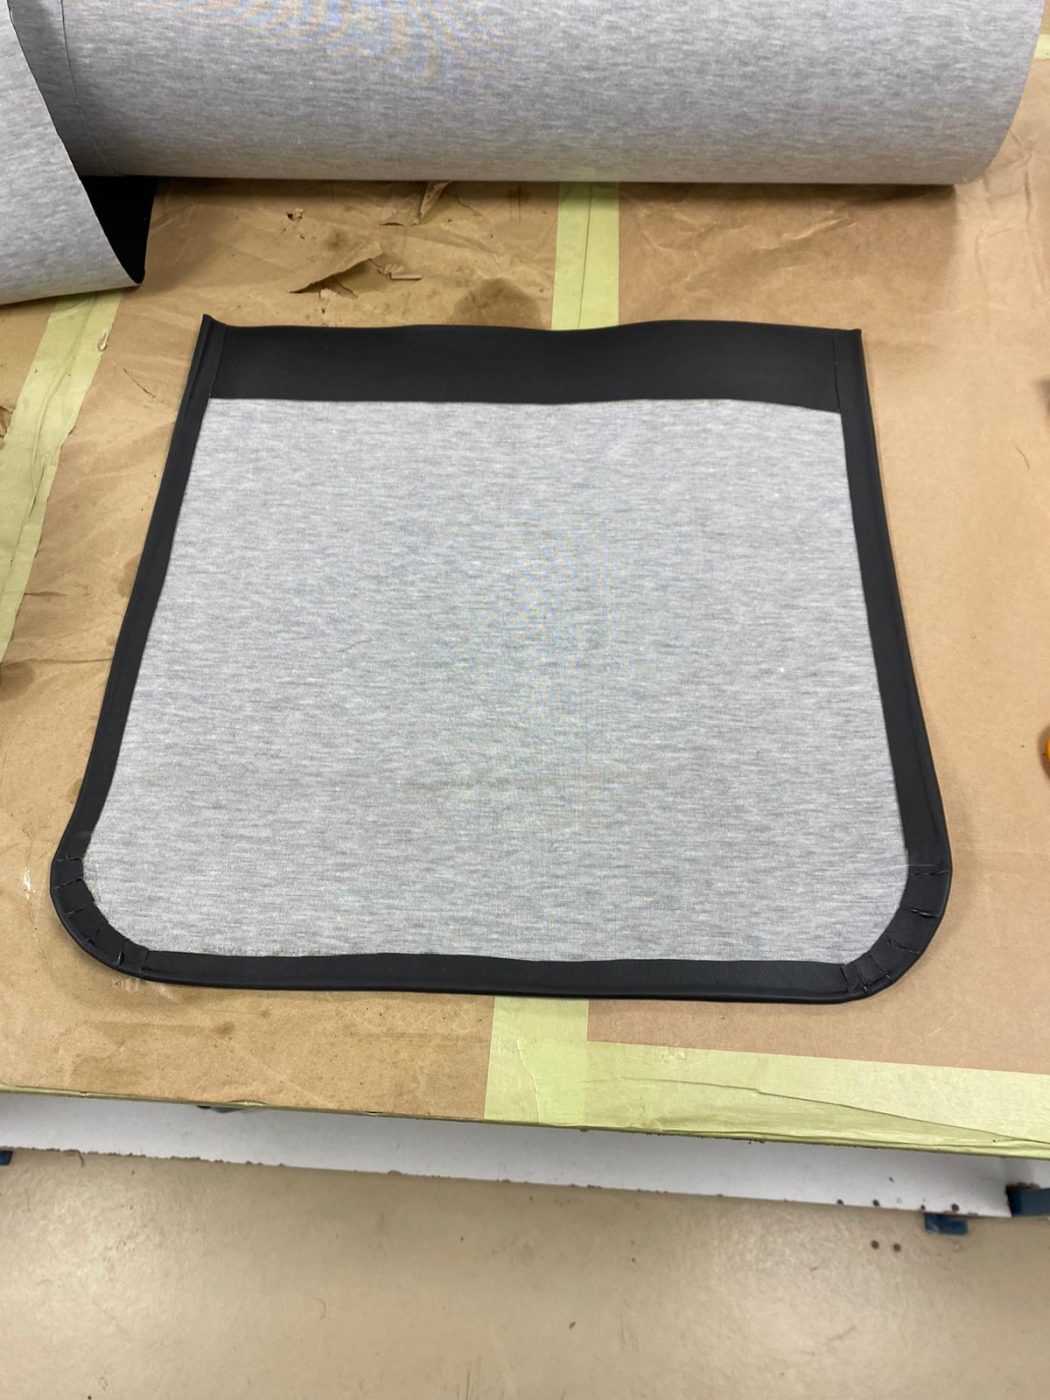
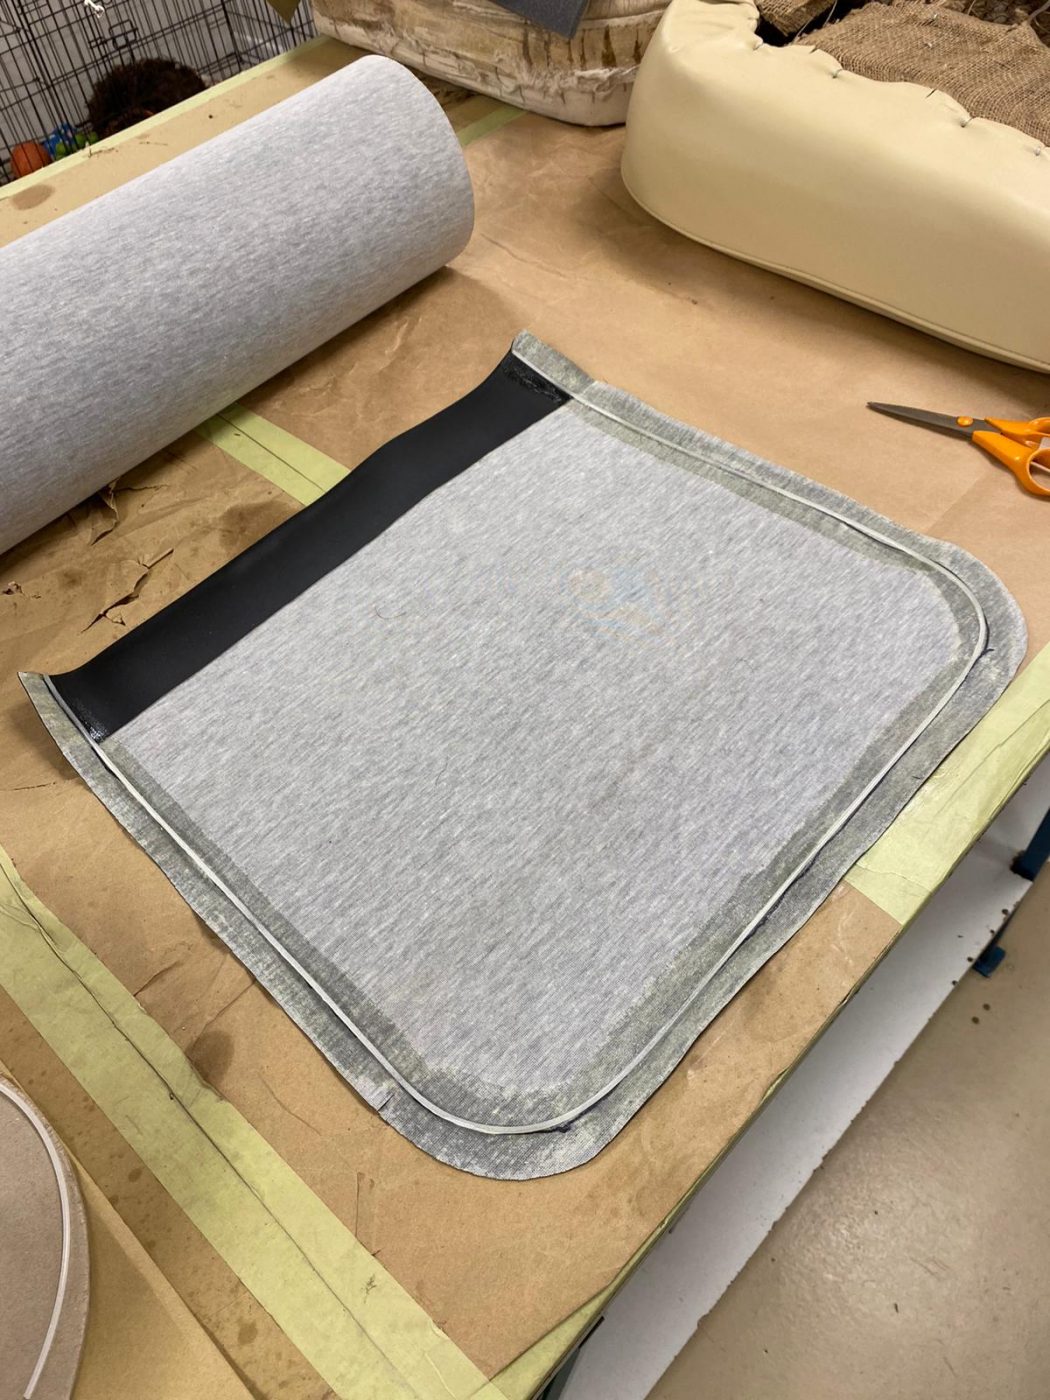
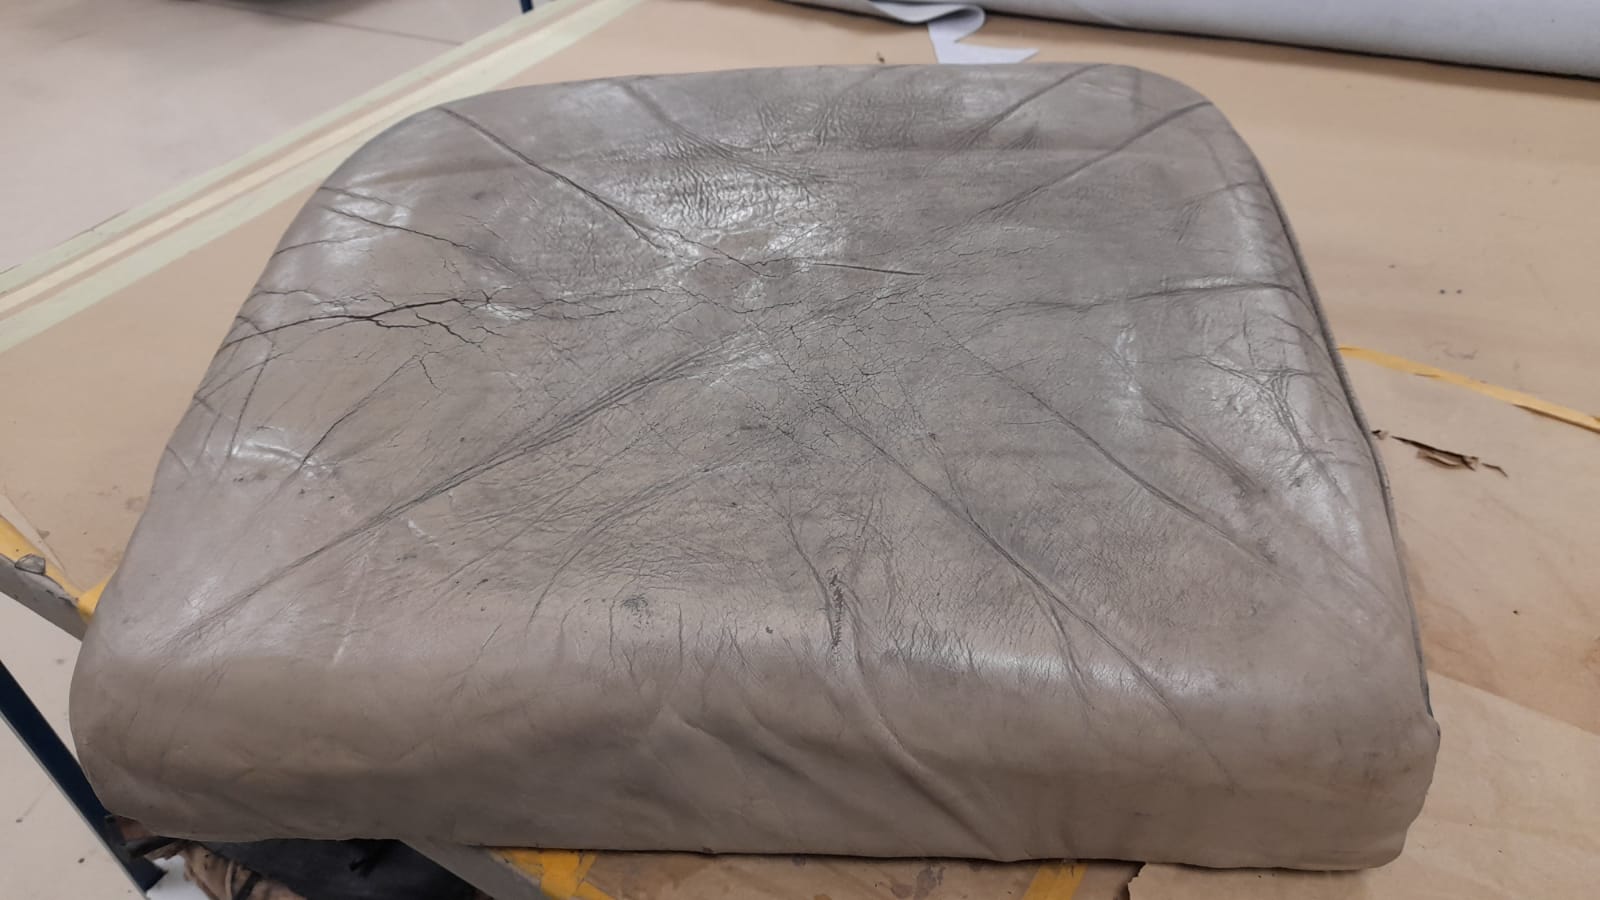
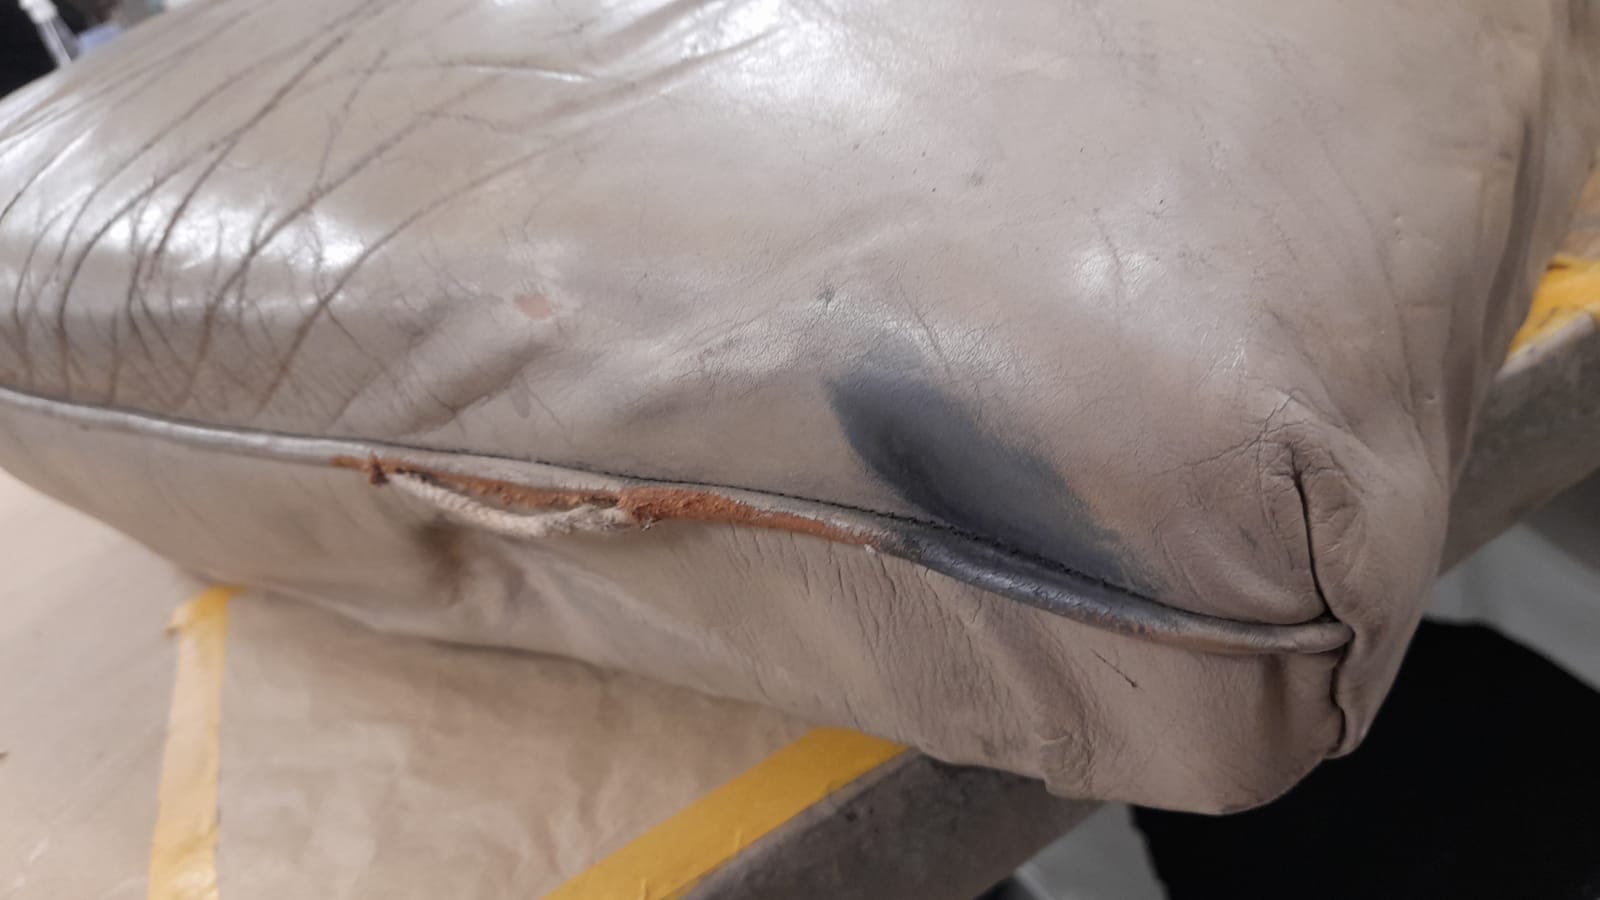
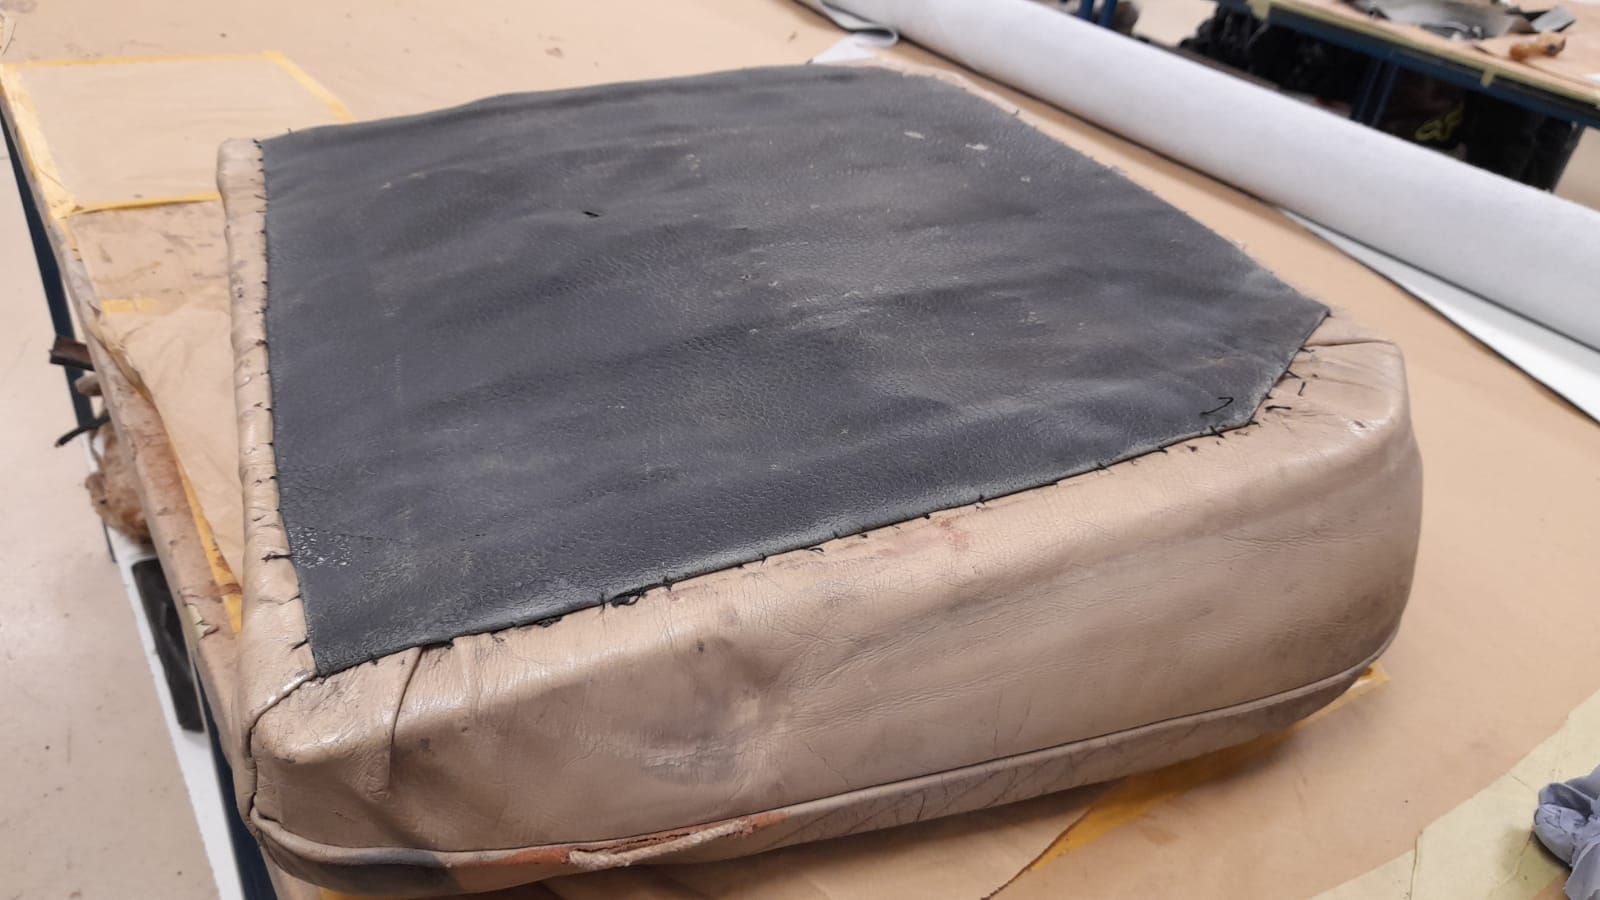
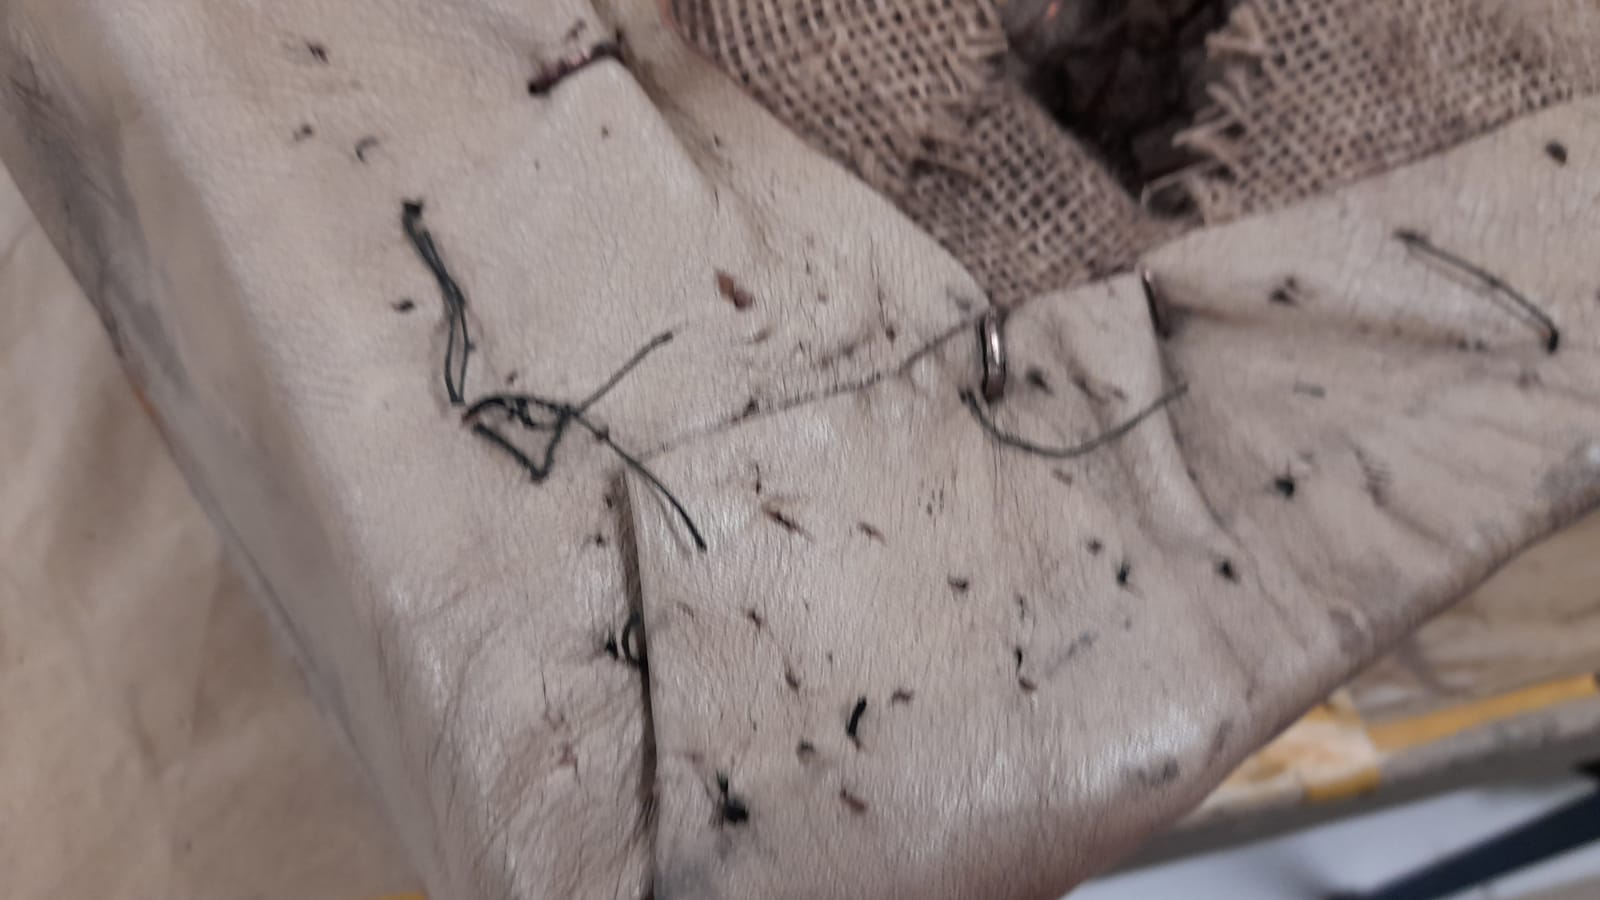
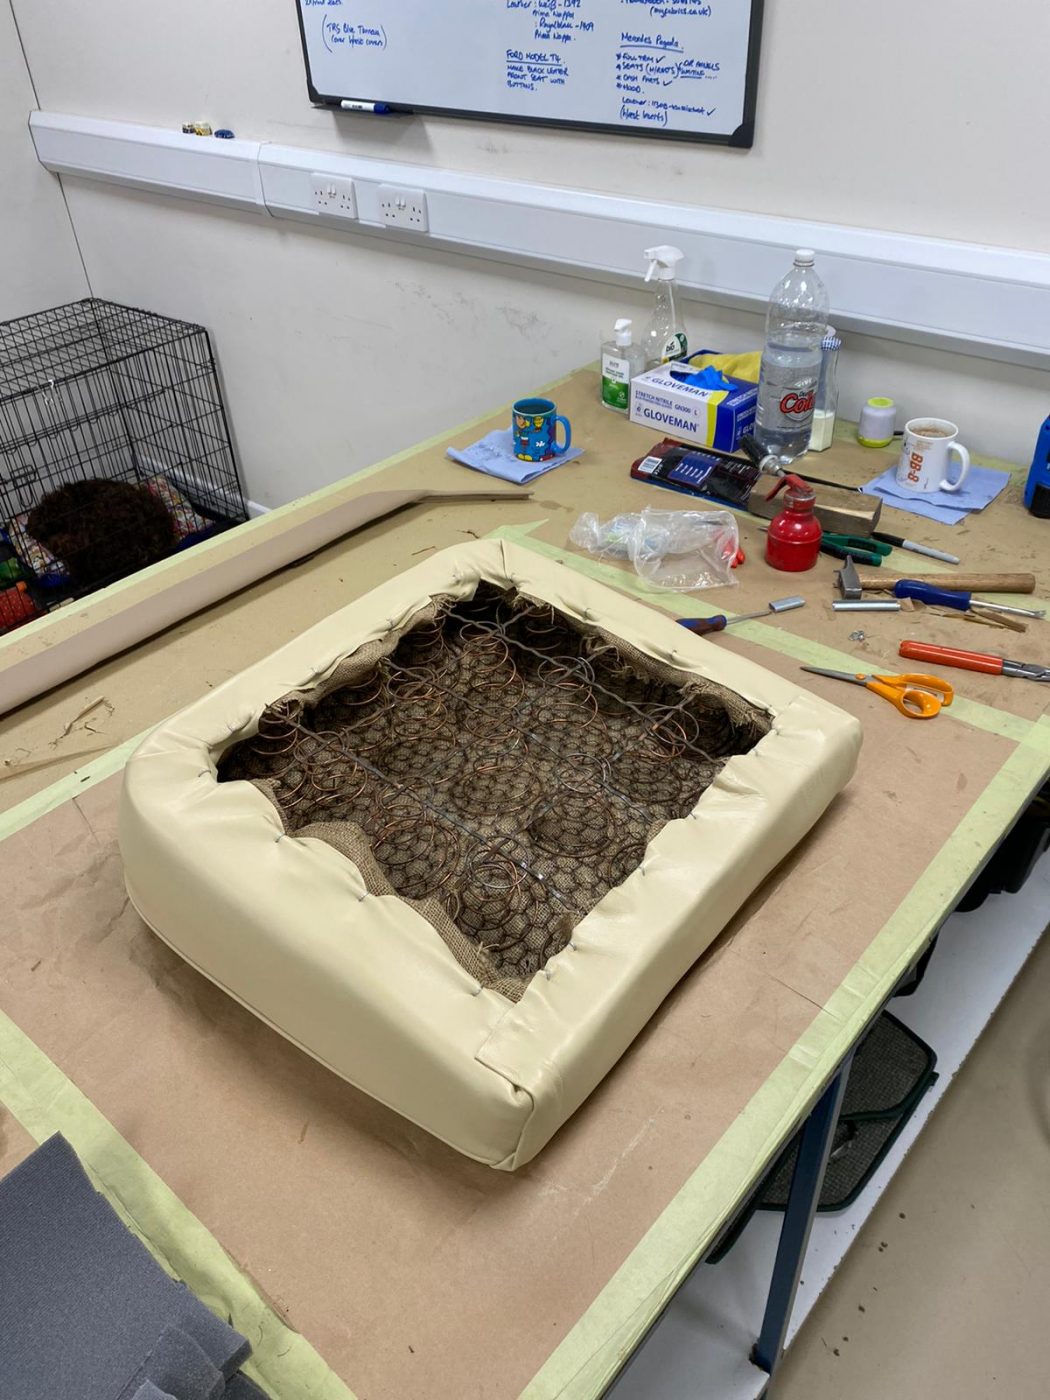
We’re also refurbishing the wheels and replacing 4 bolsters on the front seats.
Pricey has been burning off leftover under-sealer and old paint before it goes to sandblasting. He then scrapes it off so that as little is left as possible.
John, from Baylham Automotive Solutions has been working on our 1969 Ford Escort Twin Cam which needs a full rewire to modernise the loom to be compatible with modern features. The majority of the loom is in good condition and John has found that 90% of it simply needs to be cleaned and restored however there are parts that need to be made up and modified such as a modified headlight relay and the dynamo converted to an alternator.


As part of its pre-delivery inspection, we’ve carried out a thorough service and our technician Paul is currently addressing the issues that have arisen from the service. There was a noise at the rear end caused by worn brake pads which were rubbing metal to metal on the brake disk. One brake was cracked as well. The steering rod arm was also showing signs of wear and the steering rack gage has been replaced. Paul has also replaced the front pads, rear disks and nearside front wheel bearing along with the other normal checks such as changing the oil and oil filter, repairing the switch for the roof and charging the battery.
We recently had a photographer from Car and Classic come over to Bentwaters to photograph our stunning Chevron B20 for an upcoming auction.
The Car and Classic auction starts soon and bids open in 9 days! Keep an eye out on the website linked below to track its progress.
Our little blue Austin Mini has finally landed in the workshop and is ready to be fitted with its new back seats and have a thorough service before we decide its fate…


We’ve been contacted by a gentleman who has told us he had worked on our Ford Model T as a young mechanic back when Potters of Framlingham was still in service. His email, which is shown below, describes the involvement of different Suffolk trades that went into the maintenance of our Ford.
Good day to you,
I have a particular interest in the restoration of the Model “T” Ford. When I was a young mechanic working for A G Potter I was involved in the removal of it from a shed in Marlesford and its subsequent partial restoration under instruction from the old hands (long gone), who used to work on “Ts”. It did have only 2 wheels but Ron Allen, a director of Potters, negotiated a deal with the local hand coach painters ( Rowe and Snell of Swefling) who had a hand cart with two model T wheels and did a swap for more modern ones. They, in fact, are responsible for the hand-painted coach finish.
I understood then that the magnets in the flywheel generator needed re-magnetising hence the six-volt battery in the back. I was supposed to rectify this, and it would have been a major job.
I used to enjoy my time with this beautiful old motor and look forward to following its journey through your workshops.
Peter Robinson
Once a long time ago workshop foreman for AGP Framlingham

We’ve just delivered Kevin’s 1959 Ford Anglia. Kevin tells us he’s been entering since our 1976 Triumph Spitfire, which was our fourth ever competition! Perseverance has paid off for Kevin, what a great win. Congratulations and we wish you many happy miles in your new Anglia!
We’ve been working on the engine for this MG B V8 and now the rest of the car has finally come in for us to fit the engine.


Our 1960 MG A’s owner got in touch to tell us that it’s his classic’s 60th birthday, marking 60 years since it was first registered. Happy birthday MG A!
The body of our 1973 Jaguar Series 3 Roadster has made its way to our paint shop to start on the colour prep which includes coating it in epoxy primer. You can see the before and after video below.


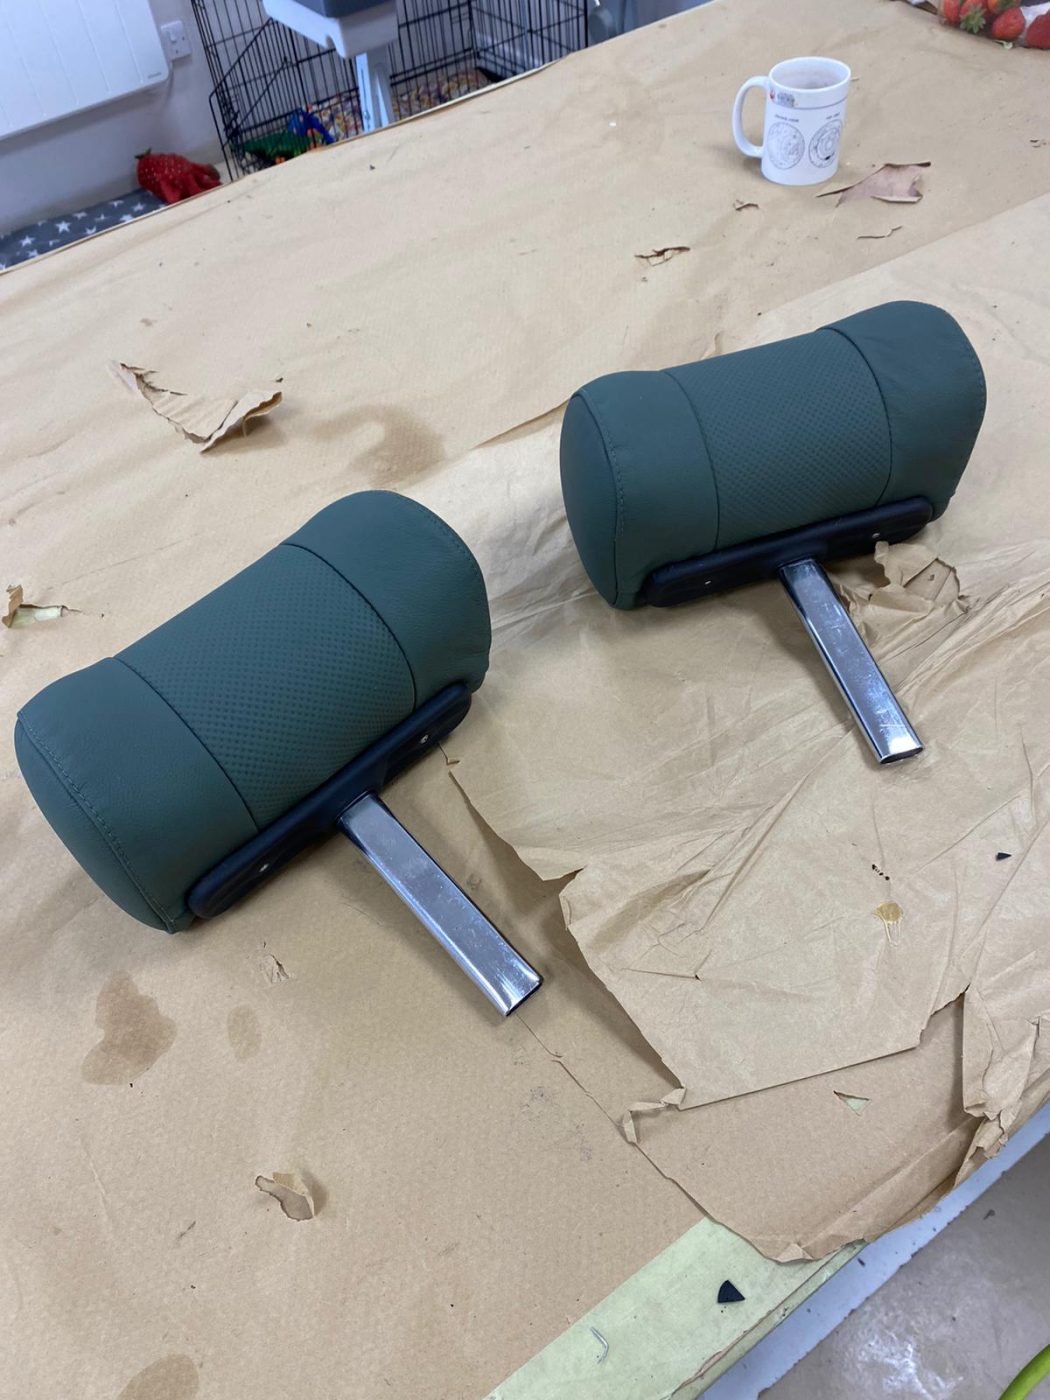
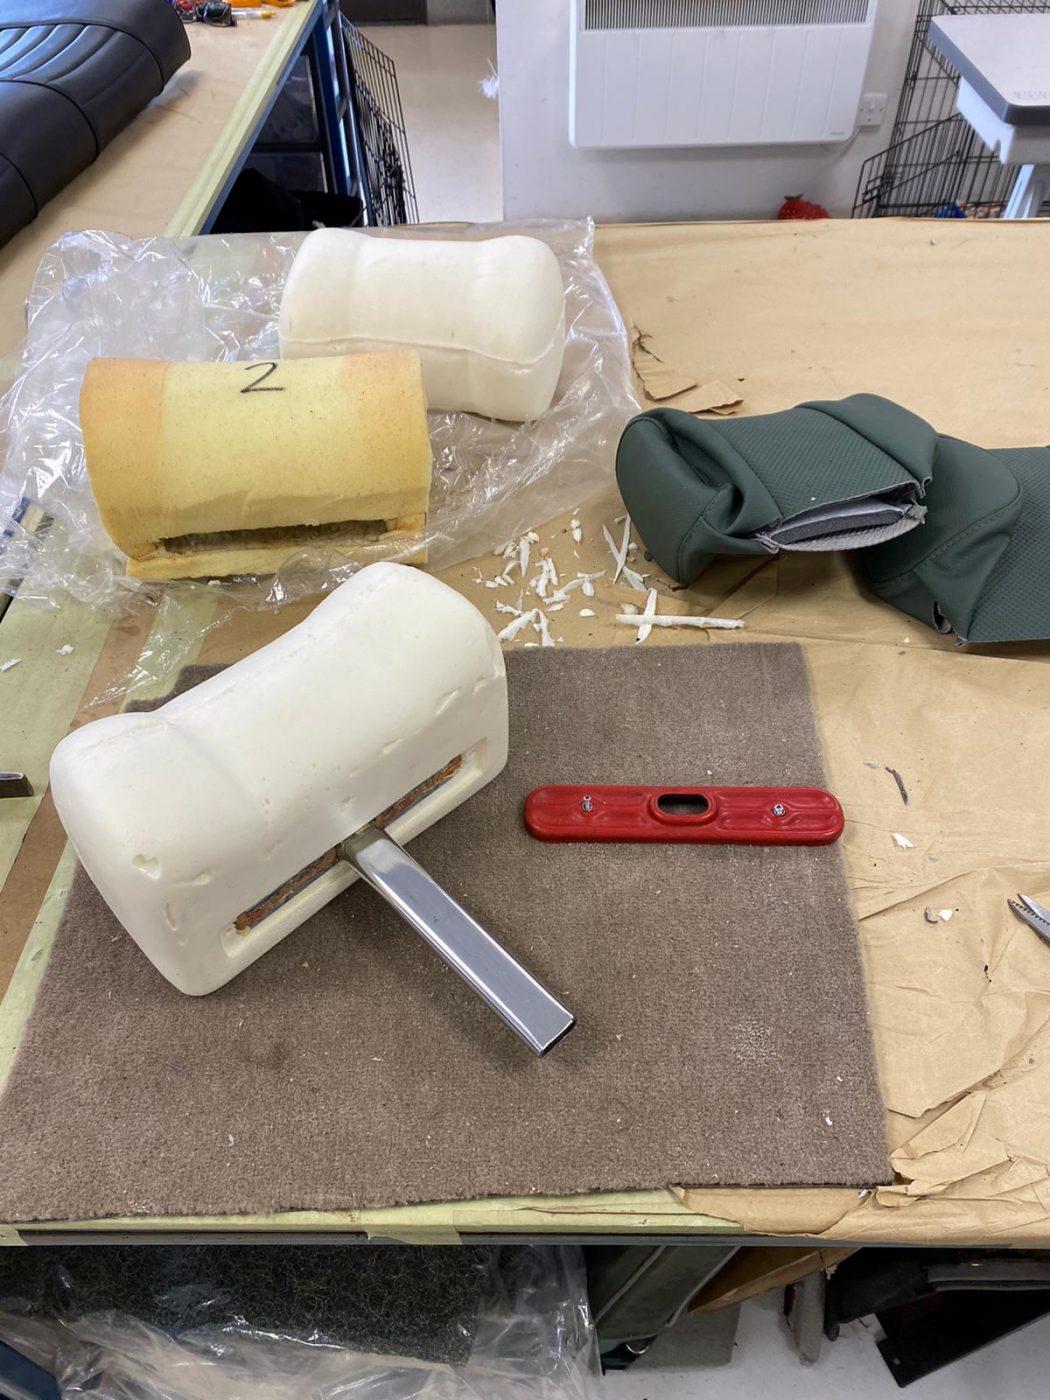
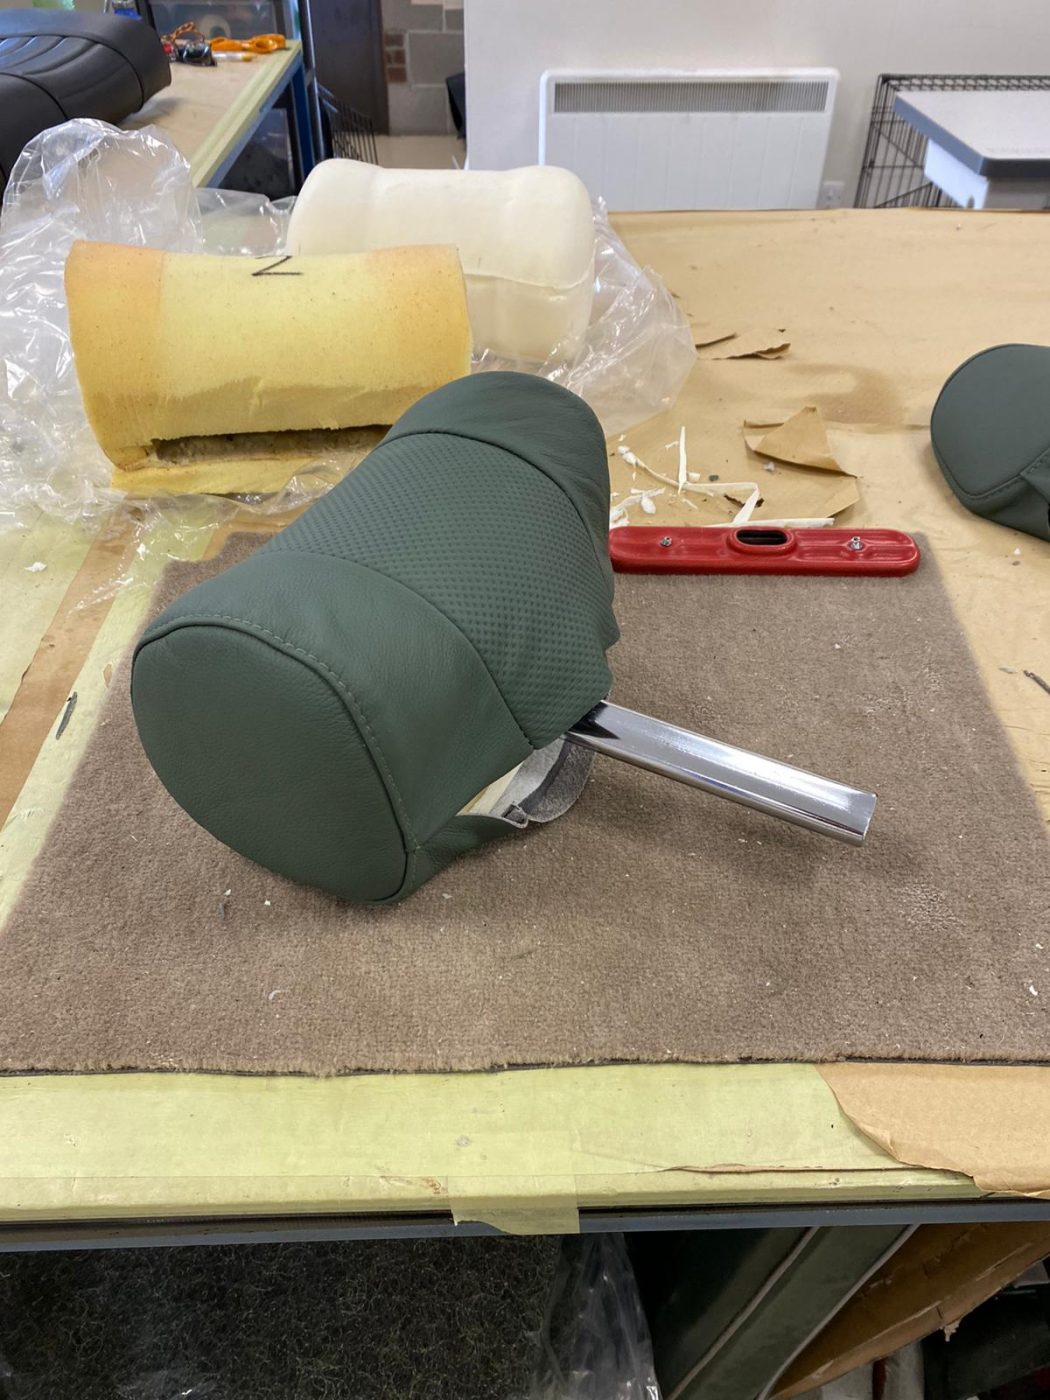
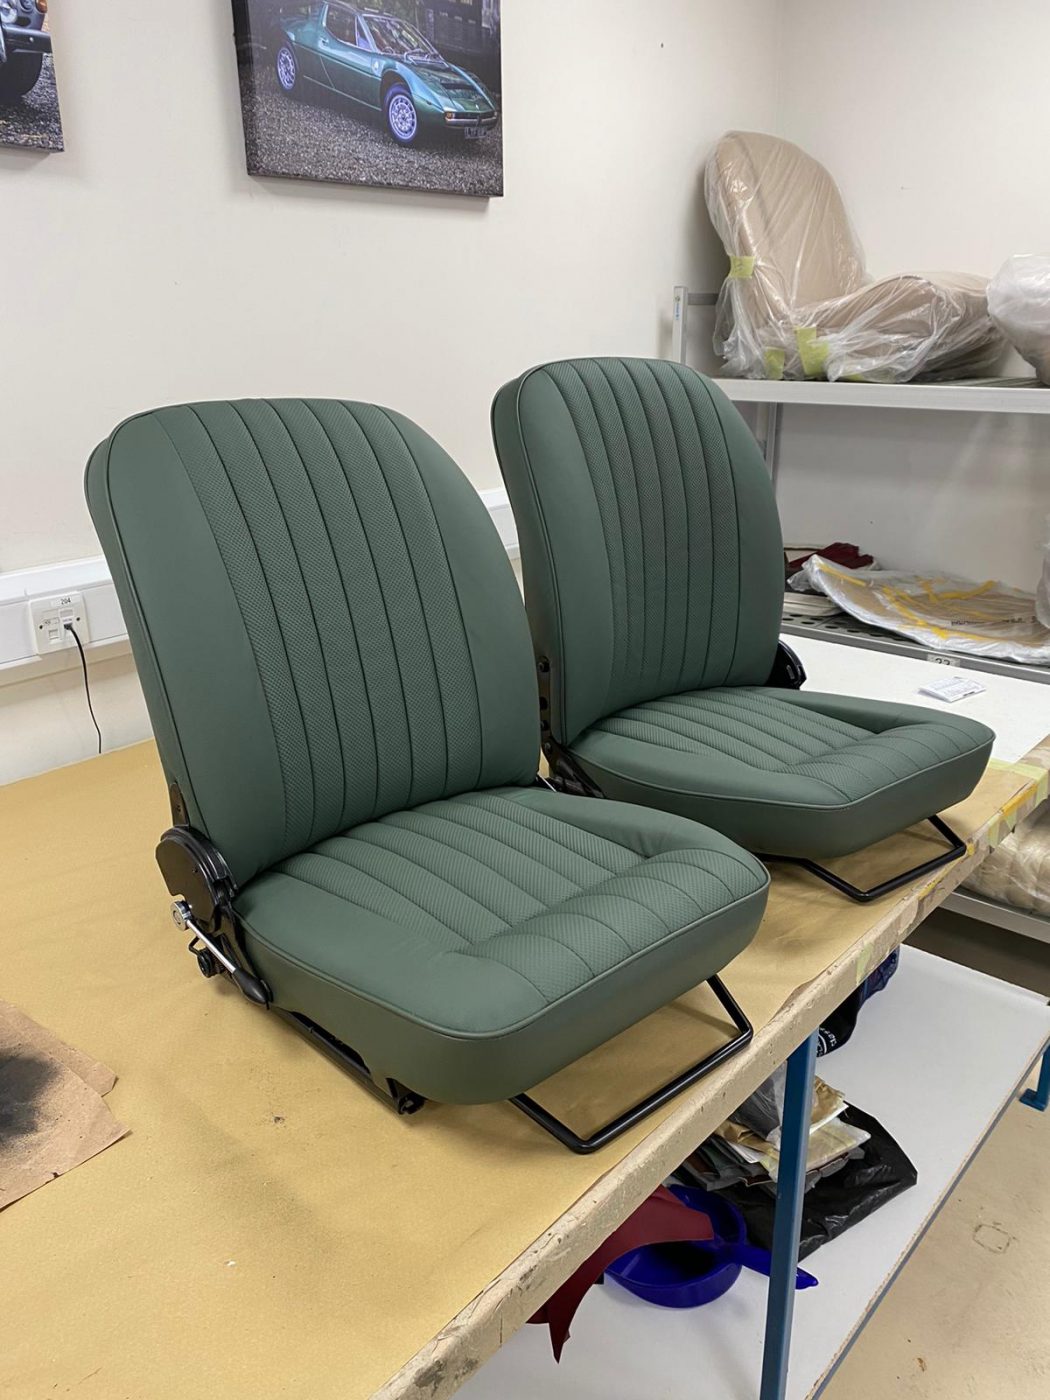
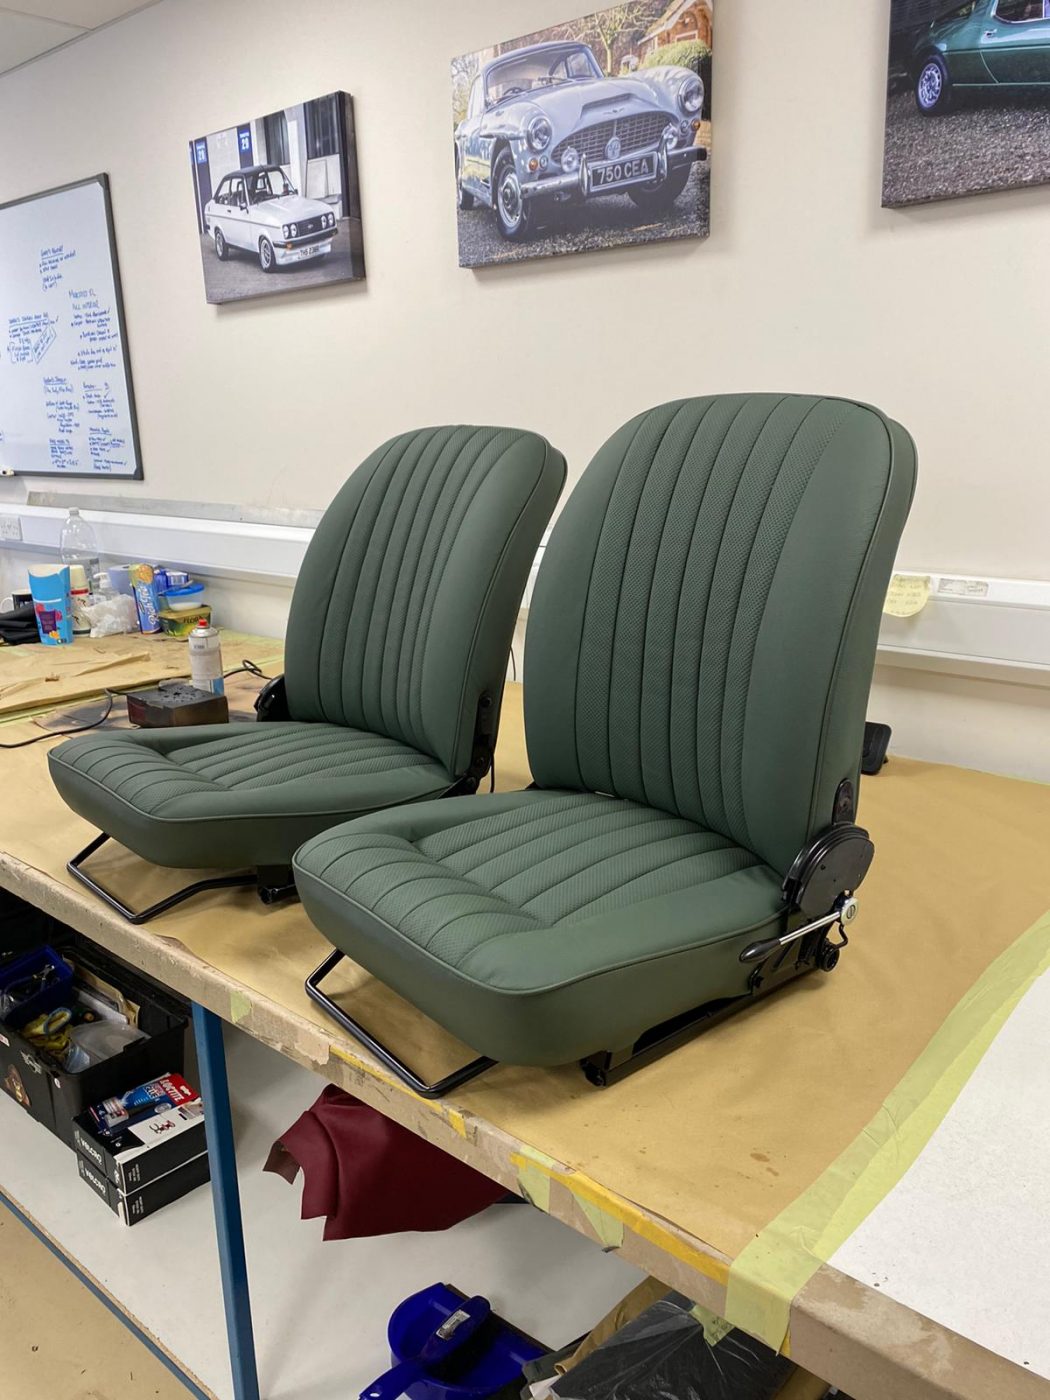
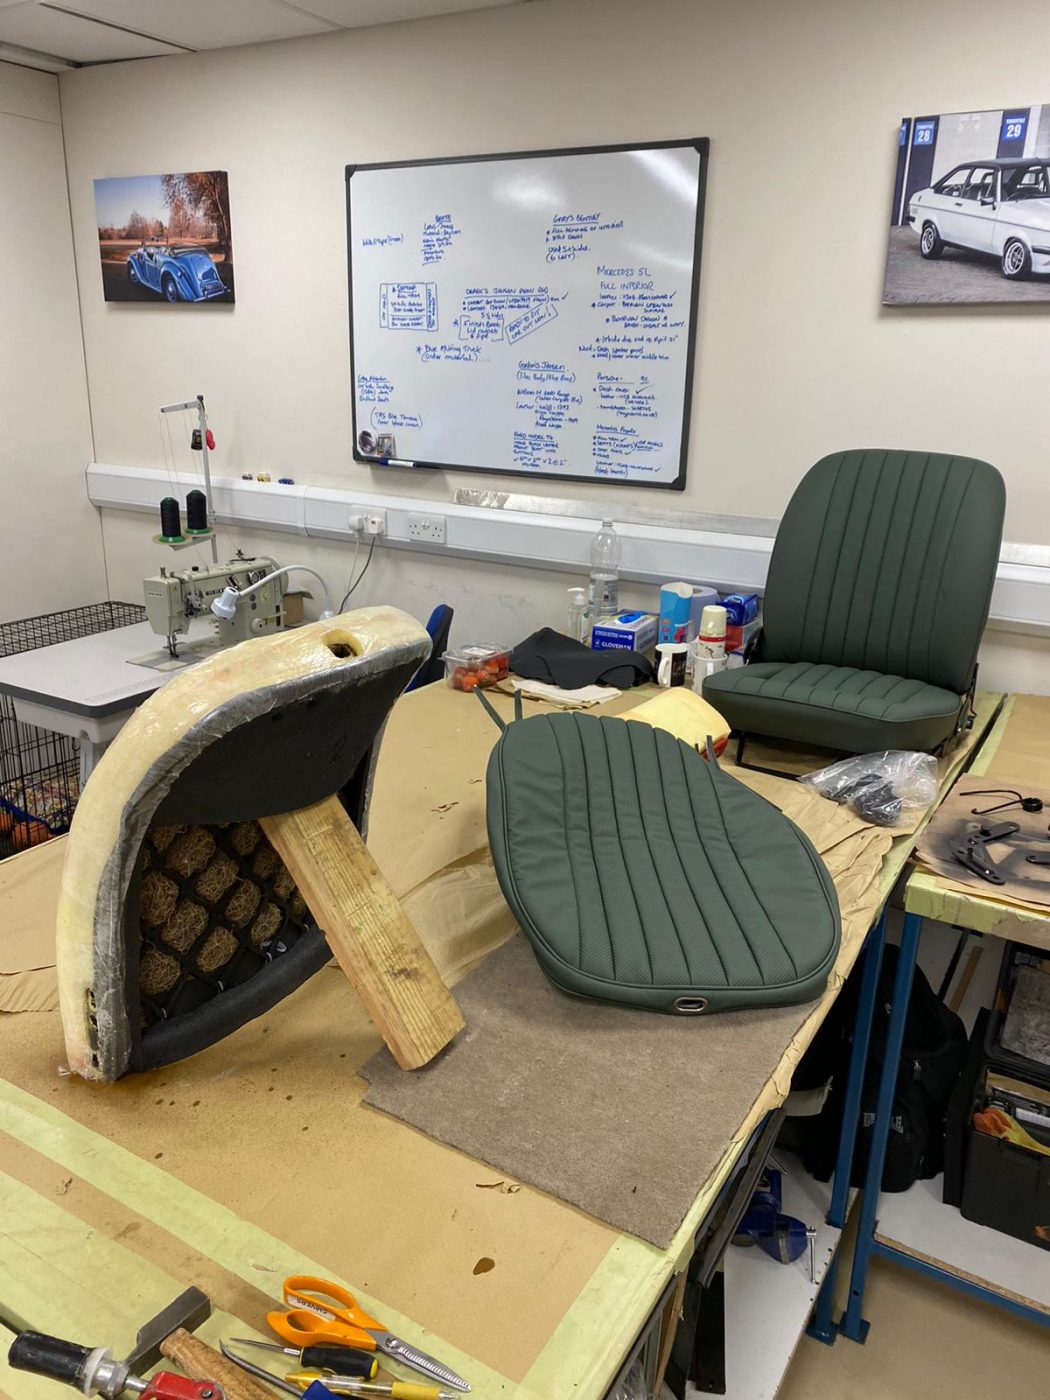
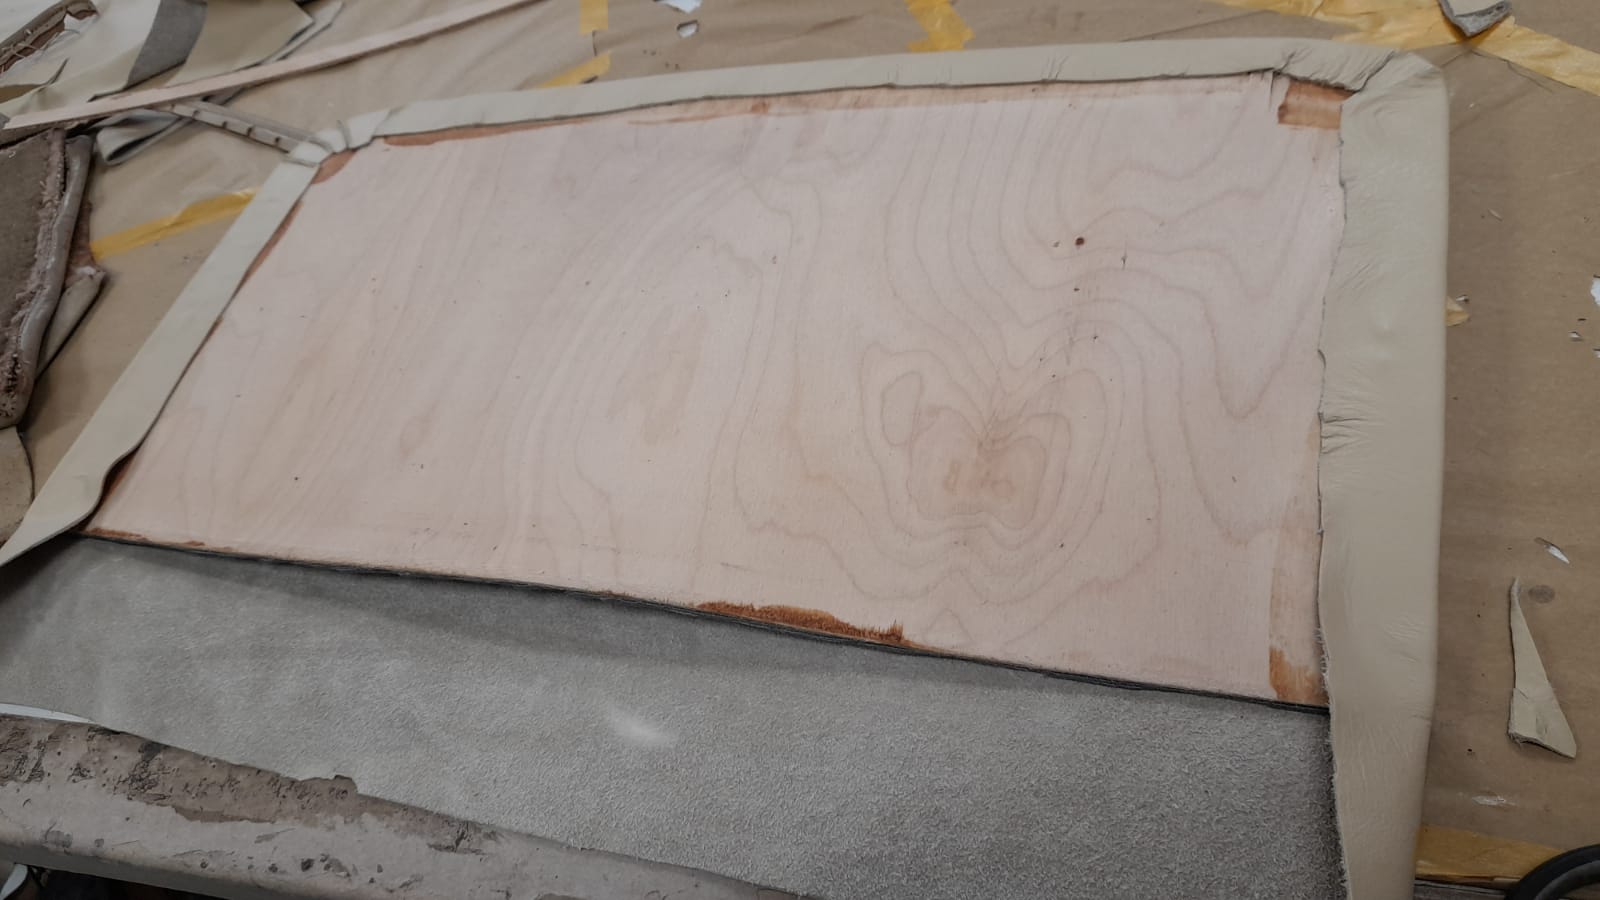
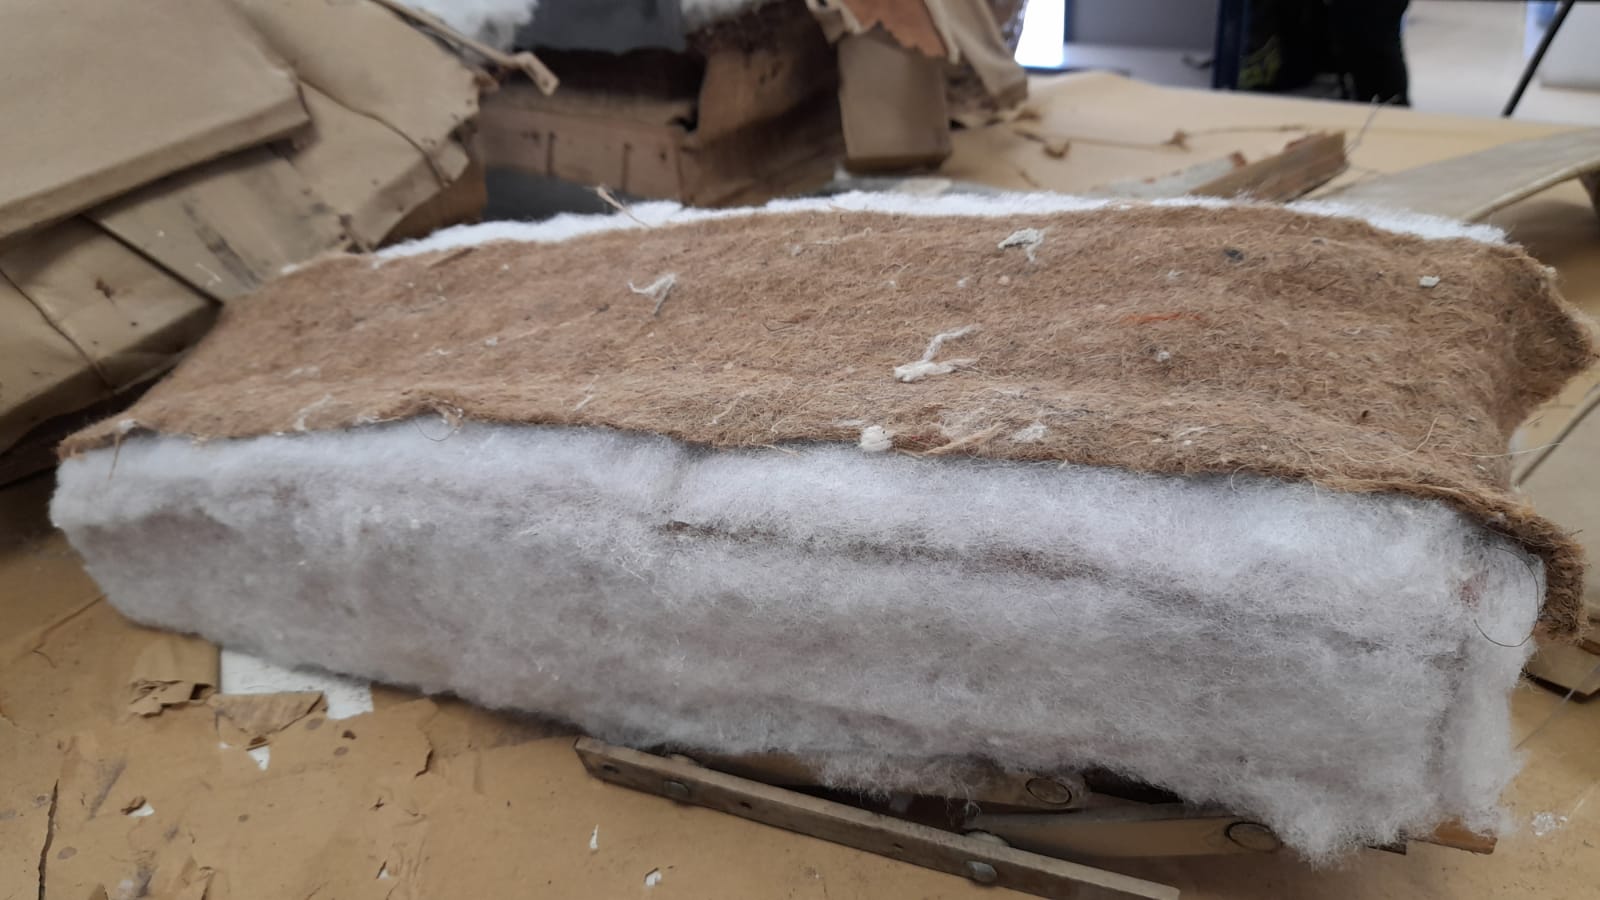
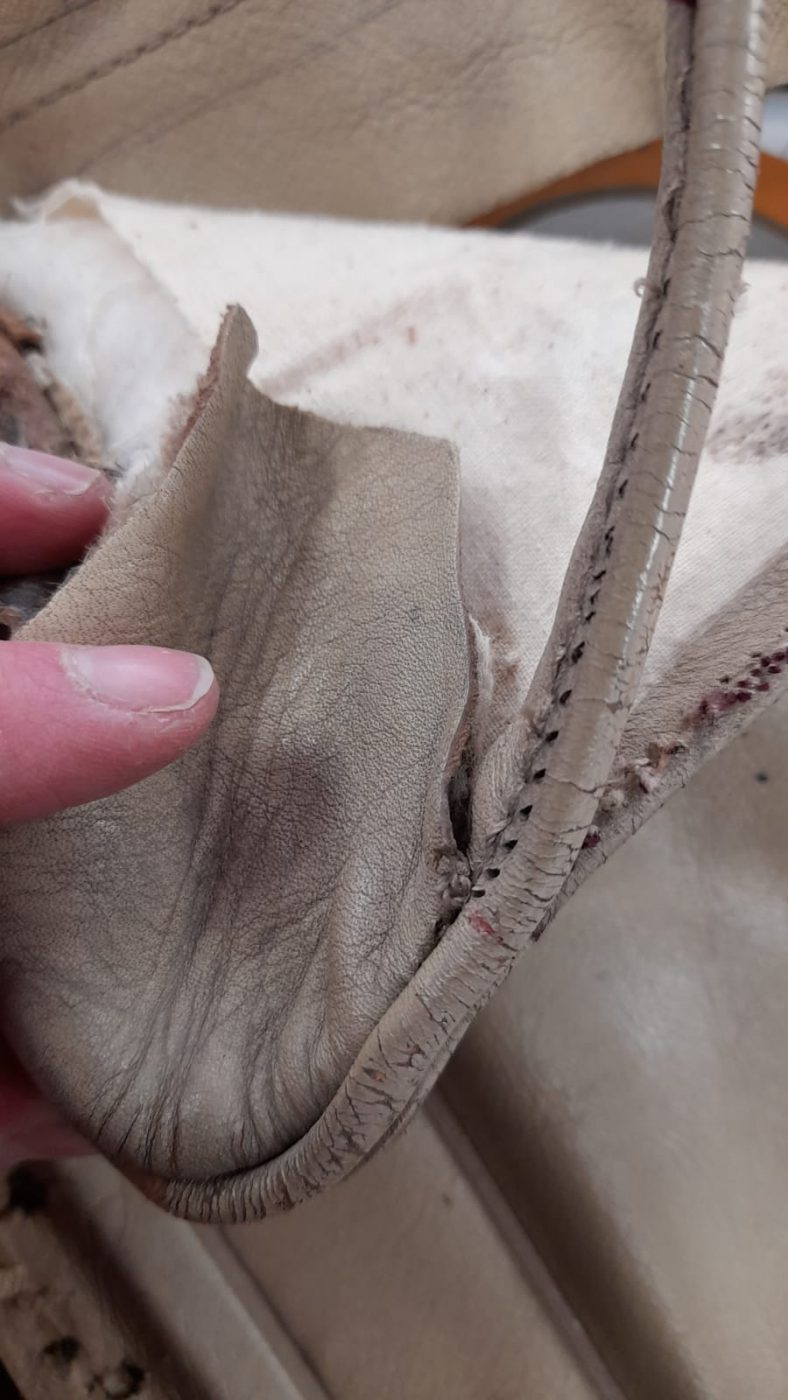
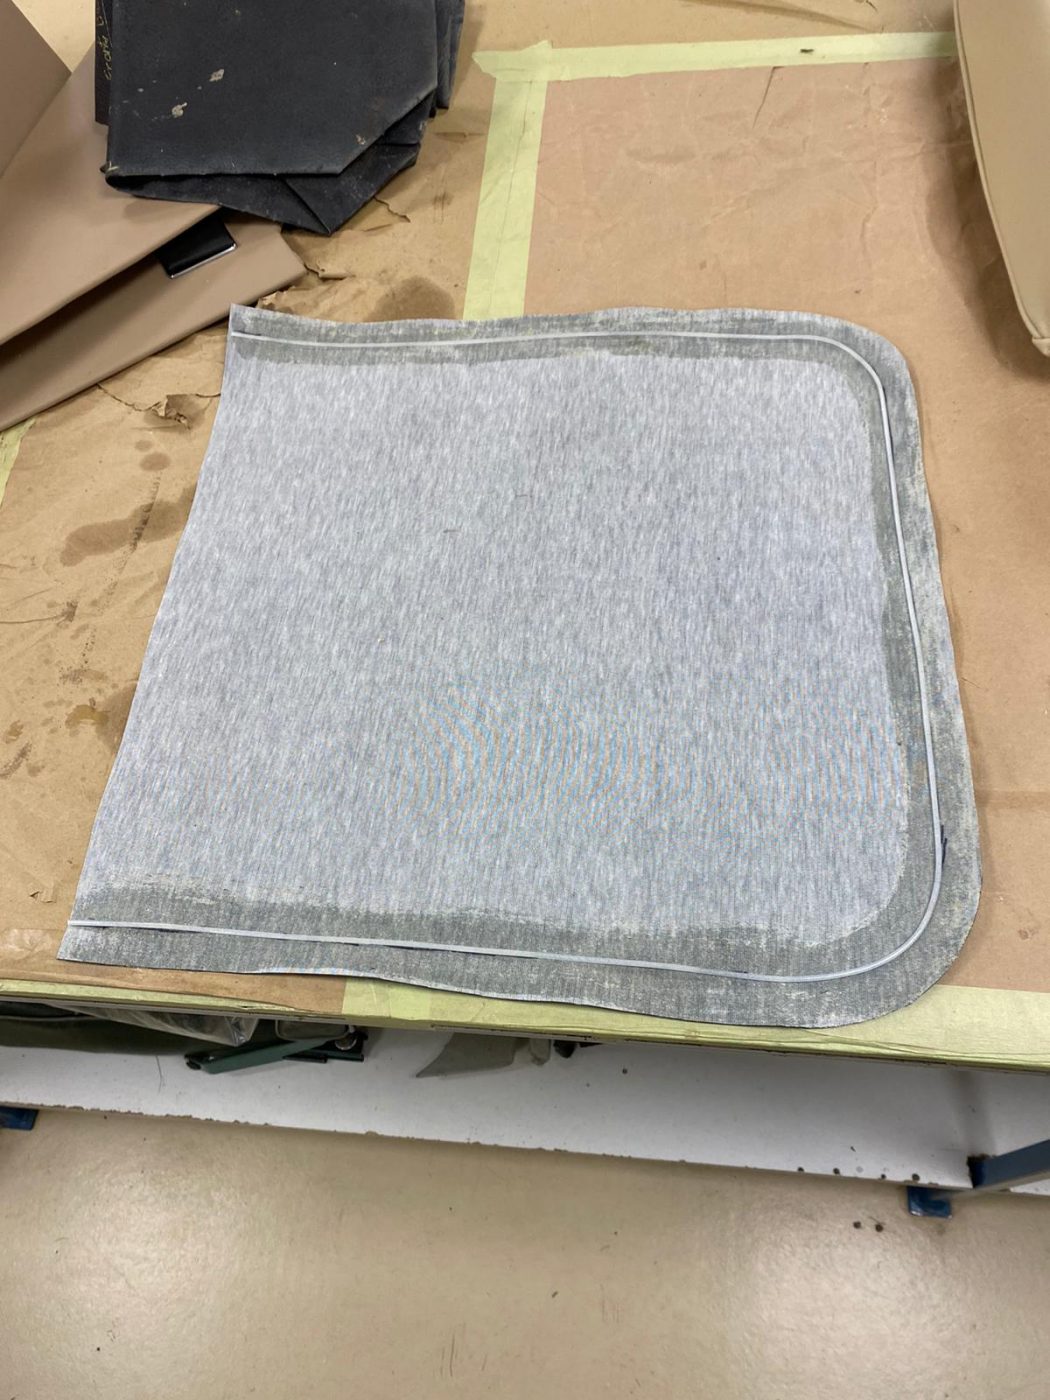
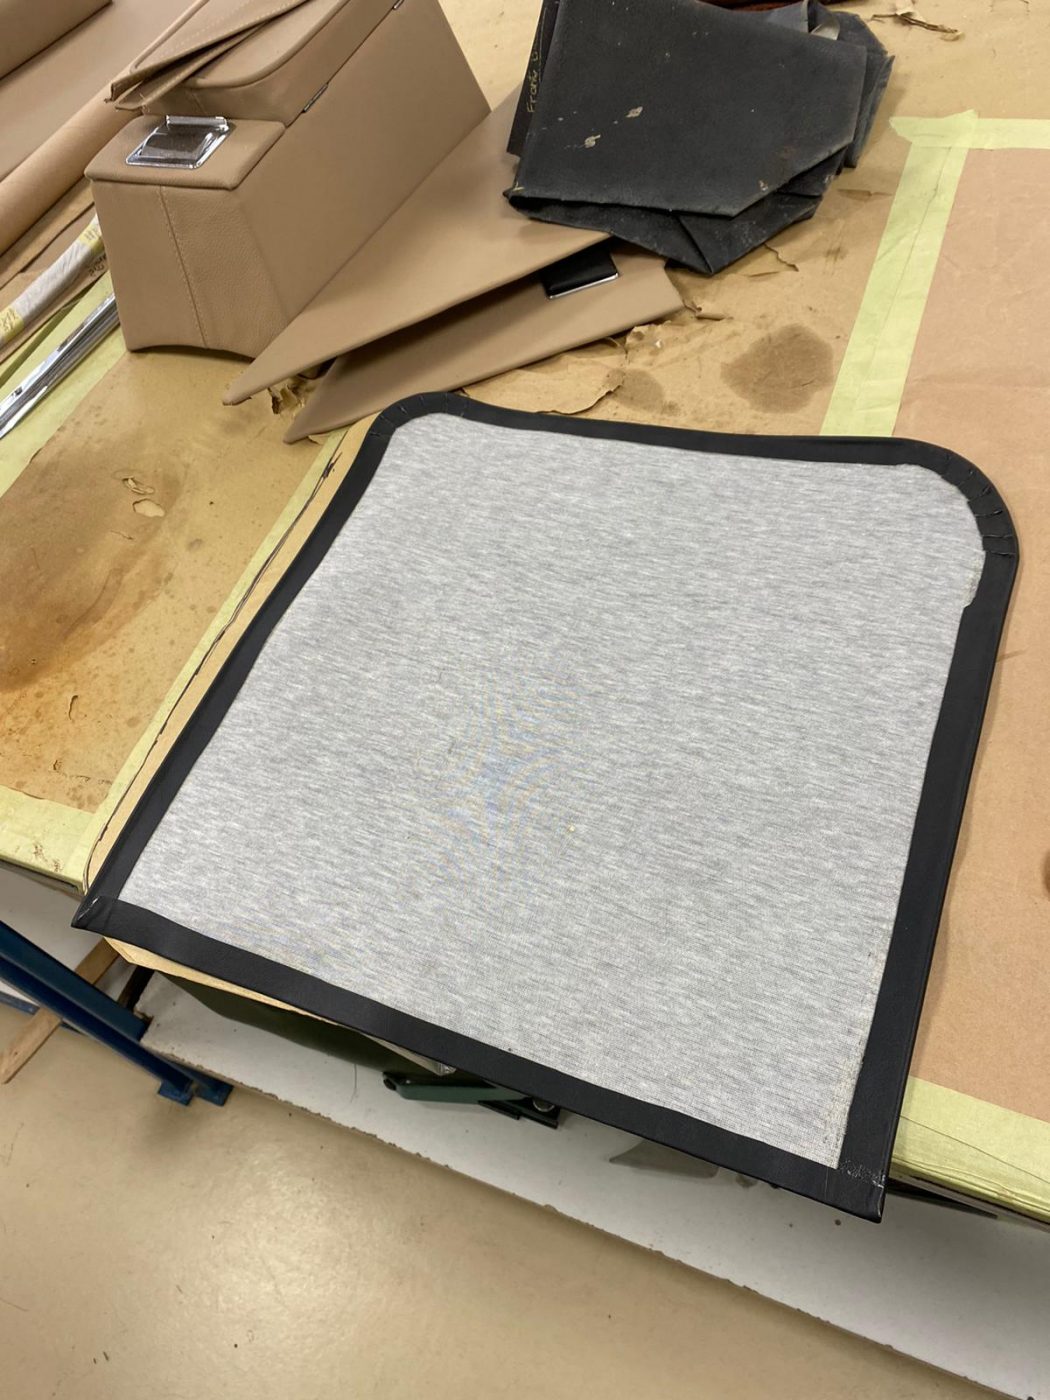
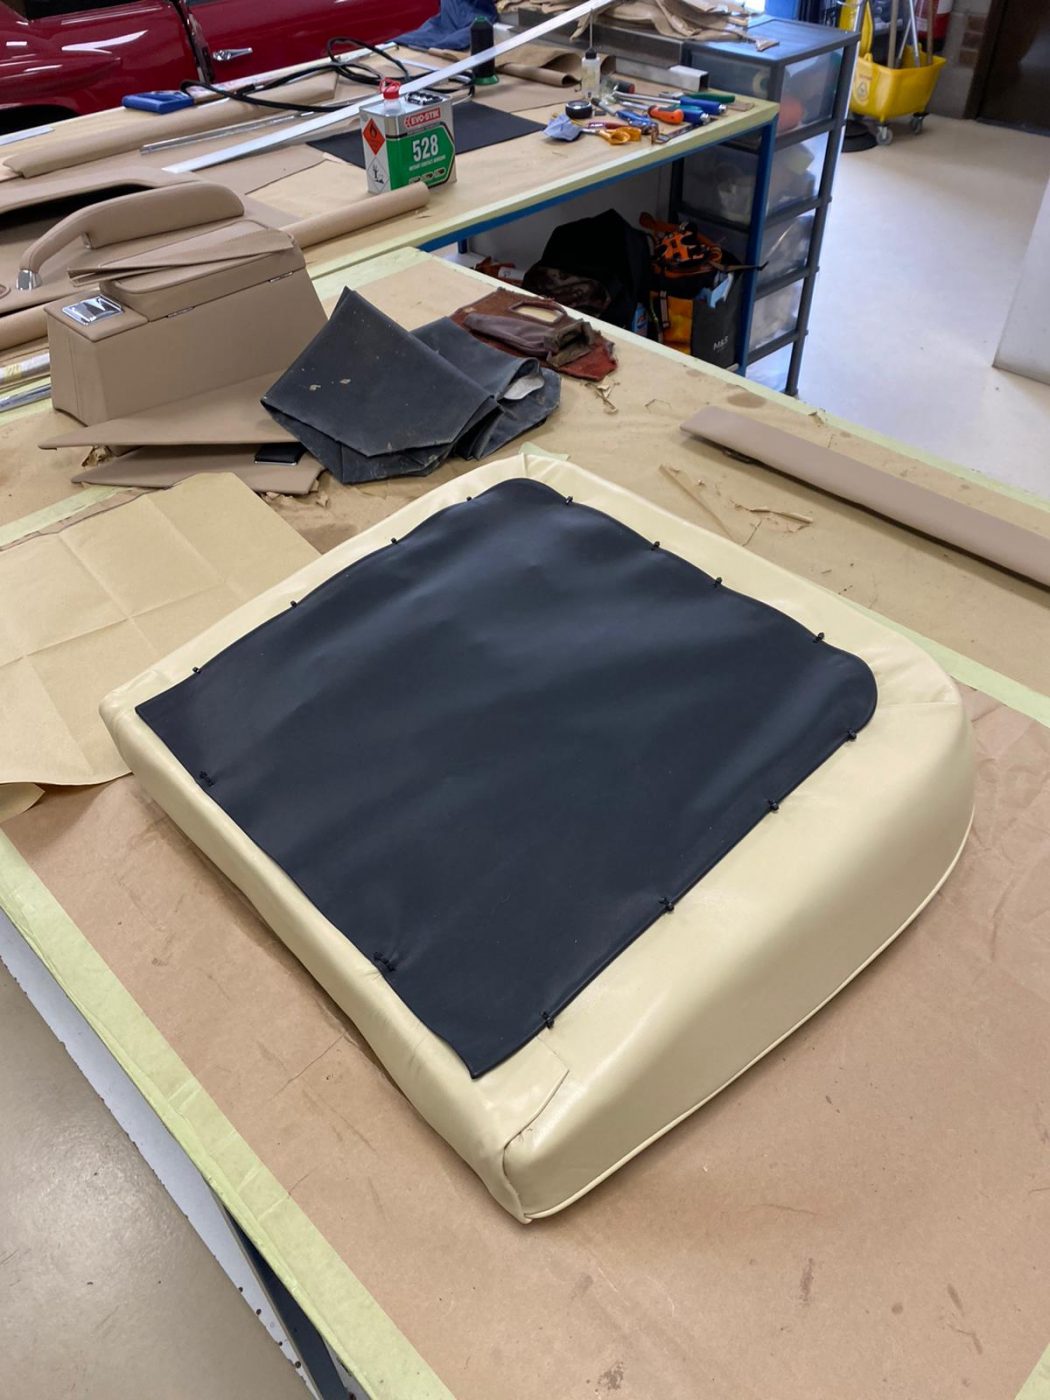
Brian has also been fitting the second squab cover to the frame. He’s pulled the cover over the frame and stapled the front section to the bottom of the frame. Brian then stapled the rear flap to the bottom of the frame, fitted the brackets to the base of the seat, cut holes in the sides for the brackets to fit into and then bolting the squab to the base of the seat.
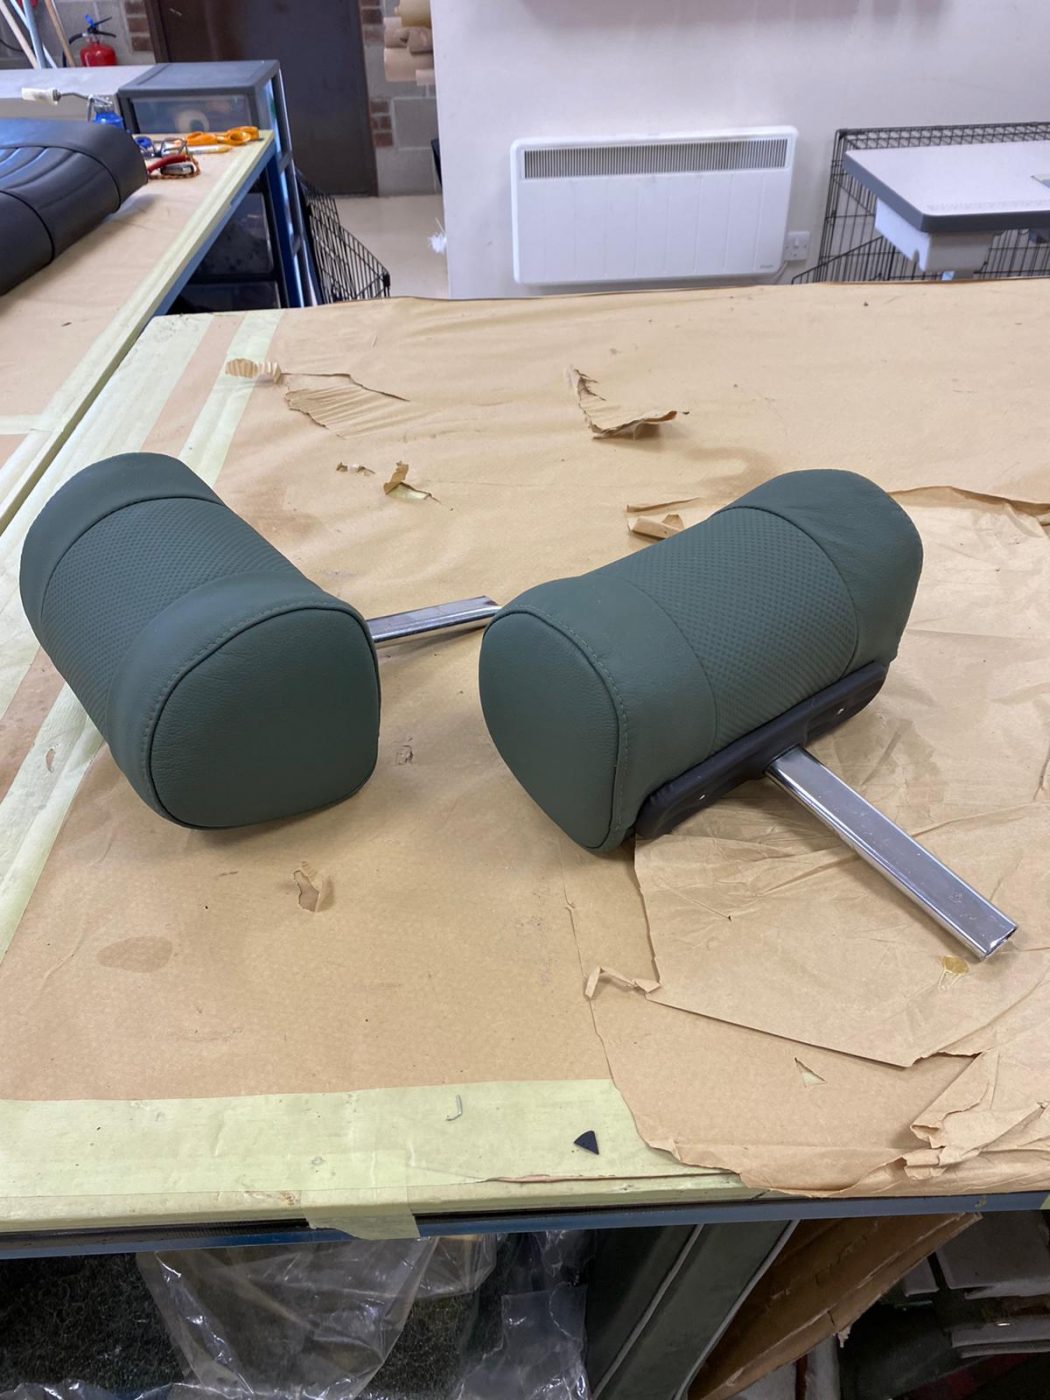
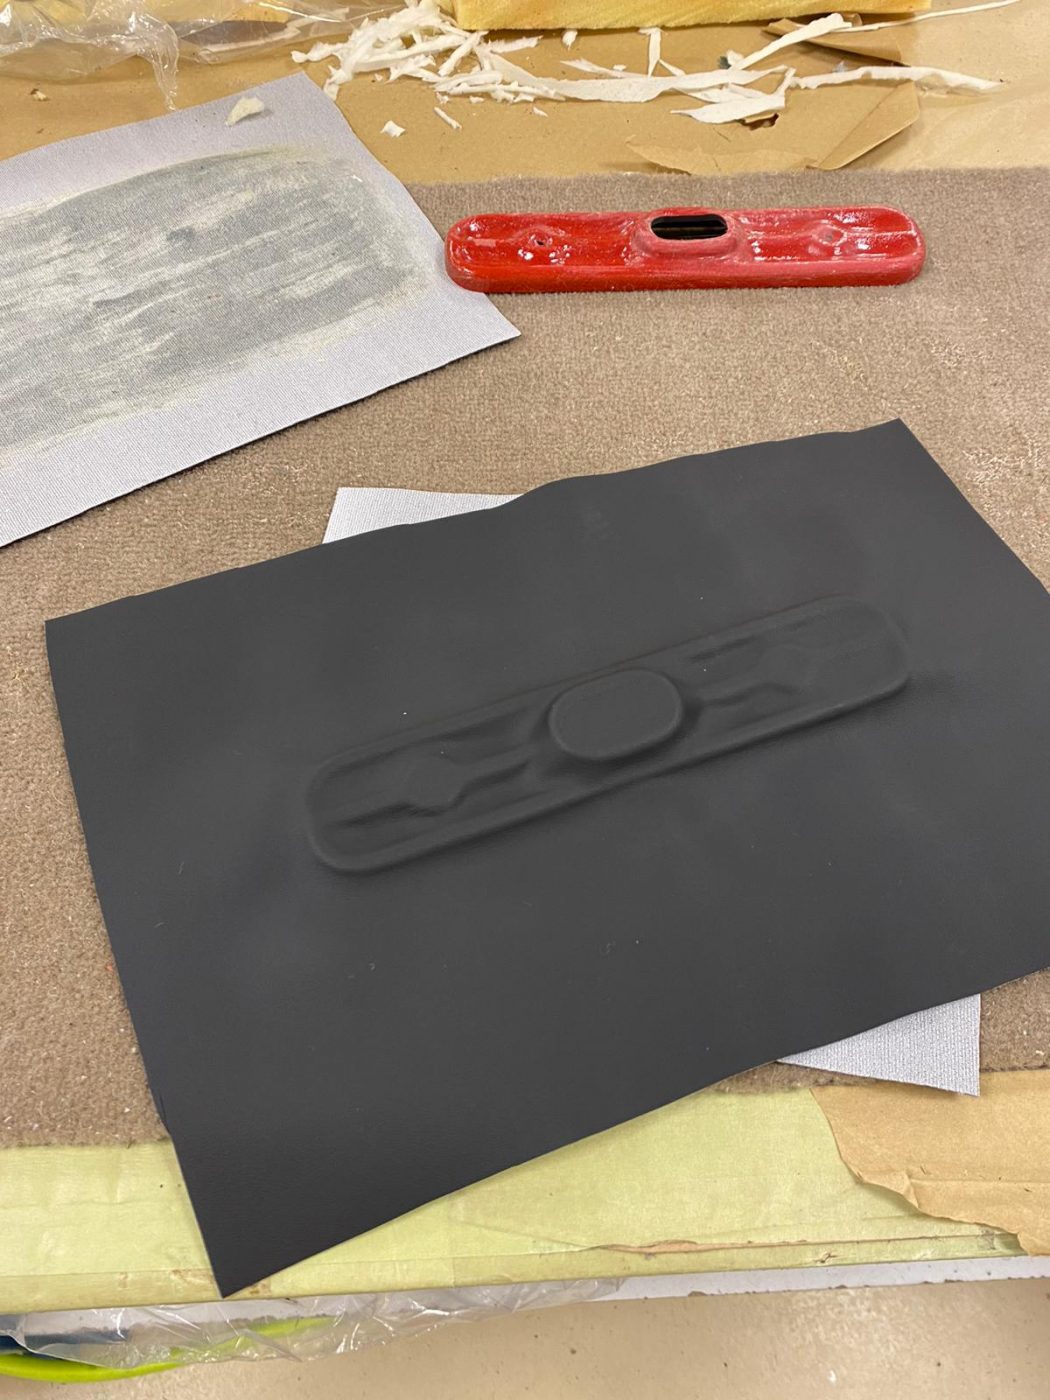
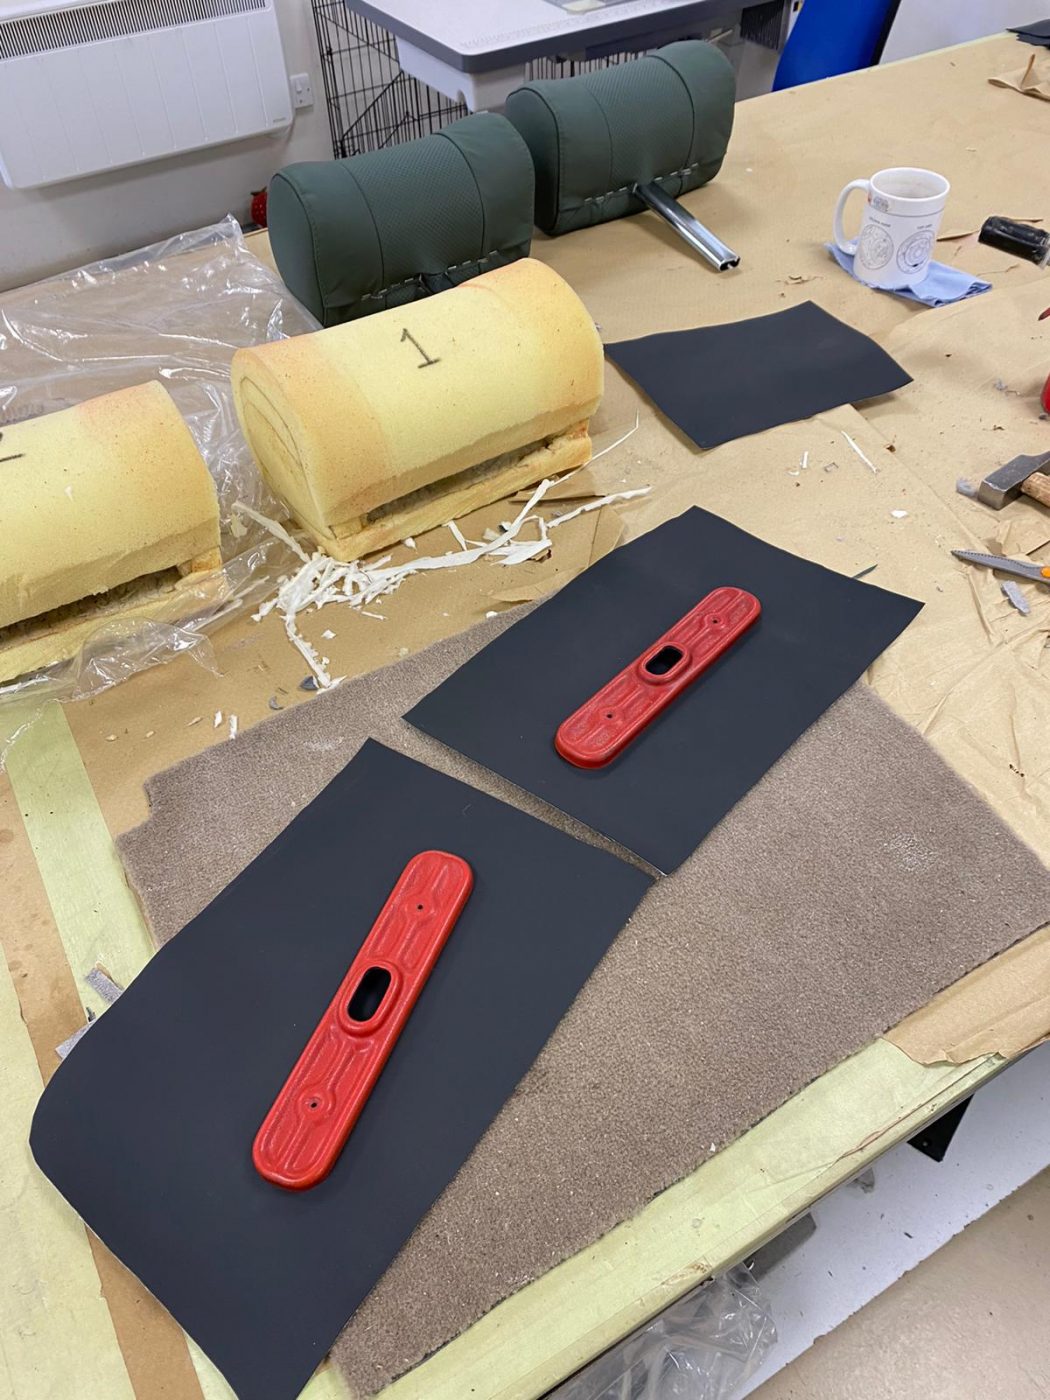
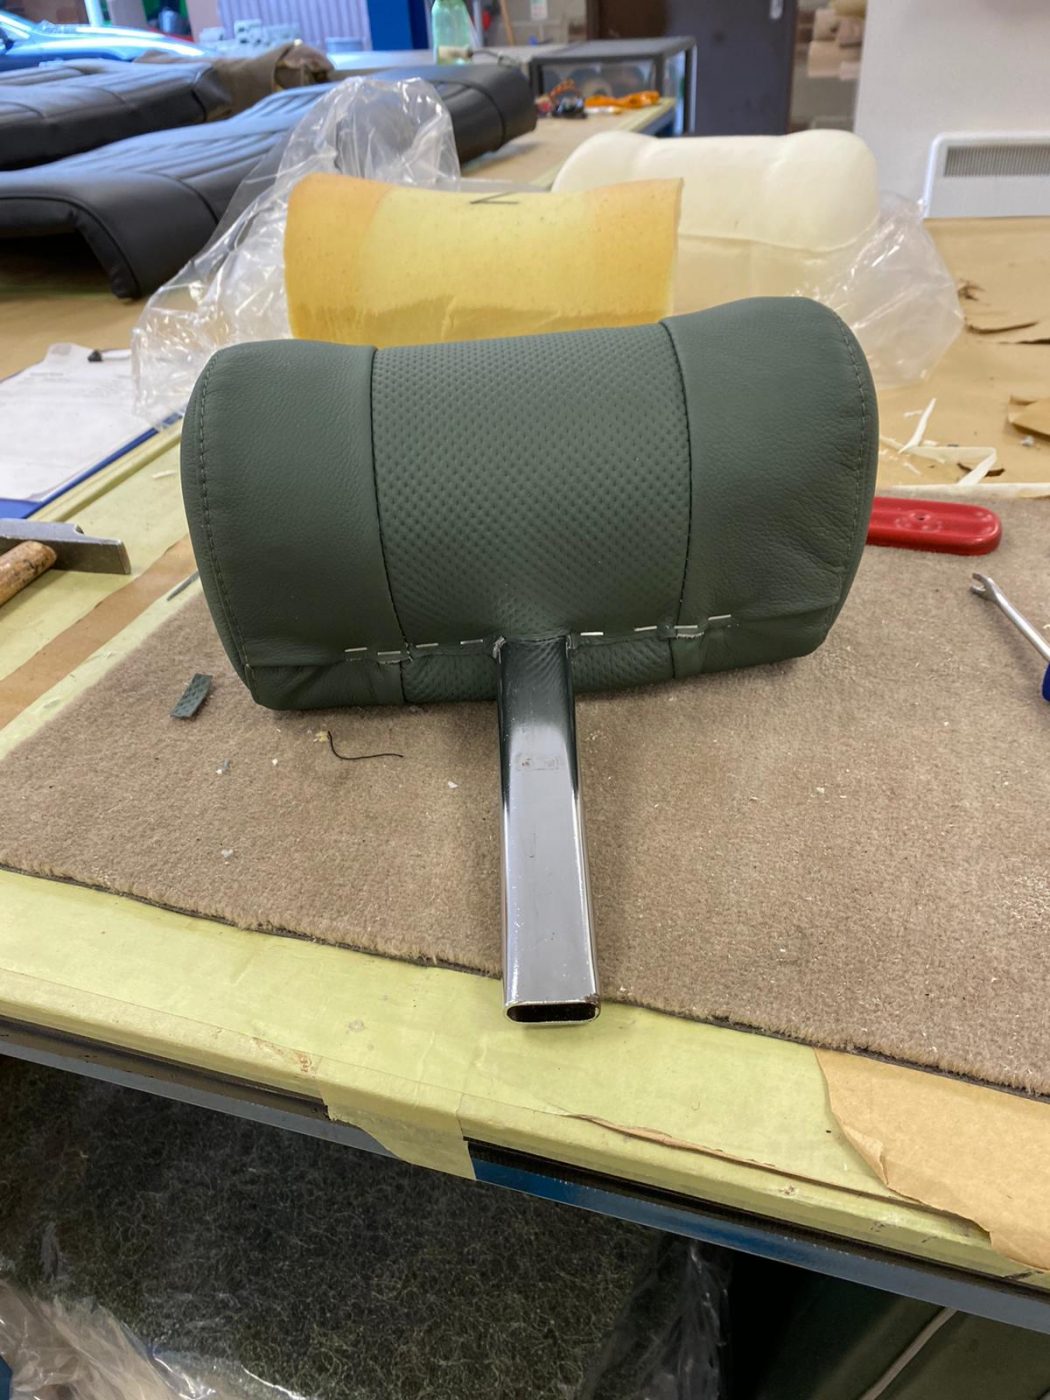
He then moved onto fitting the headrest stalk to the new headrest foam, fit the cover to the foam and stapled the cover to the headrest stalk. Brian then glued the vinyl to the headrest plates and screwed the headrest plates to the headrests.


Congratulations to Kevin Collett who won our 1959 Ford Anglia with his lucky ticket number 2709! Kevin is now the proud owner of a quirky little Ford Anglia and we wish him many happy miles in it!
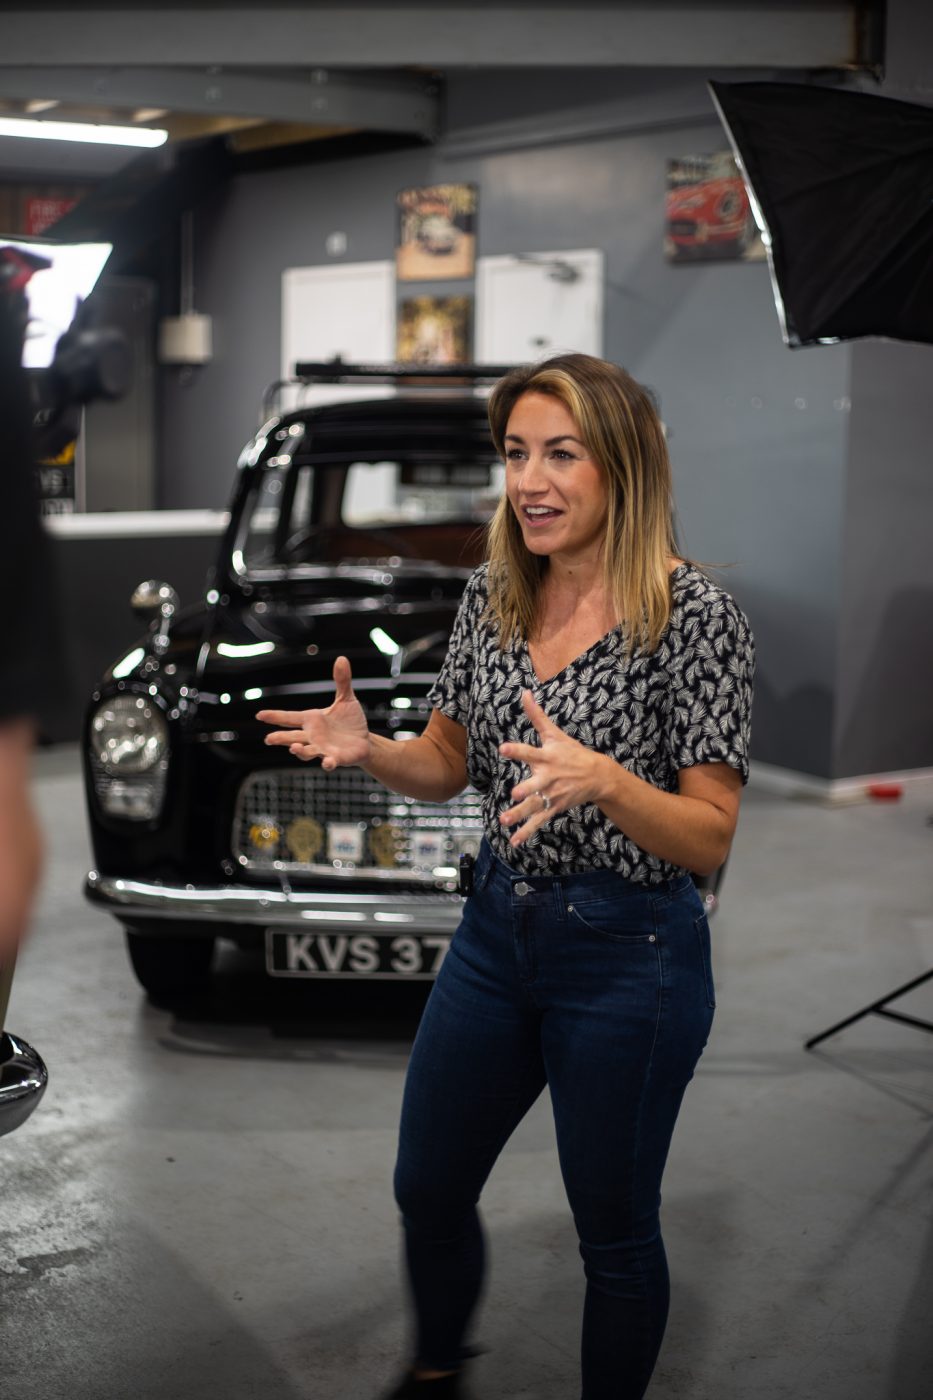
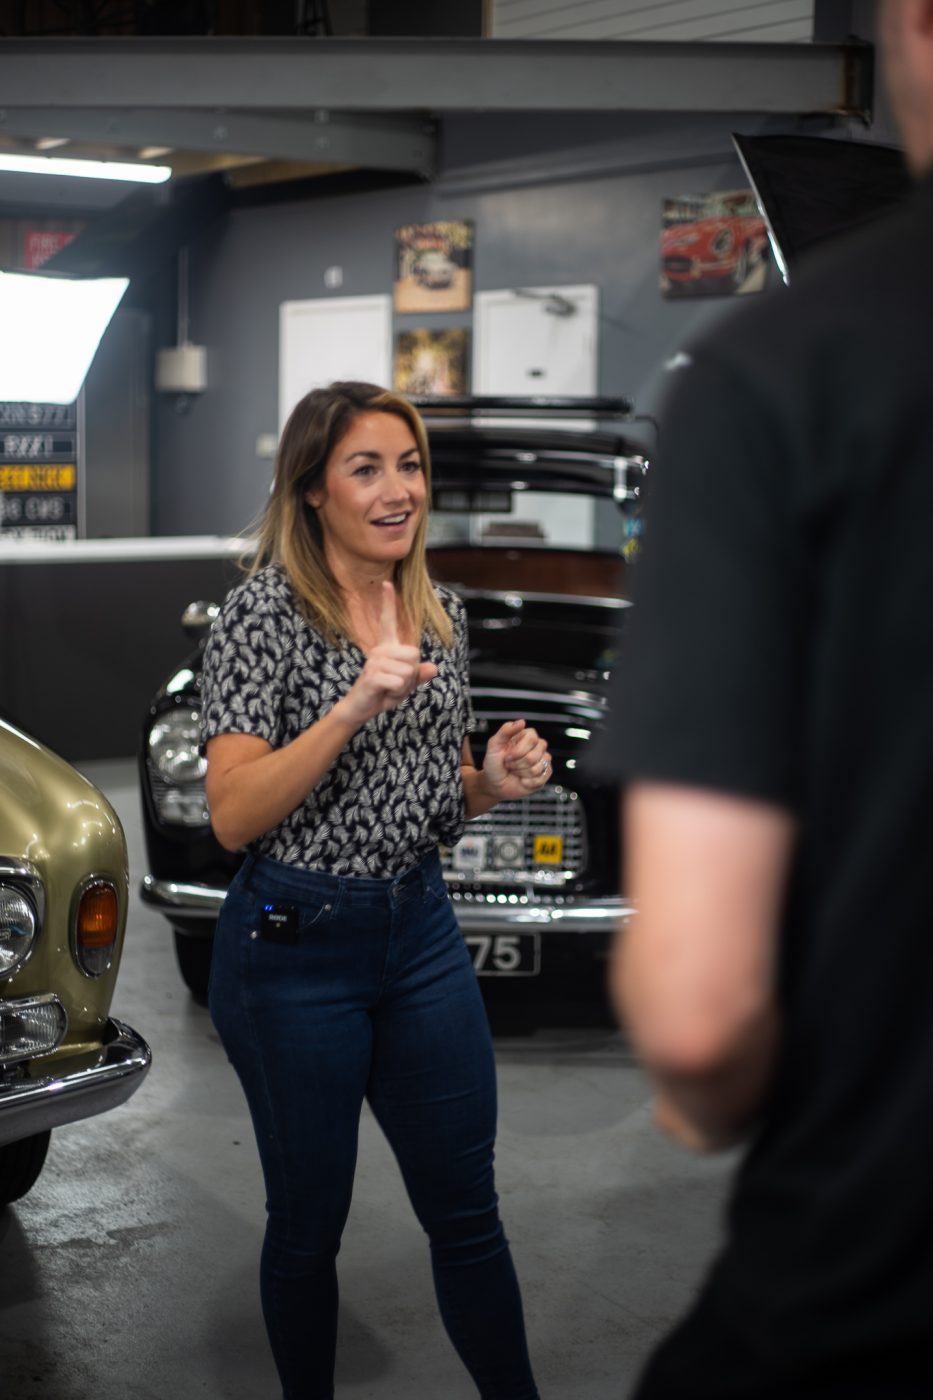
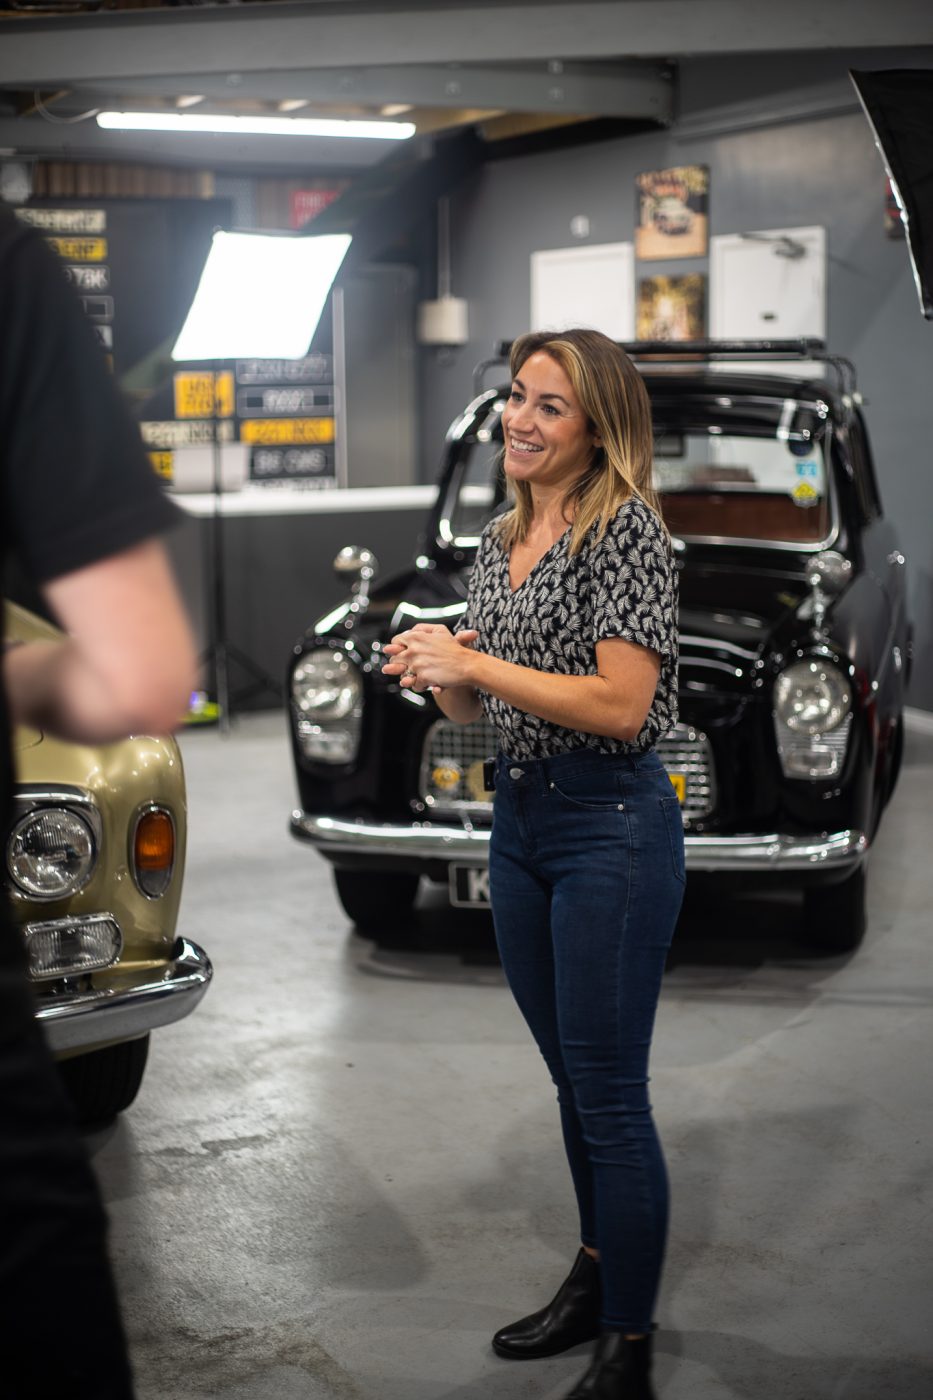
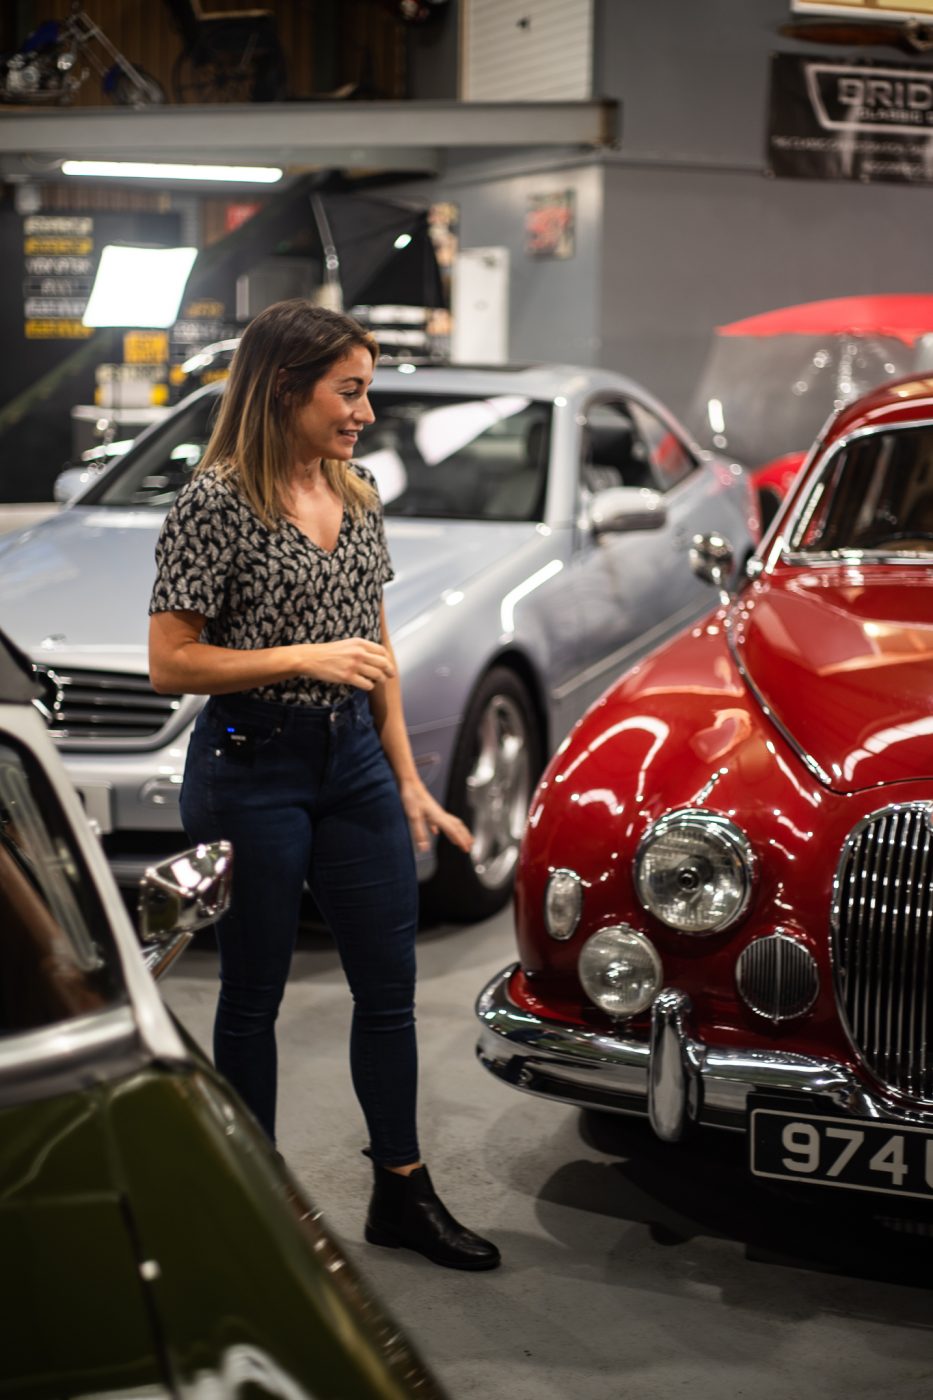
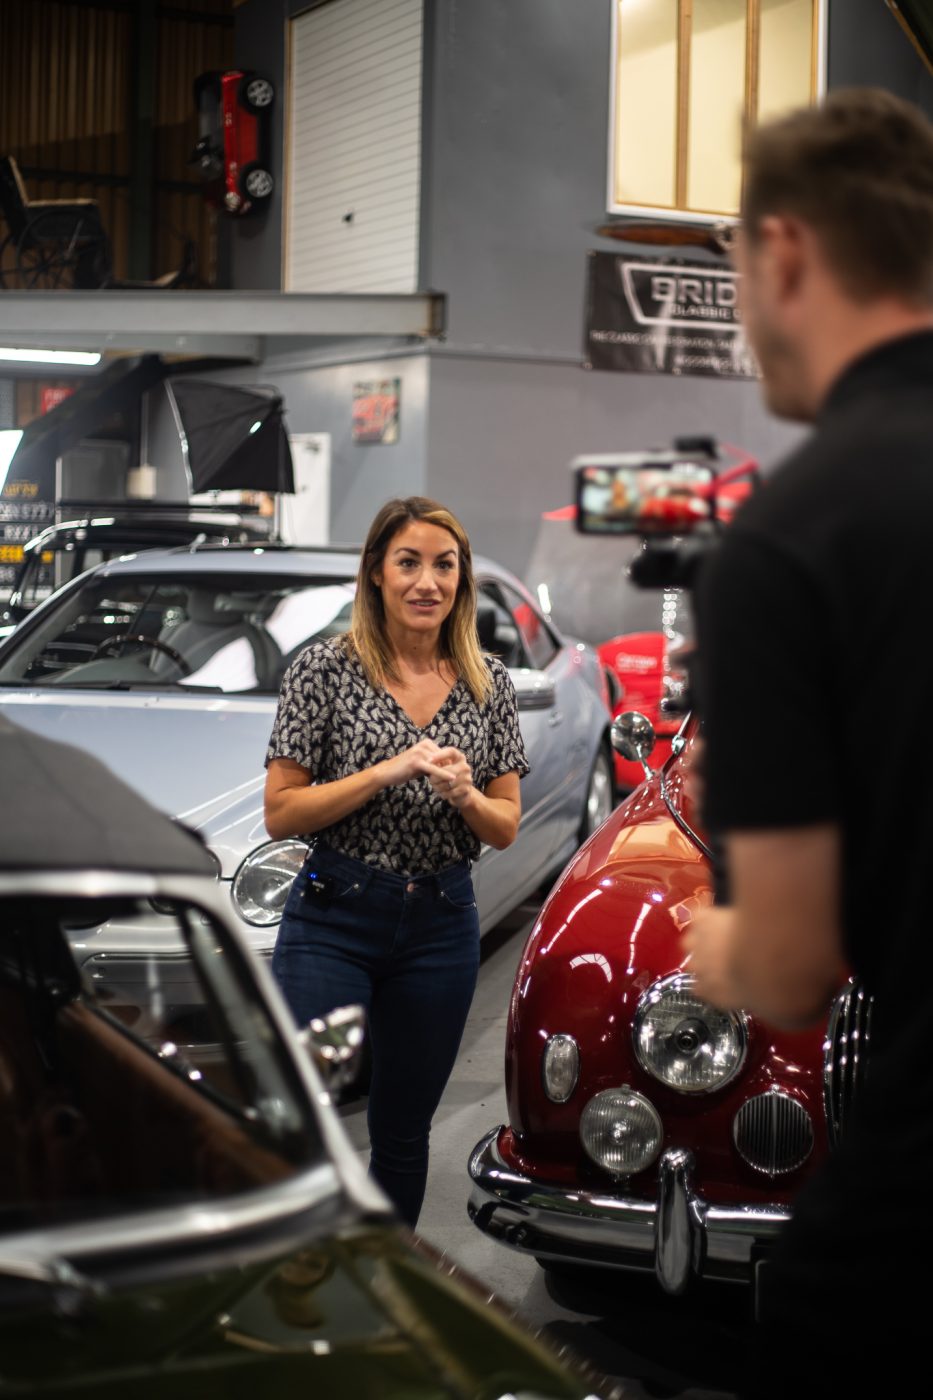
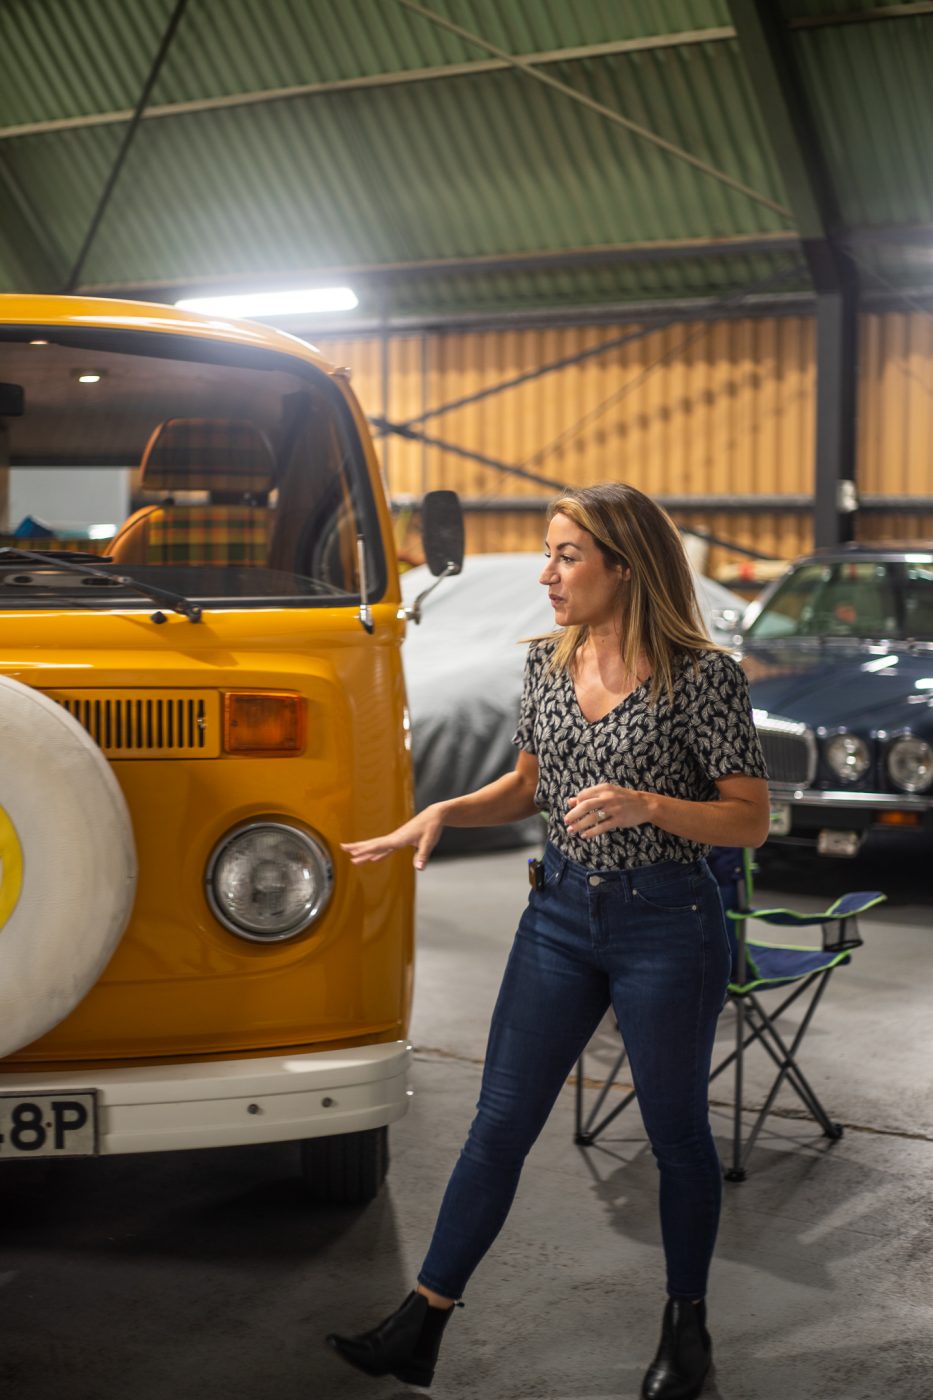
Take a look behind the scenes on last night’s live as Charlotte talked about the Ford Anglia and our Mercedes CL 600 which is still up for grabs, she introduced the Jaguar MK1 and teased with a yellow VW T2 Campervan!
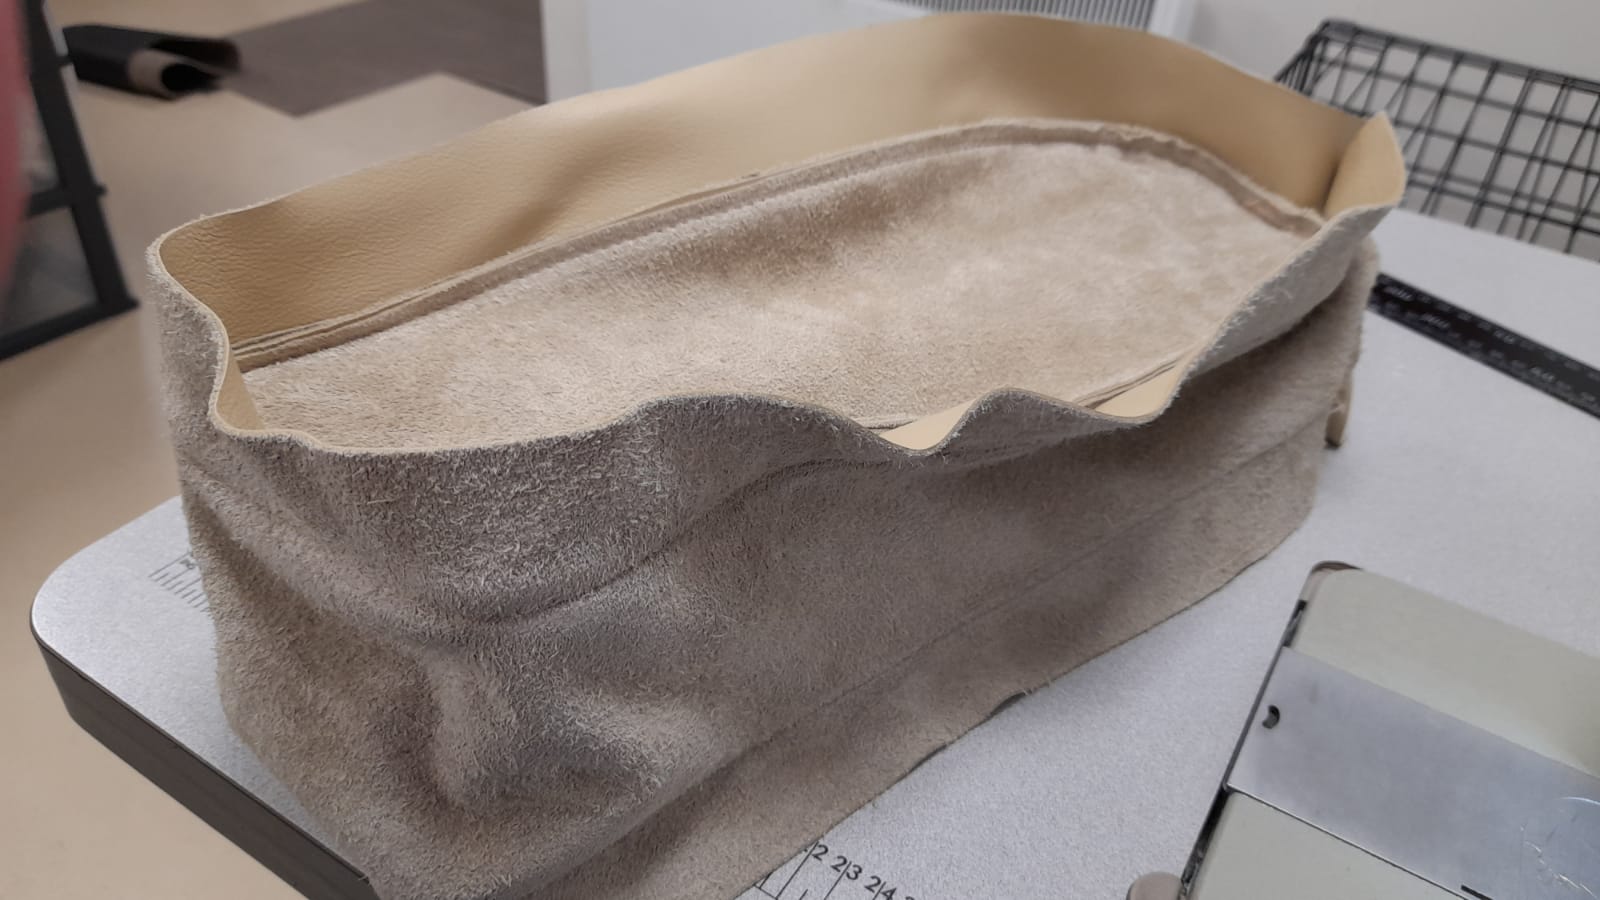
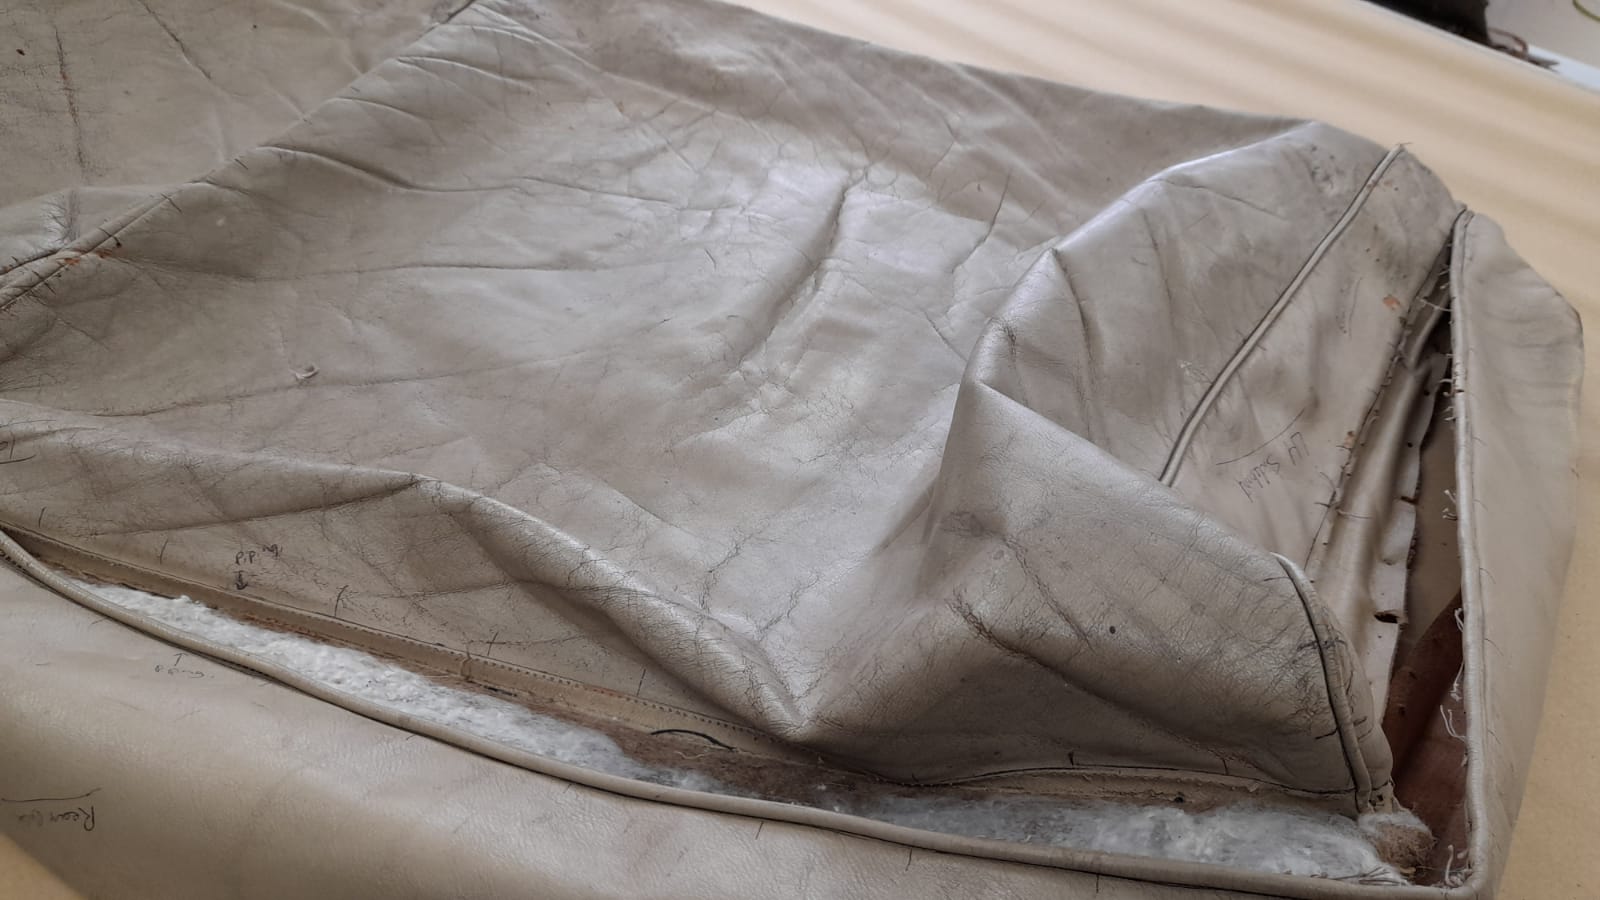
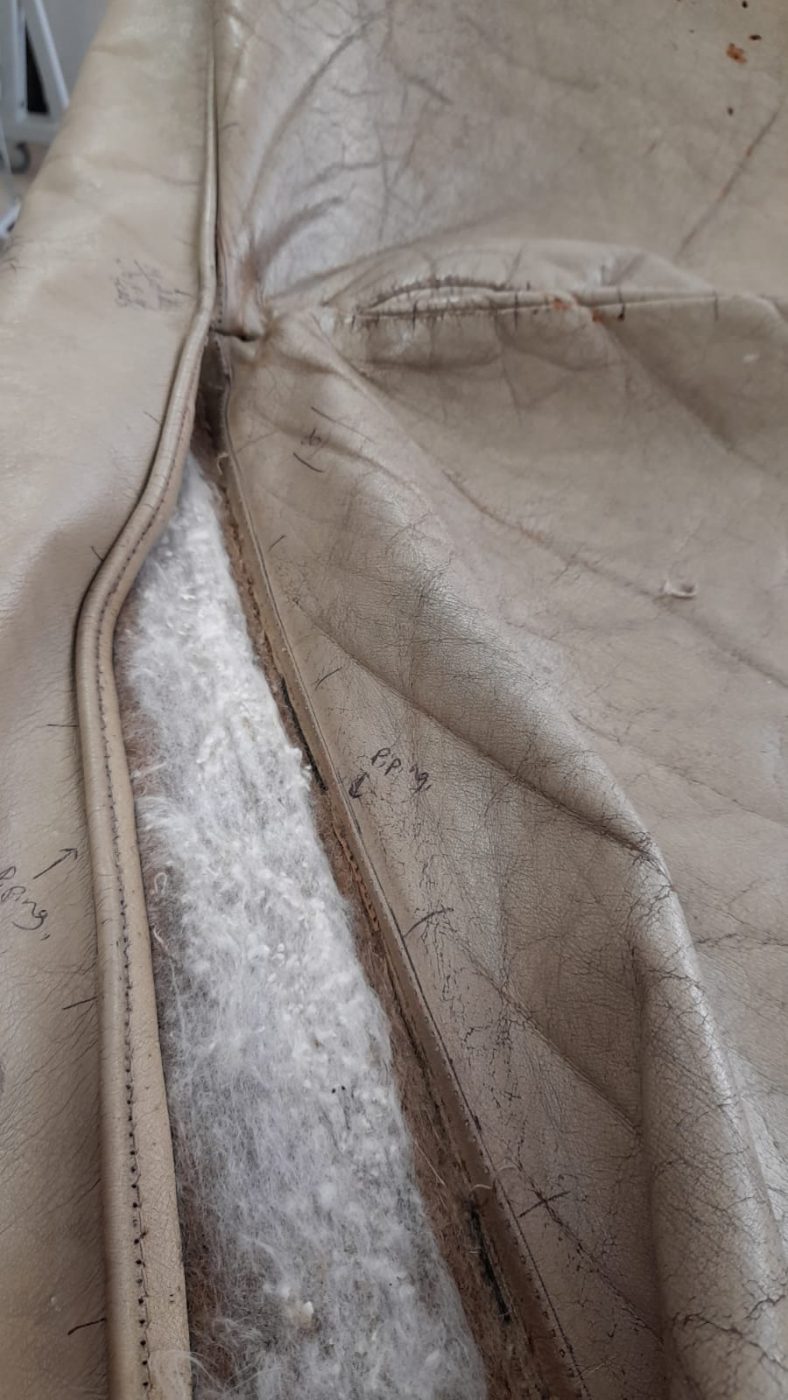
Lydia has been working on re-doing the seats on a Bentley Continental. She’s totally recovered them with new leather which she fitted after testing her template patterns. After many weeks of sewing, gluing, measuring, testing, fluting, adding calico and piping, the seats are now finished.


The team headed over to Bentwaters recently to shot our Mercedes CL600, our recent competition car. Although an overcast day, the lighting was perfect to capture the sheer light interior trim which contrasts with the mahogany beautifully. The paint, which is a subtle pale blue silver, sparkled under the light.


The gearbox has been crunching in our 1965 Amphicar so we’ve removed it to try and address the issues with the syncro-mesh when changing down gears.


Paul has been working on Craig’s 2005 Aston Martin DB9 which recently showed some severe signs in its power steering. The bushings had been wearing on one side, showing that the power steering mechanism had been sitting unevenly. We are now endeavouring to solve this by replacing the bushings and bearings.
Our 1989 Jaguar XJS that has recently been finished is currently undergoing a pre-delivery inspection during which we’ve discovered it needs new brakes.
We’ve got this fantastic 1957 3600 Chevrolet Truck in for a new clutch however we’re currently waiting on the parts to arrive. So until then, its on show sat on the ramp.
Mauro has been working on our 1973 Bristol which has had its exhaust manifold refacing due to leaking. He’s also added new spark plugs.


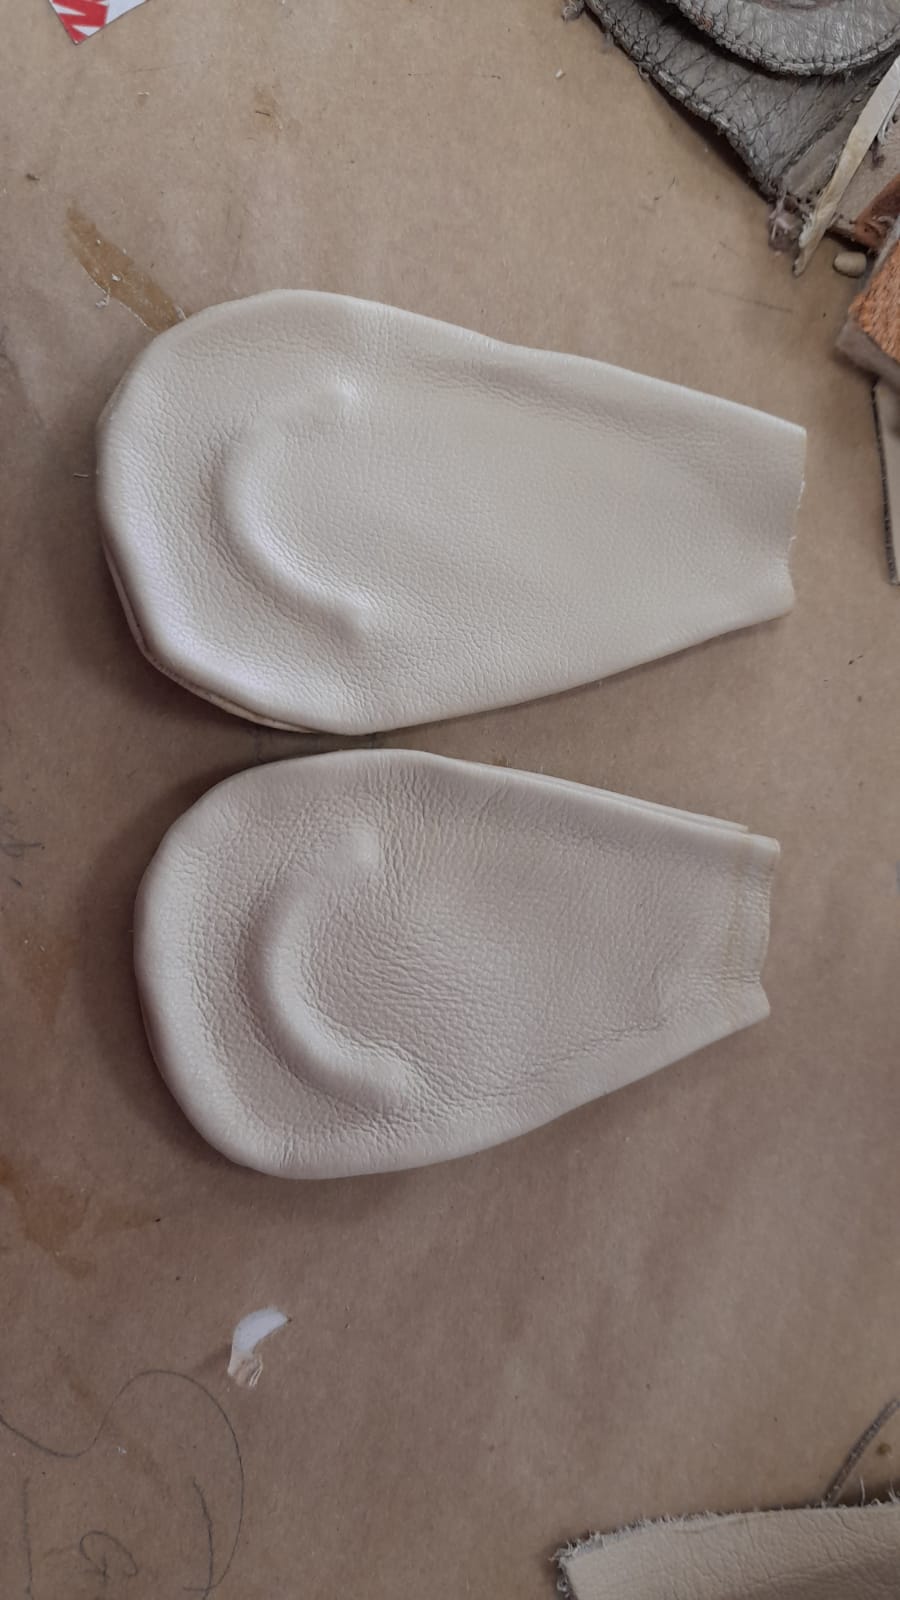
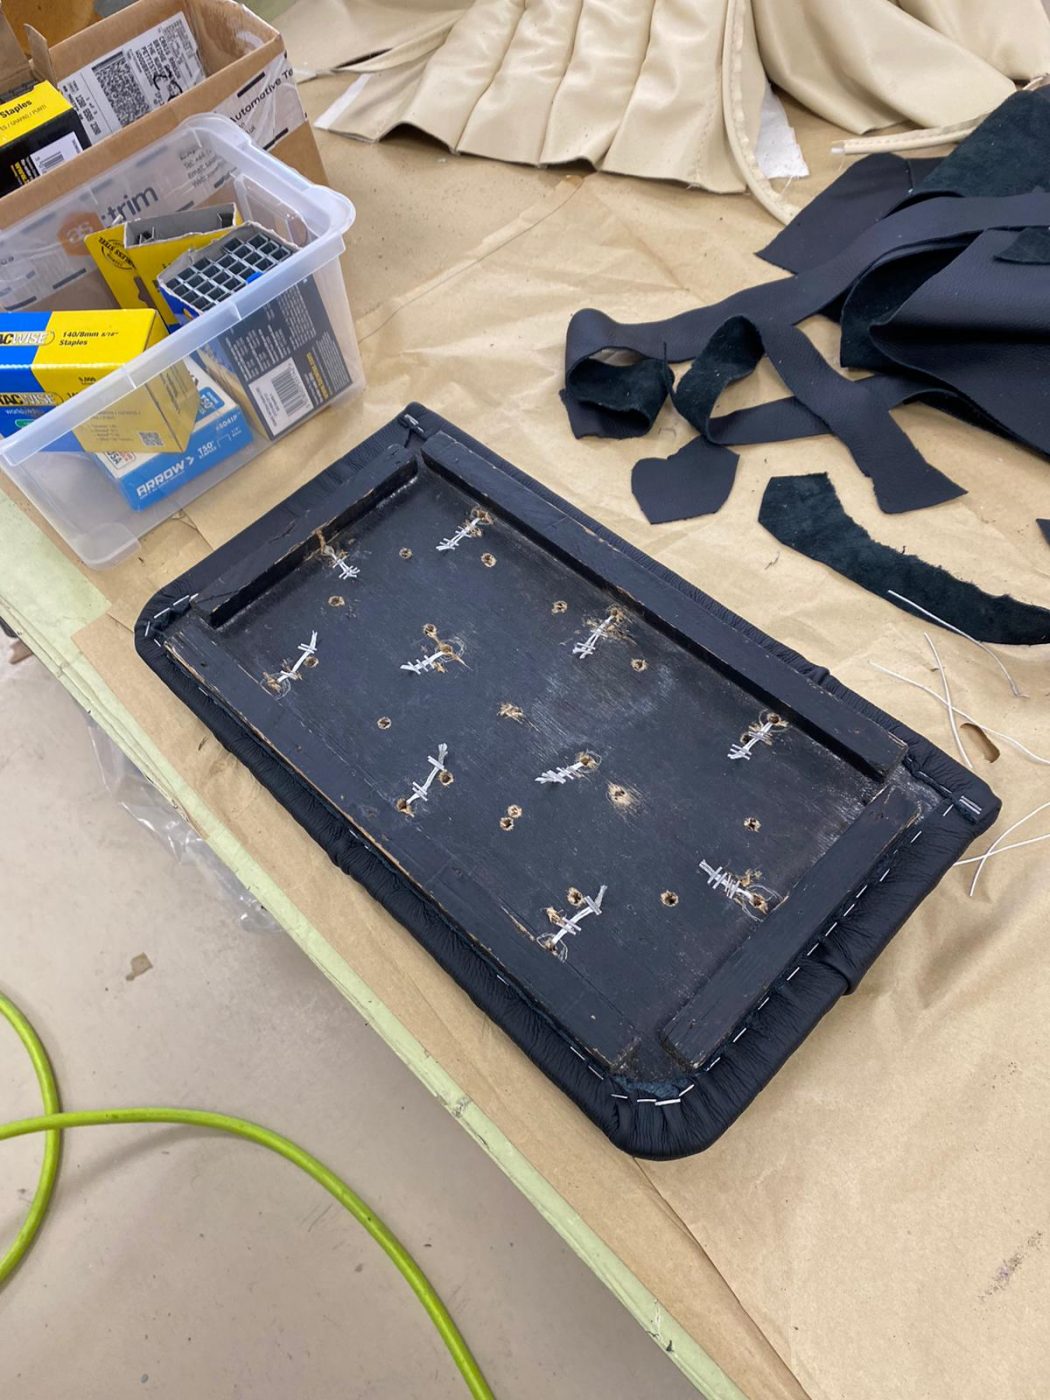
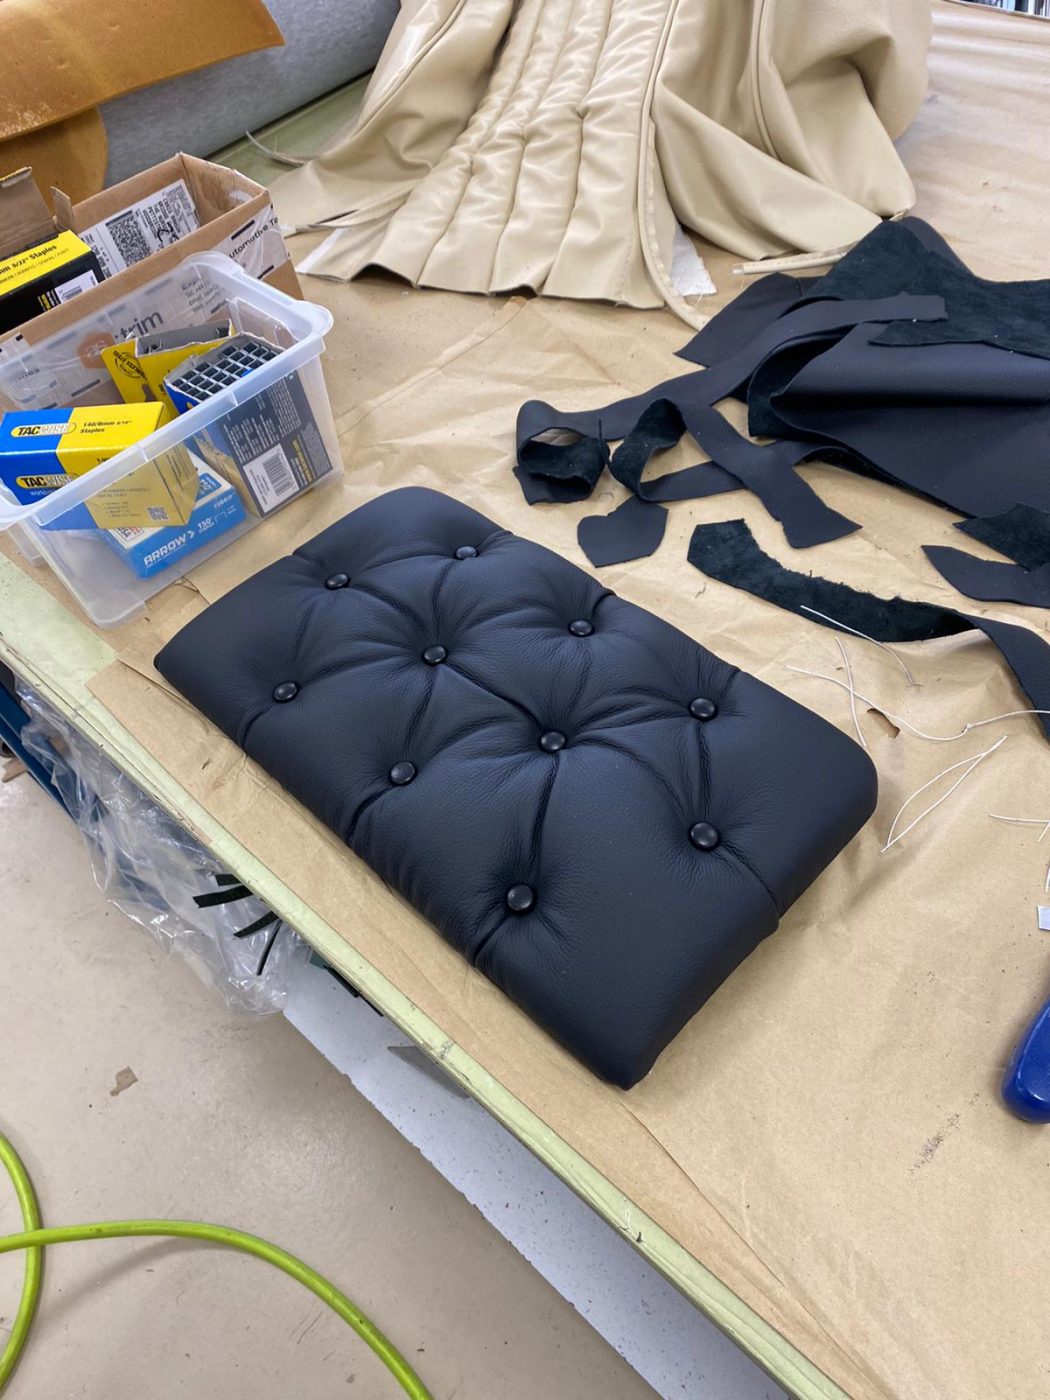
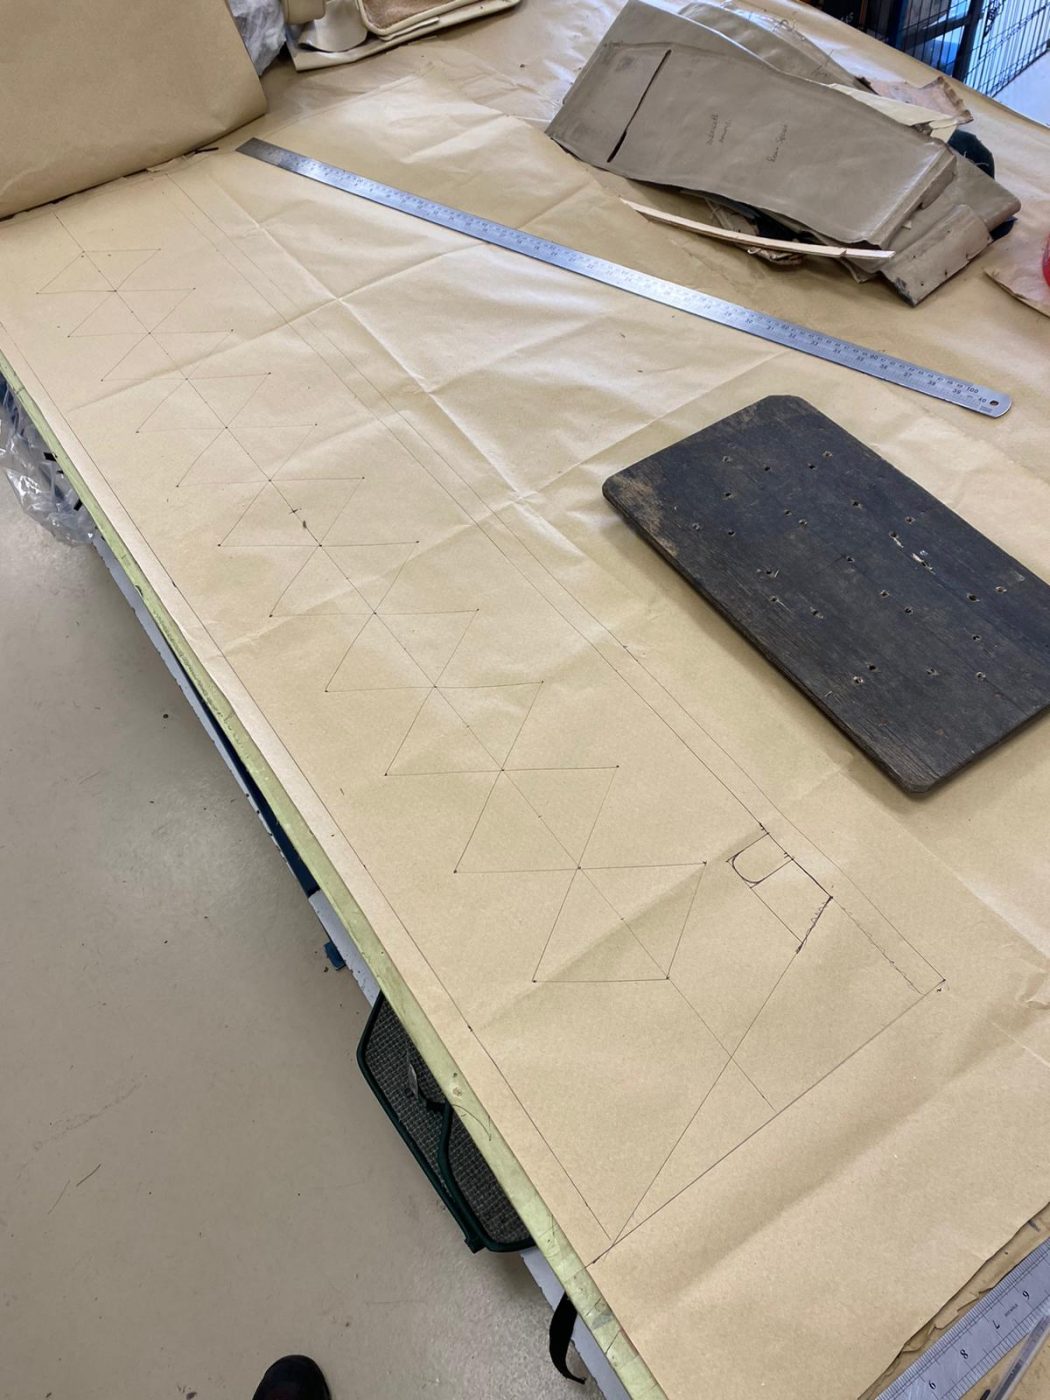
We’ve also created a cover for the battery box on our 1915 Ford Model T. Brian put together the foam and leather, and then added the buttons with make this beautiful dimpled effect.
Ady has been working on our 1968 Jaguar E-Type Series 1.5 Coupe. He’s taken the clutch mater cylinder off, identified that the pipe on the radiator needs re-soldering, the radiator needs reconditioning, the servo needs to be replaced, and both front callipers have been stripped, cleaned and put back on. Ady has also discovered the the near side rear calliper is leaking on the E-Type too.
The clutch slave cylinder and flexi pipe have been renewed, new fuel pump has been fitted and the carv fuel bowels have been cleaned out.


Our Fiat 500 has passed in MOT with flying colours and has now been completed and awaiting collection. We’re delighted to see this little Italian Fiat back on the road.


John recently completed the work on our Triumph Dolomite as the wheel cylinders were leaking and ceased, he replaced the dynamo, and then took apart the brakes to be refurbished.


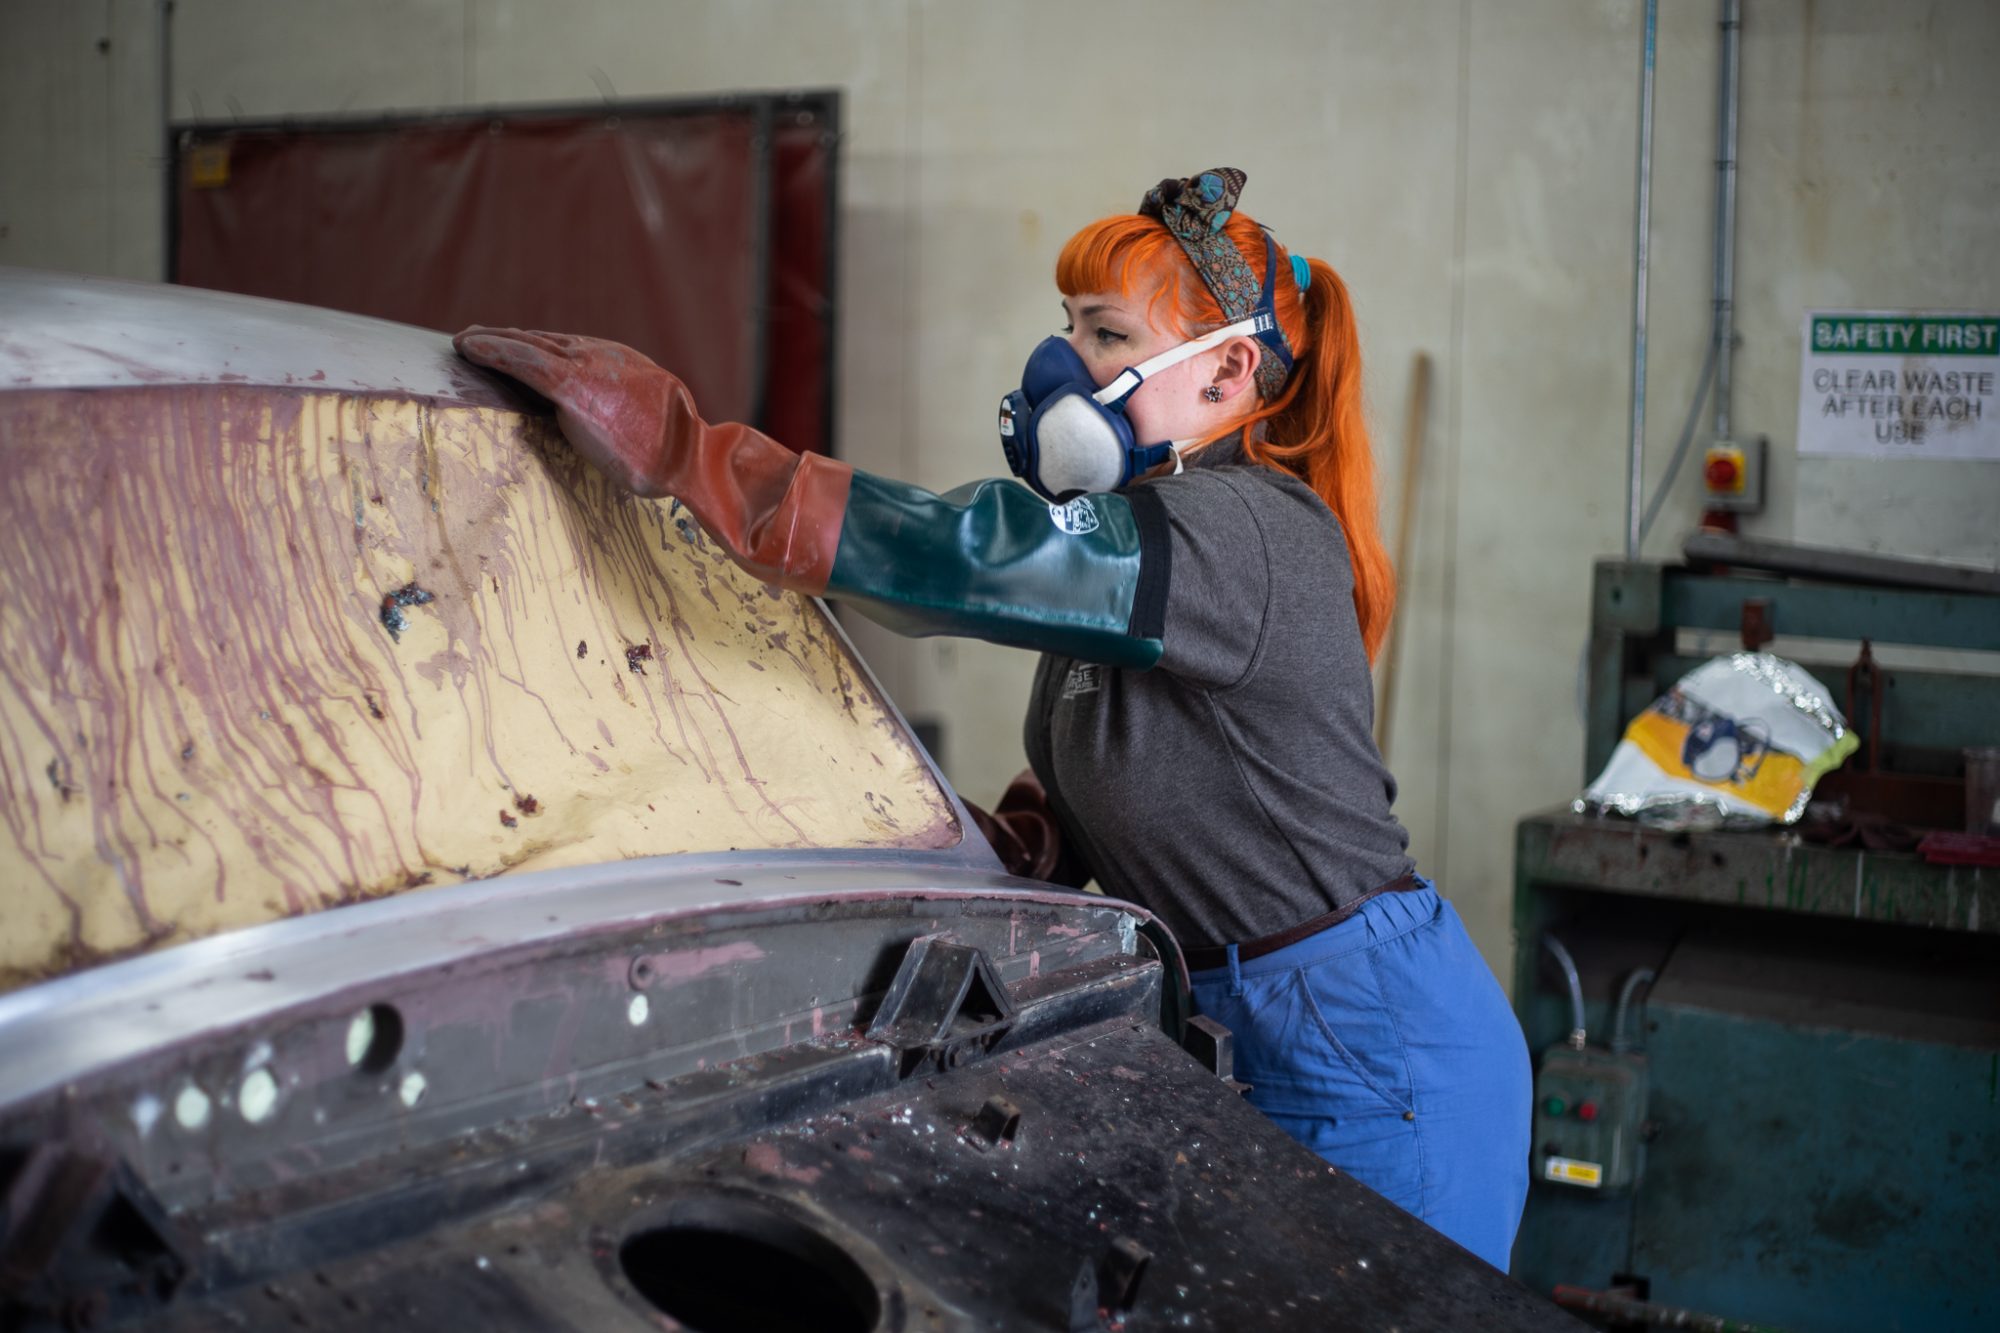
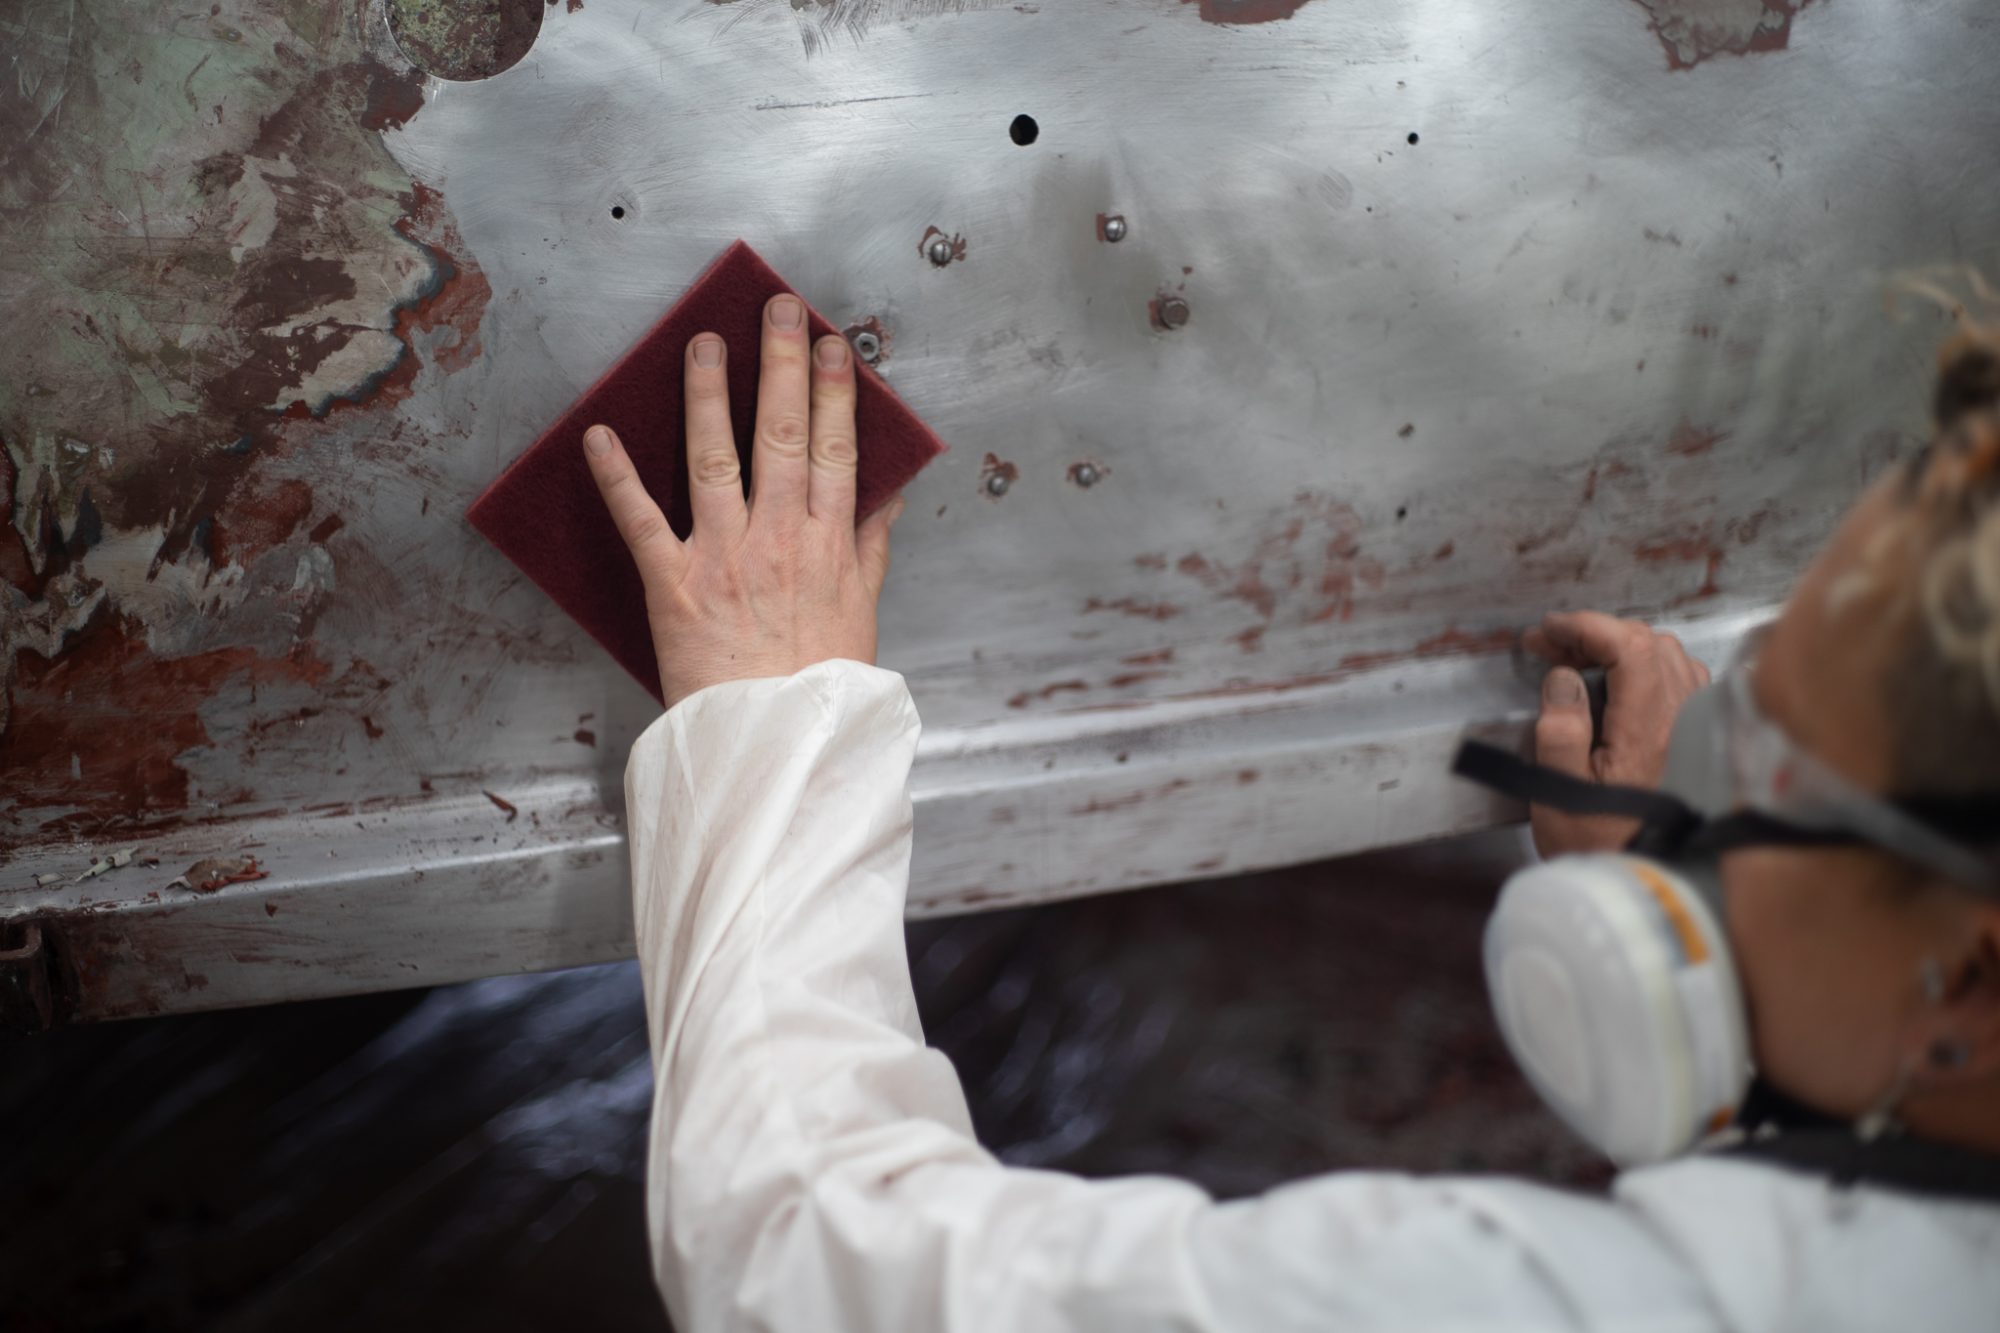
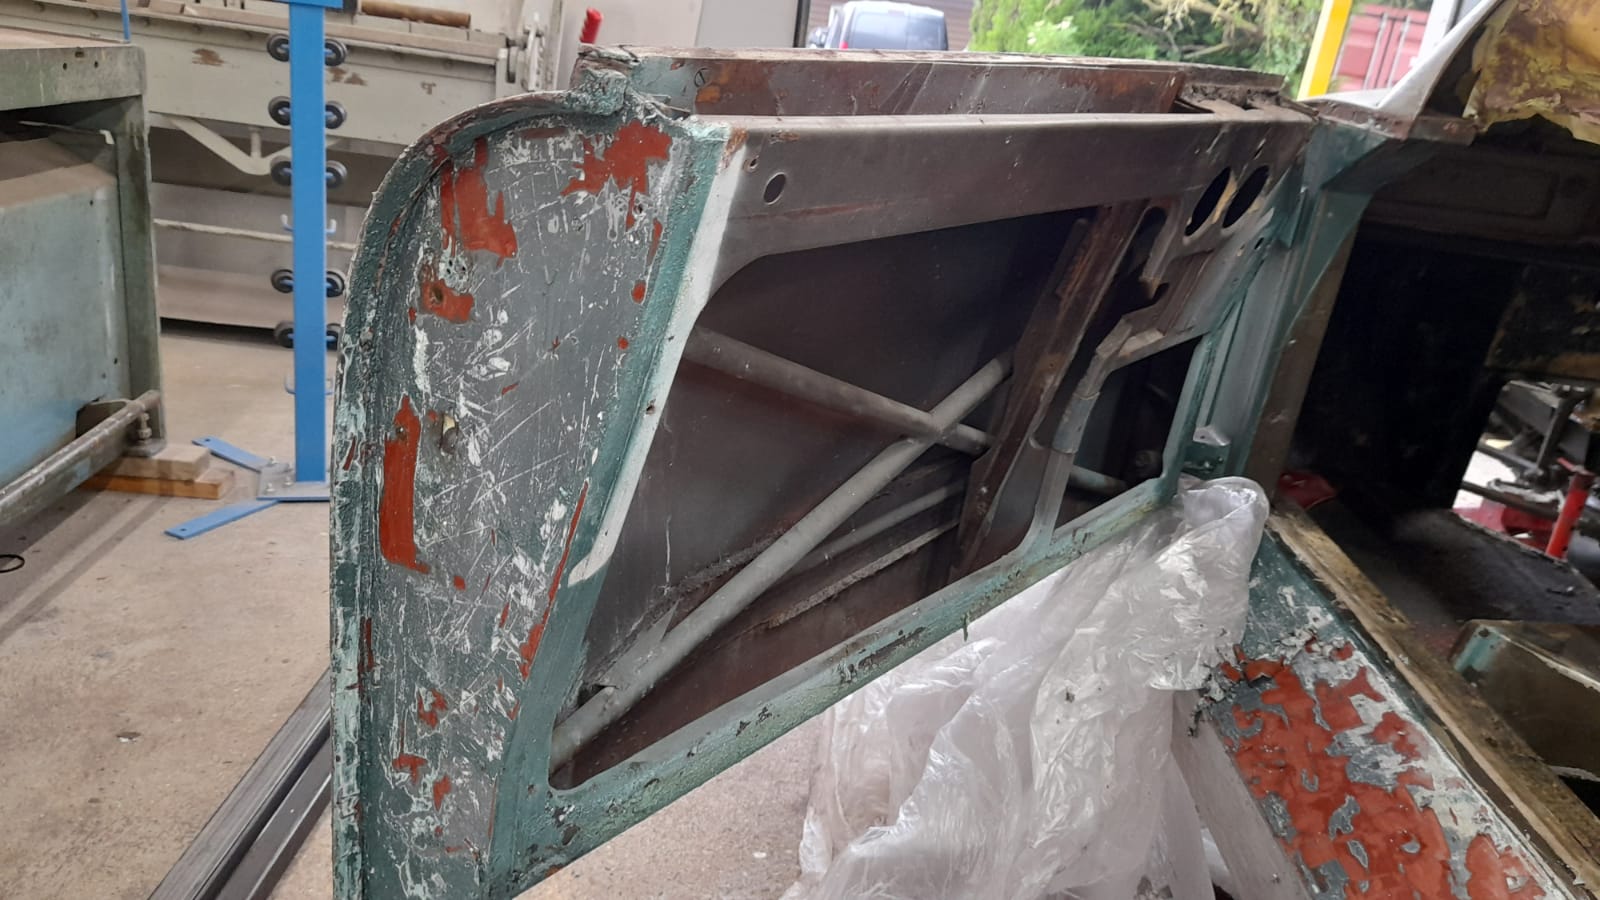
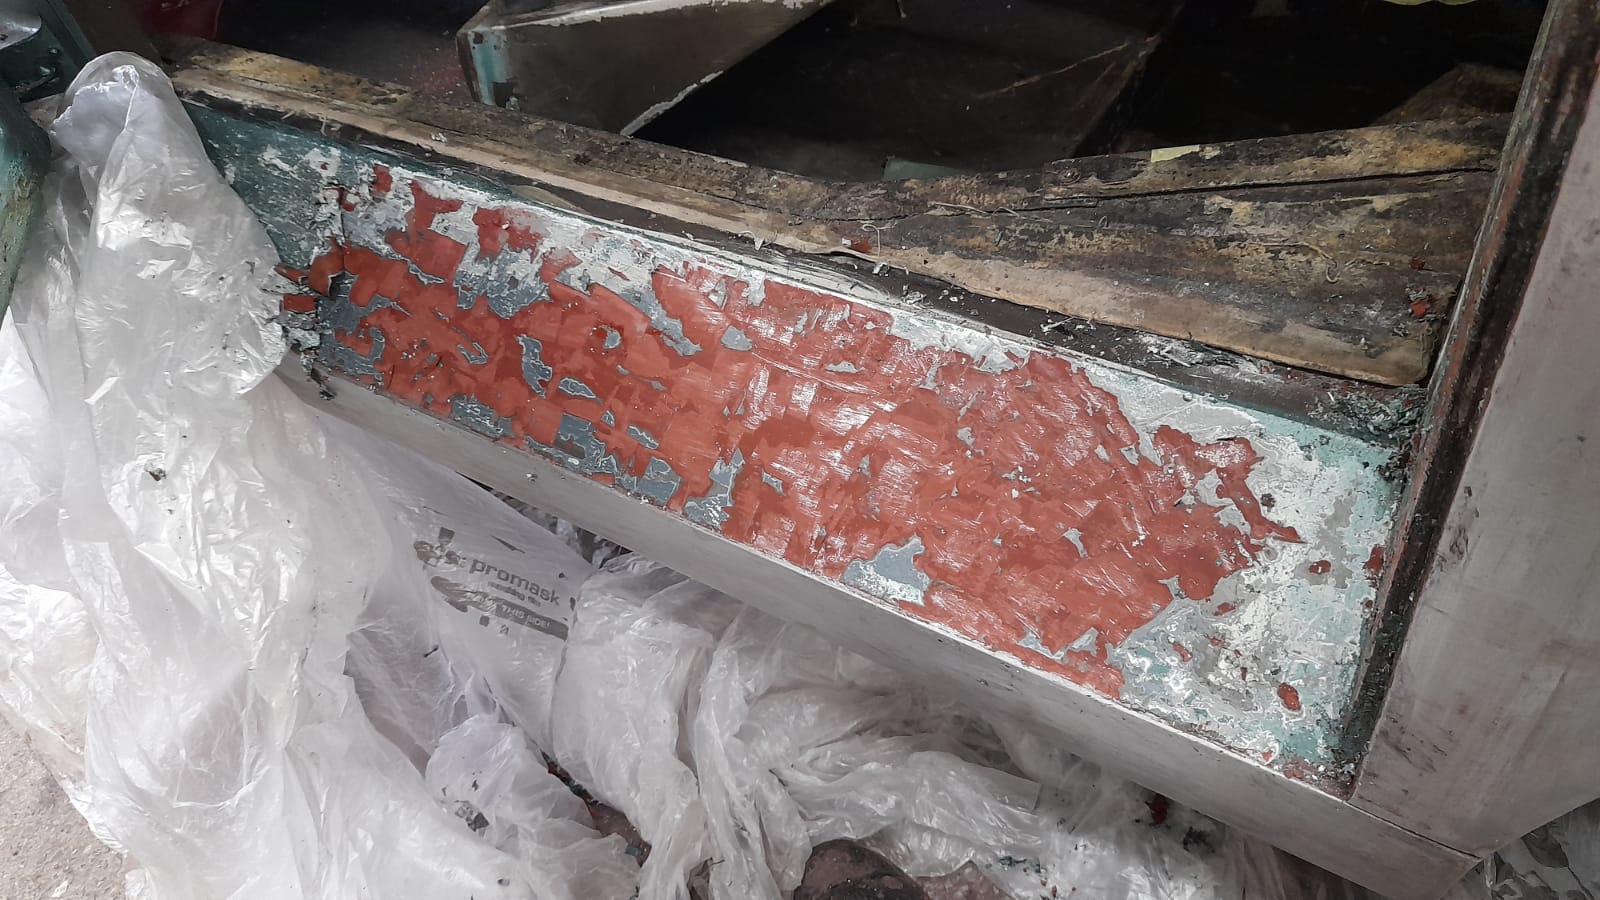
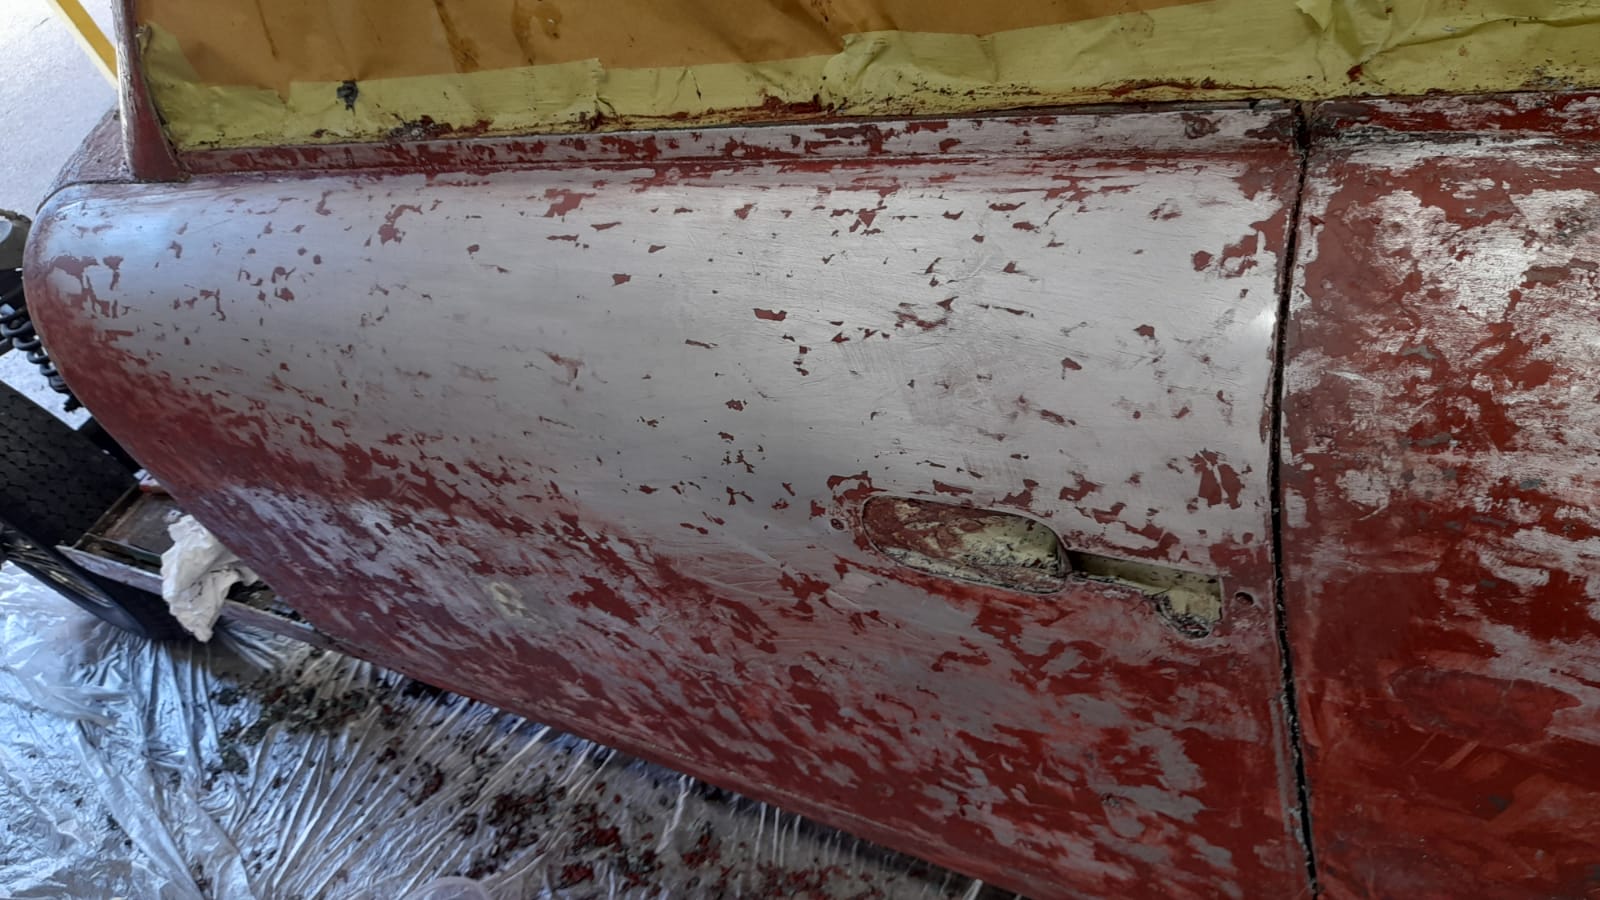
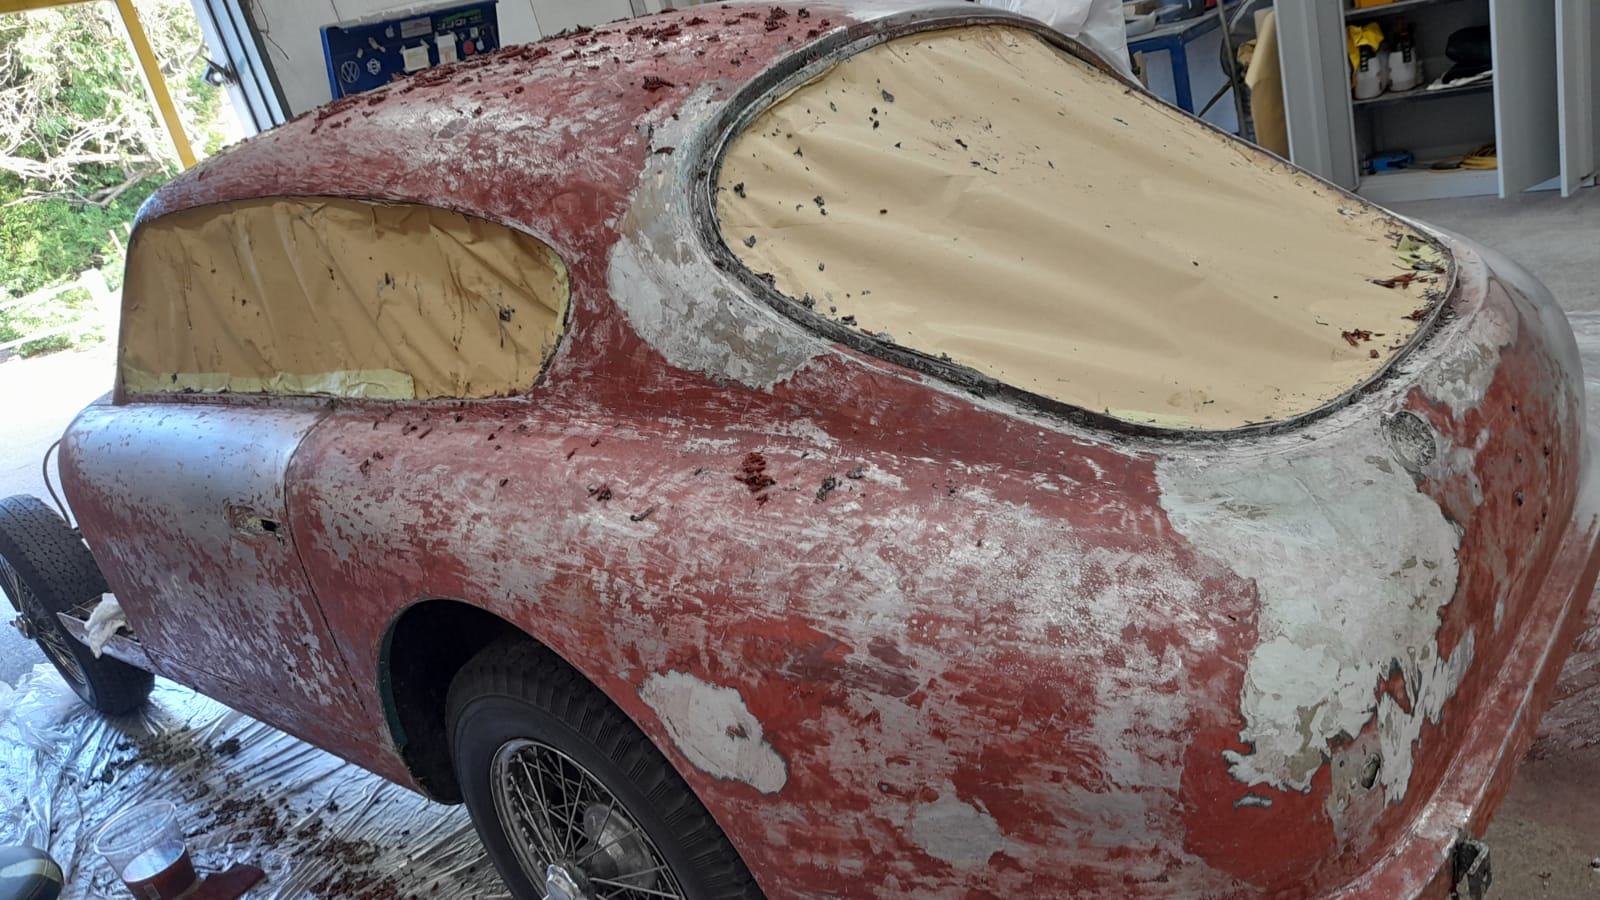
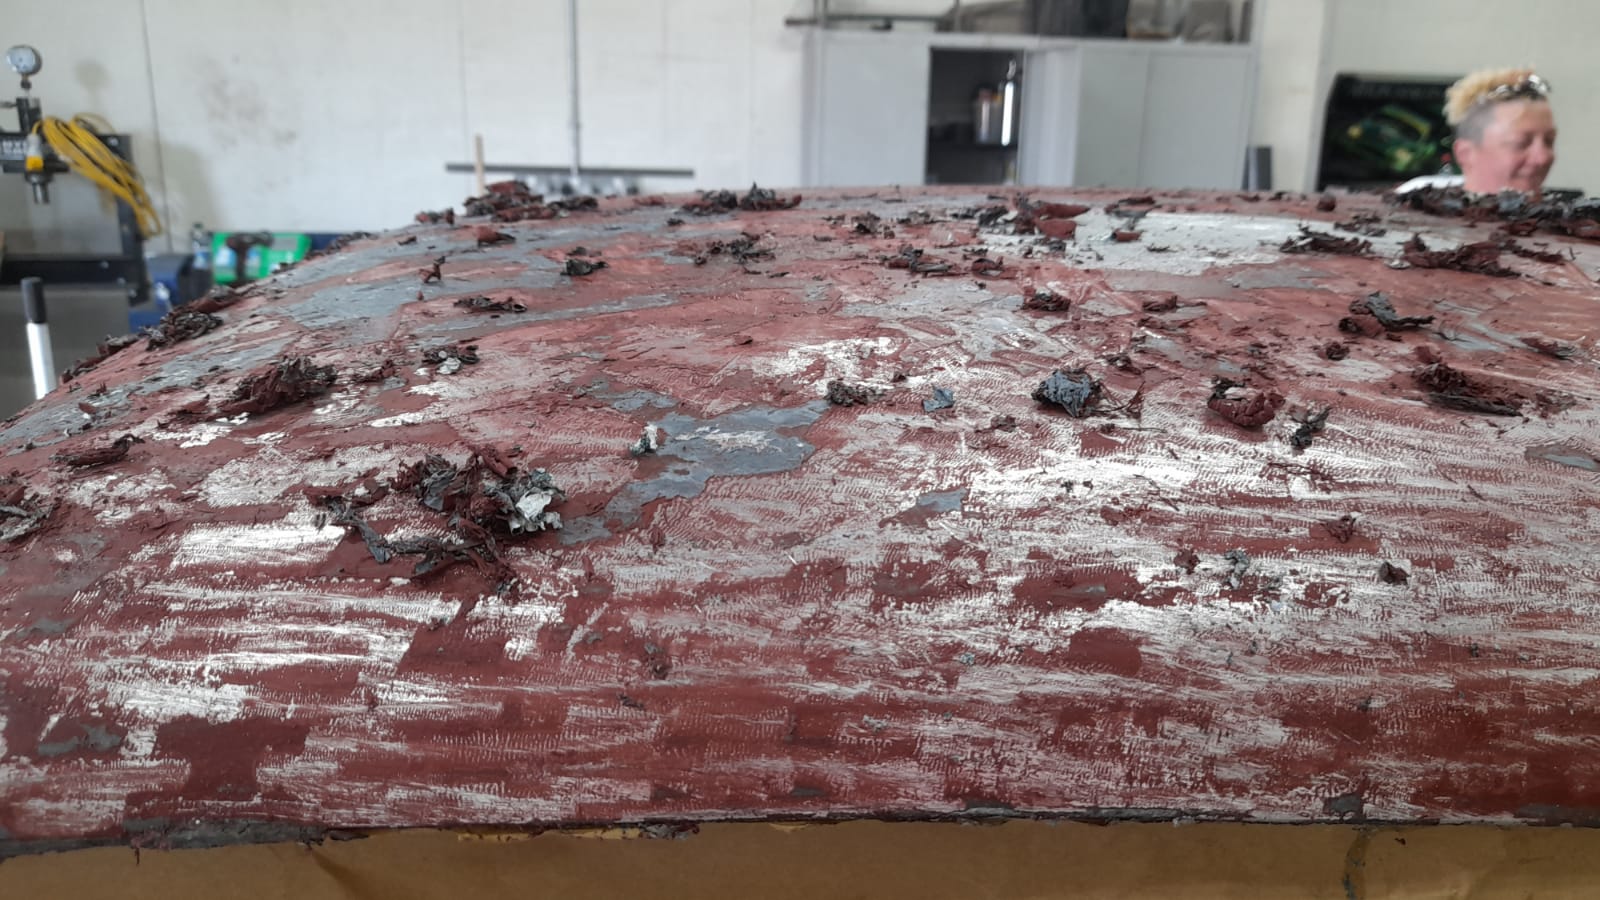
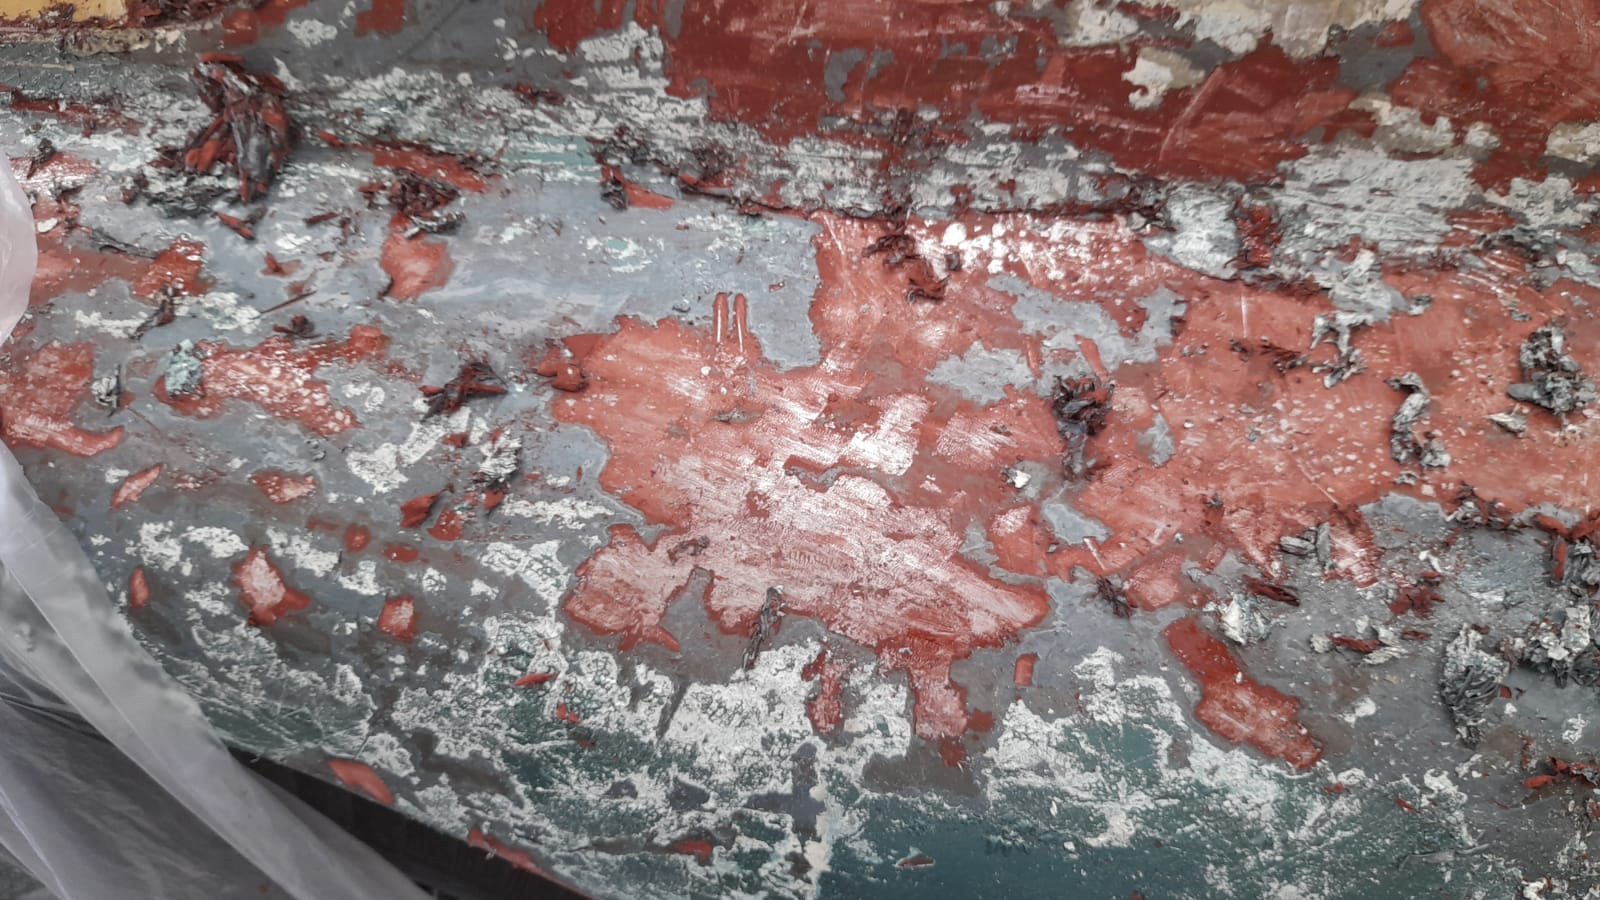
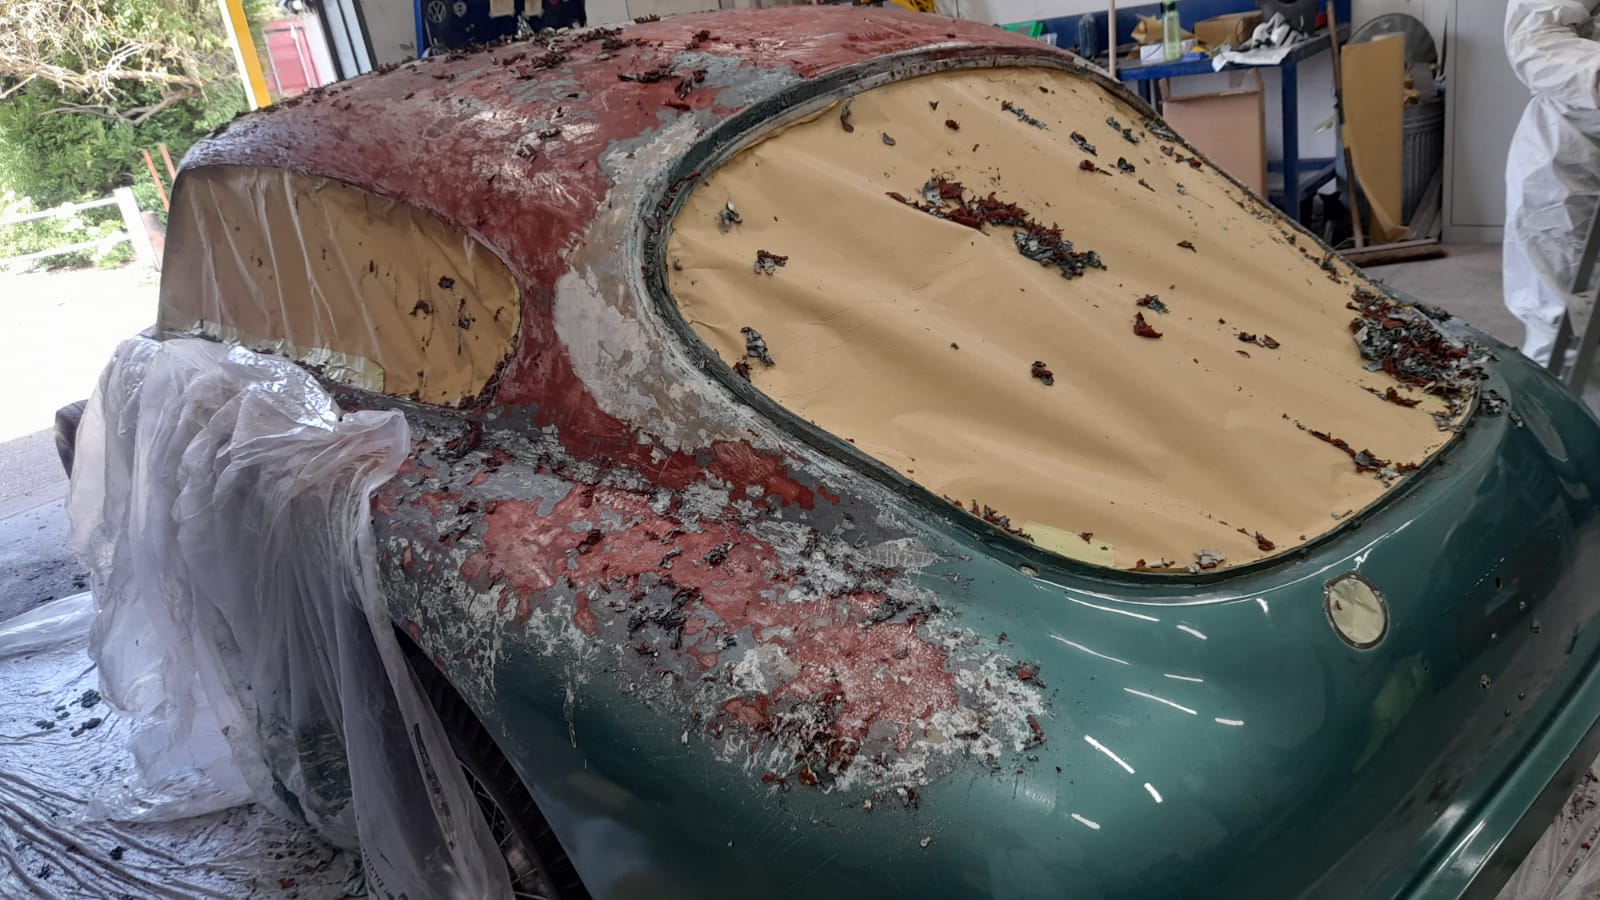
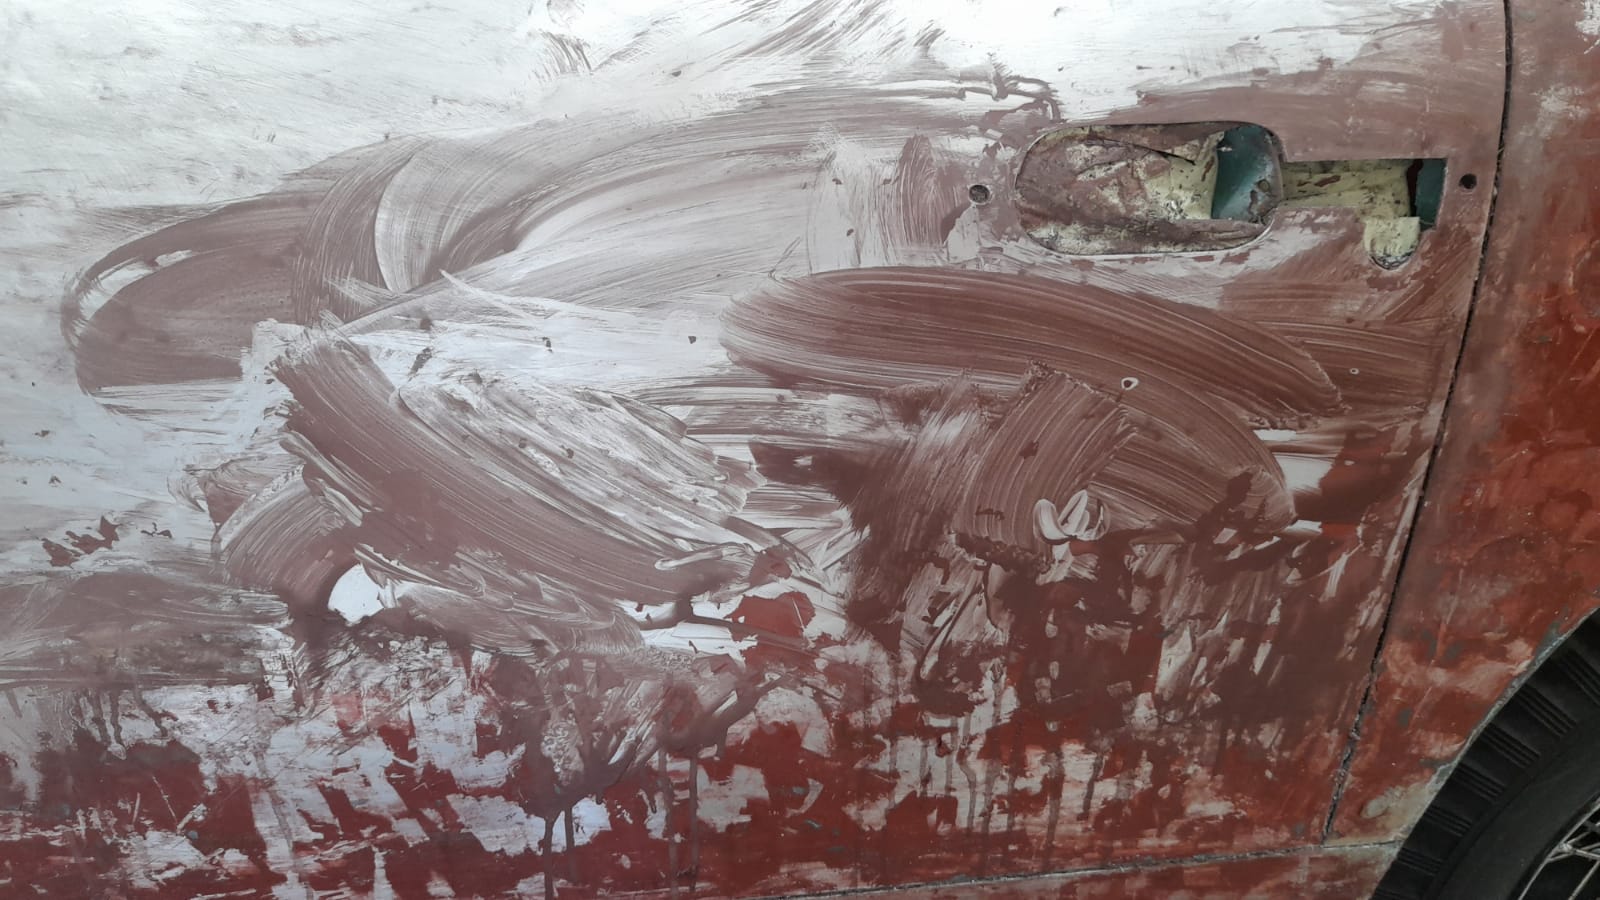
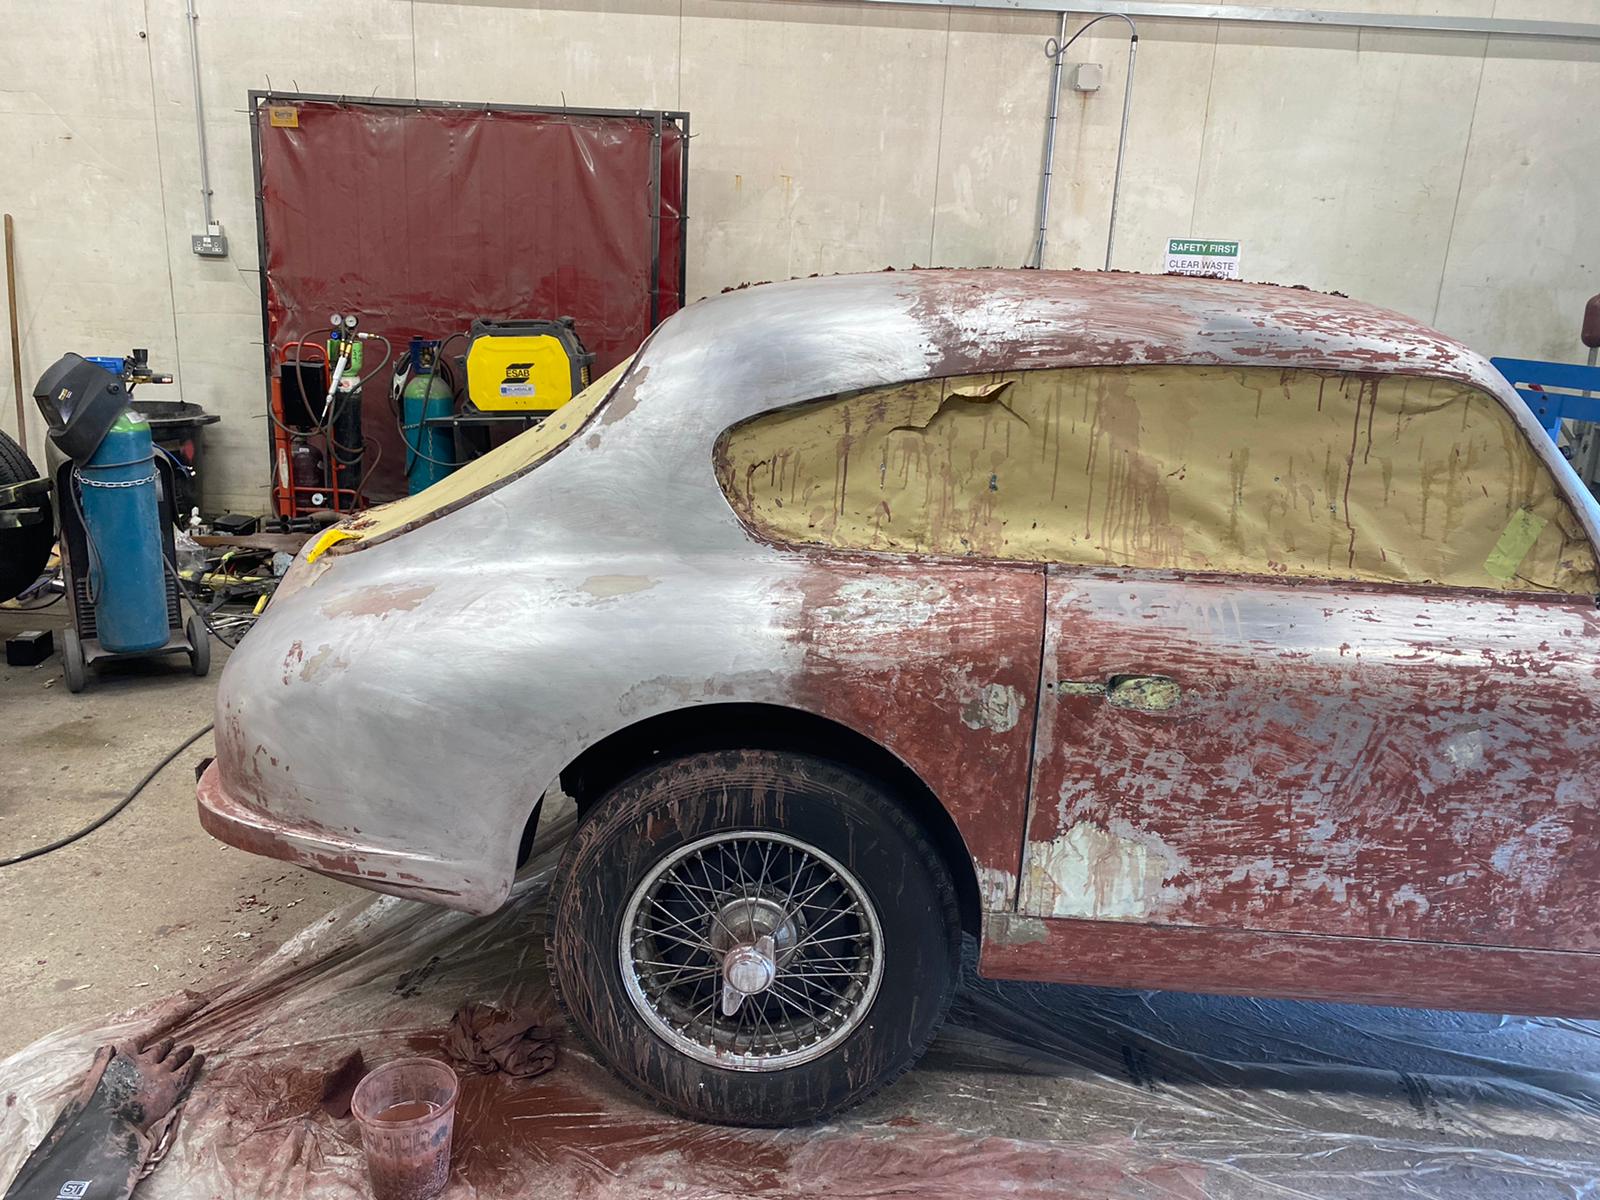
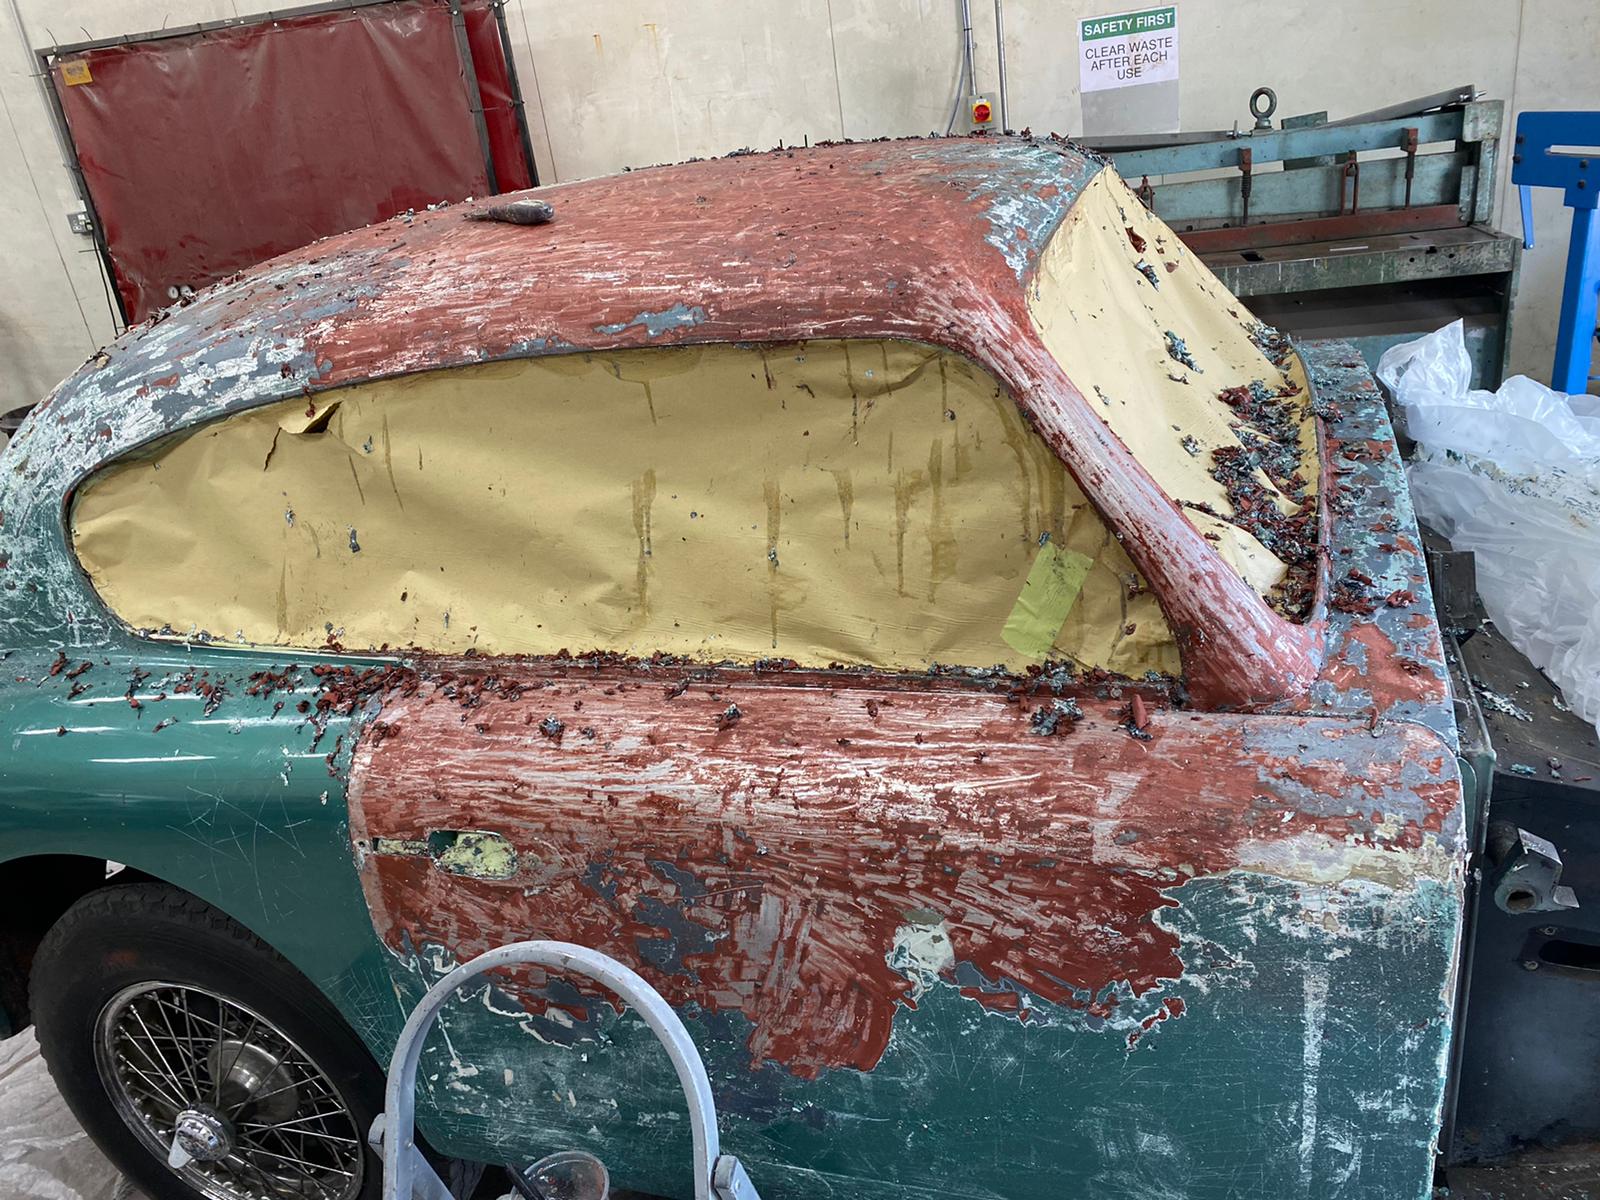
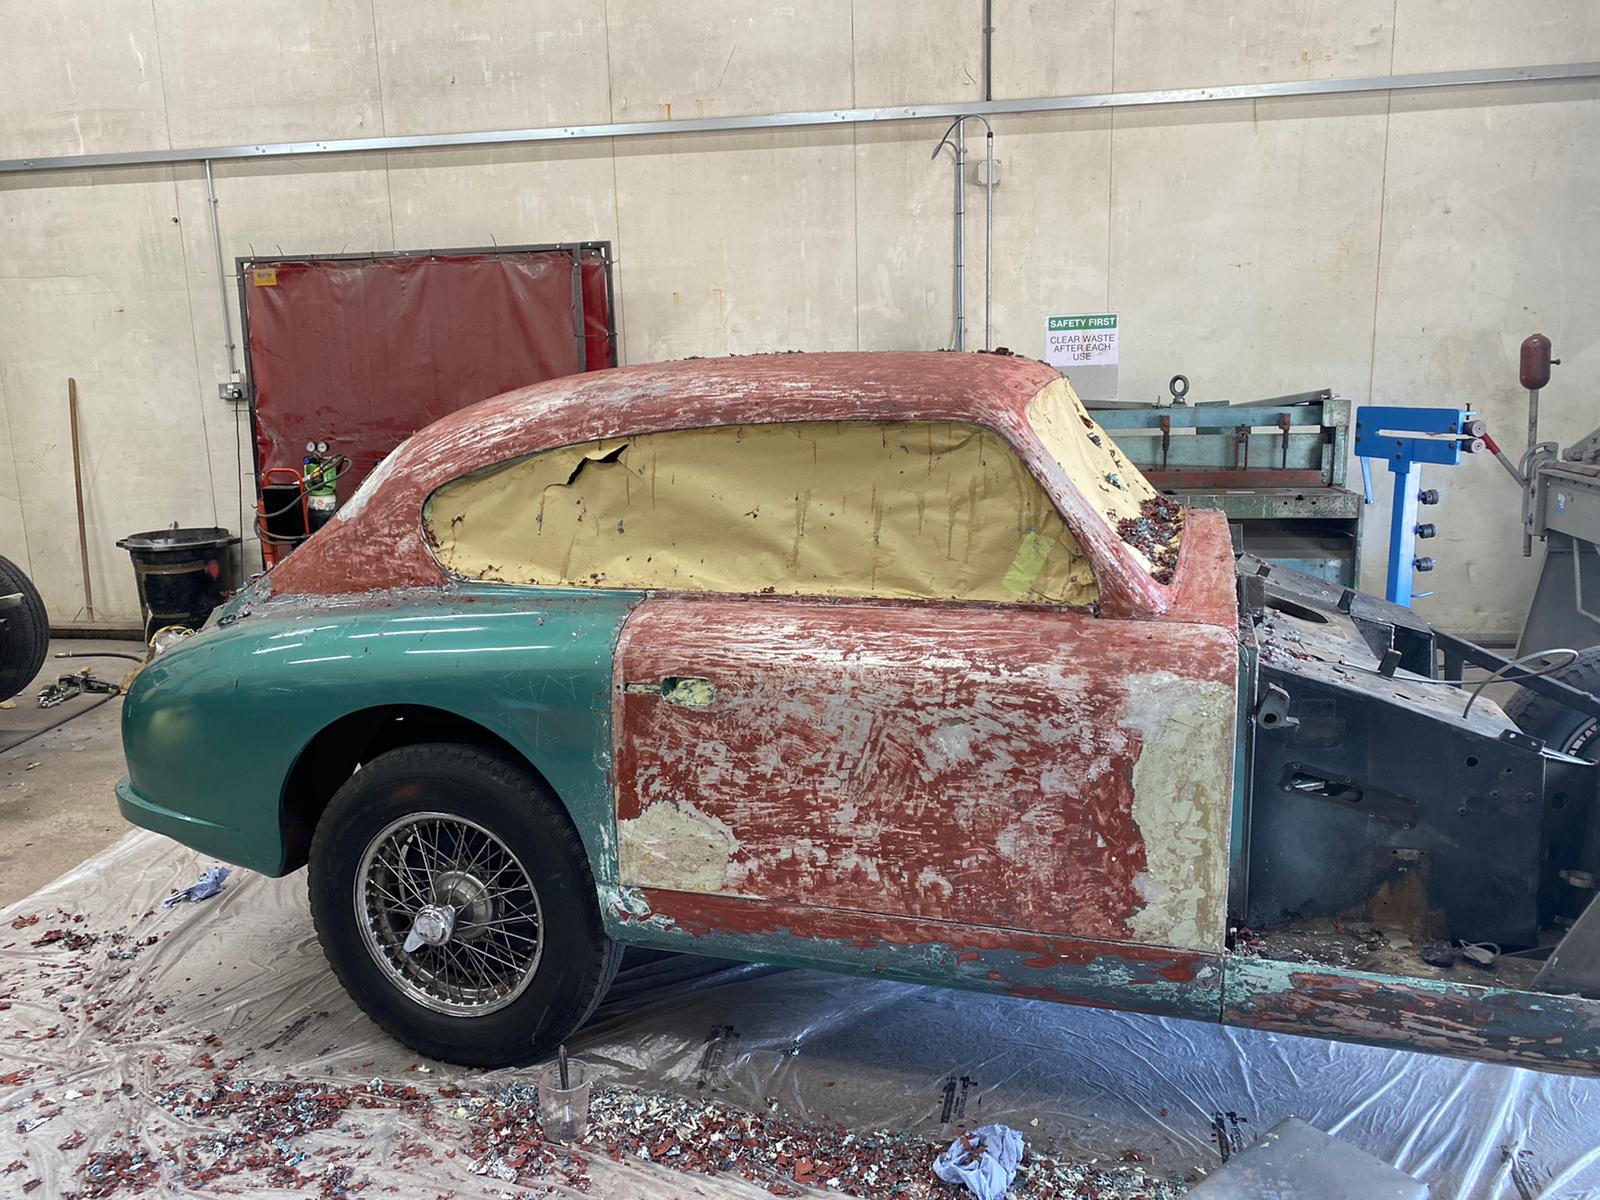
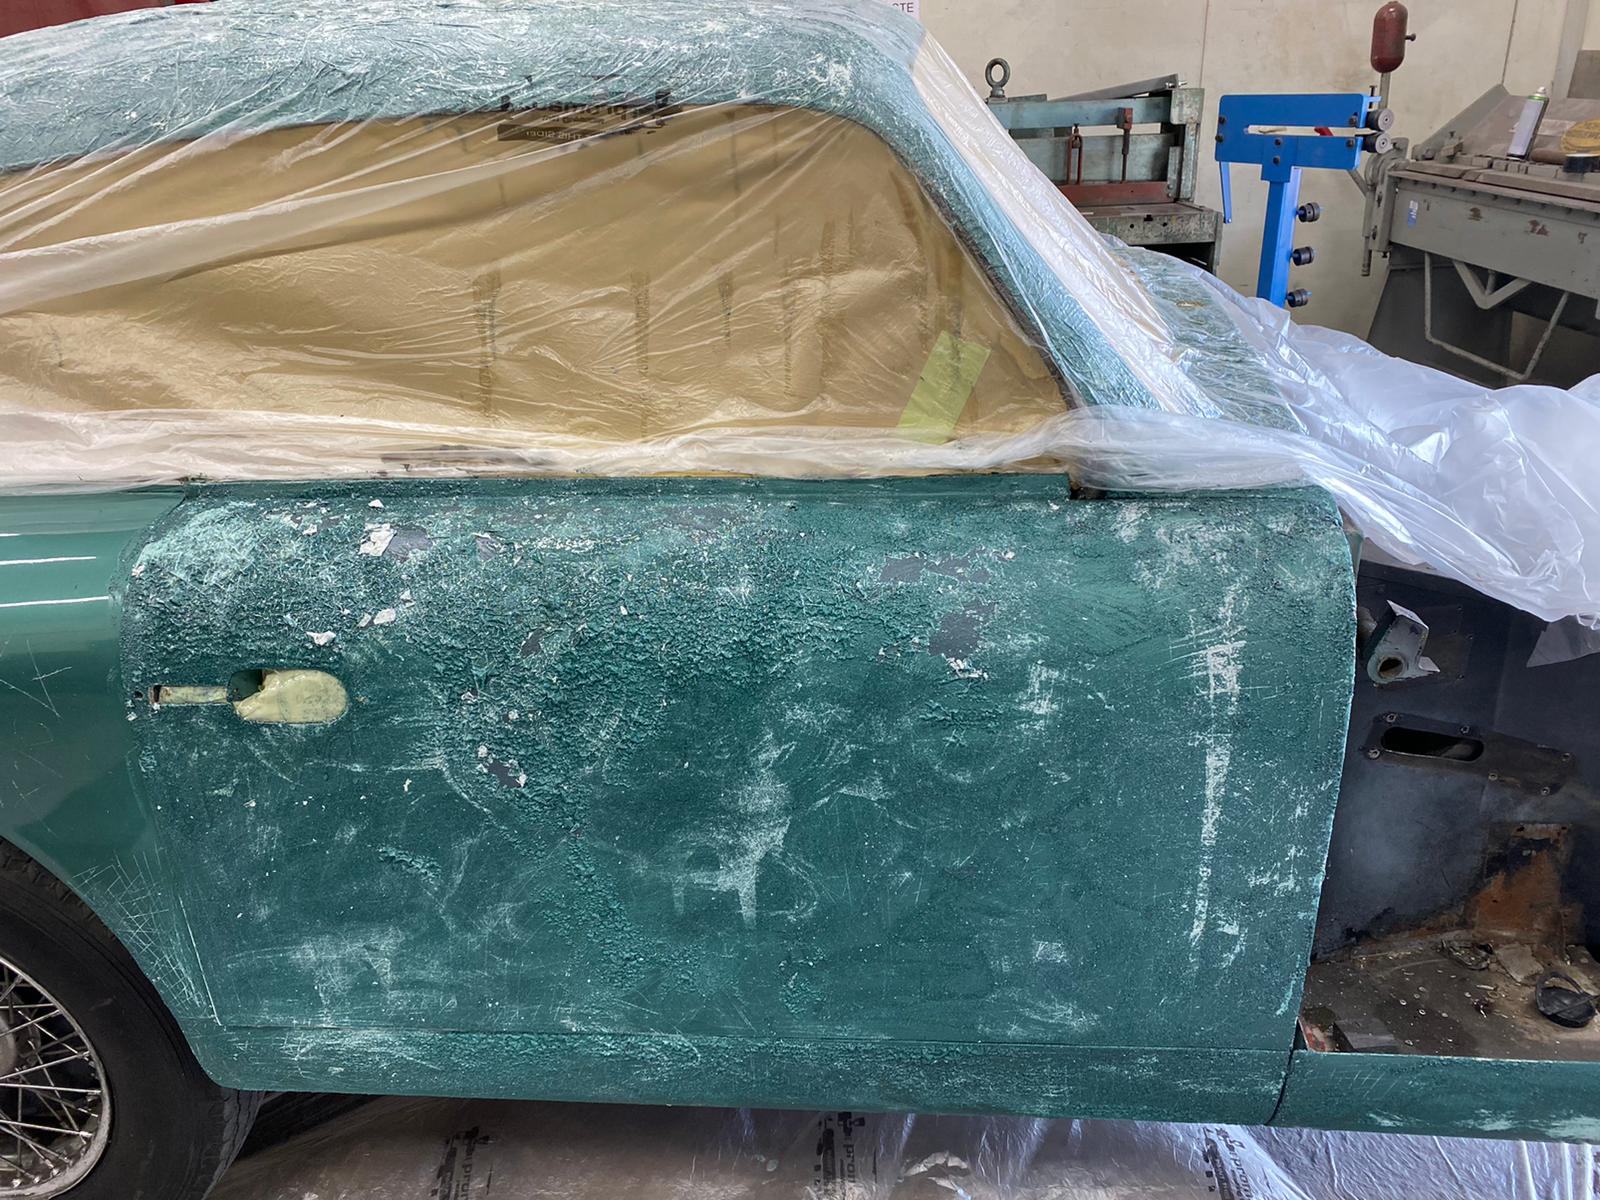
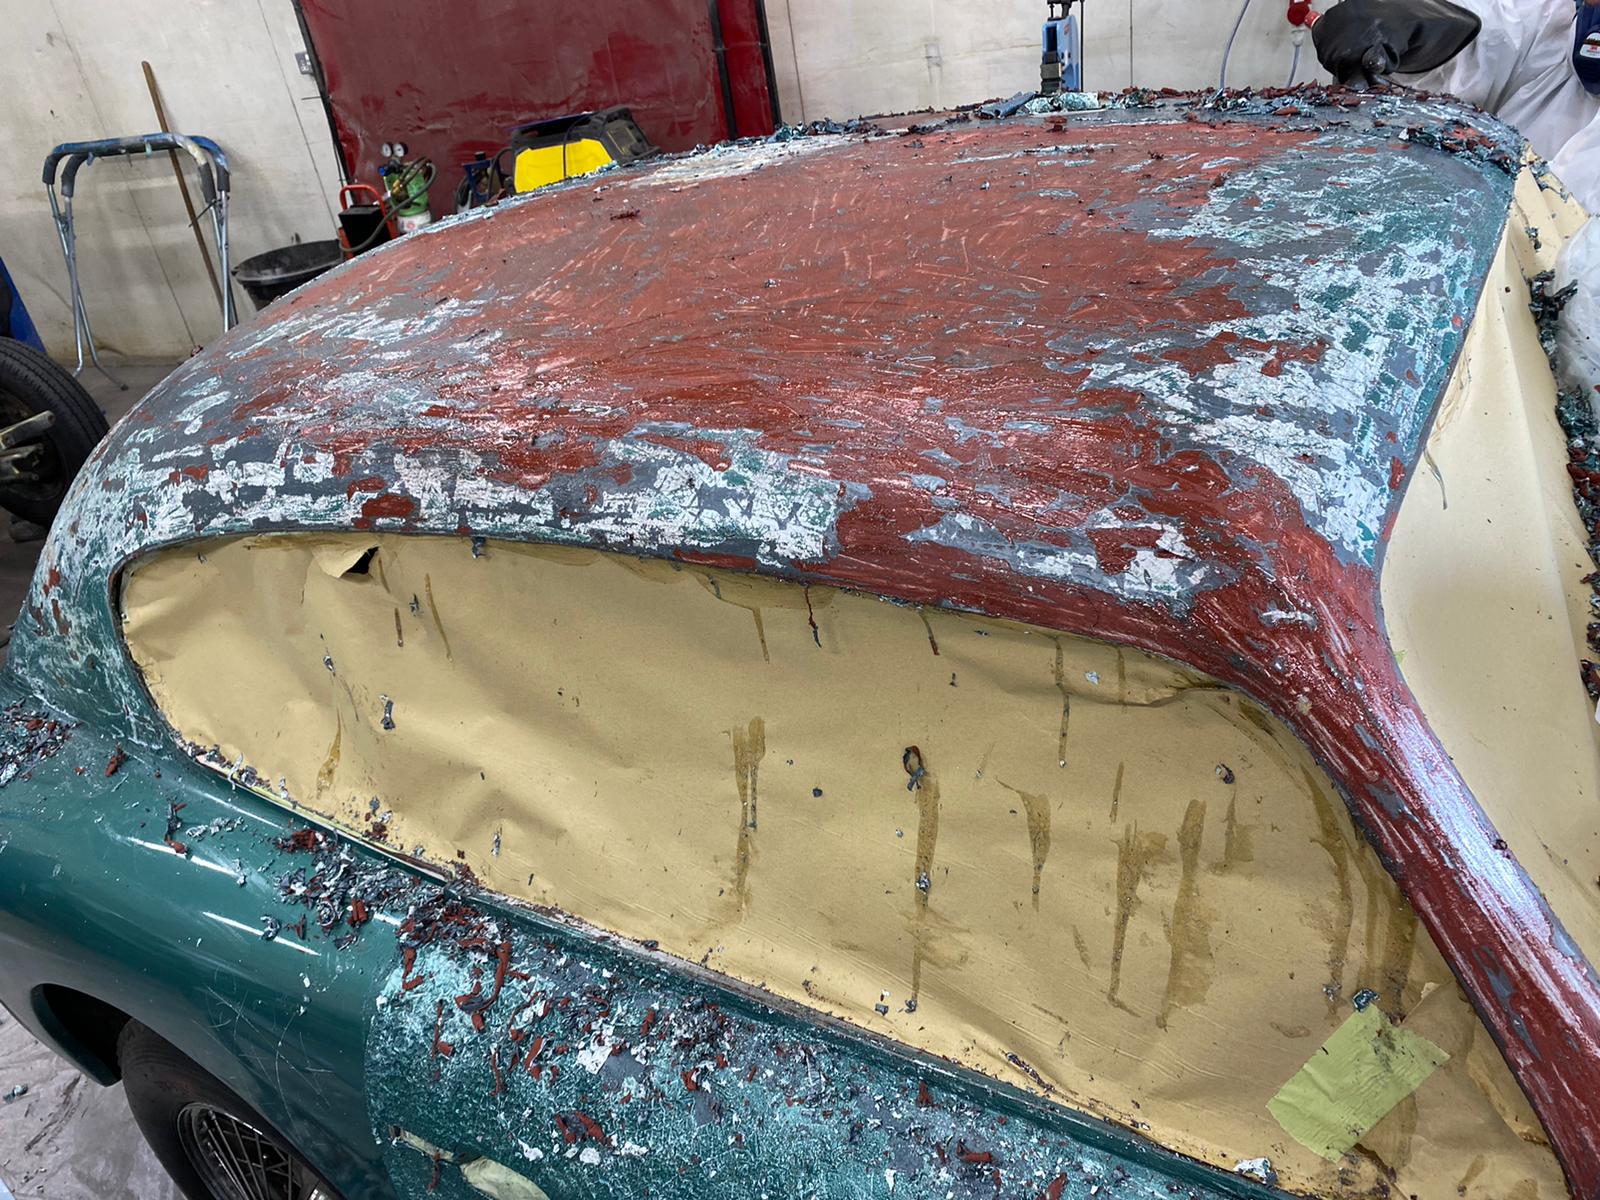
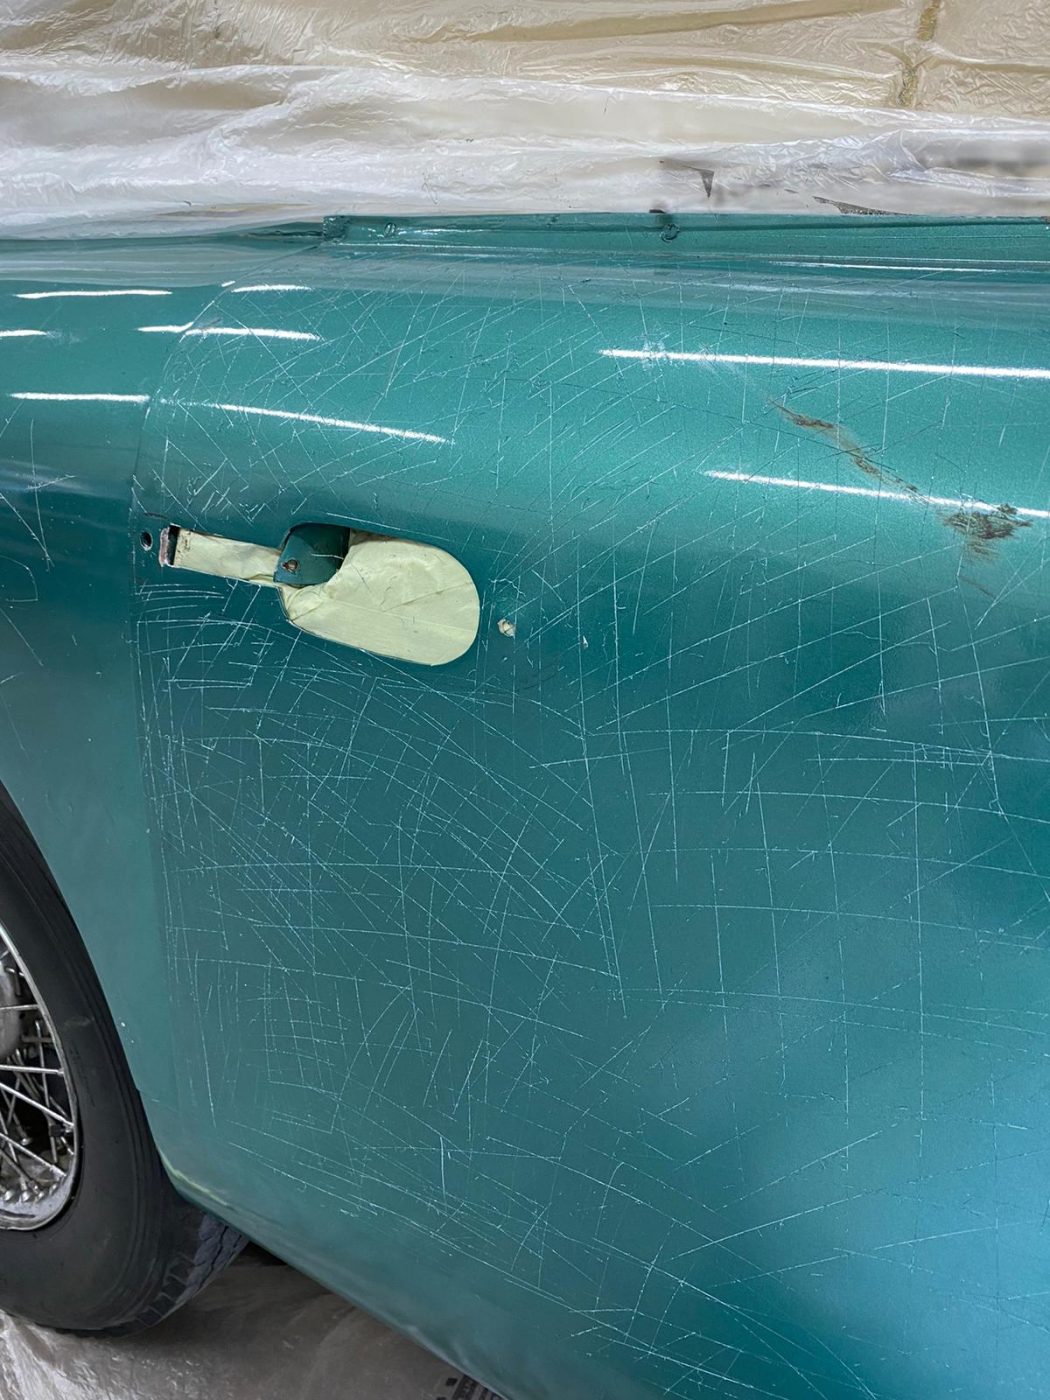
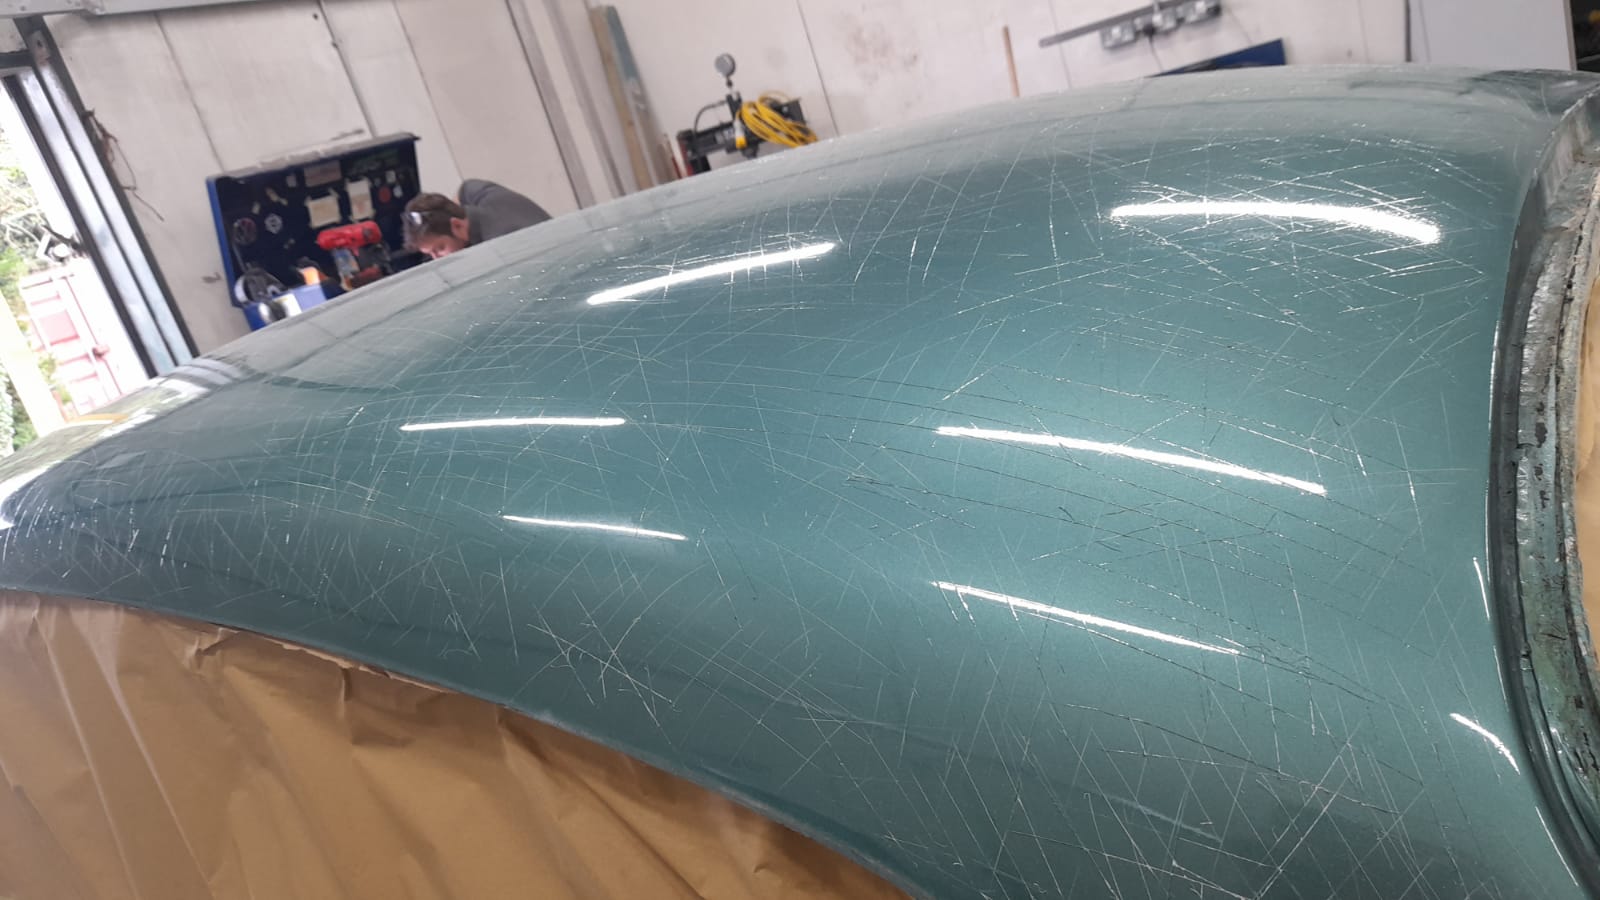
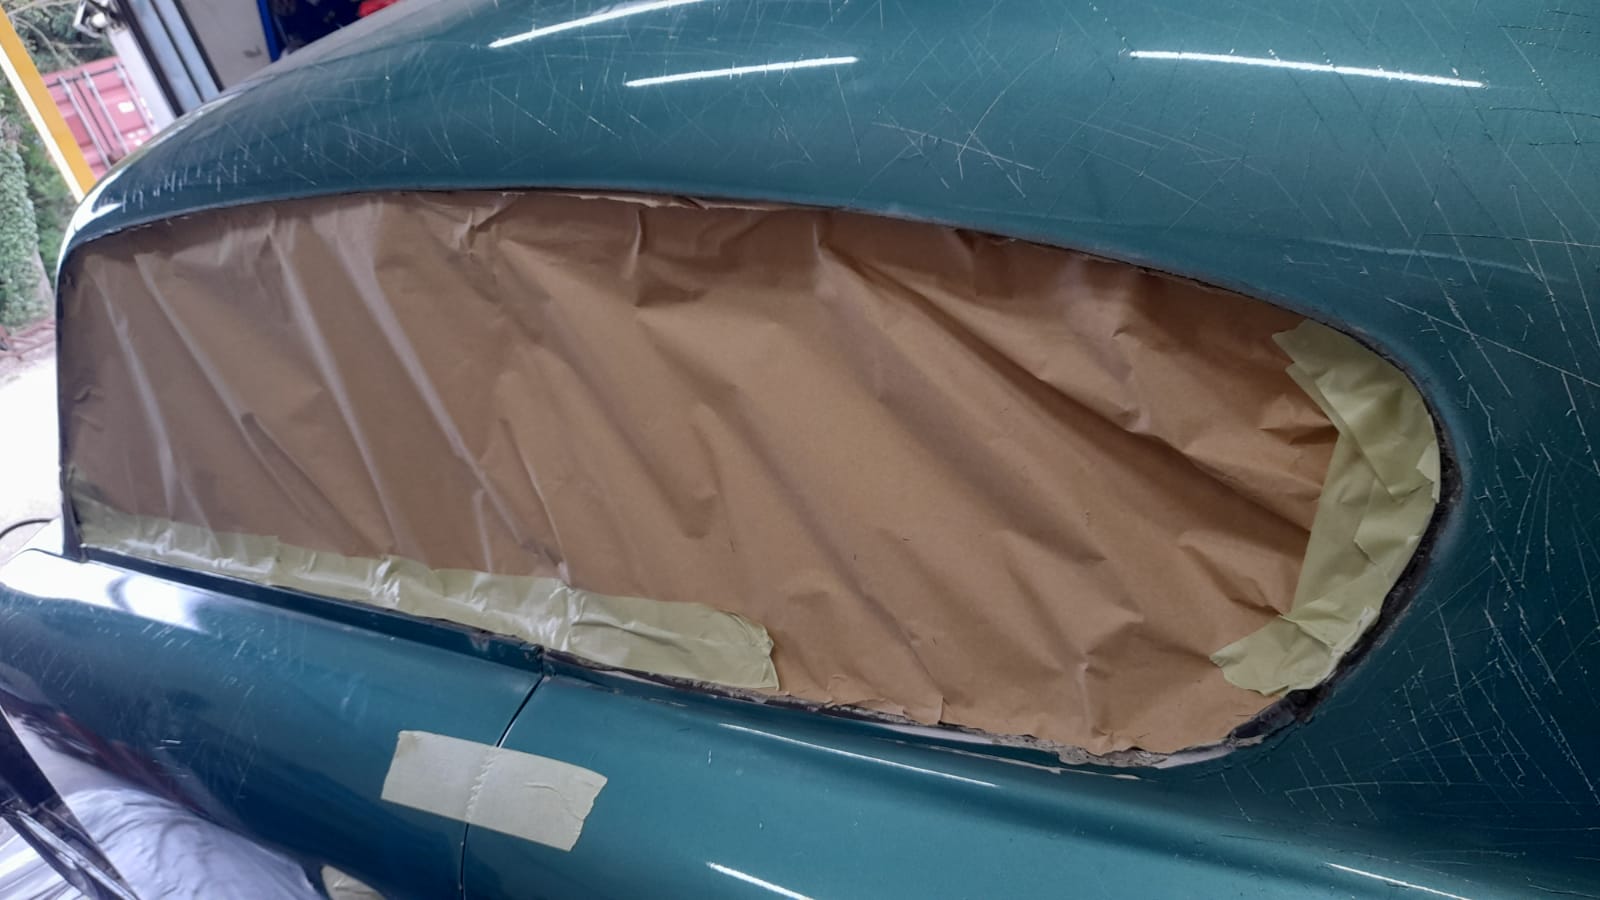
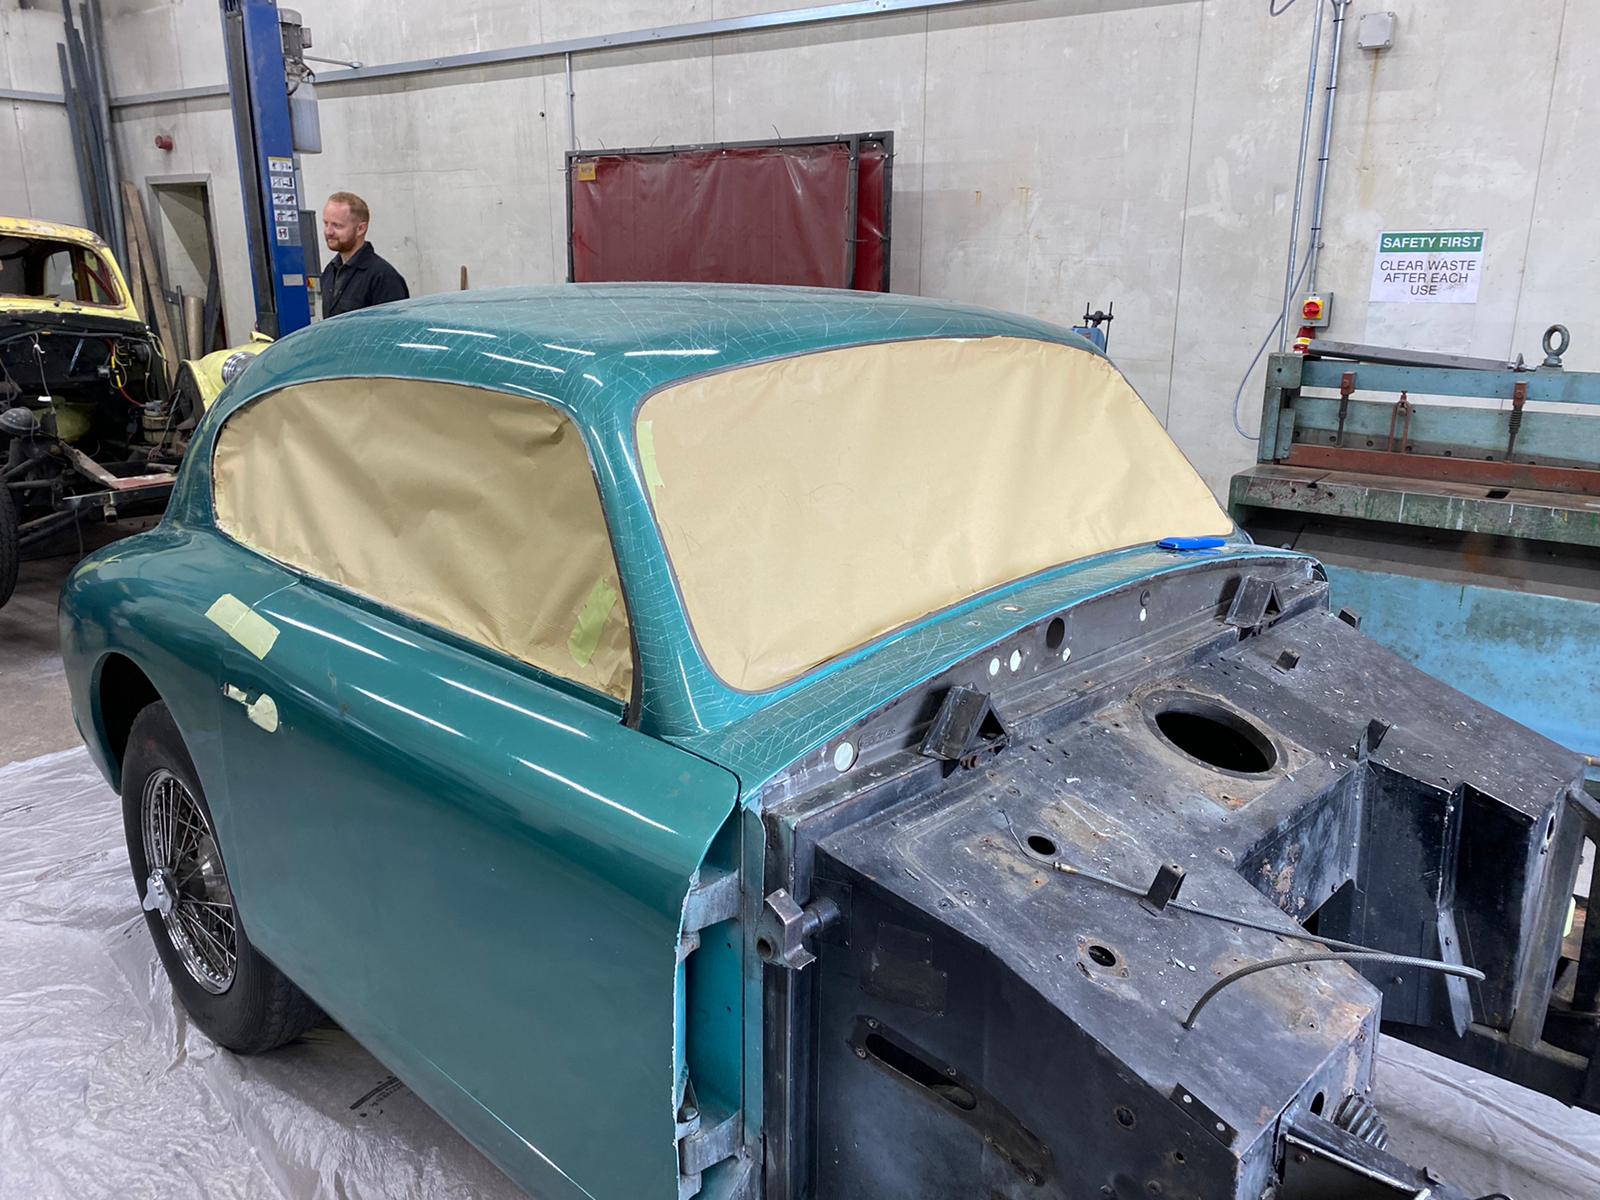
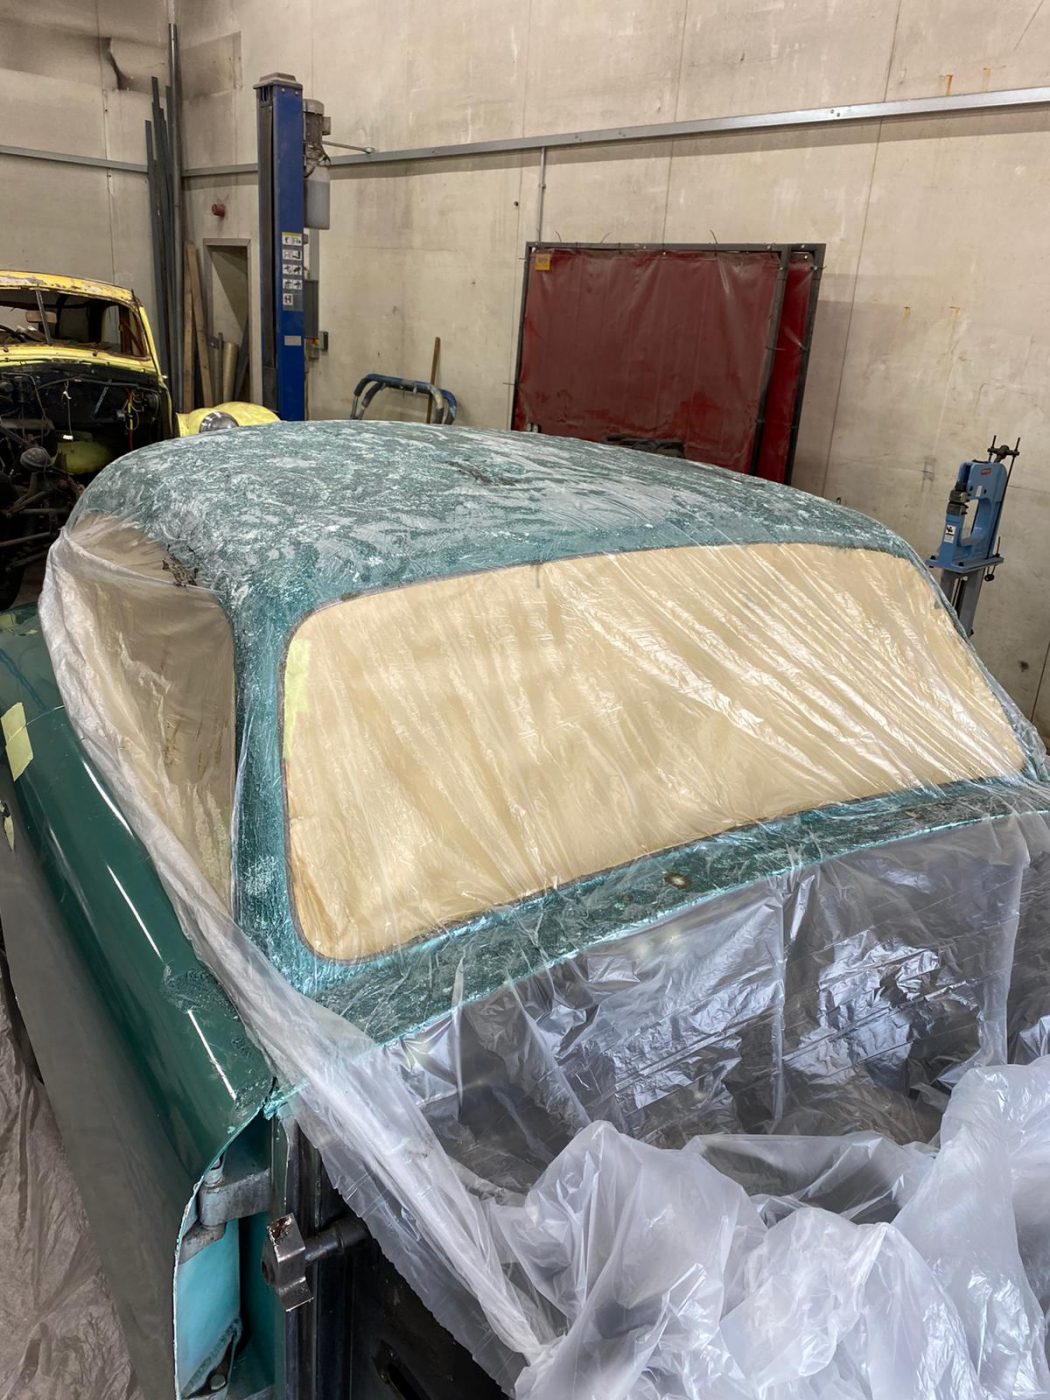
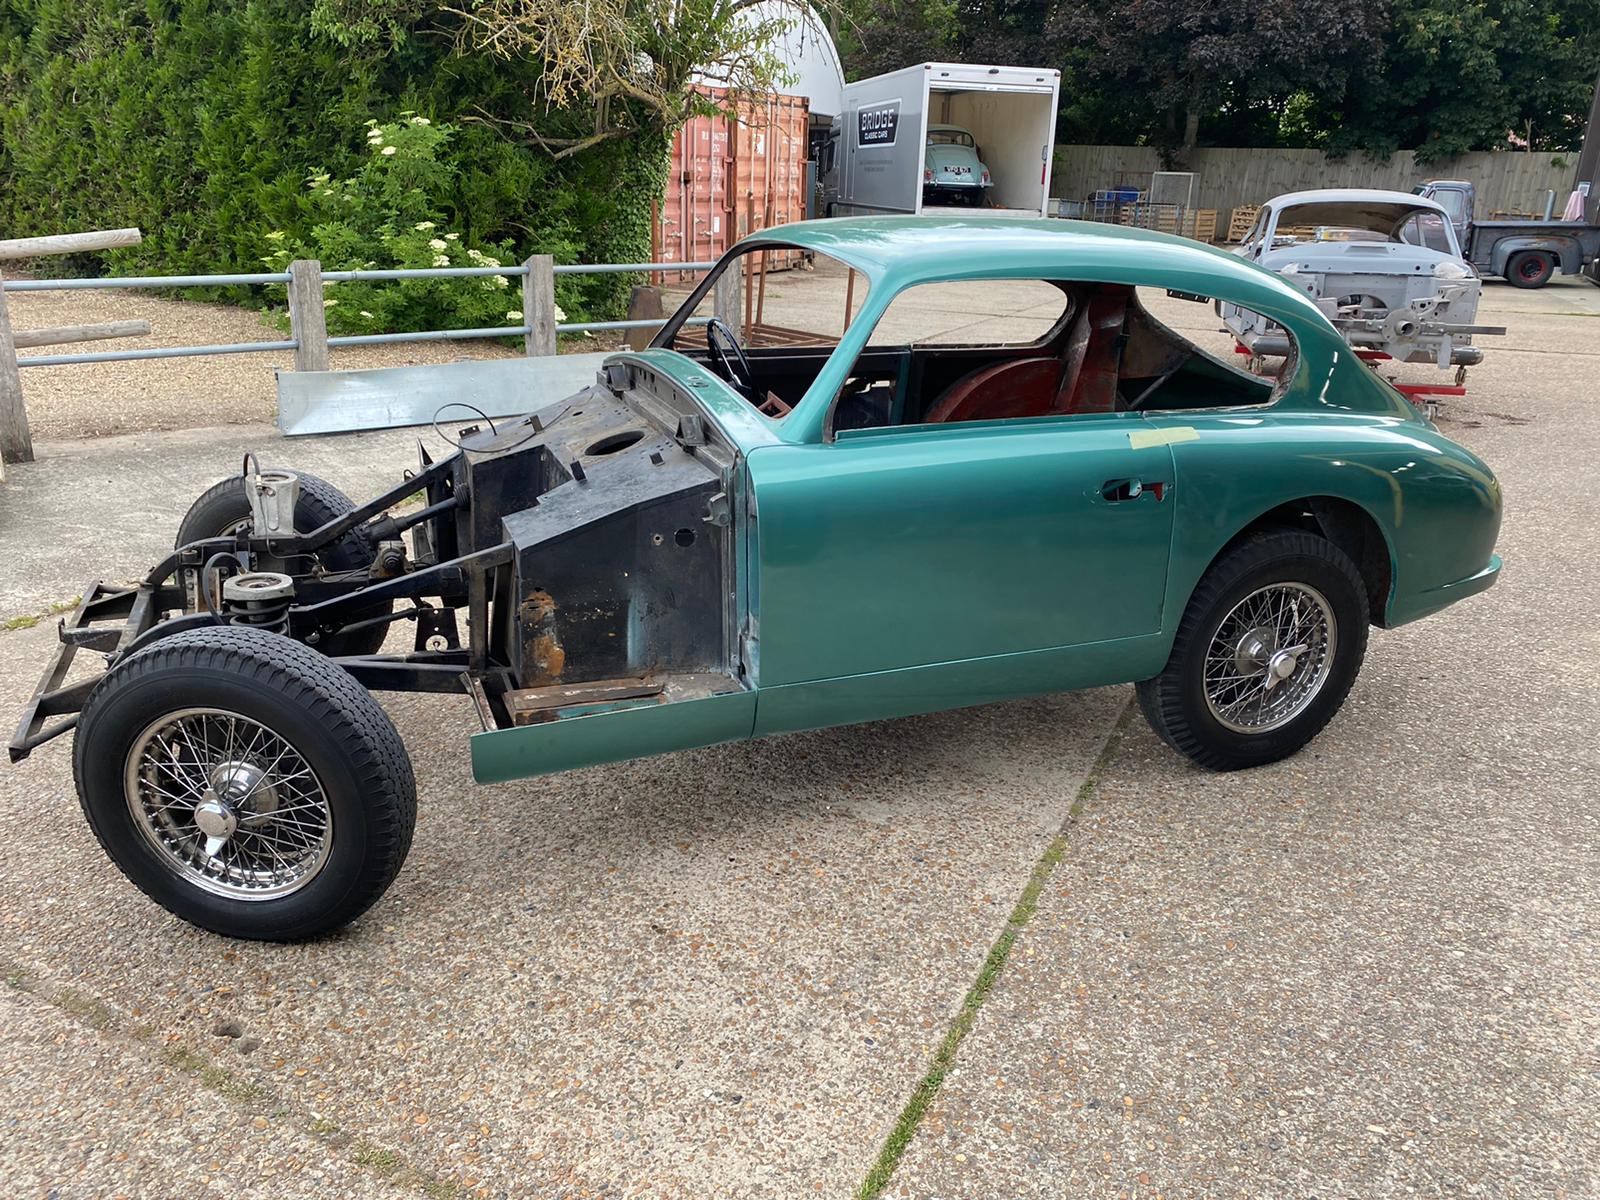
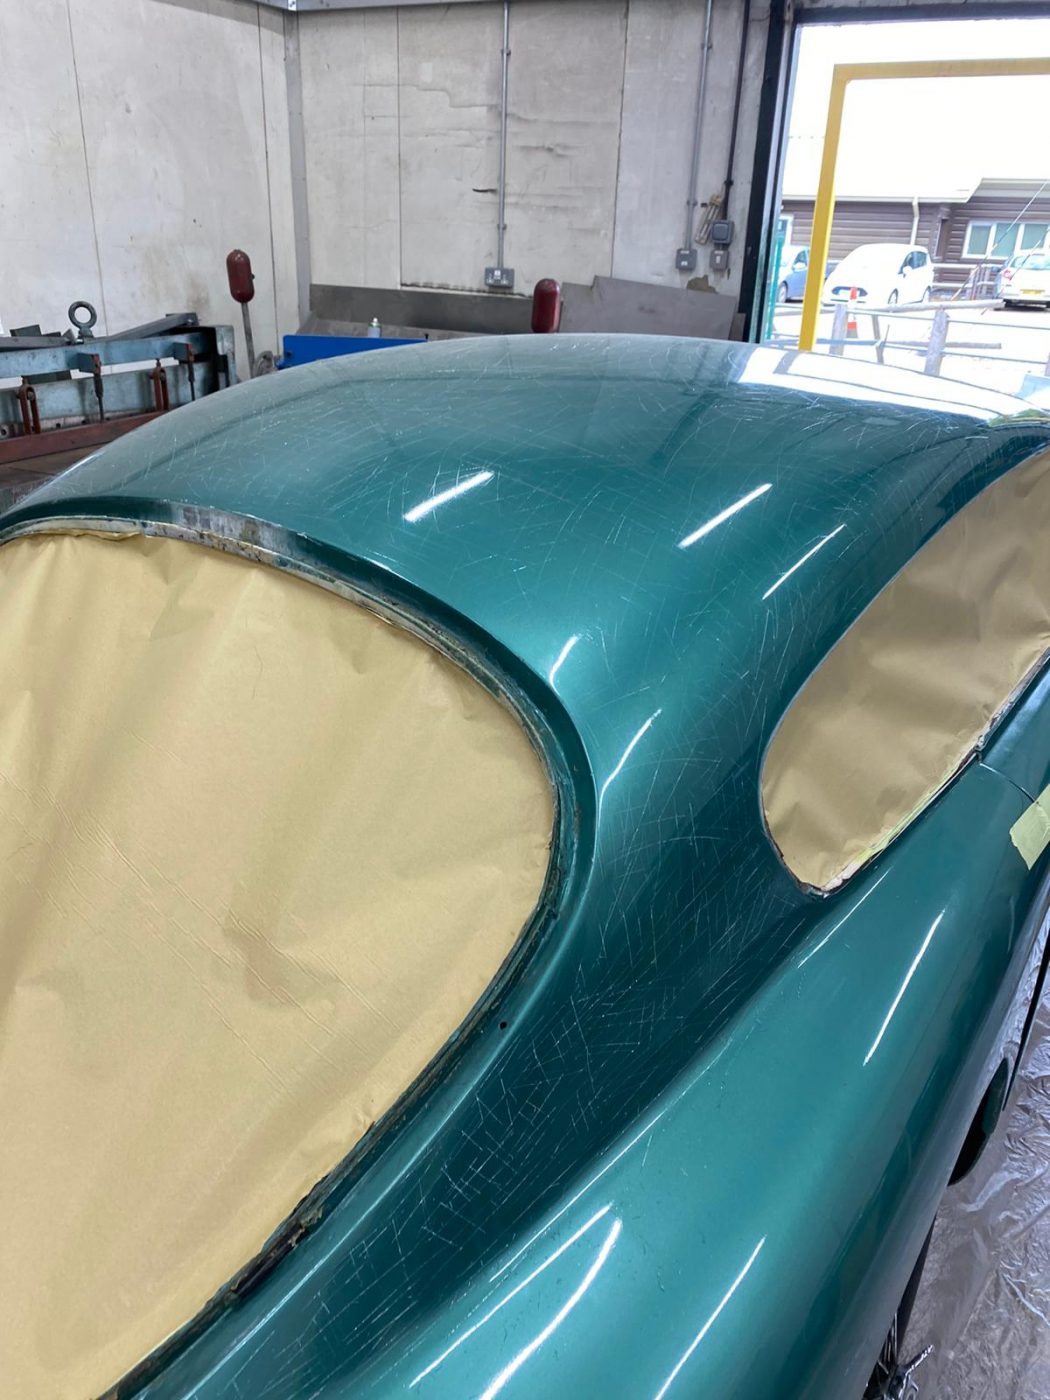
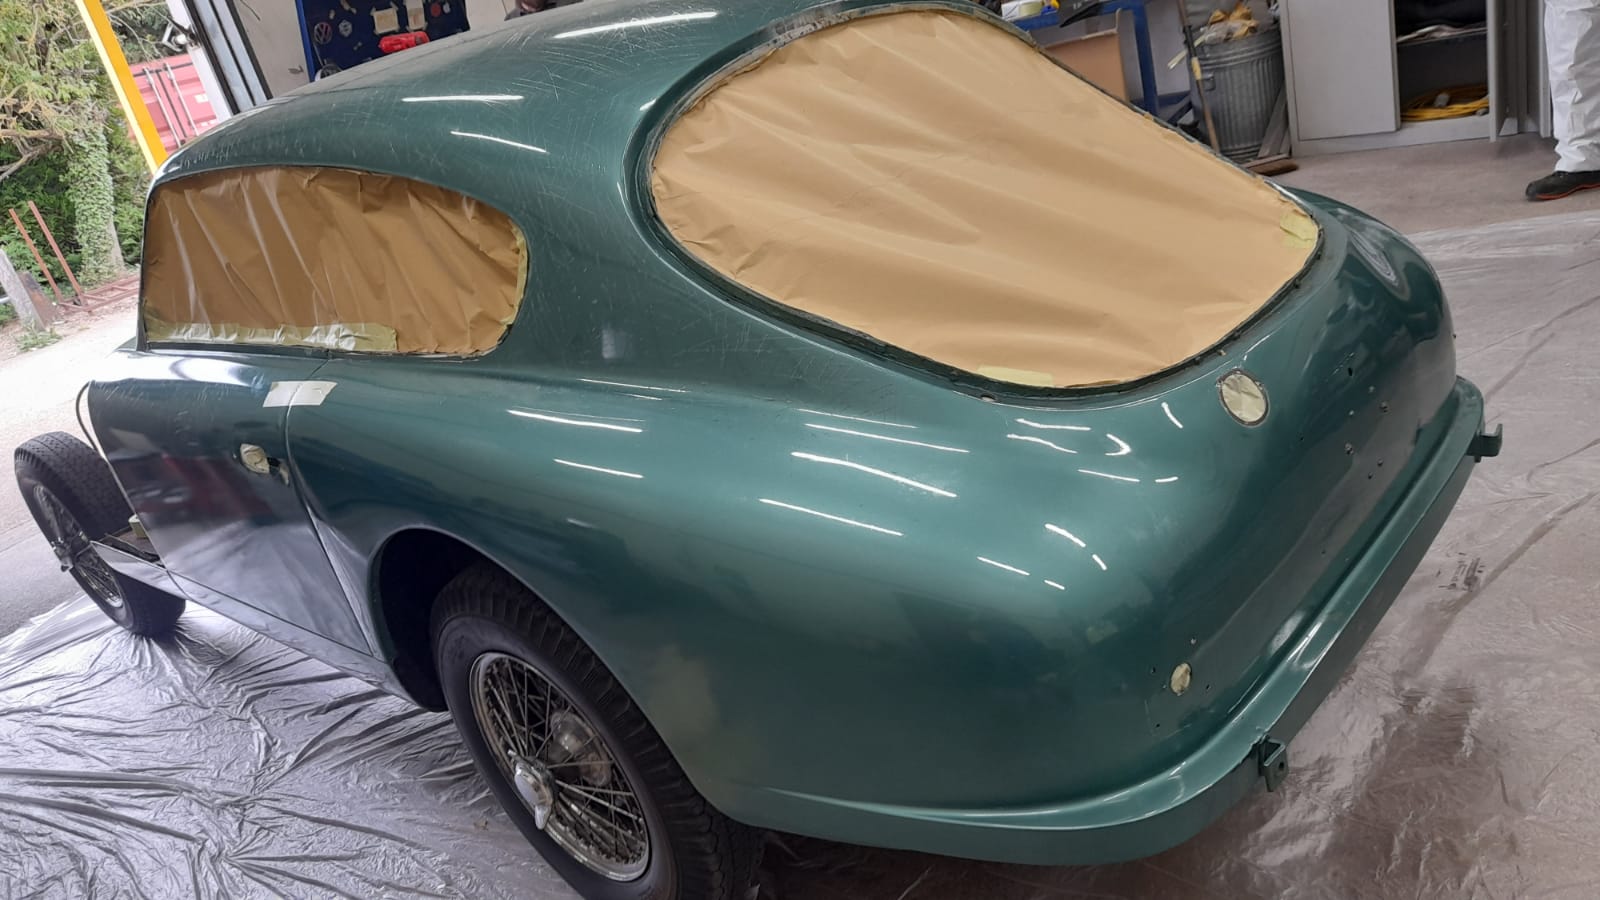
We’ve pulled in the helpful hands of Kath and Lydia to tackle the paint stripping on our Aston martin DB2/4 Mark I. Normally found in the trim shop, Kath and Lydia have been showing off their ability to jump between disciplines. Using a rough pads, Lydia and Kath have been scraping off all the paint.
They started by masking up all the open places on the car where chemicals could potentially drip through. They then used blades to scratch the surface to help the nitromors paint stripper work in better. The next step was to apply paint stripper onto the roof of the car which was then covered with plastic while it worked itself into the paint. They did the same on the sides and then scraped the paint off. Once the team got down to the red oxide, they could use thinners to scrub the rest of the paint off the car.
Now that its done, the car is sat in its original bare metal and its ready for the next stage.


This 1992 Morgan 4/4 has come in for a service and some amends such as a new exhaust, brakes to be checked, drain oil out of the differential, lubricate parts and address a bottom hose leak.