Tr4 Goes Camping
We love receiving updates from winners about what they’re getting up to with their cars. Adrian has gone camping with his campervan and Tr4. What


We love receiving updates from winners about what they’re getting up to with their cars. Adrian has gone camping with his campervan and Tr4. What
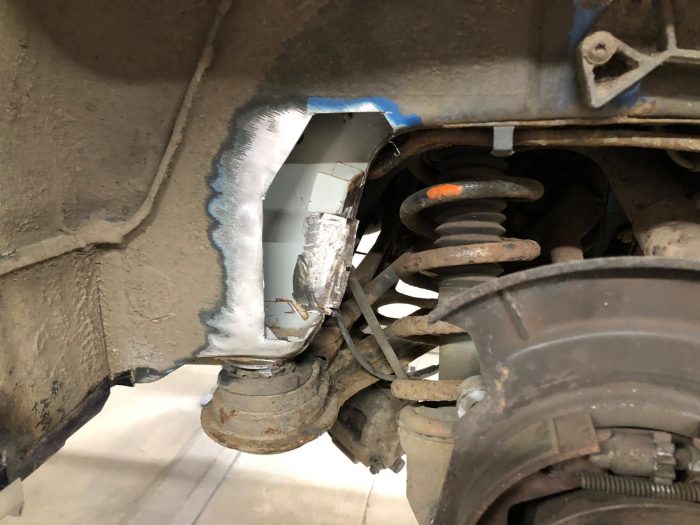
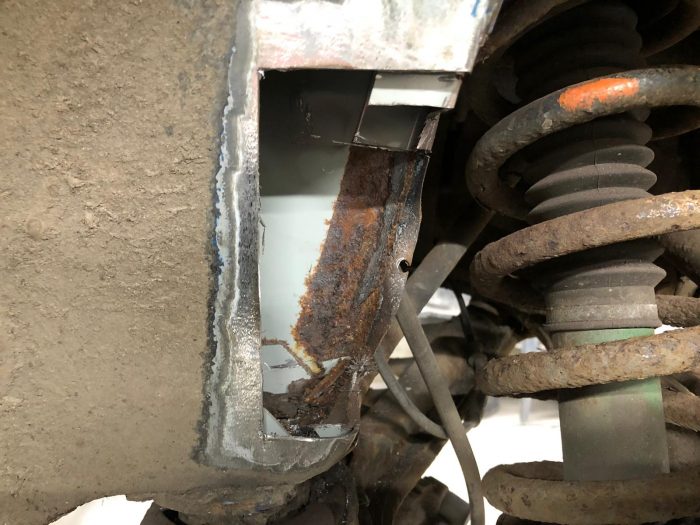
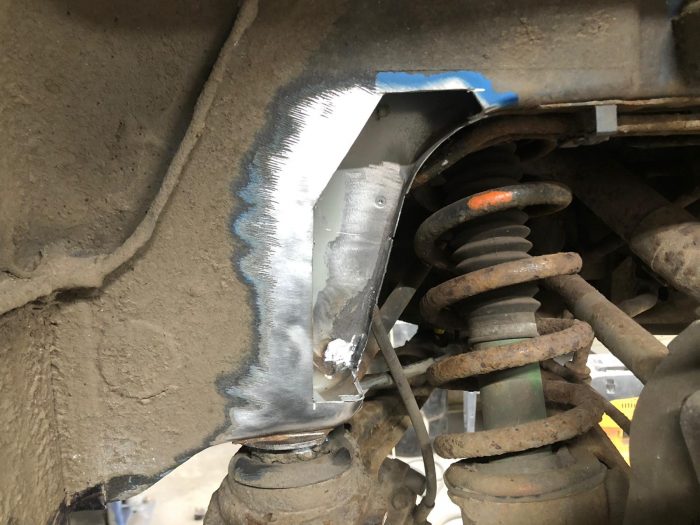
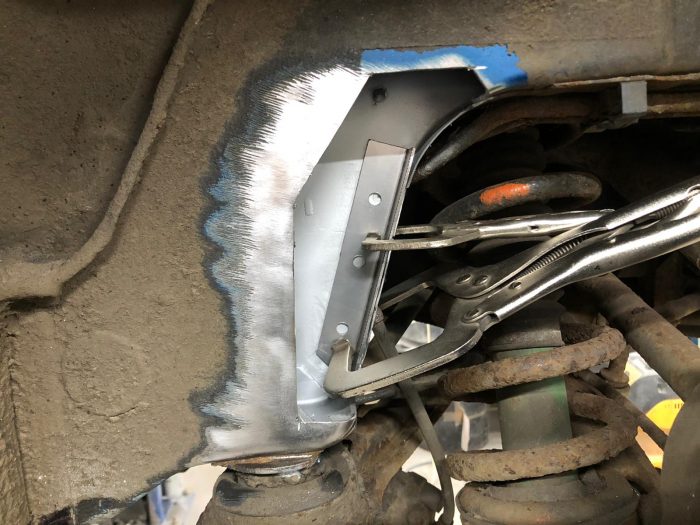
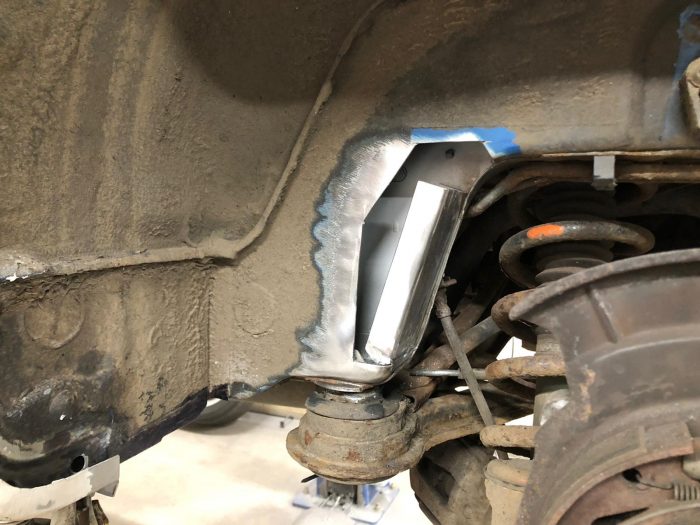
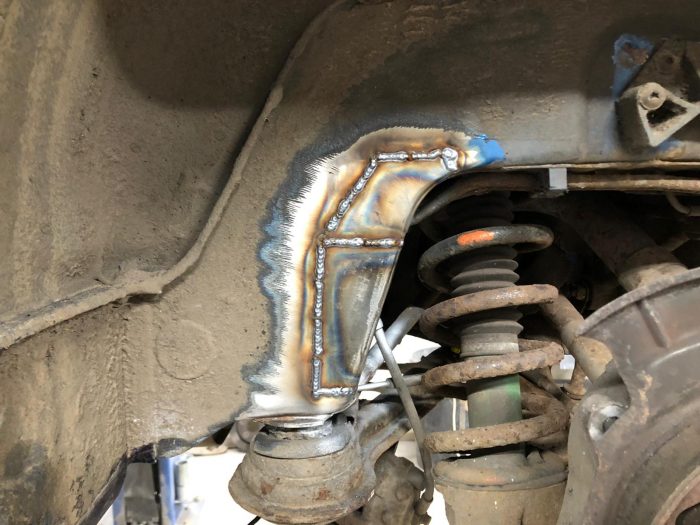
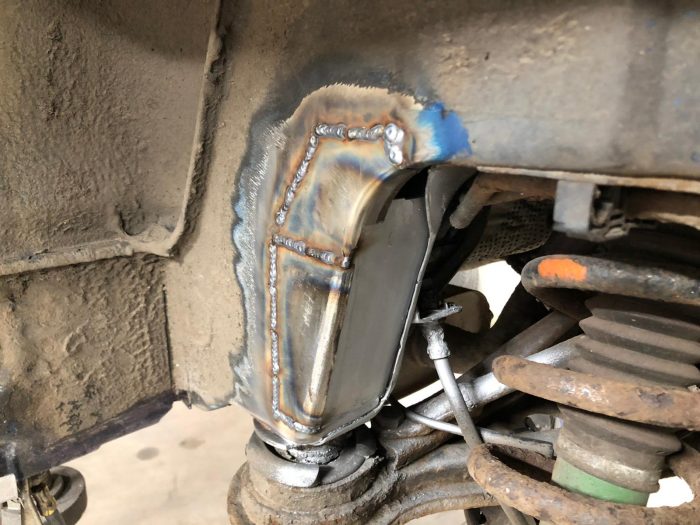
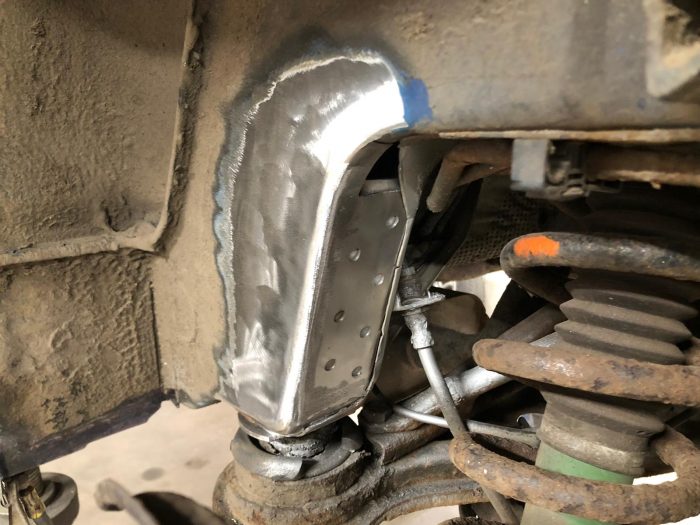
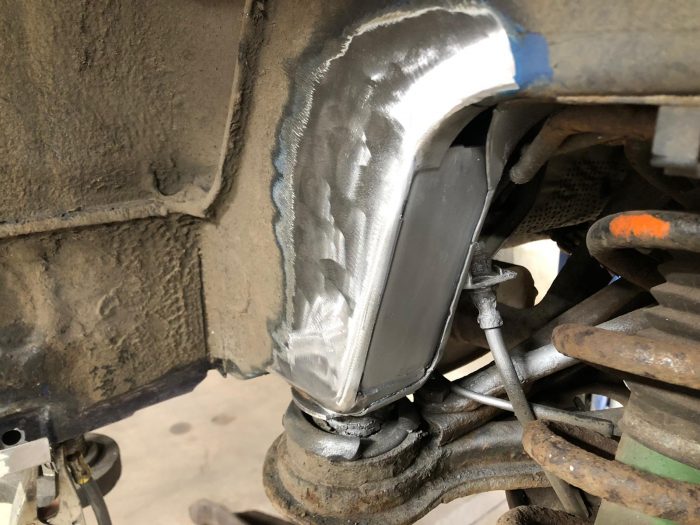
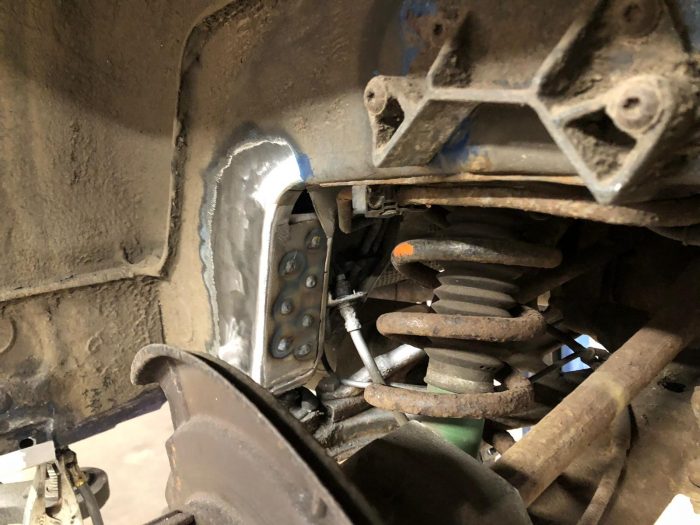
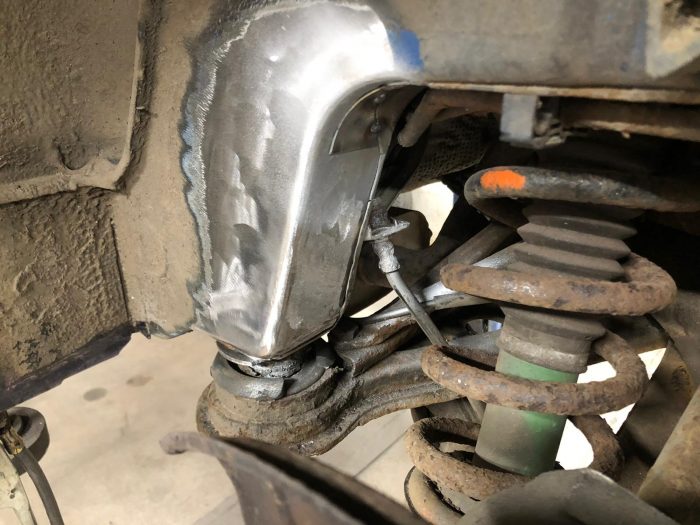
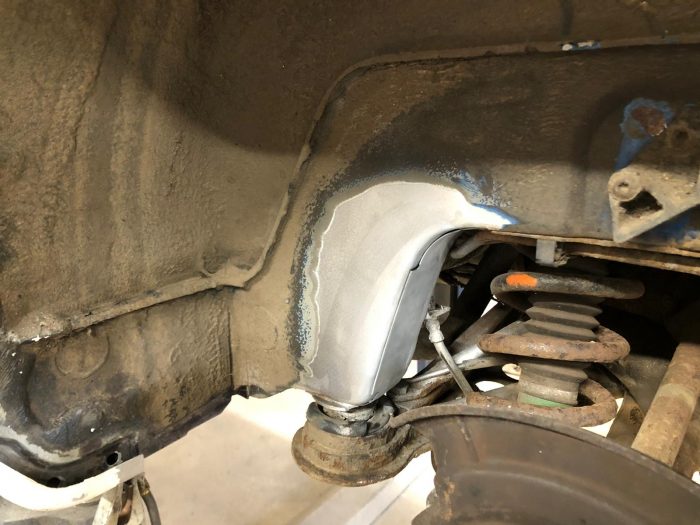
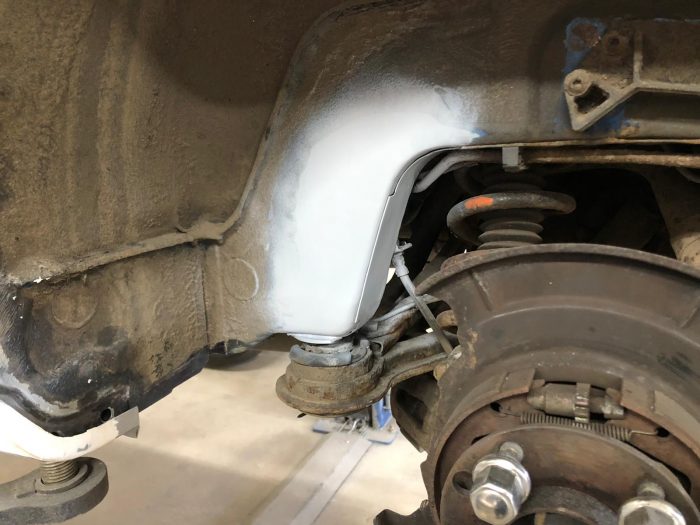
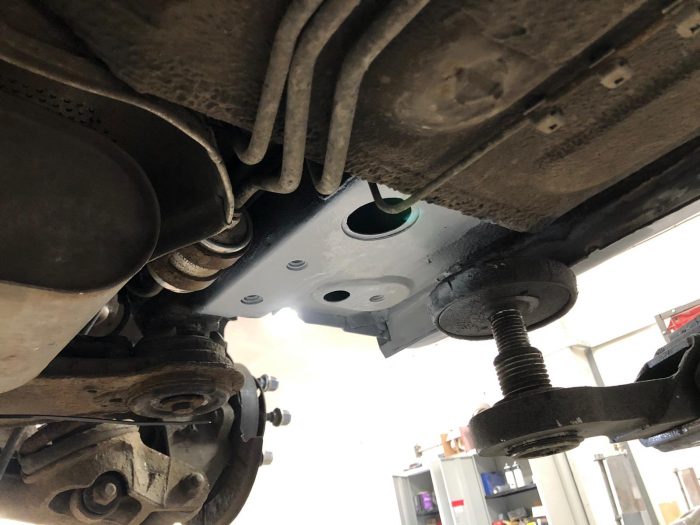
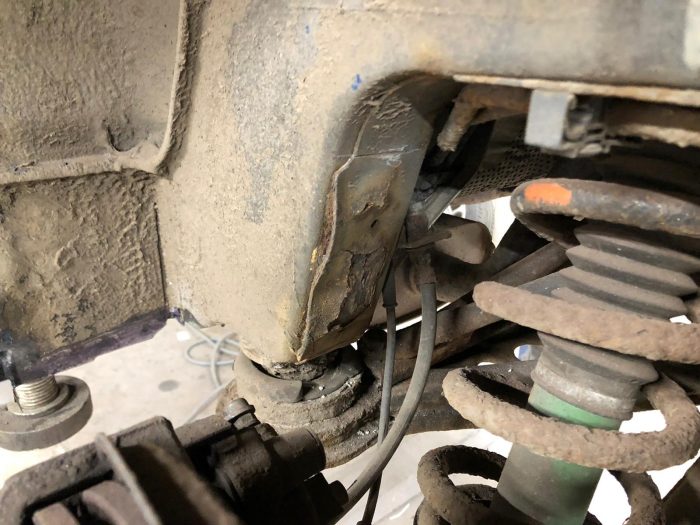
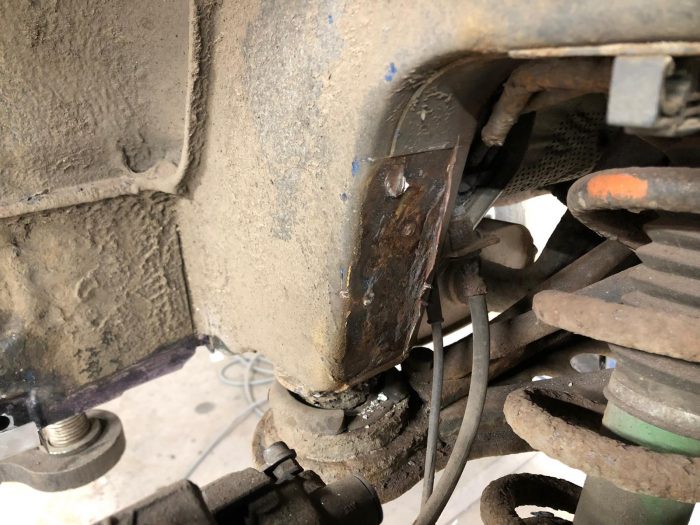
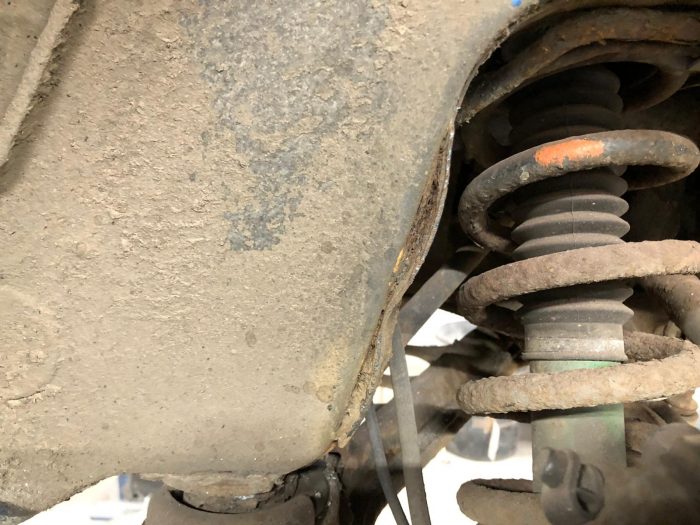
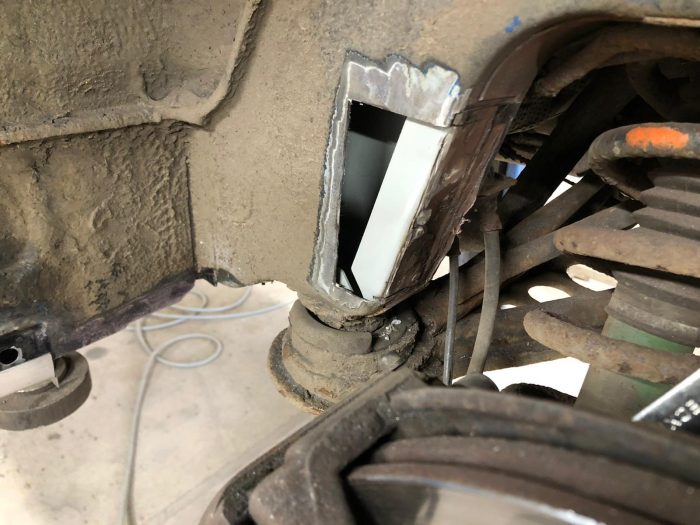
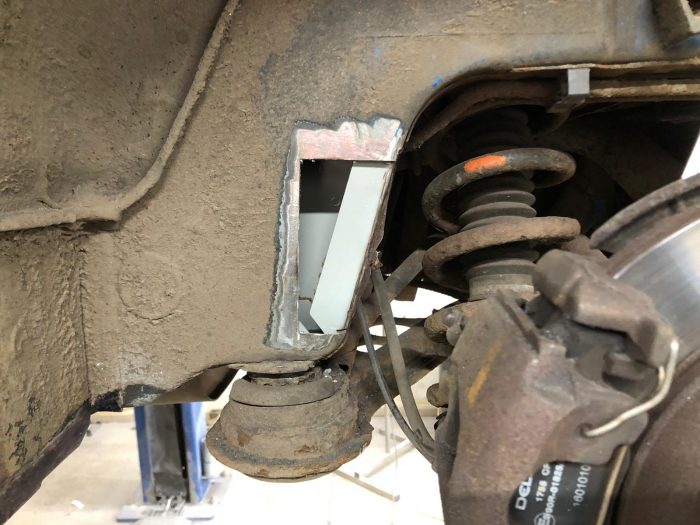
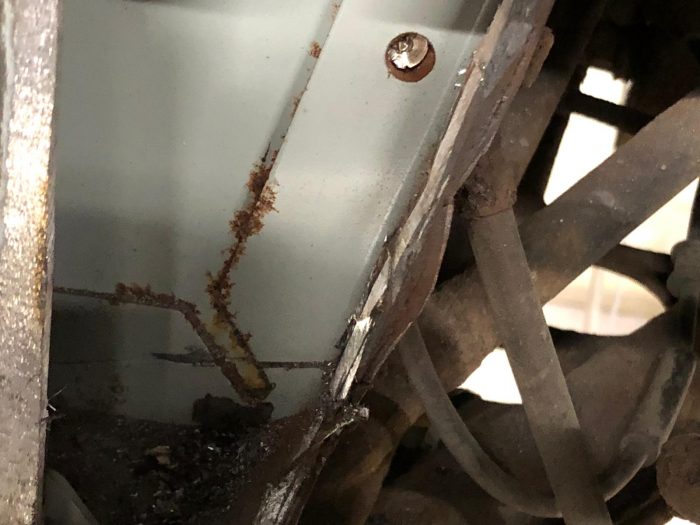
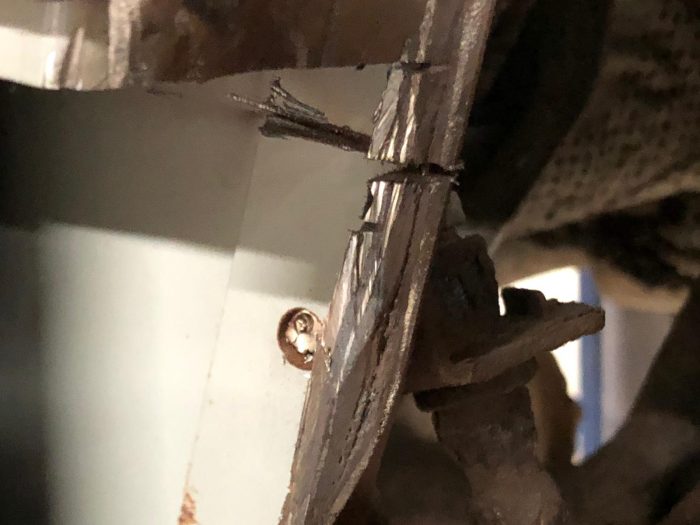
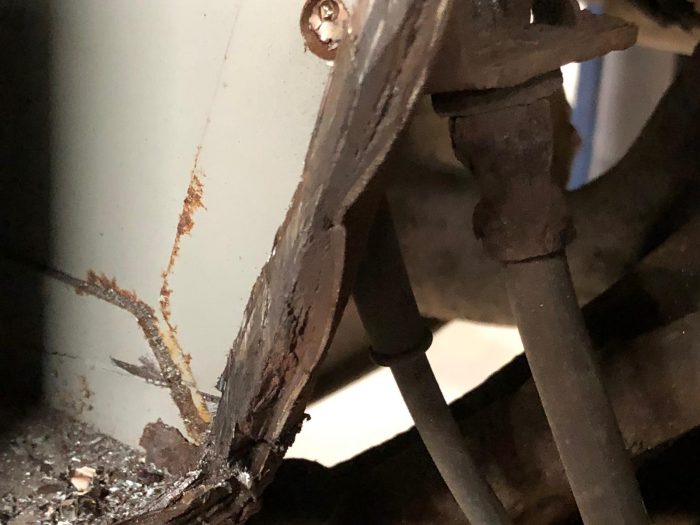
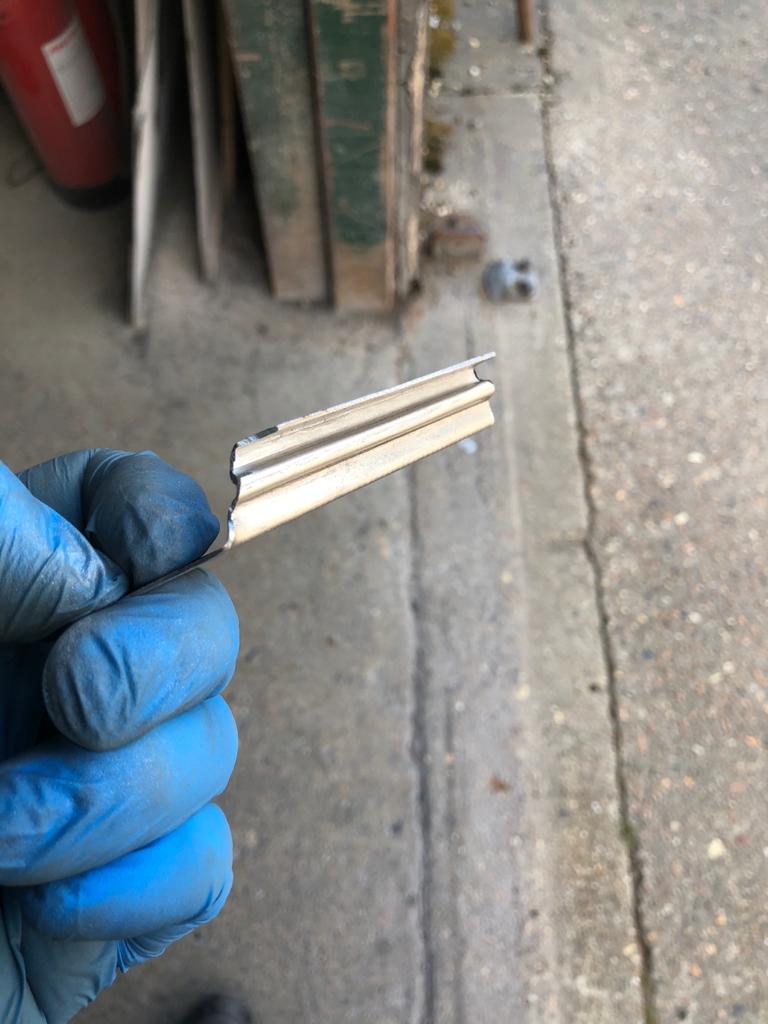
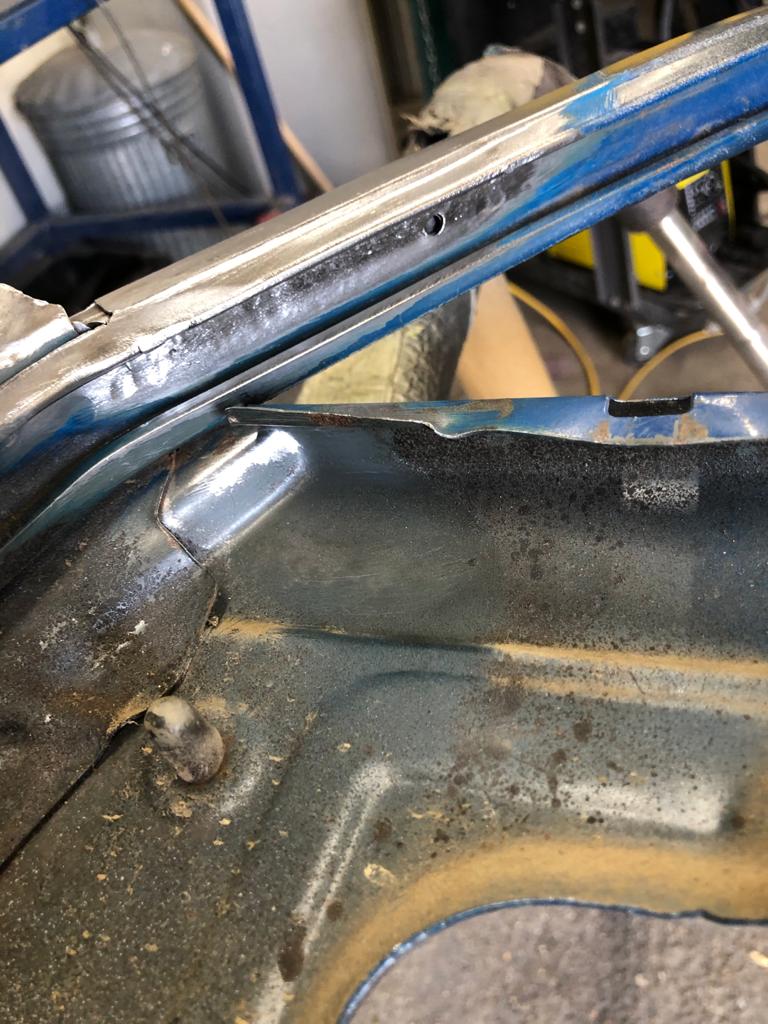
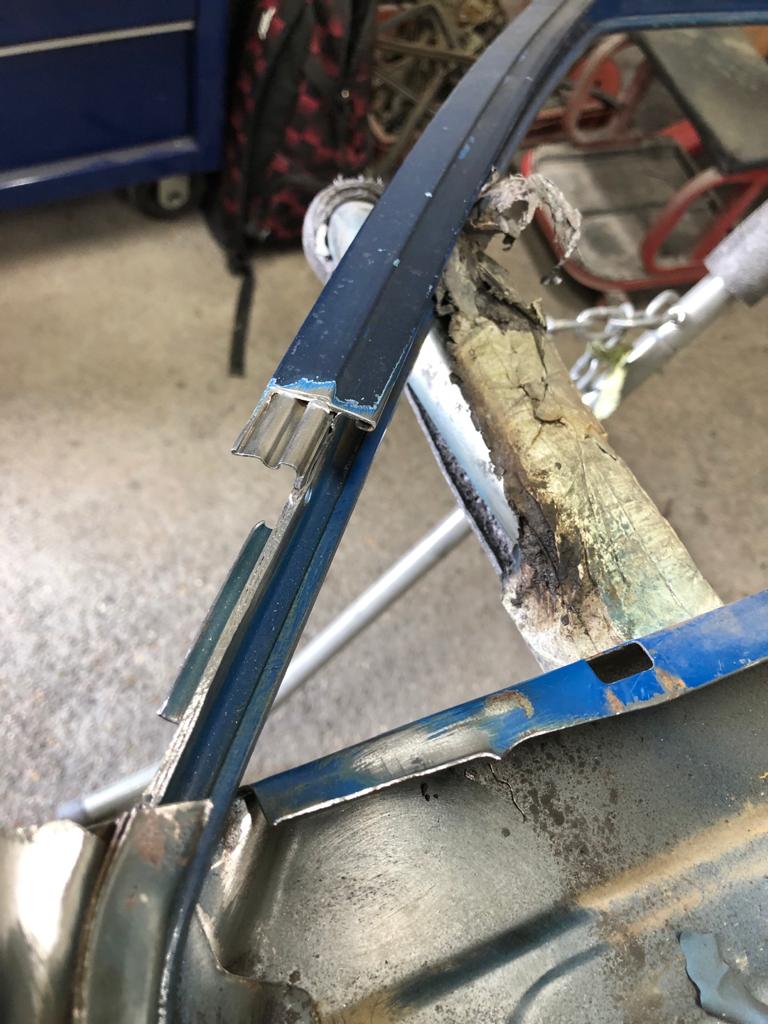
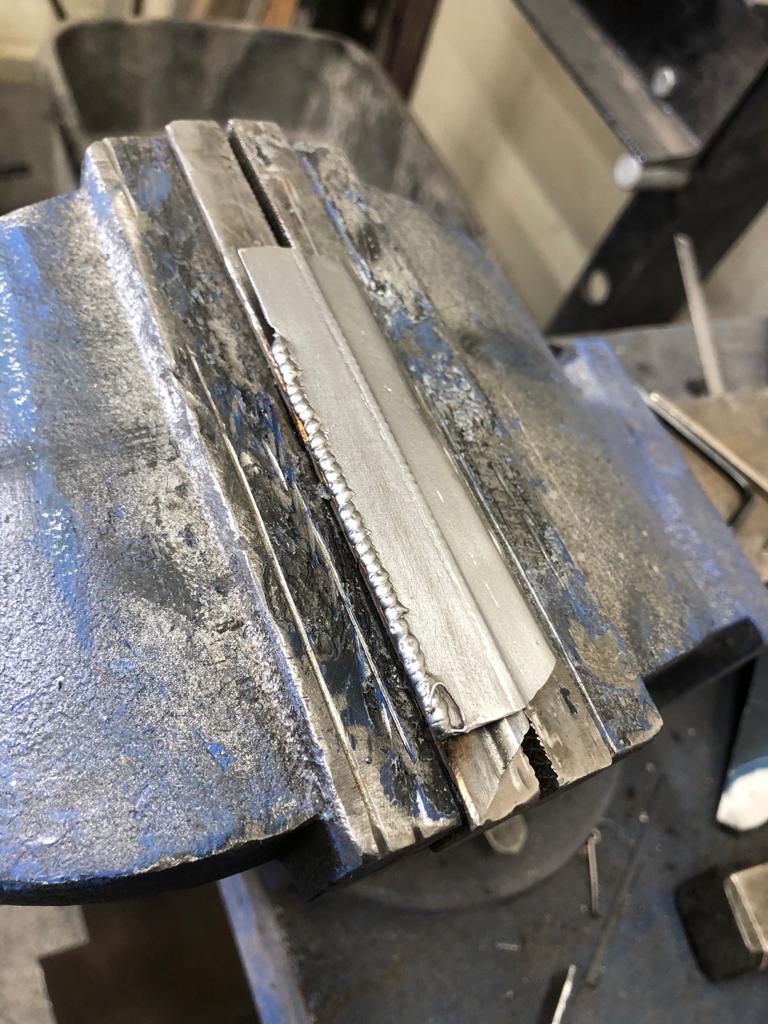
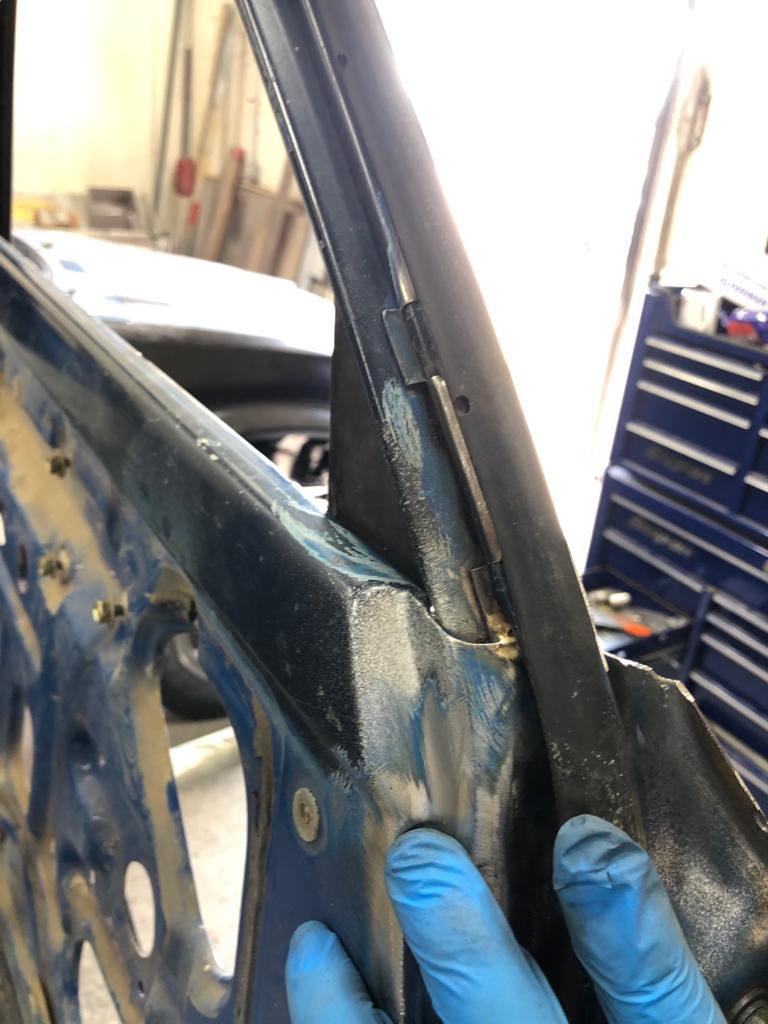
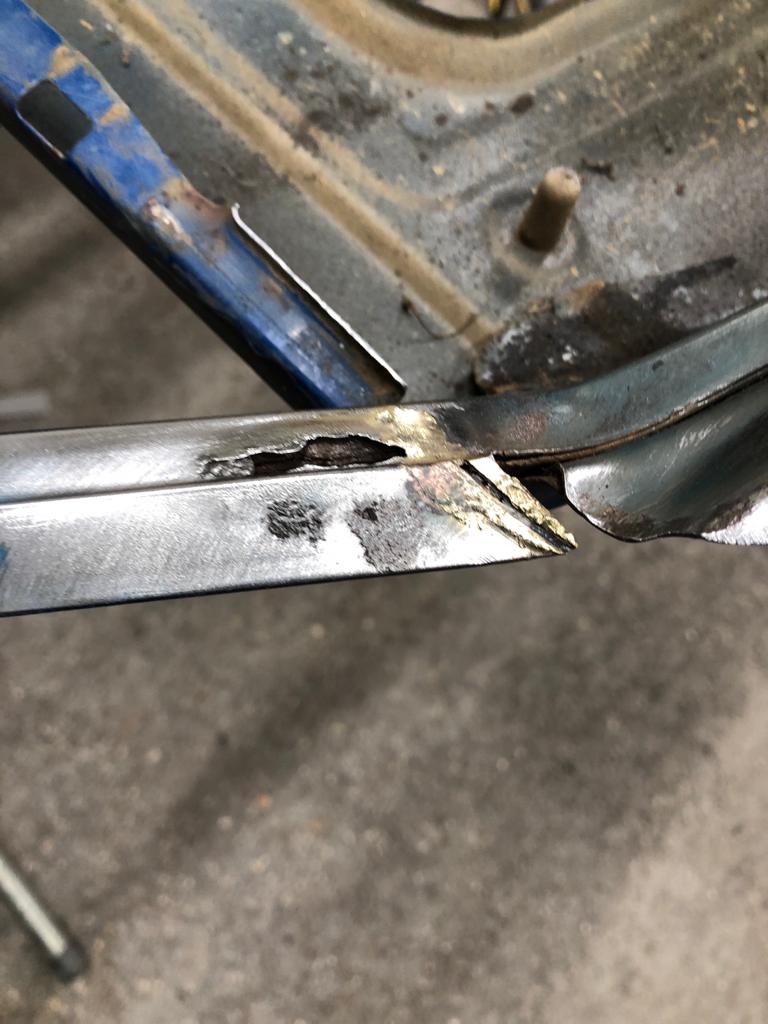
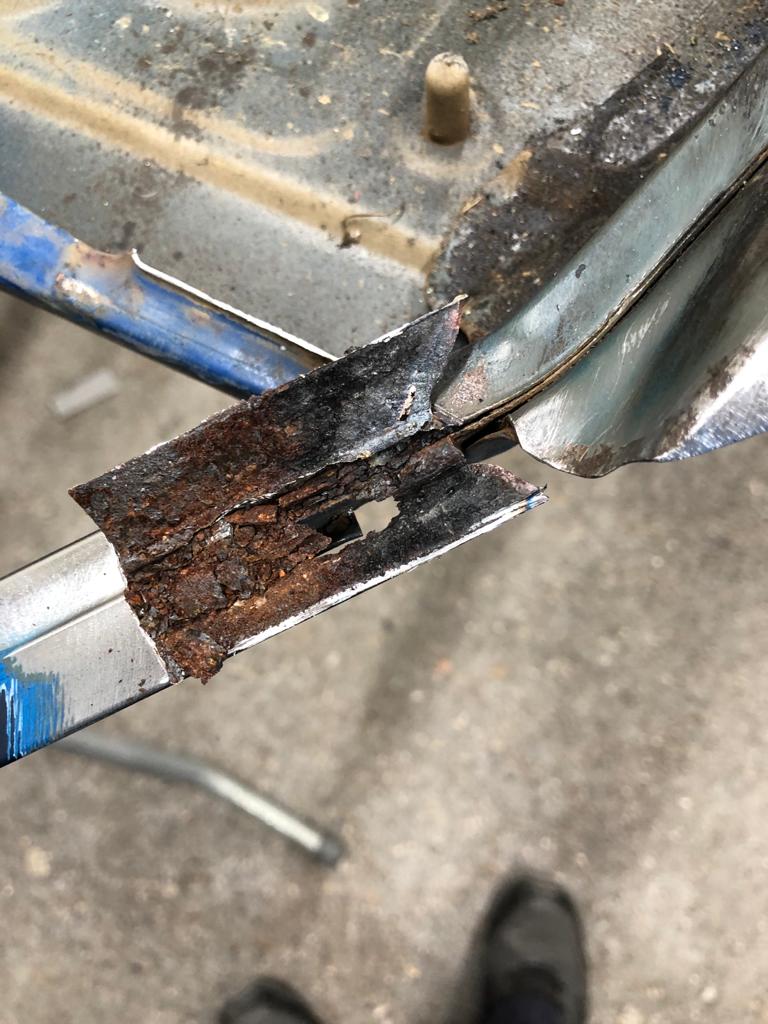
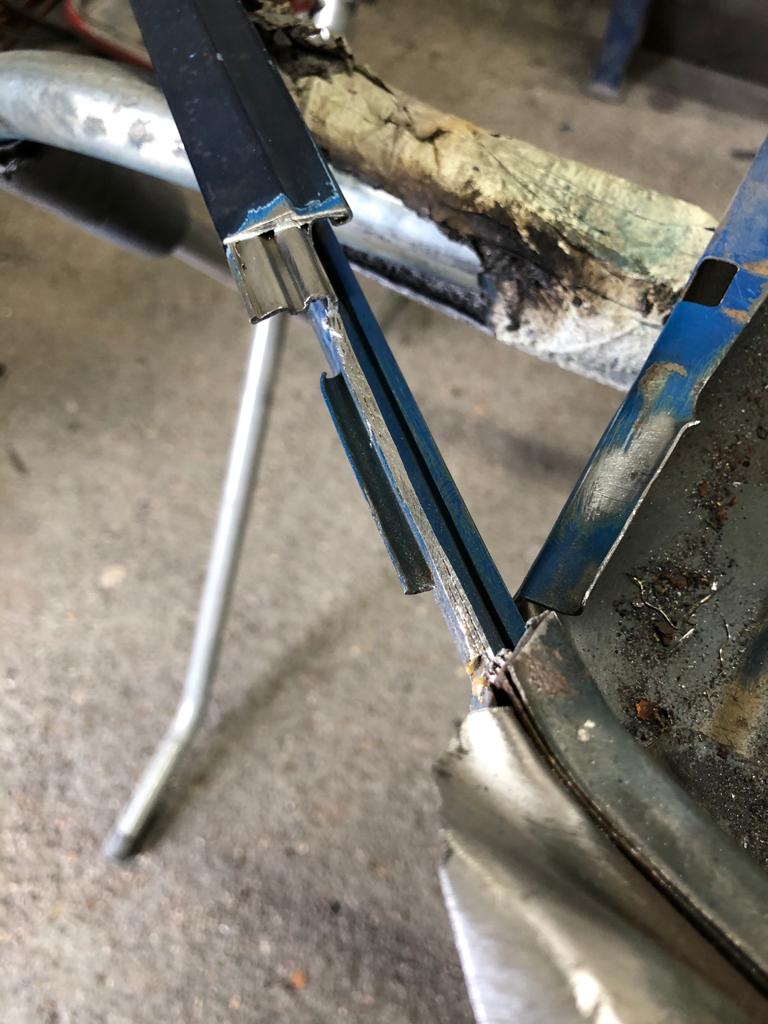
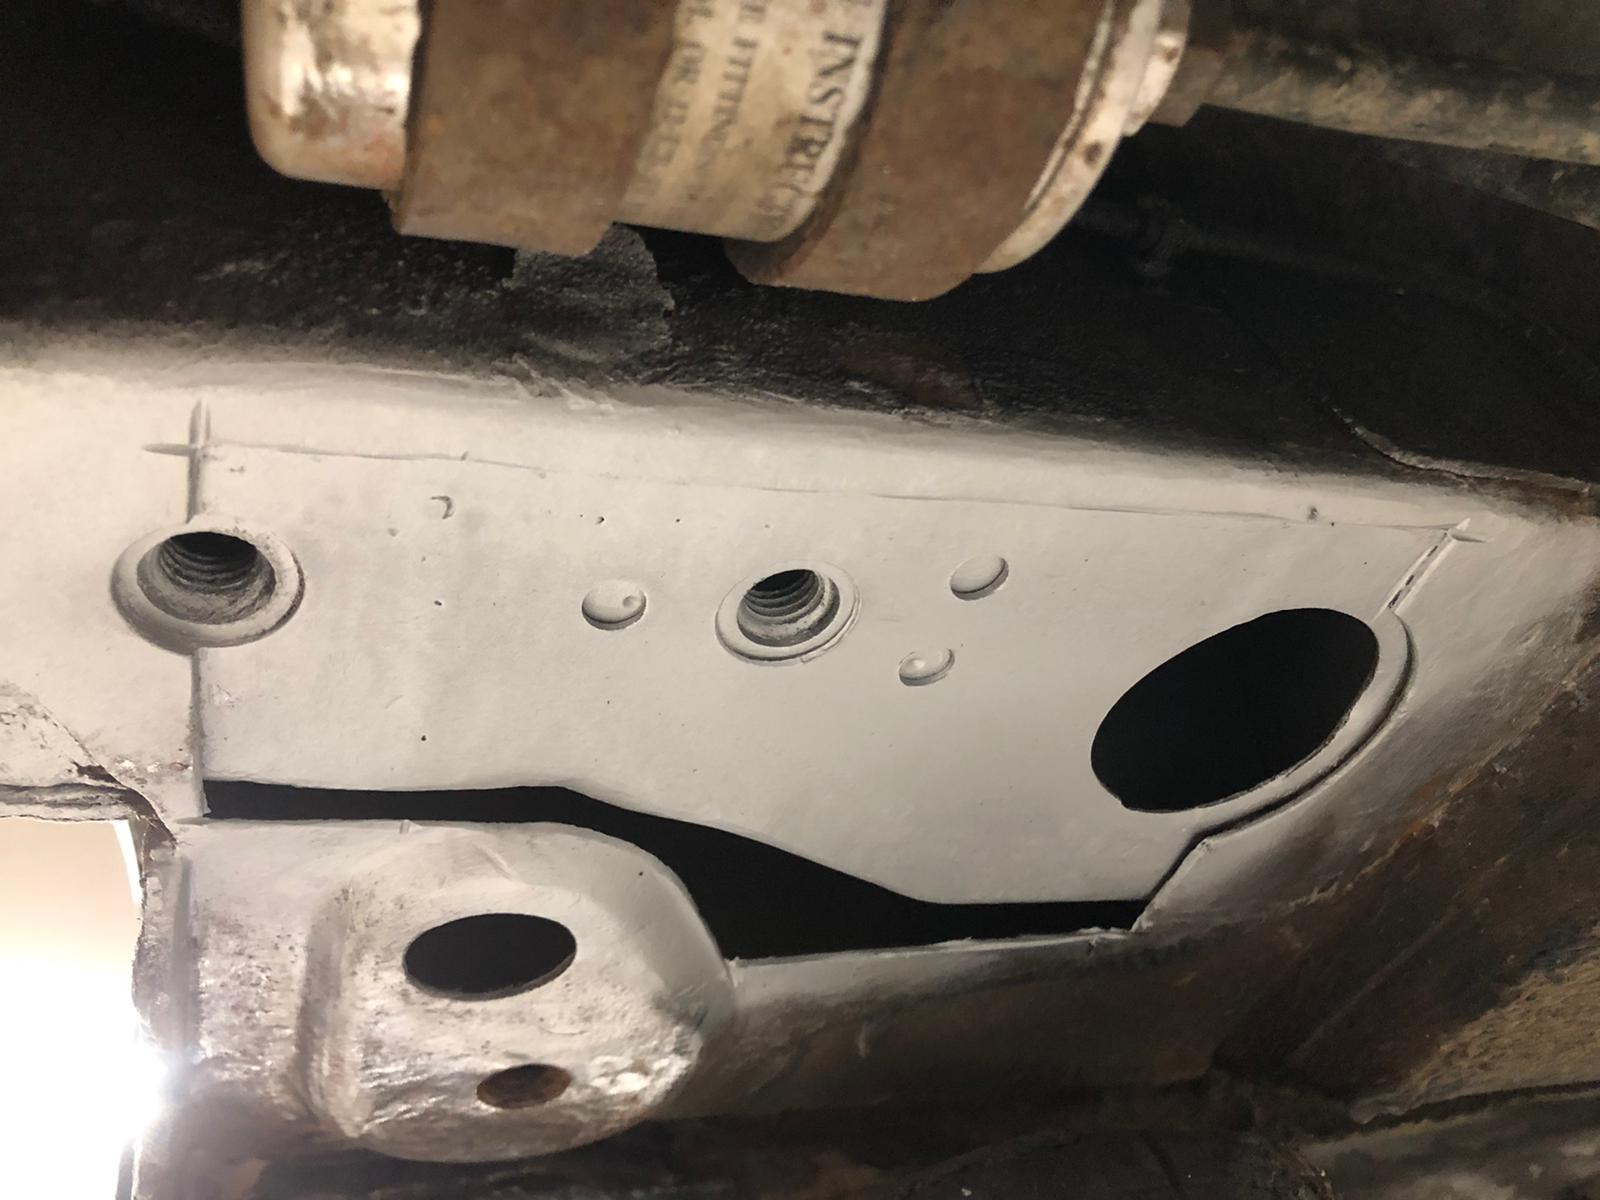
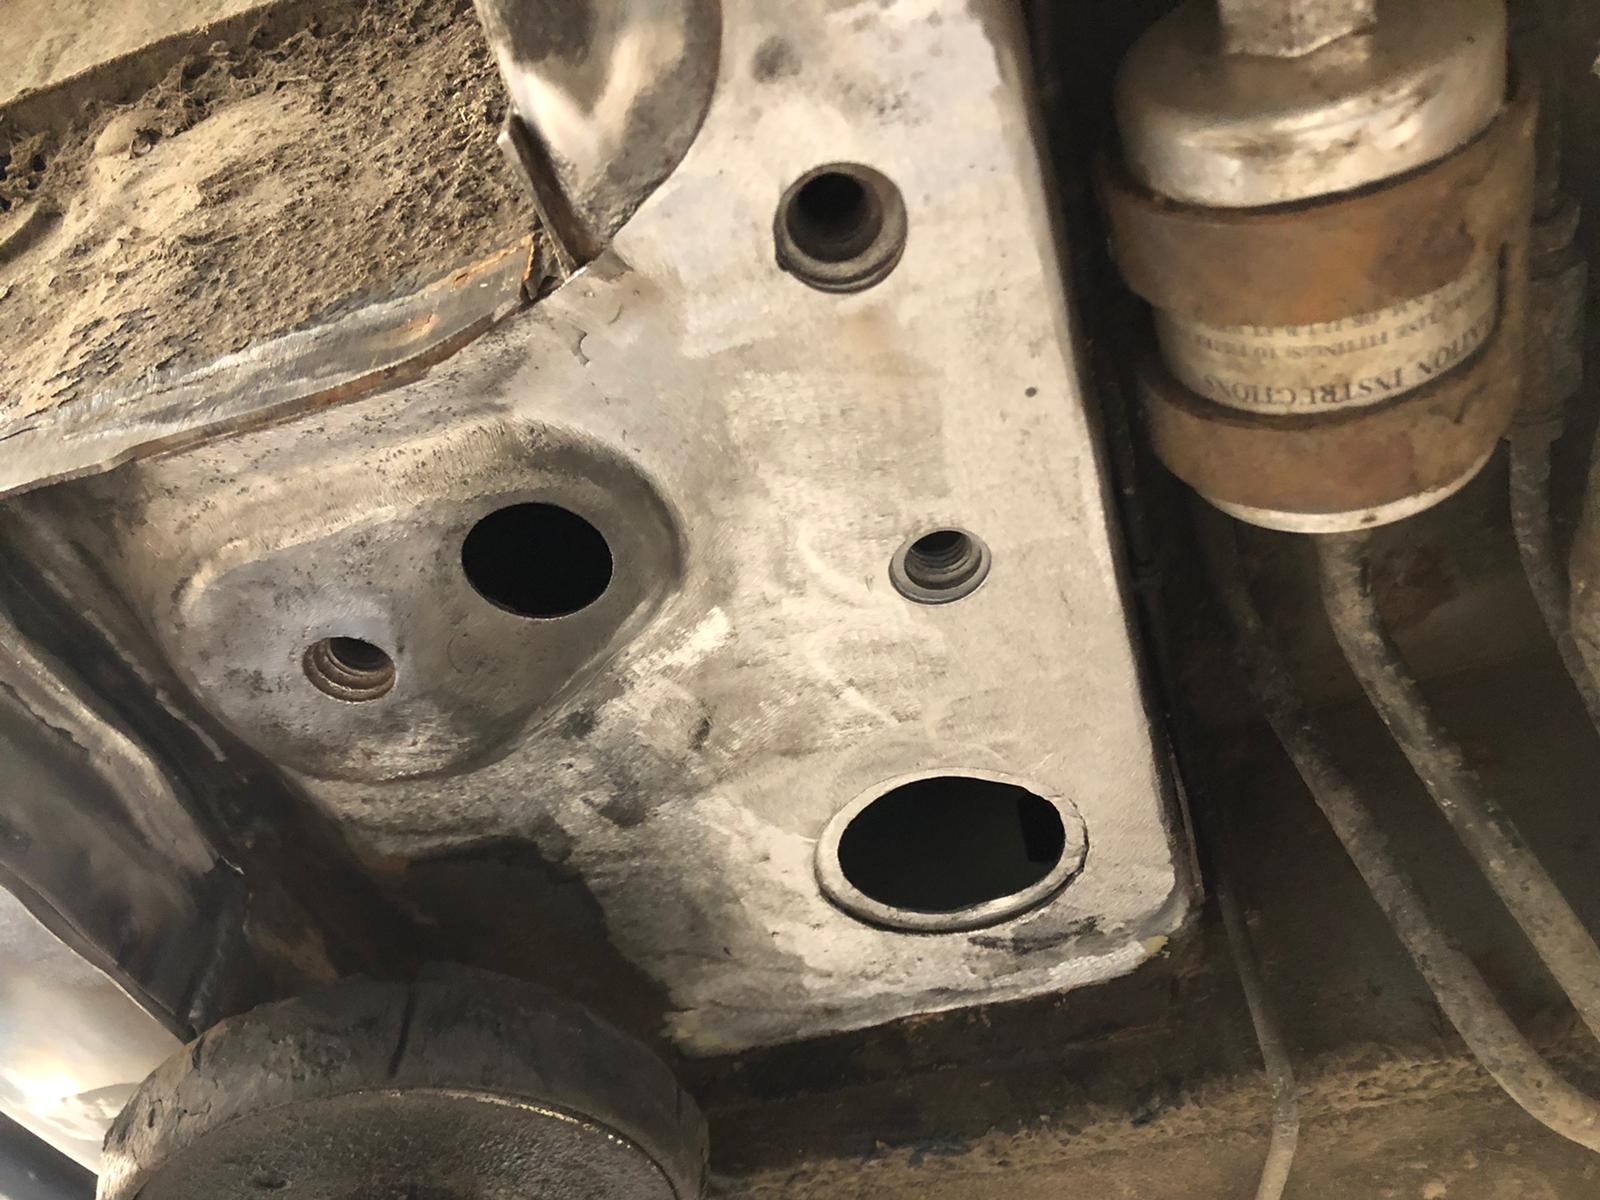
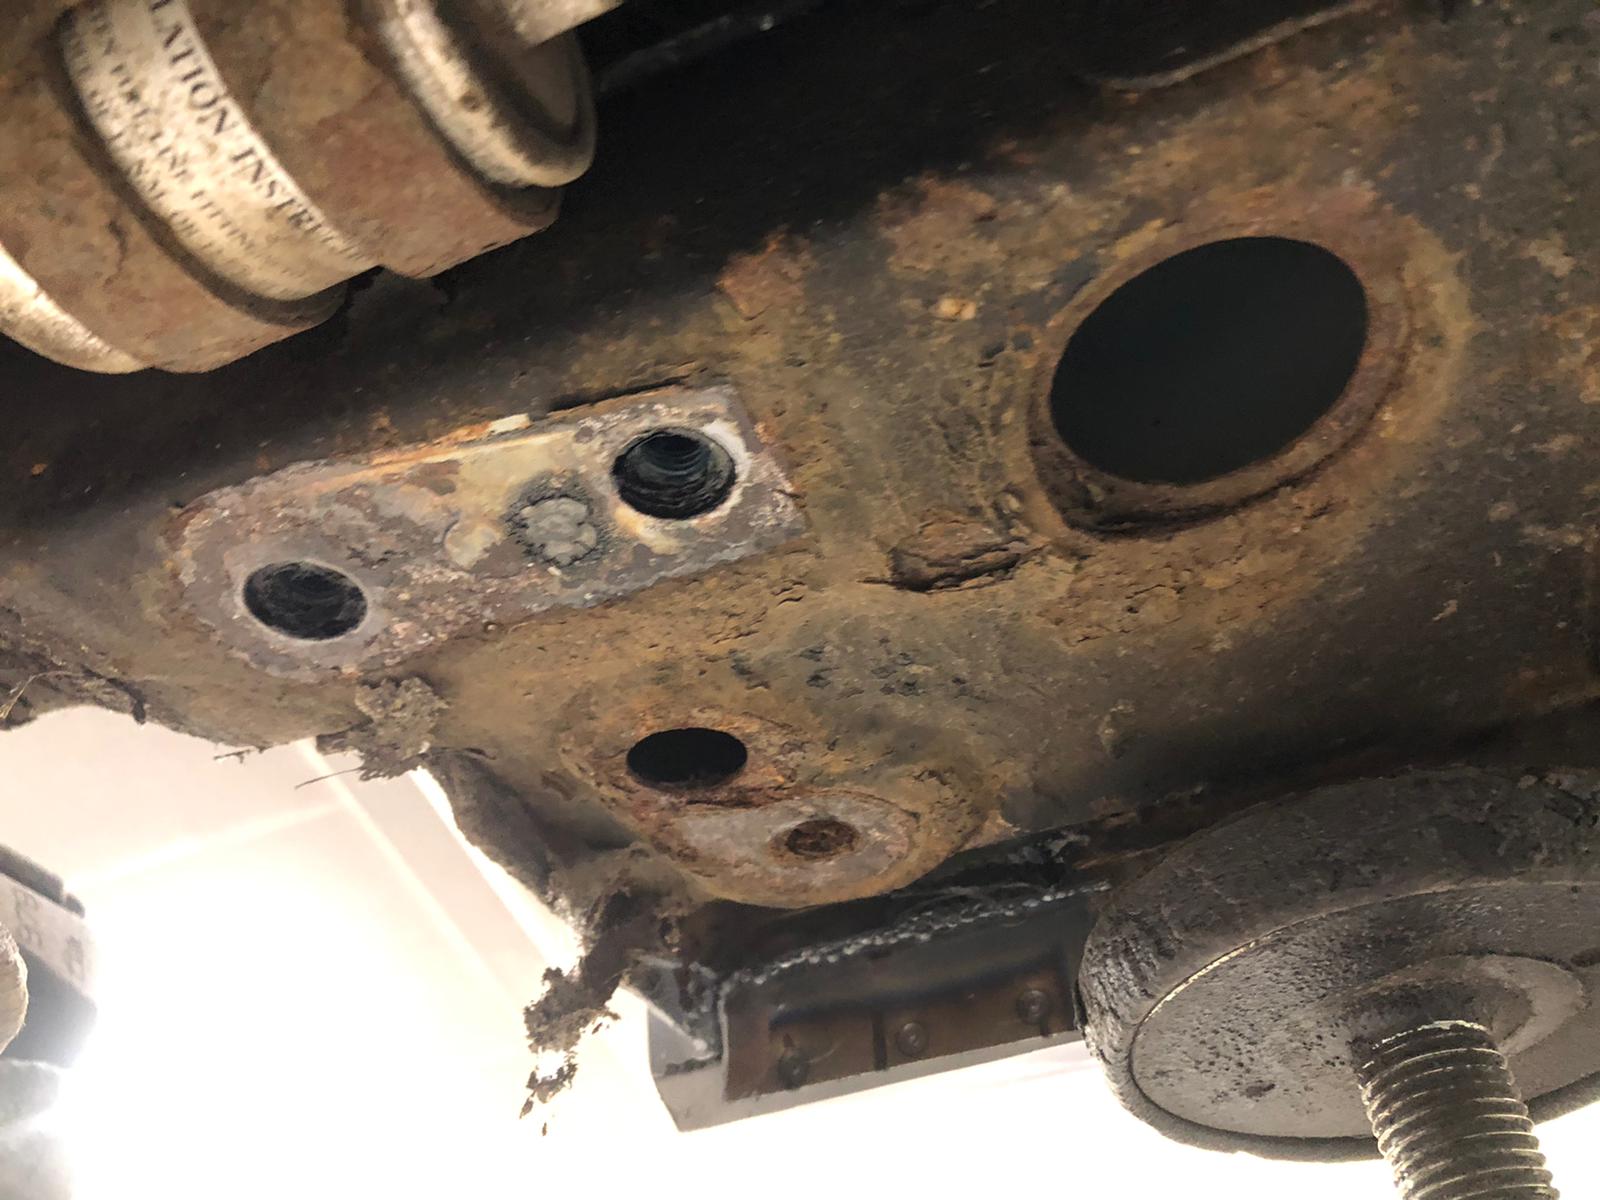
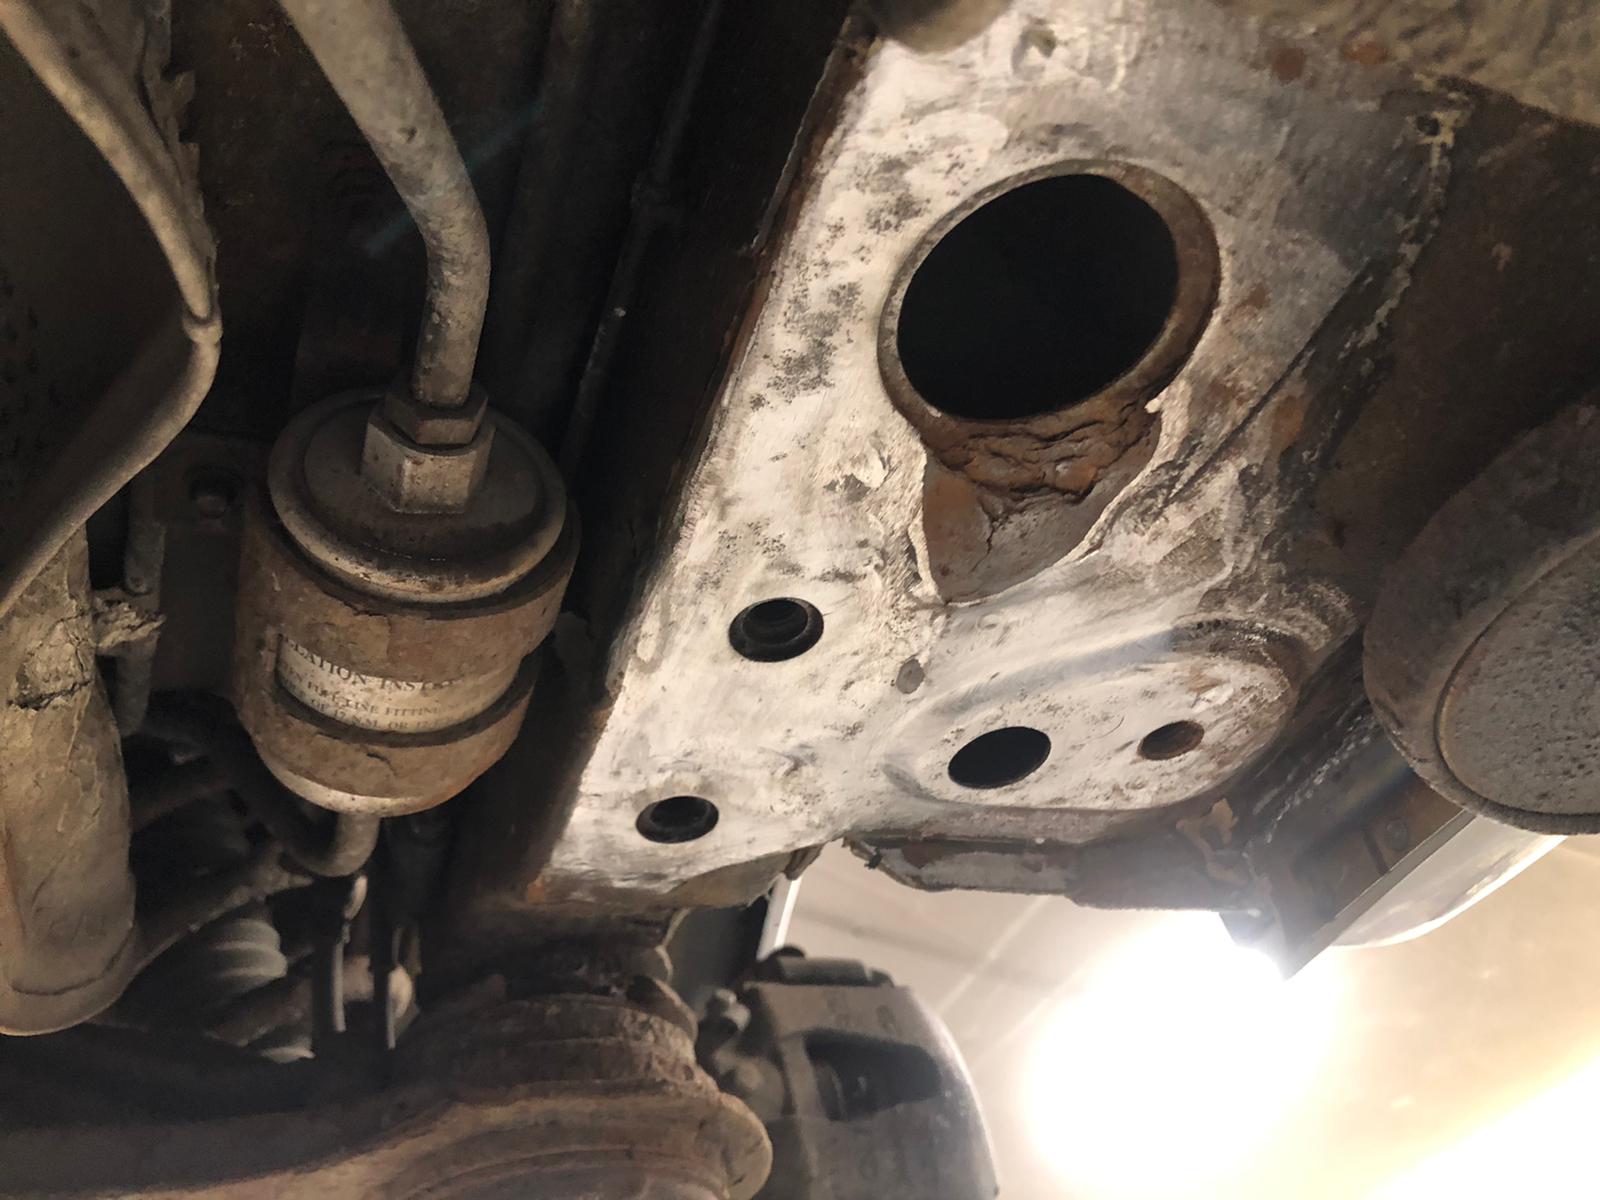
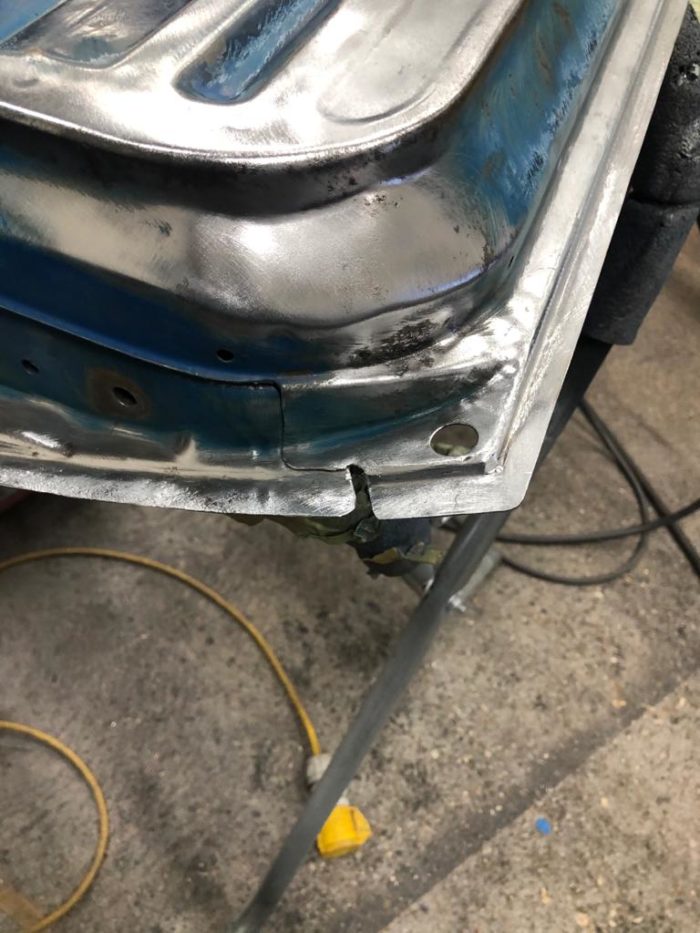
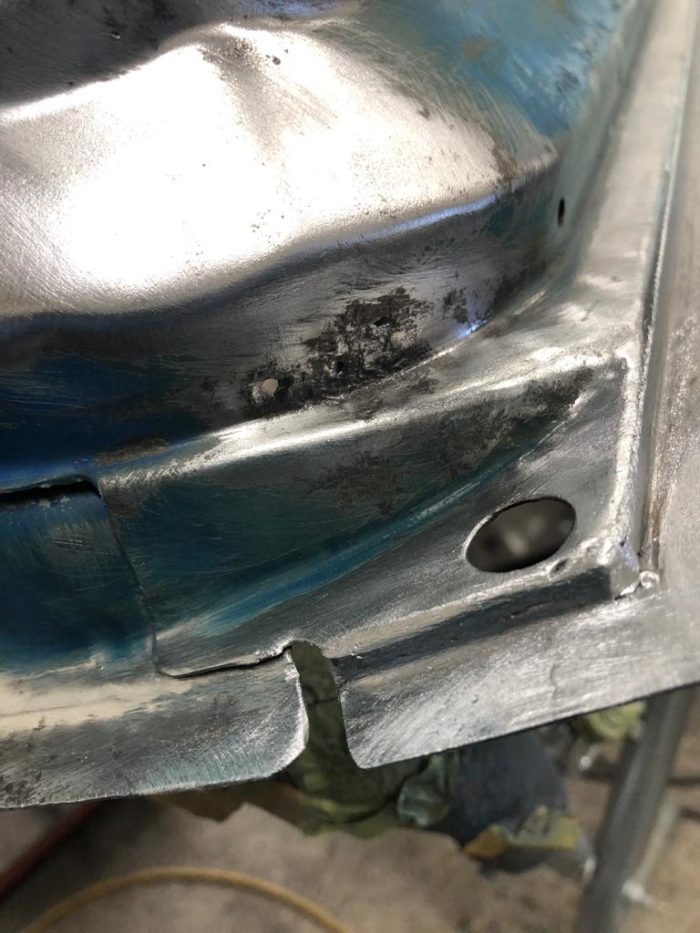
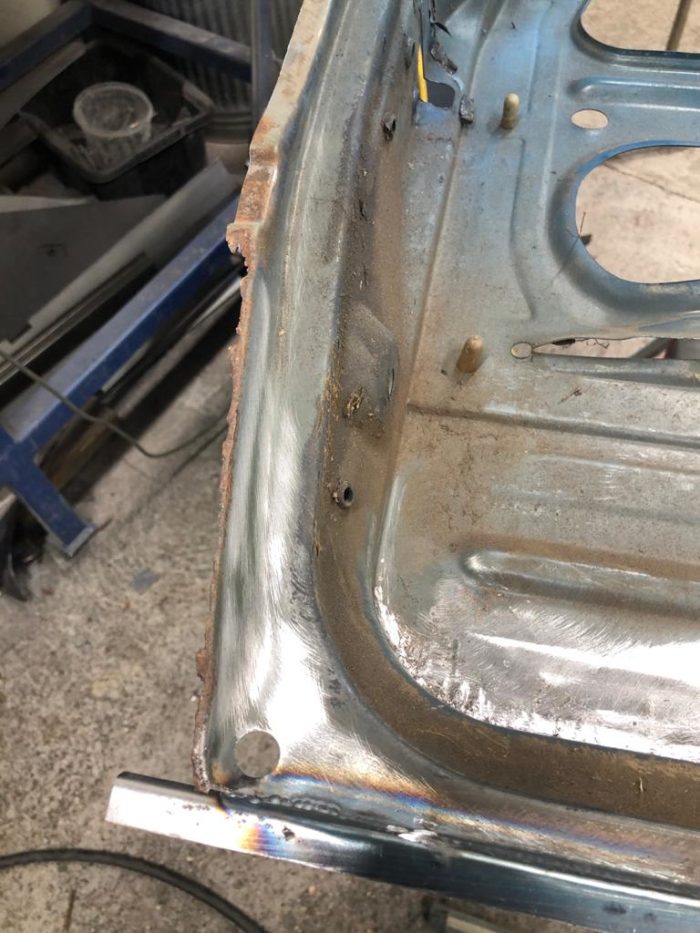
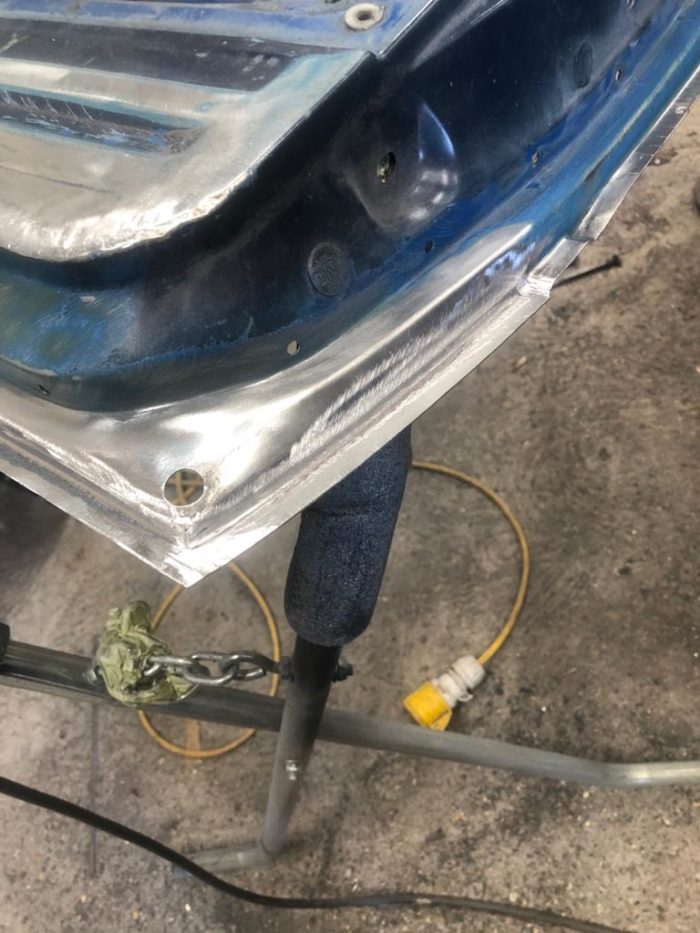
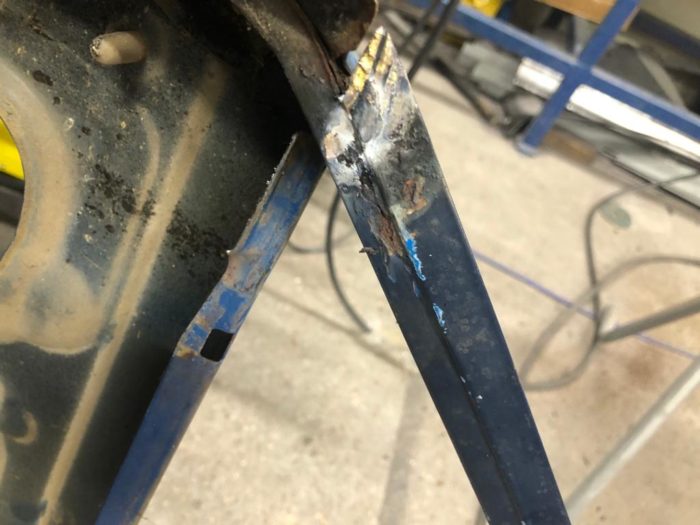
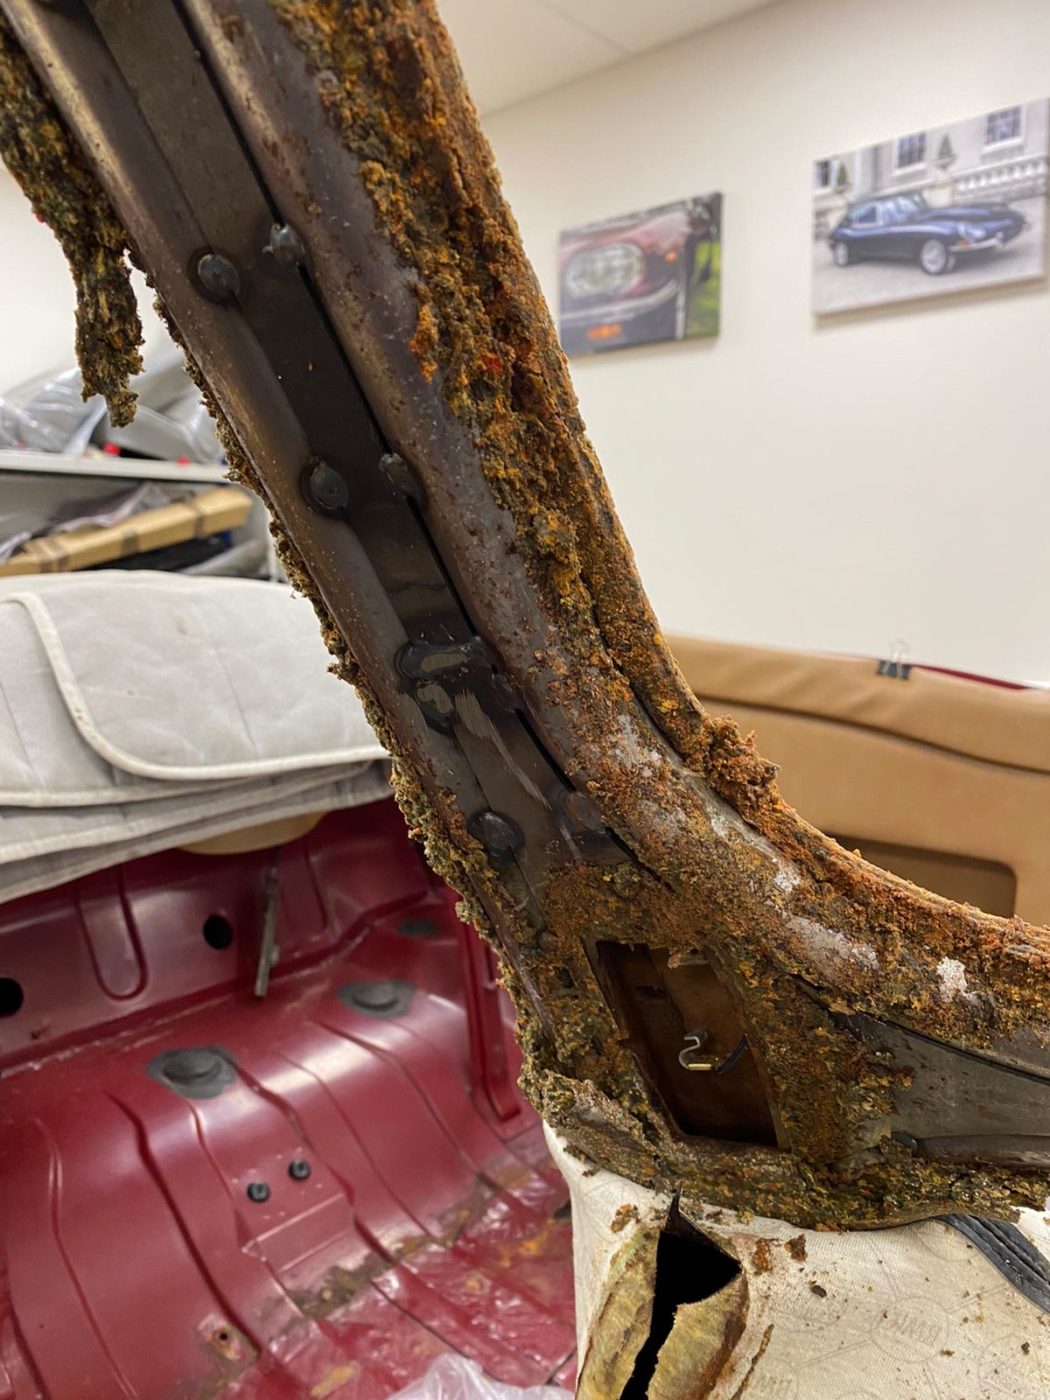
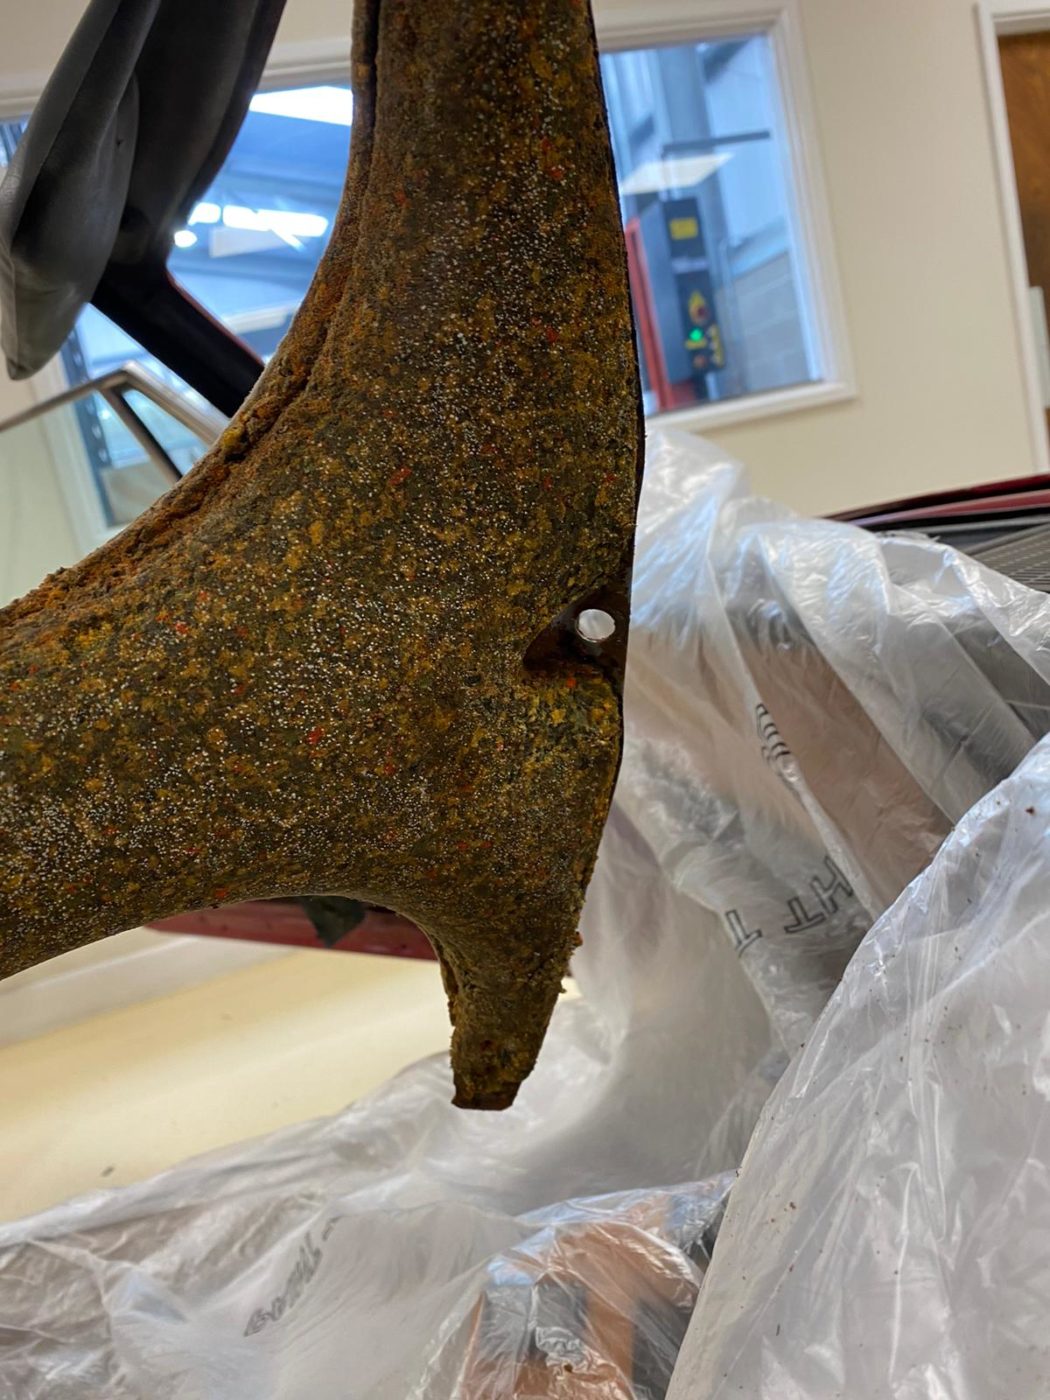
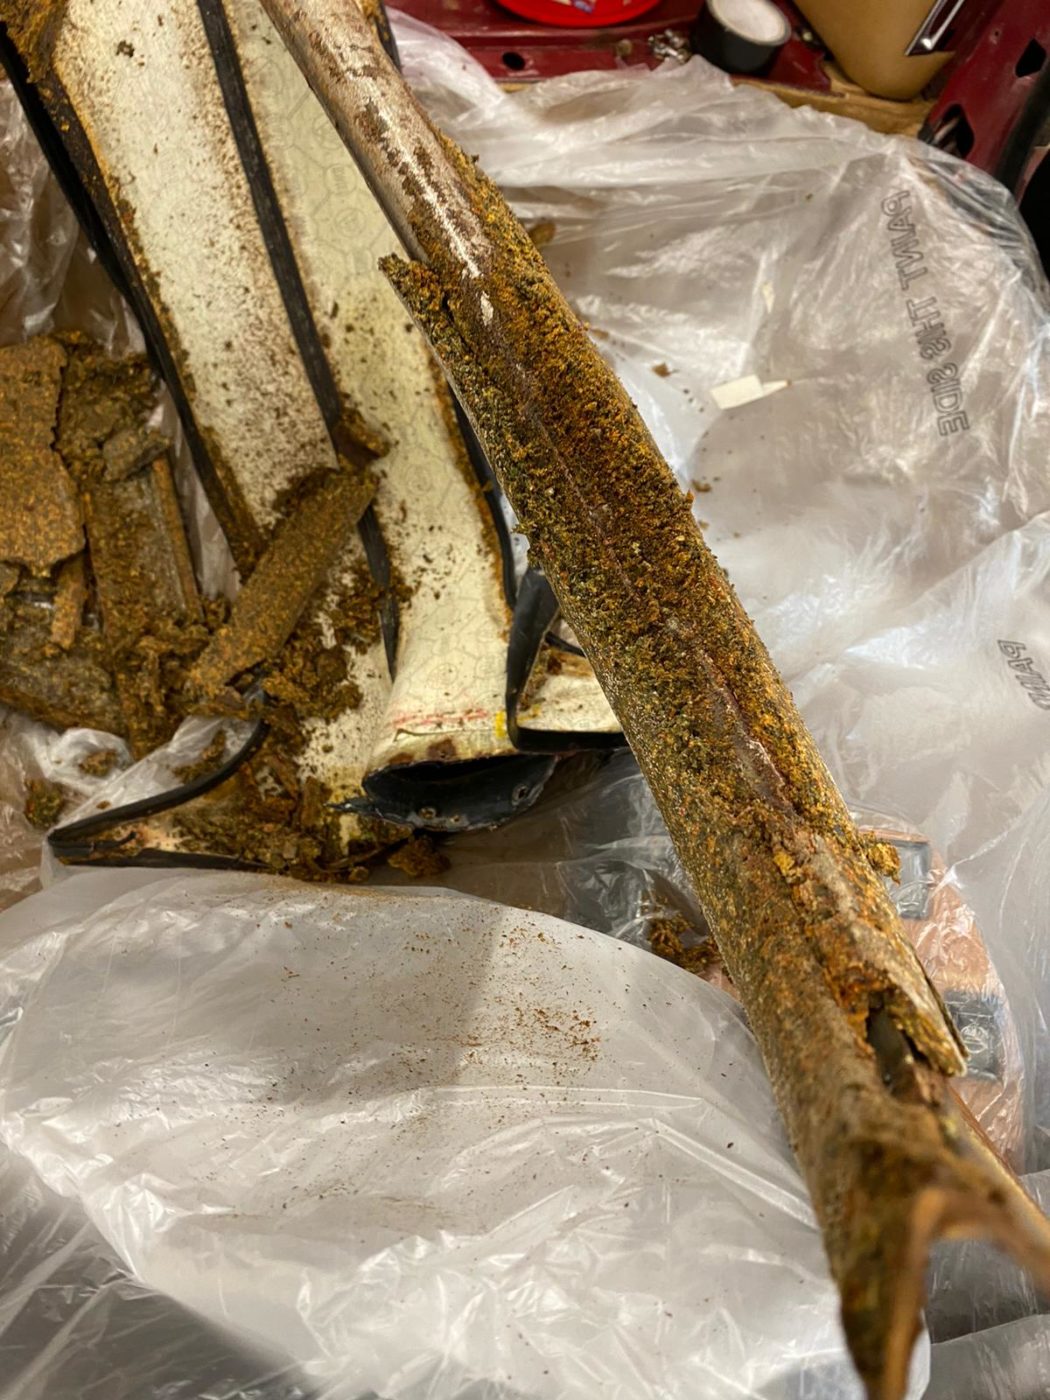
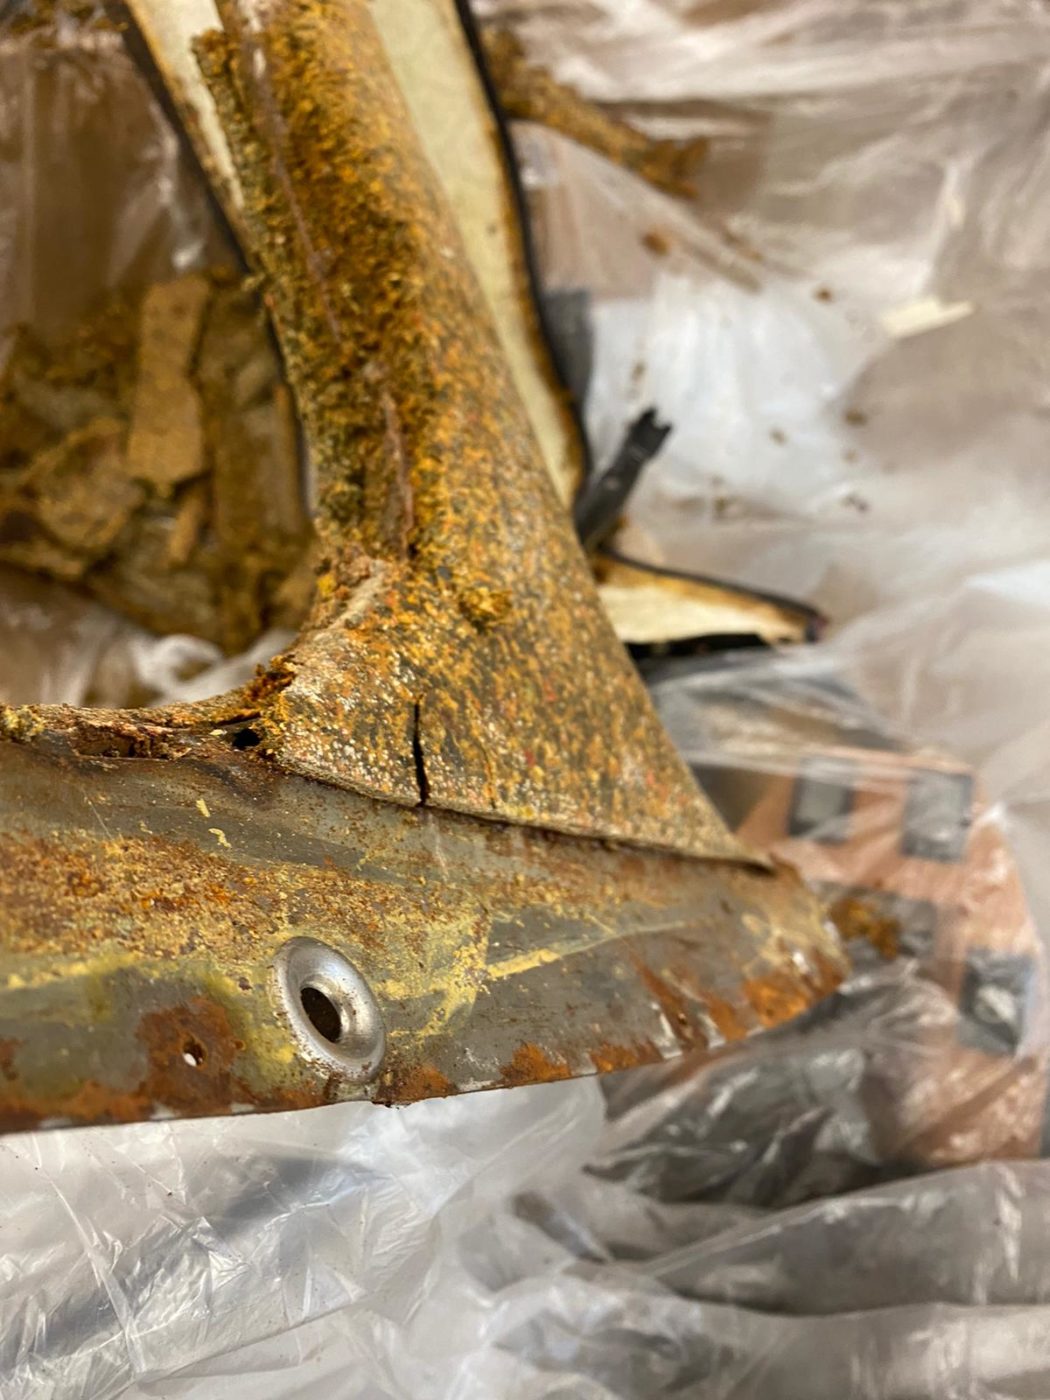
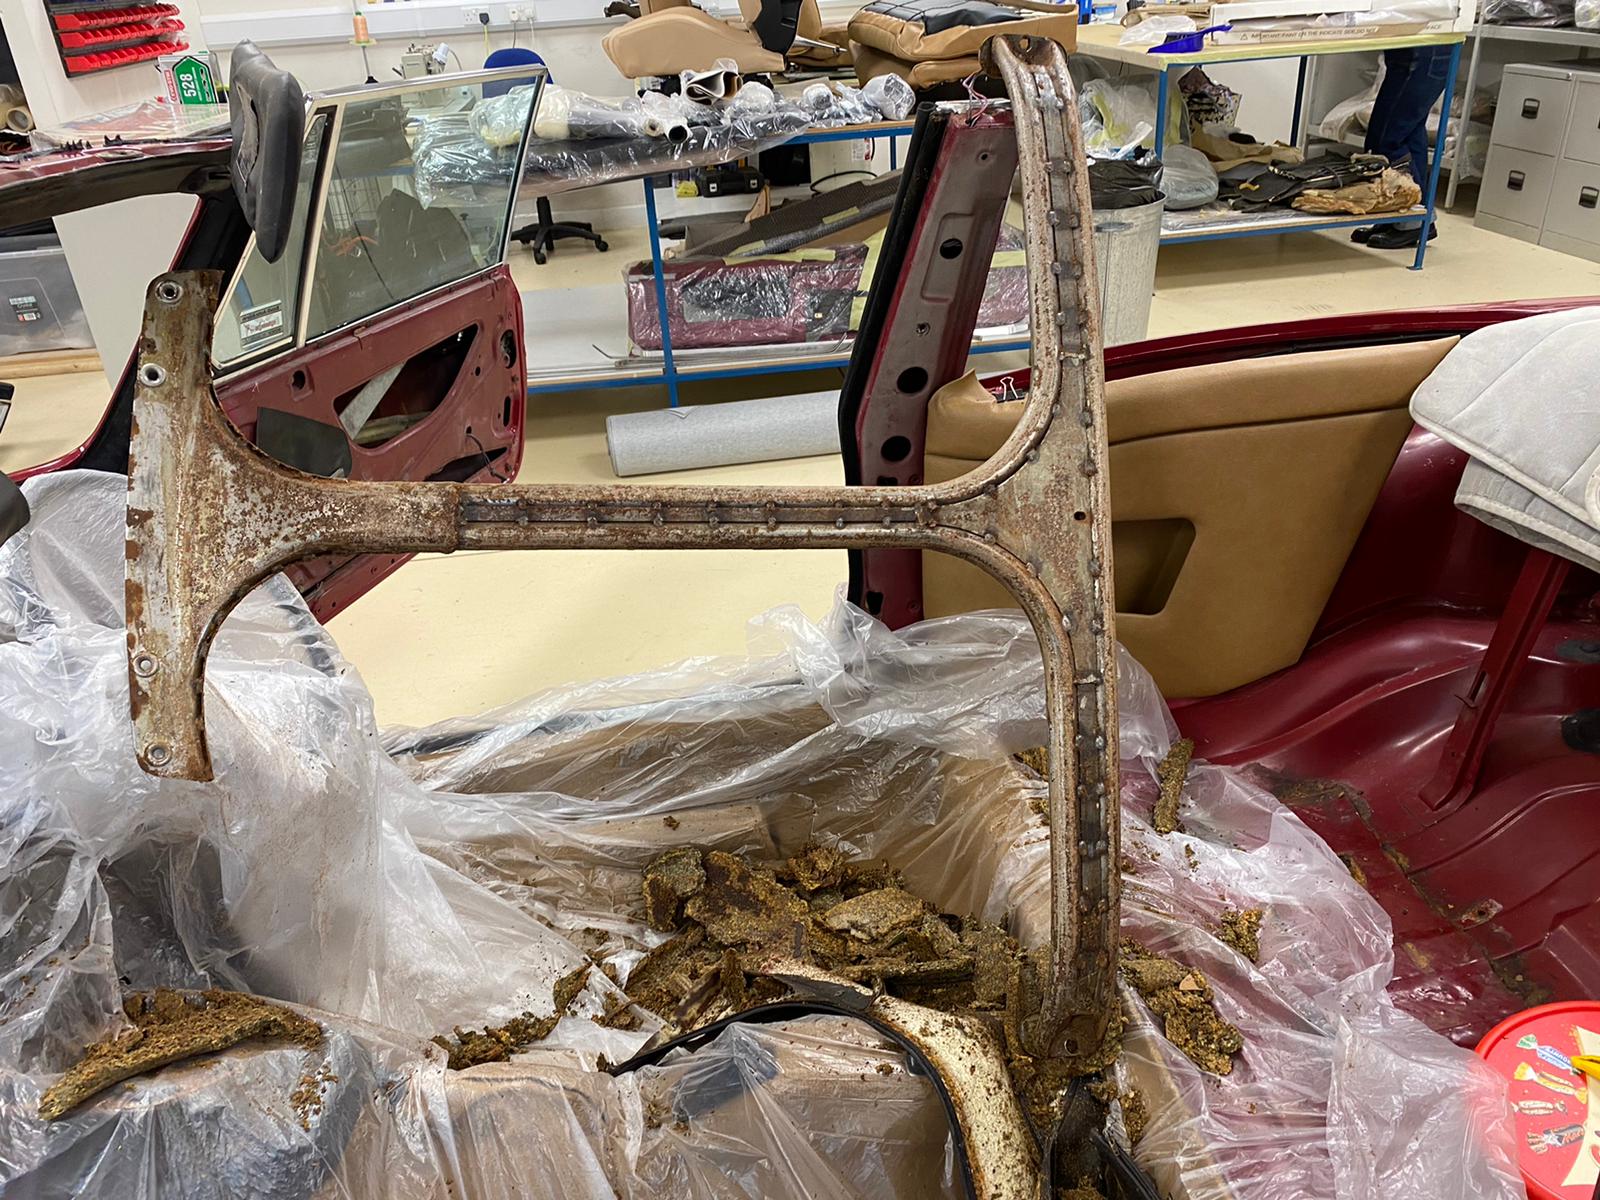
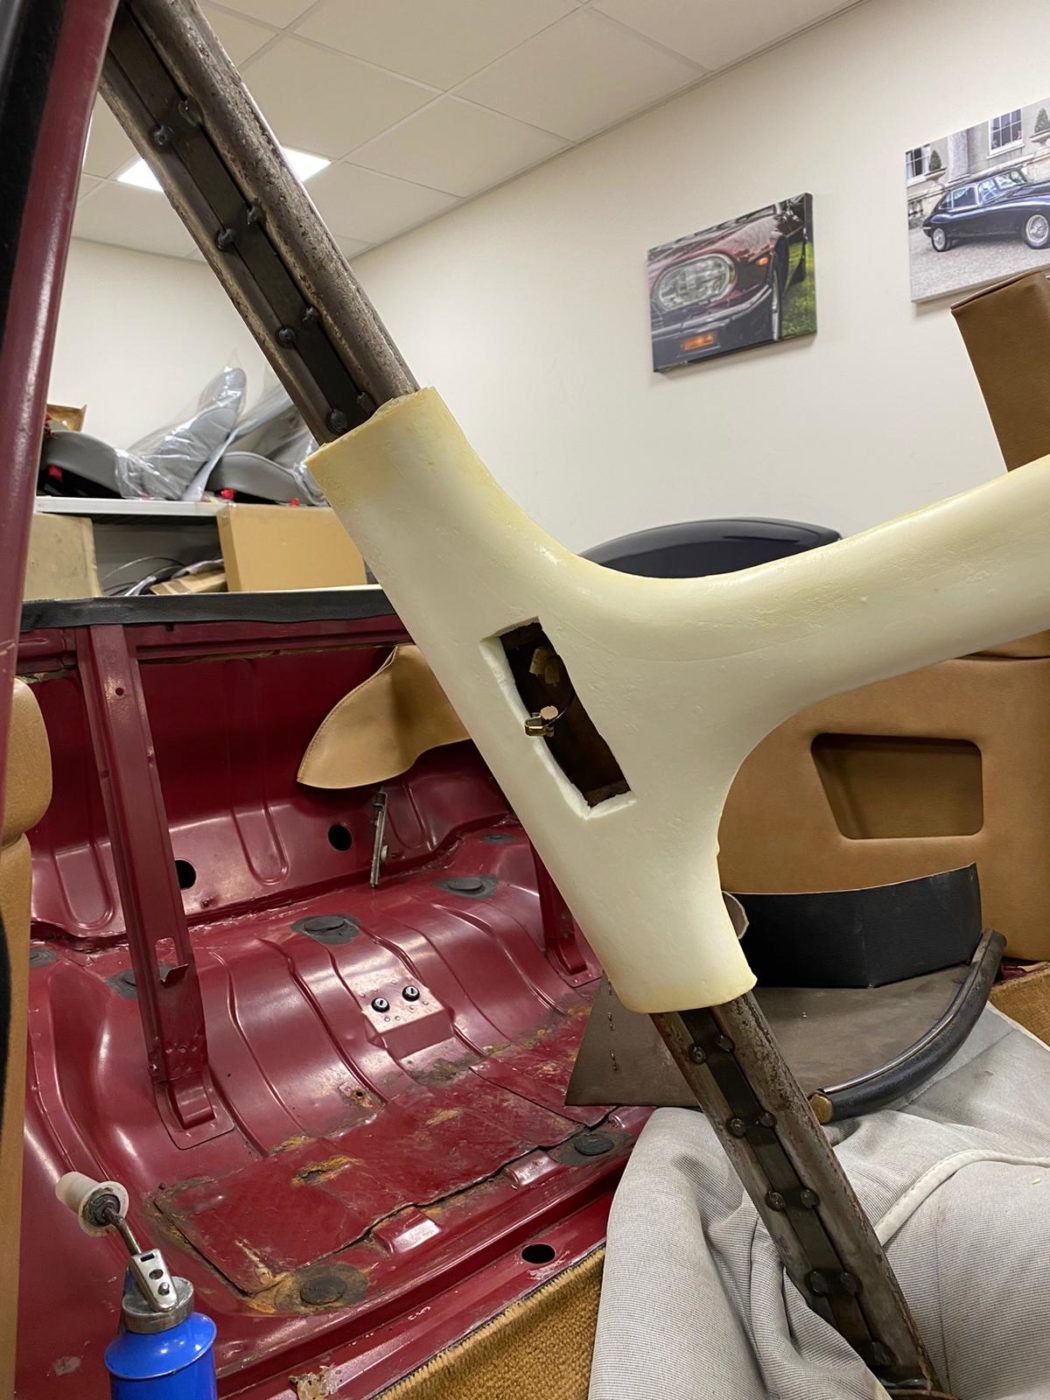
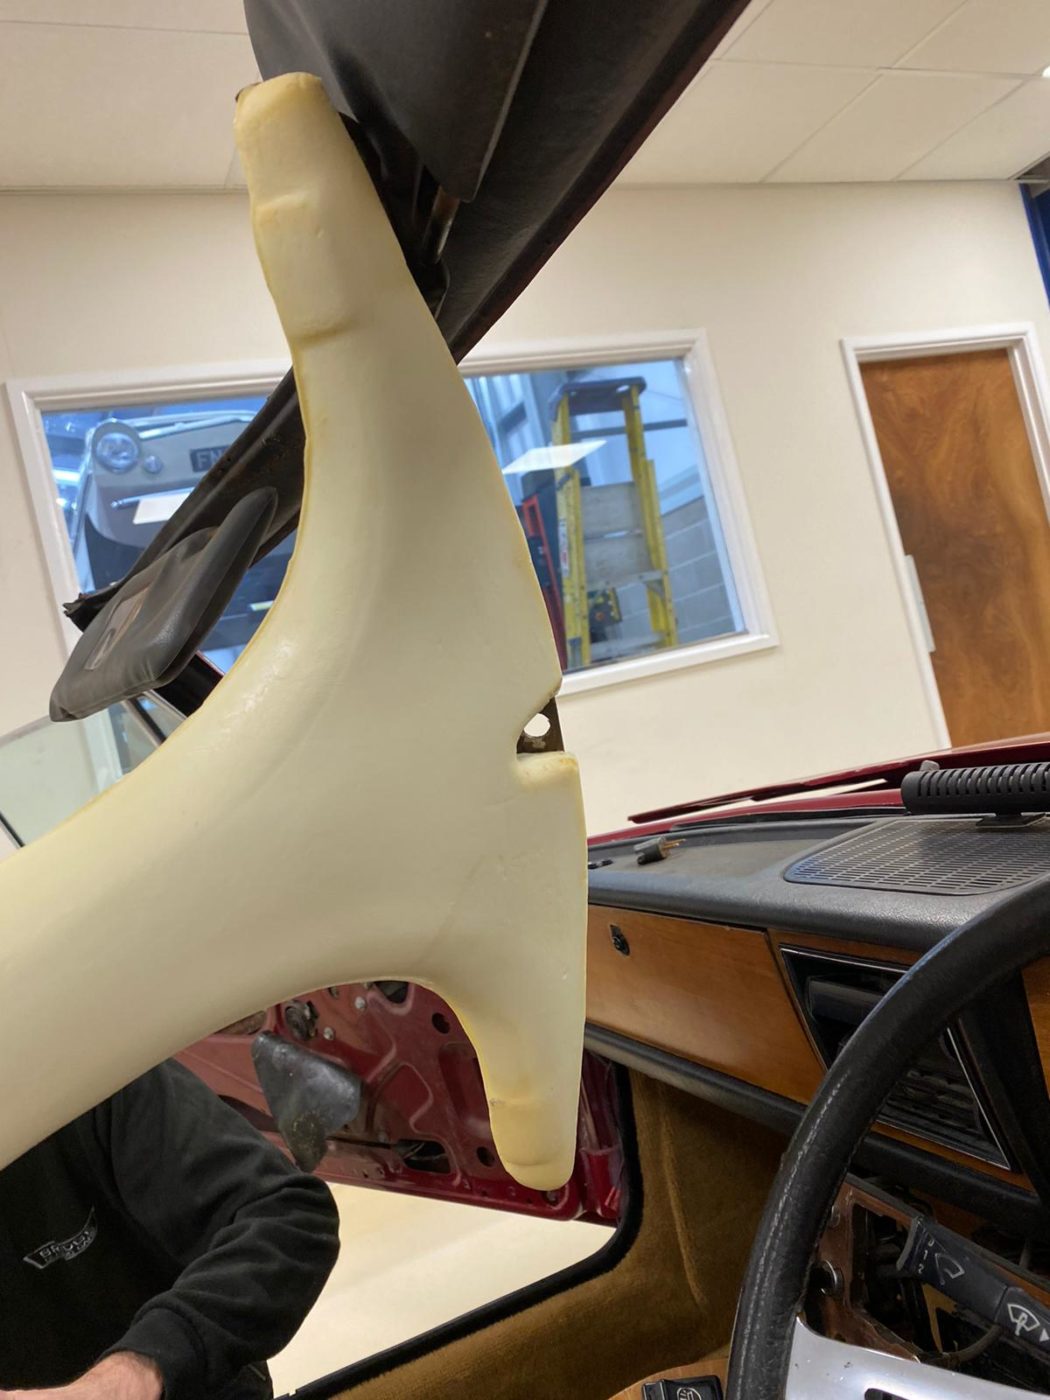
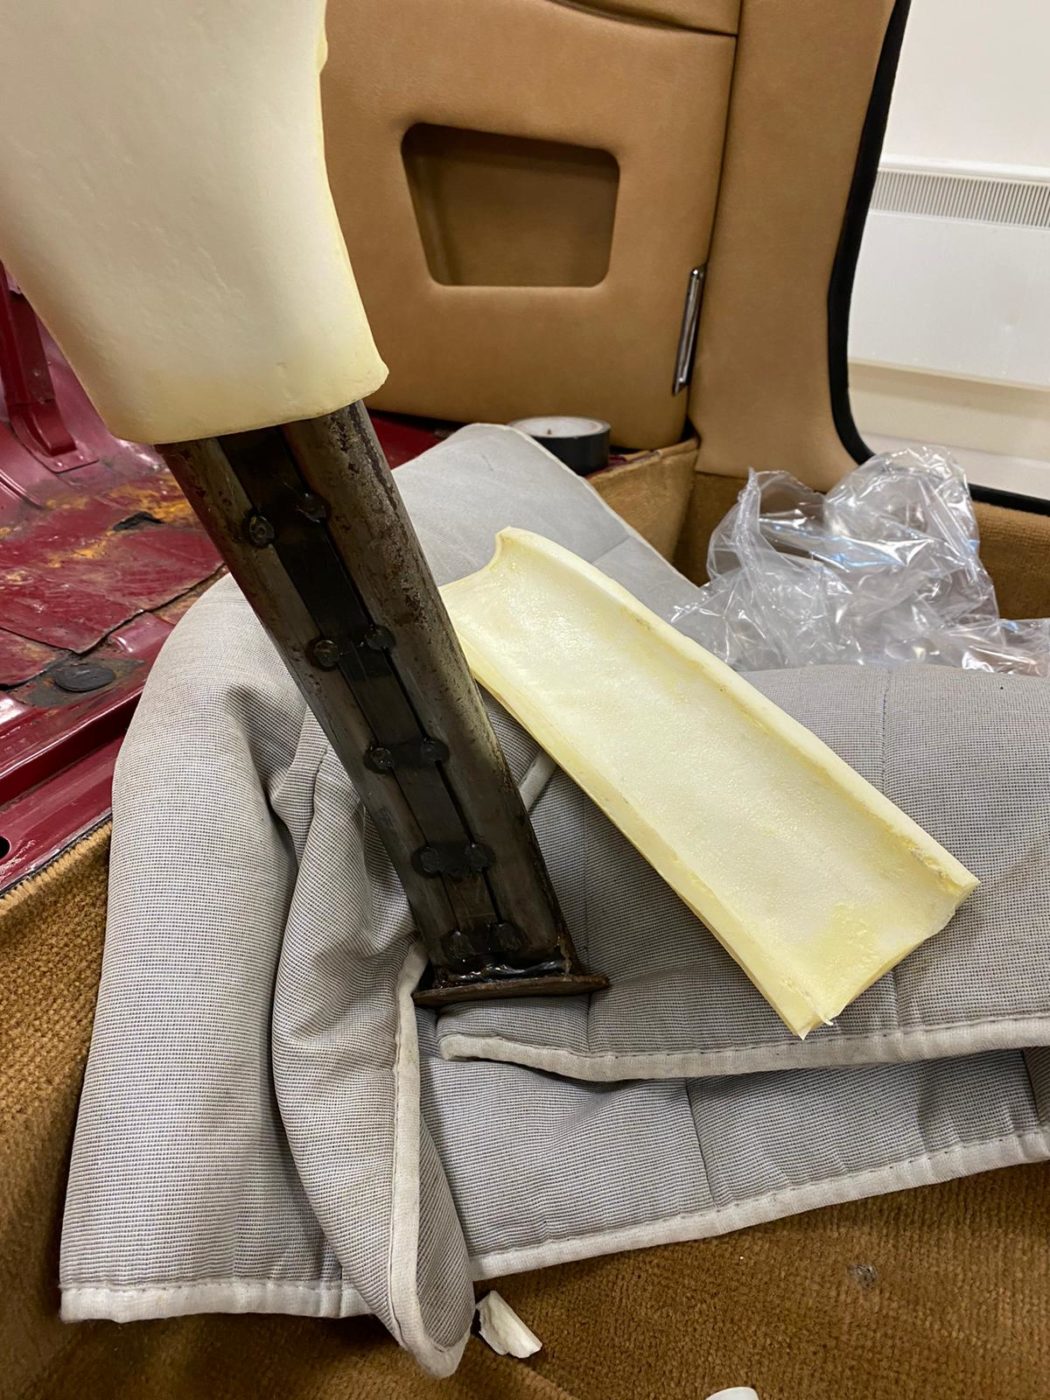
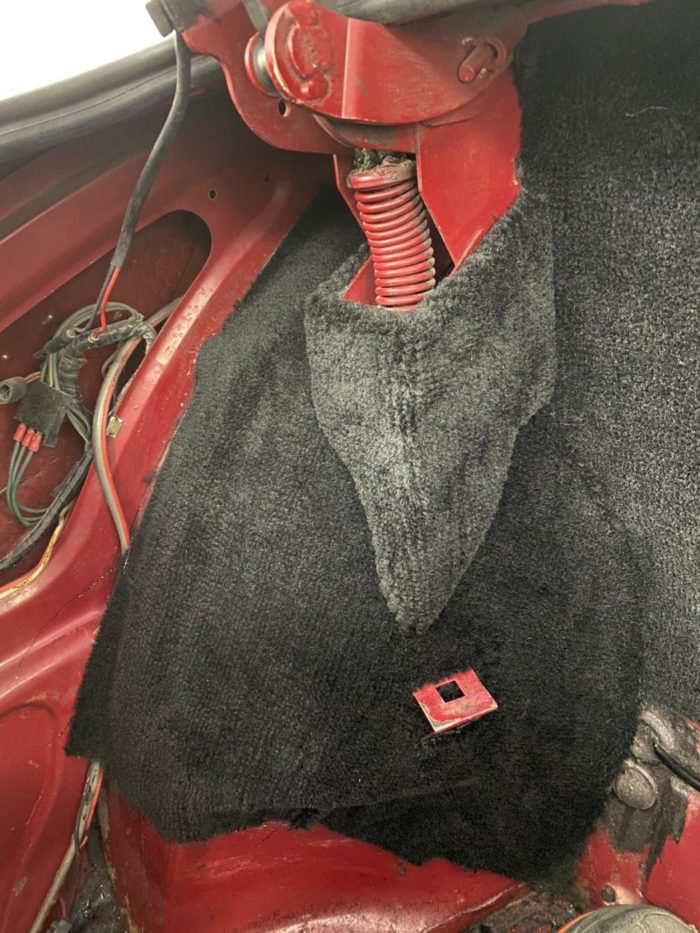
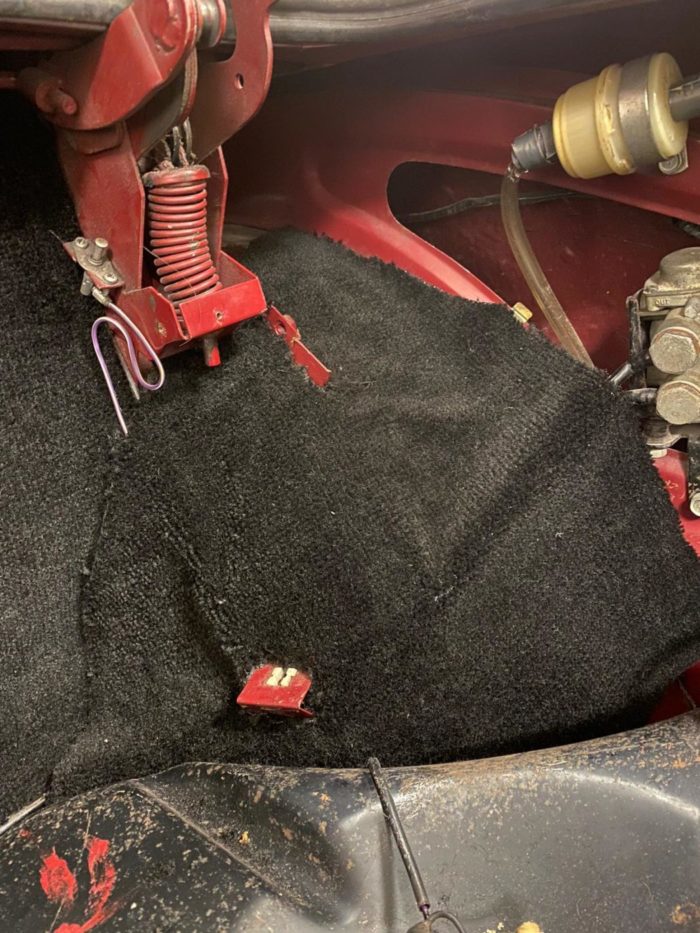
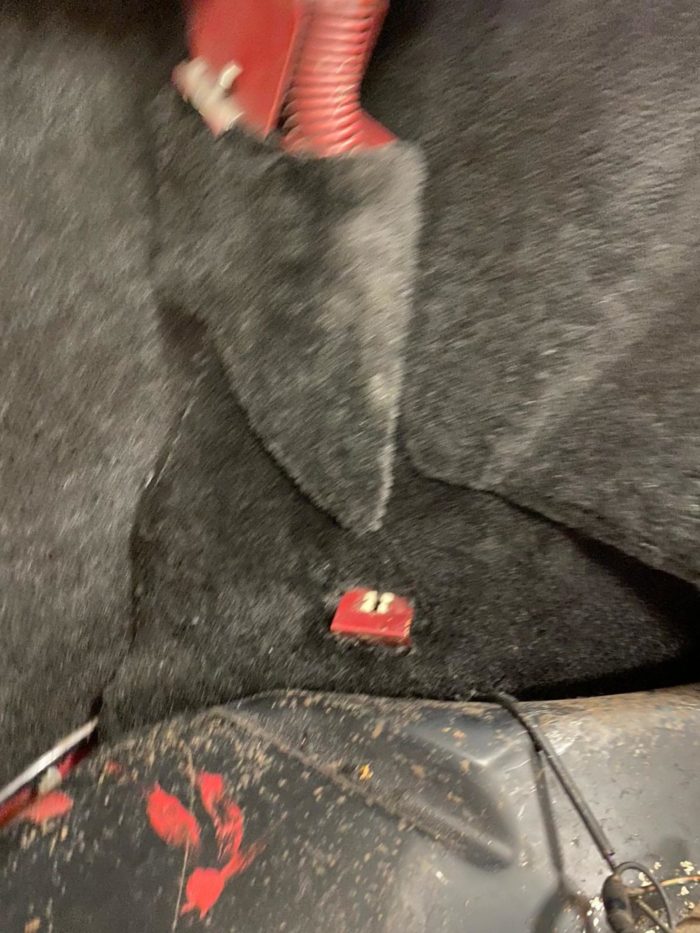
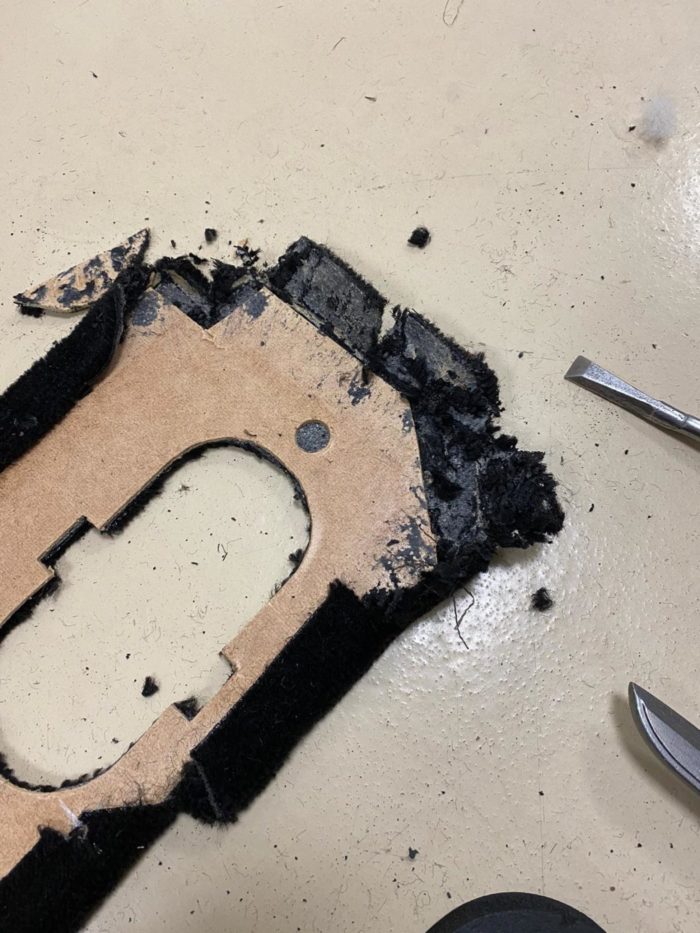
Pricey has discovered a rotten left hand subframe mounting point/chassis leg. To deal with this, Pricey cut out the outer layer to reveal a rotten

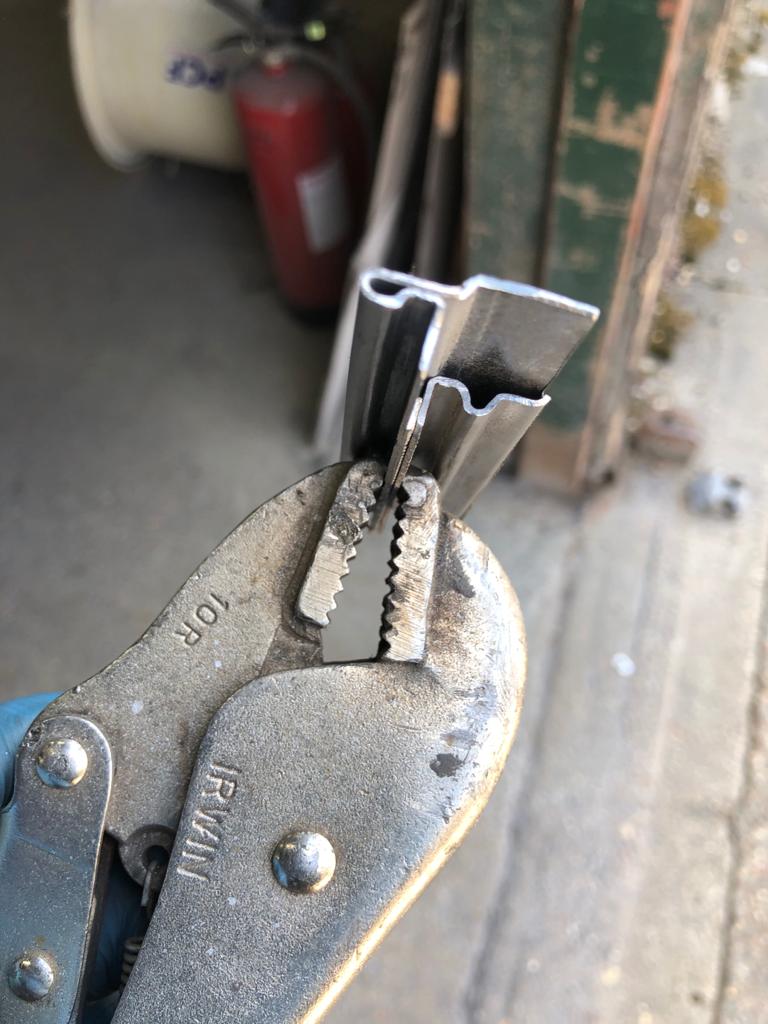
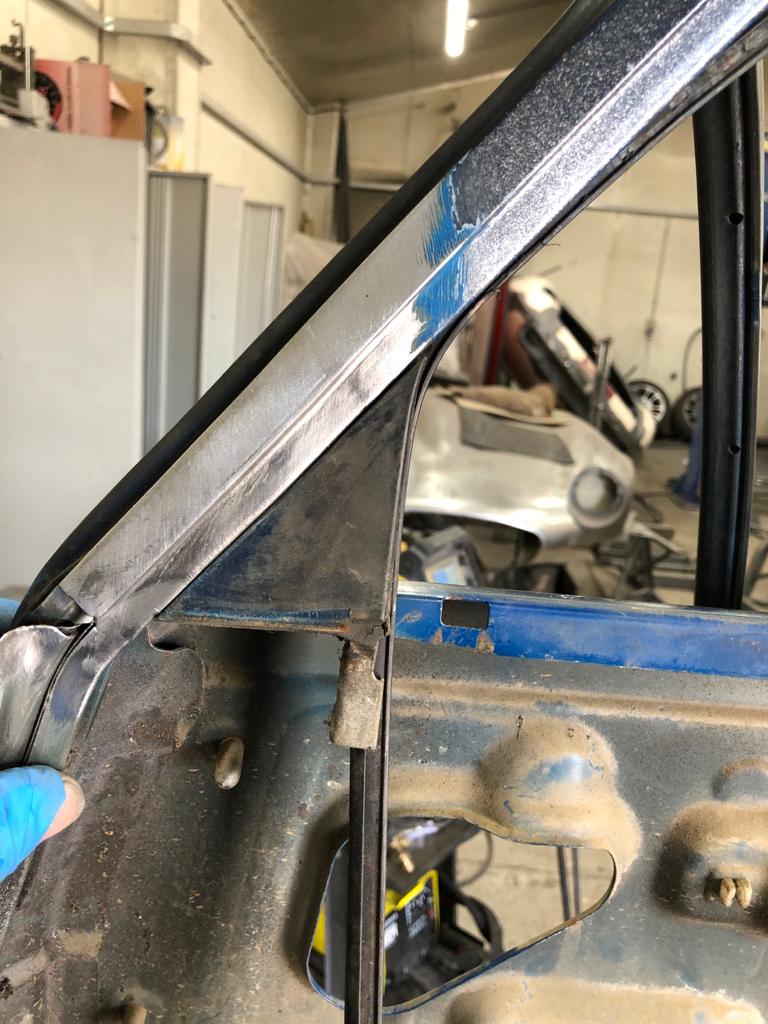
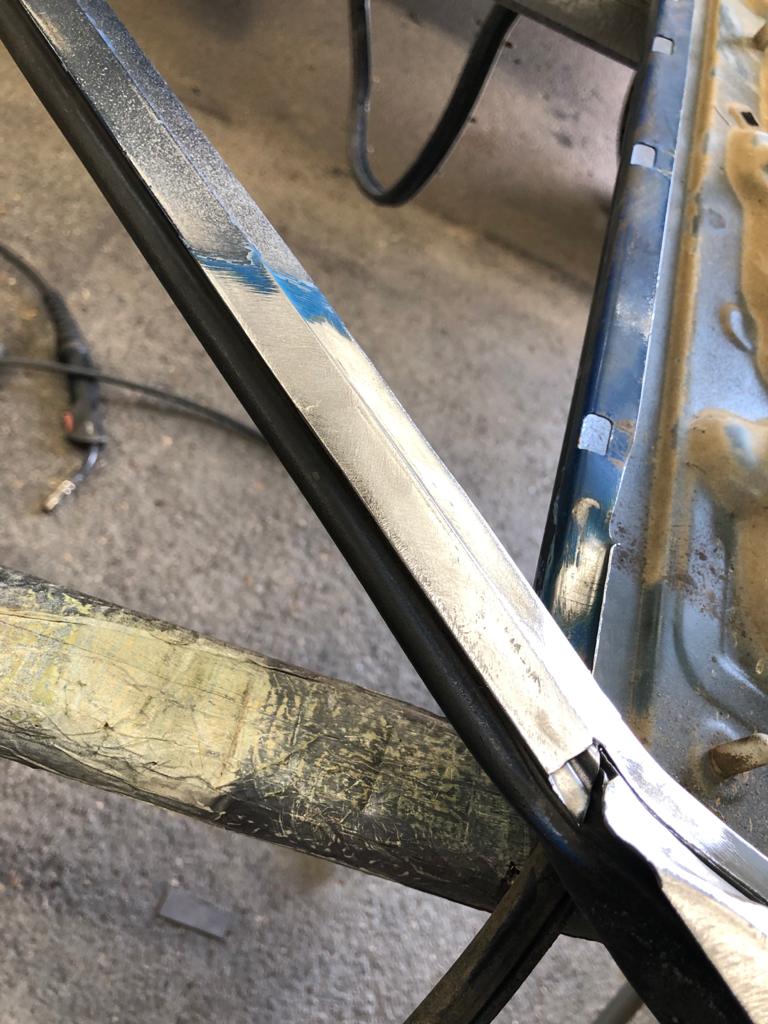
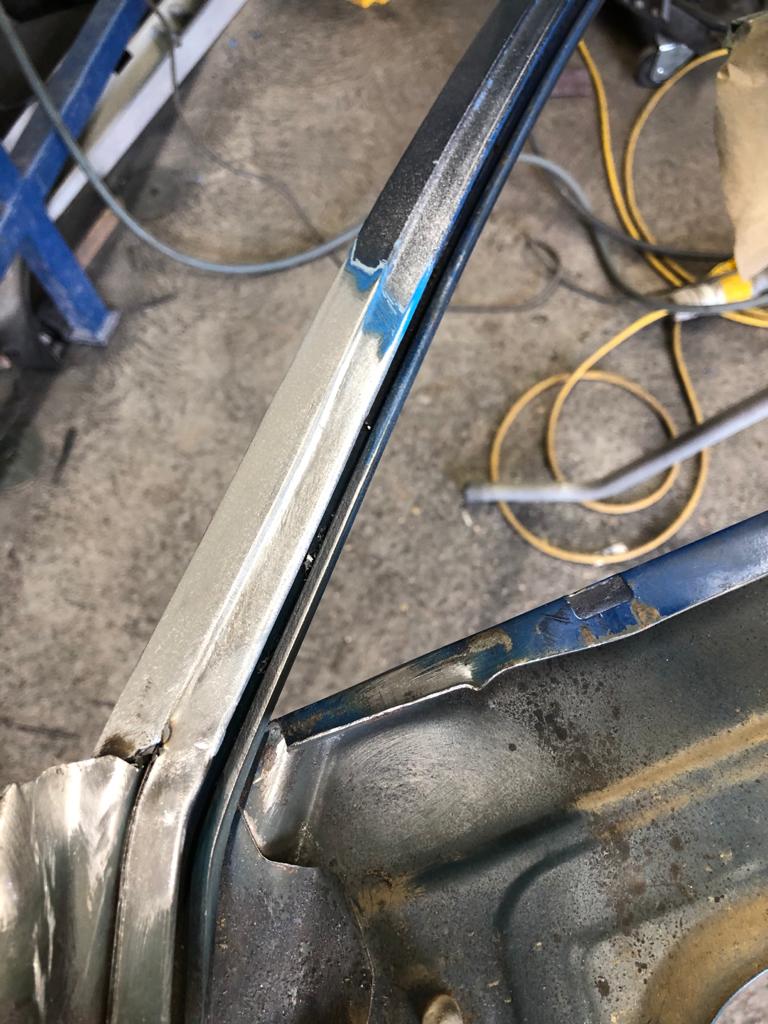
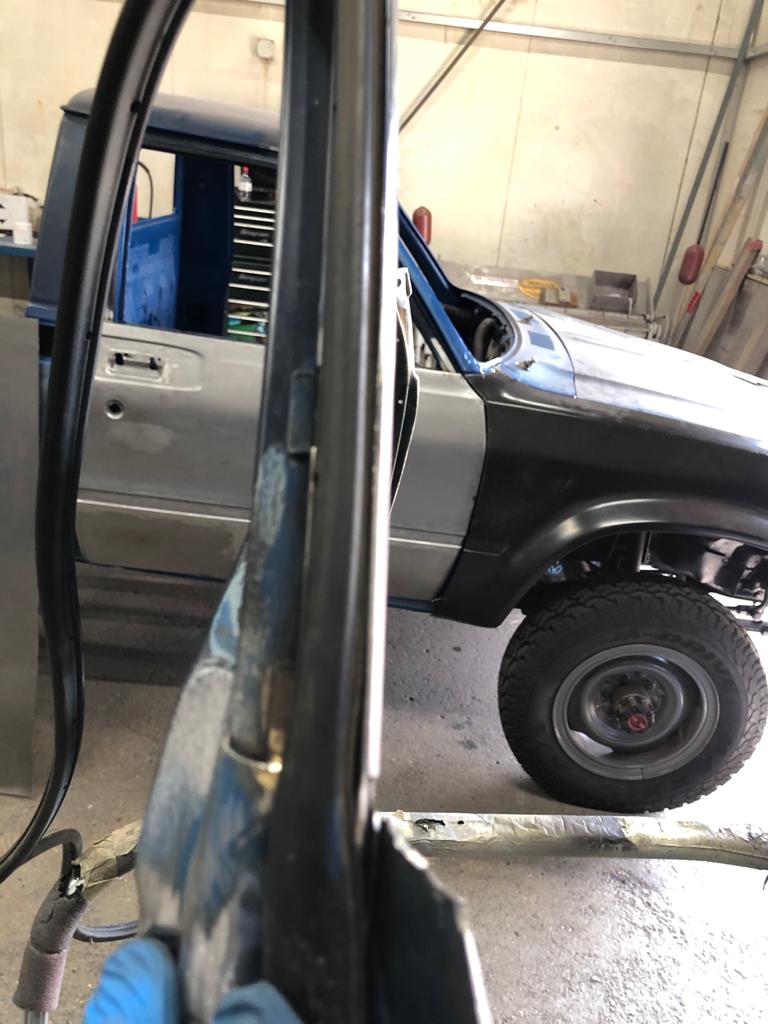
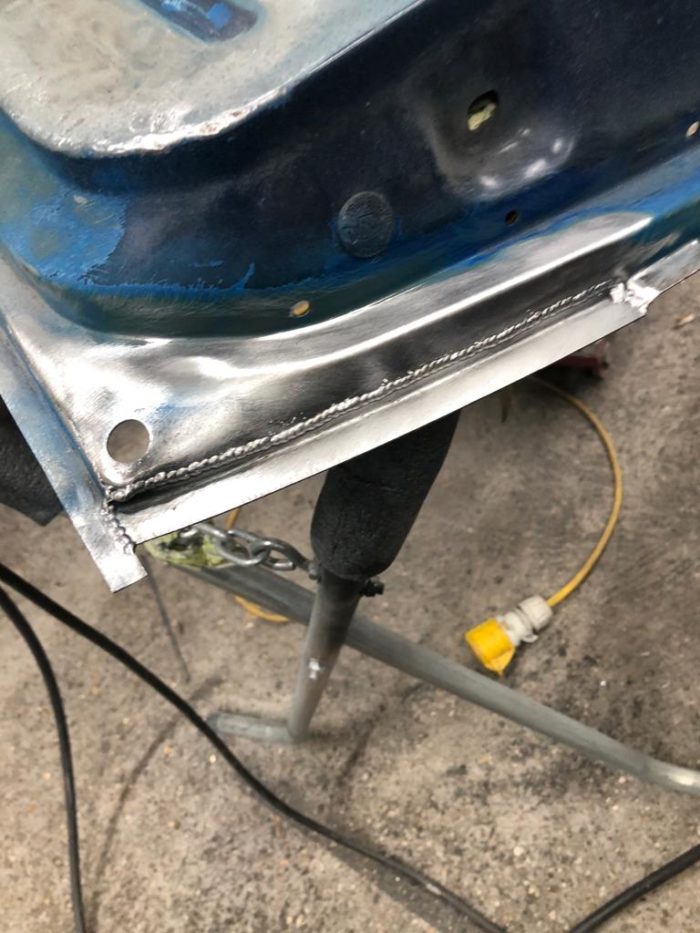
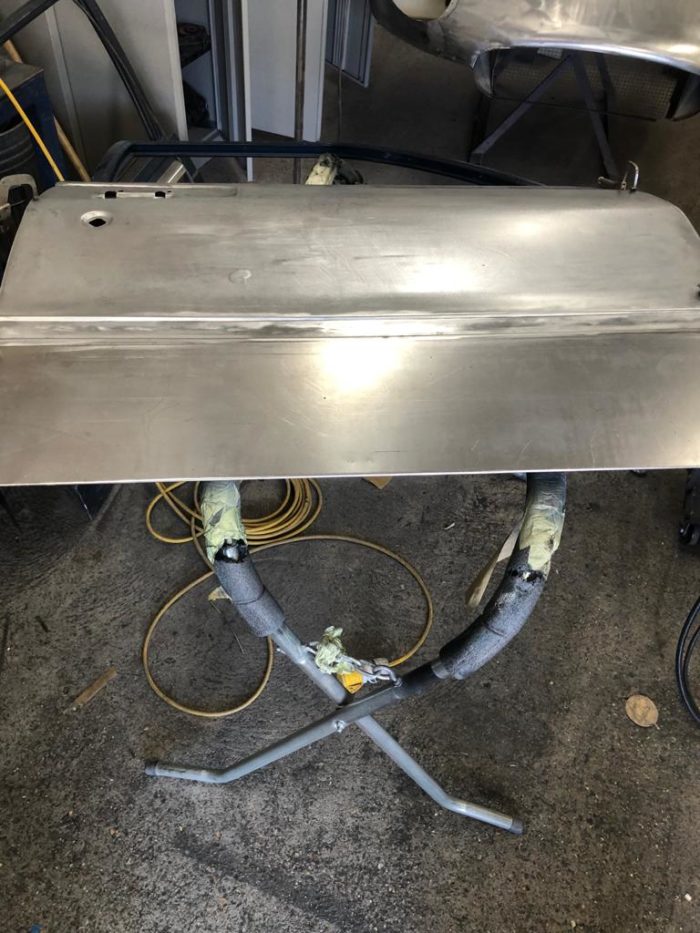
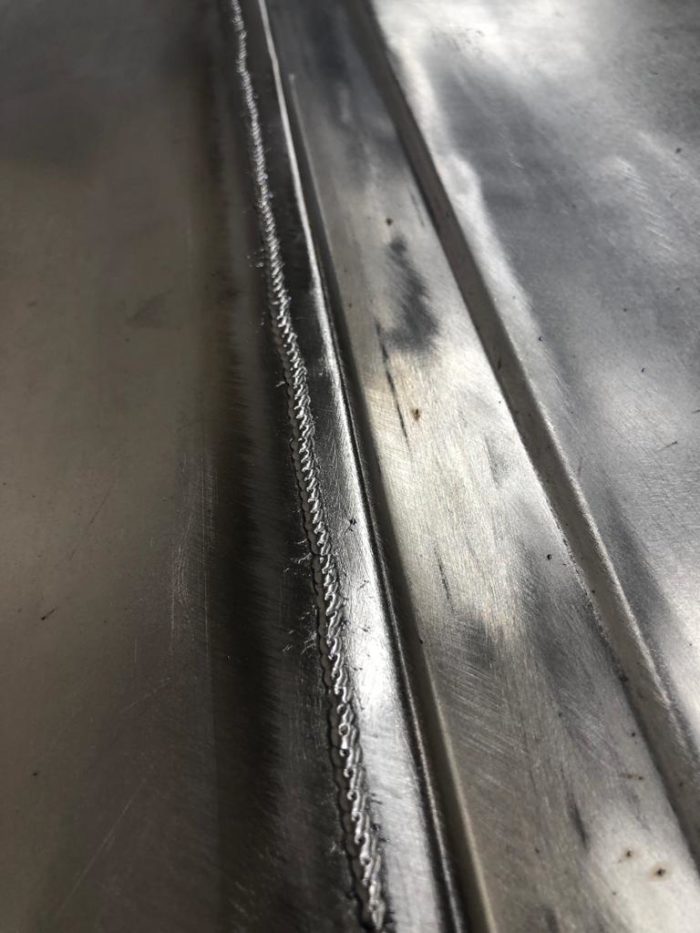
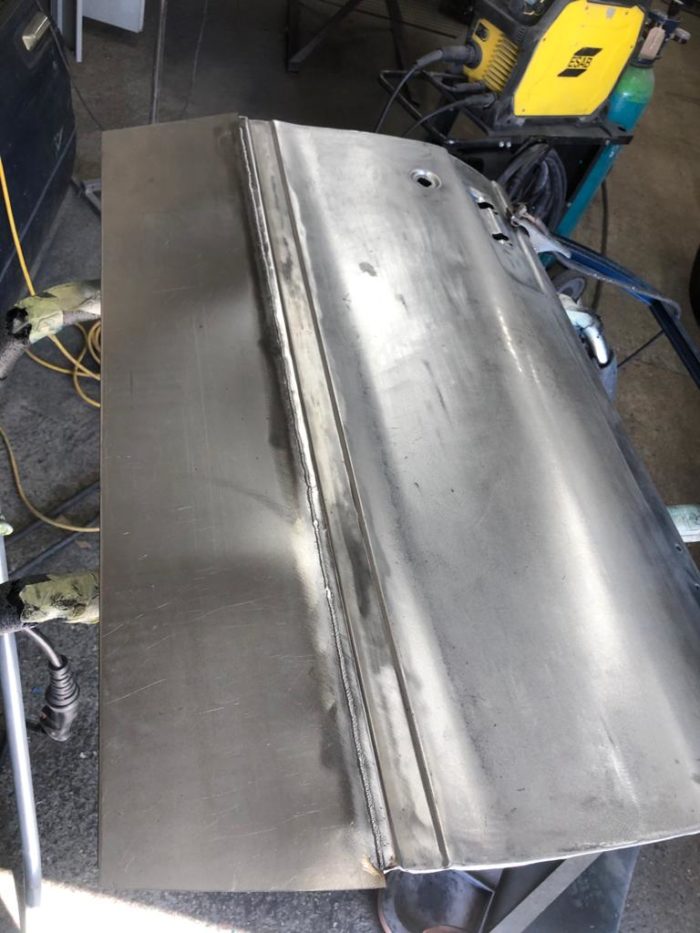
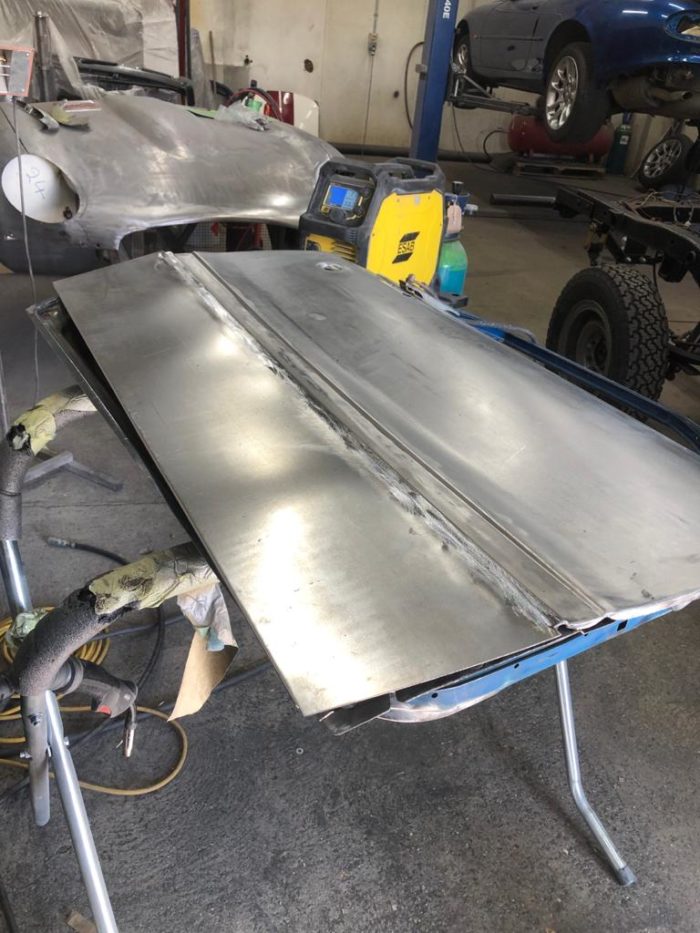
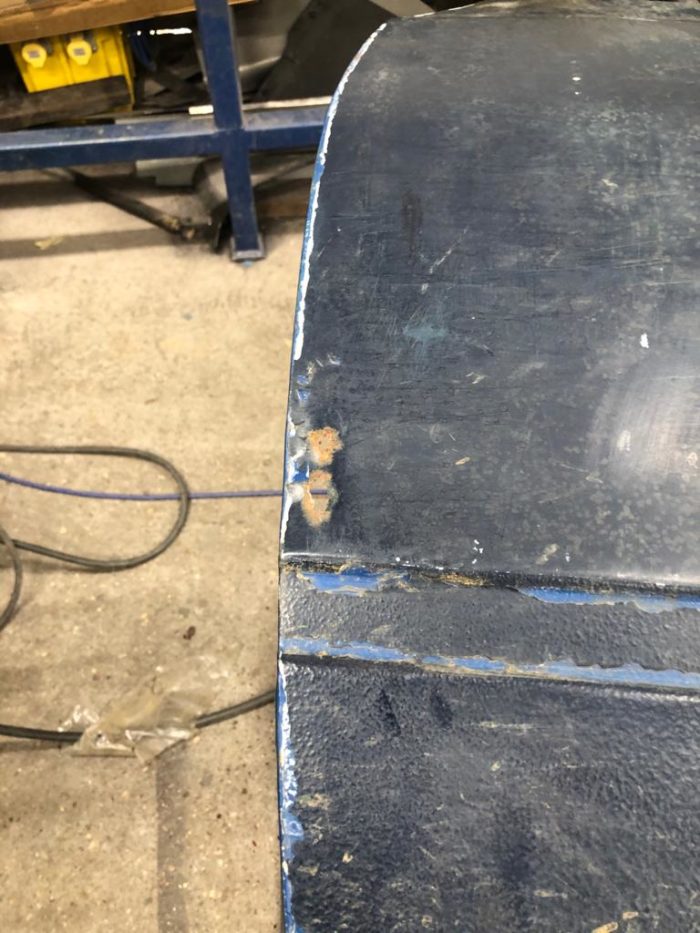
James has been using the original spot-weld marks on our Toyota Hilux to realign the drivers door skin. James has made a spacer for the
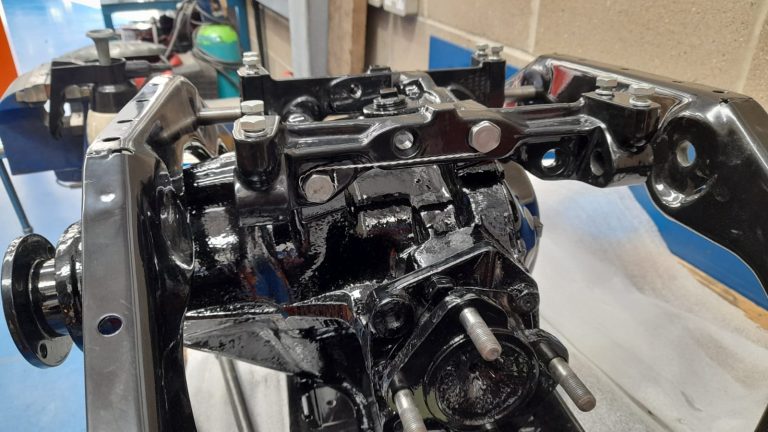
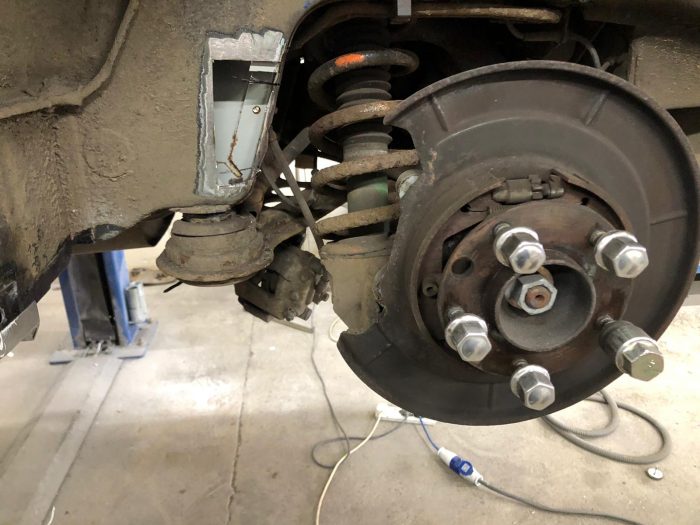
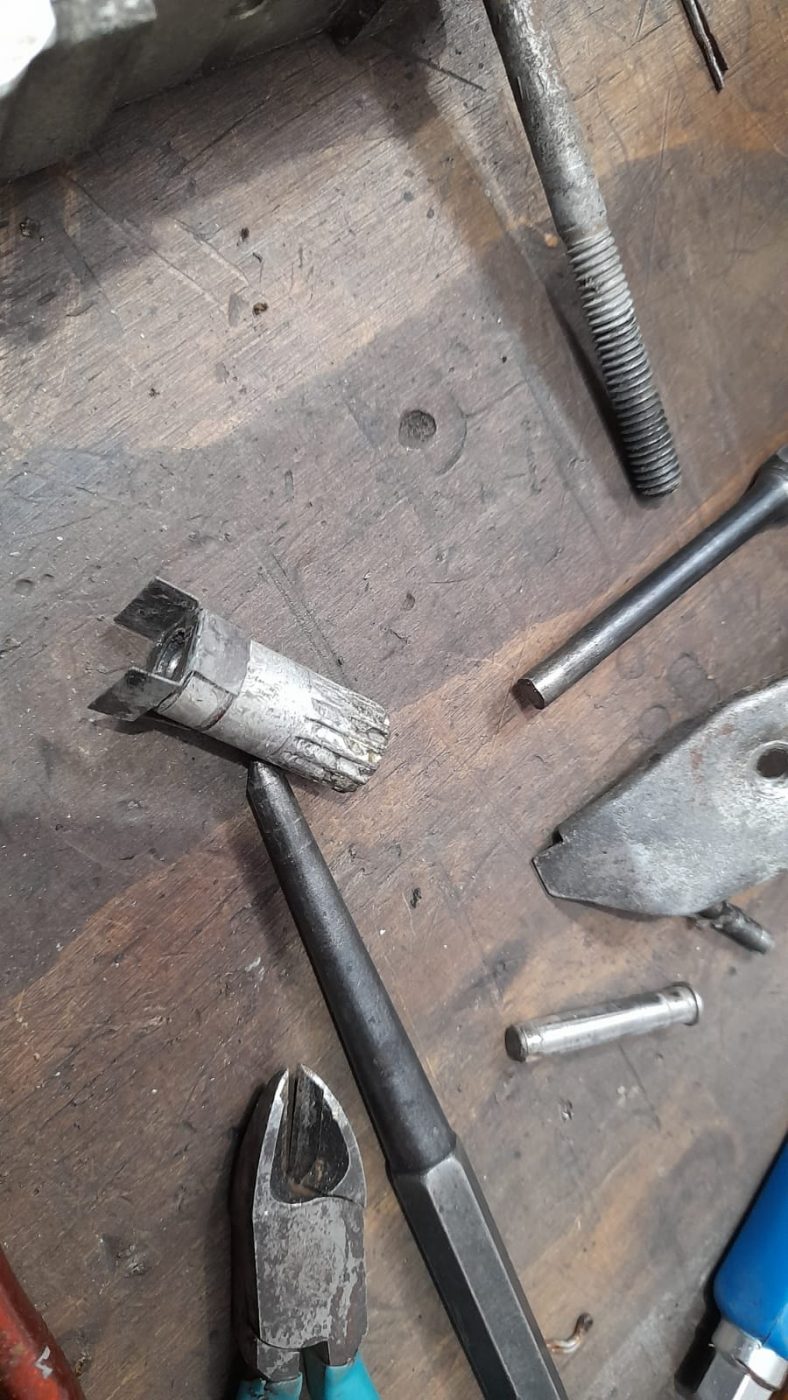
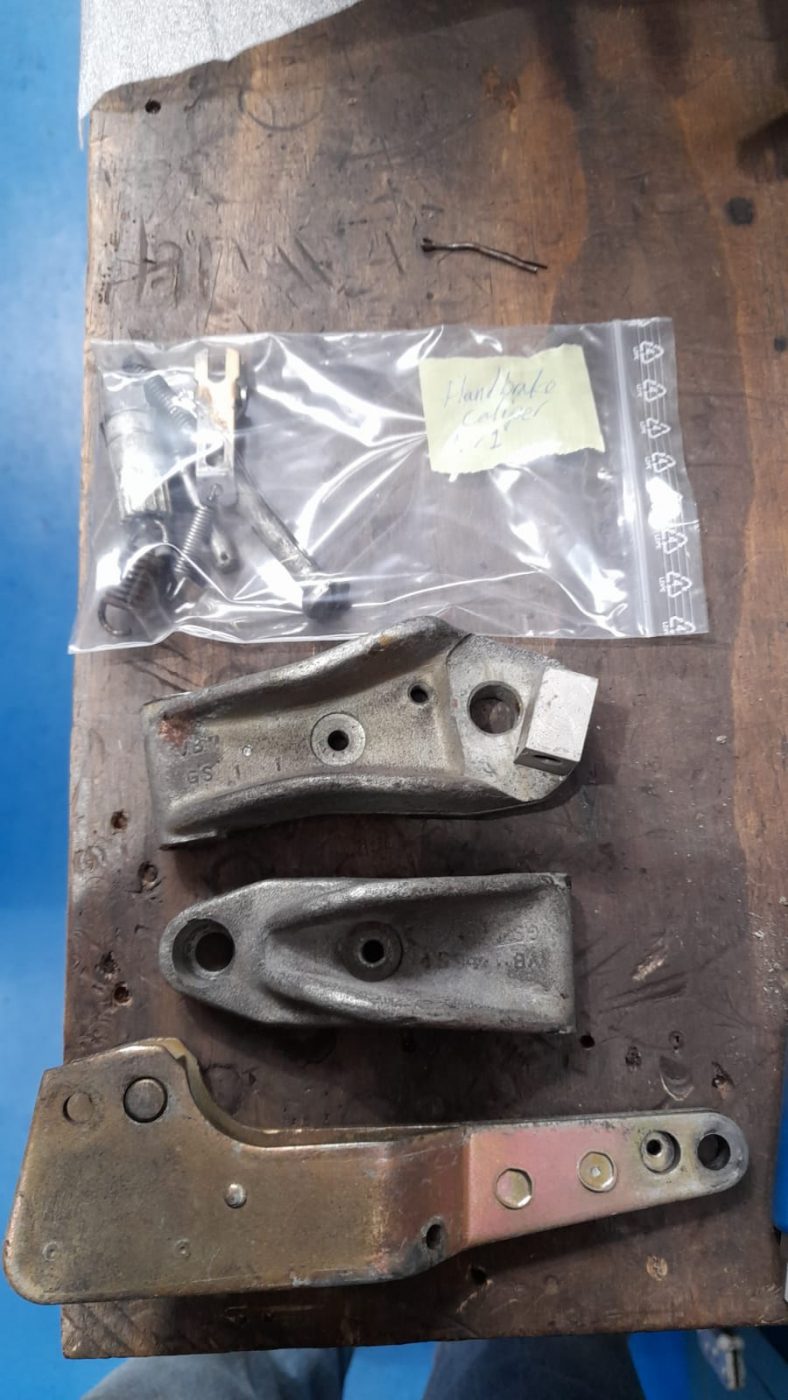
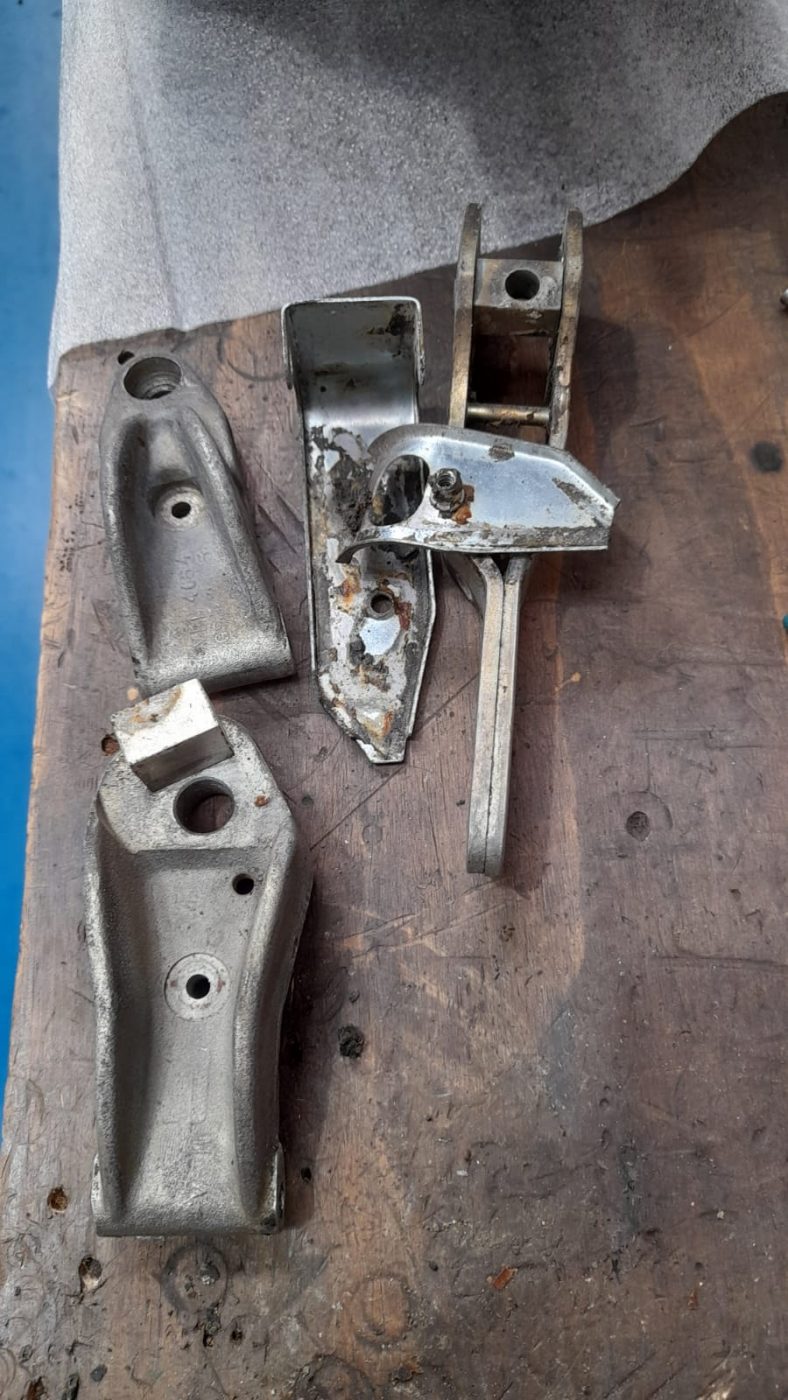
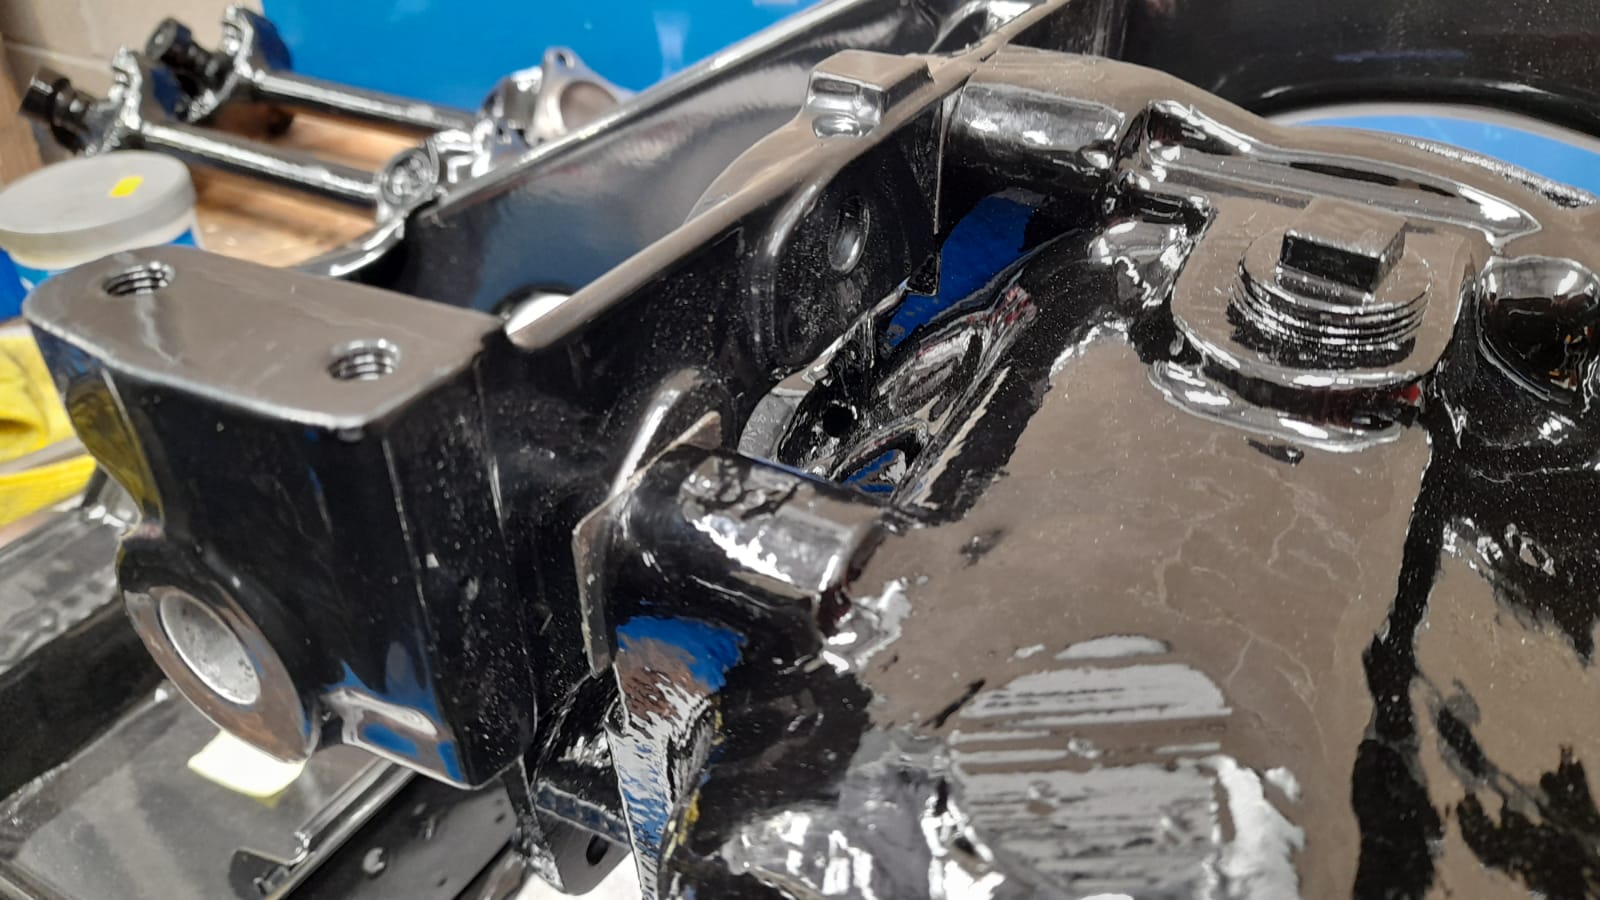
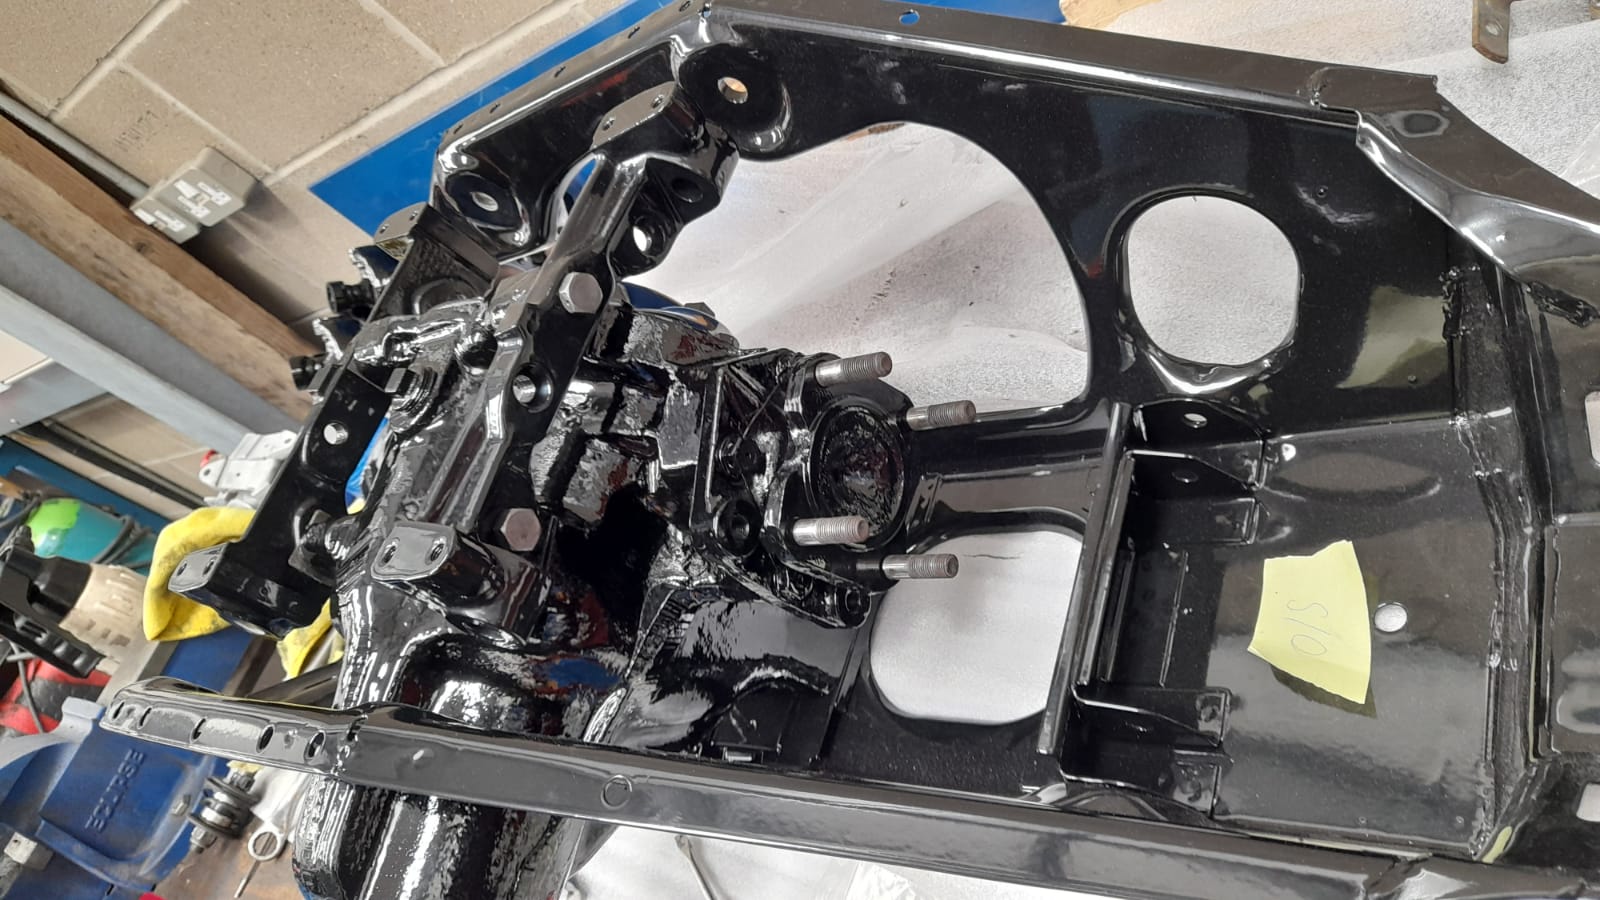
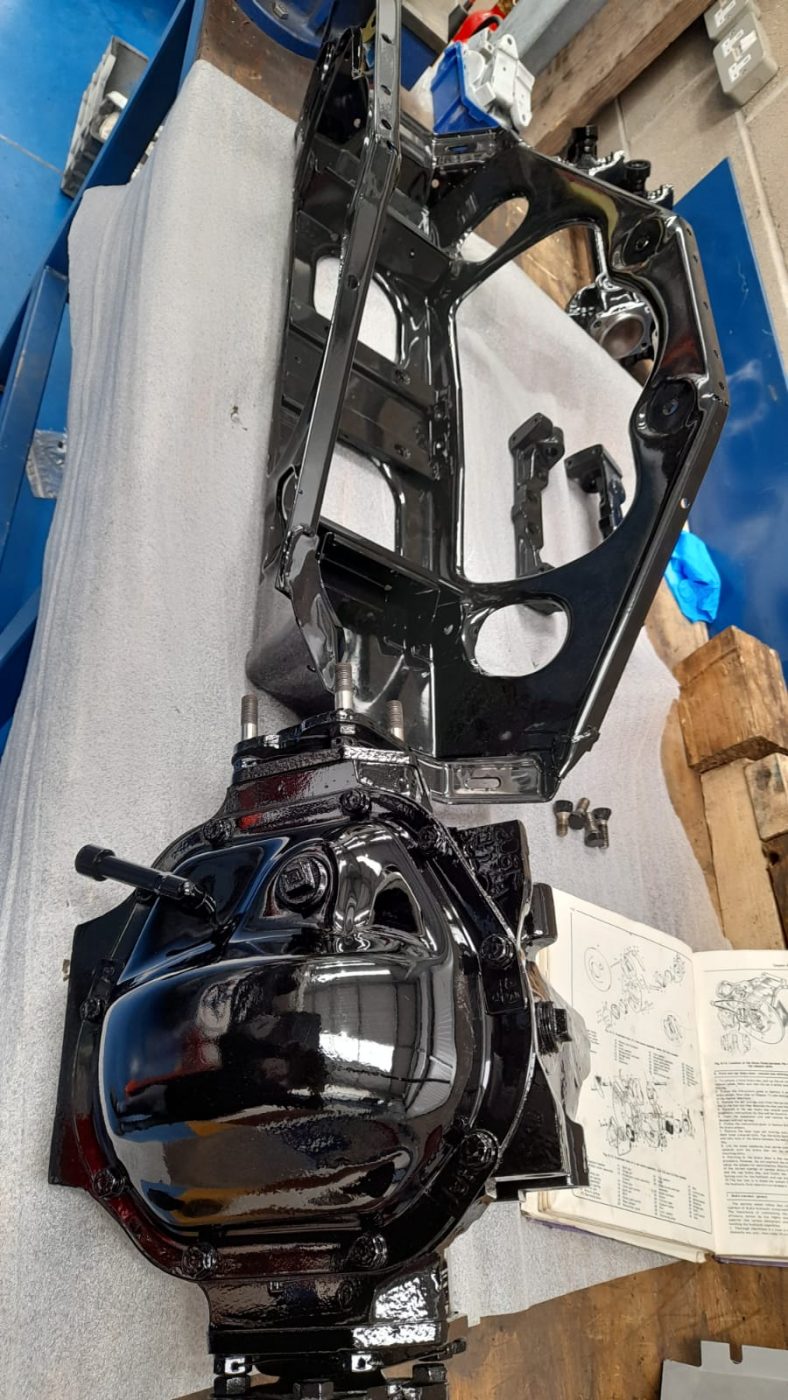
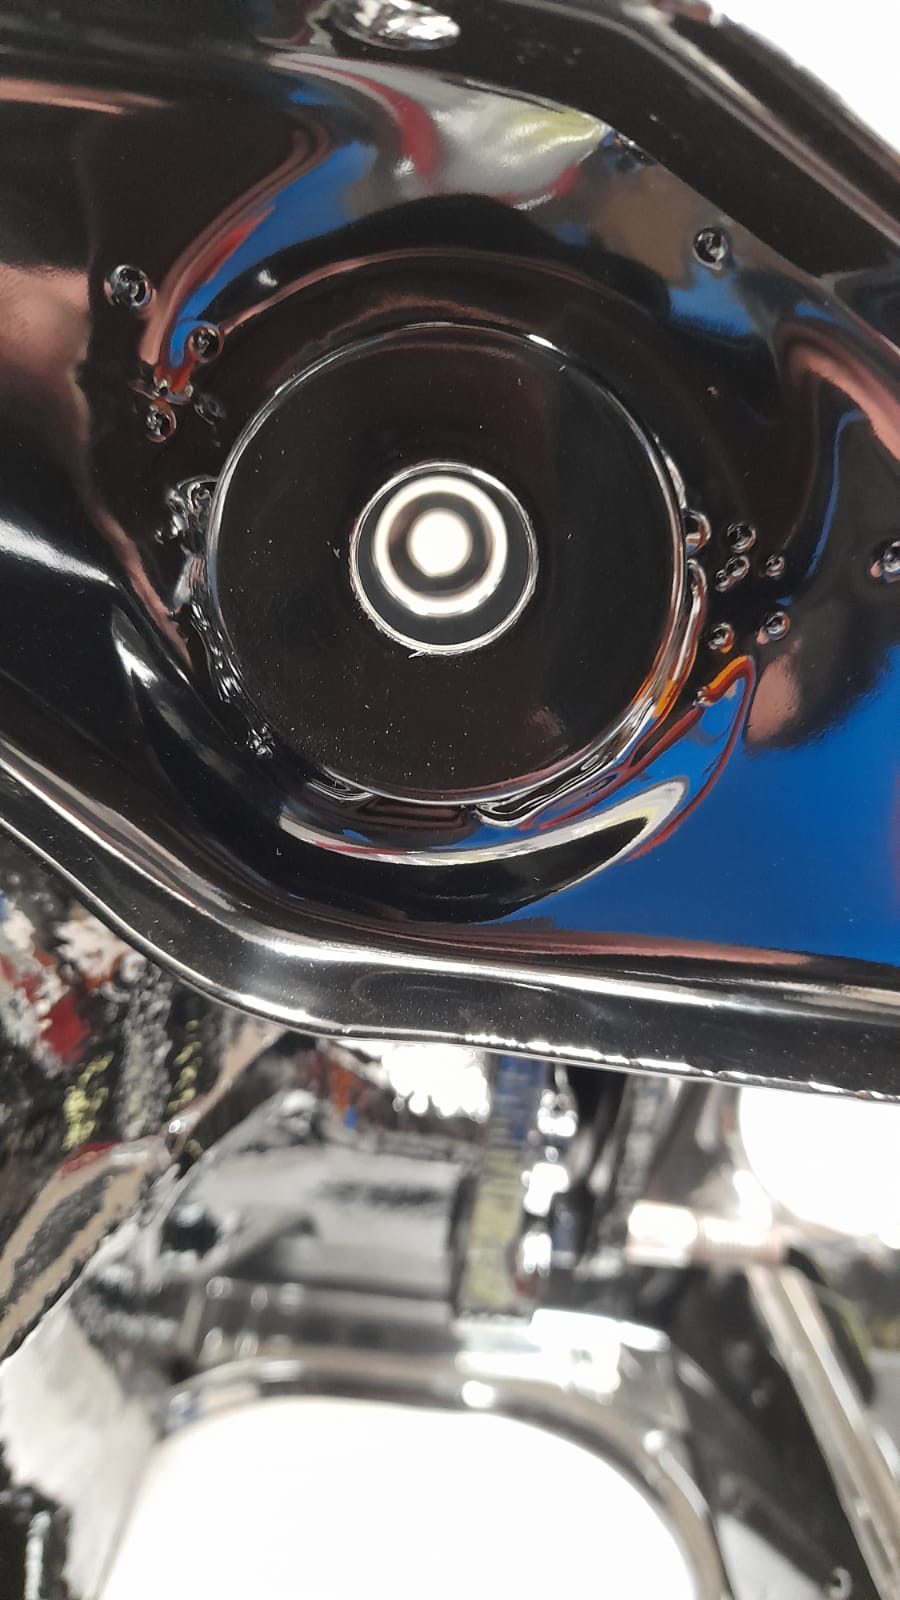
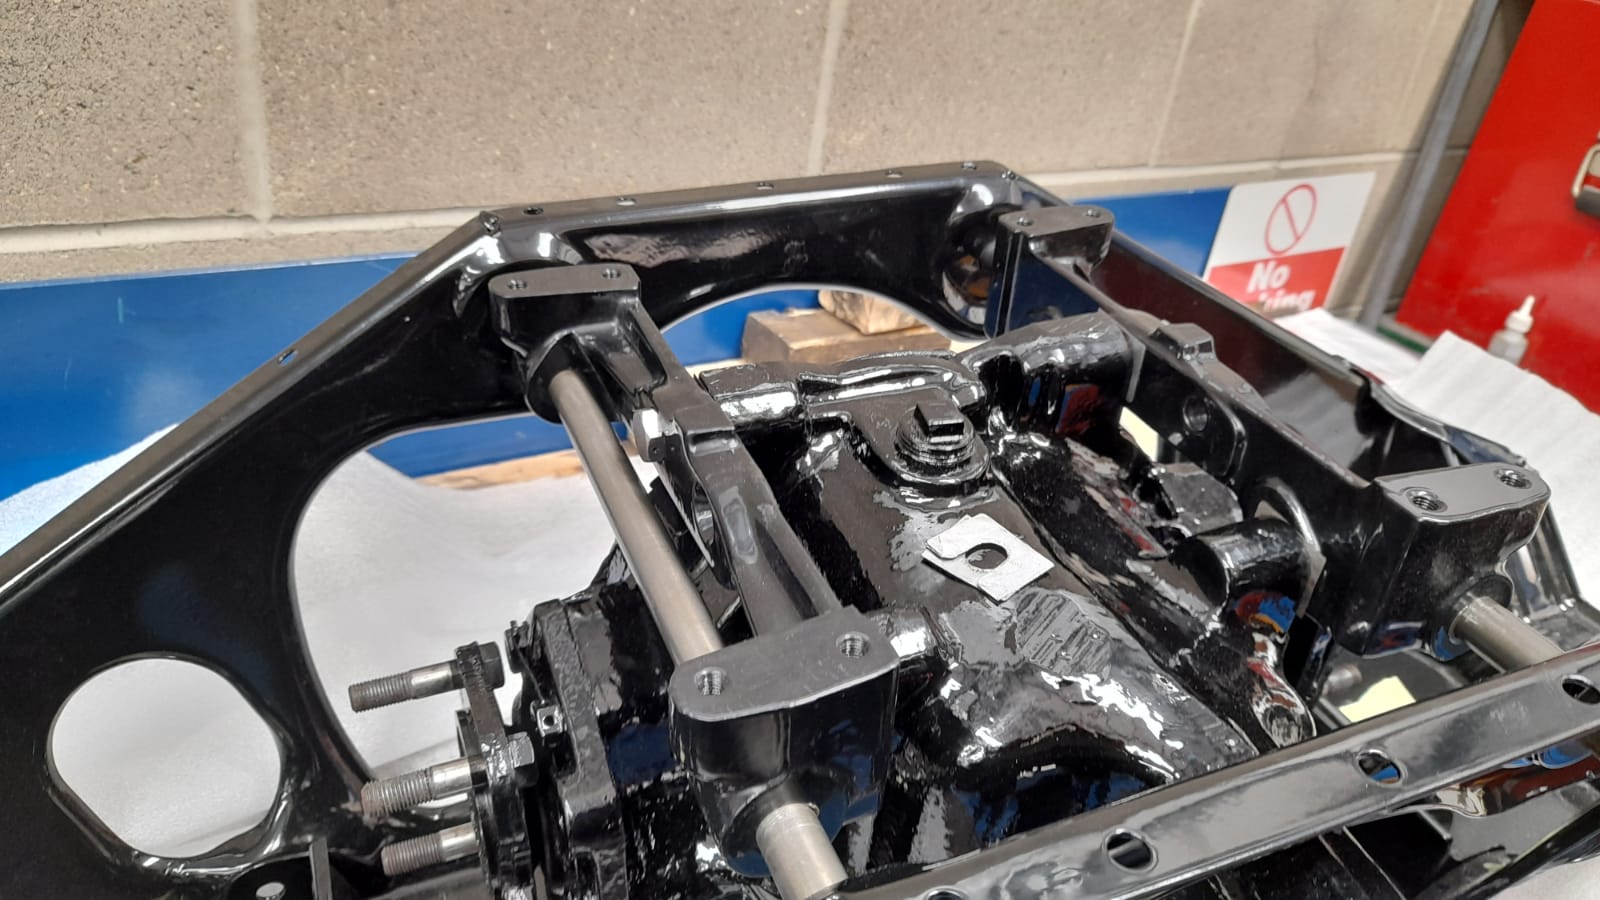
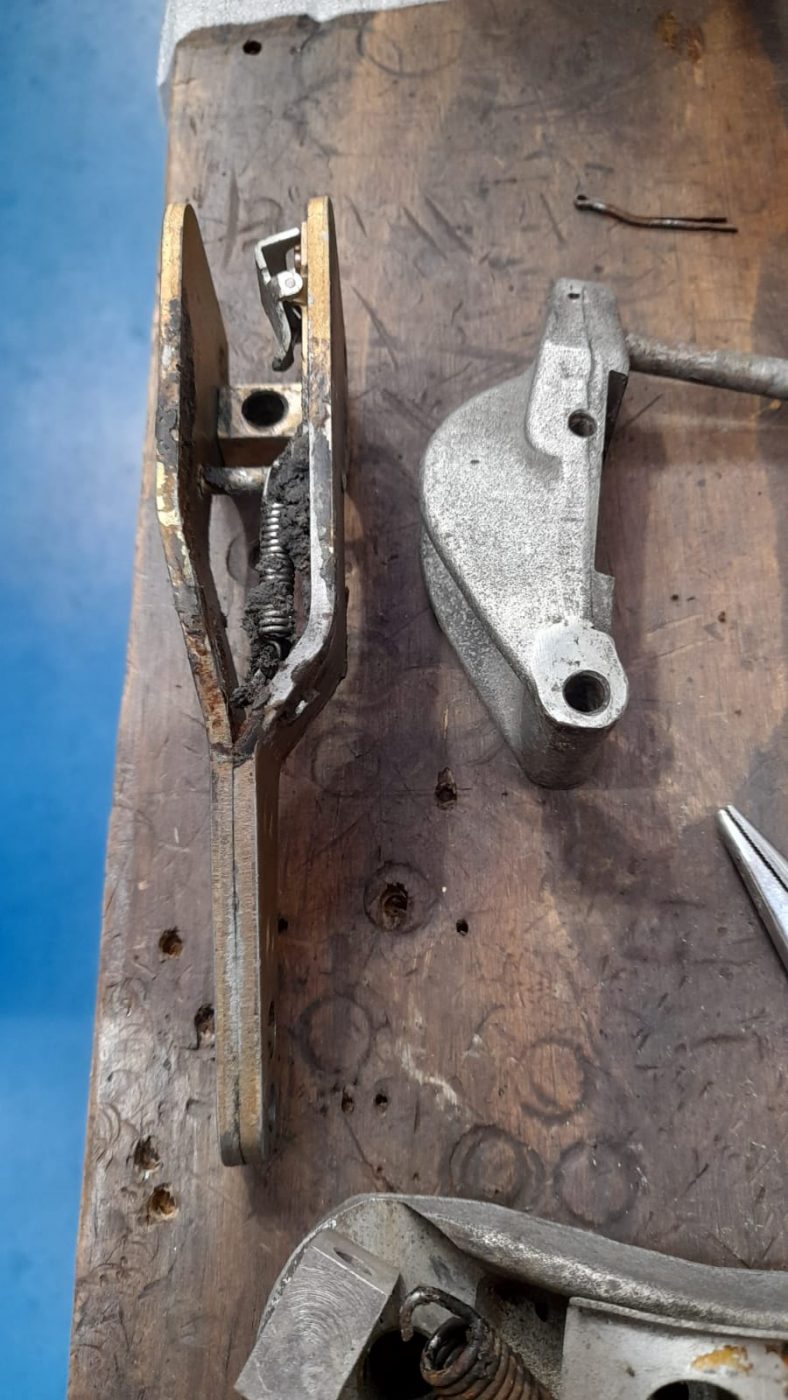
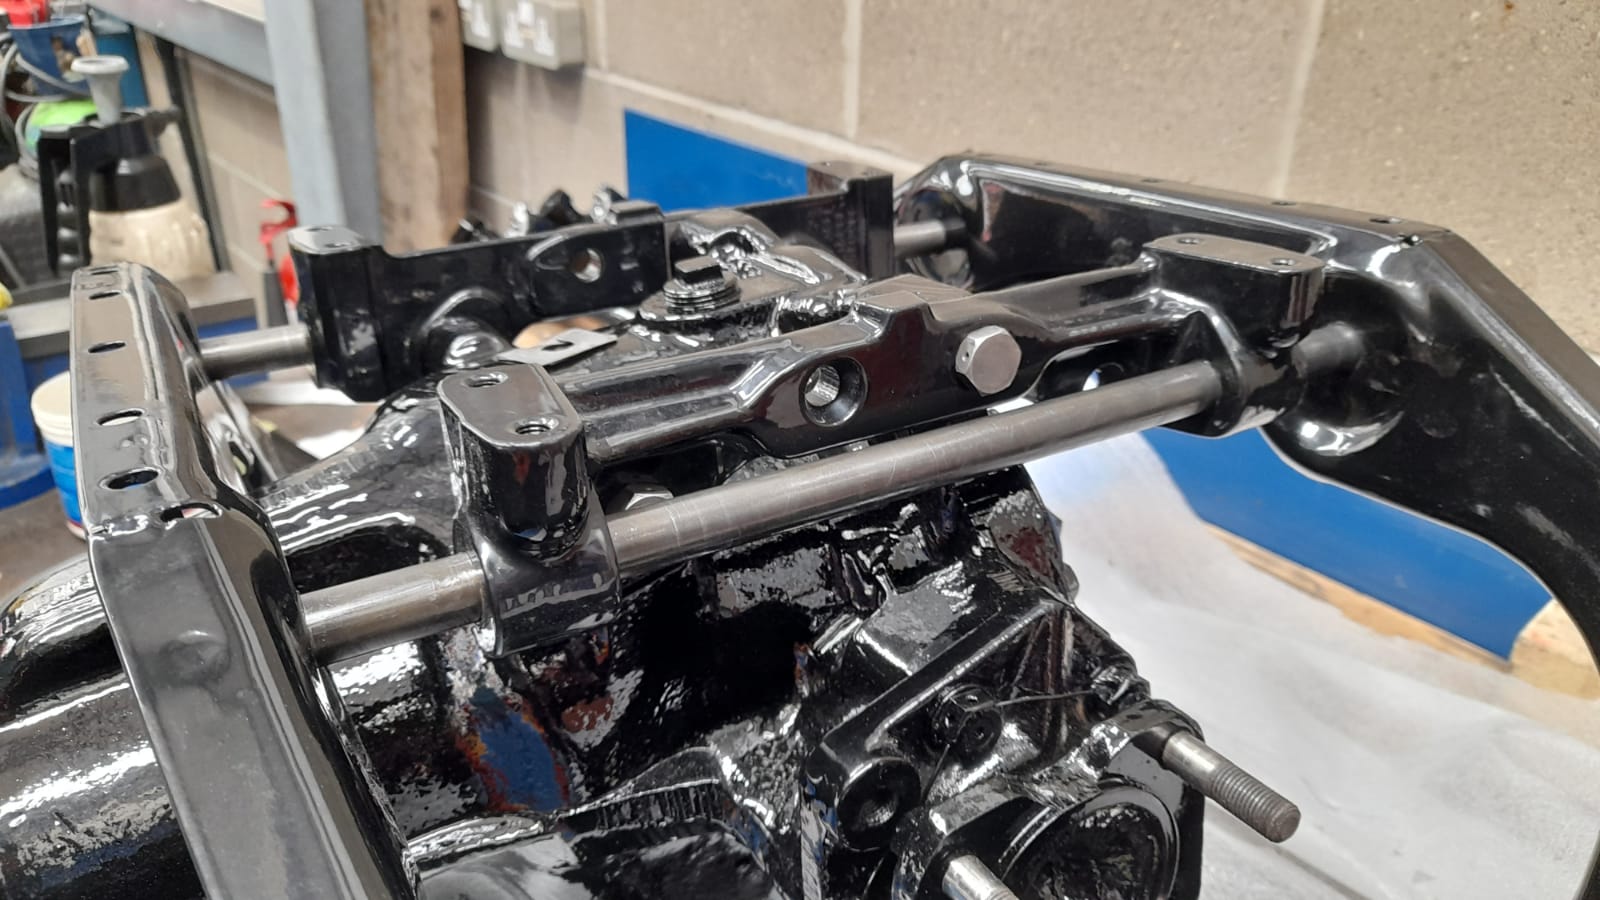
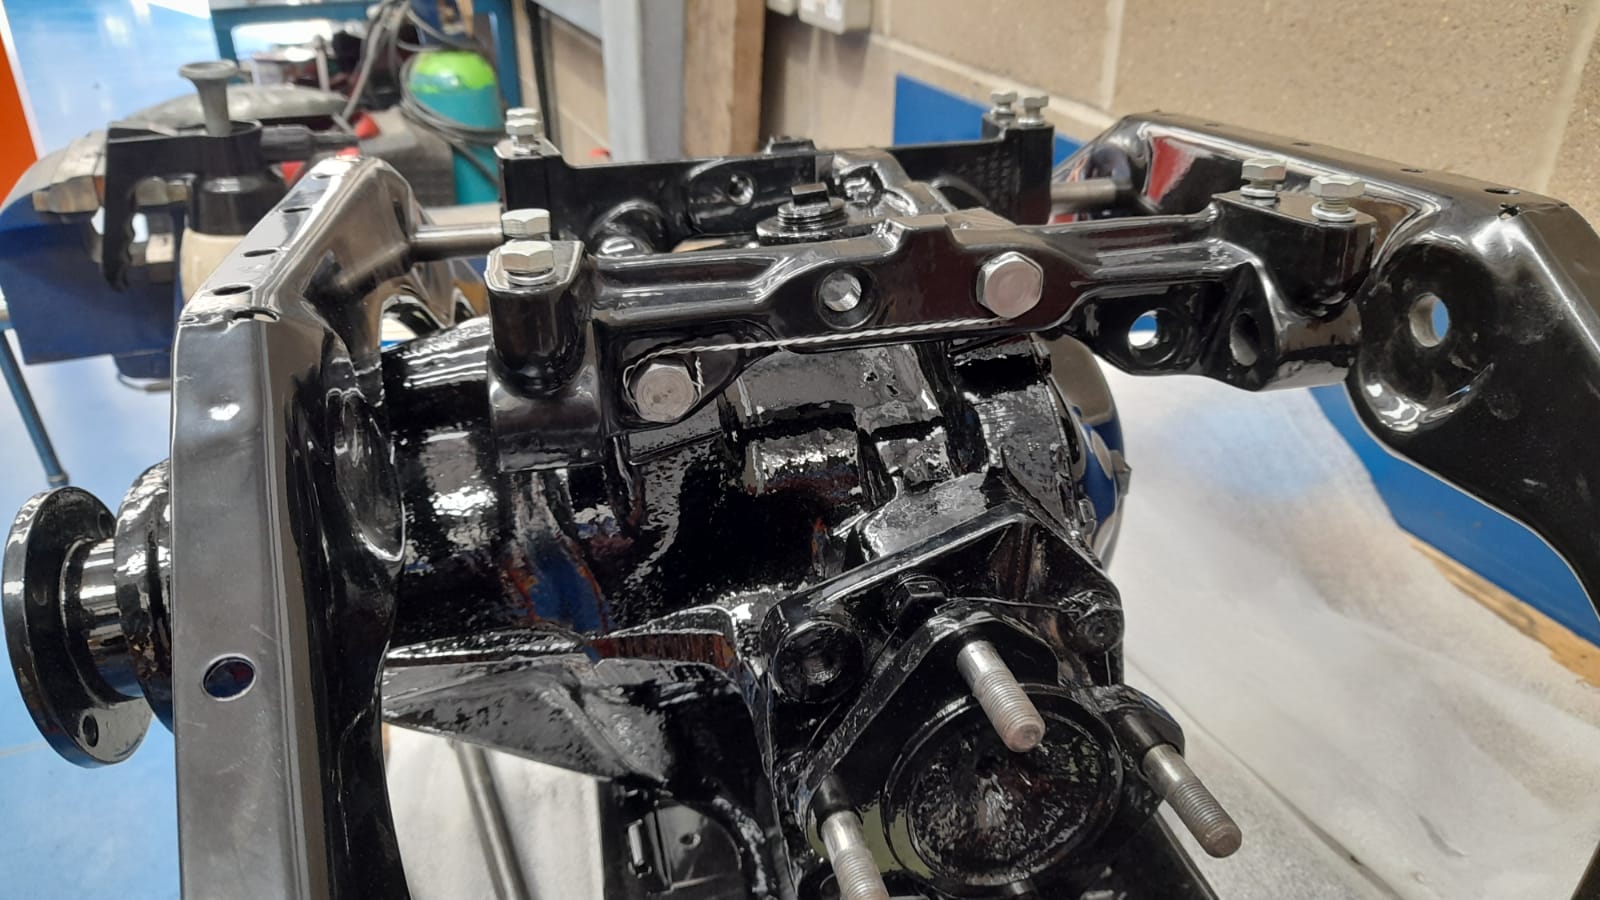
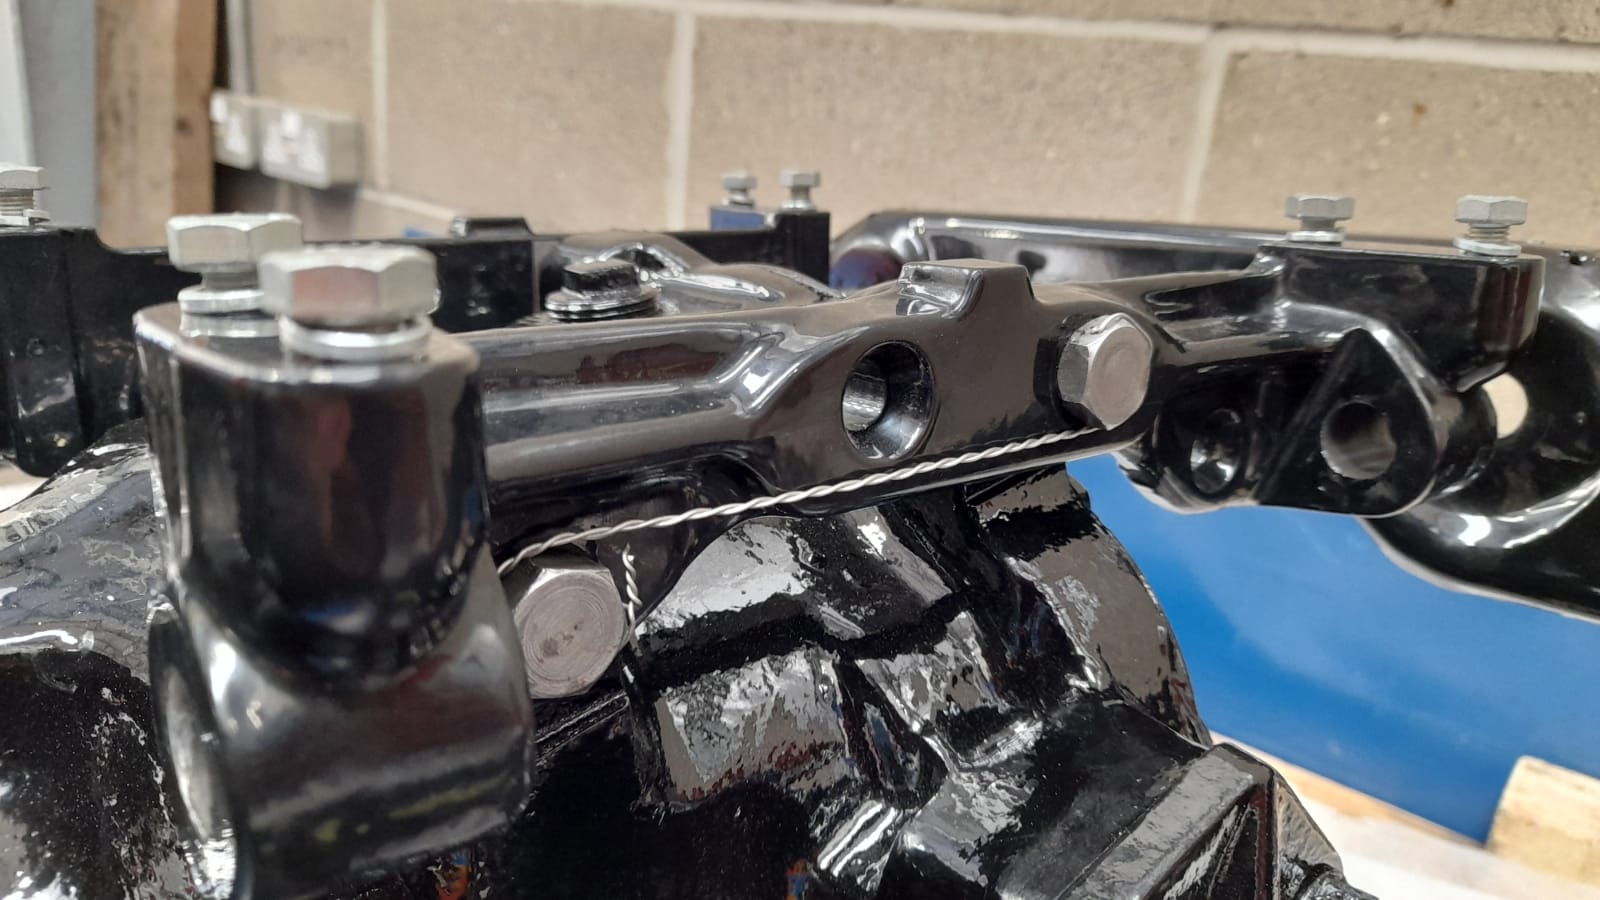
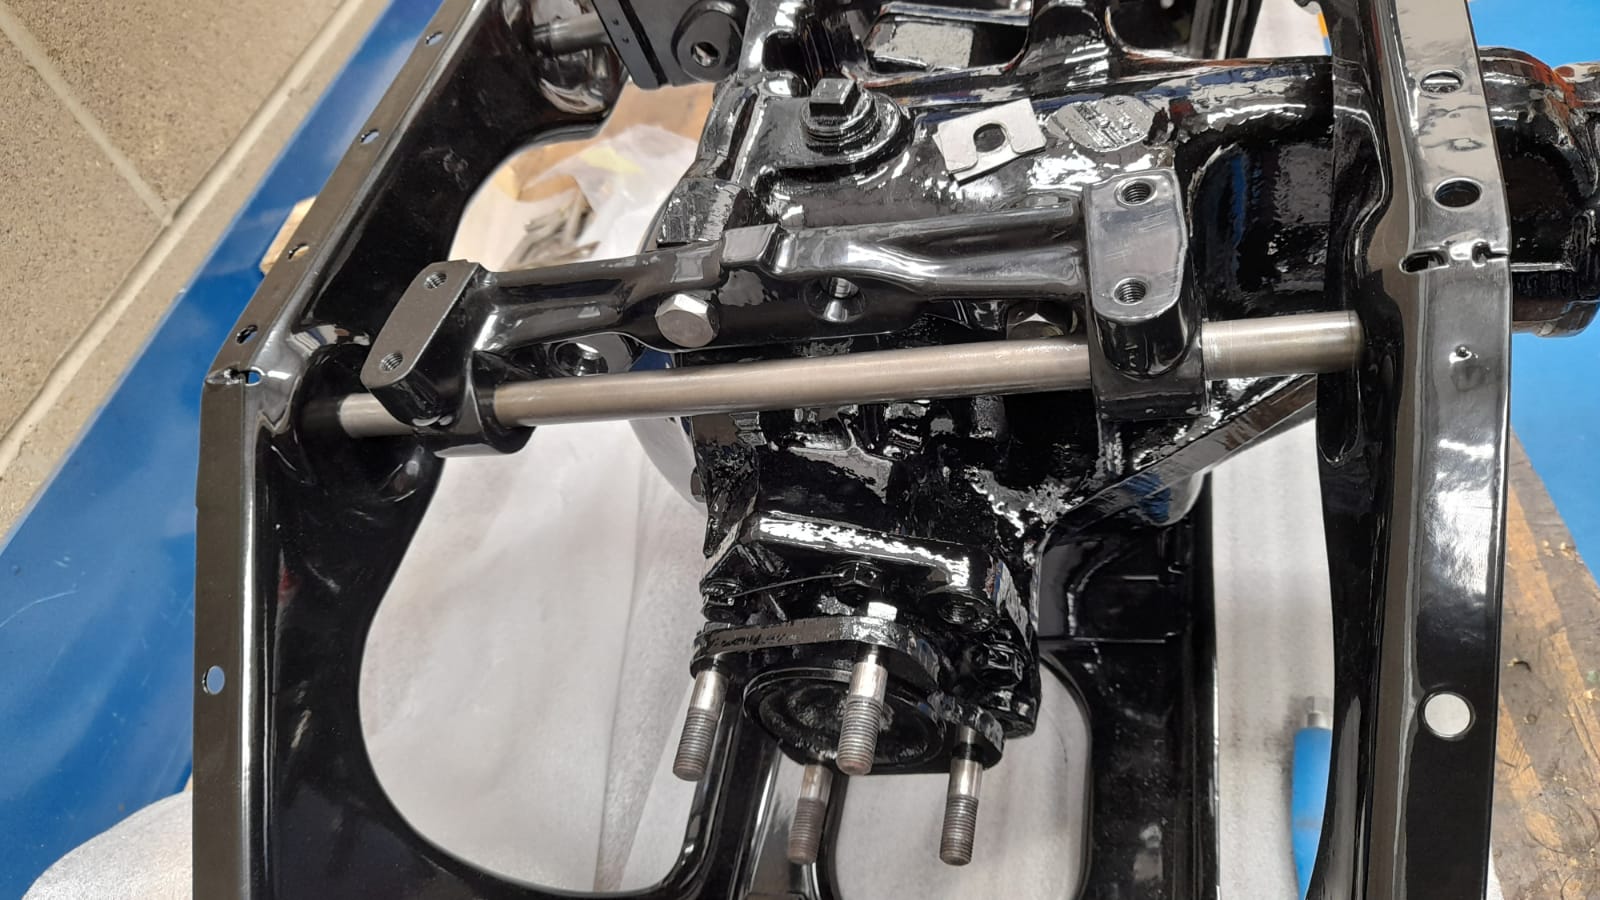
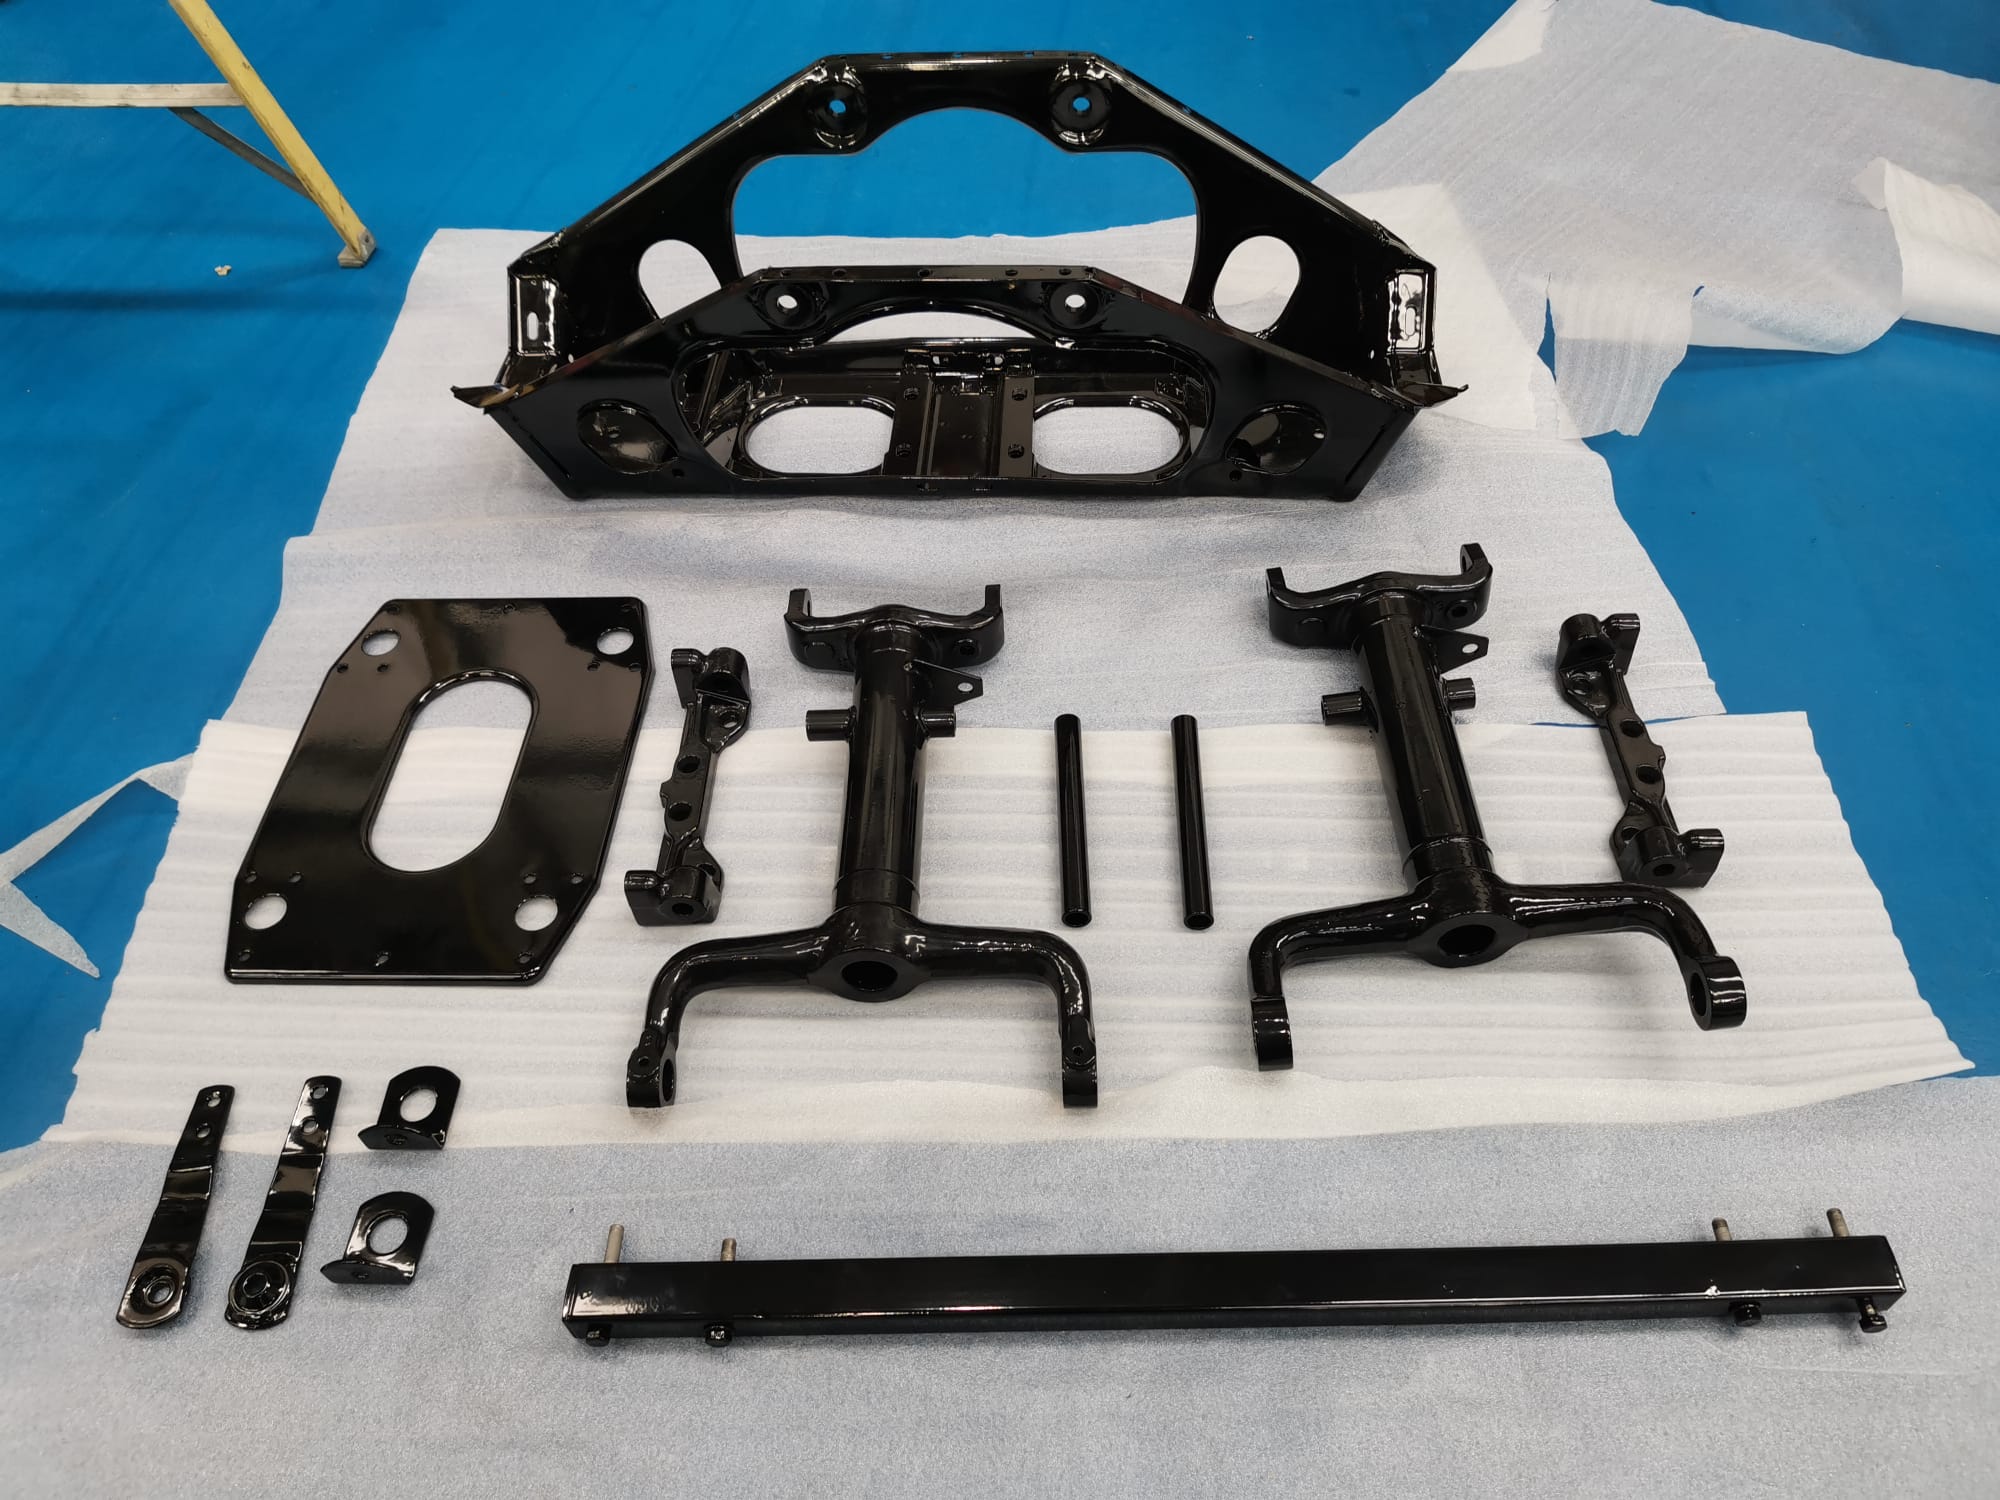
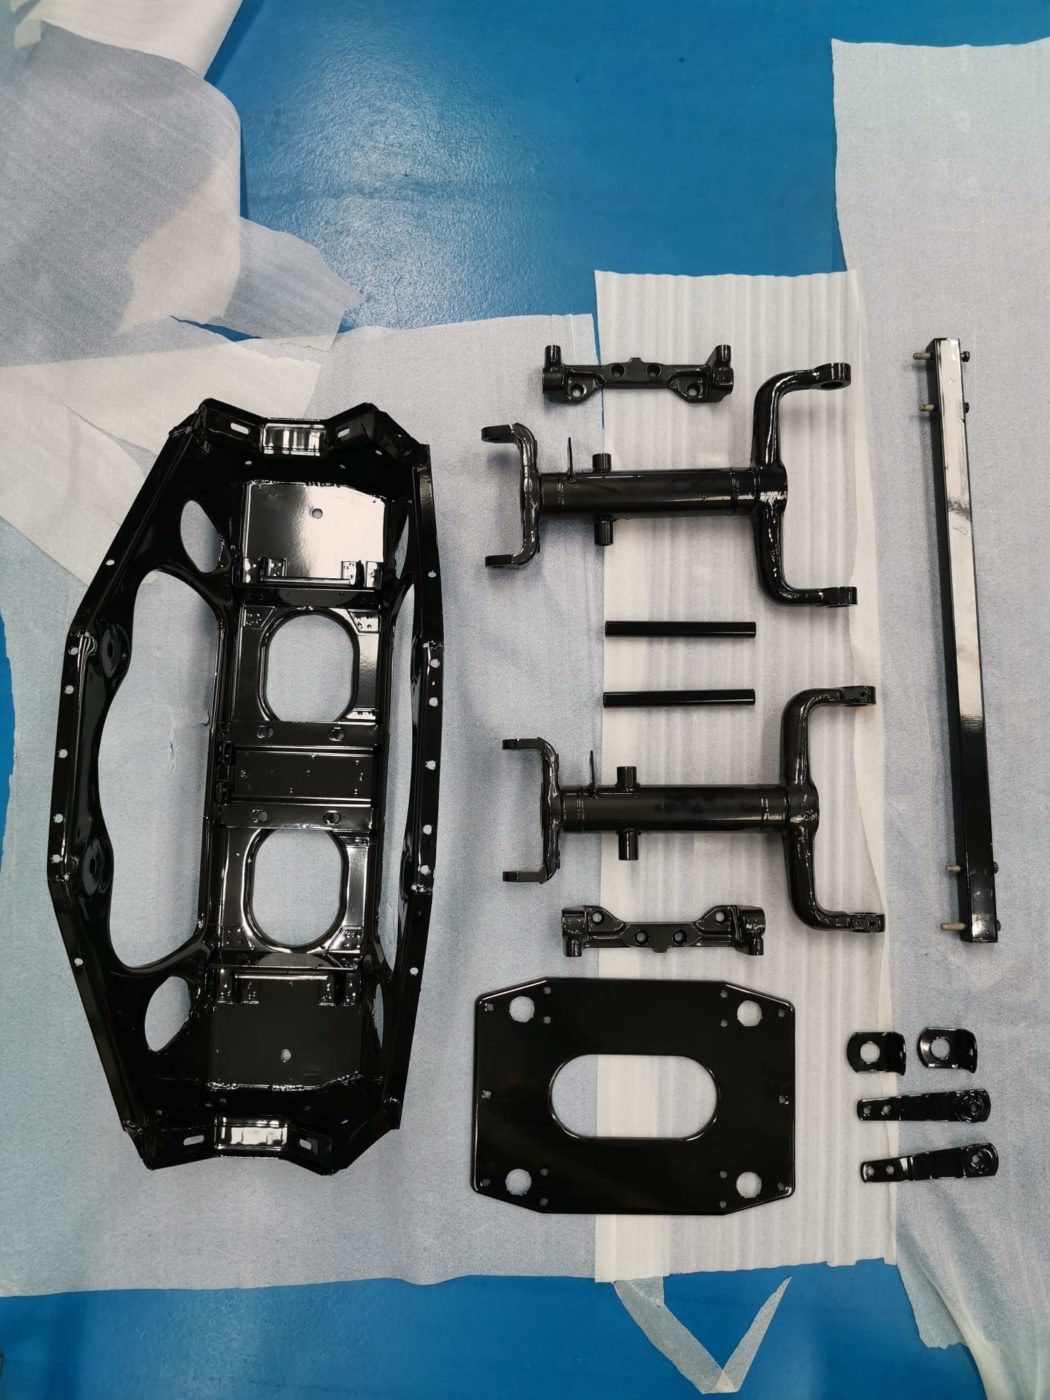
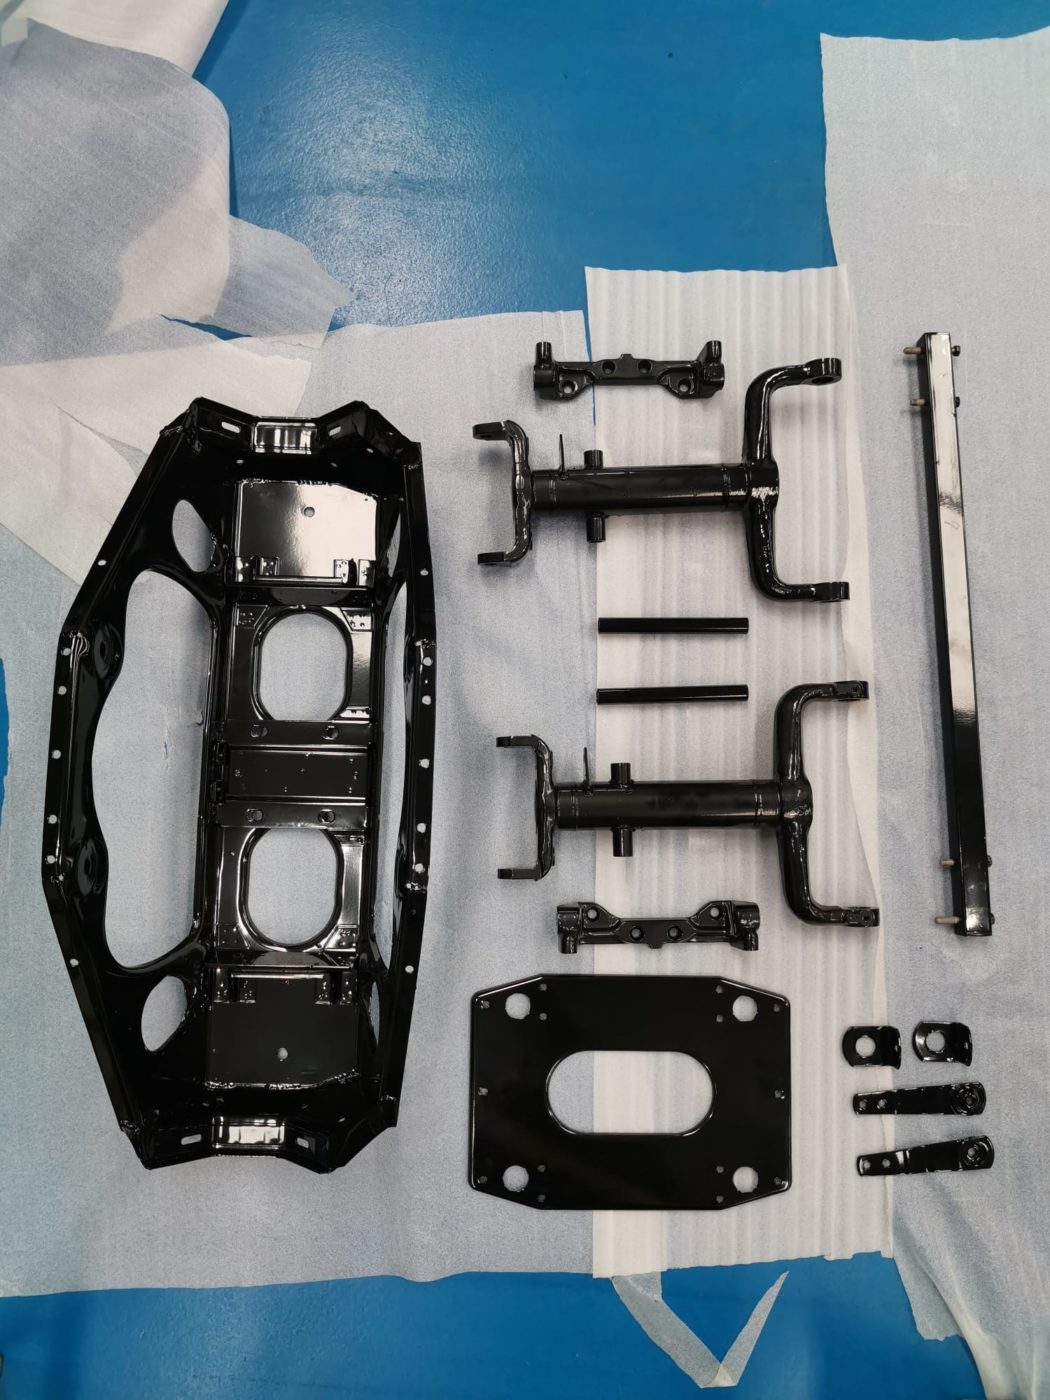
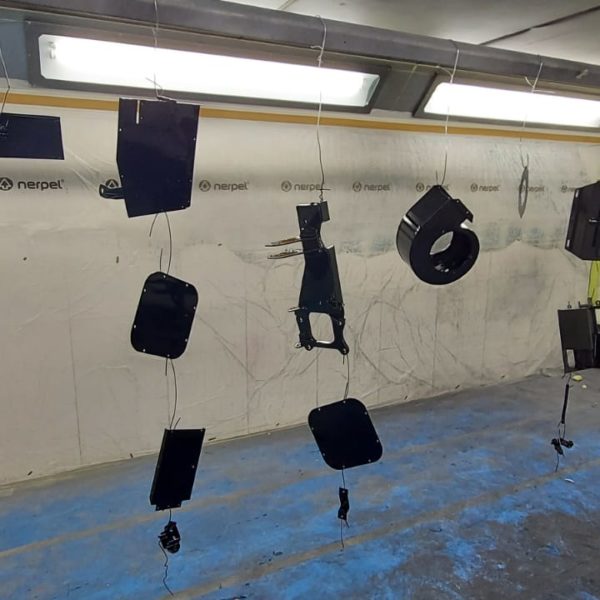
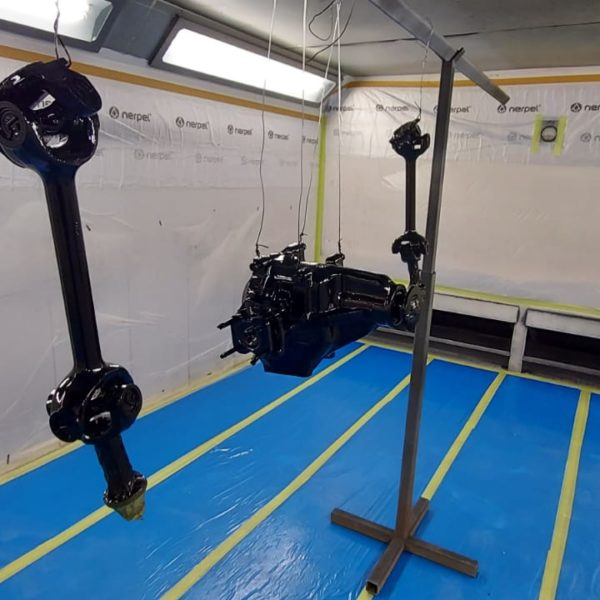
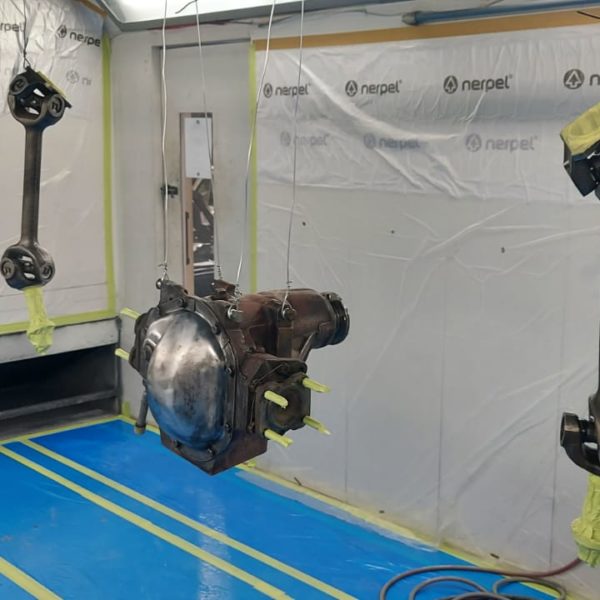
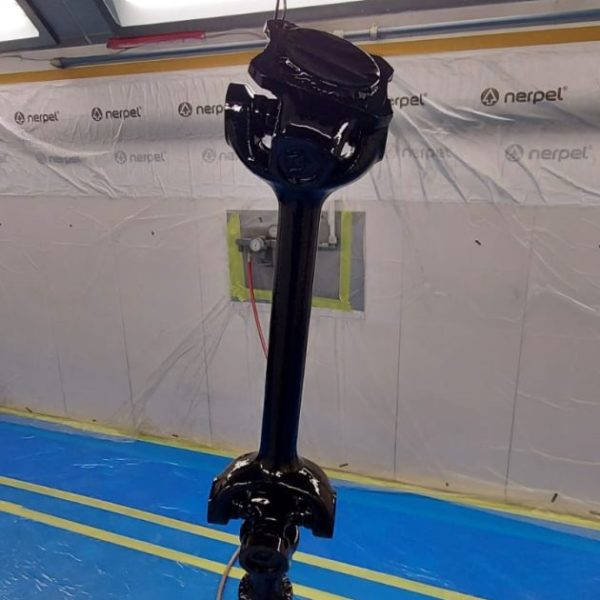
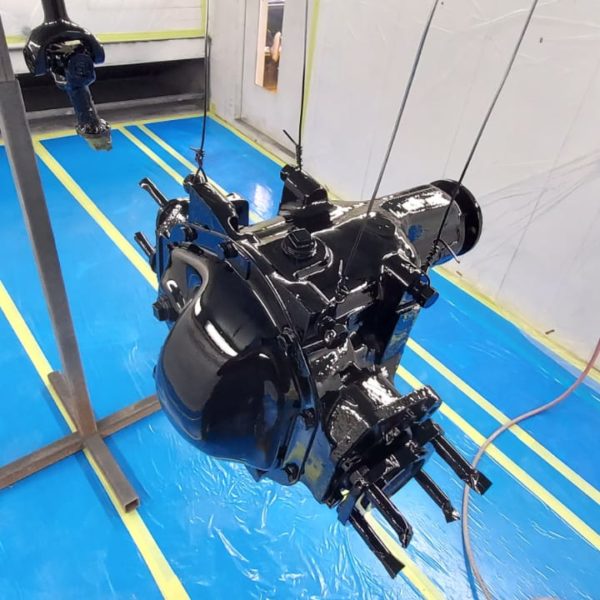
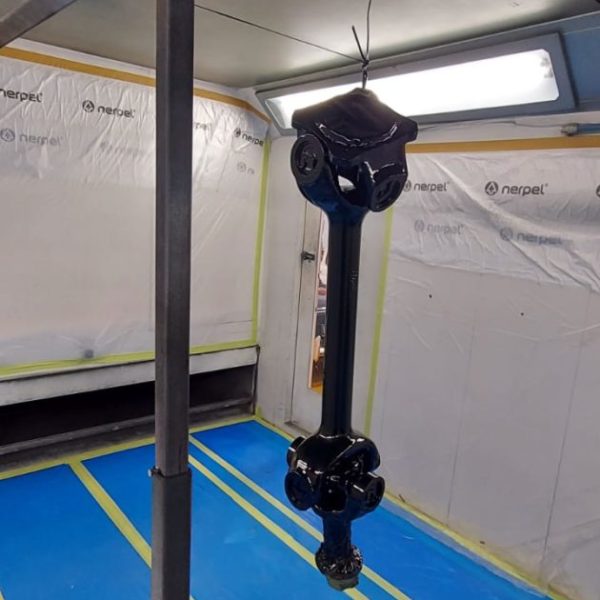
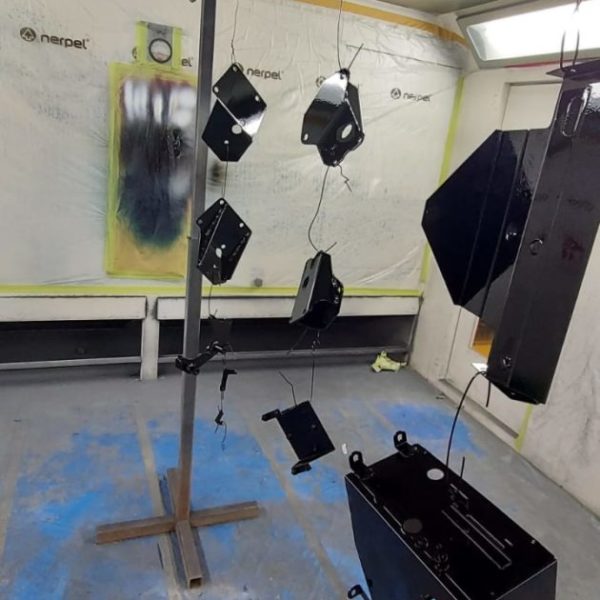
Scott has stripped the handbrake callipers and sandblasted the parts so they could be painted. Scott then started to put the rear axle together.

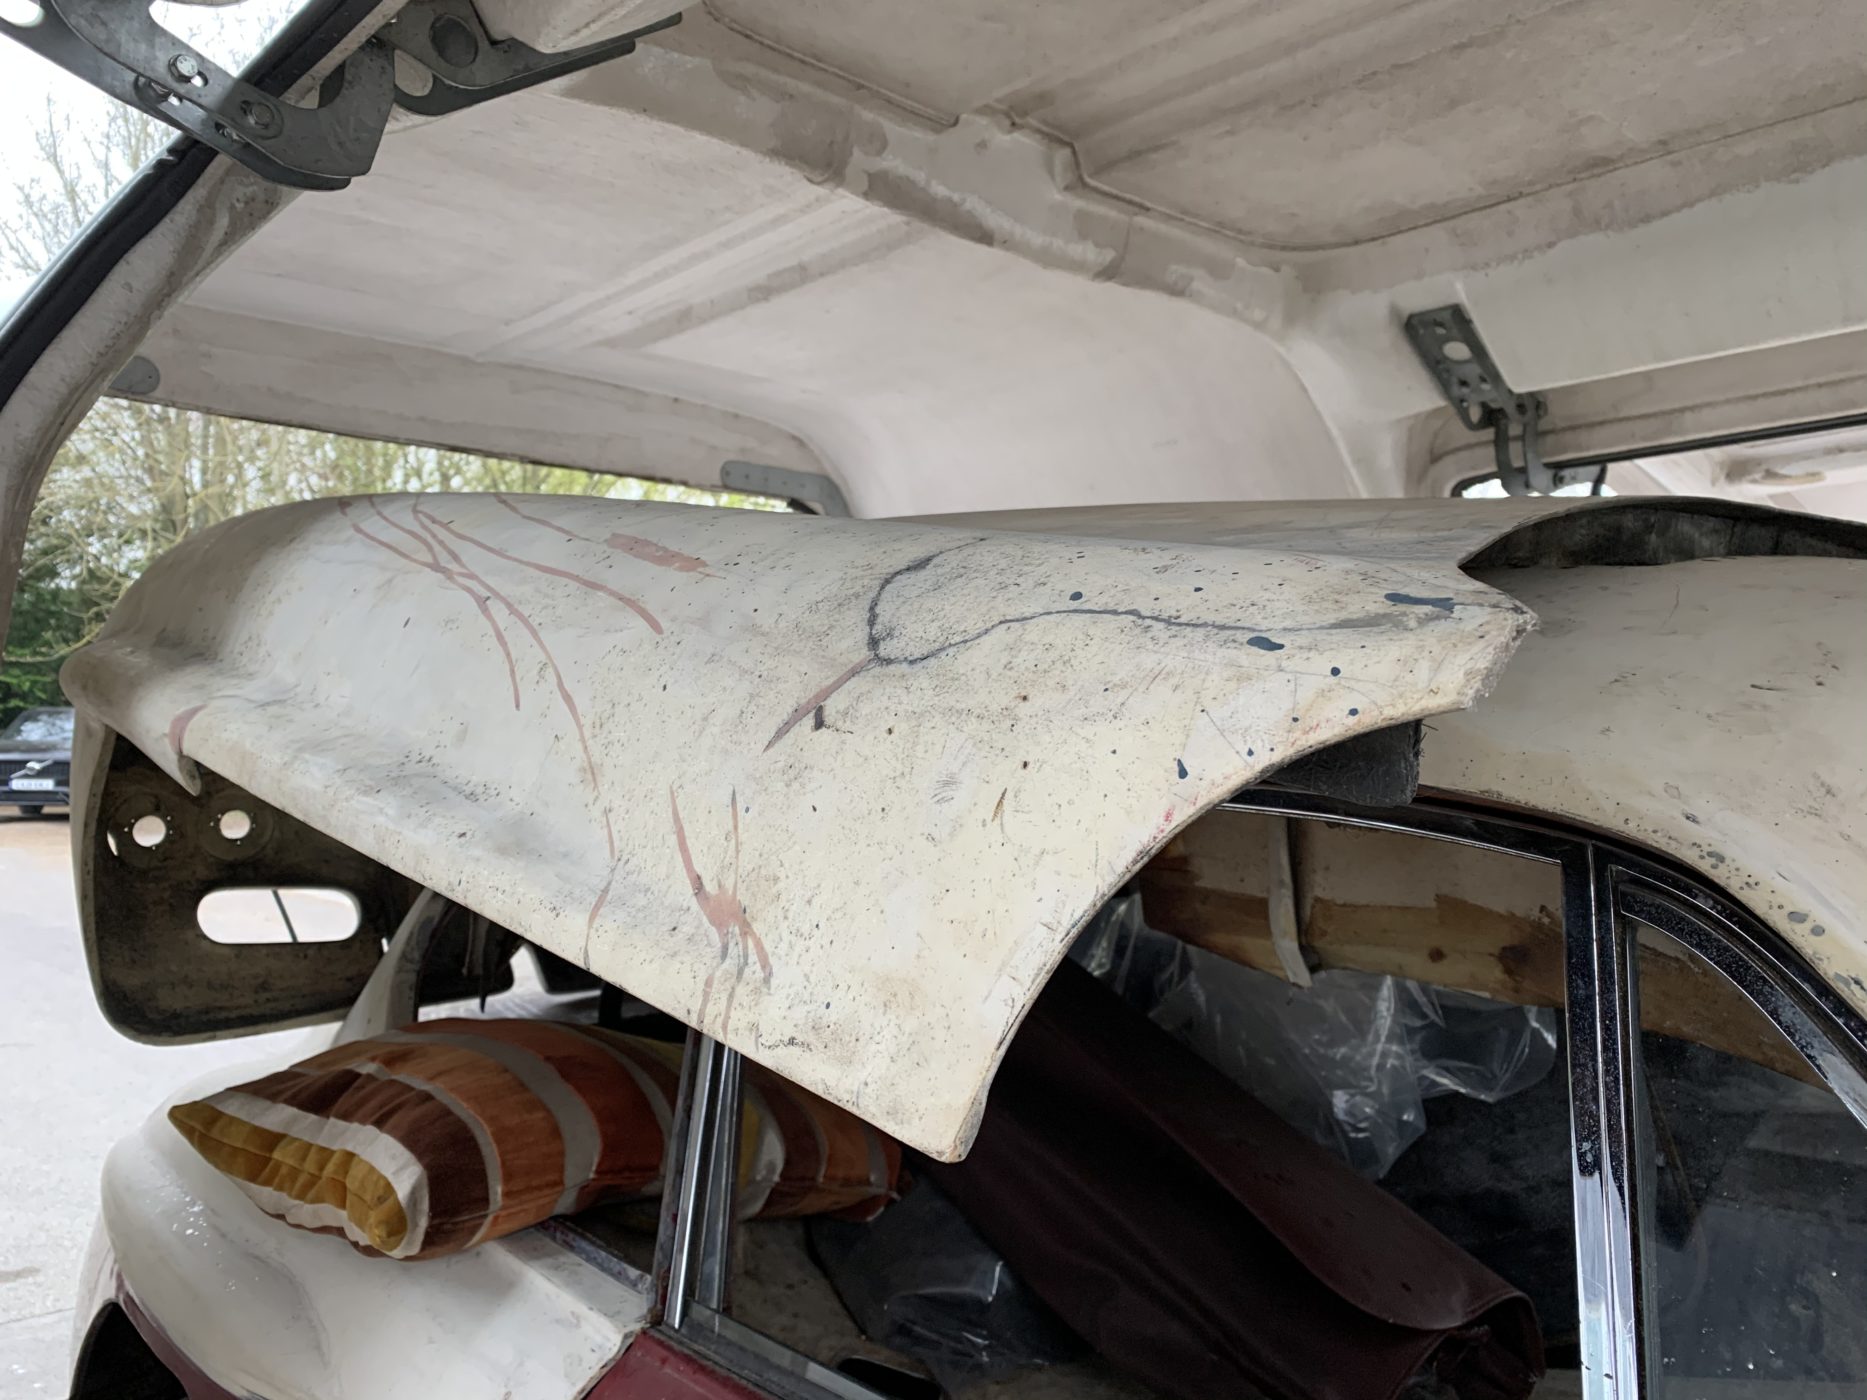
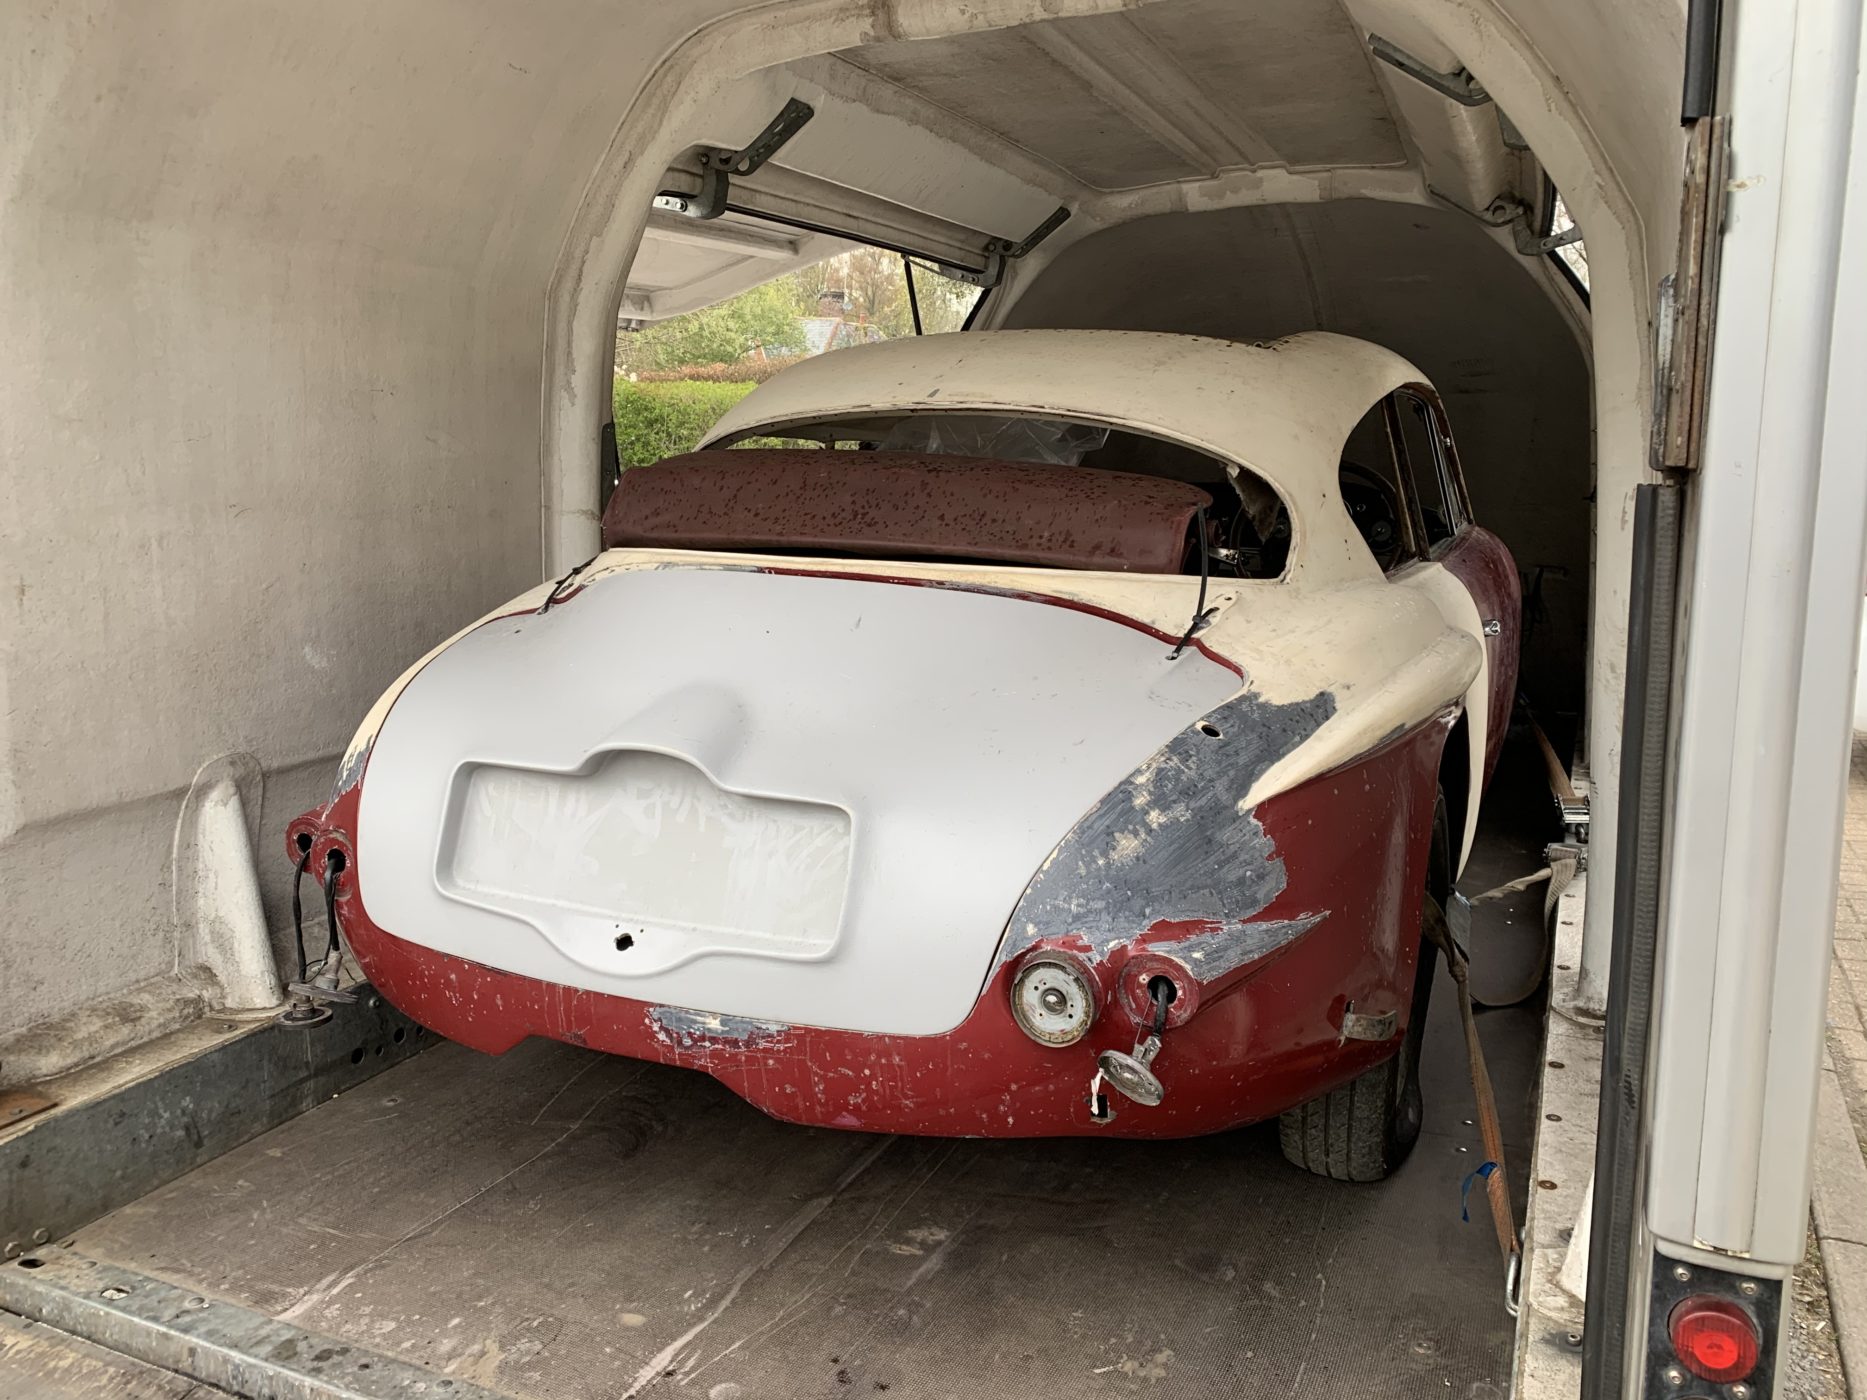
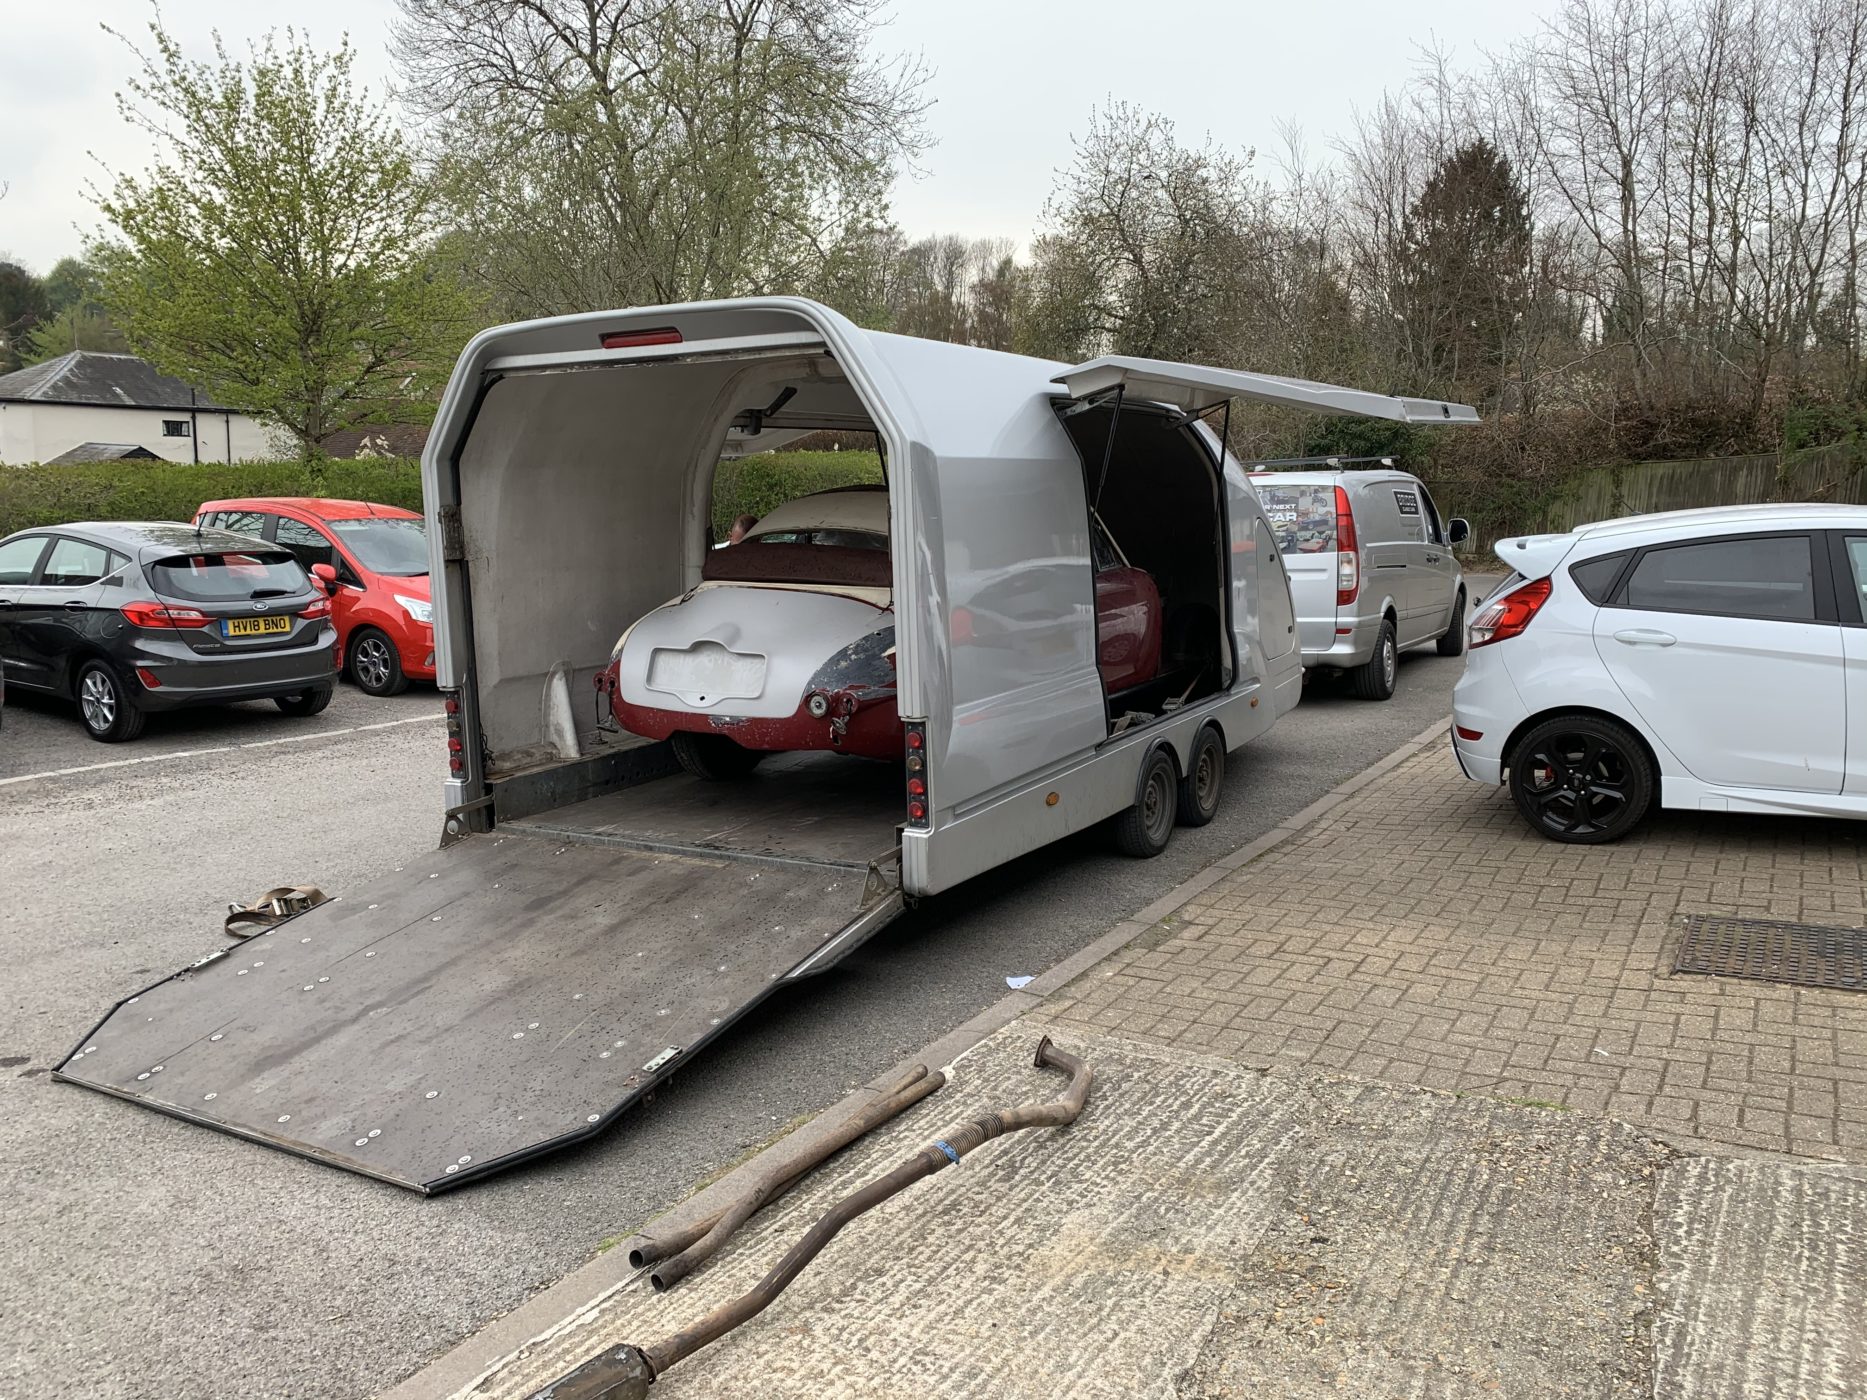
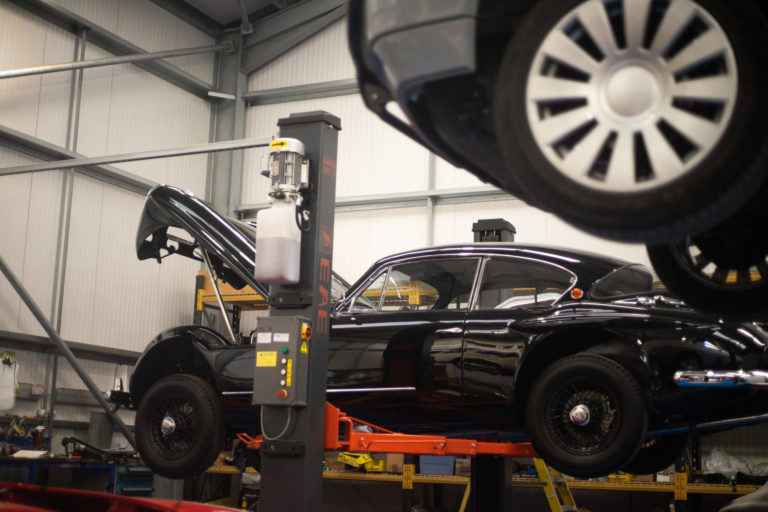
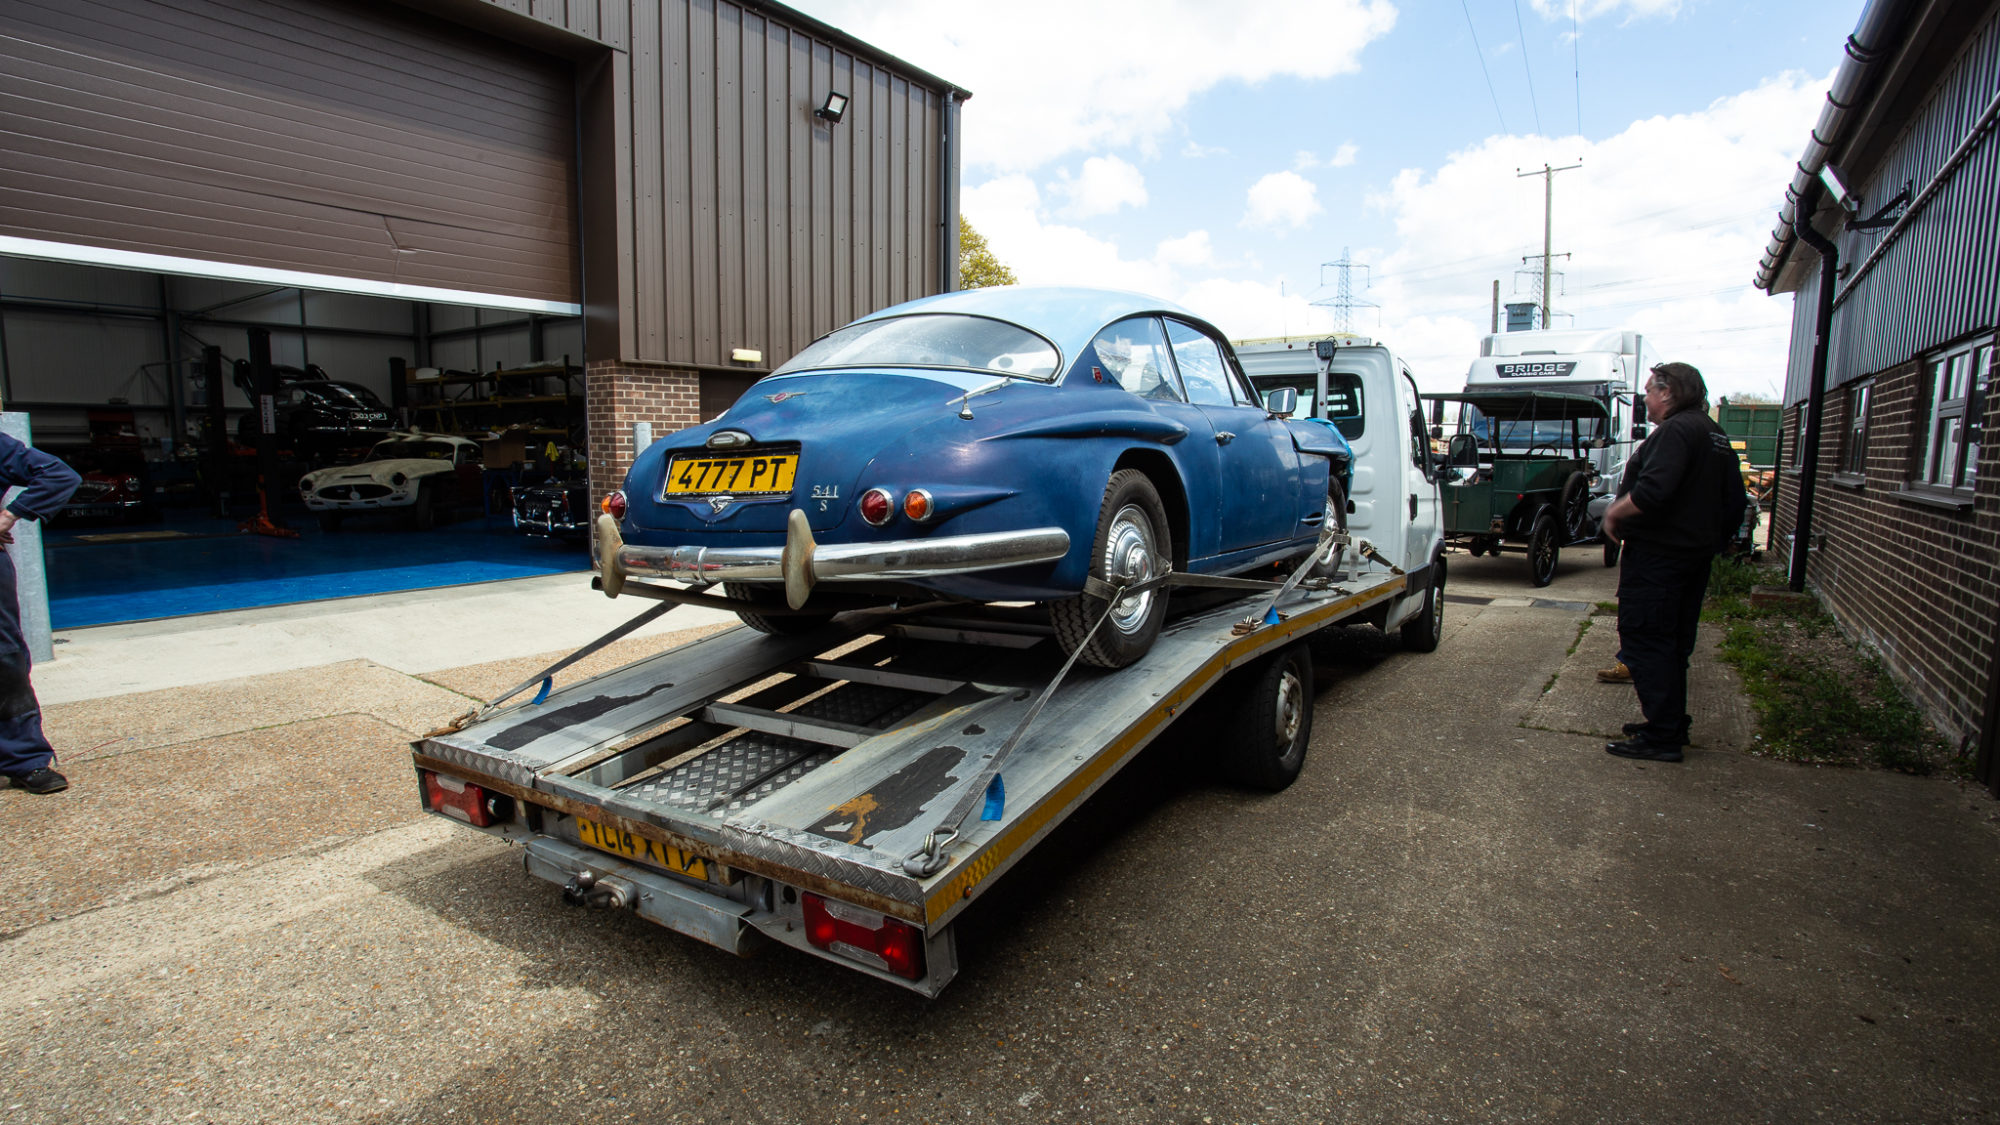
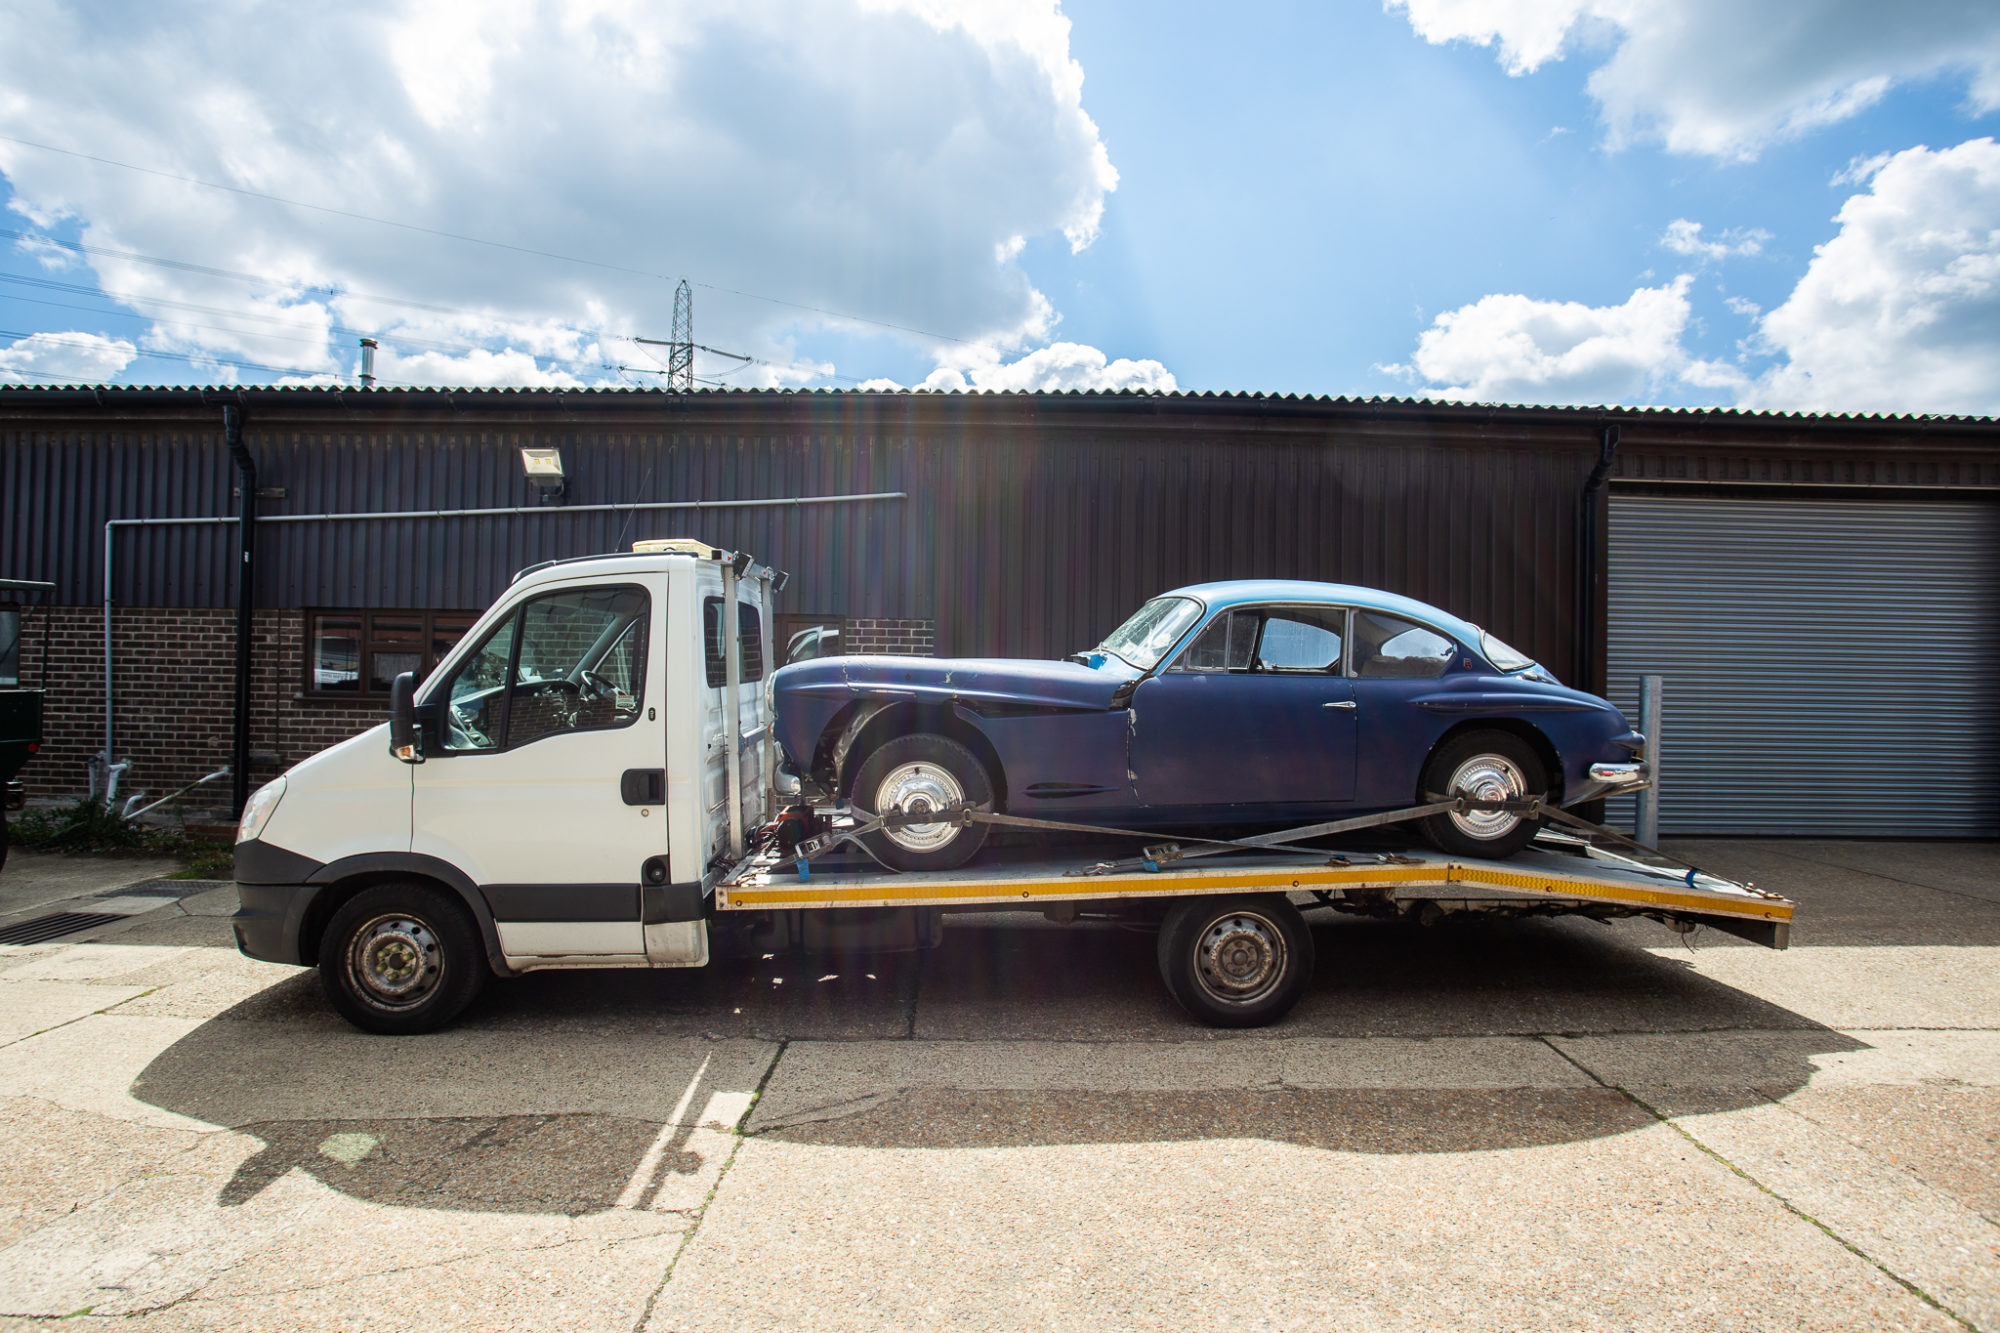
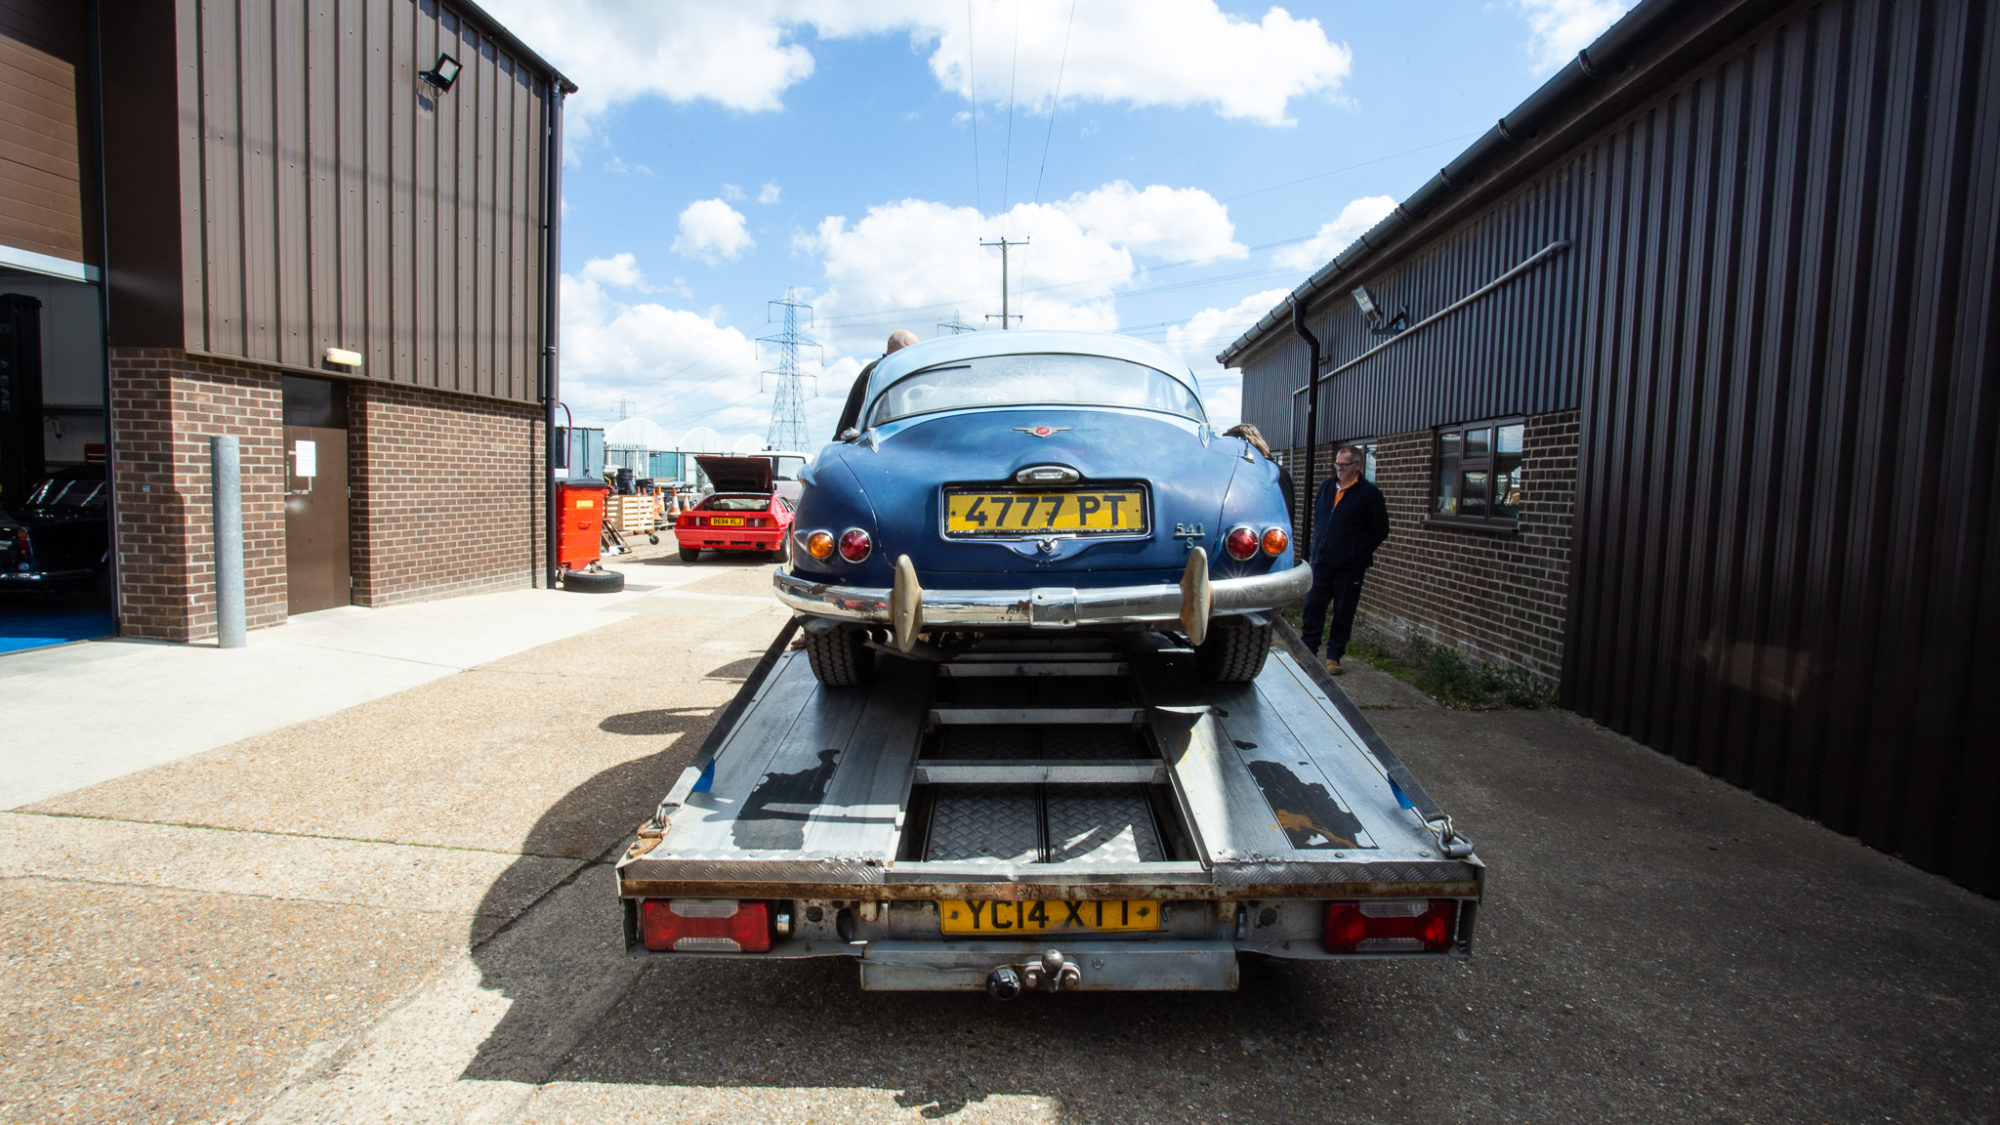
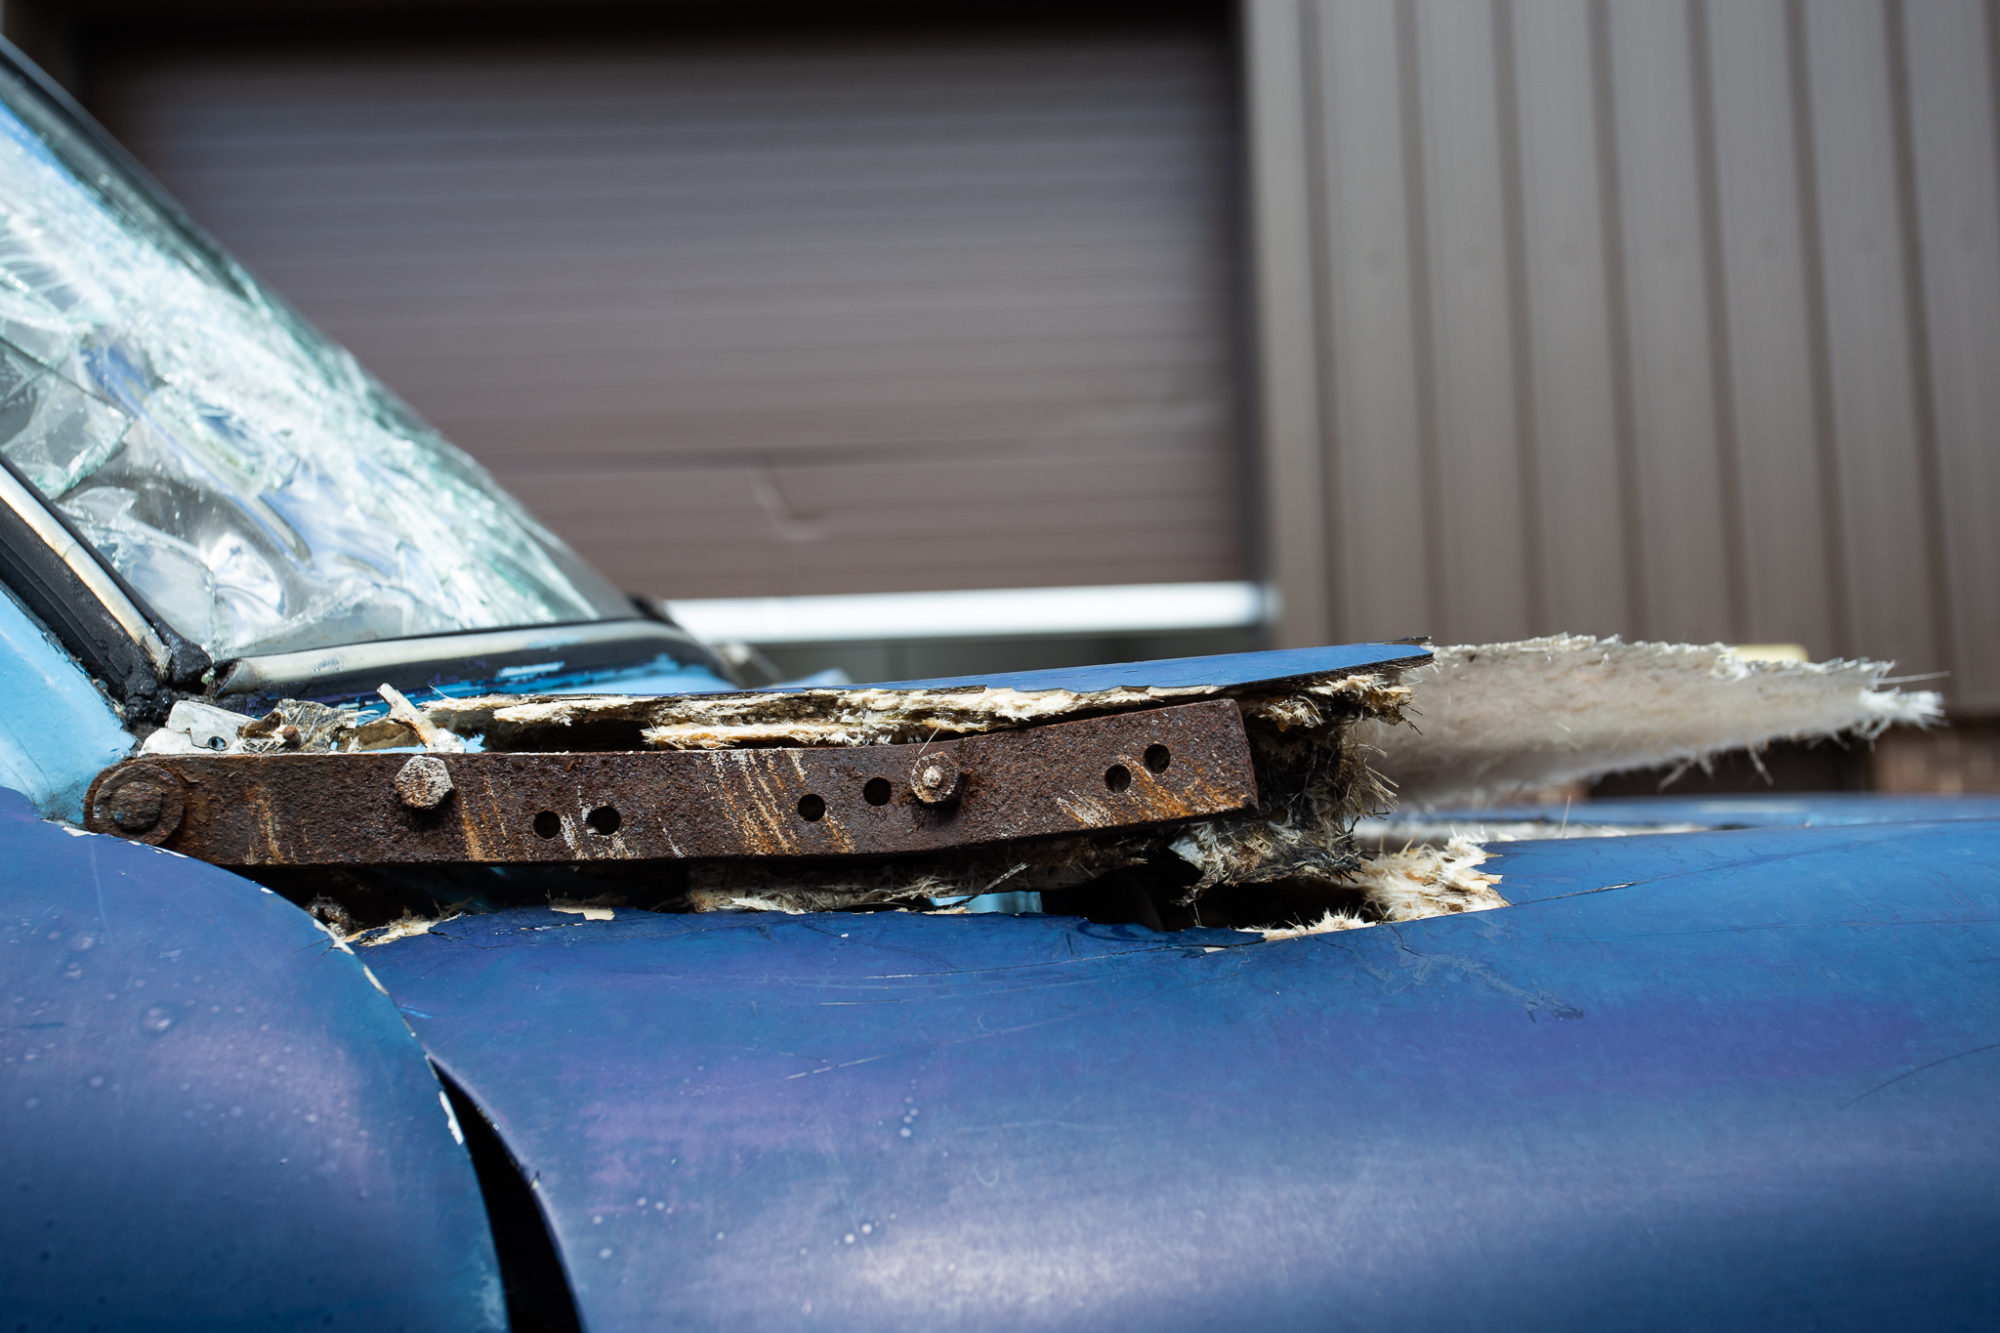
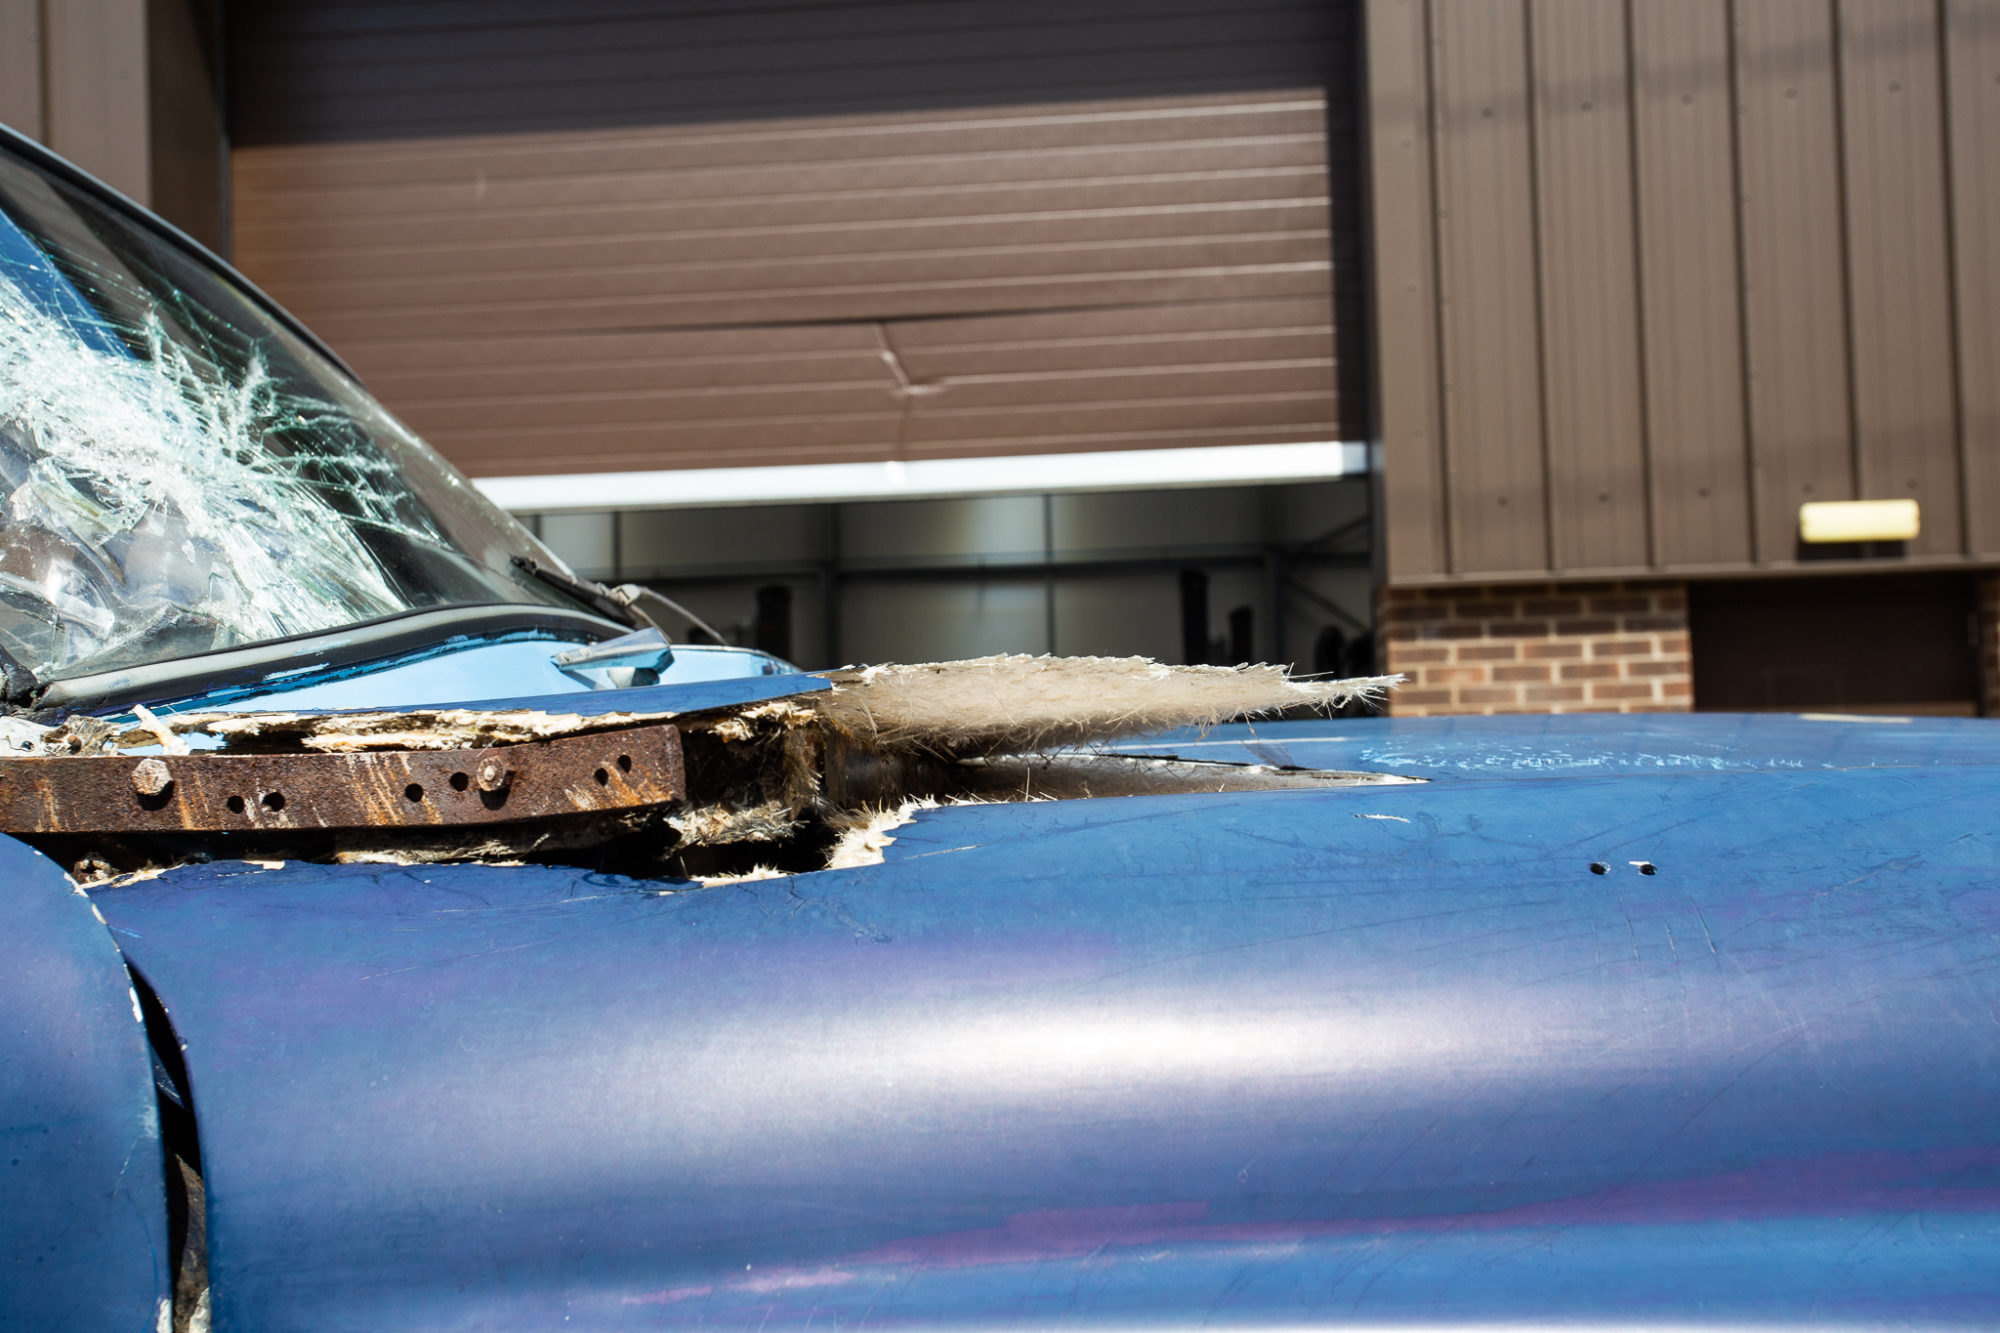
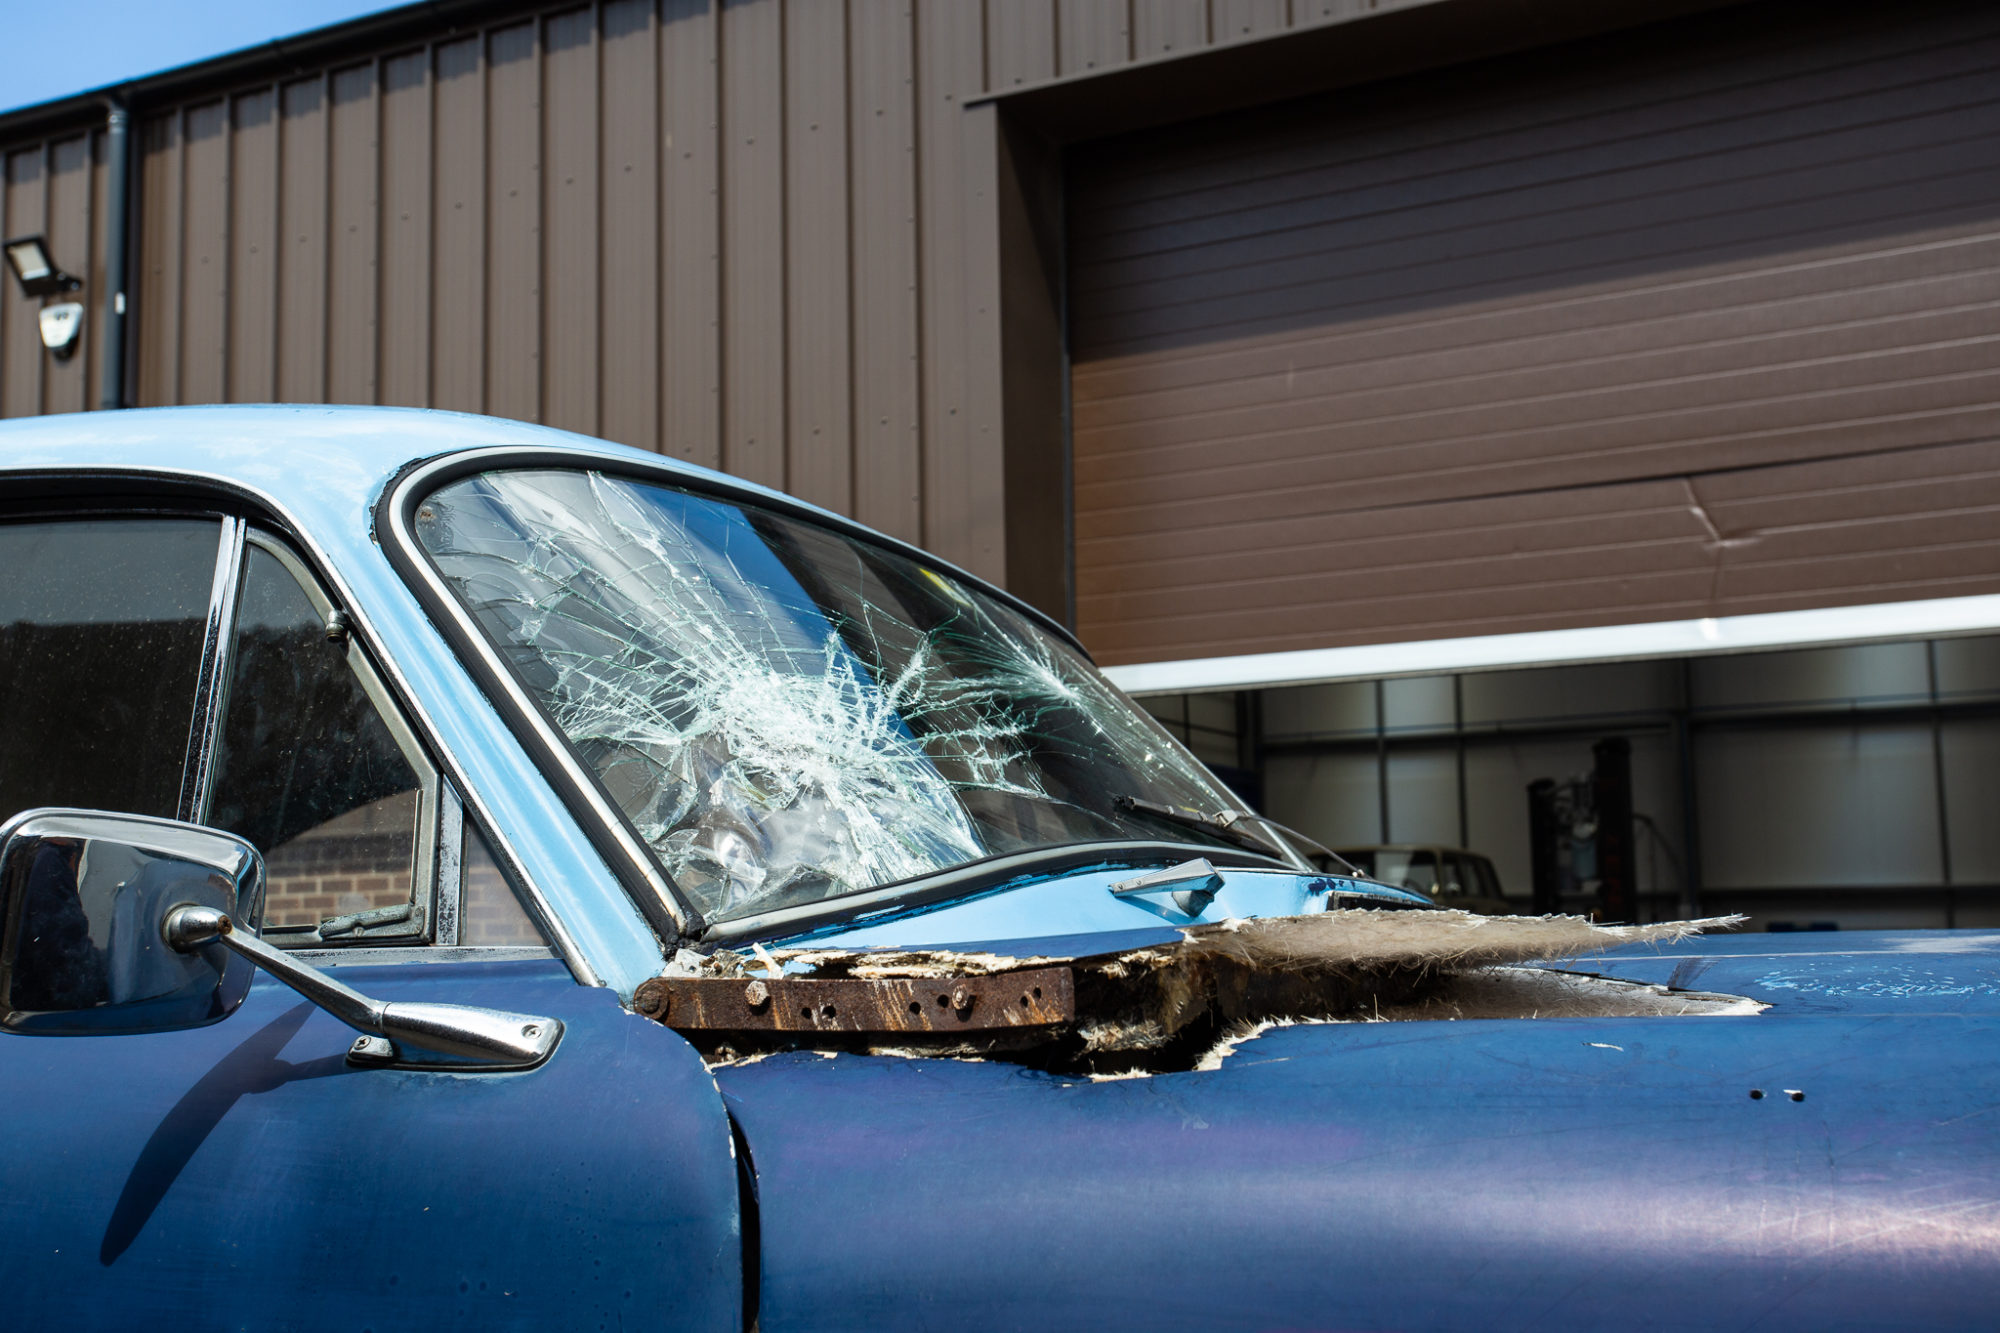
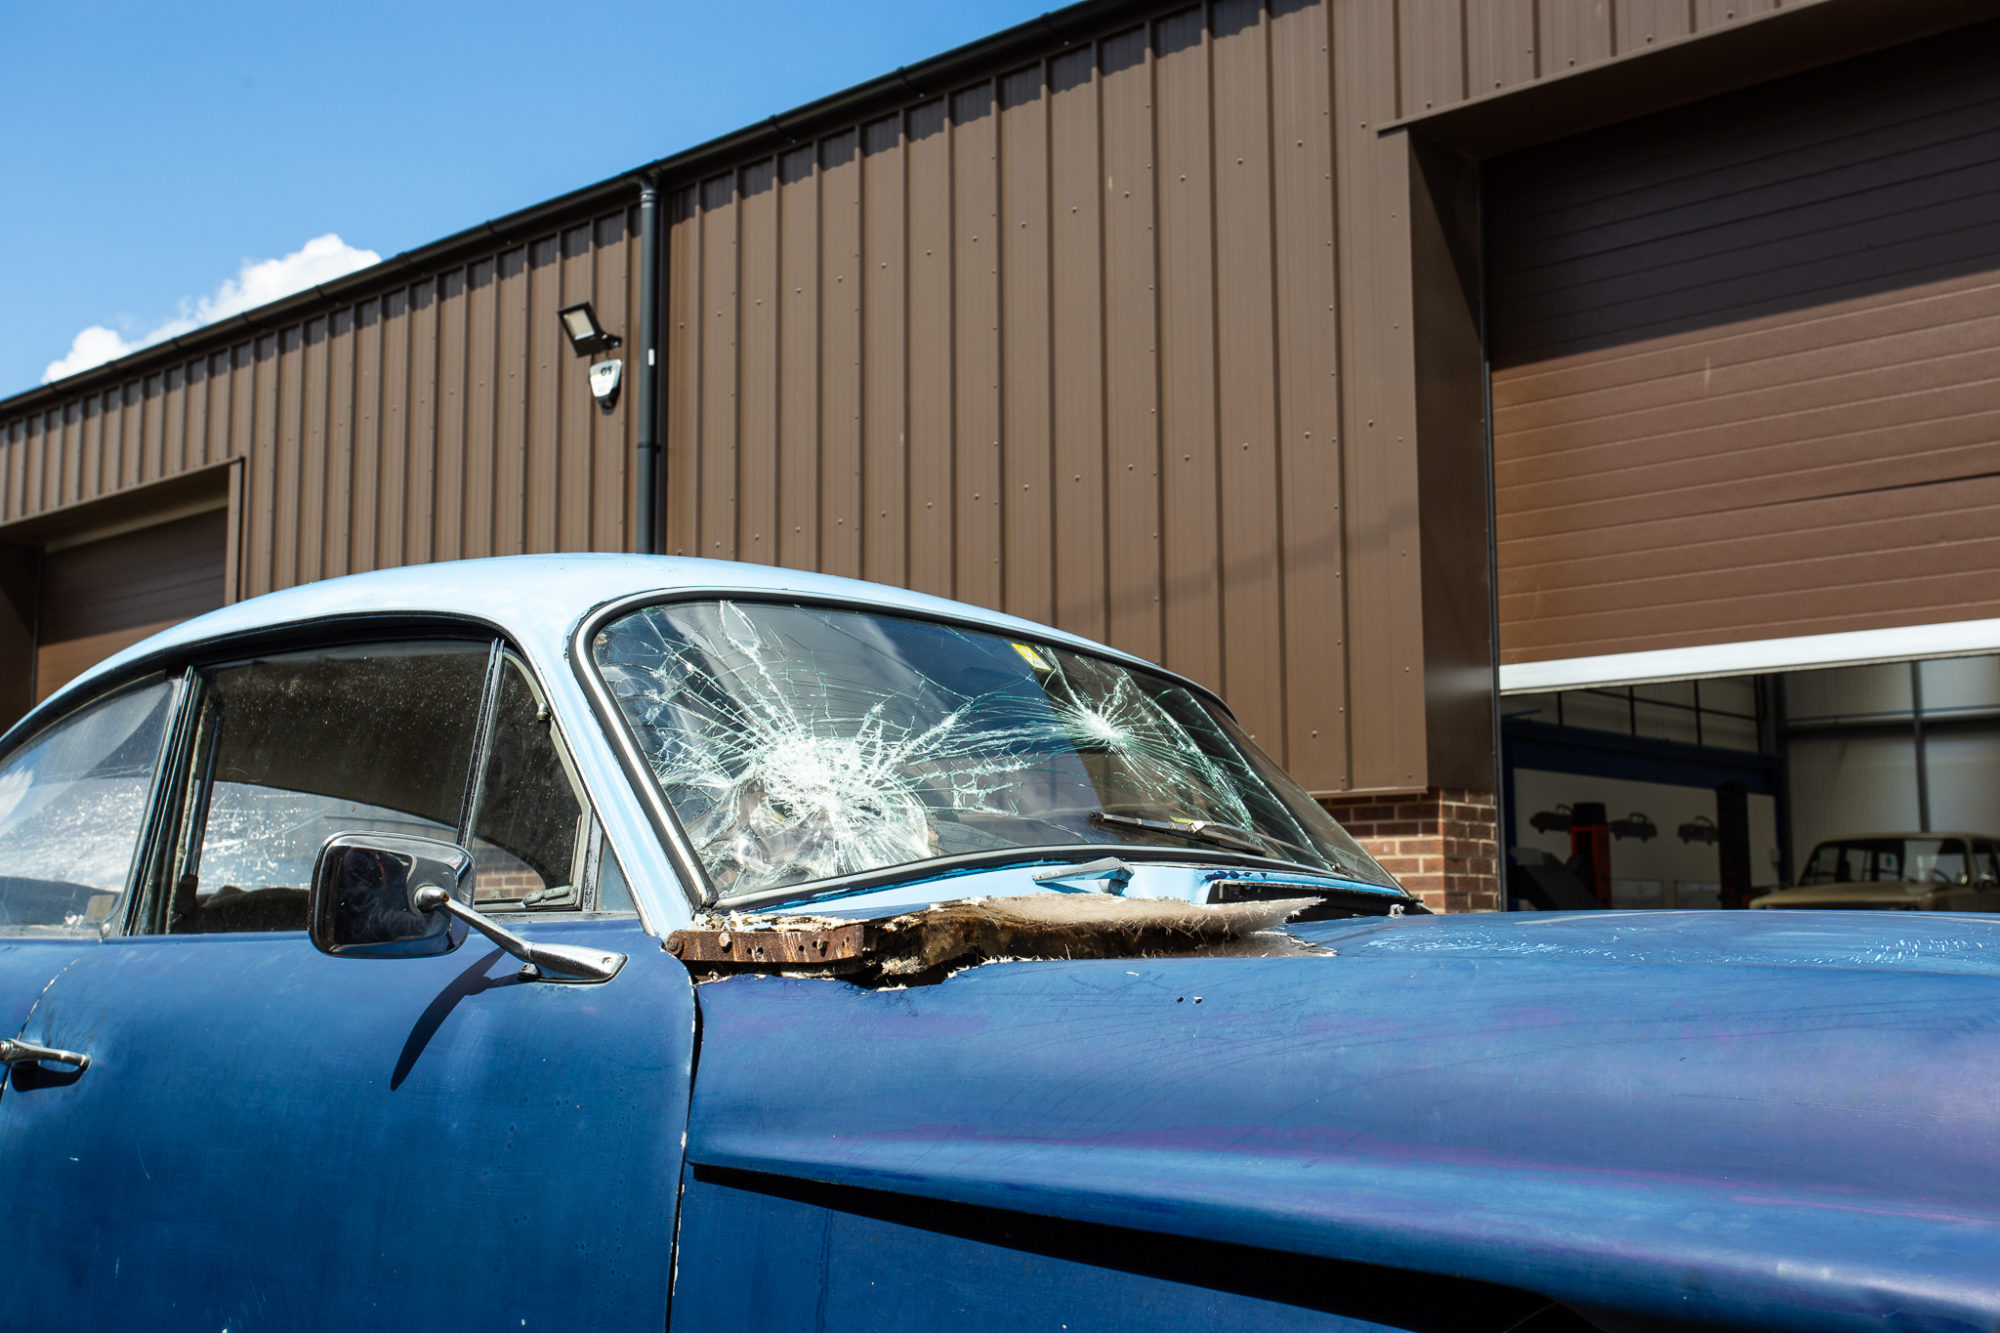
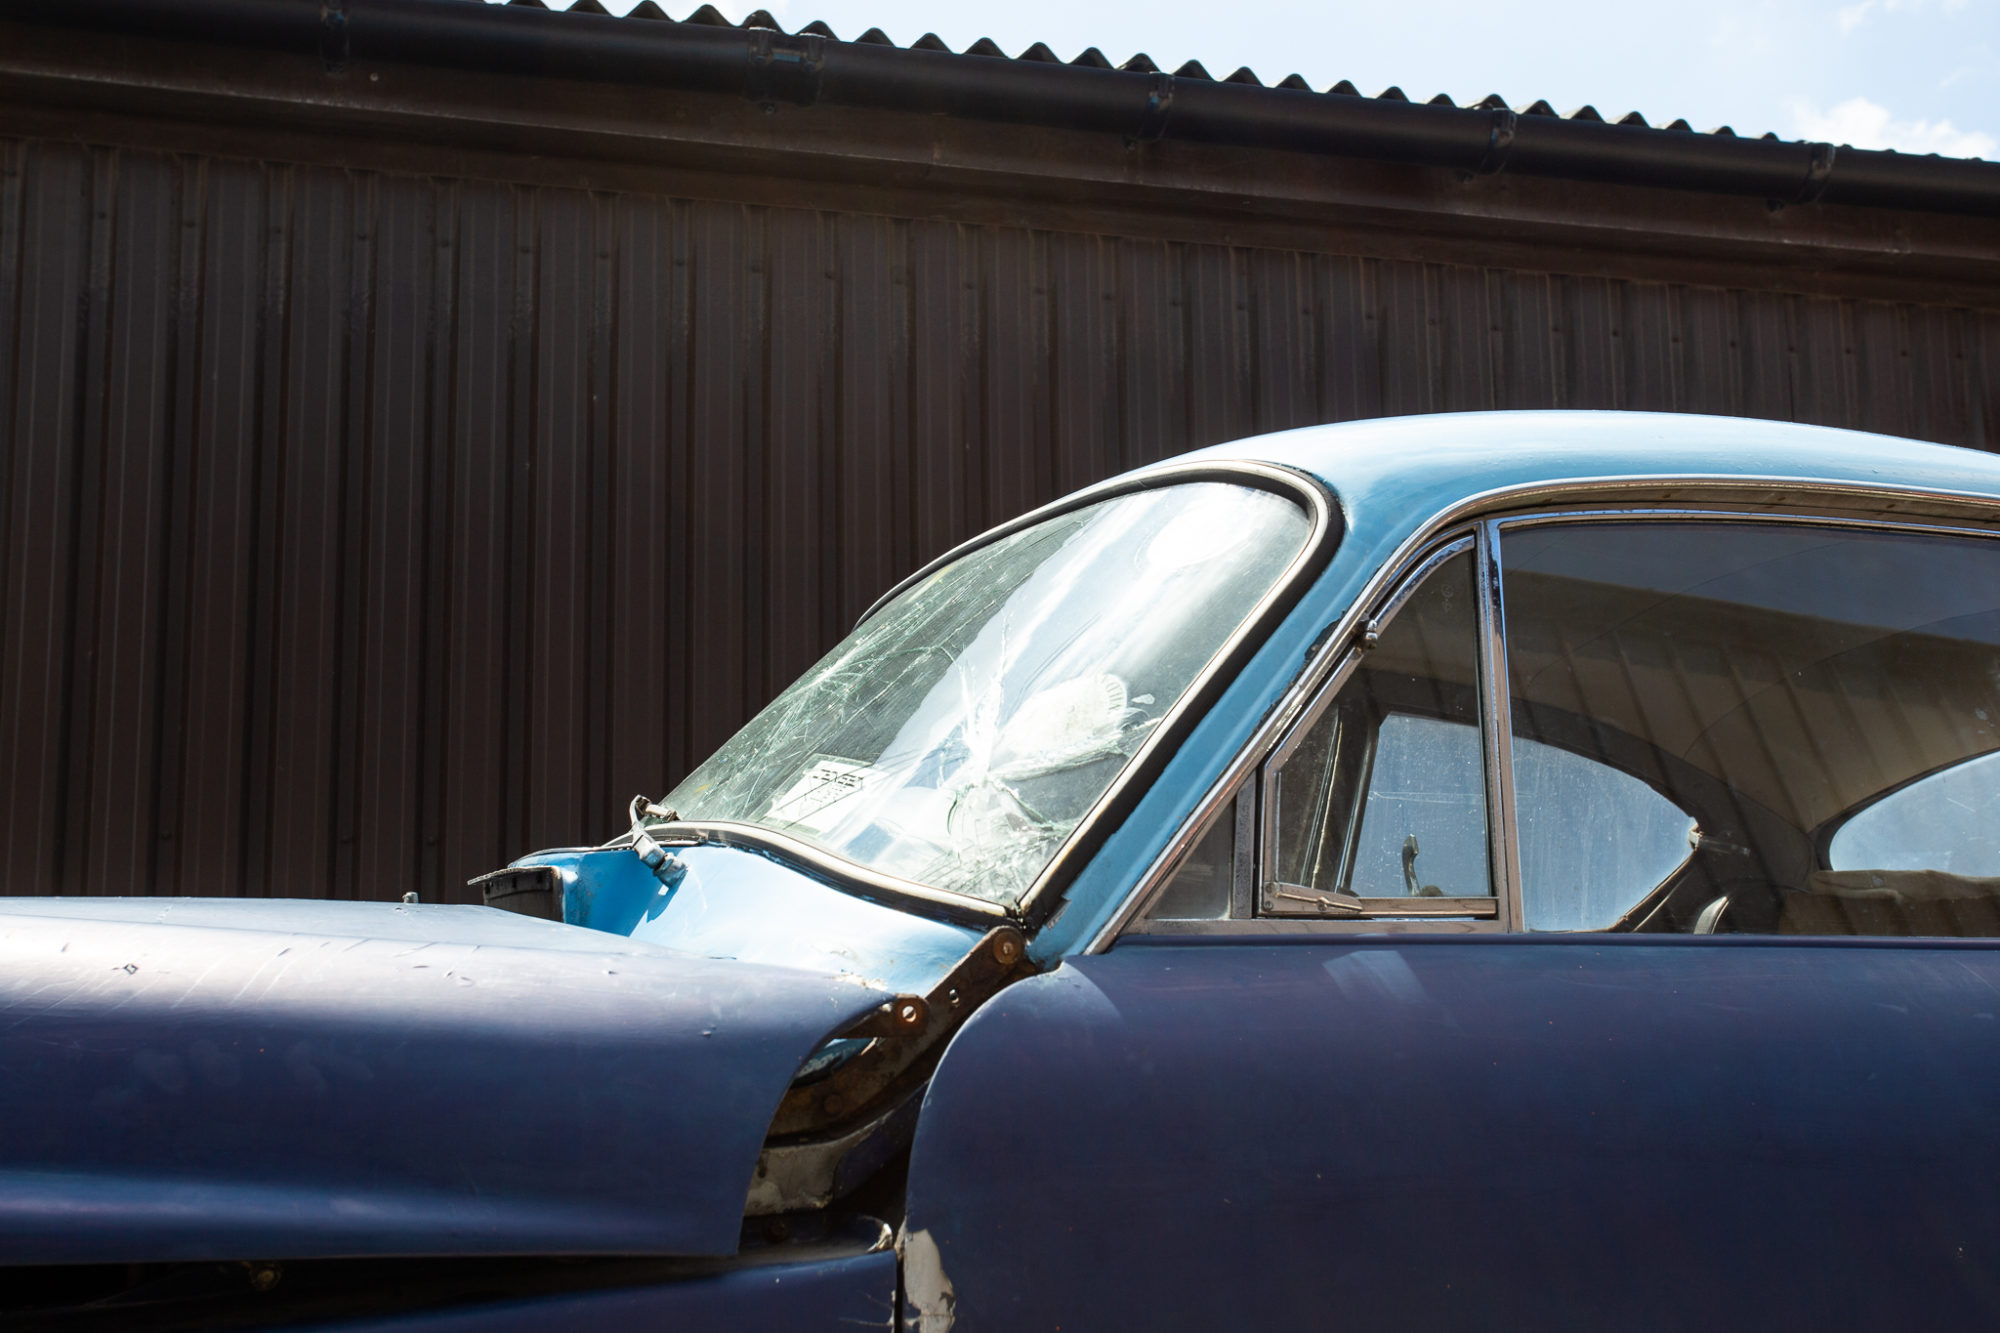
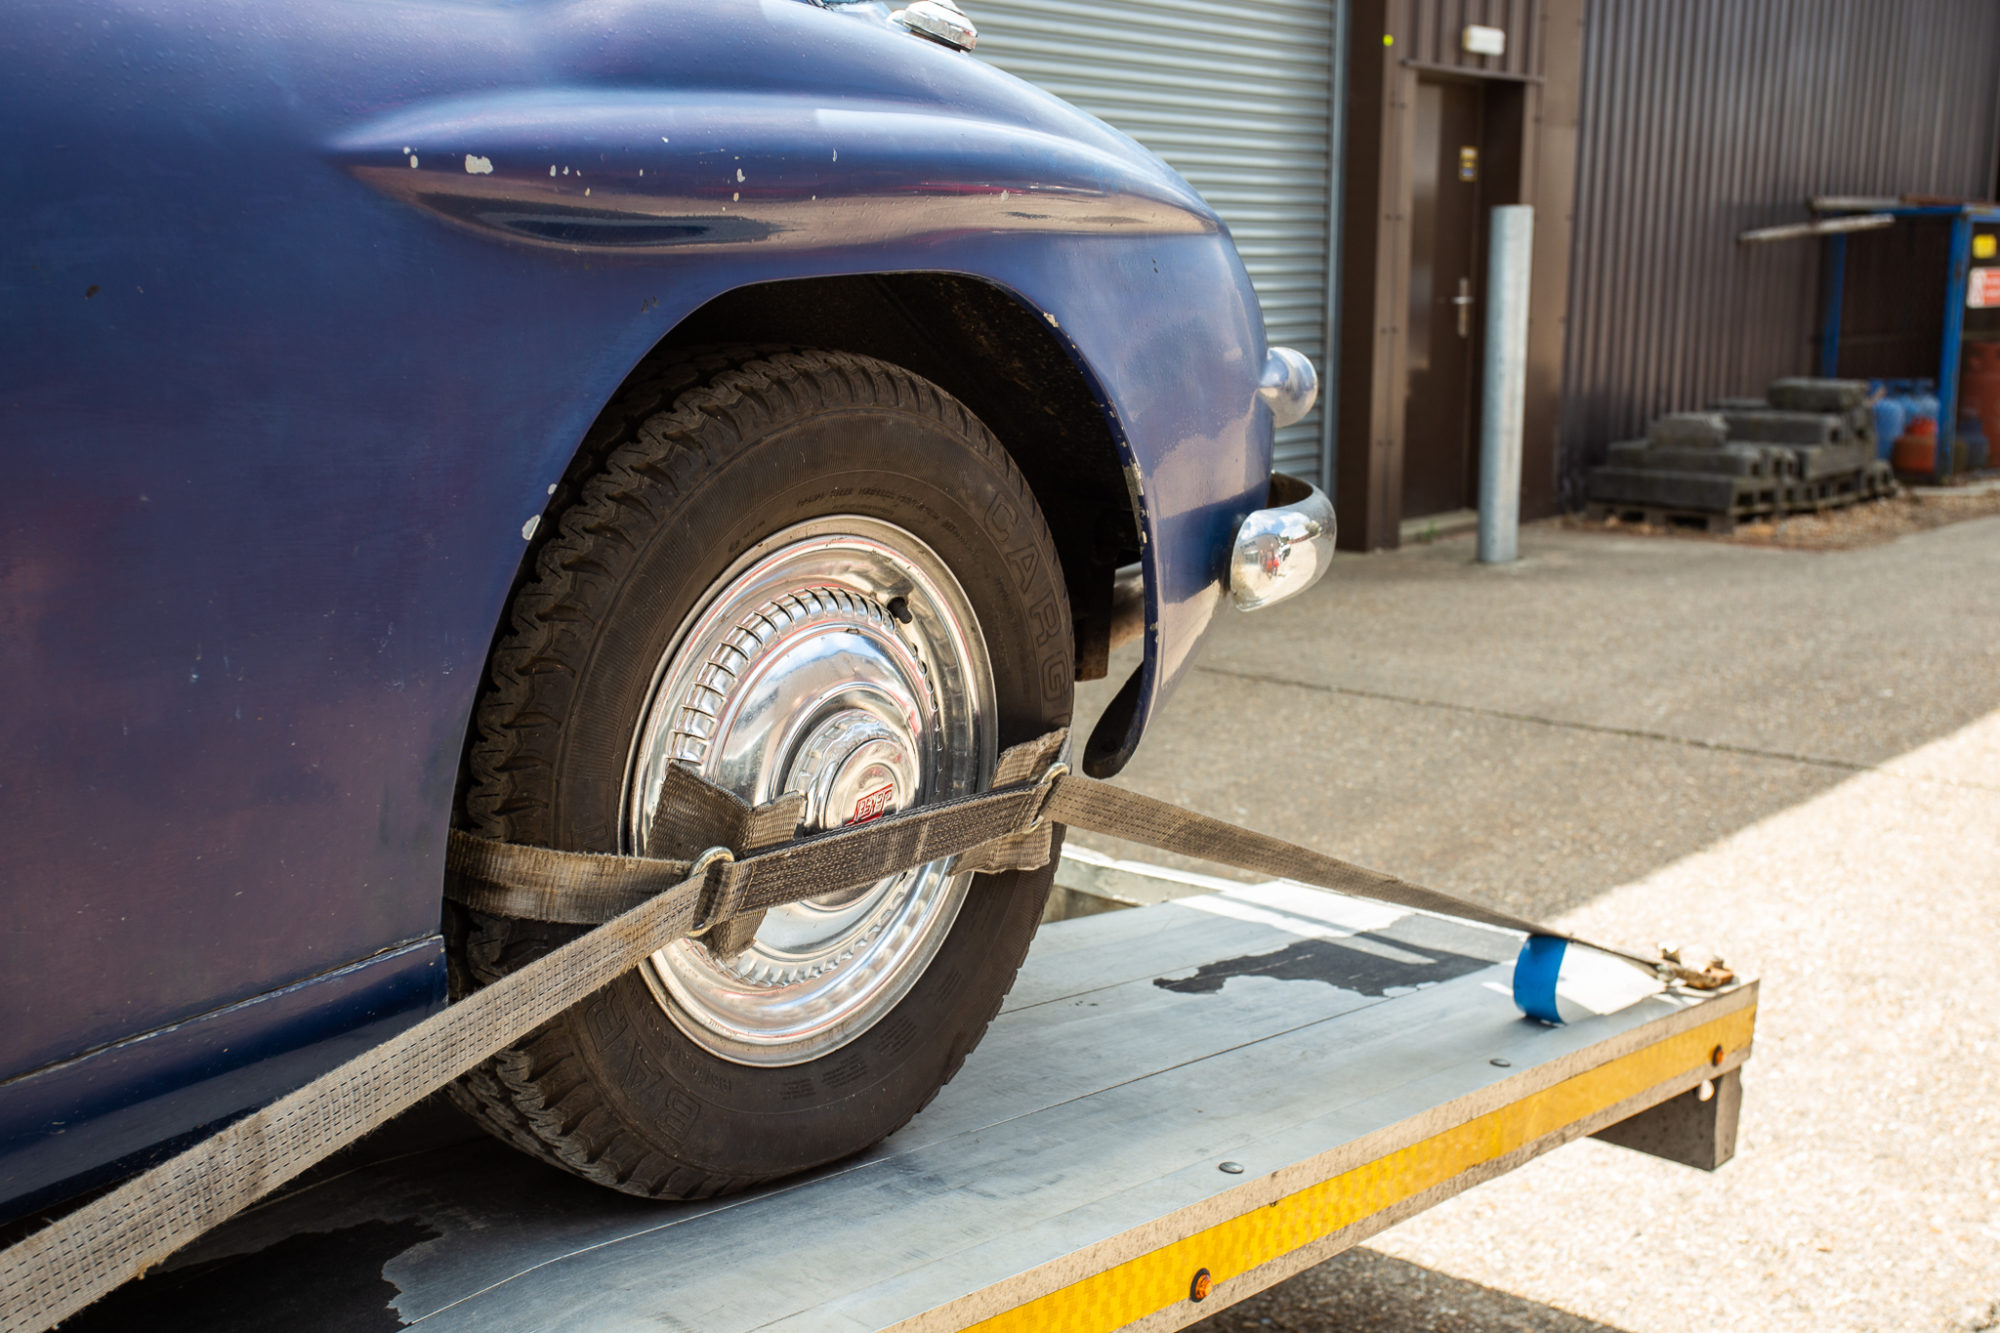
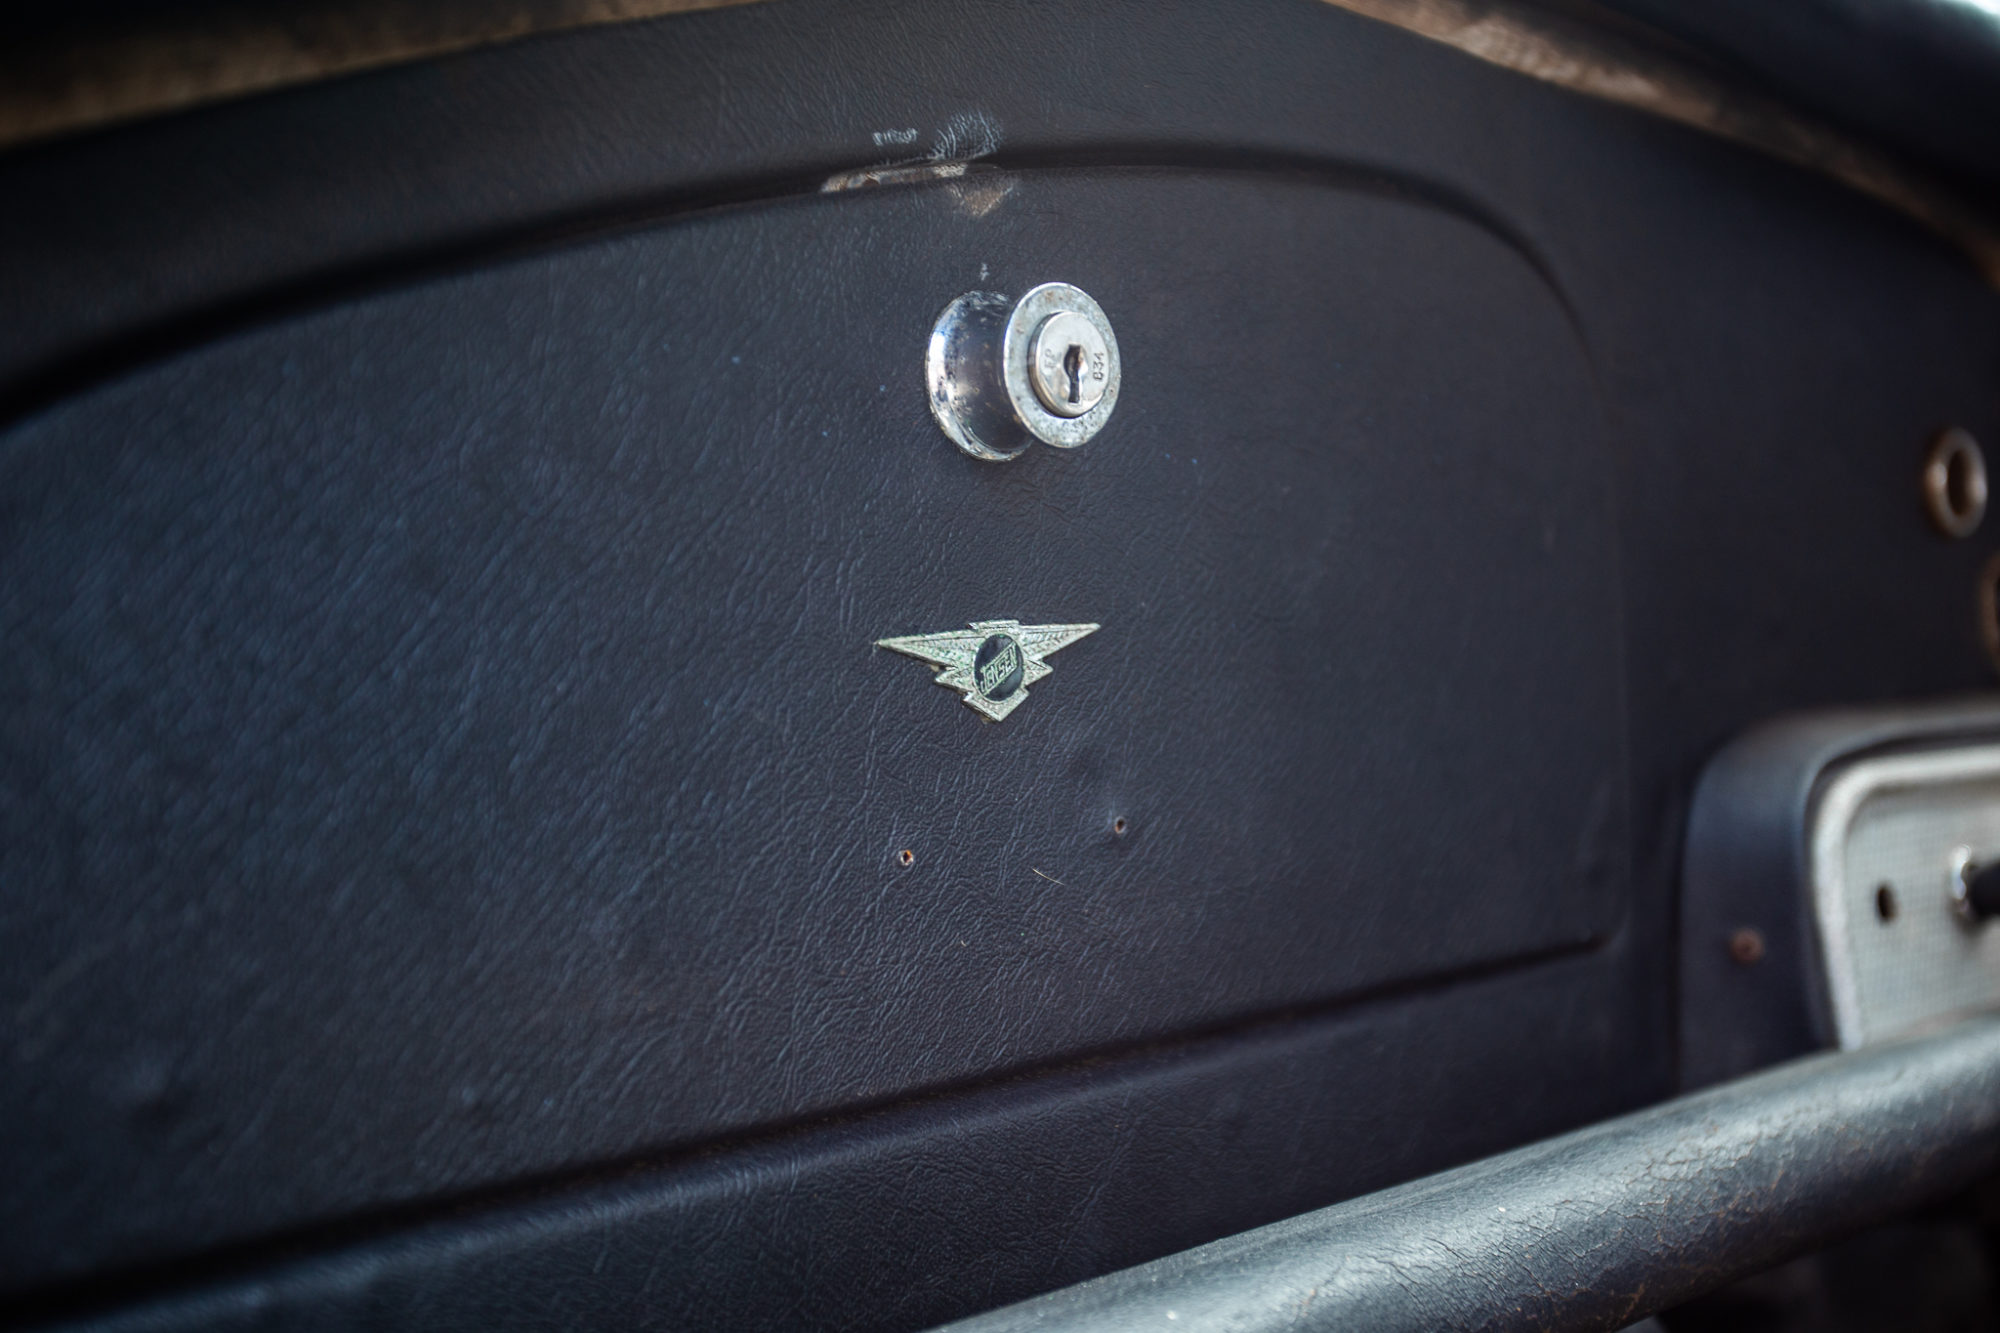
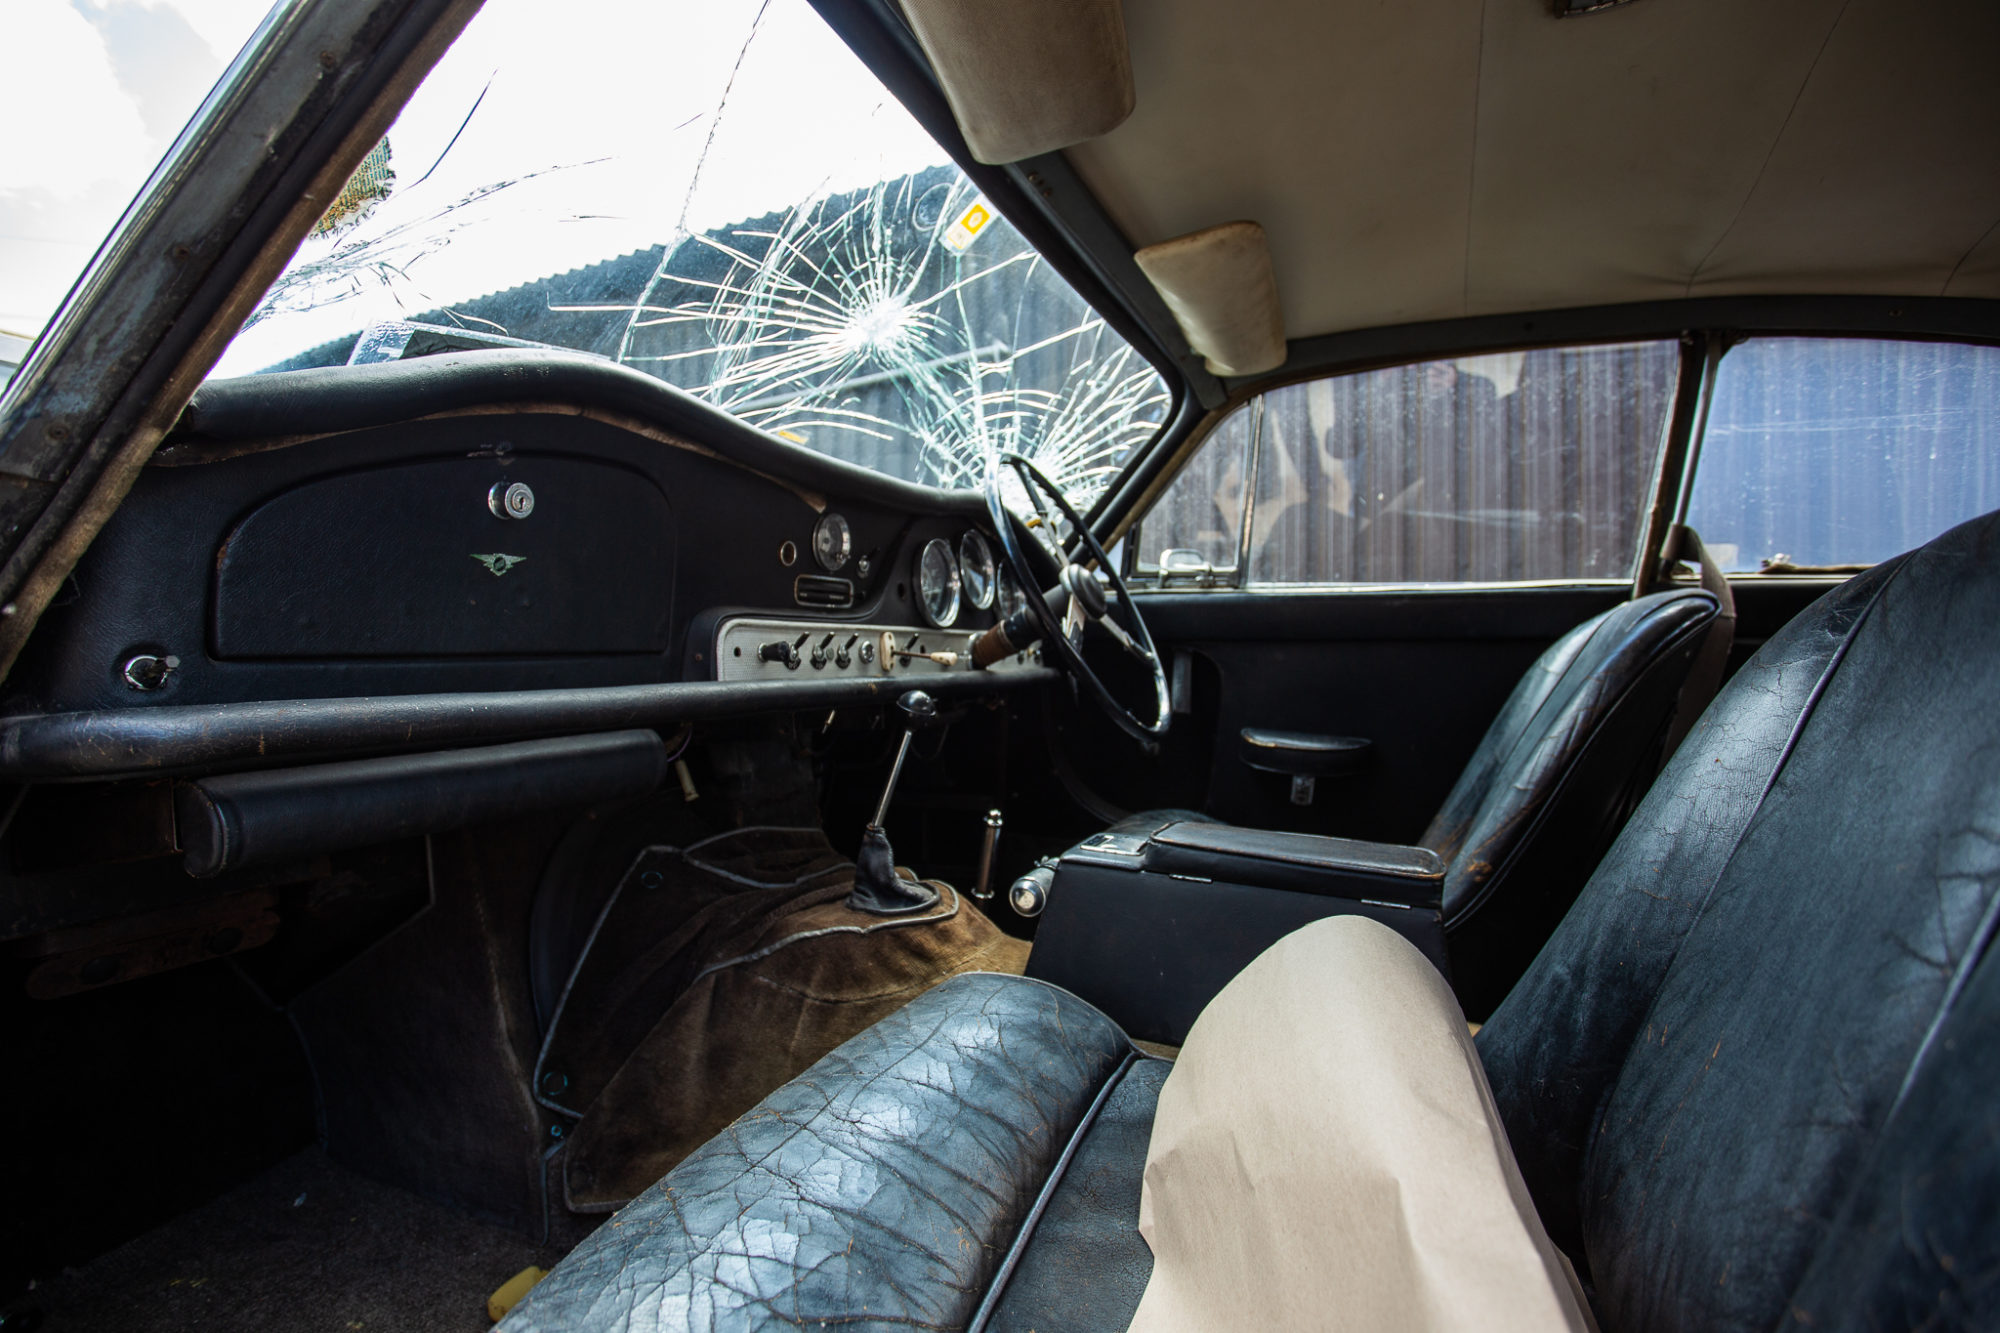
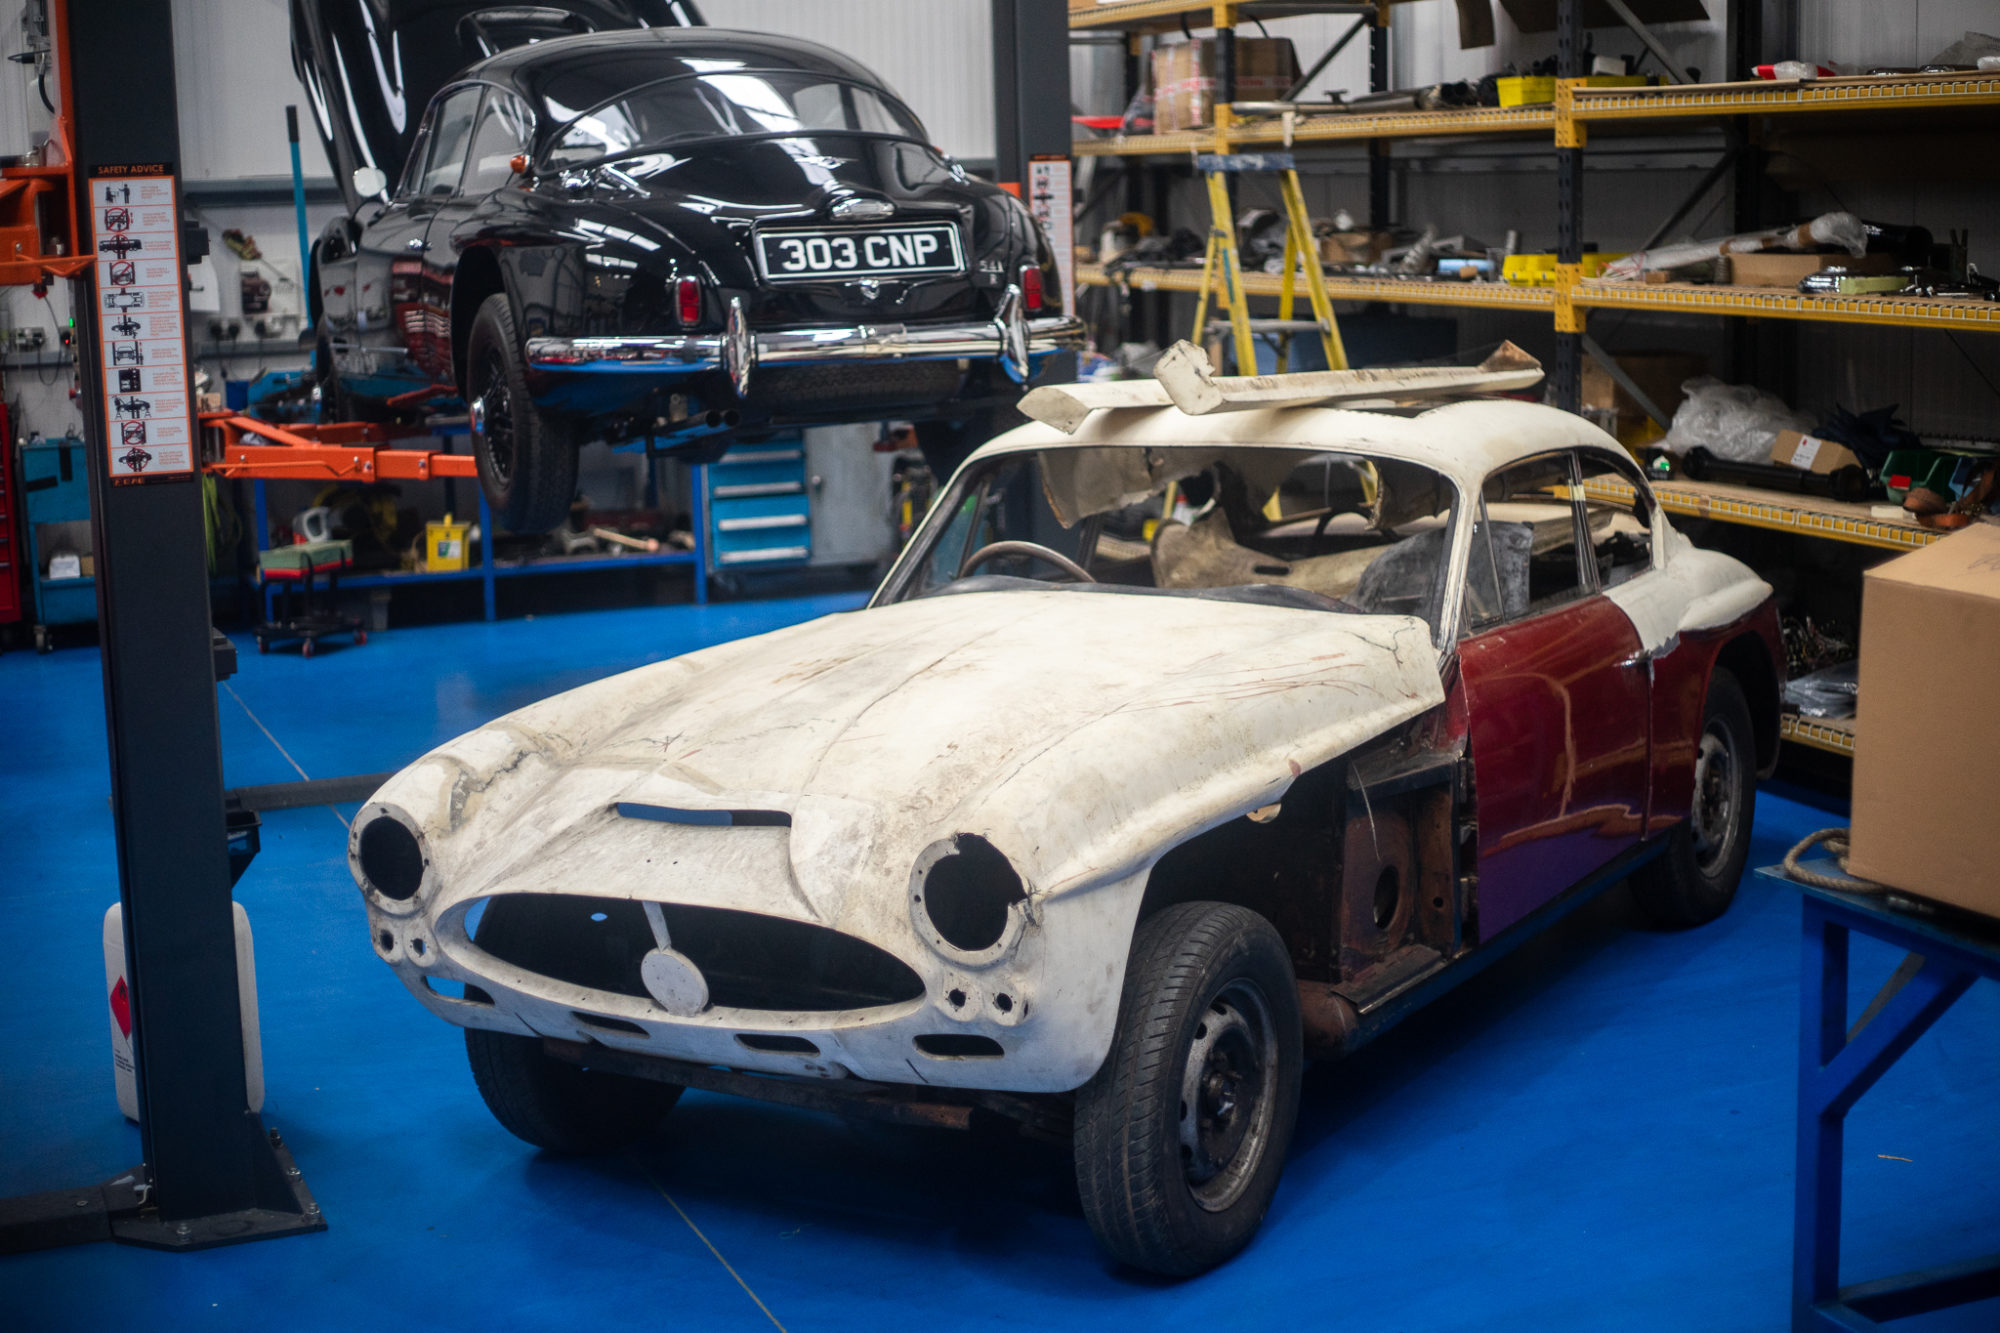
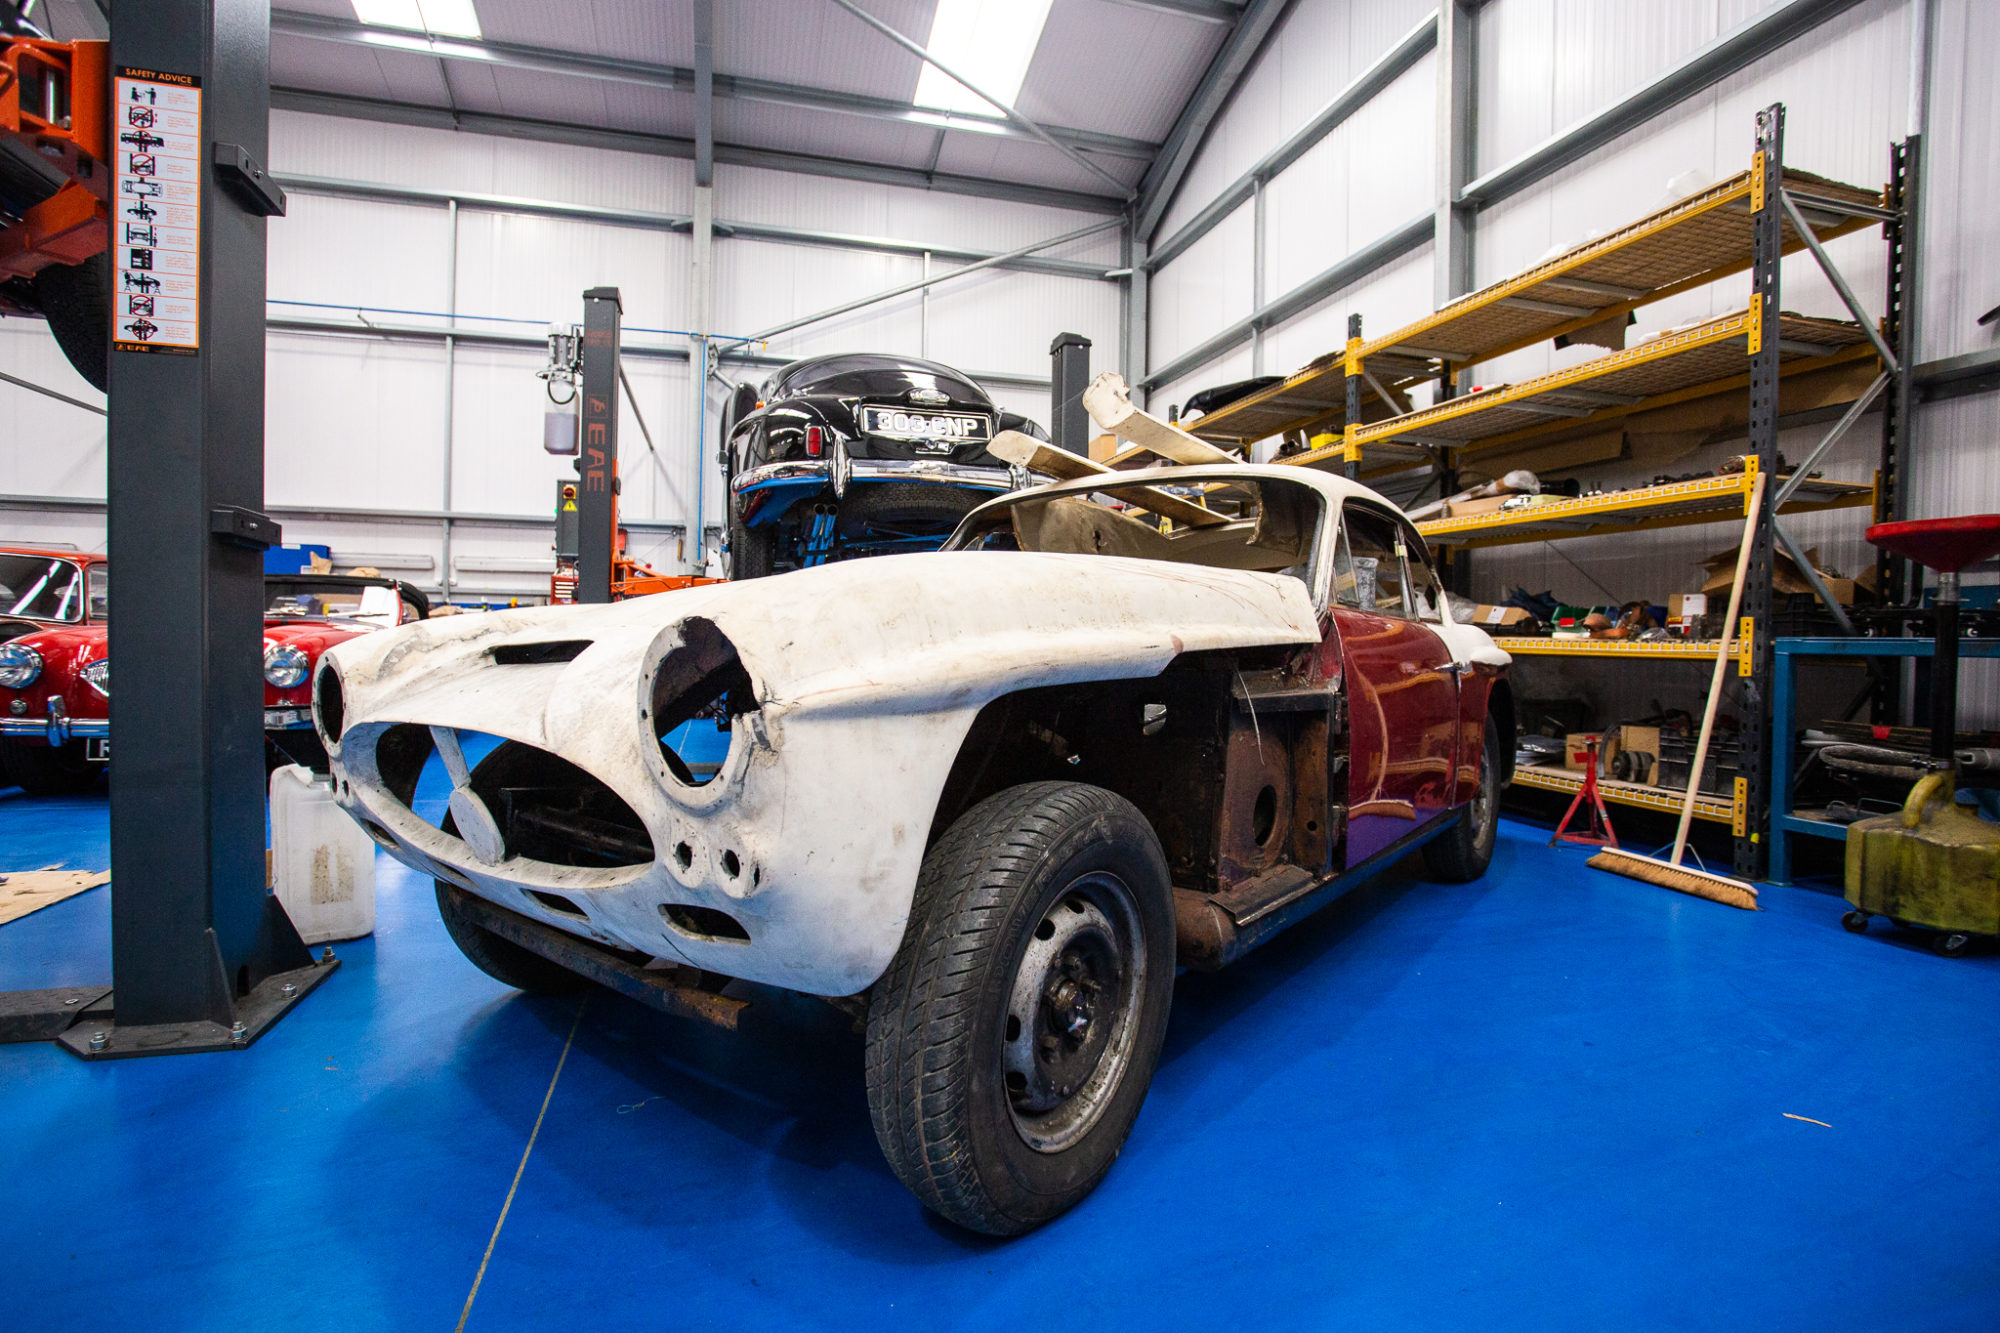
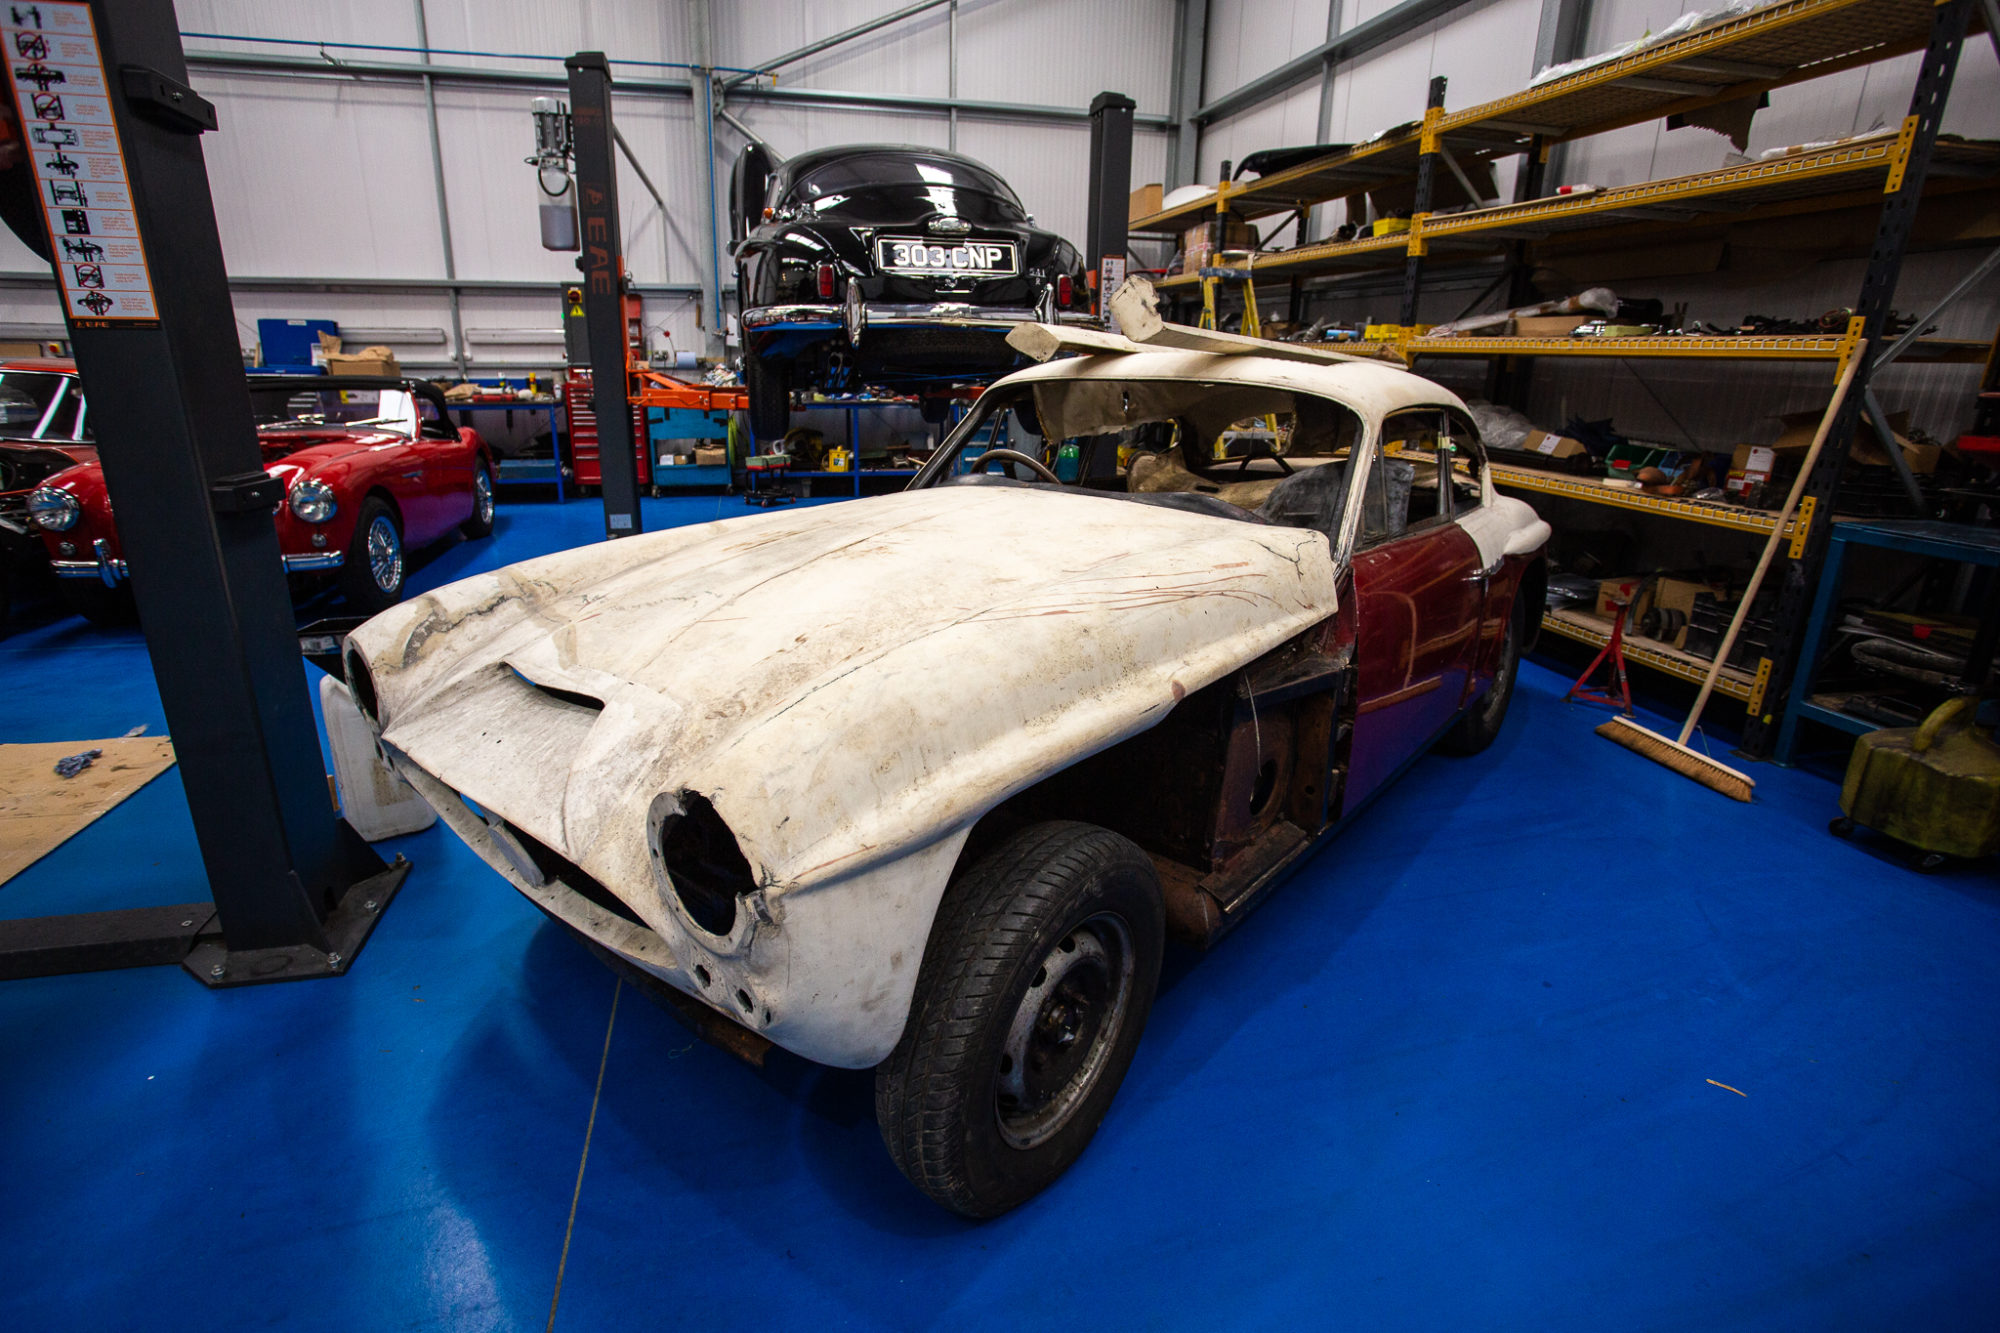
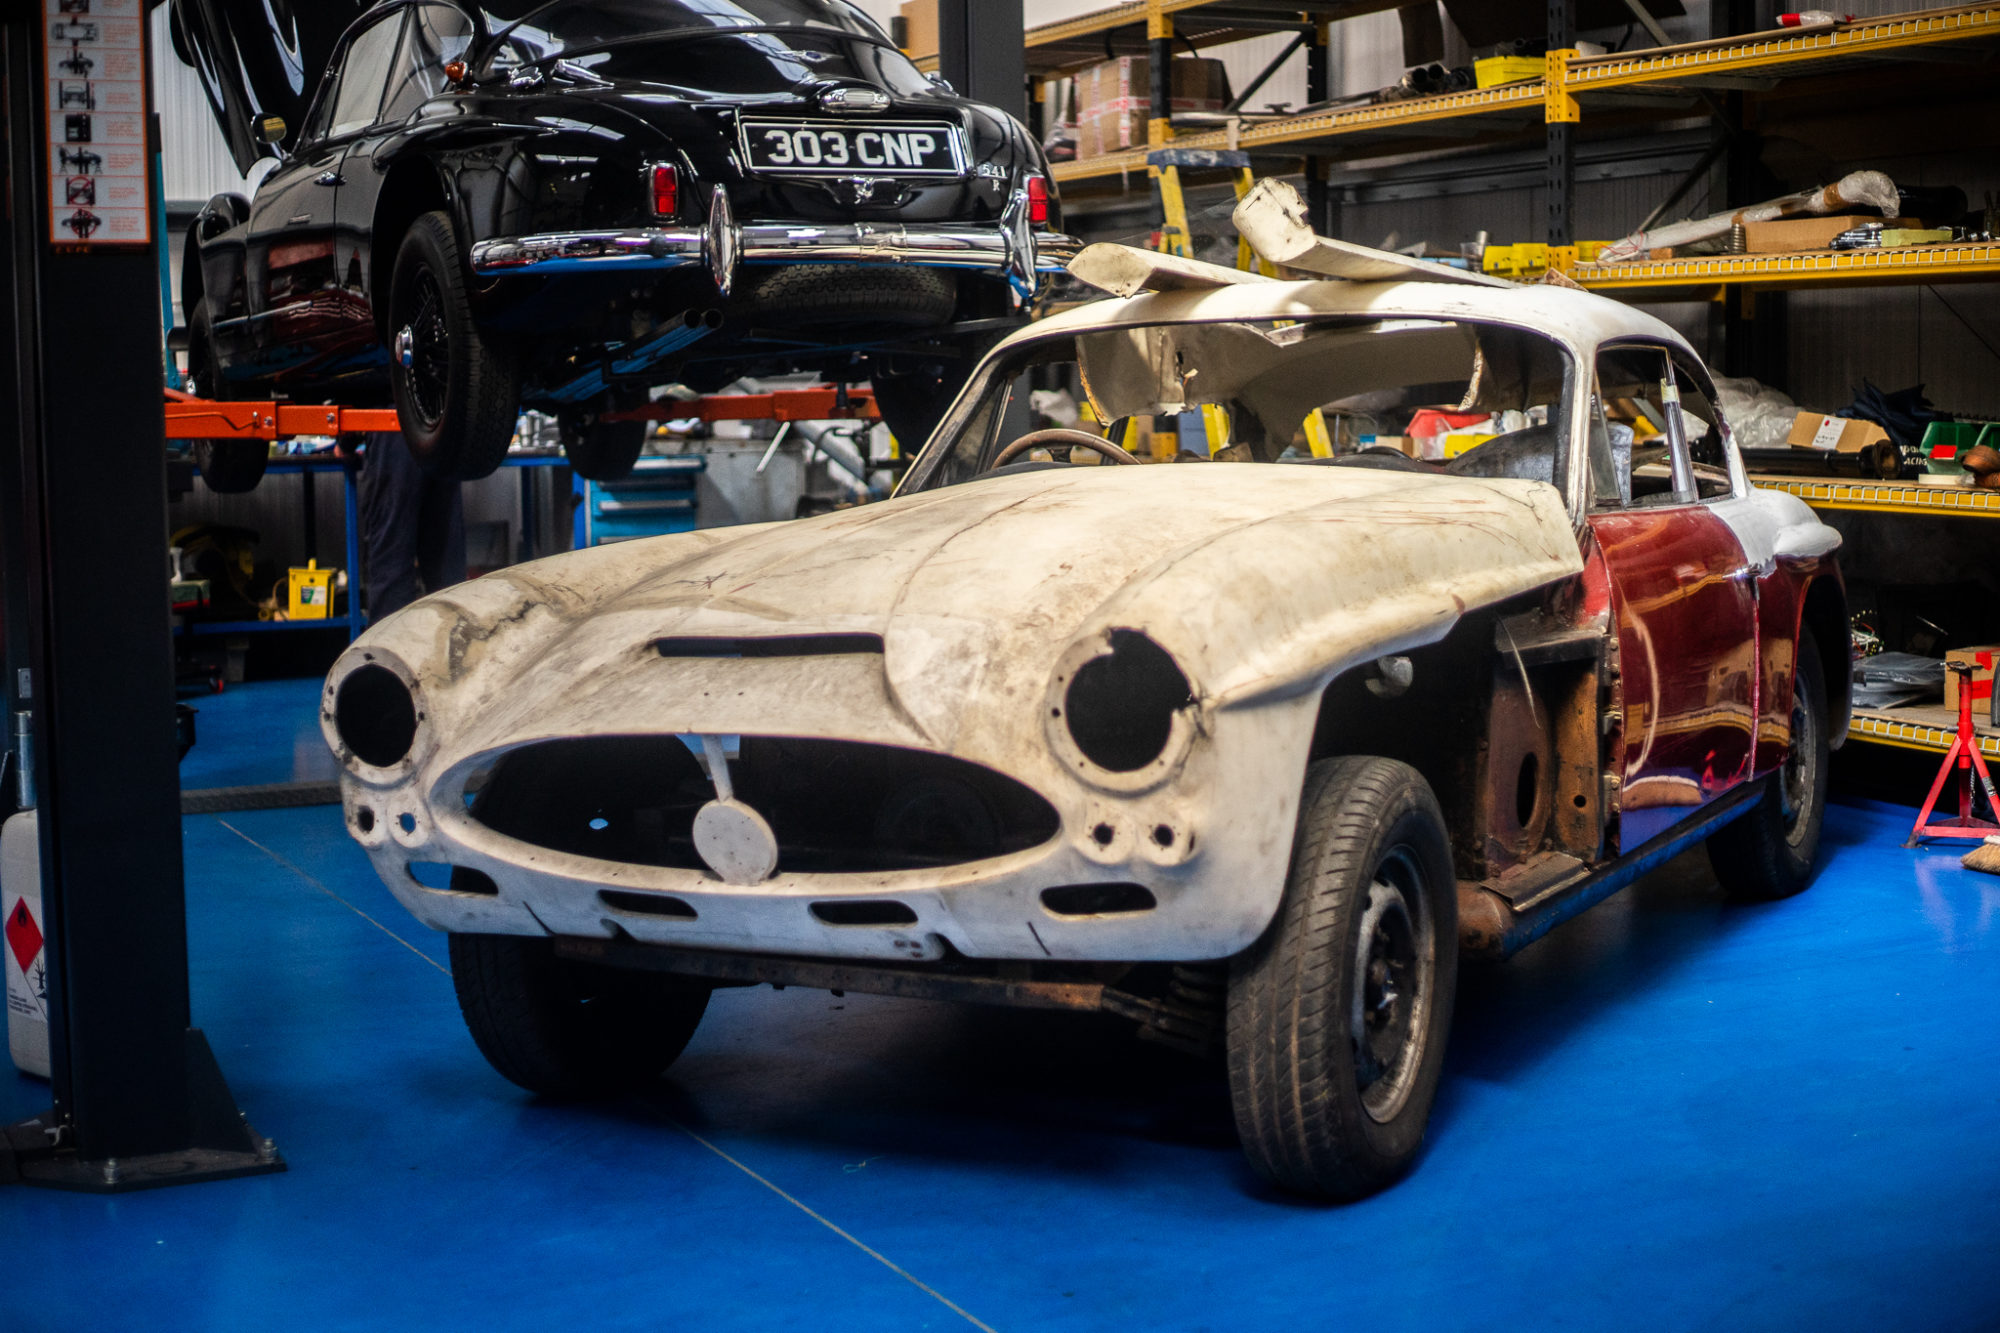
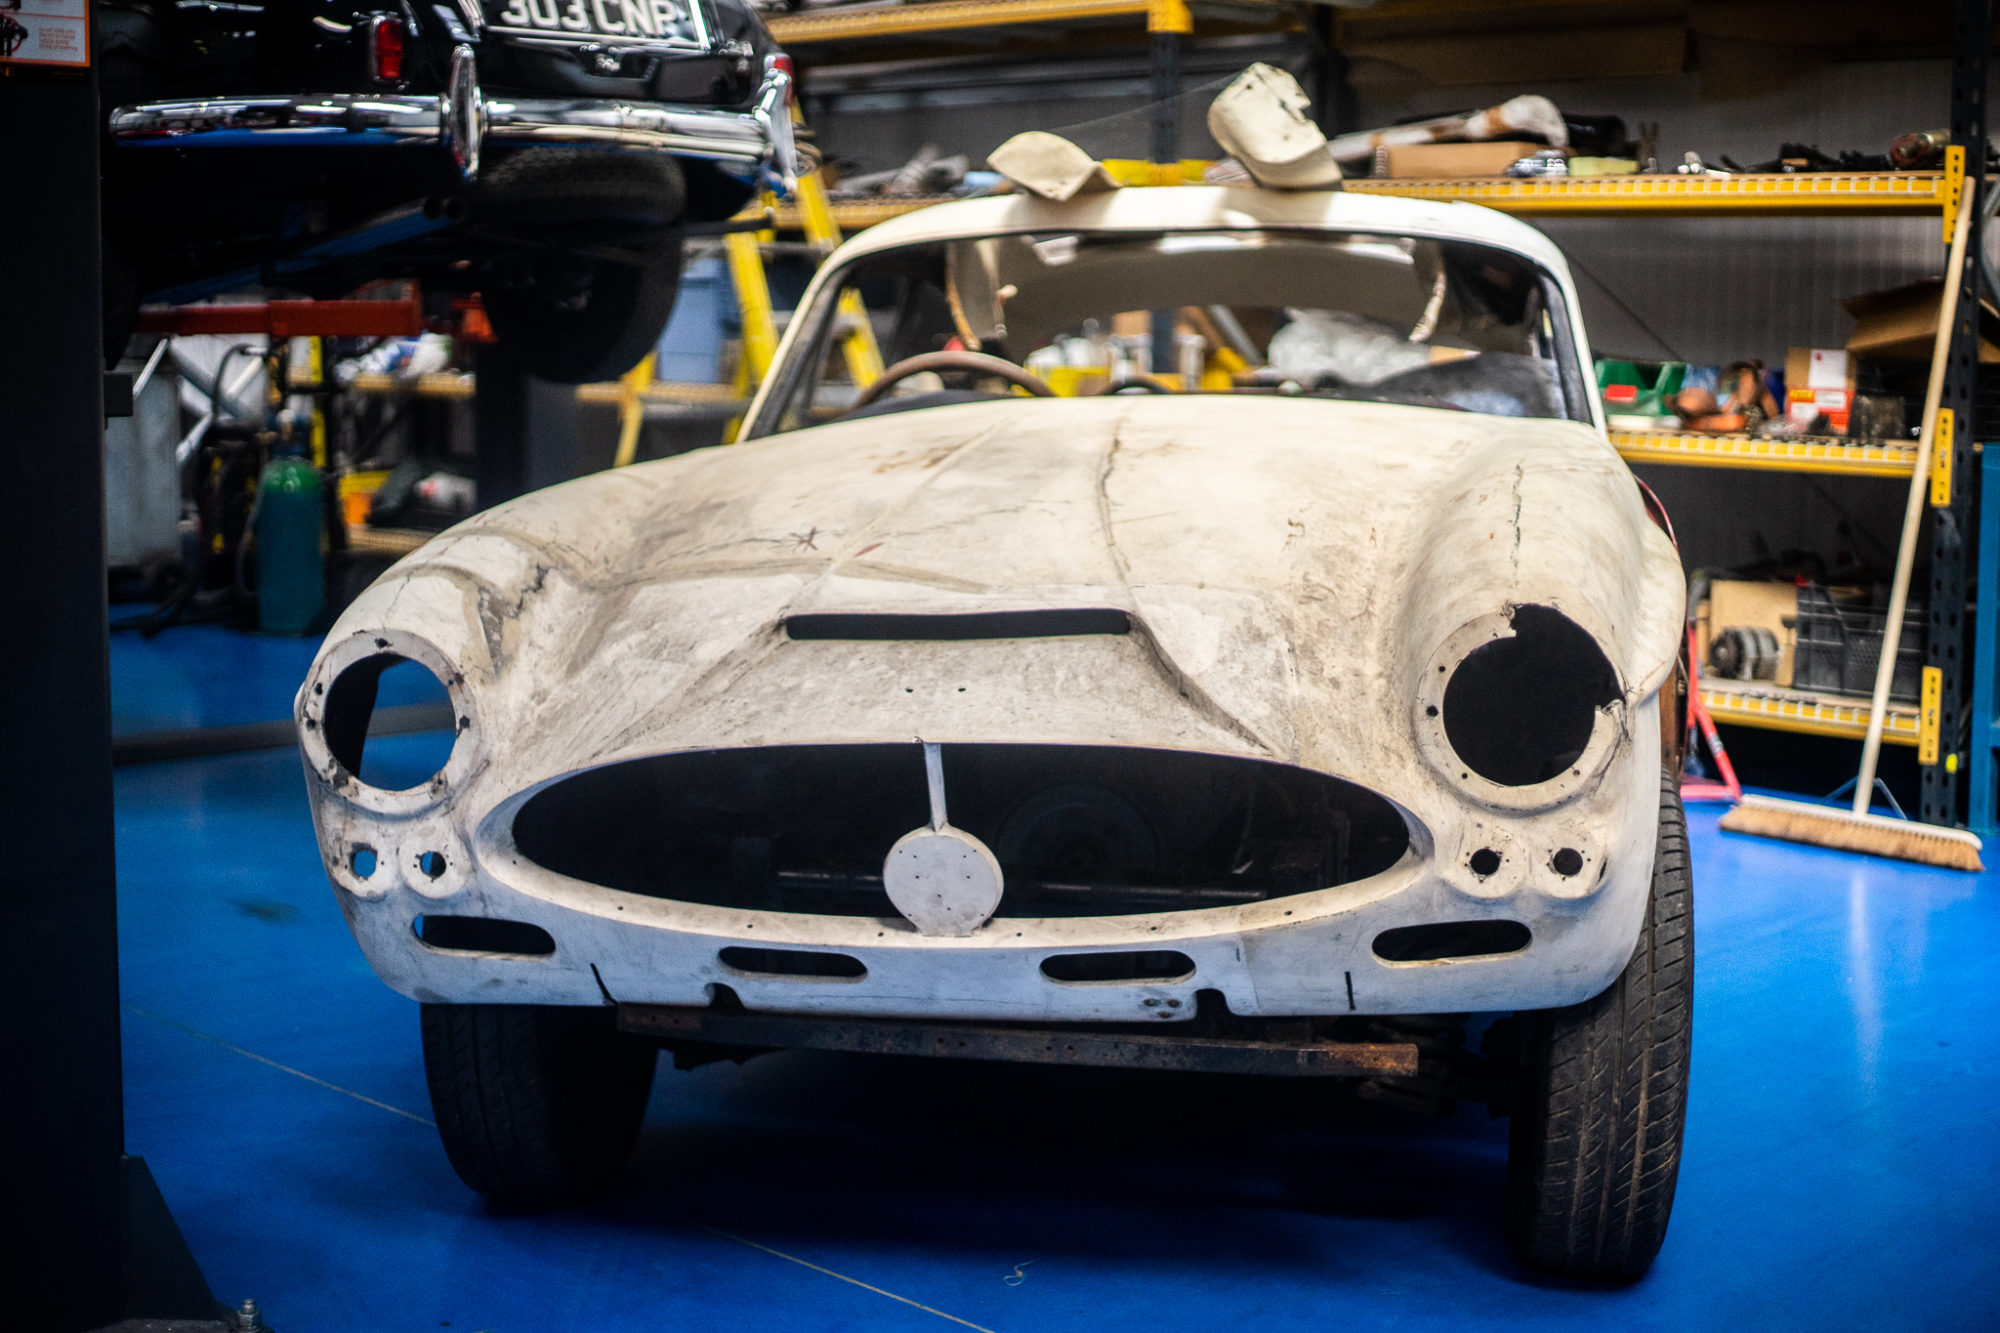
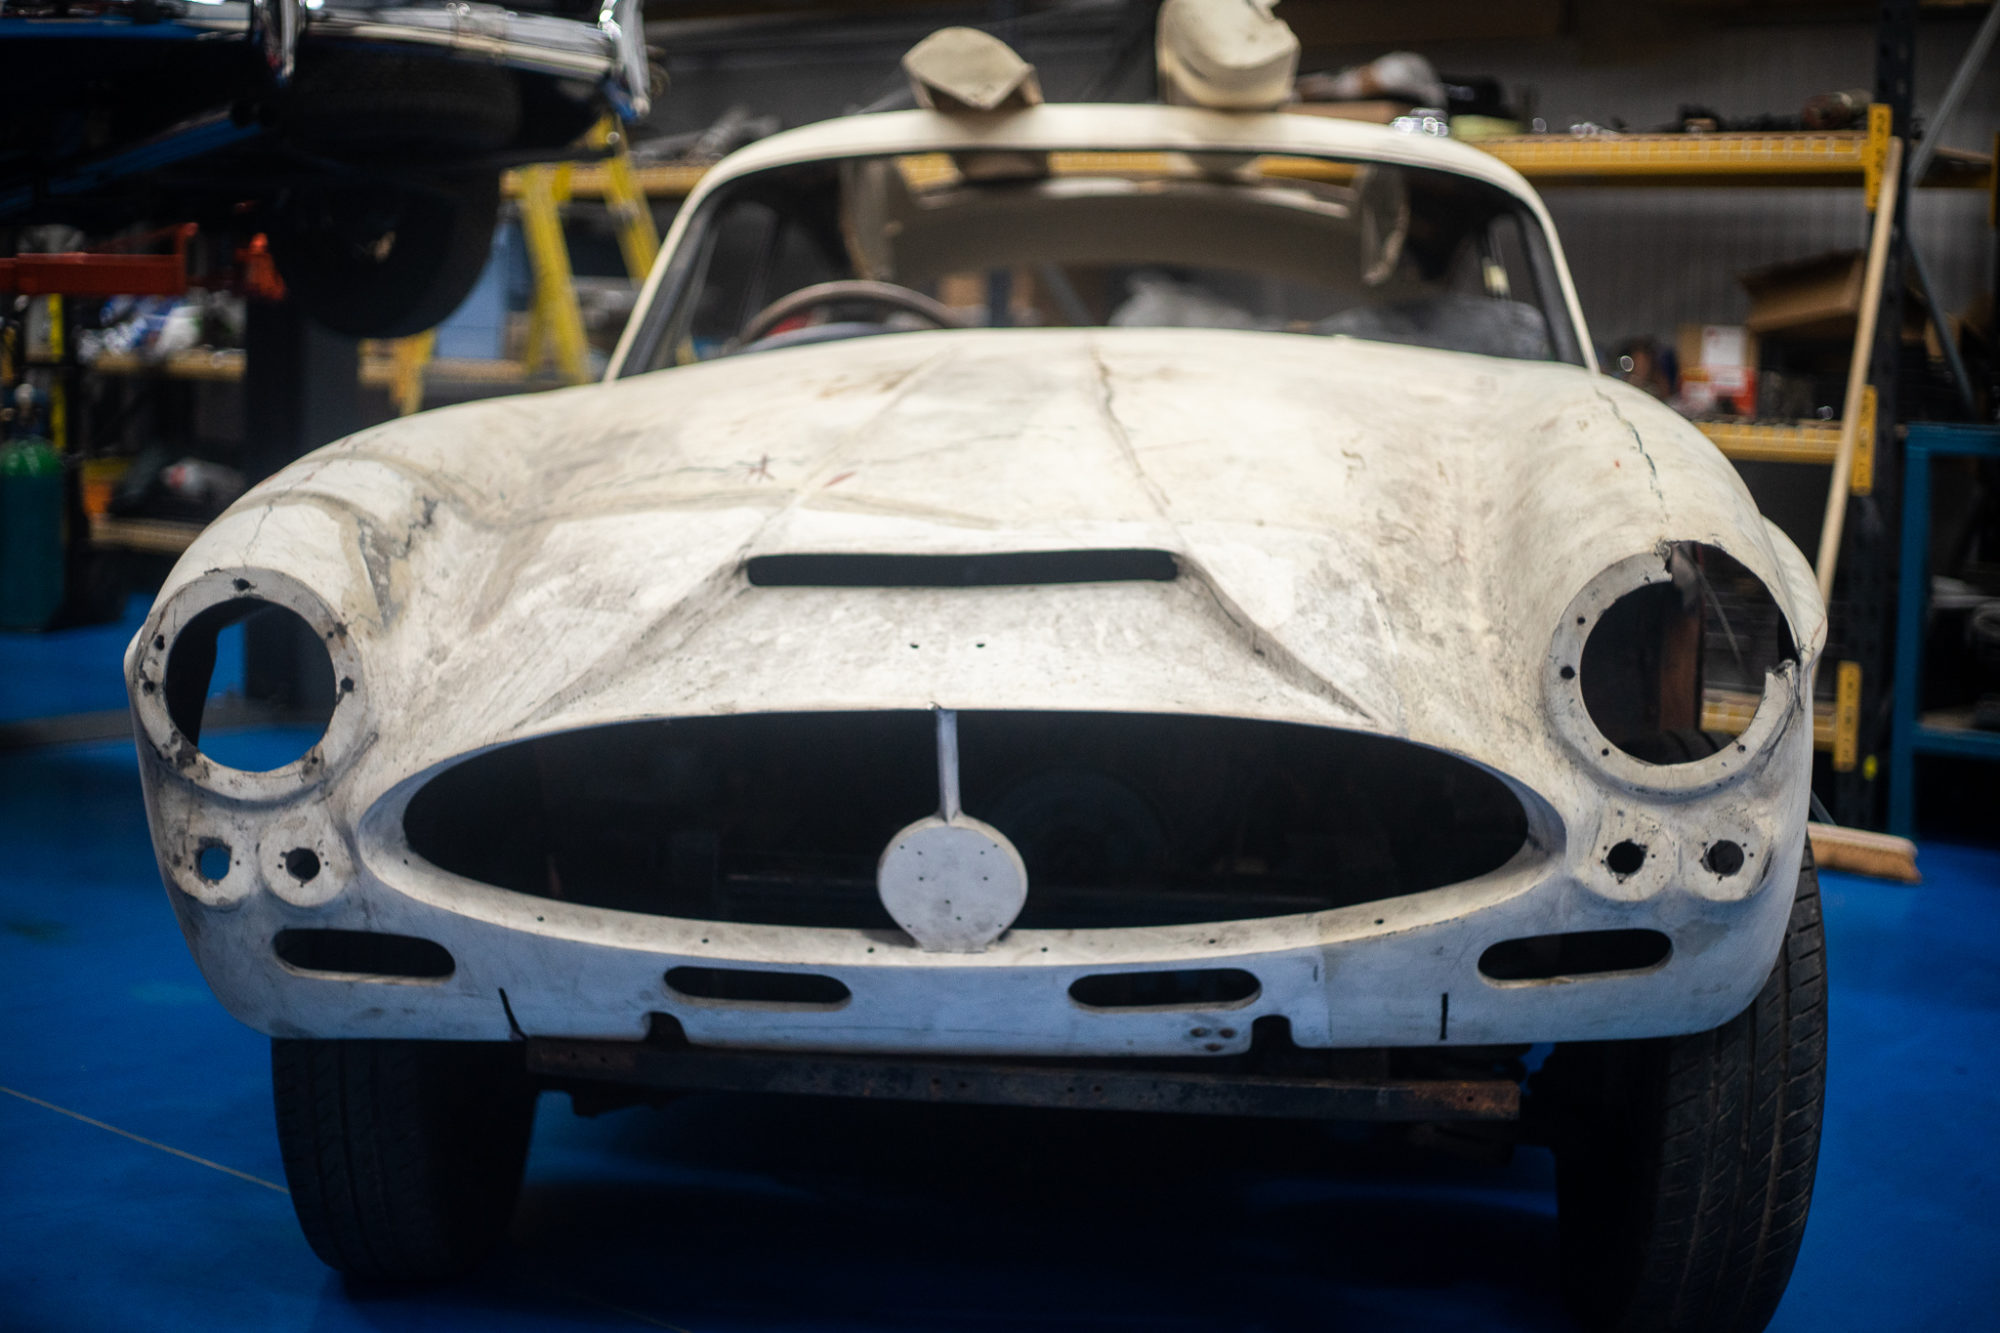
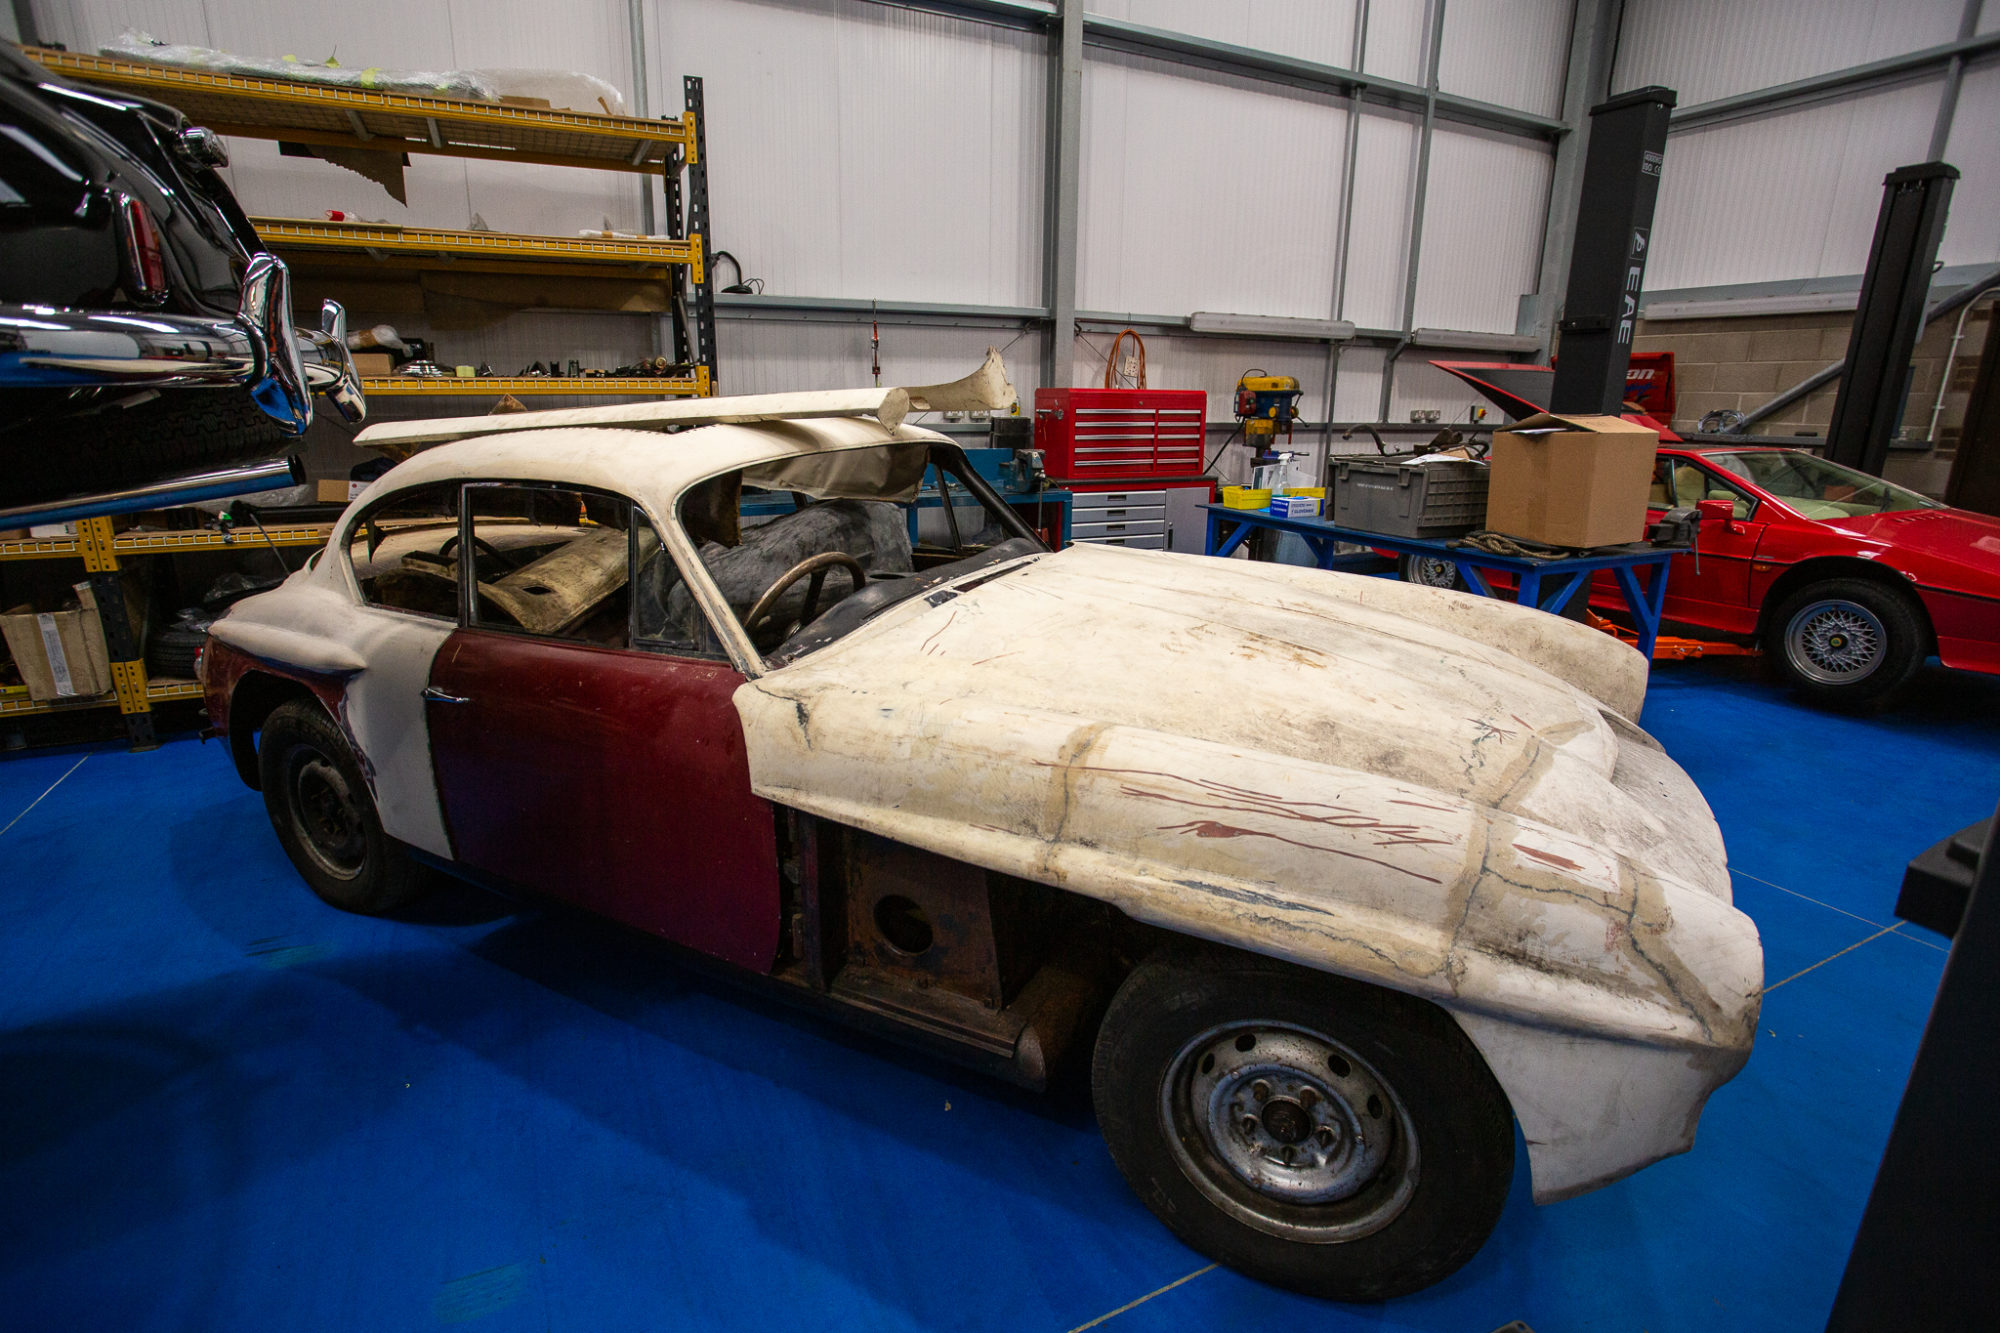
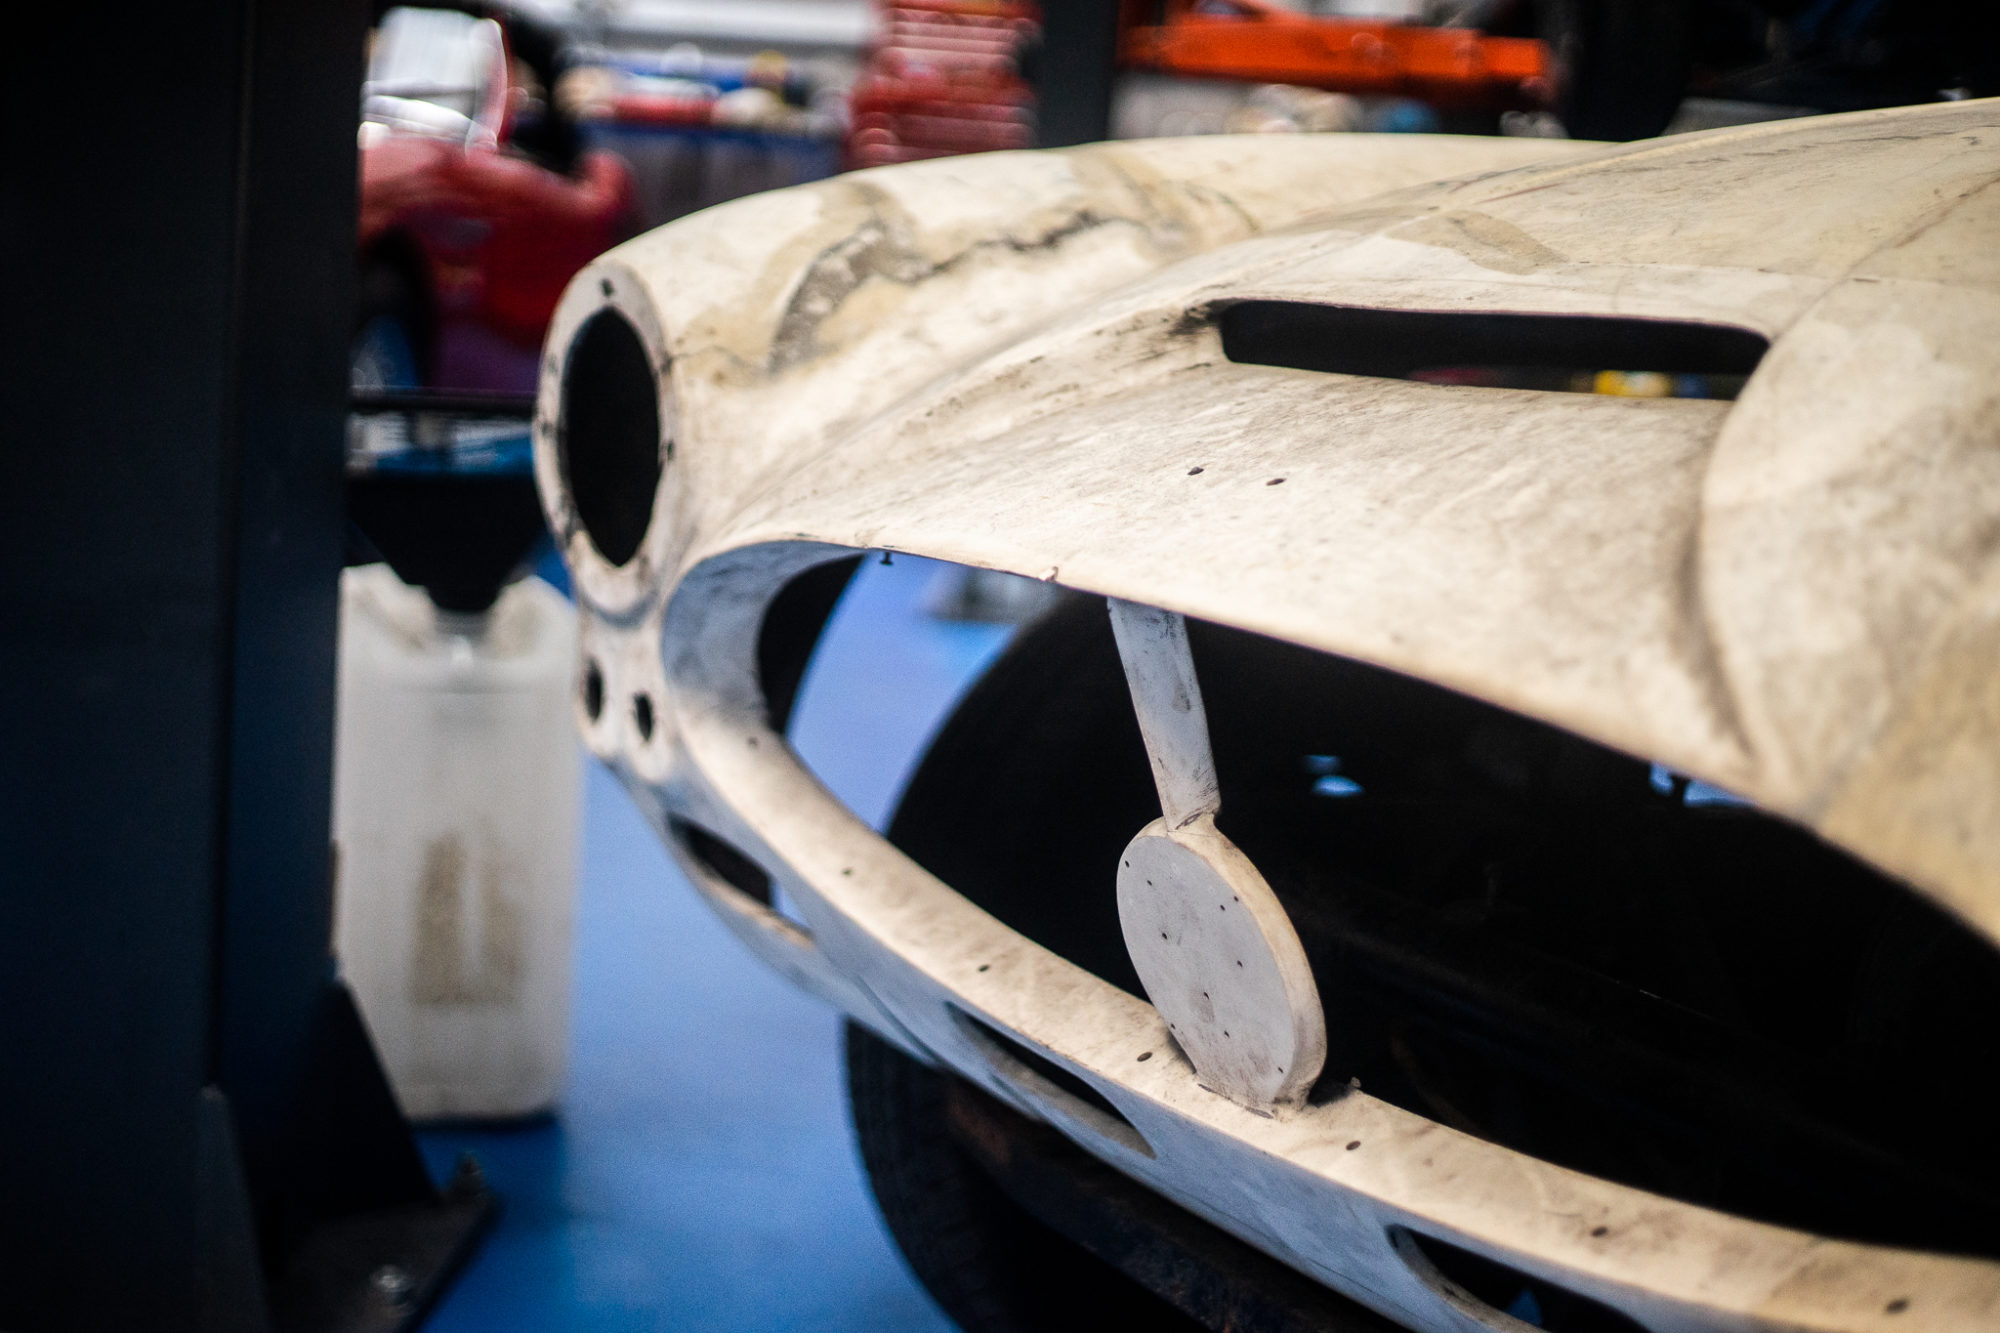
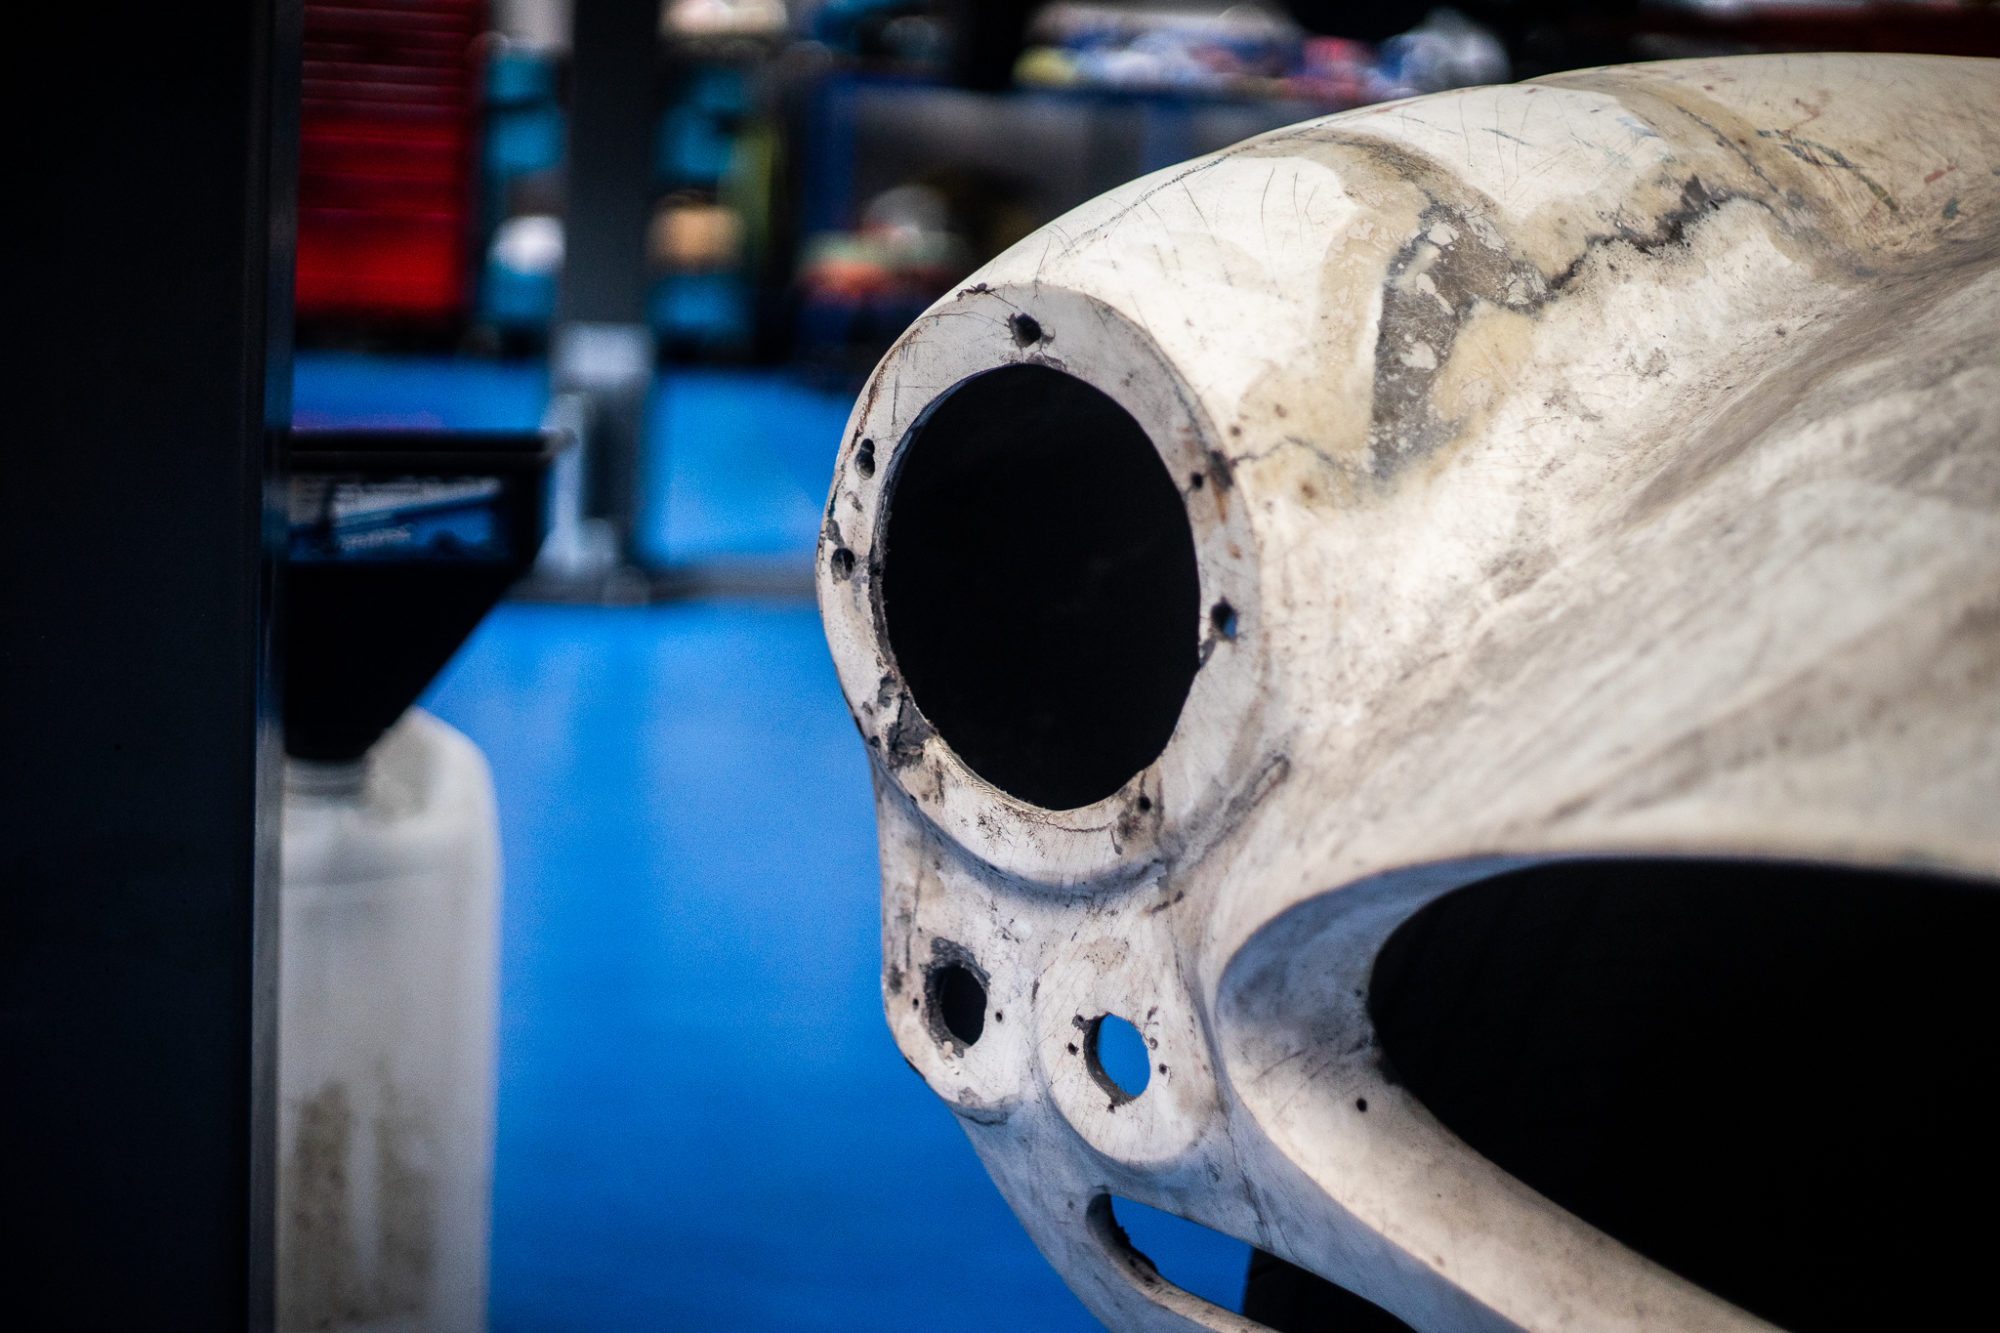
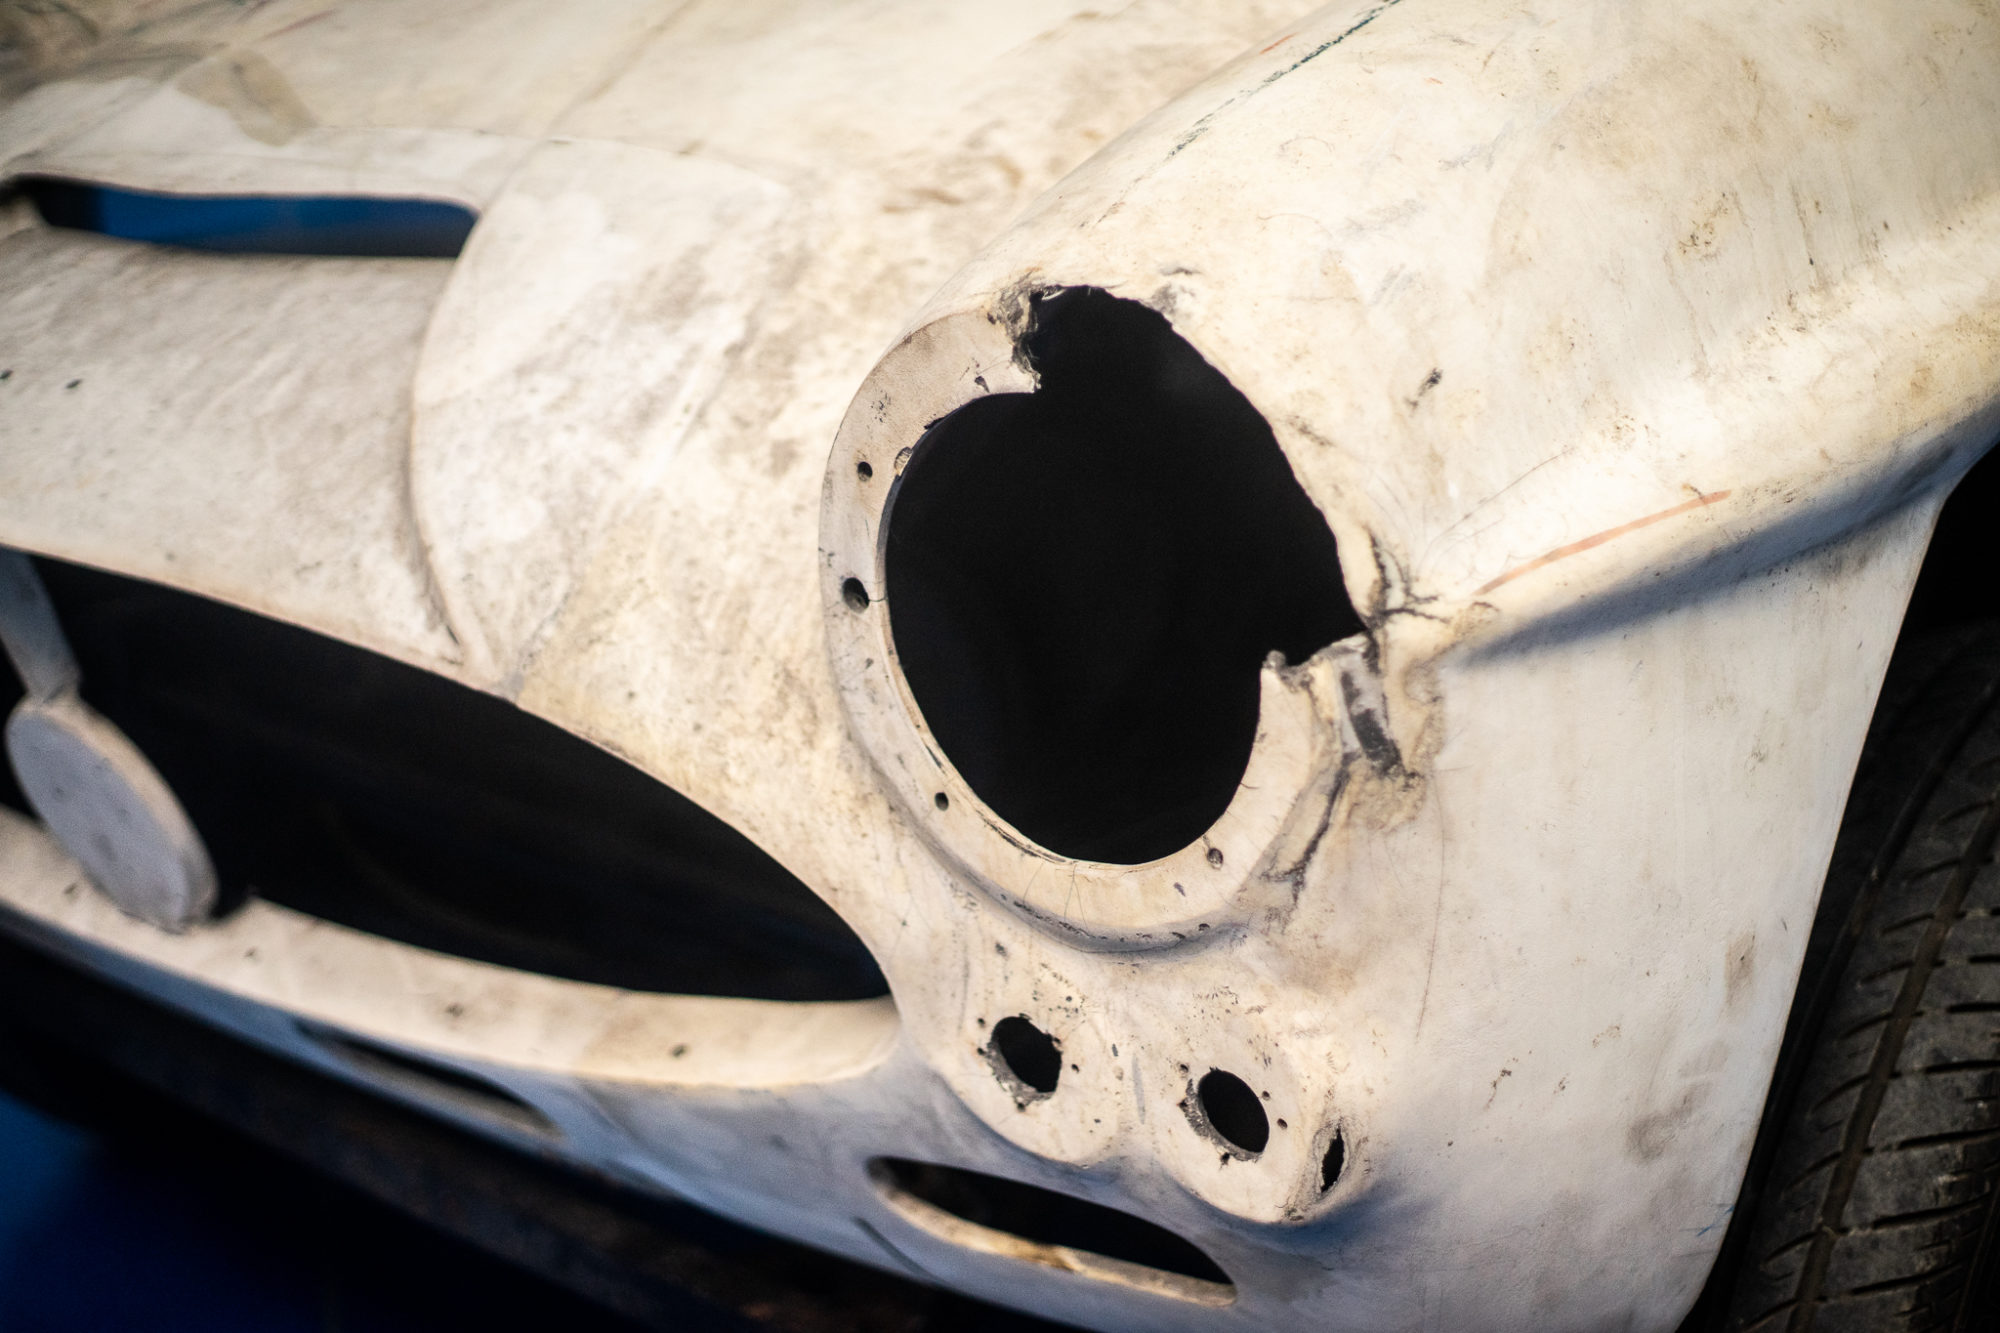
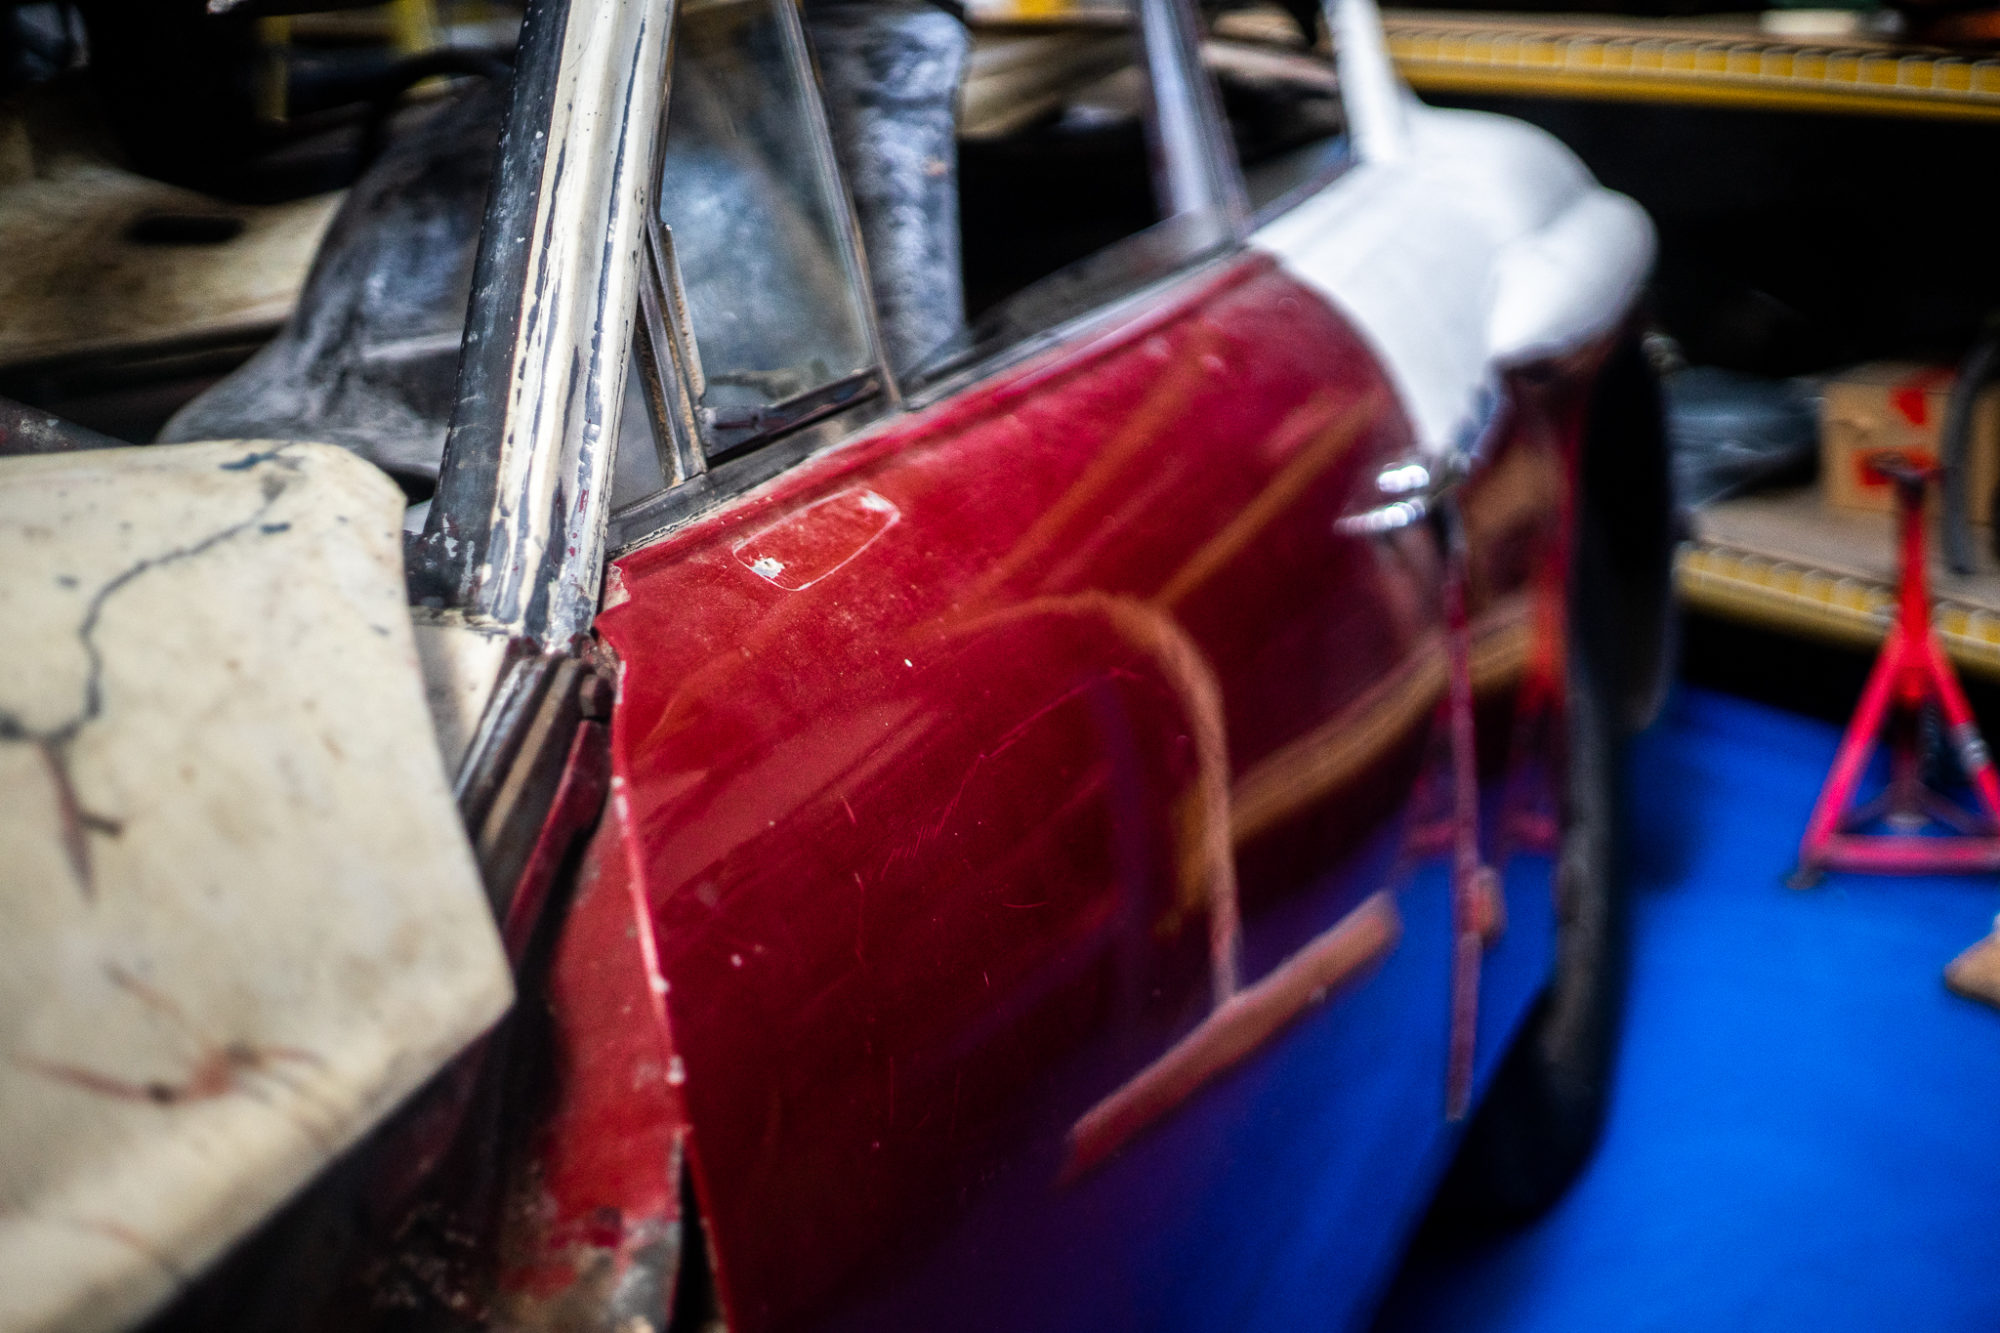
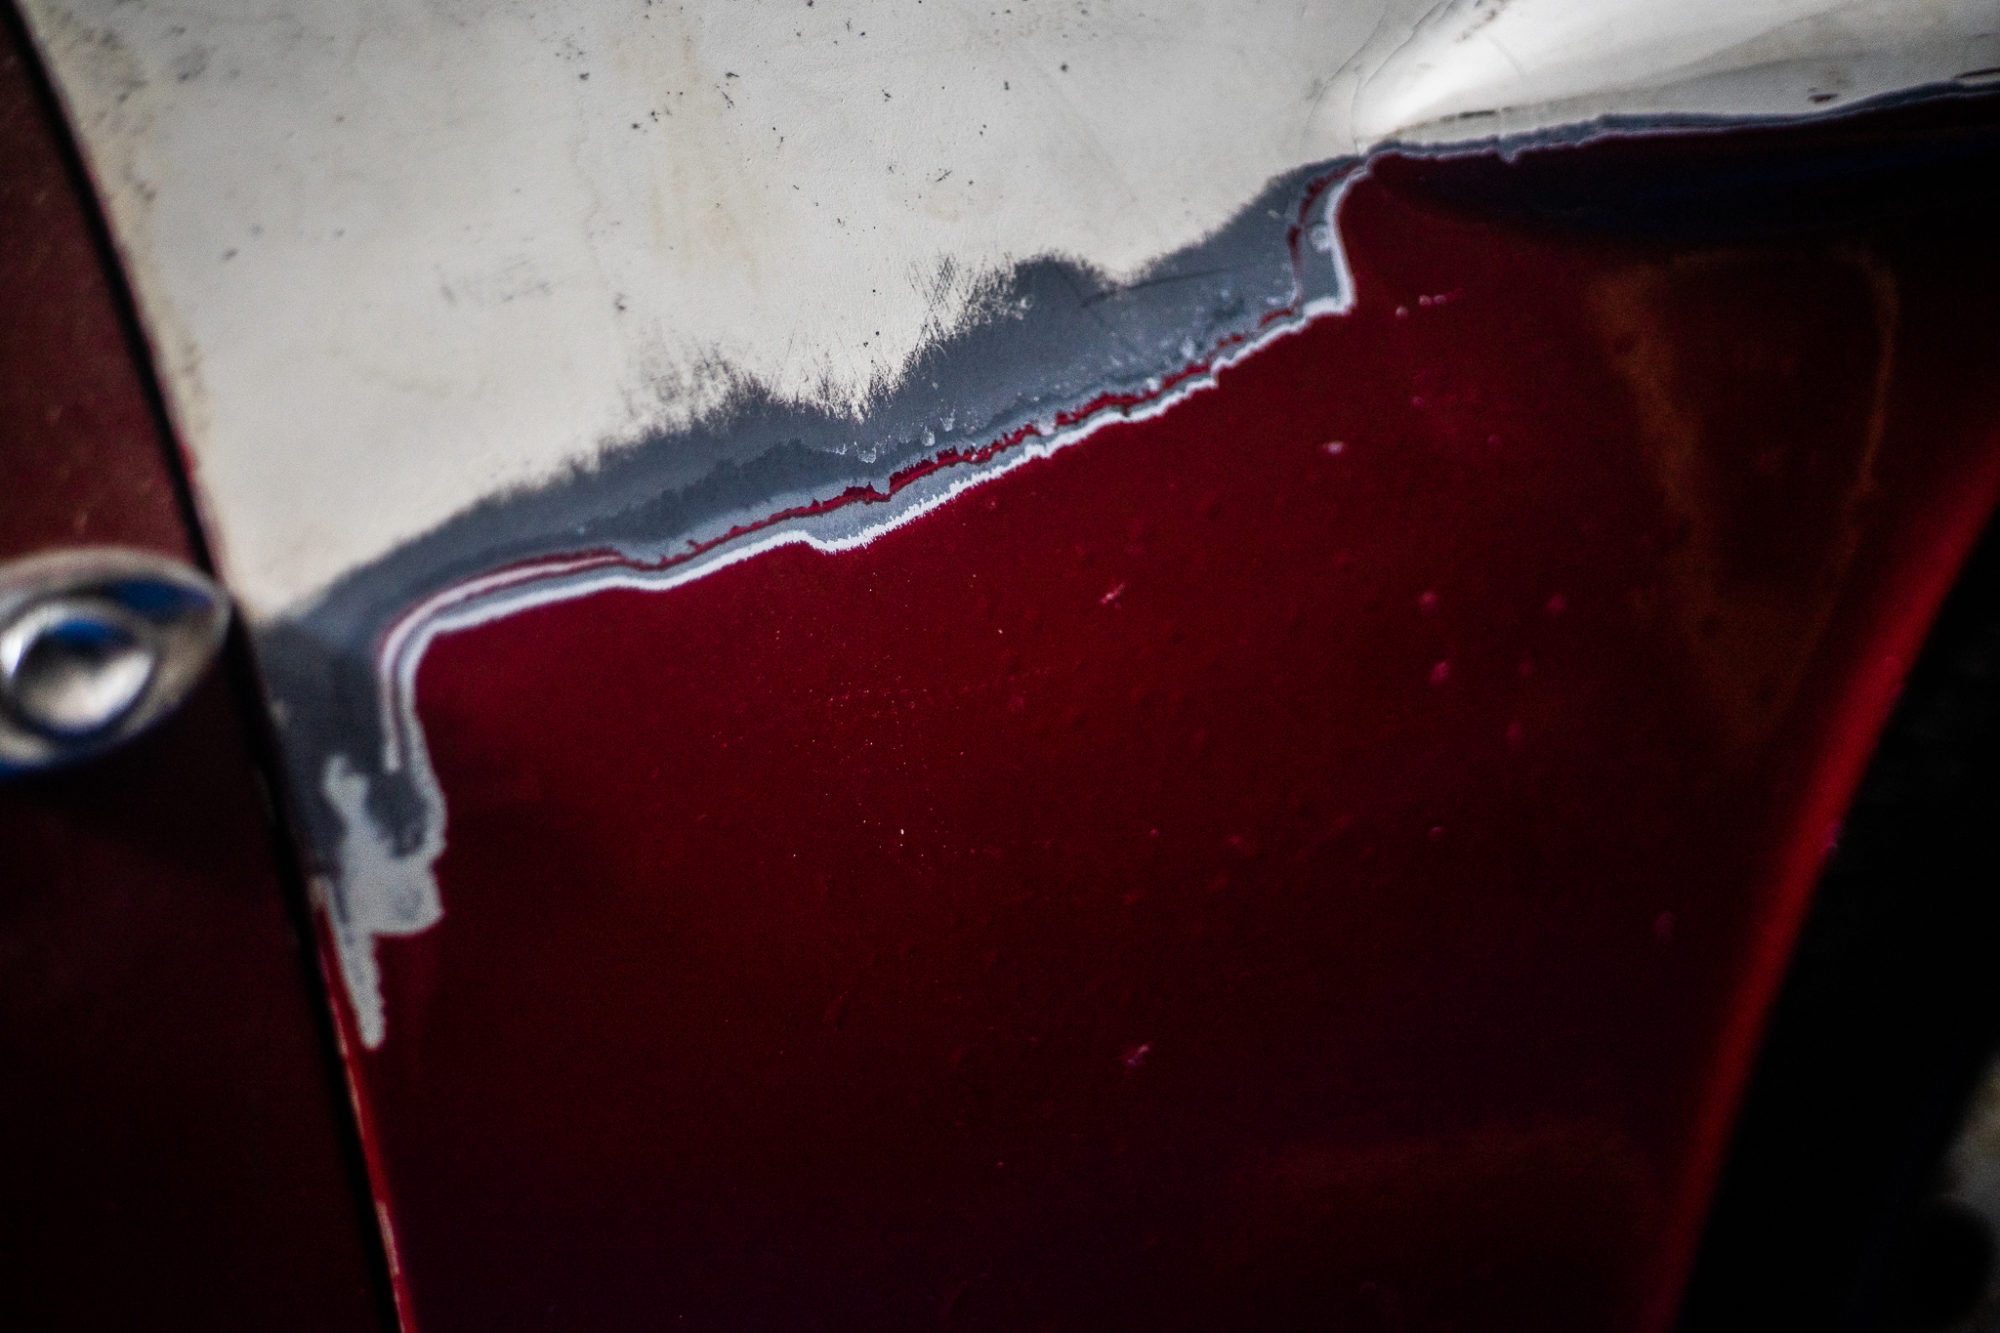
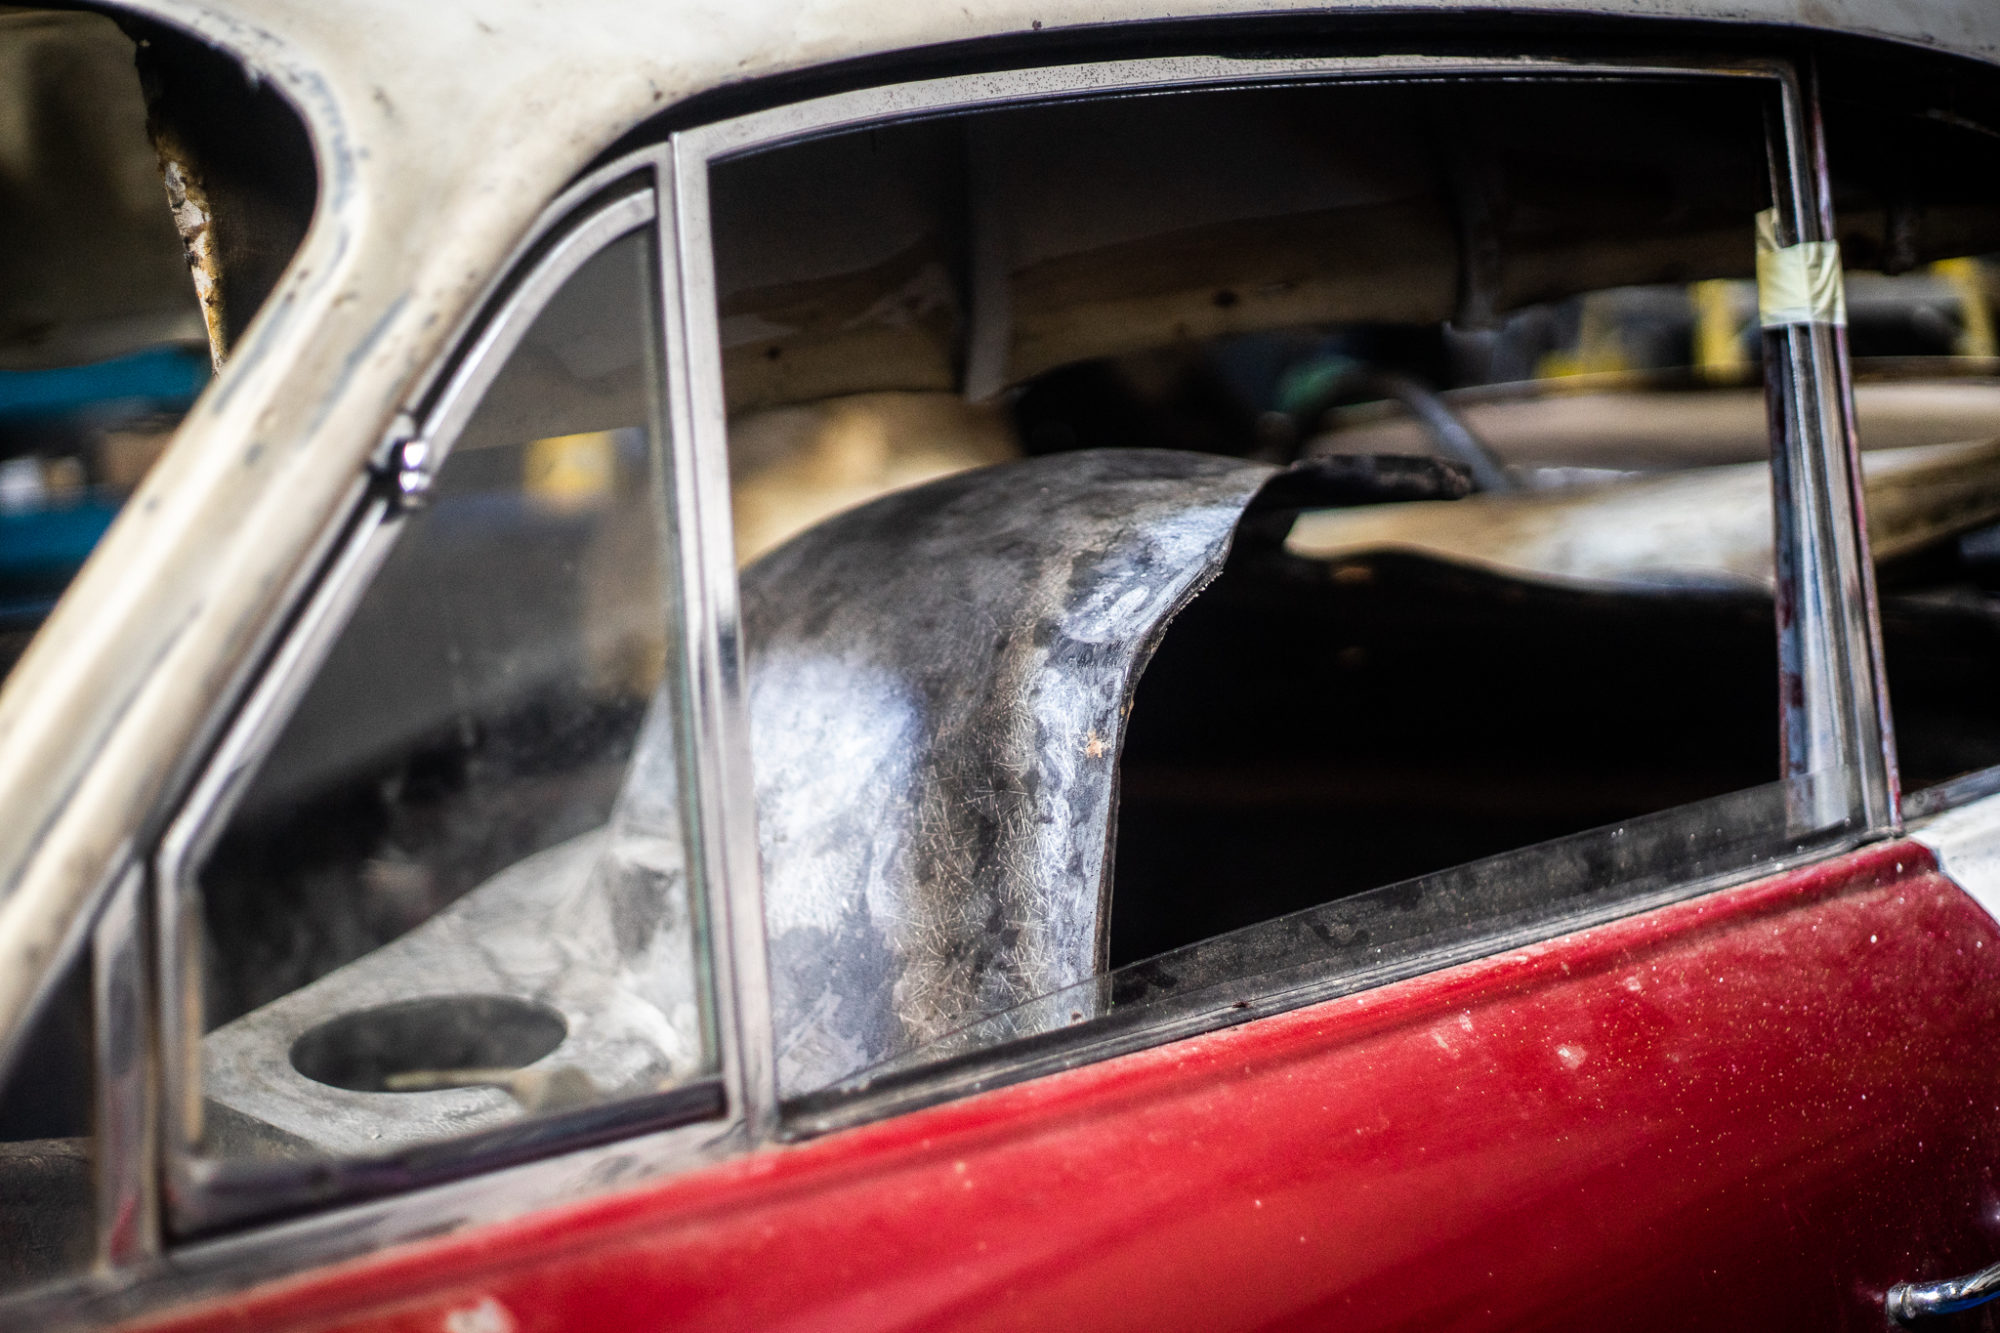
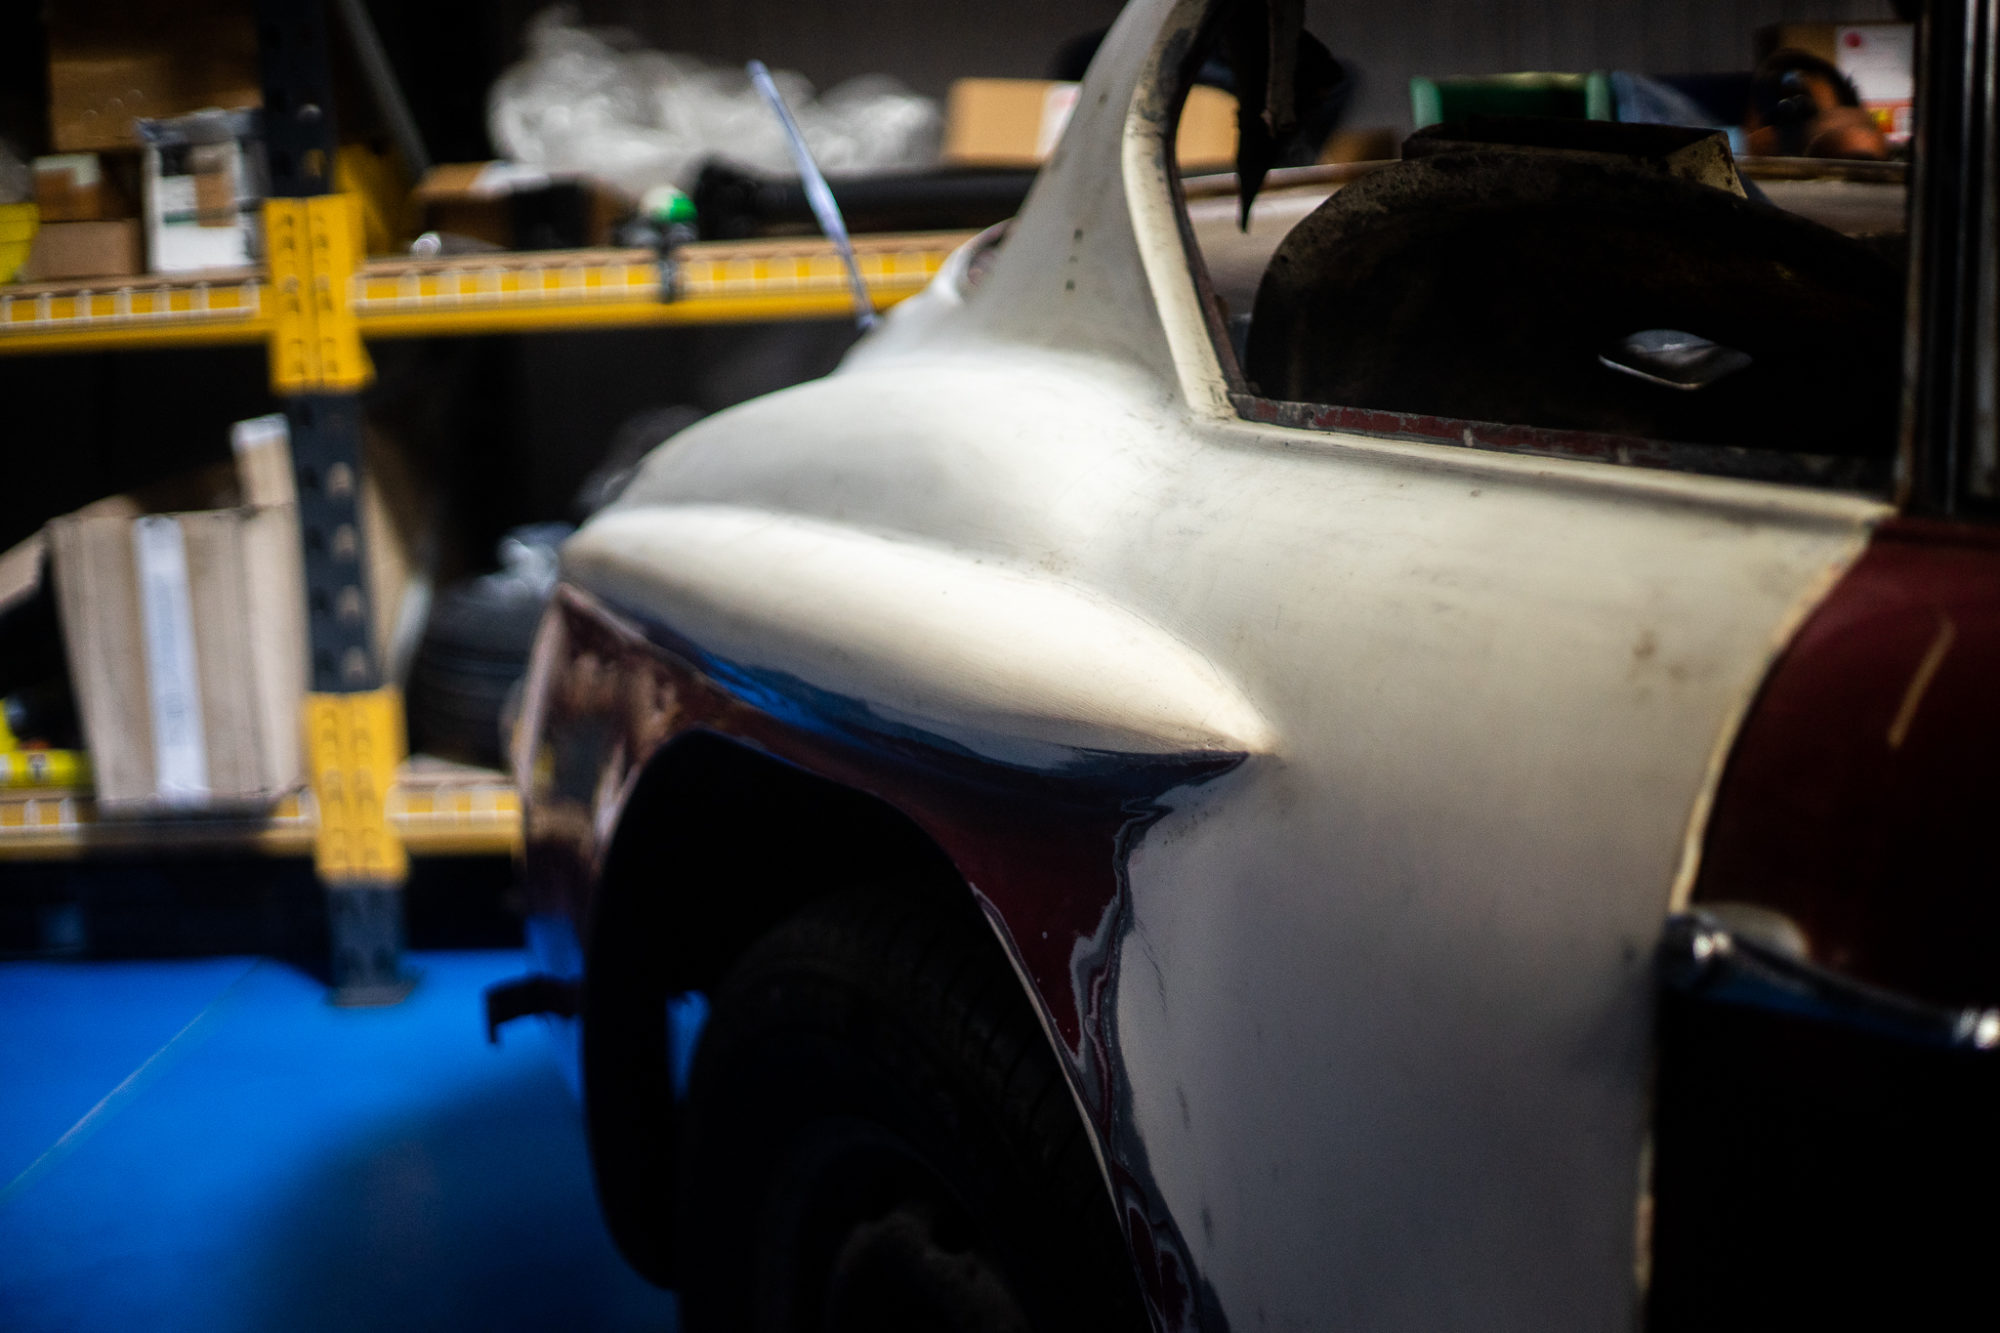
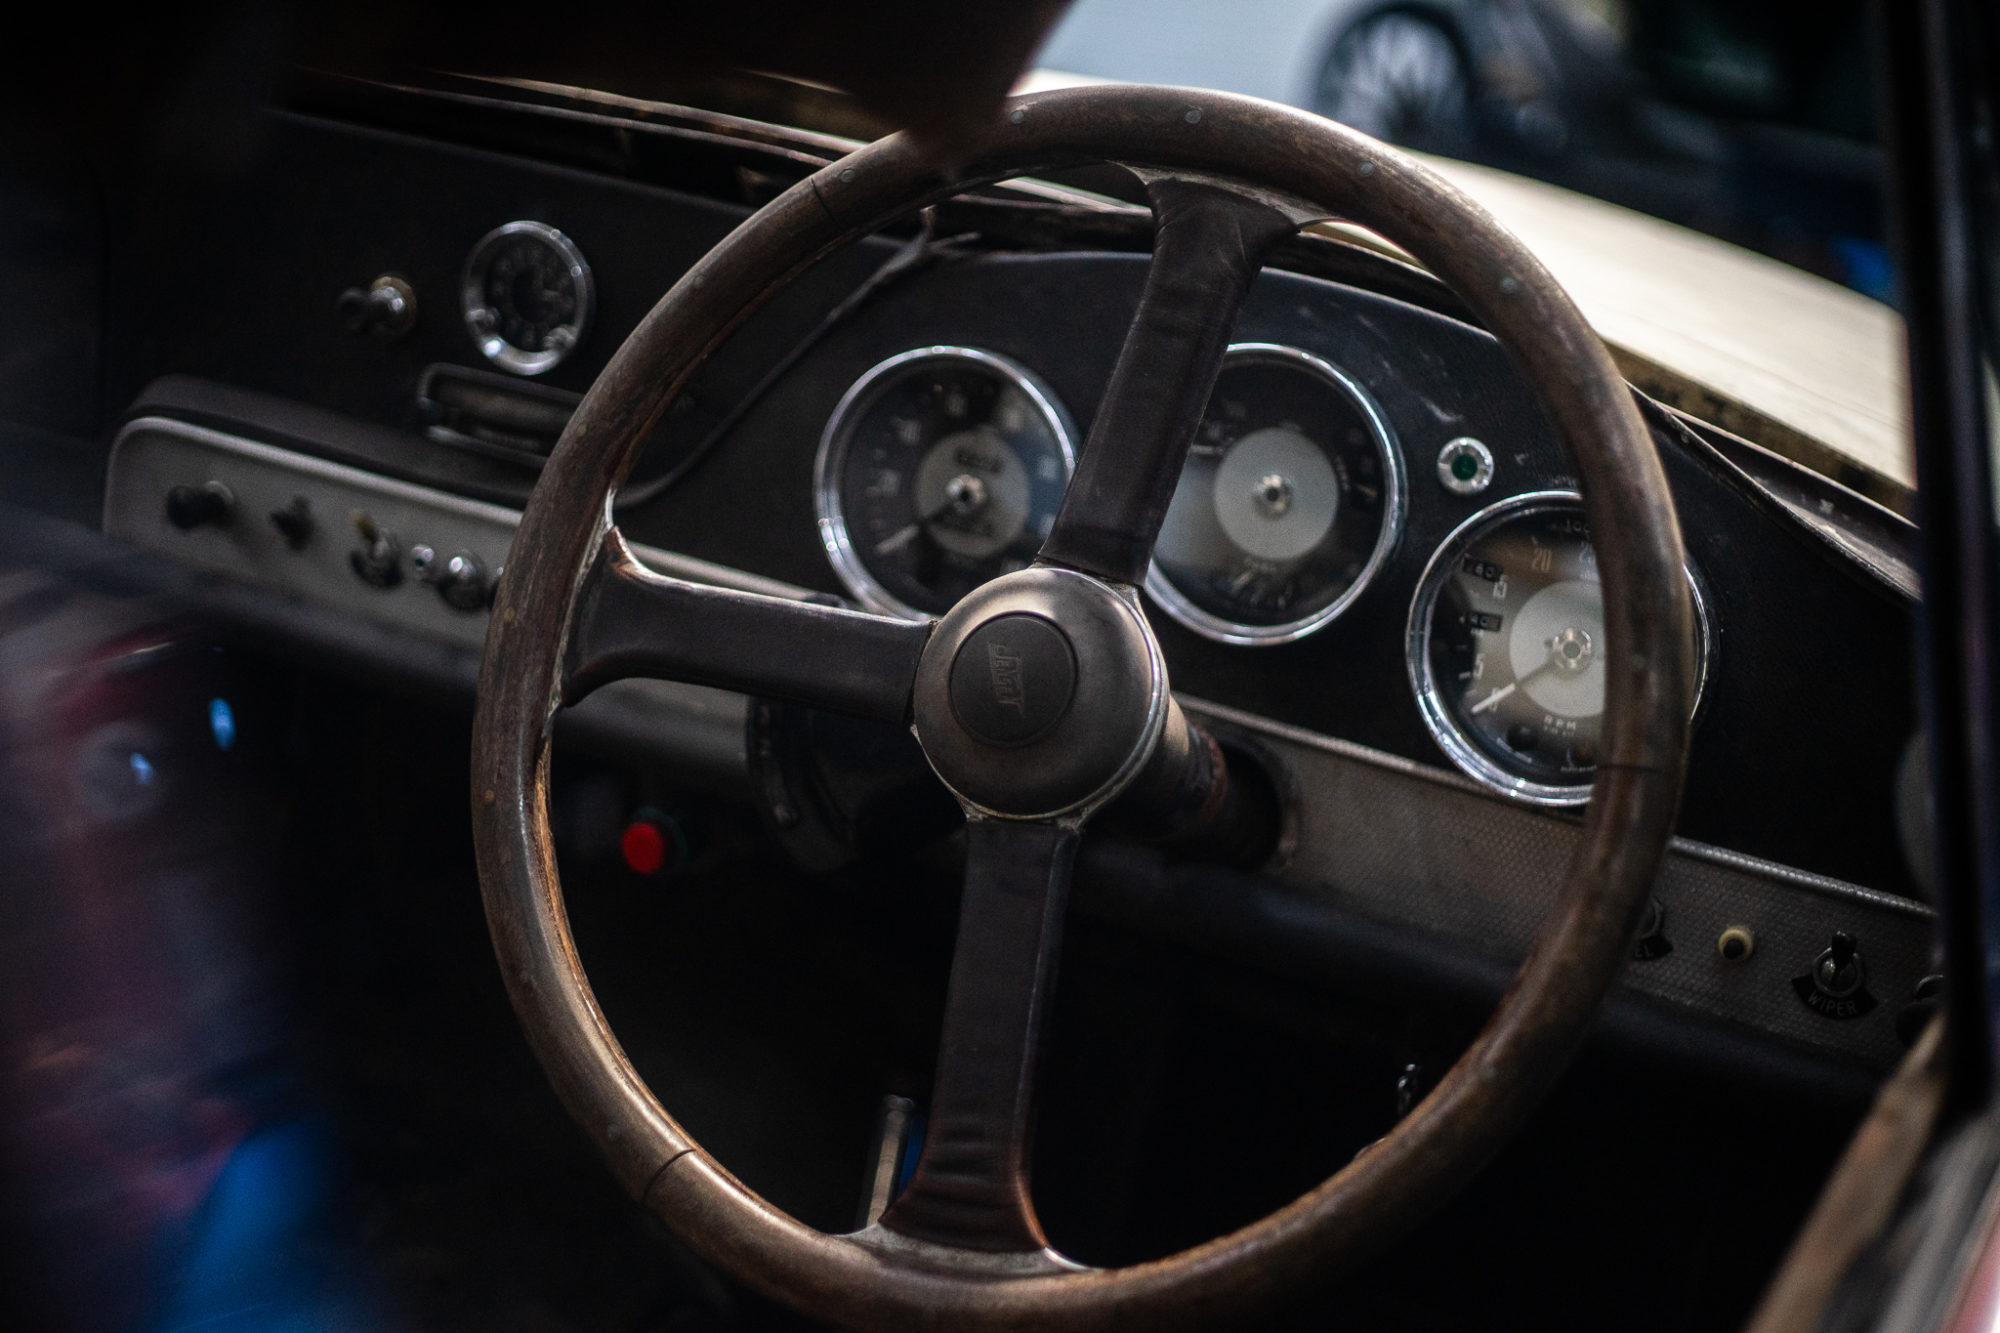
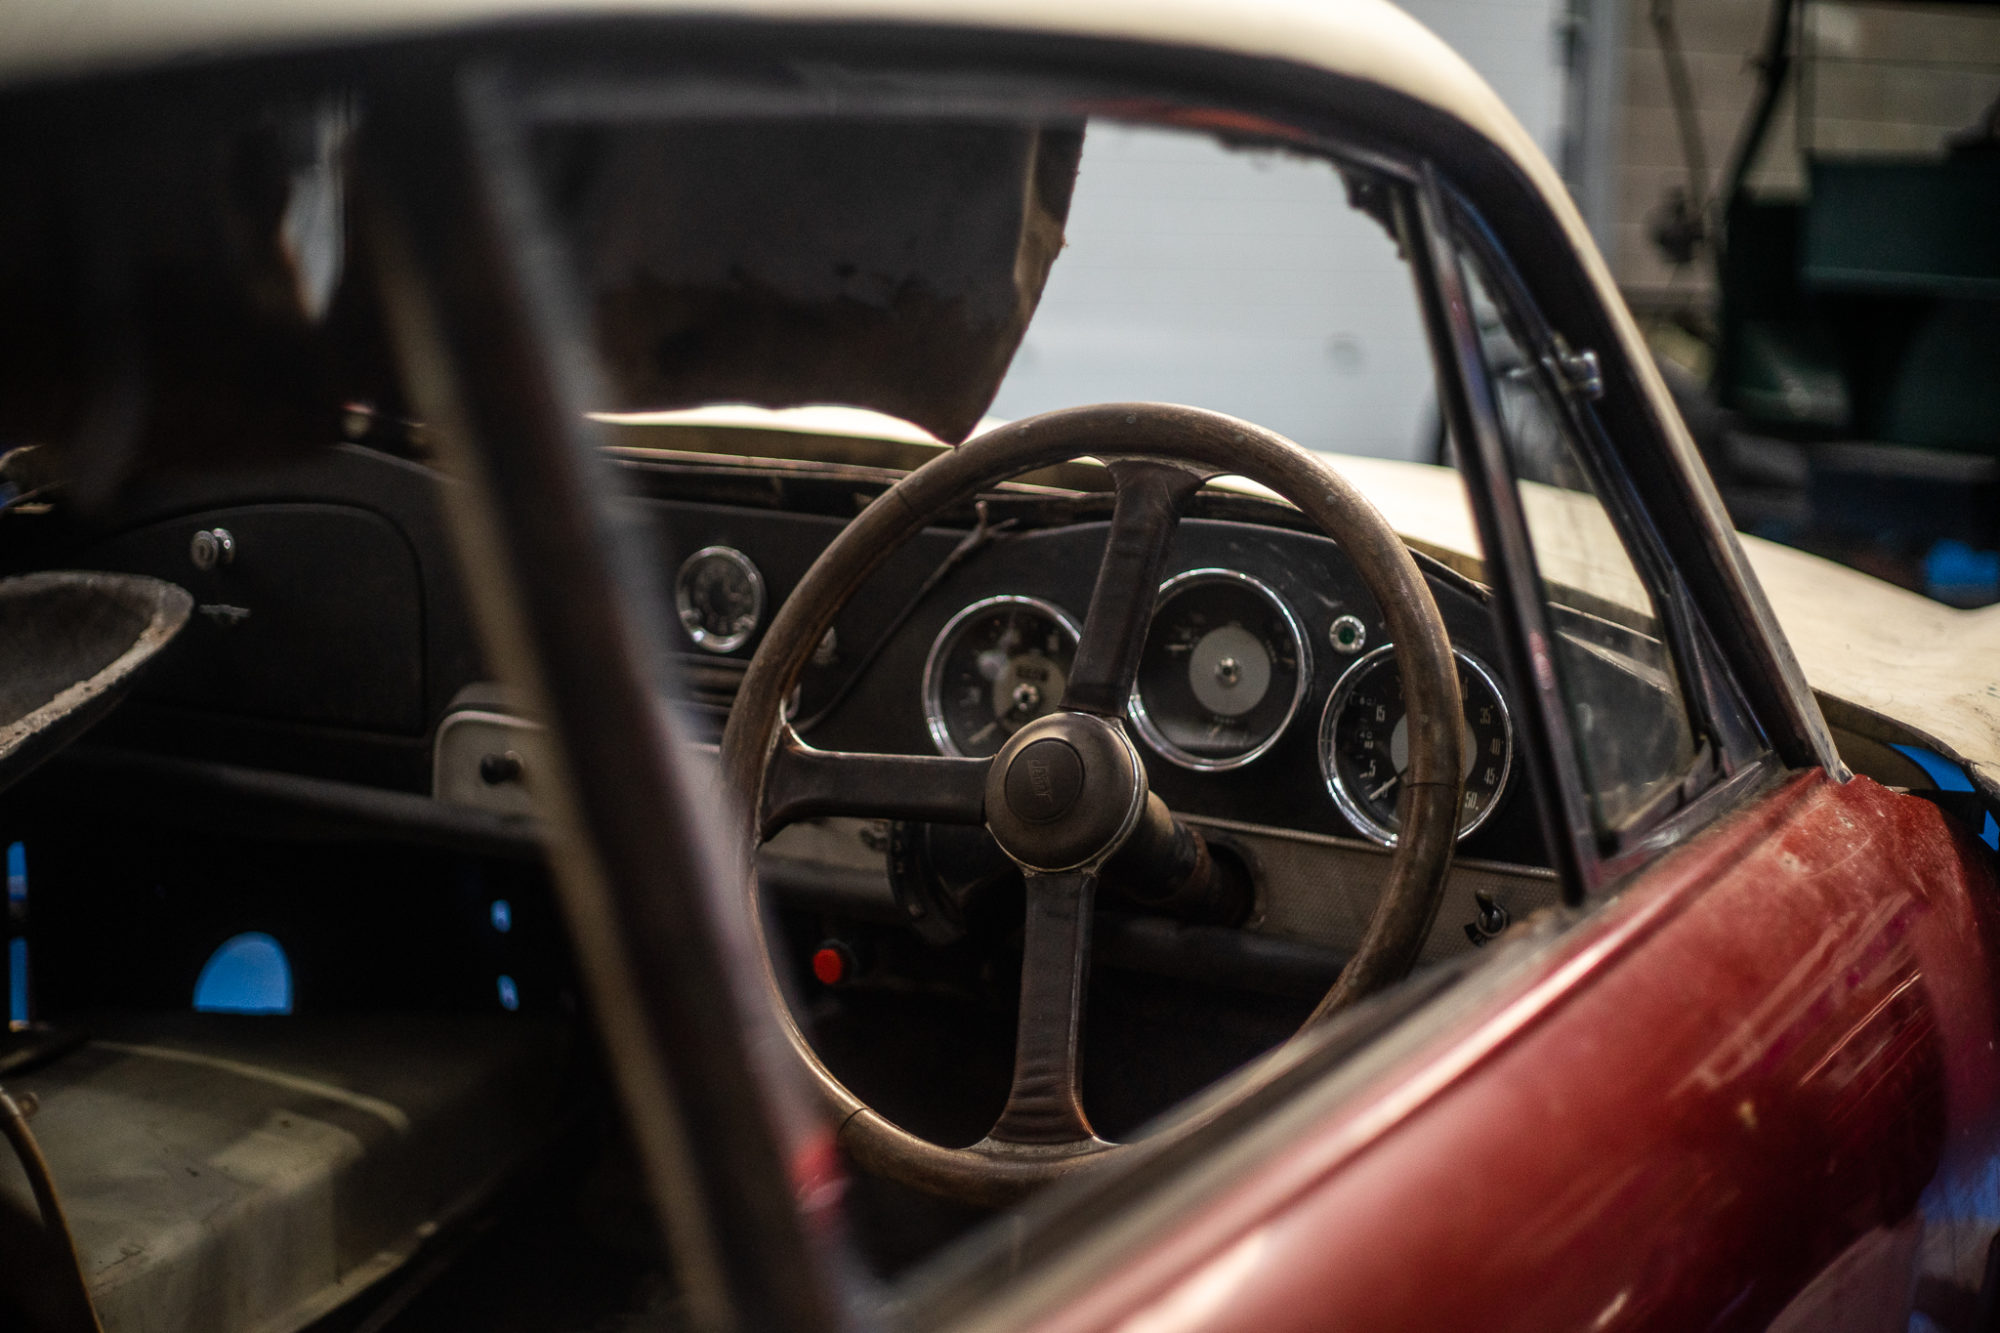
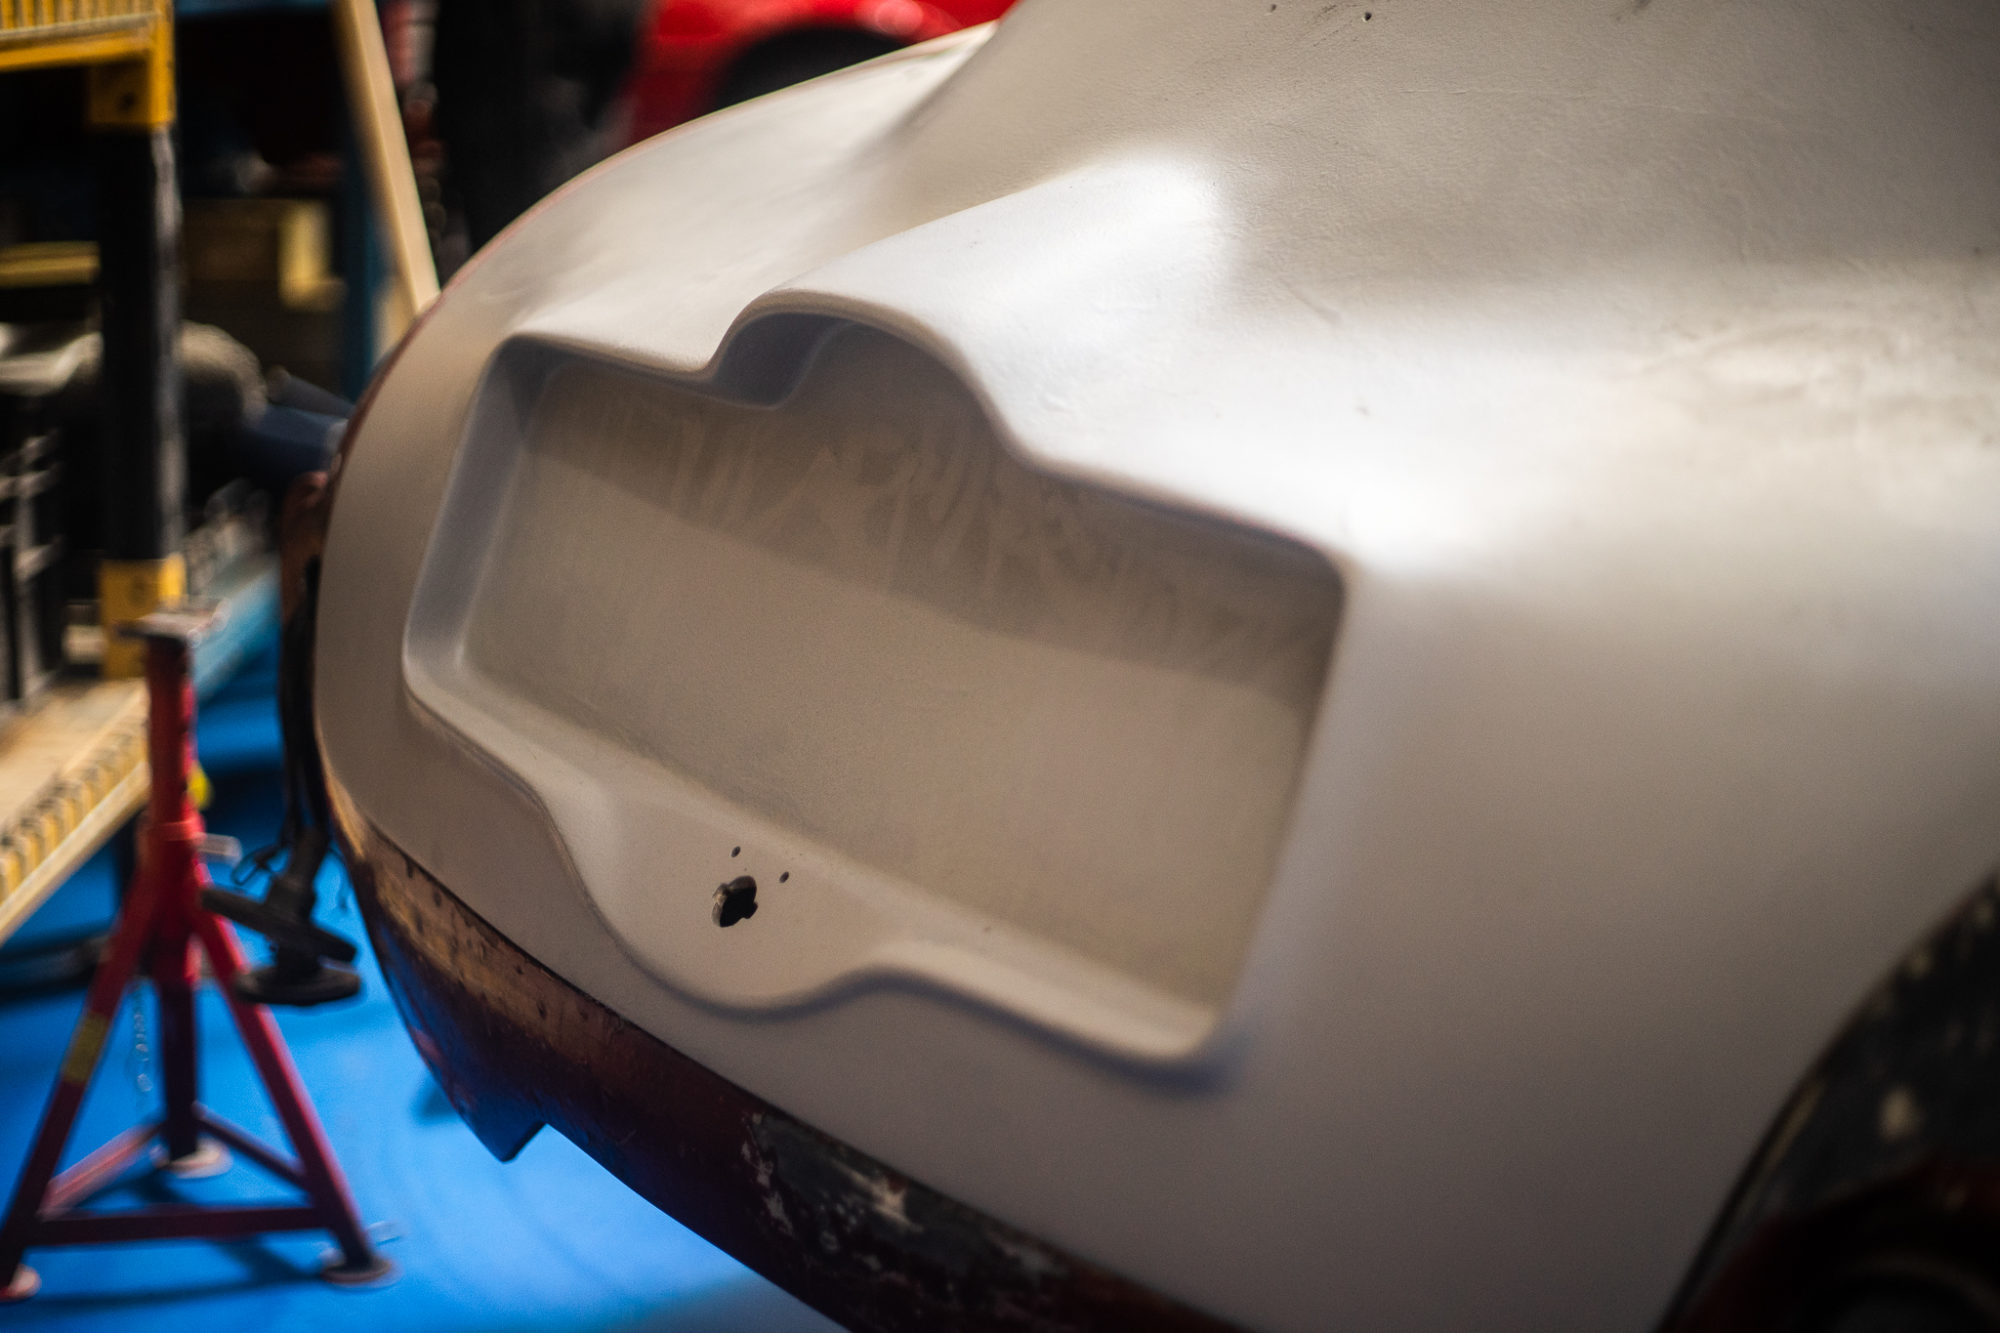
Earlier in the week we got delivered this 1961 Jensen 541S that had been the victim of a crash, and is looking a little worse

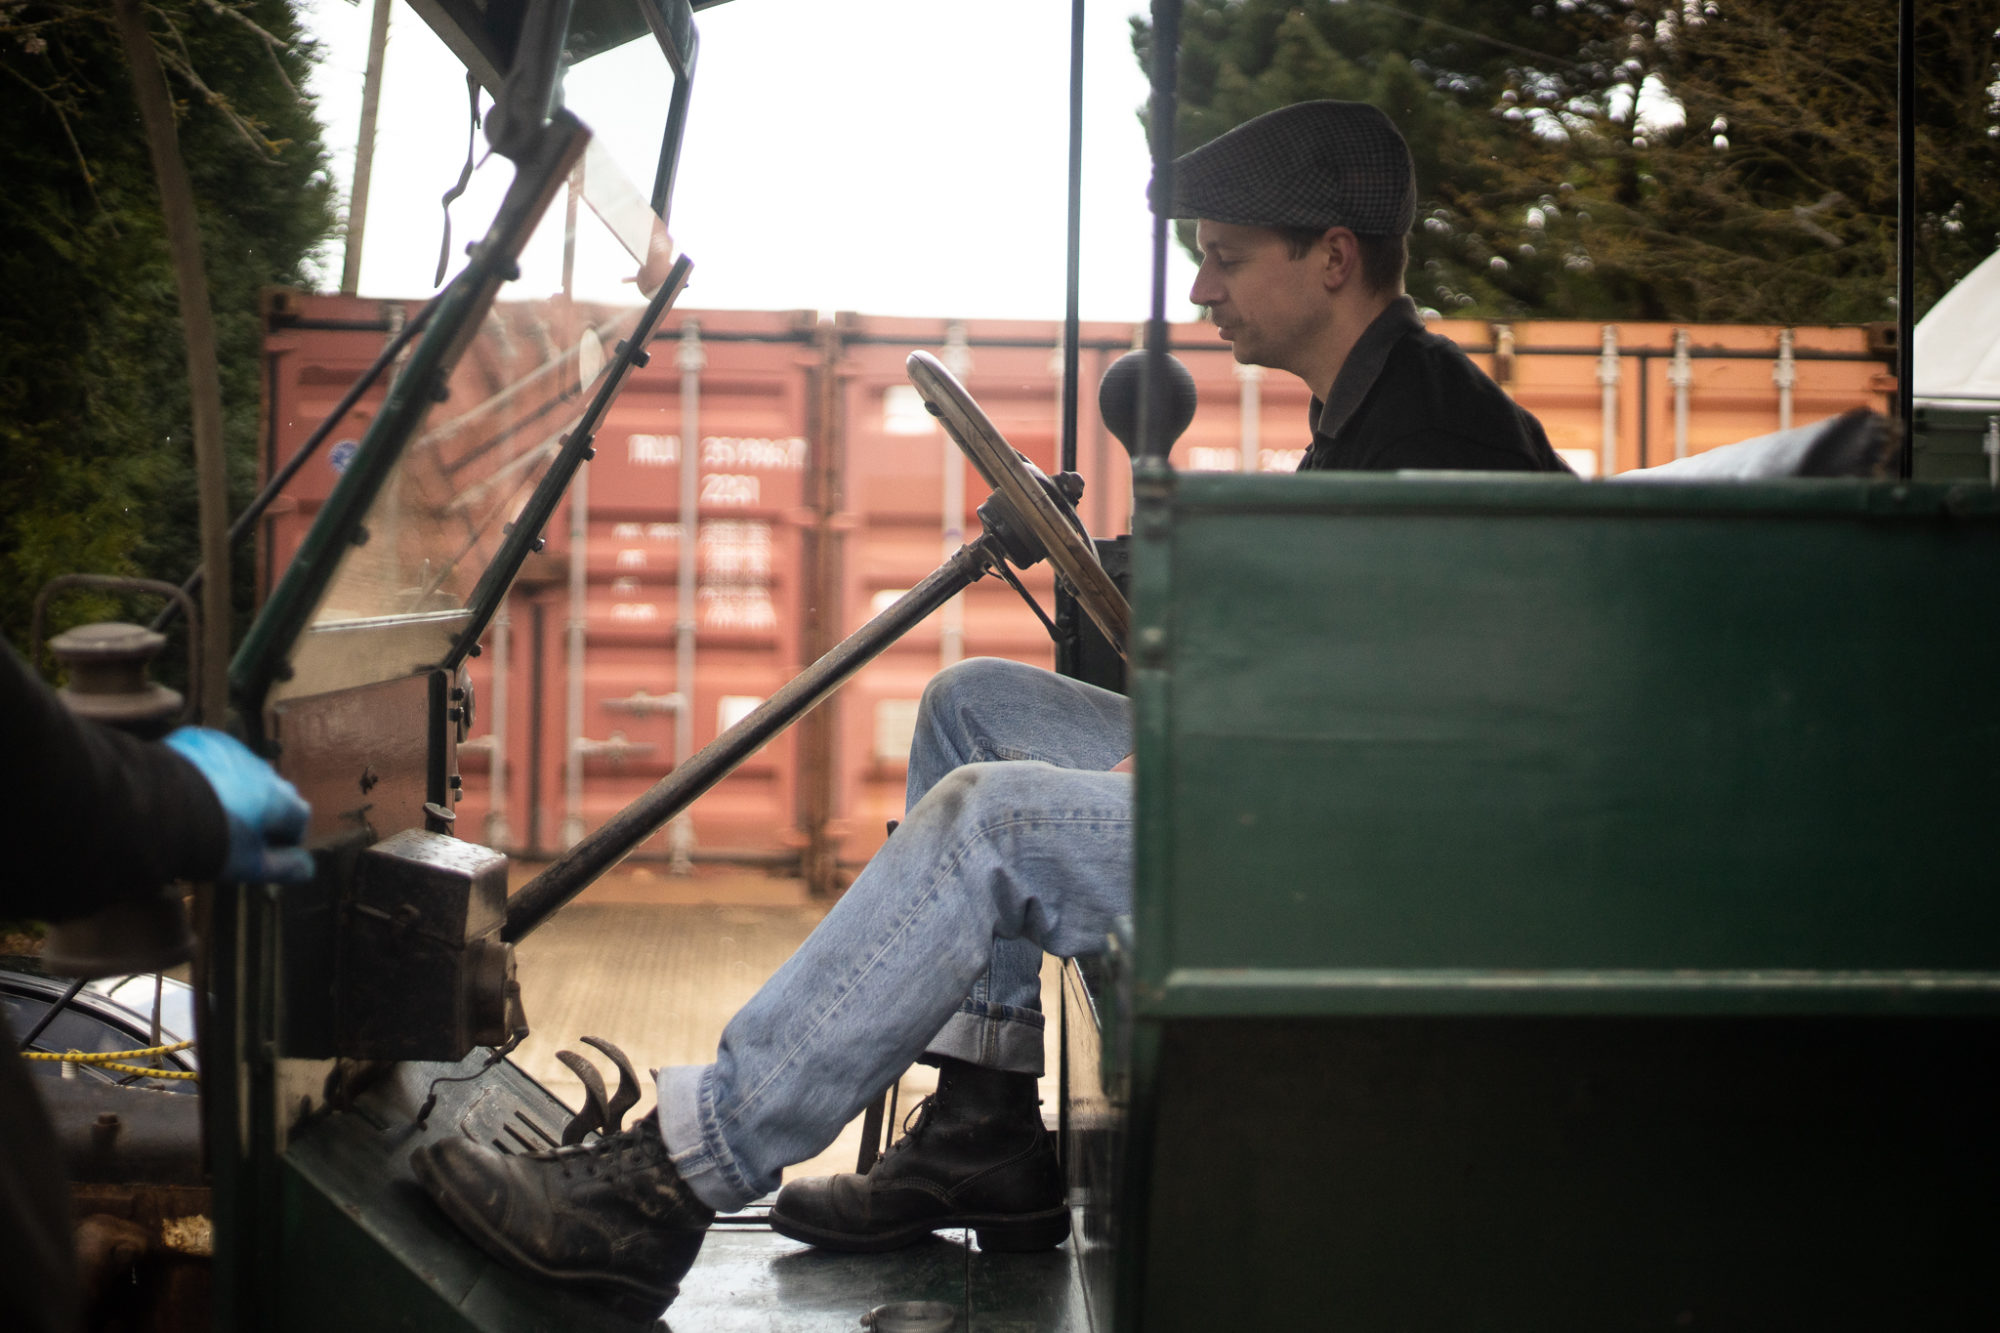
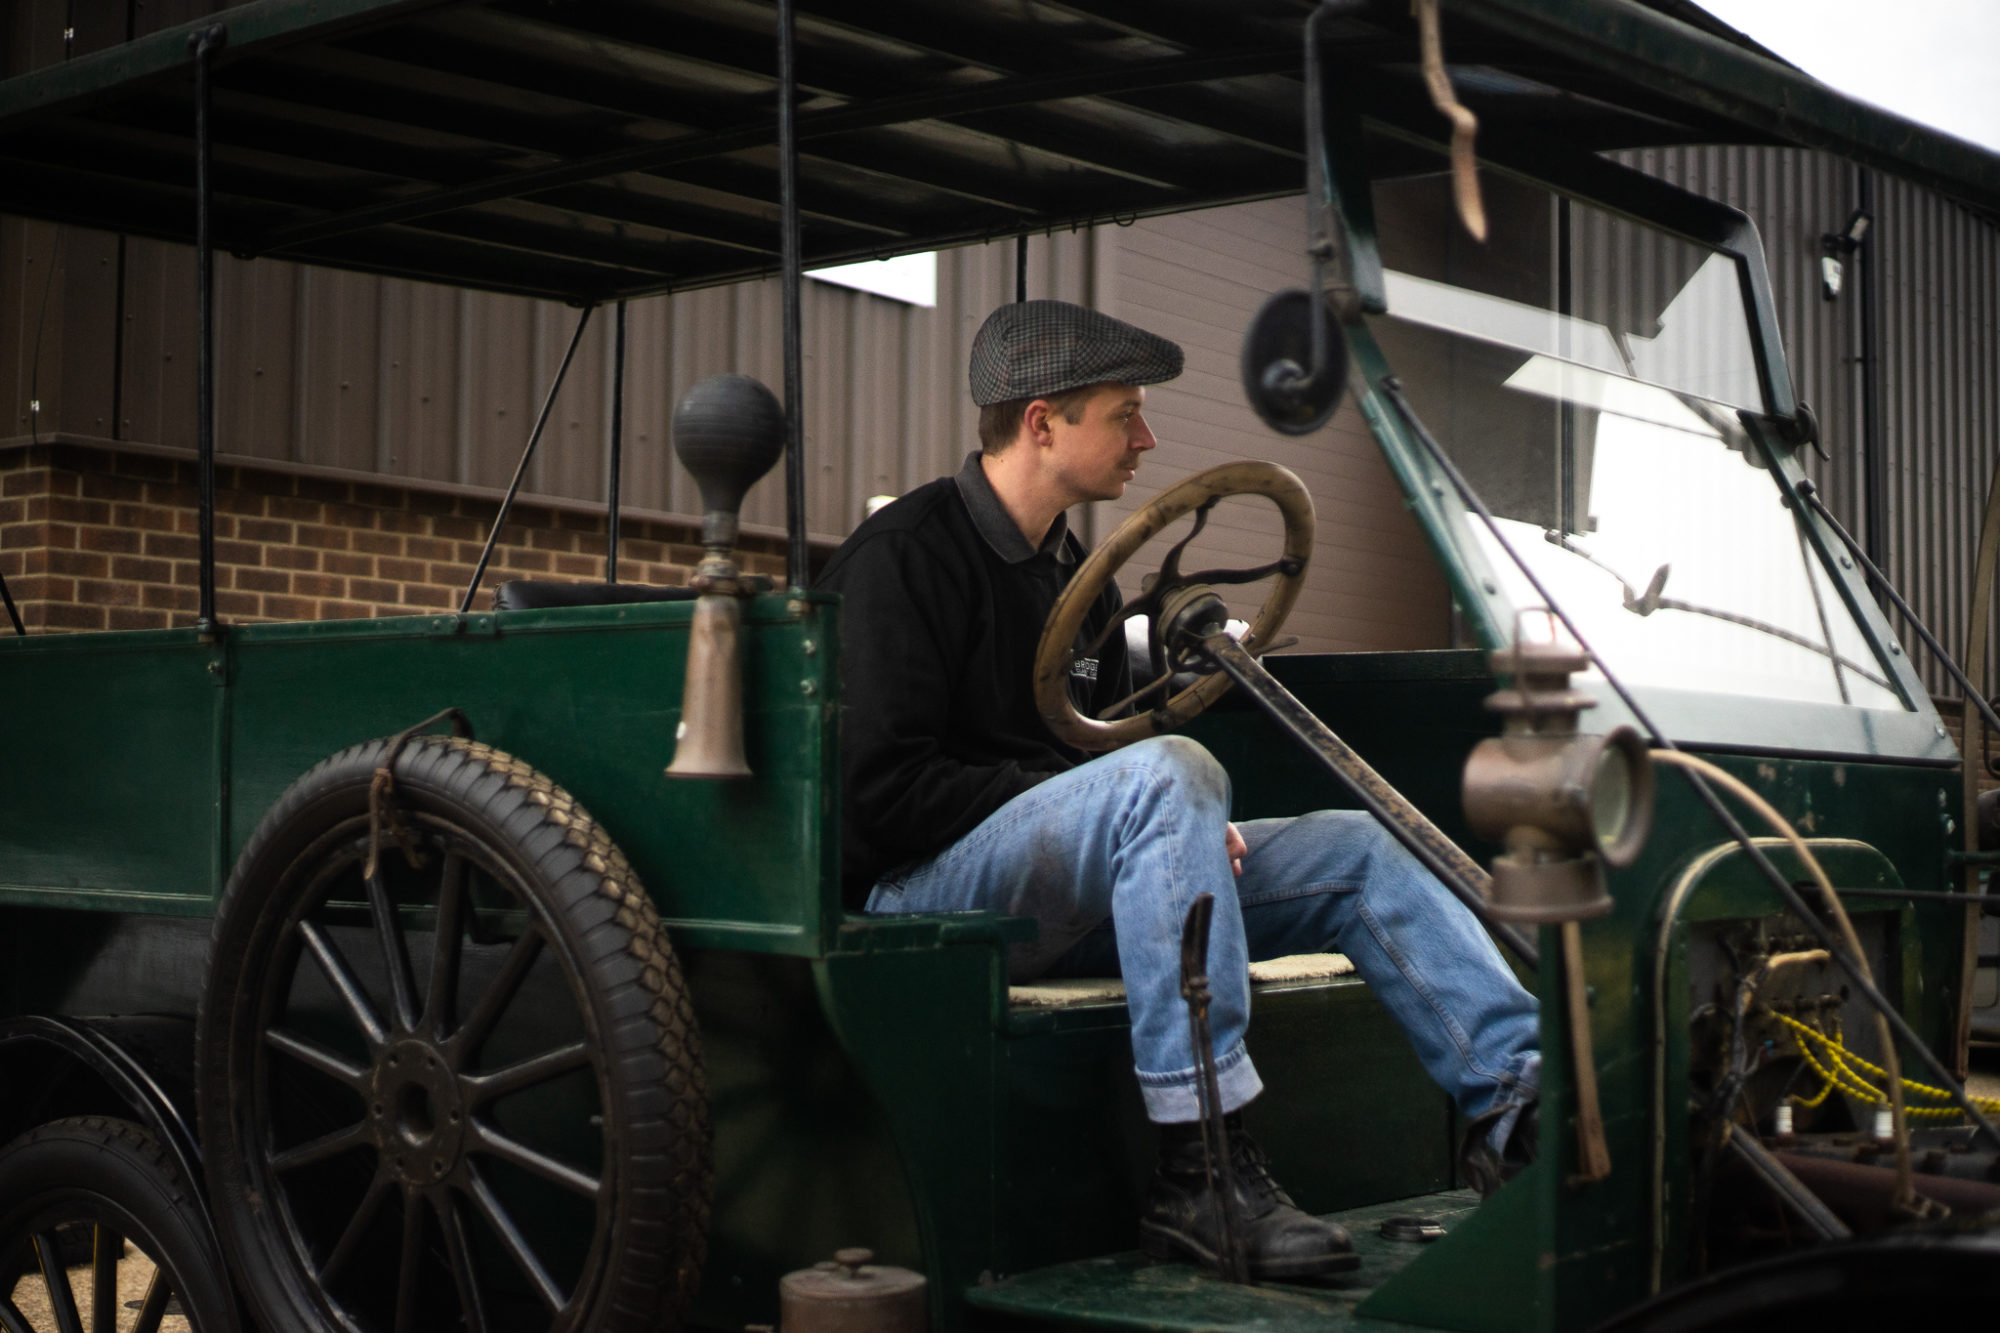
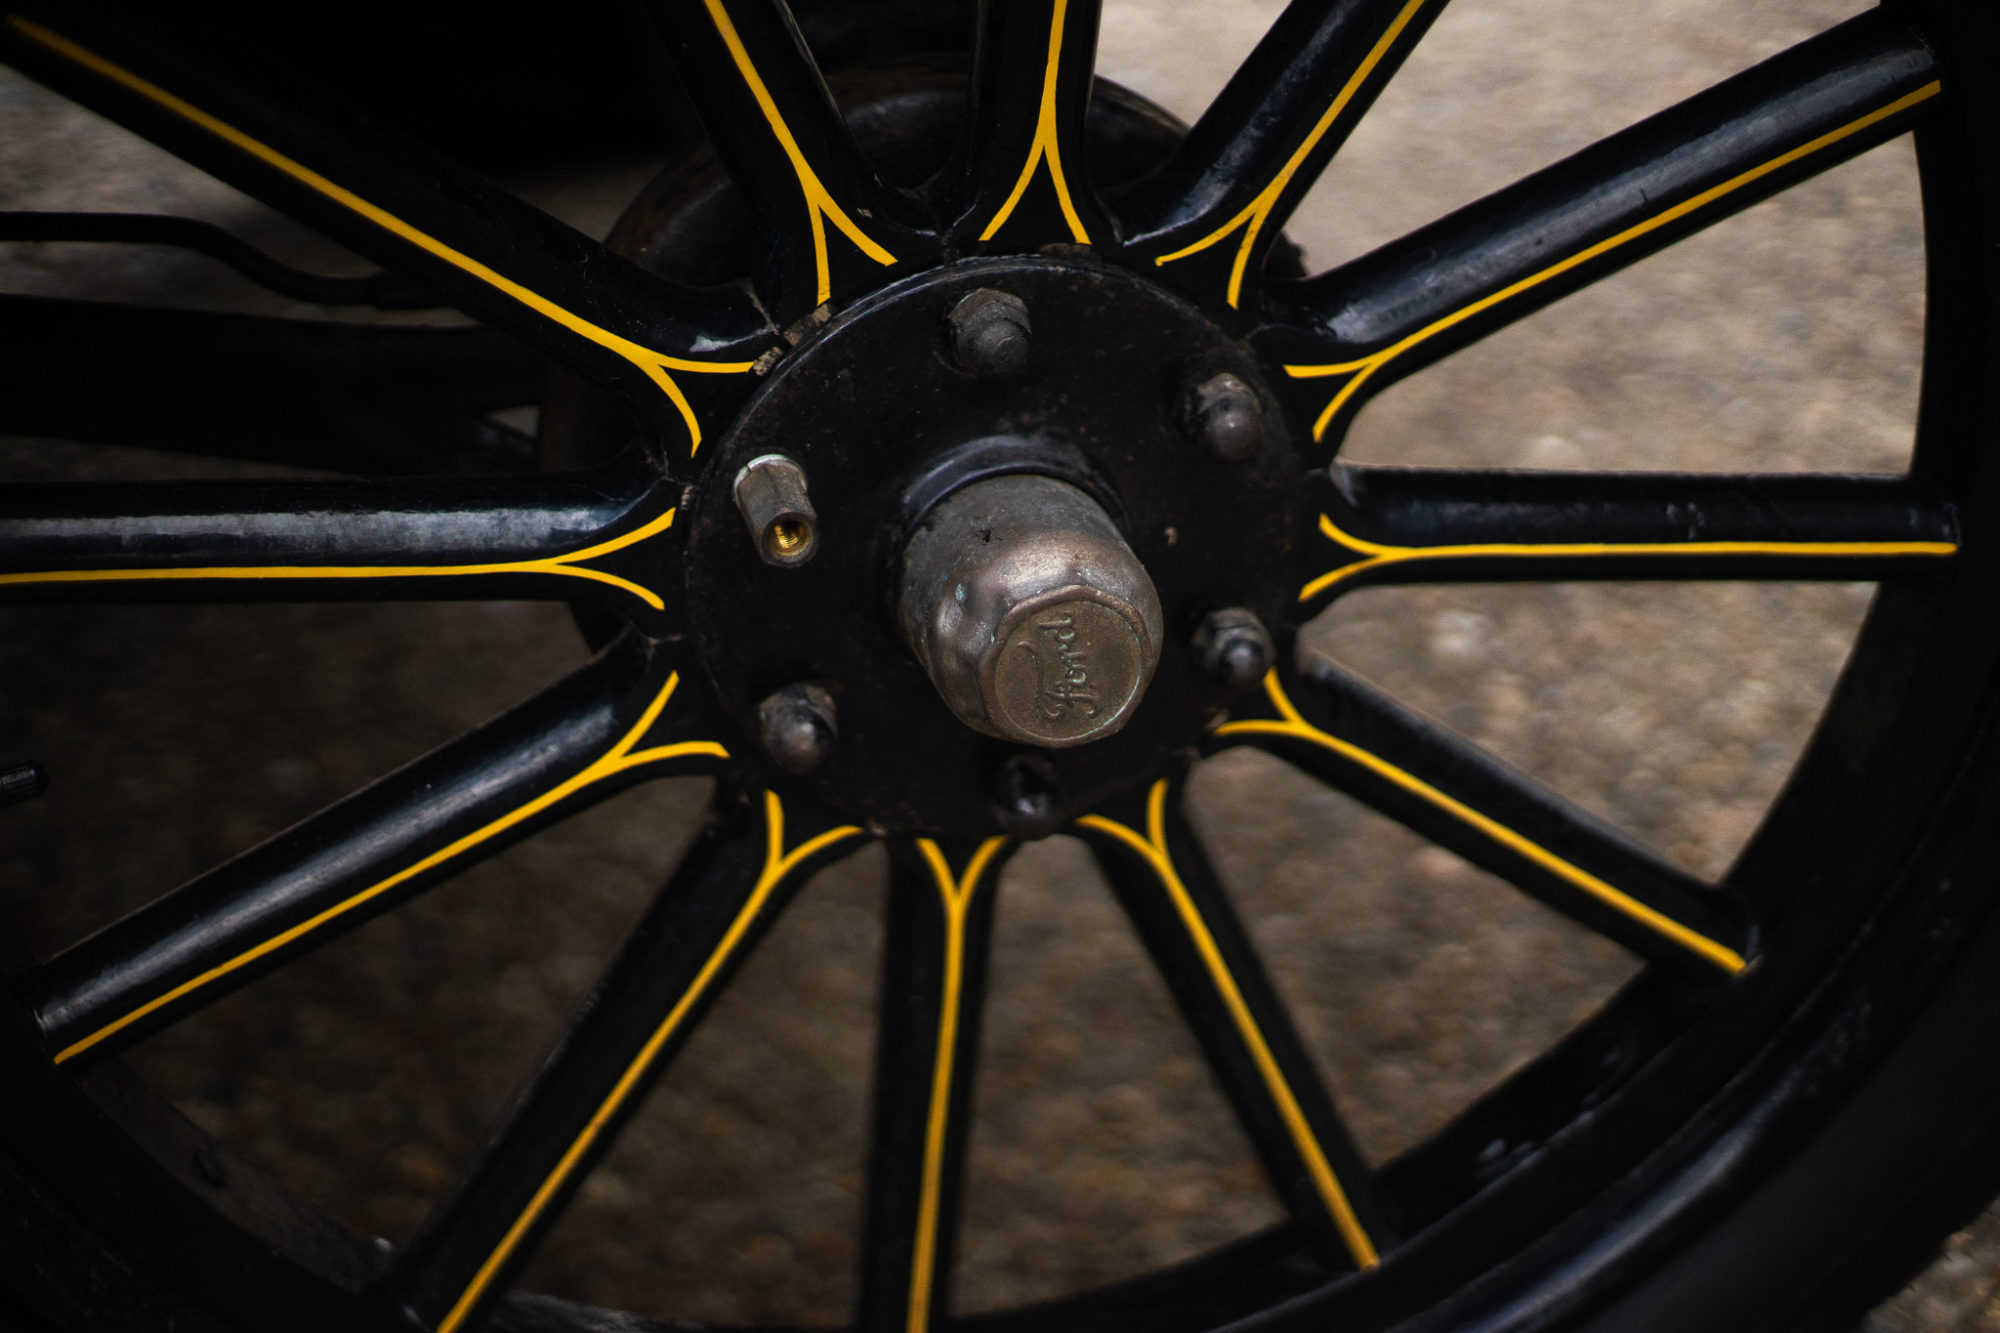
Our 1915 Ford Model T took a bit of encouragement to start, but when it did, it ran perfectly! Having sat in a barn for
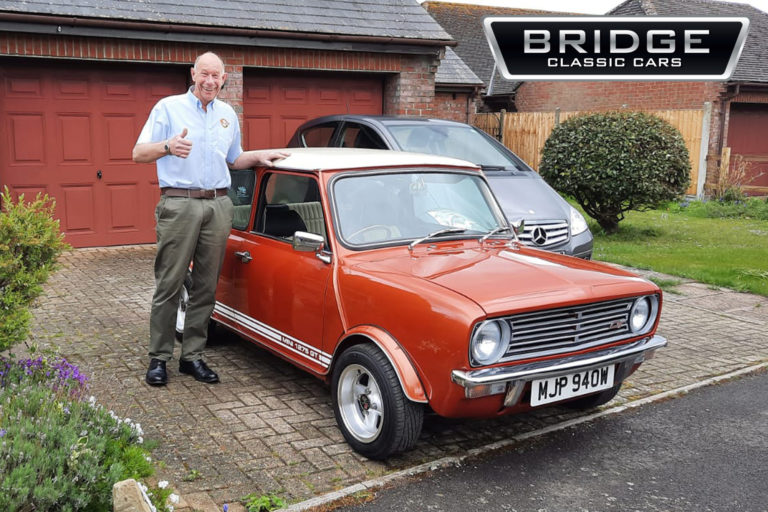
Last but certainly not least, our spectacular orange mini 1275 GT arrived at the David Gair-Steven’s house this week. David Gair-Stevens won with ticket number

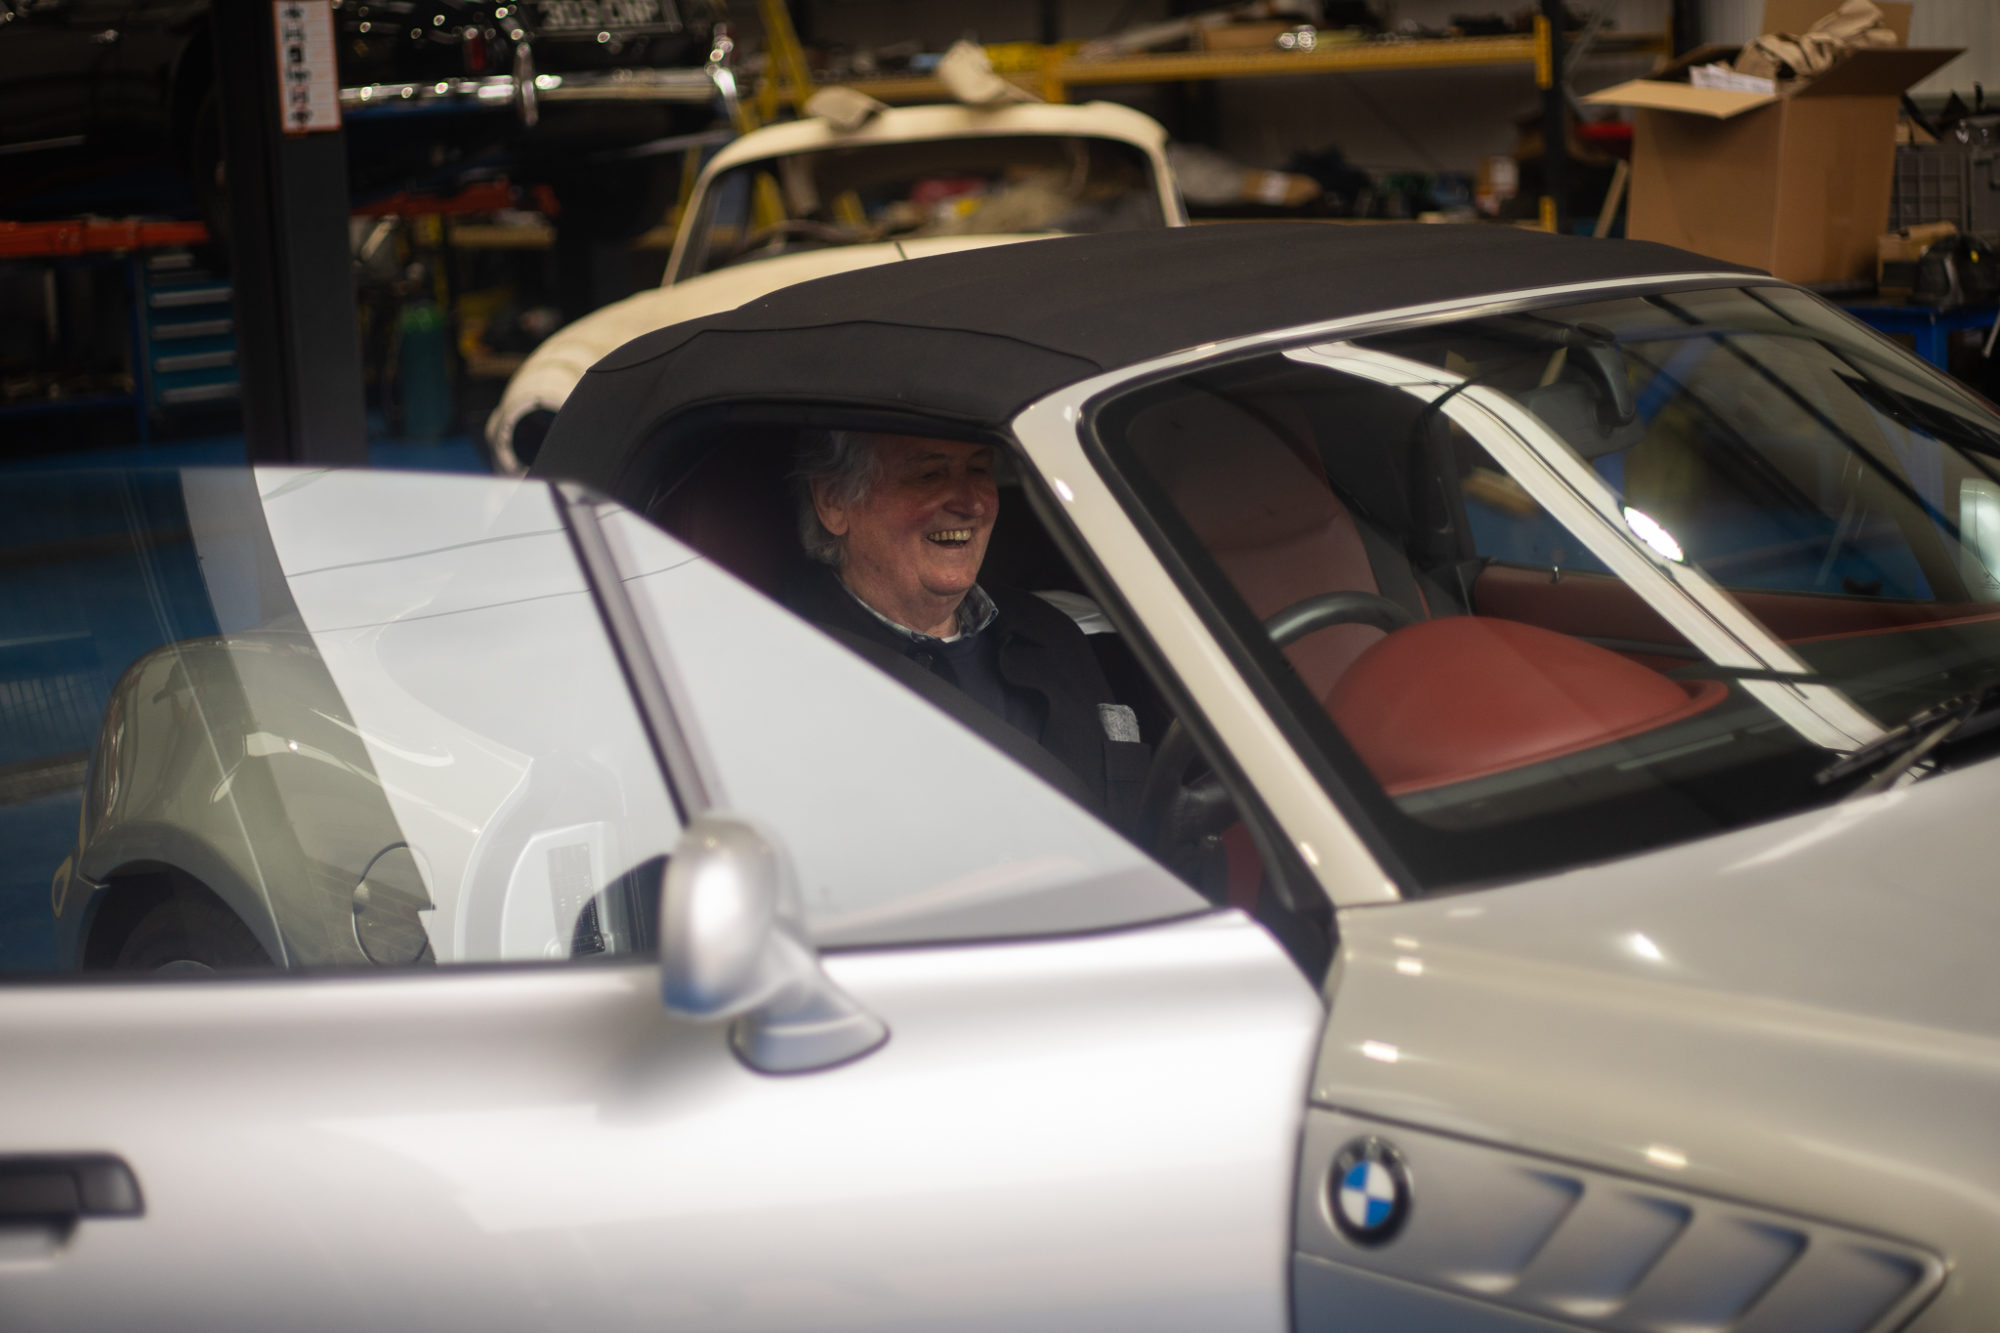
“It’s rather wonderful isn’t it” exclaimed Ian as we revealed his BMW Z3. Ian Logan is the lucky winner of our modern classic BMW Z3
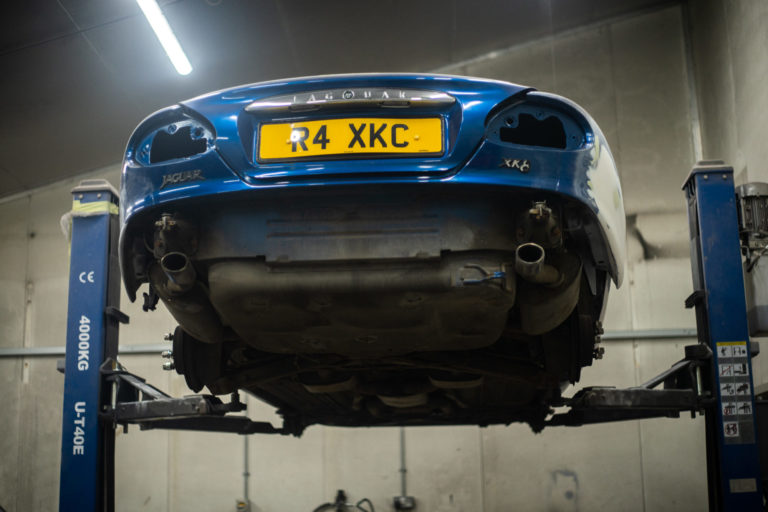
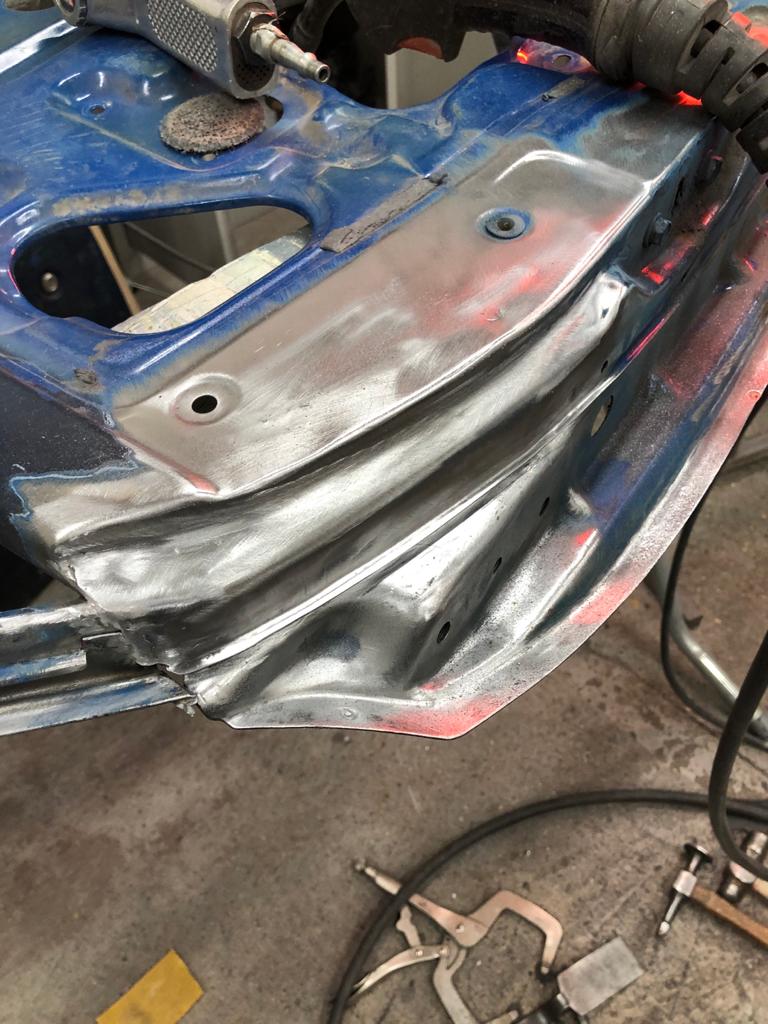
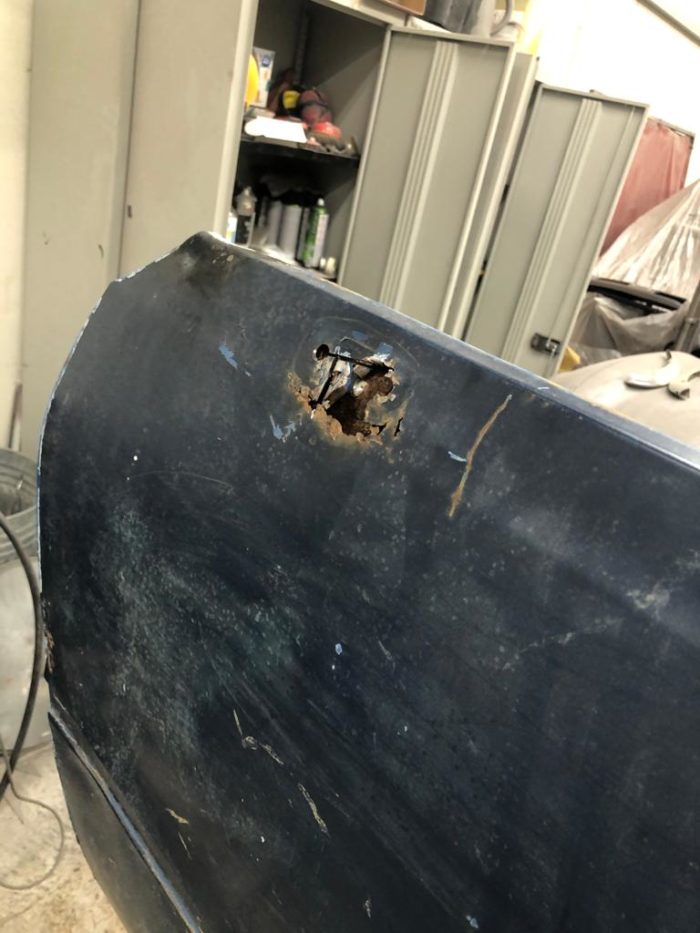
Pricey has been continuing his work on the 1997 Jaguar XK8 which is needing some thorough rust repair. There has been more rust discovered in
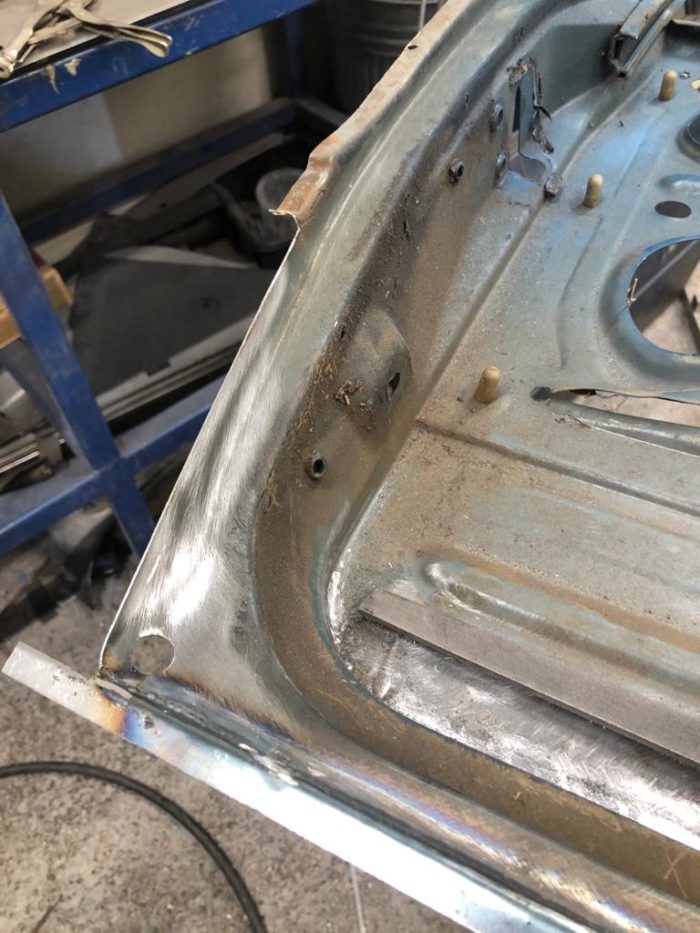
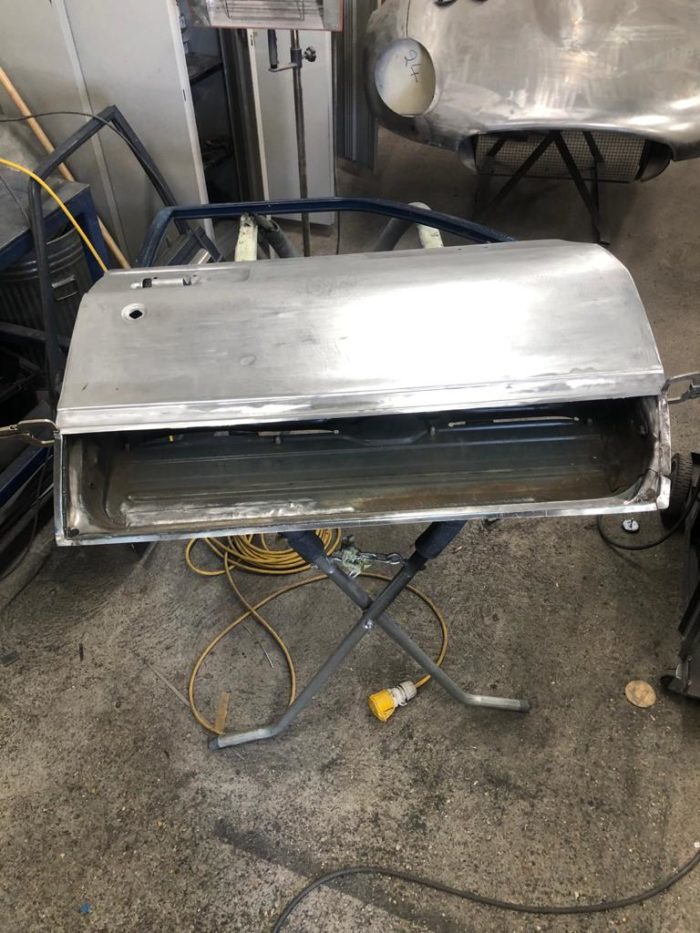
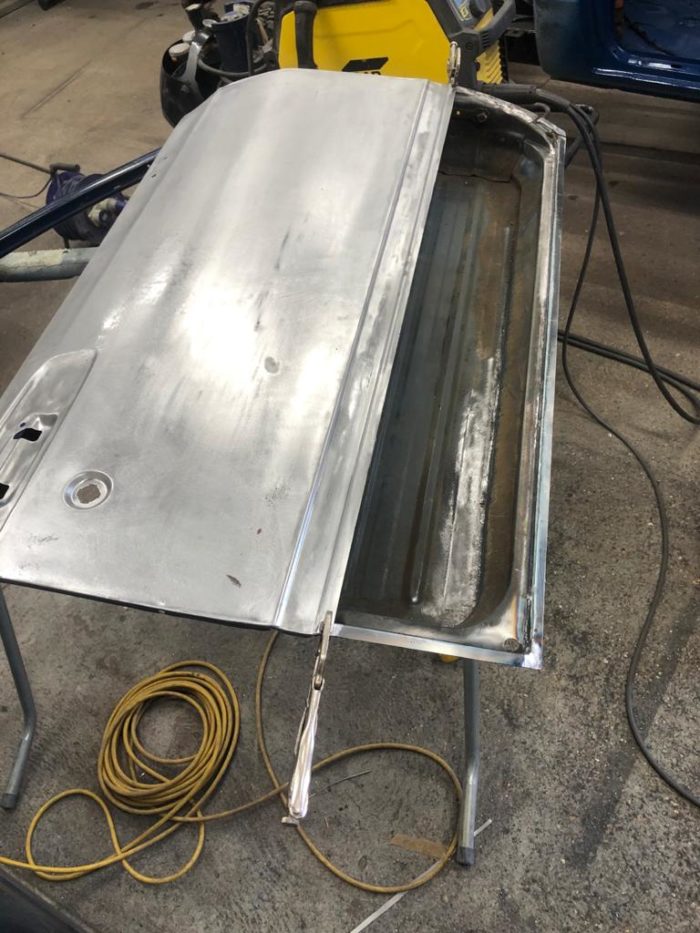
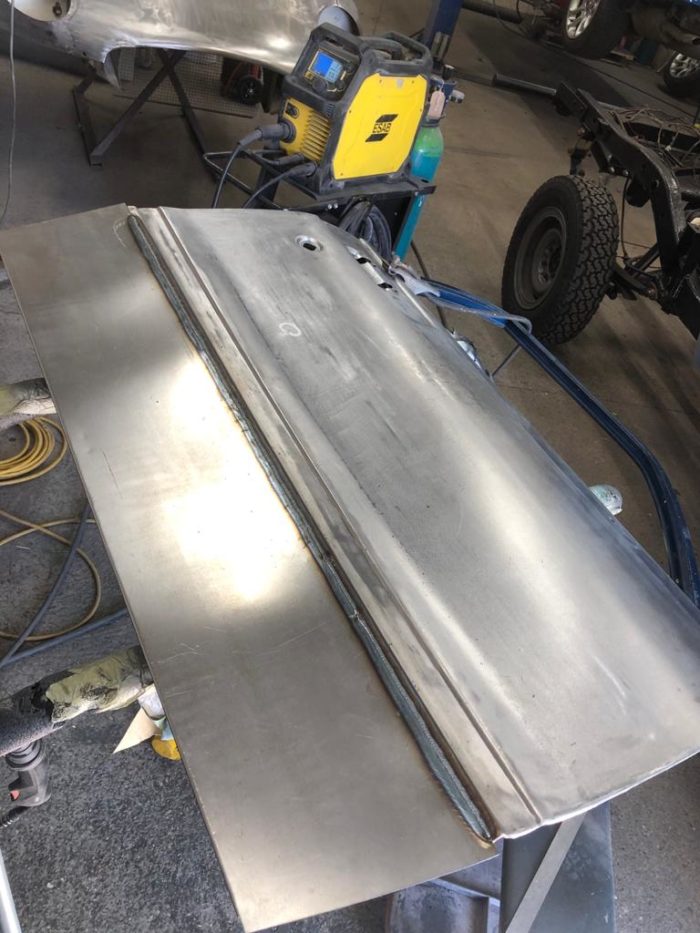
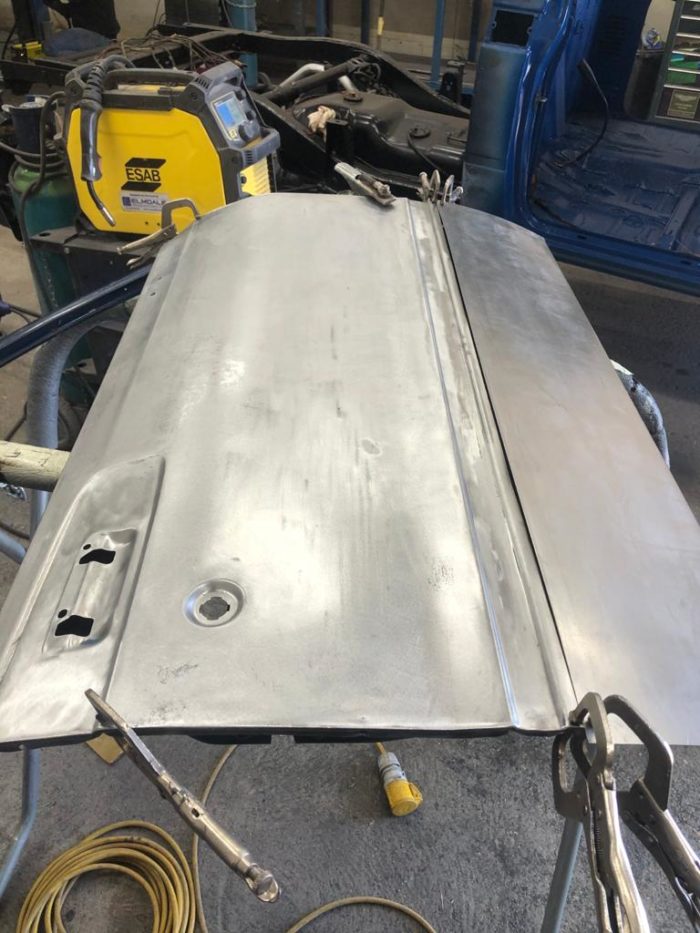
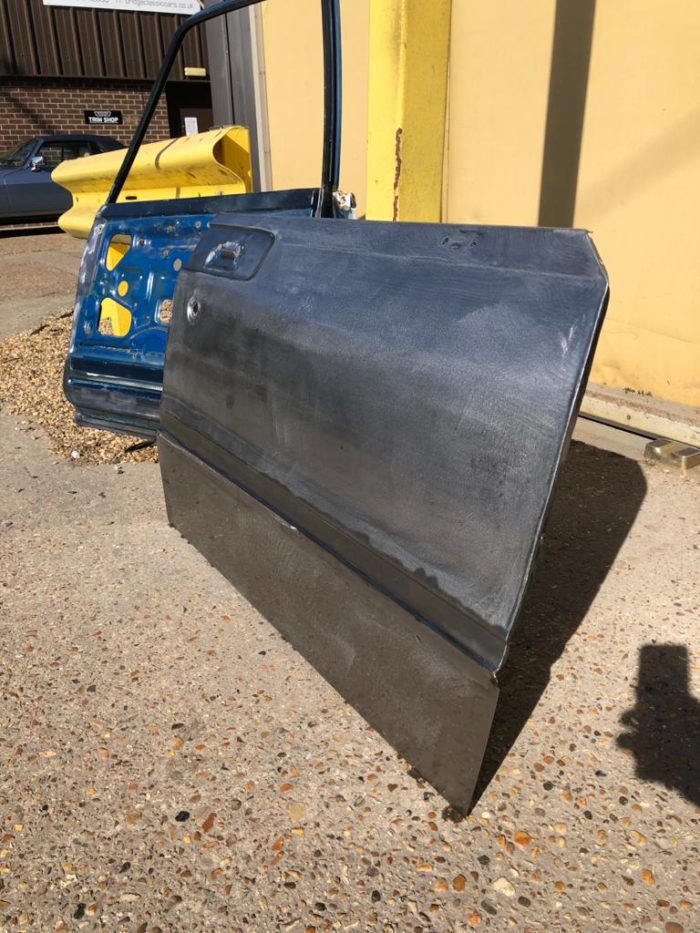
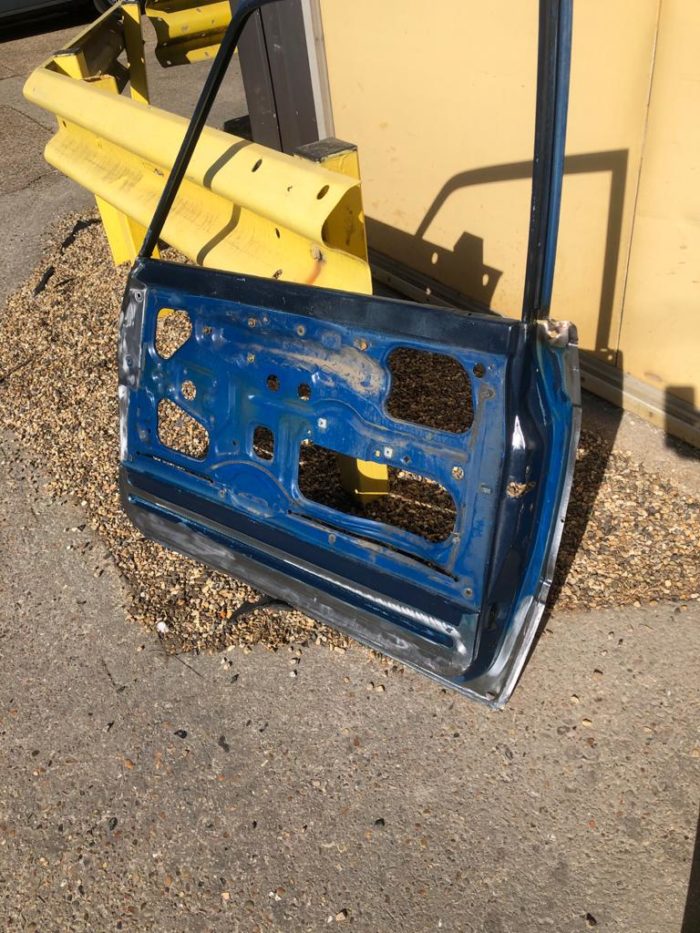
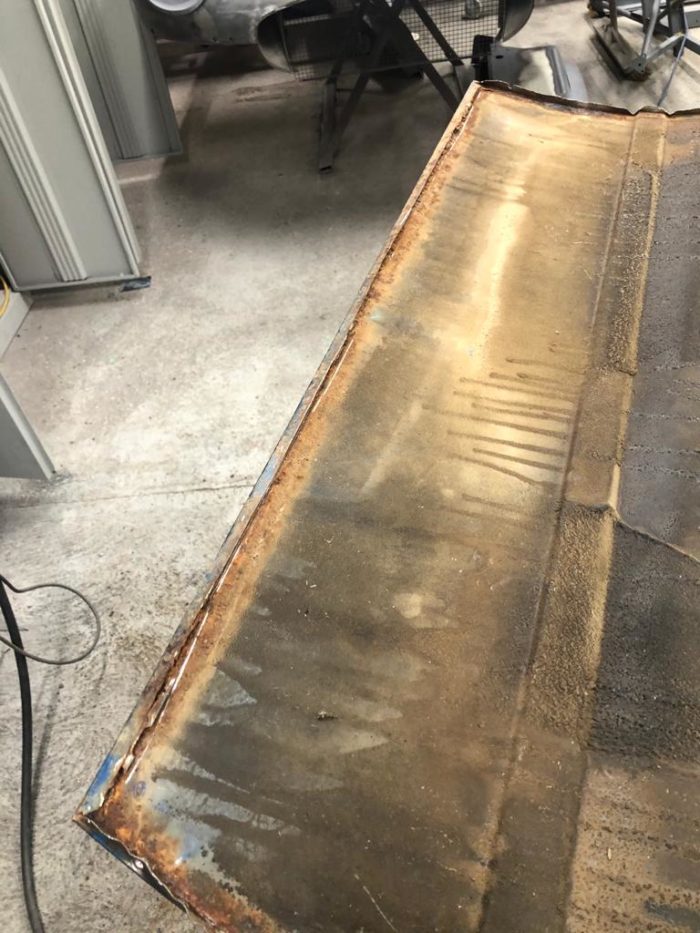
James has been continuing his work to correct the rust damage on the Toyota Hilux doors. He is now repeating the same process on the
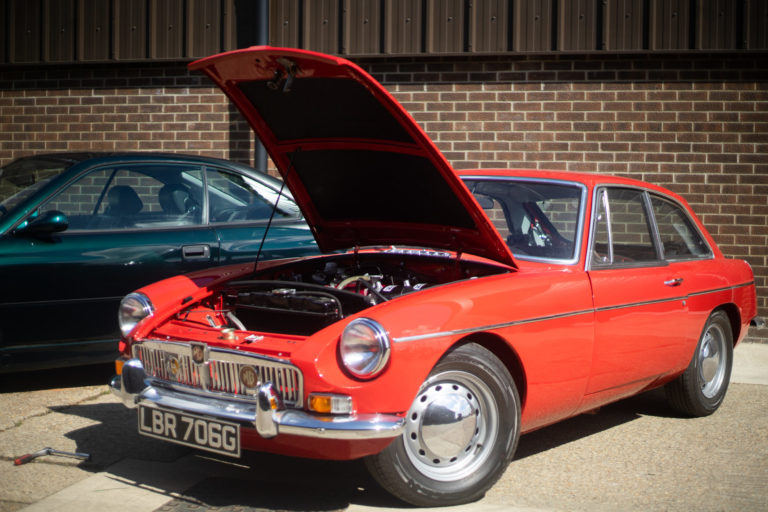
We welcomed in this 1968 MGB GT last week which is having some brake and running issues. Firstly, the brake have been bled however the

In our workshops today we have our 1989 Rolls Royce requiring body work repairs to the arches. Whilst in, the car will undergo a full
We’re currently awaiting a road test on our black 1960 Jensen 541R to see how it runs and if there are any teething issues.

Our 1967 Jaguar E-Type Race car is feeling rather poorly at the moment and is awaiting a new clutch from Norfolk Clutch and Brake who
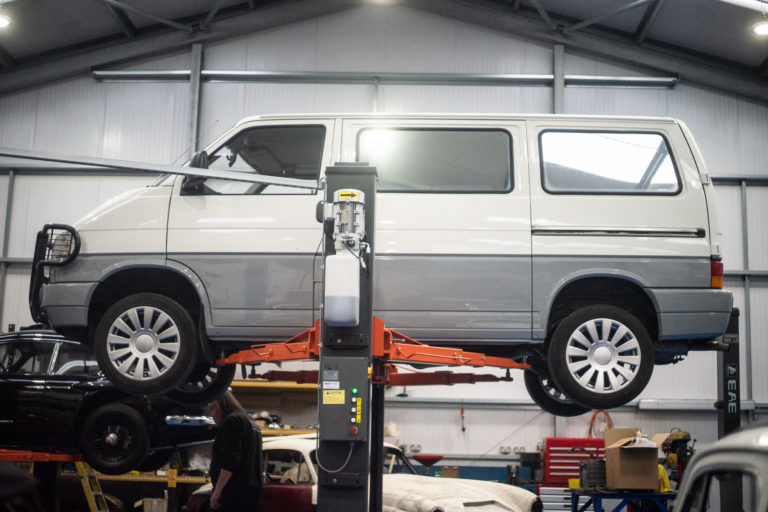
We recently said goodbye to this VW T4 however its now back in again due to a suspicious knocking sound coming form underneath which we
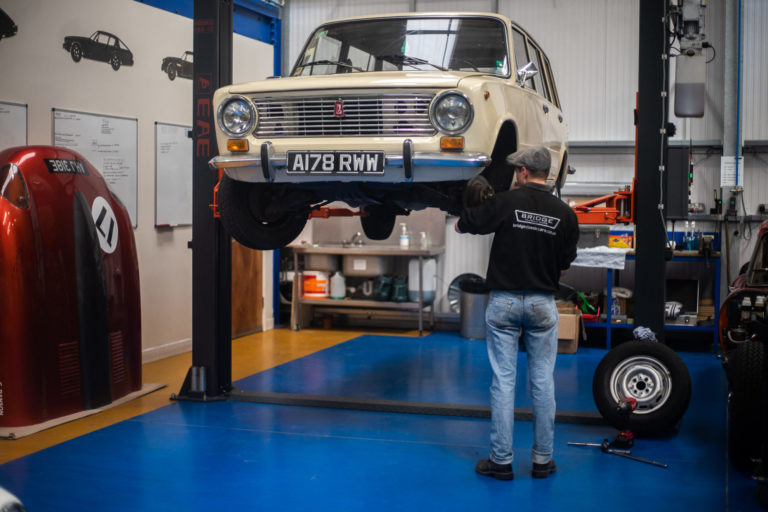
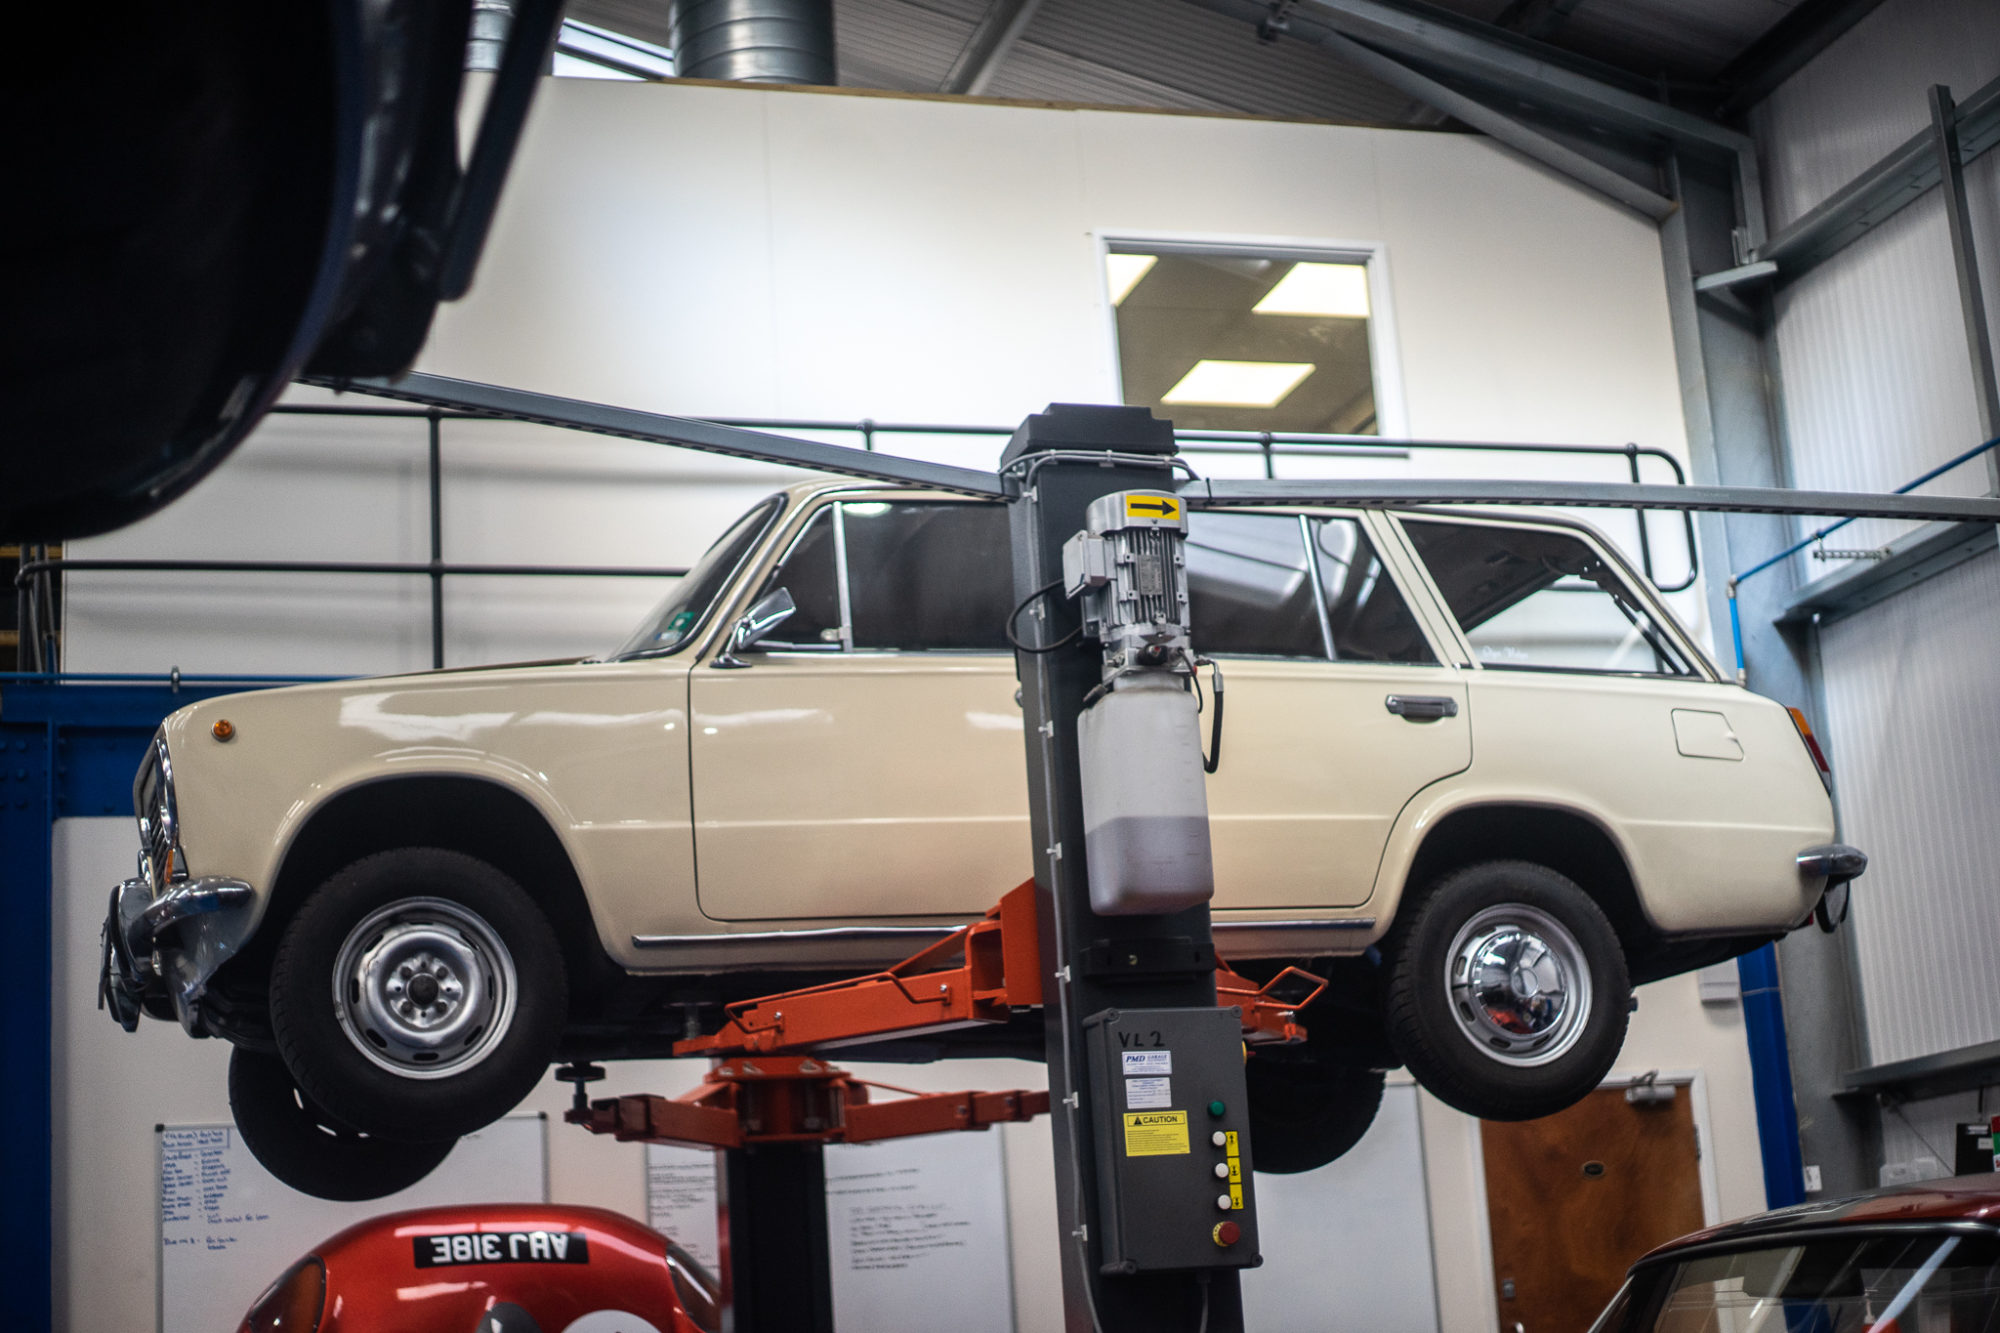
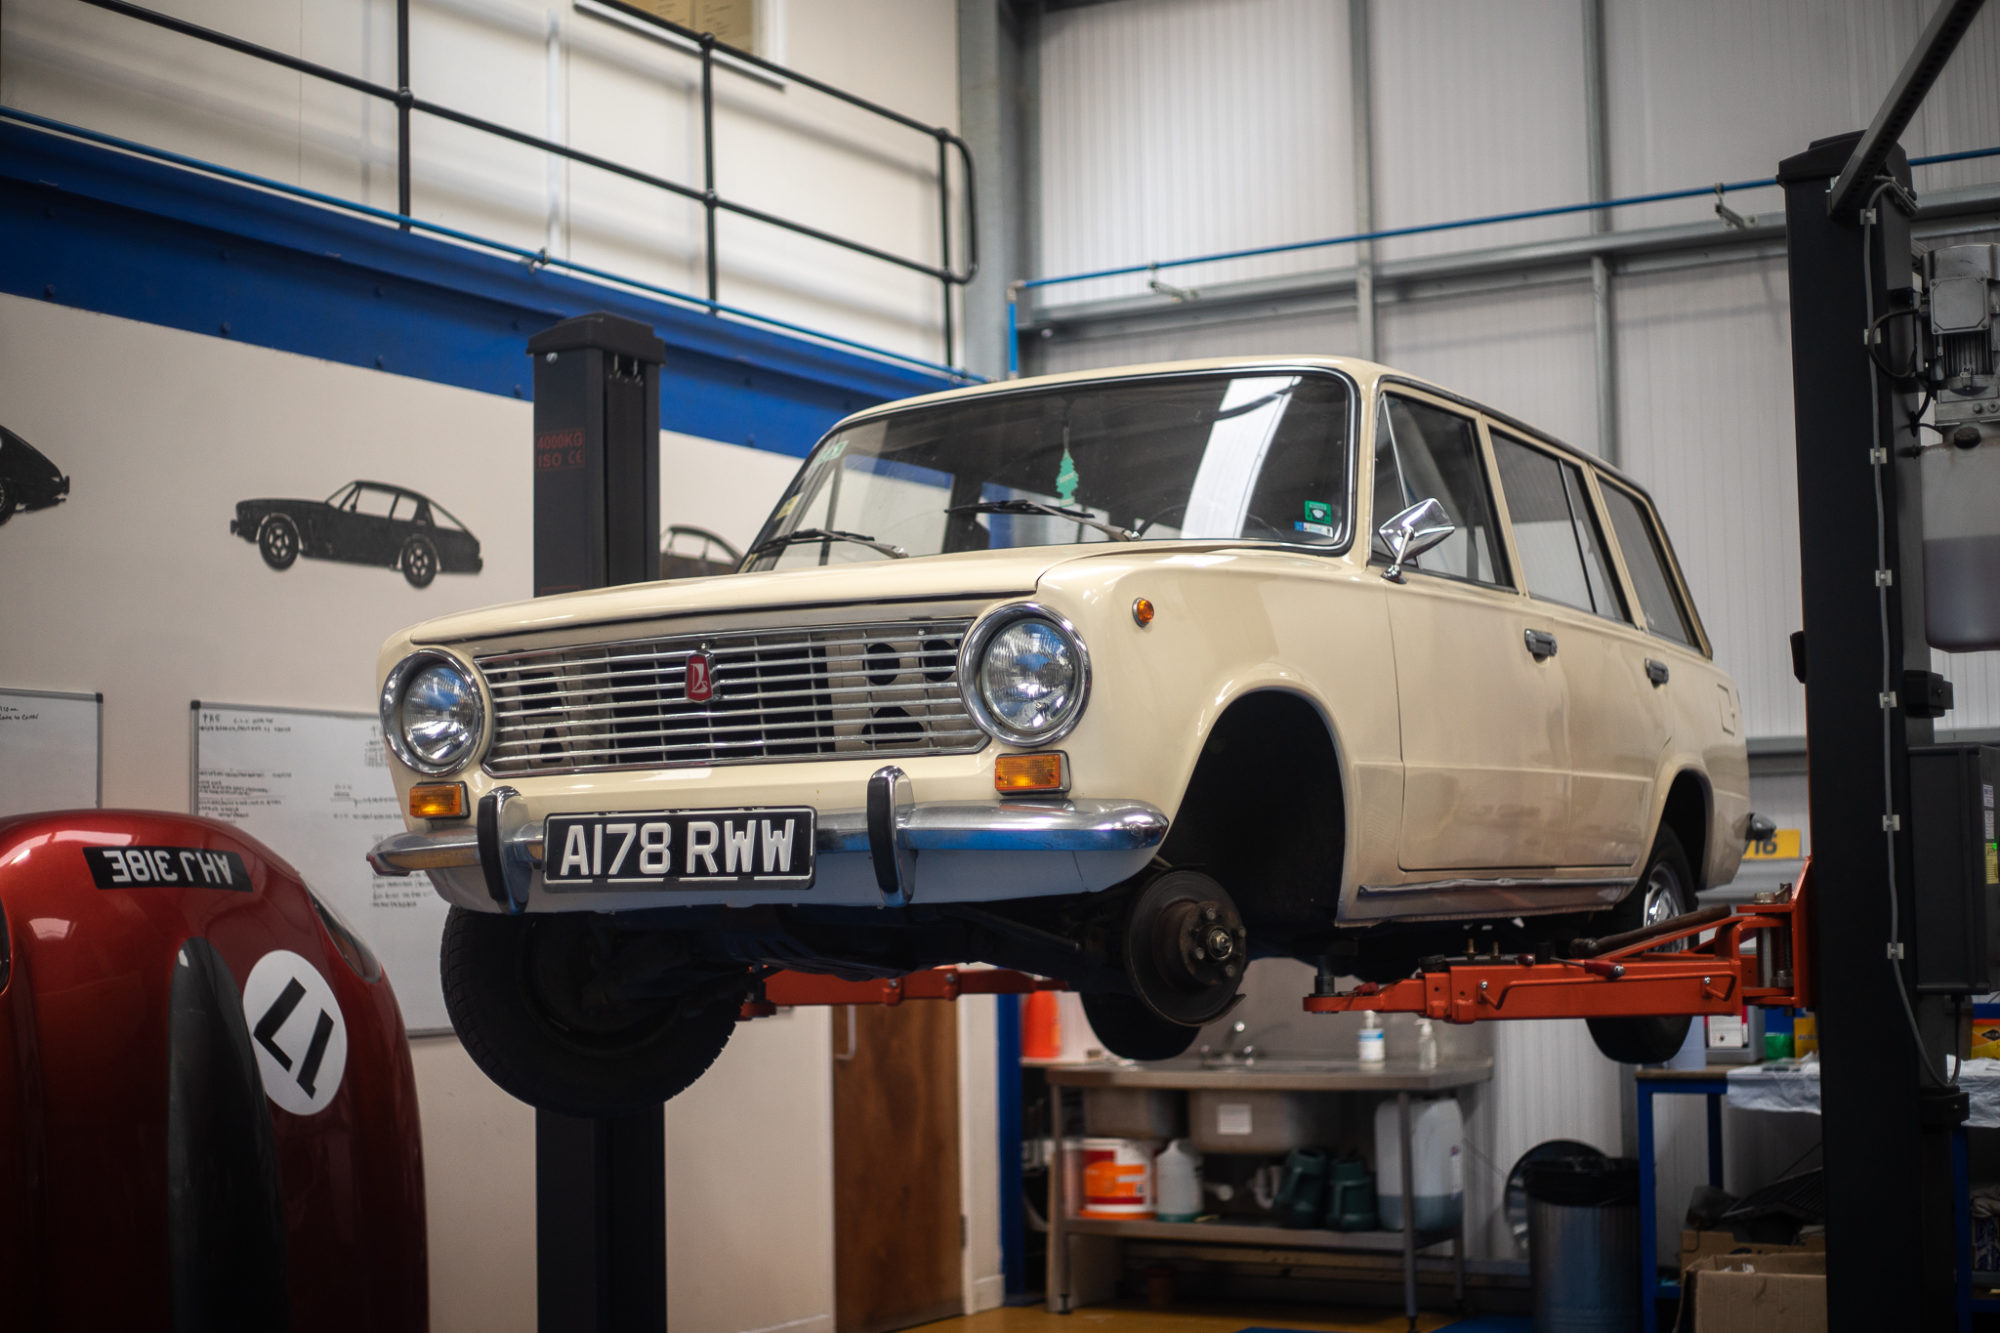
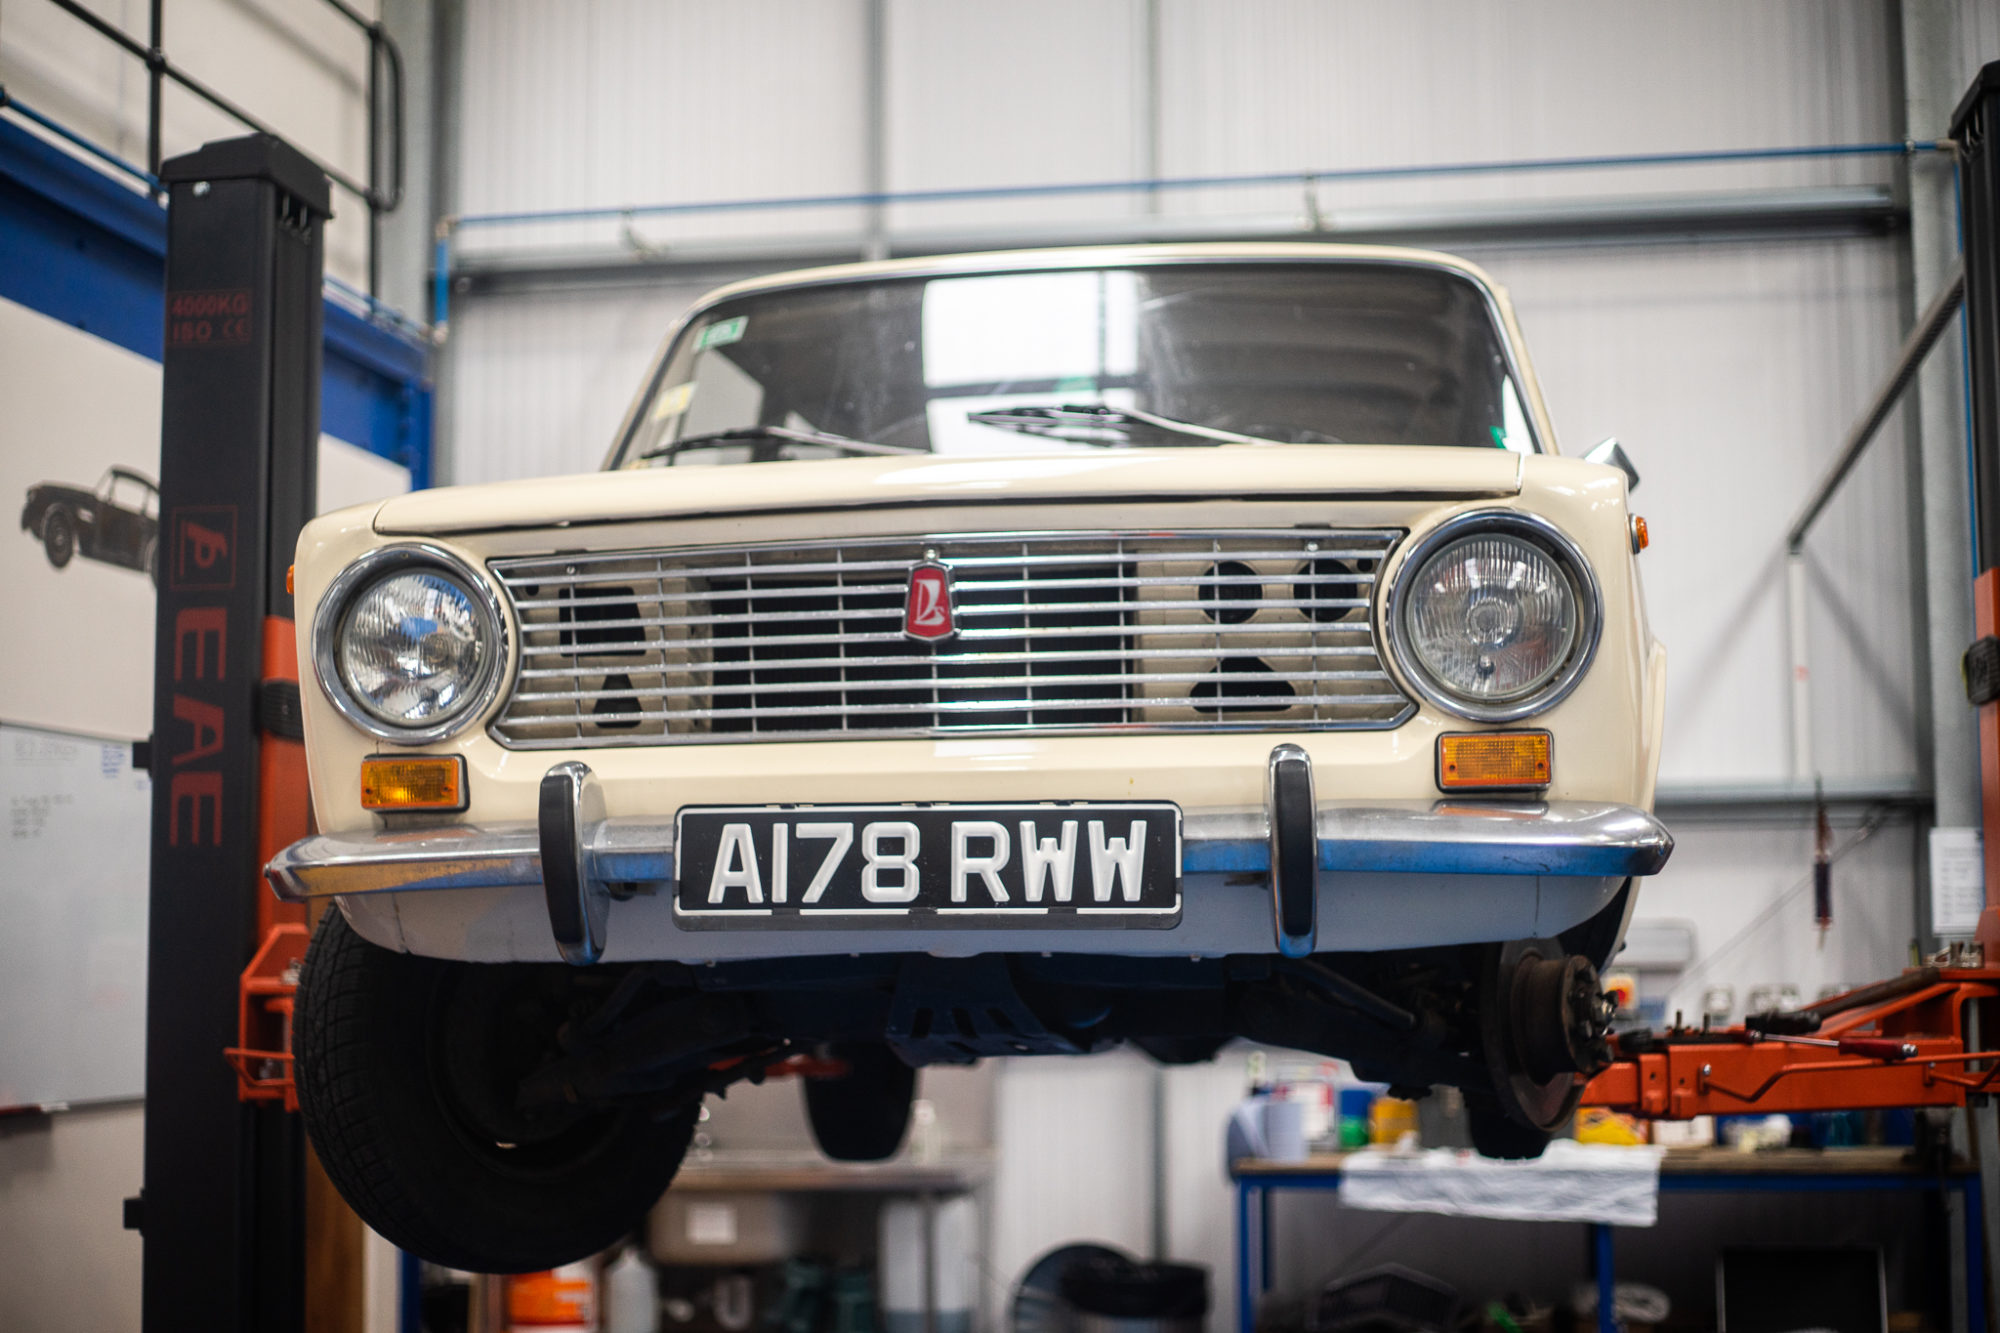
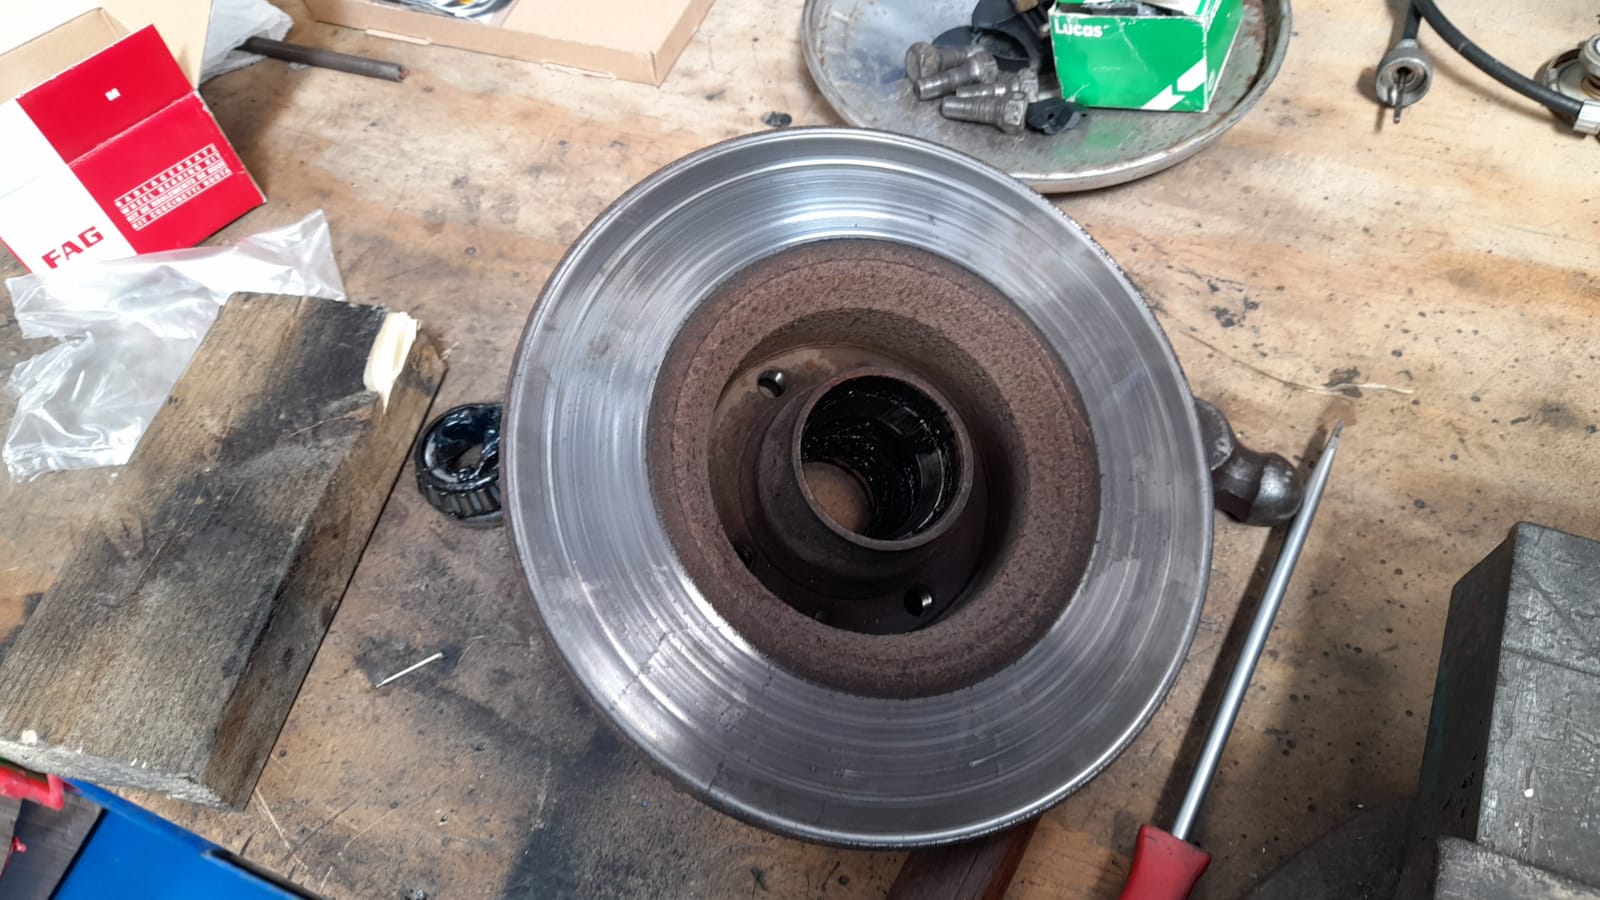
We recently had this classic Lada in for a restoration and now its back for a health check. We’ve run a service on it and
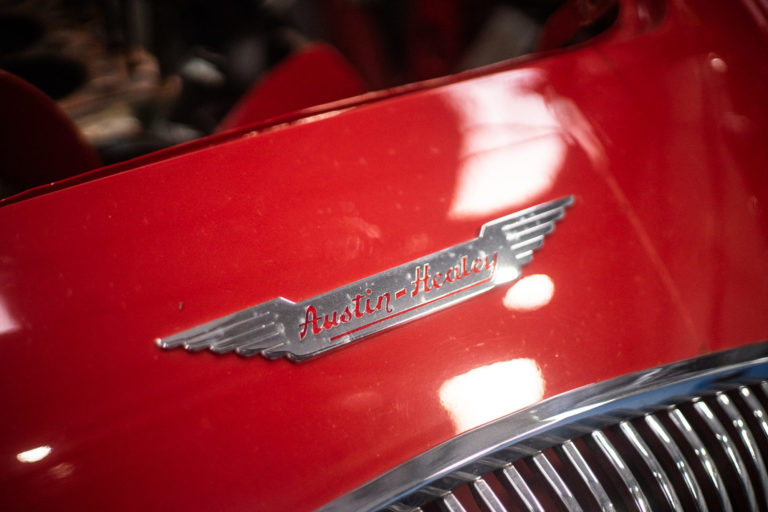
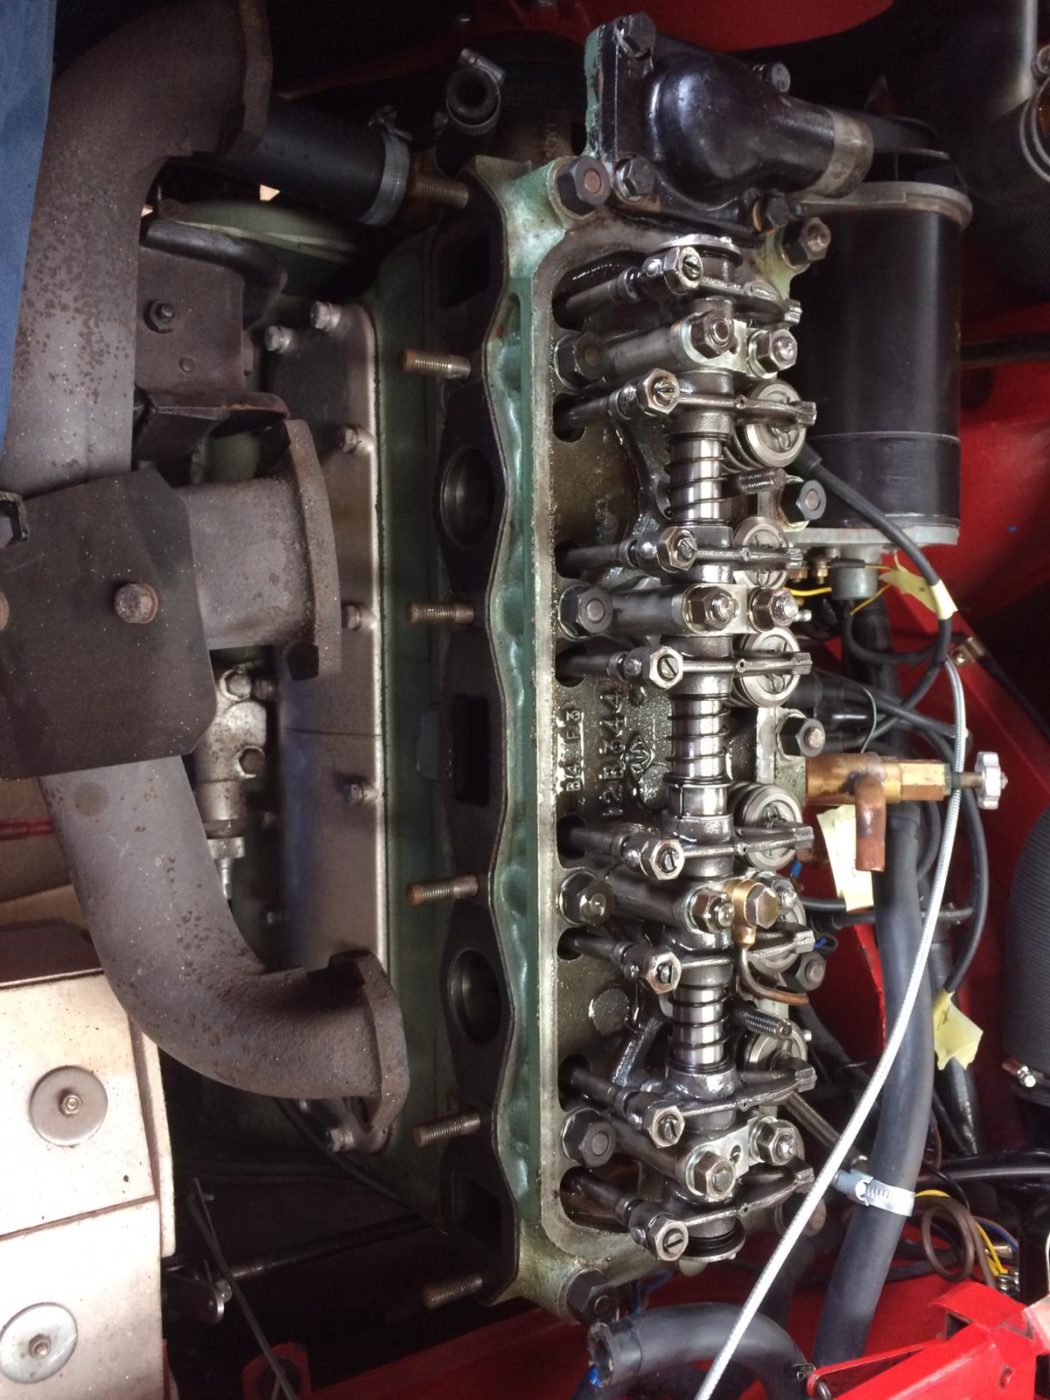
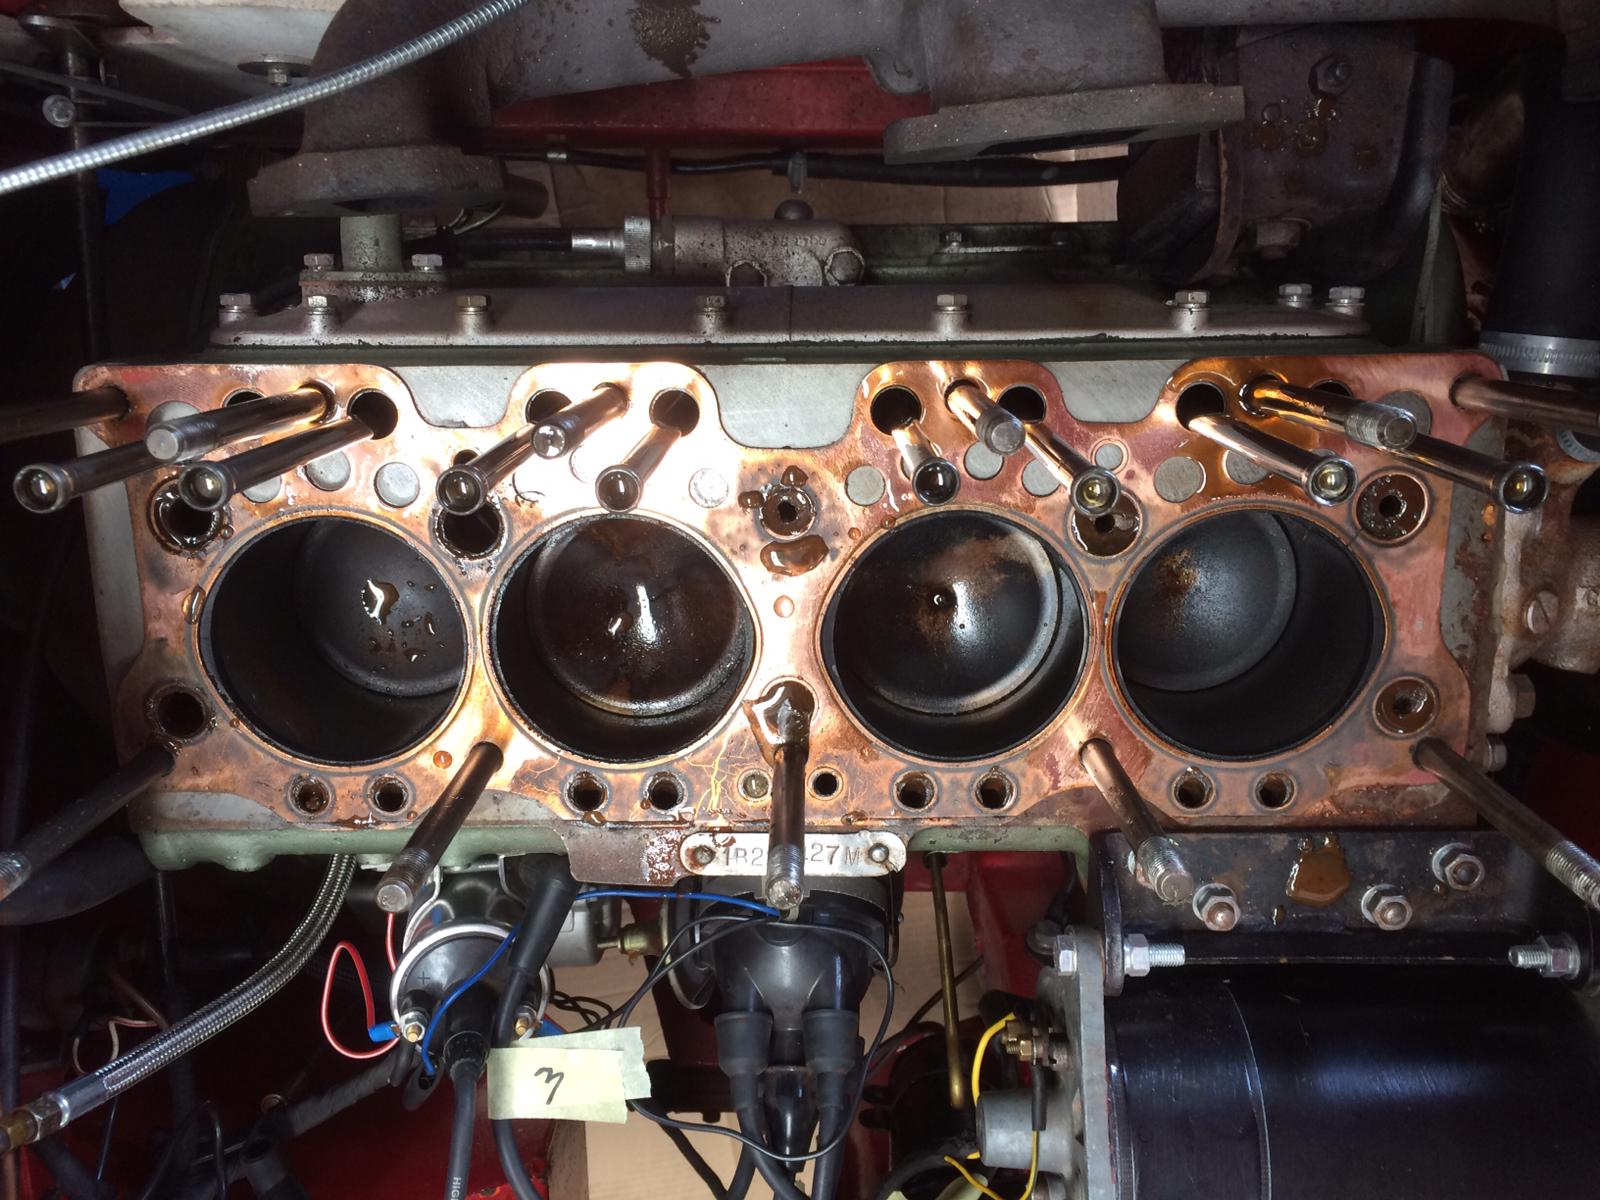
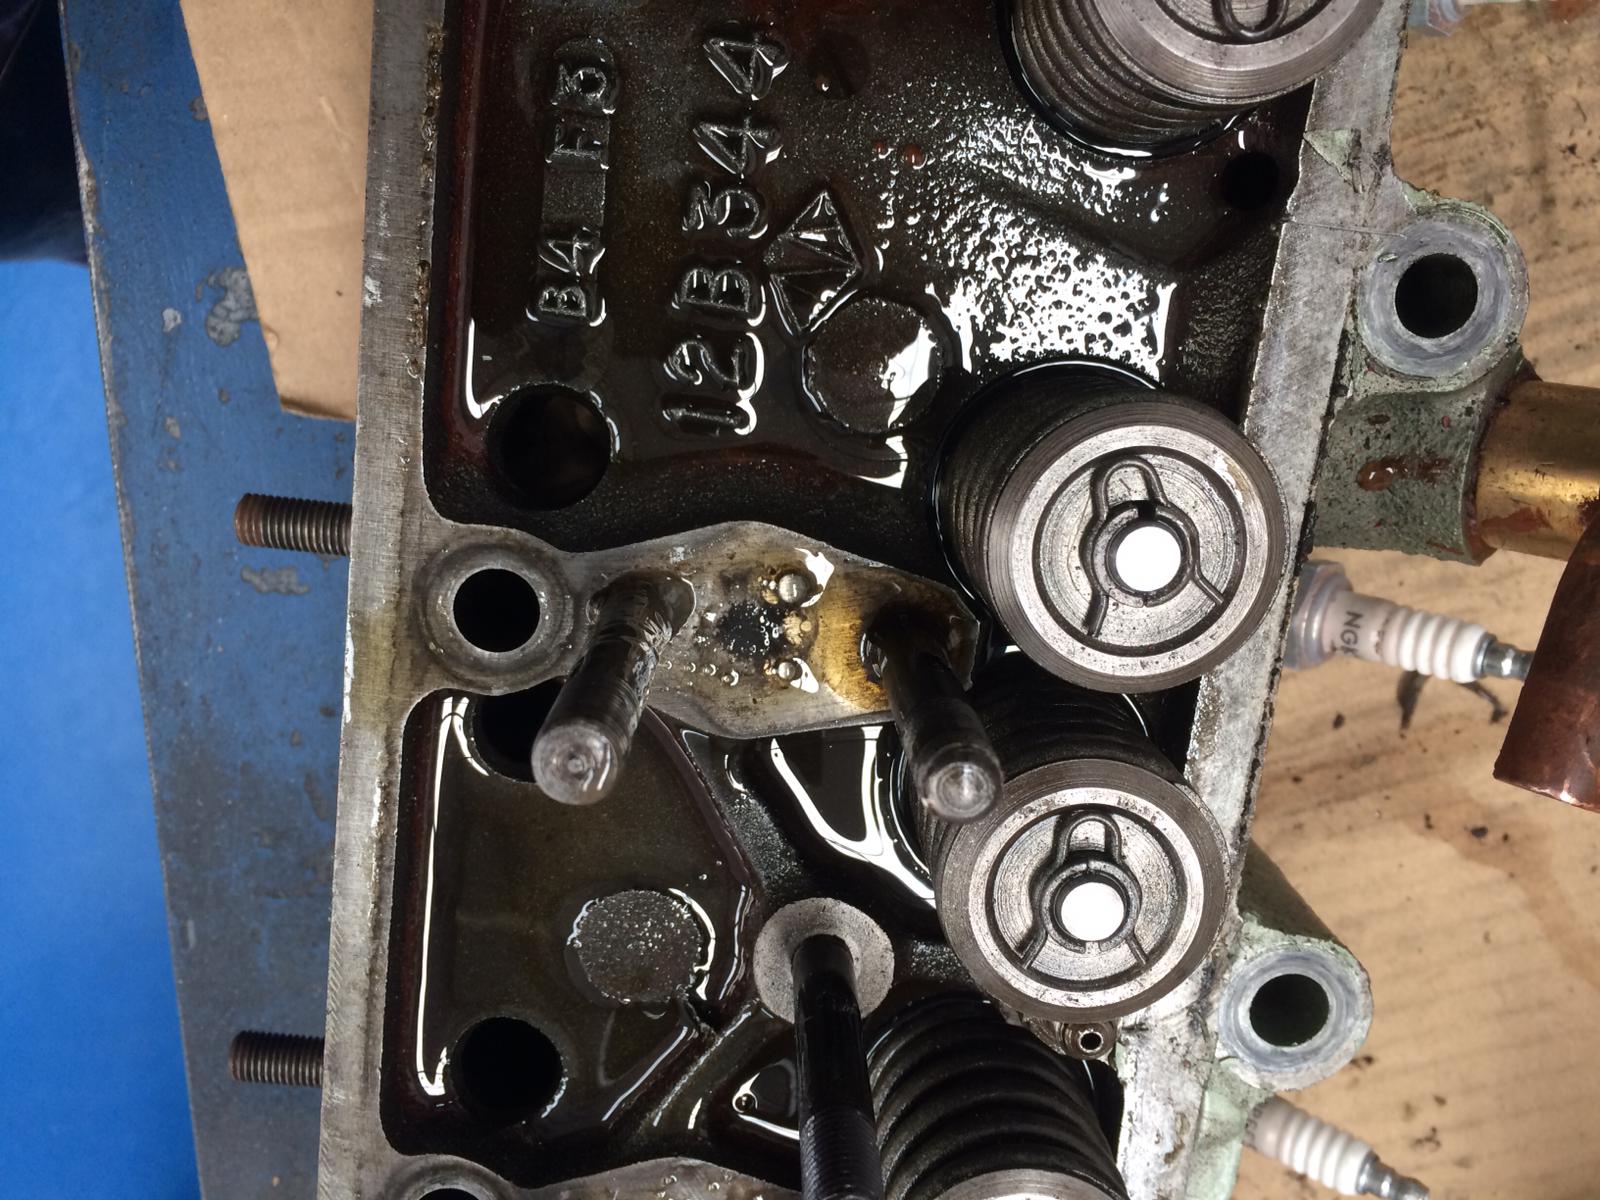
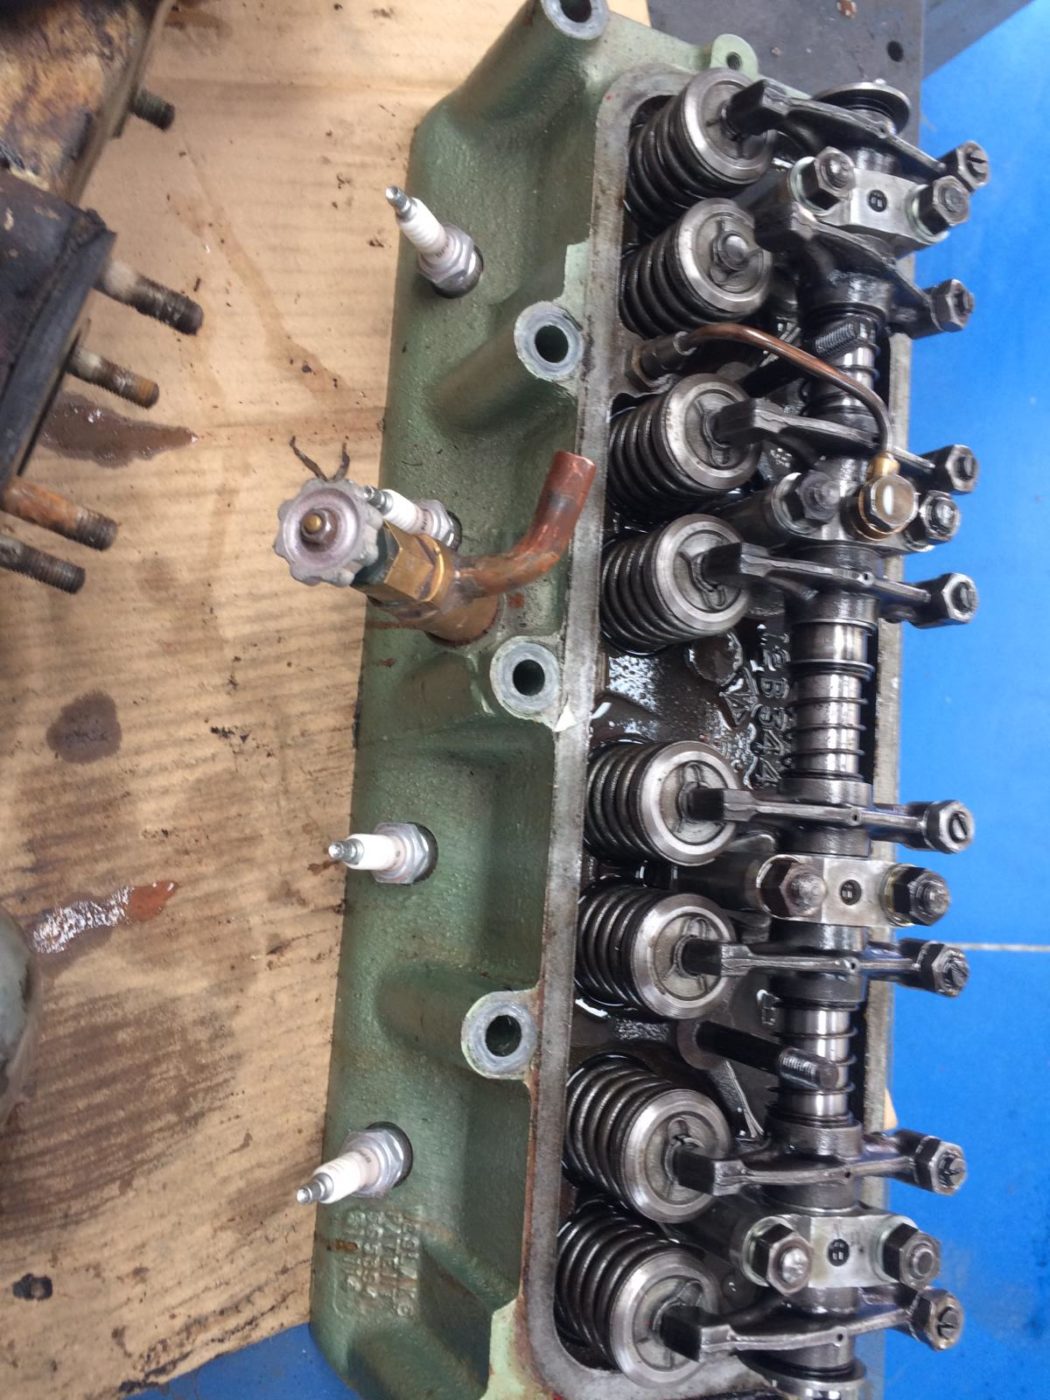
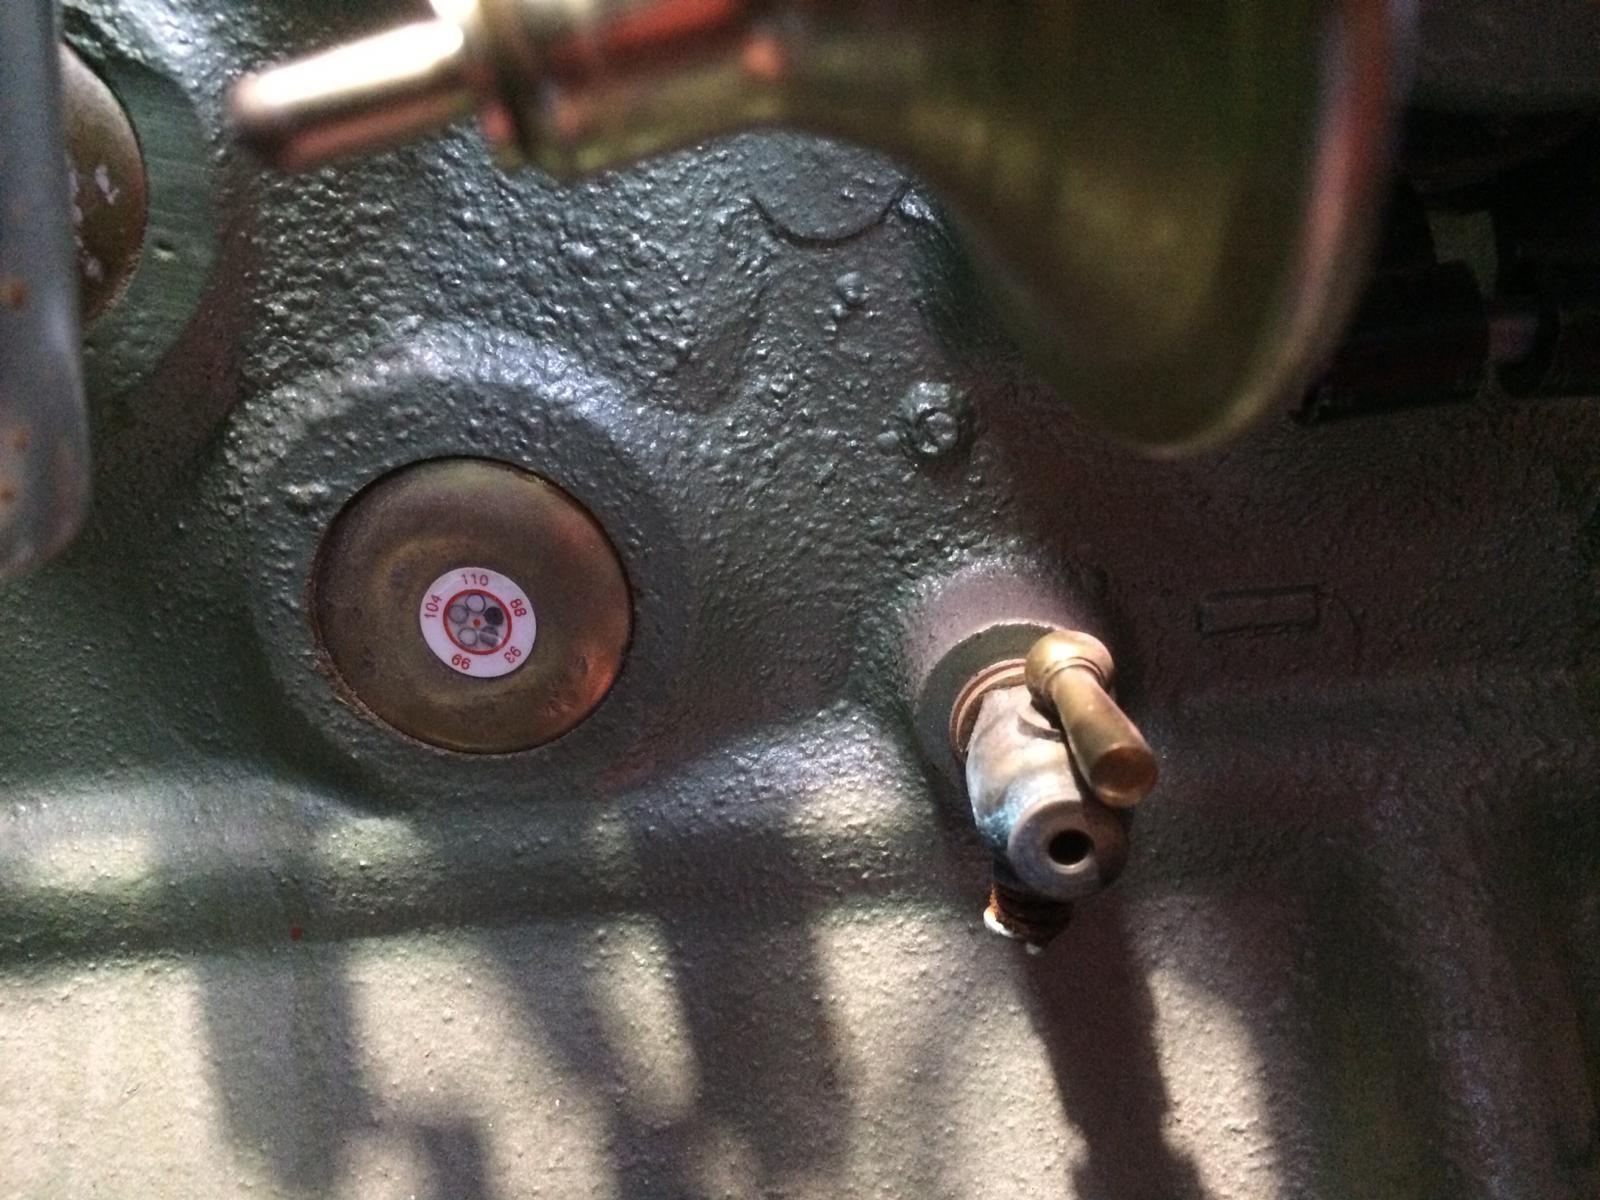
This Austin Healey 1000 has come in with some engine troubles. We identified a water leak and oil in the water. We’ve removed the head
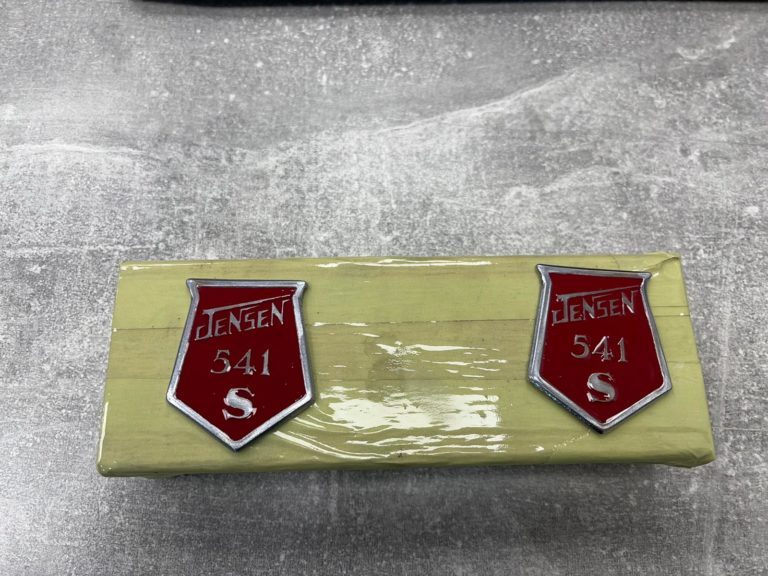
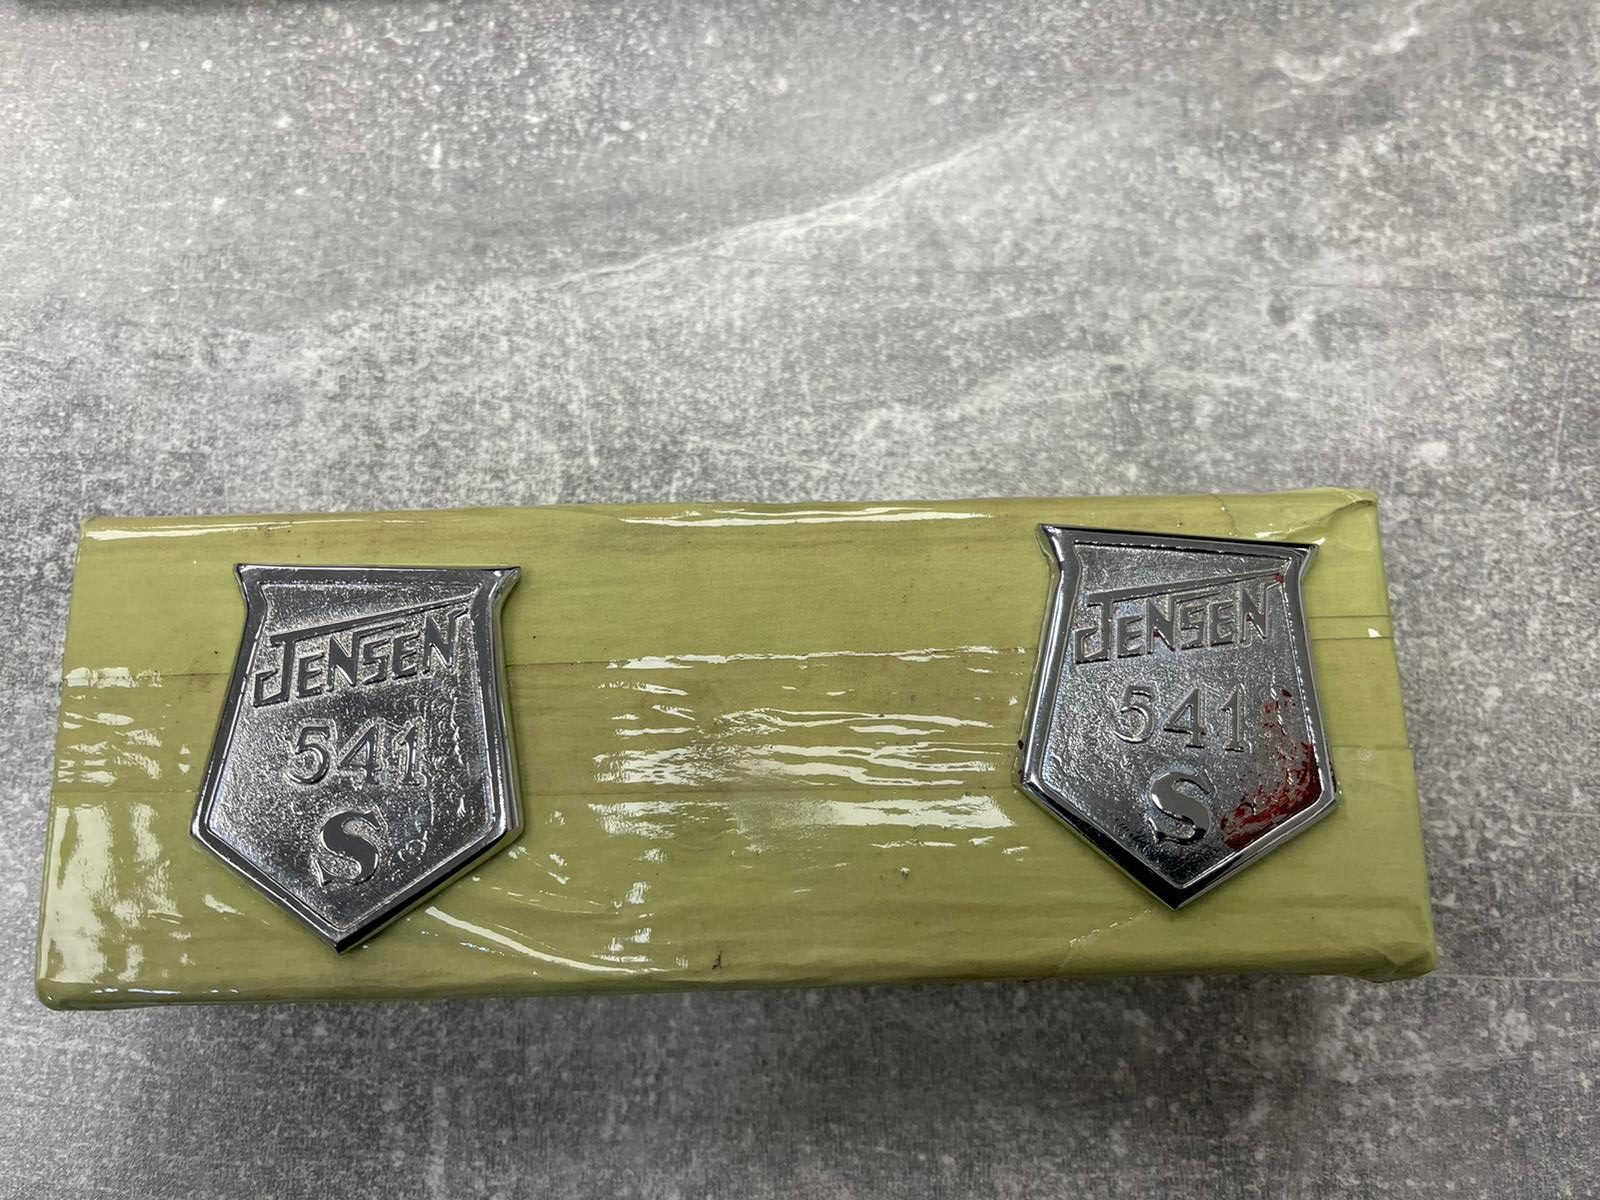
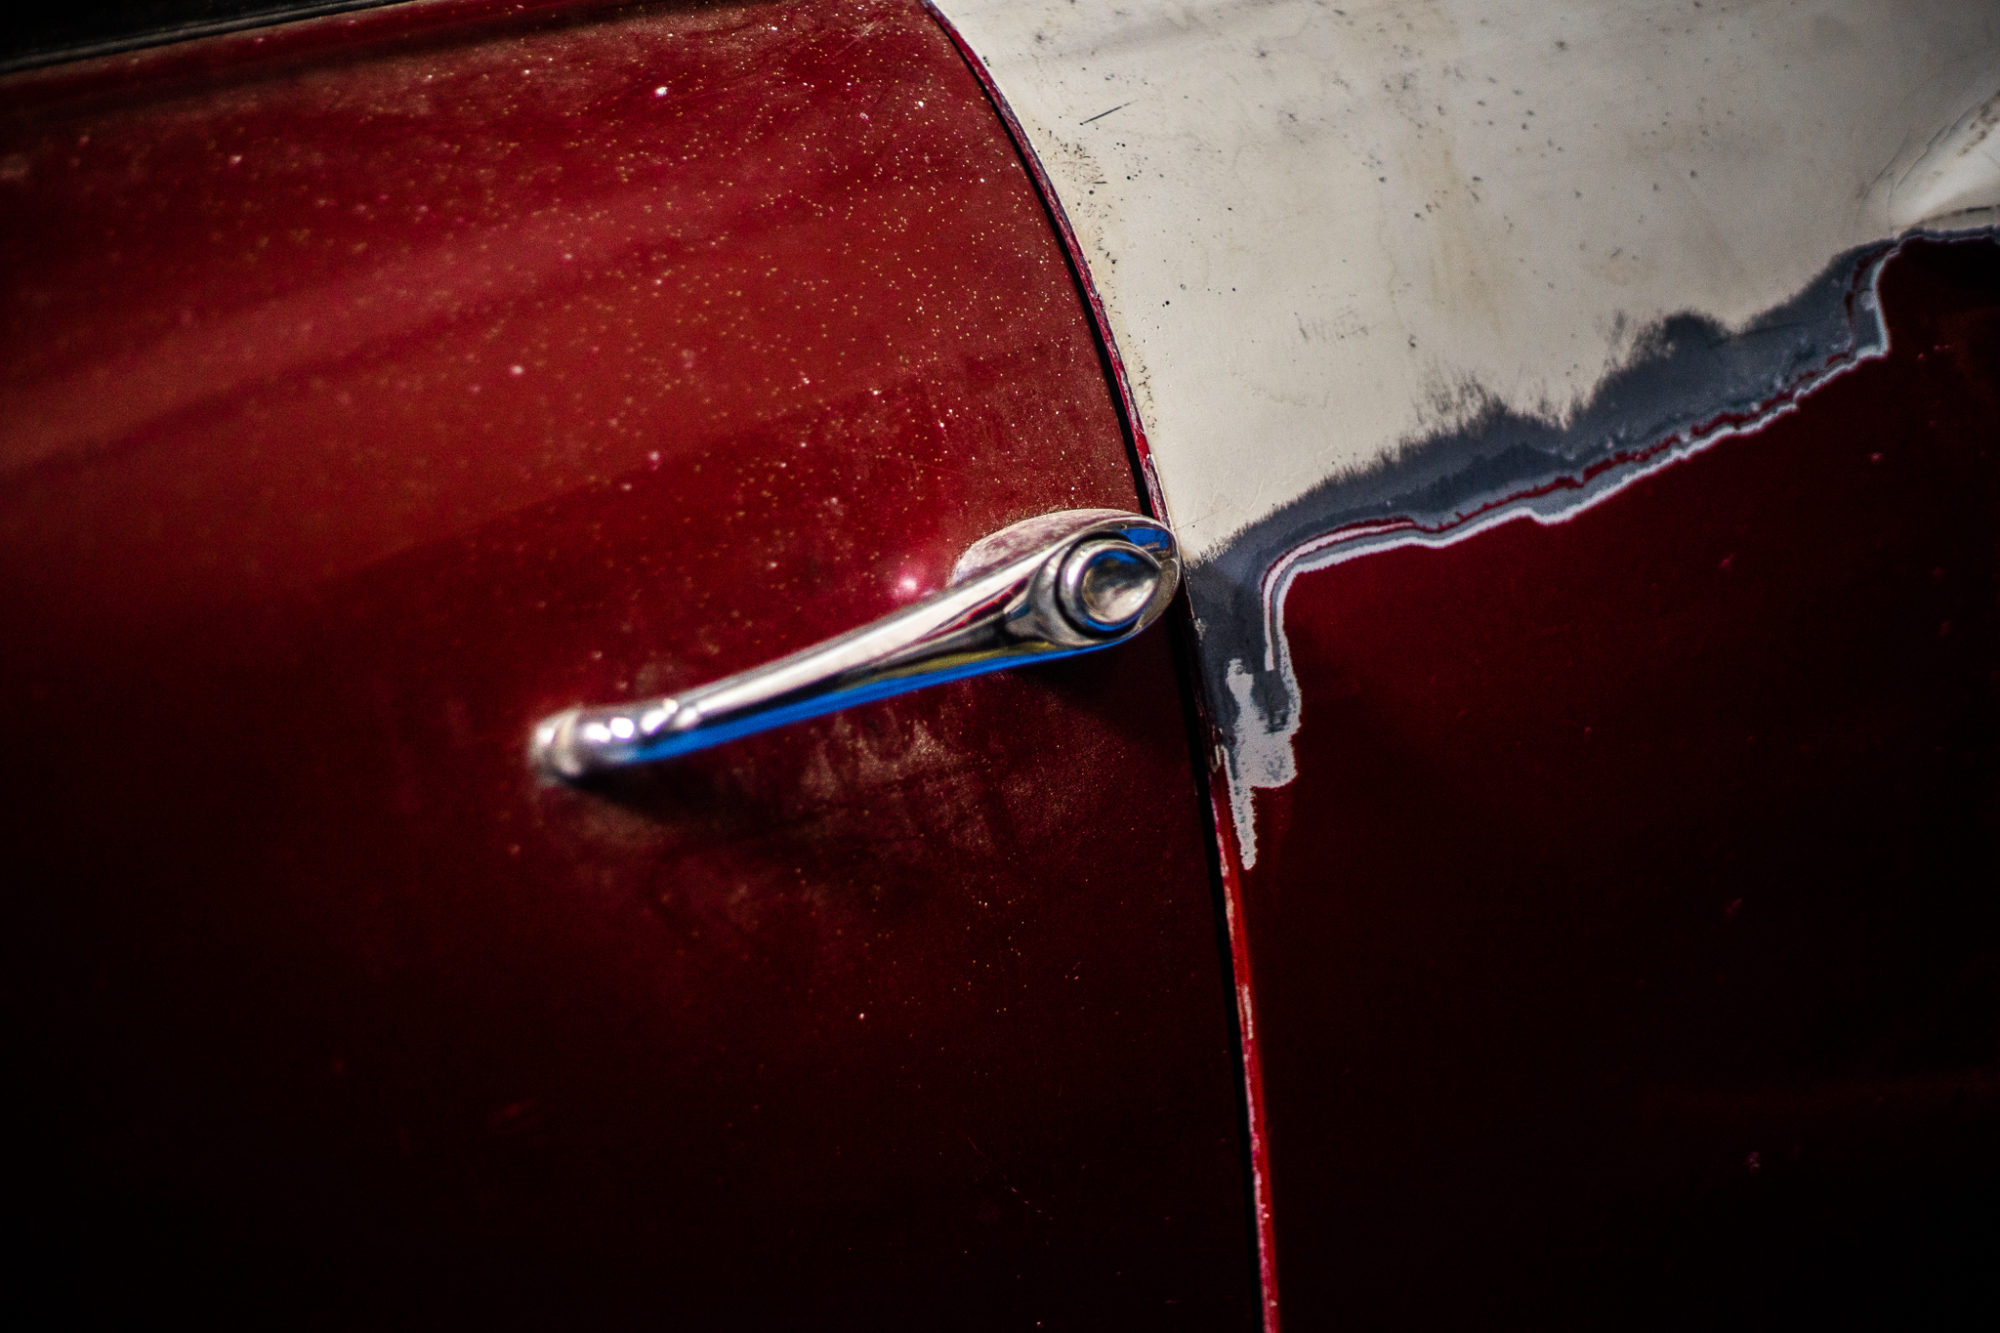
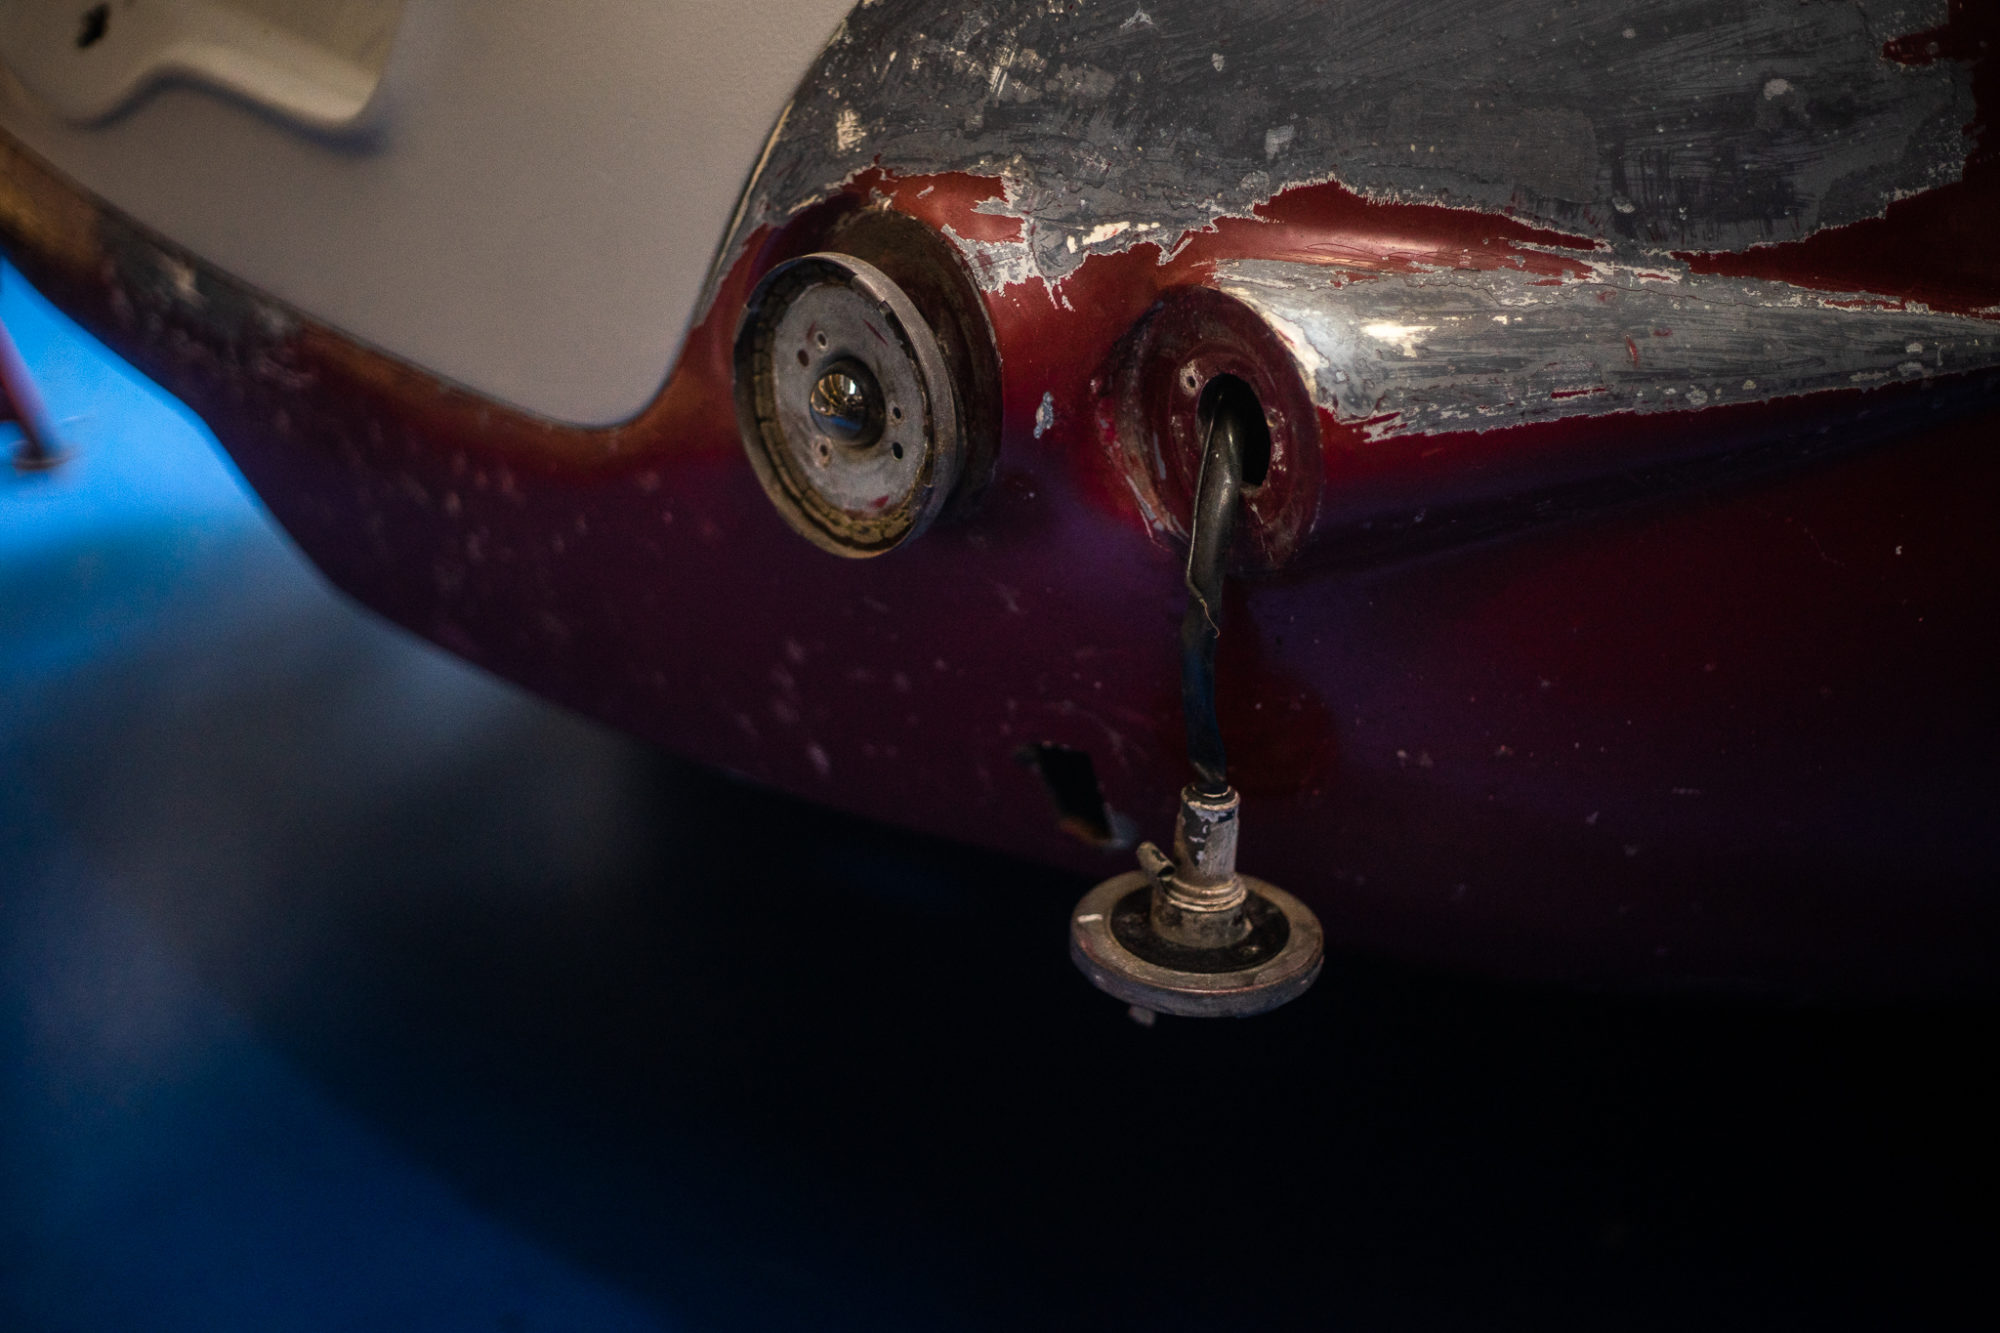
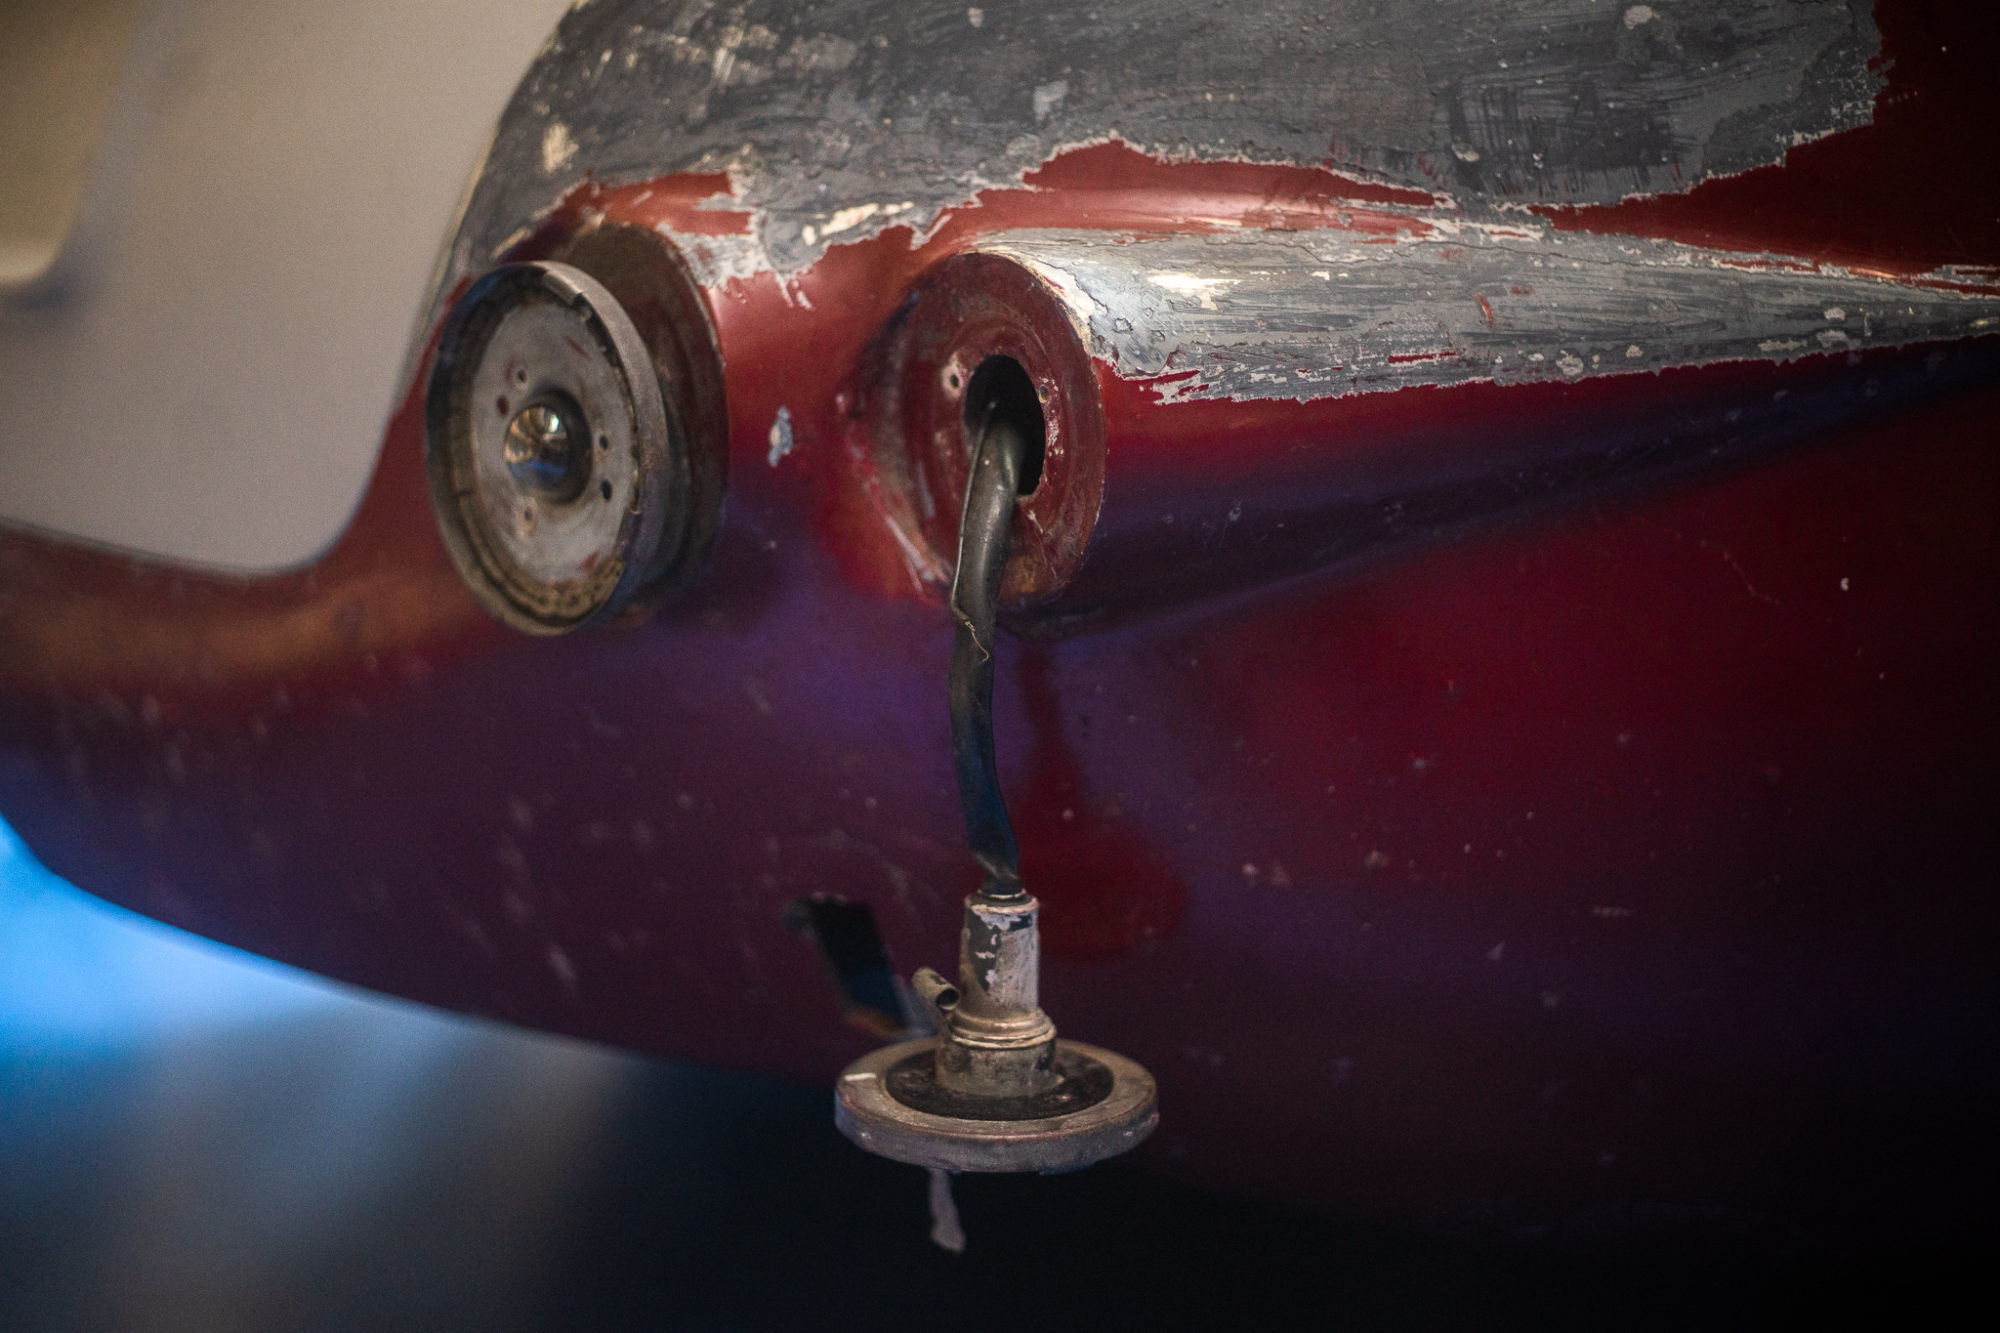
The owner of our Peony Red custom 1960 Jensen 541S took the decision to get the badges painted in a diamond red as he didn’t

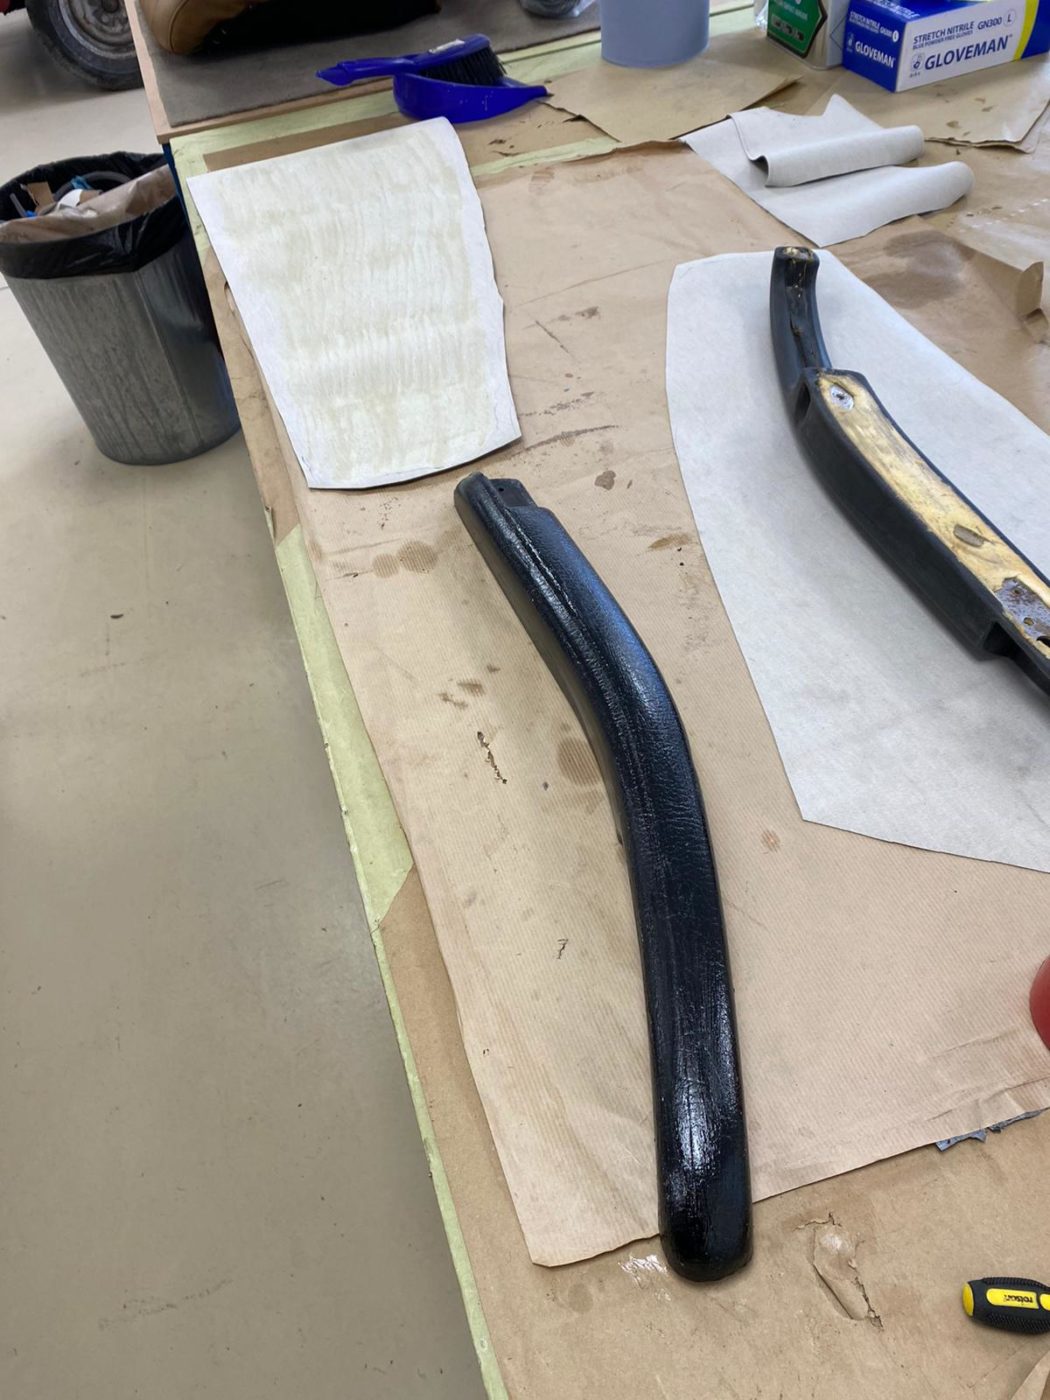
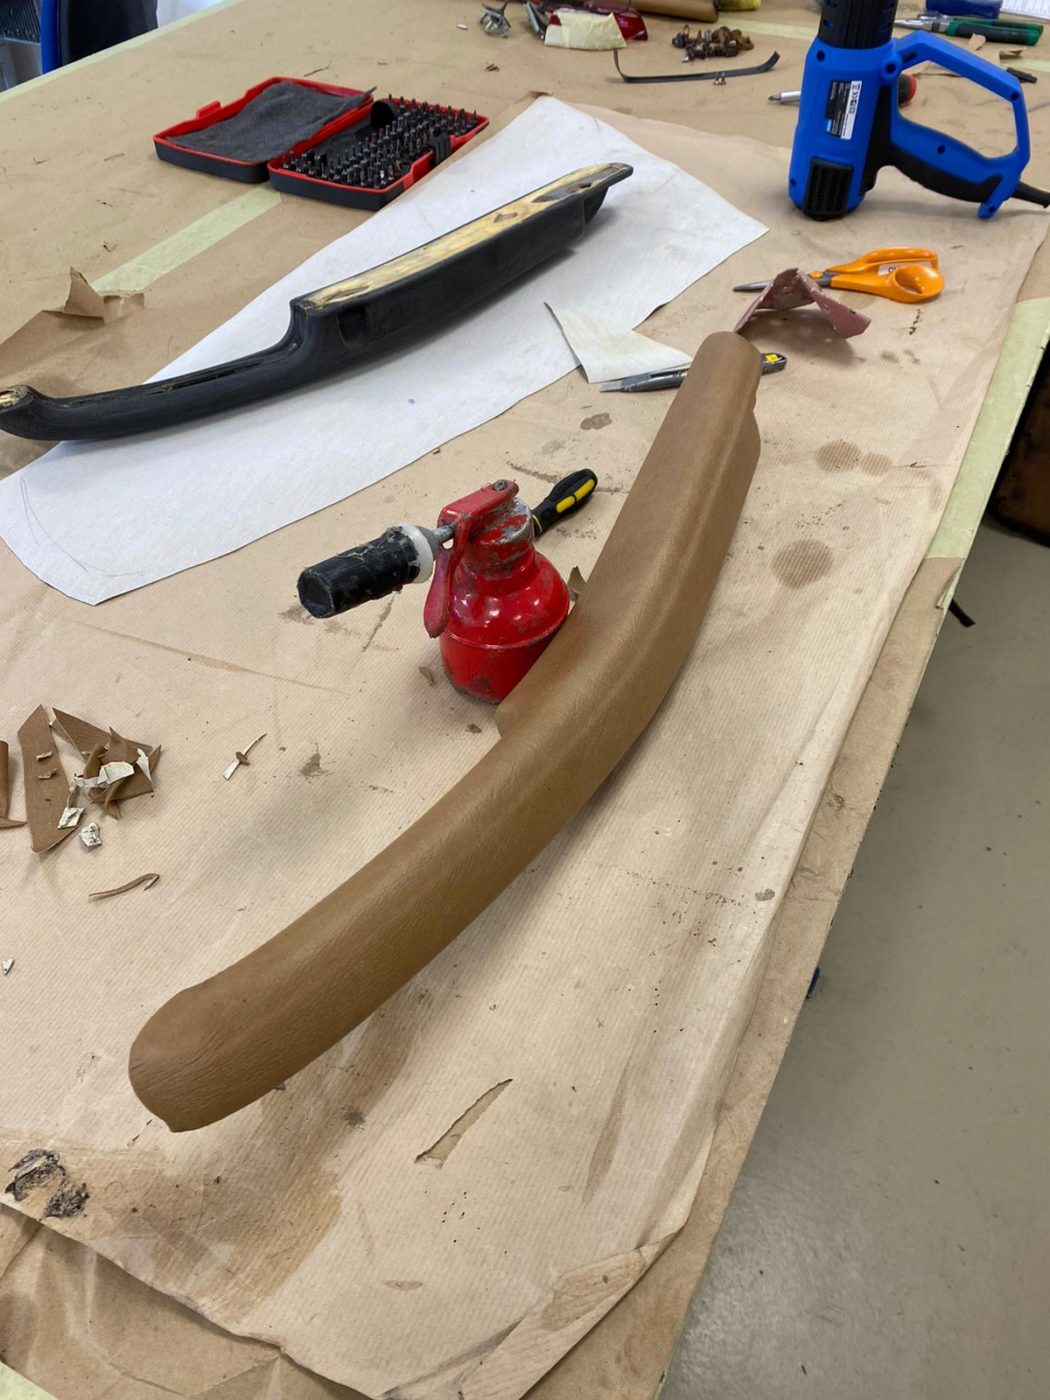
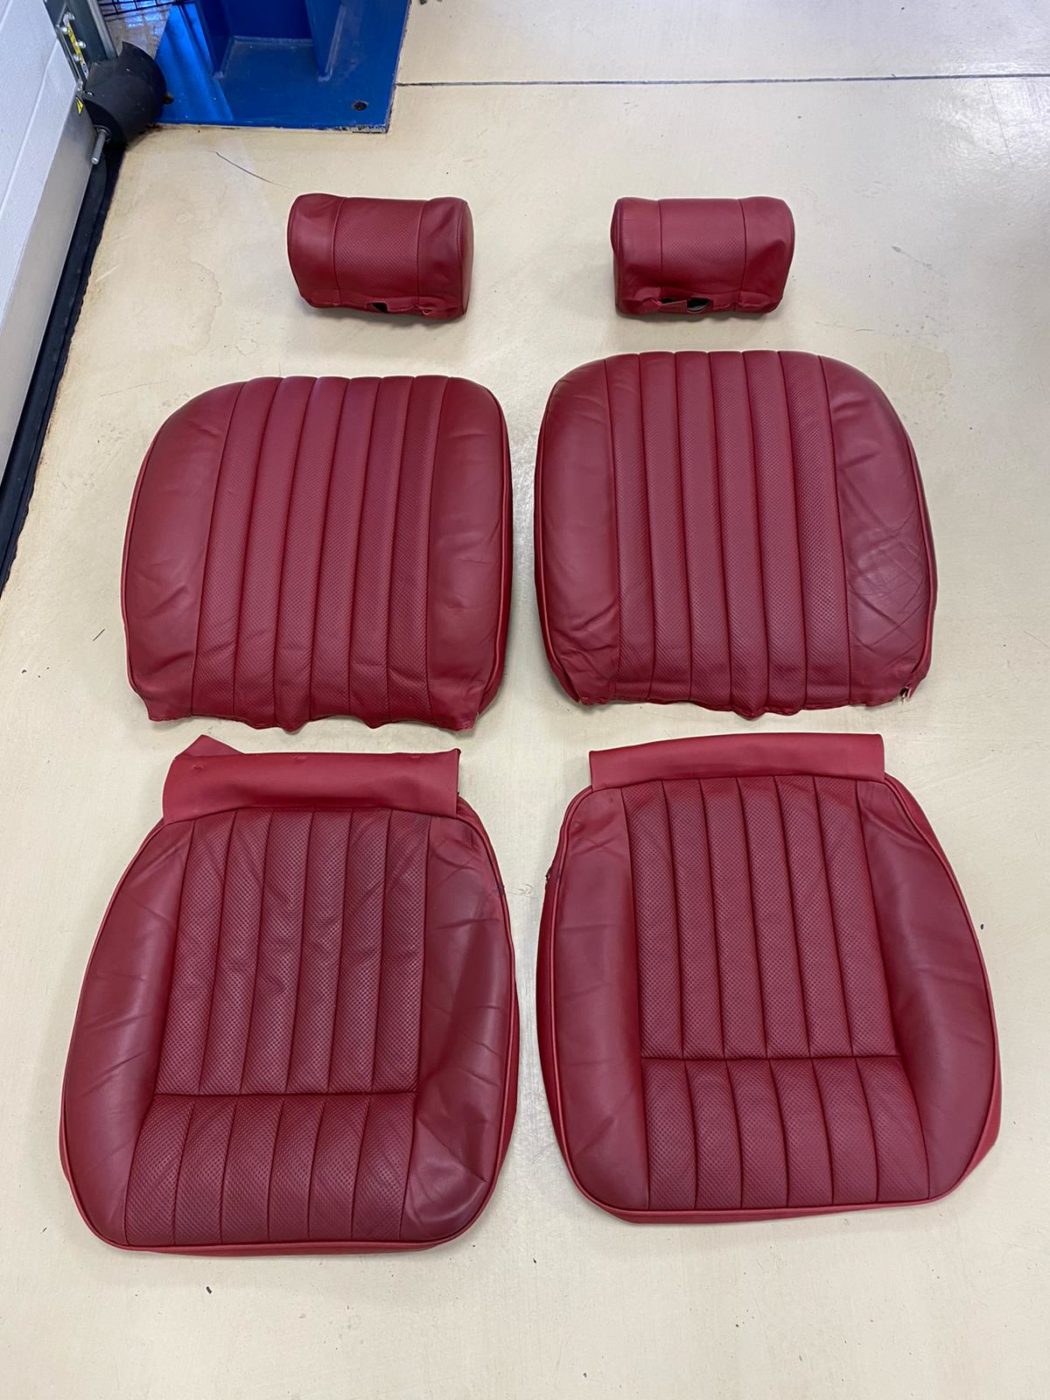
Lydia has been working on the 1960 Lilac Jensen that our director, Gordon, is having restored. She has perforated the leather which arrived and then

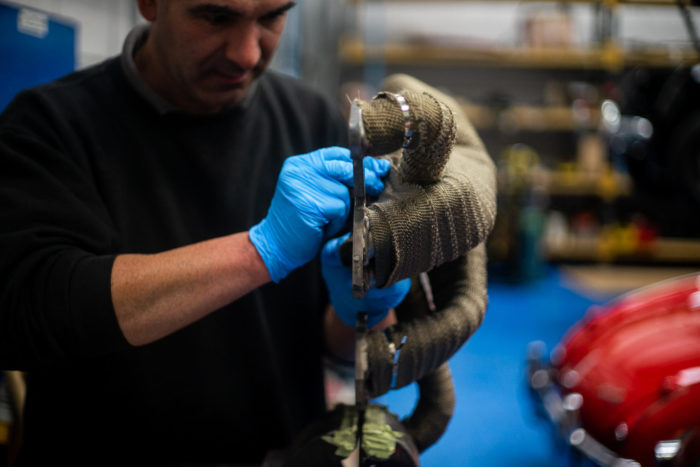
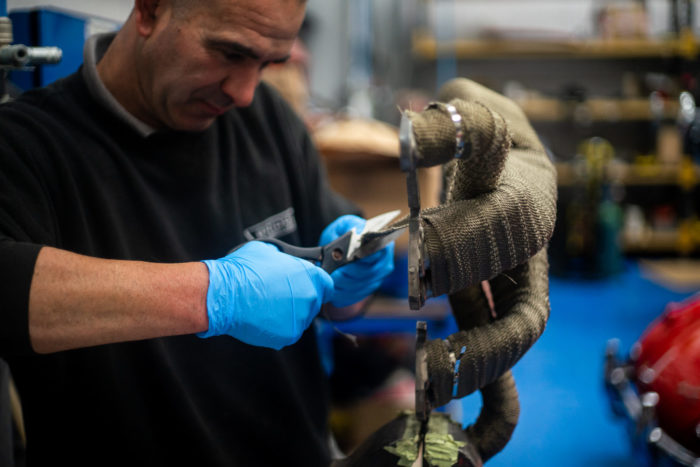
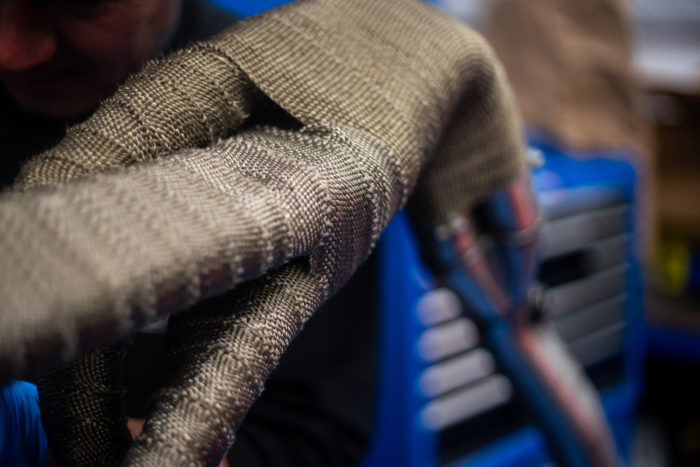
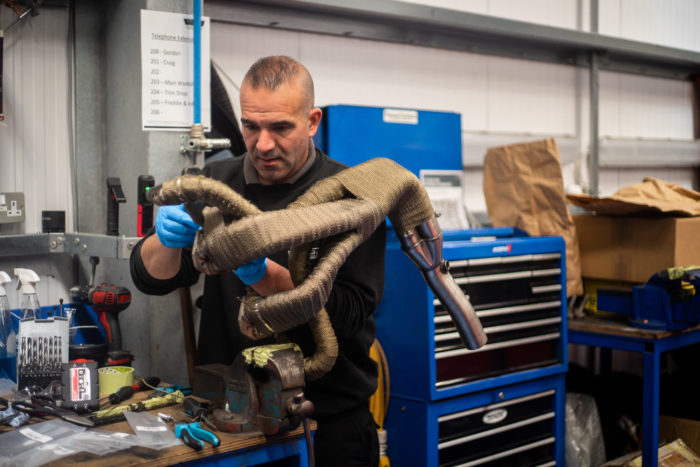
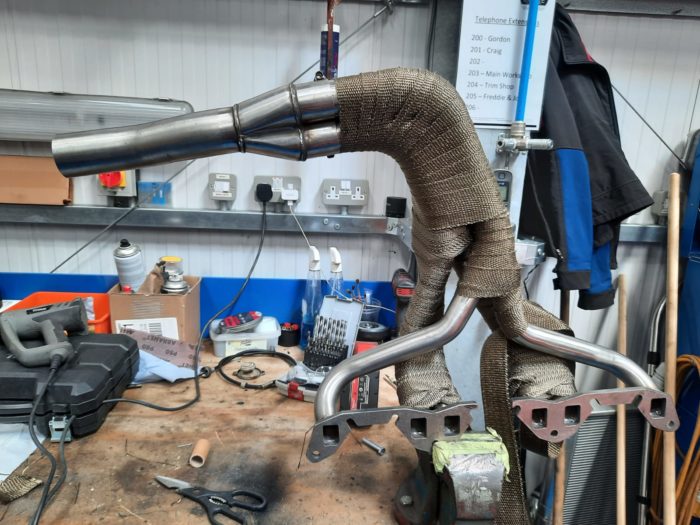
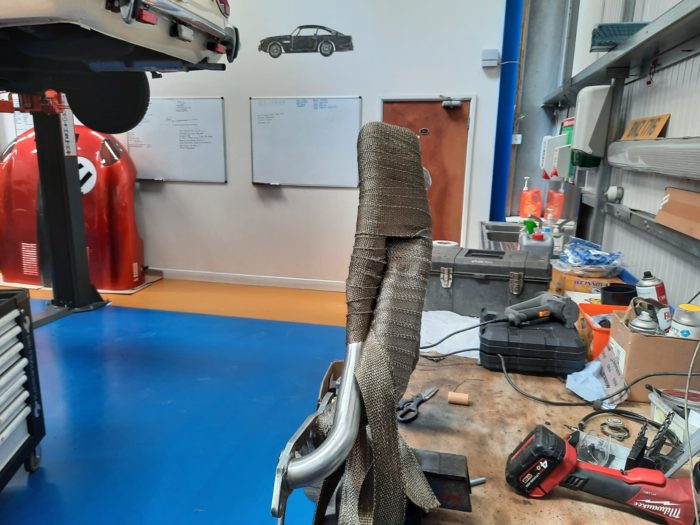
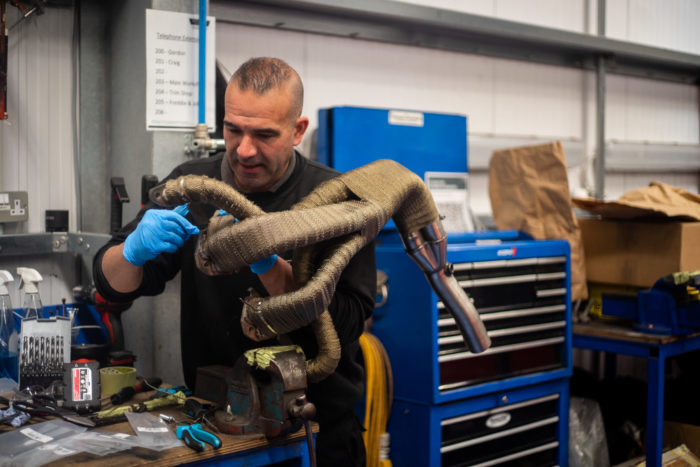
Mauro has been heat-wrapping the Triumph TR5 exhaust using a Header Wrap. This is done to improve the exhaust flow and to reduce the risk of

Our 1960 541S Jensen is looking for its forever home and is best suited to someone who aims to restore it with us. Alternatevly is

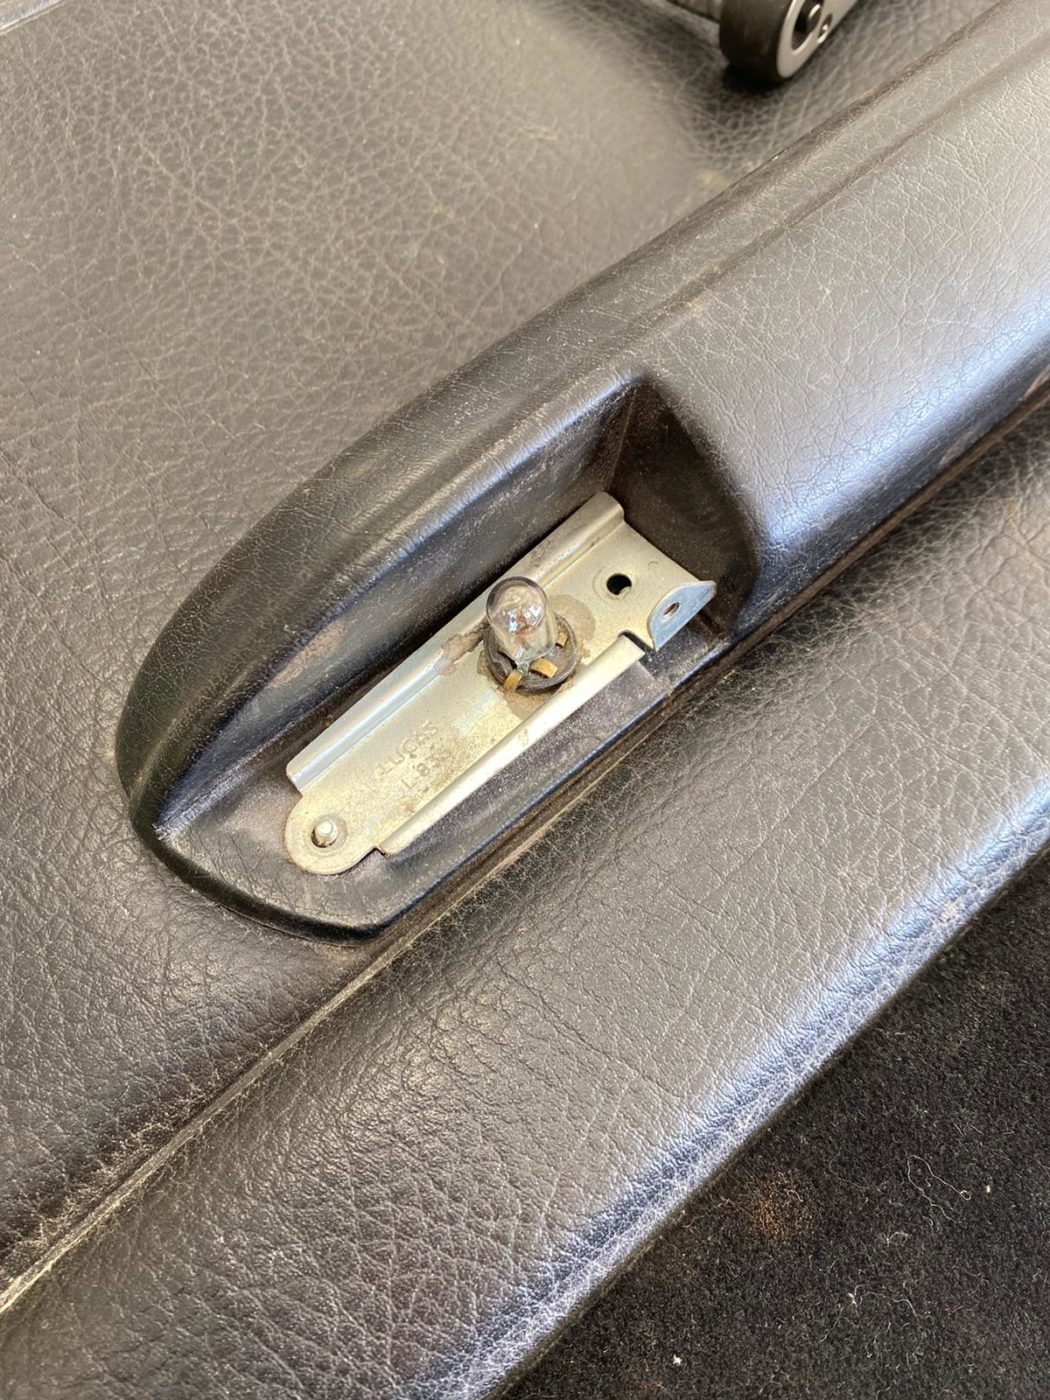
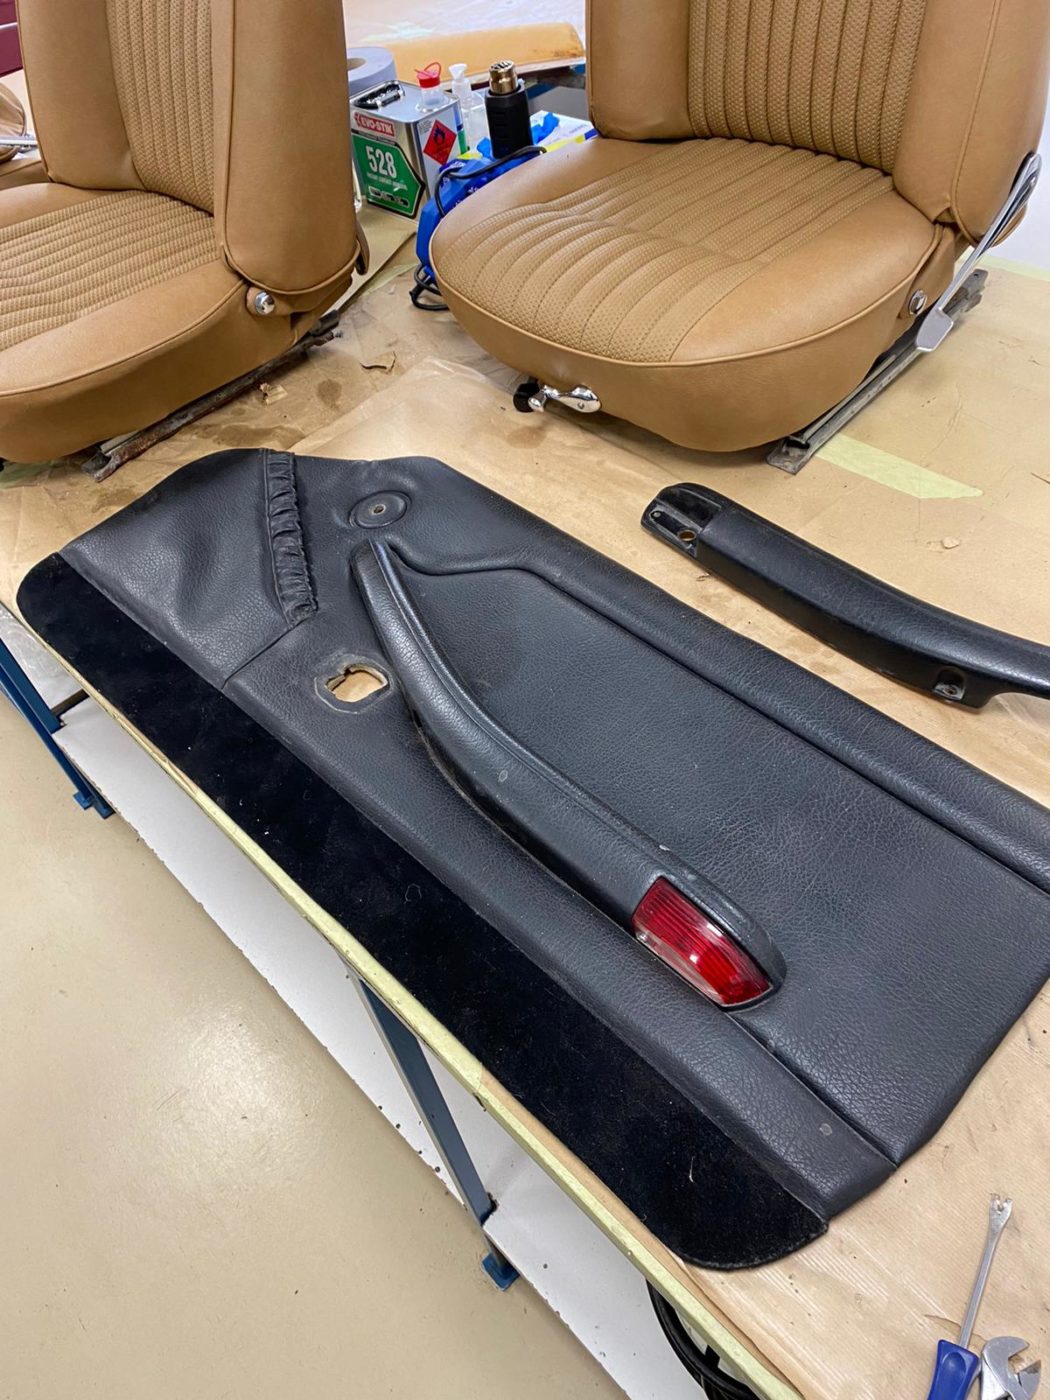
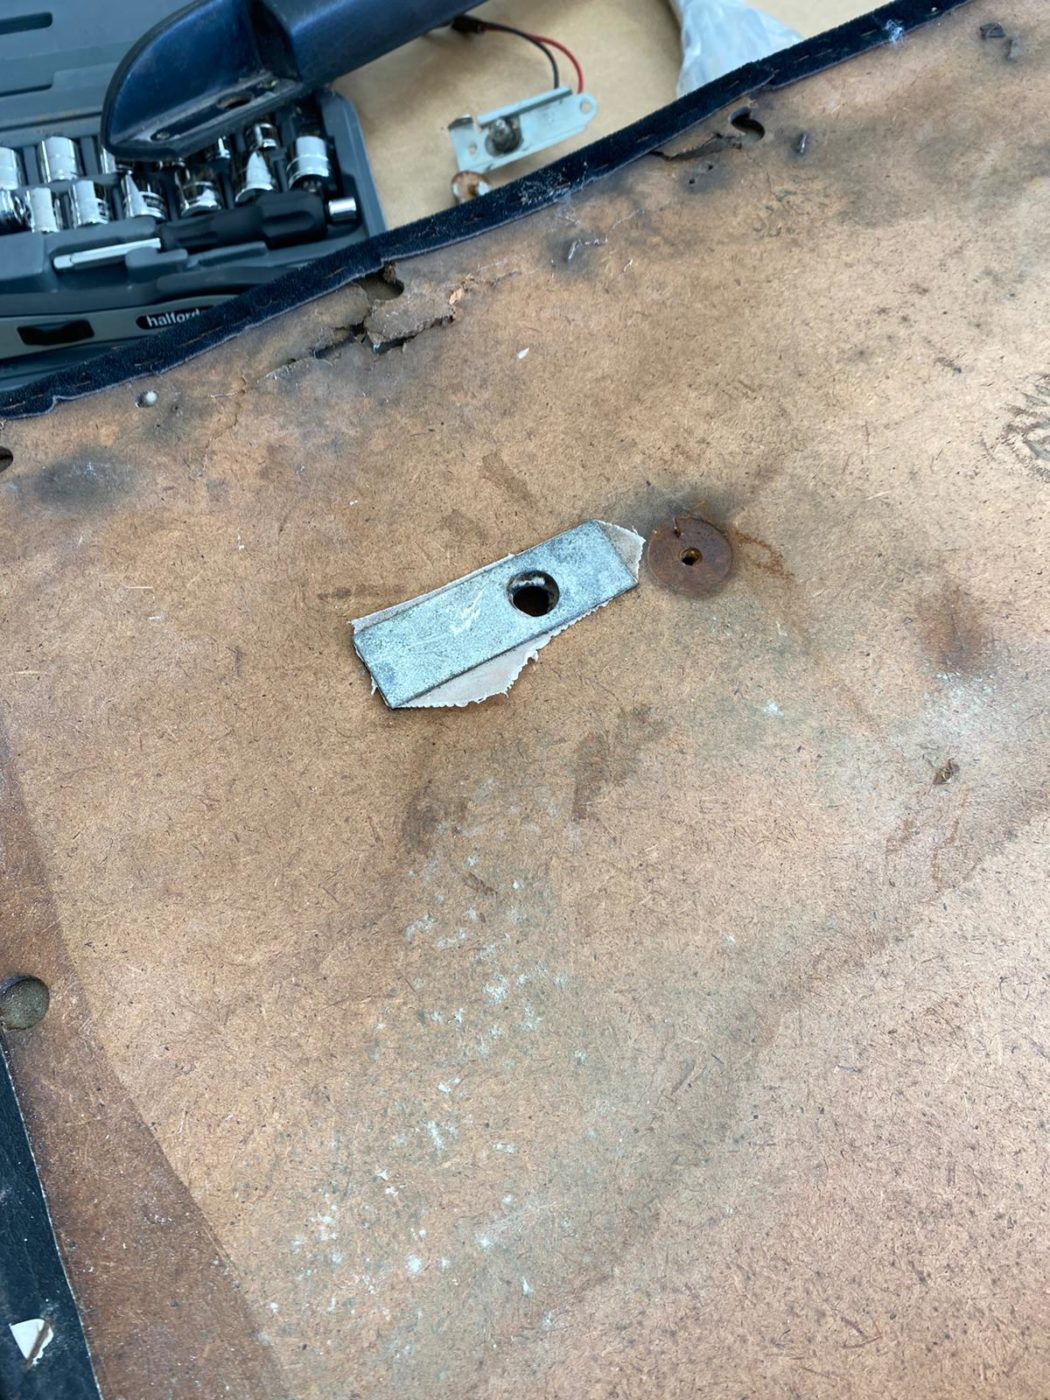
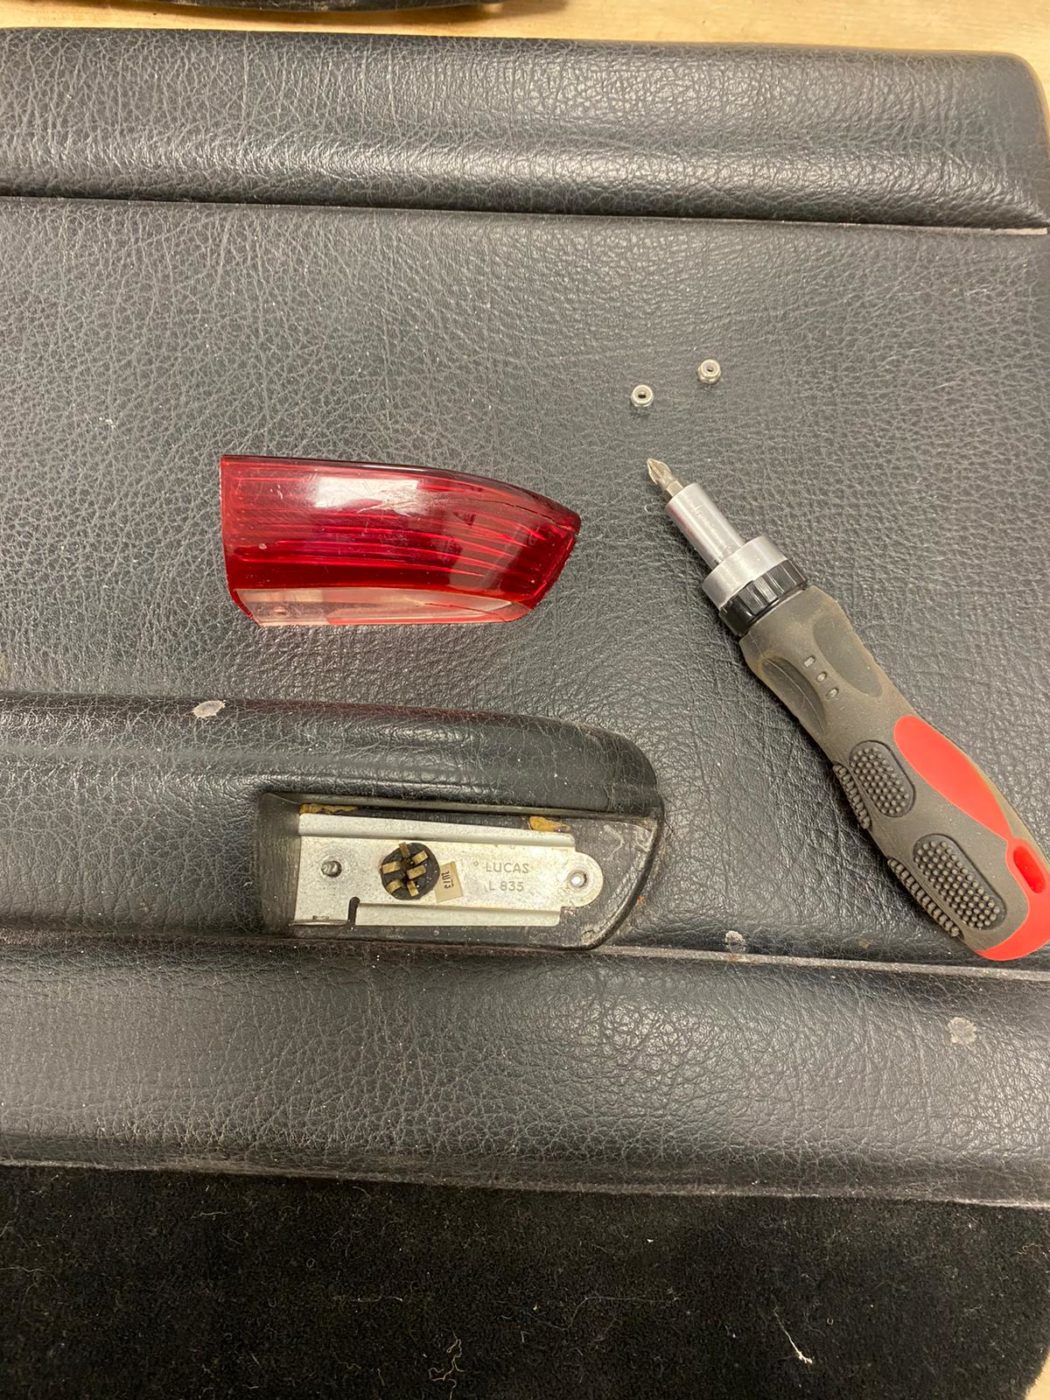
Brian has fitted the door cards into our Maroon Triumph Stag which not only included the trim but also the lights and electrics. Brian had
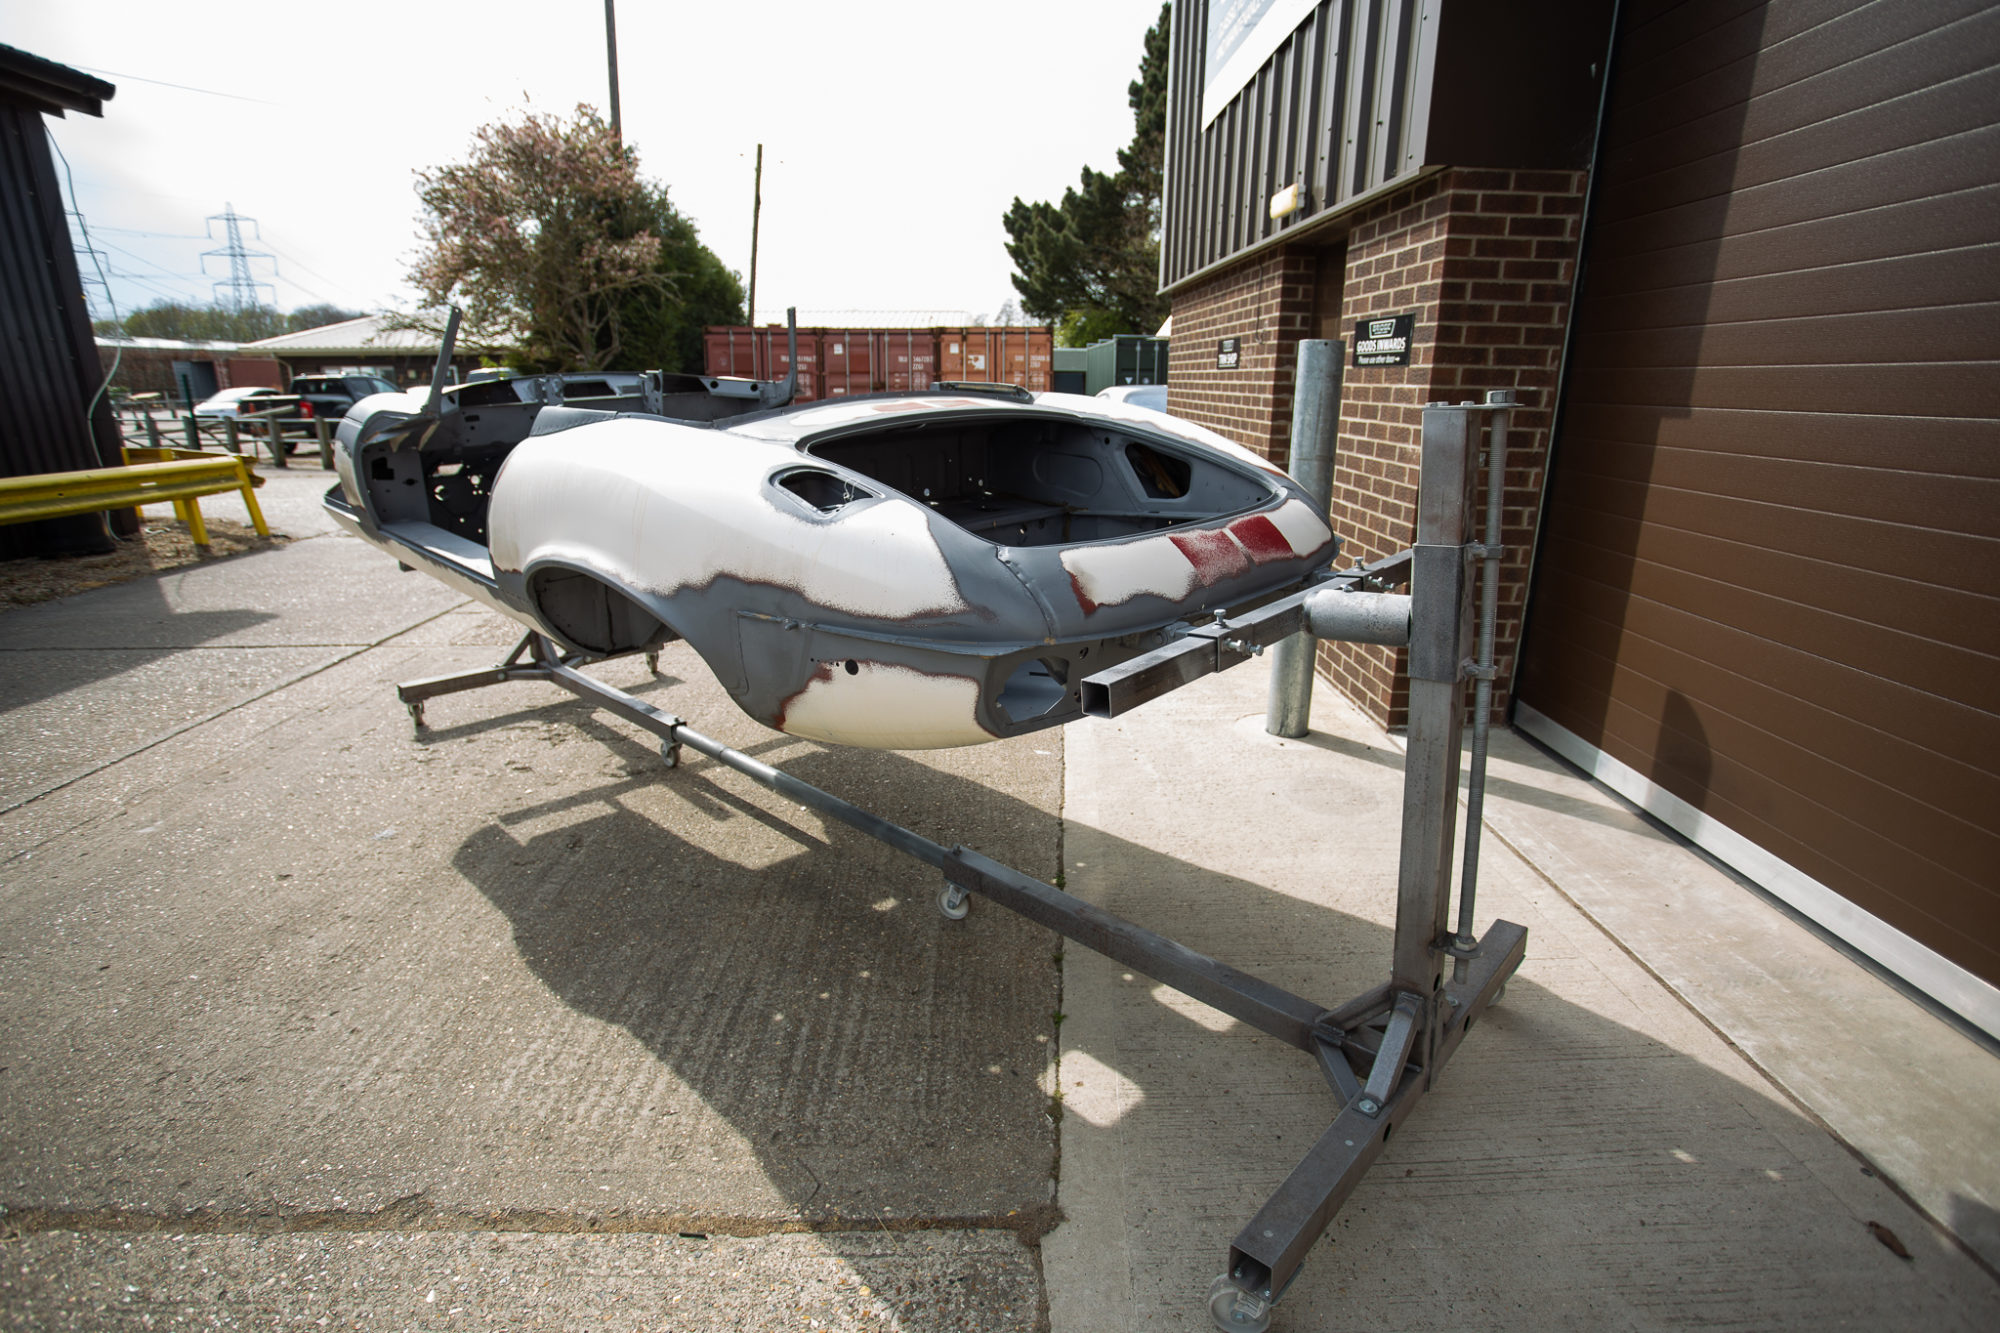
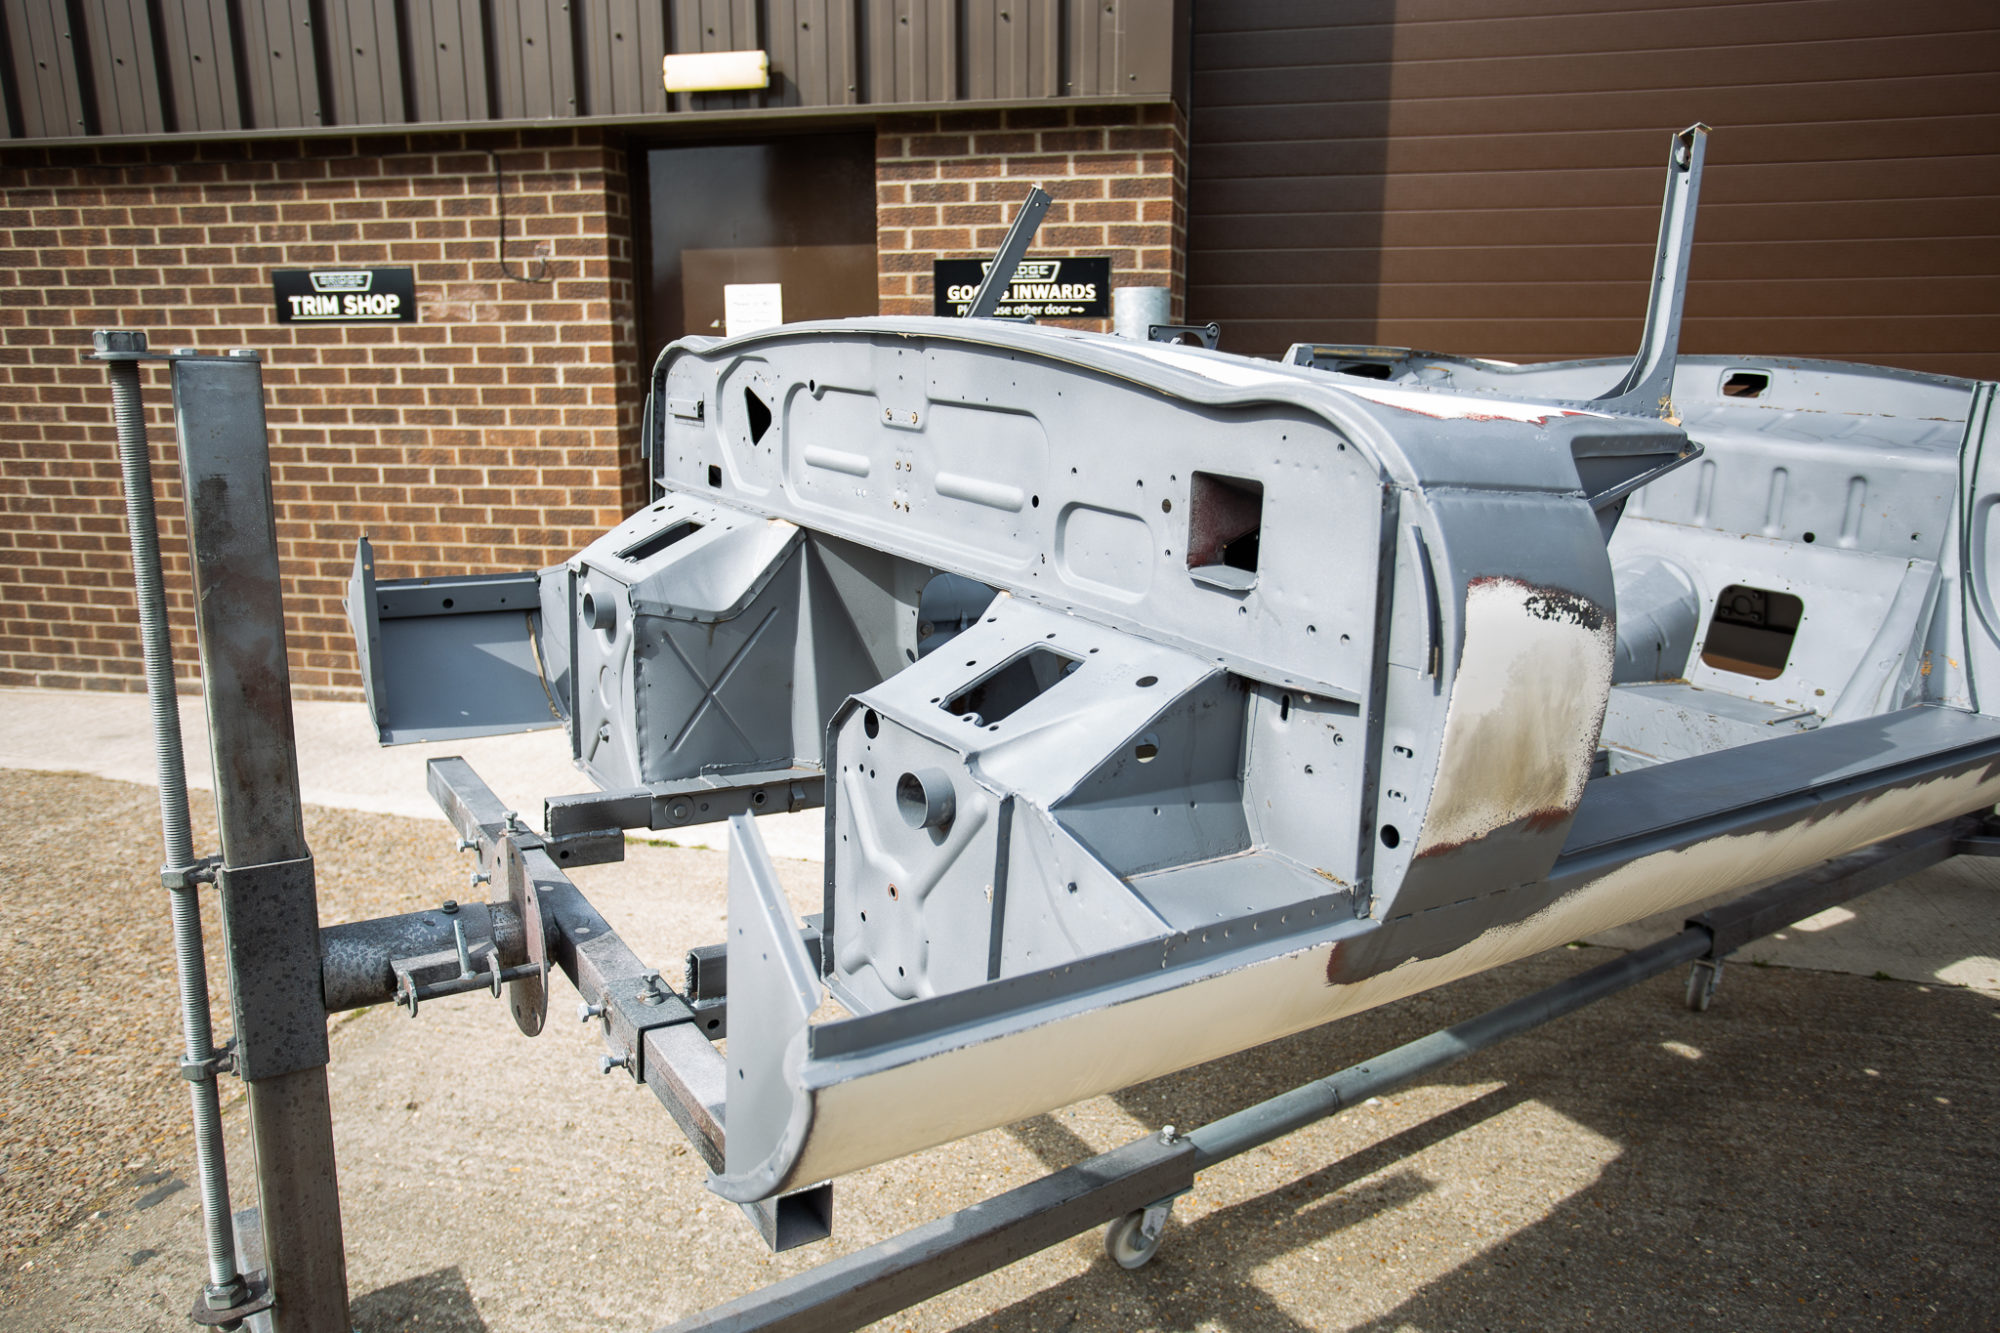
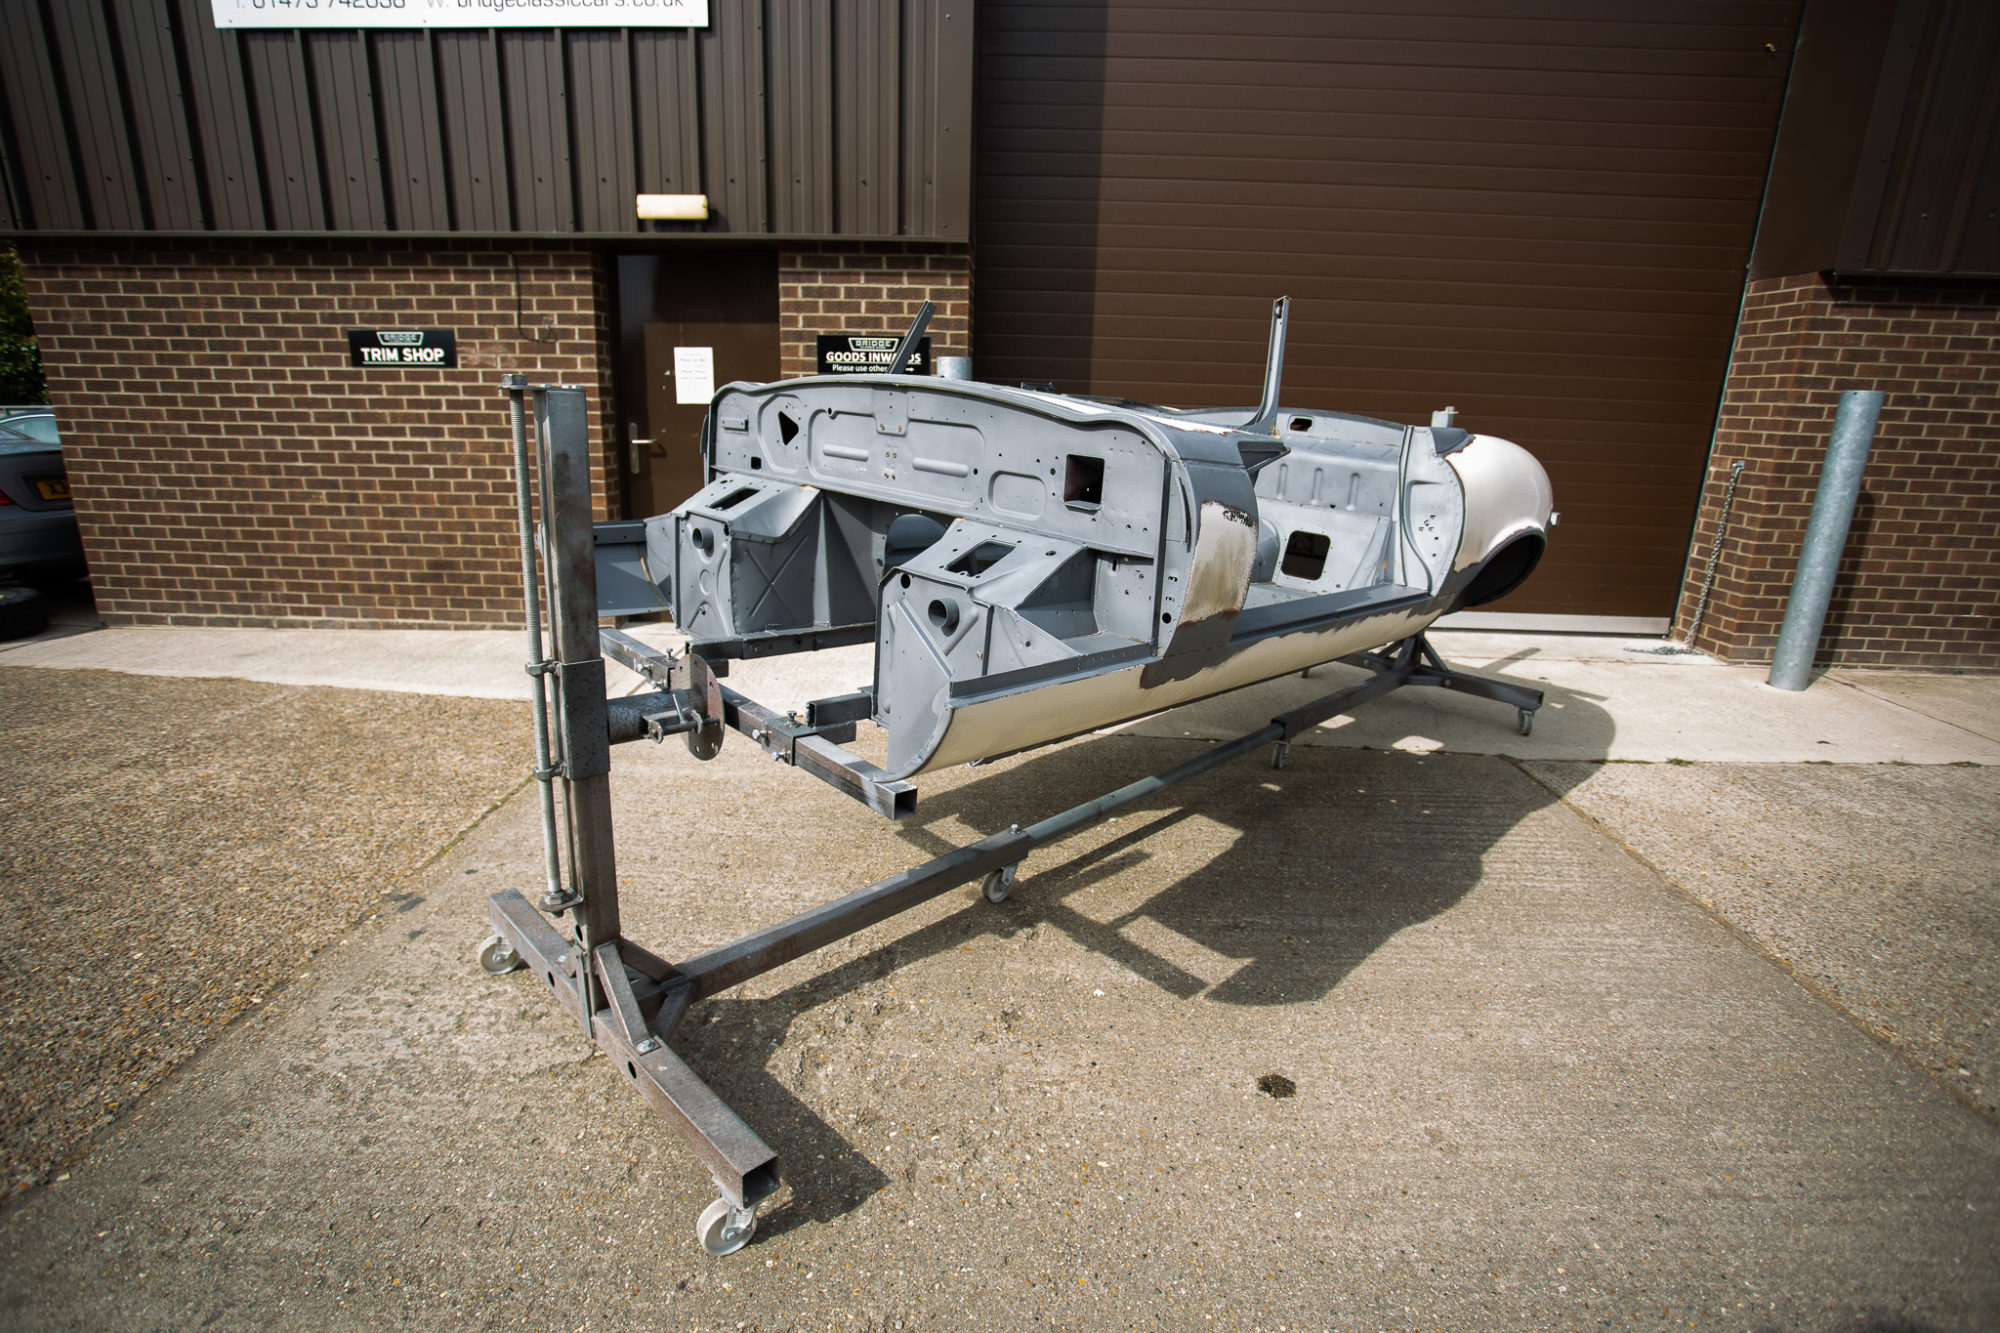
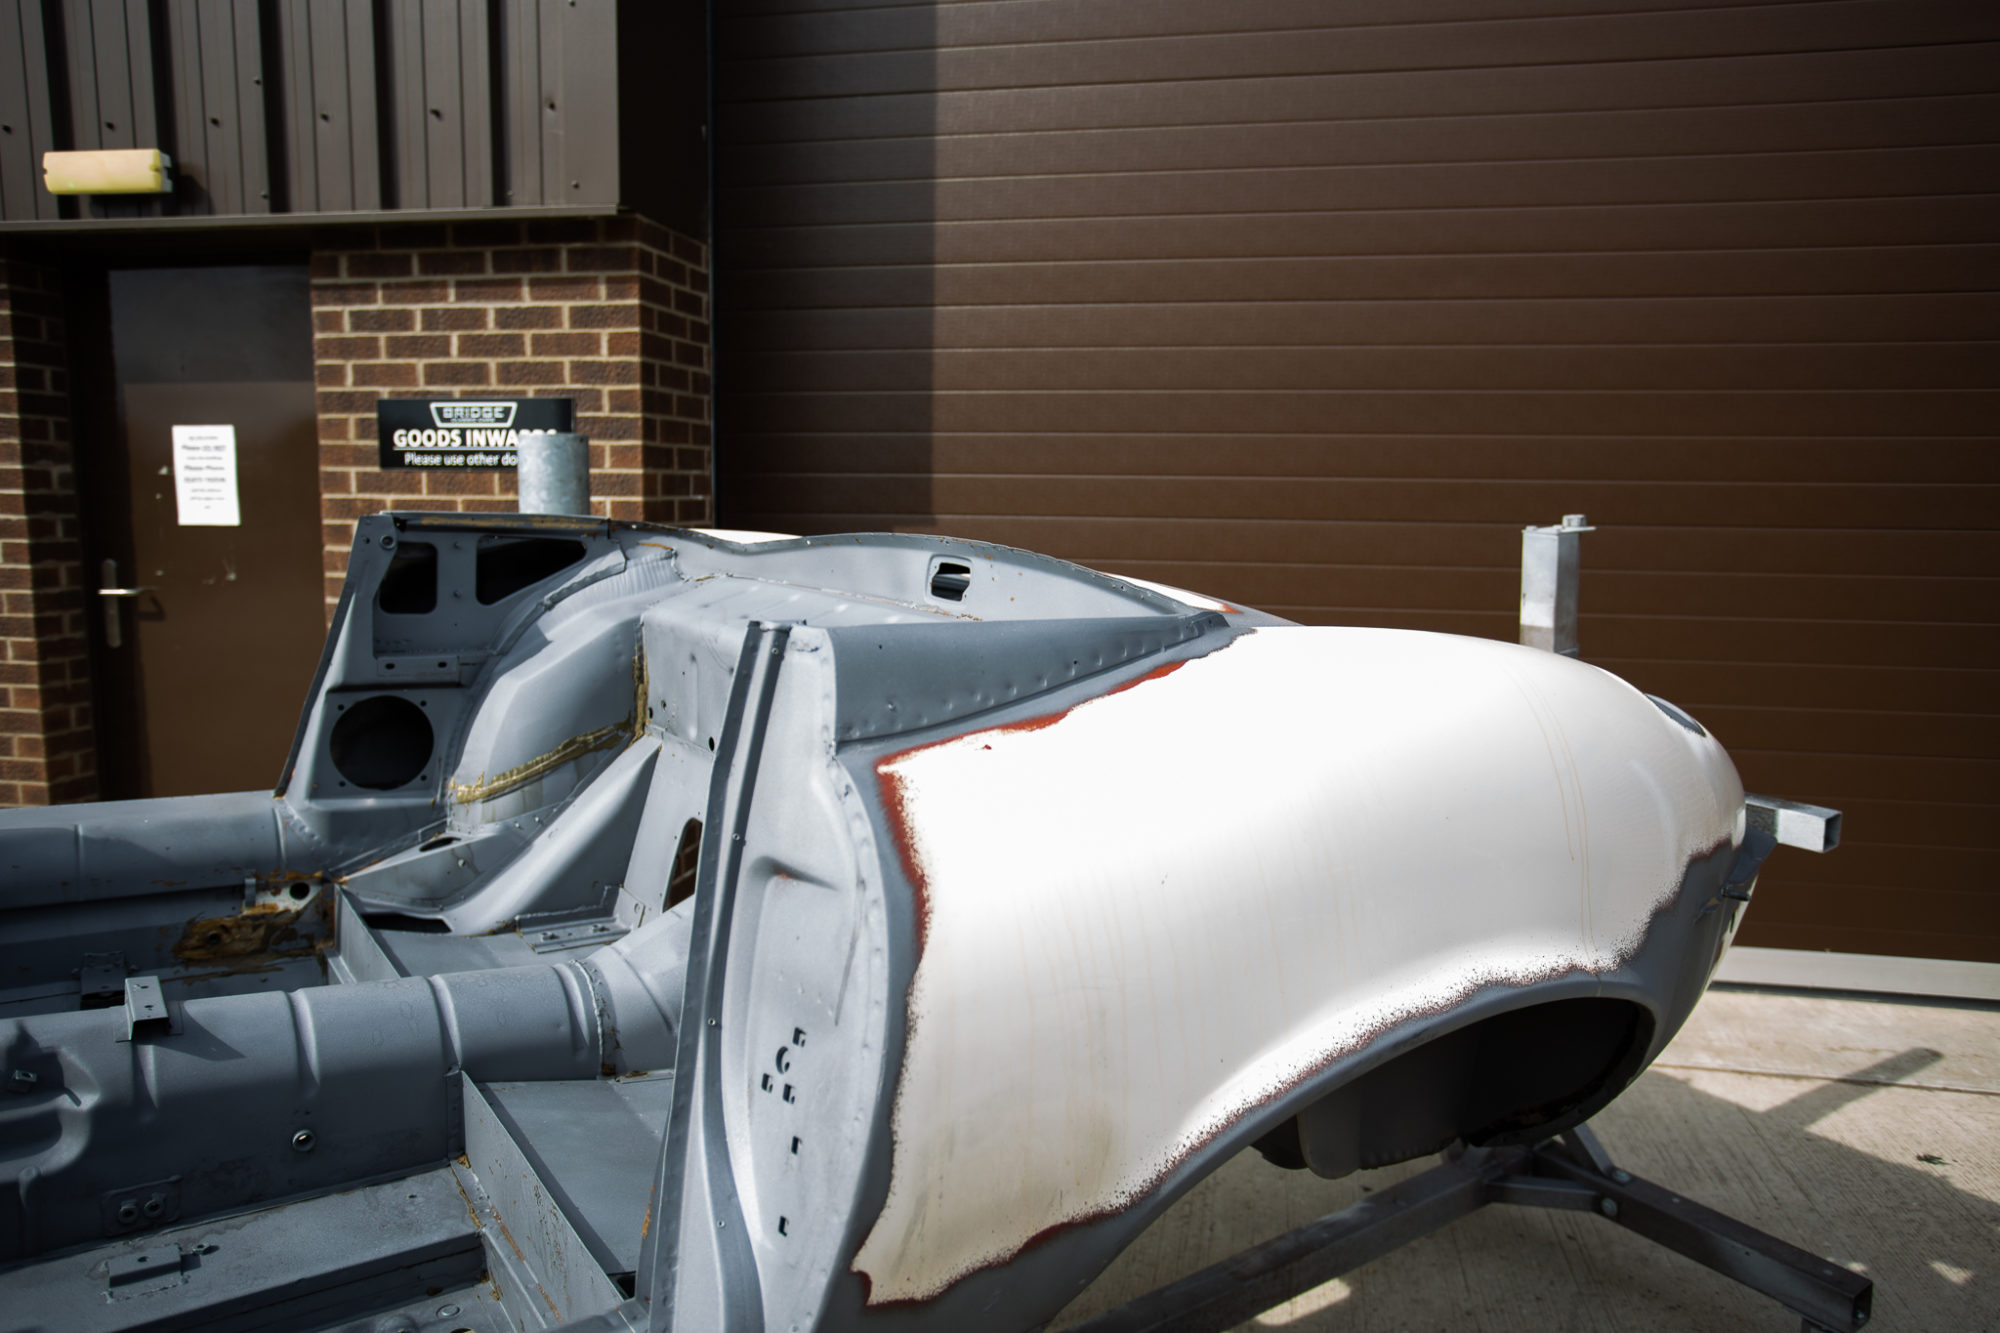
Our 1973 Jaguar E-Type recently came back from Abbey Protective Coating’s for sandblasting. Now that any excess rust has come off, we can start to

We’re delighted to announce that Matthew Evans has received his new 1969 Mini MKII 850 Super Deluxe safe and sound. Matthew won with his lucky

Our 1996 35th Anniversary edition Mini Cooper has been delivered to Steve Hatswell in East Grinstead last week. Steve happens to be the brother of
Photographer Lydia Harper and her team came down to photograph our 1963 MG B Roadster last week as part of a new campaign with Deus
Some of you may remember that almost 18 months ago, we sold this charming 1962 TVR Grantura Race Car, just one of a few of
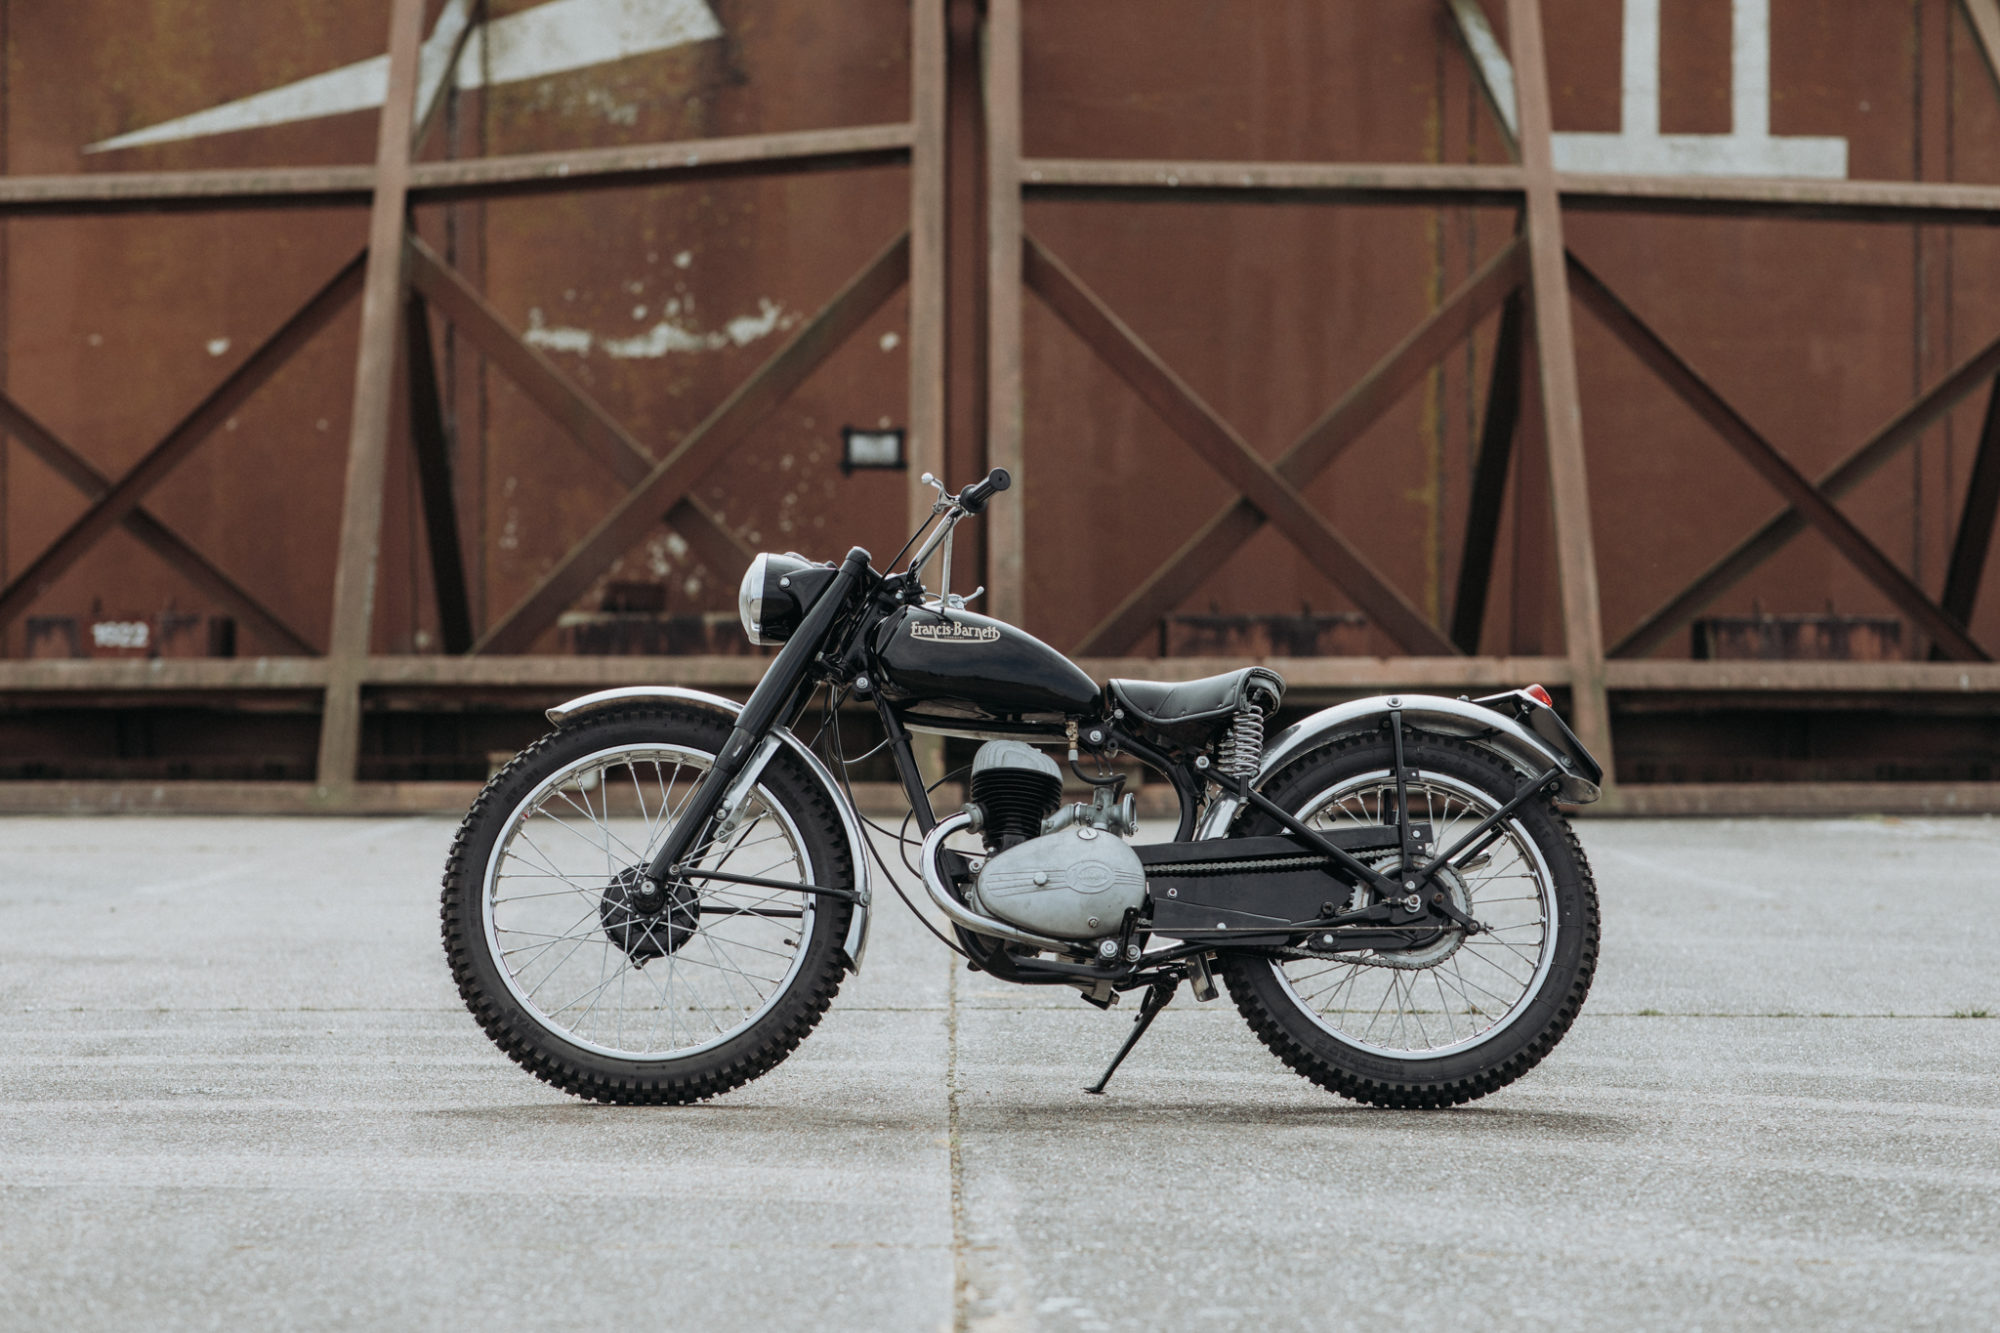
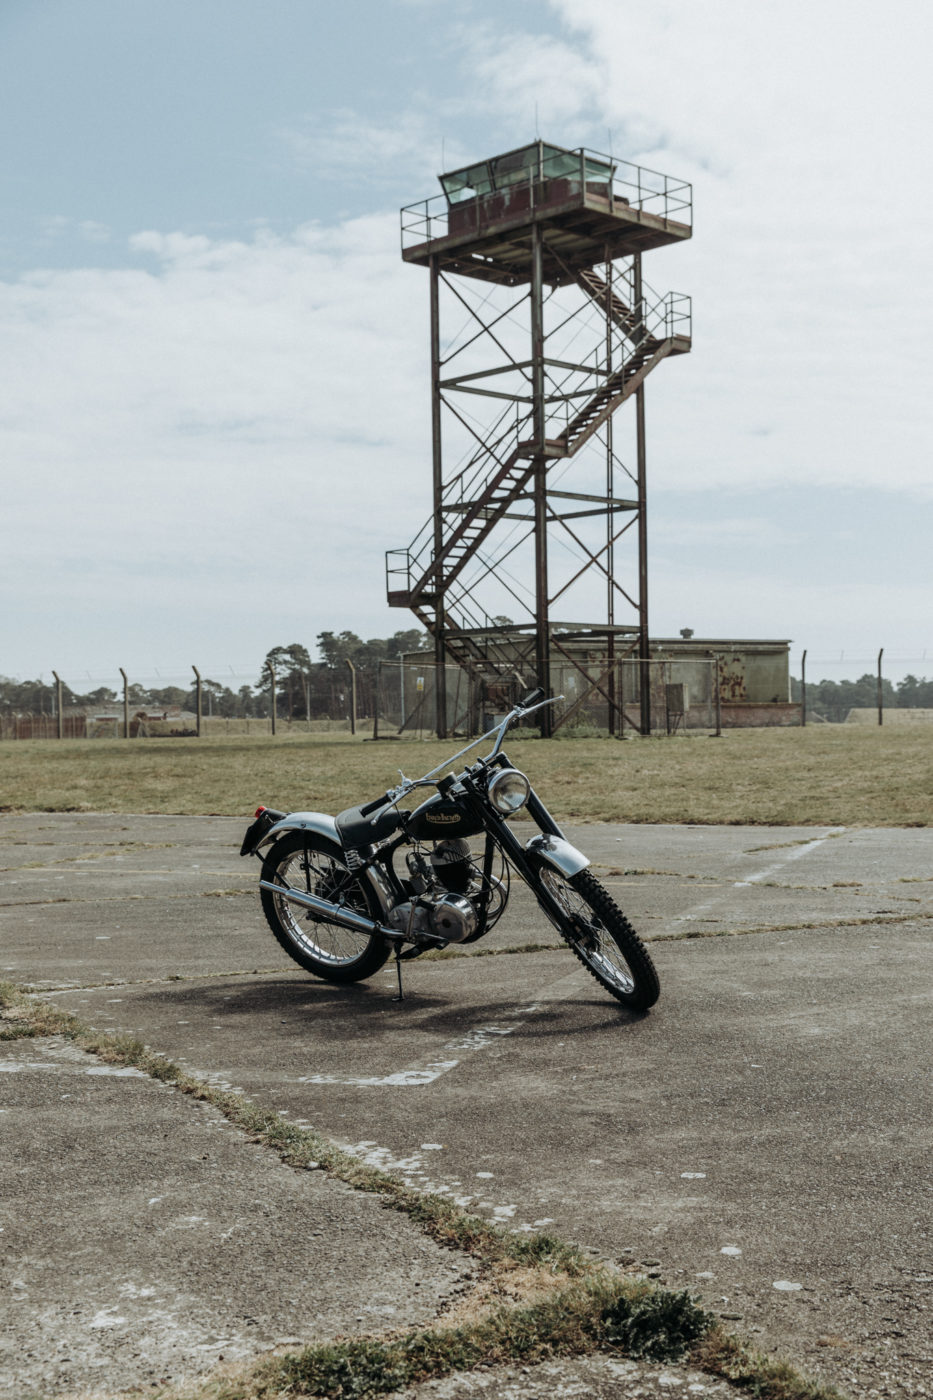
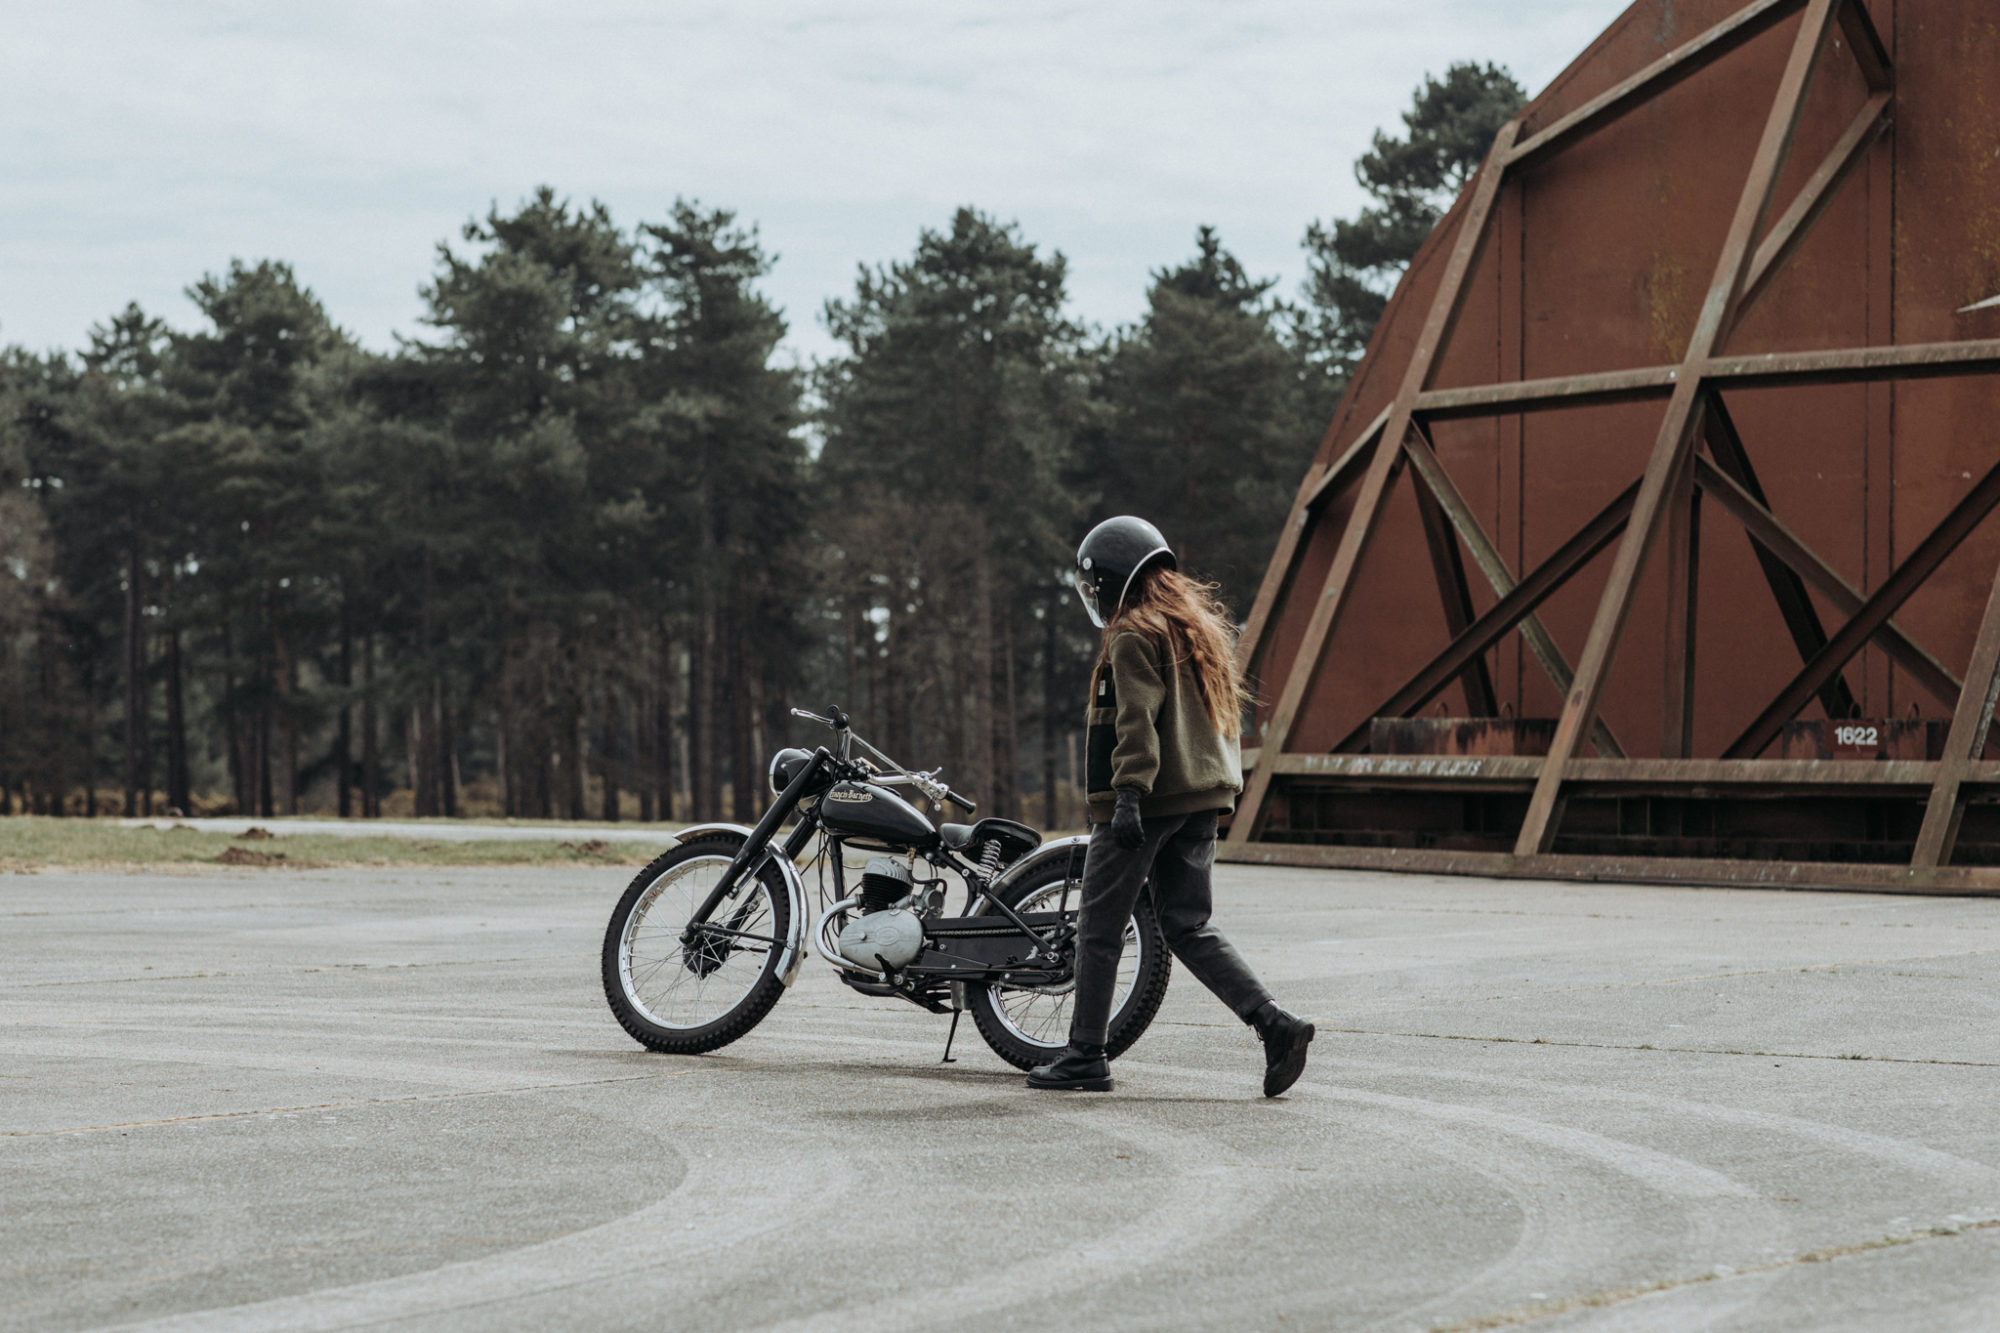
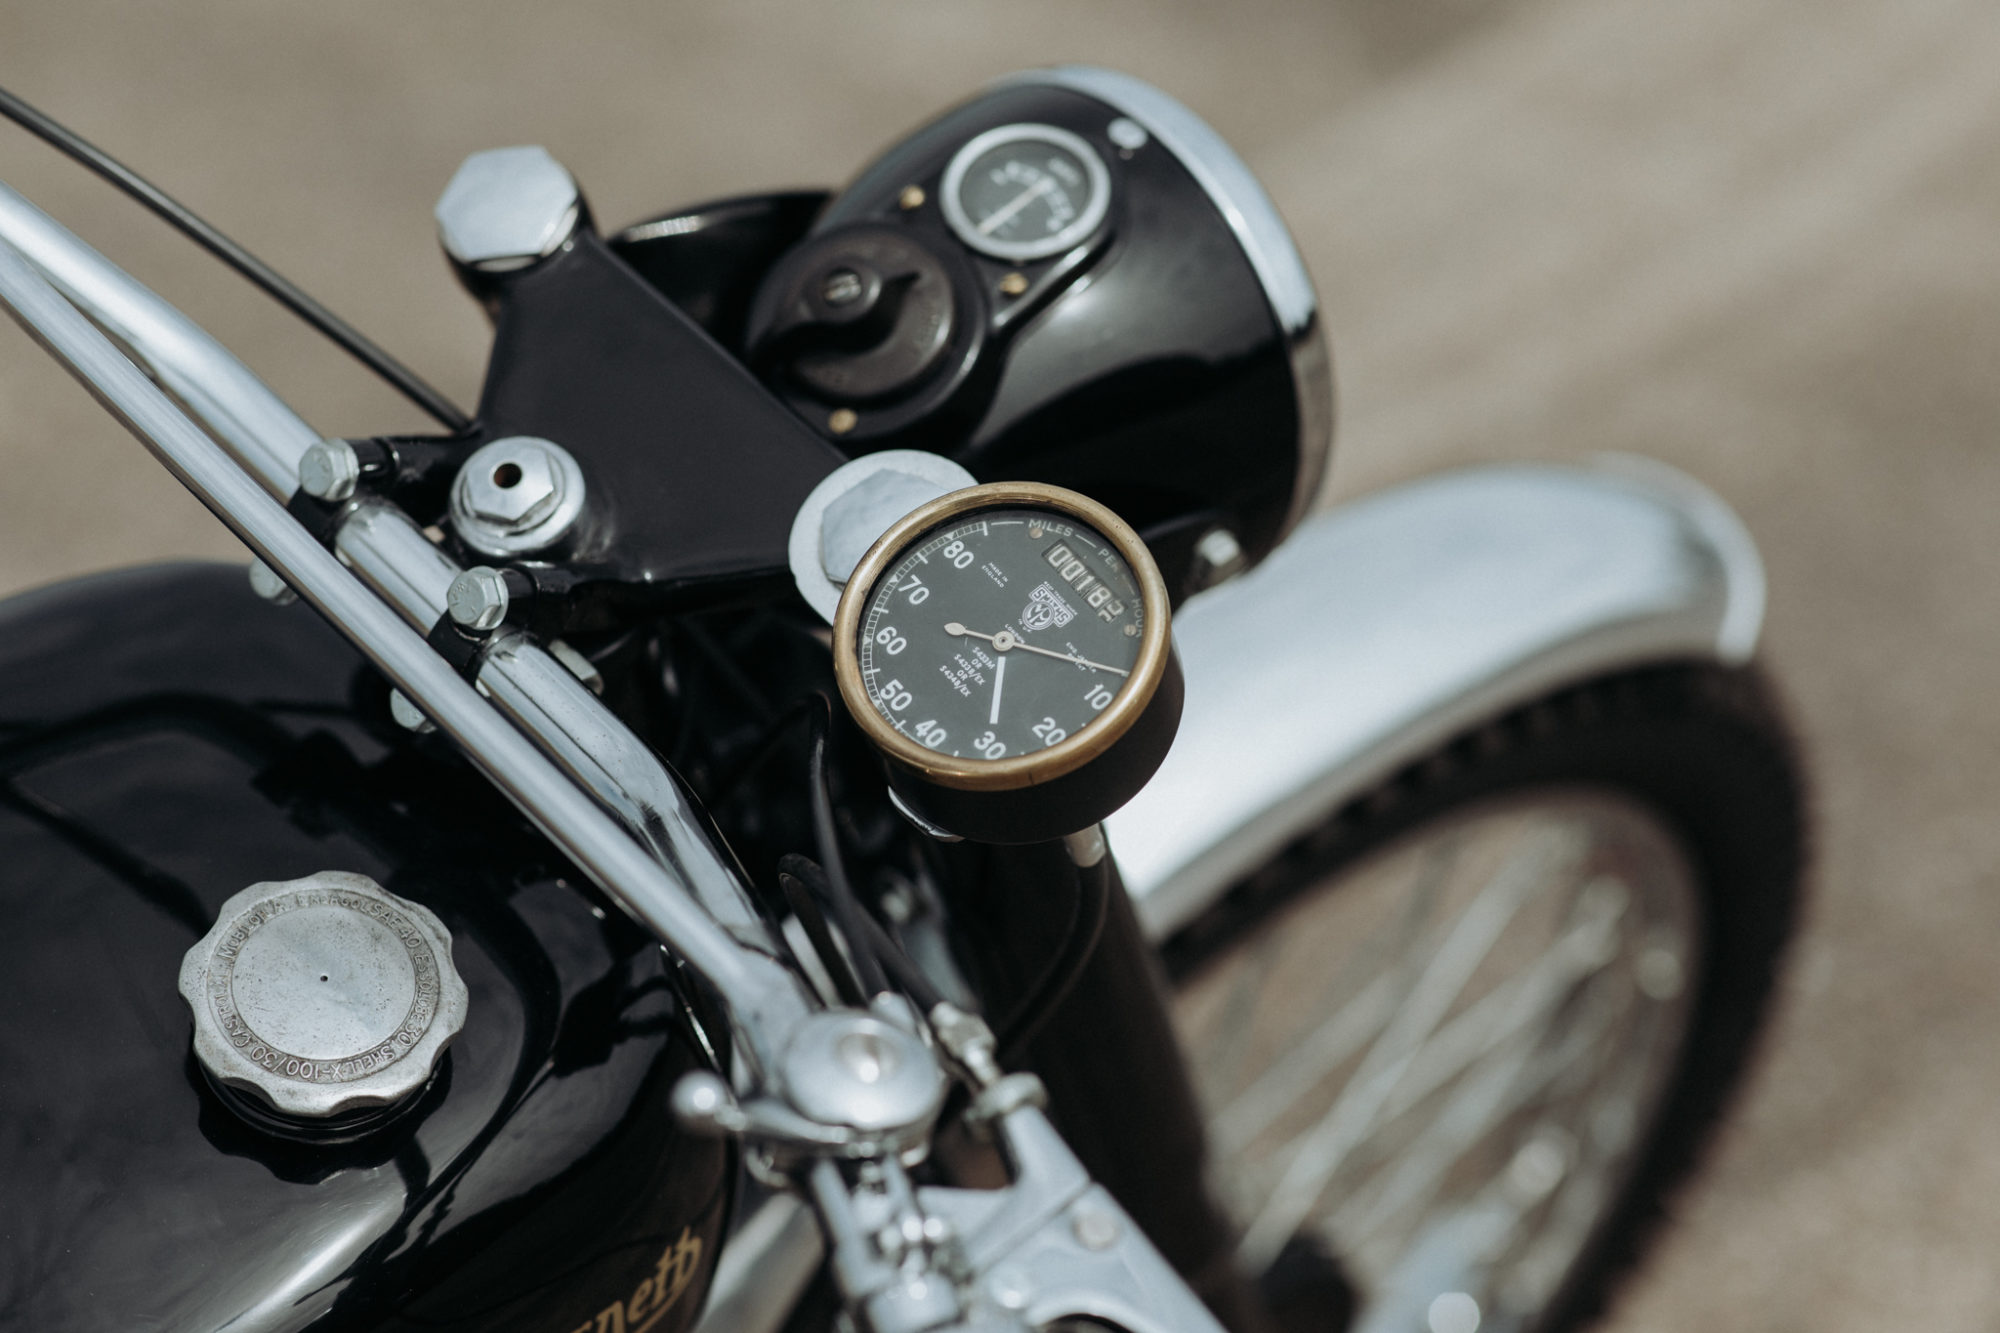
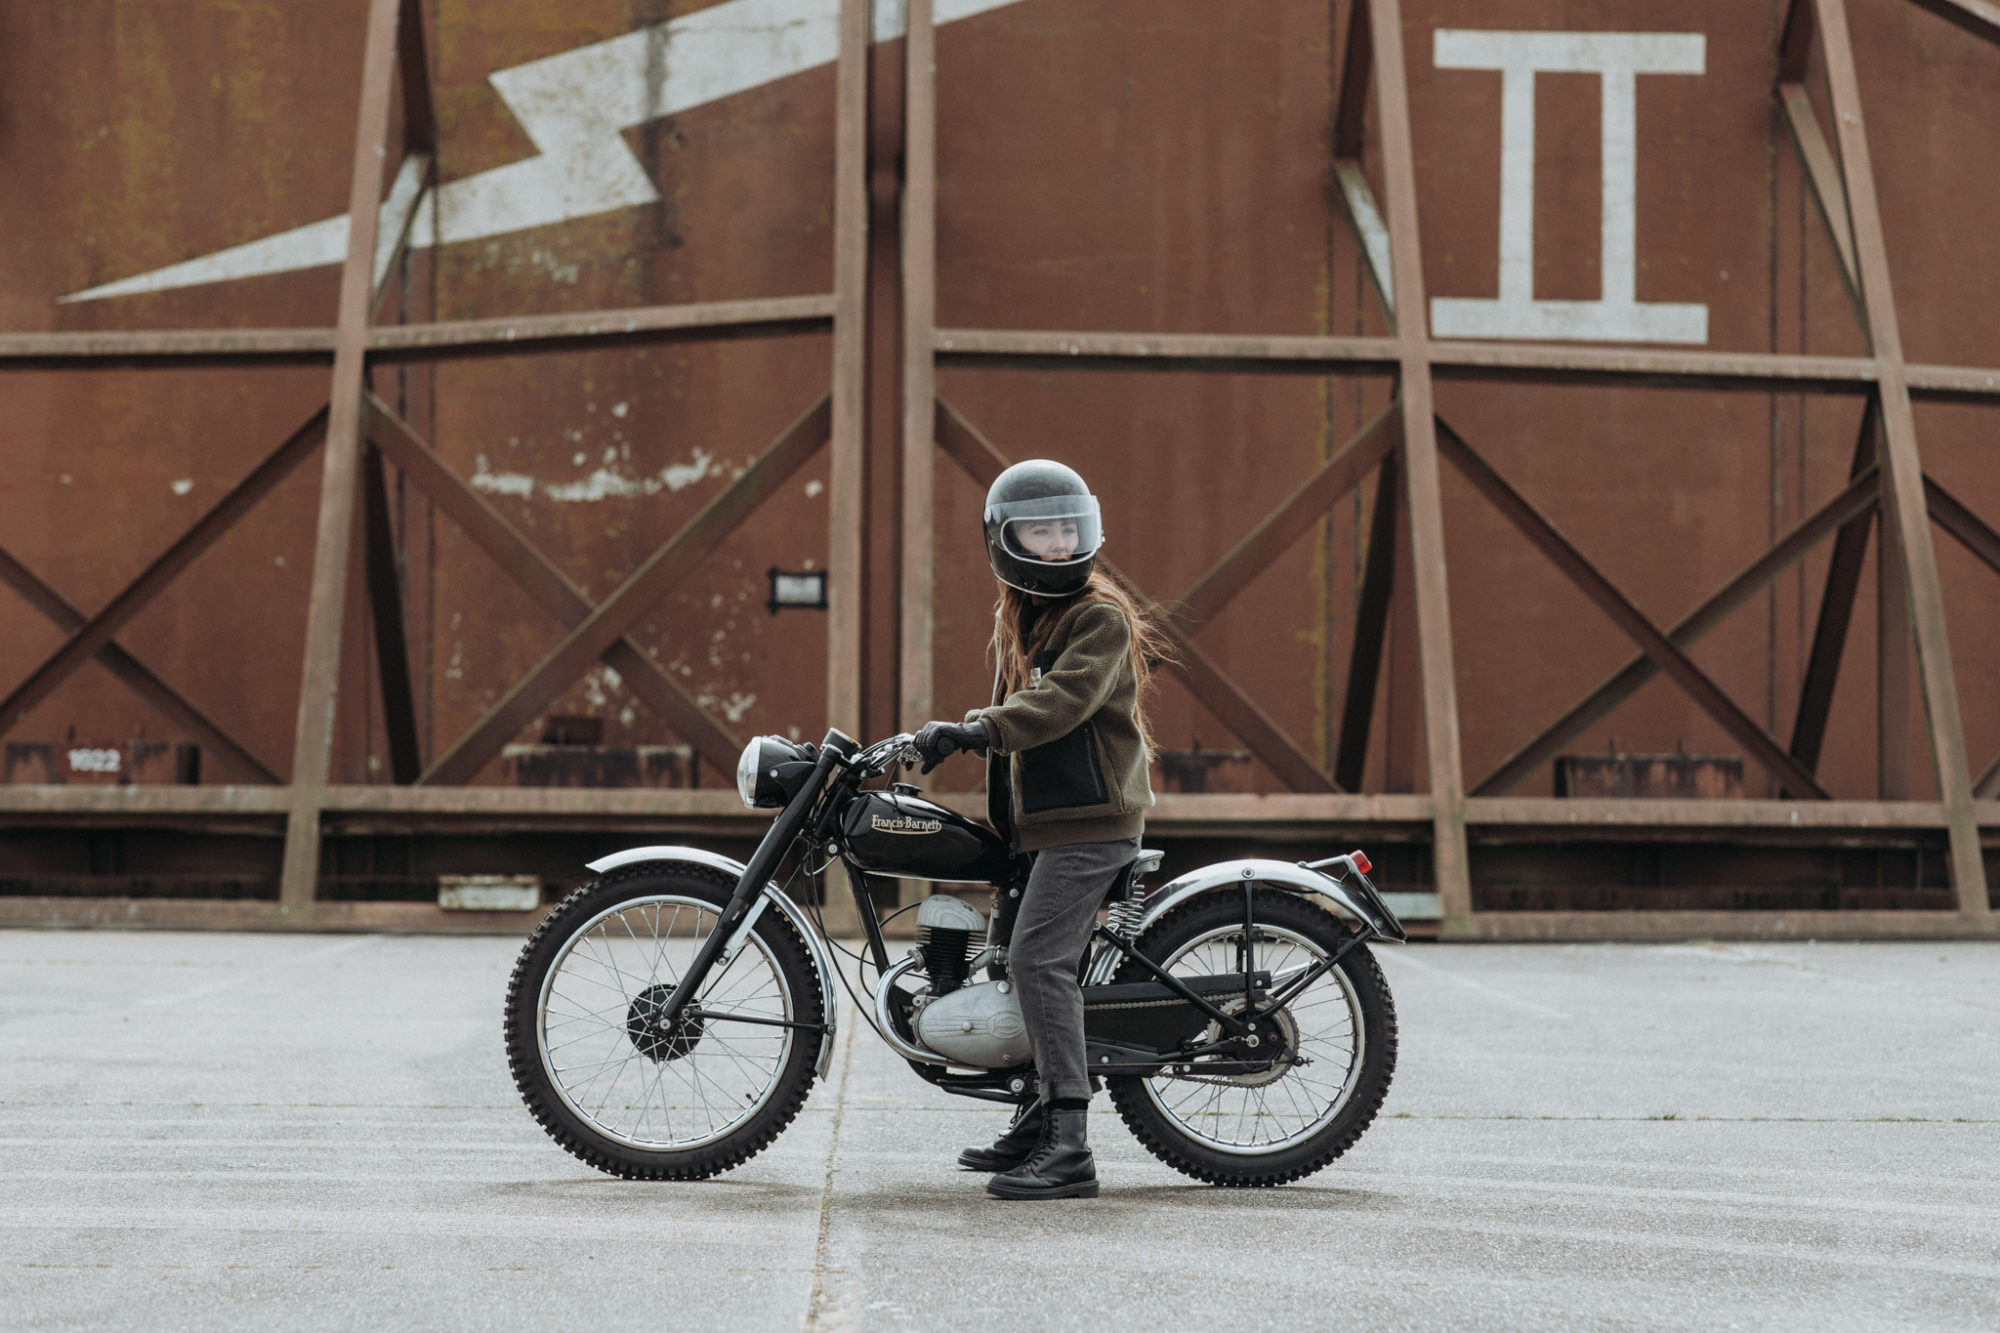
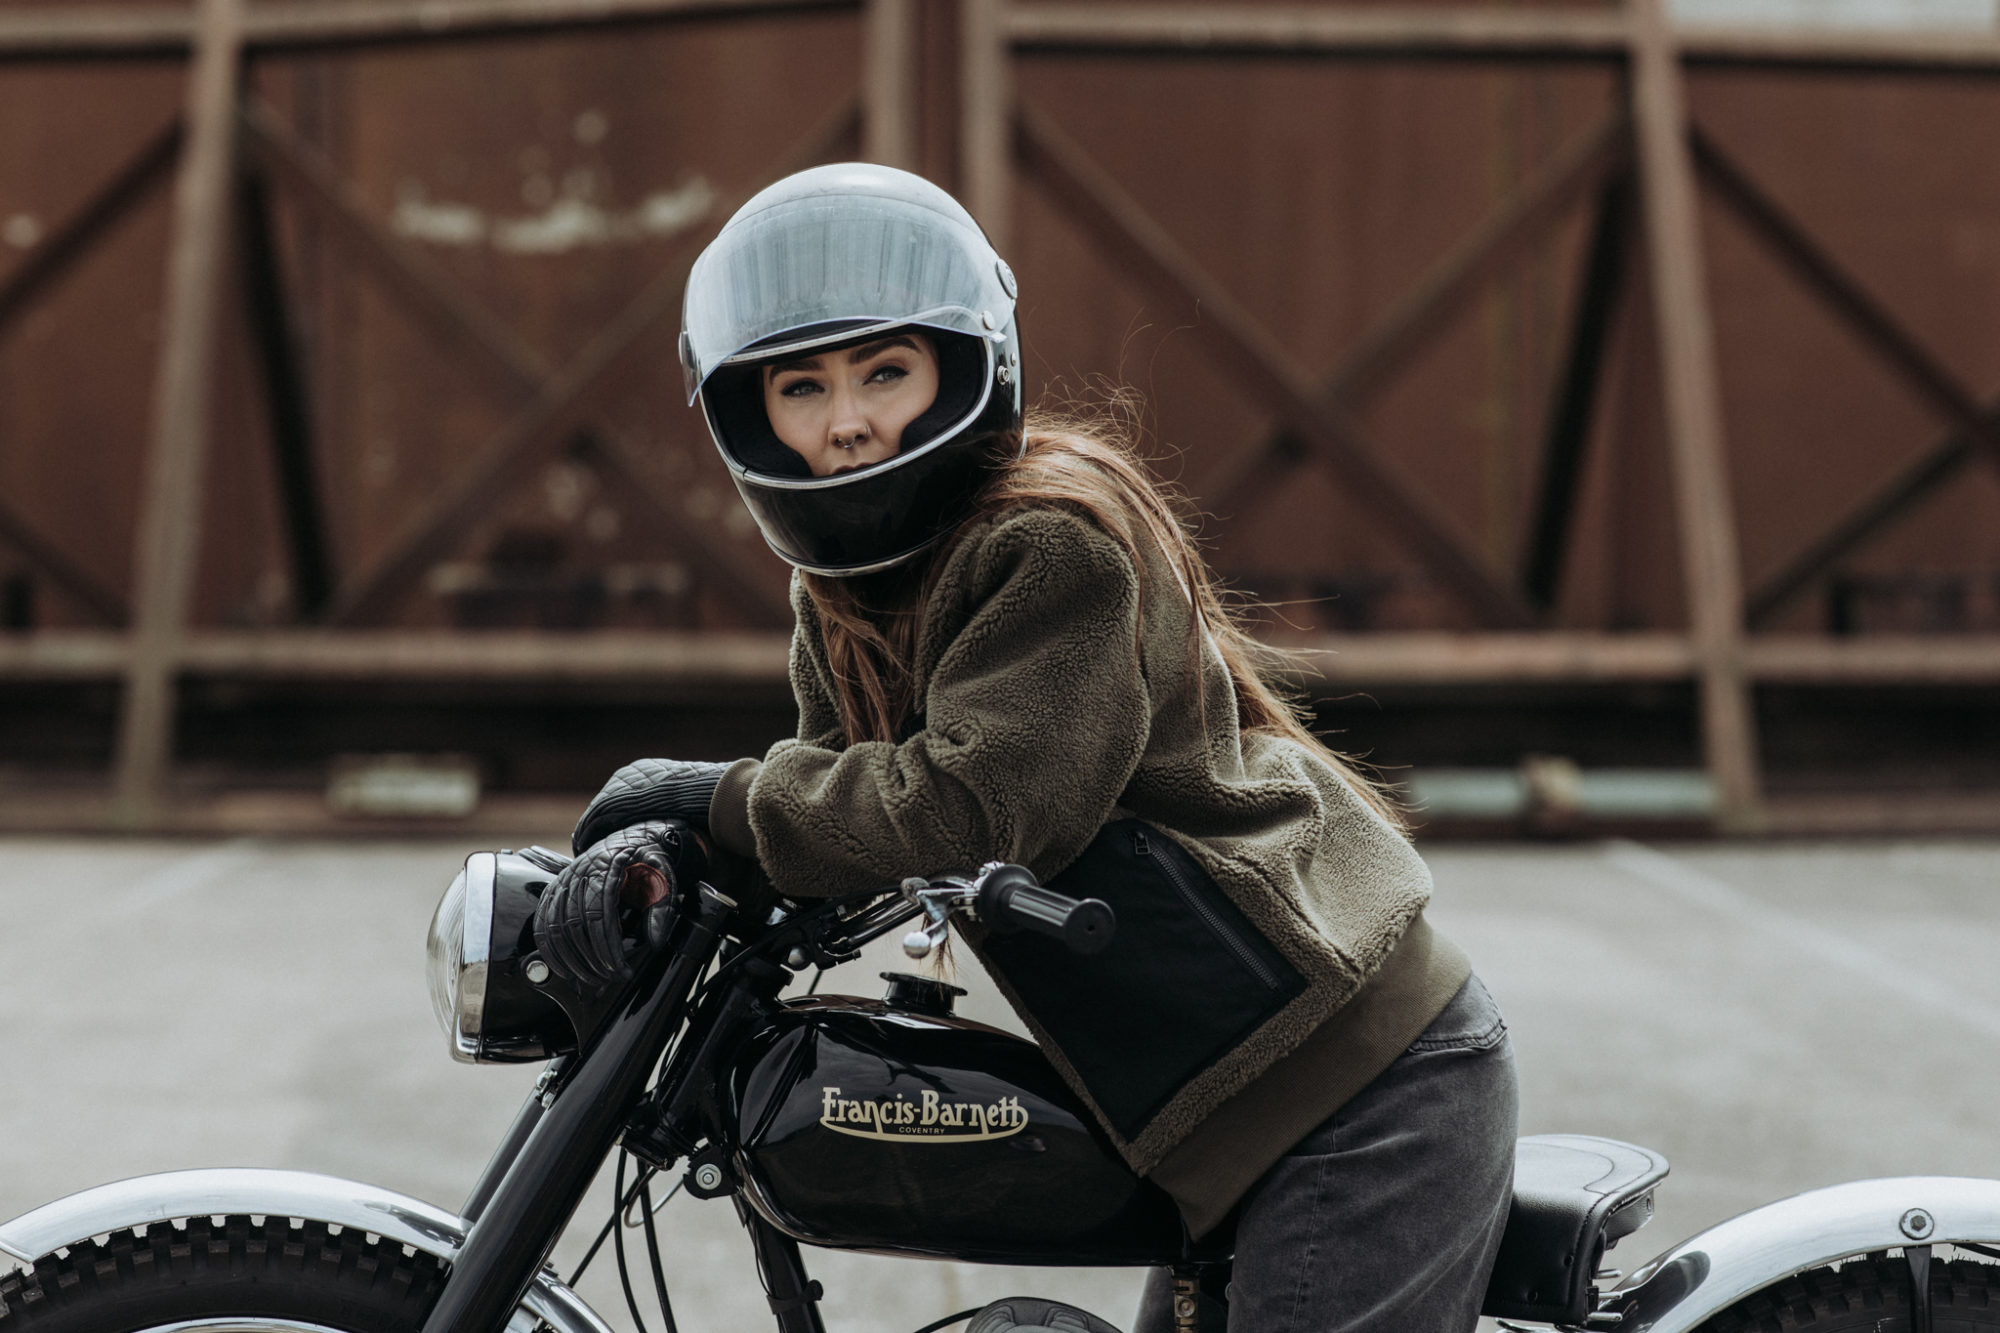
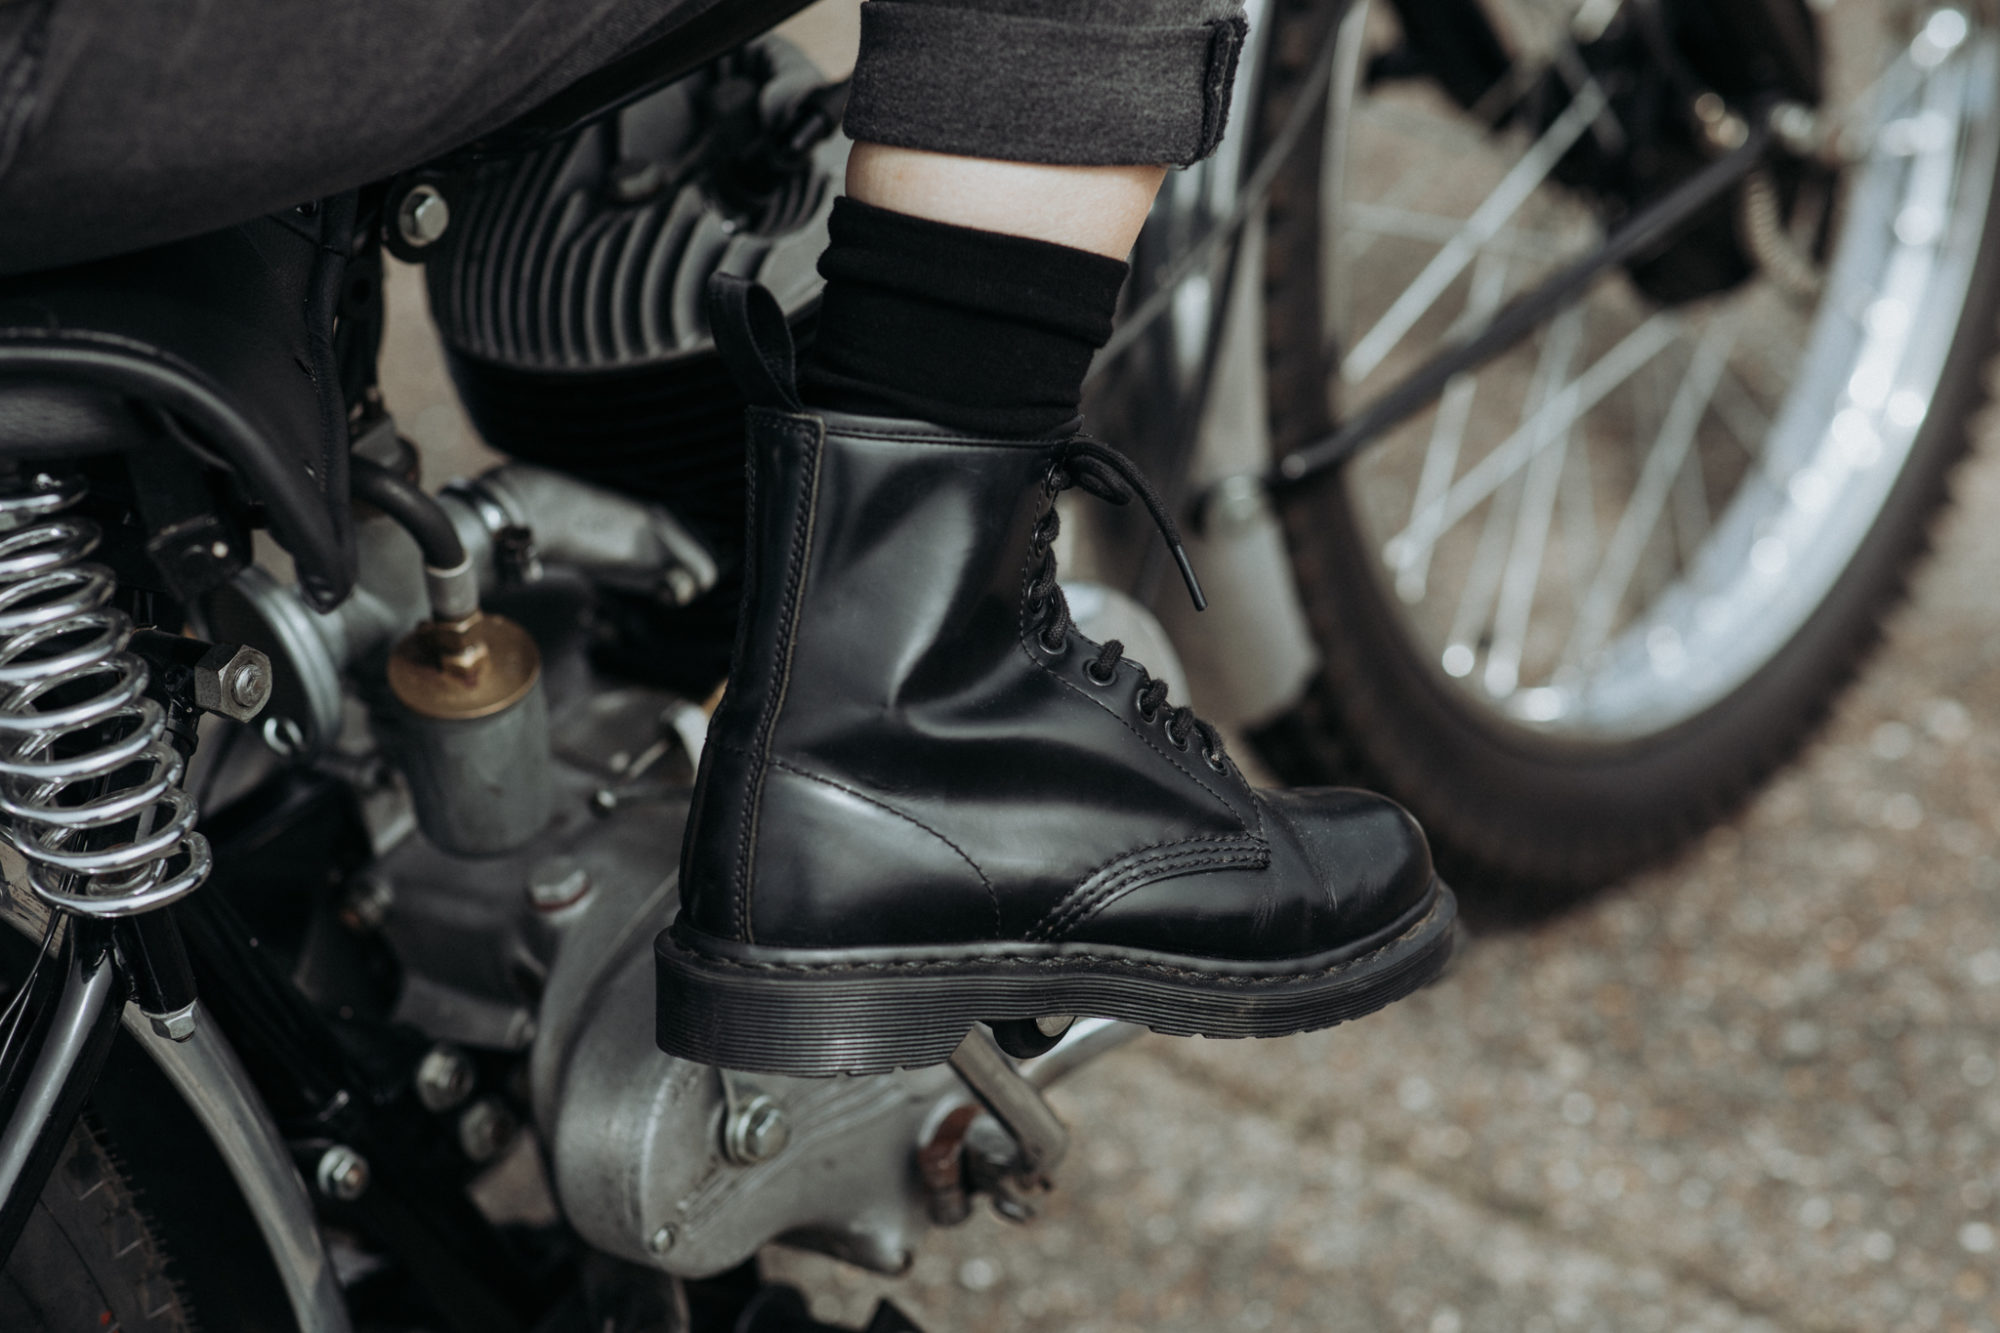
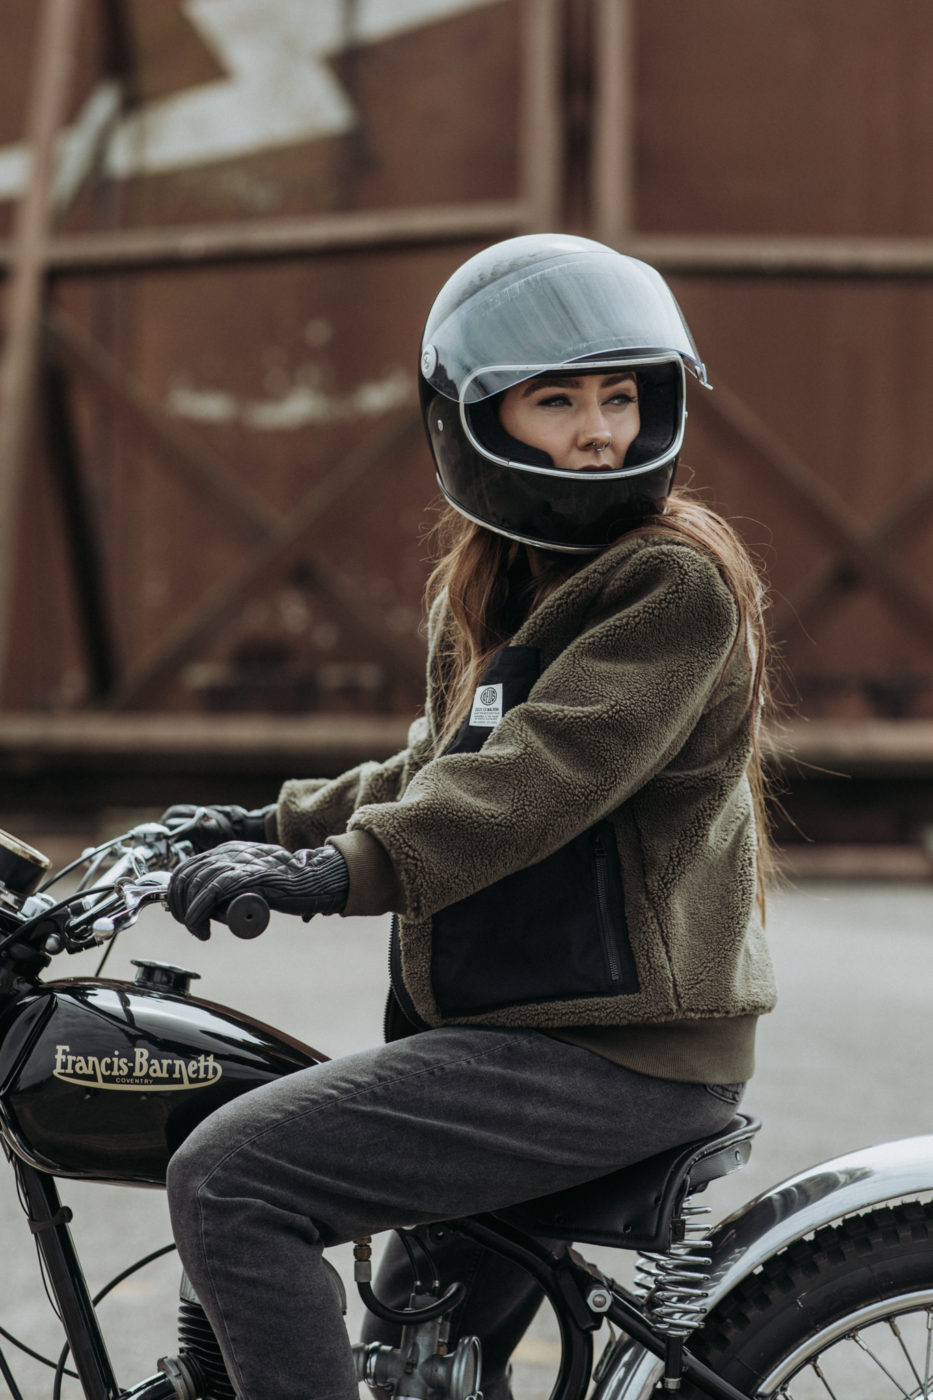
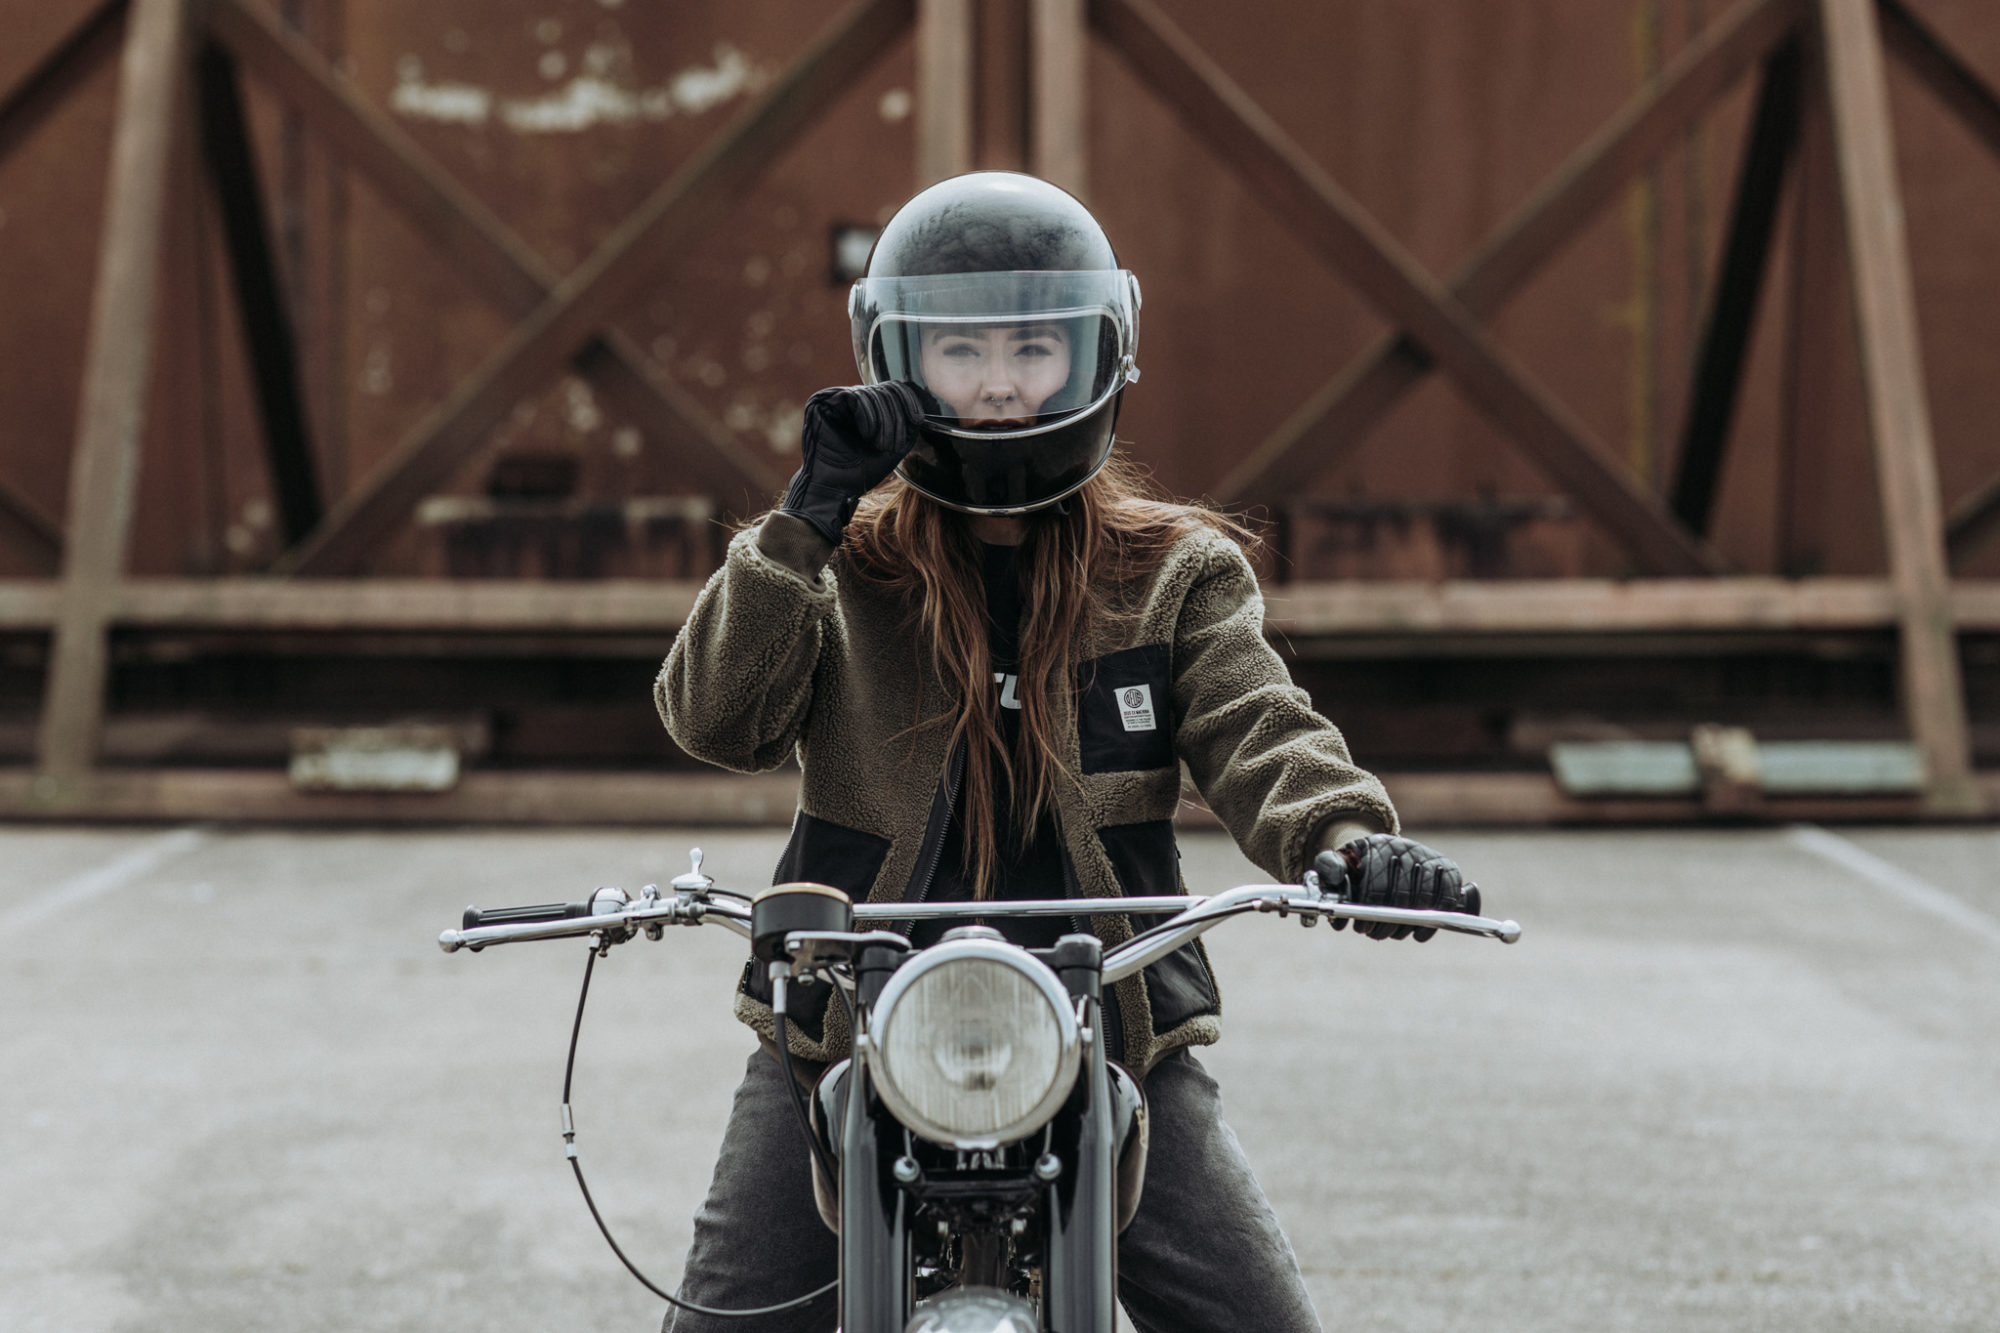
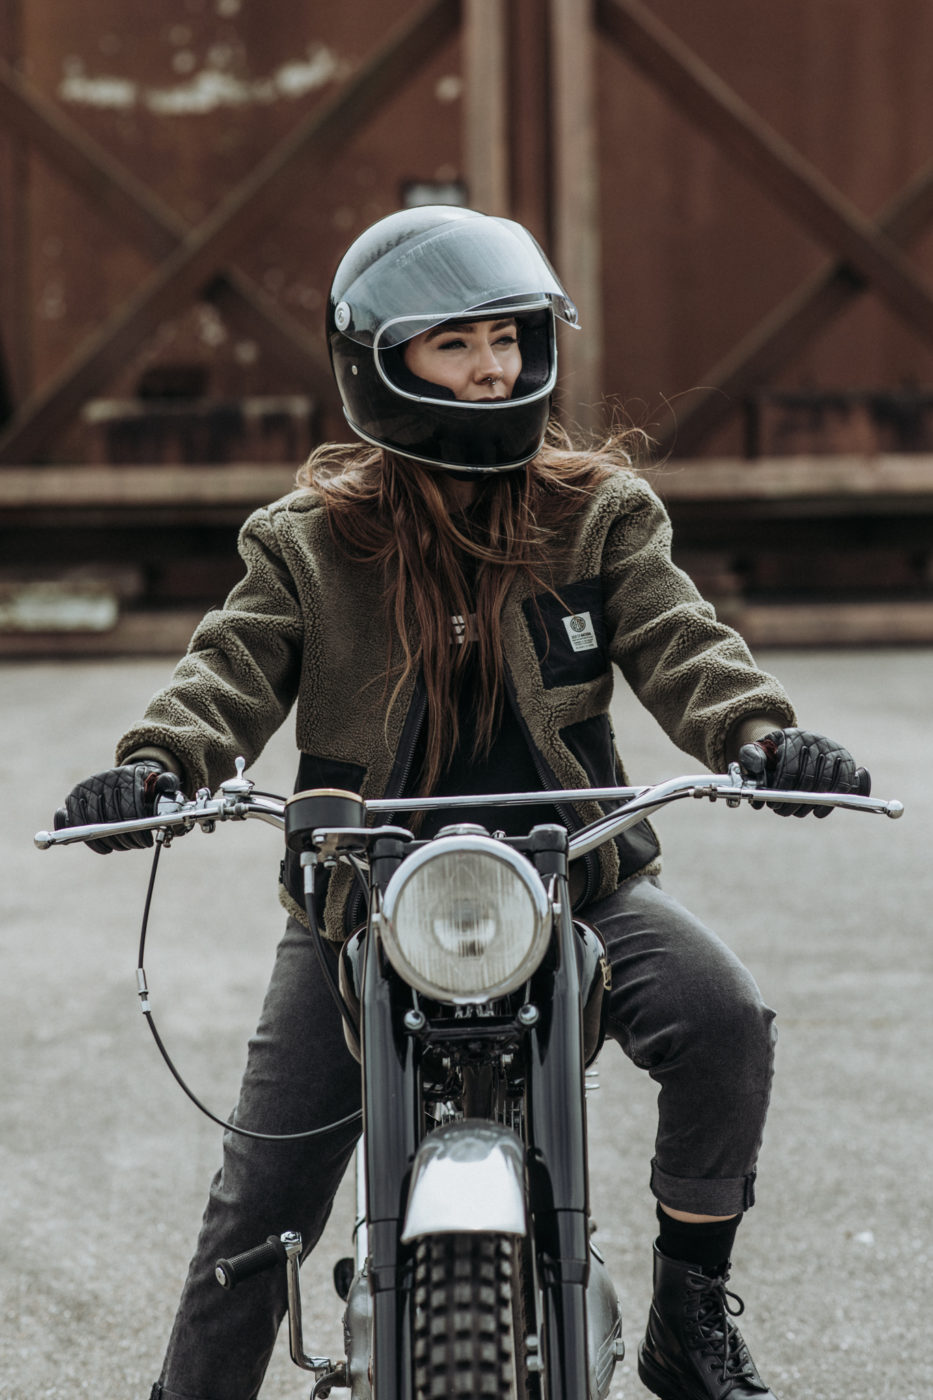
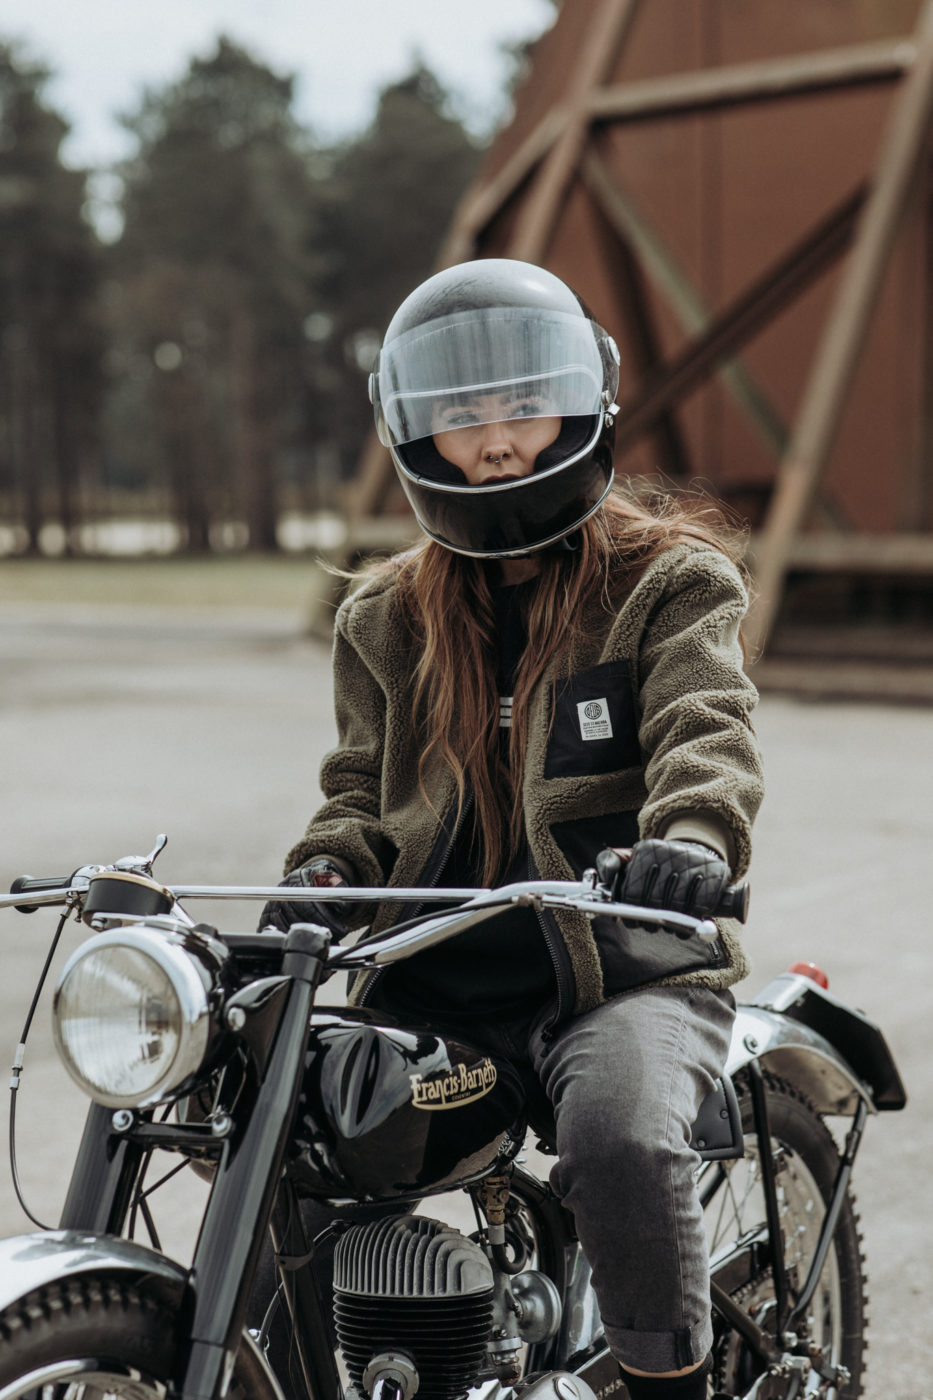
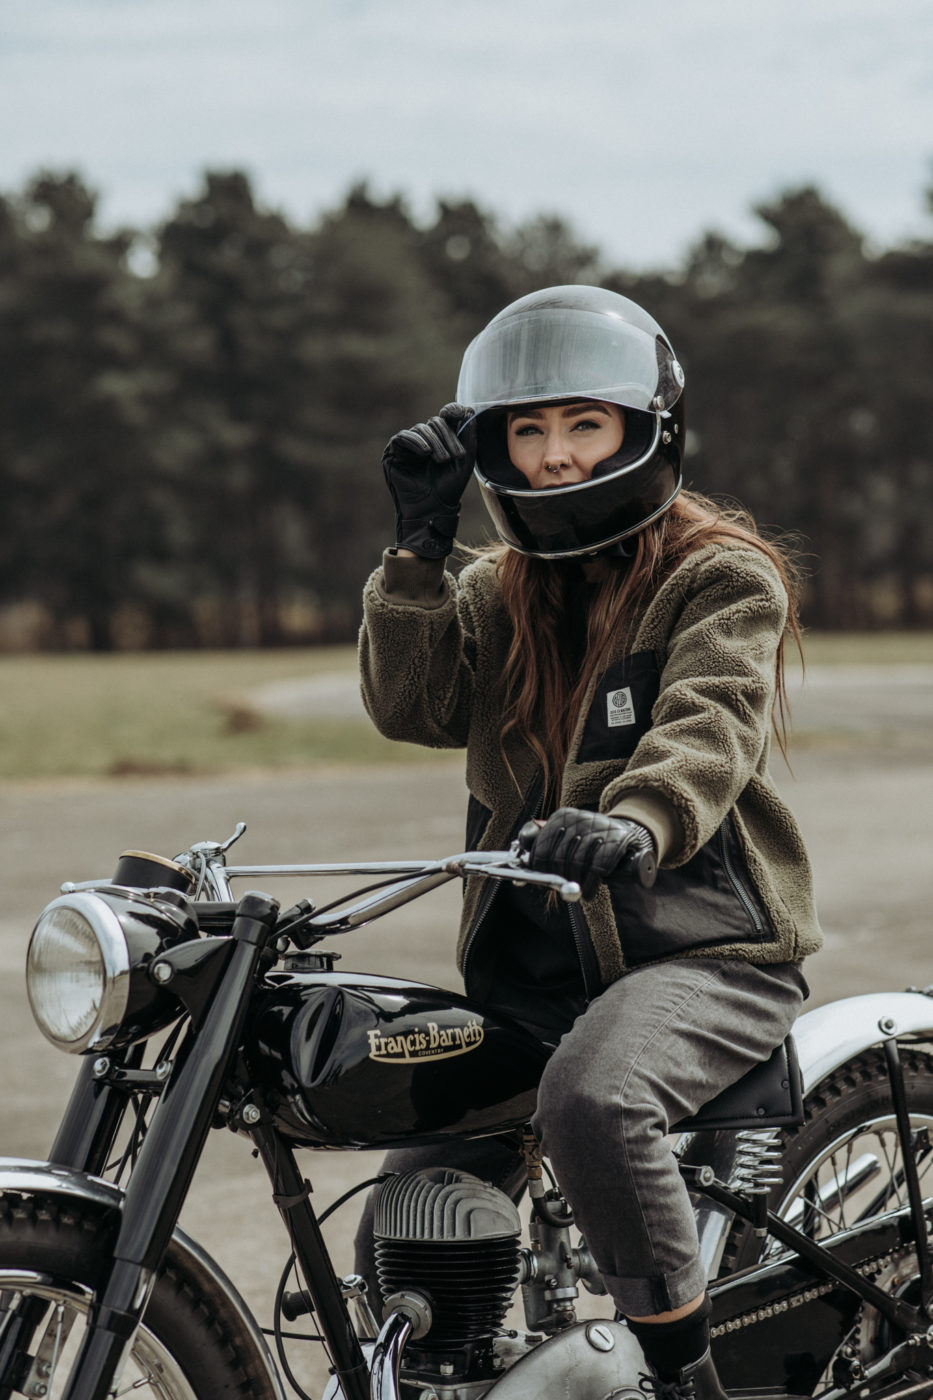
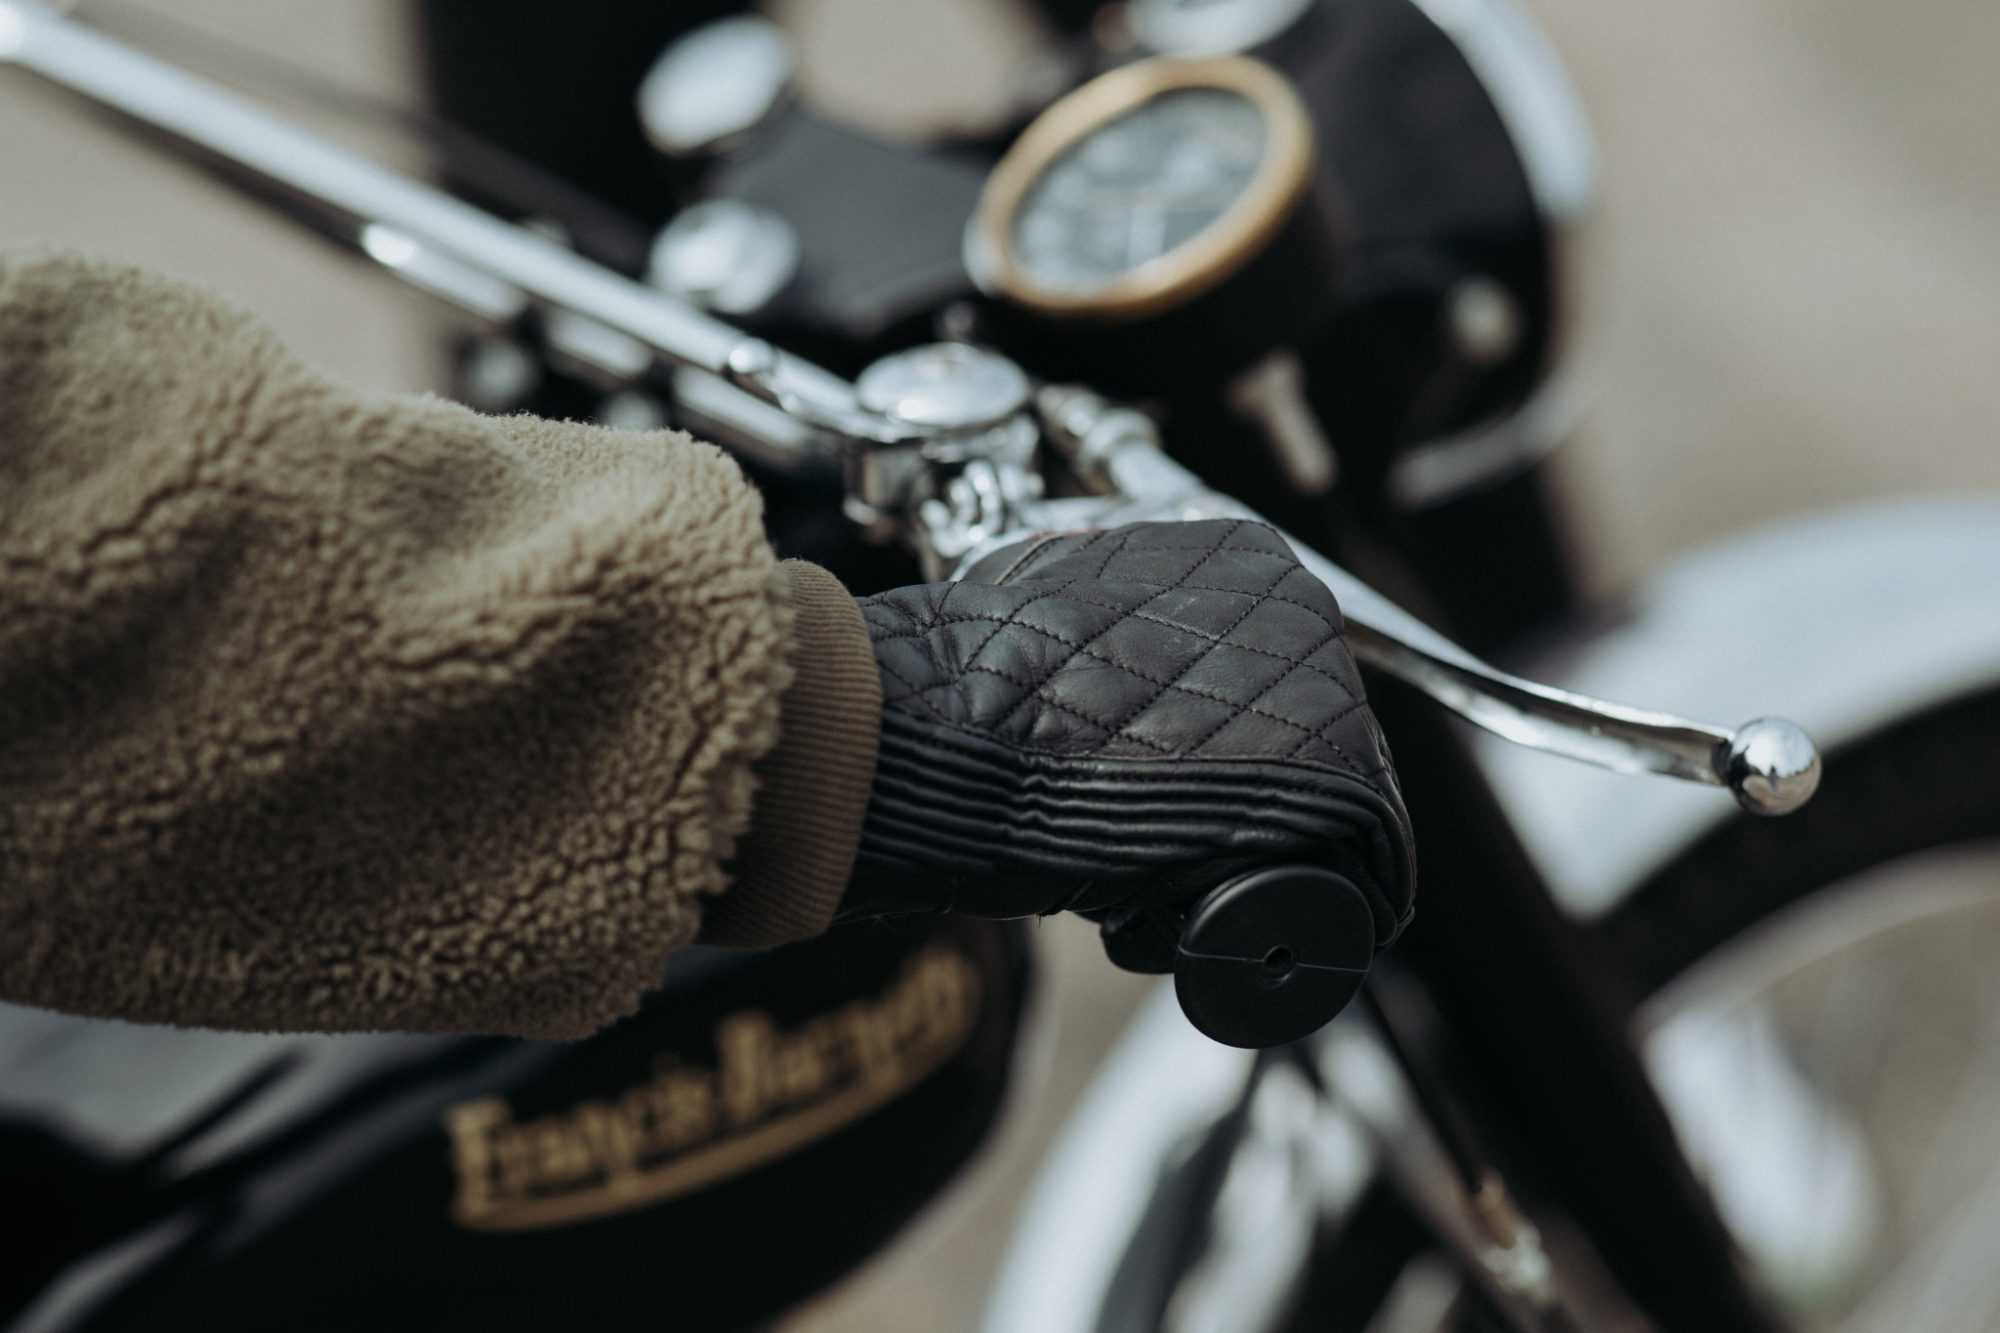
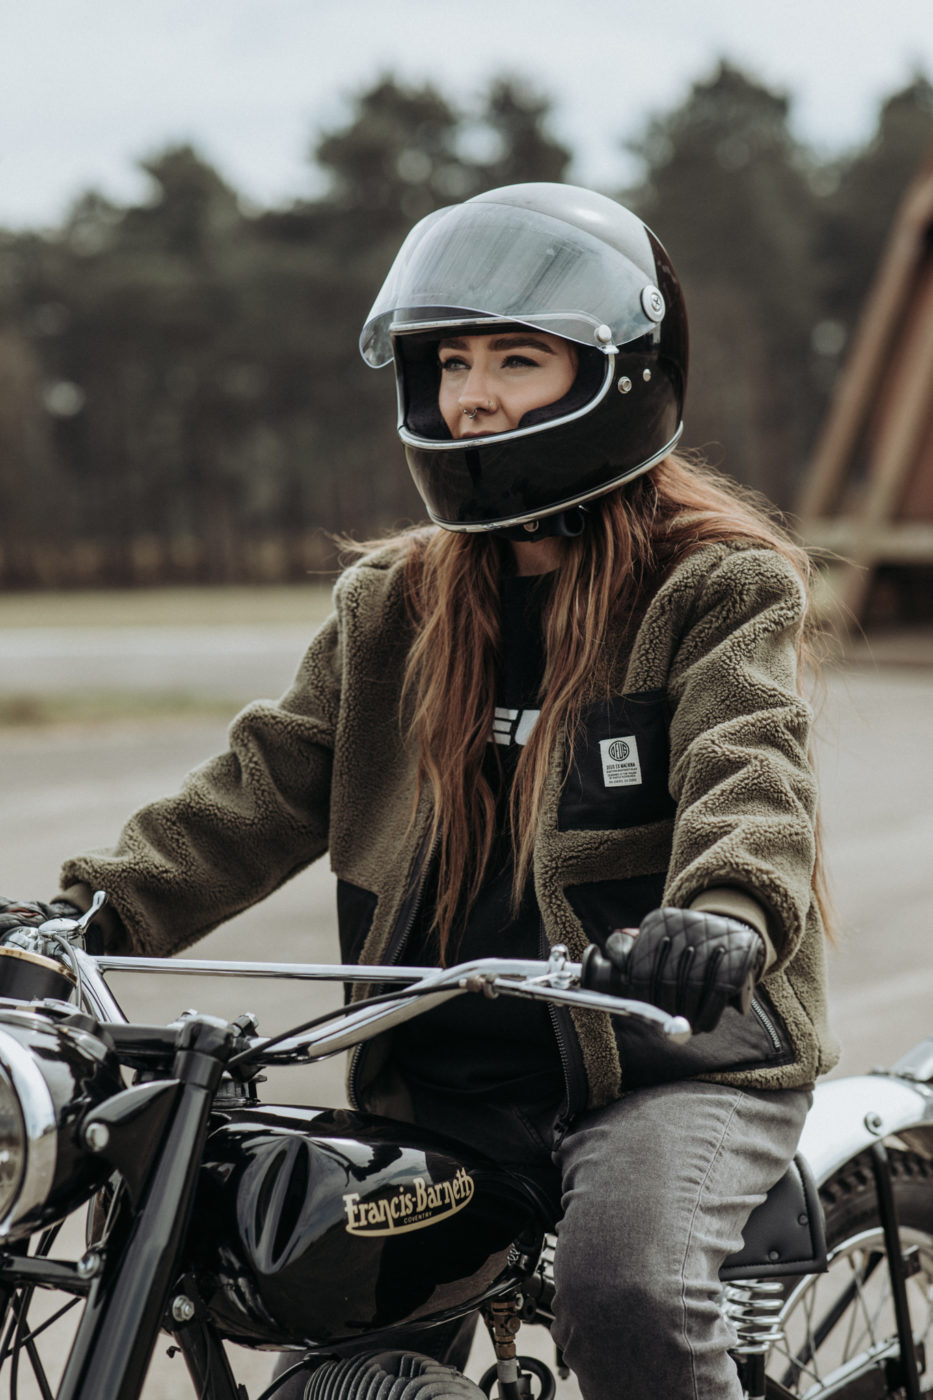
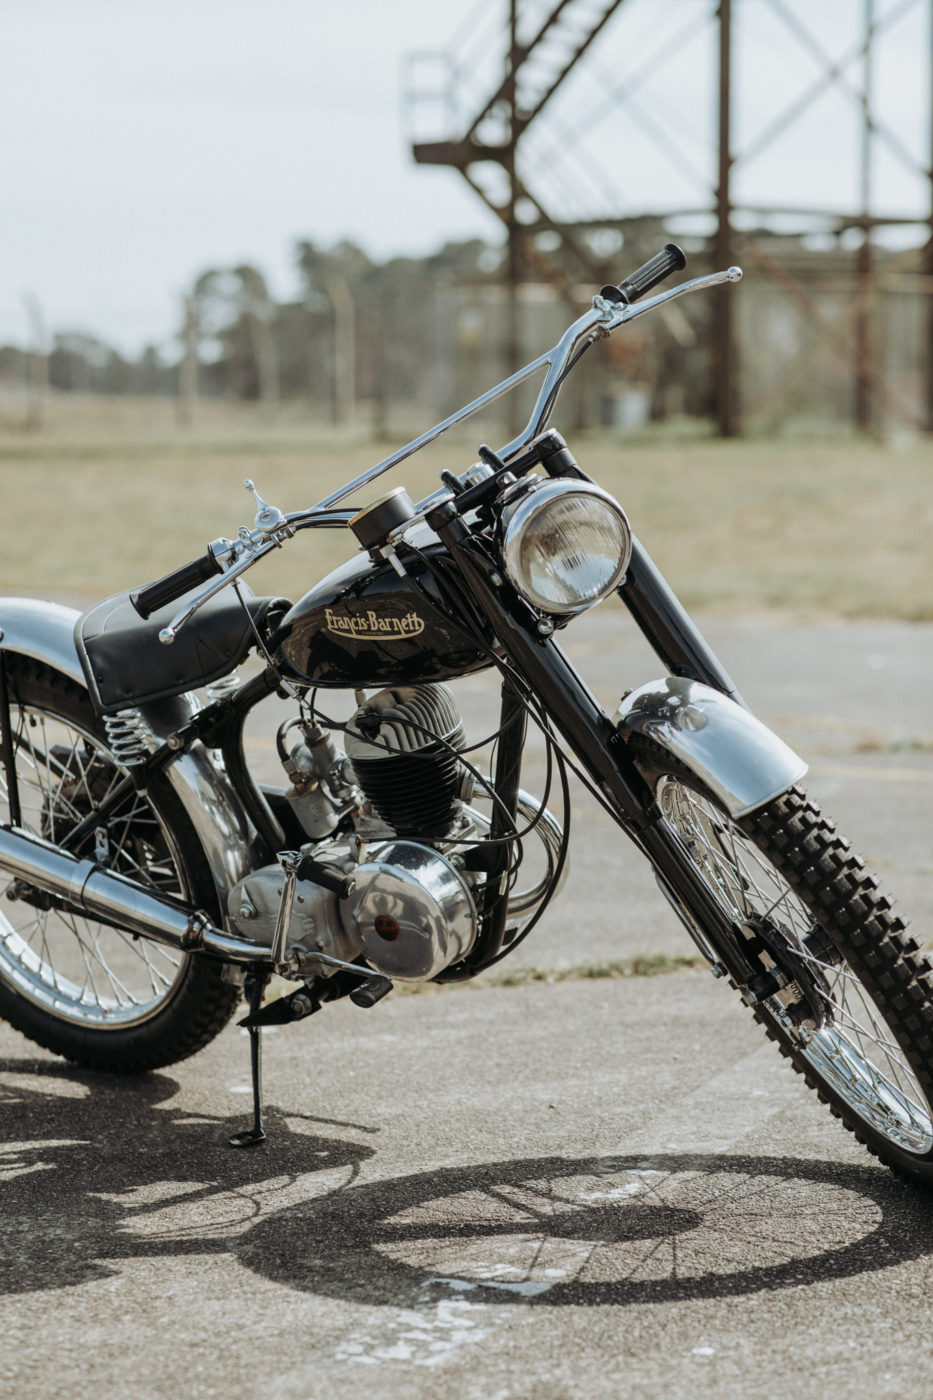
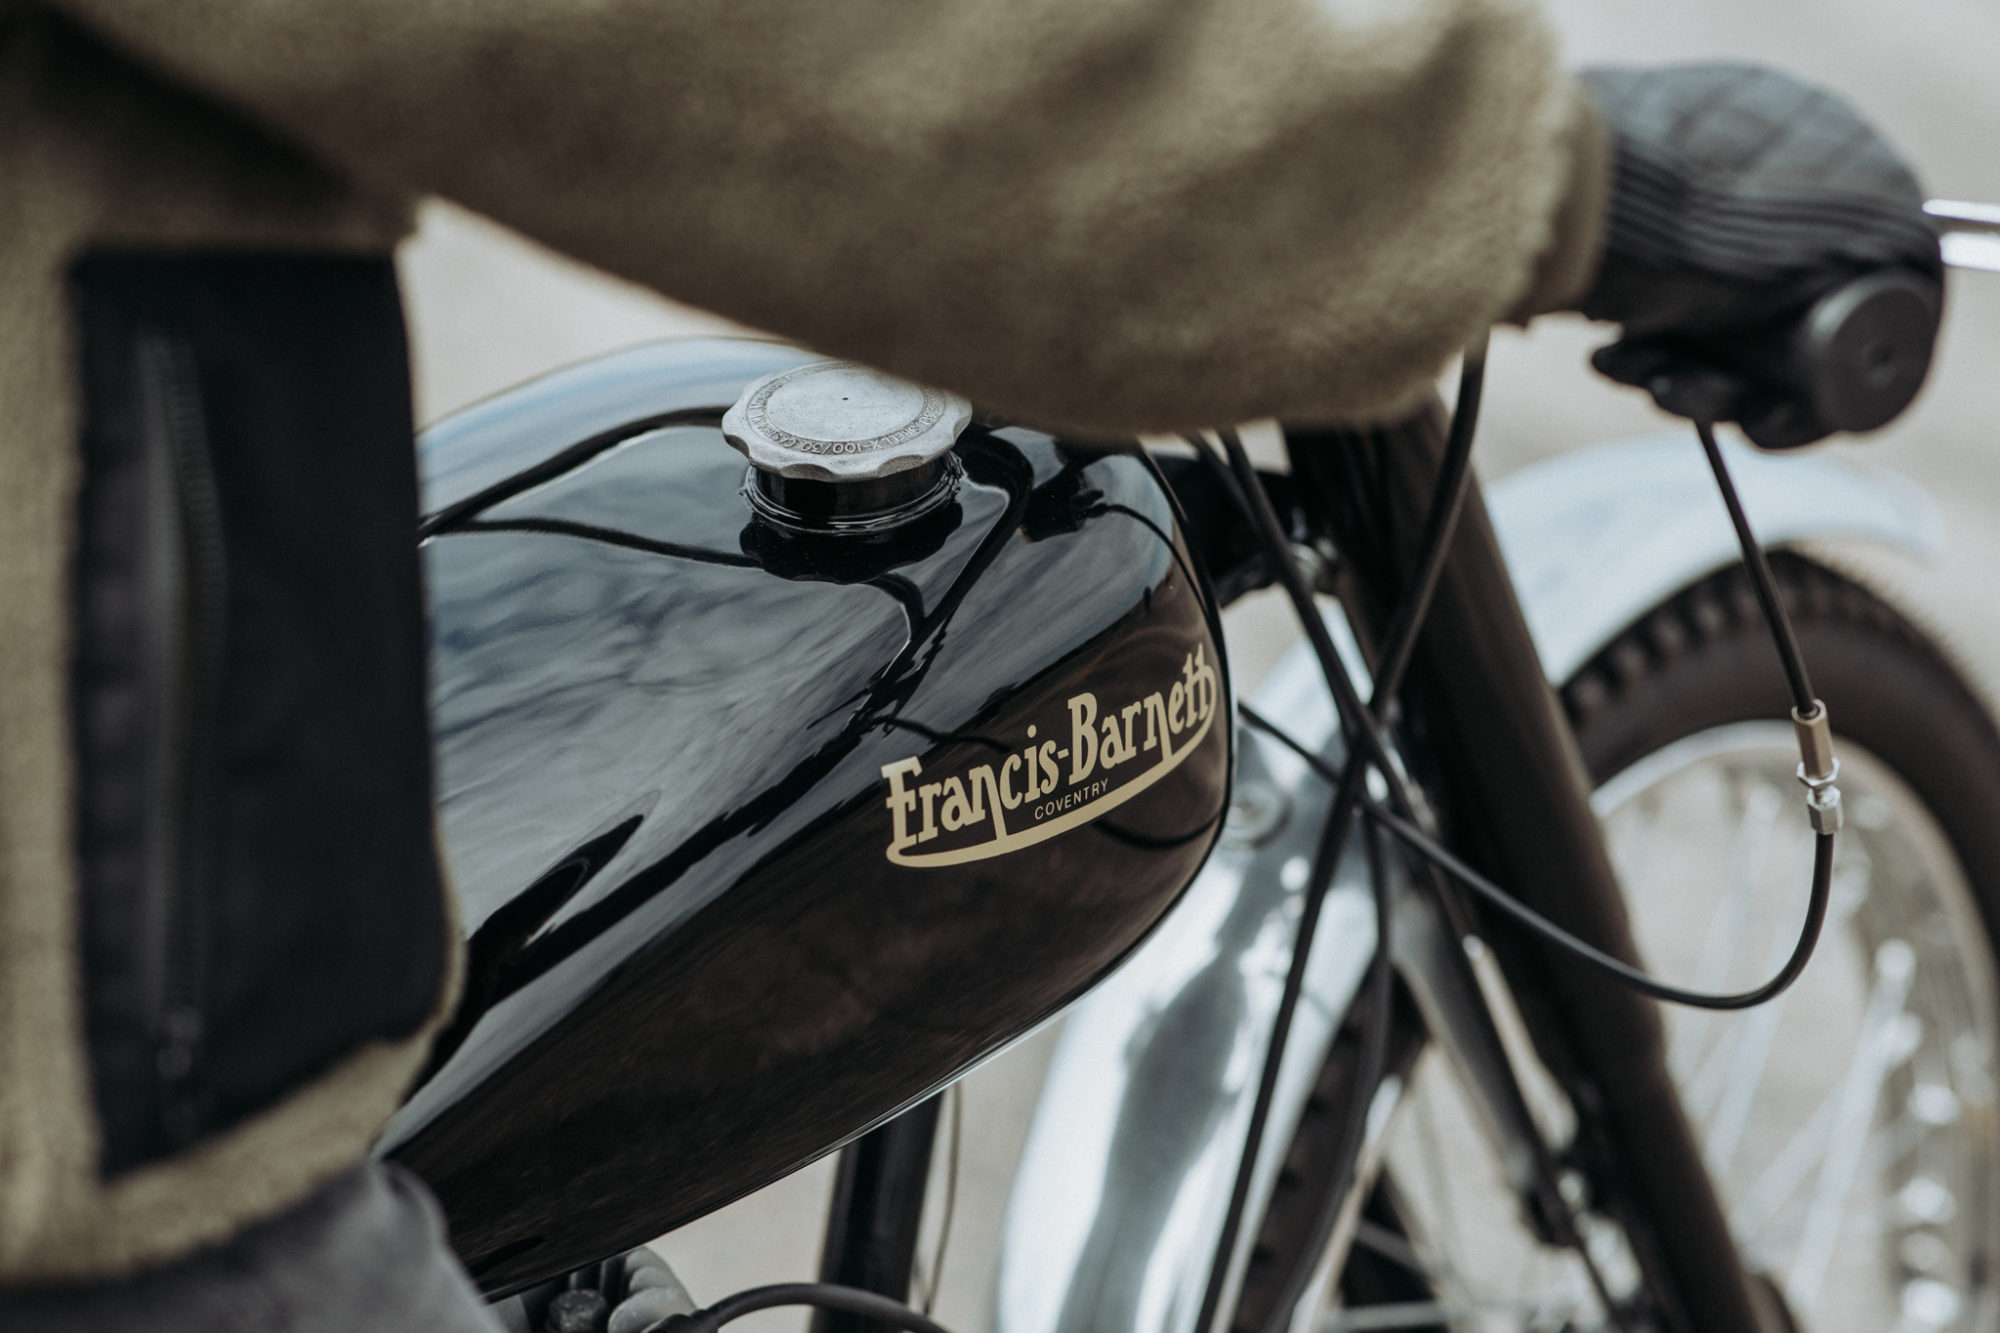
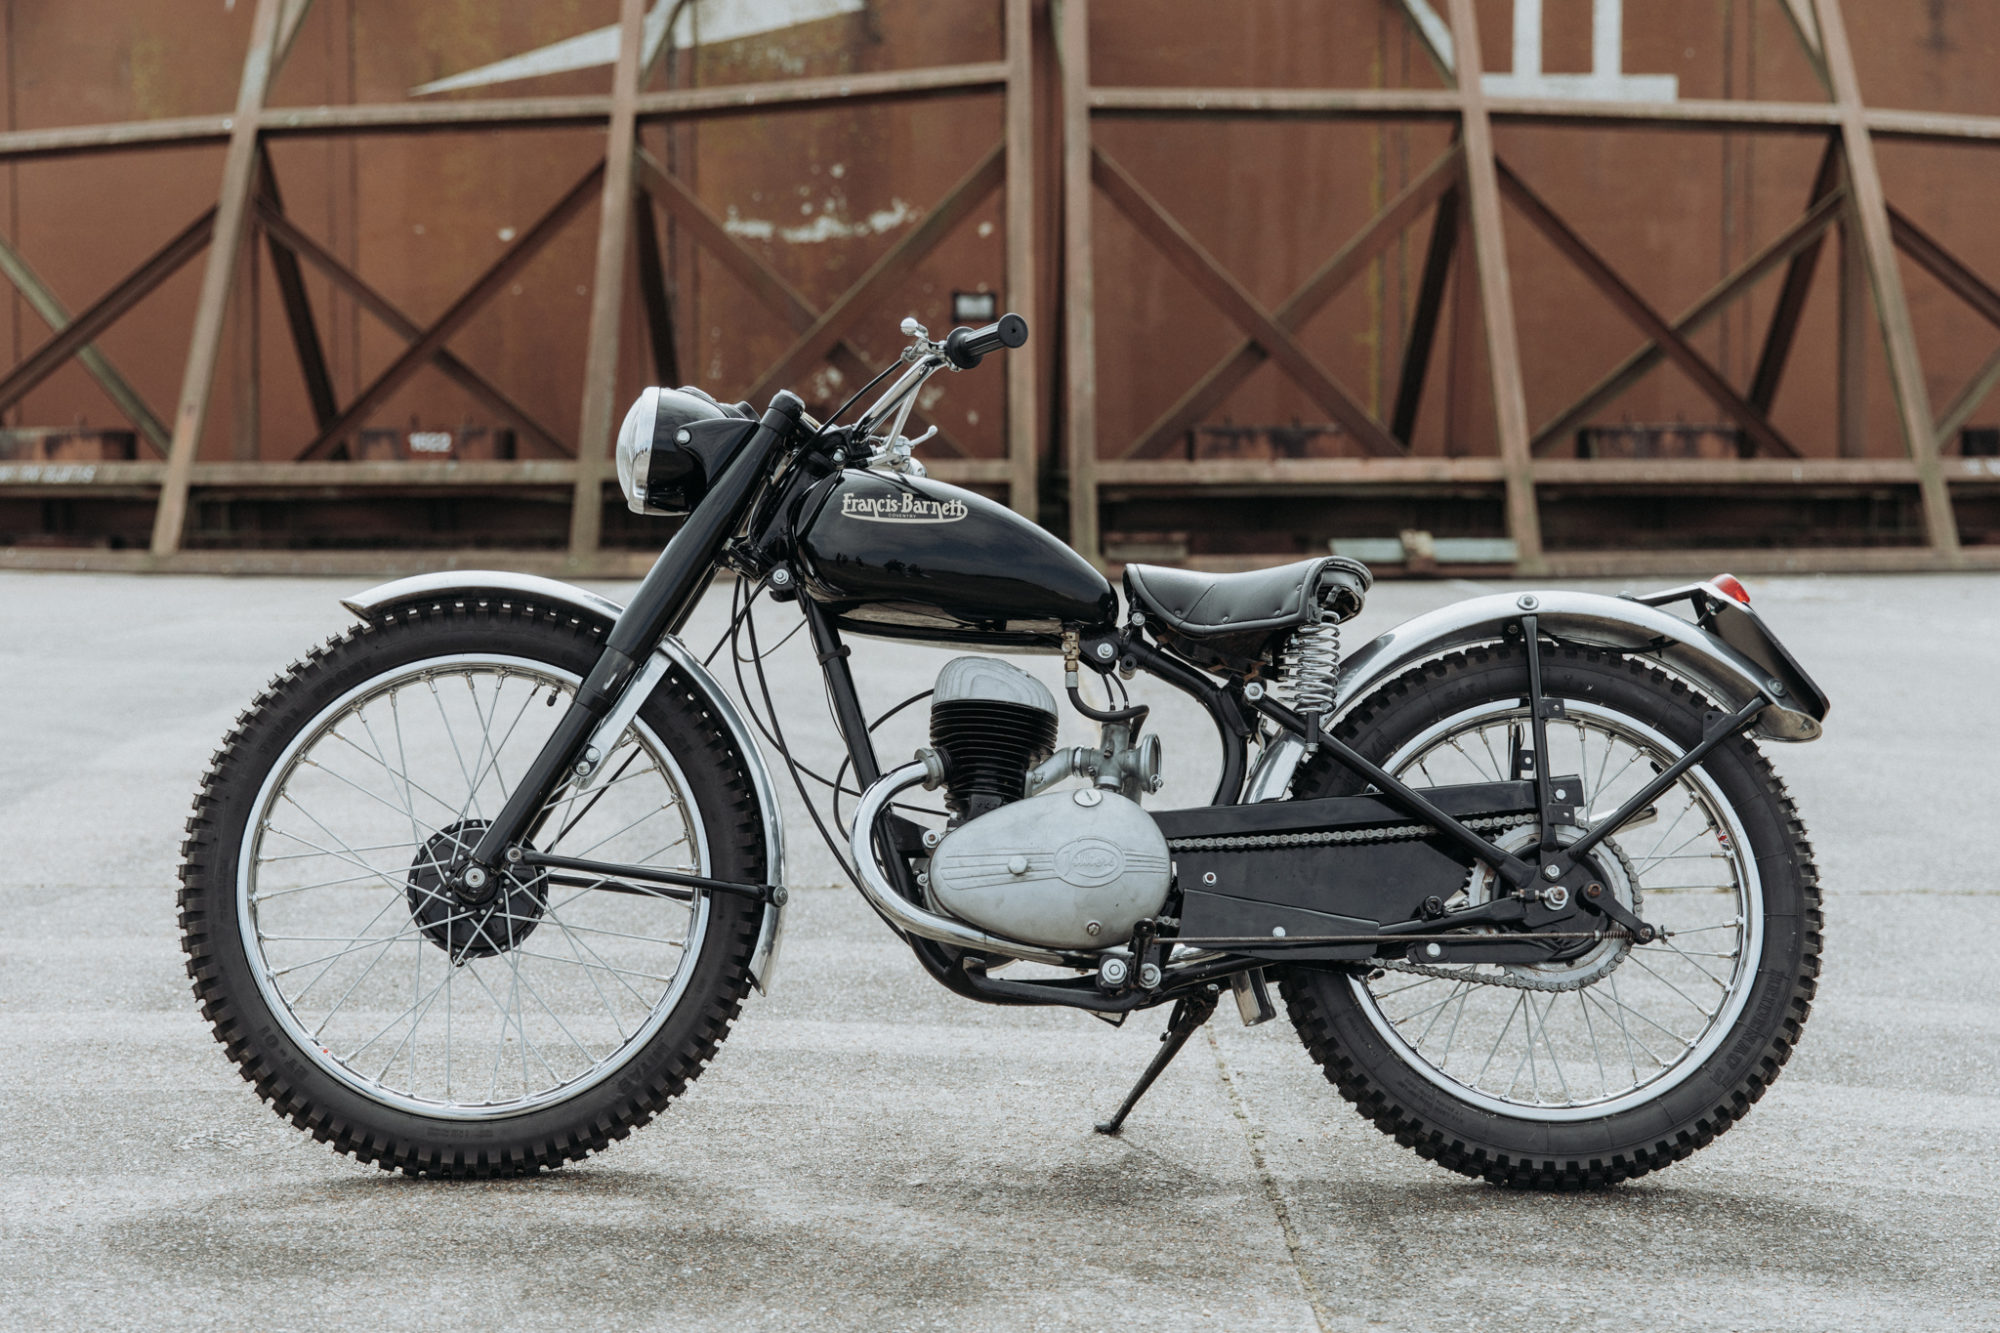
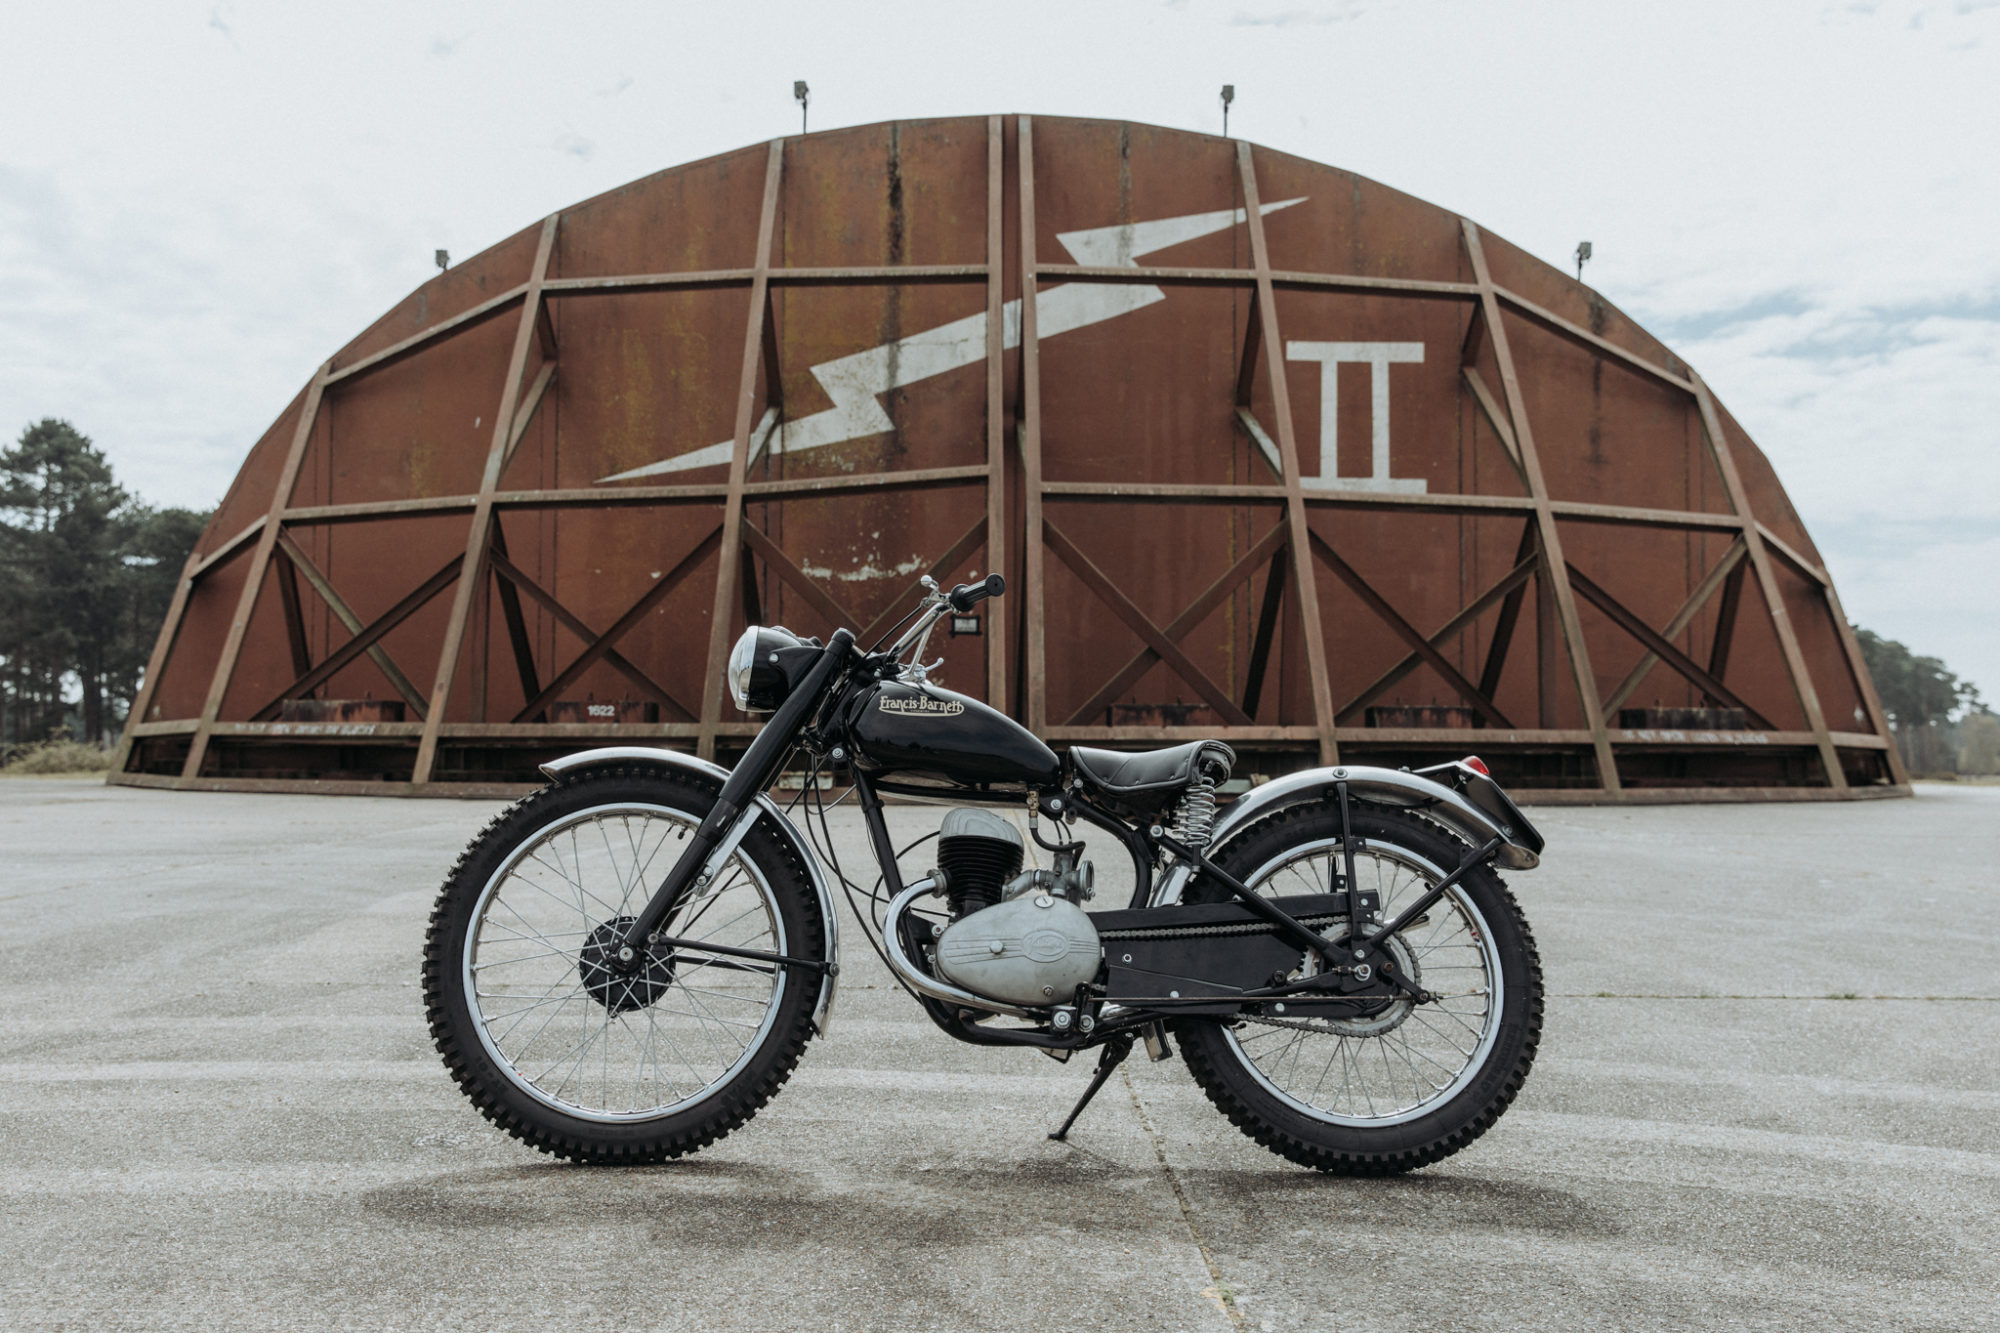
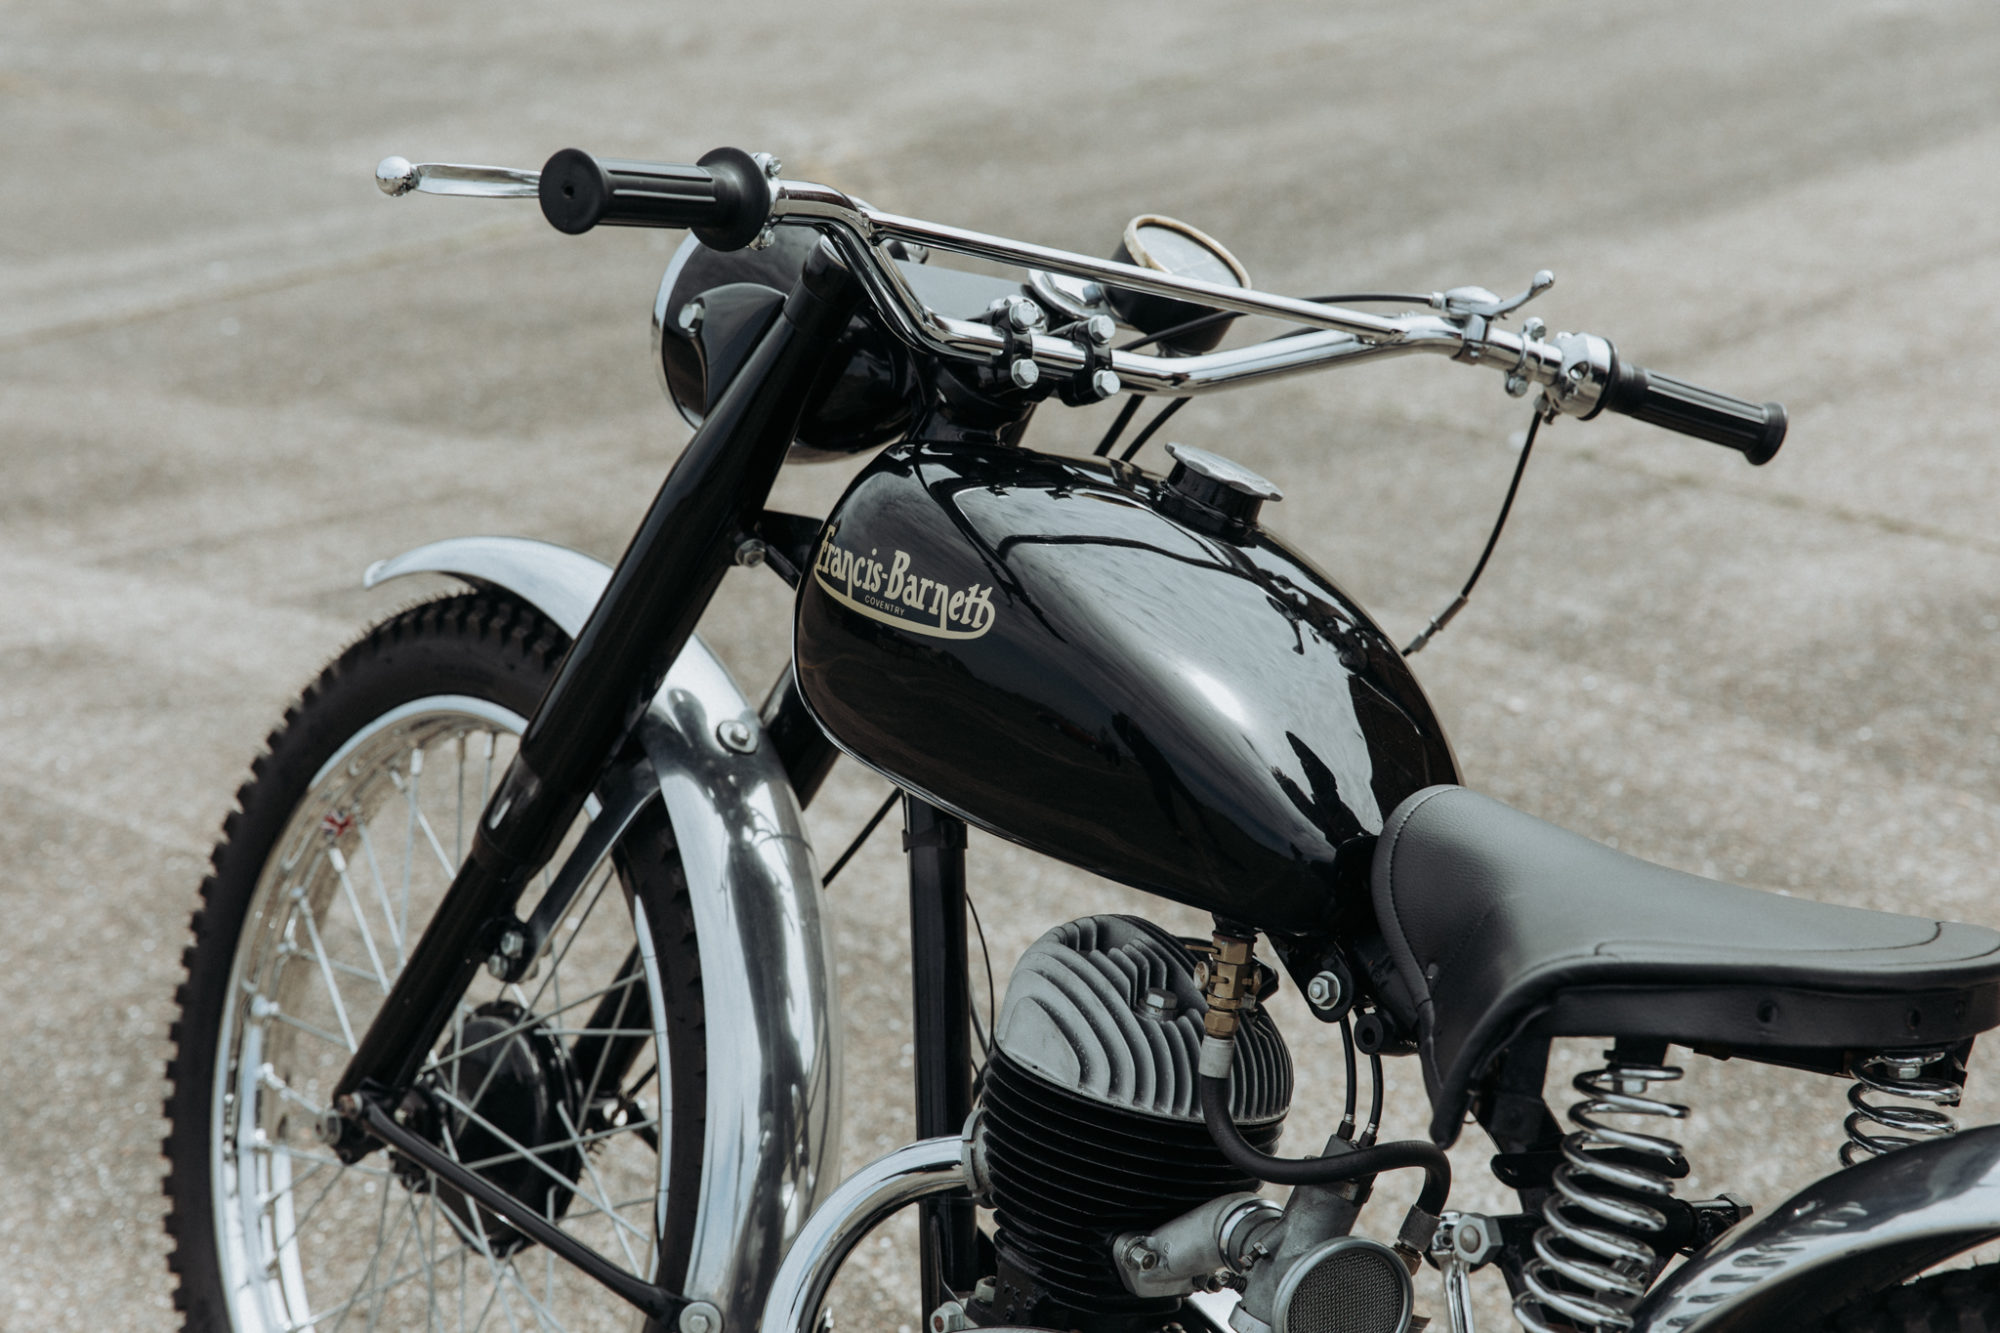
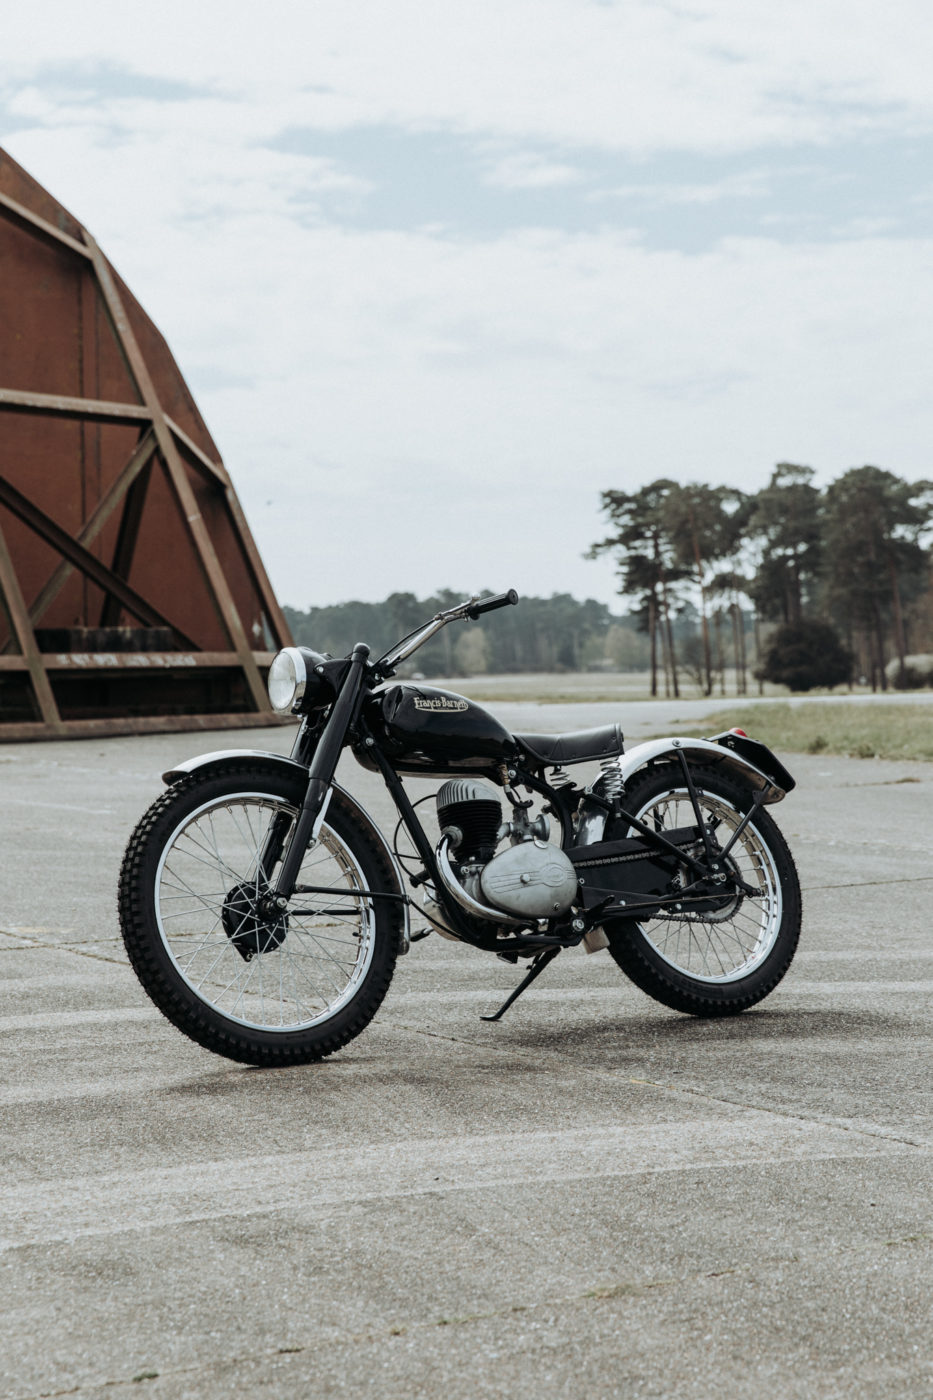
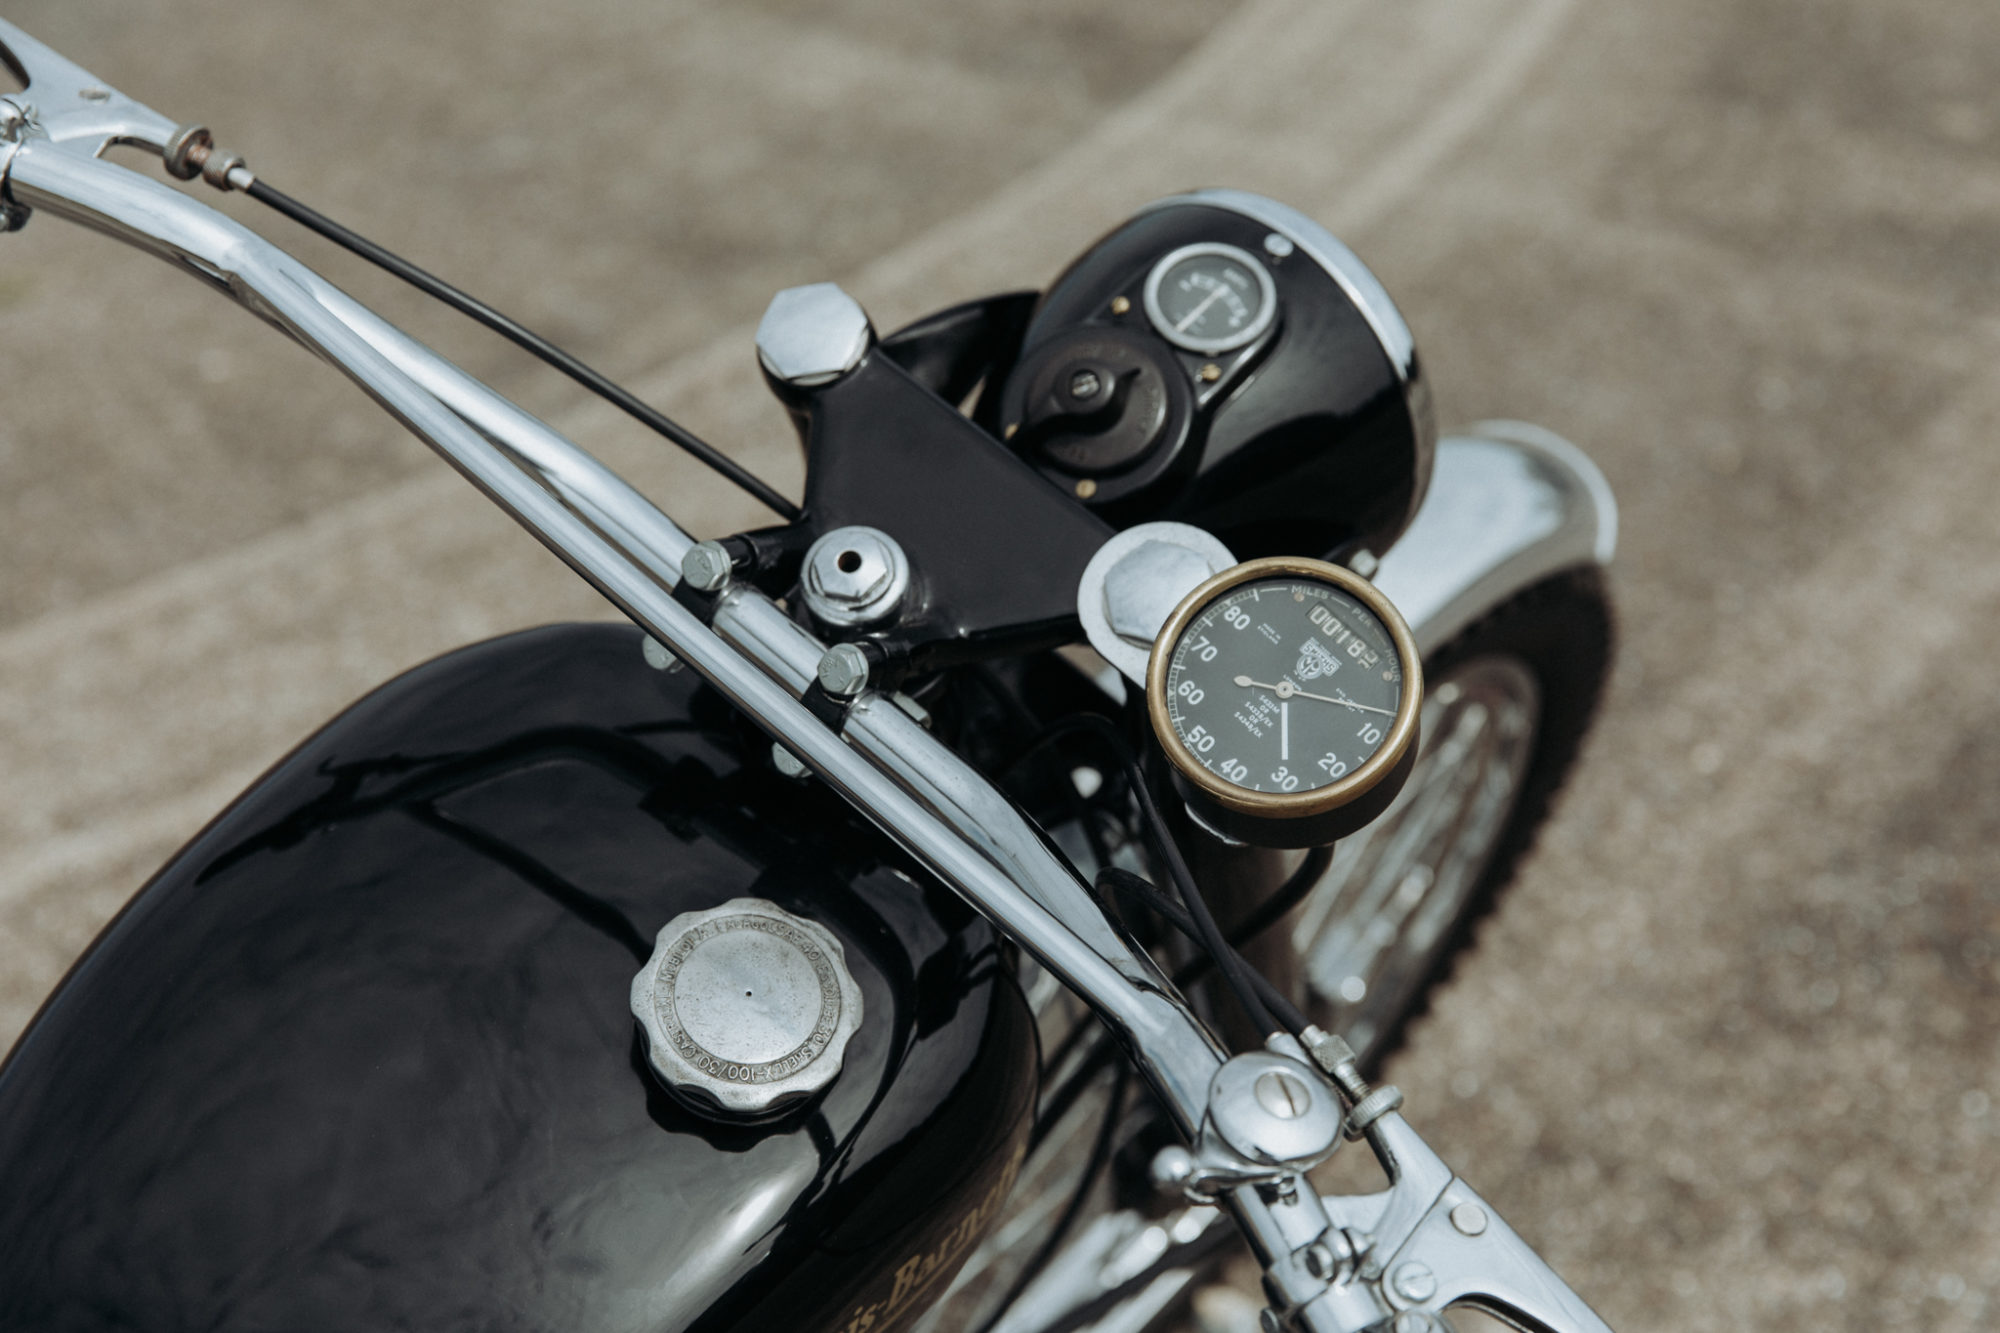
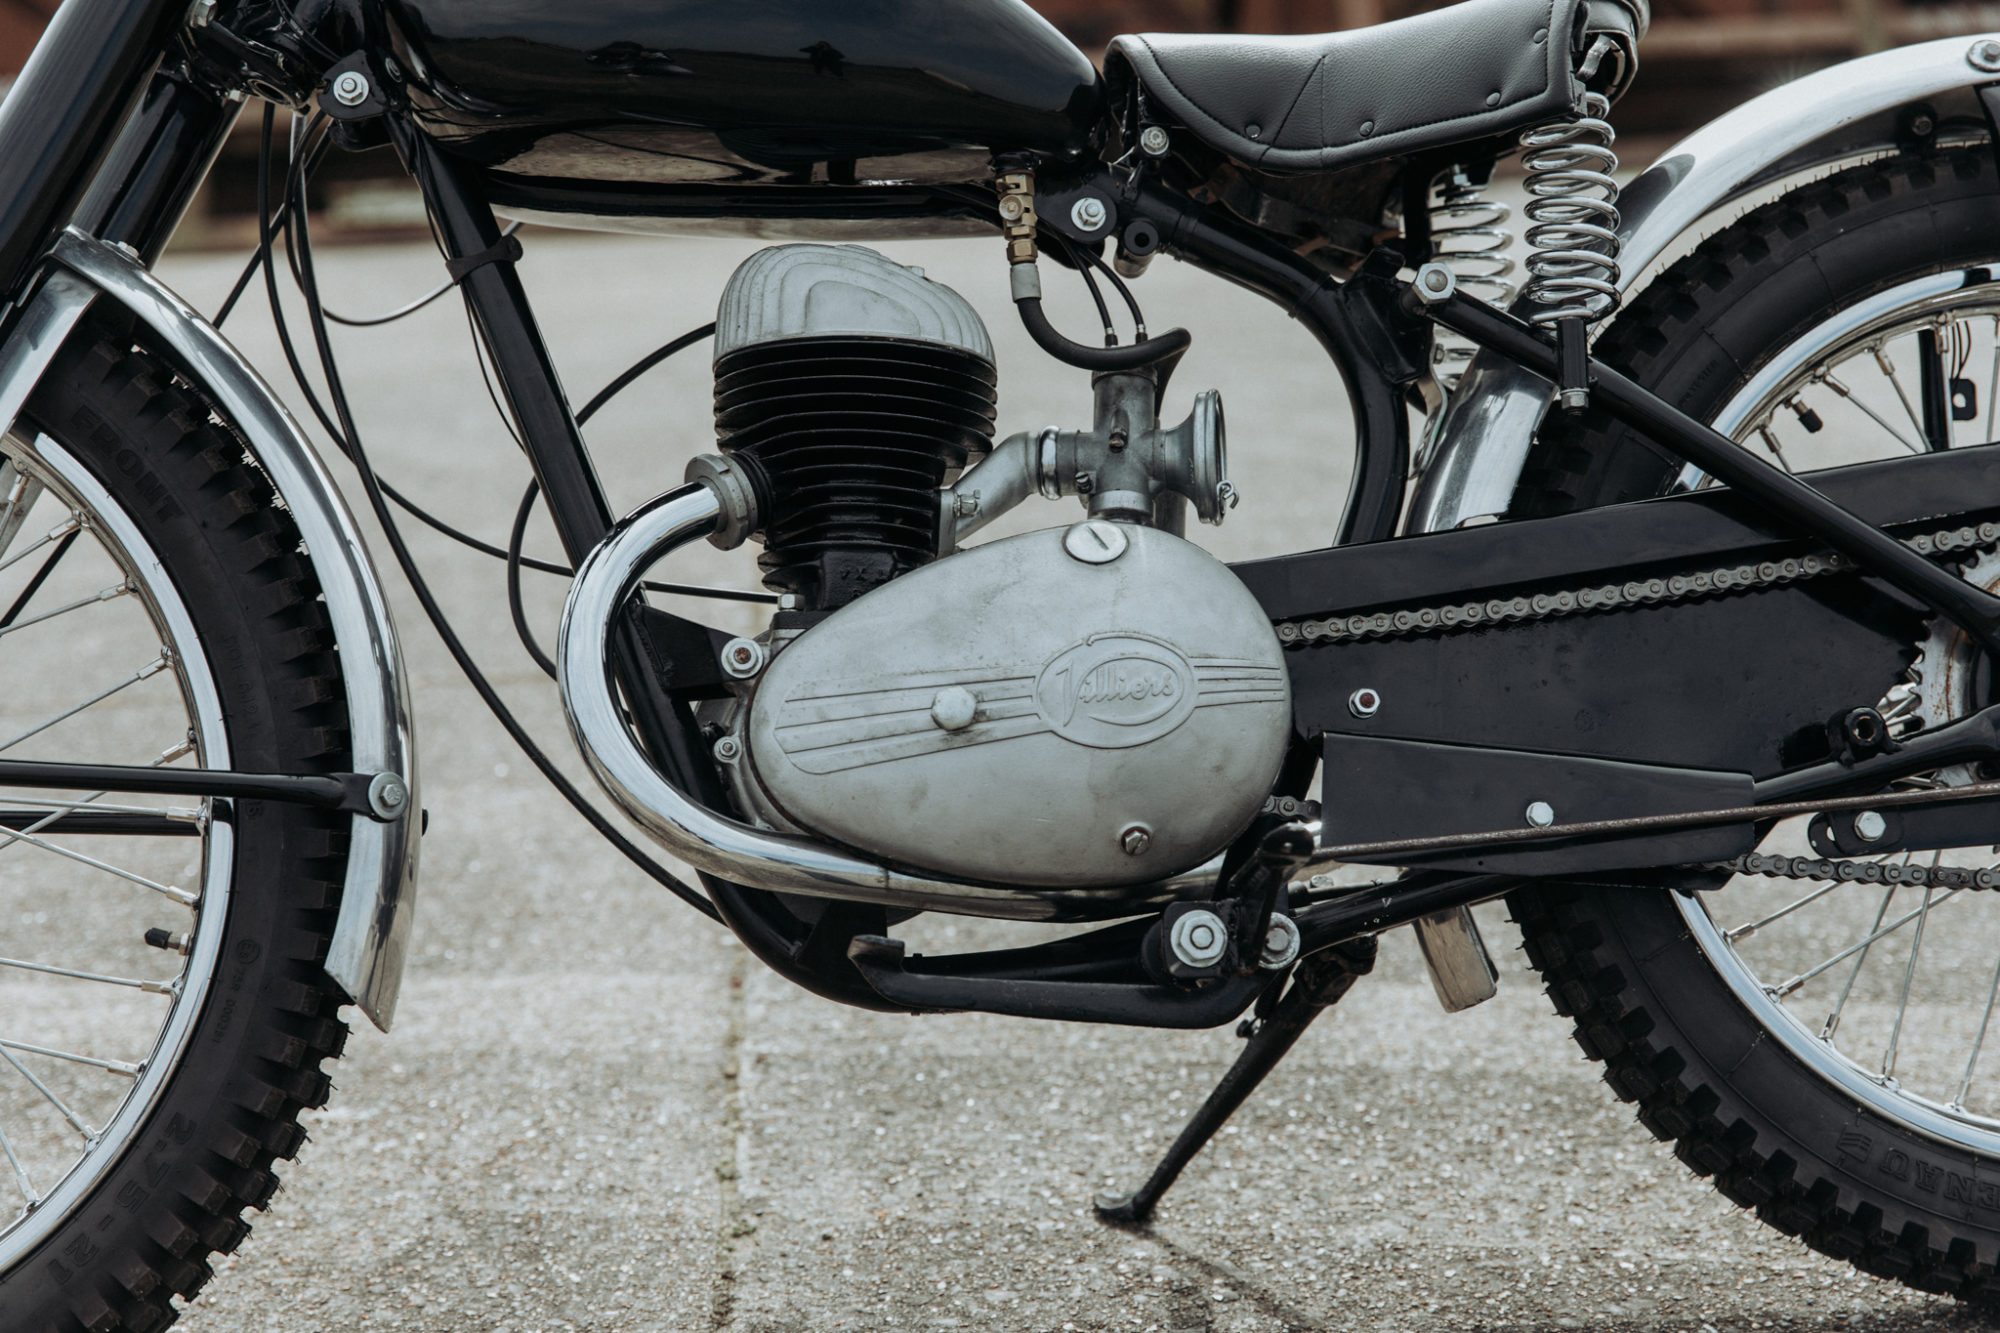
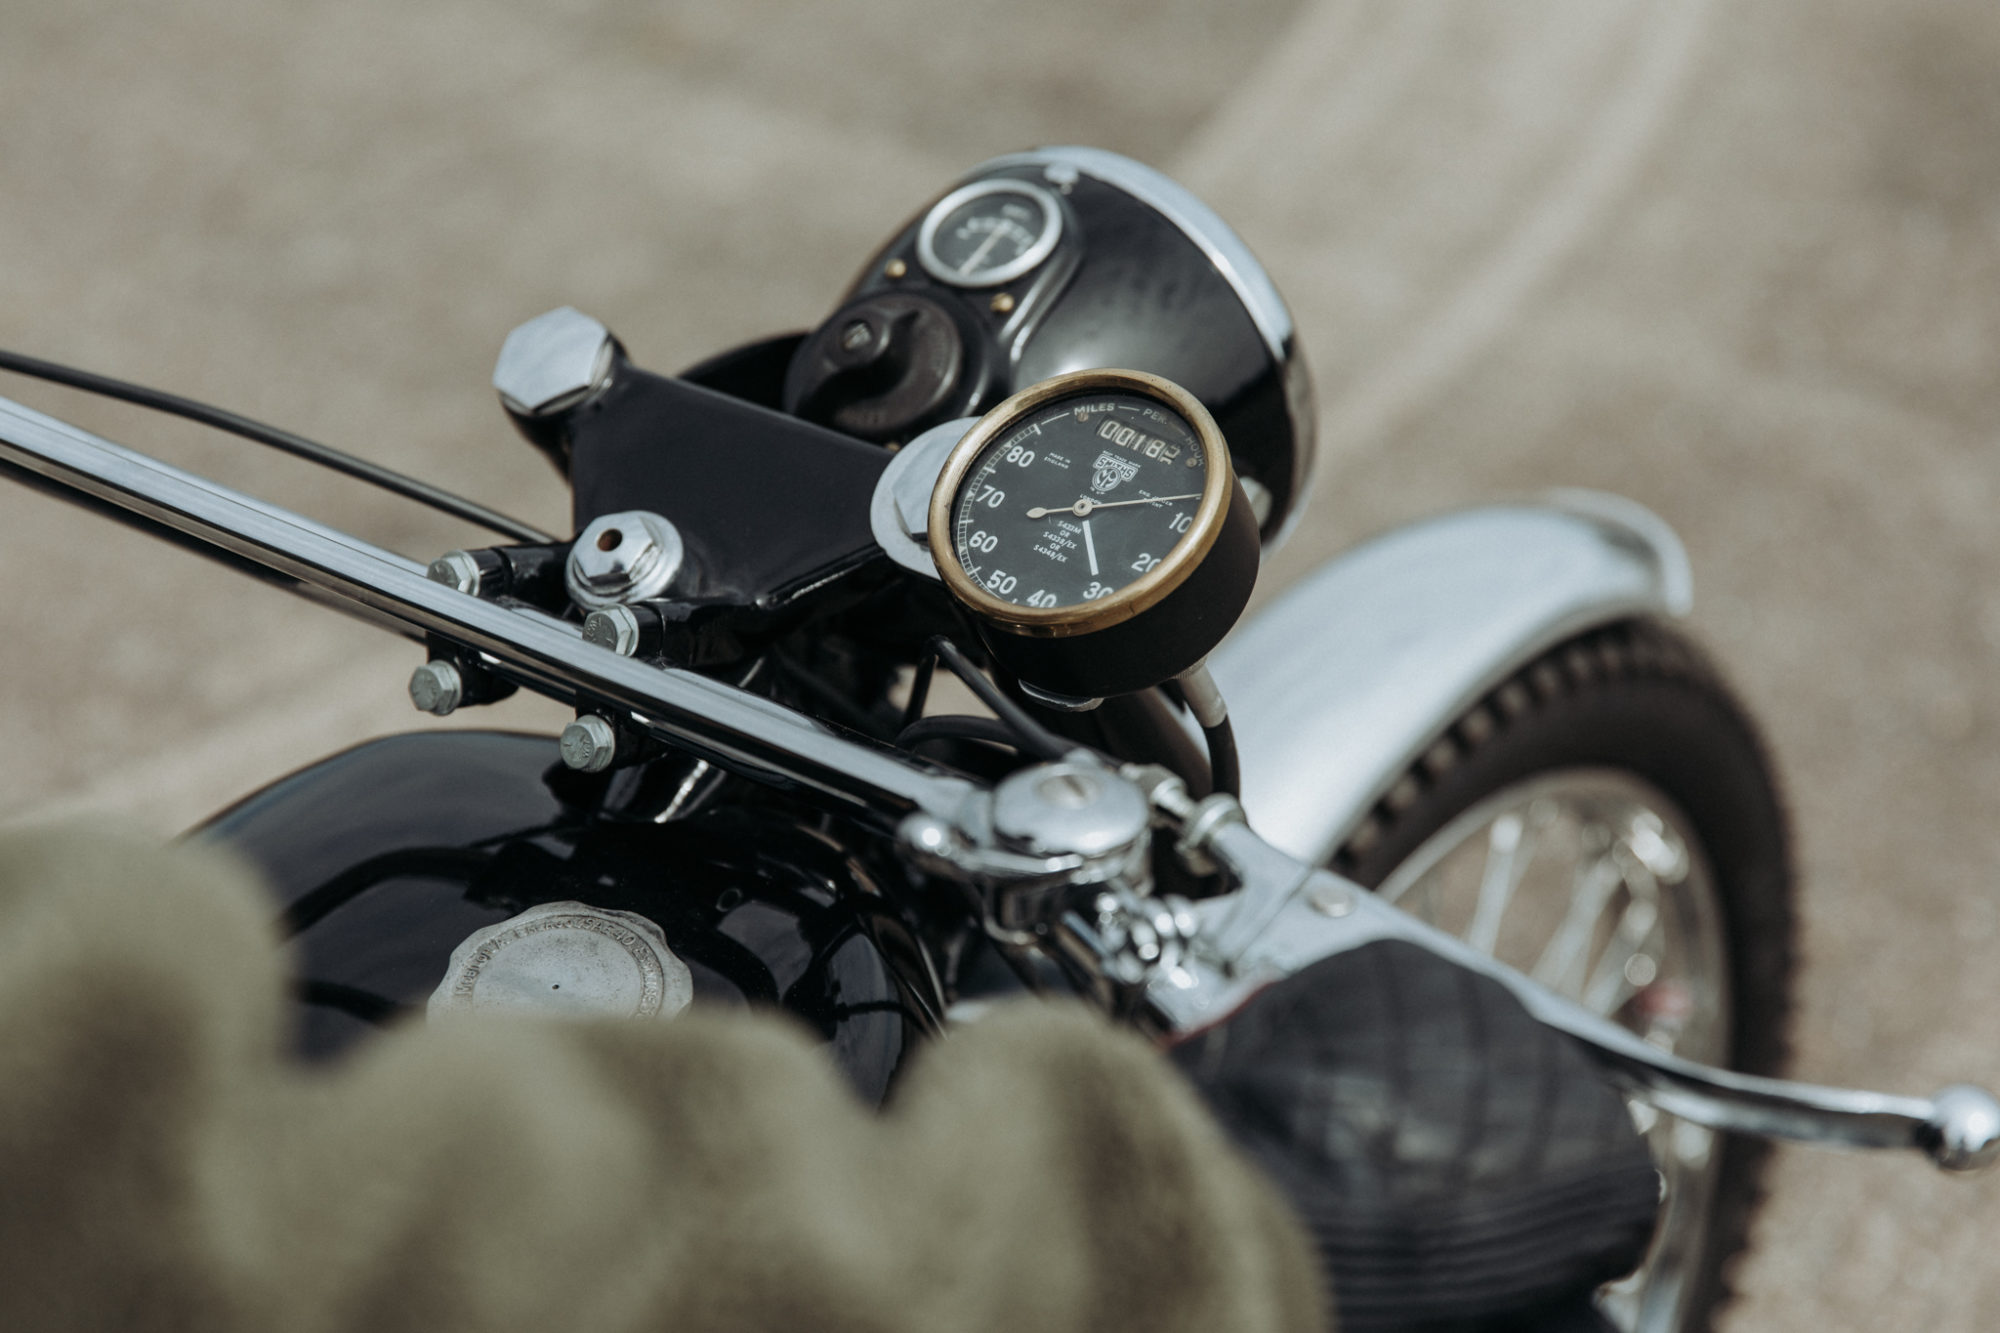
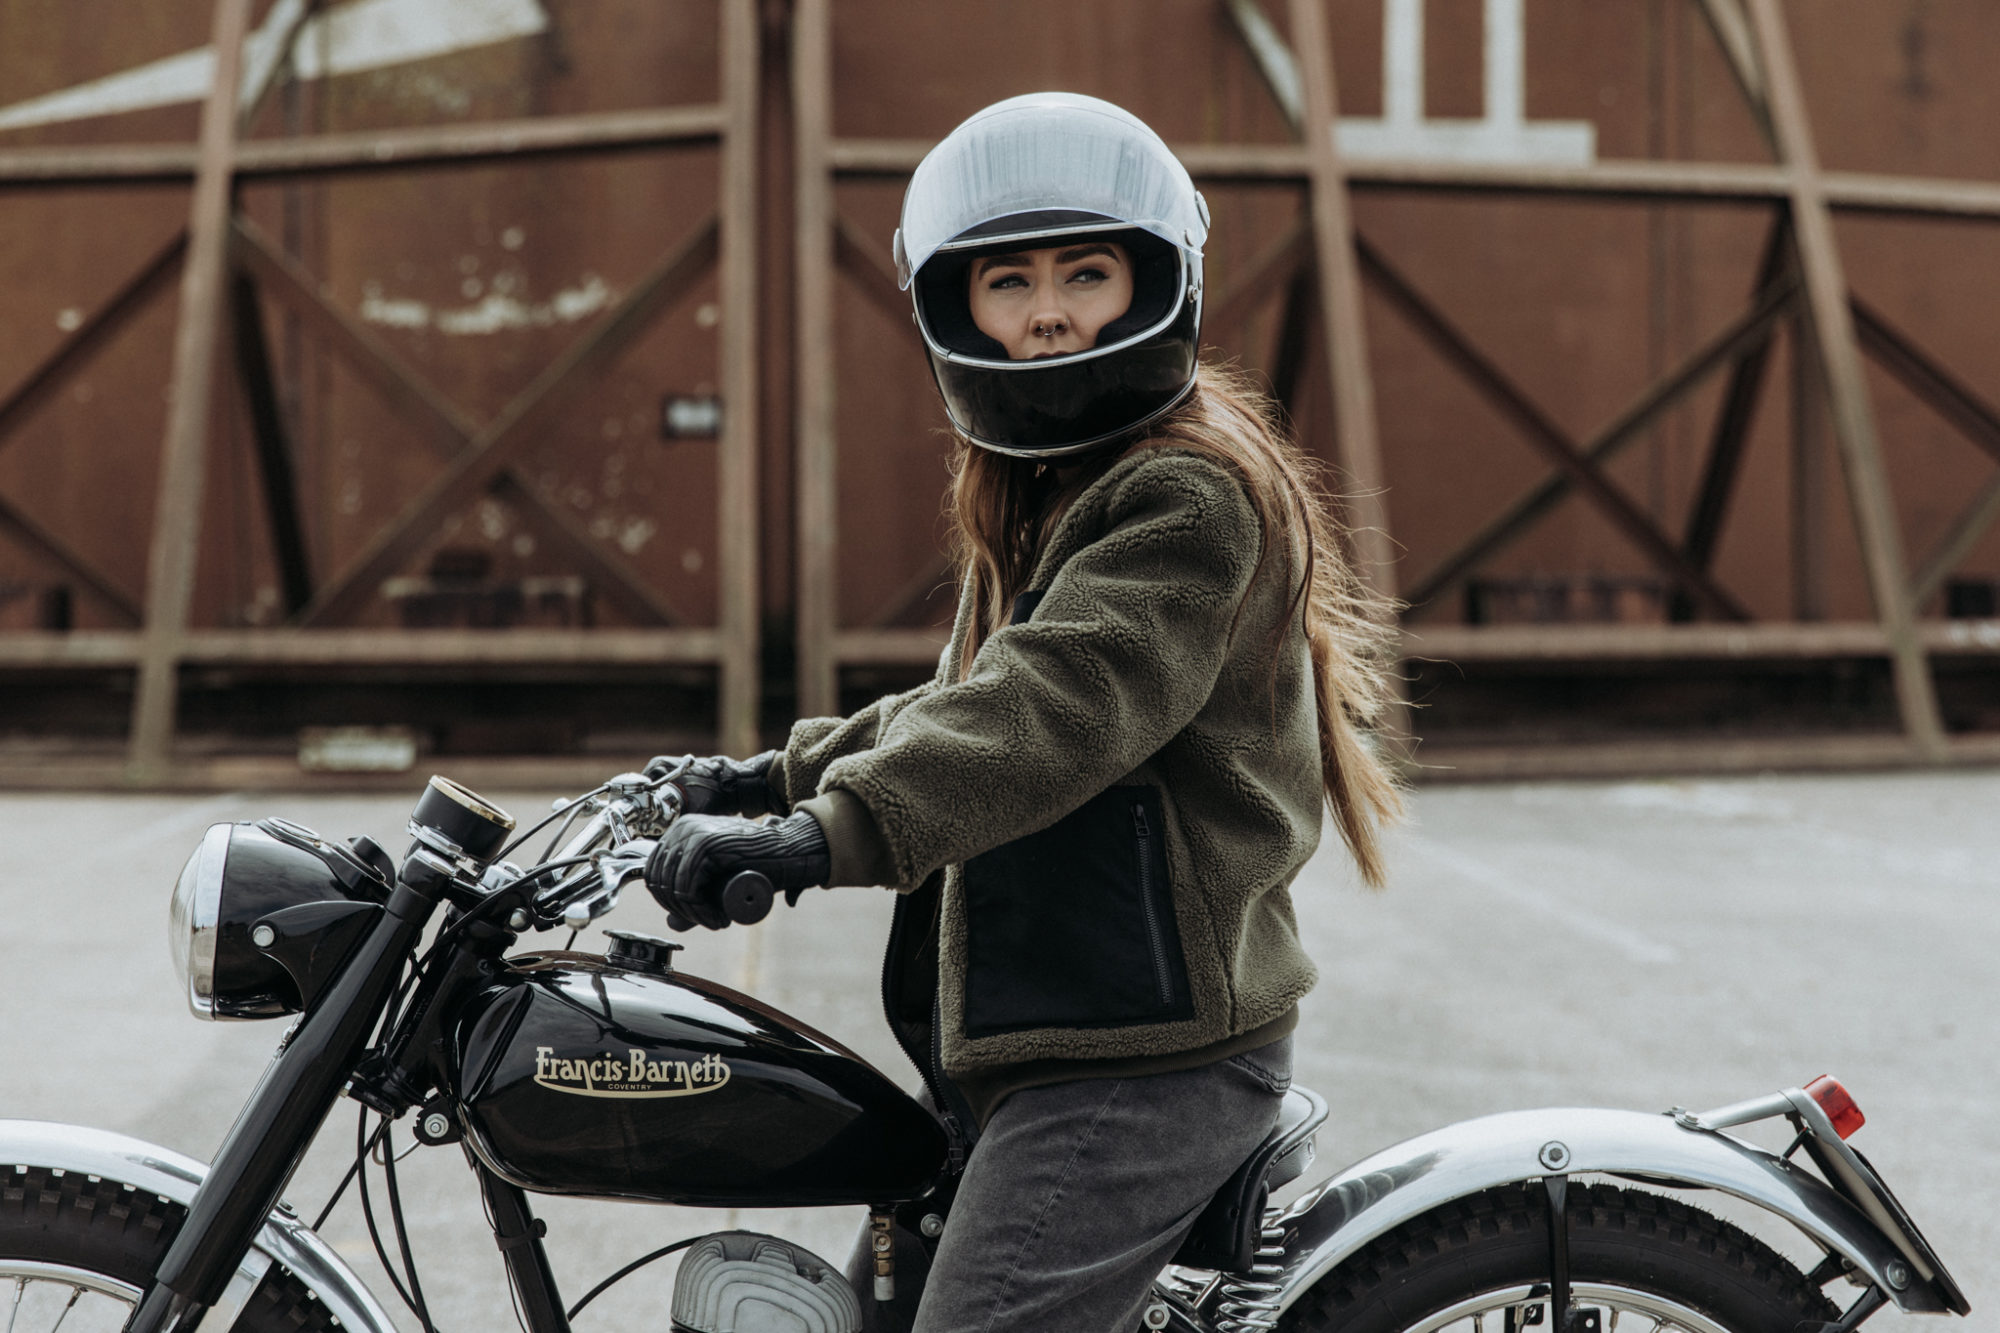
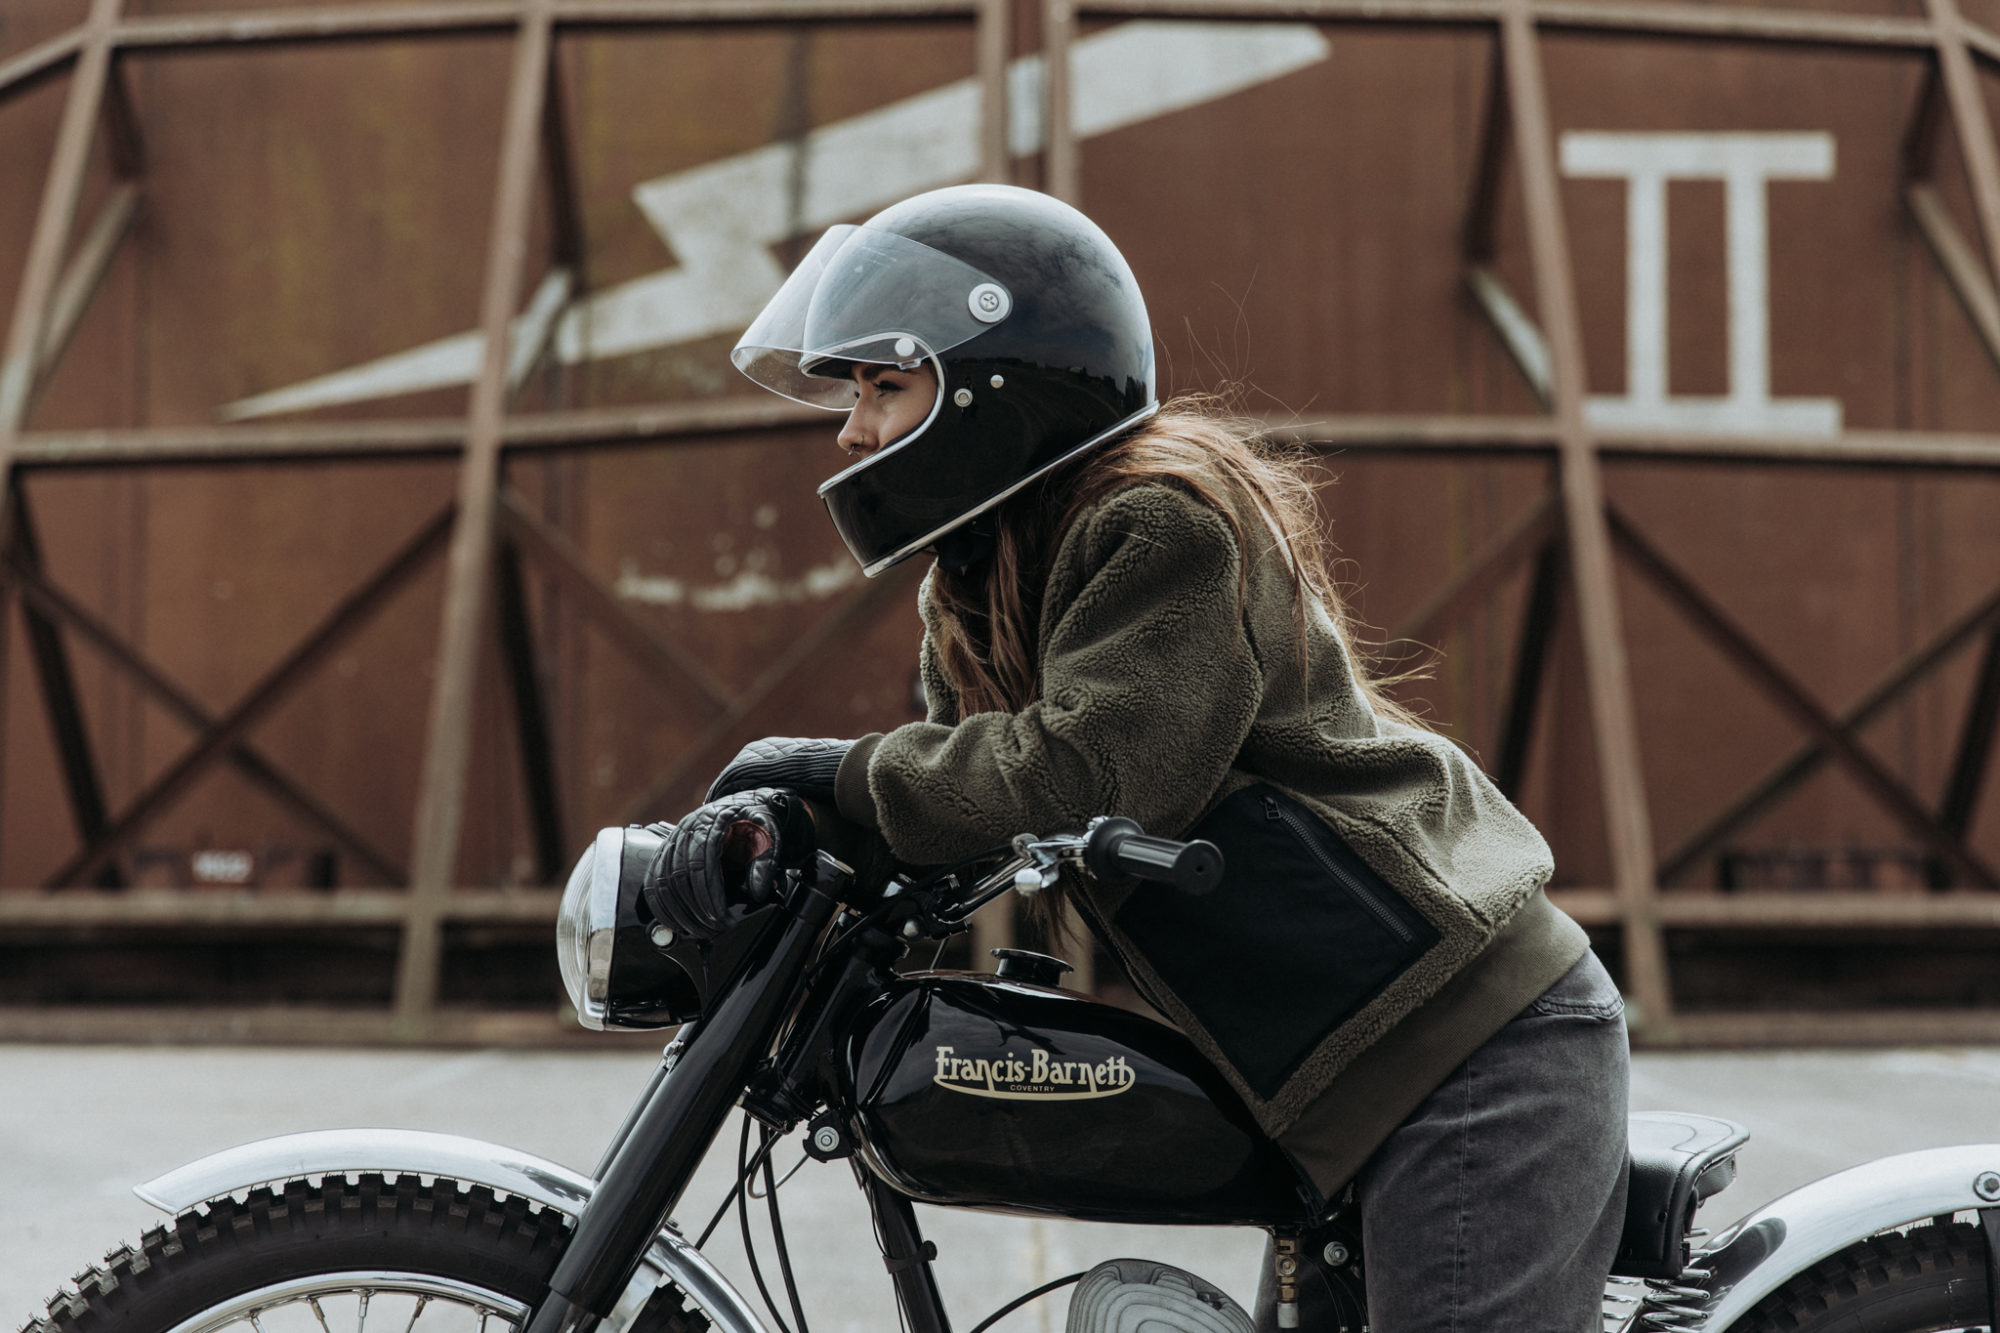
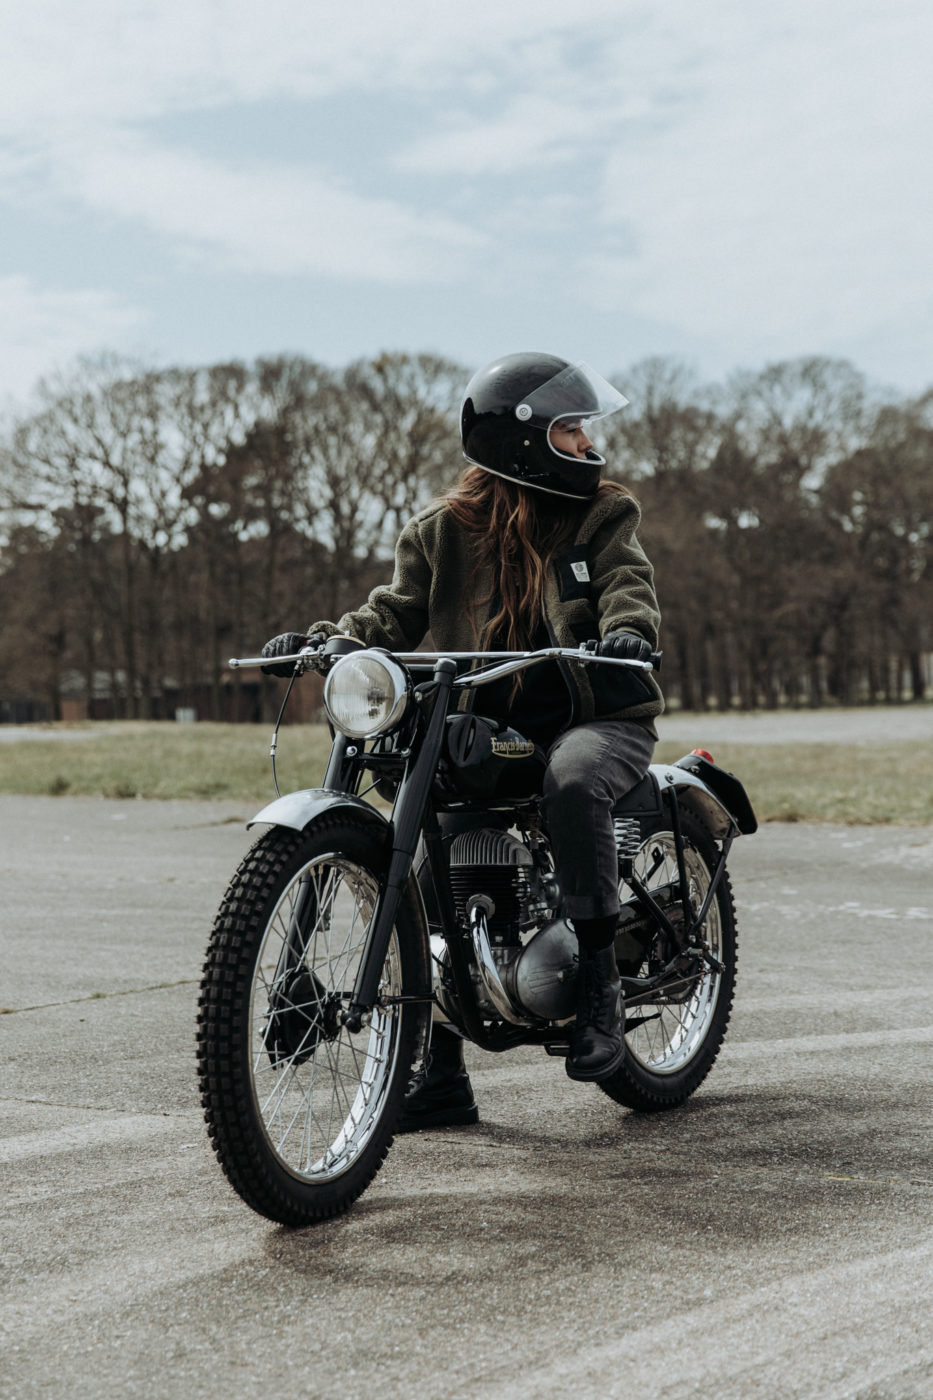
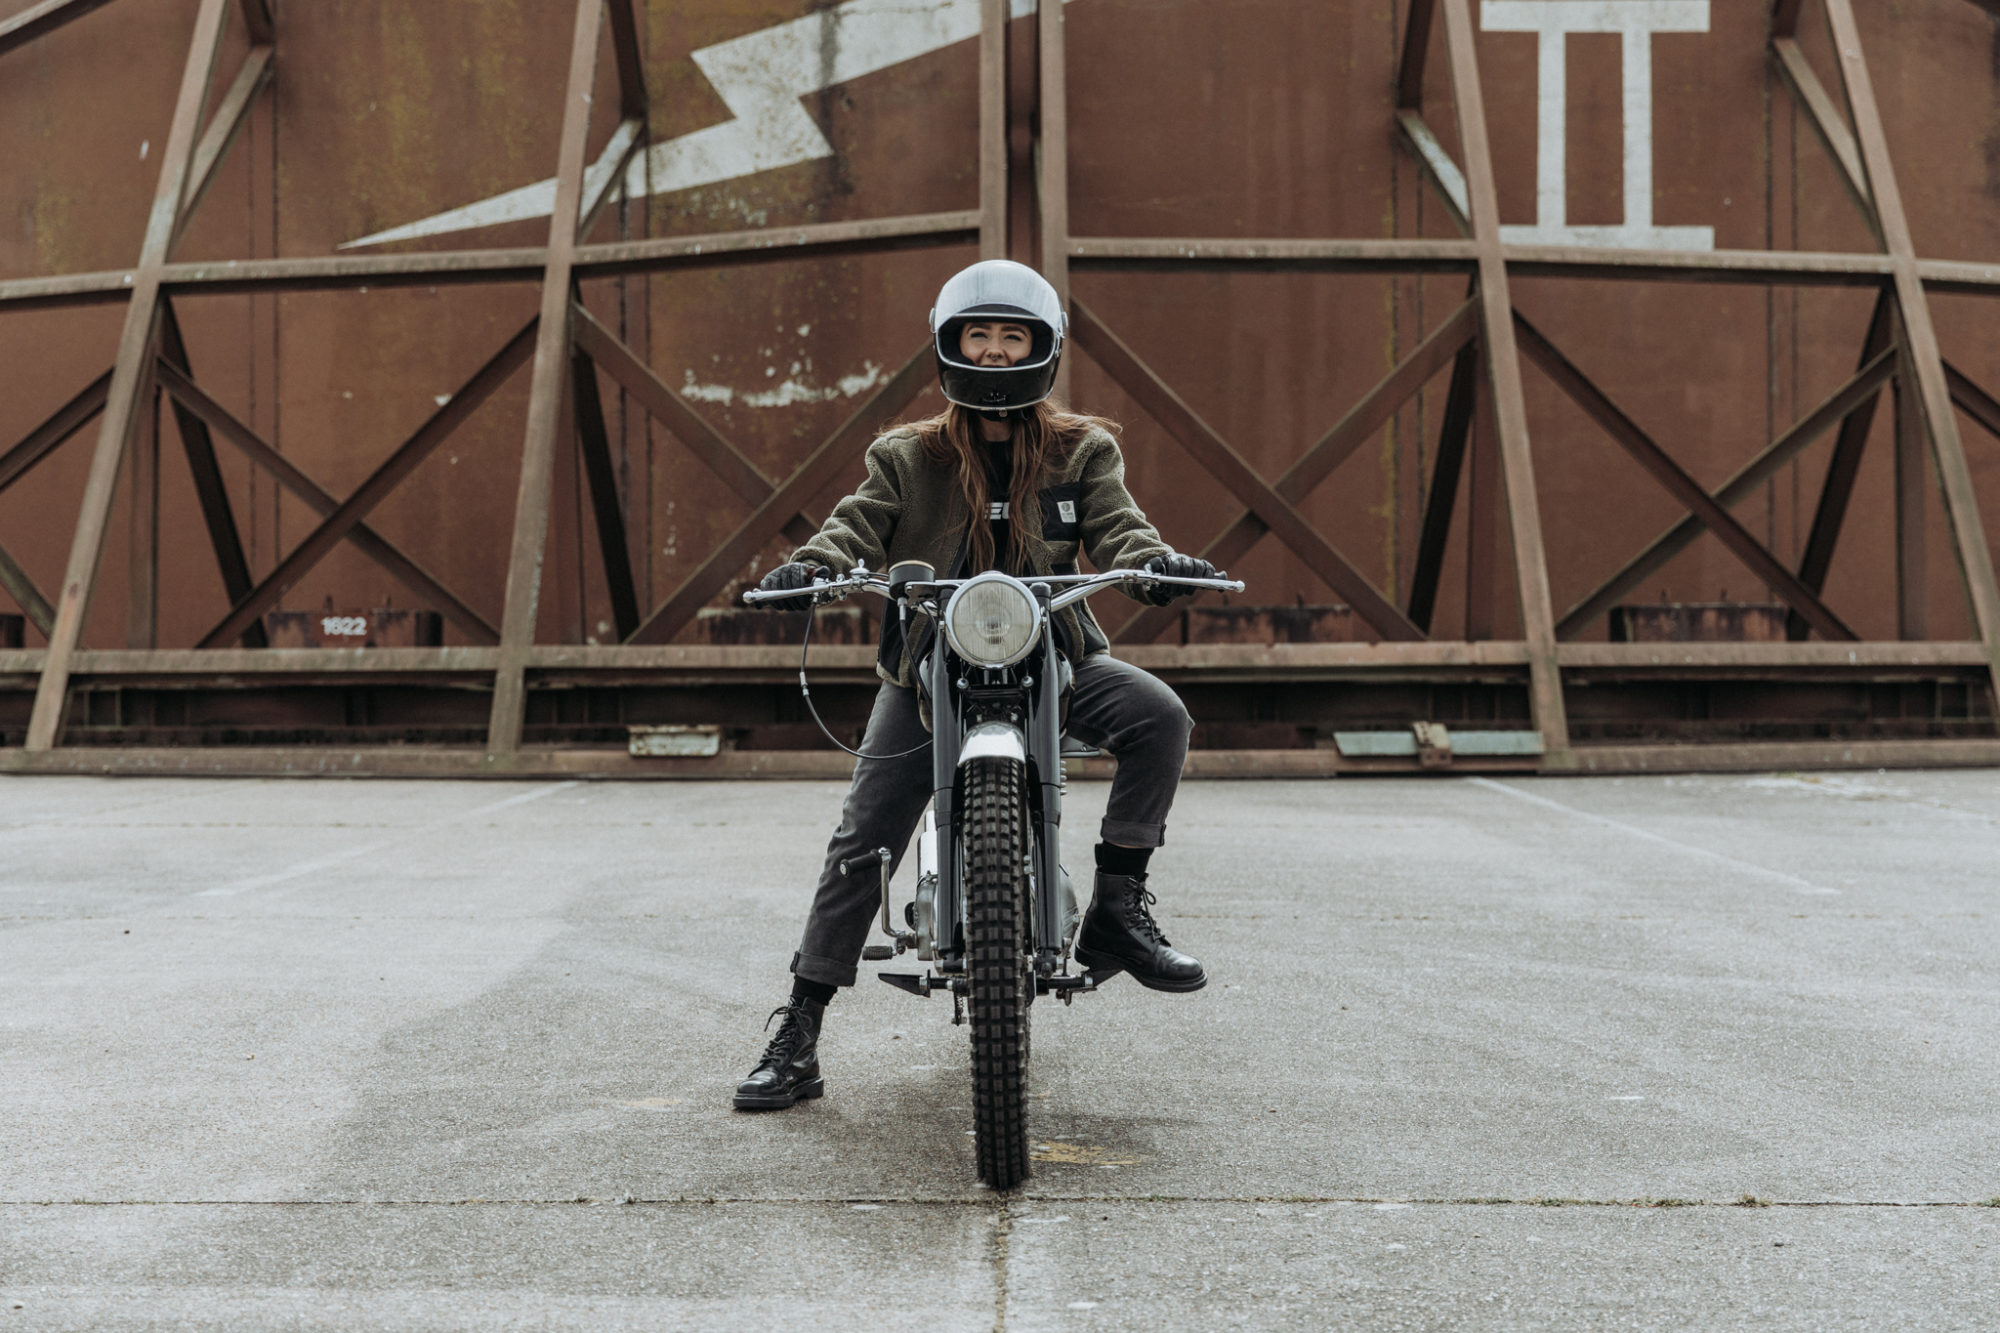
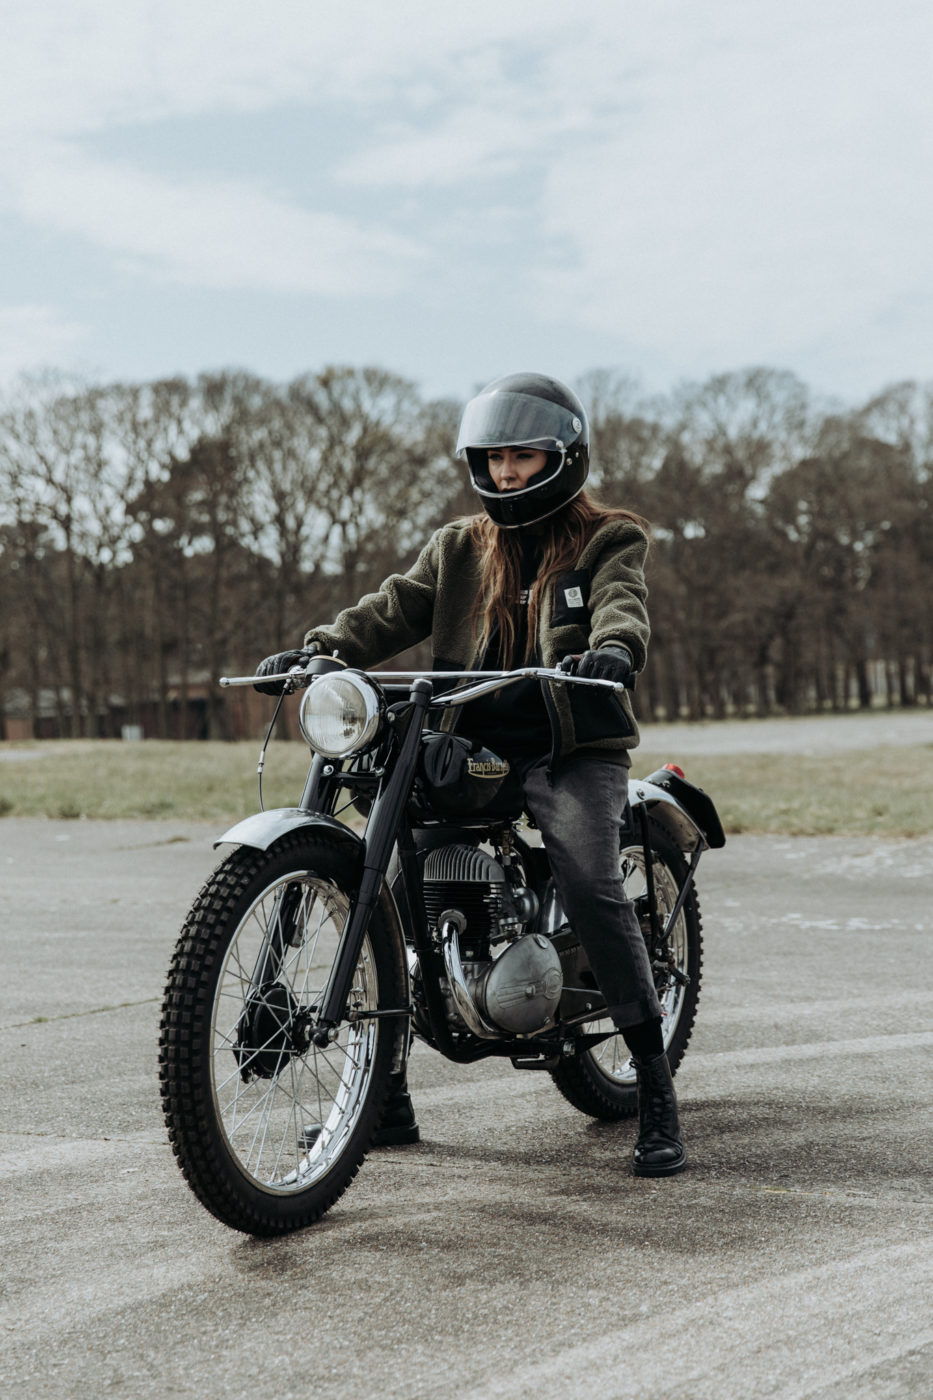
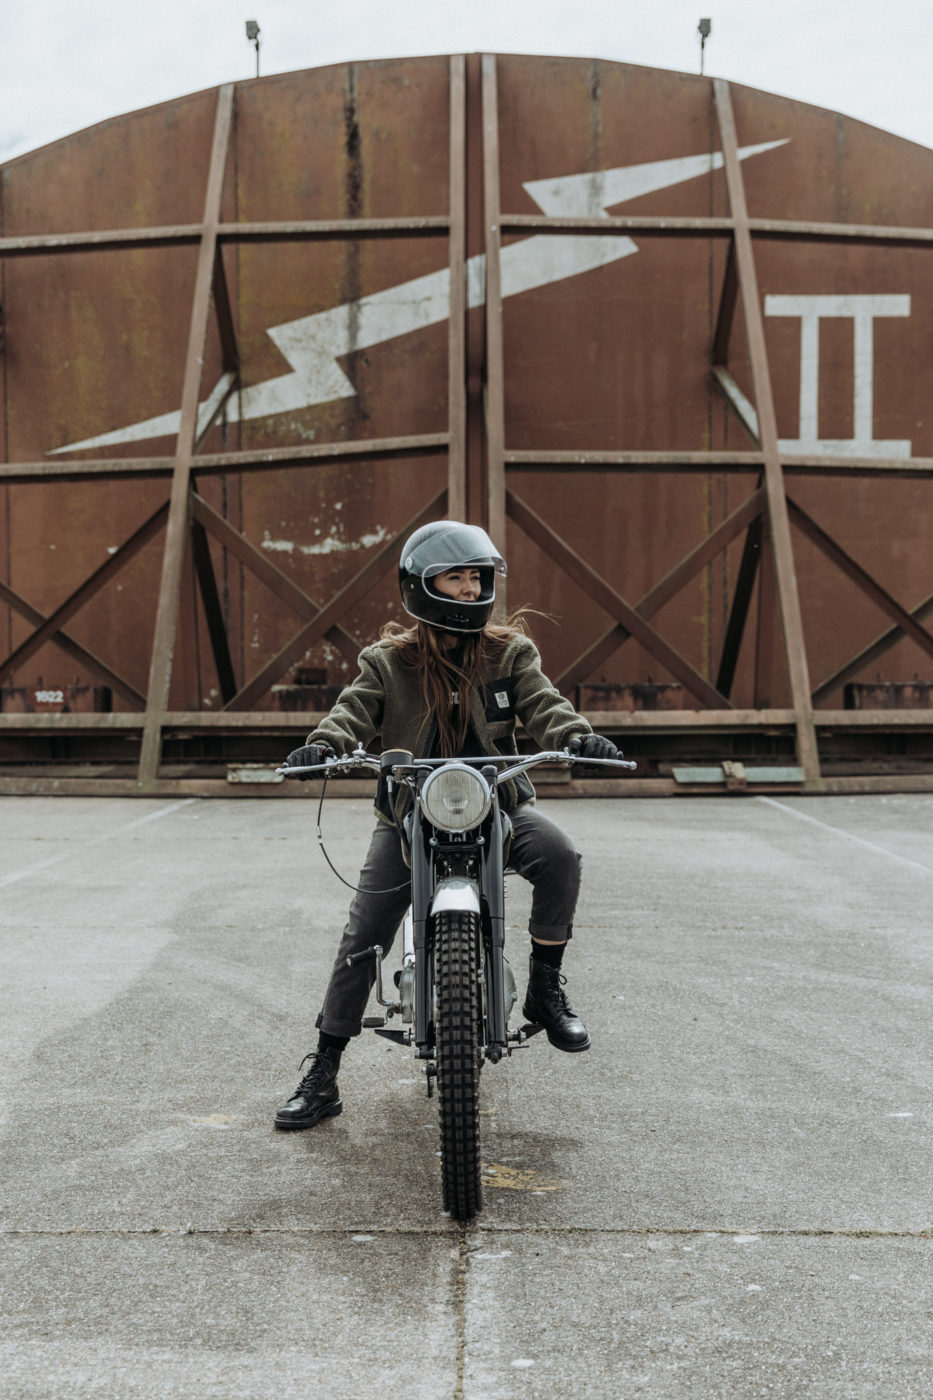
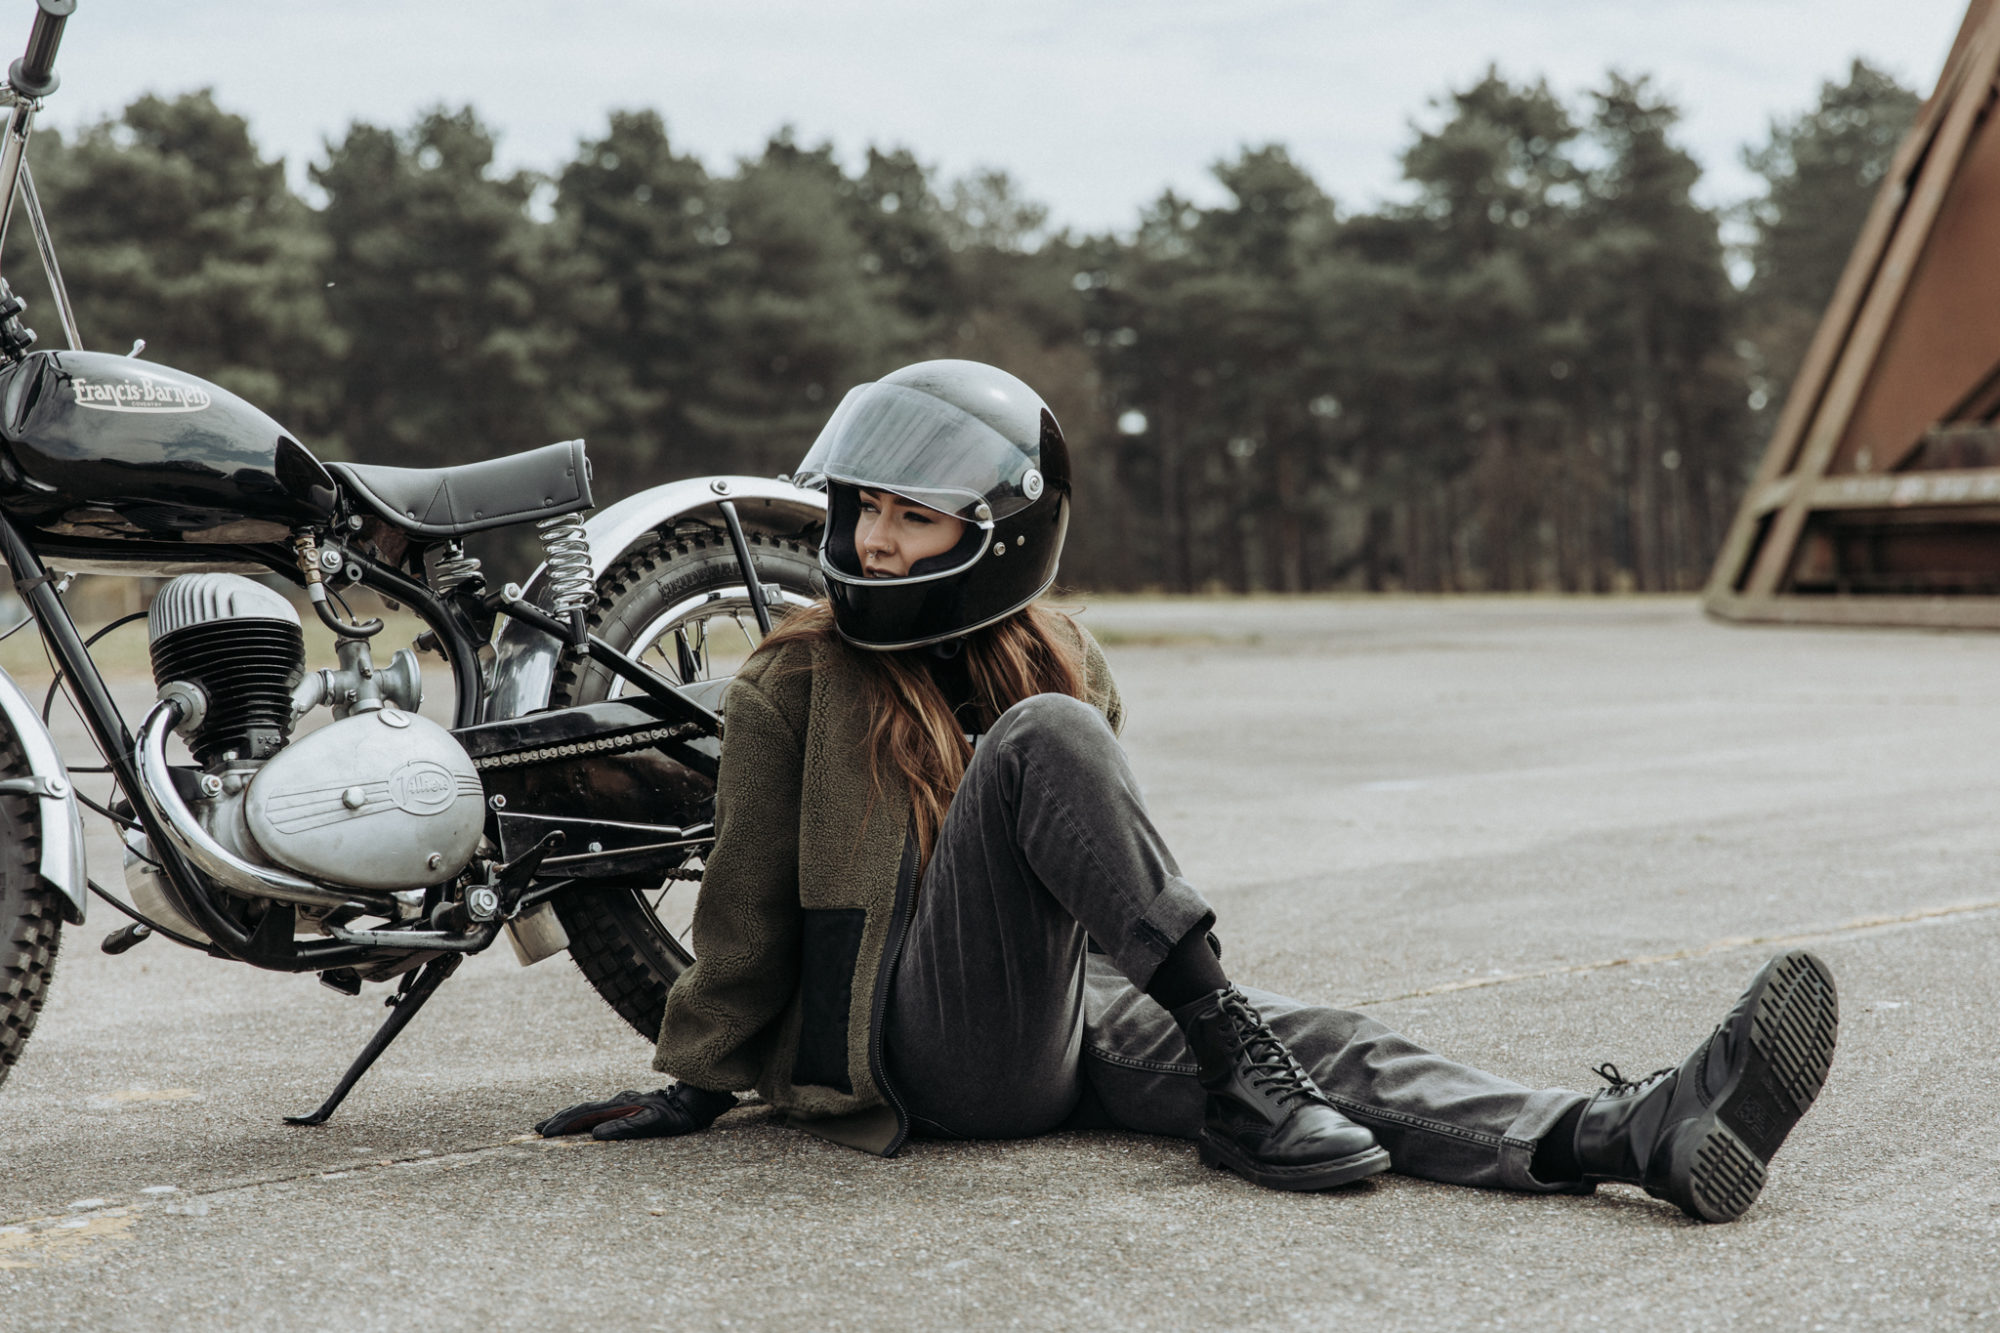
Photographer Lydia Harper and her team came down to photograph our 1953 Francis Barnett Trials Bike last week for a new campaign with Deus Ex
Introducing Collecting Cars: Collecting Cars has established itself as a leader in the world of online auctions. Their streamlined process is making buying and selling cars
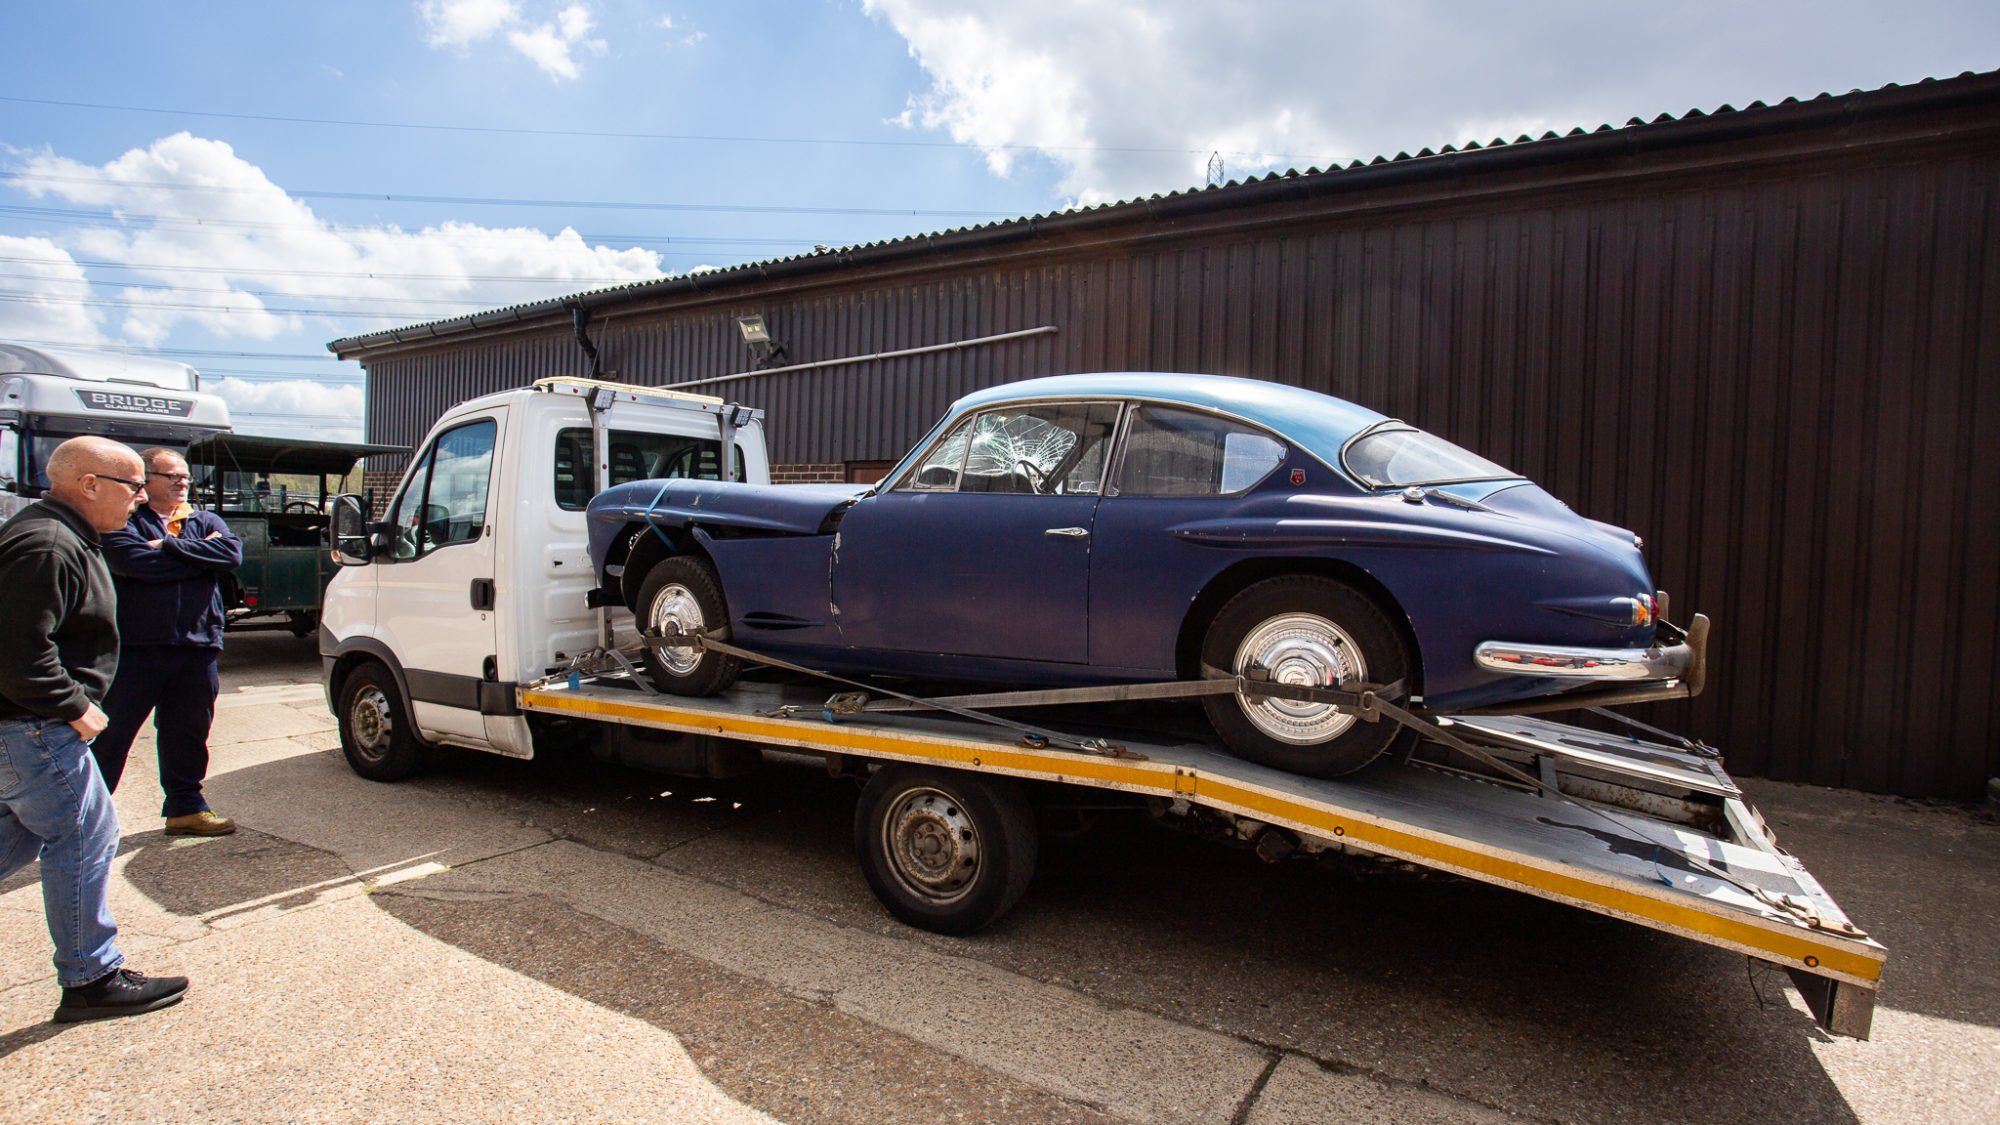
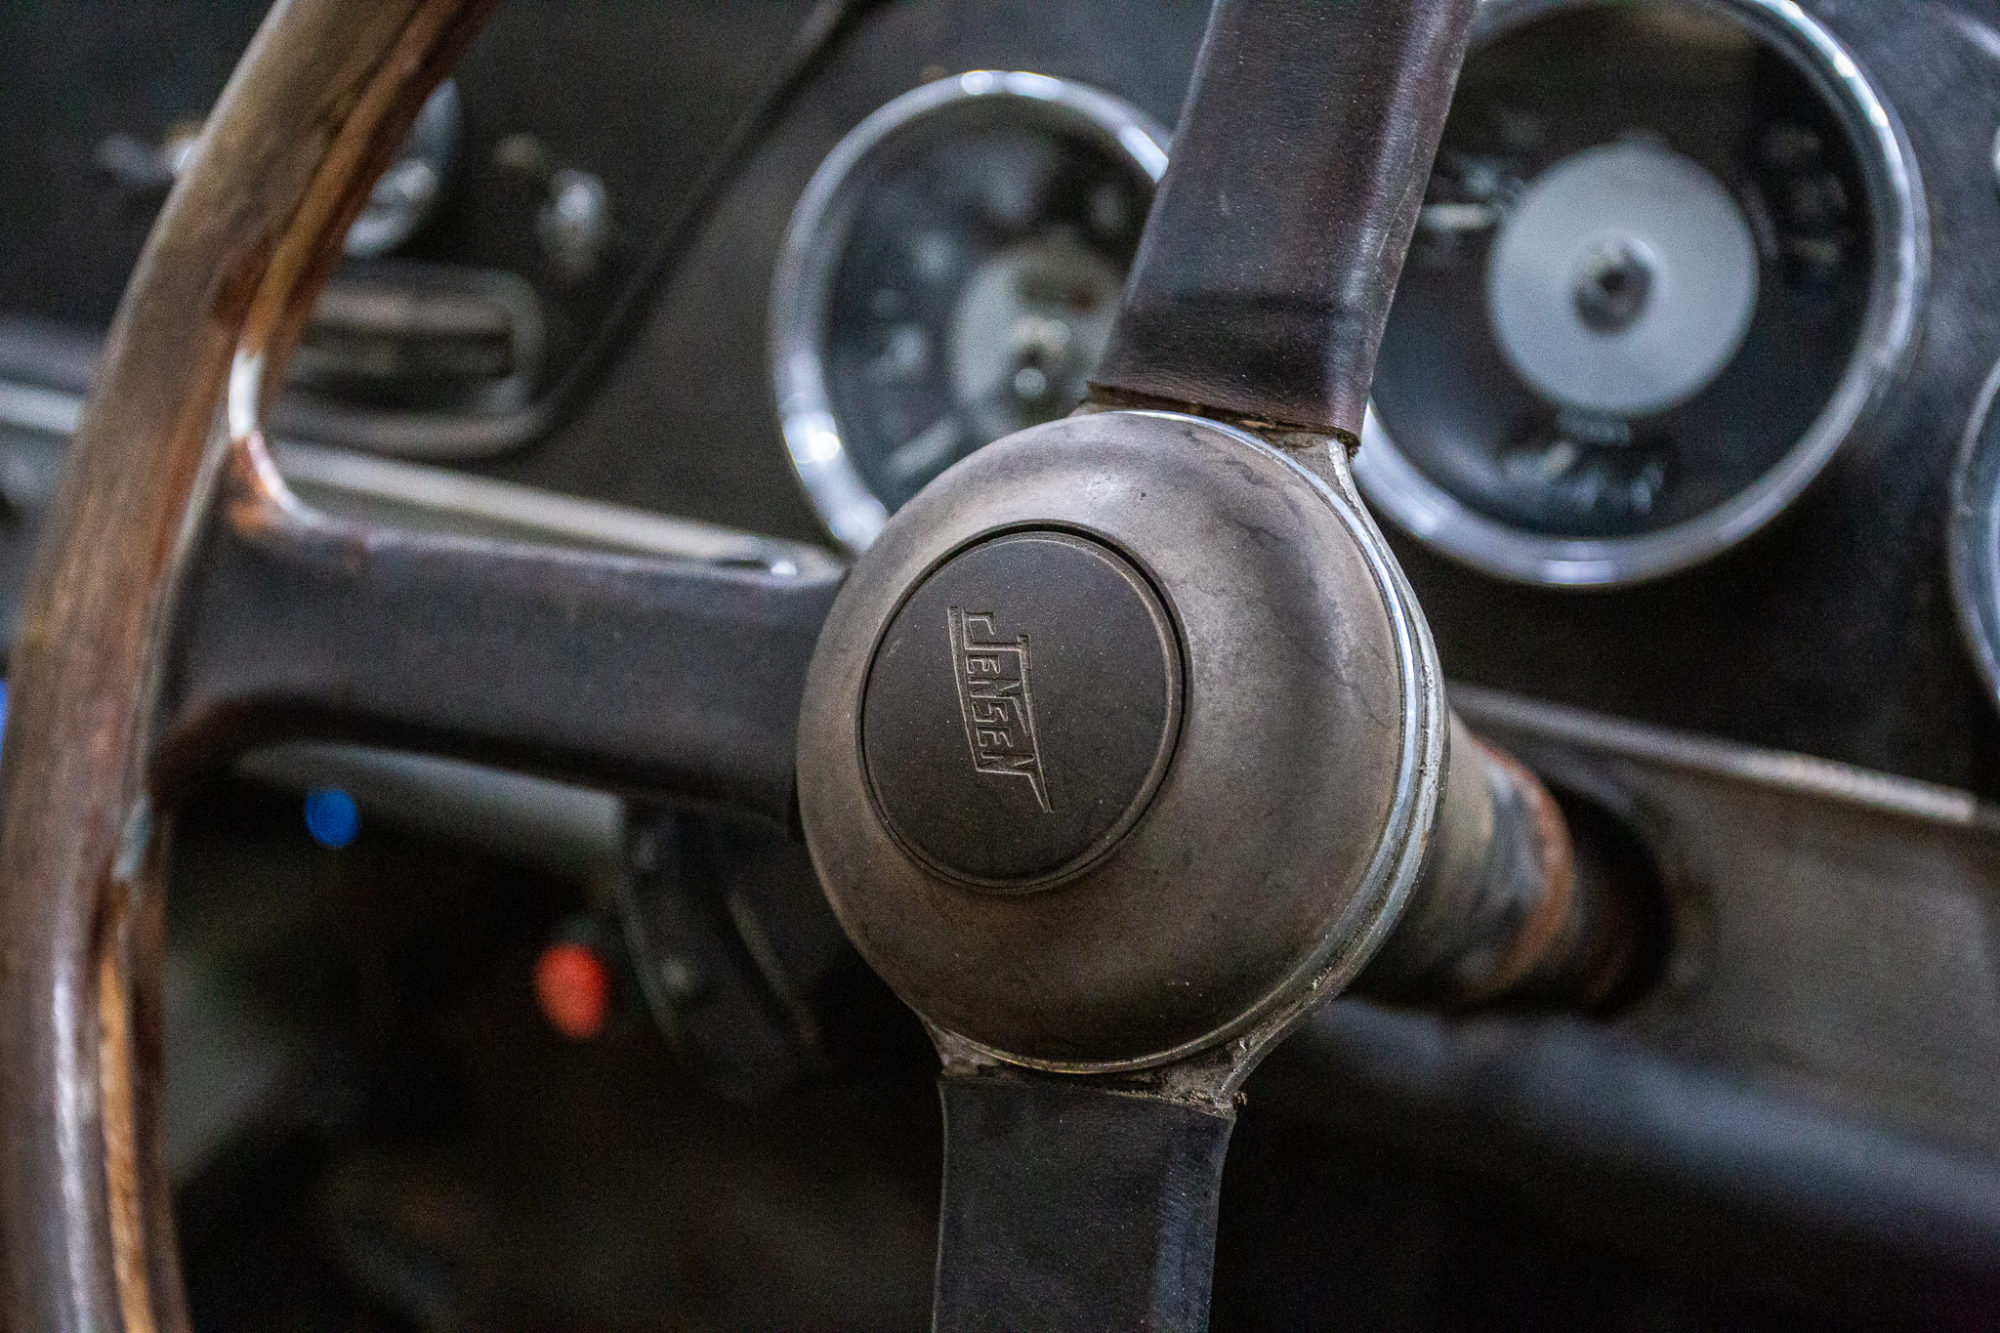
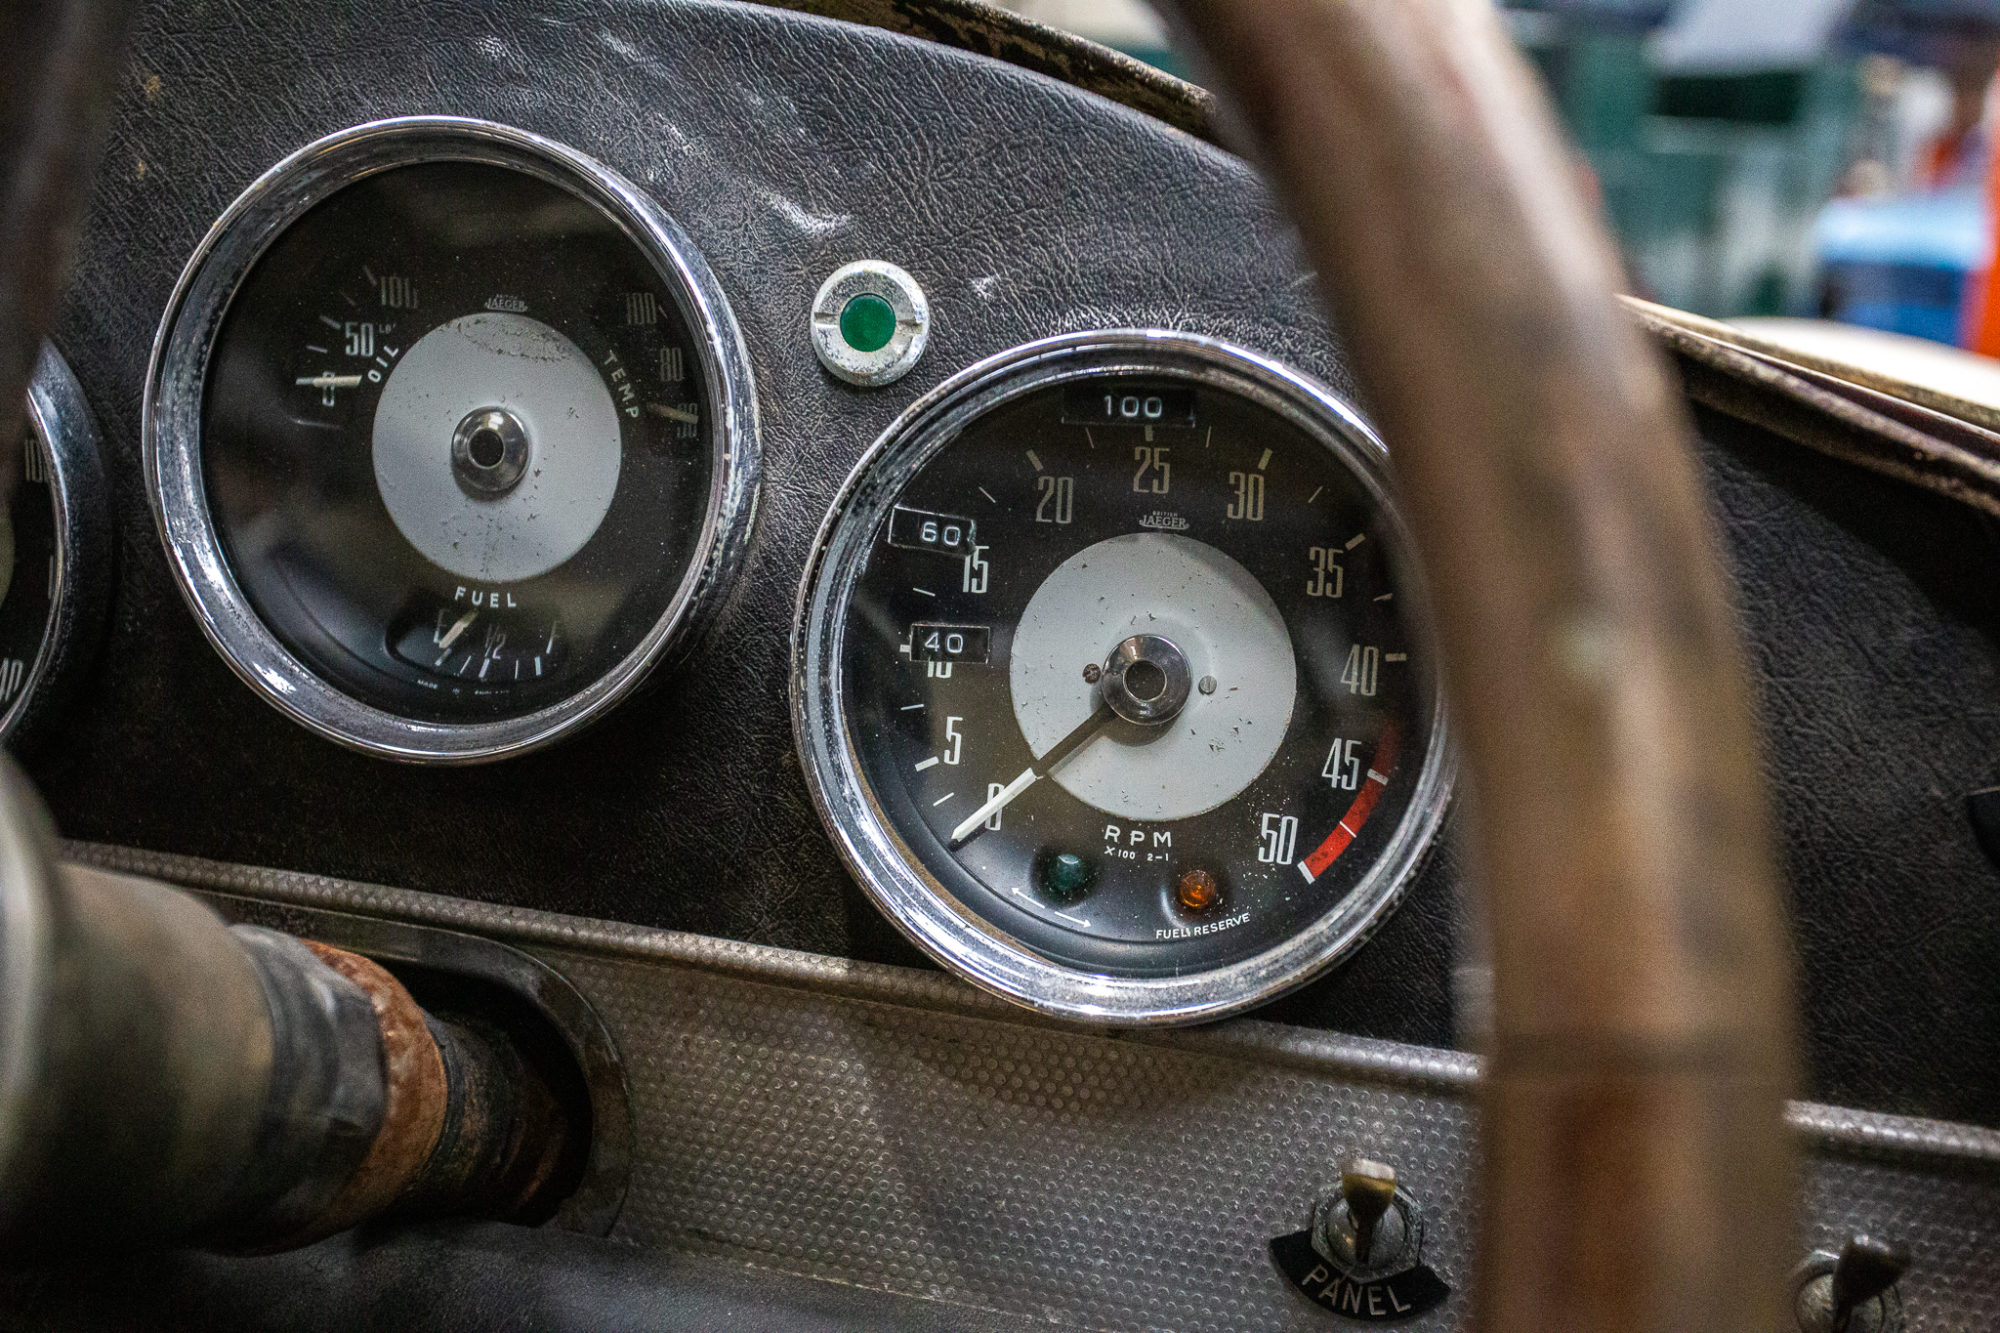
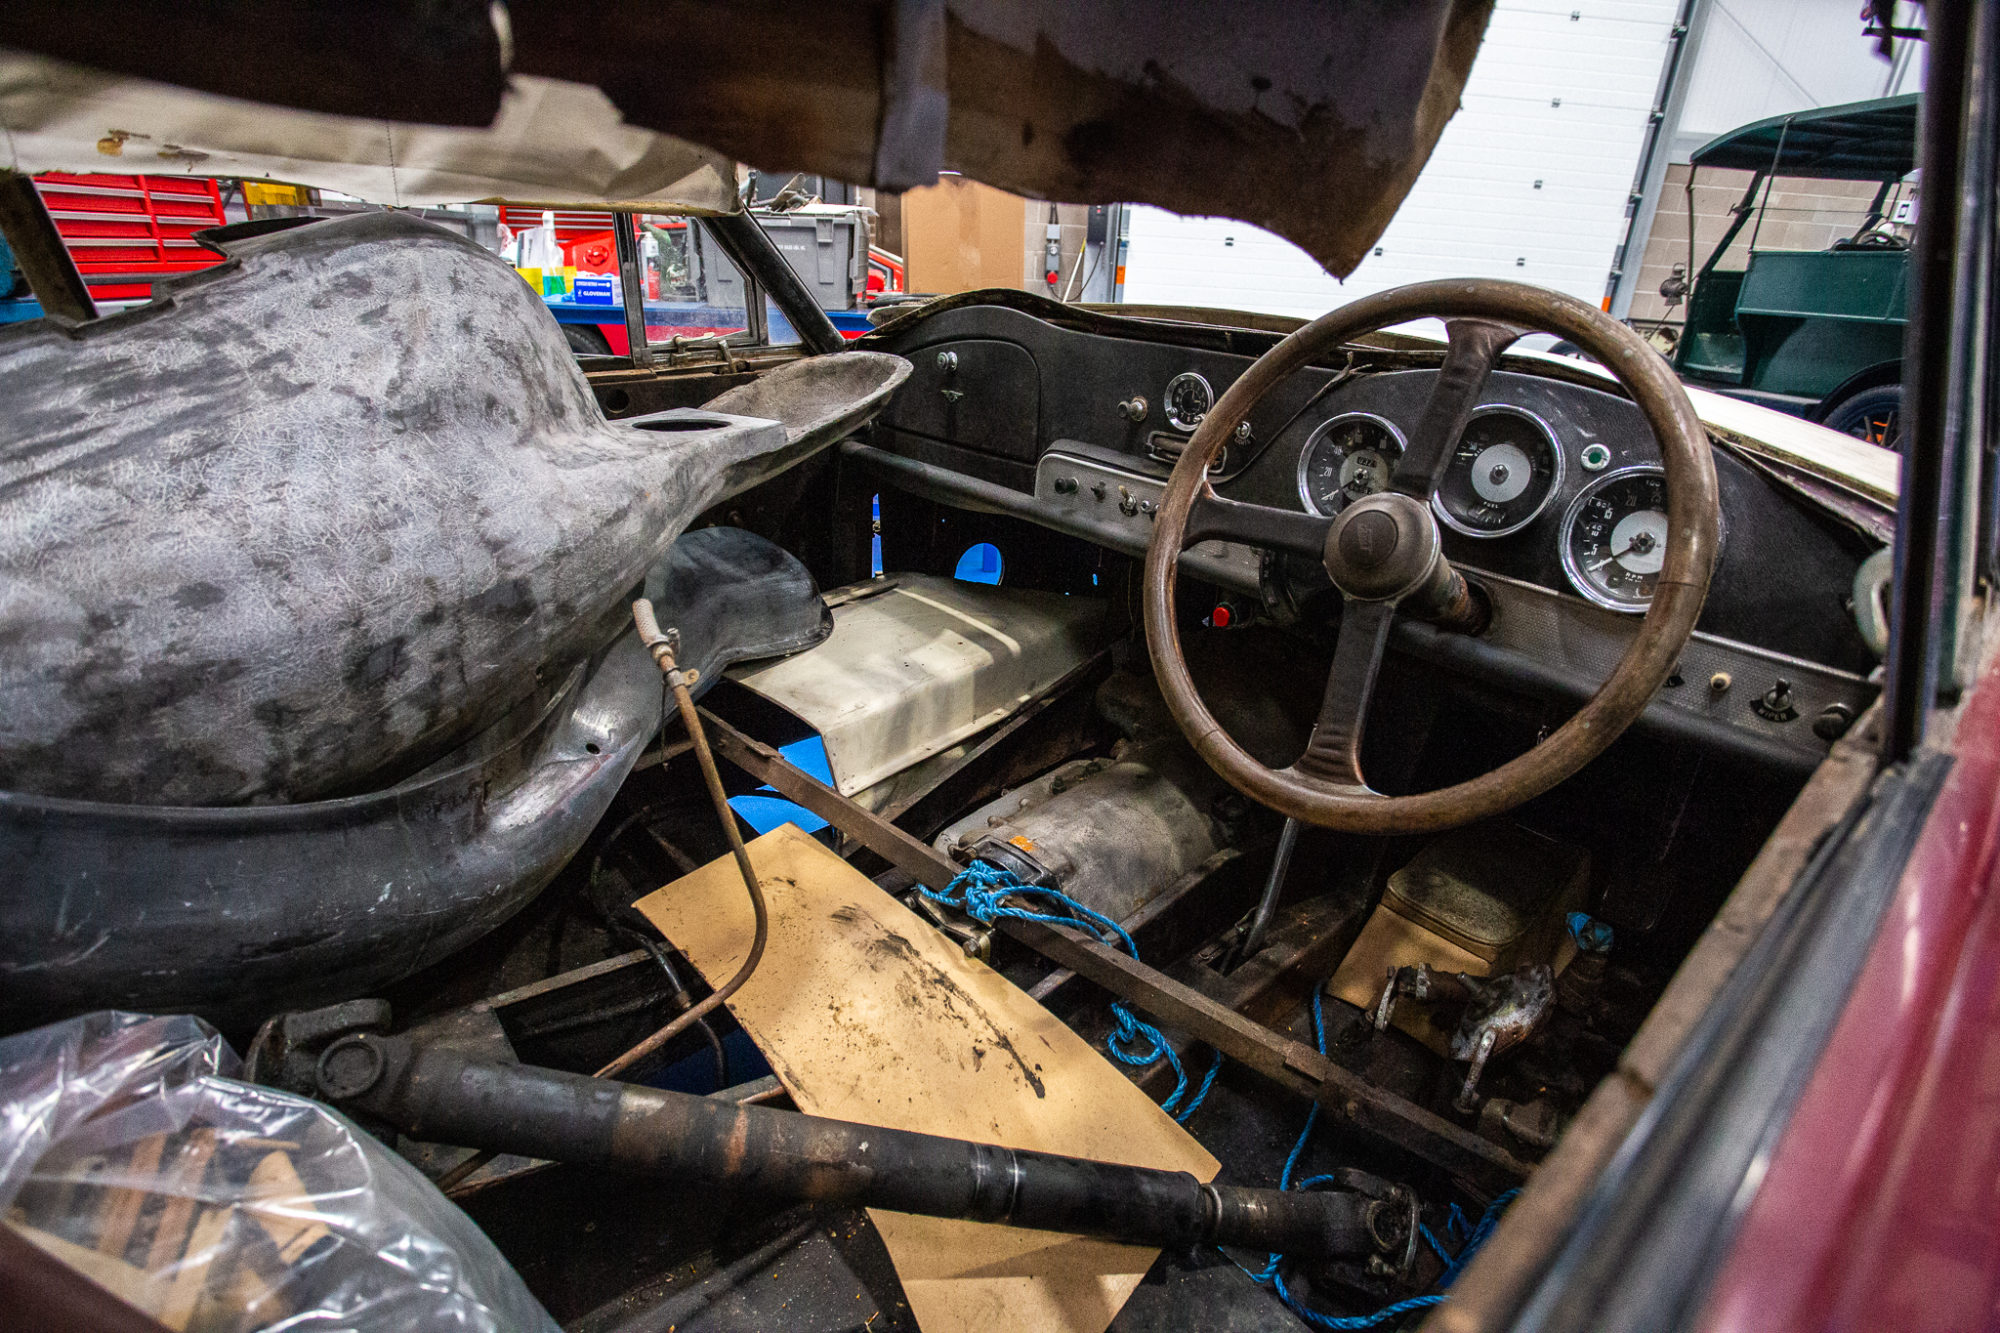
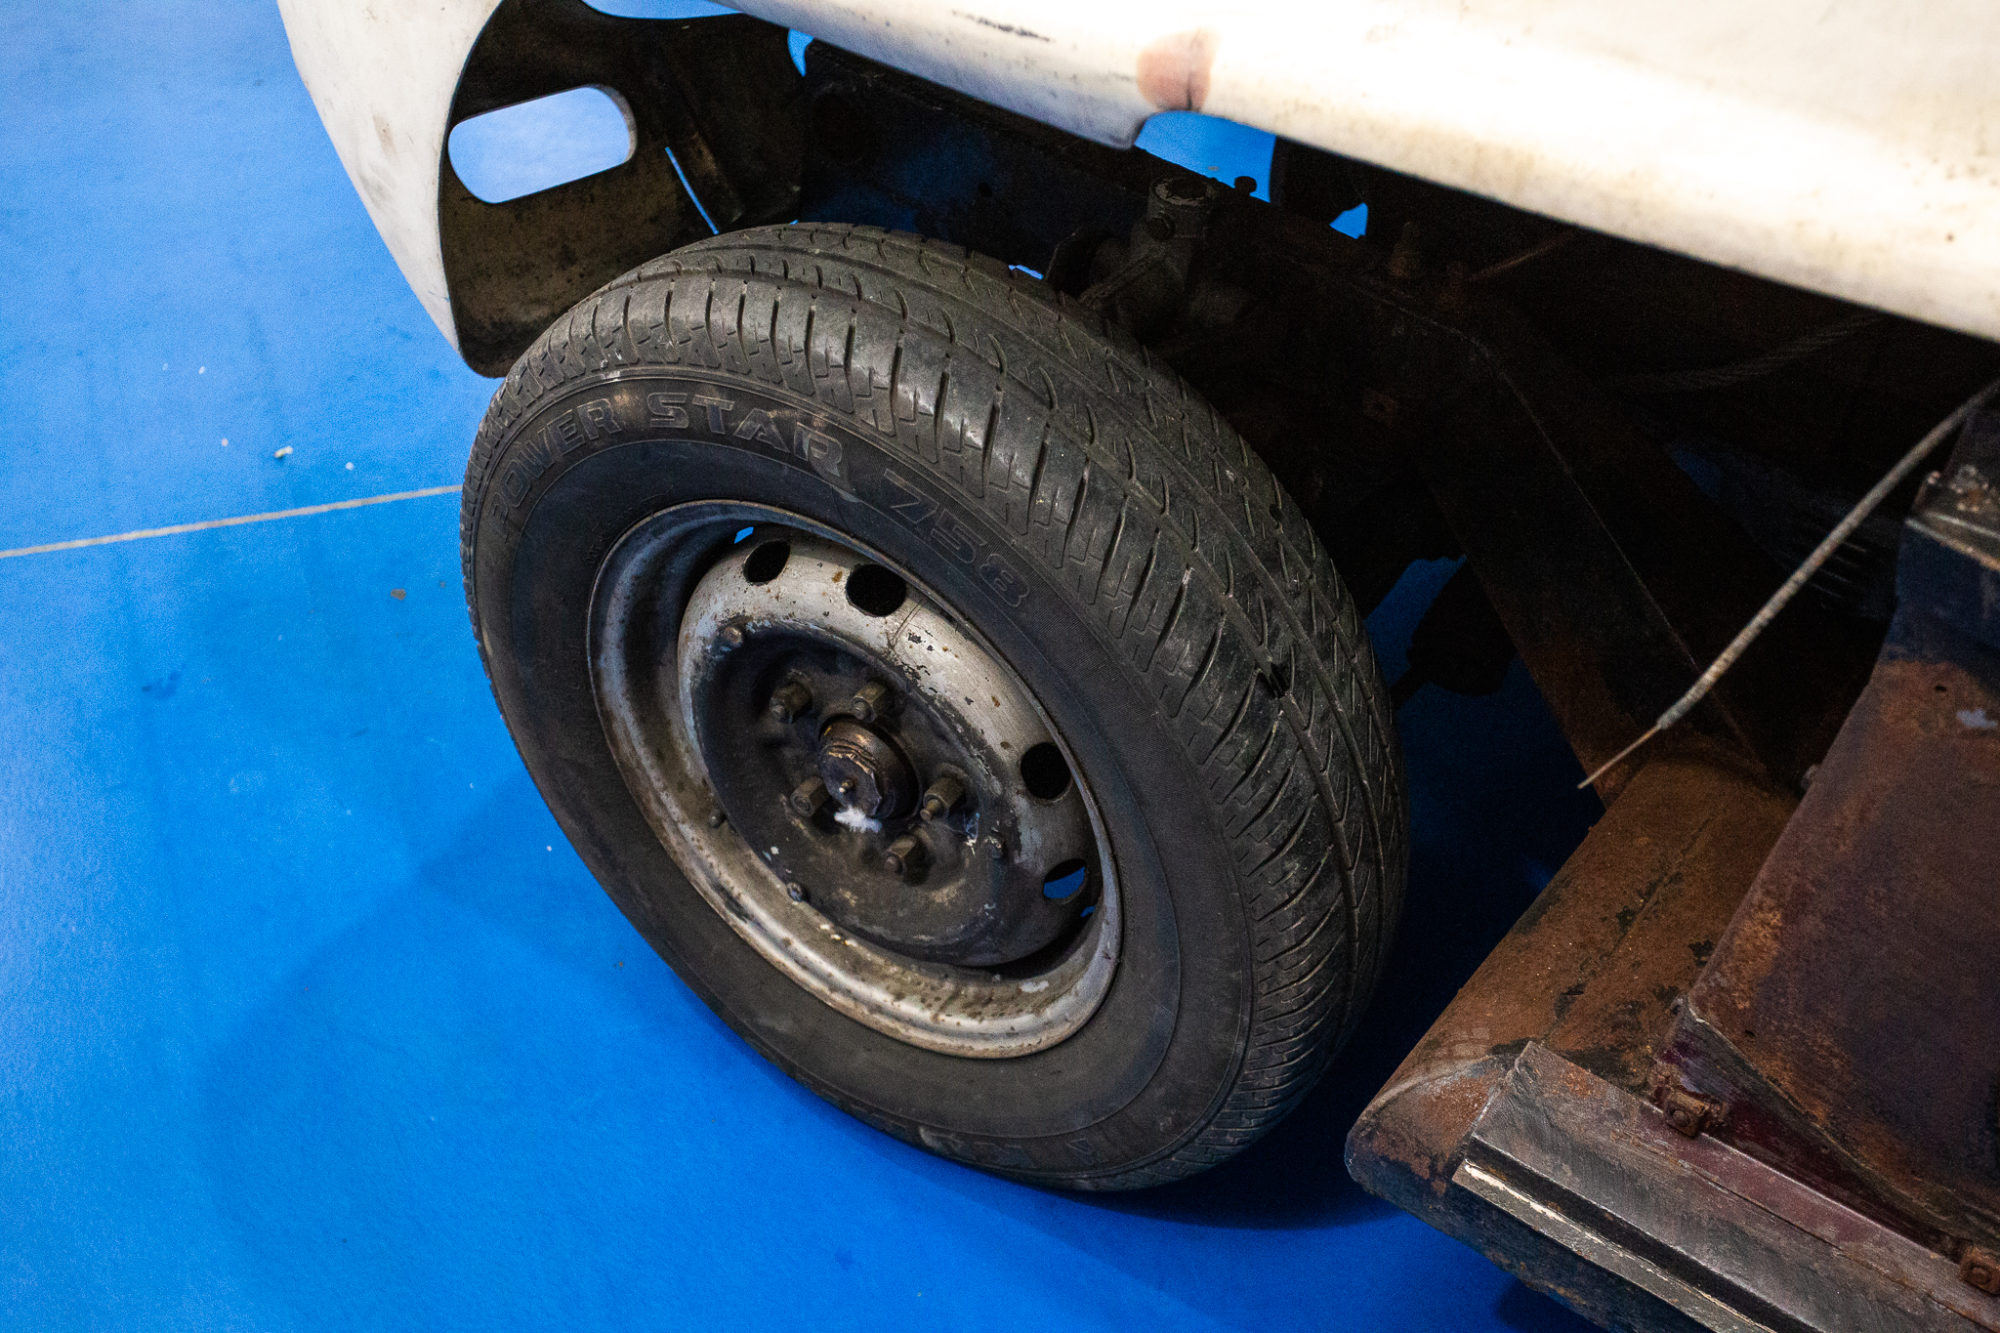
Mauro and Craig re-visited Jensen Service Ltd in Winchester to collect our 1960 Jensen 541S restoration project. The car will soon be available for sale,
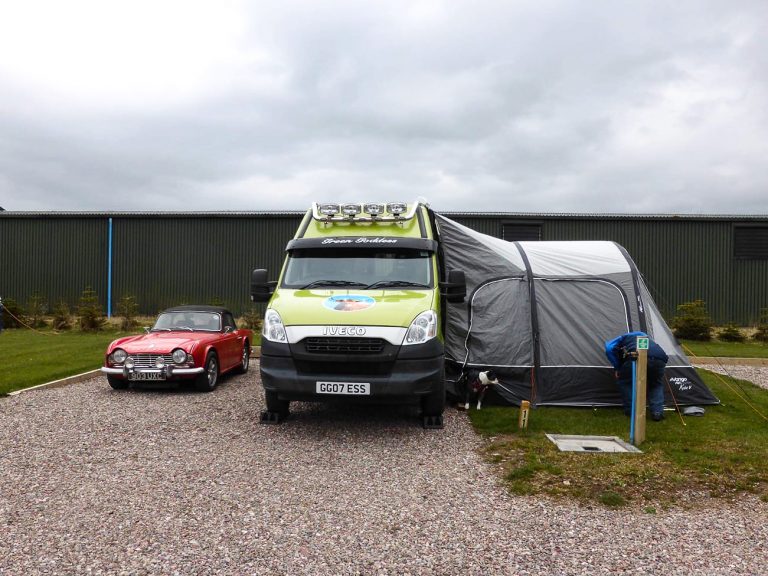
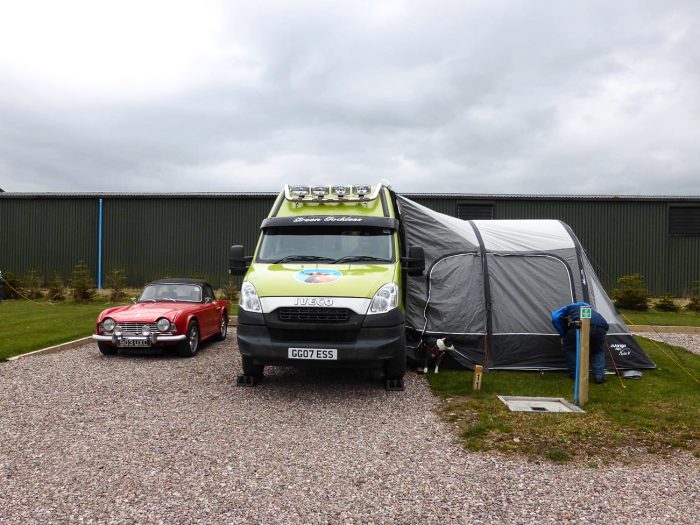
We love receiving updates from winners about what they’re getting up to with their cars. Adrian has gone camping with his campervan and Tr4. What a great opportunity to take it out on a new adventure now that camping is back on the cards!
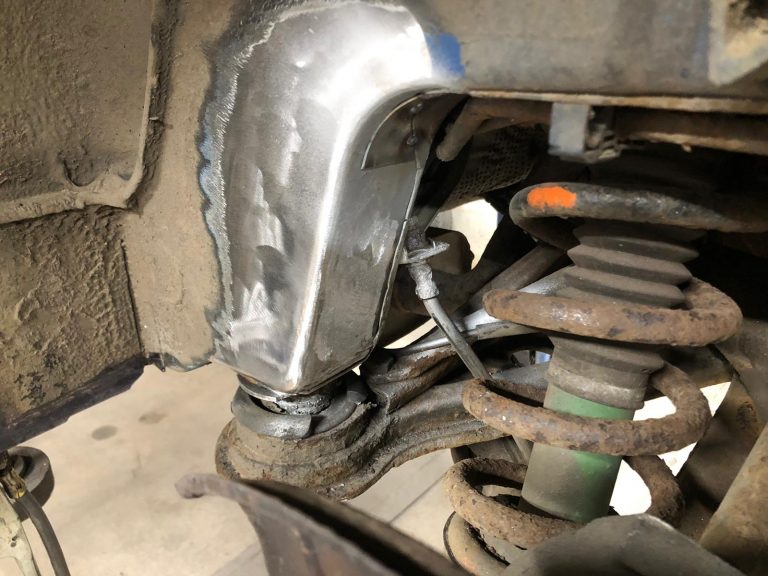
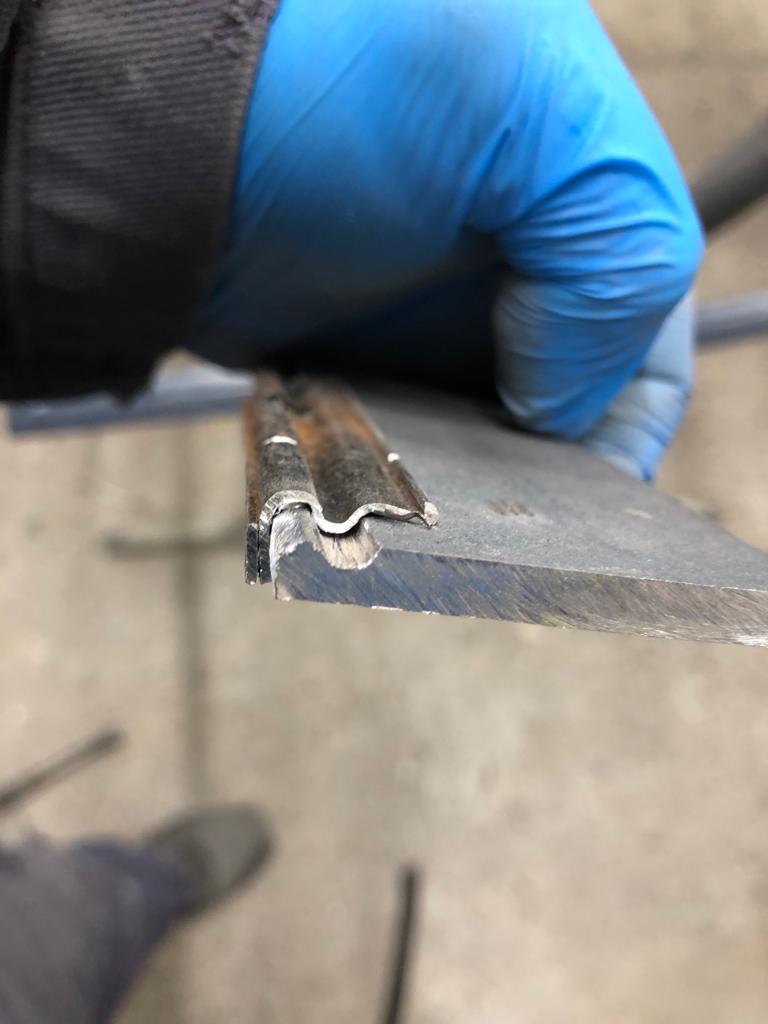
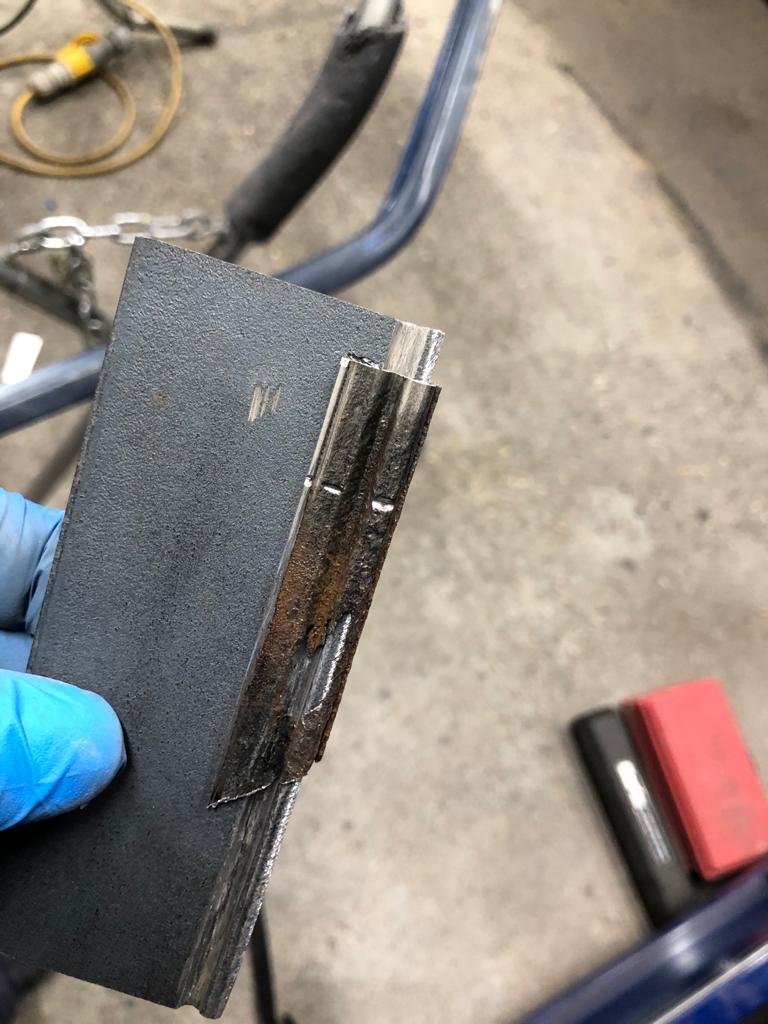
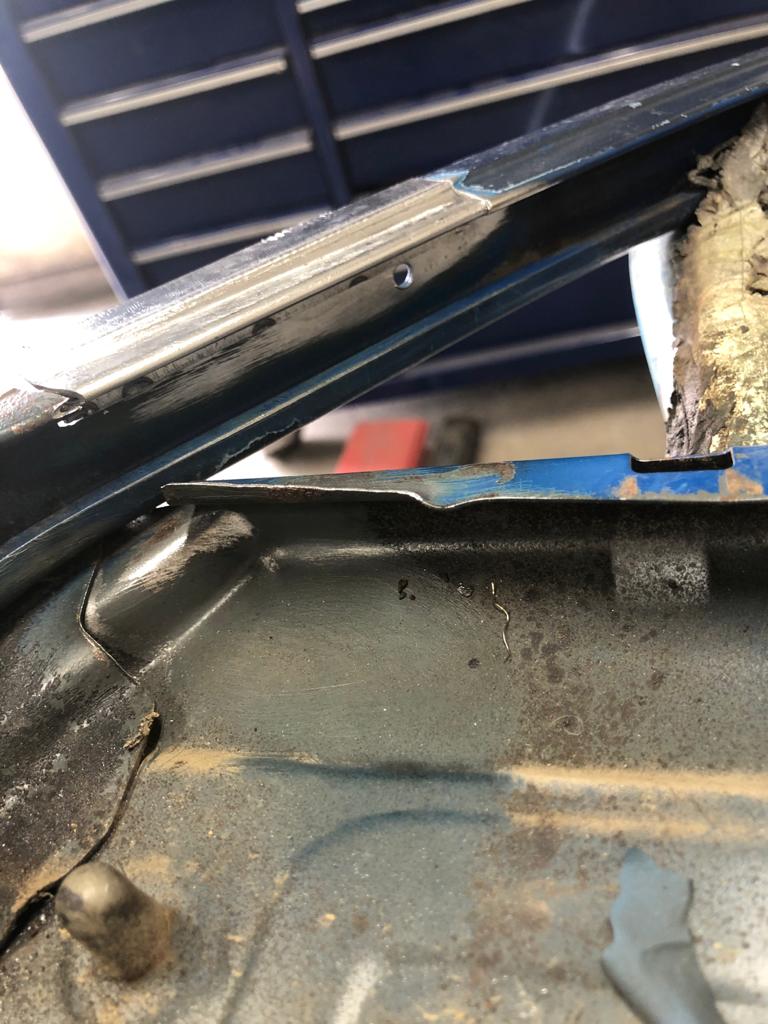
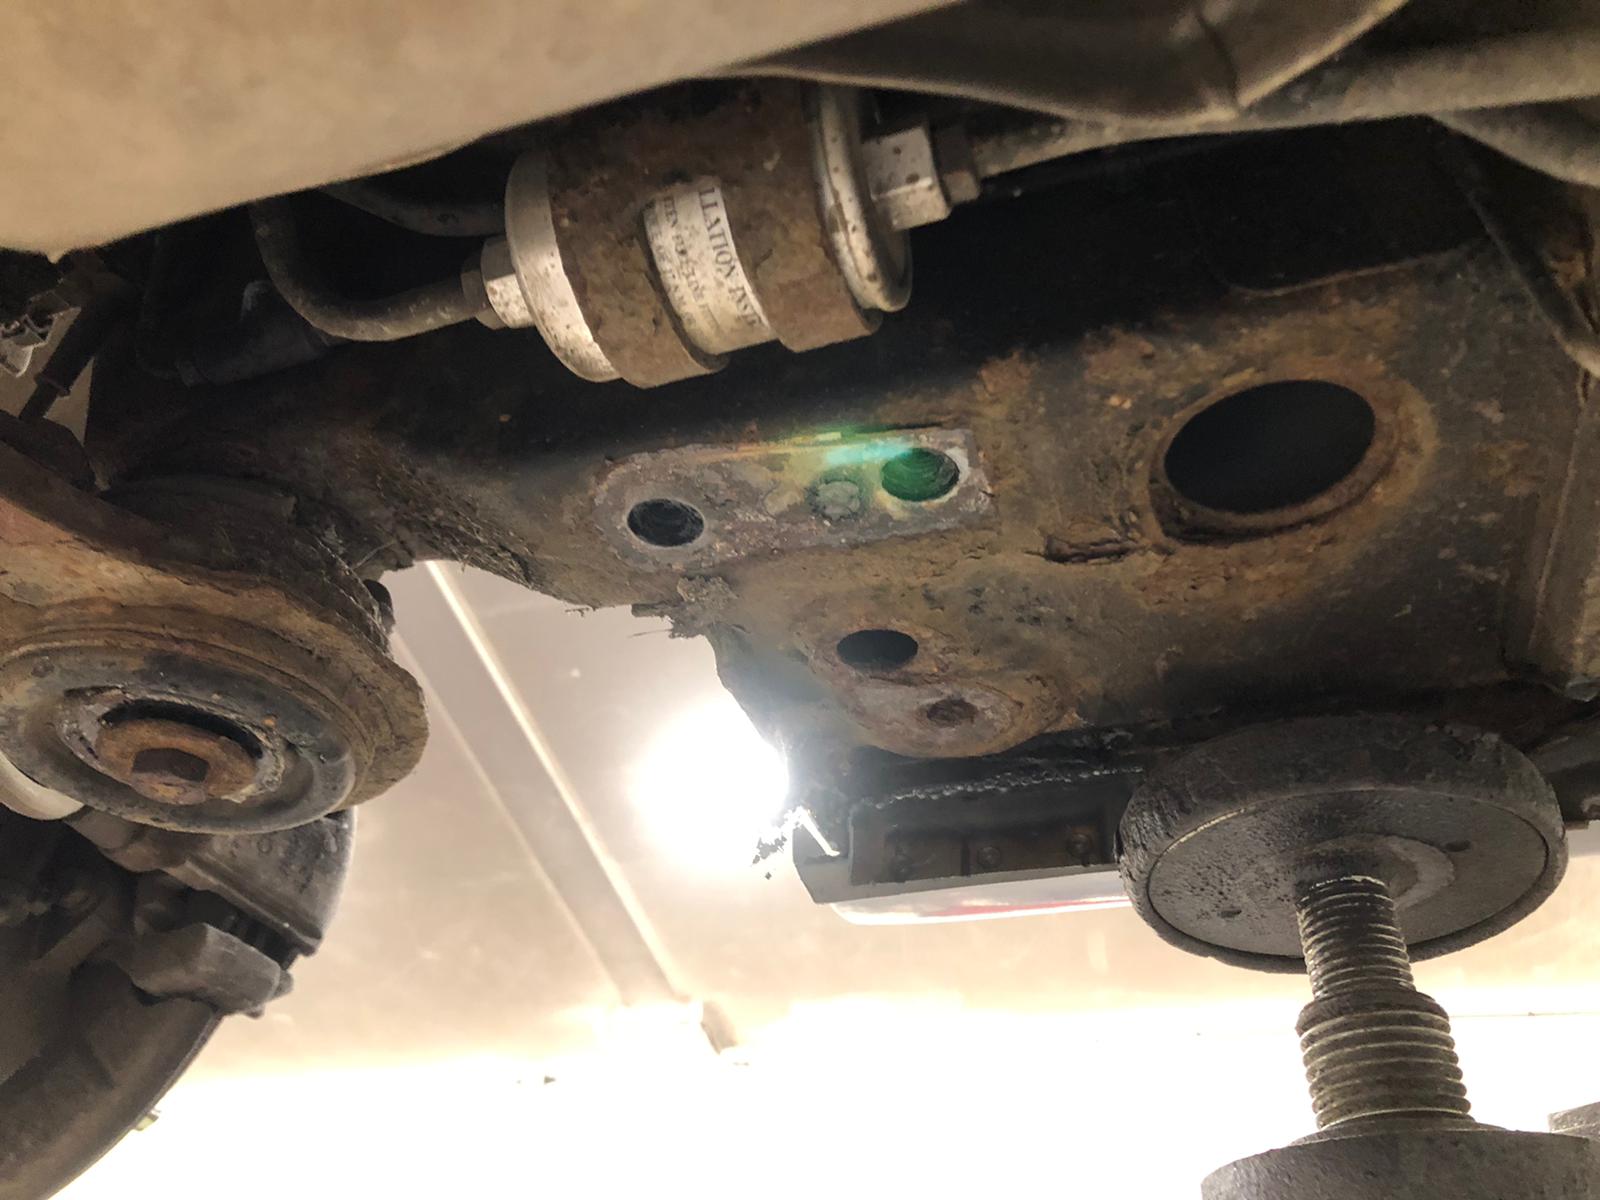
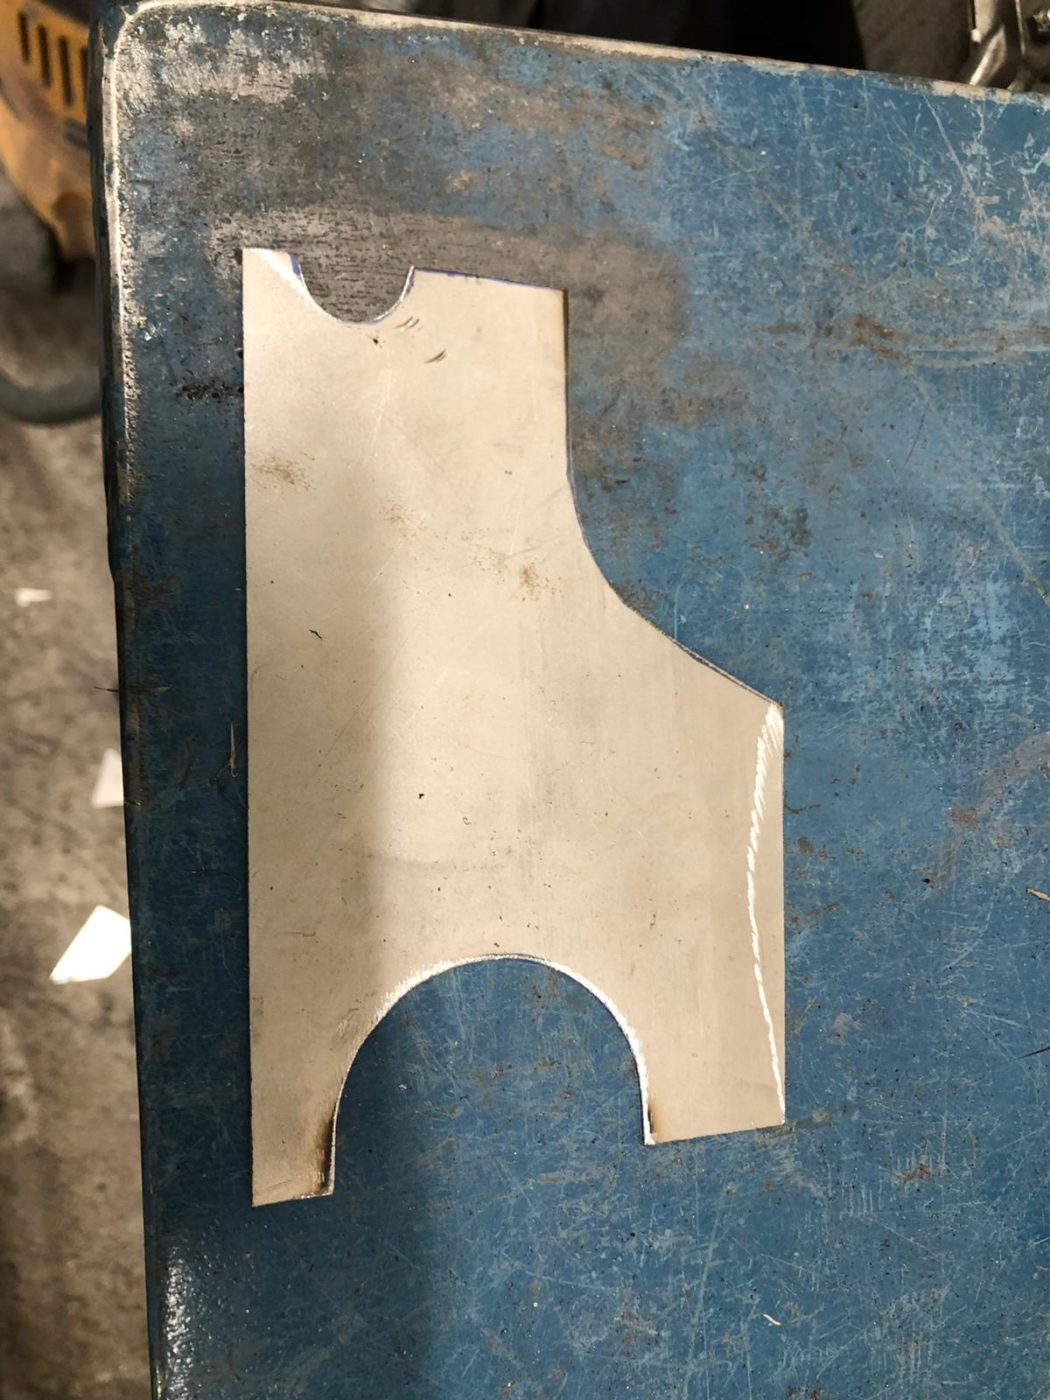
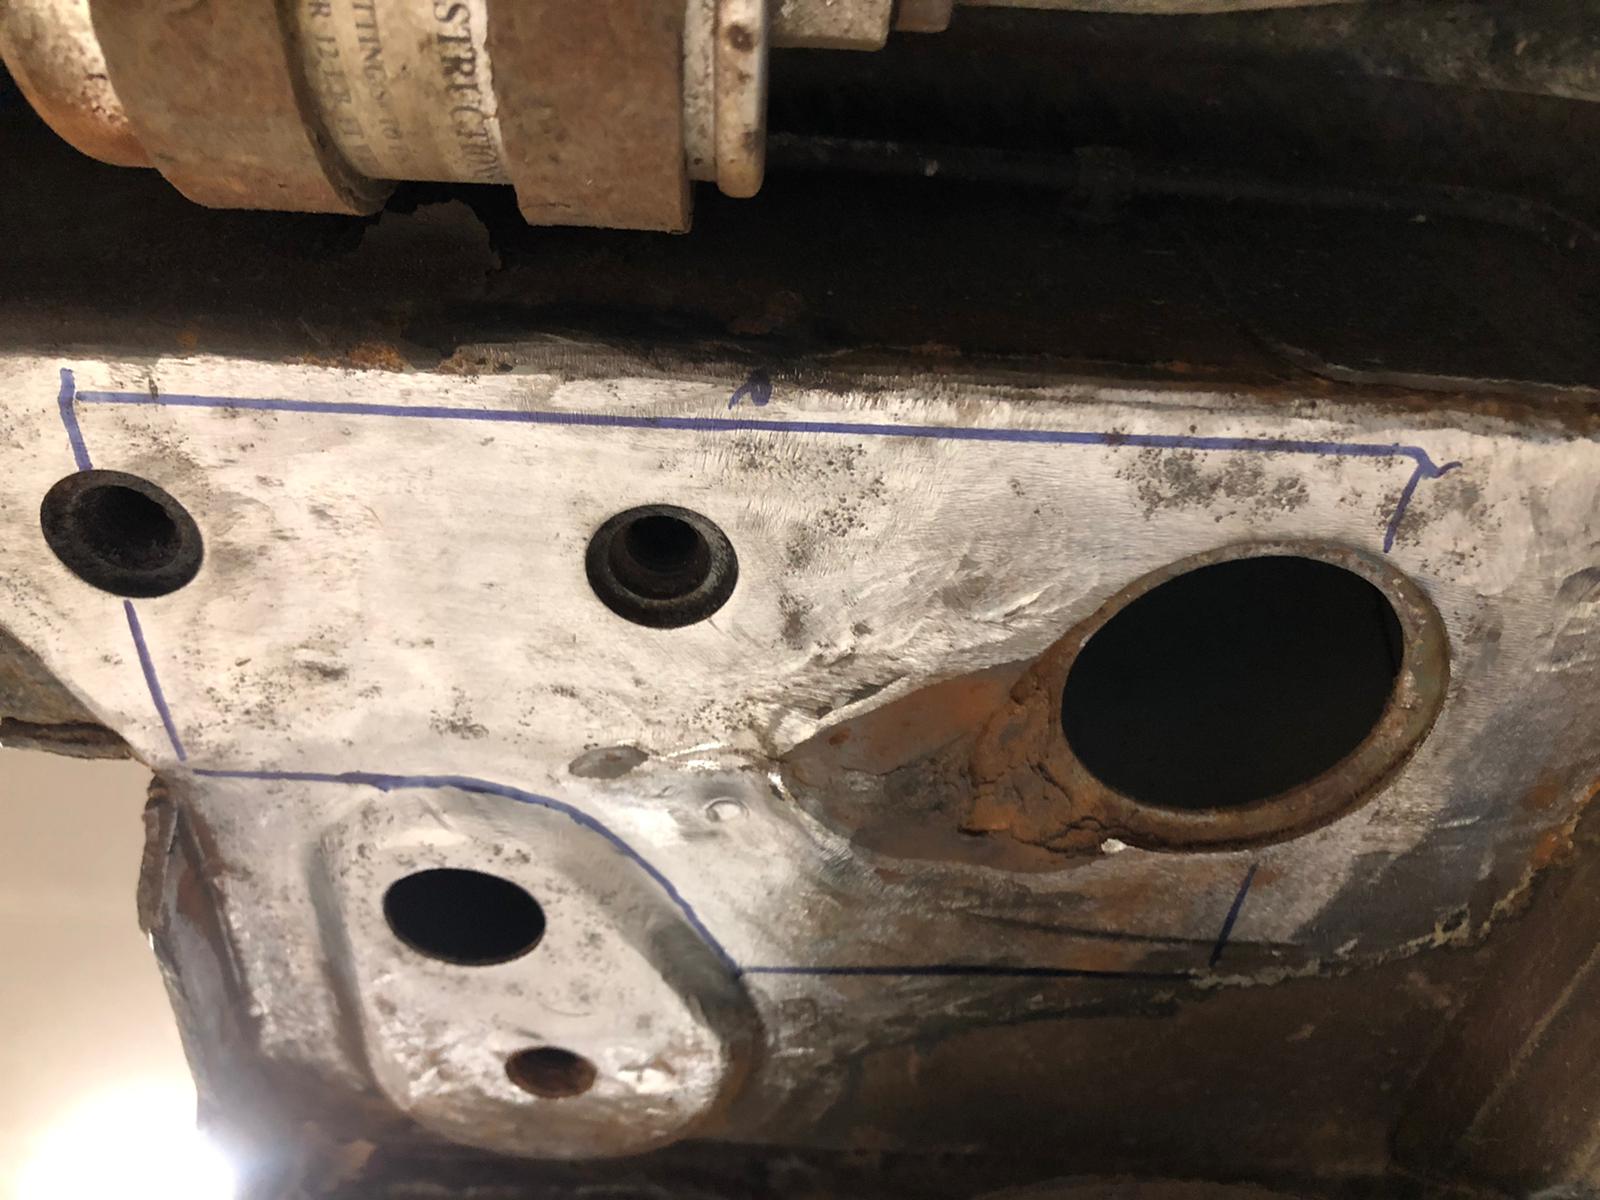
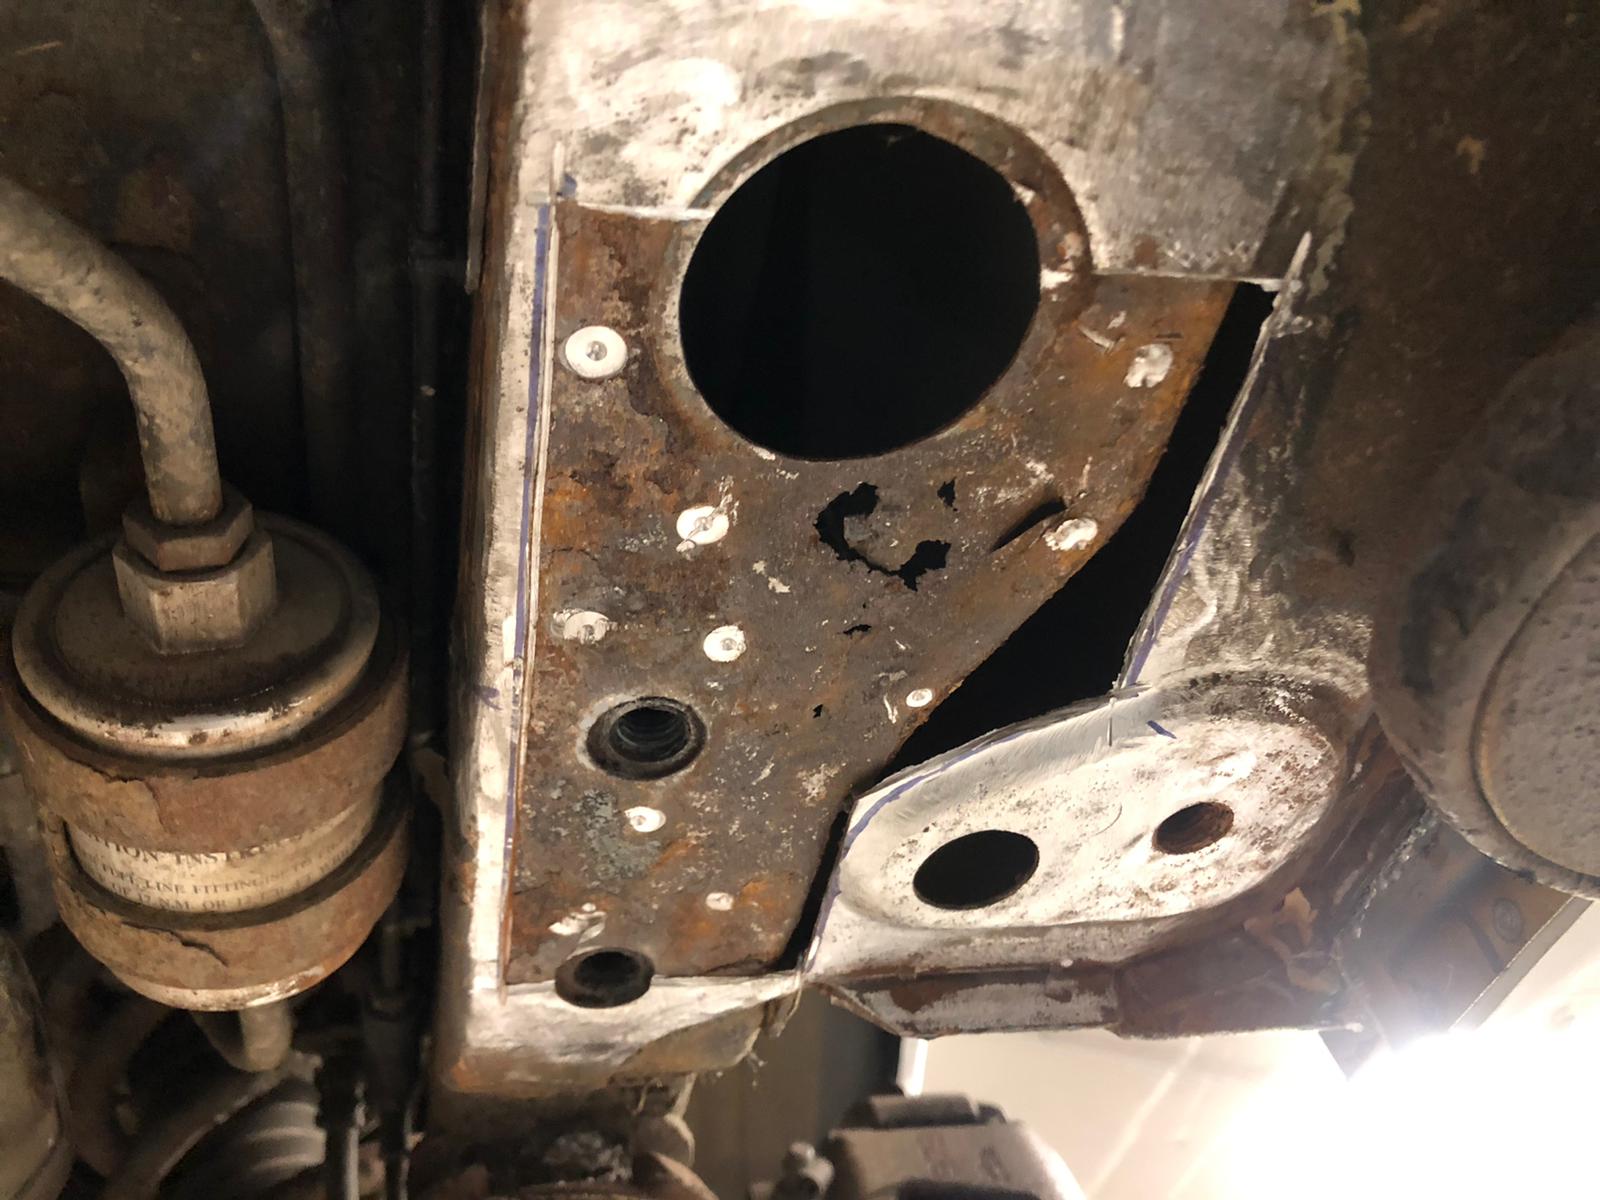
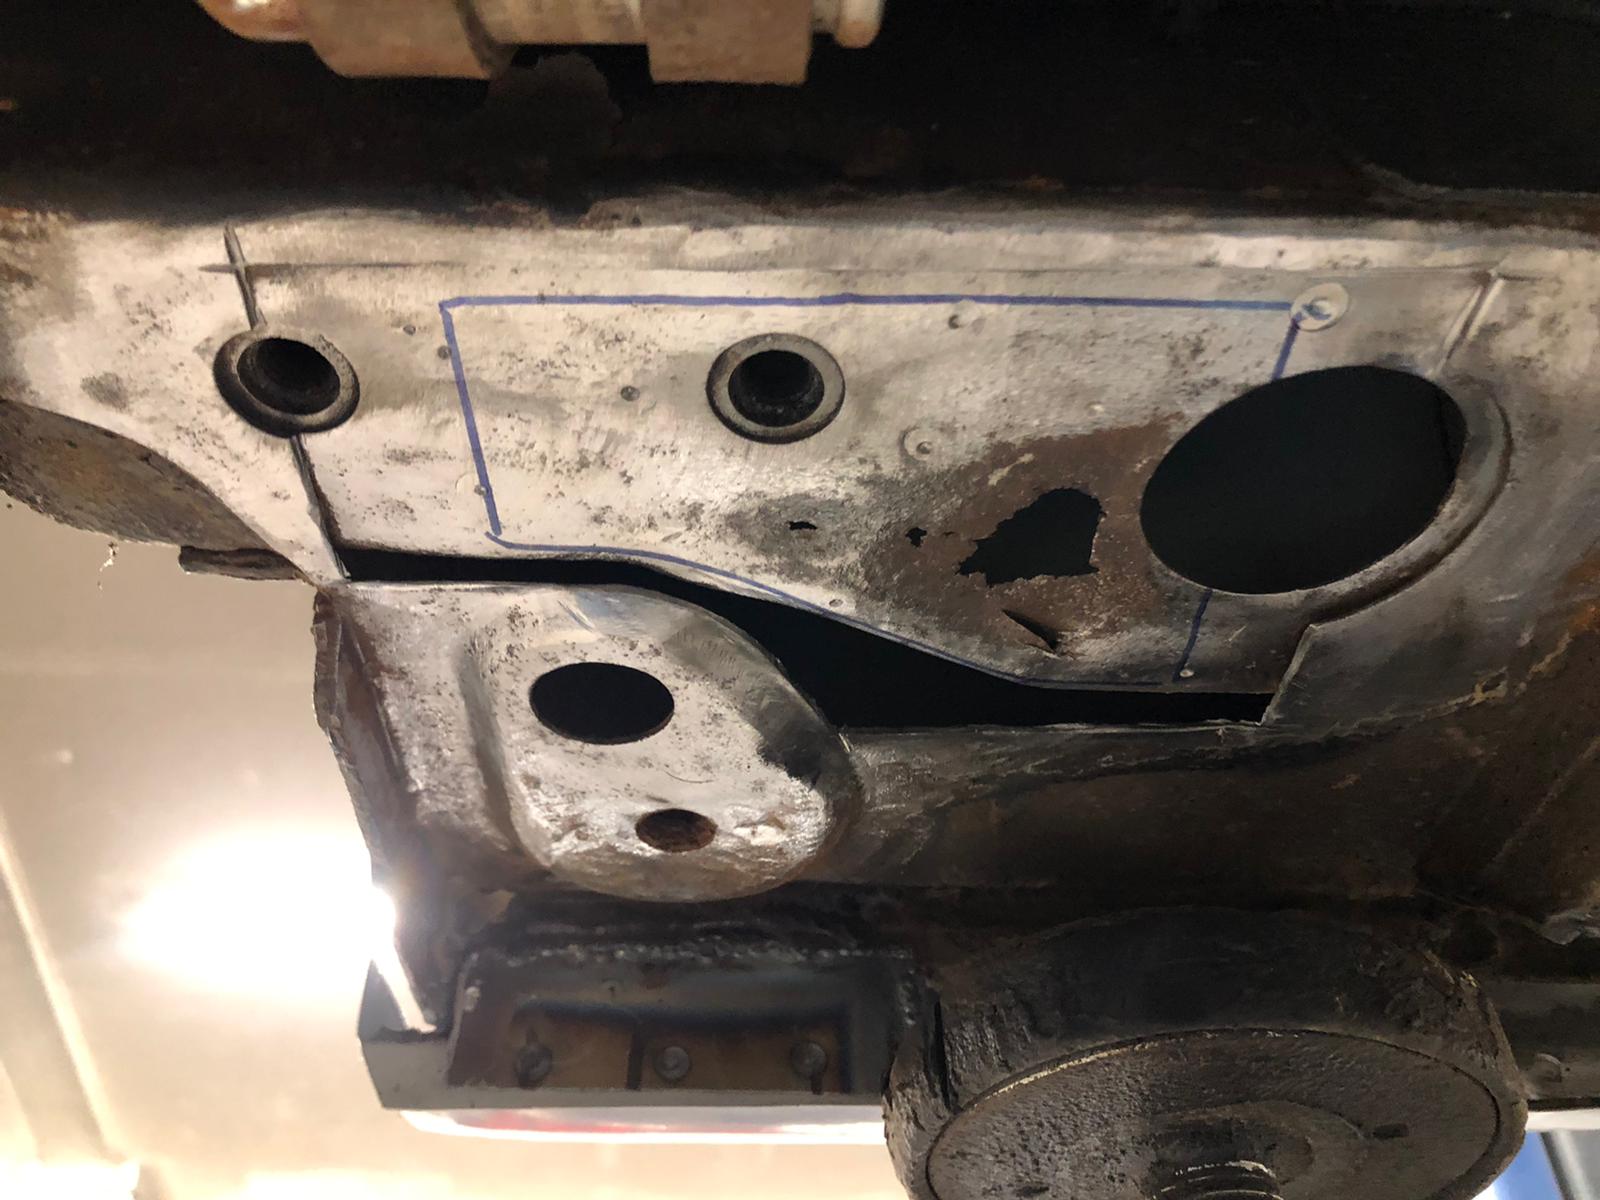
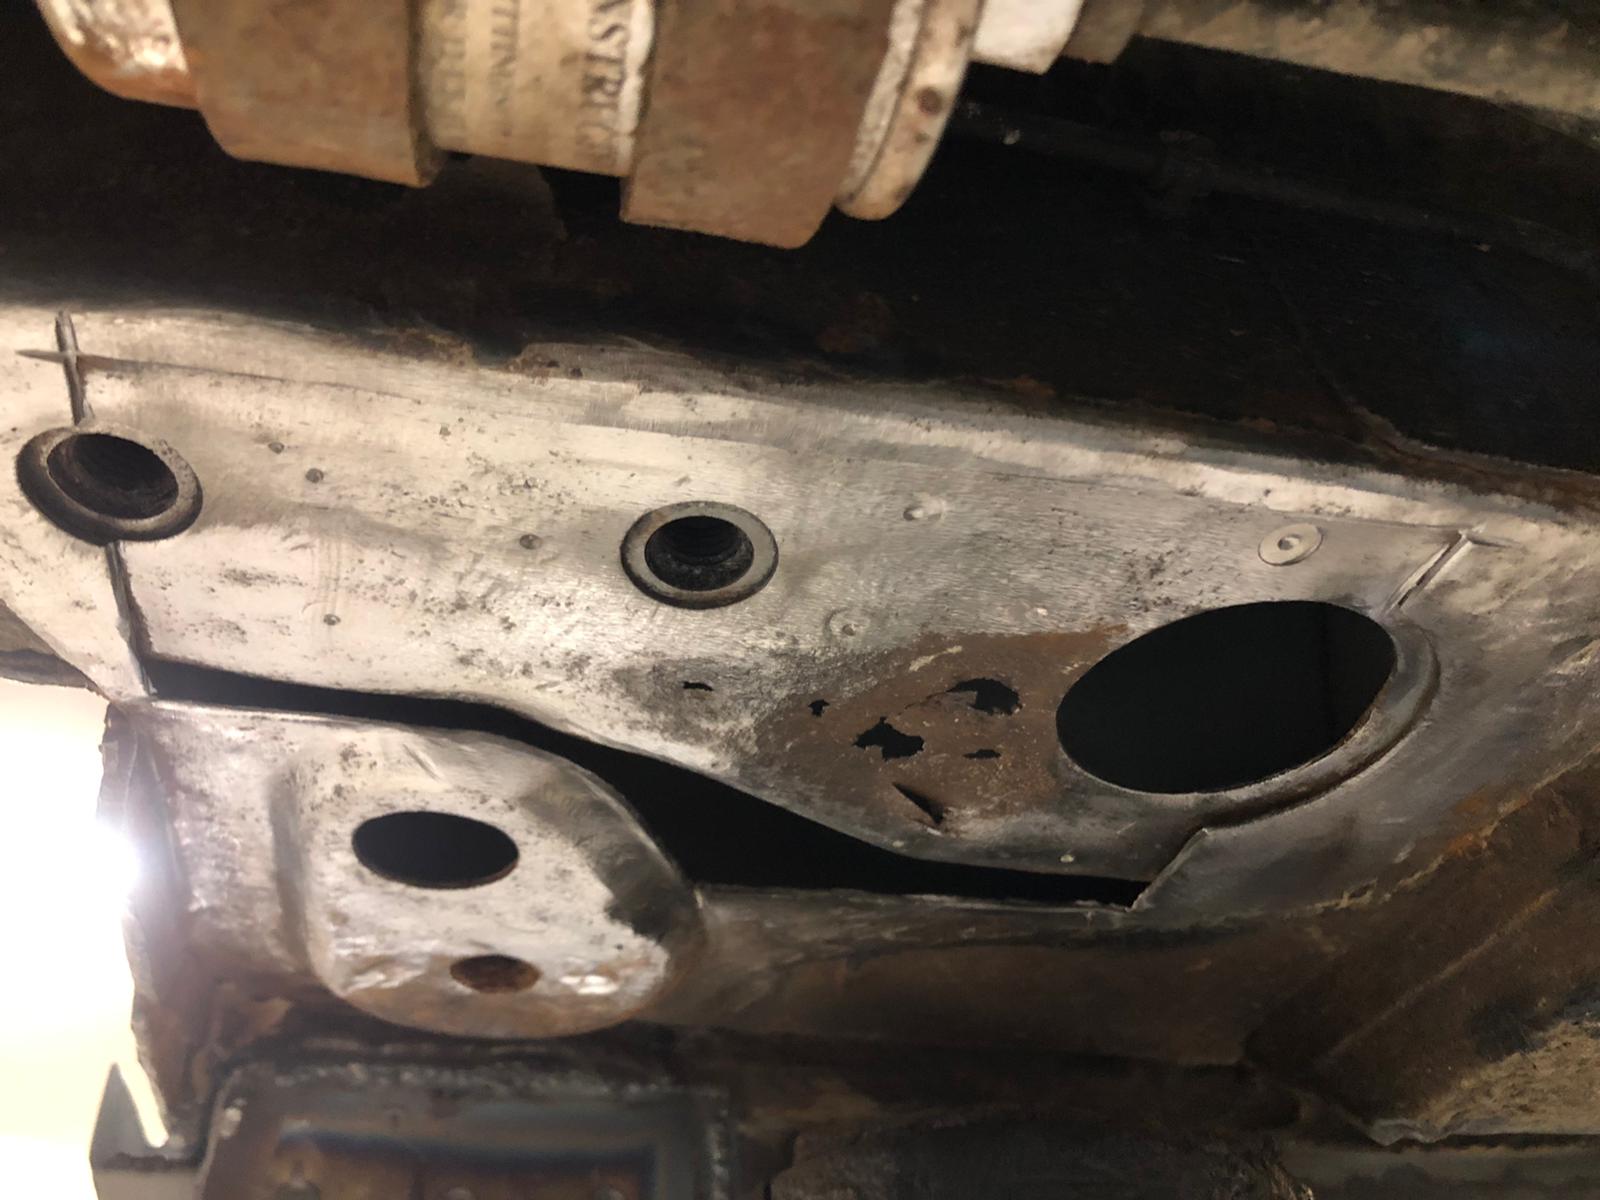
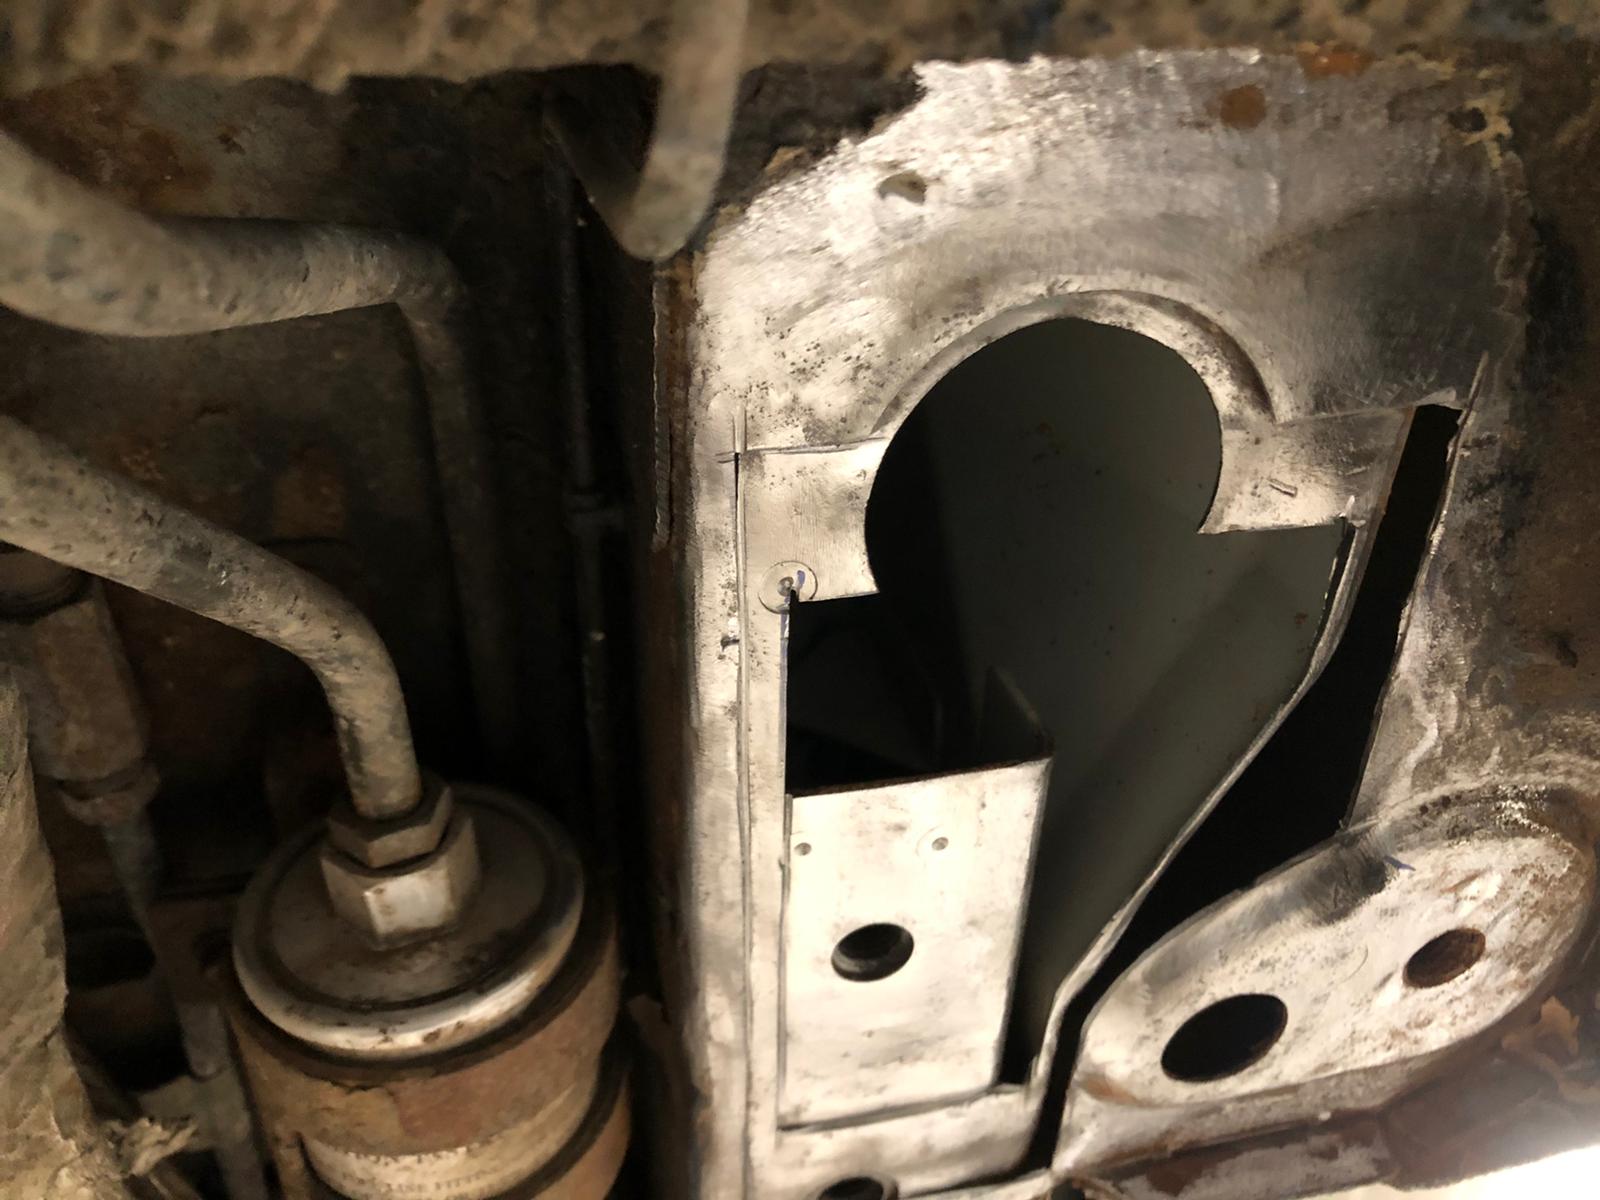
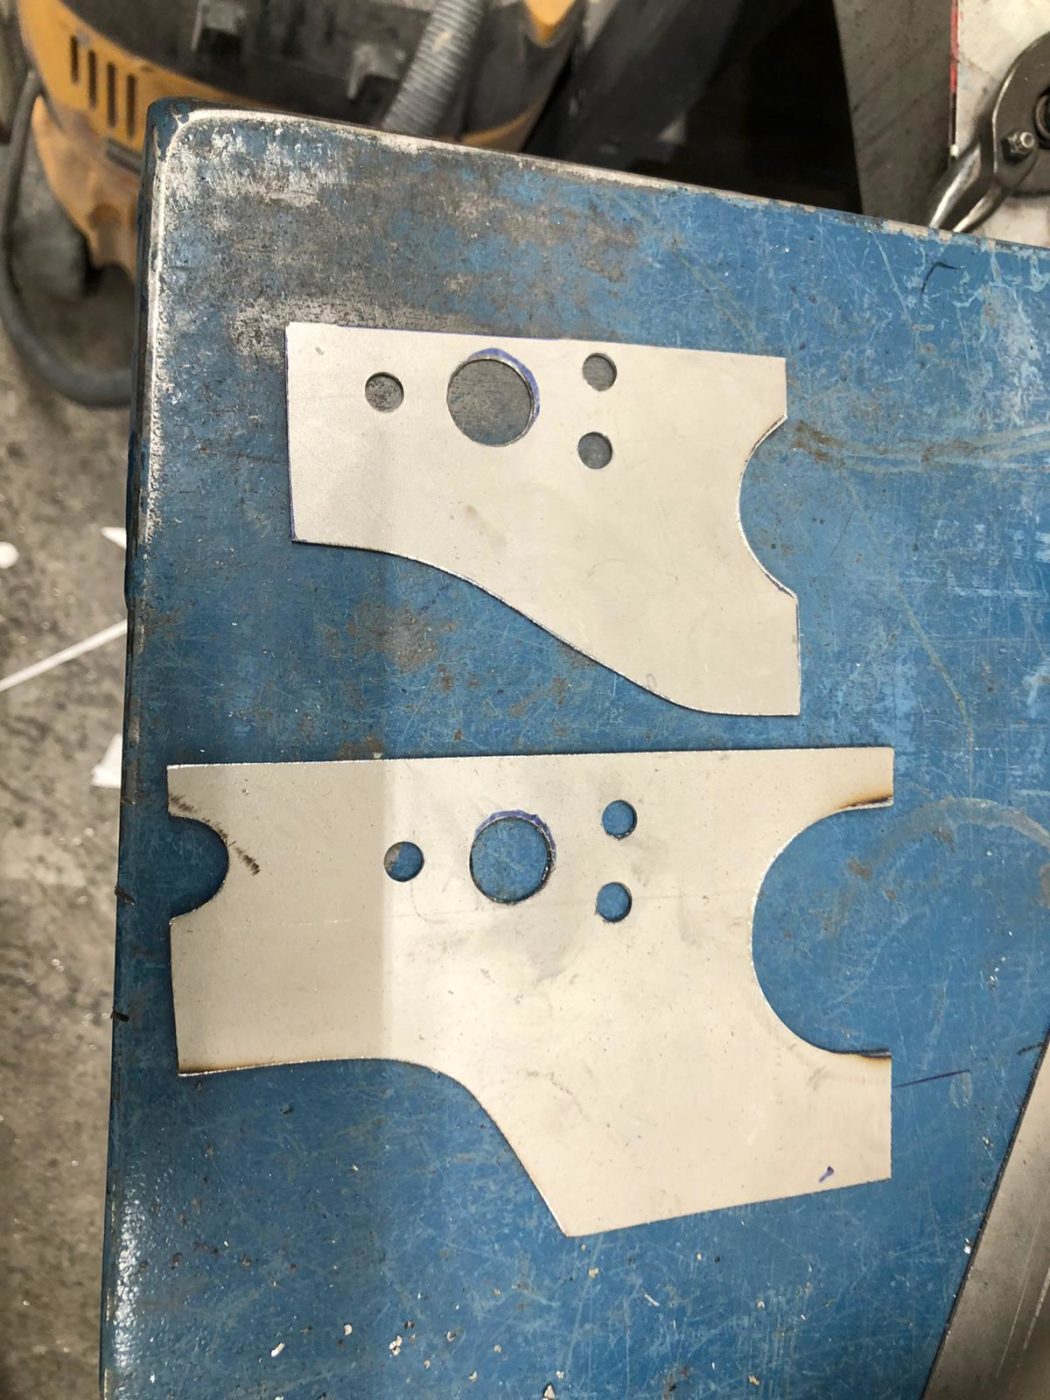
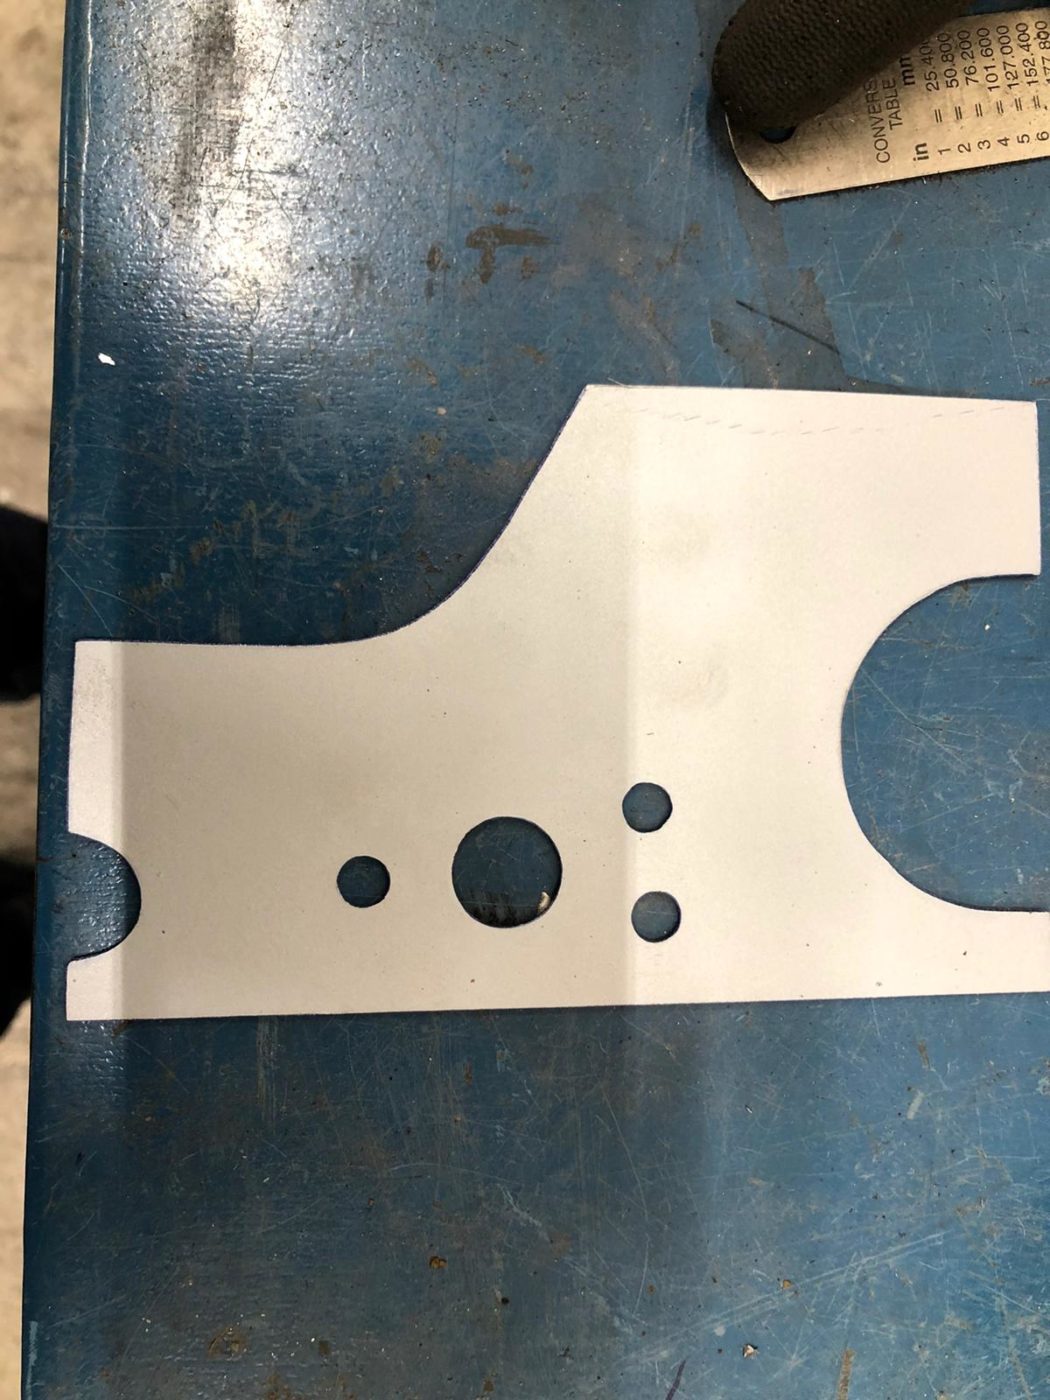
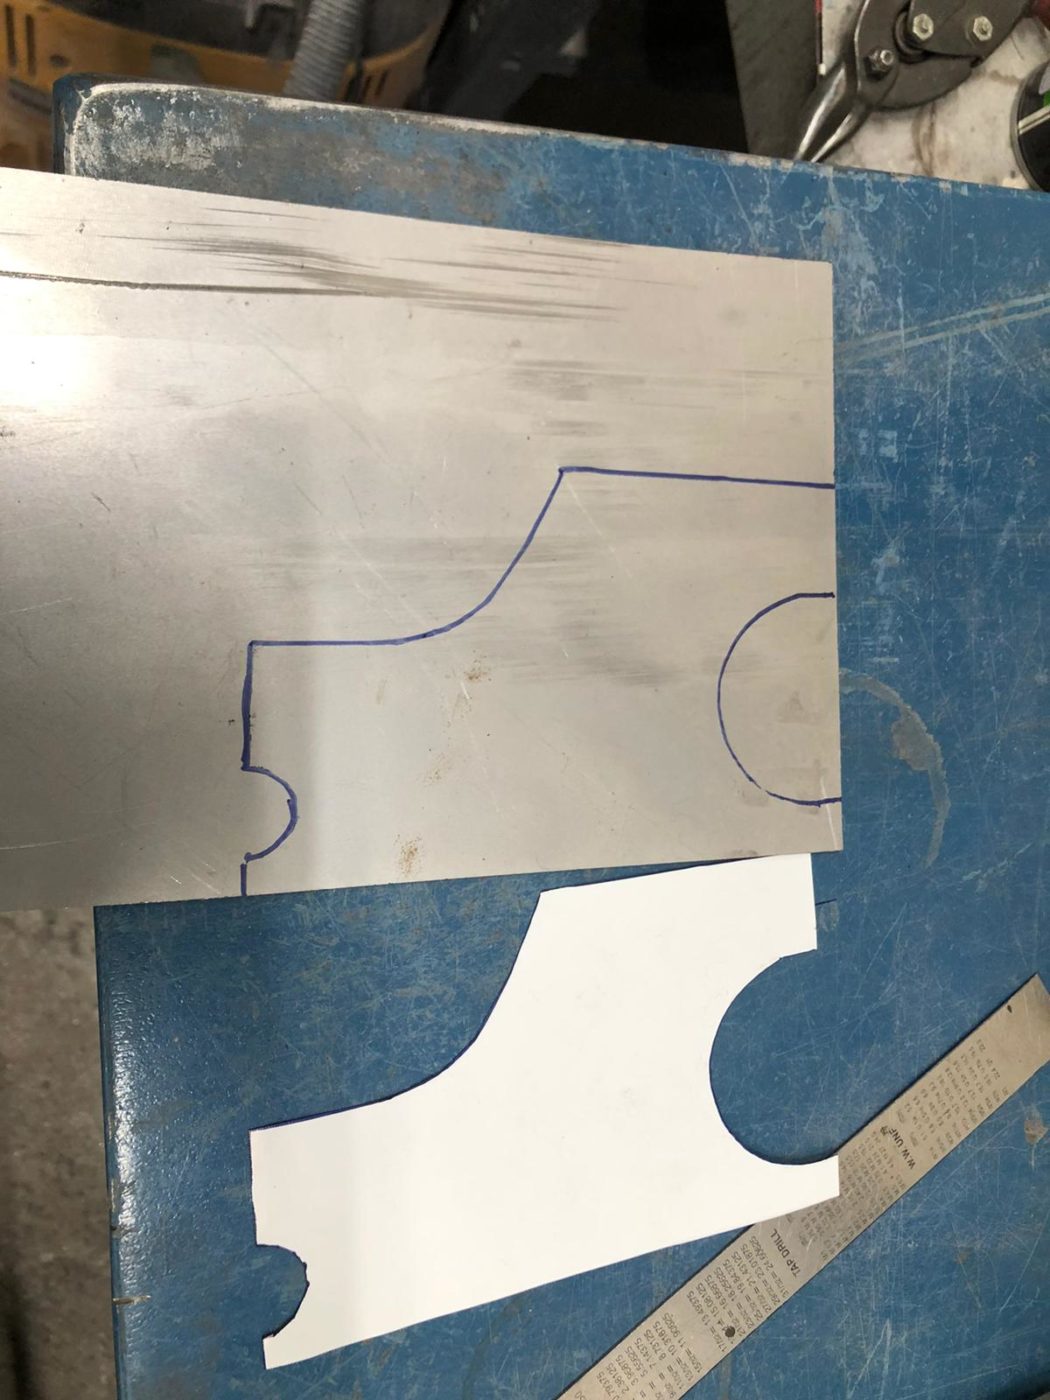
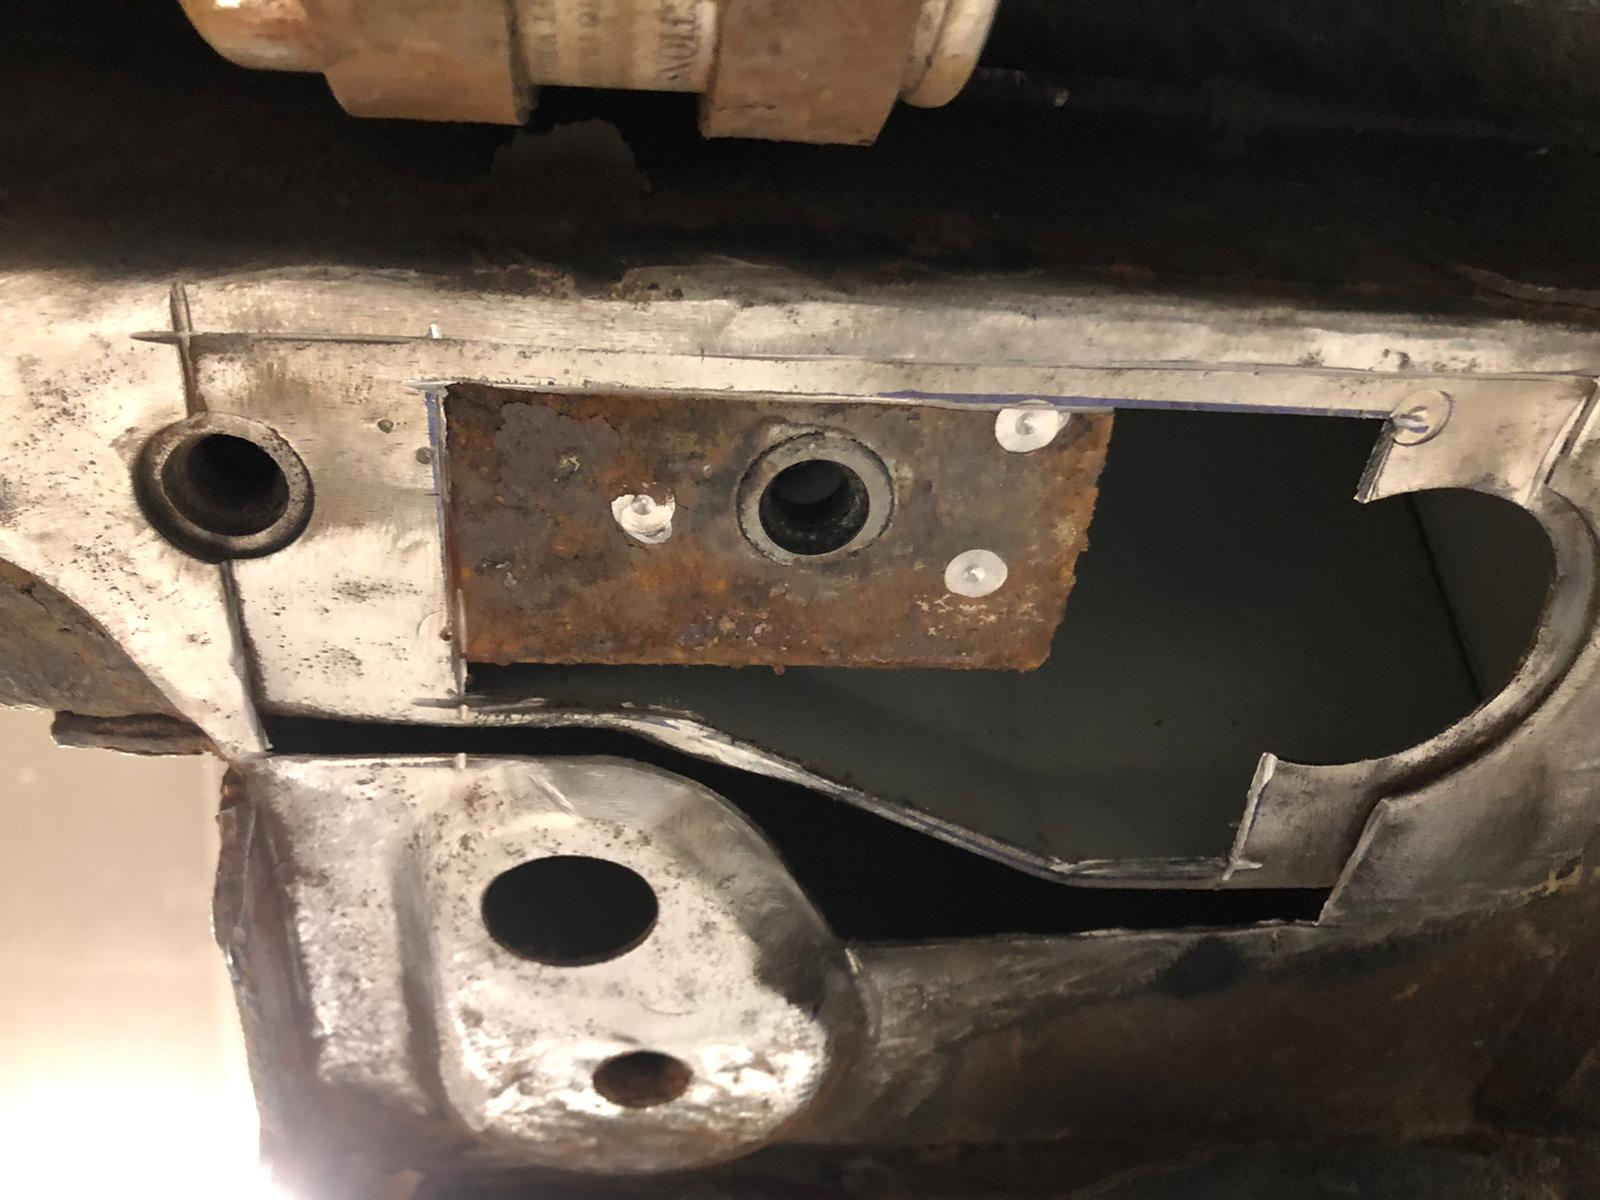
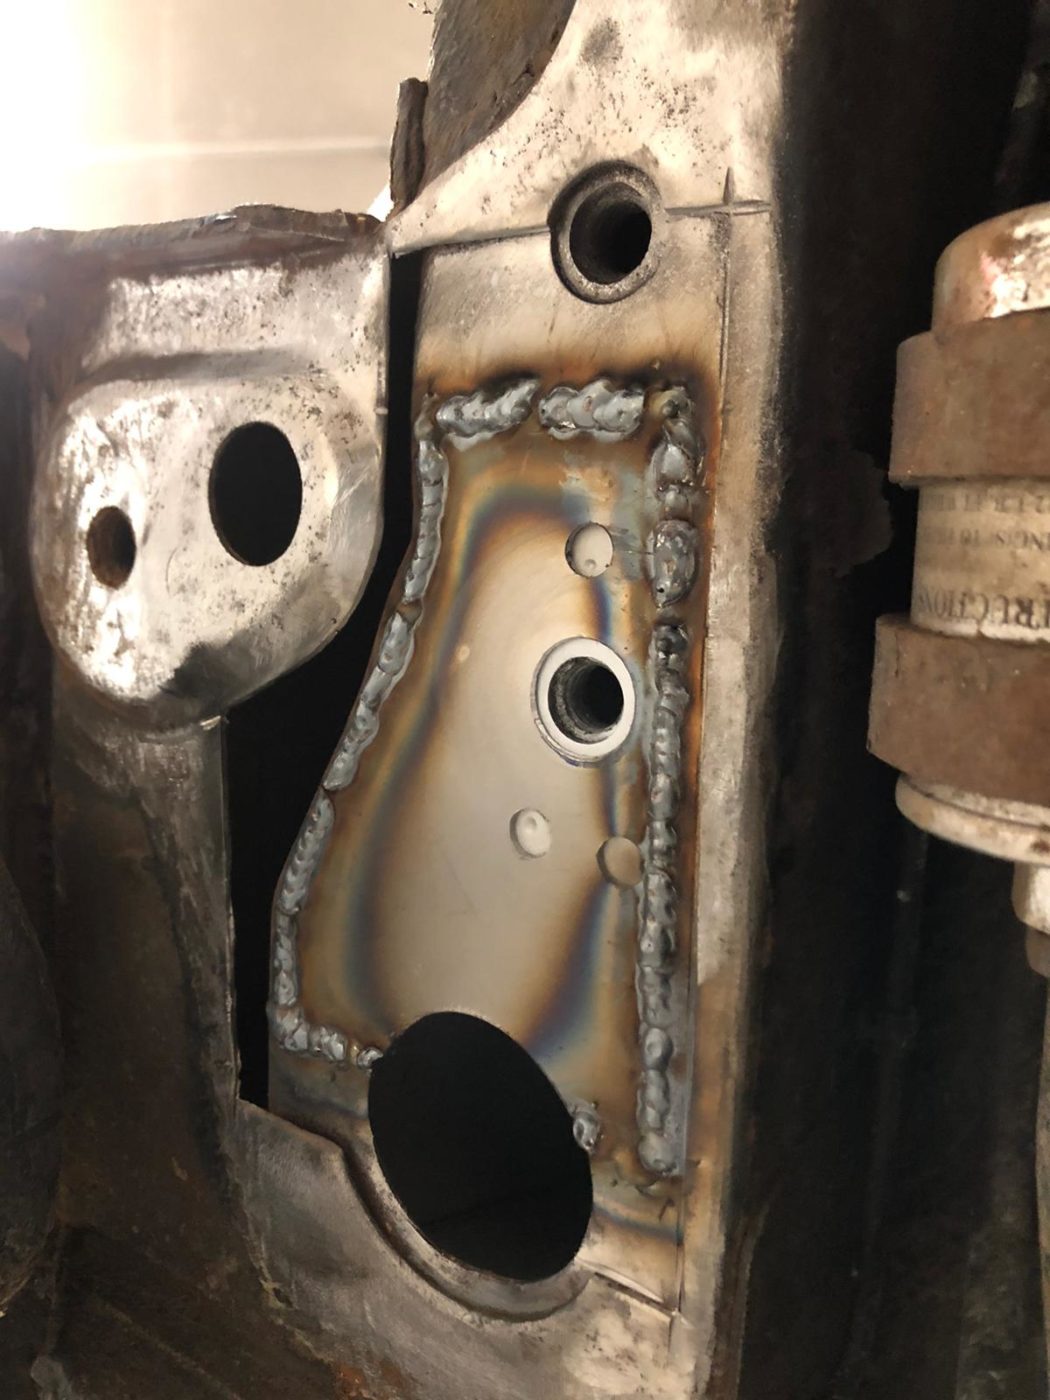
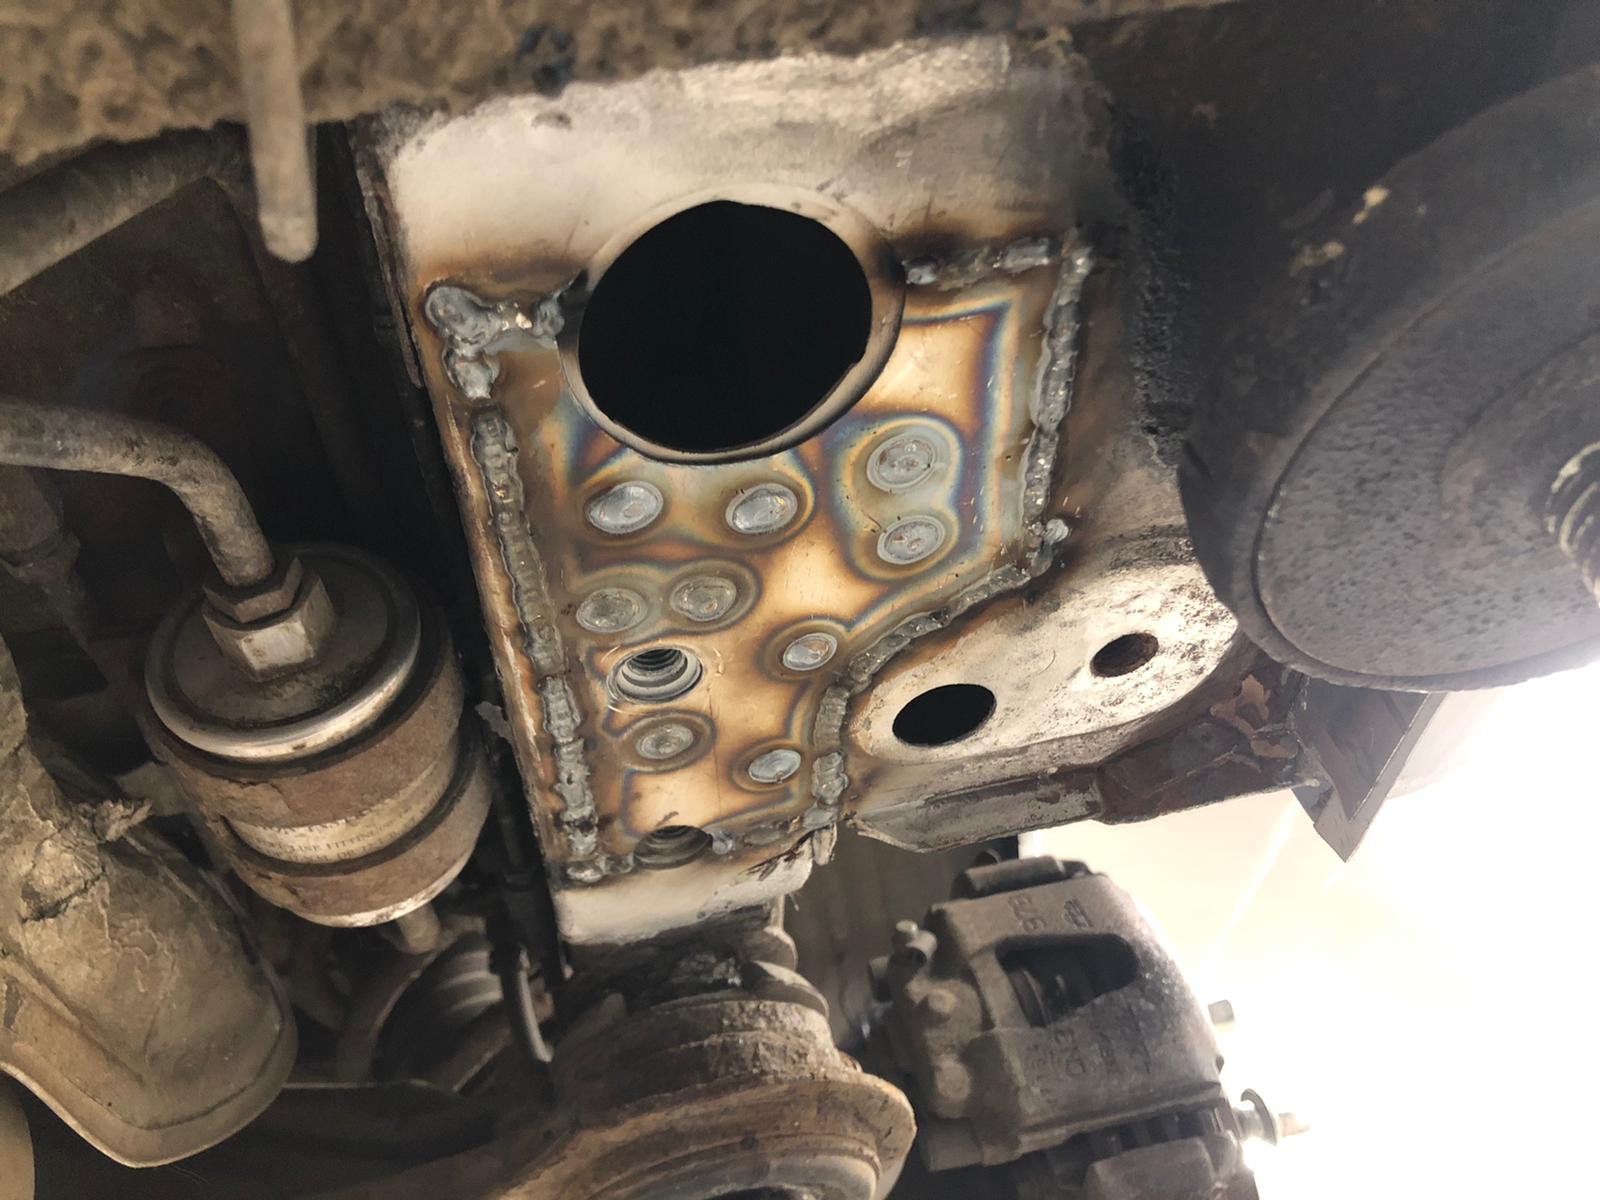
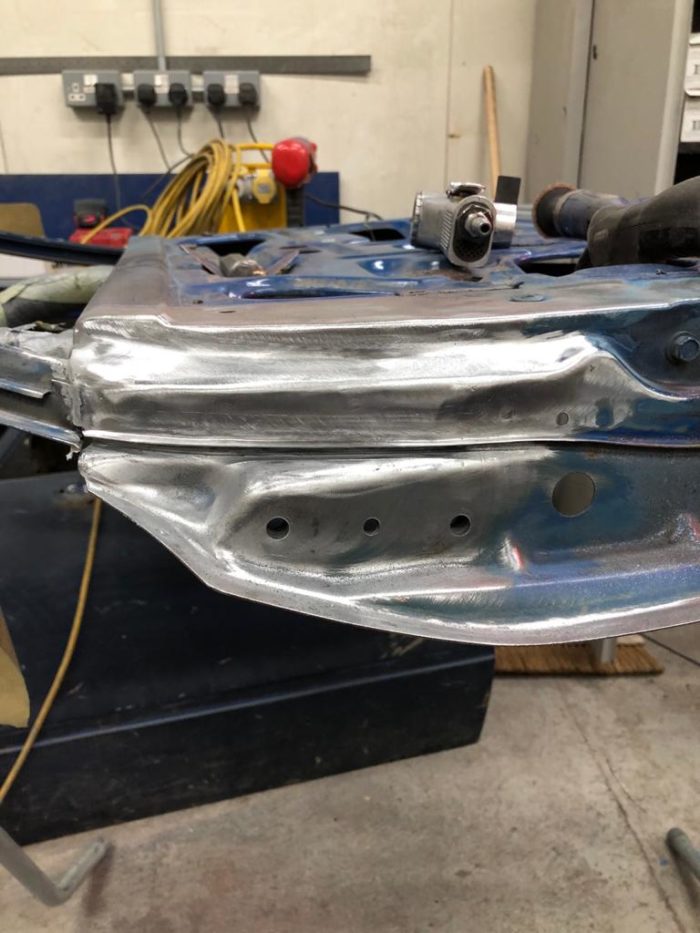
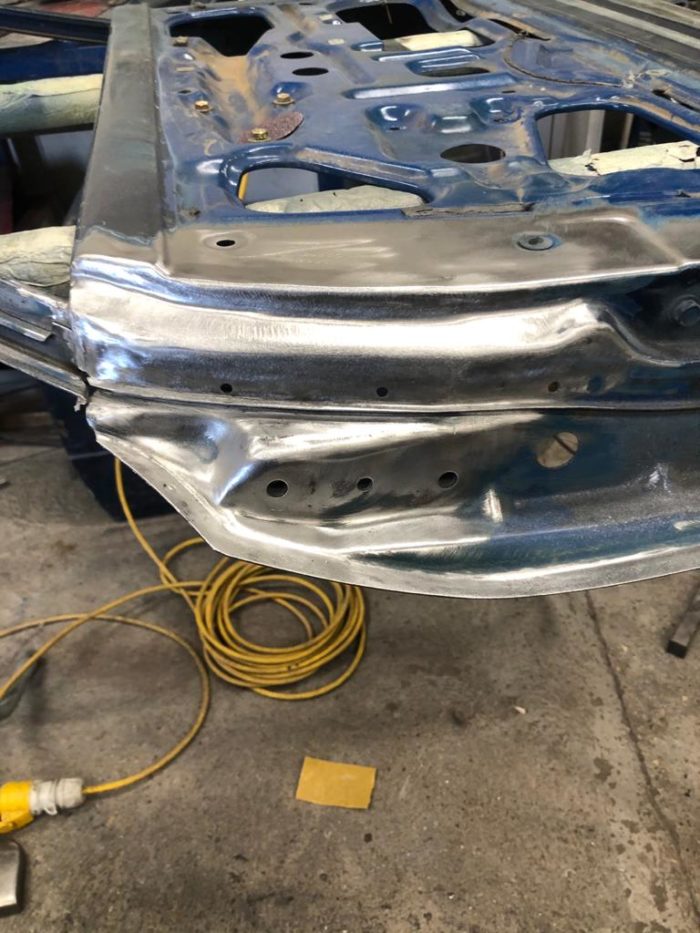
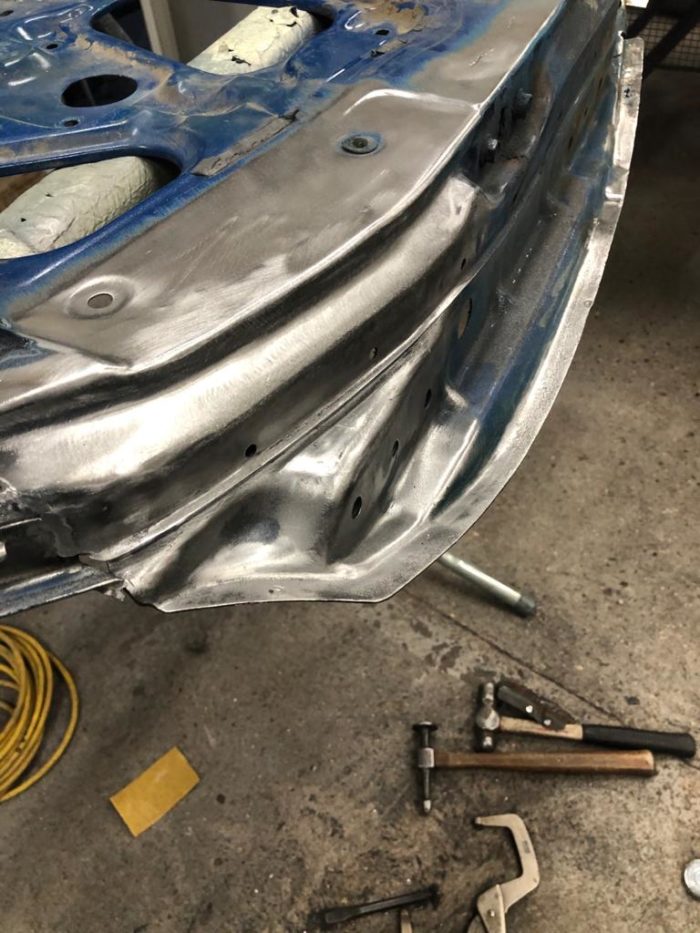
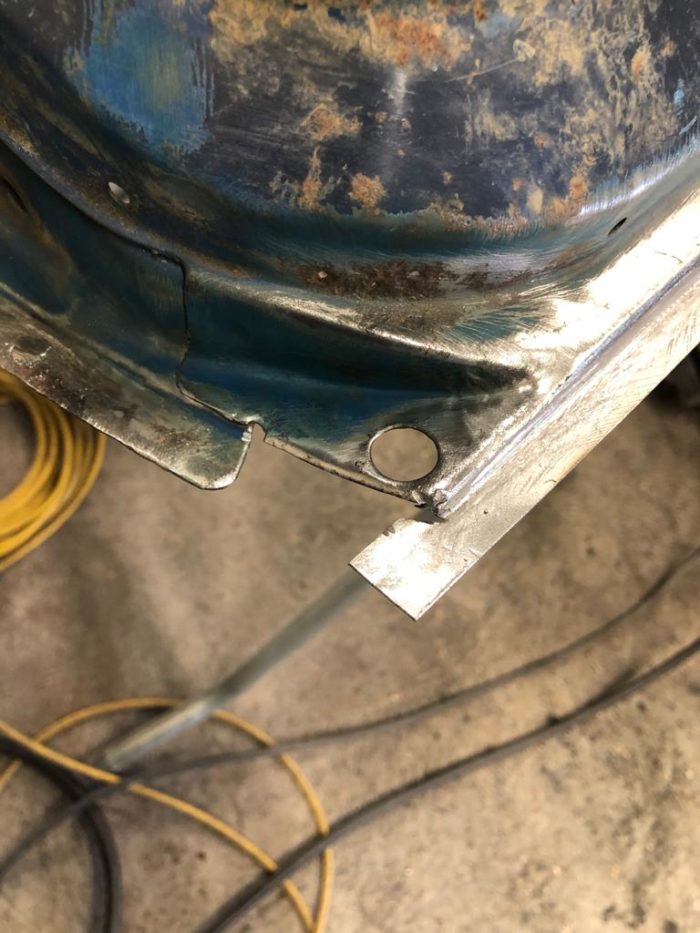
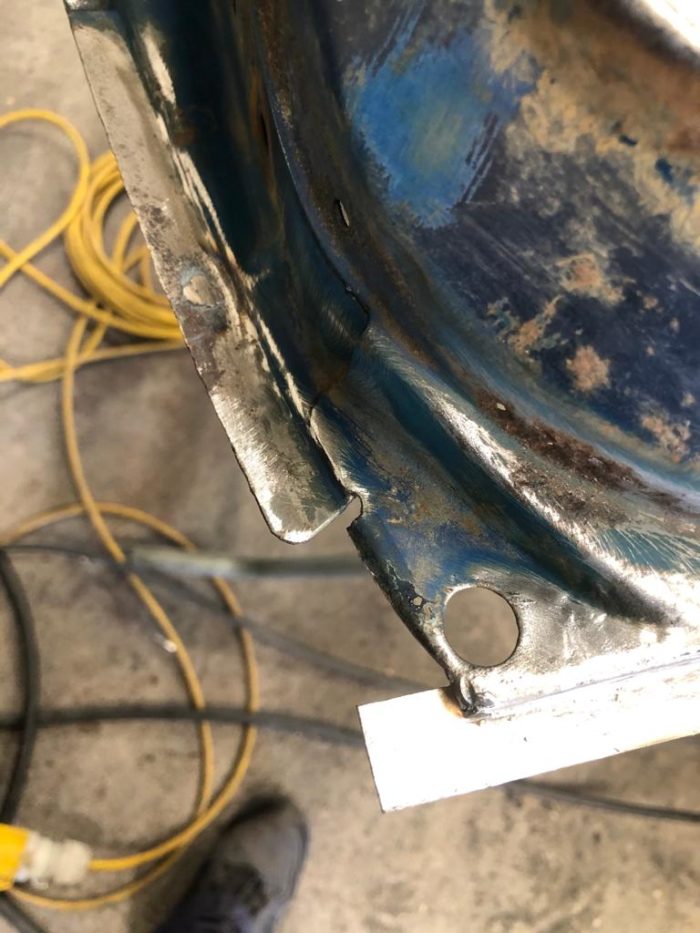
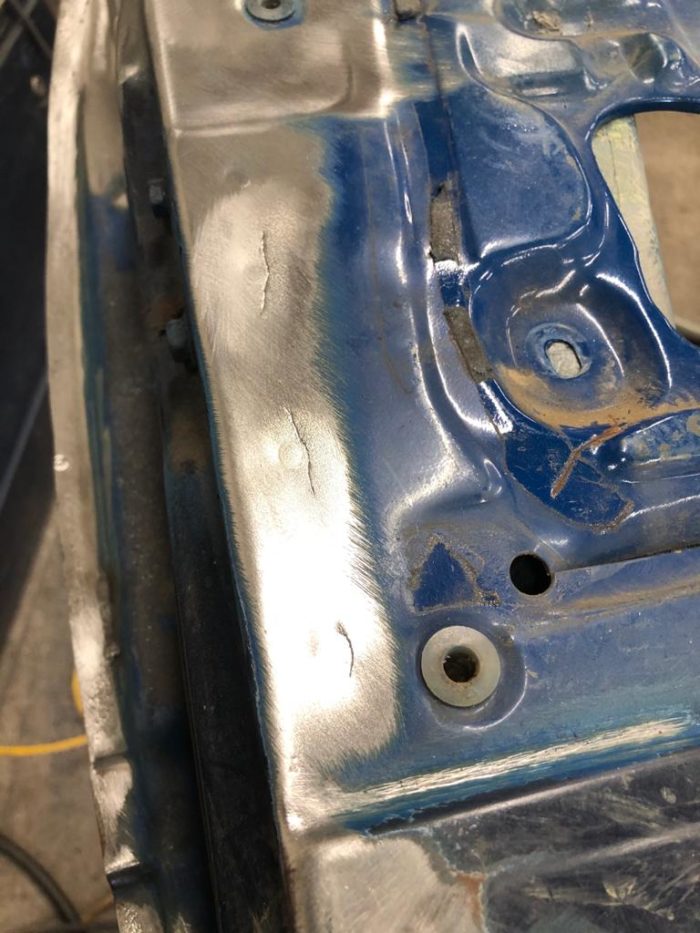
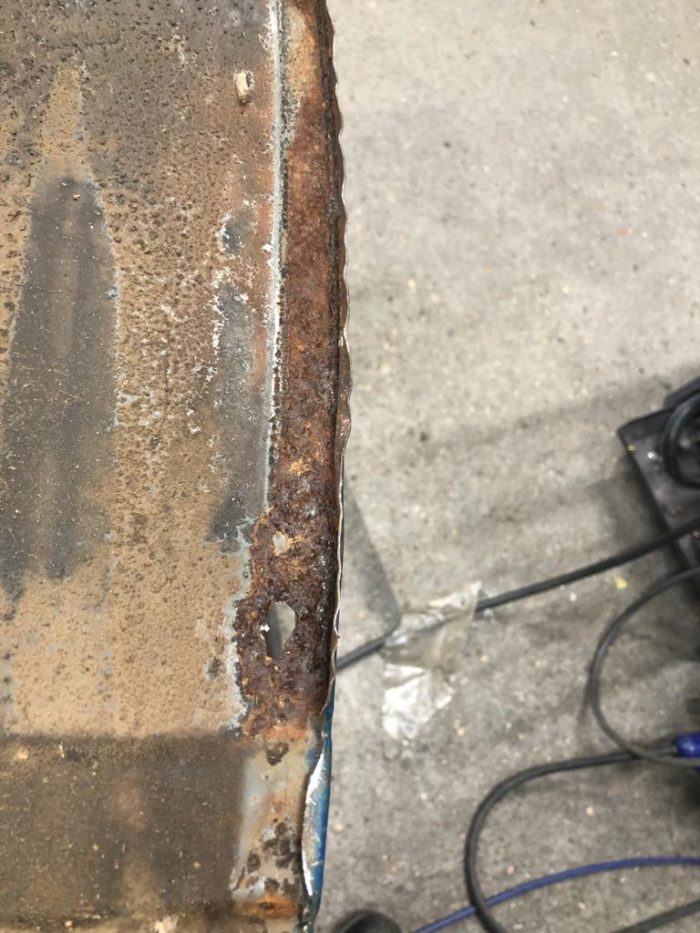
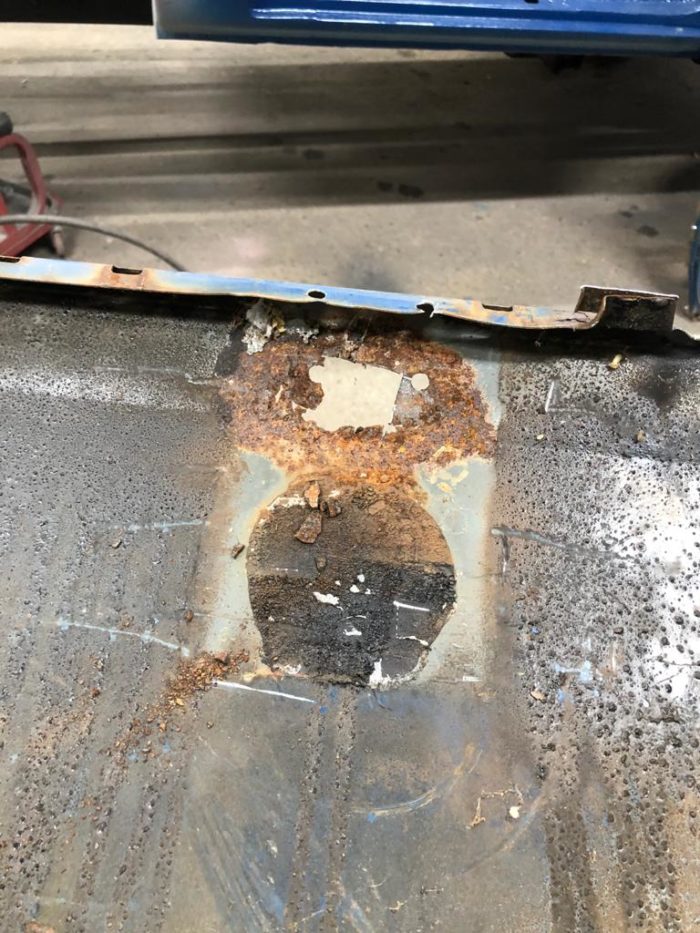
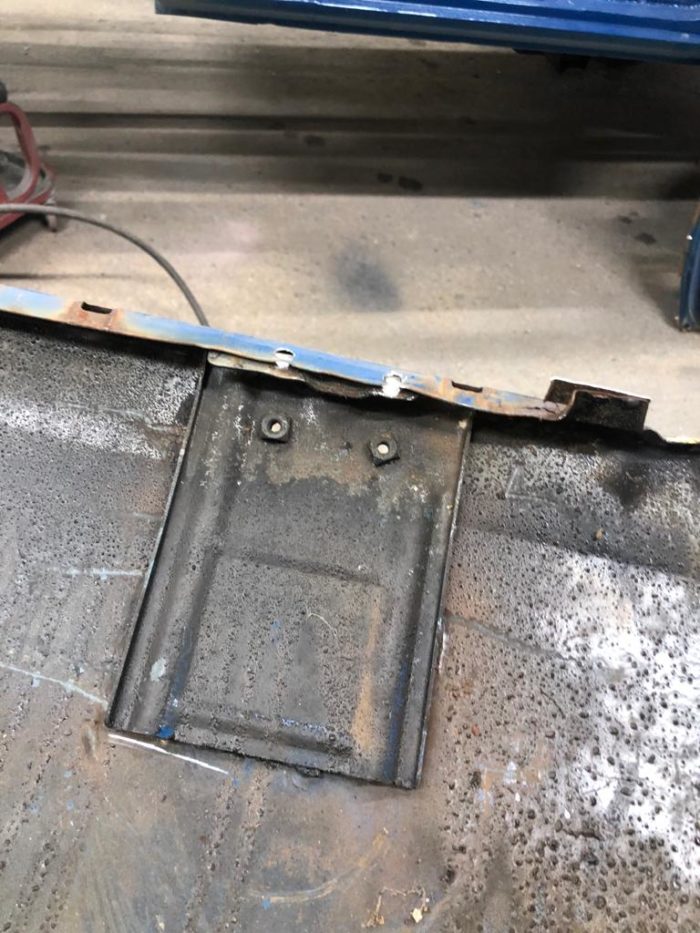
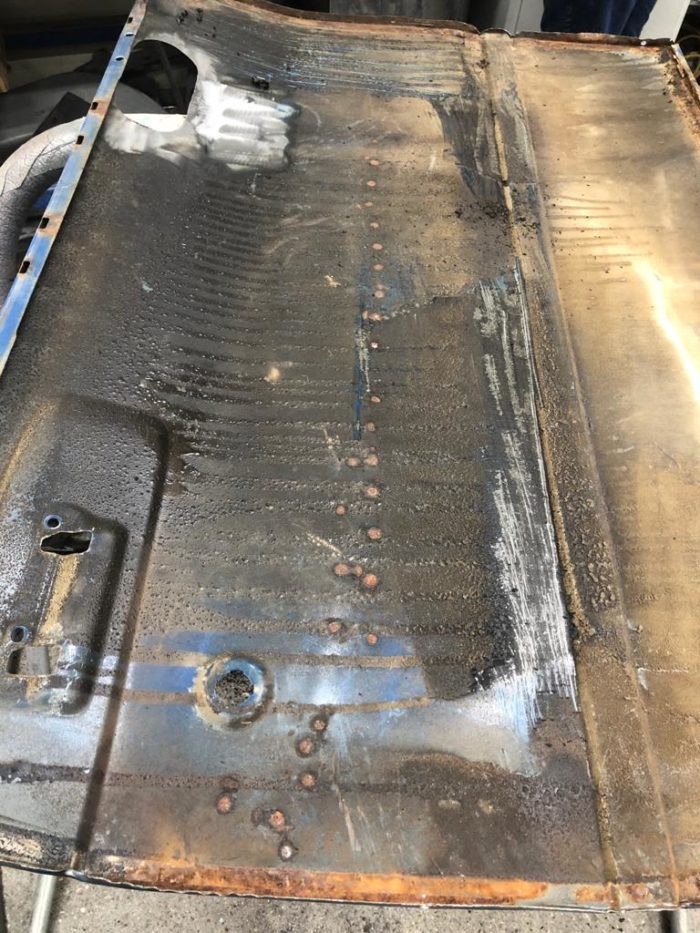
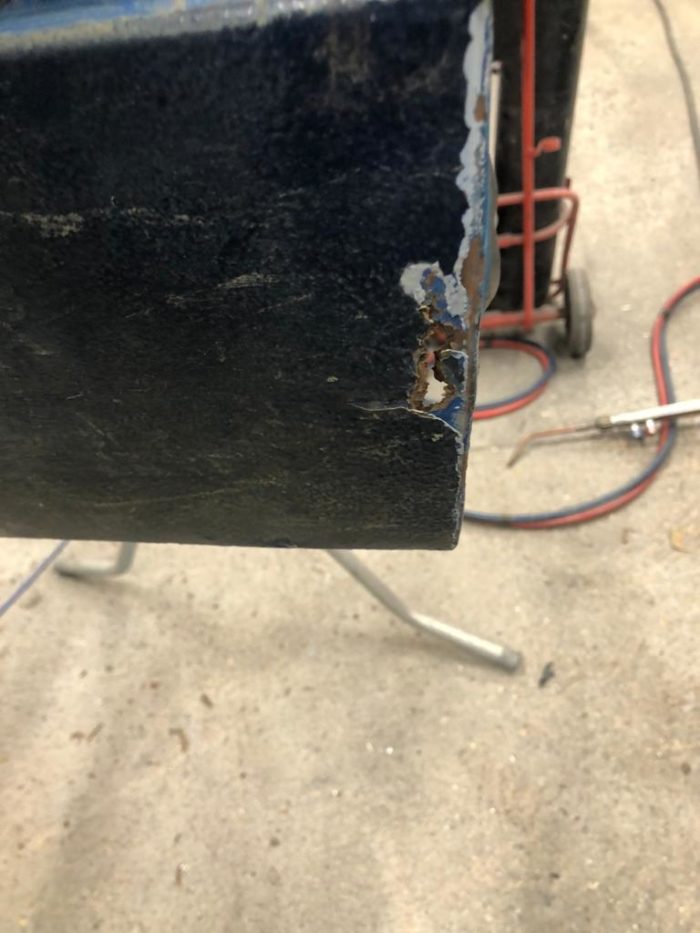
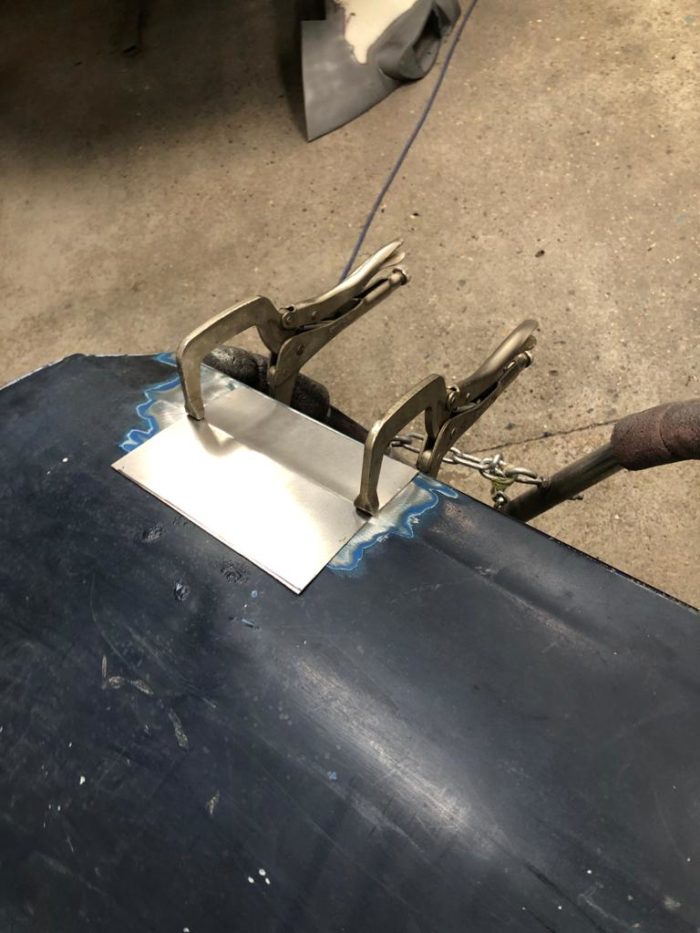
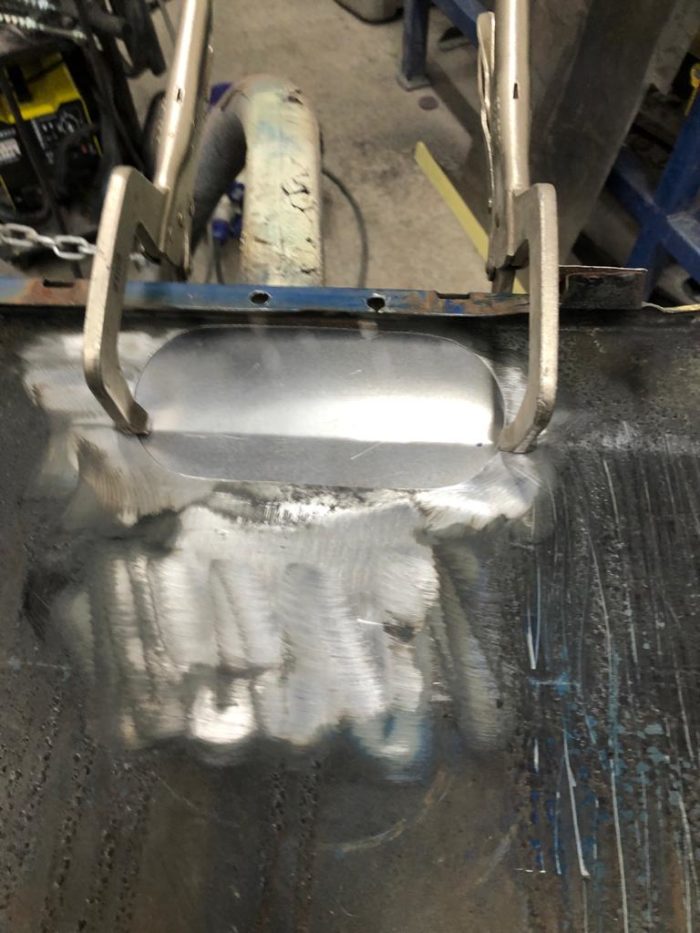
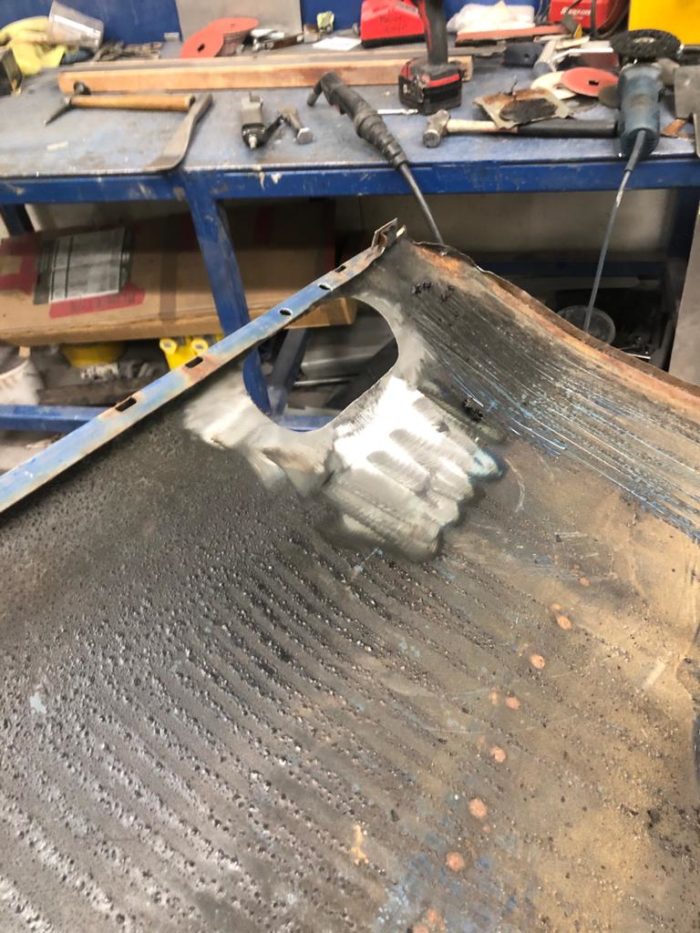
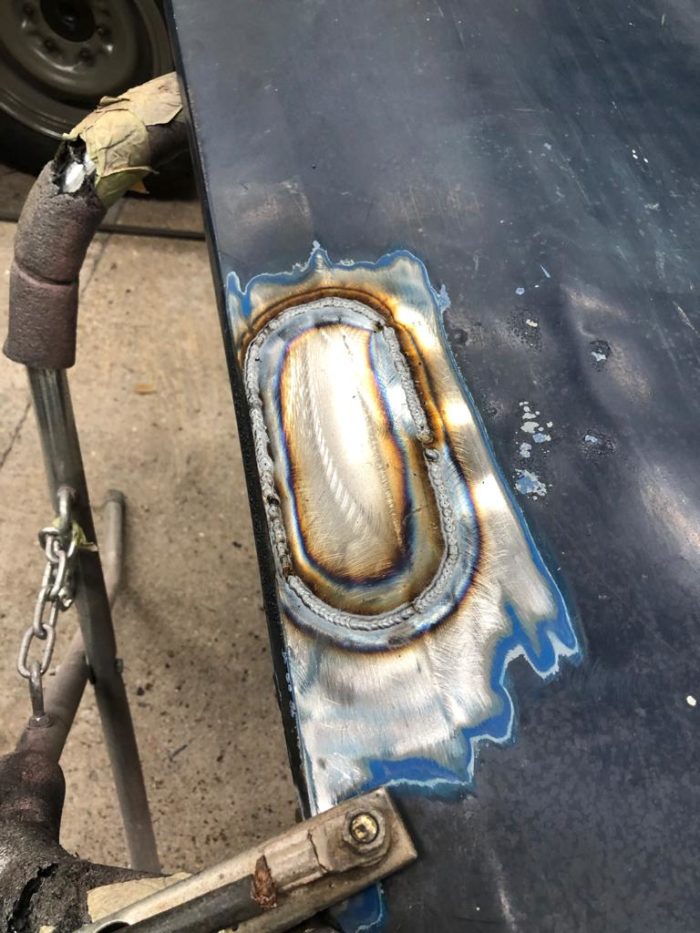
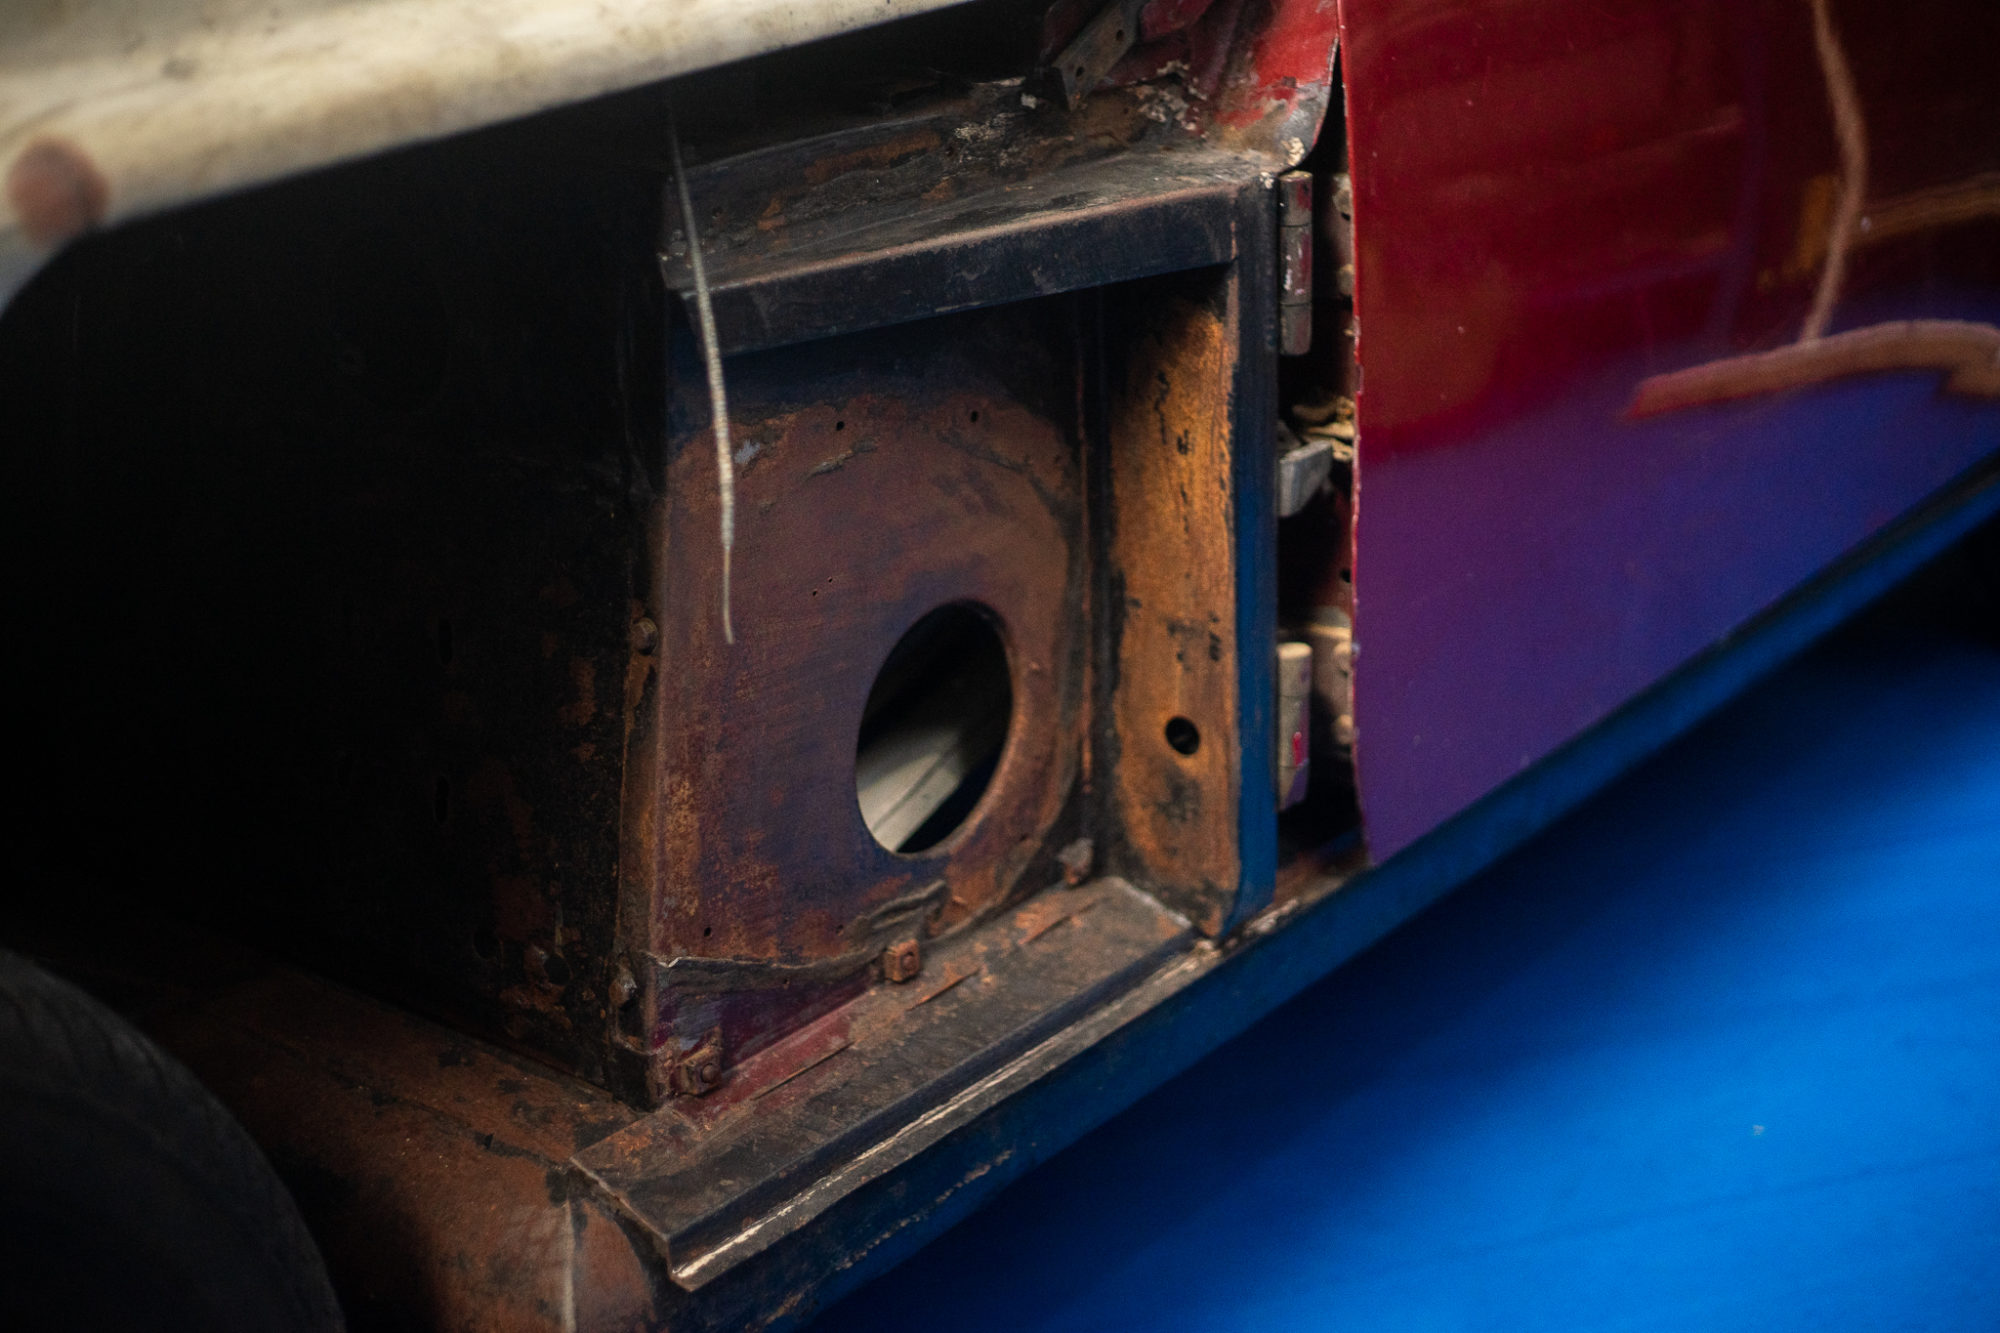
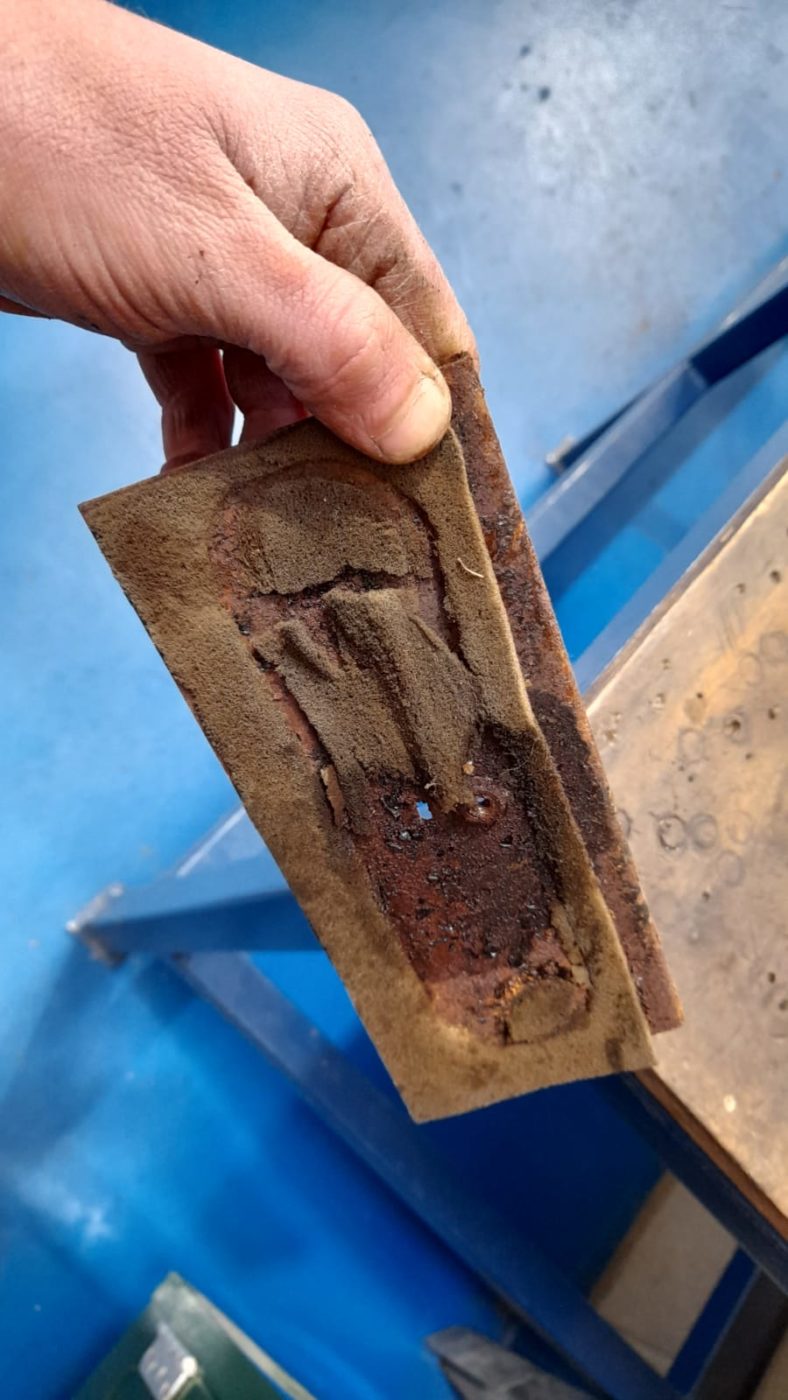
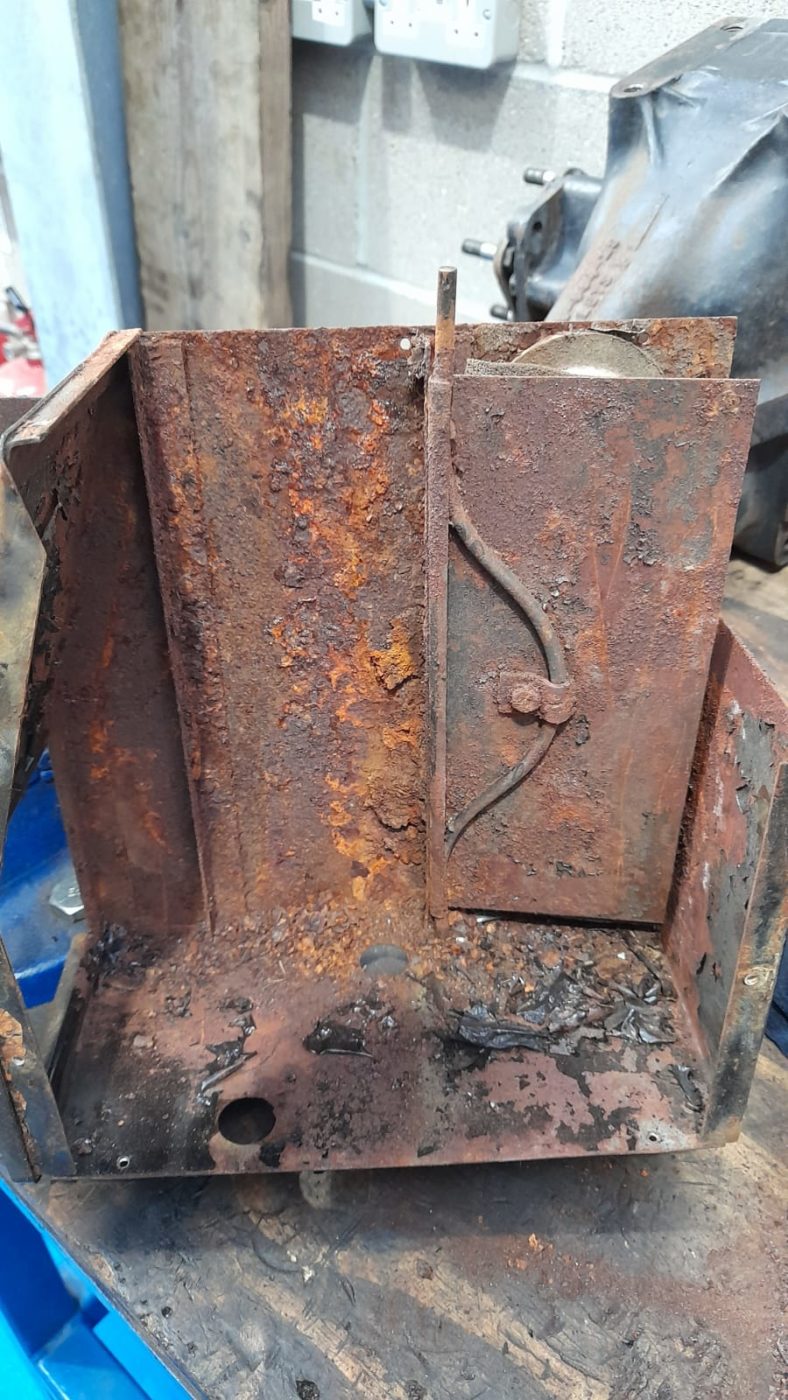
Pricey has discovered a rotten left hand subframe mounting point/chassis leg. To deal with this, Pricey cut out the outer layer to reveal a rotten middle section.
He then cut out the middle section to reveal rotten inner reinforcement. He’s also taken to cleaning up some of the corroded parts before building the reinforcements. Once these have been made, the chassis leg panels can be welded back into place, grounded down and a middle section can be fitted in. Once all the elements have been grounded and welded in place, Pricey then covered the underside in Epoxy primer so that its ready for an underseal.


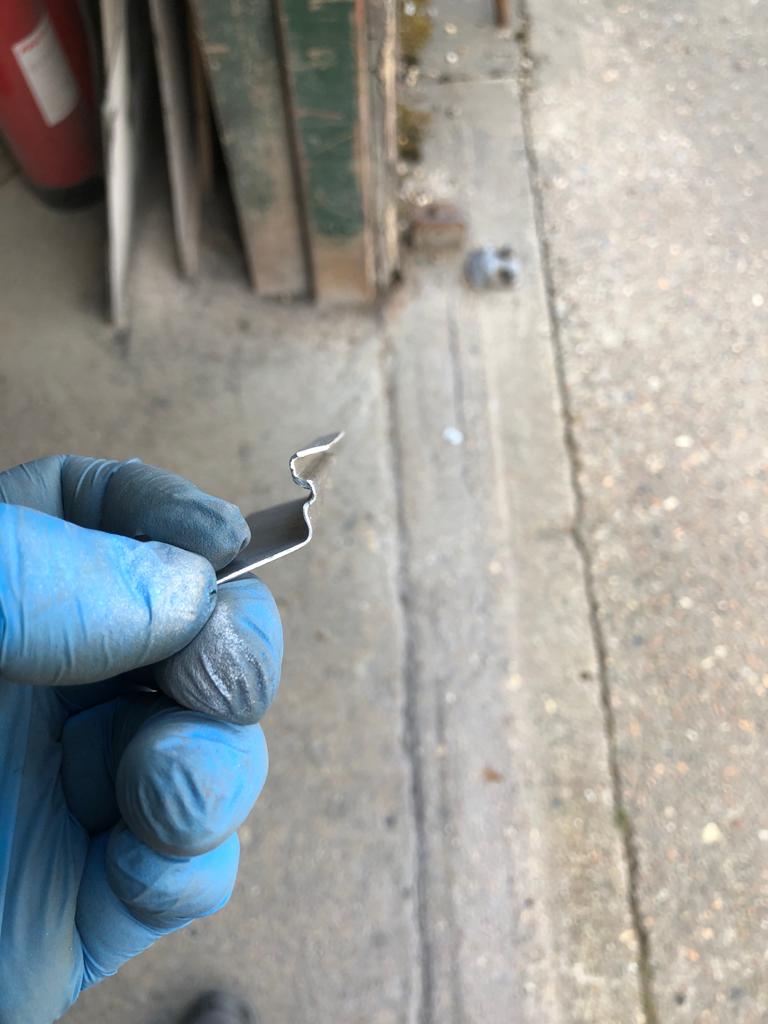
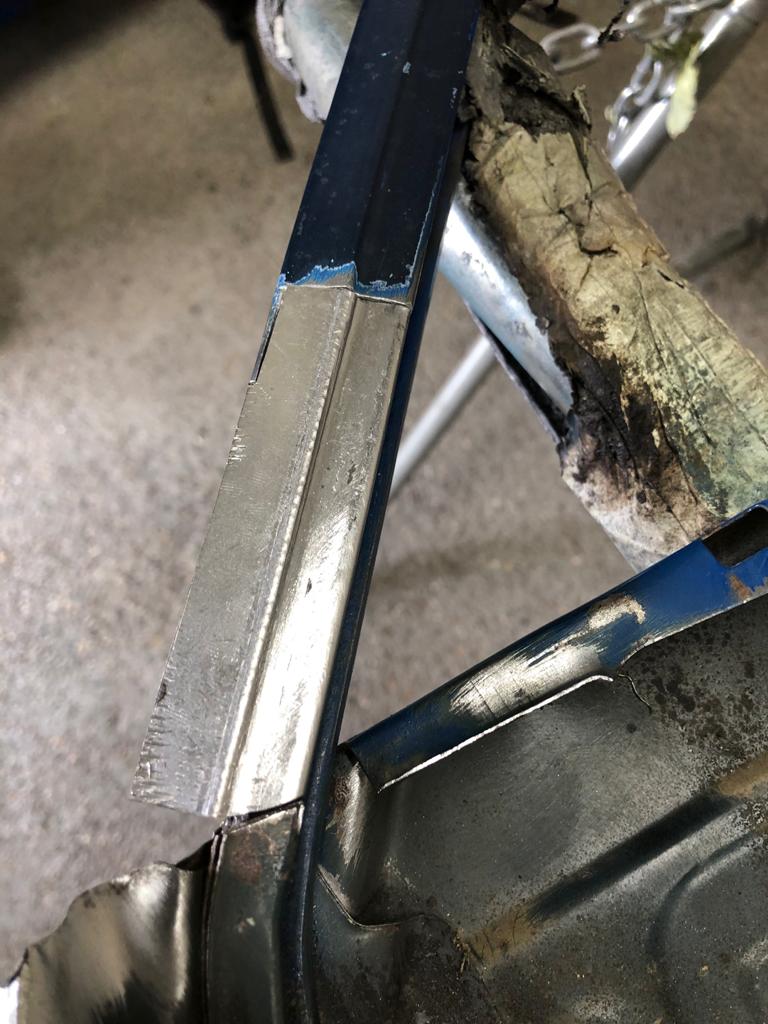
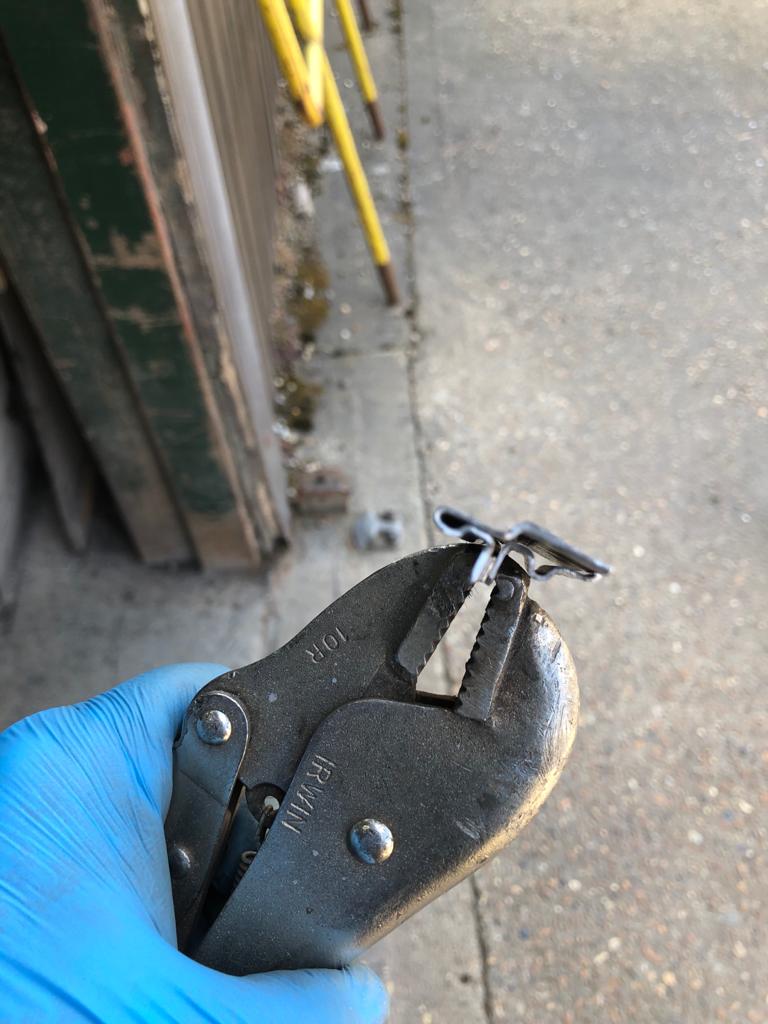
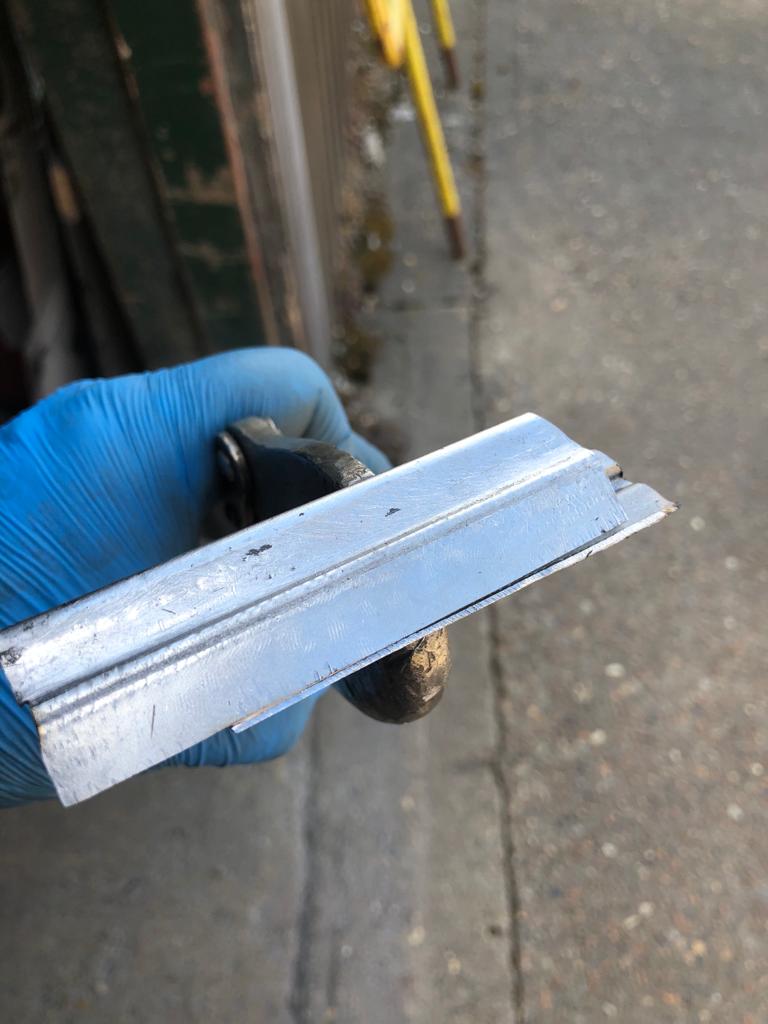
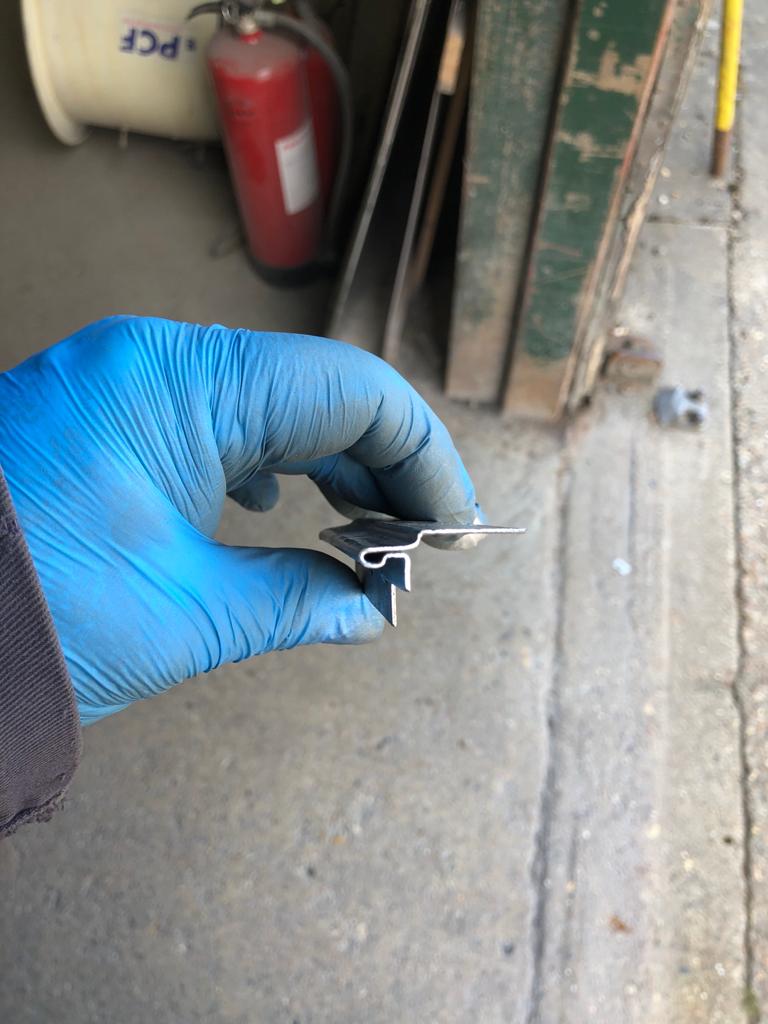
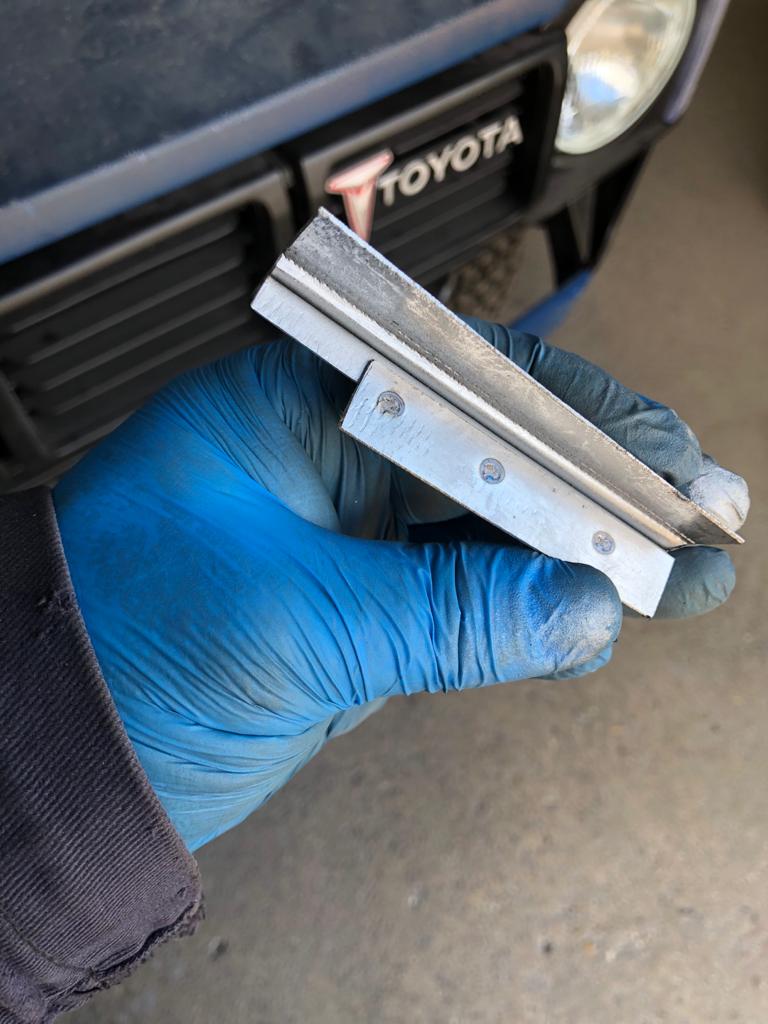
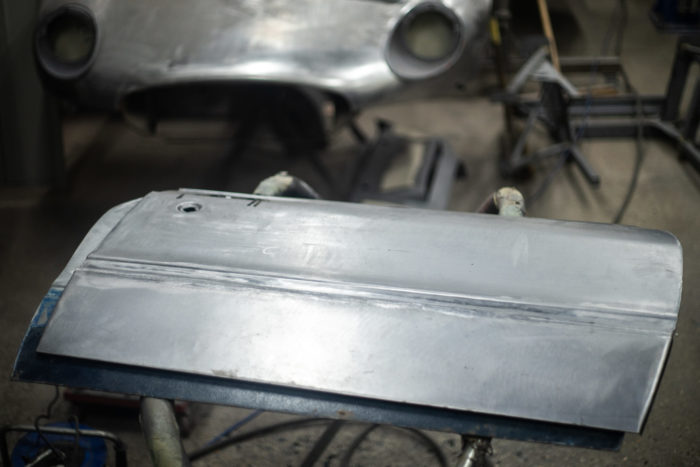
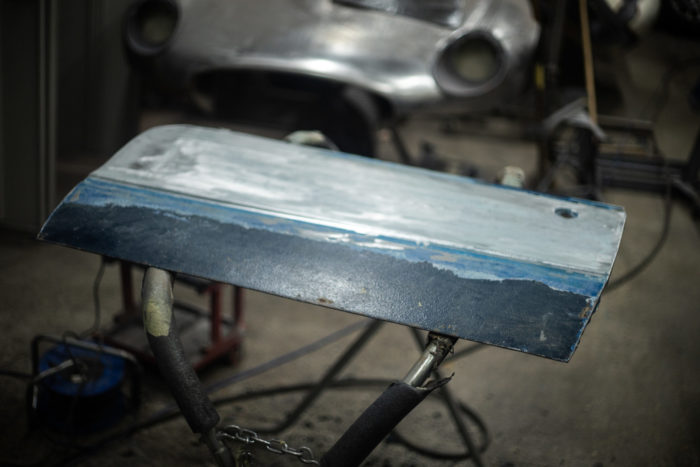
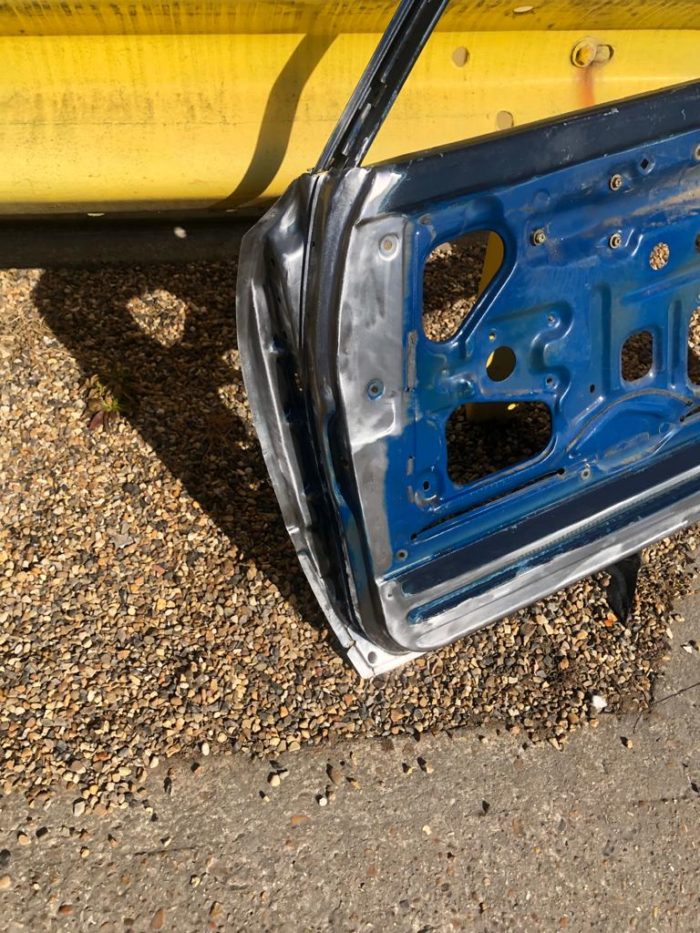
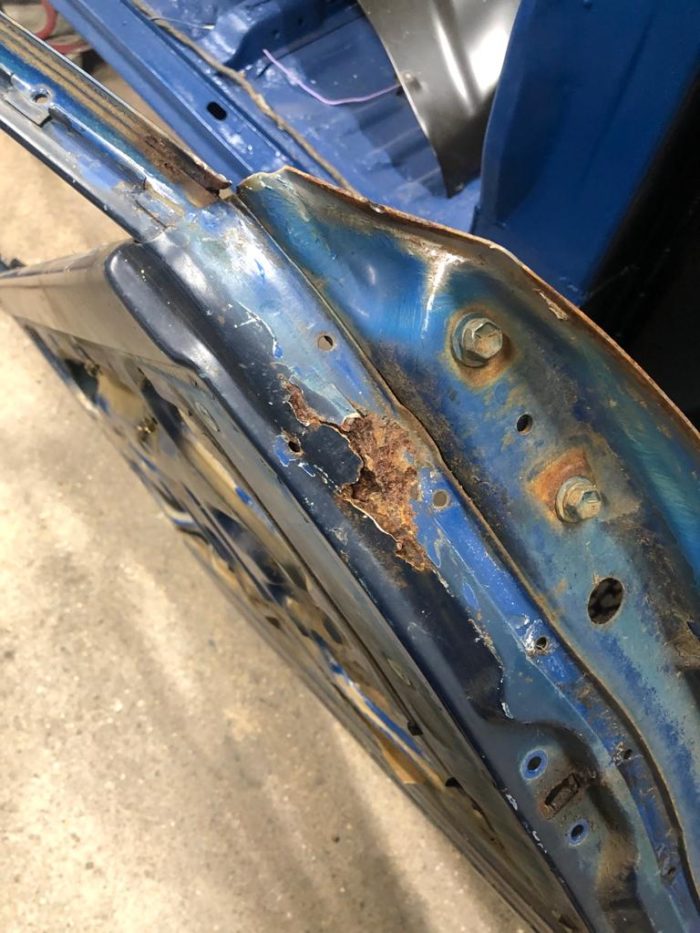
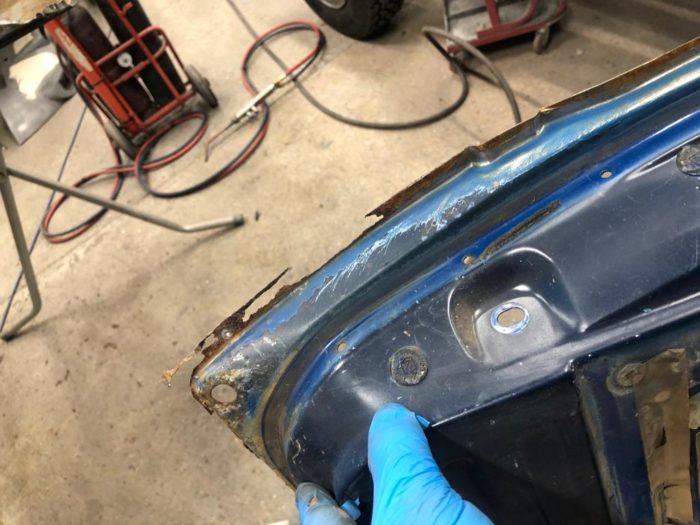
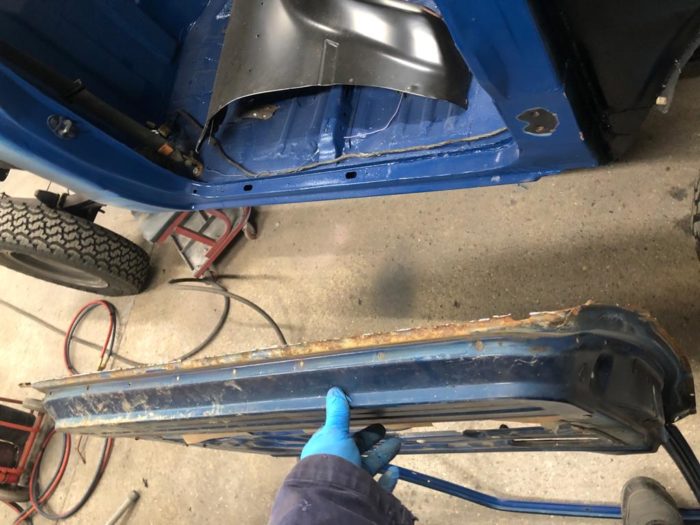
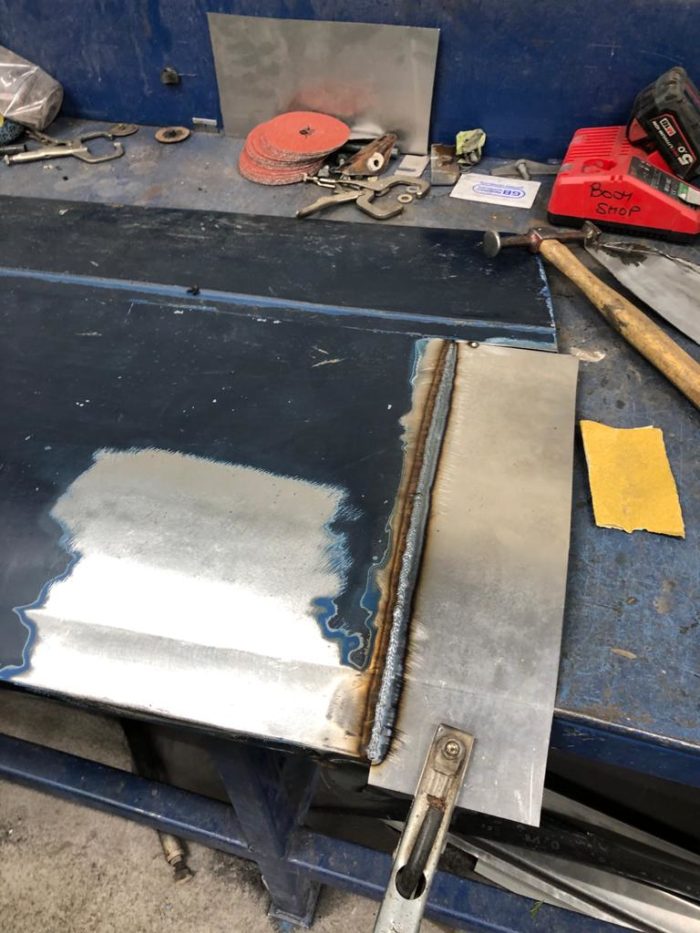
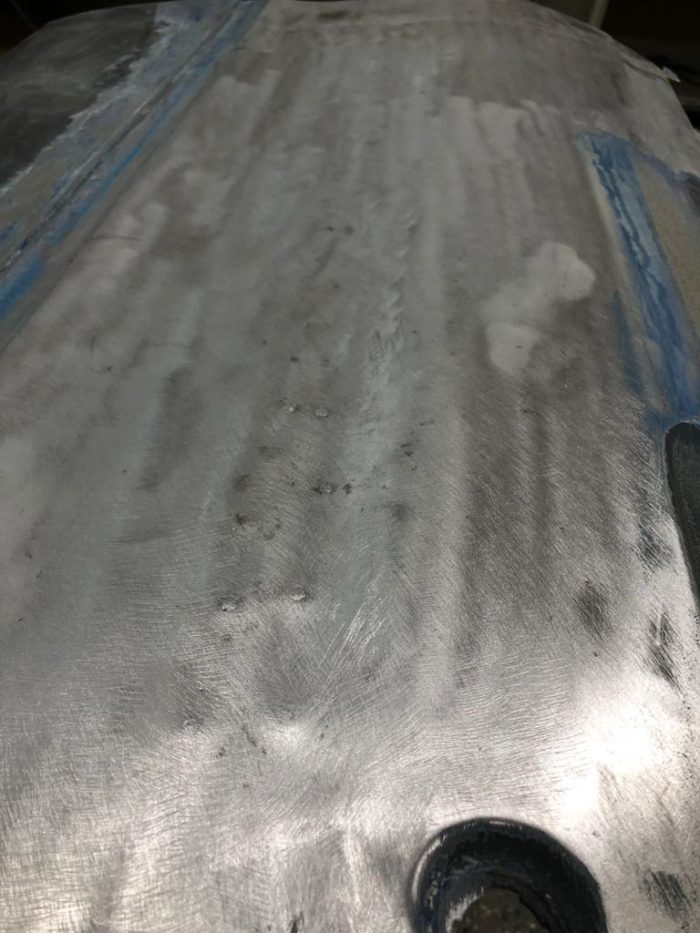
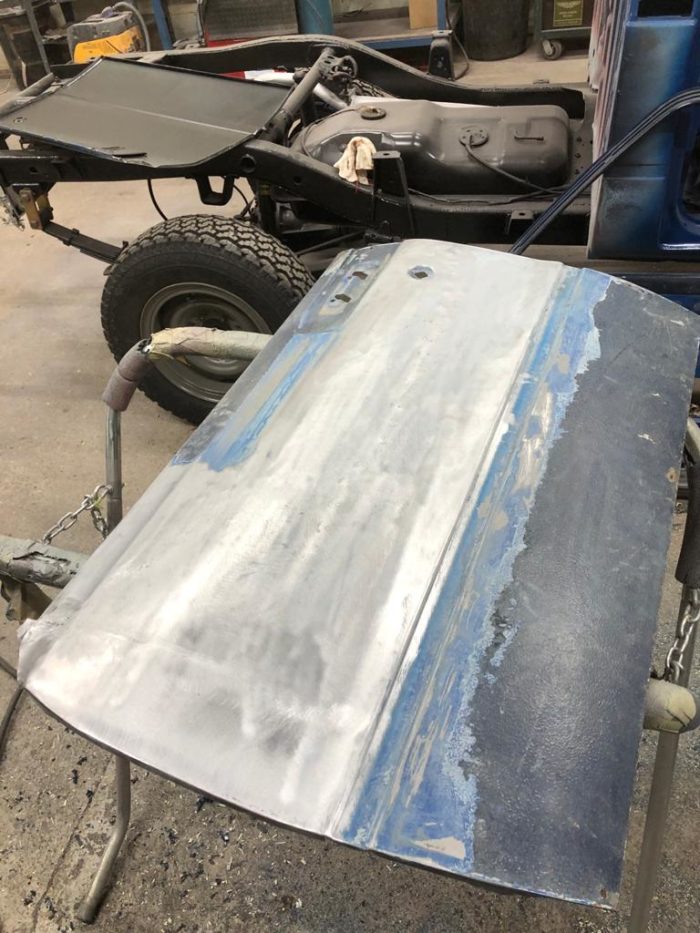
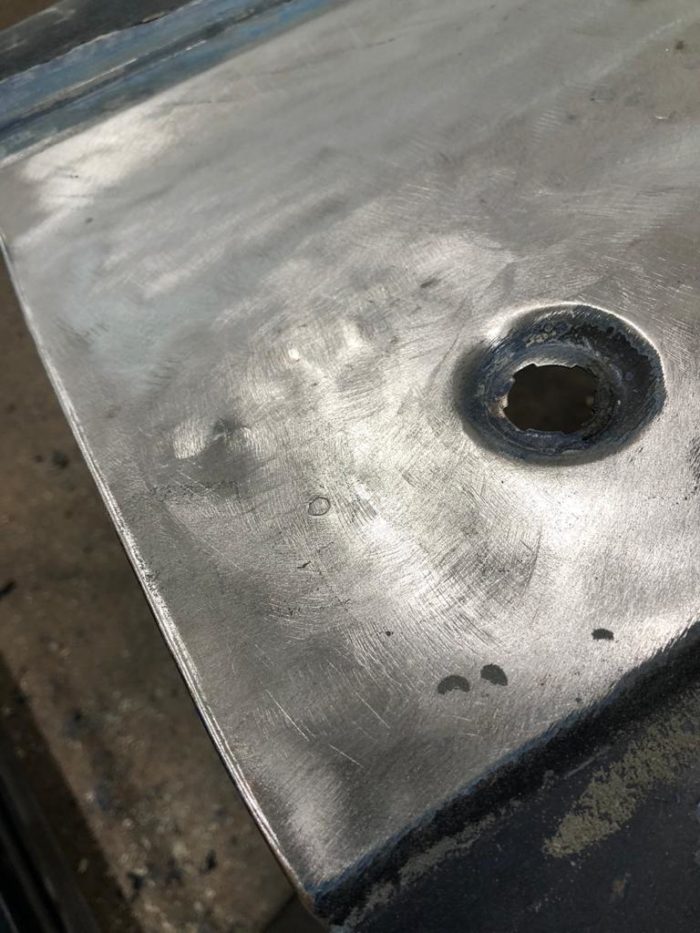
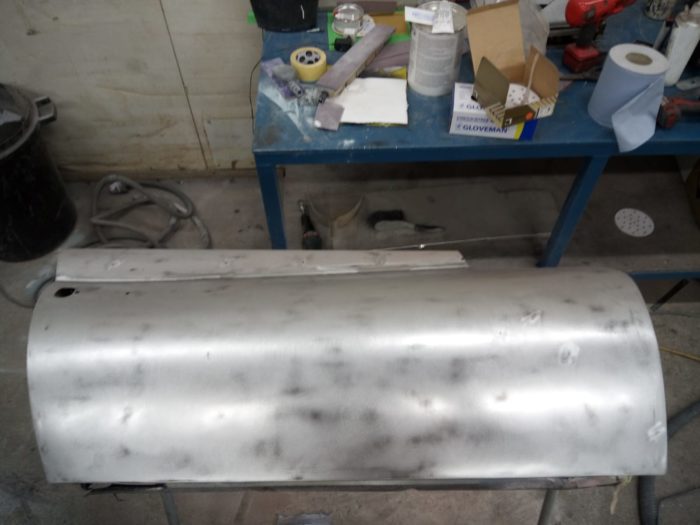
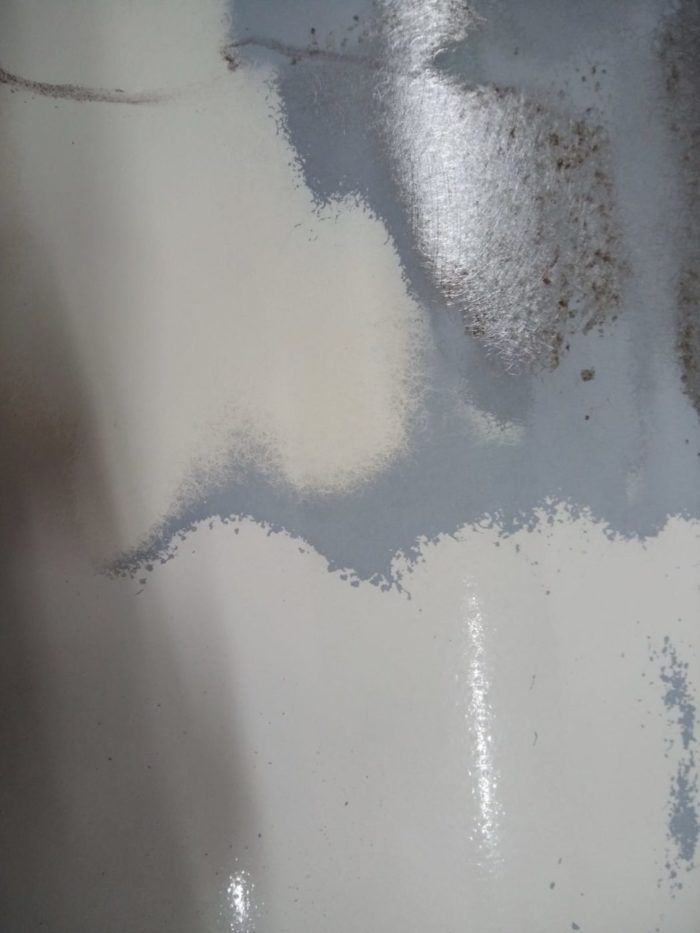
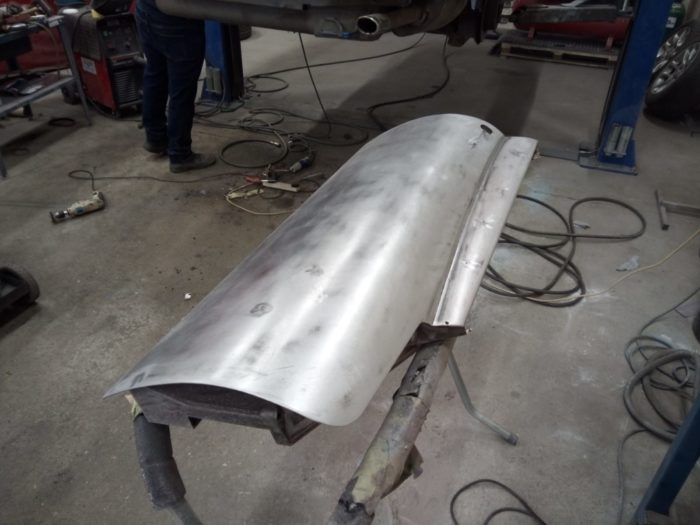
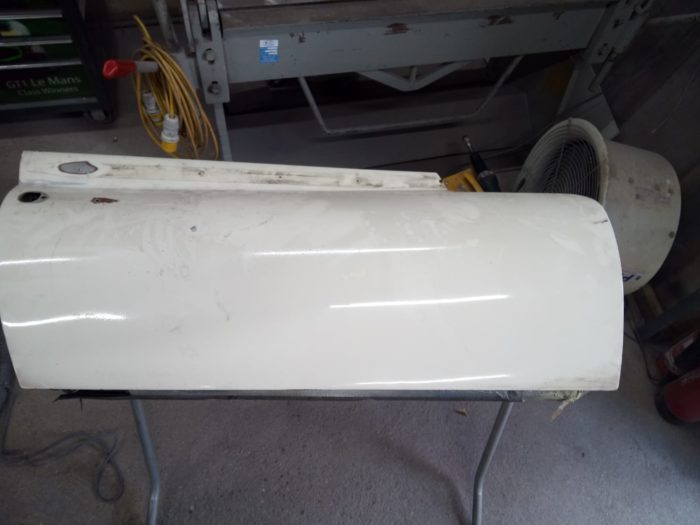
James has been using the original spot-weld marks on our Toyota Hilux to realign the drivers door skin. James has made a spacer for the same door to rectify the owner’s previous repair and has also rust repaired the passenger side door frame ready to refit door skin in the same way.

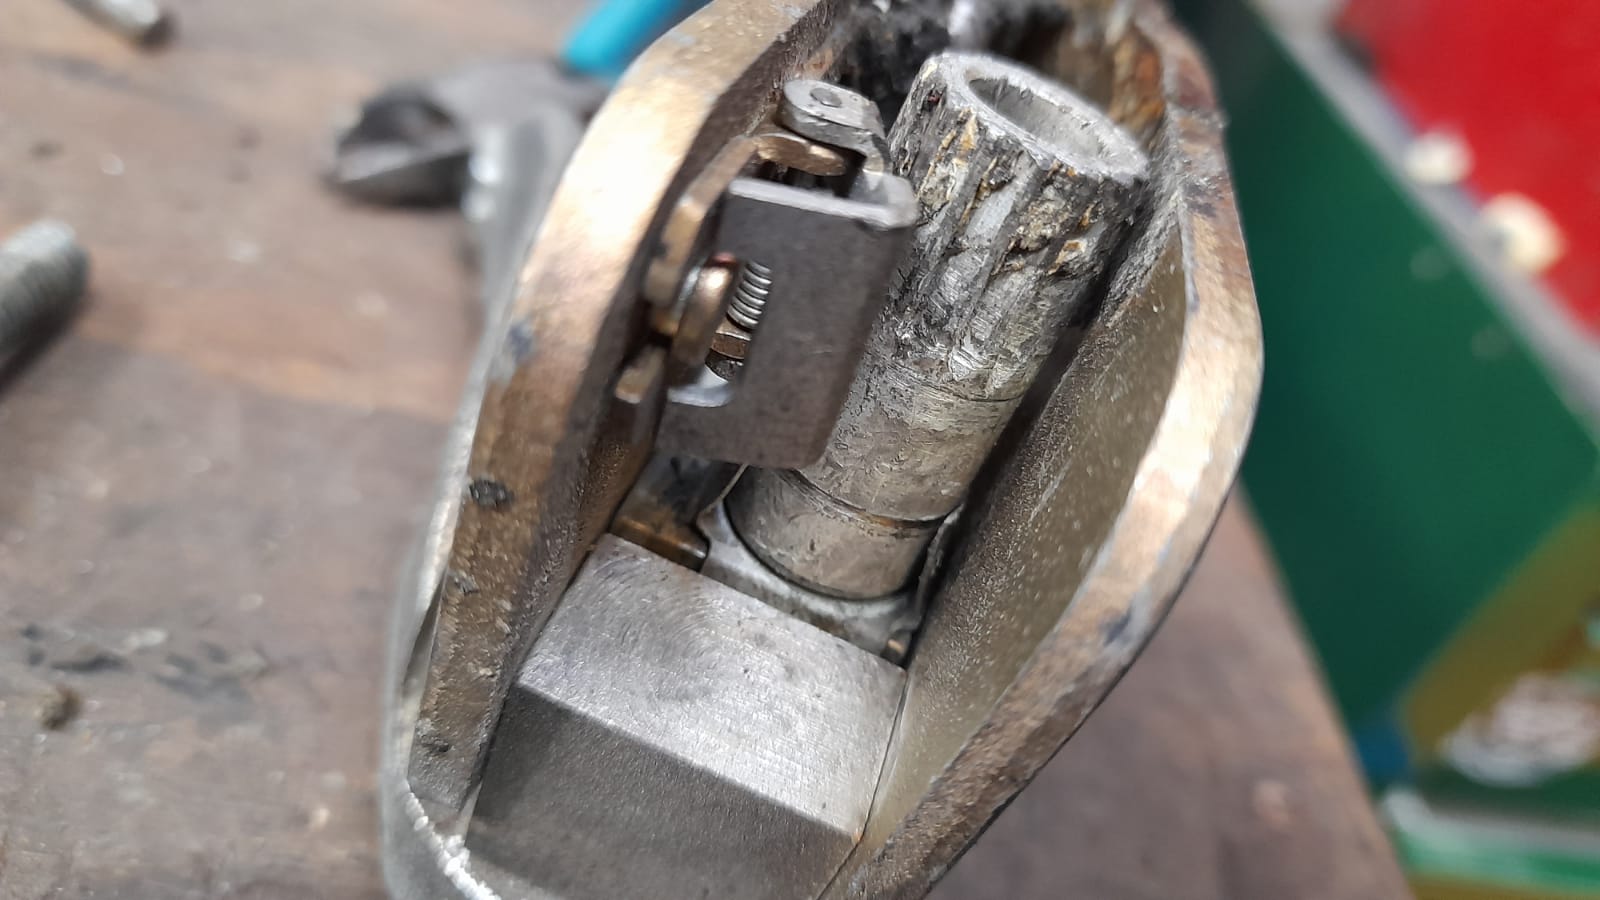
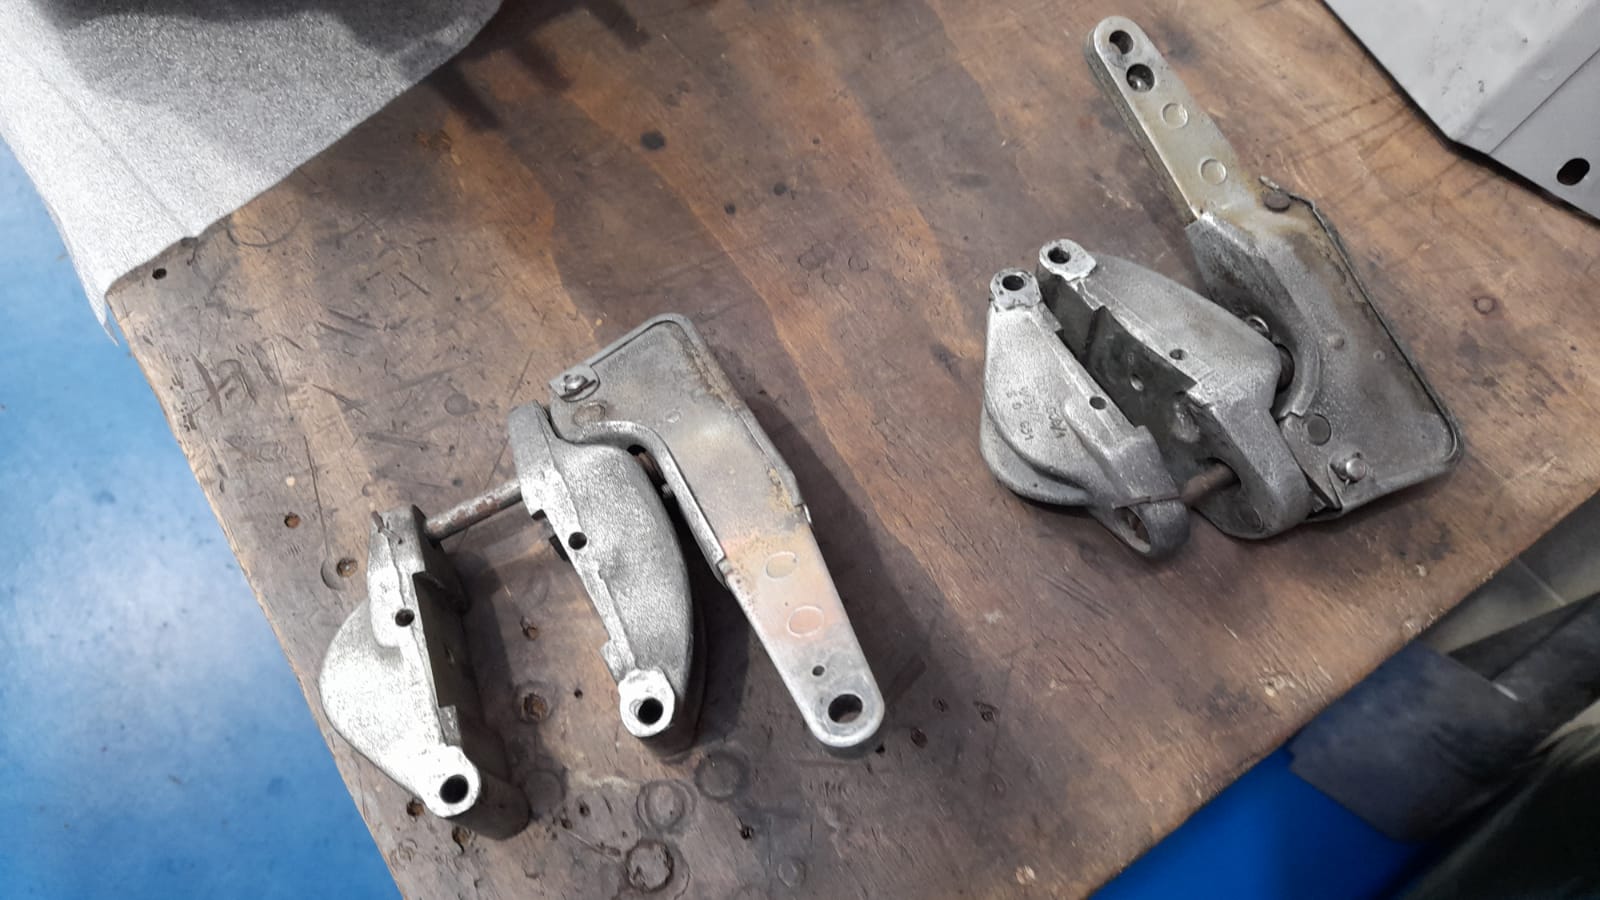
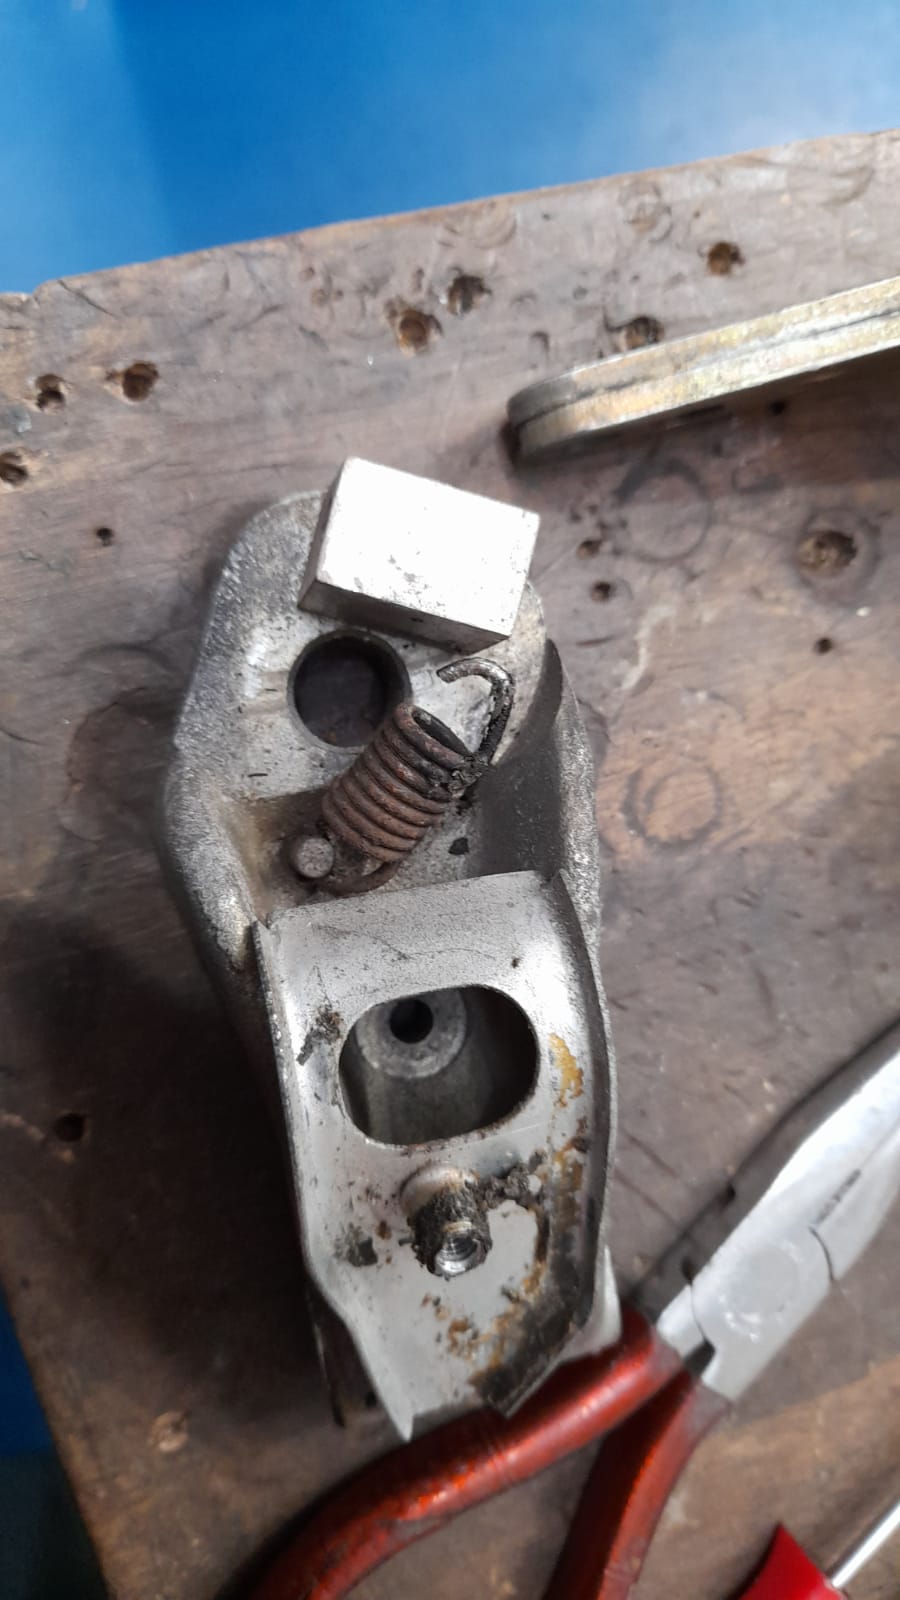
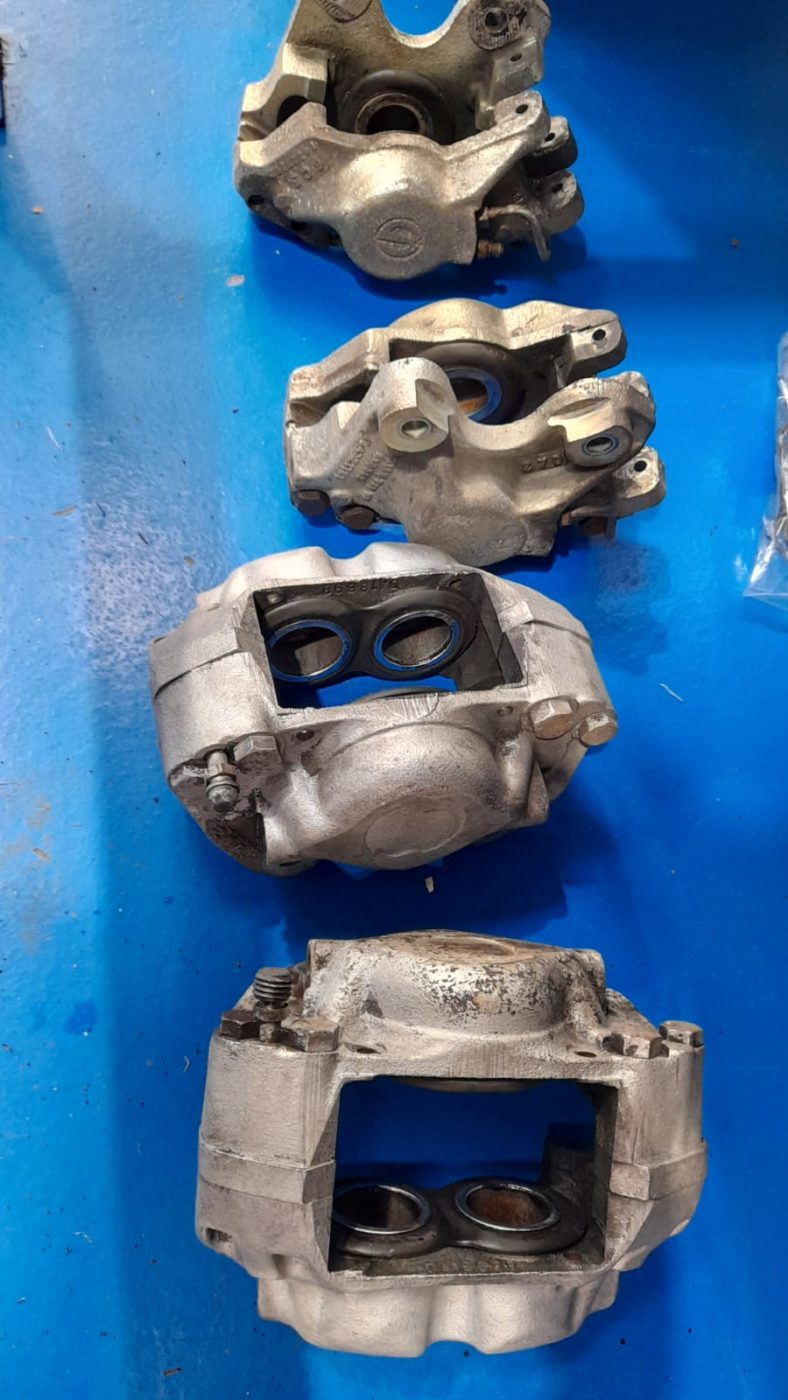
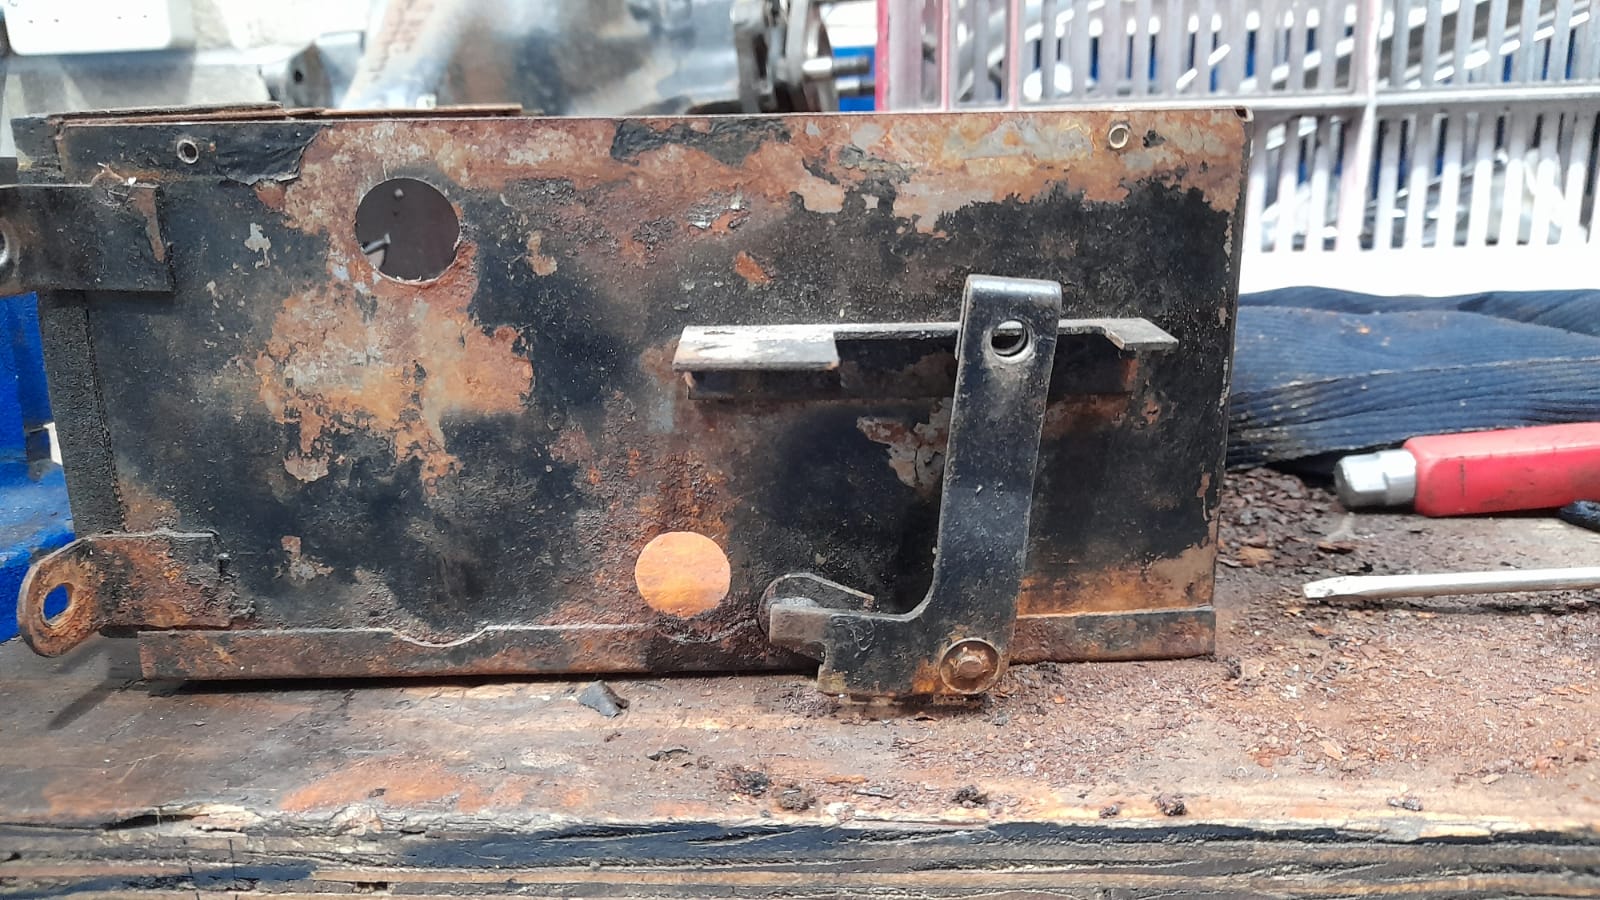
Scott has stripped the handbrake callipers and sandblasted the parts so they could be painted. Scott then started to put the rear axle together.

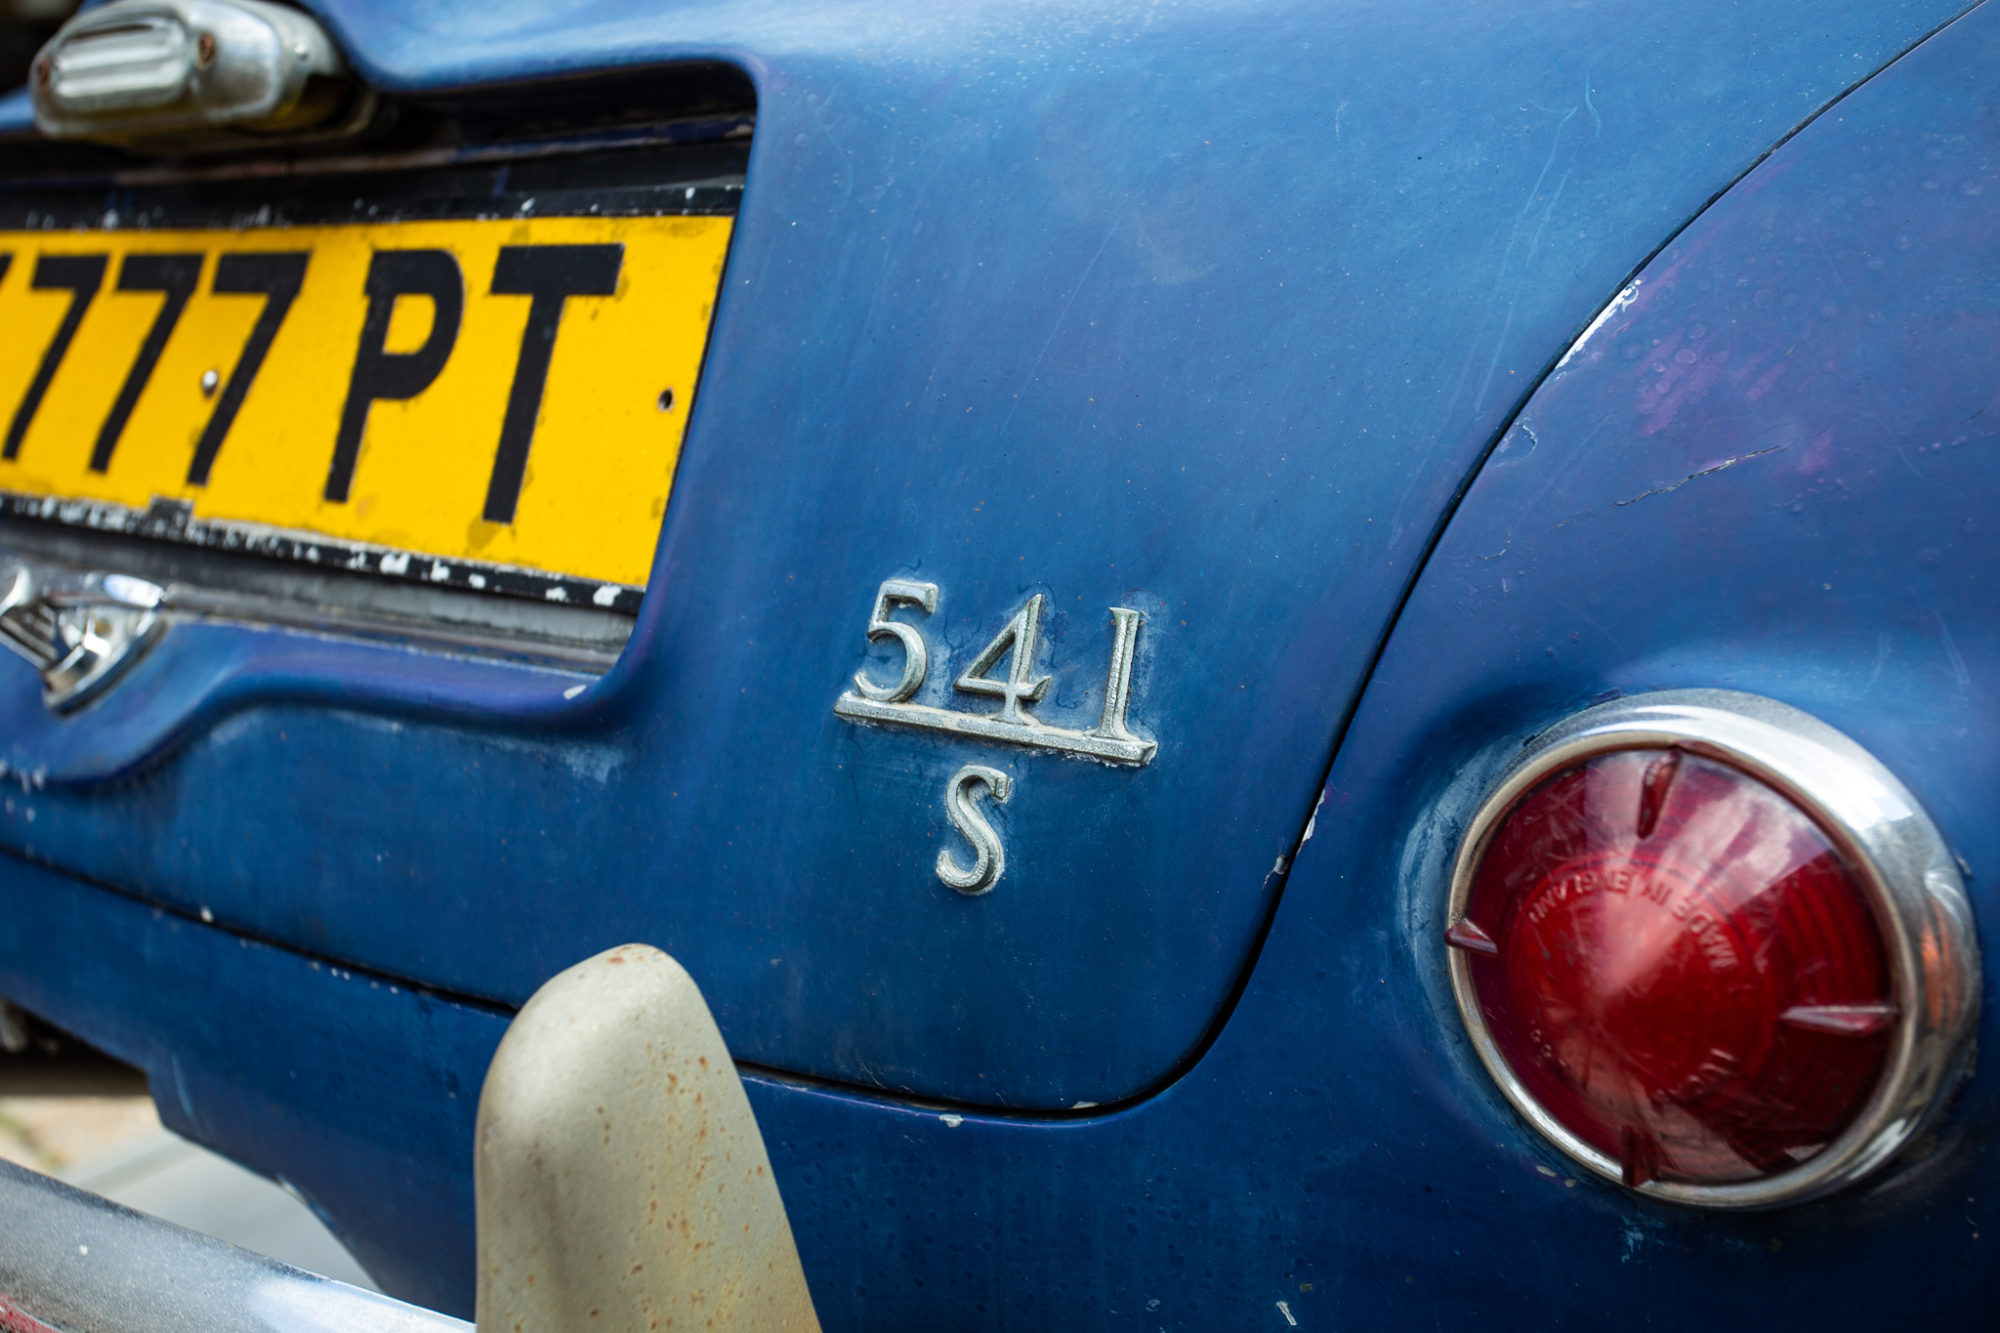
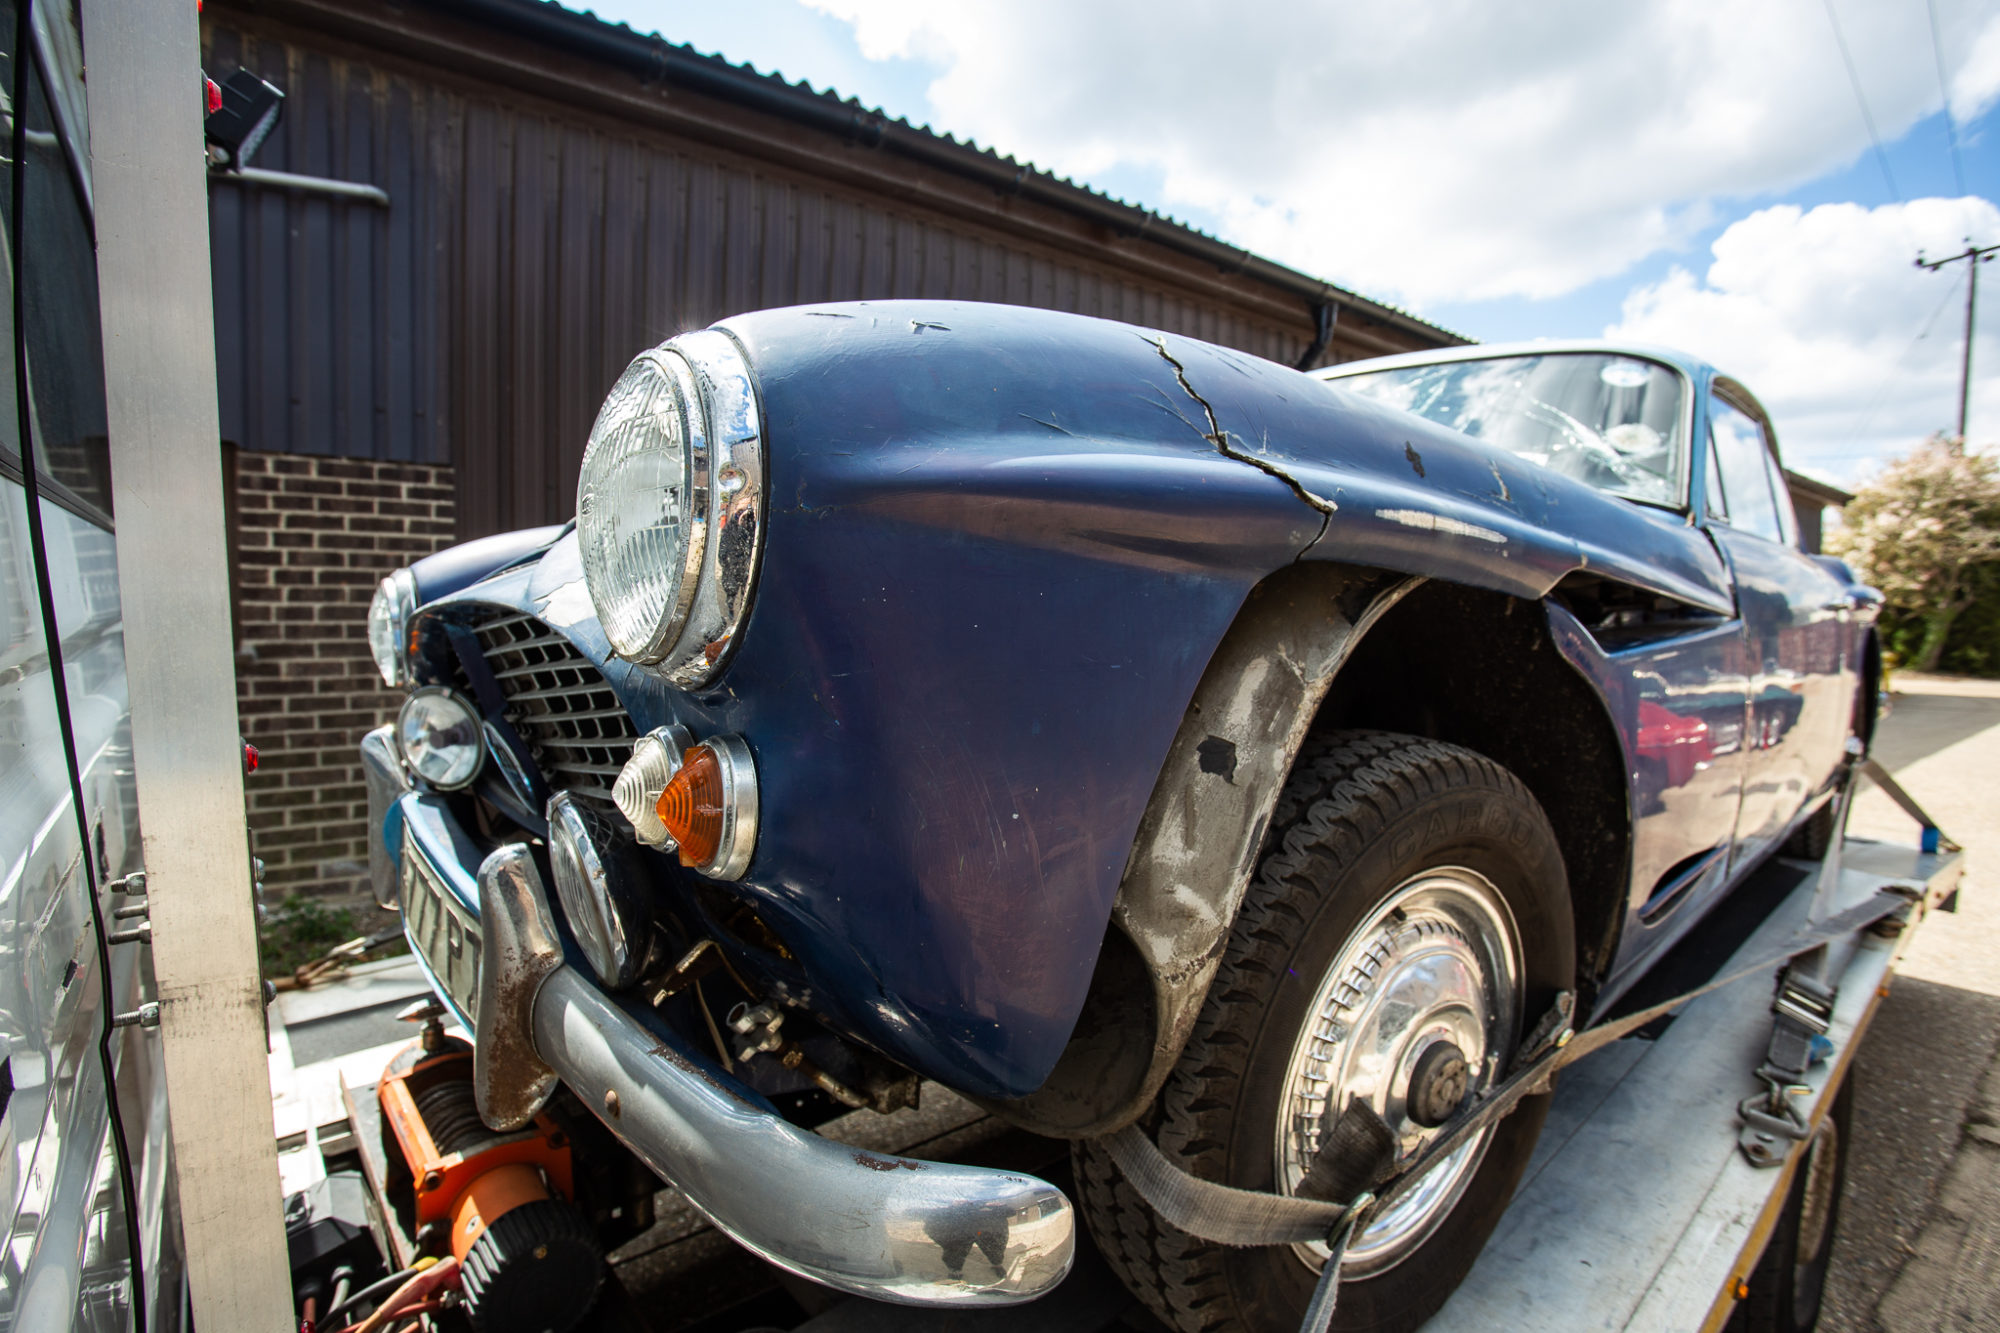
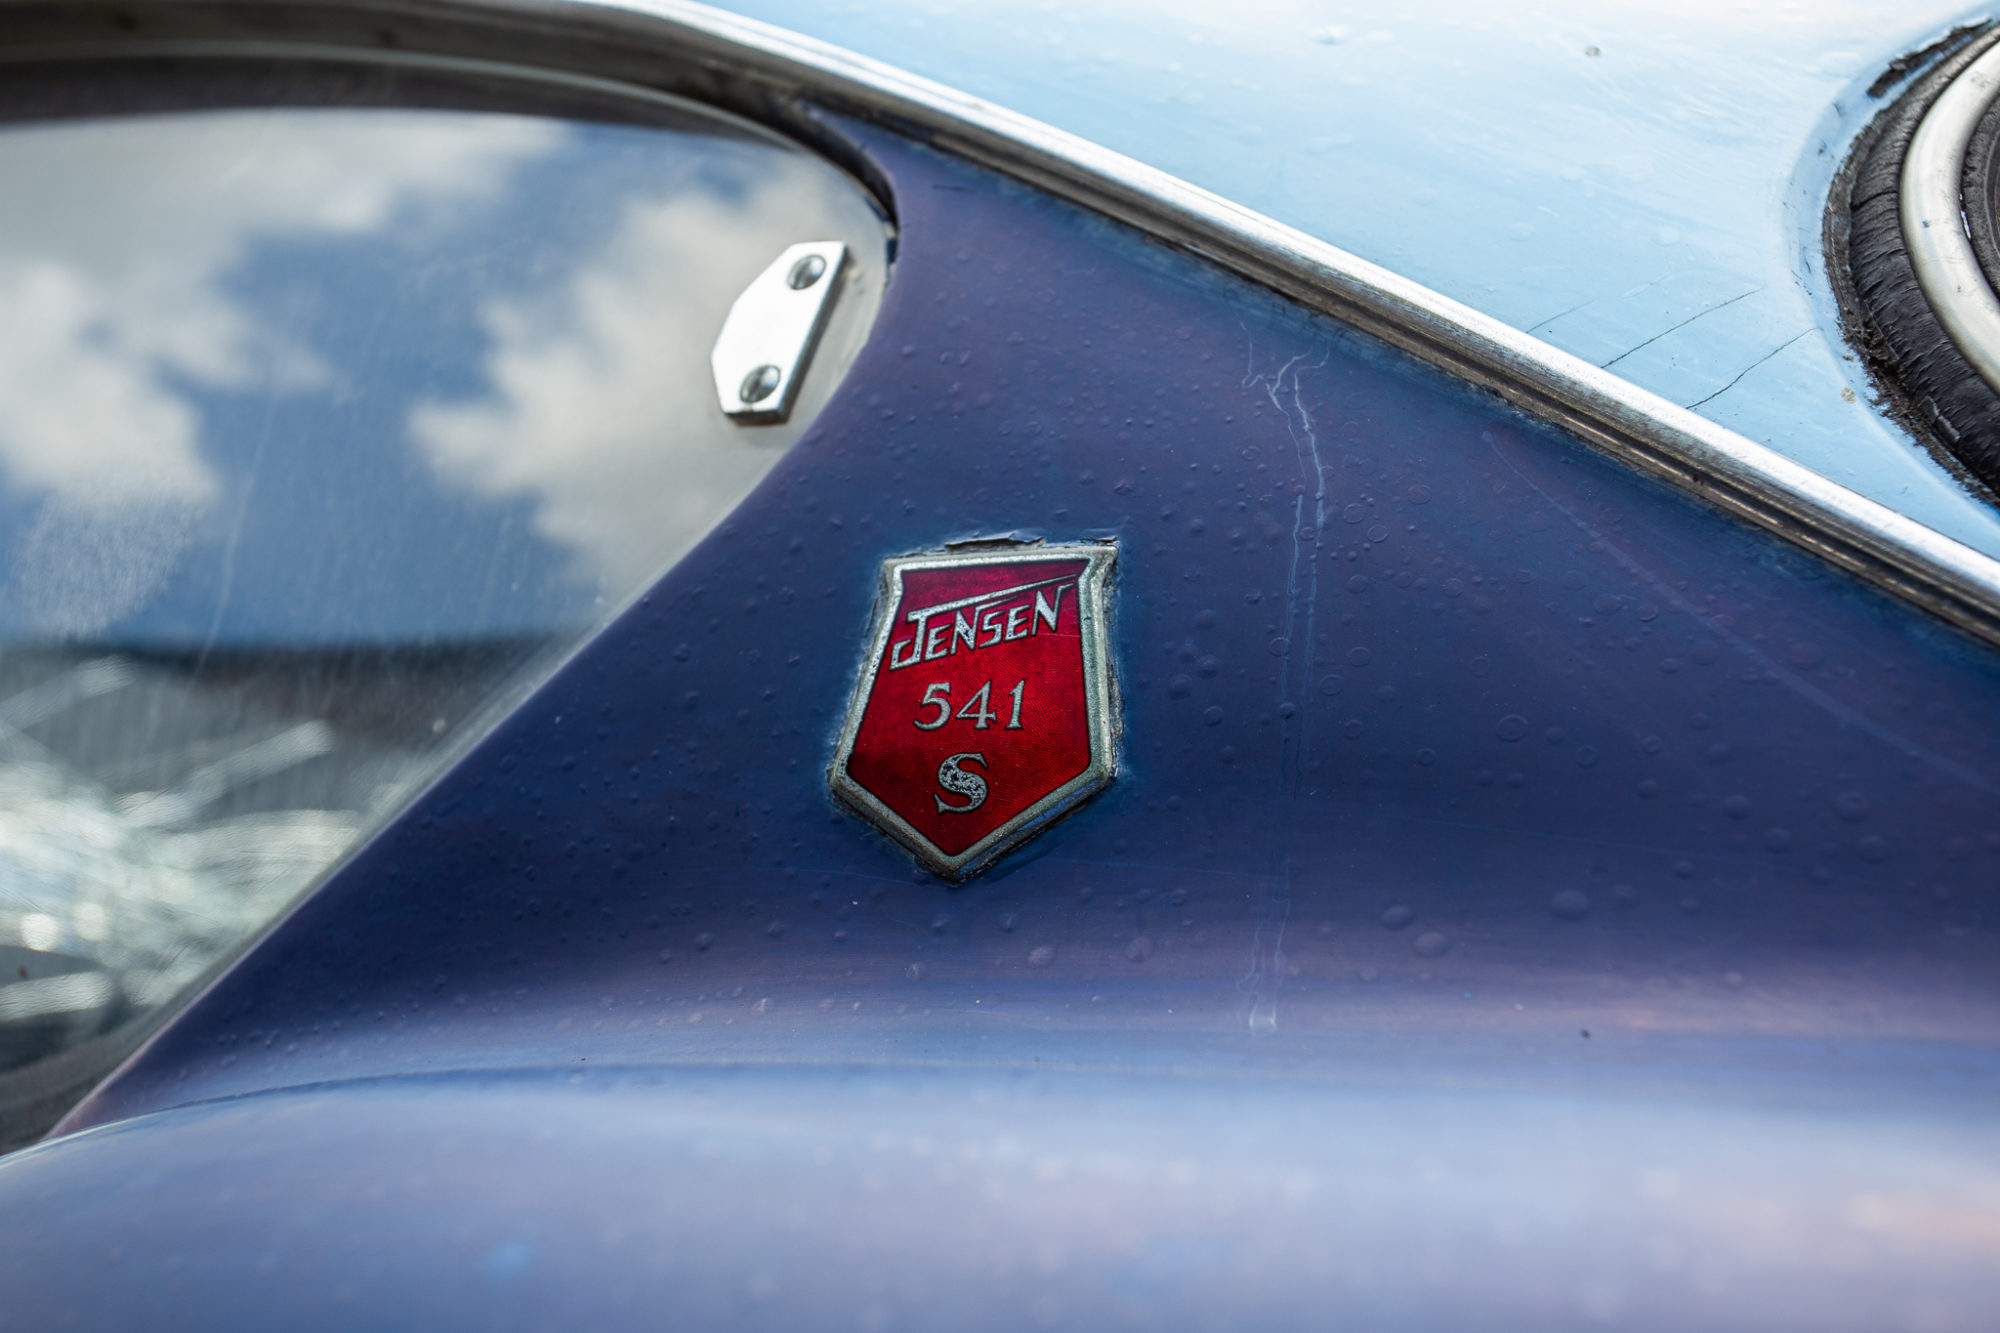
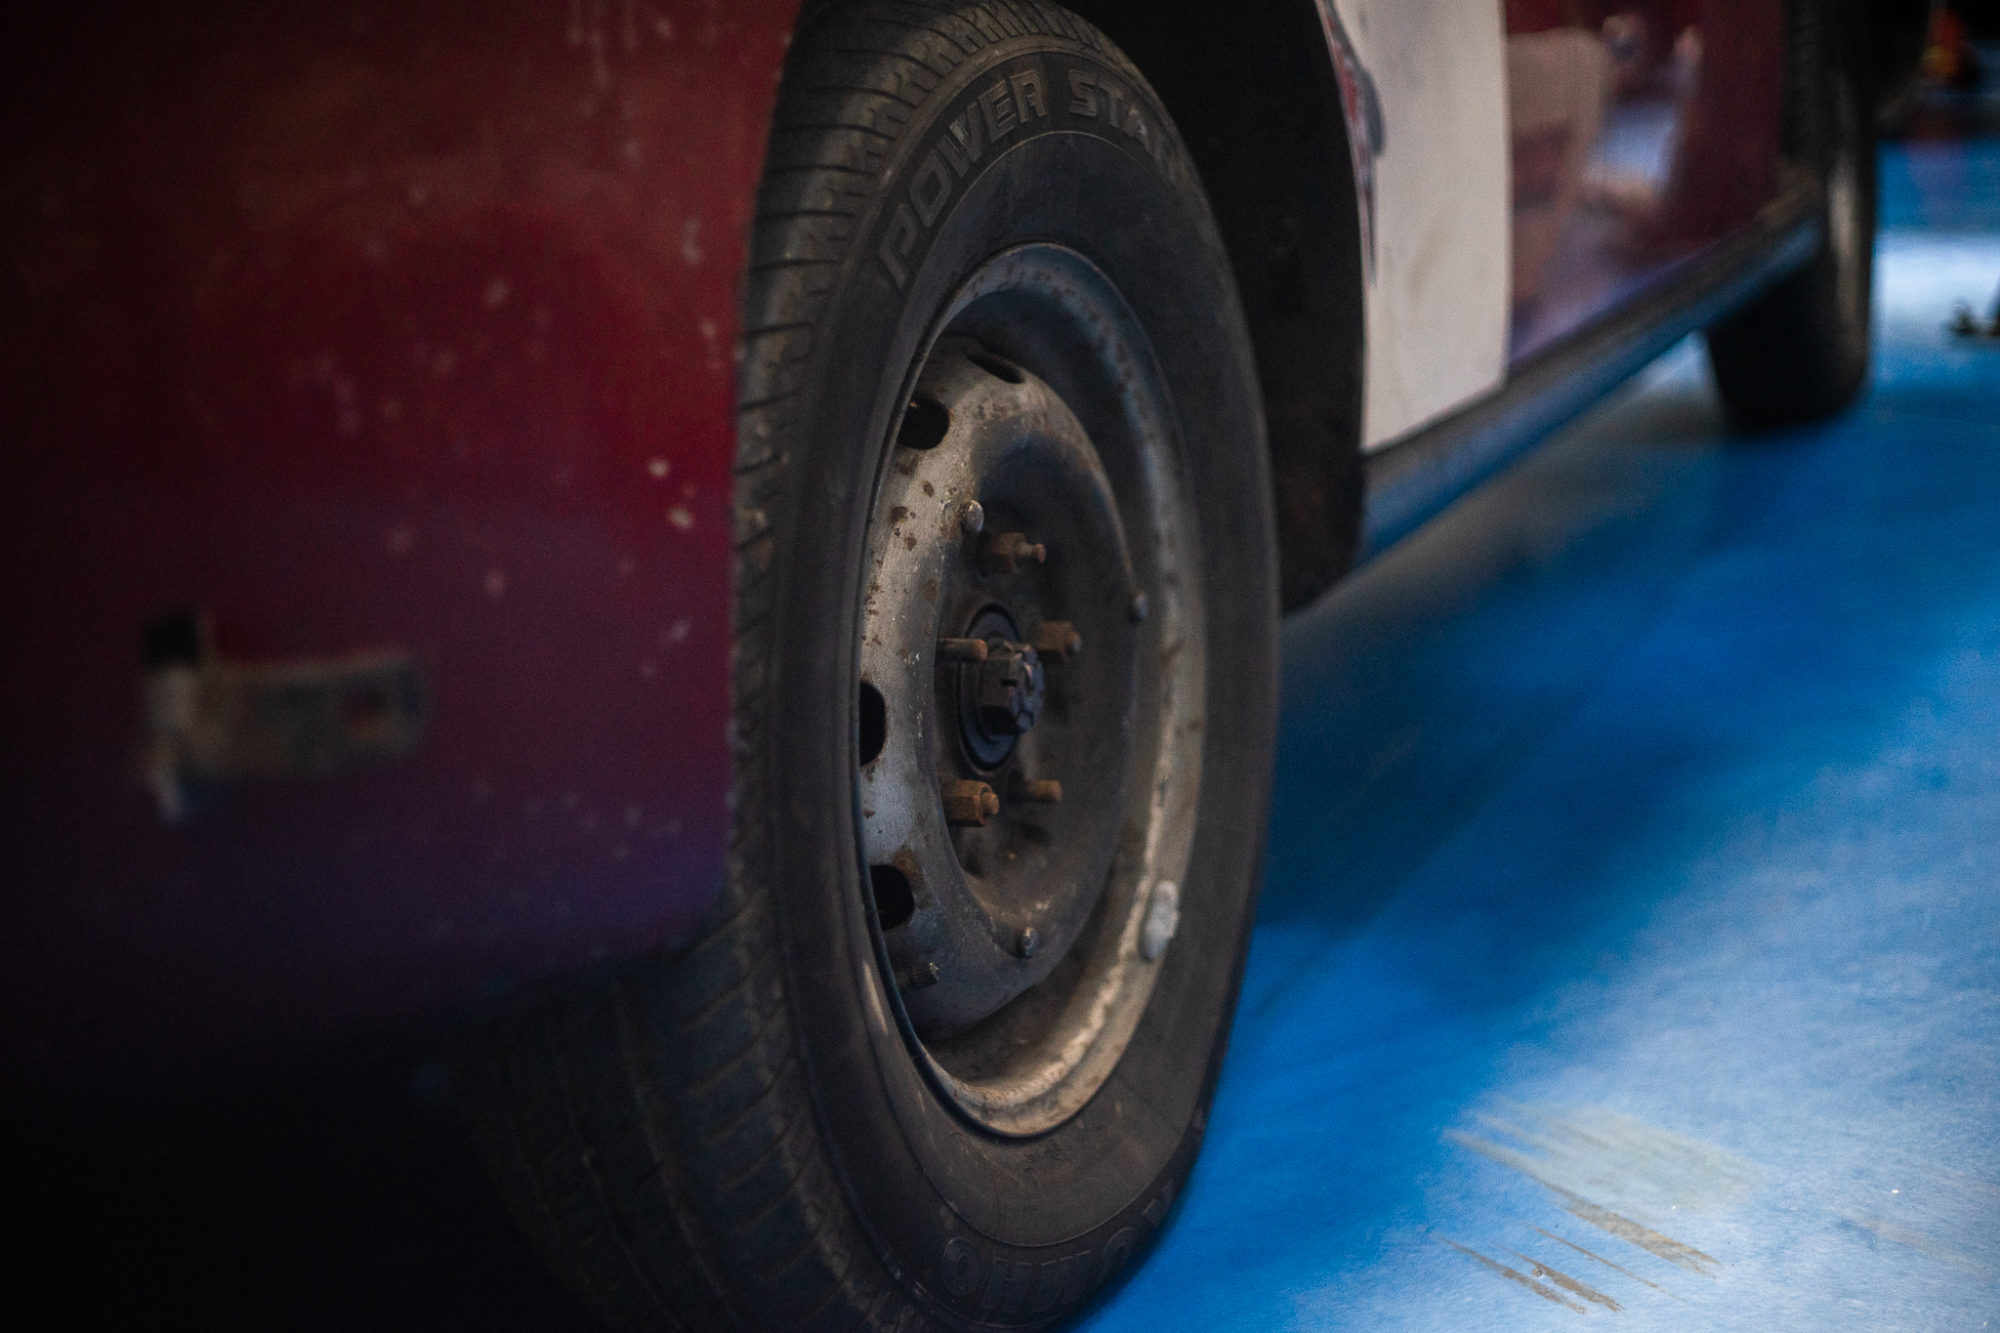
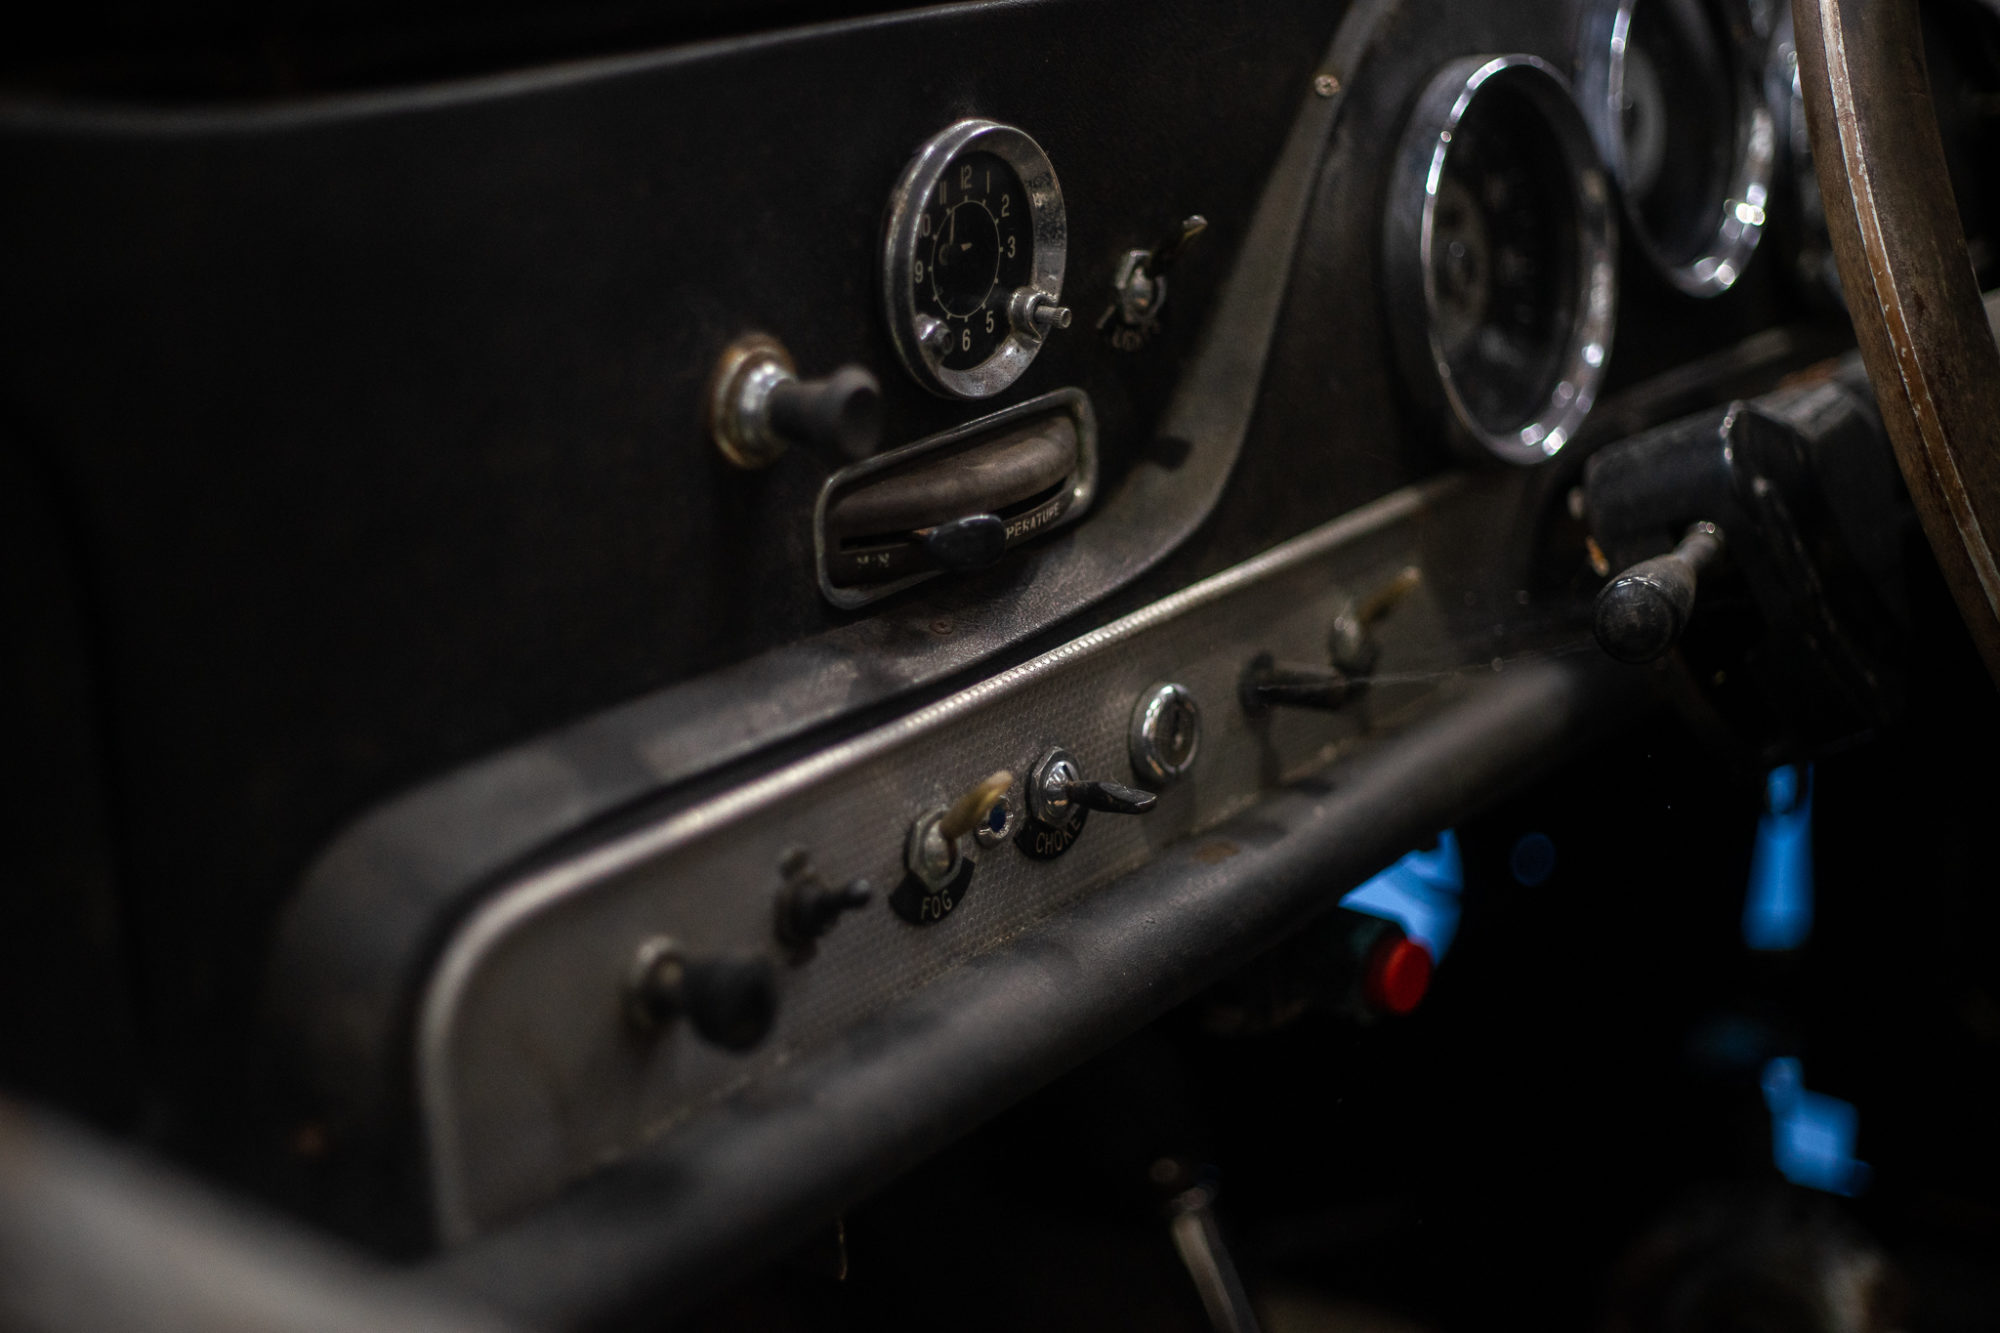
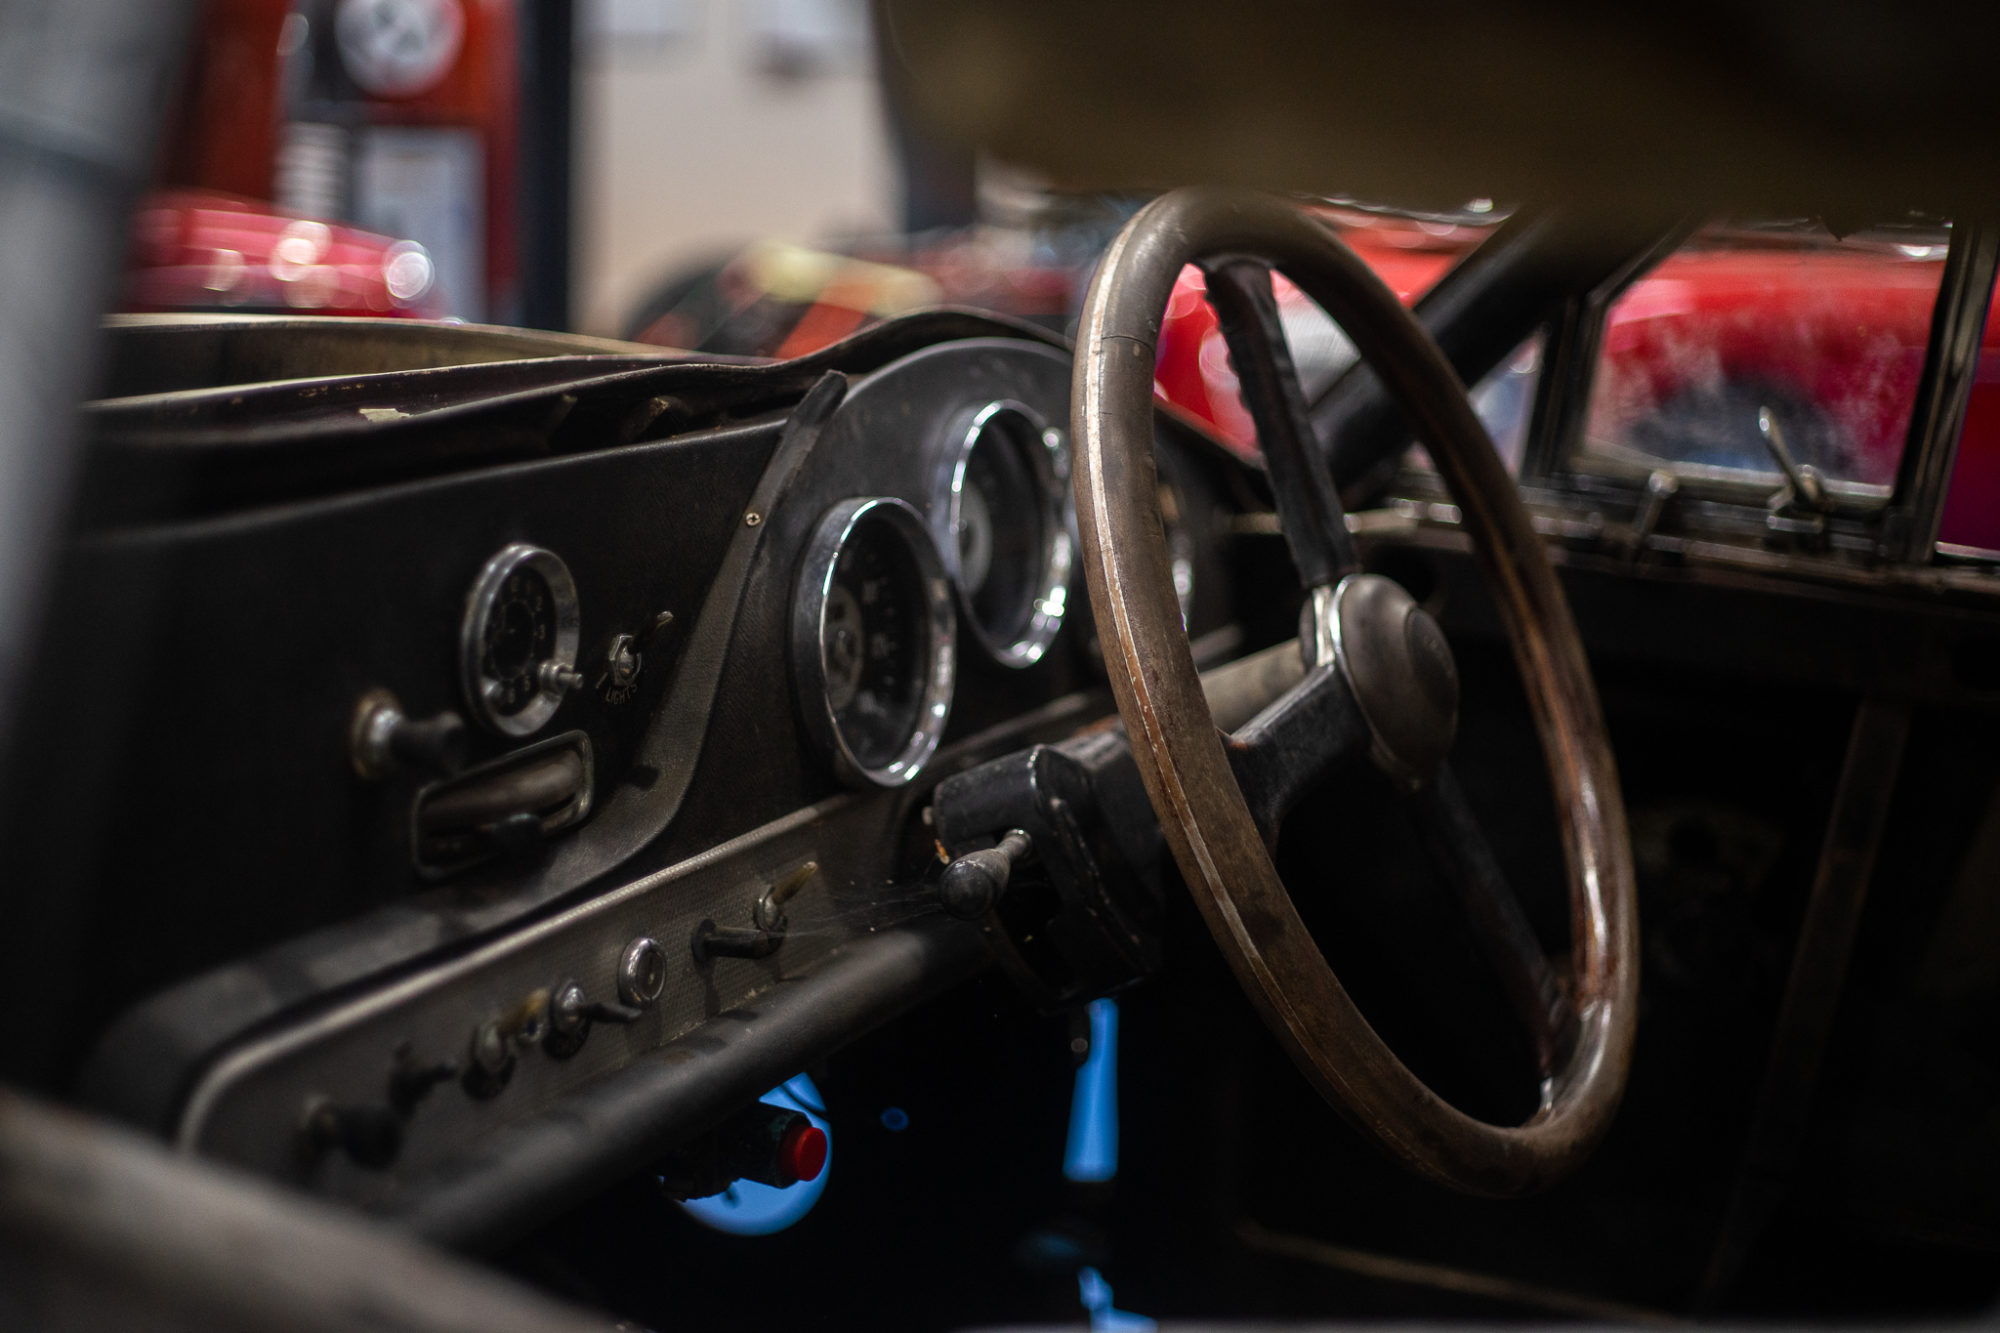
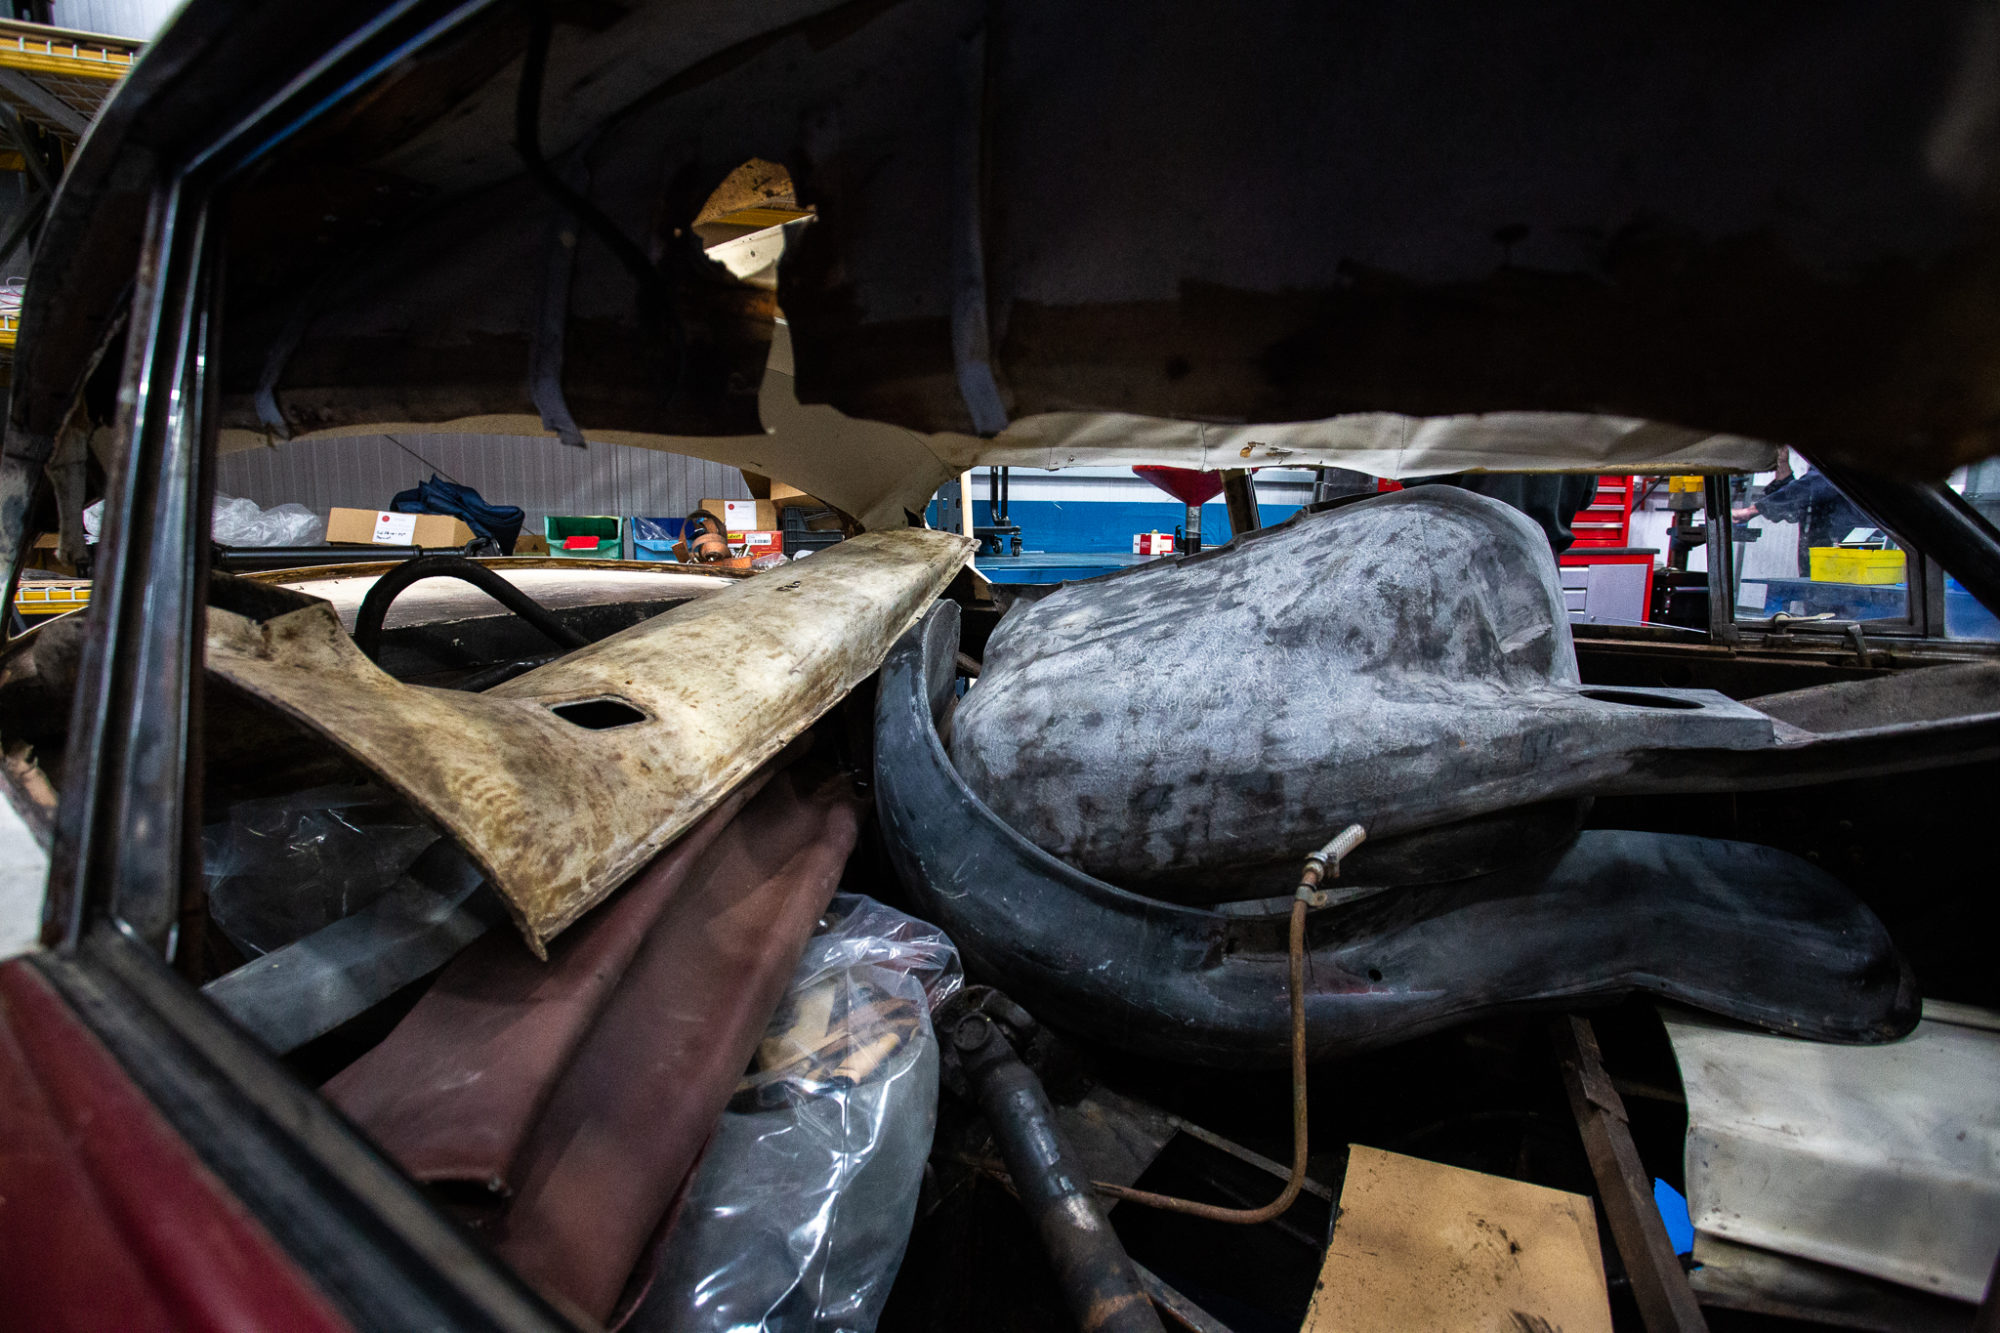
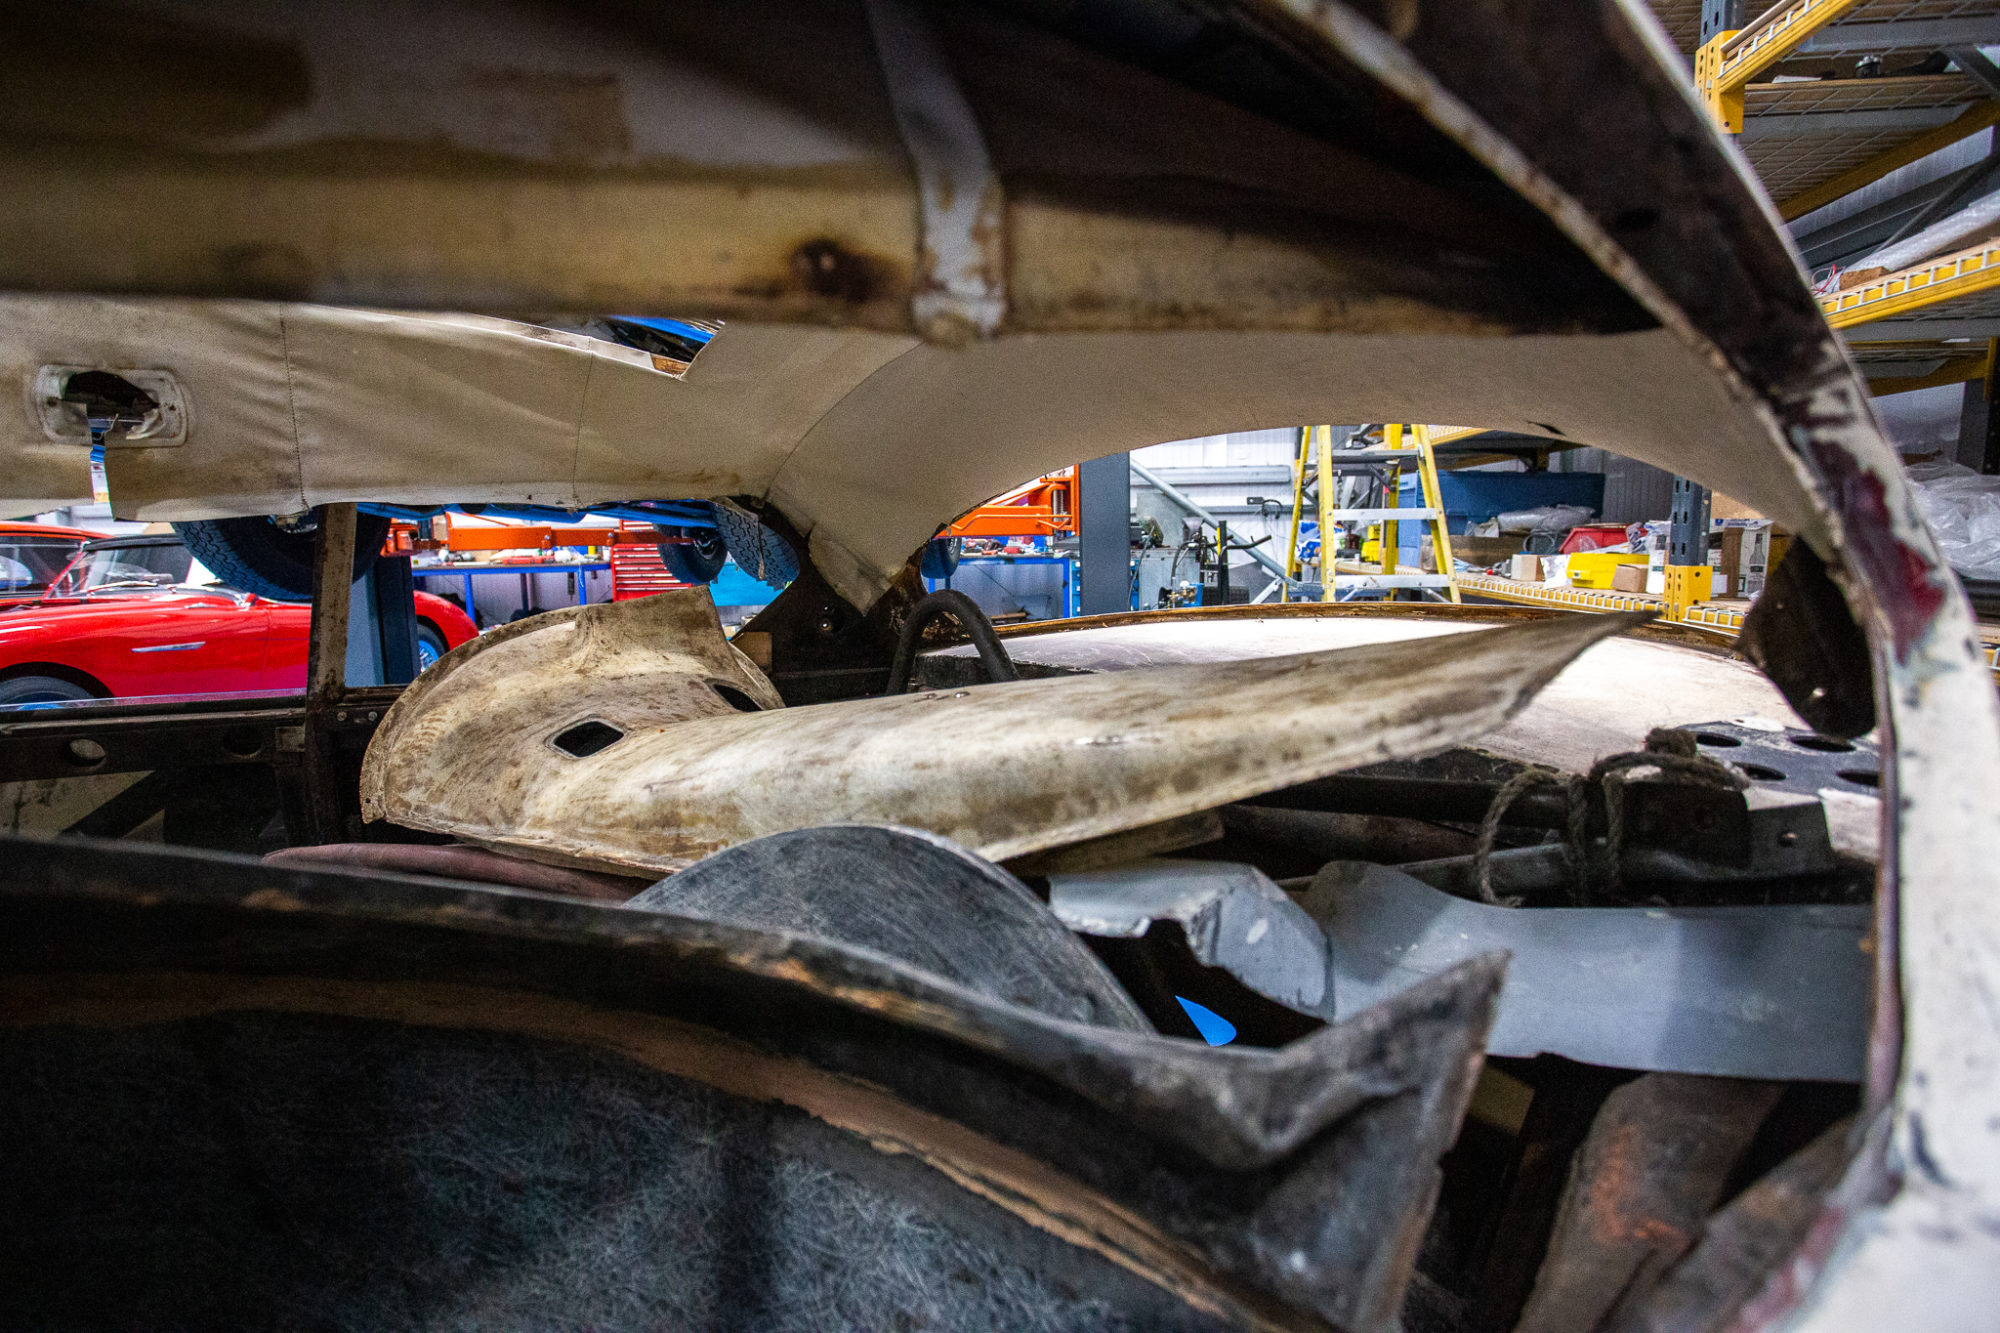
Earlier in the week we got delivered this 1961 Jensen 541S that had been the victim of a crash, and is looking a little worse for wear on the front end.
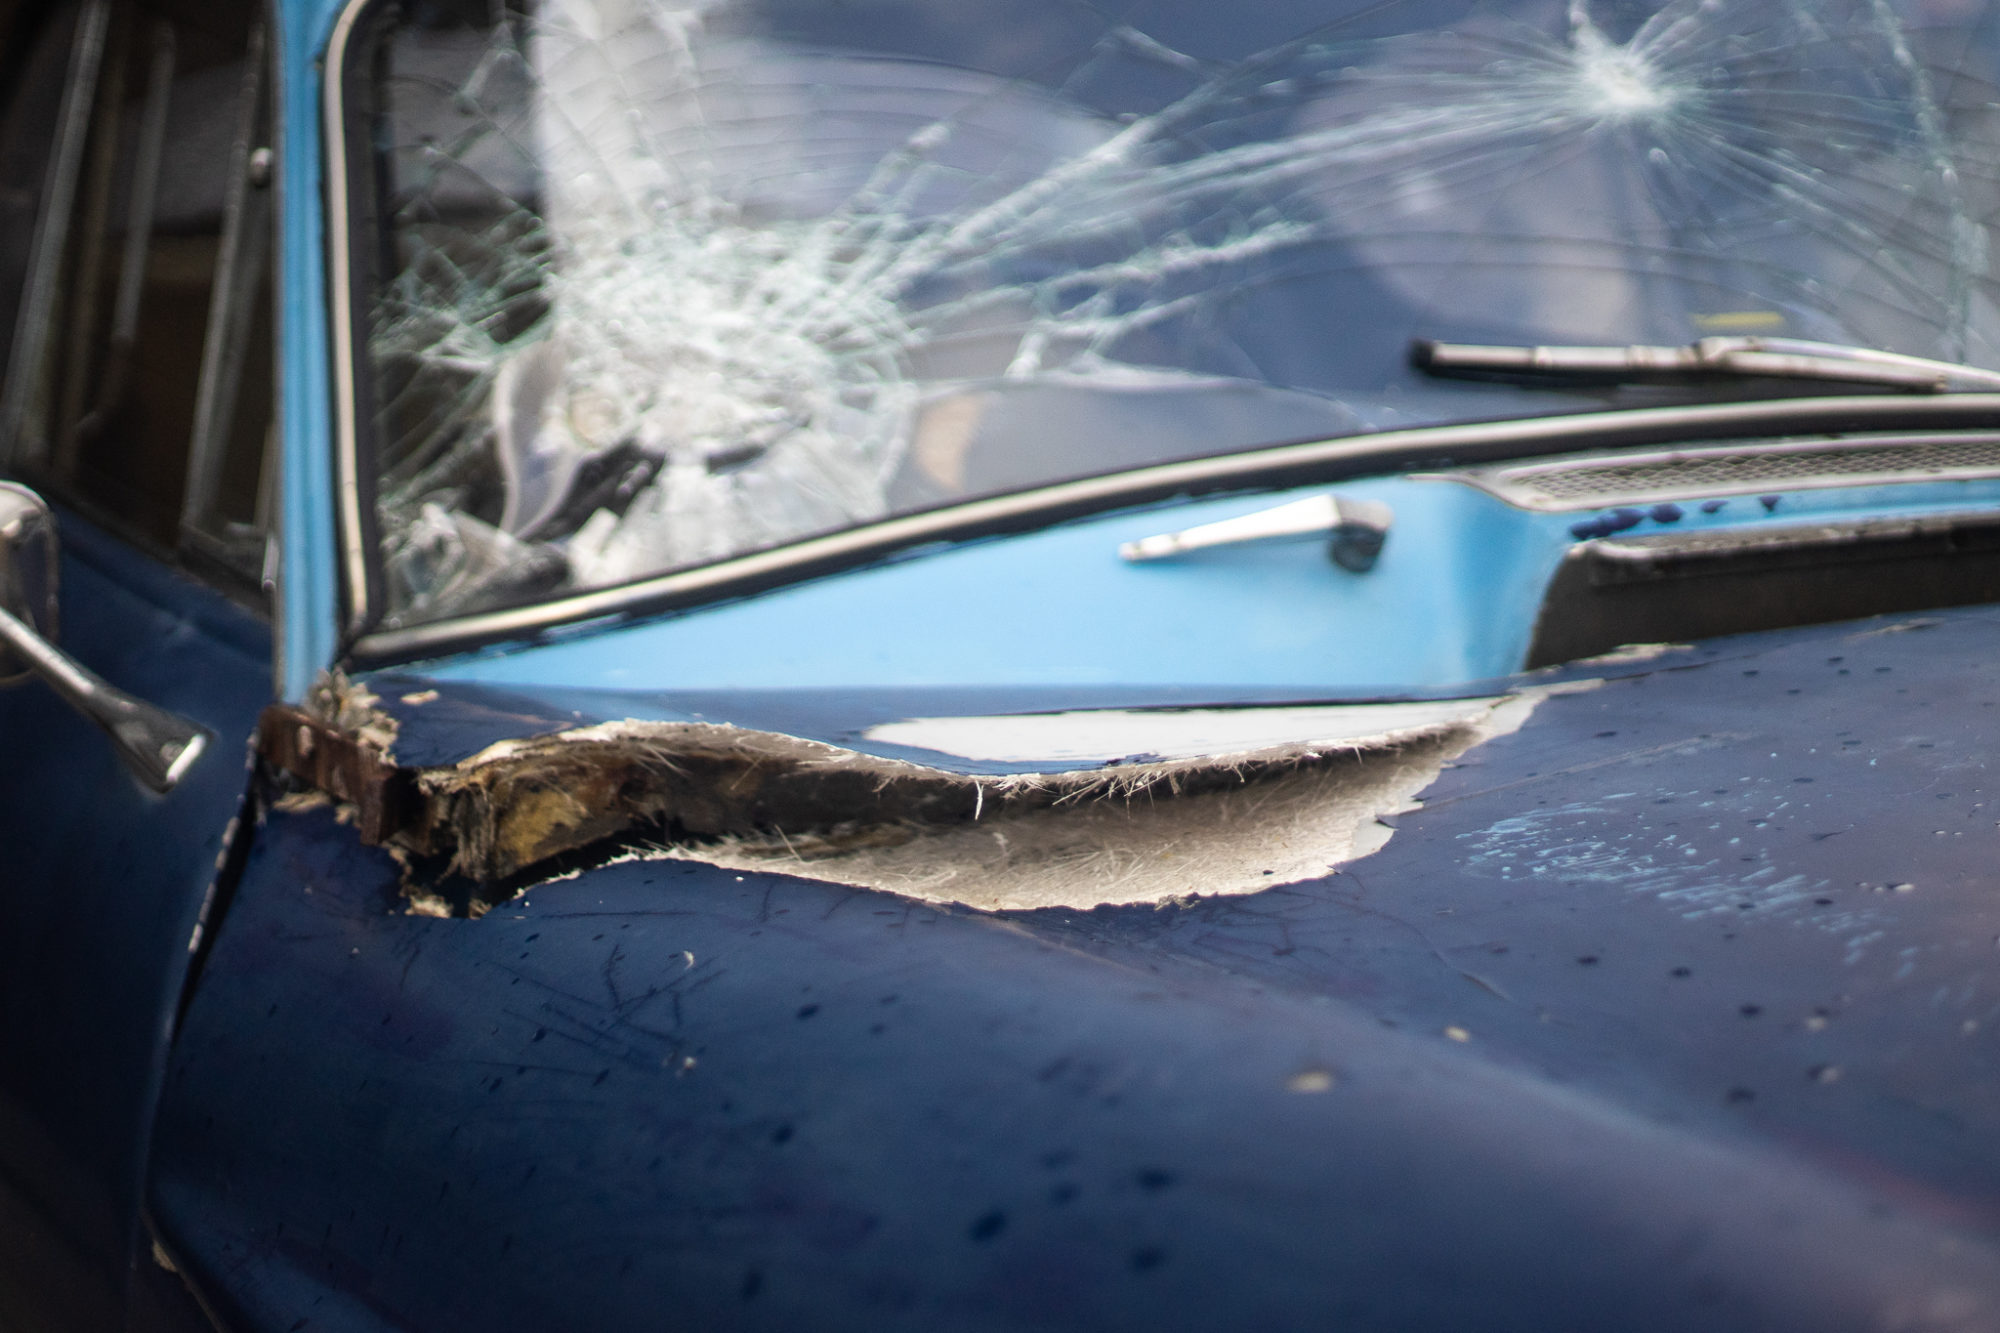
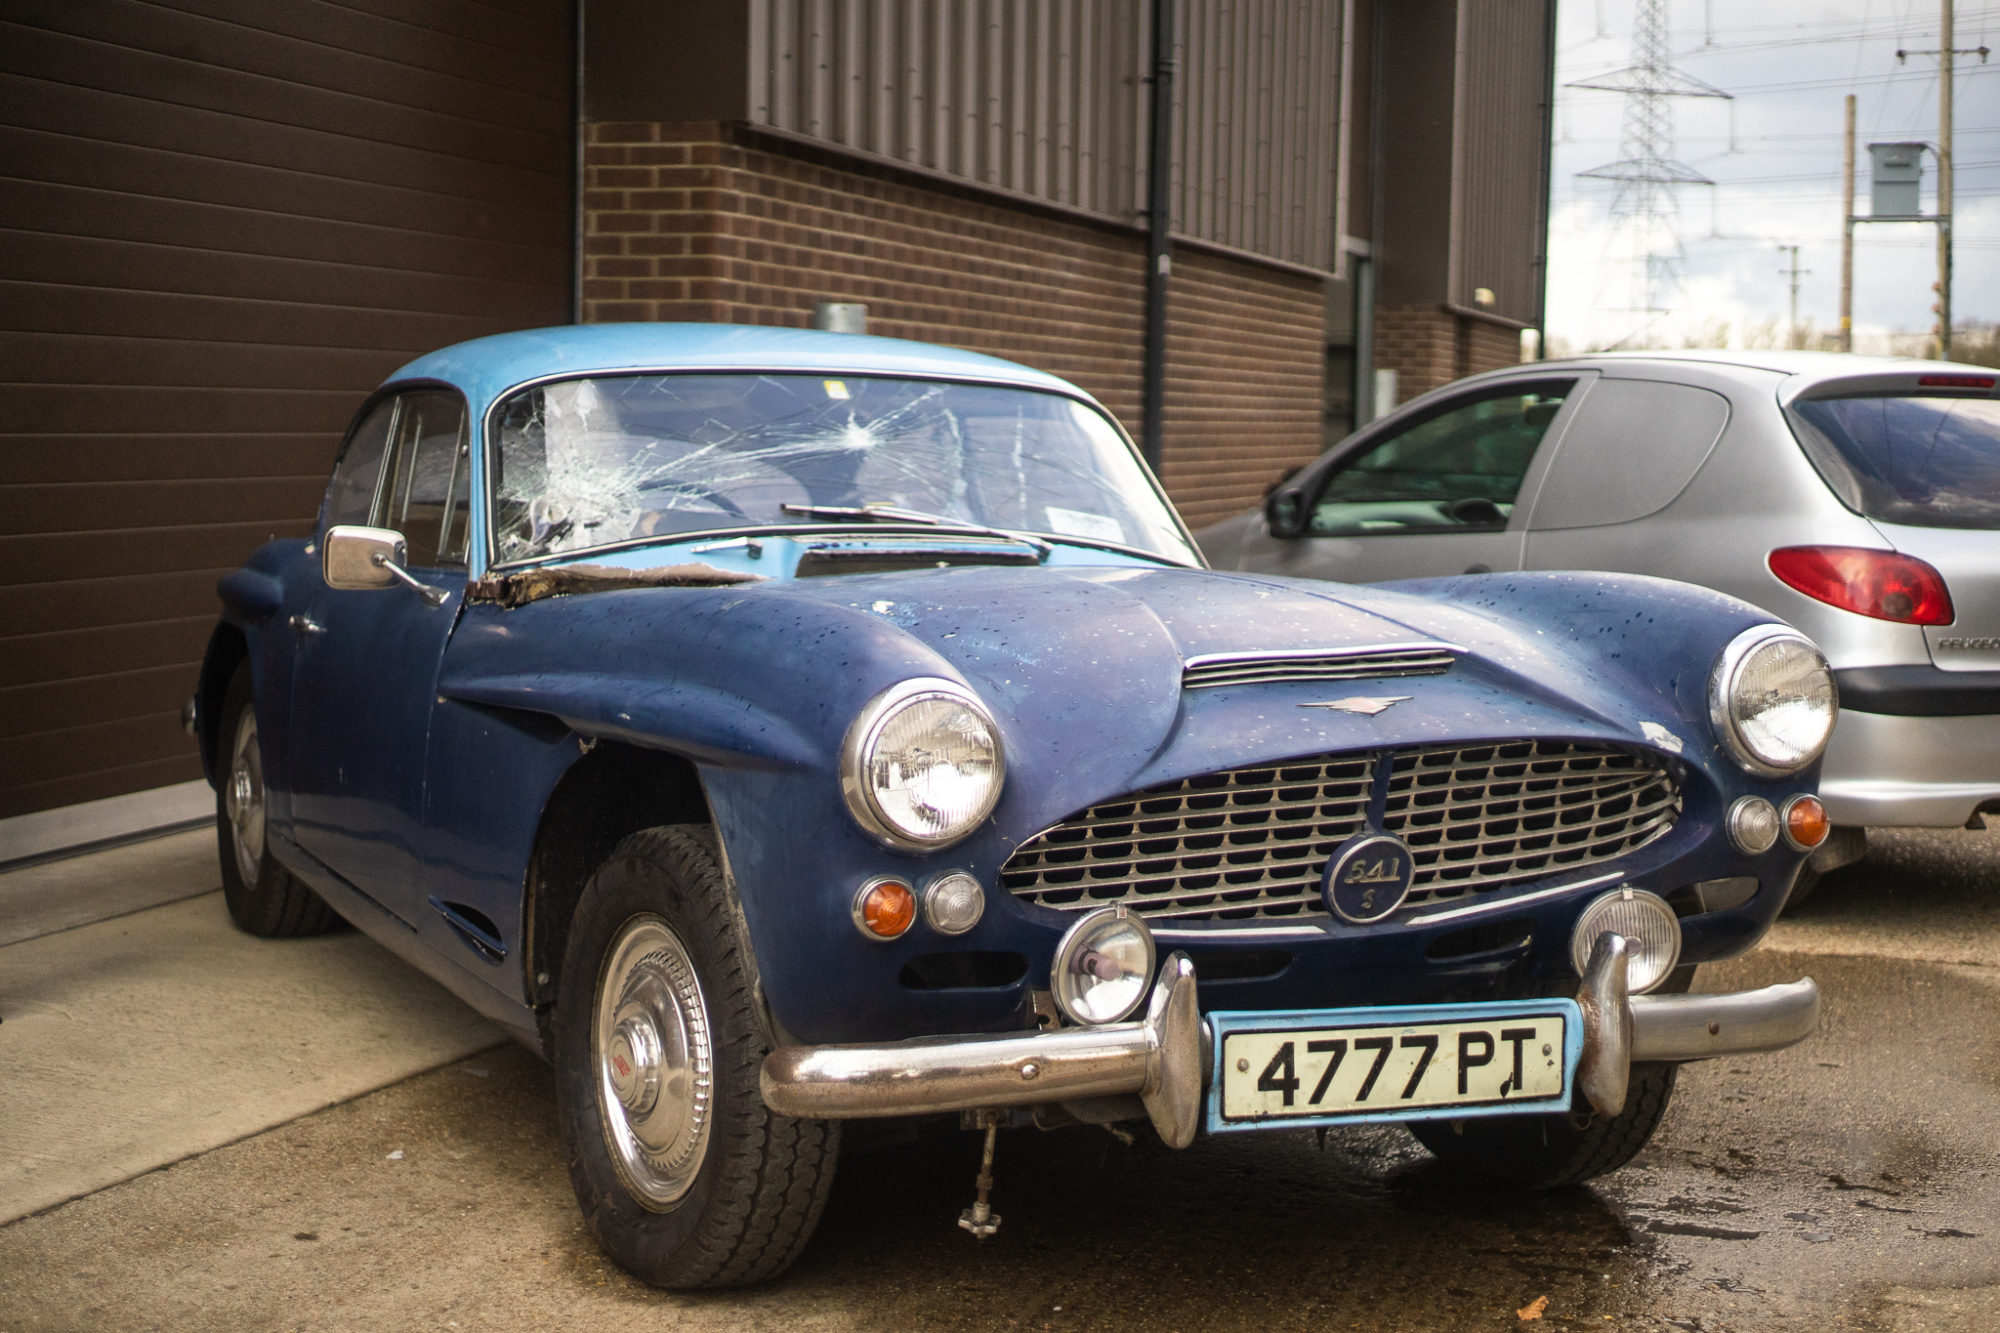
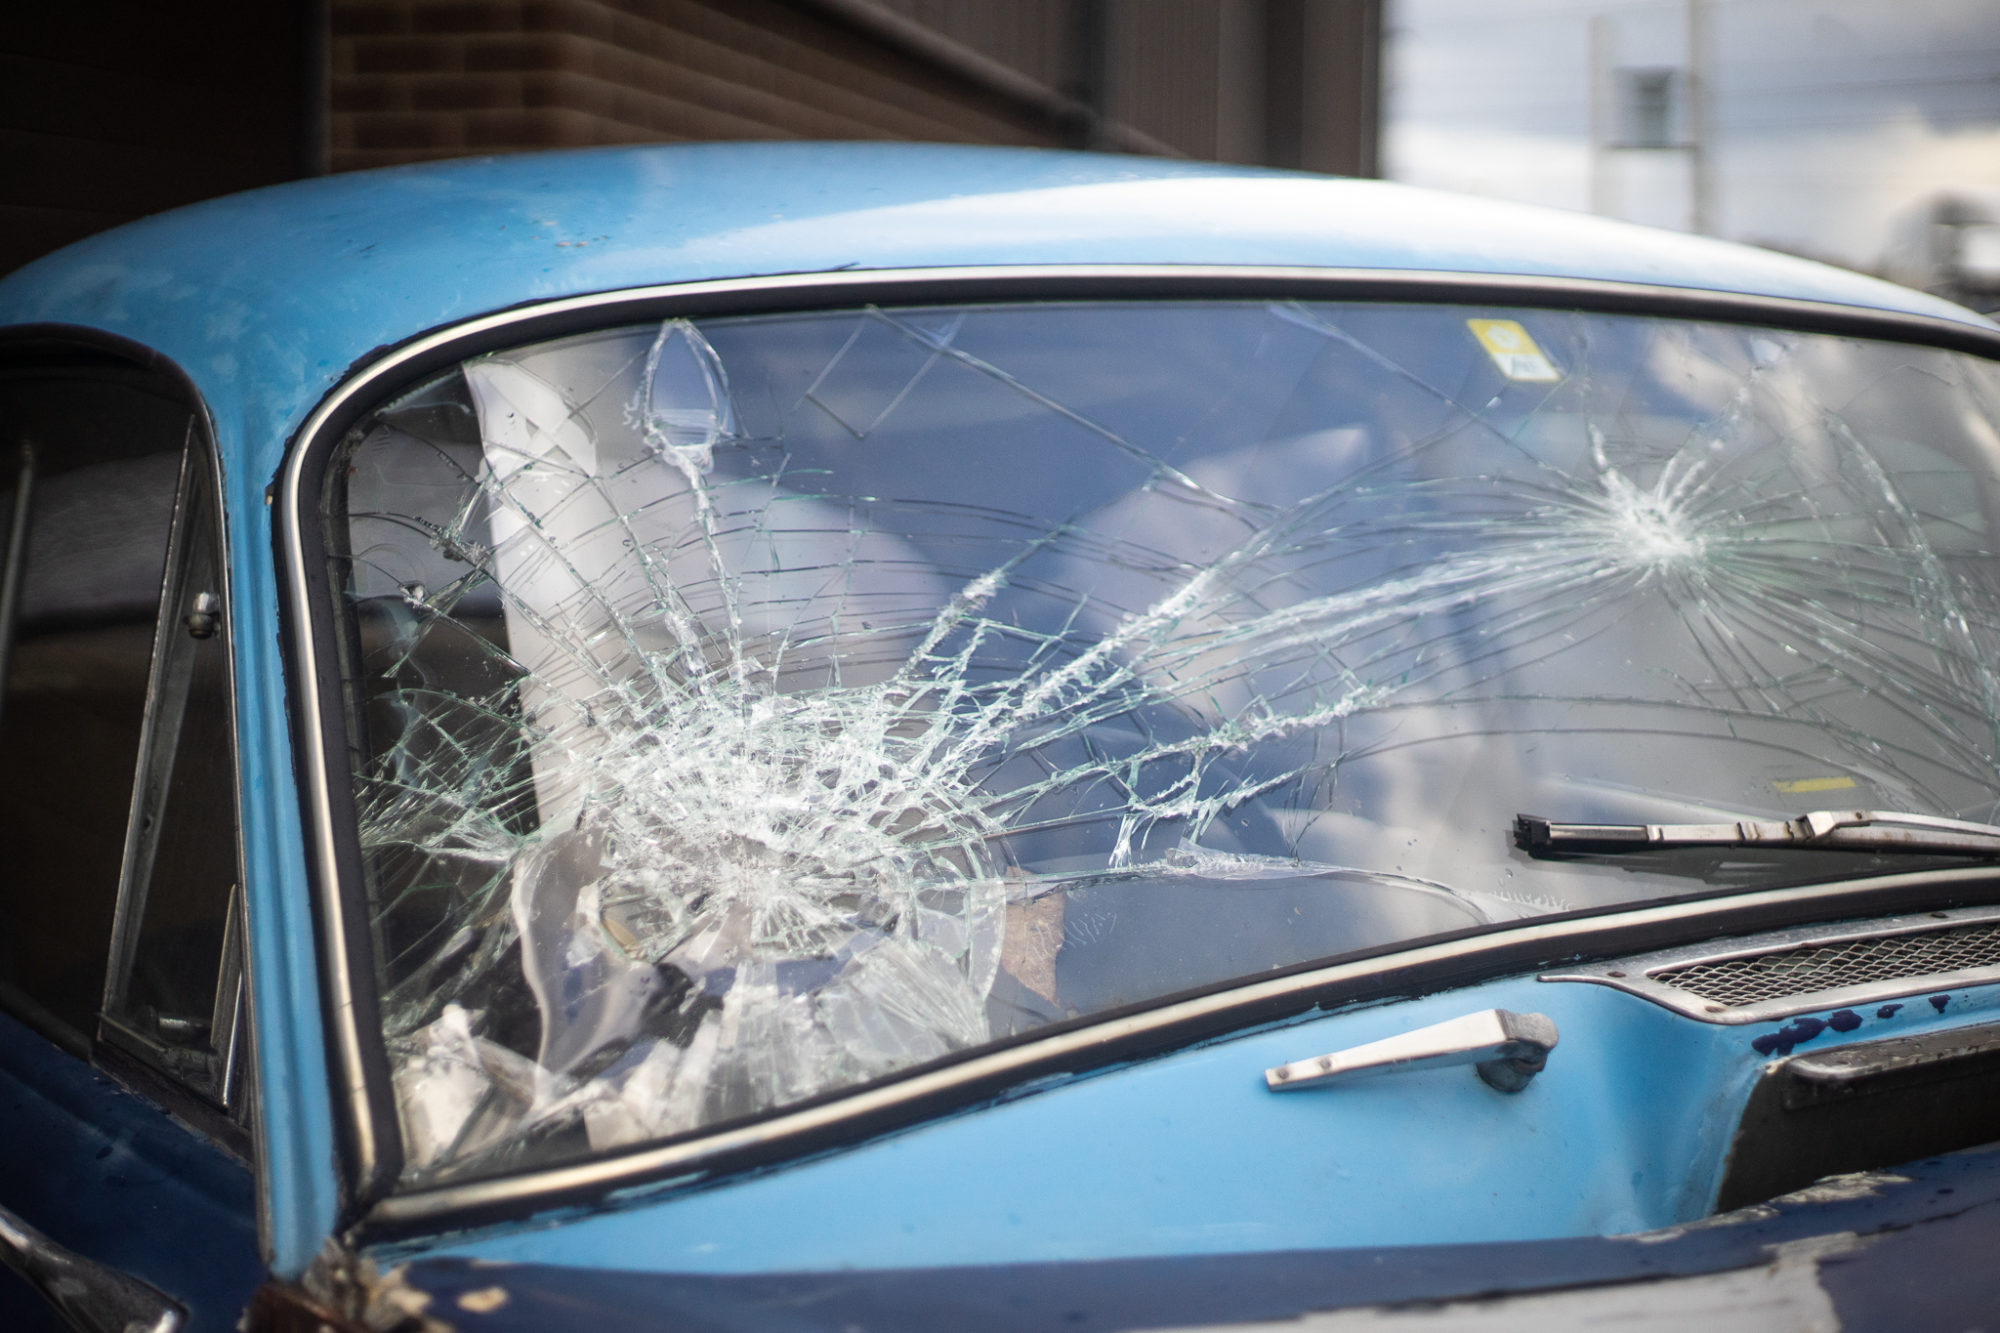
The incident occurred when the bonnet flew up on the motorway and smashed the windscreen, tearing the fibreglass bonnet in the process. This was a result of the bonnet catches not being done up properly.
We are currently working alongside the insurance company to assess the damage to see what exactly needs to be done.
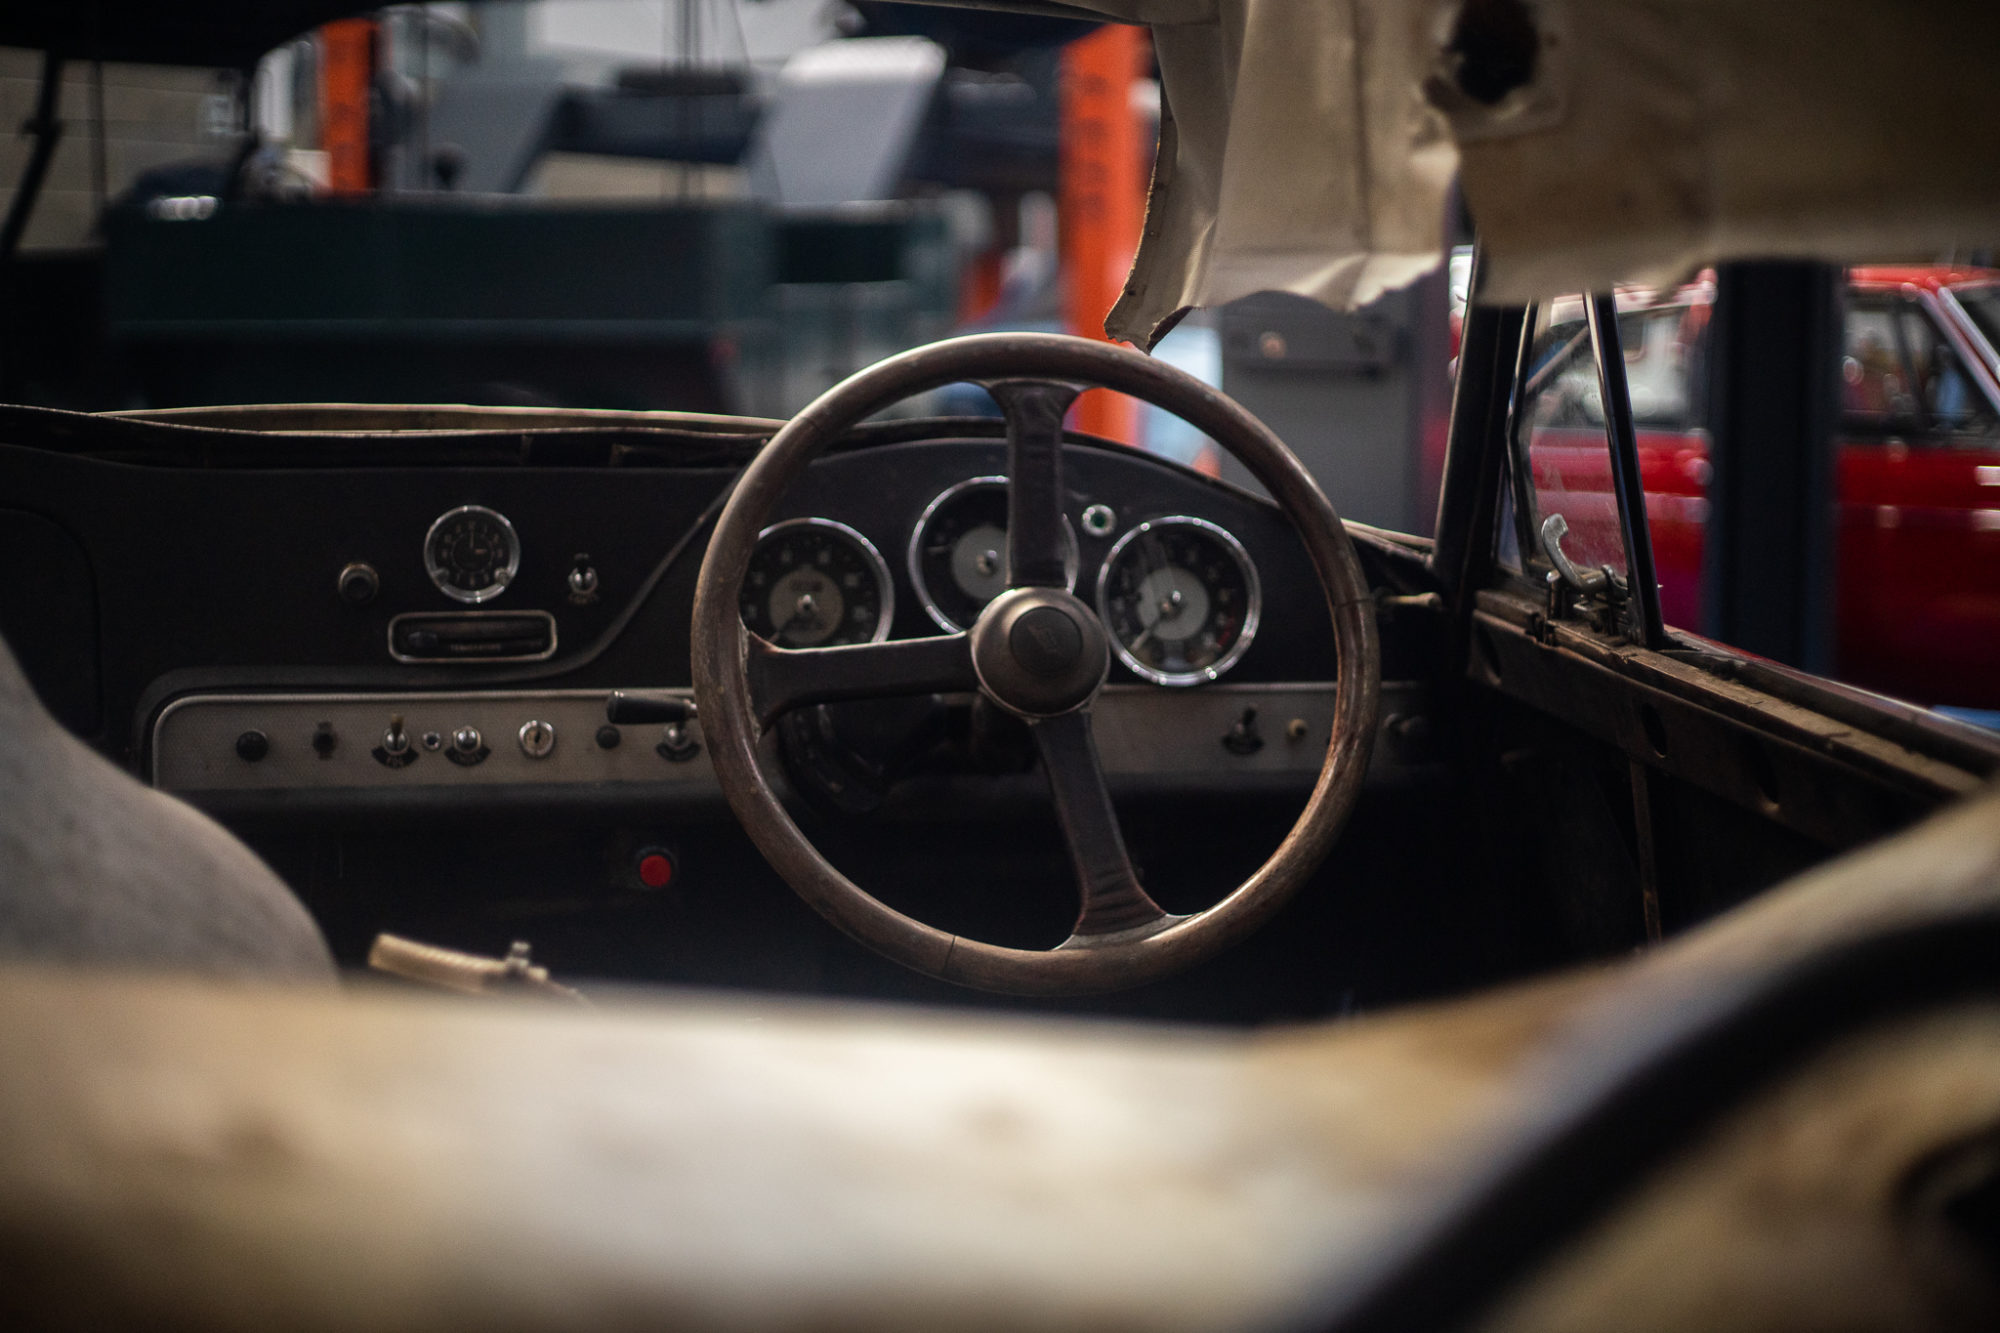
Our 1915 Ford Model T took a bit of encouragement to start, but when it did, it ran perfectly!
Having sat in a barn for a while, this Ford needed some help to start up, from being towed behind the van and being pushed, but once the engine turned over, it ran really well. Our next step is to make sure it starts every time without its driver and passengers having to push it.
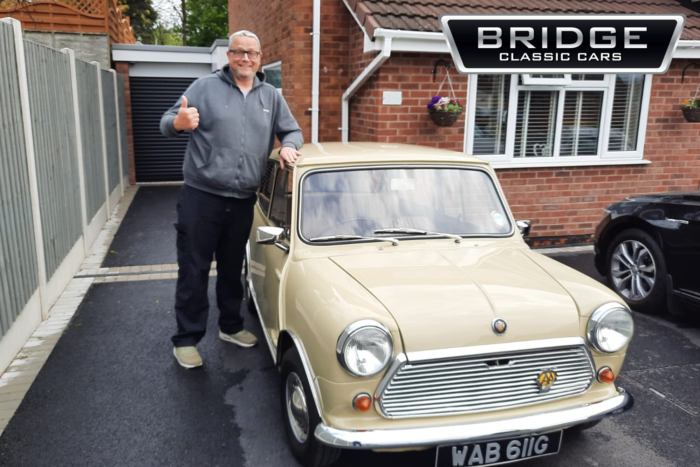
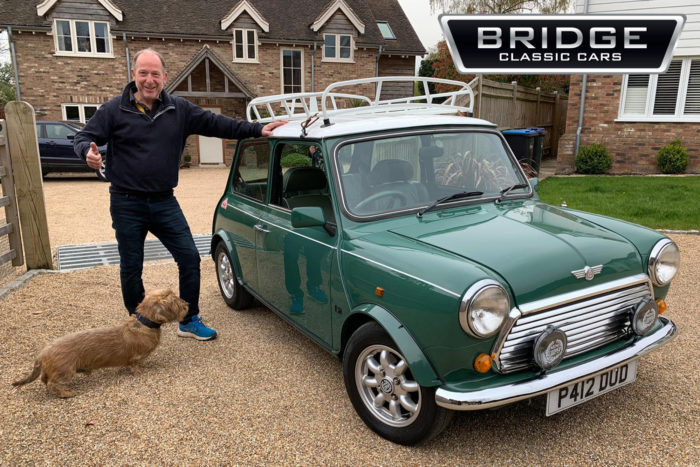
Last but certainly not least, our spectacular orange mini 1275 GT arrived at the David Gair-Steven’s house this week.
David Gair-Stevens won with ticket number 632.
We wish you many happy memories in your classic Mini, David!

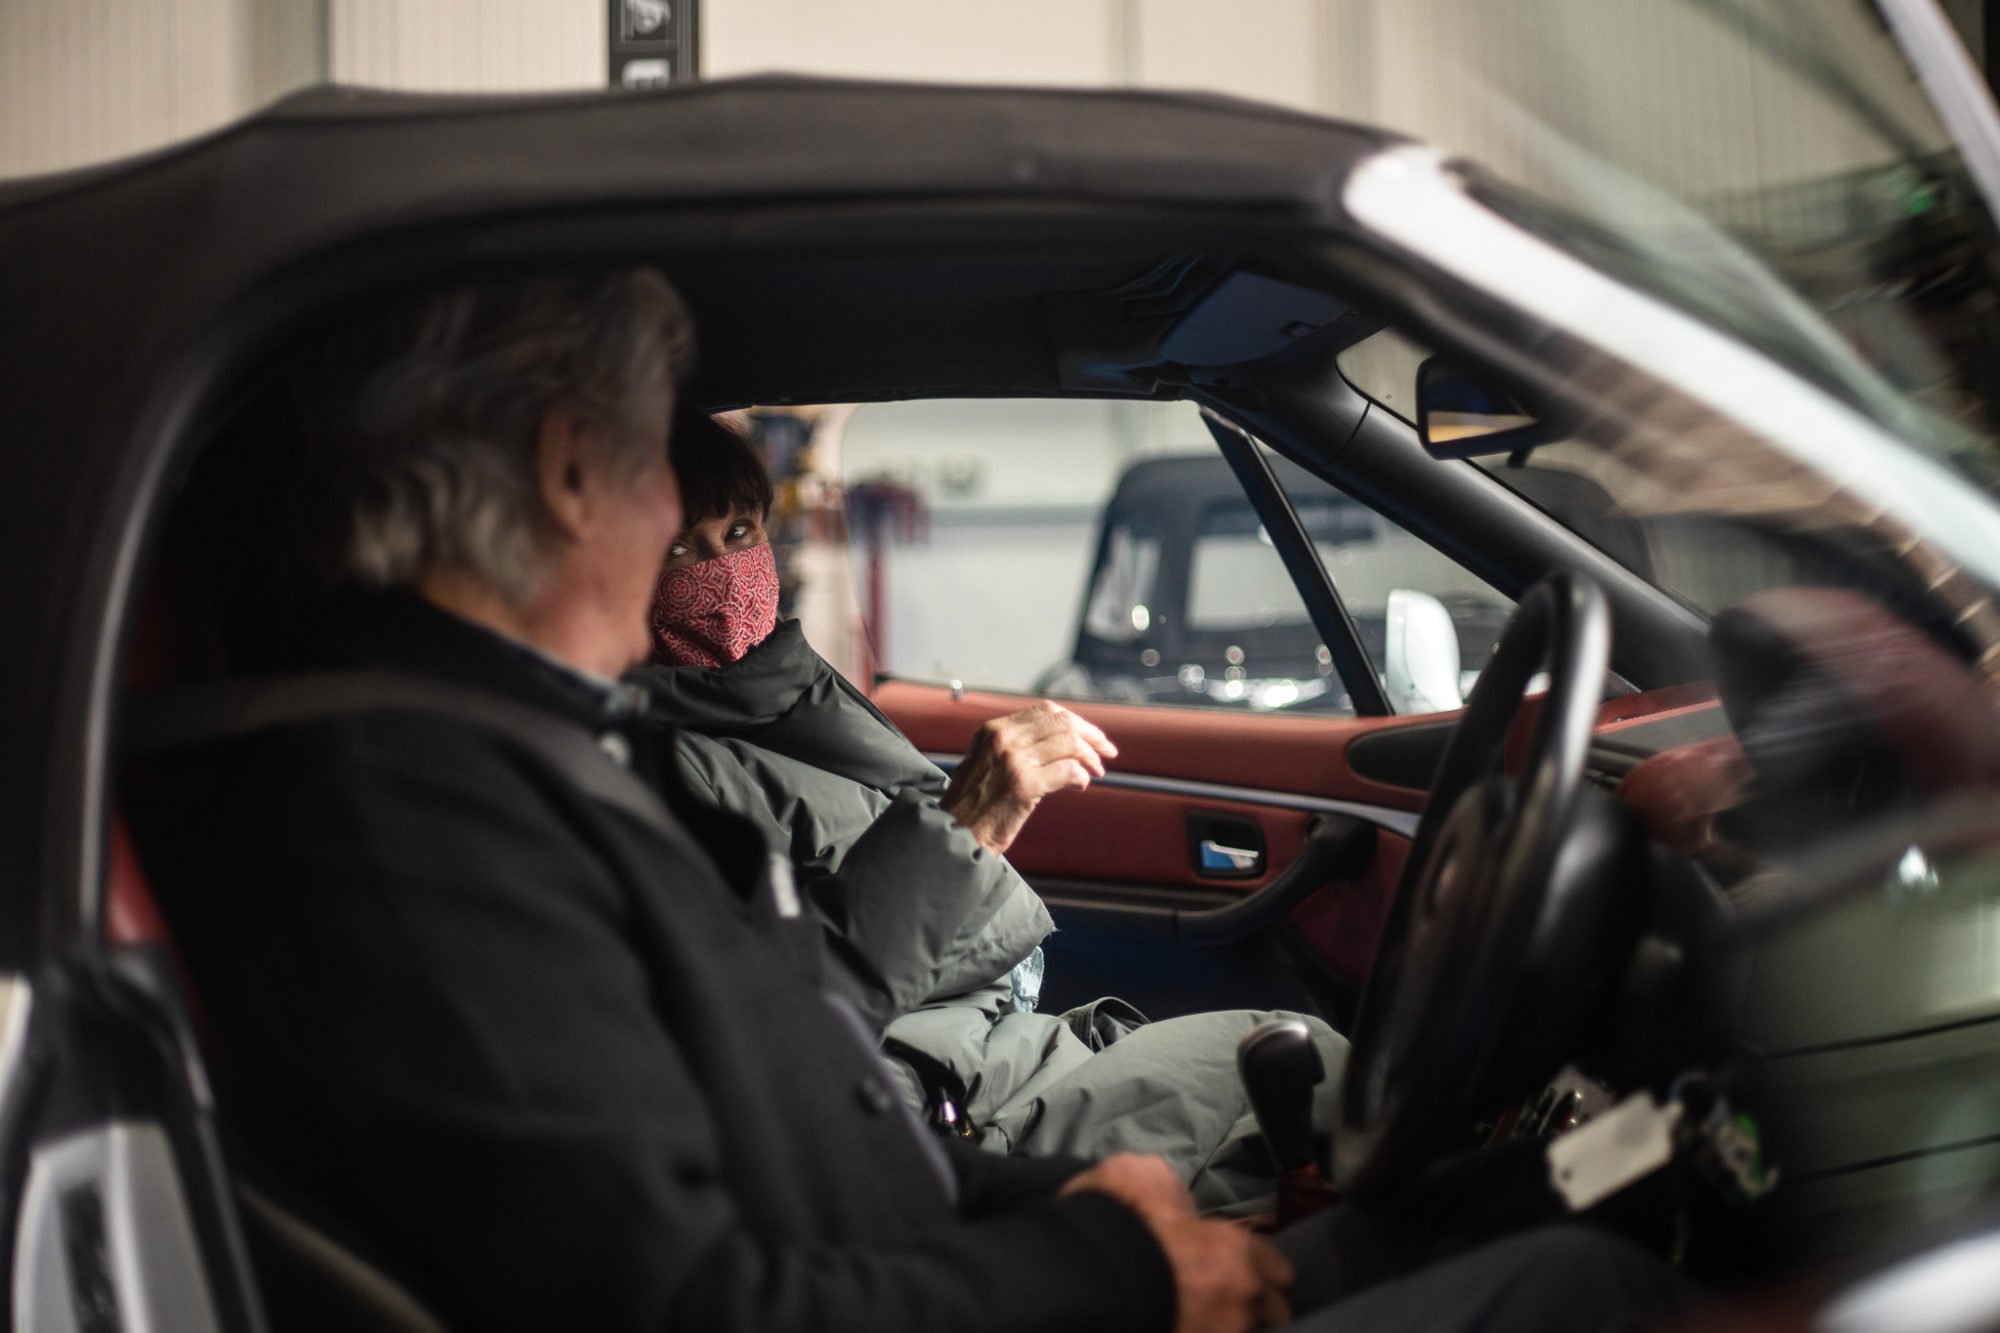
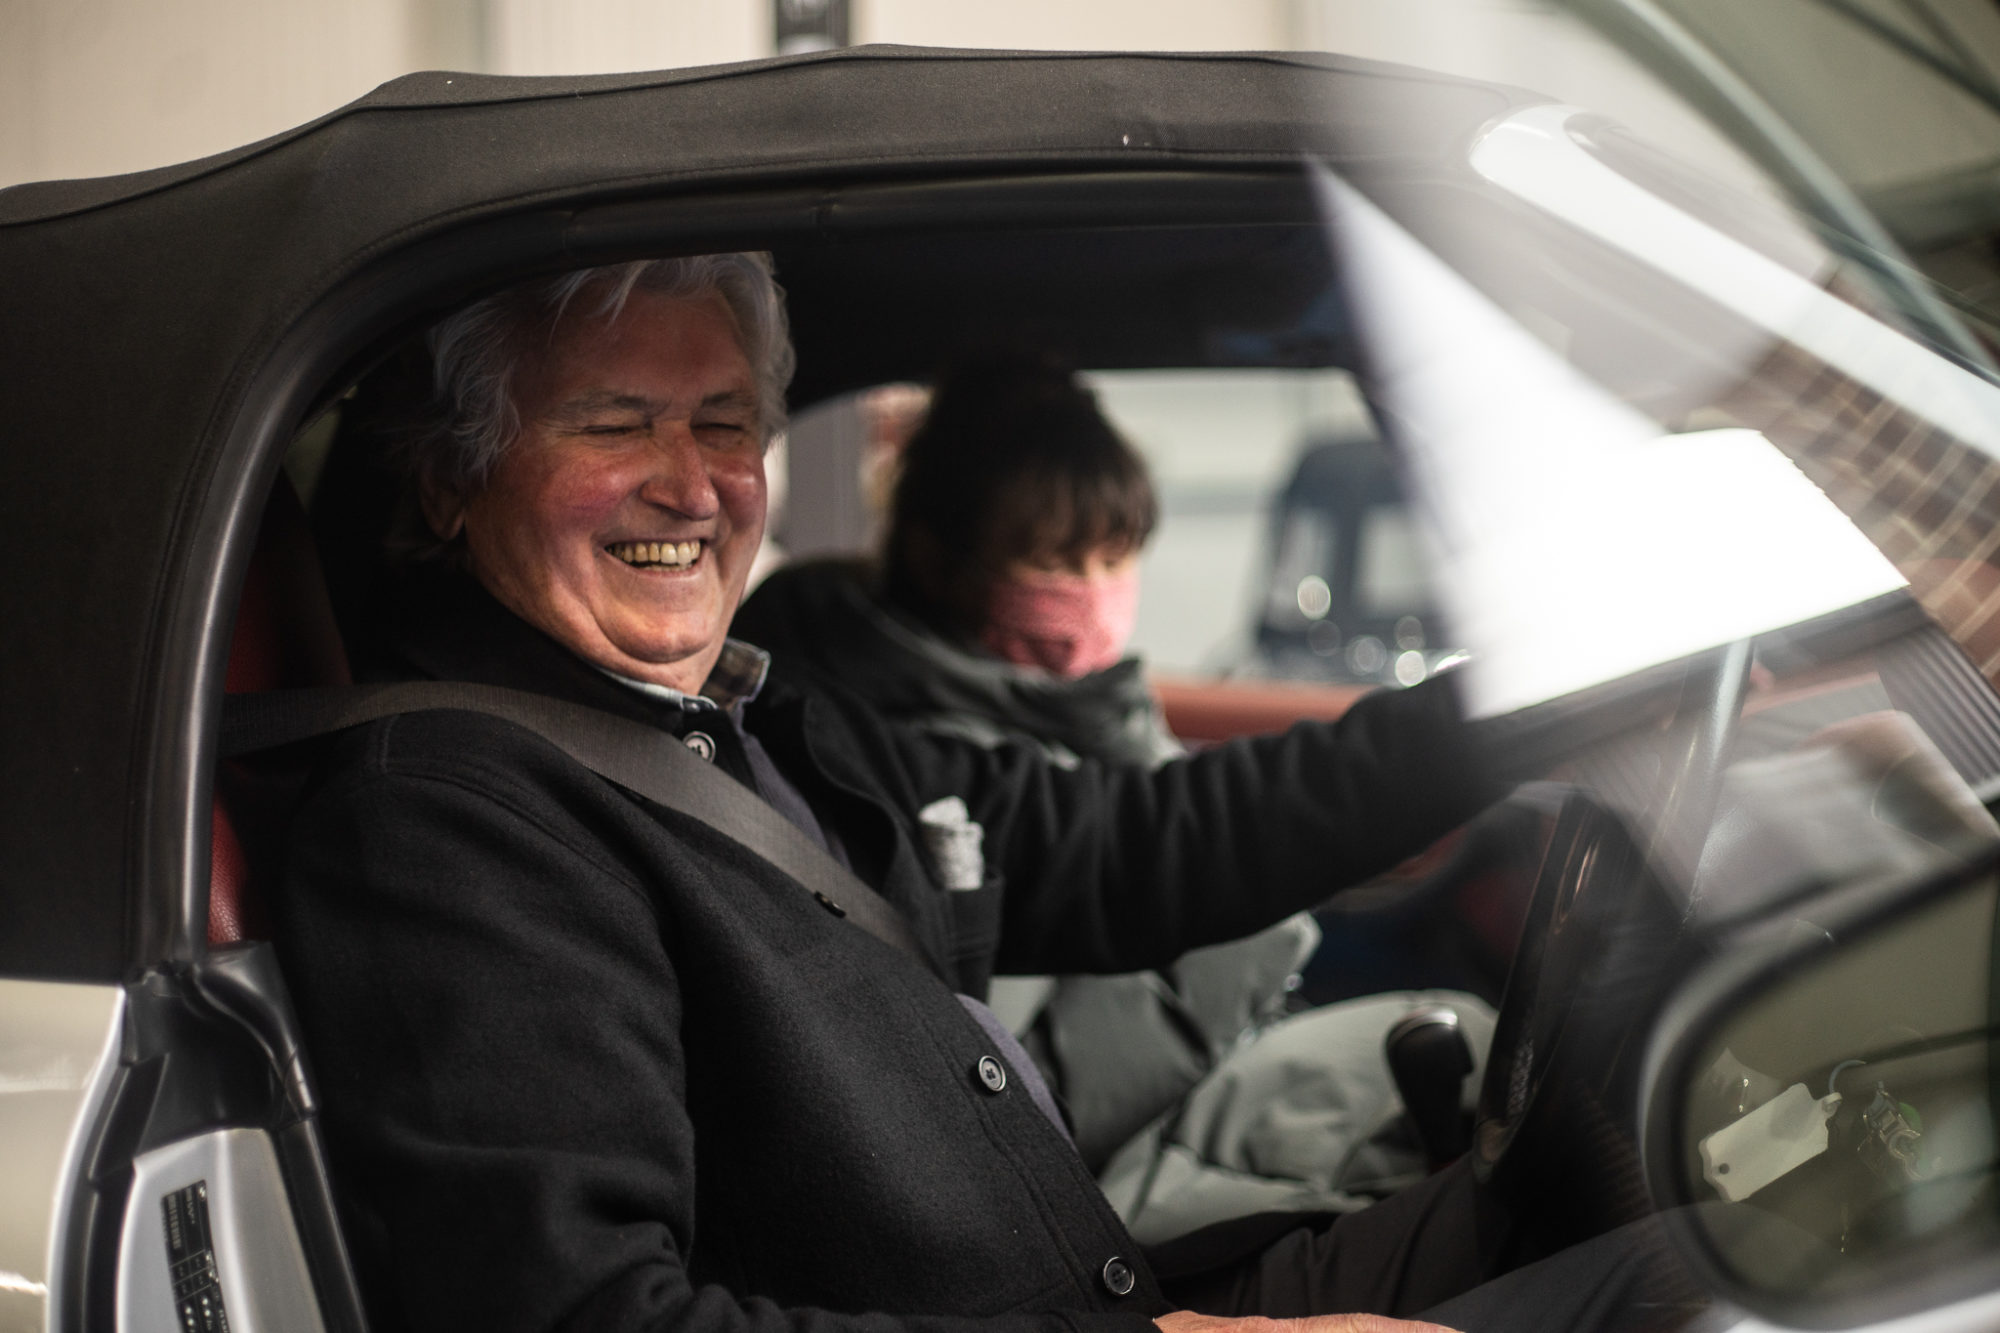
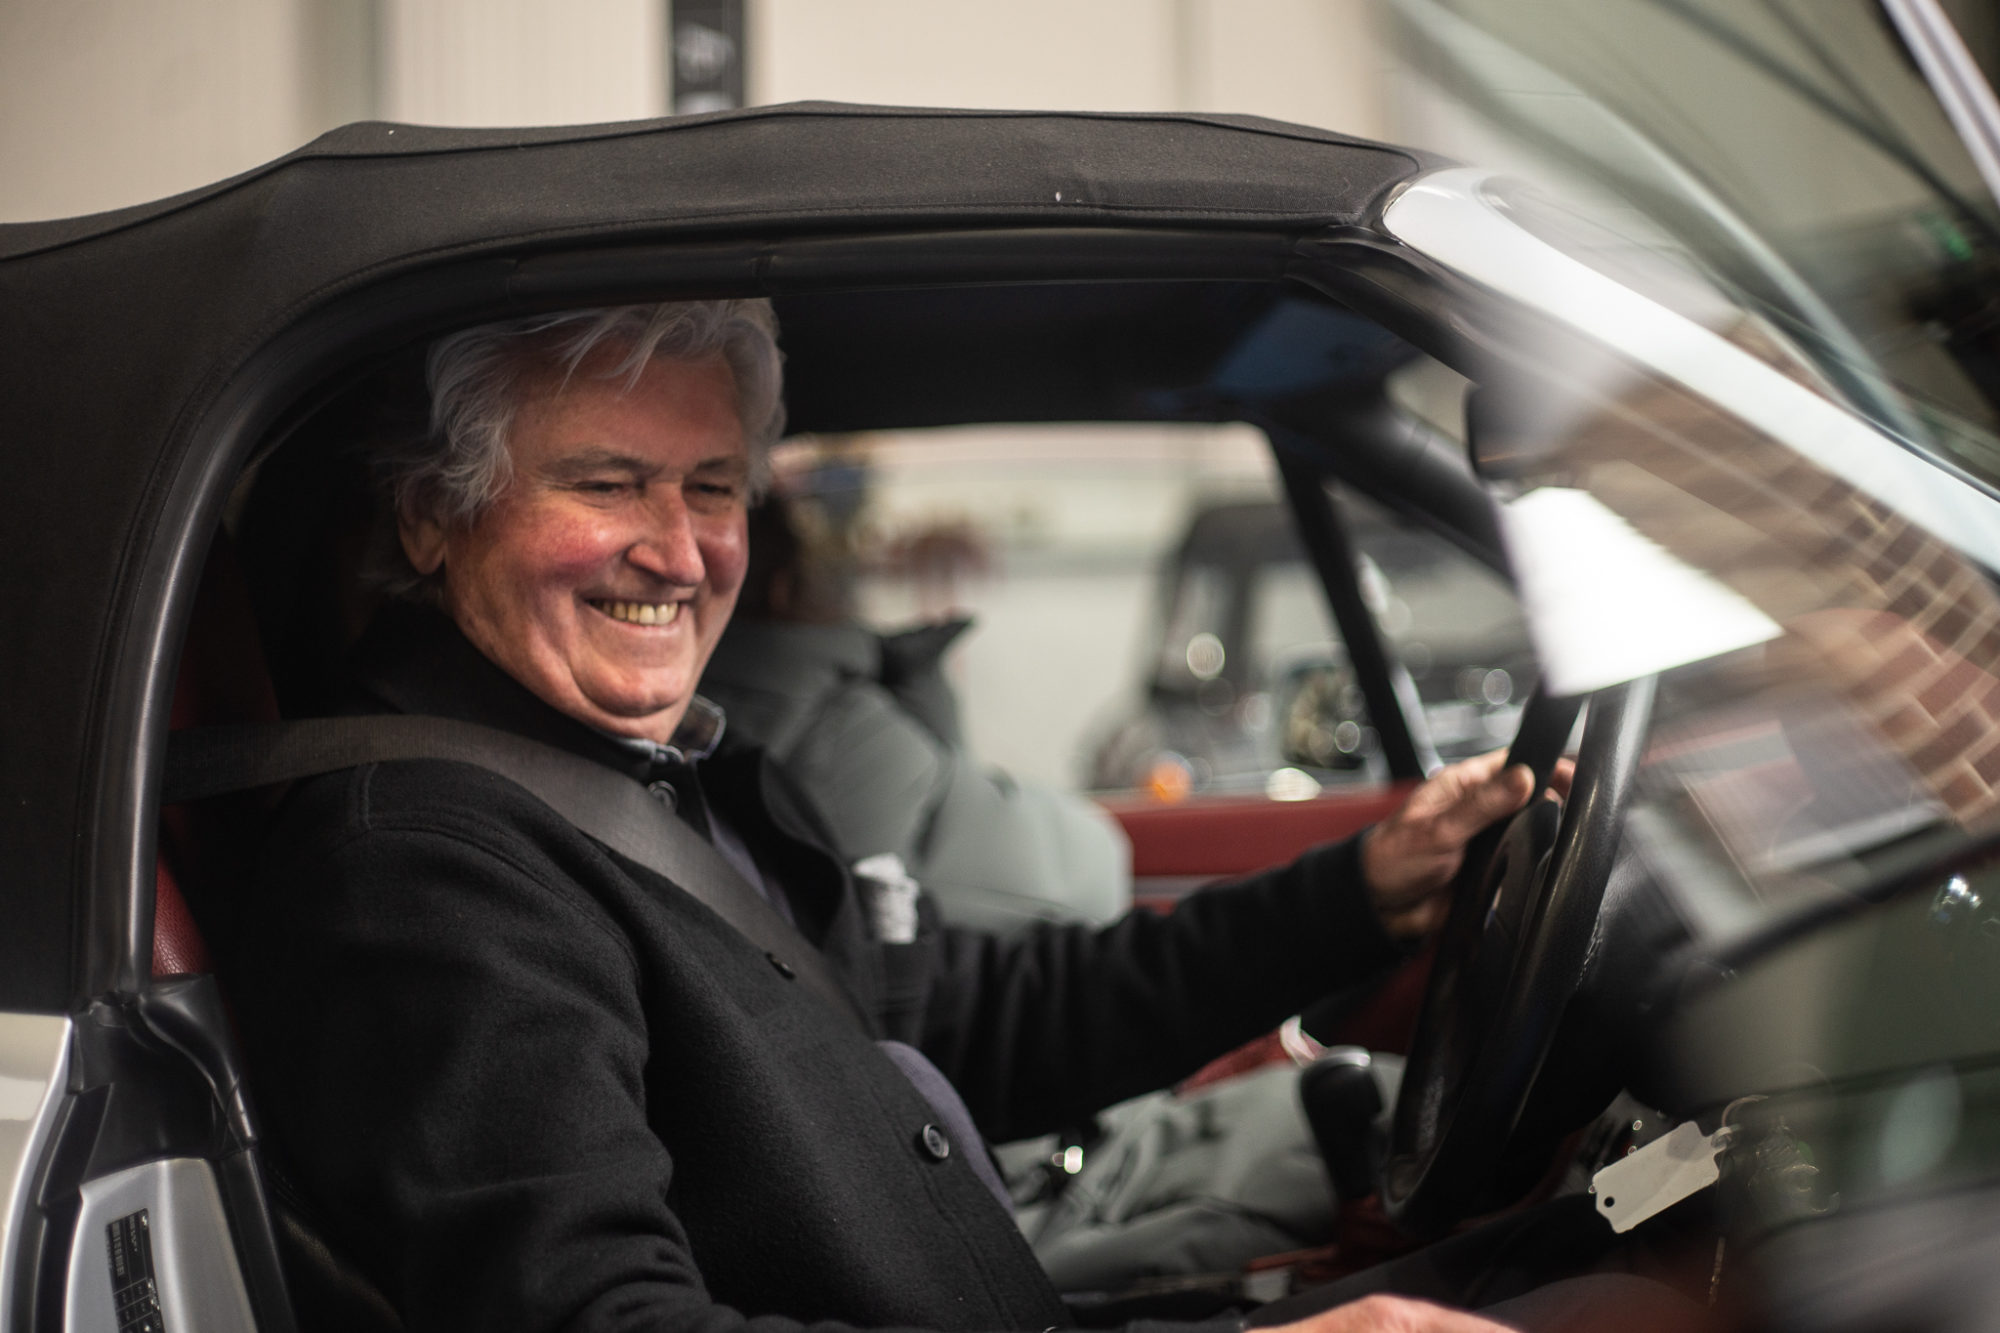
“It’s rather wonderful isn’t it” exclaimed Ian as we revealed his BMW Z3.
Ian Logan is the lucky winner of our modern classic BMW Z3 and made the trip, with his wife Gail, from central London to collect his new car.
Their excitement was tangible as they walked around the car, inspecting their new drive home.
“I can’t thank you enough, it’s incredible” Ian beamed, sat behind the wheel.

Our favourite part of the competitions is seeing the delight of our winners when they see their new motor. We hope Ian and Gail have many happy miles in the car and we can’t wait to see where they take it!
You can see their full reactions in our video below:

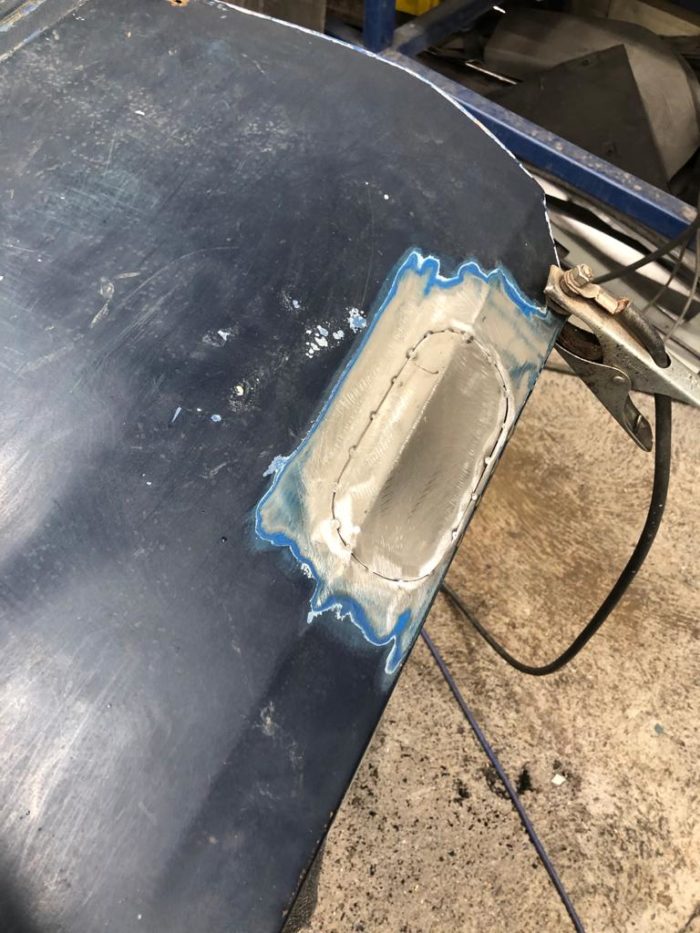
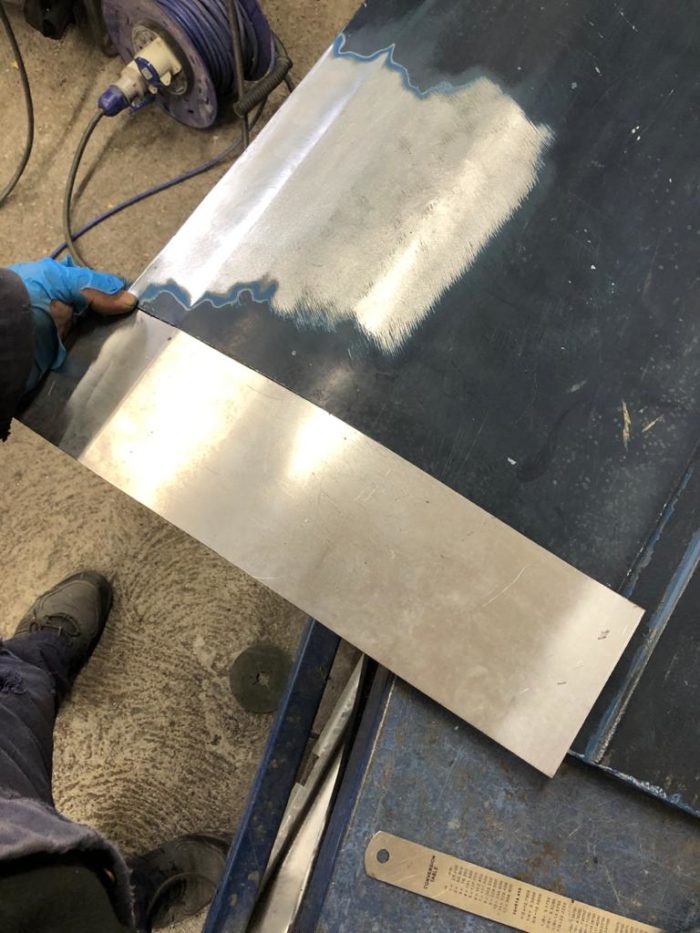
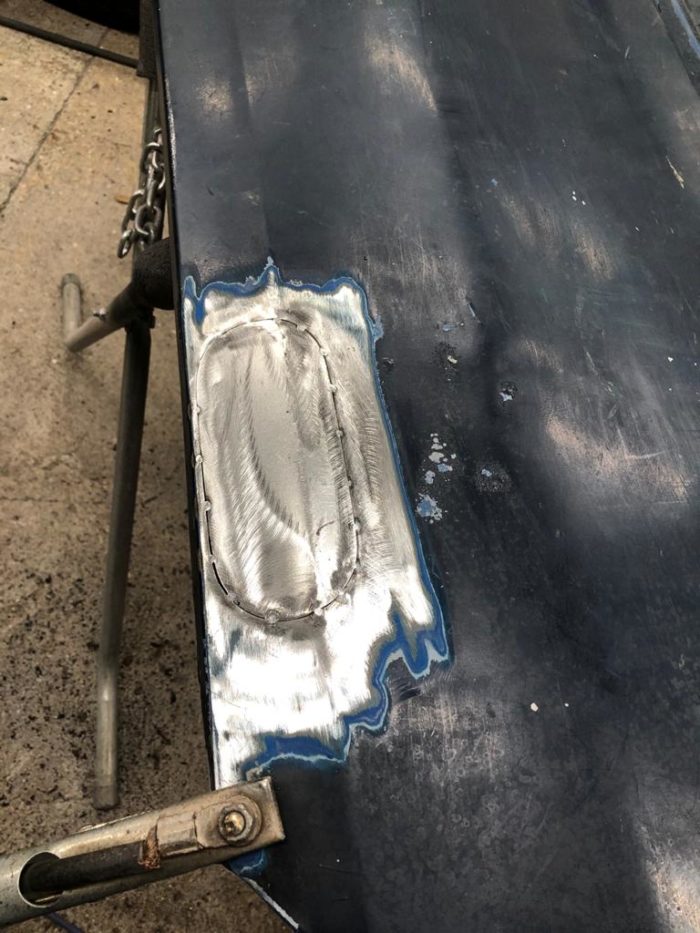
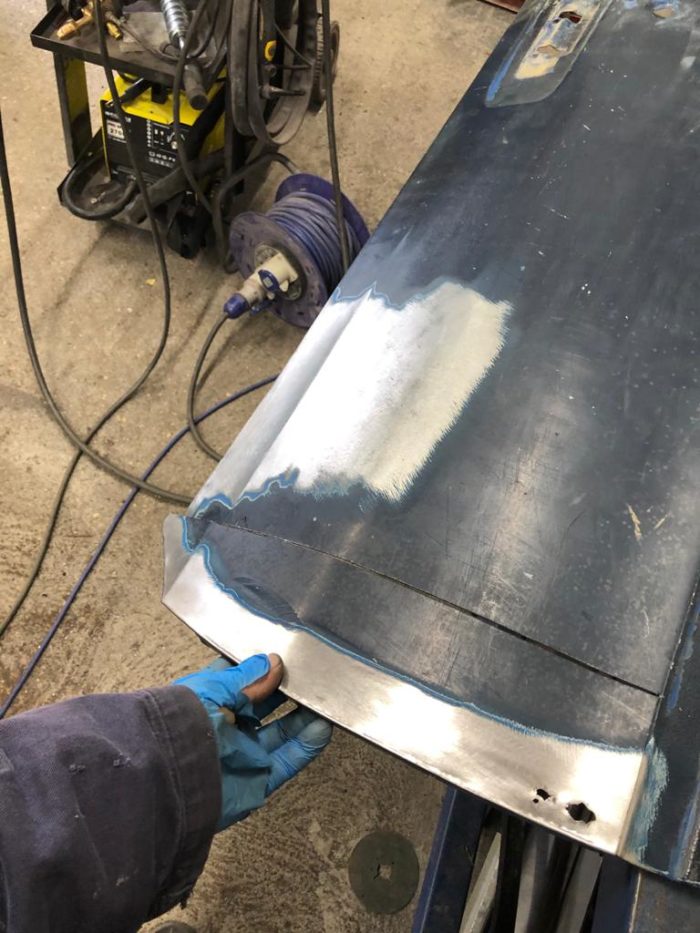
Pricey has been continuing his work on the 1997 Jaguar XK8 which is needing some thorough rust repair.
There has been more rust discovered in the sills and Pricey has begun to fabricate the left hand rear lower inner and our quarter panel. He’s then fabricated the left hand rear sill section, cut out left hand rear sill section and welded the left hand rear lower quarter panel section. Pricey has then gone one to fabricate the left hand inner rear sill lip, weld the lip in and weld the left hand rear sill section.
James has been continuing his work to correct the rust damage on the Toyota Hilux doors. He is now repeating the same process on the passenger side door. This includes removing rust and replacing it with fresh metal to then beat into place.


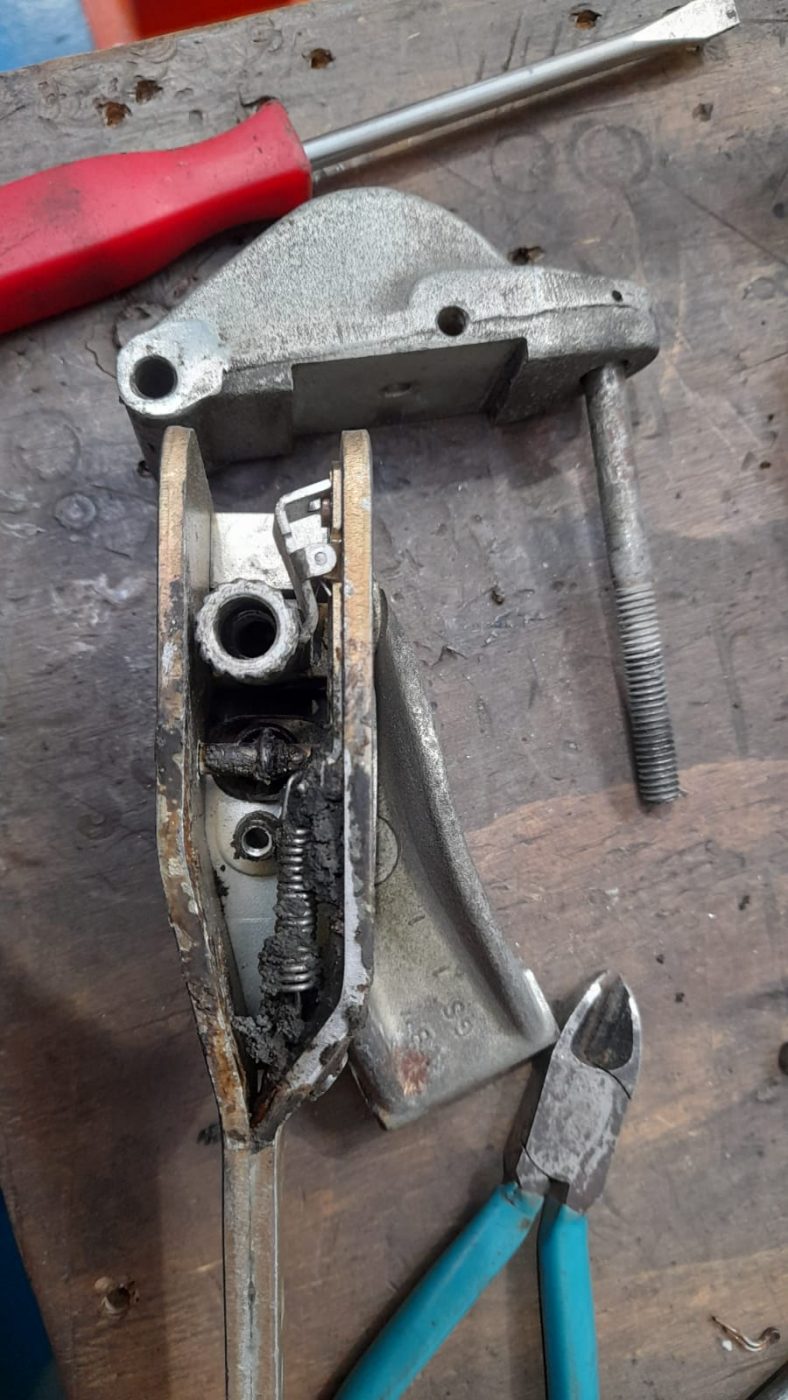
We welcomed in this 1968 MGB GT last week which is having some brake and running issues.
Firstly, the brake have been bled however the pedal doesn’t seem to be reacting correctly. We assume there is an issue with the Servo.
We have also noticed that the distributor is broken and the car will not turn off, meaning the only way to stop the engine from running is to stall it. This may be connected to a fuel issue.

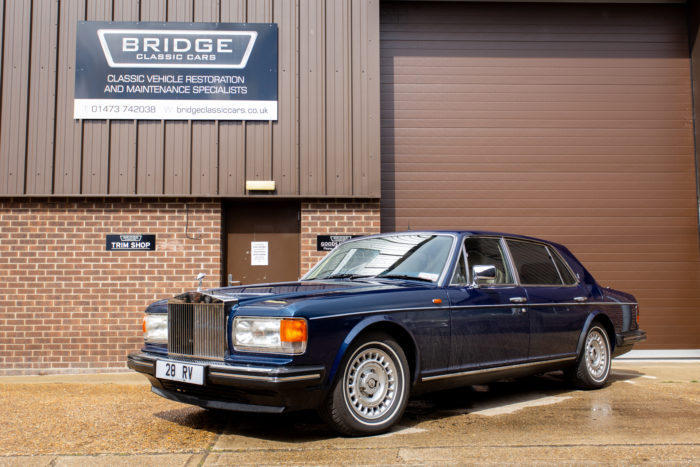
In our workshops today we have our 1989 Rolls Royce requiring body work repairs to the arches. Whilst in, the car will undergo a full assessment to see what other works, if any, will need to be carried out.
We’re currently awaiting a road test on our black 1960 Jensen 541R to see how it runs and if there are any teething issues.
Our 1967 Jaguar E-Type Race car is feeling rather poorly at the moment and is awaiting a new clutch from Norfolk Clutch and Brake who are fabricating a new heavy duty clutch.
We recently said goodbye to this VW T4 however its now back in again due to a suspicious knocking sound coming form underneath which we are now investigating.

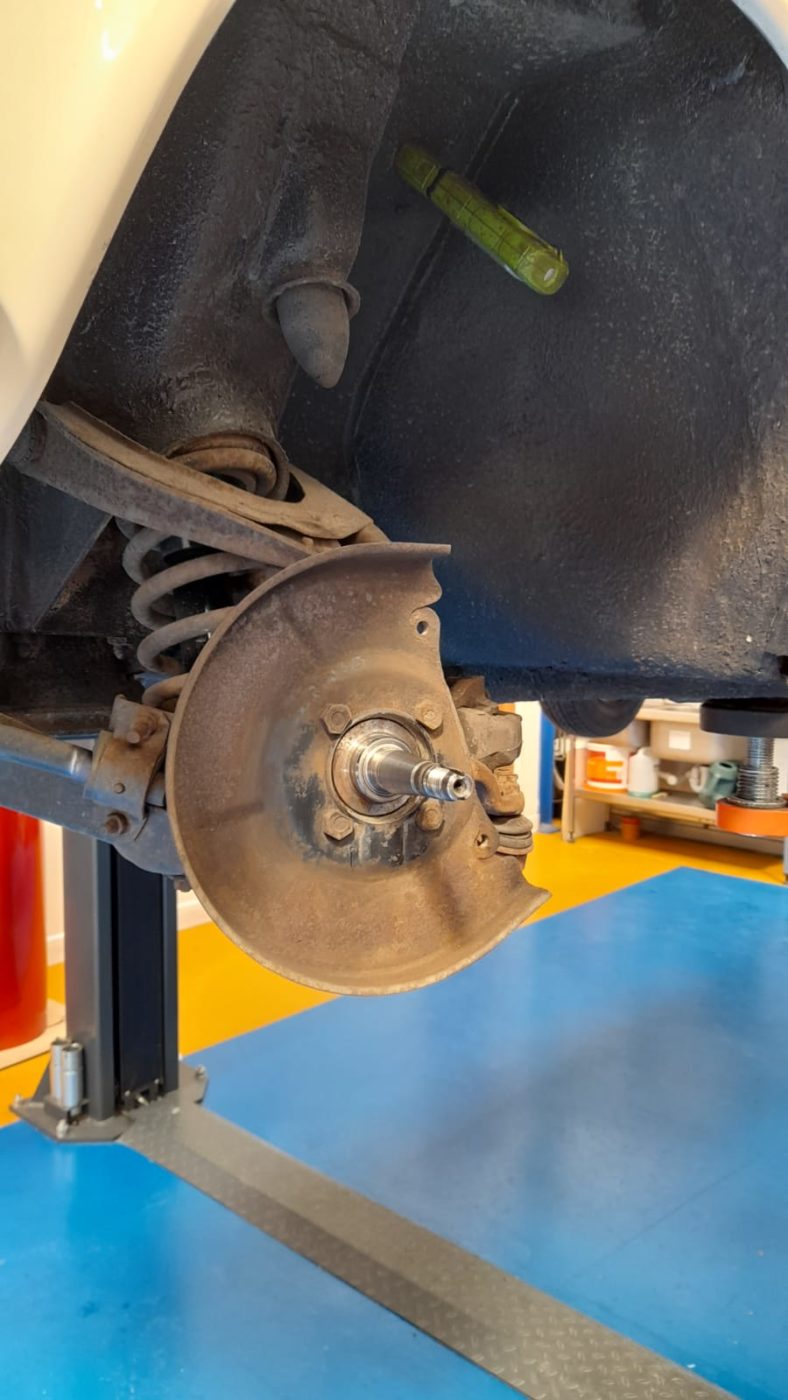
We recently had this classic Lada in for a restoration and now its back for a health check. We’ve run a service on it and are now beginning to replace the front wheel bearings and the dust covers on the callipers.


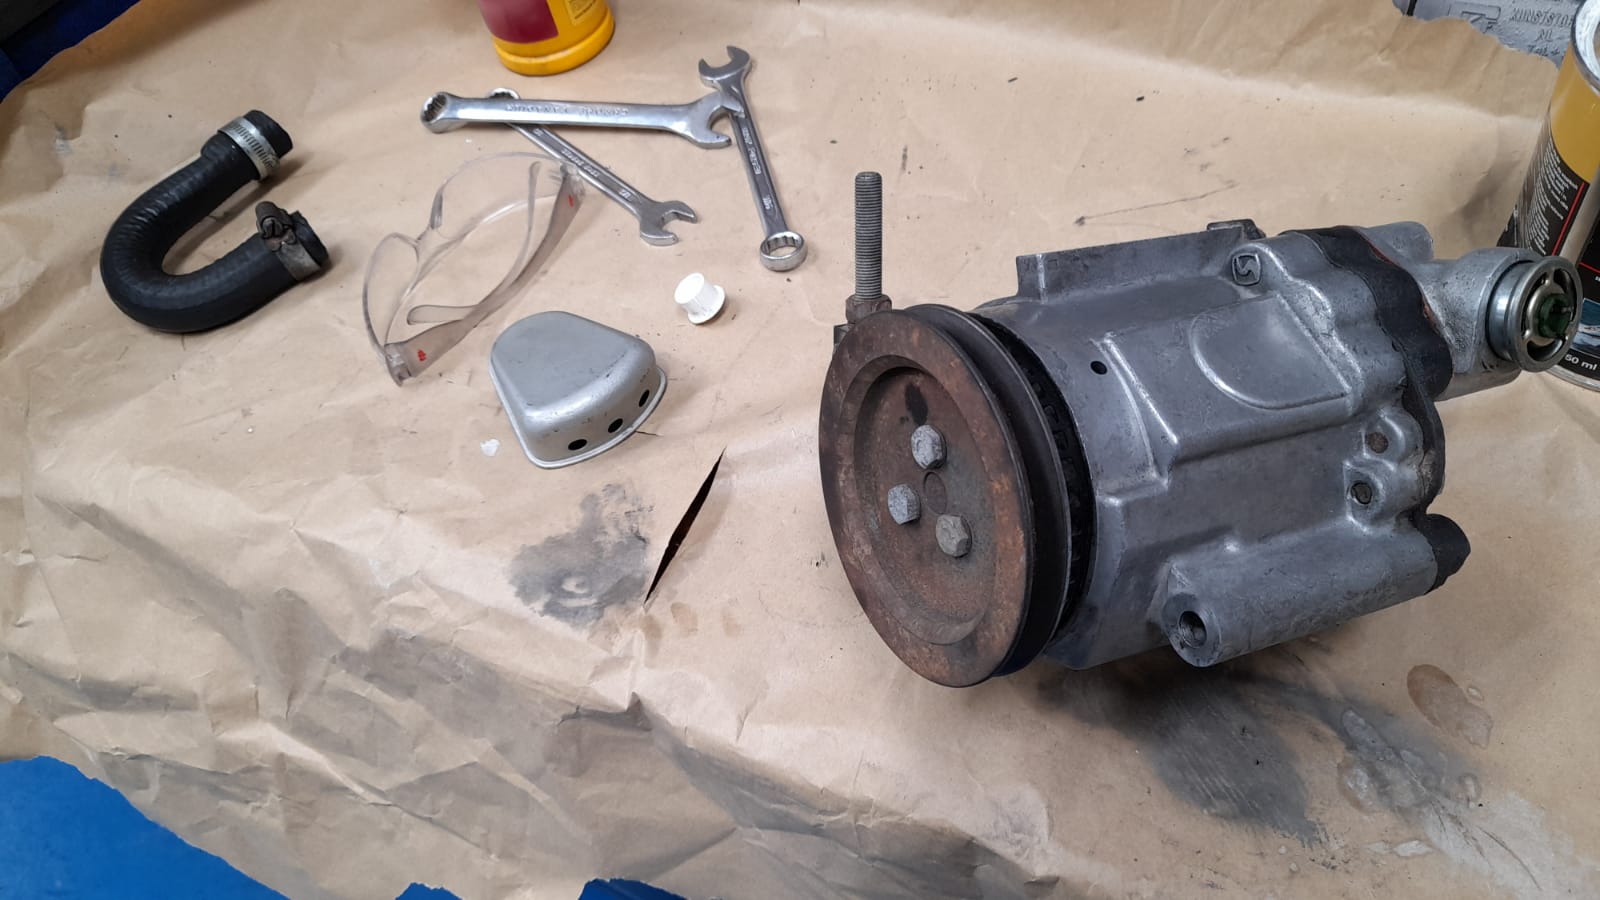
This Austin Healey 1000 has come in with some engine troubles. We identified a water leak and oil in the water. We’ve removed the head to investigate.


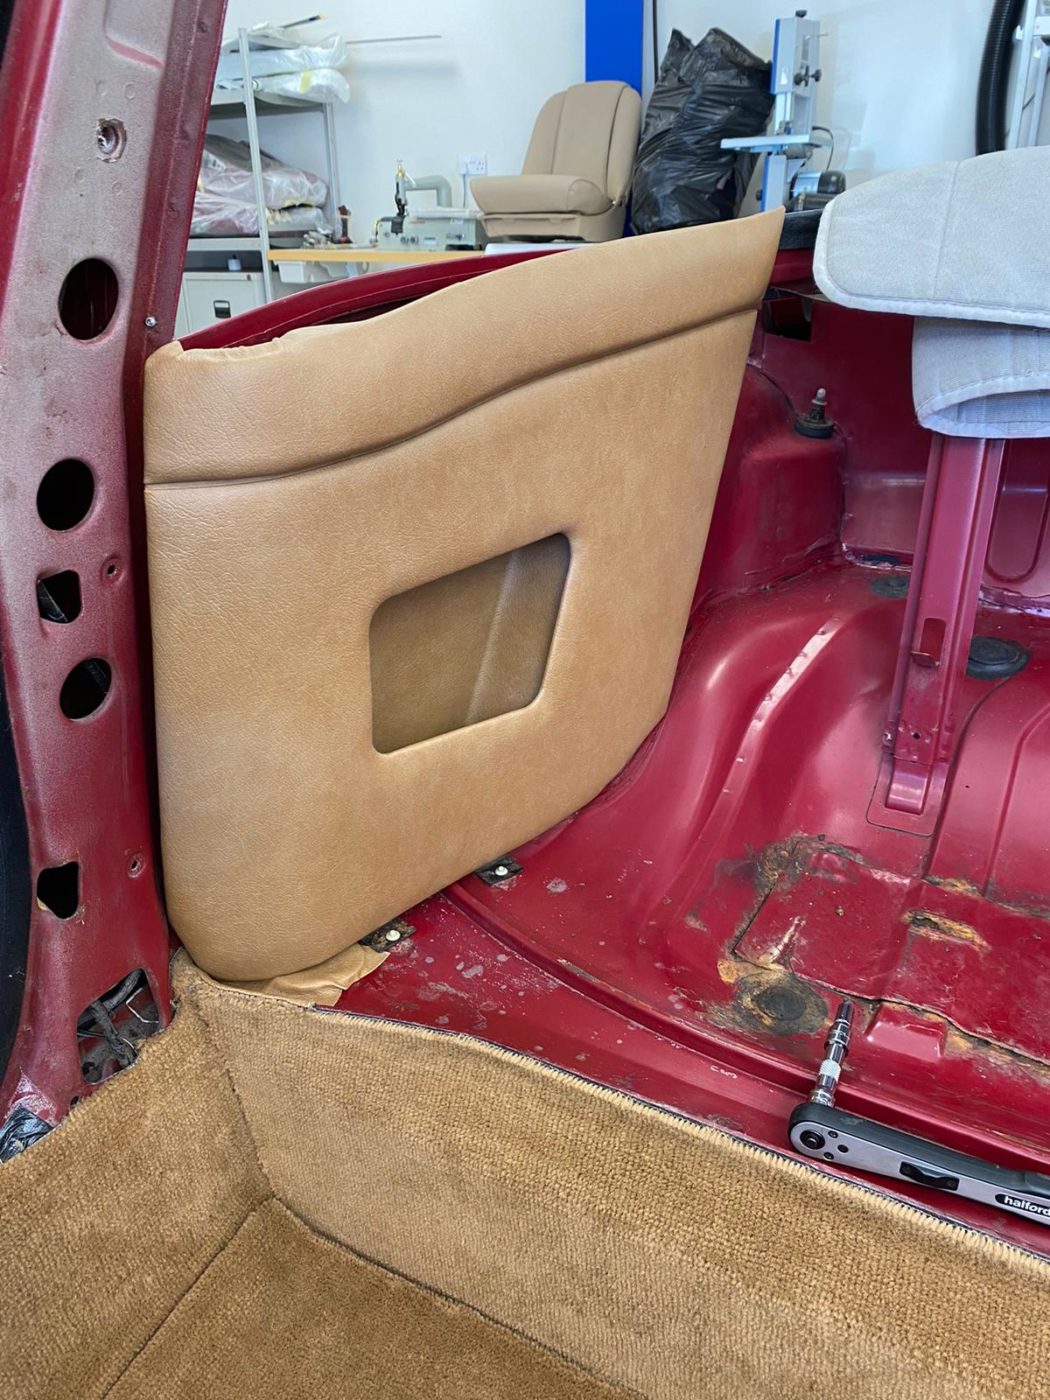
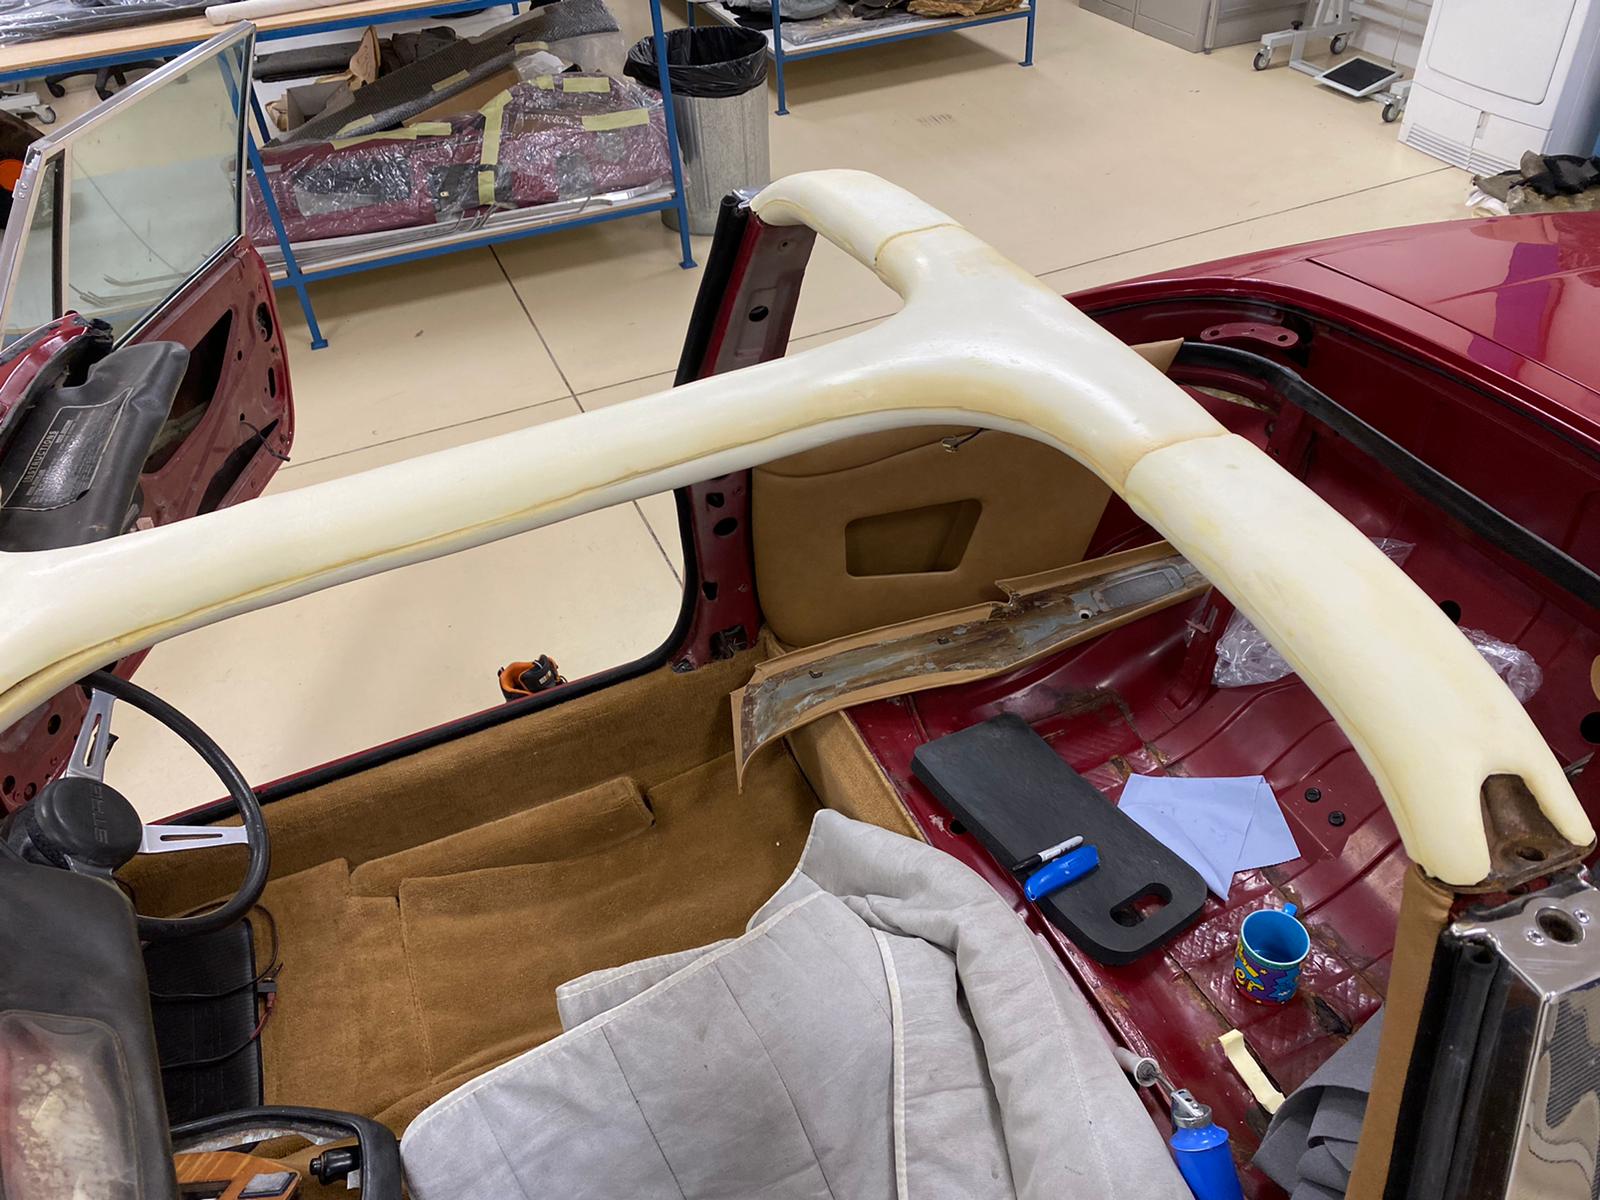
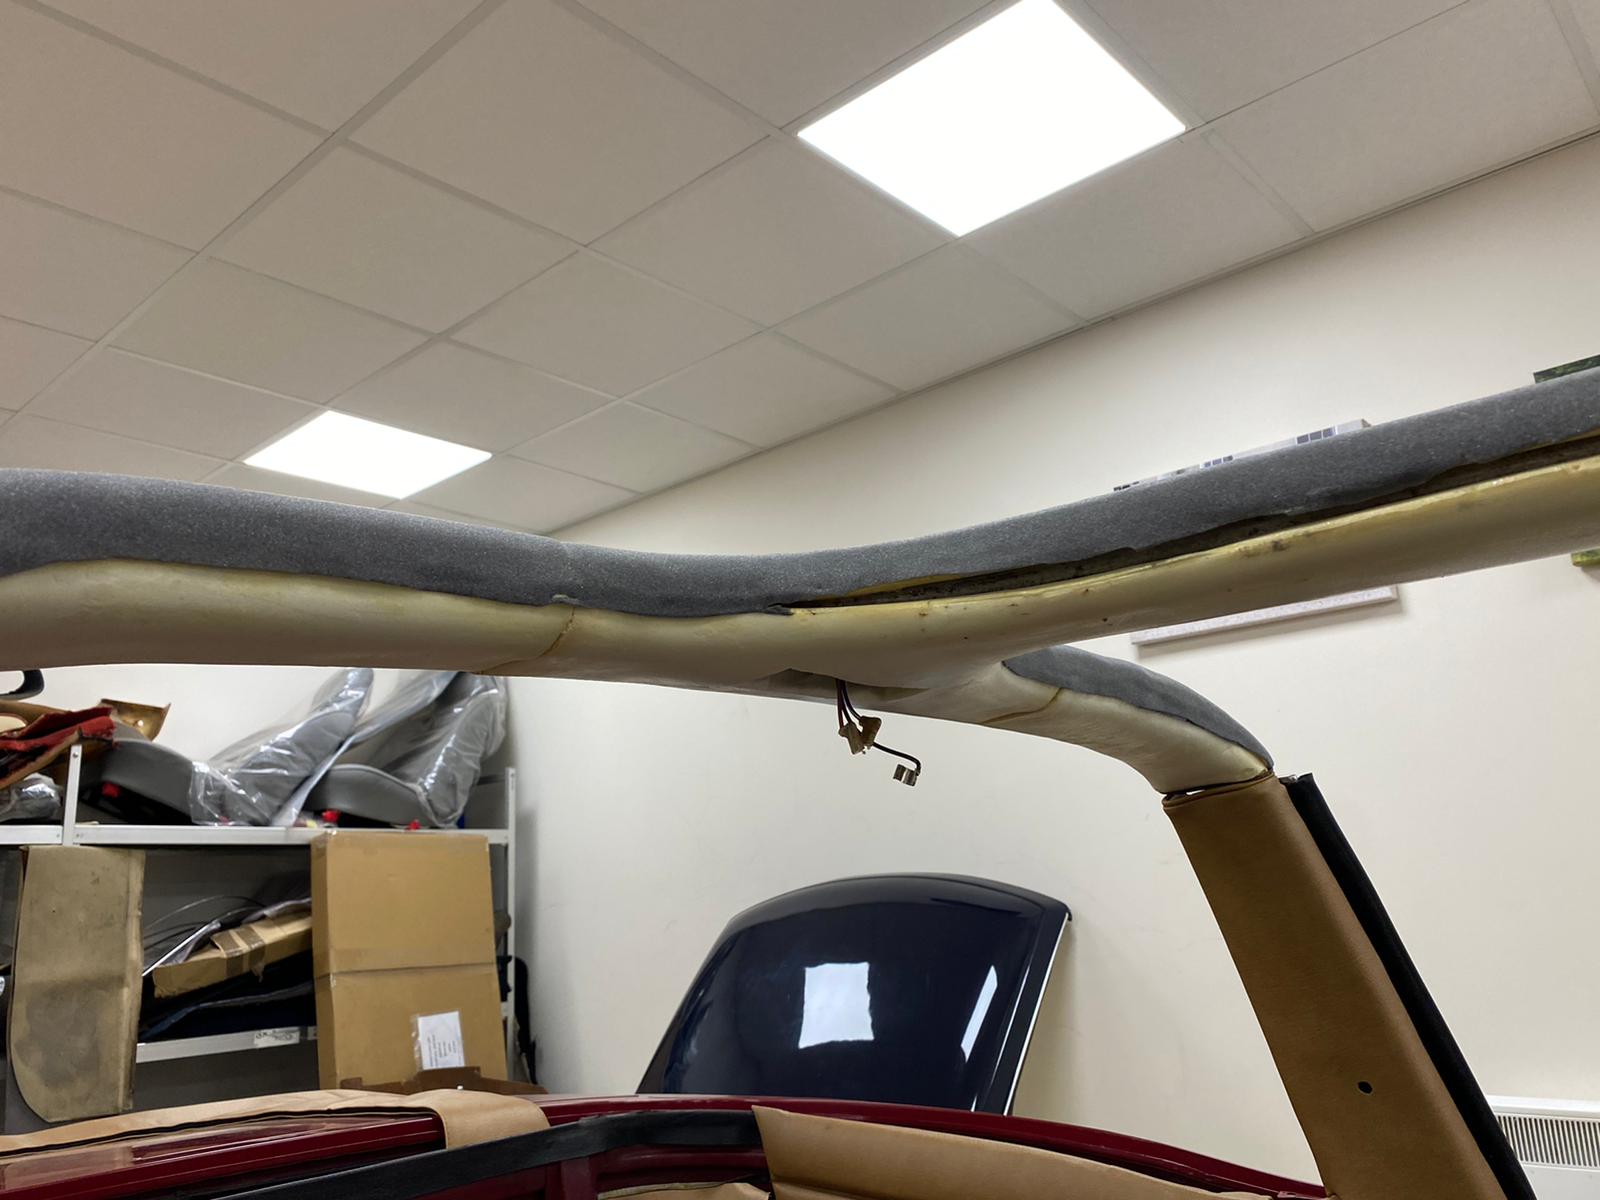
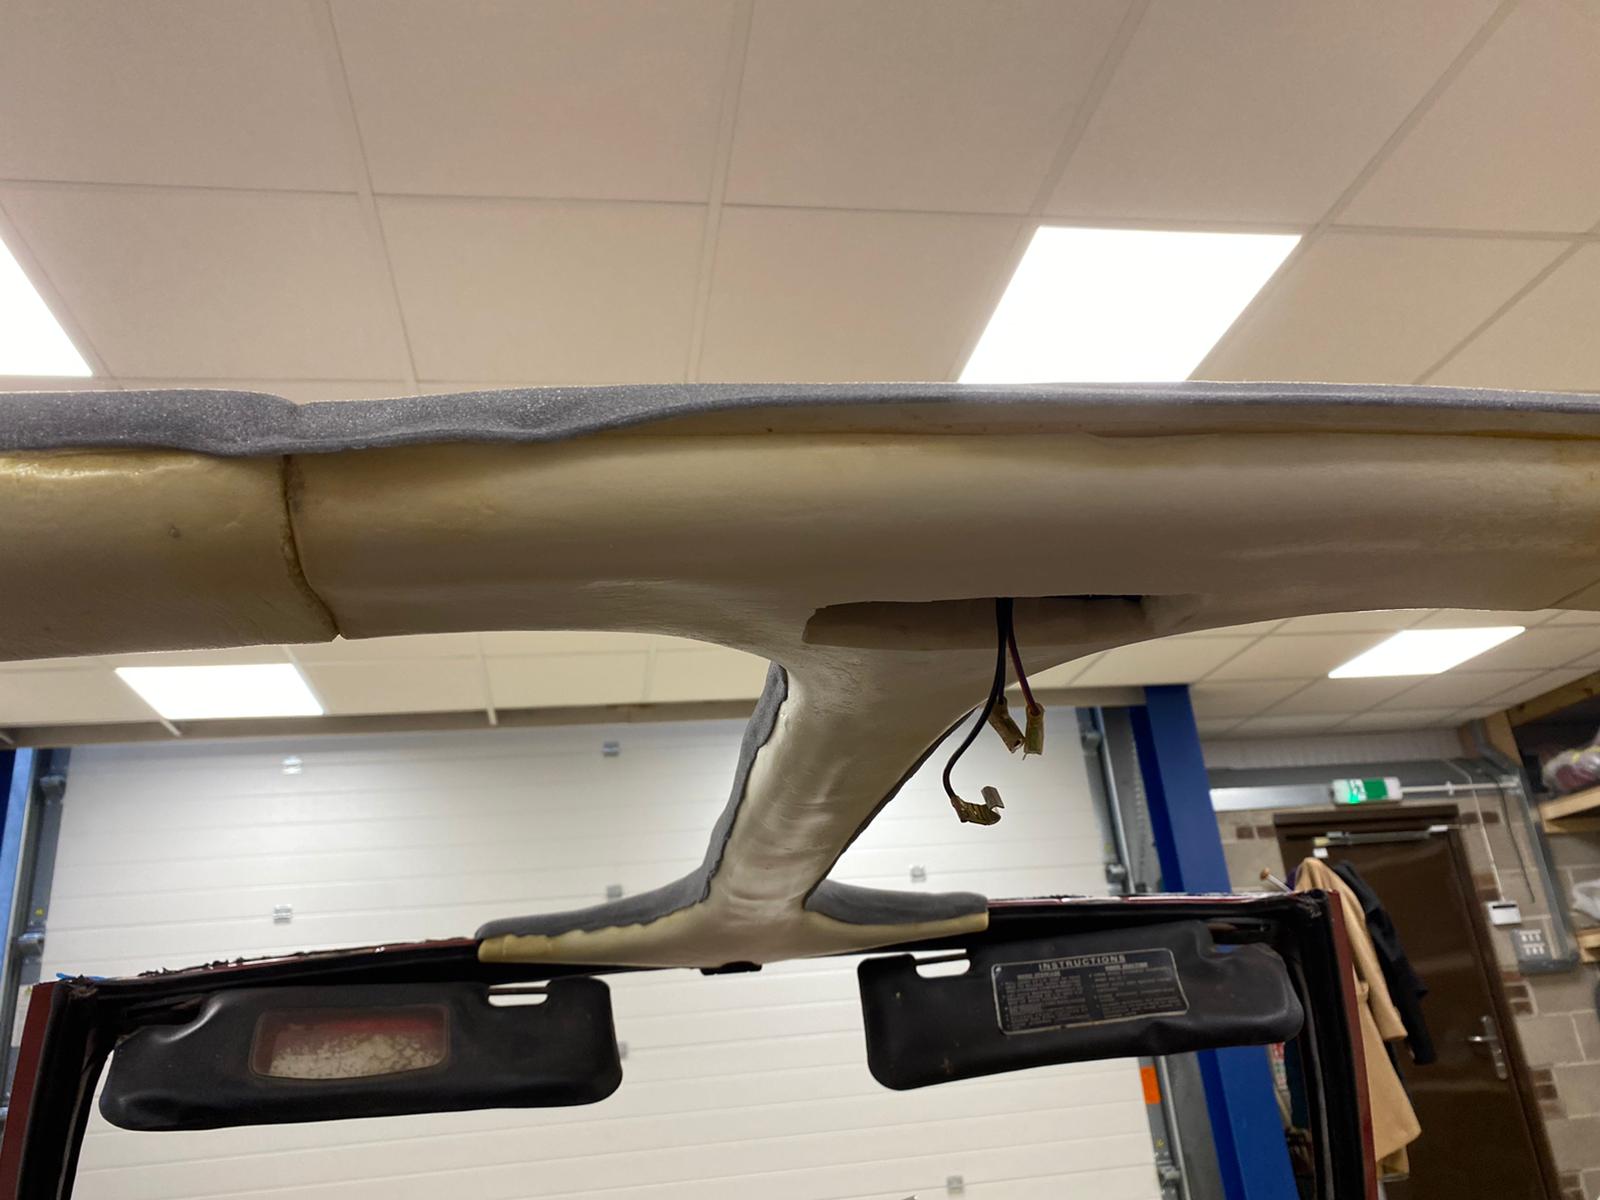
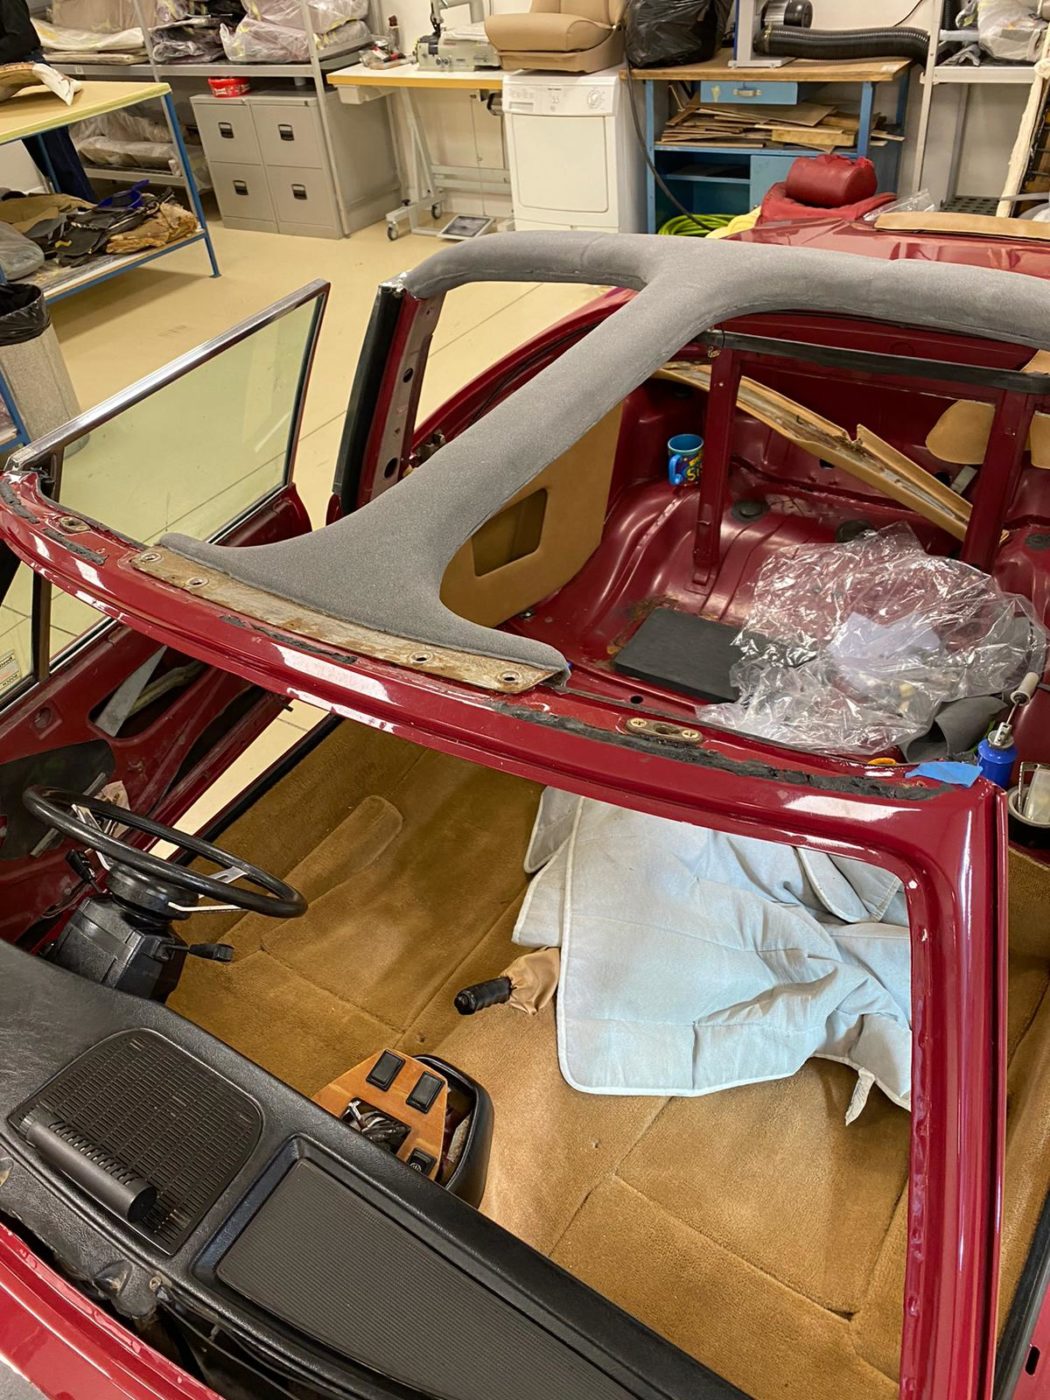
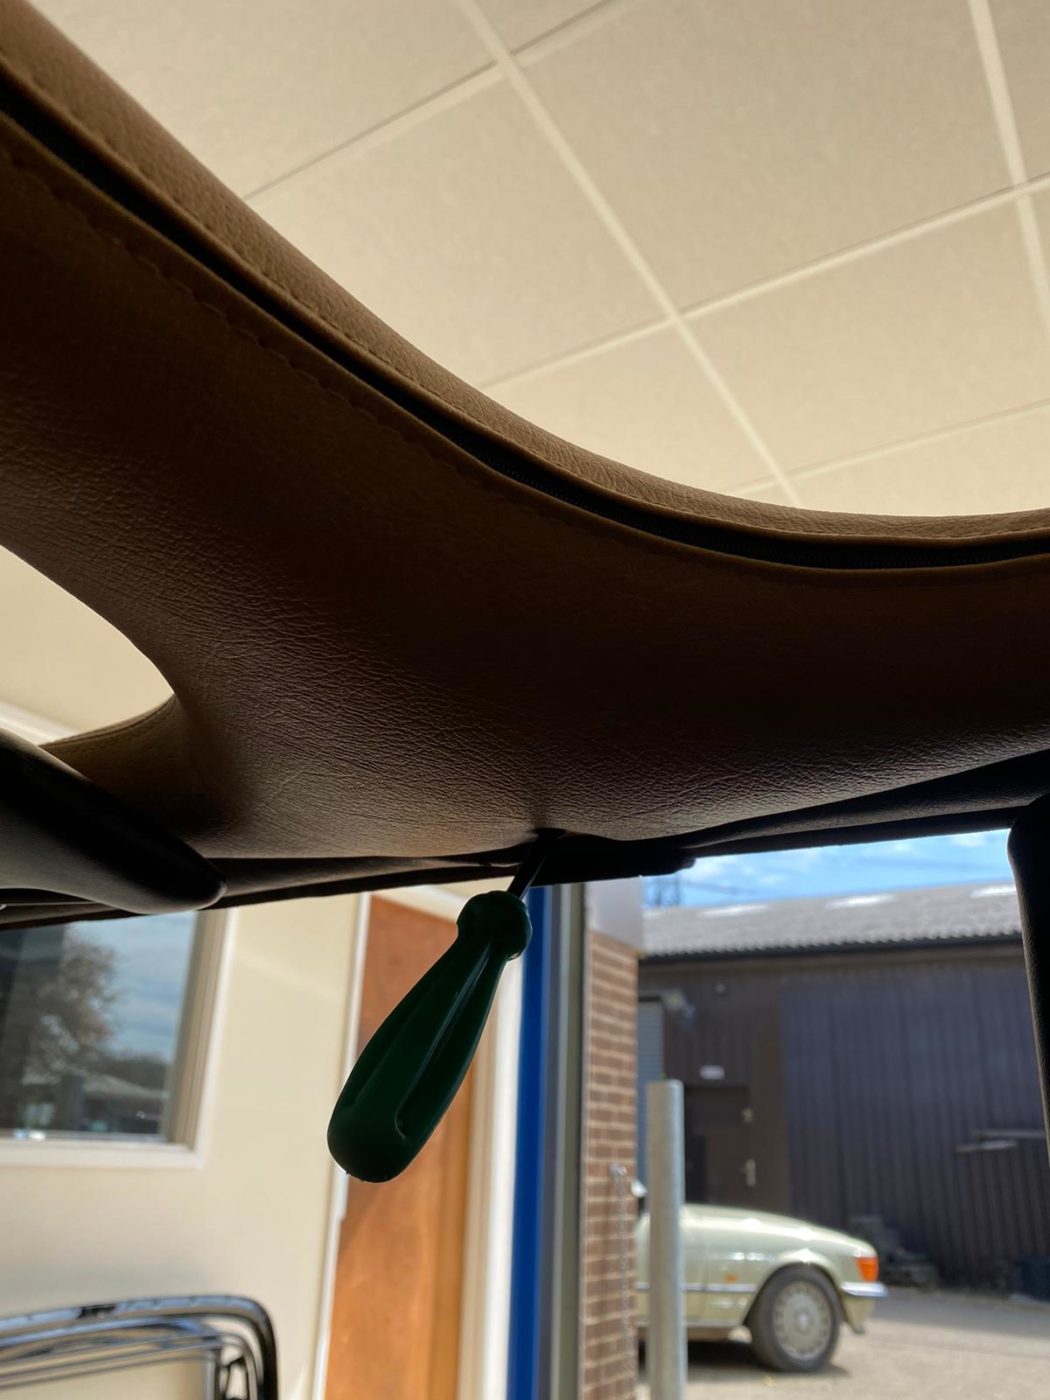
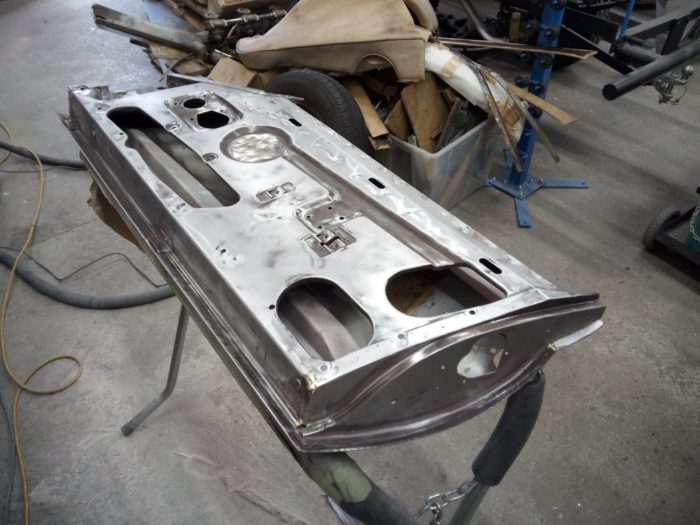
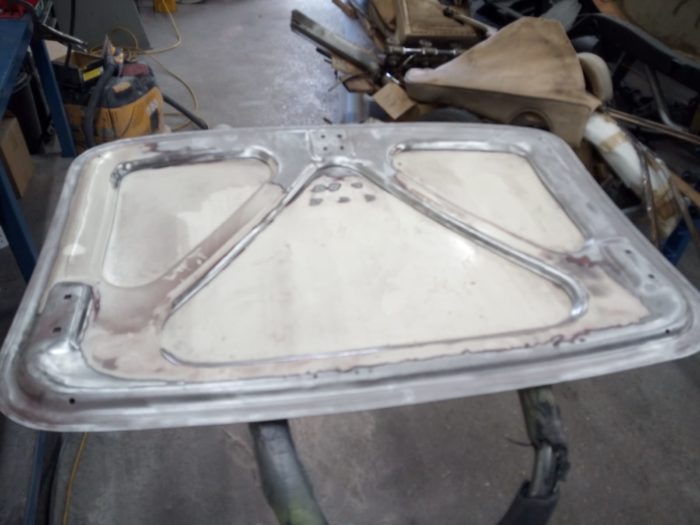
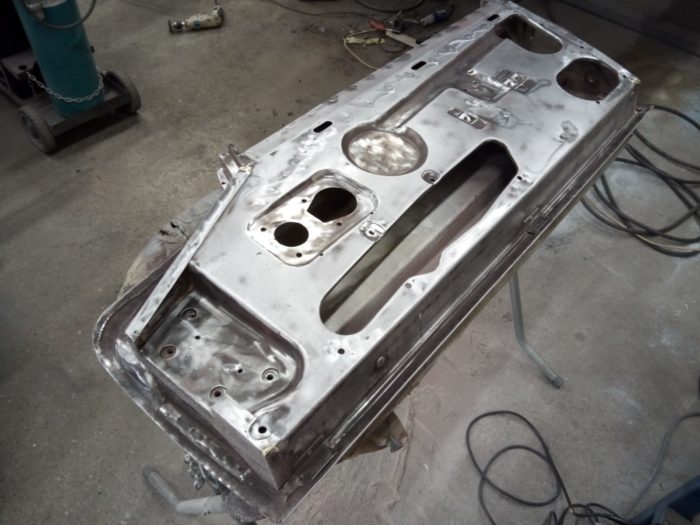
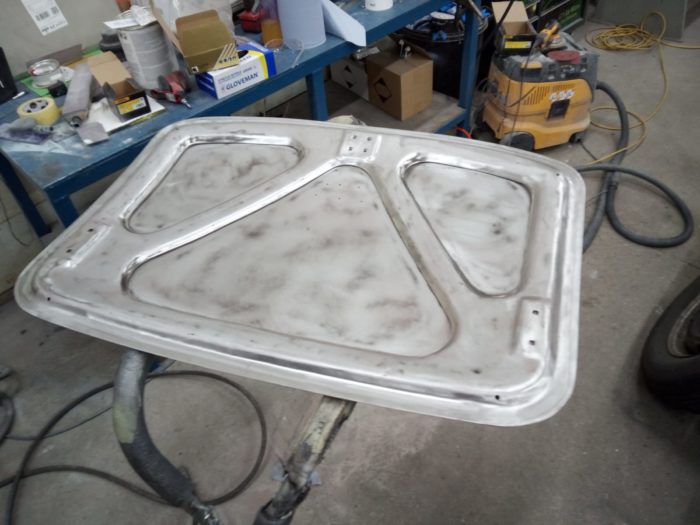
The owner of our Peony Red custom 1960 Jensen 541S took the decision to get the badges painted in a diamond red as he didn’t like how the silver looked. Here’s the before and after:

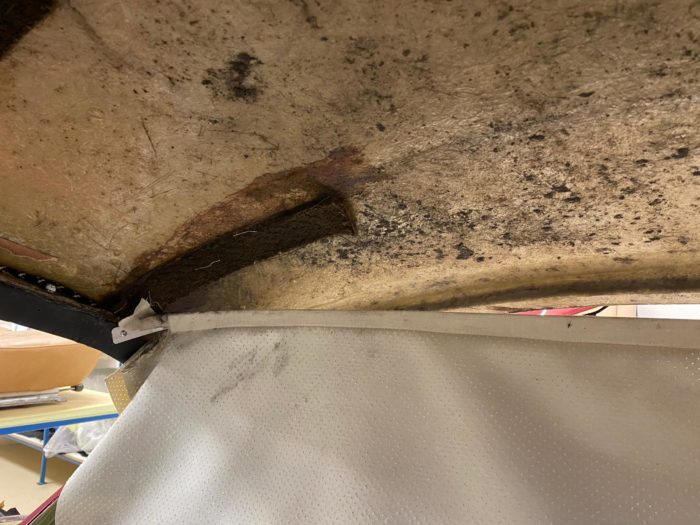
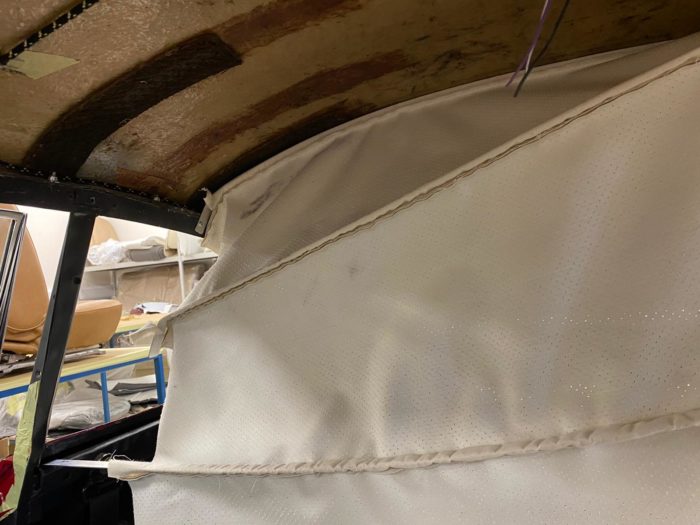
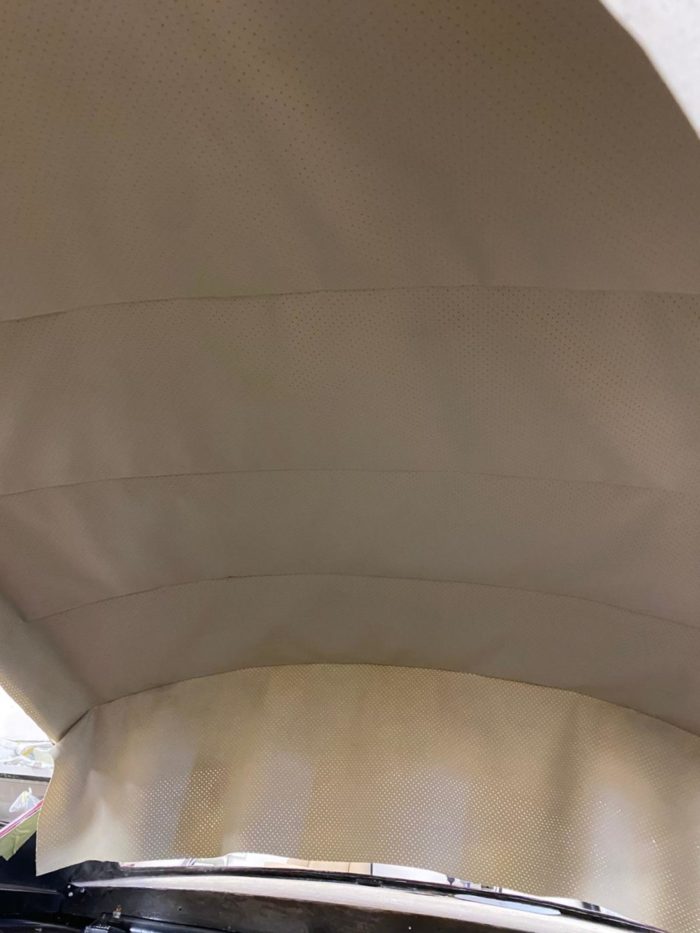
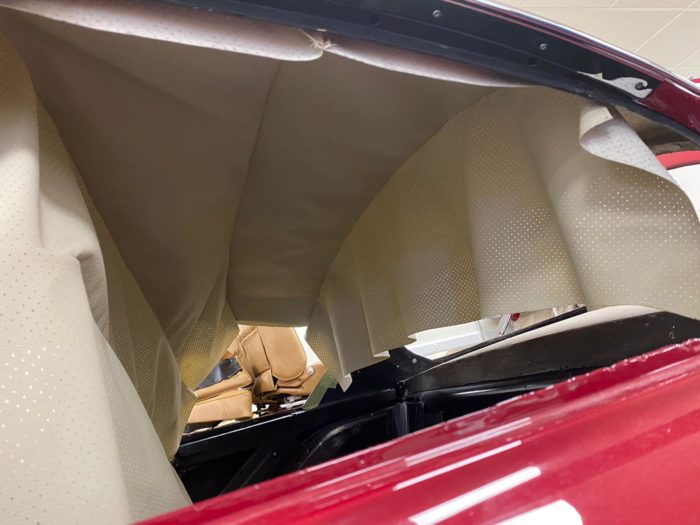
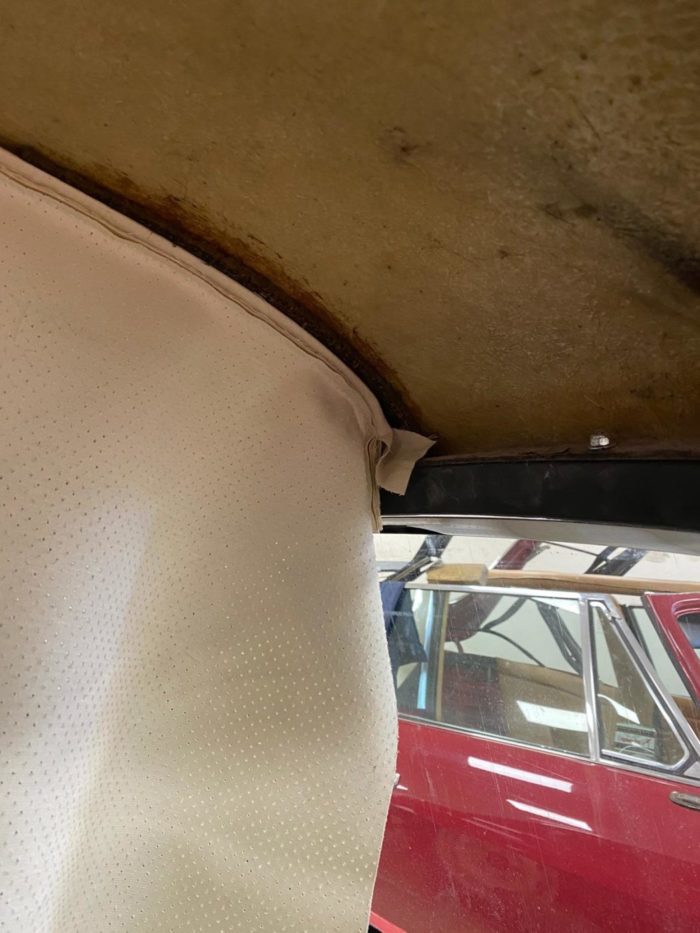
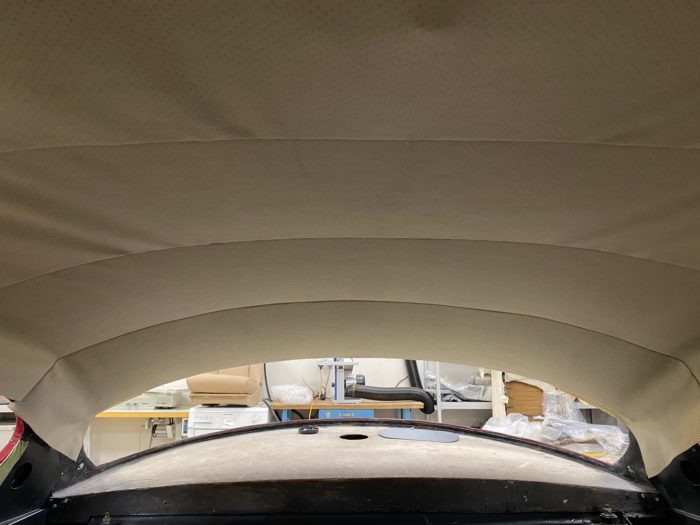
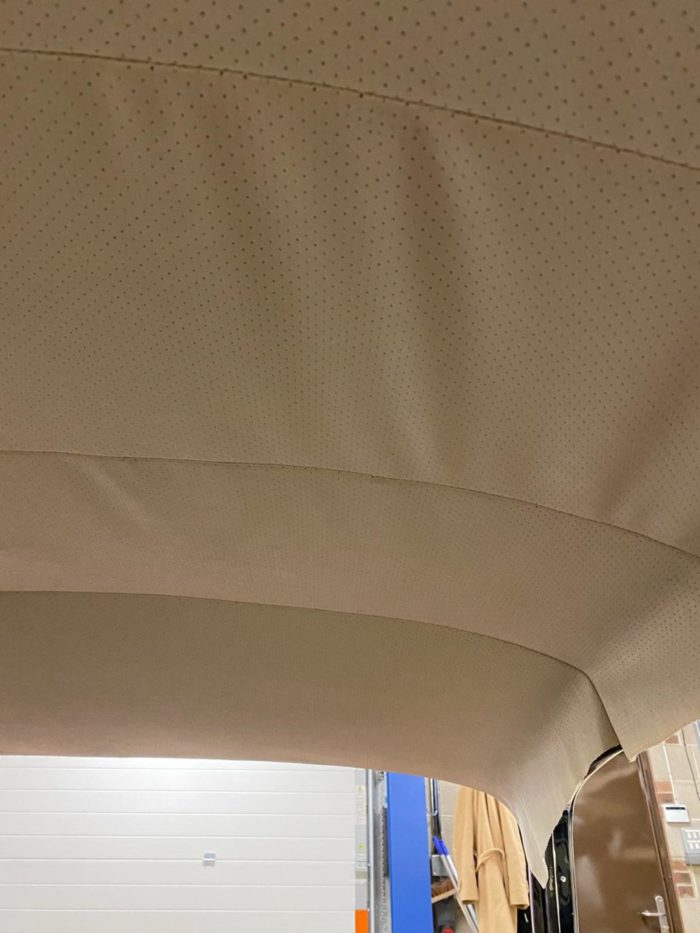
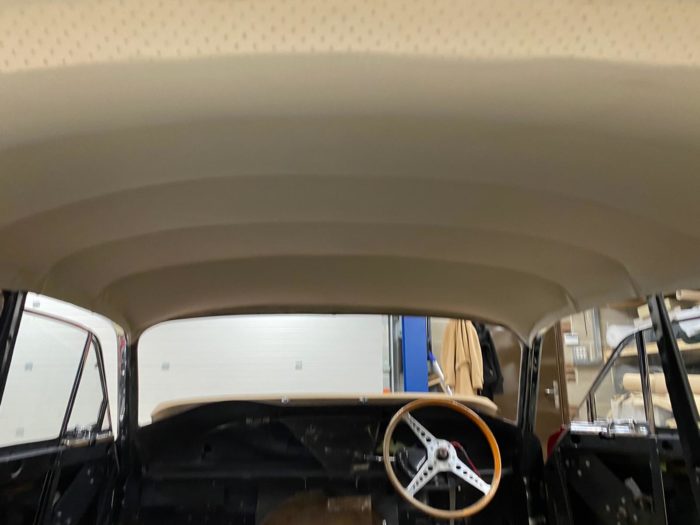
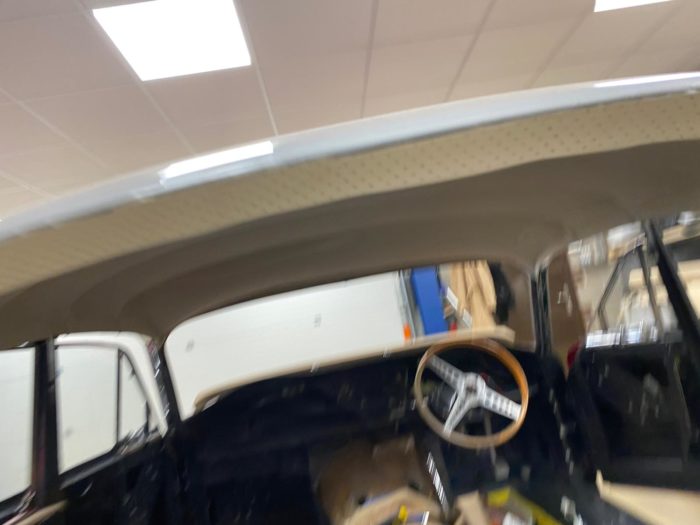
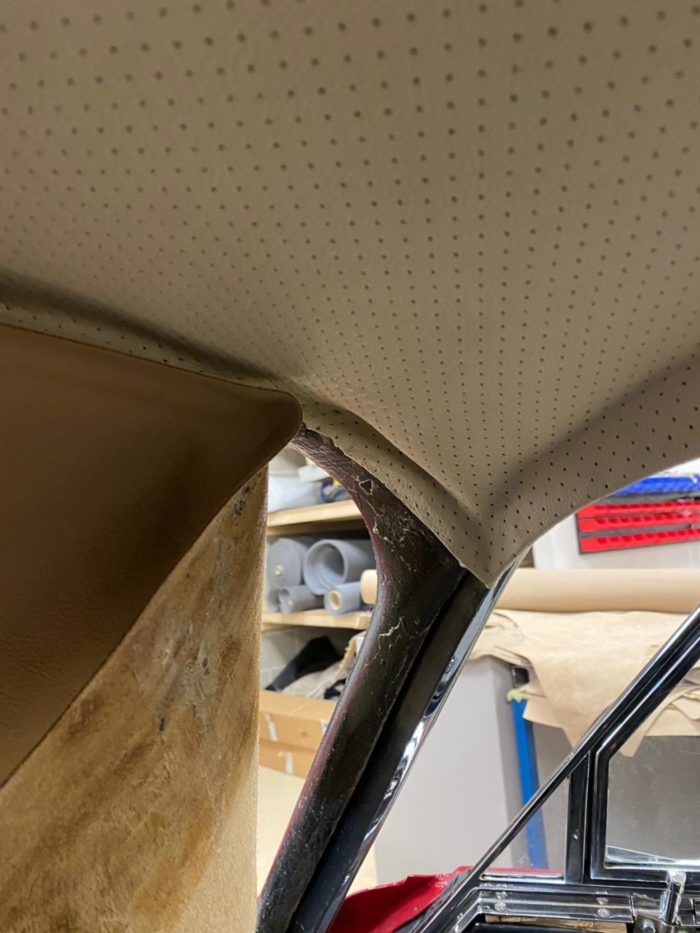
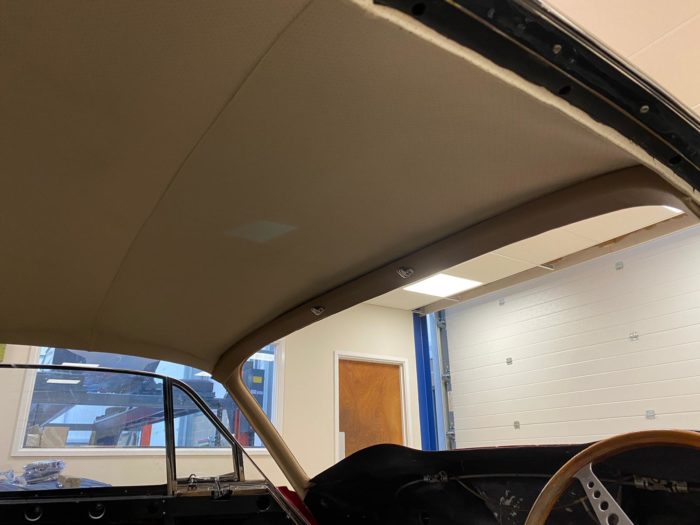
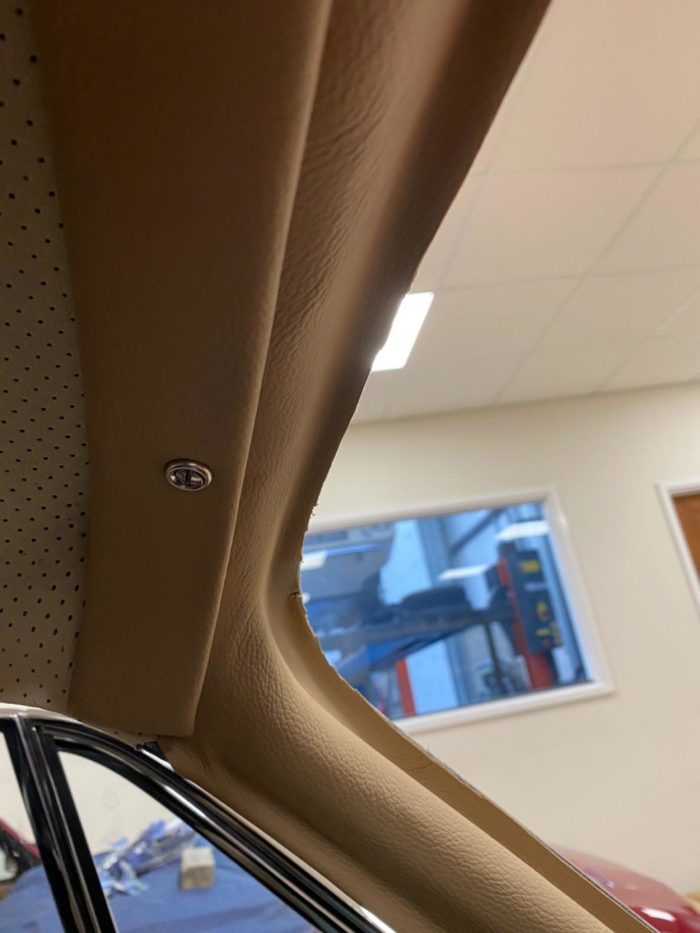
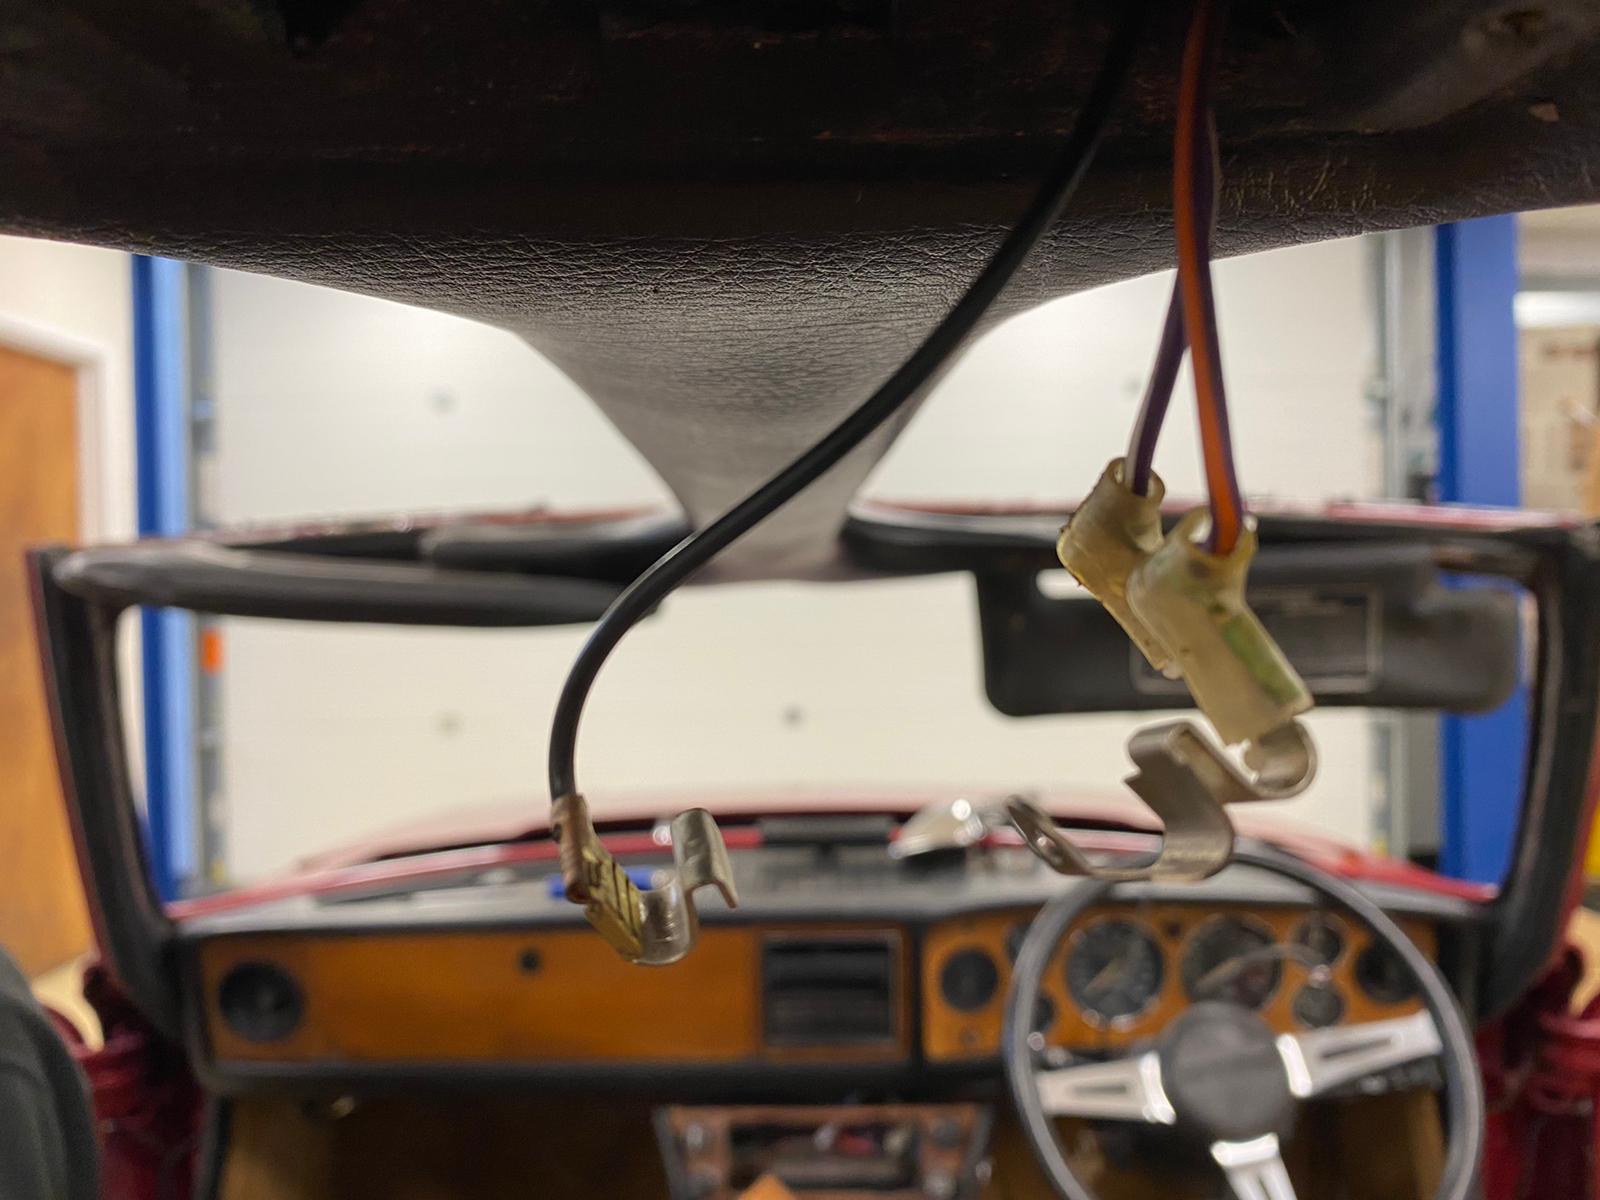
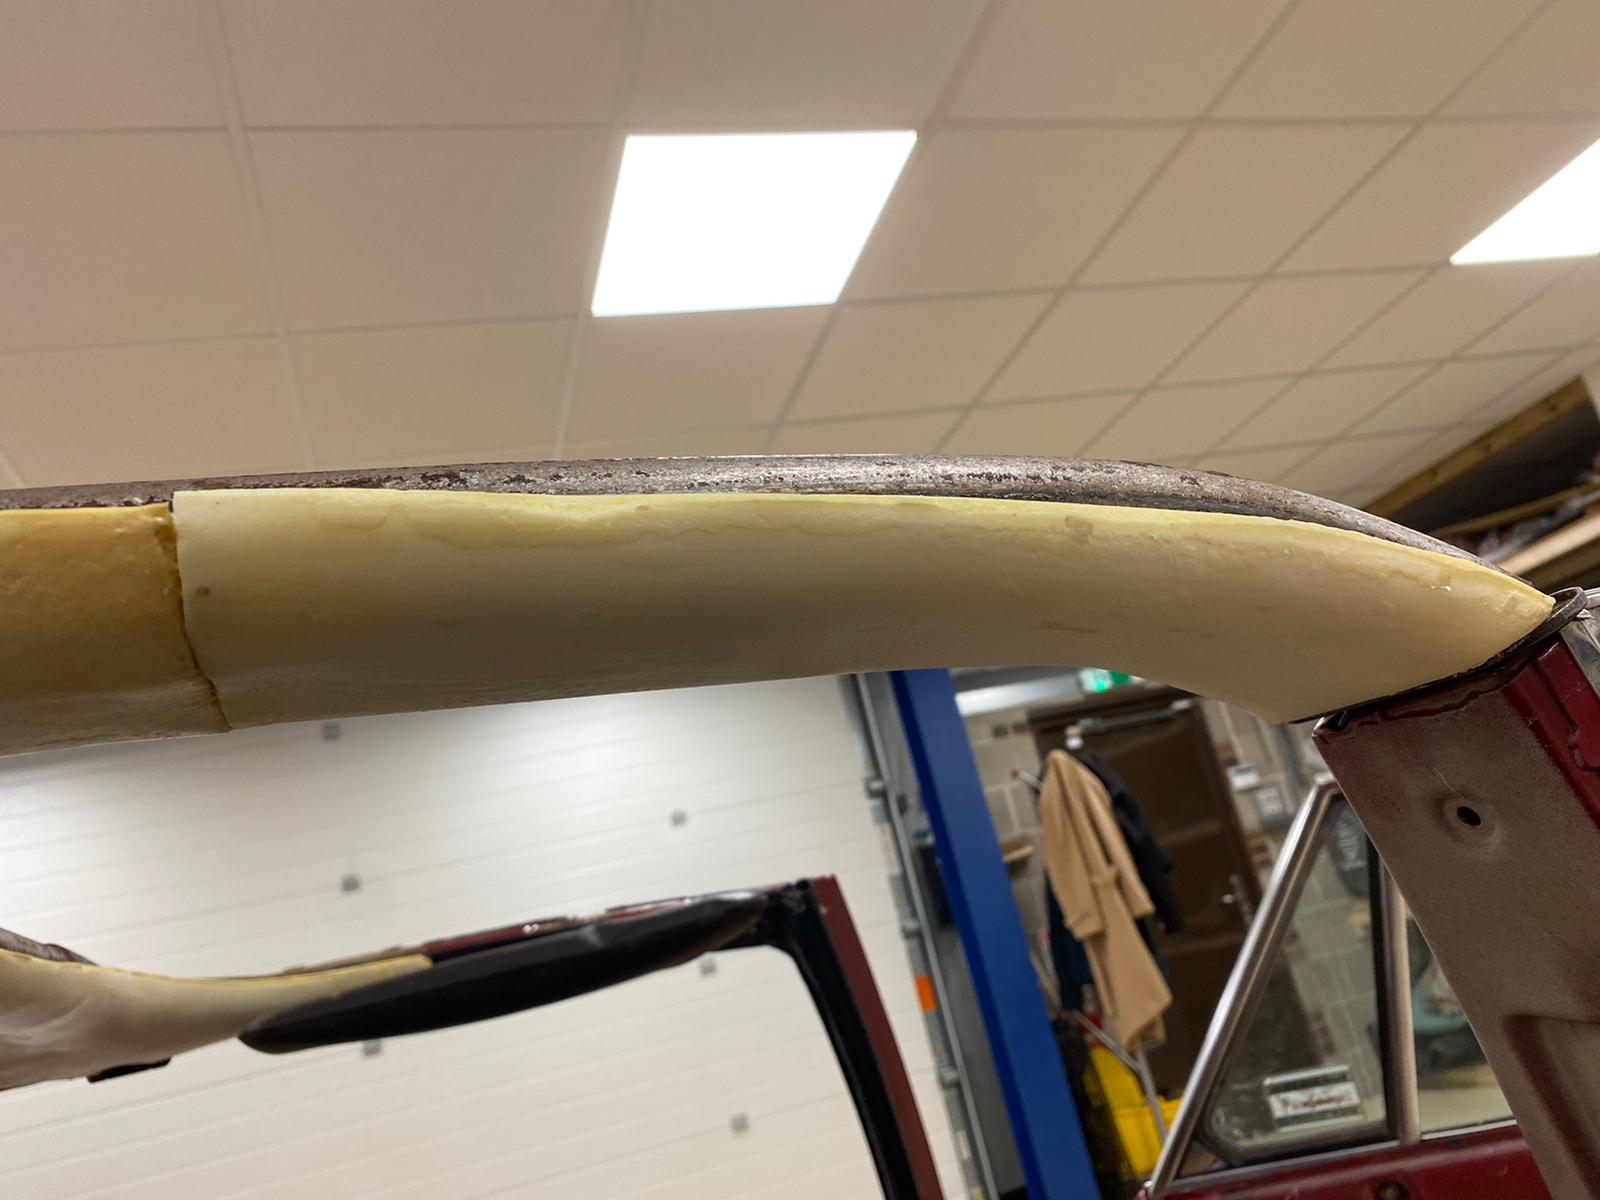
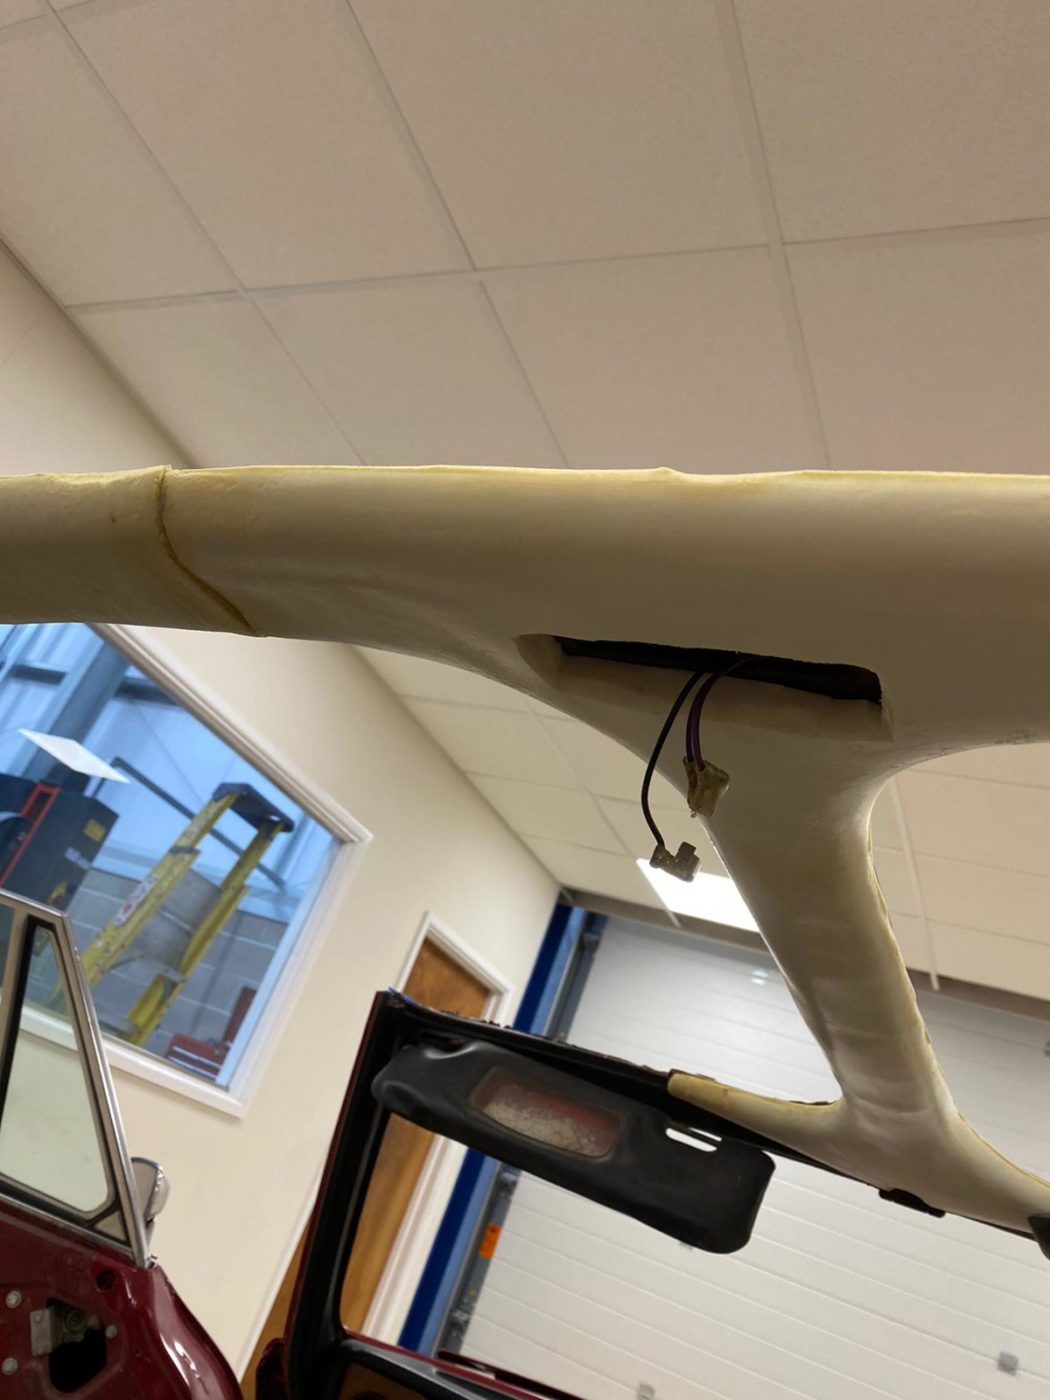
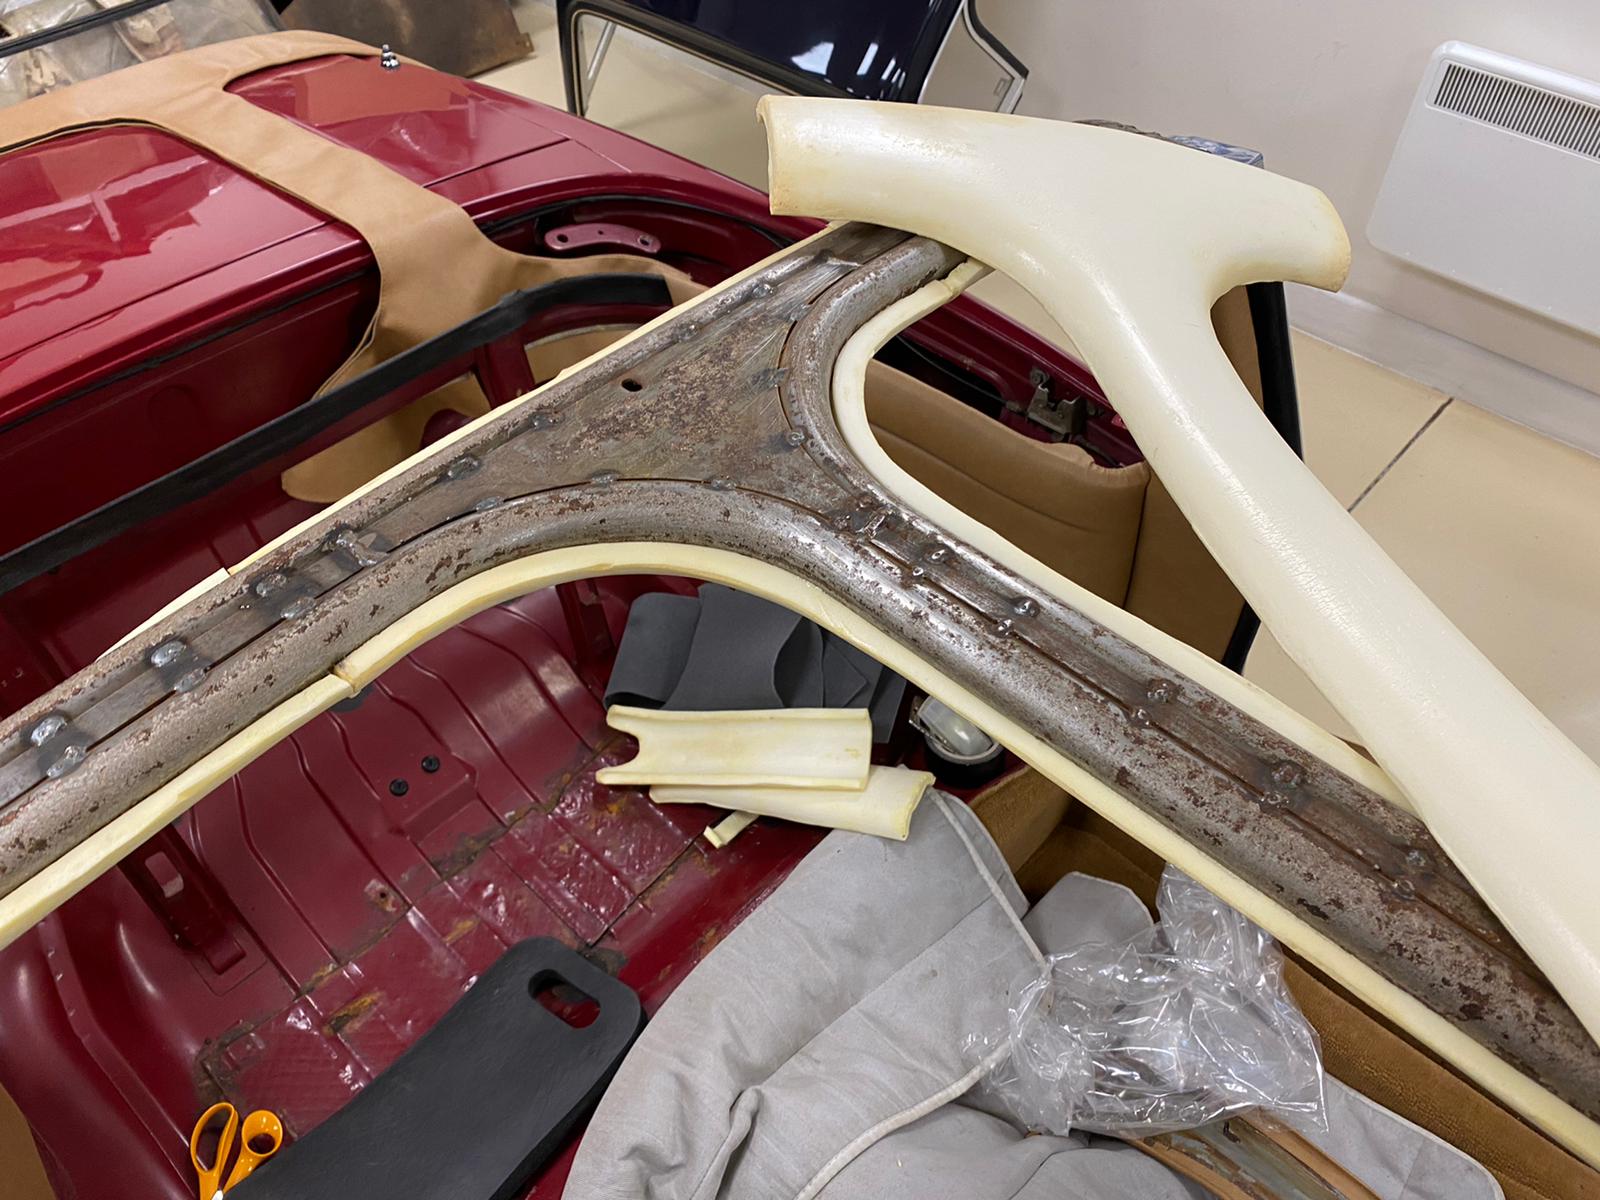
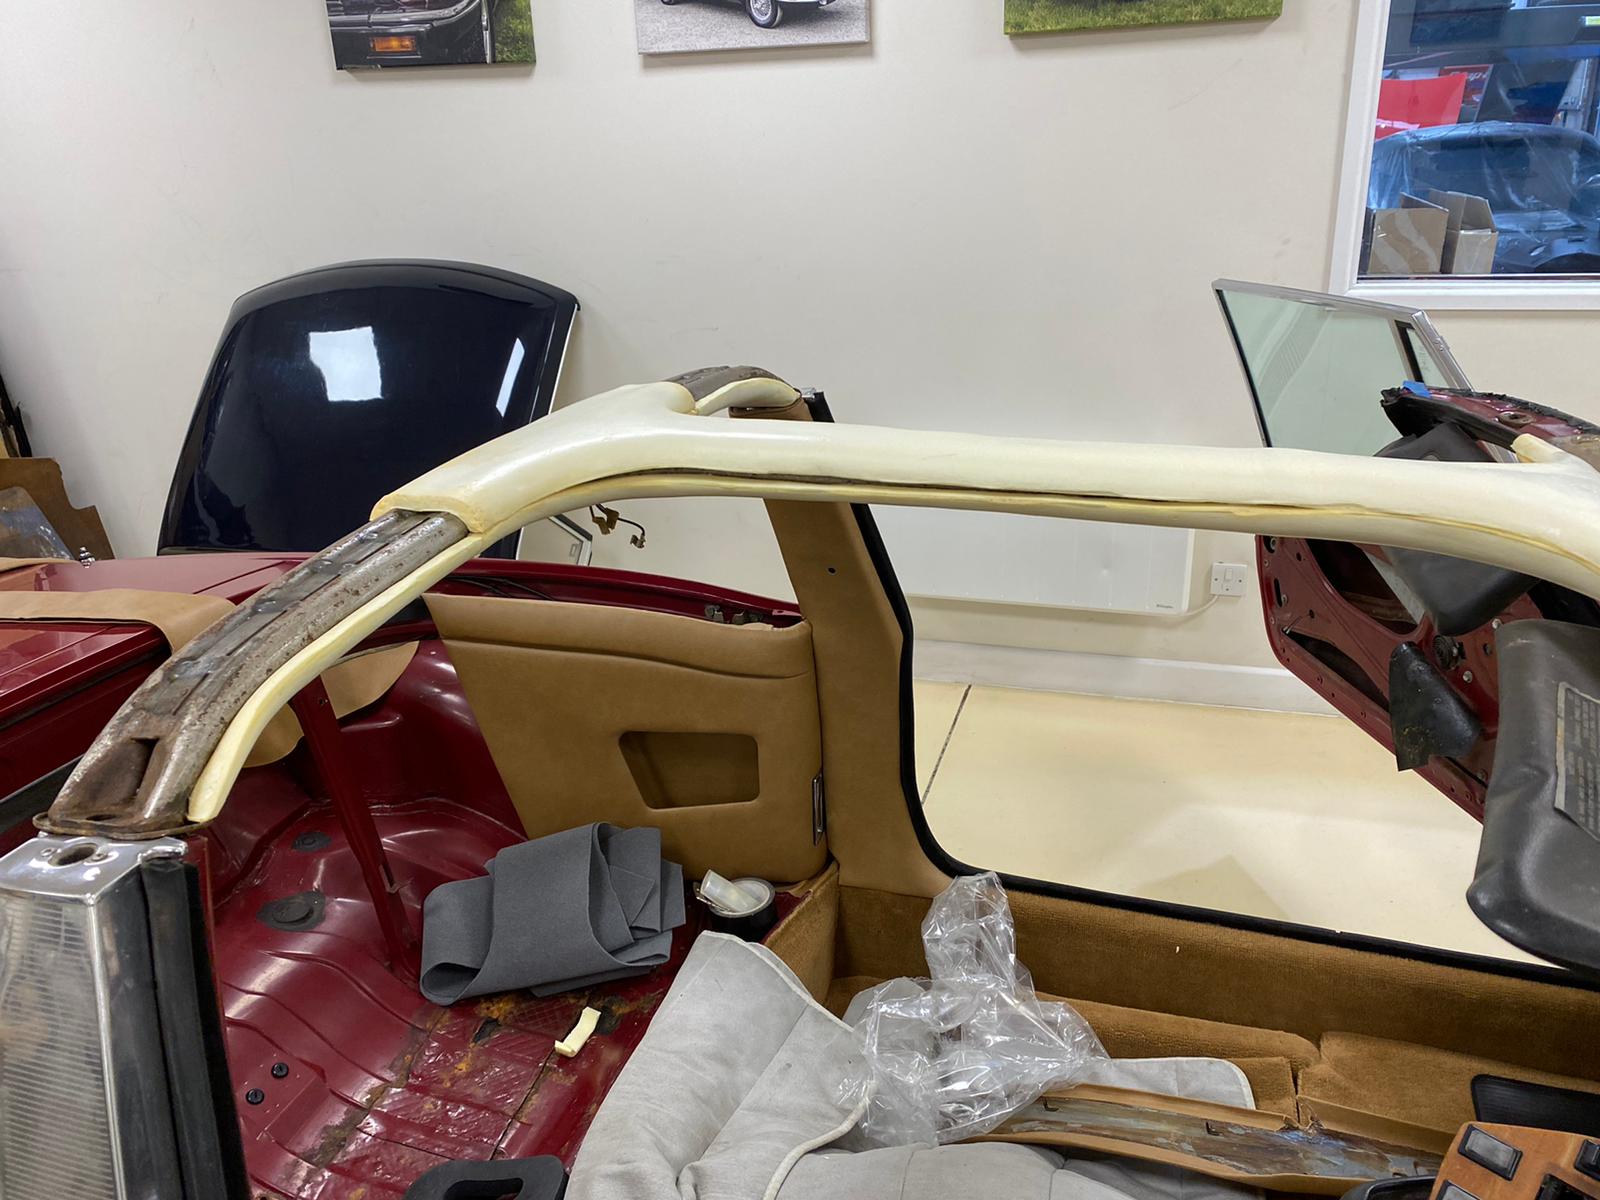
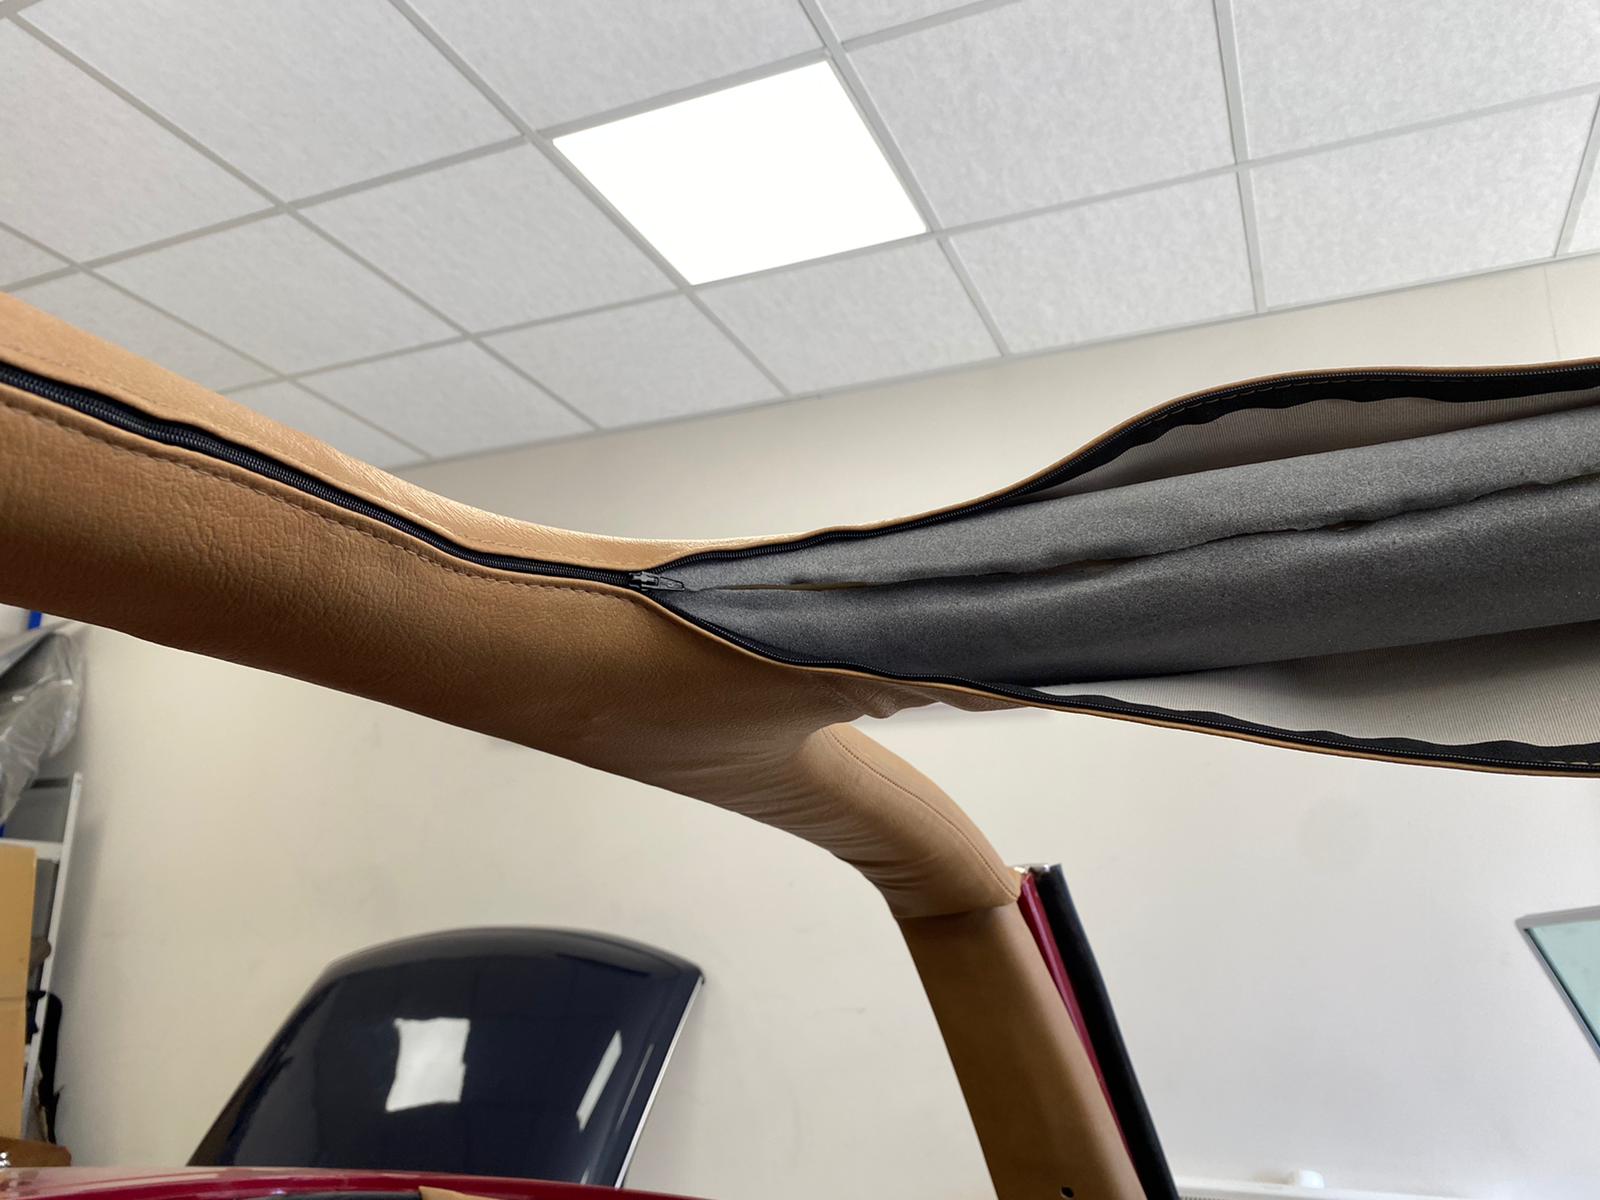
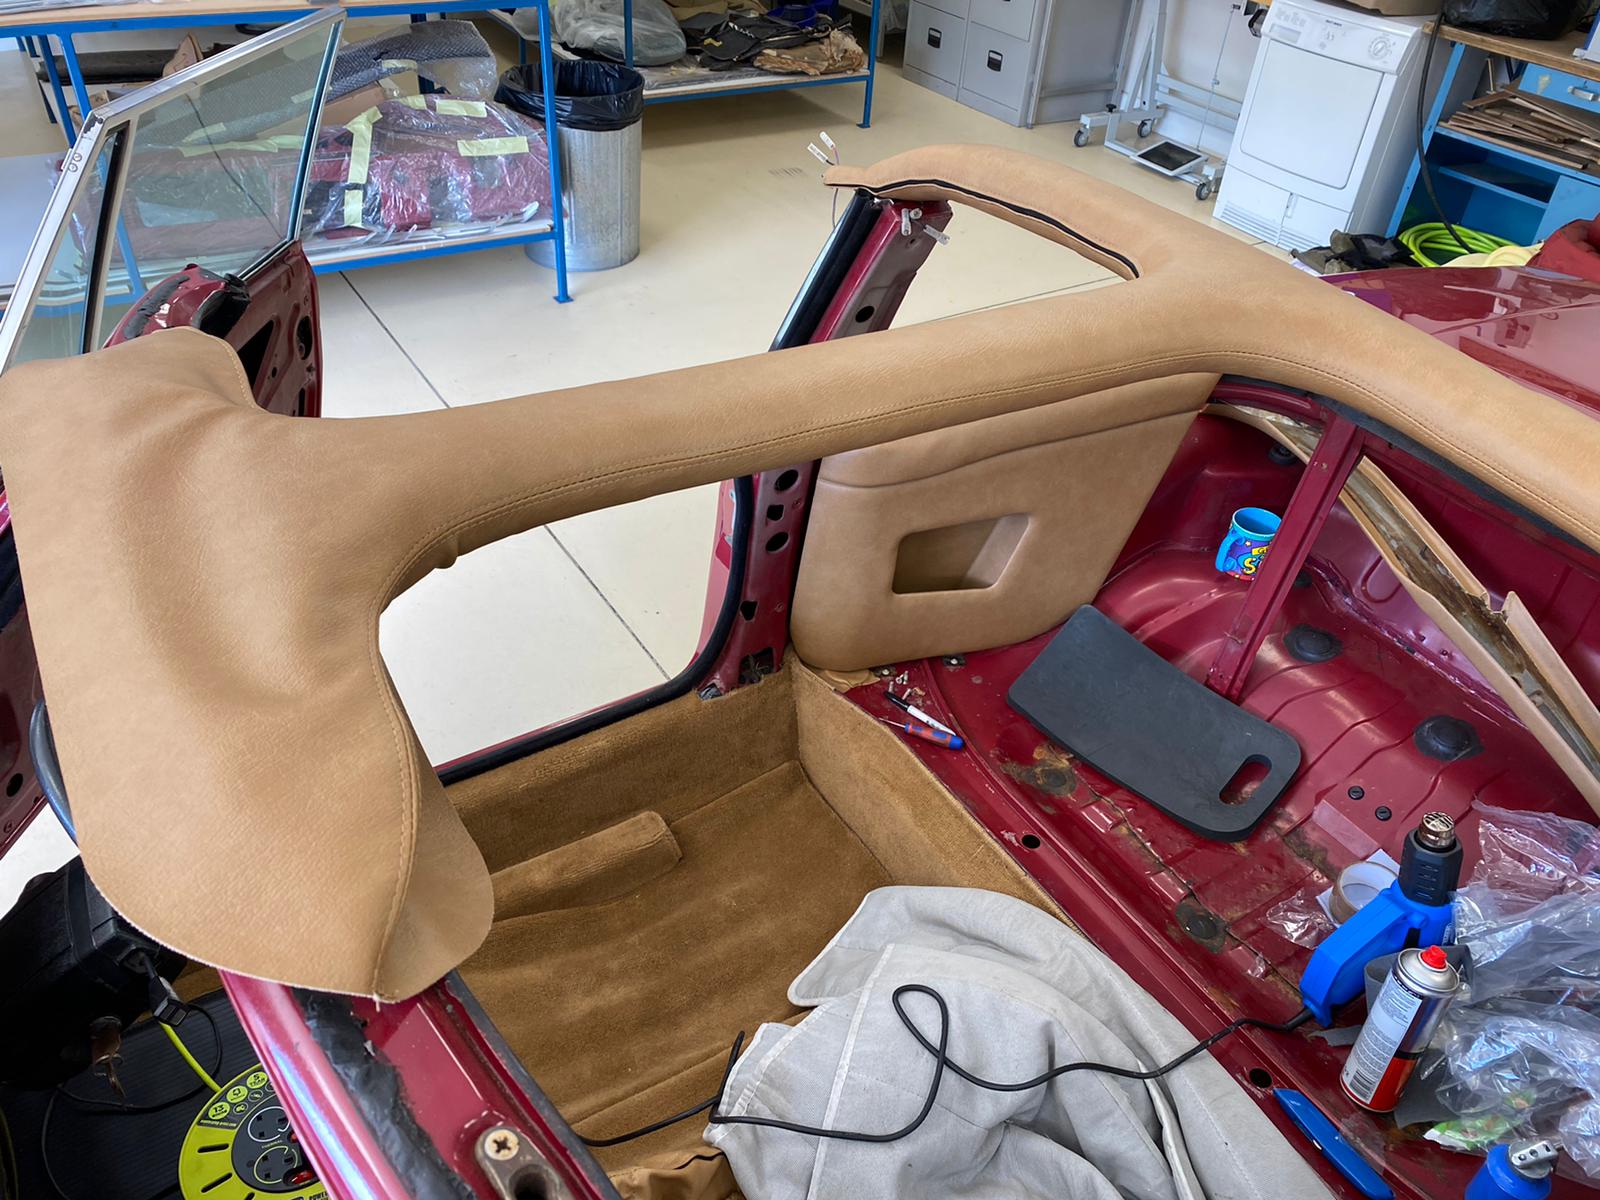
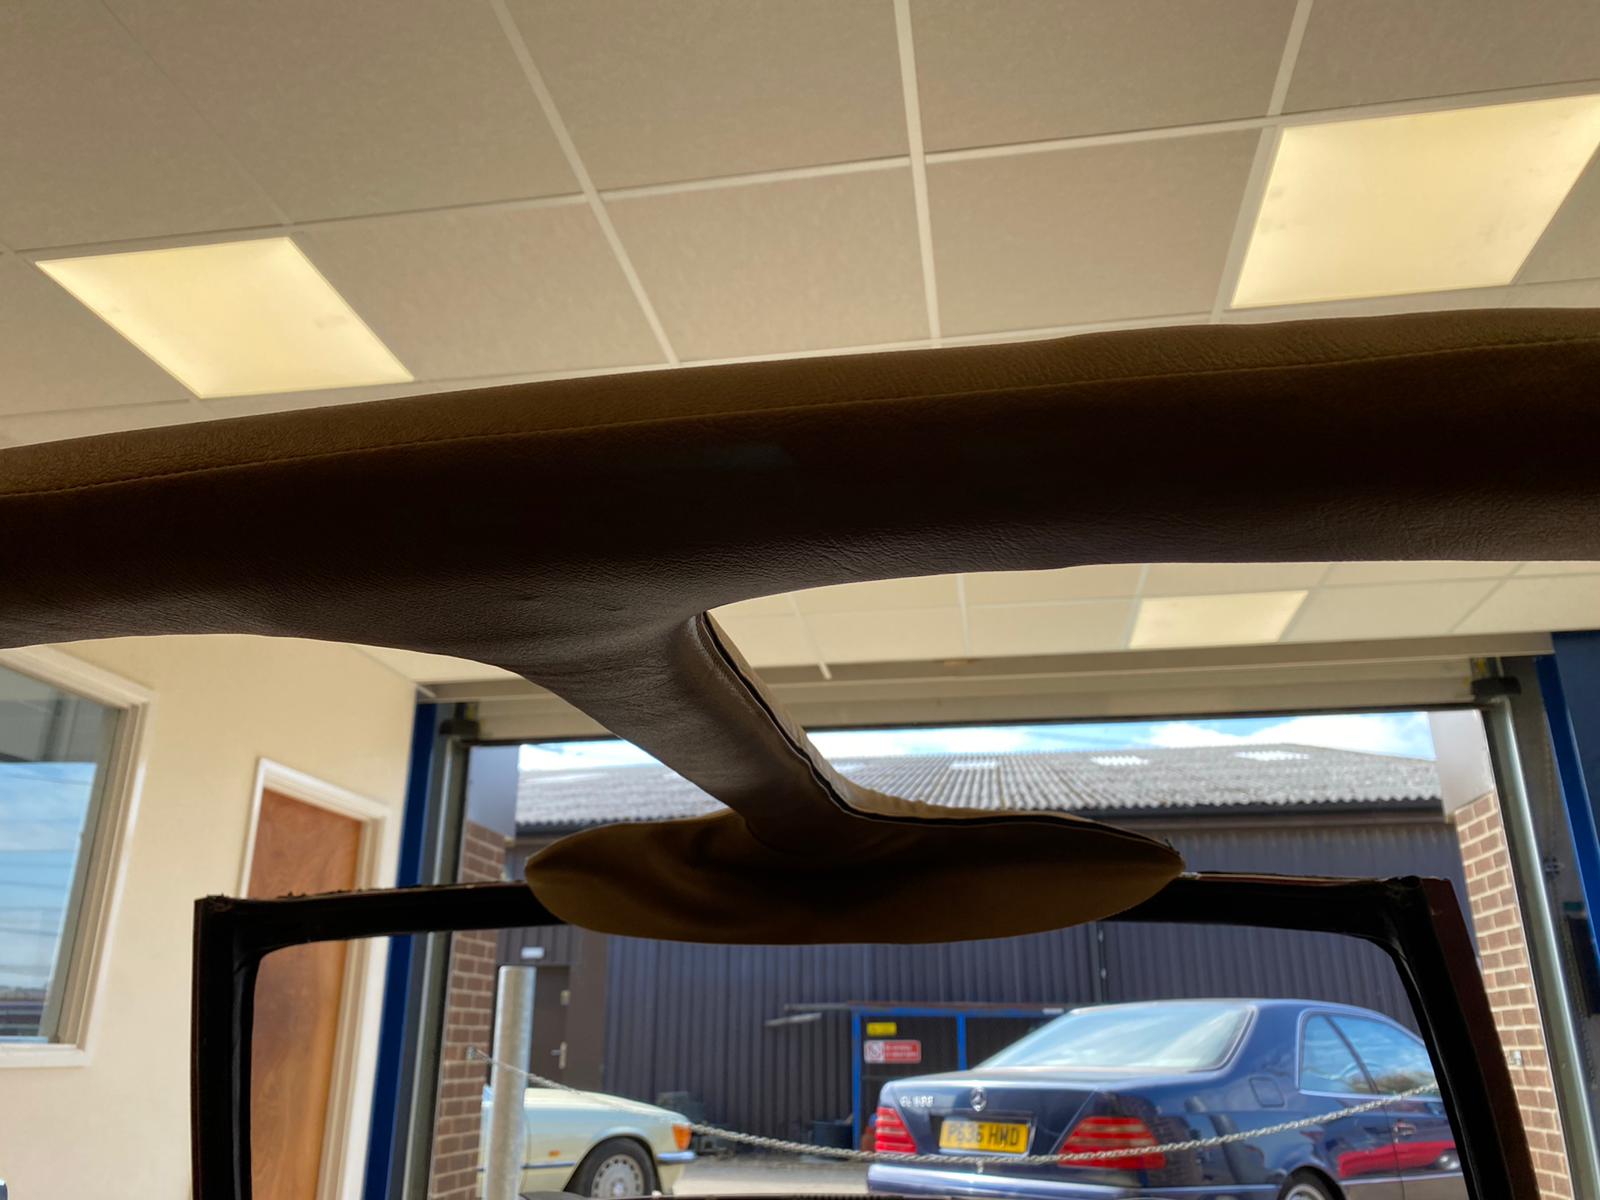
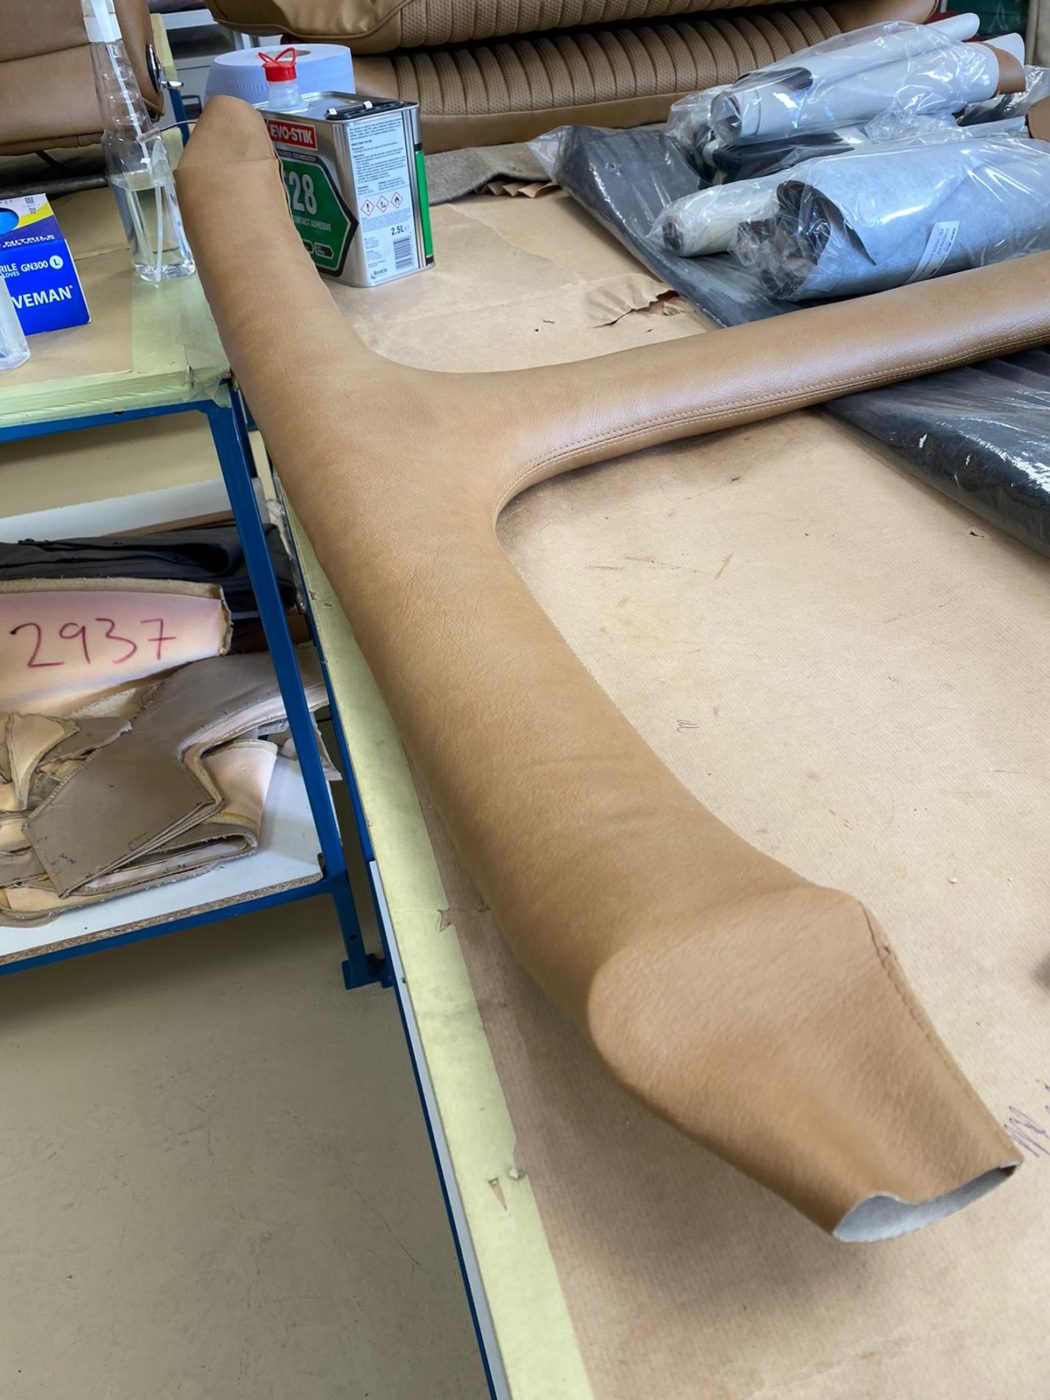
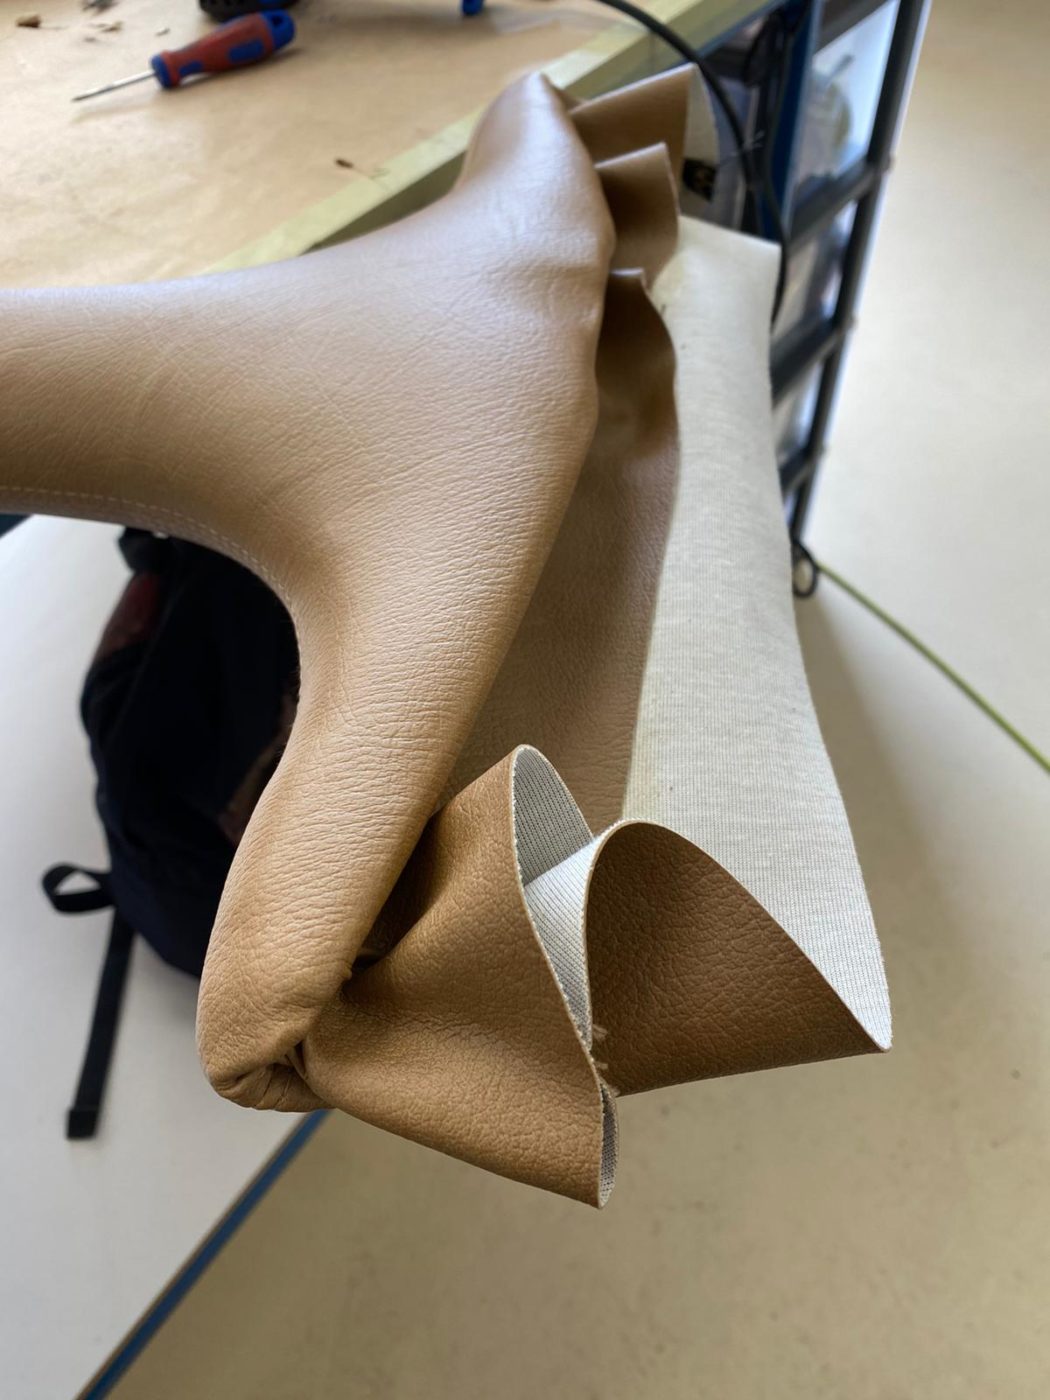
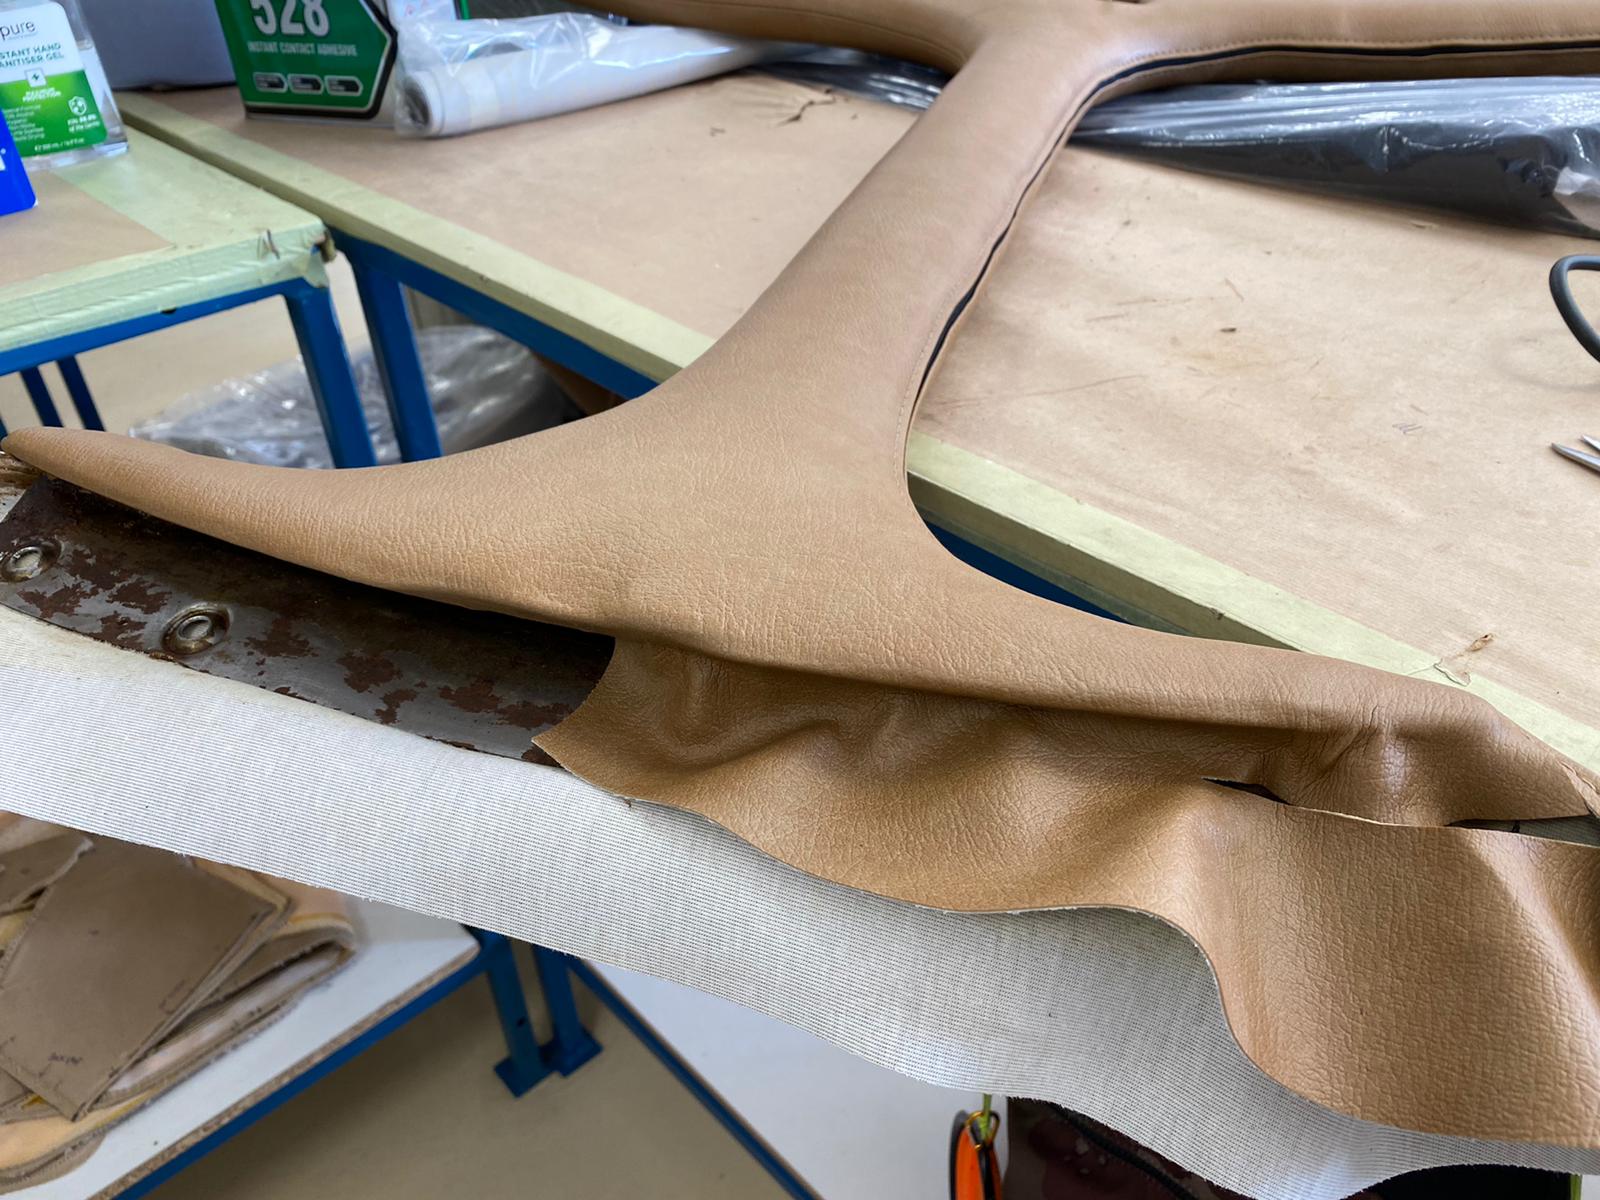
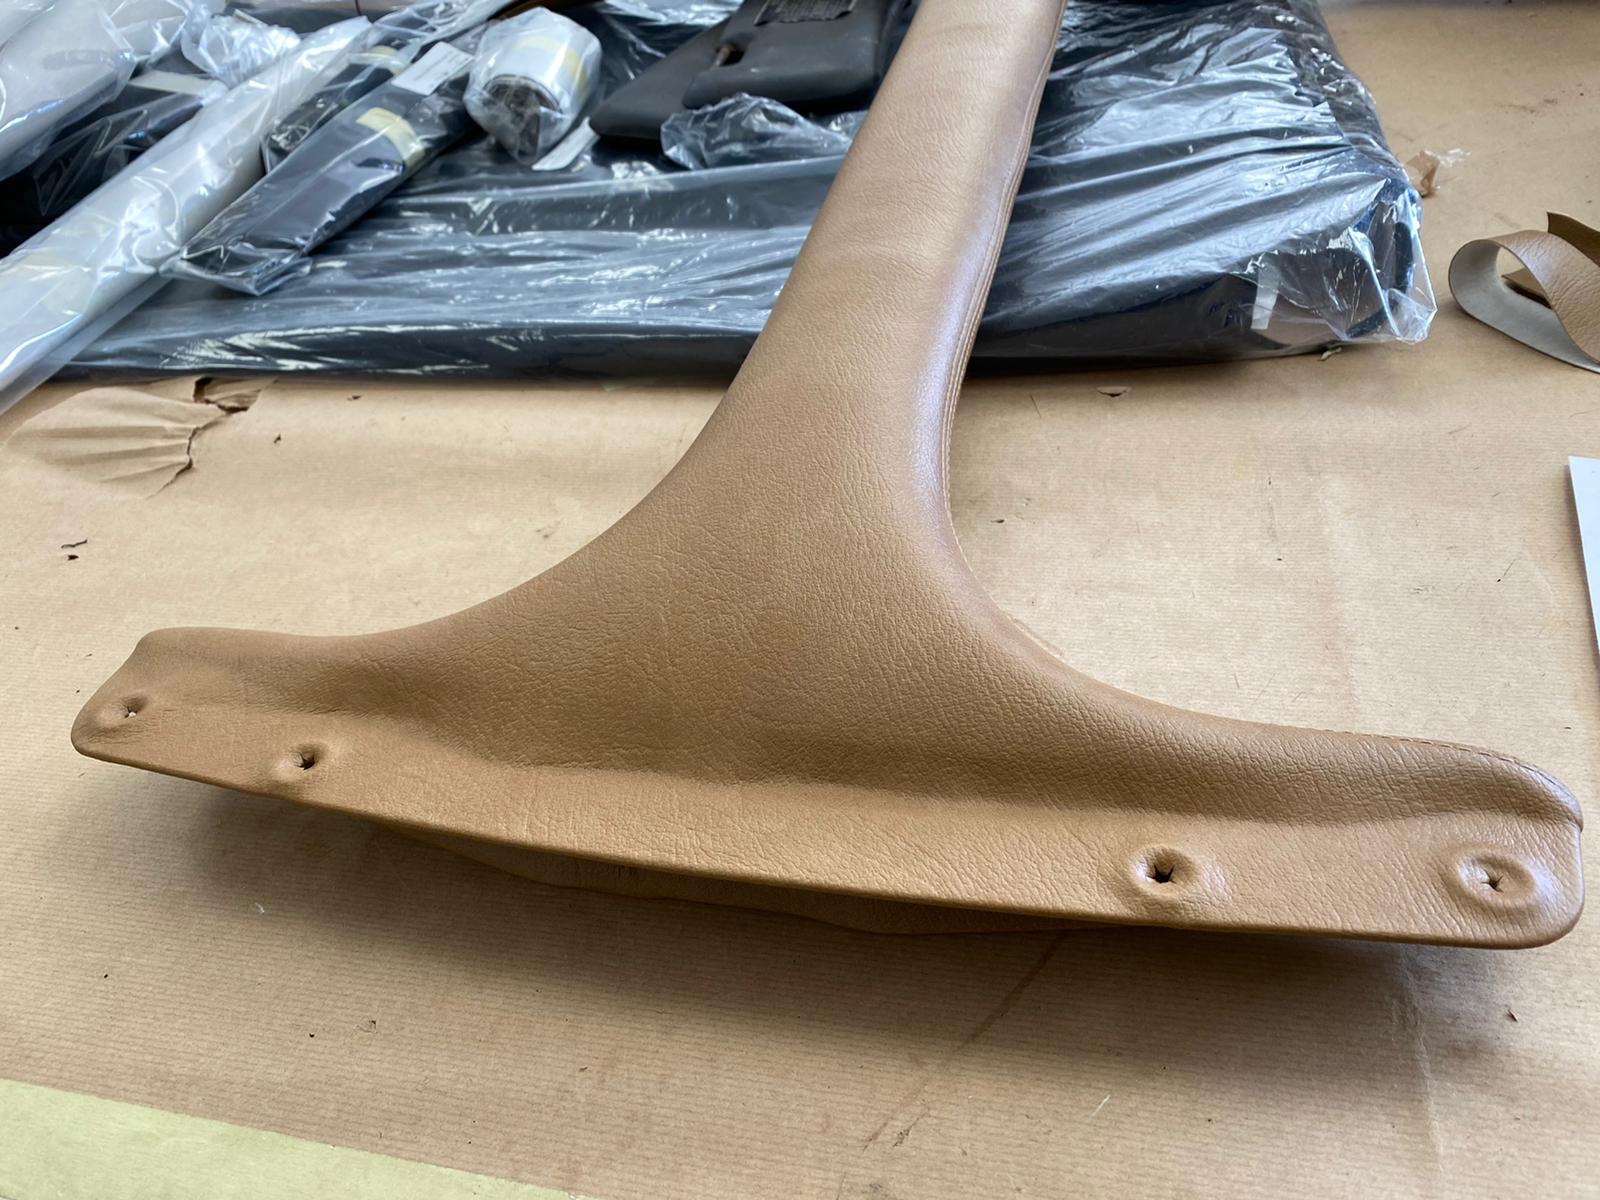
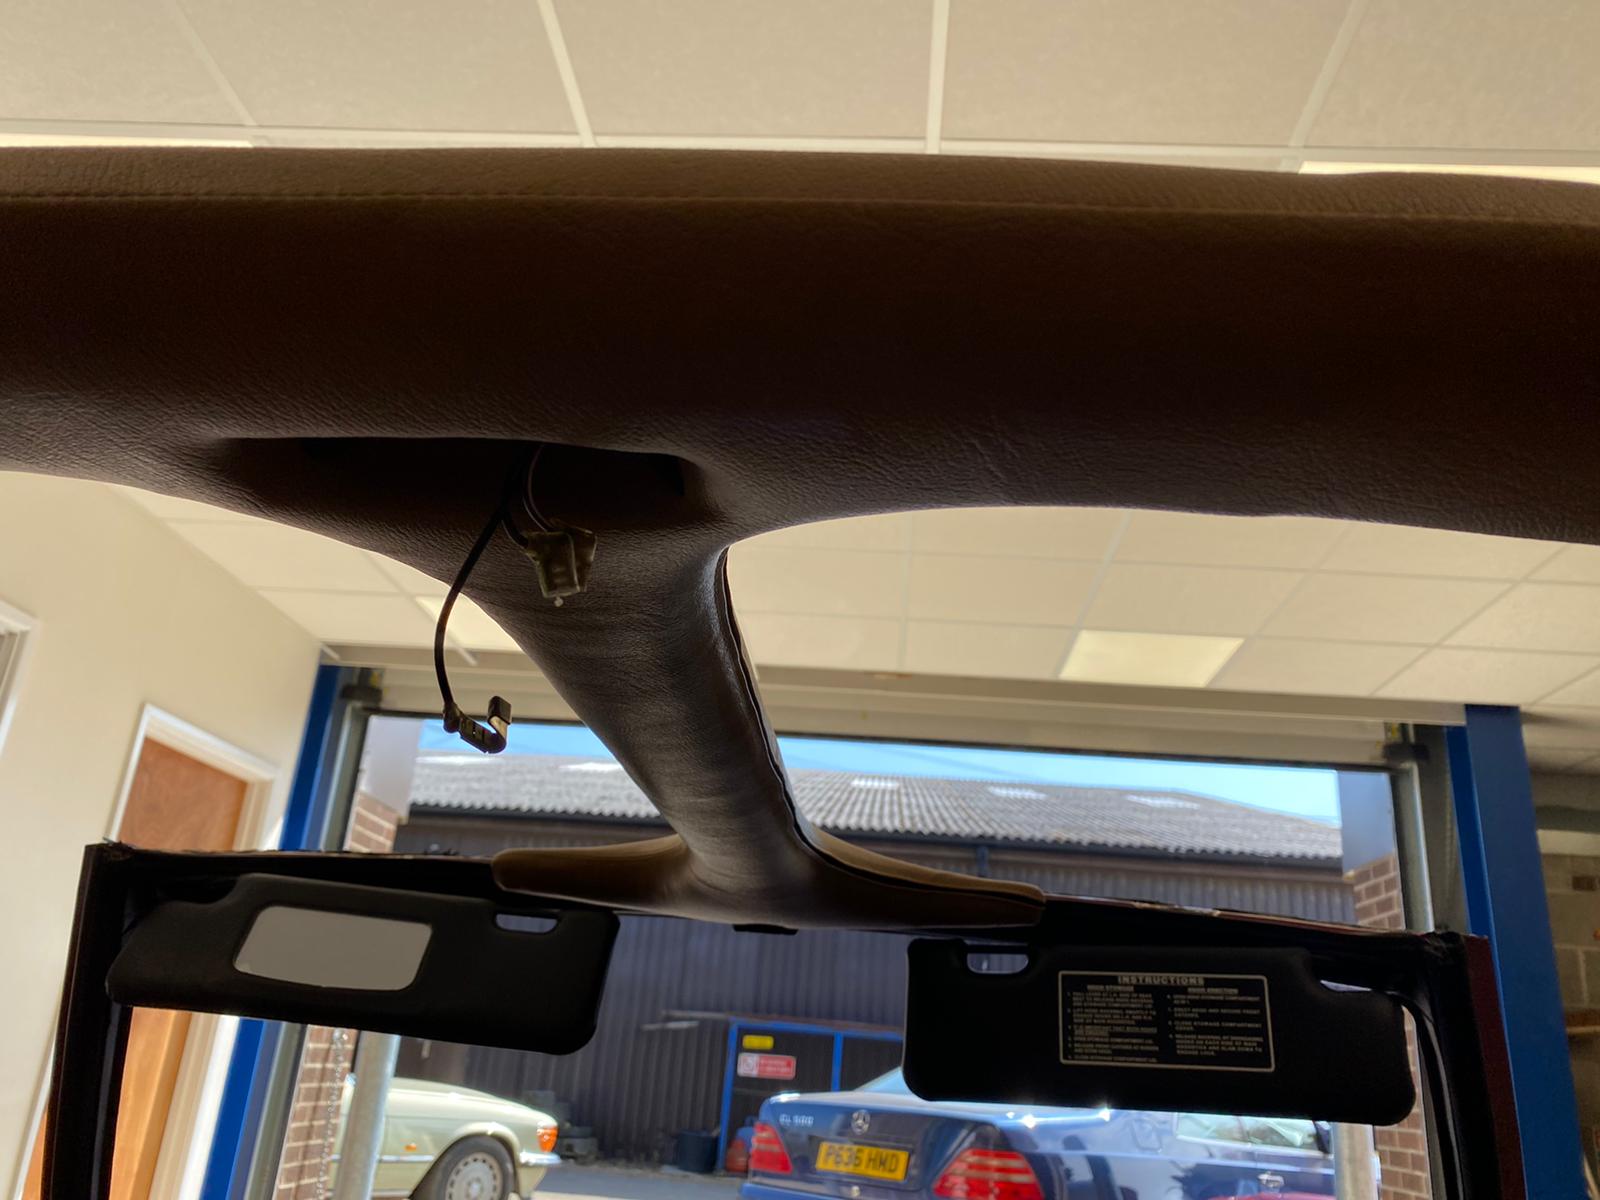
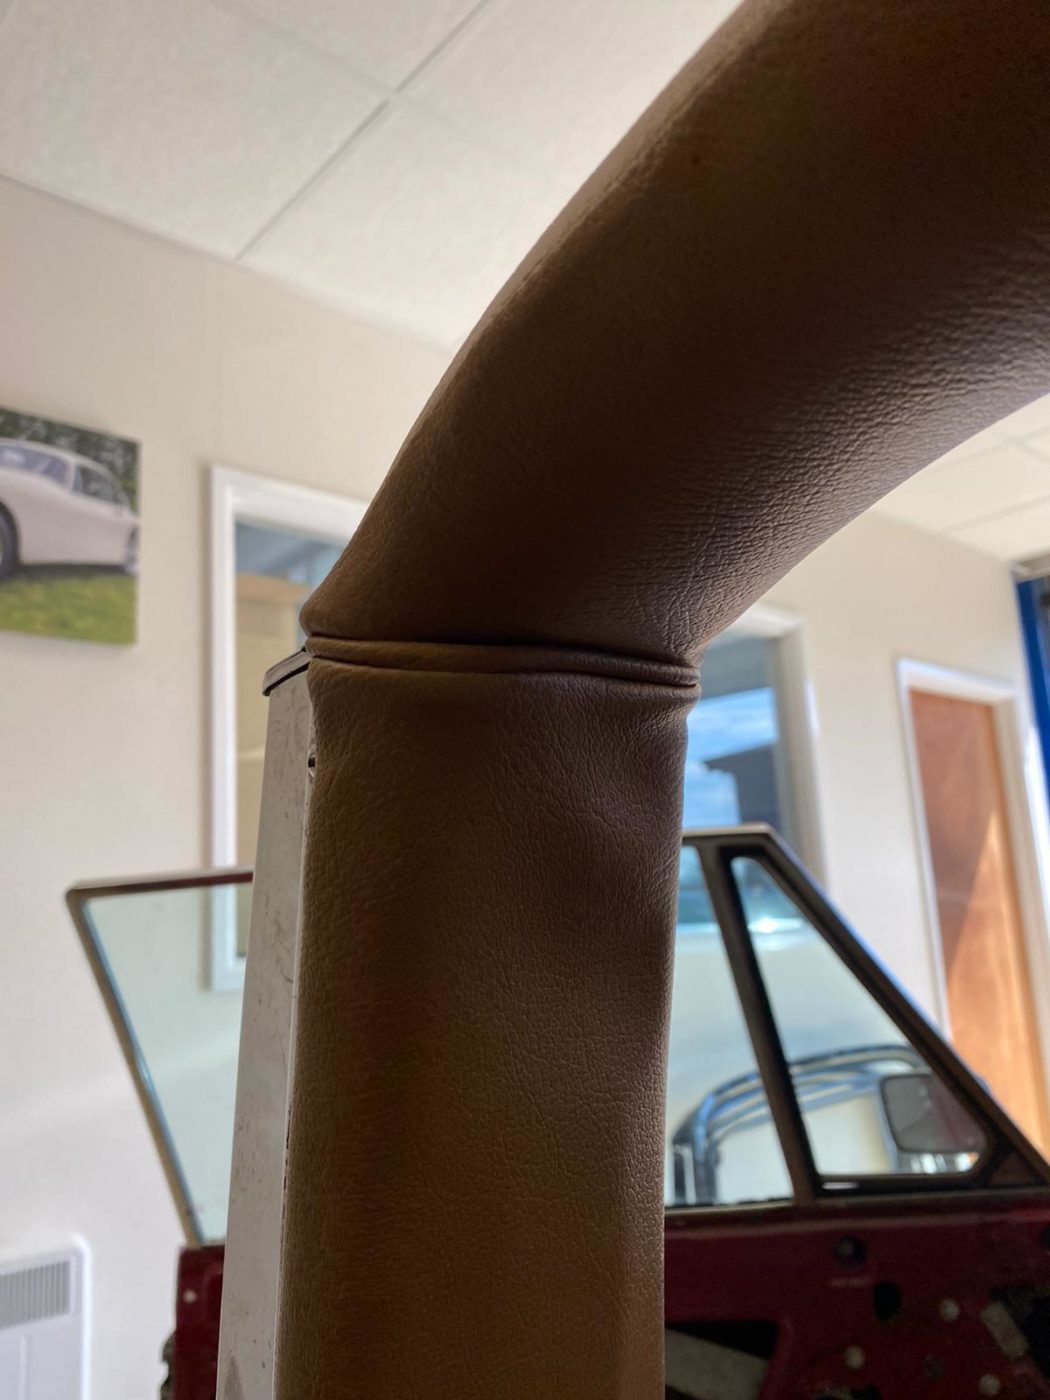
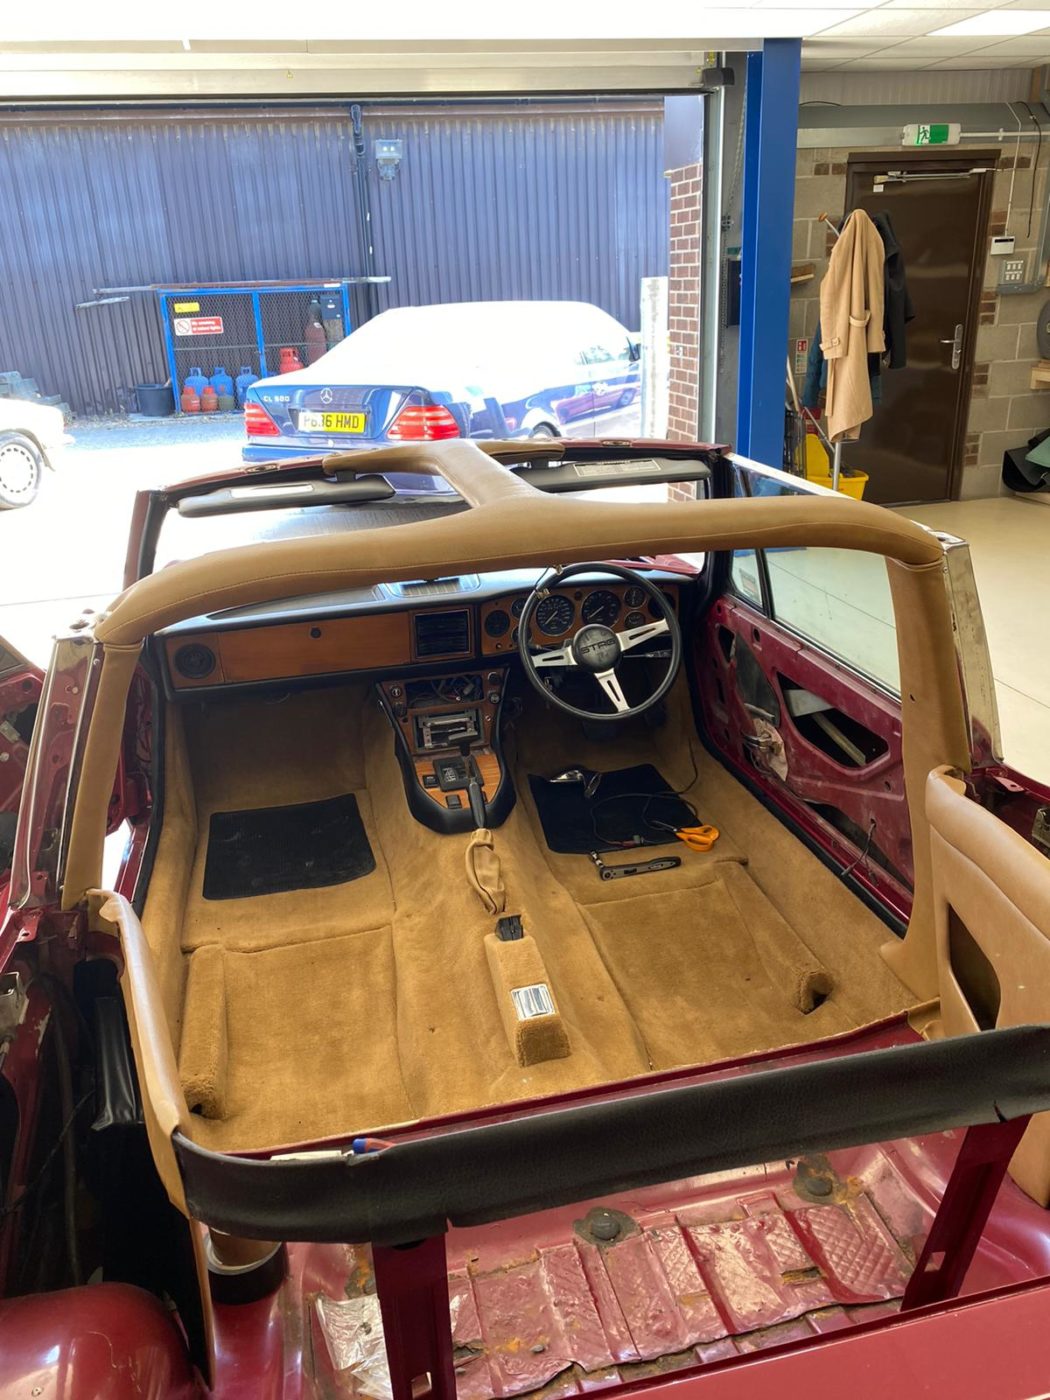
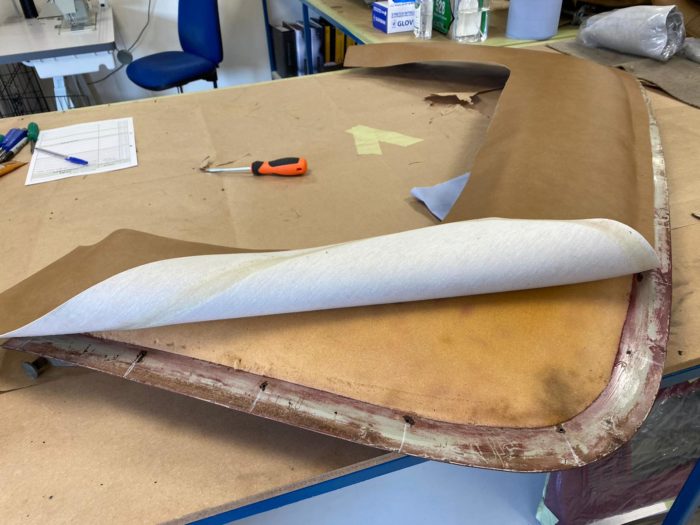
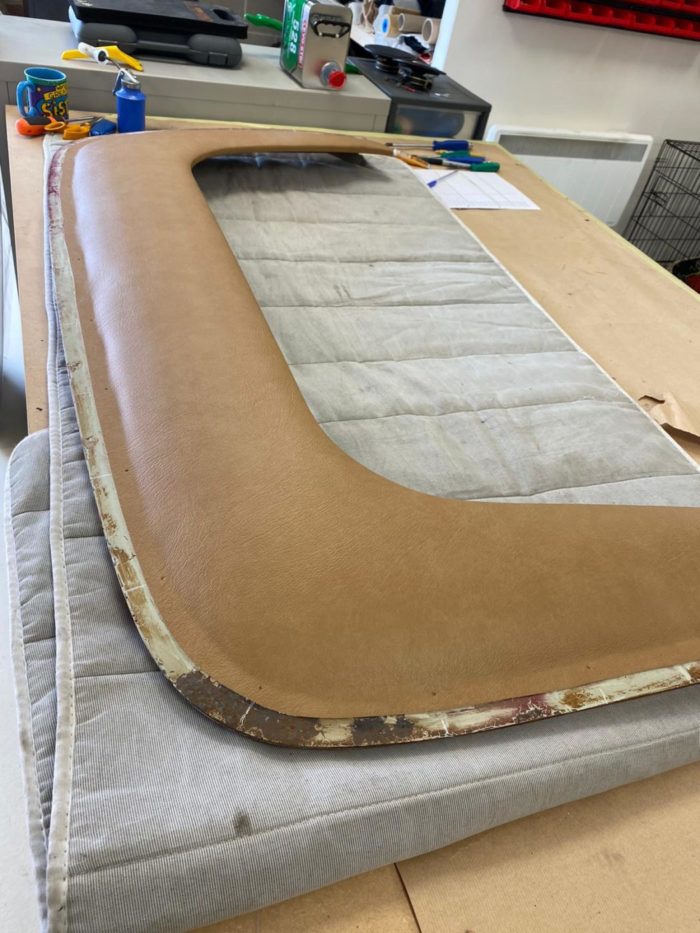
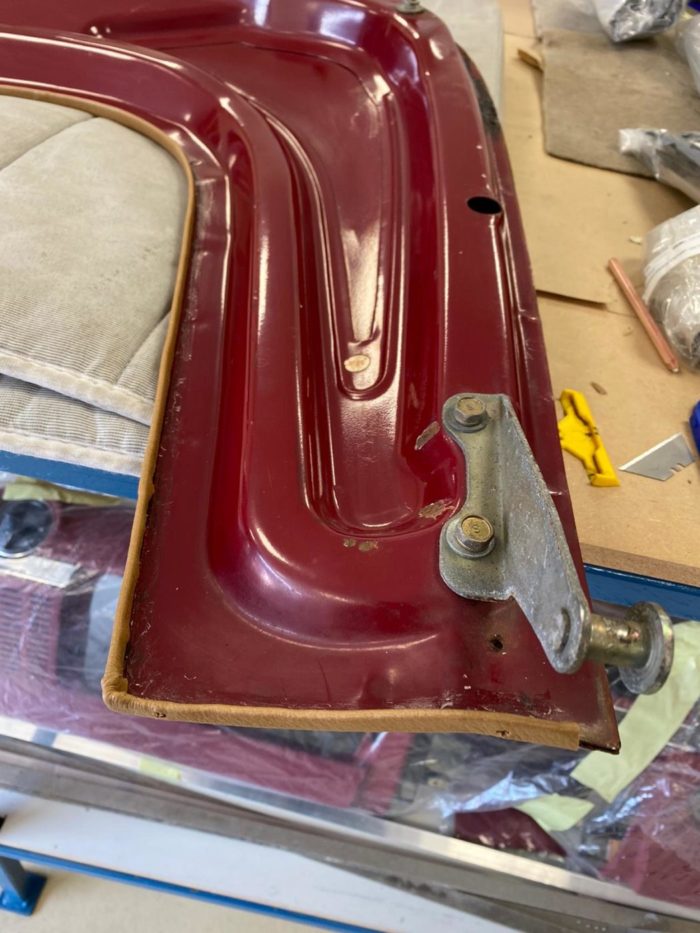
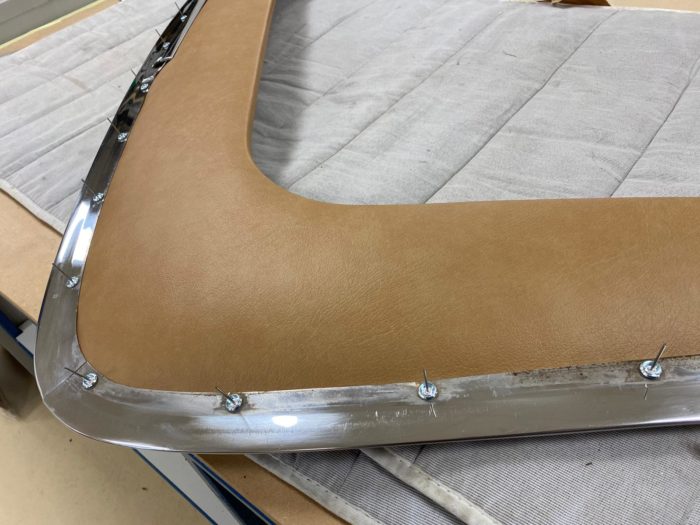
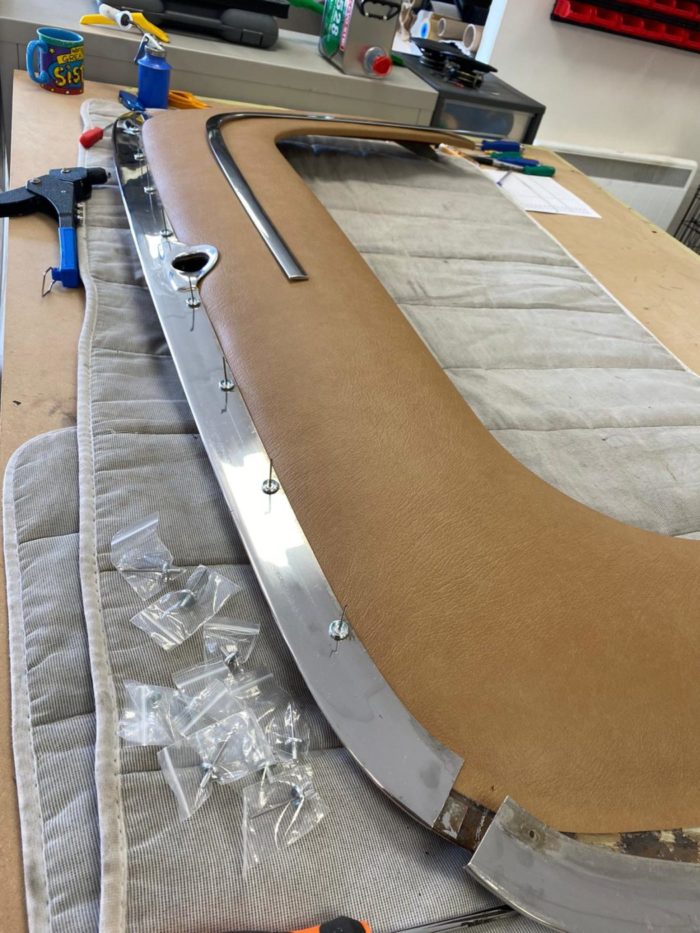
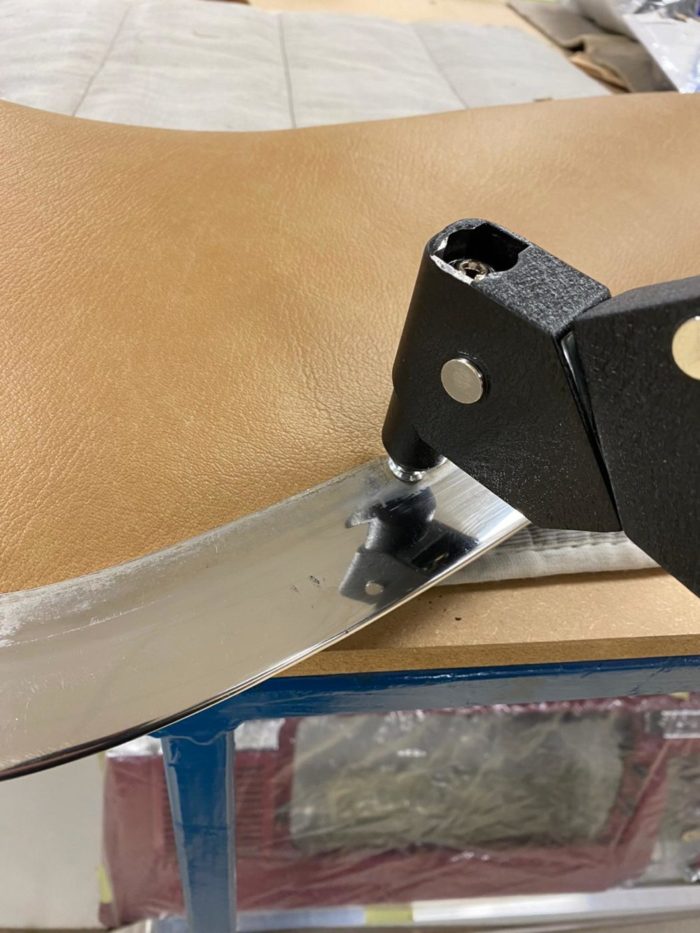
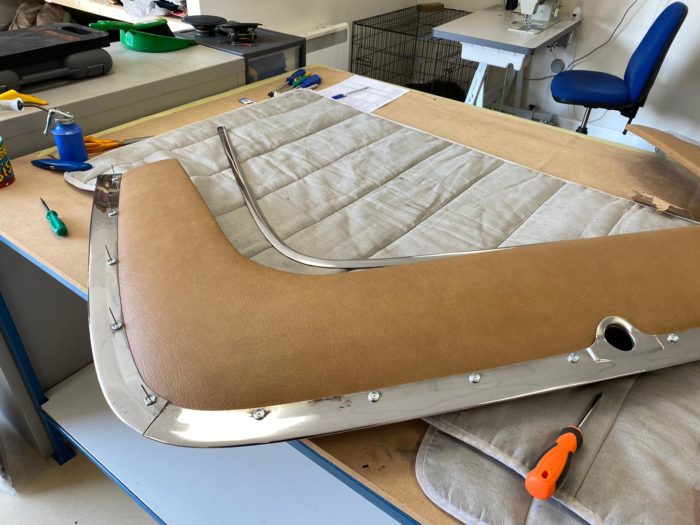
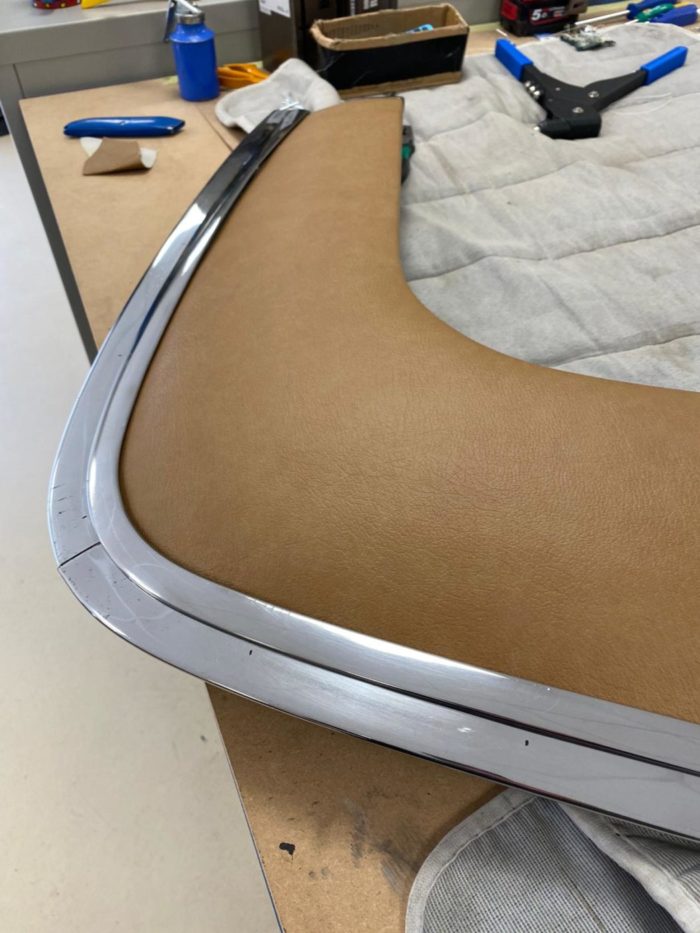
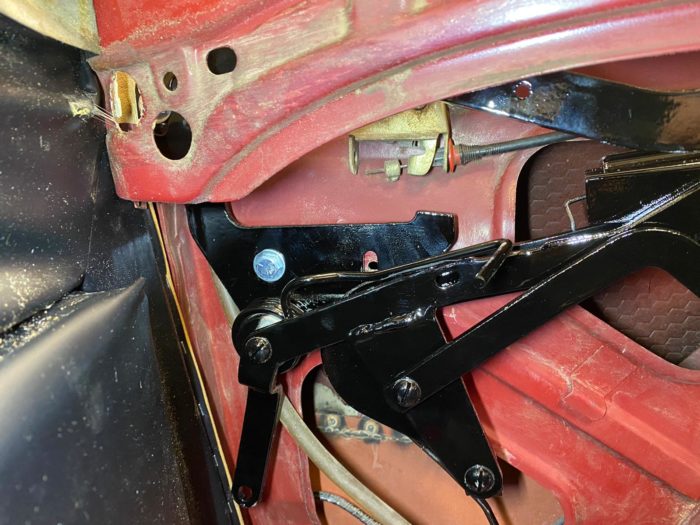
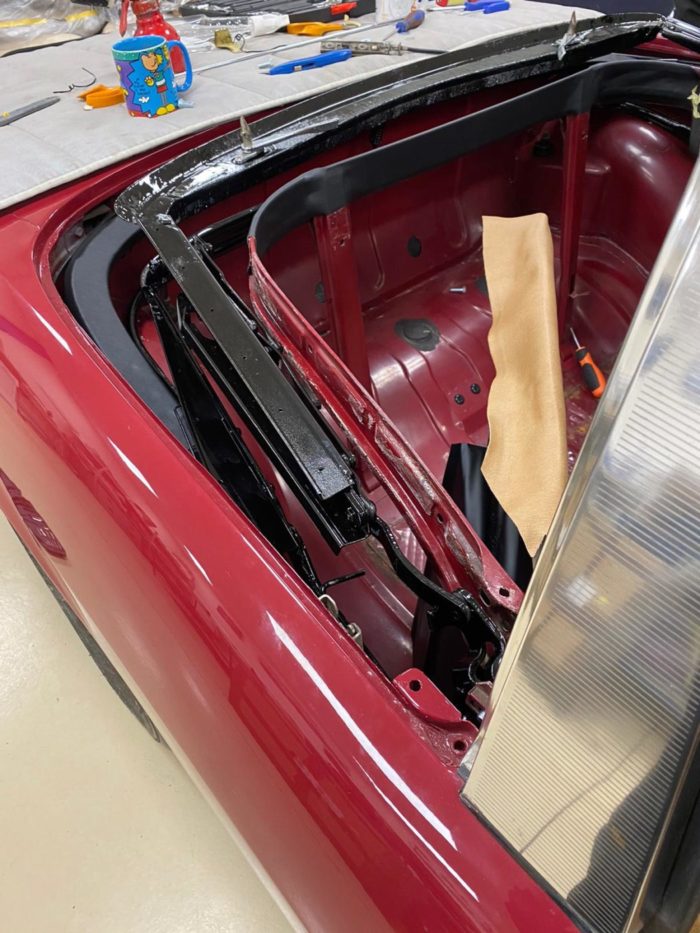
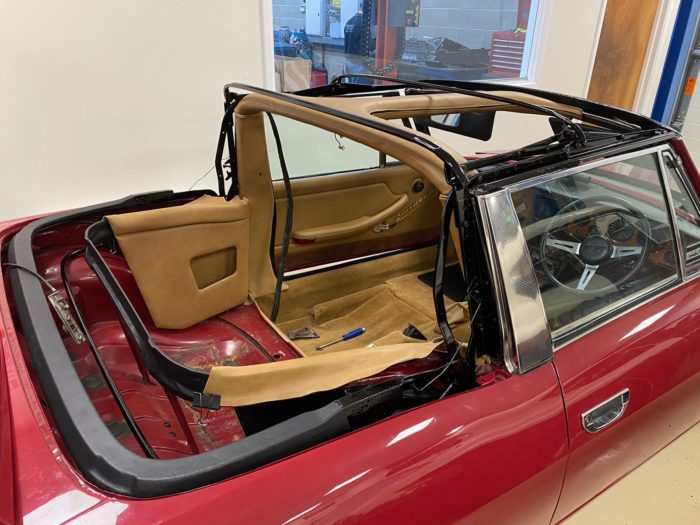
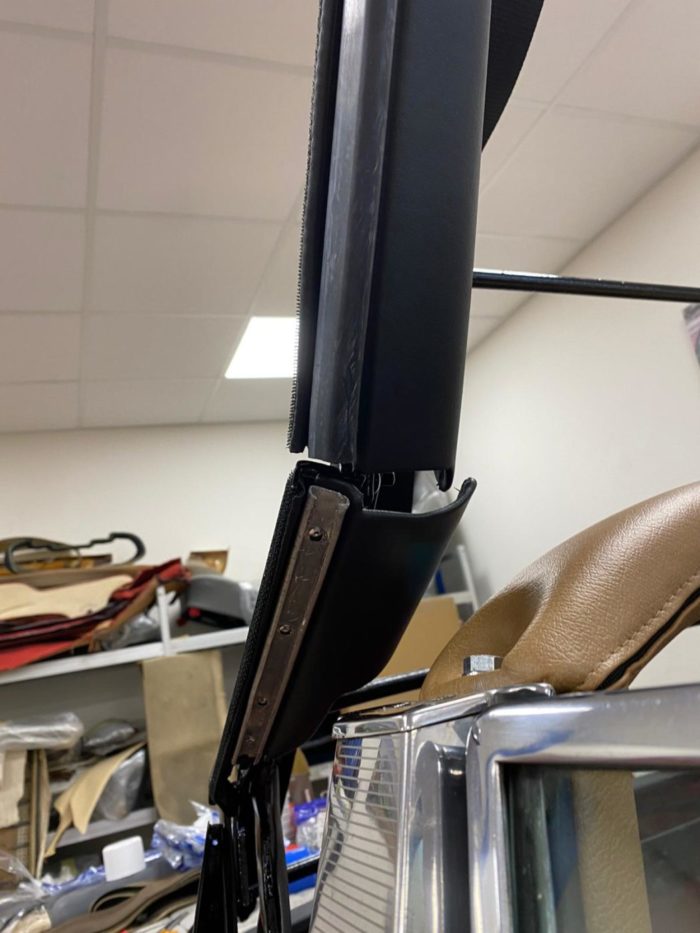
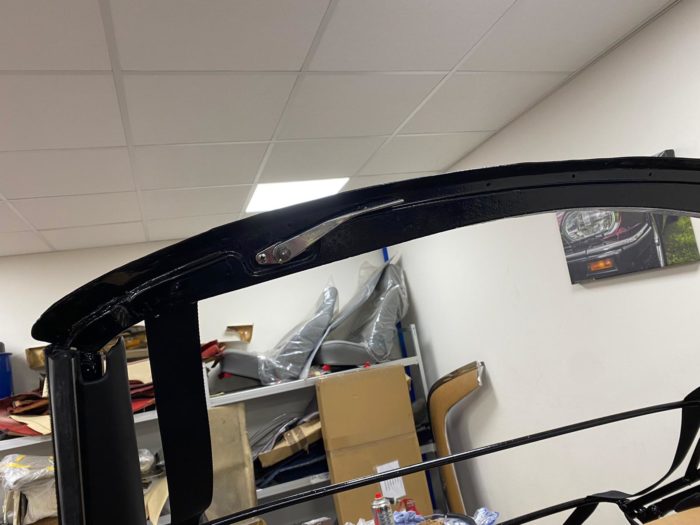
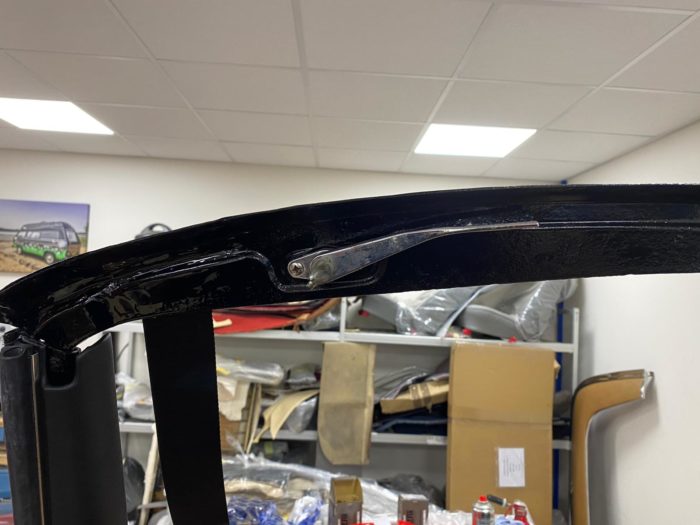
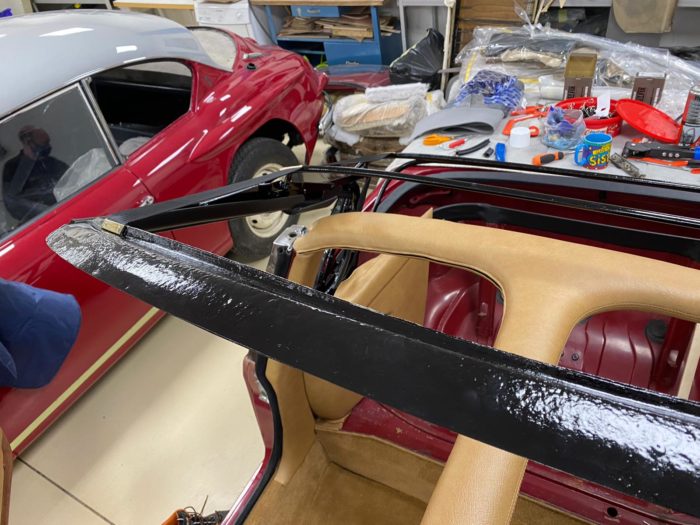
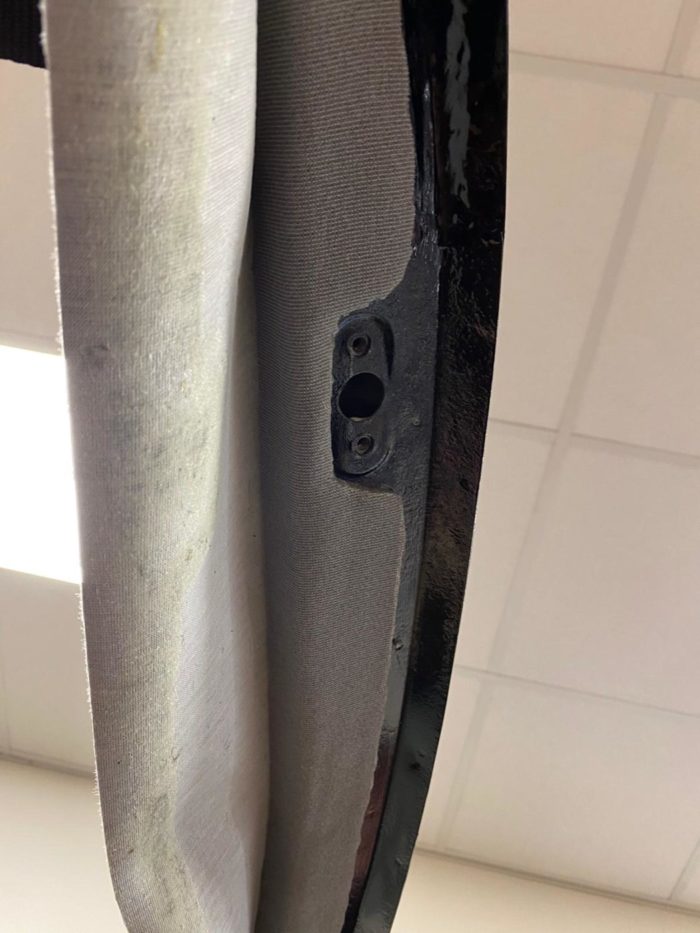
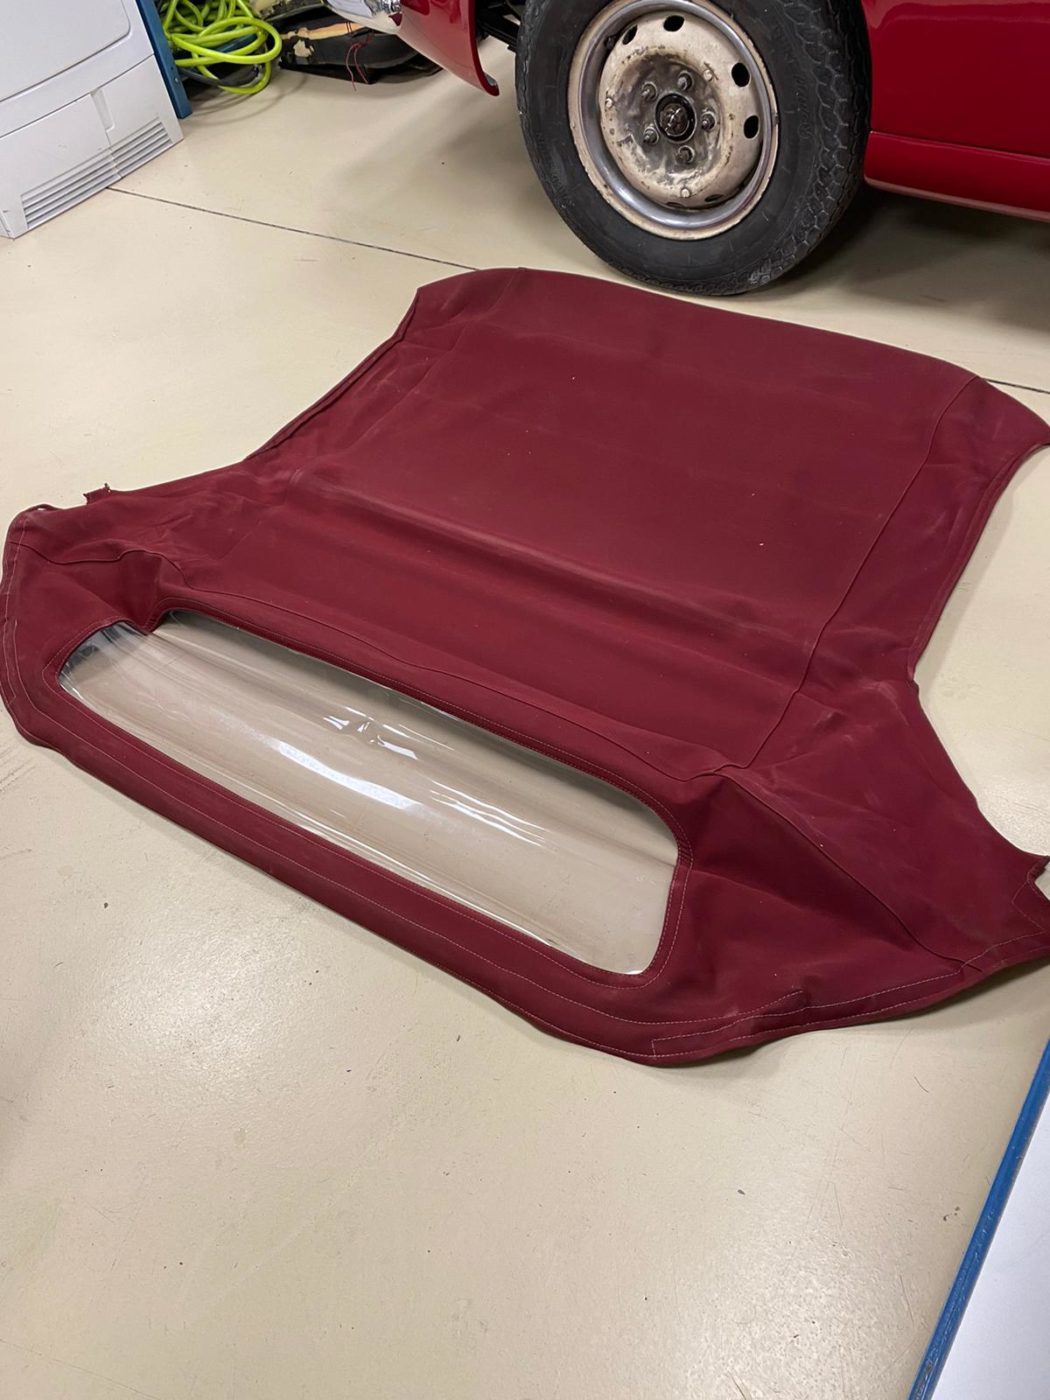
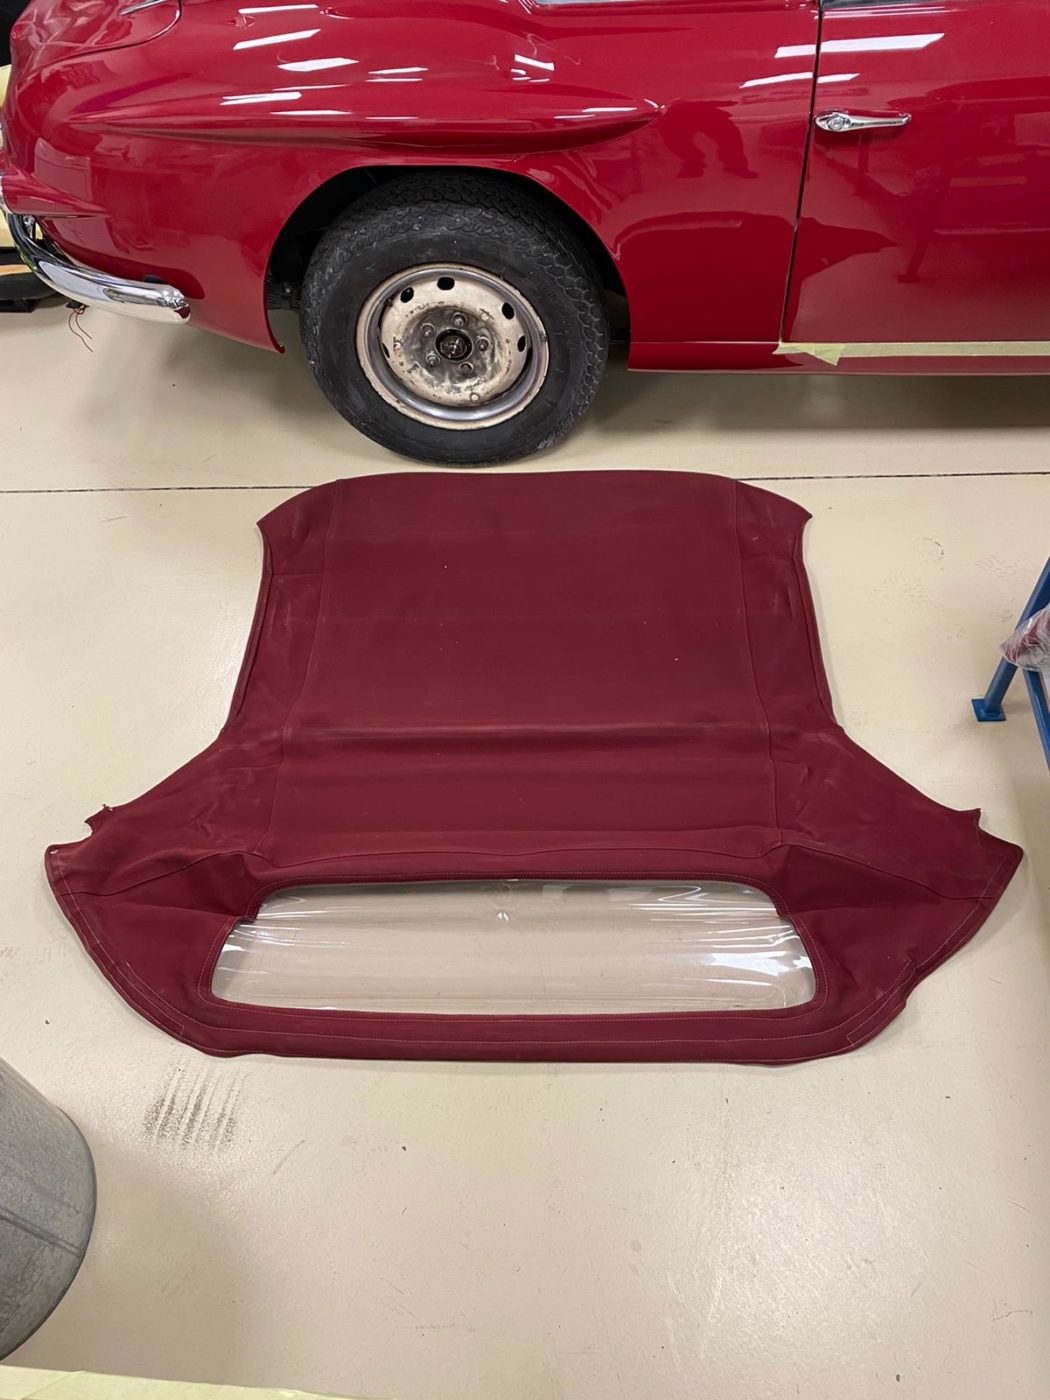
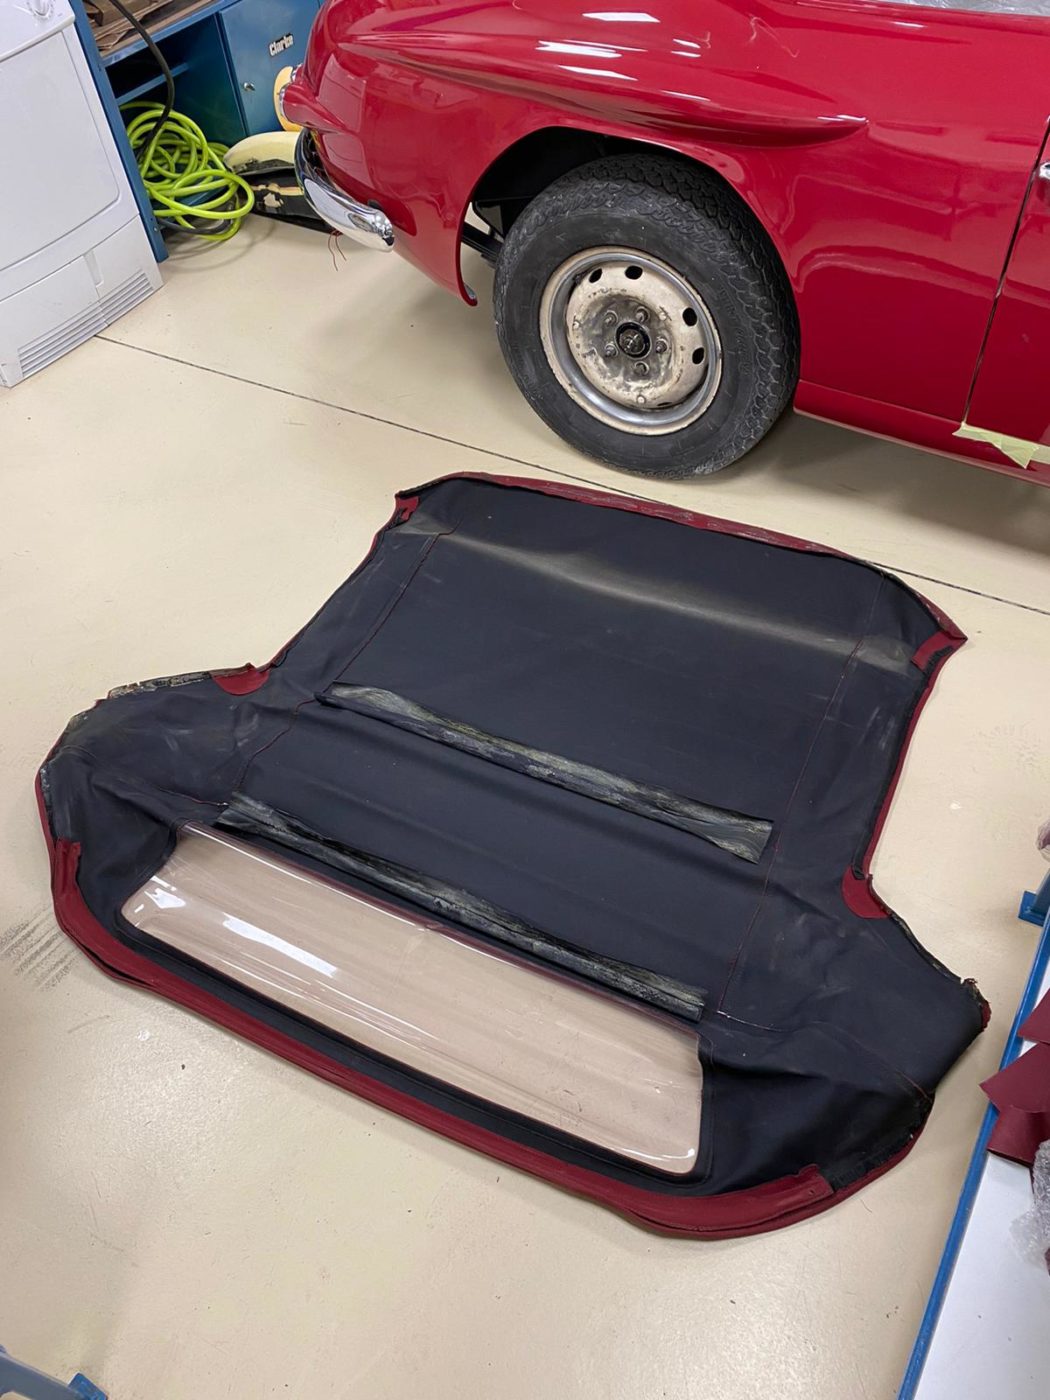
Kath has also fit the headliner for our Peony Red Jensen. She begun by attaching the metal rods to the edge of the car and then attaching the leather around the windscreen. The next step was to attach the front header rail and then screw it in place, lining up the holes.


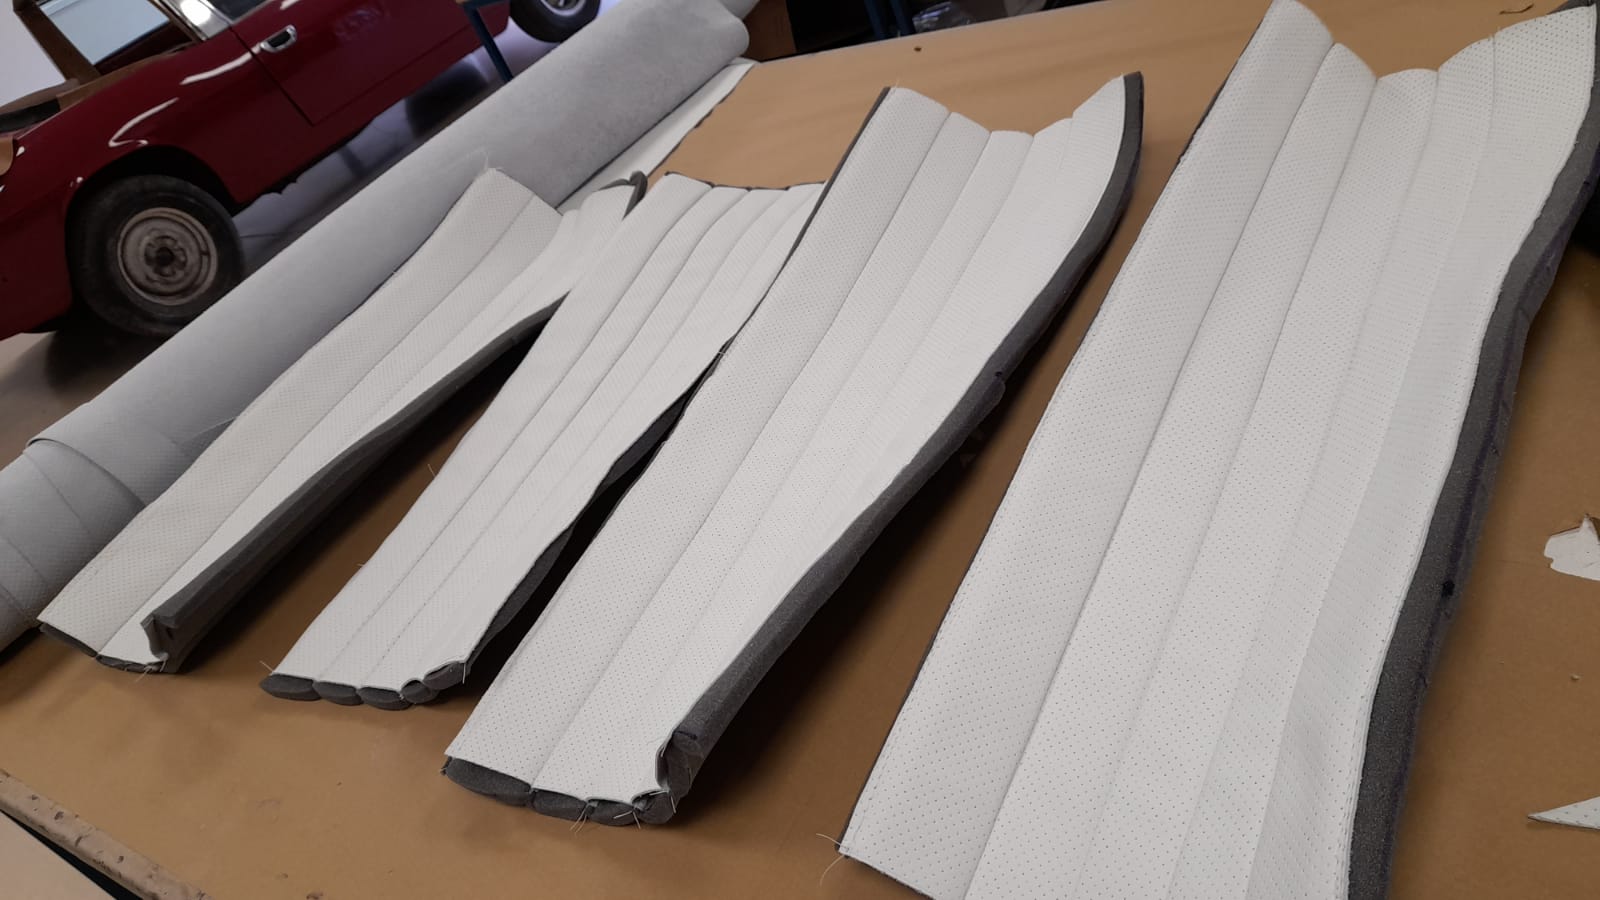
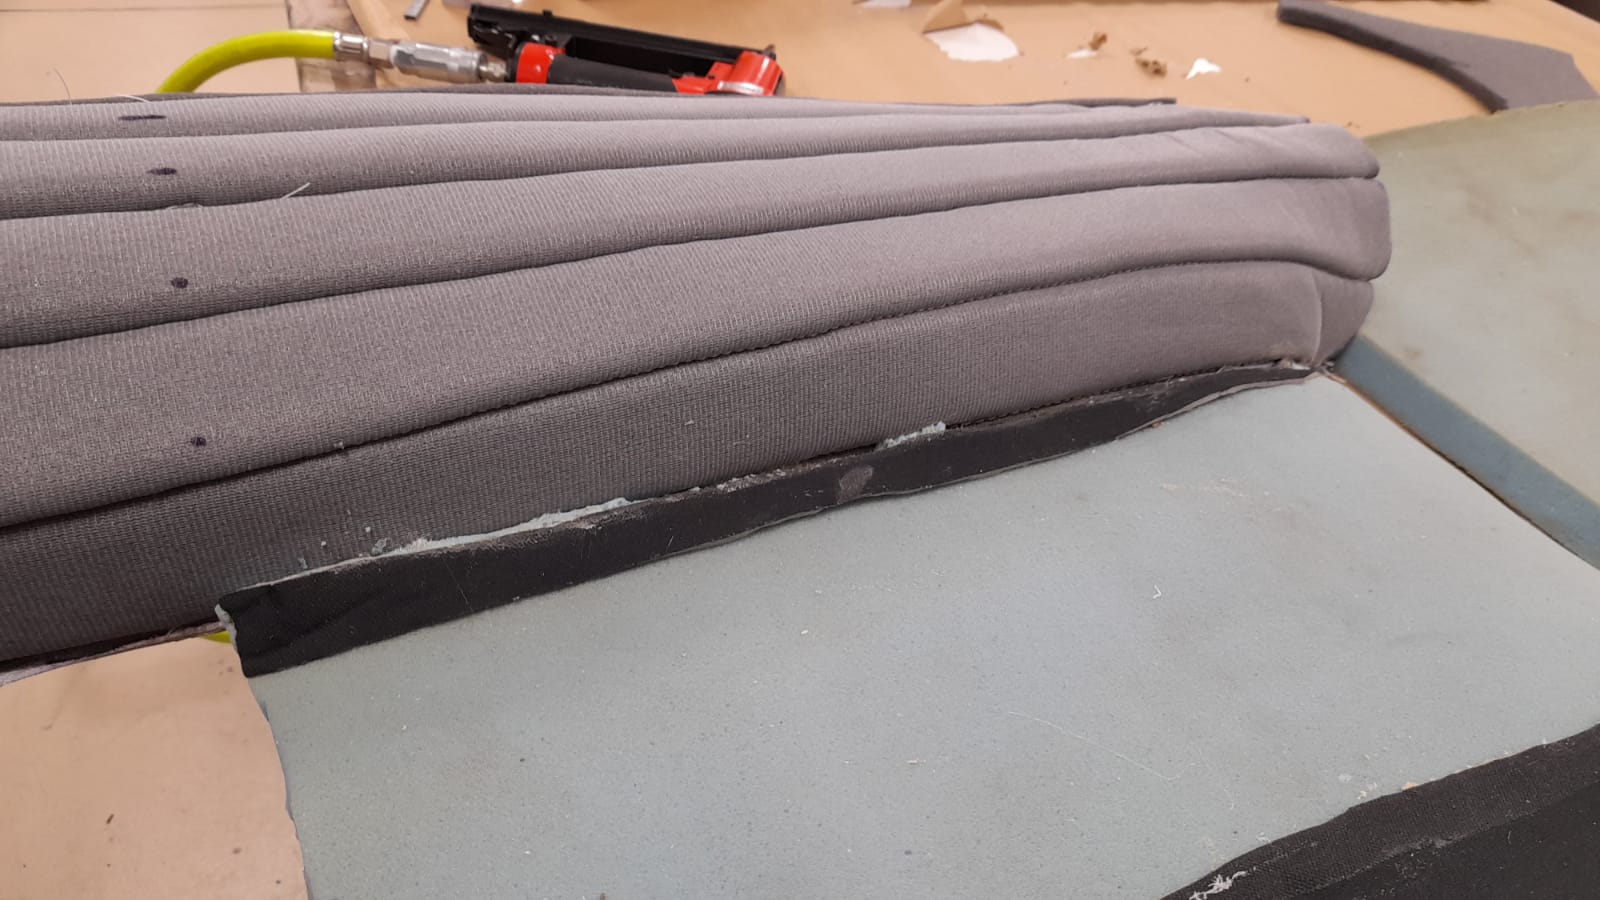
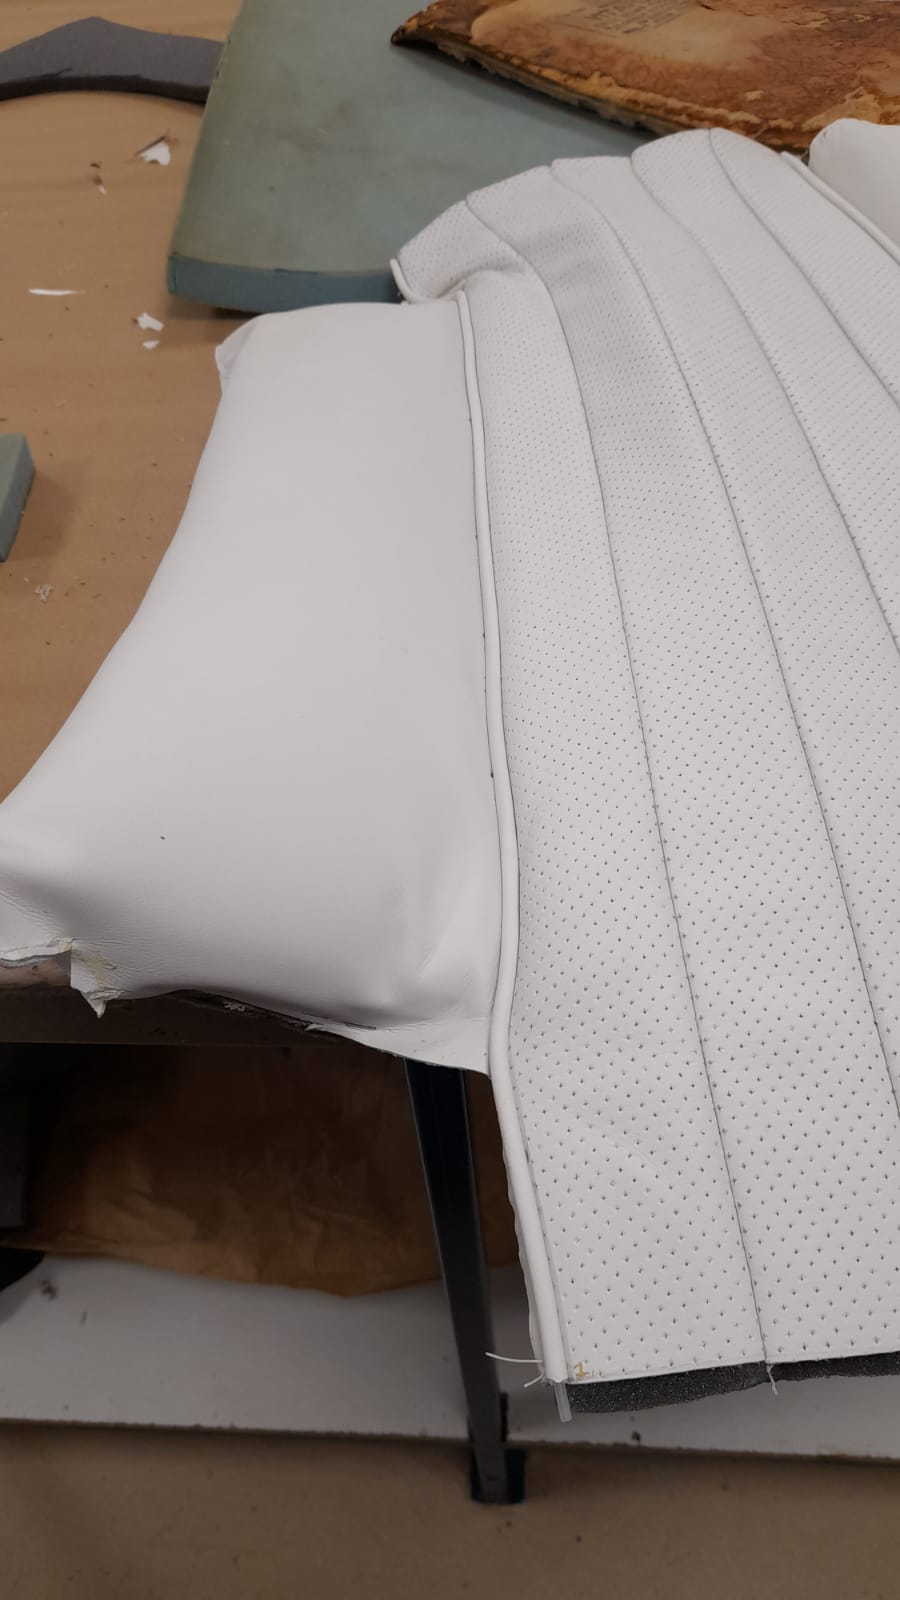
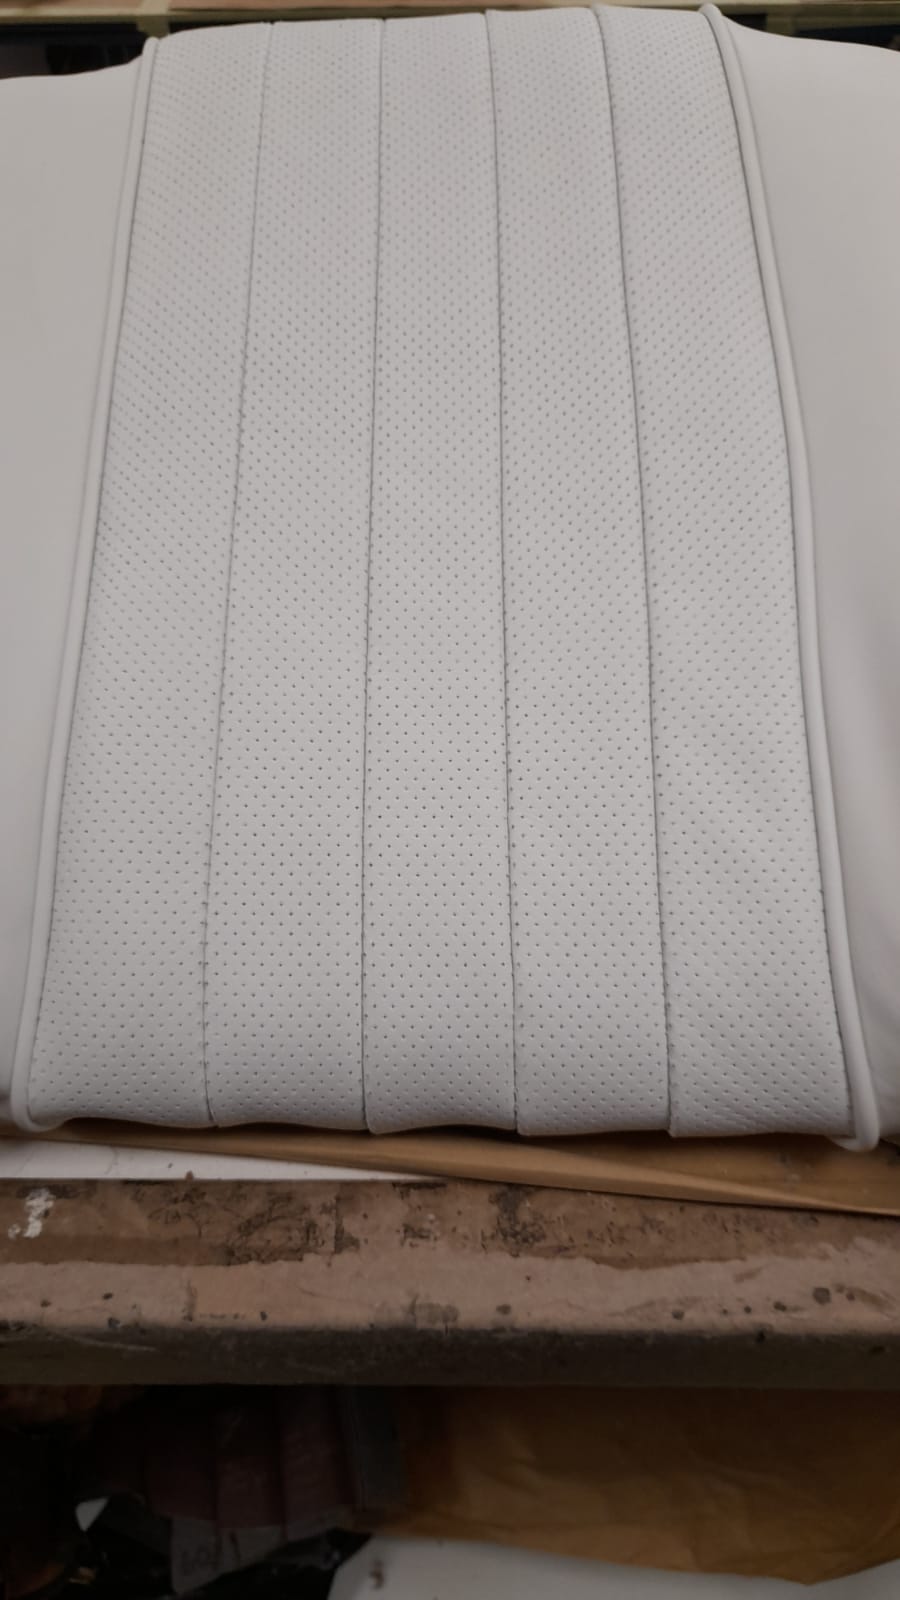
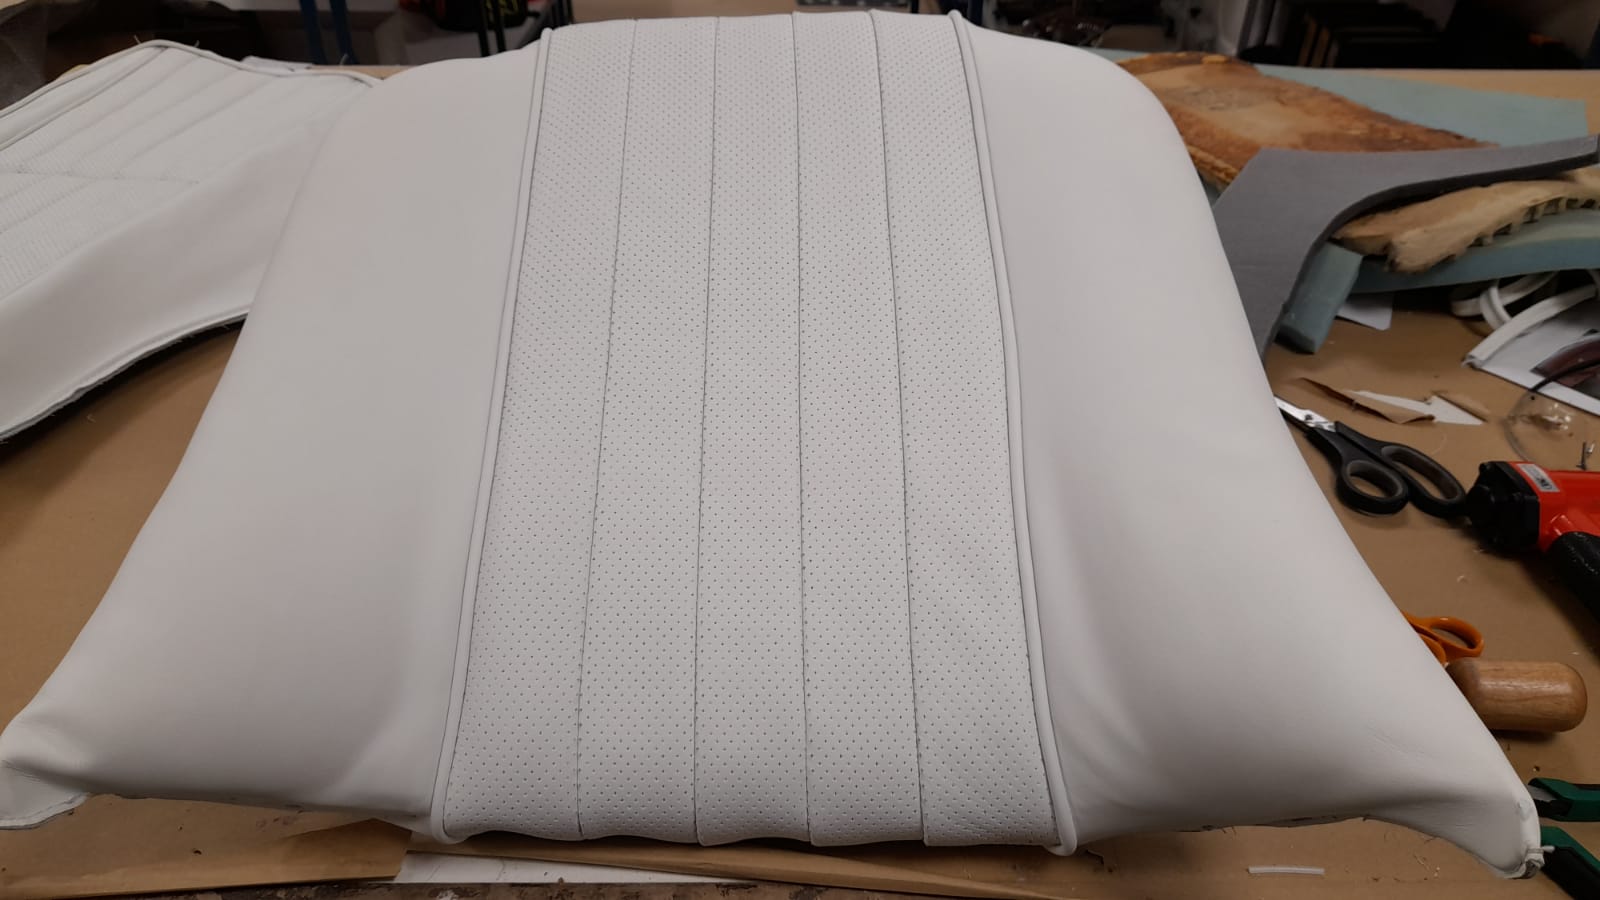
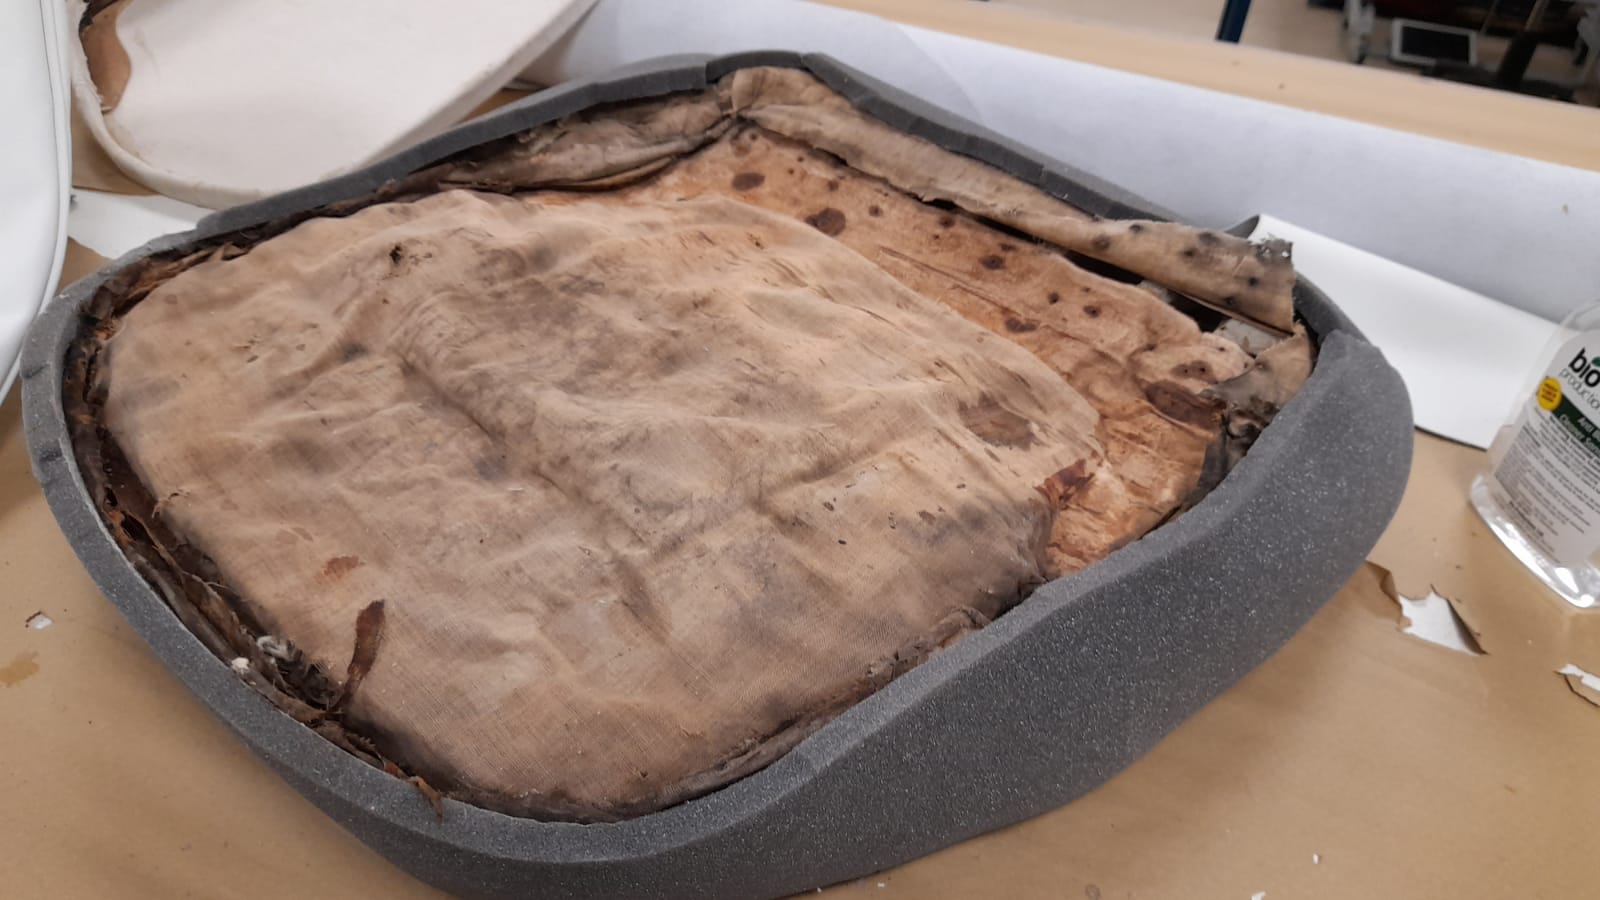
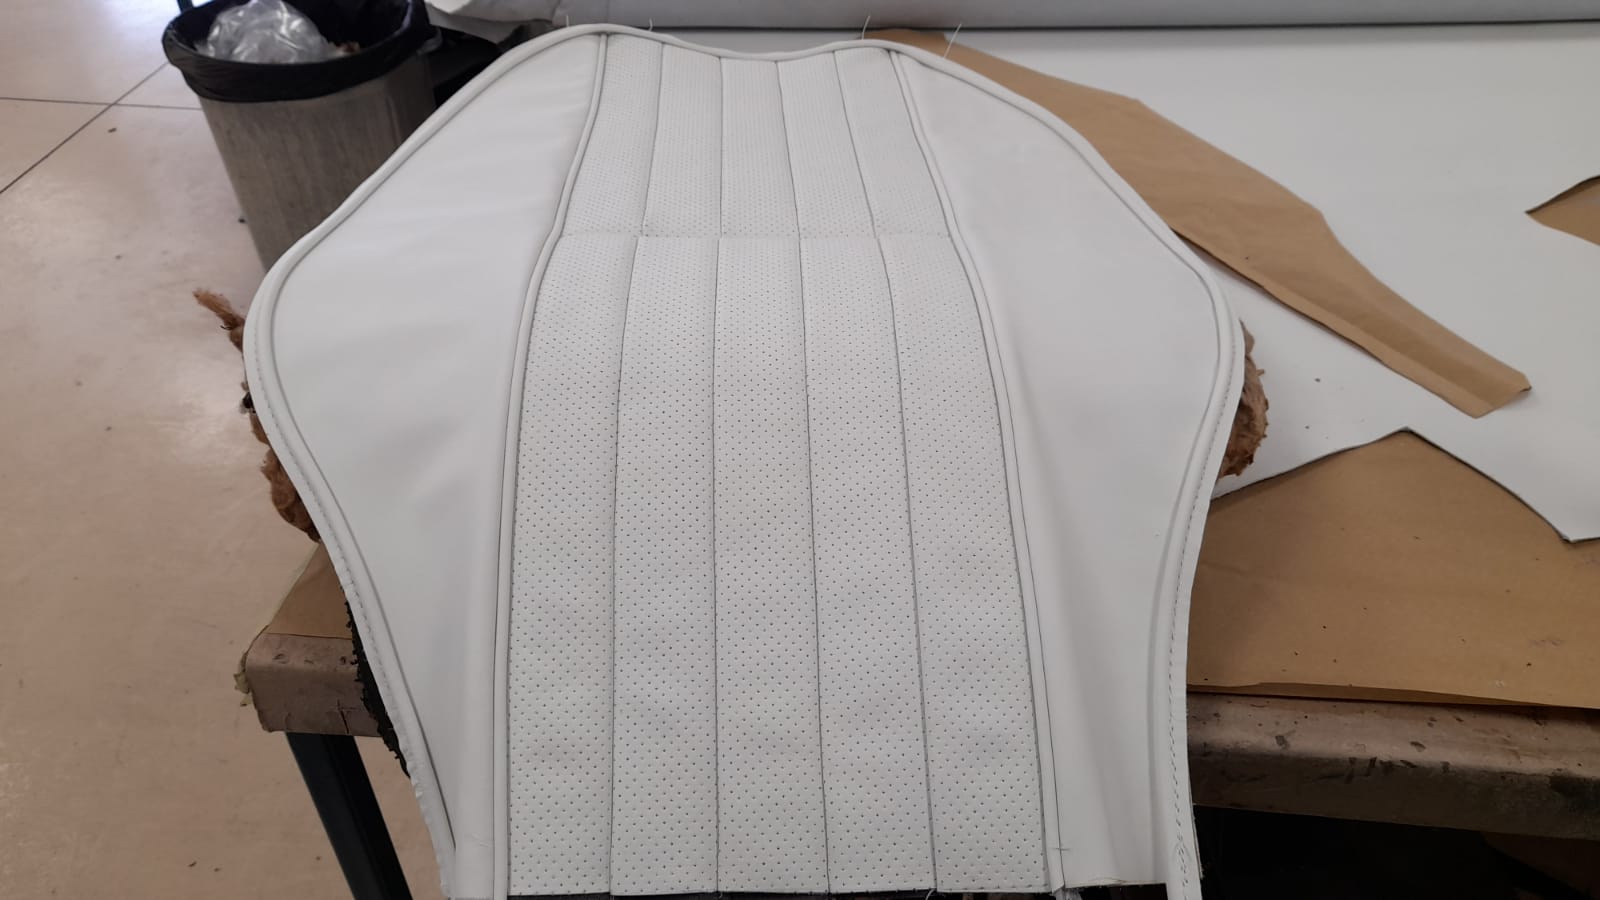
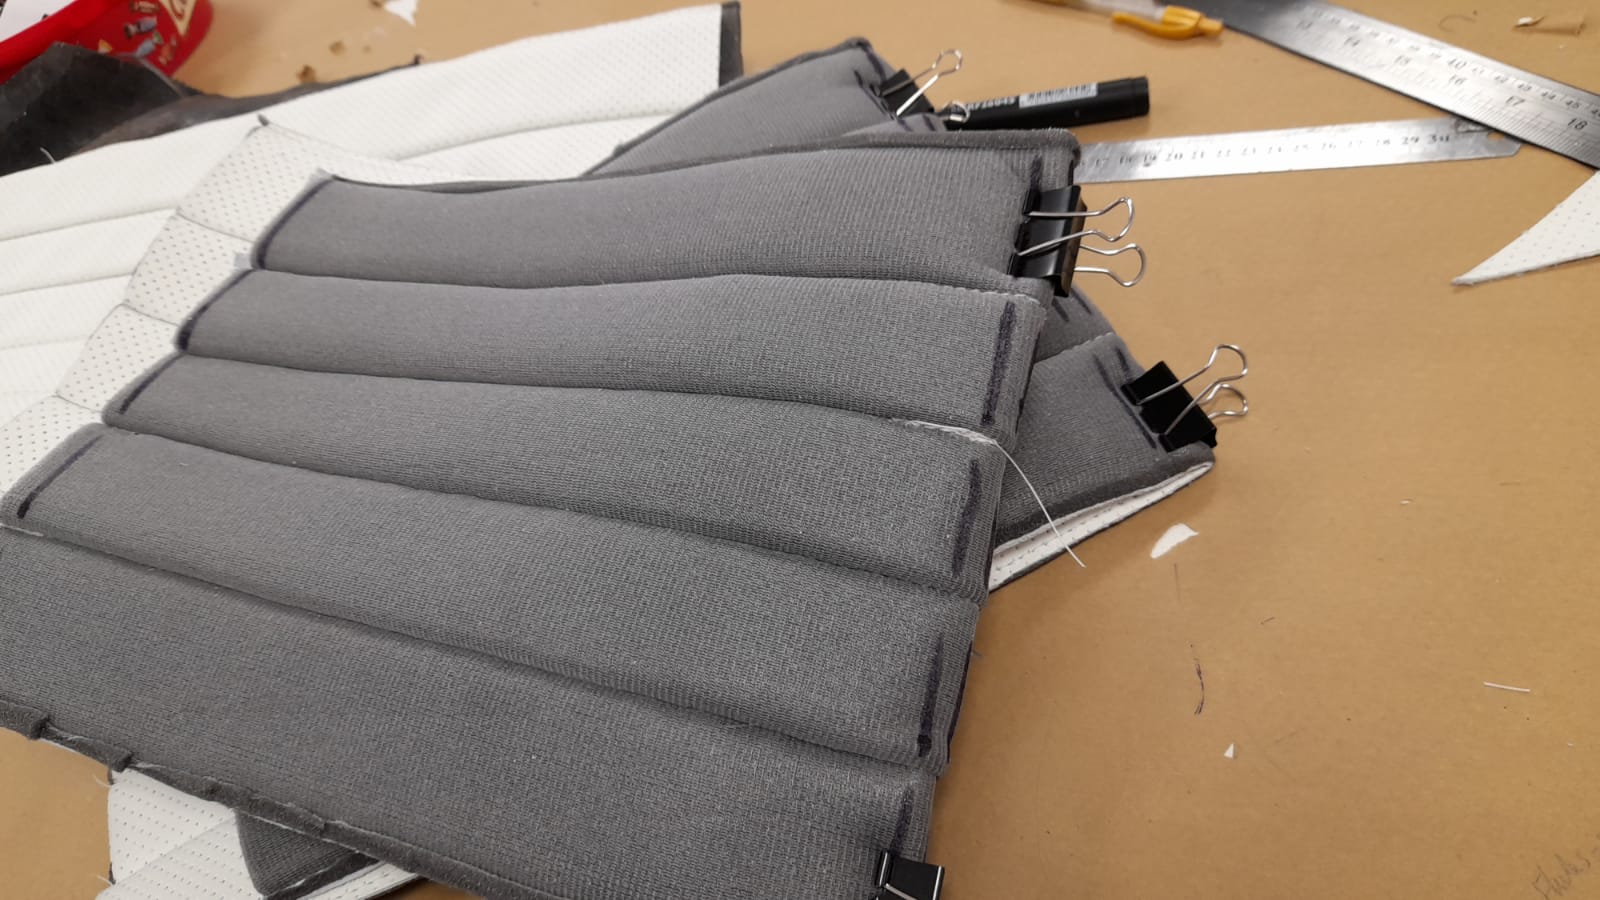
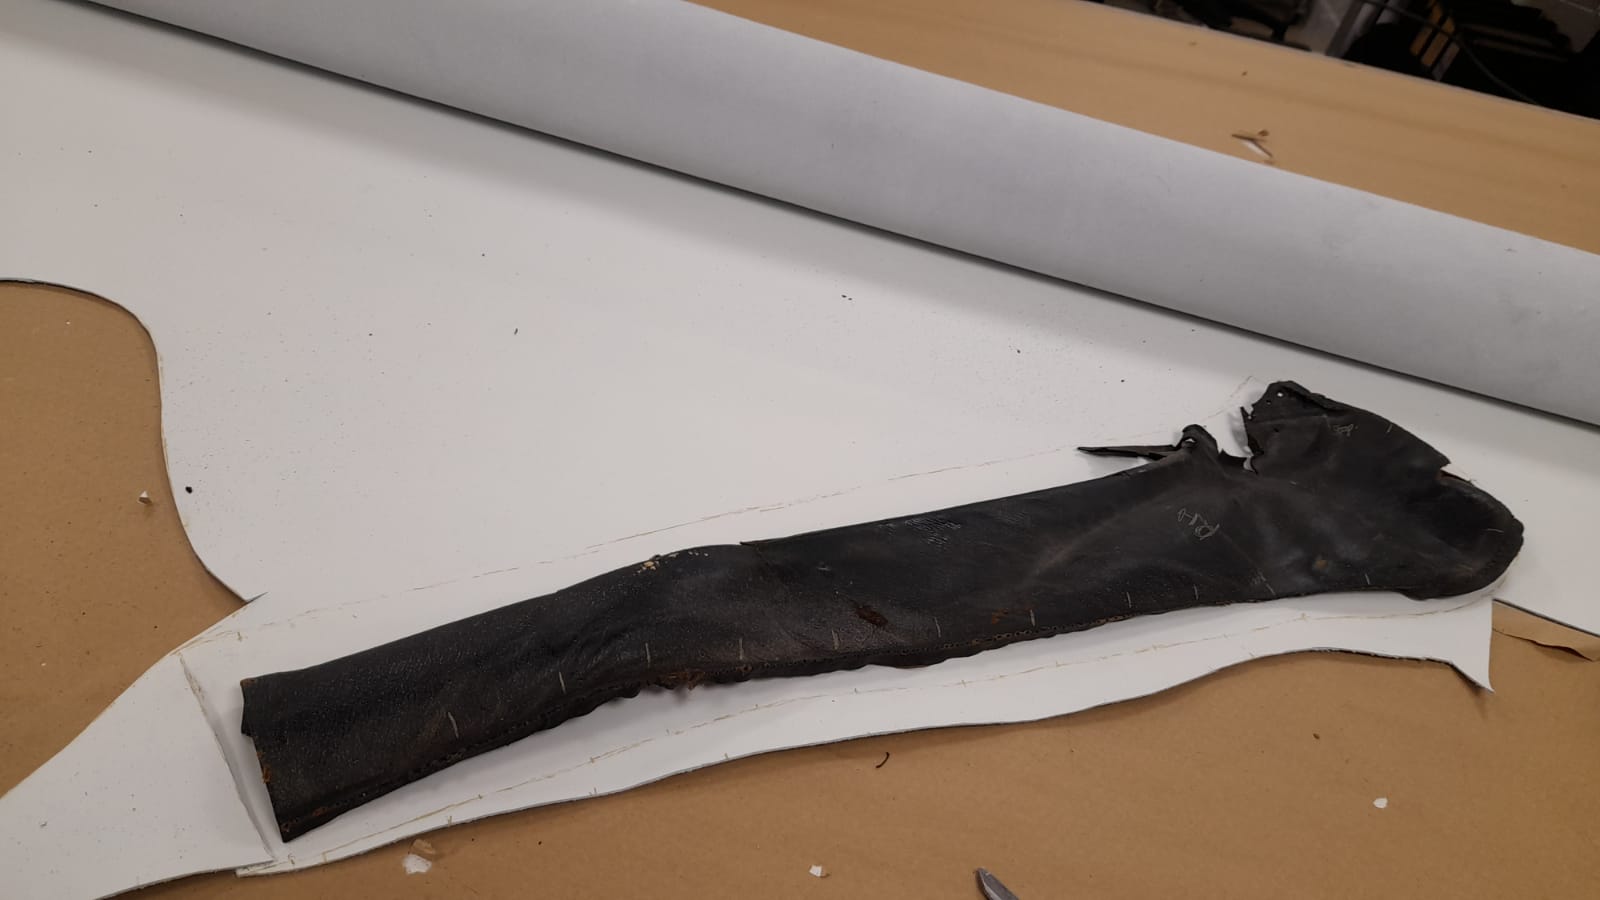
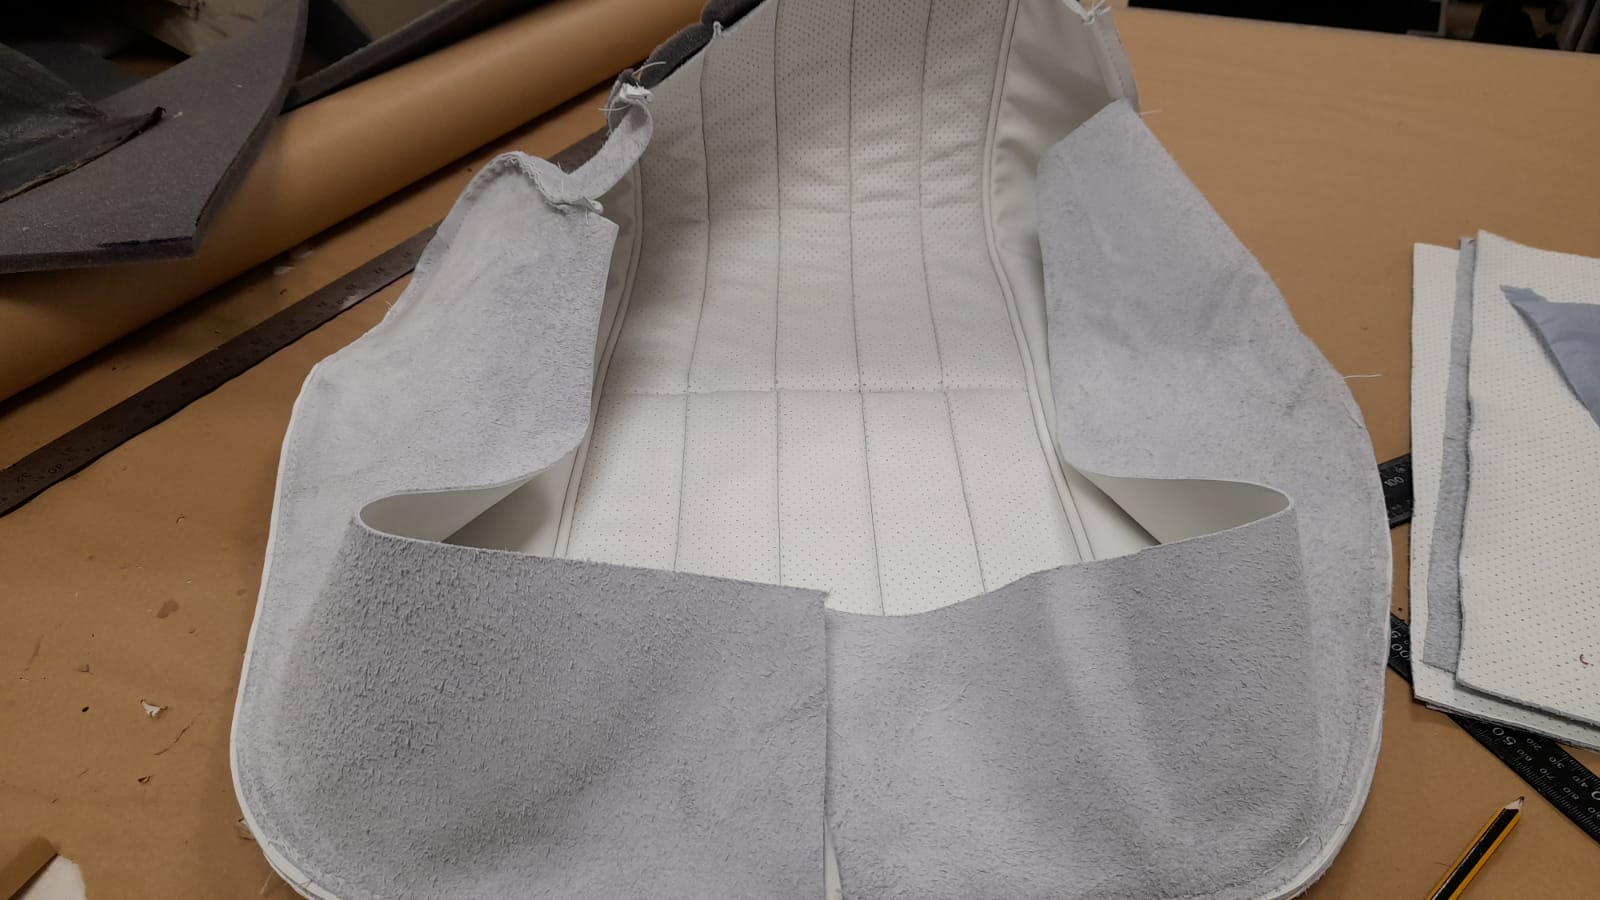
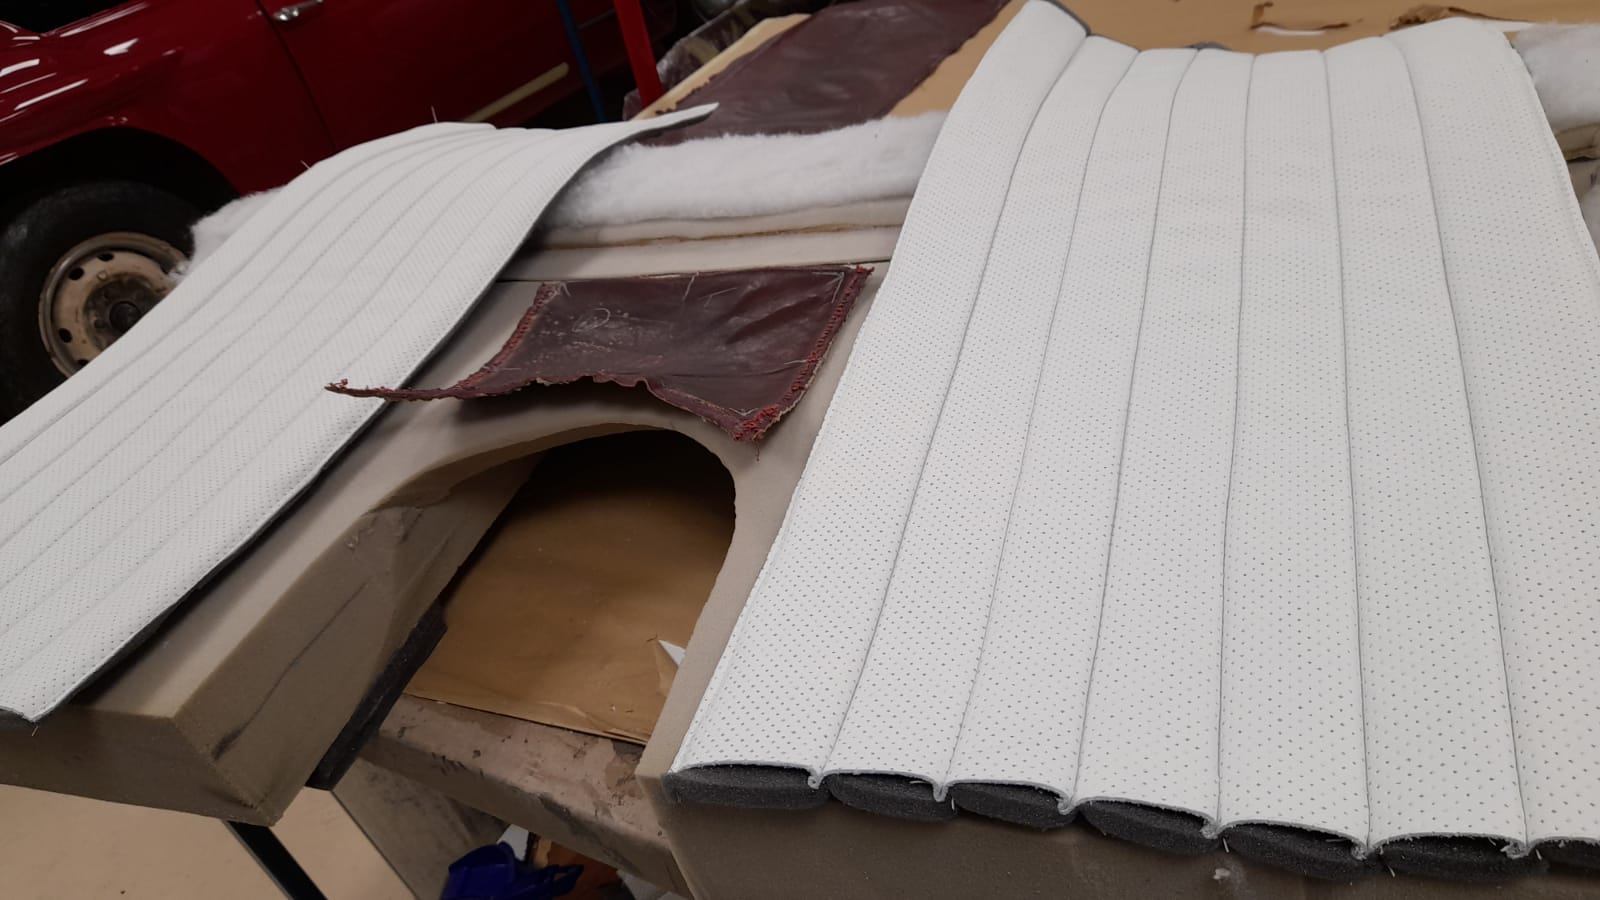
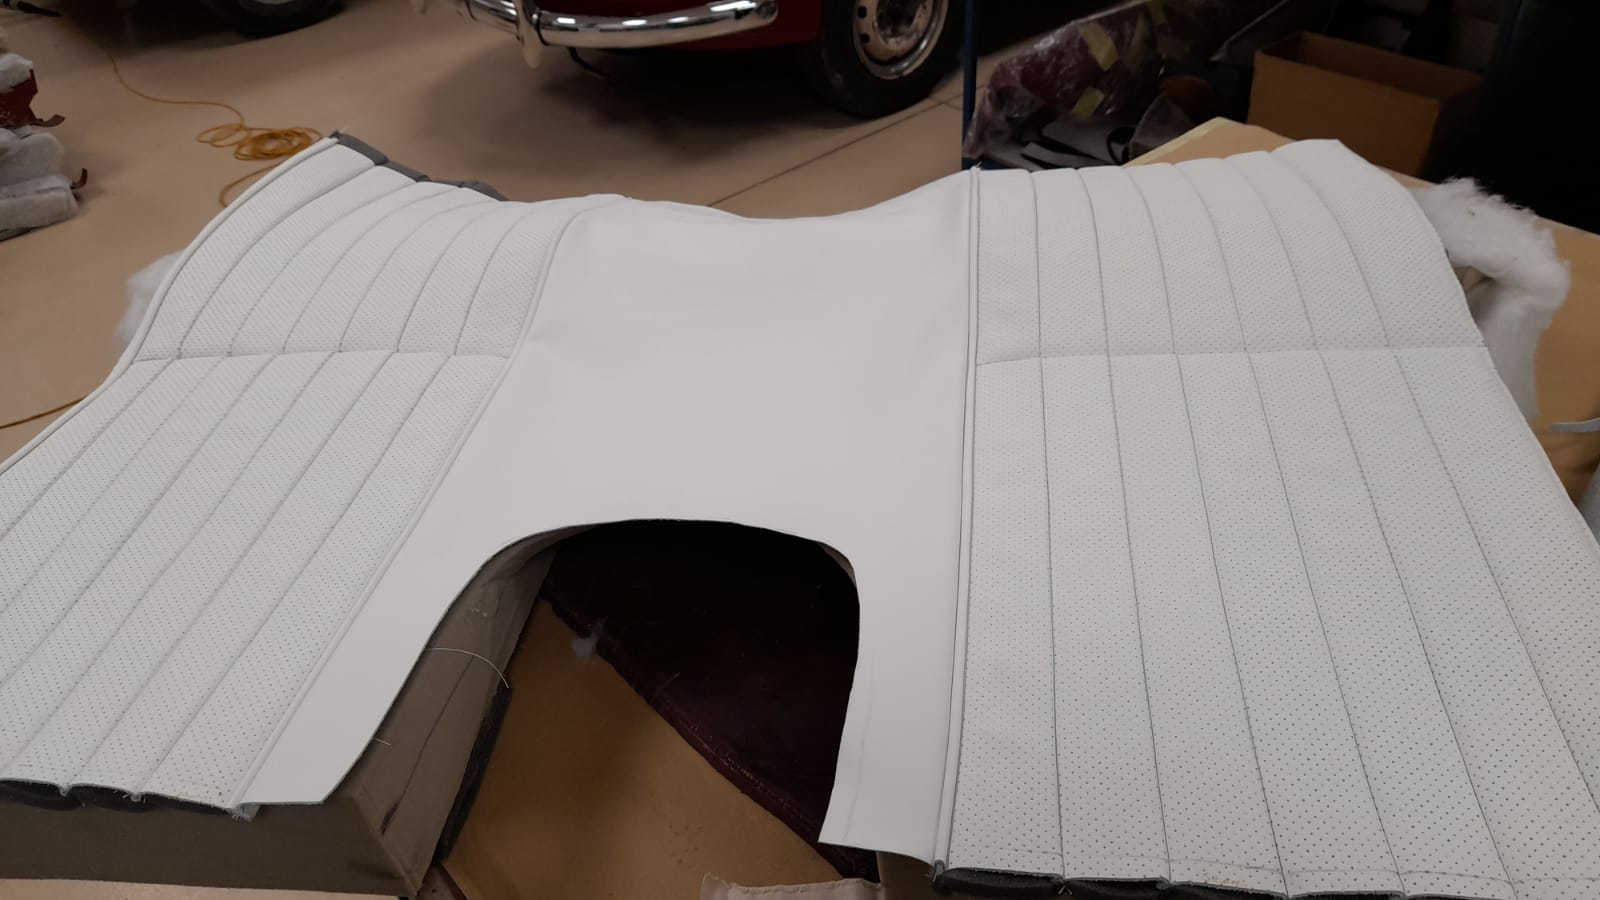
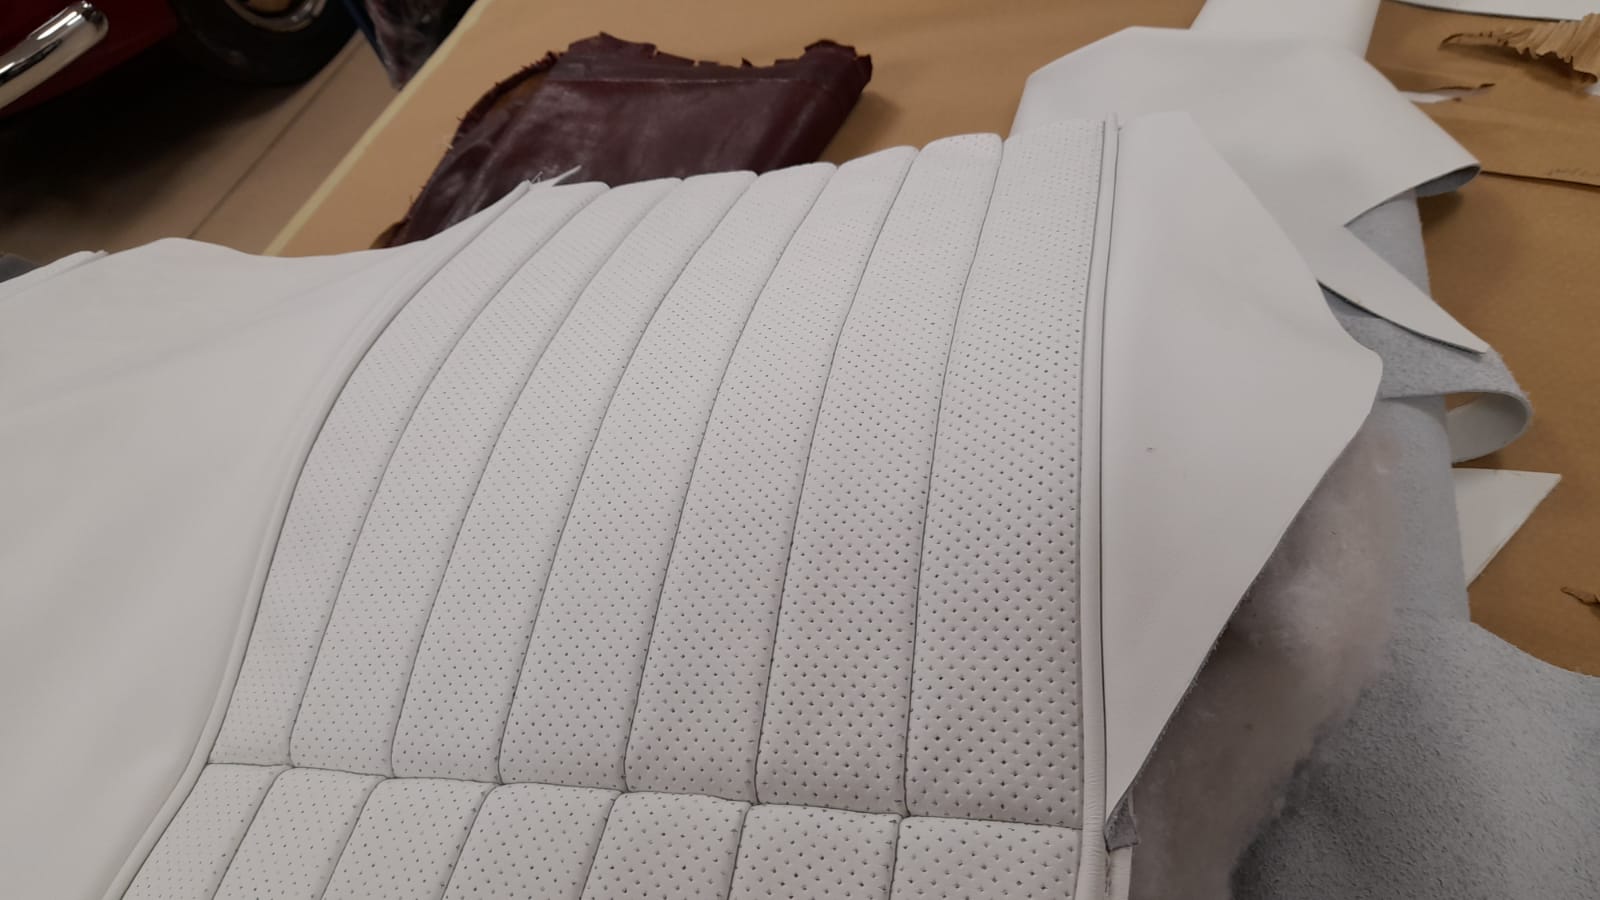
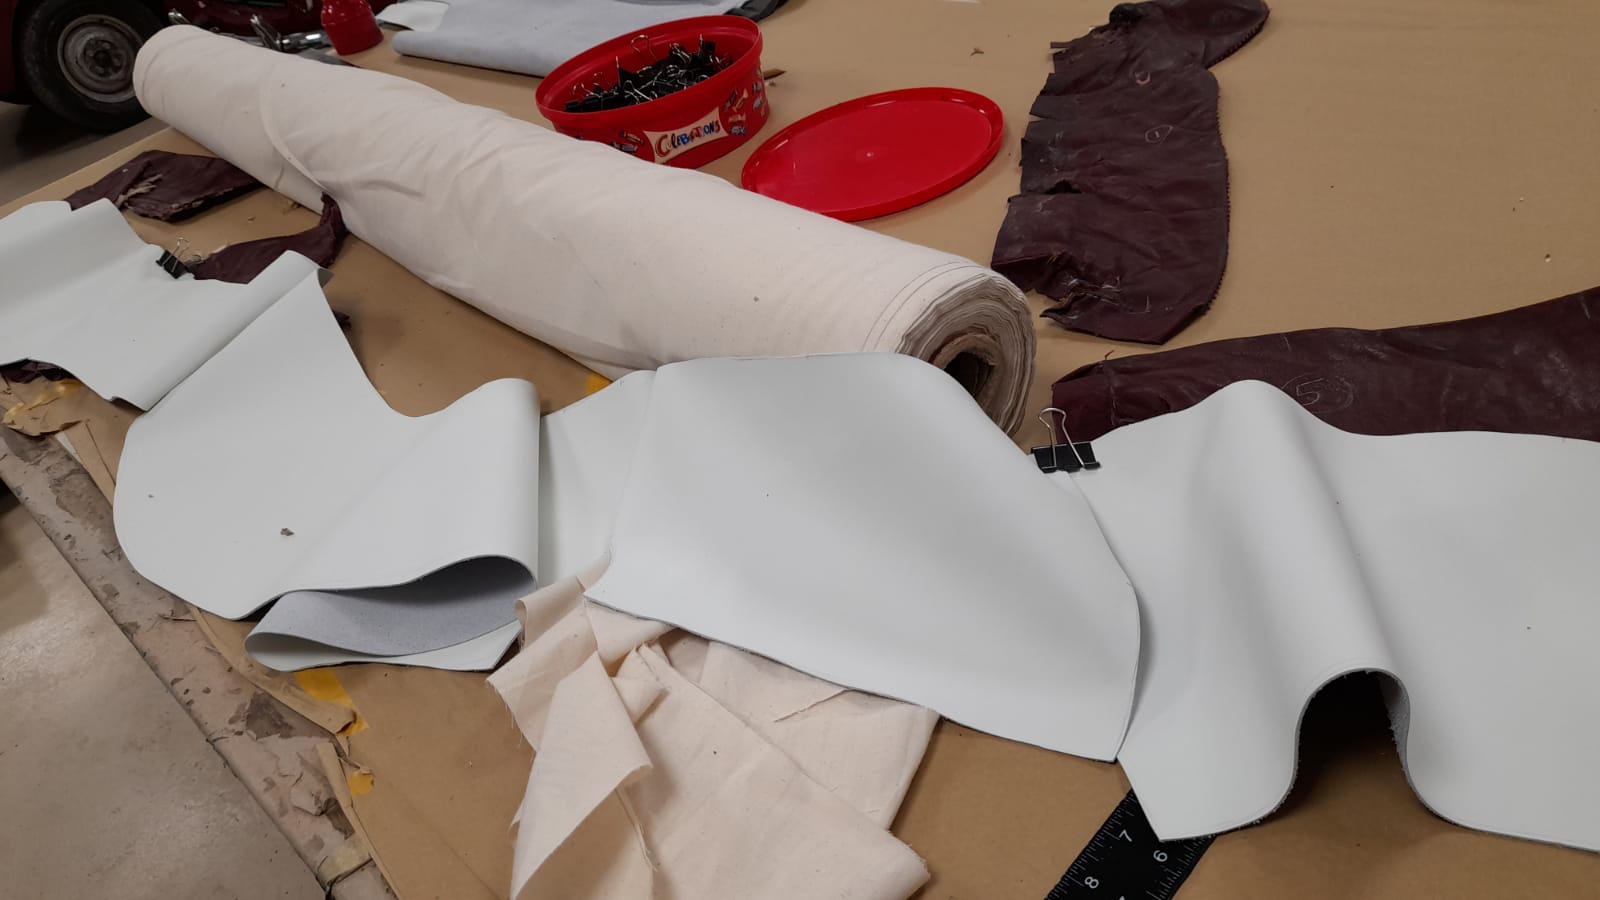
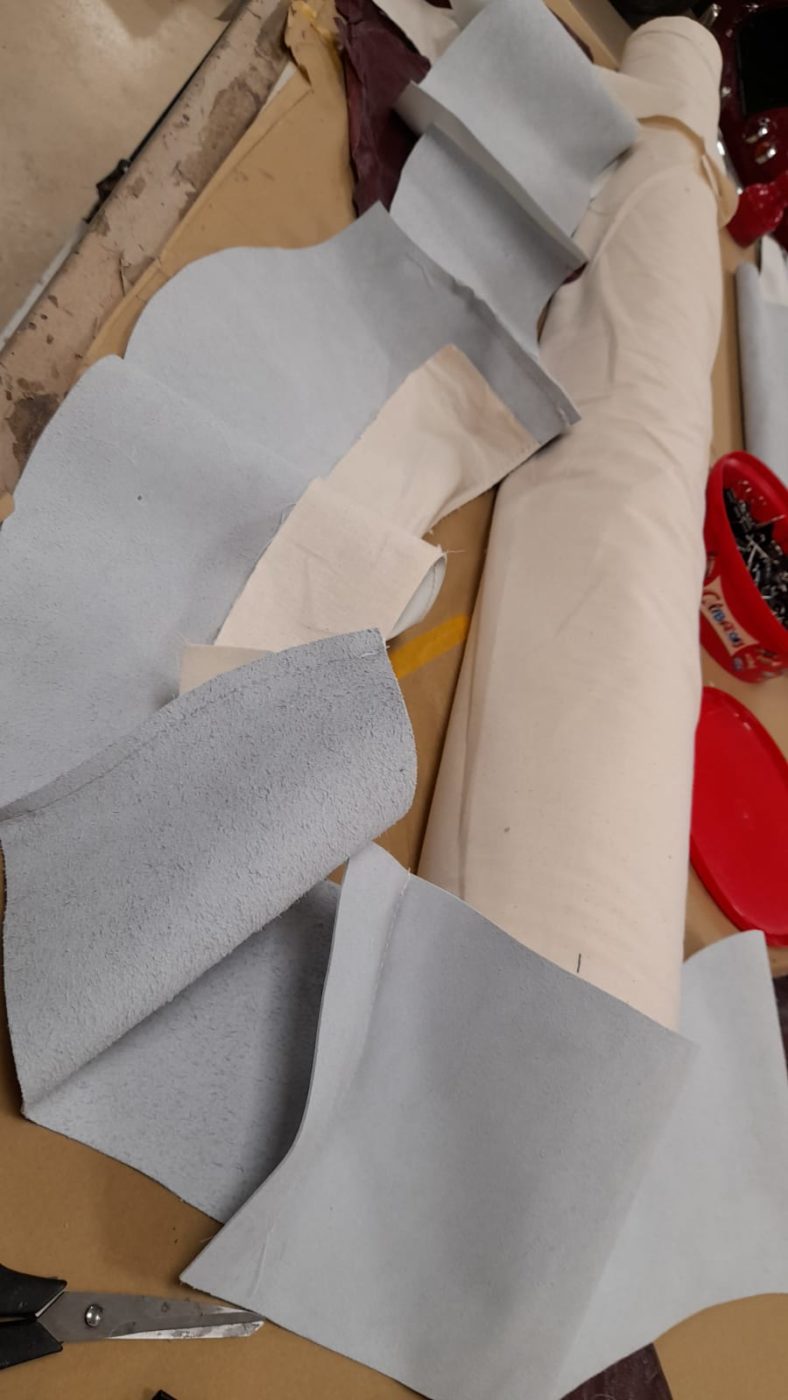
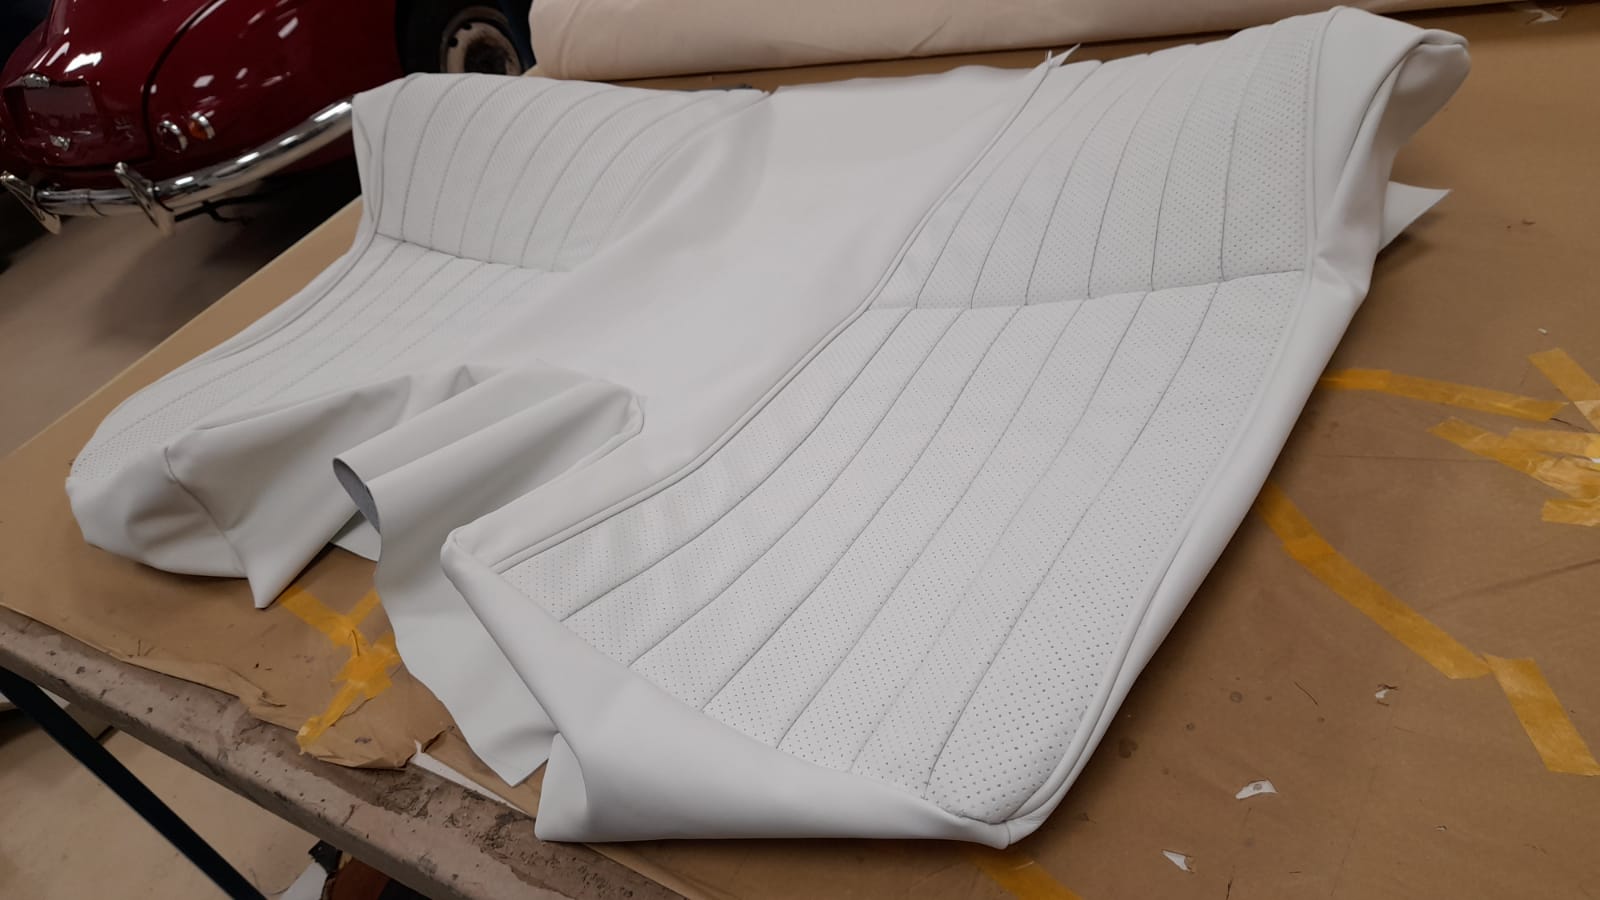
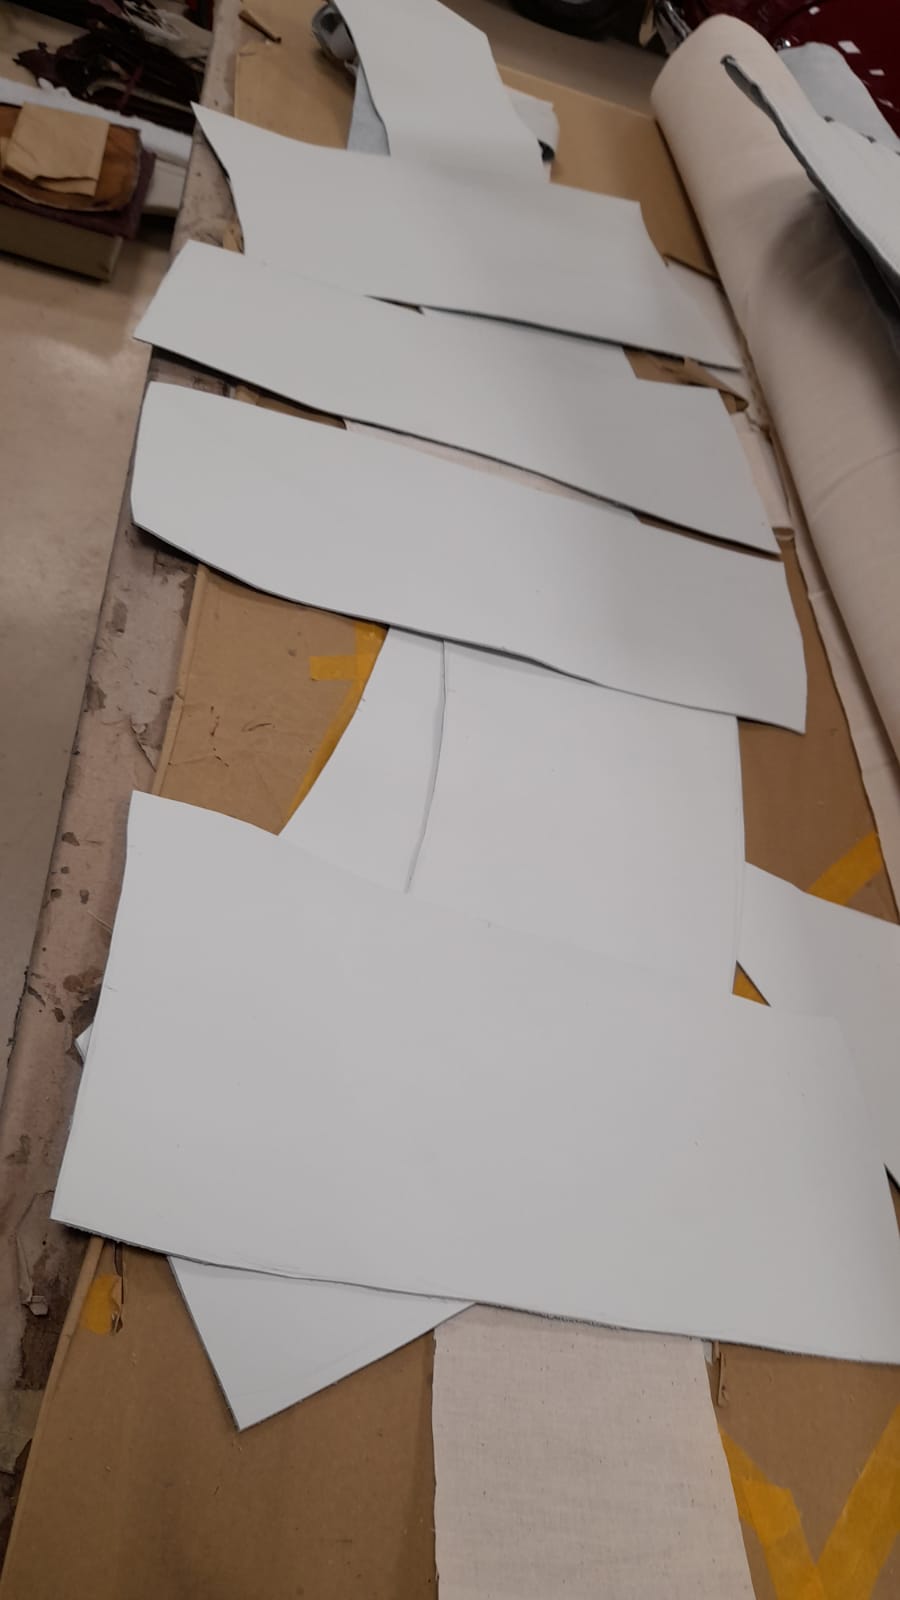
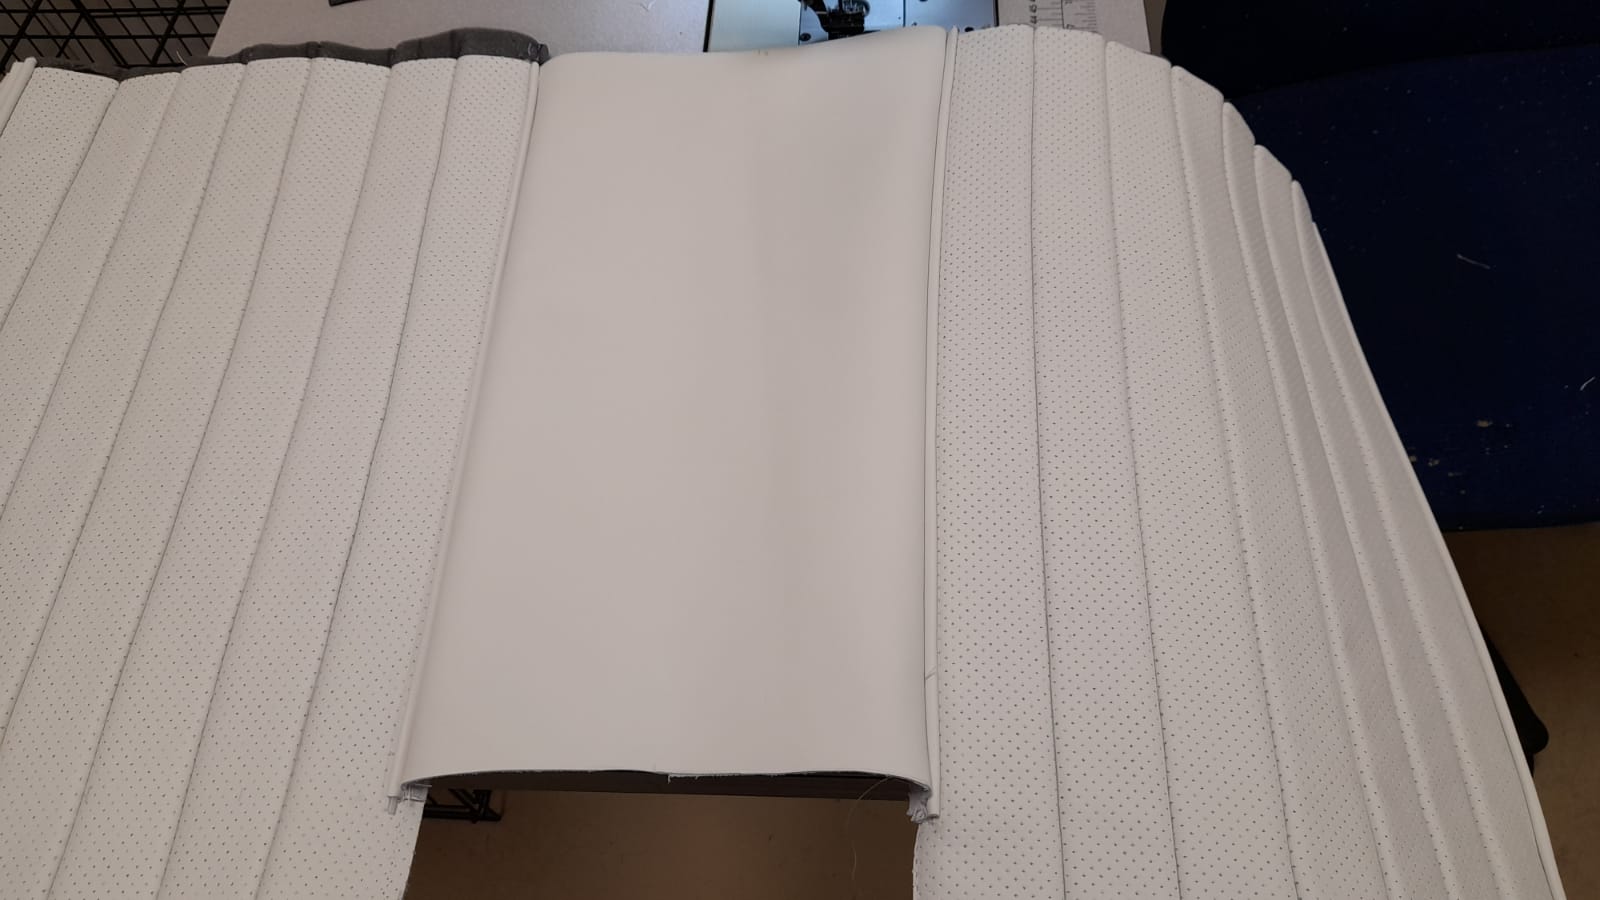
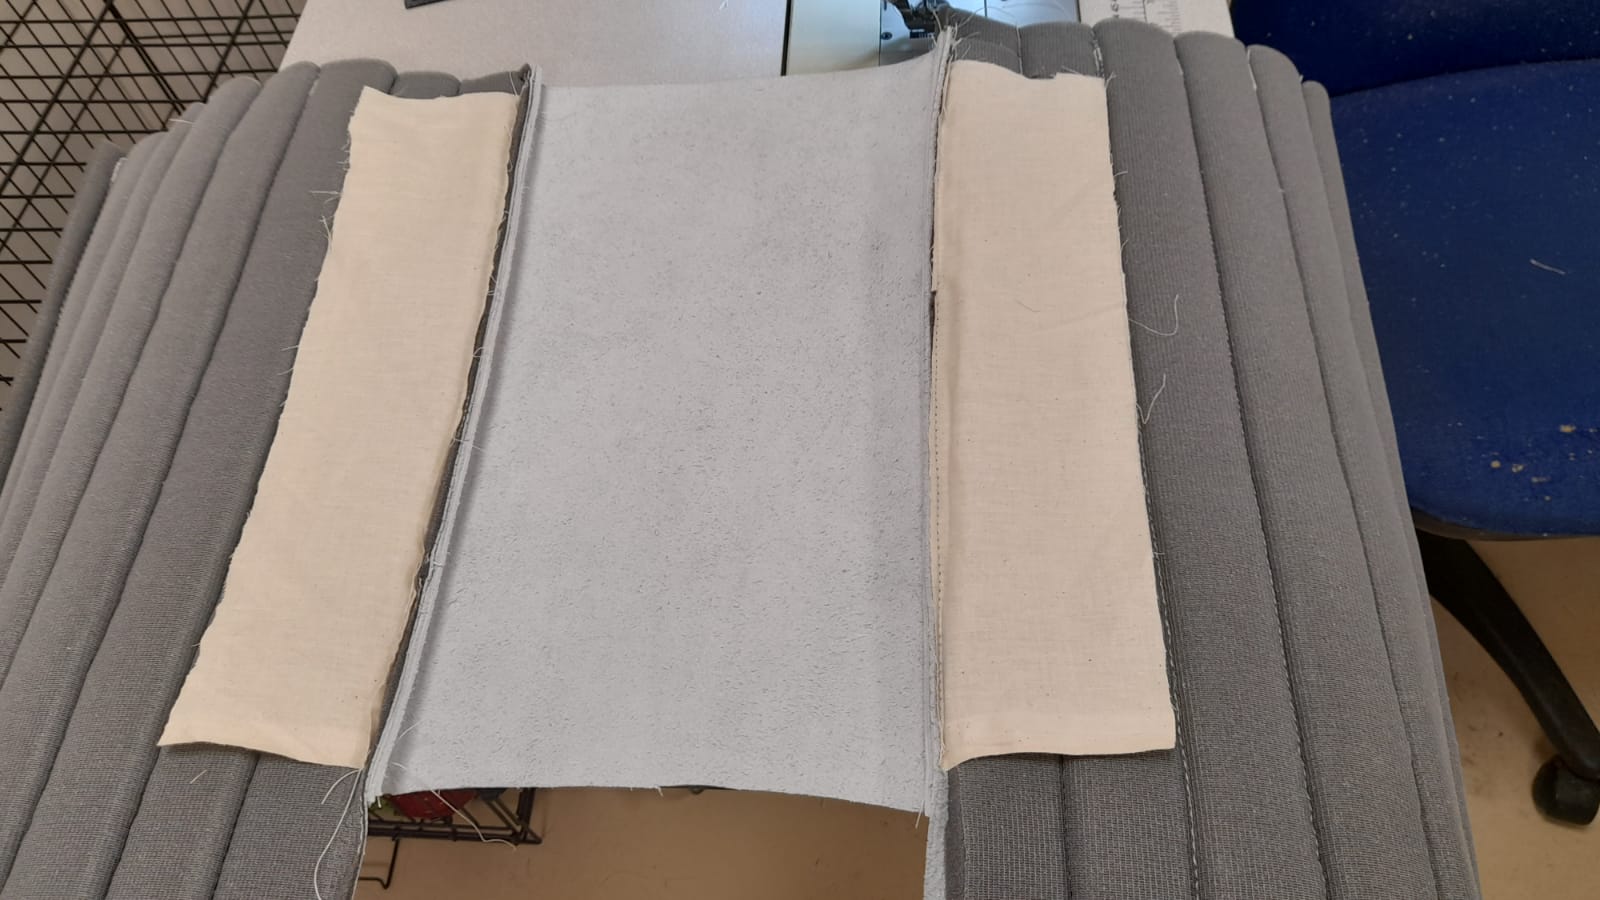
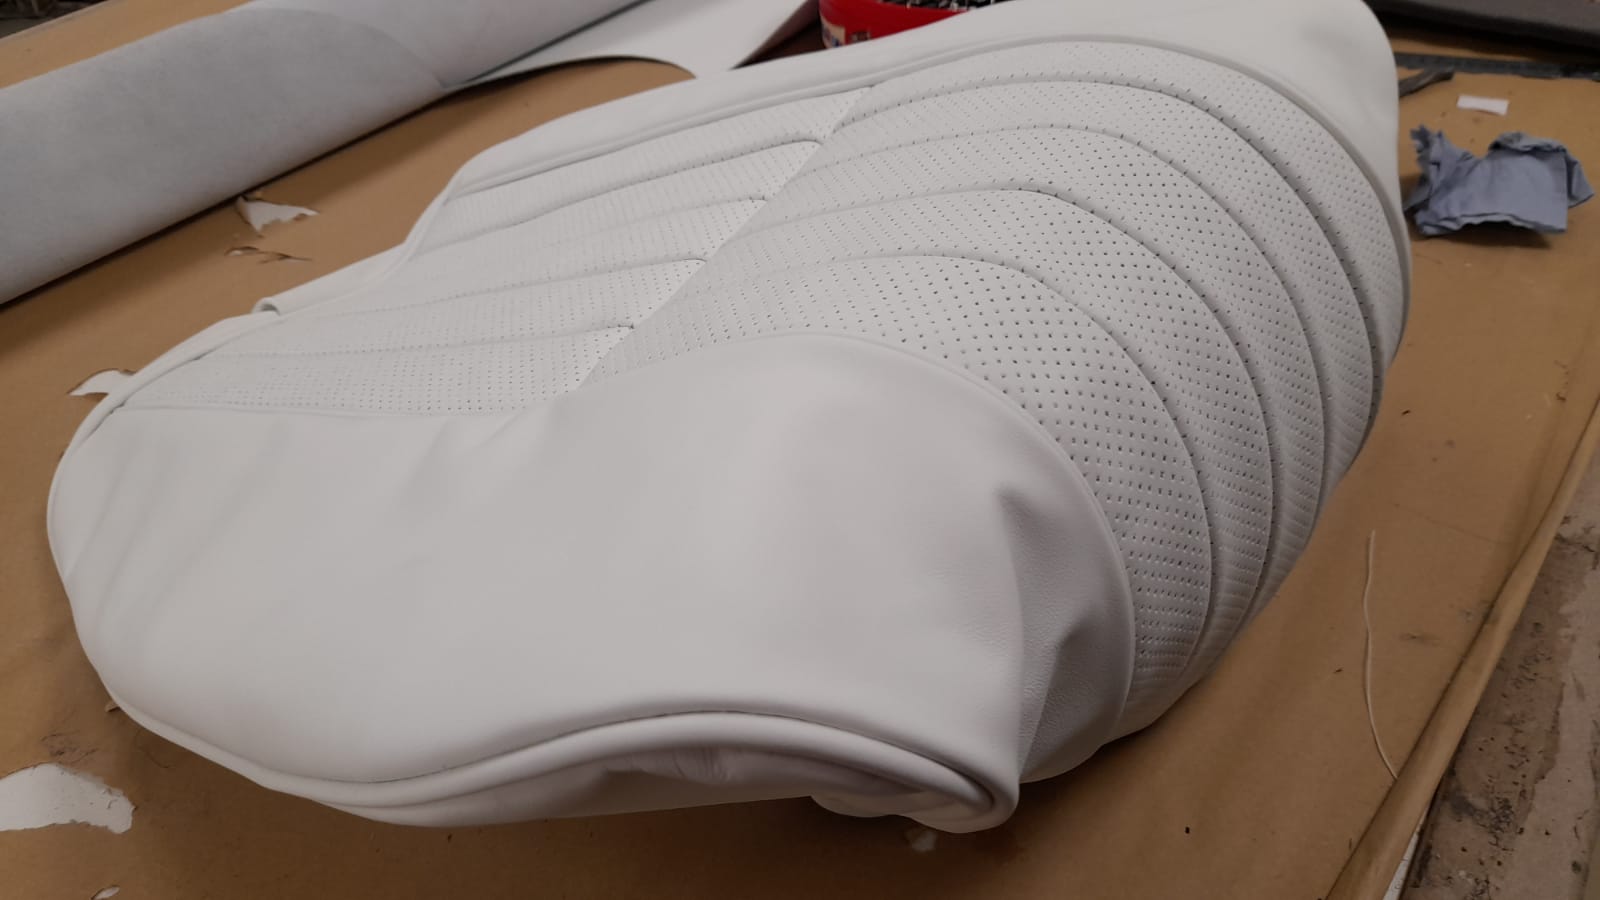
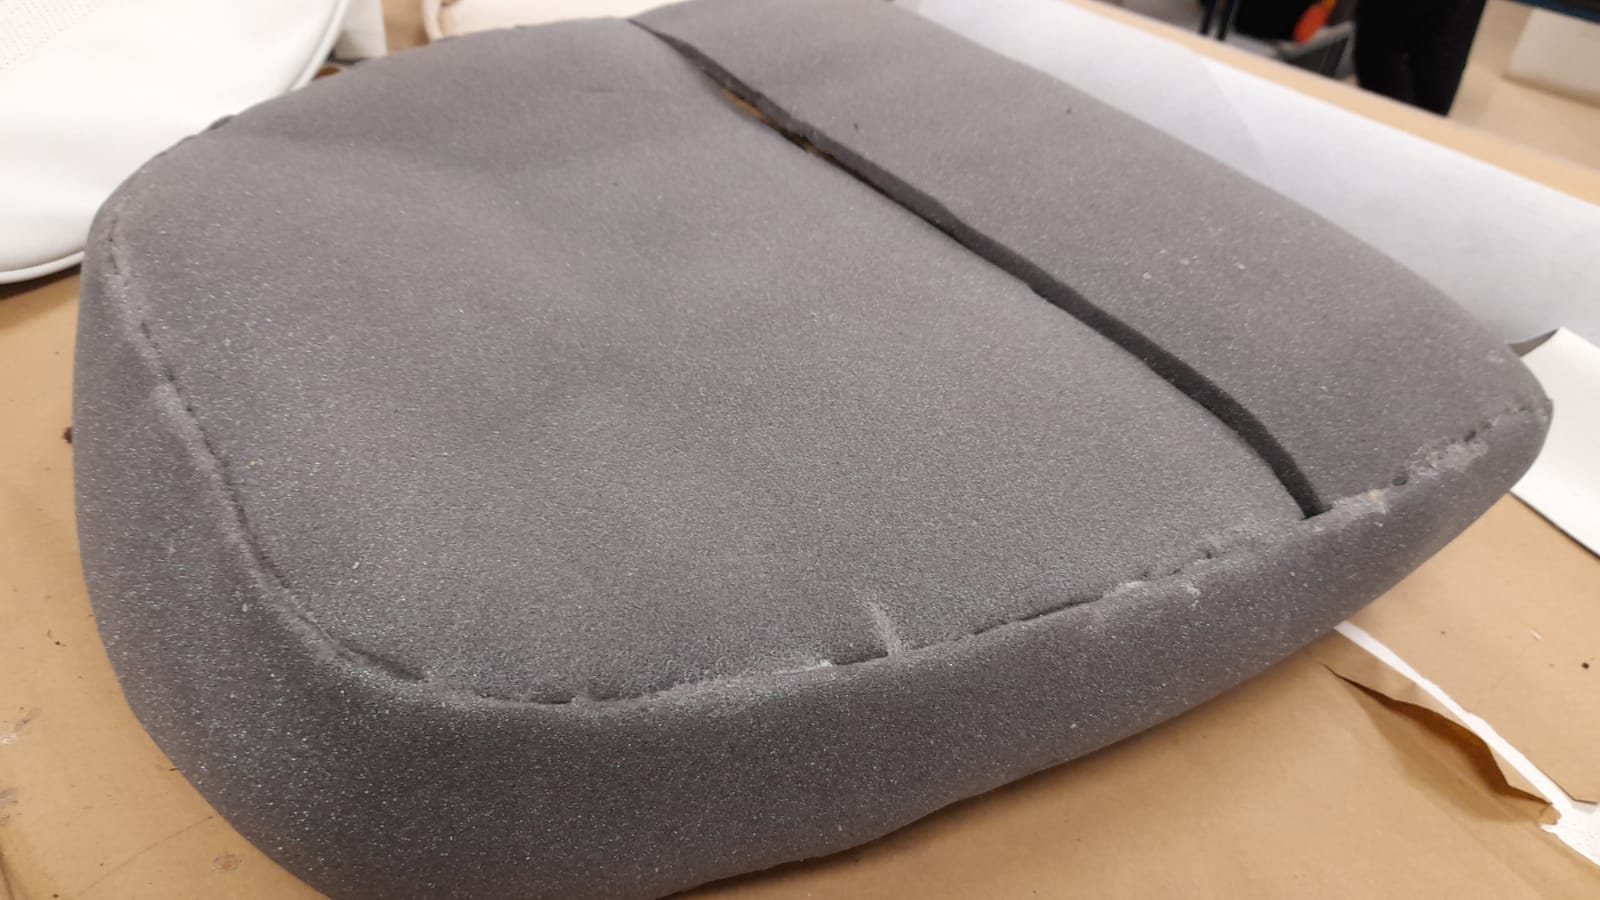
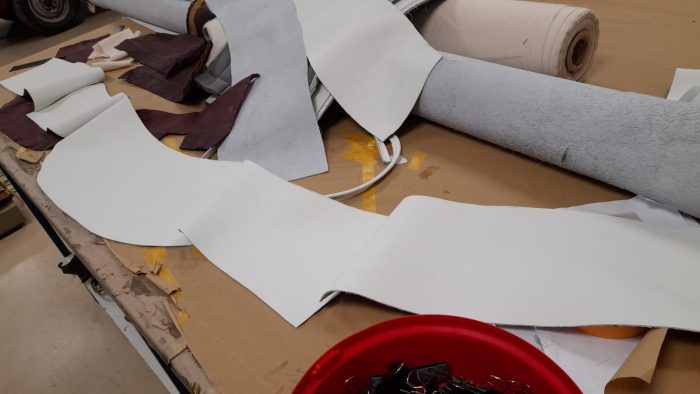
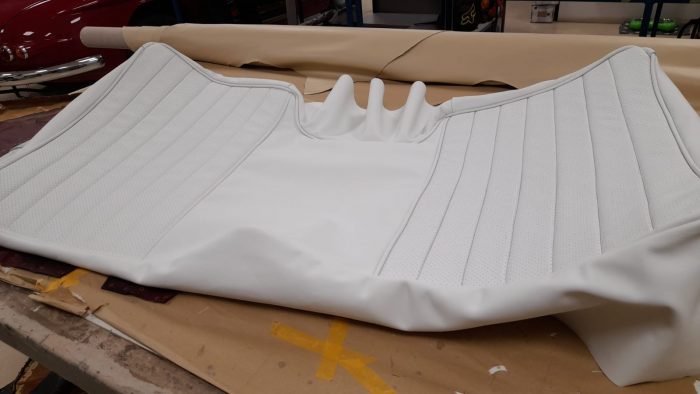
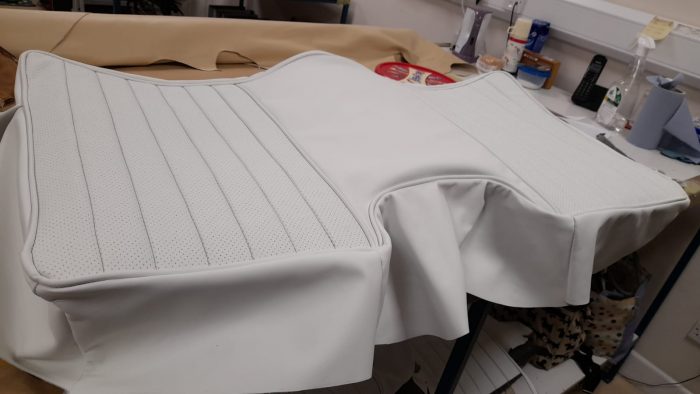
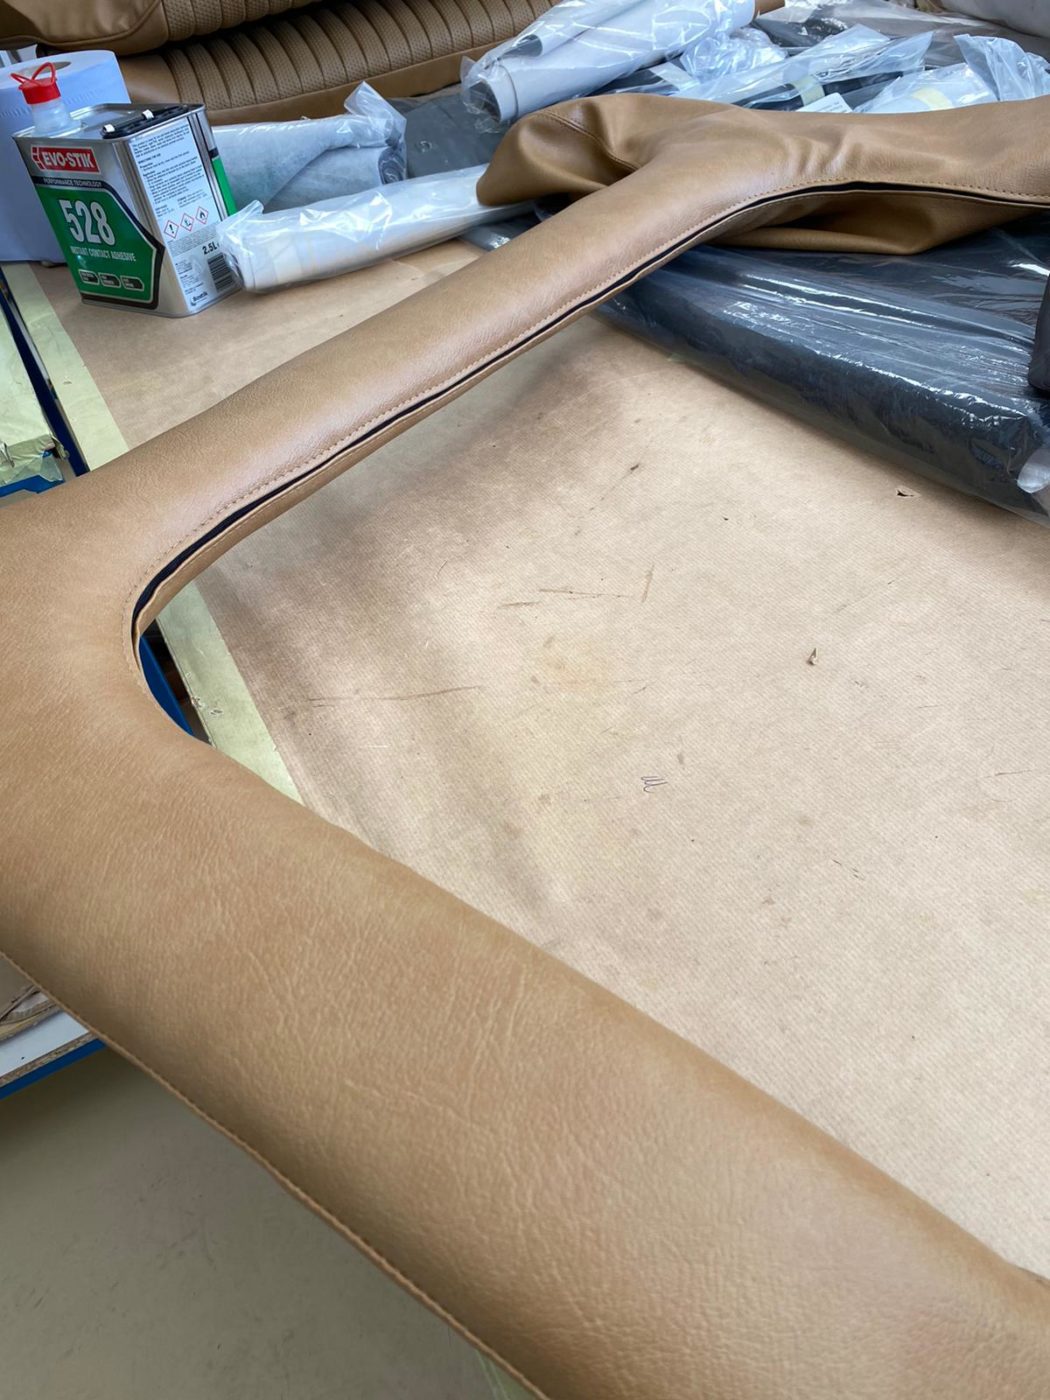
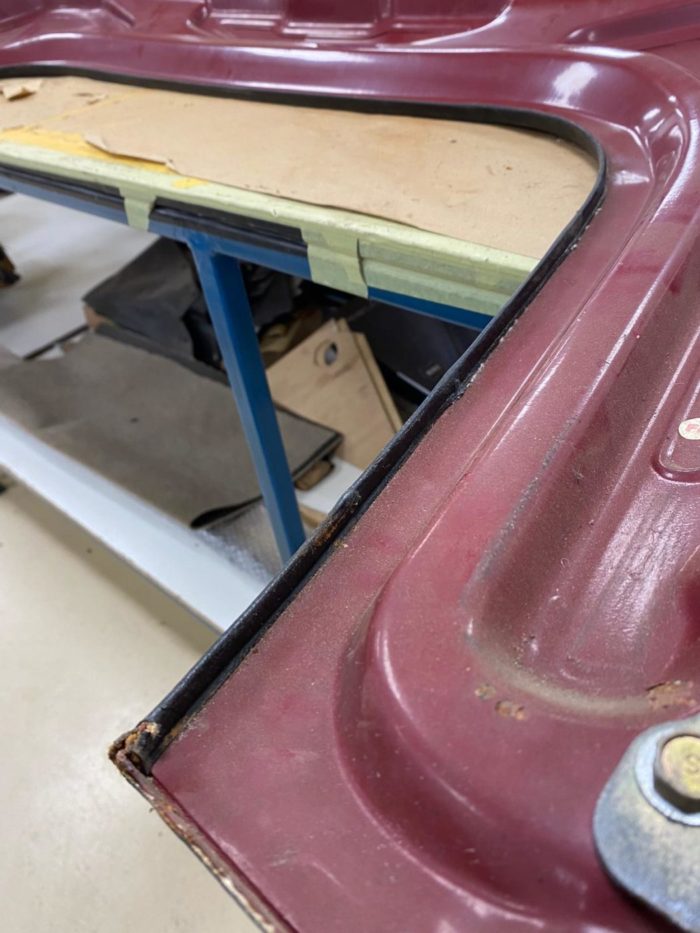
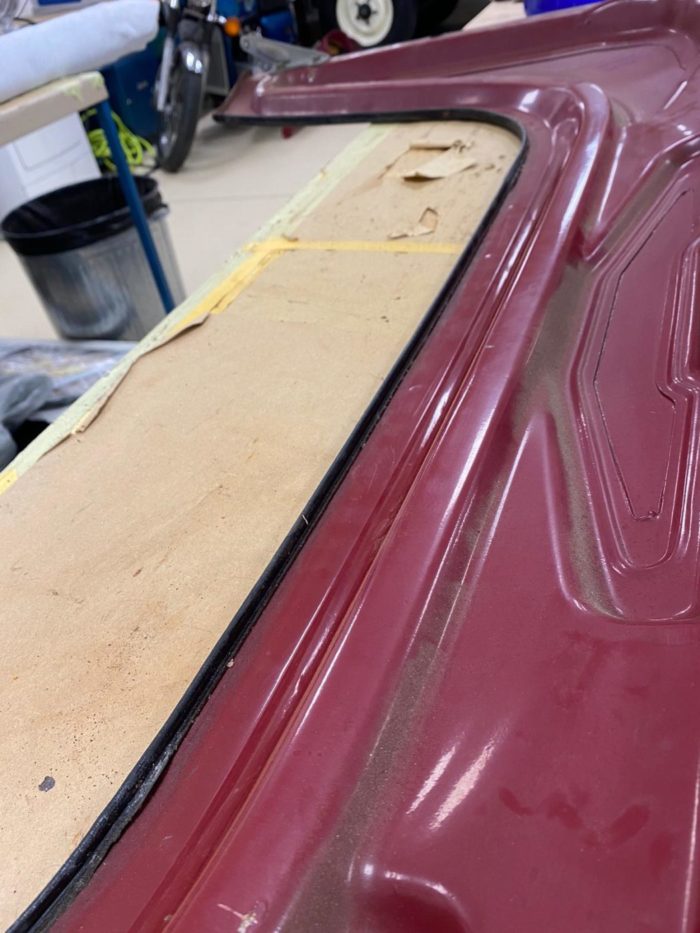
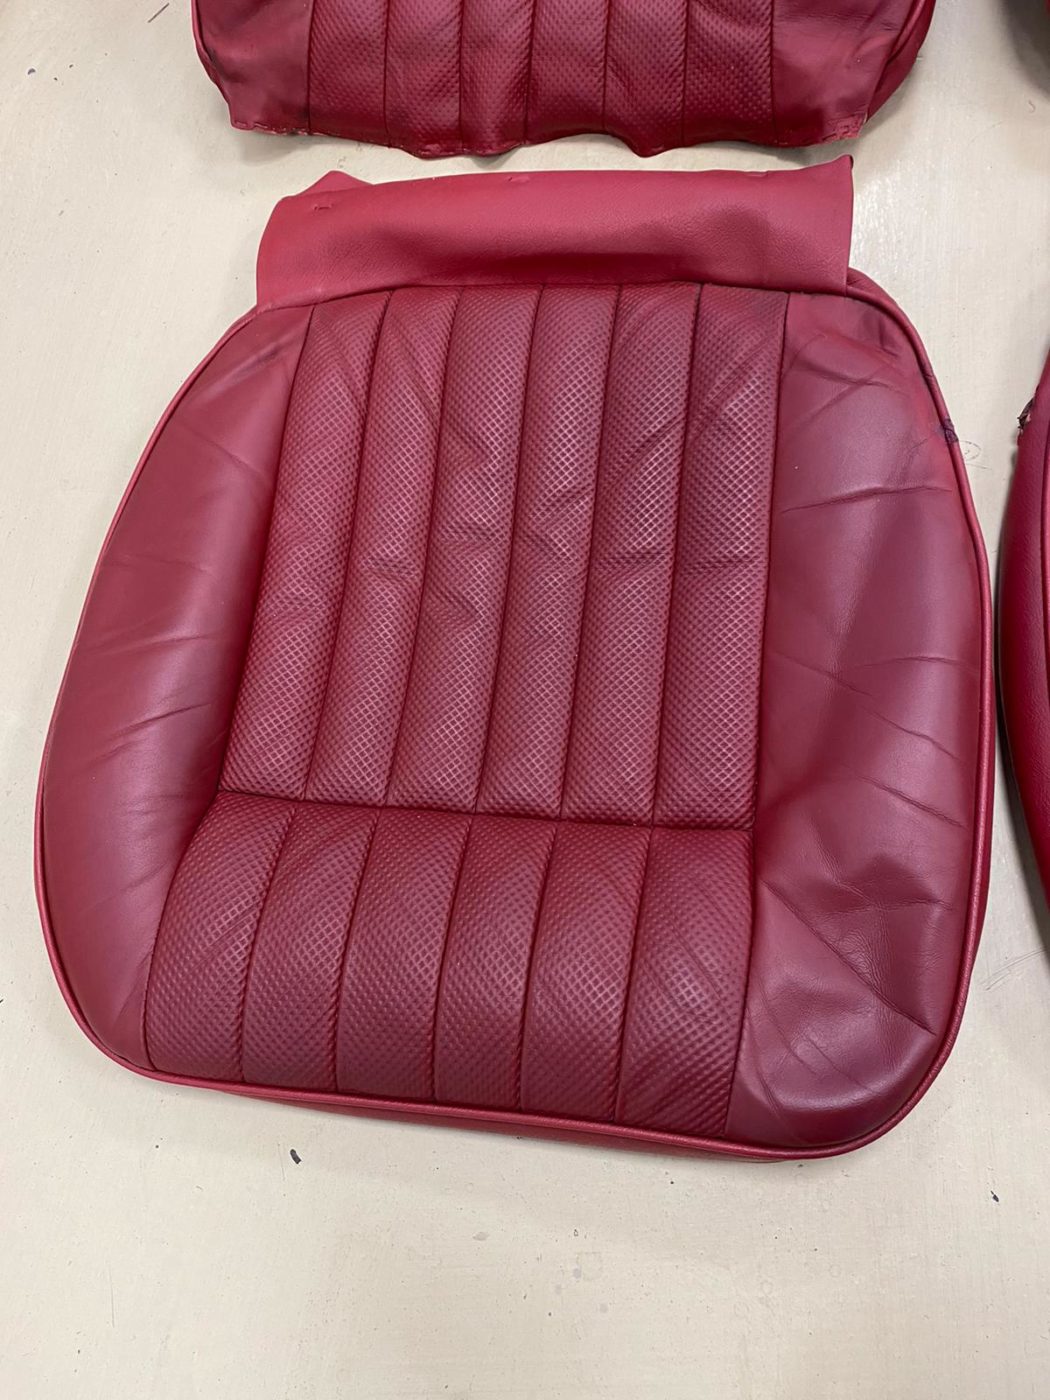
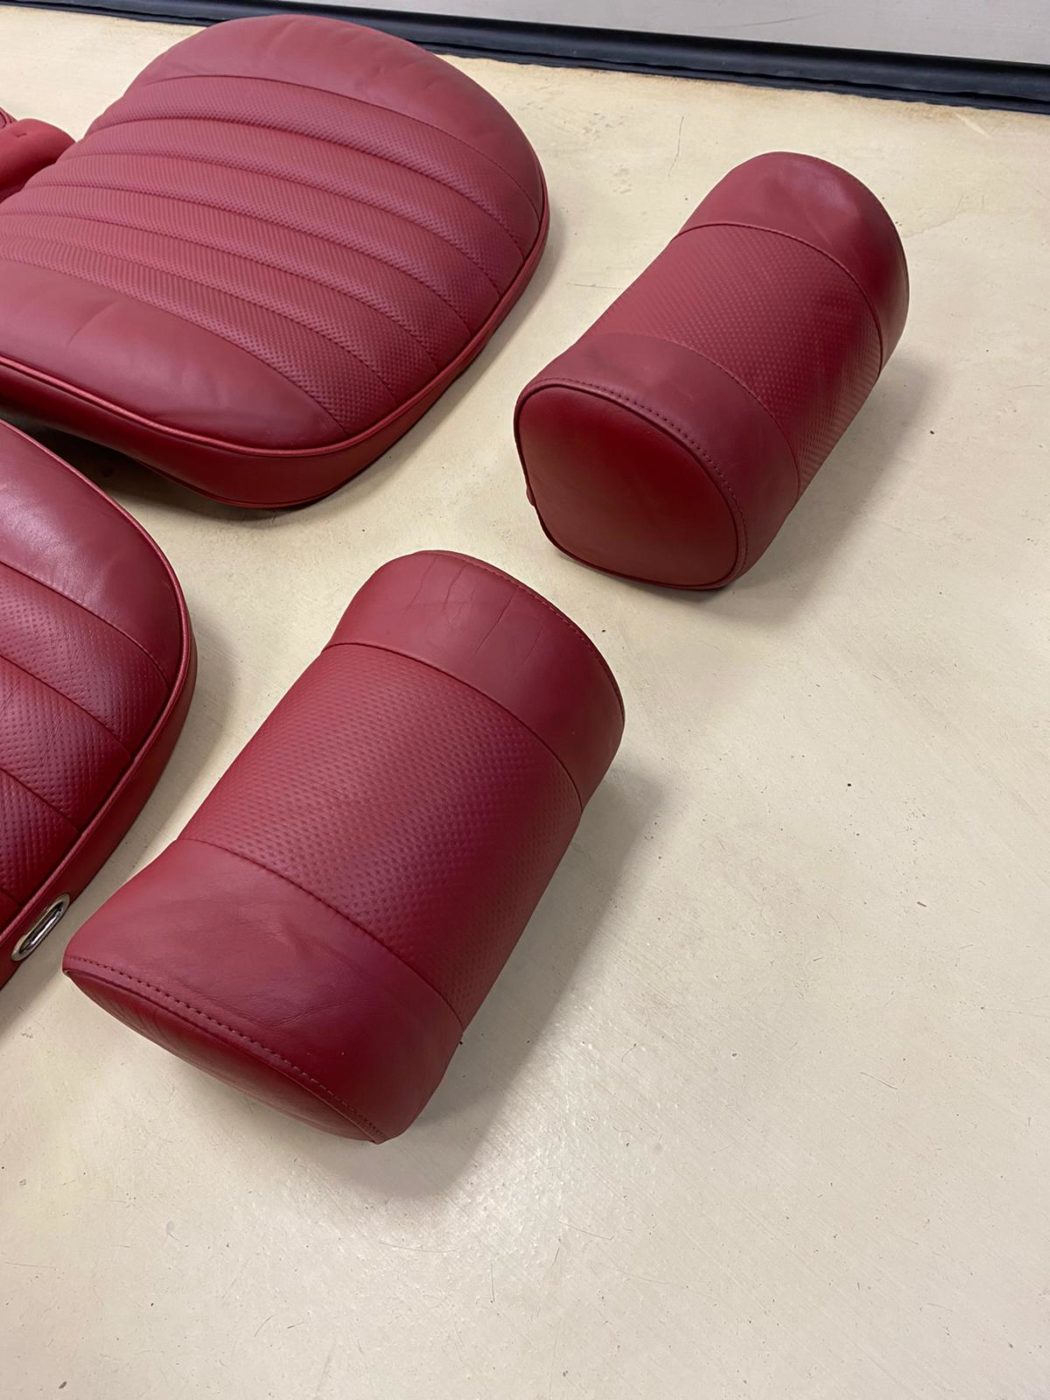
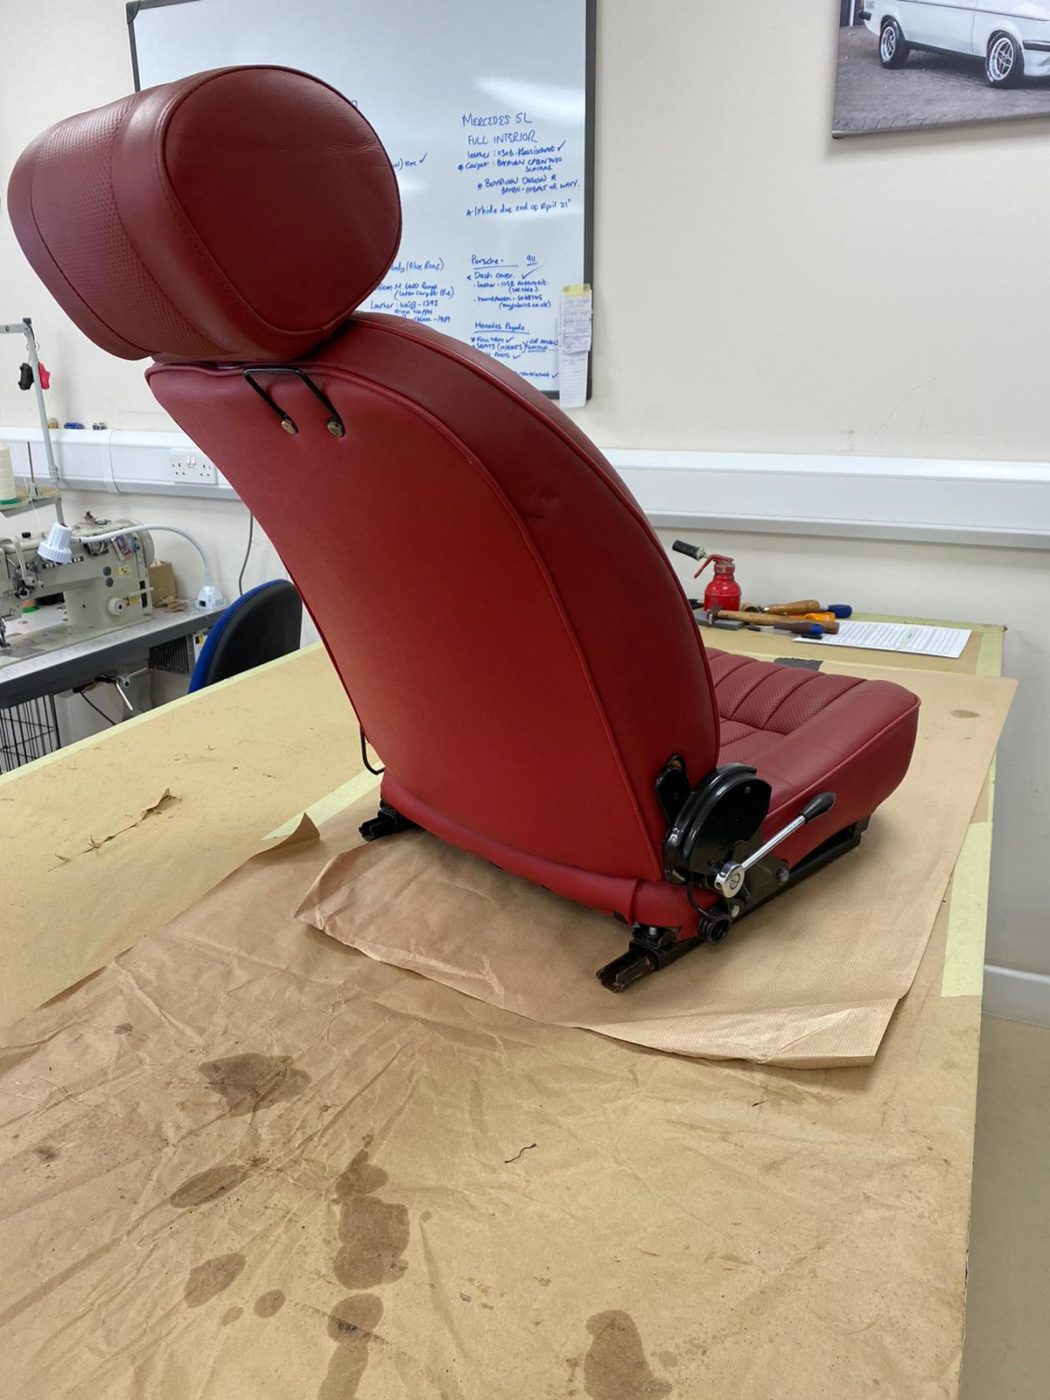
Lydia has been working on the 1960 Lilac Jensen that our director, Gordon, is having restored.
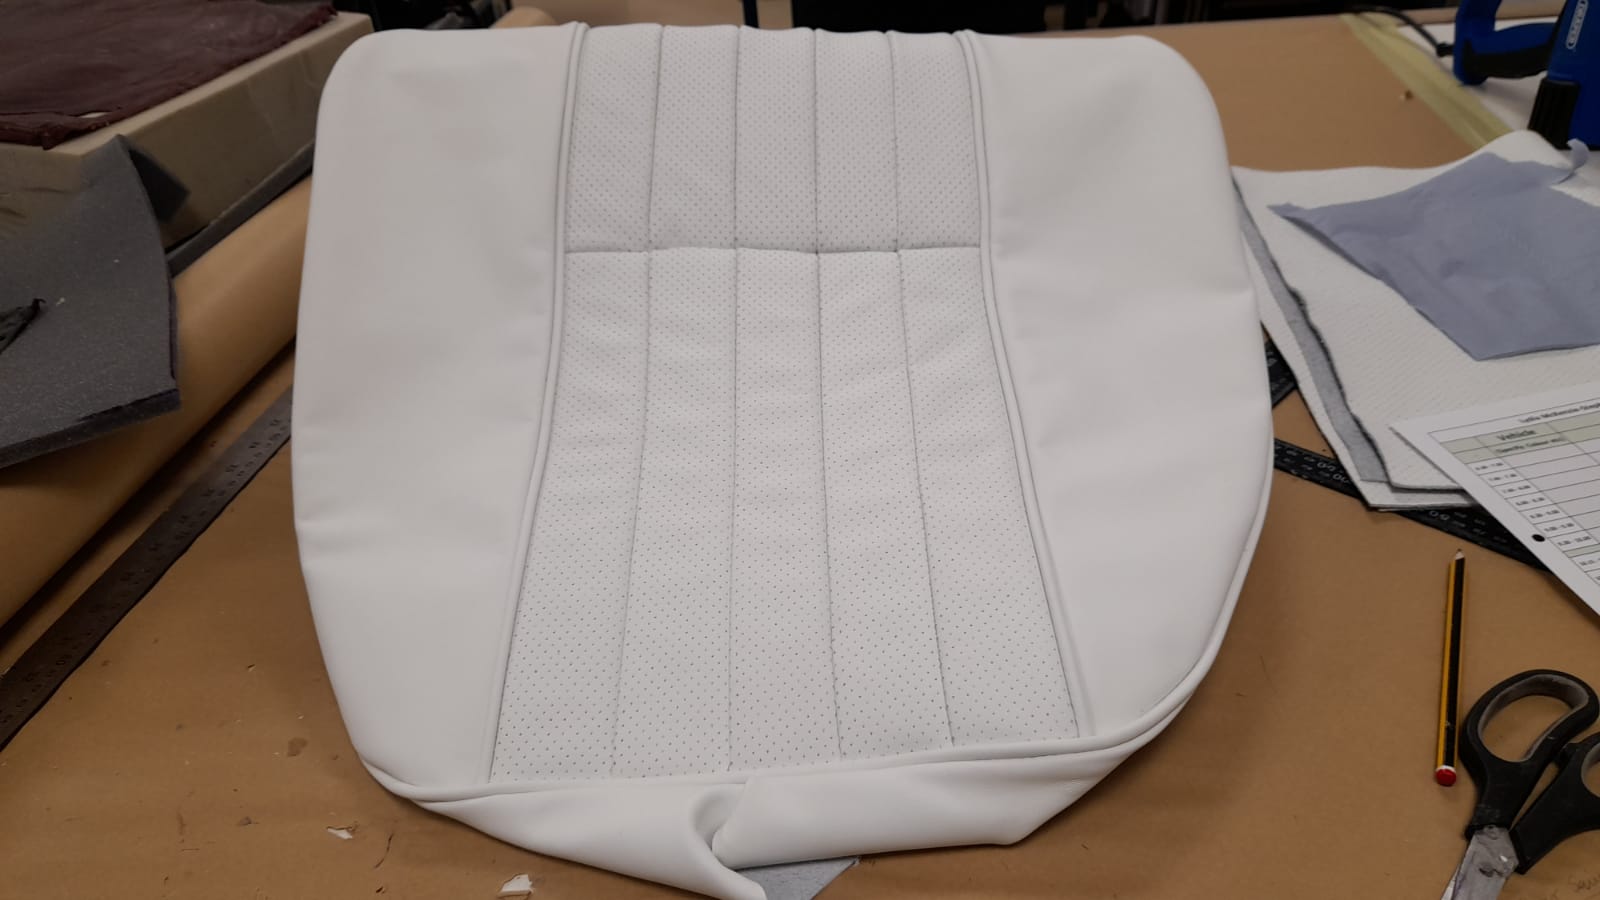
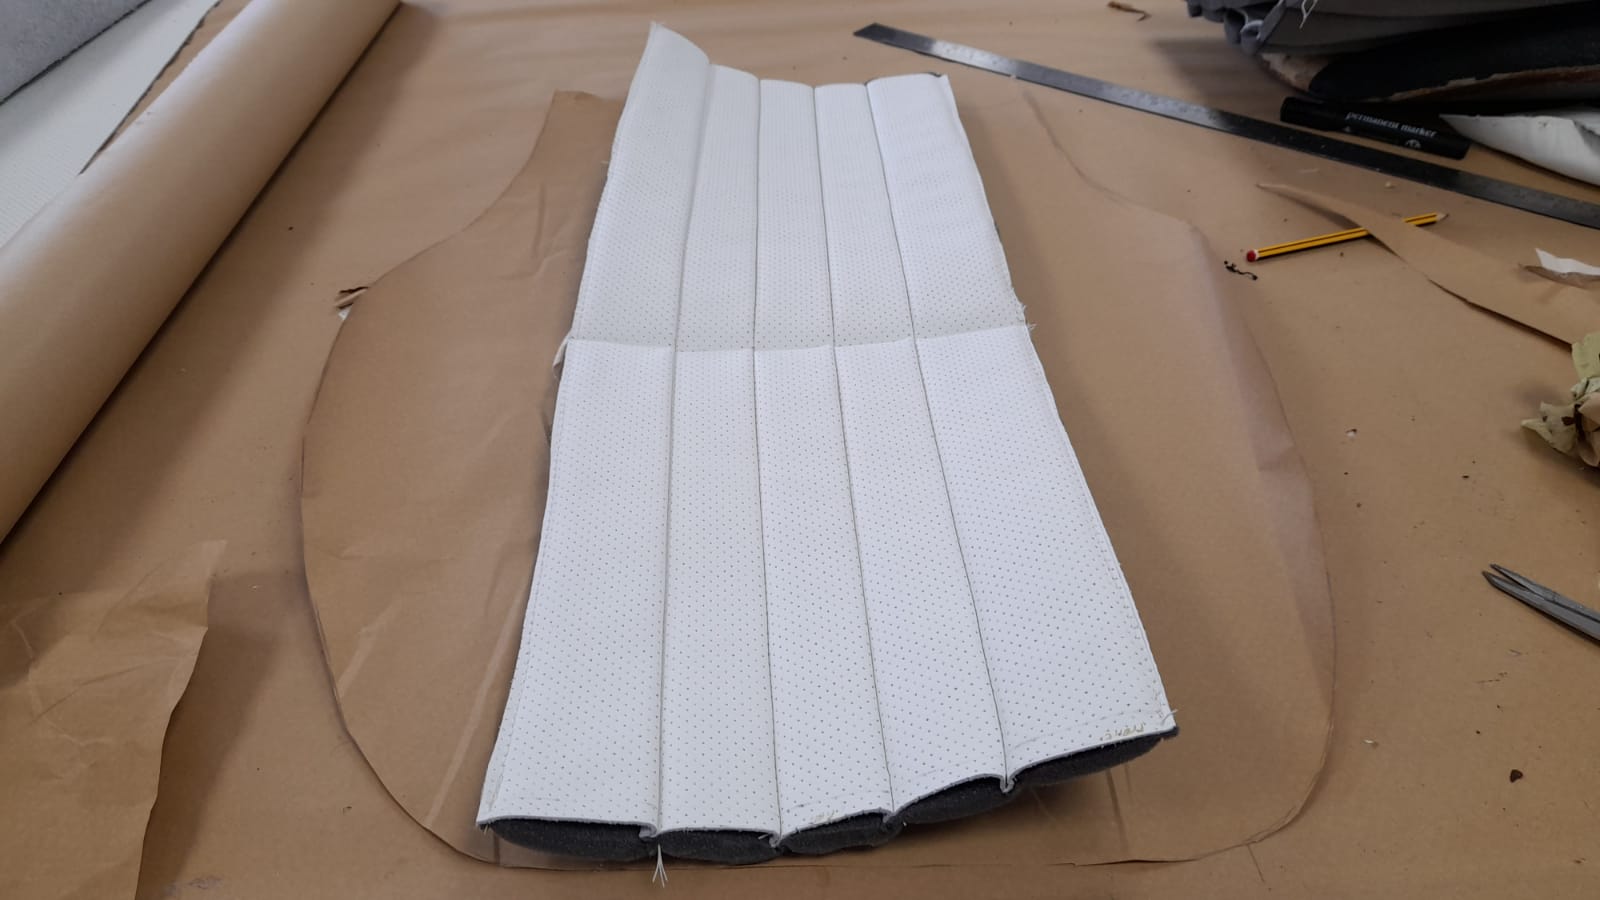
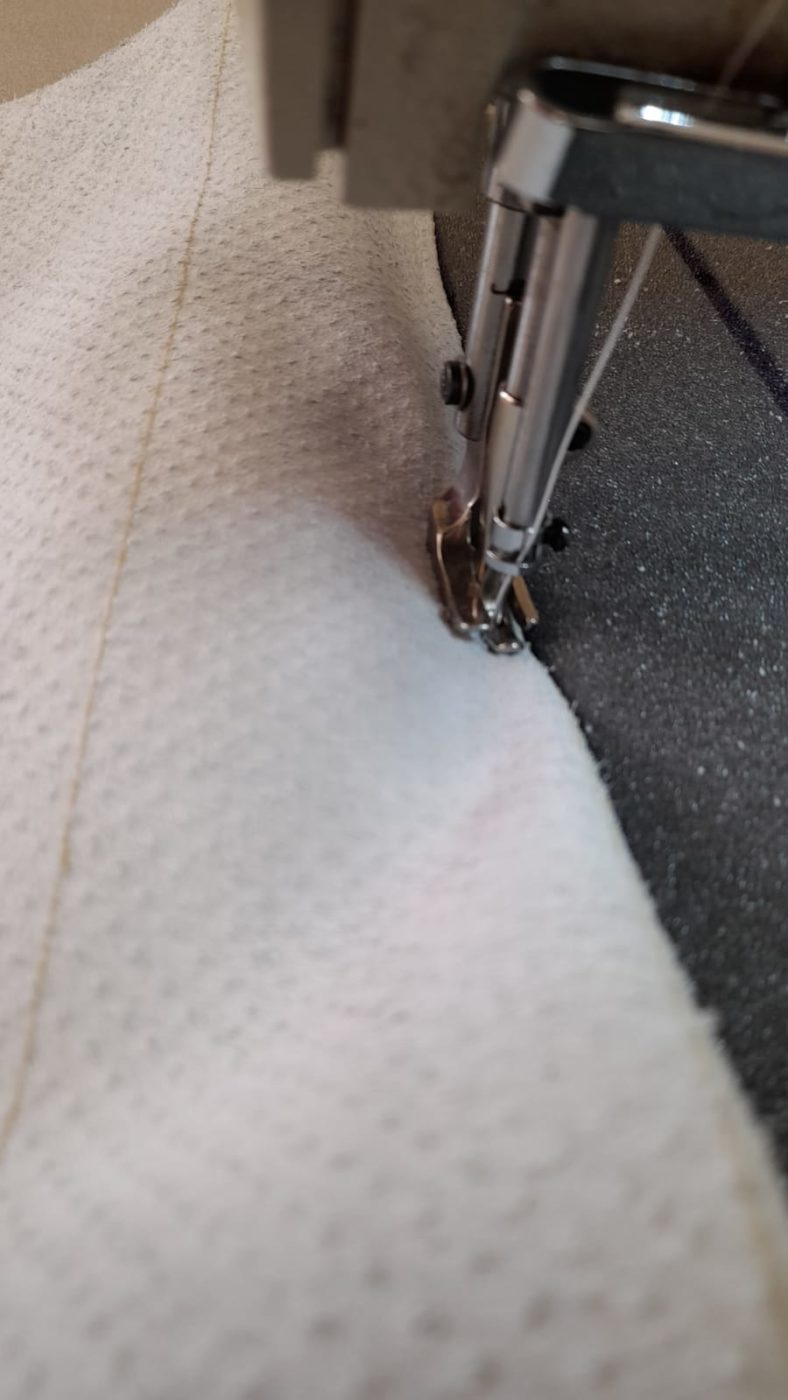
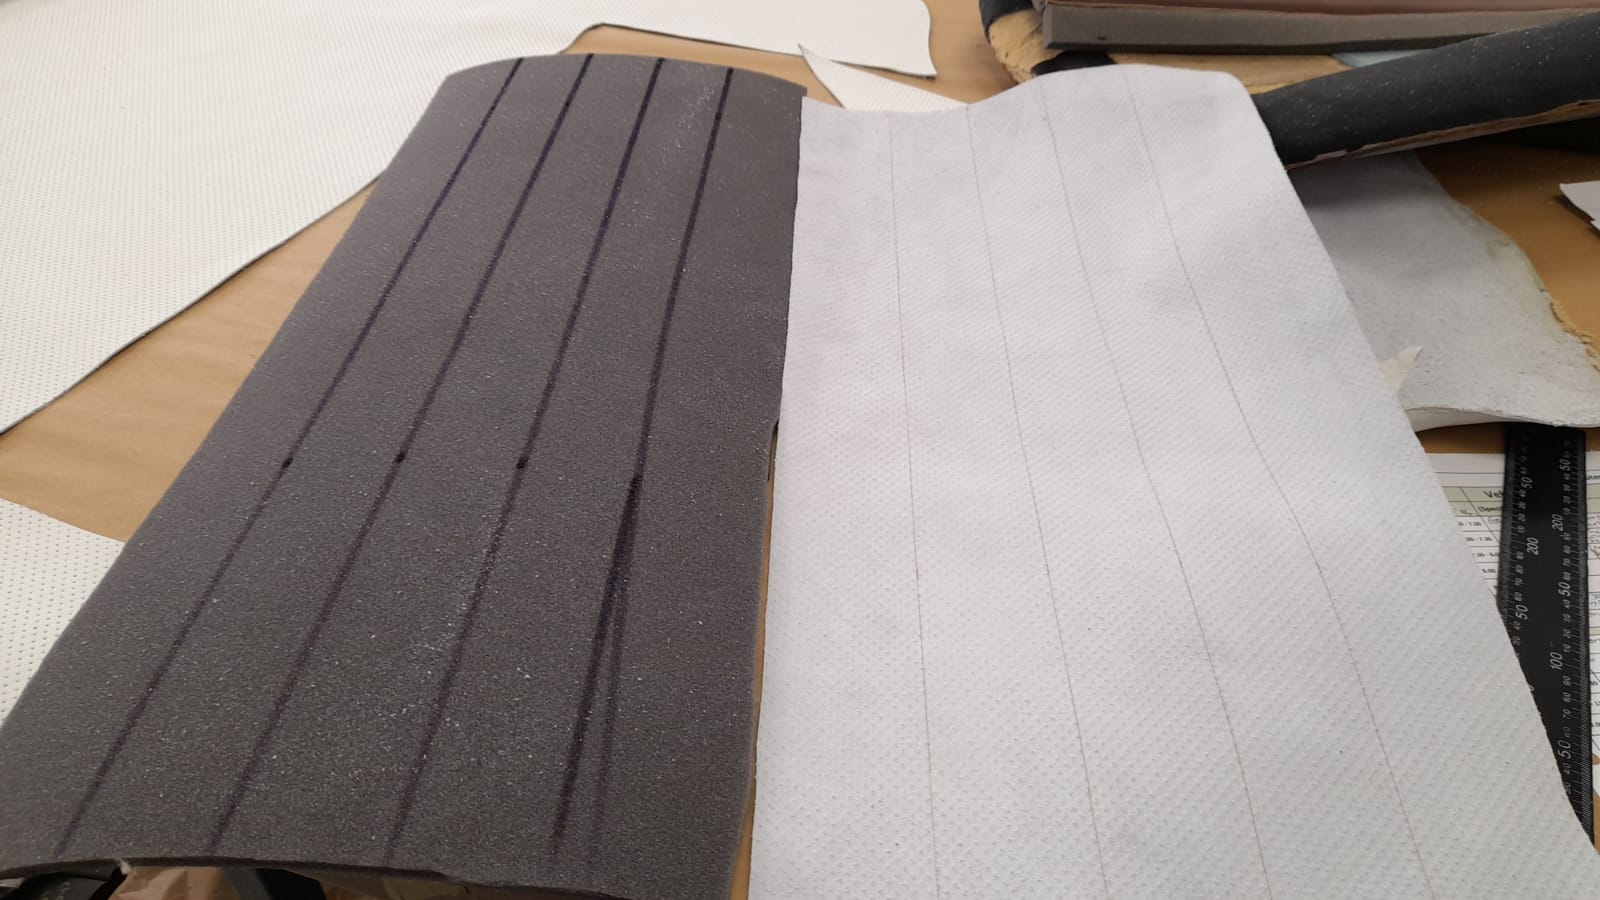
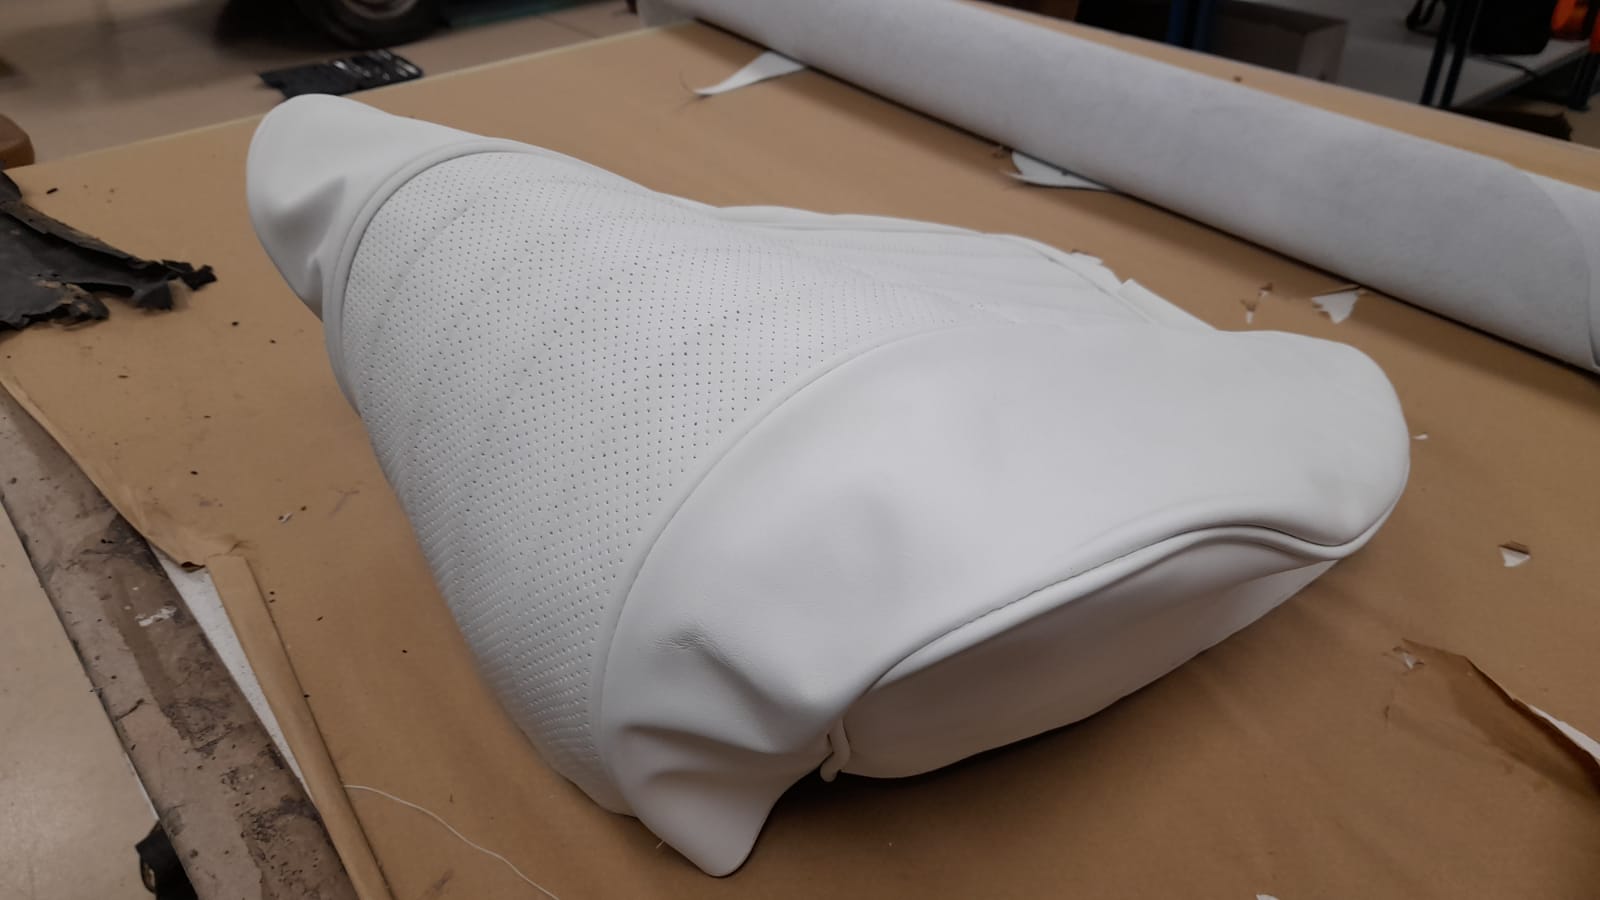
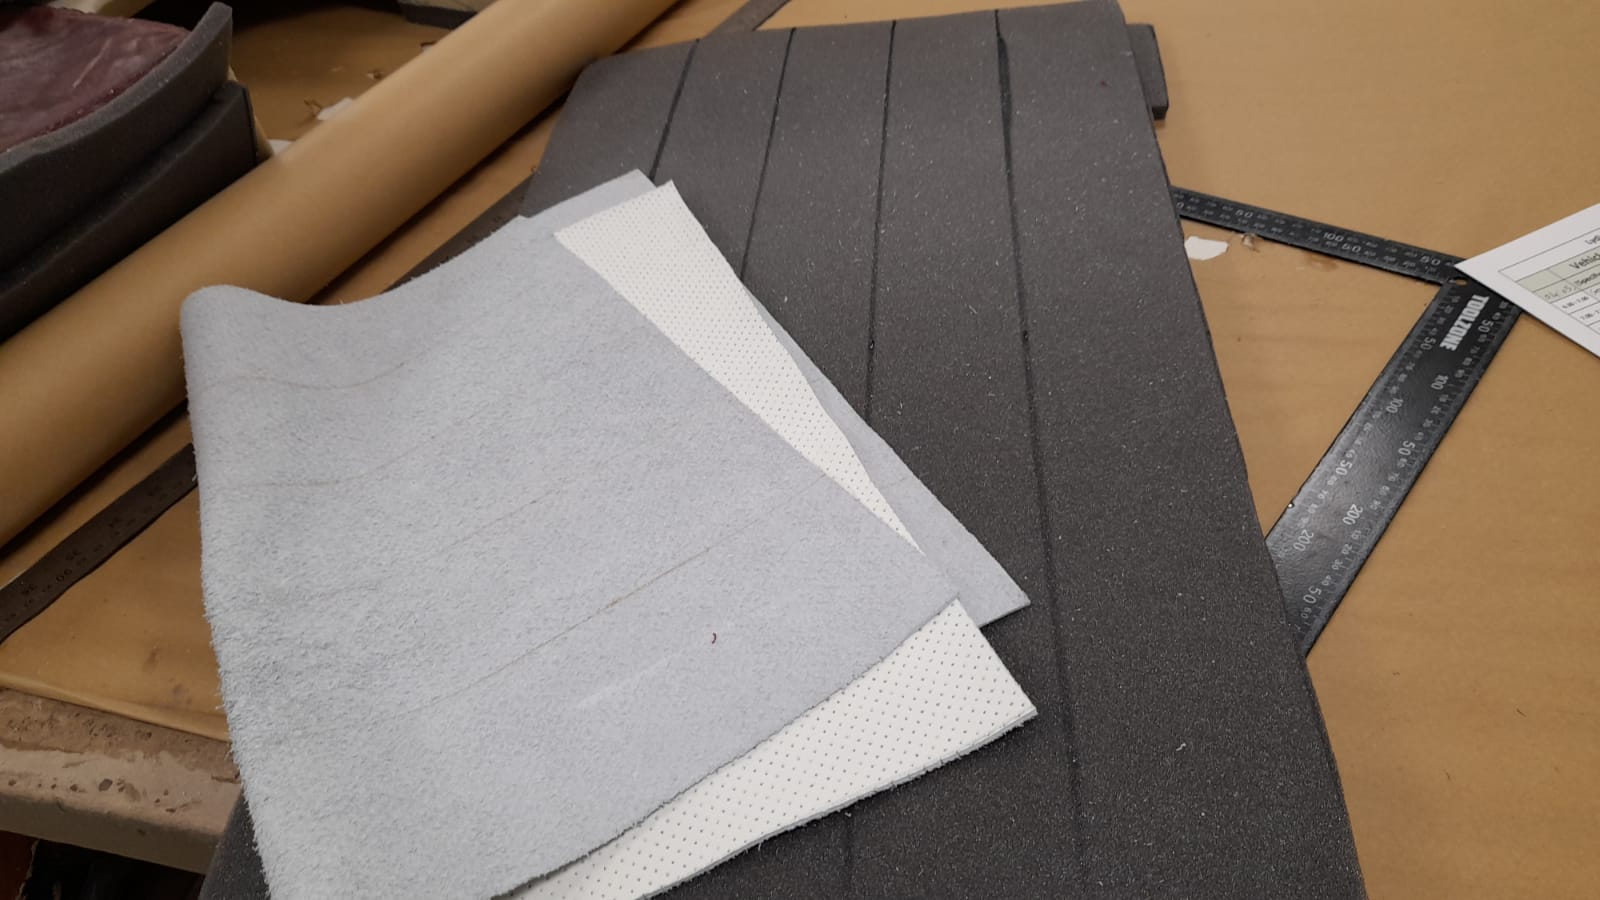
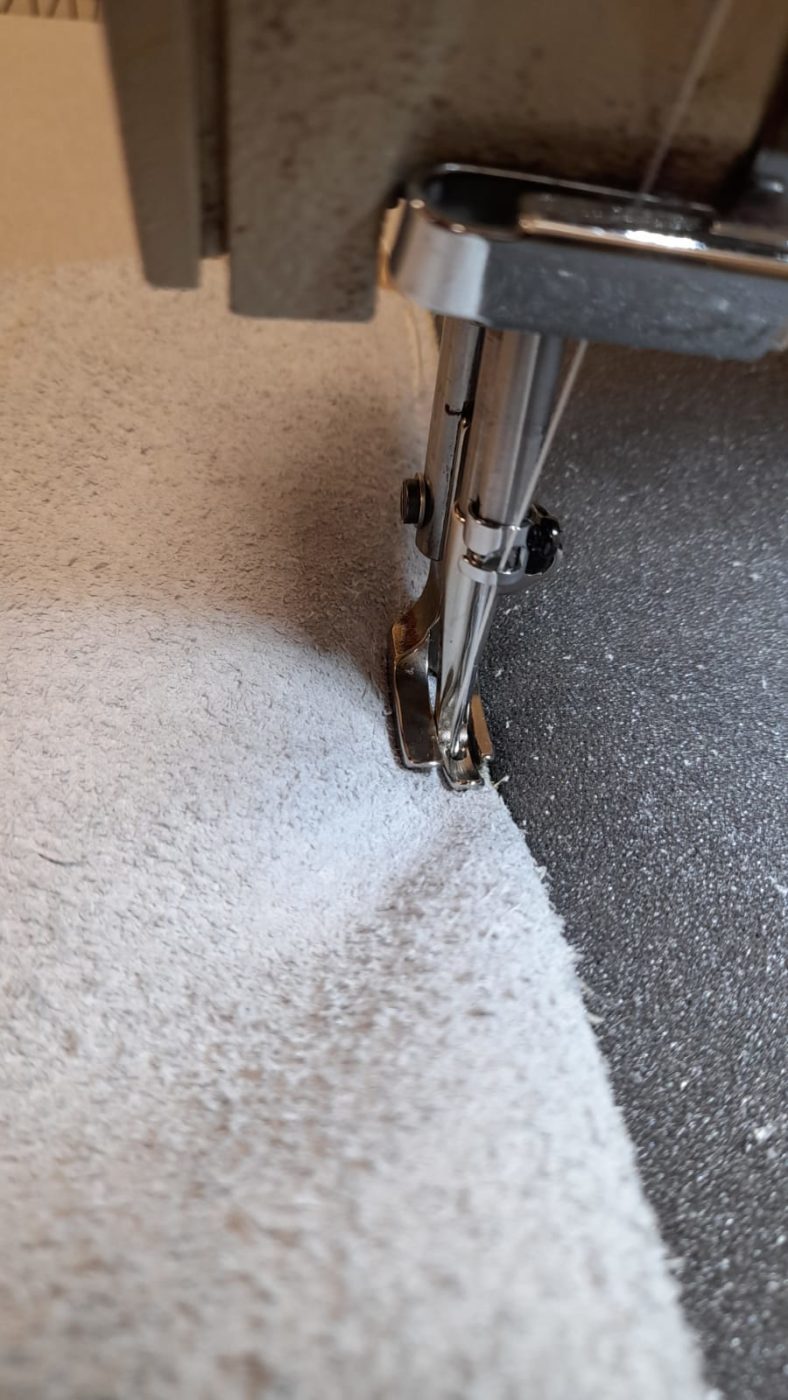
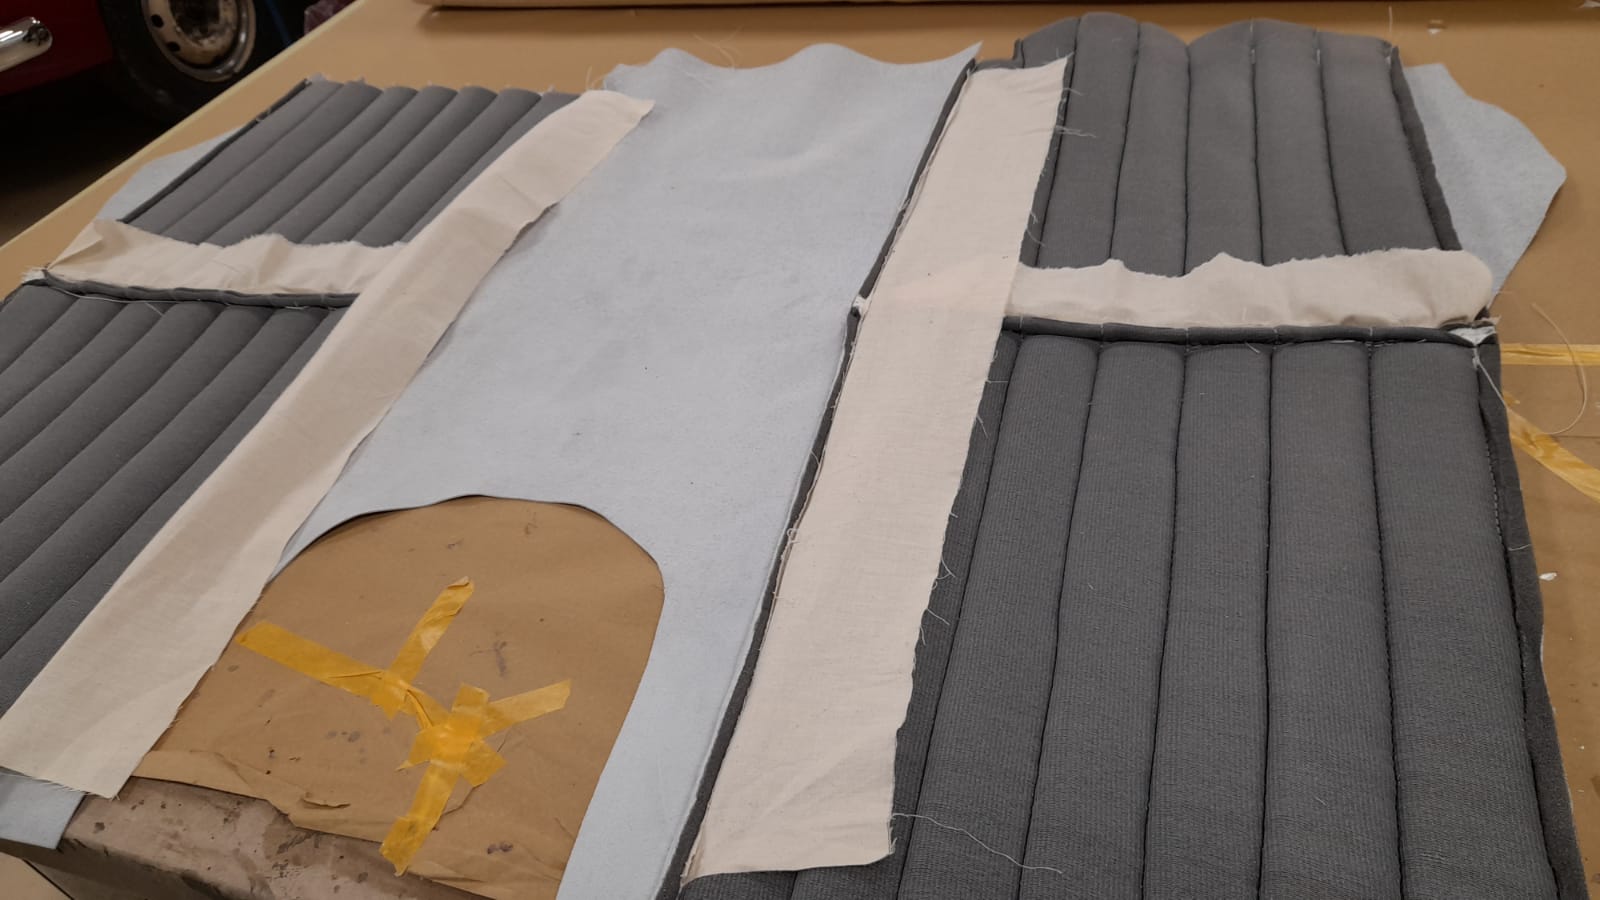
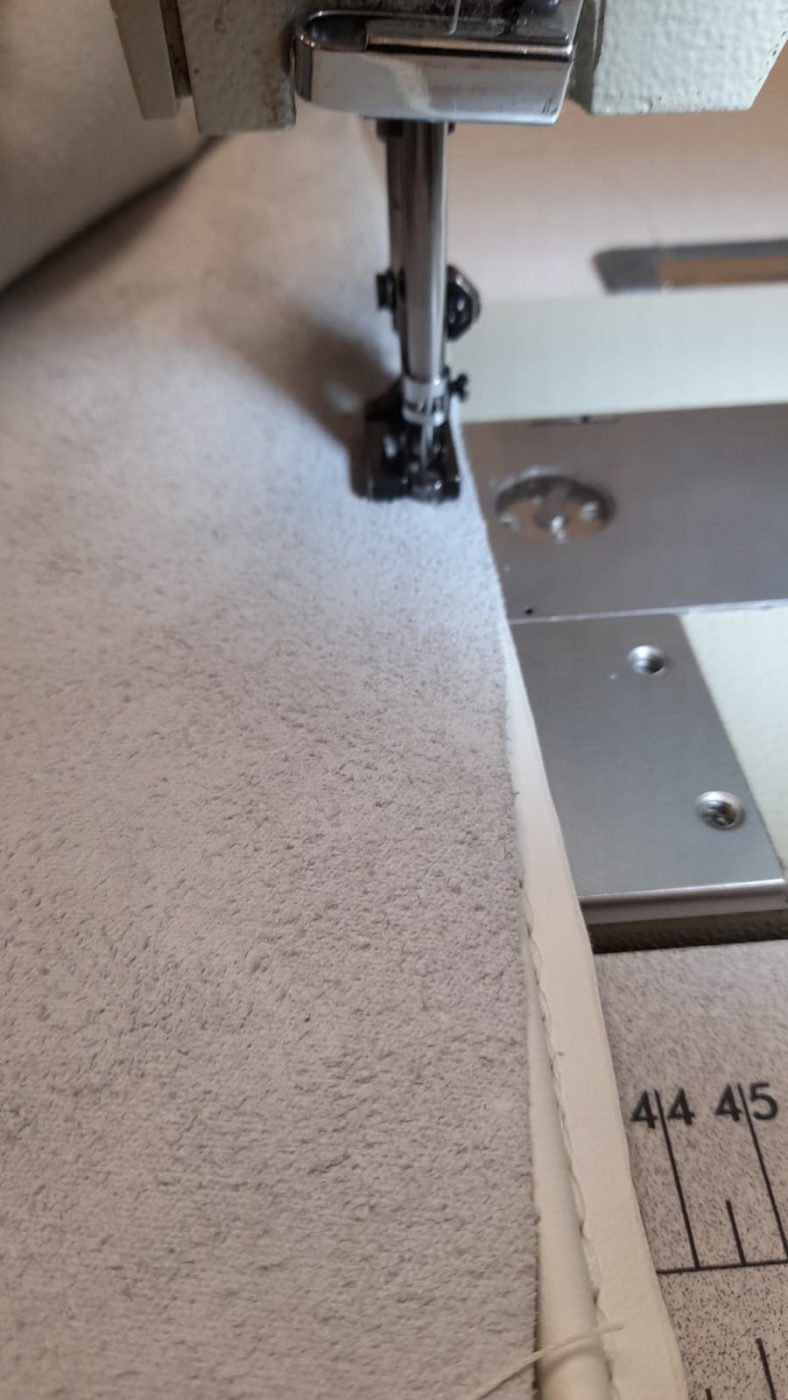
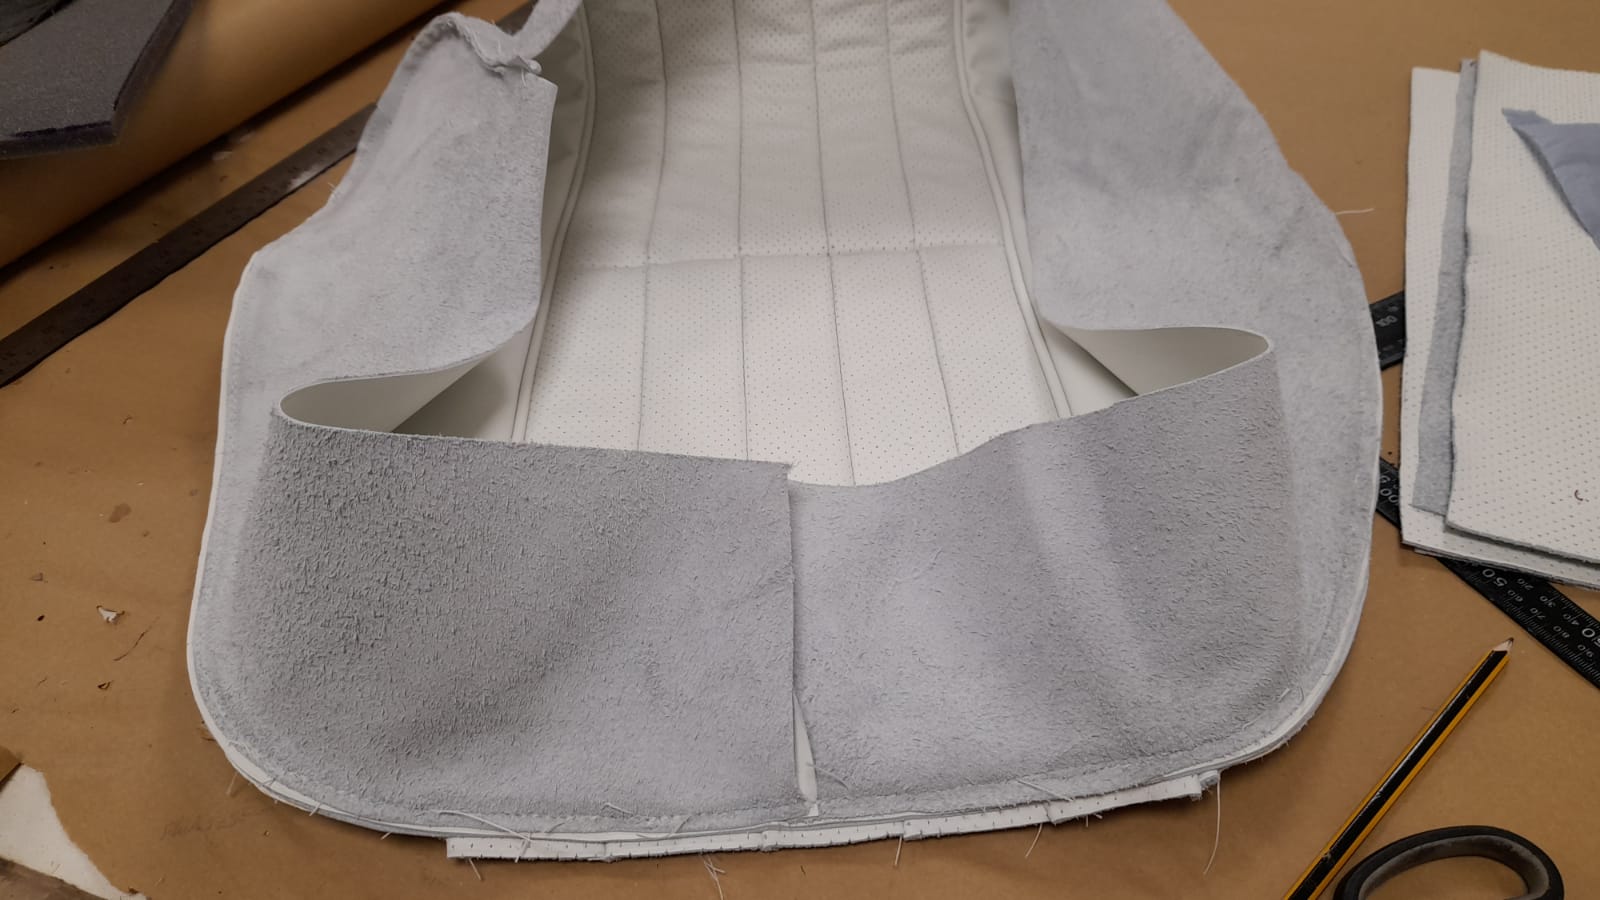
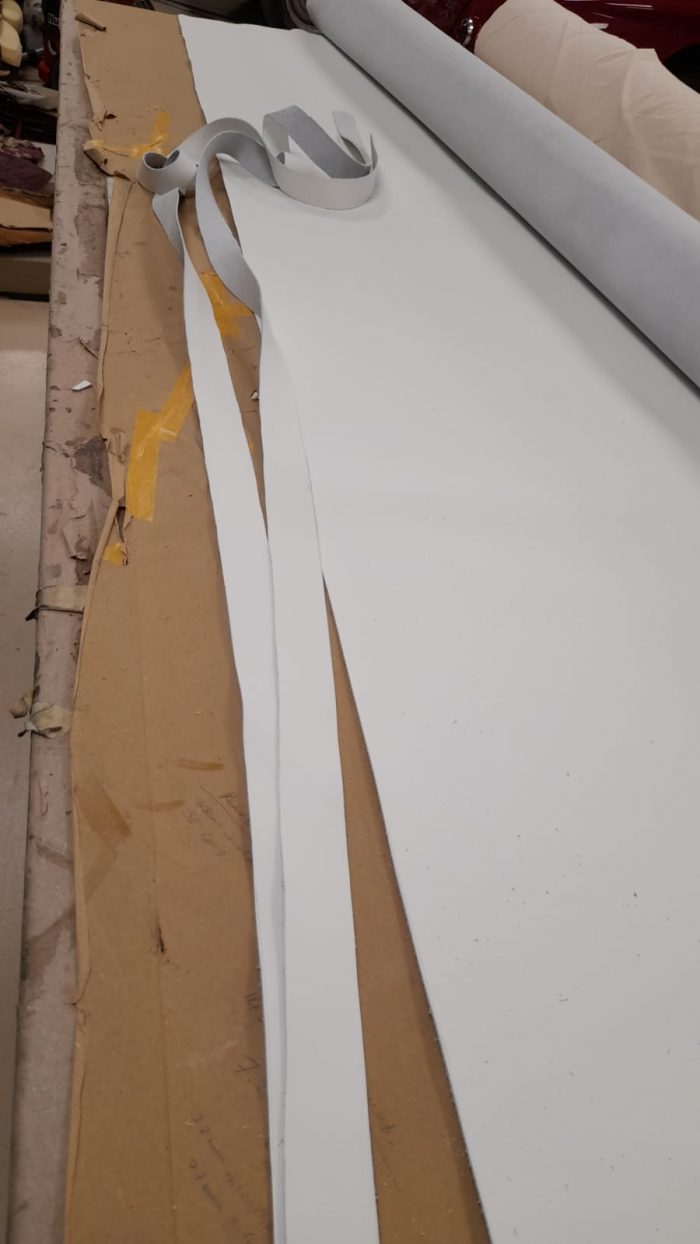
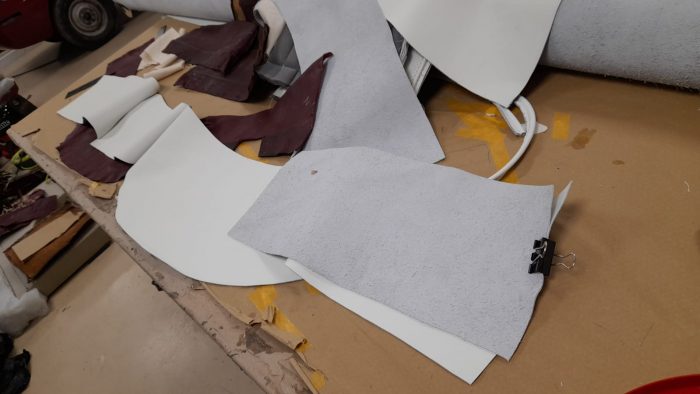
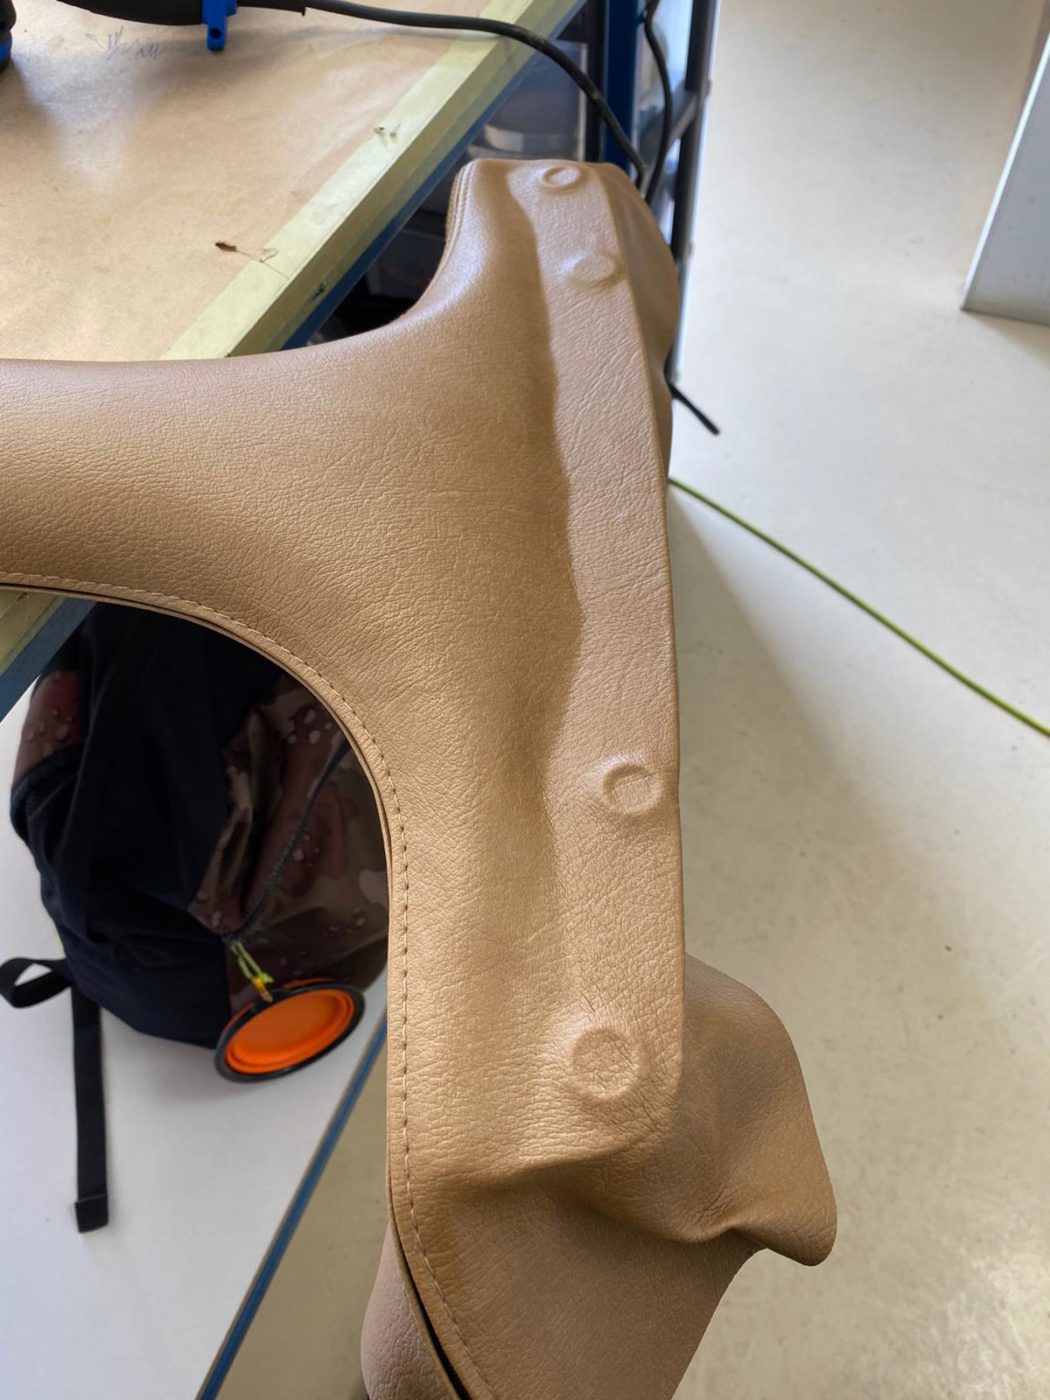
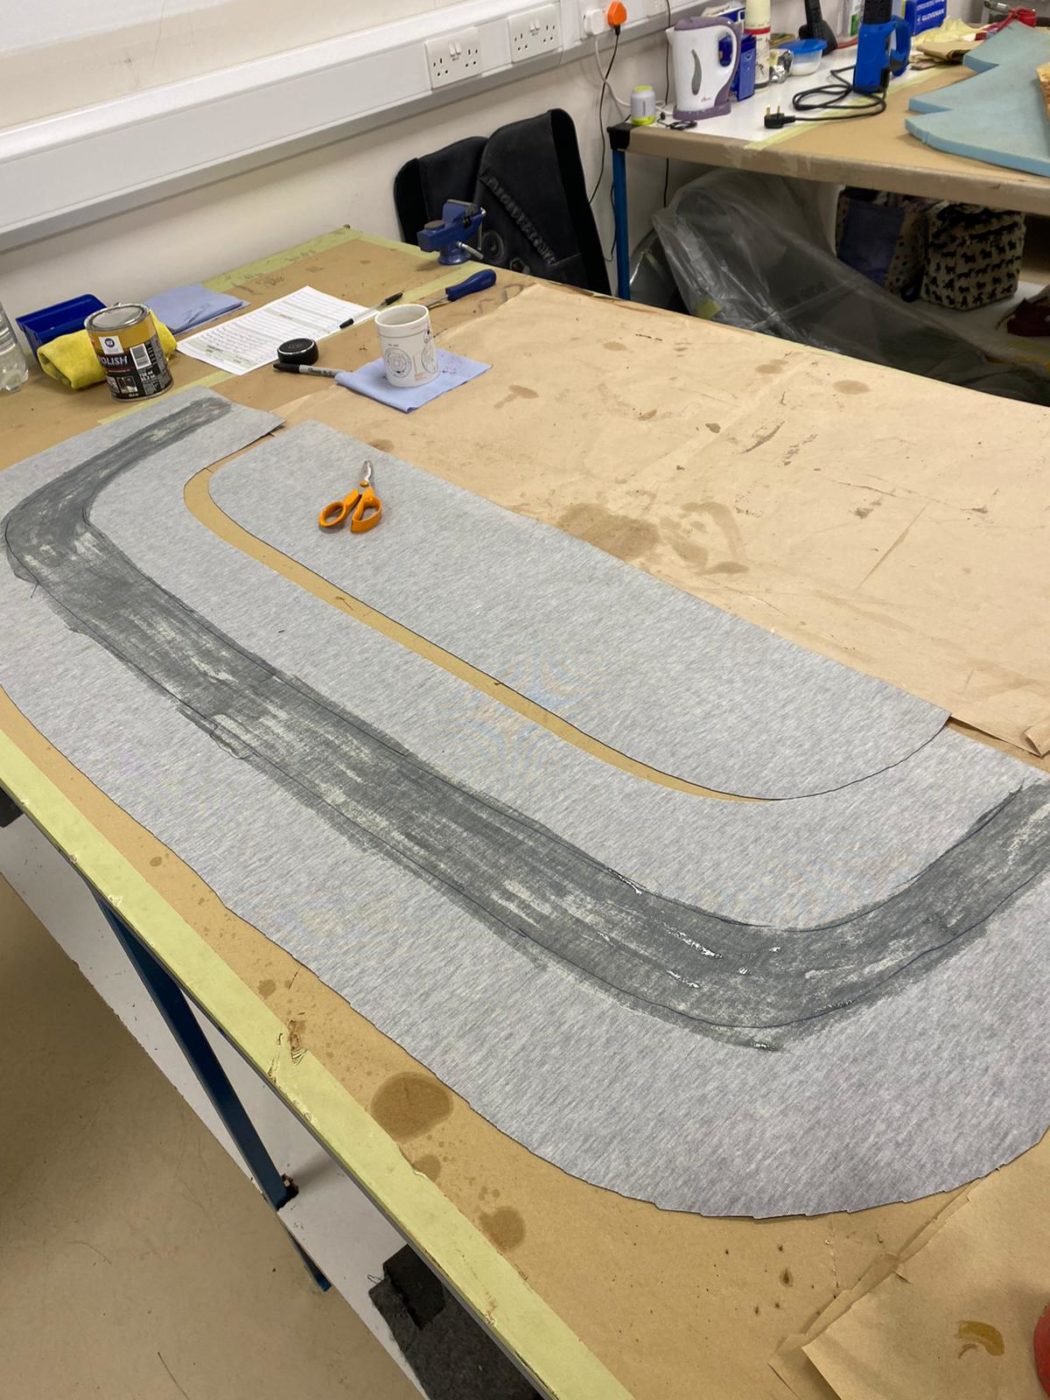
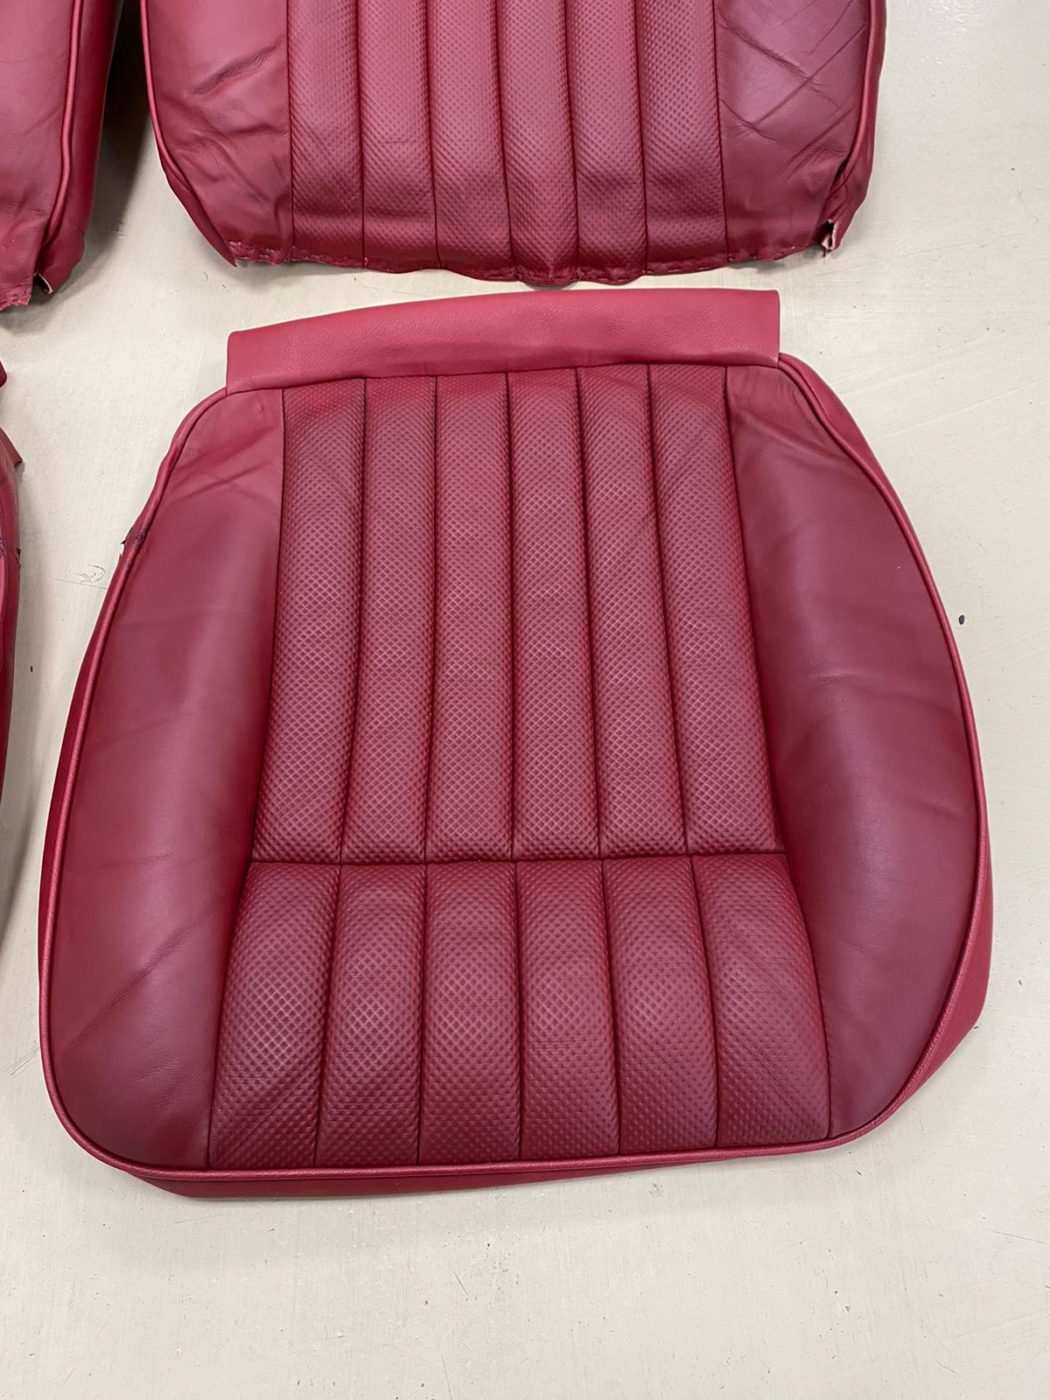
She has perforated the leather which arrived and then made fluted faces for the front squab and base seats with it. Then, she marked out the lines on the back of the leather and onto scrim foam to use as guides. Next up, Lydia could sew in the flute lines to complete the front squab and base flutes. Lydia had to create a seam in the base of the flutes as well as attaching calico to the seams. The seam and calico then get pulled tight on the foam. Lydia’s next challenge was to sew in sidebands onto the front base seat as it wasn’t in the original design. Once confident with the patterns, Lydia could cut them out. She sewed piping down the sidebands before attaching to the sides of one of the fluted base “faces”. Then she piped around the outside of the whole thing and checked to see if the foam would still fit. Lydia then worked out the front squab seat next. She piped the sides of the fluted “face” again. She then lay it on the frame because she had to mark where to trim the sidebands, these had to be adjusted slightly because of the new design.
Lydia then made cuts in the foam for the piping to sit into and to give a good shape. She then glued the piping down into them. She then stapled around the back and the bottom of the frame to hold the front squab in place.
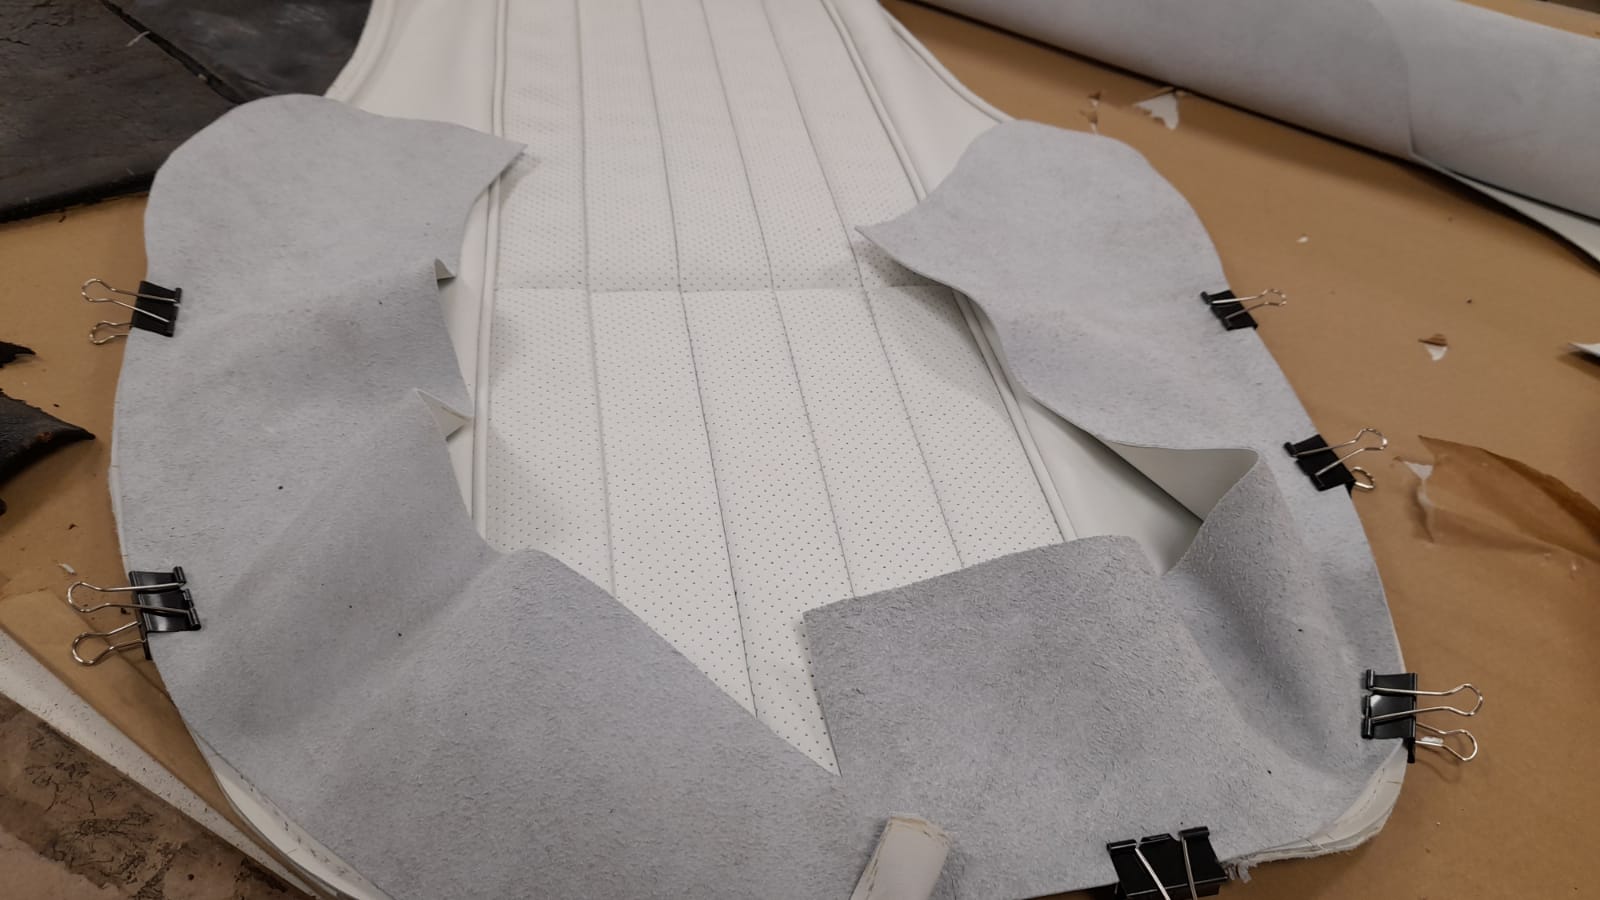
Next up, she marked out the leather for the back pieces for one of the front base seats that she started on before. She then clipped them around the piping of the “face” to check the fit before sewing on.
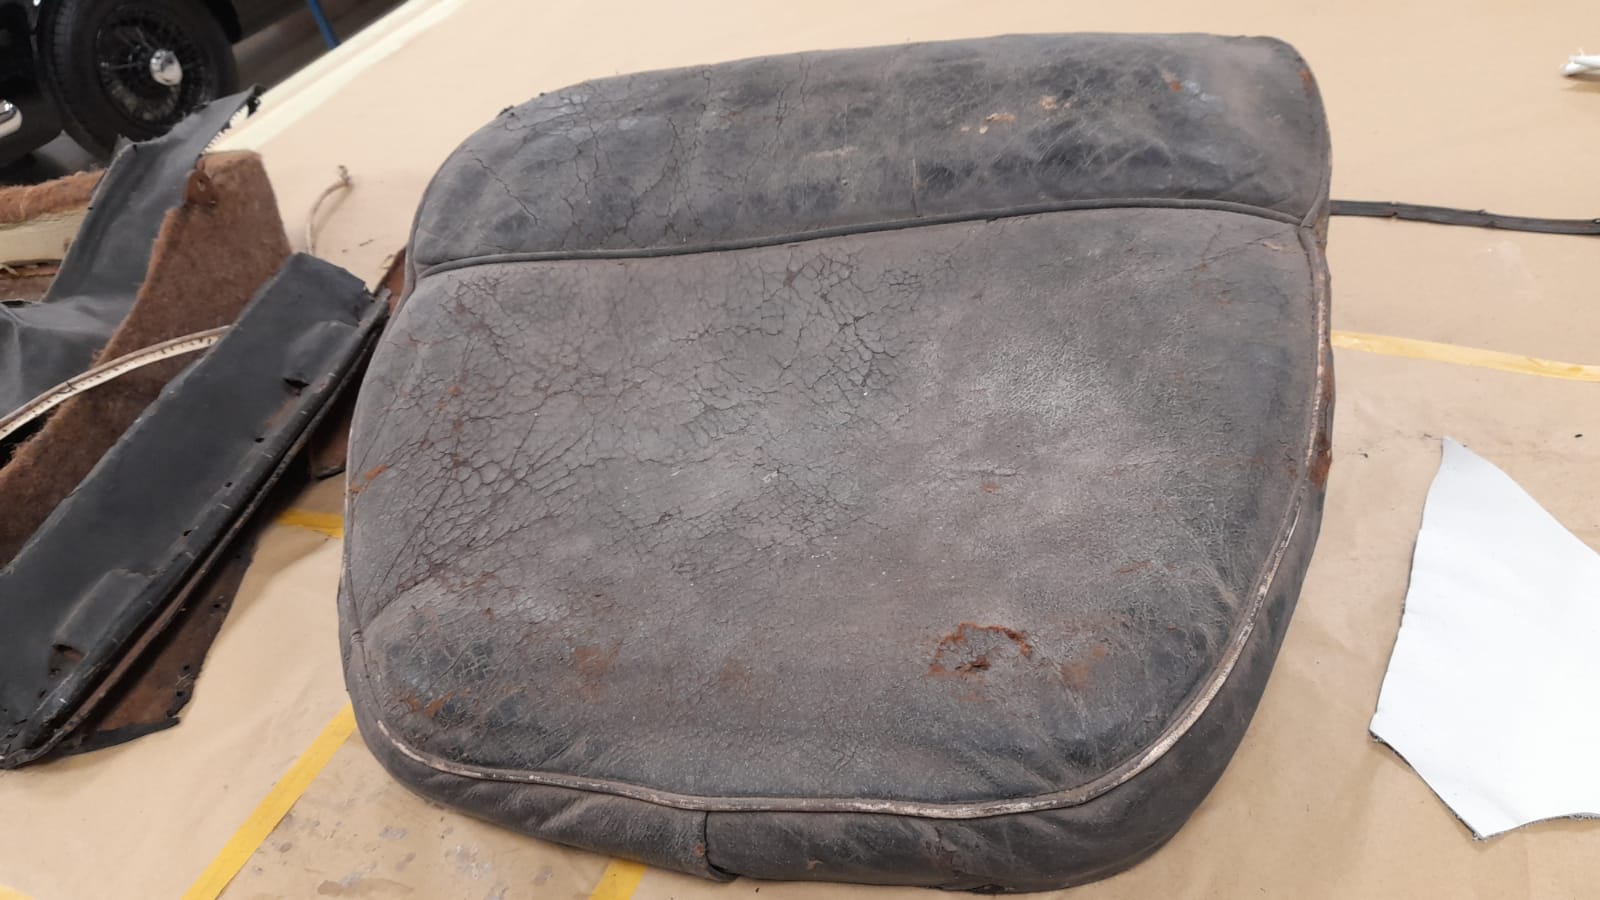
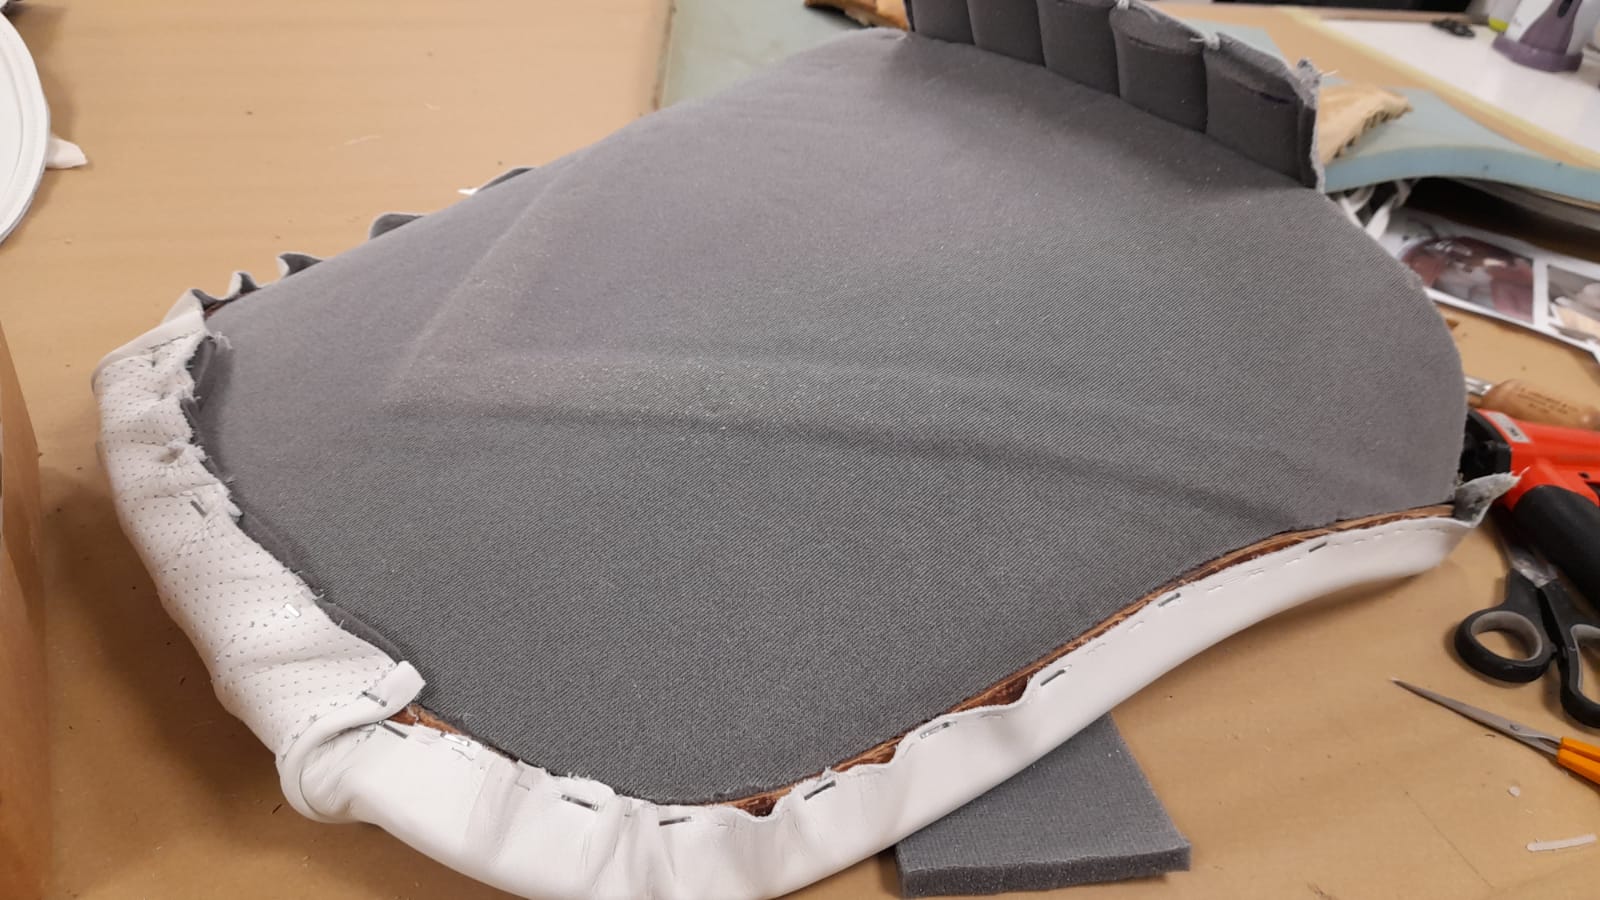
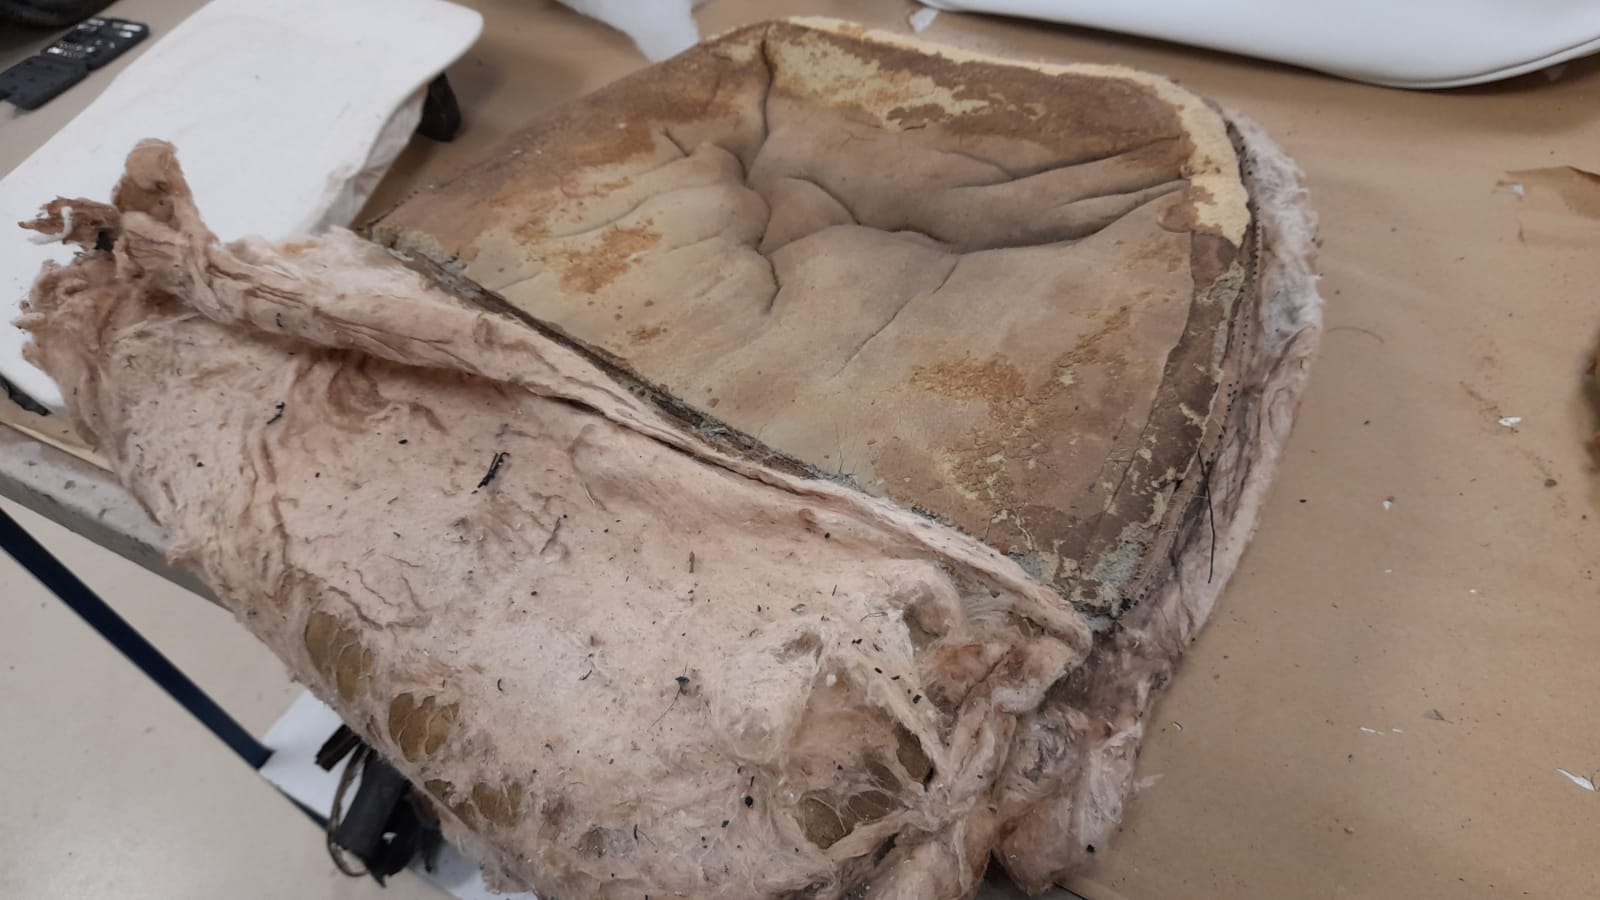
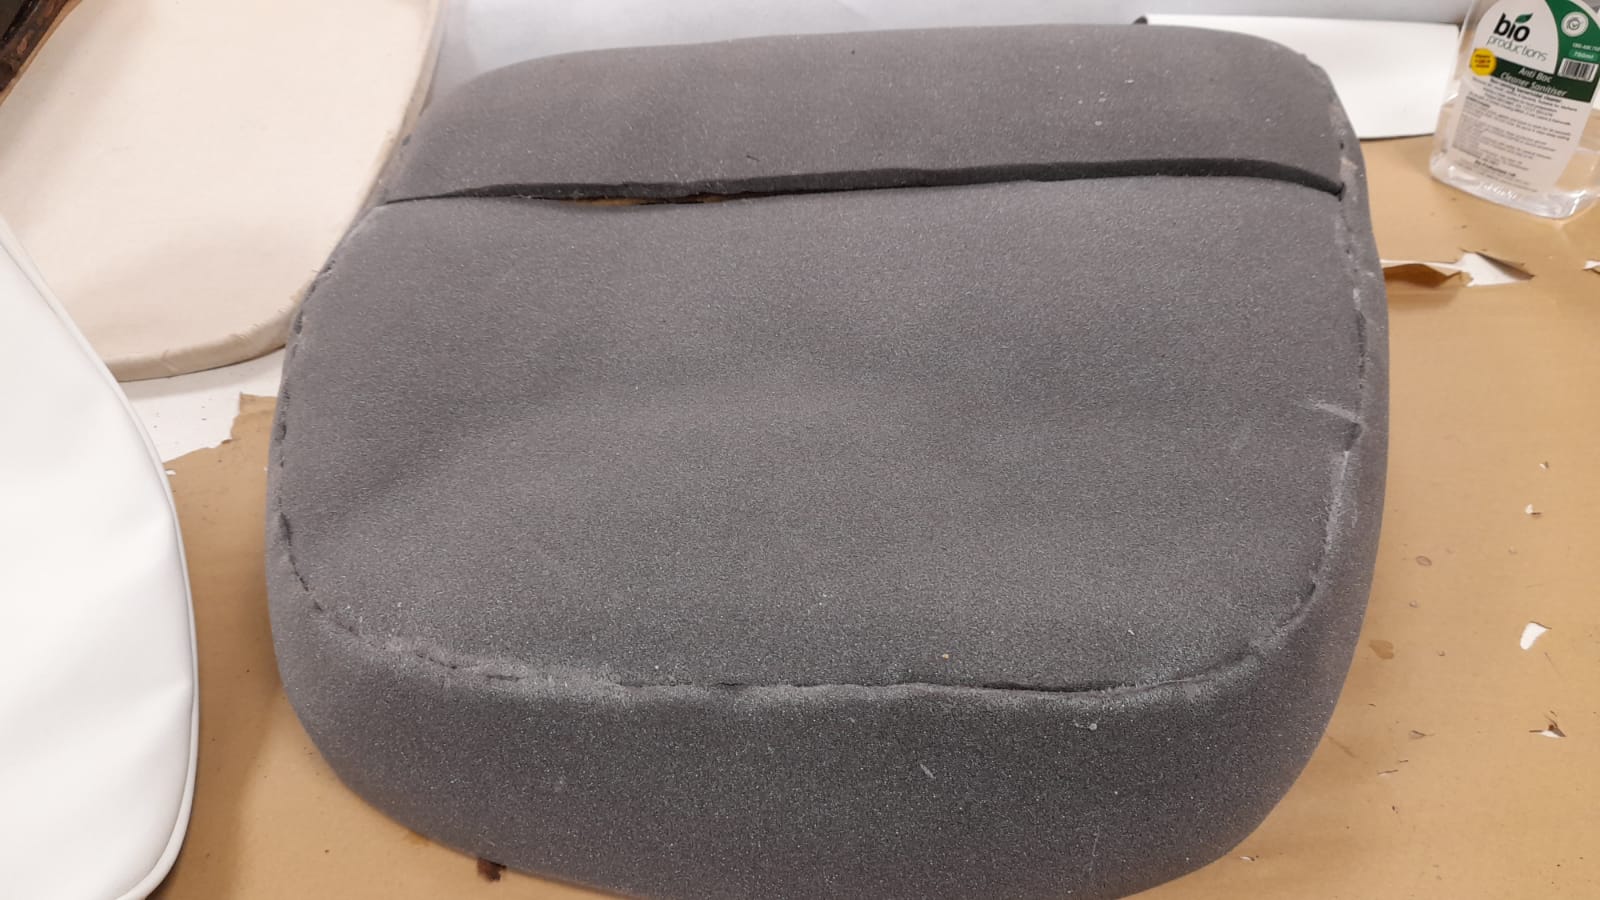
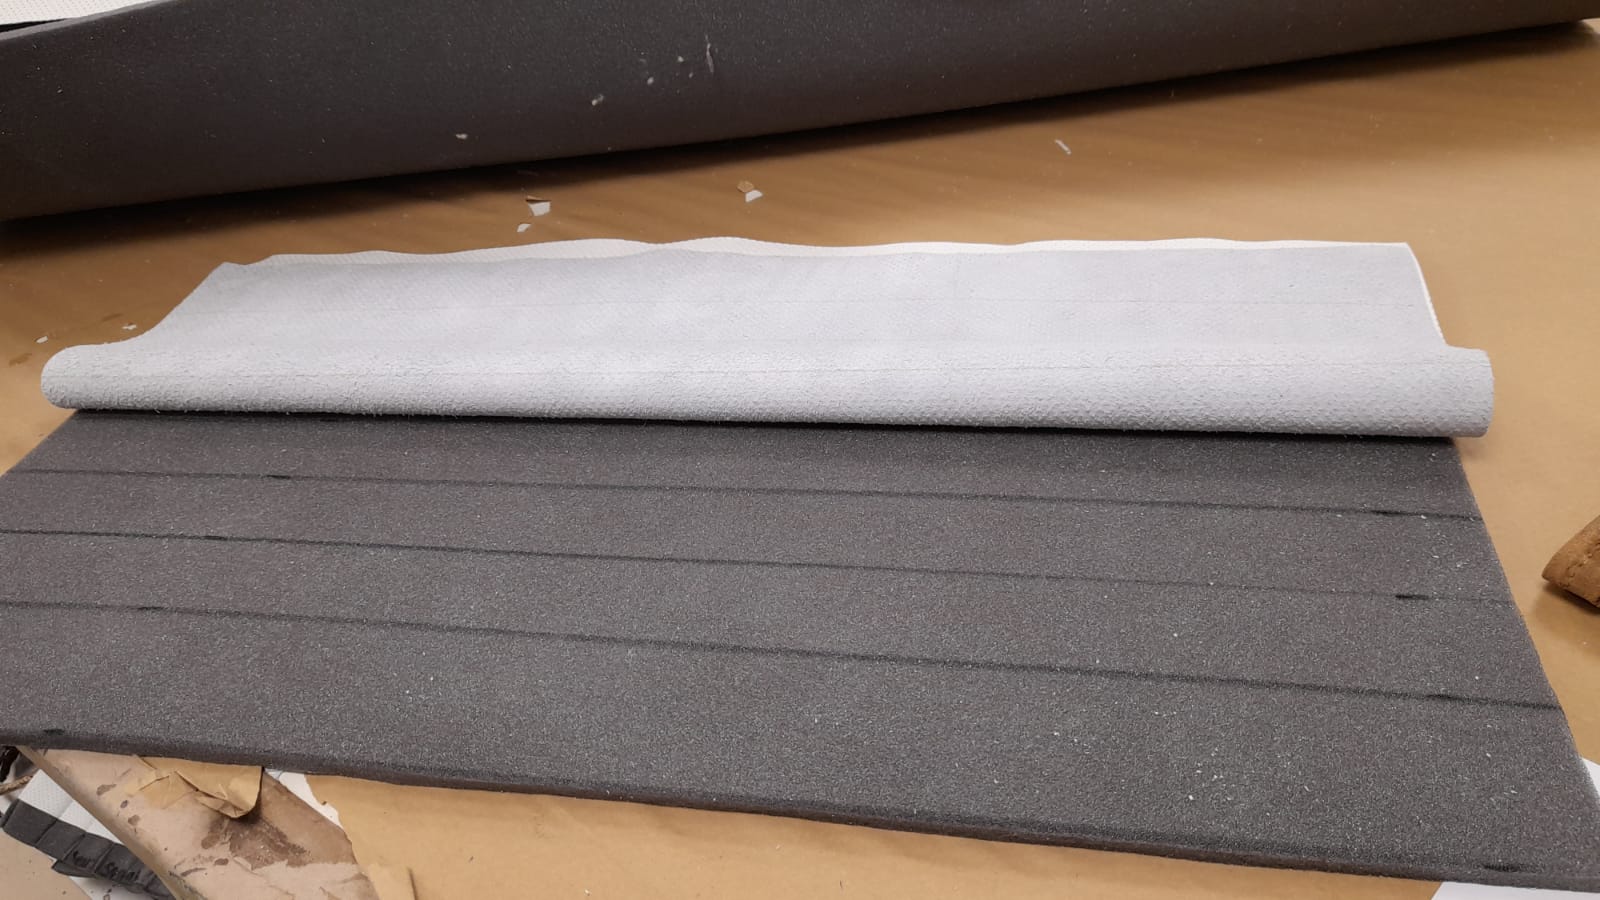
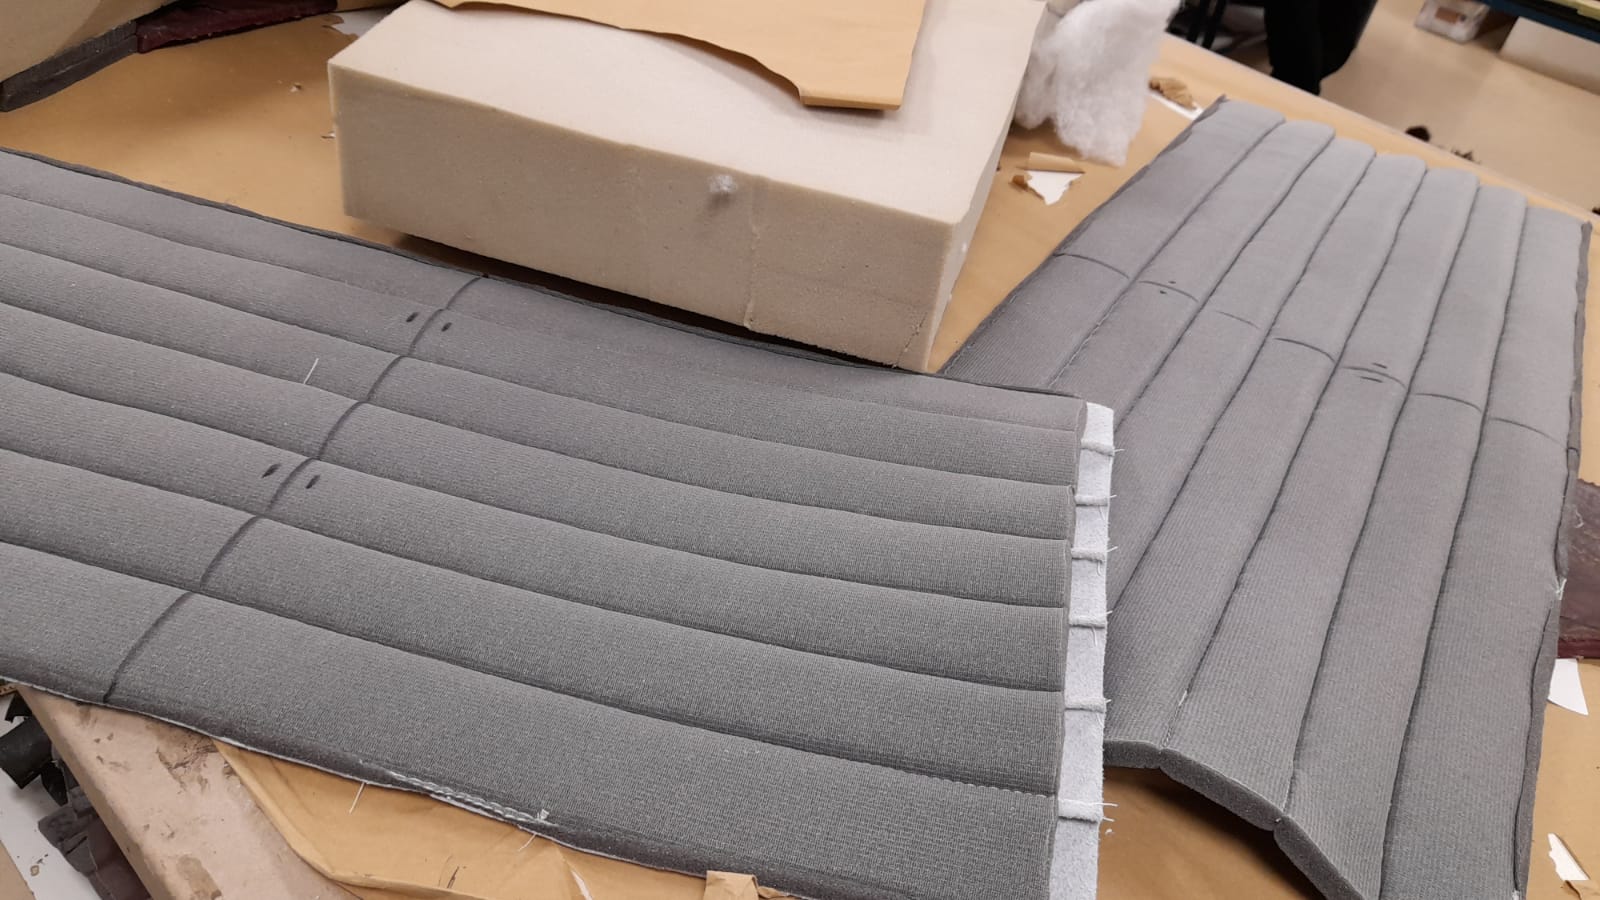
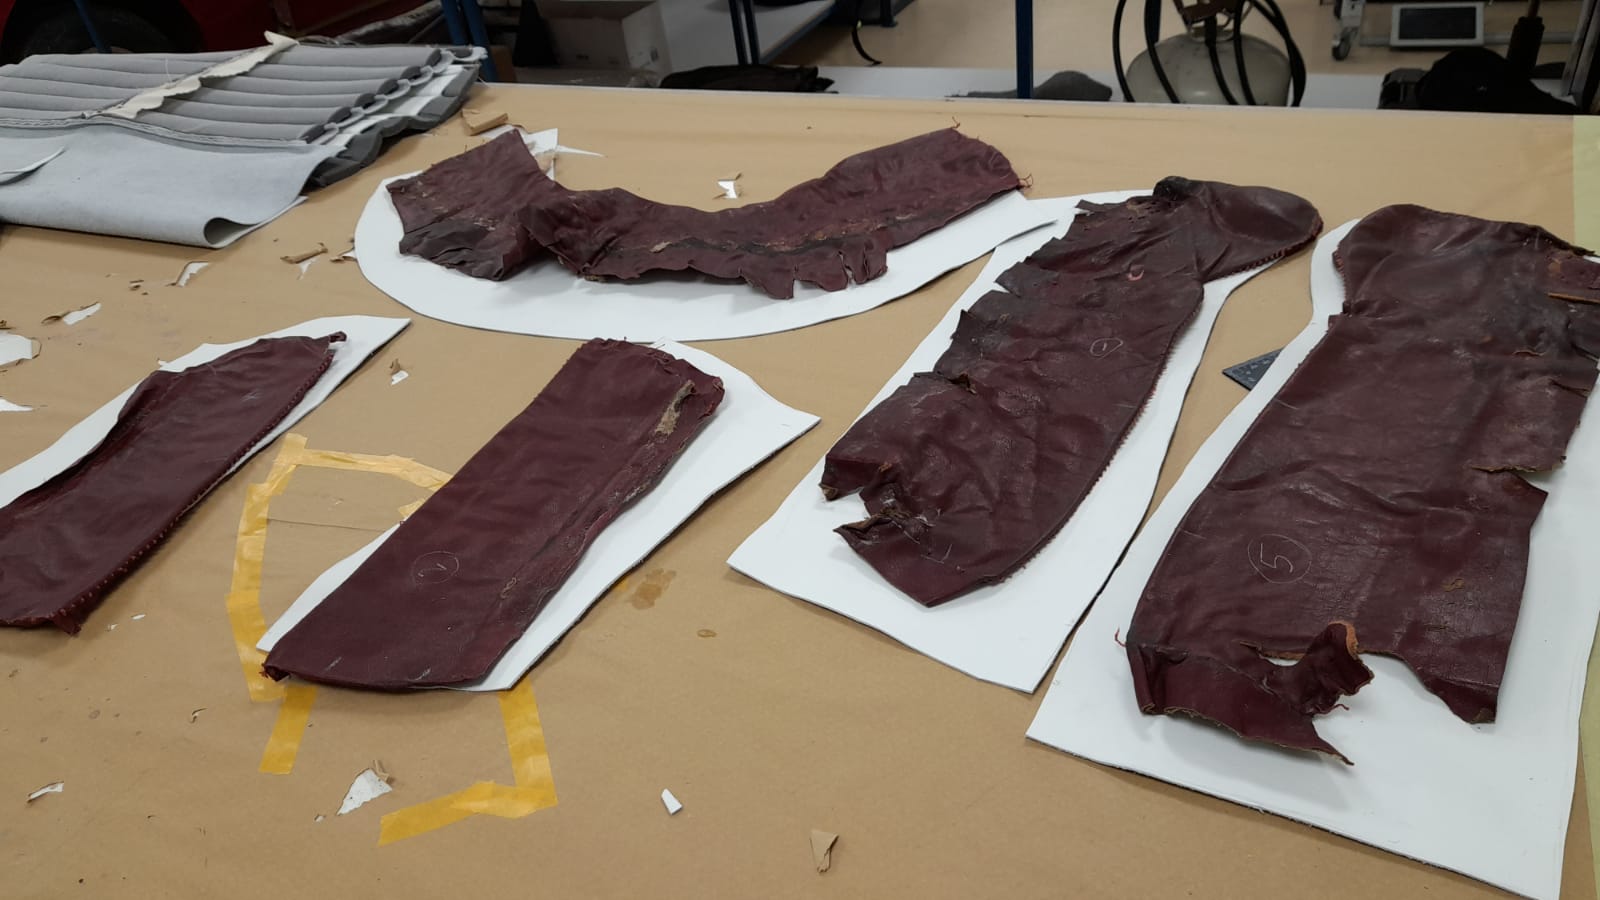
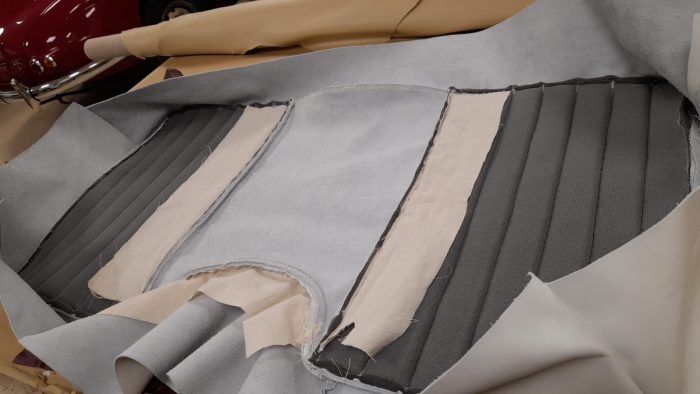
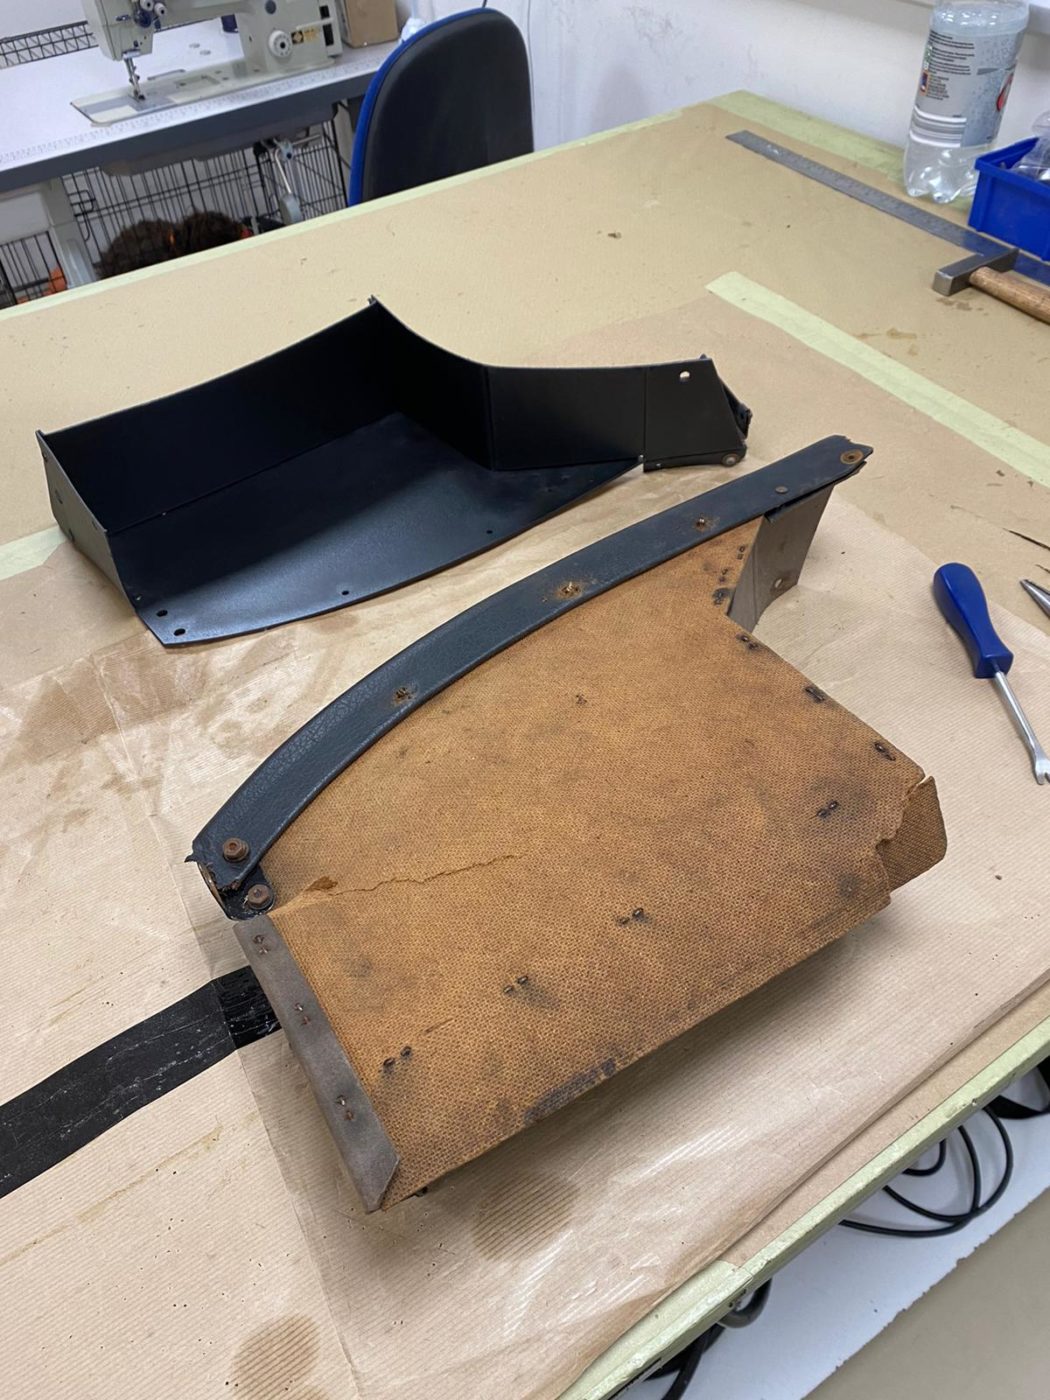
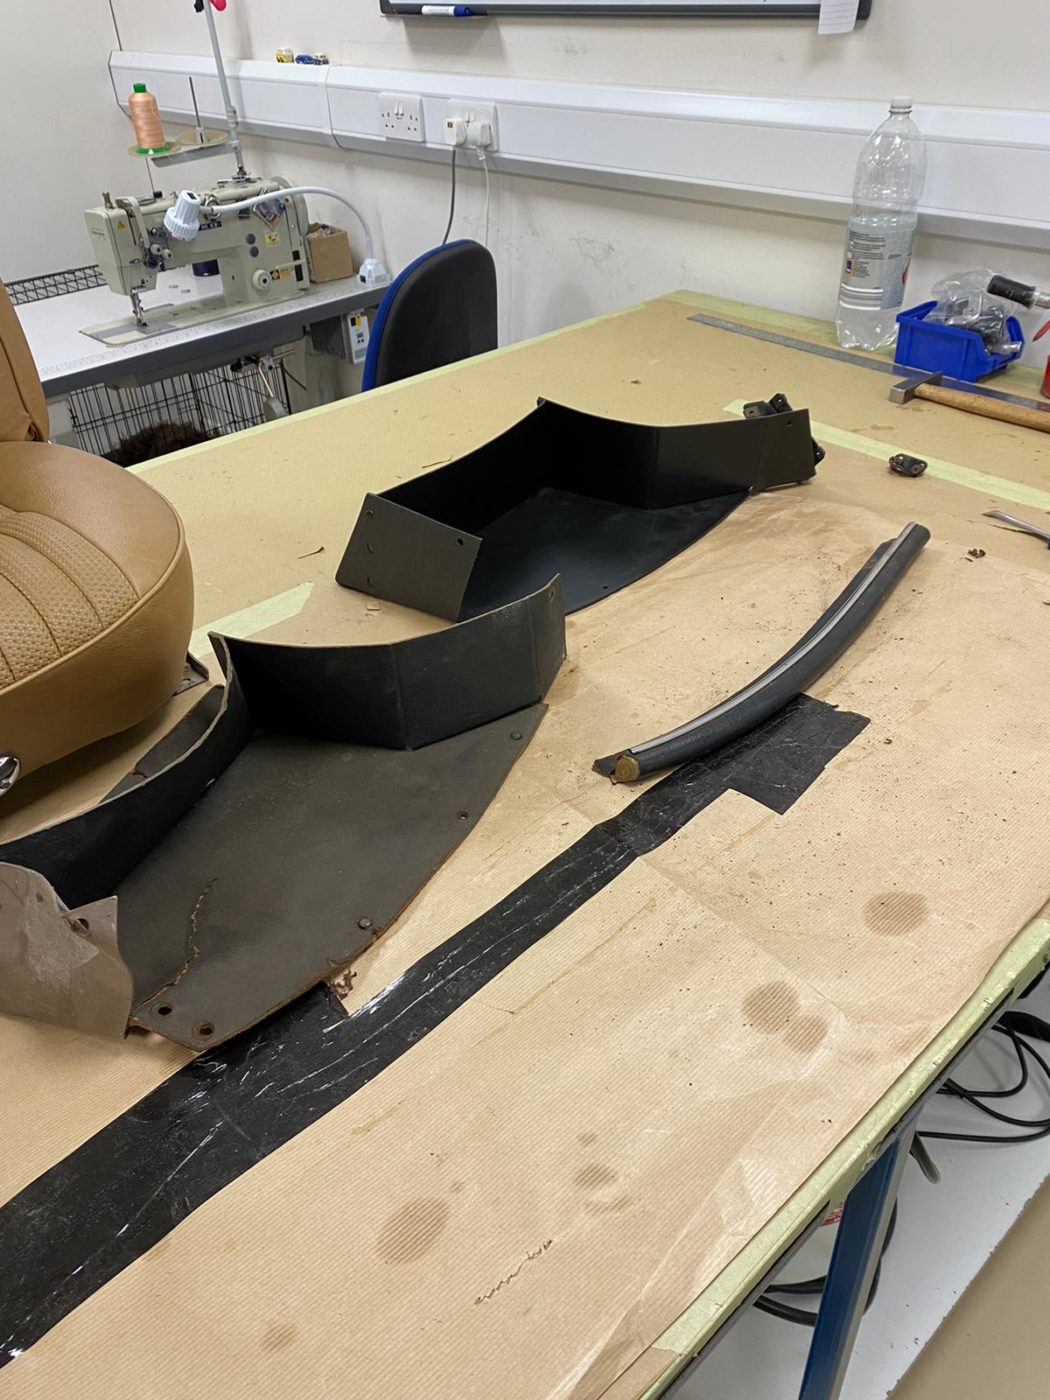
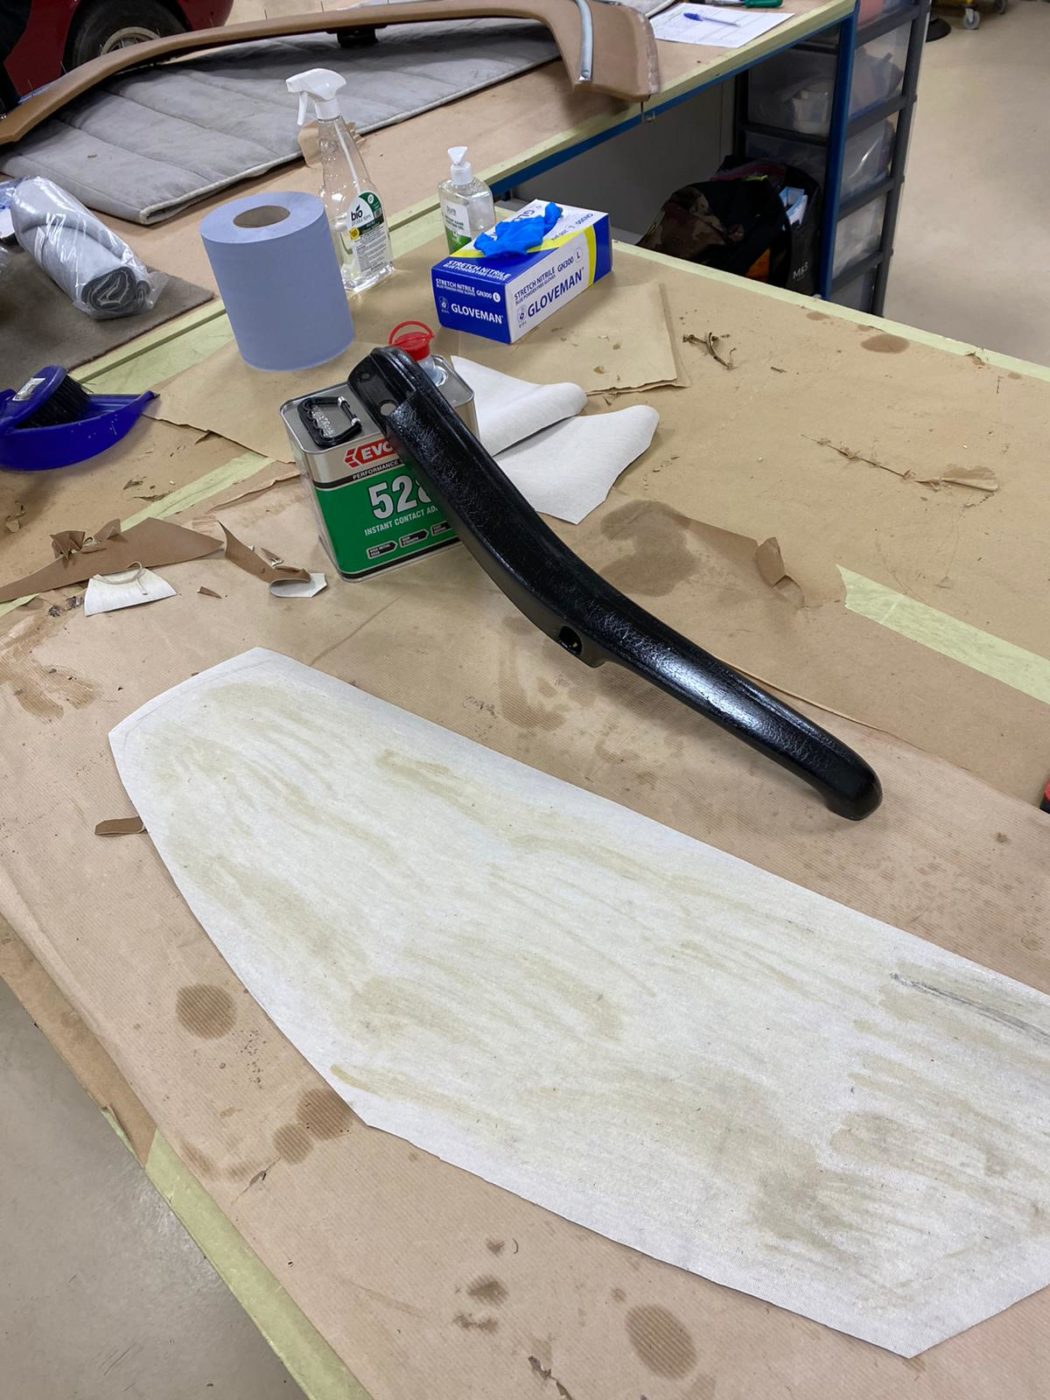
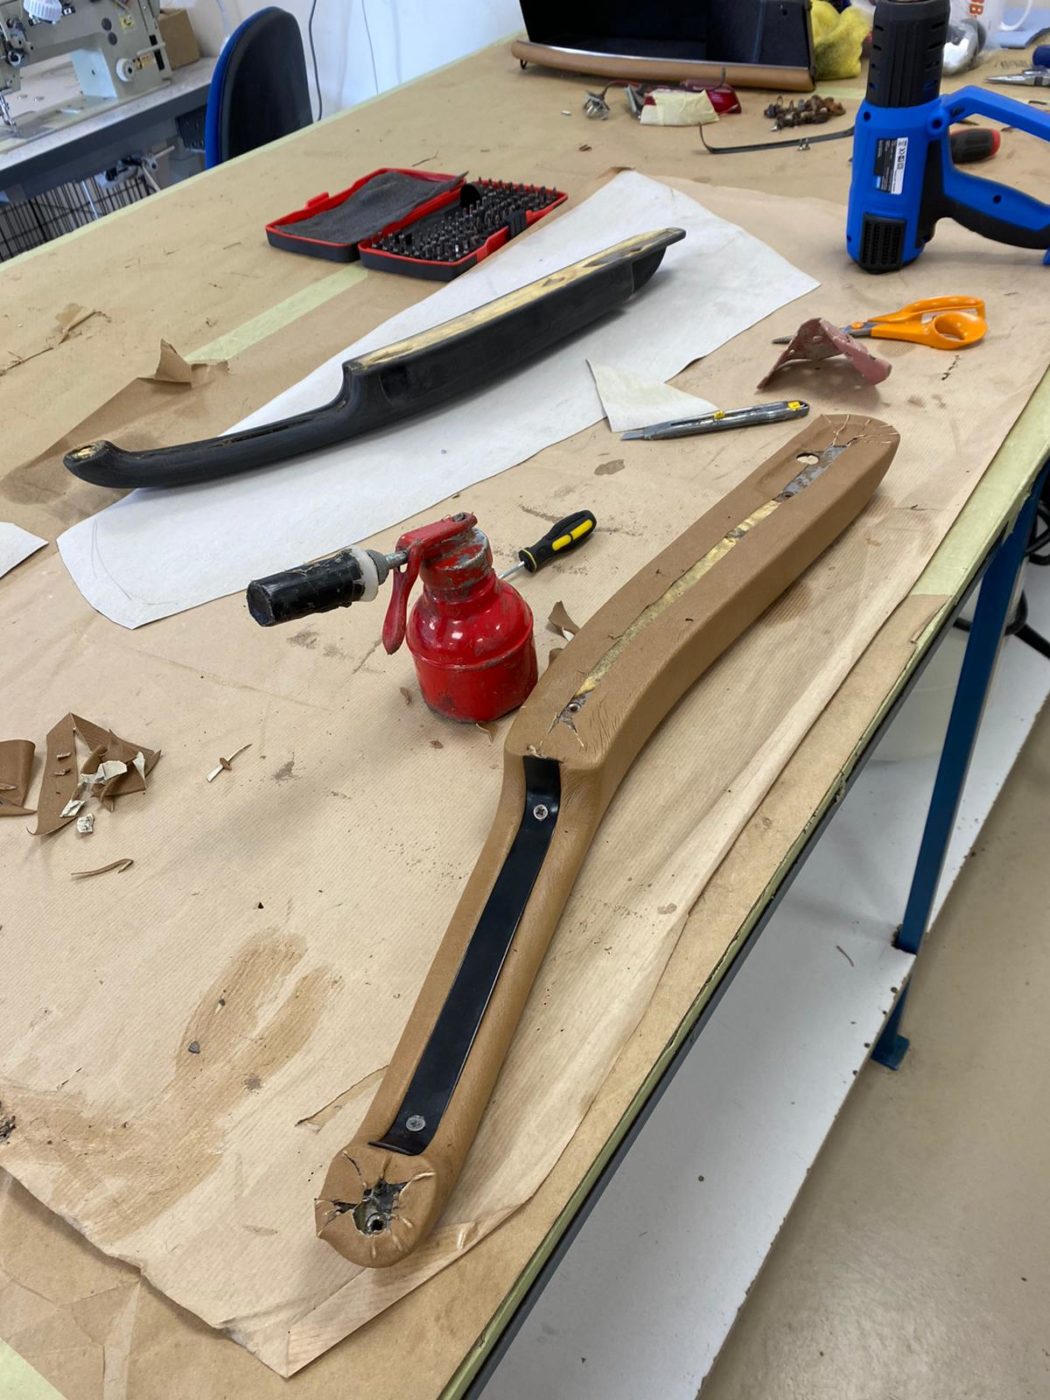
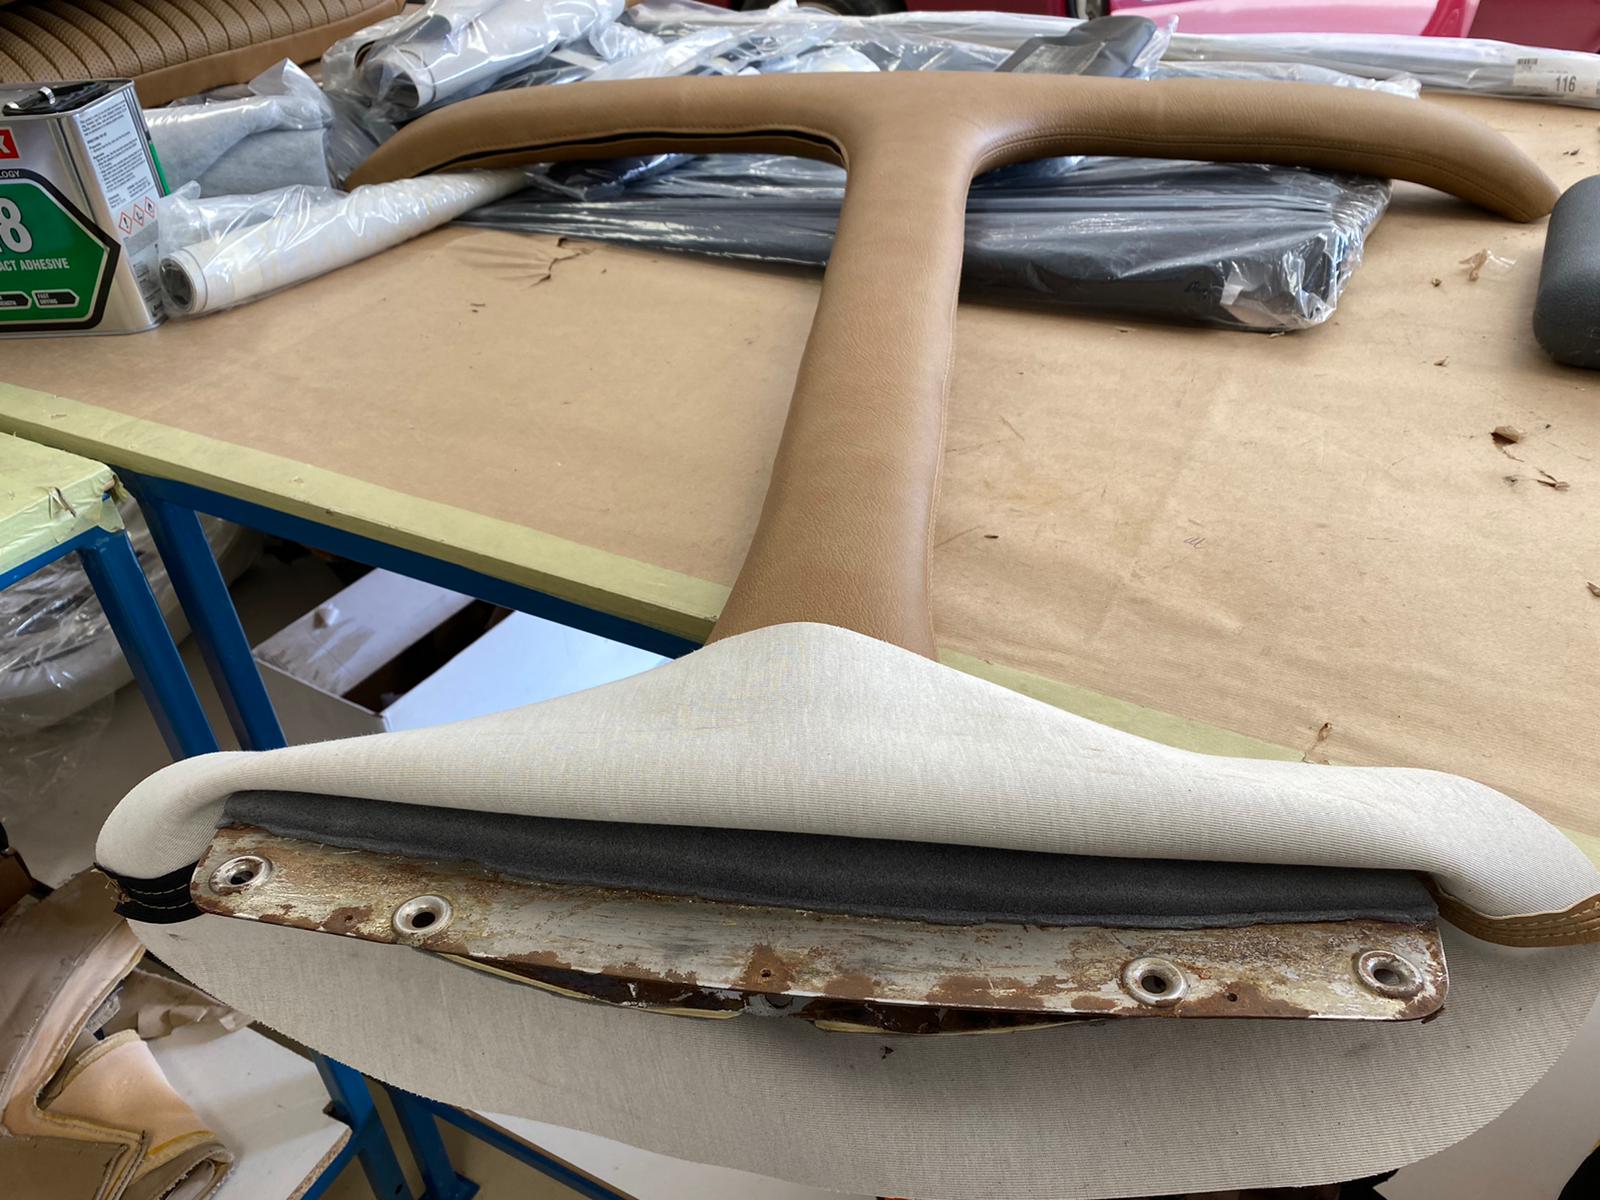
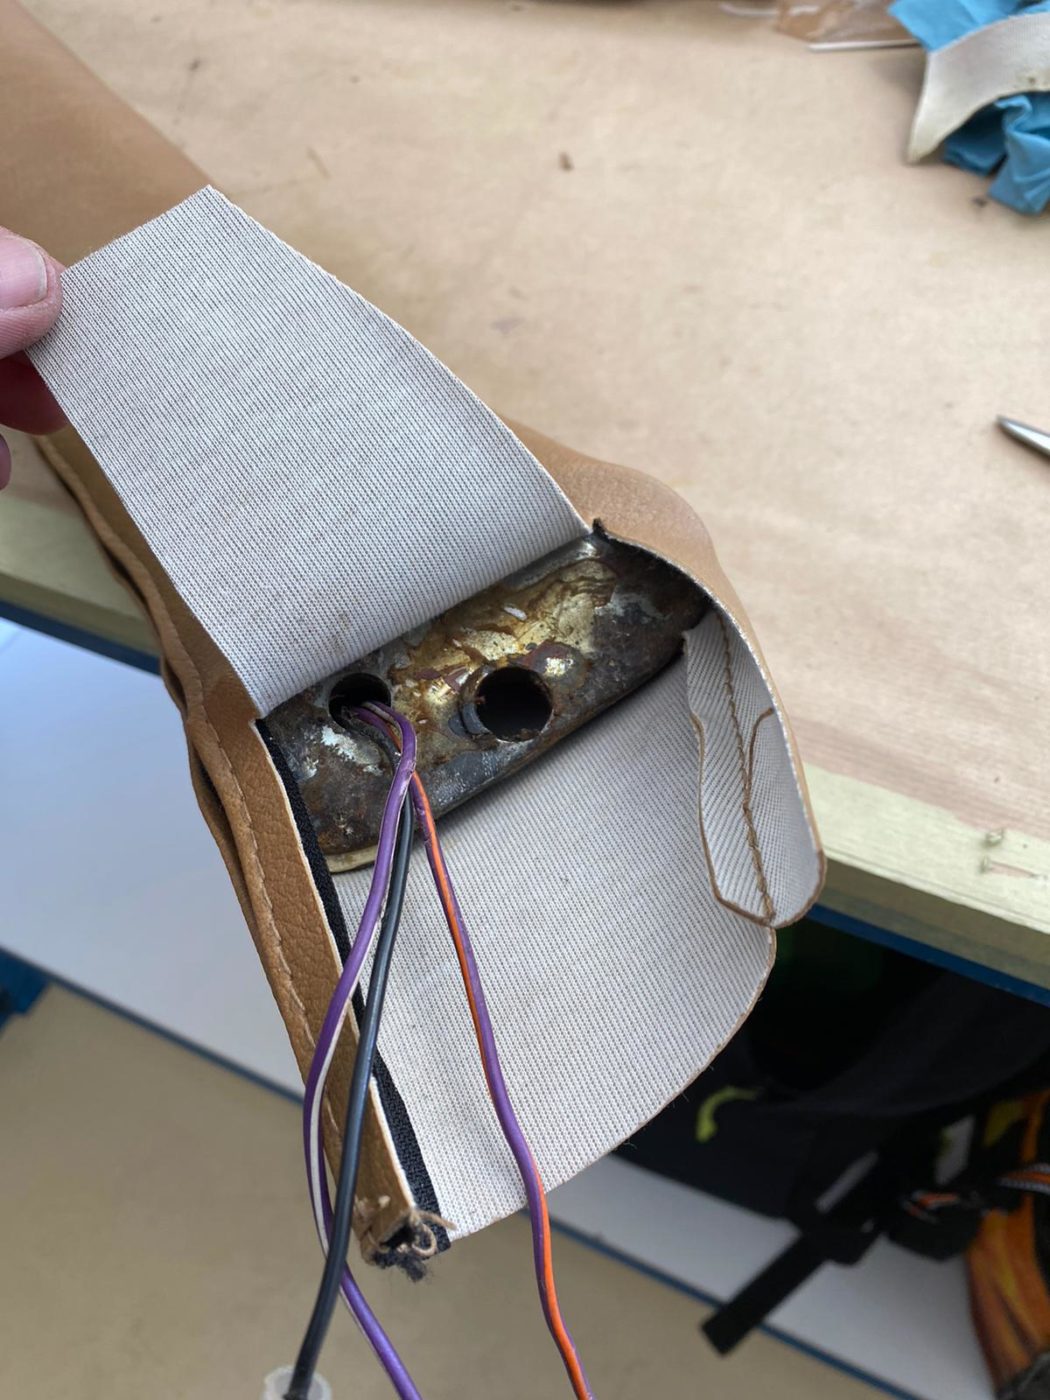
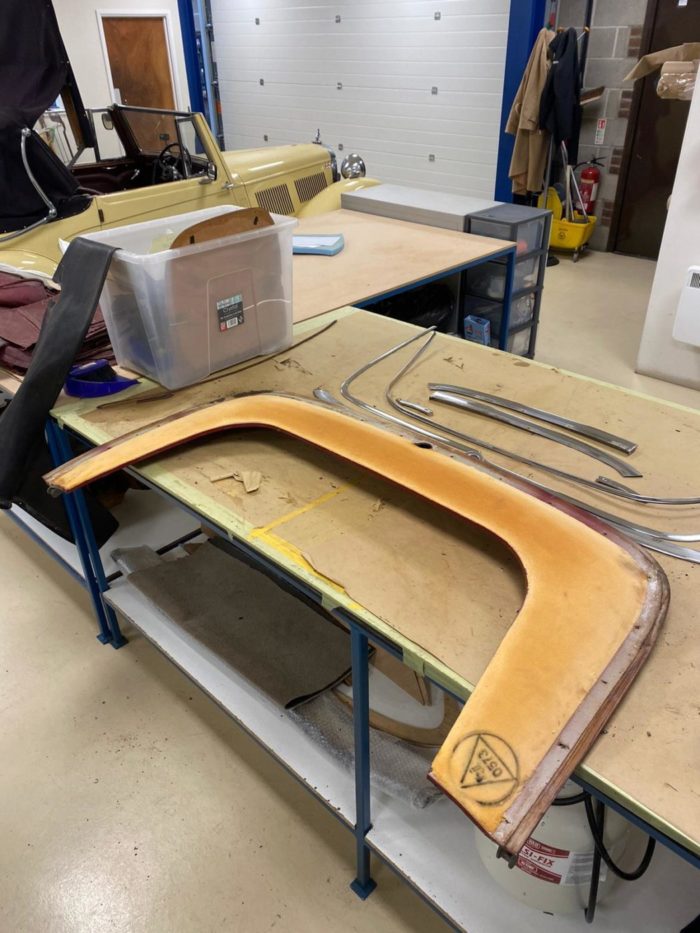
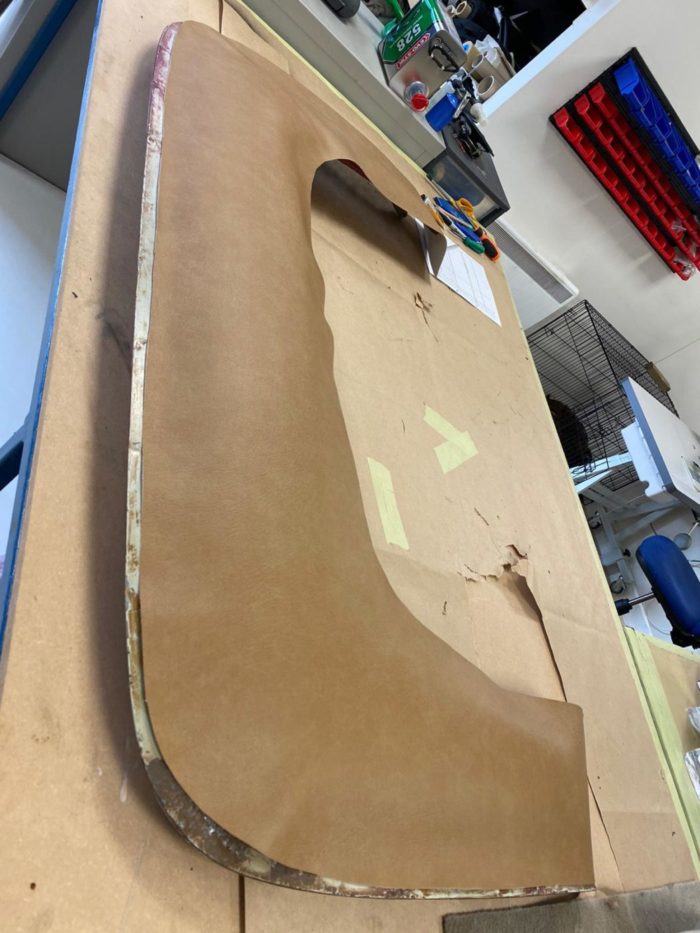
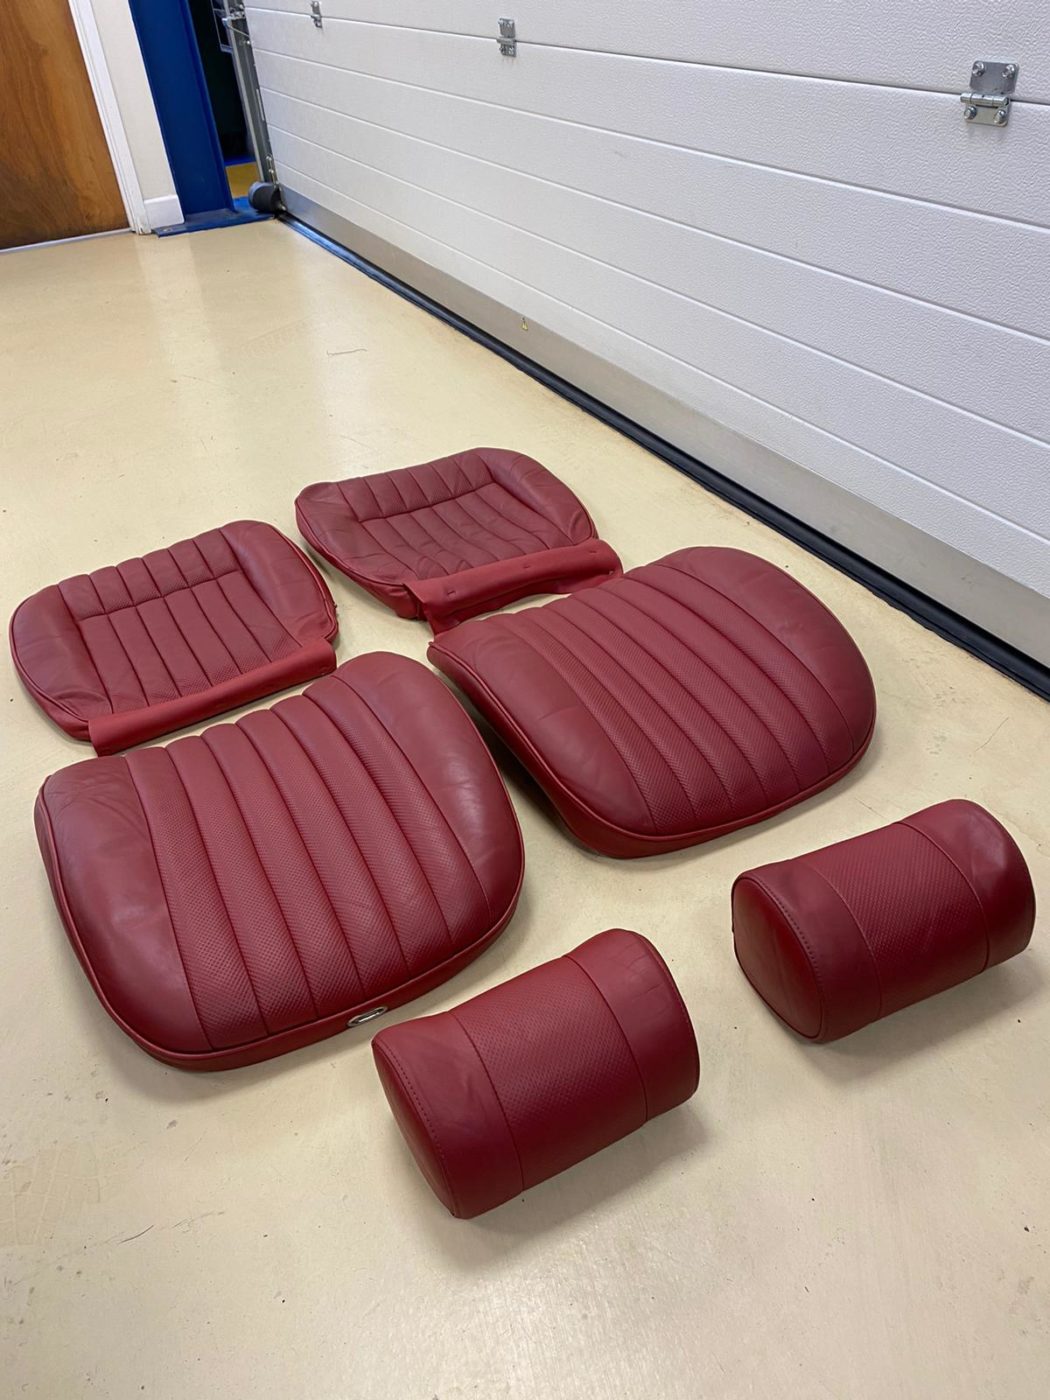
Below you can see the original foam for the seats. Lydia took this off as the old wadding that was falling apart. She then covered the front and sides of the original foam in new scrim foam. The back has a wooden and calico frame attach to it so she didn’t need to put any on there.
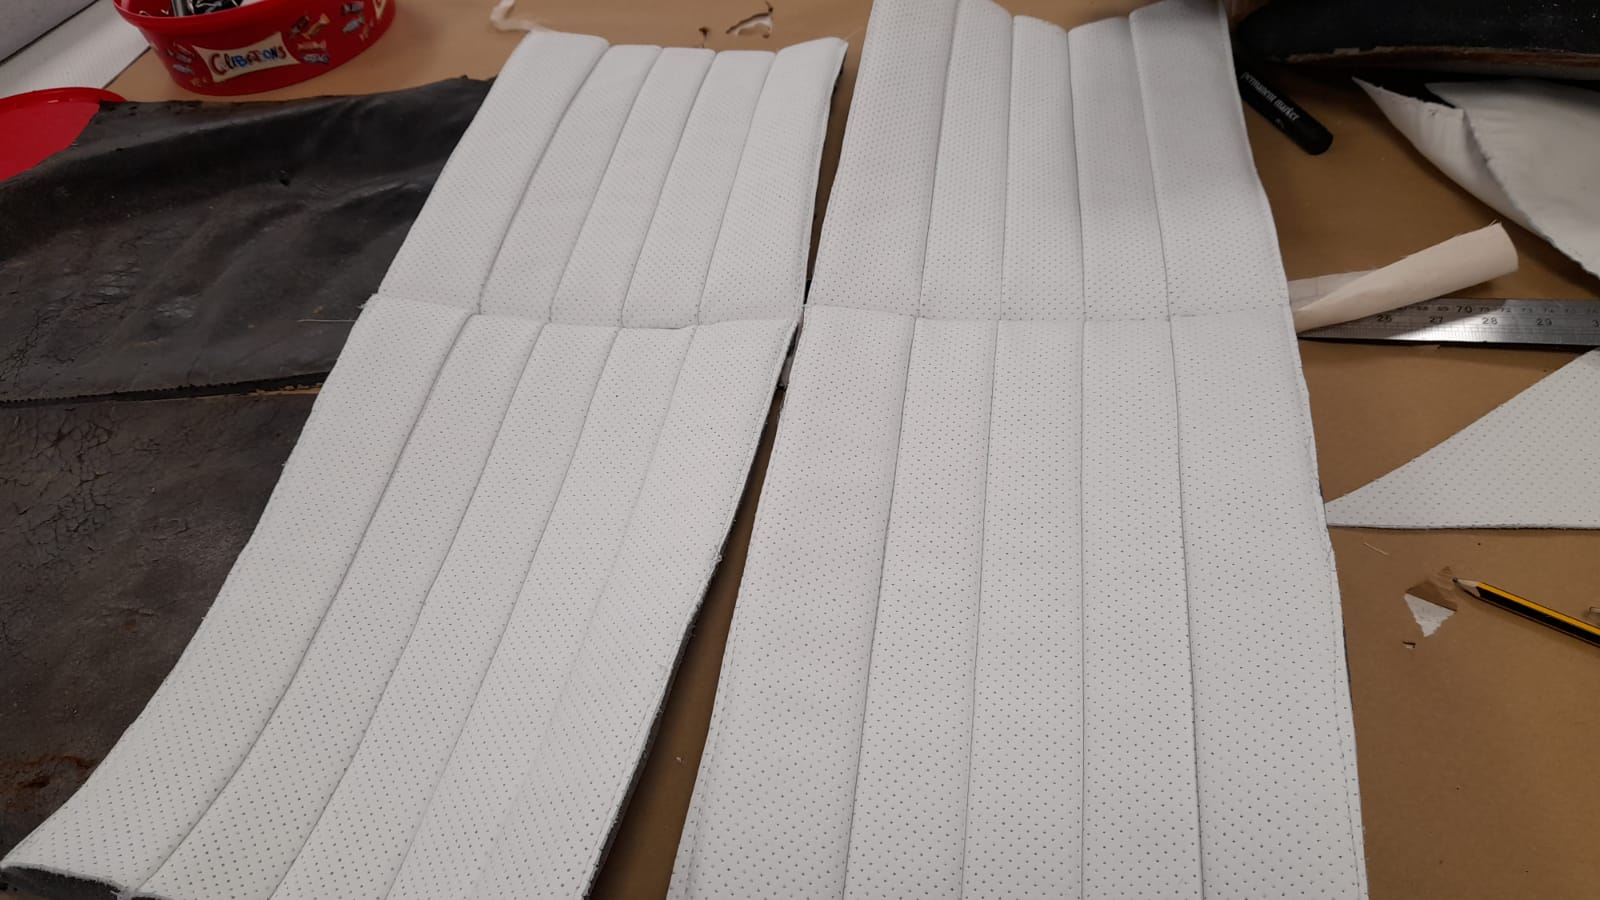
Lydia then moved one to making the second front base seat. She did this in the same way as the other one. She made a fluted face with a seam in the middle, then piped the sides, attached the sidebands and piped around all that. Then she marked out the notches to match the back pieces on.


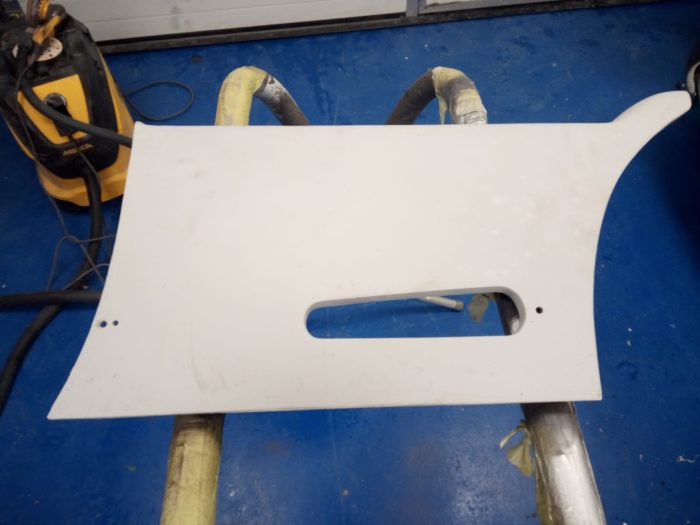
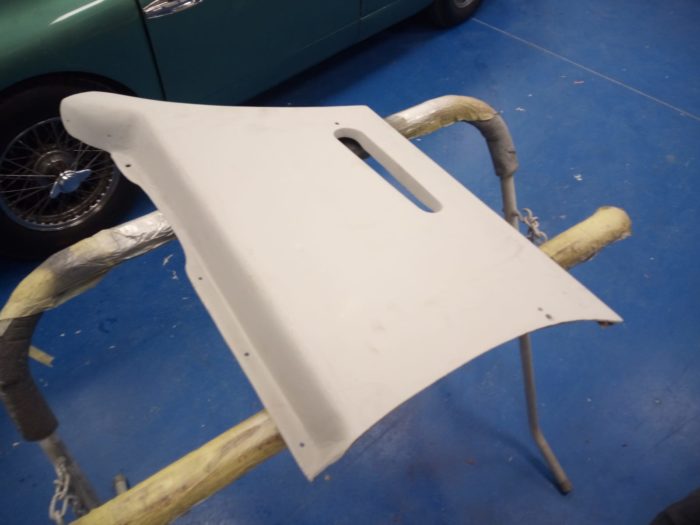
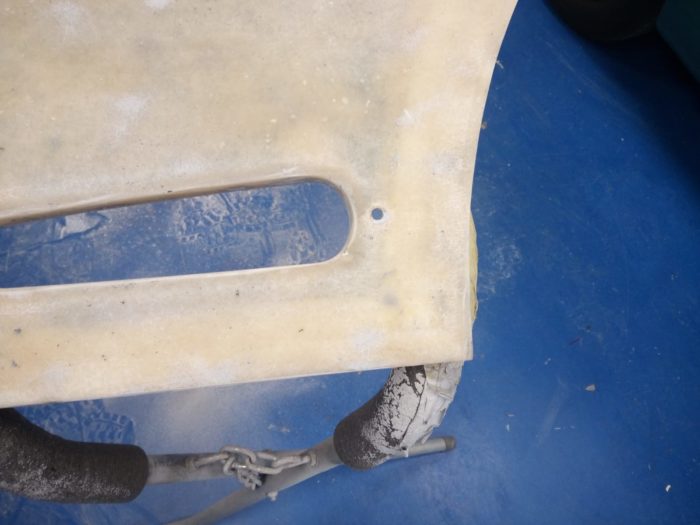
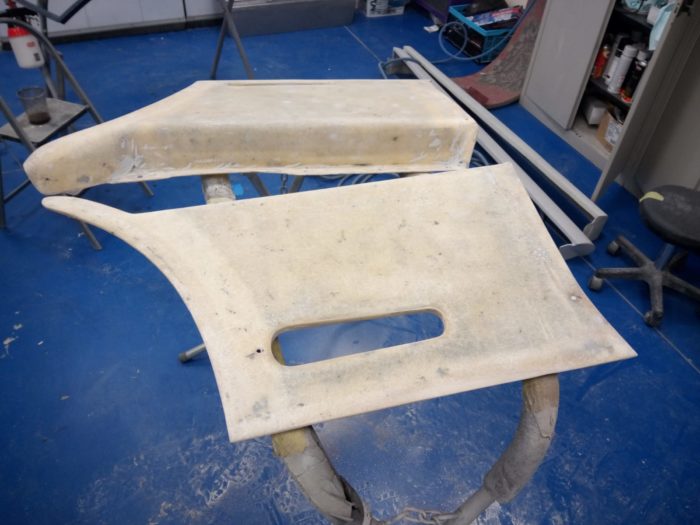
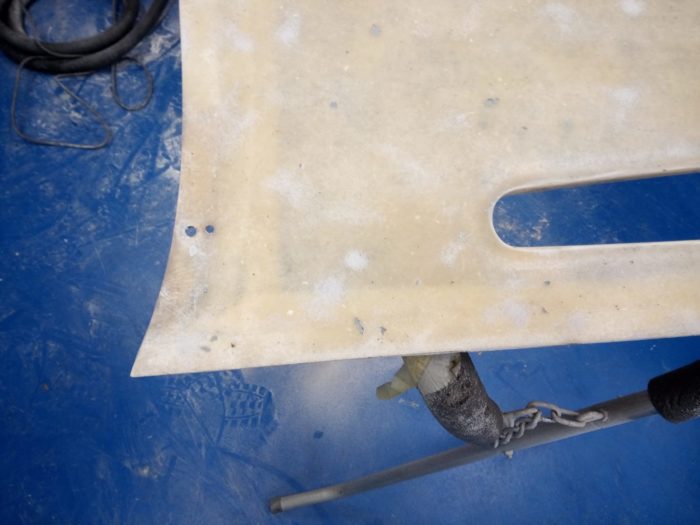
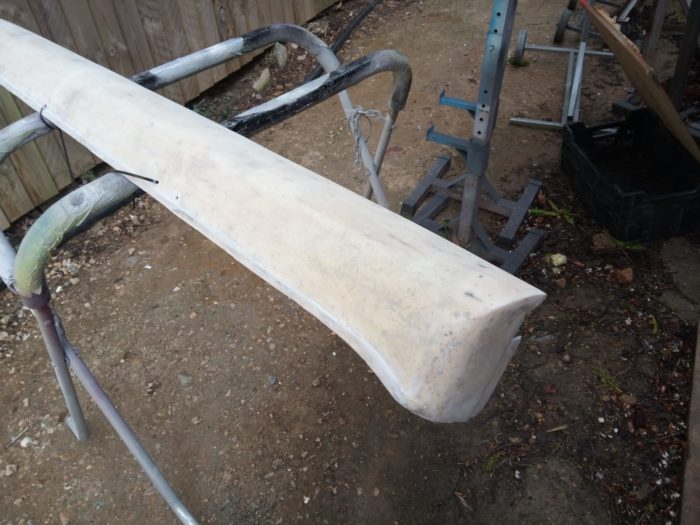
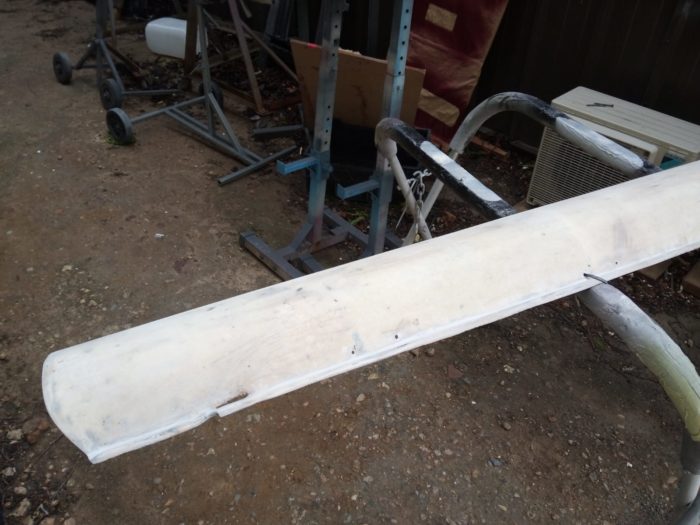
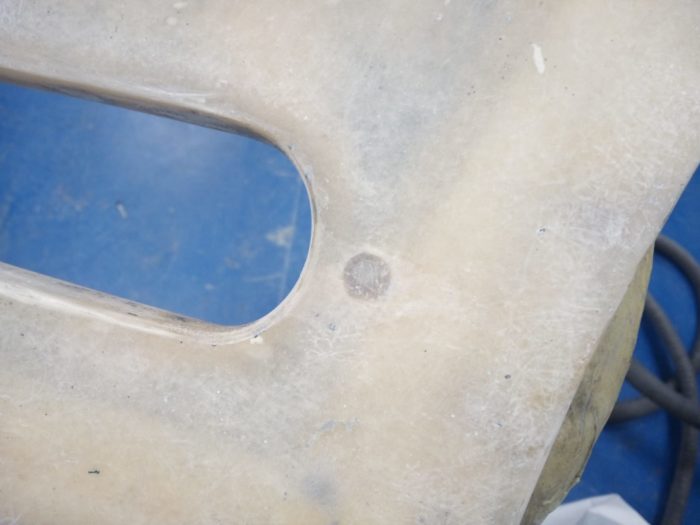
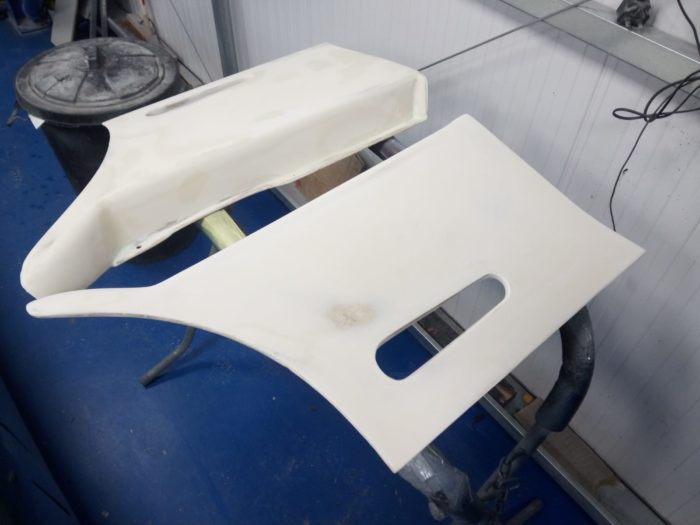
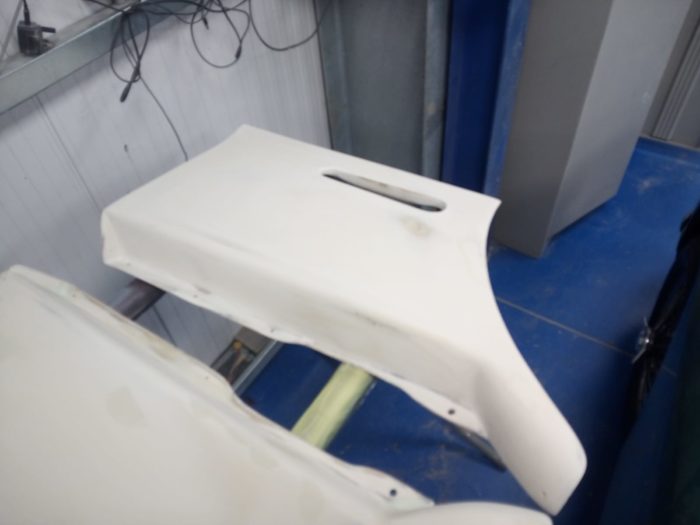
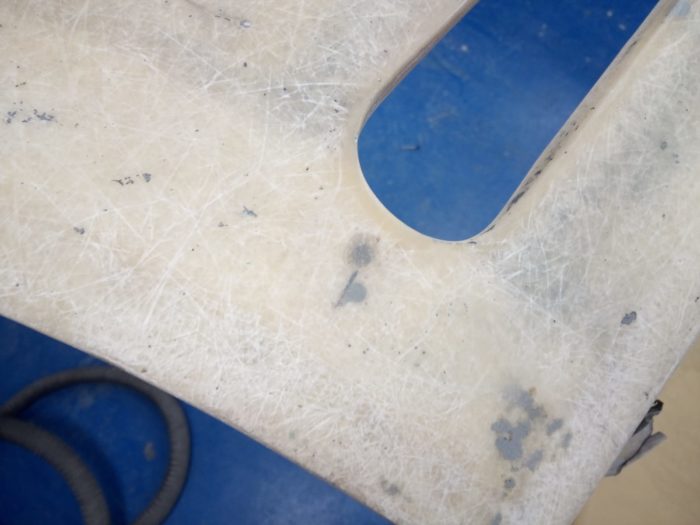
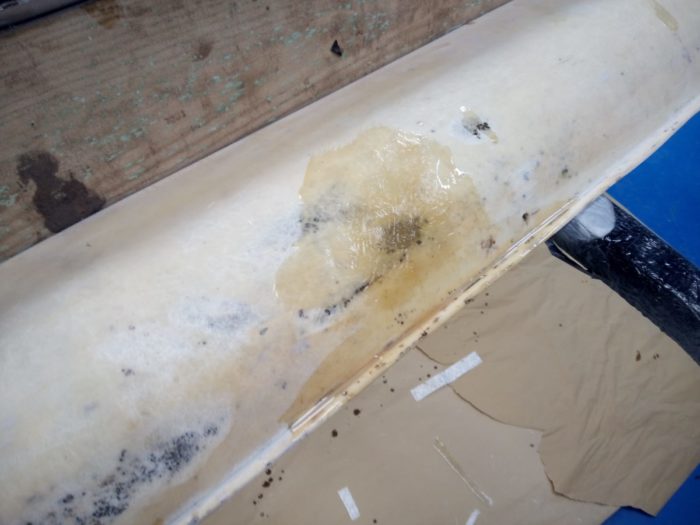
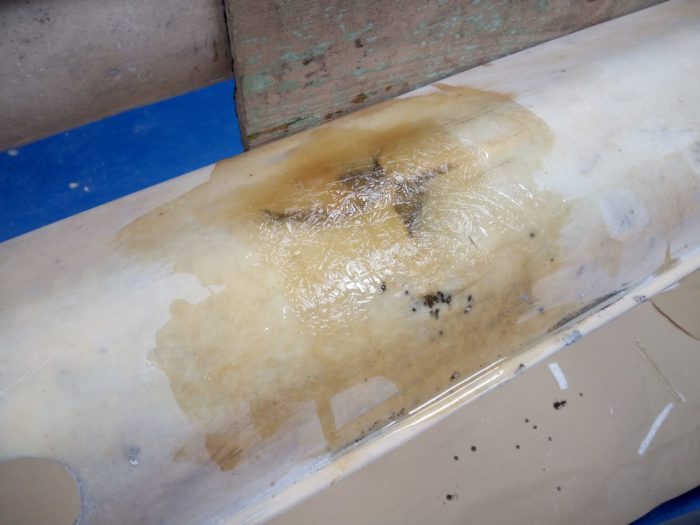
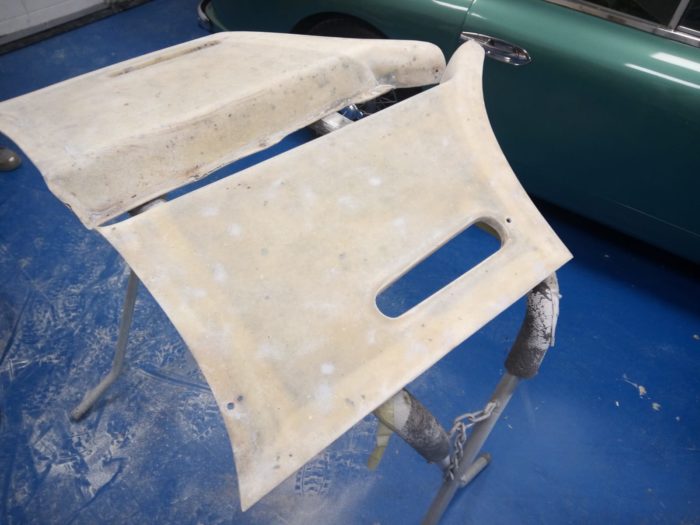
Matt has been working to repair the fibreglass side panels by applying glass matt repair. Once repaired, the wings, panels and sills can be prepped for primer. They also need to be shaped up after each stage of filler.
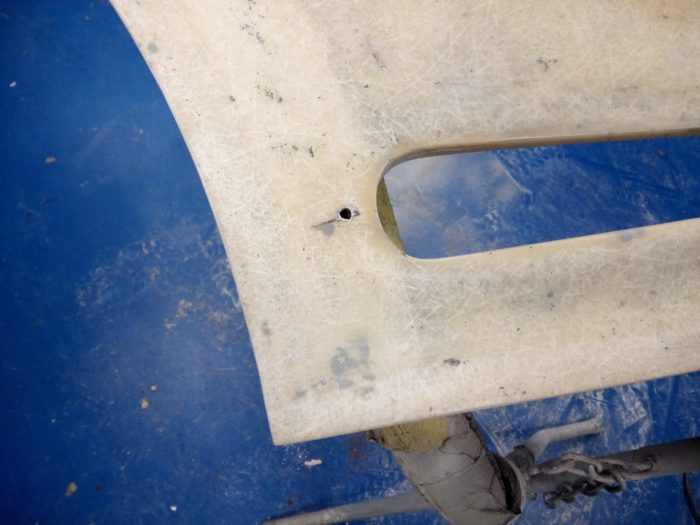


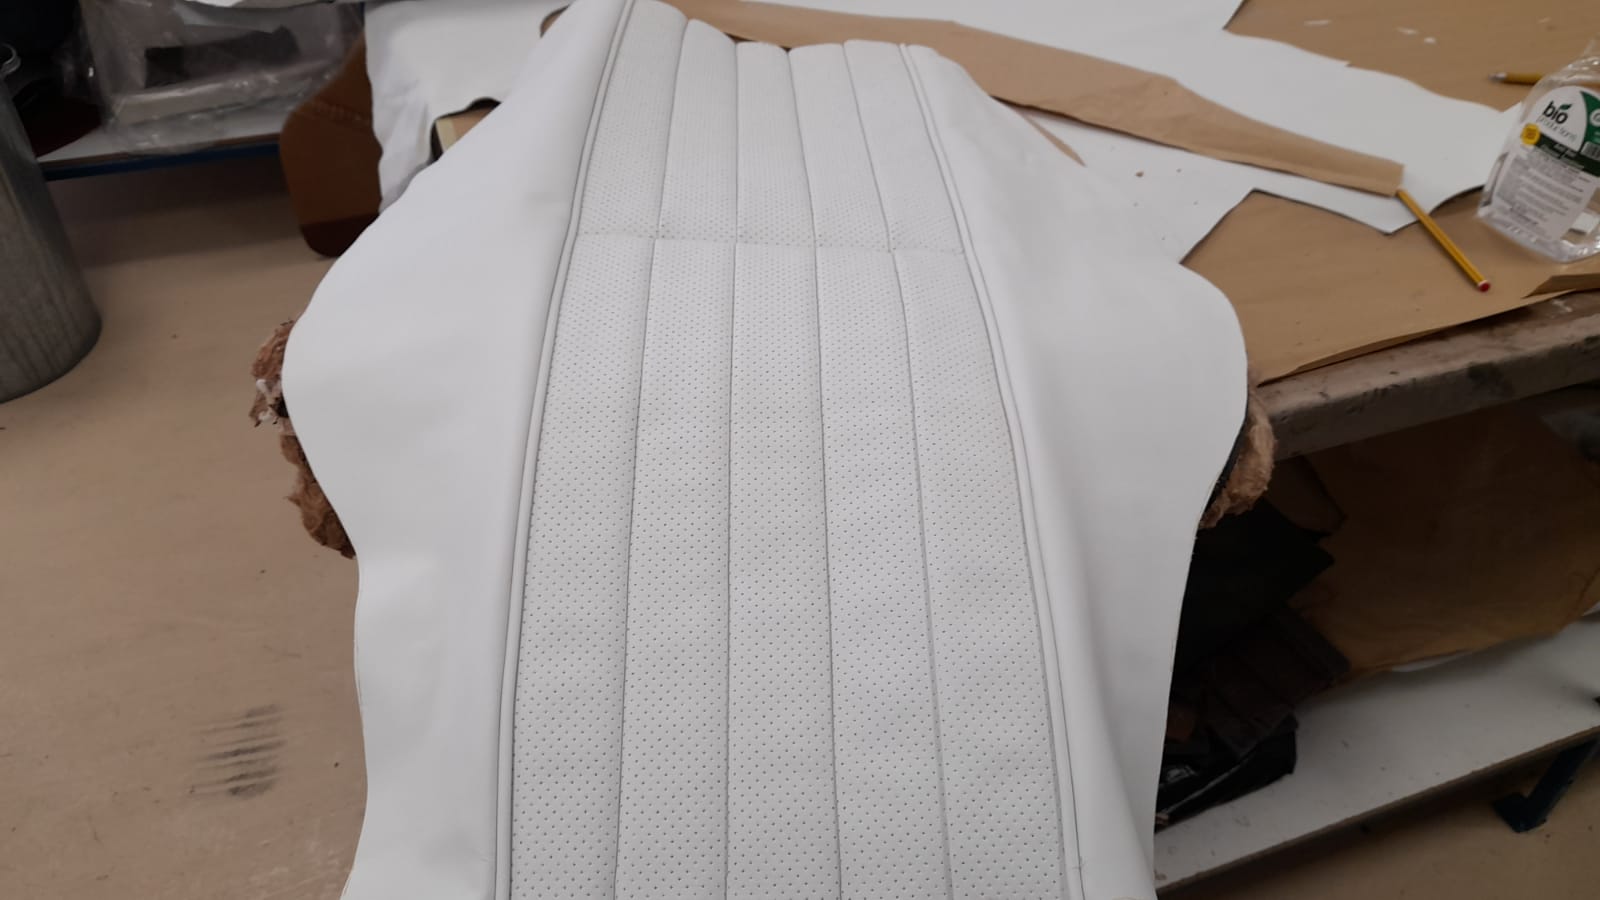
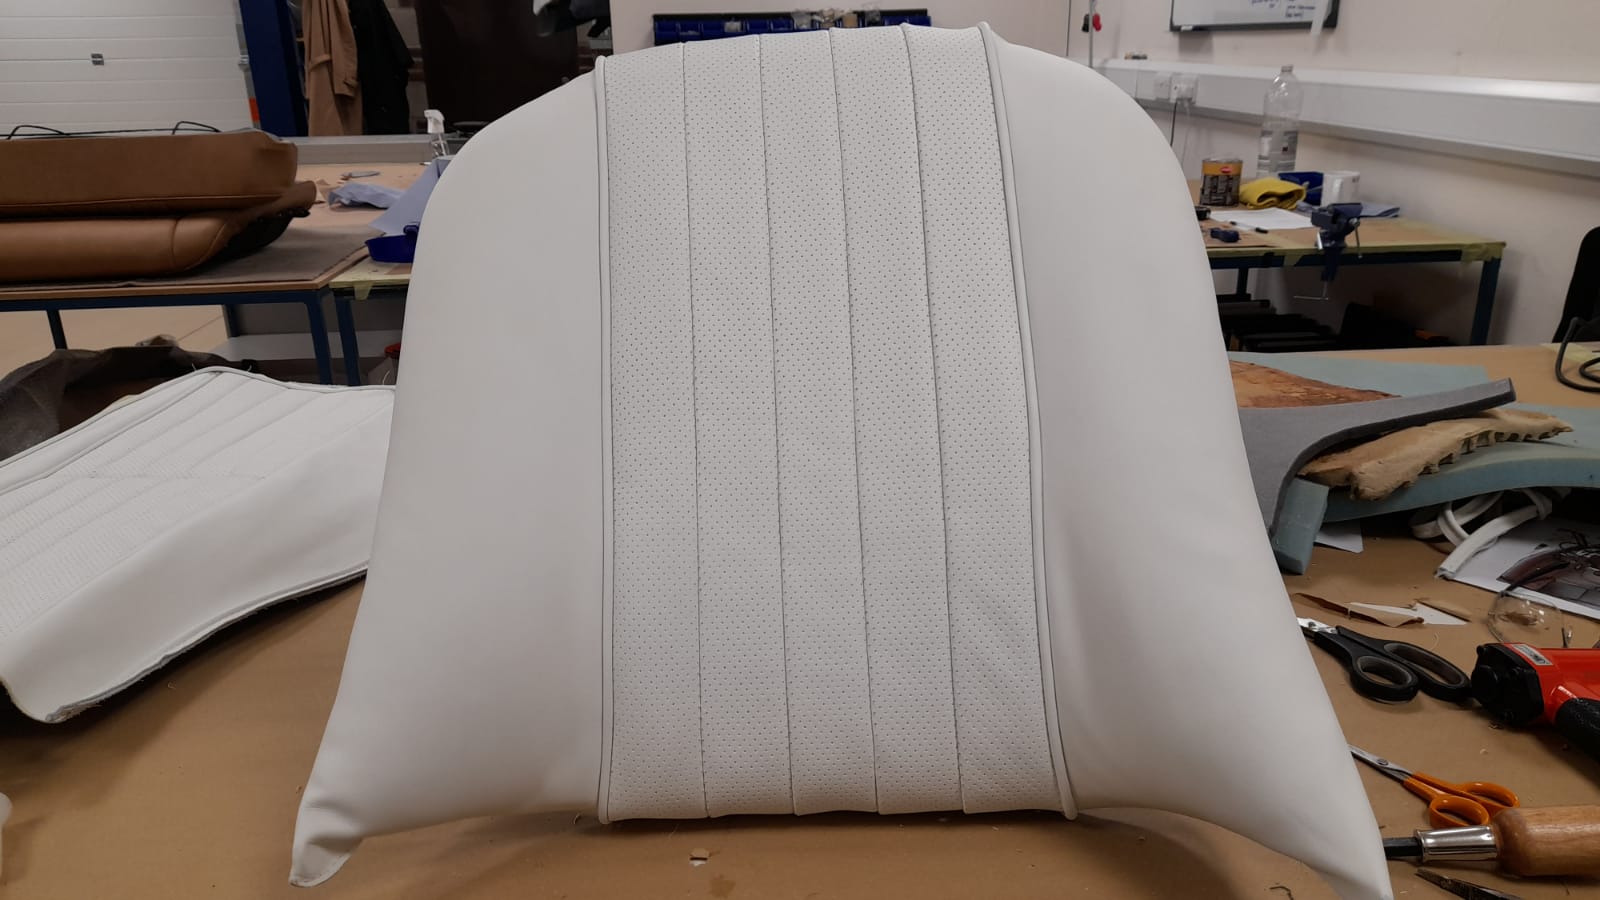
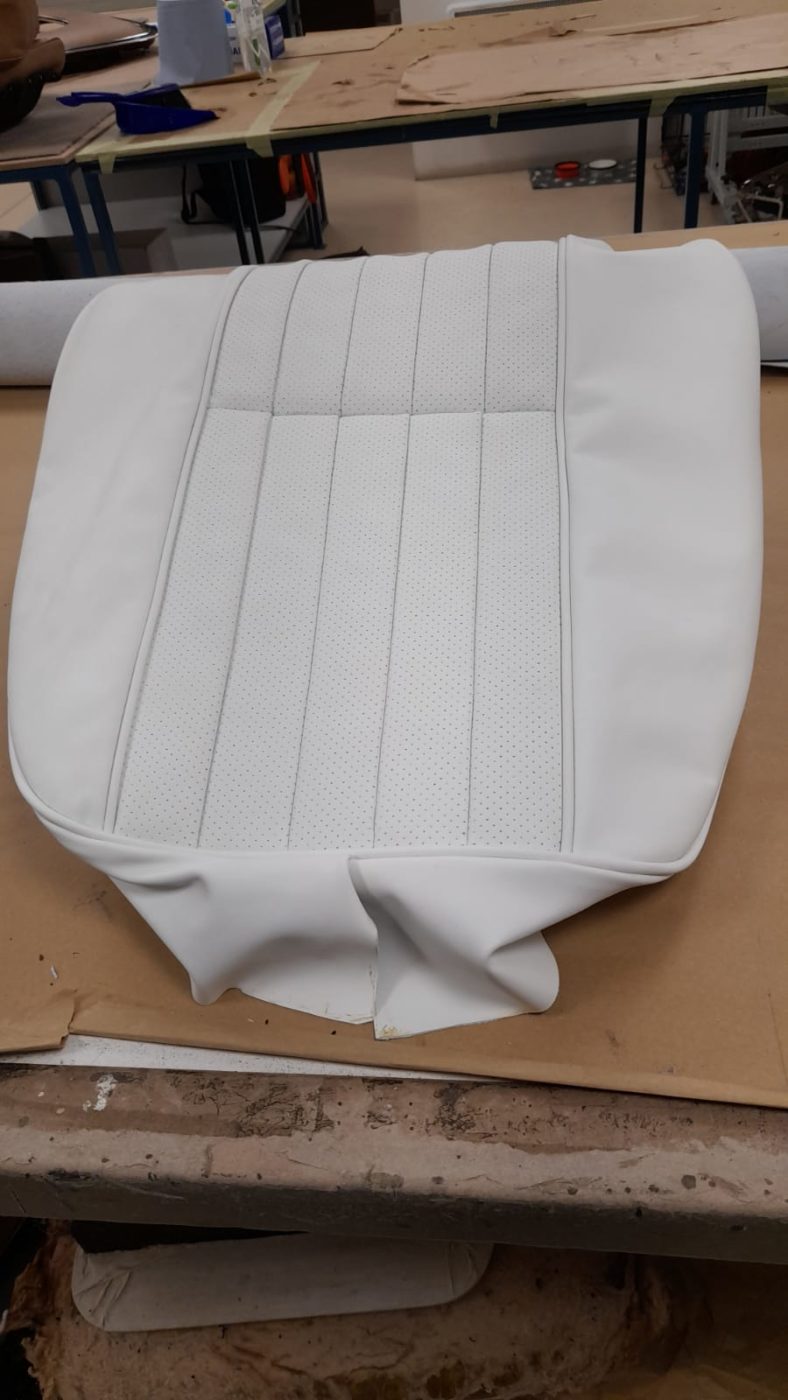
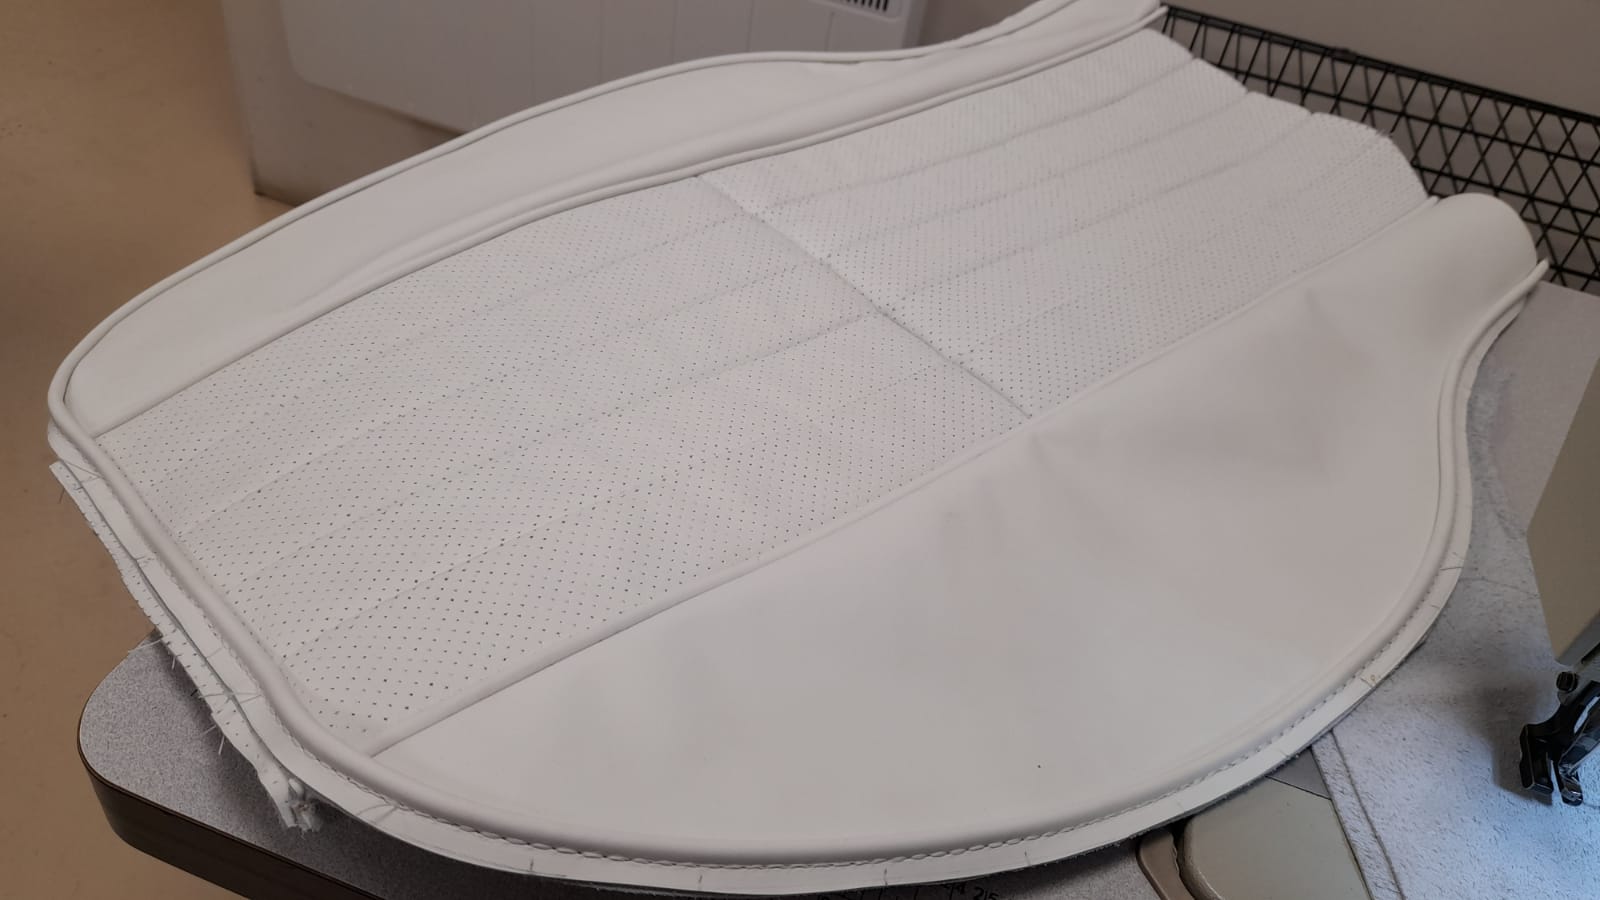
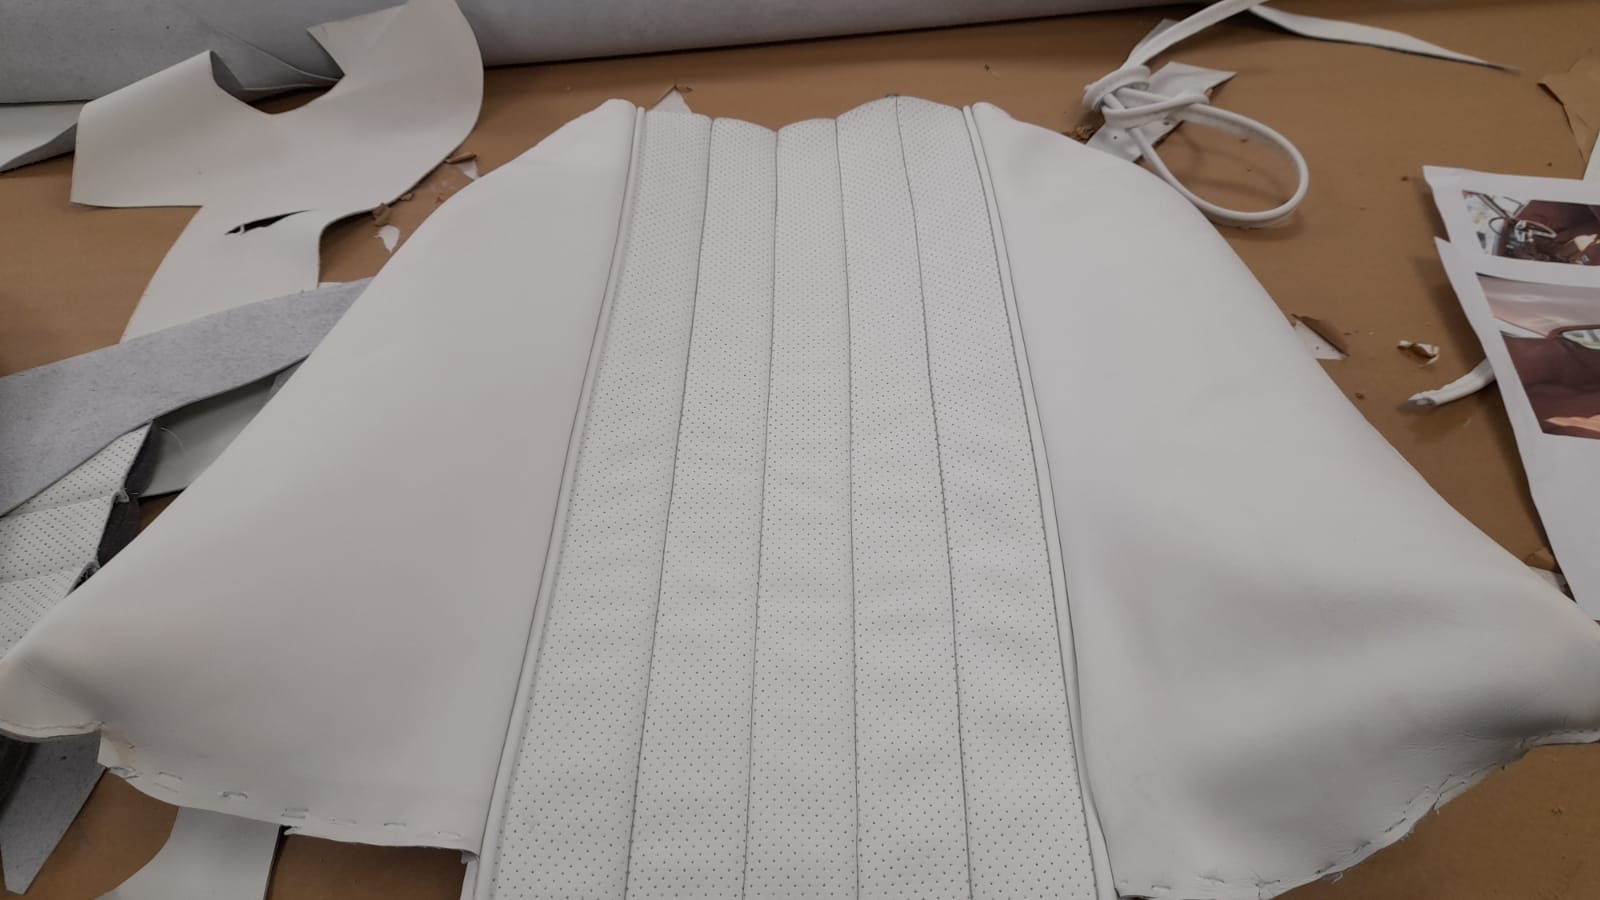
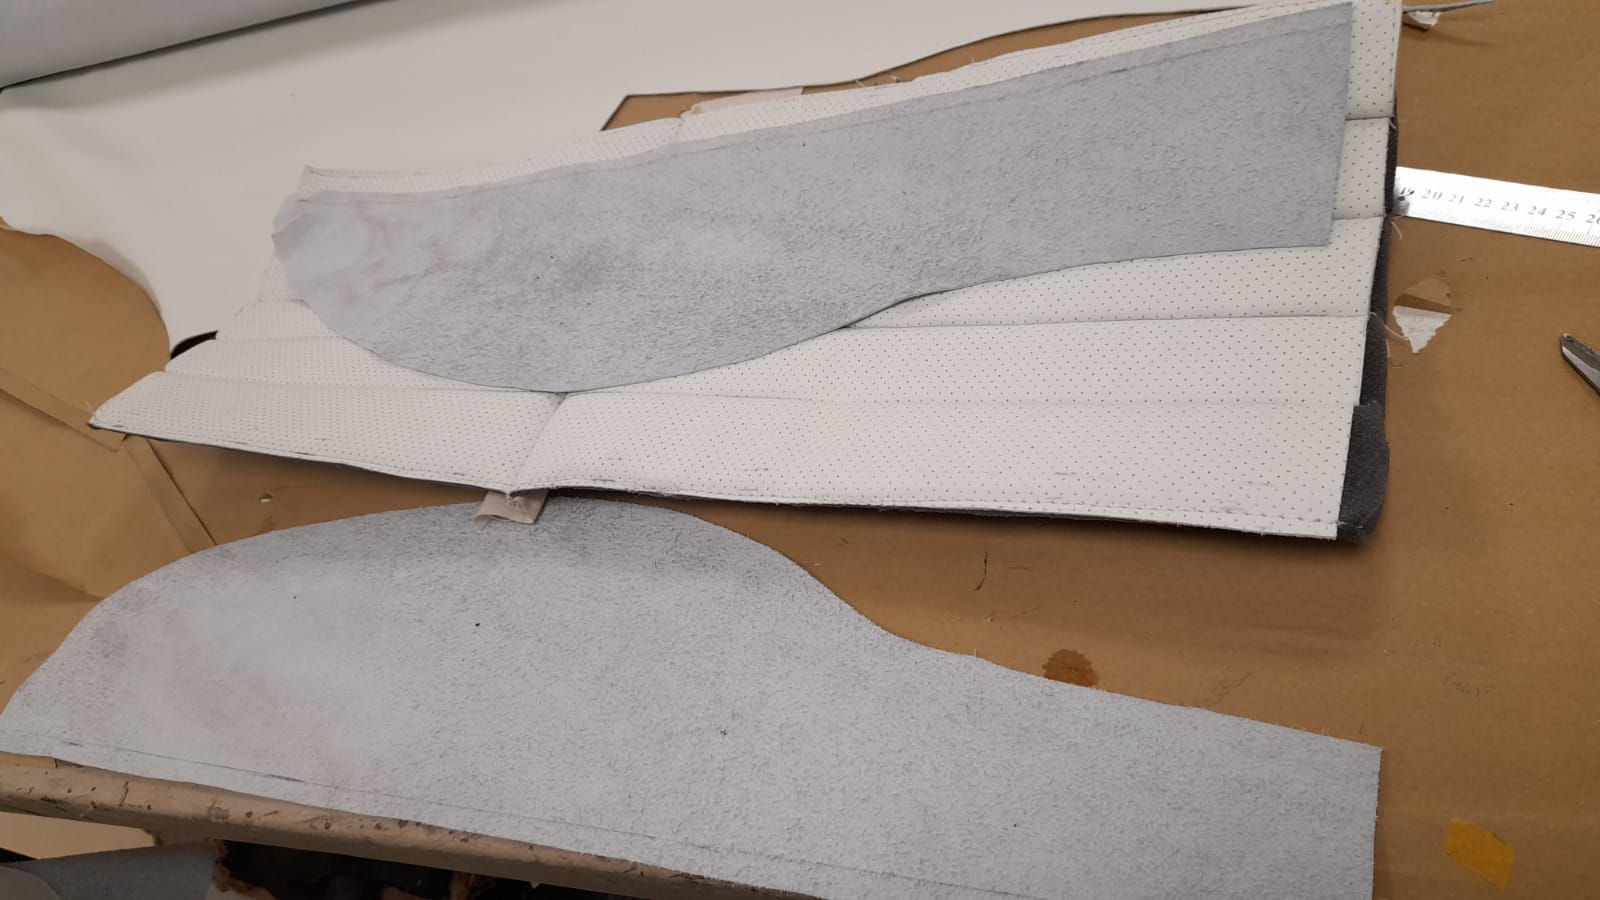
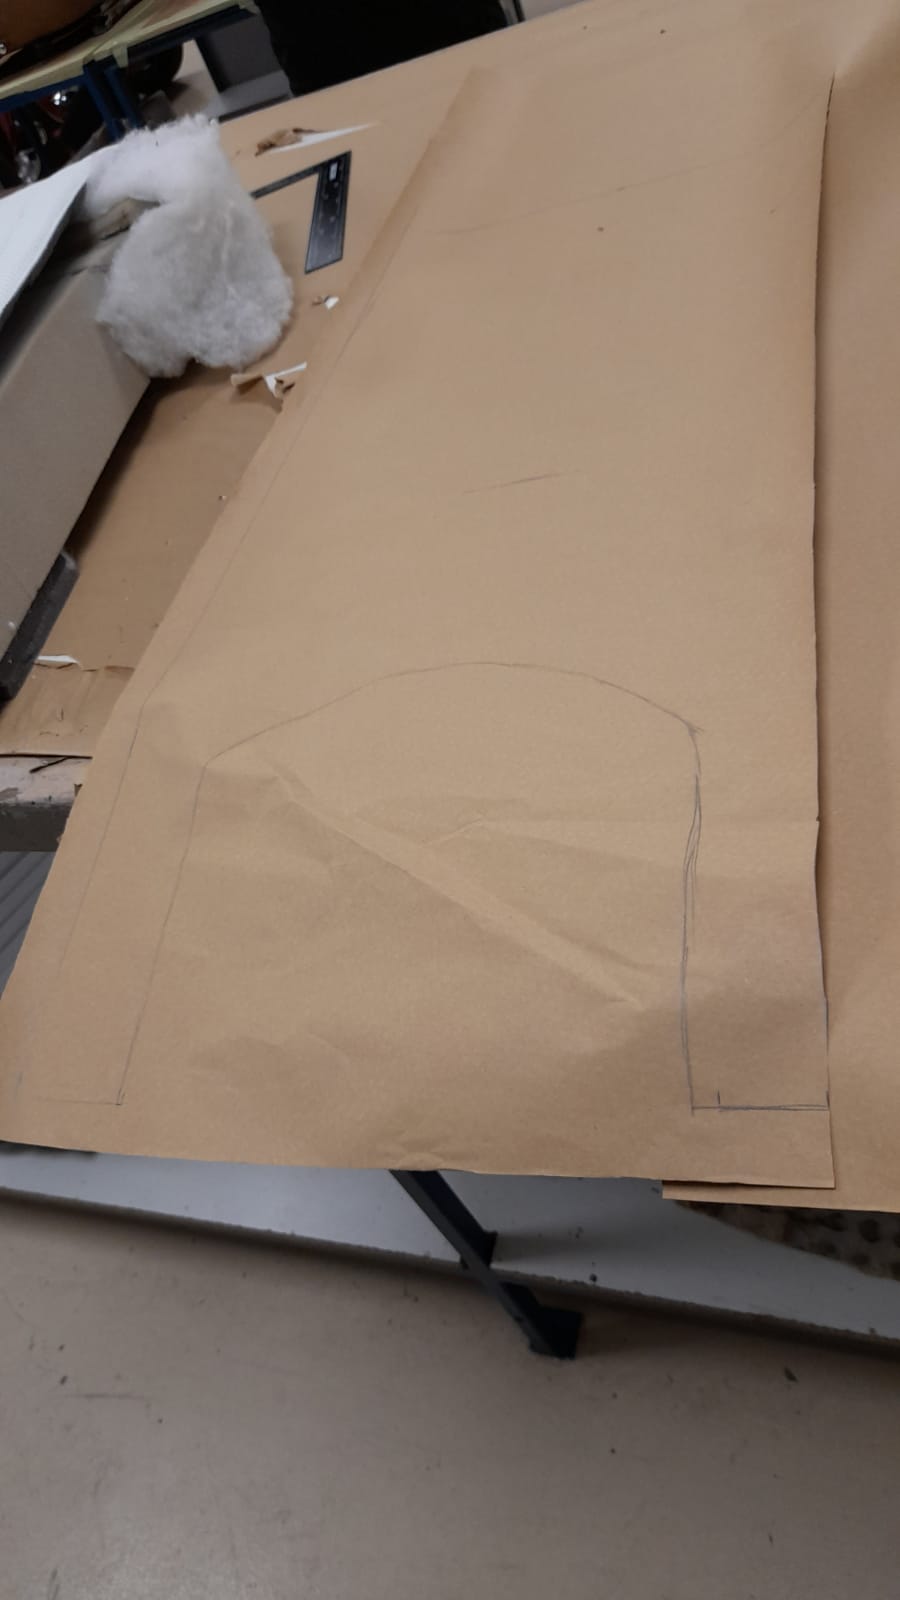
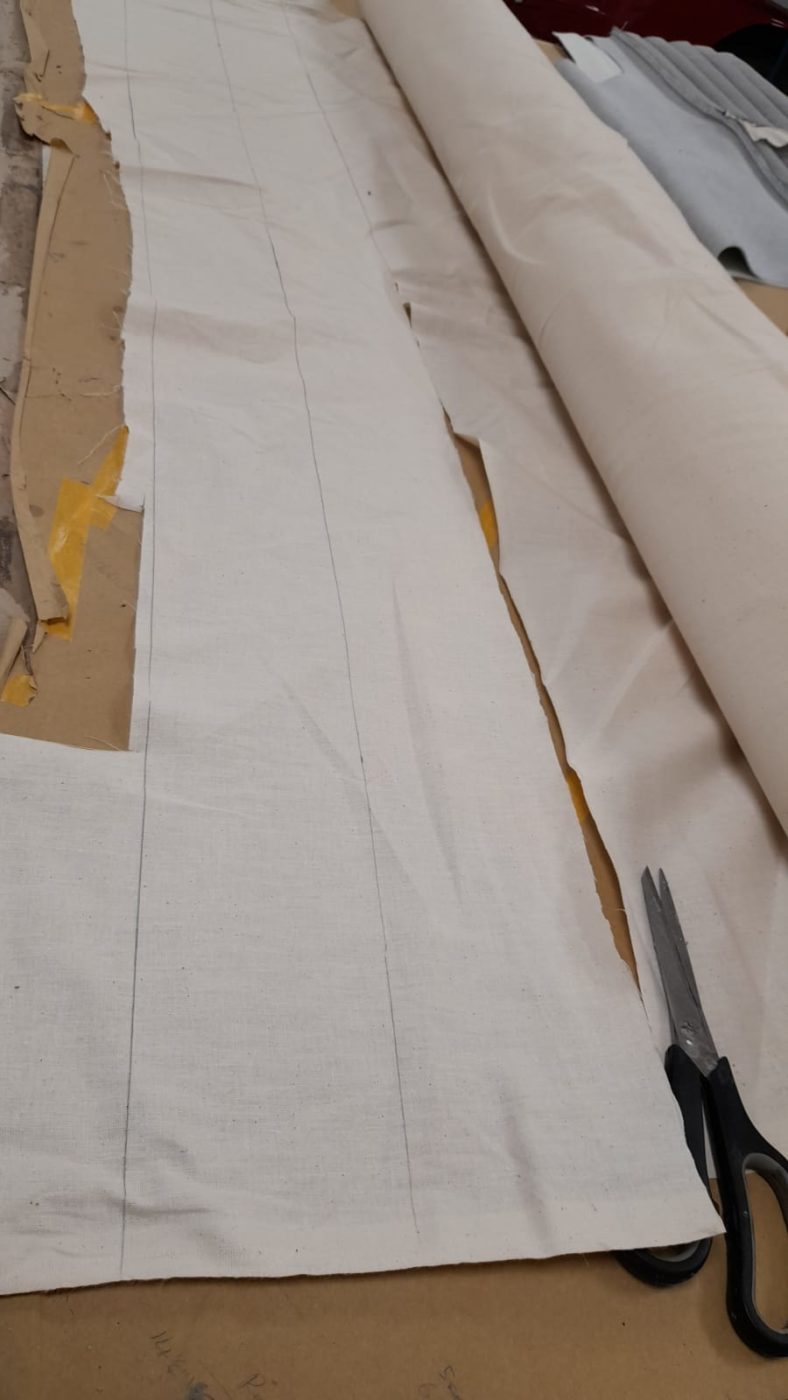
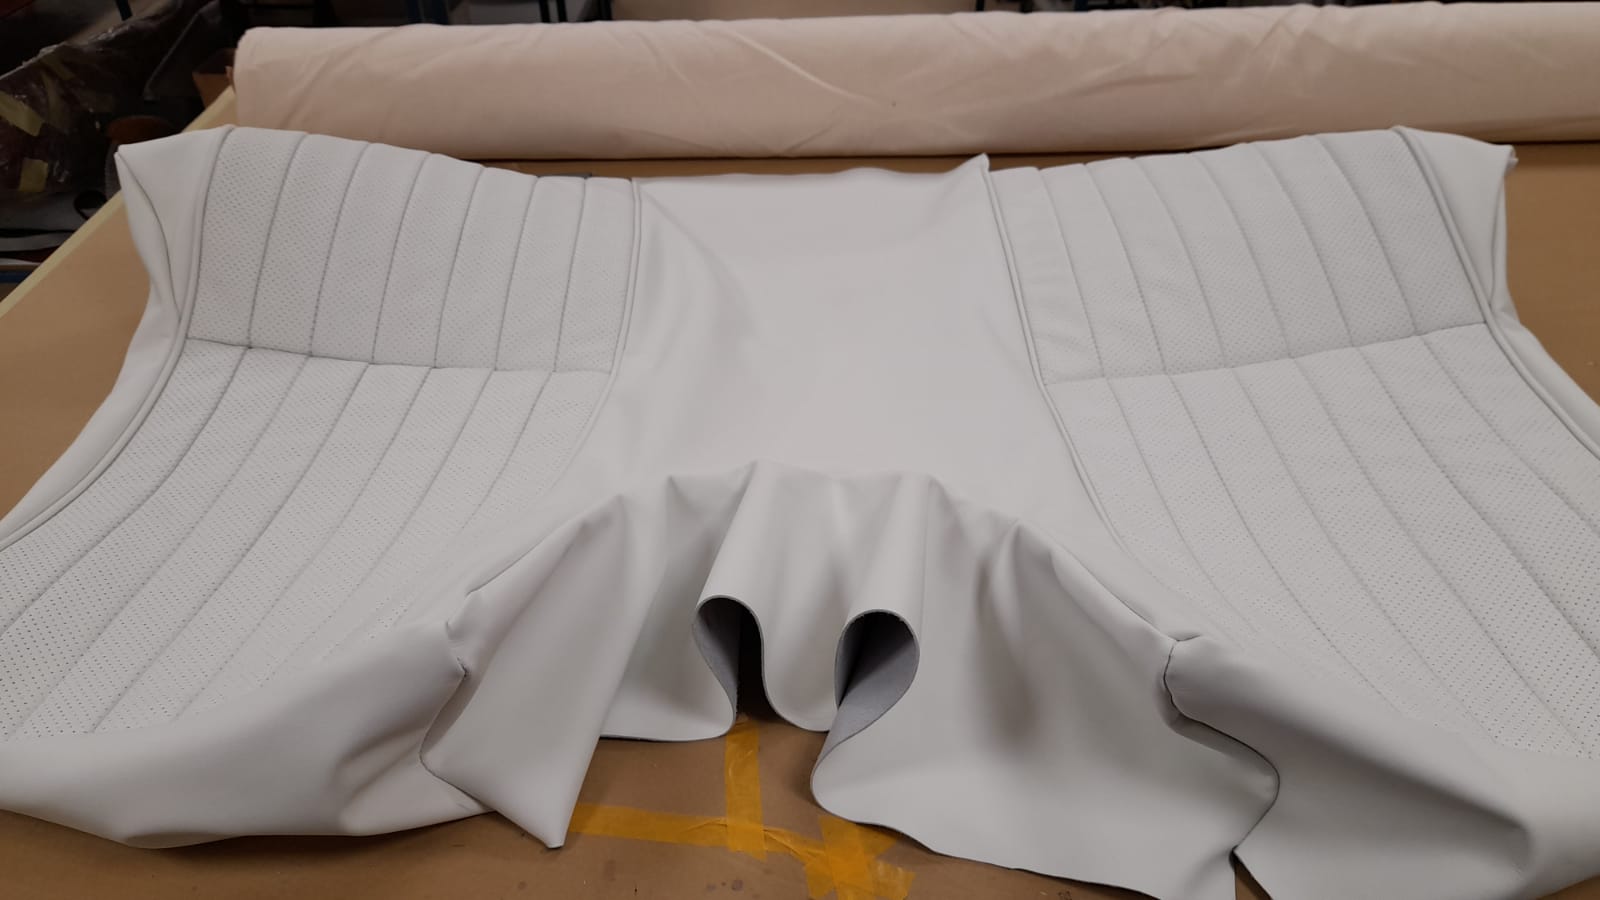
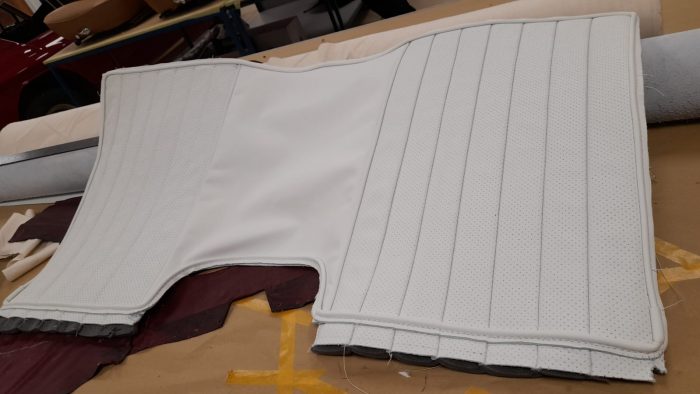
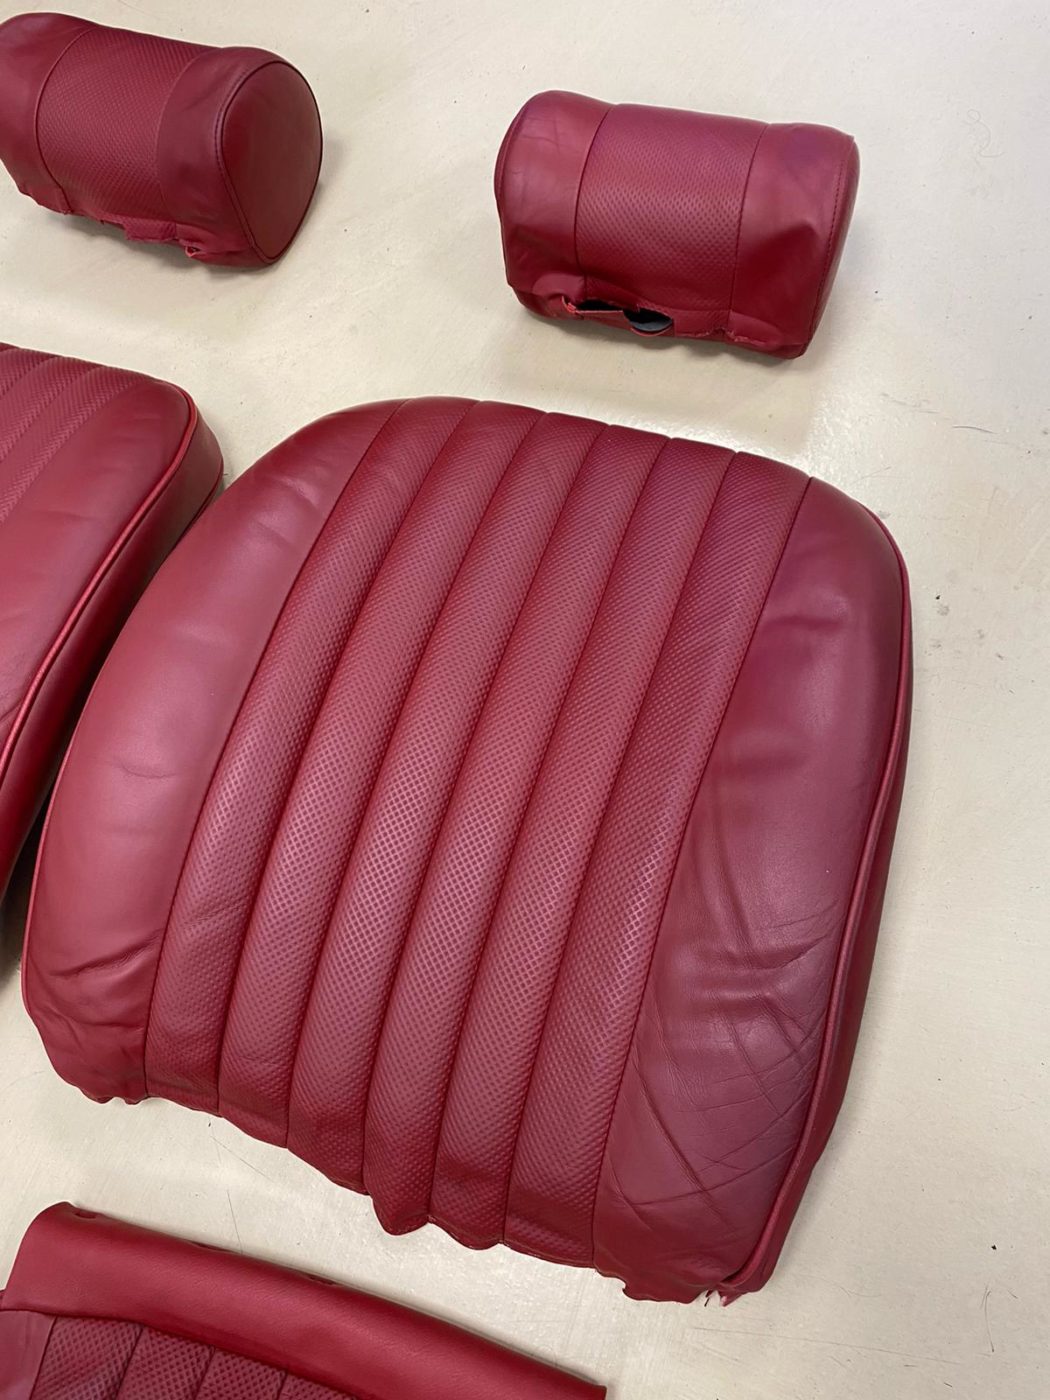
Lydia has continued to make the base of the seats on the Jensen. She has marked out the leather and foam with flute lines as a guide for sewing. She has then sewn the flute lines and attached them to the foam. The fluted are now faces finished. Next up, Lydia is set to work out the middle section as this needs to be altered from the original. She began by making a paper pattern on the new middle shape and making it longer and wider. Lydia then sewed the seams across the middle of the fluted faces and made paper patterns for the top sides to attach to the fluted faces. Then she cut leather versions out from the pattern as well as cutting out the middle section using the new middle section pattern she made.
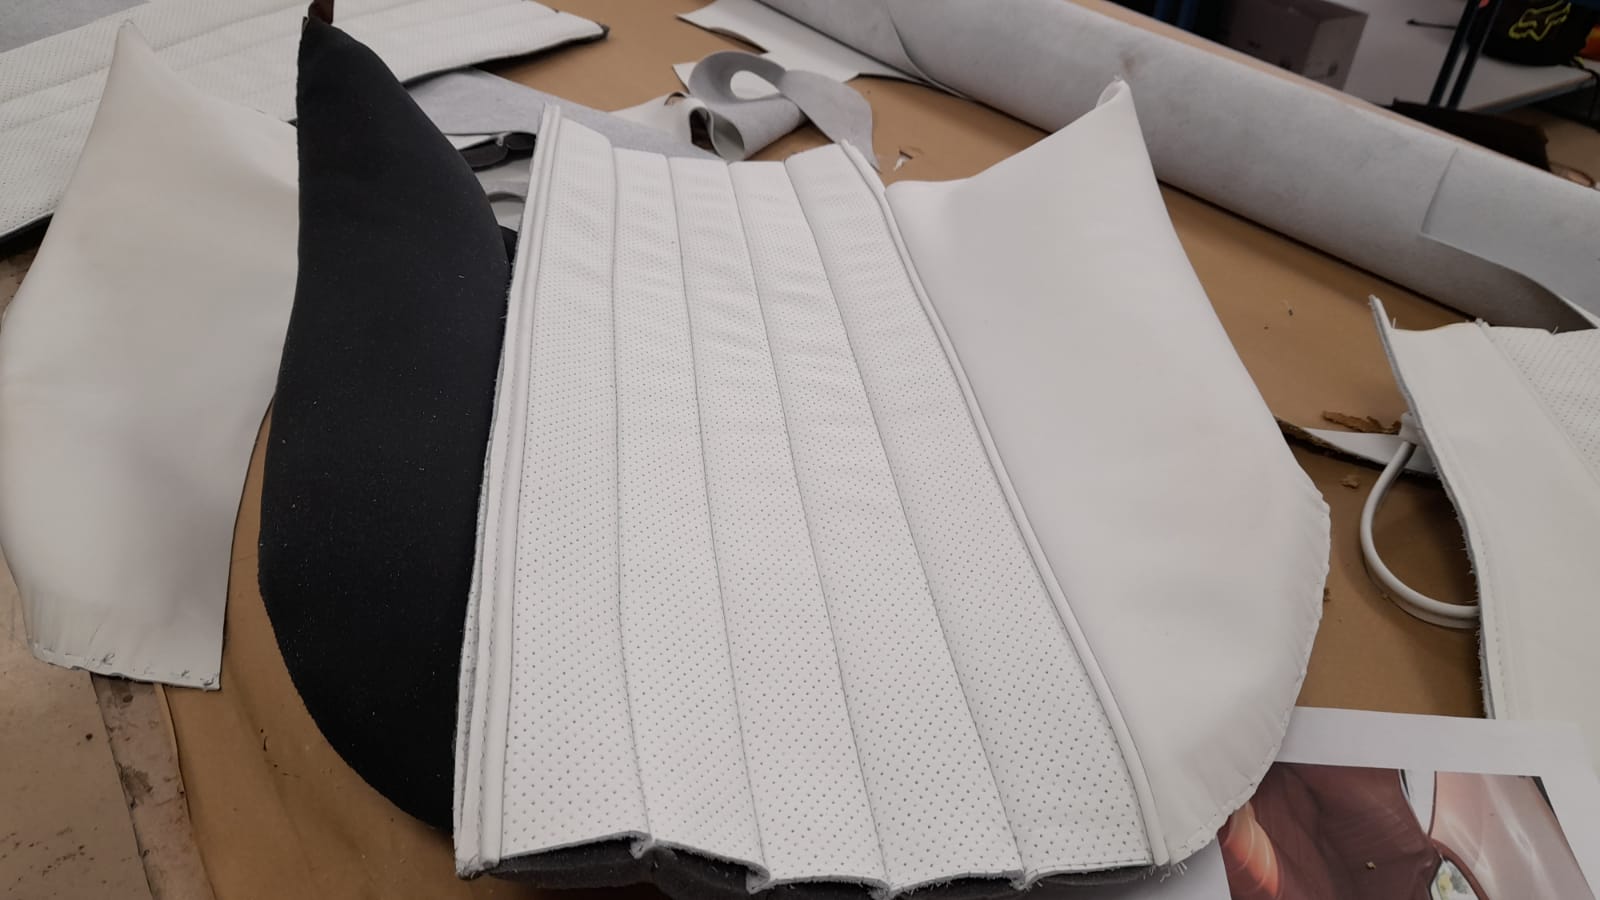
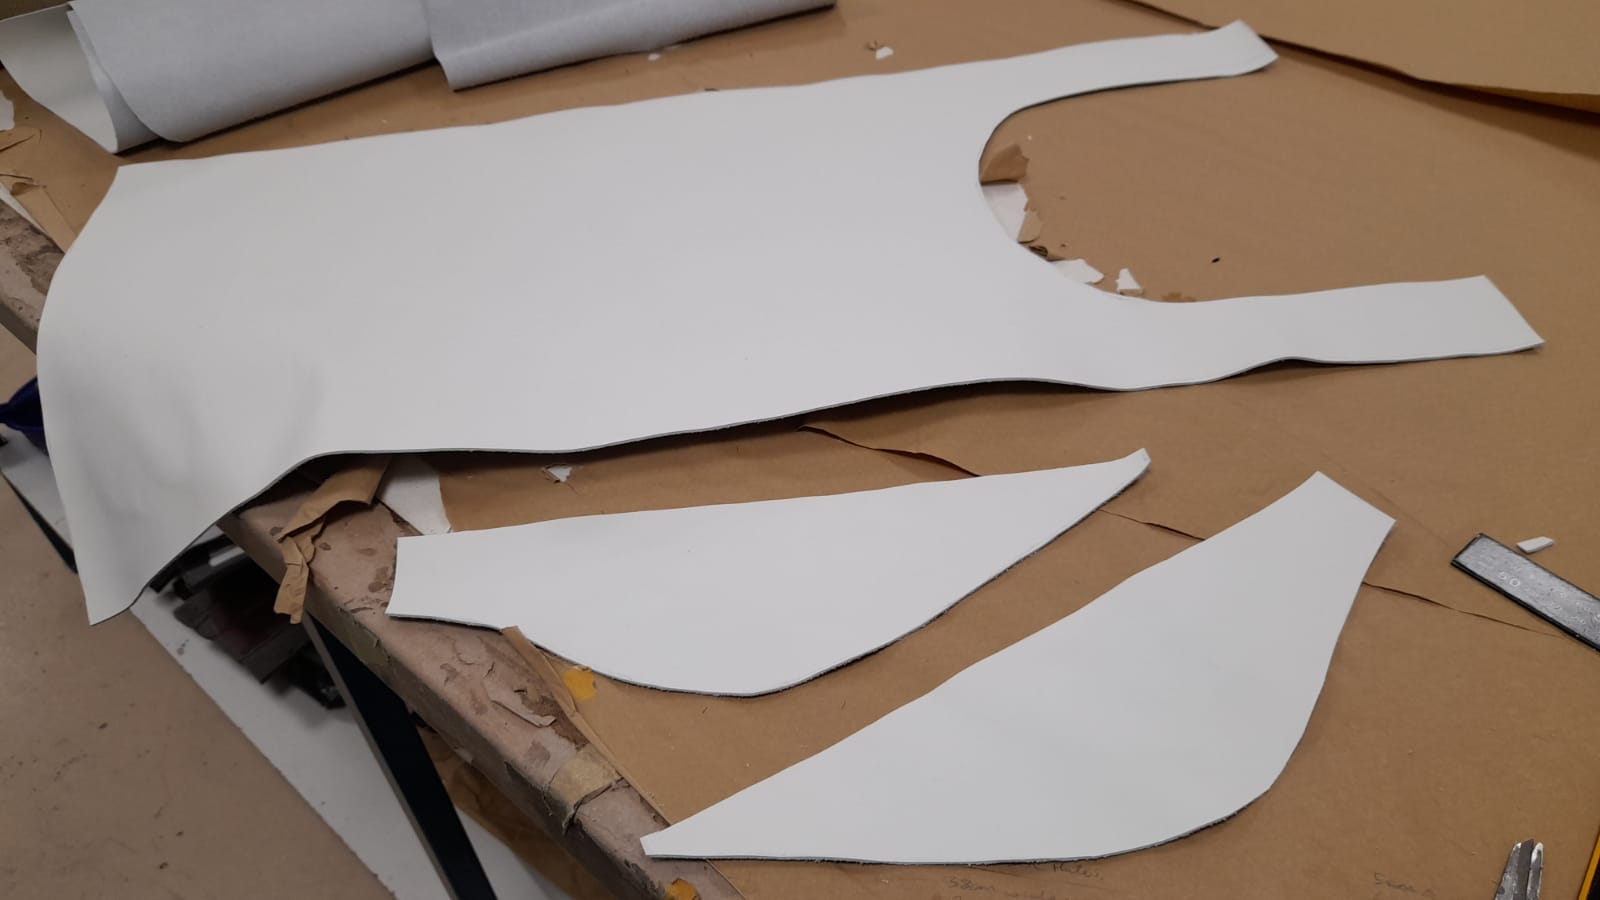
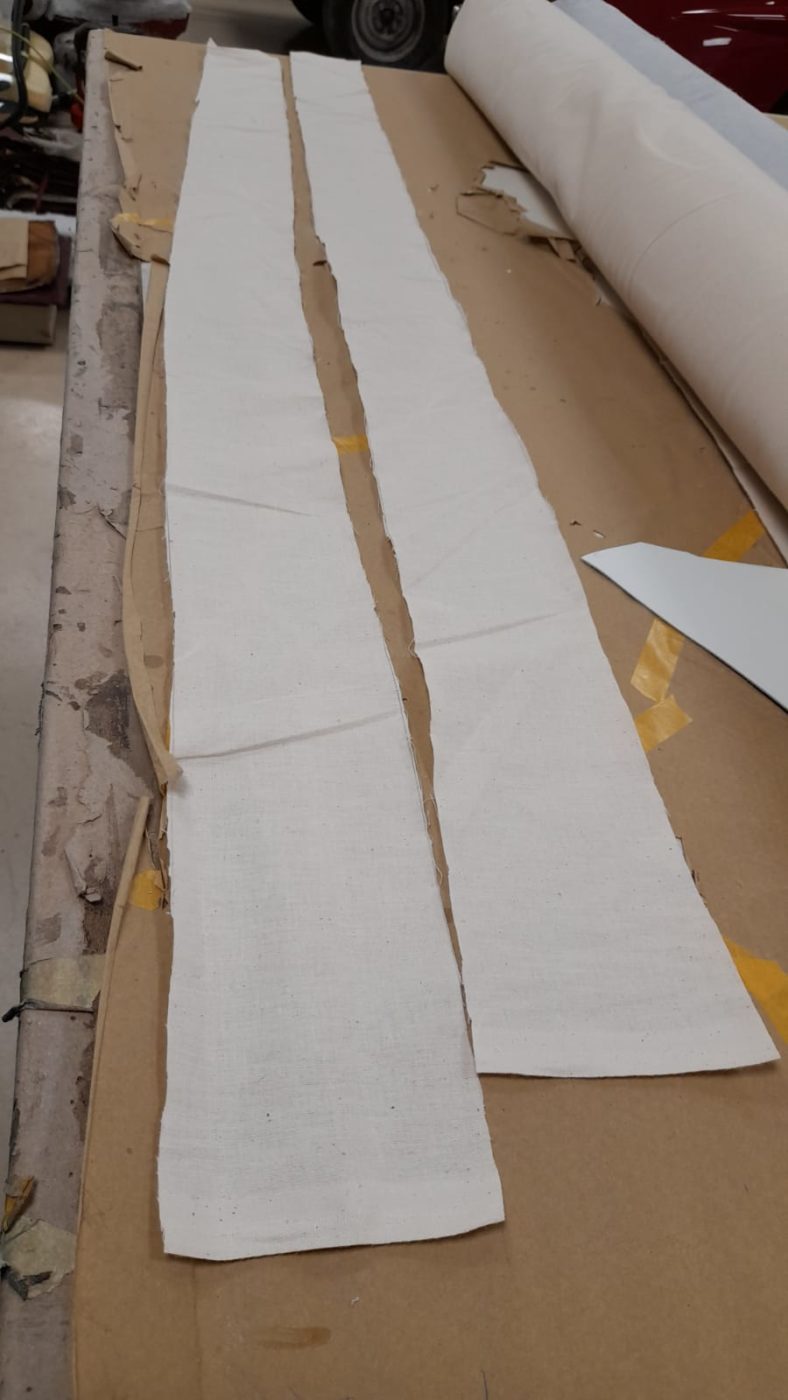
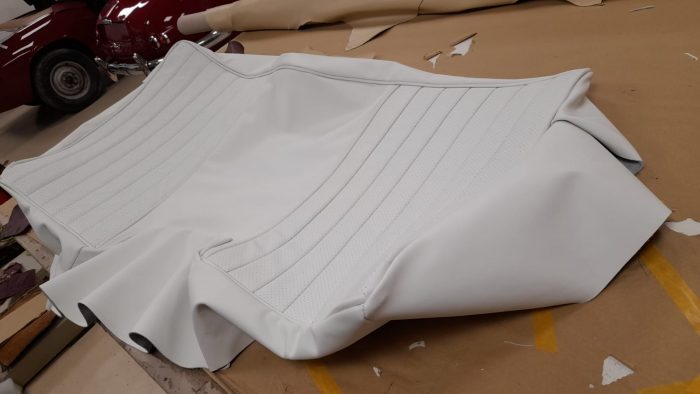
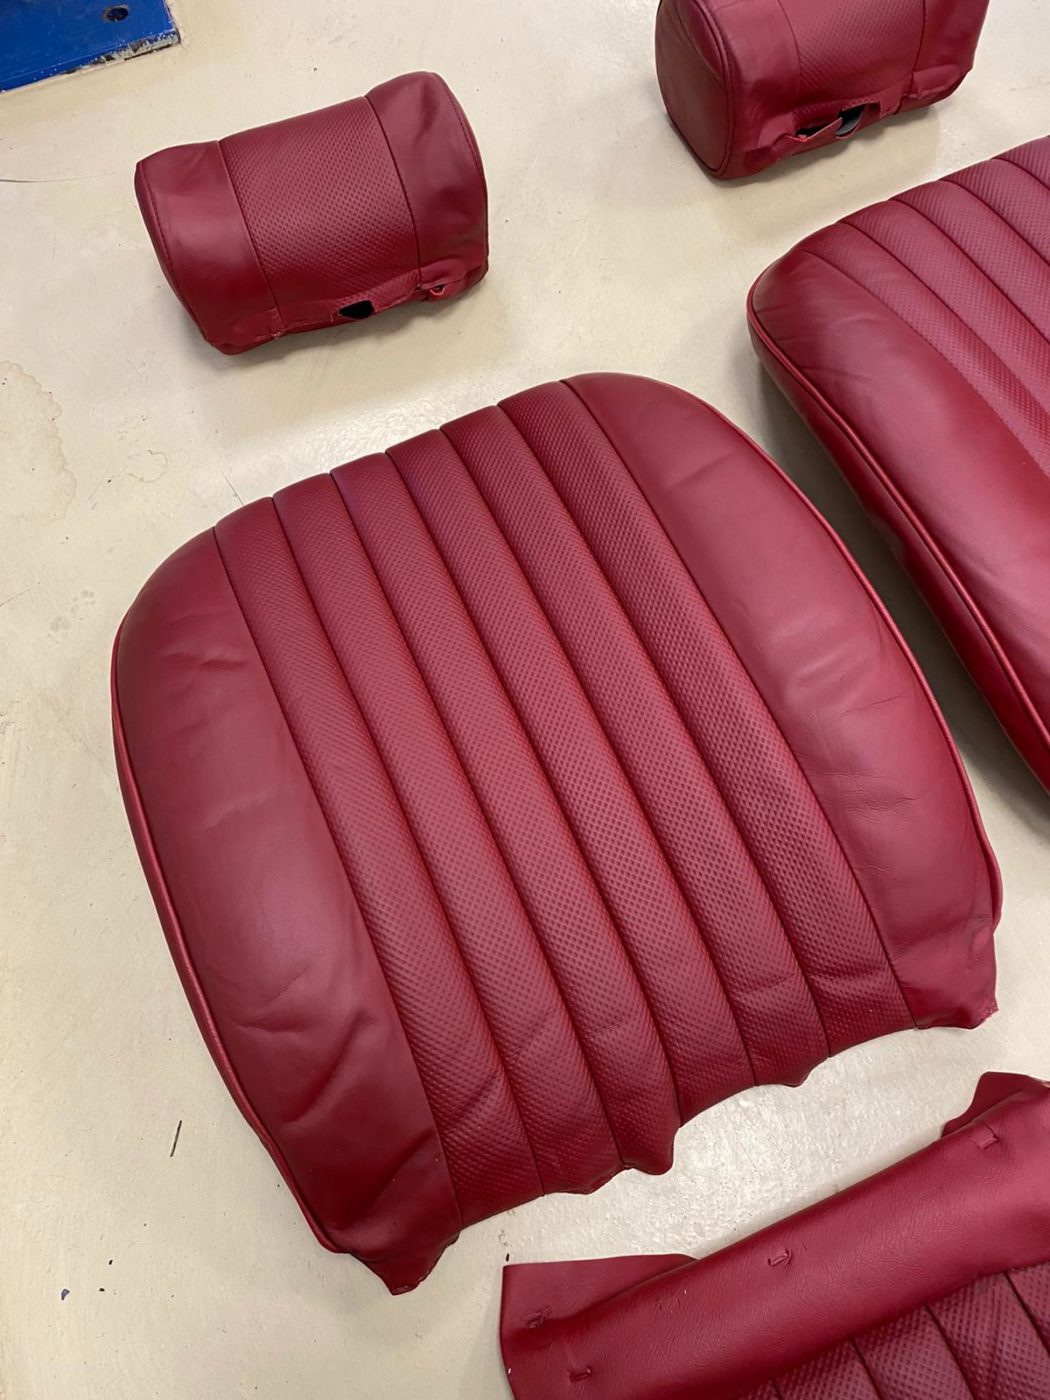
Lydia then piped the sides of the middle section and sewed the fluted faces to this. She followed by piped the other sides of the fluted faces and attached the top side pieces. Next up Lydia marked out and cut out all the pieces for the skirt and sides. She then measured, marked out and cut out strips of calico and sewed all the pieces together for the sides and skirt. She then sewed a strip of calico to the curved piece and sewed calico to the inside seams of the faces. This helps when fitting on the foam. Then Lydia clipped the skirt and sides piece to the main face piece to check the fit.


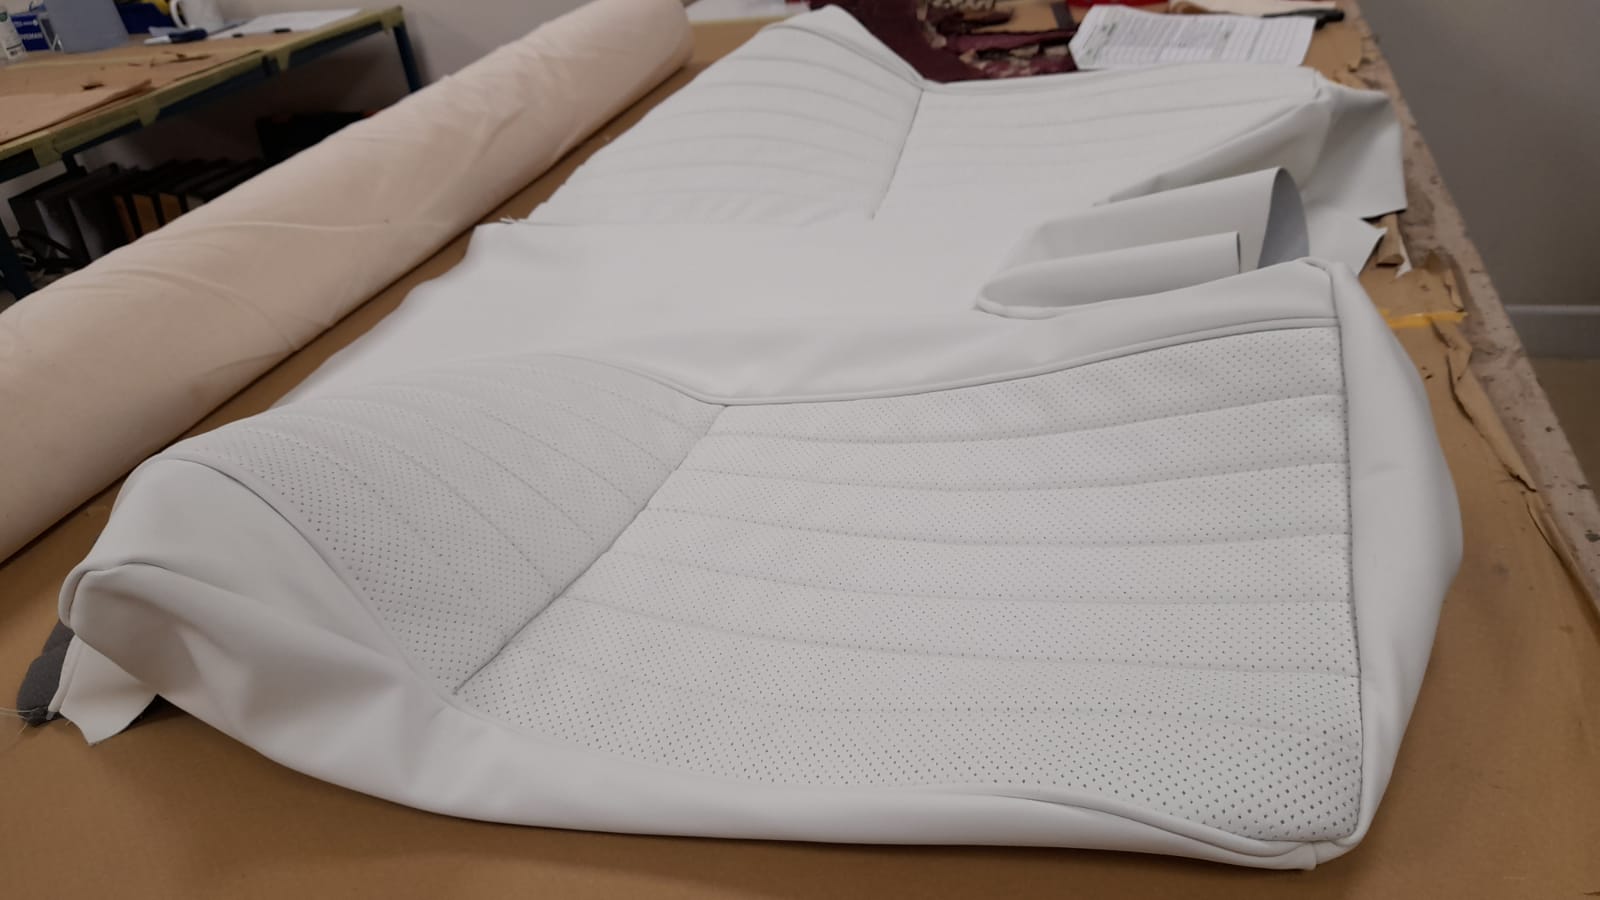

Lydia has continued to make the rear squab by cutting strips of leather for piping, clipping the pieces together for the sides and bottom and then sewing them together. She used the piping she’d made before and sewed them around the outside of the face. Lydian then sewed the sides and skirt onto it to finish.

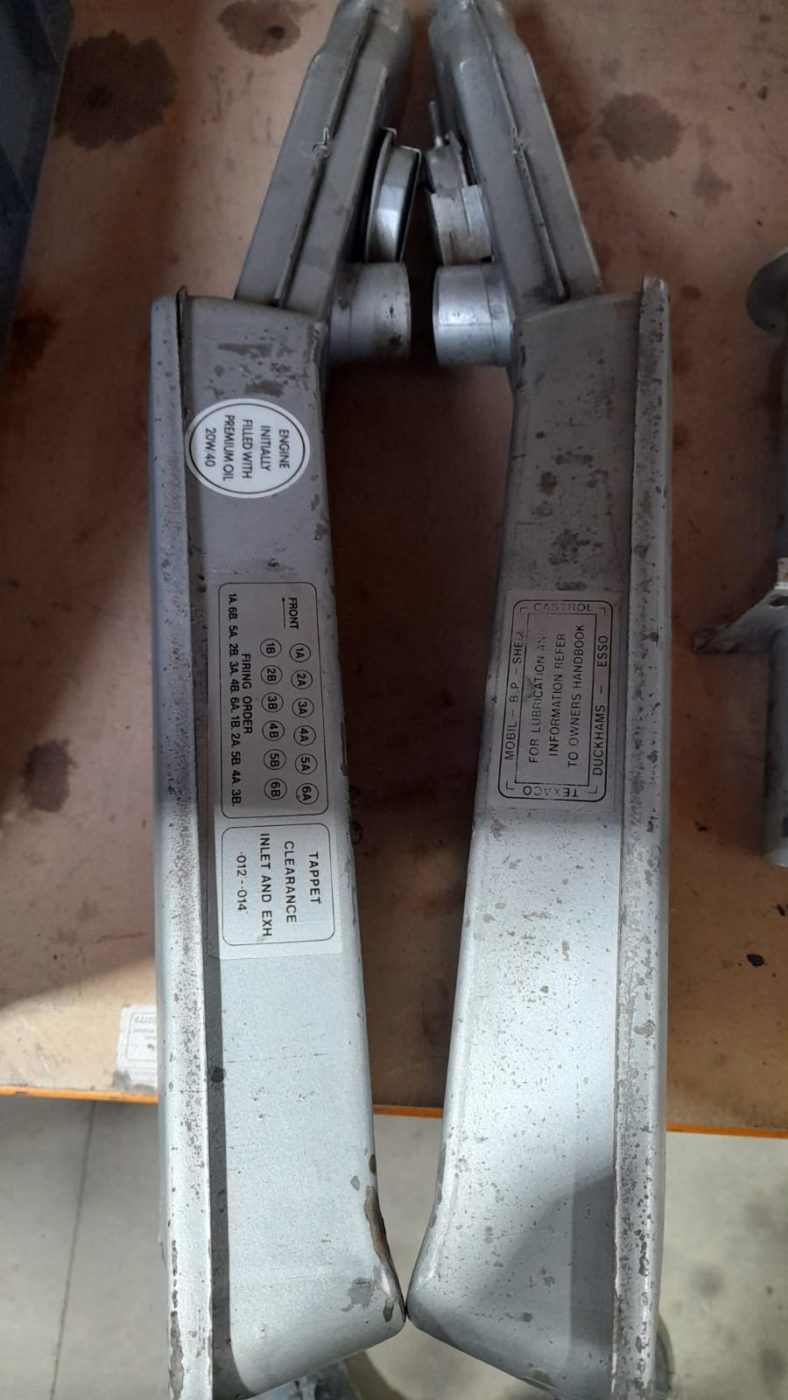
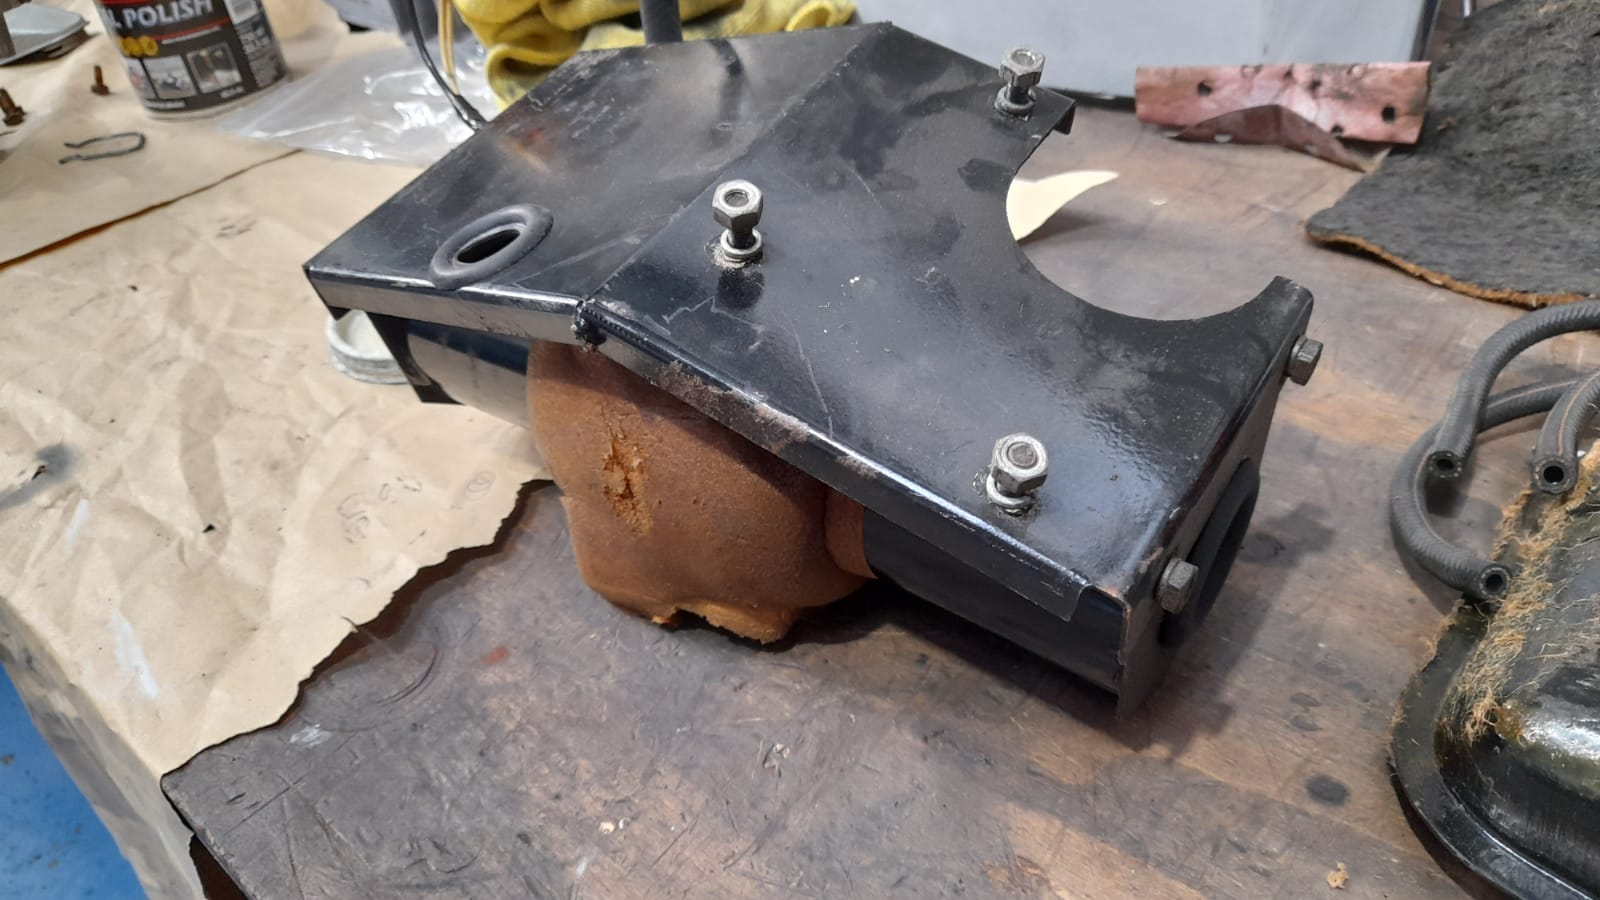
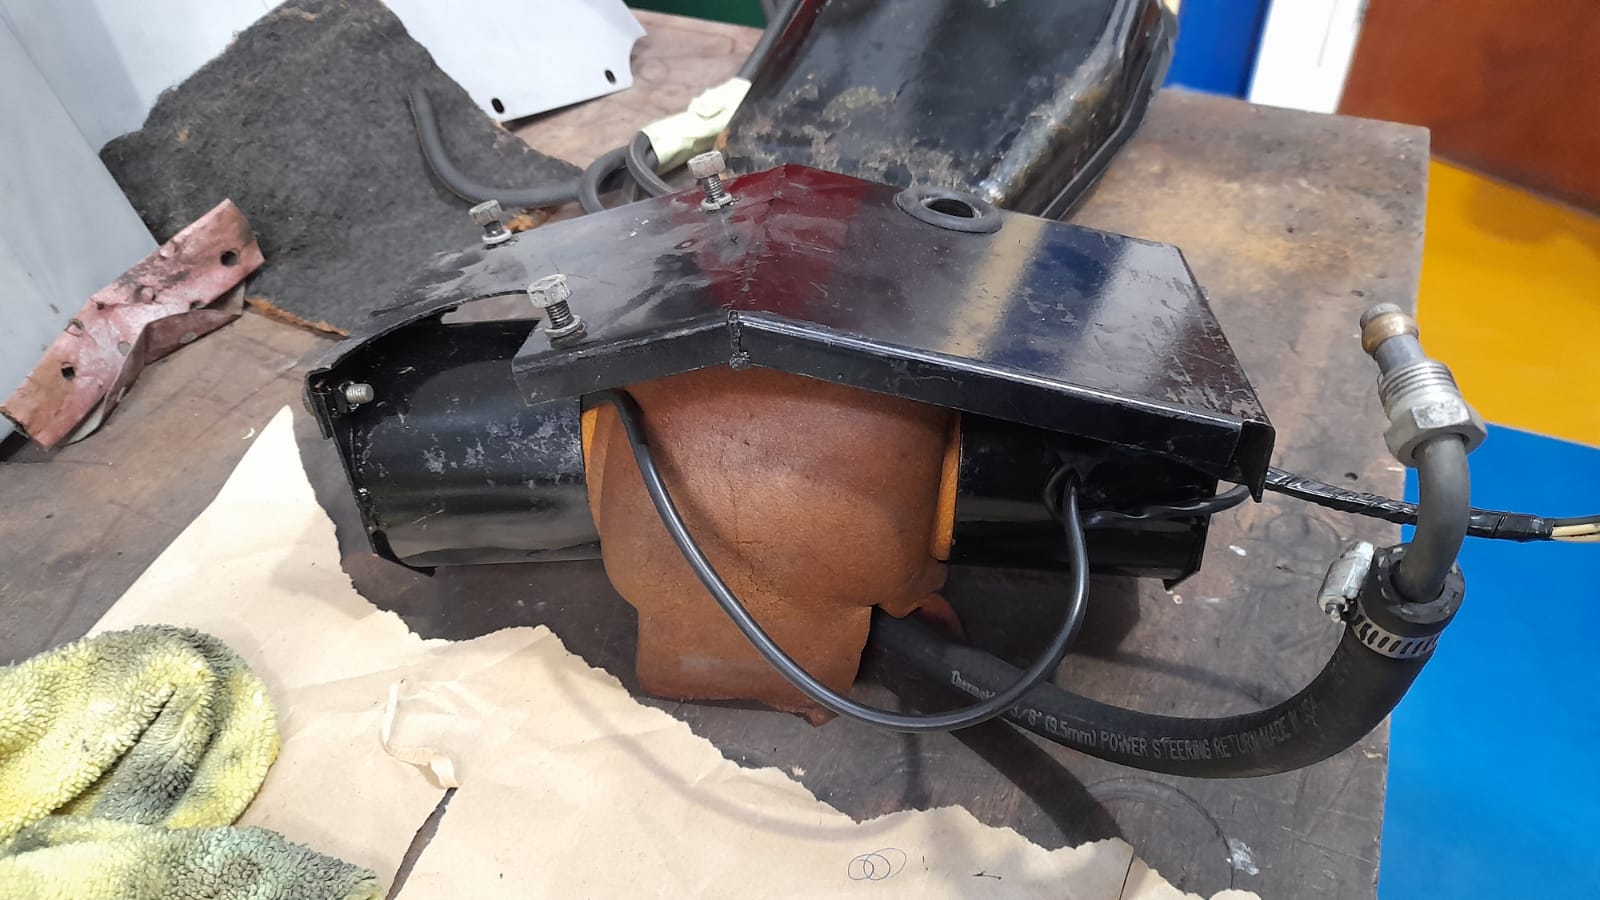
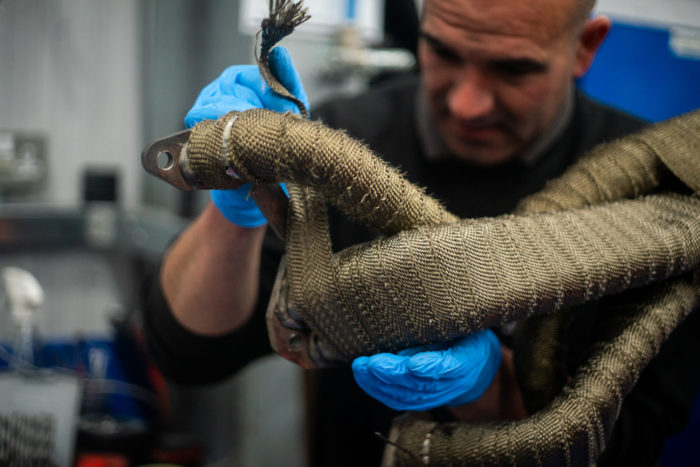
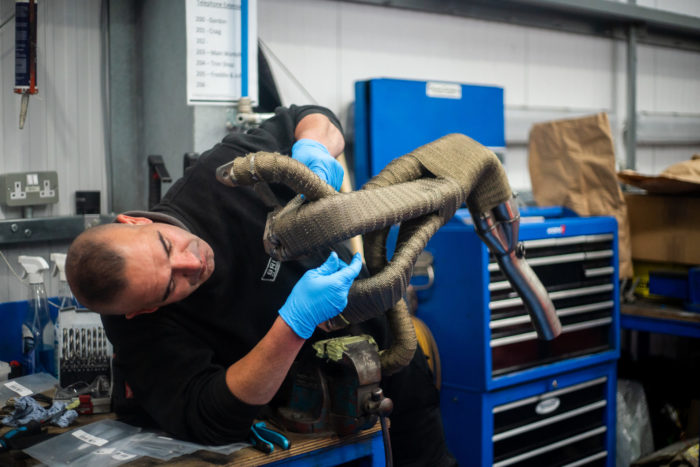
Mauro has been heat-wrapping the Triumph TR5 exhaust using a Header Wrap. This is done to improve the exhaust flow and to reduce the risk of the Scavenging Effect. Scavenging occurs when the rush of the exhaust gas leaves the cylinder pulls in more fresh air and fuel.
It also lowers the temperature in the engine to reduce the risk of overheating. Wrapped headers will increase the torque and horse power by a small amount as well.

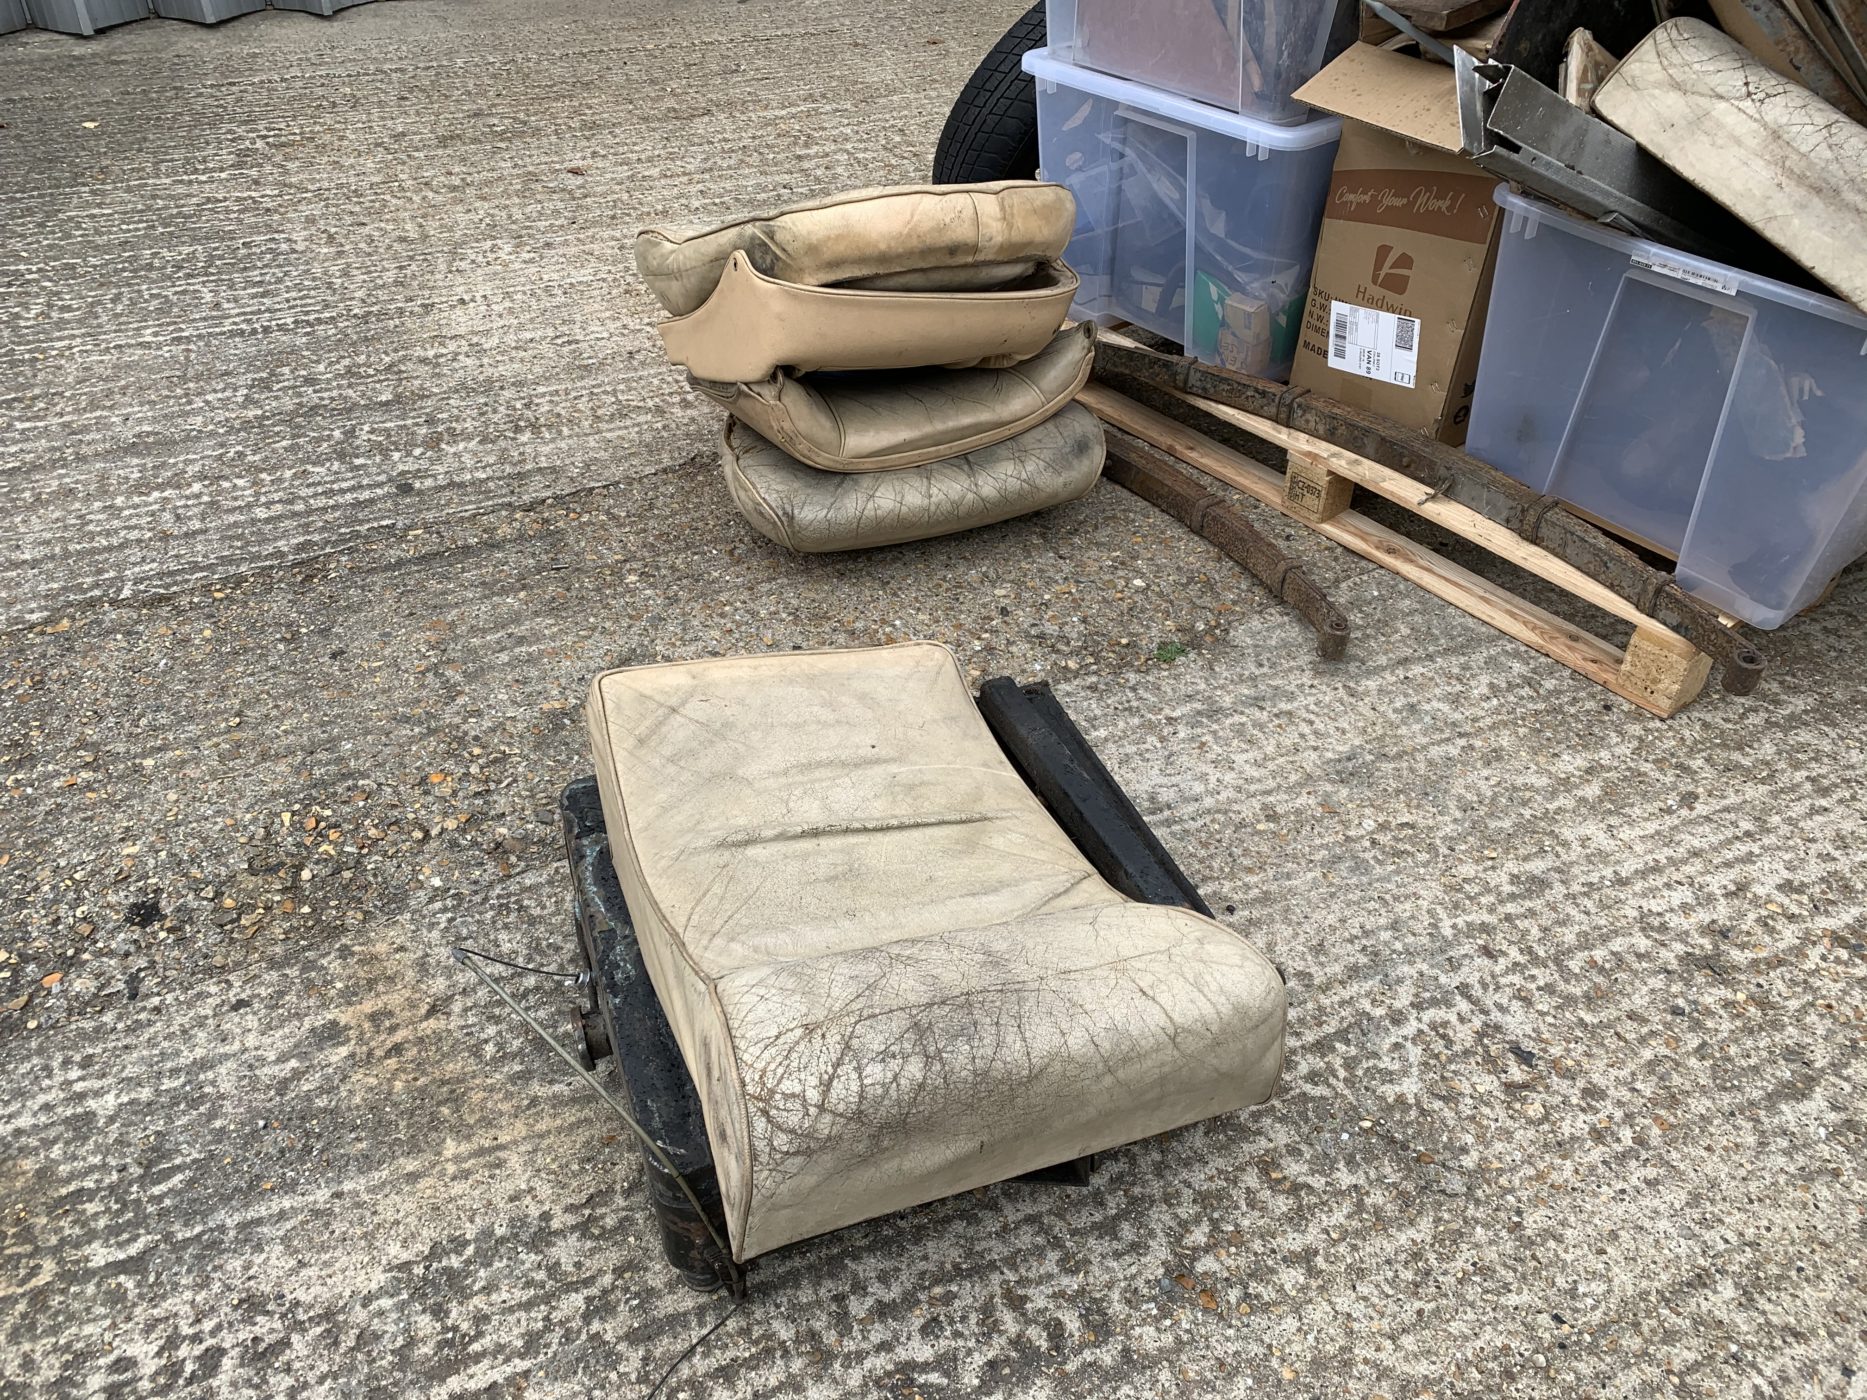
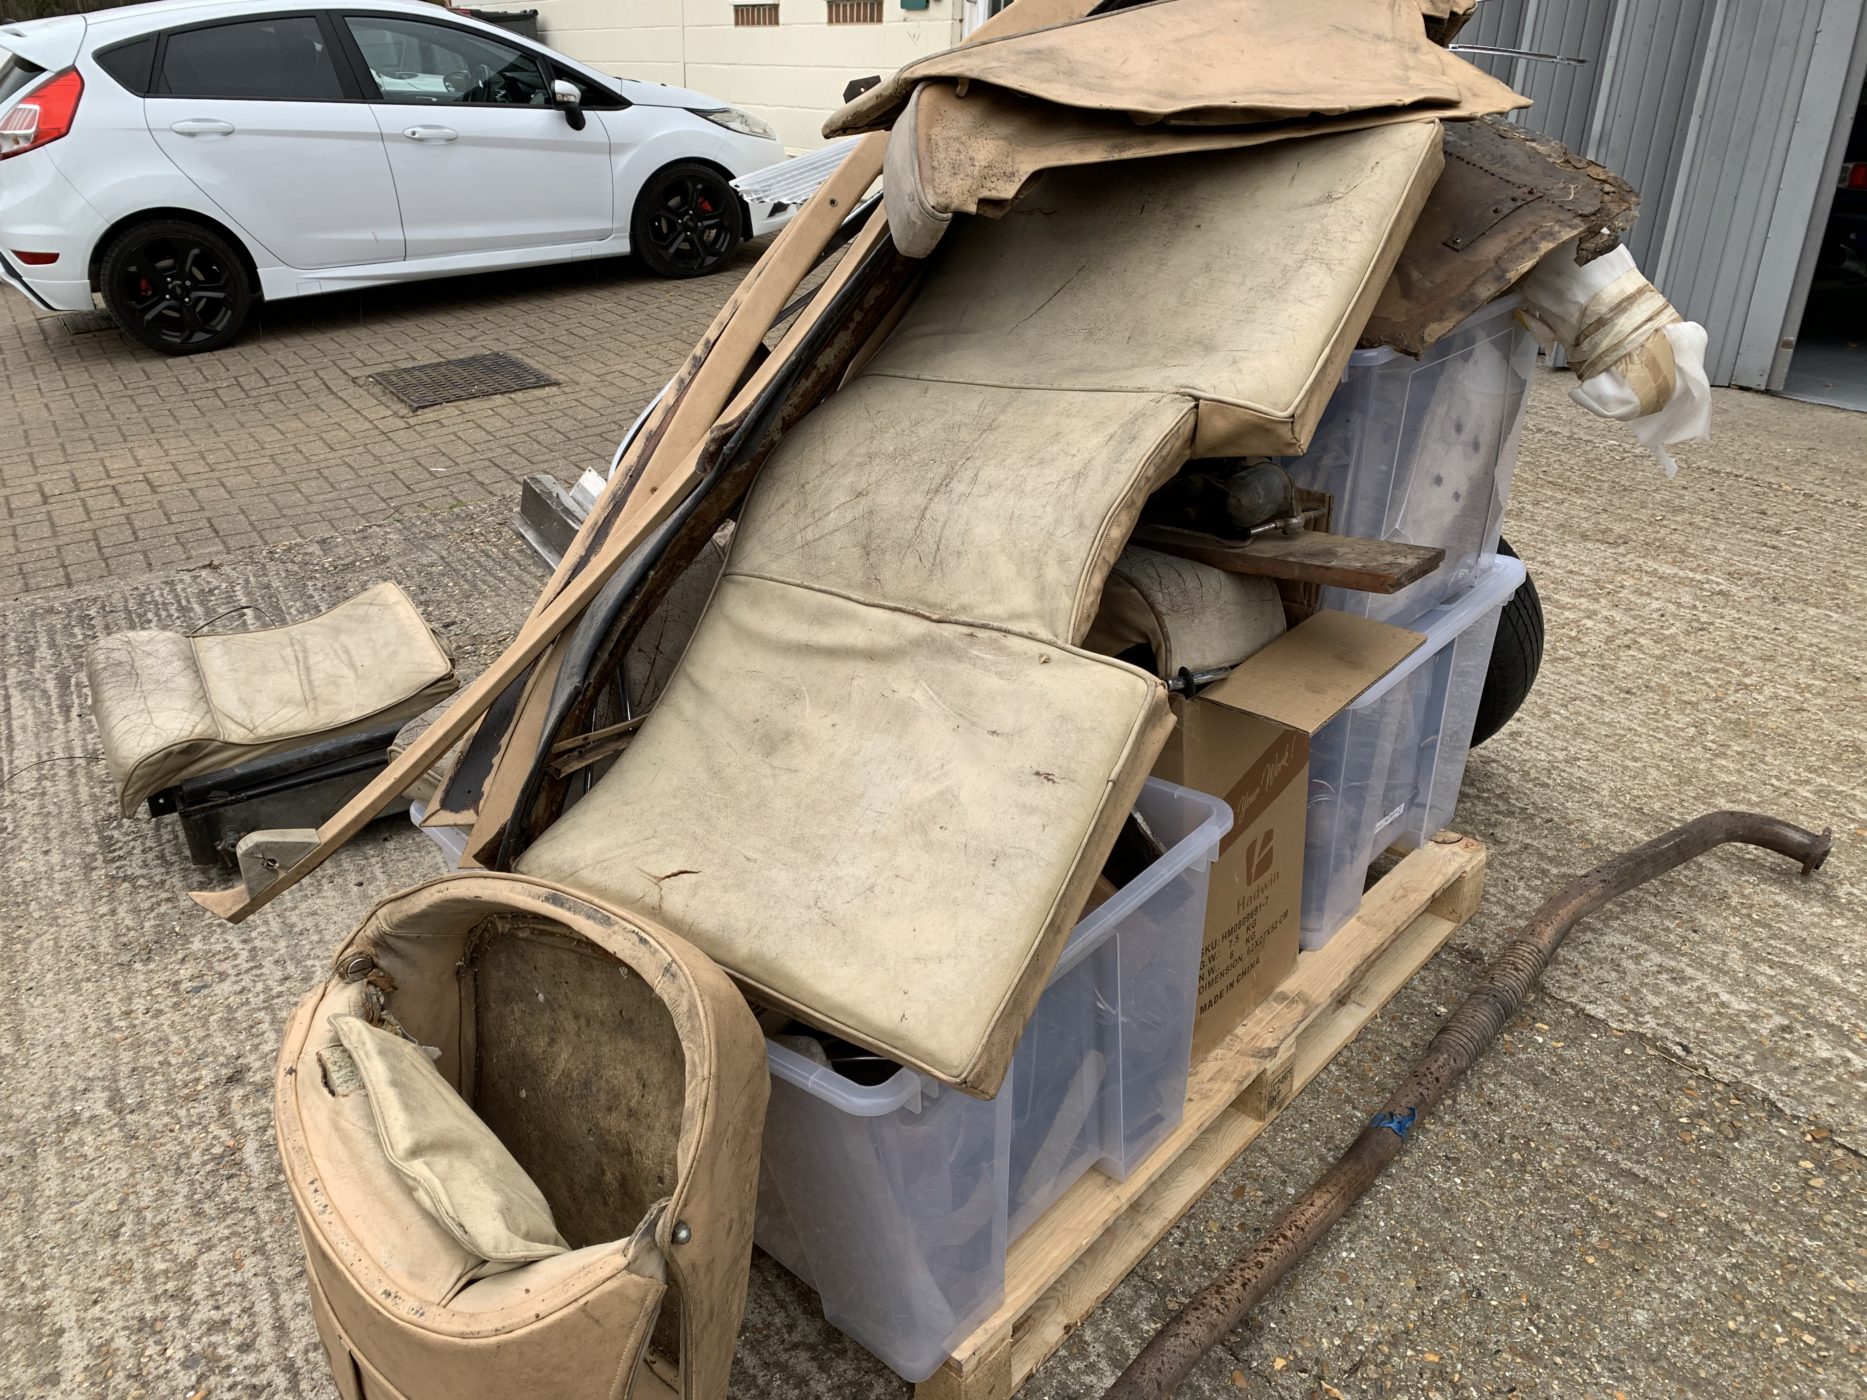
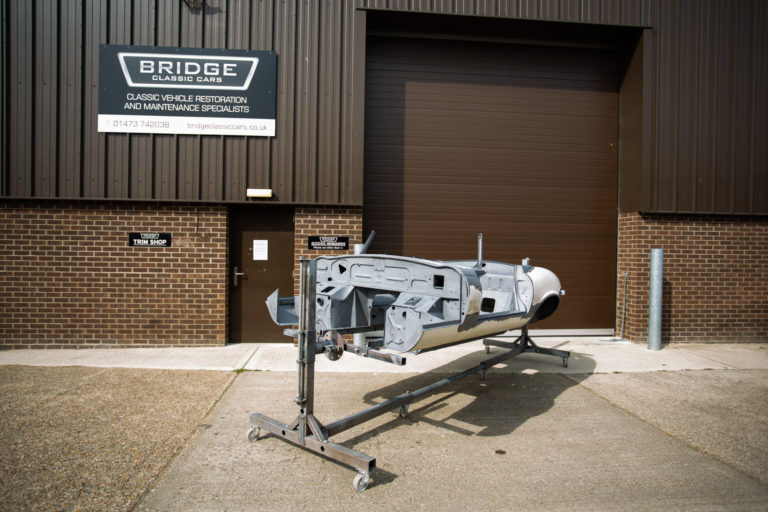
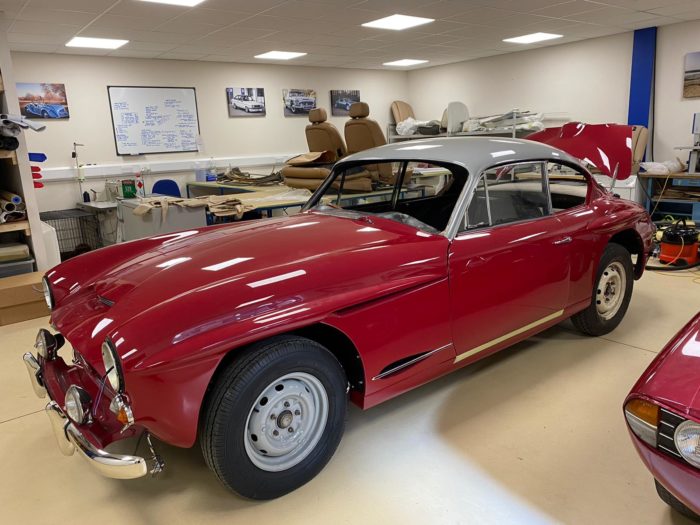
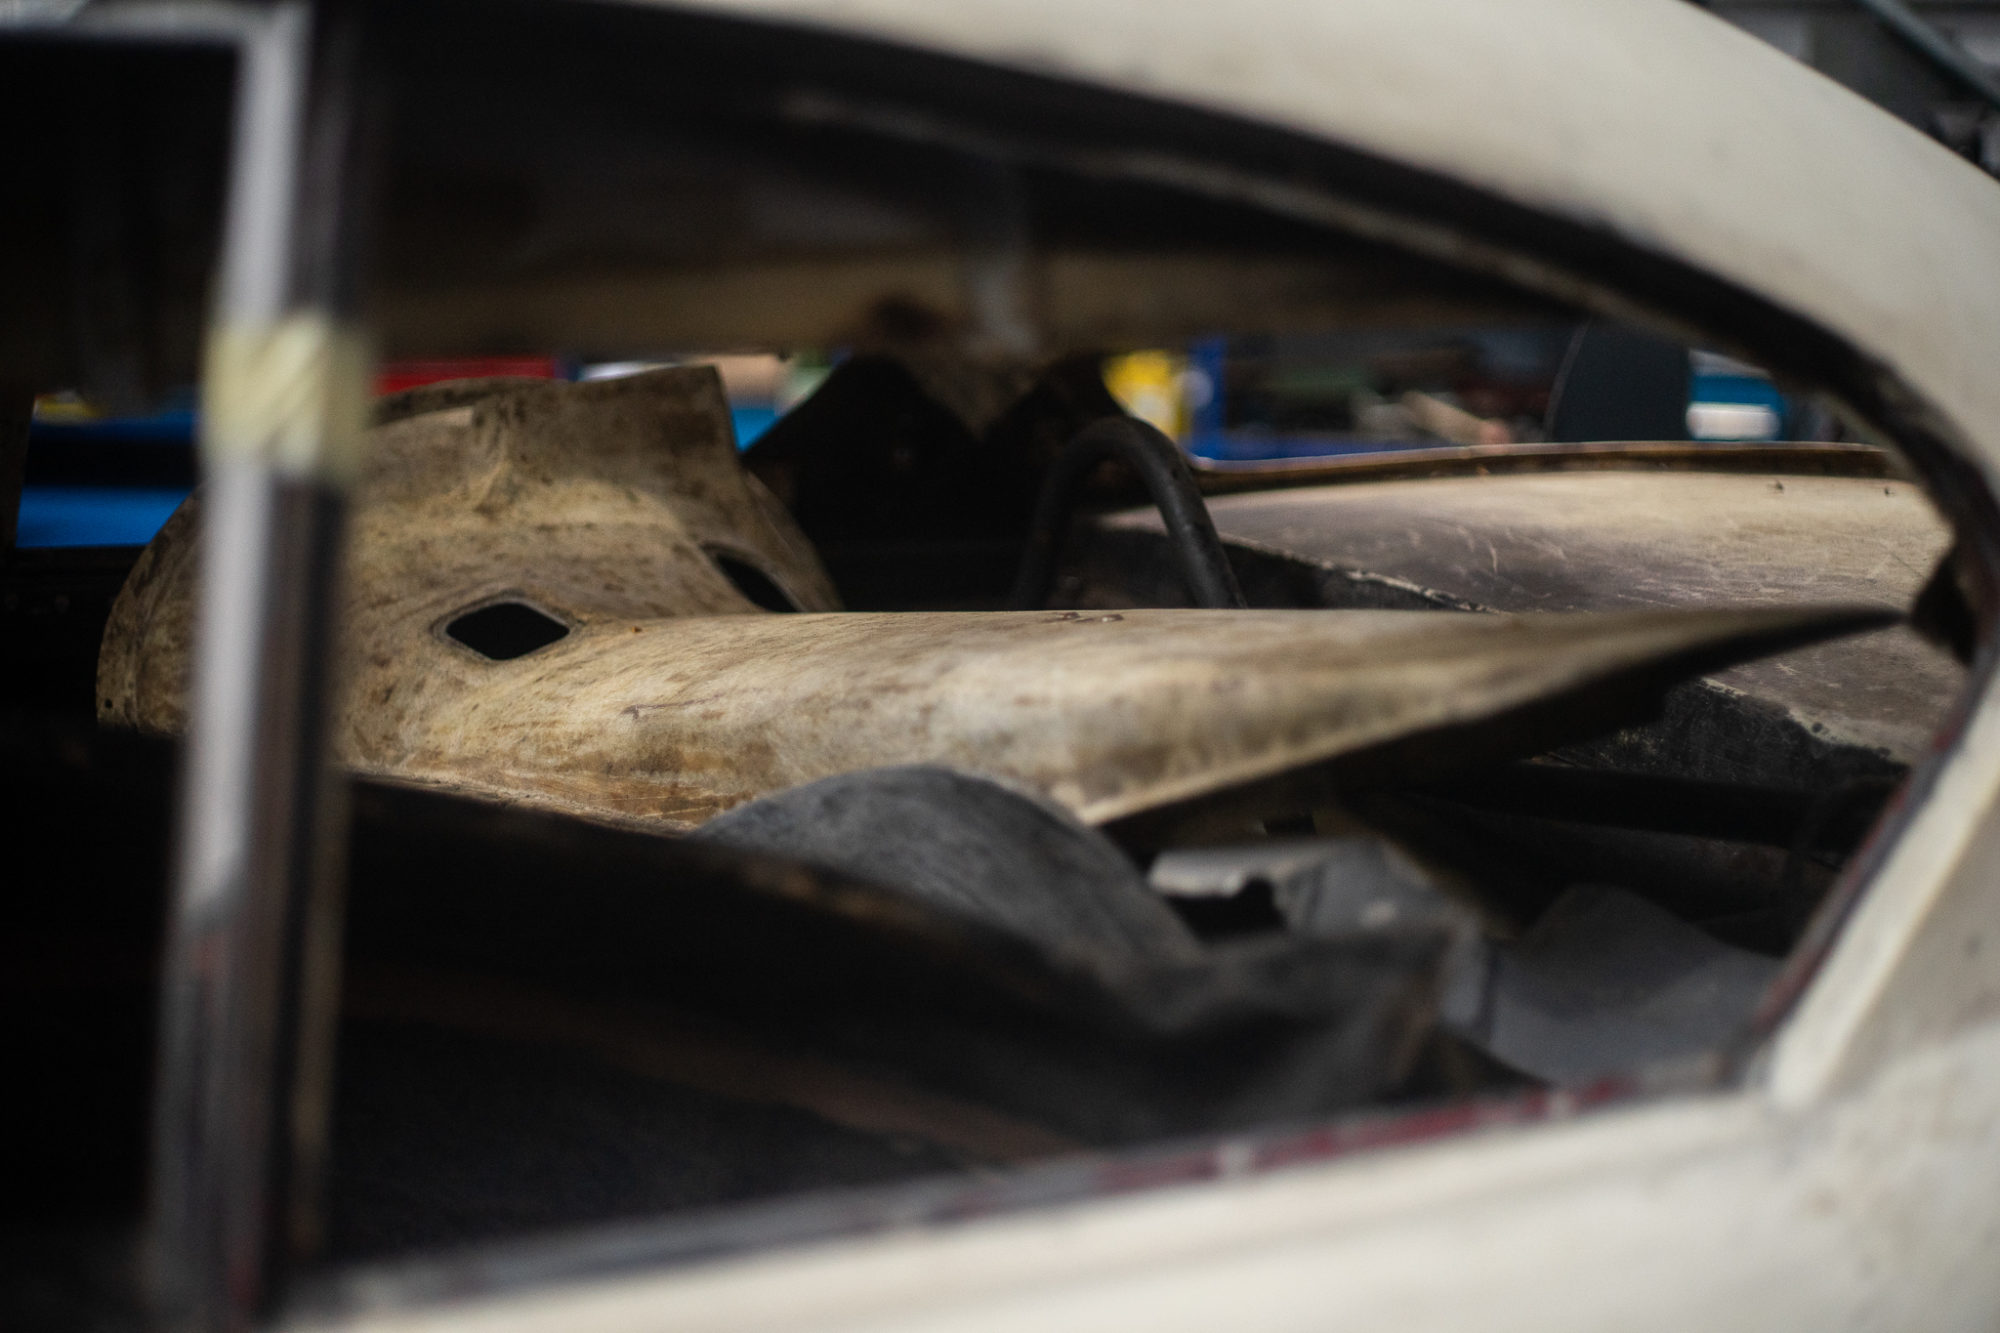
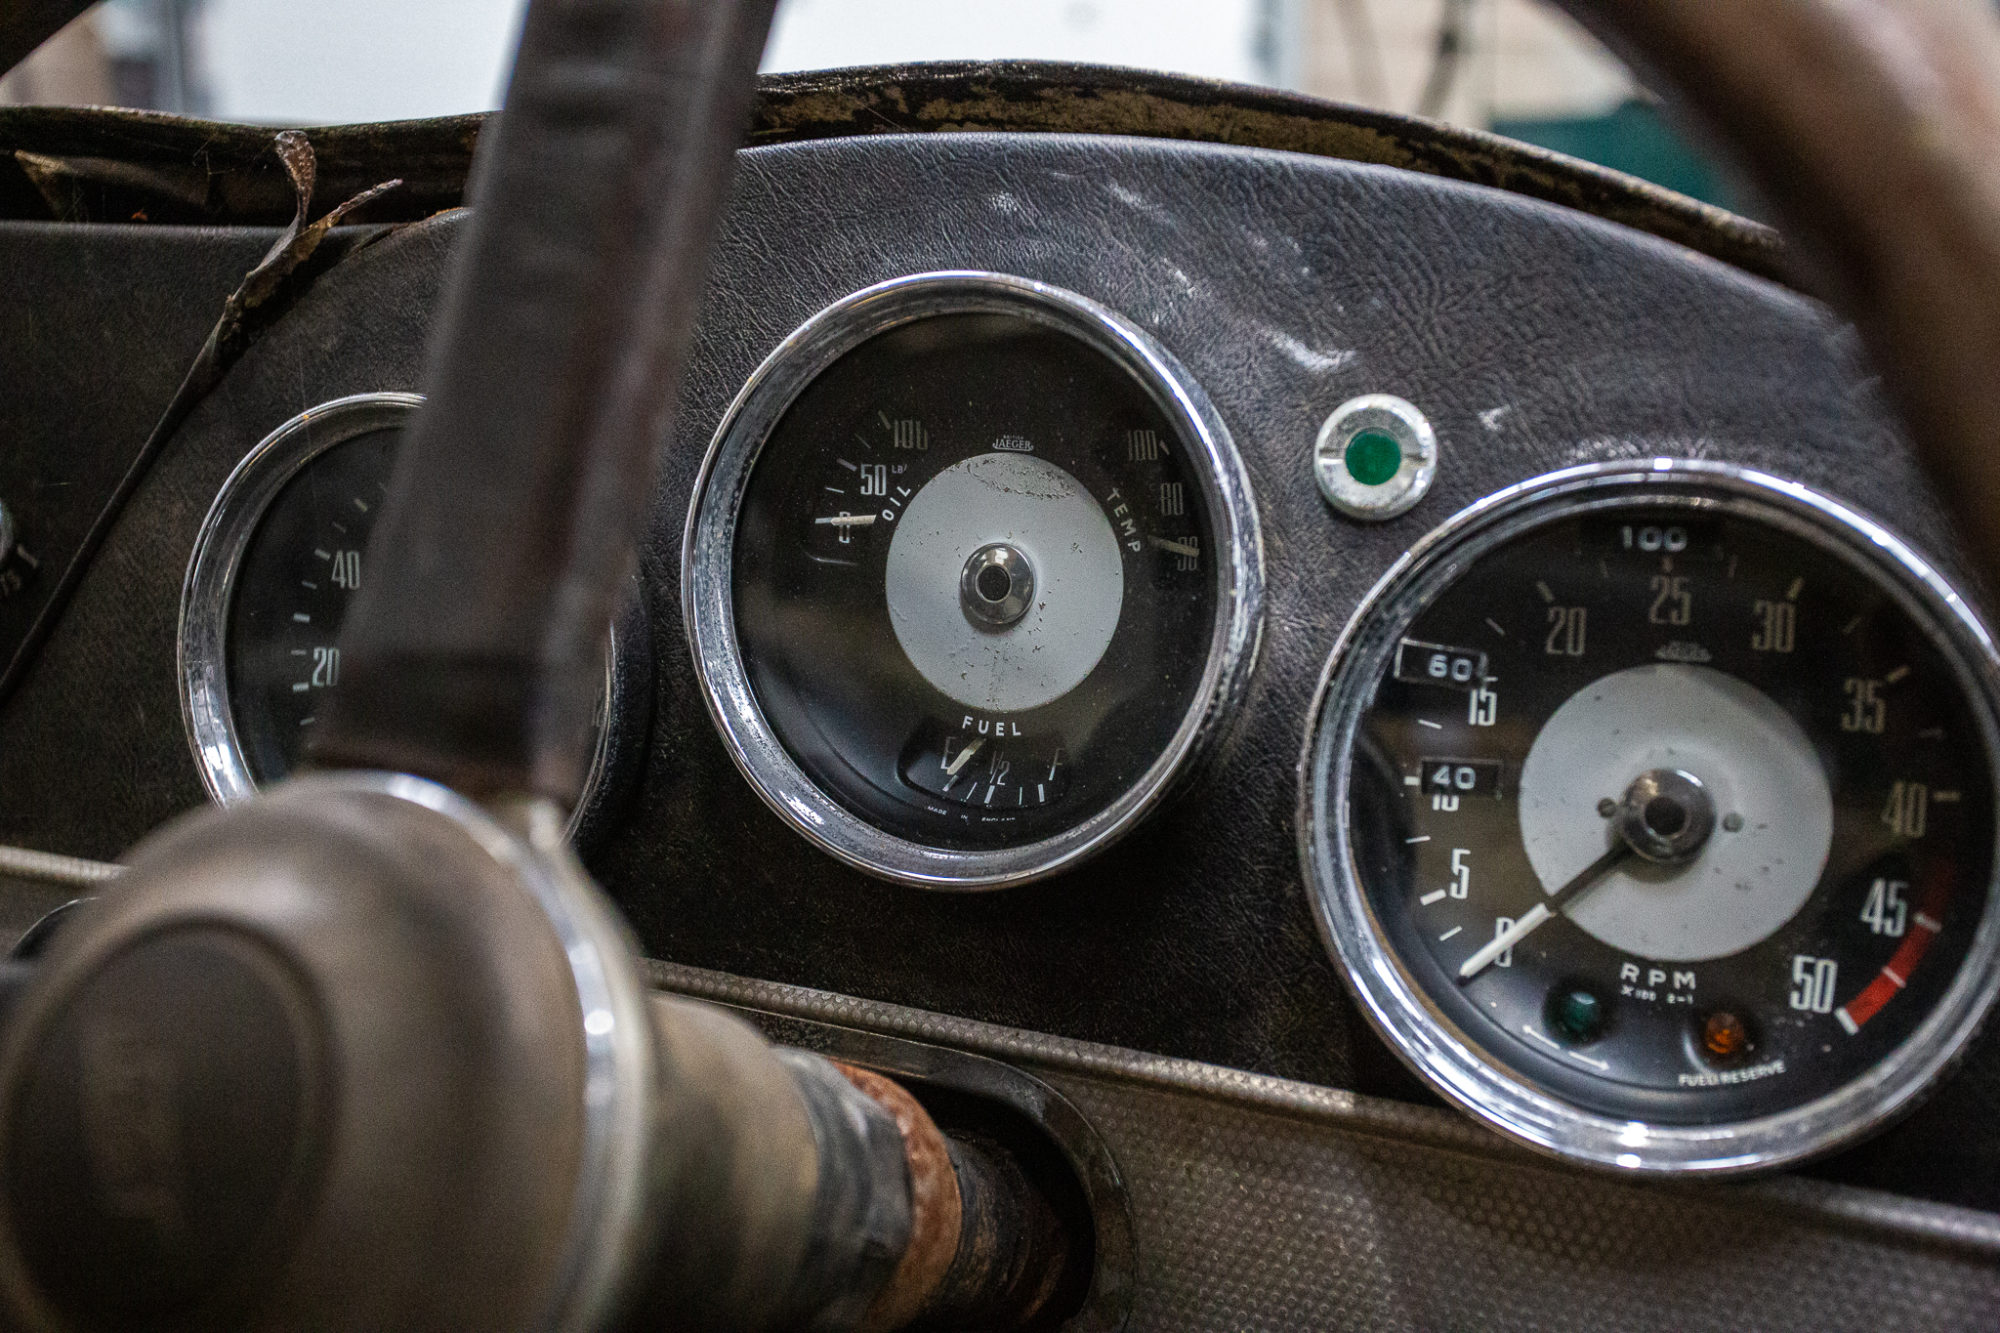
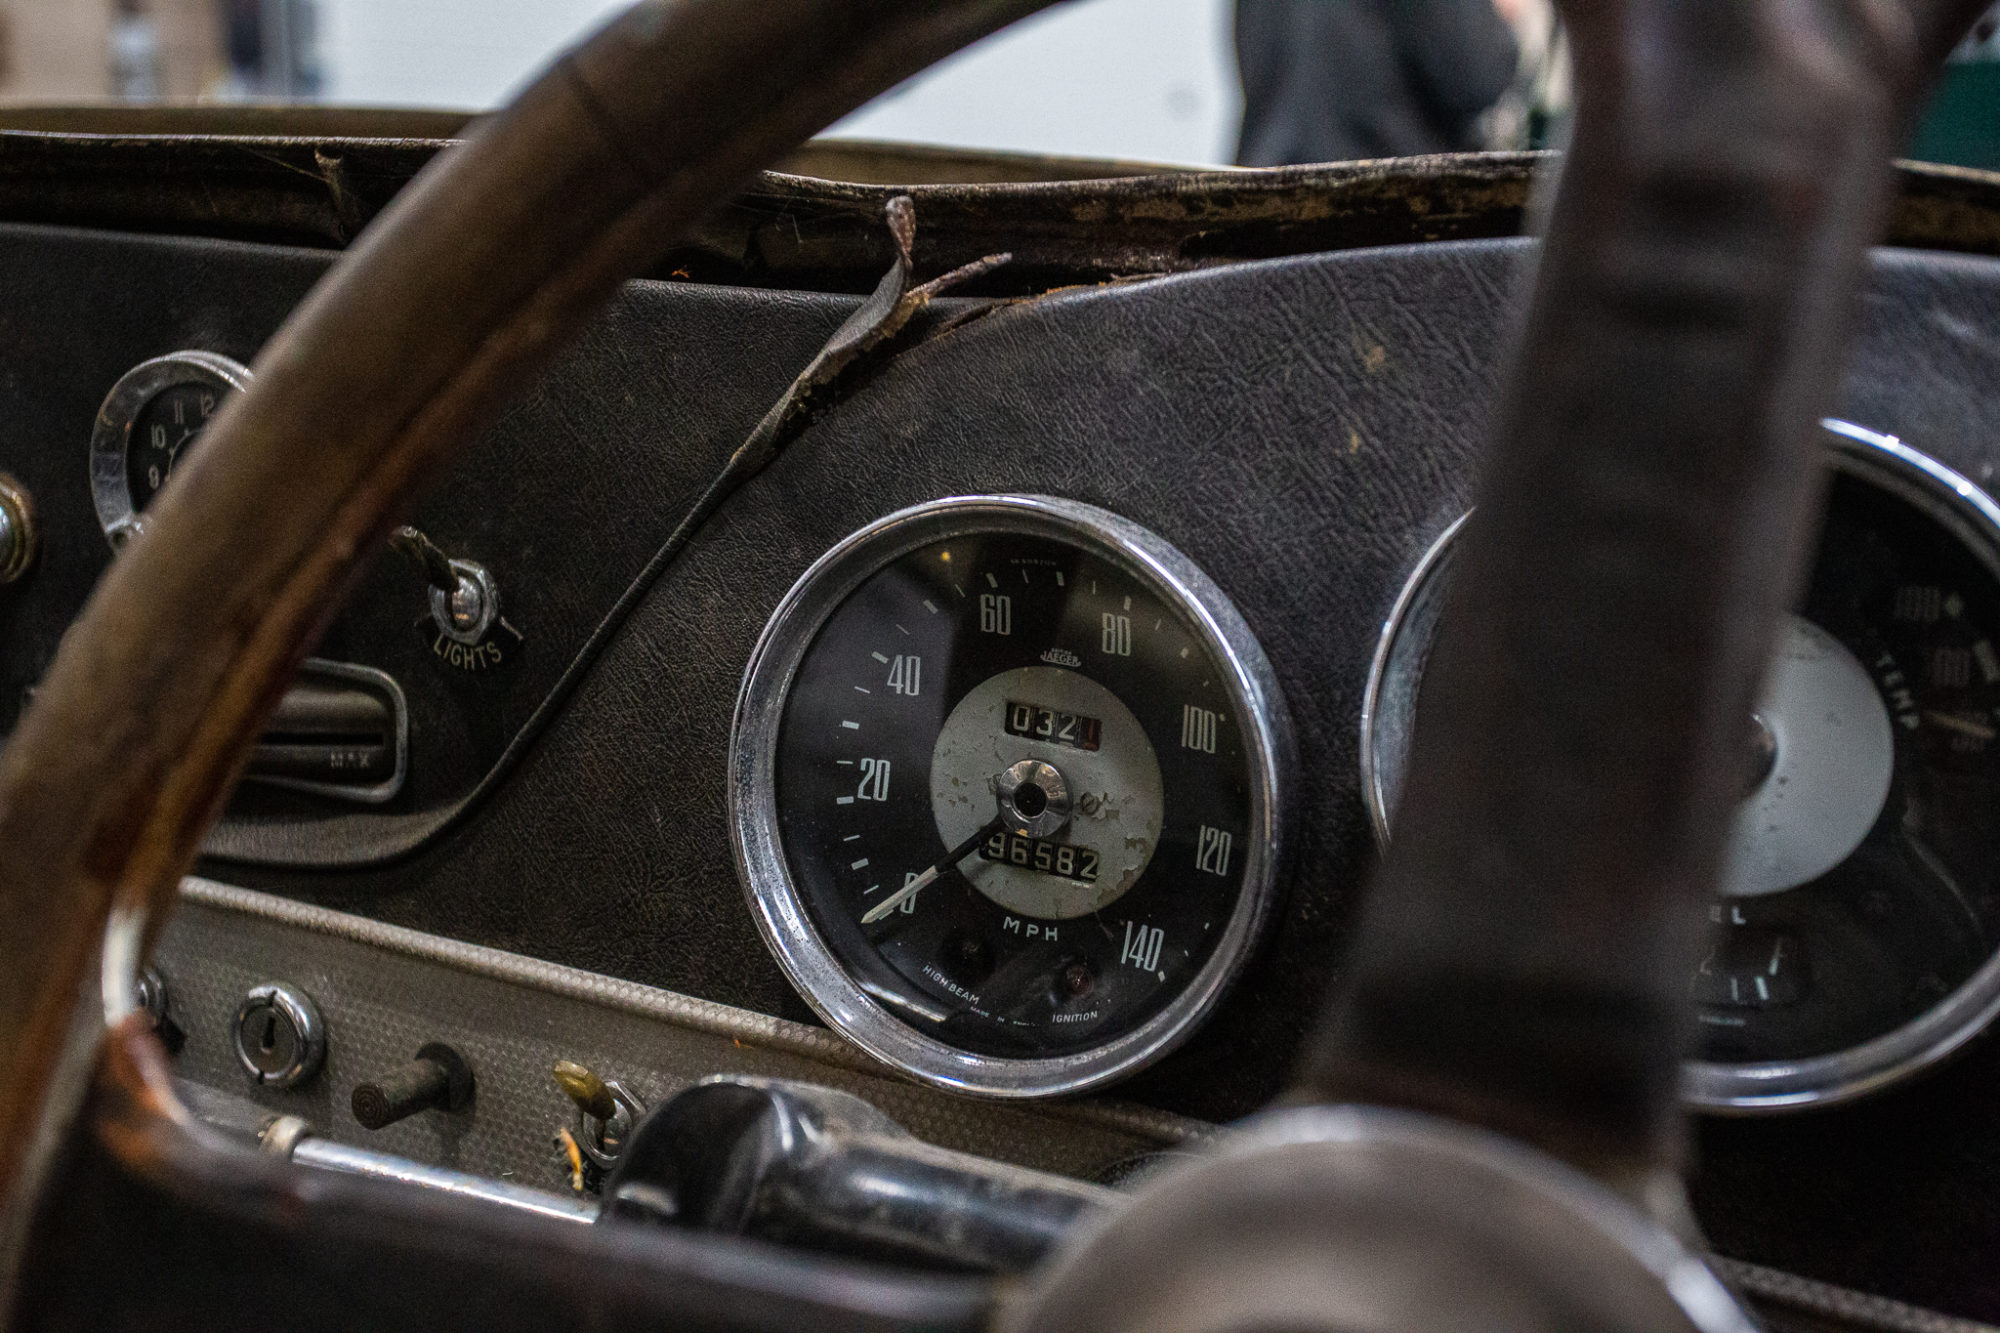
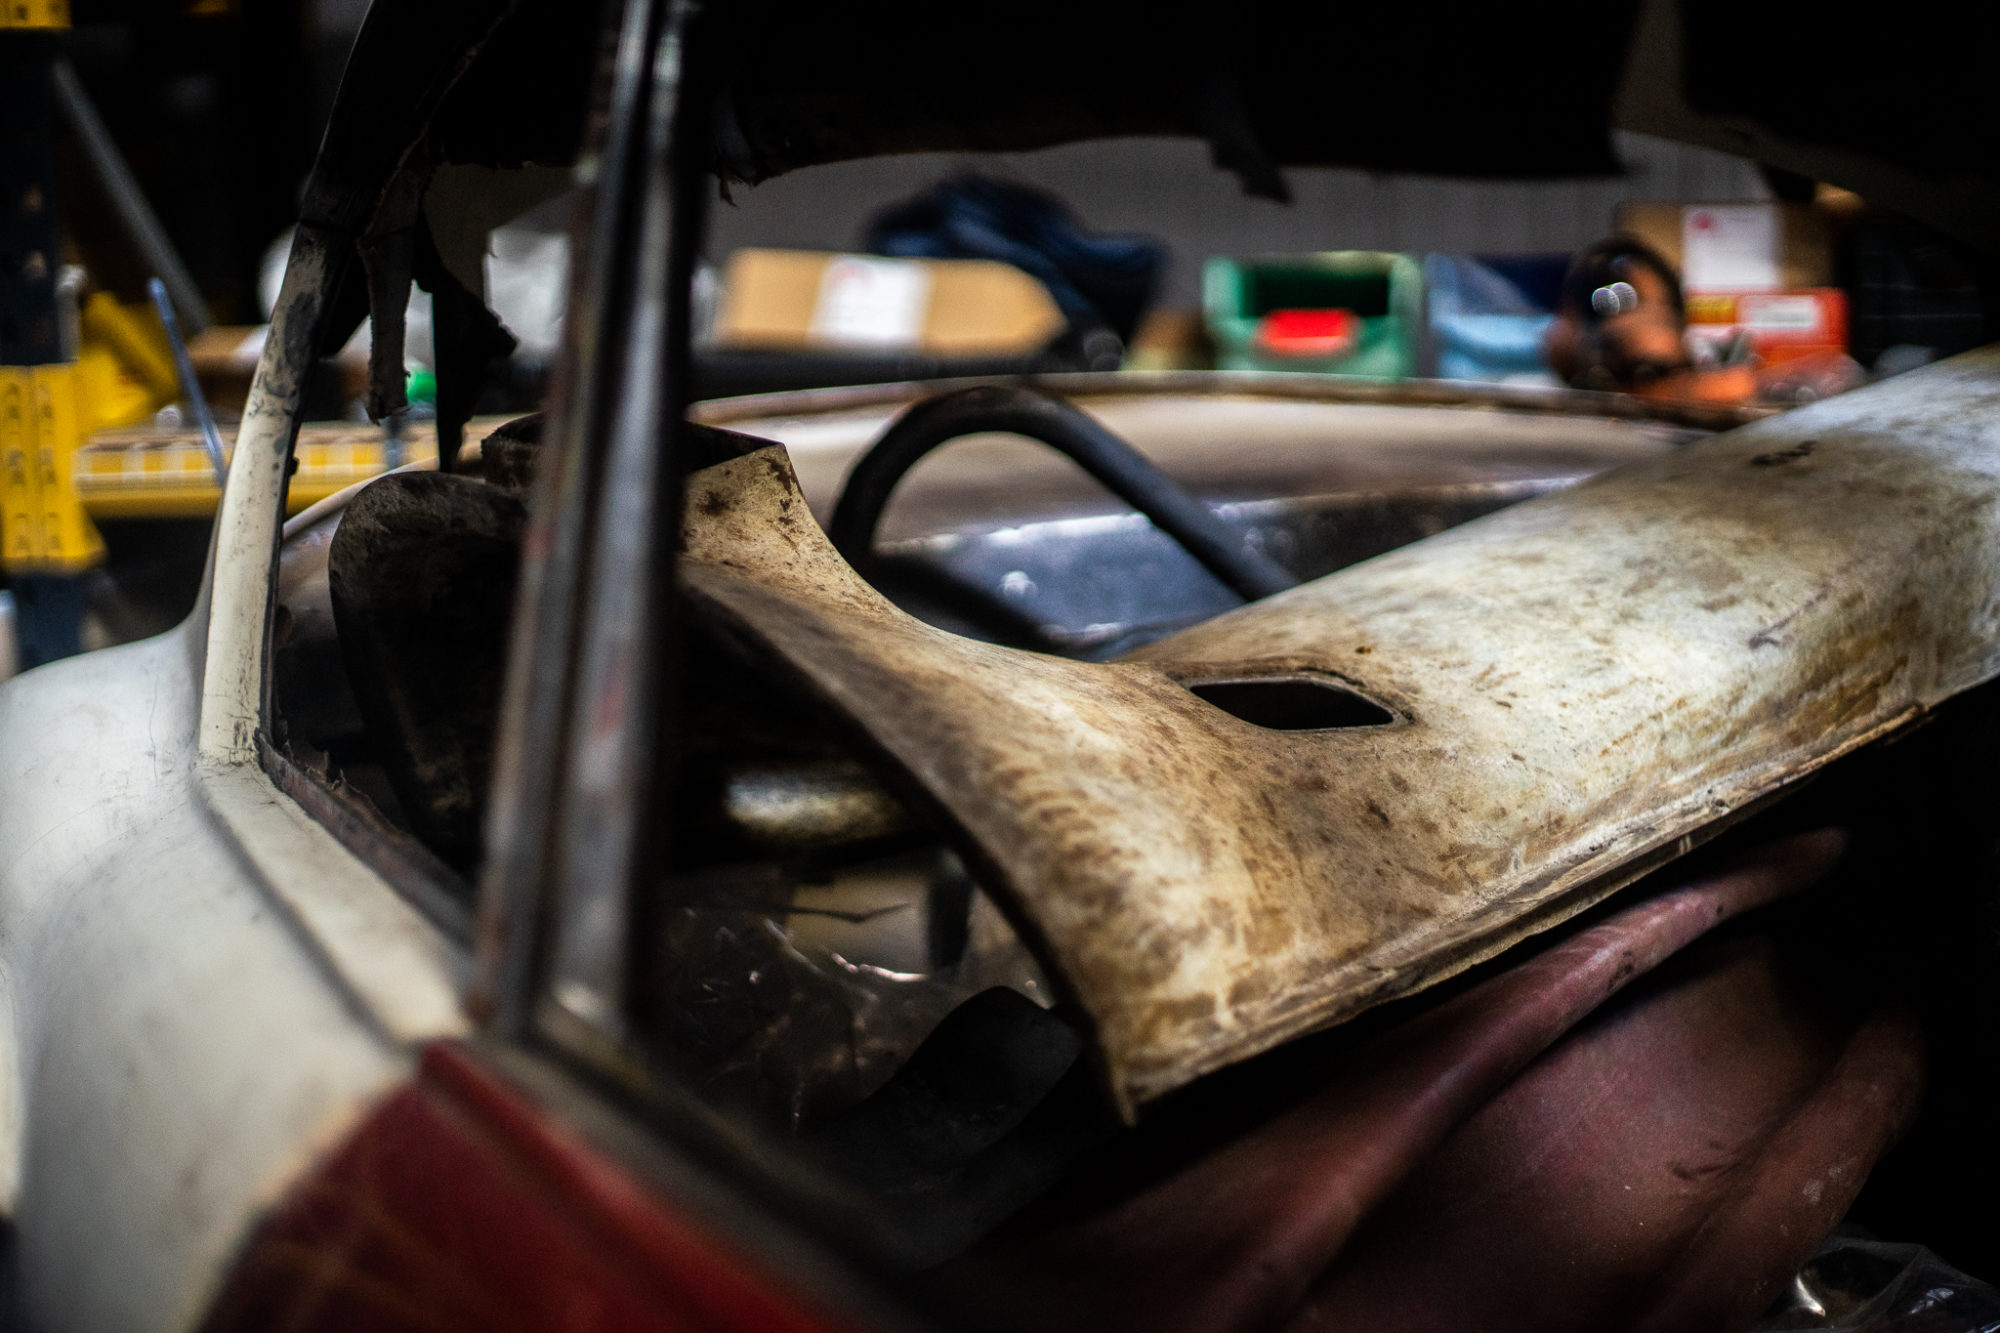
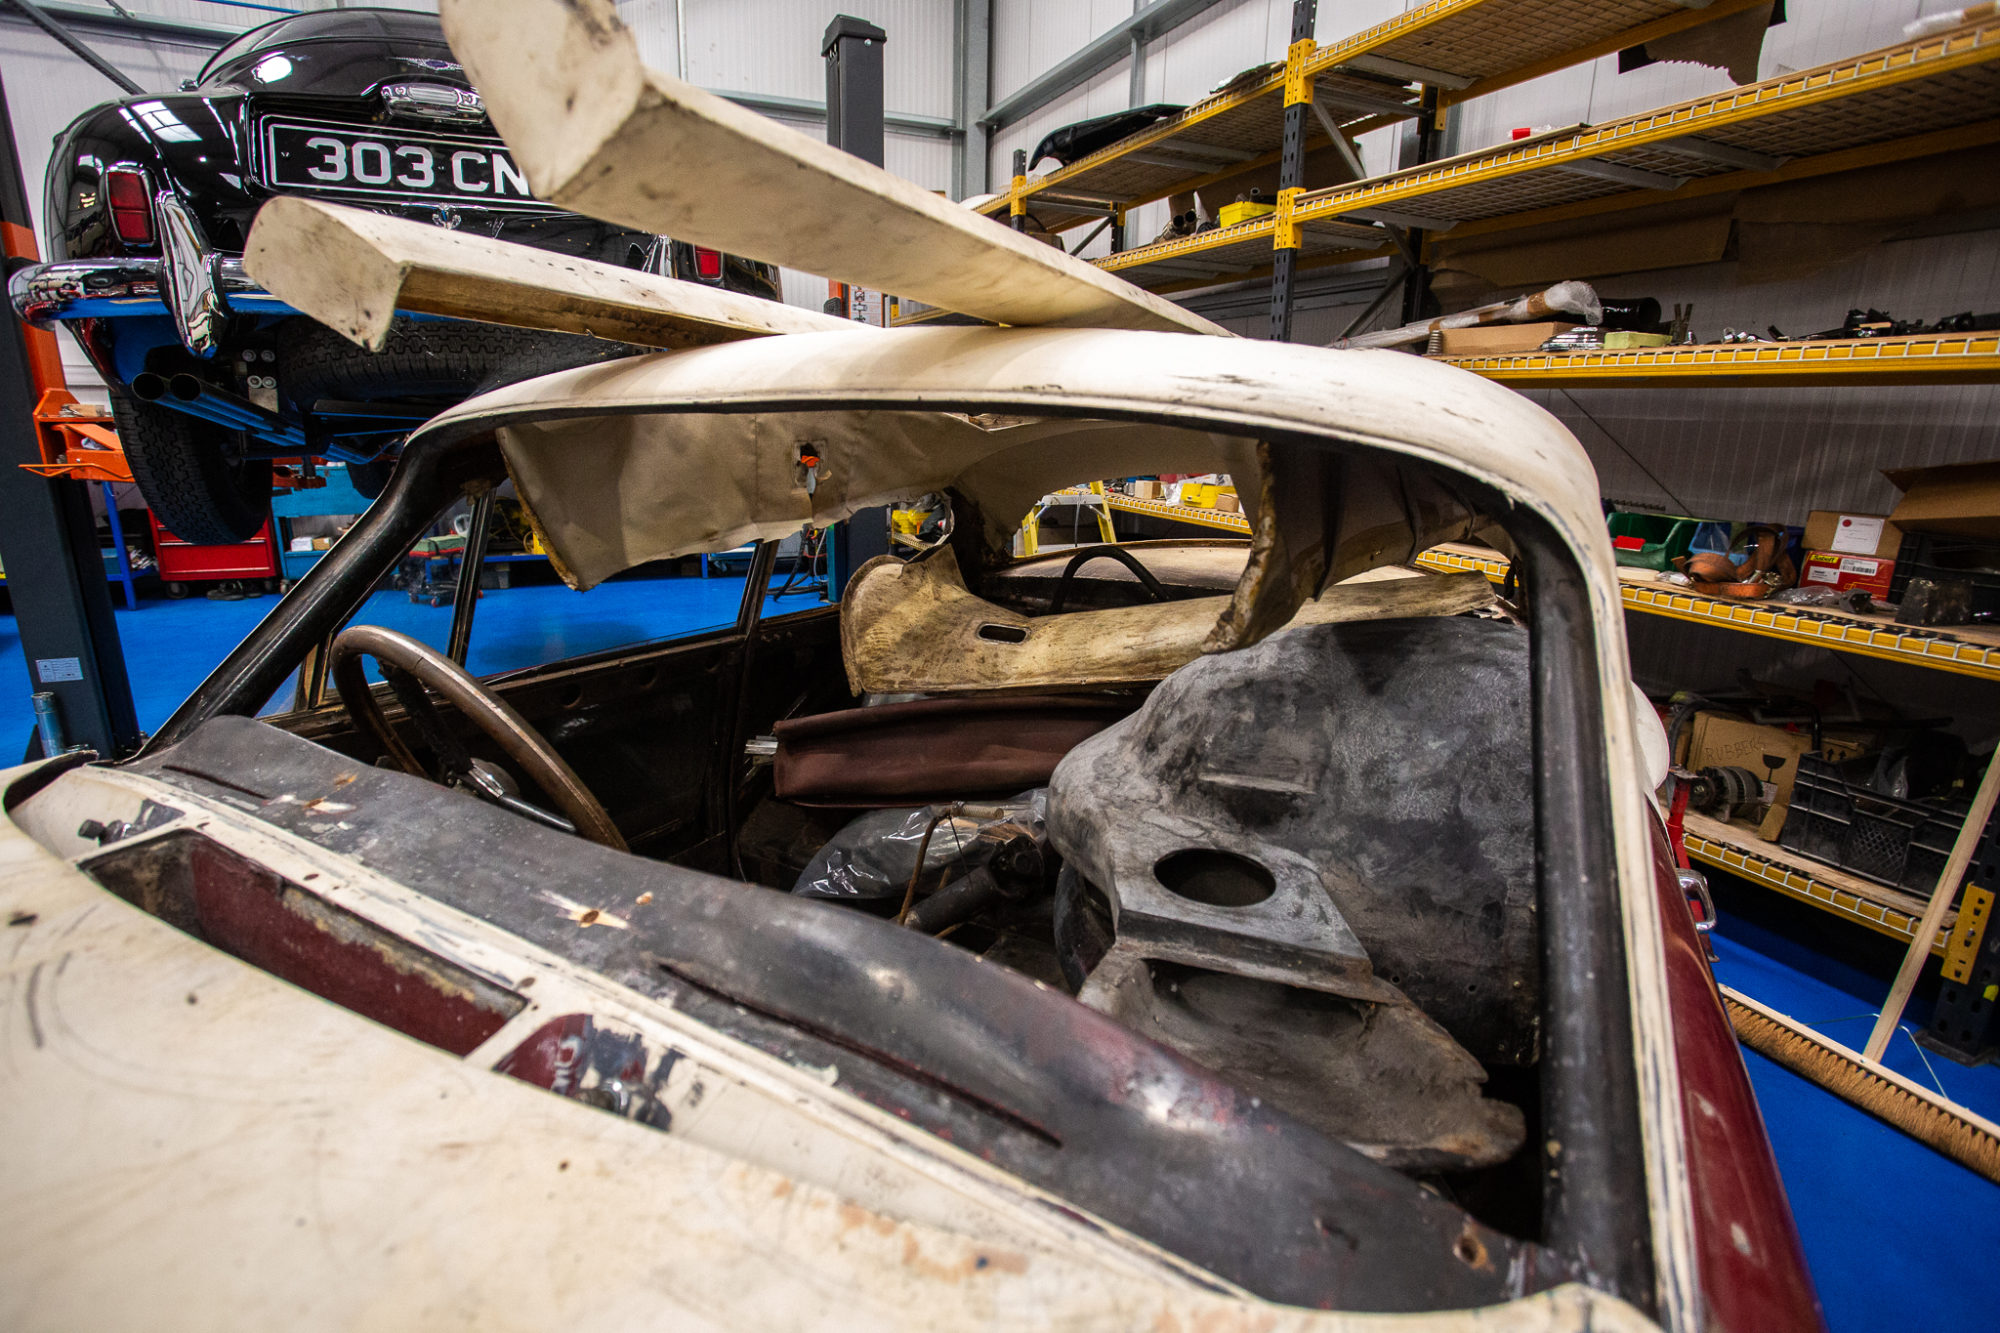
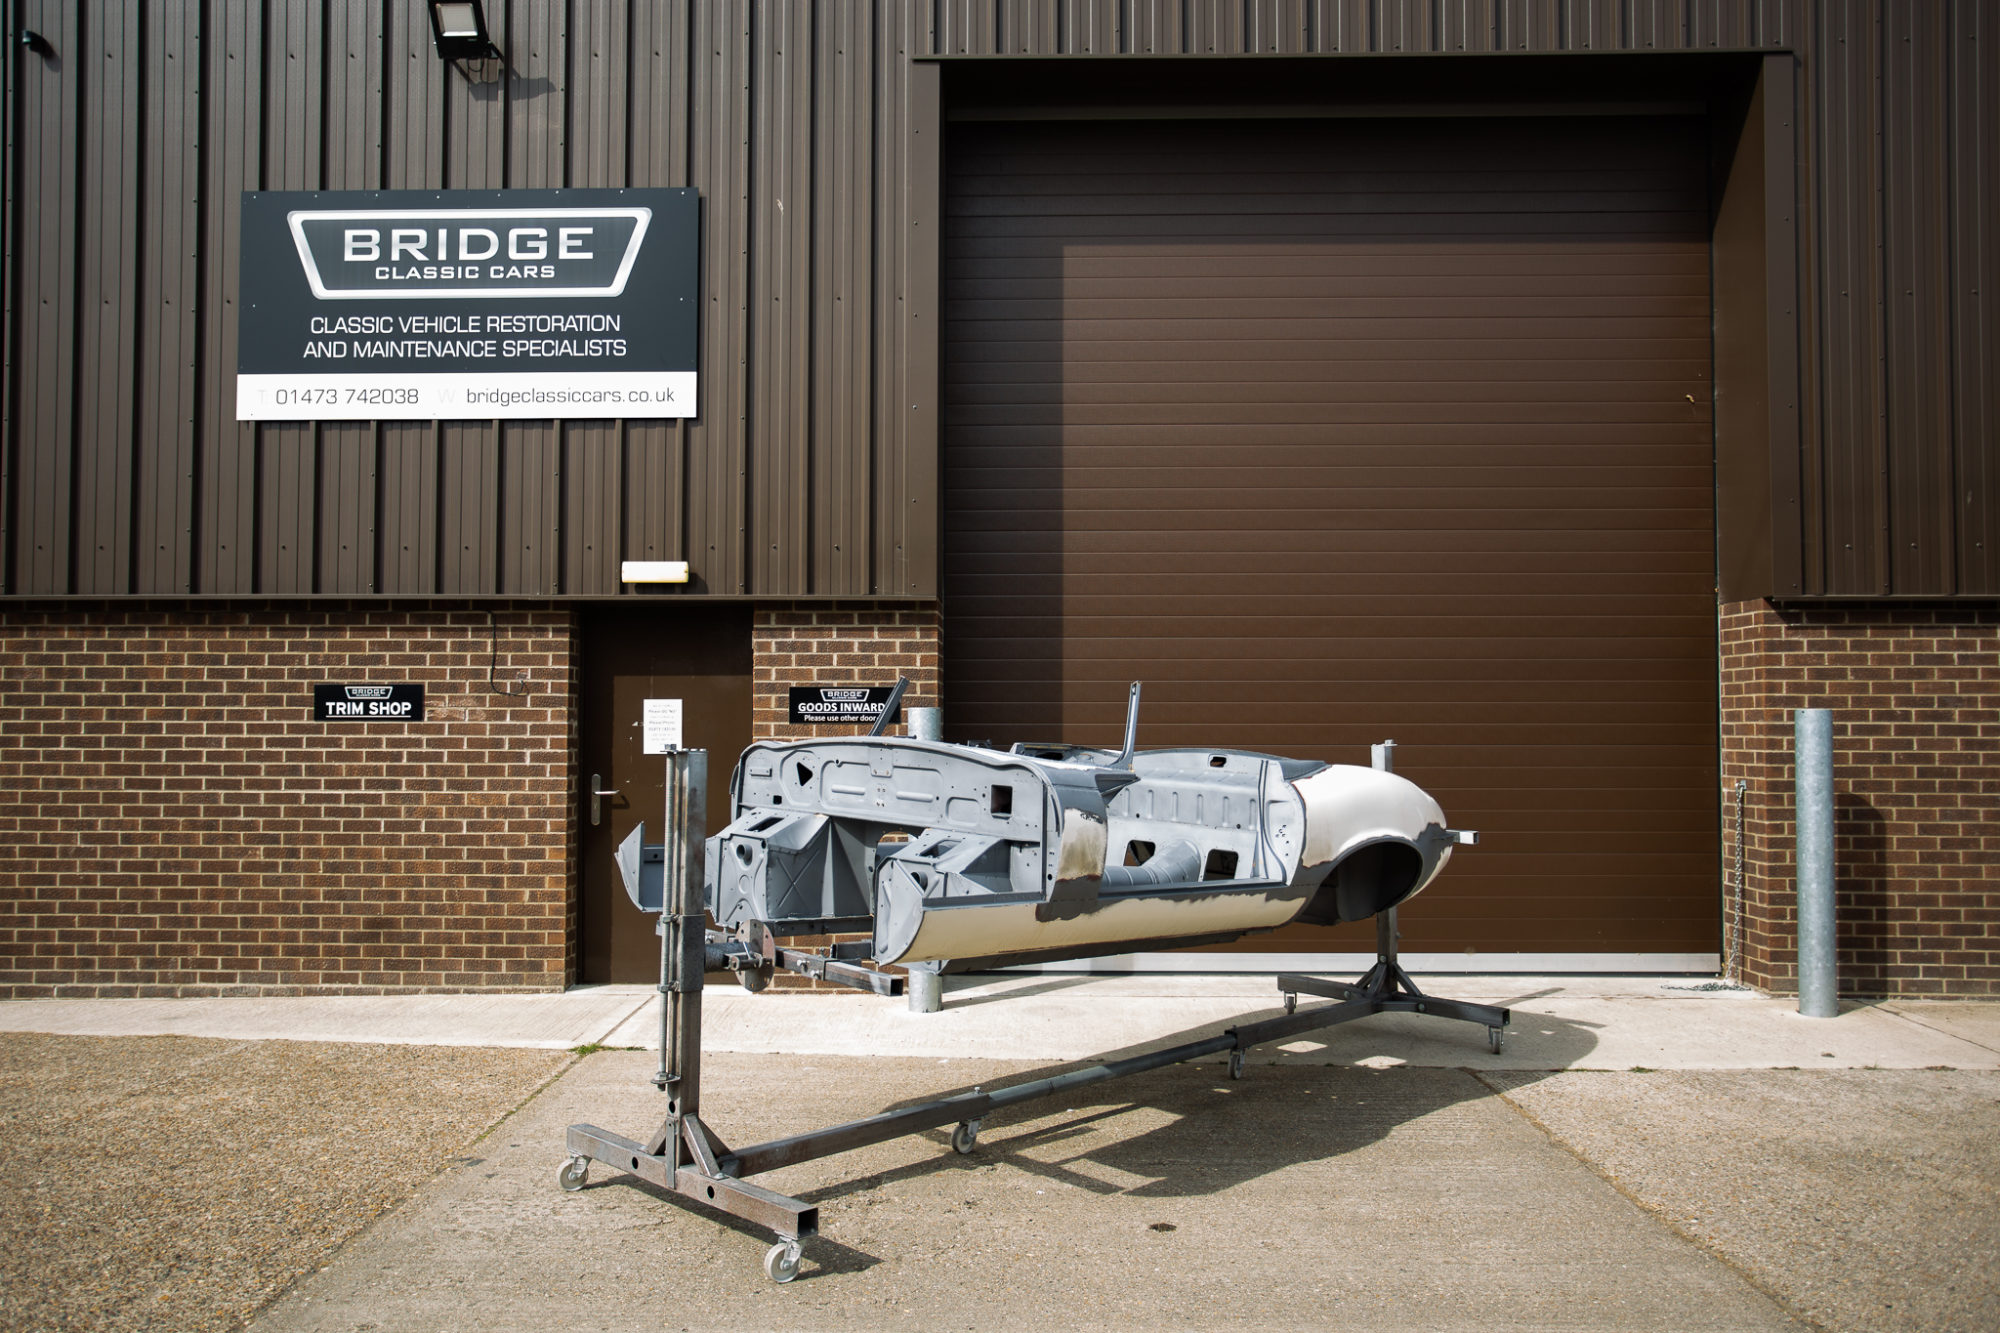
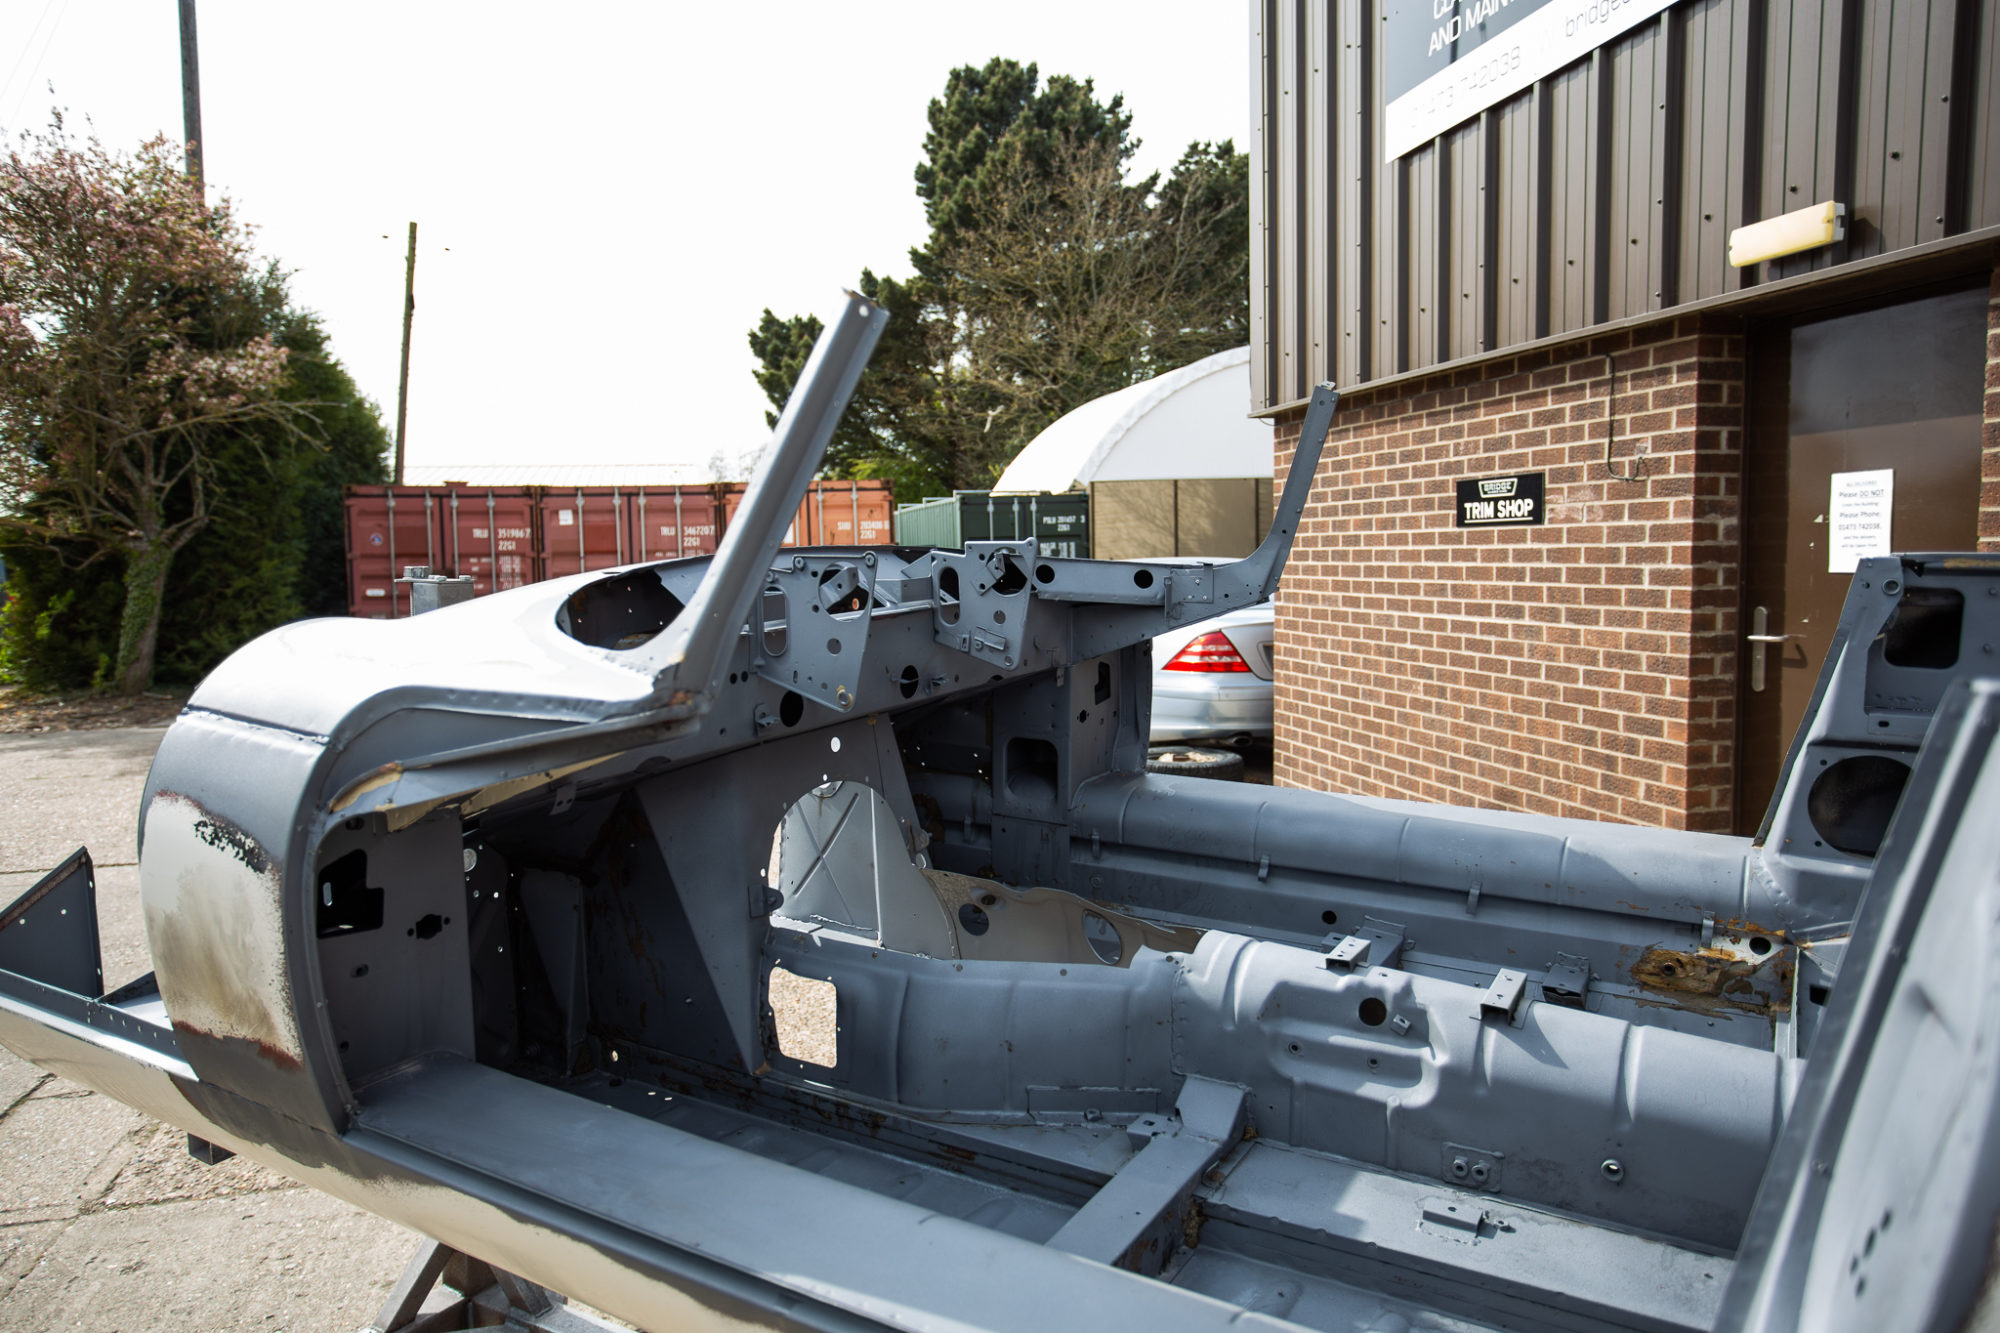
Our 1960 541S Jensen is looking for its forever home and is best suited to someone who aims to restore it with us. Alternatevly is can be purchased and taken away as it is but we recommend carrying on the restoration with us as you’ll soon end up with your very own bespoke Jensen. We can either restore it back to original specifications or we can do a custom build just for its new owner, meaning the colour, interior and mechanics can be redesigned to suit.
For just 19k, this restoration project could be yours as it is, but with an open-ended budget, it can transform into whatever you want.
First registered in 1960, 838 ABP has been taken out of long term storage. The car we would consider to be 95% complete but everything requires a full restoration.
Enquire at info@bridgeclassiccars.co.uk


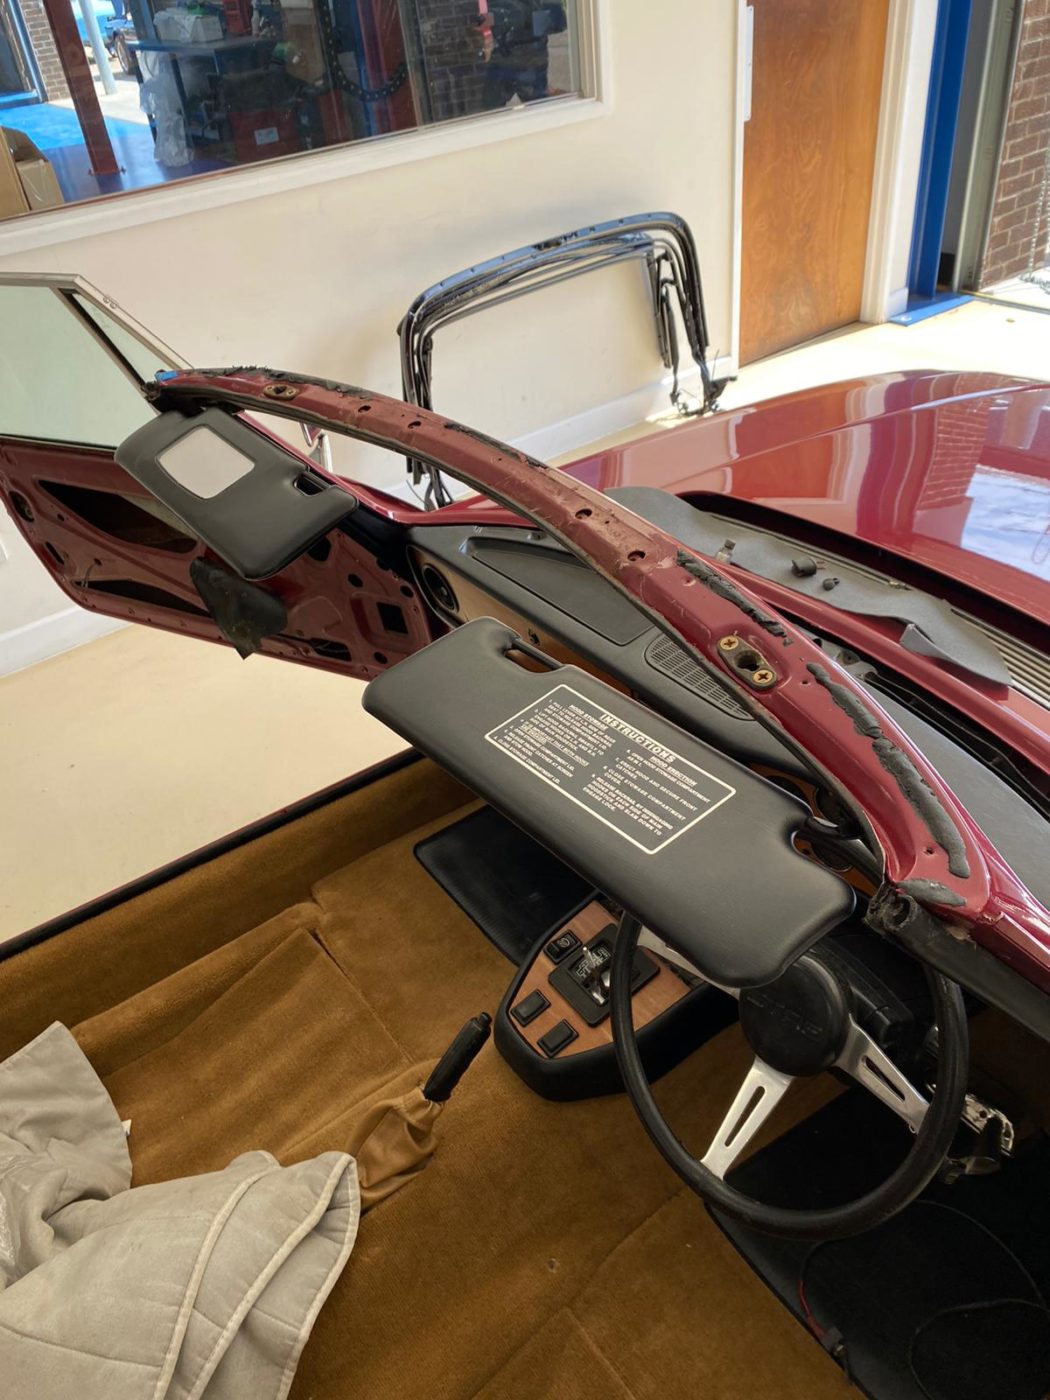
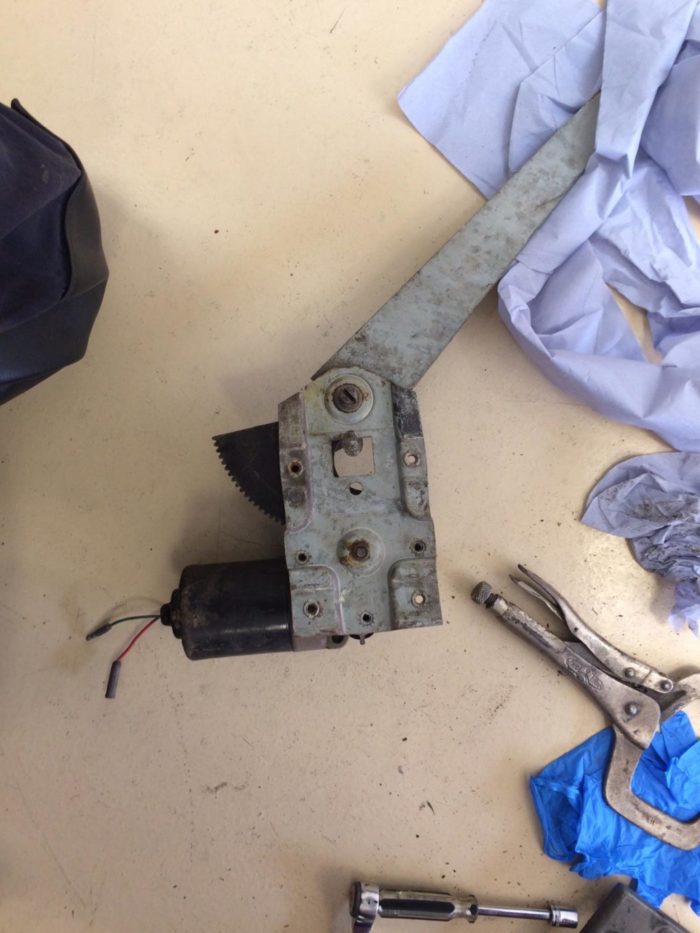
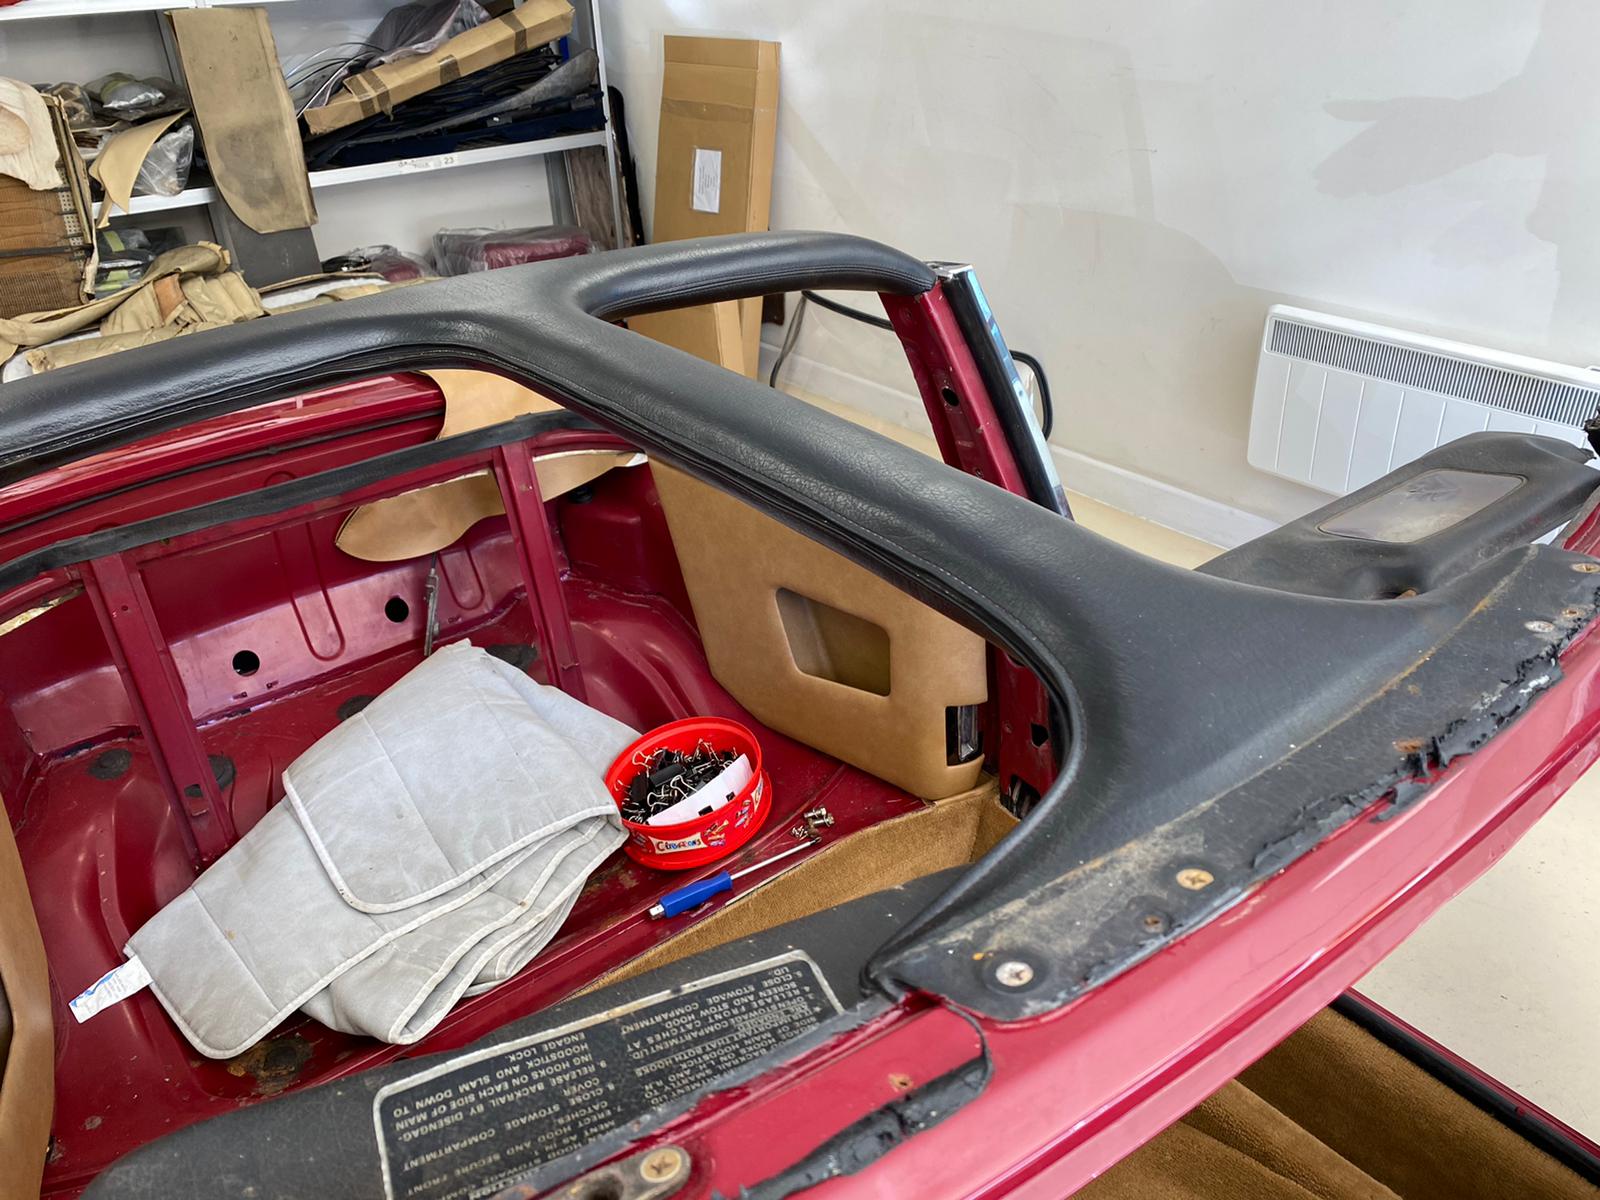
Brian has fitted the door cards into our Maroon Triumph Stag which not only included the trim but also the lights and electrics. Brian had to glue vinyl onto the boards and add metal trims, kitting out the door cards with pockets and arm rests as well.
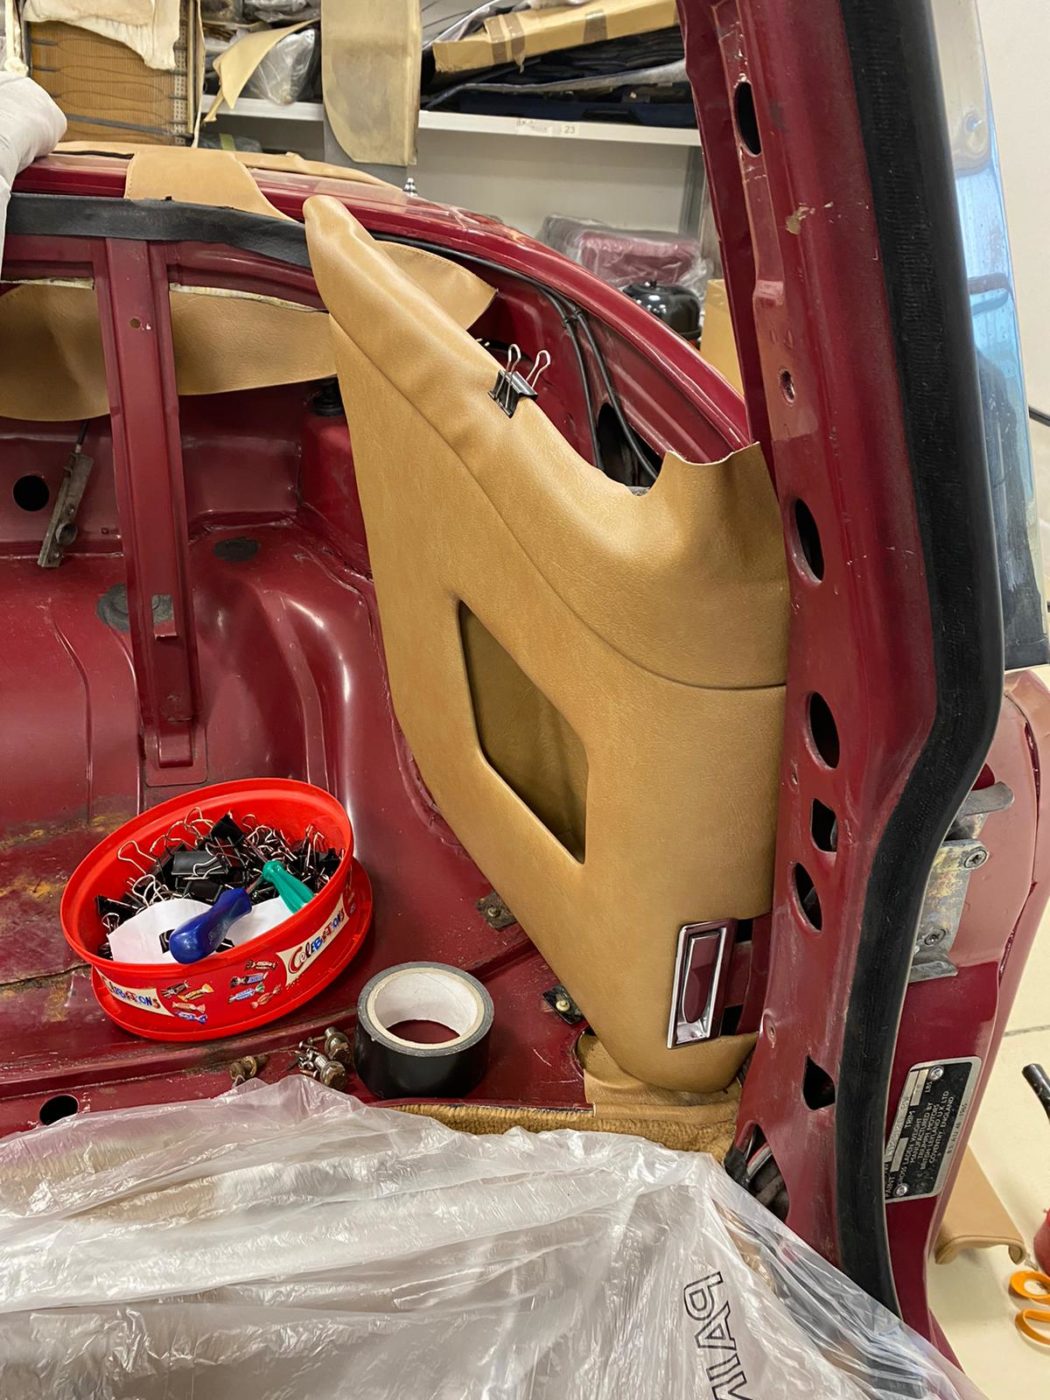
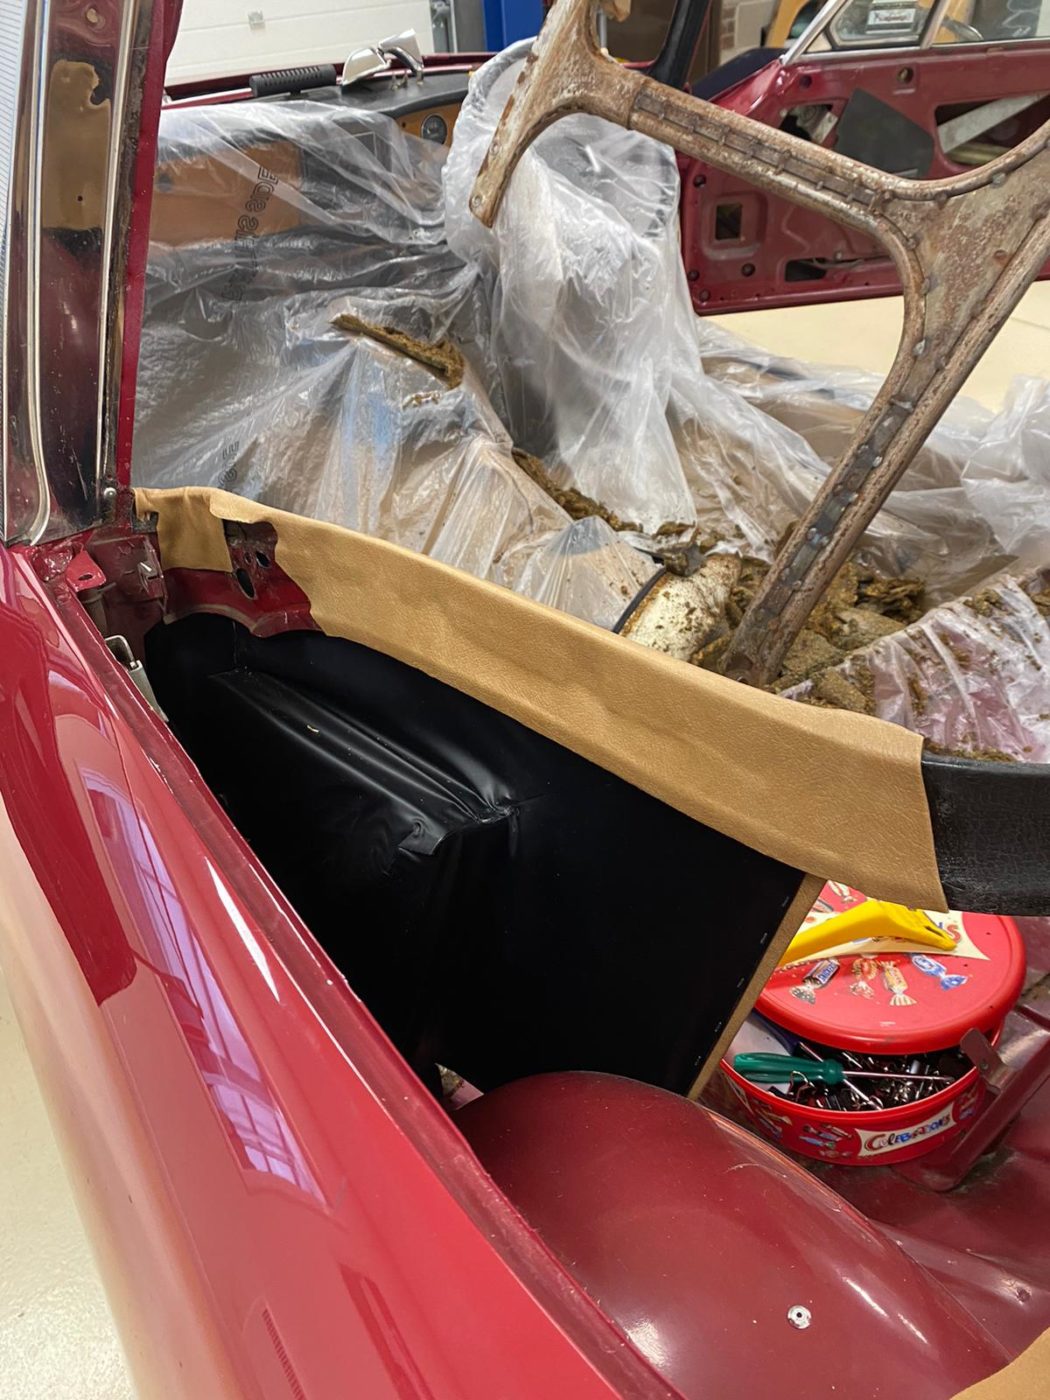
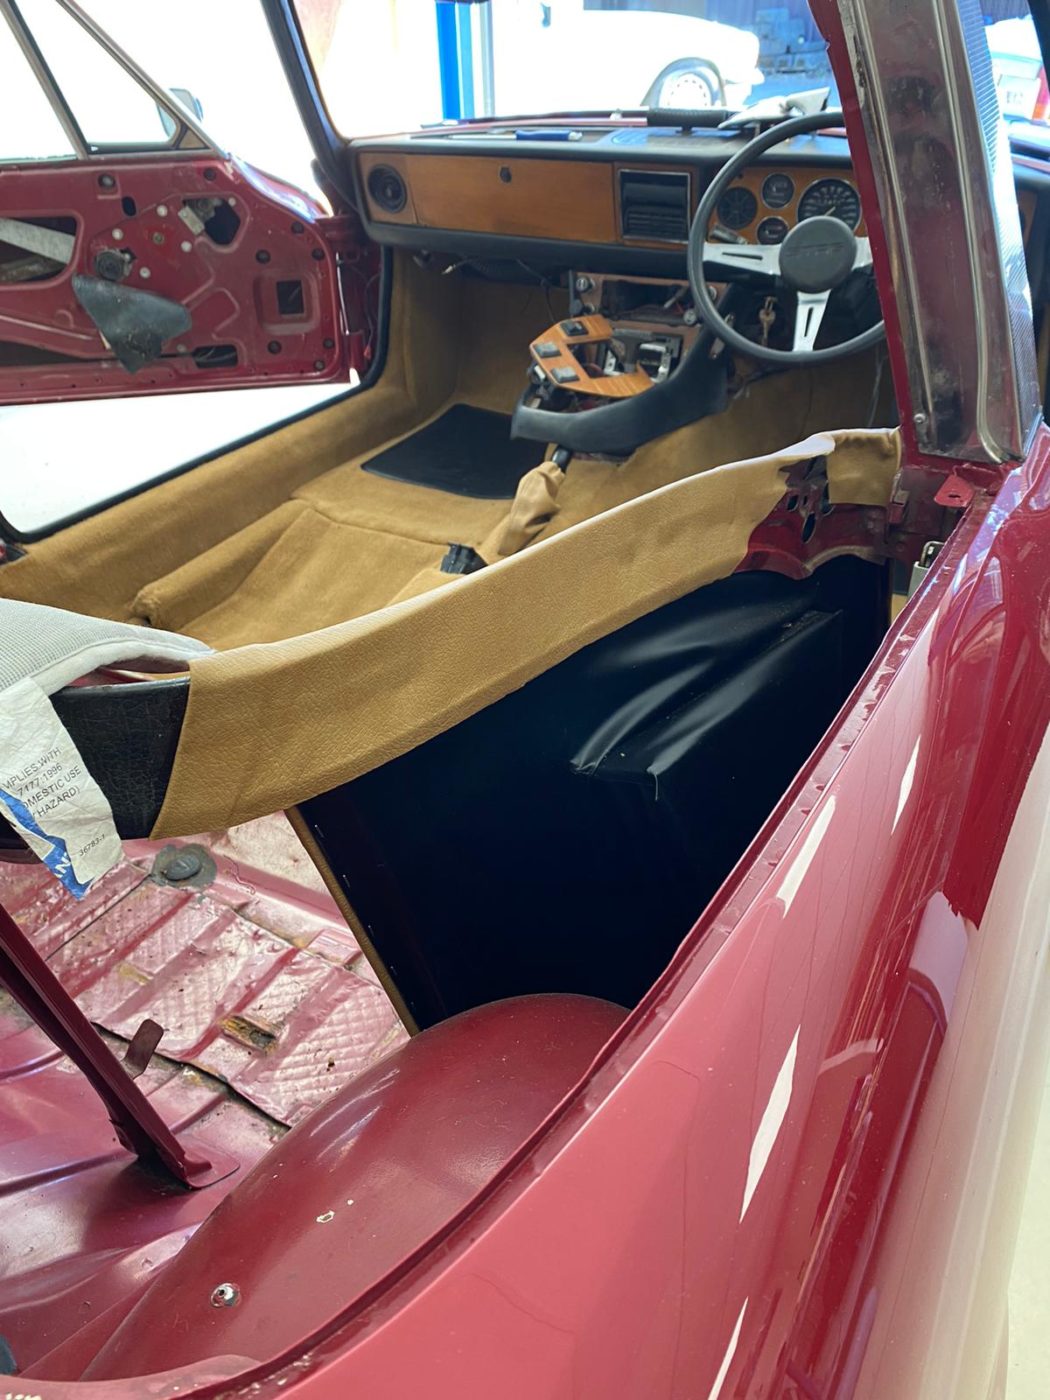
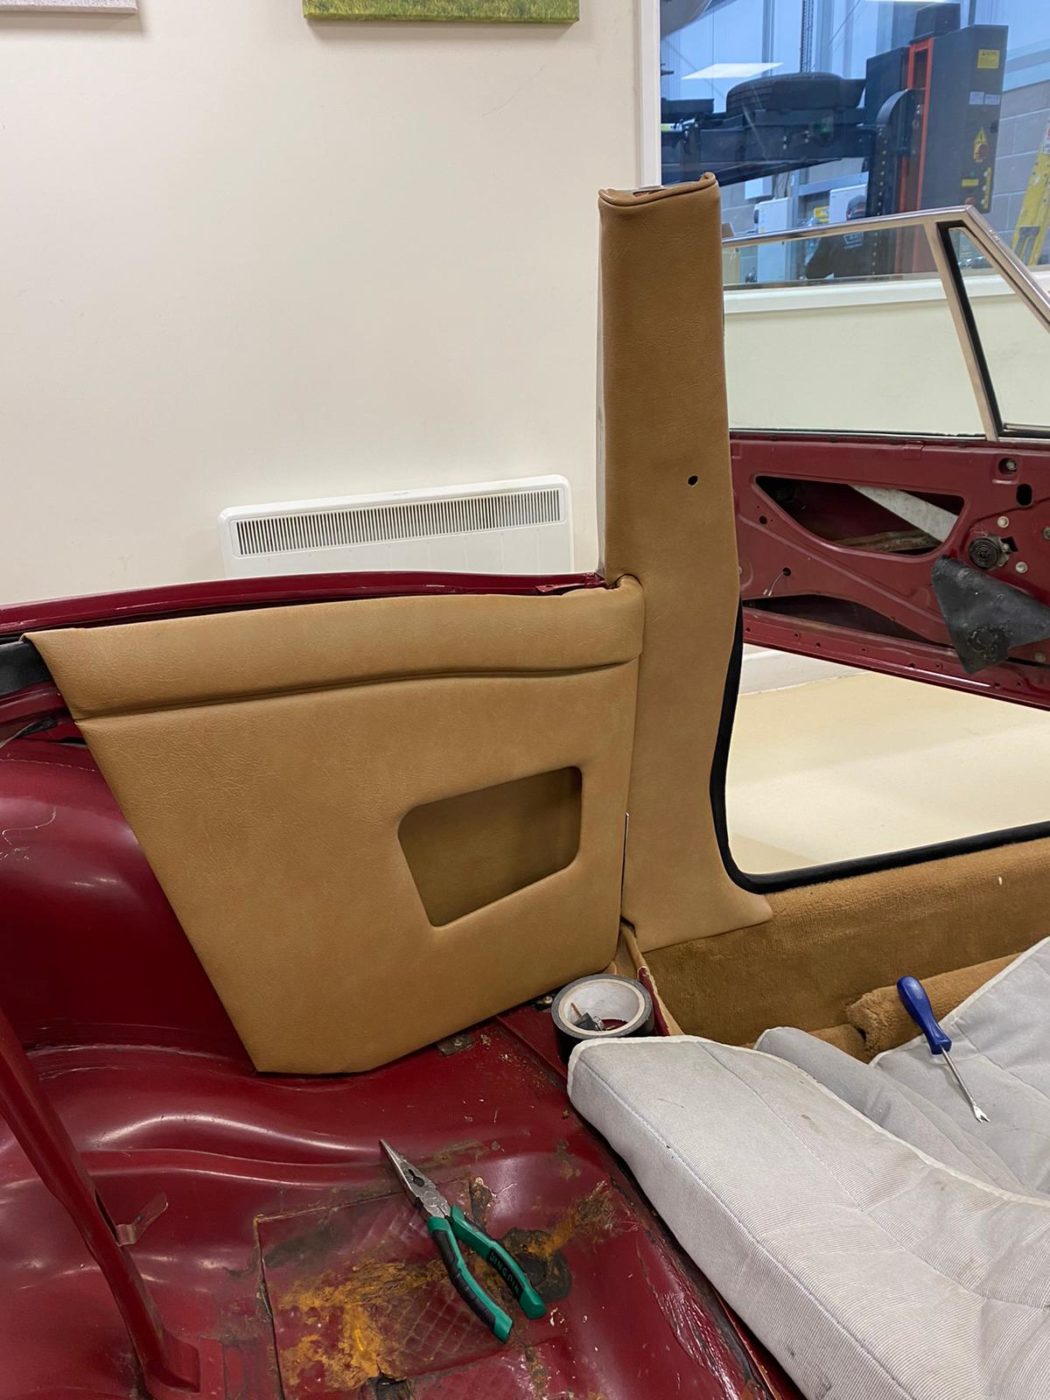

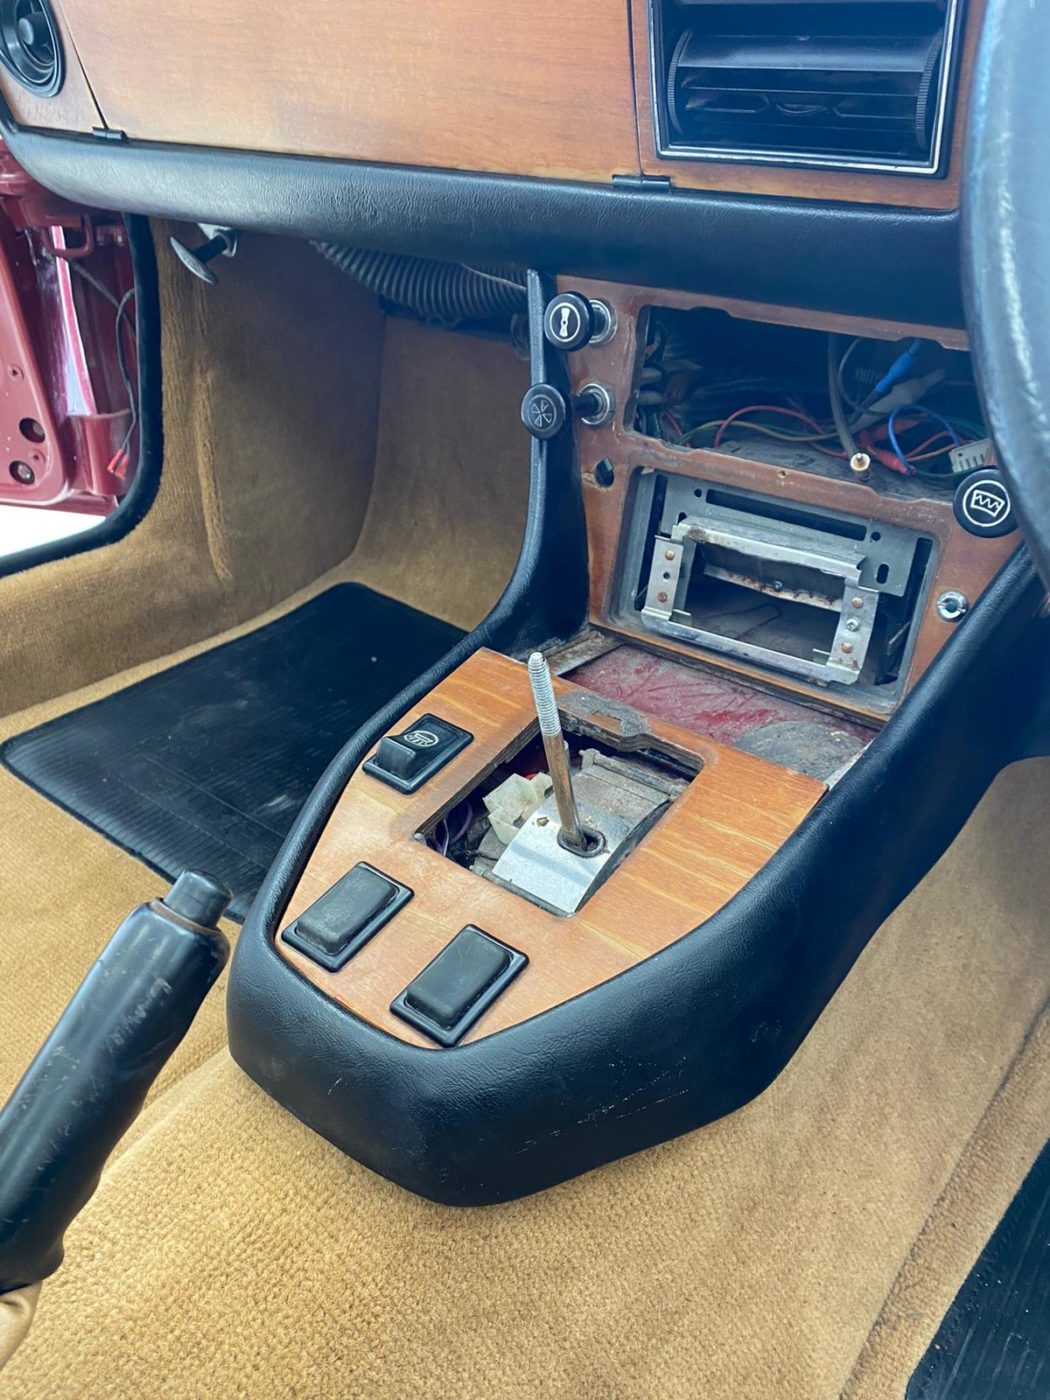
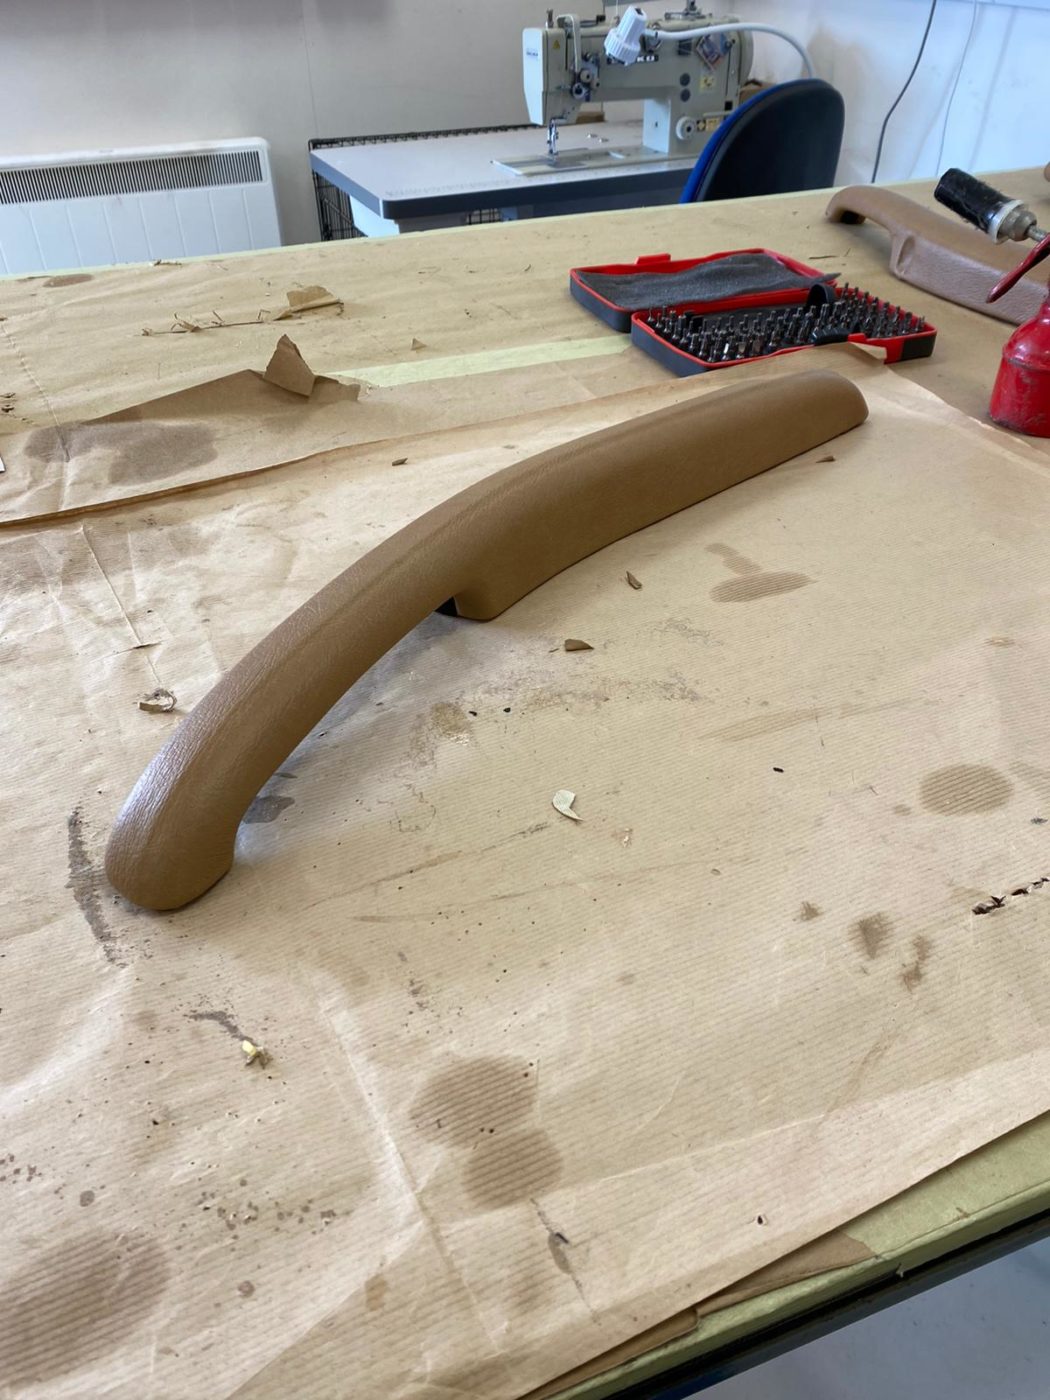
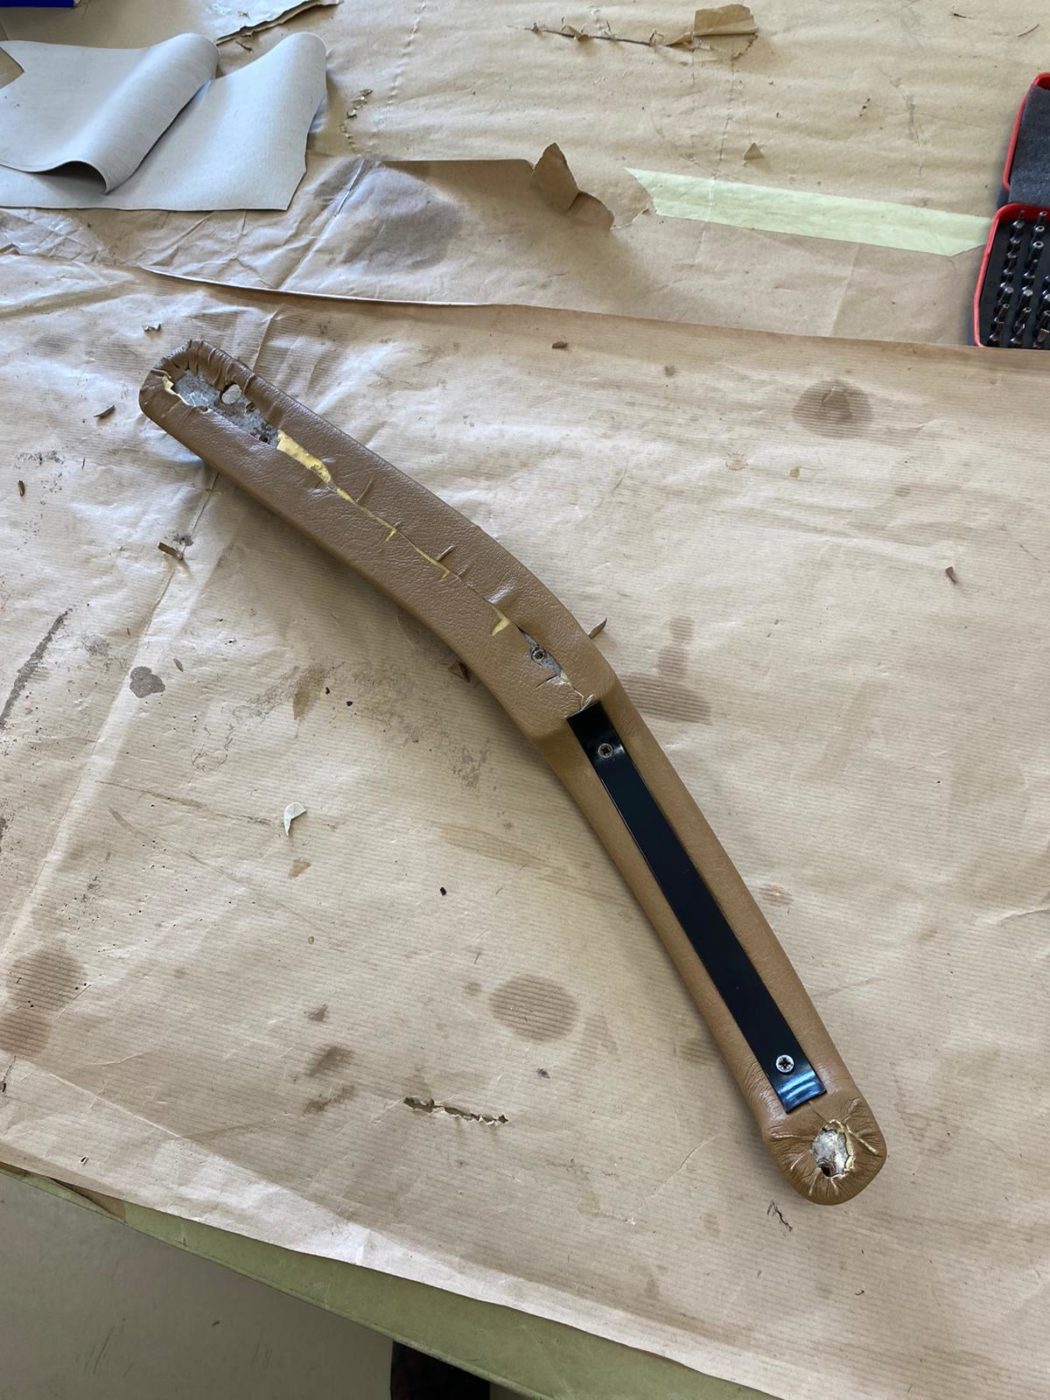
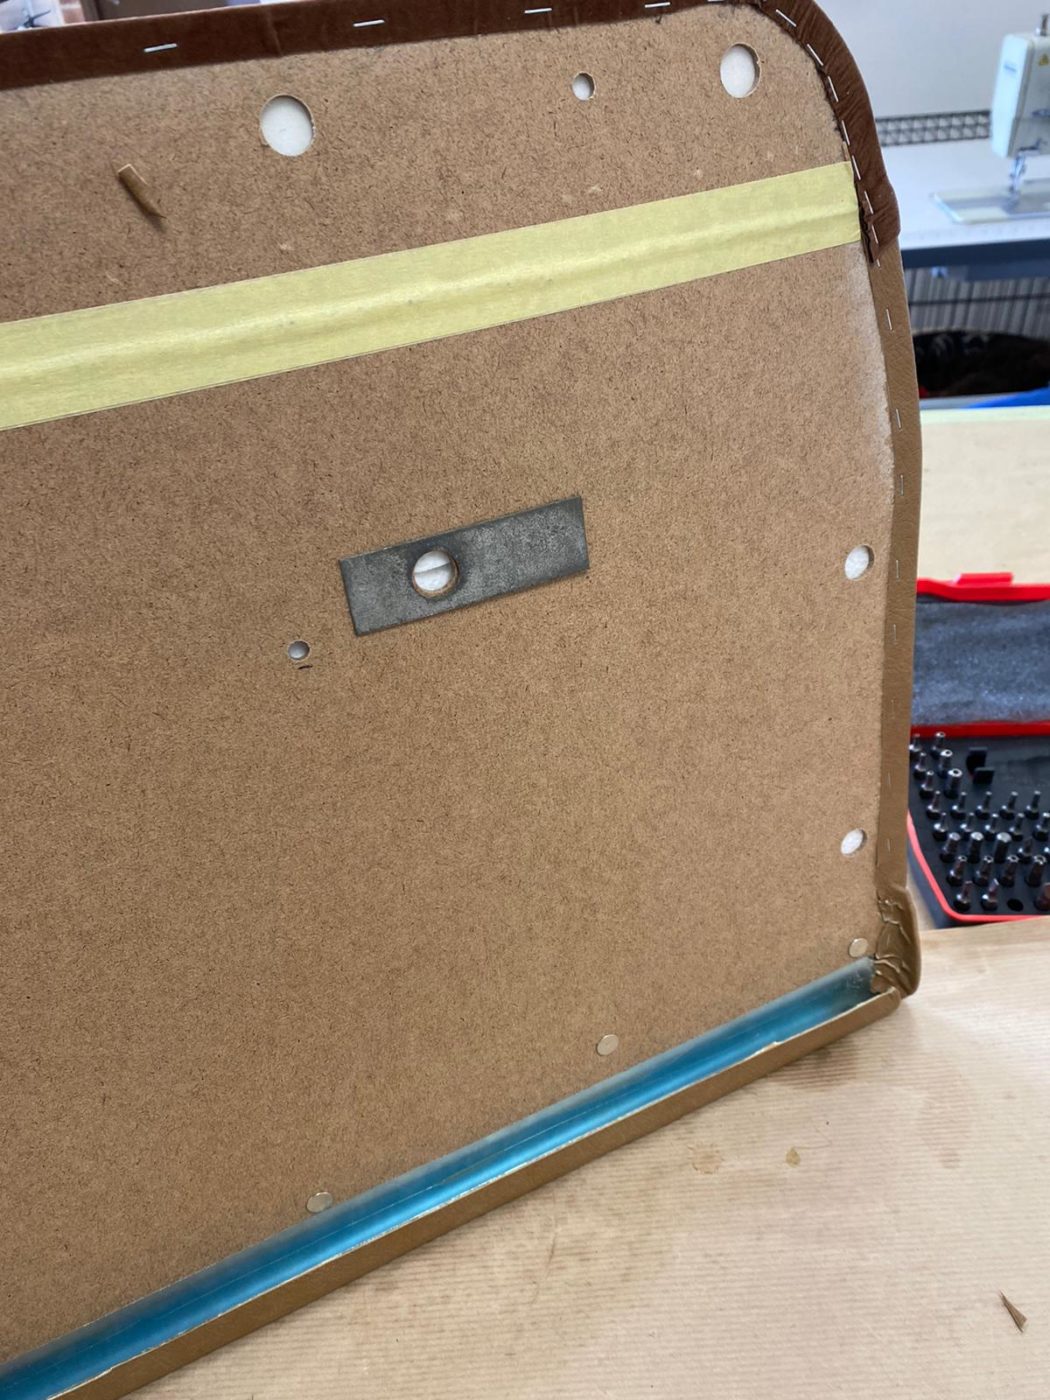
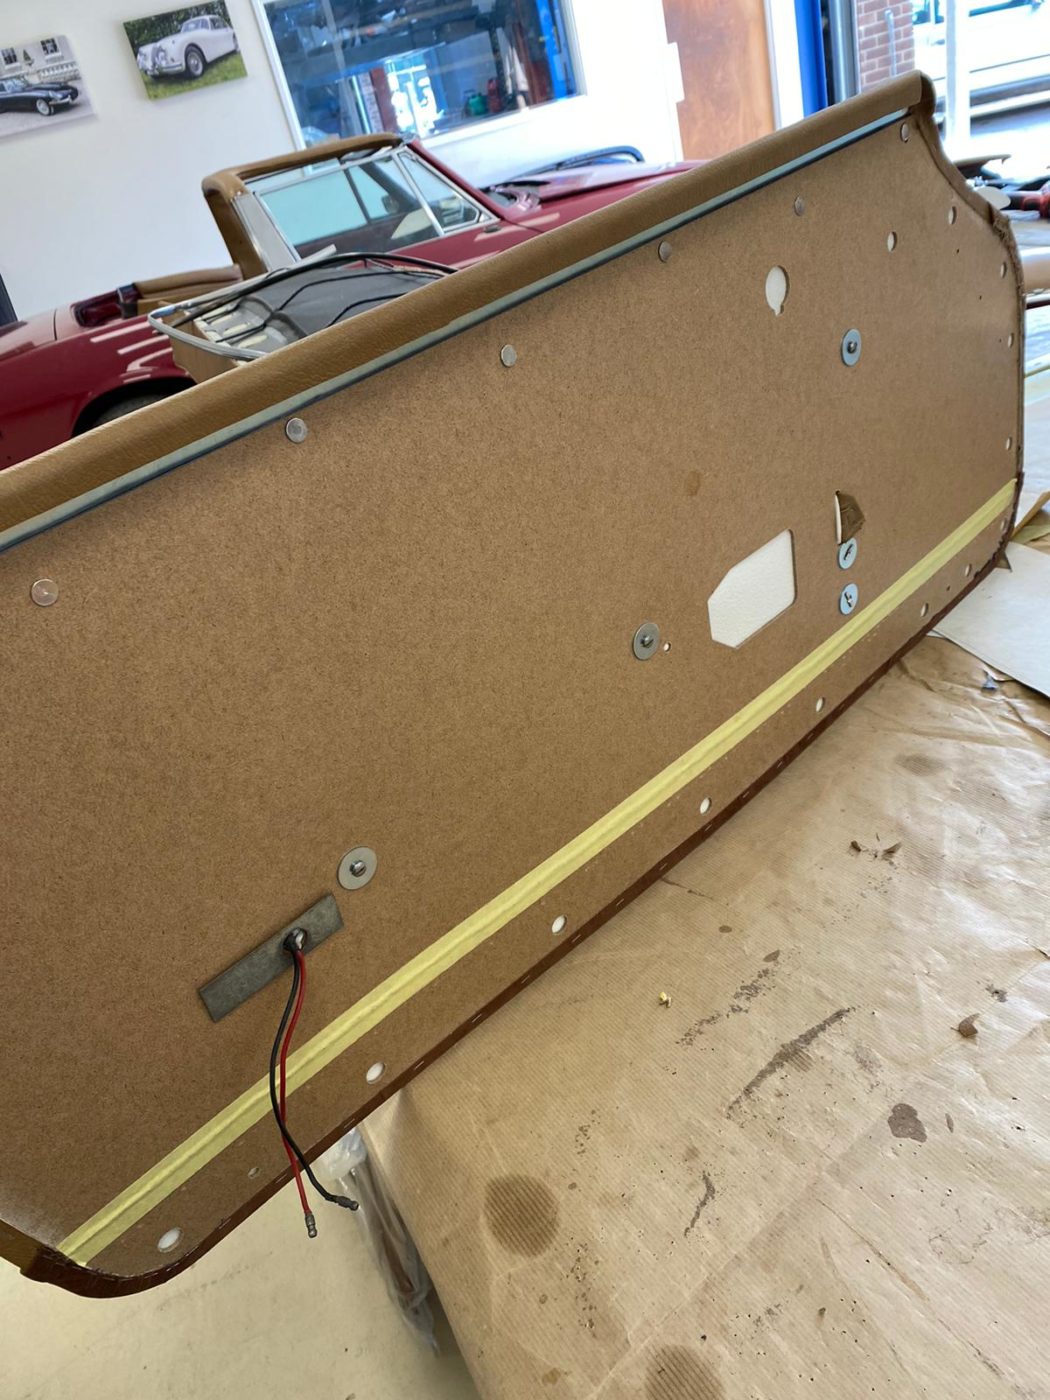
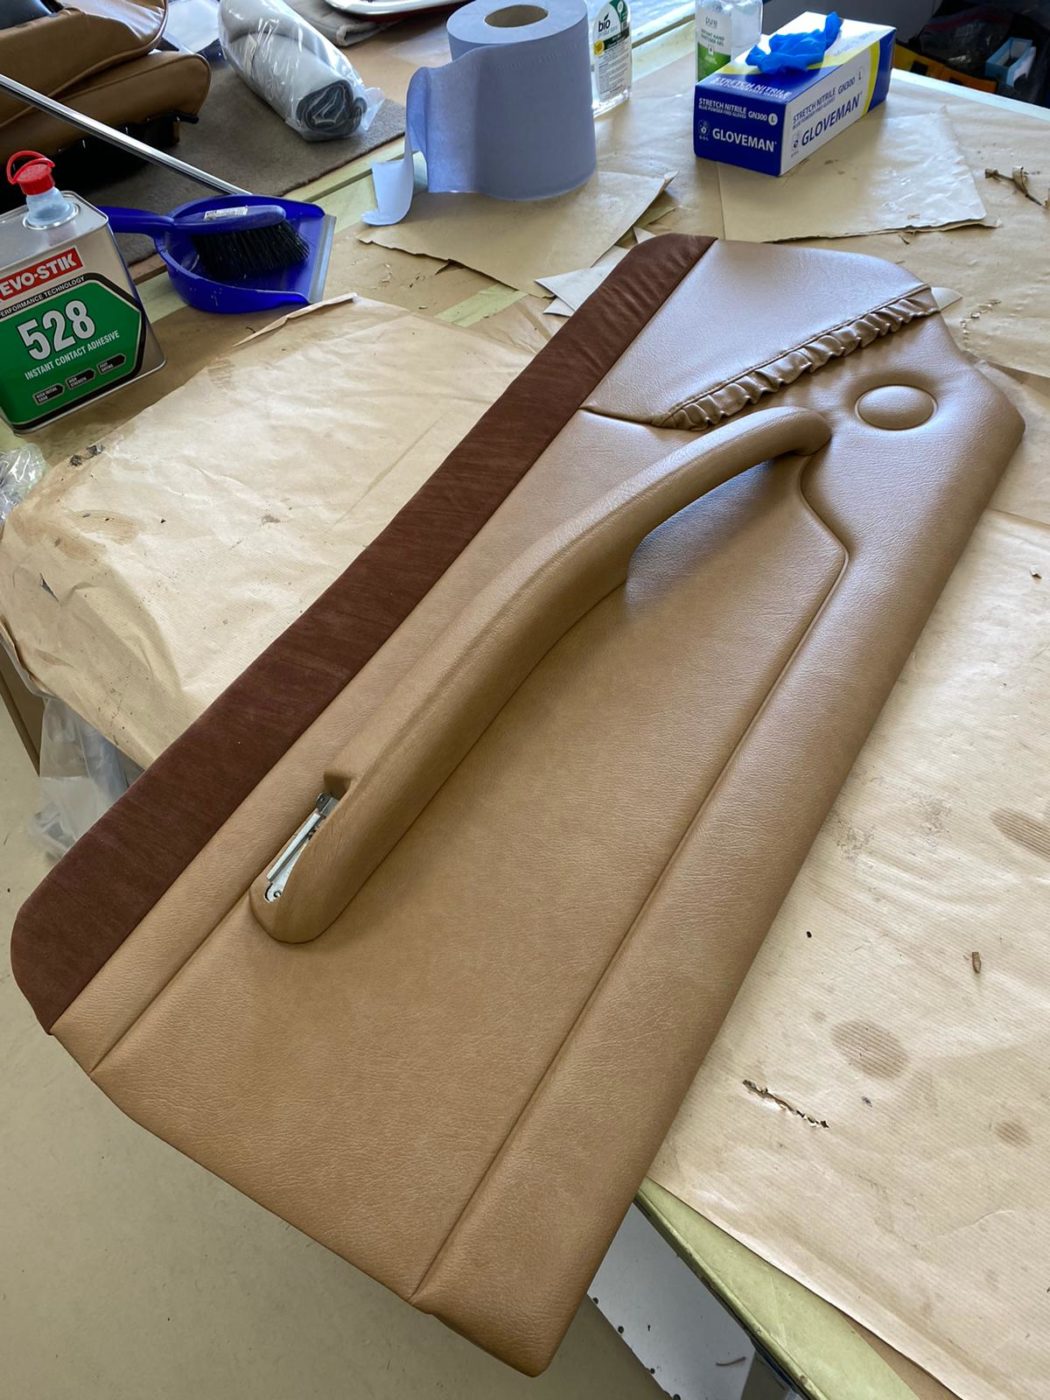
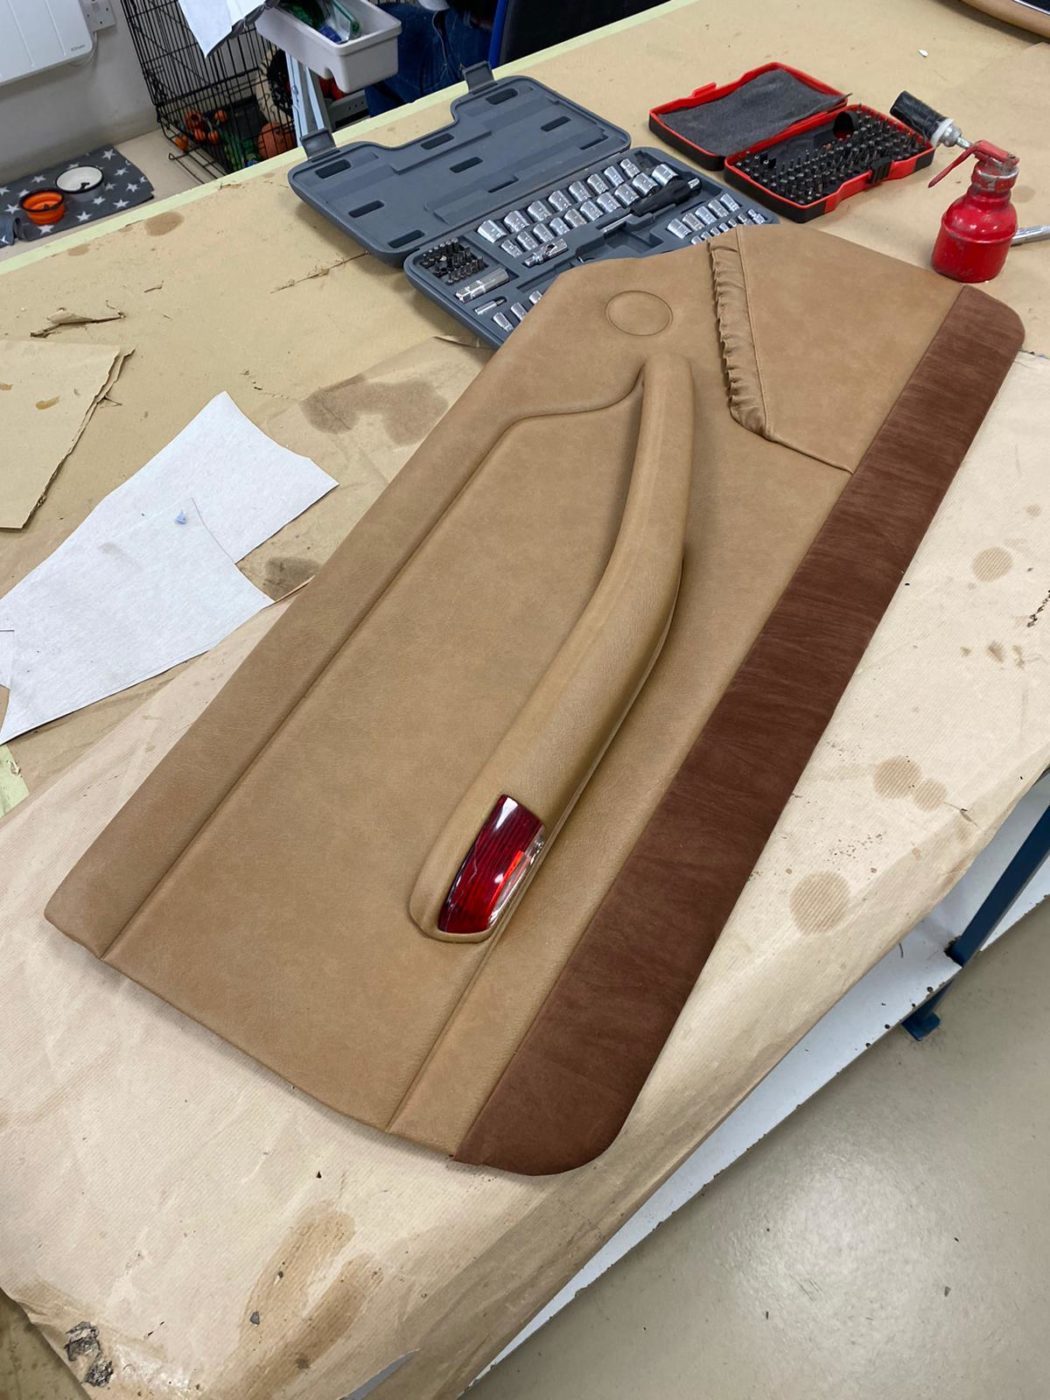
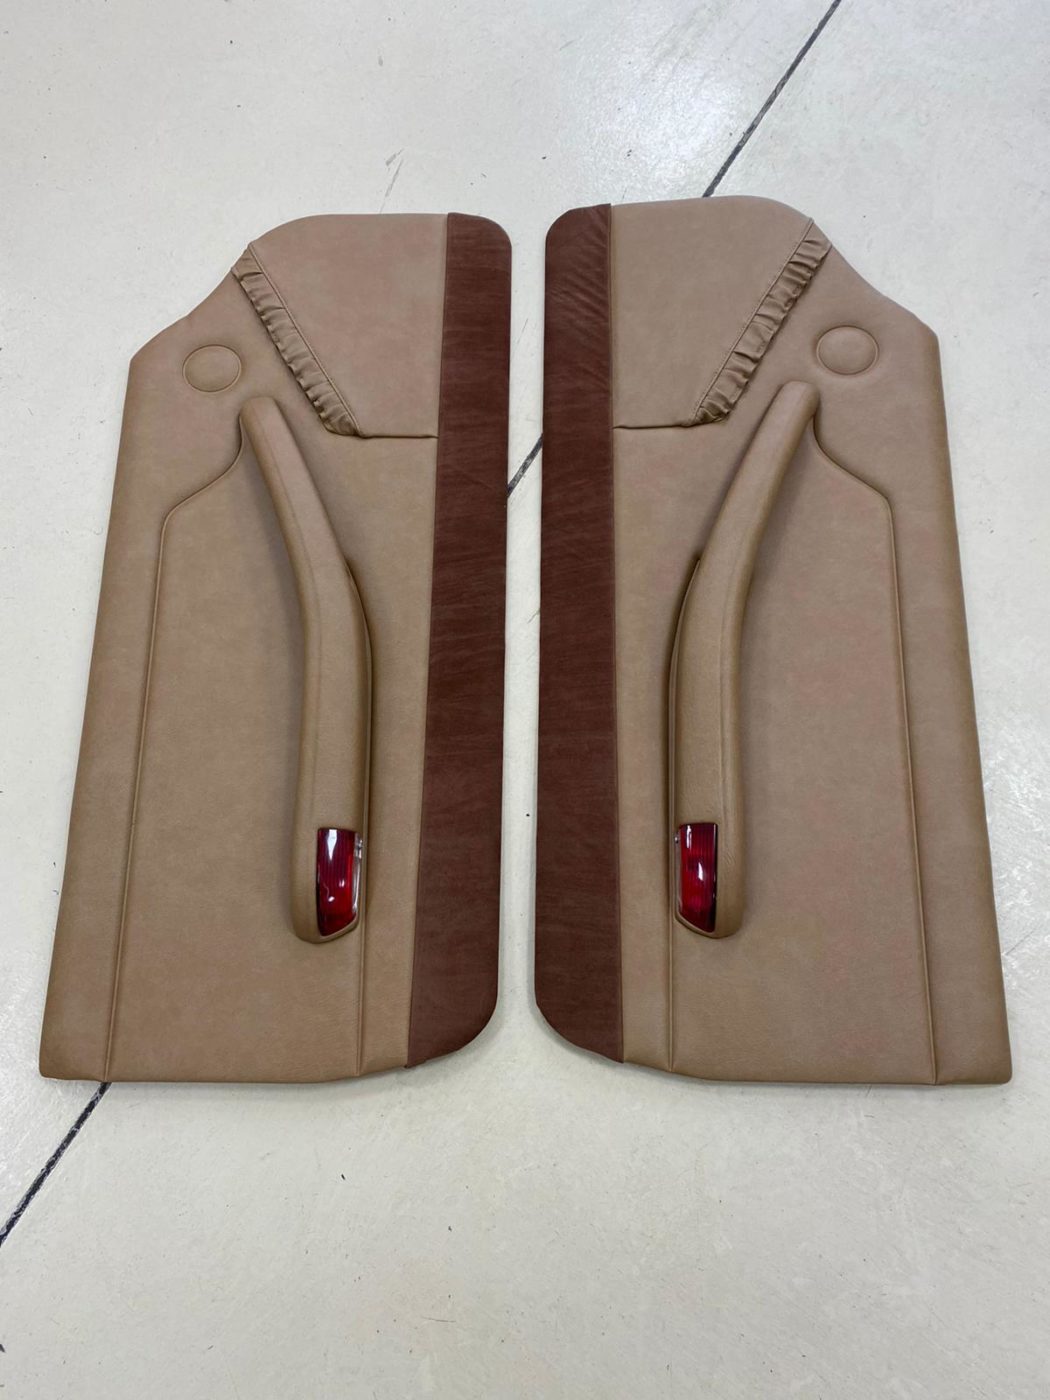
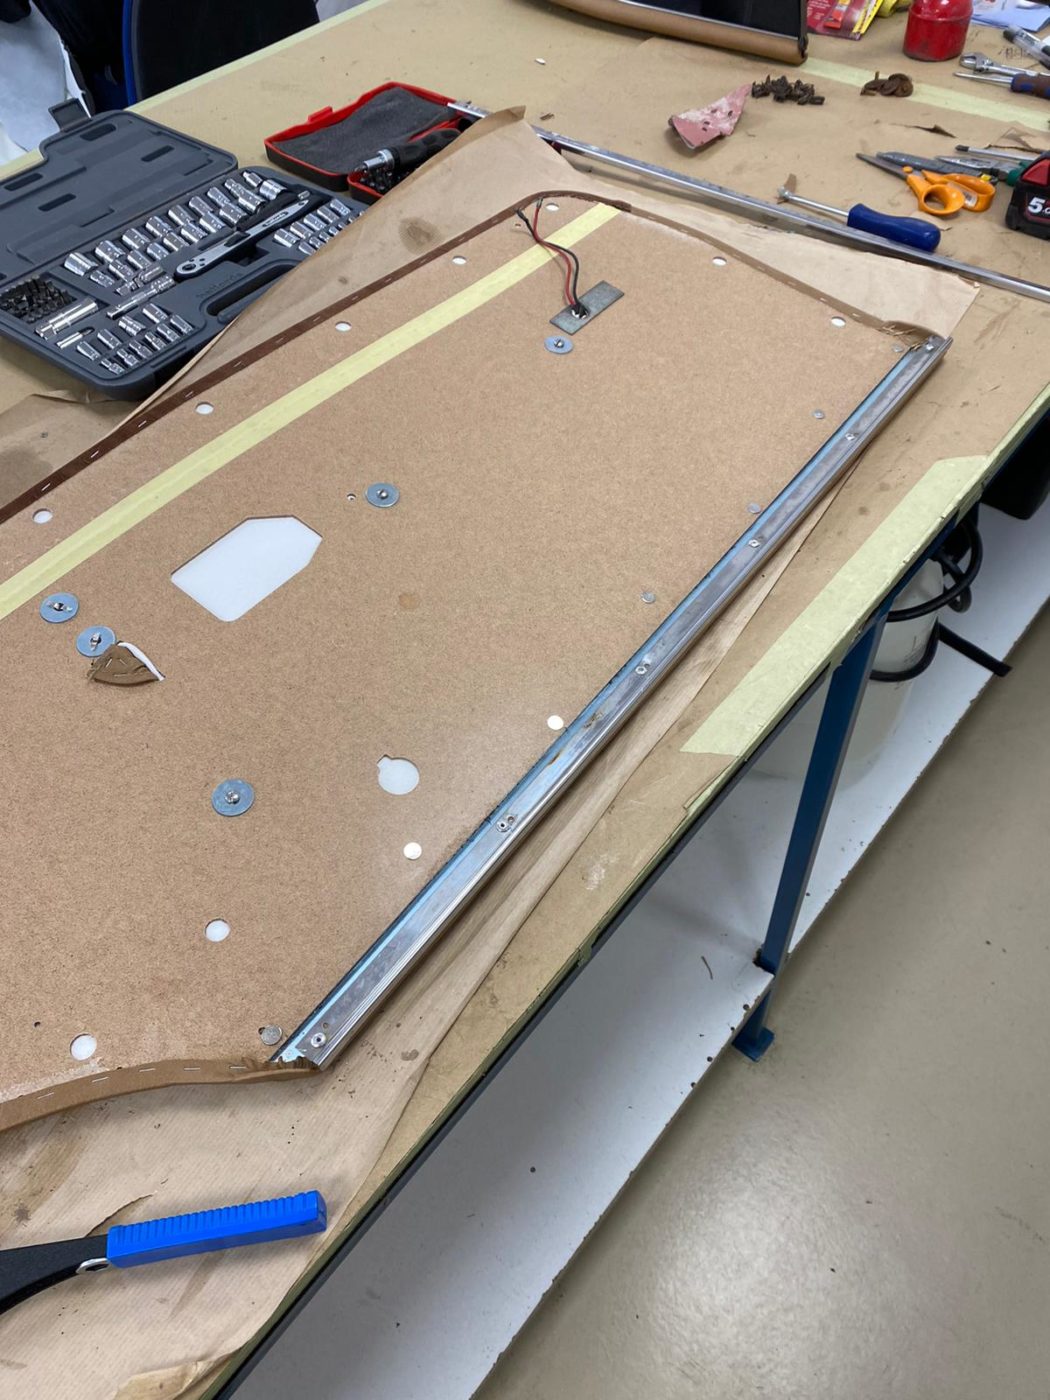
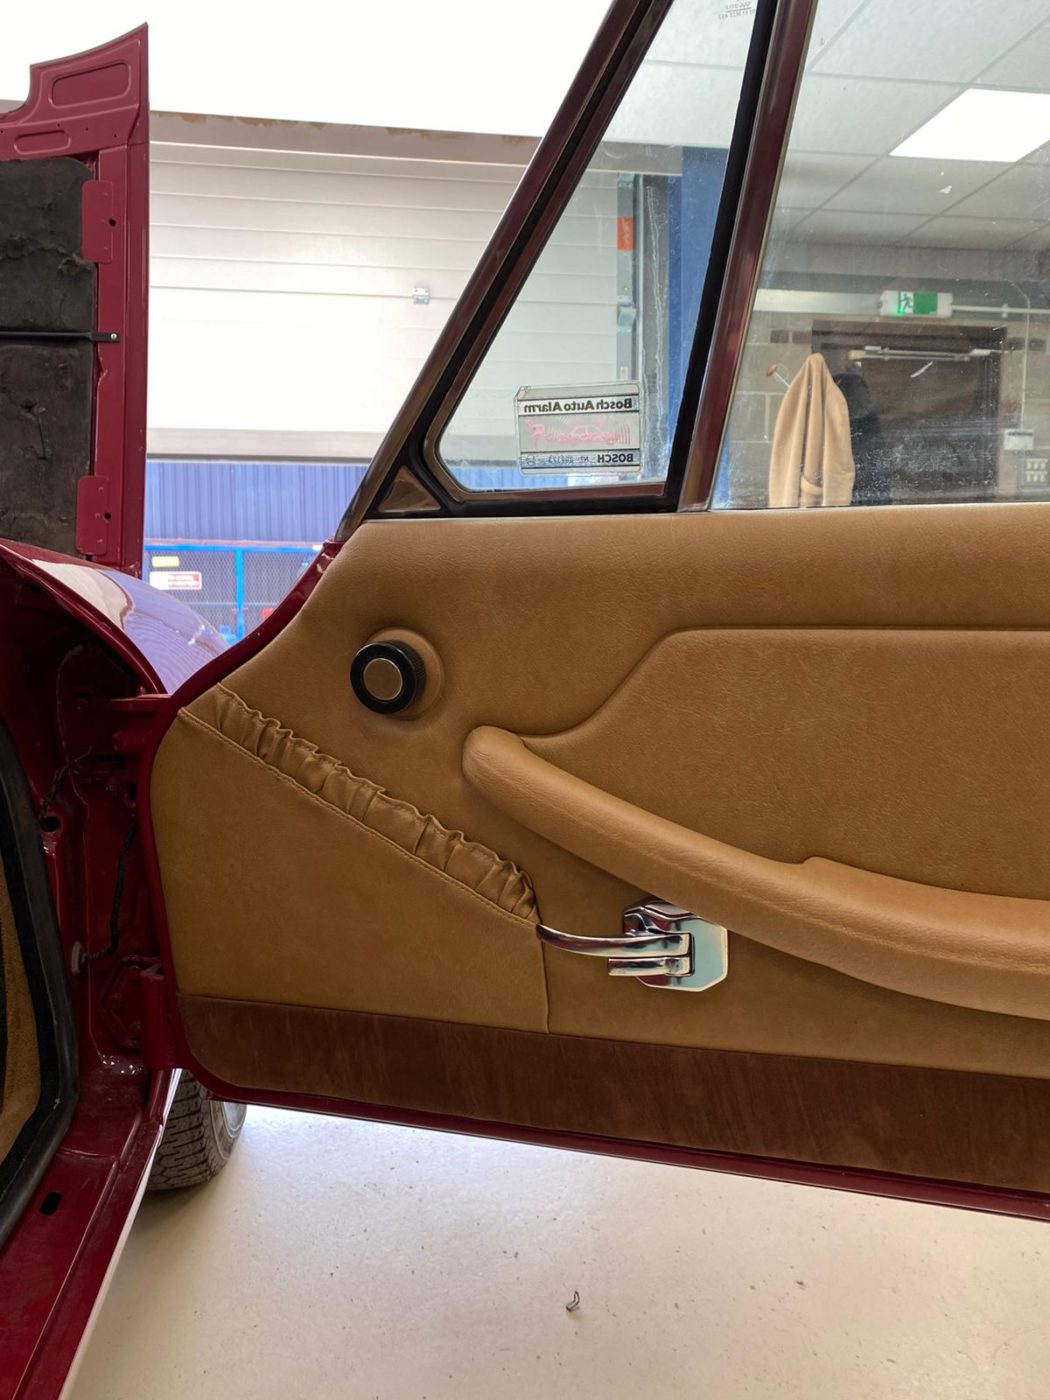
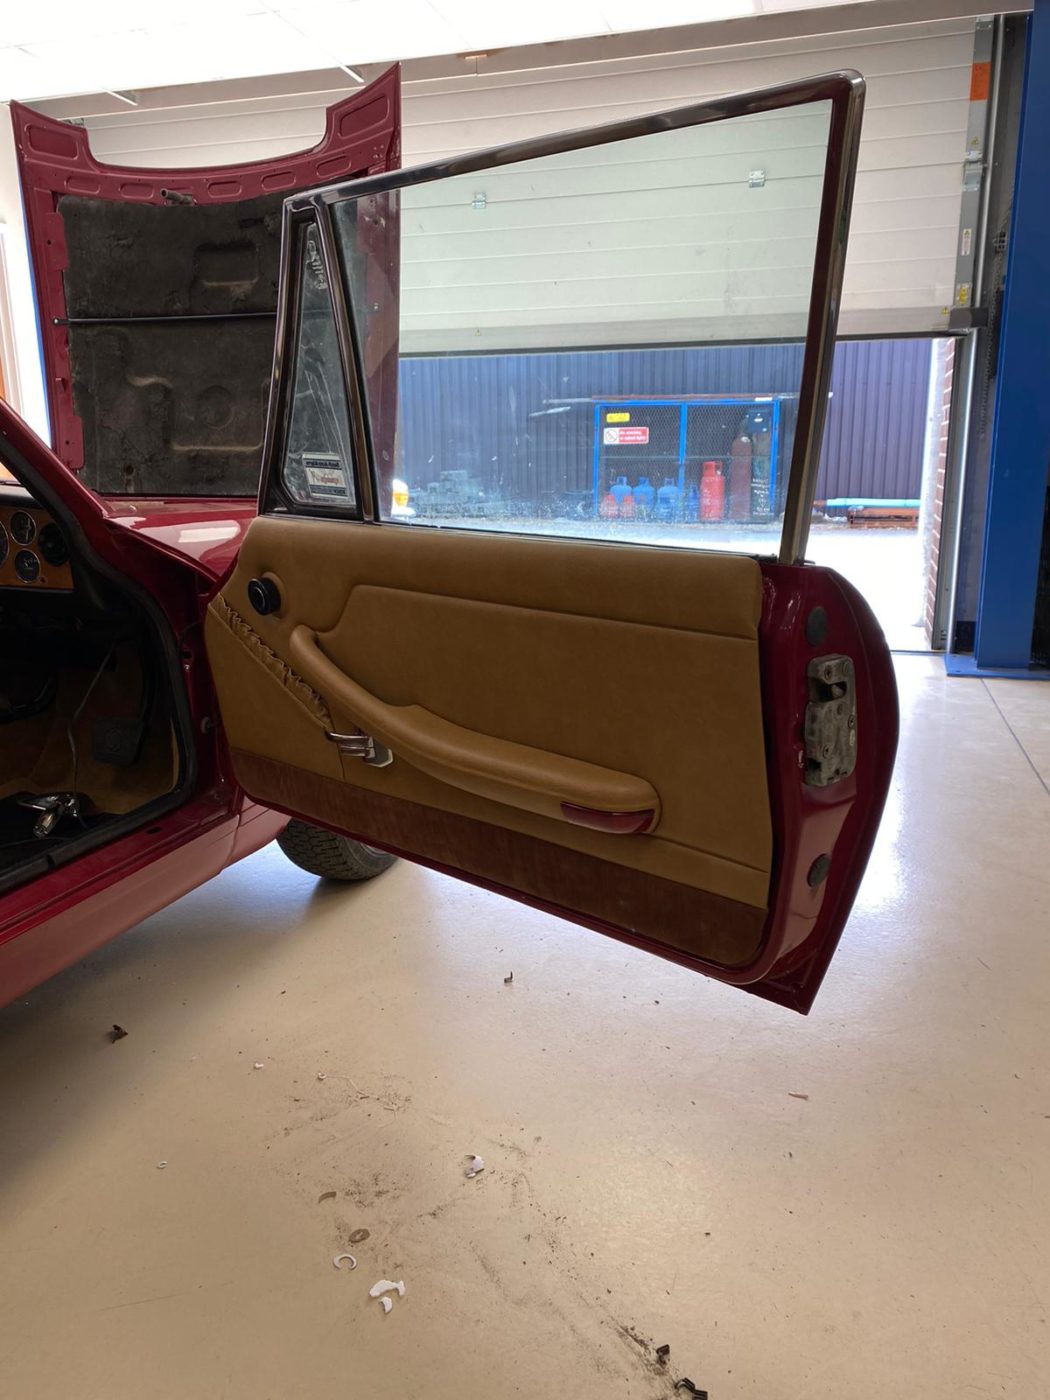
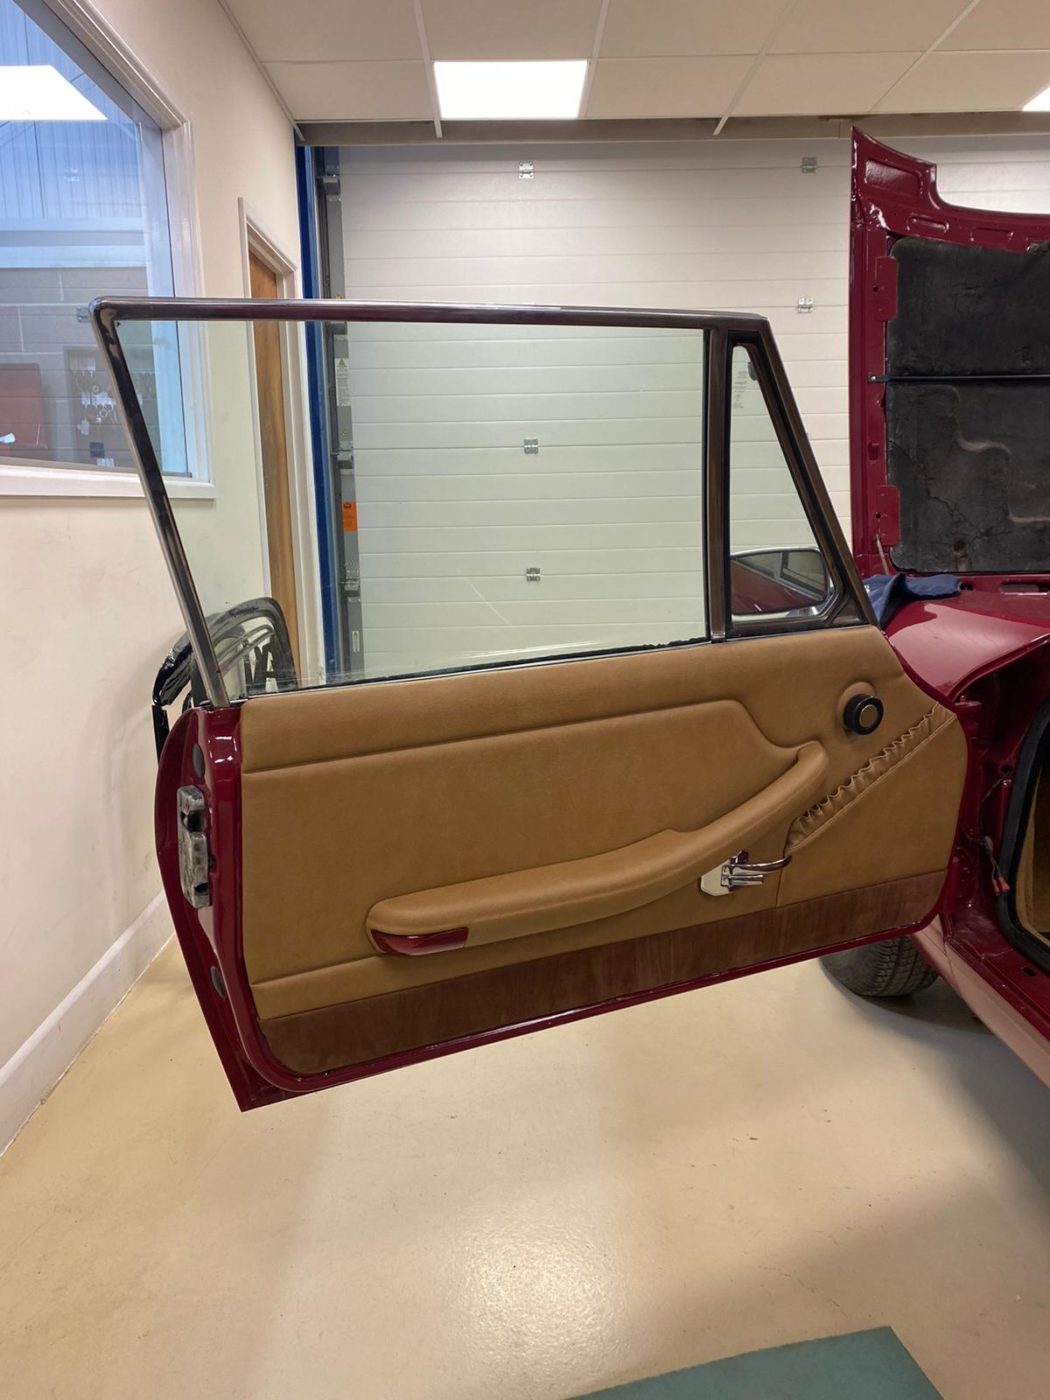
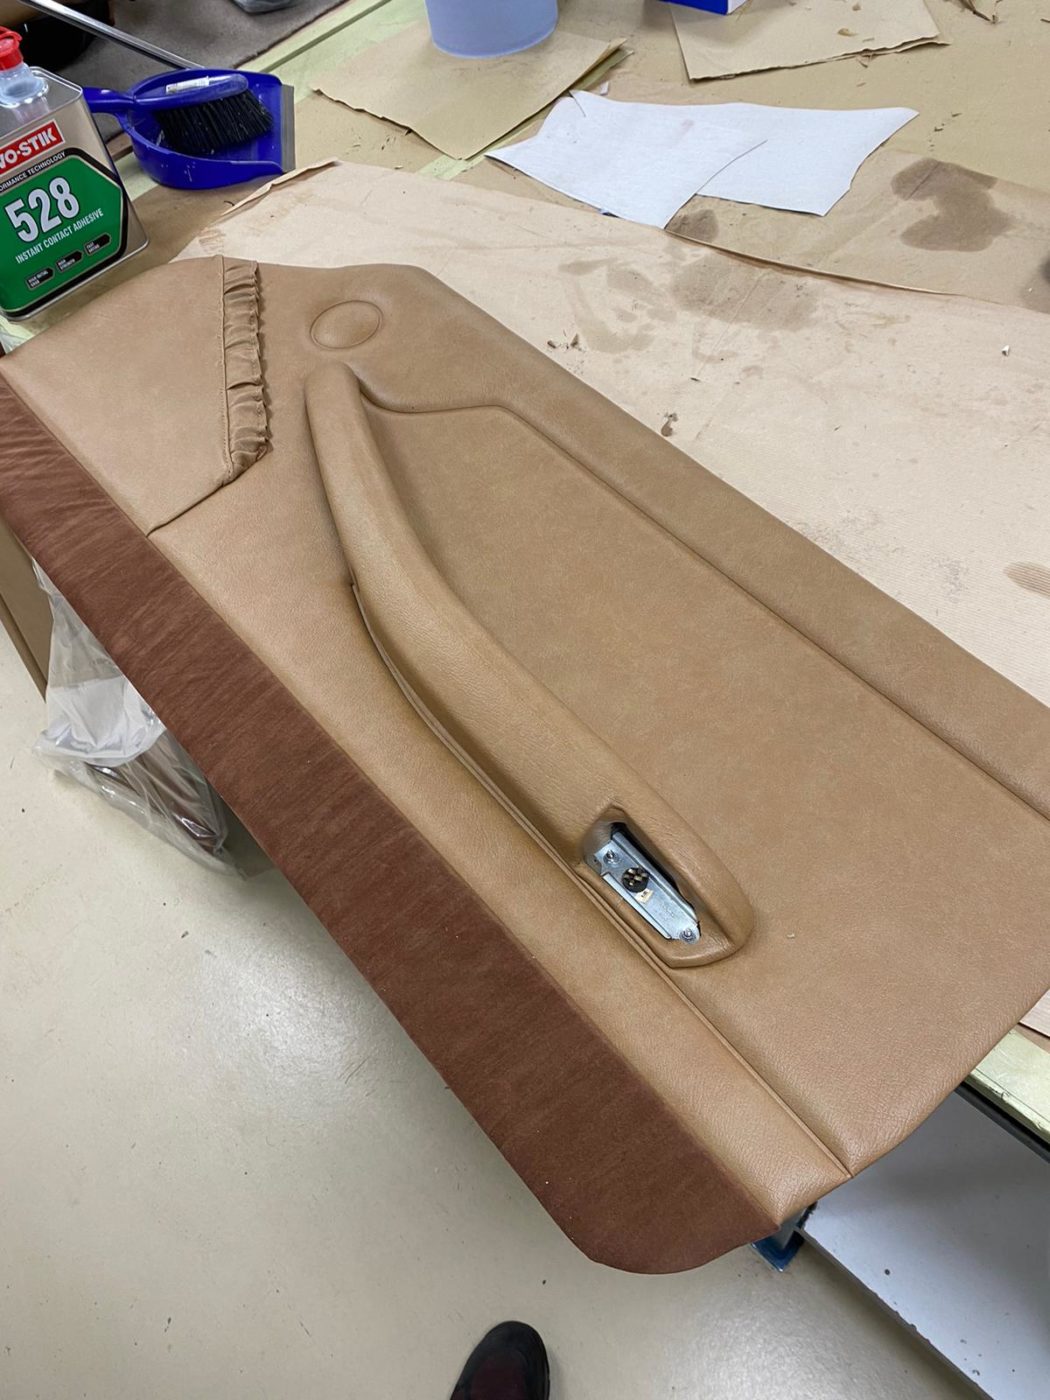
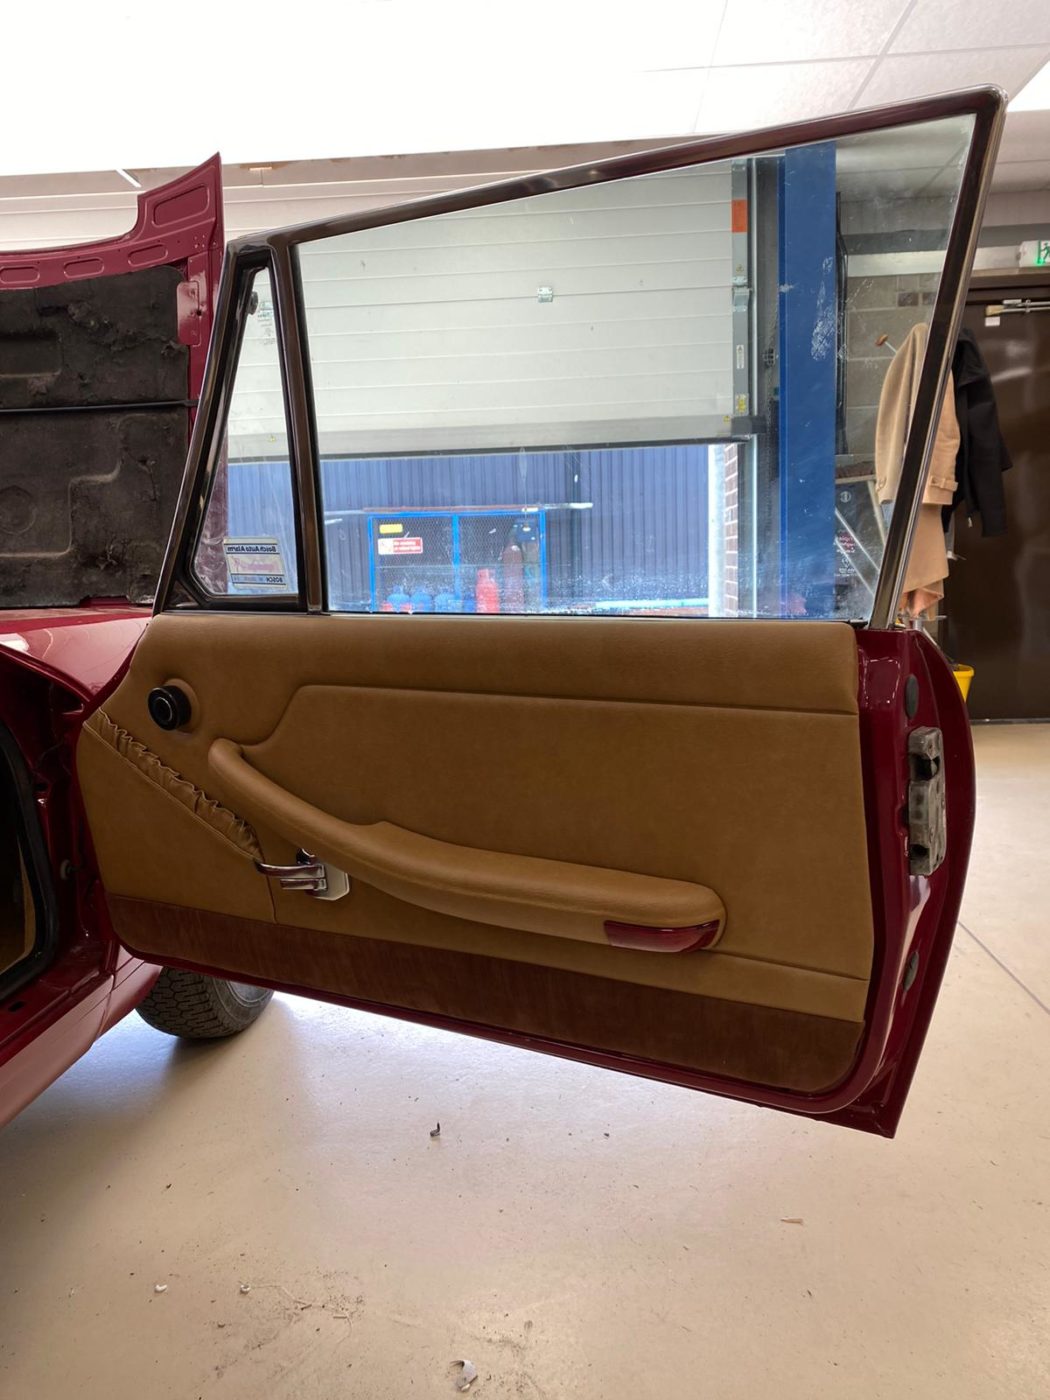
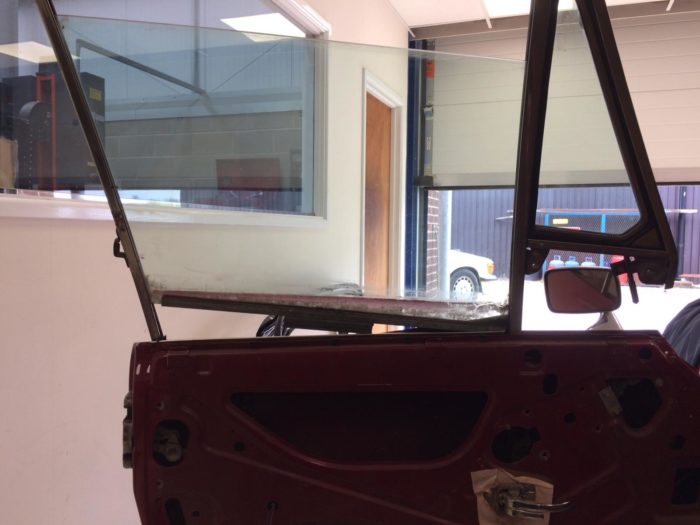
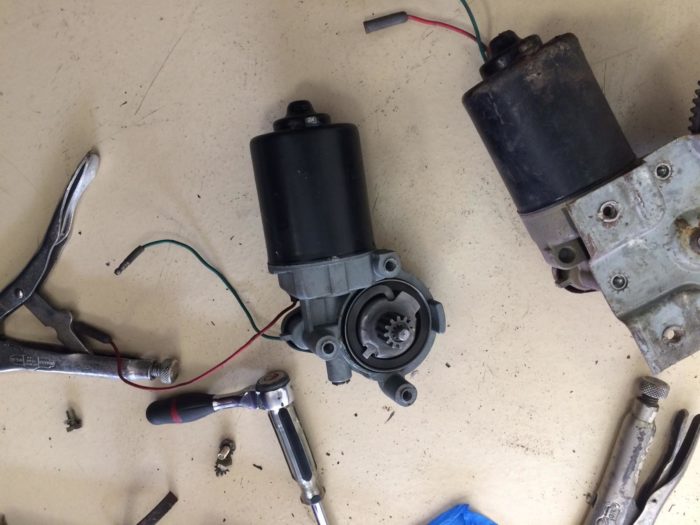
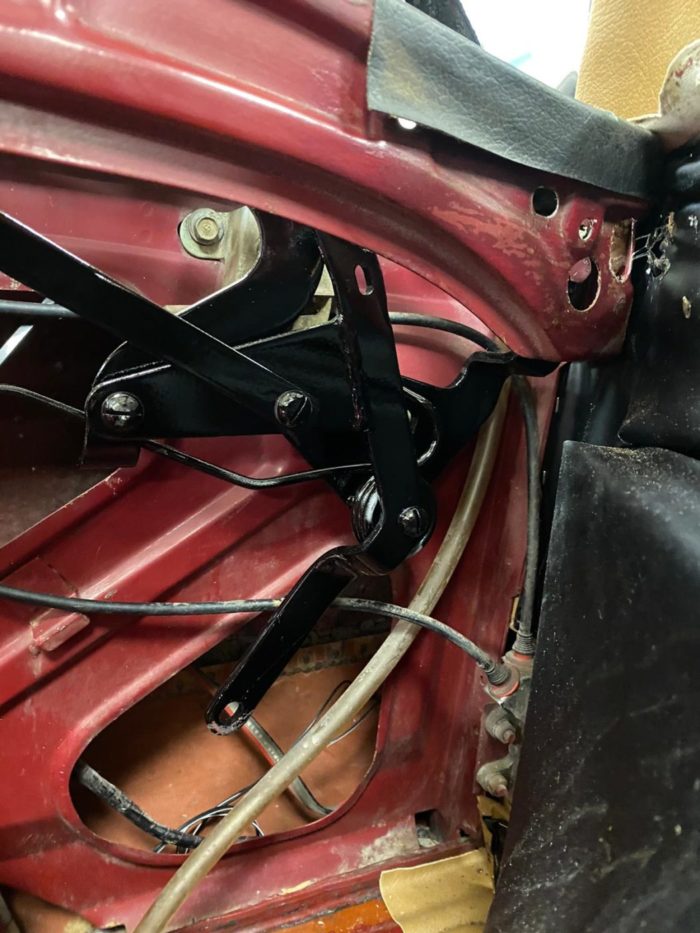
We’ve also replaced the window winding mechanism in the door which allows the windows to move.
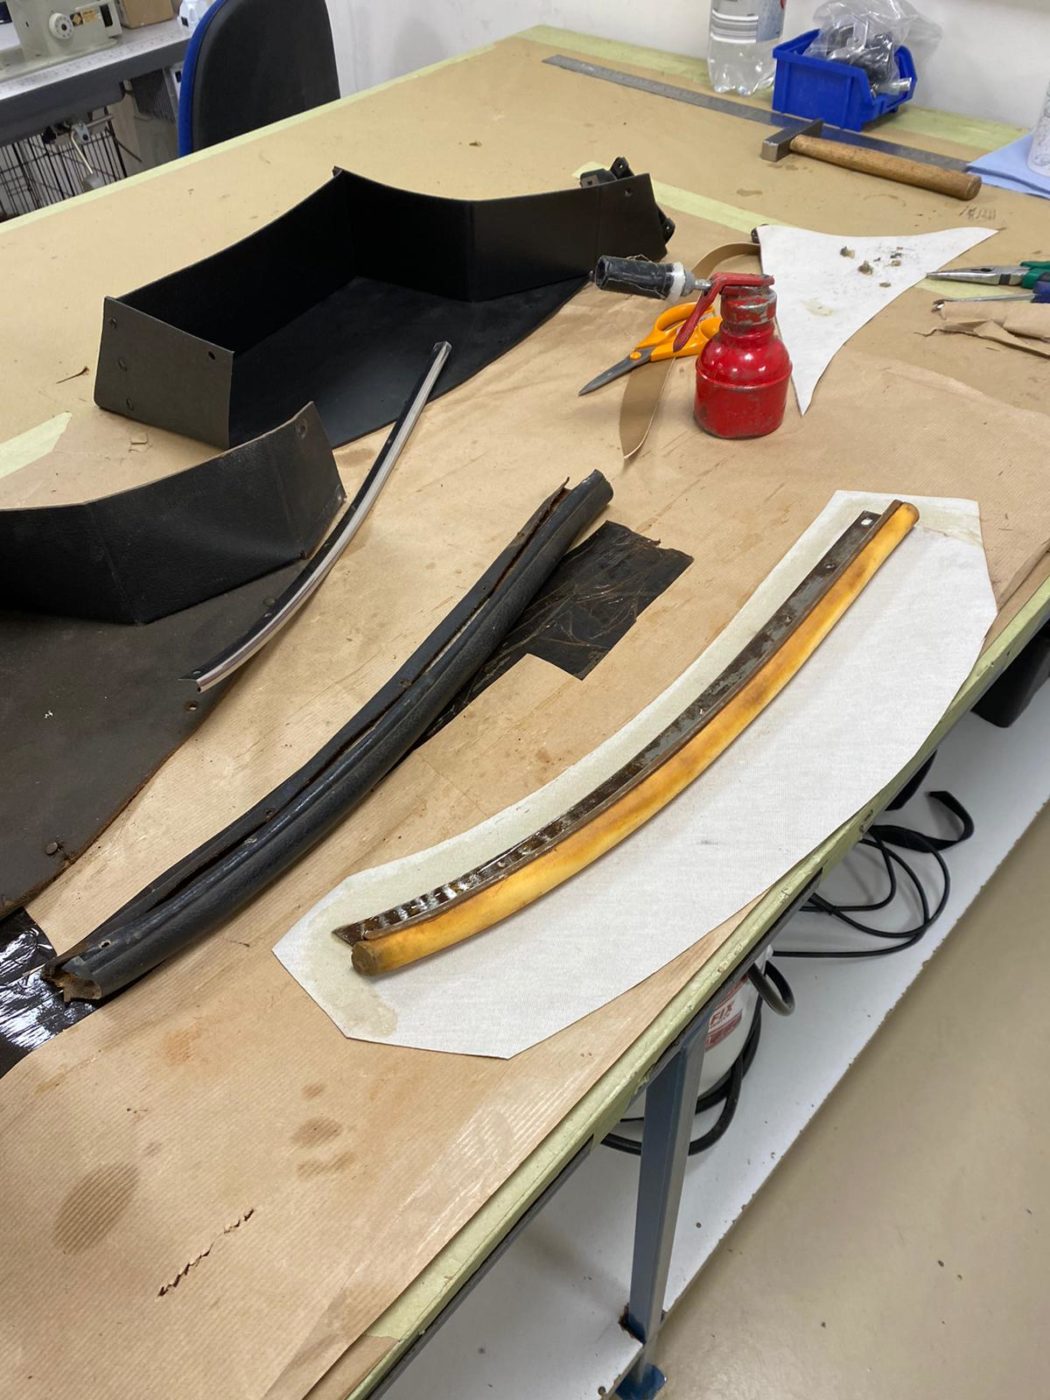
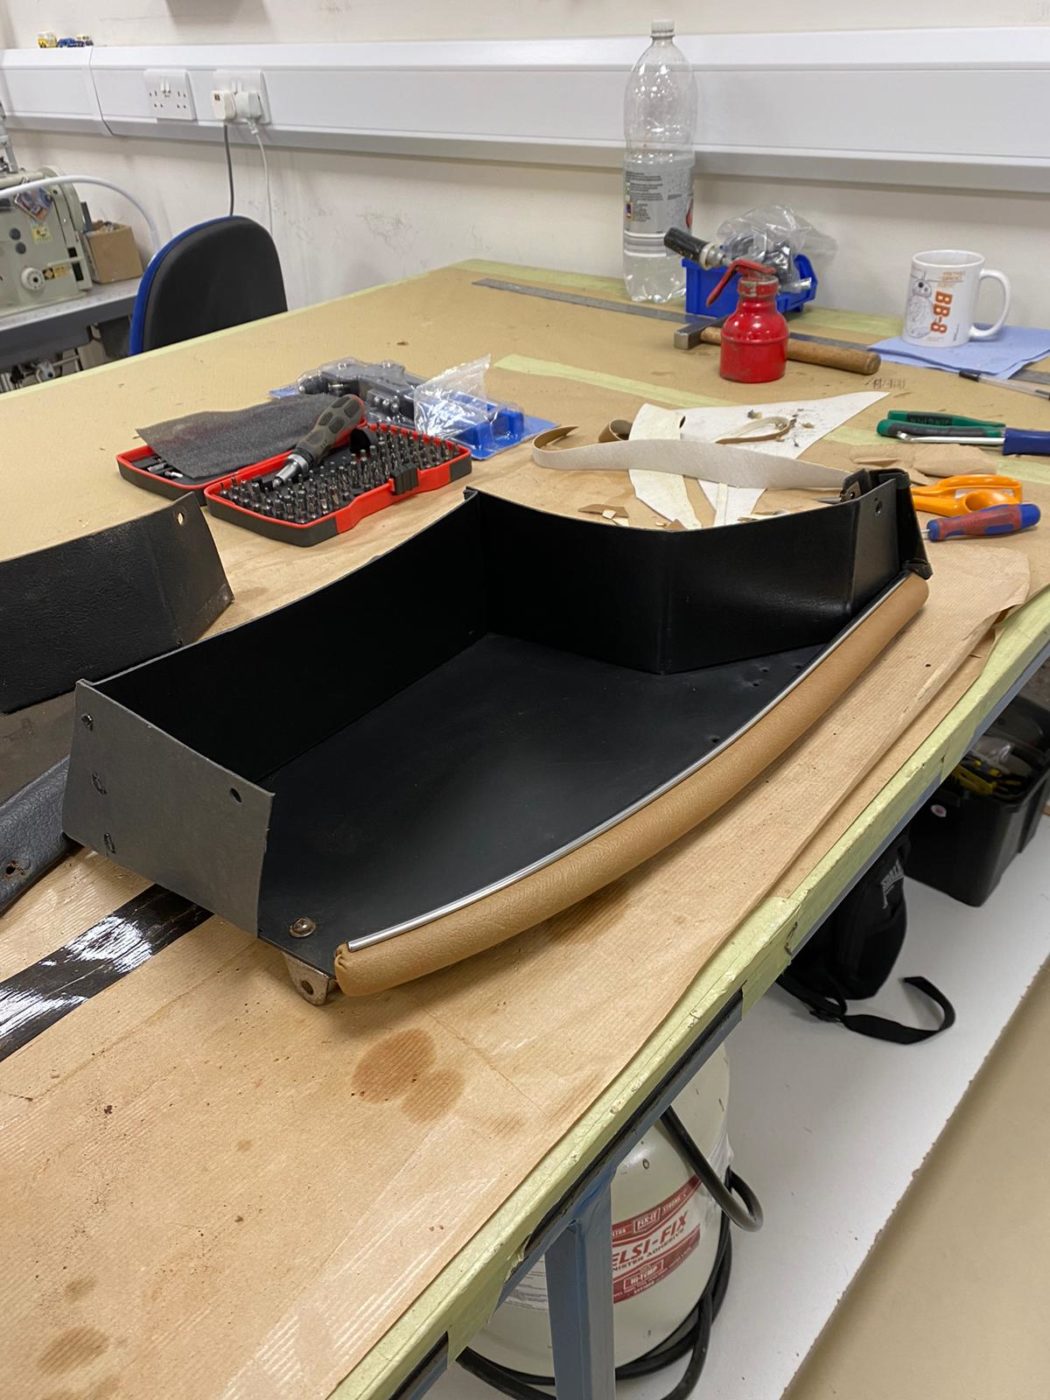
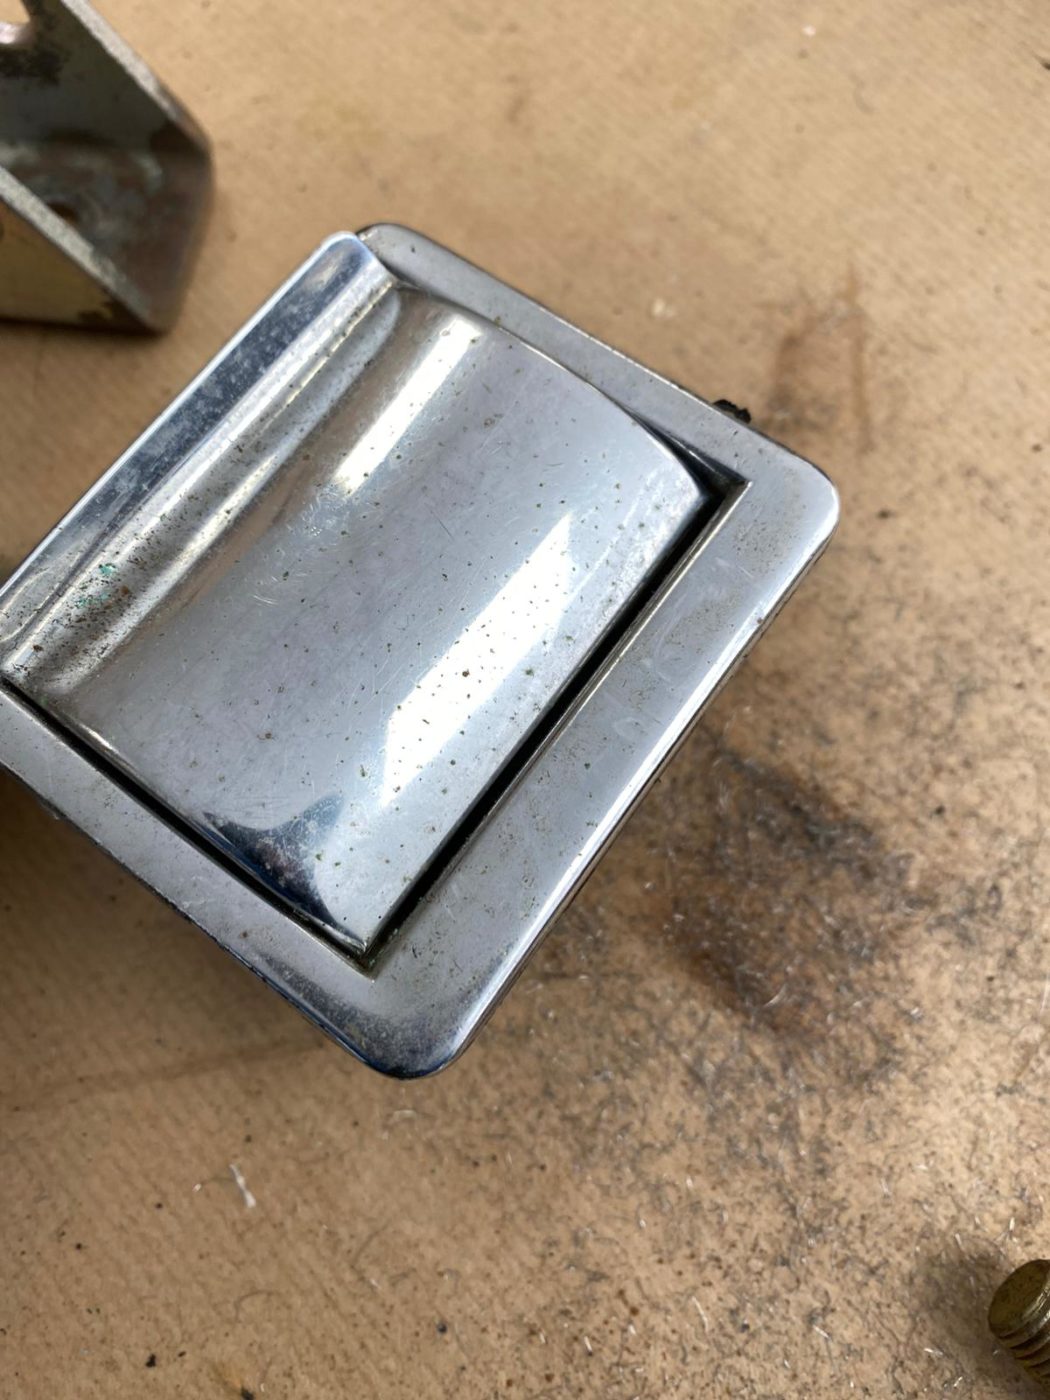
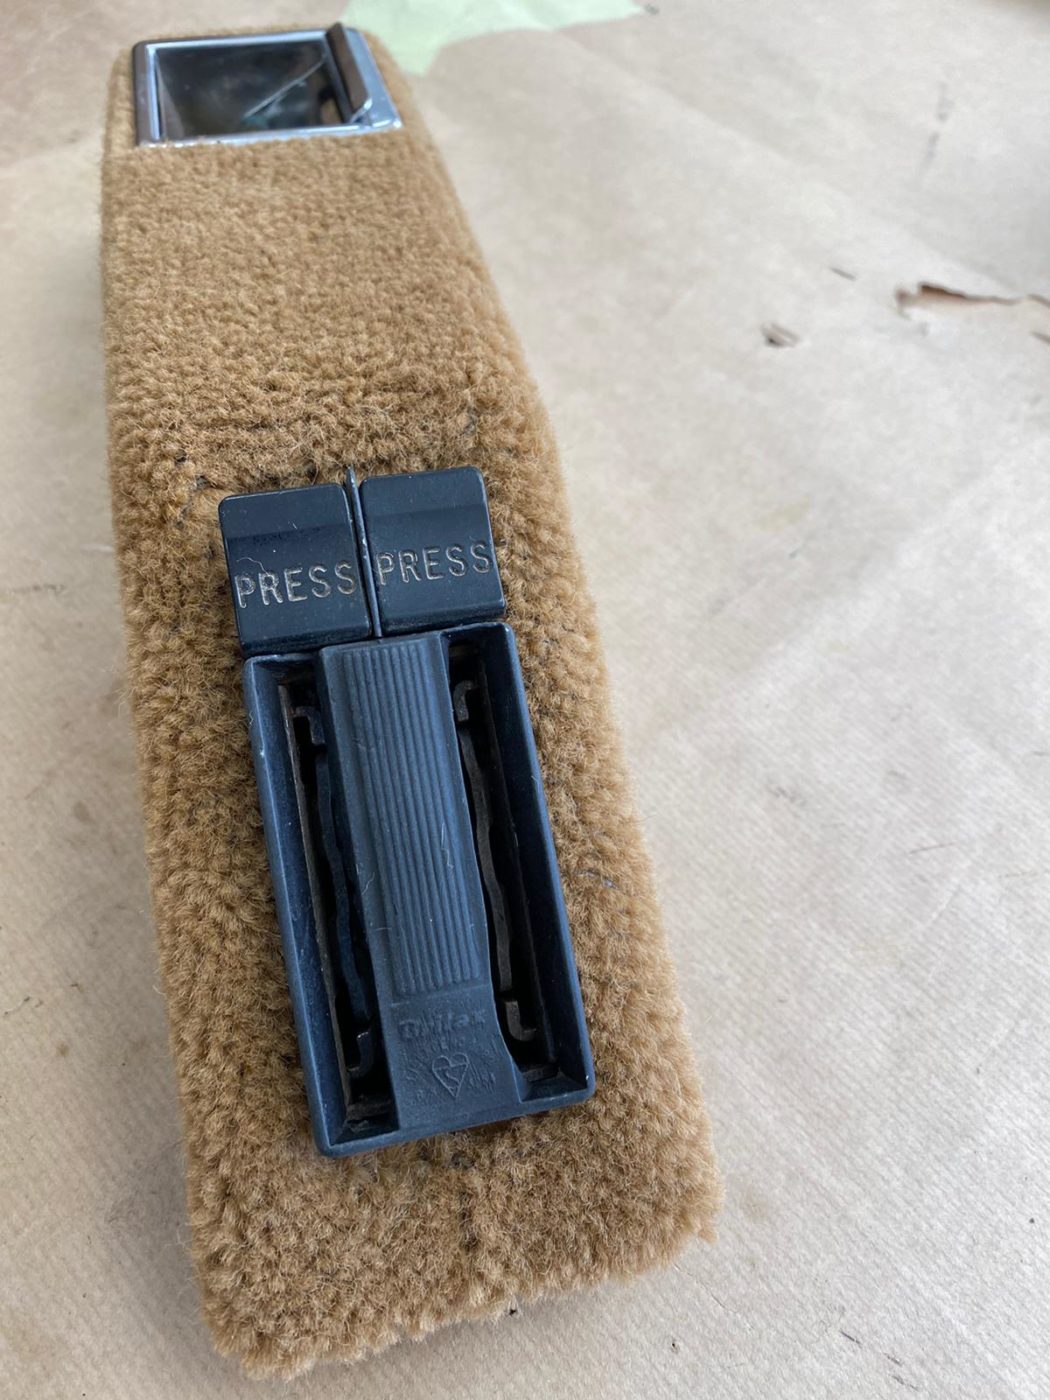
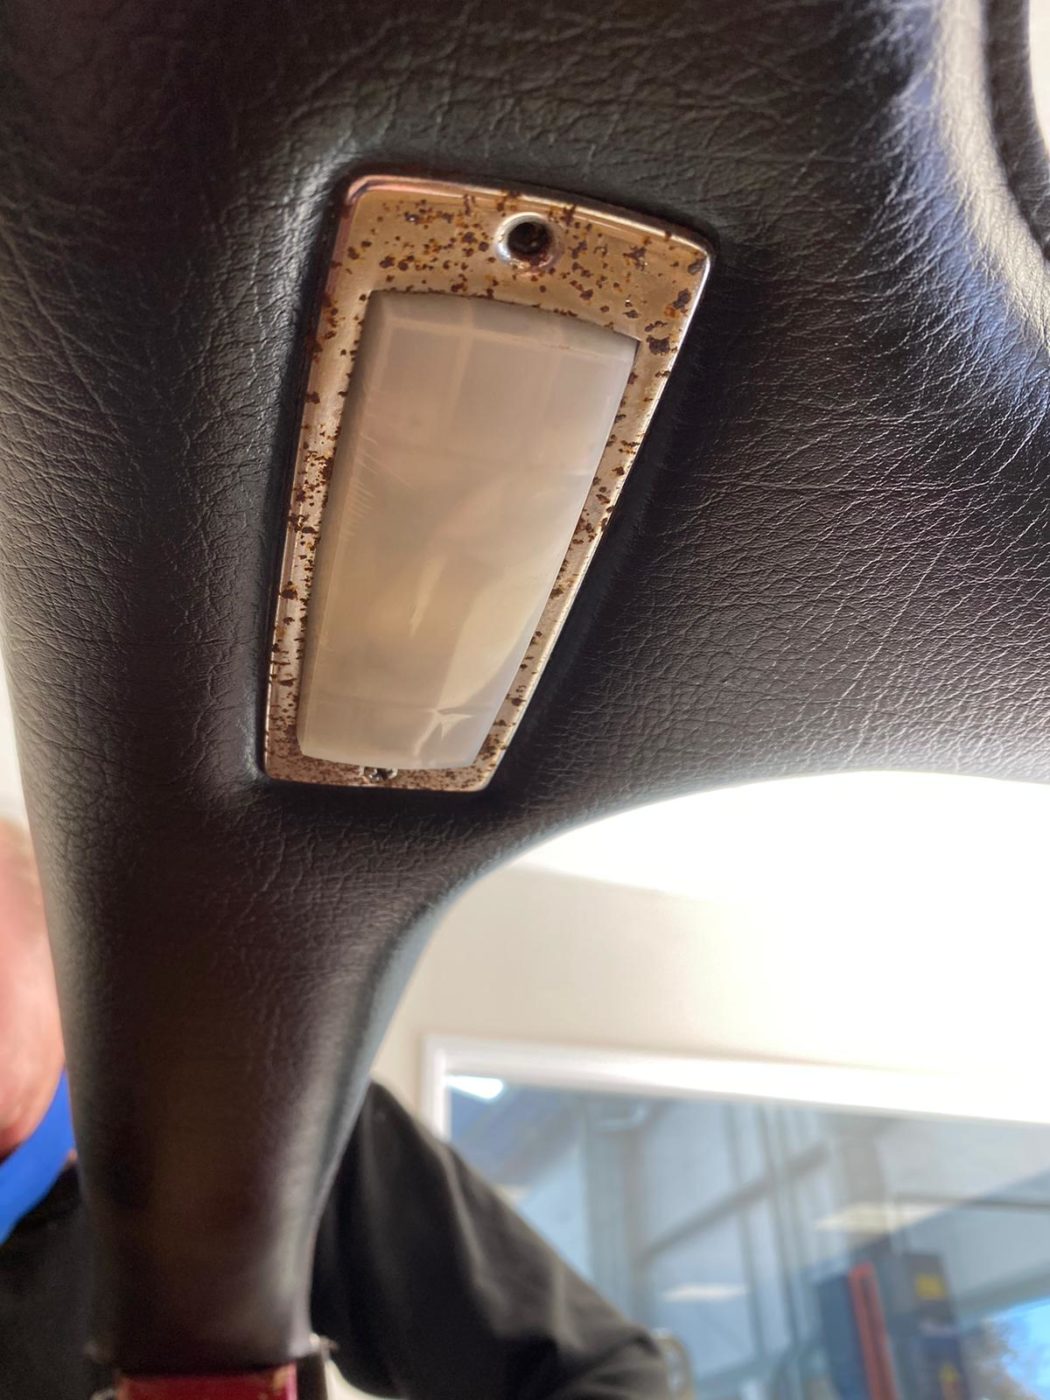
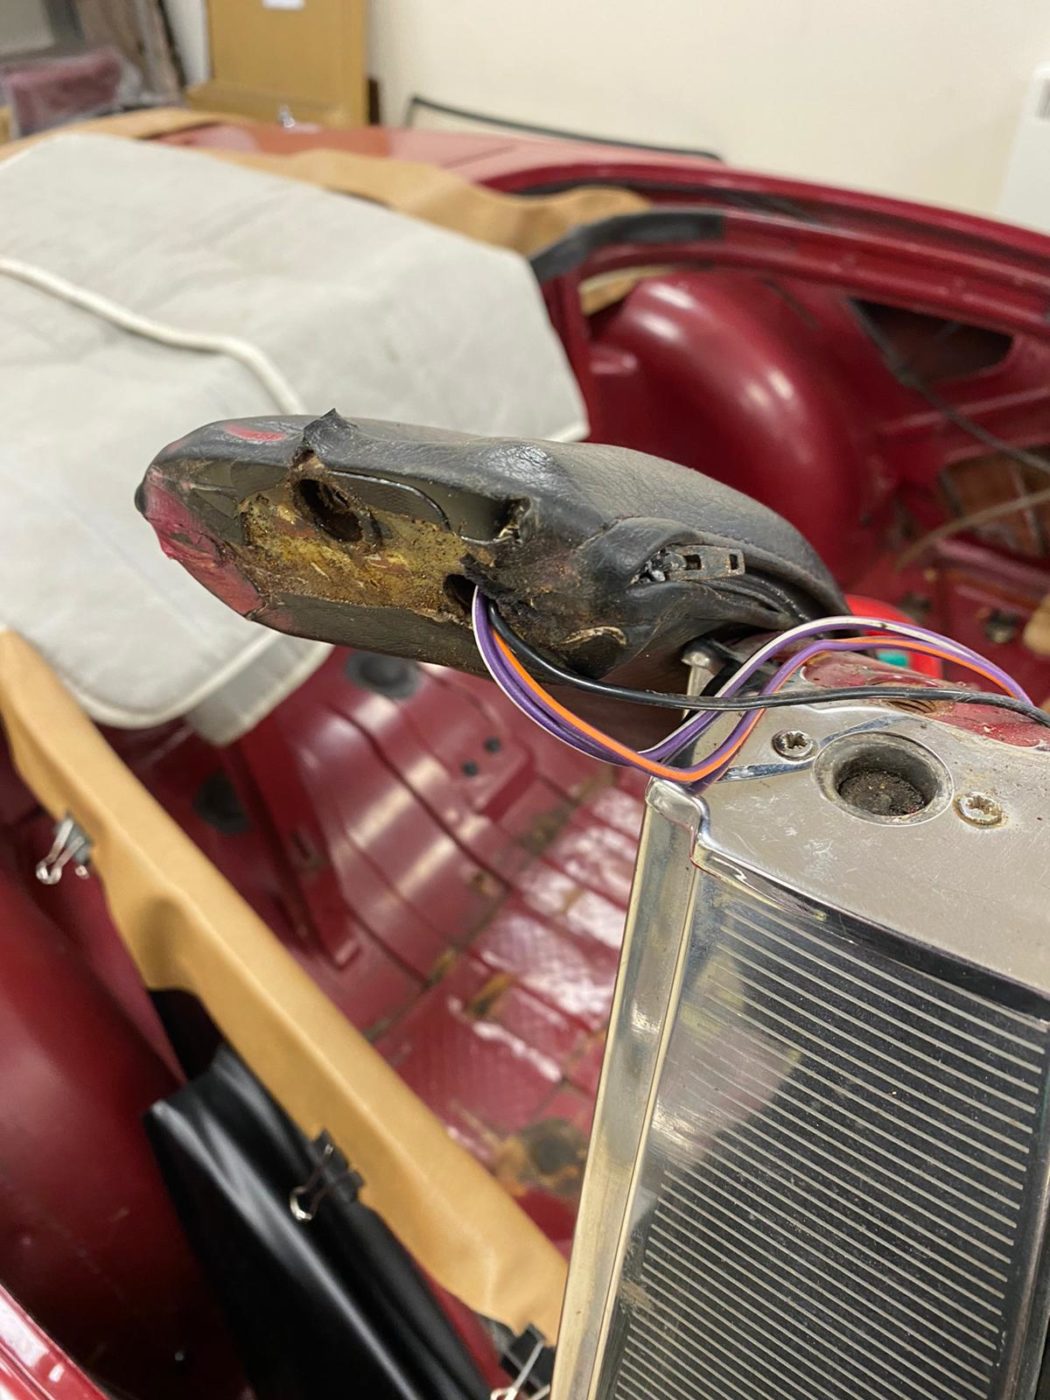
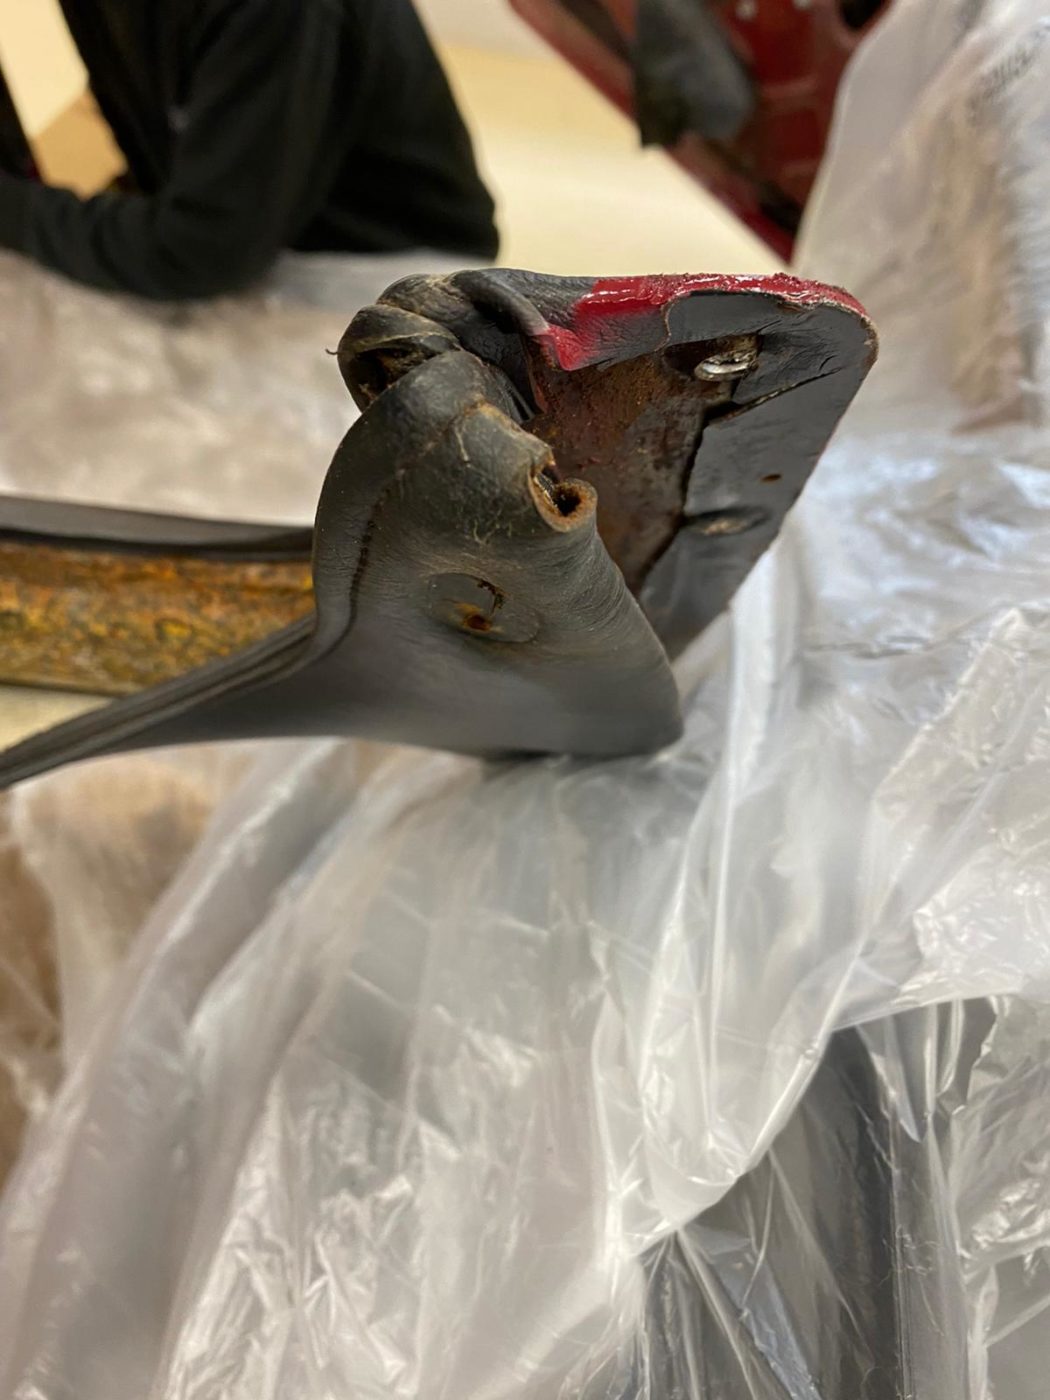
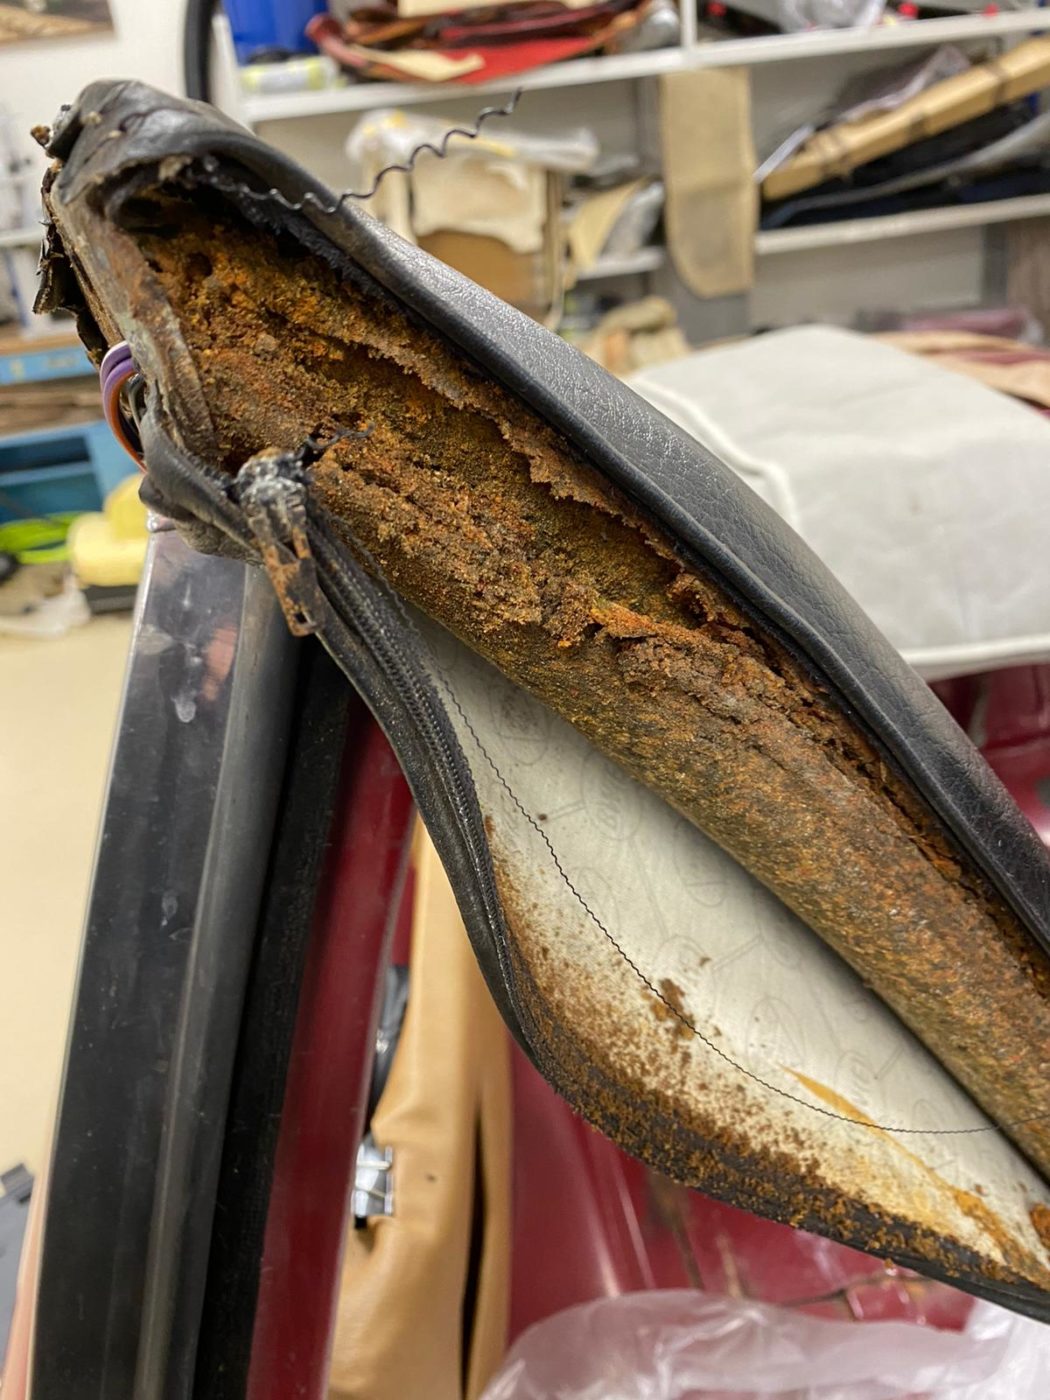
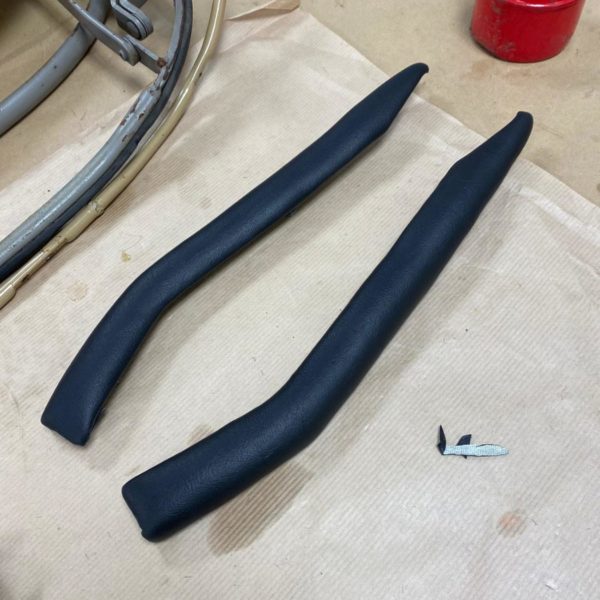
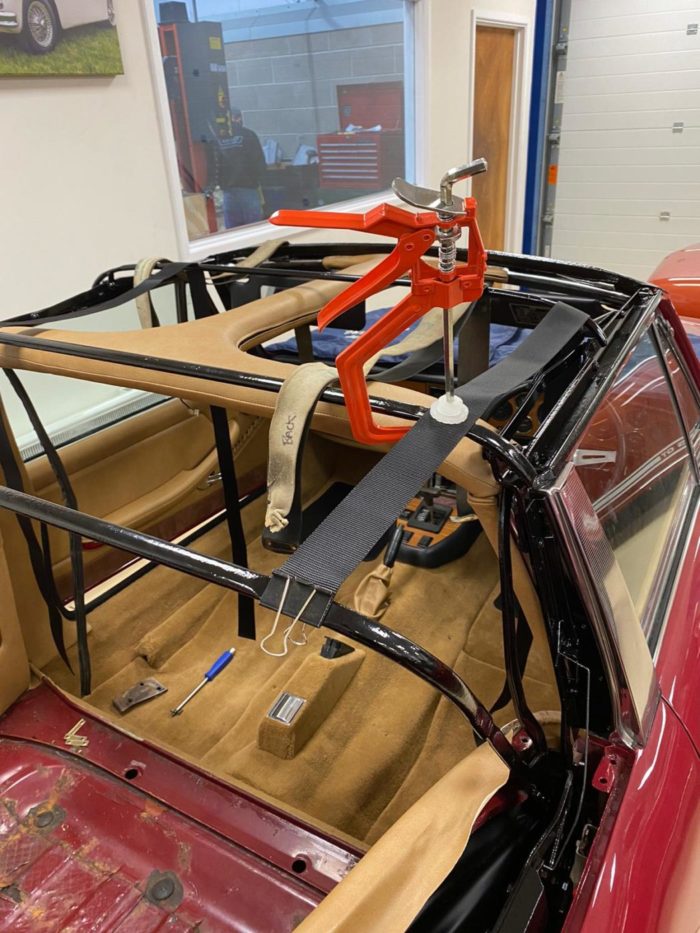
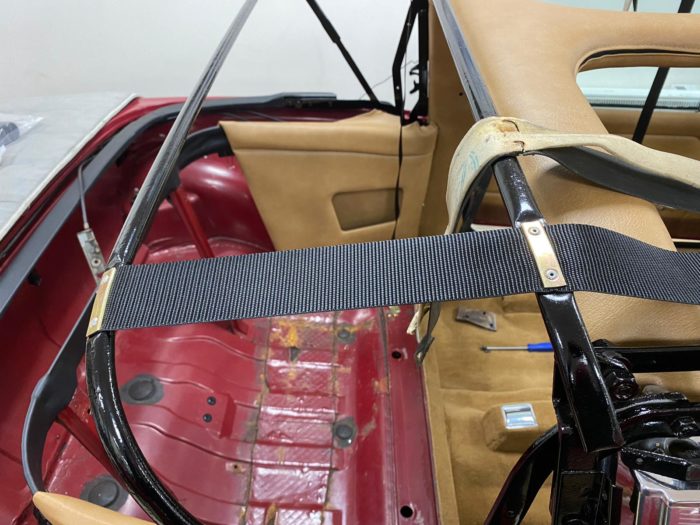
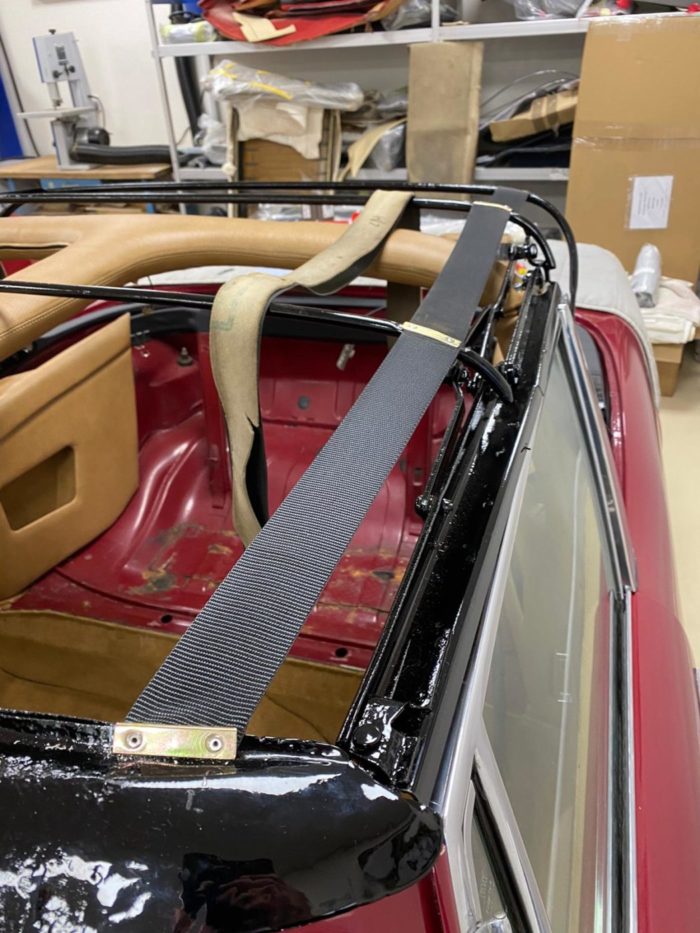
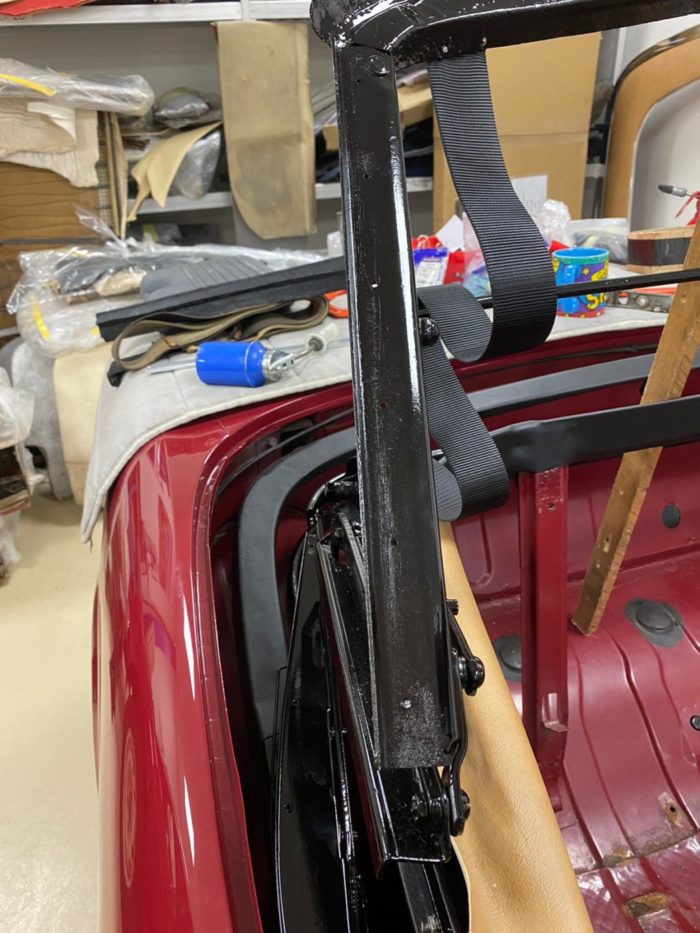
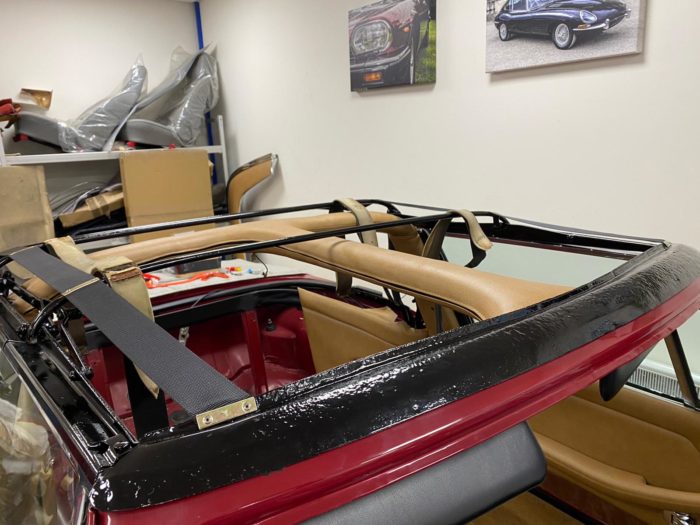
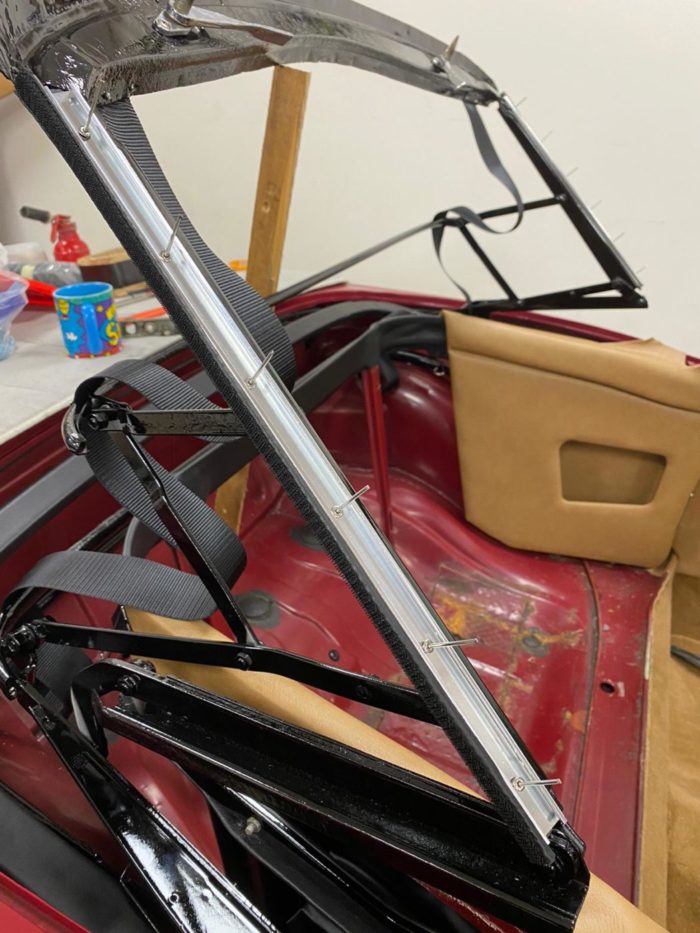
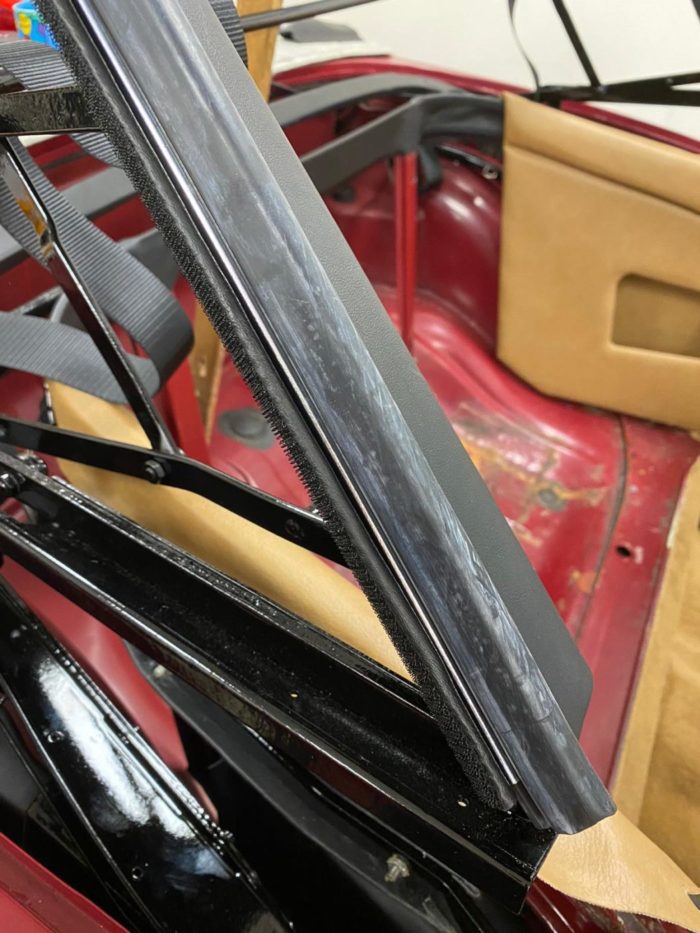
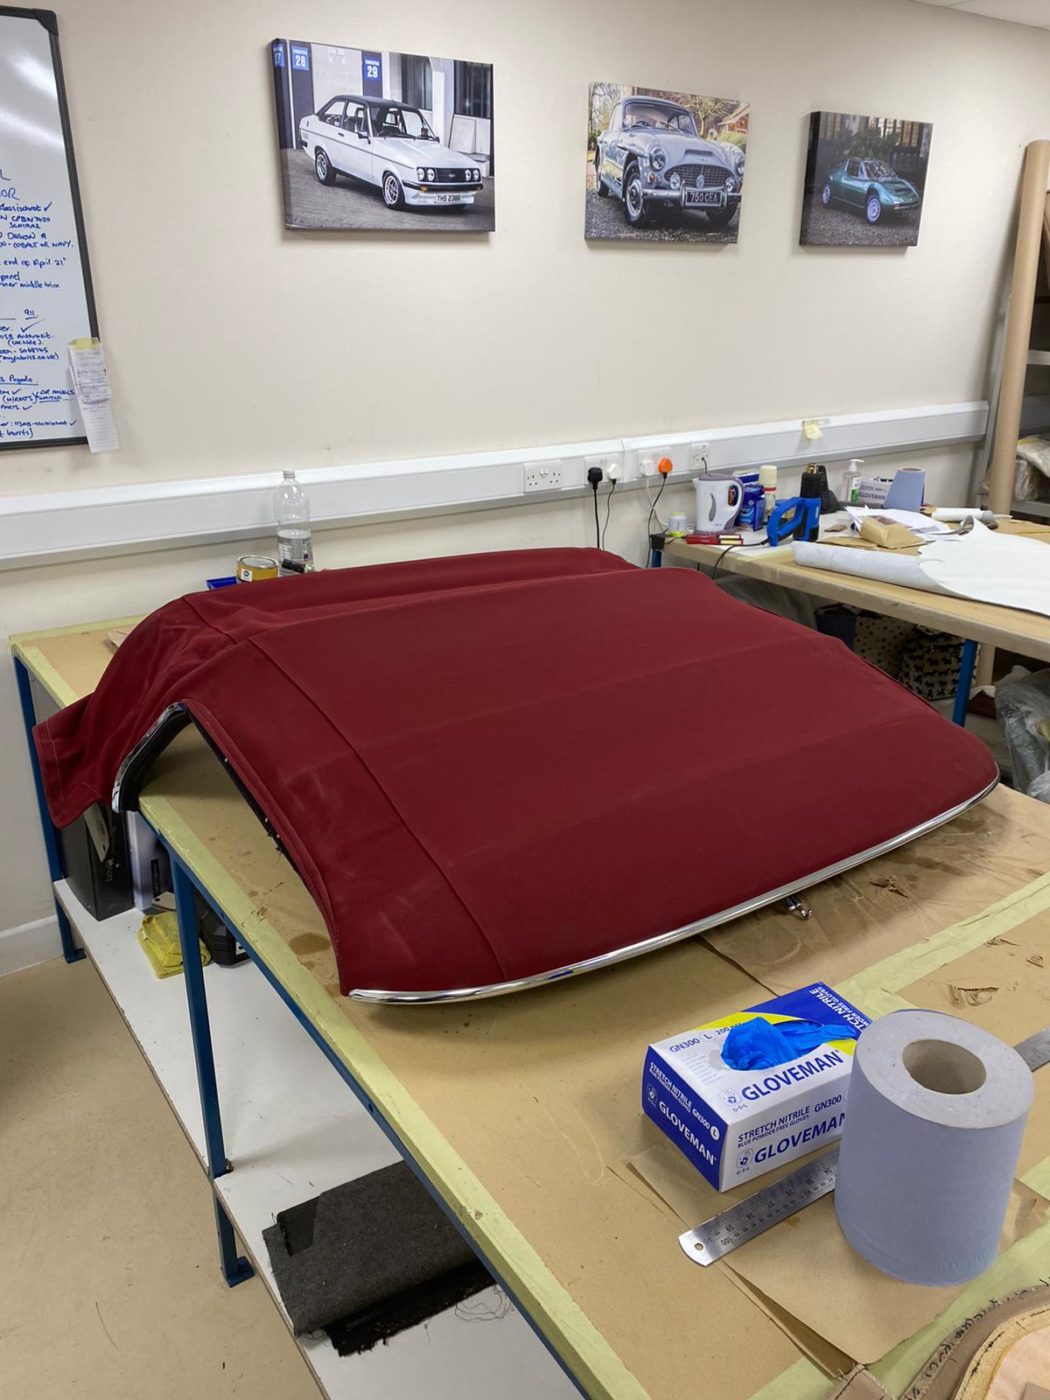
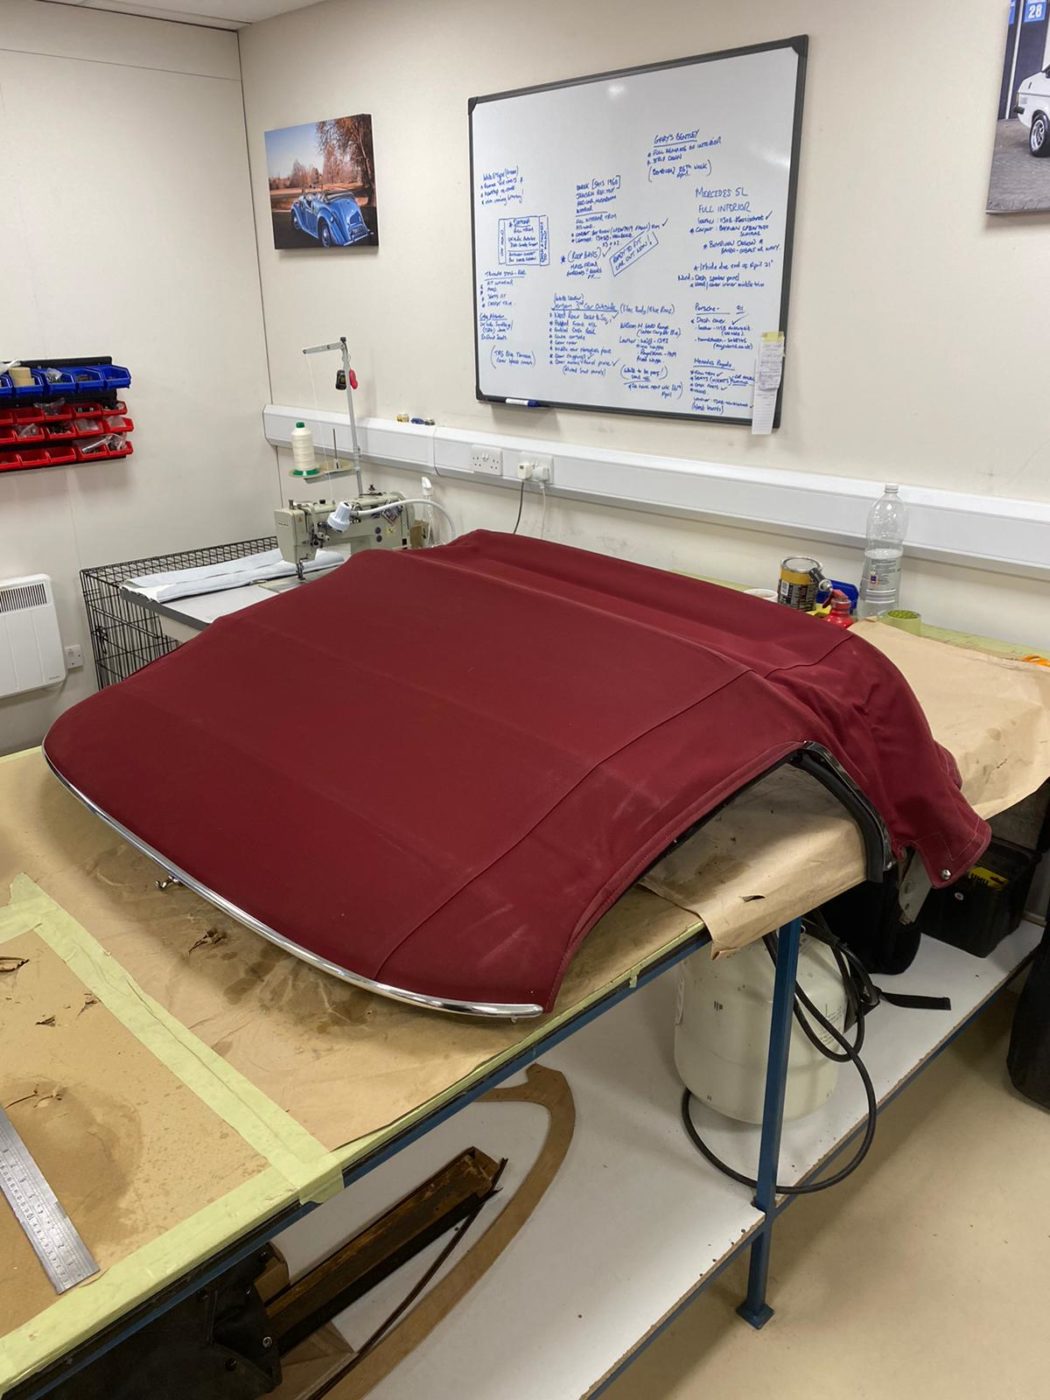
Kath has sanded and cleaned down the hood roof bars, added foam and fitted a new leather cover to ensure that its looking smart. She has also replaced the furnishing on the ash tray as well.
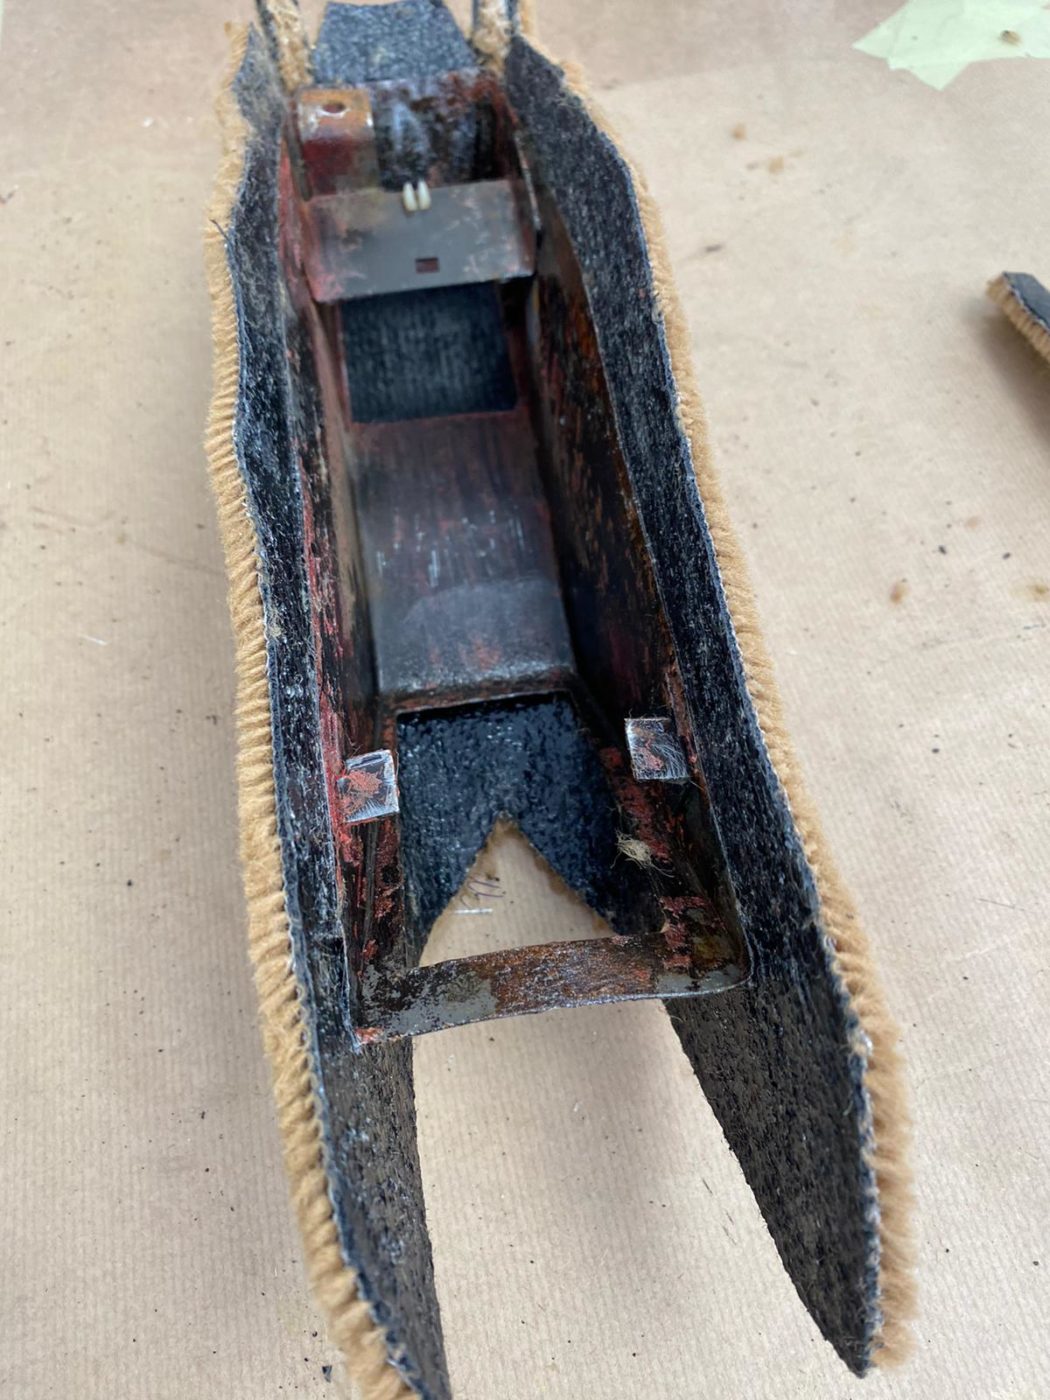
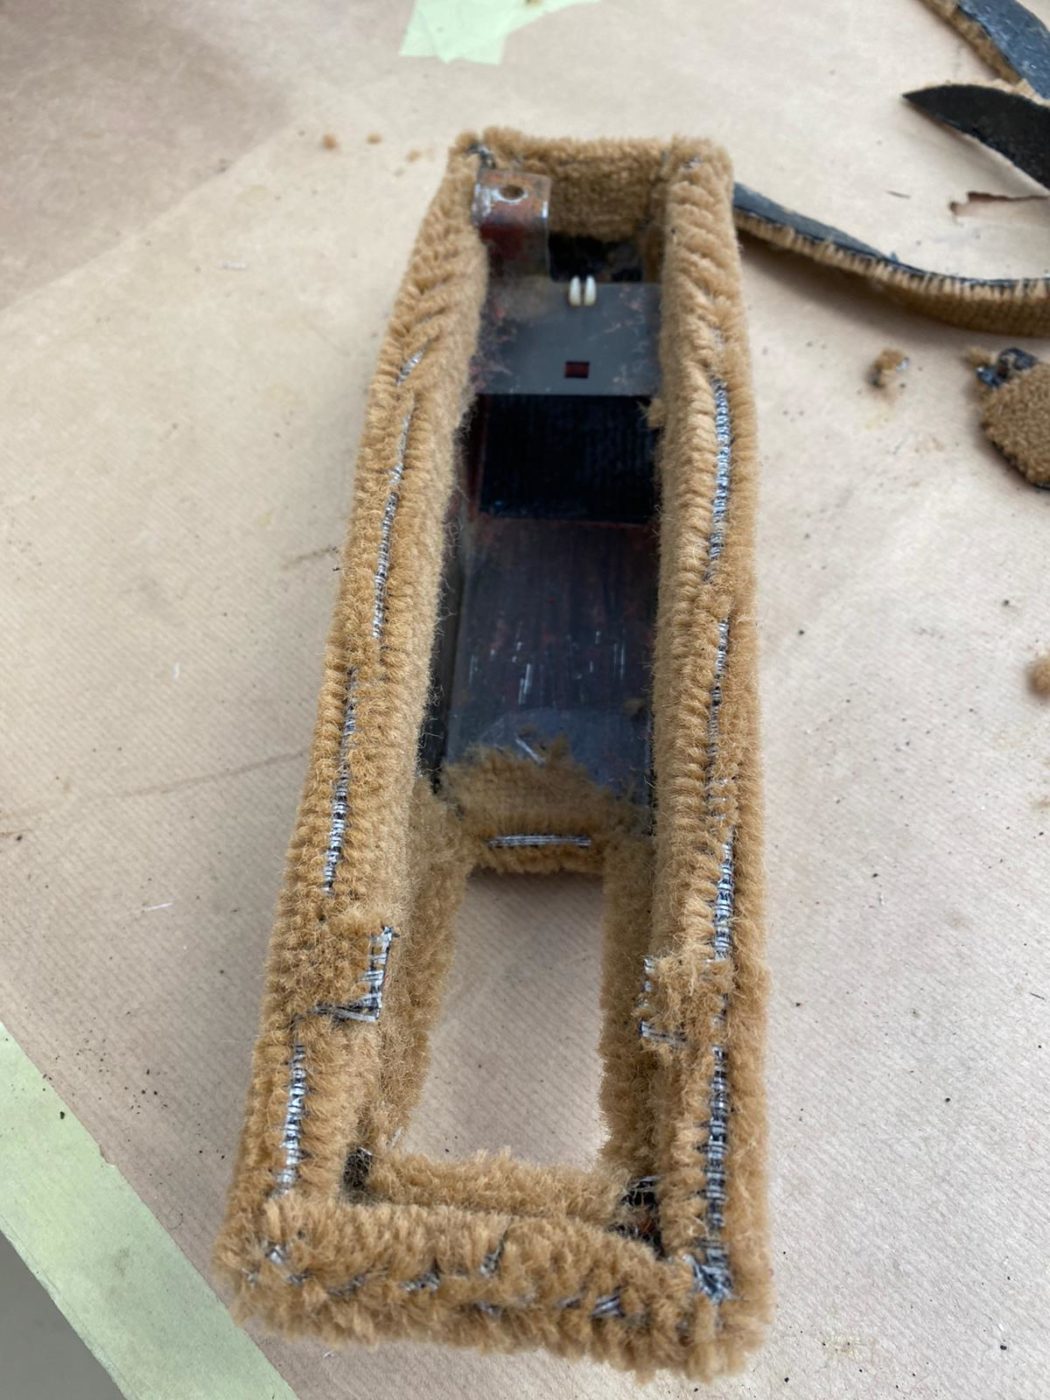
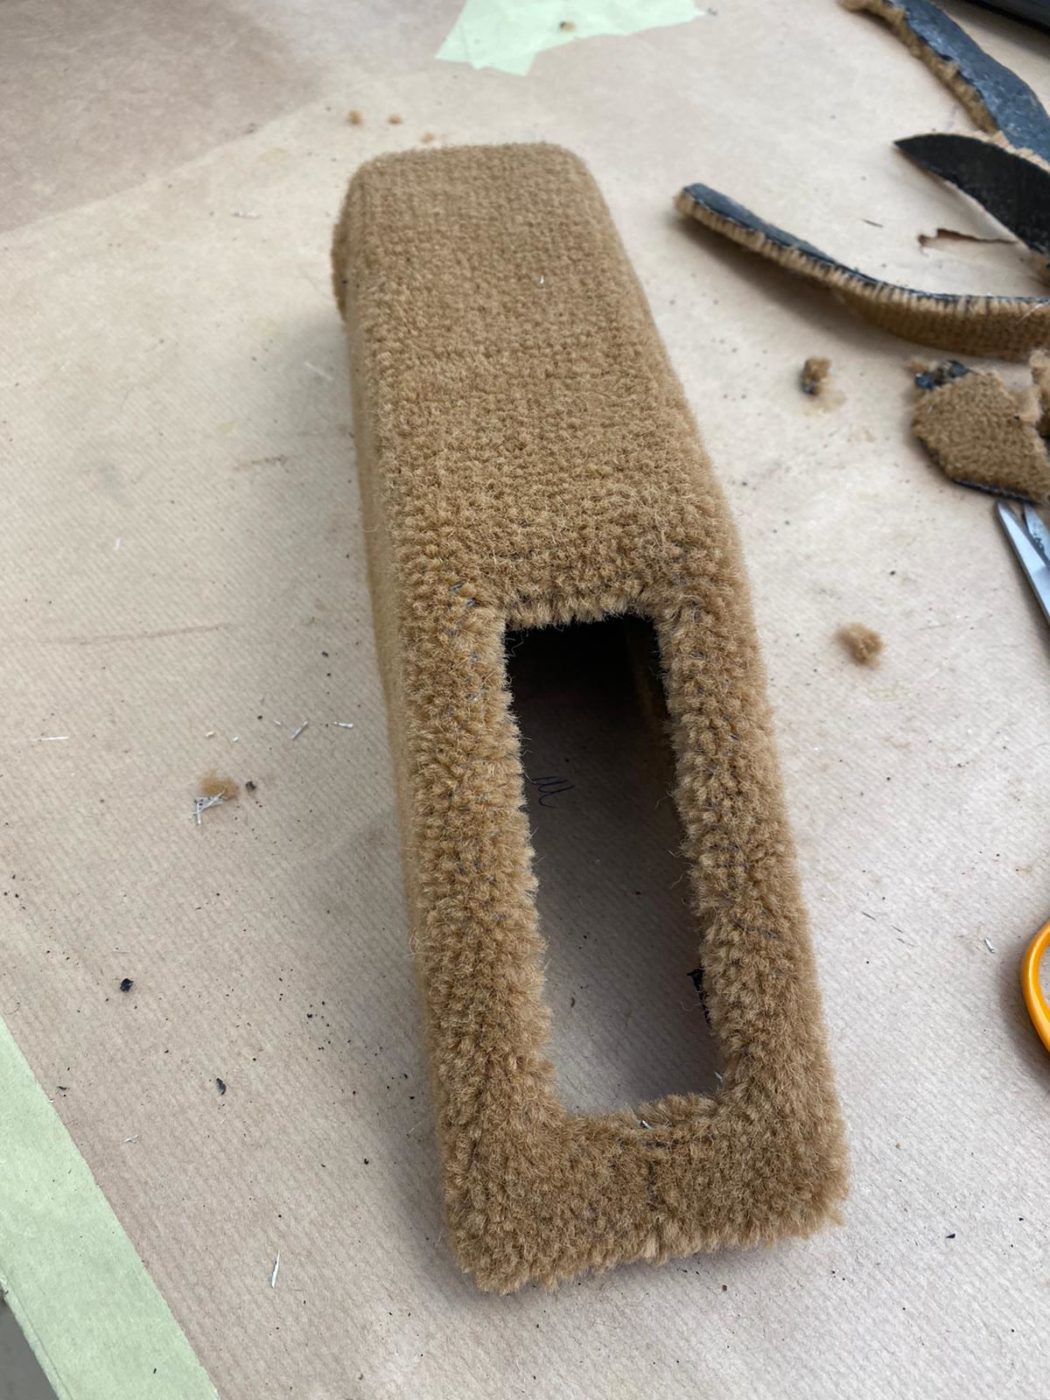
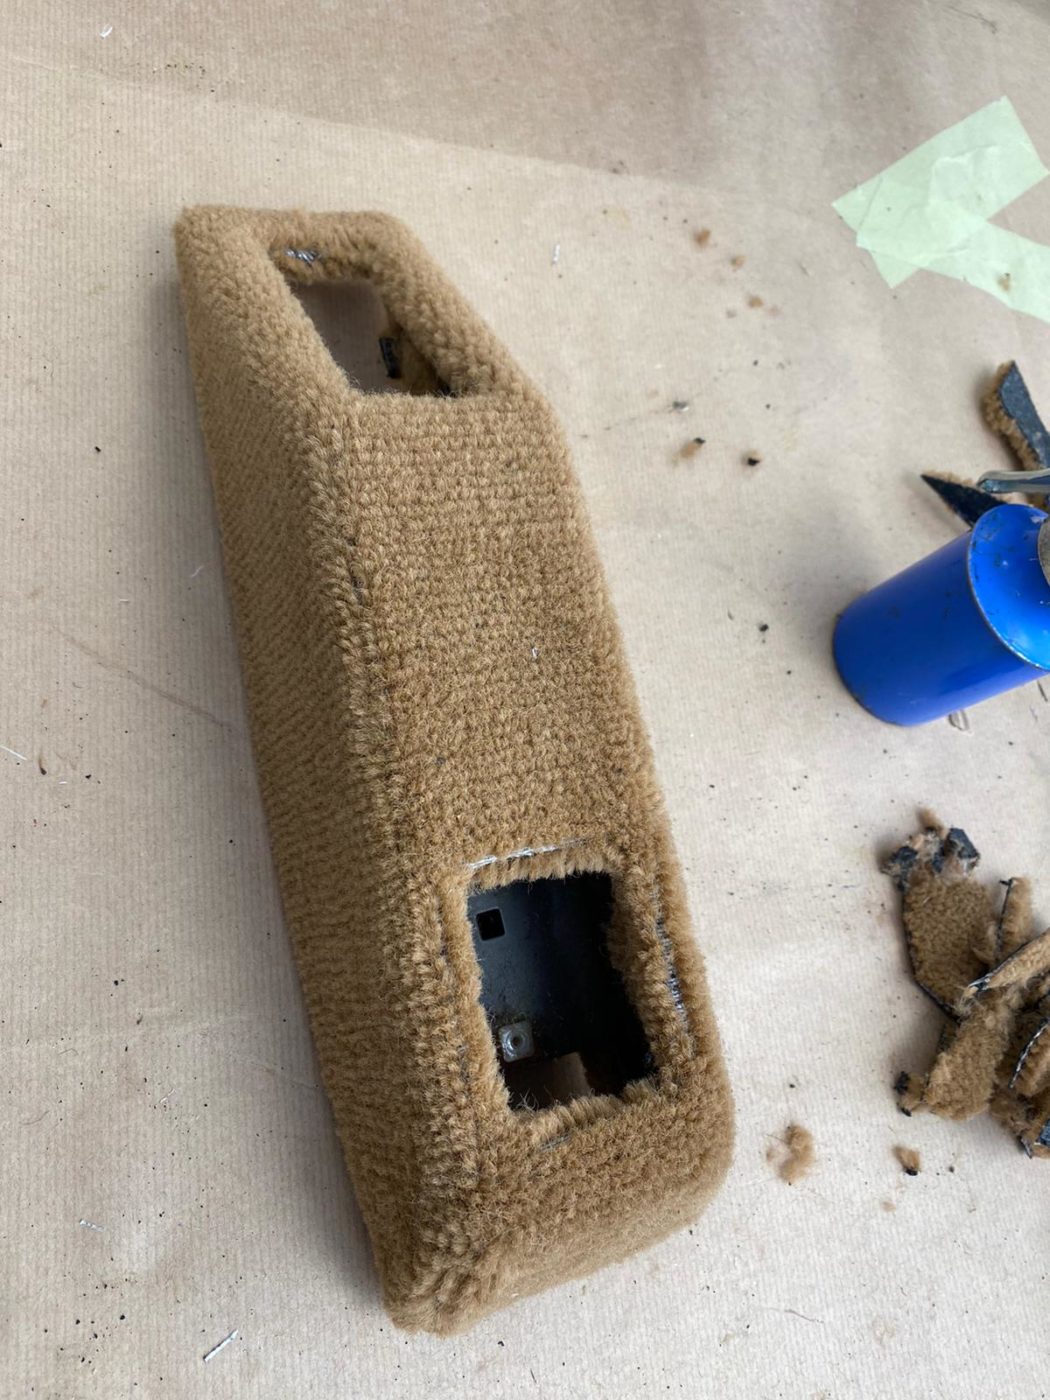
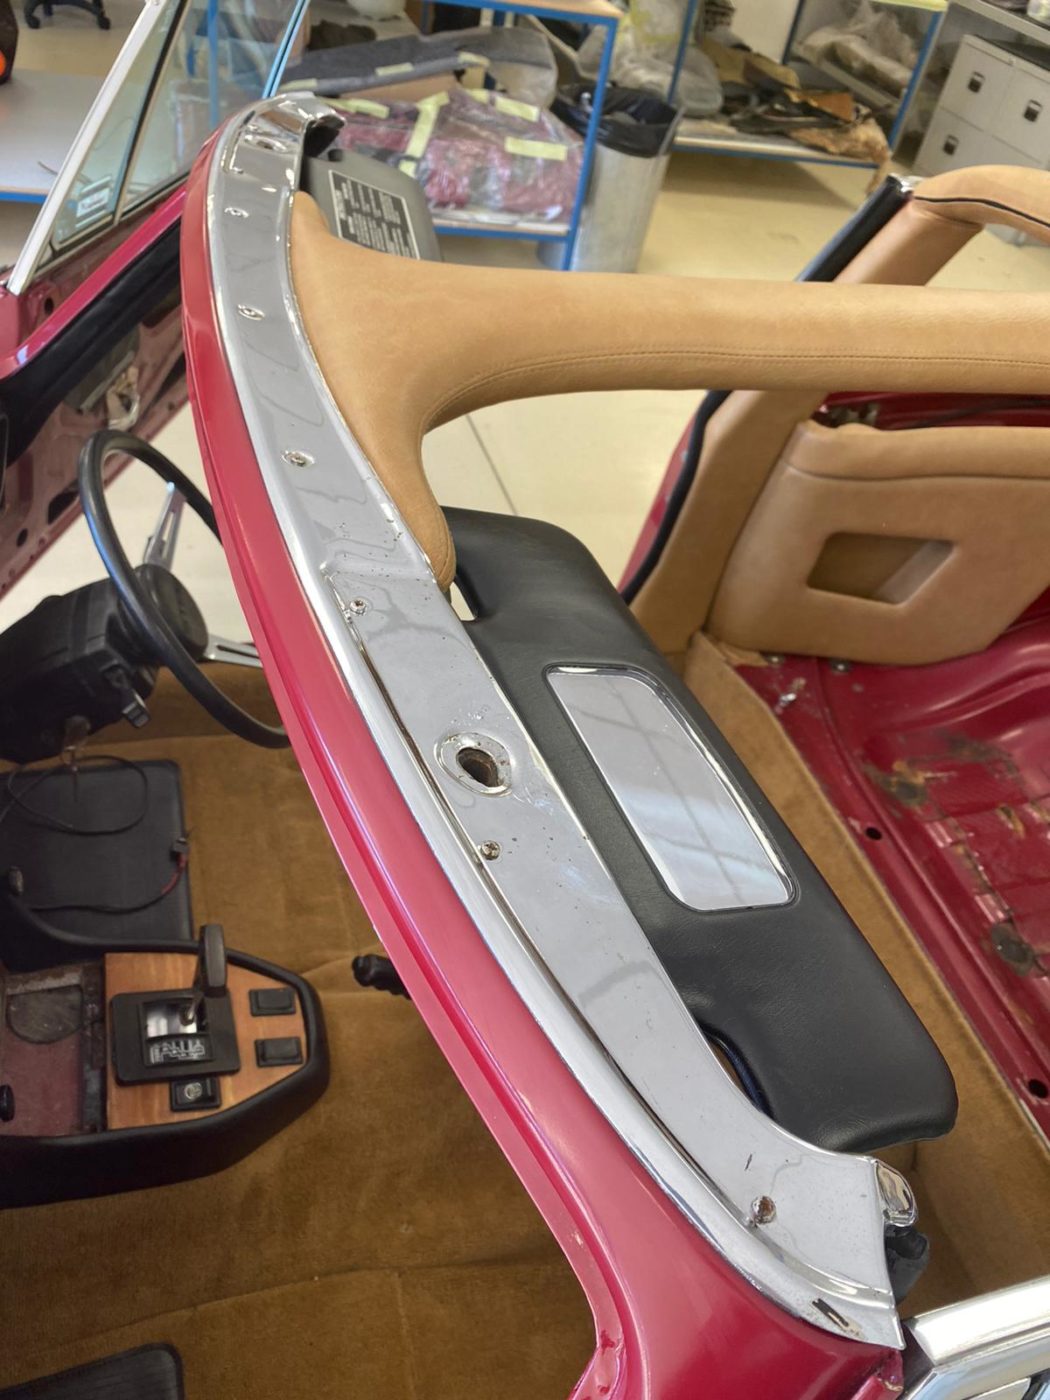
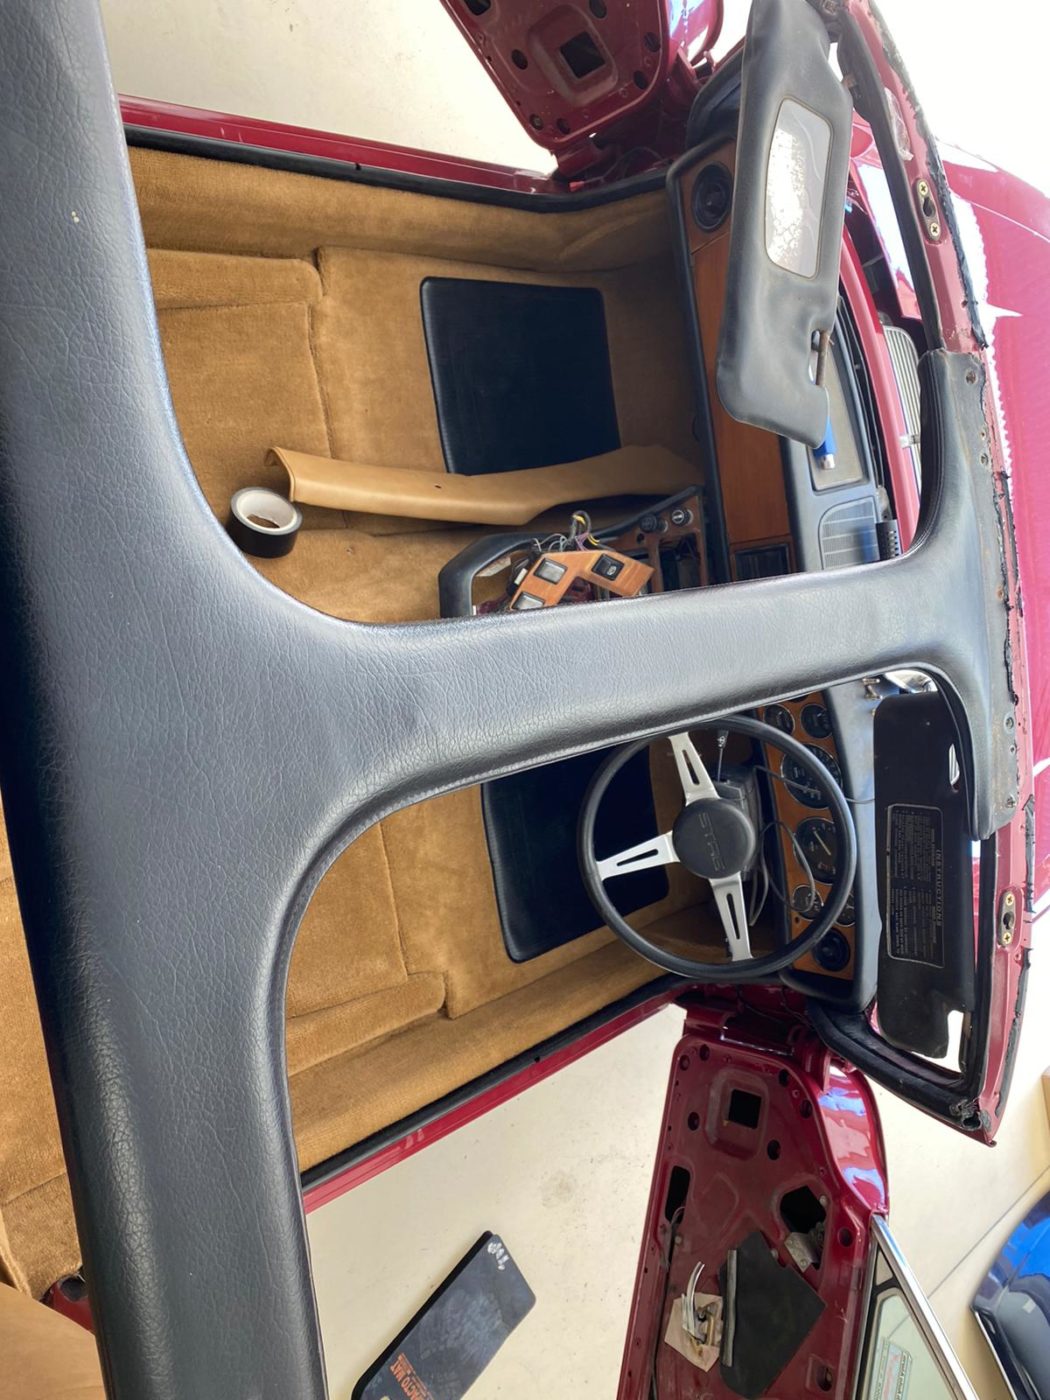


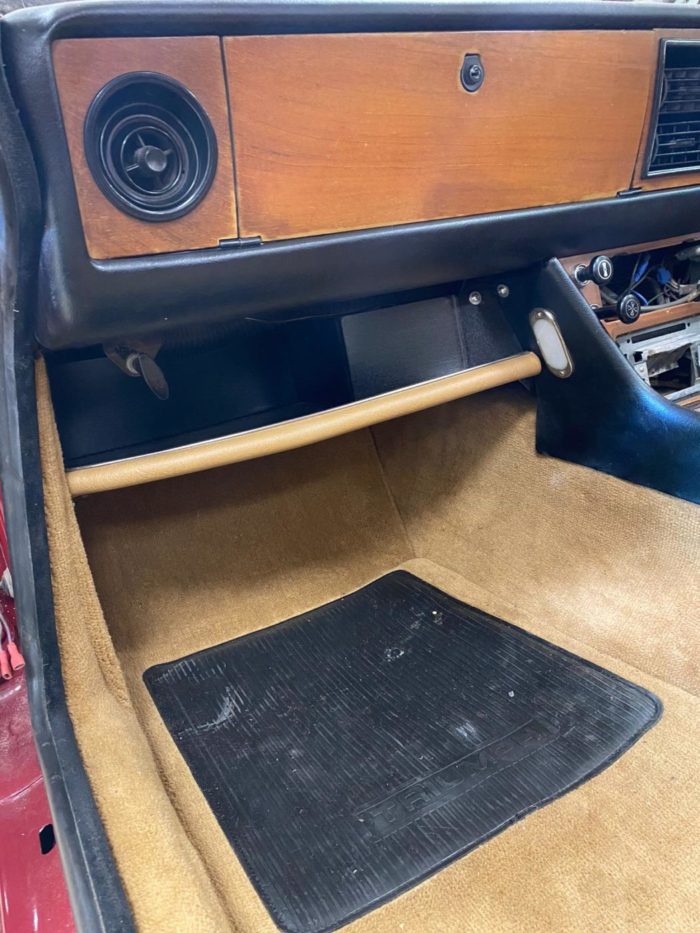
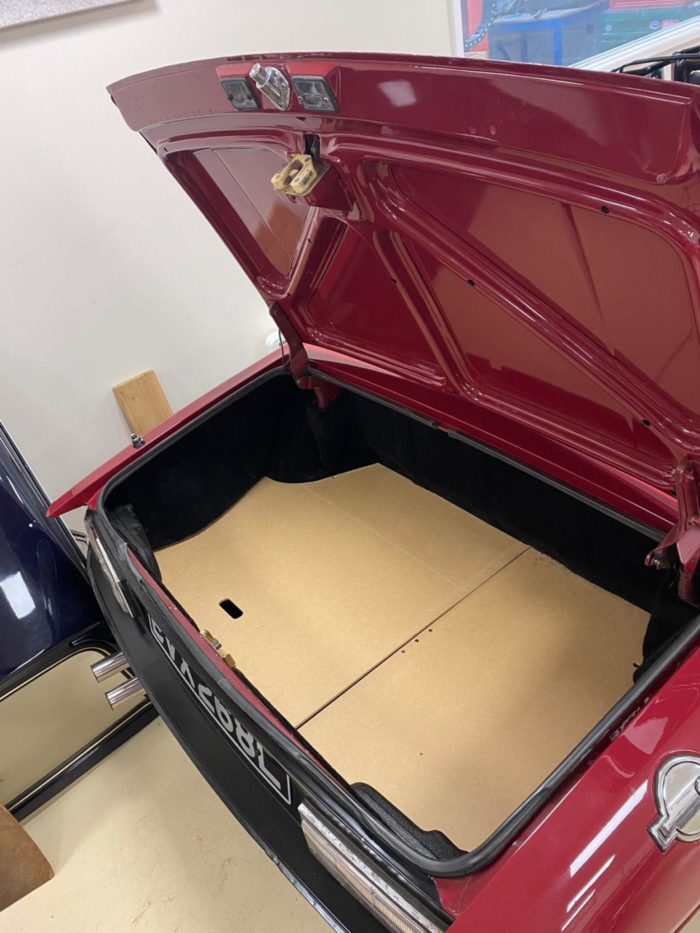
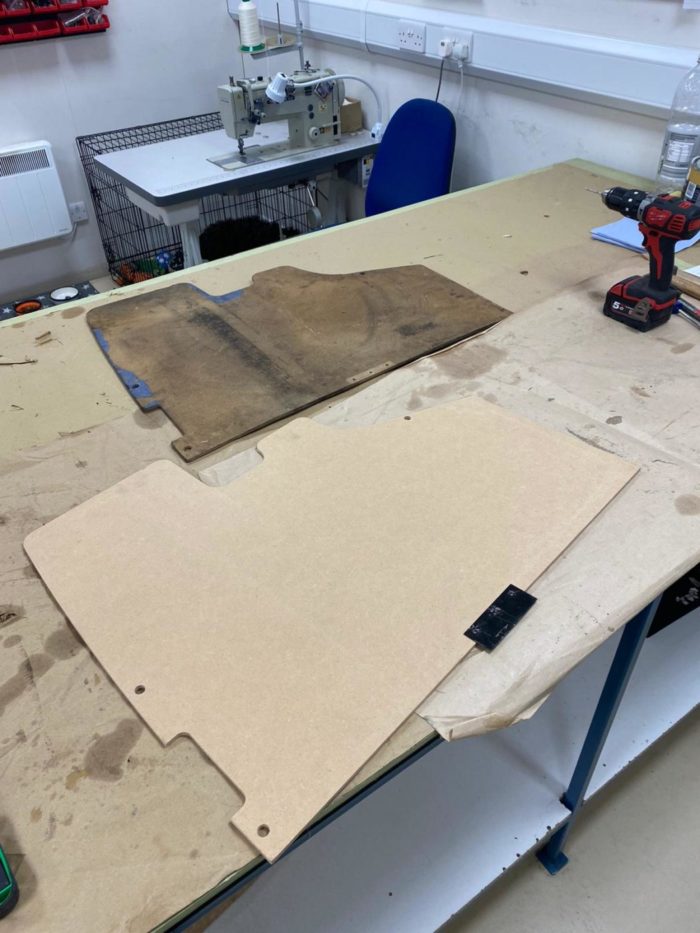
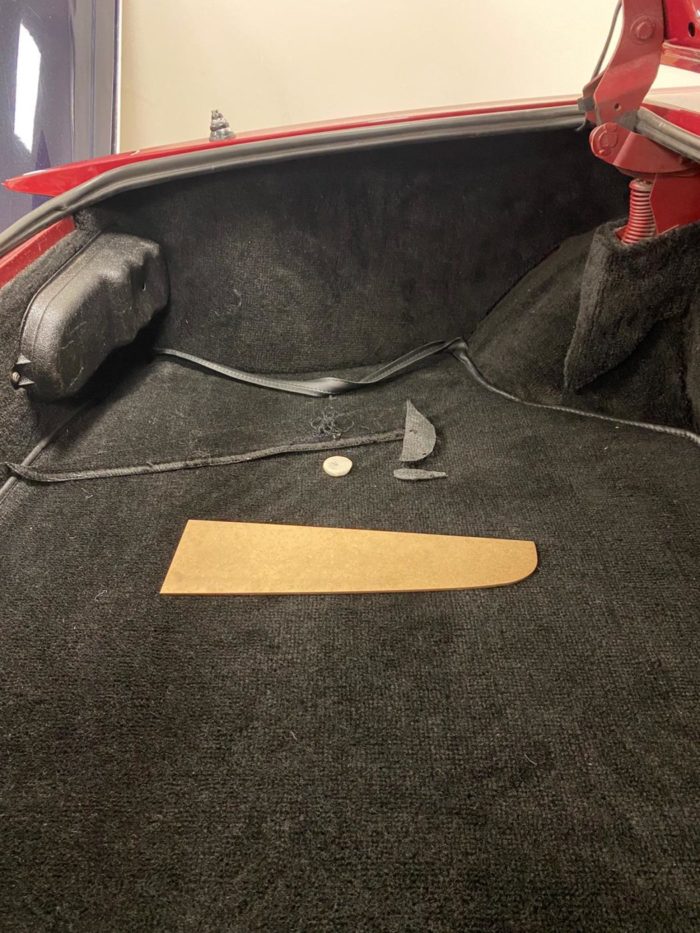
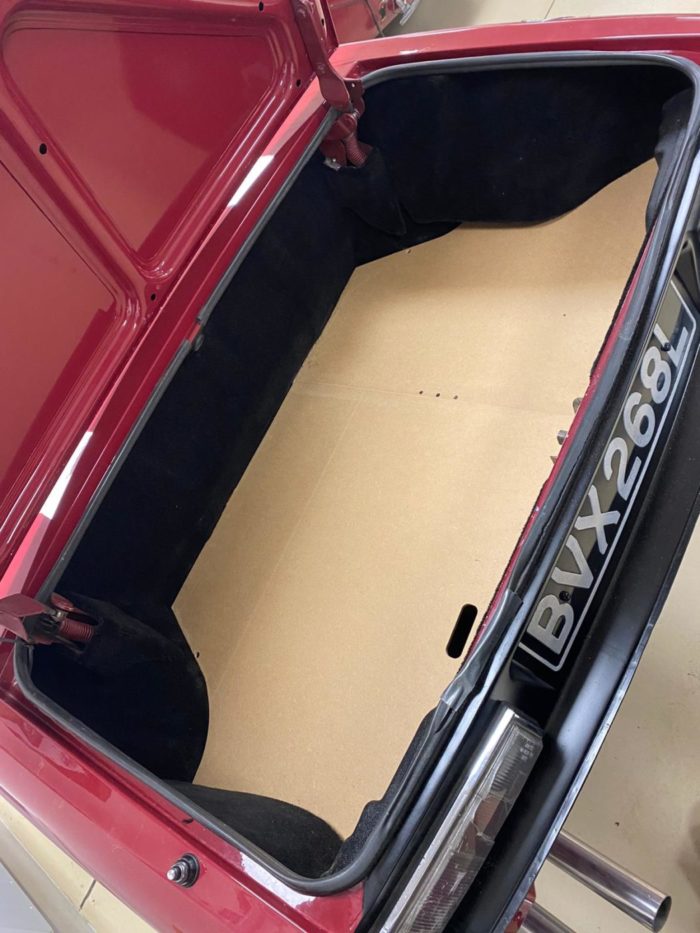
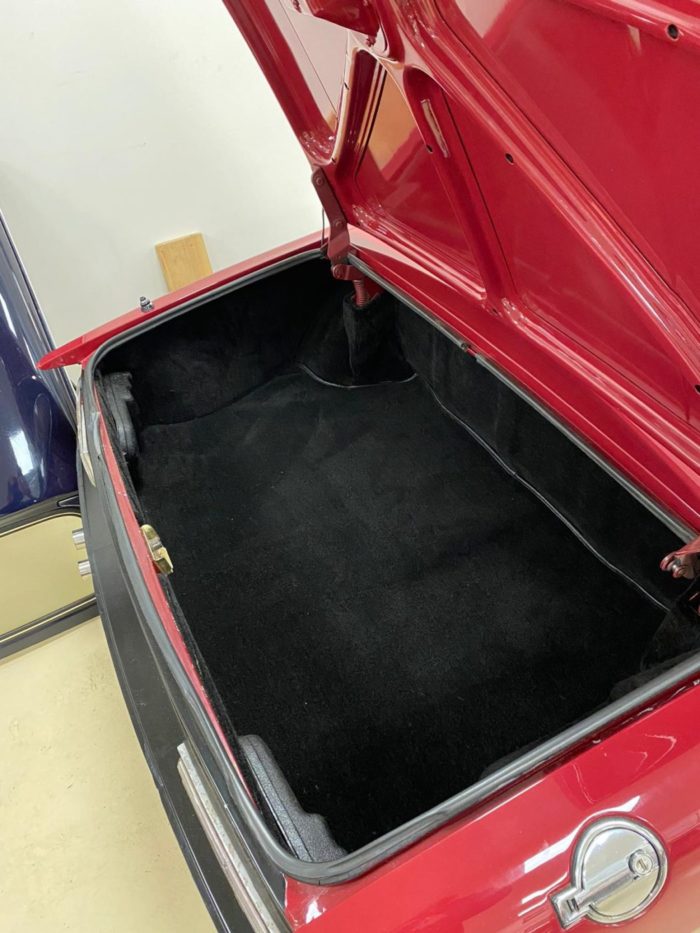
Brian has fitted the new under dash shelf to passenger side. Kath has fitted the carpet in the boot which fits perfectly over the board Brian has made.

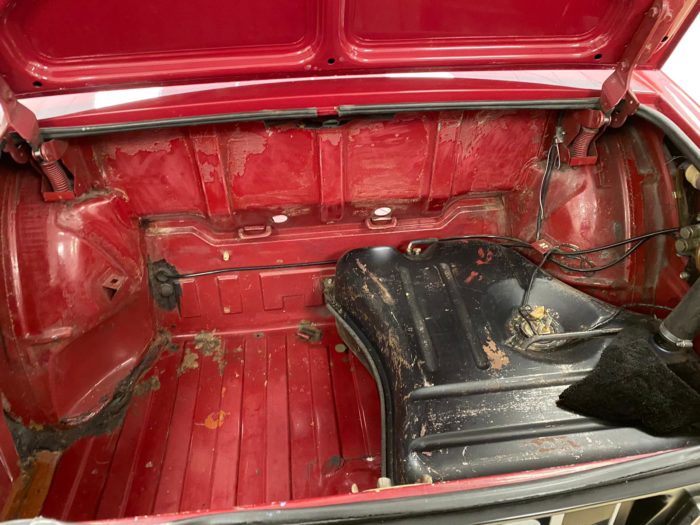
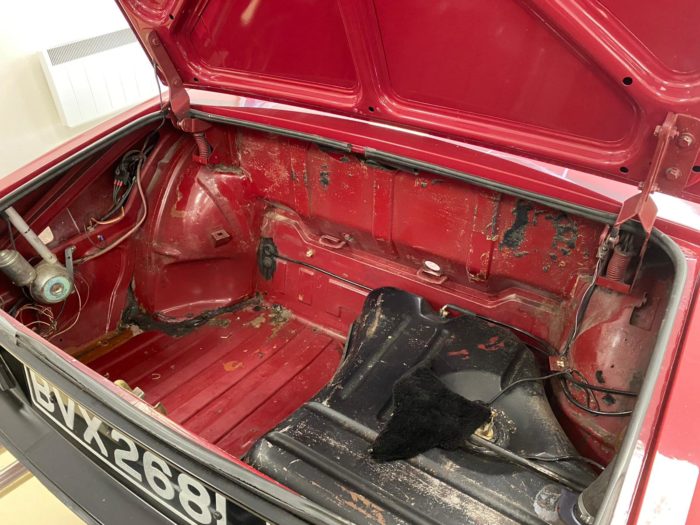
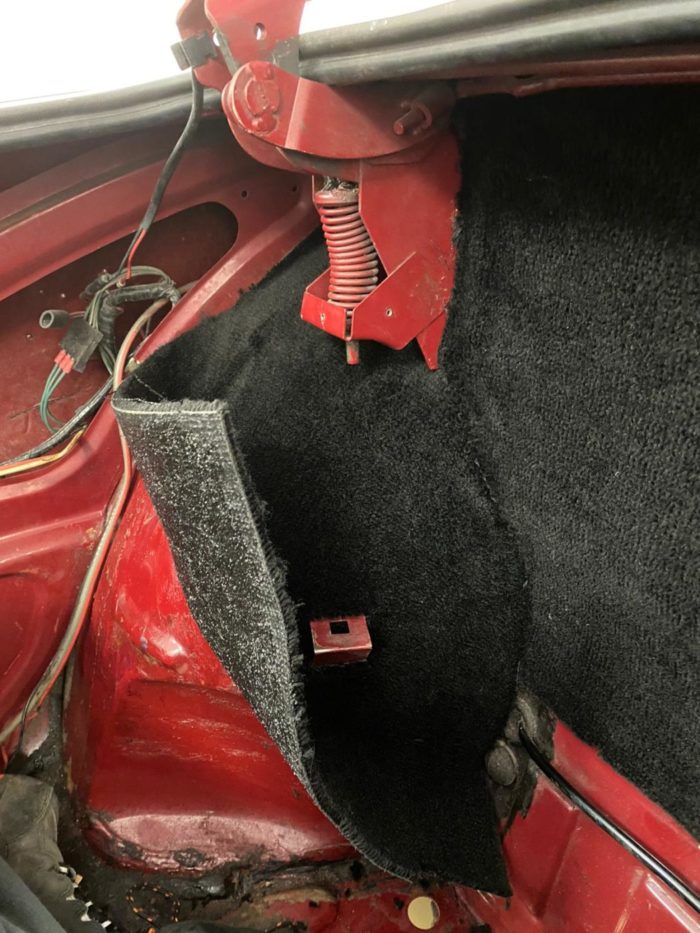
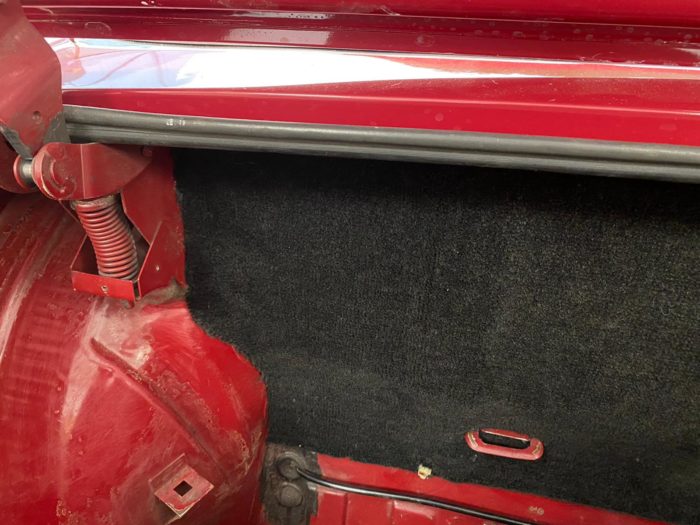
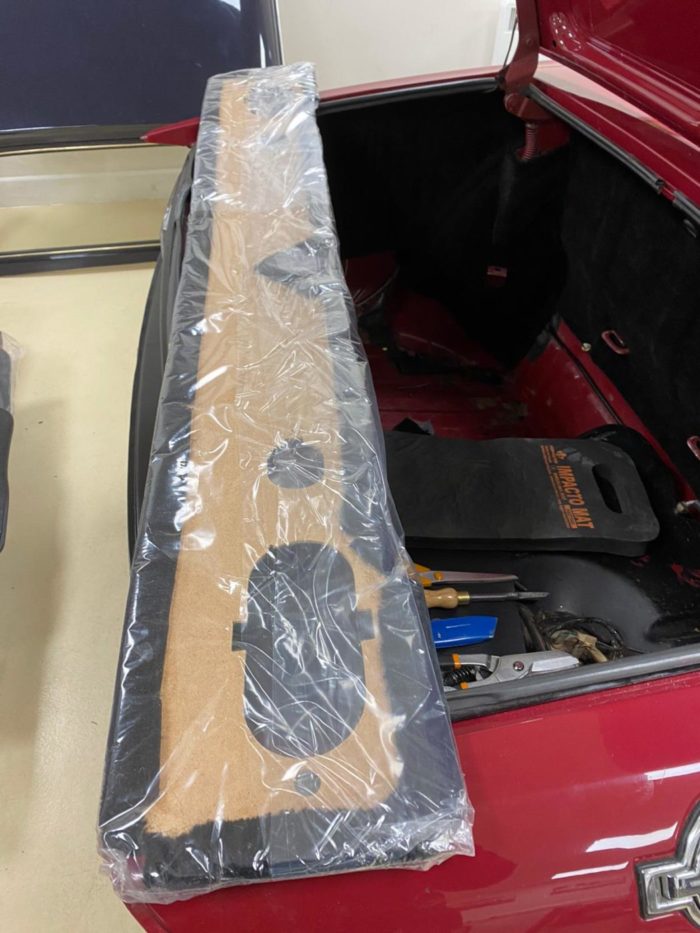
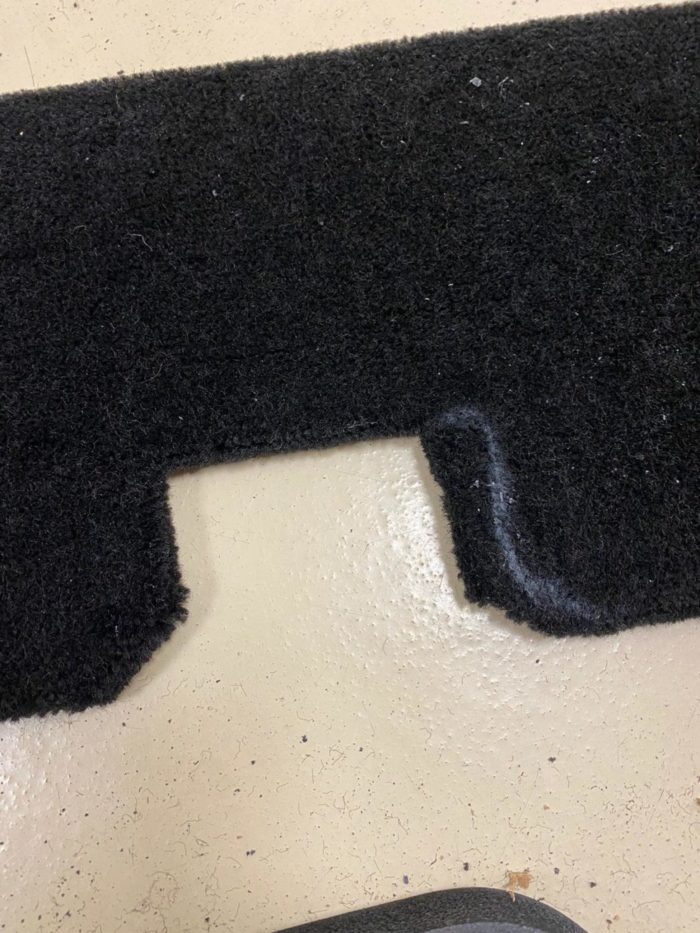
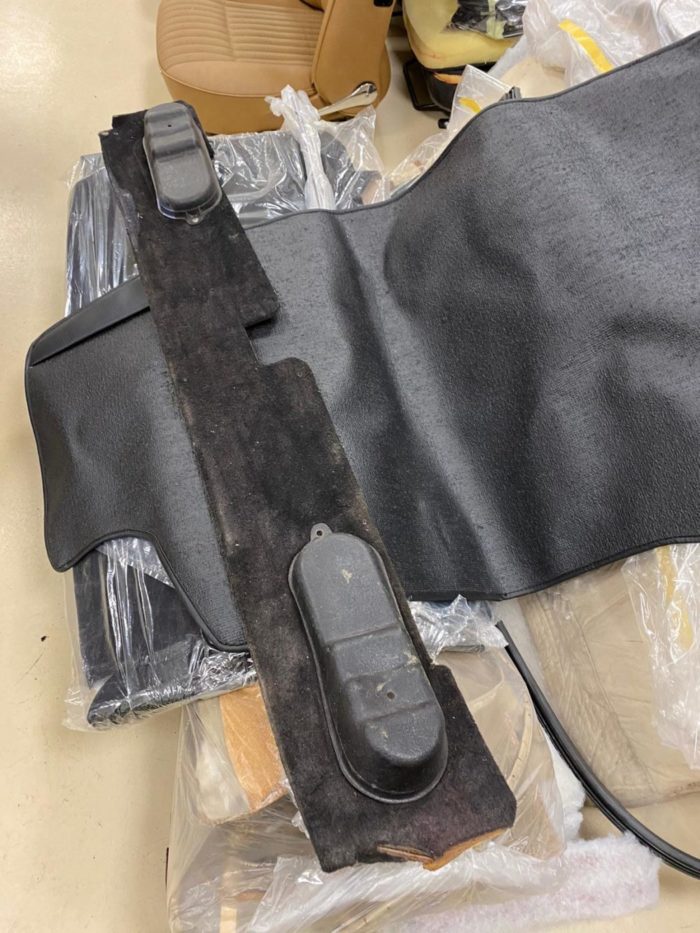
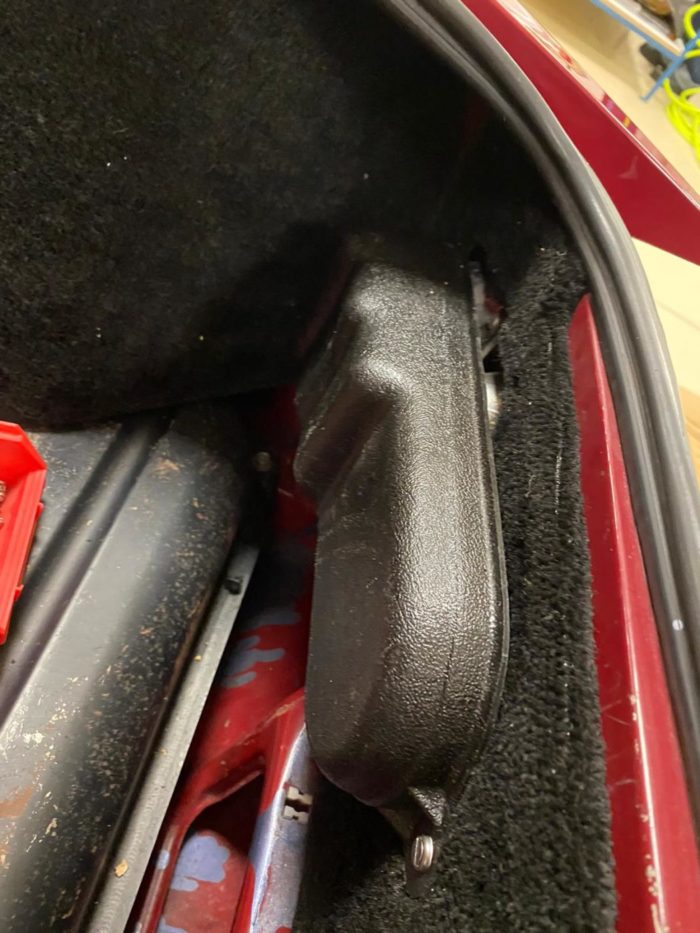
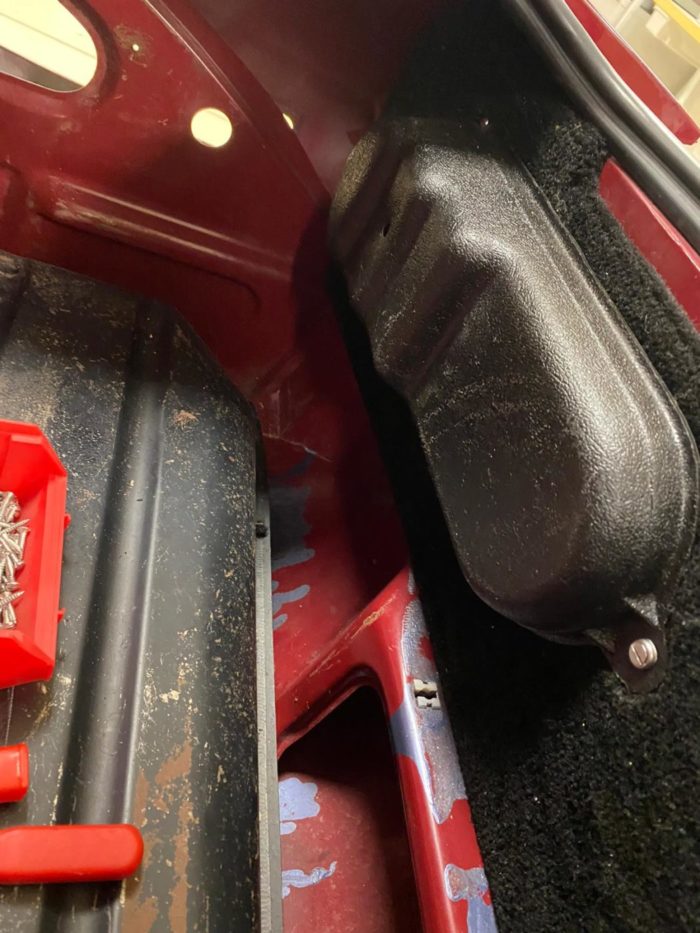
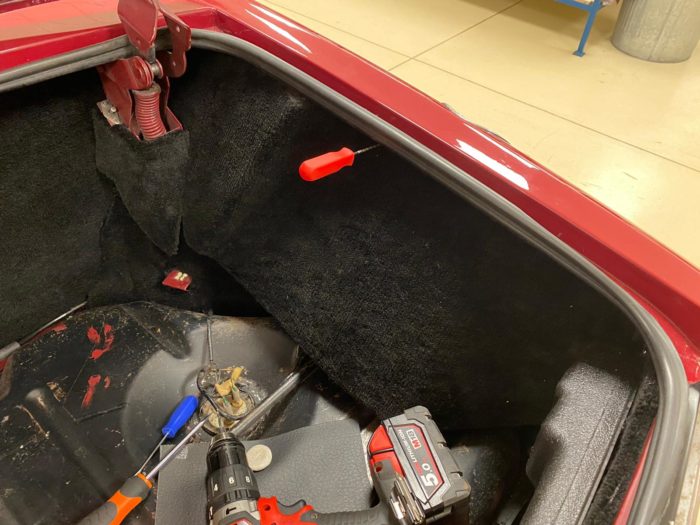

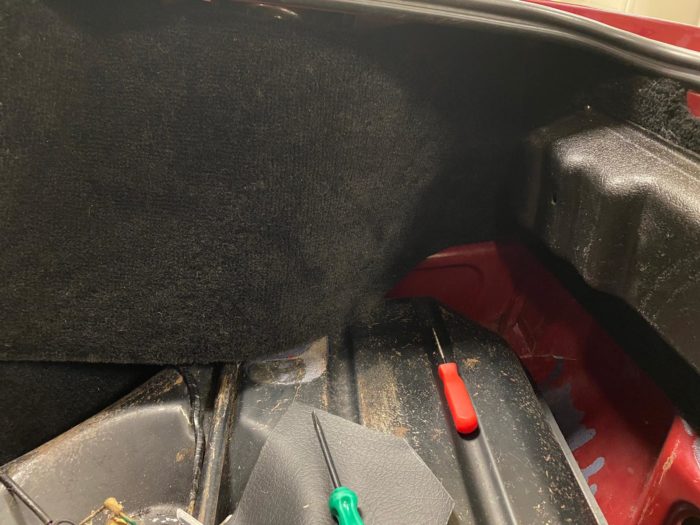
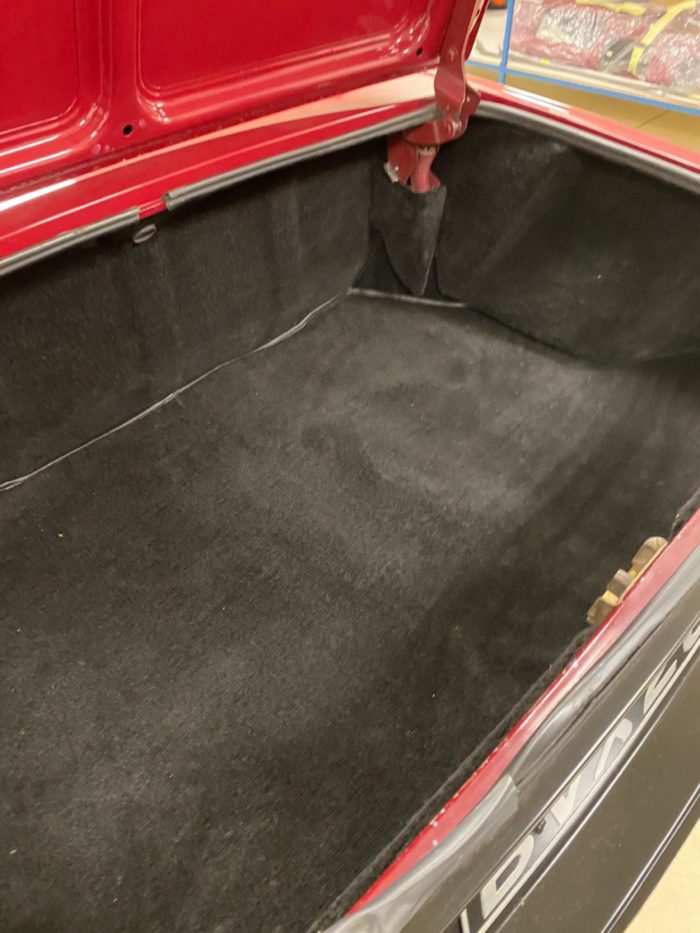
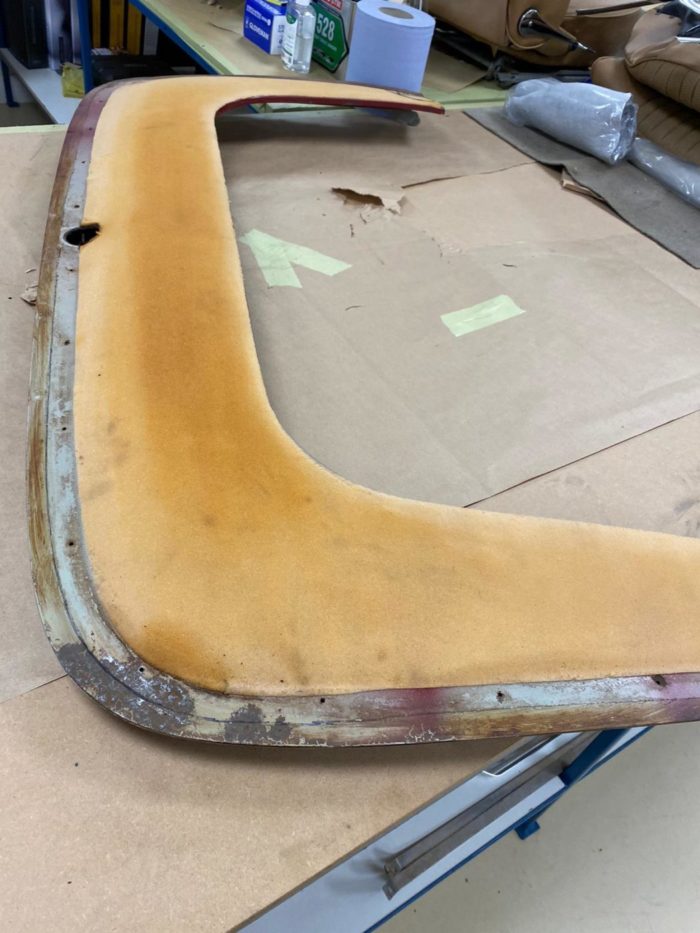
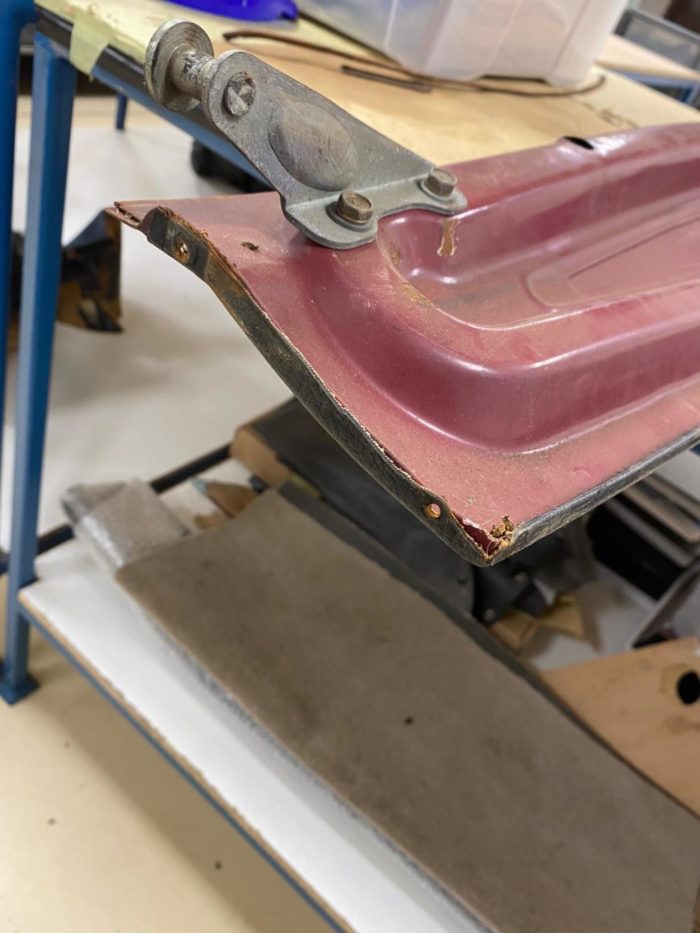
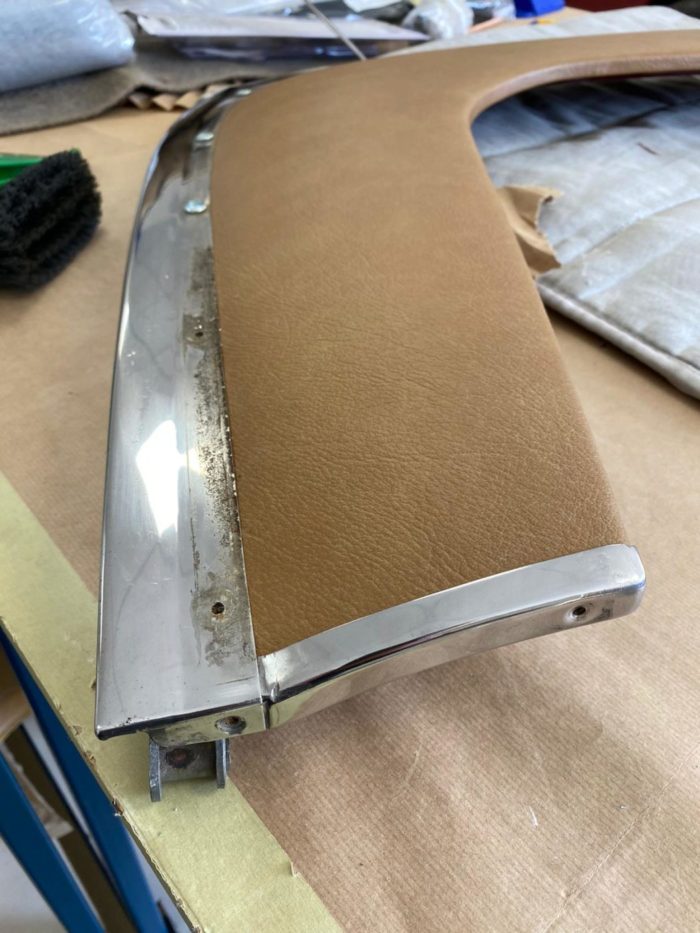
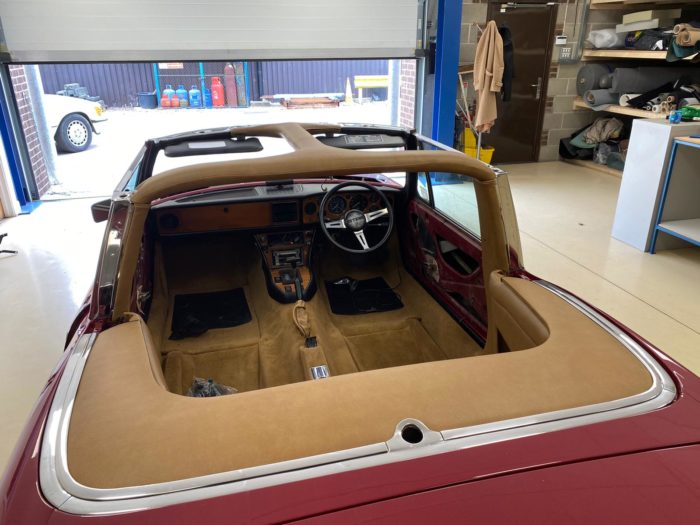
Brian has fitted the bracket to the new boot board and has cut the new boot board to fit right in the car. Once adjusted to fit perfectly, he could lay the carpet over it and finish the task. She’s also fitted a new cover and chrome onto the rear hood cover. Kath is then waiting for the hood webbing straps, metal channels and rubber seals to arrive and then she can start fitting the hood.
Brian has also been gluing the vinyl to the rear bar of the hood frame.


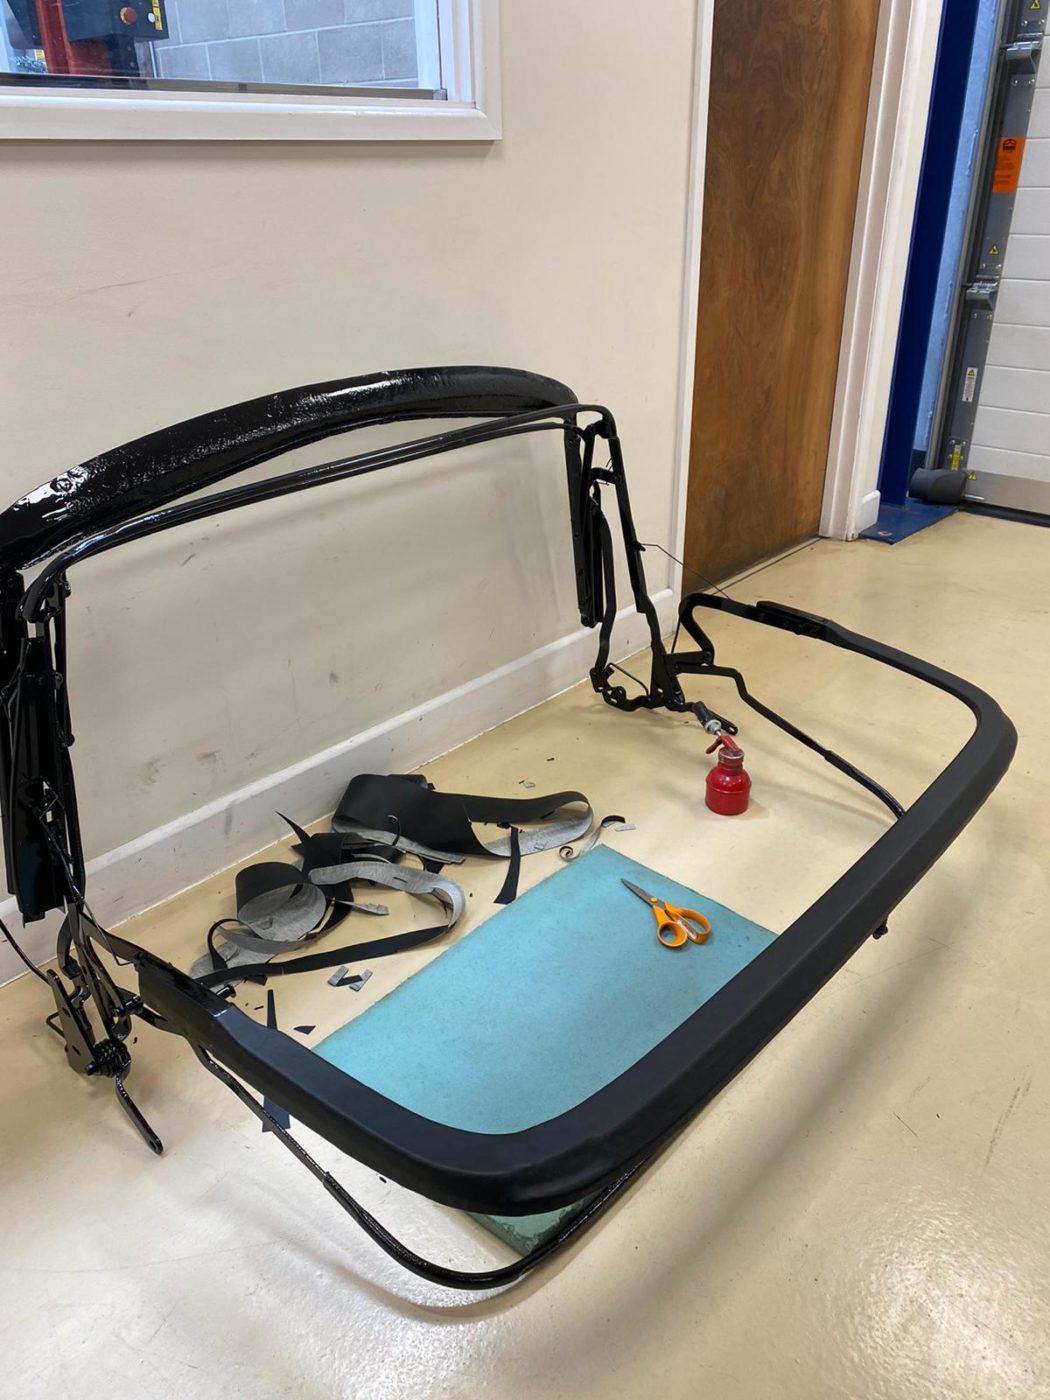
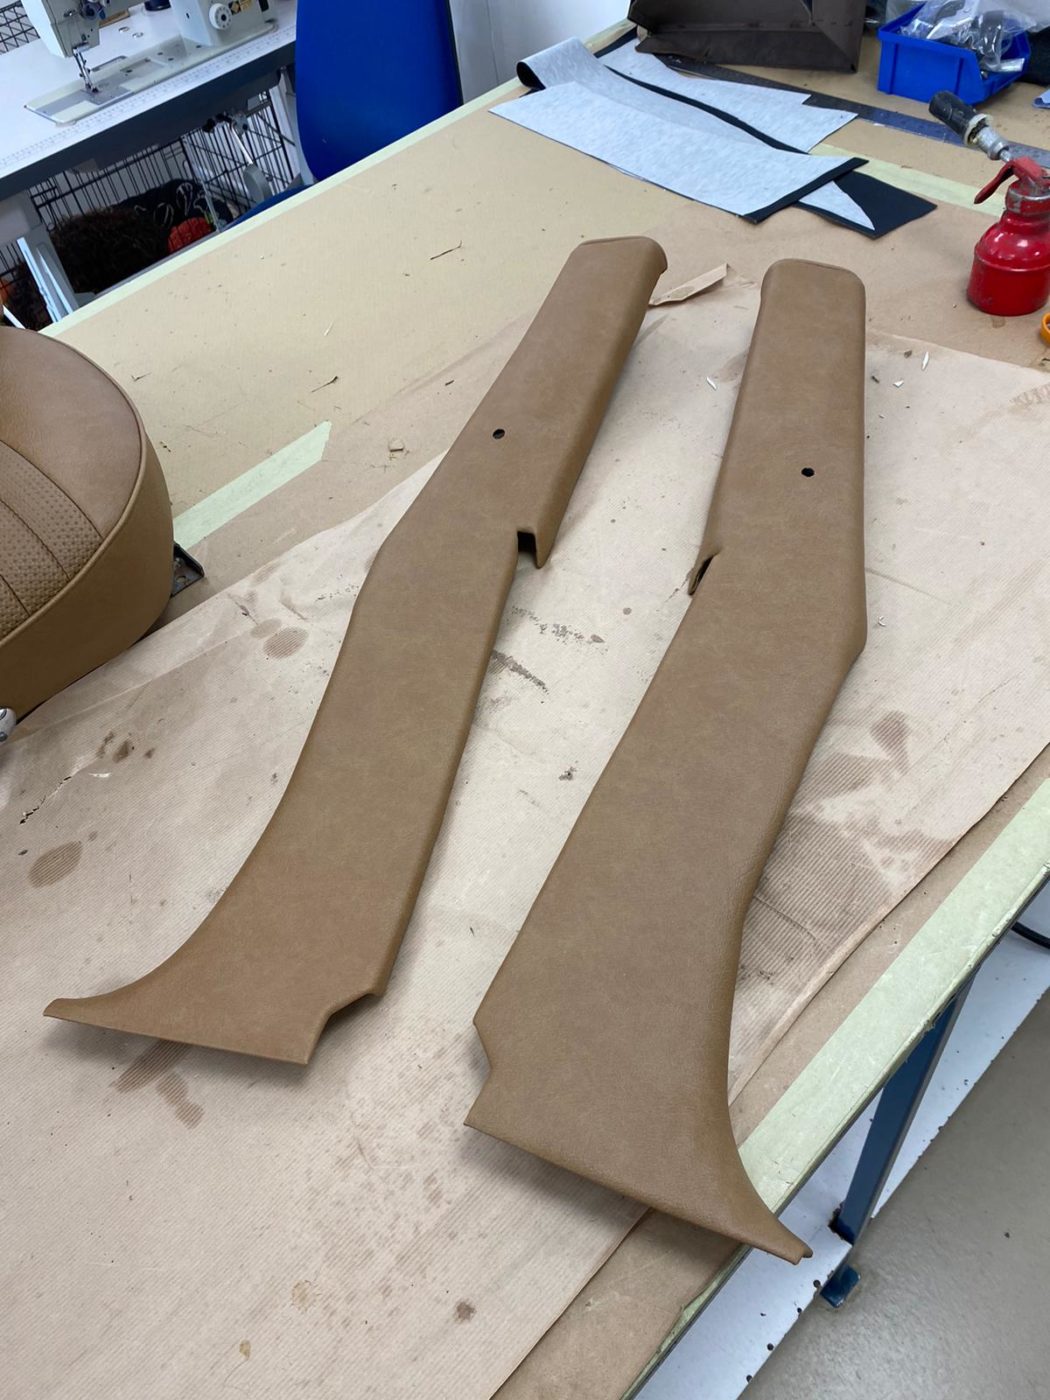
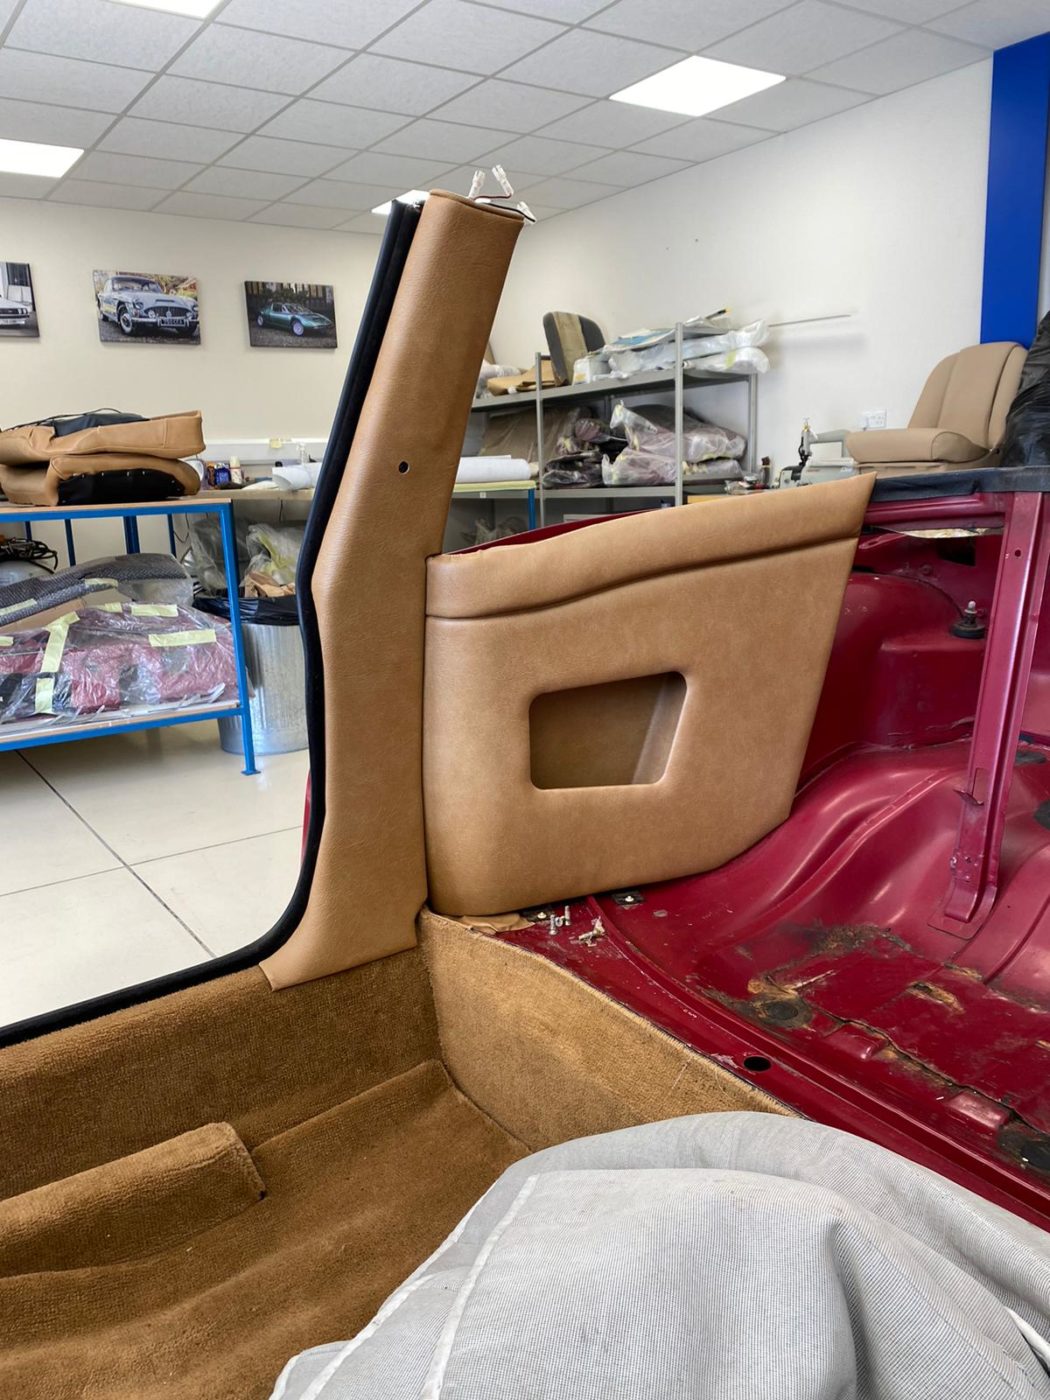
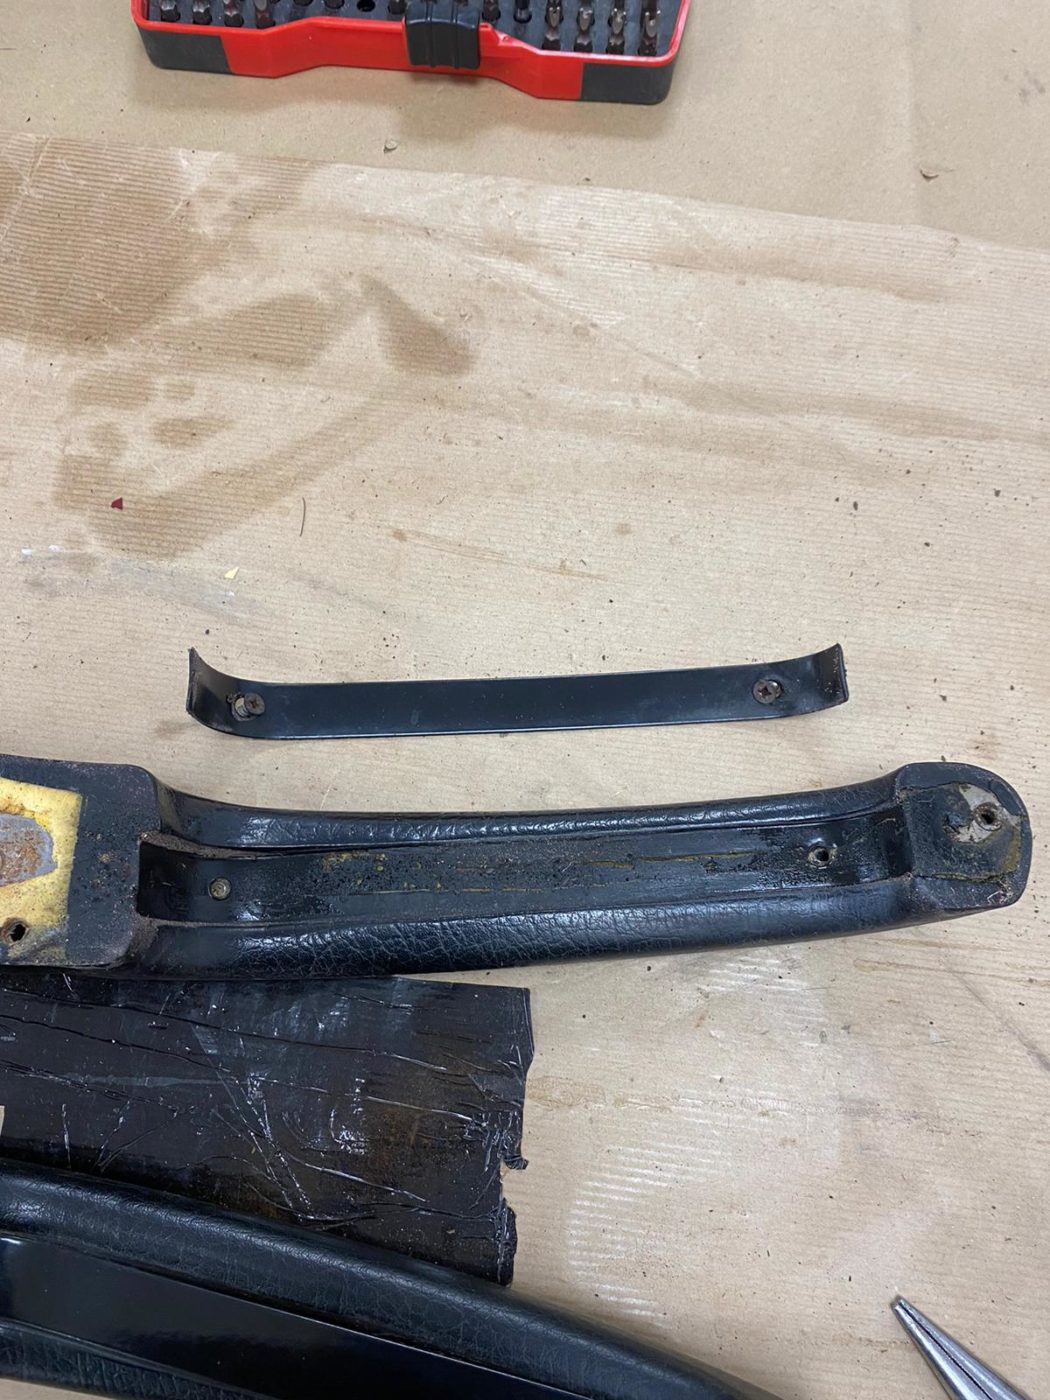
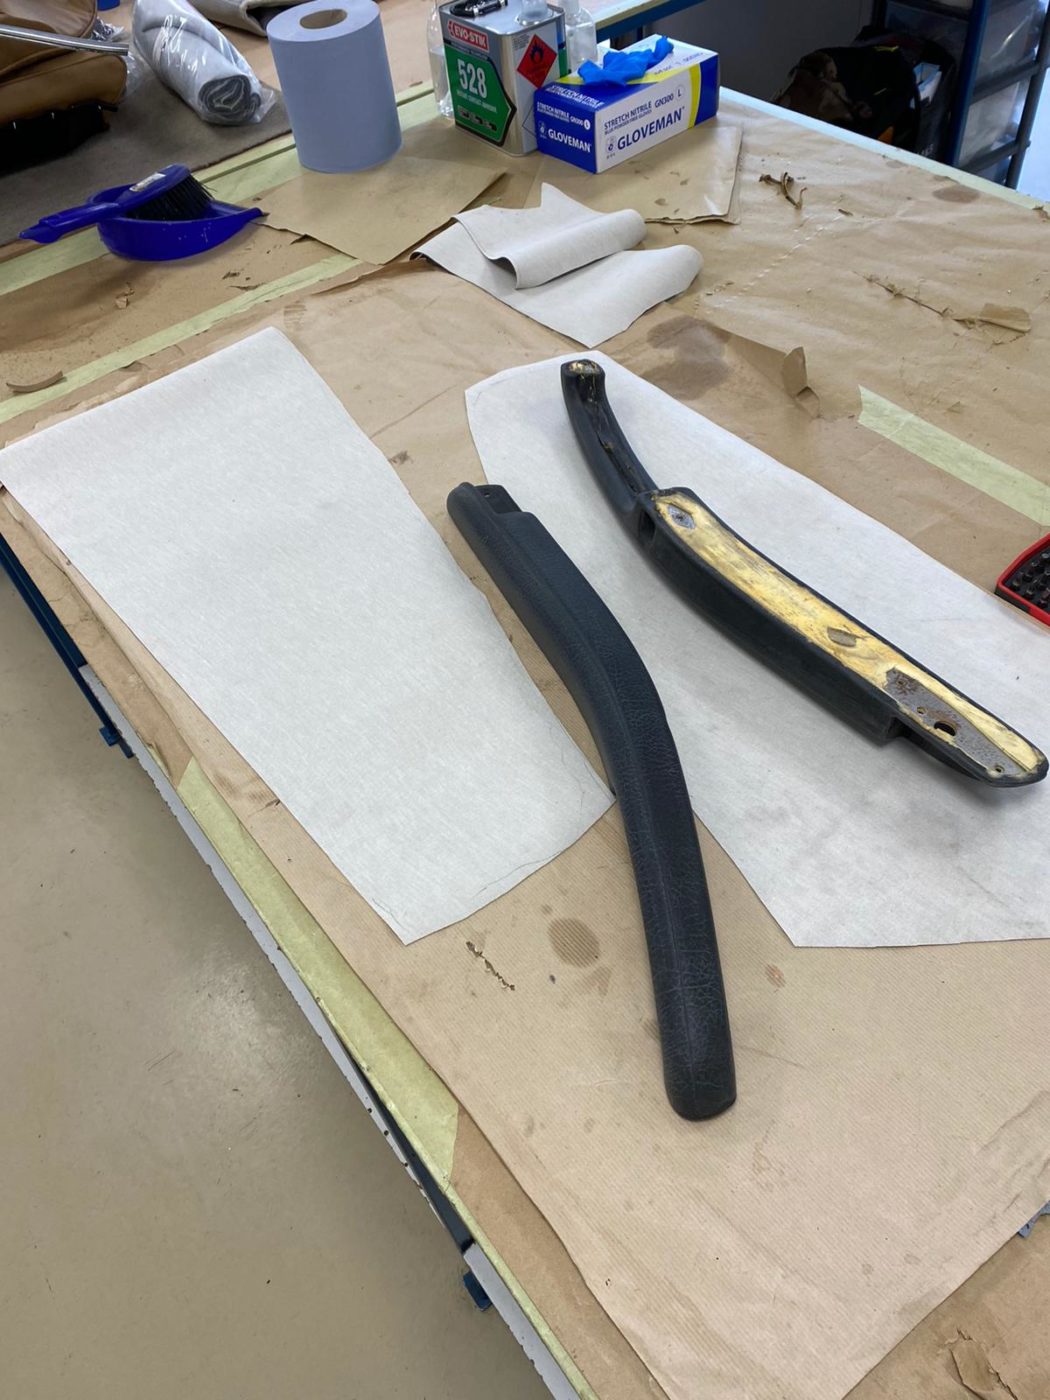
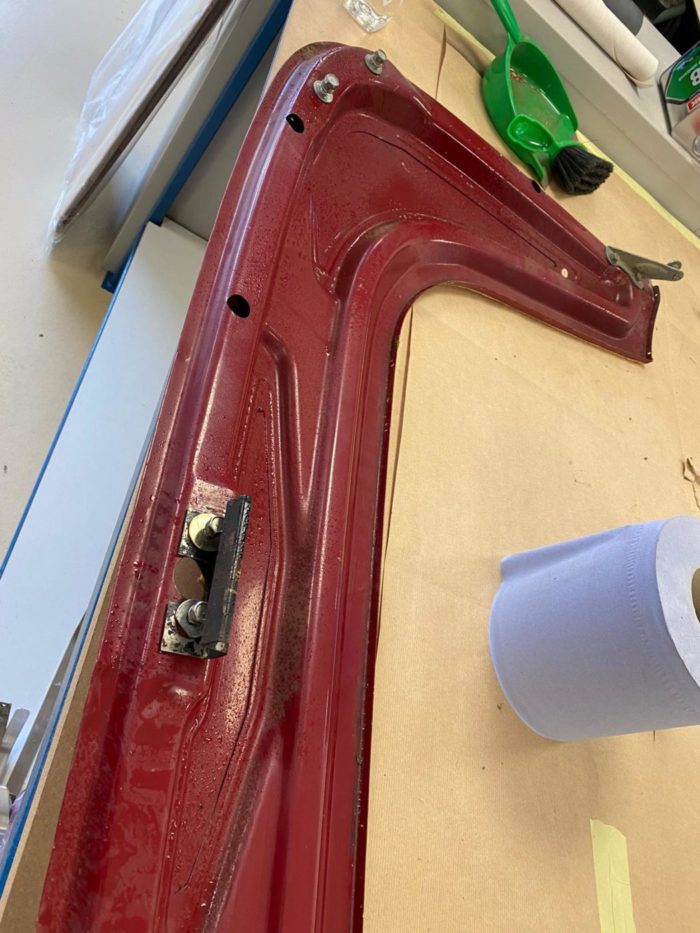
Brian has been glueing vinyl to the ‘B’ post trim panels. He then has to glue the vinyl to the plastic side trim panels for the roof and fit the ‘B’ post trim panels in place. Brian then fit the velcro onto the frame as well as the plastic trim & metal channel for the side rubbers. He then fit the rubber into the metal channels and finished by fitting the back plastic trim, metal channel and rubber in place.
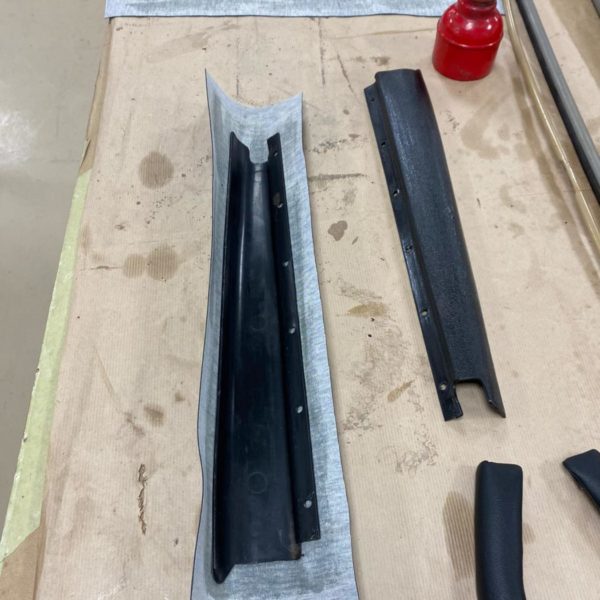
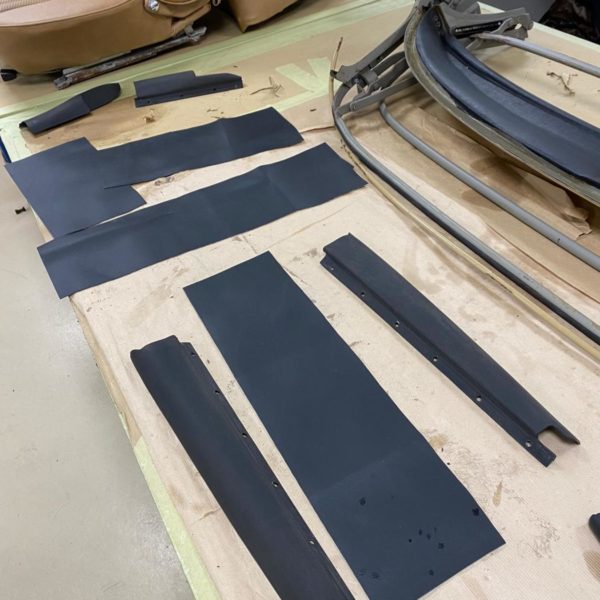
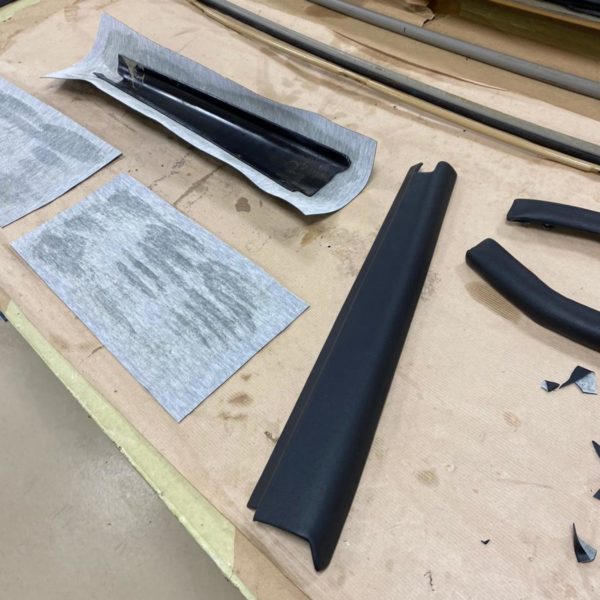
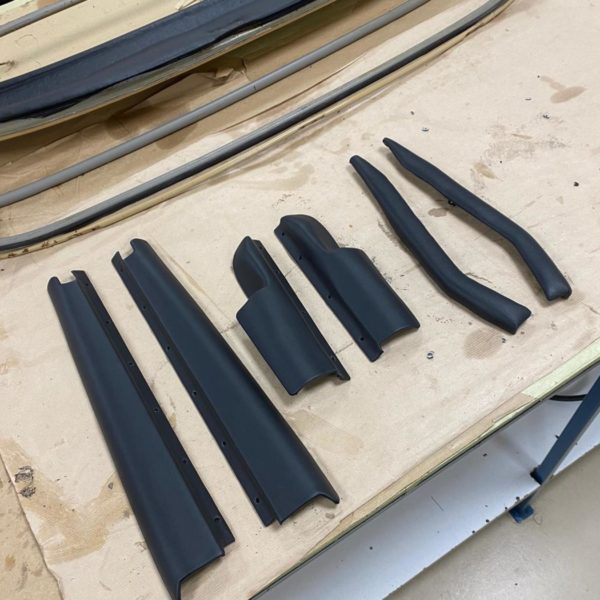
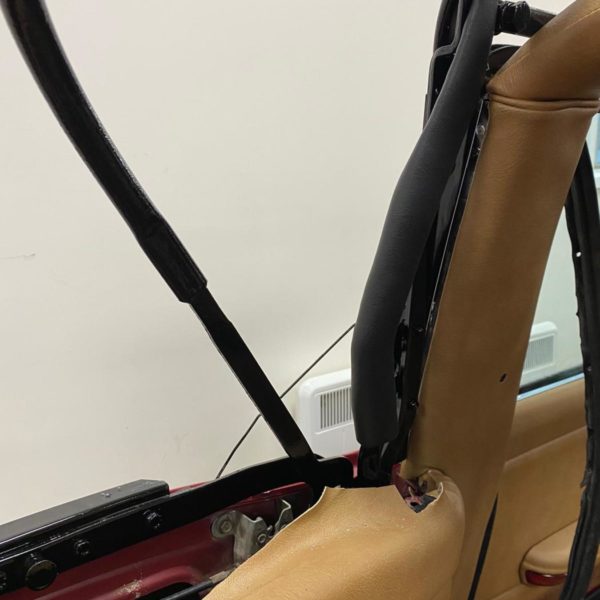
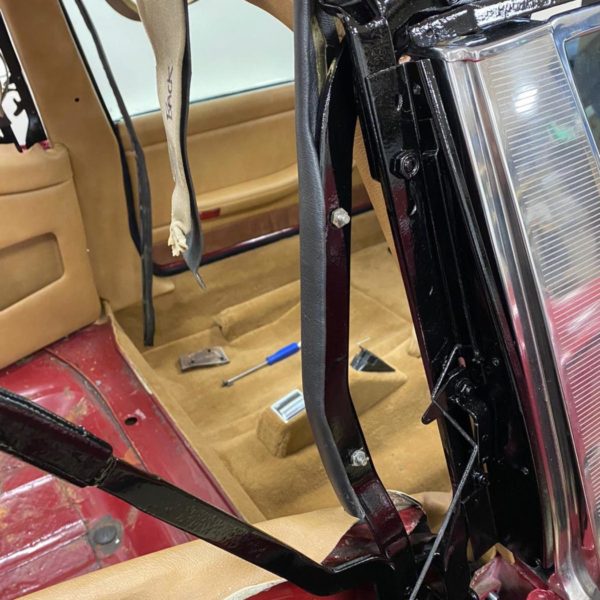
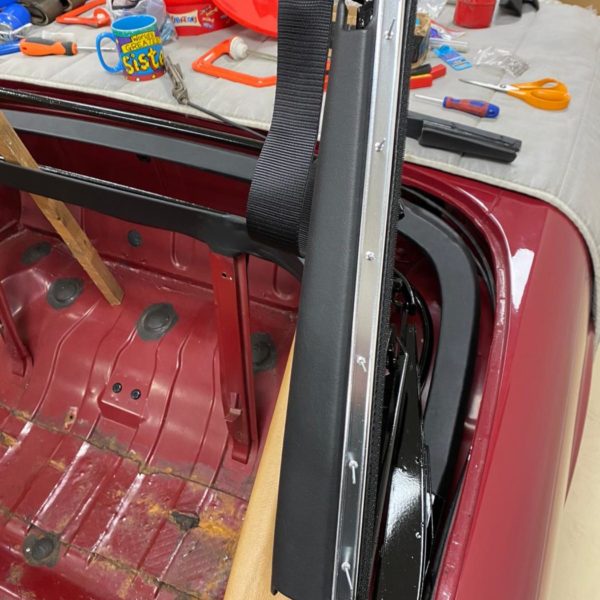
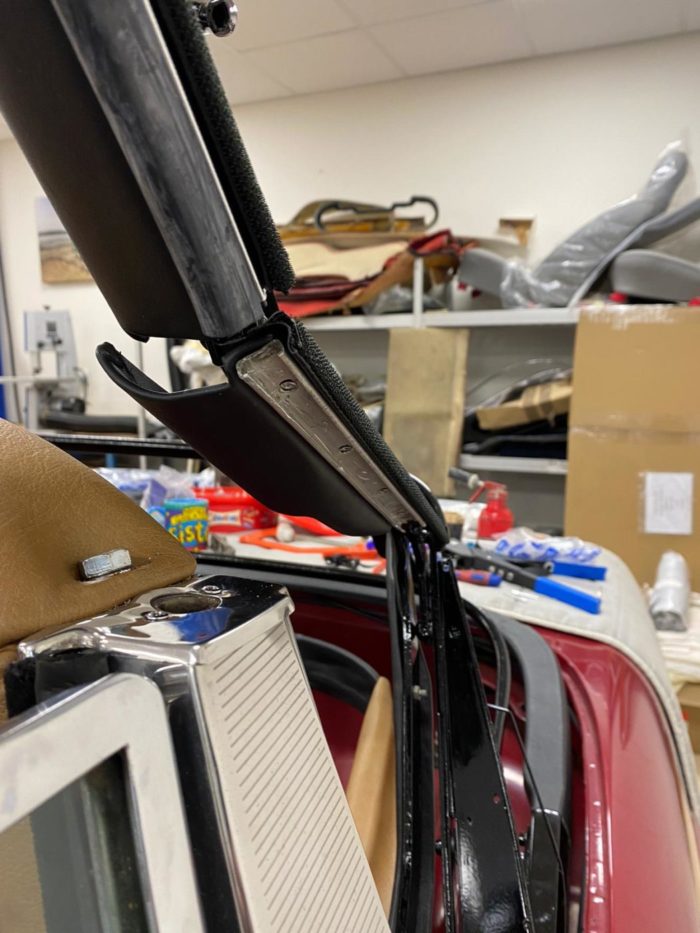
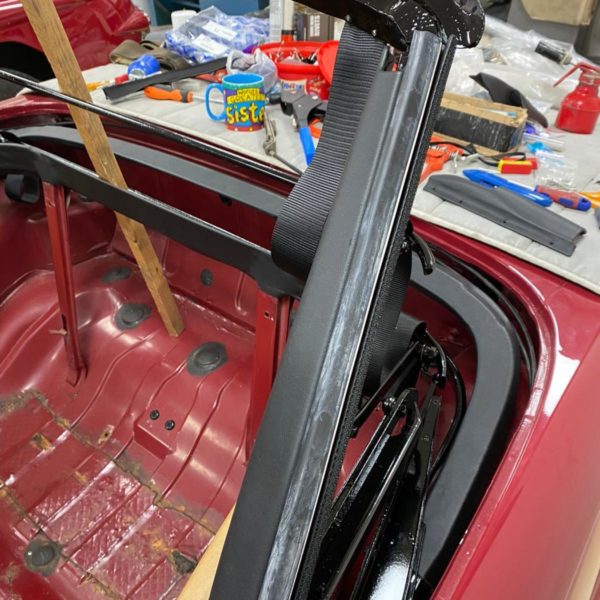
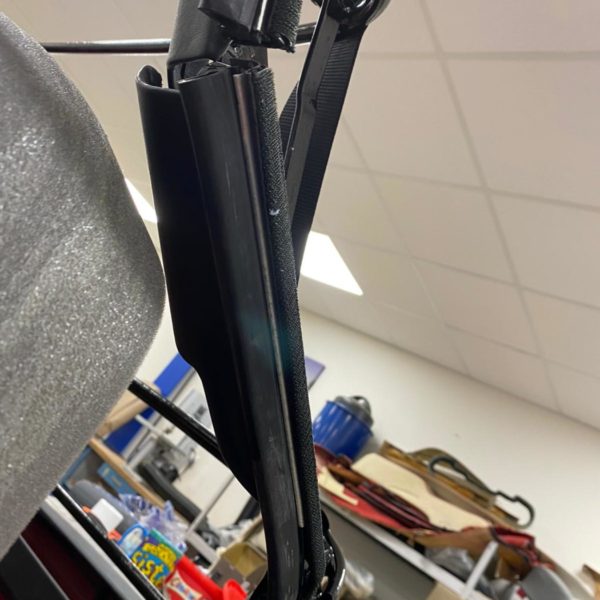
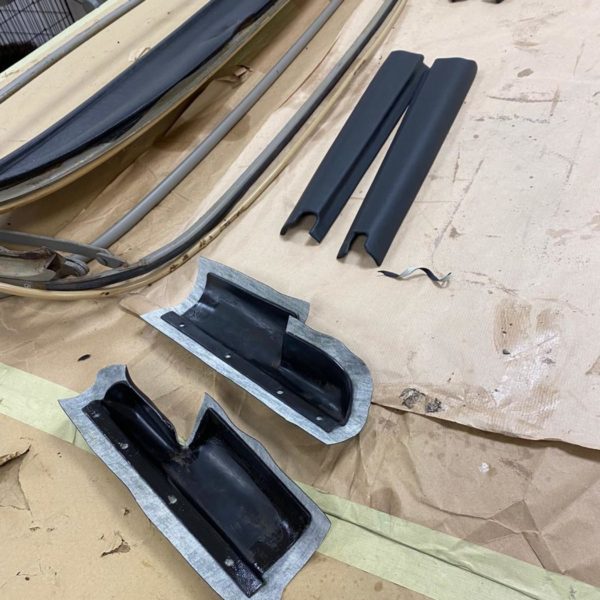
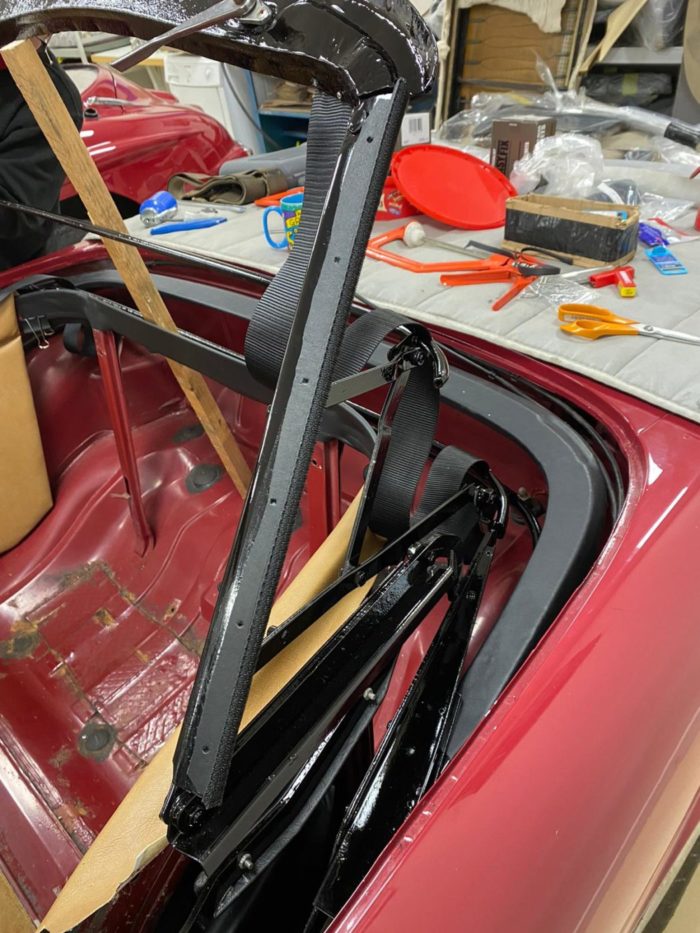
Kath has also begun the webbing lining for the roof hood bars. She’s wrapped up the sides in Velcro for the hood to fasten to and attached the metal channel. She then adds a rubber seal, a front header rail and covers the front section in foam then black vinyl.


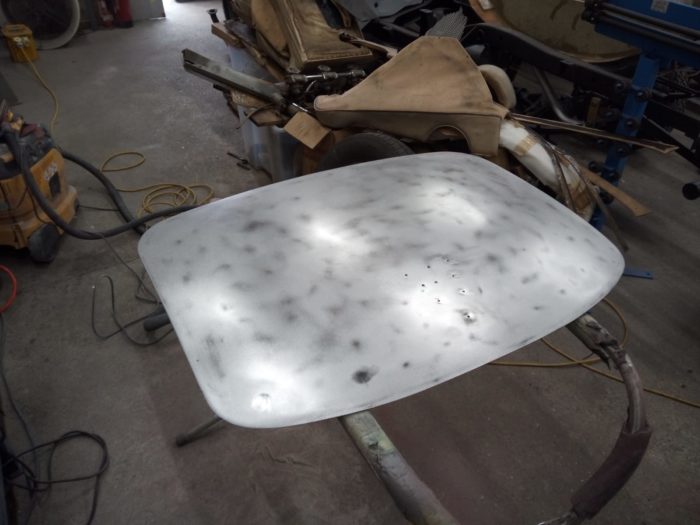
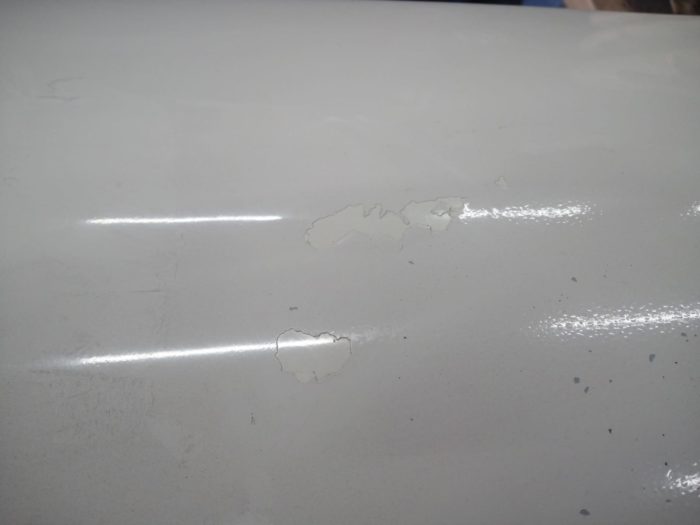
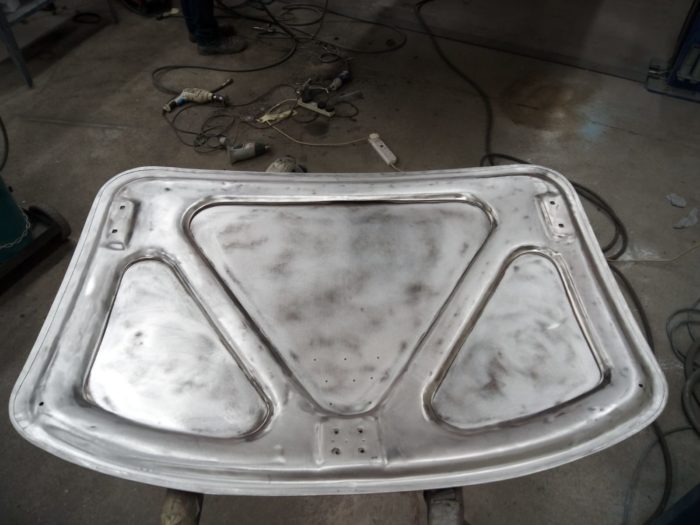
Our 1973 Jaguar E-Type recently came back from Abbey Protective Coating’s for sandblasting. Now that any excess rust has come off, we can start to work with all the stable metal that’s left. This E-Type is a particularly strong example as there was very little corrosion.

Tom has been sorting out parts which were then powder coated and sent back from Abbey sandblasters.
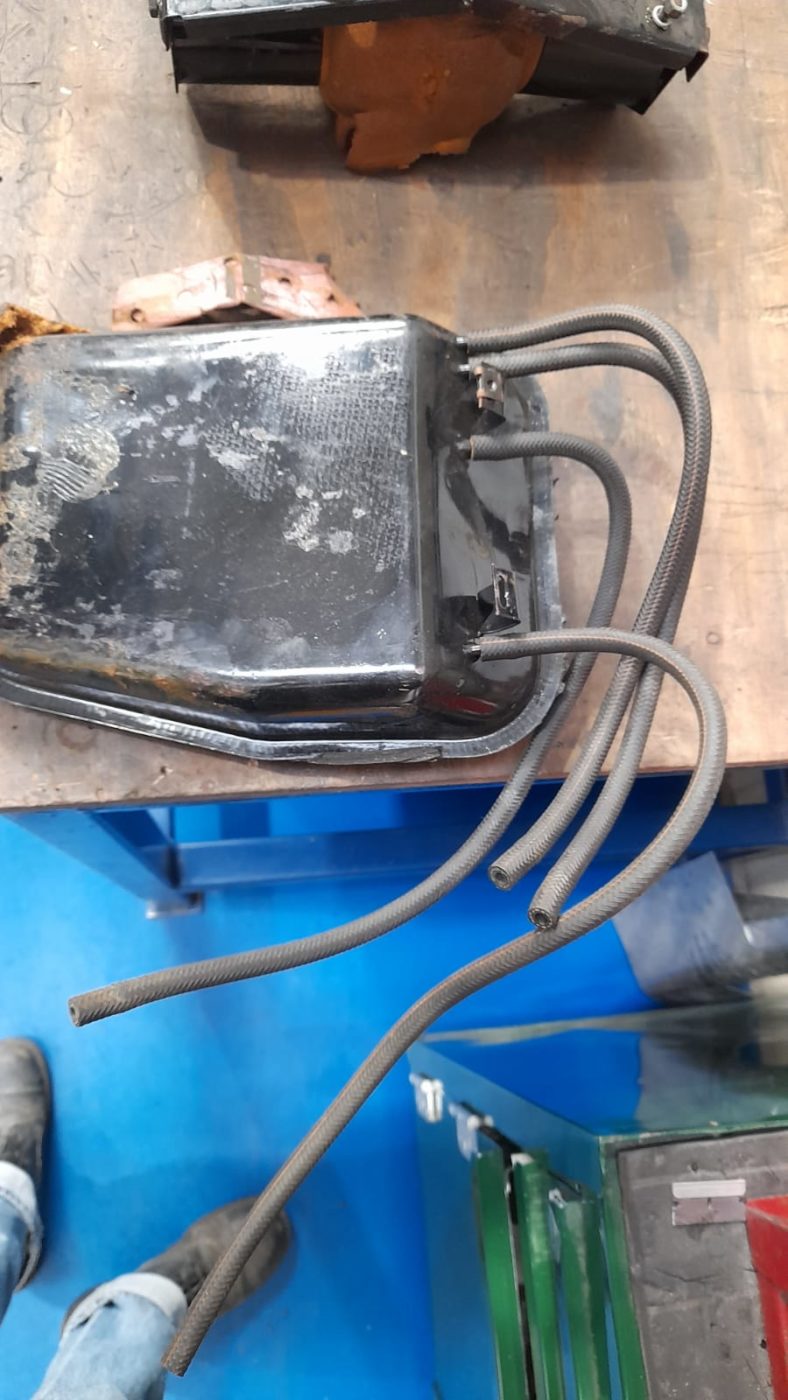
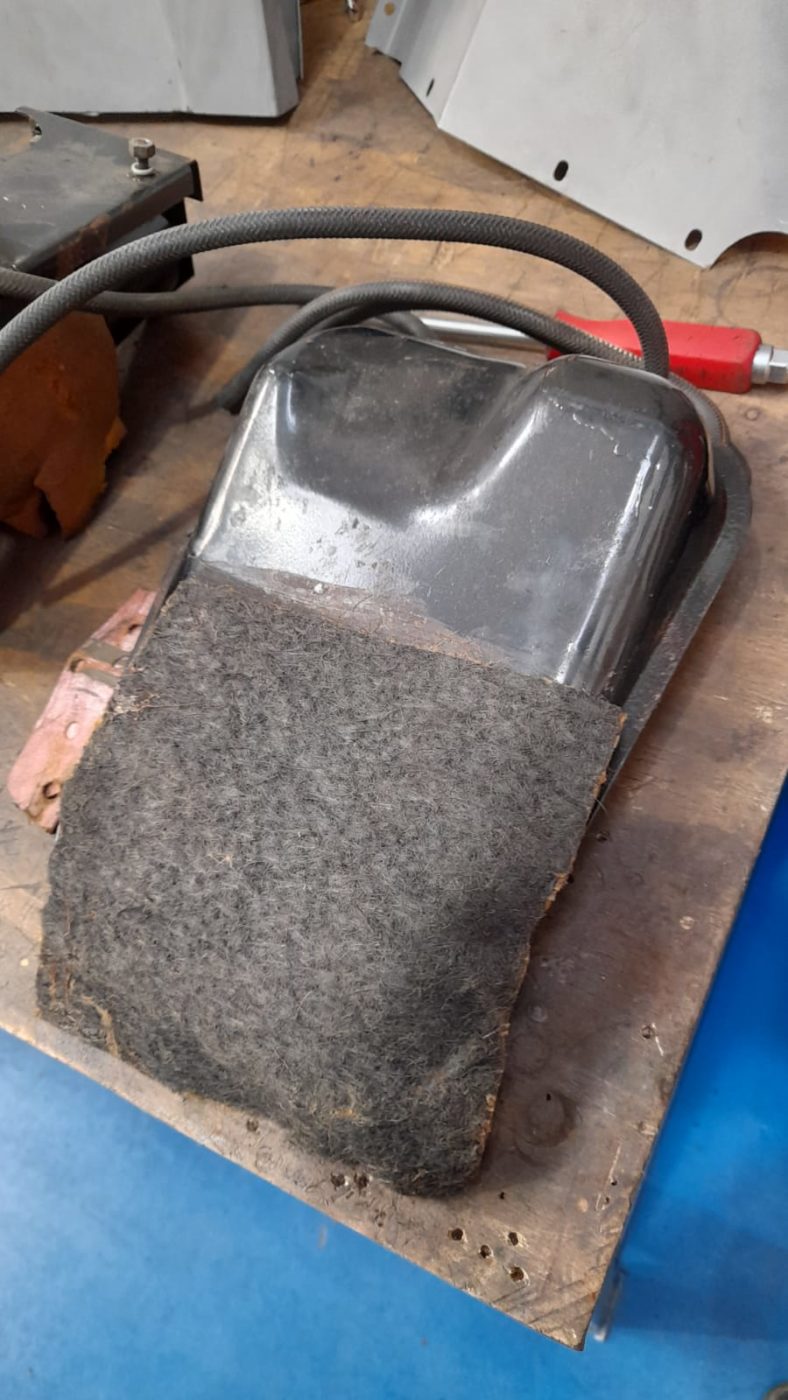
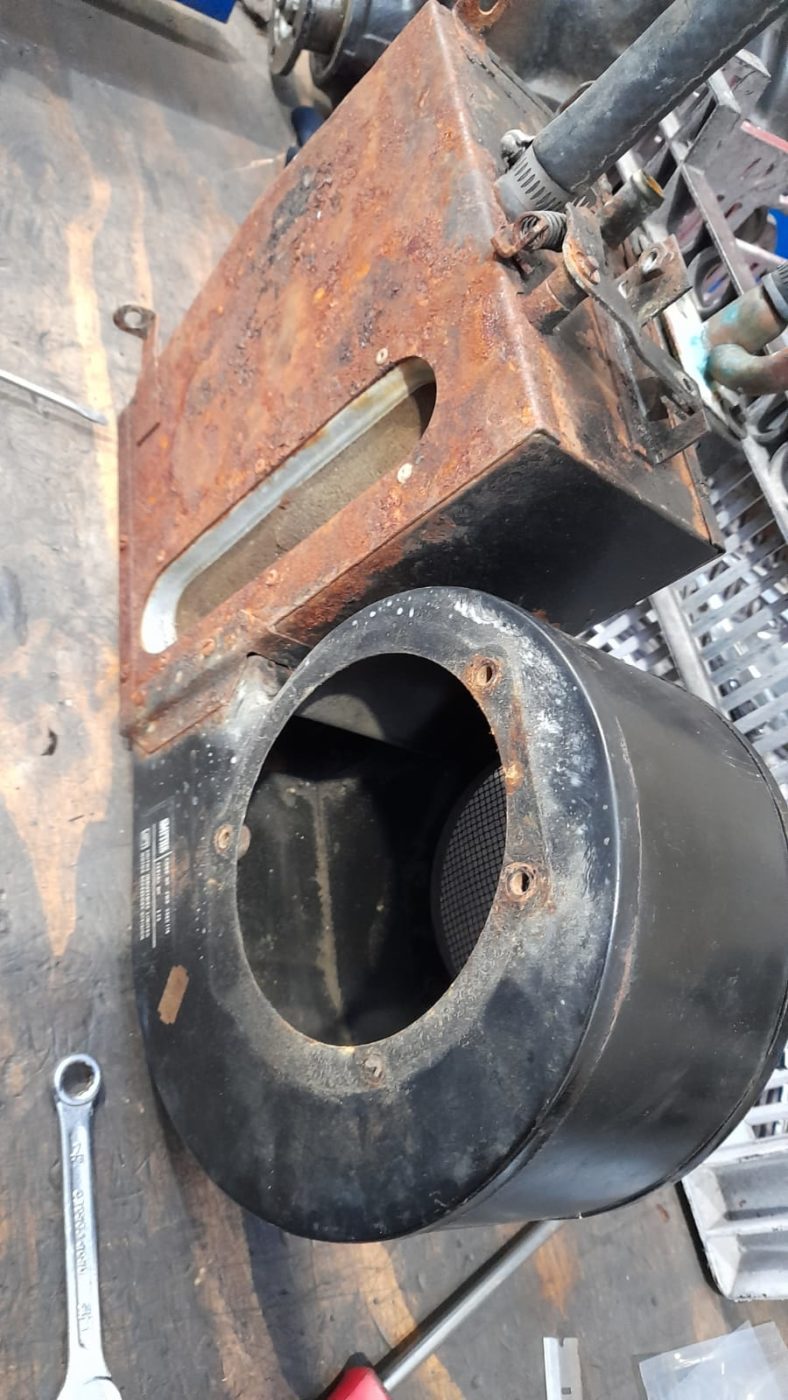
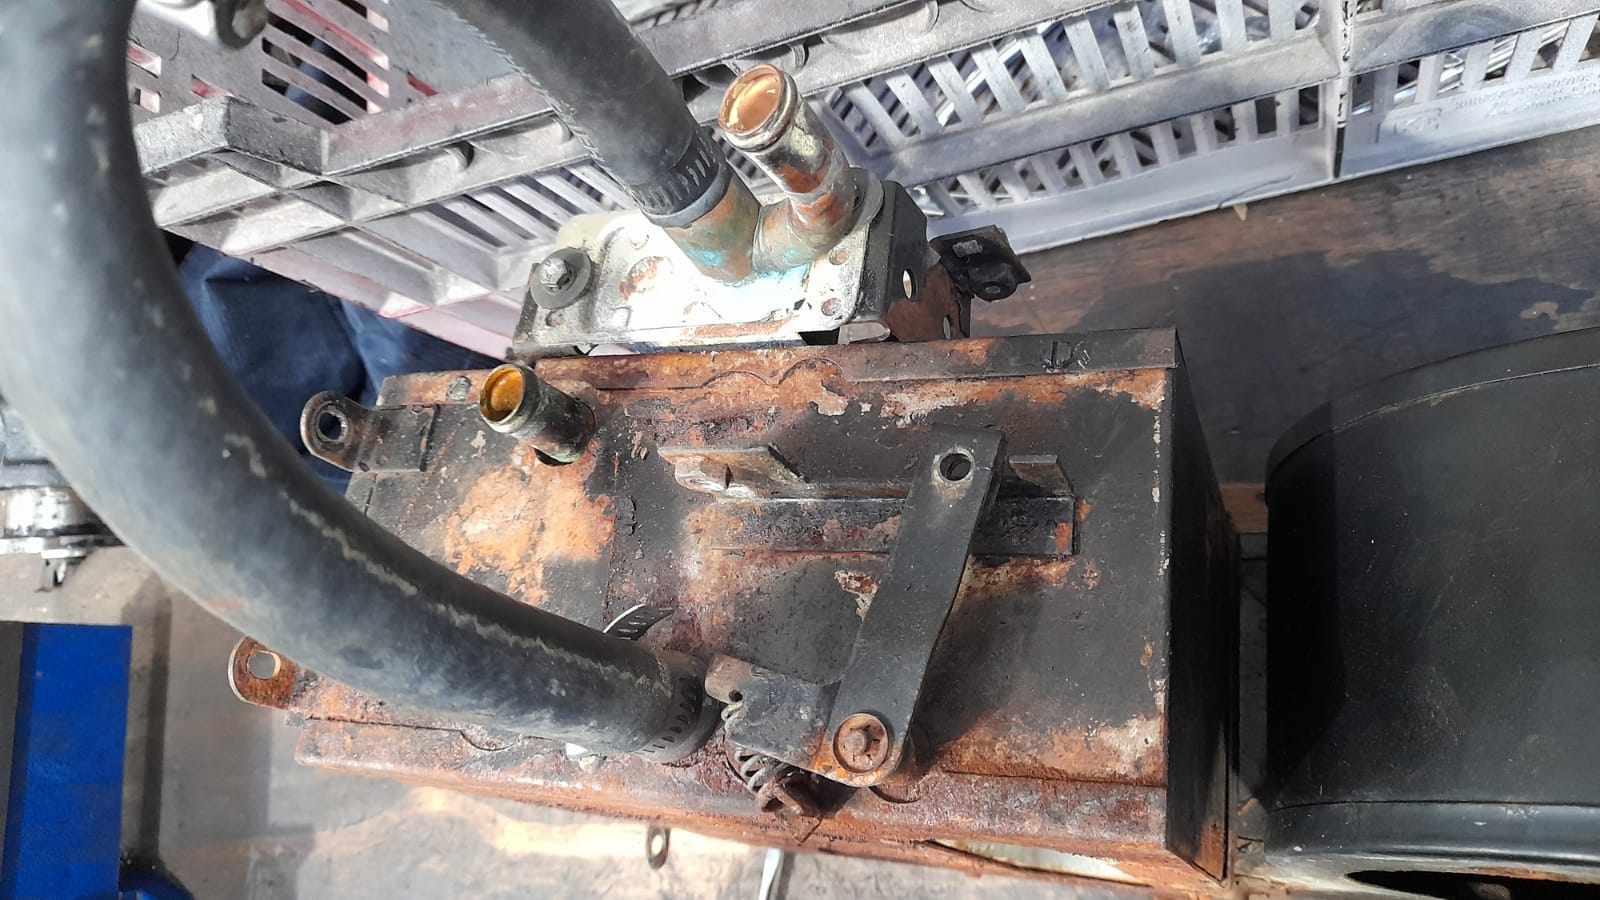
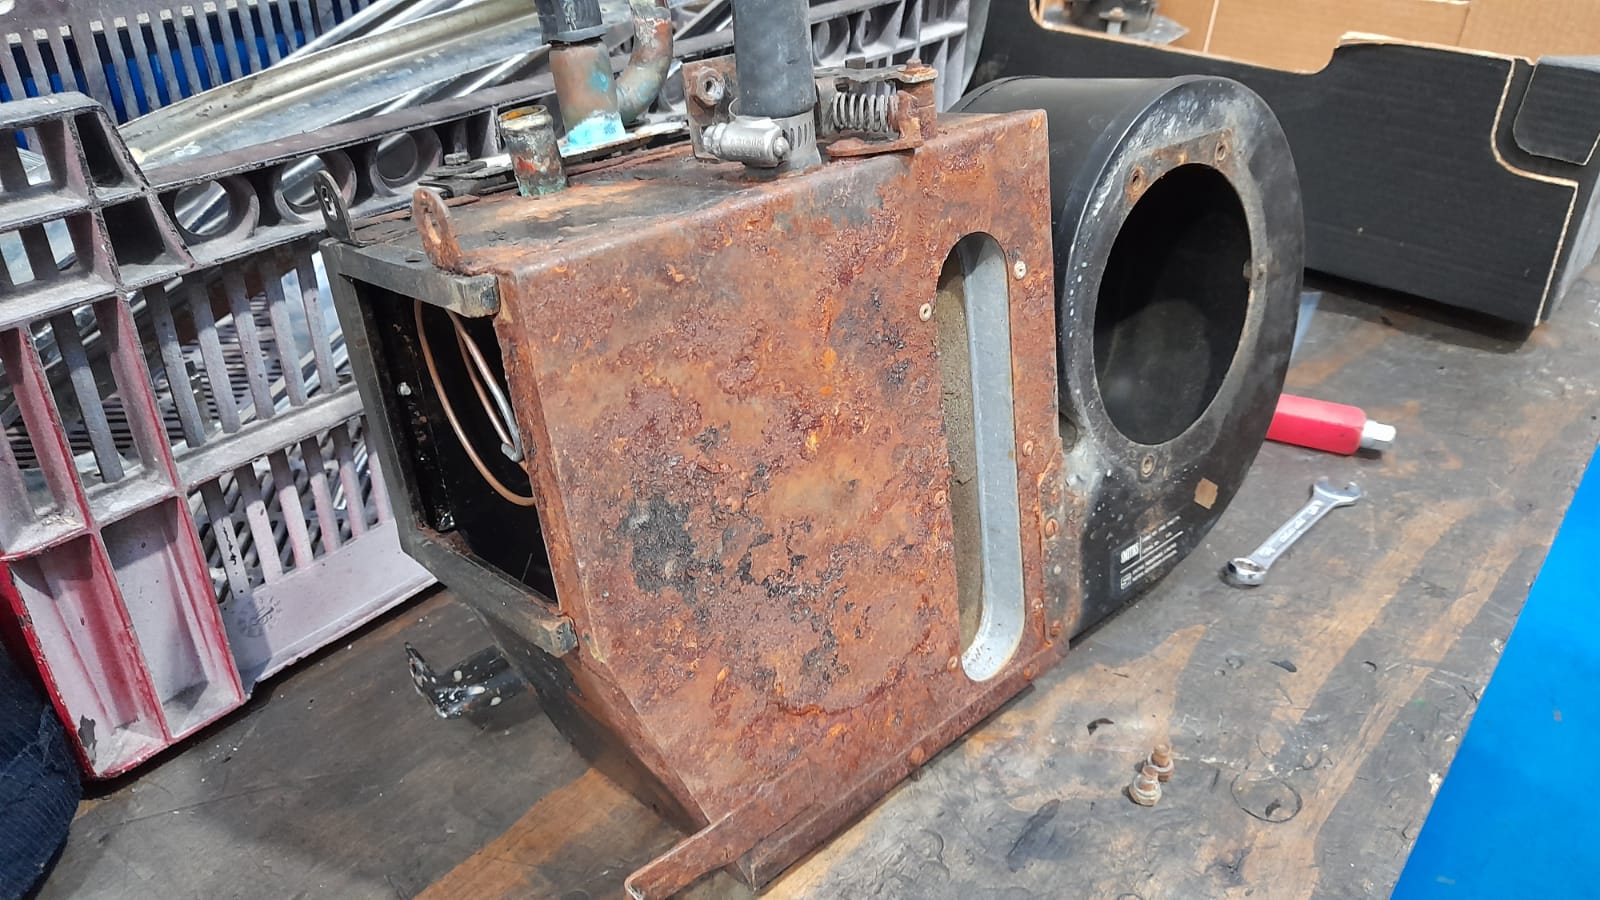
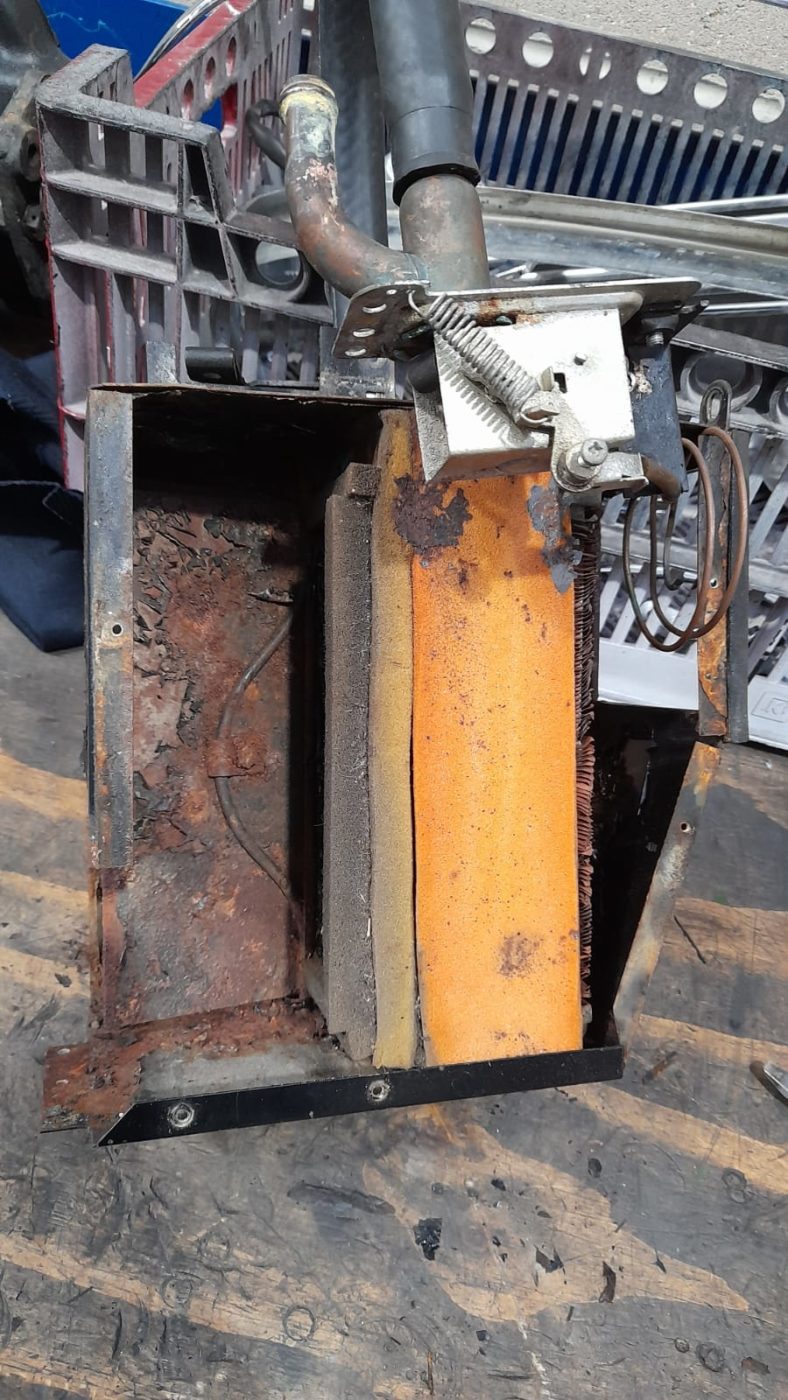
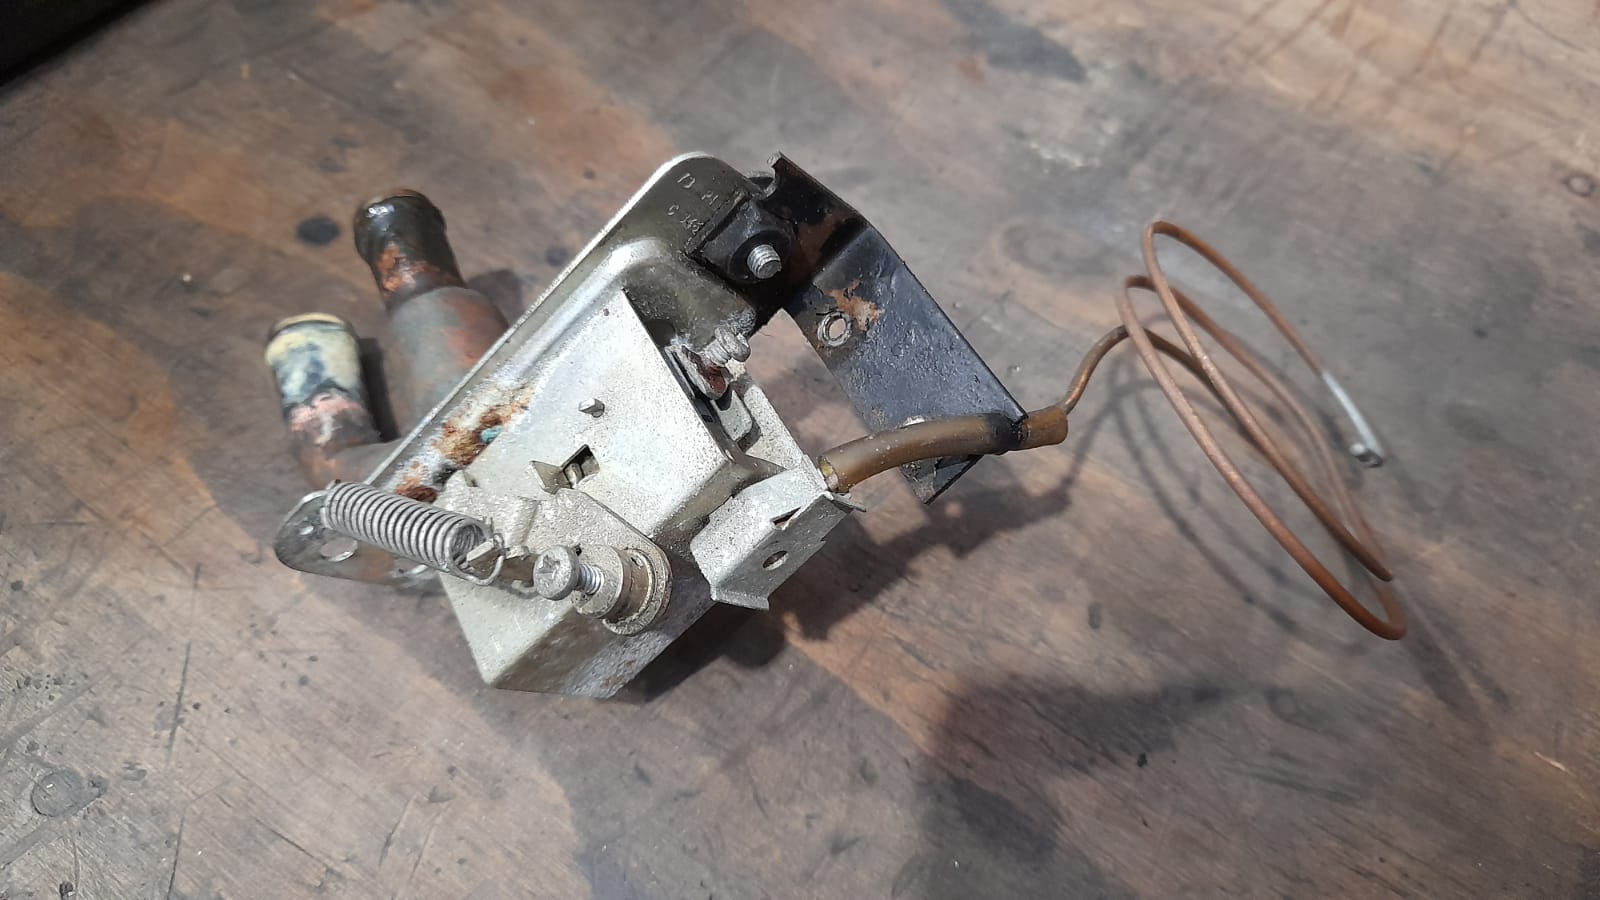
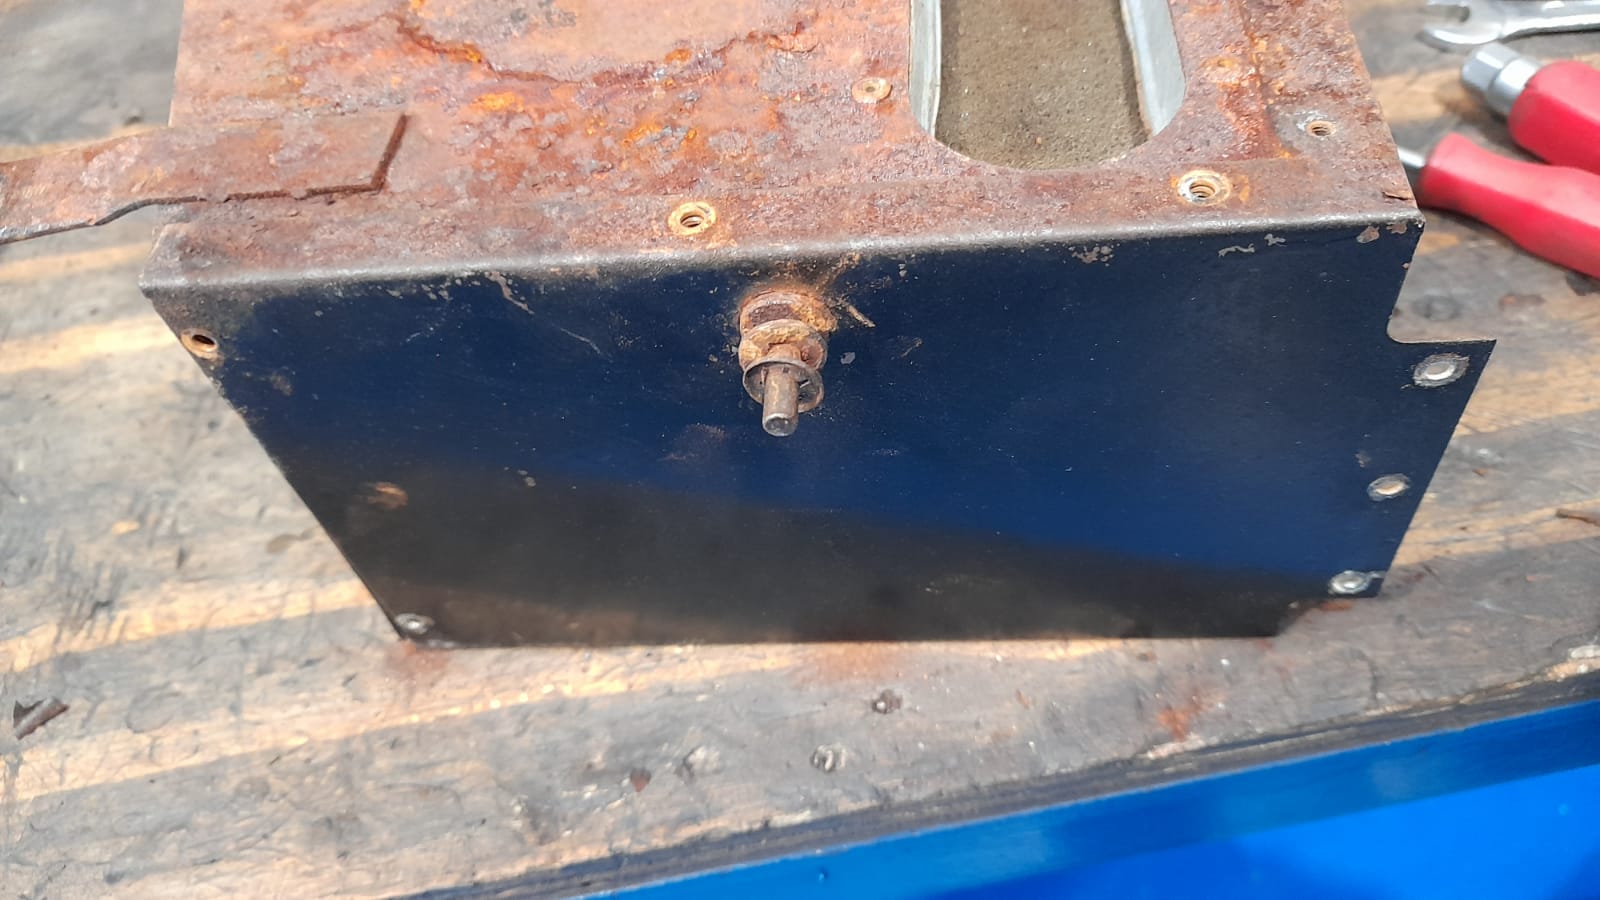
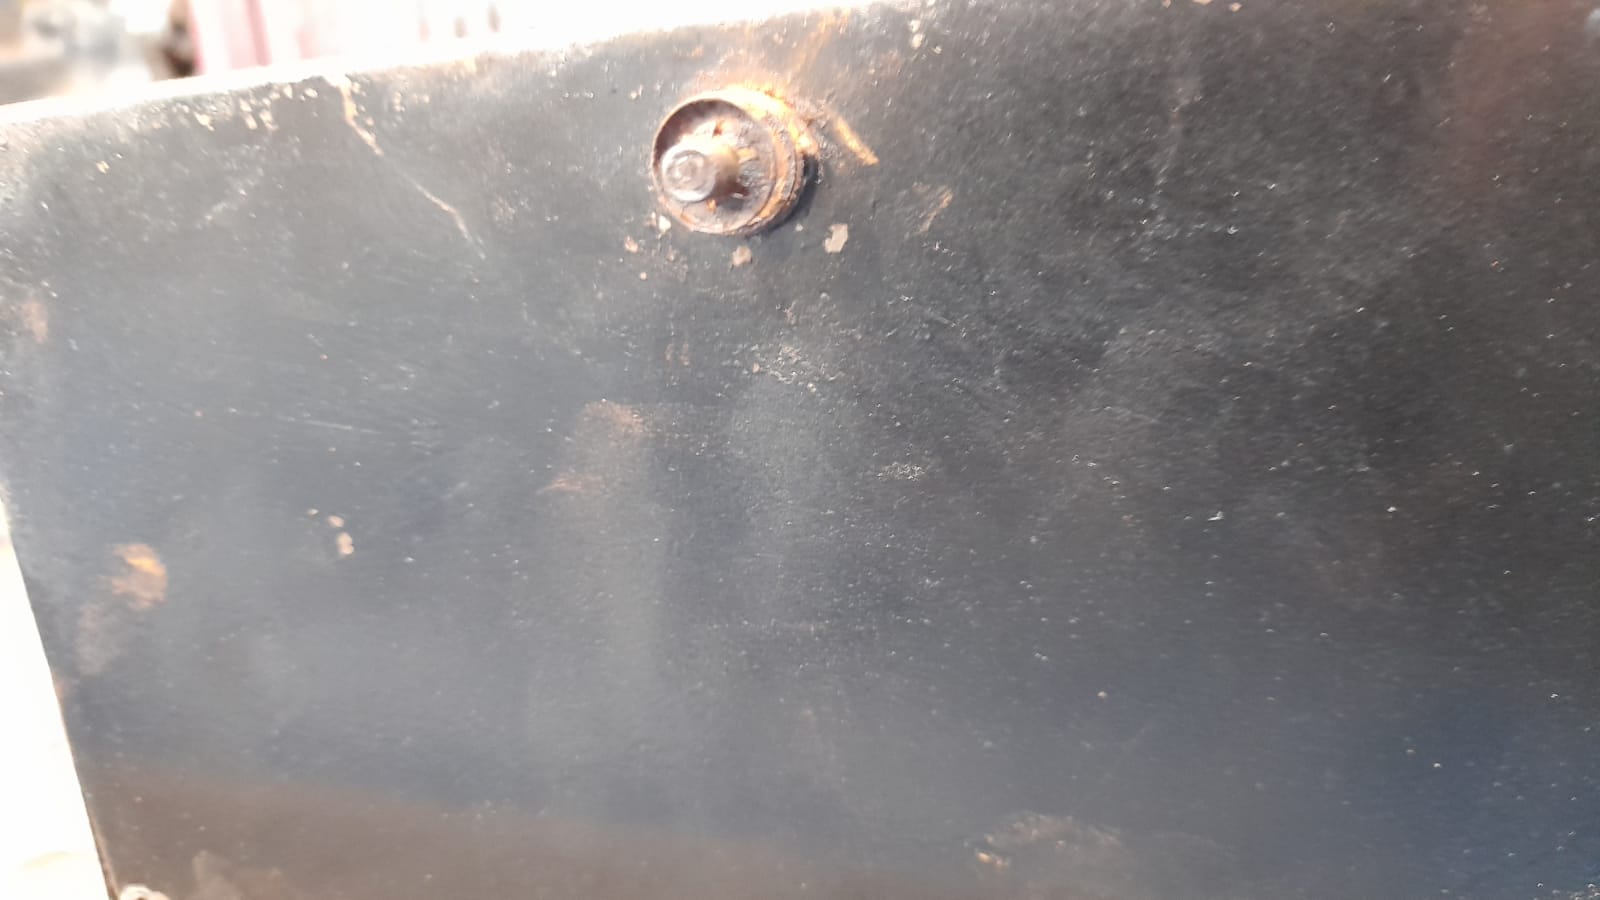
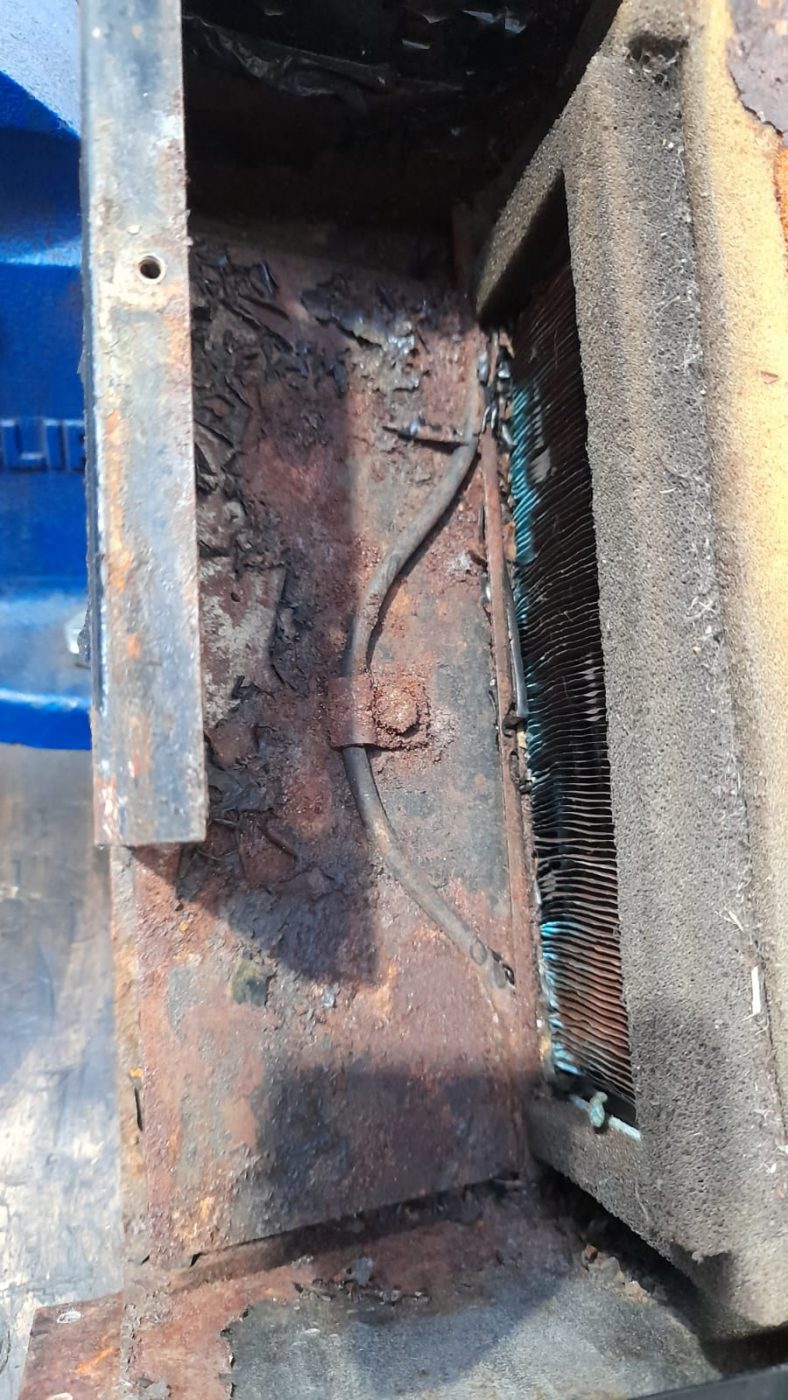
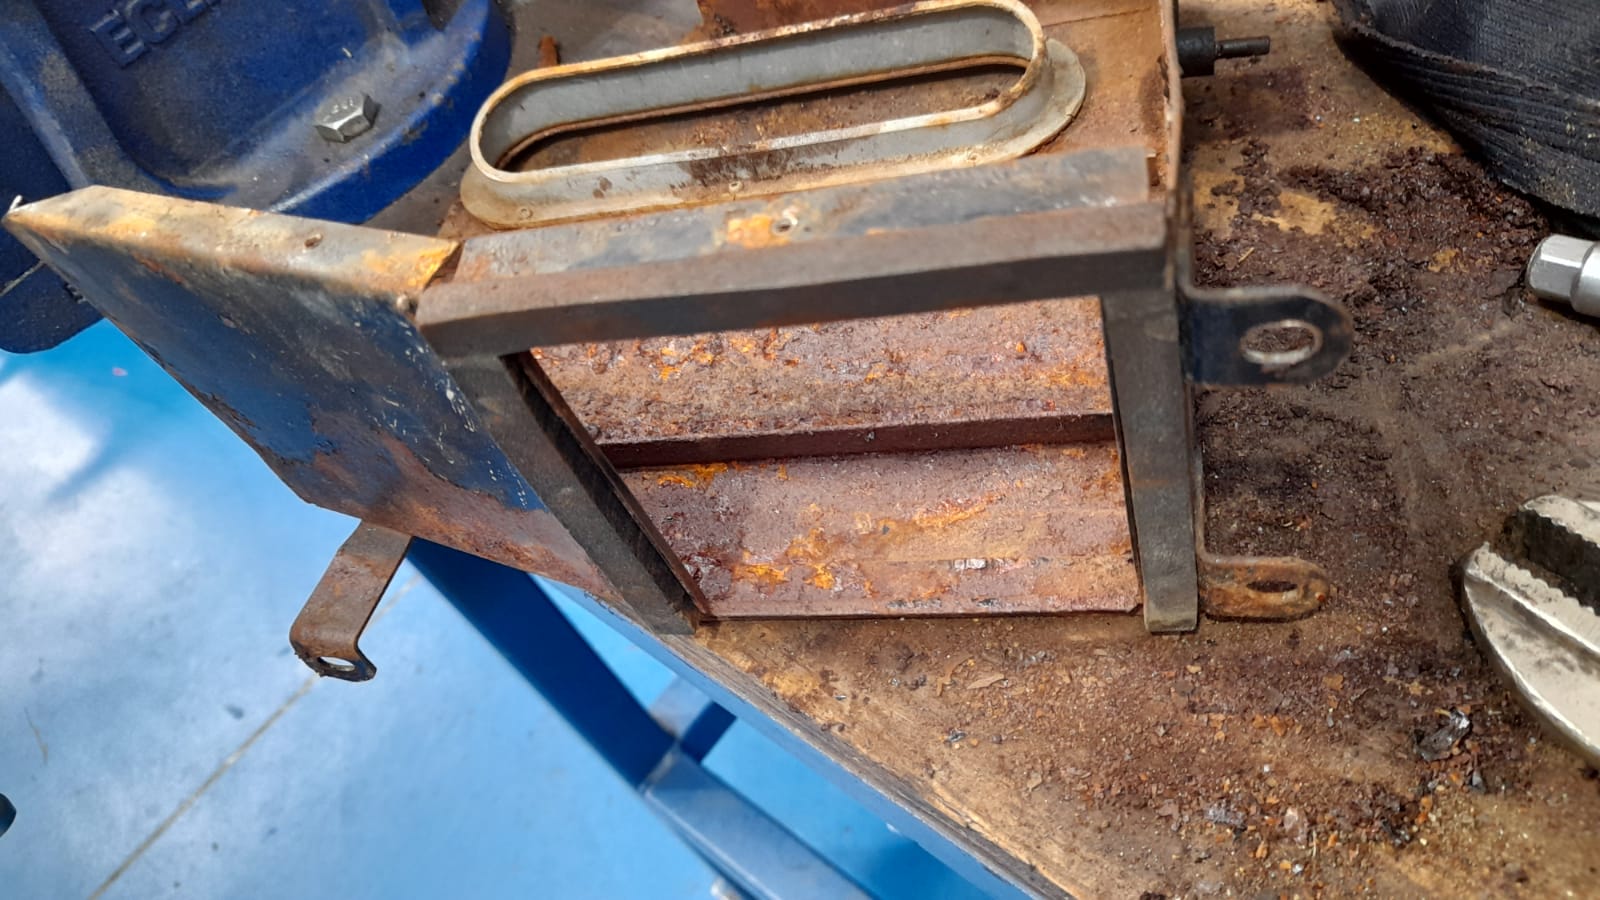
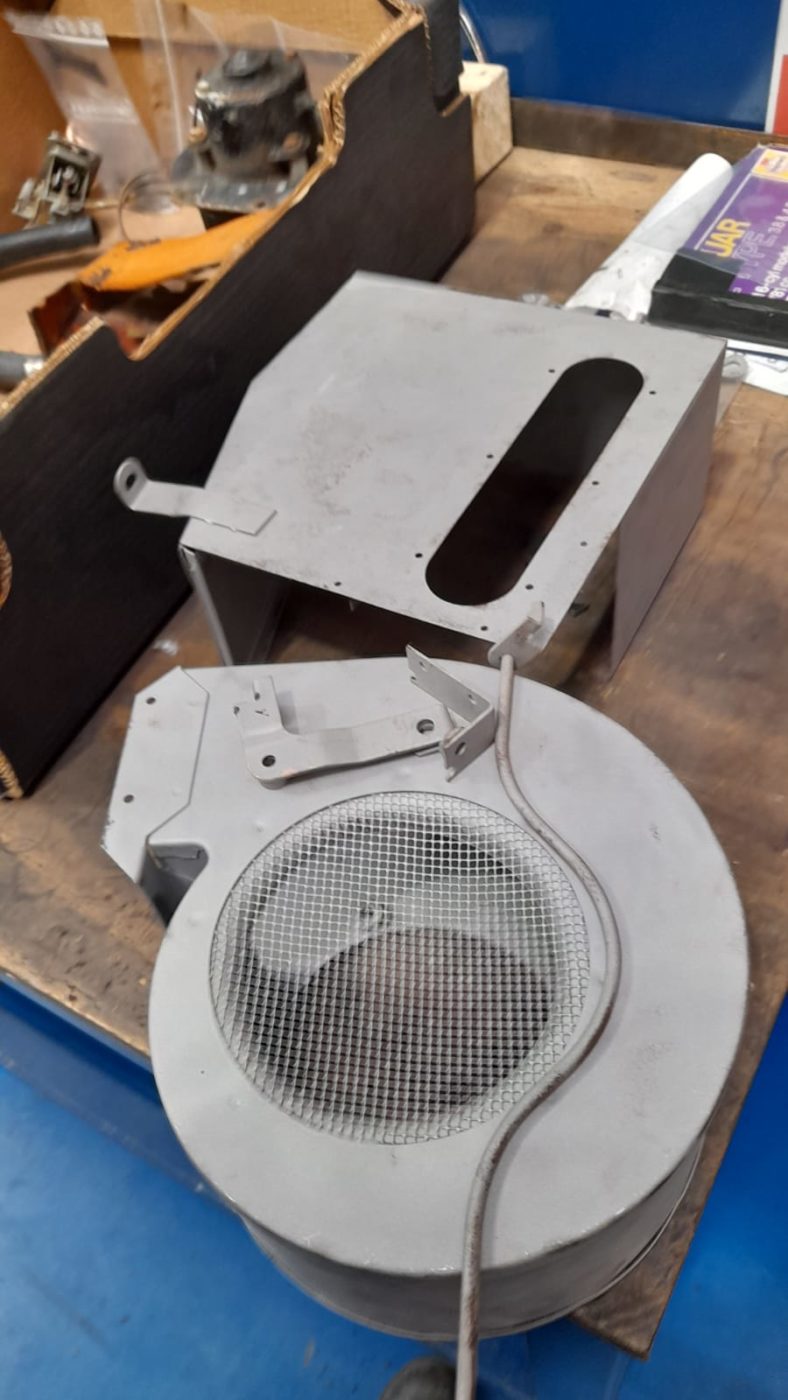
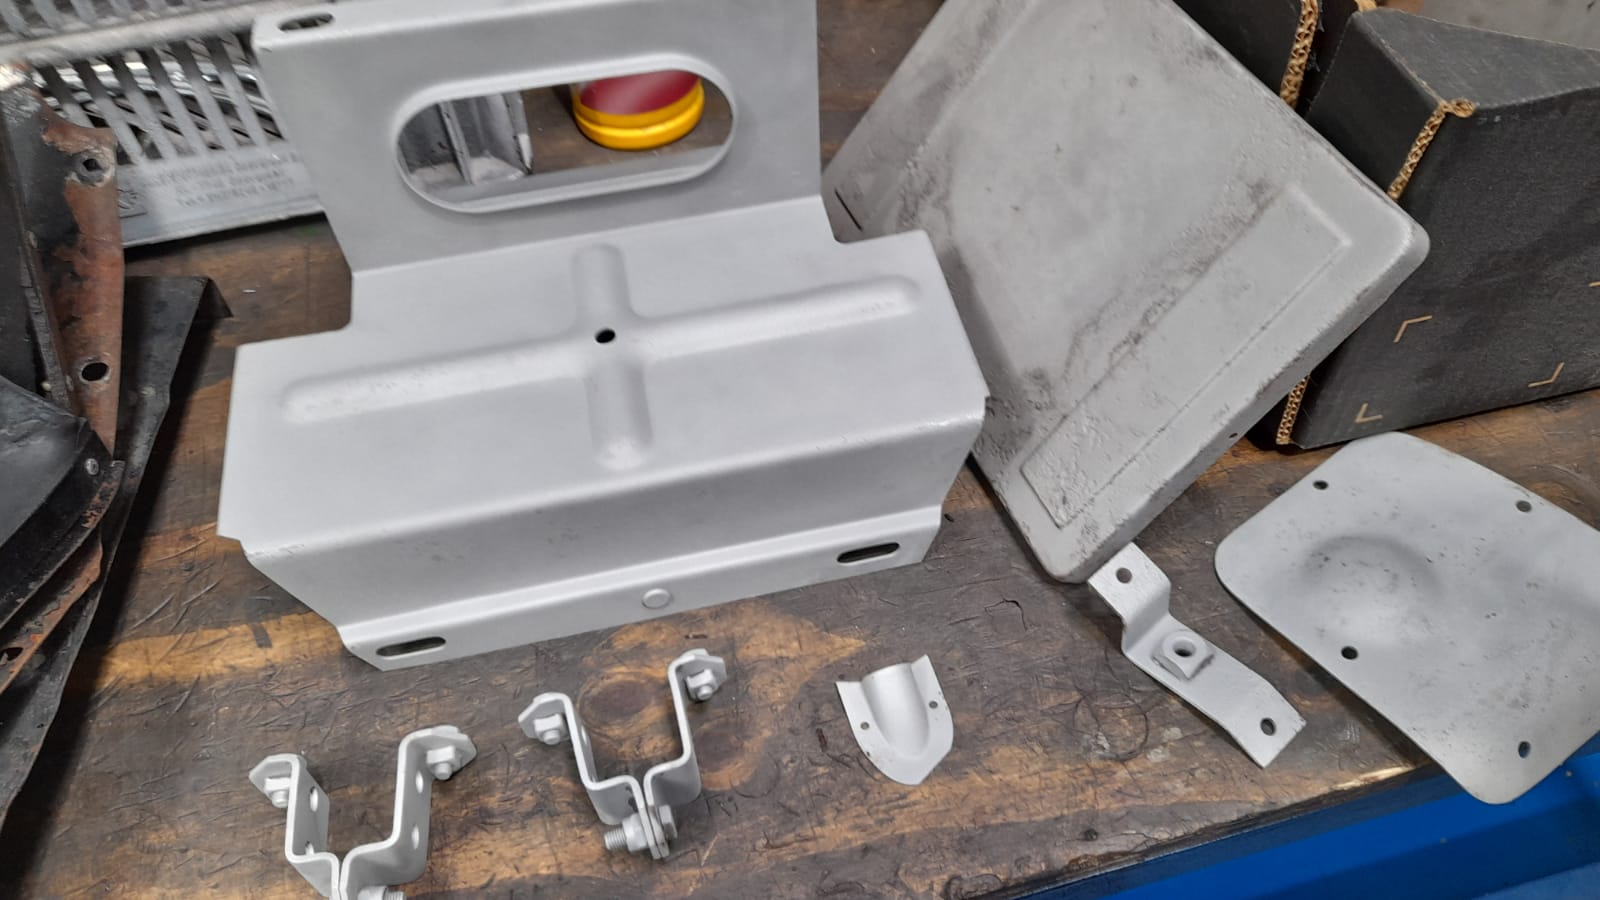
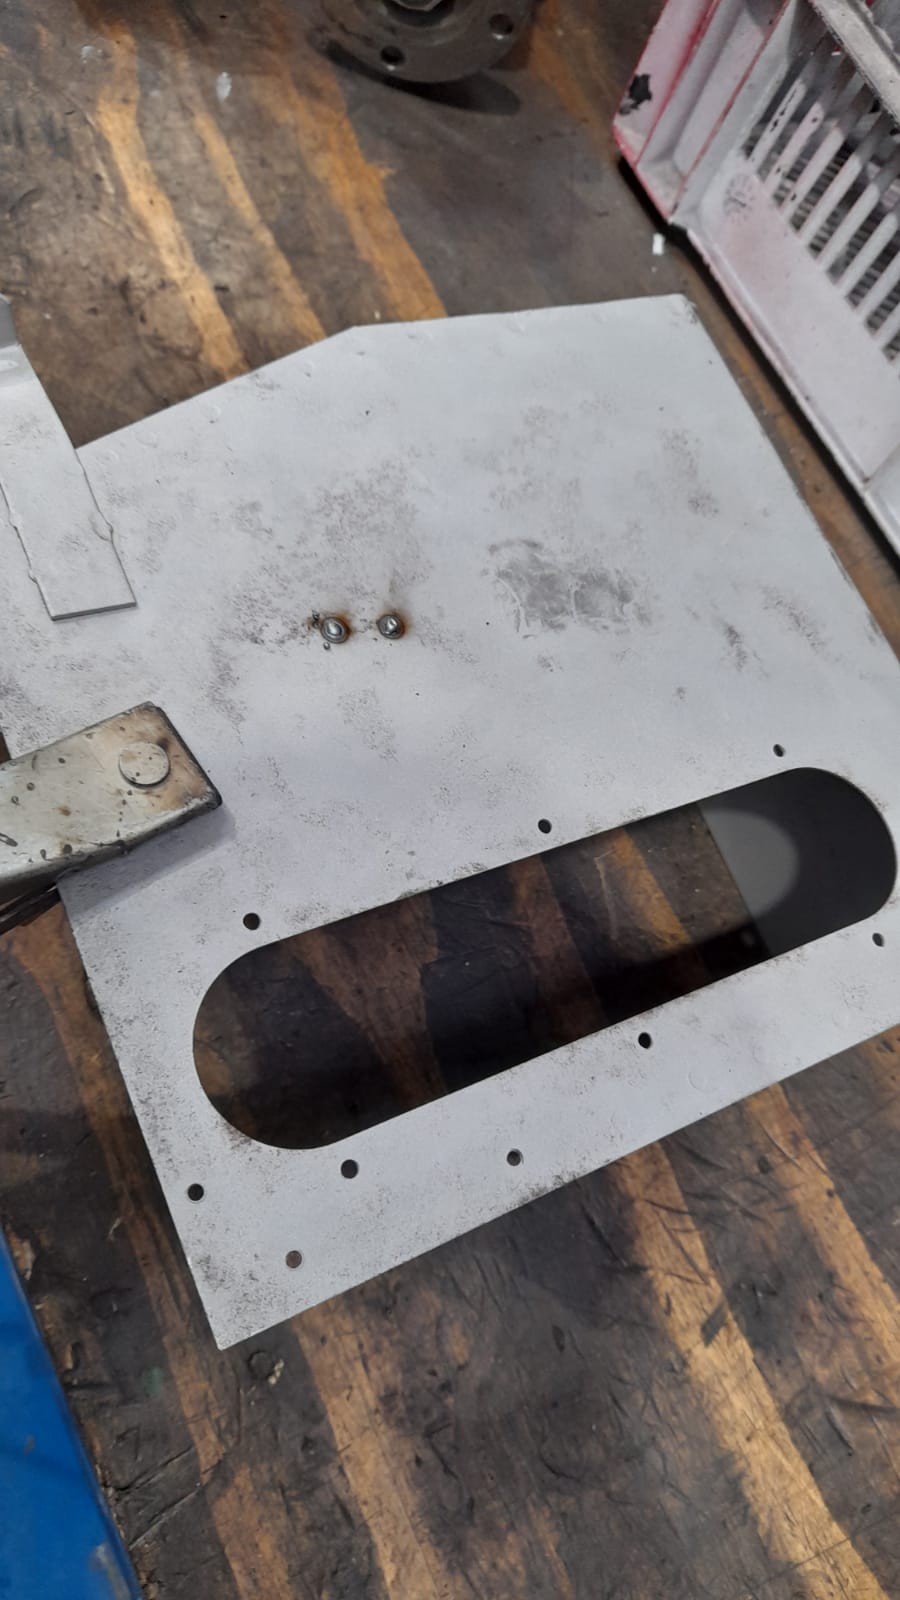
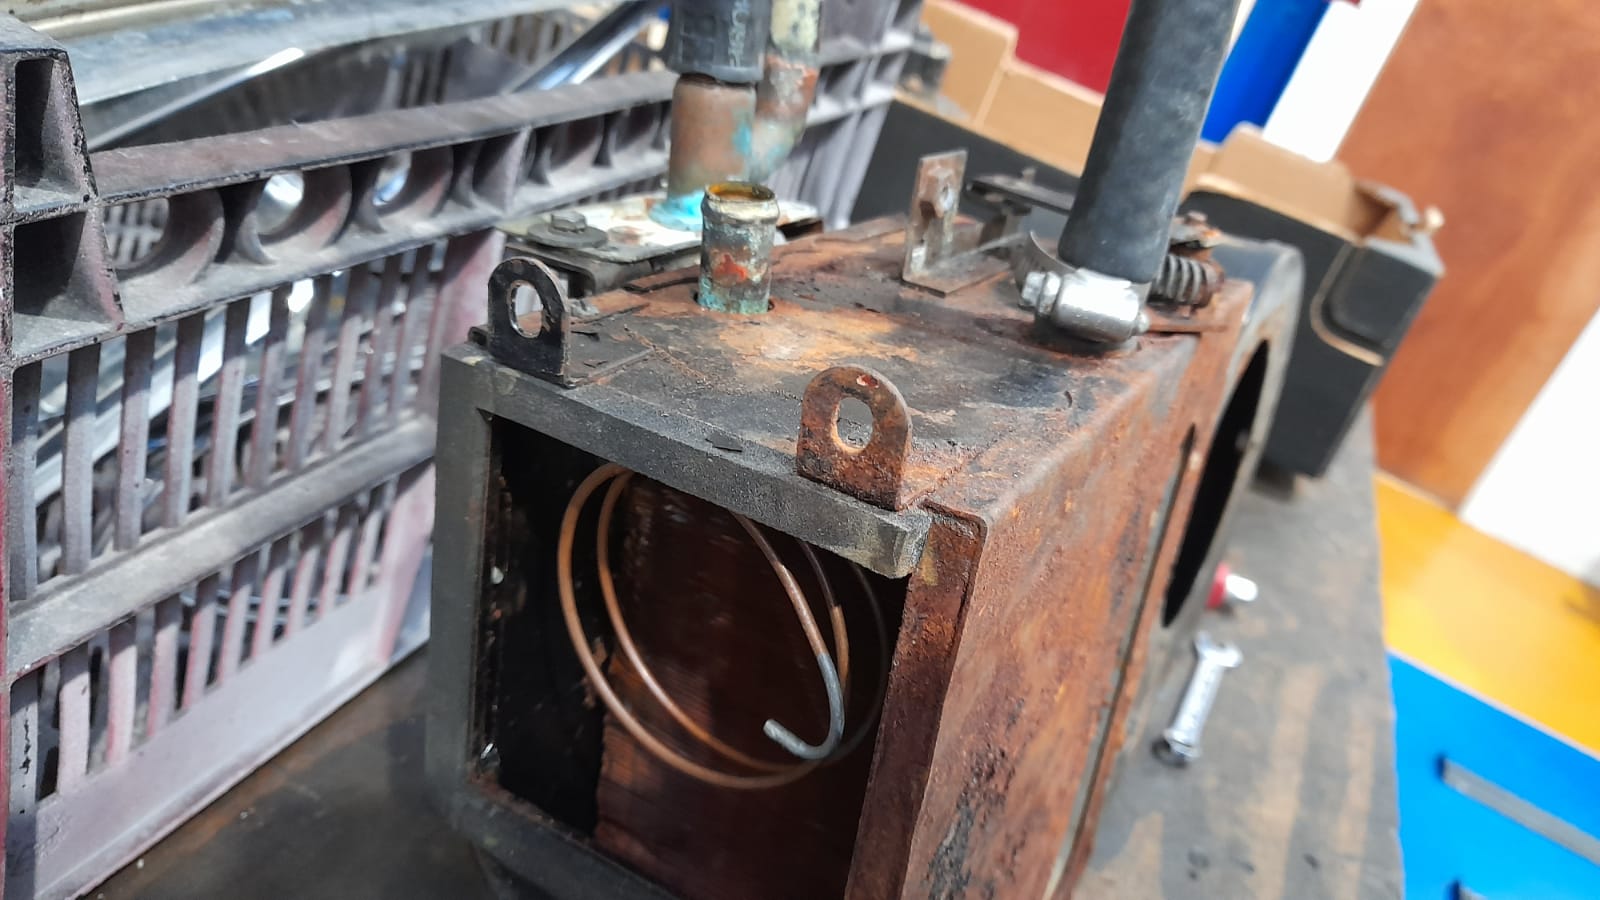
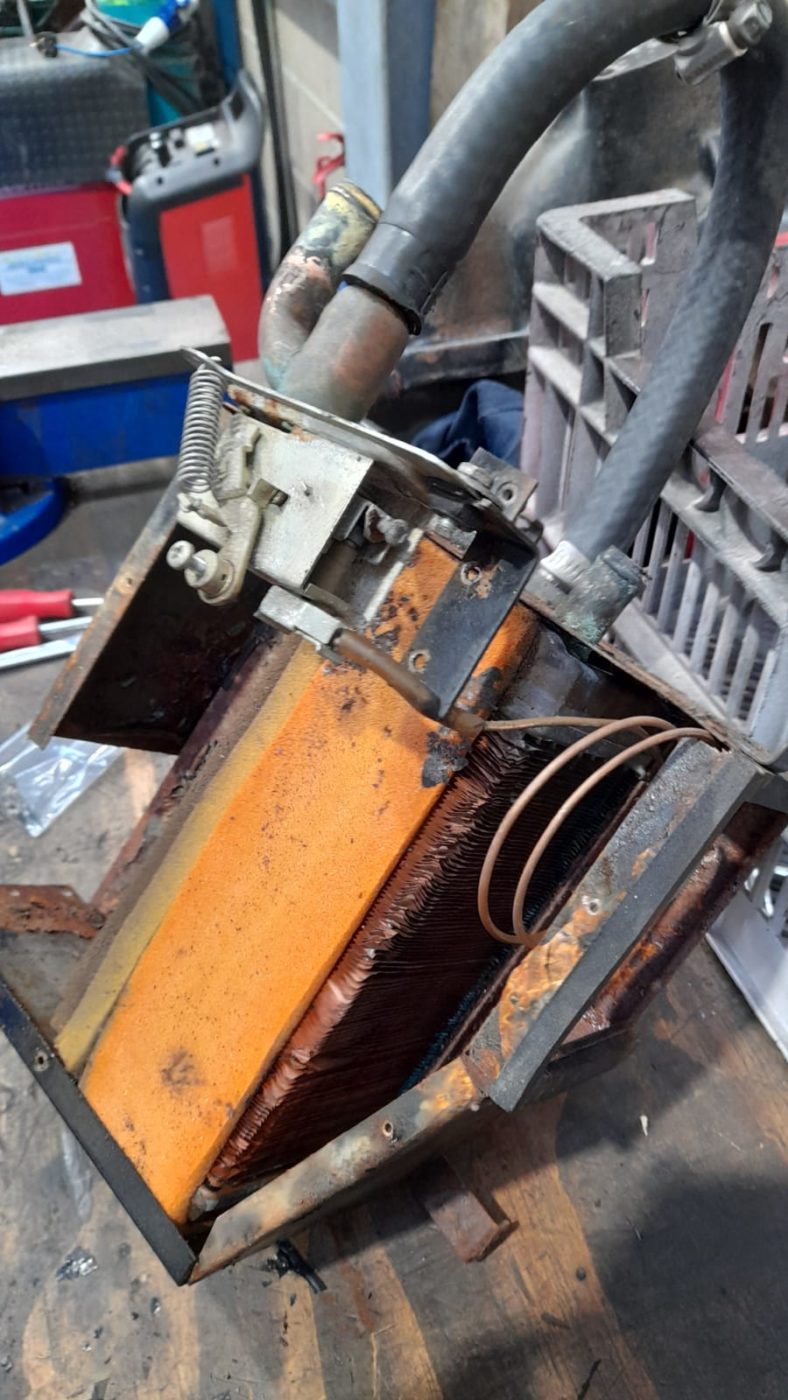
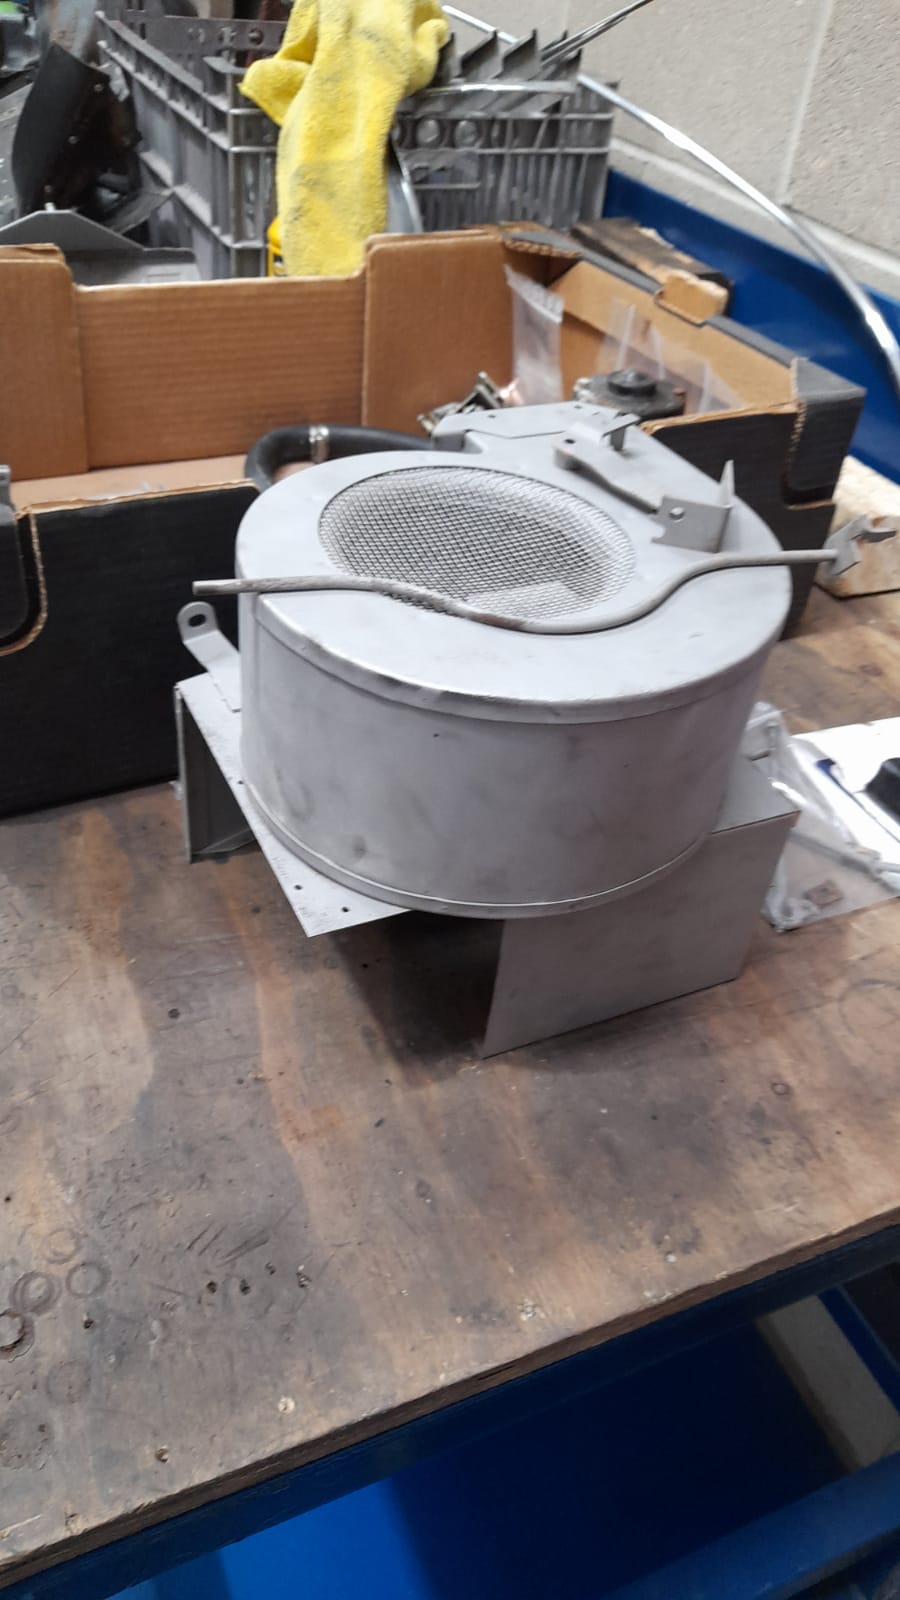
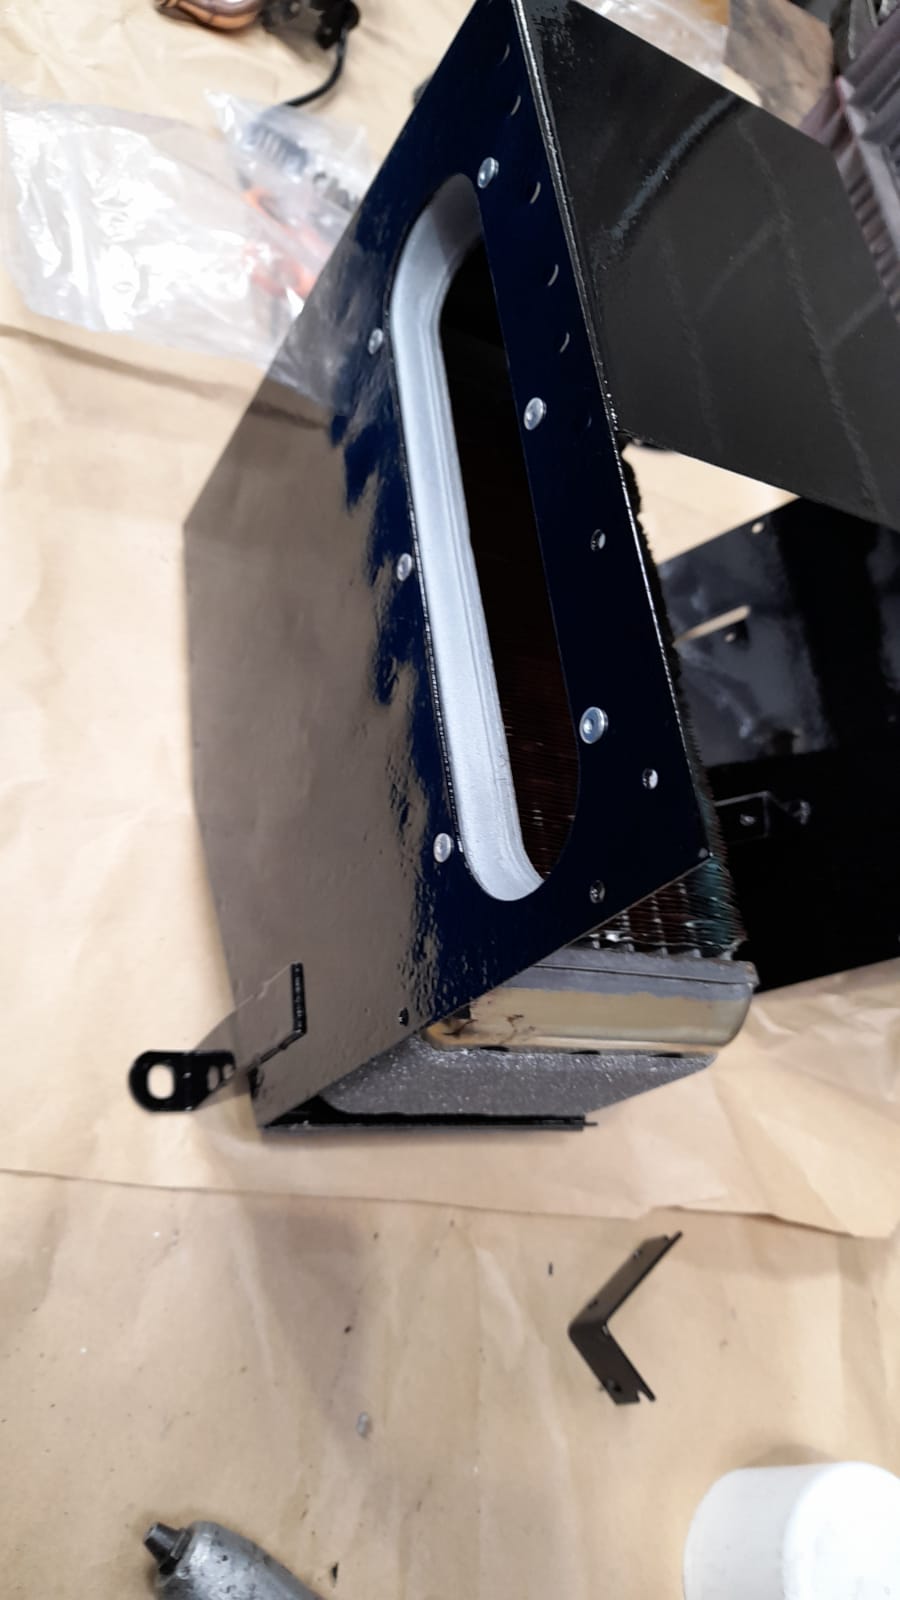
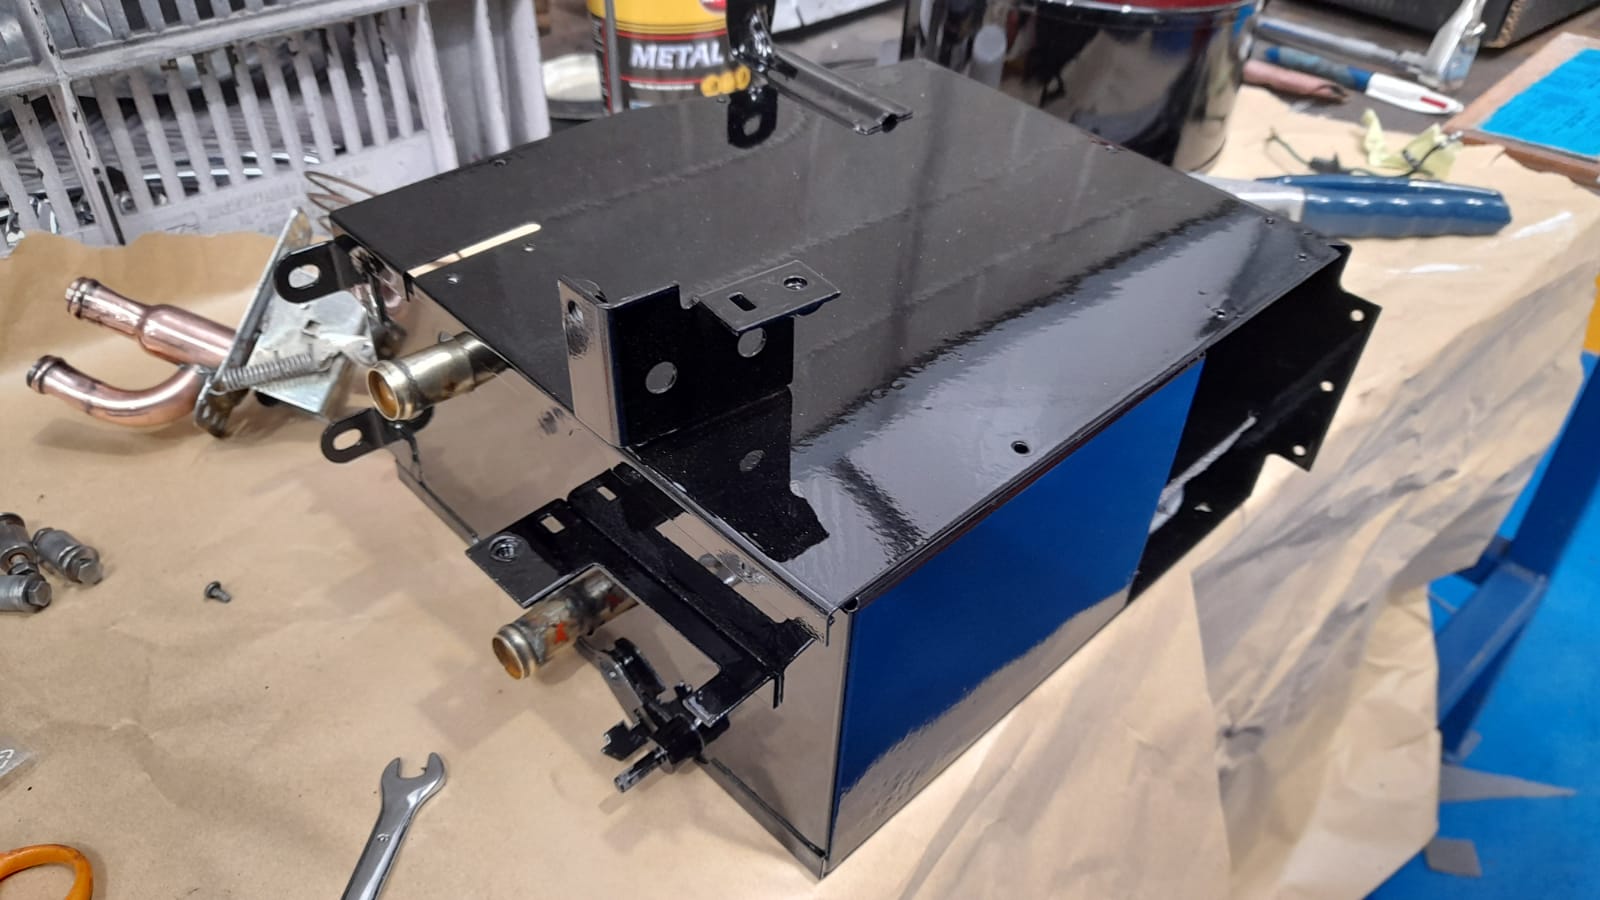
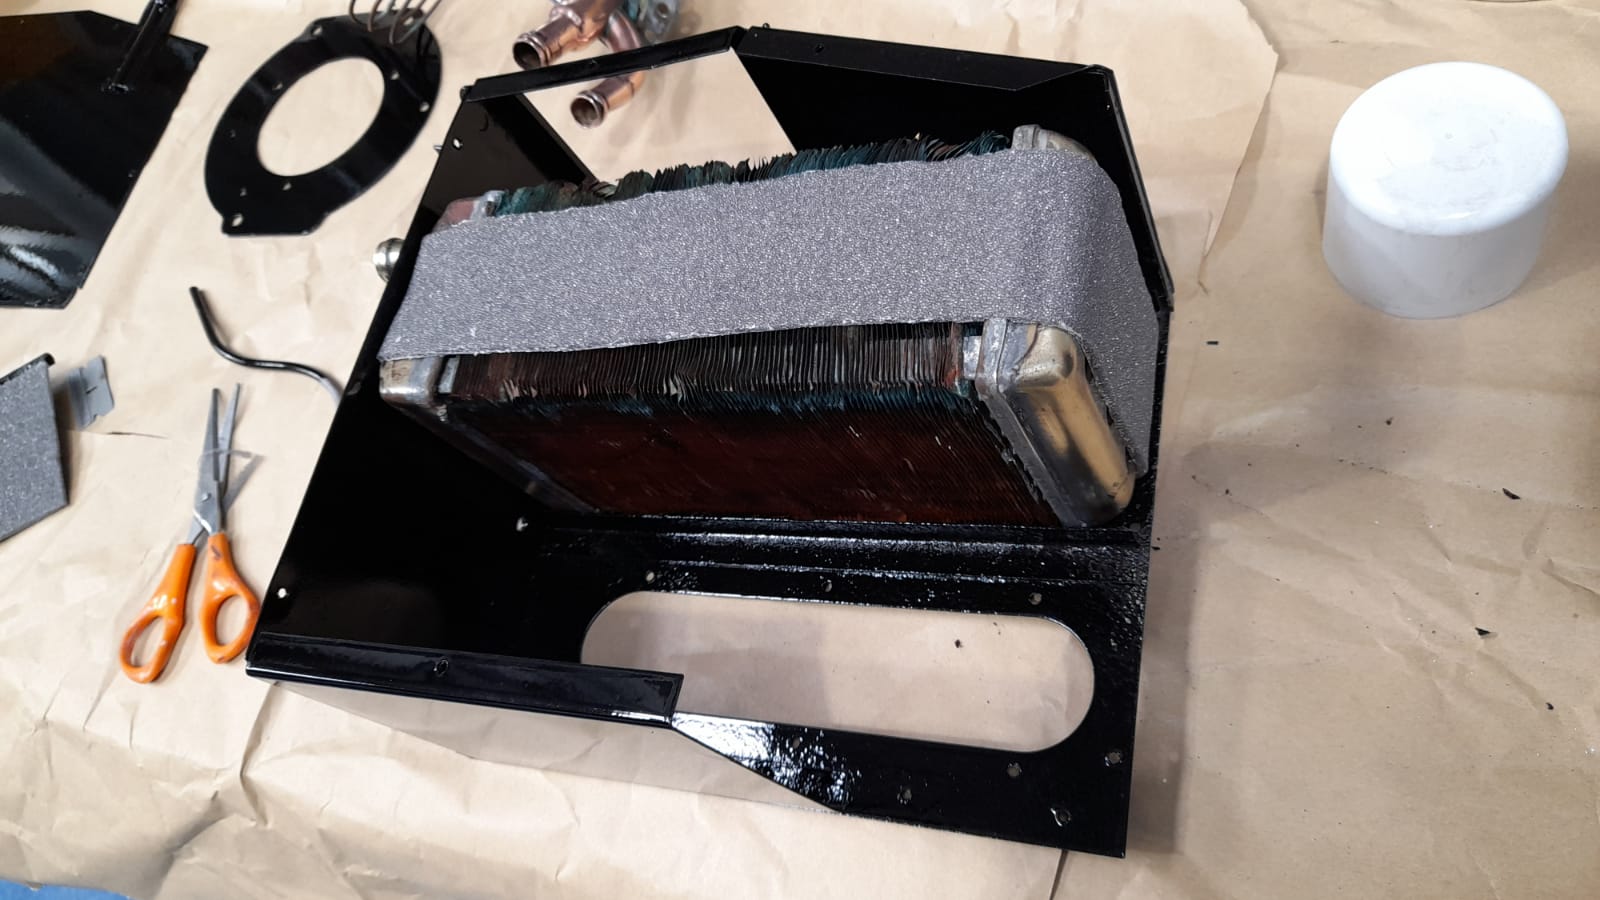
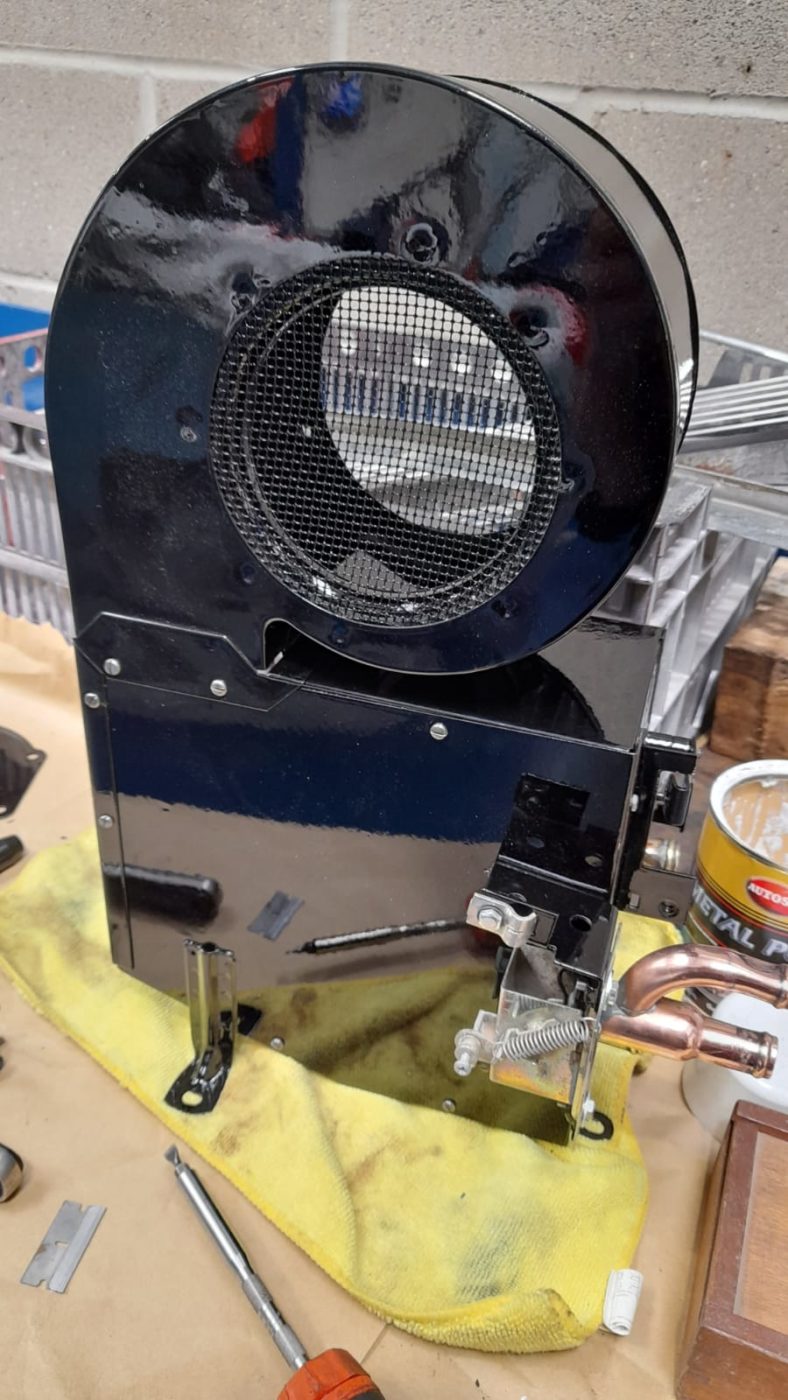
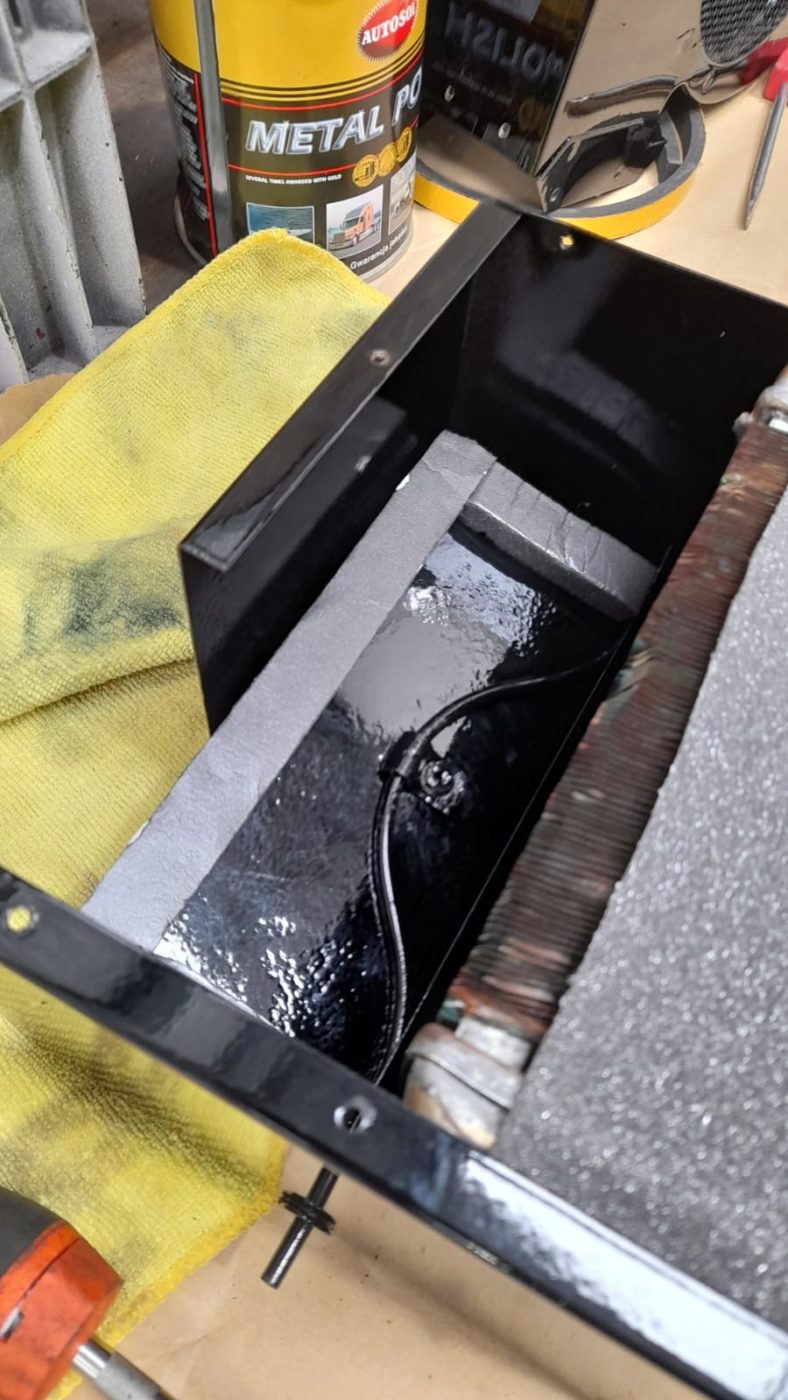
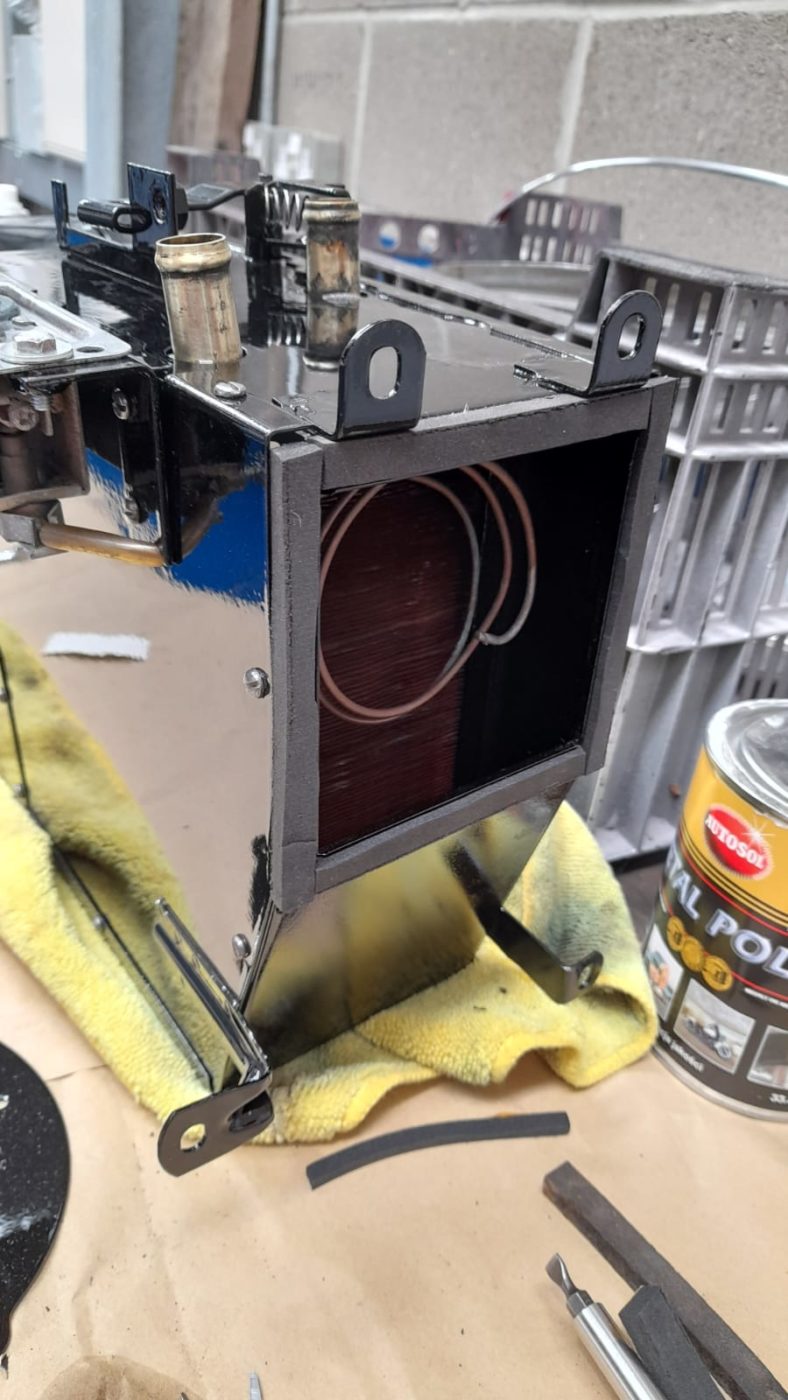
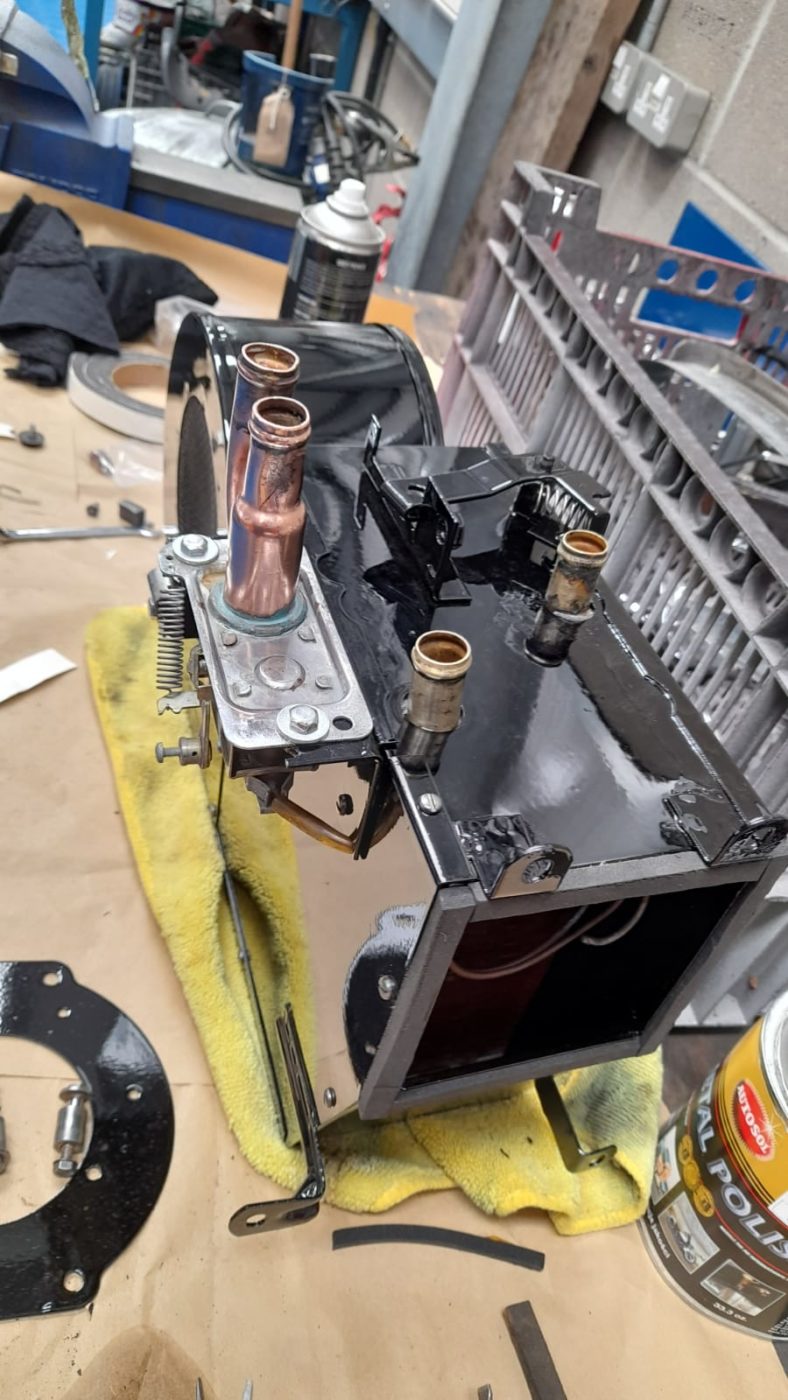
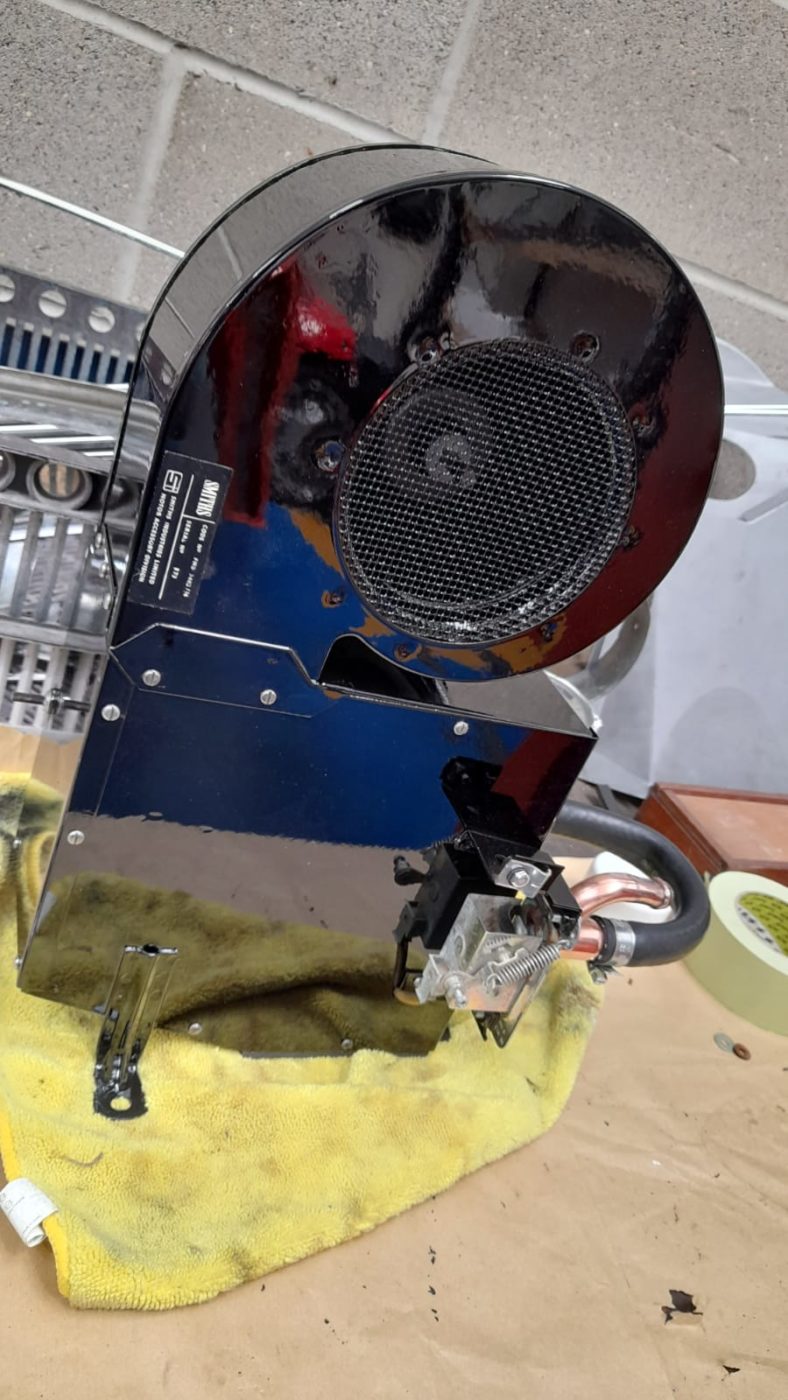
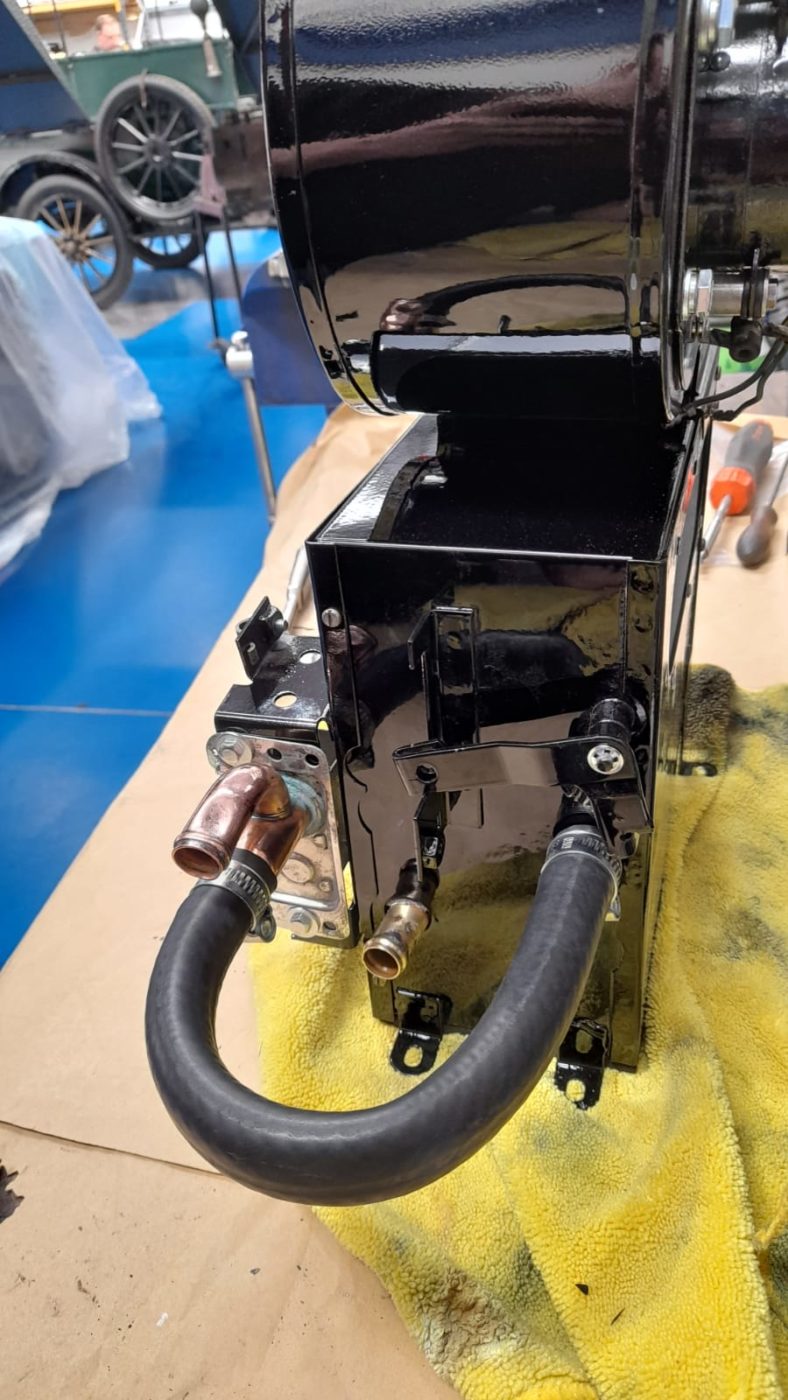
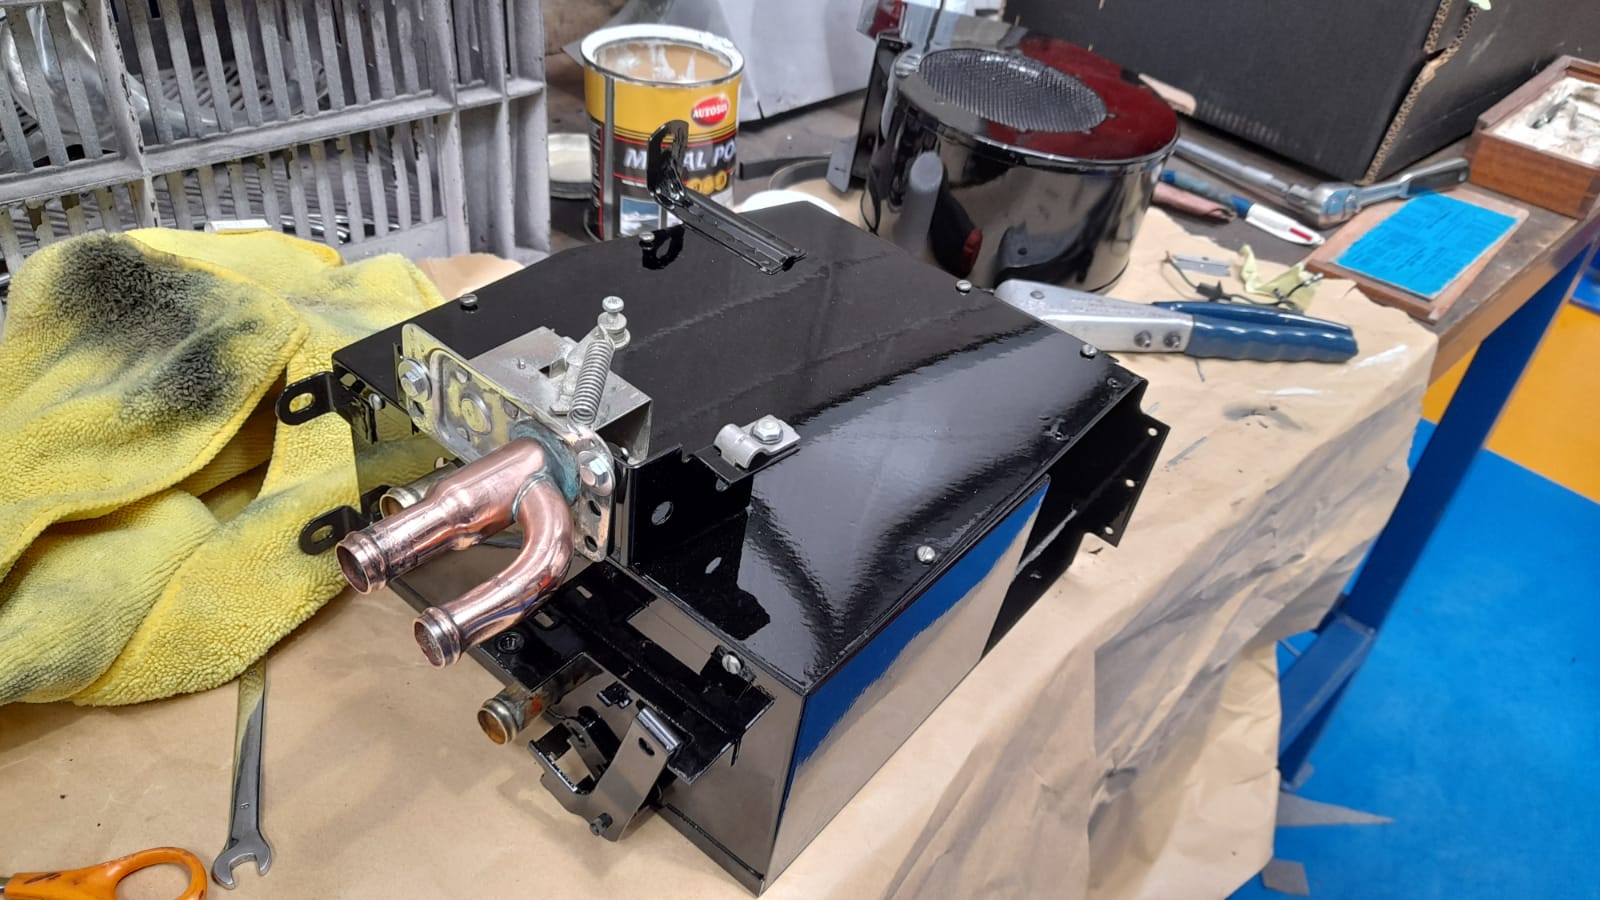
Scott stripped the brake callipers before they were sent away to be refurbished, as well as stripping the heater box down and checking it over. He made sure that the matrix was in good condition, then he got a load of the parts sand blasted so they are ready to be painted.

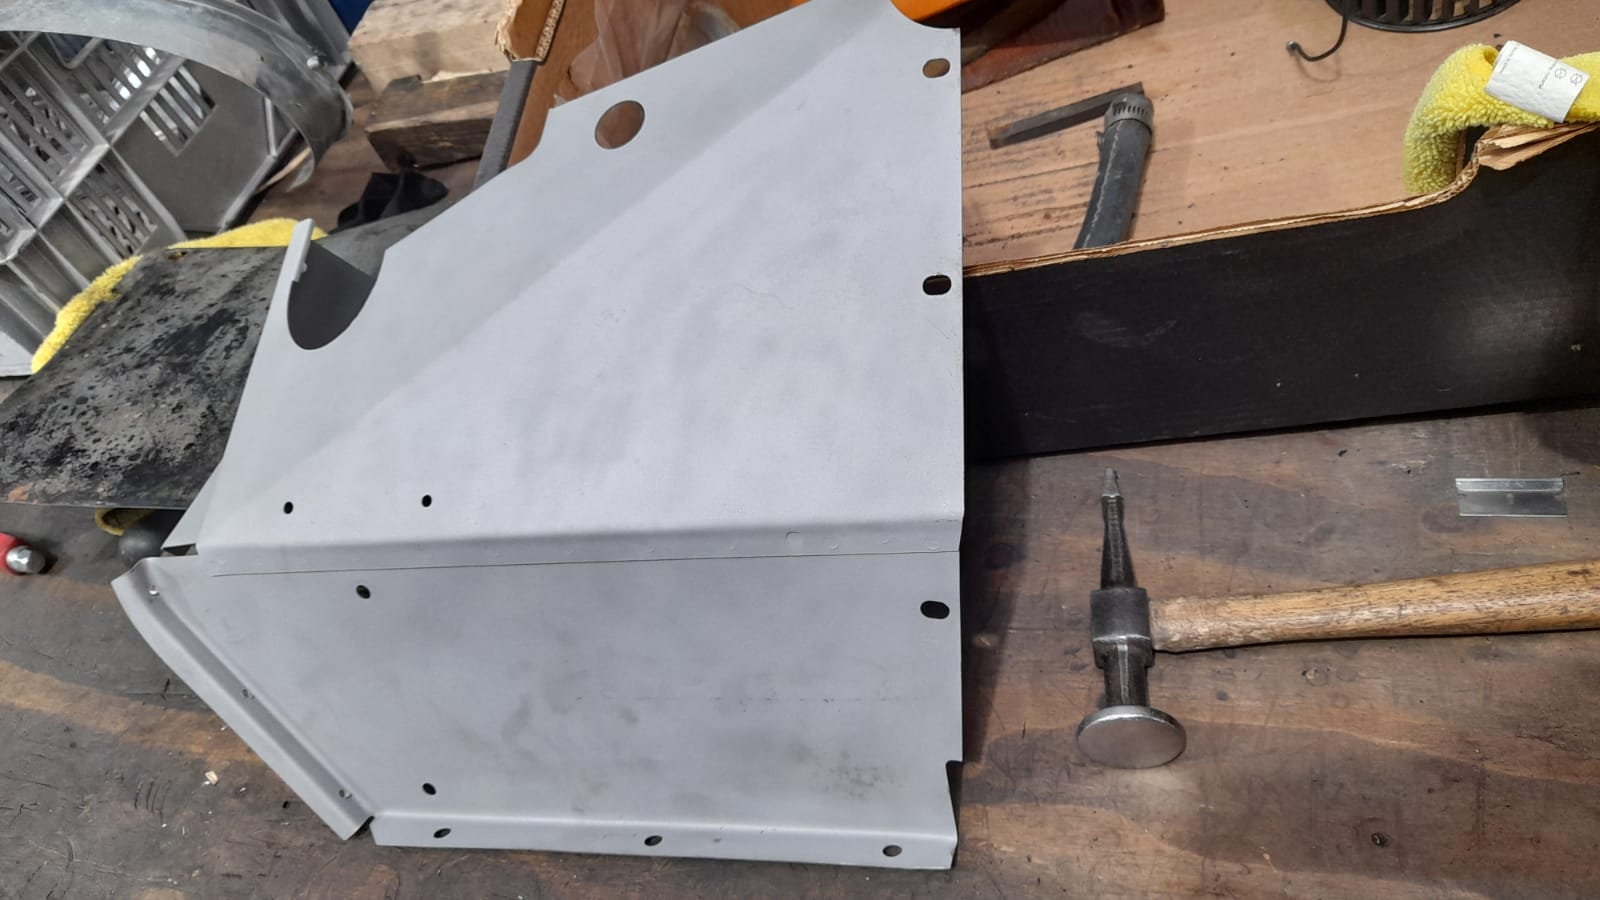
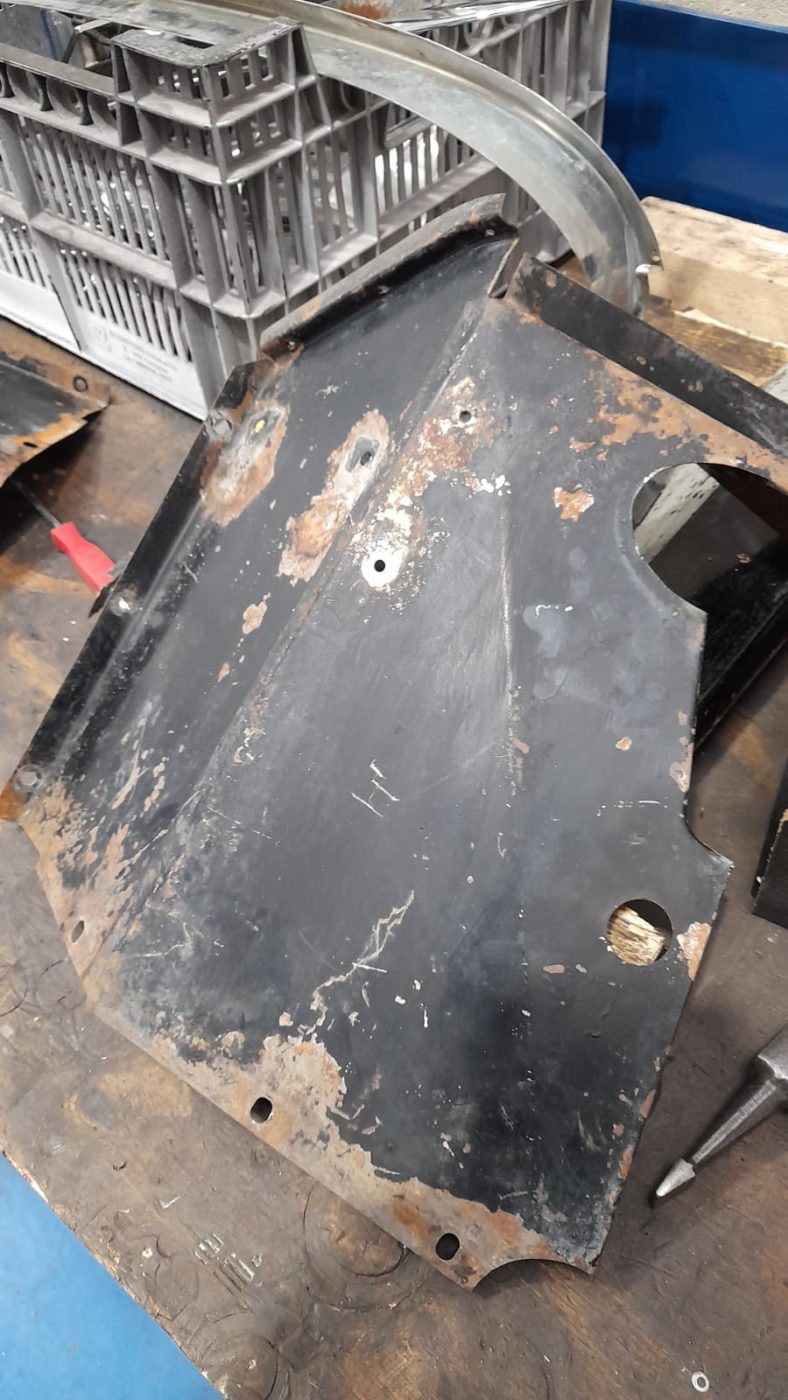

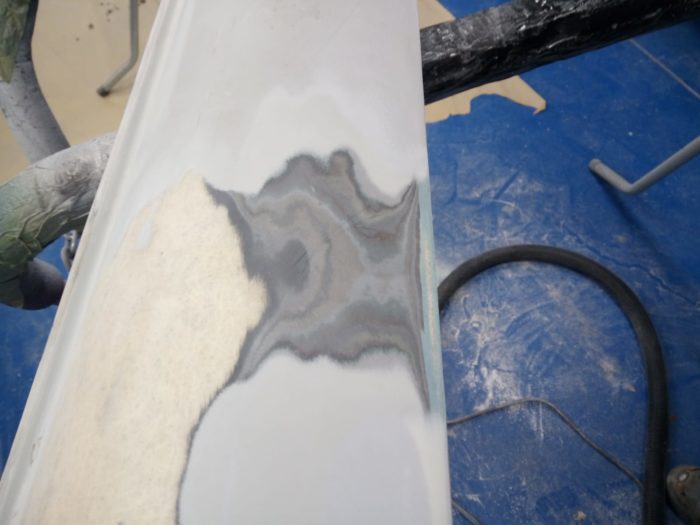
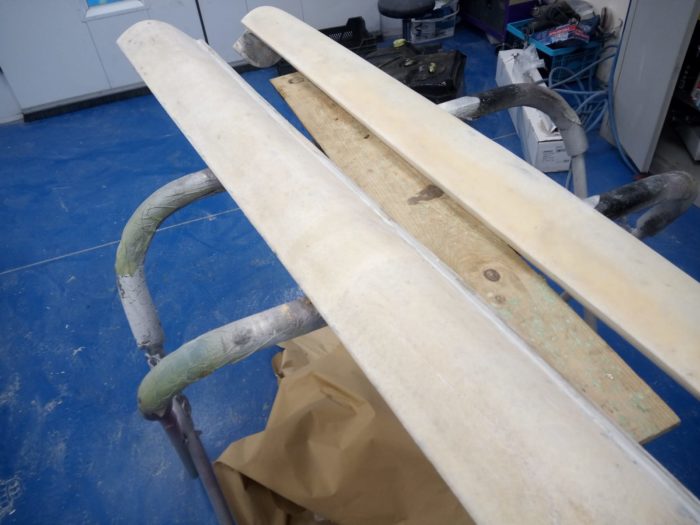
Matt has prepared the panels by striping them back to bare metal and given a protective them a rust proof coating.

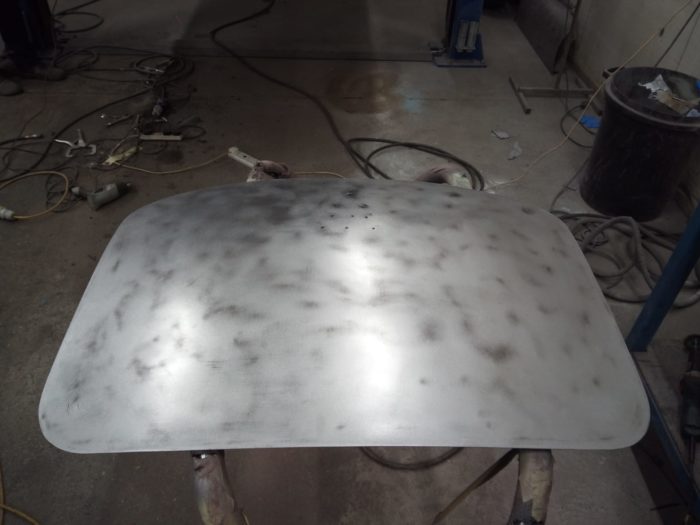
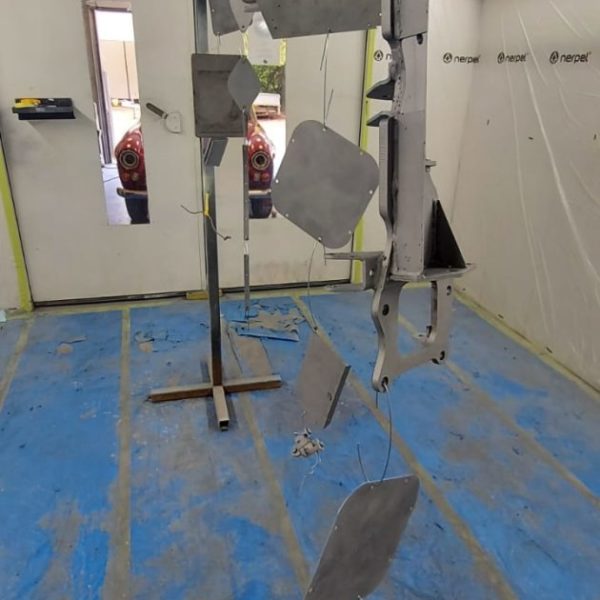
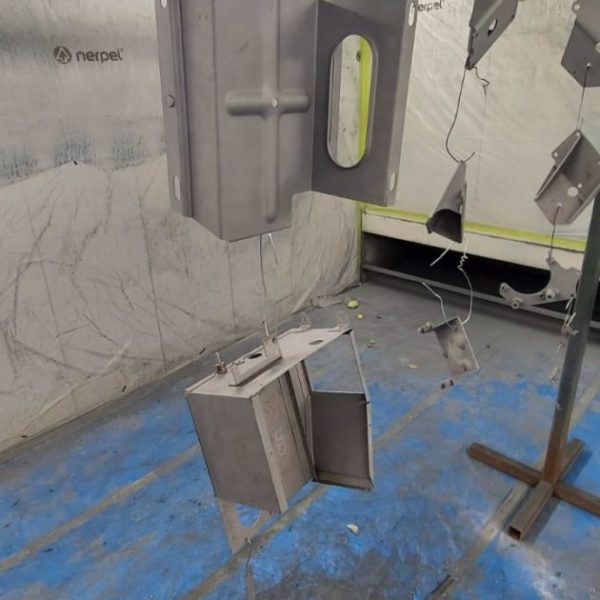
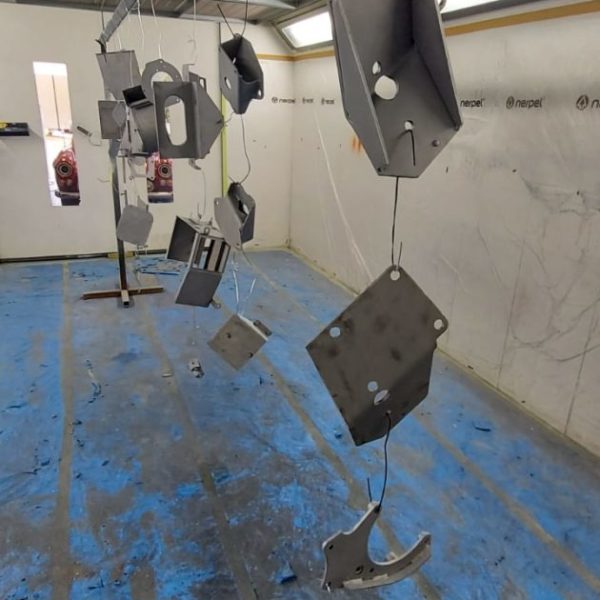
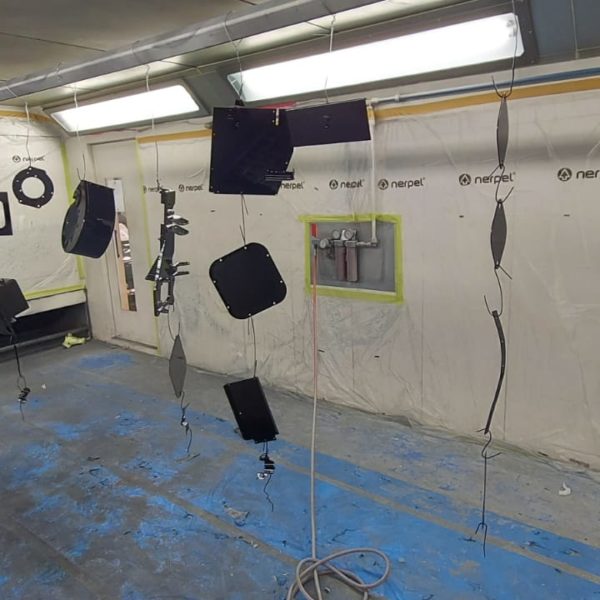
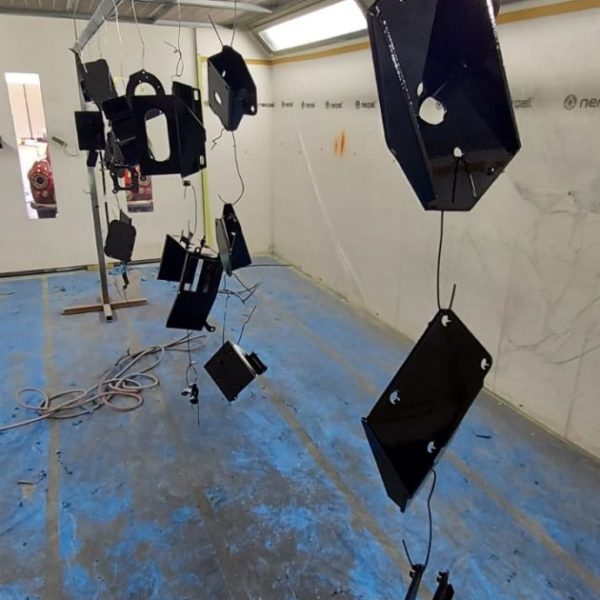
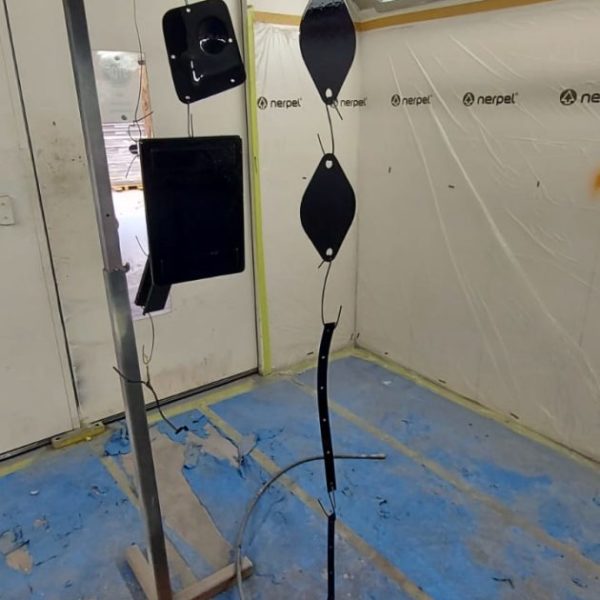
Some elements have been painted in DTM black. These components are internal and are kept black to look uniform.


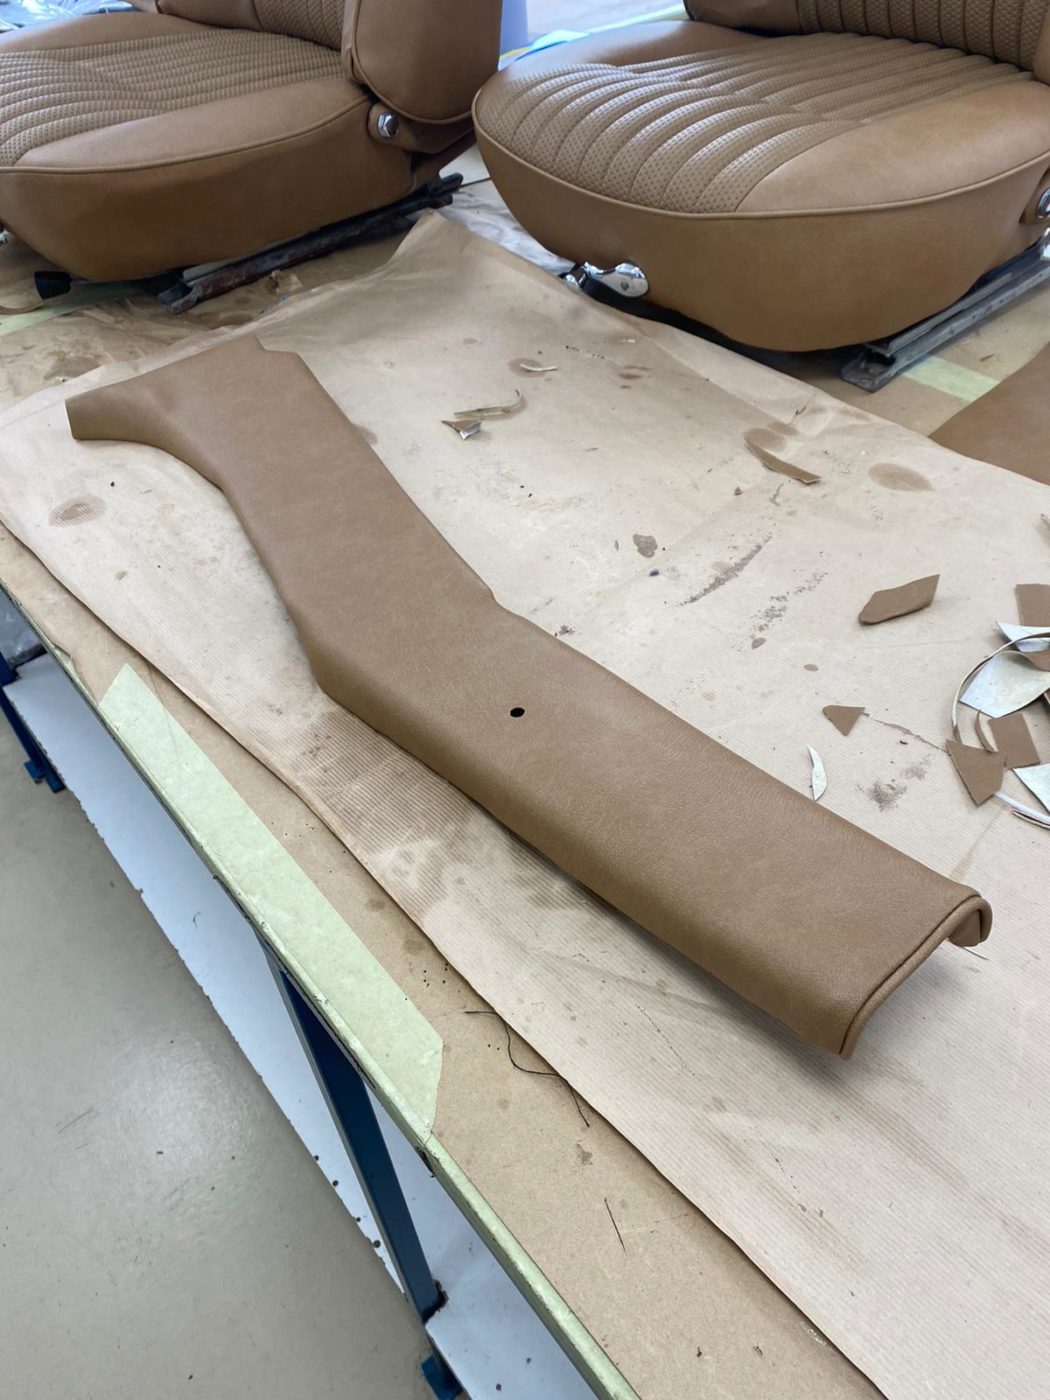
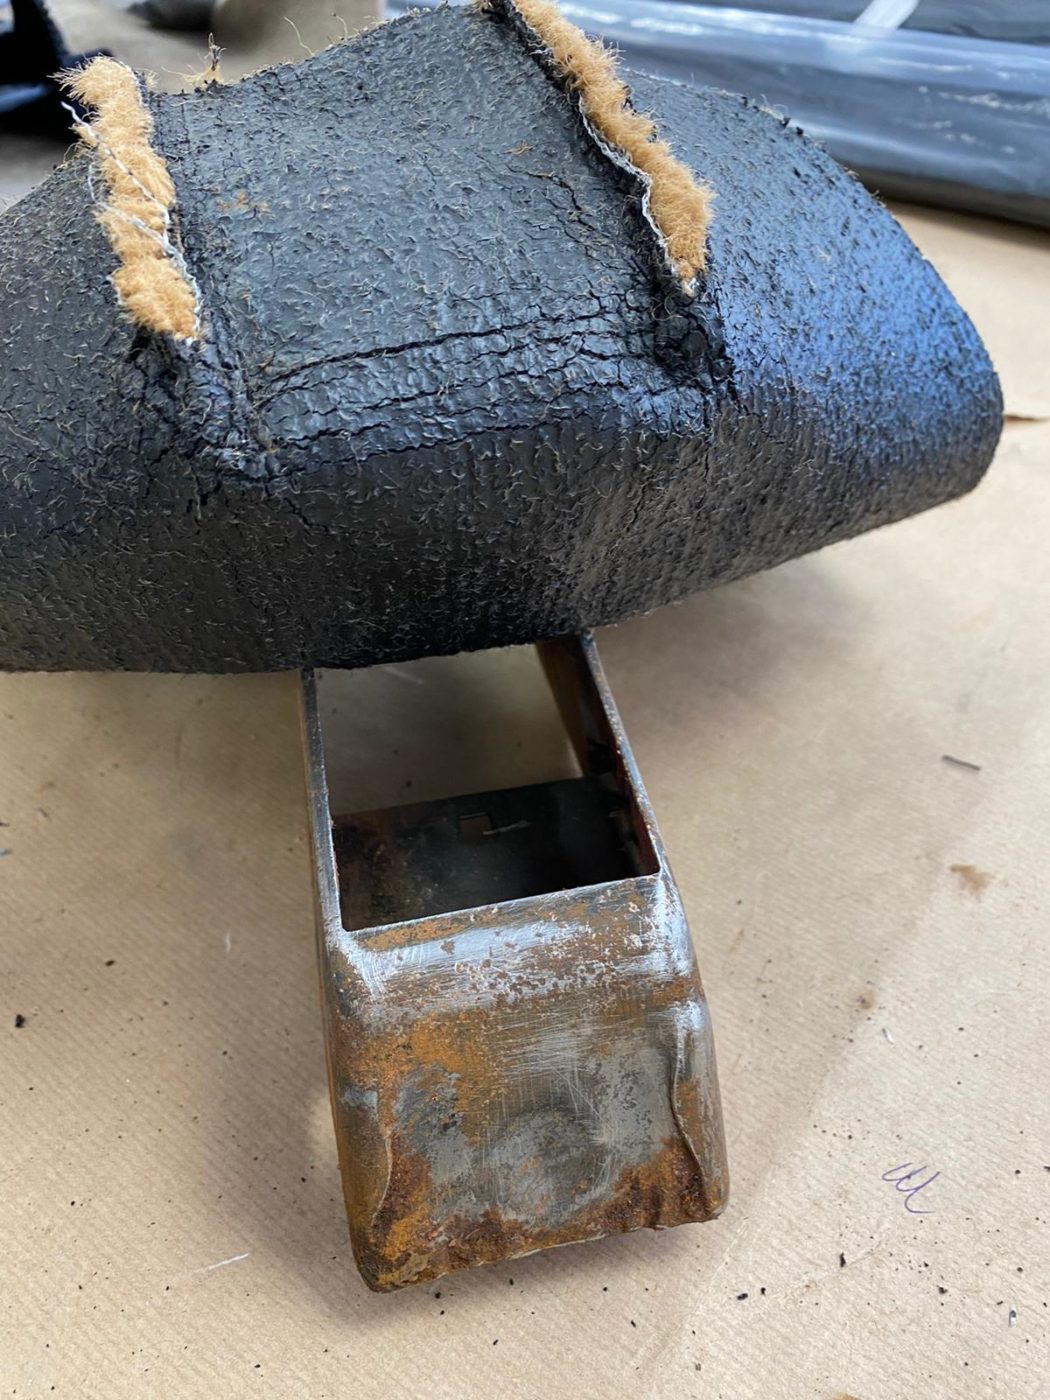
Brian has also started to take apart the seats and hood to be re-covered.
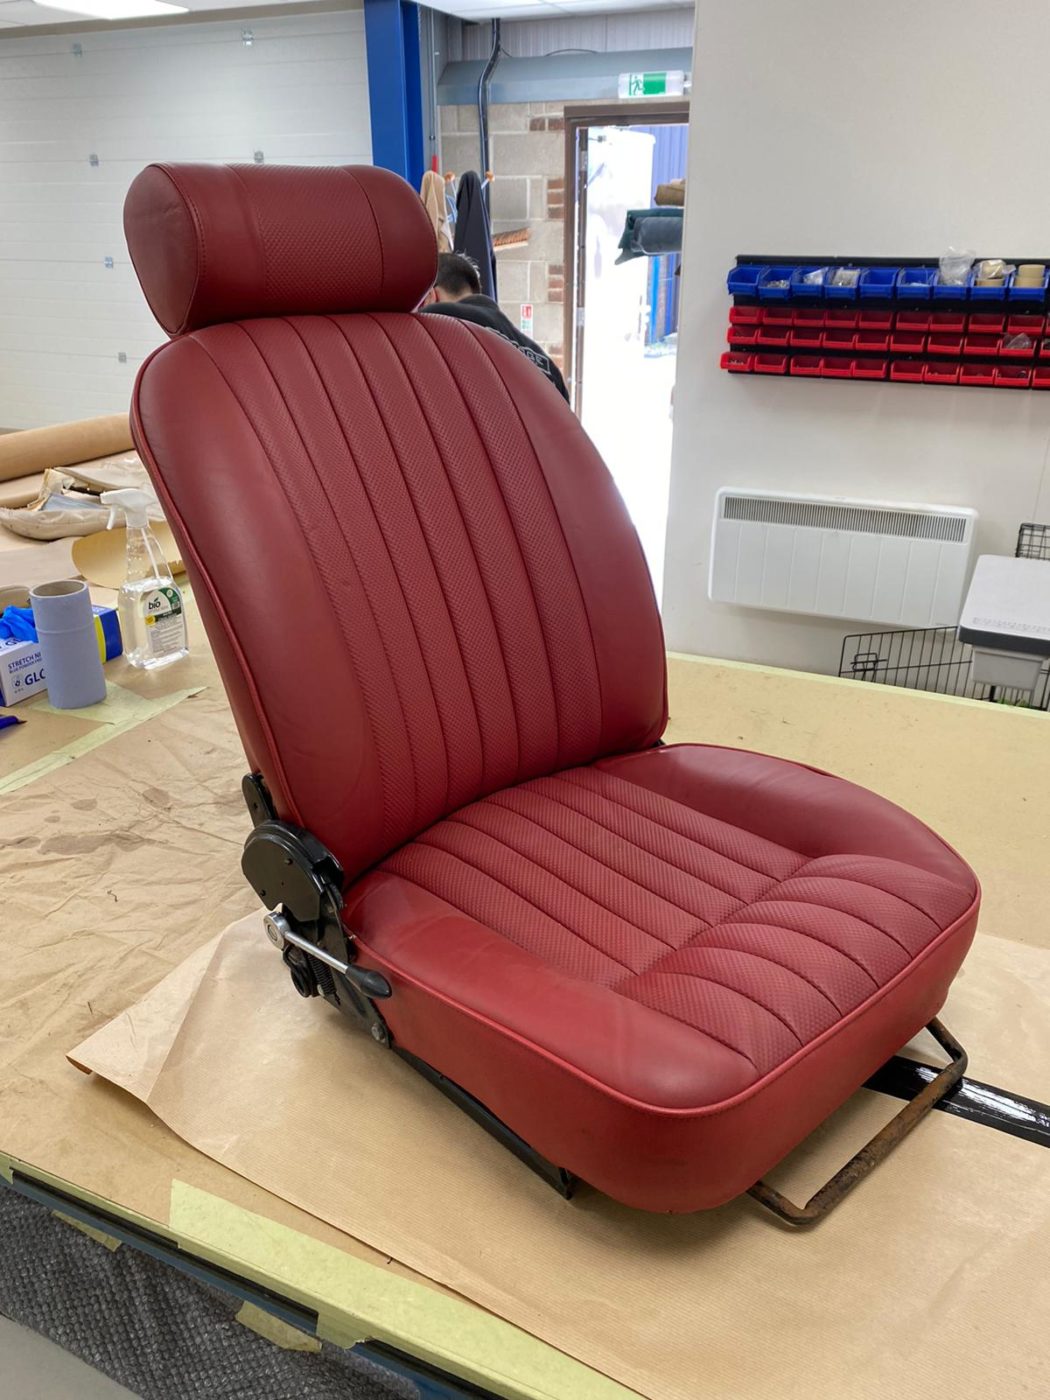
Scott has put the heater box back together after the parts being painted. He’s cleaned and polished the parts and replaced the foam seals and gaskets where necessary, so it’s ready to fit straight to the car when that time comes.
We’re delighted to announce that Matthew Evans has received his new 1969 Mini MKII 850 Super Deluxe safe and sound. Matthew won with his lucky ticket number 1532.
Matthew bought only one ticket with us which happened to be his first ever ticket he’d bought with us – and as fate would have it, it happened to be his winning ticket.
Our 1996 35th Anniversary edition Mini Cooper has been delivered to Steve Hatswell in East Grinstead last week. Steve happens to be the brother of Phillip Hatswell who received the BMW Z3M. We often see family members enter after seeing their relatives win with us, but it’s a first for a double family win!
You can see the live draw and entry lists from the night, here.
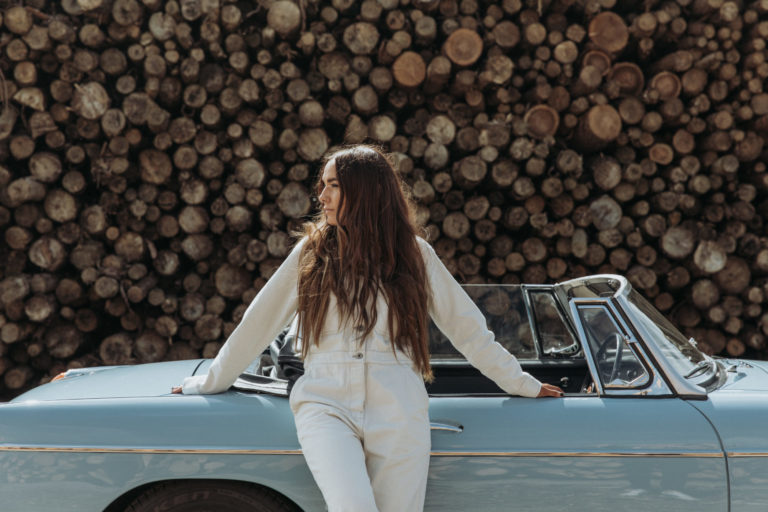
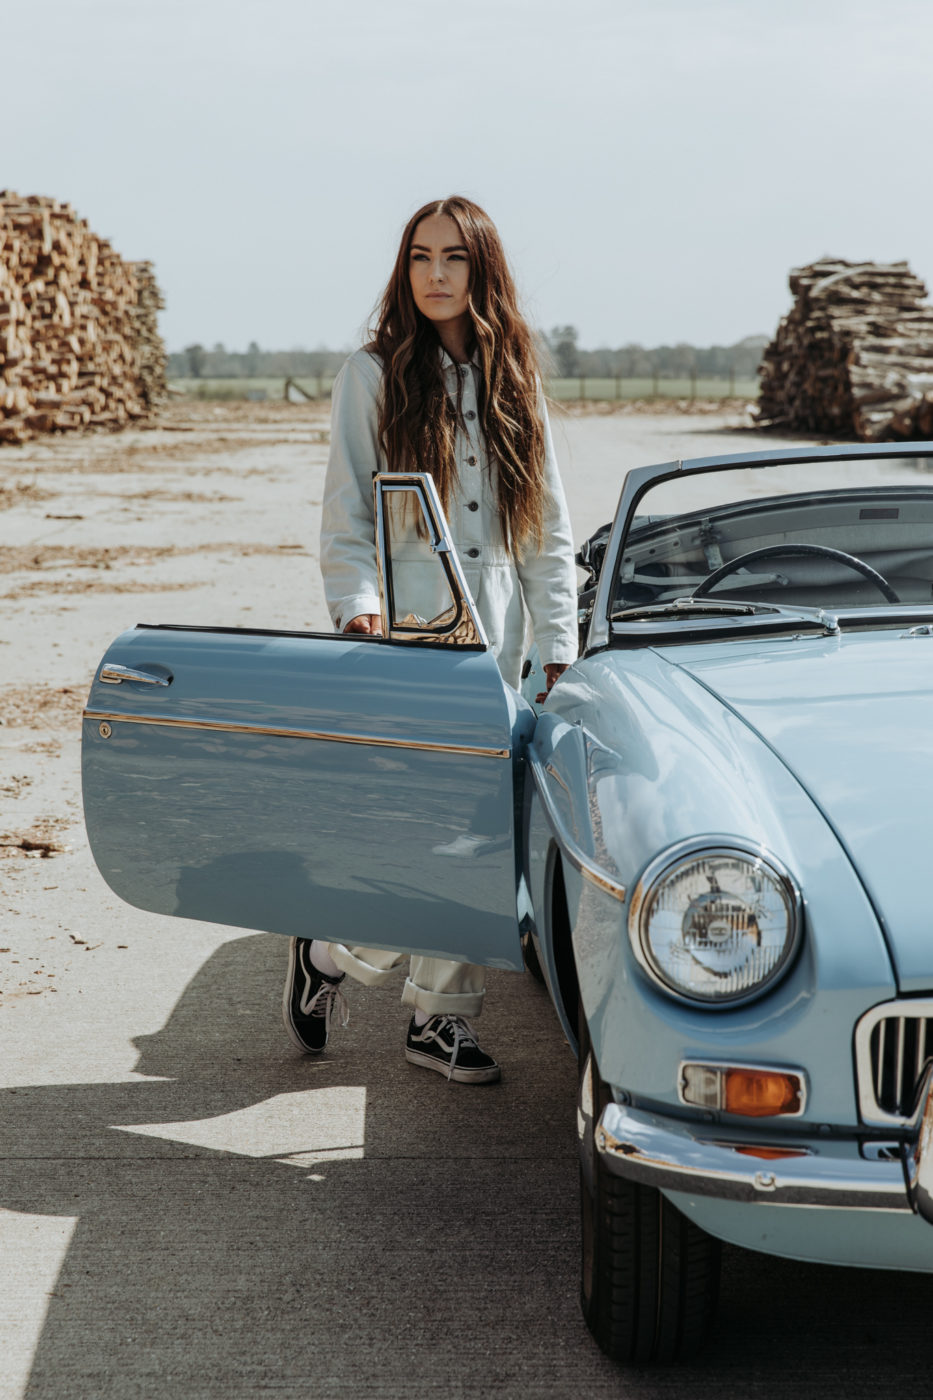
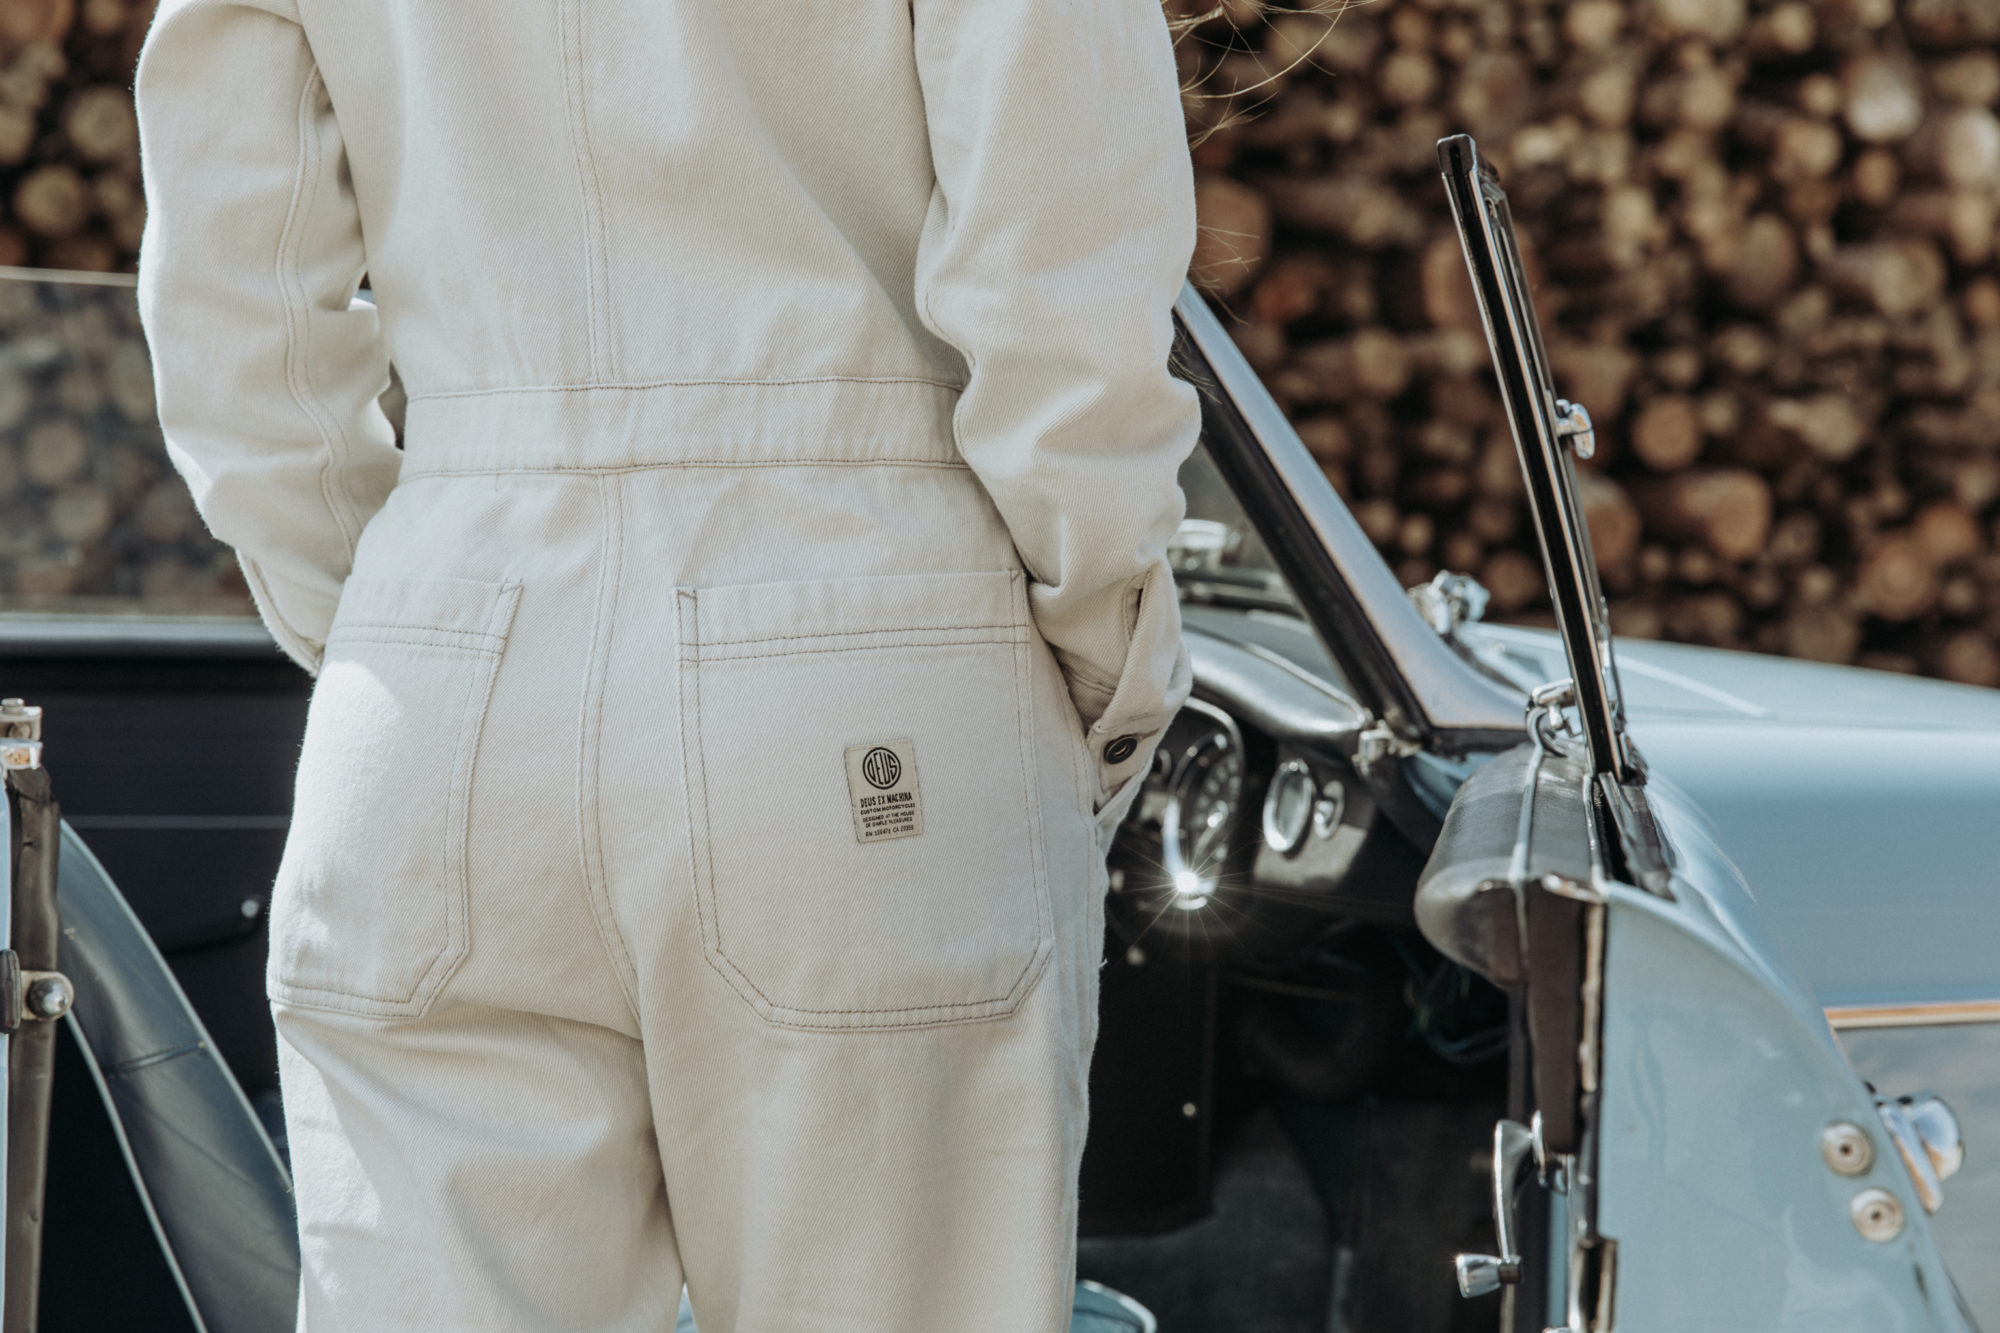
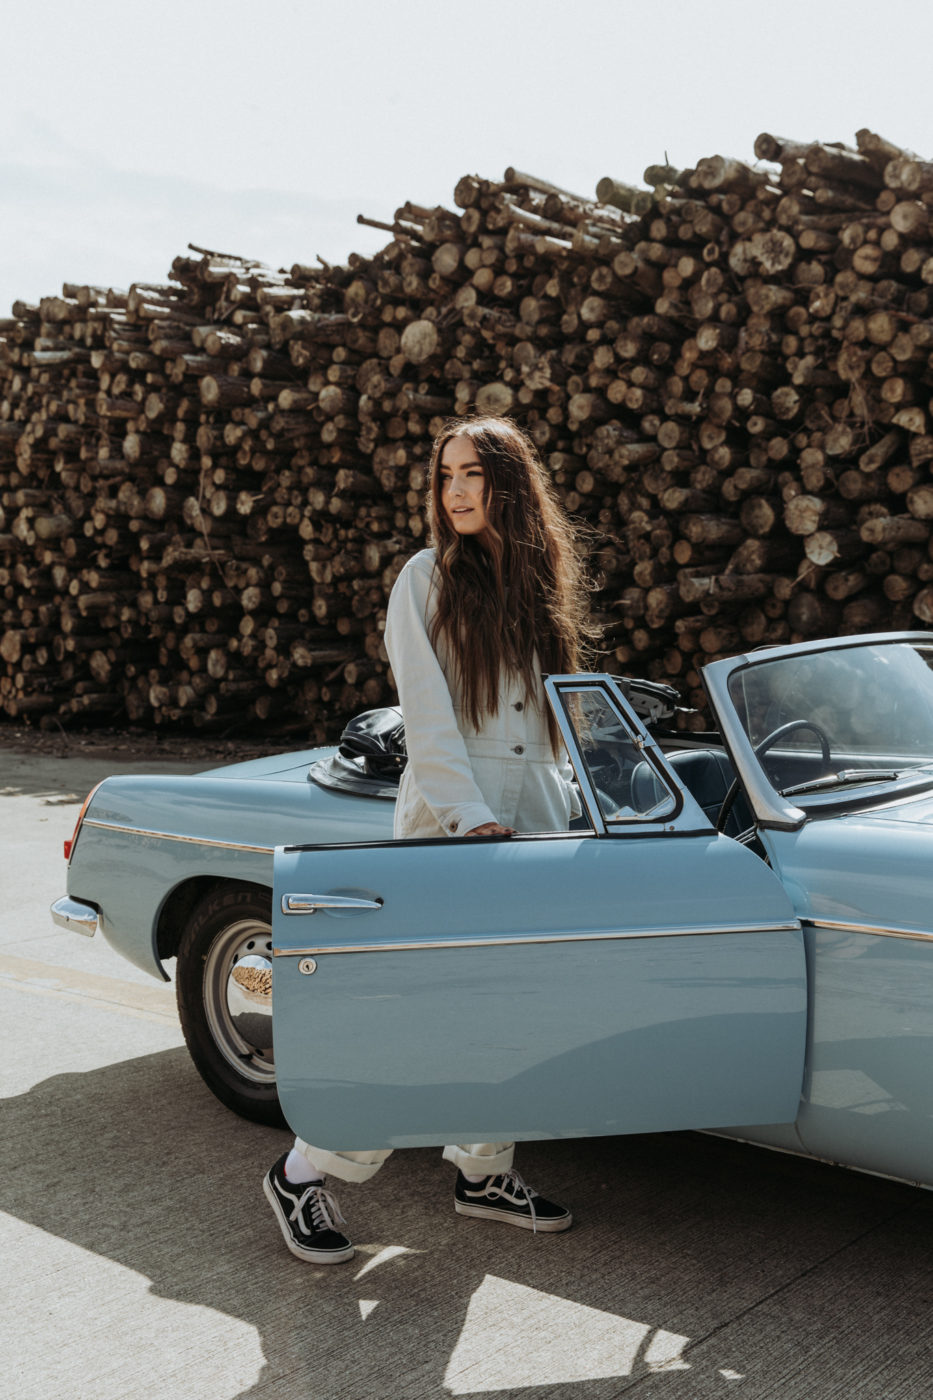
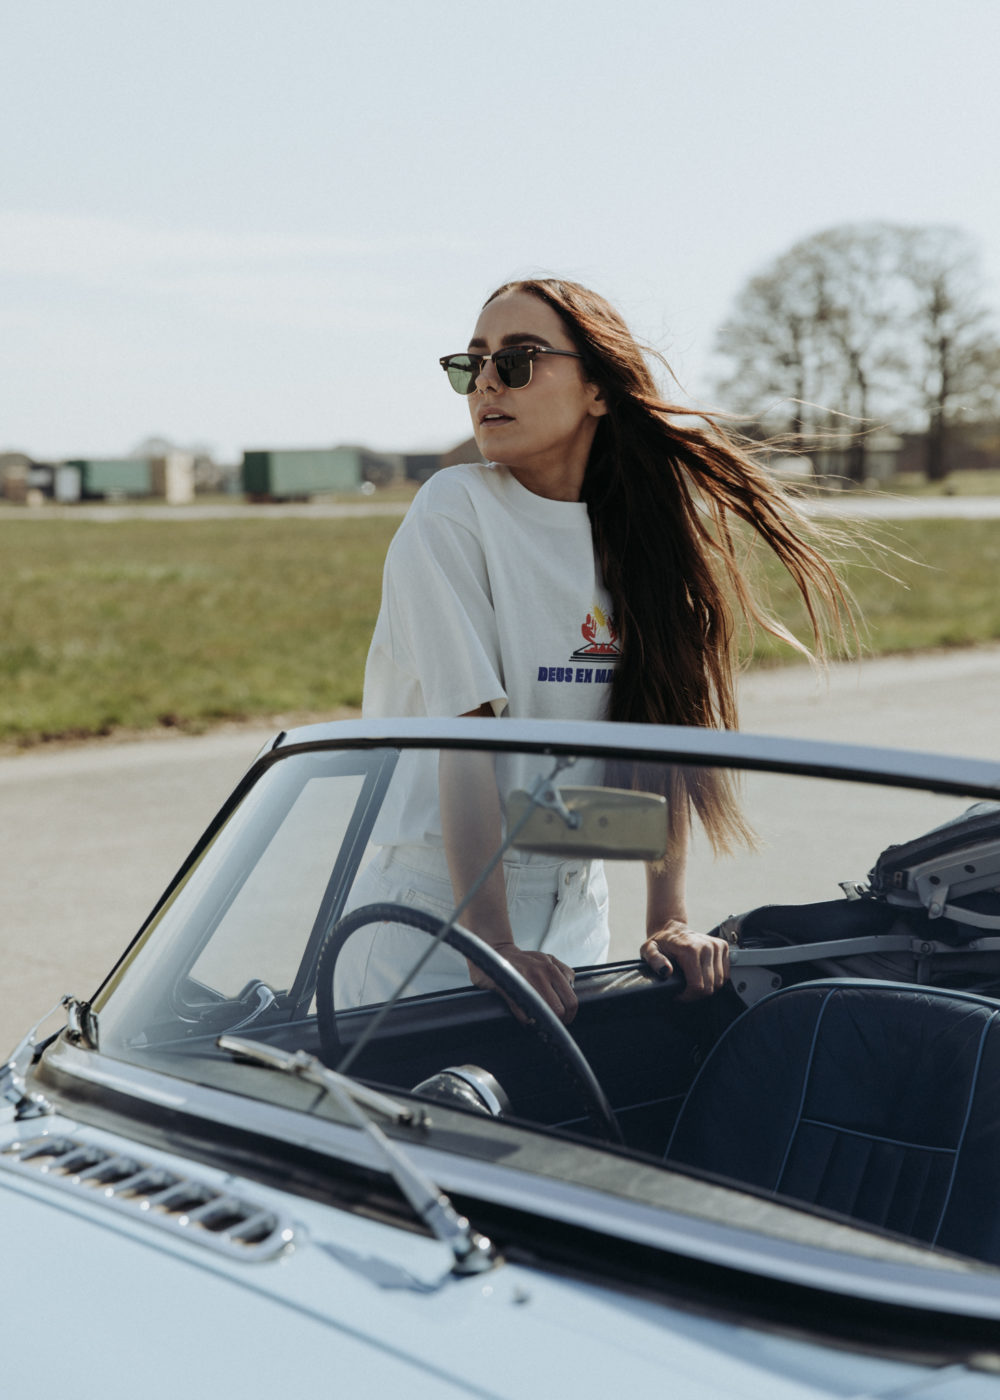
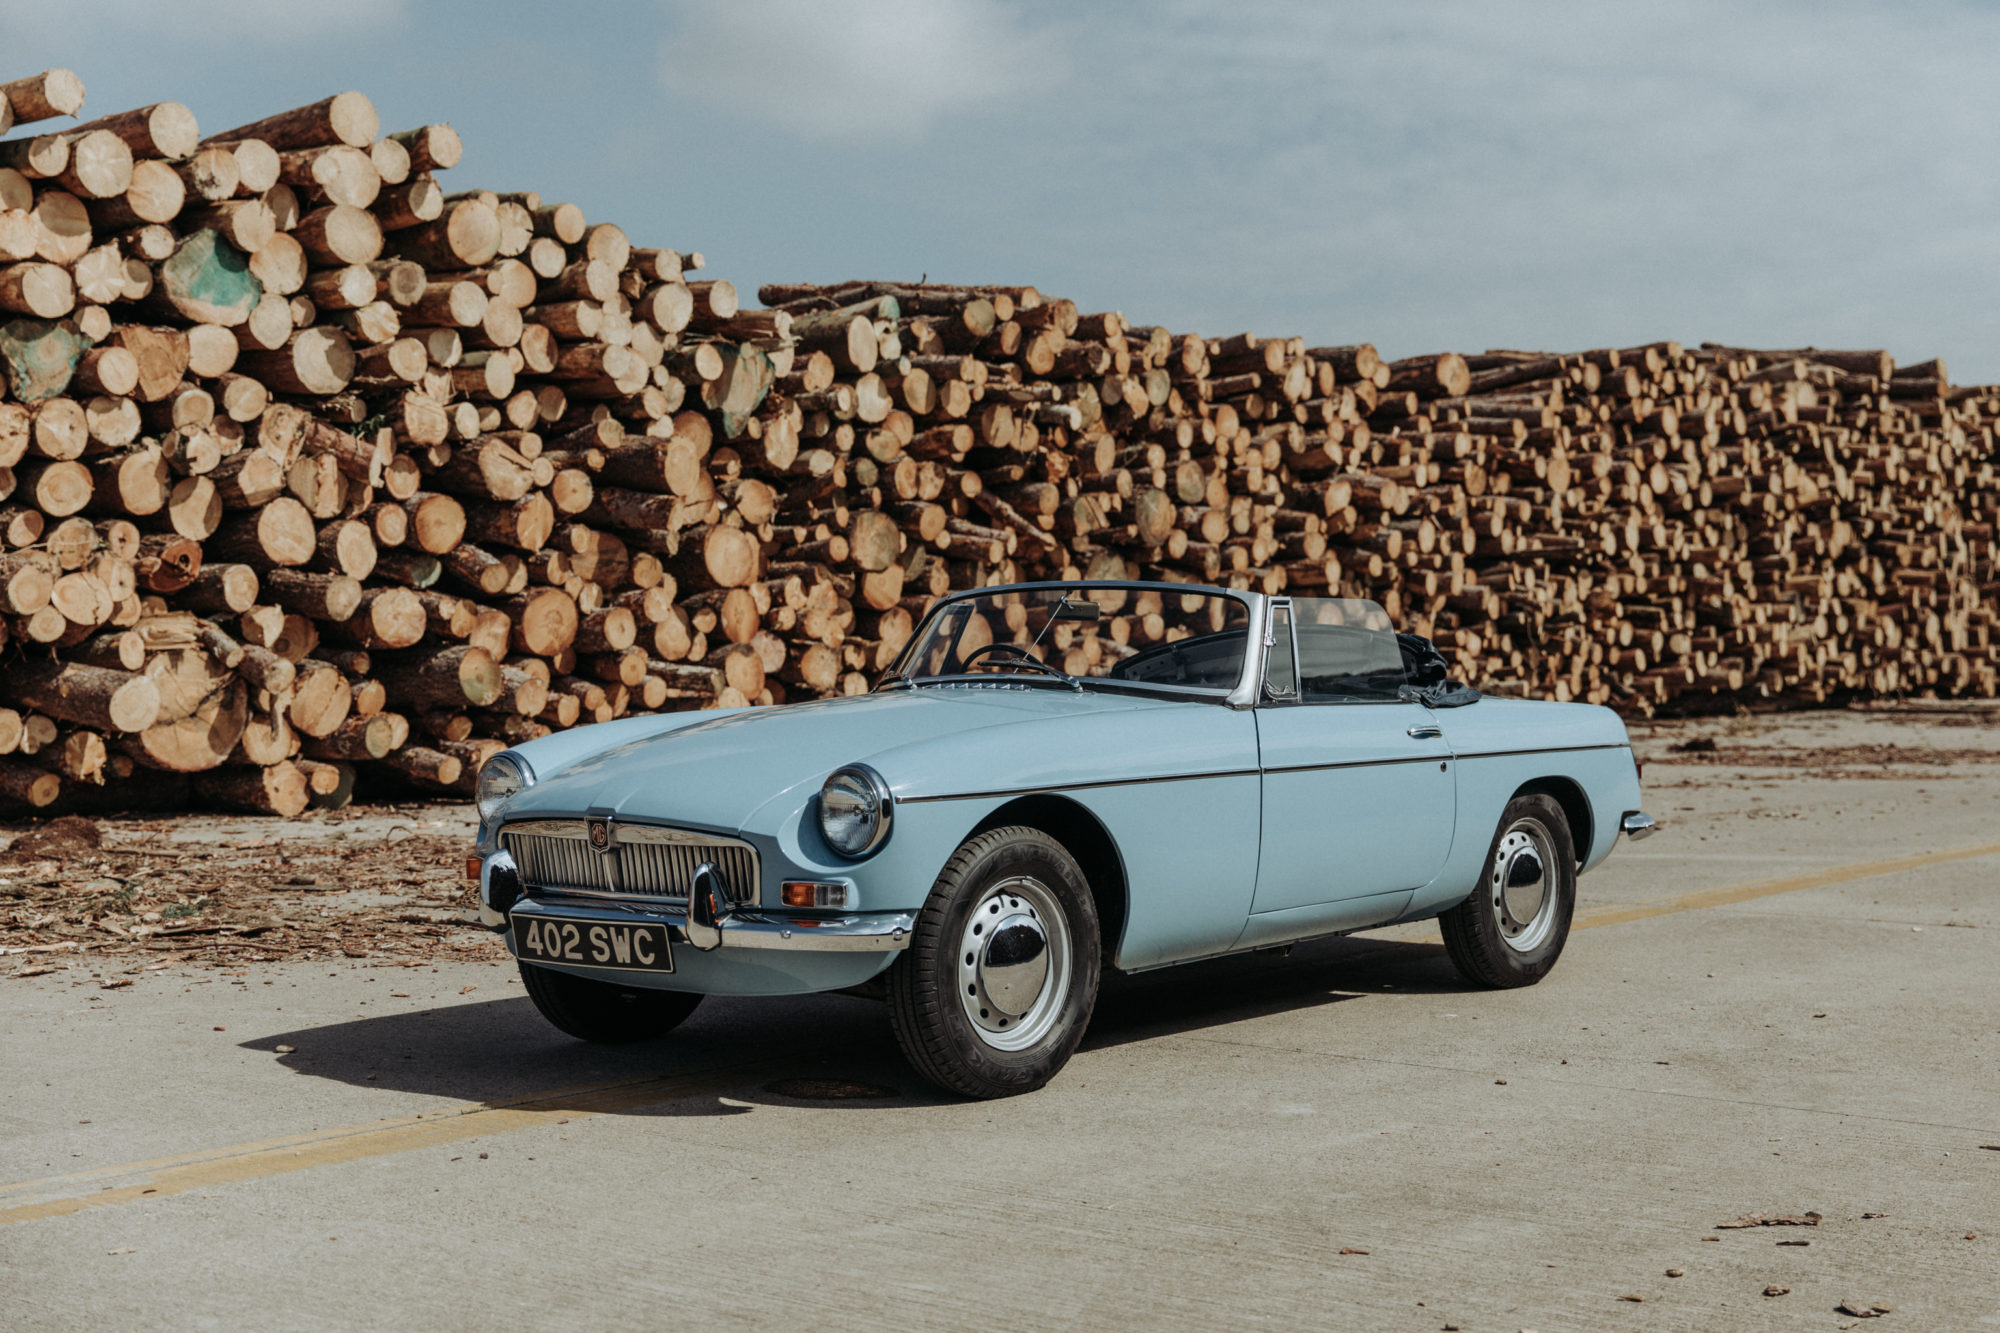
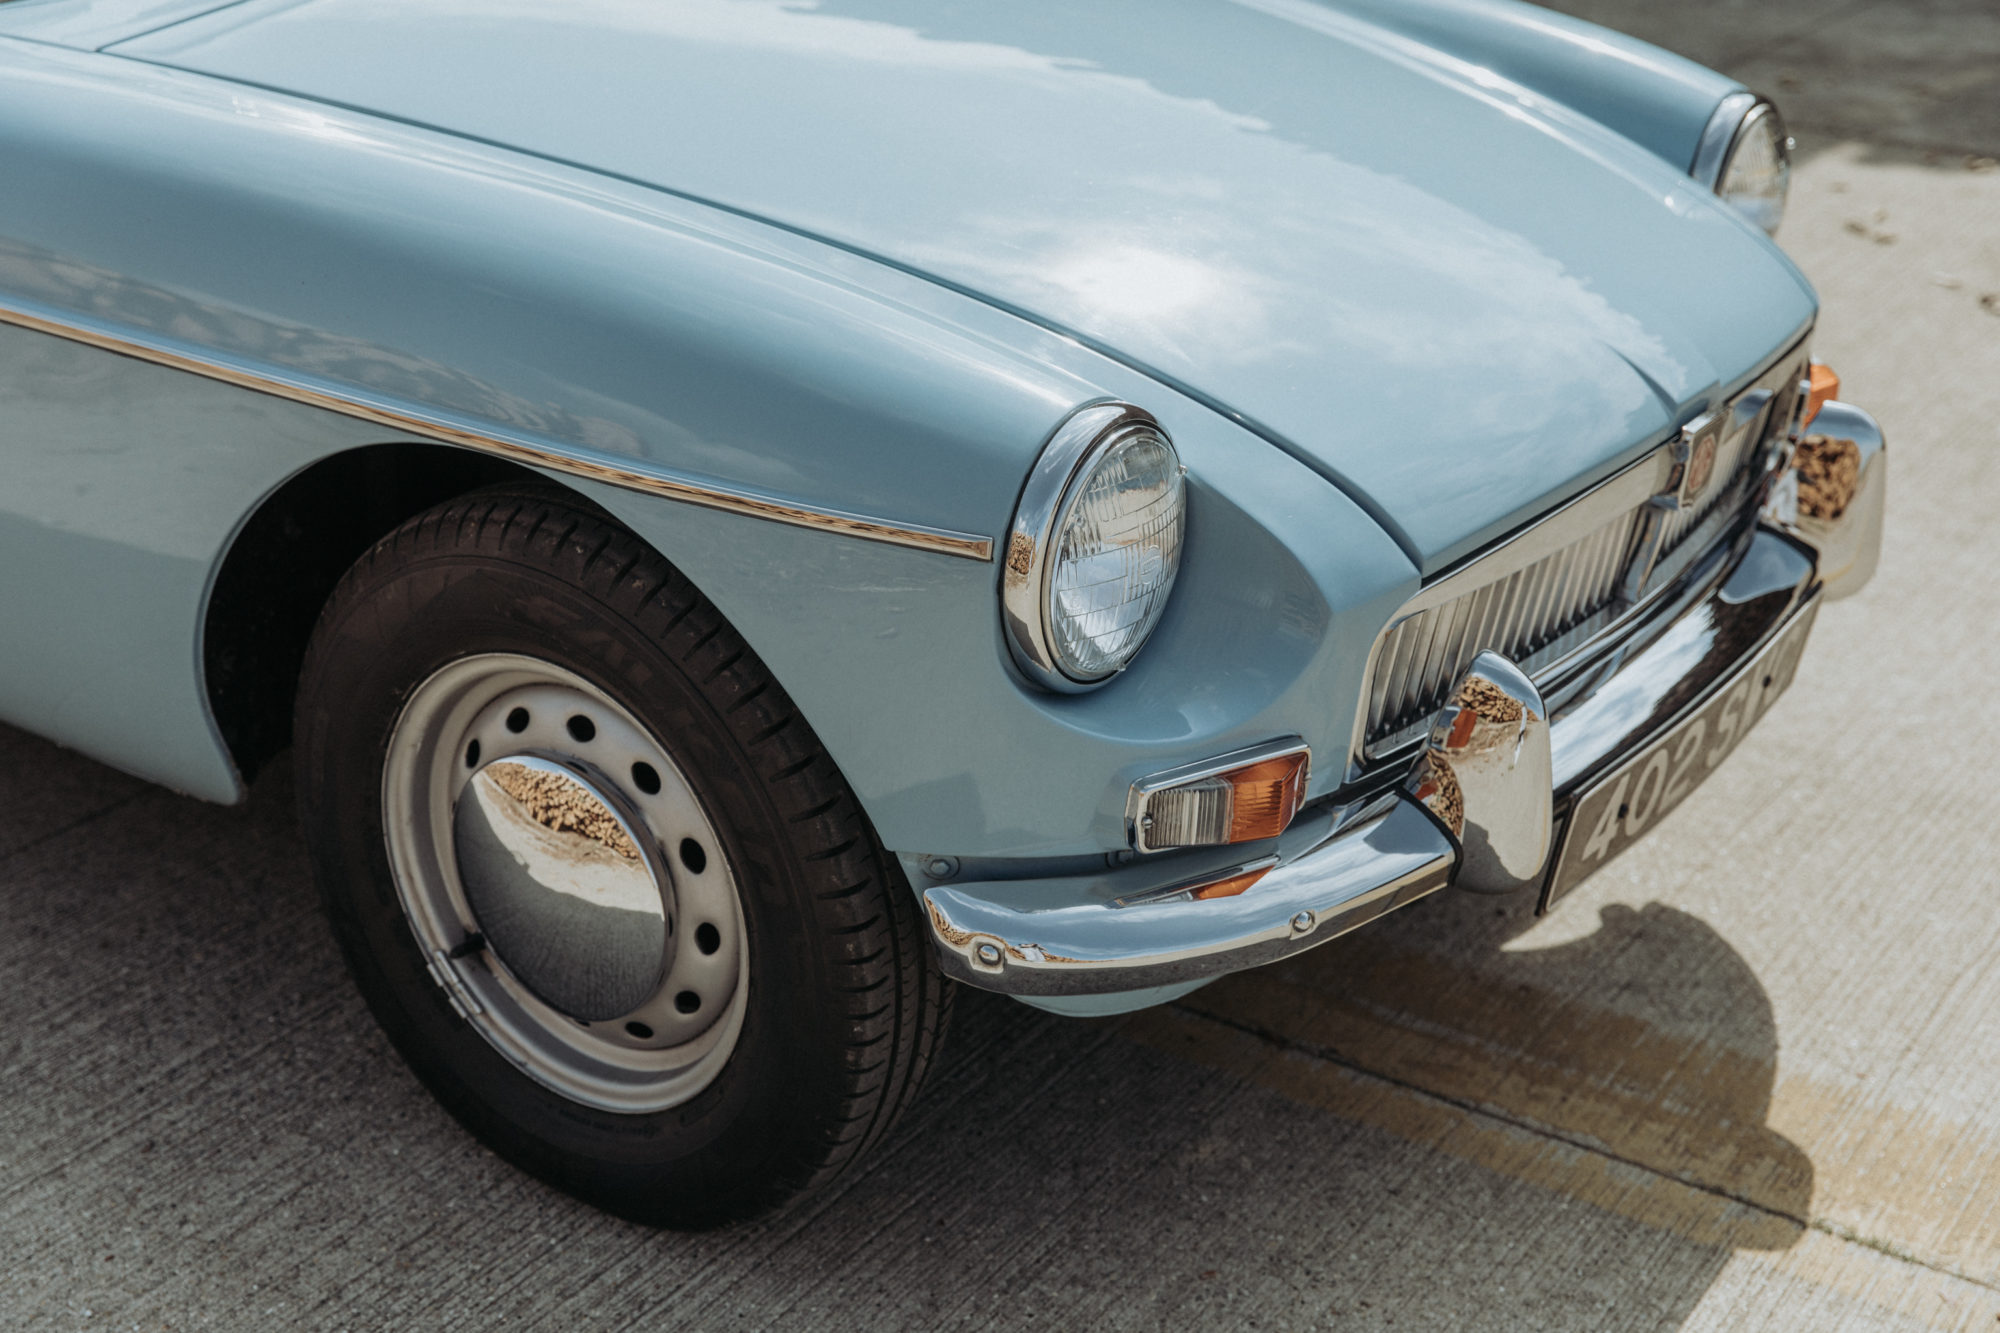
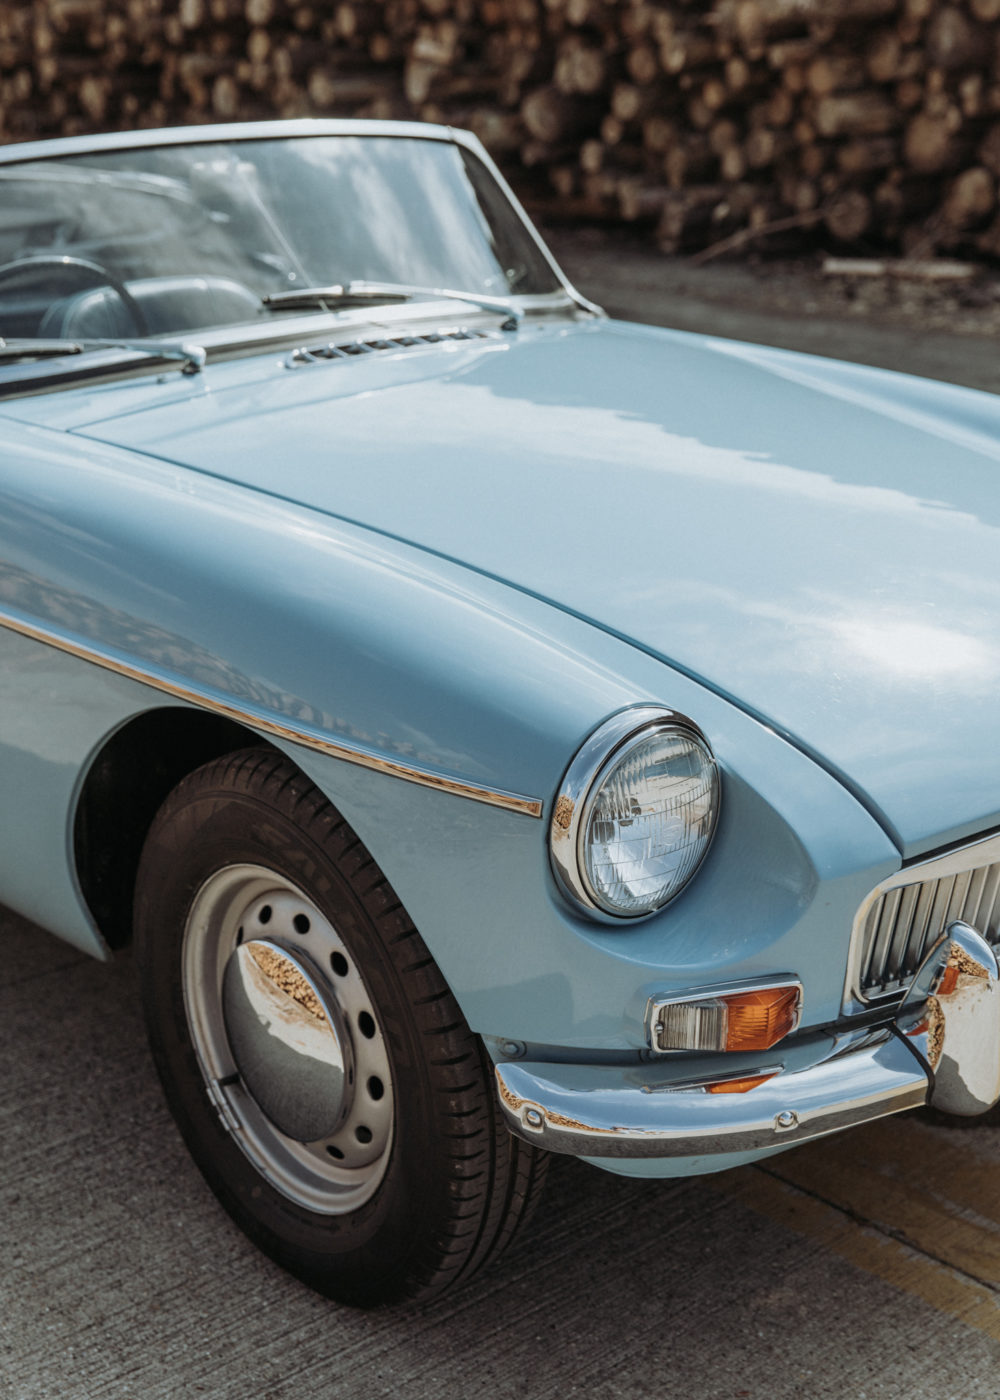
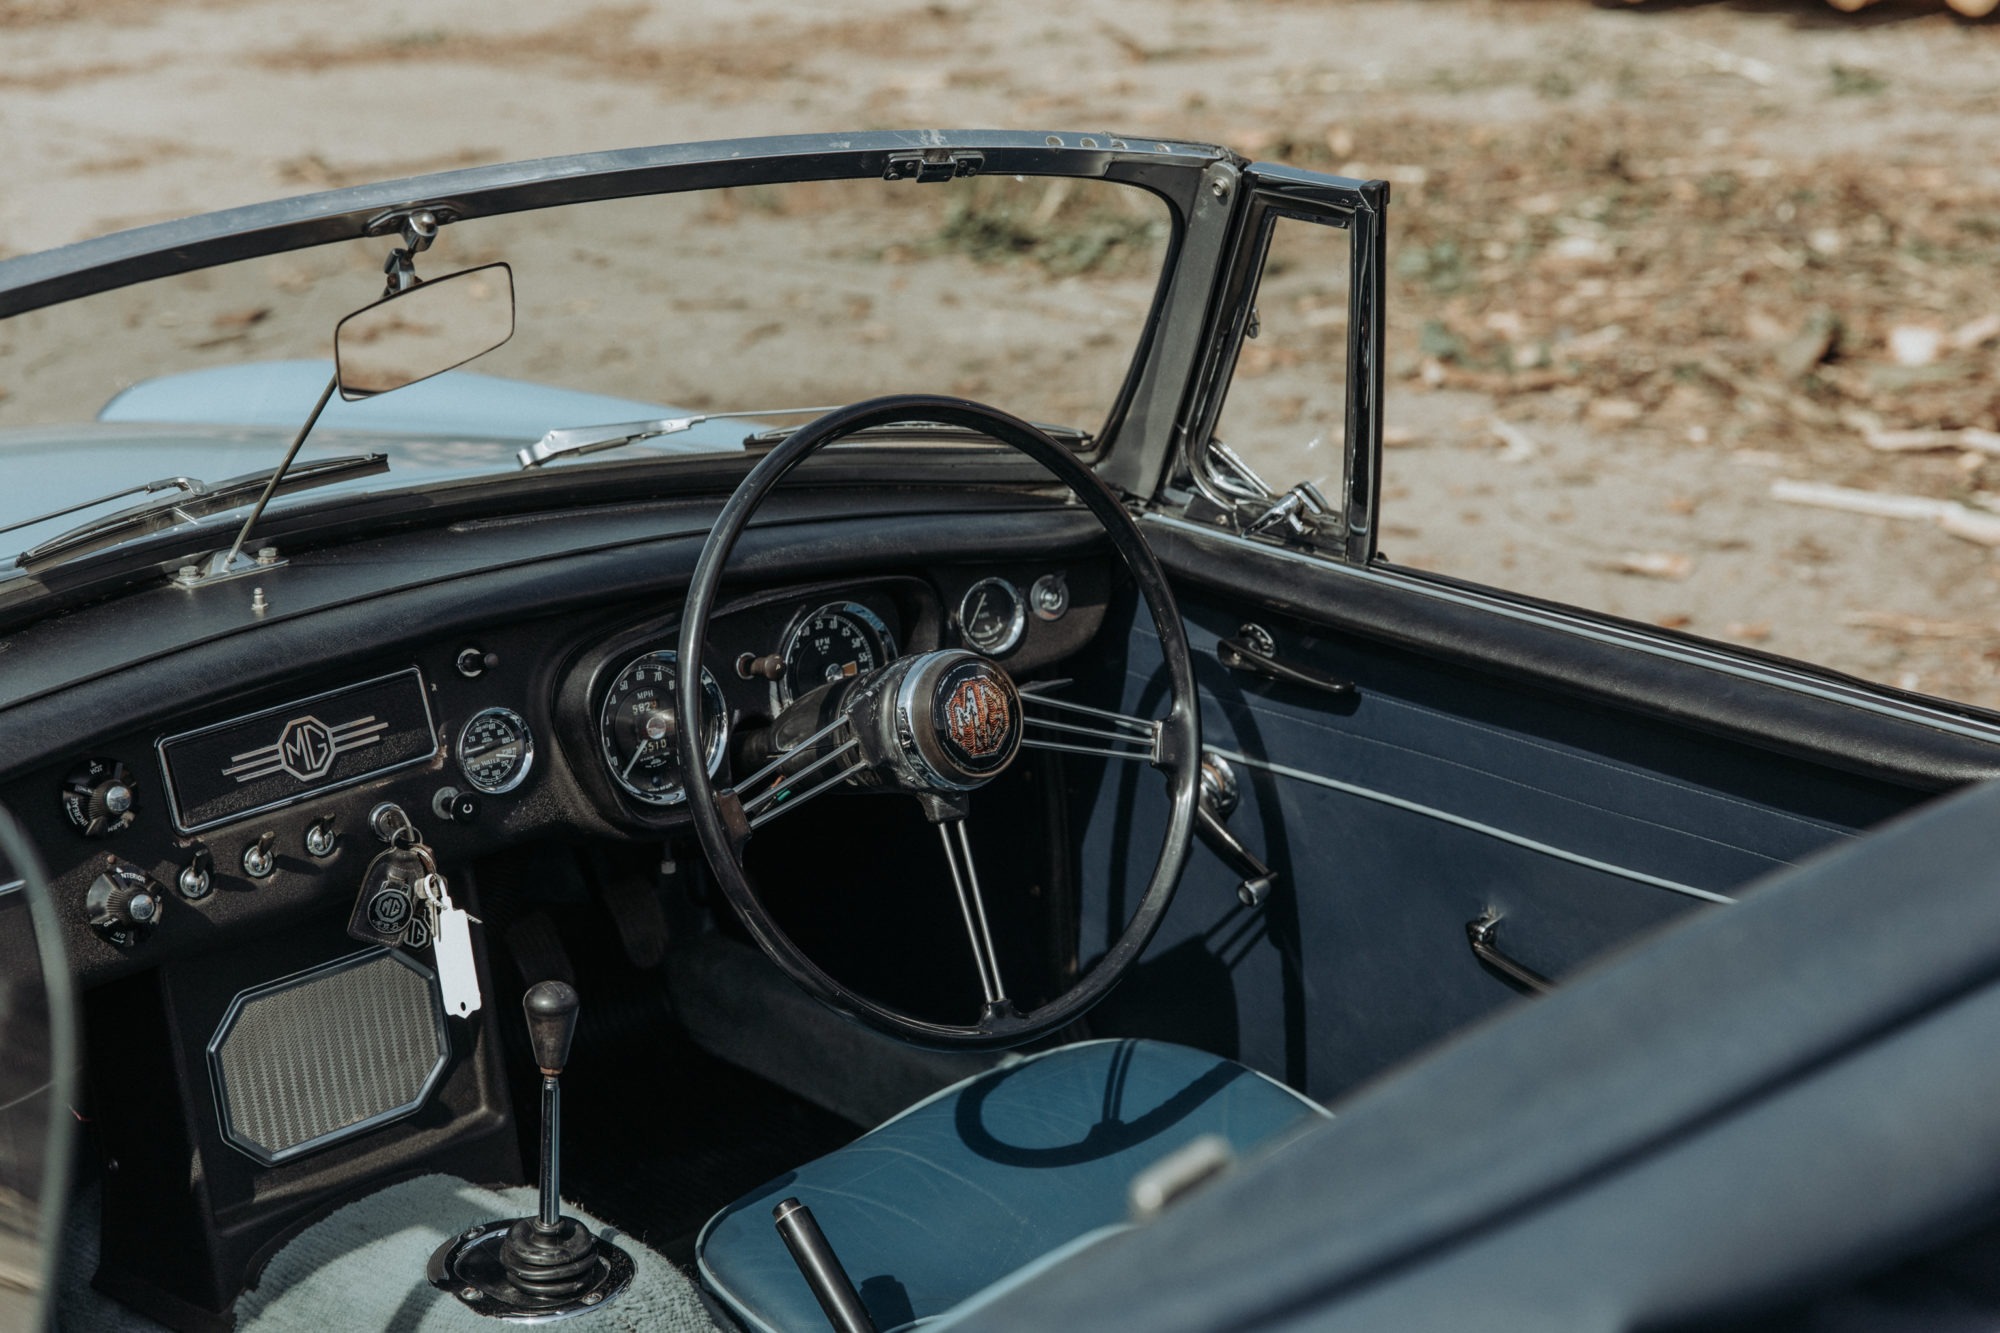
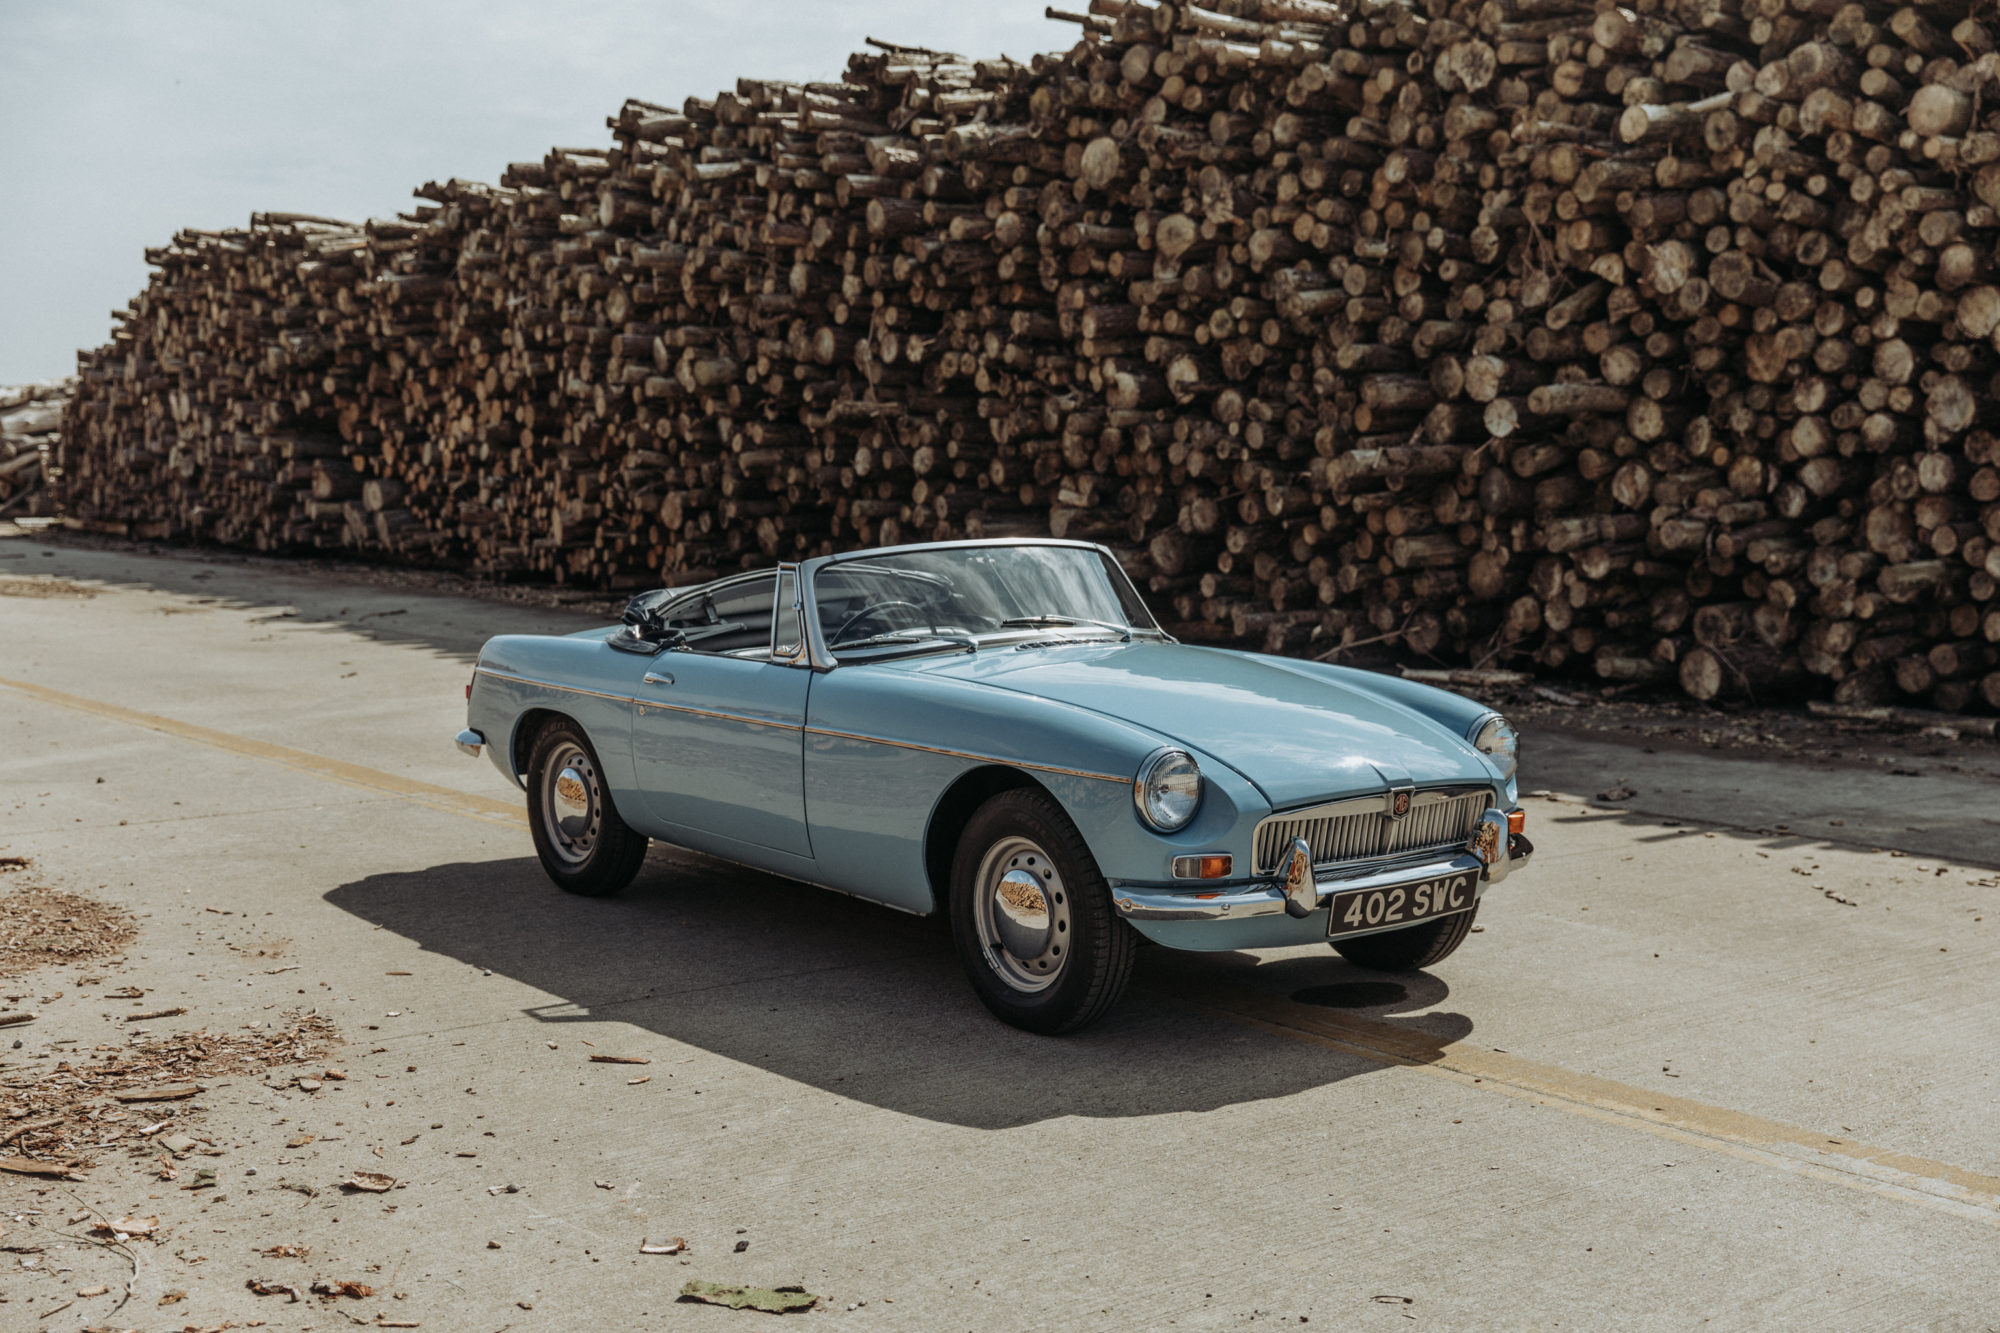
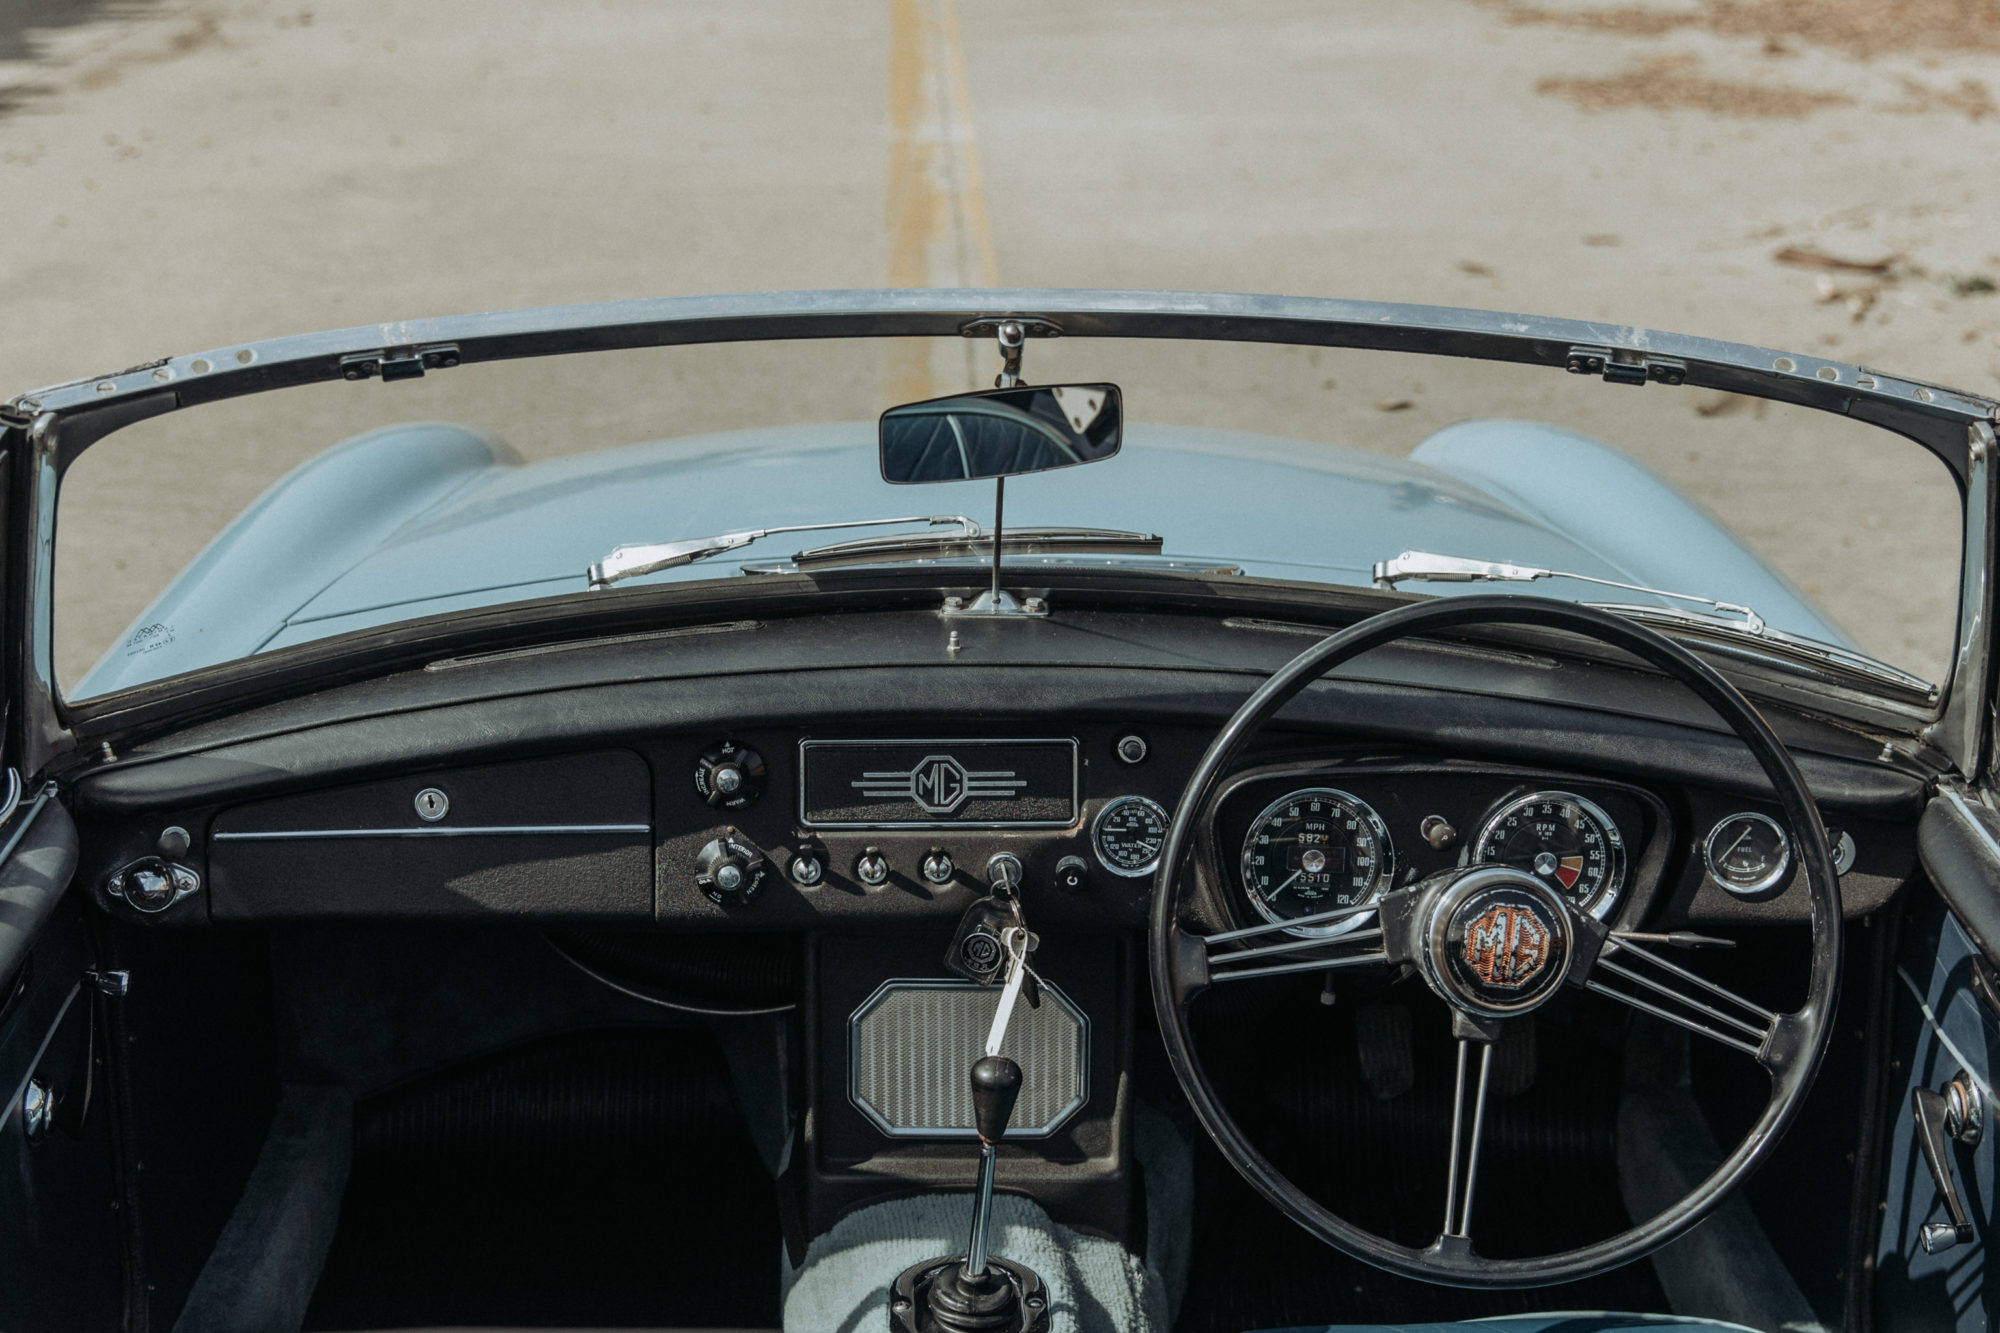
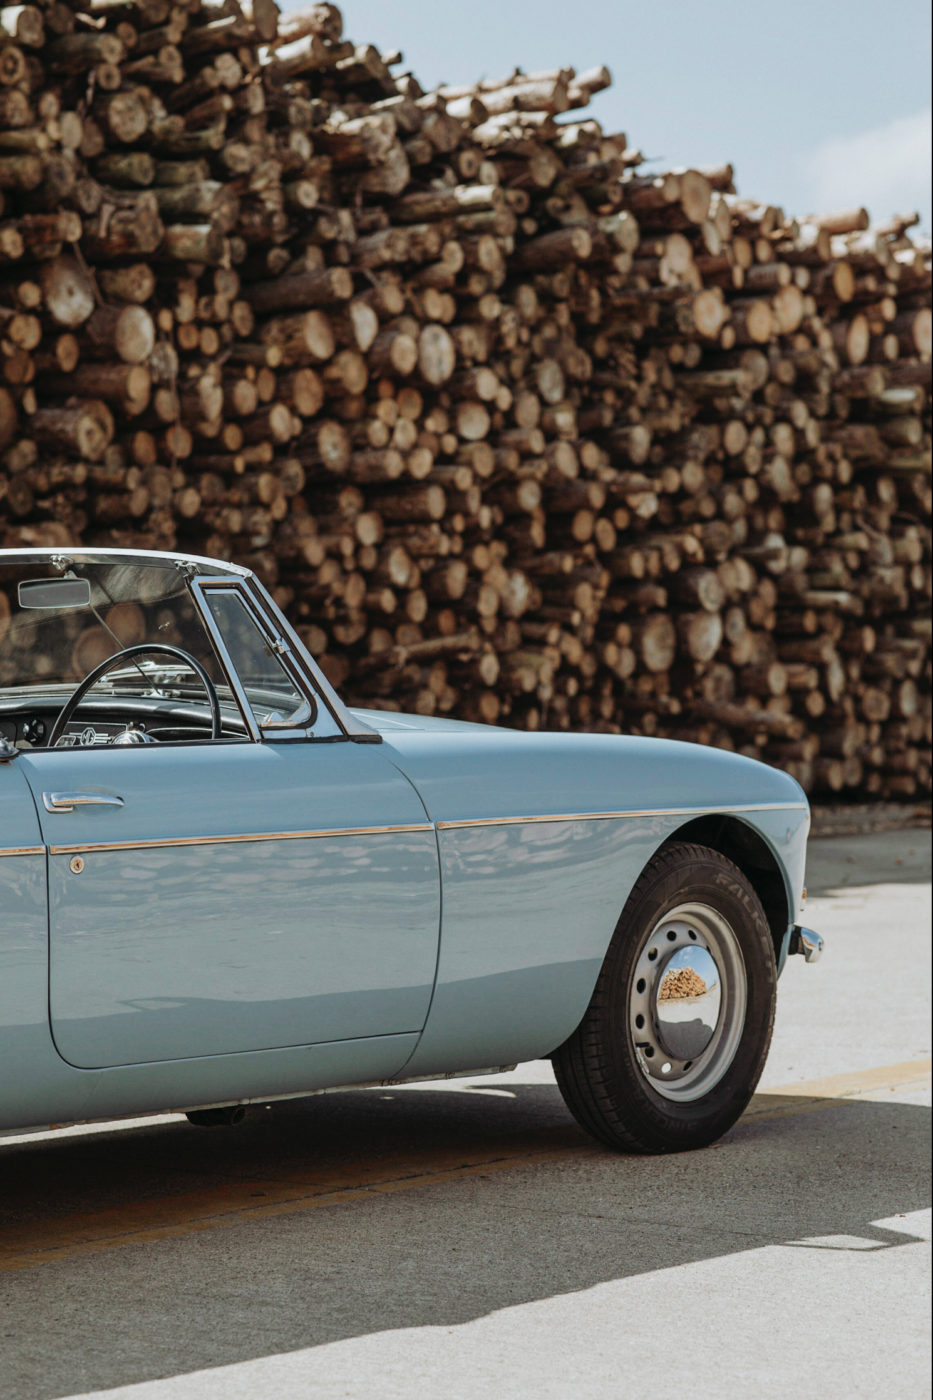
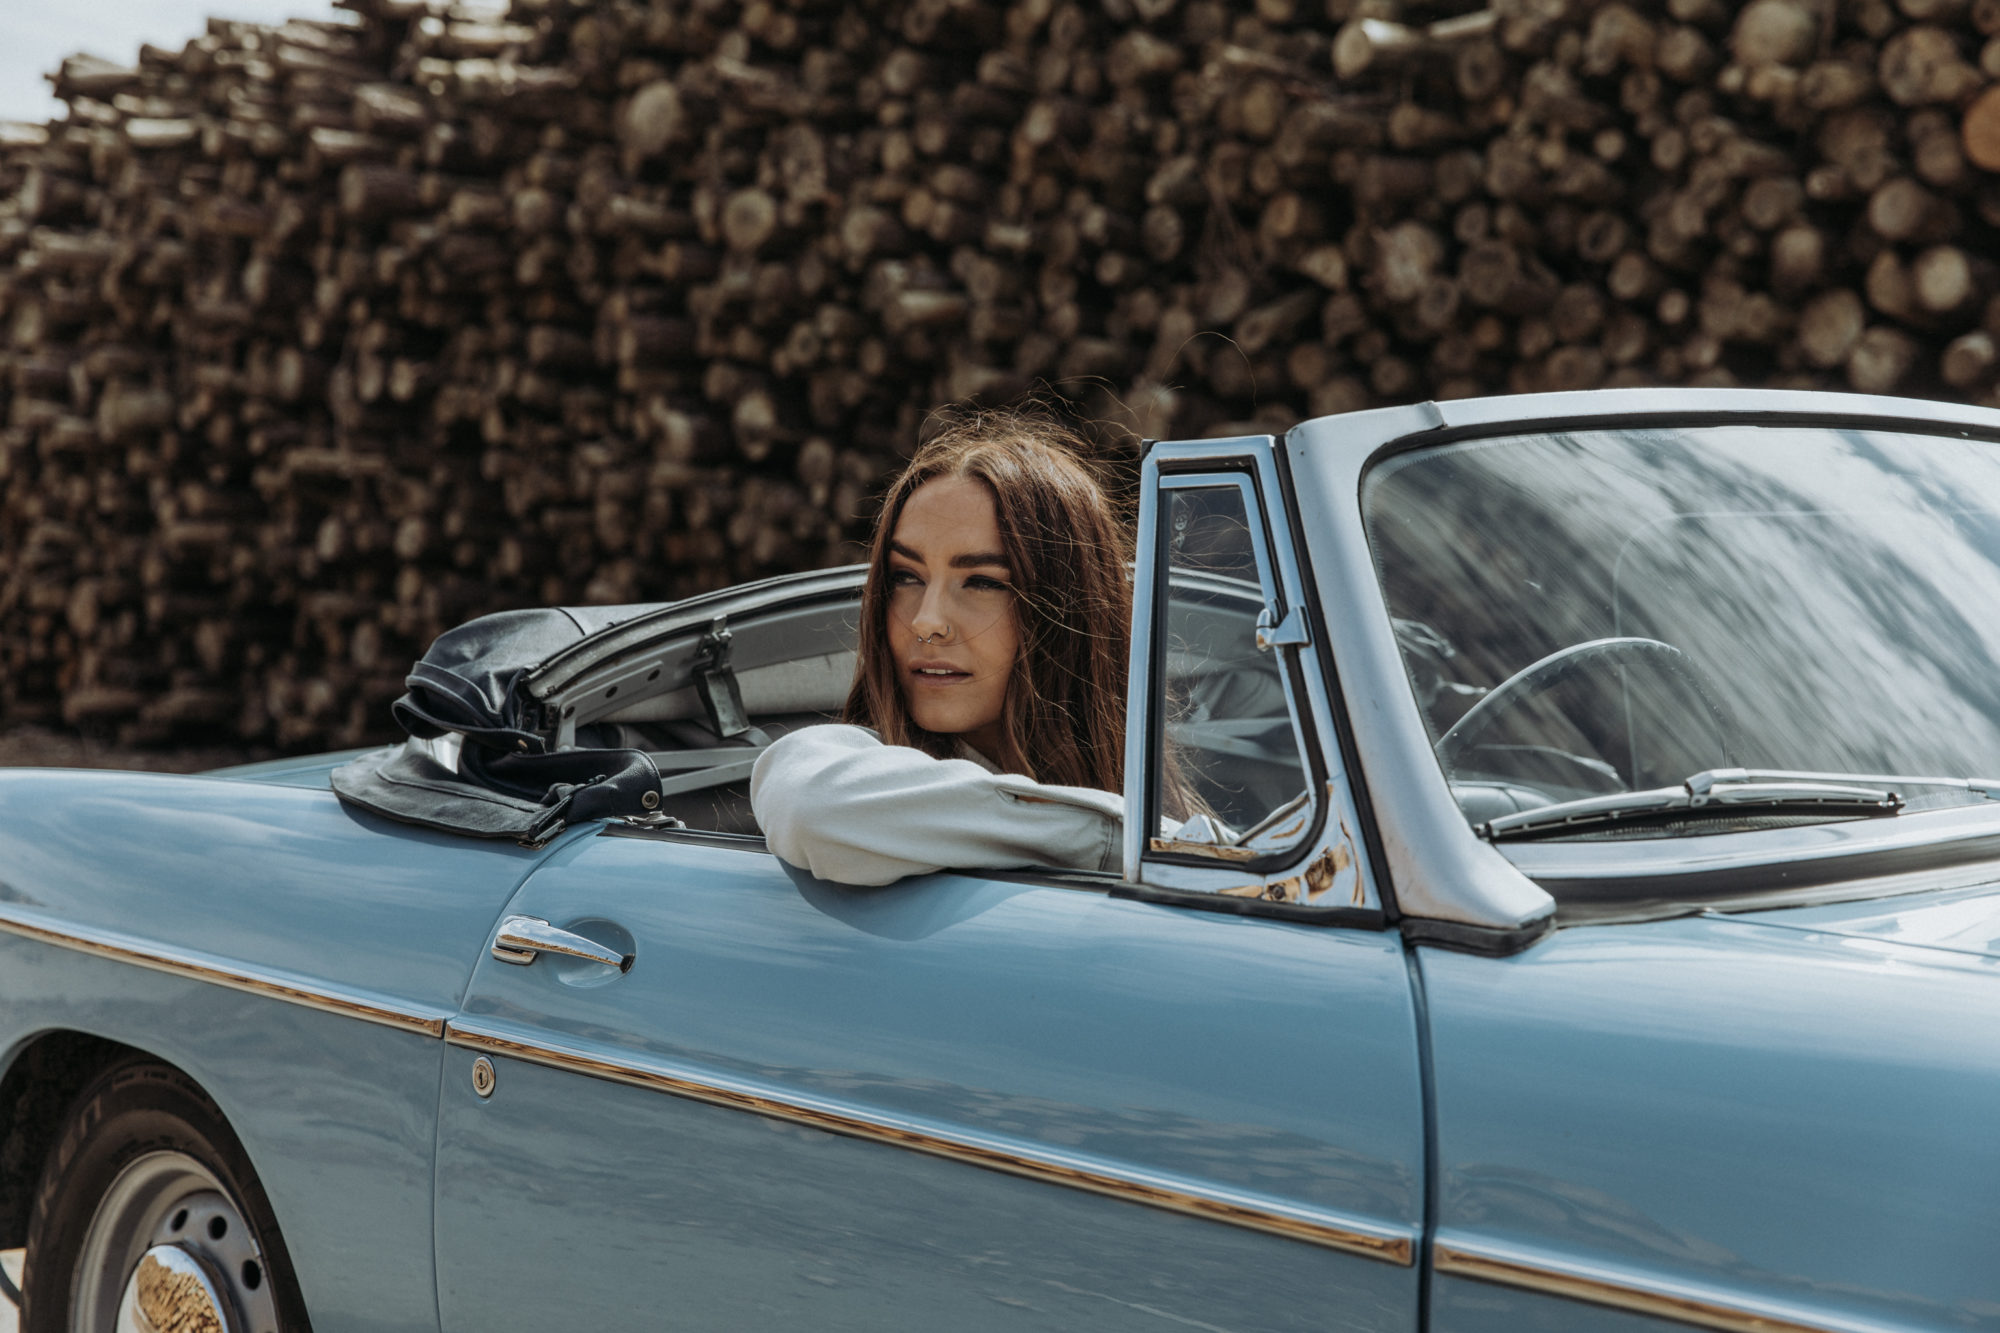
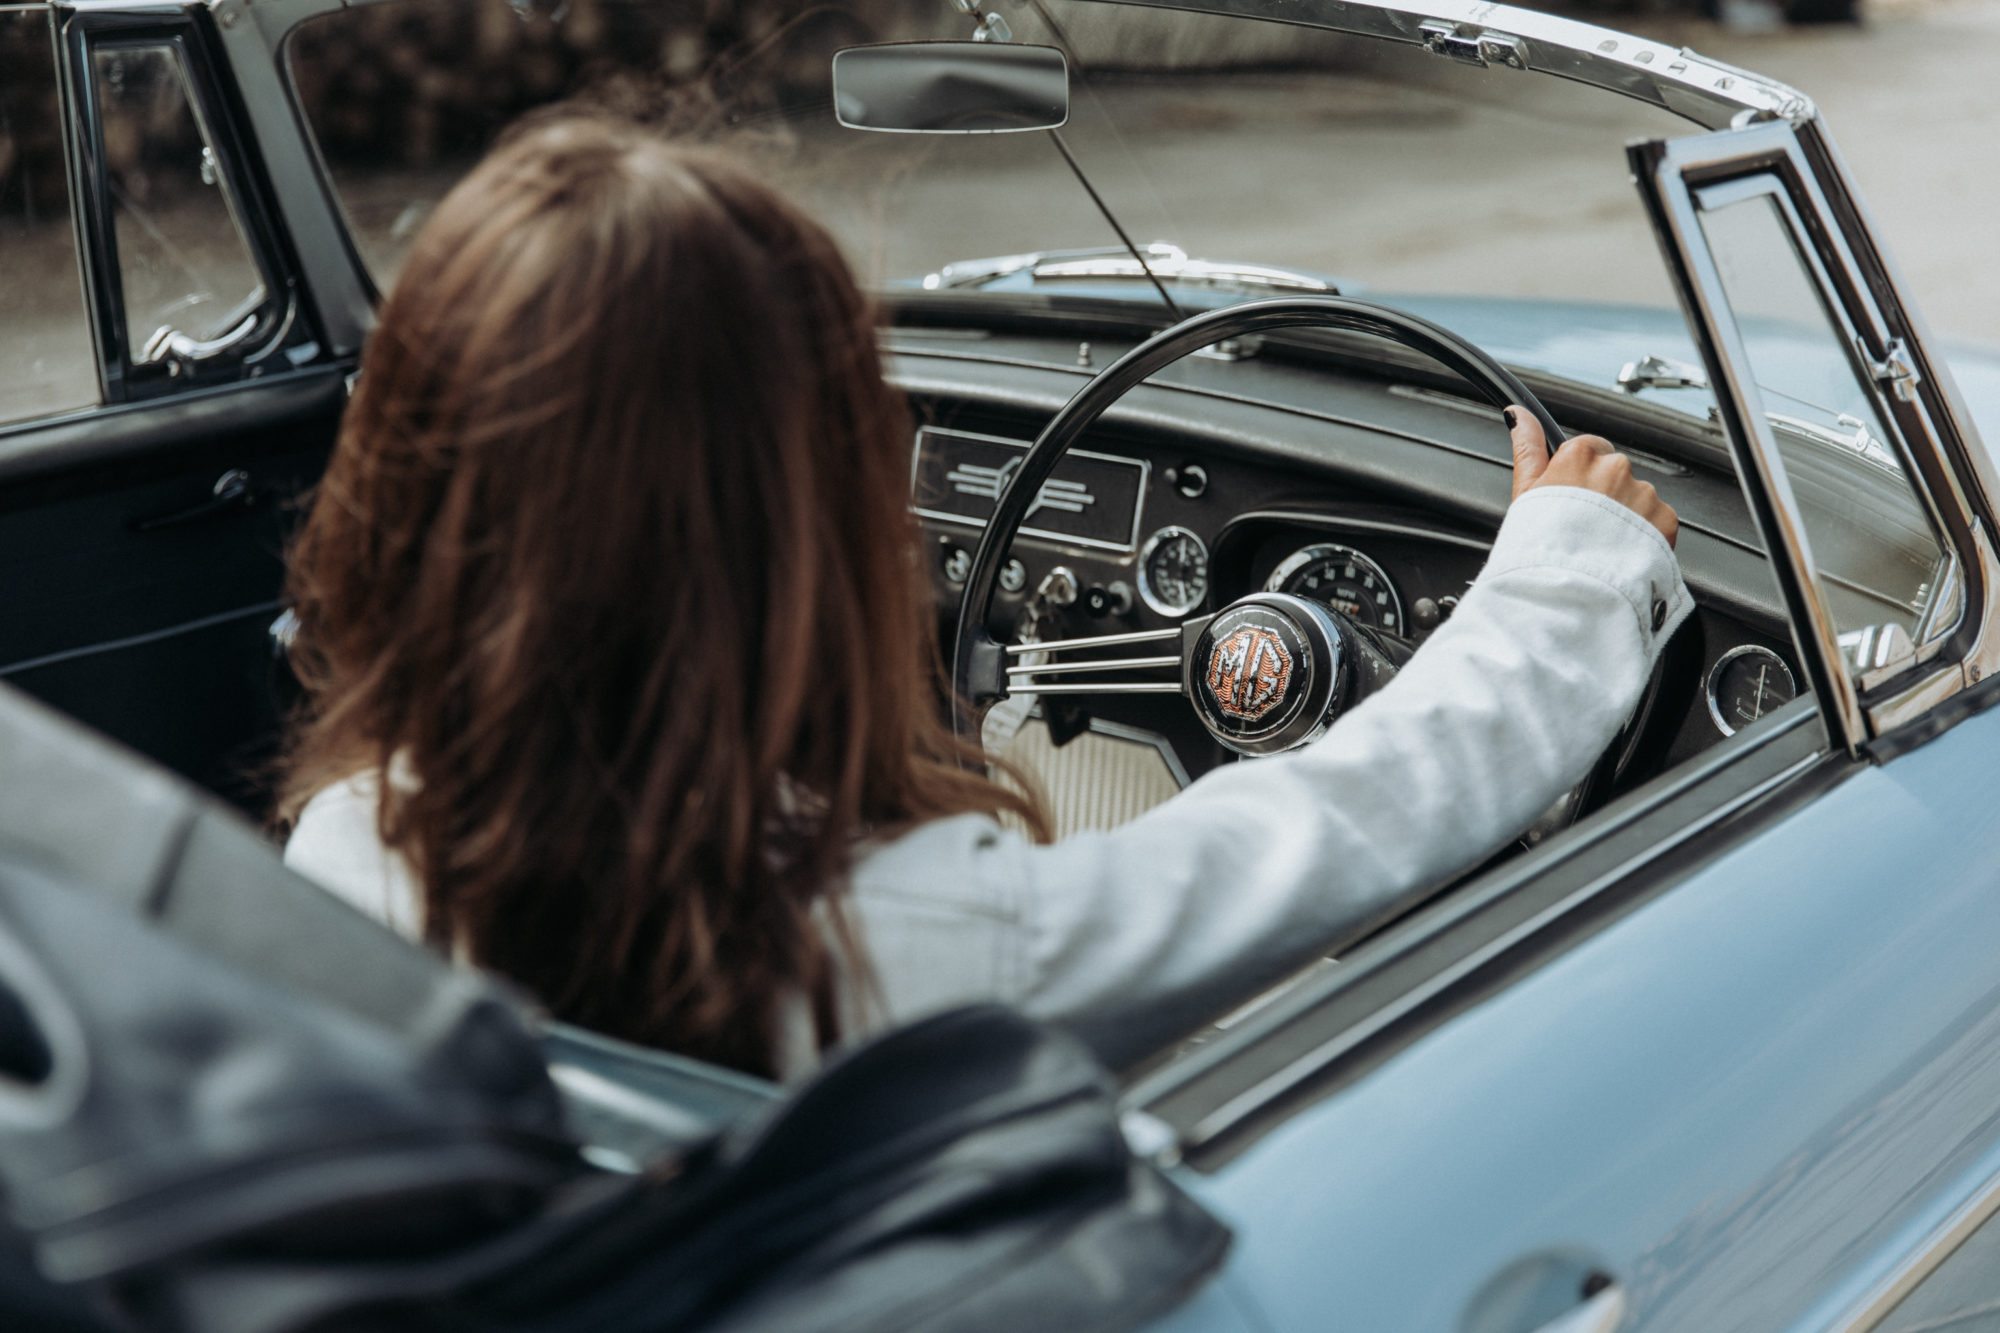
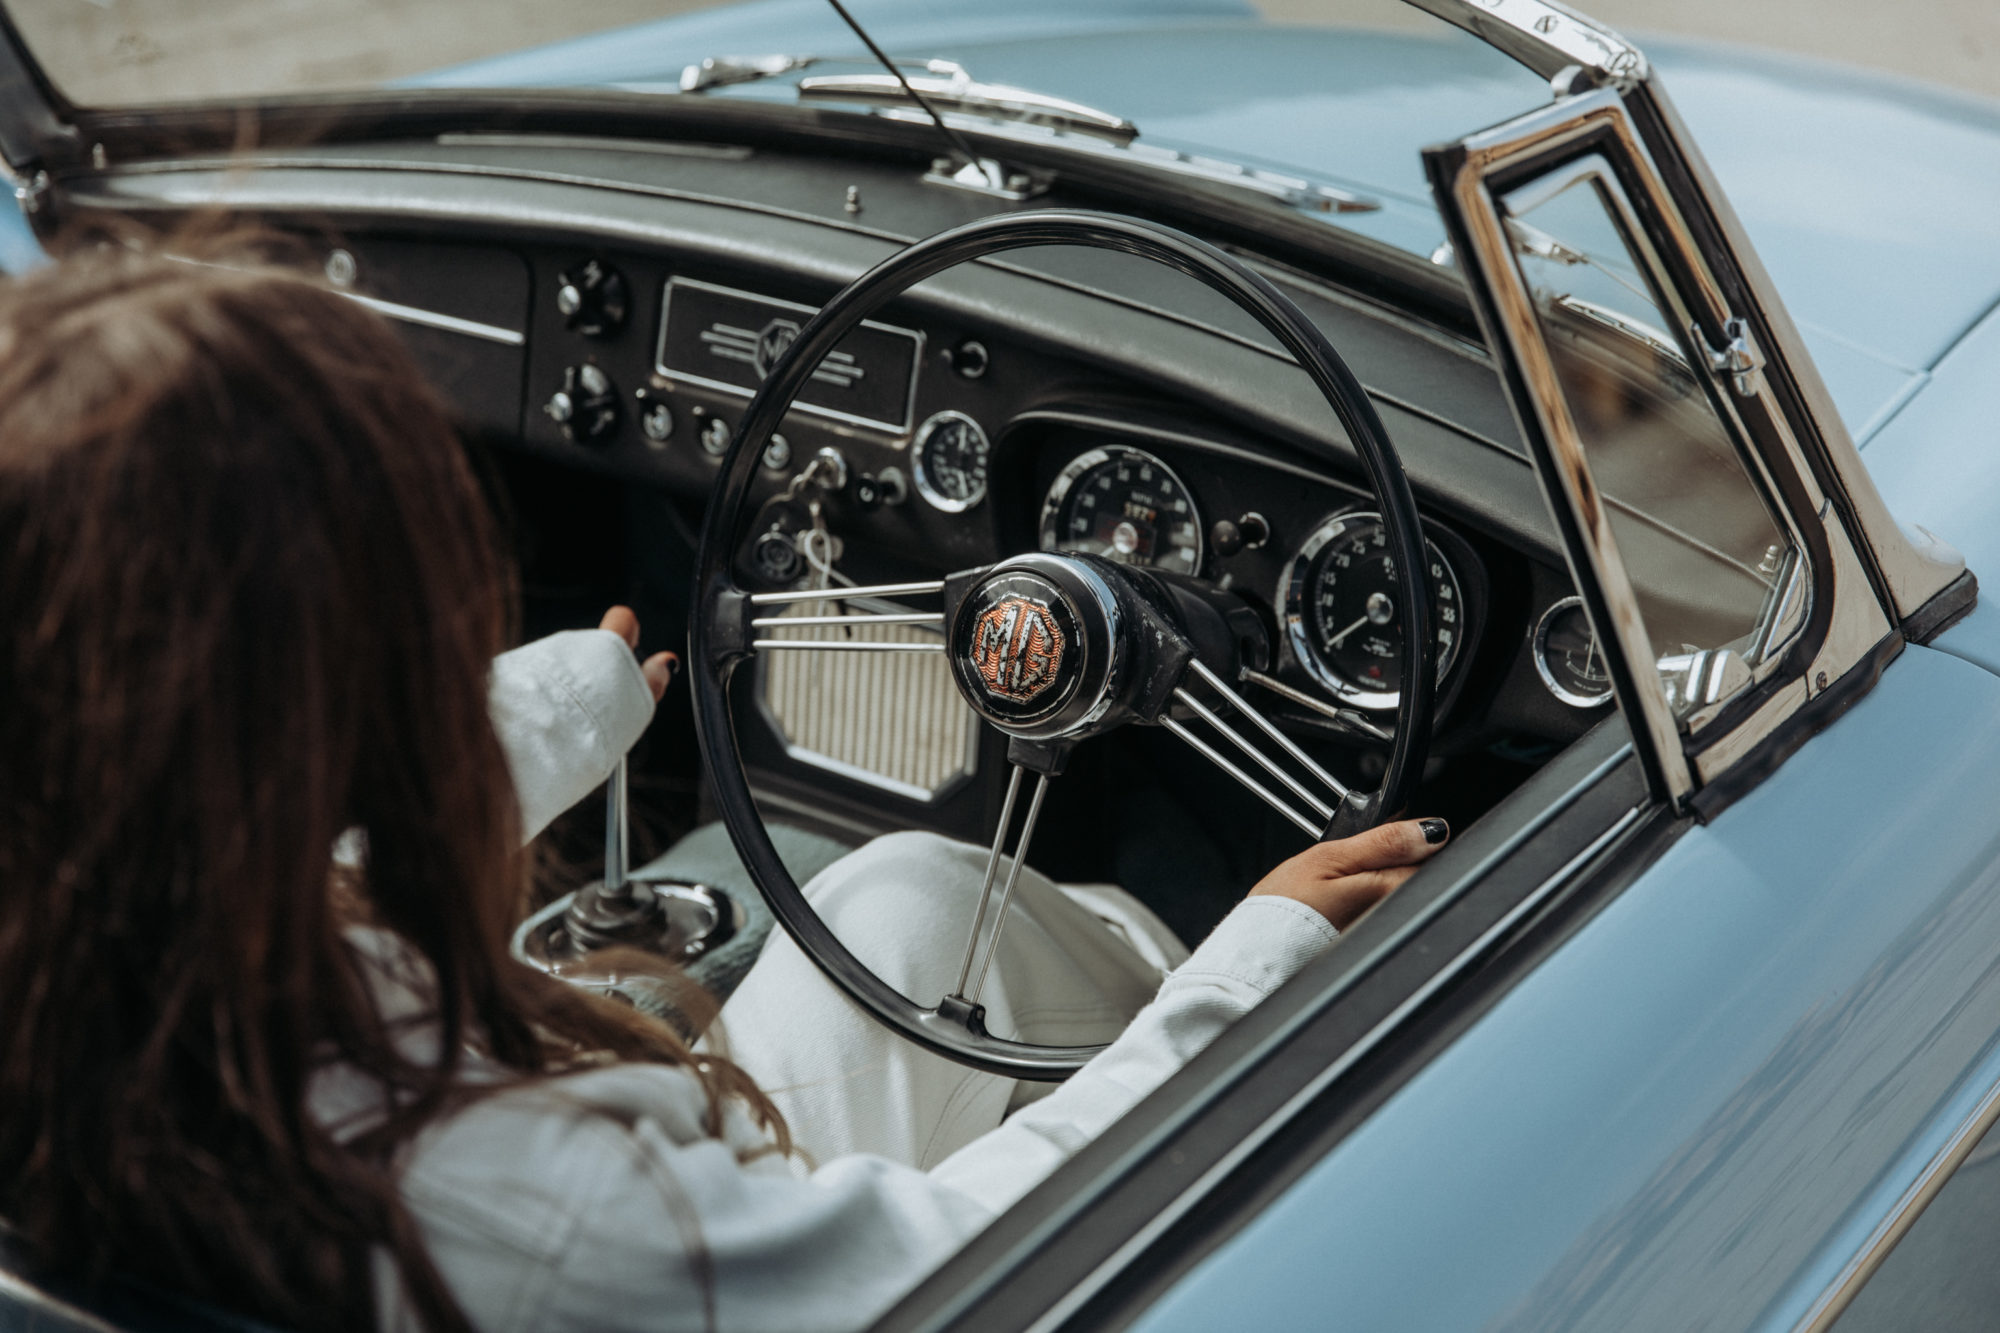
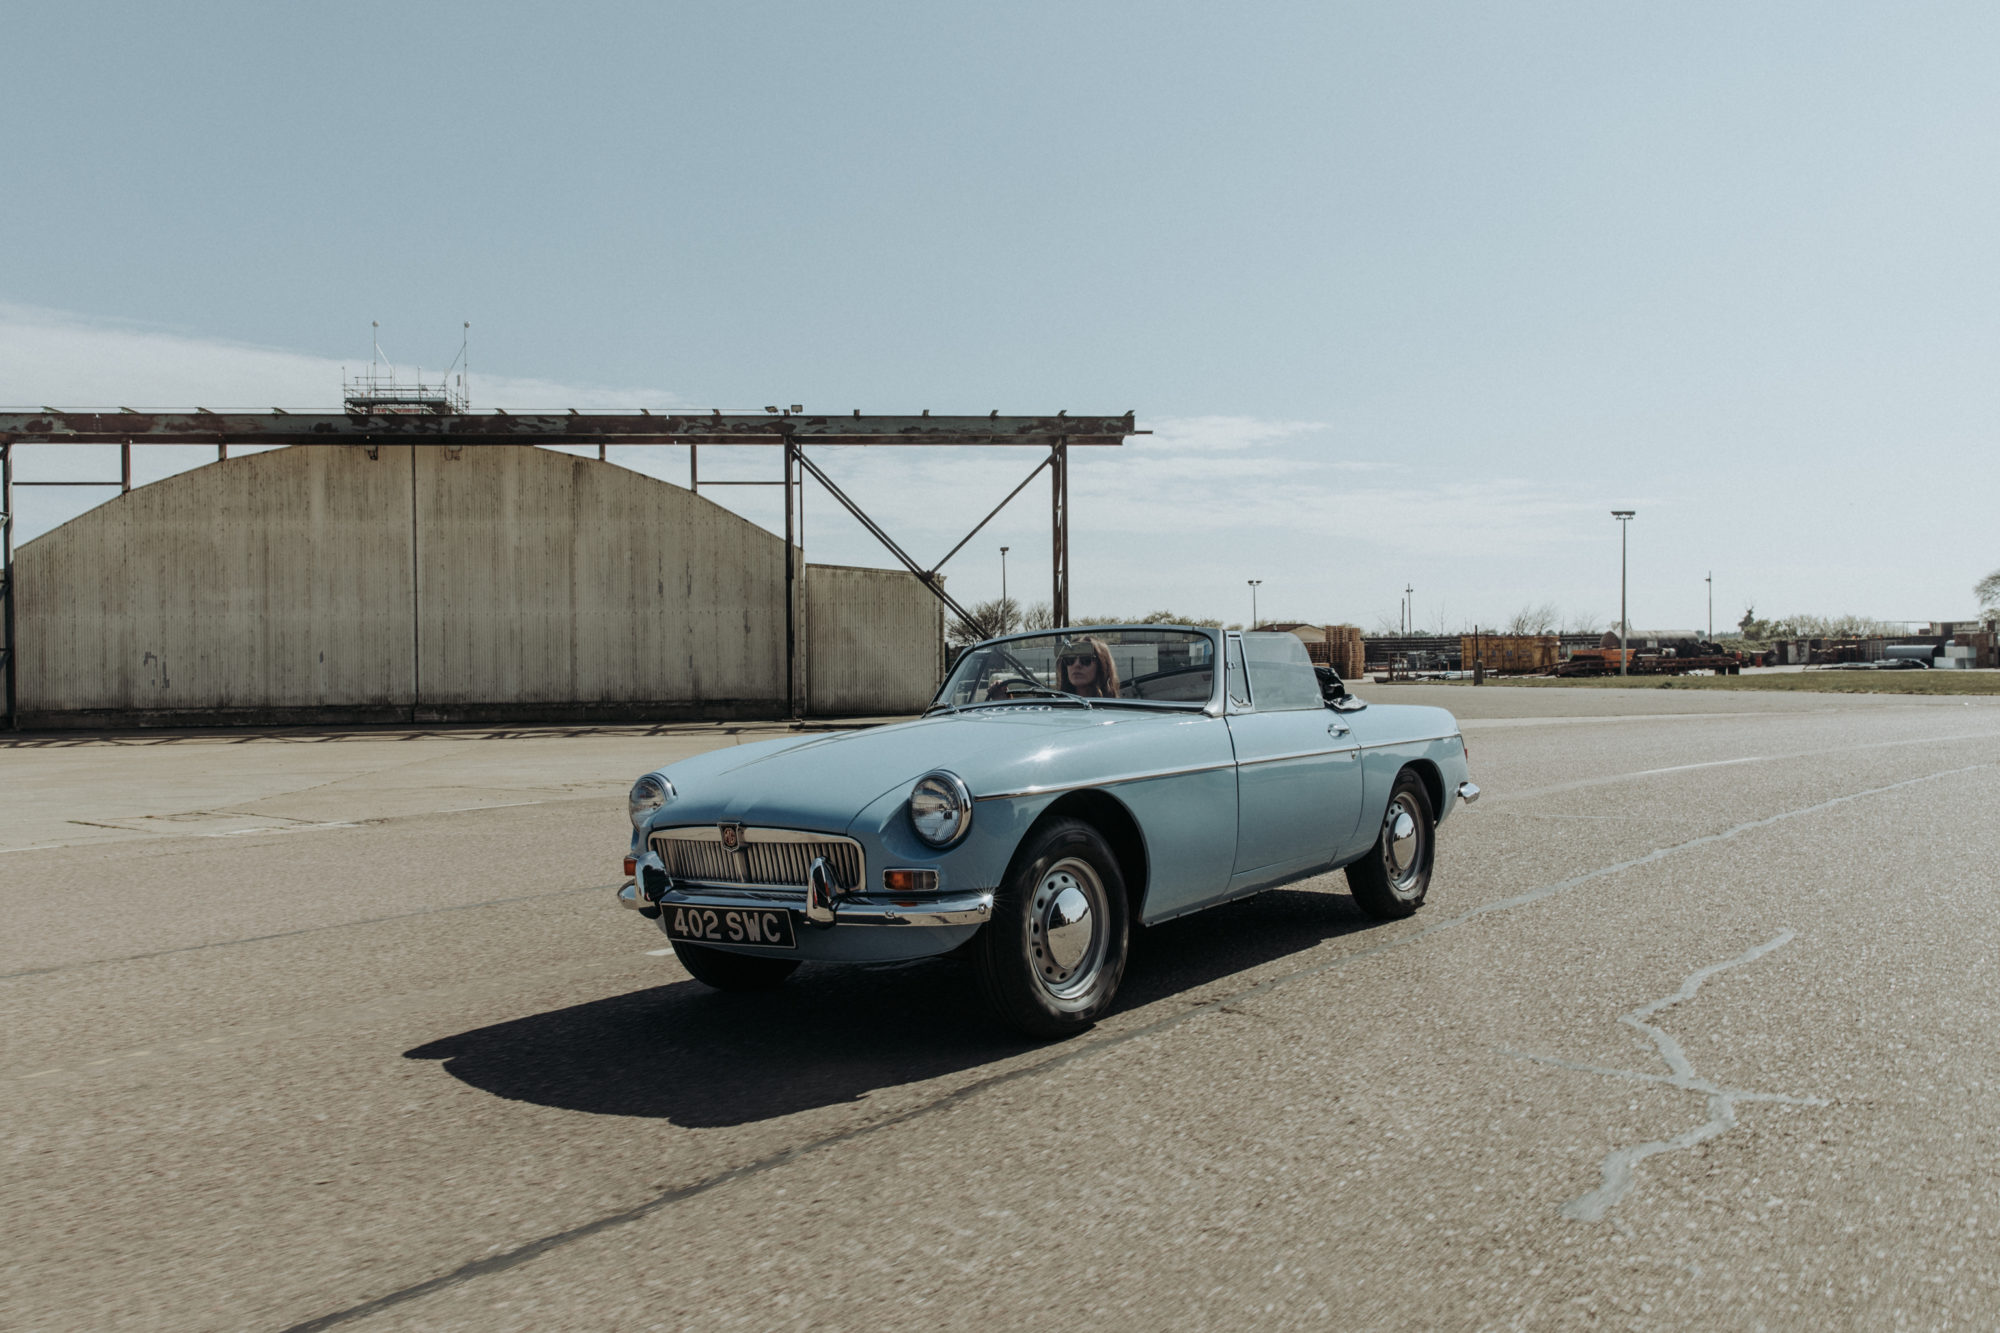
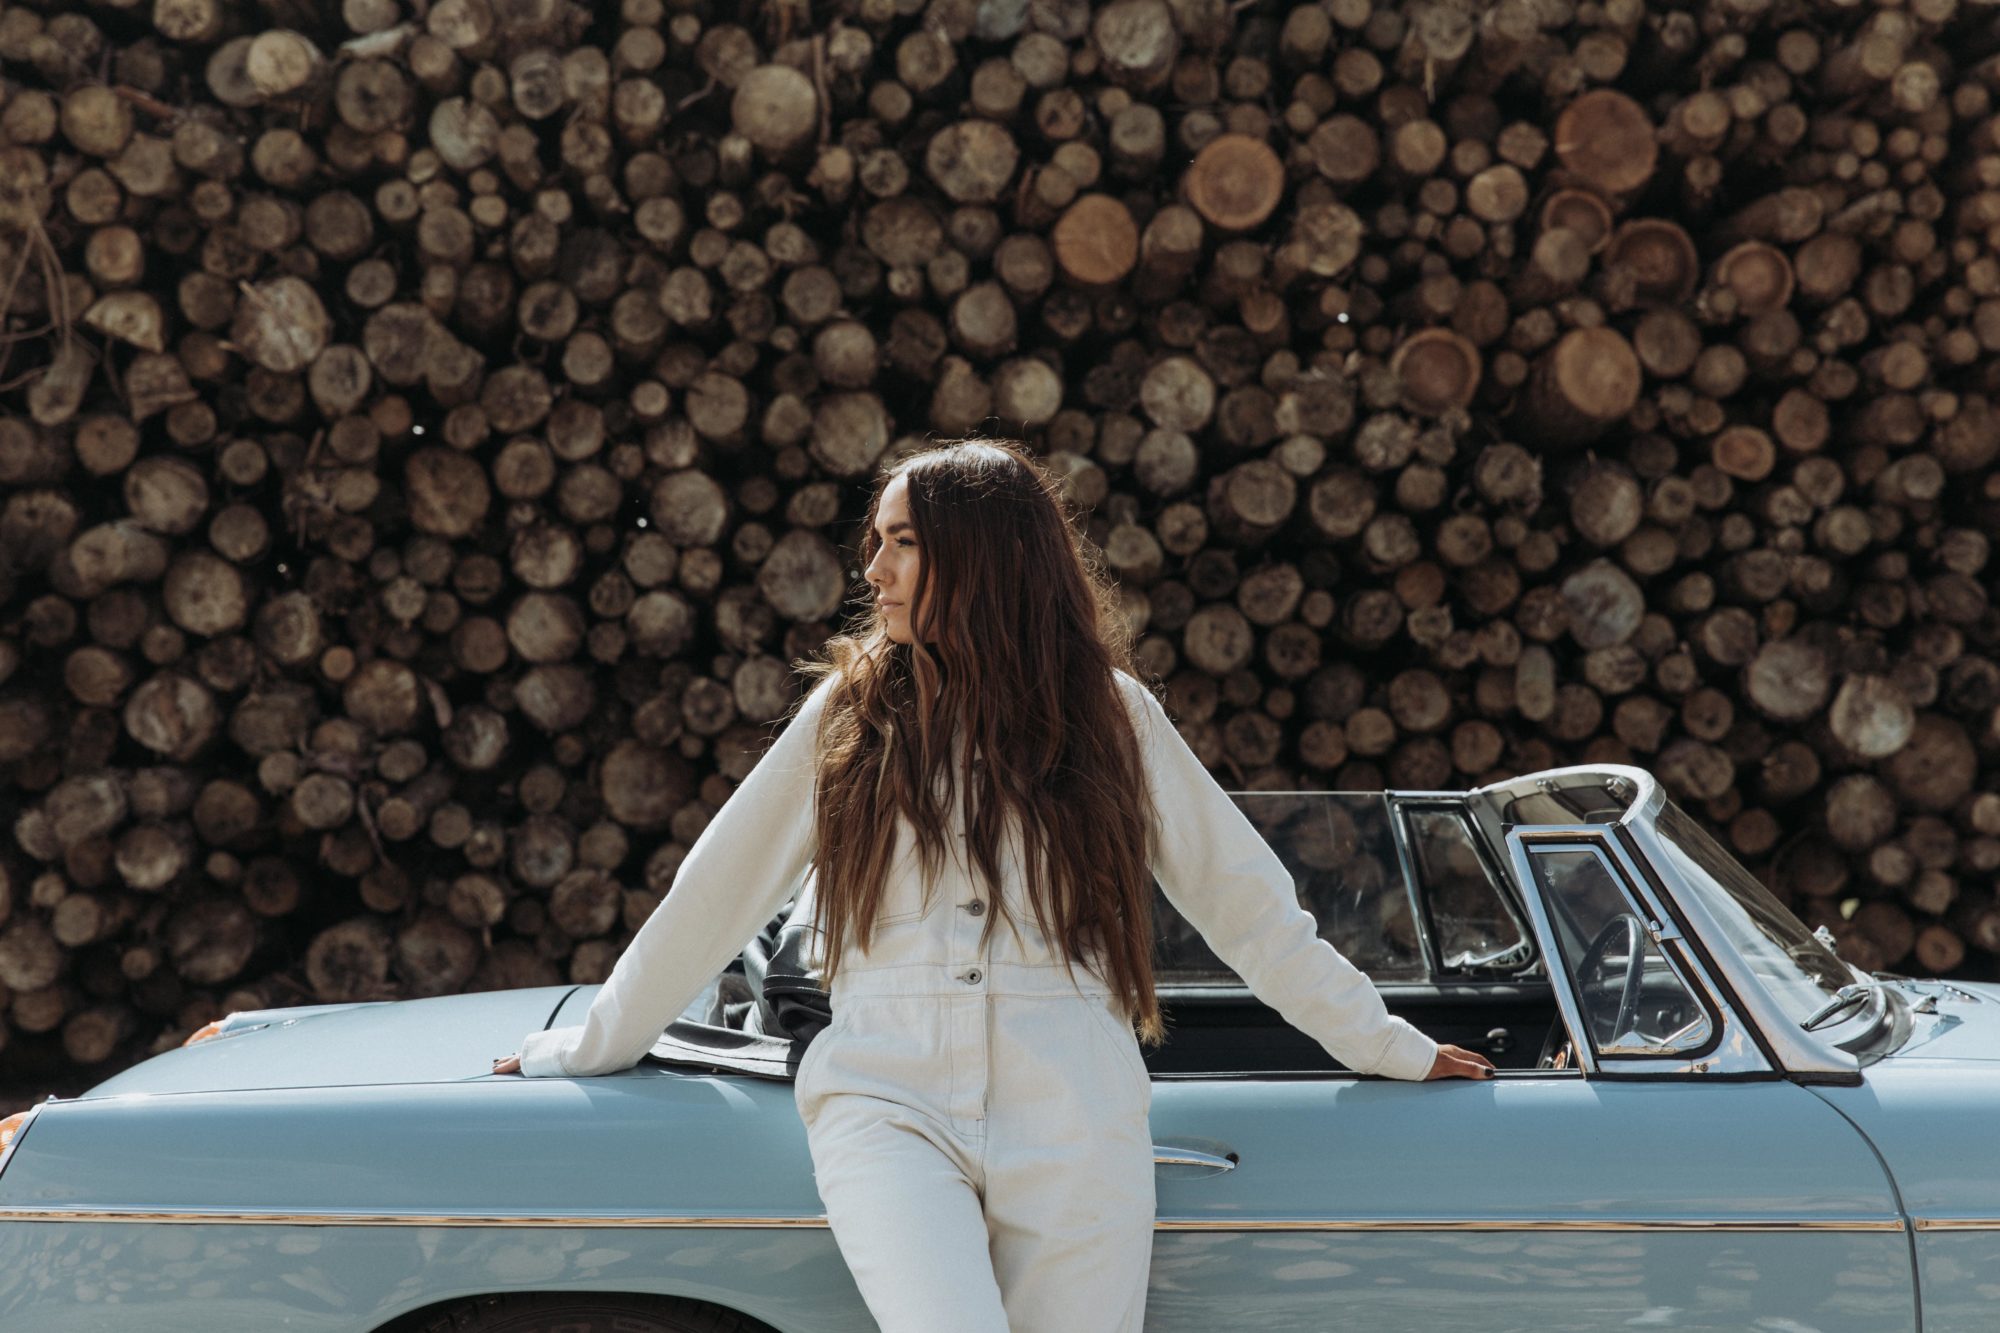
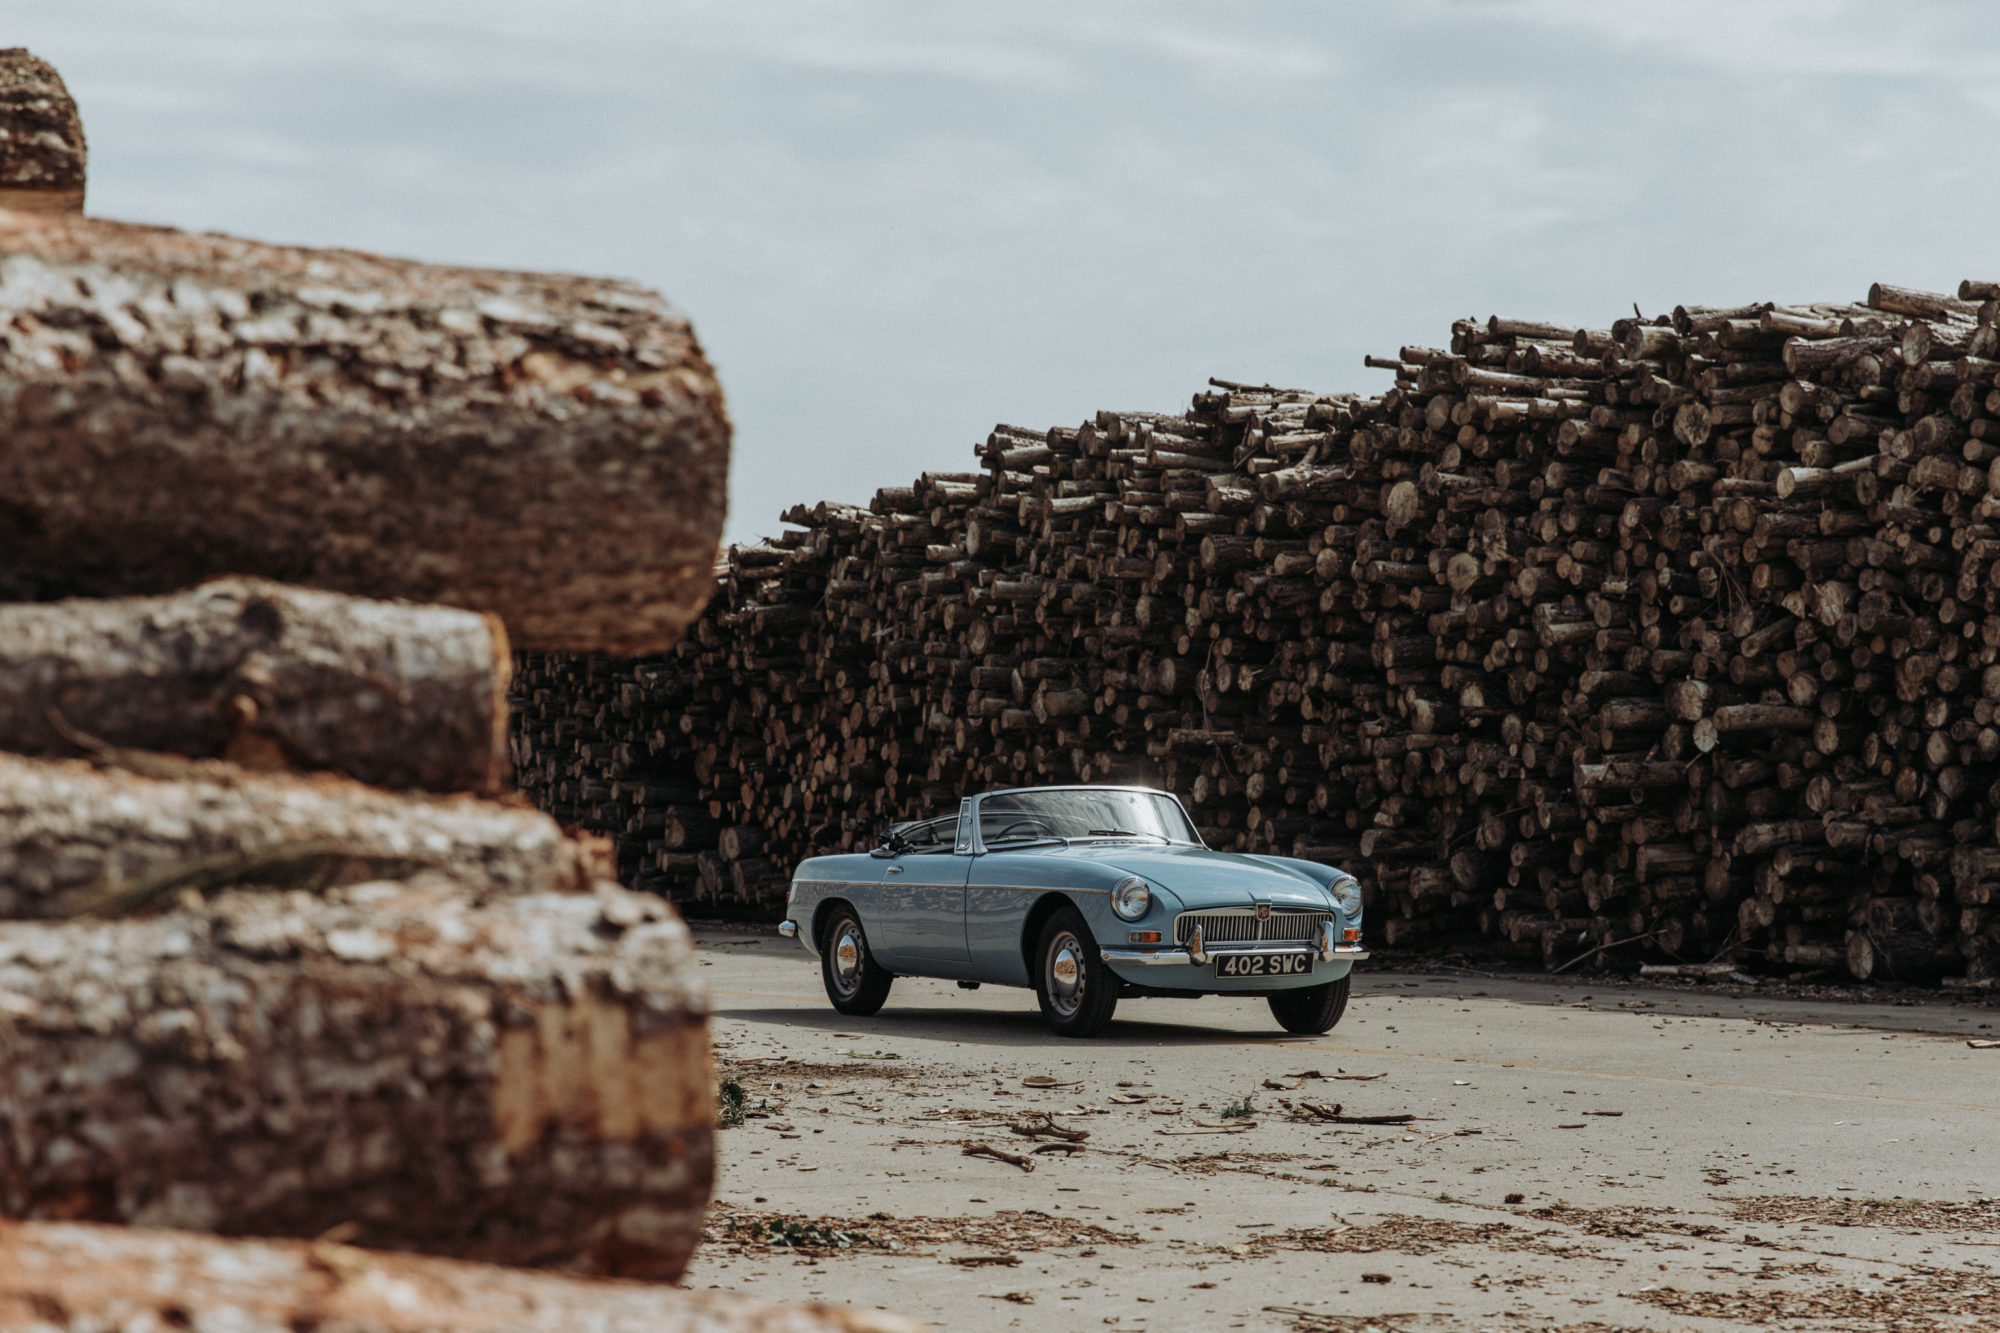
Photographer Lydia Harper and her team came down to photograph our 1963 MG B Roadster last week as part of a new campaign with Deus Ex Machina.
Her team, part of her own creative agency, Parc Fermé, included Matt Wild (Videographer), Alice Harper (Assistant) and Hannah Coe (model) who all worked to create the stunning visuals below.
We can’t wait to see Matt’s videos from the day!


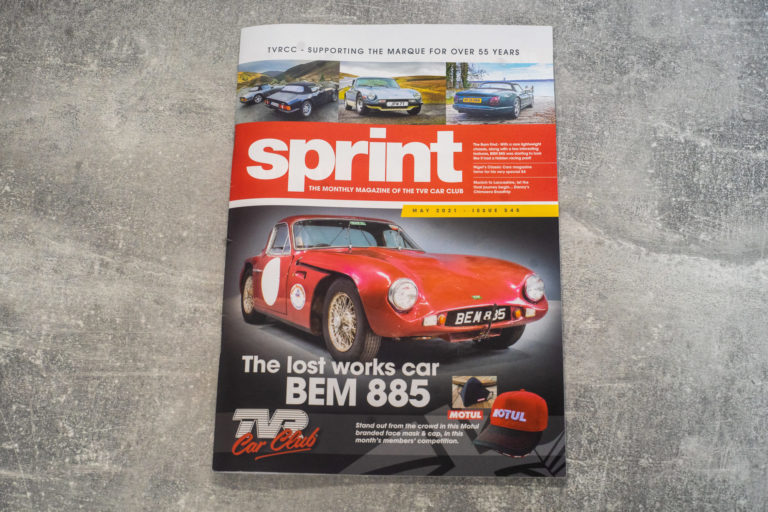
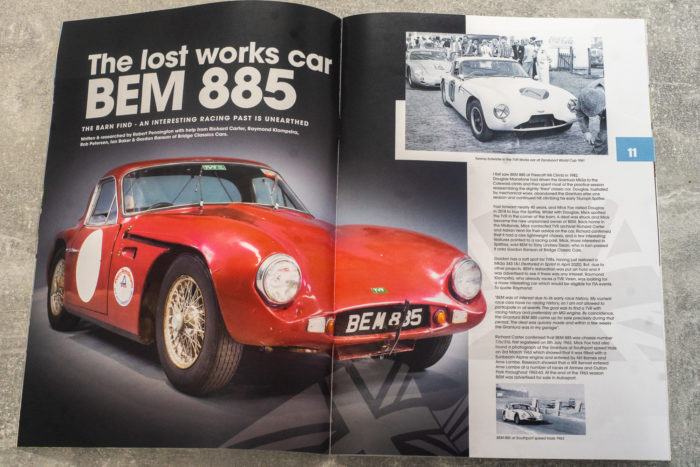
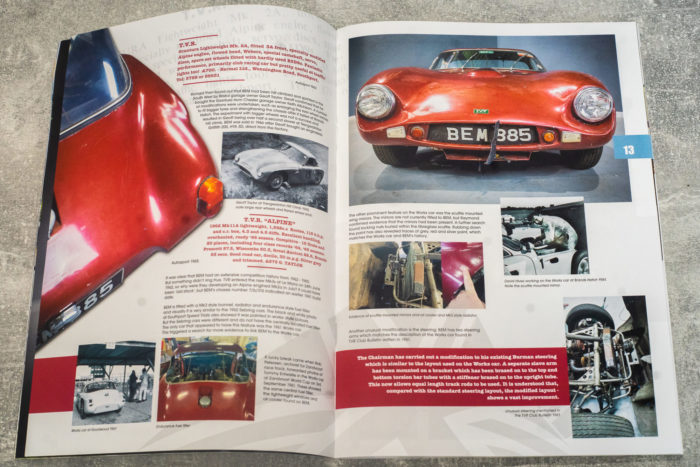
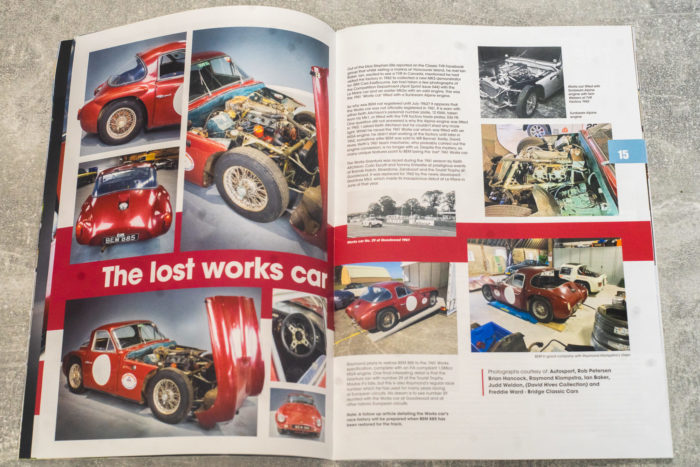
Some of you may remember that almost 18 months ago, we sold this charming 1962 TVR Grantura Race Car, just one of a few of its kind. This article explains its history and its upcoming restoration. We’re delighted to not only feature on a 6 page spread but to also appear on the front cover!
We’re eagerly await more news on the restoration of this very special TVR.

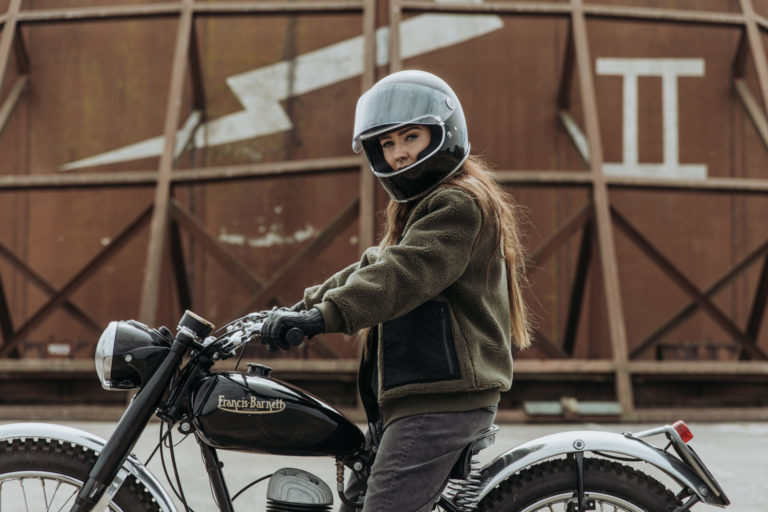
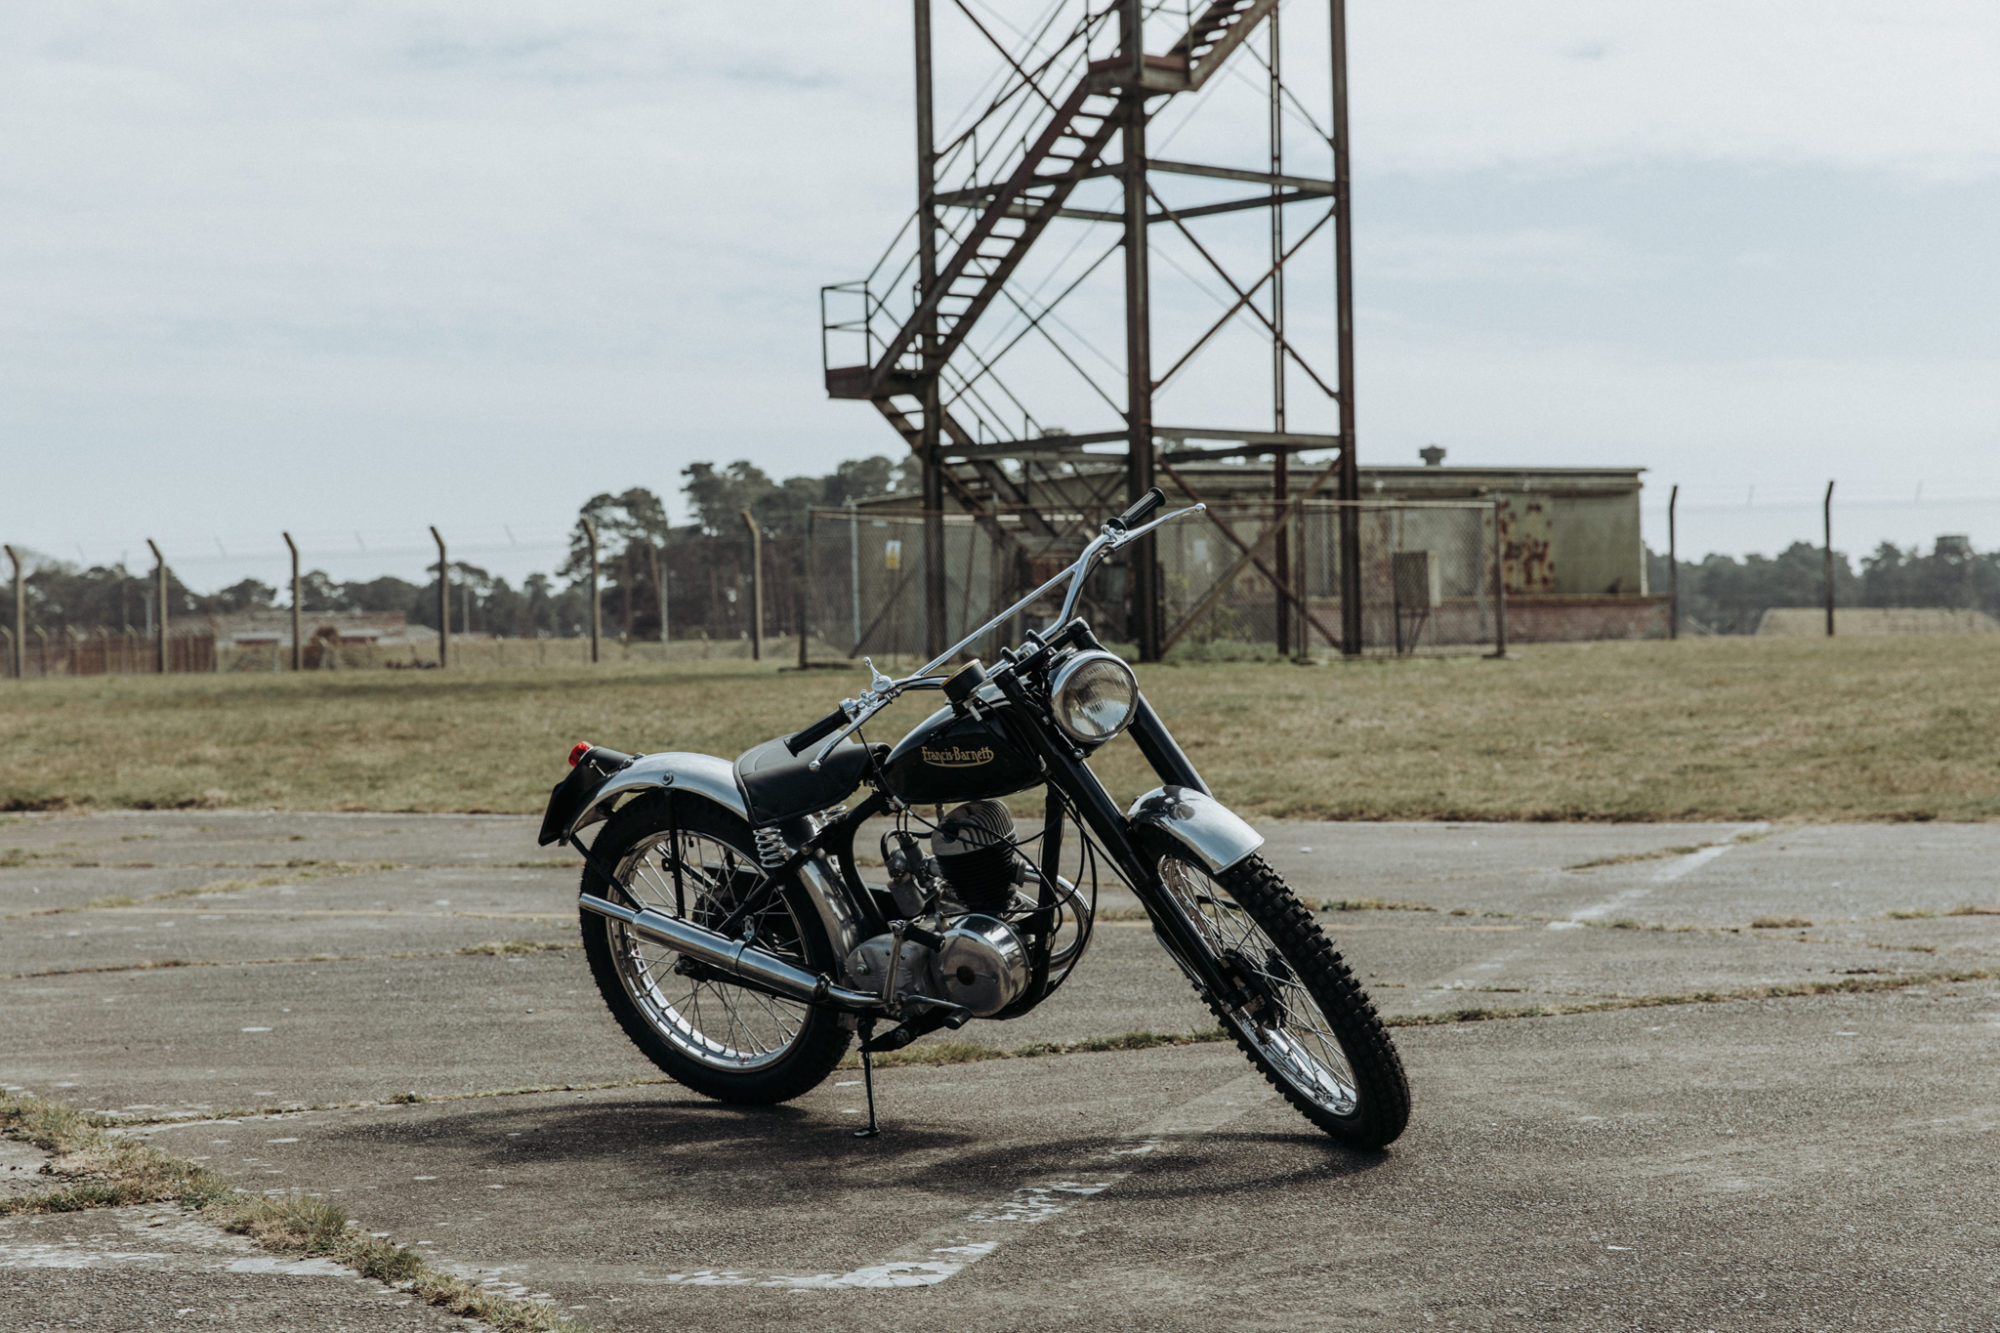
Photographer Lydia Harper and her team came down to photograph our 1953 Francis Barnett Trials Bike last week for a new campaign with Deus Ex Machina. Her team, part of her own creative agency, Parc Fermé, included Matt Wild (Videographer), Alice Harper (Assistant) and Hannah Coe (model) who all worked to create the stunning visuals below.
We’re waiting in great anticipation to see Matt’s video.

Introducing Collecting Cars:
Collecting Cars has established itself as a leader in the world of online auctions. Their streamlined process is making buying and selling cars via online auctions one of the most effective and painless ways of transacting. And their results are very impressive to date!
With customer’s and collectors all over the world, we have enlisted the knowledge and expertise of Collecting Cars to find our Chevron B20 a new home.
Coming soon to Collecting Cars
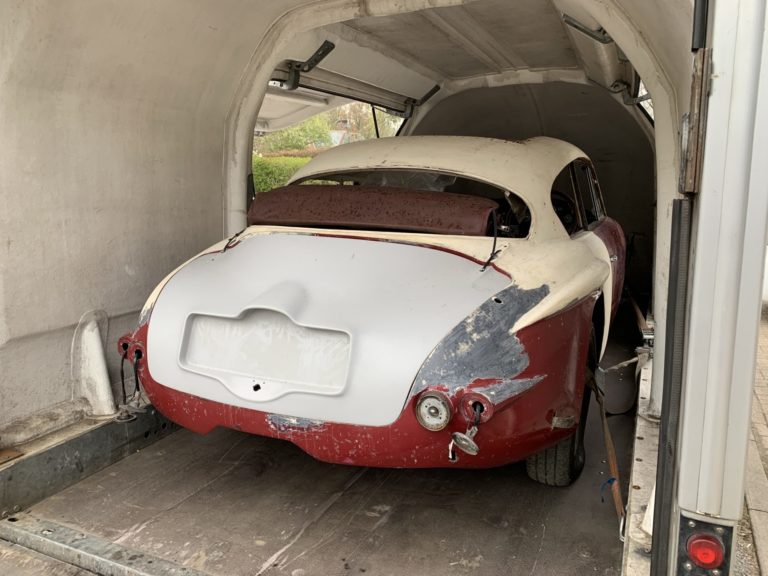
Mauro and Craig re-visited Jensen Service Ltd in Winchester to collect our 1960 Jensen 541S restoration project.
The car will soon be available for sale, either restored or unrestored. If you would like to know more about this car or any of our other 541 restoration projects please fee to contact the office on 01473742038 or email info@bridgeclassiccars.co.uk