Lydia has been working on the 1960 Lilac Jensen that our director, Gordon, is having restored.
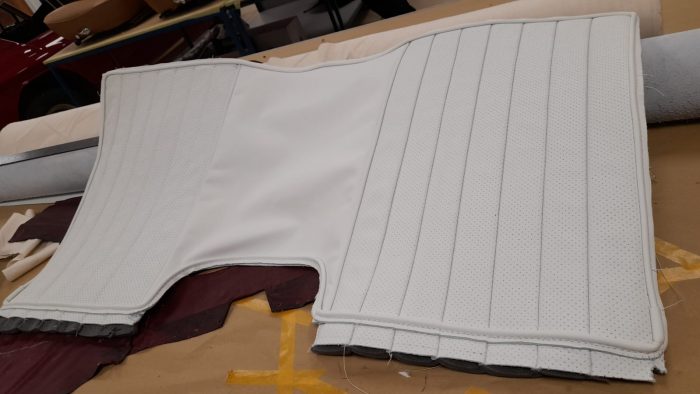
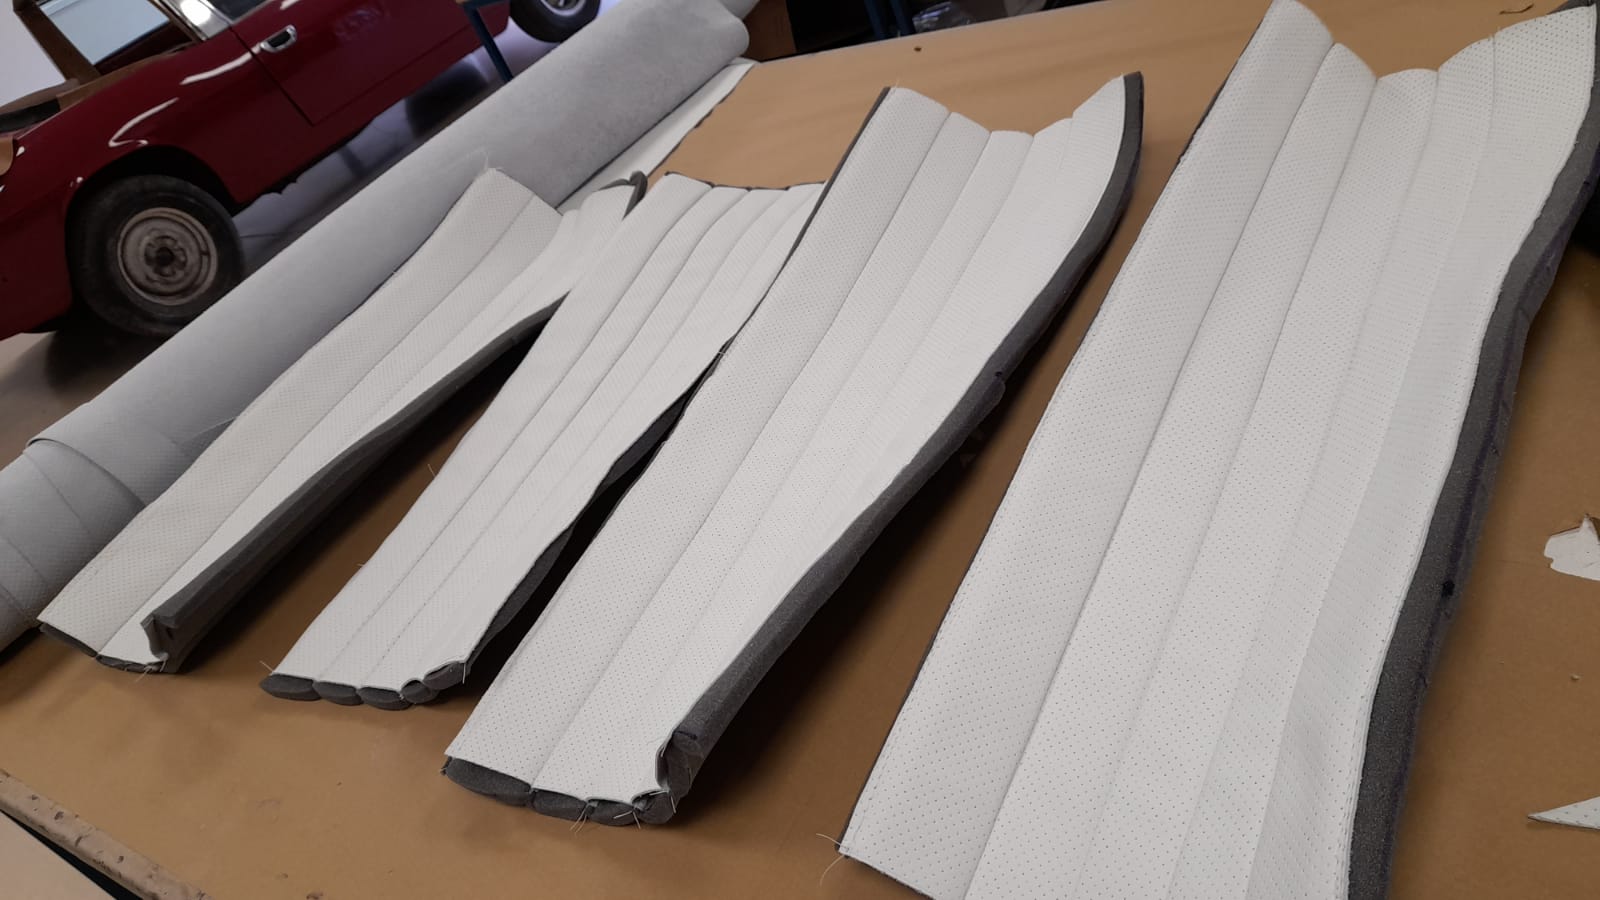
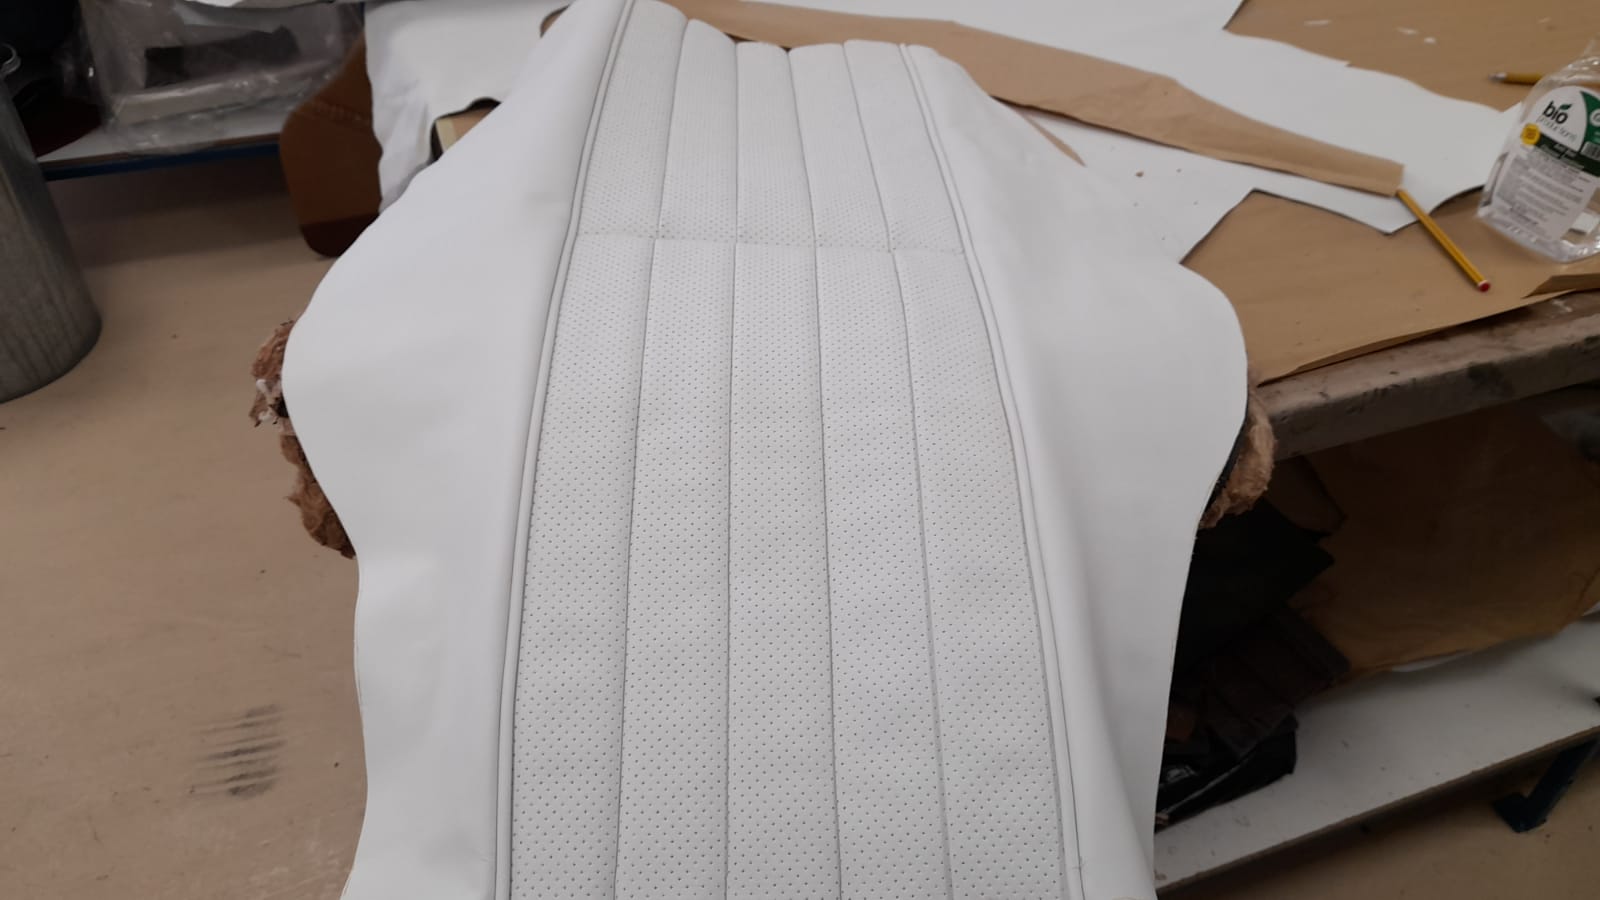
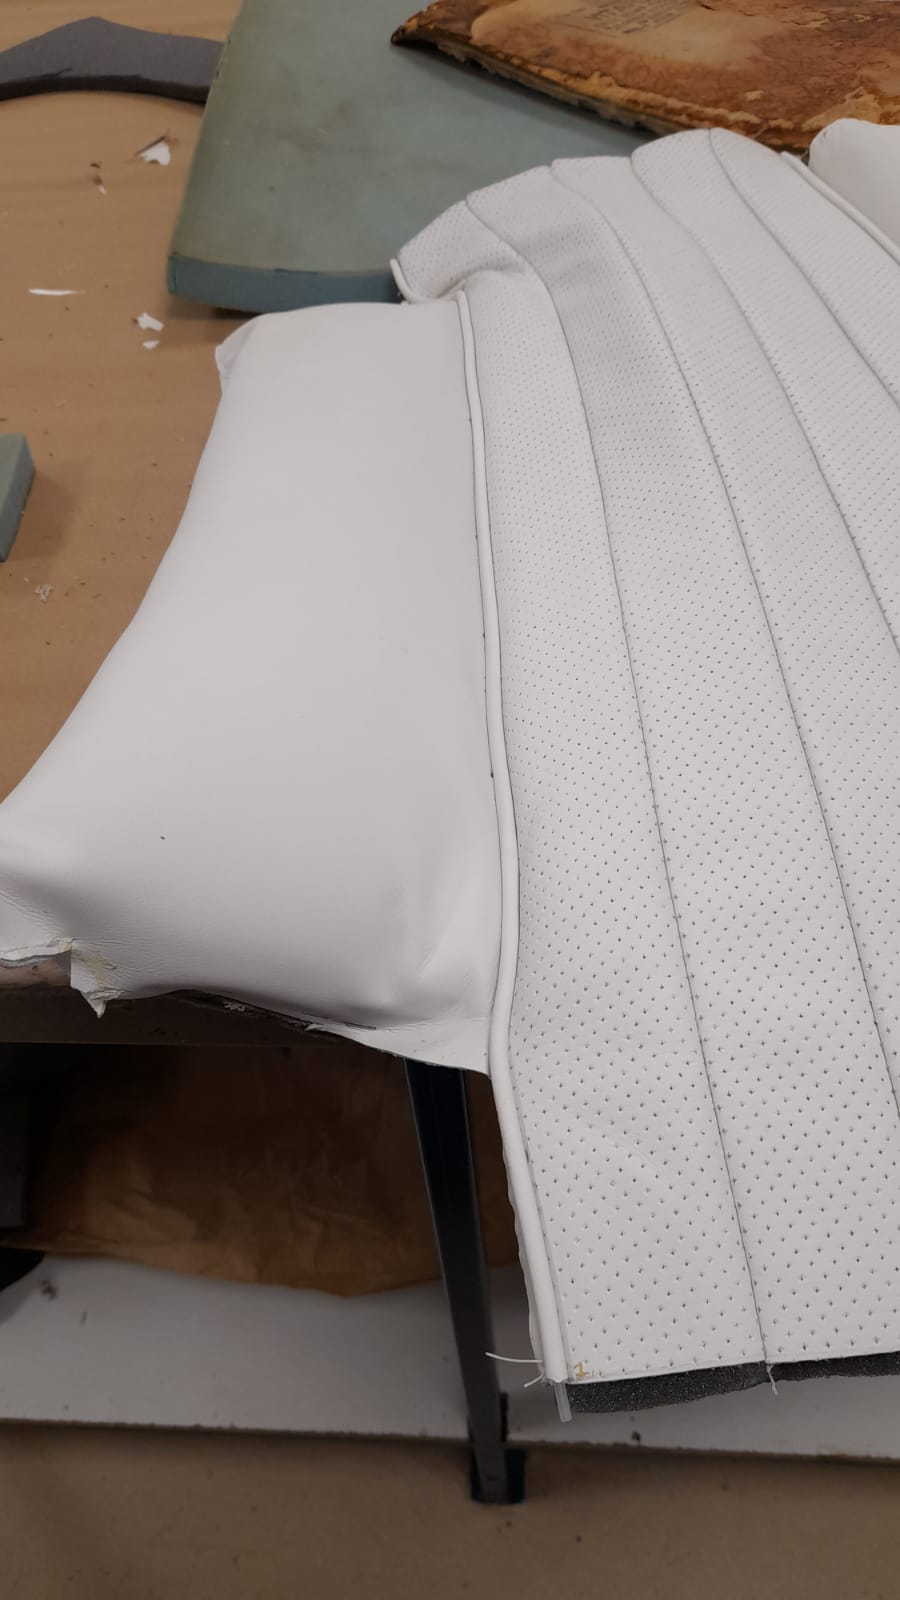
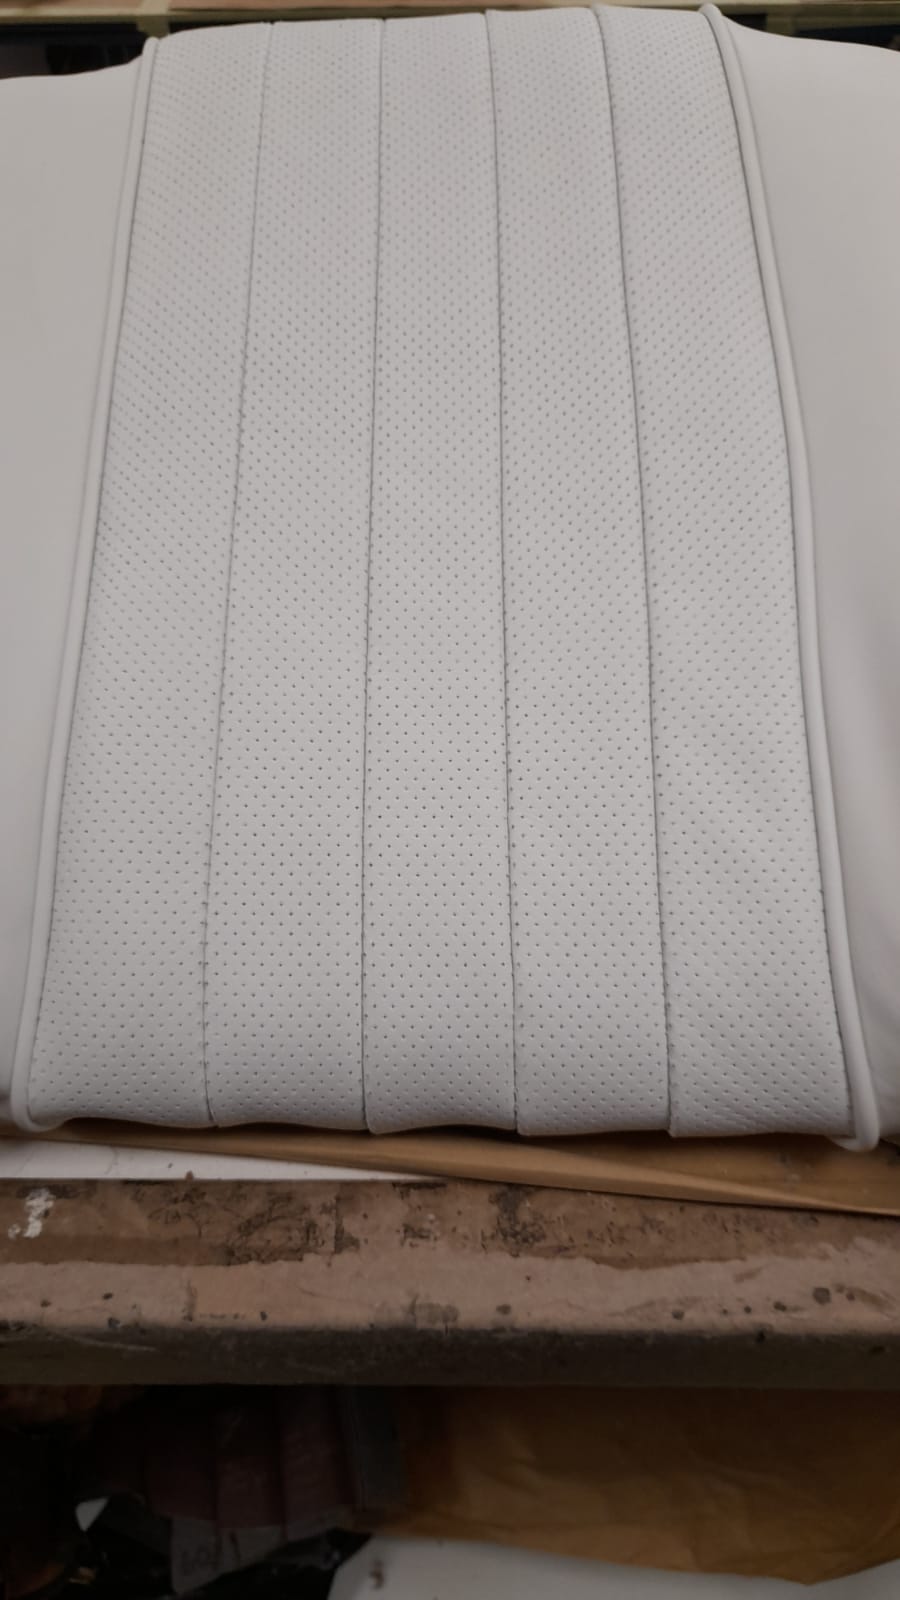
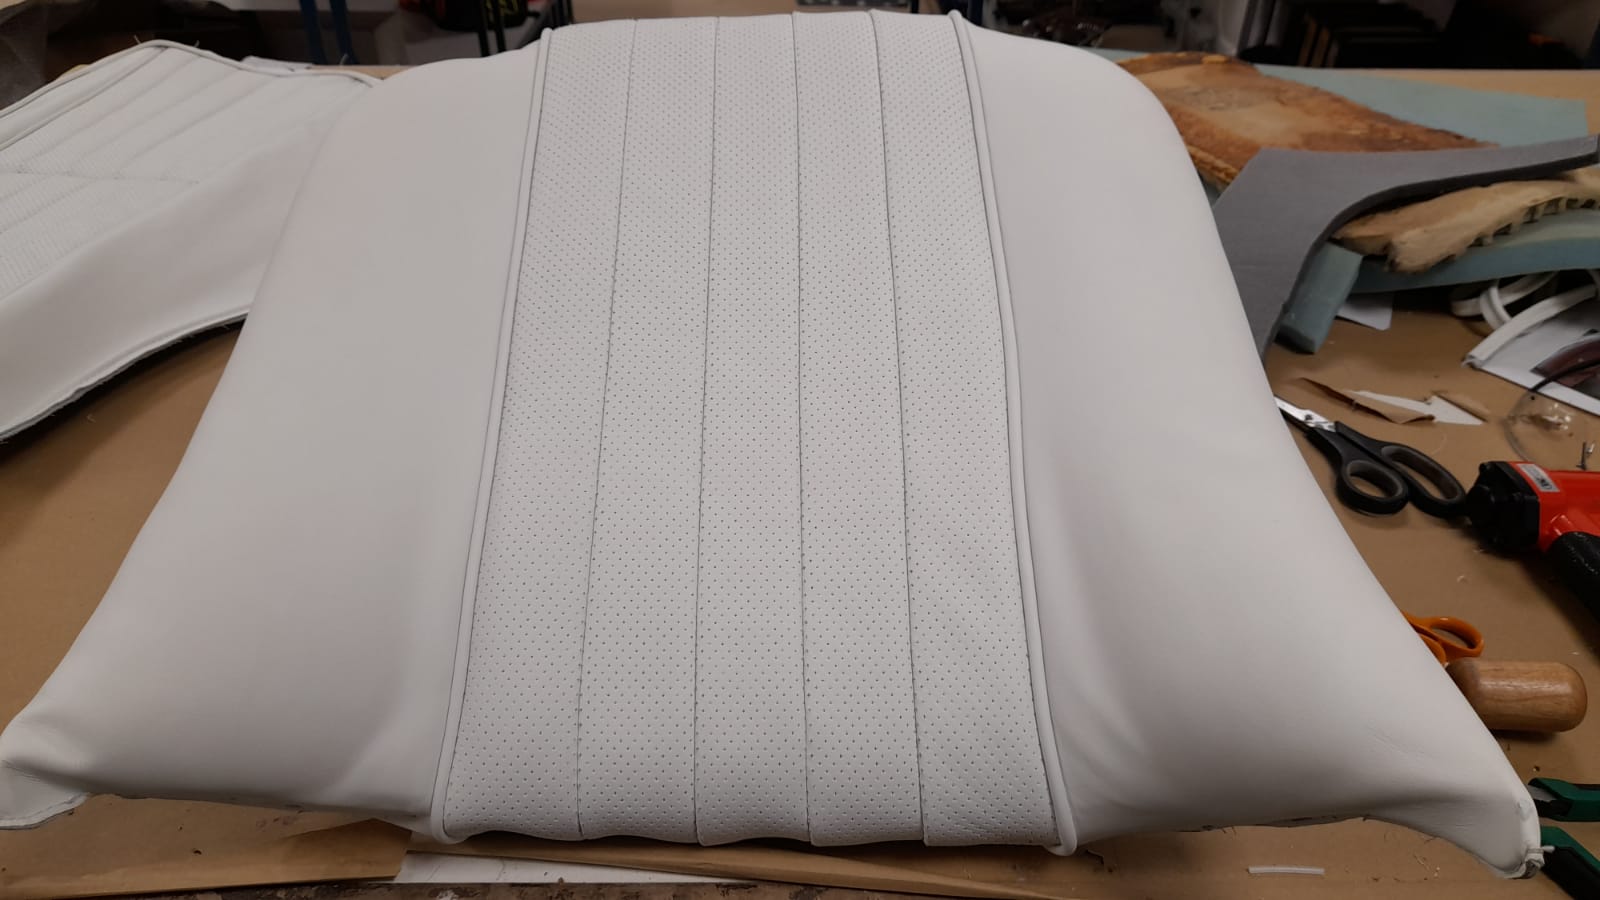
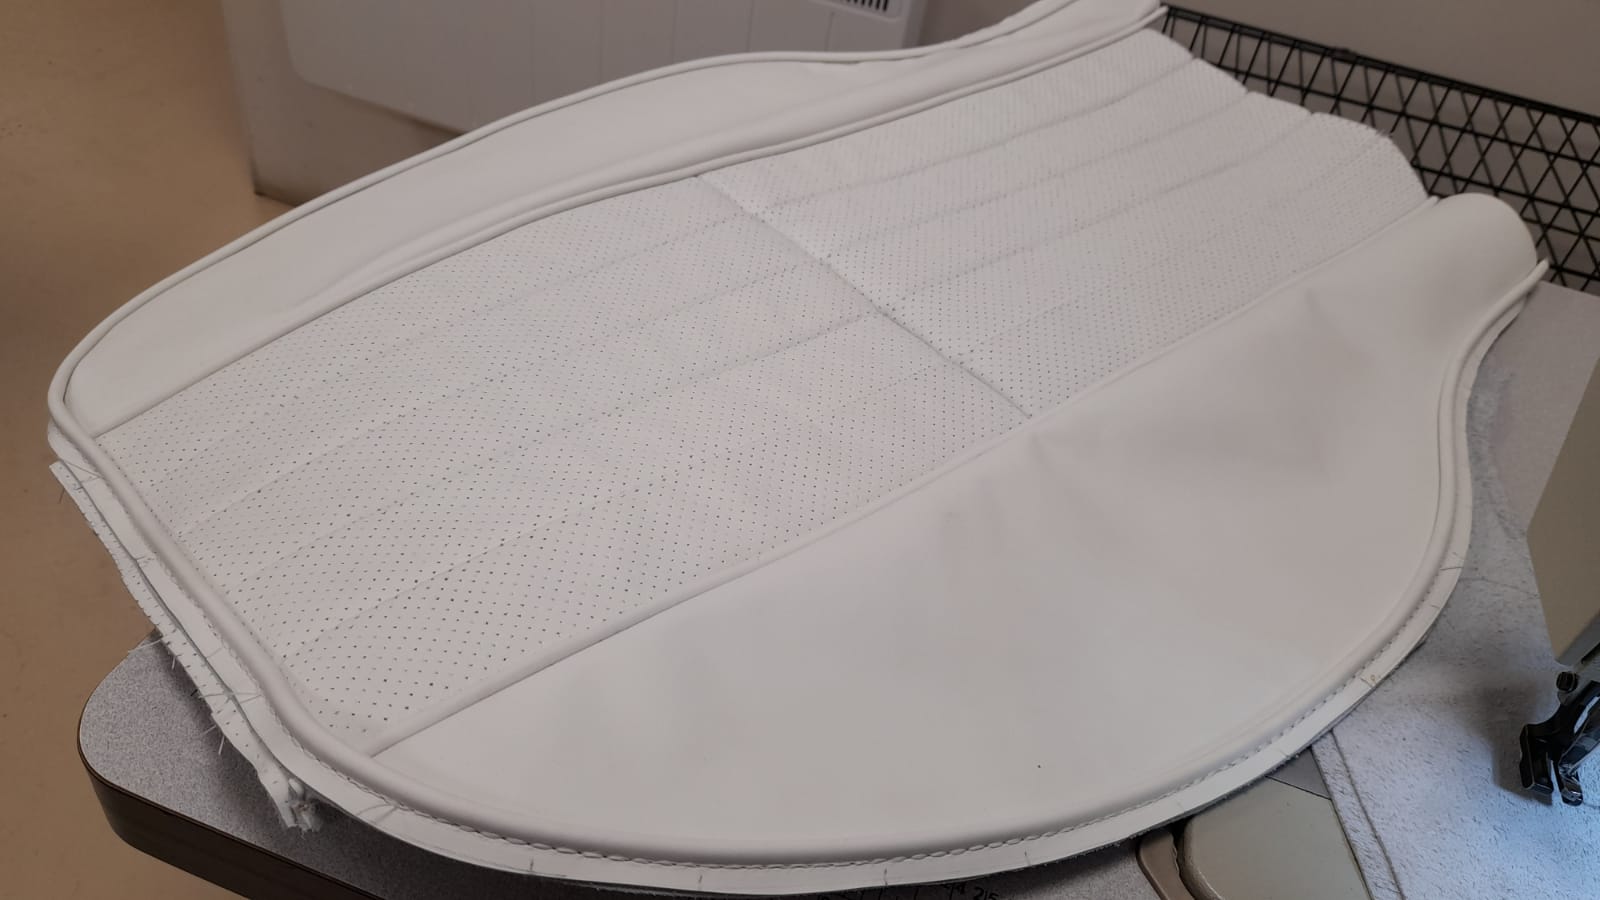
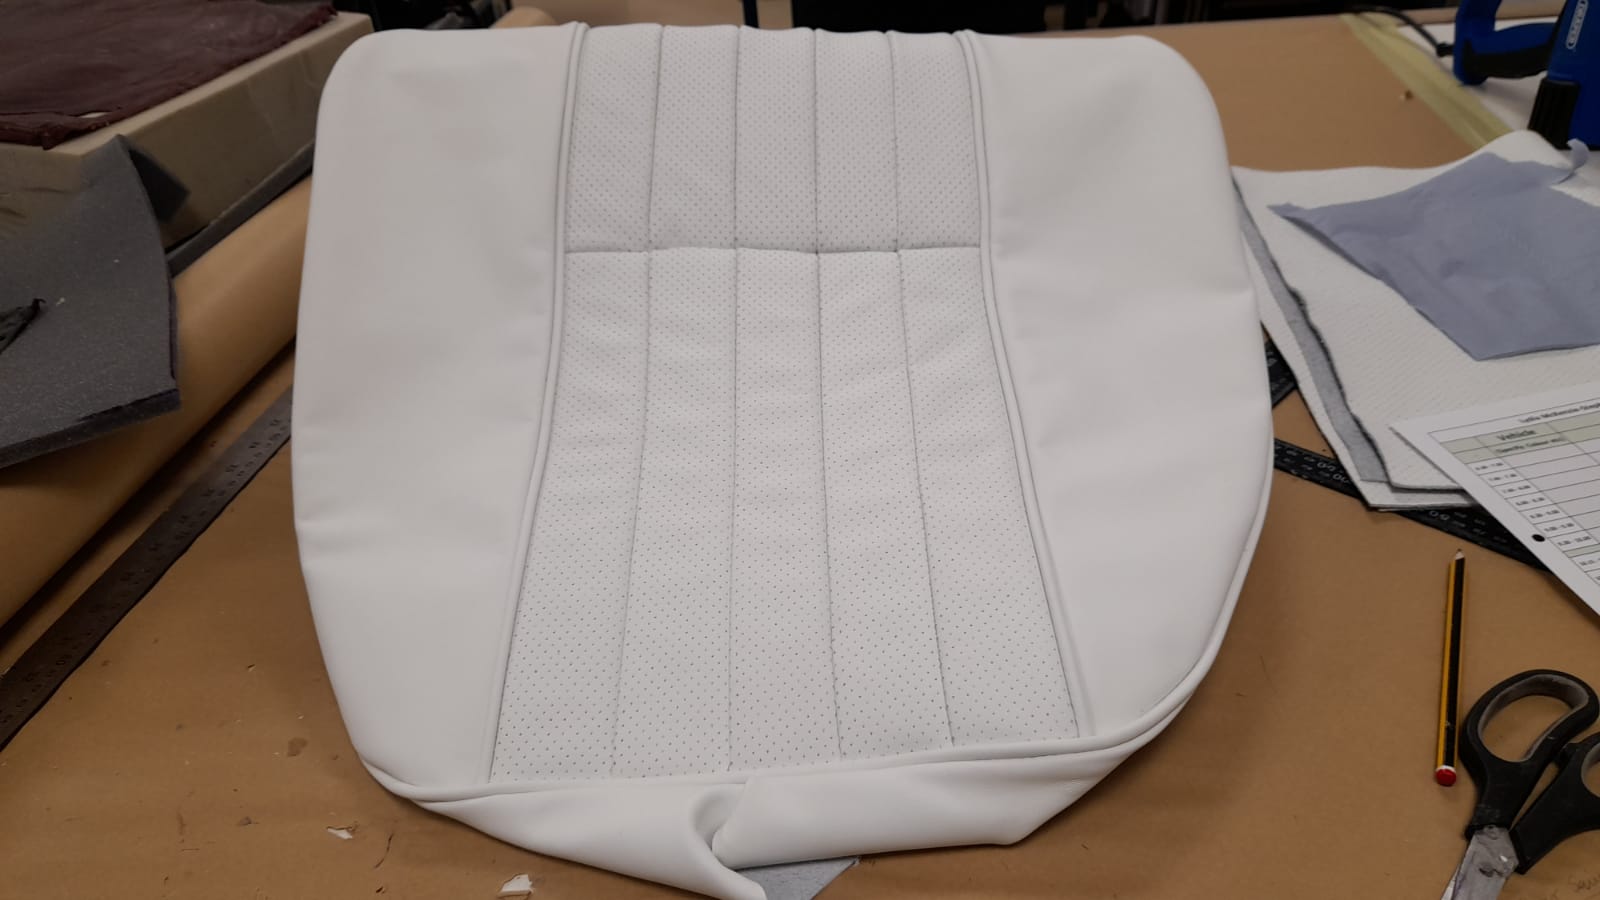
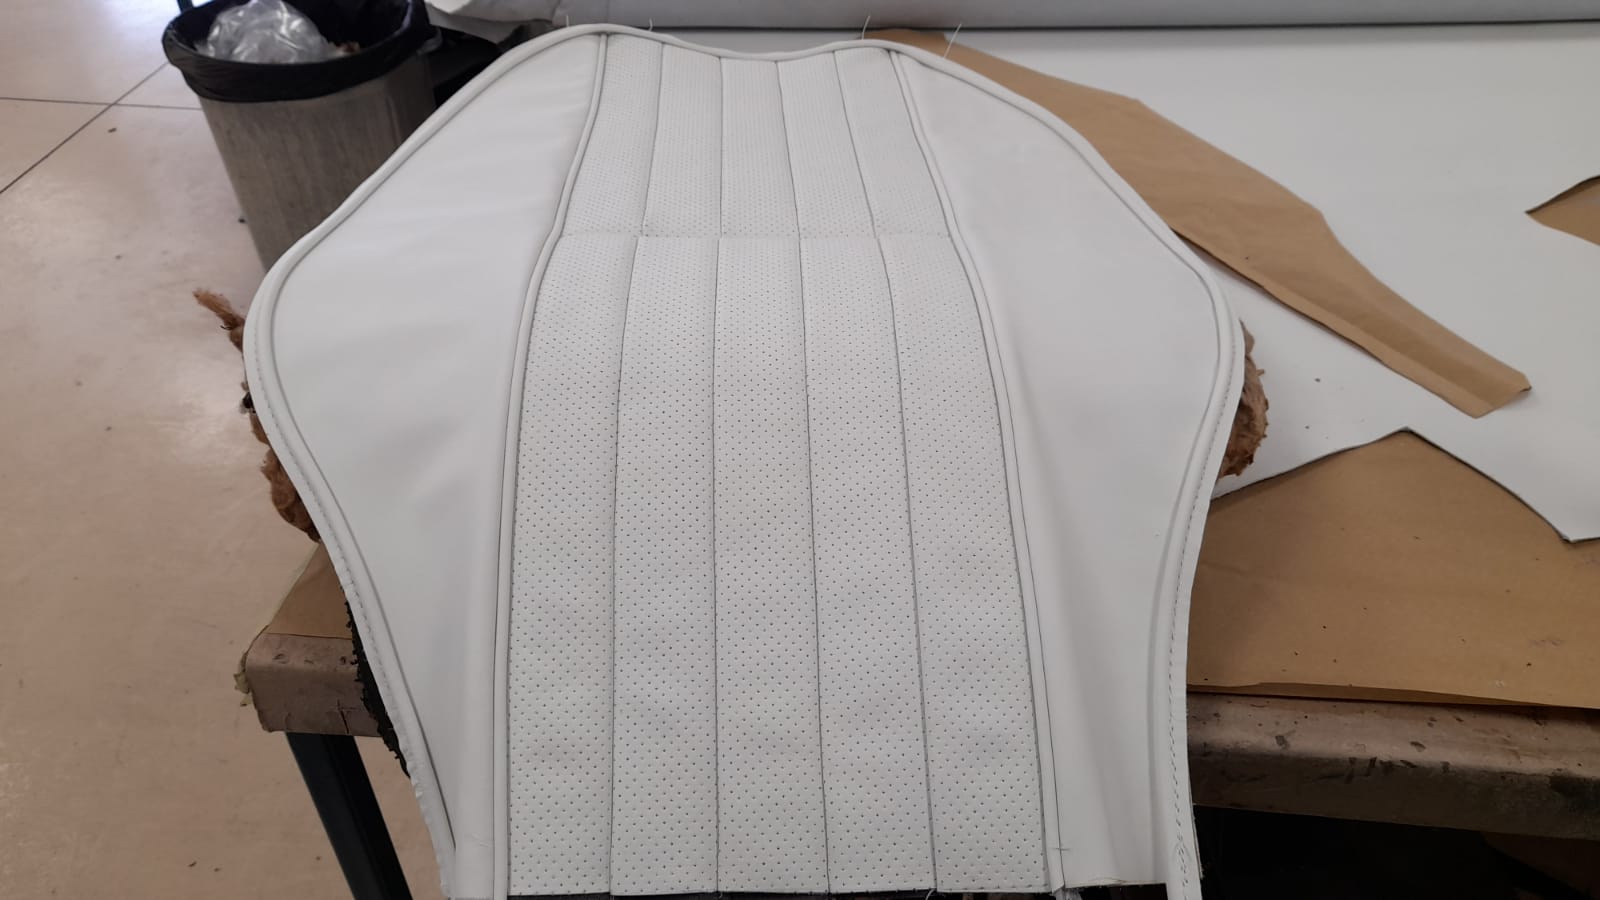
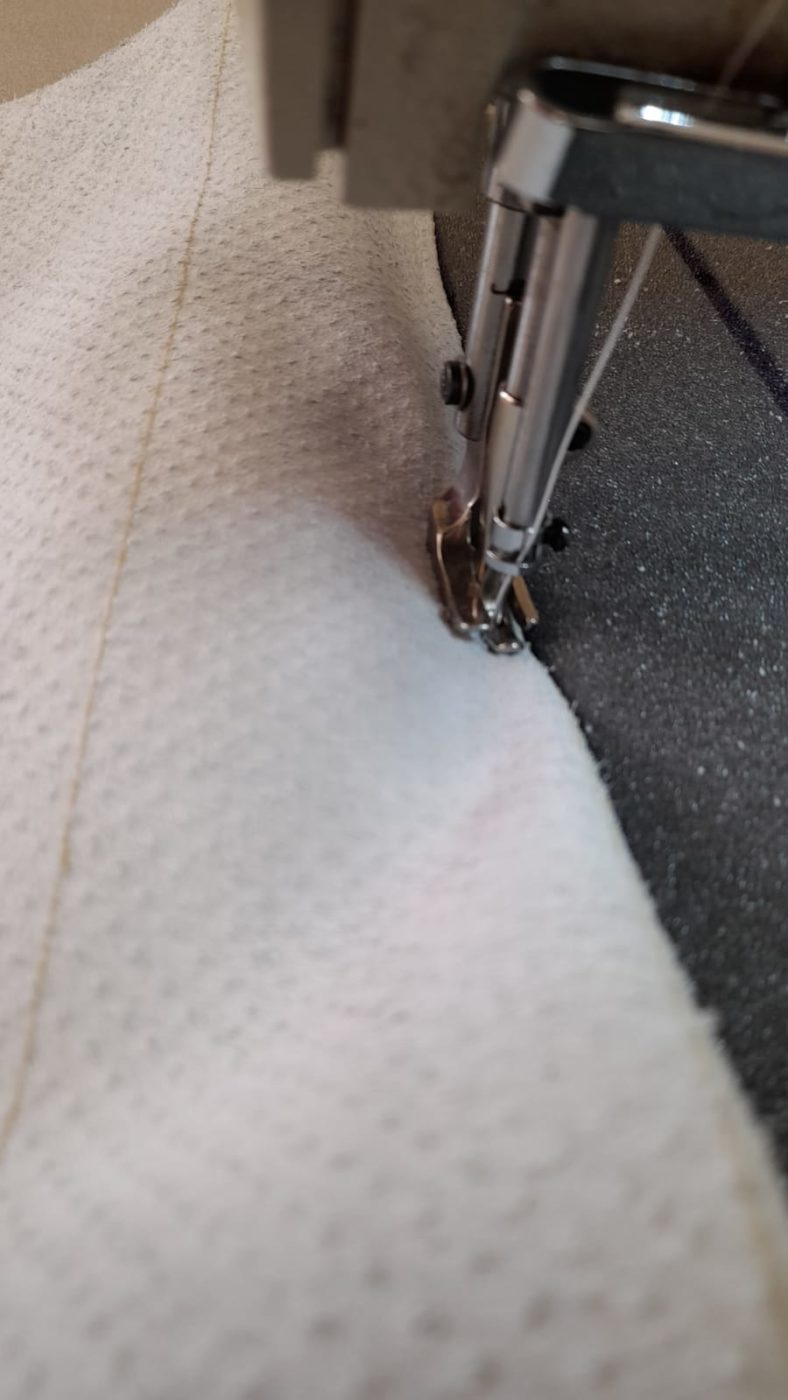
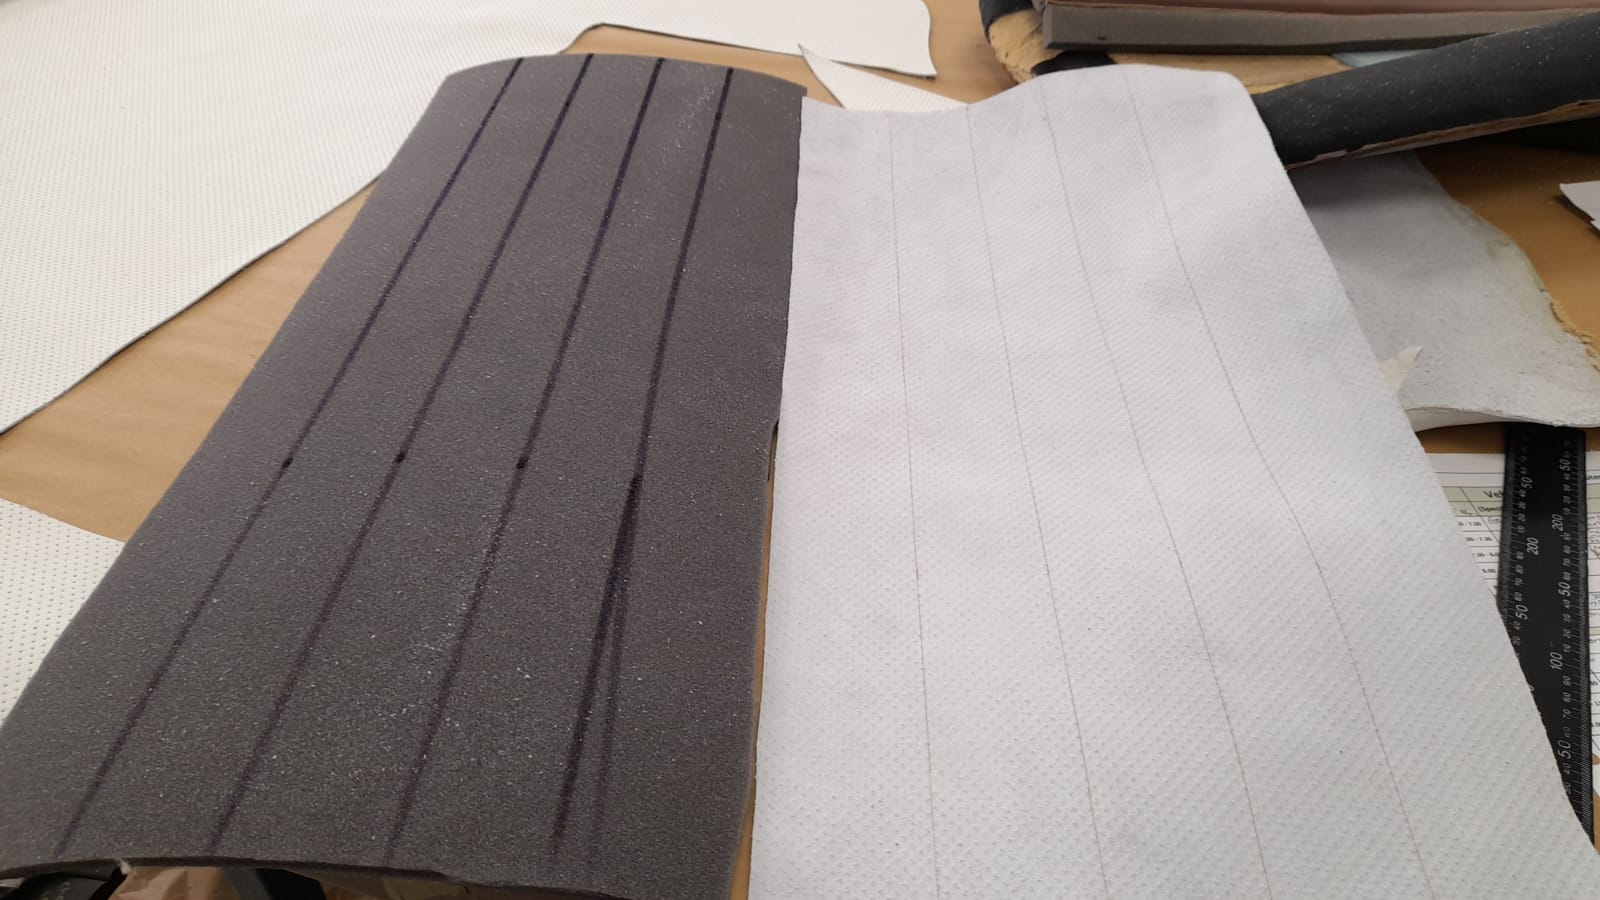
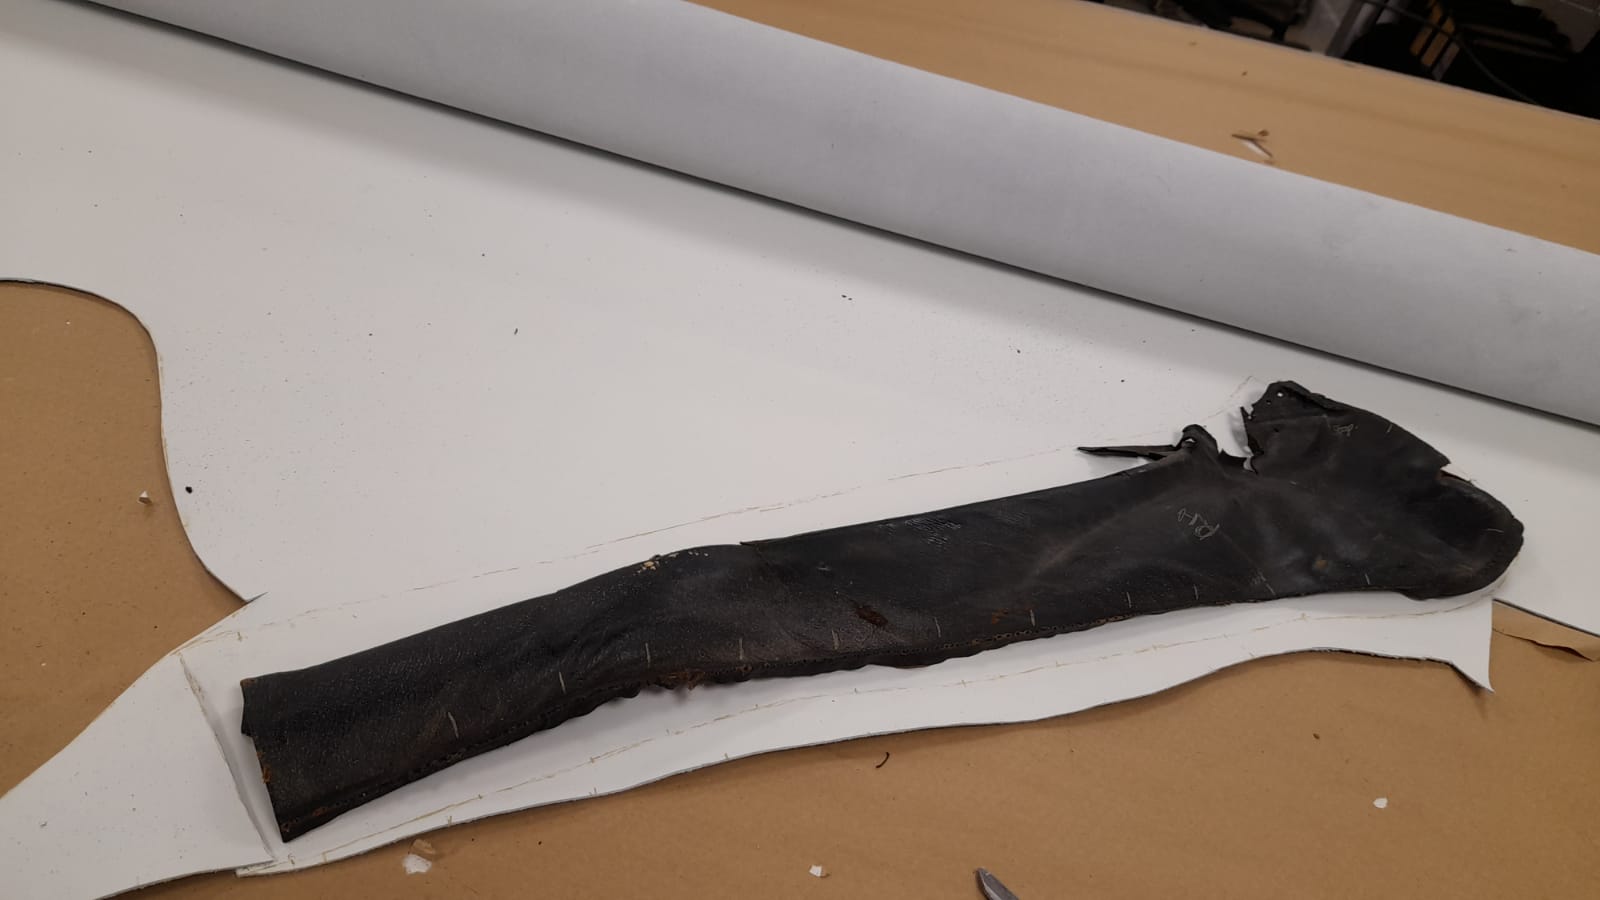
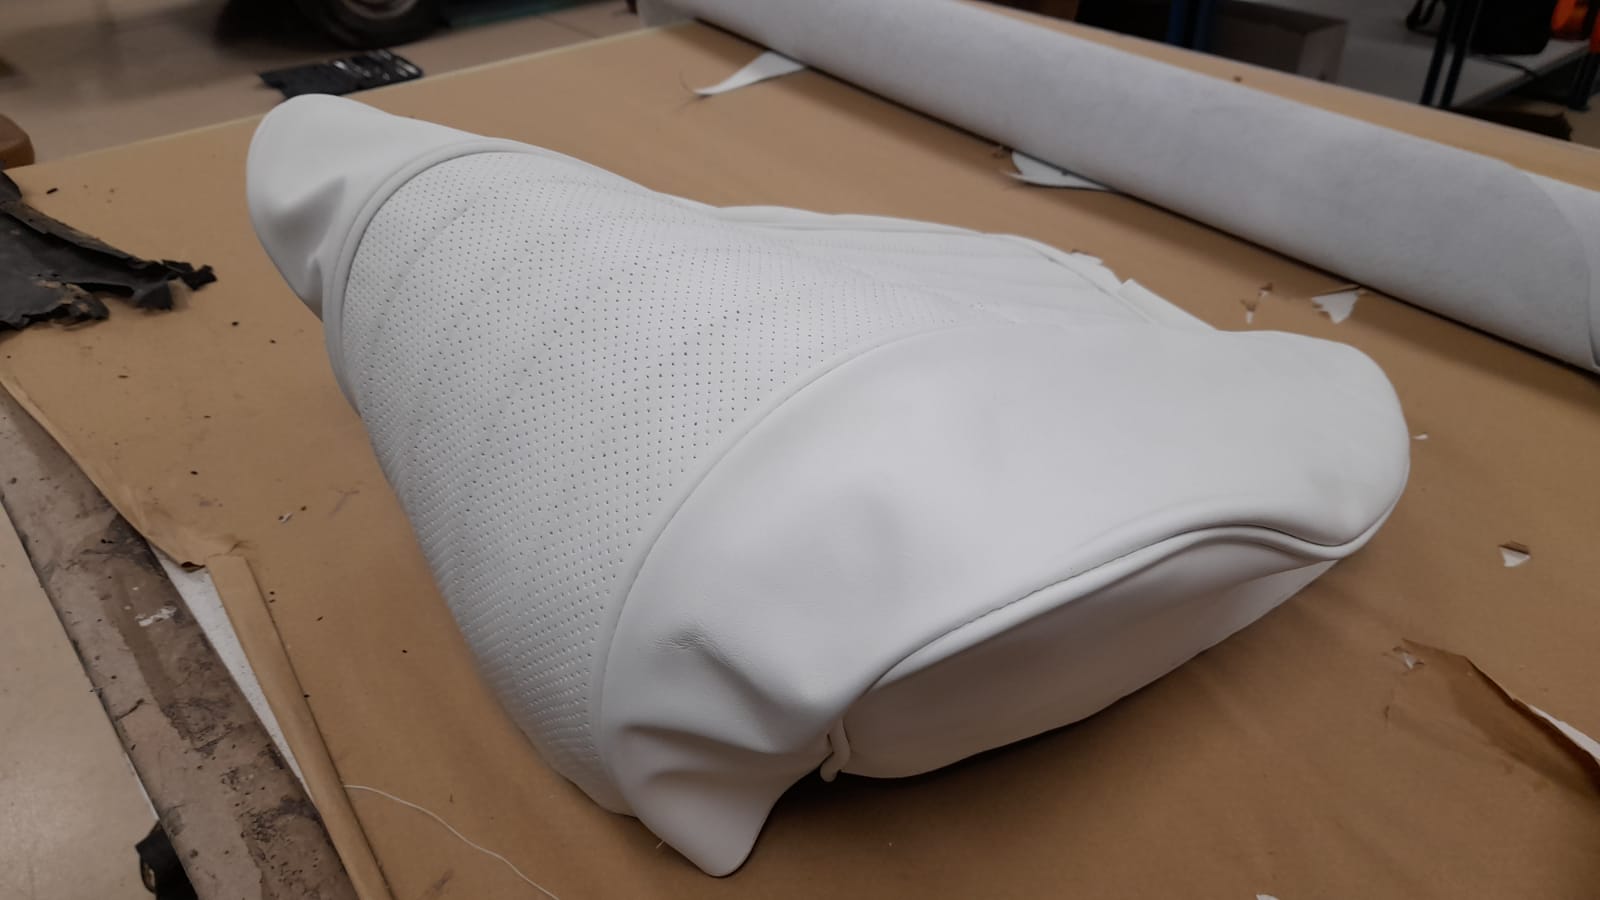
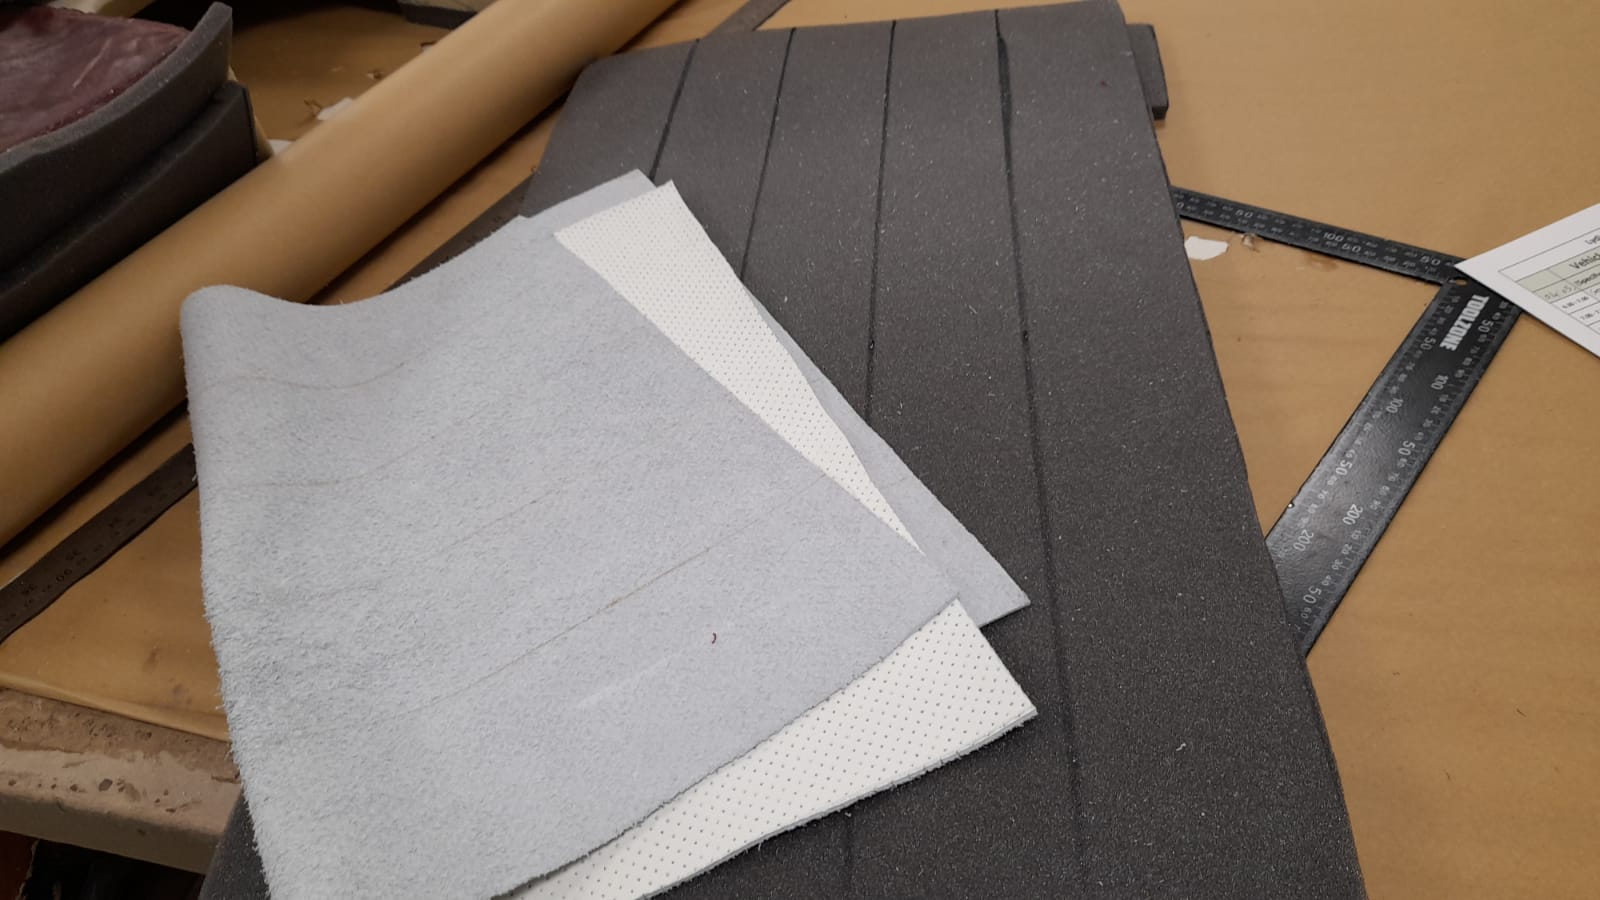
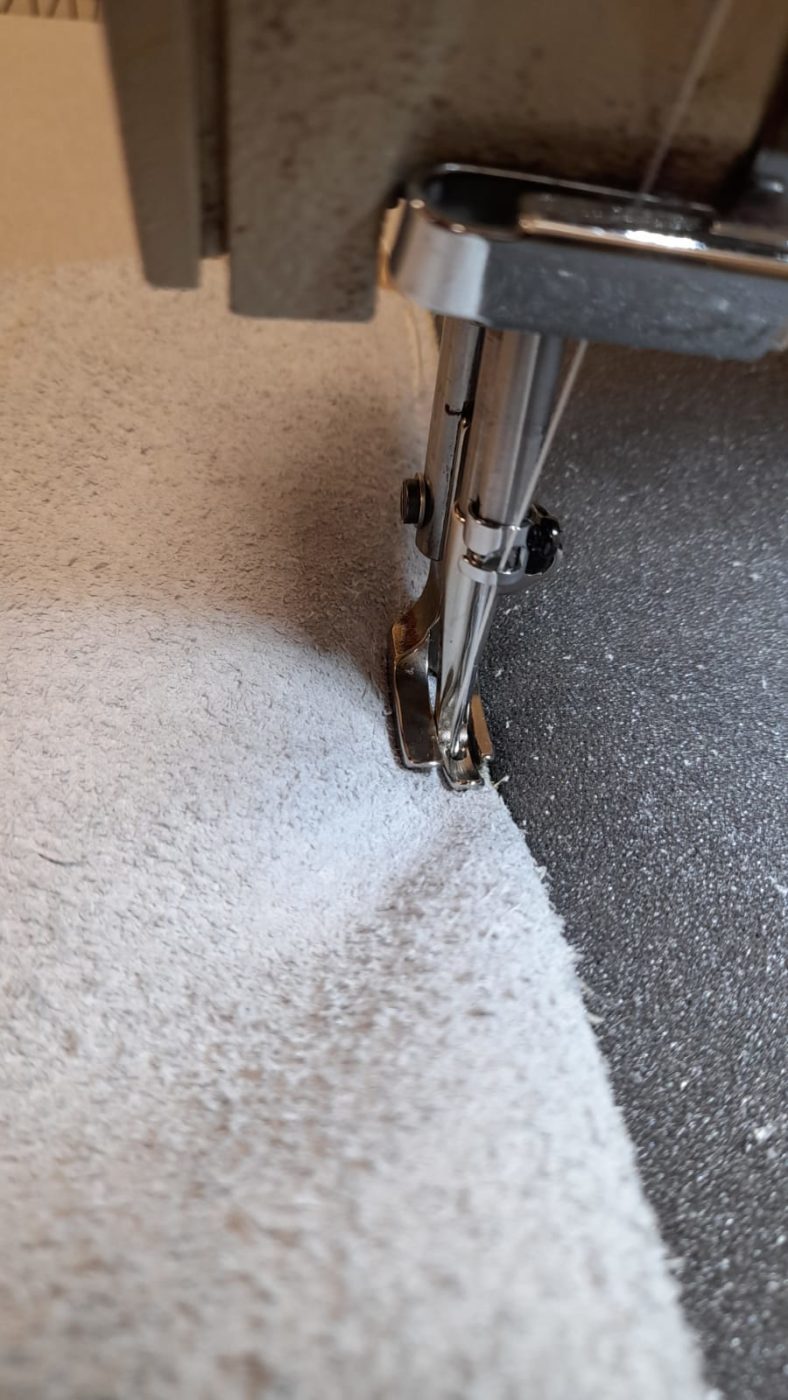
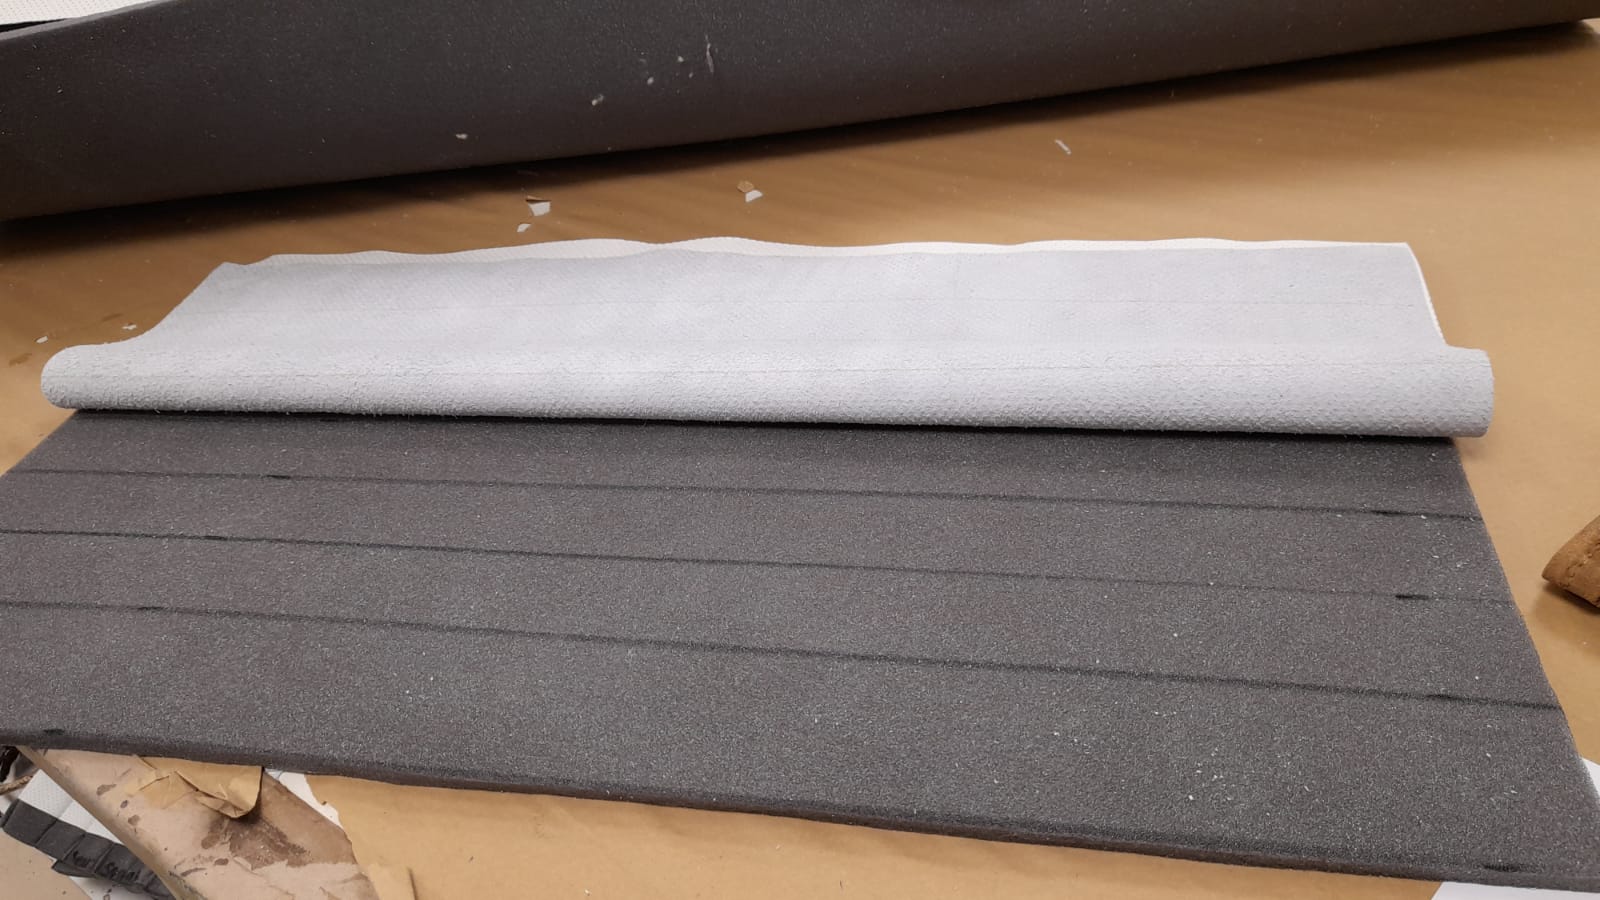
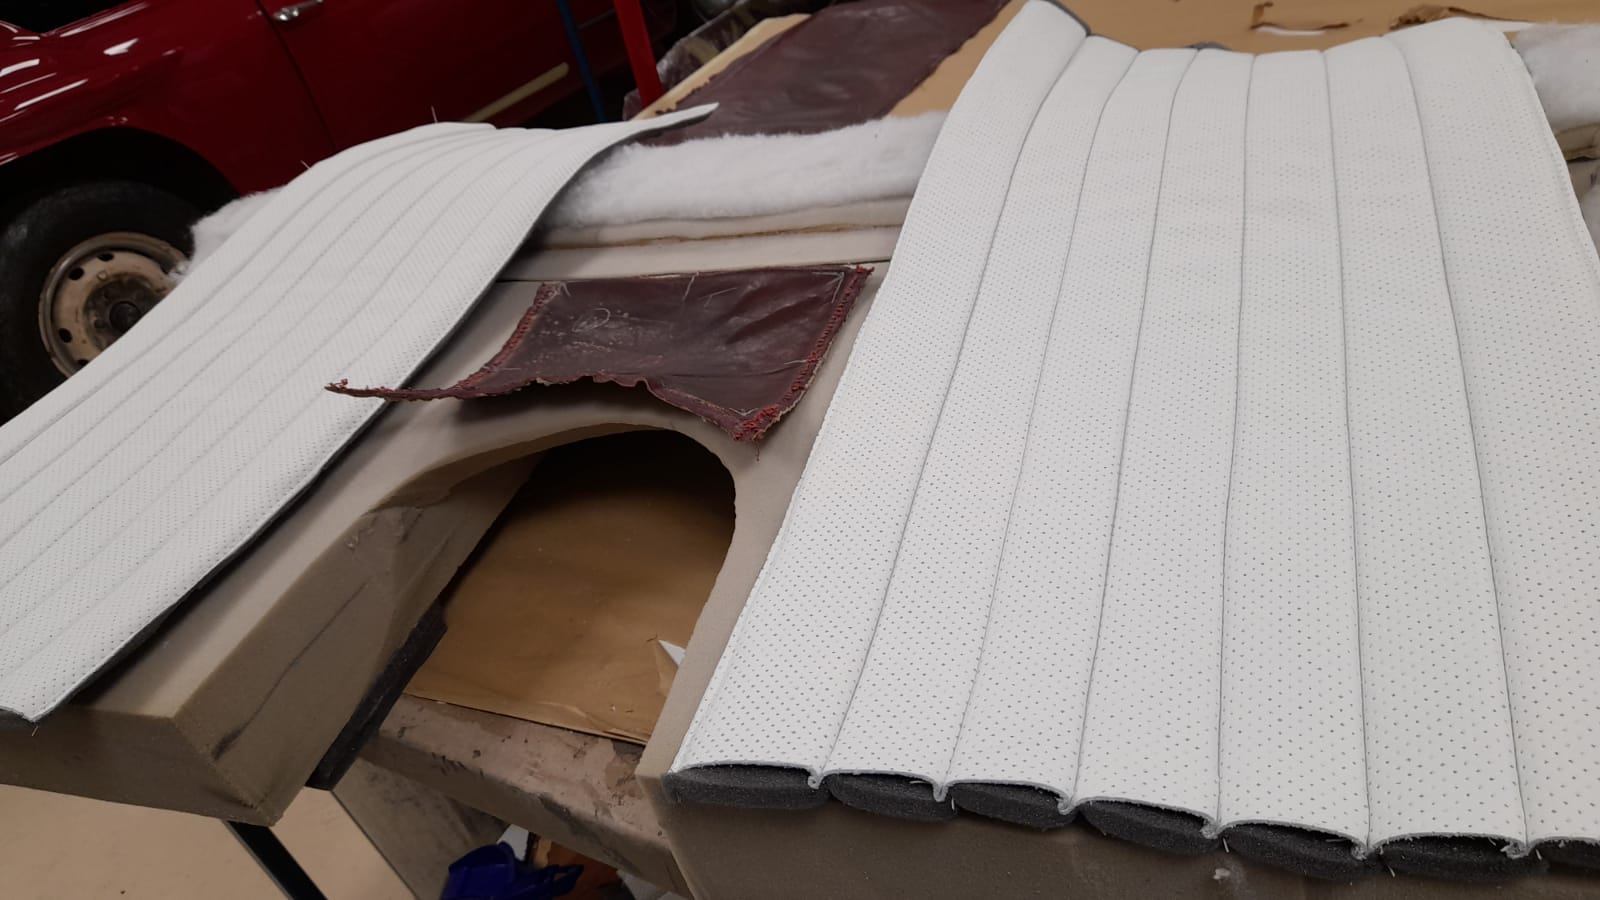
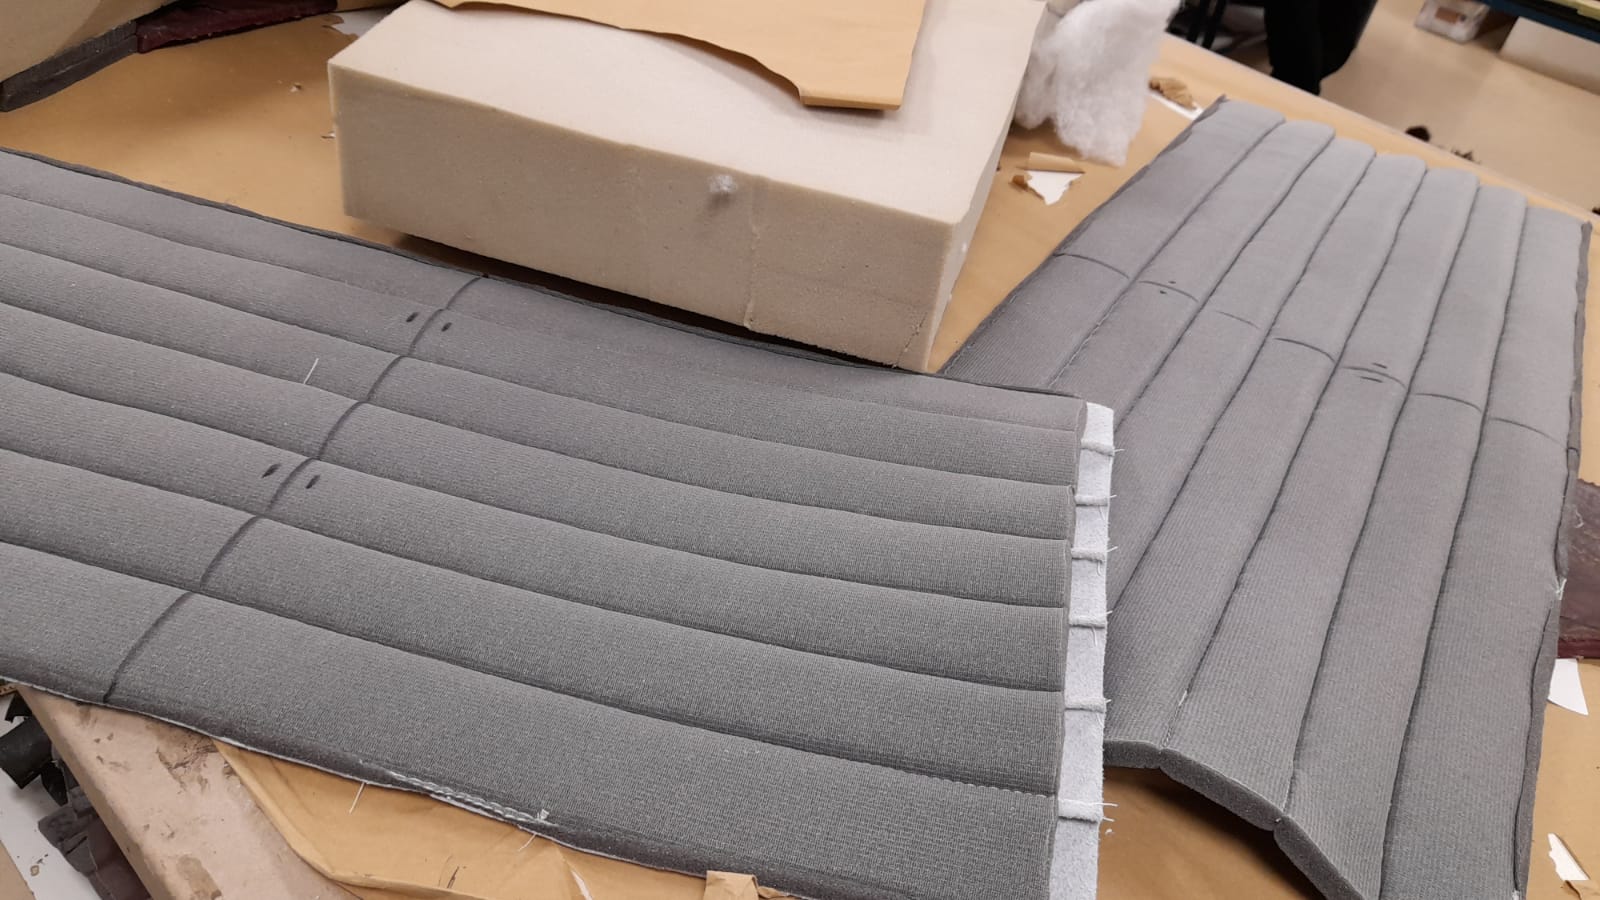
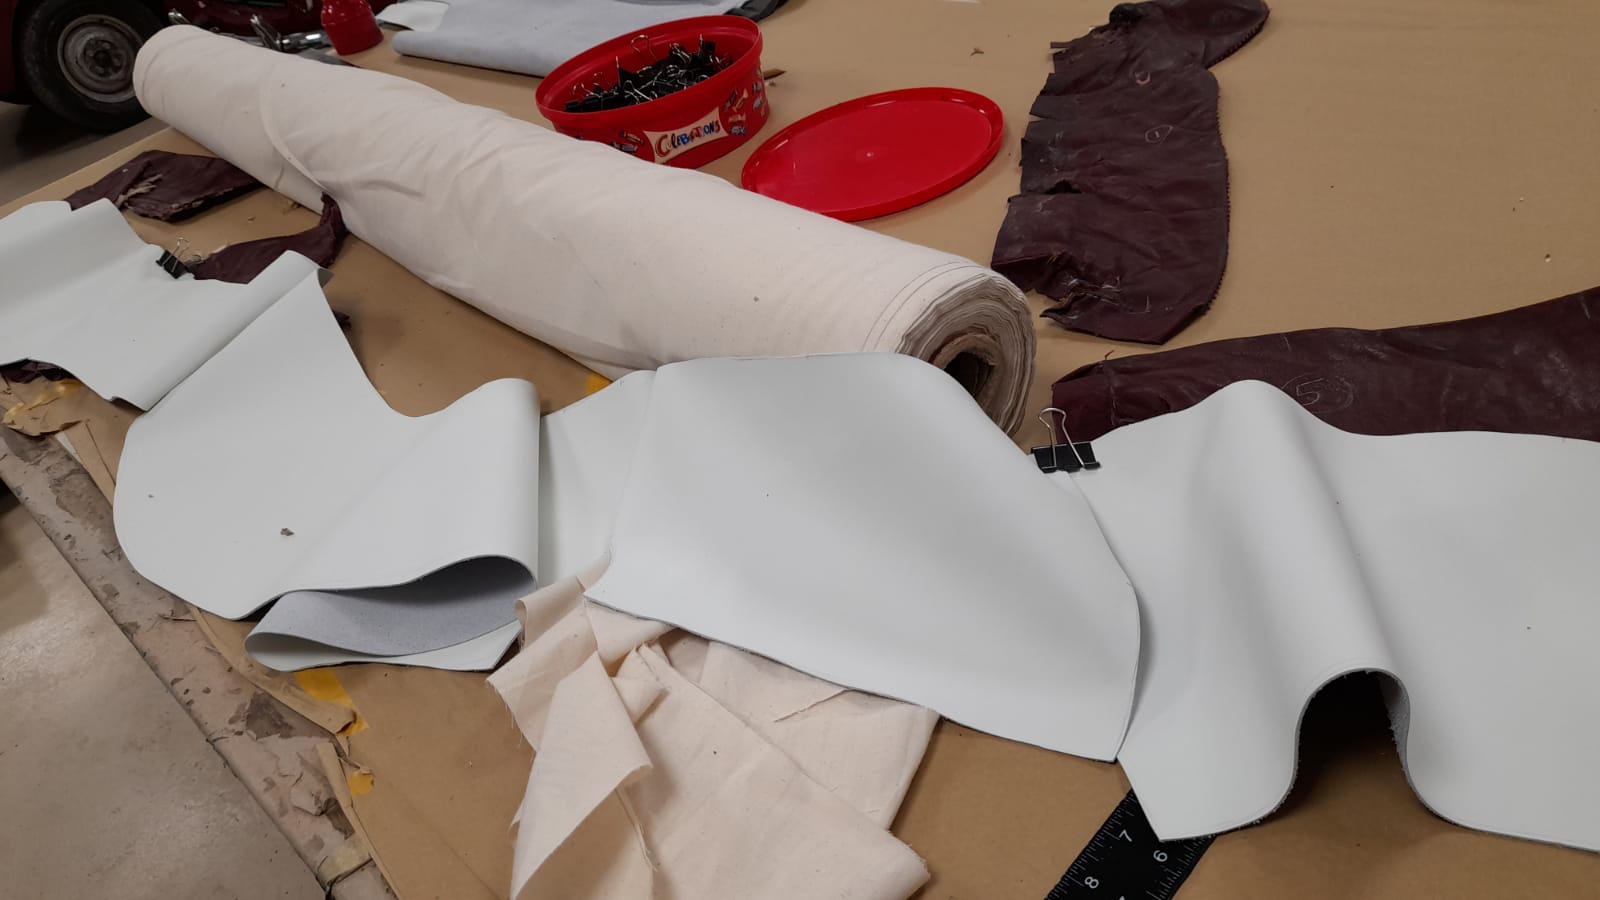
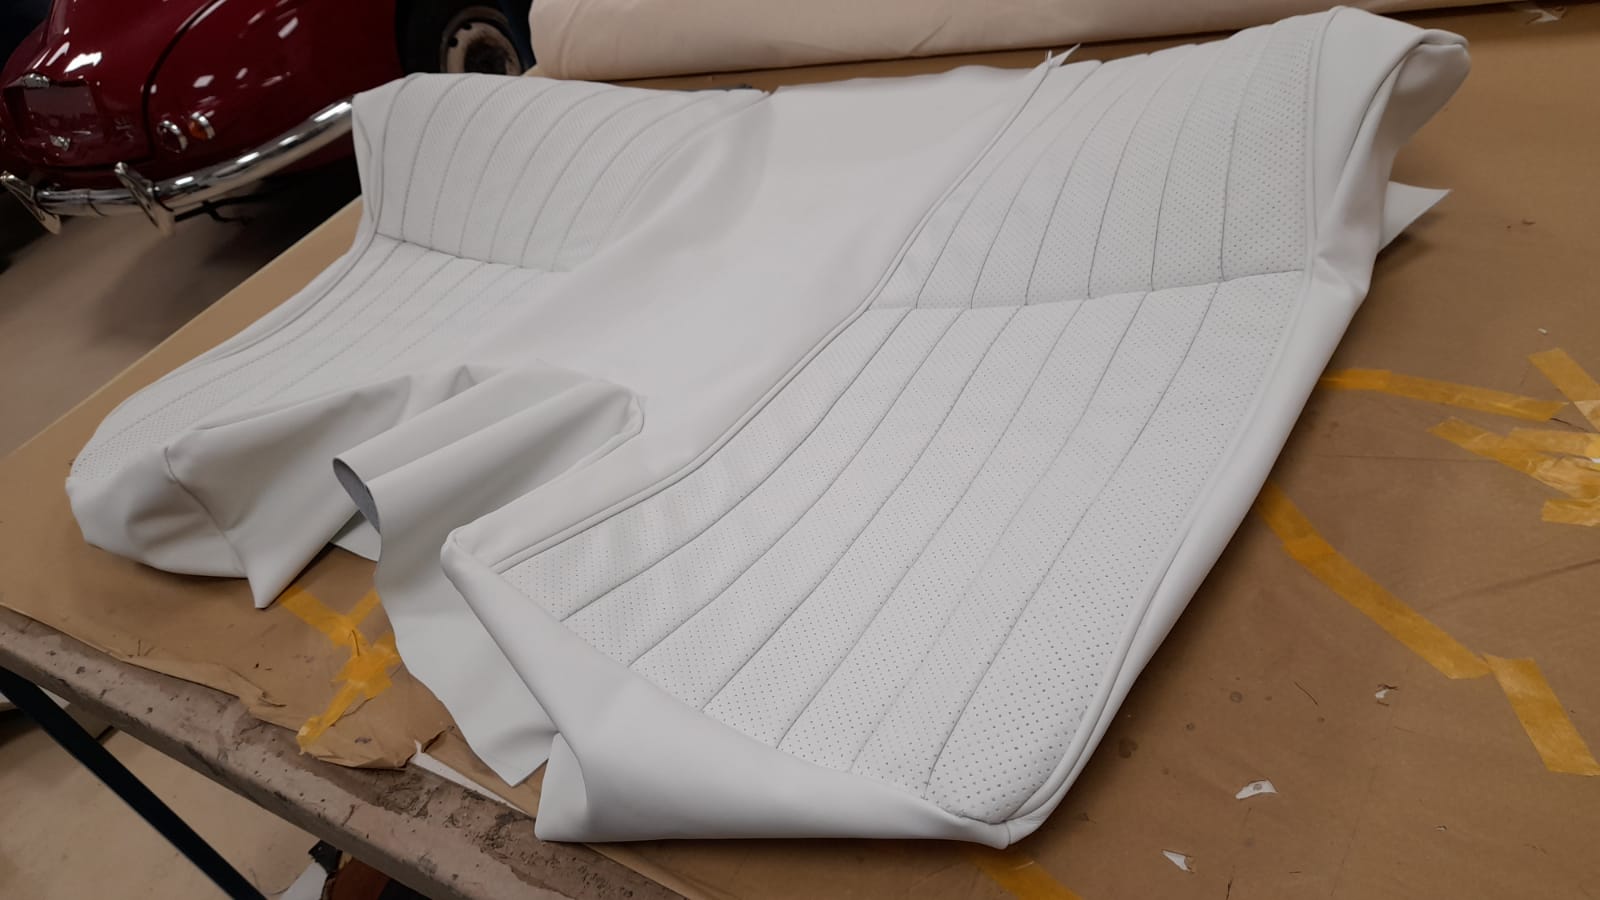
She has perforated the leather which arrived and then made fluted faces for the front squab and base seats with it. Then, she marked out the lines on the back of the leather and onto scrim foam to use as guides. Next up, Lydia could sew in the flute lines to complete the front squab and base flutes. Lydia had to create a seam in the base of the flutes as well as attaching calico to the seams. The seam and calico then get pulled tight on the foam. Lydia’s next challenge was to sew in sidebands onto the front base seat as it wasn’t in the original design. Once confident with the patterns, Lydia could cut them out. She sewed piping down the sidebands before attaching to the sides of one of the fluted base “faces”. Then she piped around the outside of the whole thing and checked to see if the foam would still fit. Lydia then worked out the front squab seat next. She piped the sides of the fluted “face” again. She then lay it on the frame because she had to mark where to trim the sidebands, these had to be adjusted slightly because of the new design.
Lydia then made cuts in the foam for the piping to sit into and to give a good shape. She then glued the piping down into them. She then stapled around the back and the bottom of the frame to hold the front squab in place.
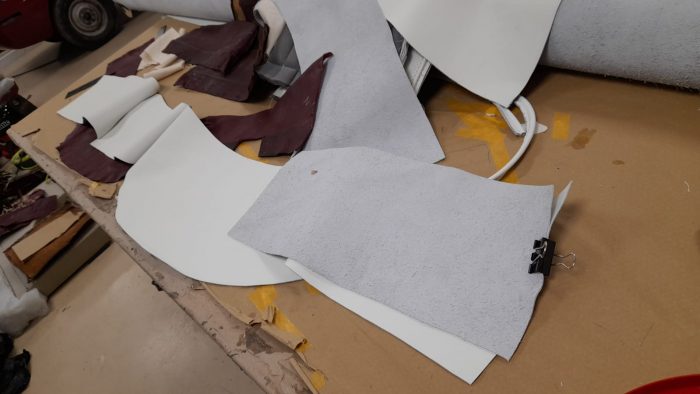
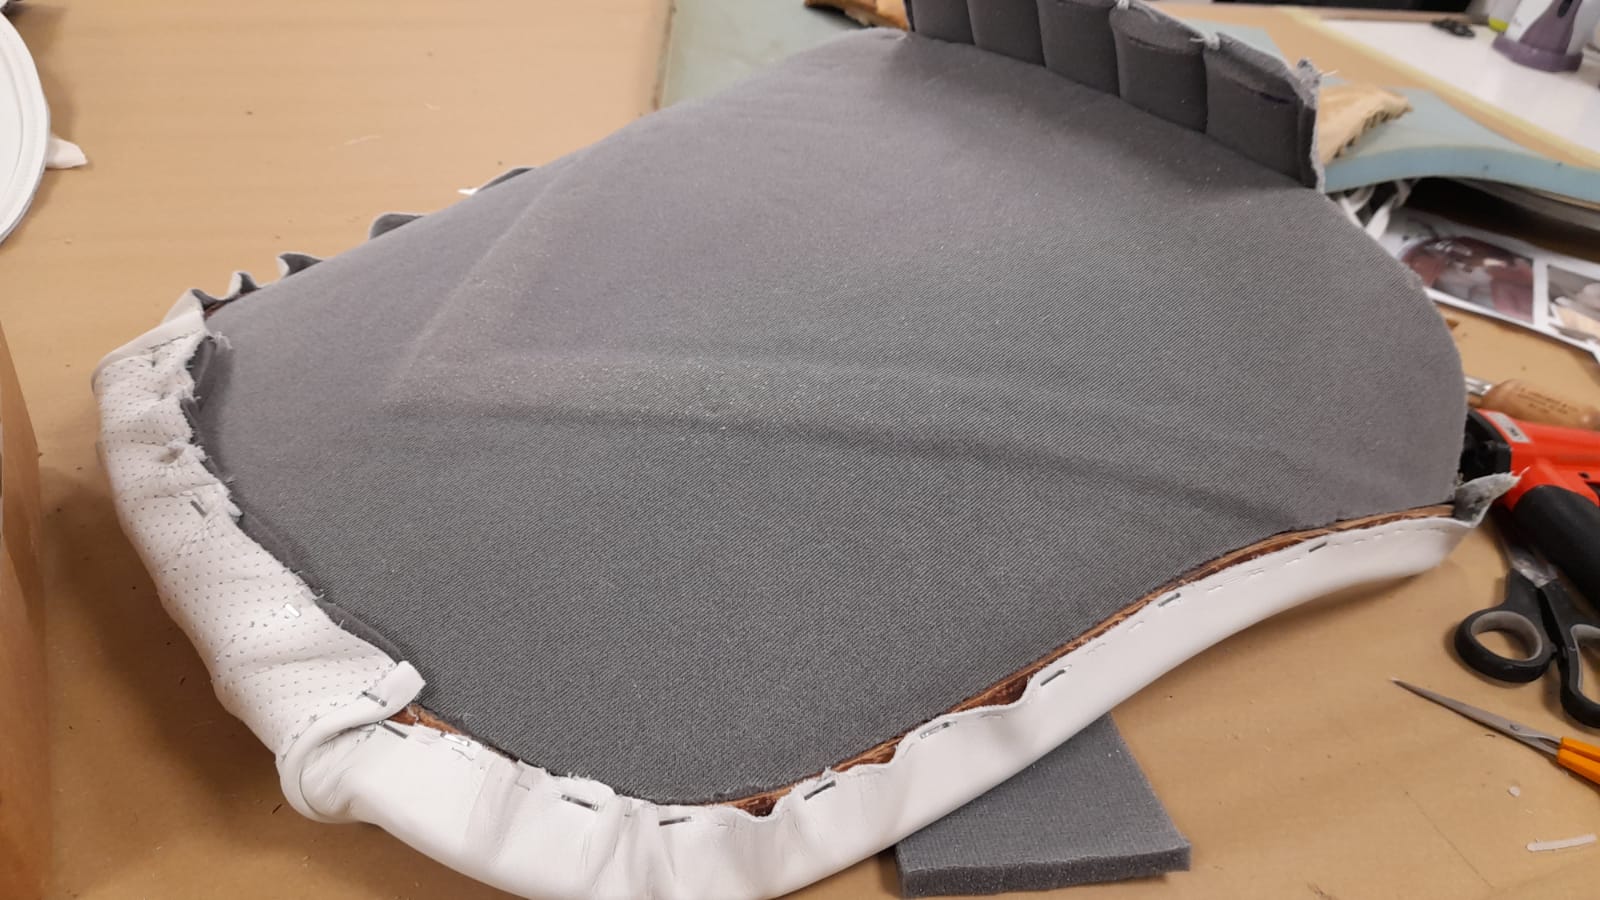
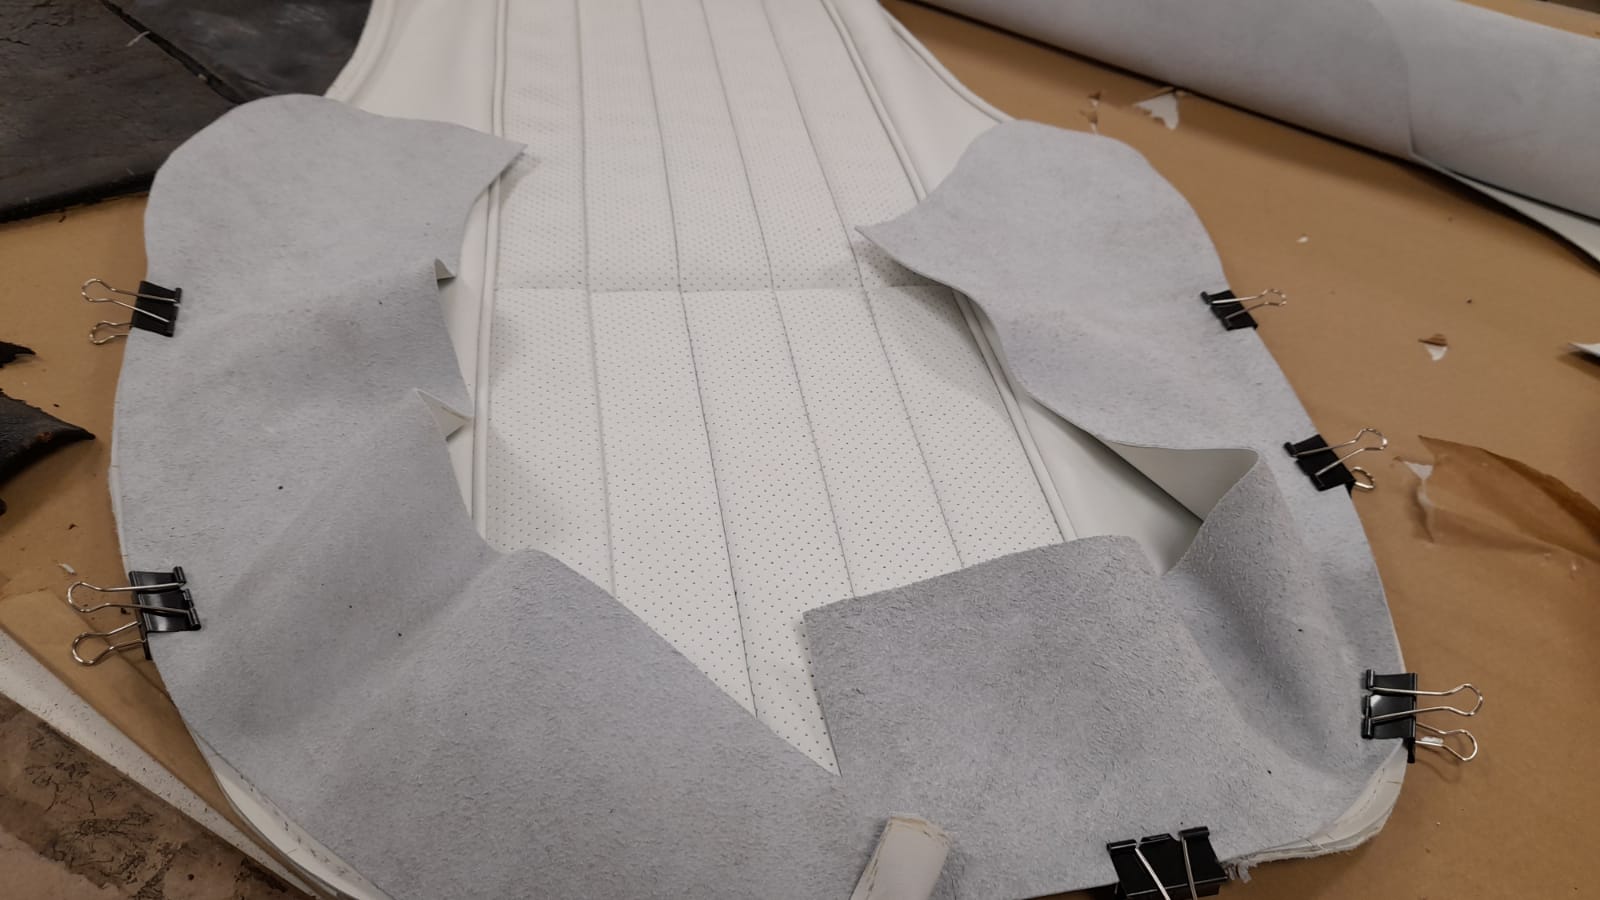
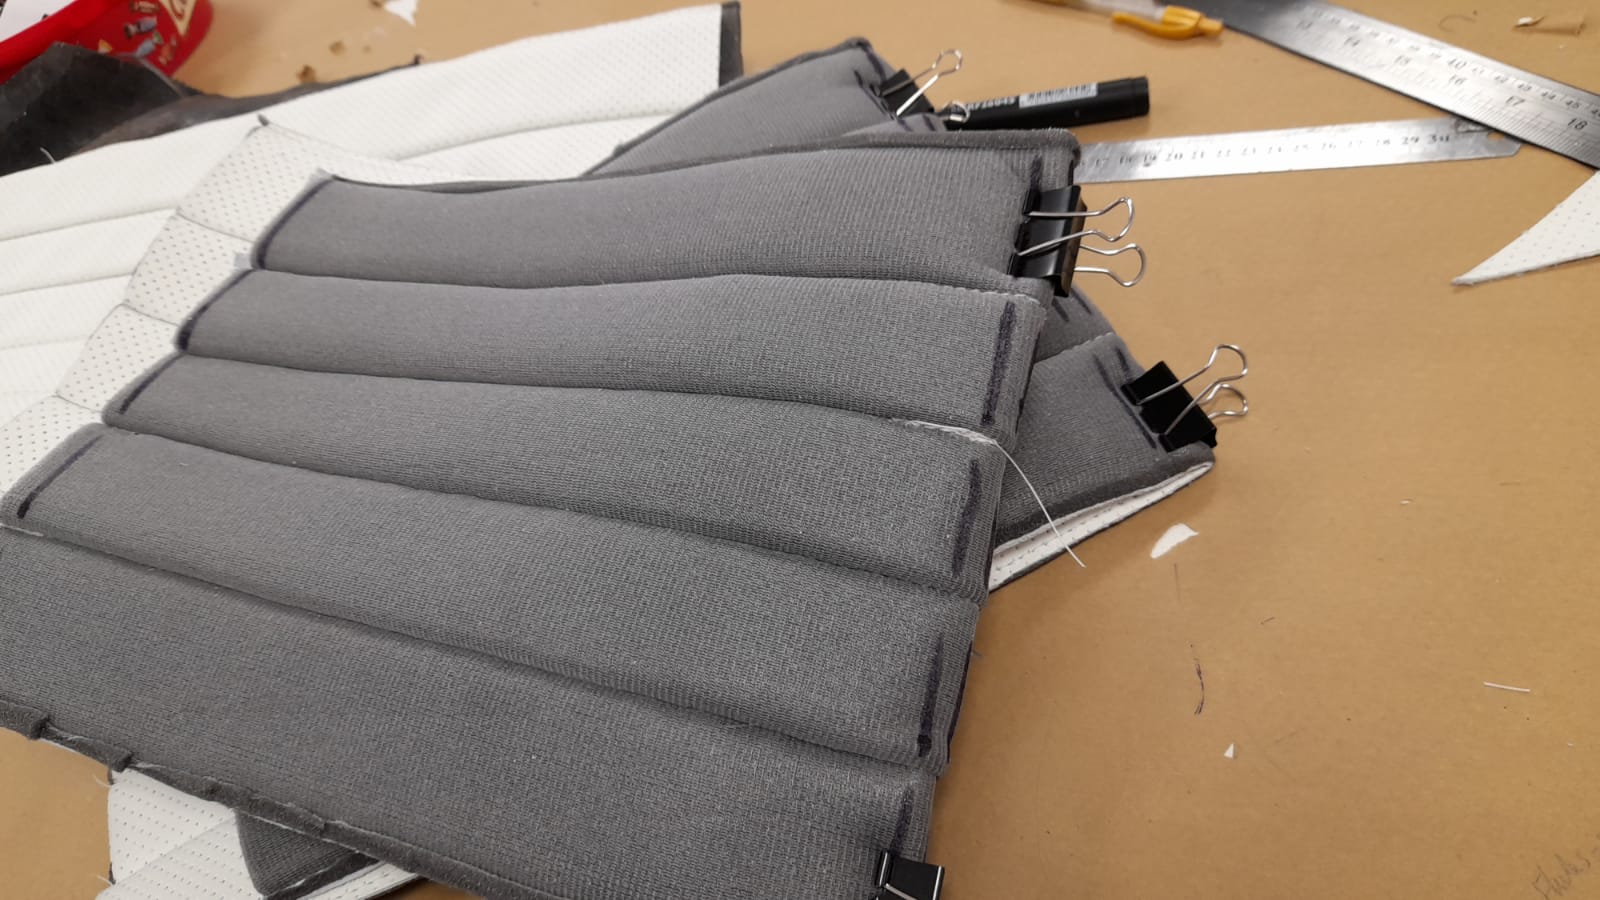
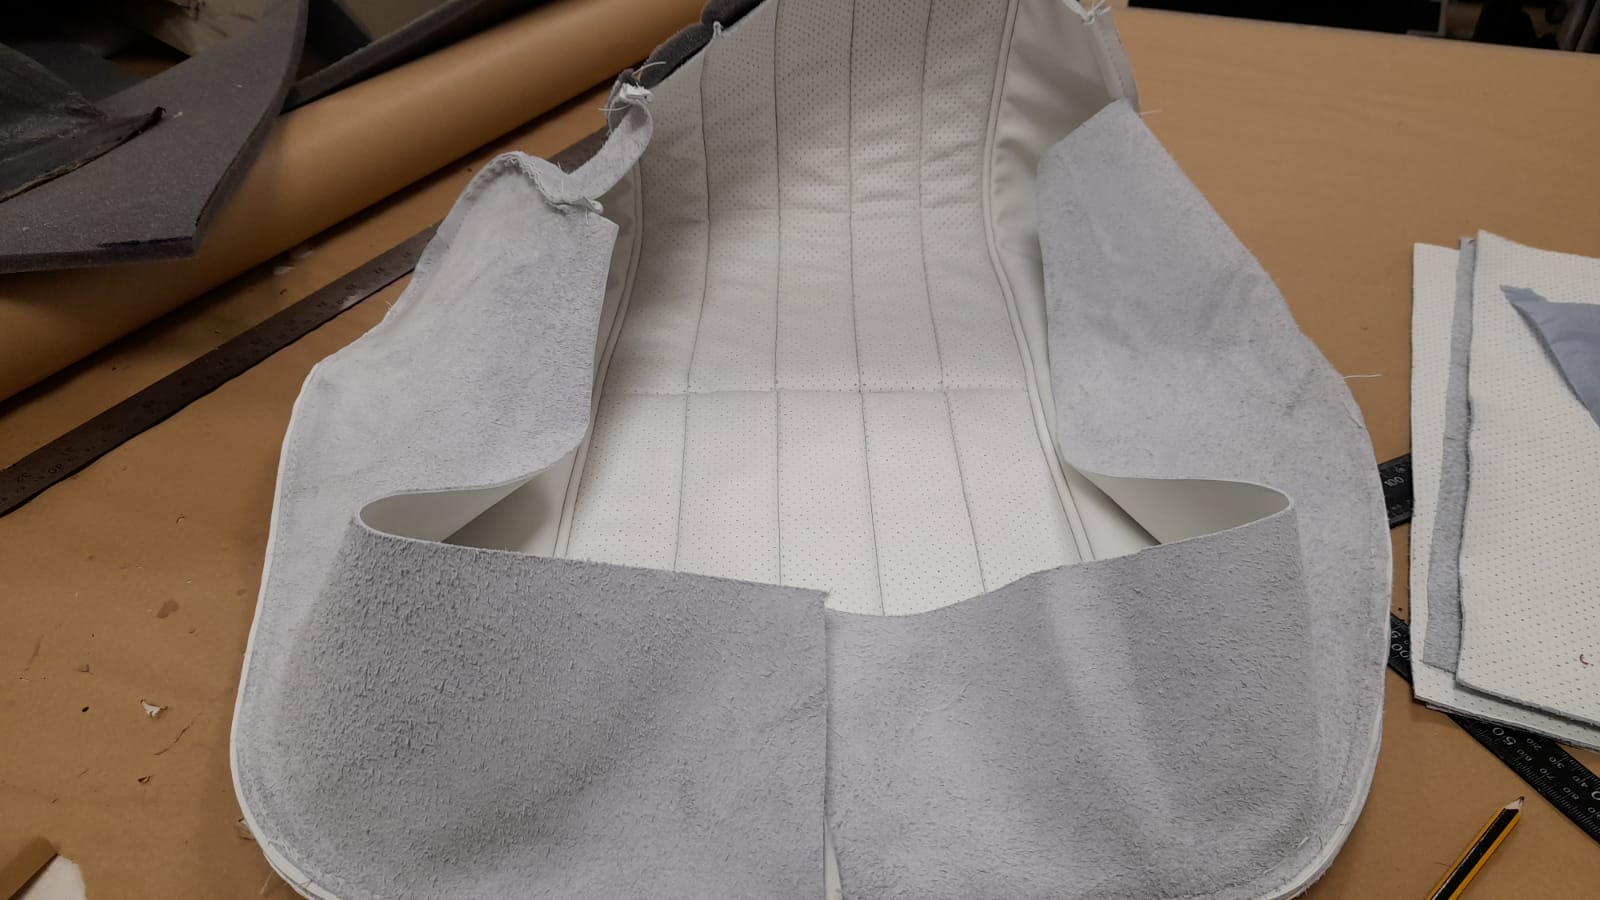
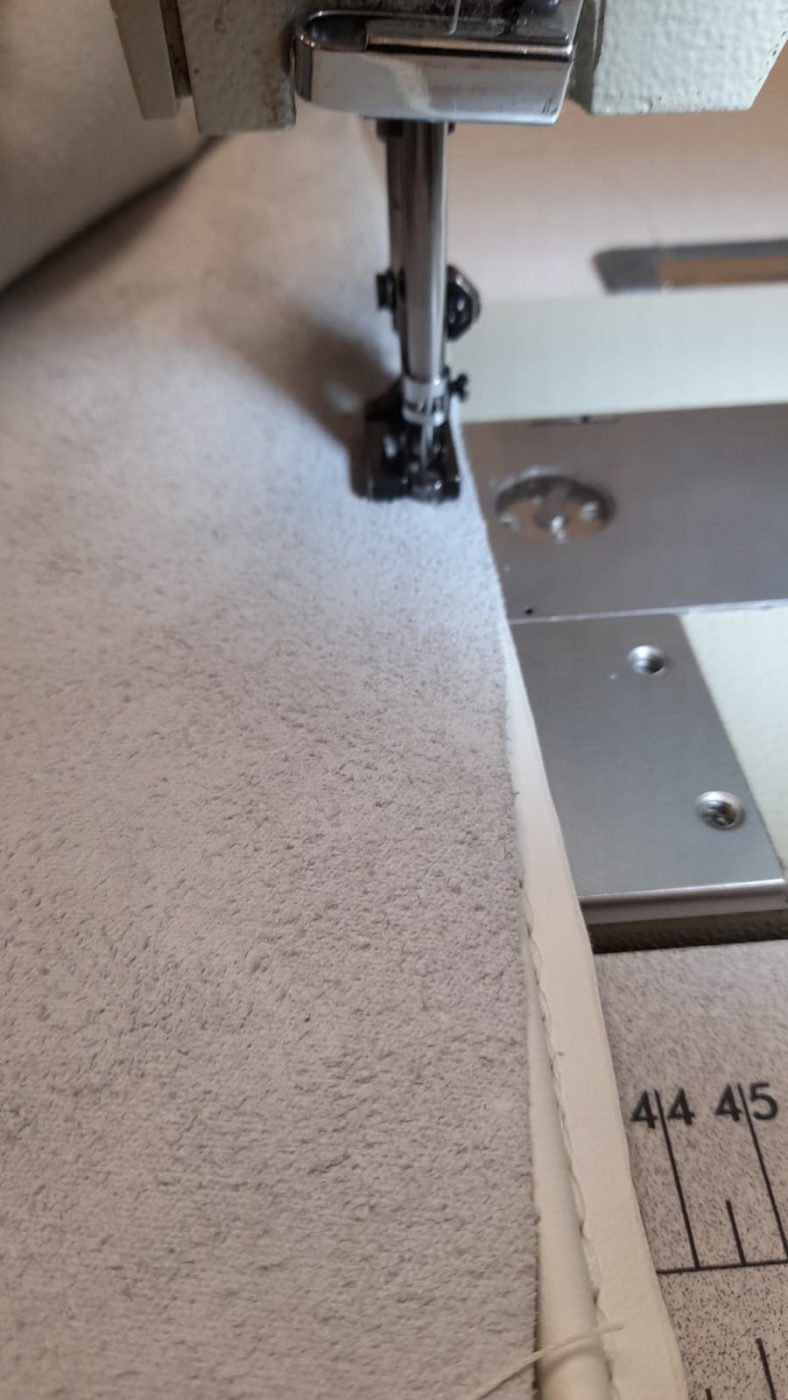
Next up, she marked out the leather for the back pieces for one of the front base seats that she started on before. She then clipped them around the piping of the “face” to check the fit before sewing on.
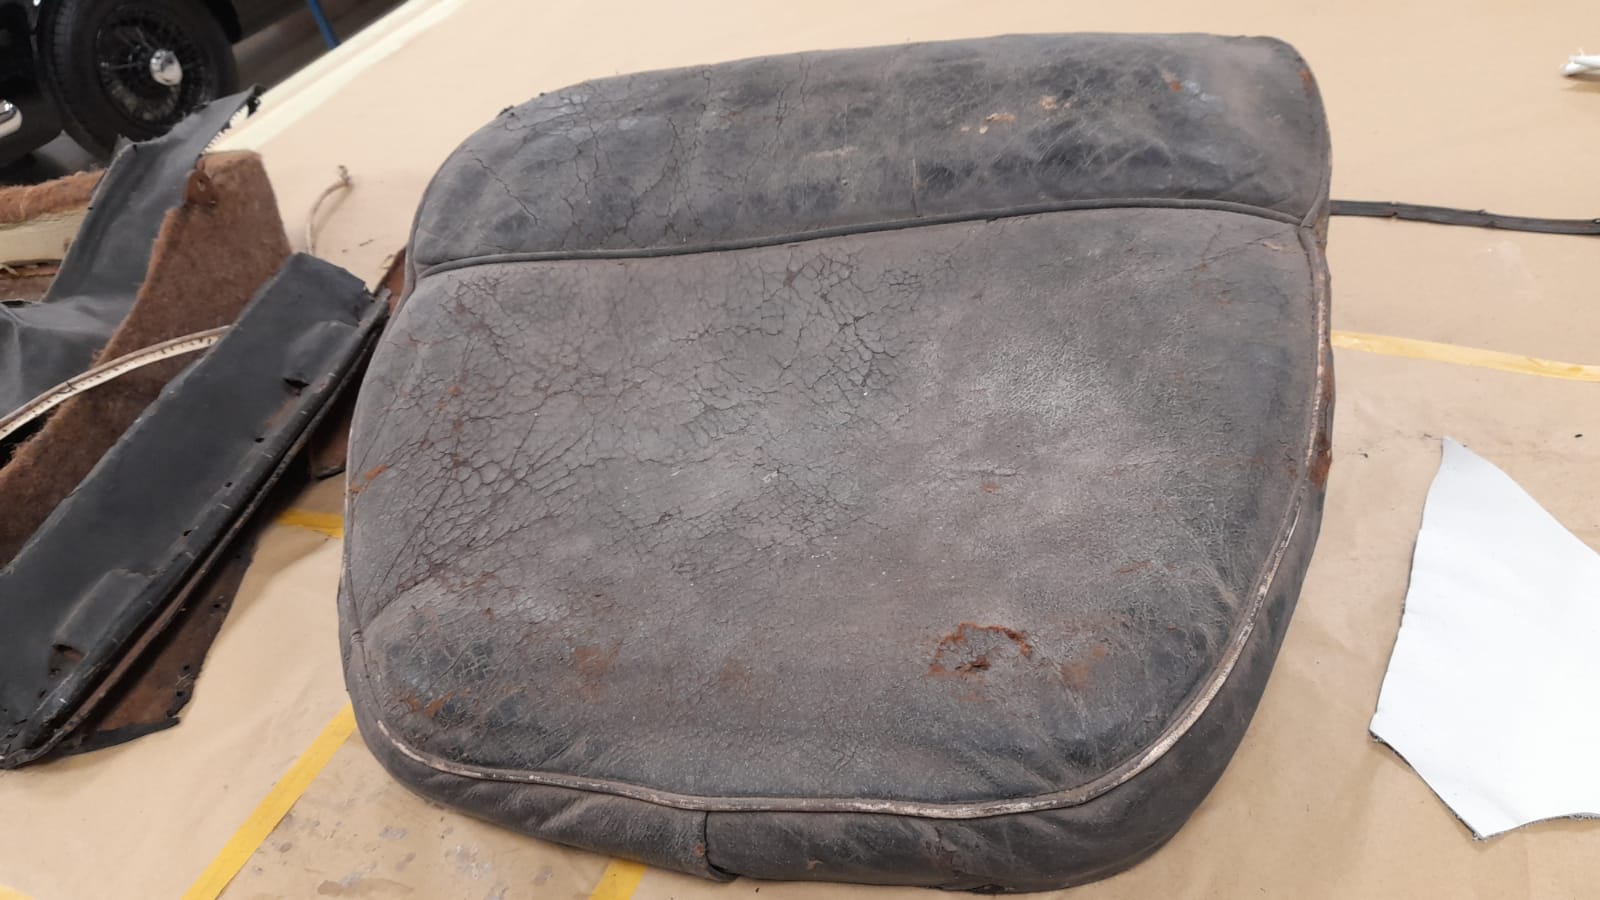
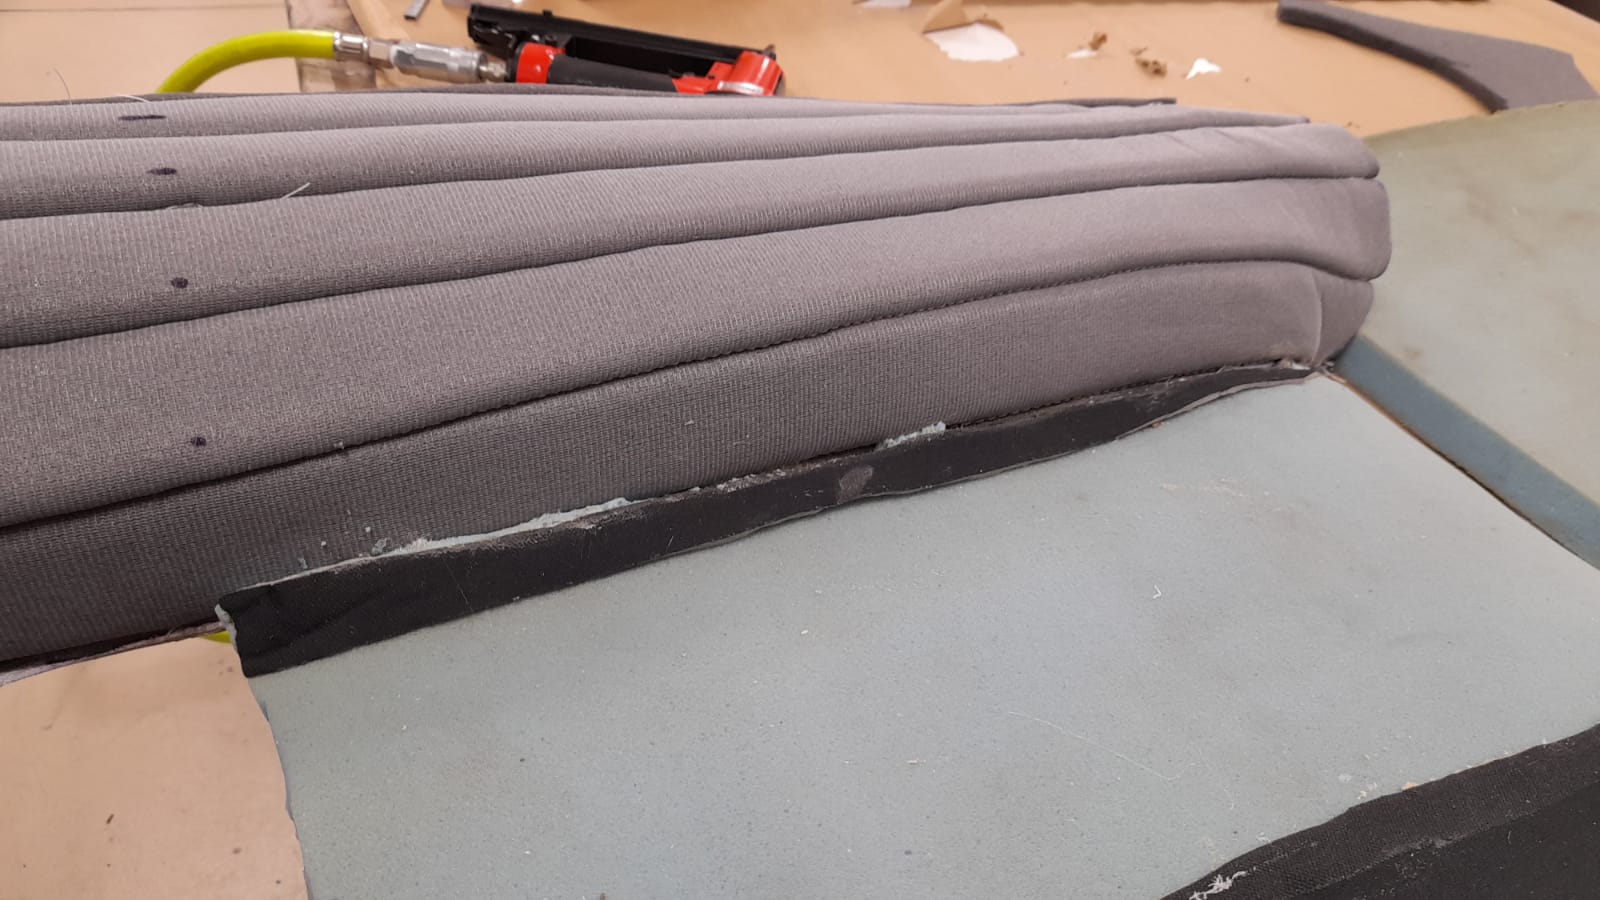
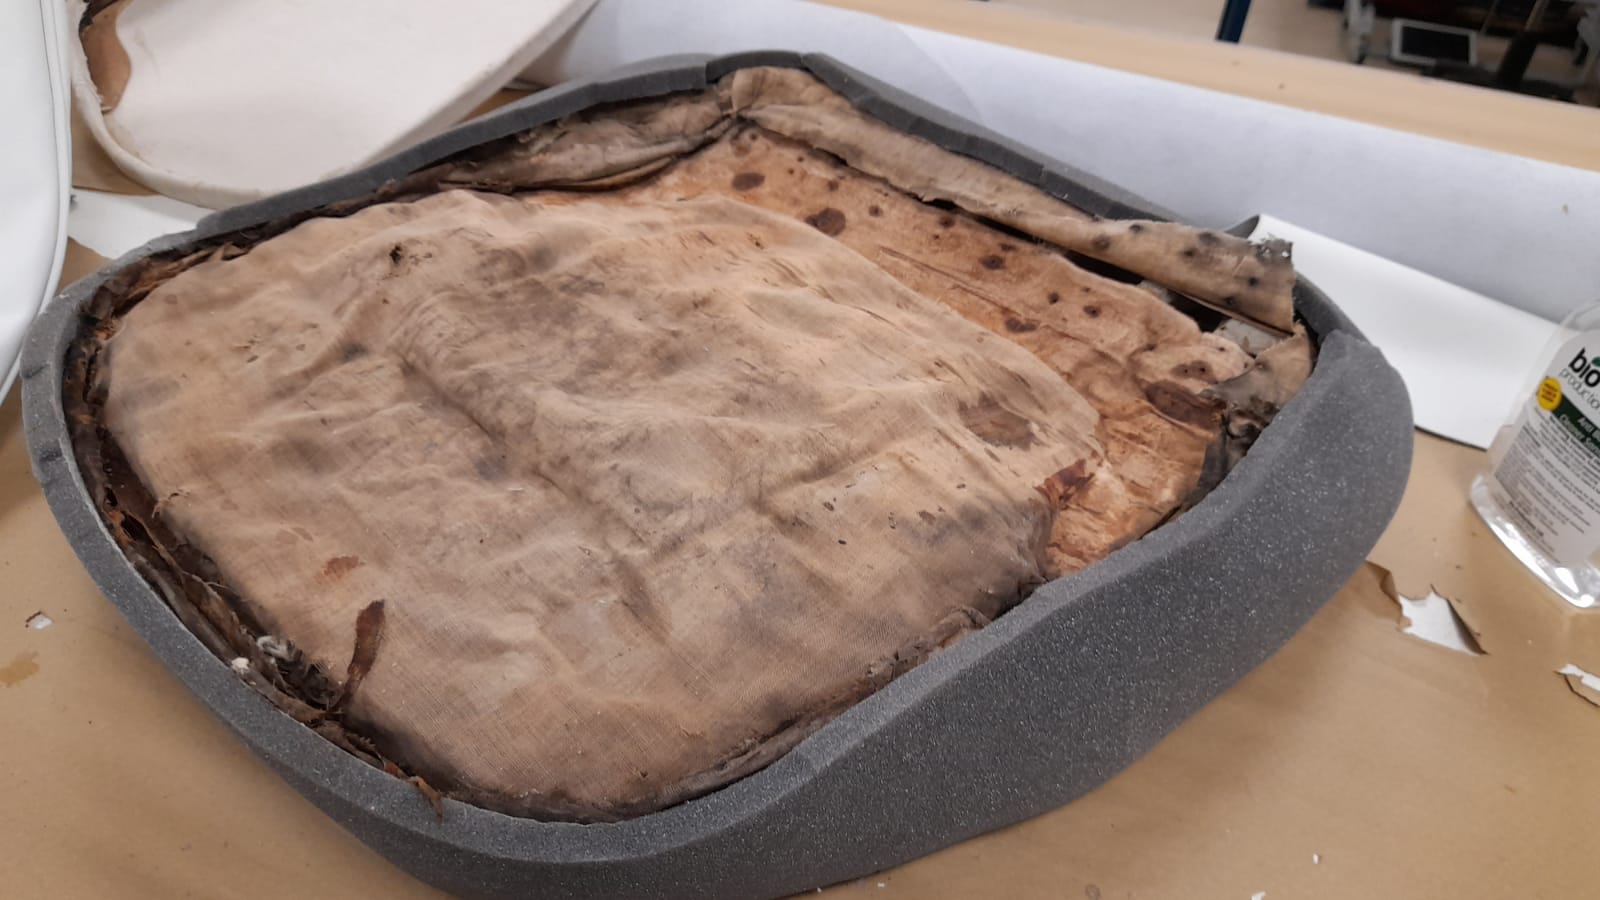
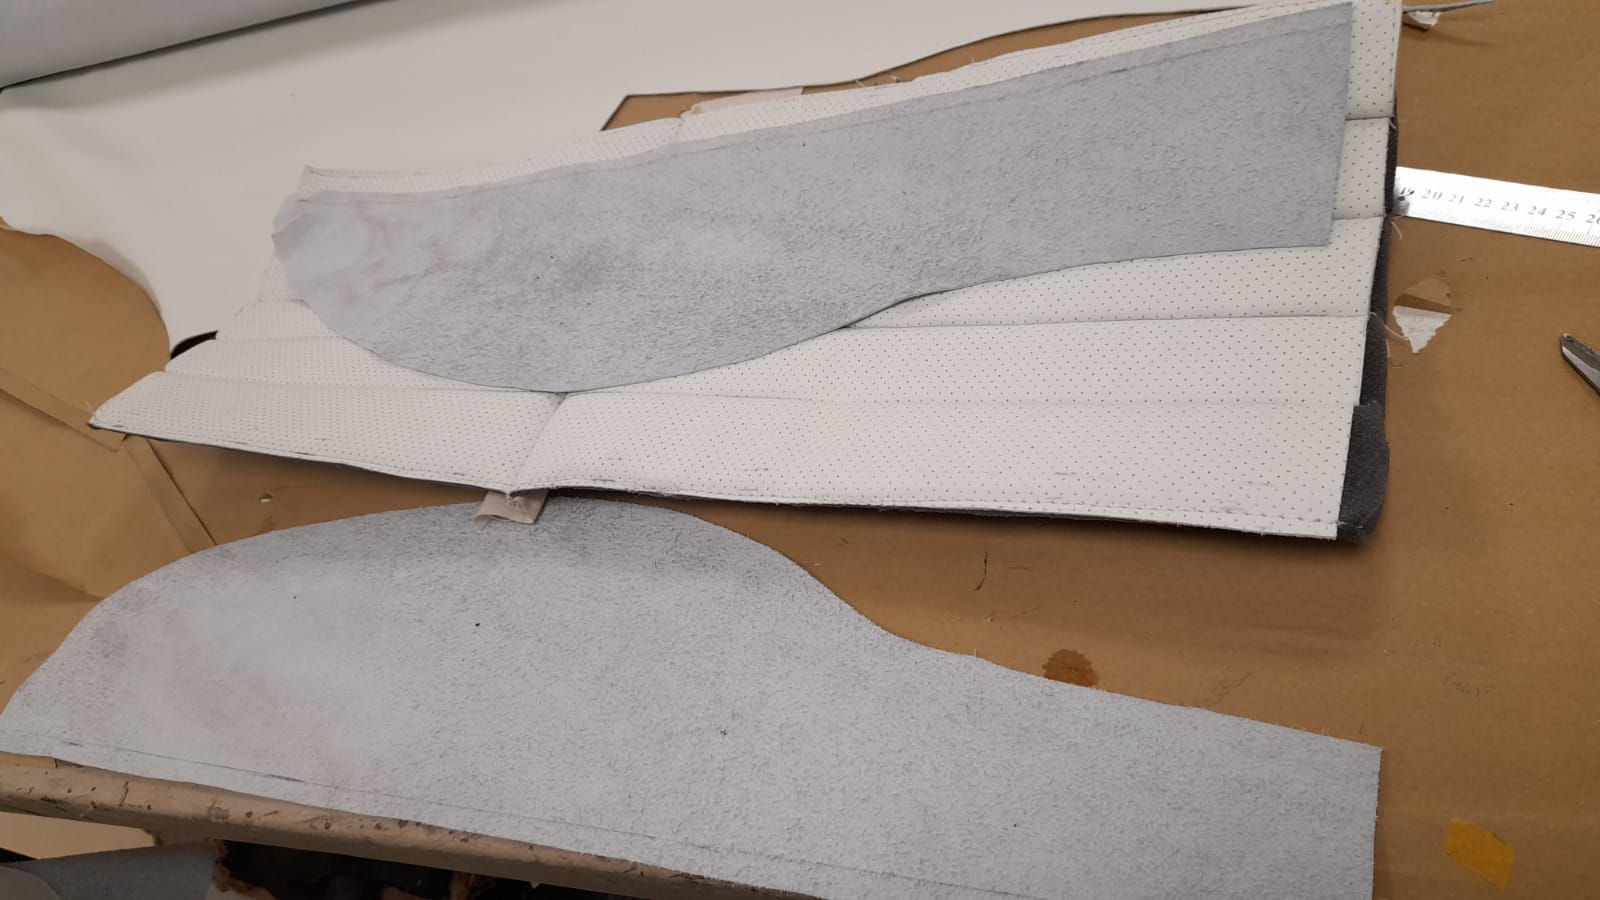
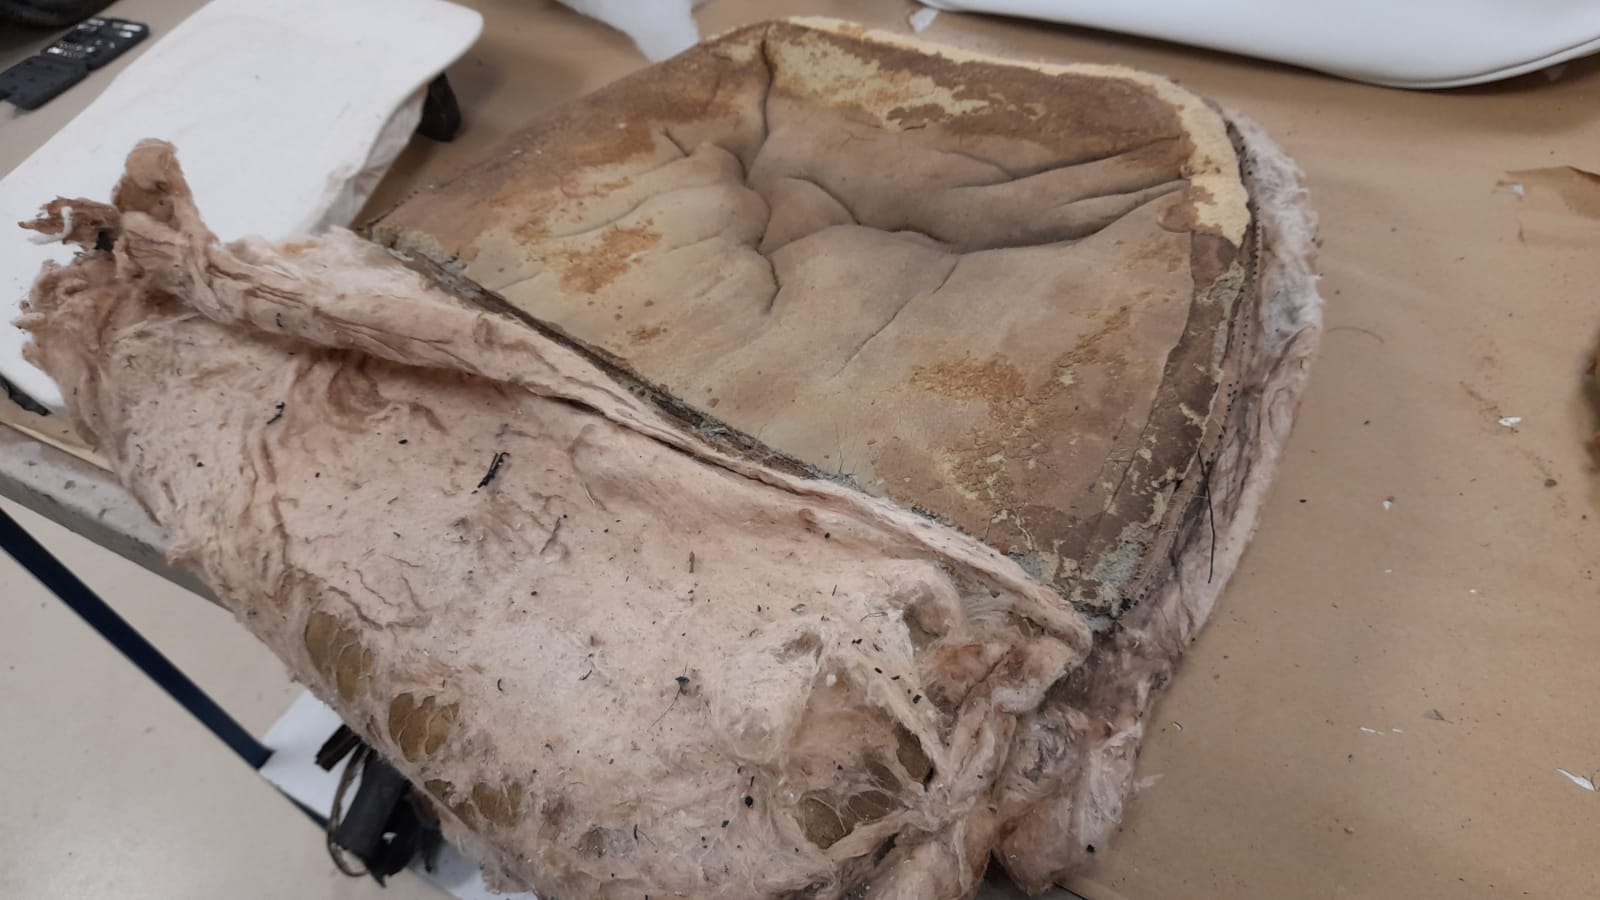
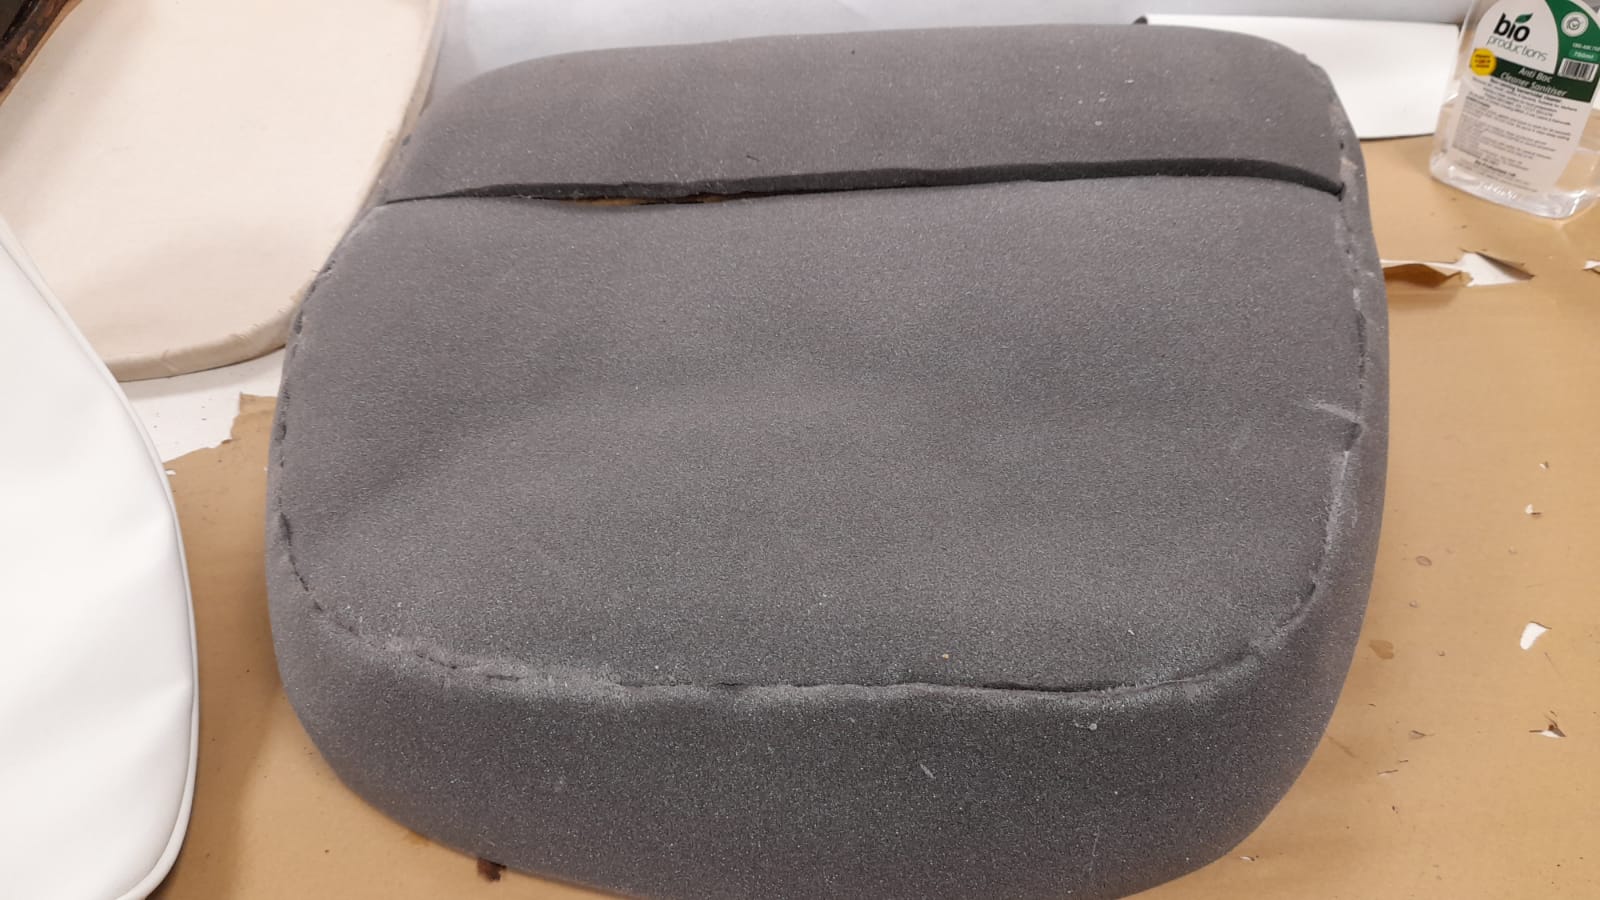
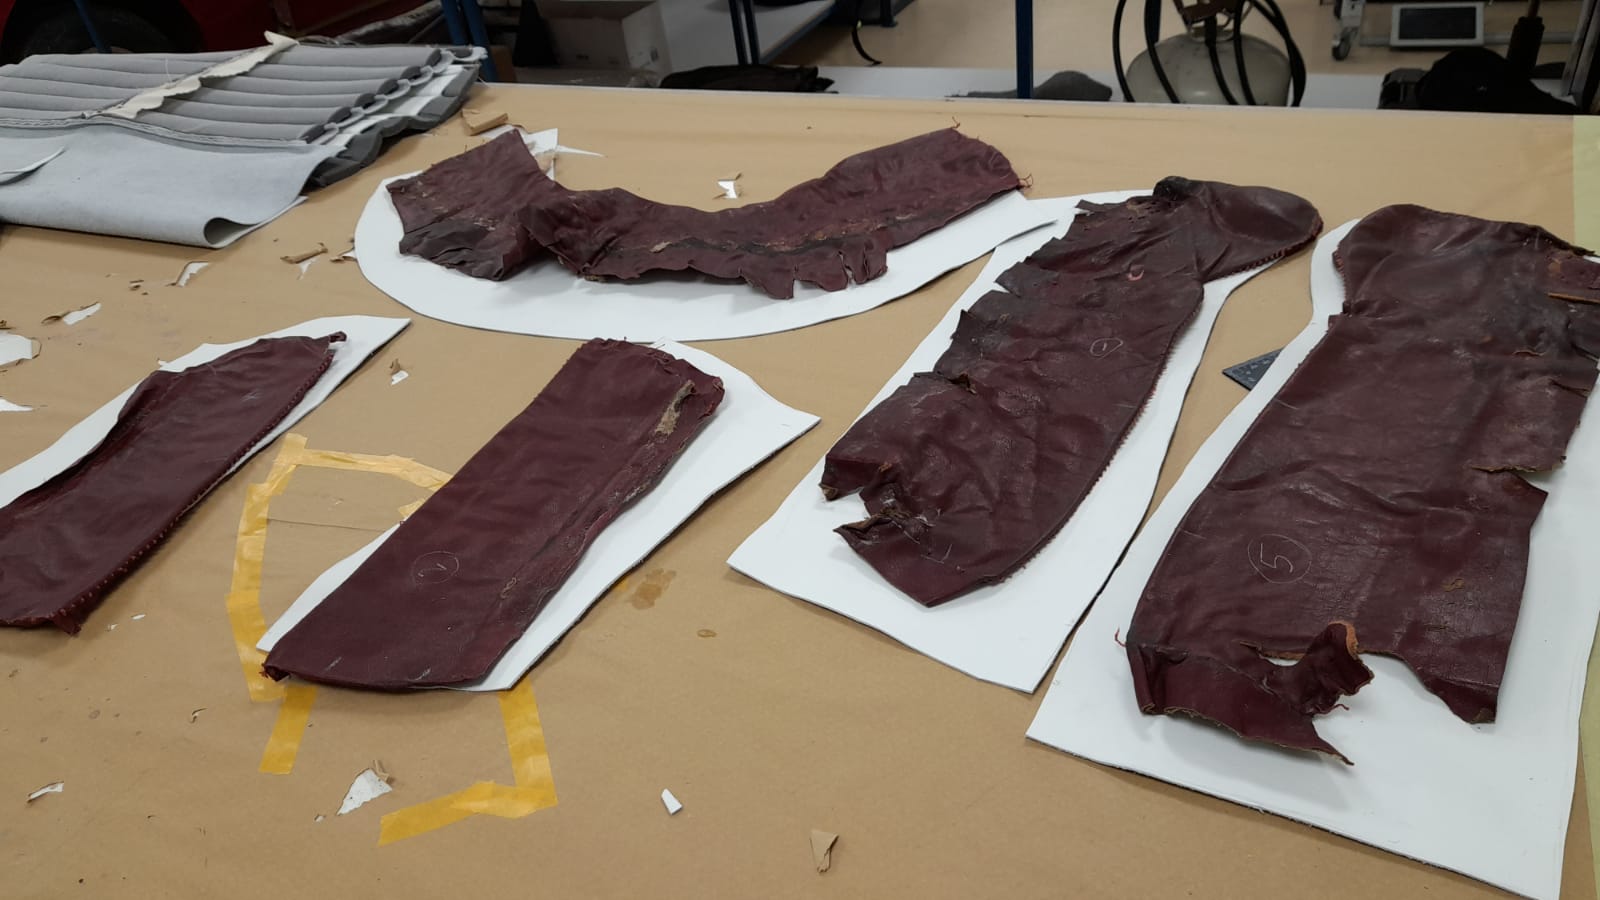
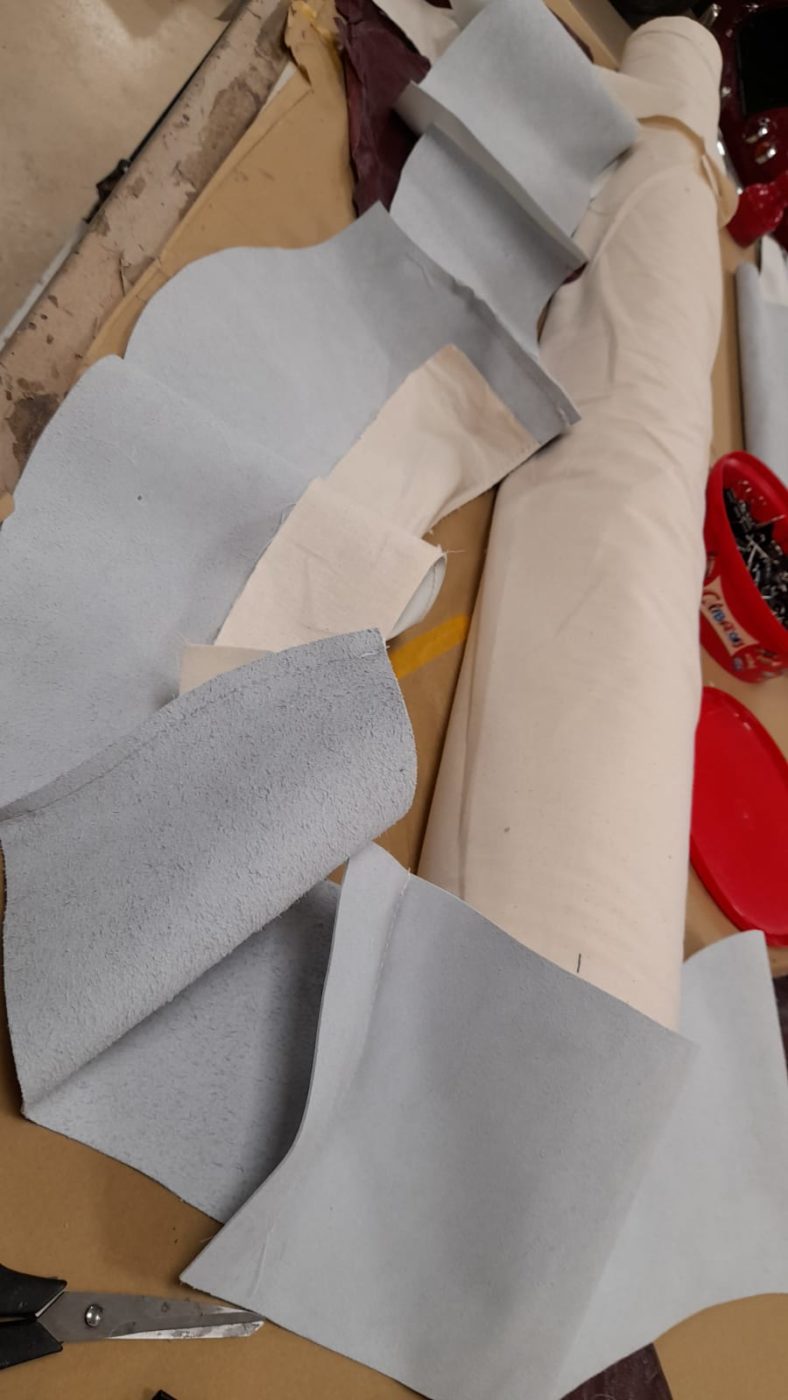
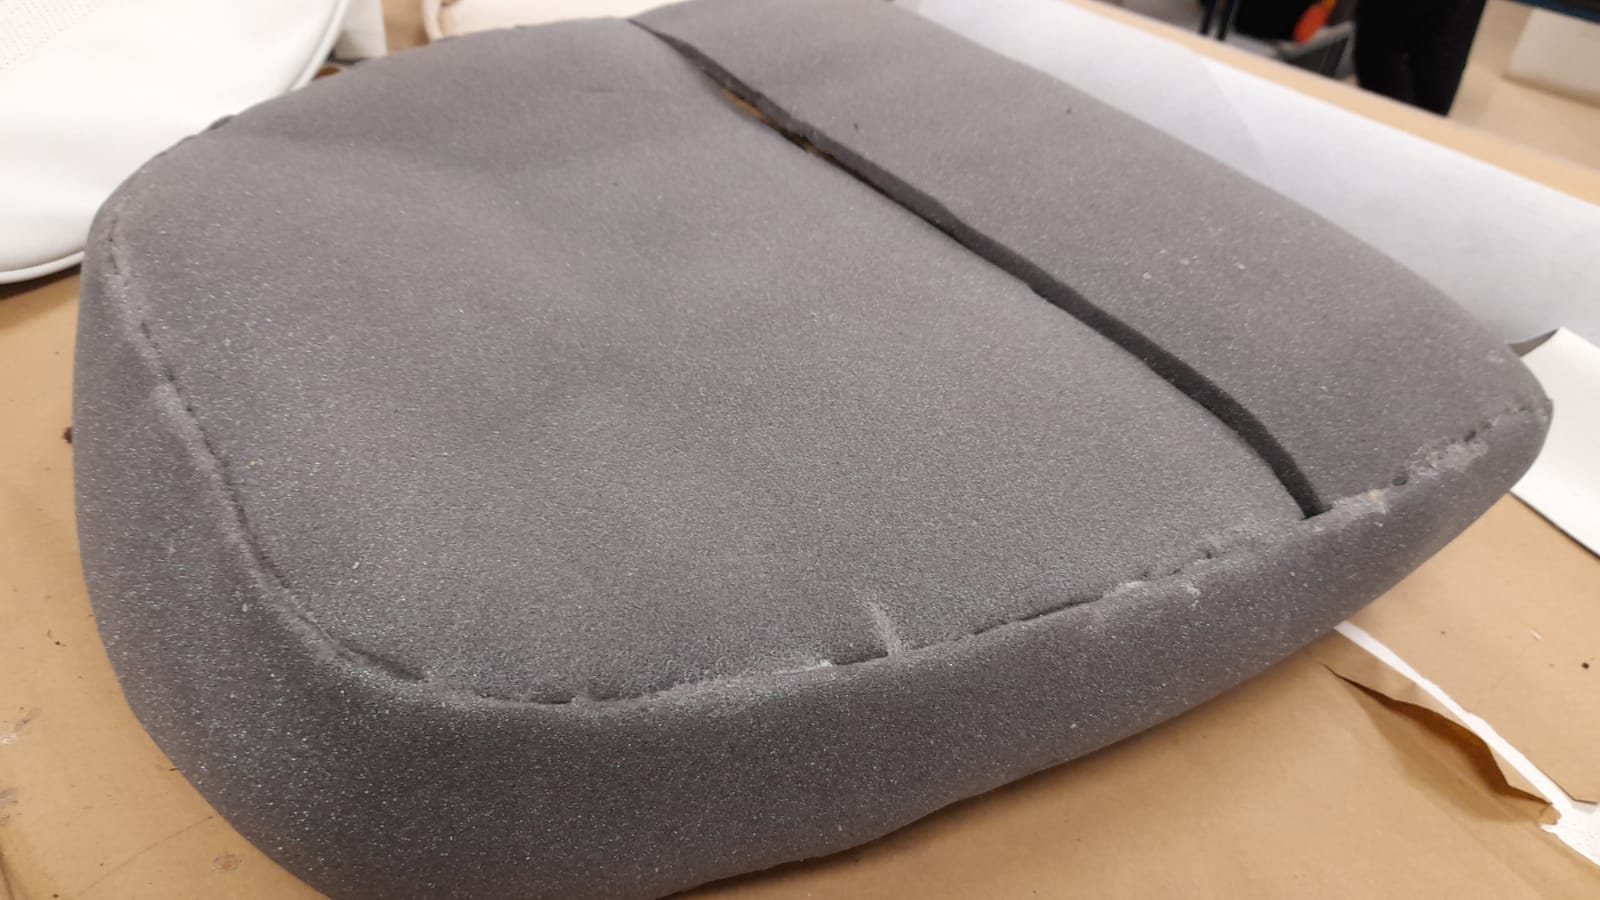
Below you can see the original foam for the seats. Lydia took this off as the old wadding that was falling apart. She then covered the front and sides of the original foam in new scrim foam. The back has a wooden and calico frame attach to it so she didn’t need to put any on there.
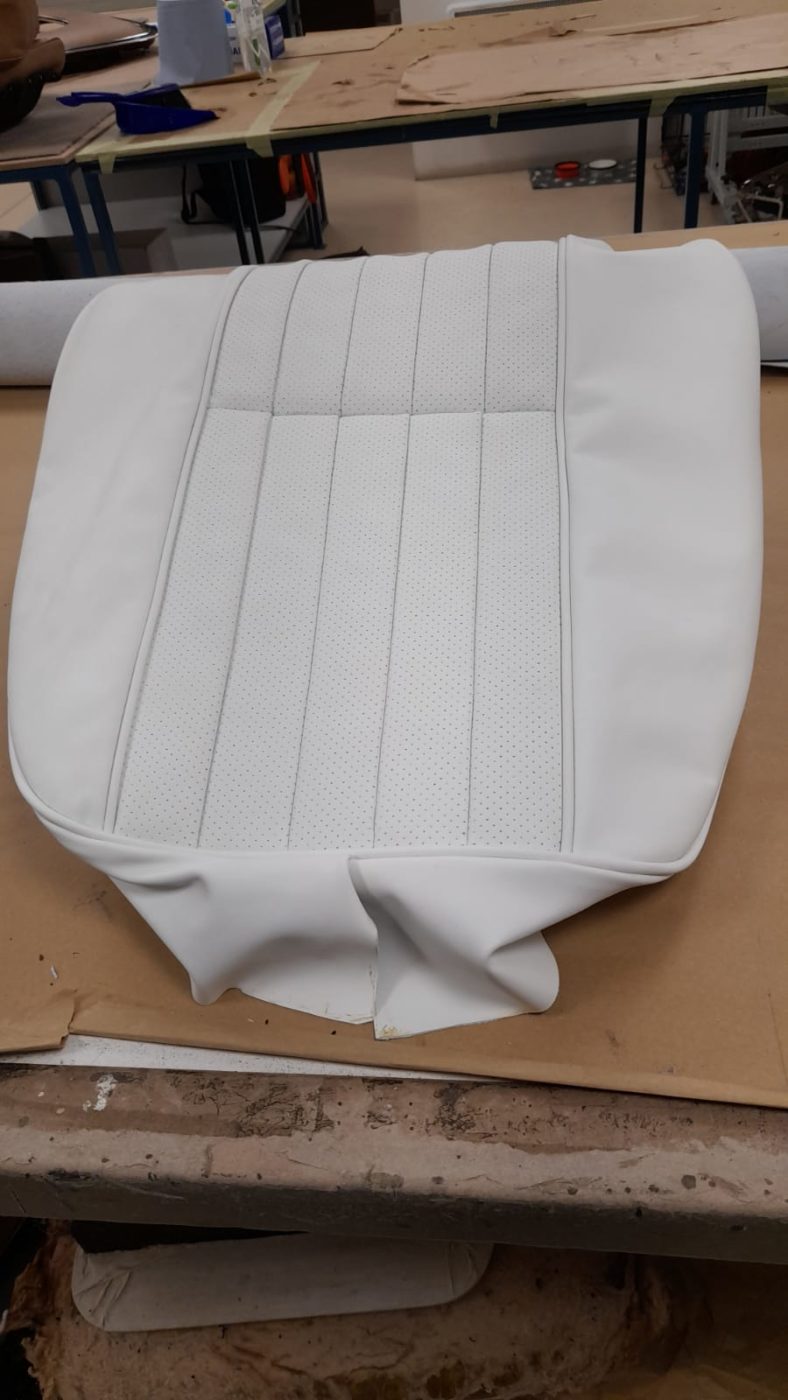
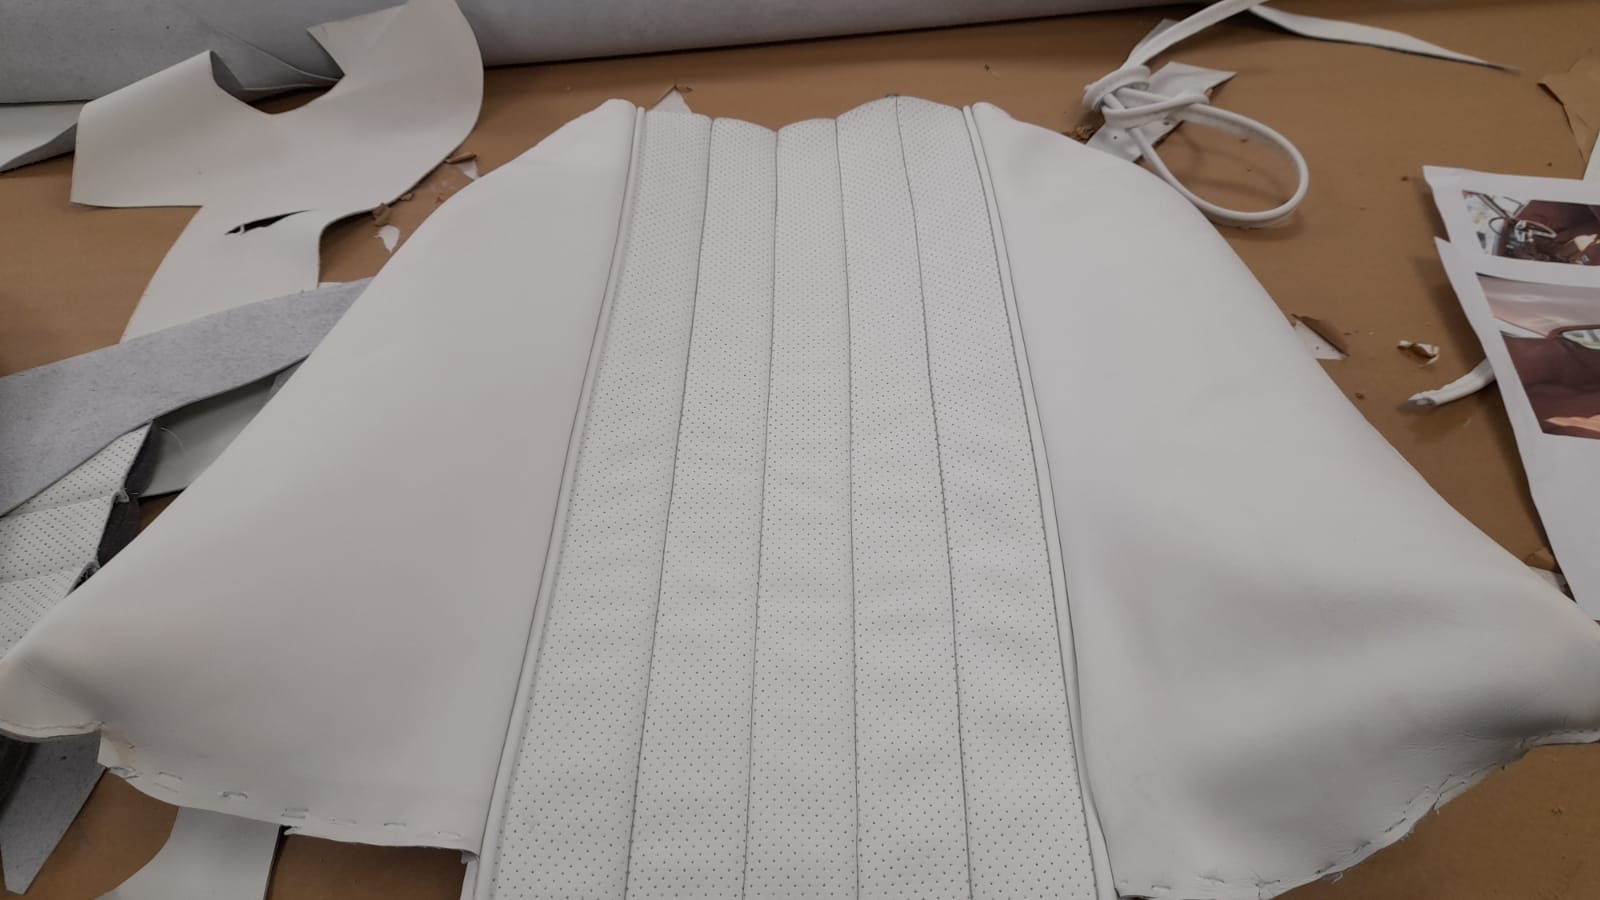
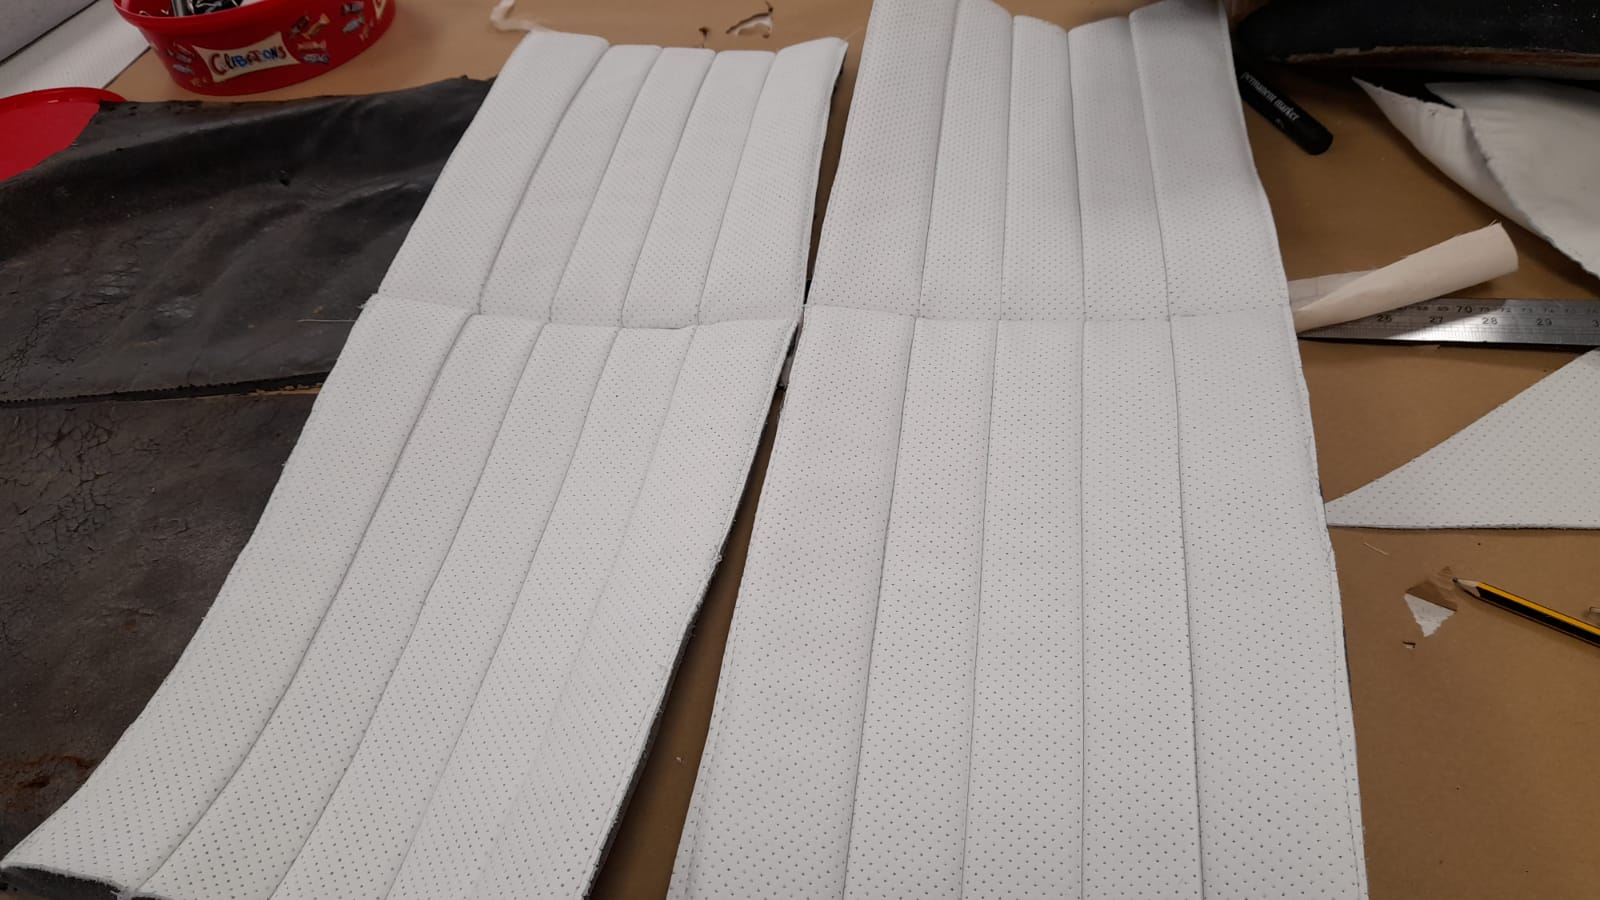
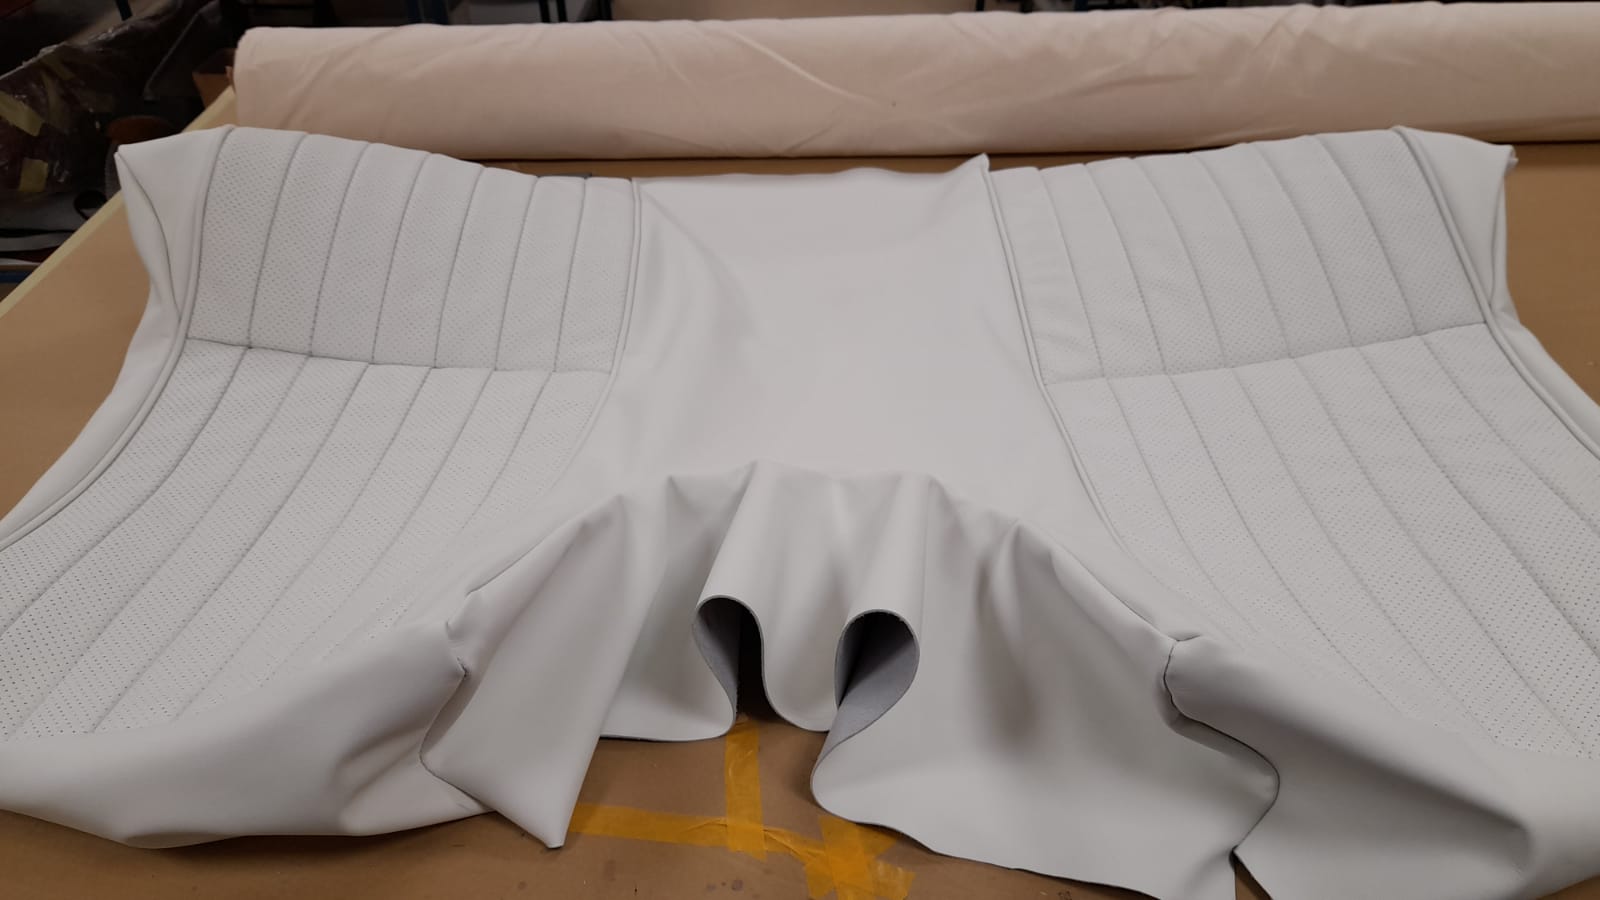
Lydia then moved one to making the second front base seat. She did this in the same way as the other one. She made a fluted face with a seam in the middle, then piped the sides, attached the sidebands and piped around all that. Then she marked out the notches to match the back pieces on.


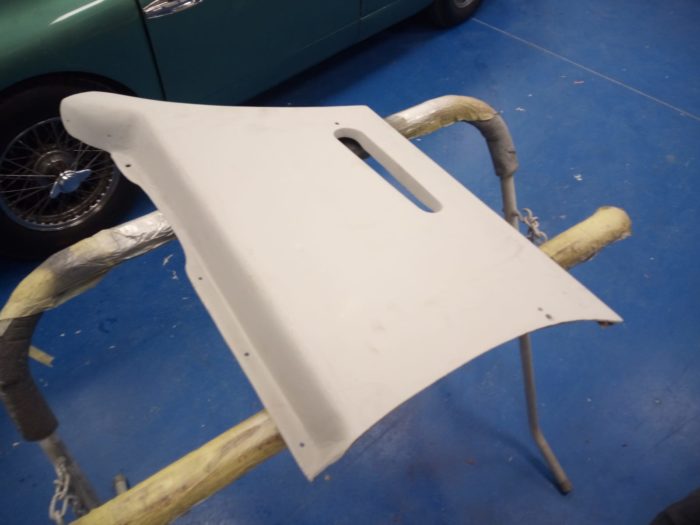
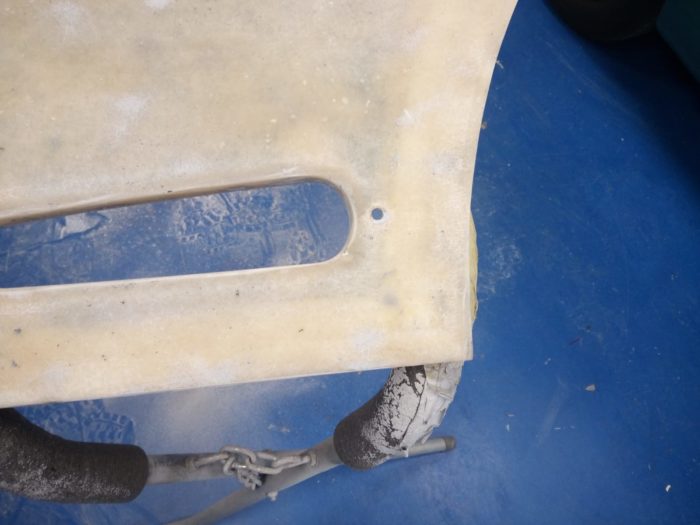
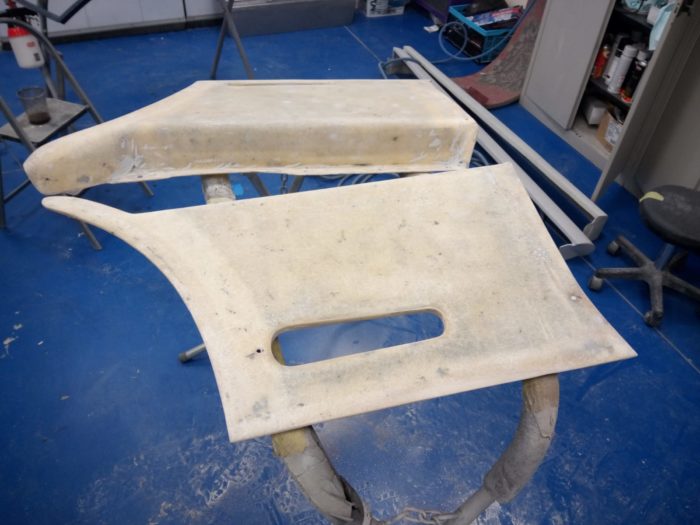
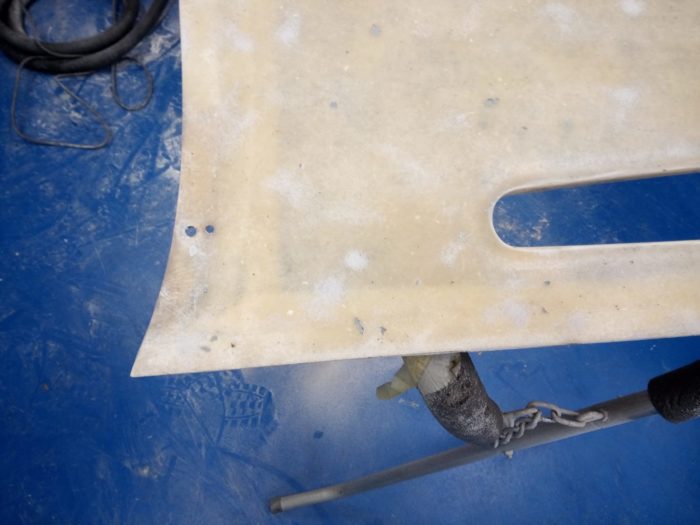
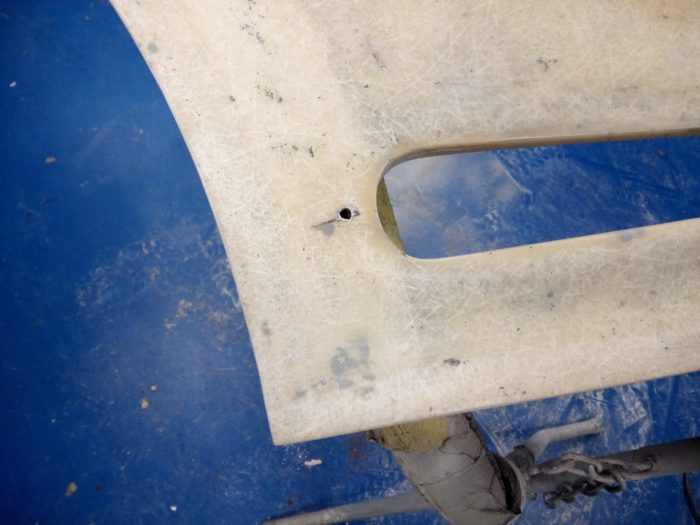
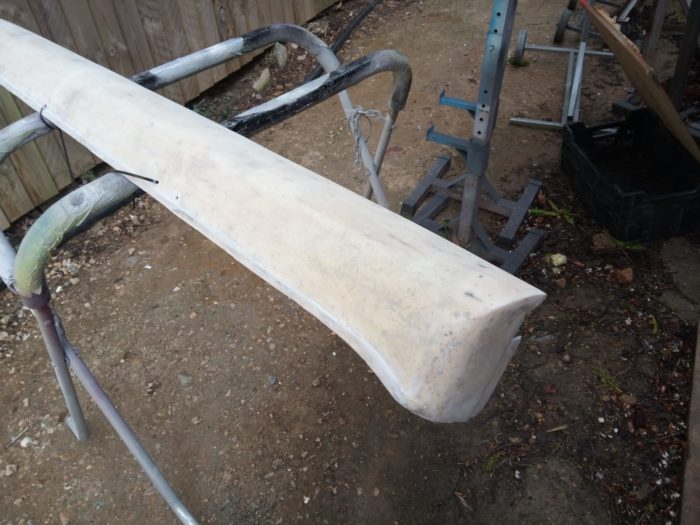
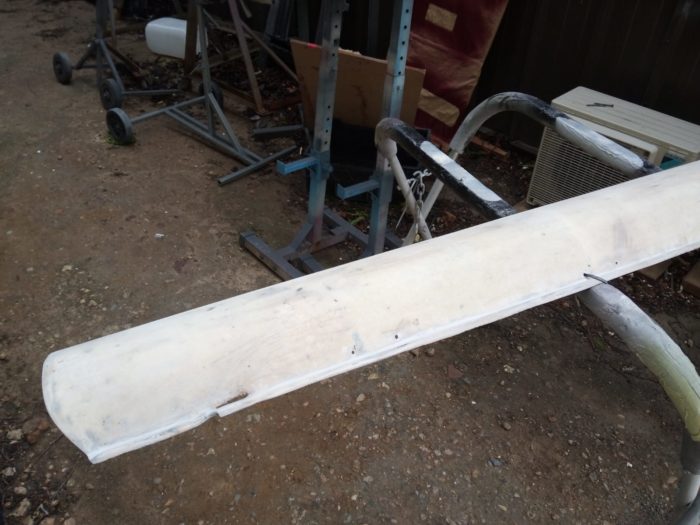
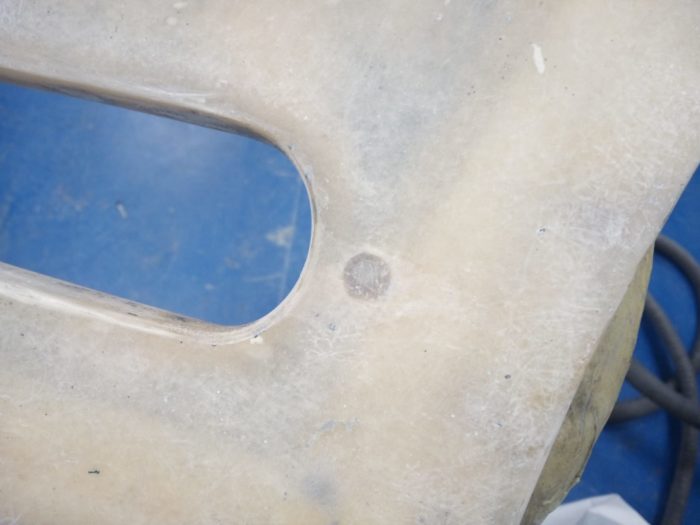
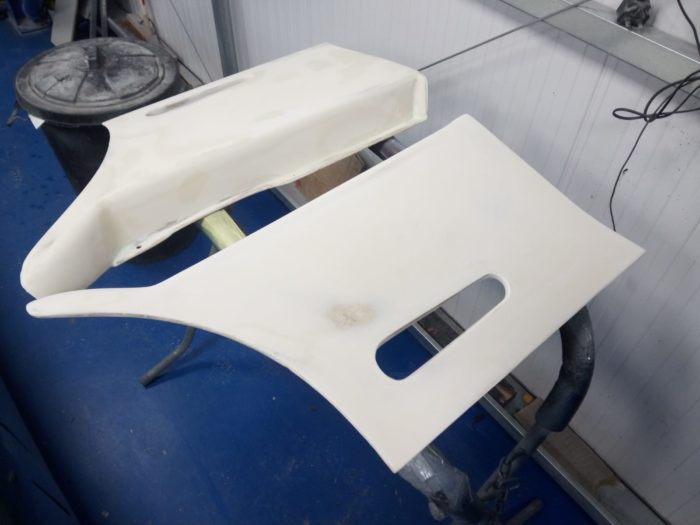
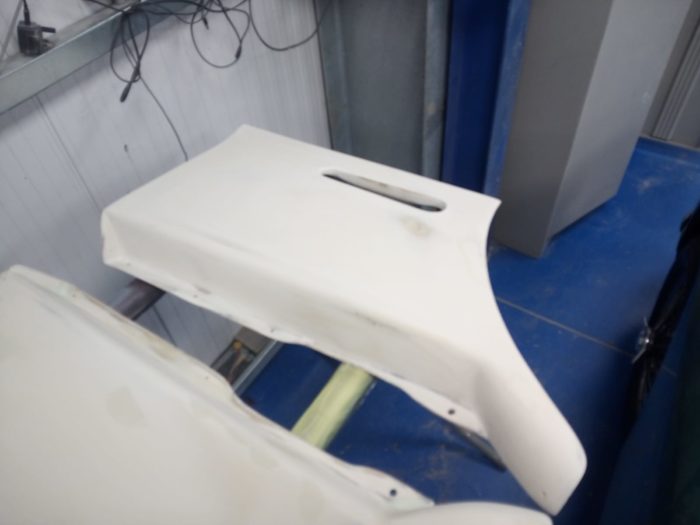
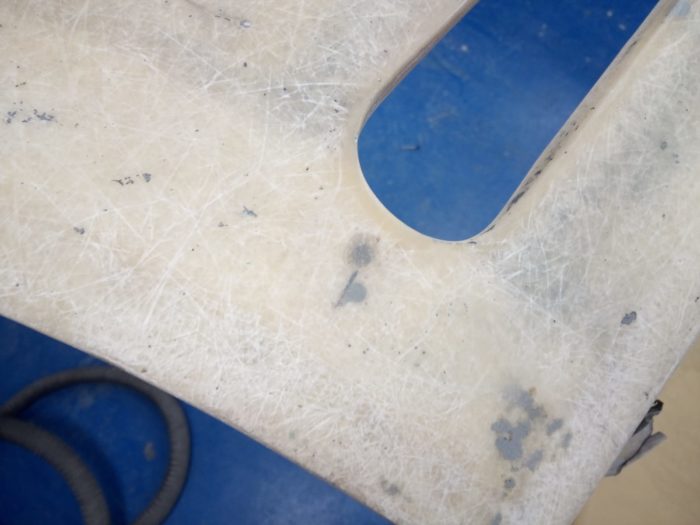
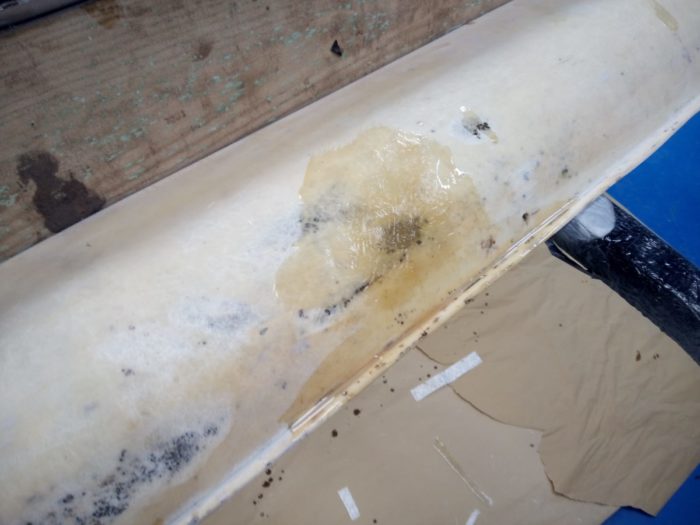
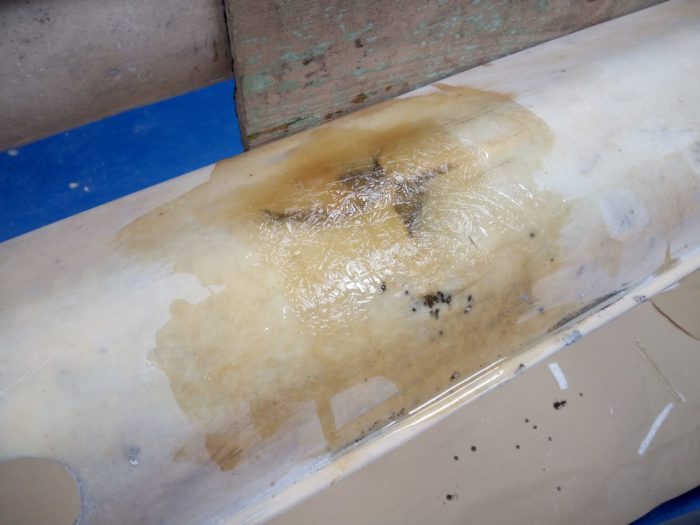
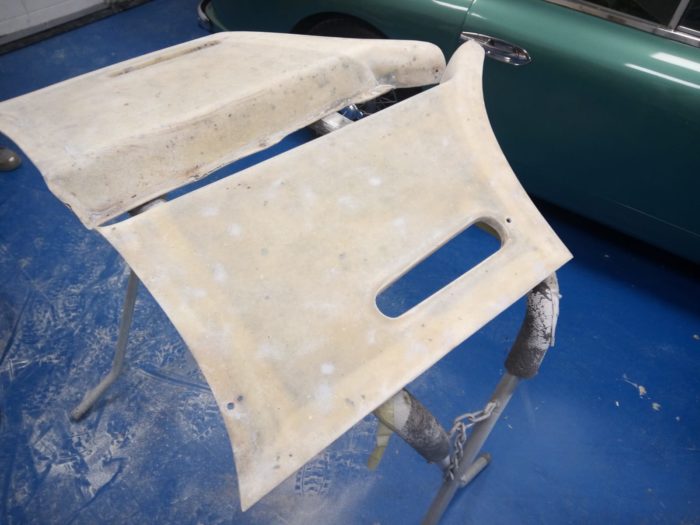
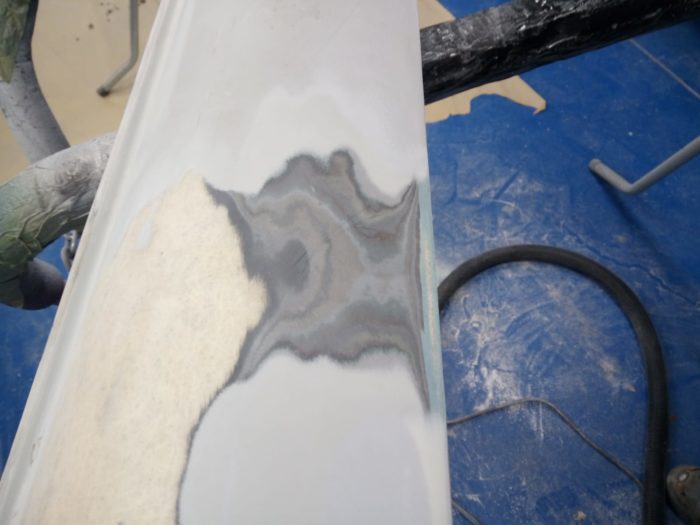
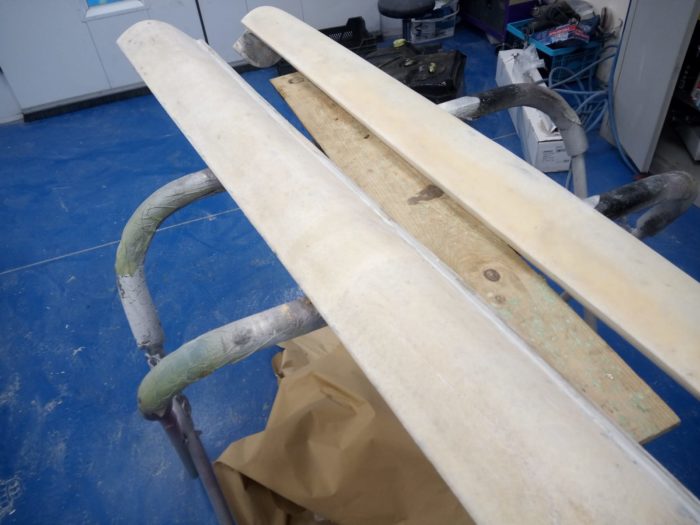
Matt has been working to repair the fibreglass side panels by applying glass matt repair. Once repaired, the wings, panels and sills can be prepped for primer. They also need to be shaped up after each stage of filler.


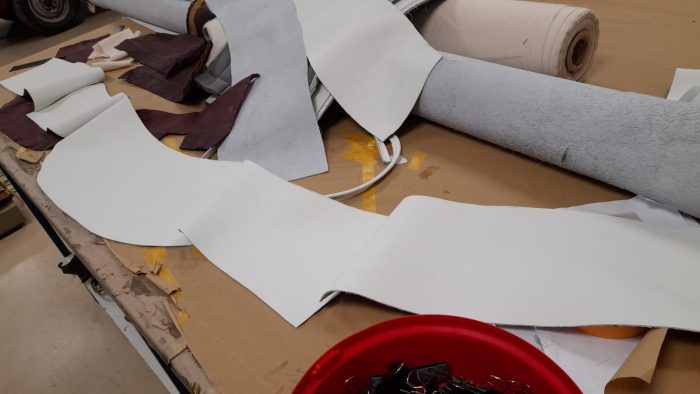
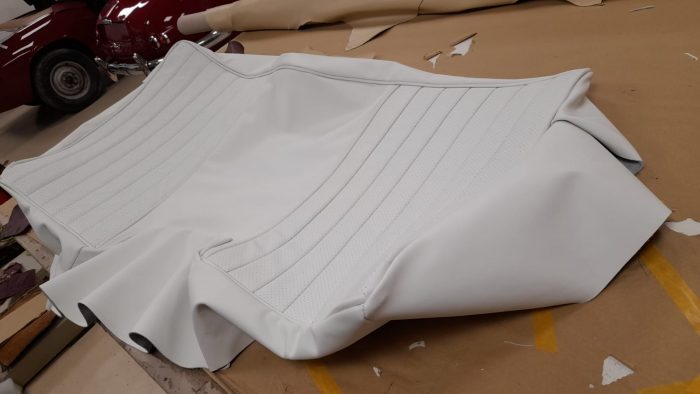
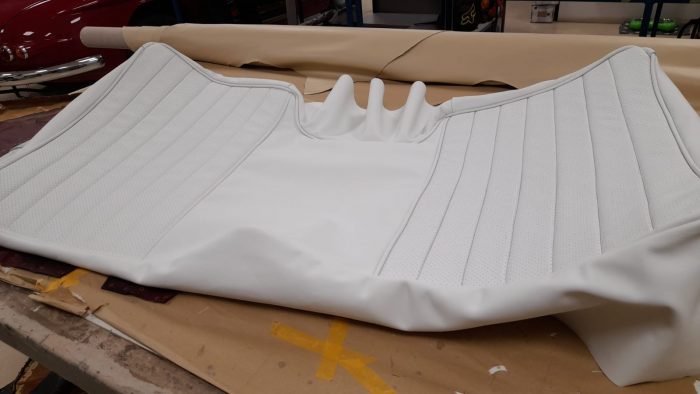
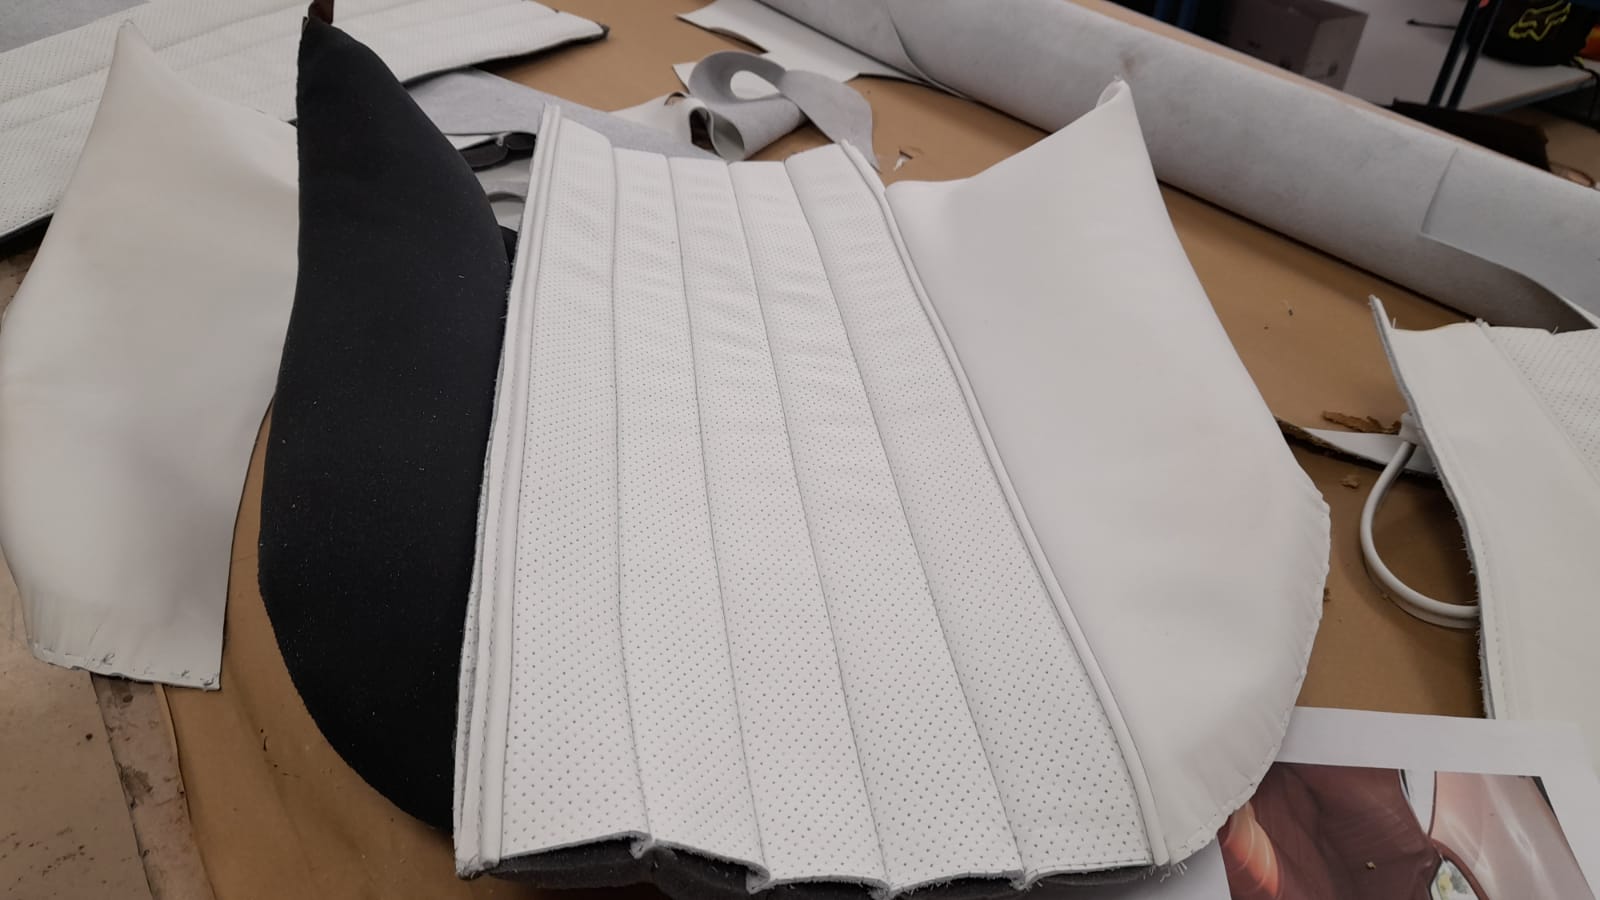
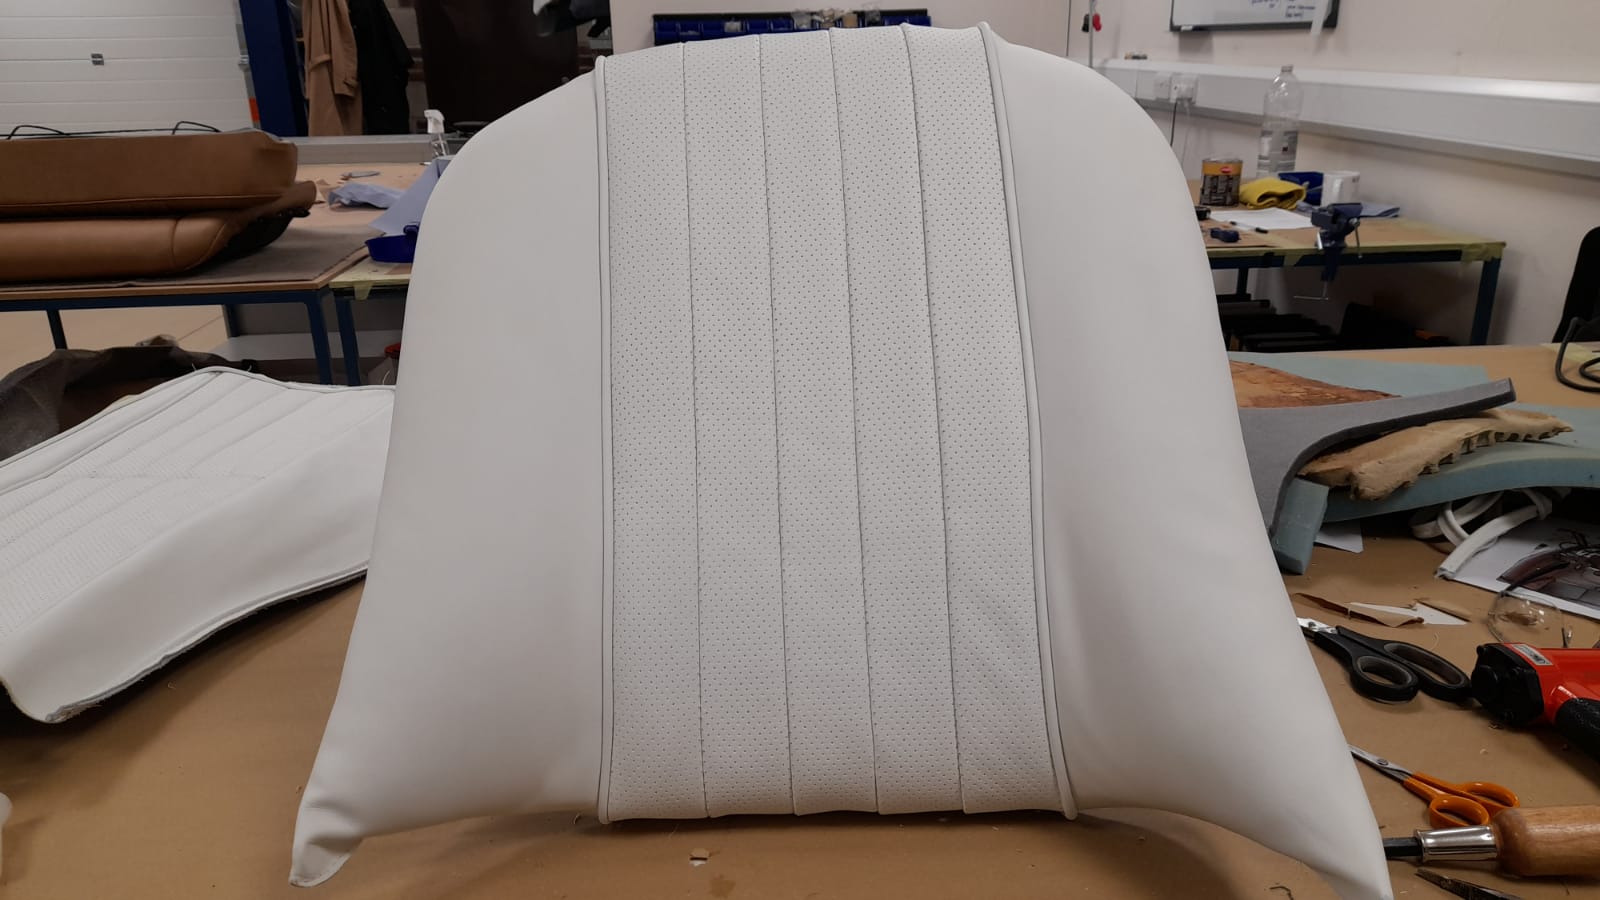
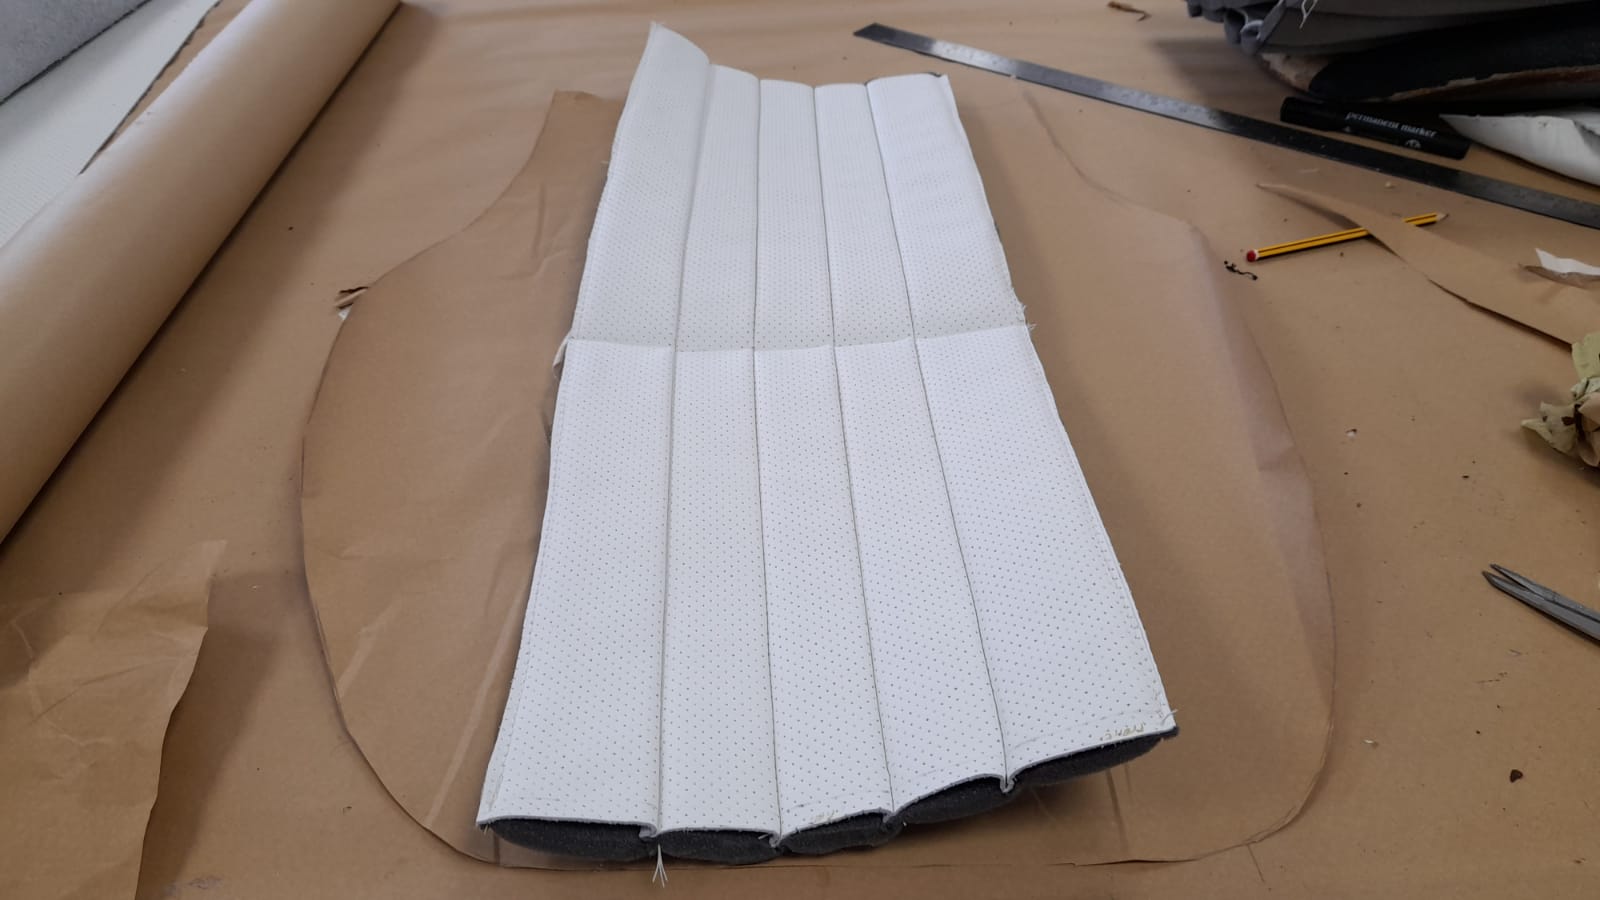
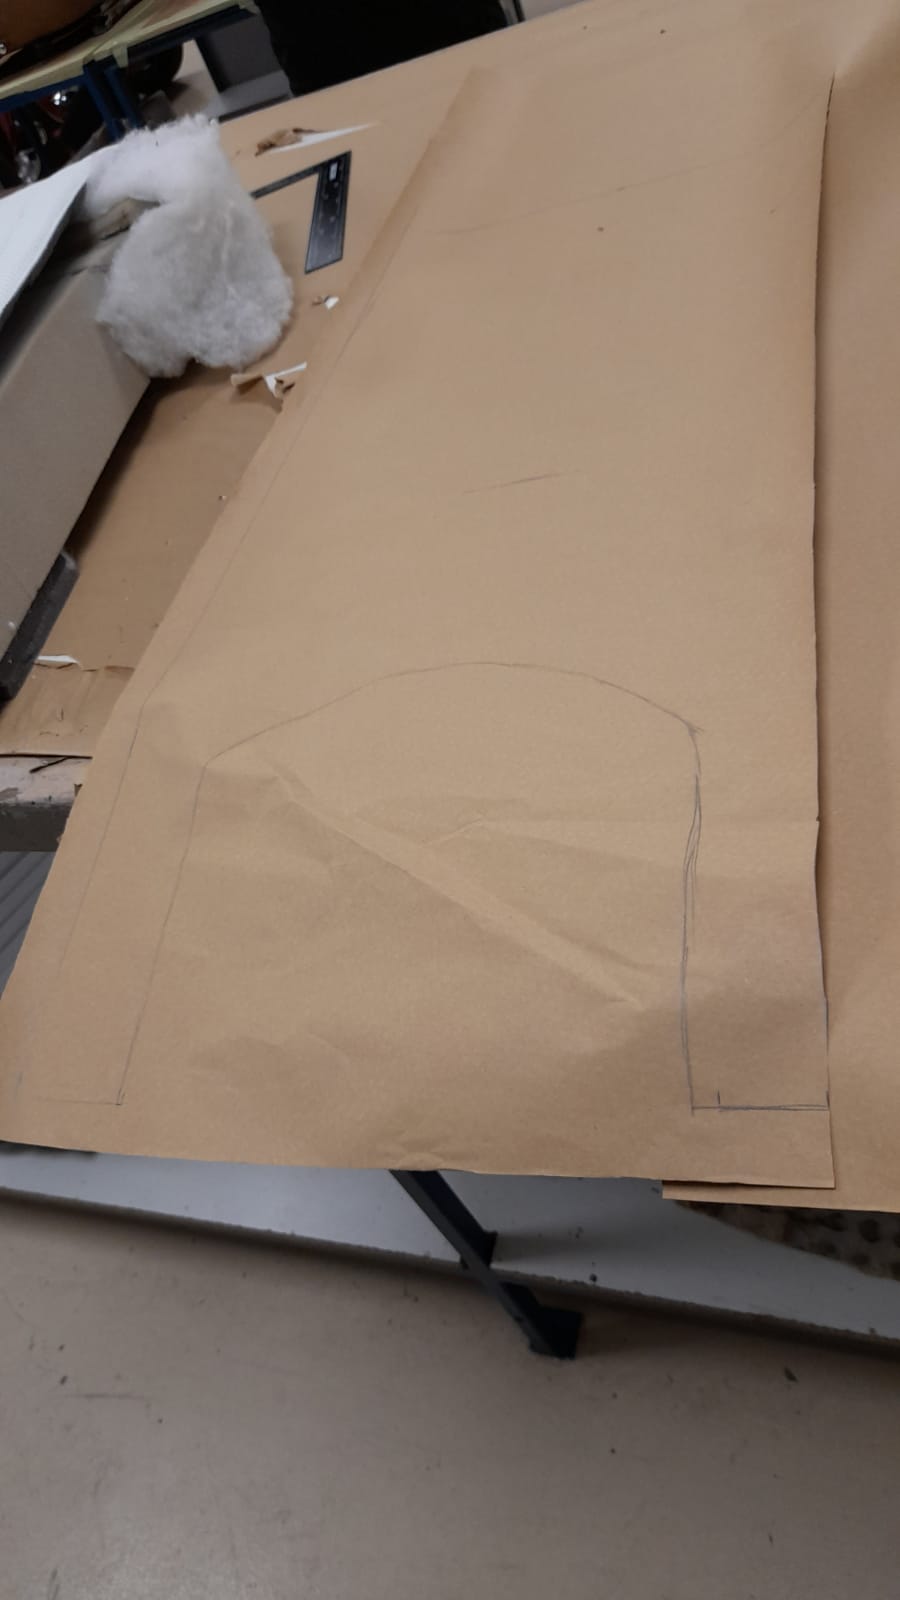
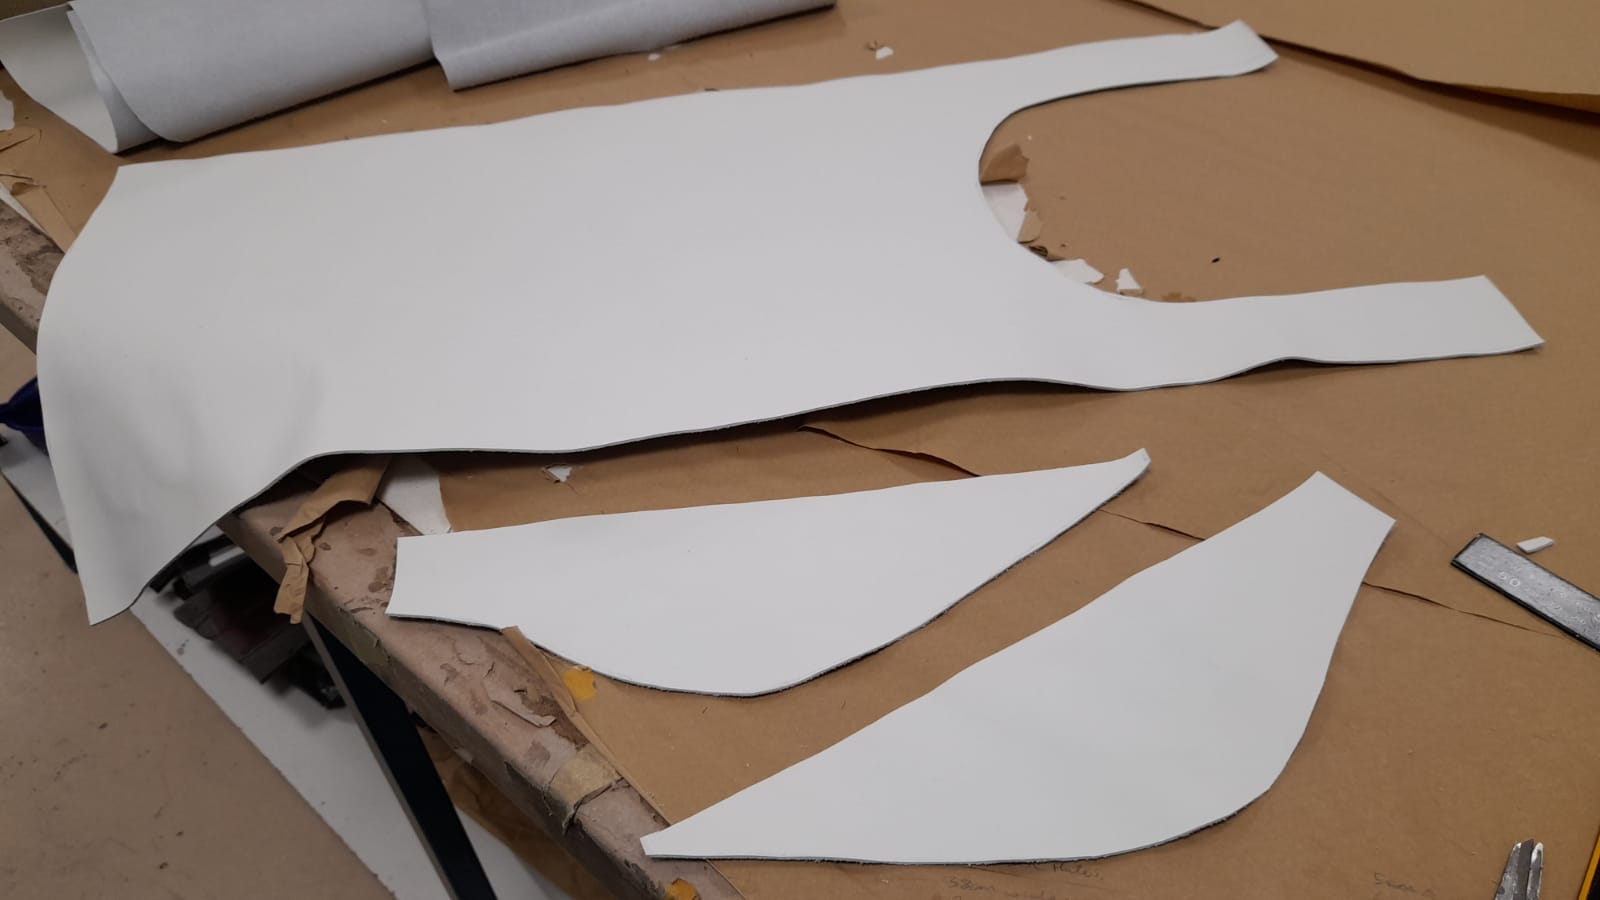
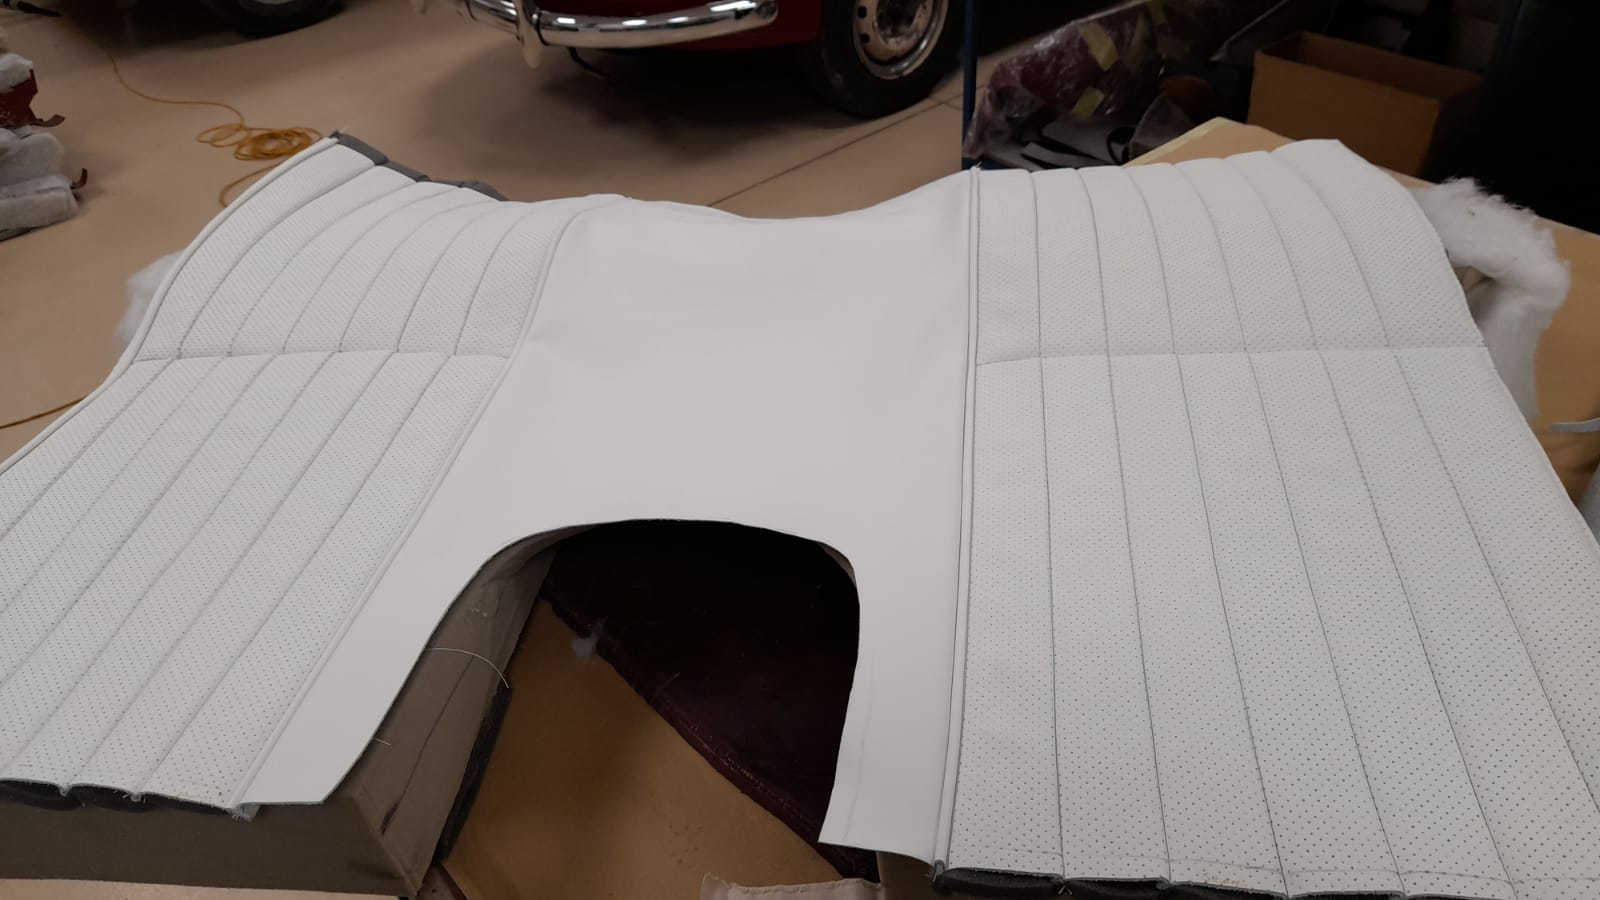
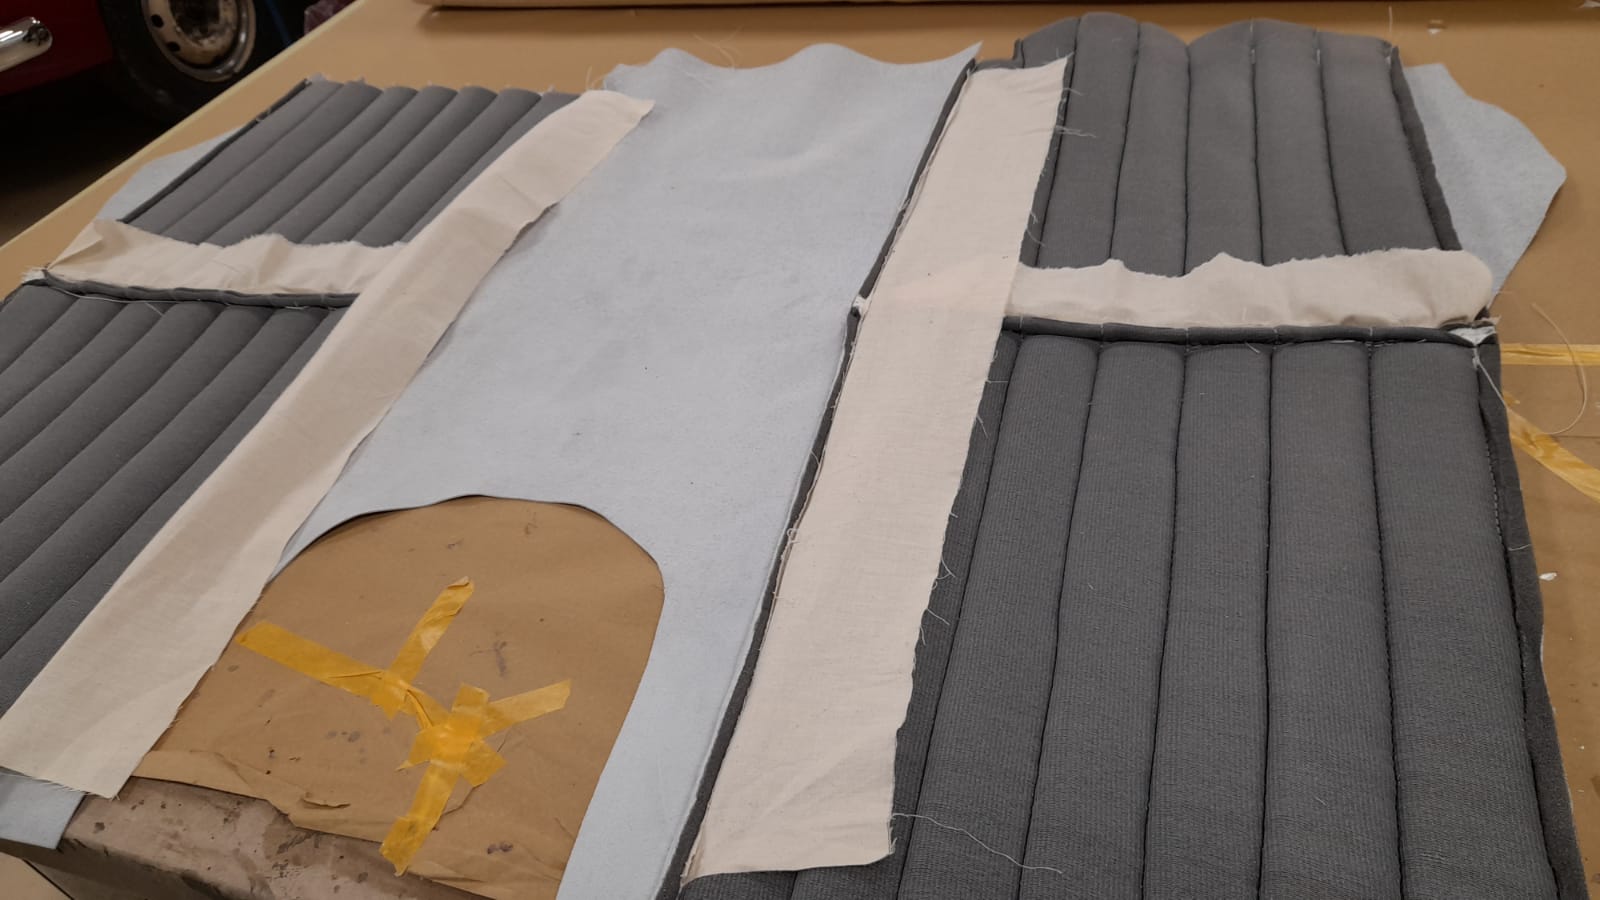
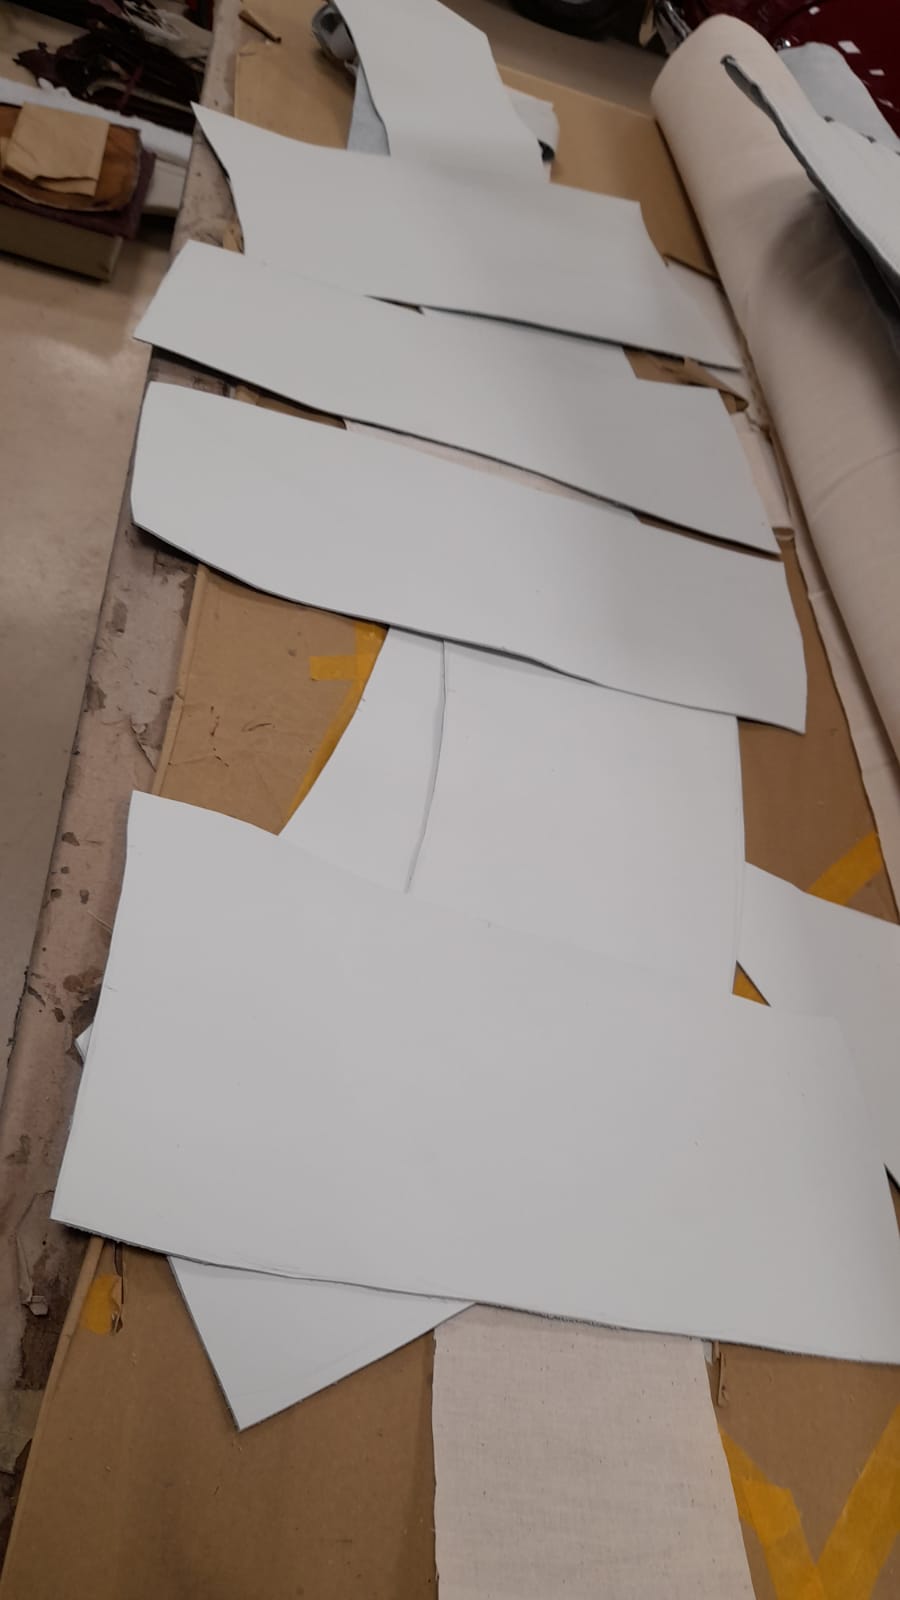
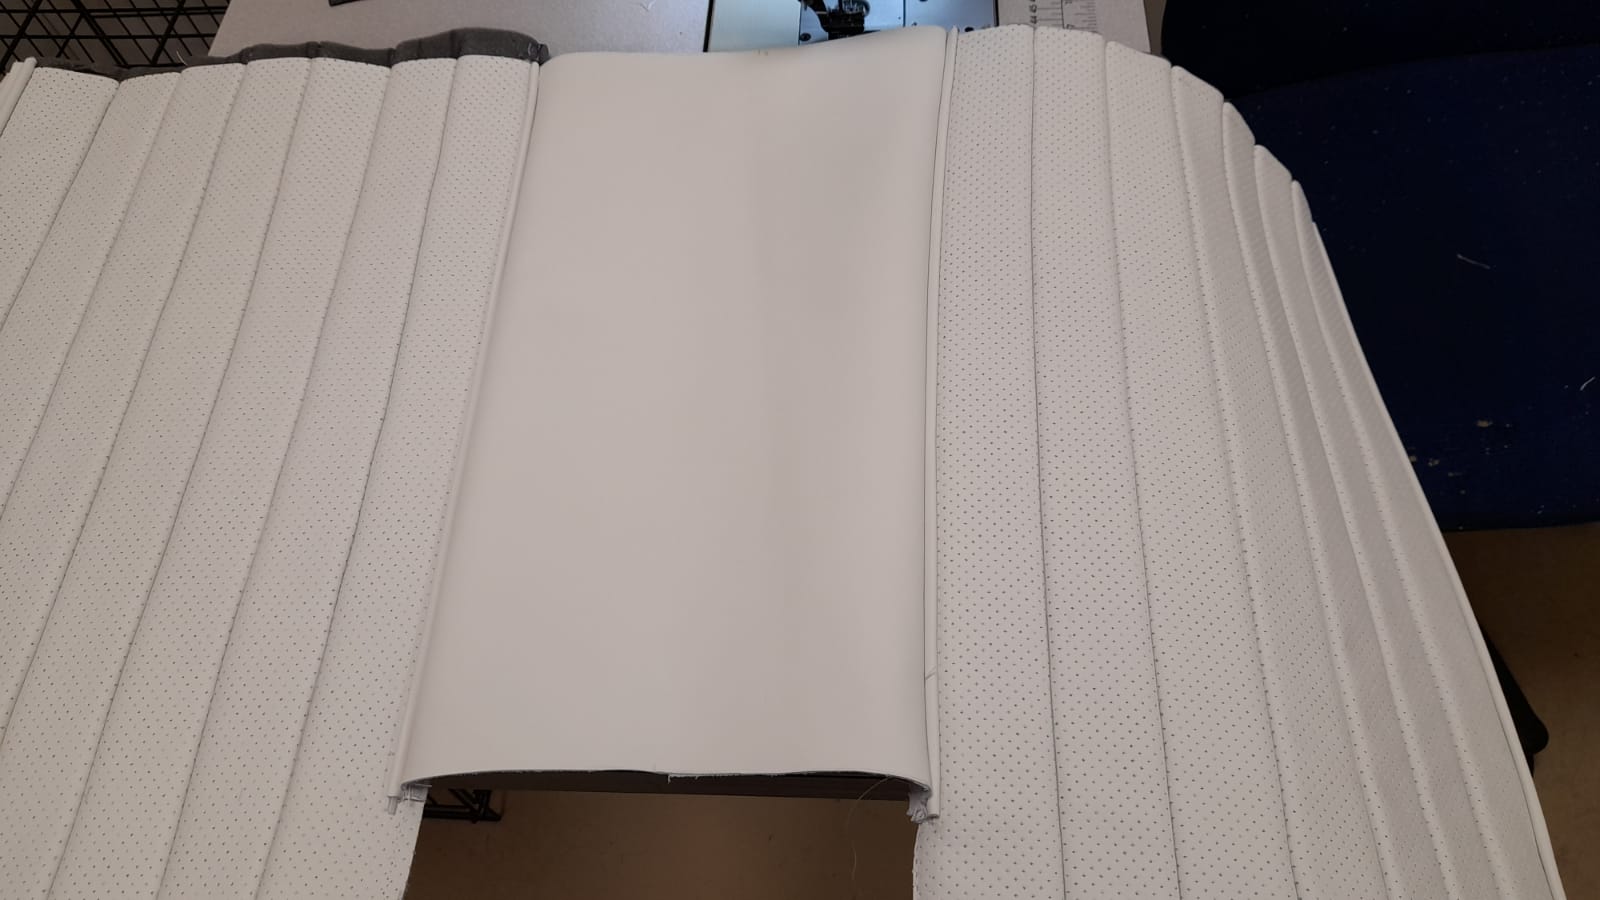
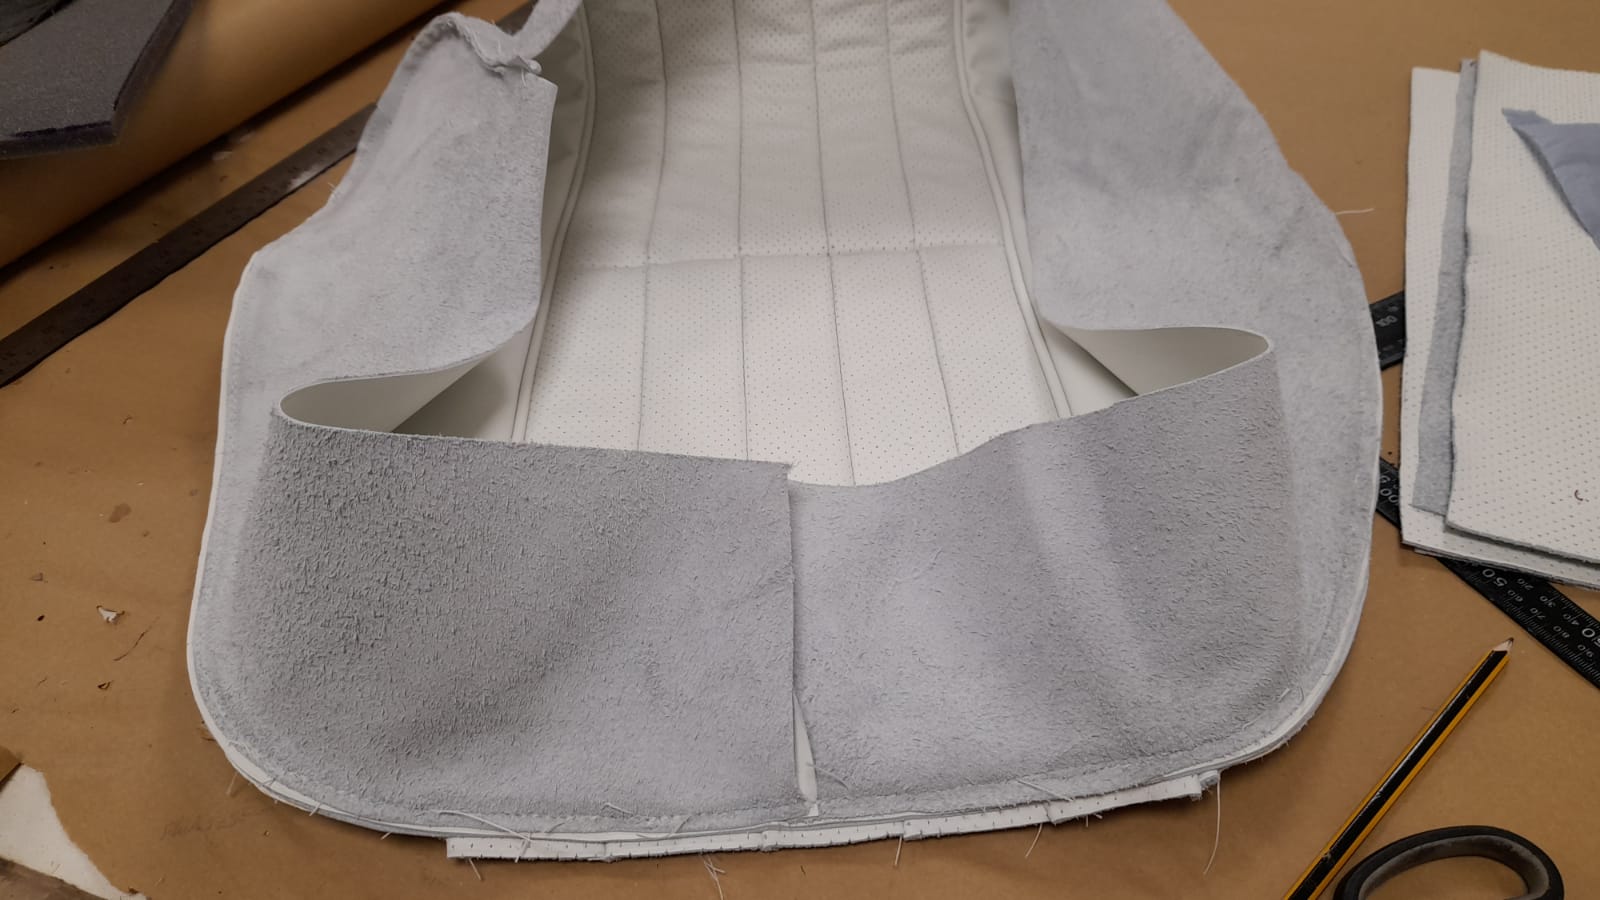
Lydia has continued to make the base of the seats on the Jensen. She has marked out the leather and foam with flute lines as a guide for sewing. She has then sewn the flute lines and attached them to the foam. The fluted are now faces finished. Next up, Lydia is set to work out the middle section as this needs to be altered from the original. She began by making a paper pattern on the new middle shape and making it longer and wider. Lydia then sewed the seams across the middle of the fluted faces and made paper patterns for the top sides to attach to the fluted faces. Then she cut leather versions out from the pattern as well as cutting out the middle section using the new middle section pattern she made.
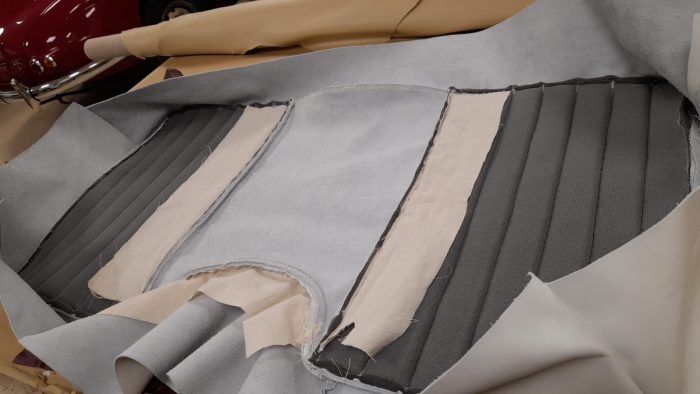
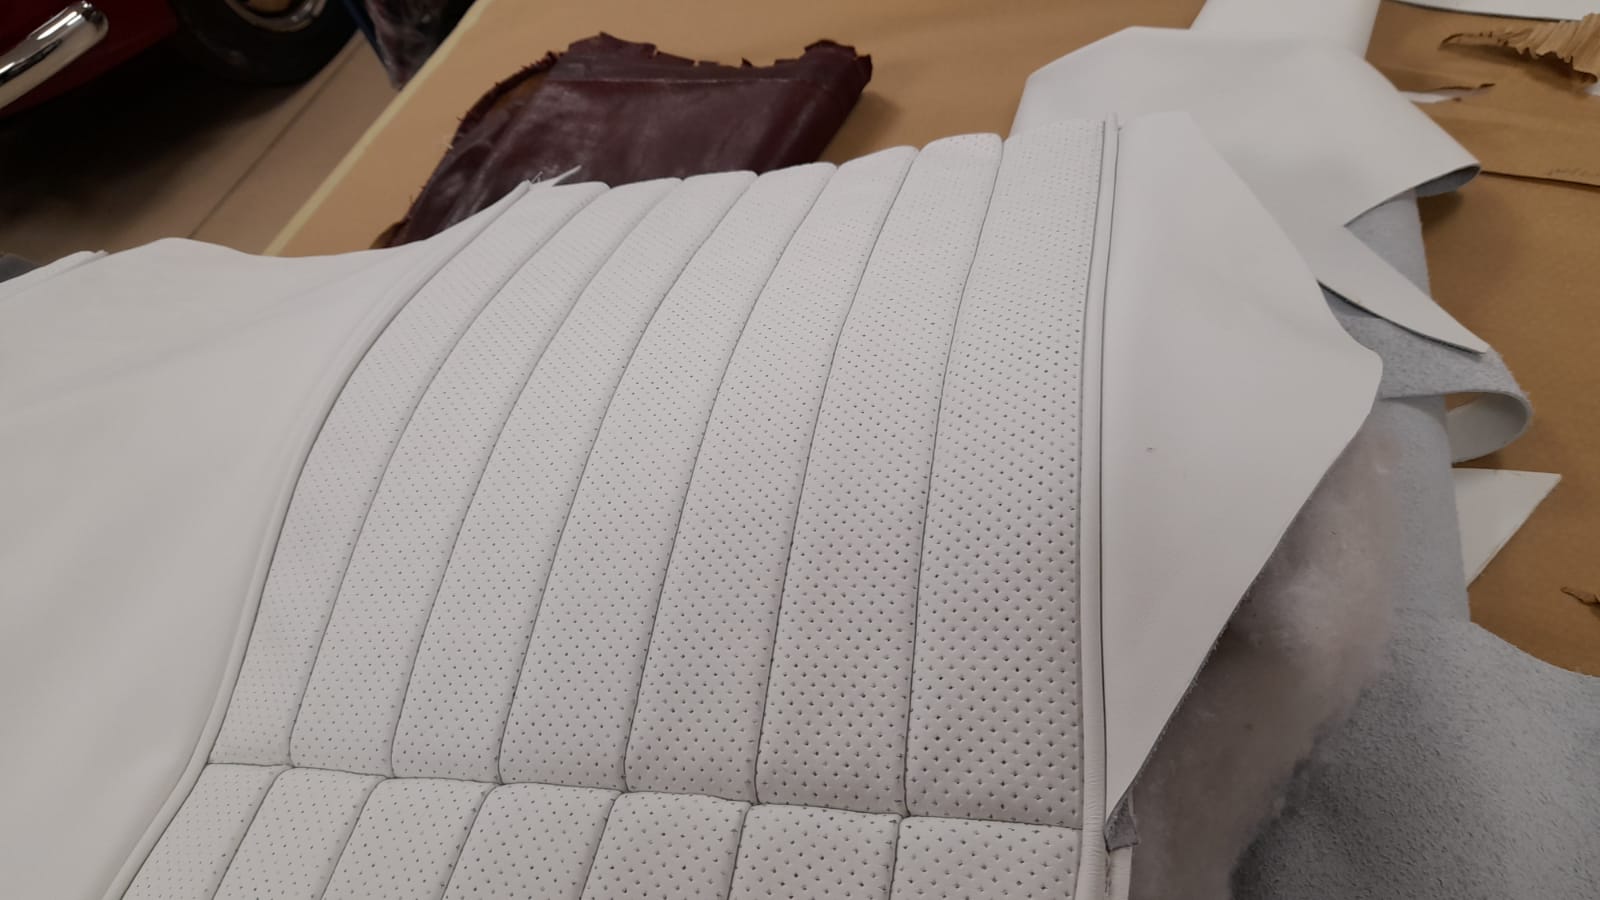
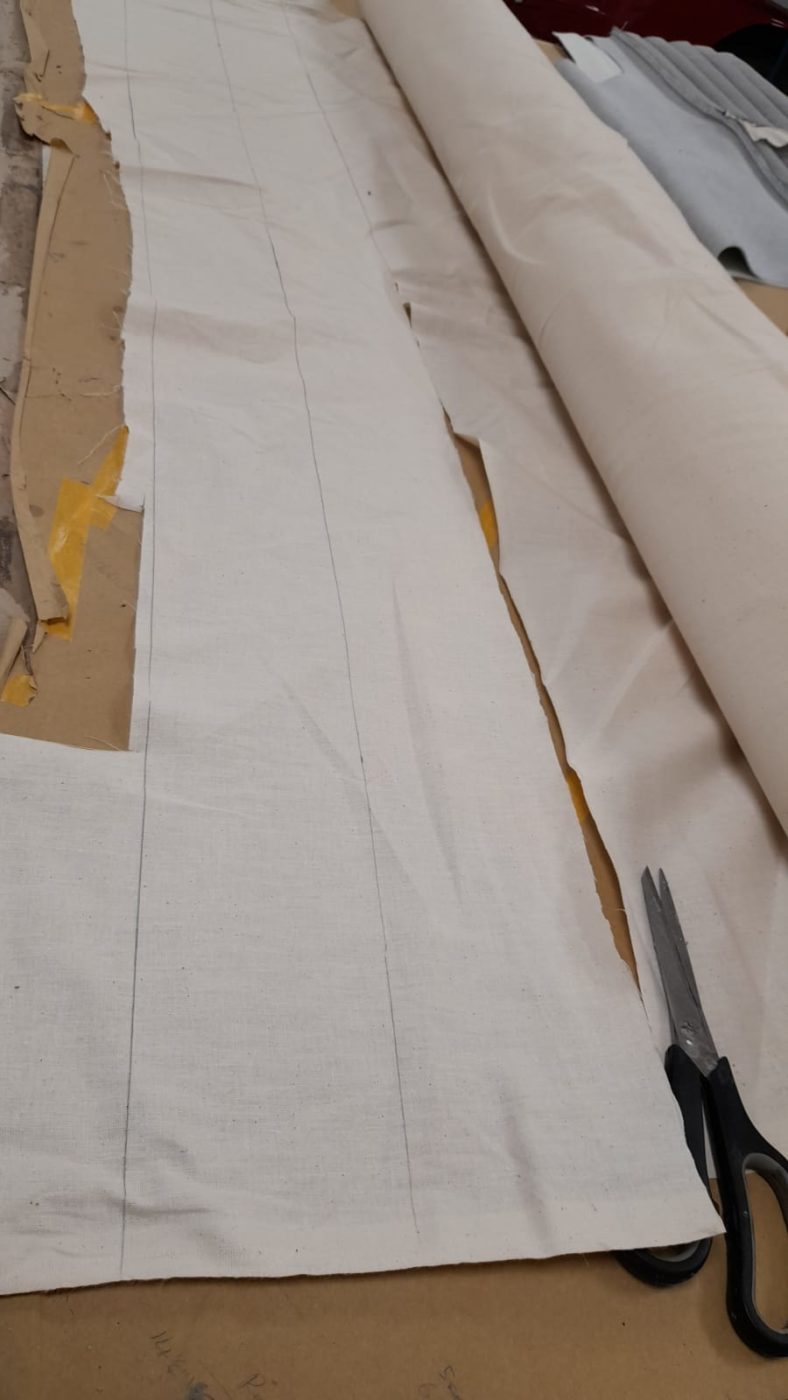
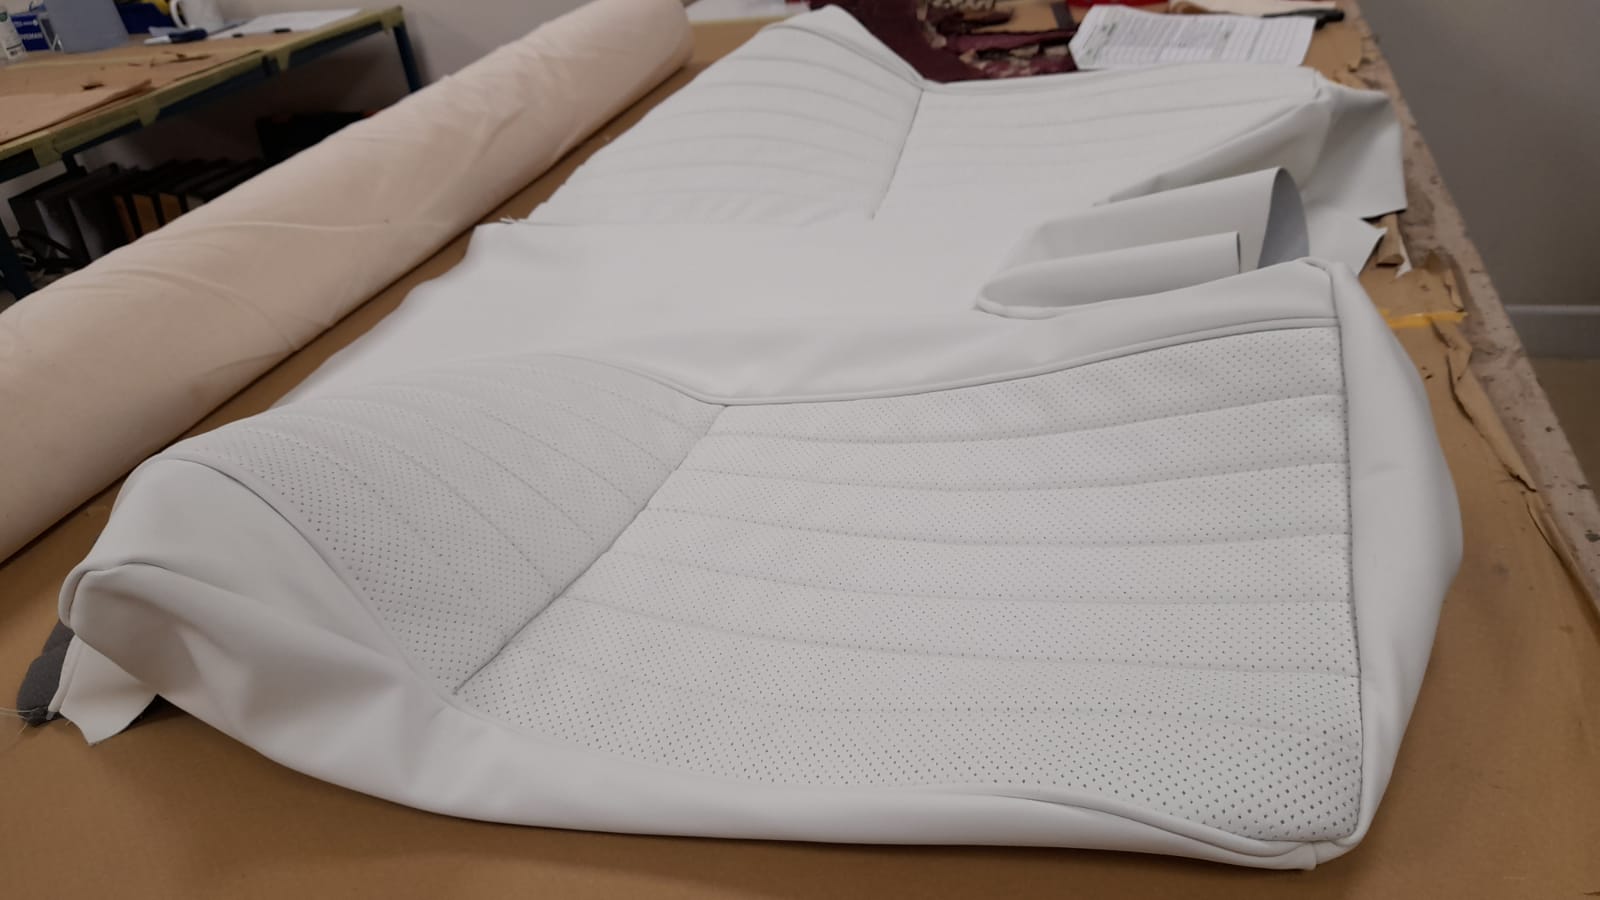
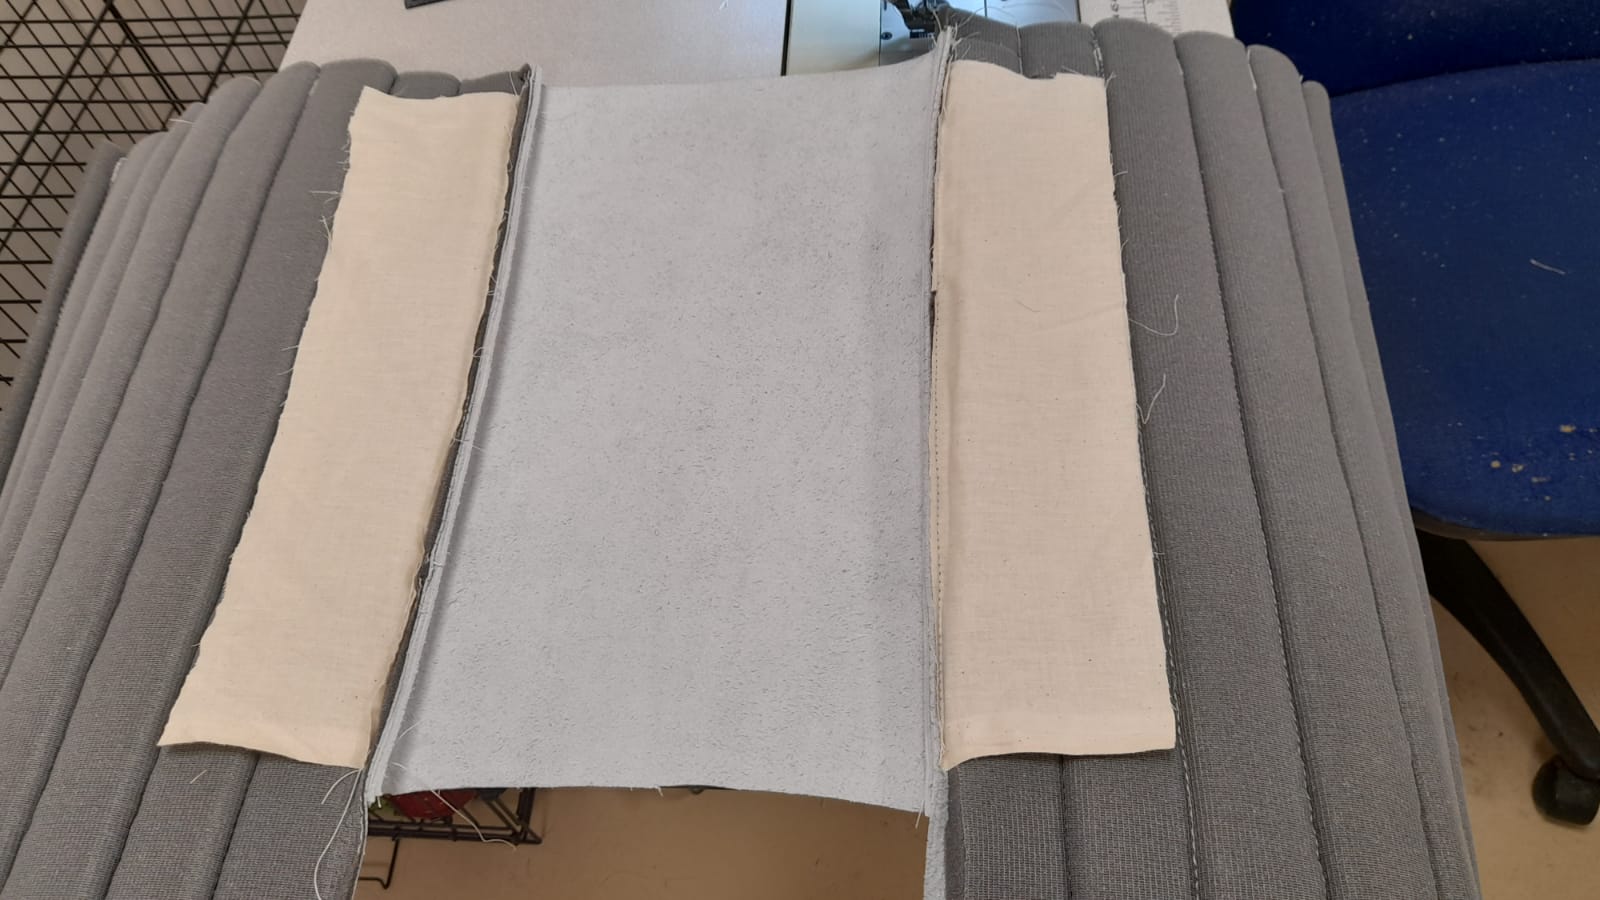
Lydia then piped the sides of the middle section and sewed the fluted faces to this. She followed by piped the other sides of the fluted faces and attached the top side pieces. Next up Lydia marked out and cut out all the pieces for the skirt and sides. She then measured, marked out and cut out strips of calico and sewed all the pieces together for the sides and skirt. She then sewed a strip of calico to the curved piece and sewed calico to the inside seams of the faces. This helps when fitting on the foam. Then Lydia clipped the skirt and sides piece to the main face piece to check the fit.


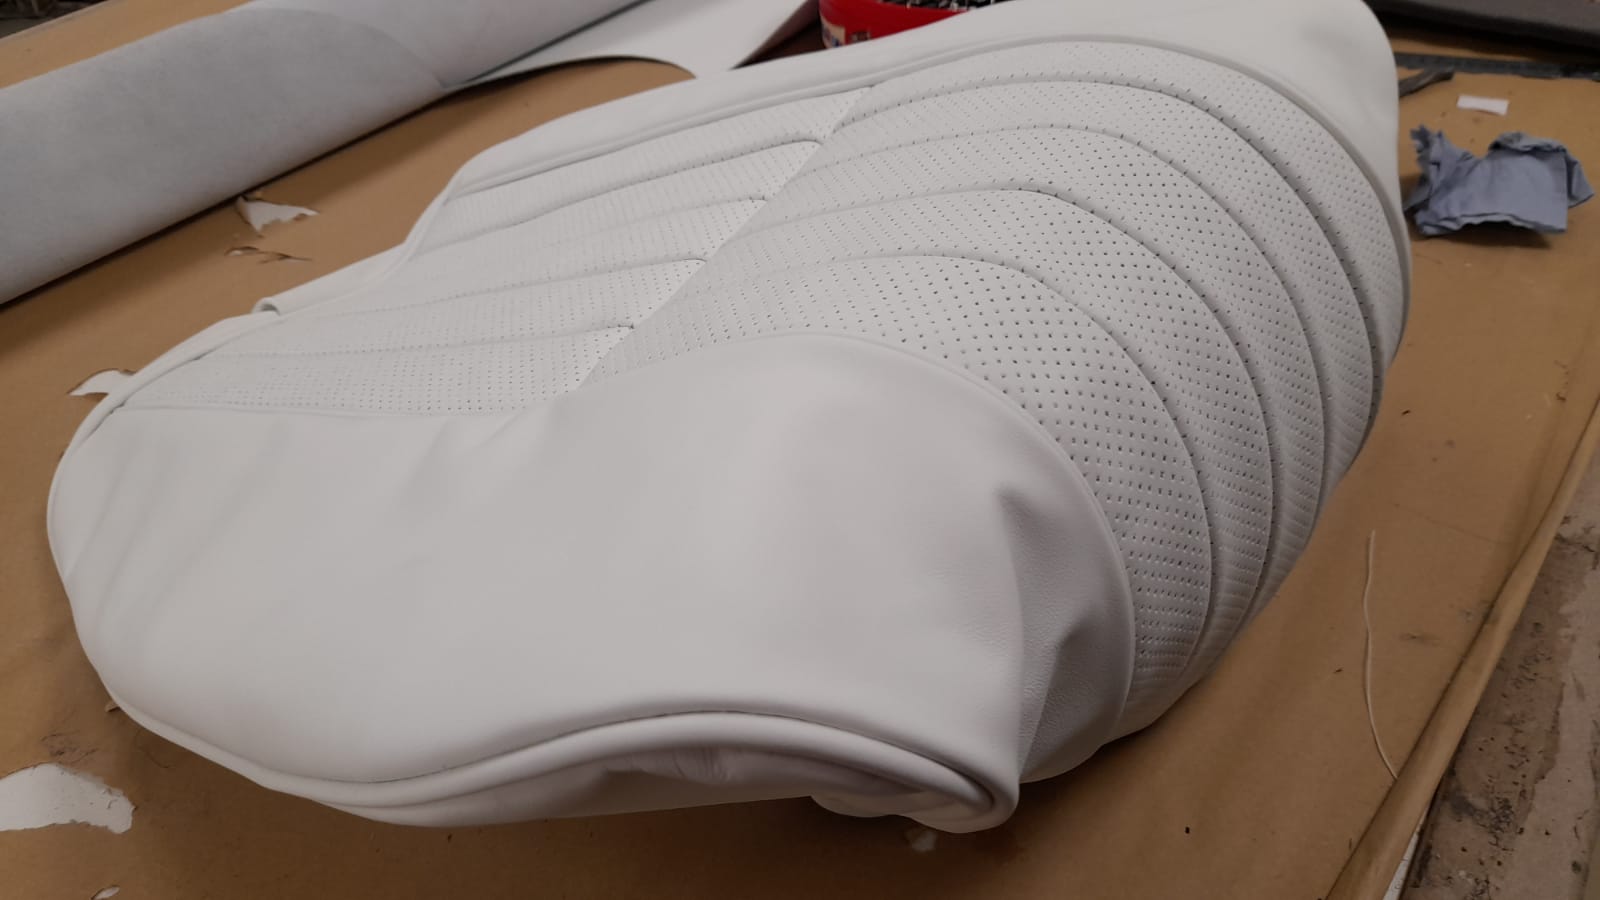

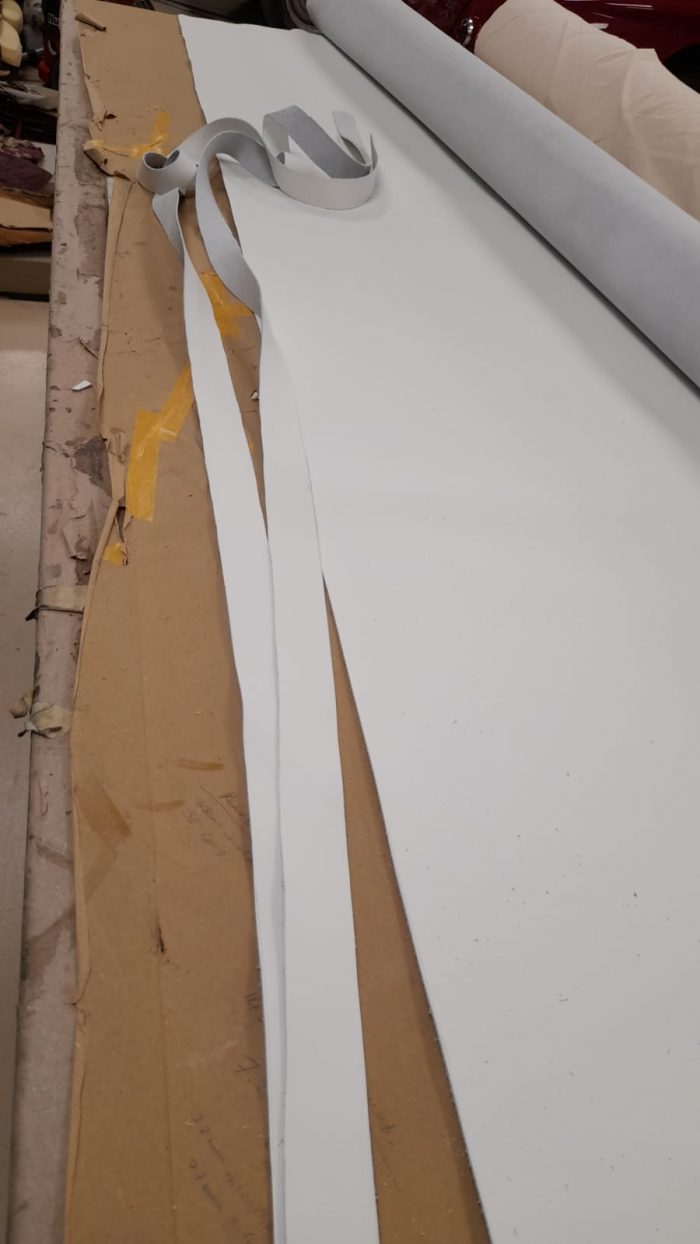
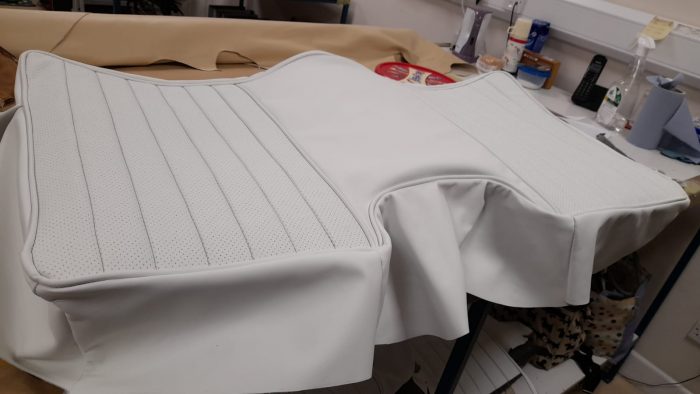
Lydia has continued to make the rear squab by cutting strips of leather for piping, clipping the pieces together for the sides and bottom and then sewing them together. She used the piping she’d made before and sewed them around the outside of the face. Lydian then sewed the sides and skirt onto it to finish.