

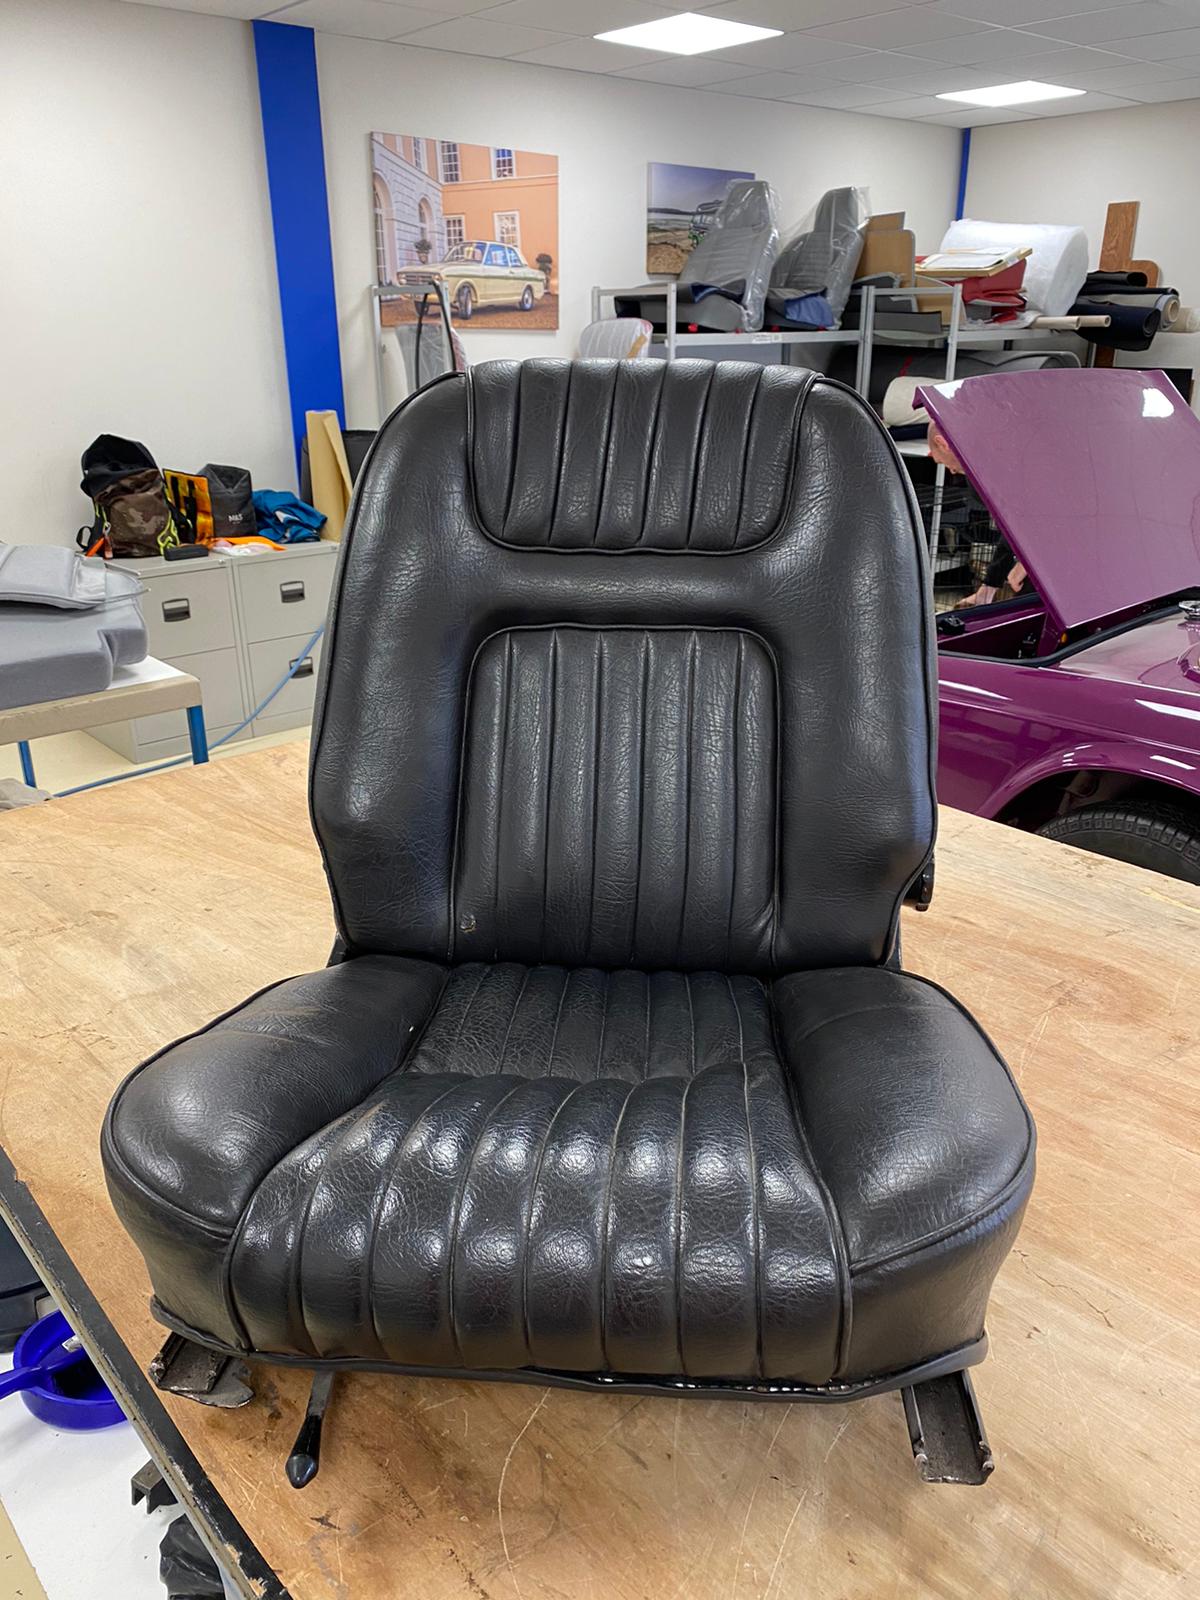
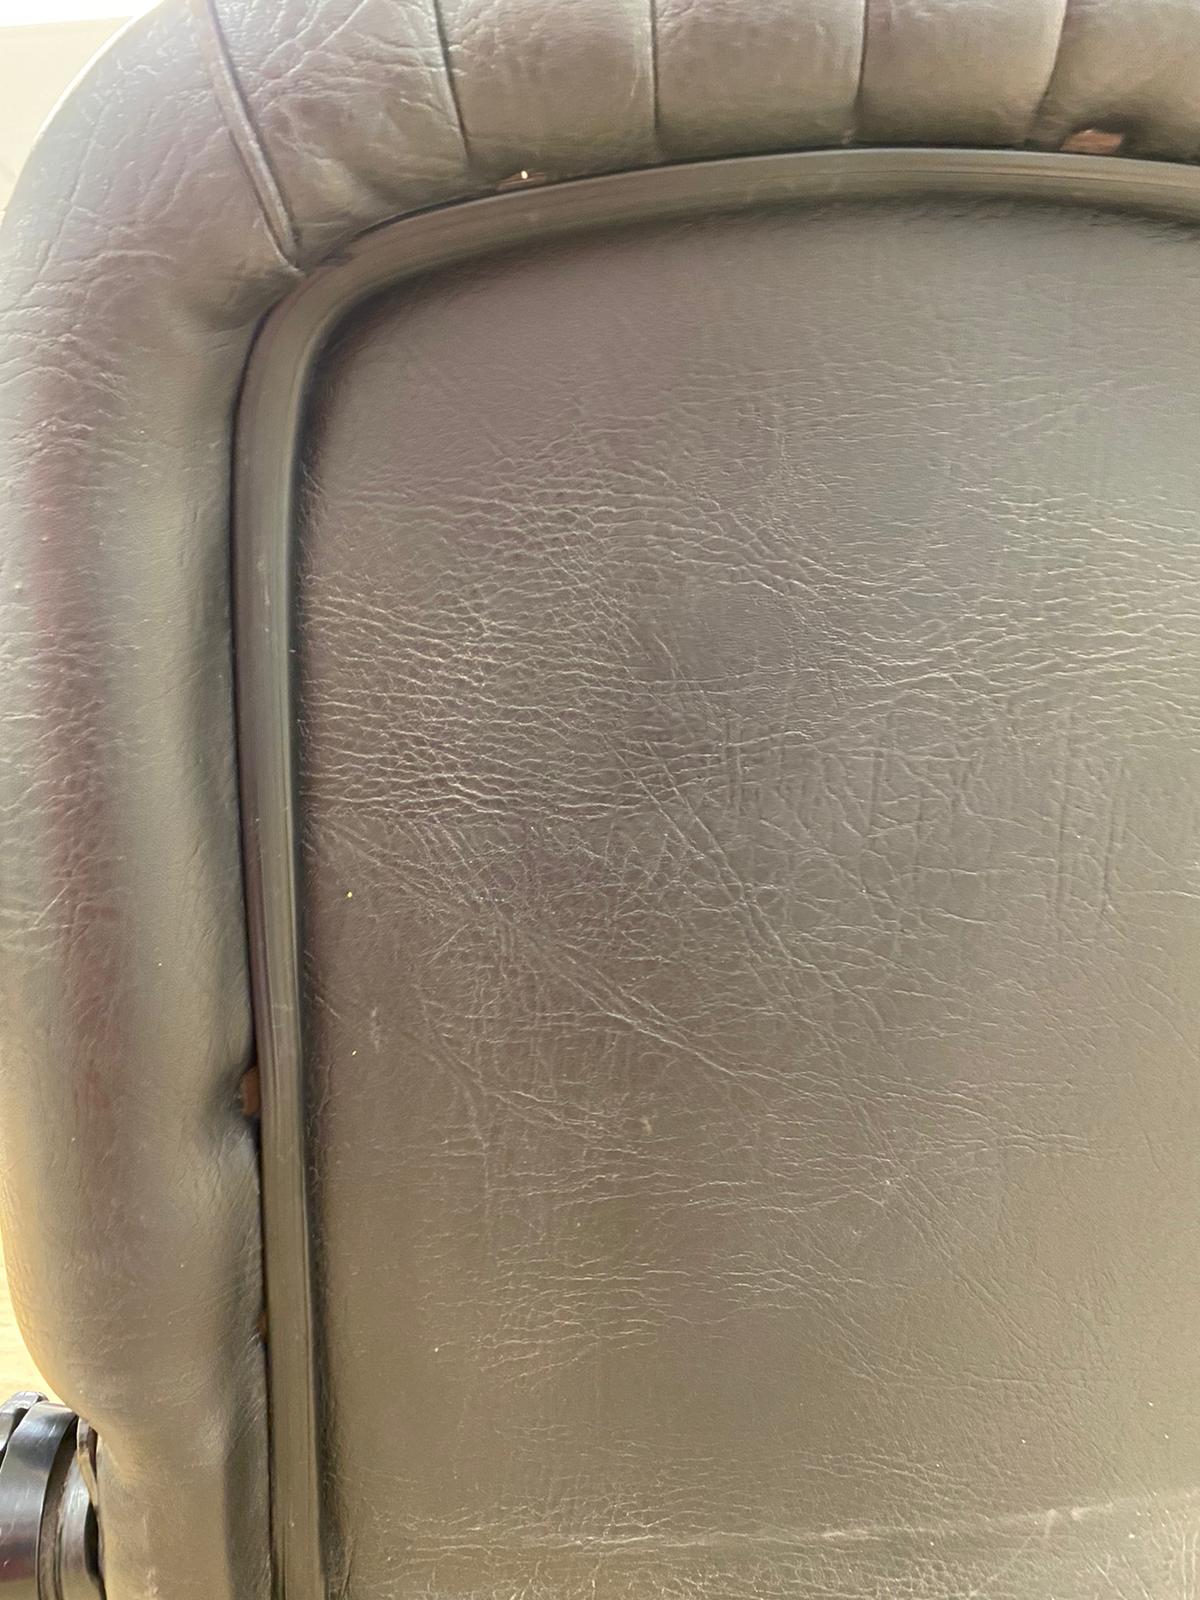
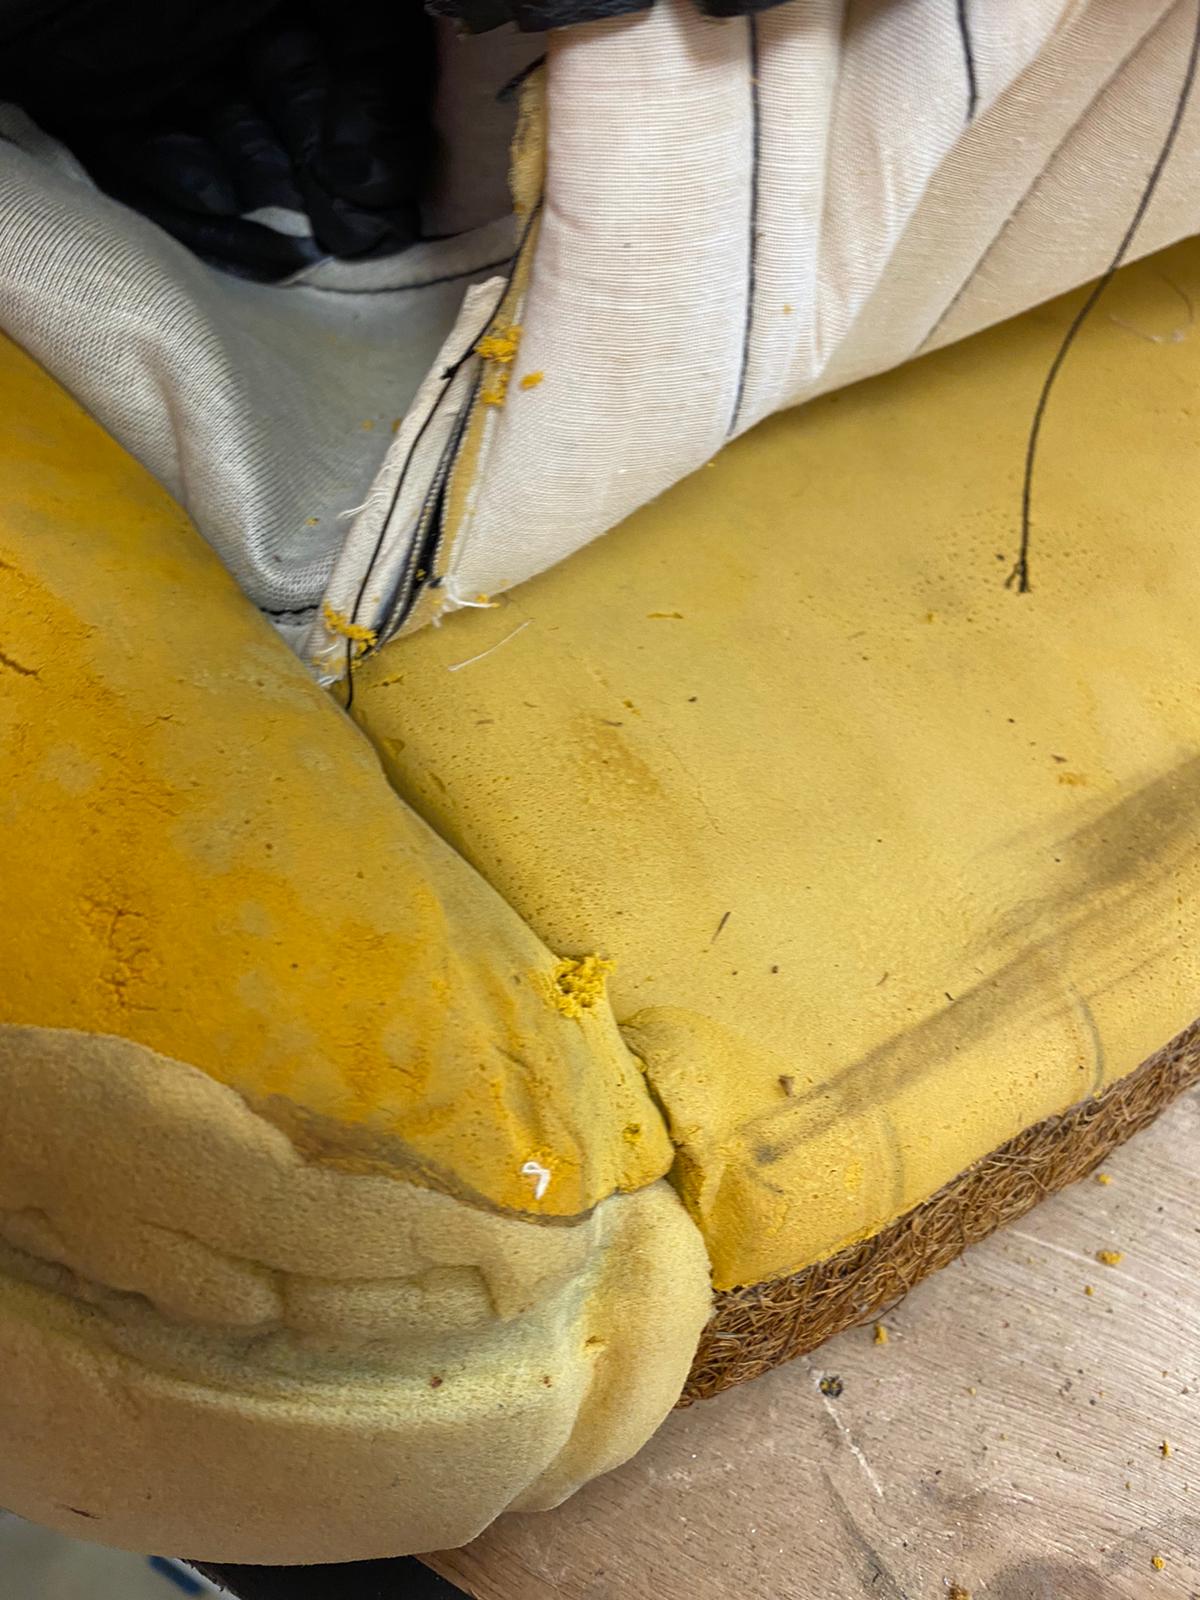
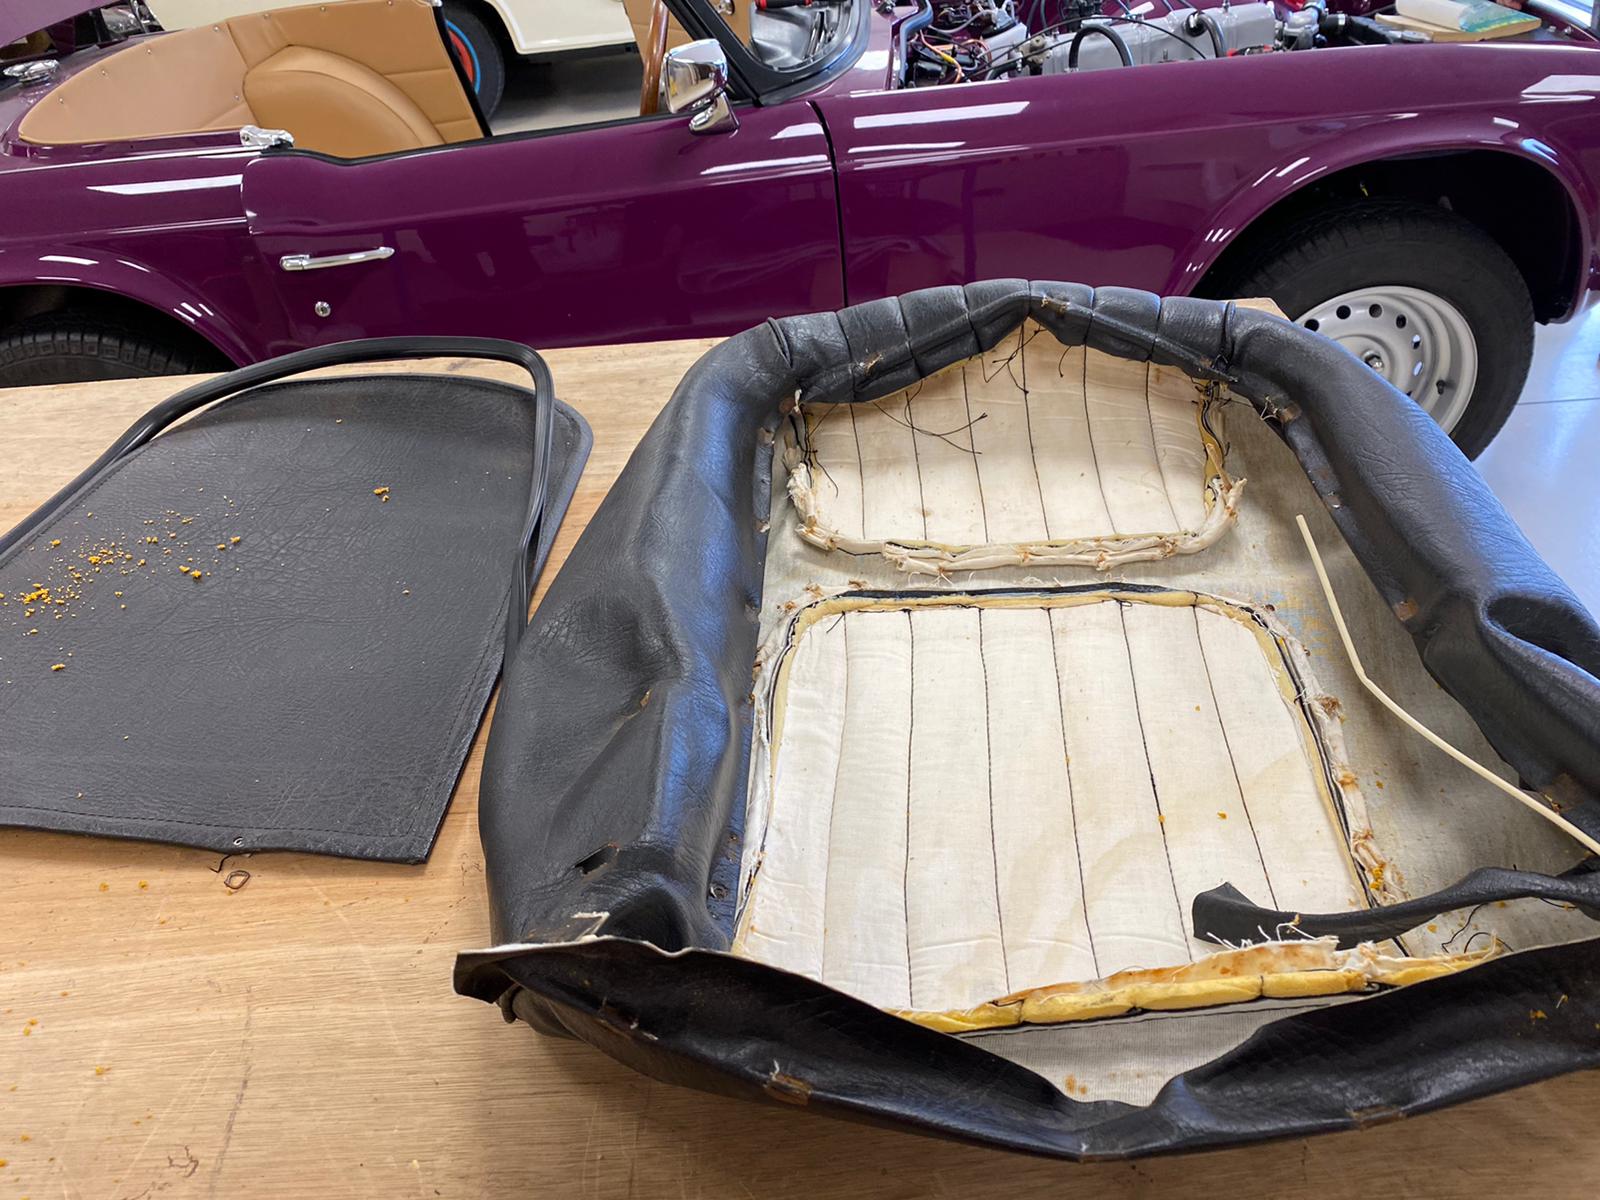
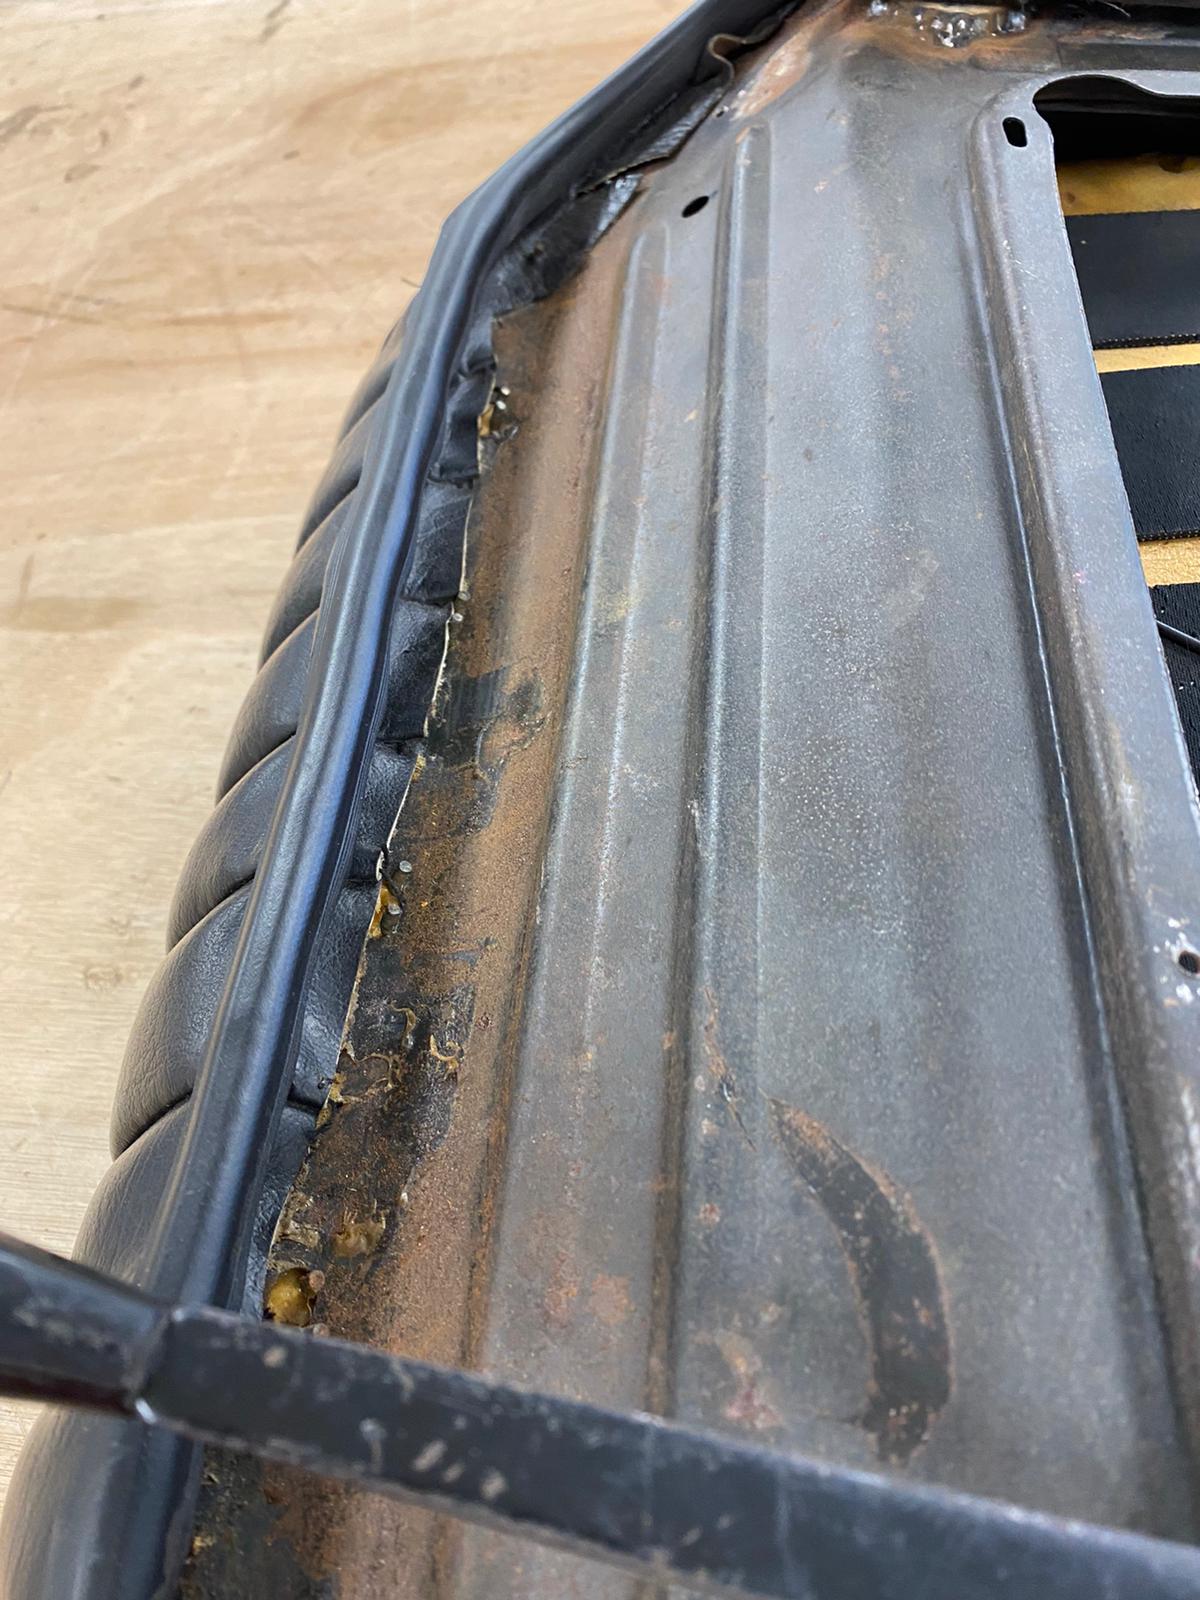
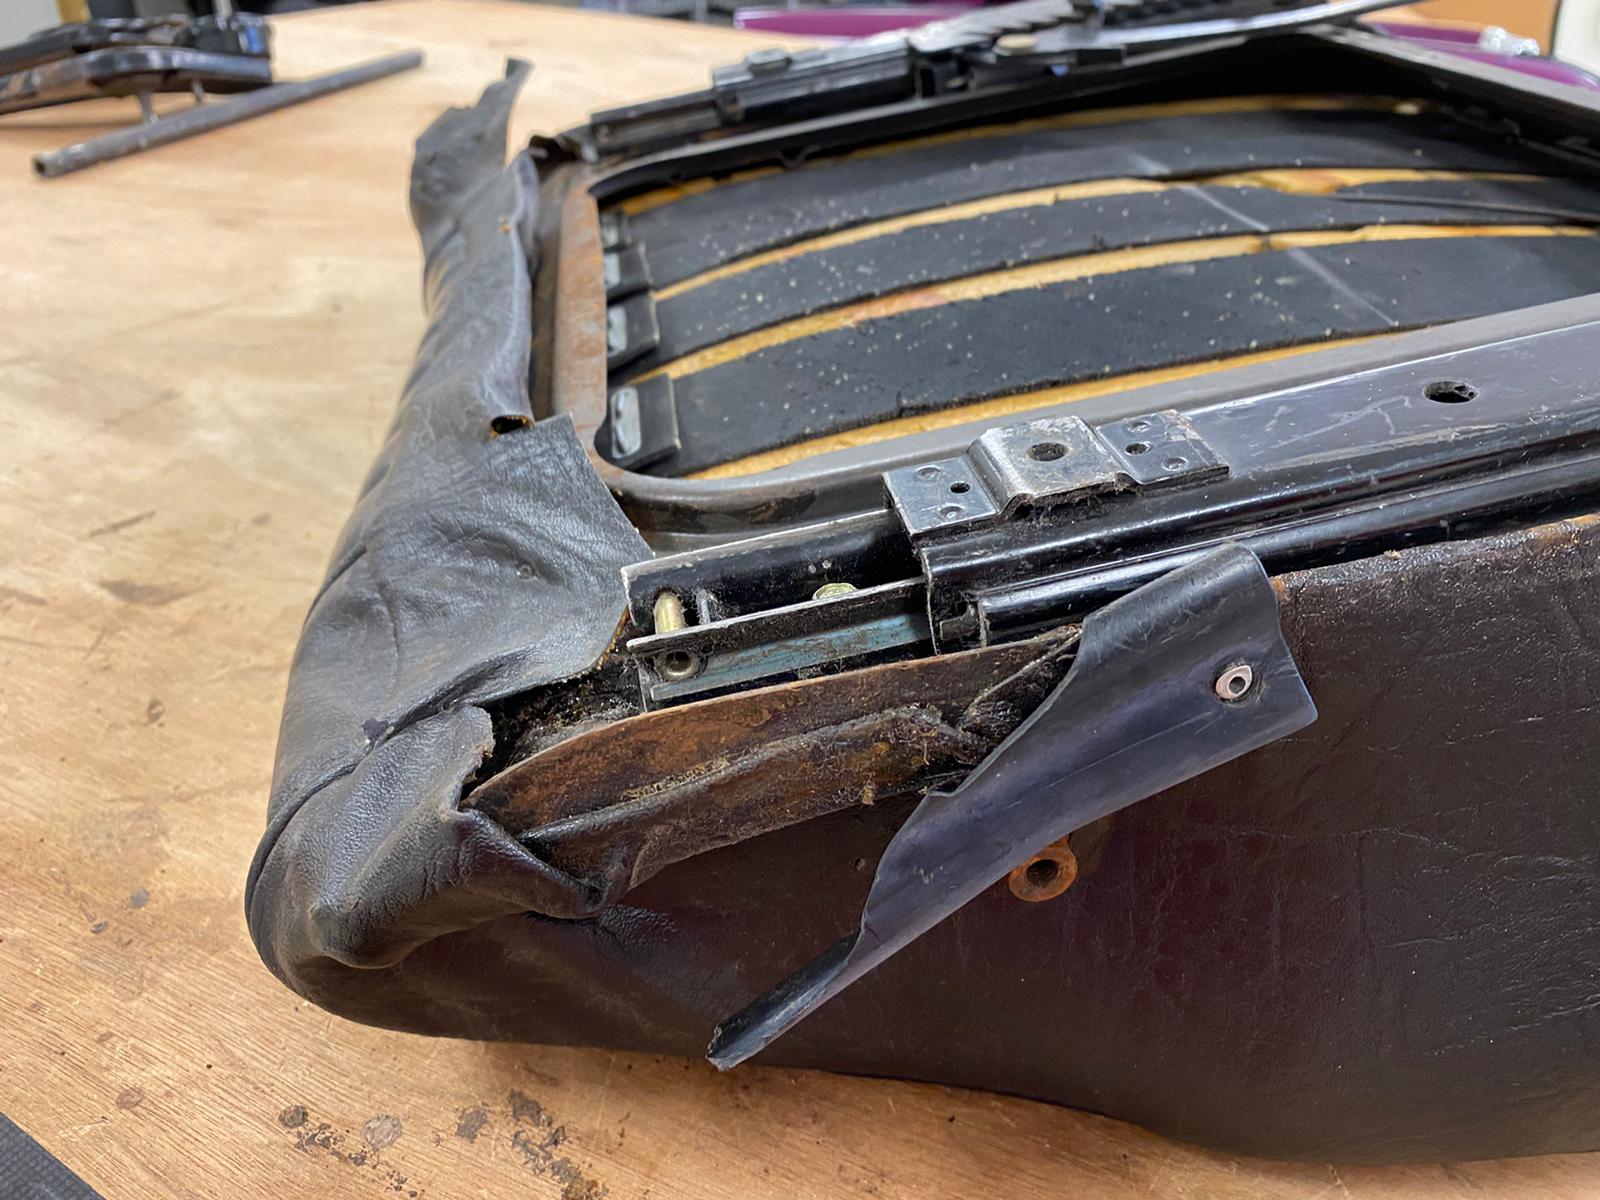
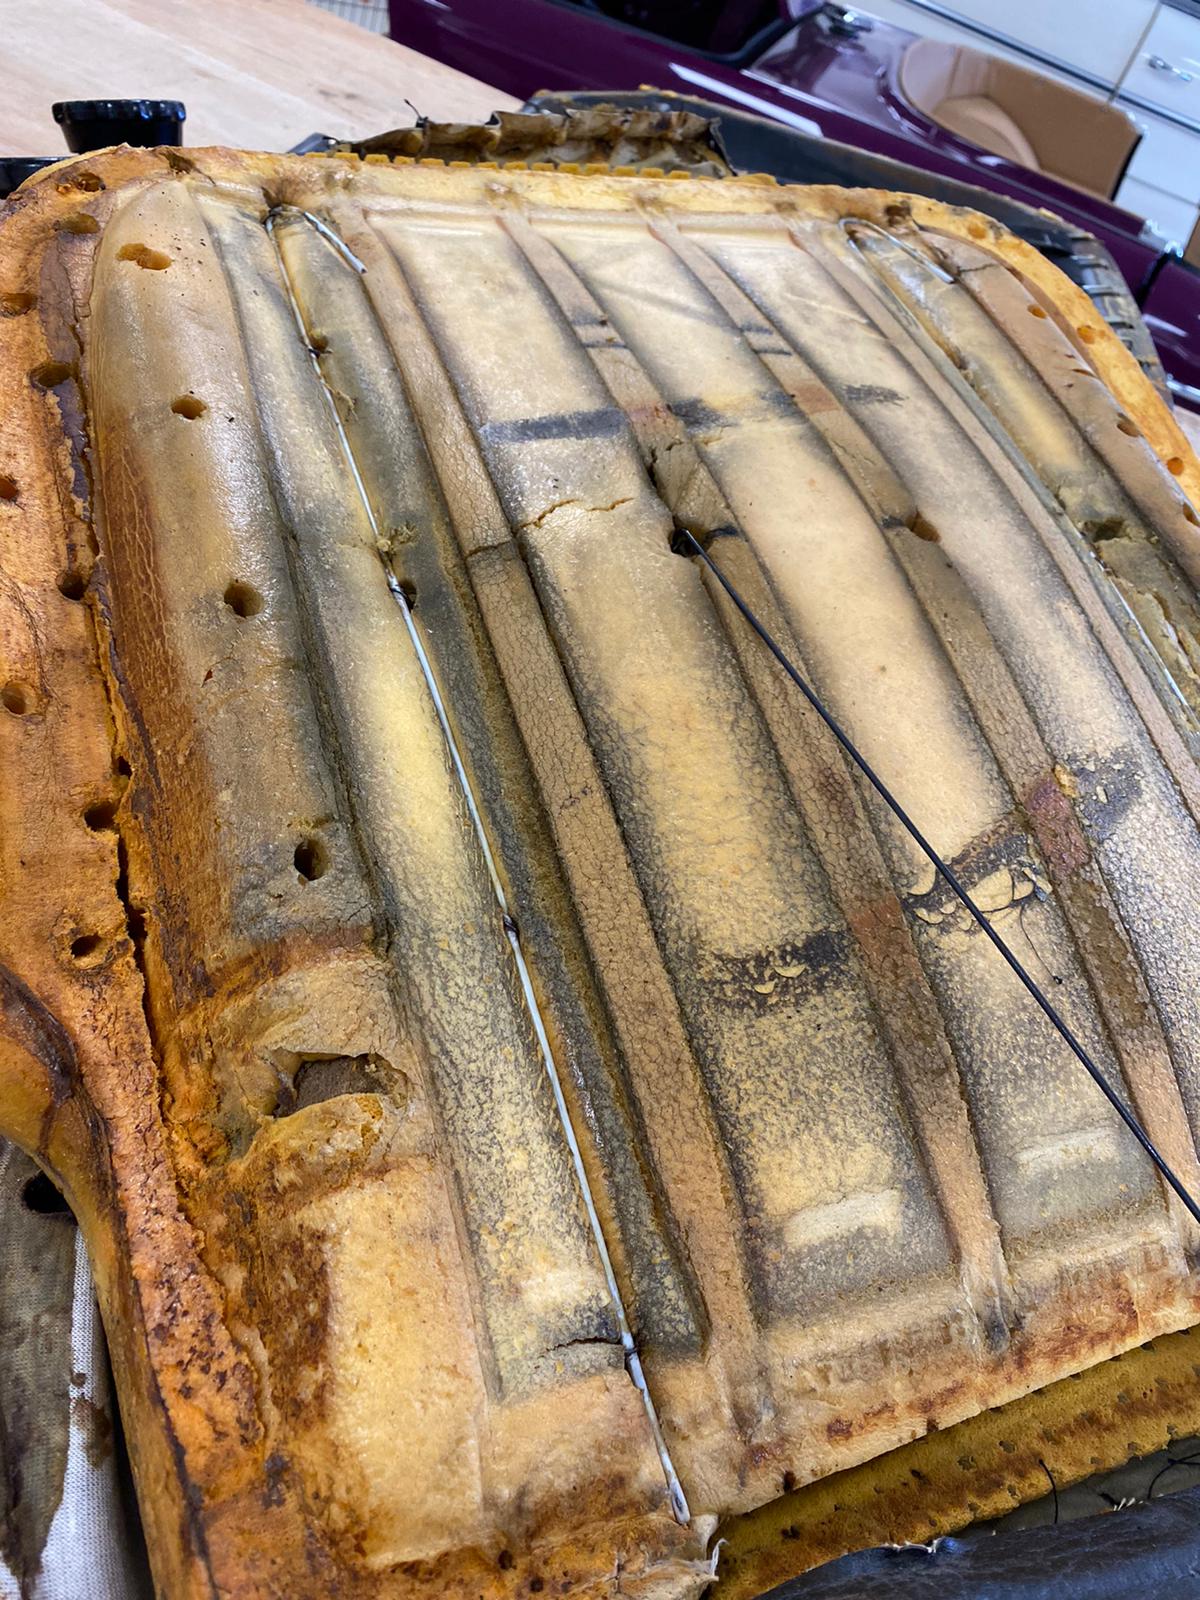
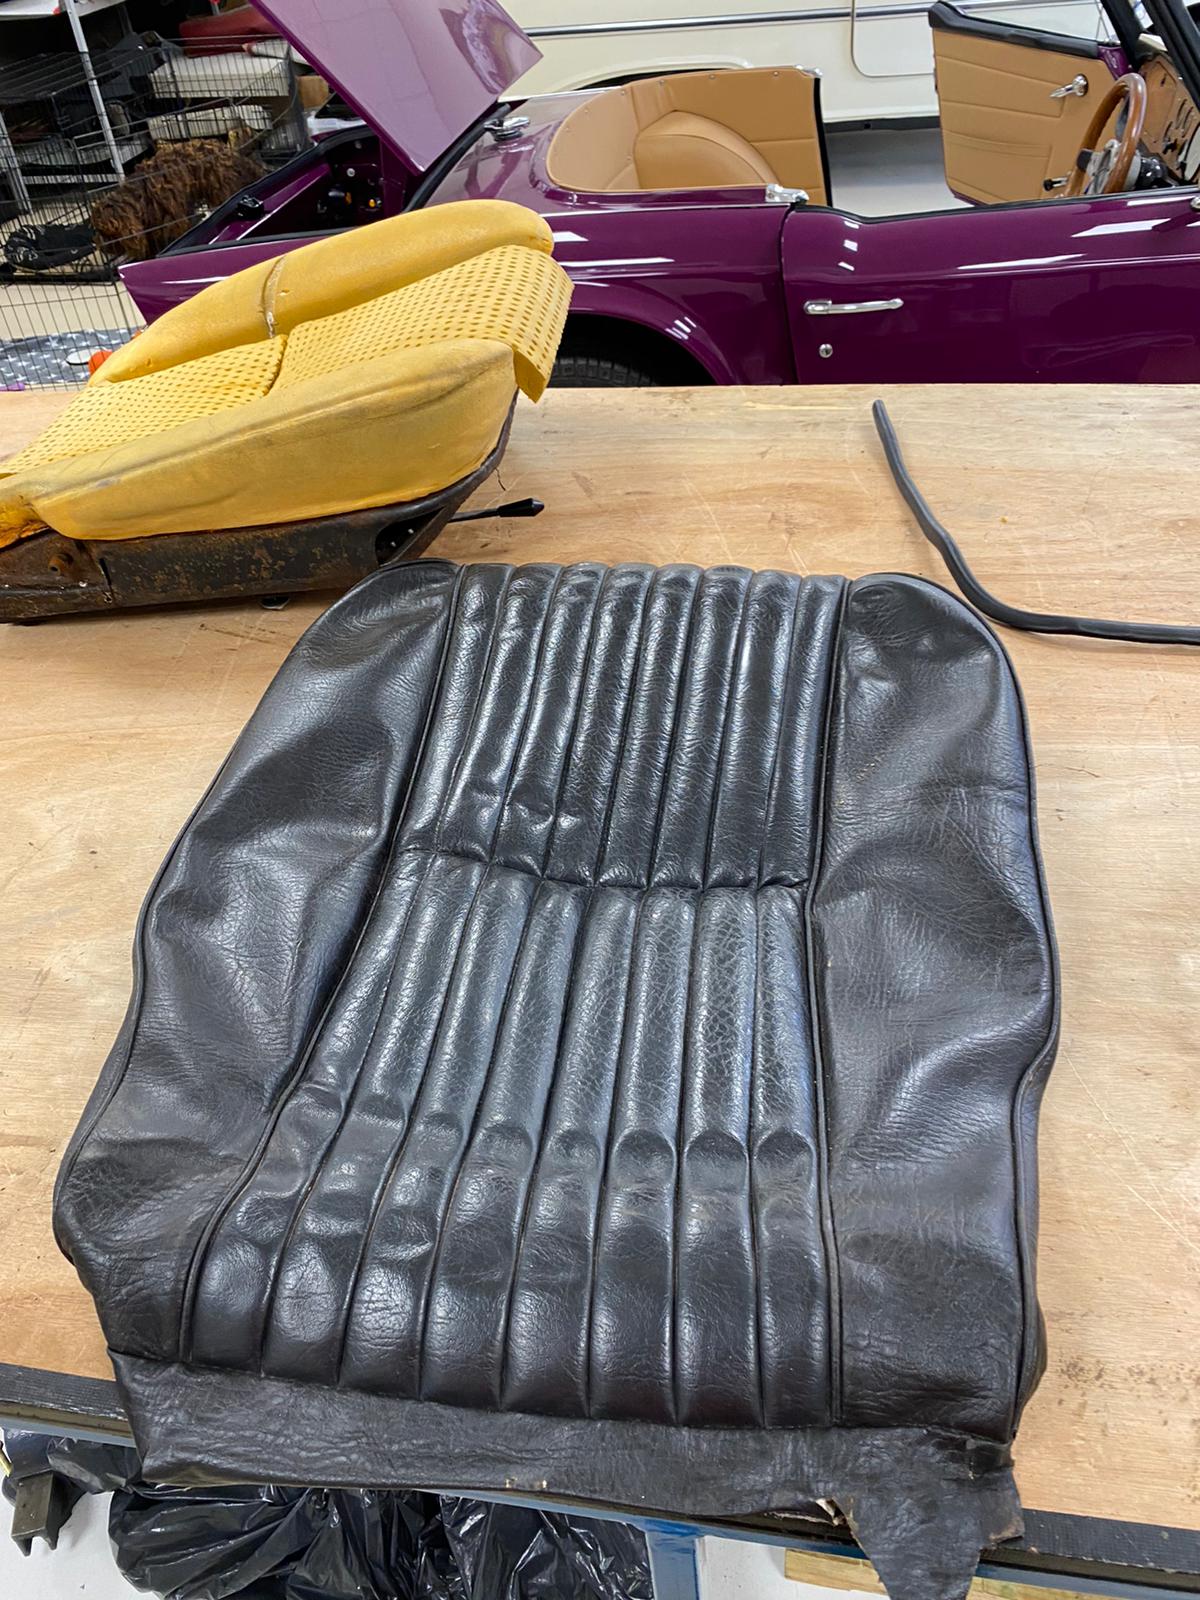
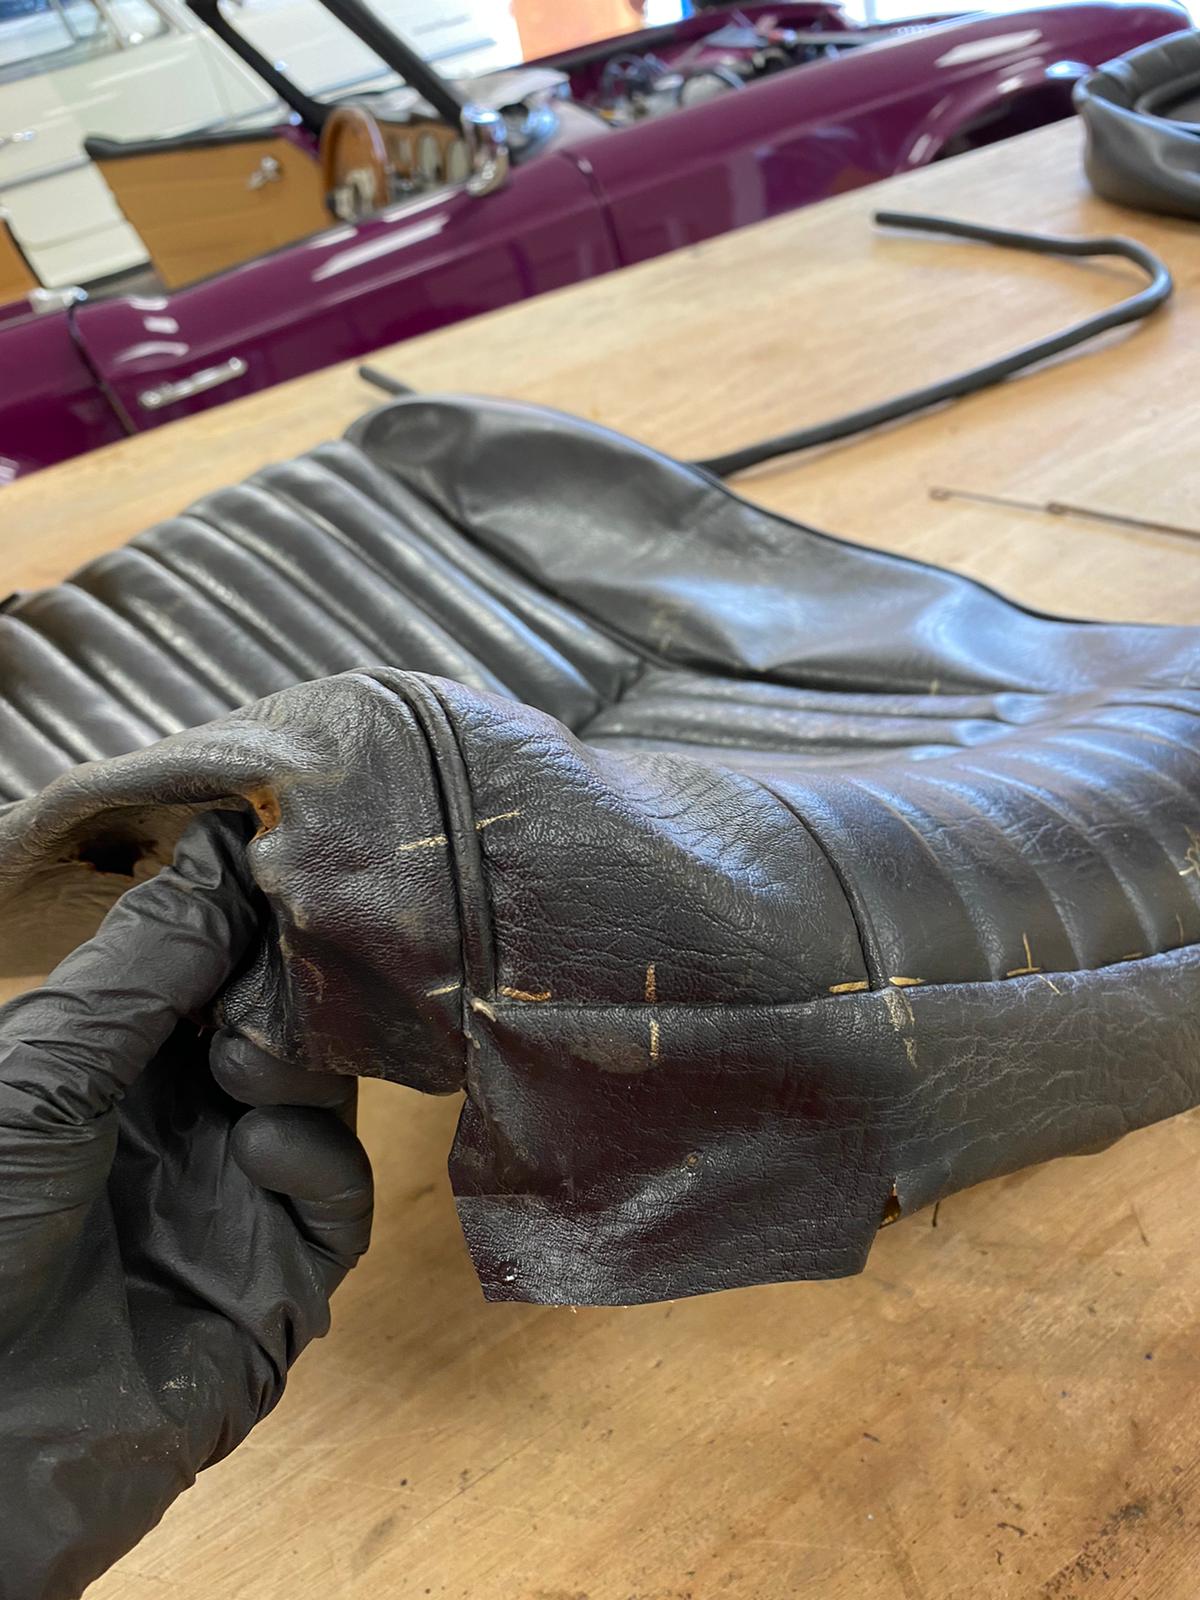
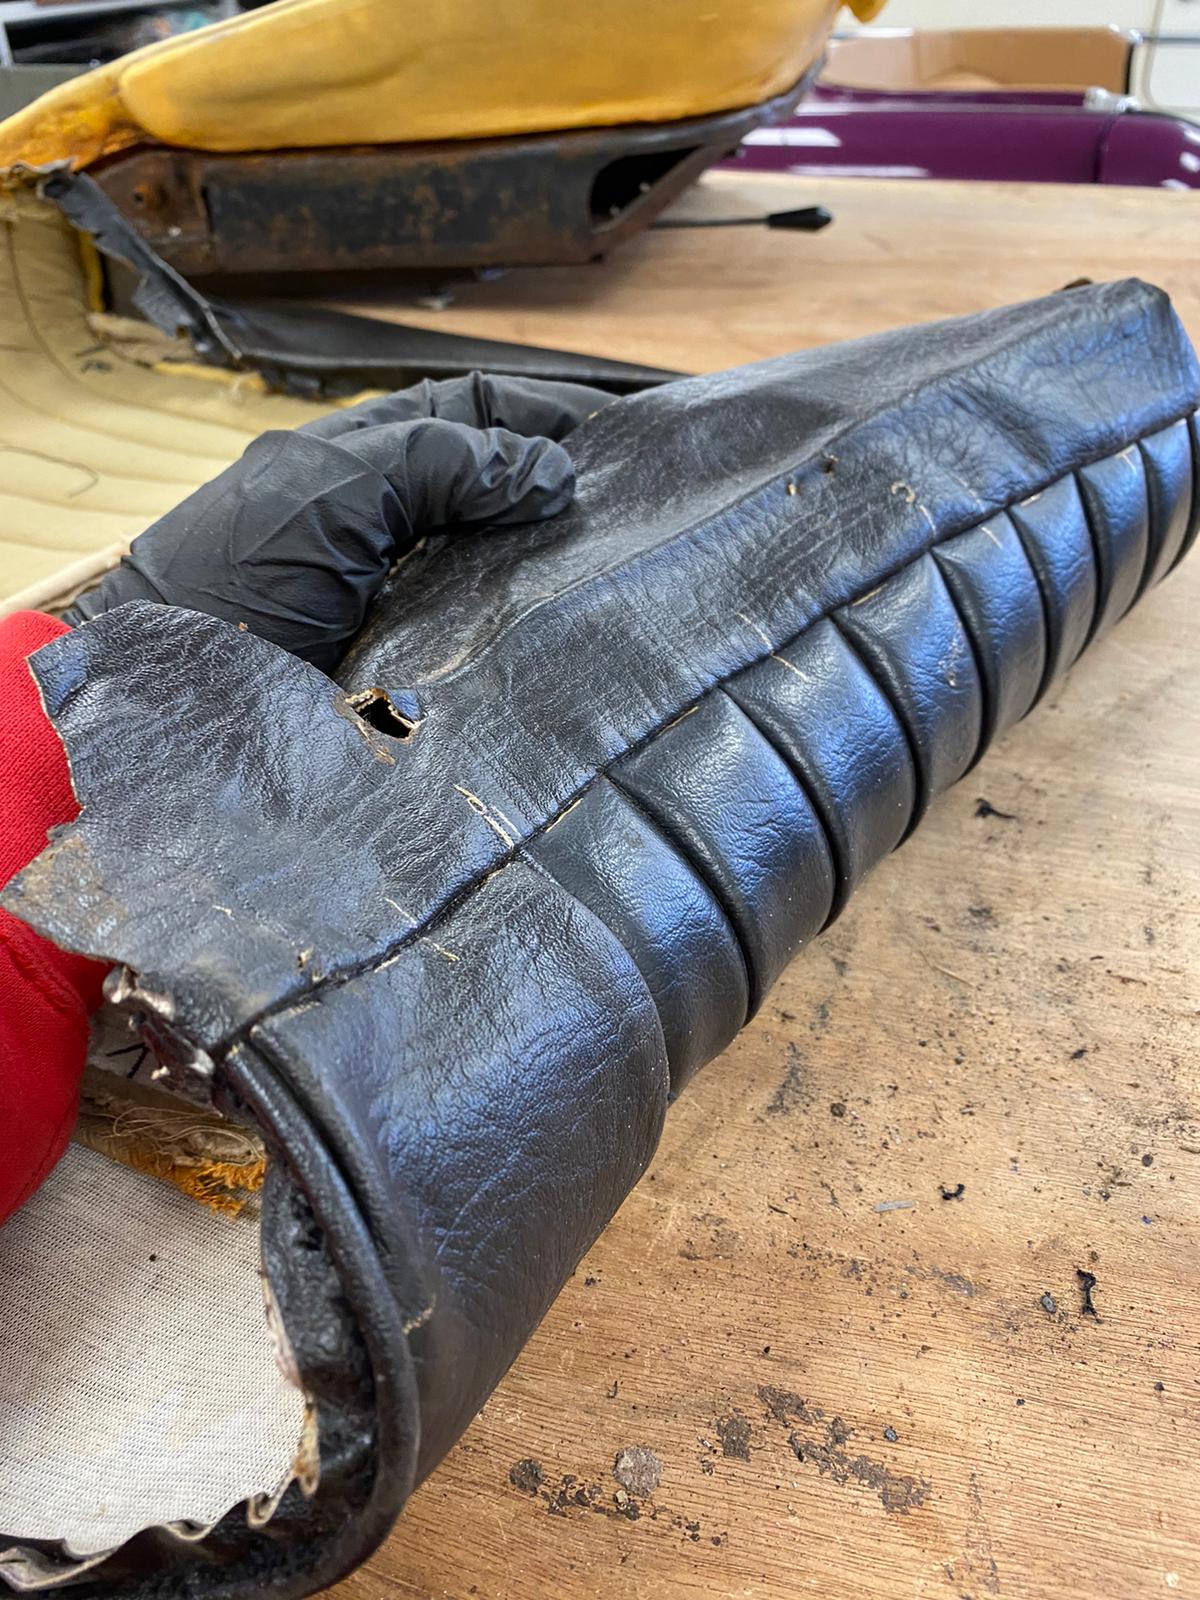
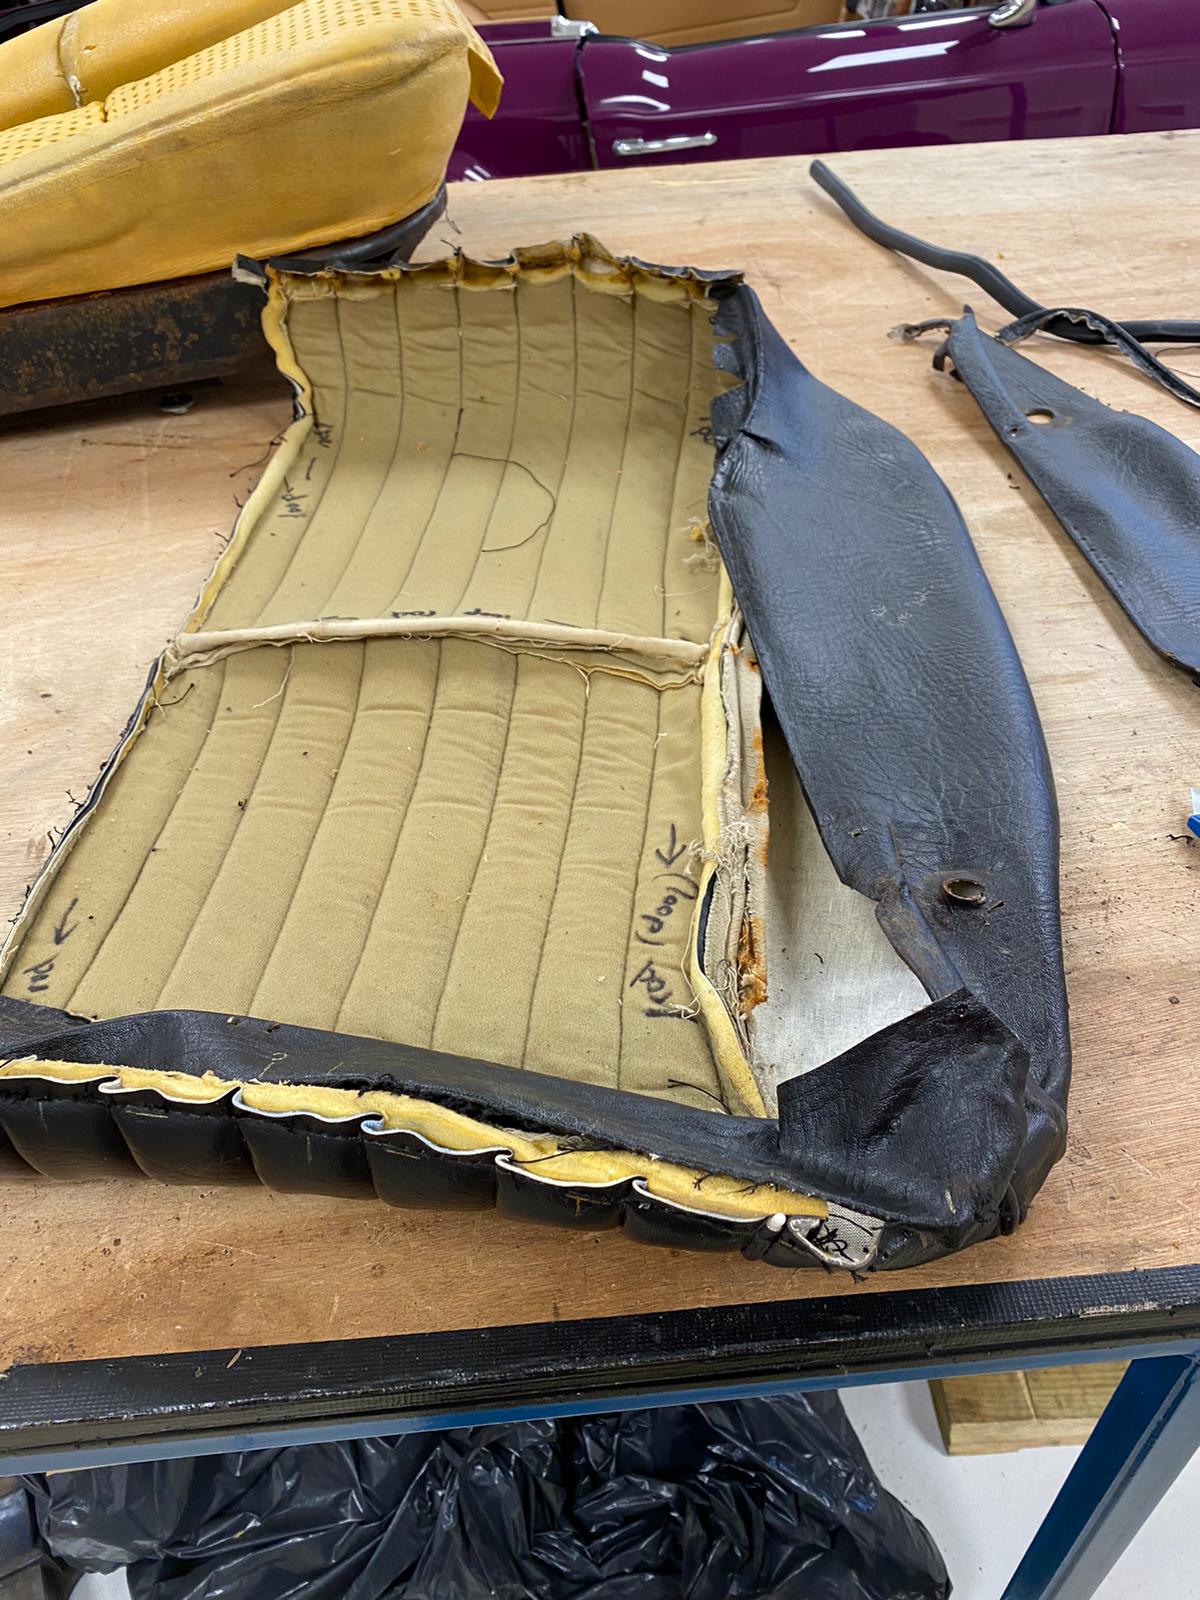
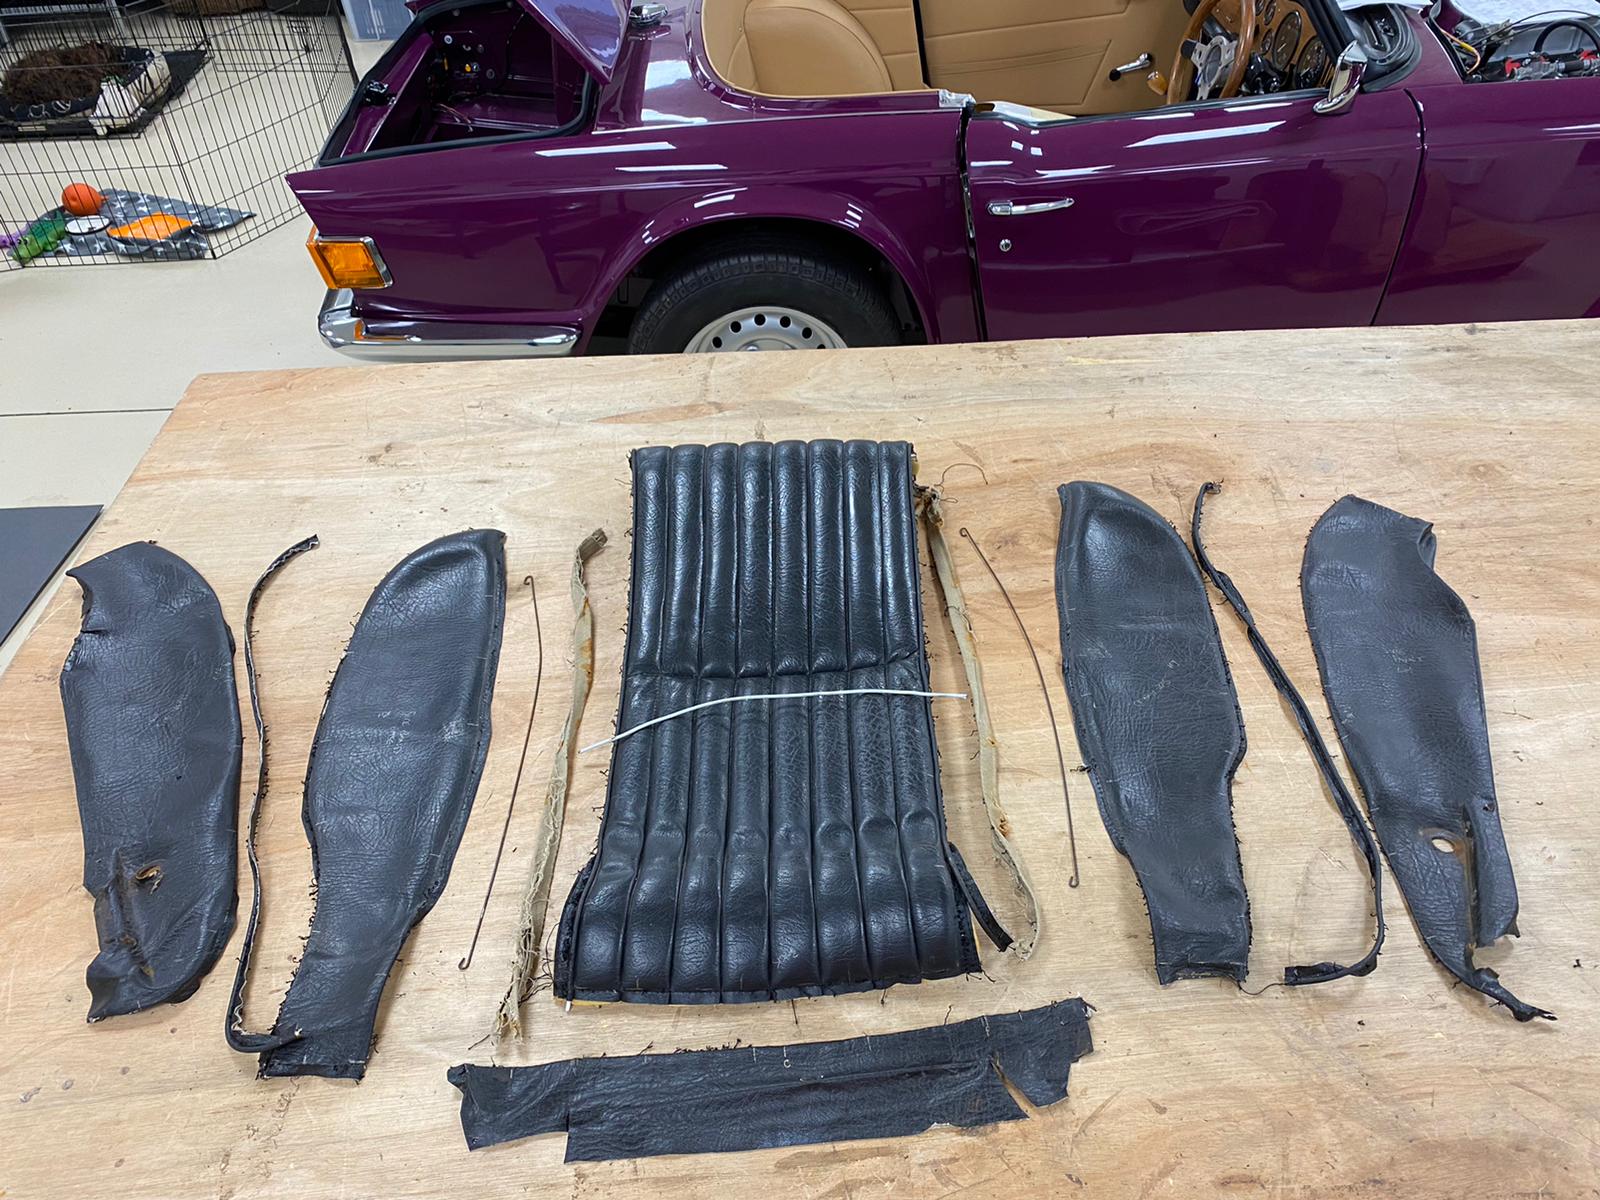
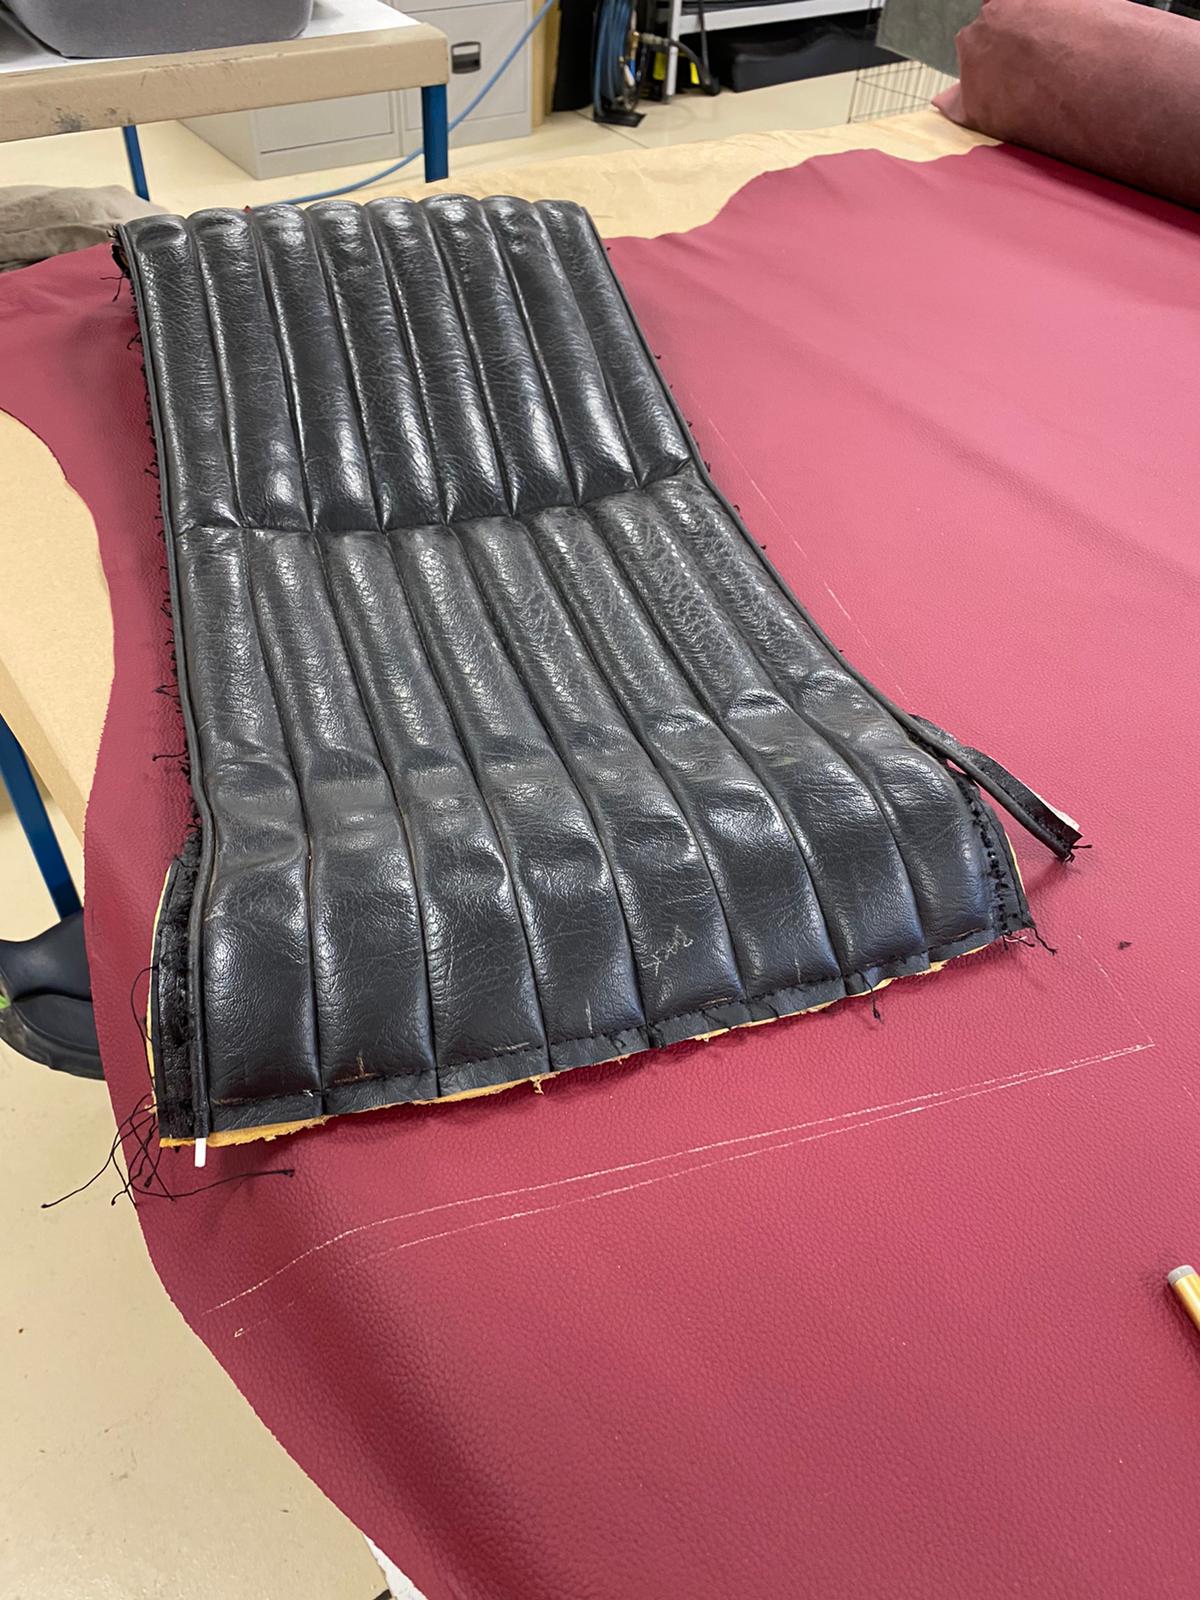
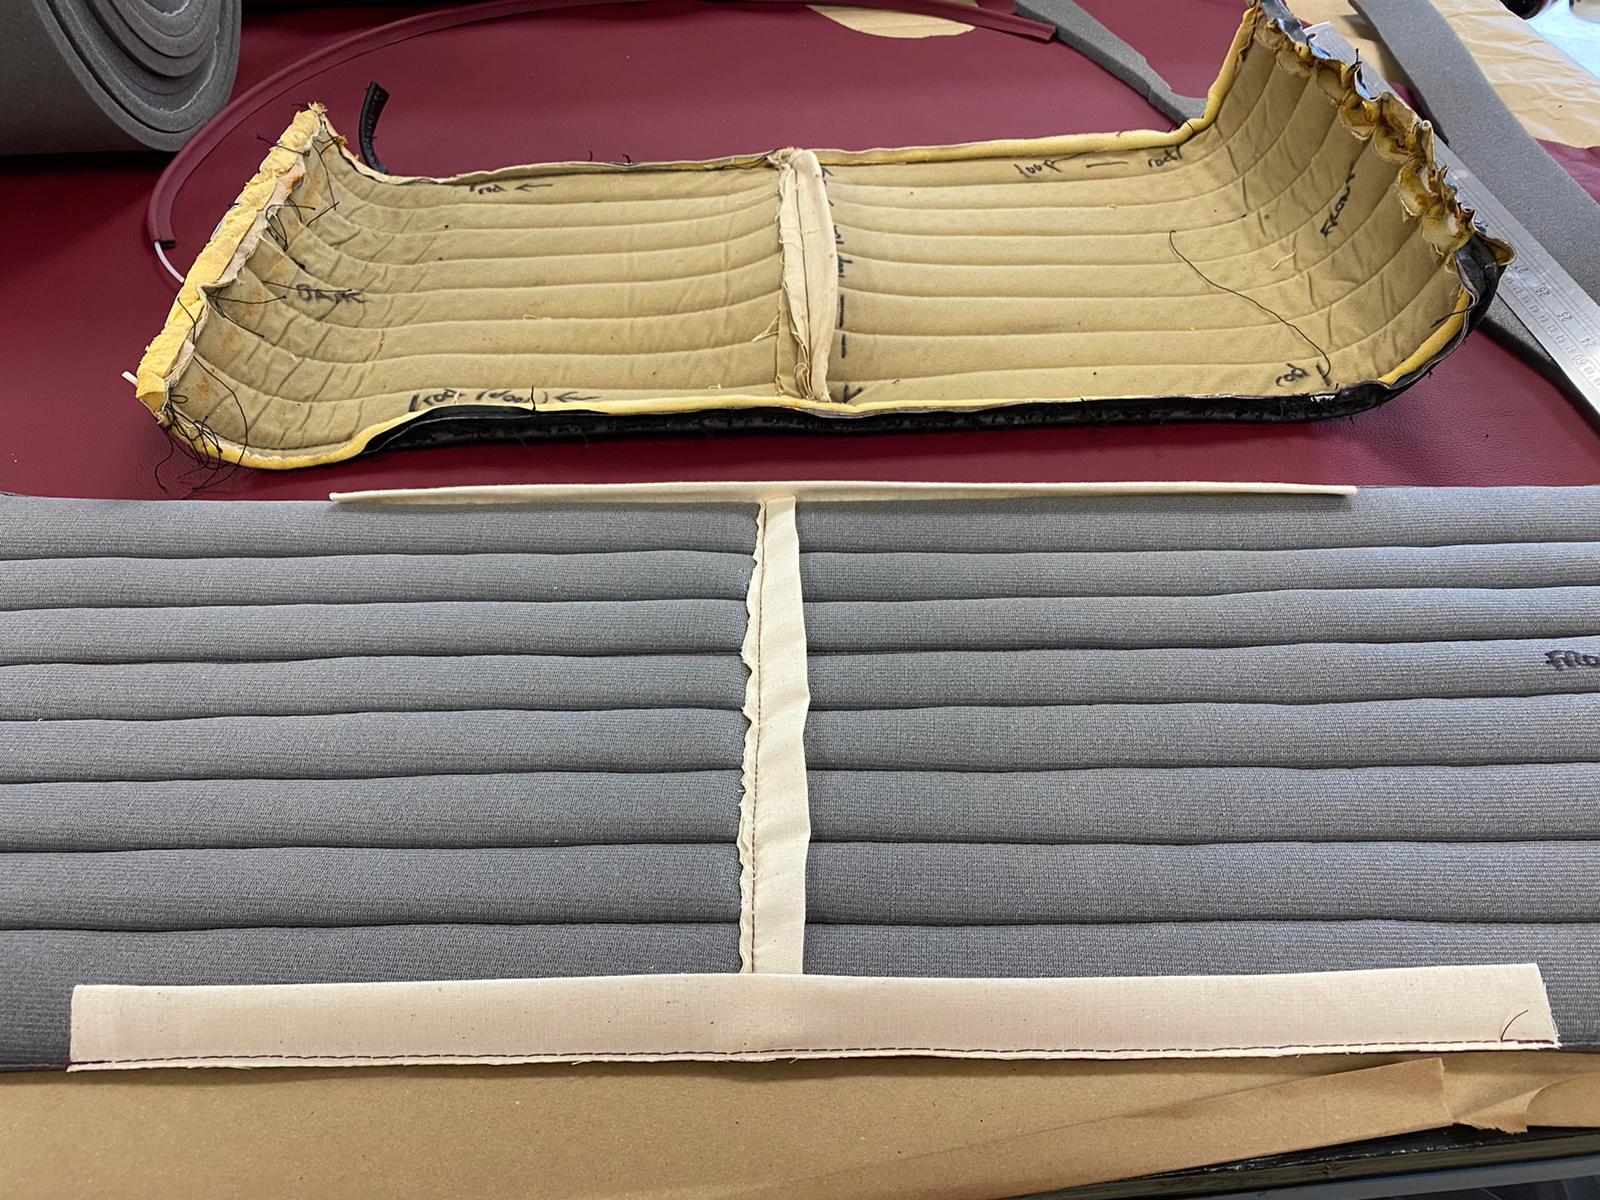
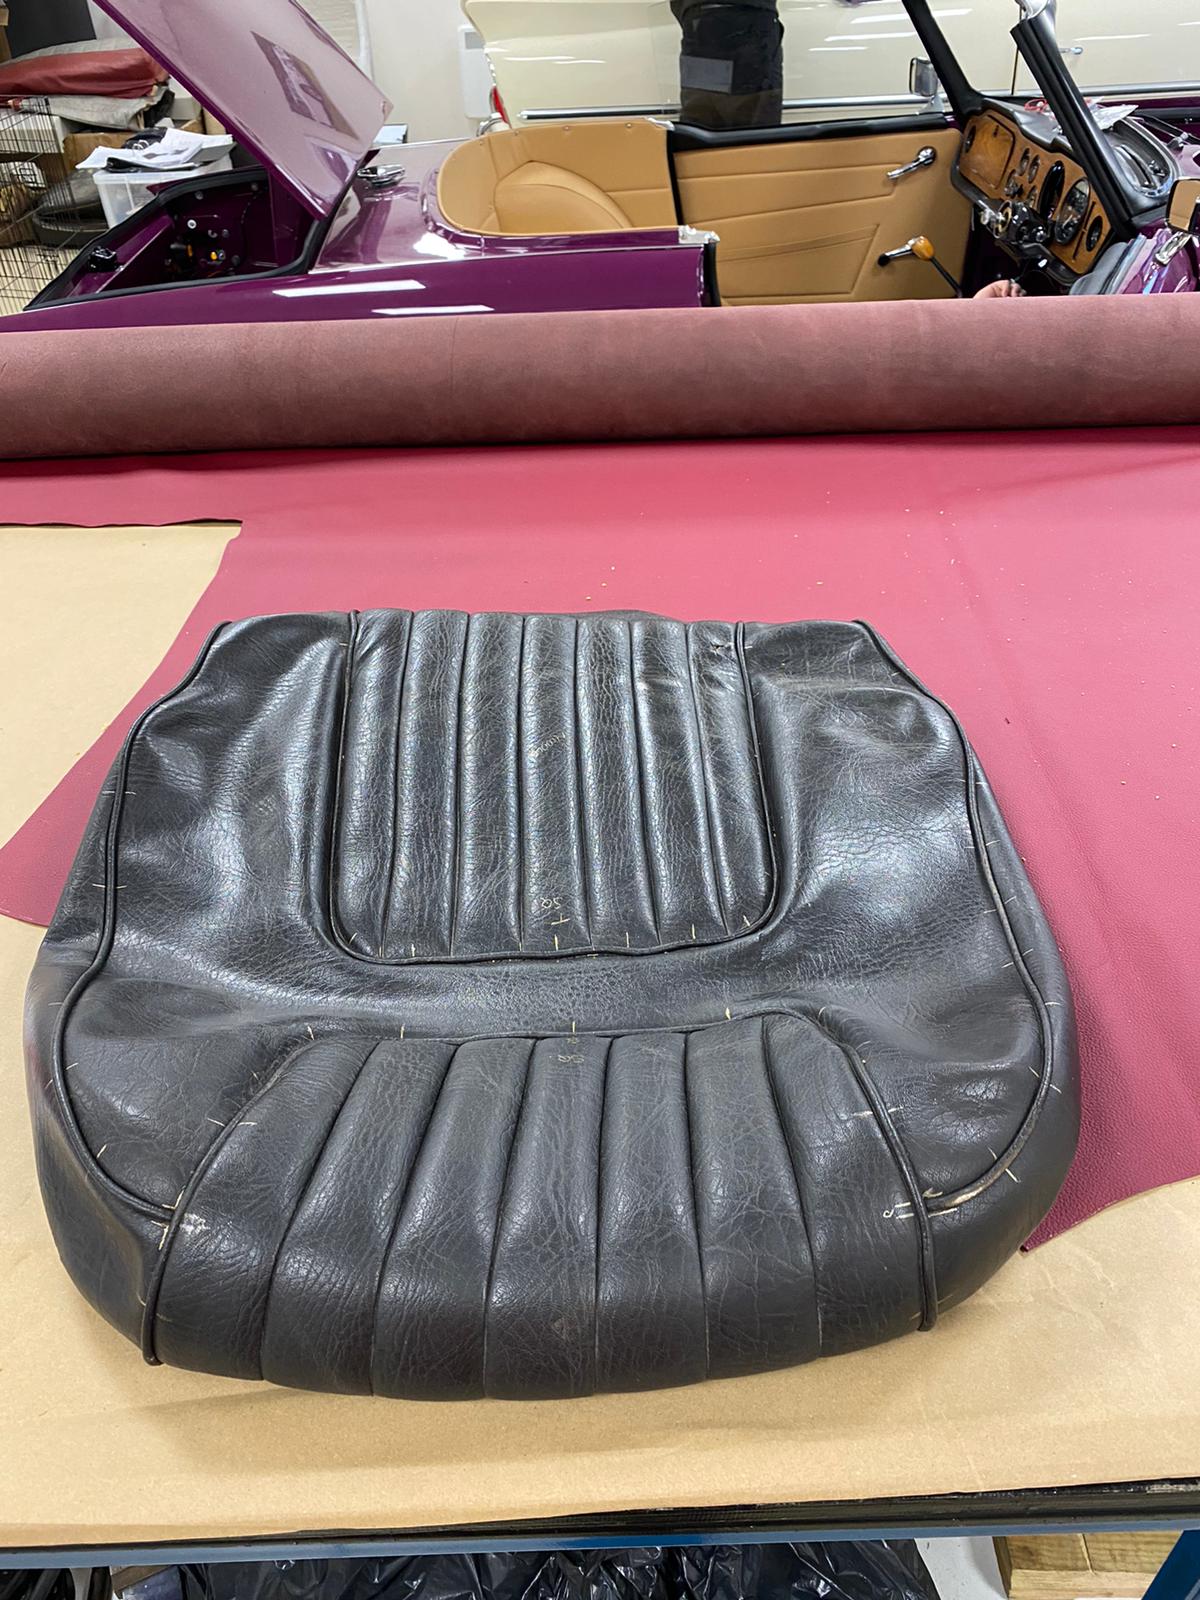
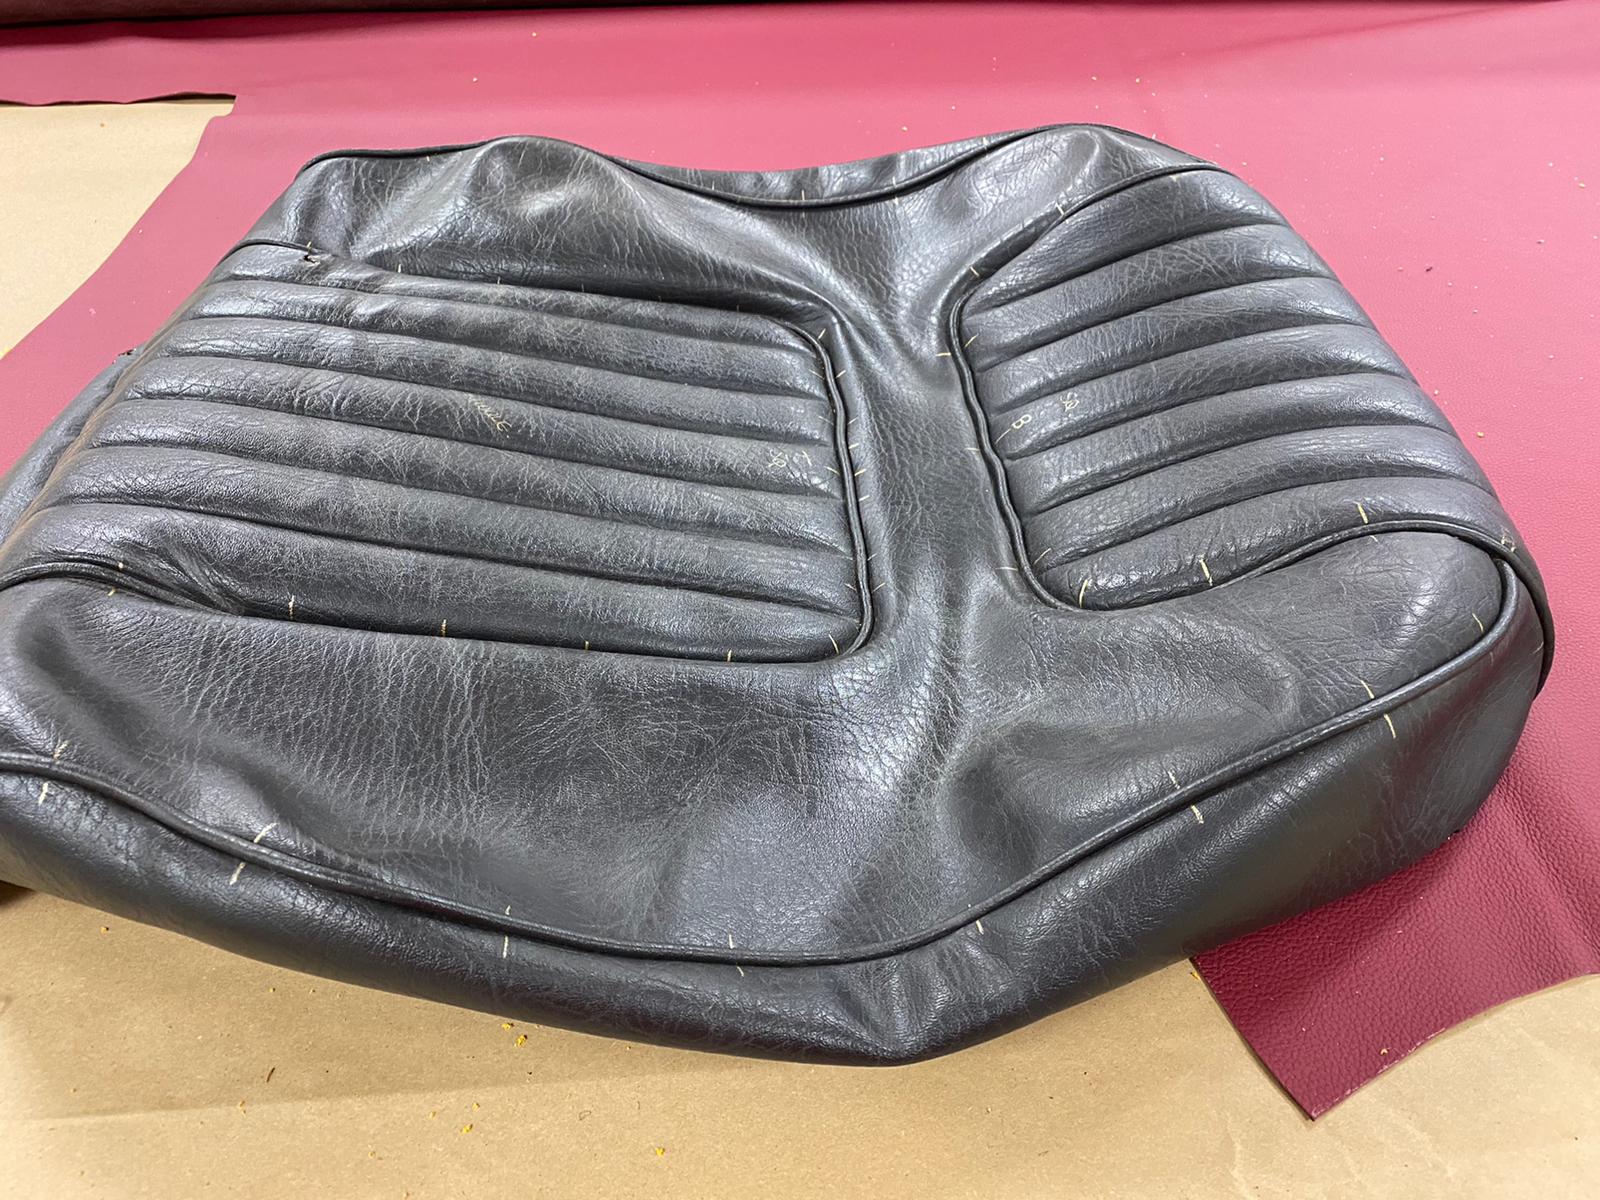
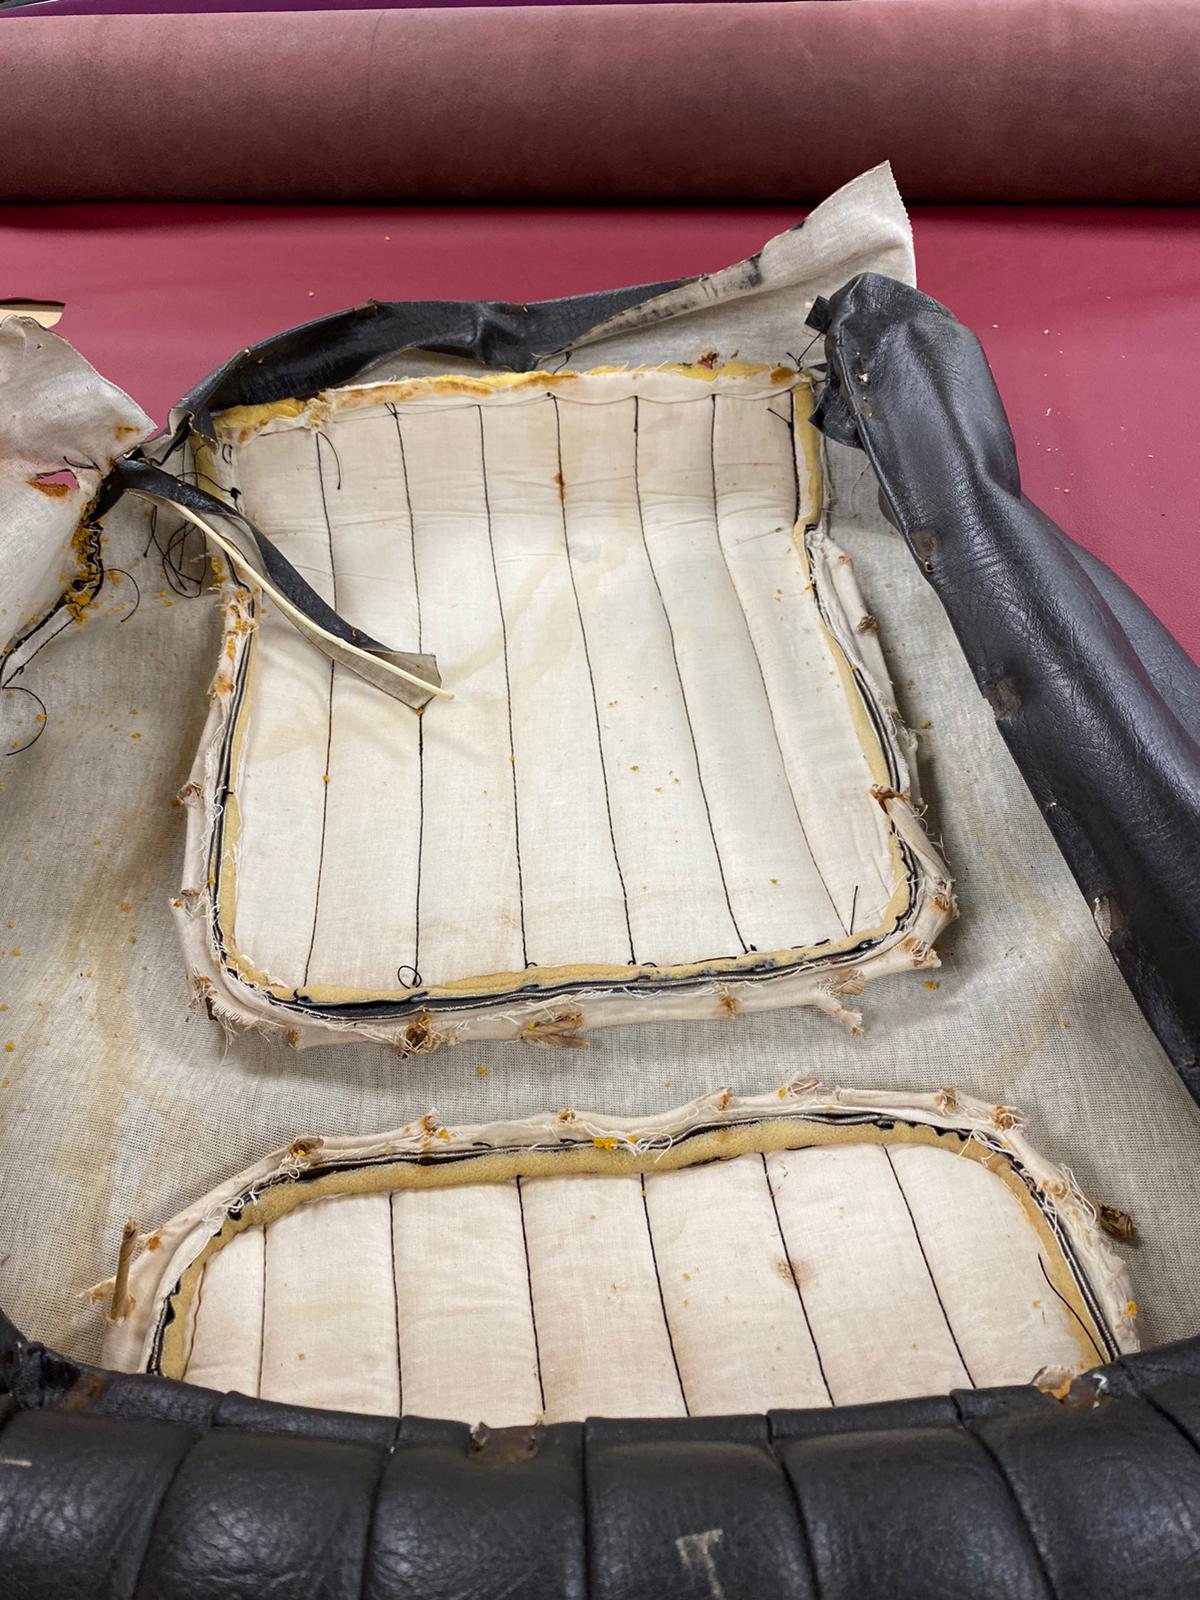
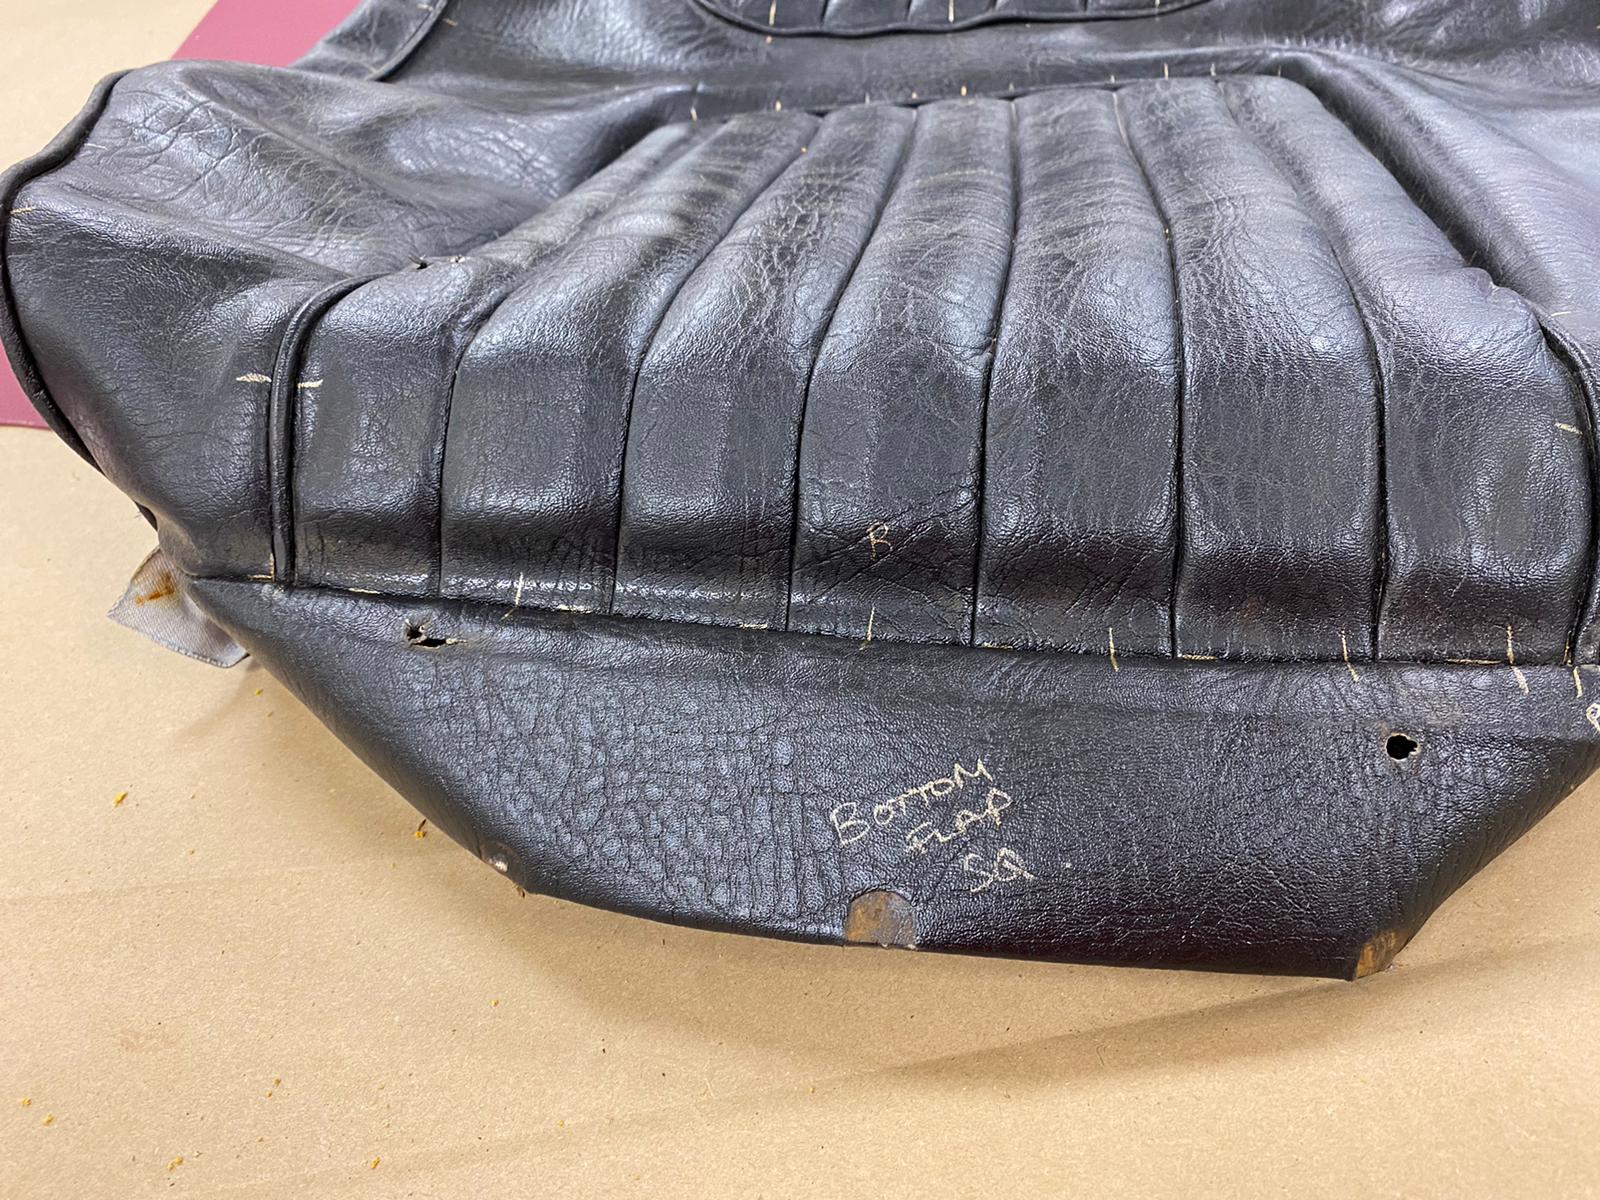
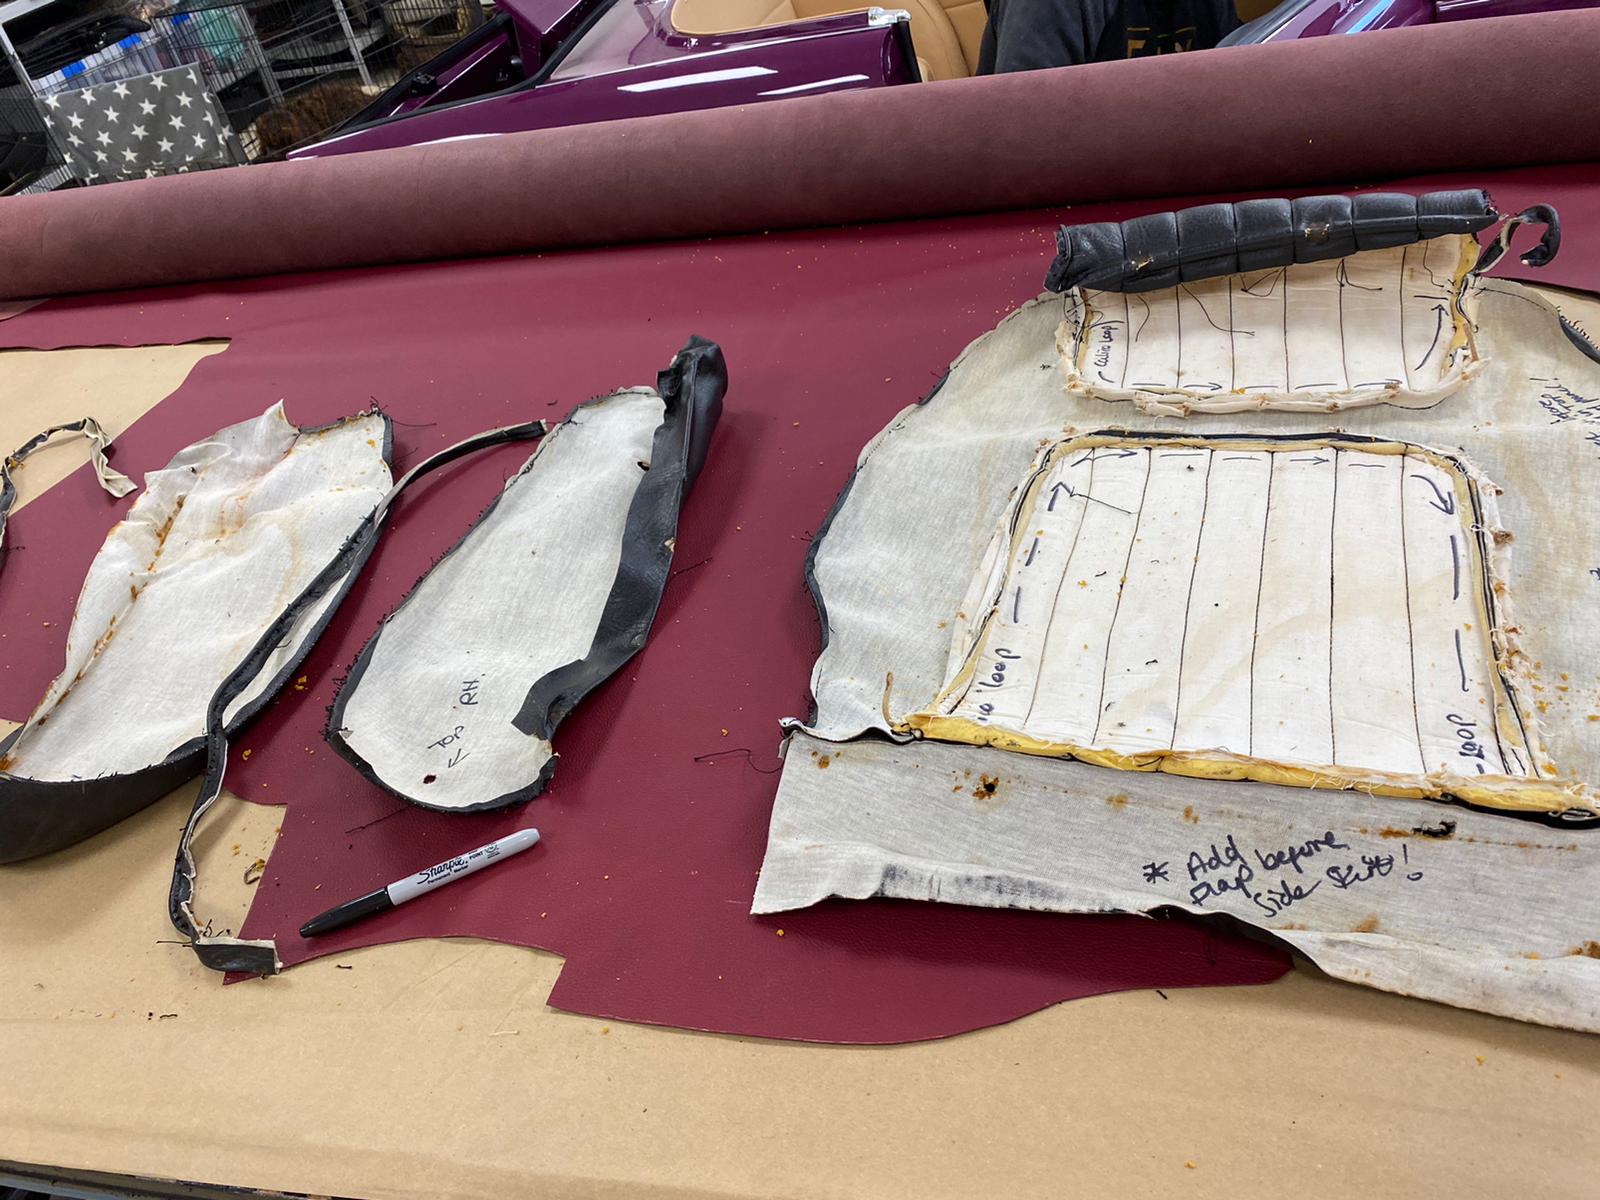
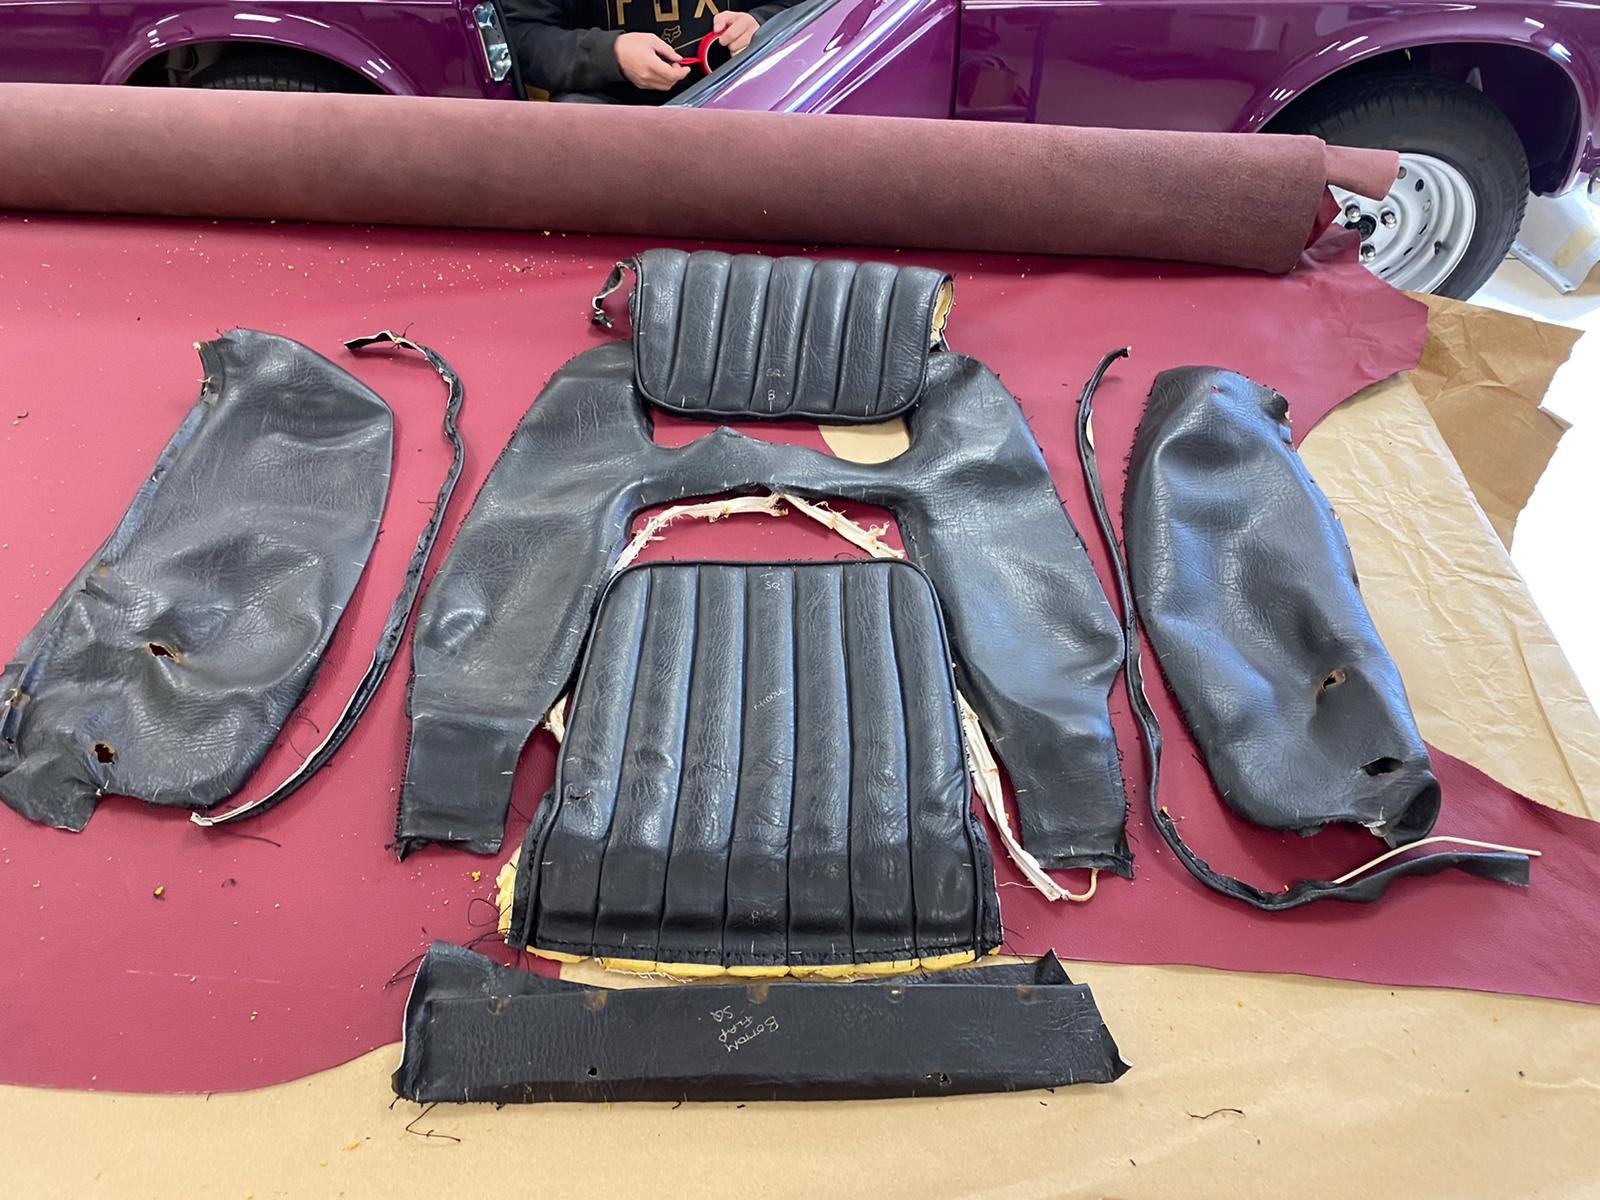
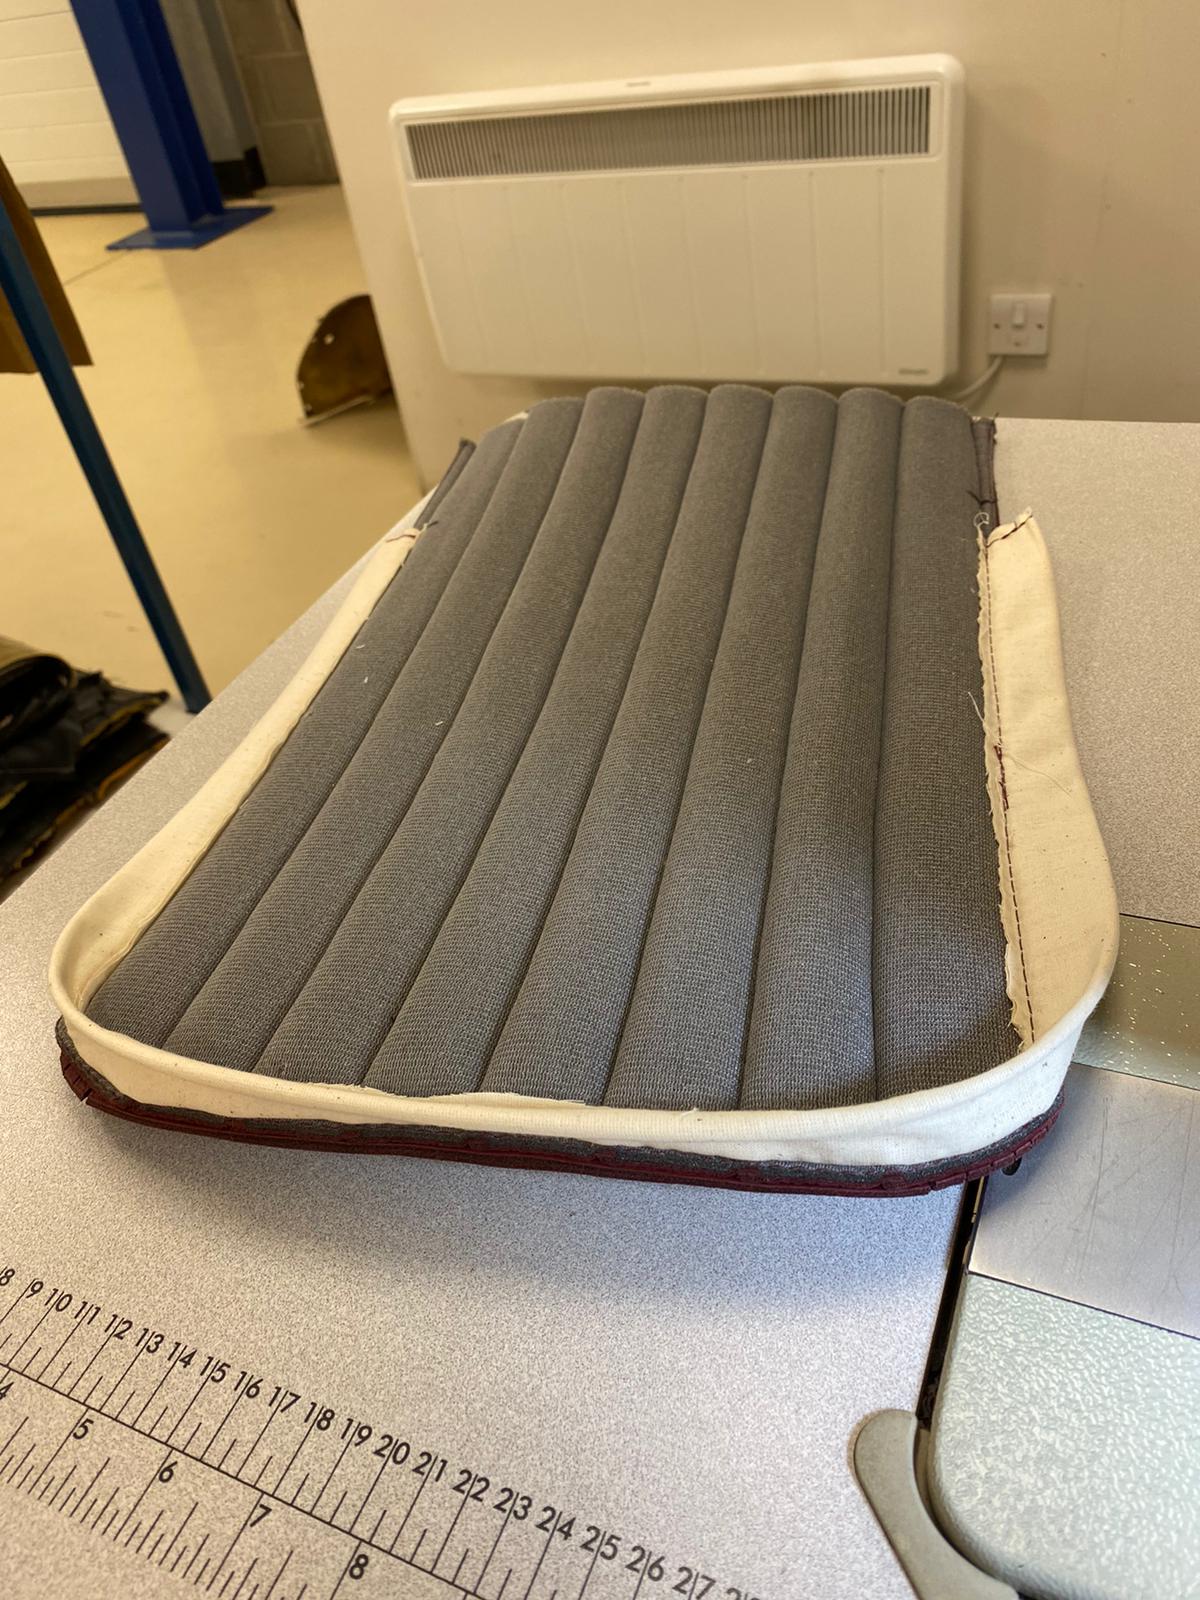
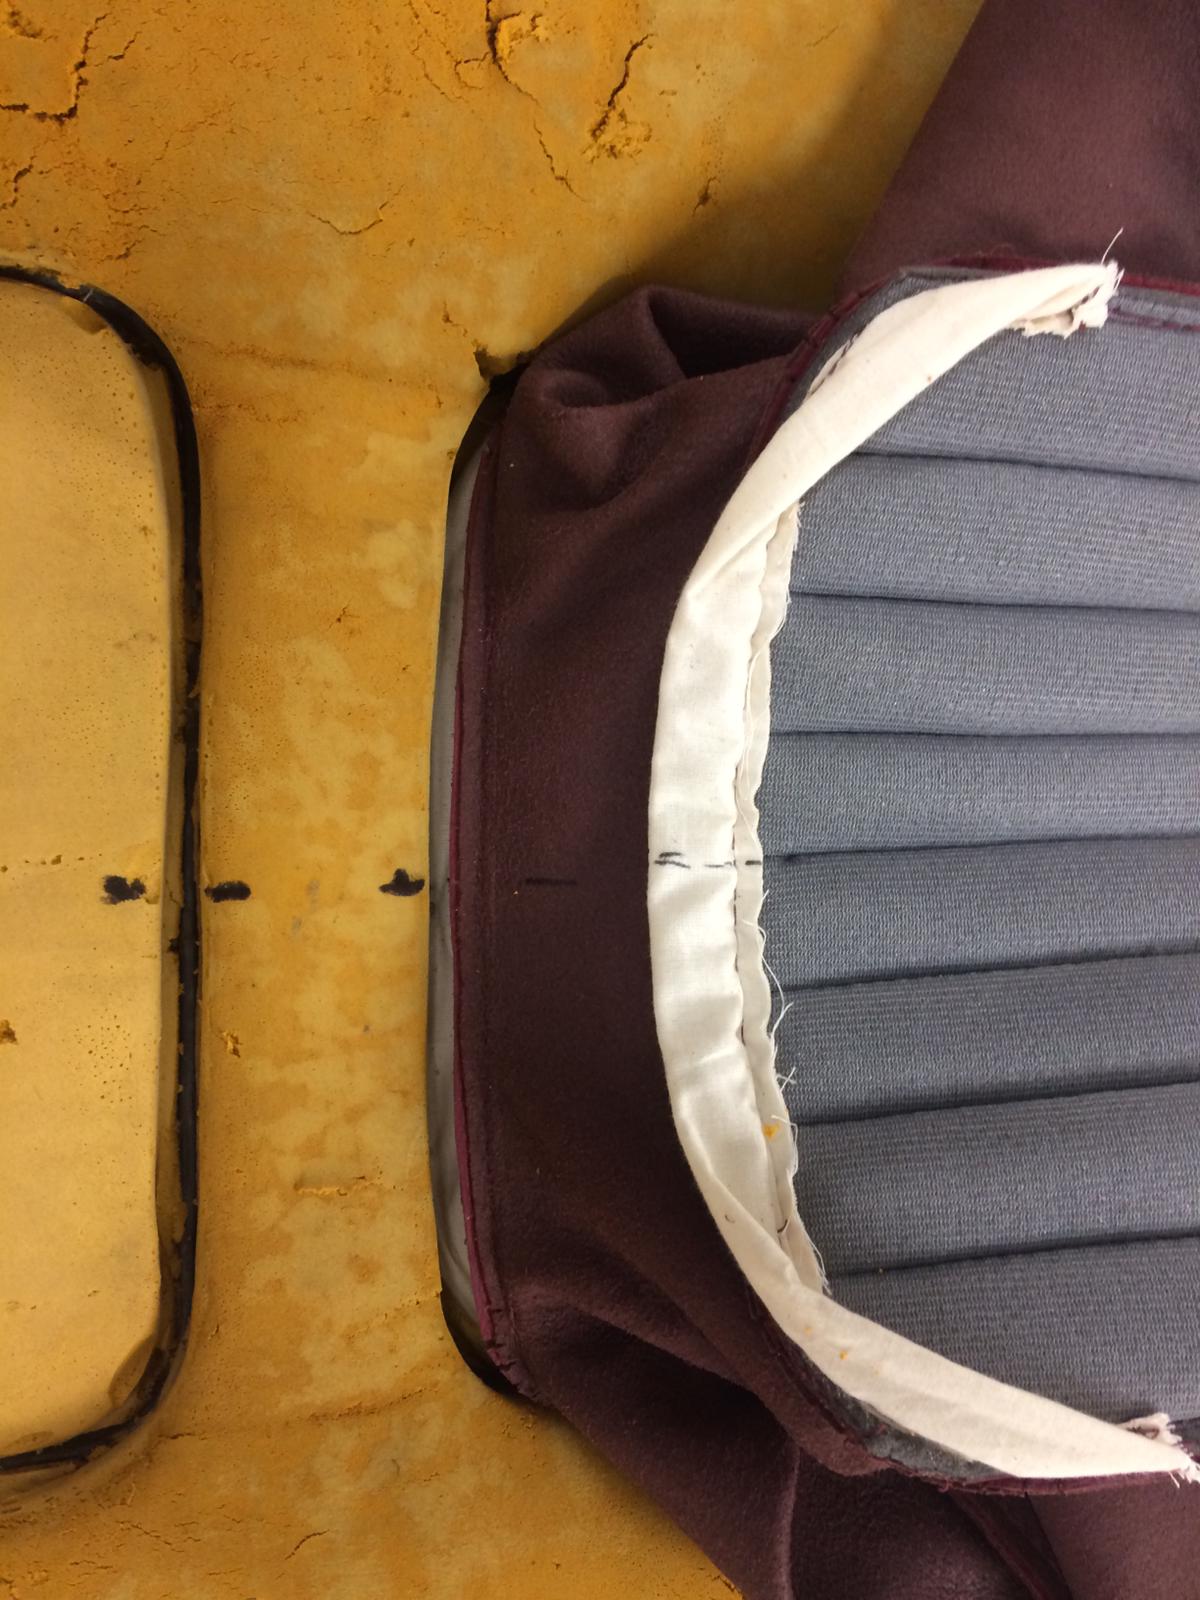
Kath and Brian in our in-house trim shop have been busy with our 1972 Peugeot 504 seats. They’re in to be fully reupholstered, so Kath first has to take the pattern from the existing seats by stripping away all the fabric ensuring she keeps it intact.
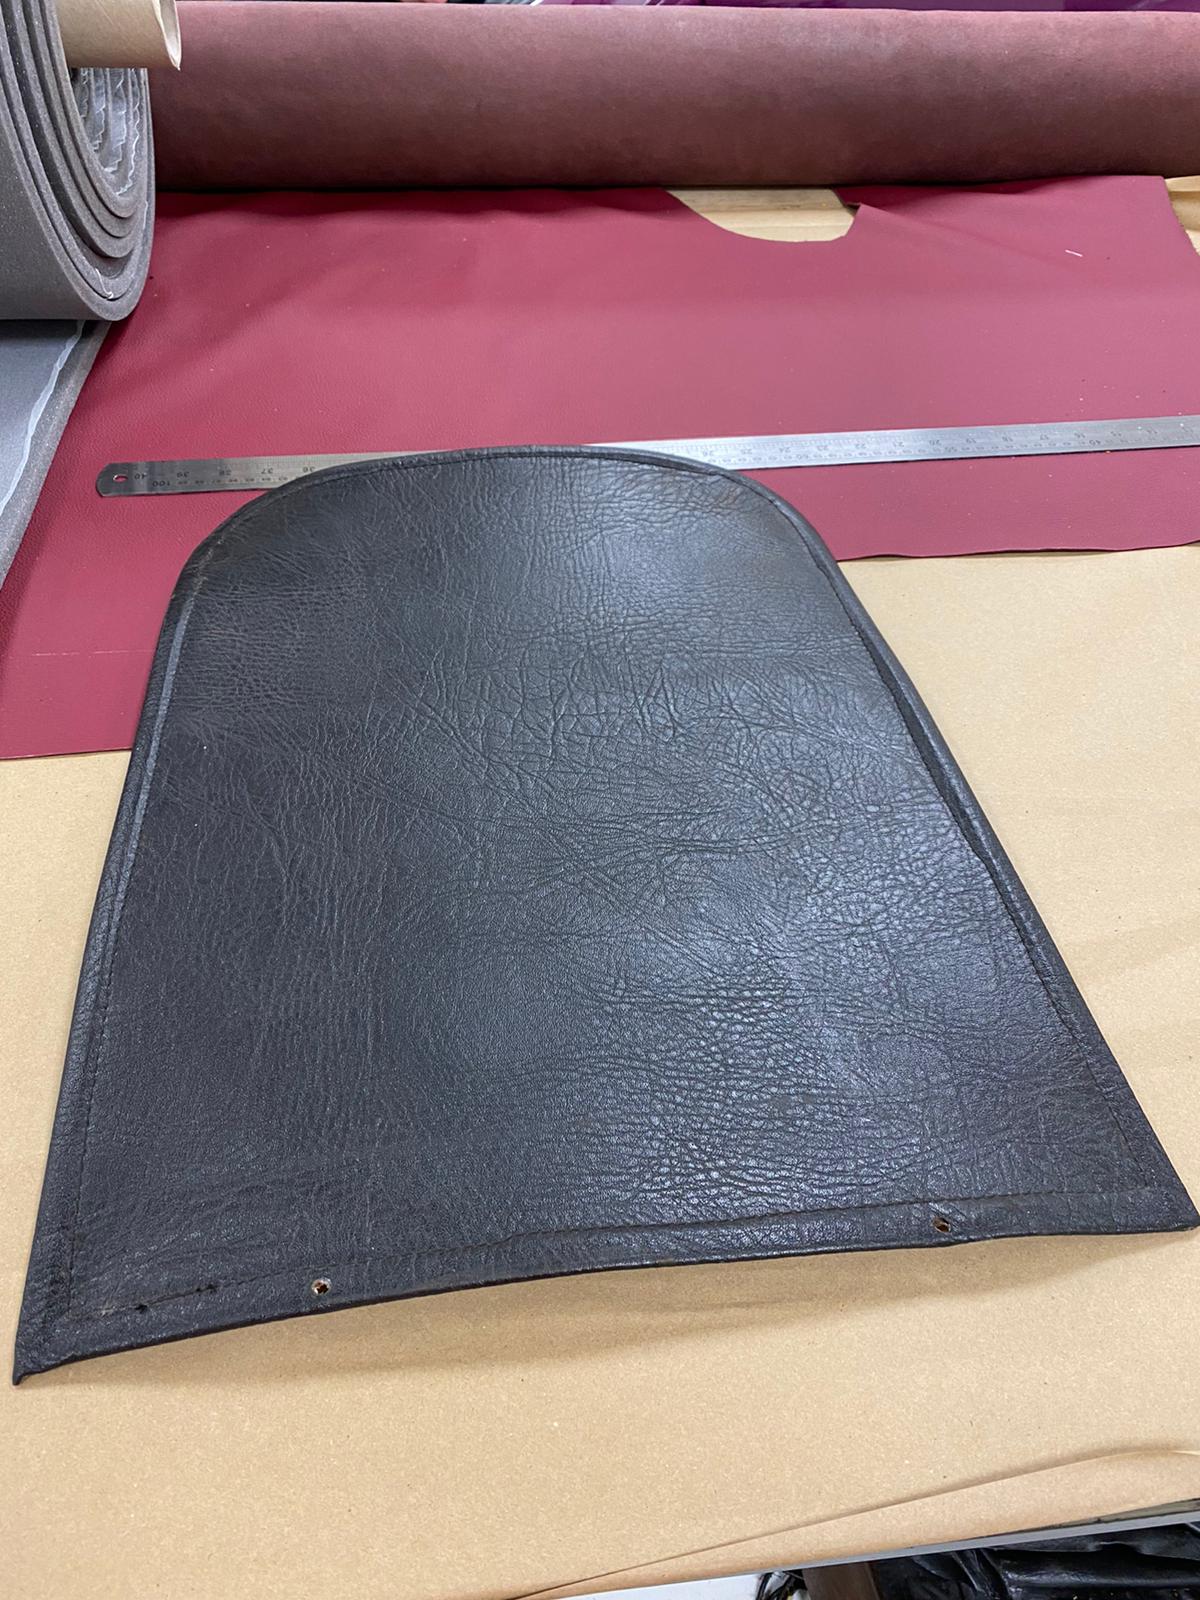
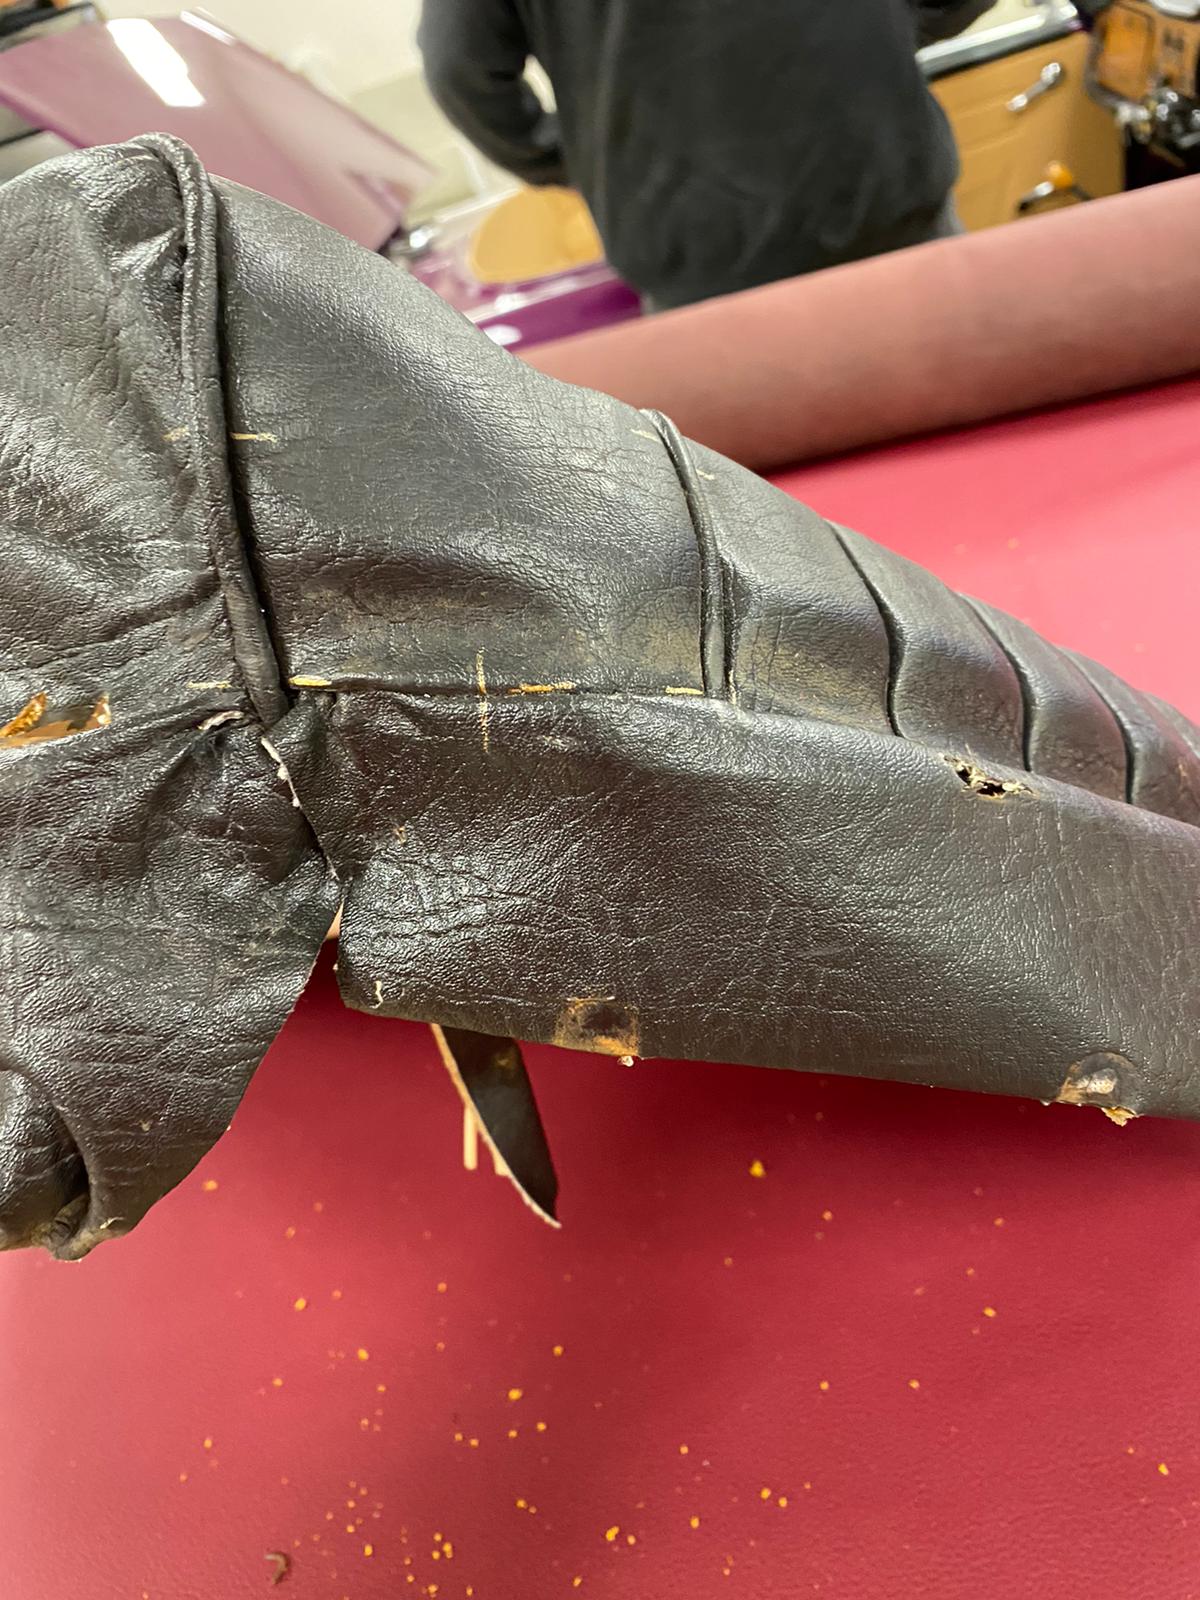
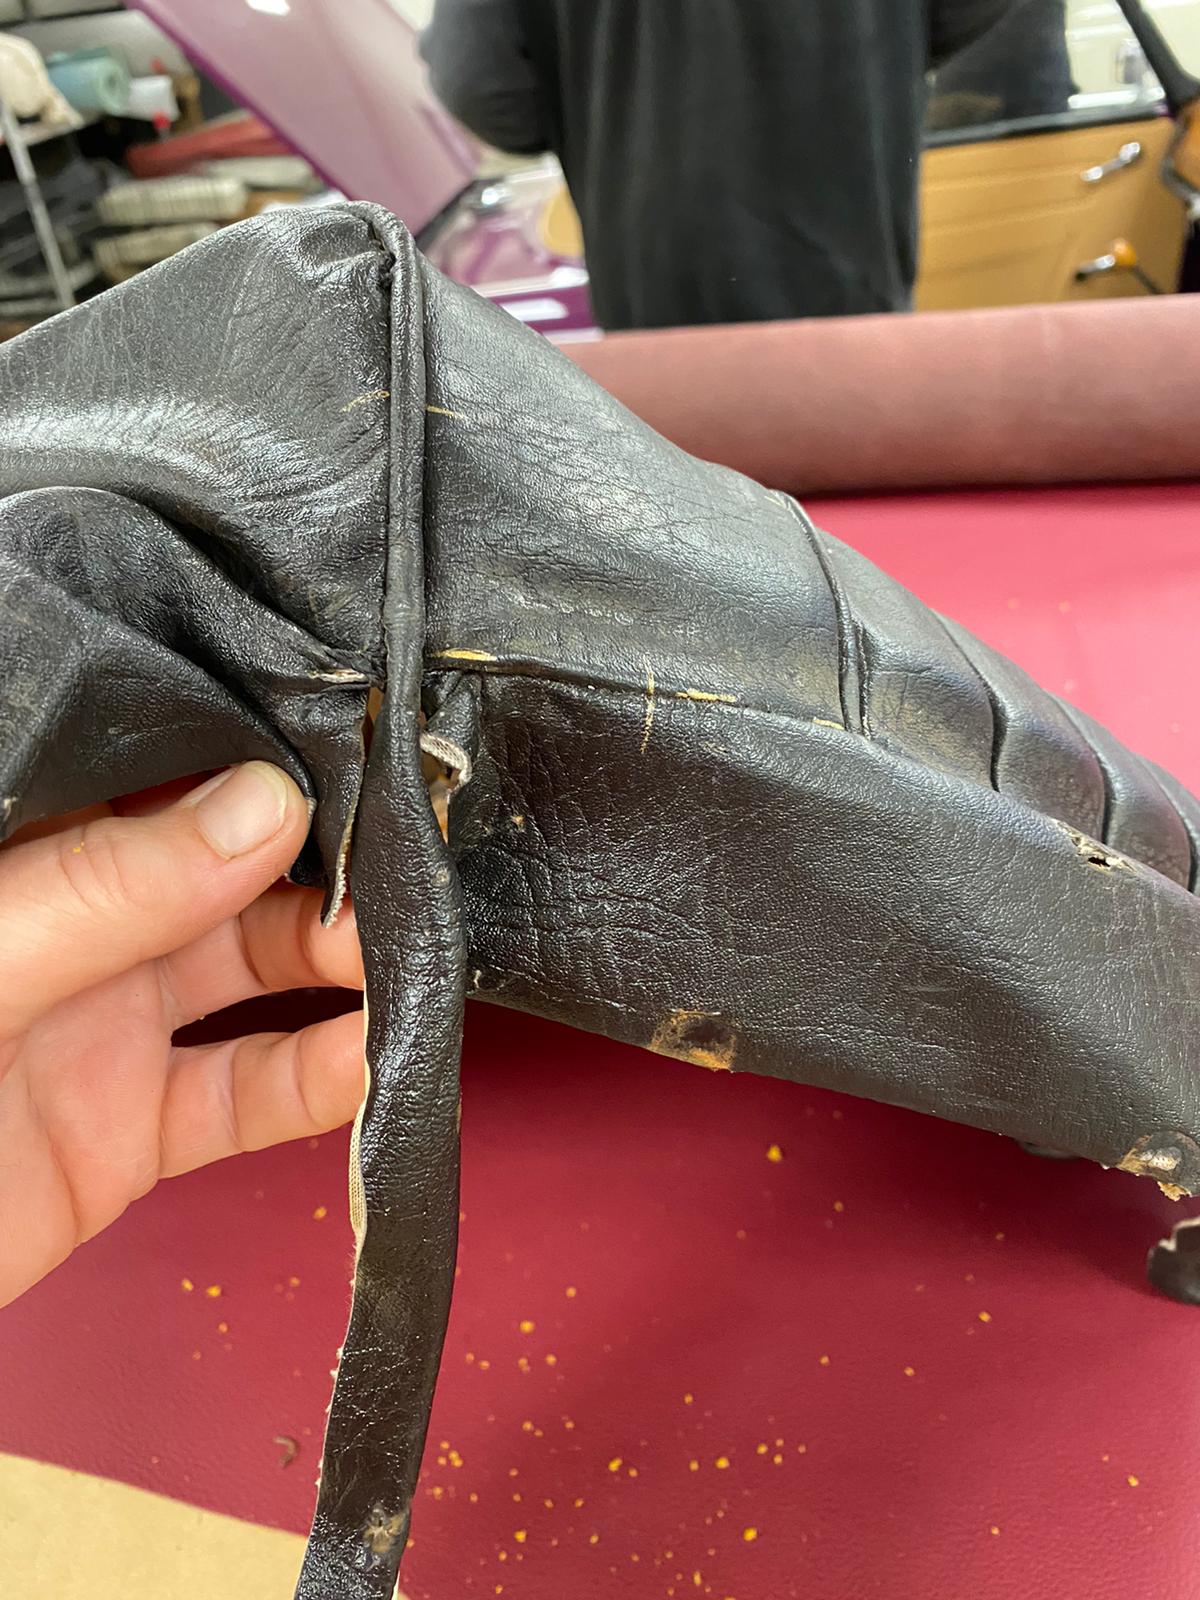
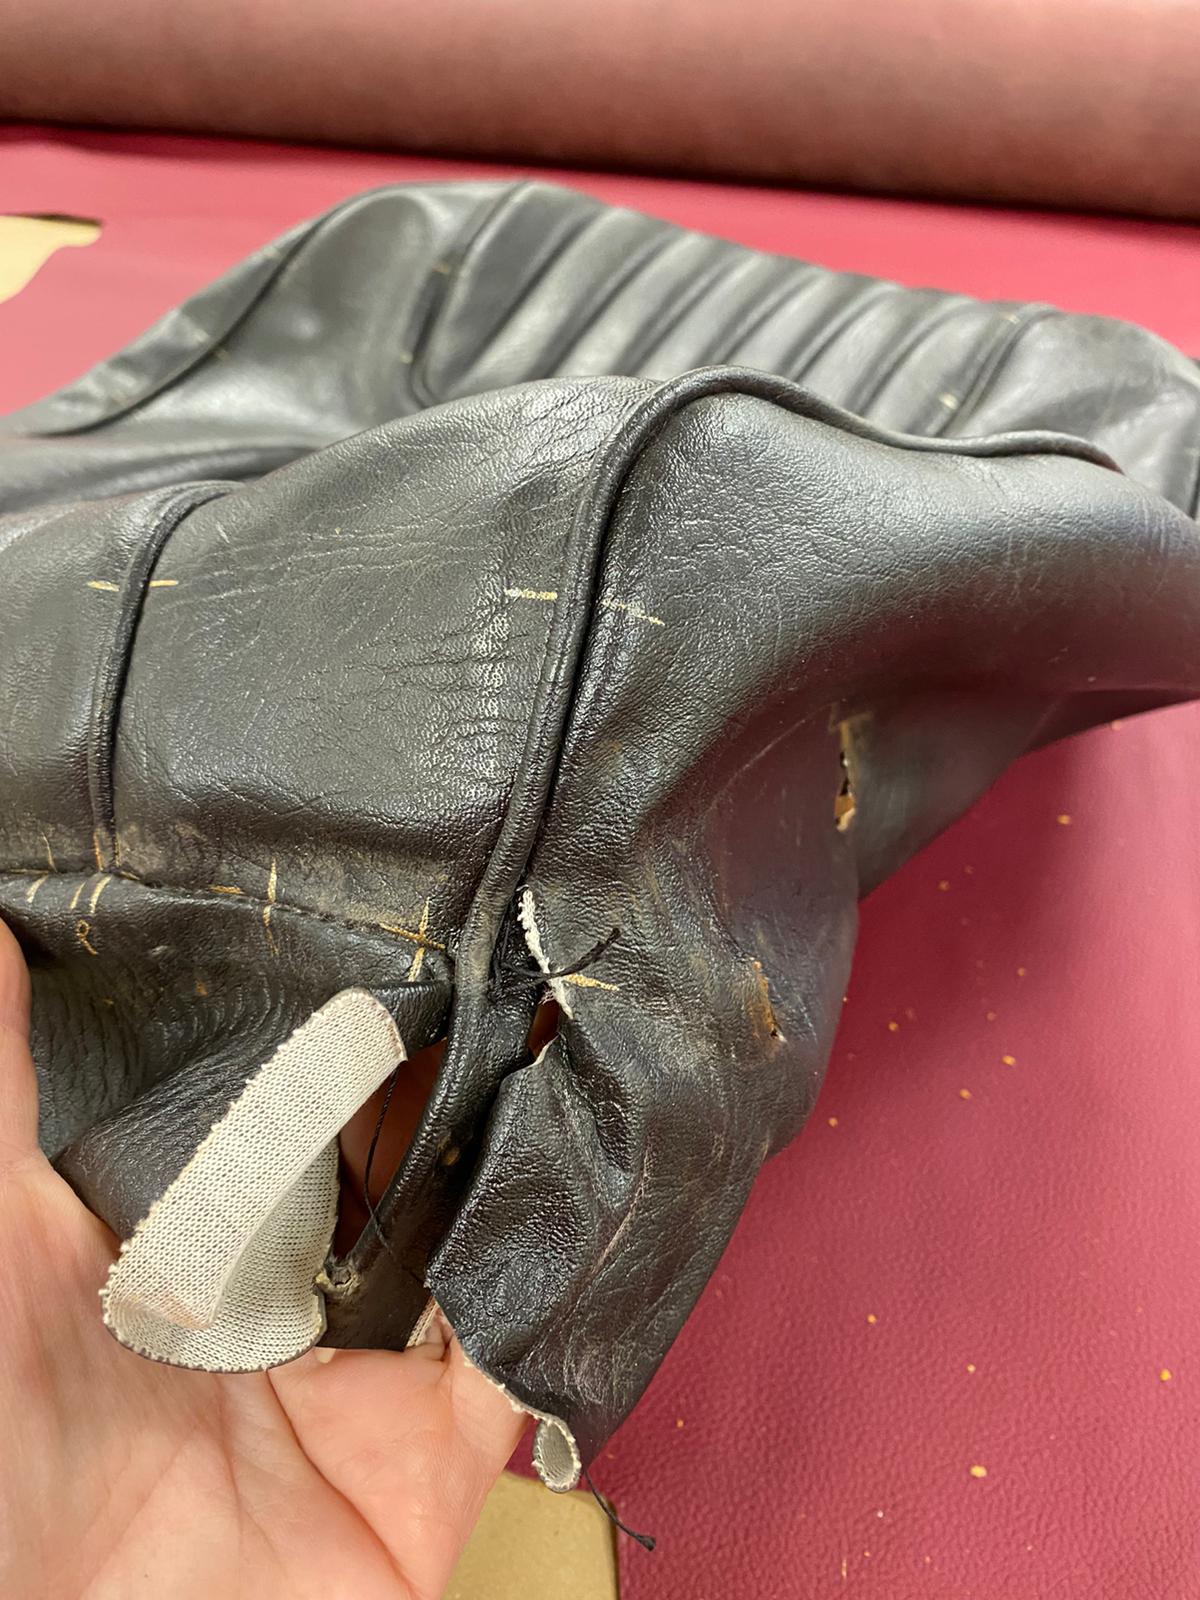
“The back panel was riveted in” describes Kath, “so in removing this I have to be careful not to rip or stretch the old fabric as I’ll be using these segments as a pattern for the new covers.”
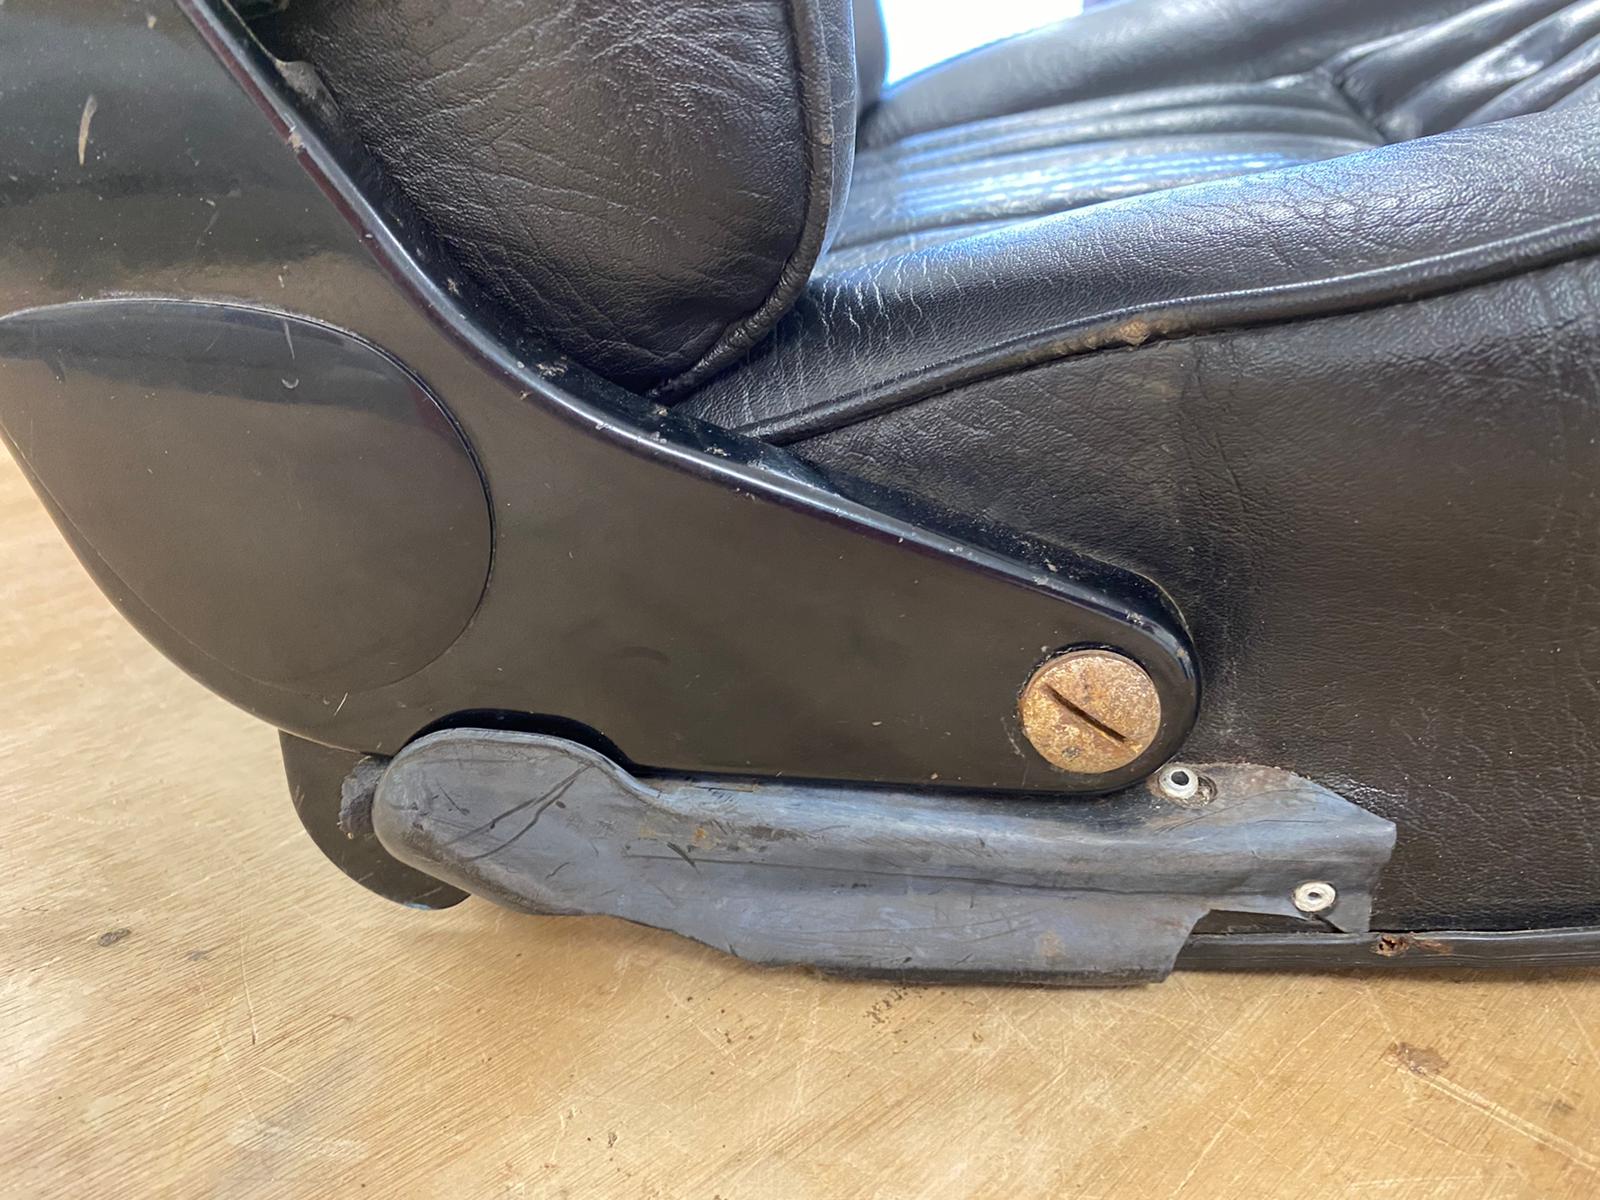
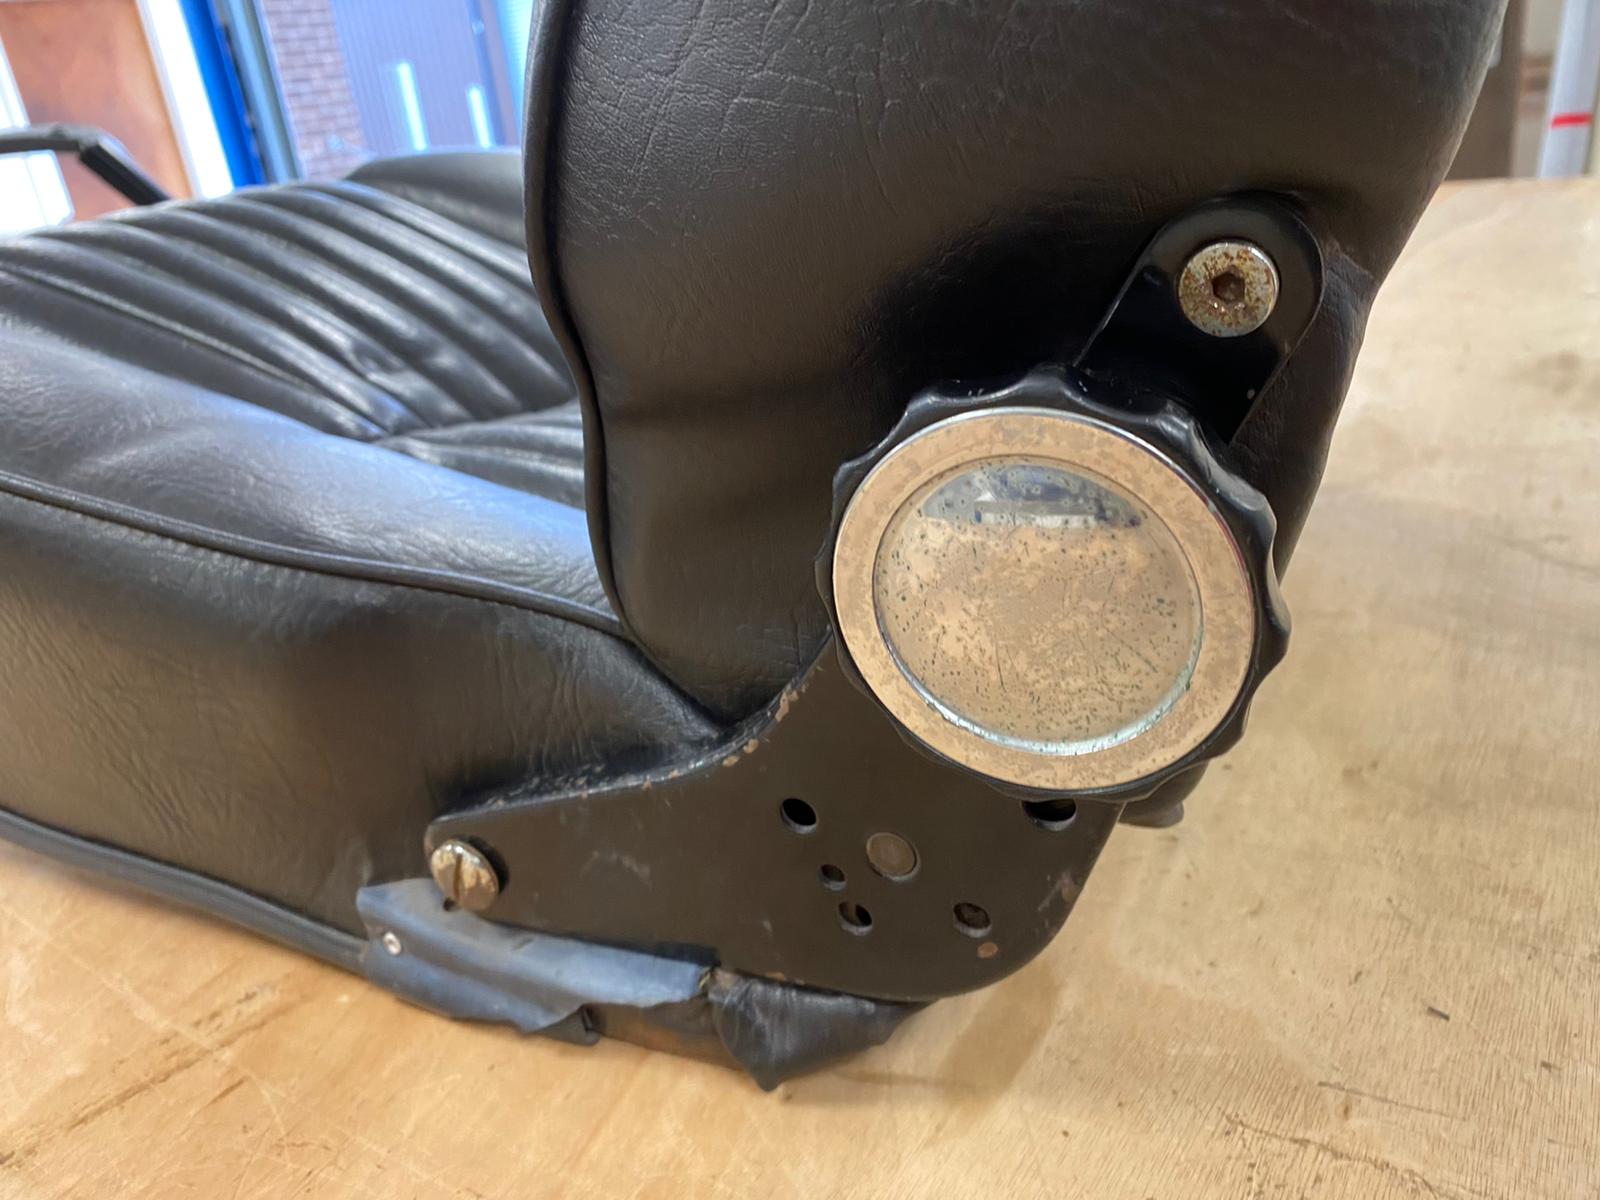
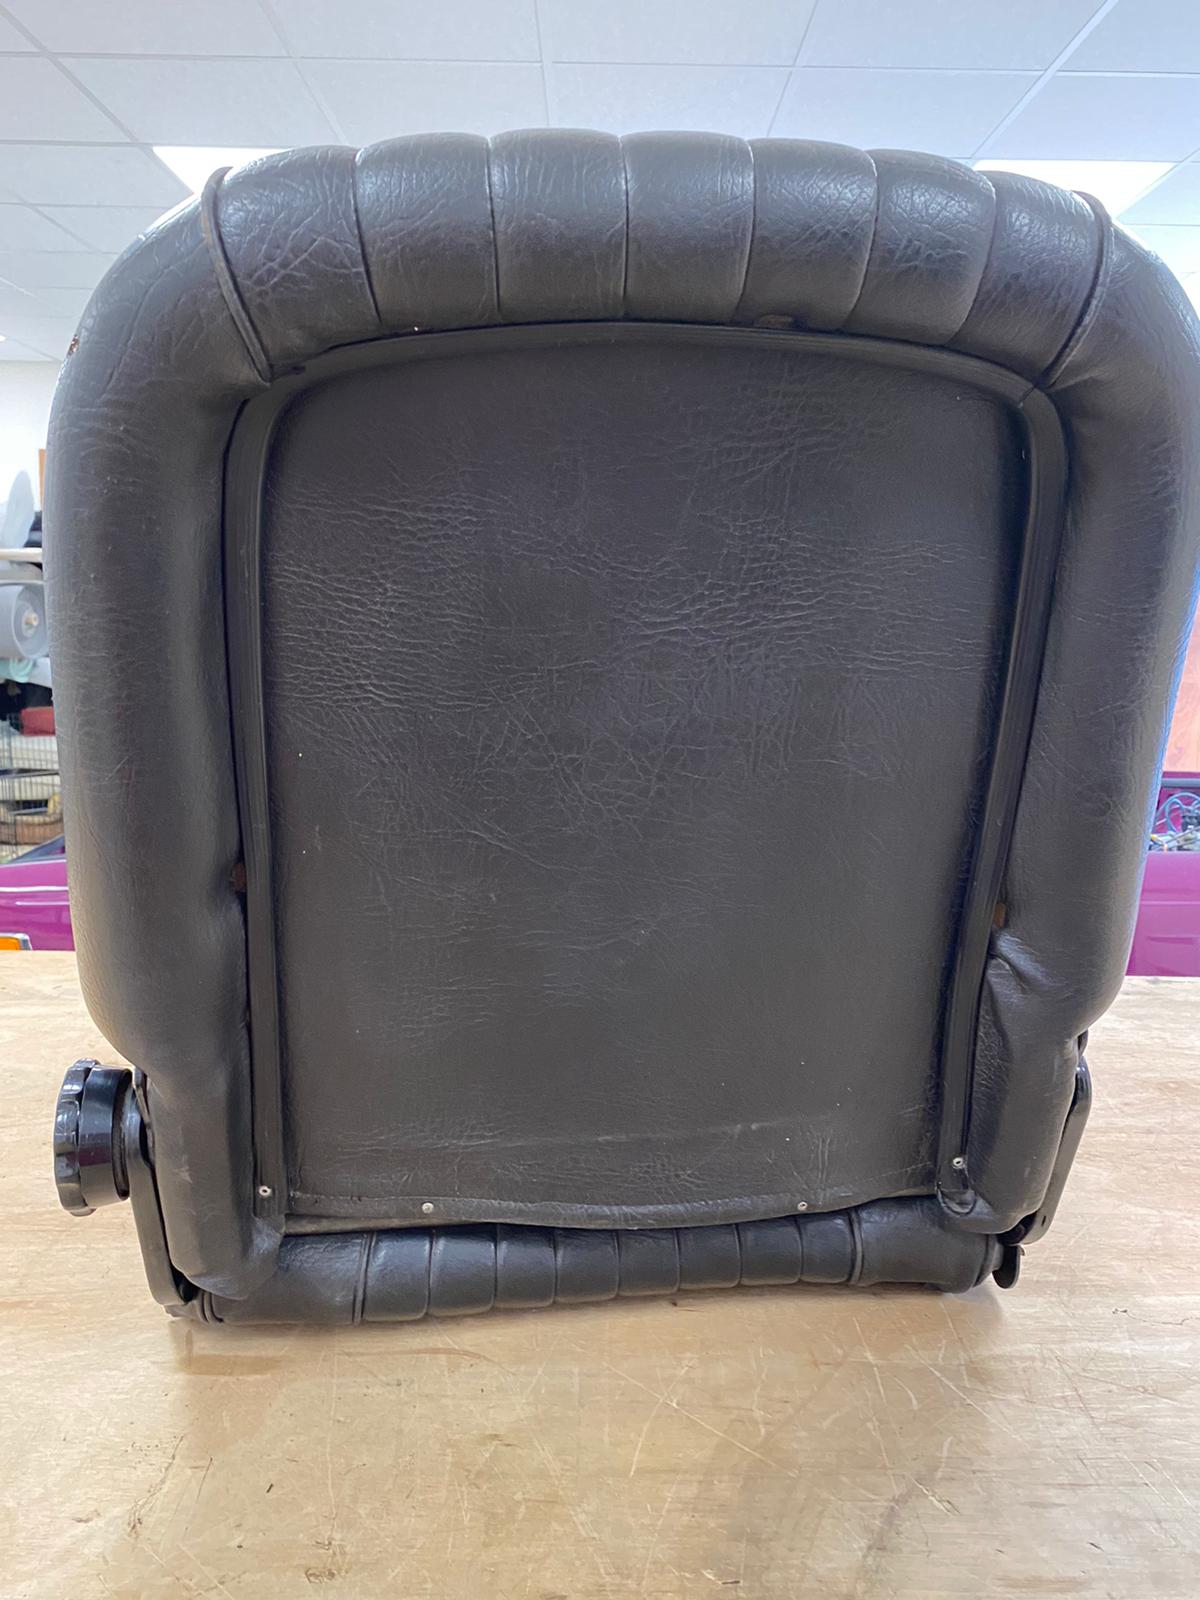
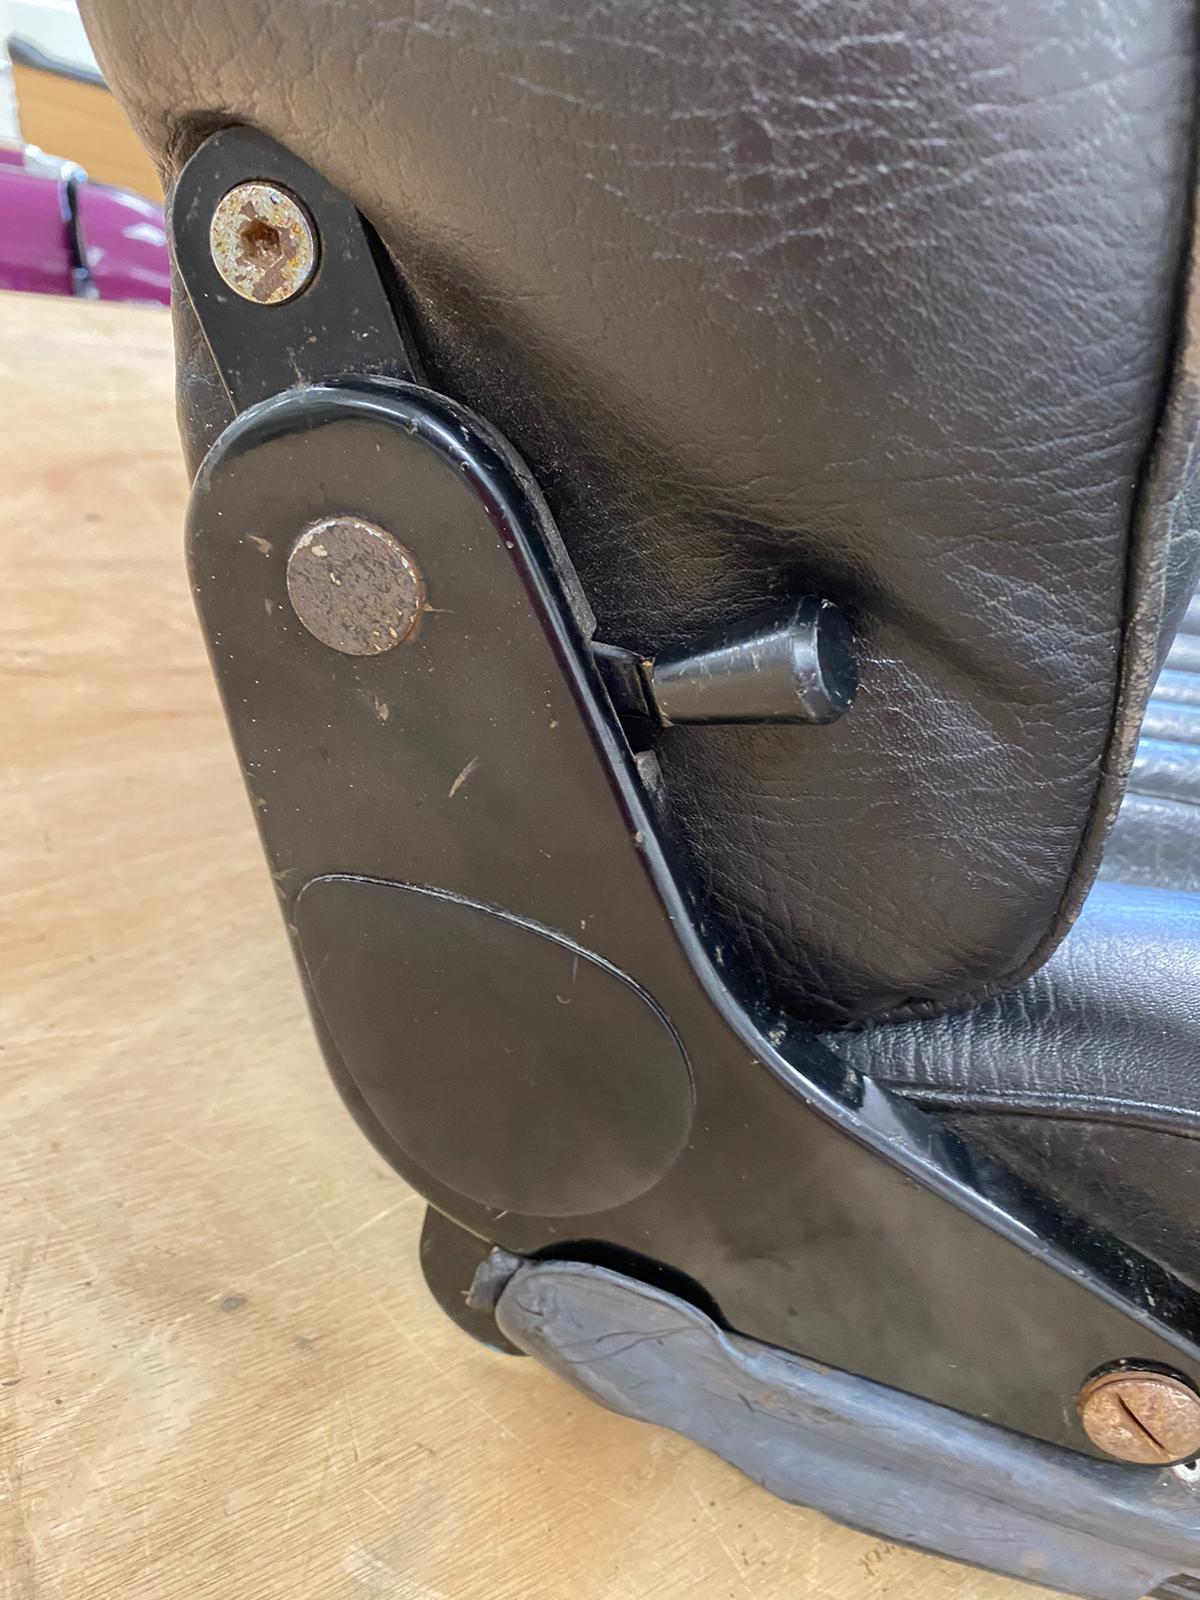
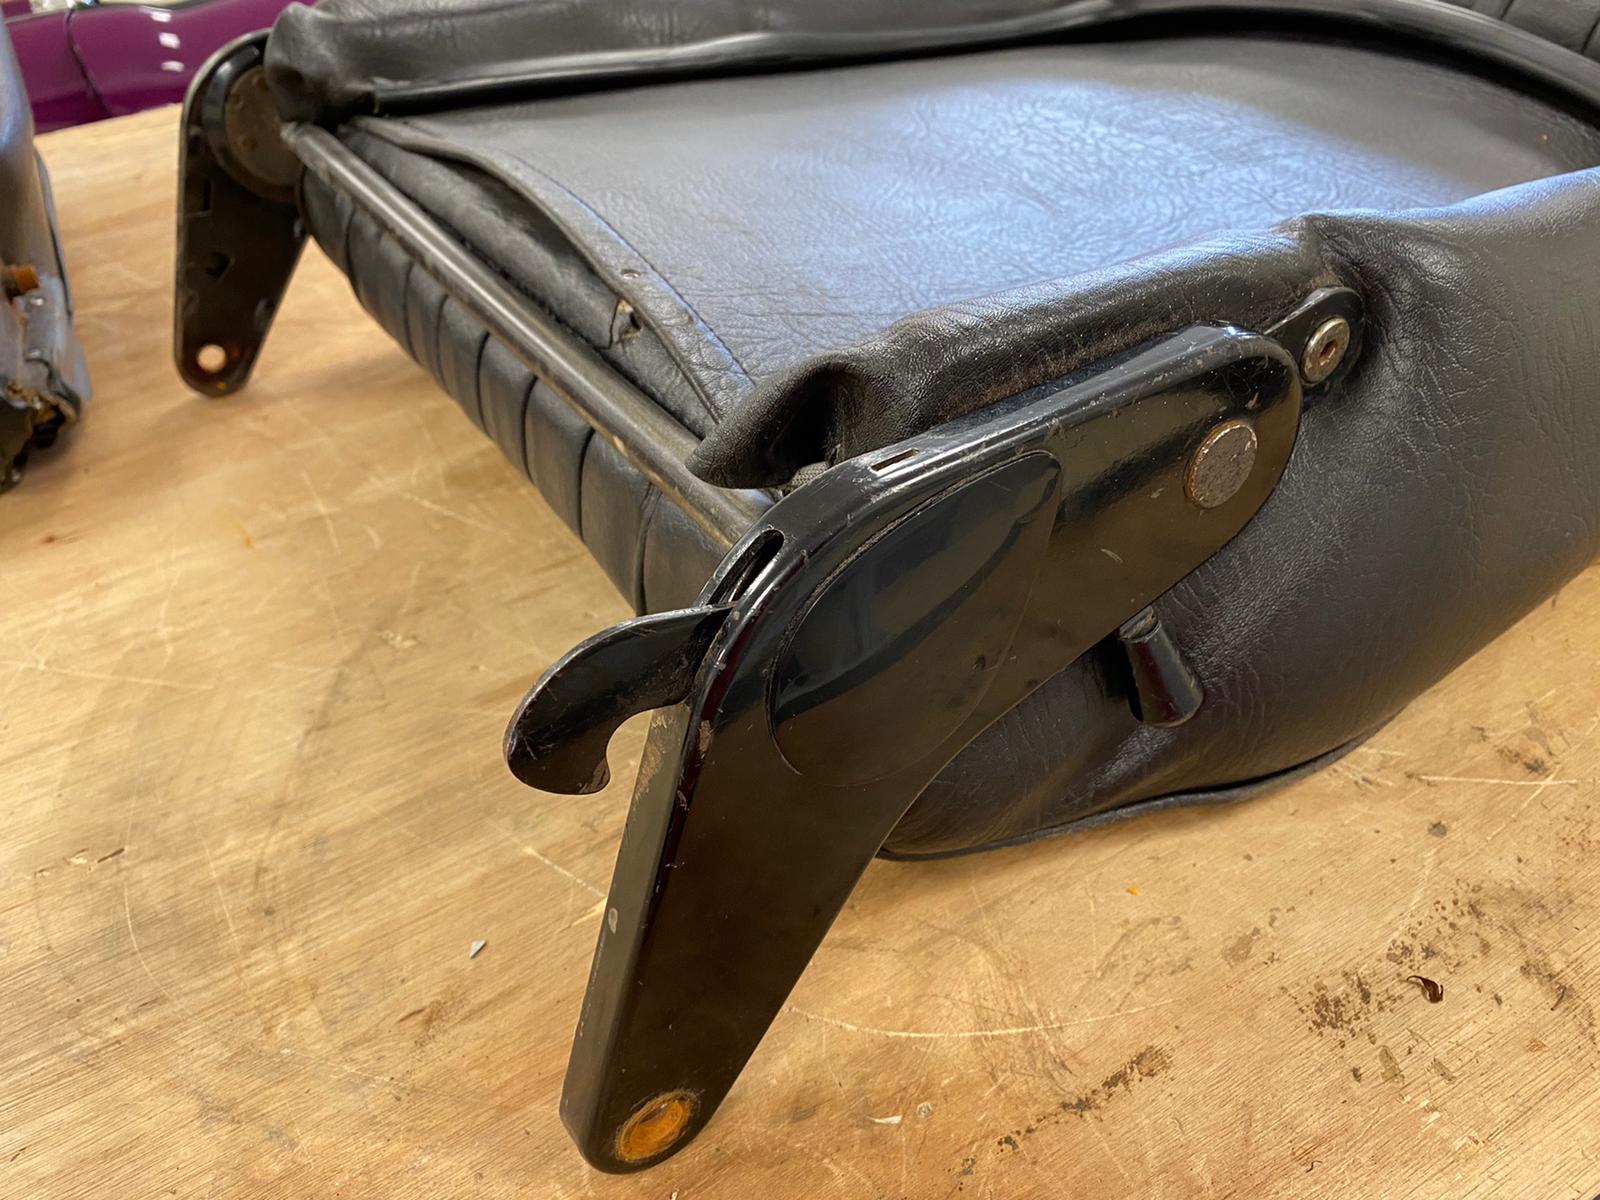

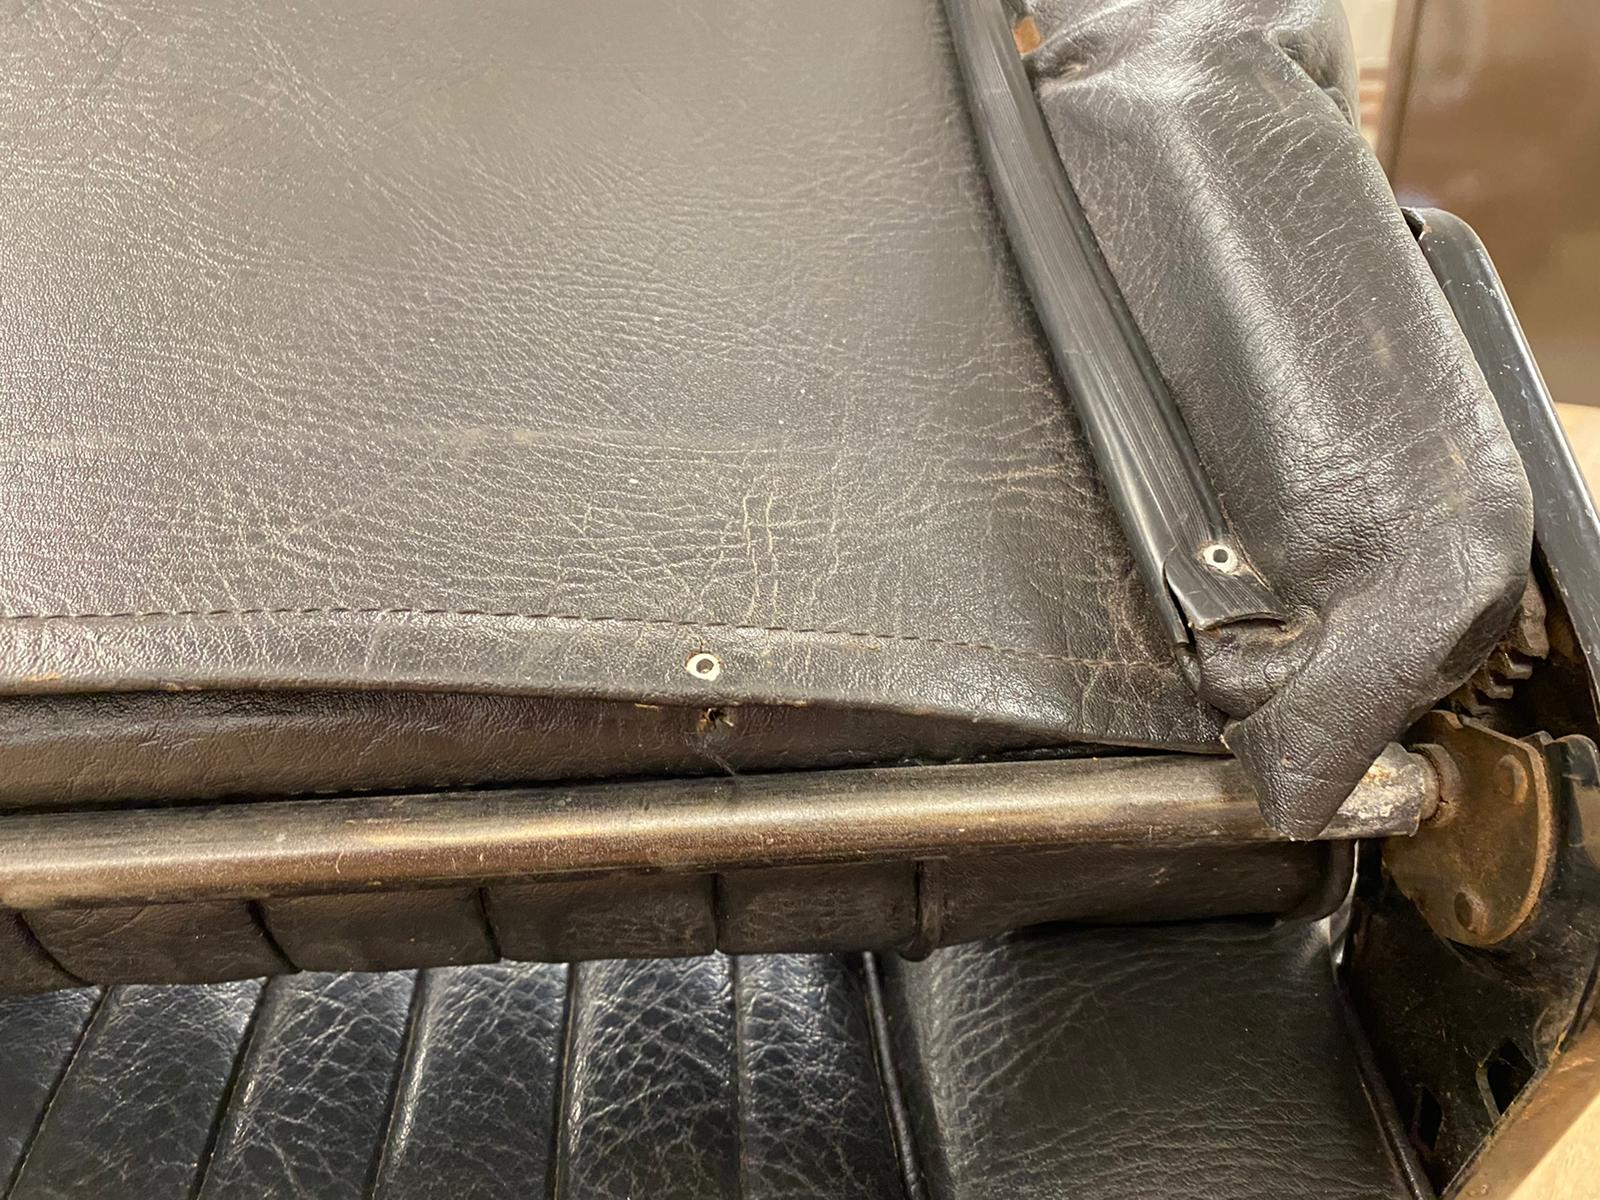
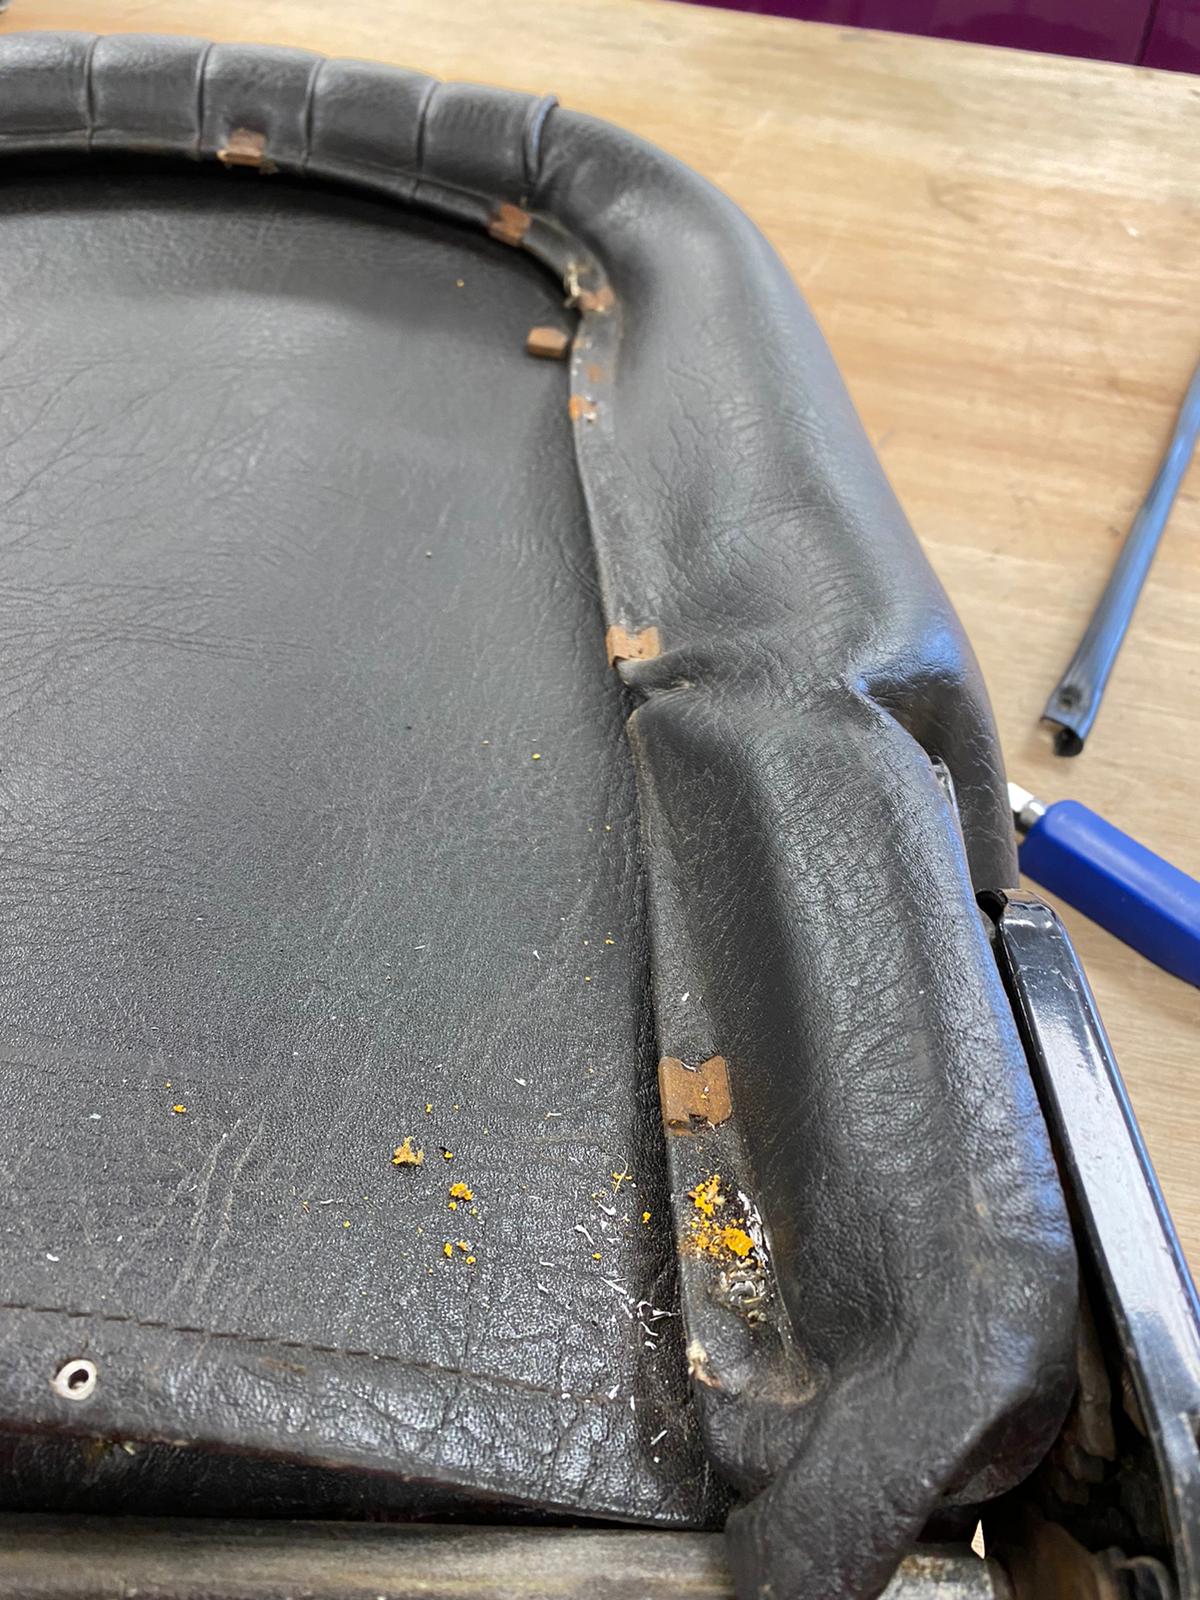
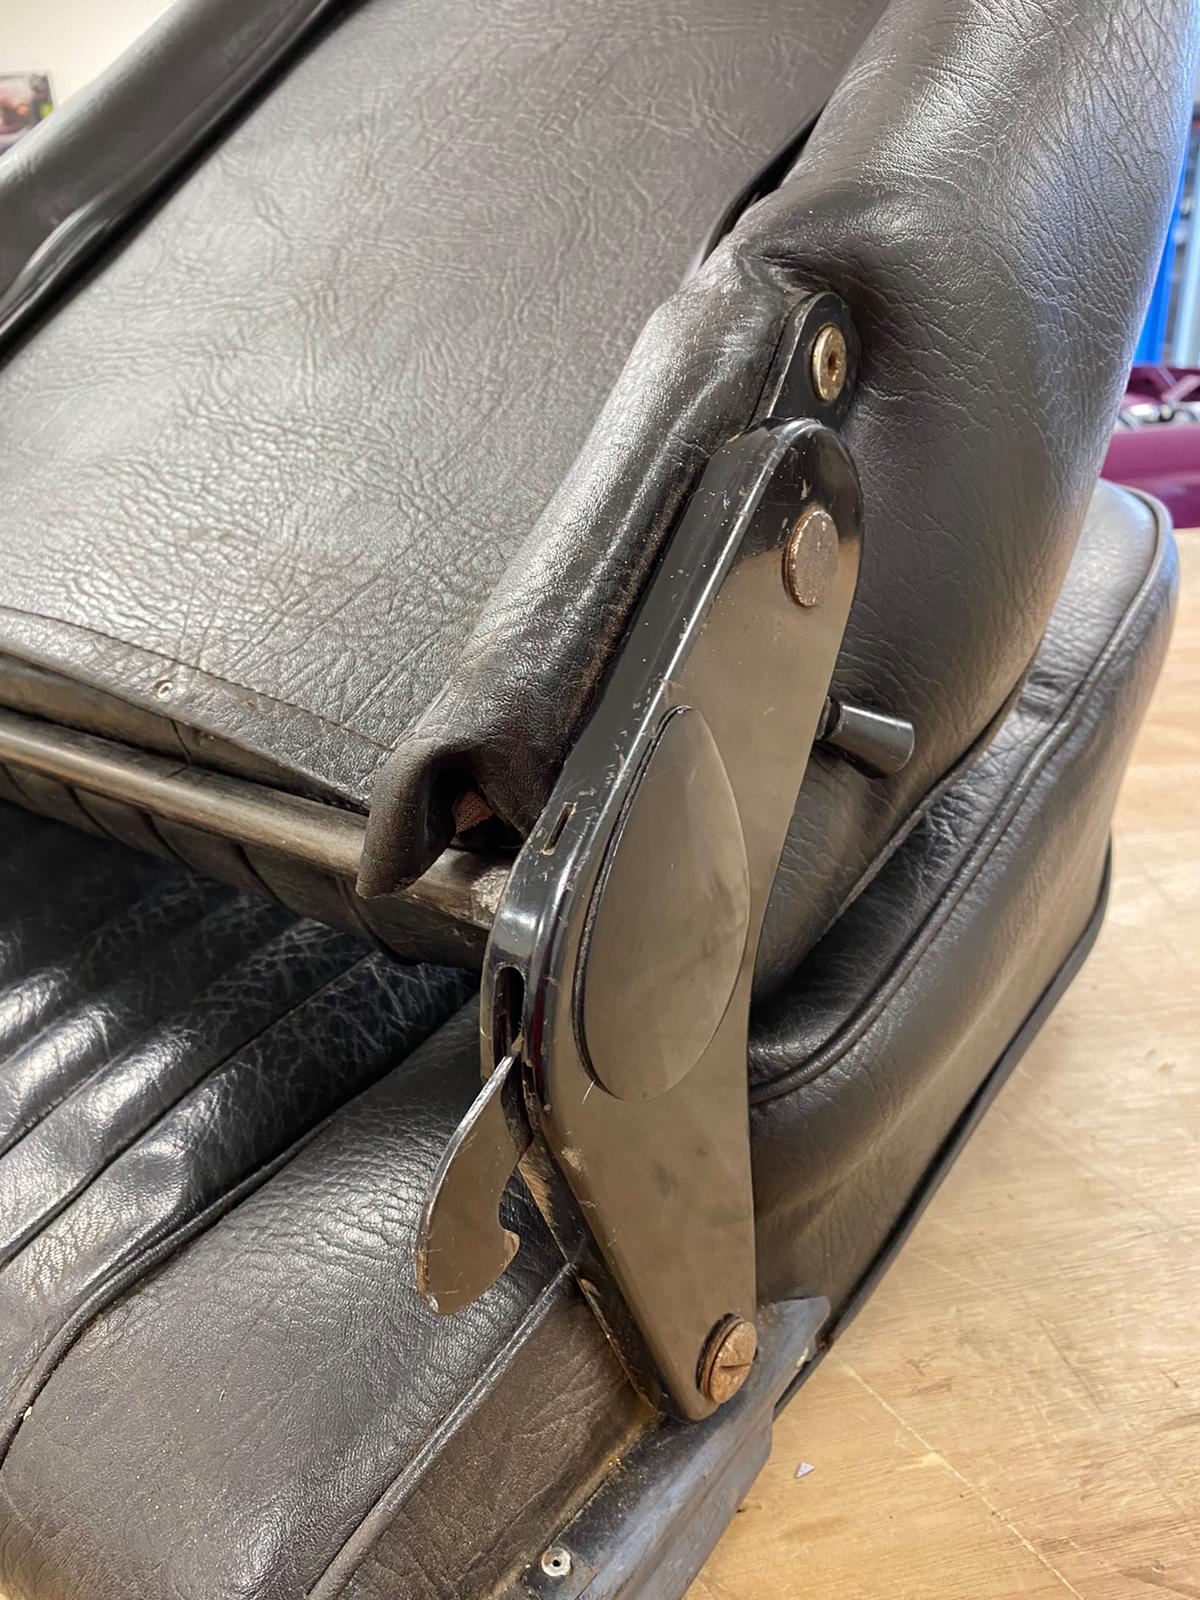
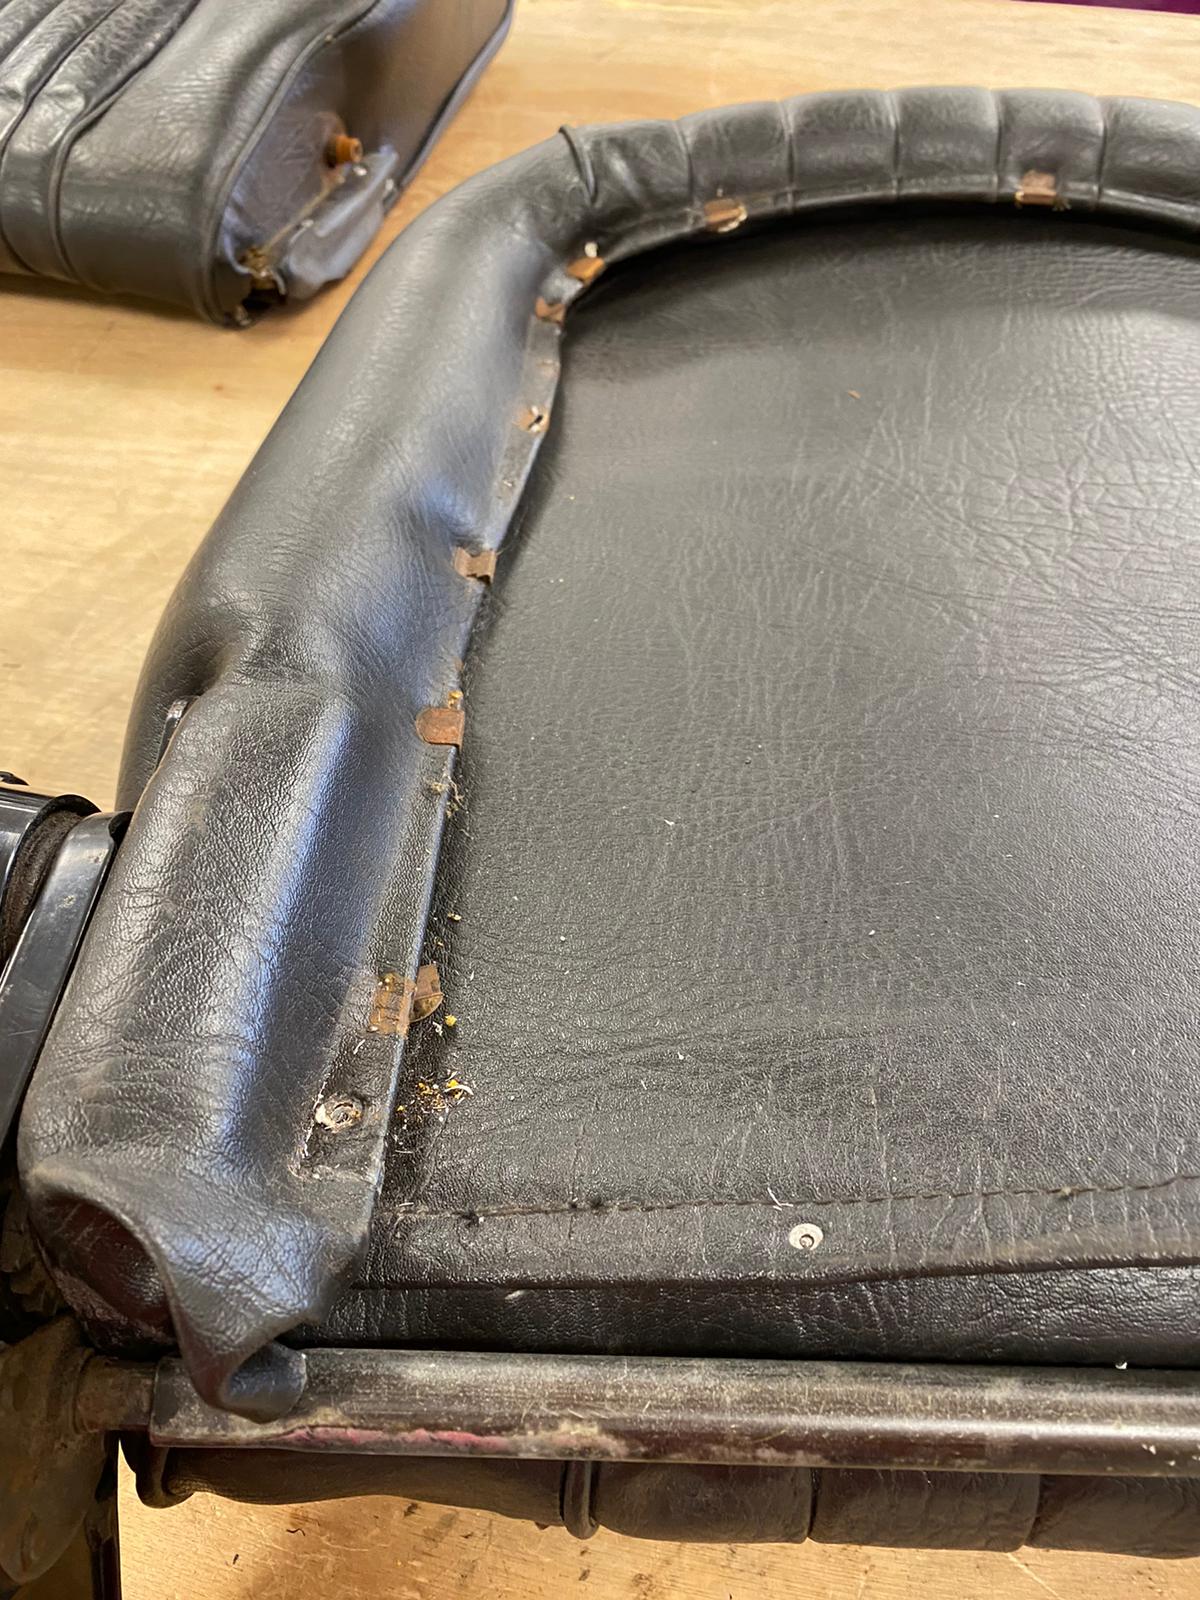
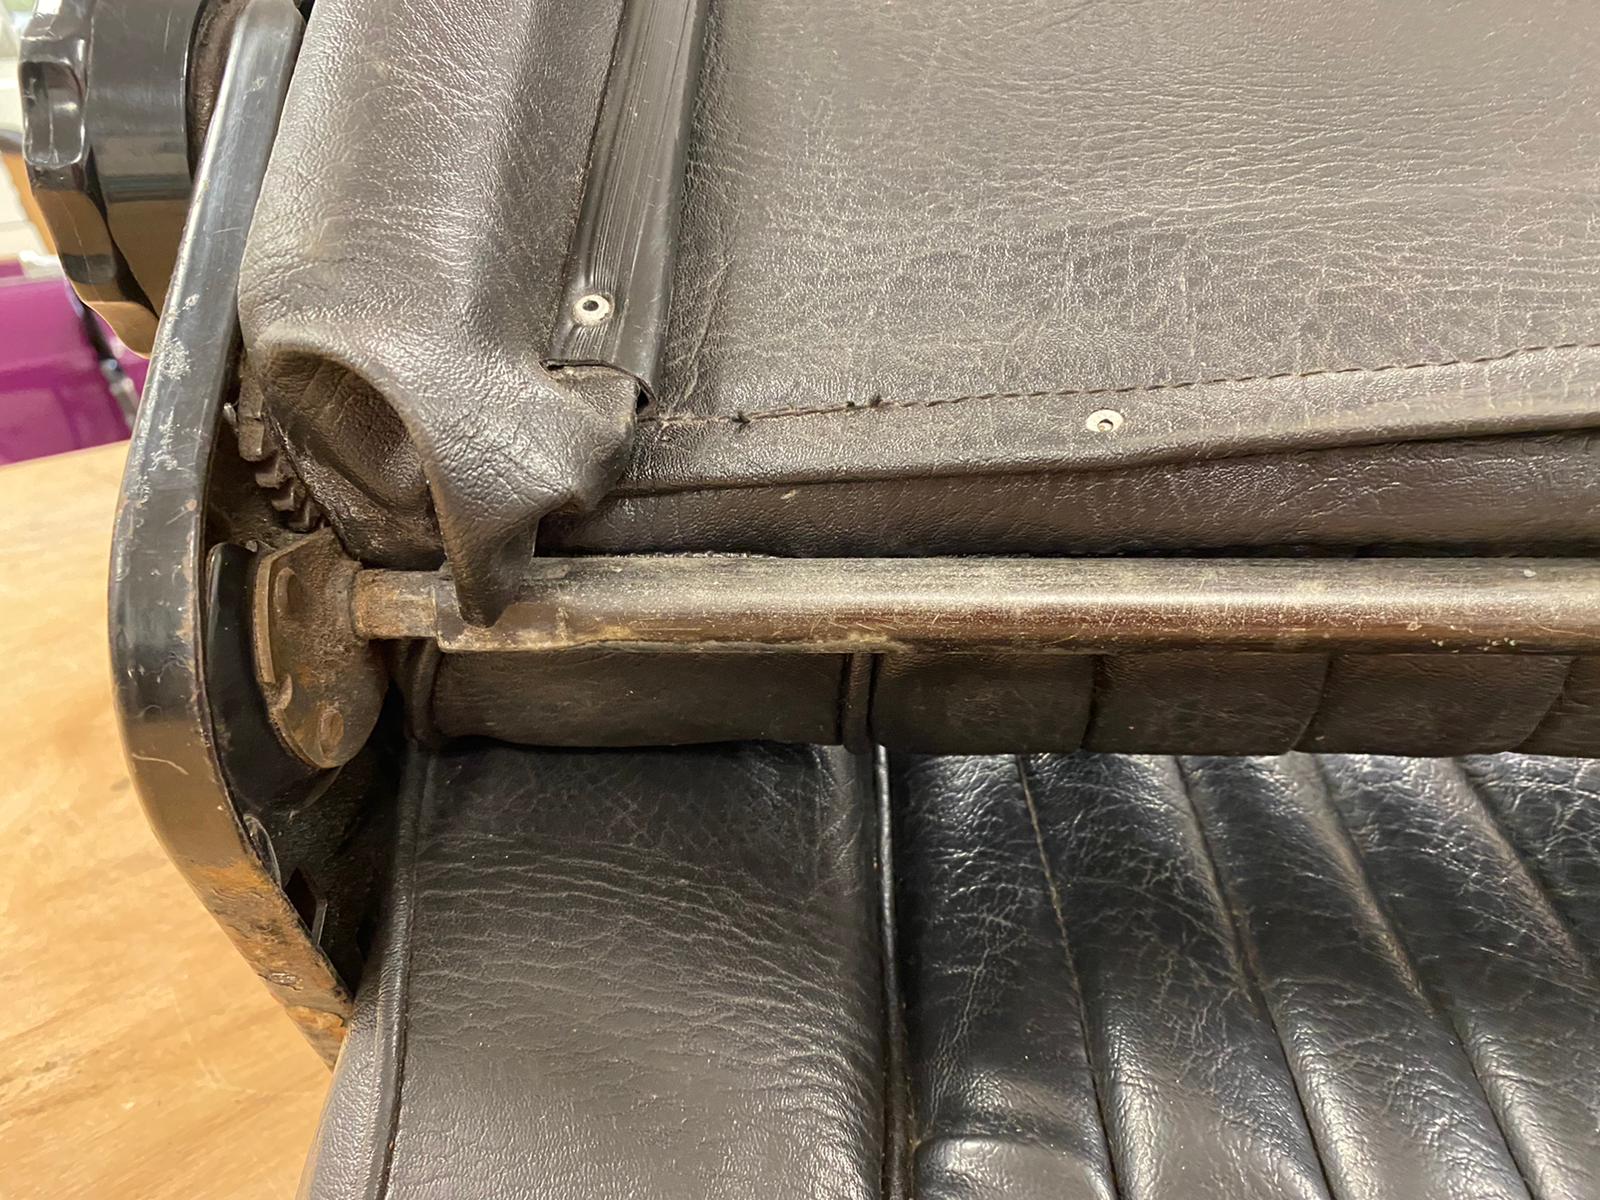
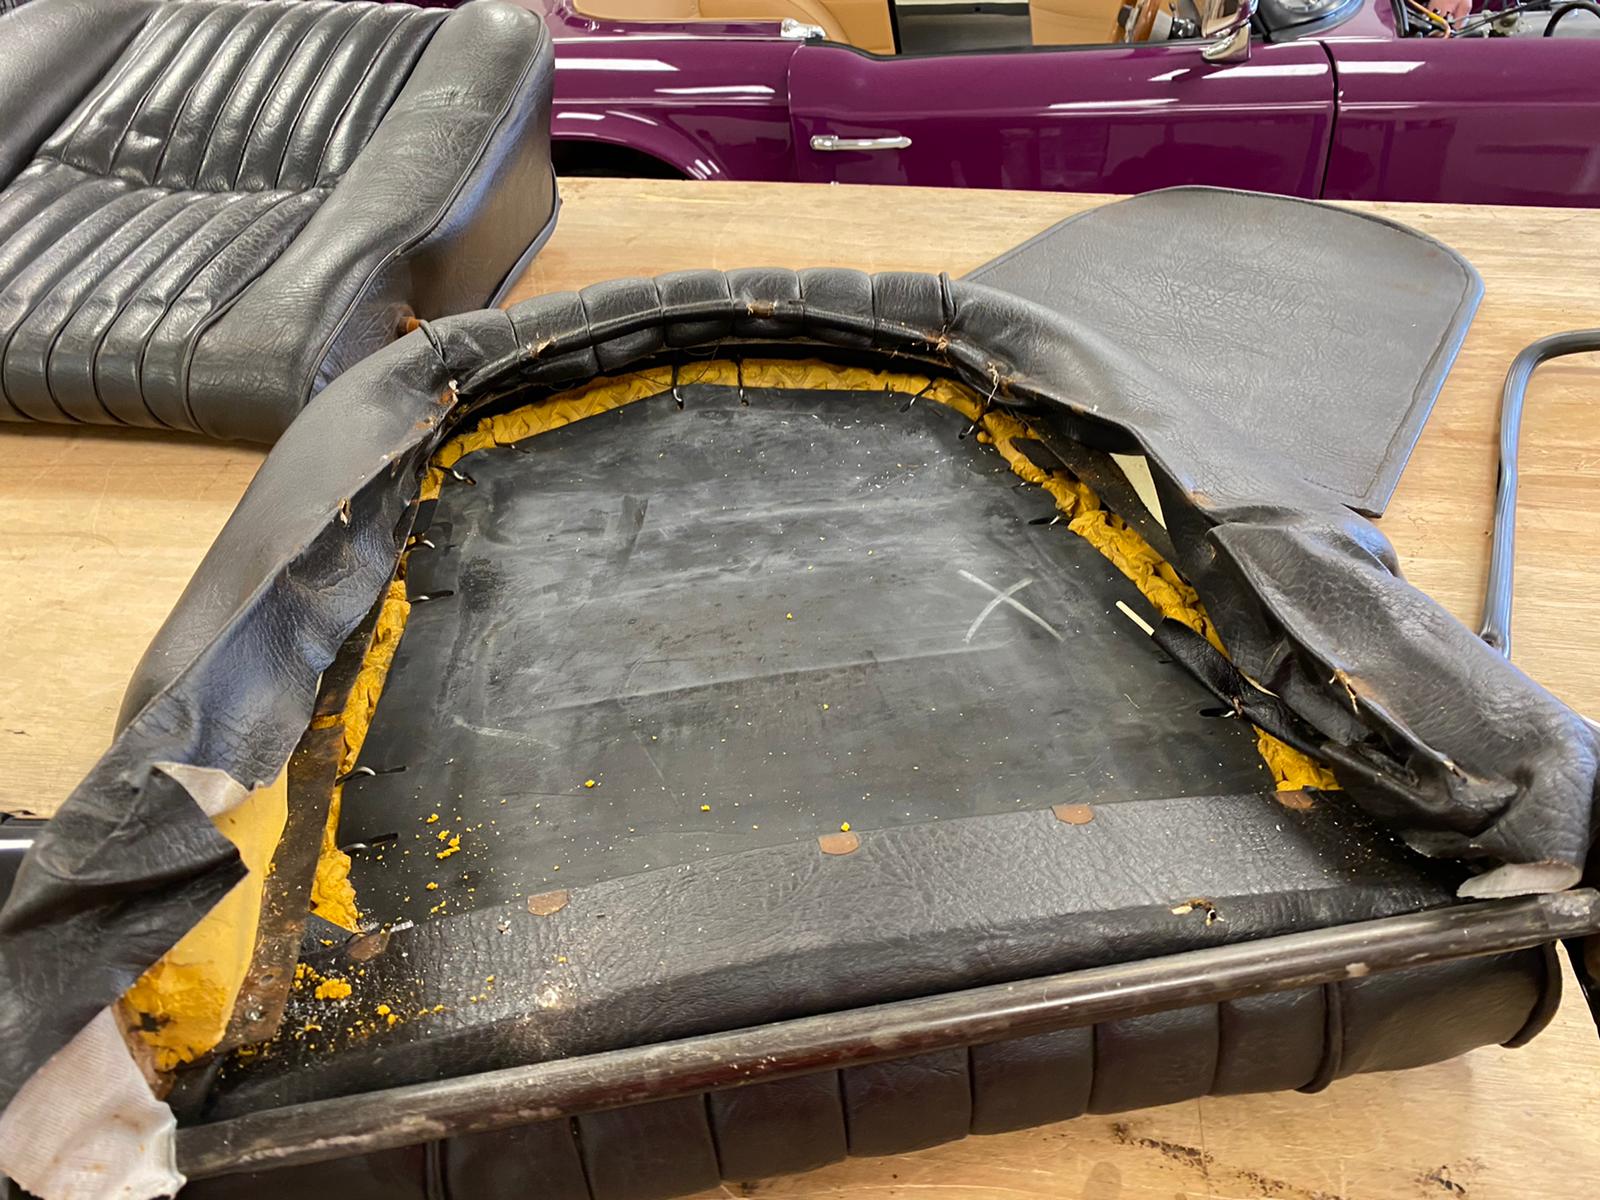
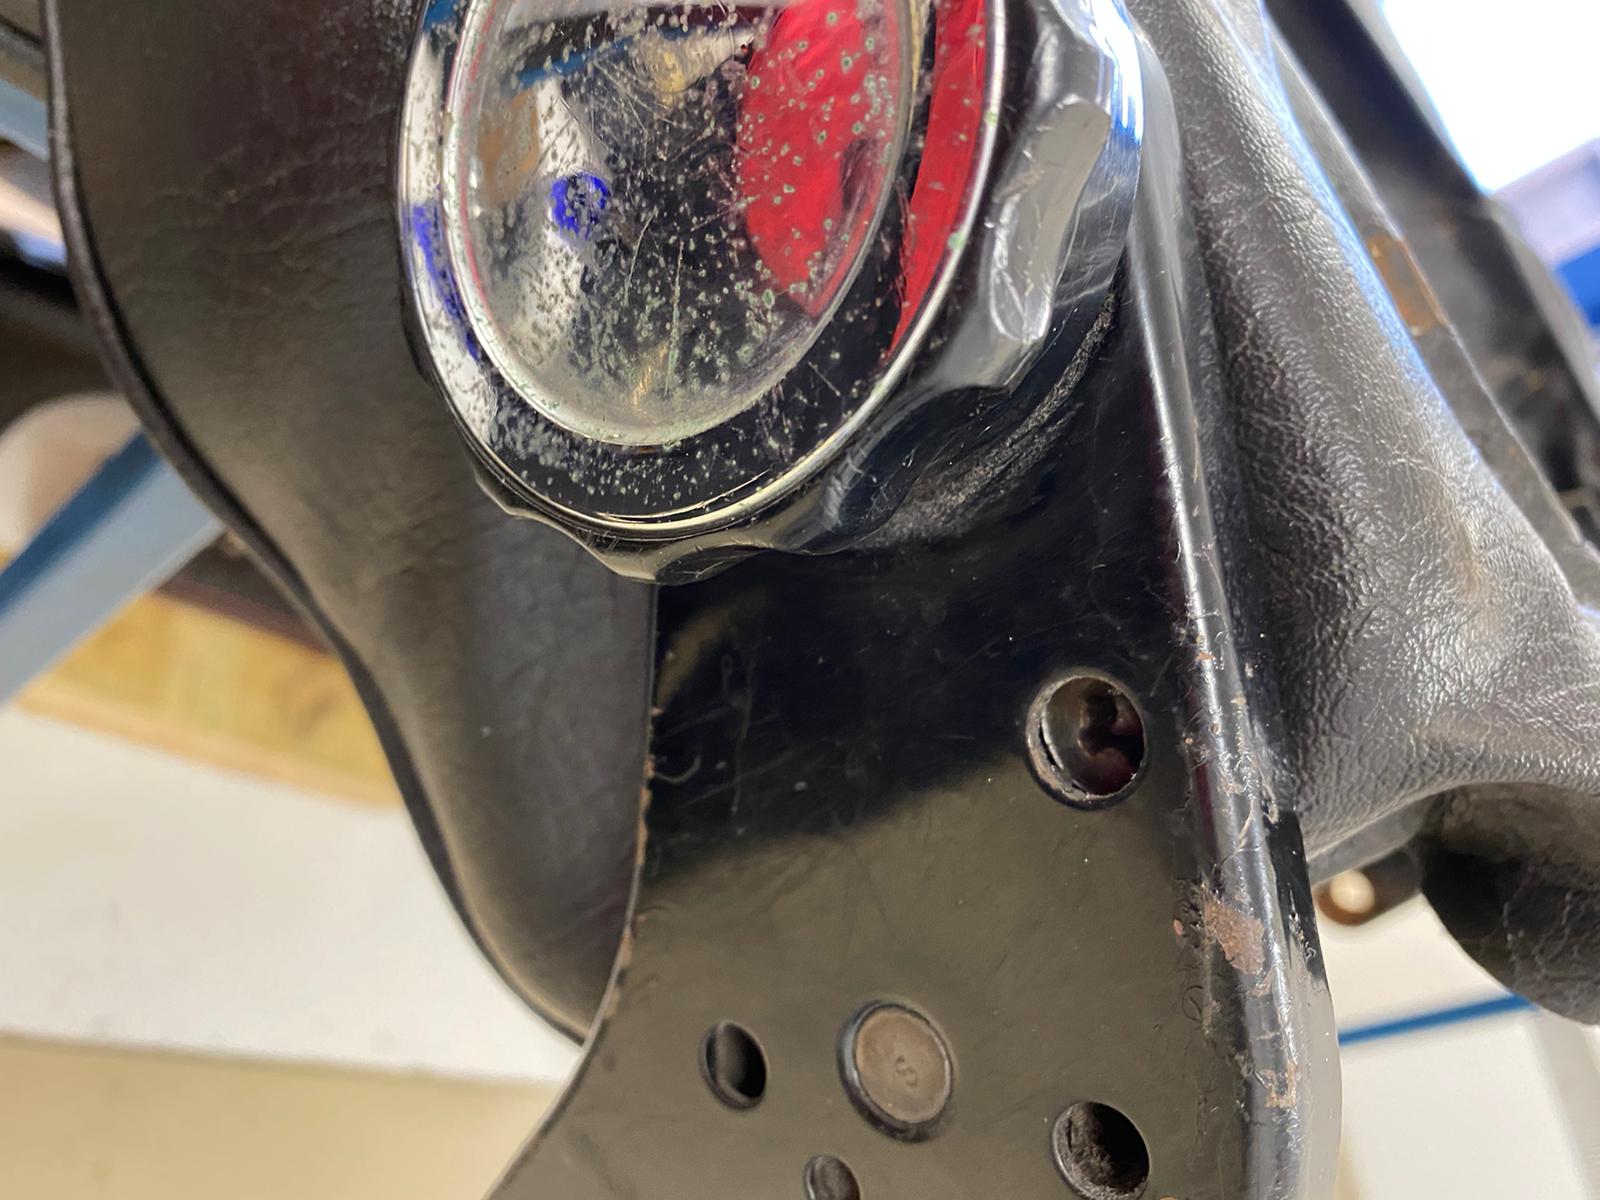

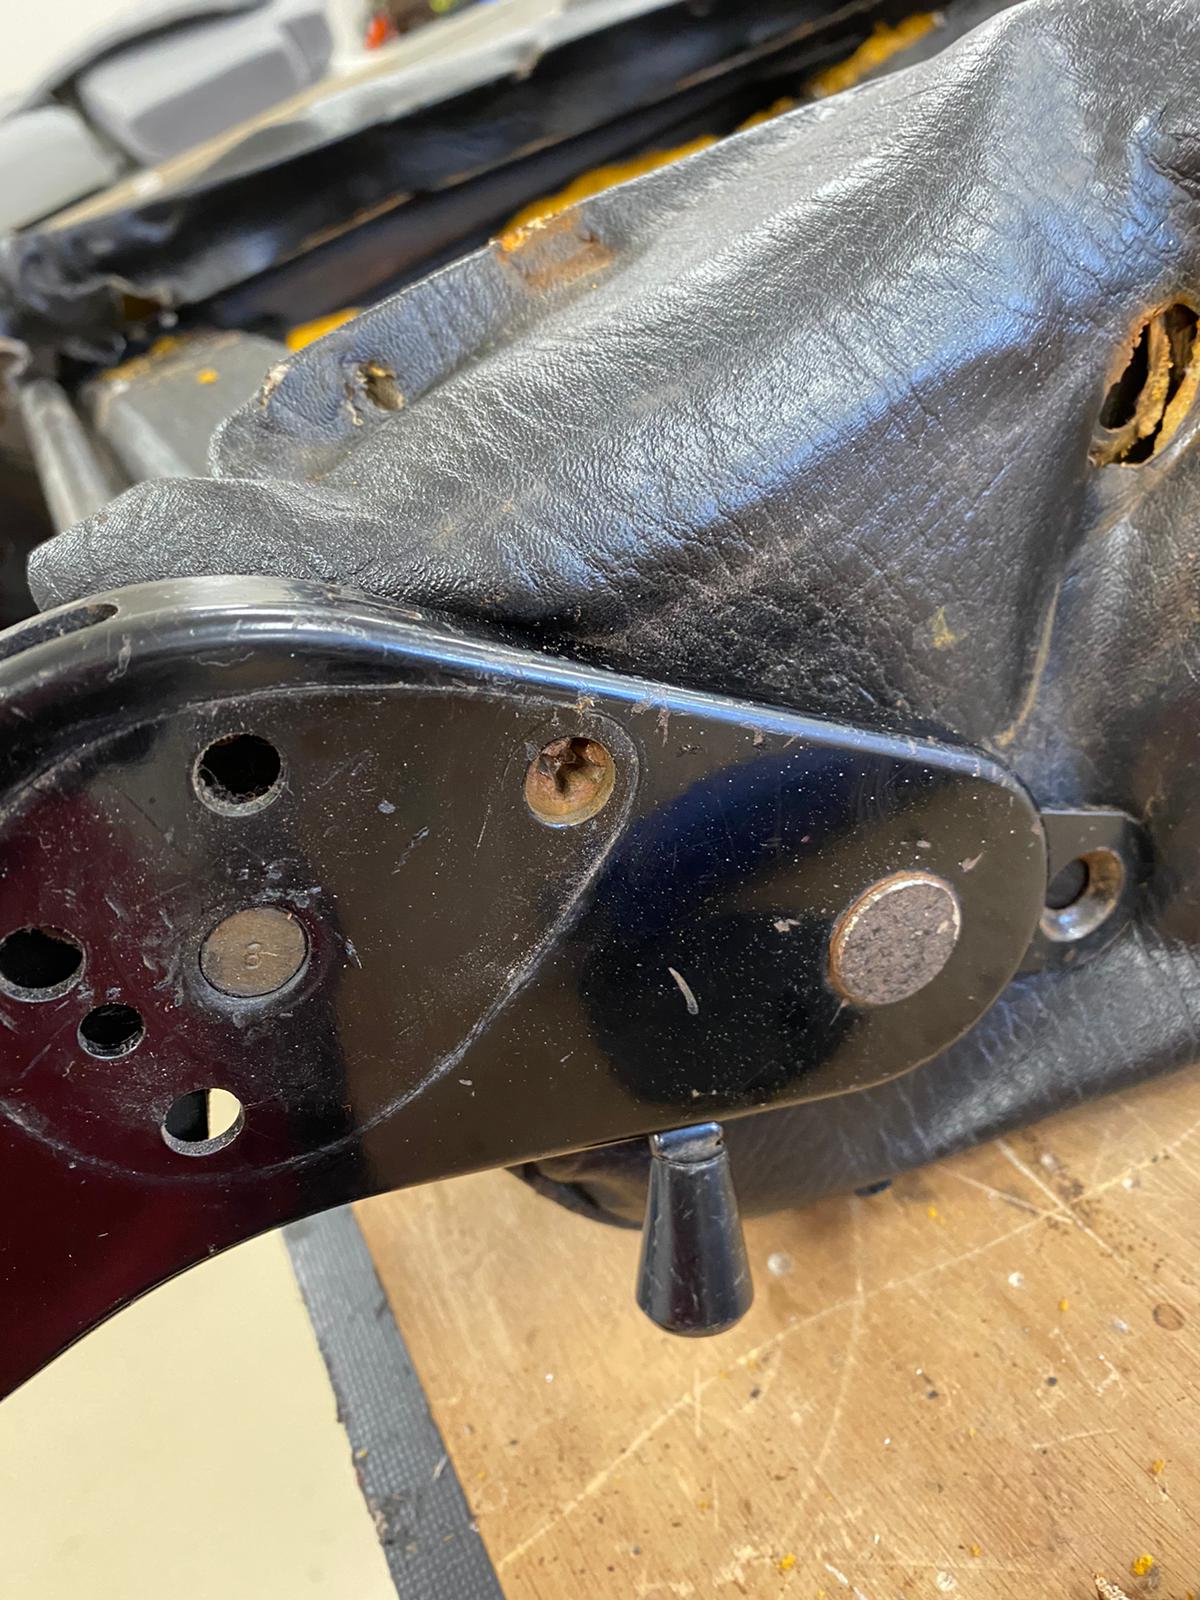
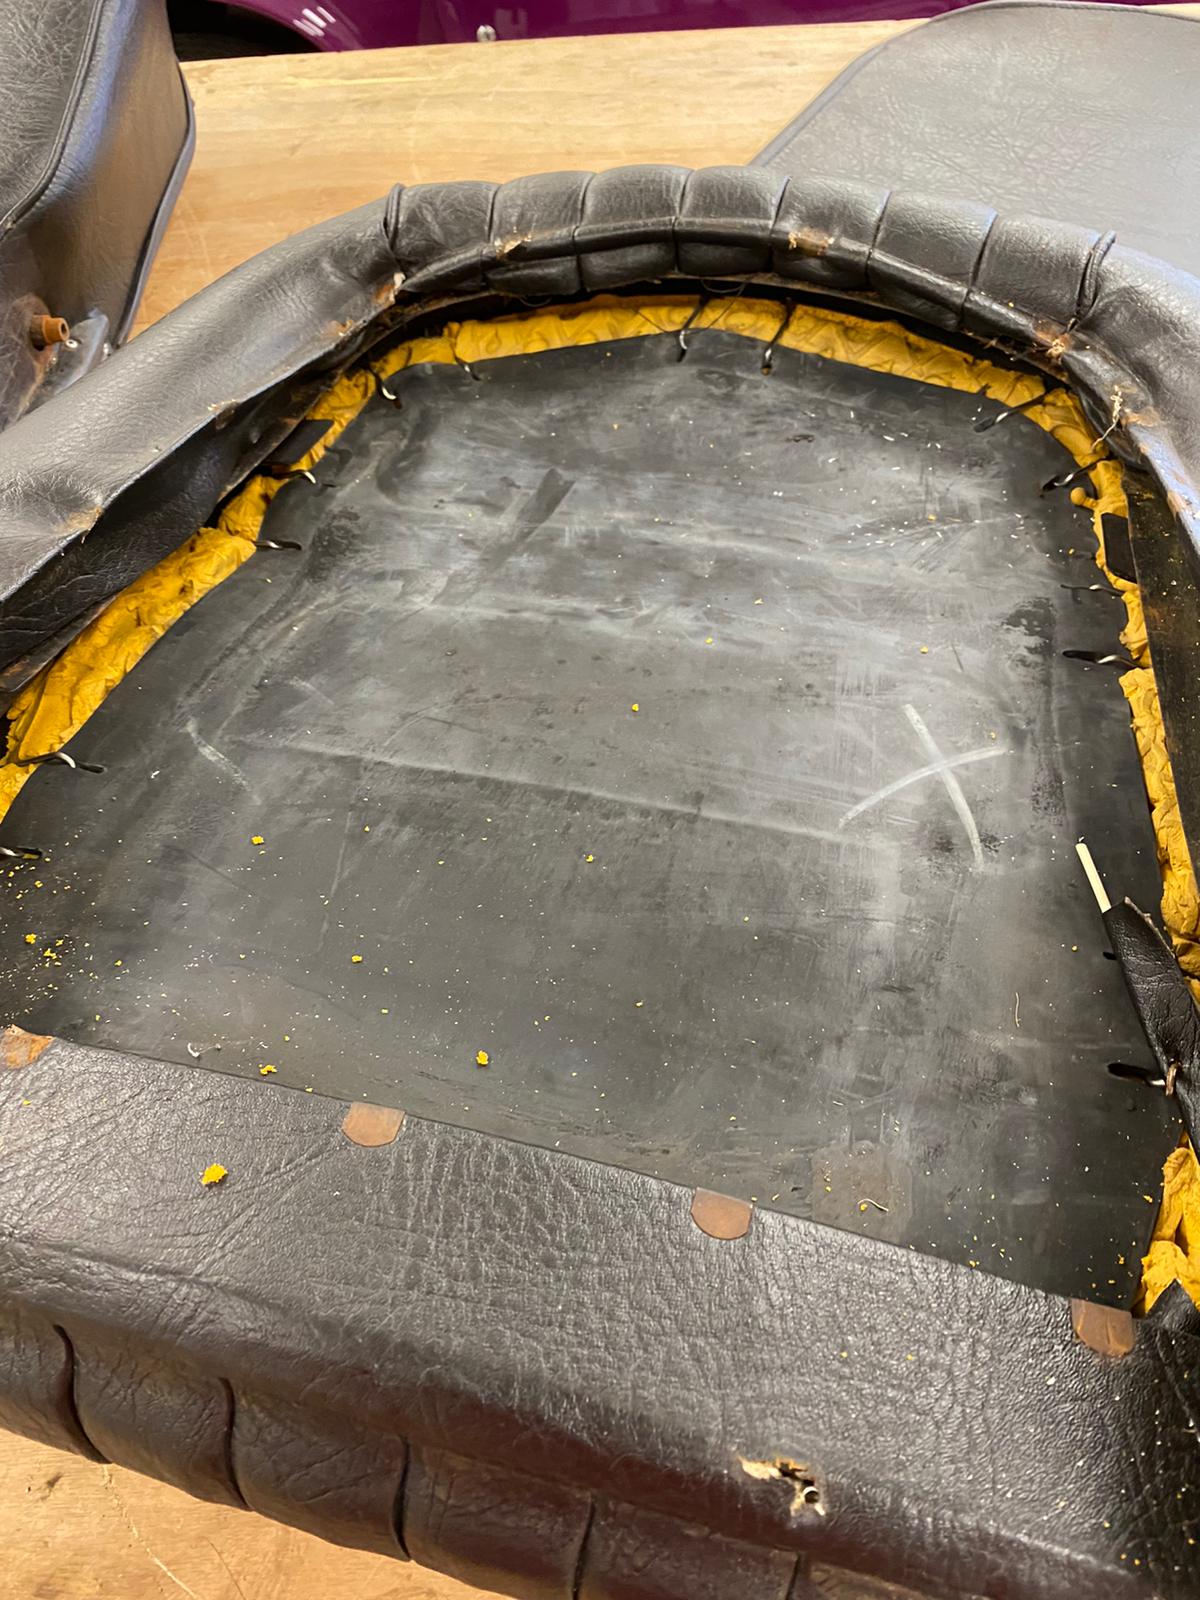
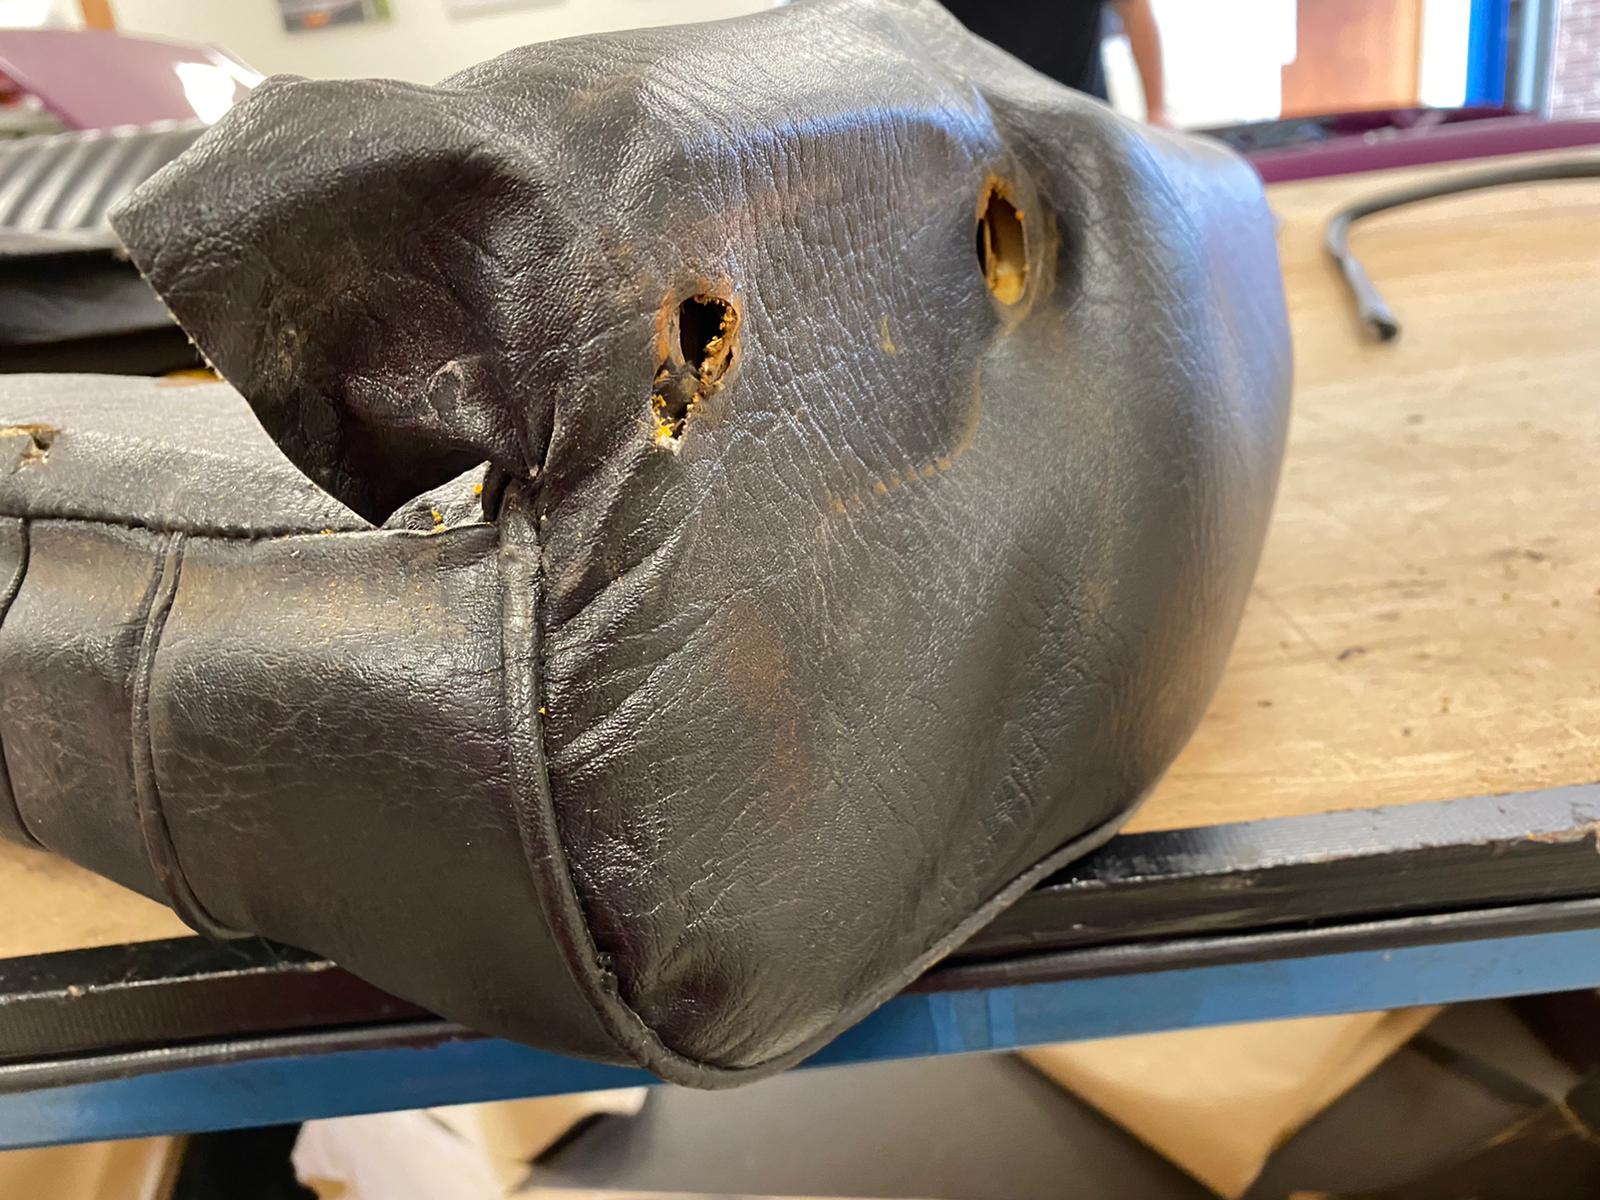
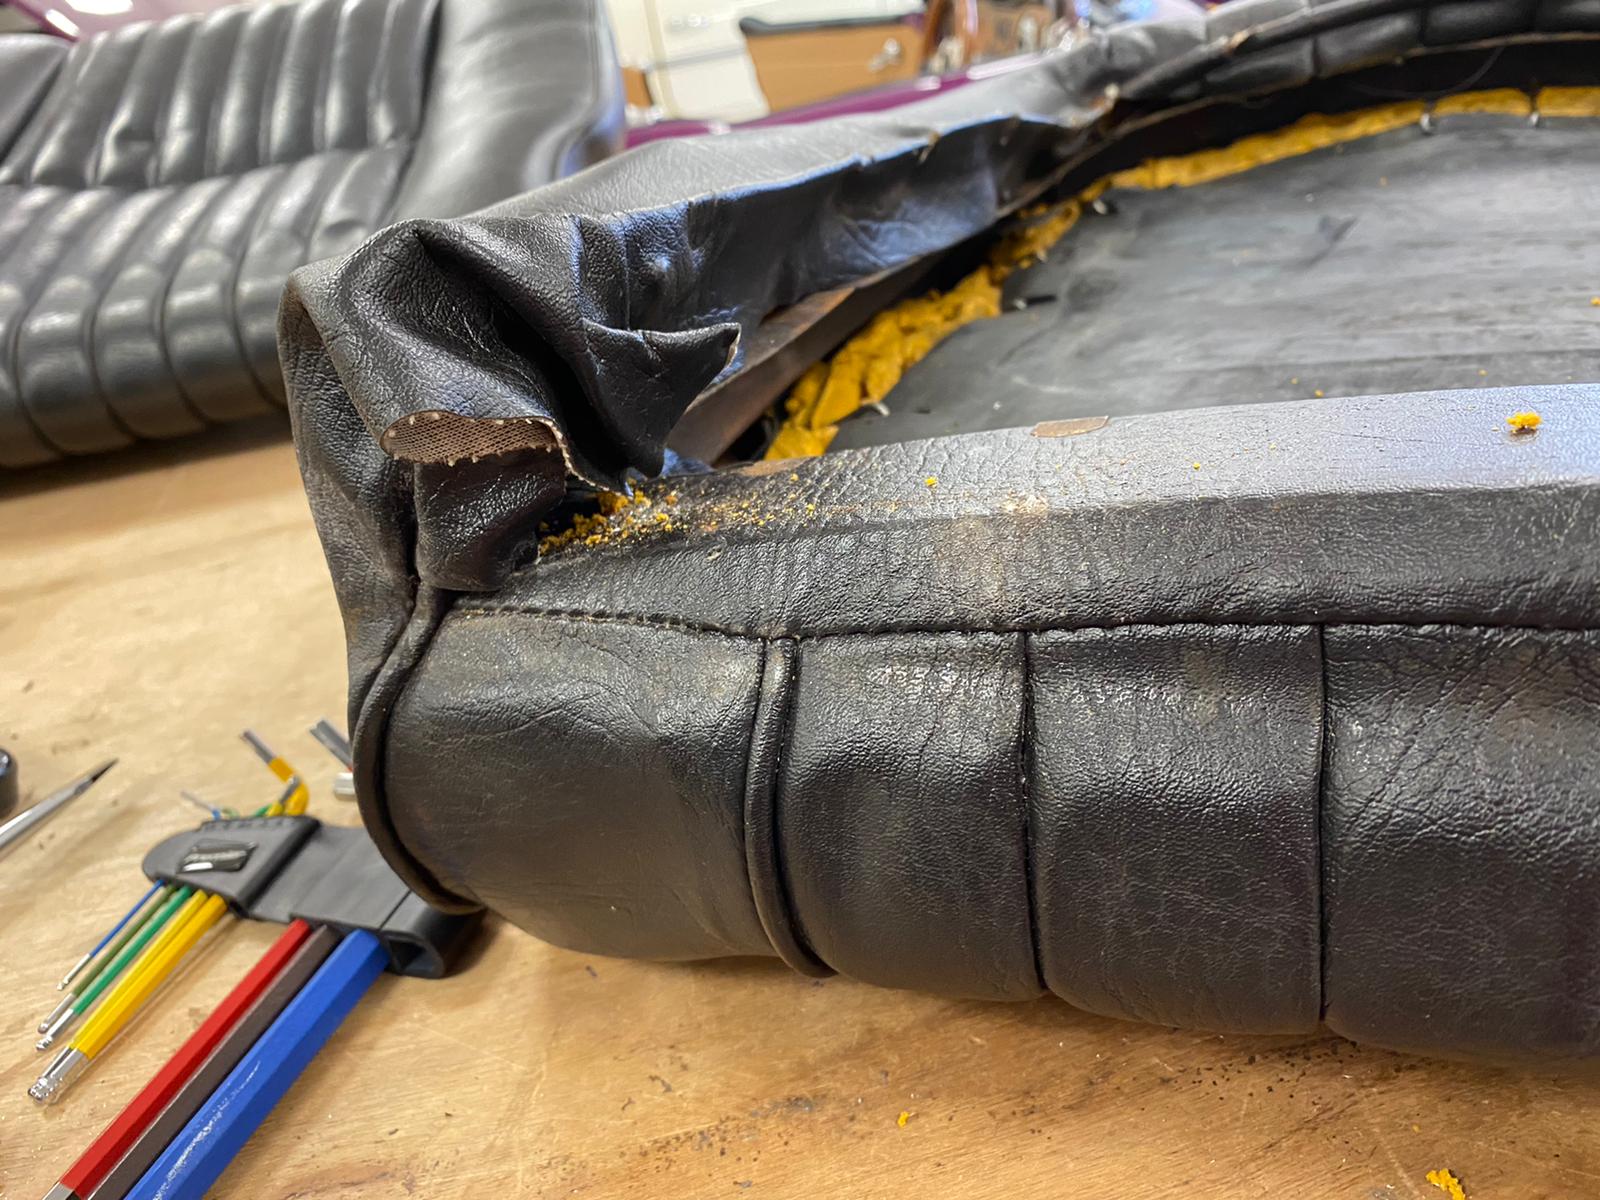
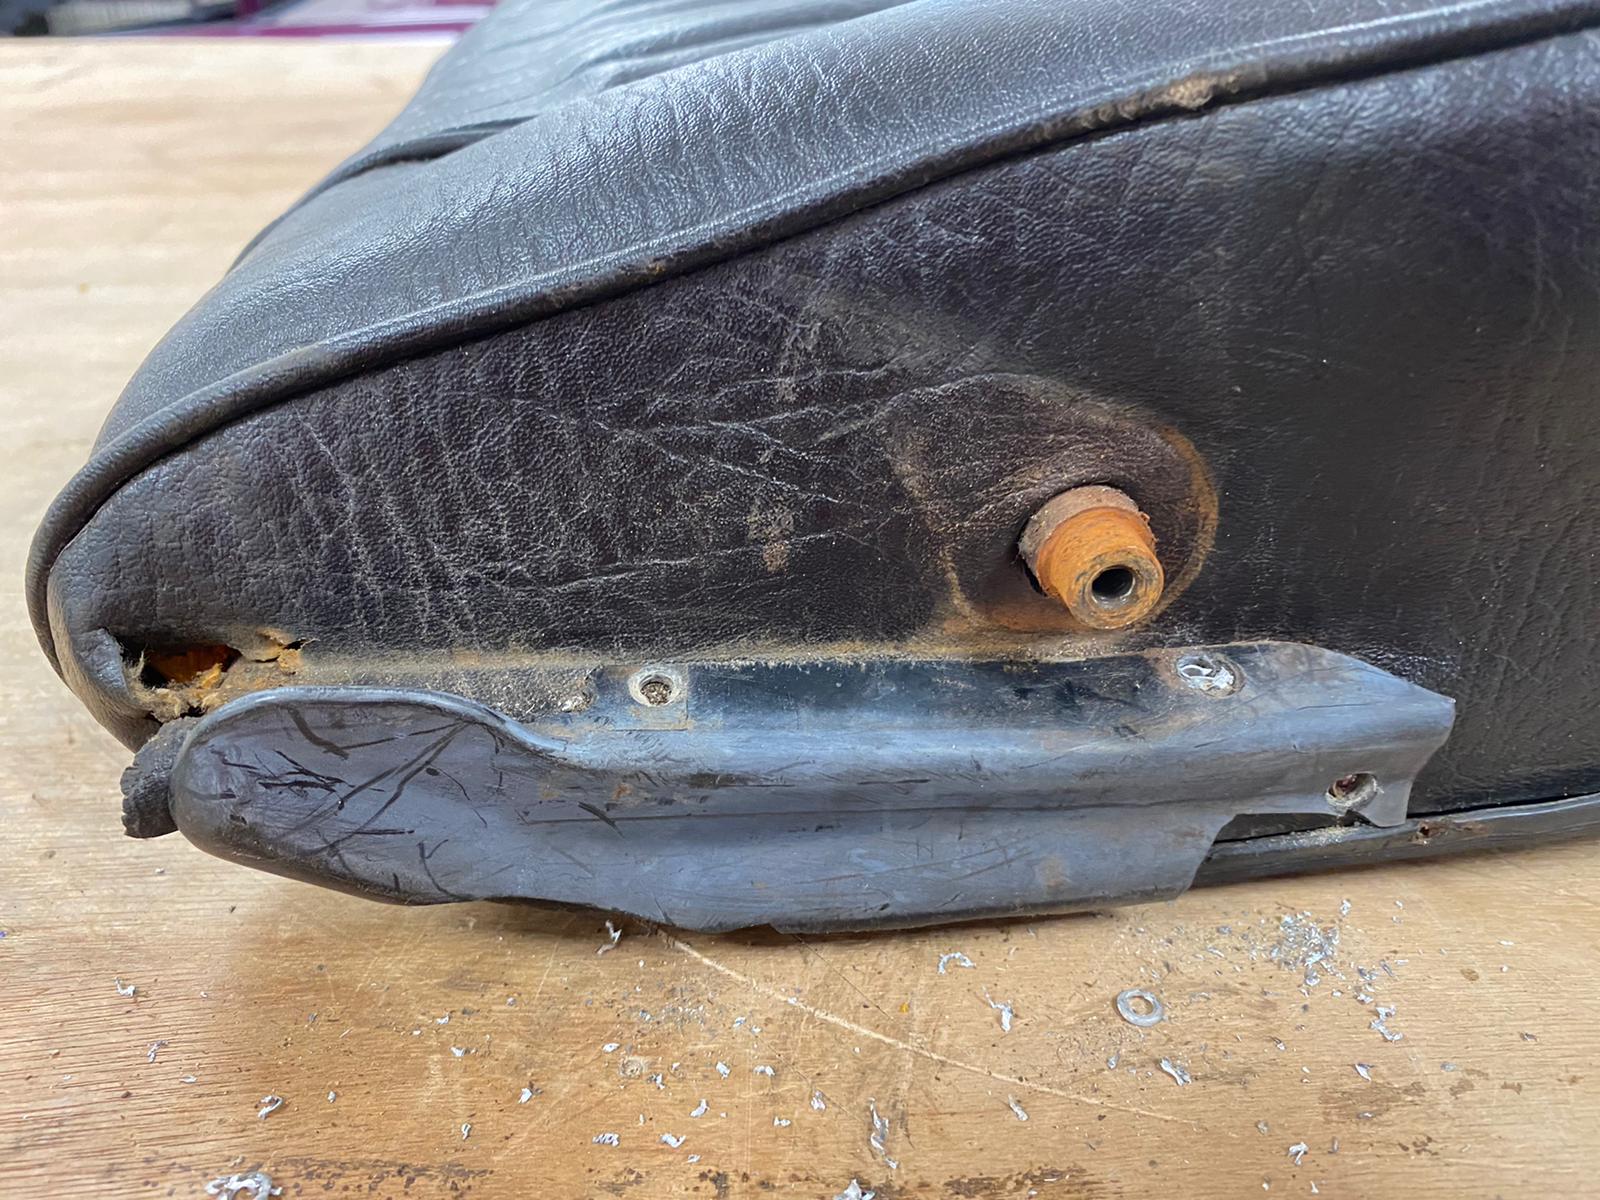
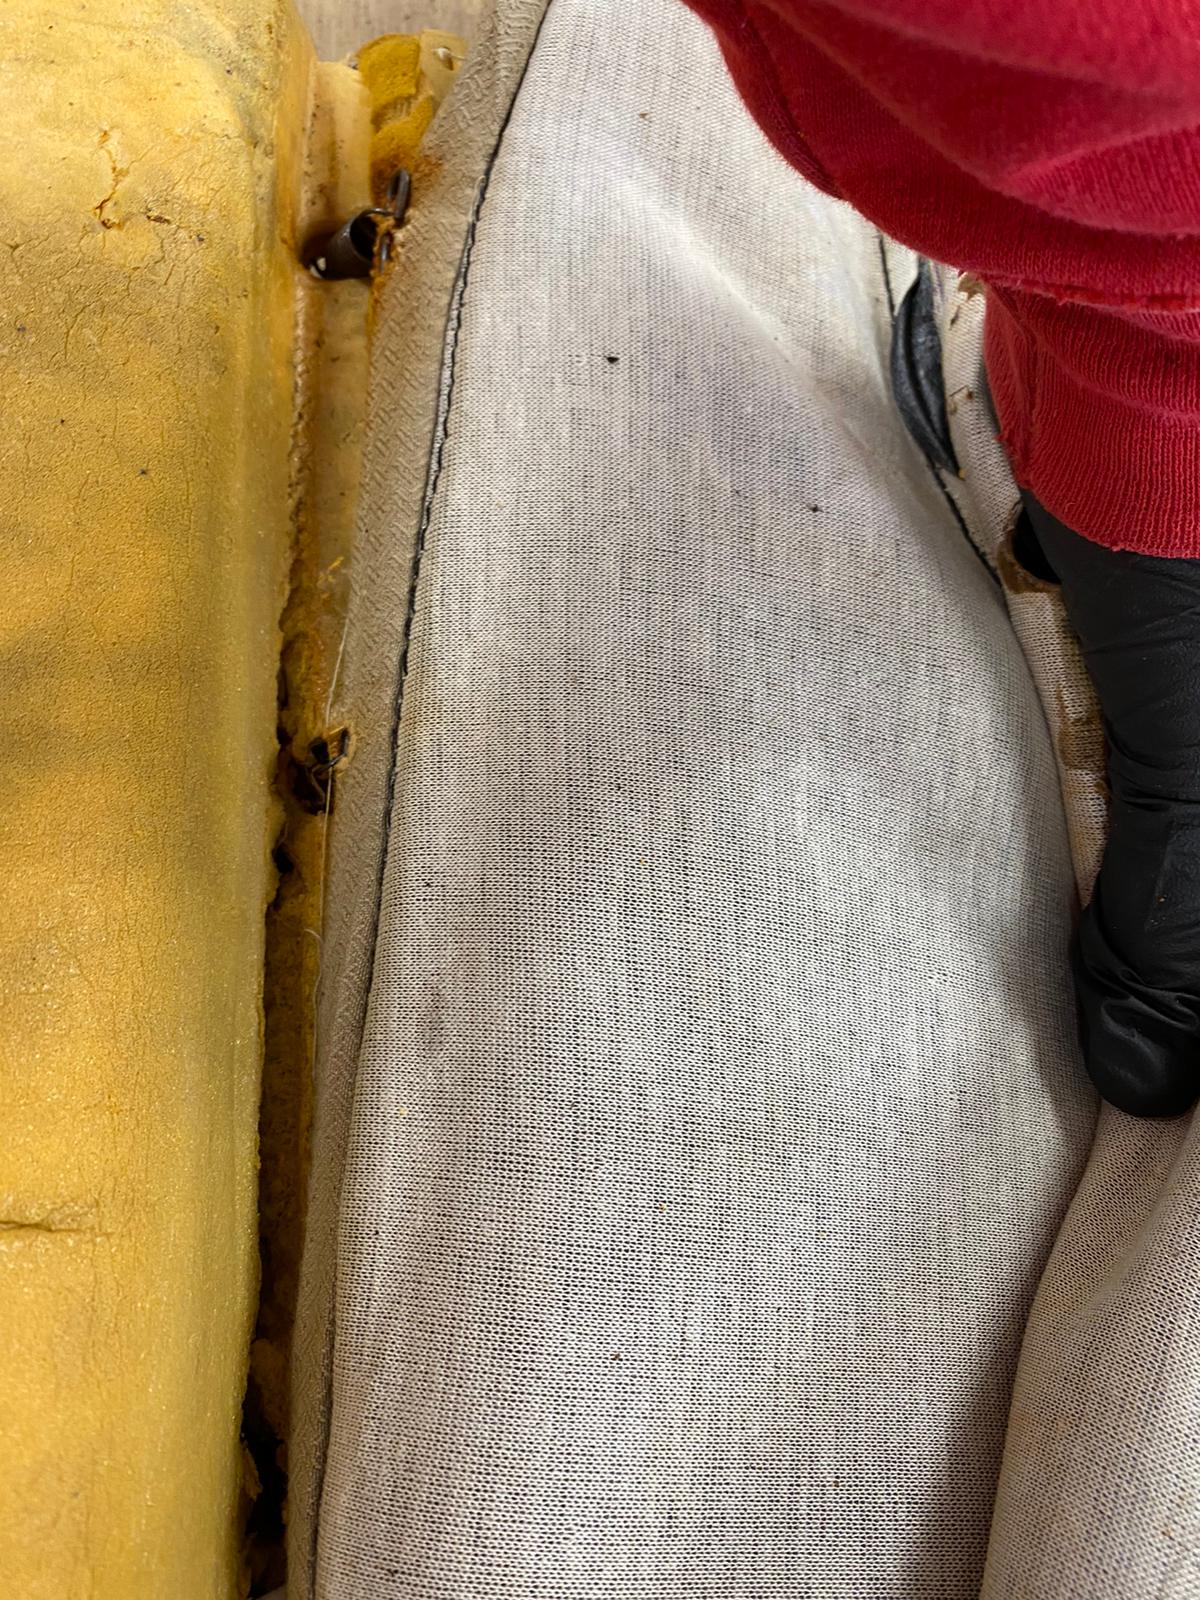
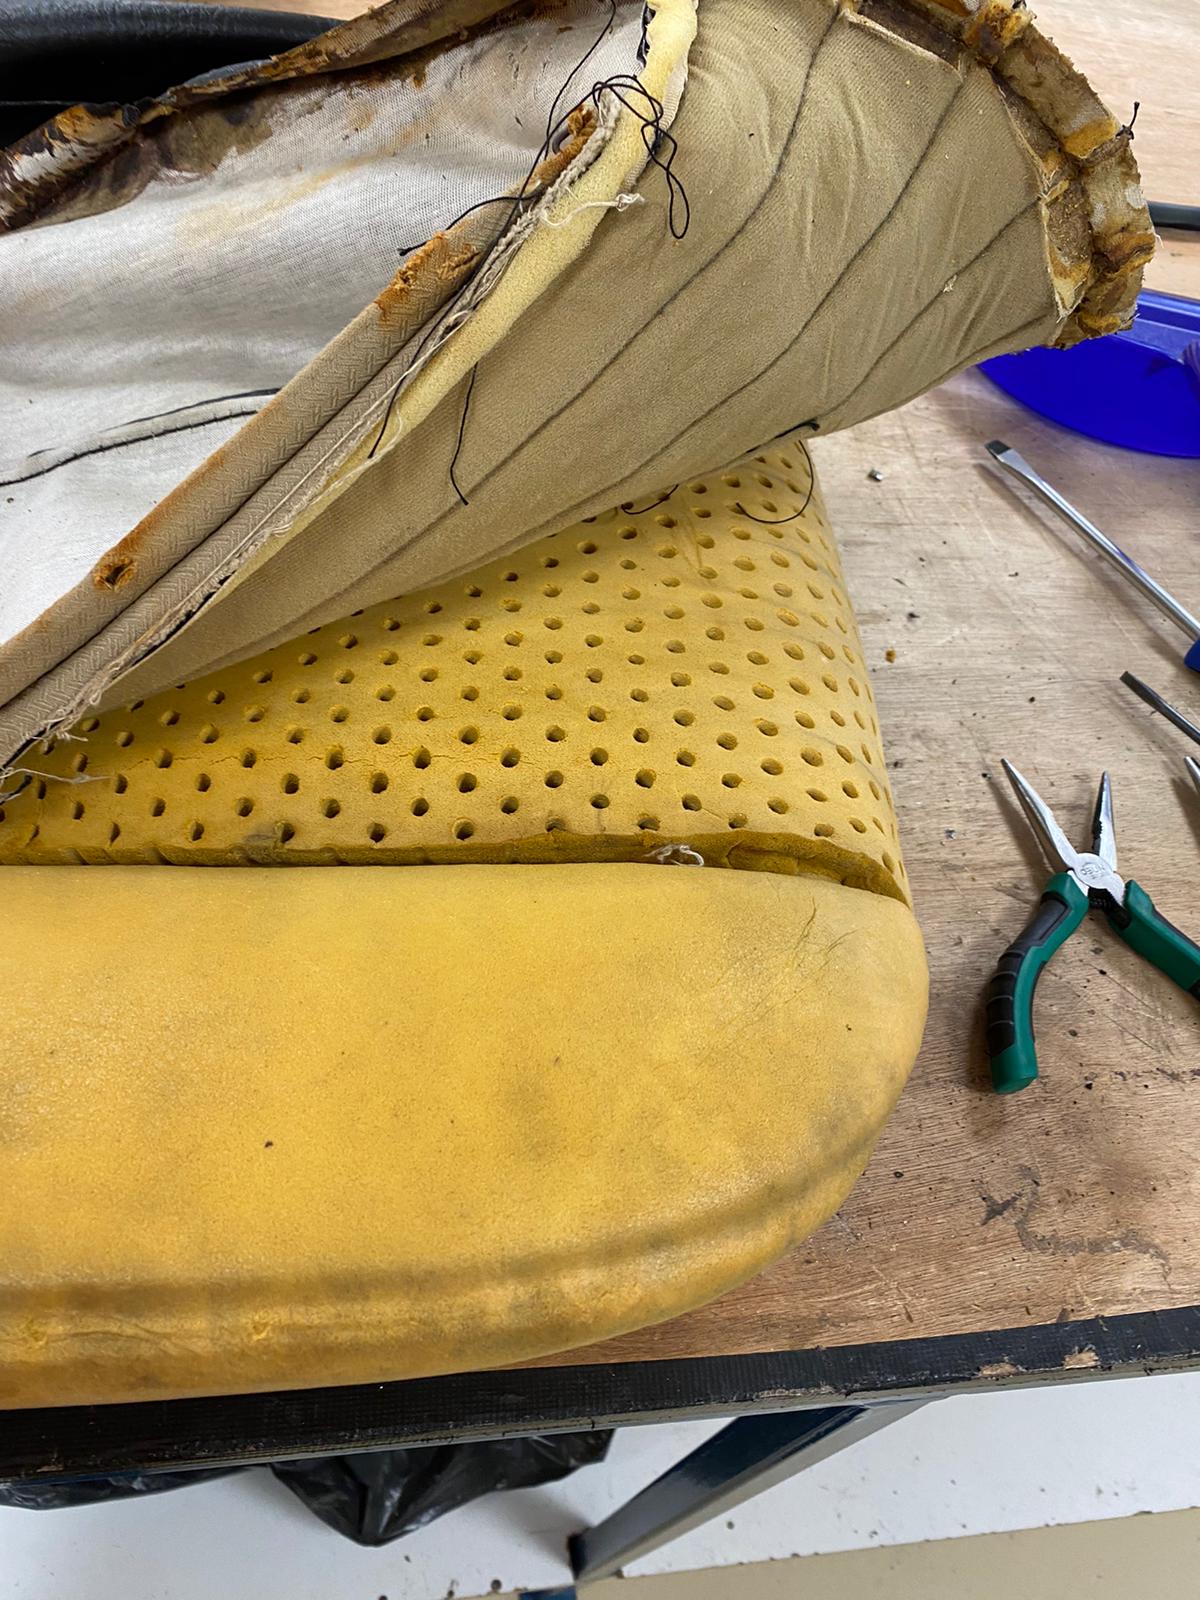
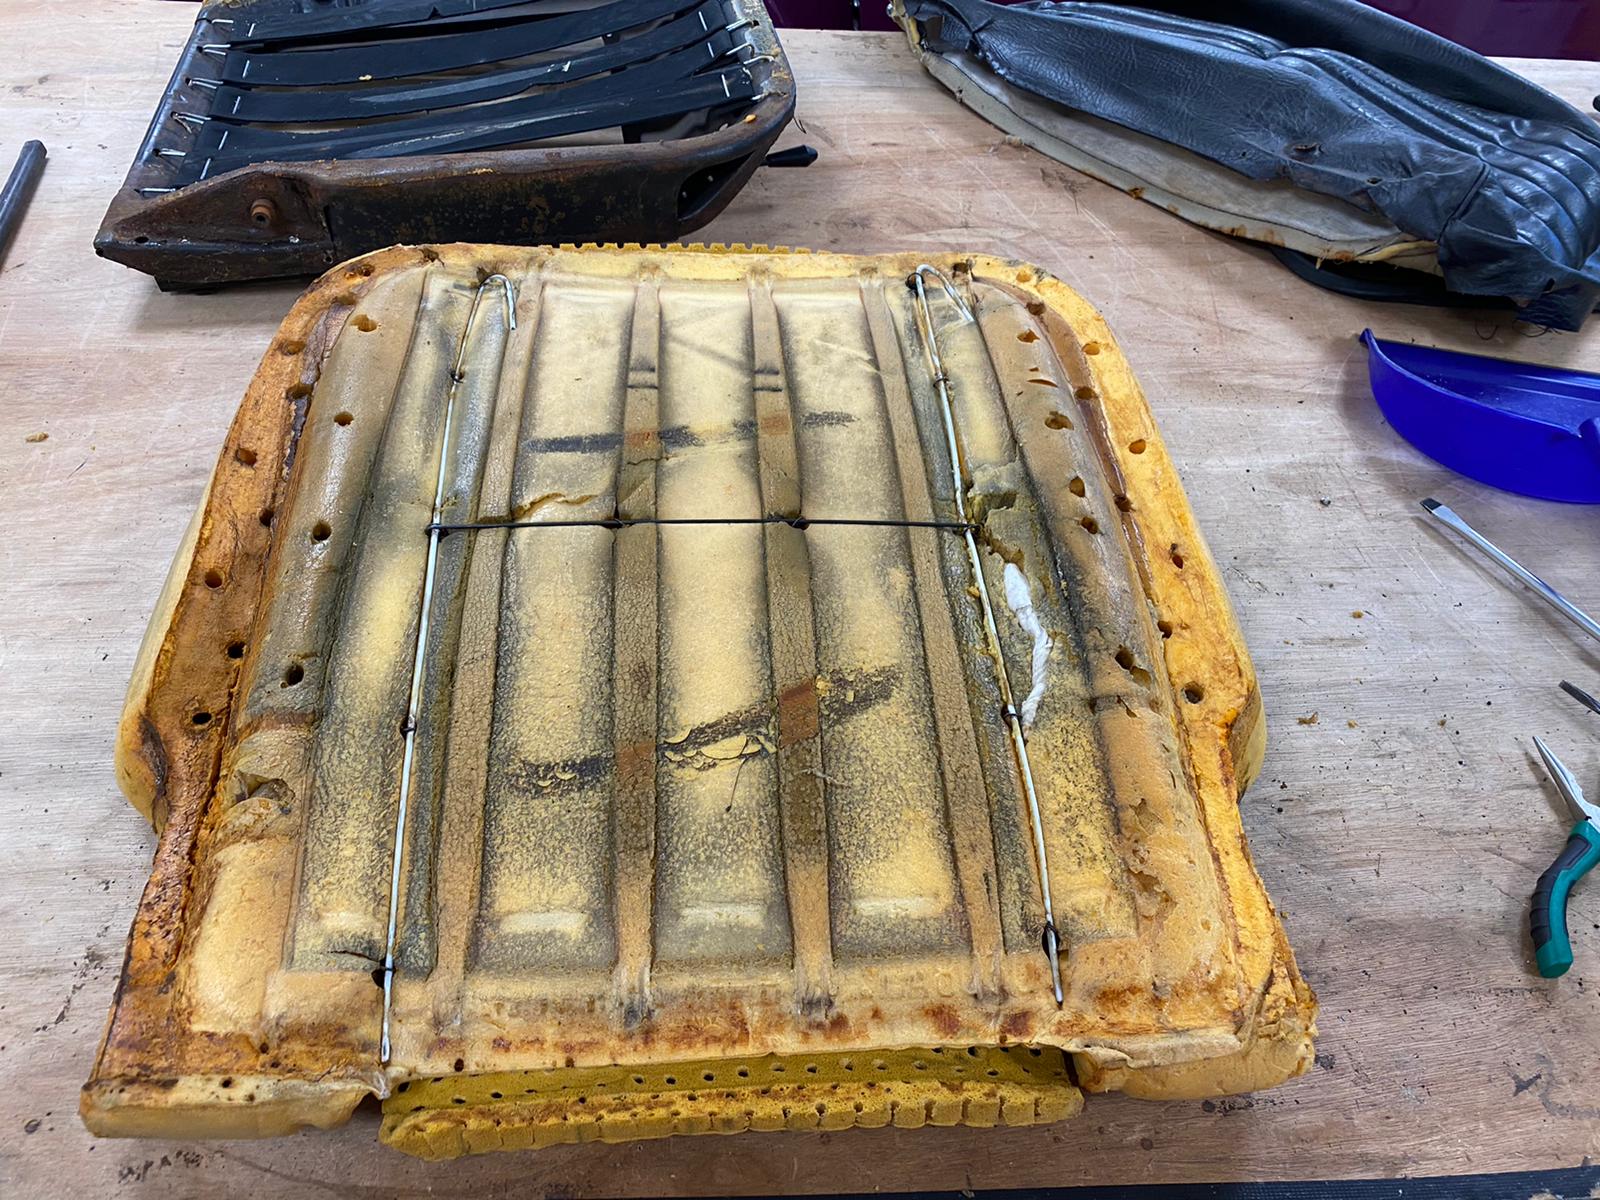
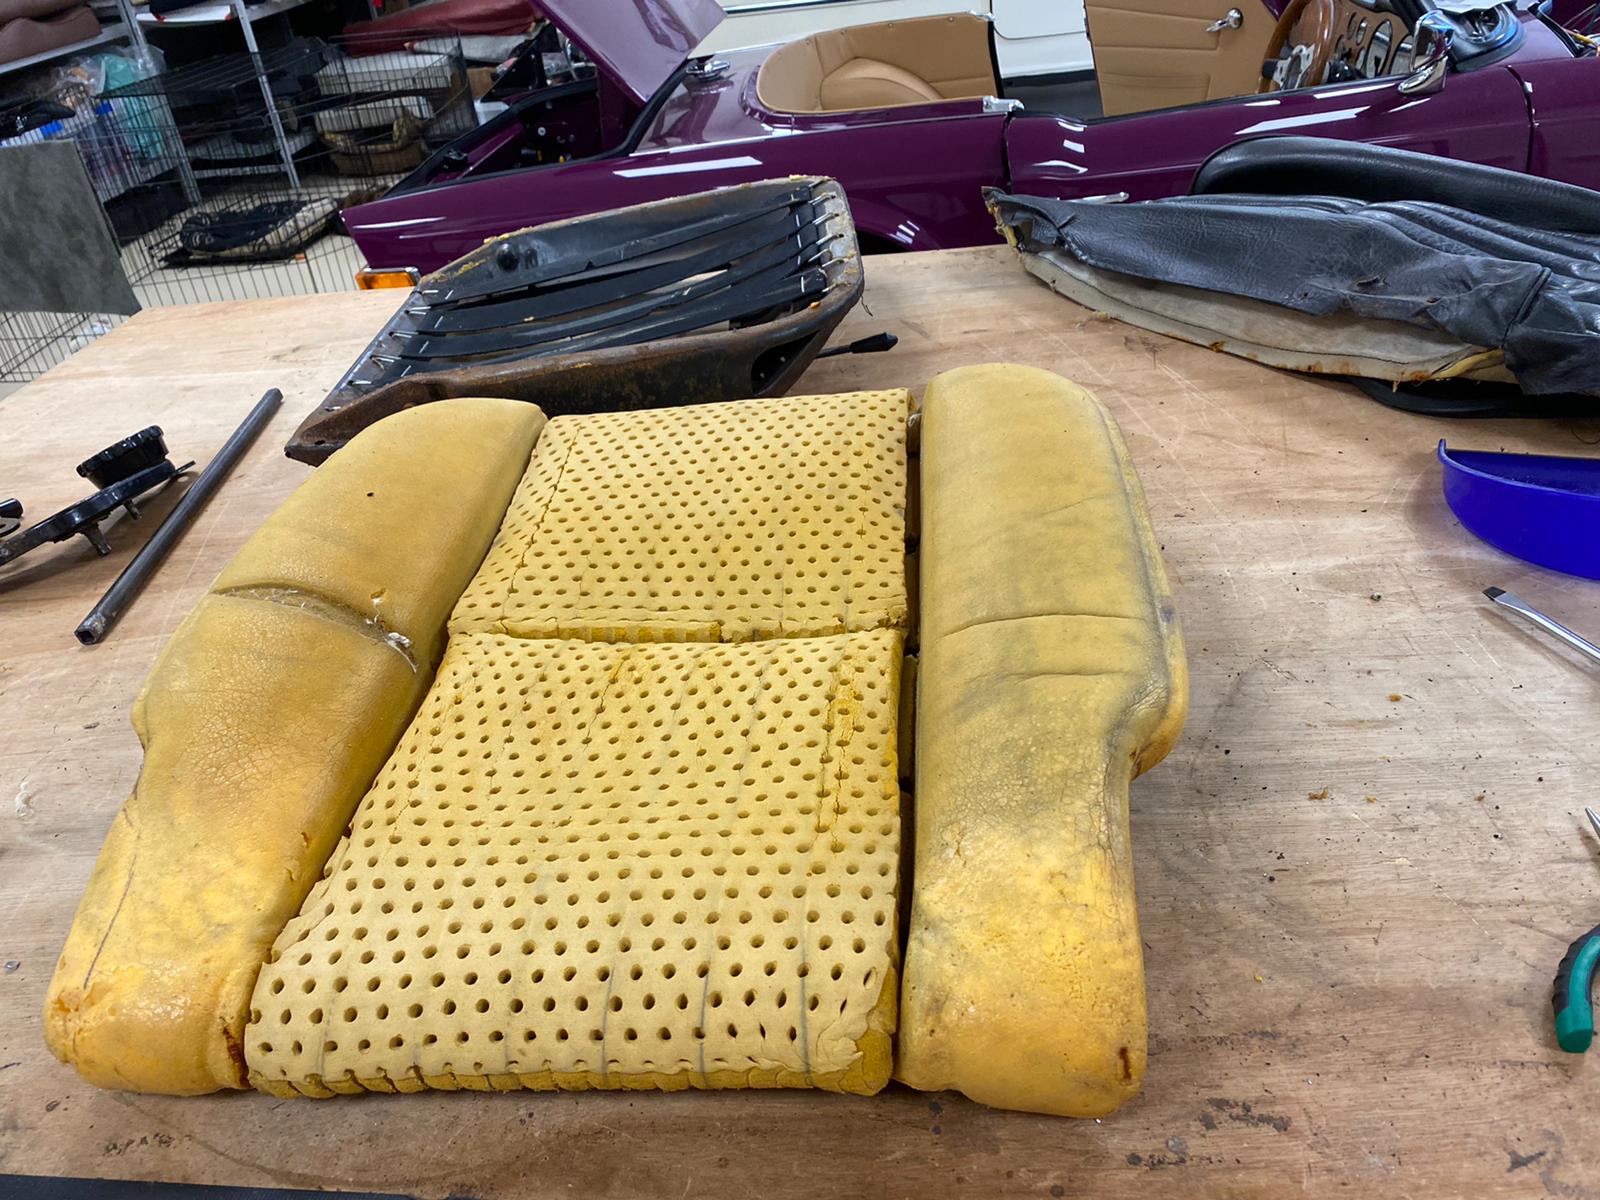
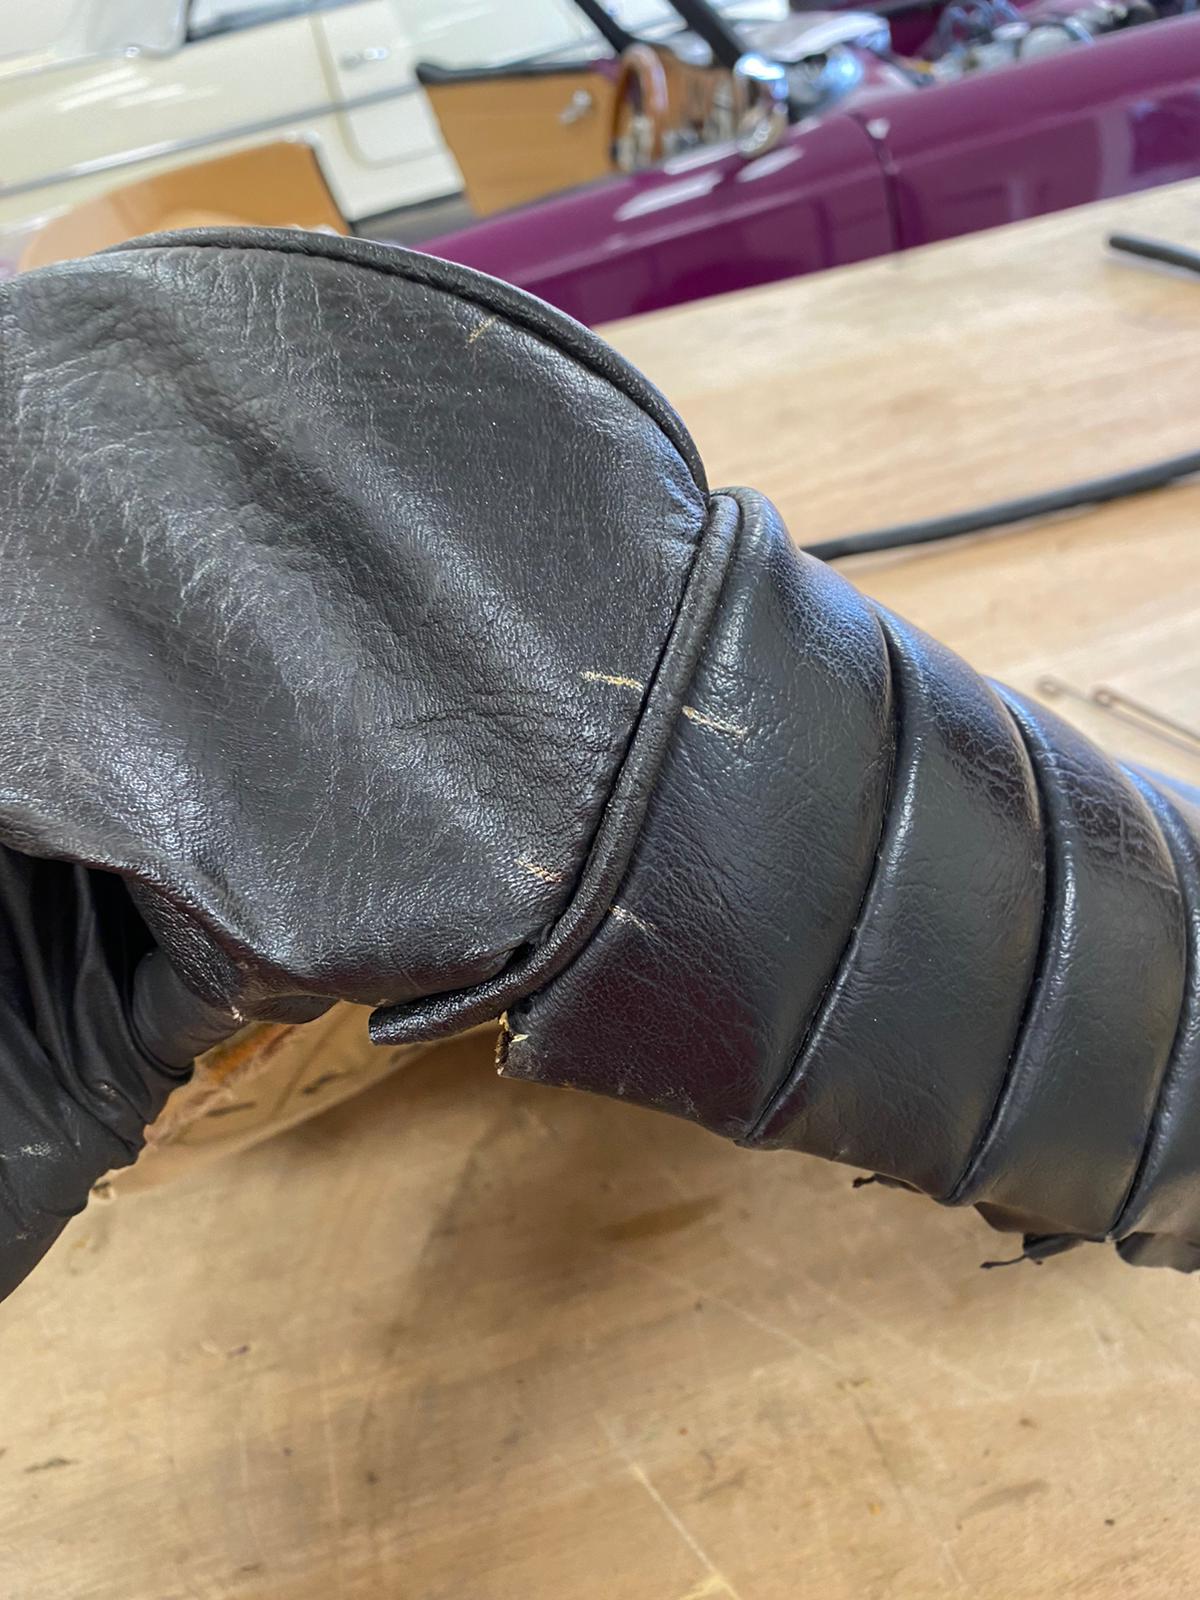
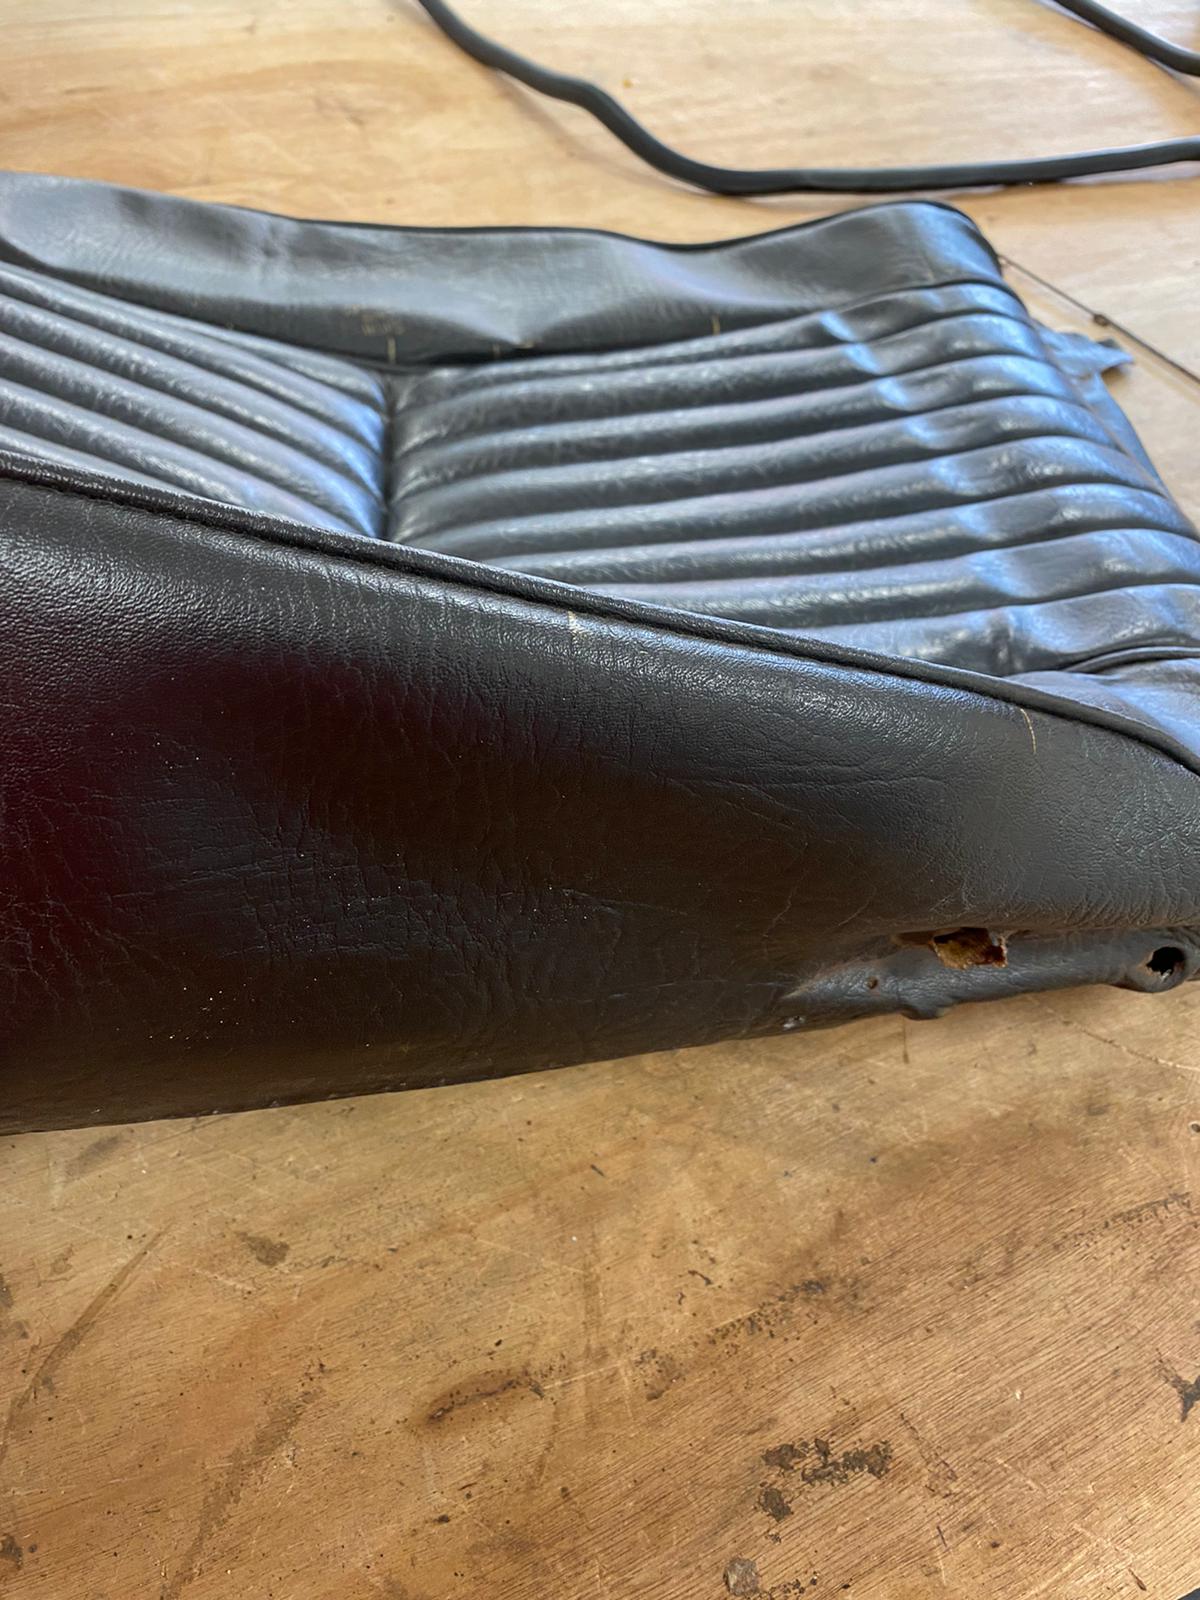
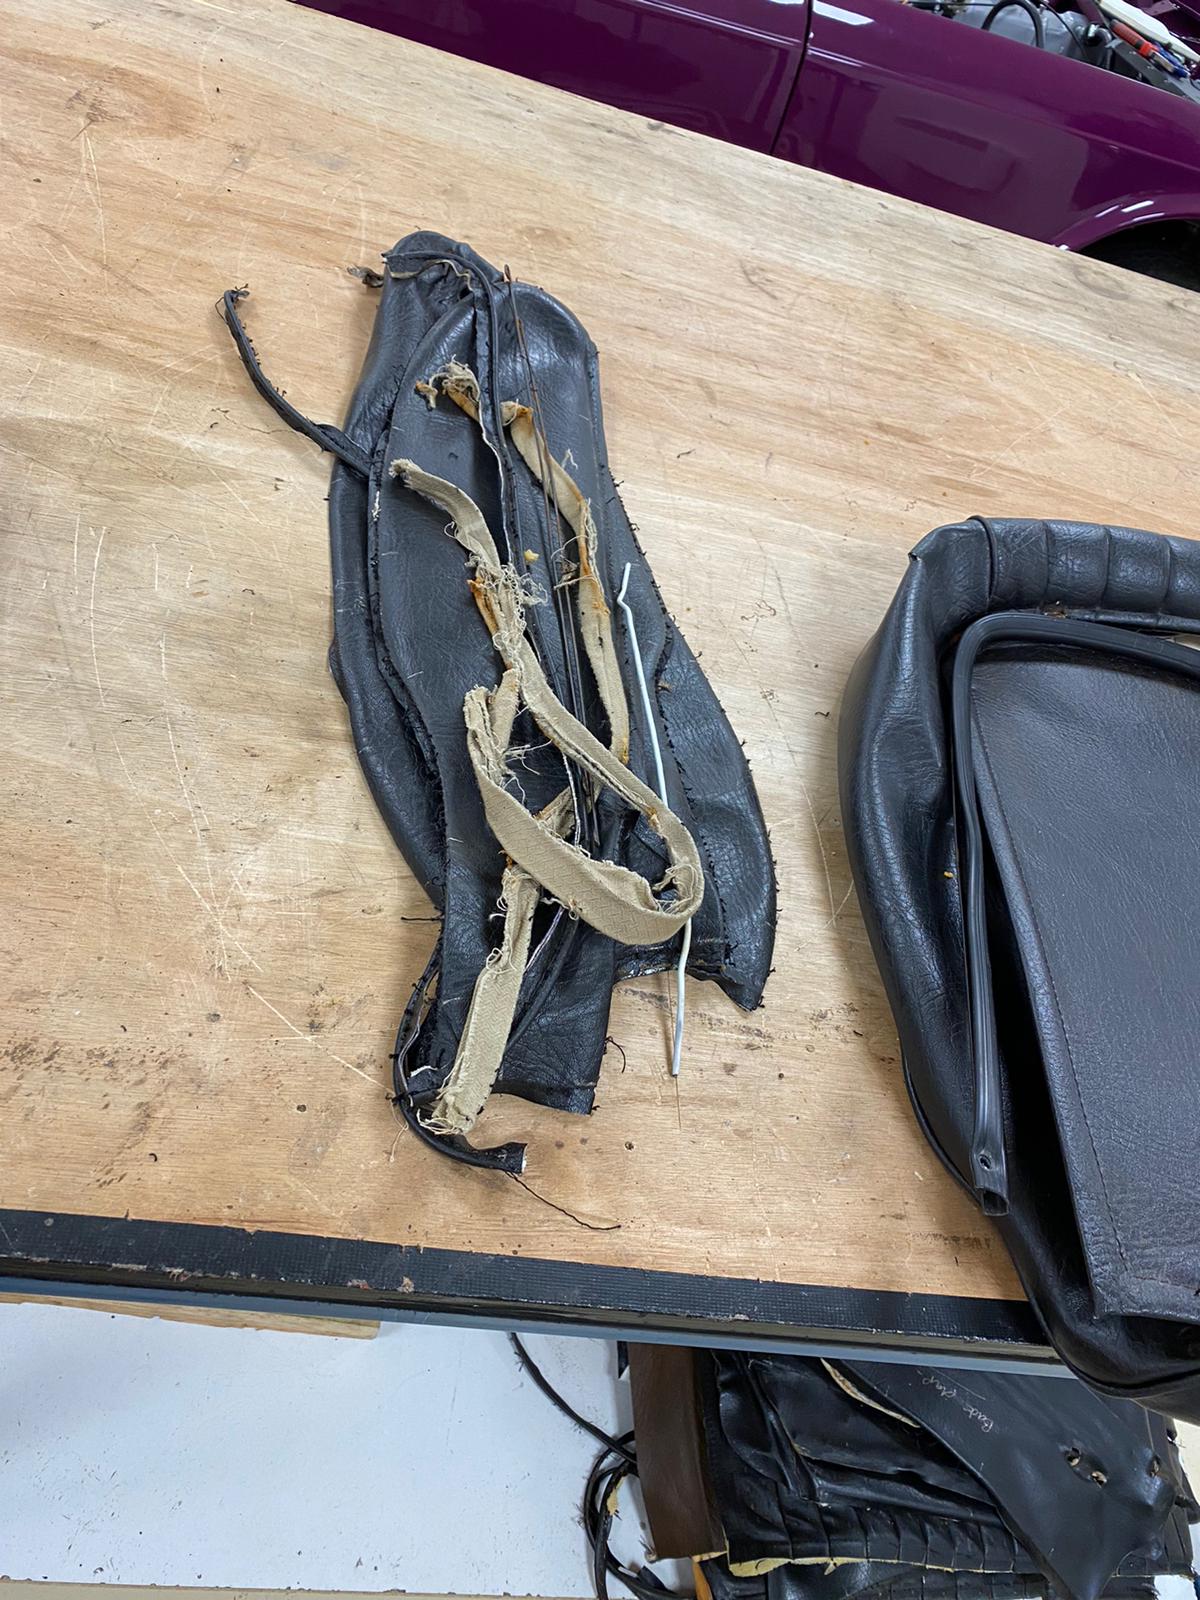
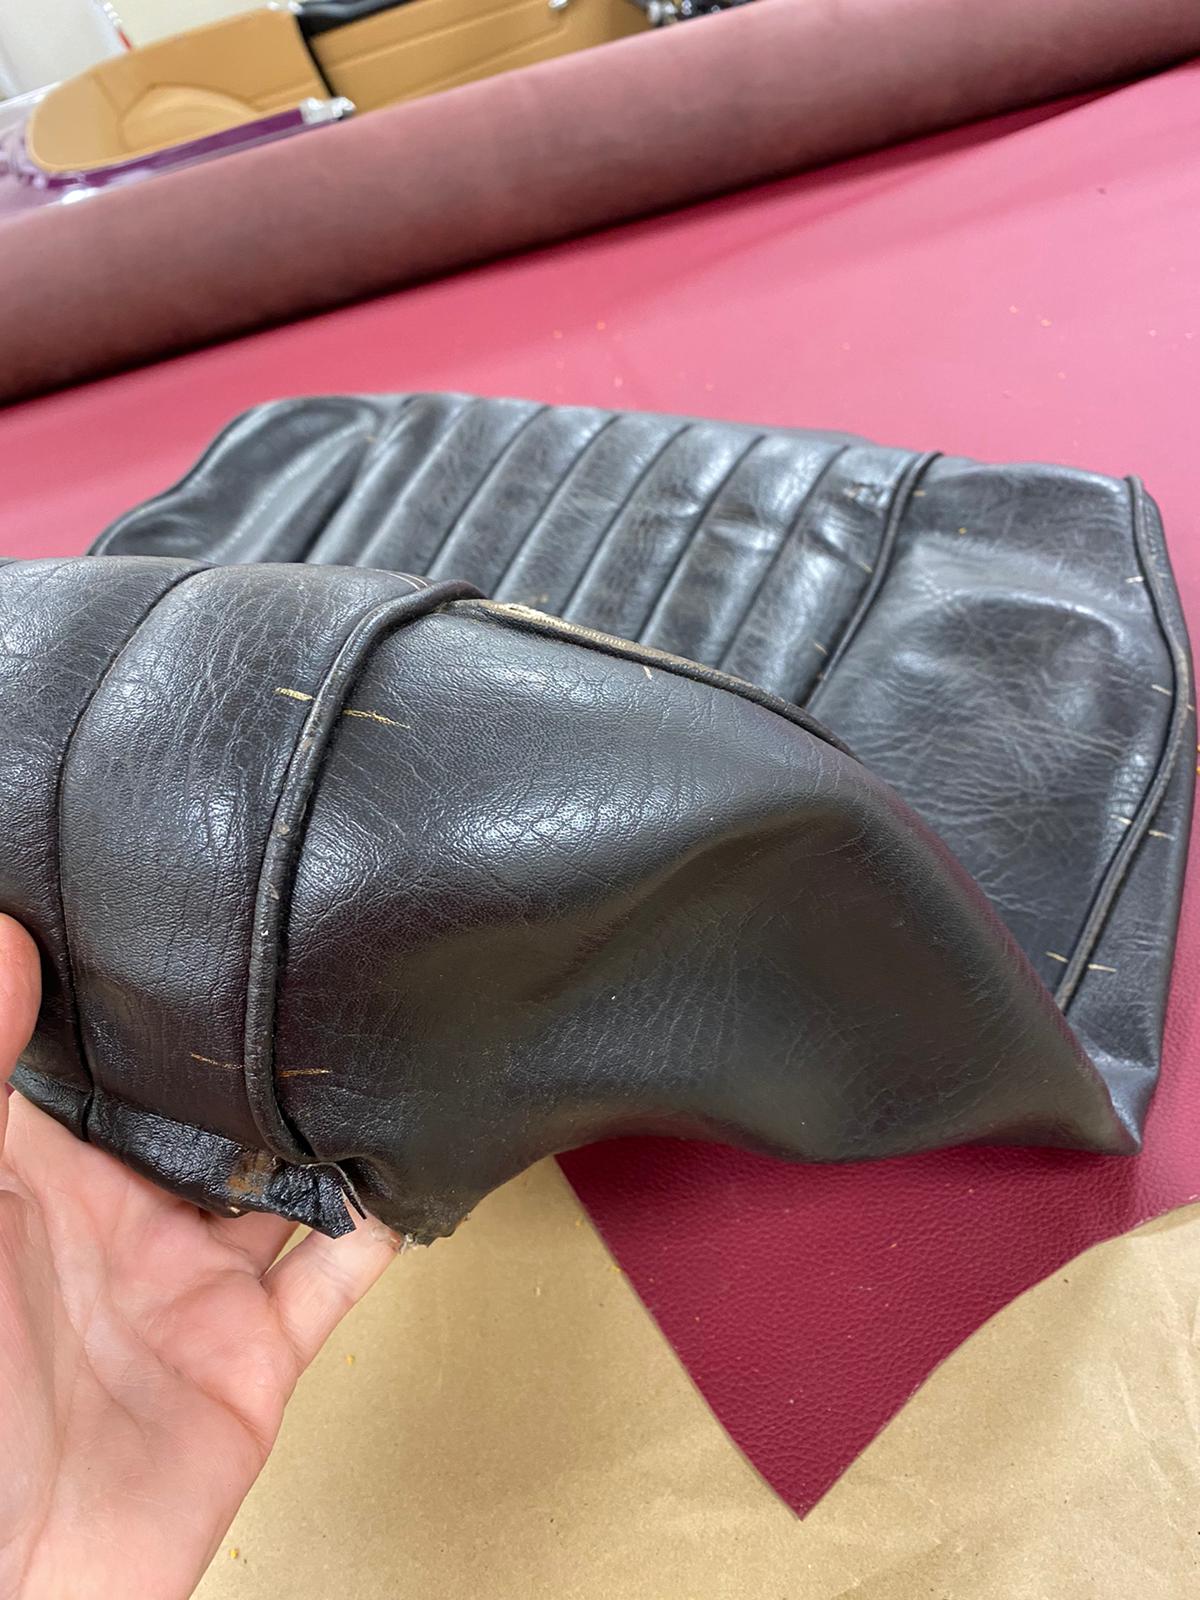
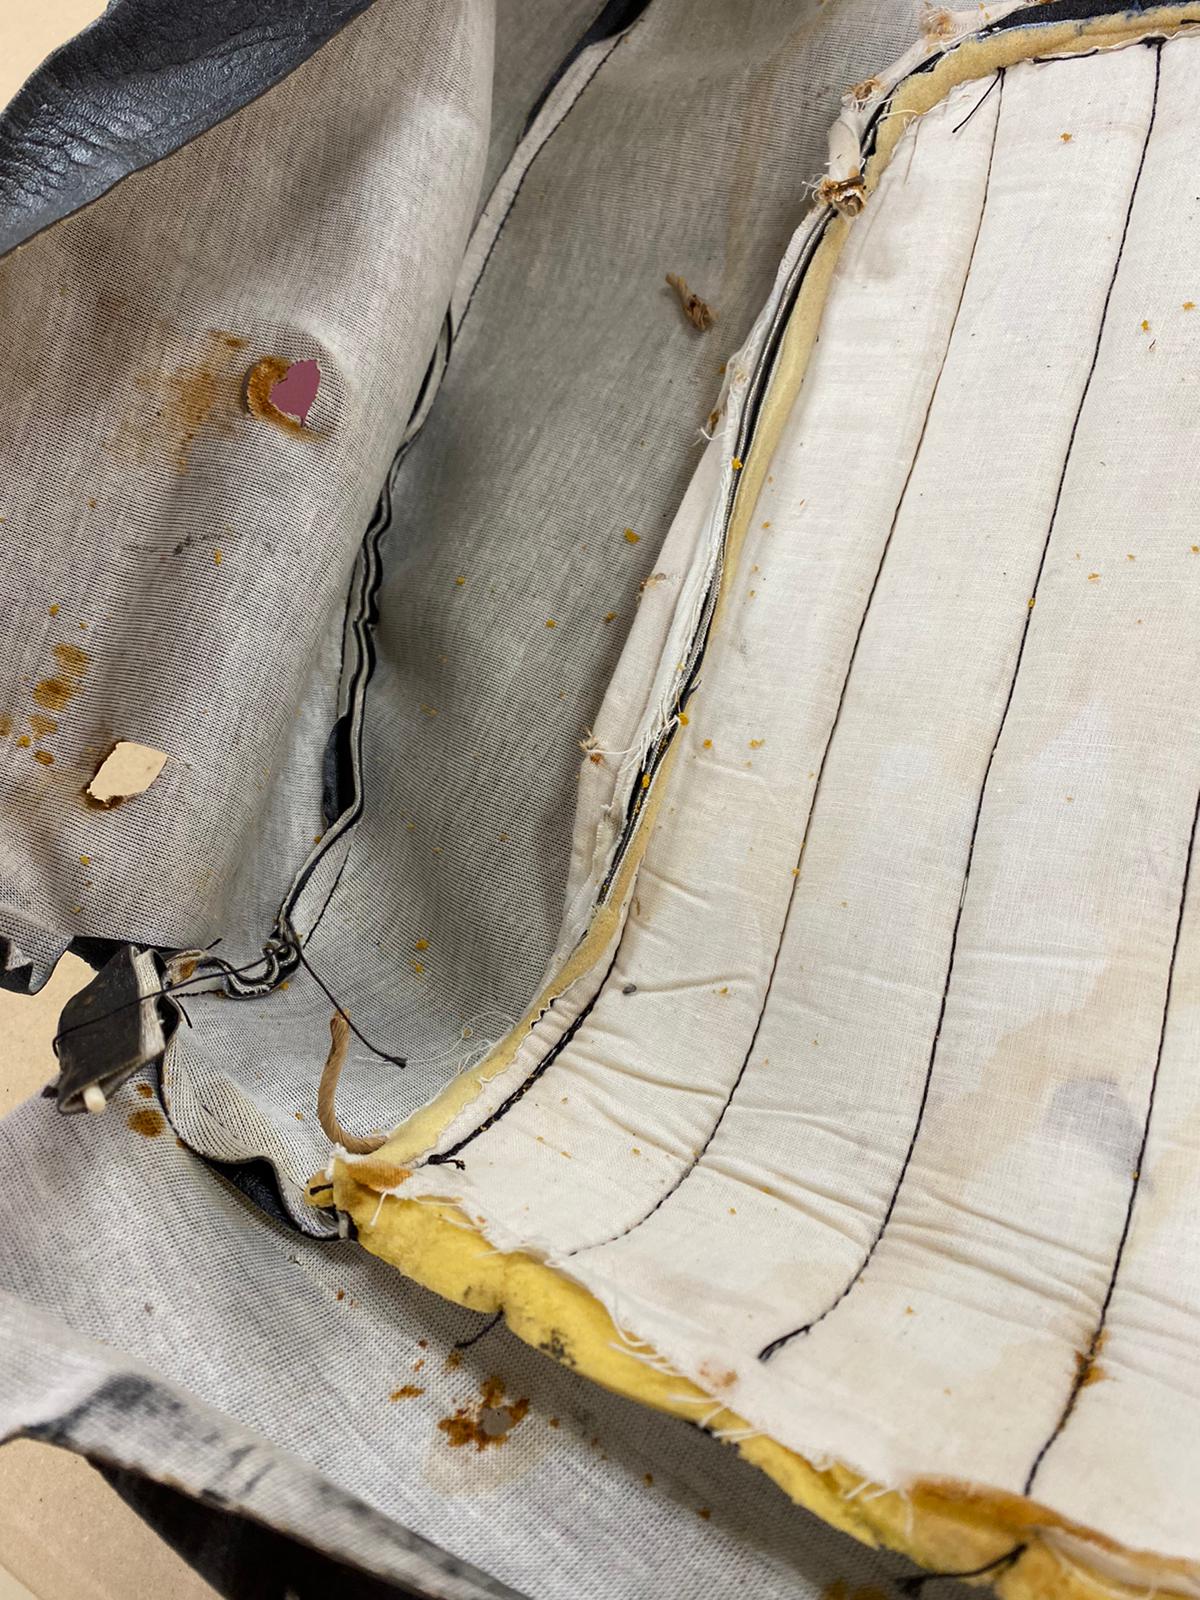
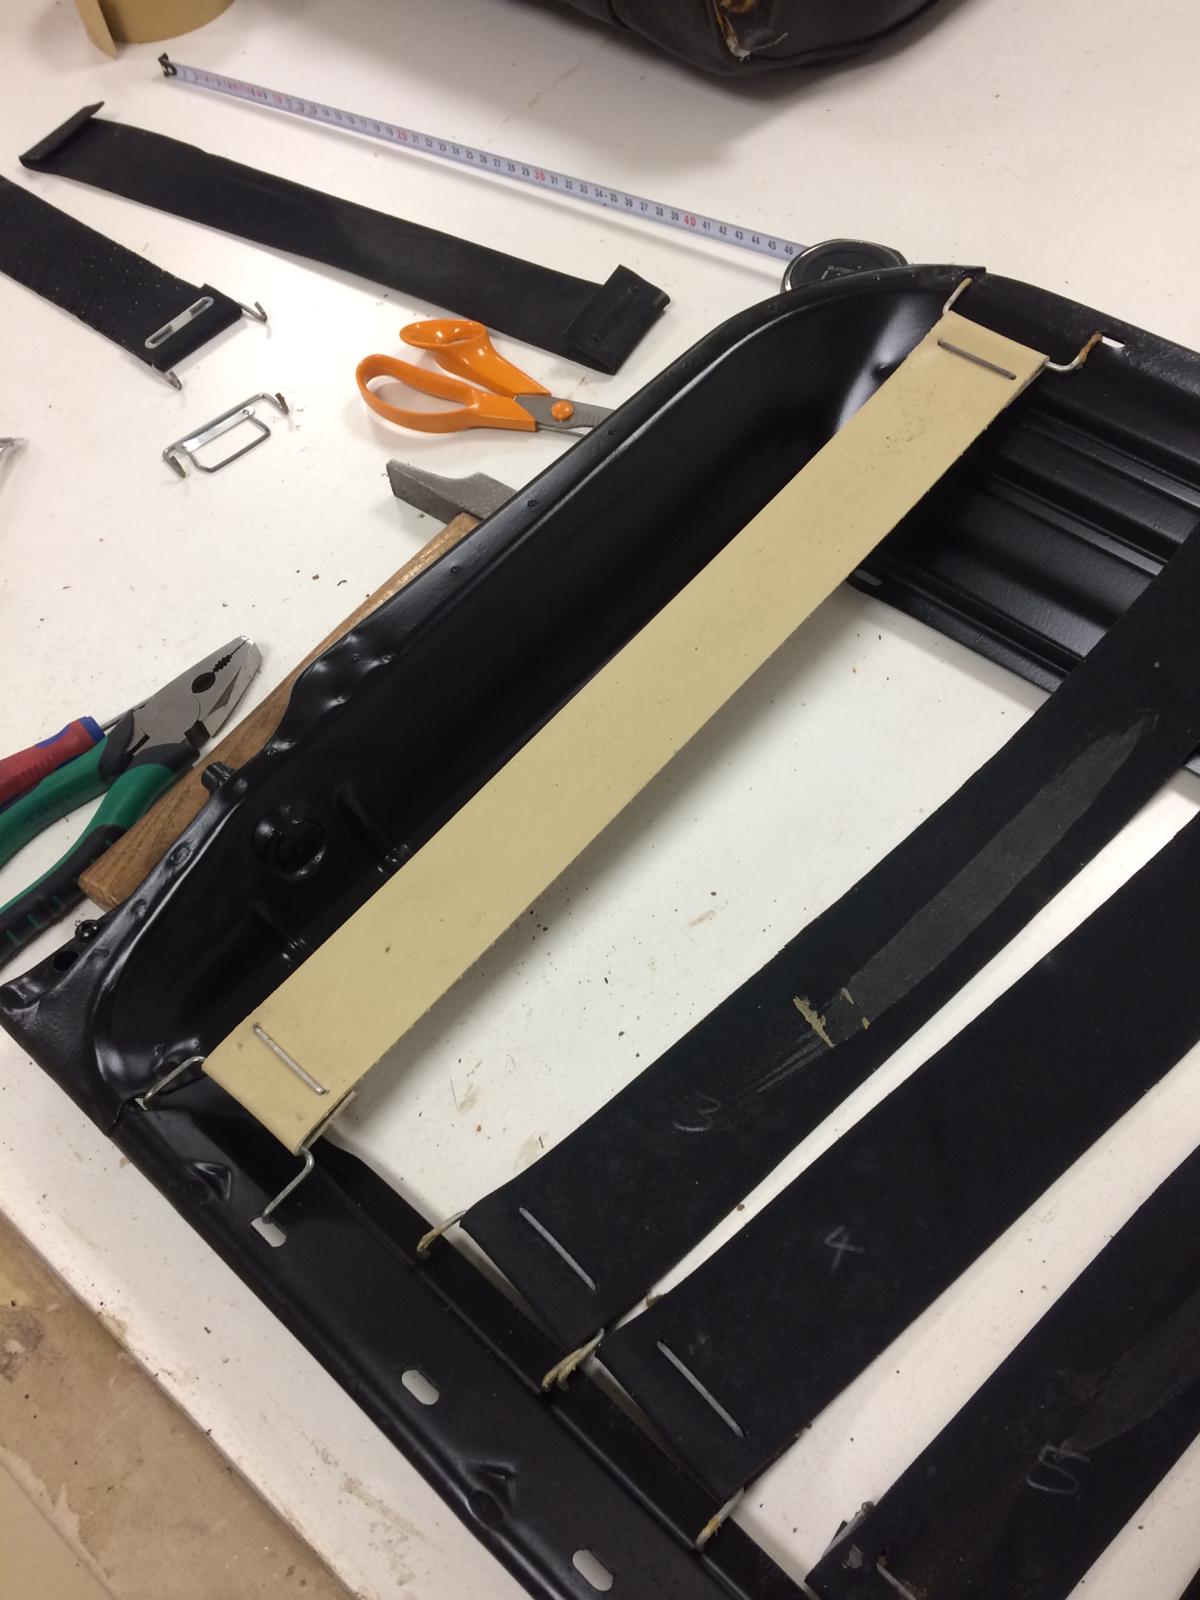
While separating all the different parts, Kath also has to remove all the hog rings she finds along the way. She’s also removed the plastic trim from around the adjustment handles and the base of the seat.
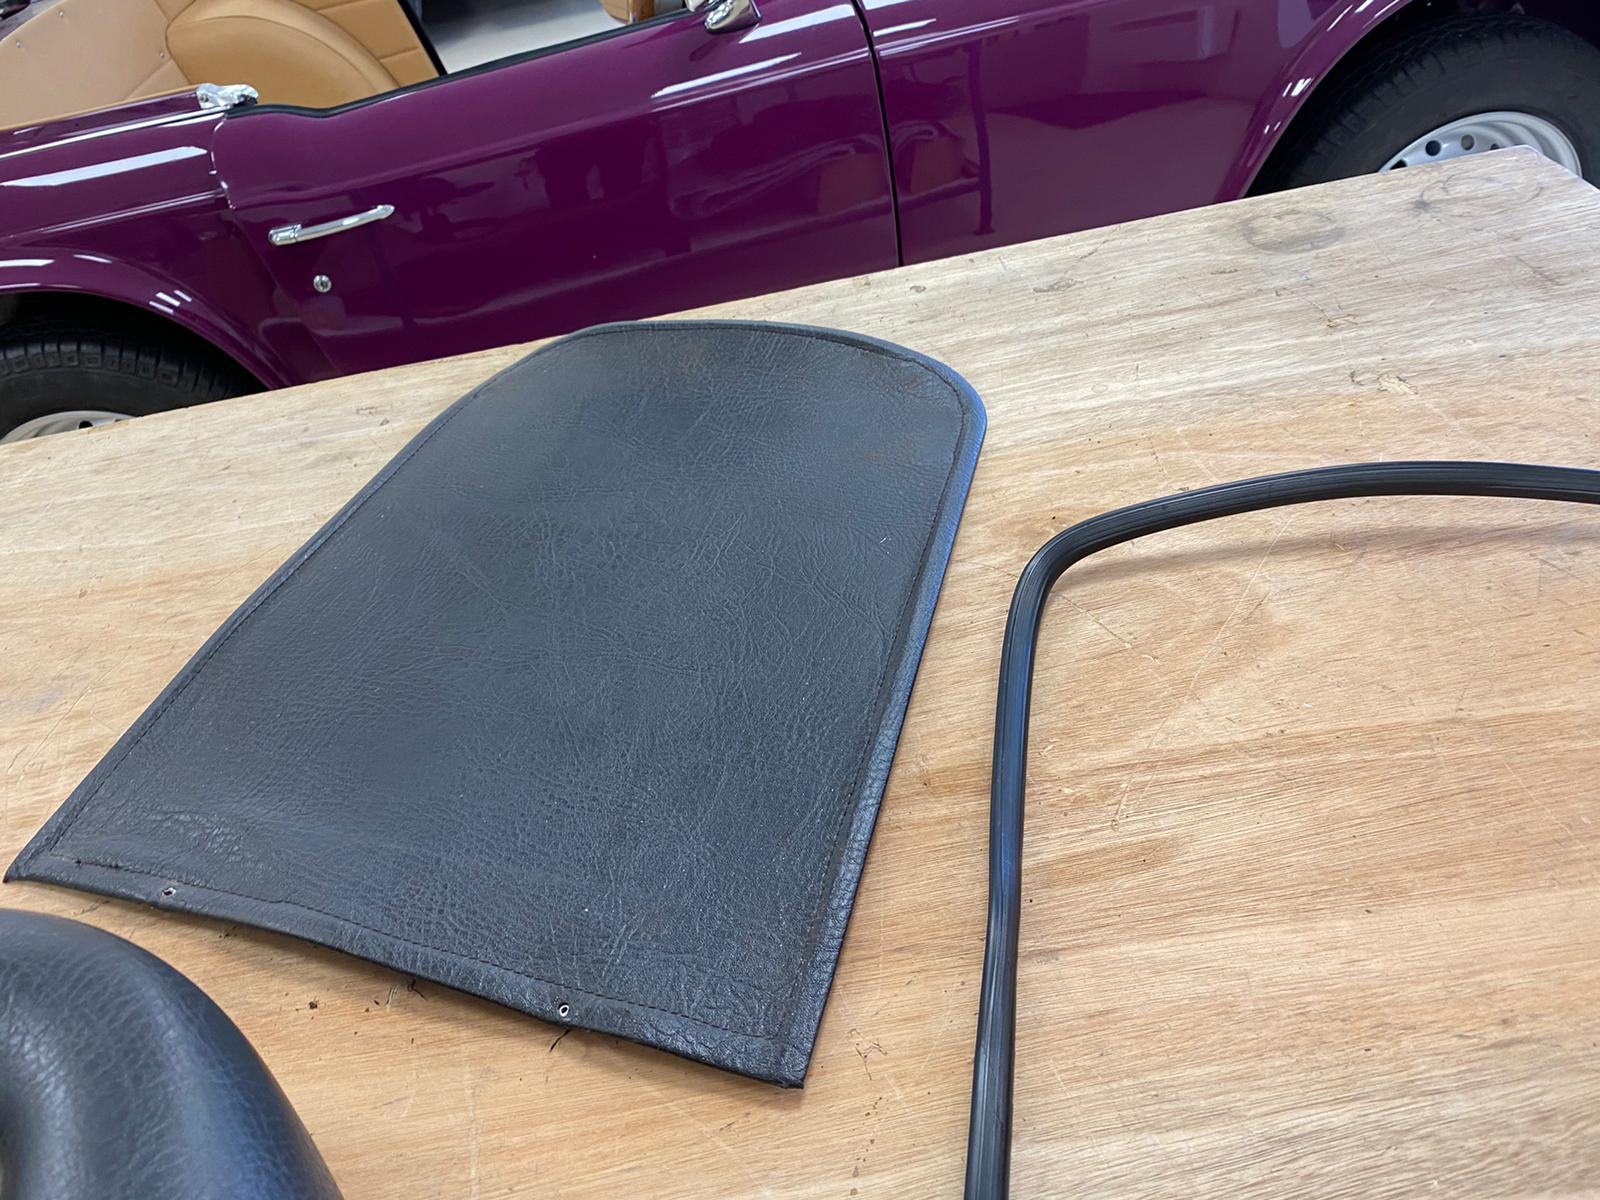
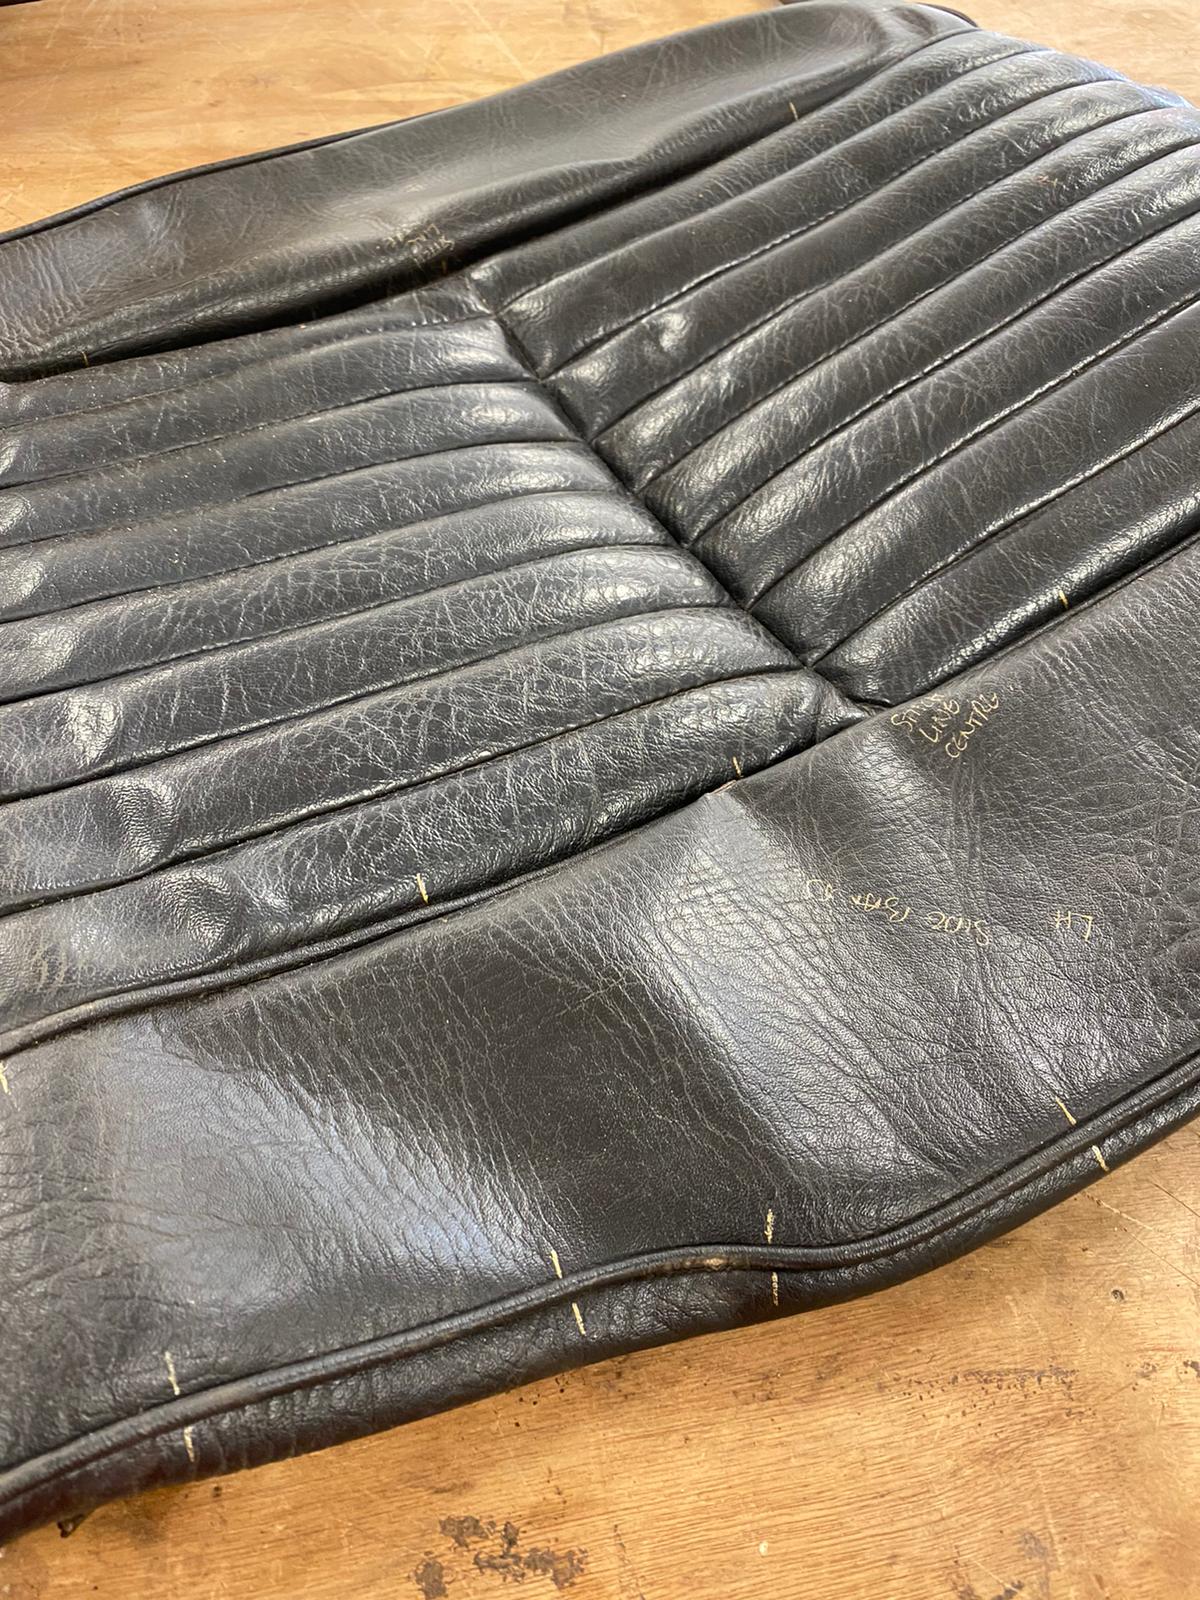
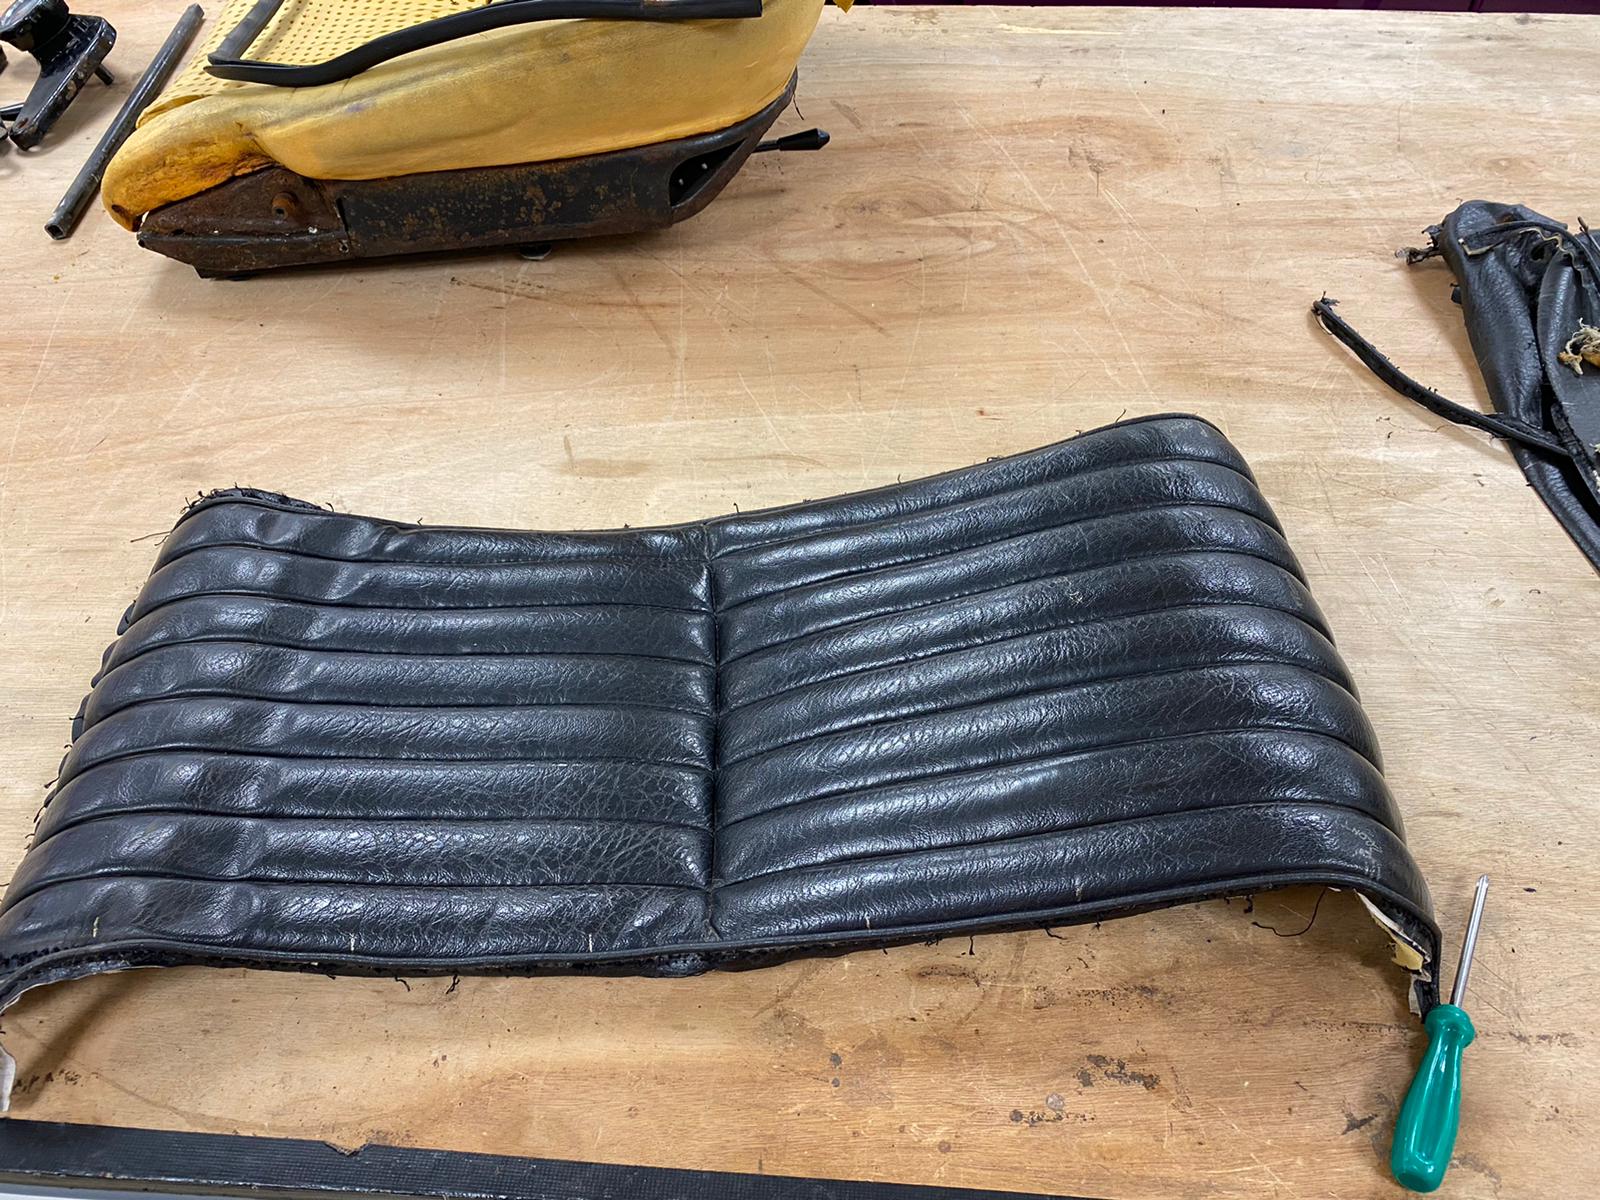
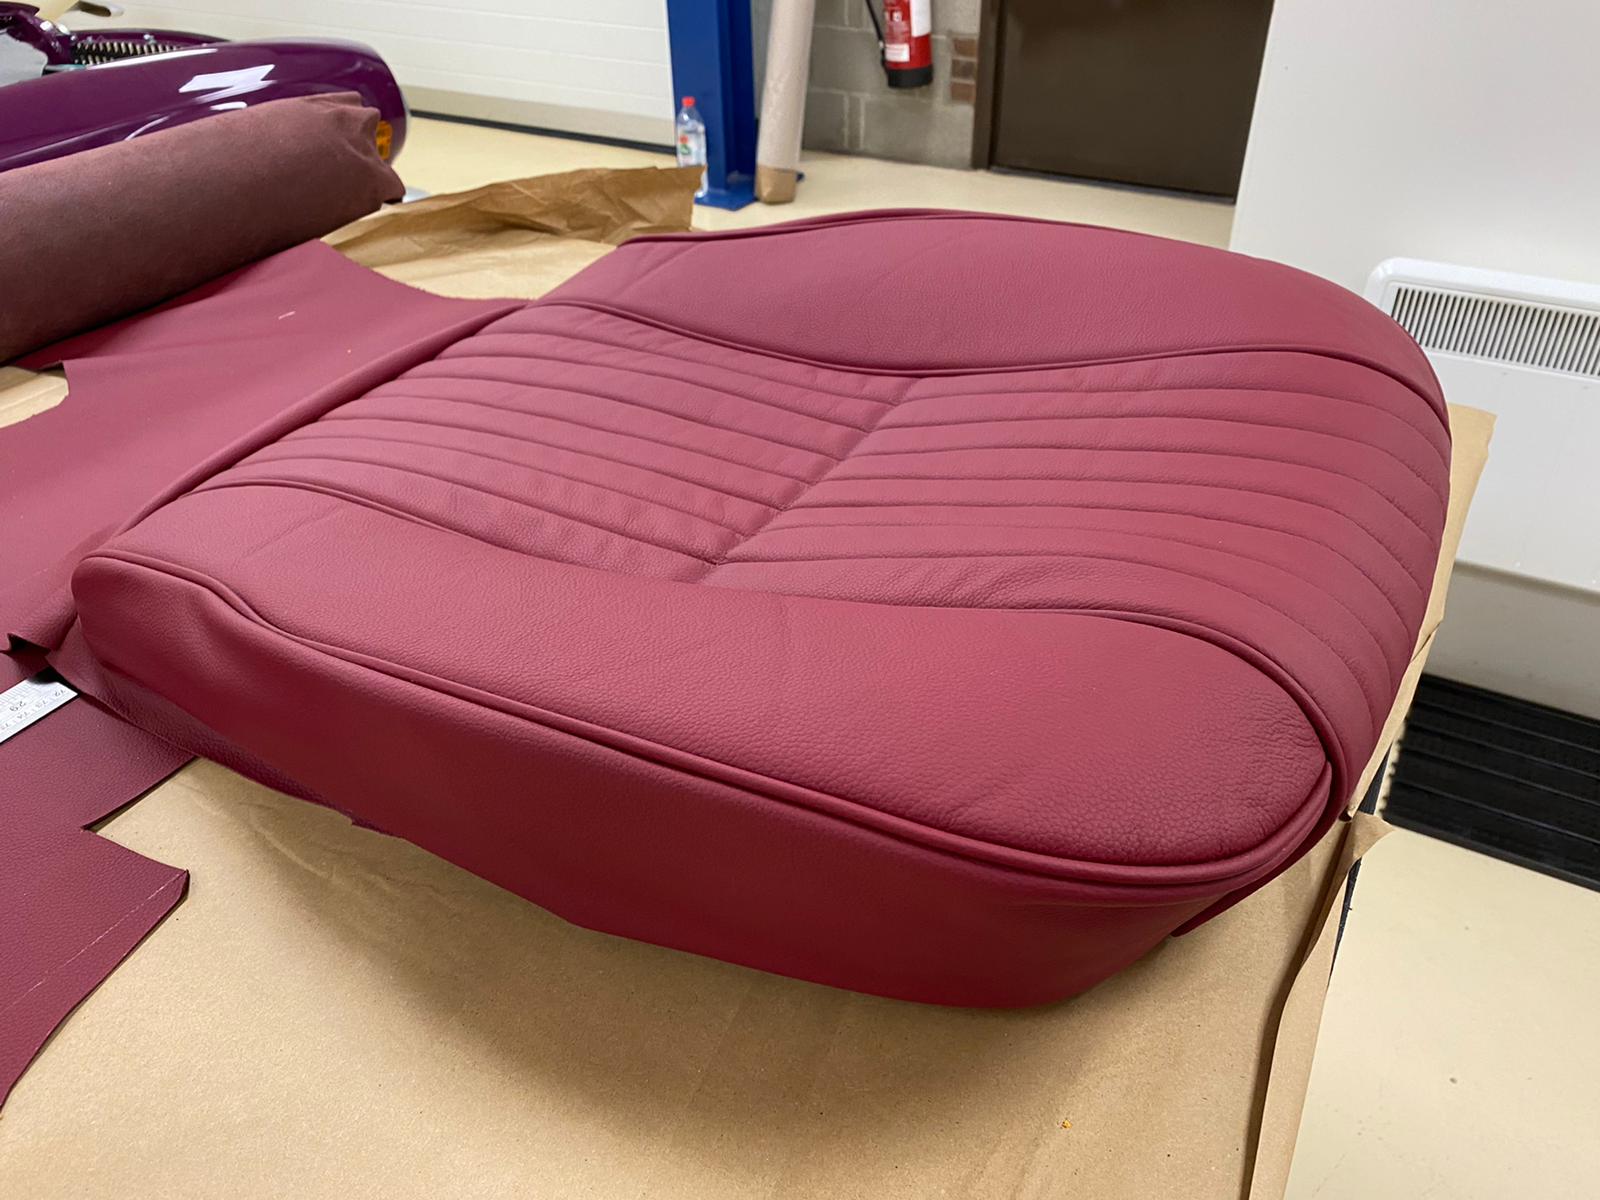
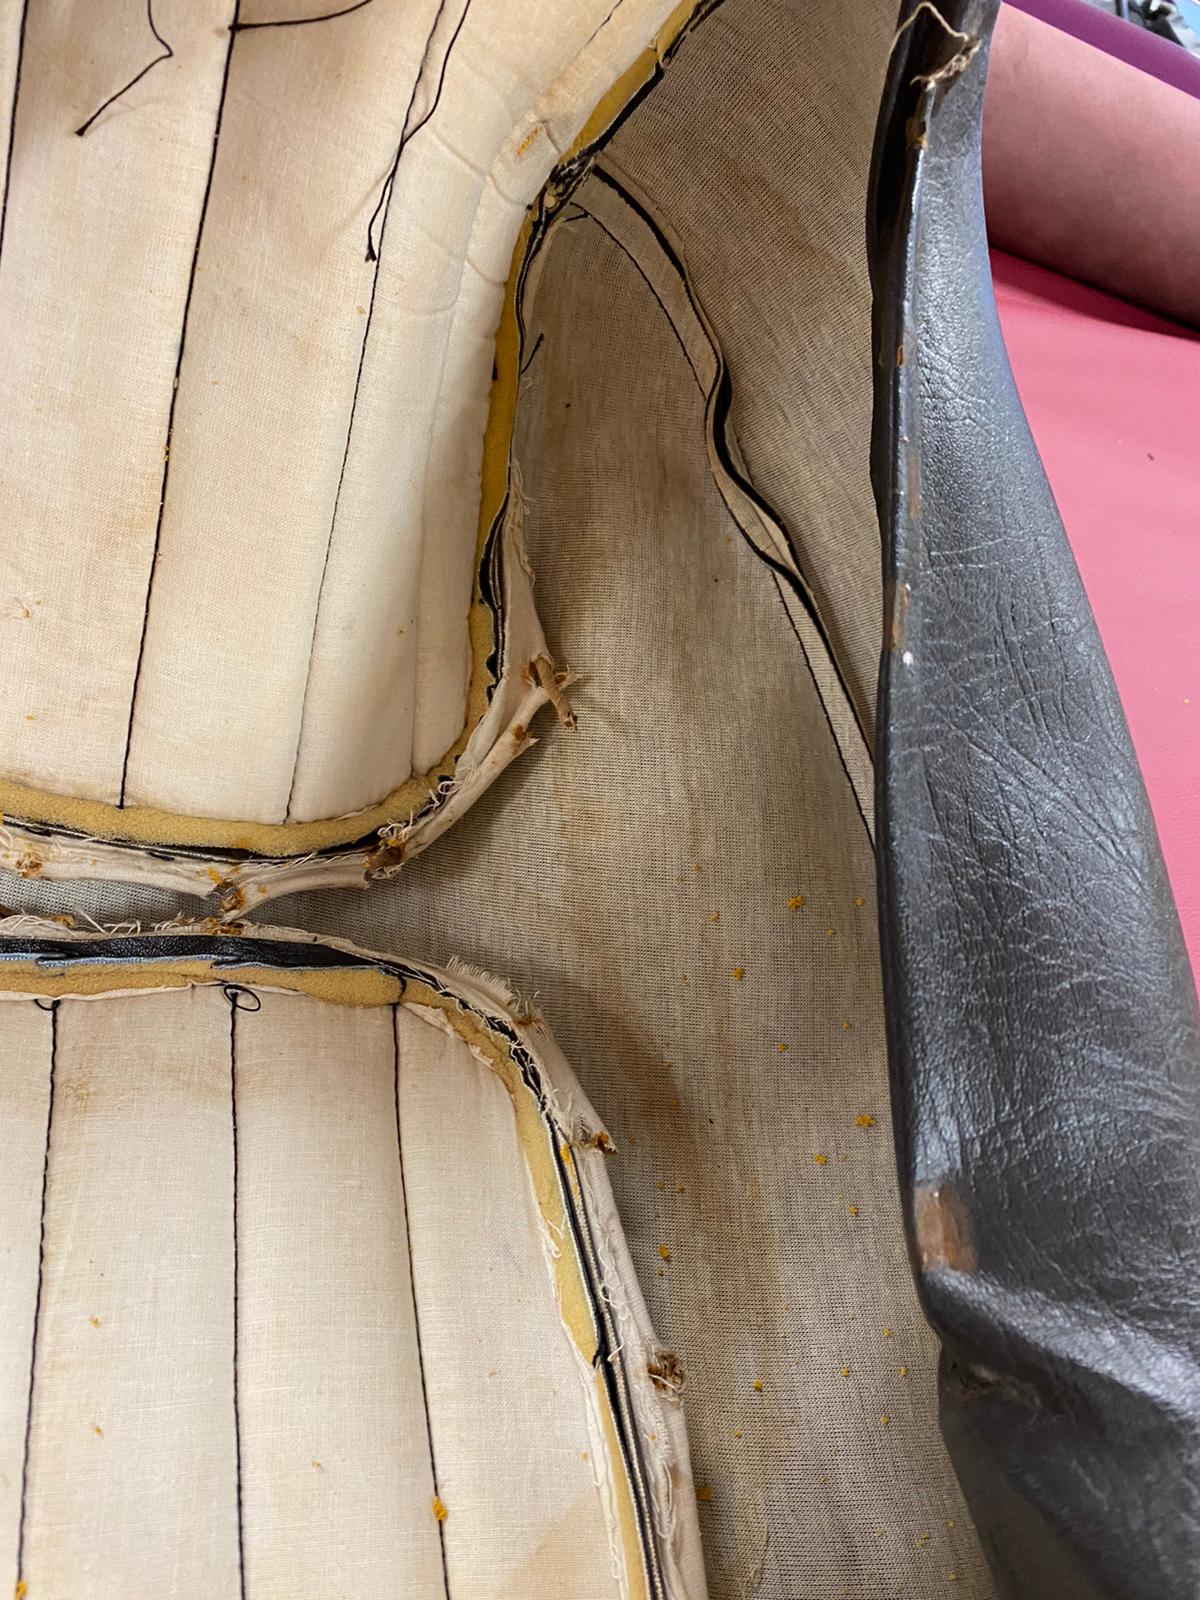
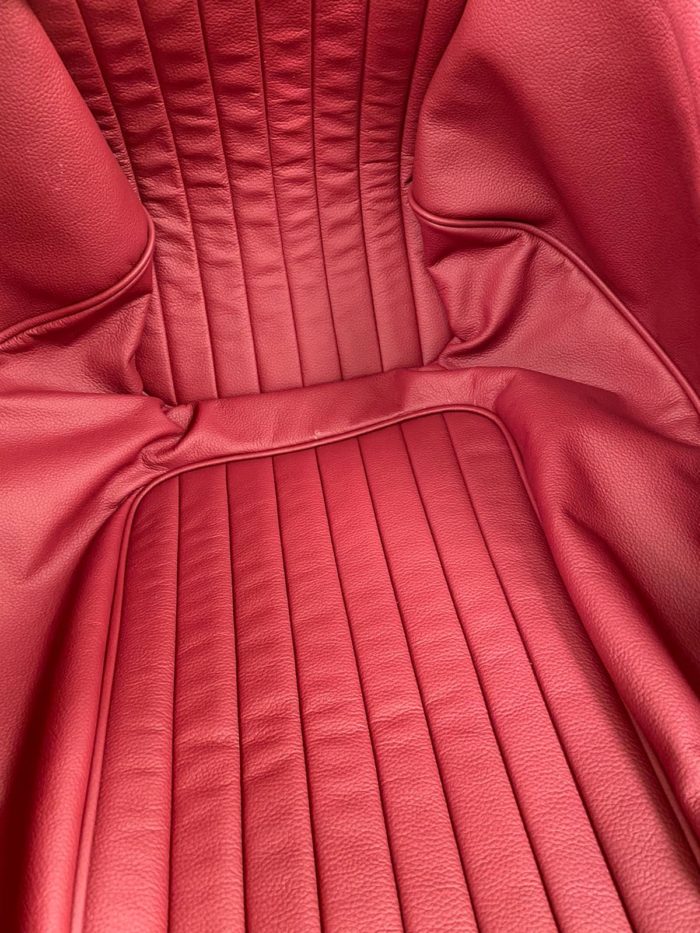
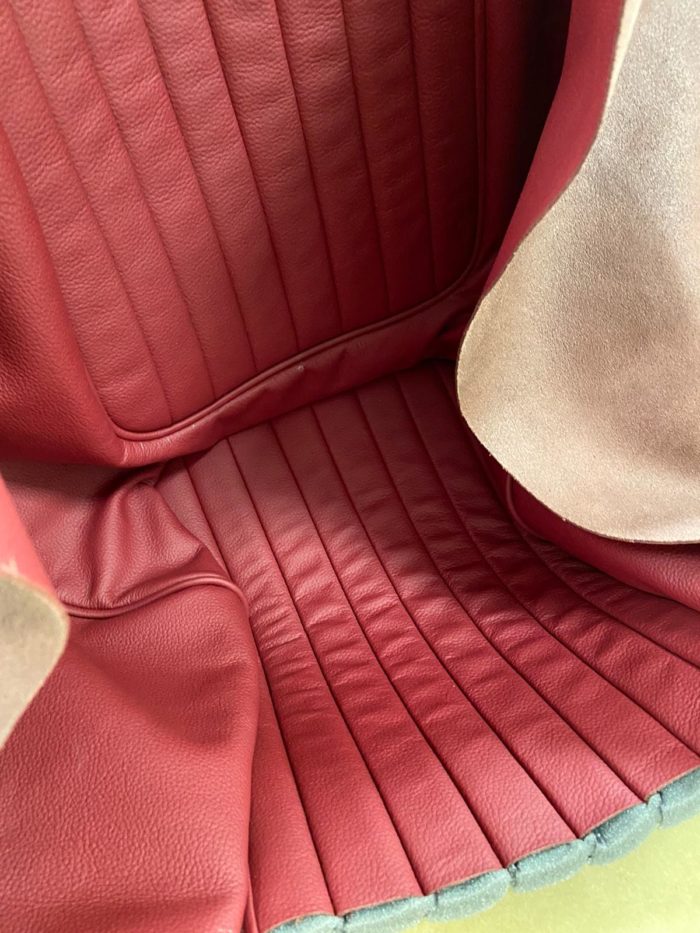
Pictures like these are incredibly useful to the team to know the shape they’re aiming for.
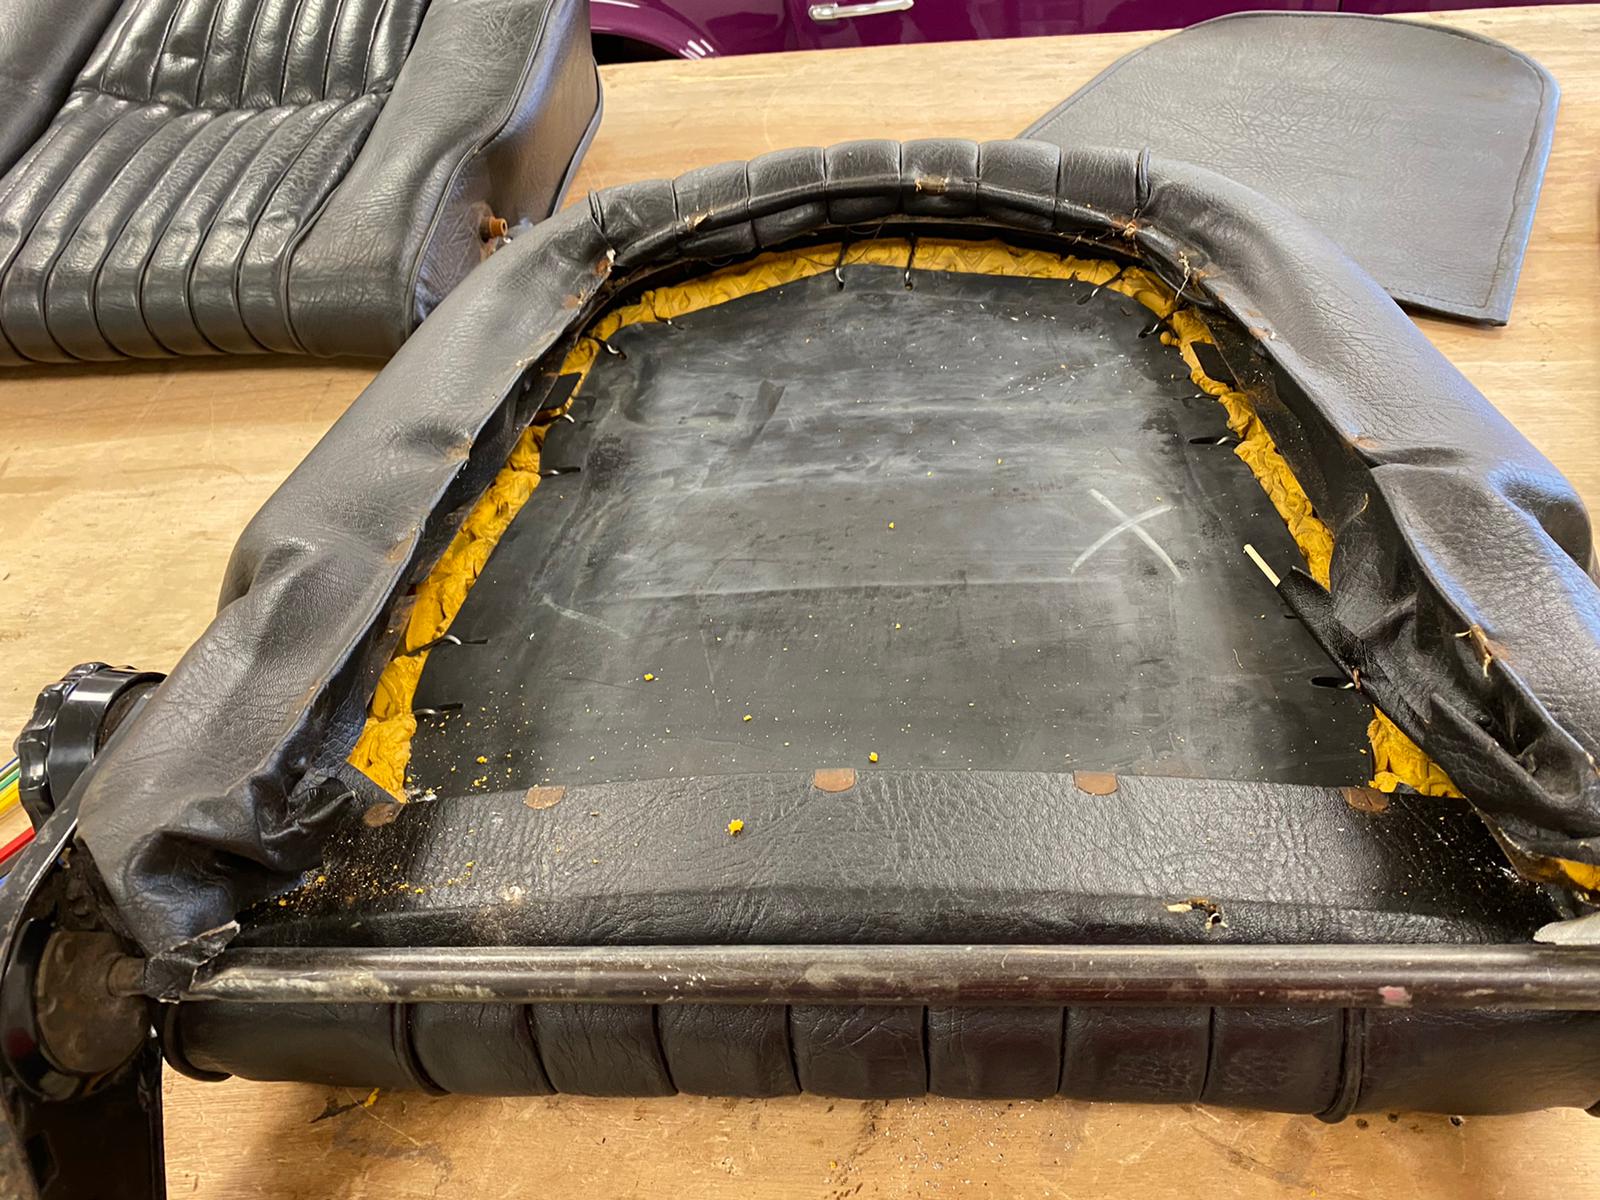

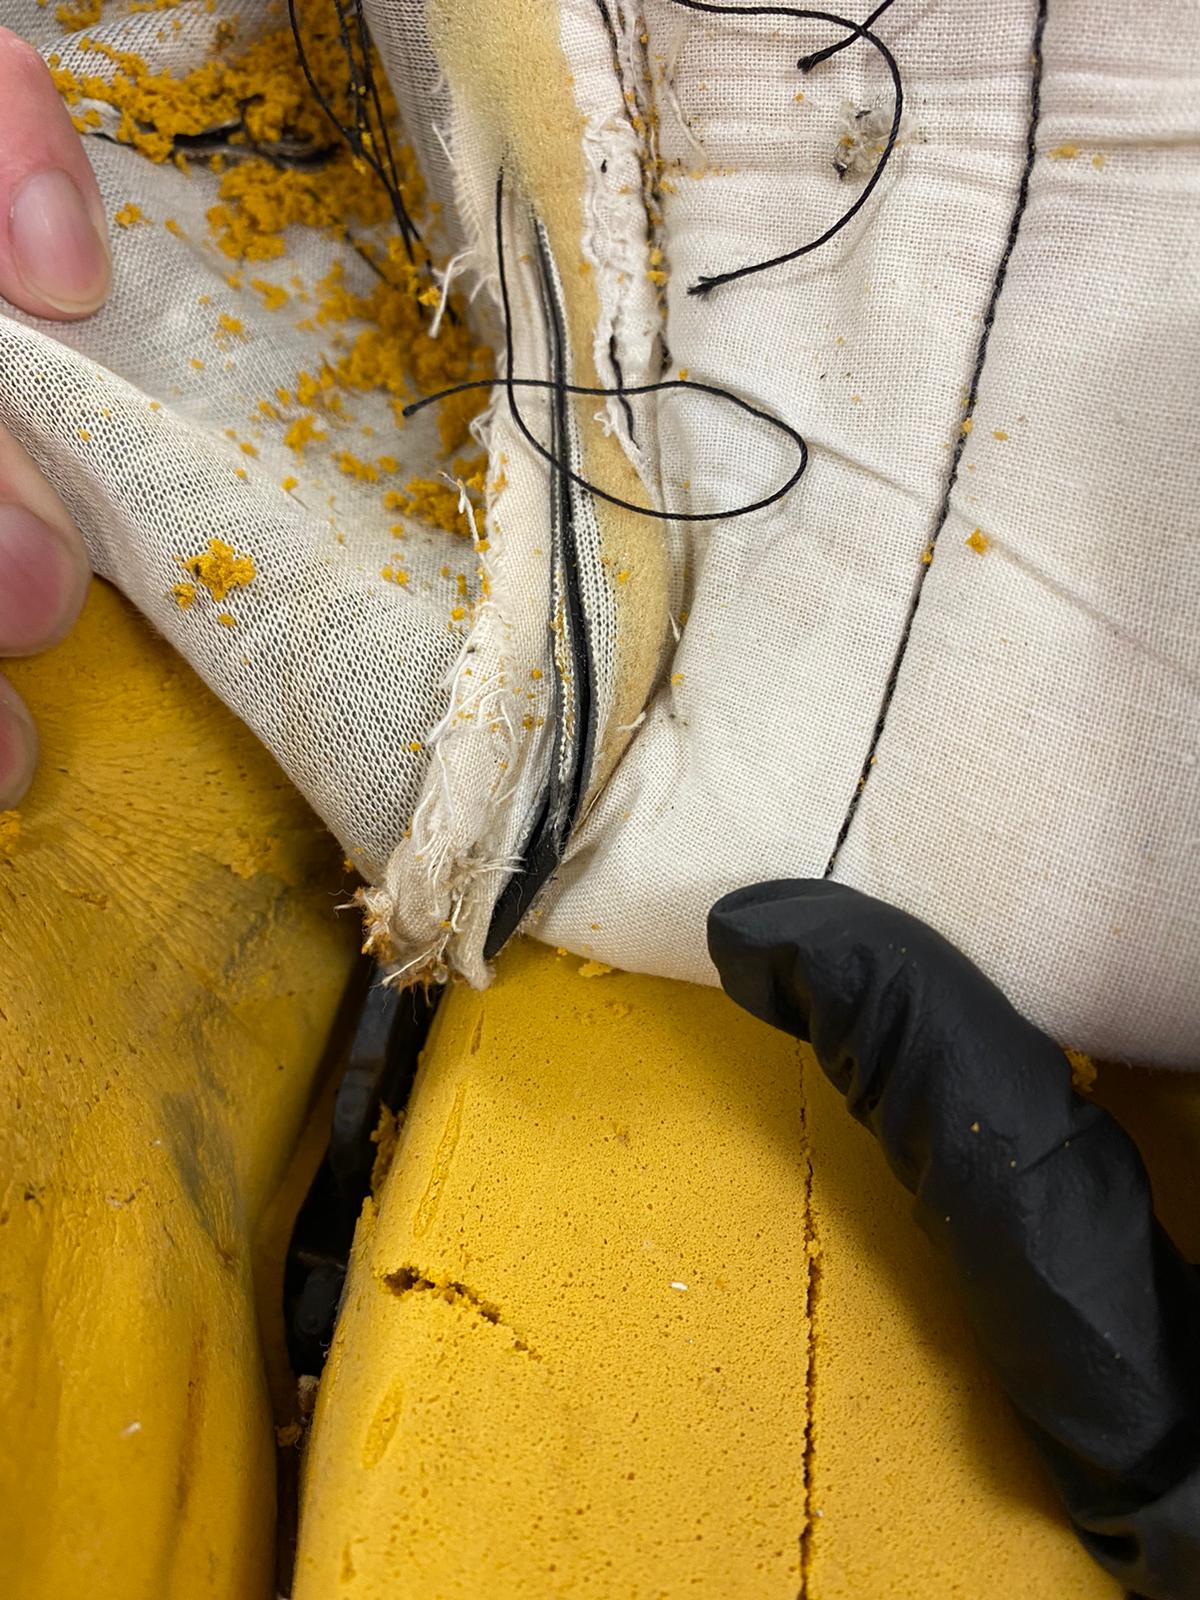

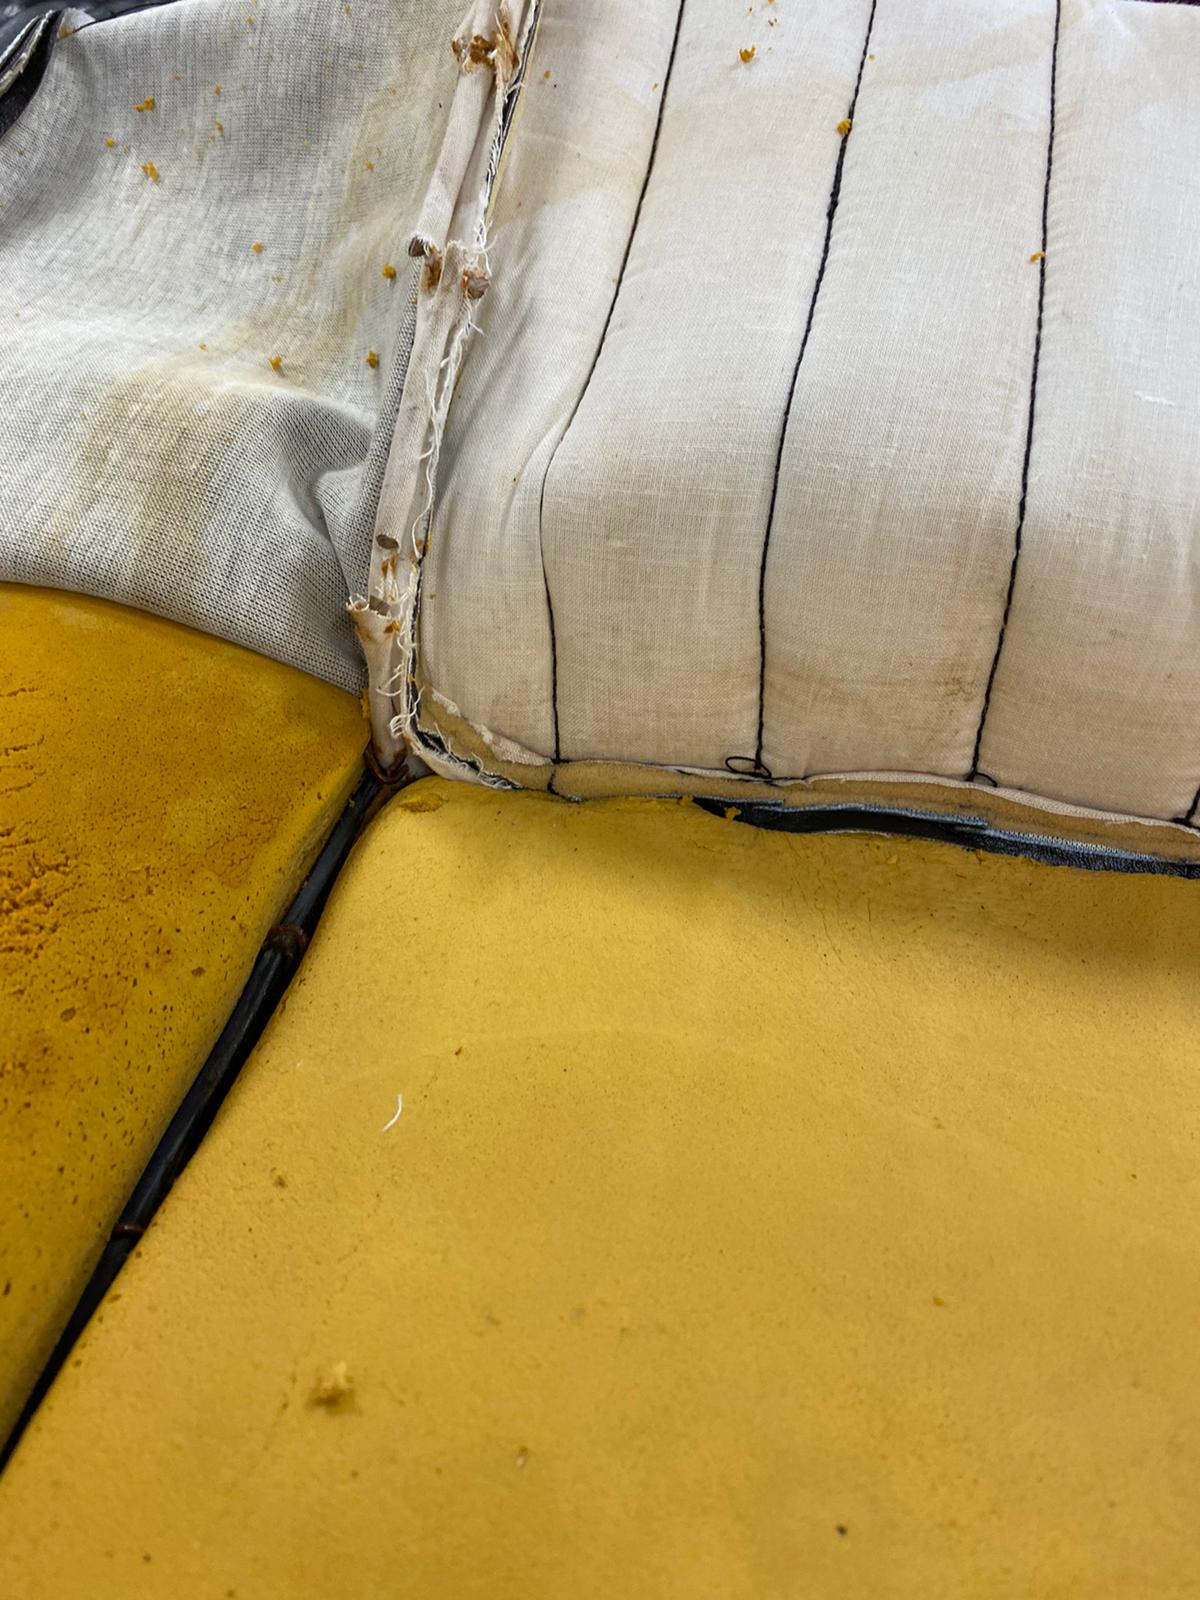

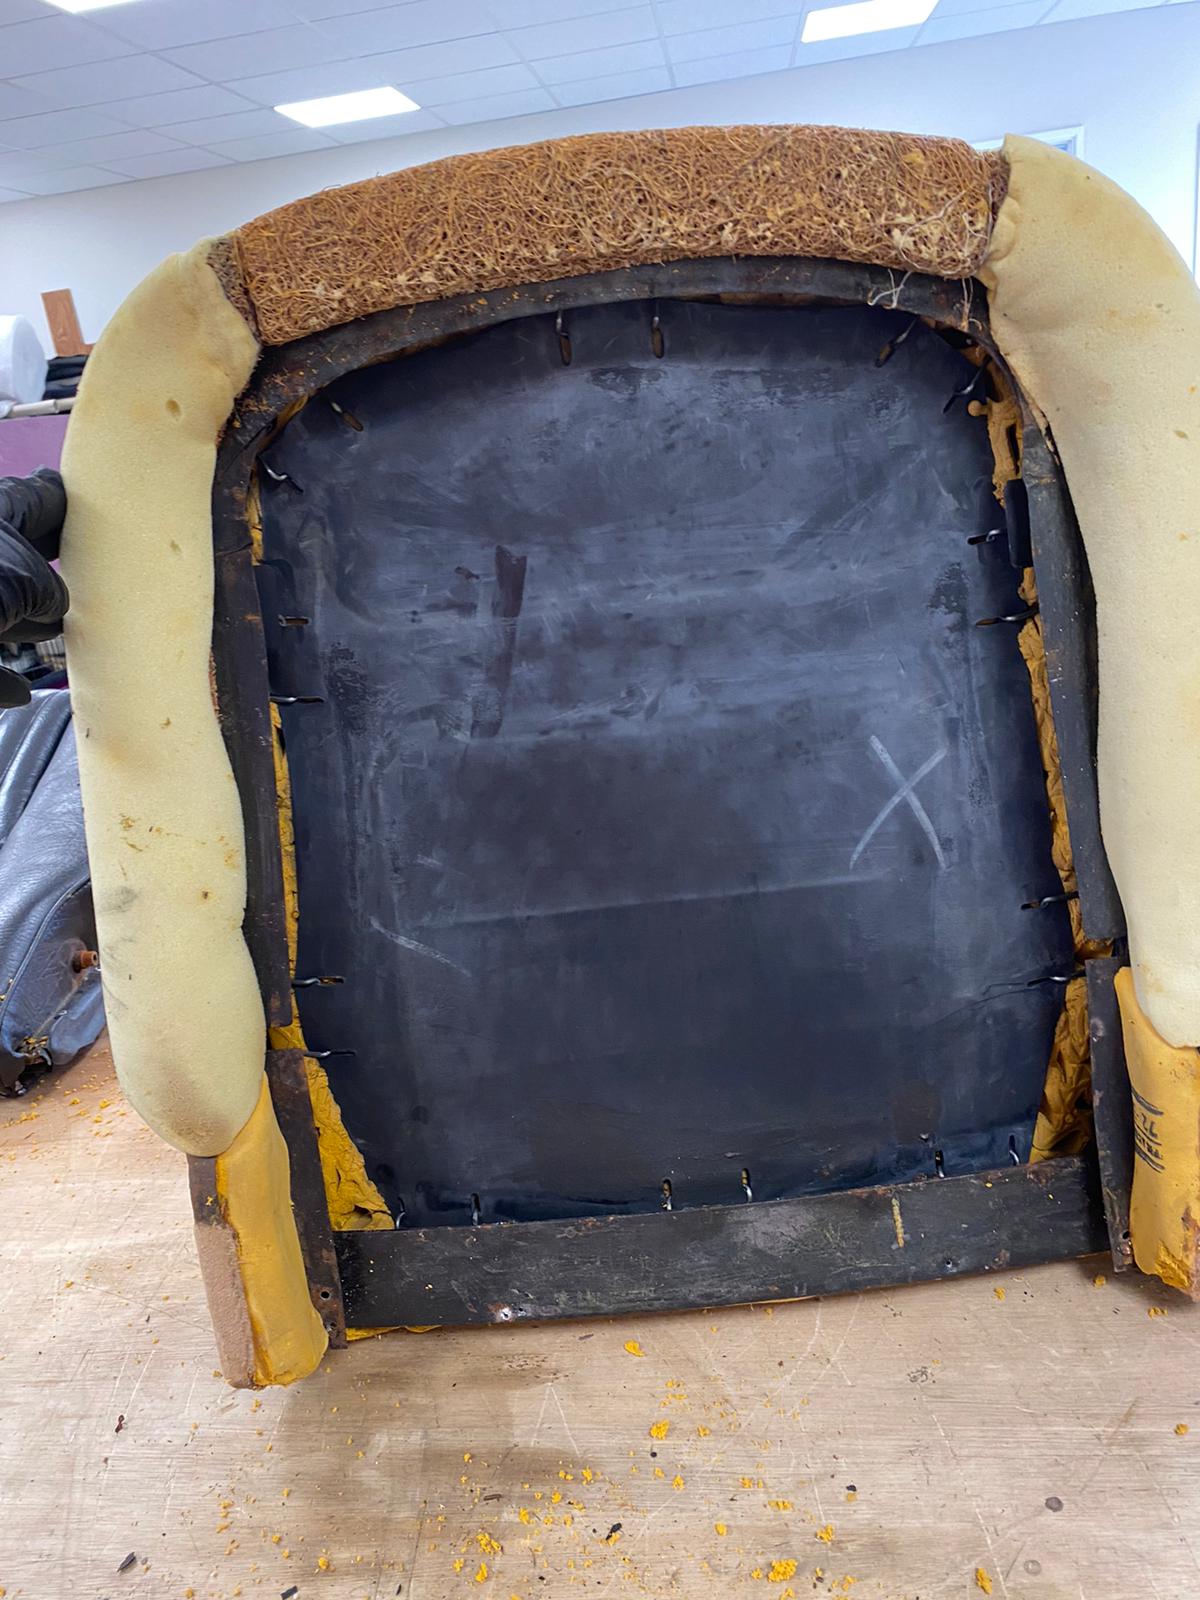
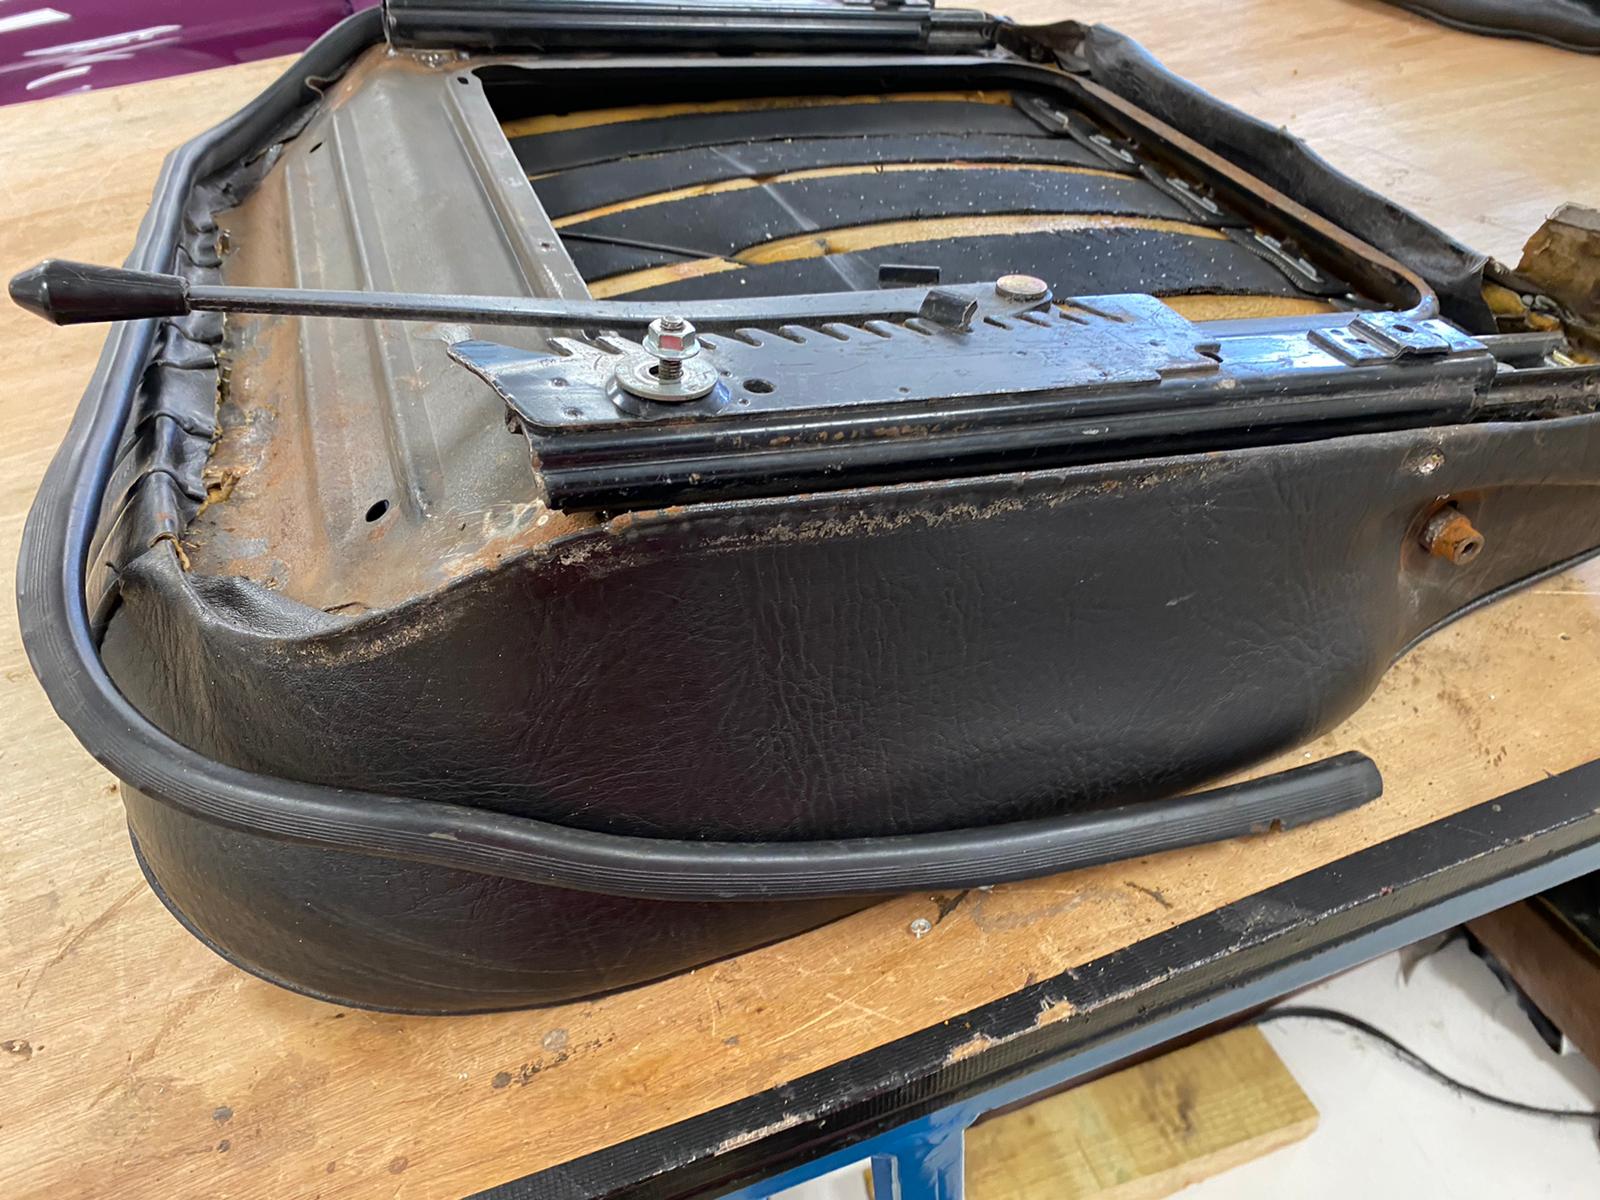
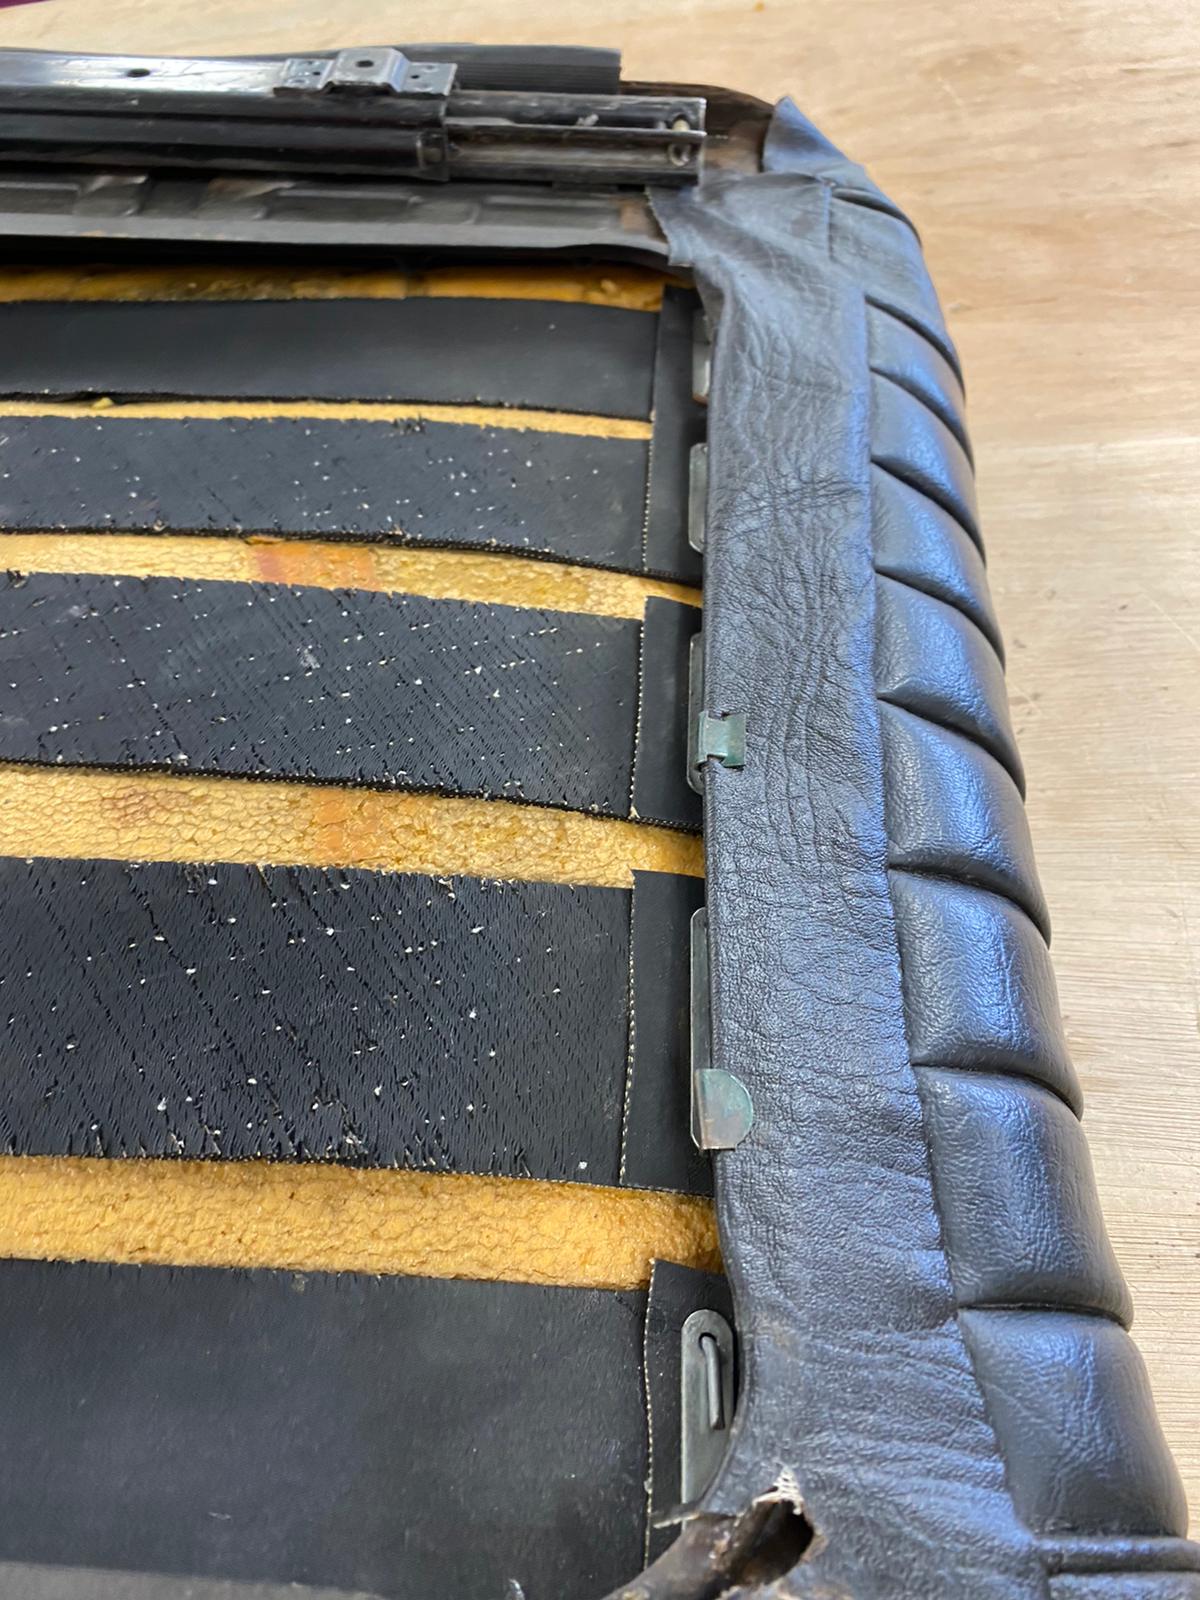
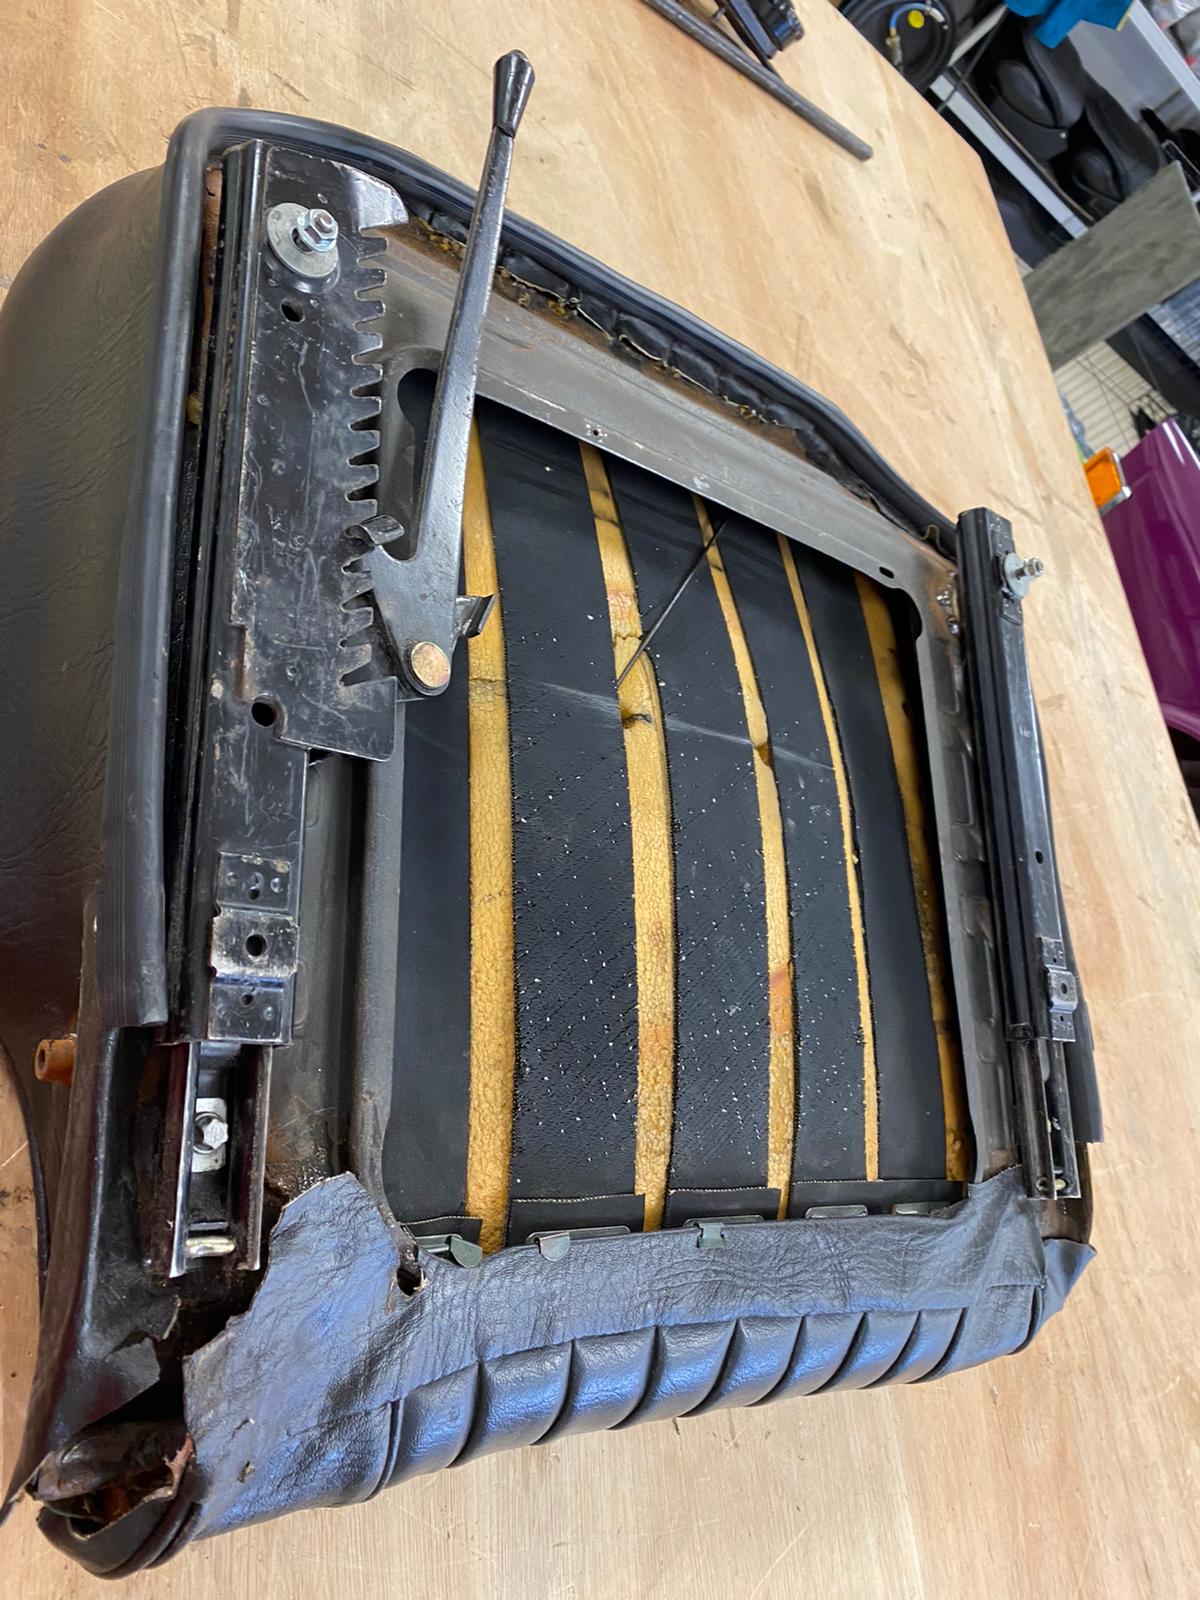
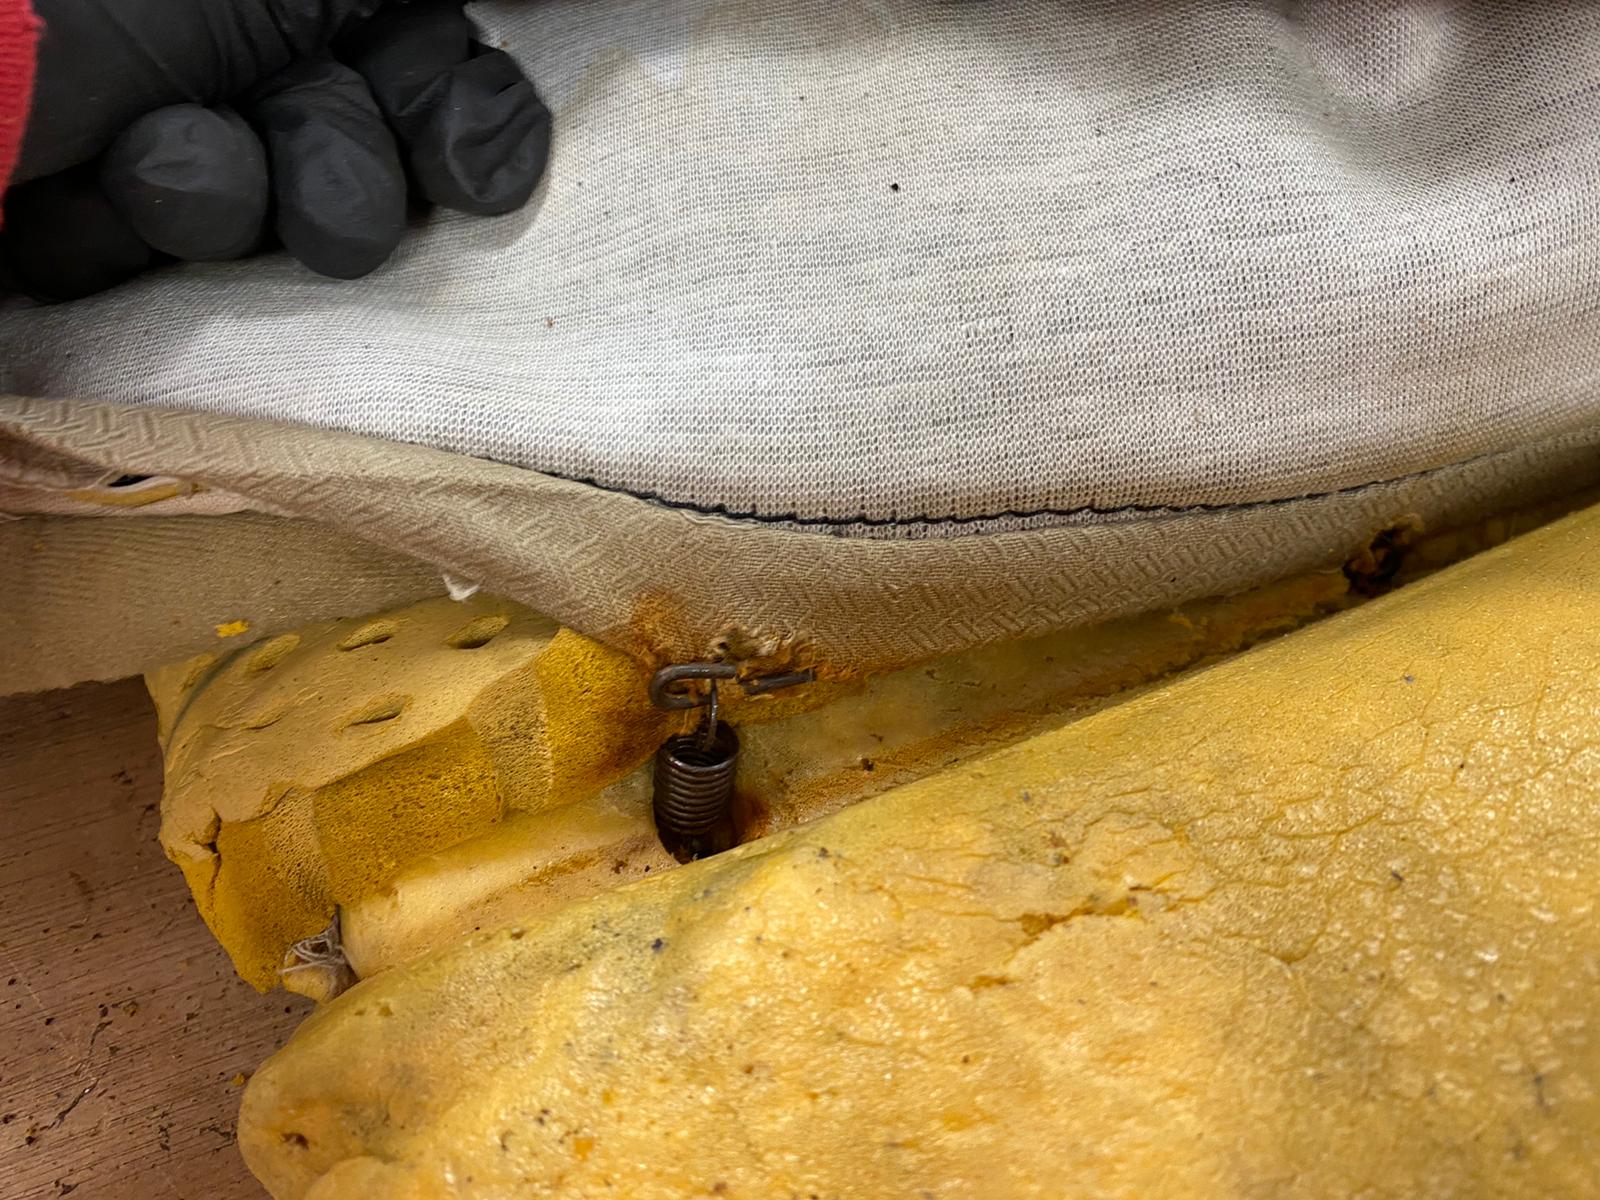
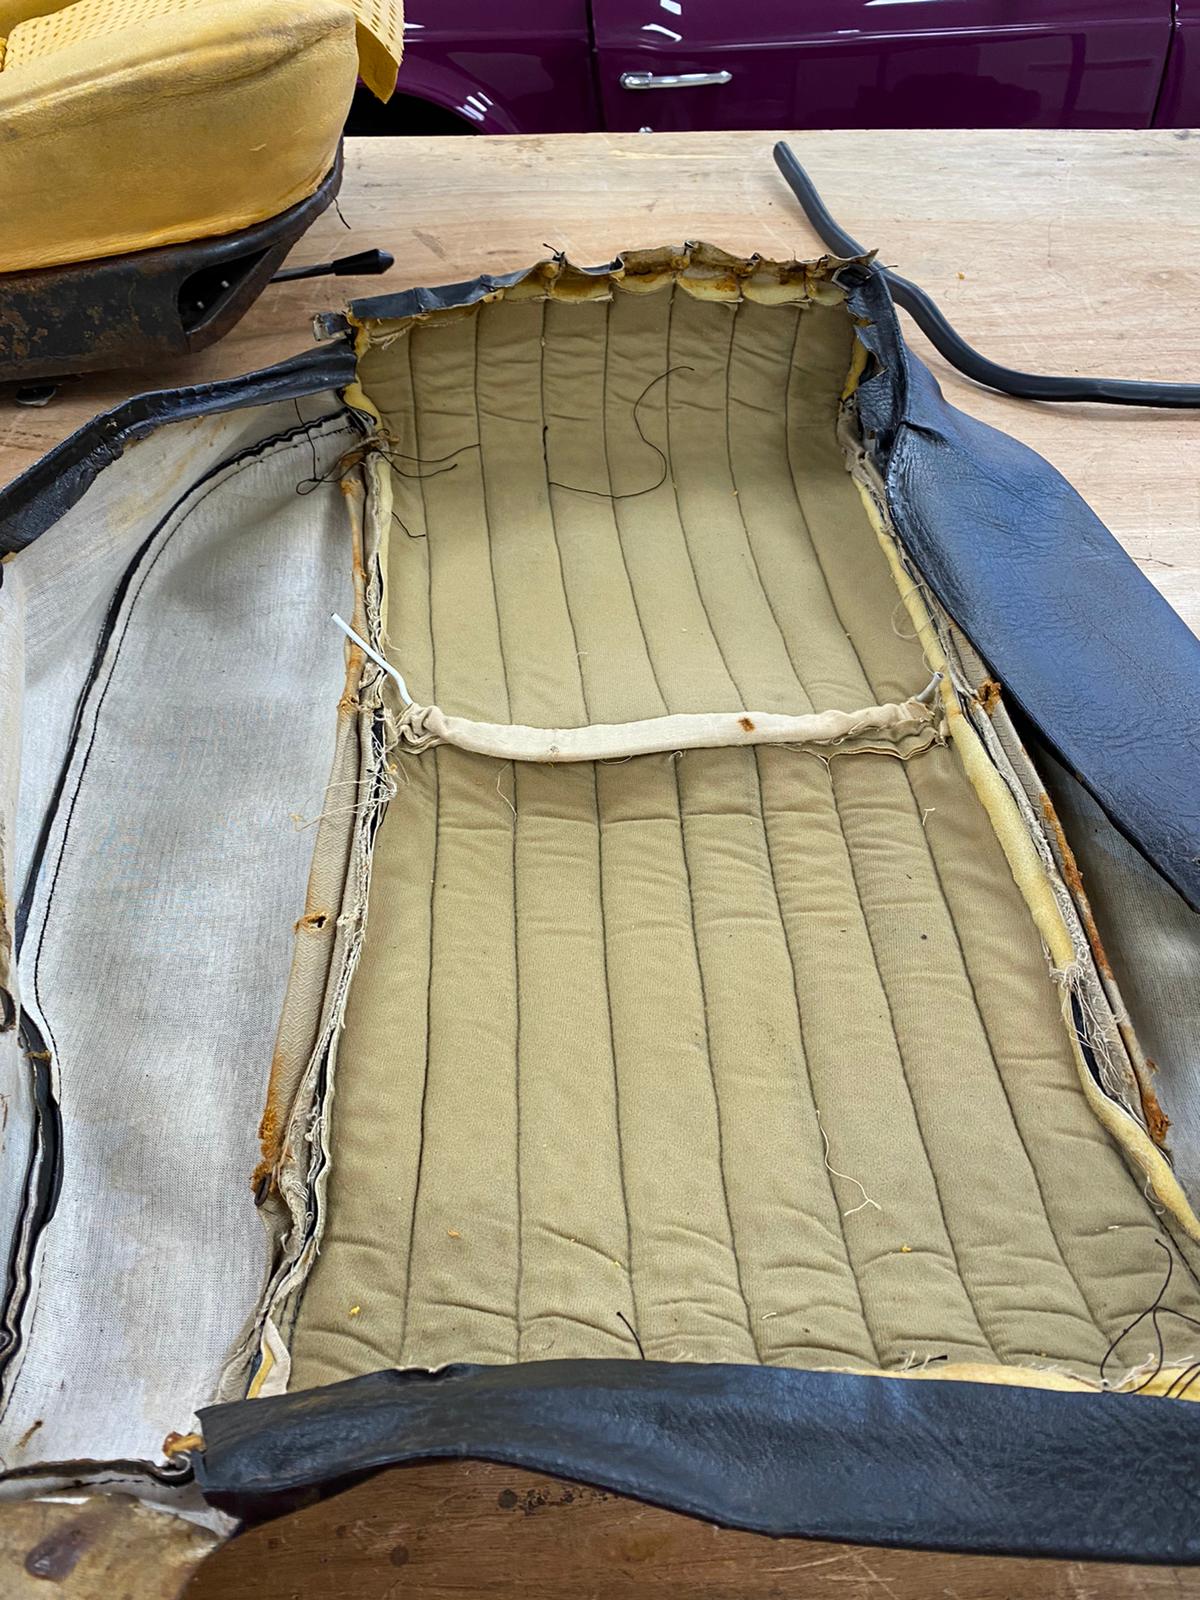
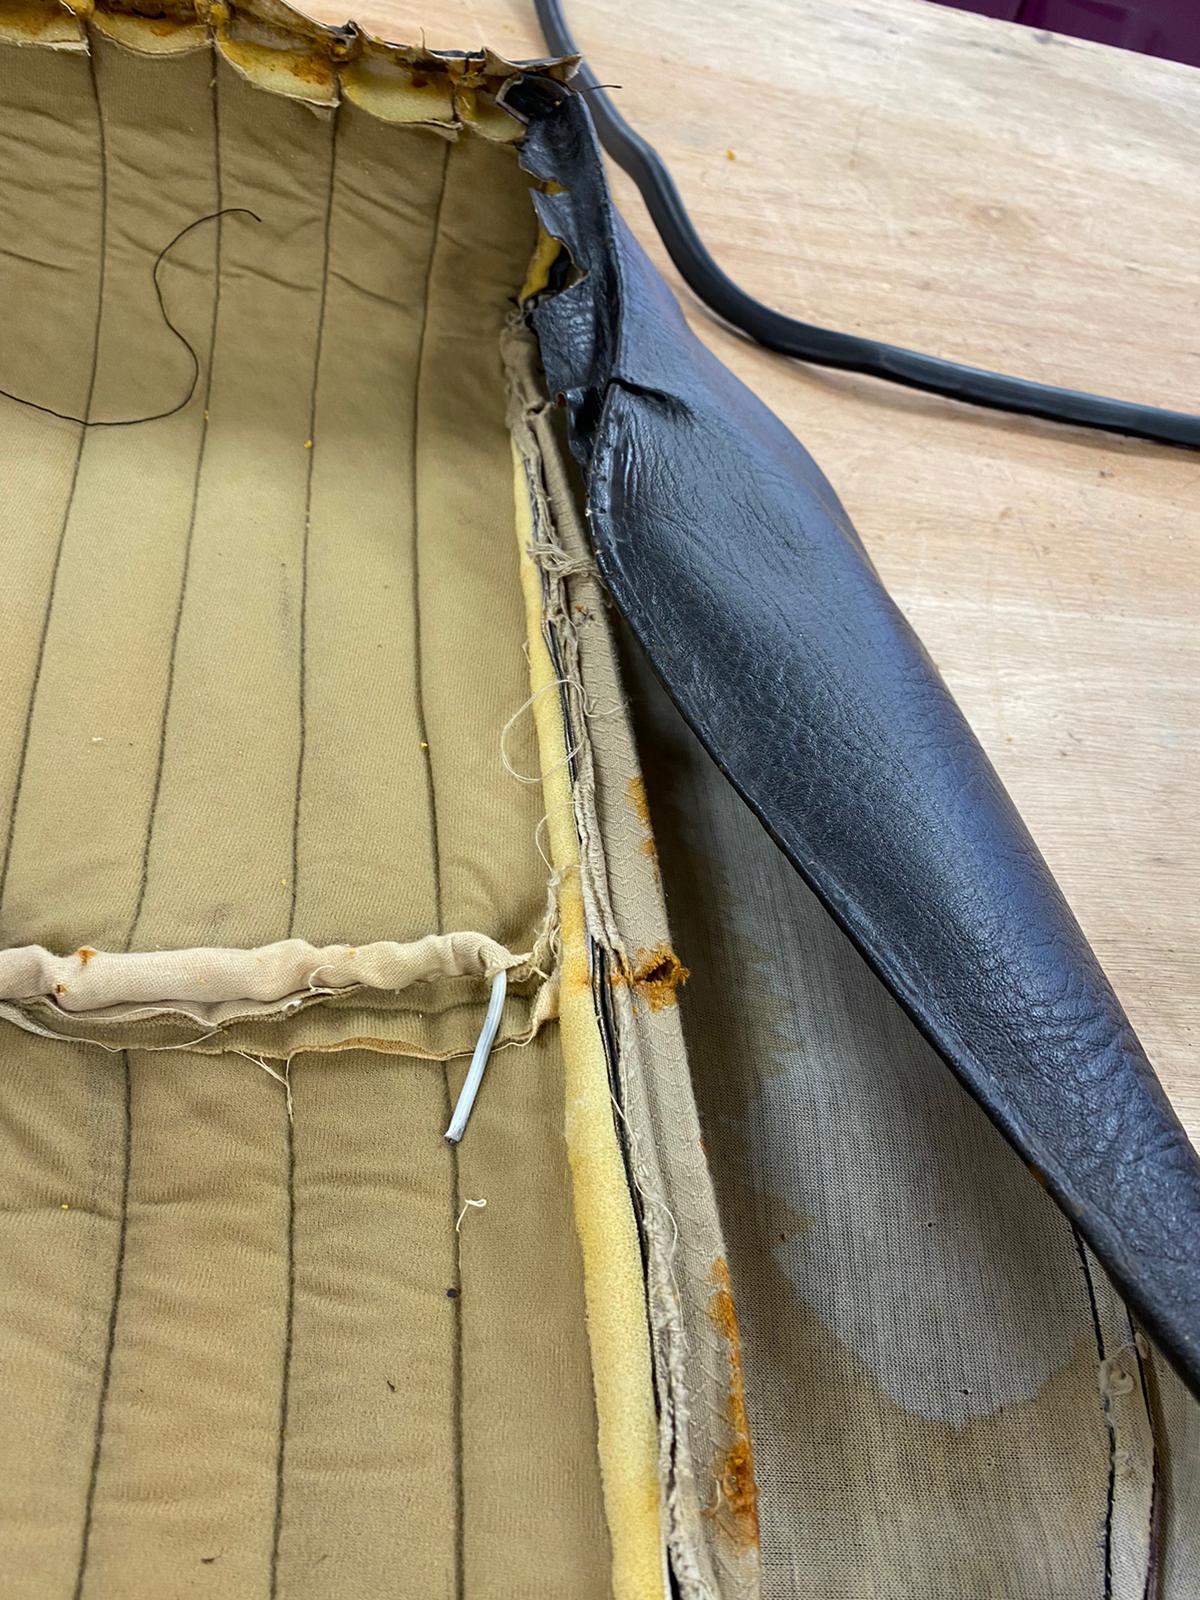
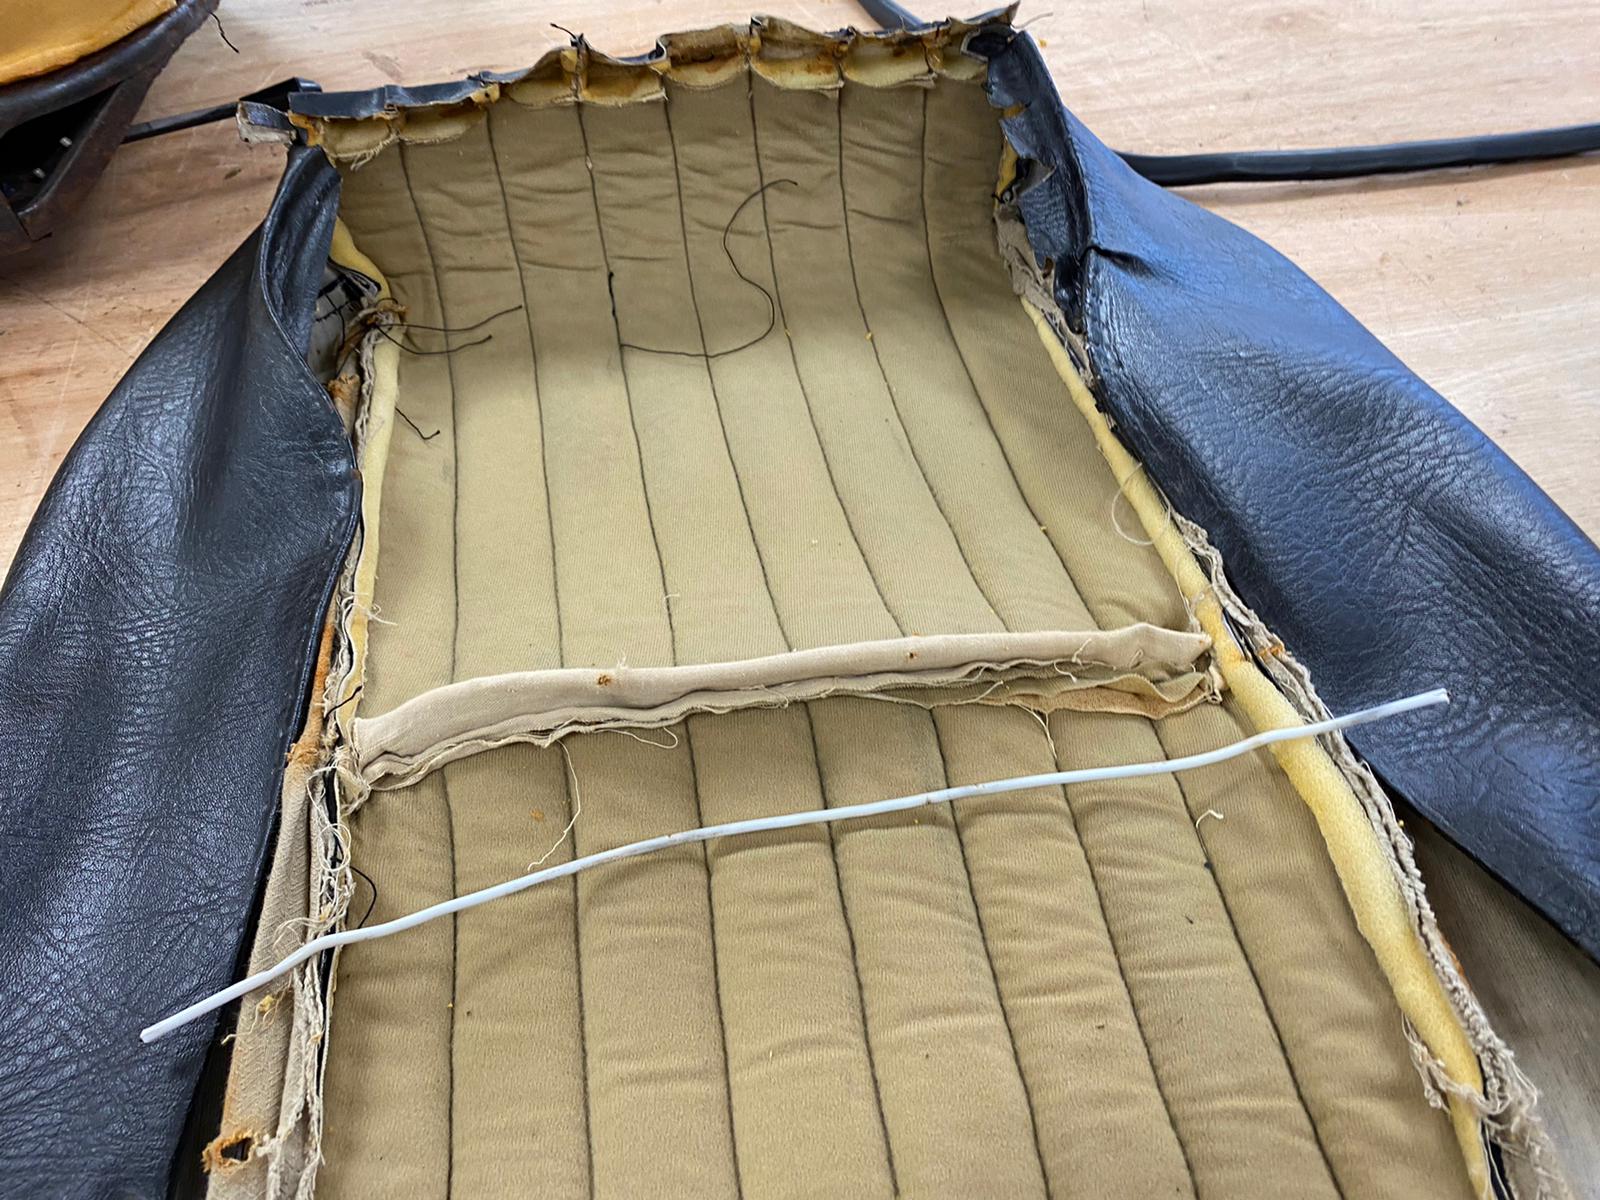
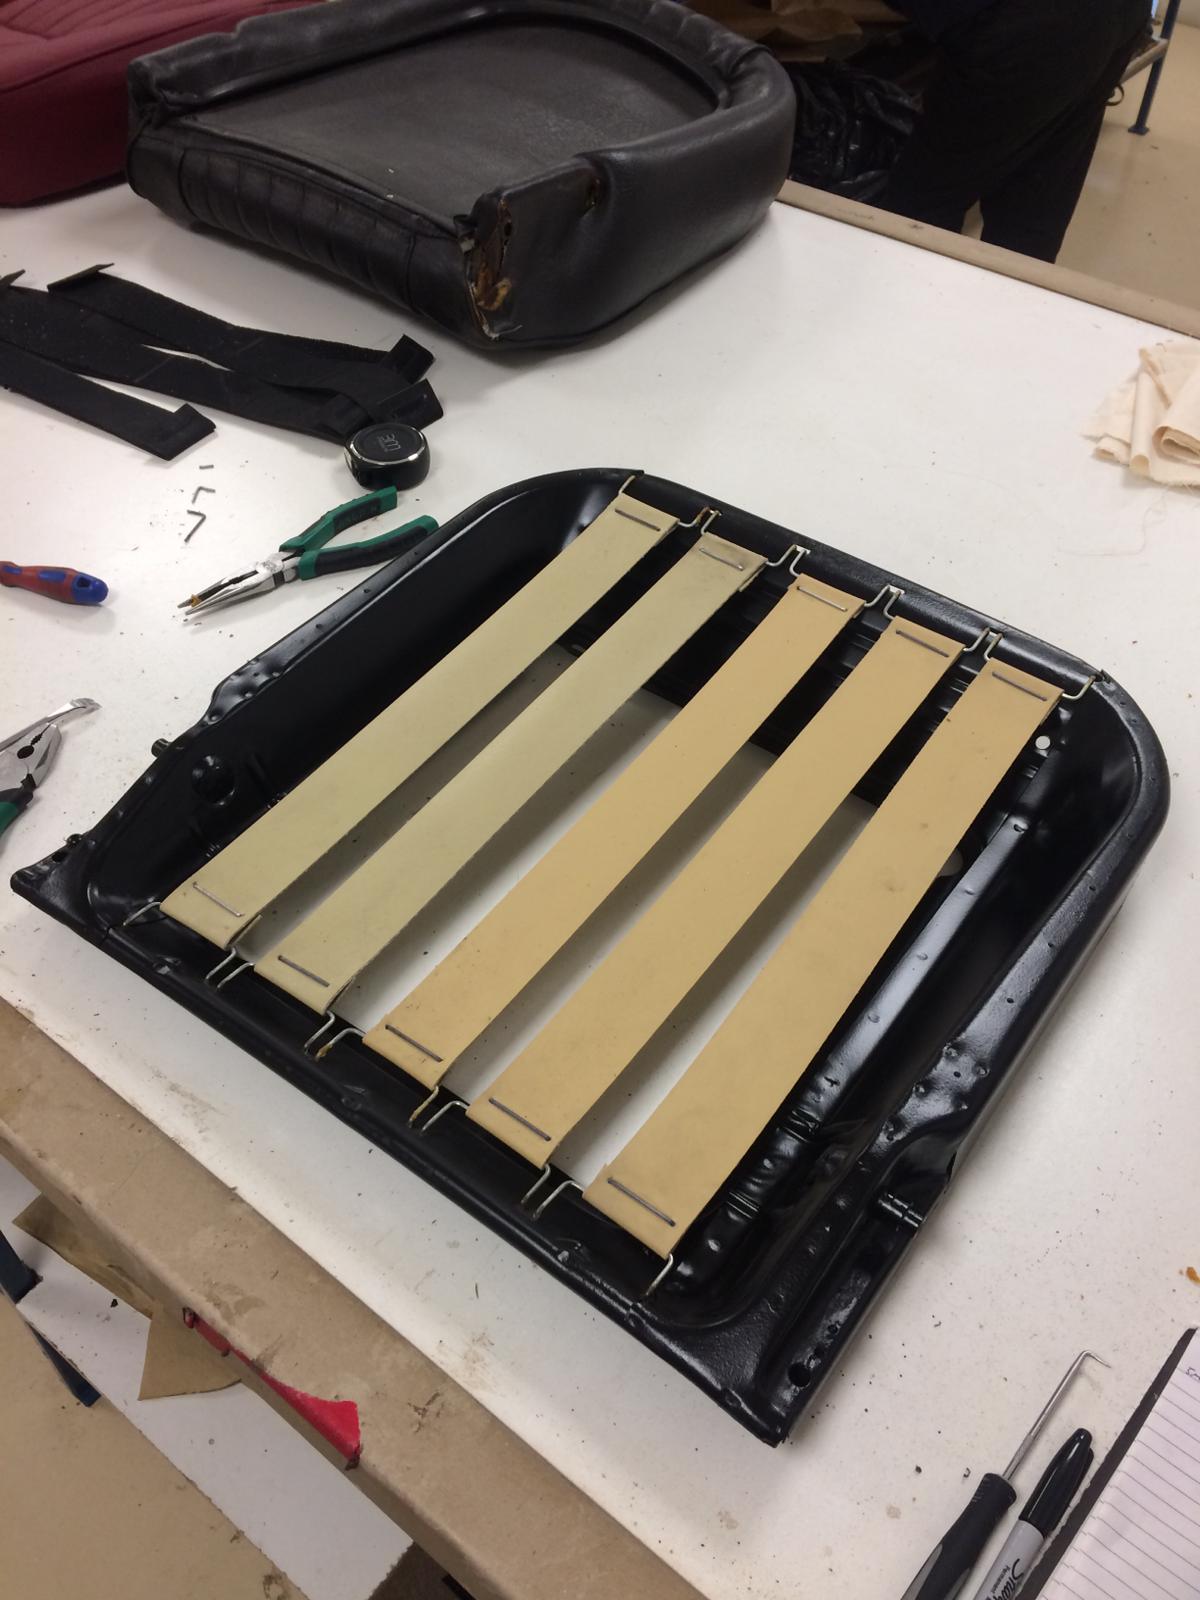
“I removed the spring clips that keep the base in place” Kath explains. “I’ve also marked out all the positions of the parts so I can easily position them back together.”
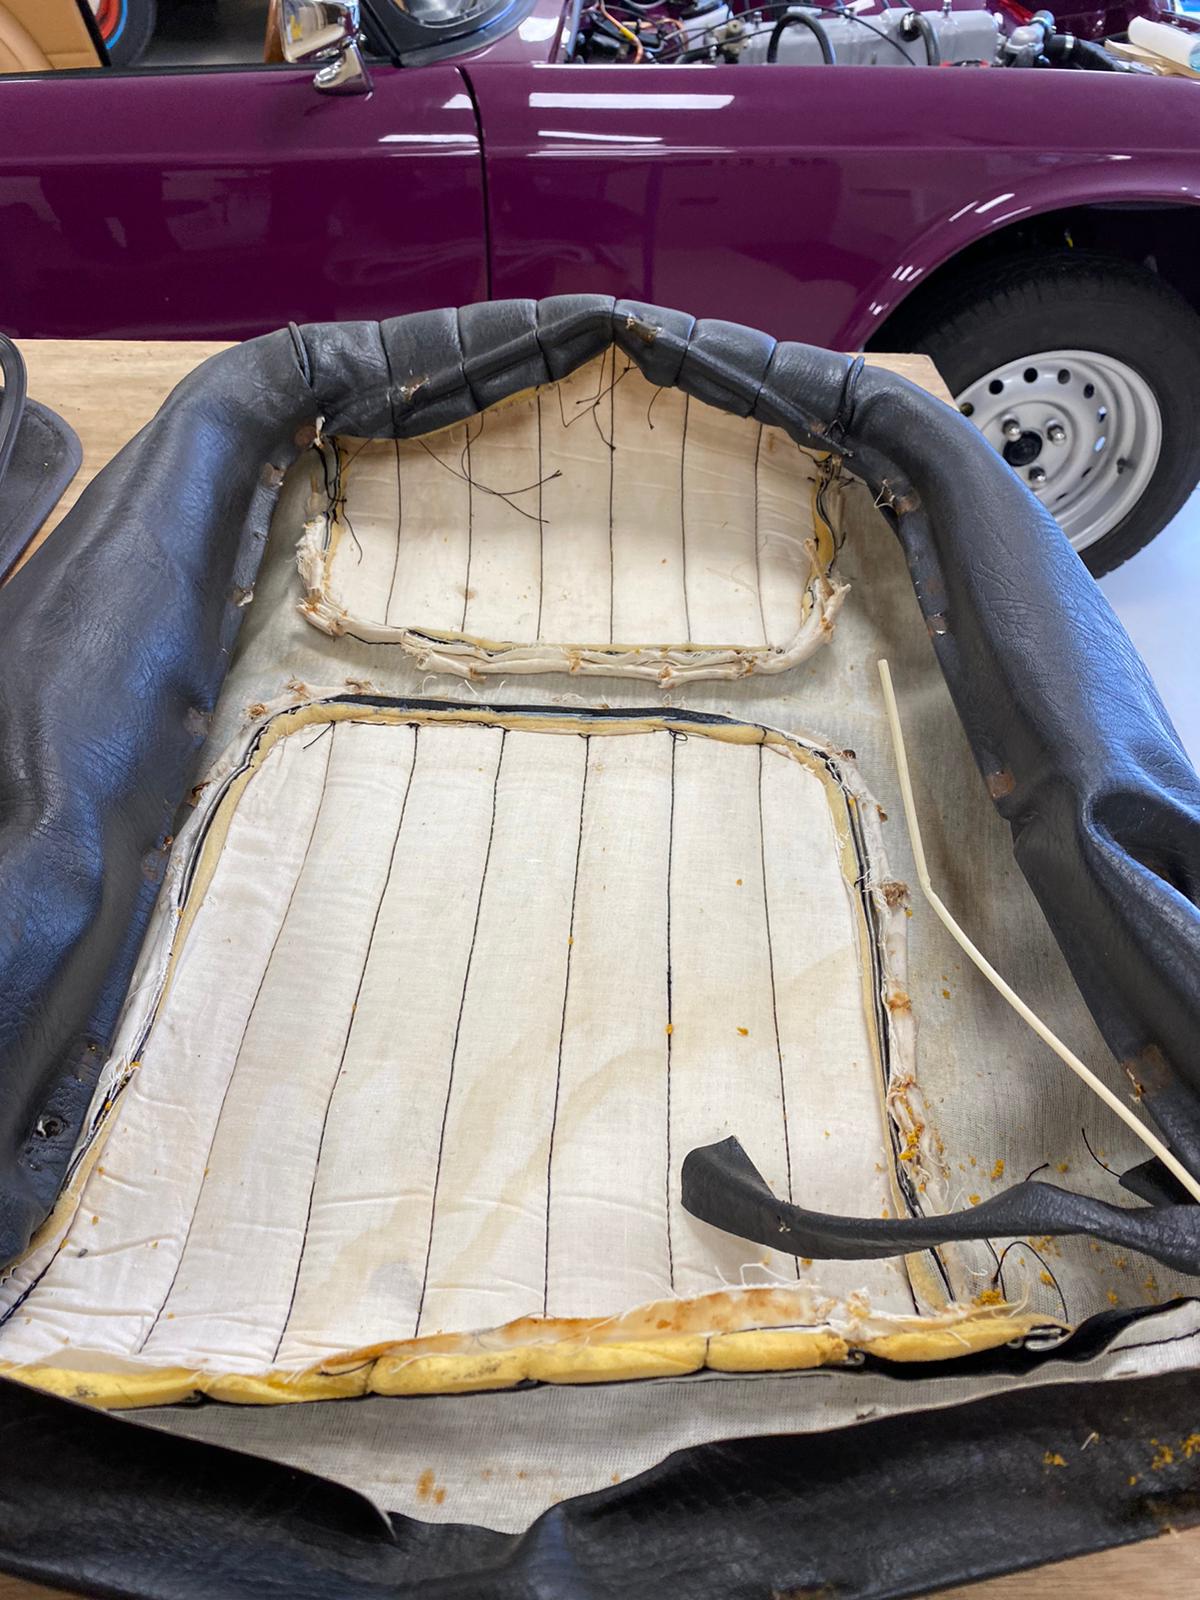
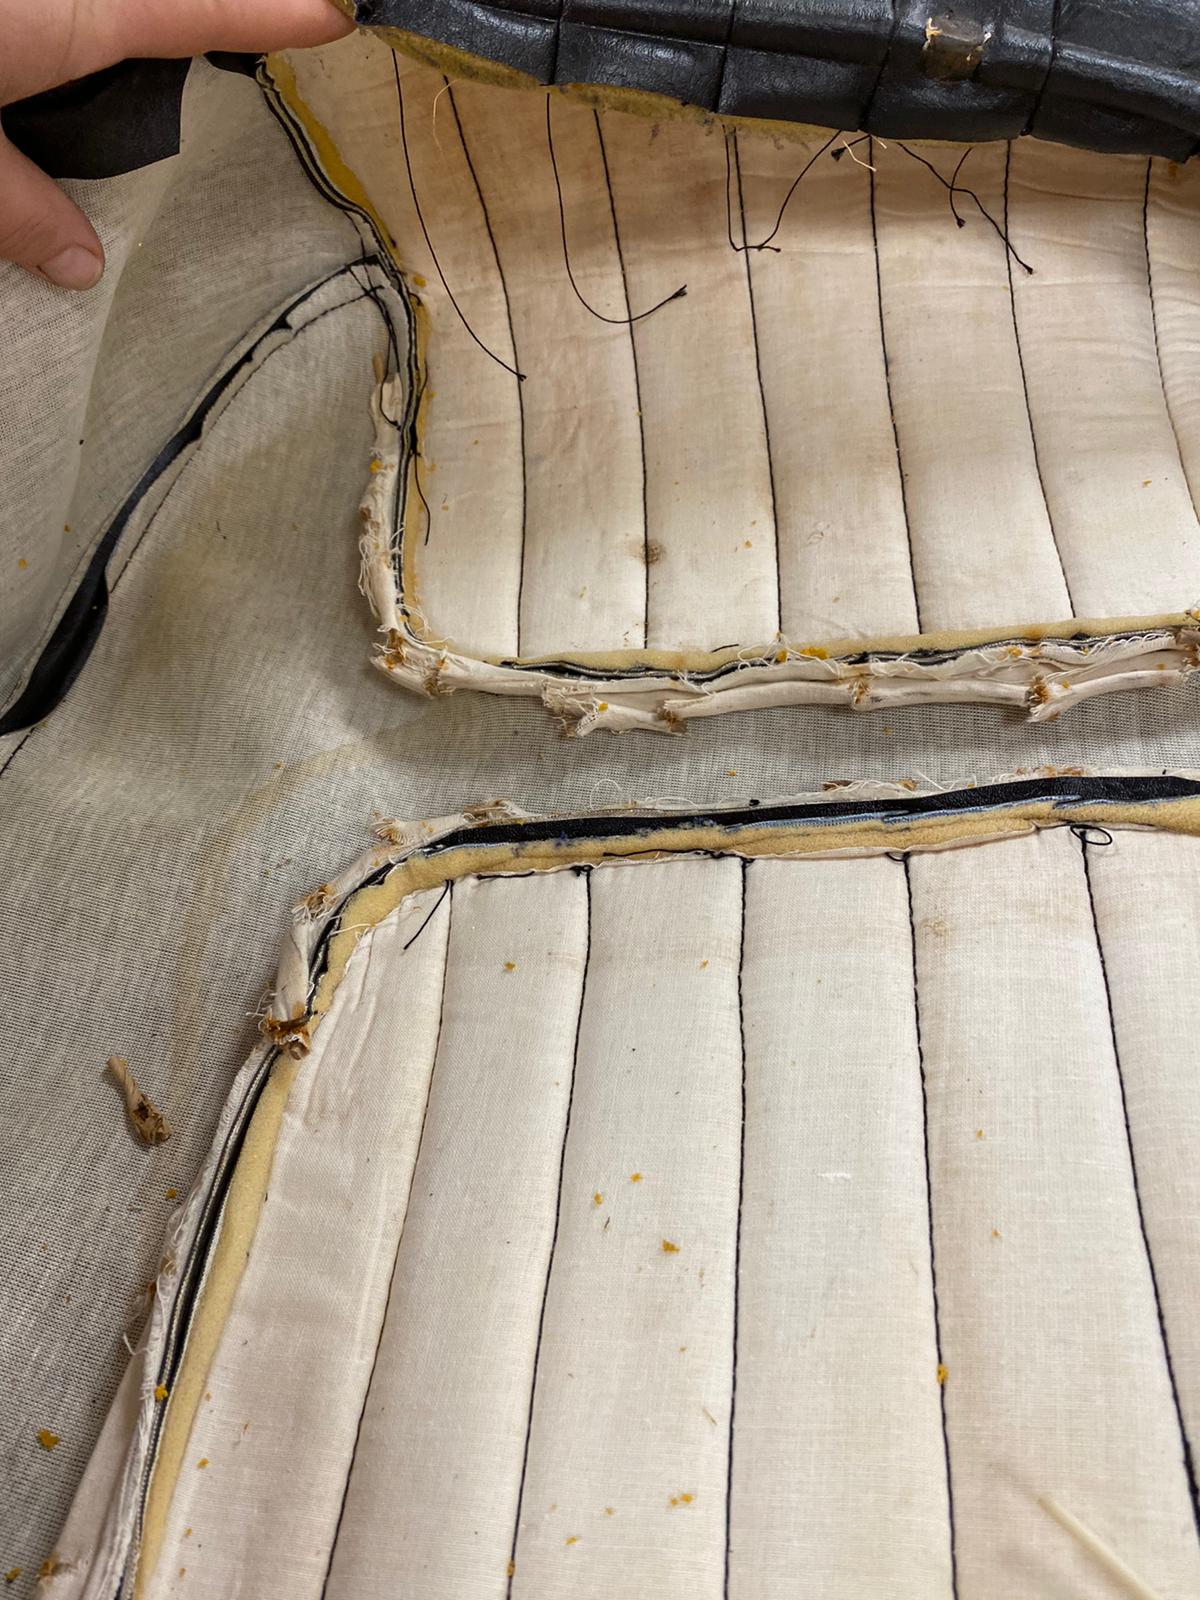
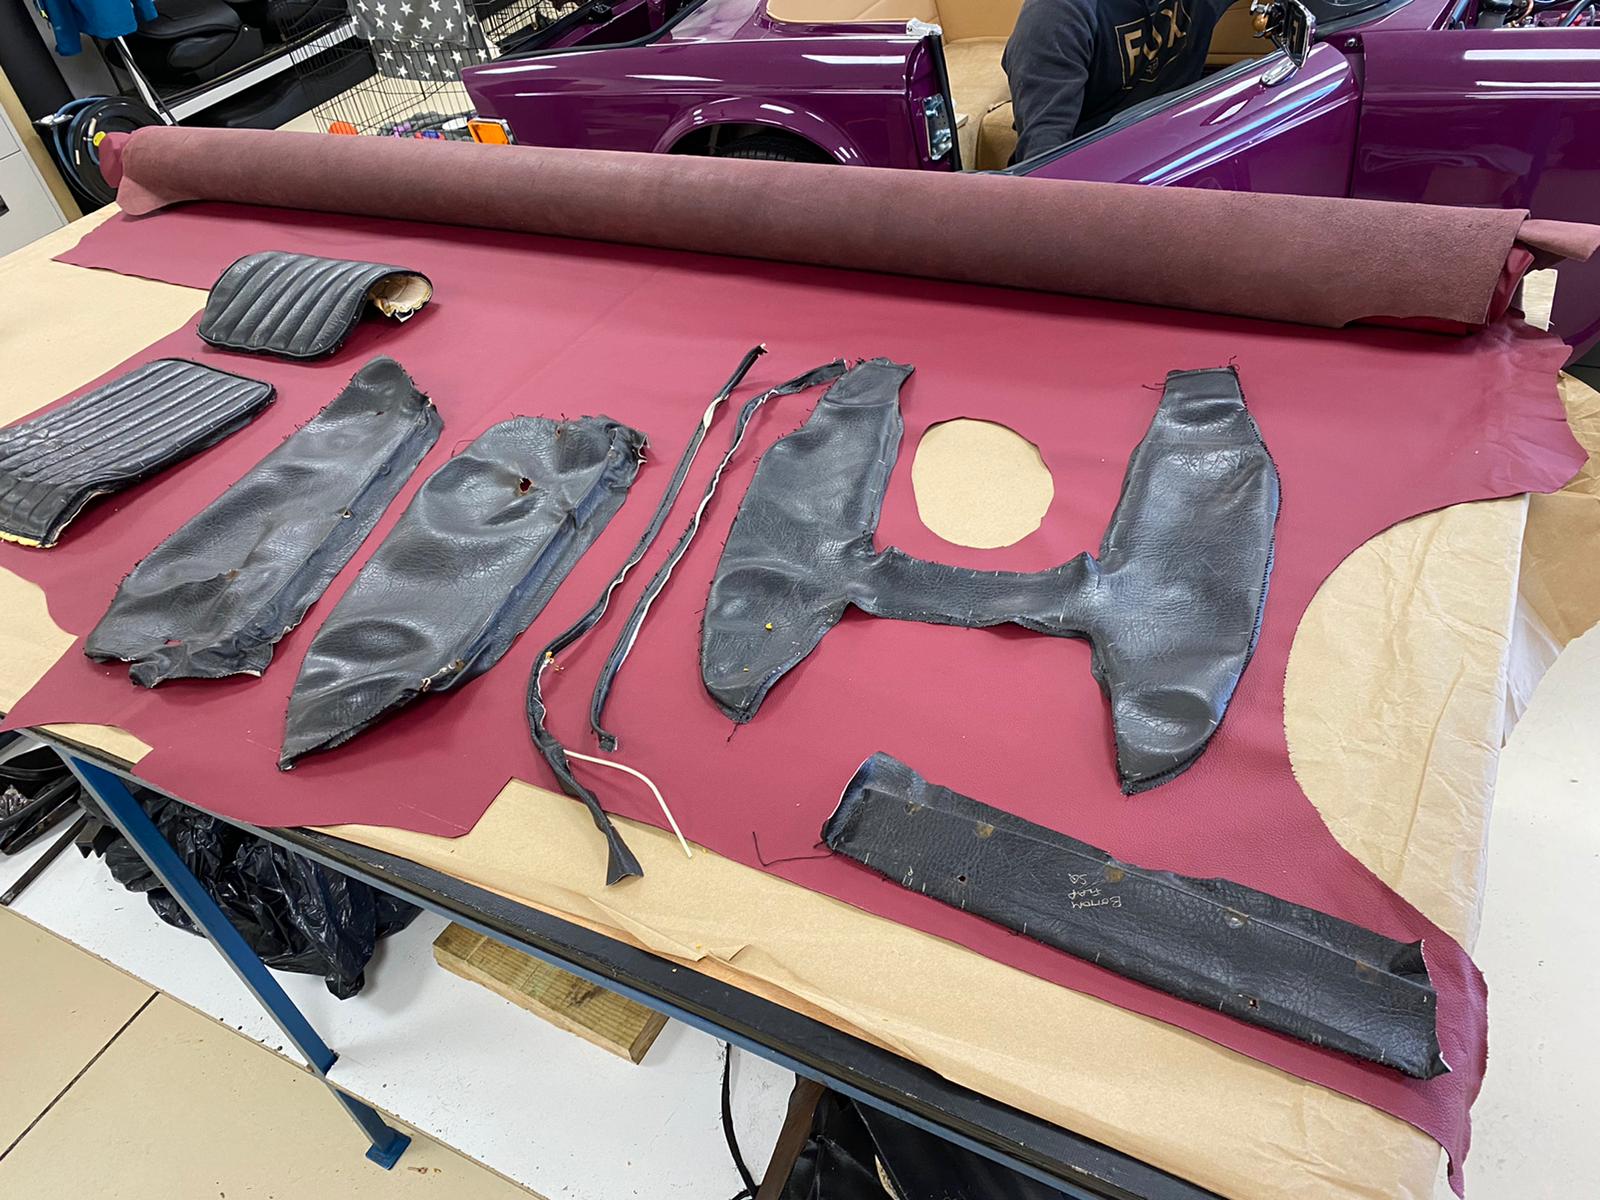
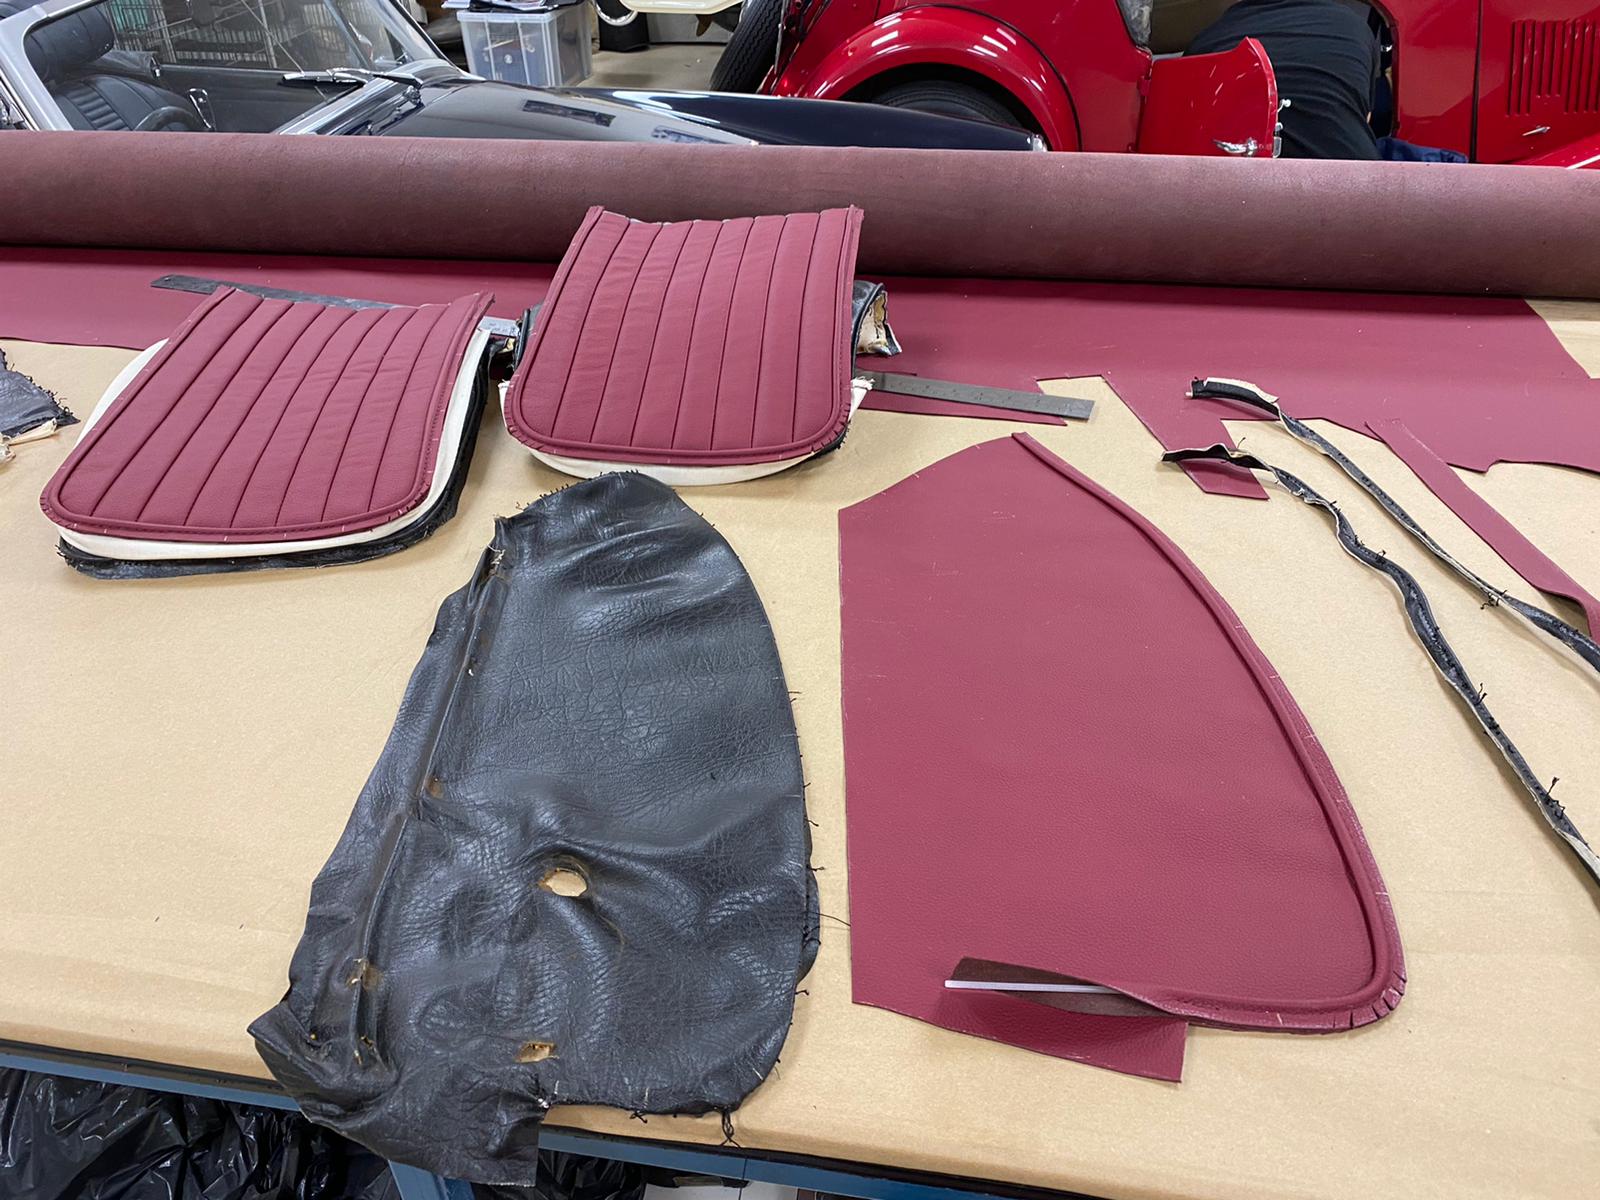
Now all the parts are marked and separated, it’s time to start matching them up to the new leather.


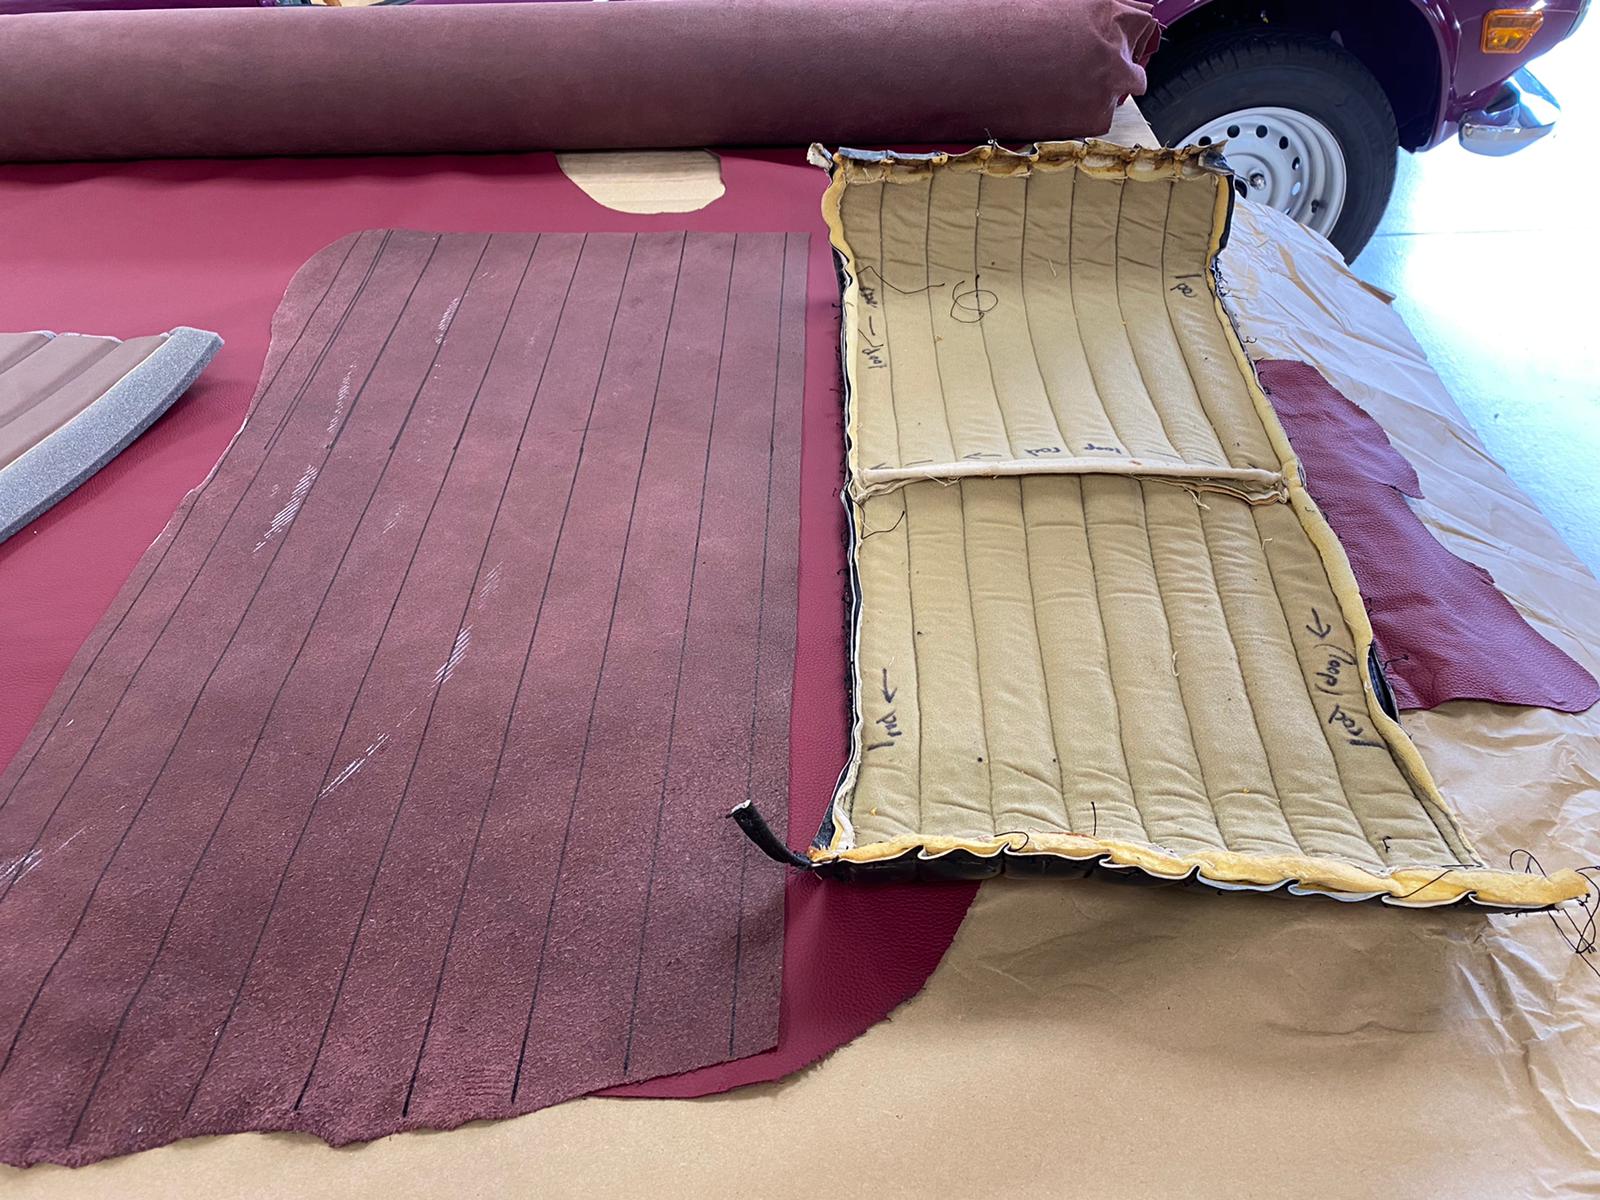
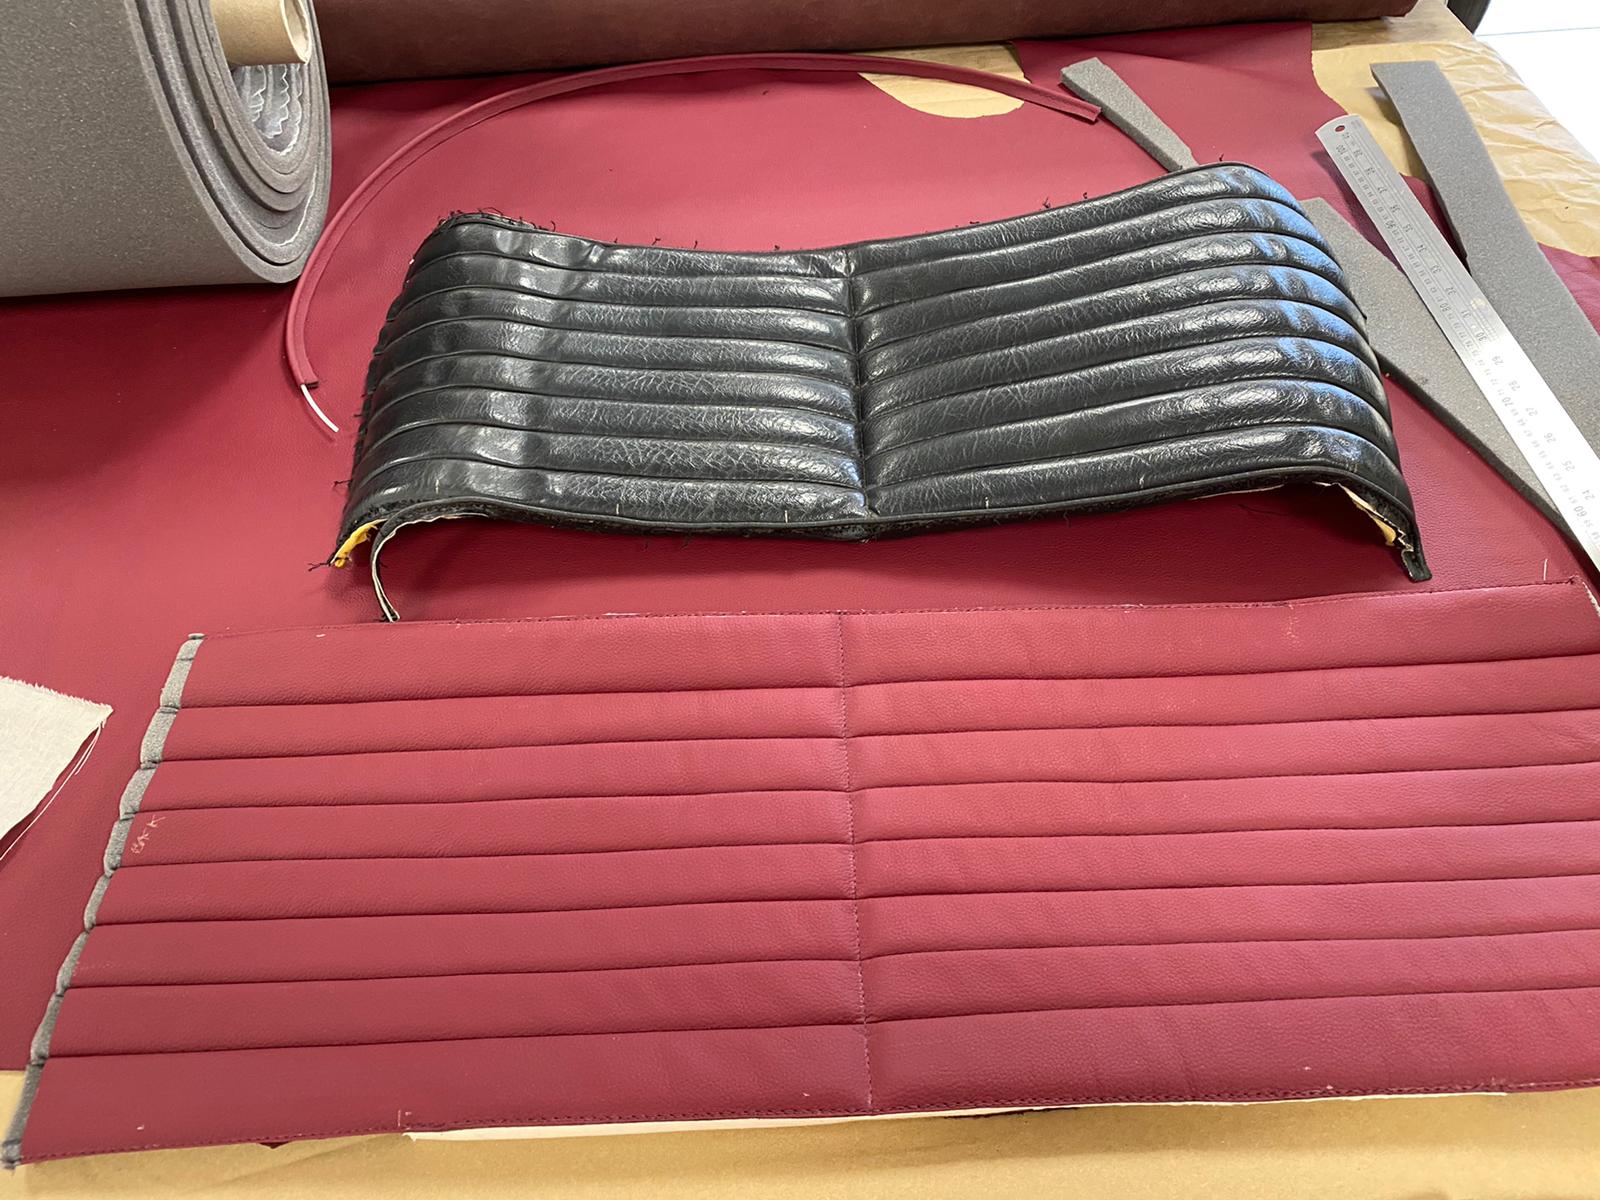
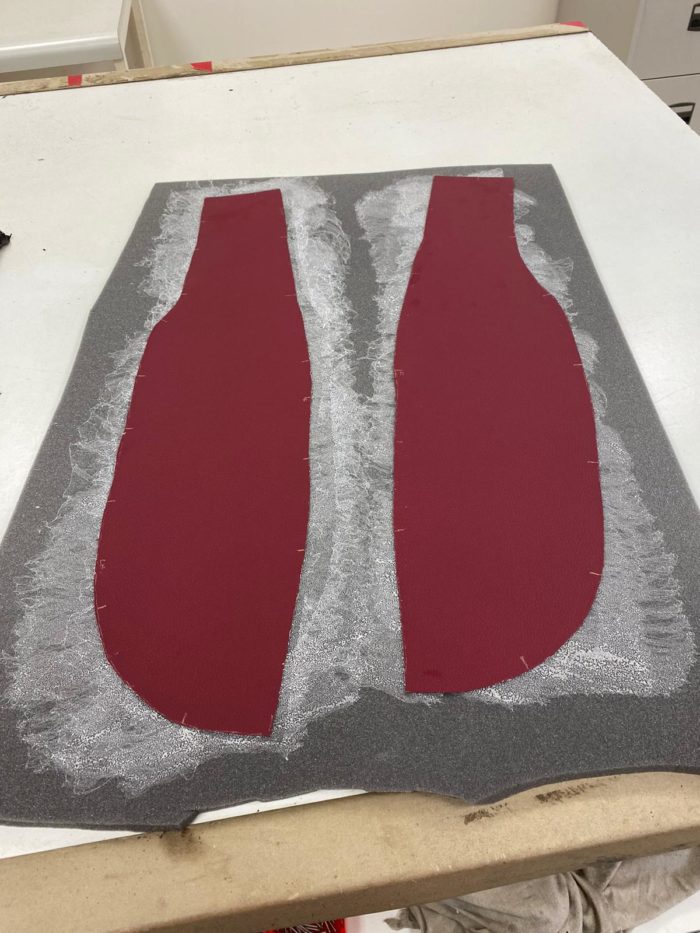
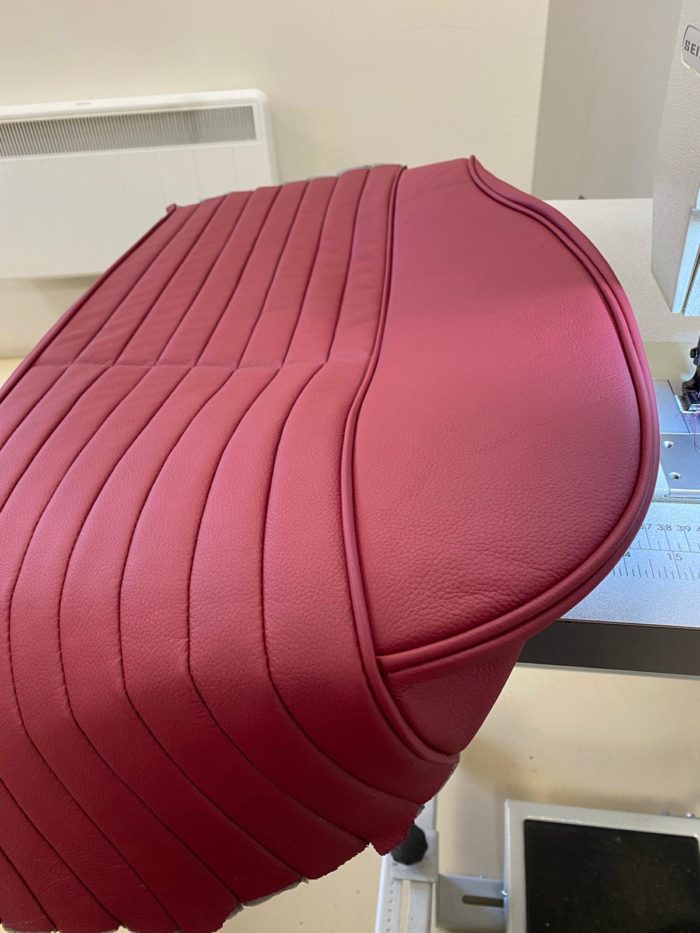
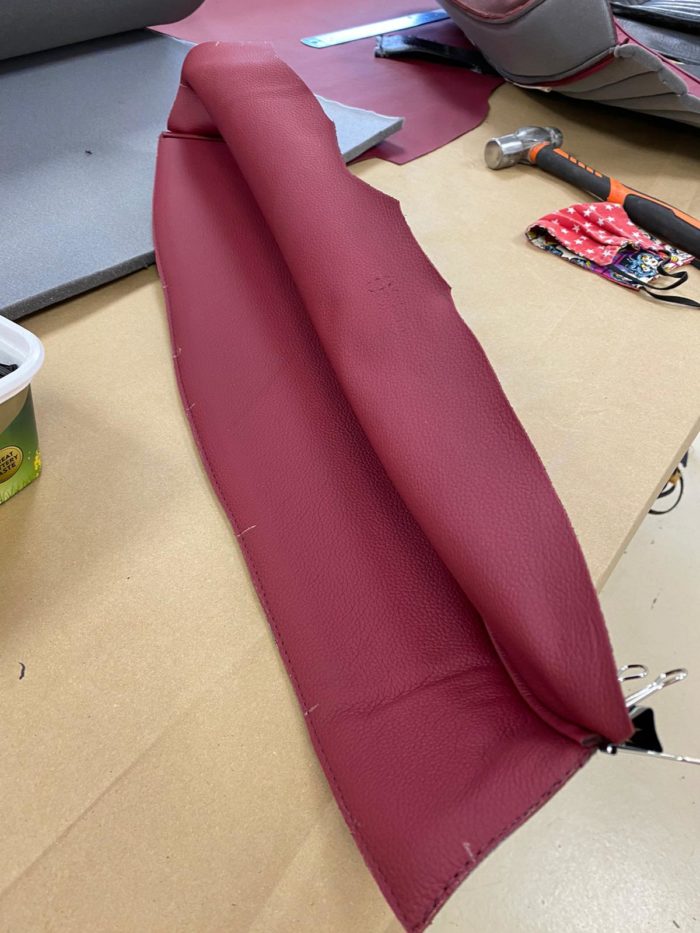
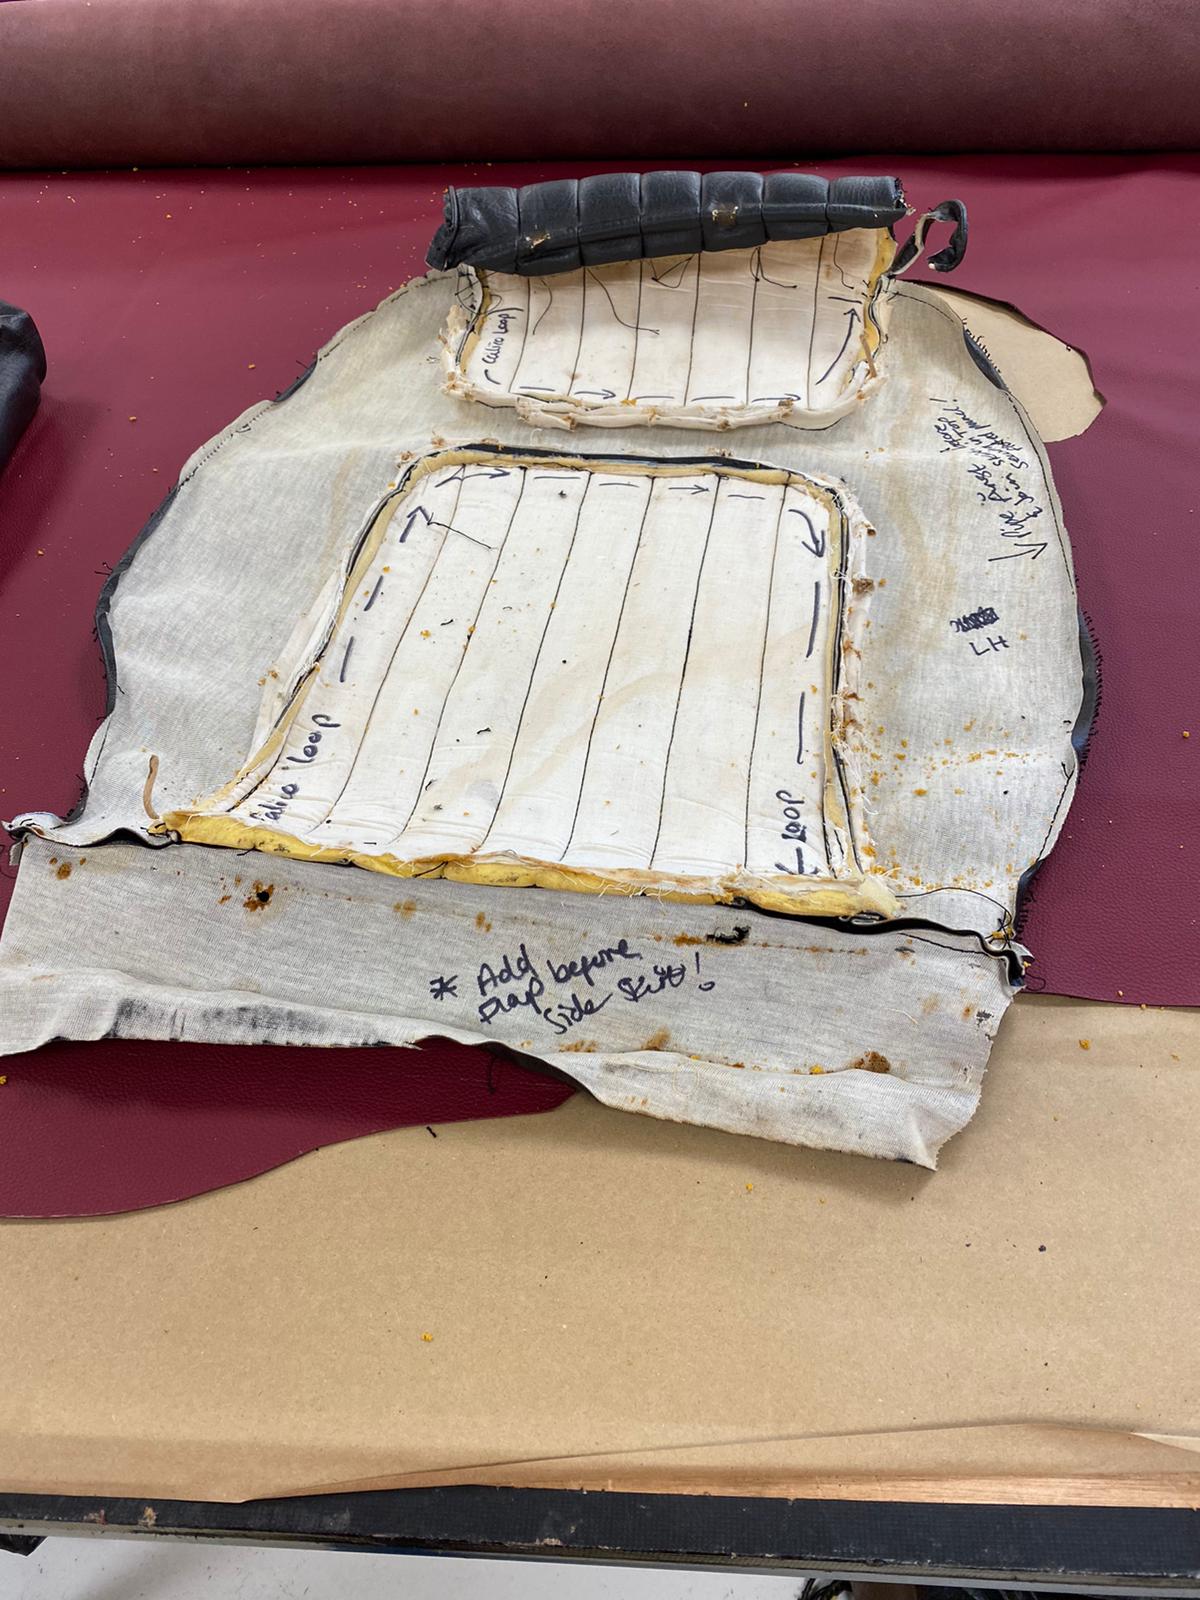
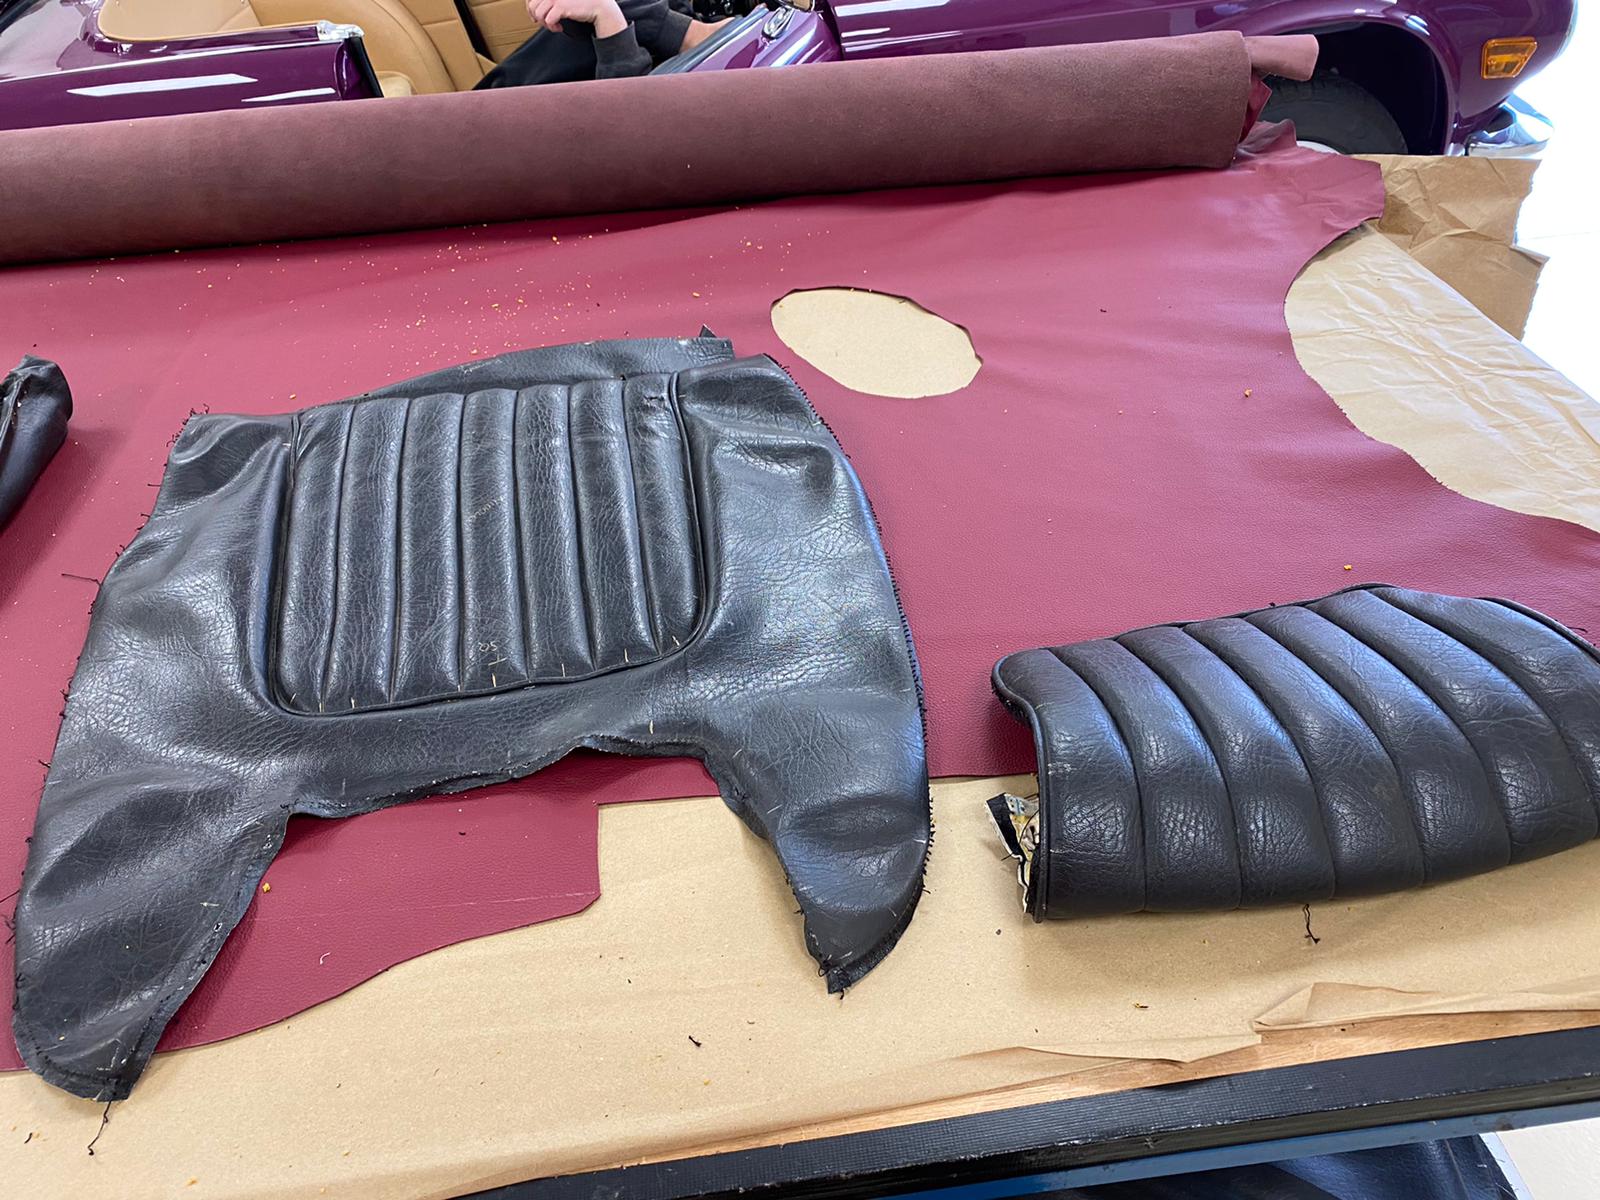
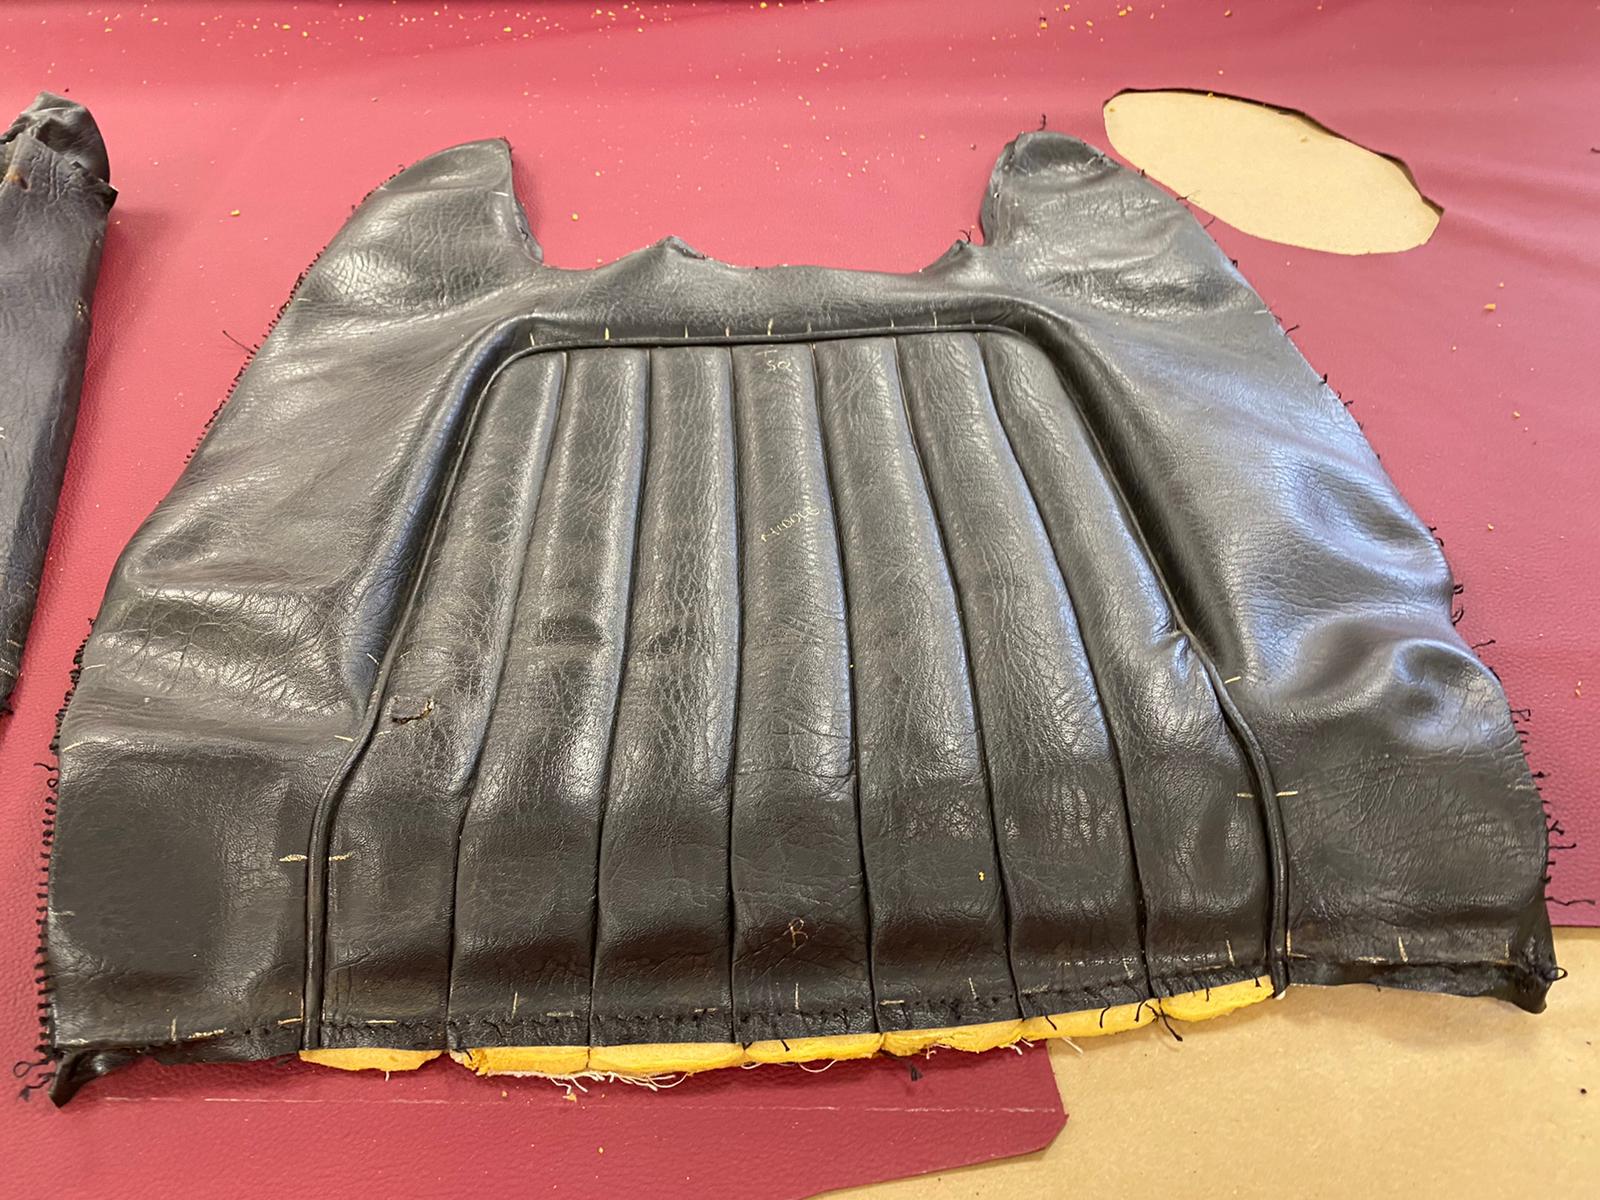
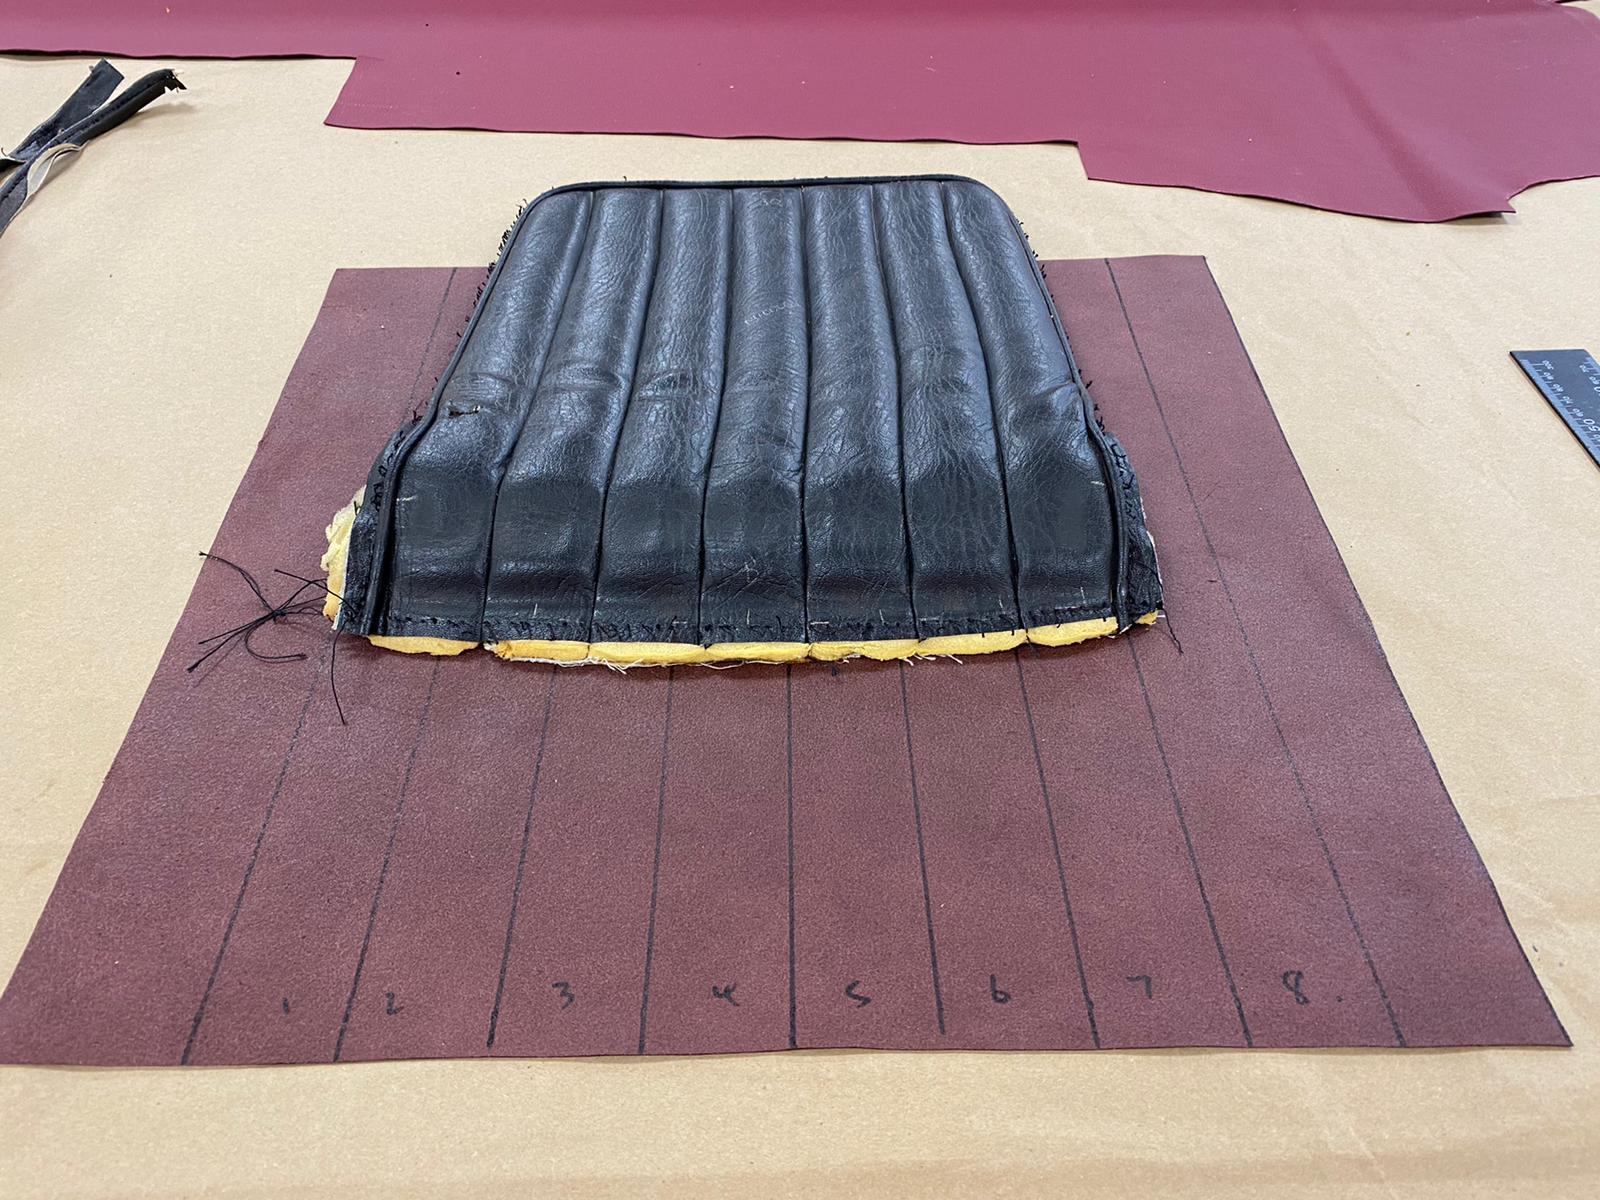
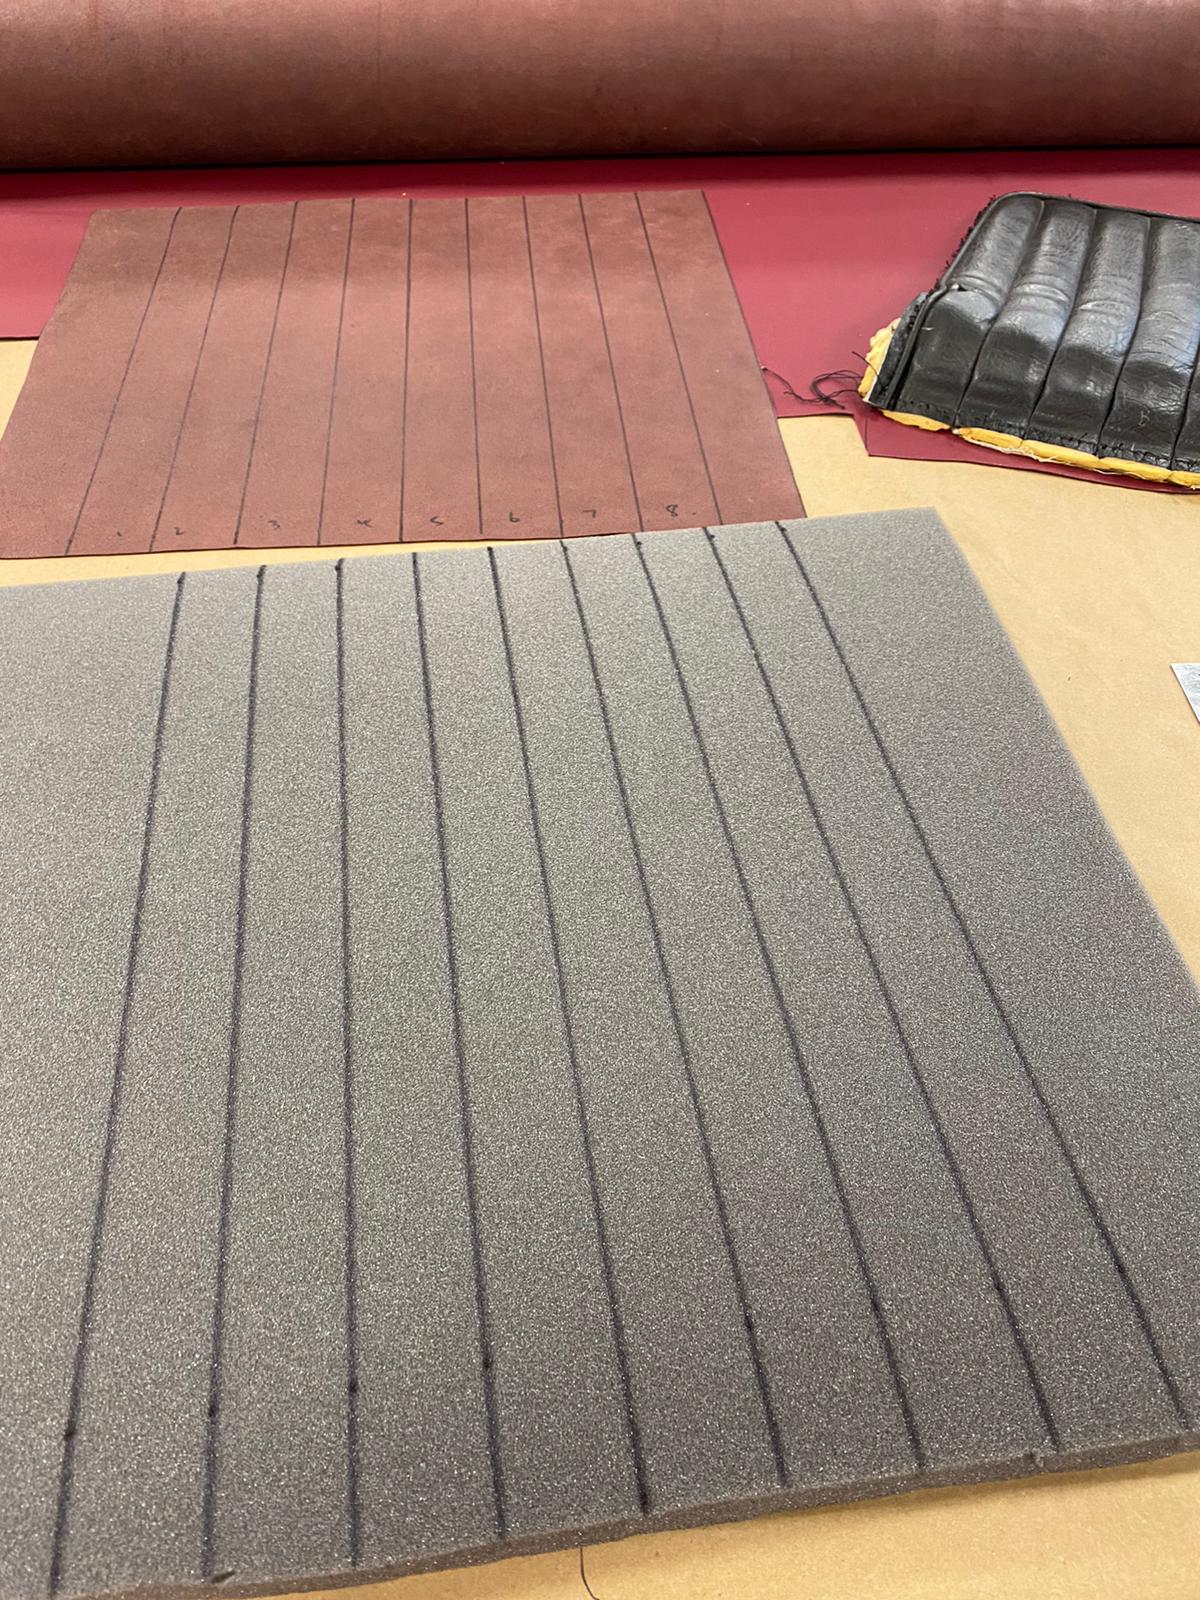
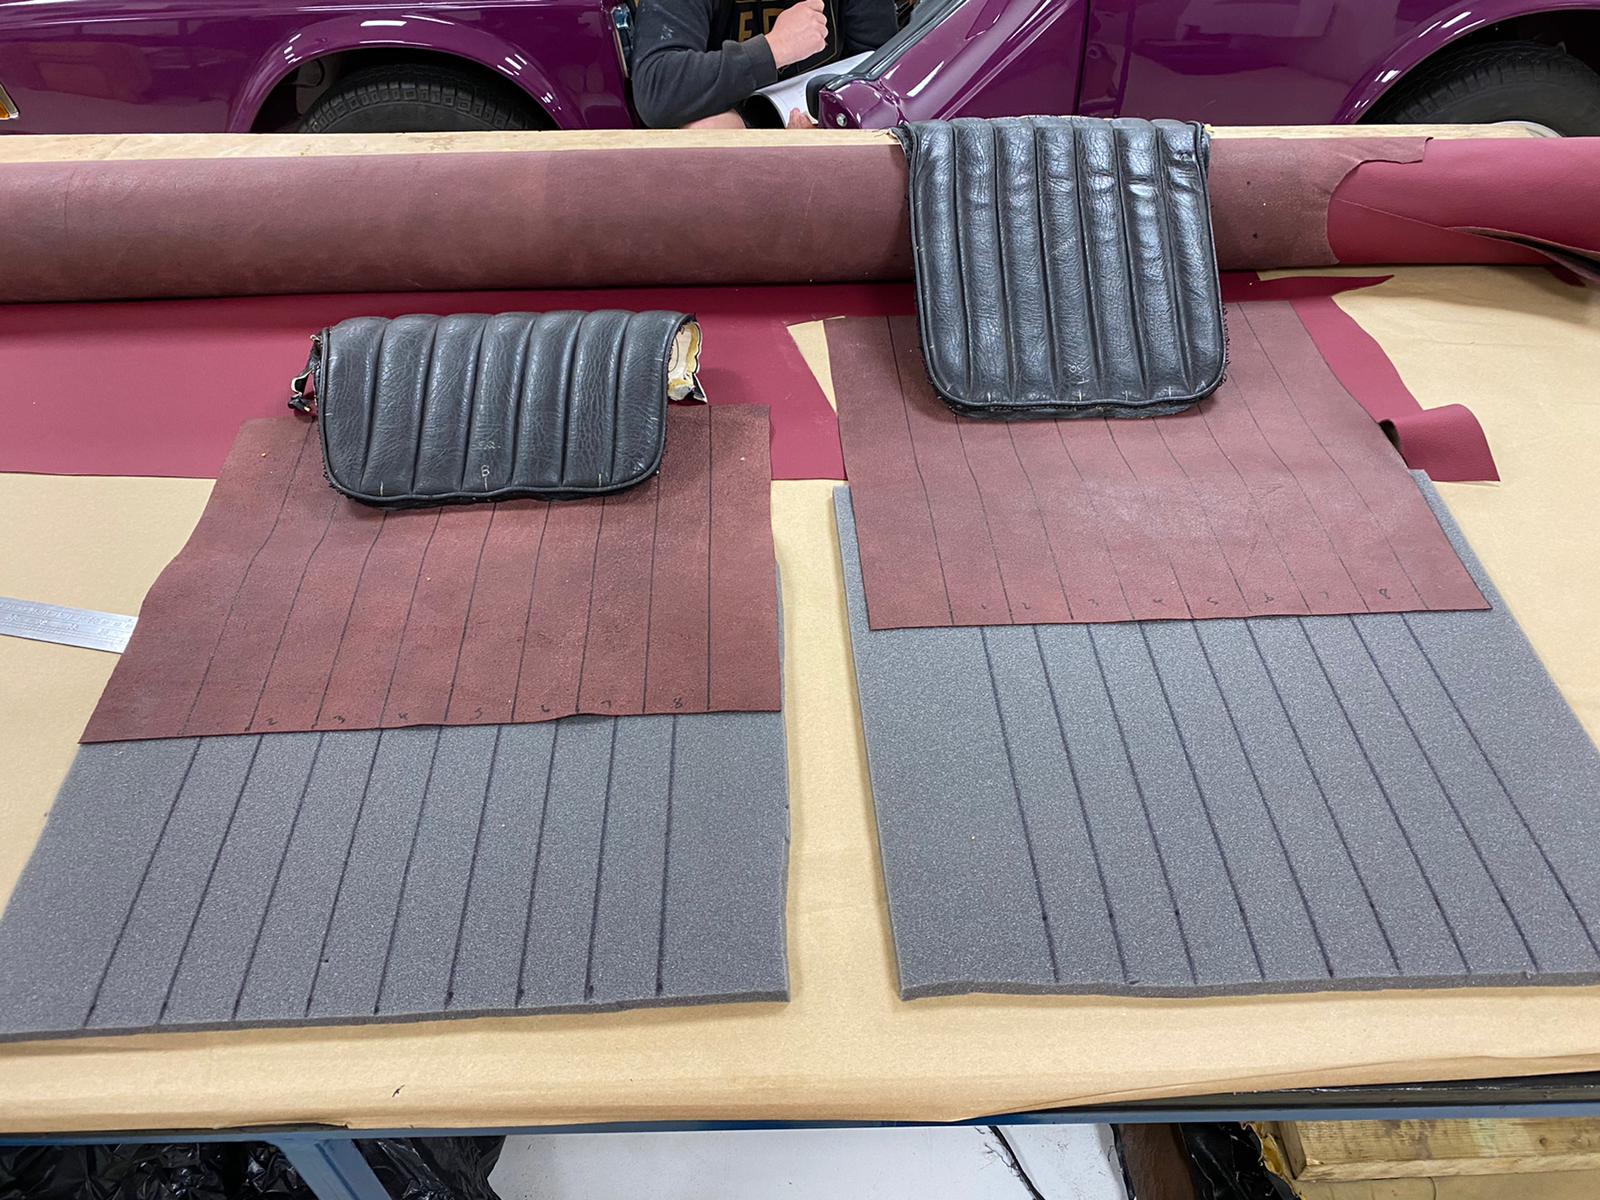
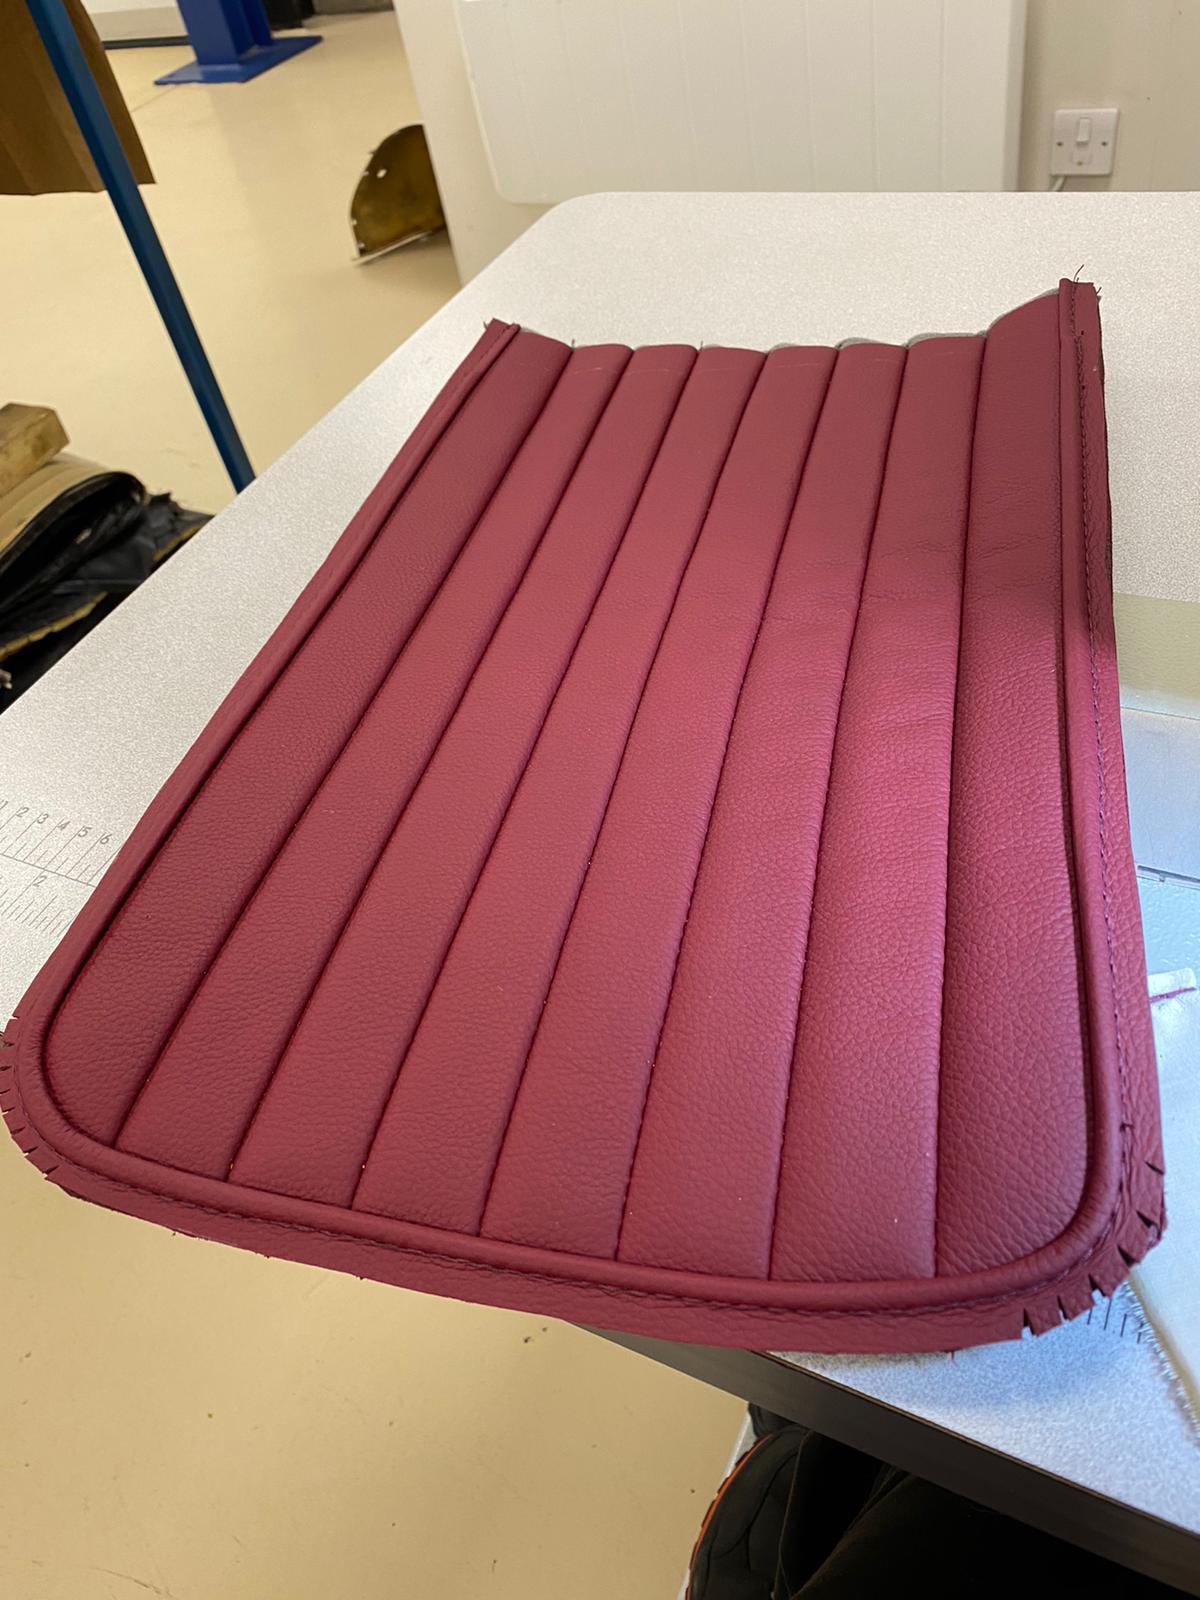
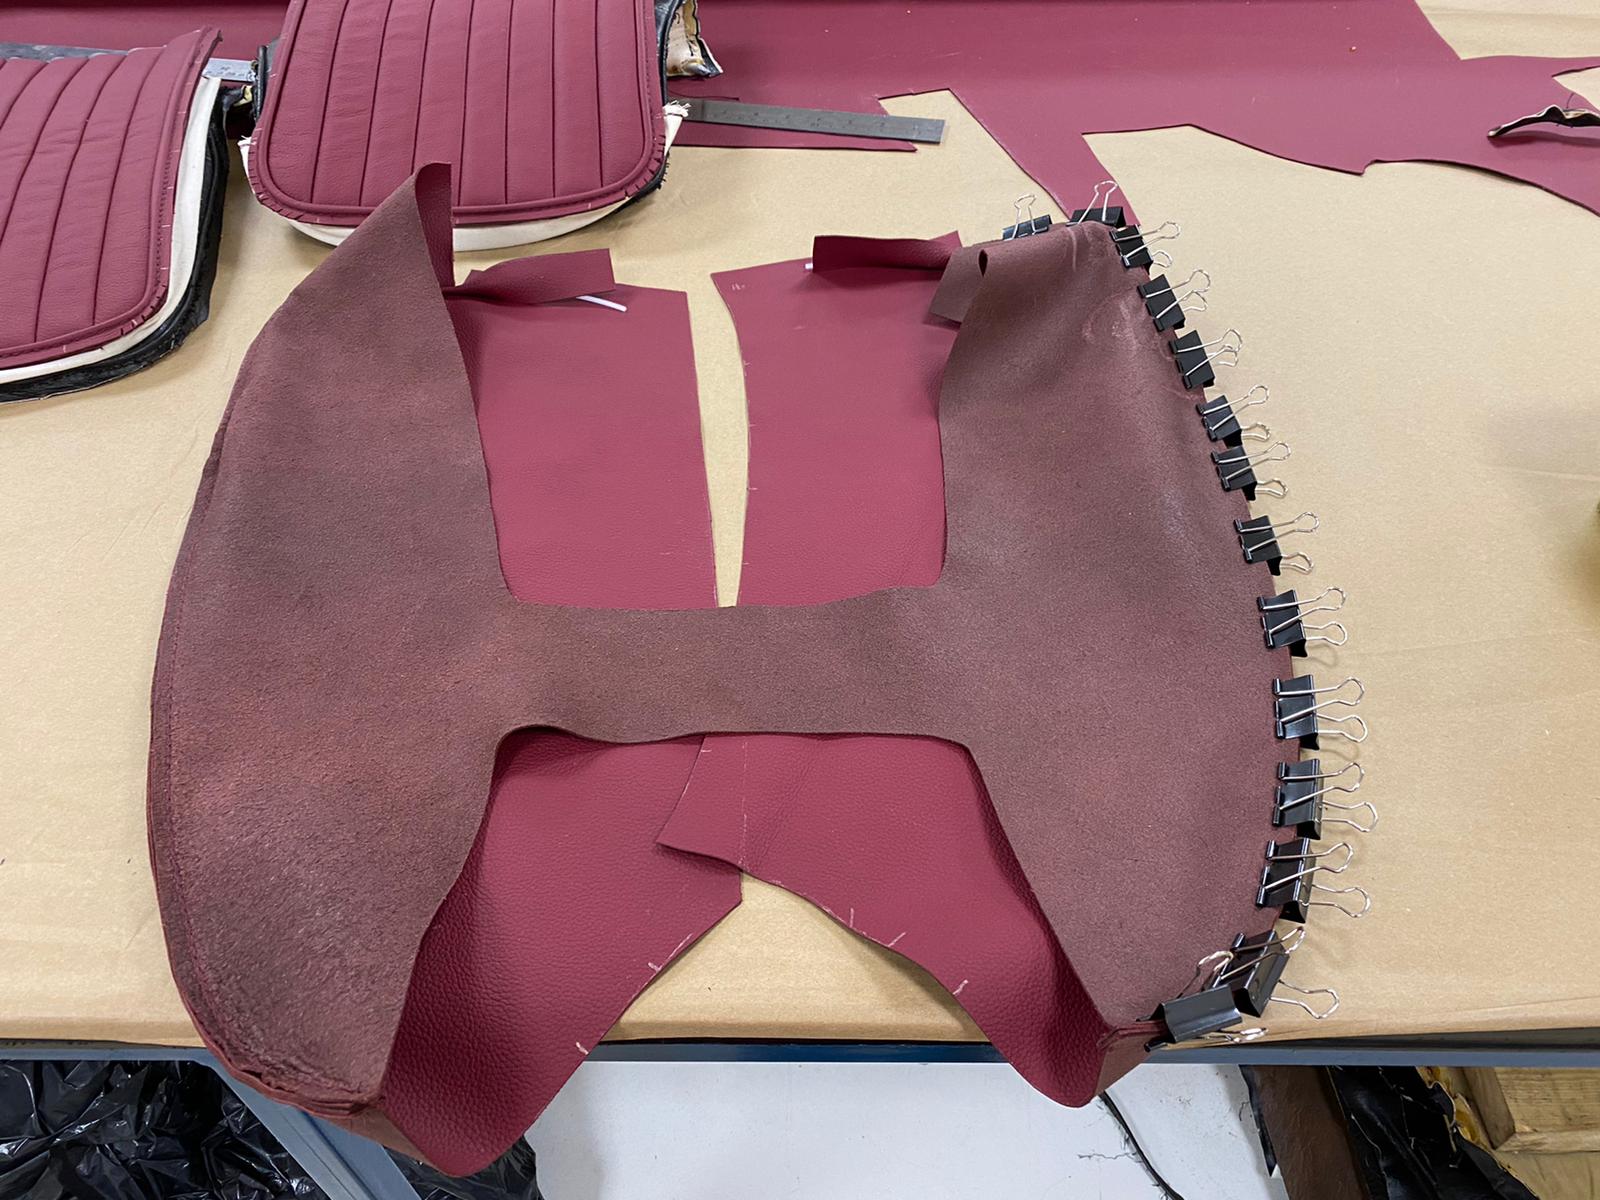
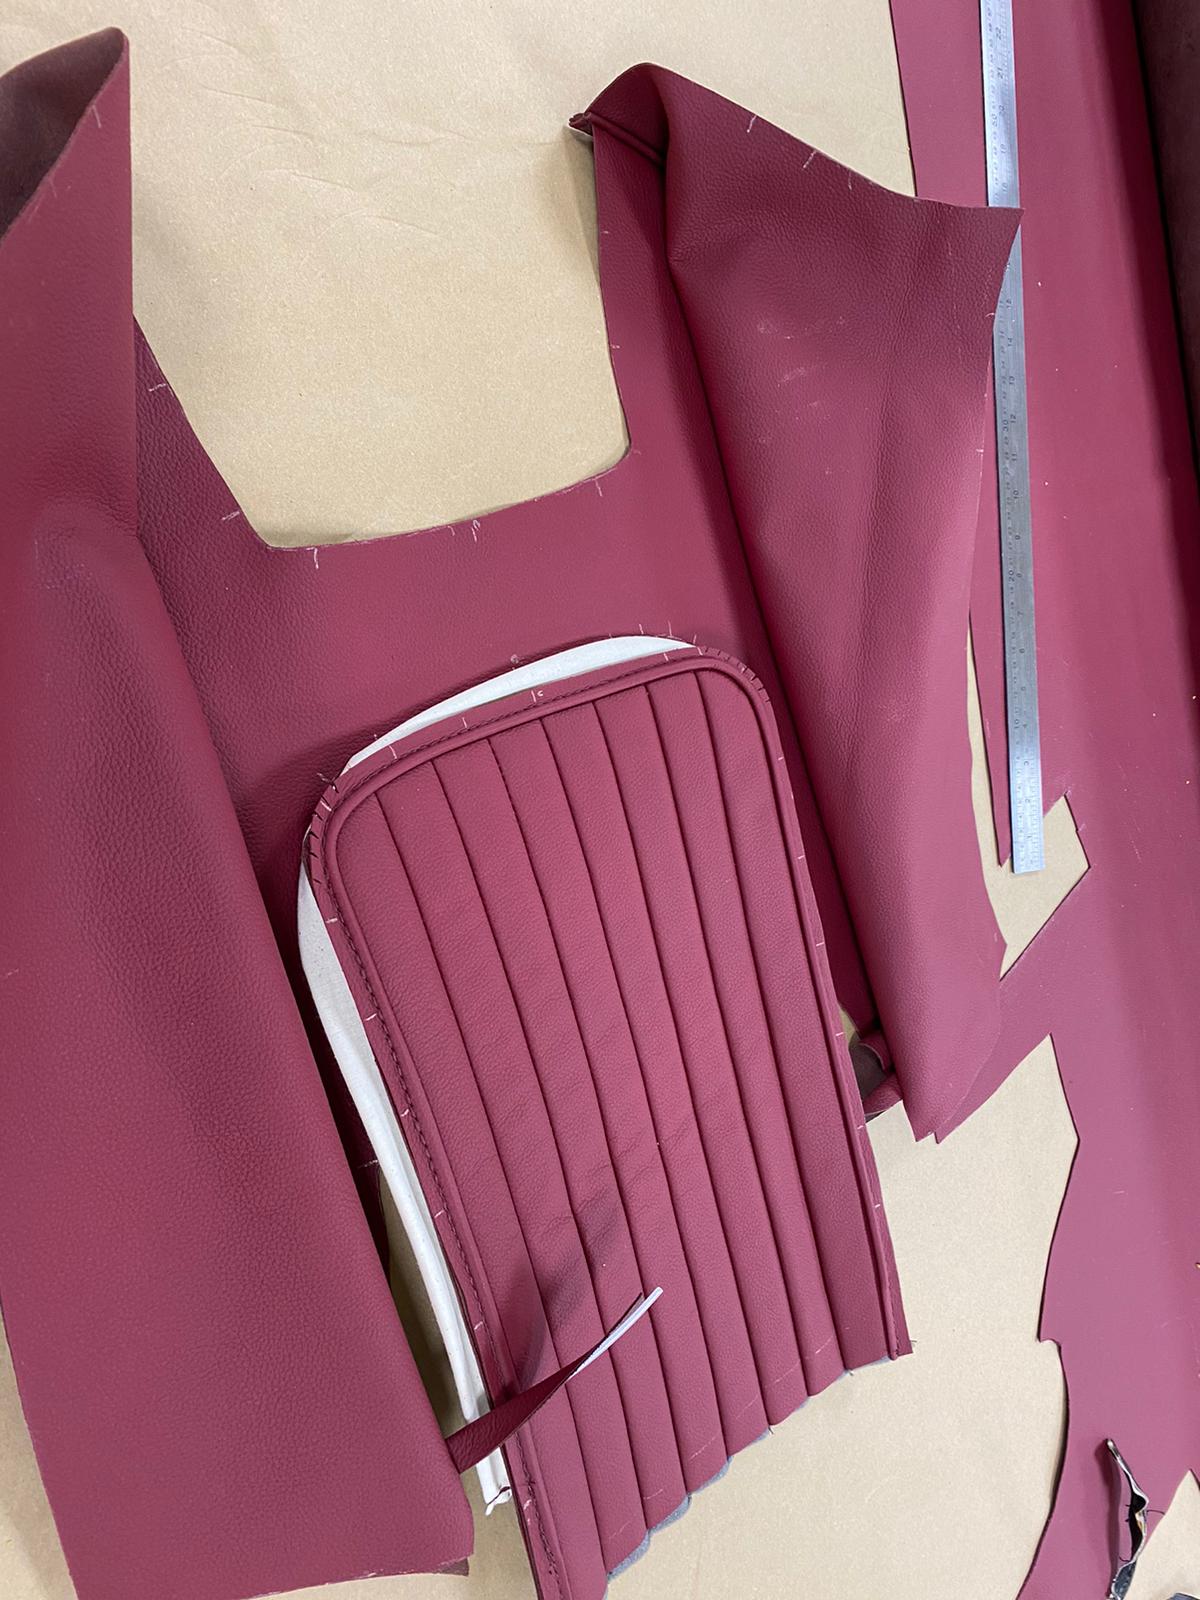
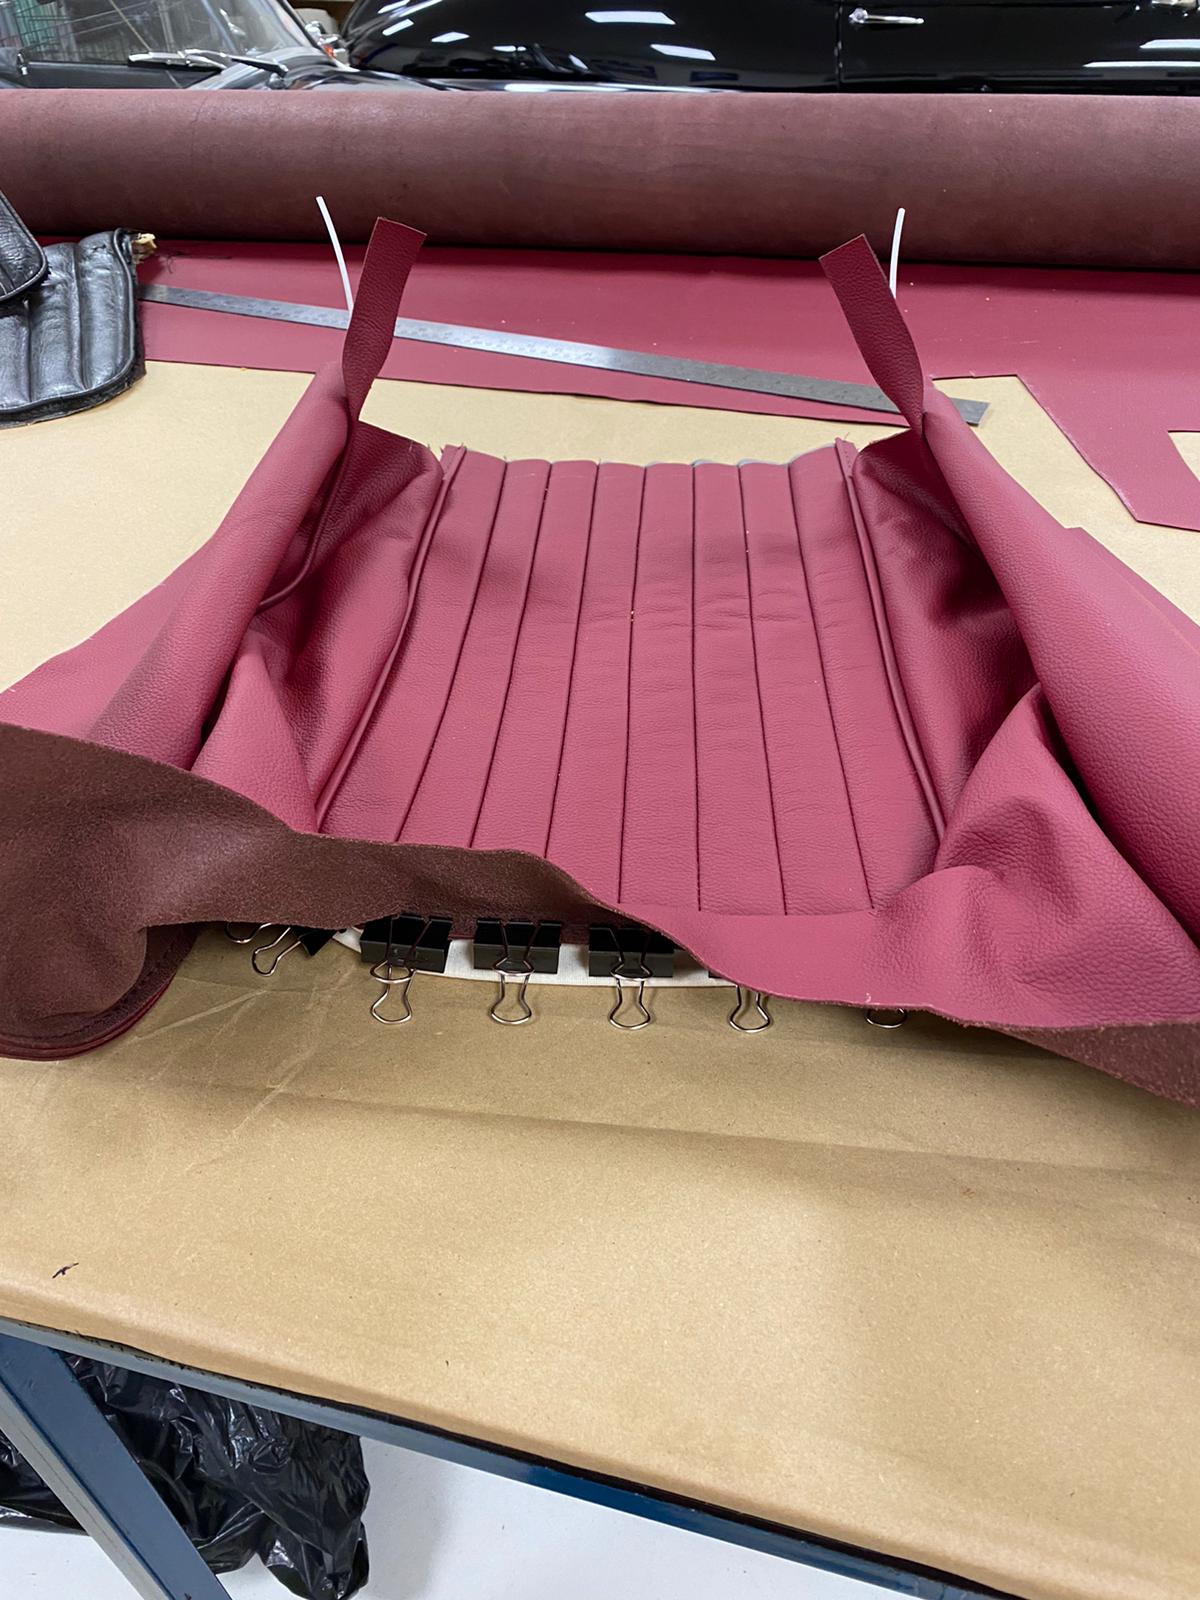
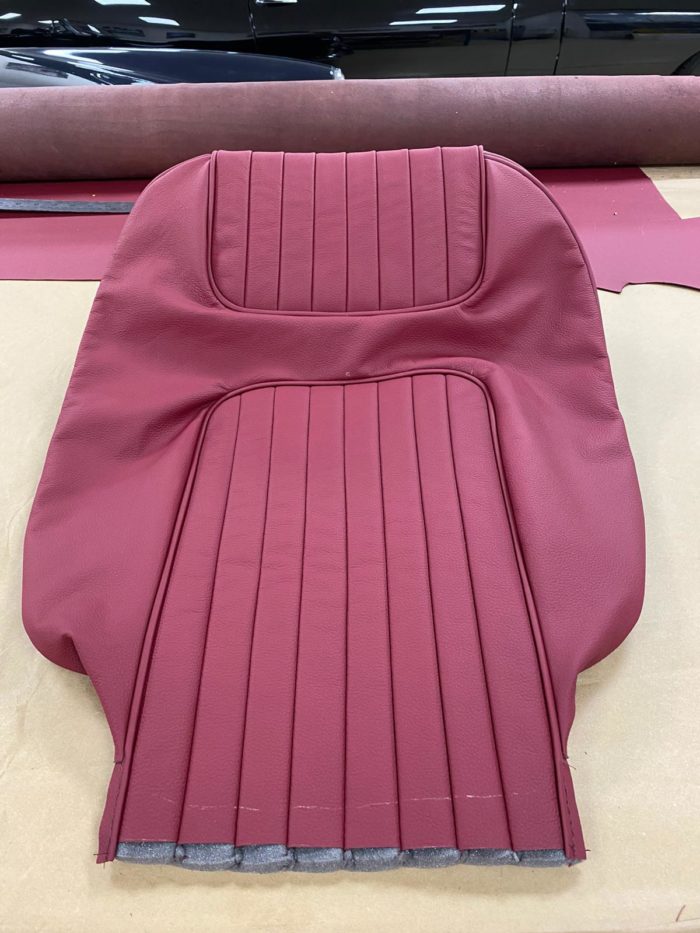
Kath’s then begun work with the new leather sections. She starts by marking out the lines in the fabric to match the existing seats. “I marked out the leather to make the fluted face” Kath explains, “then marked out the lines across the back.”
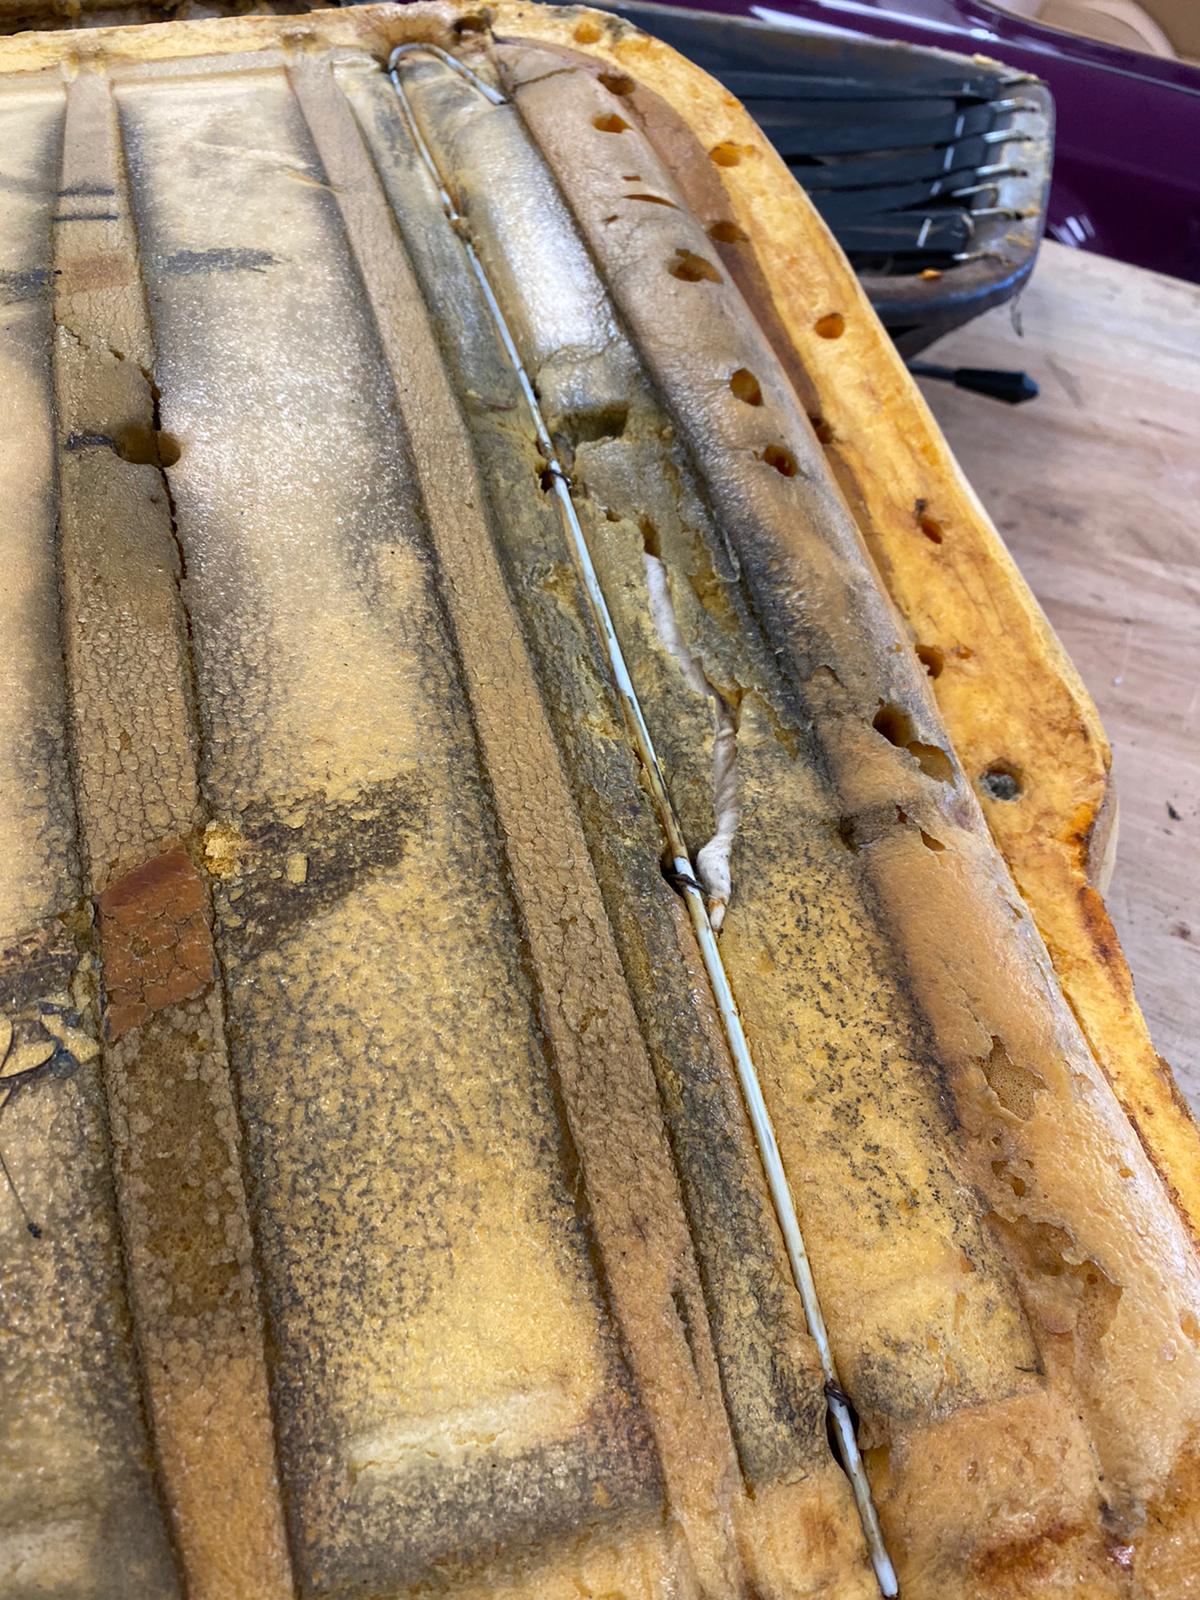
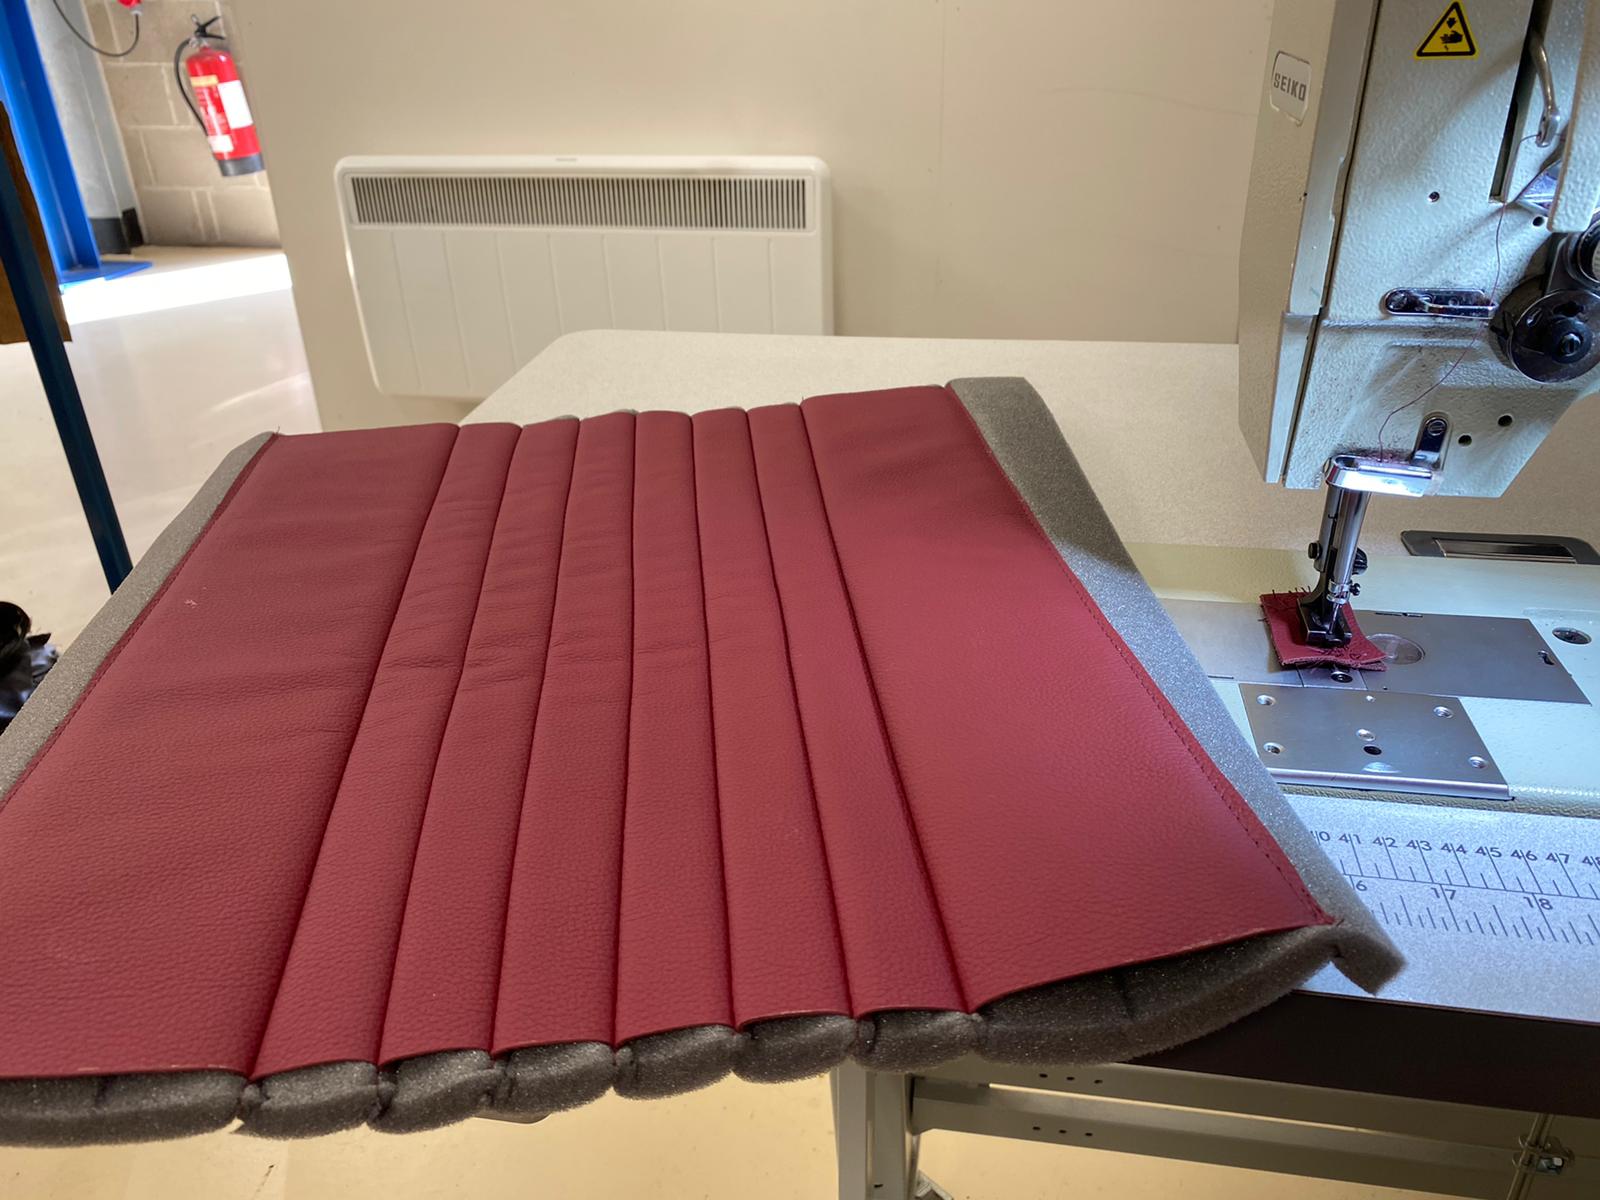
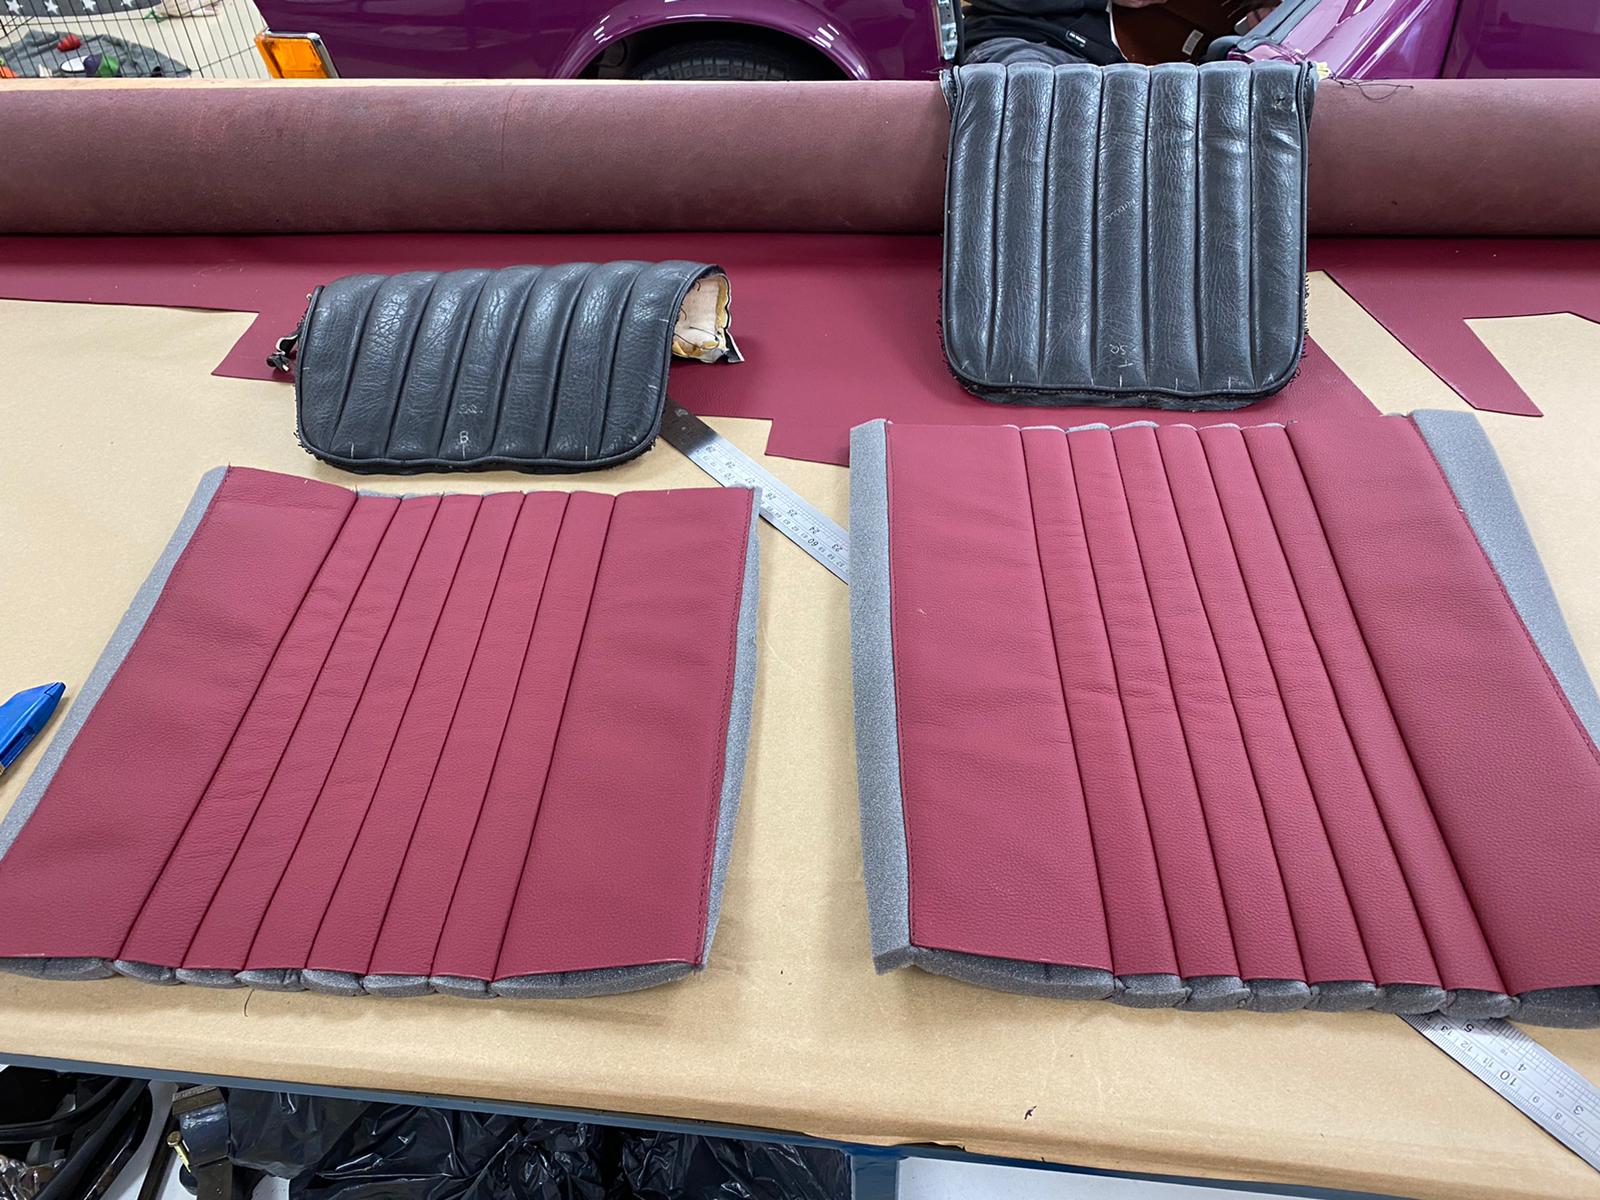
Kath then cut the foam and marked out the lines on that too. Then, it was ready to start sewing the flutes.


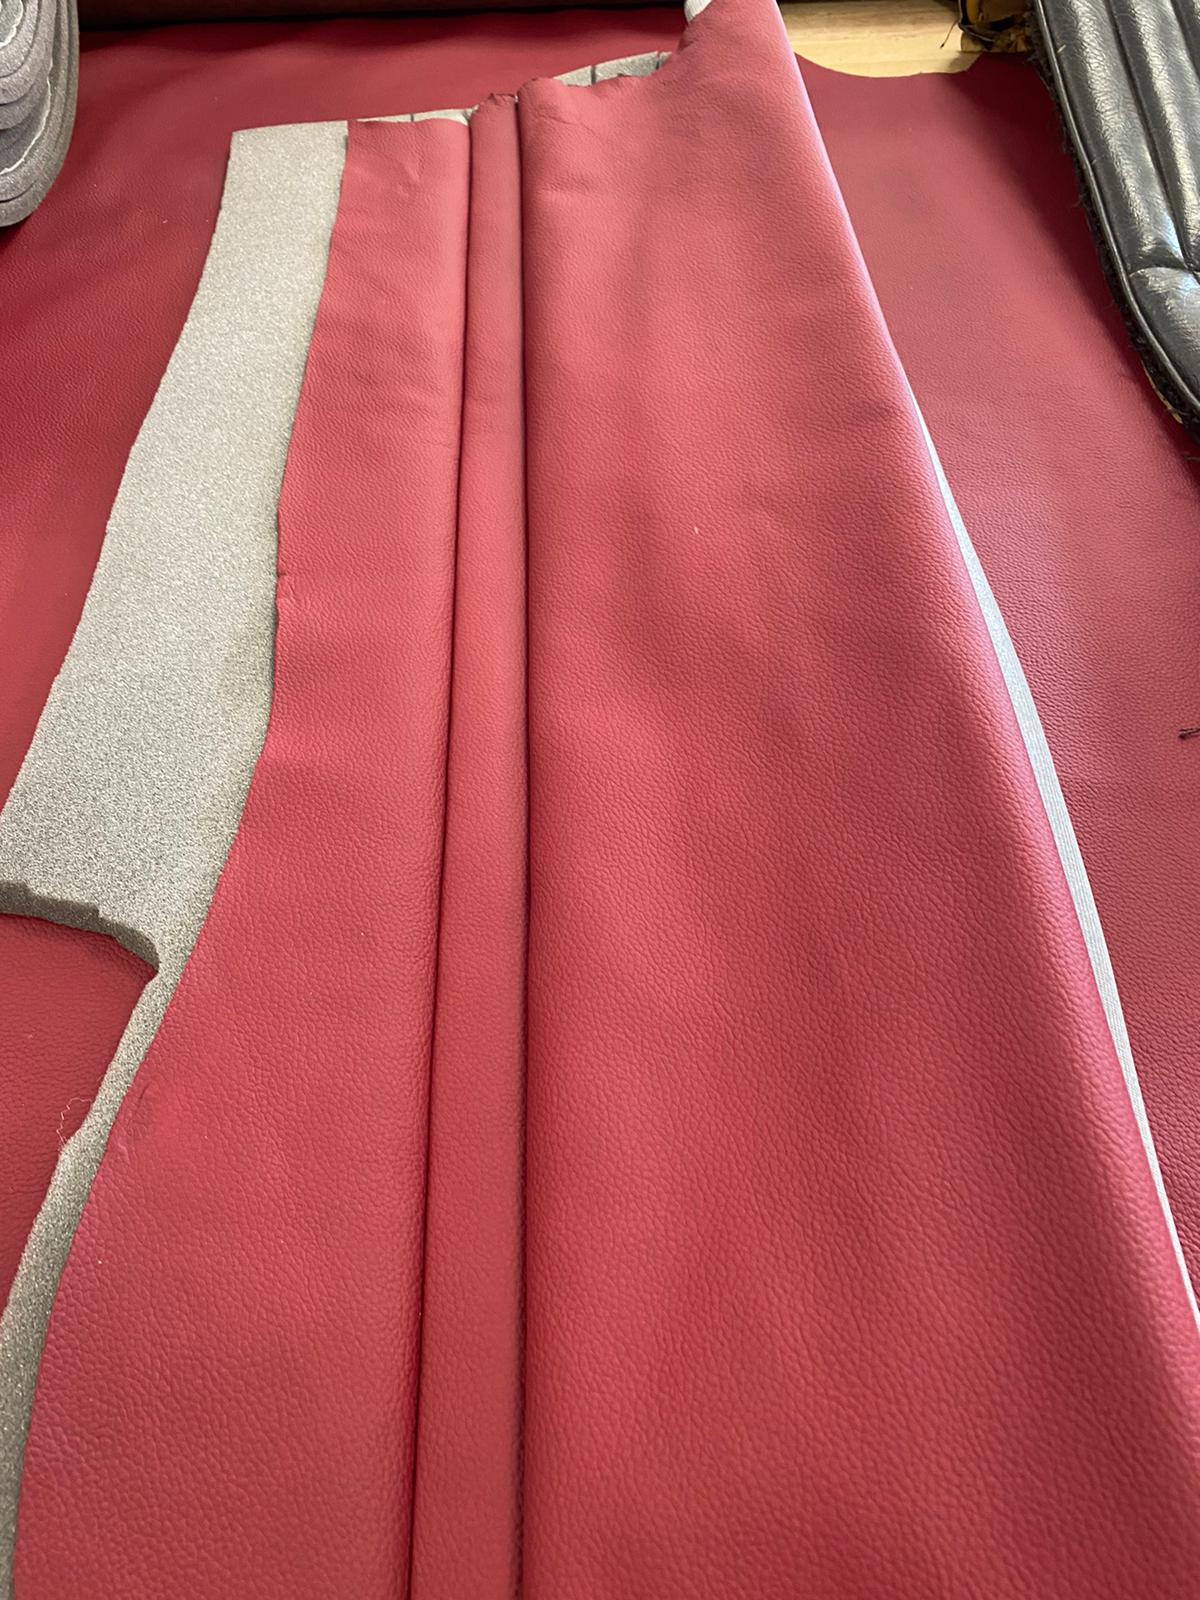

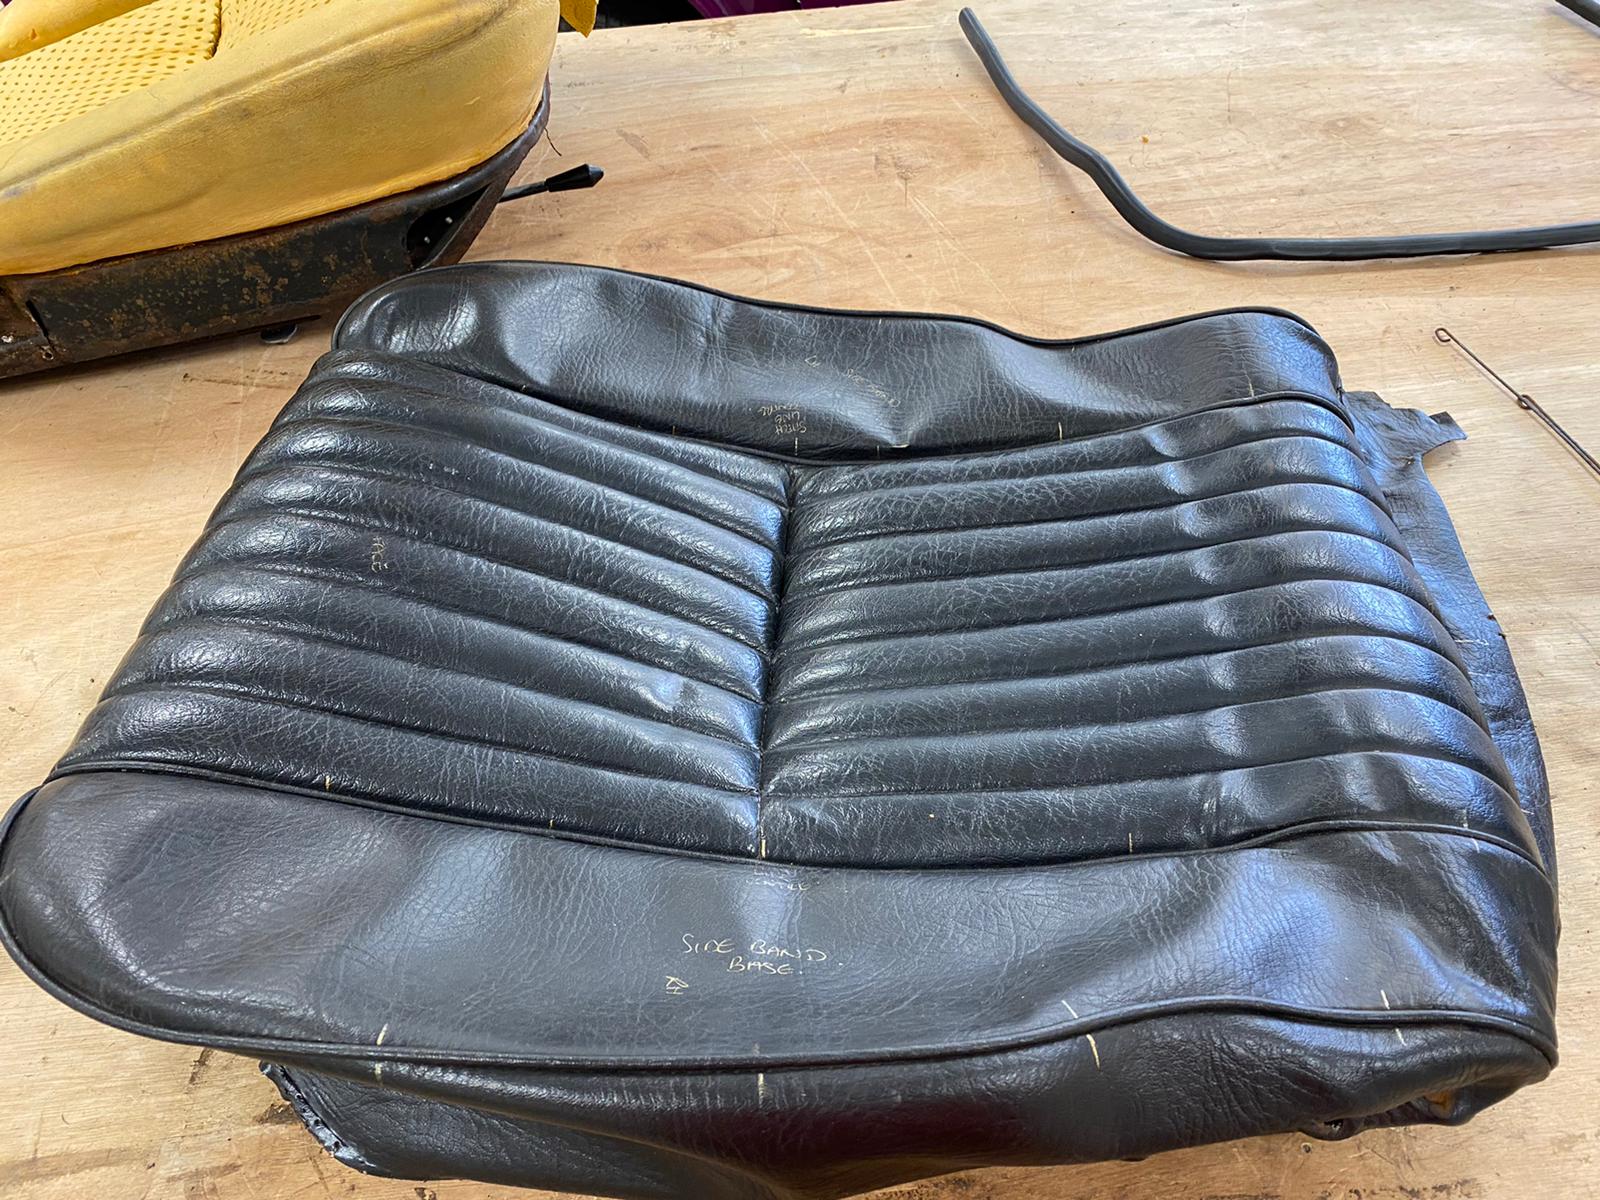
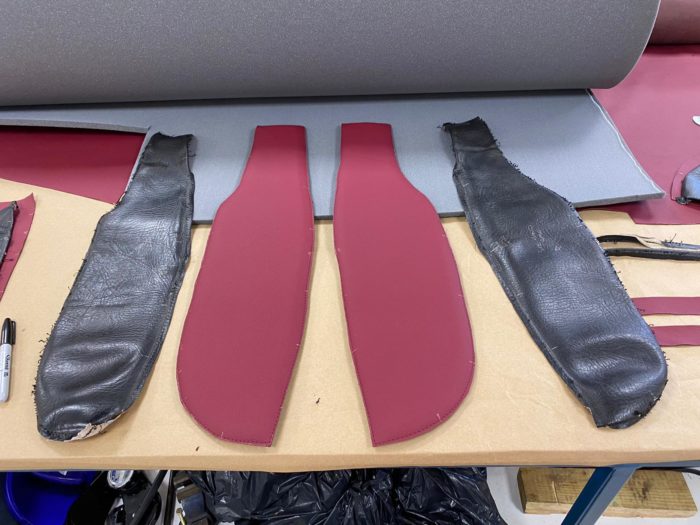
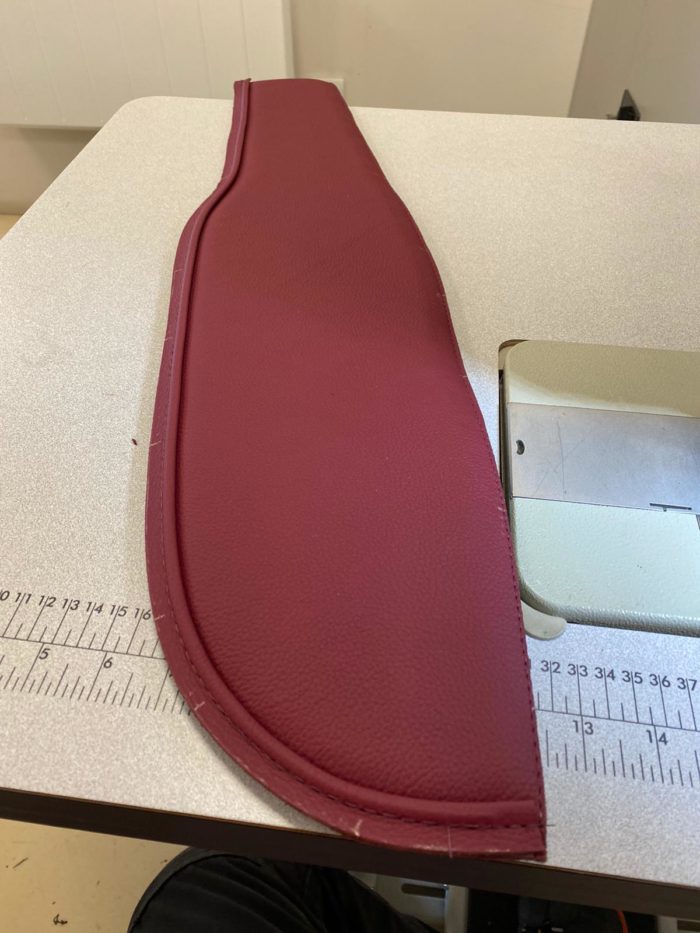
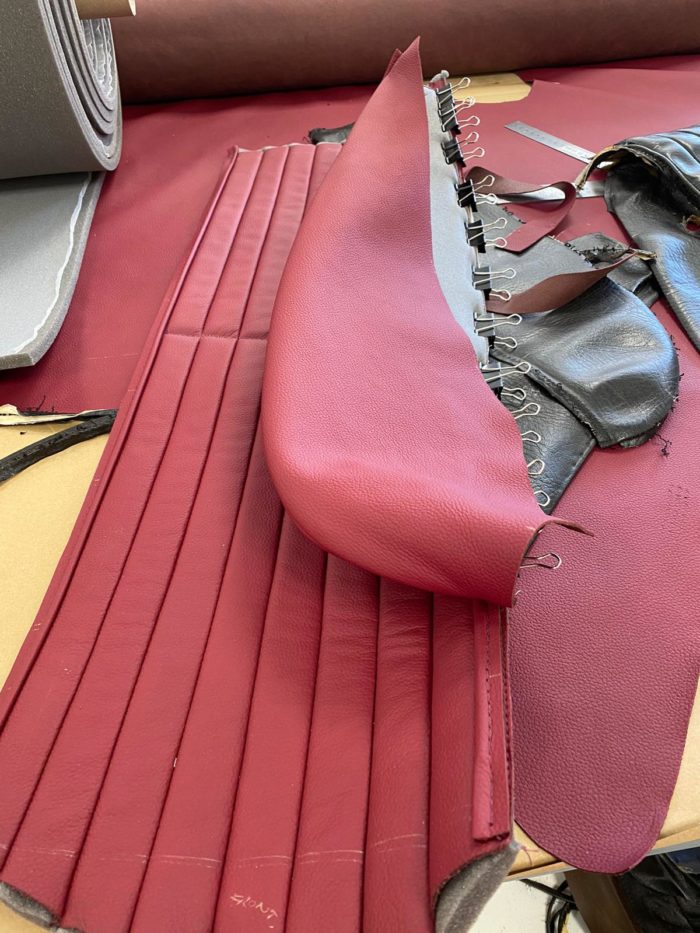
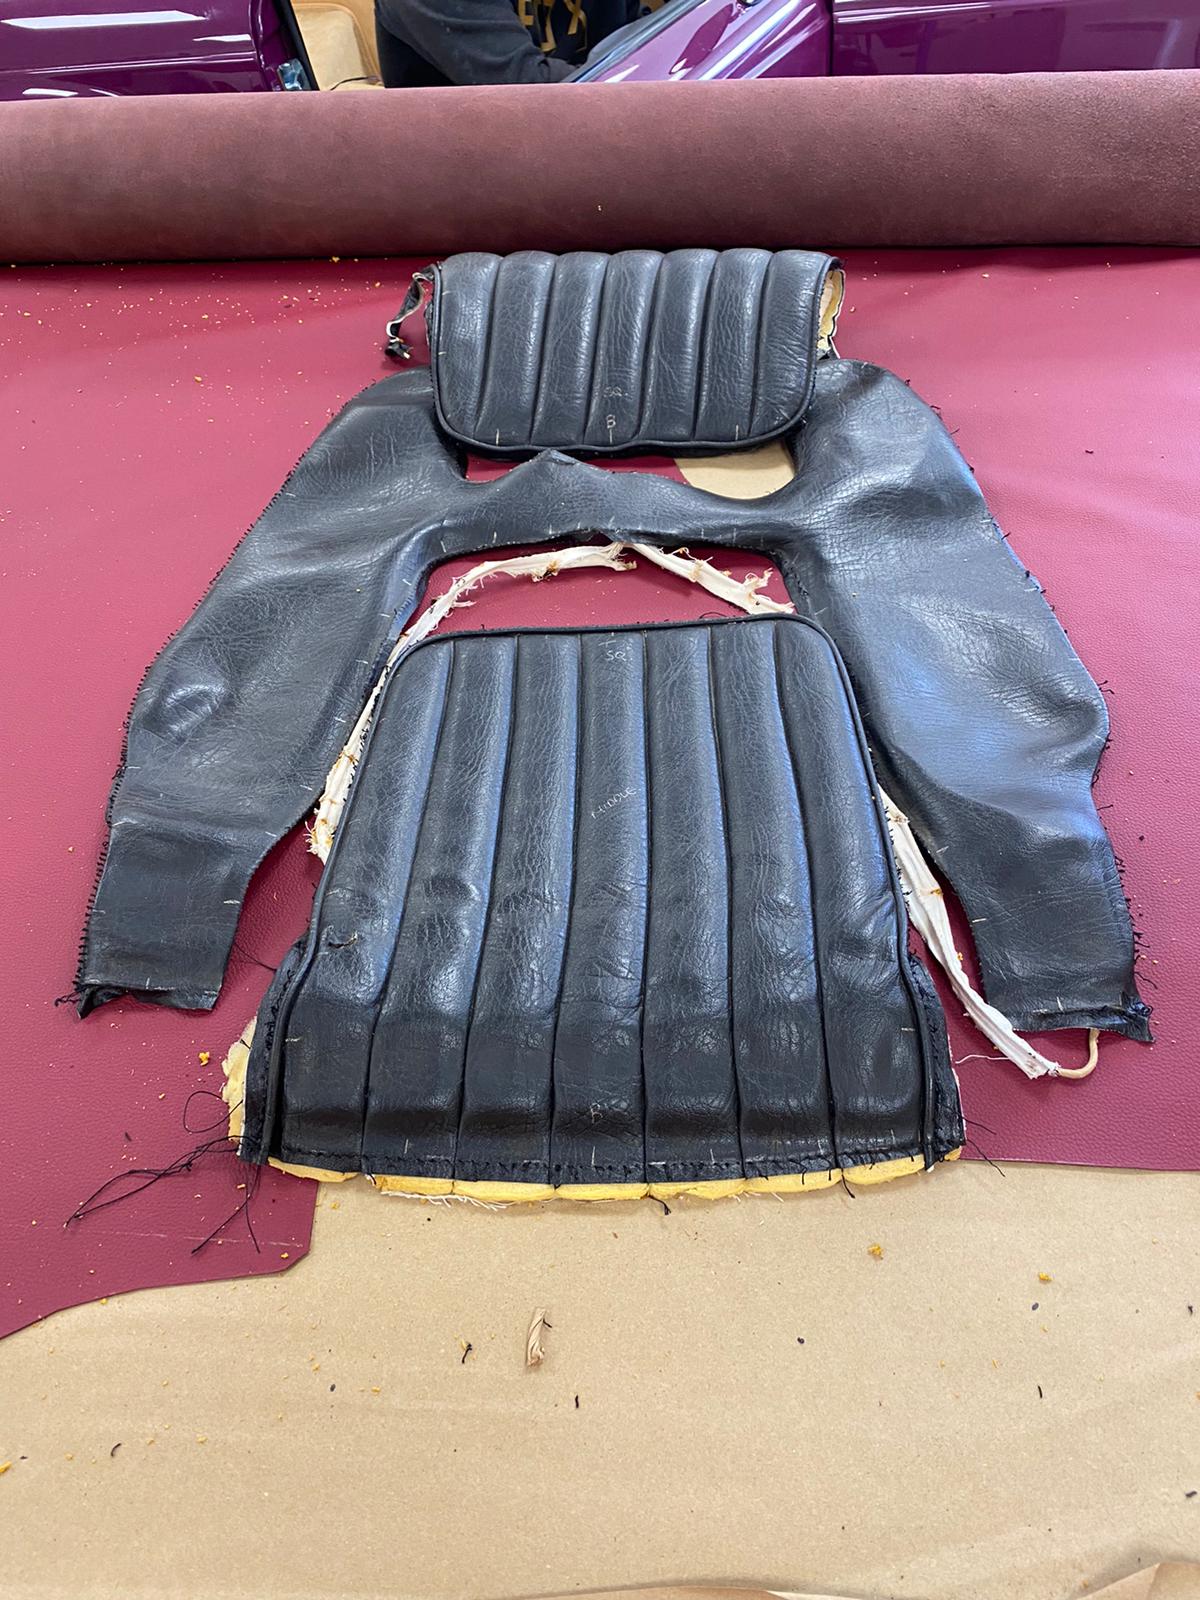
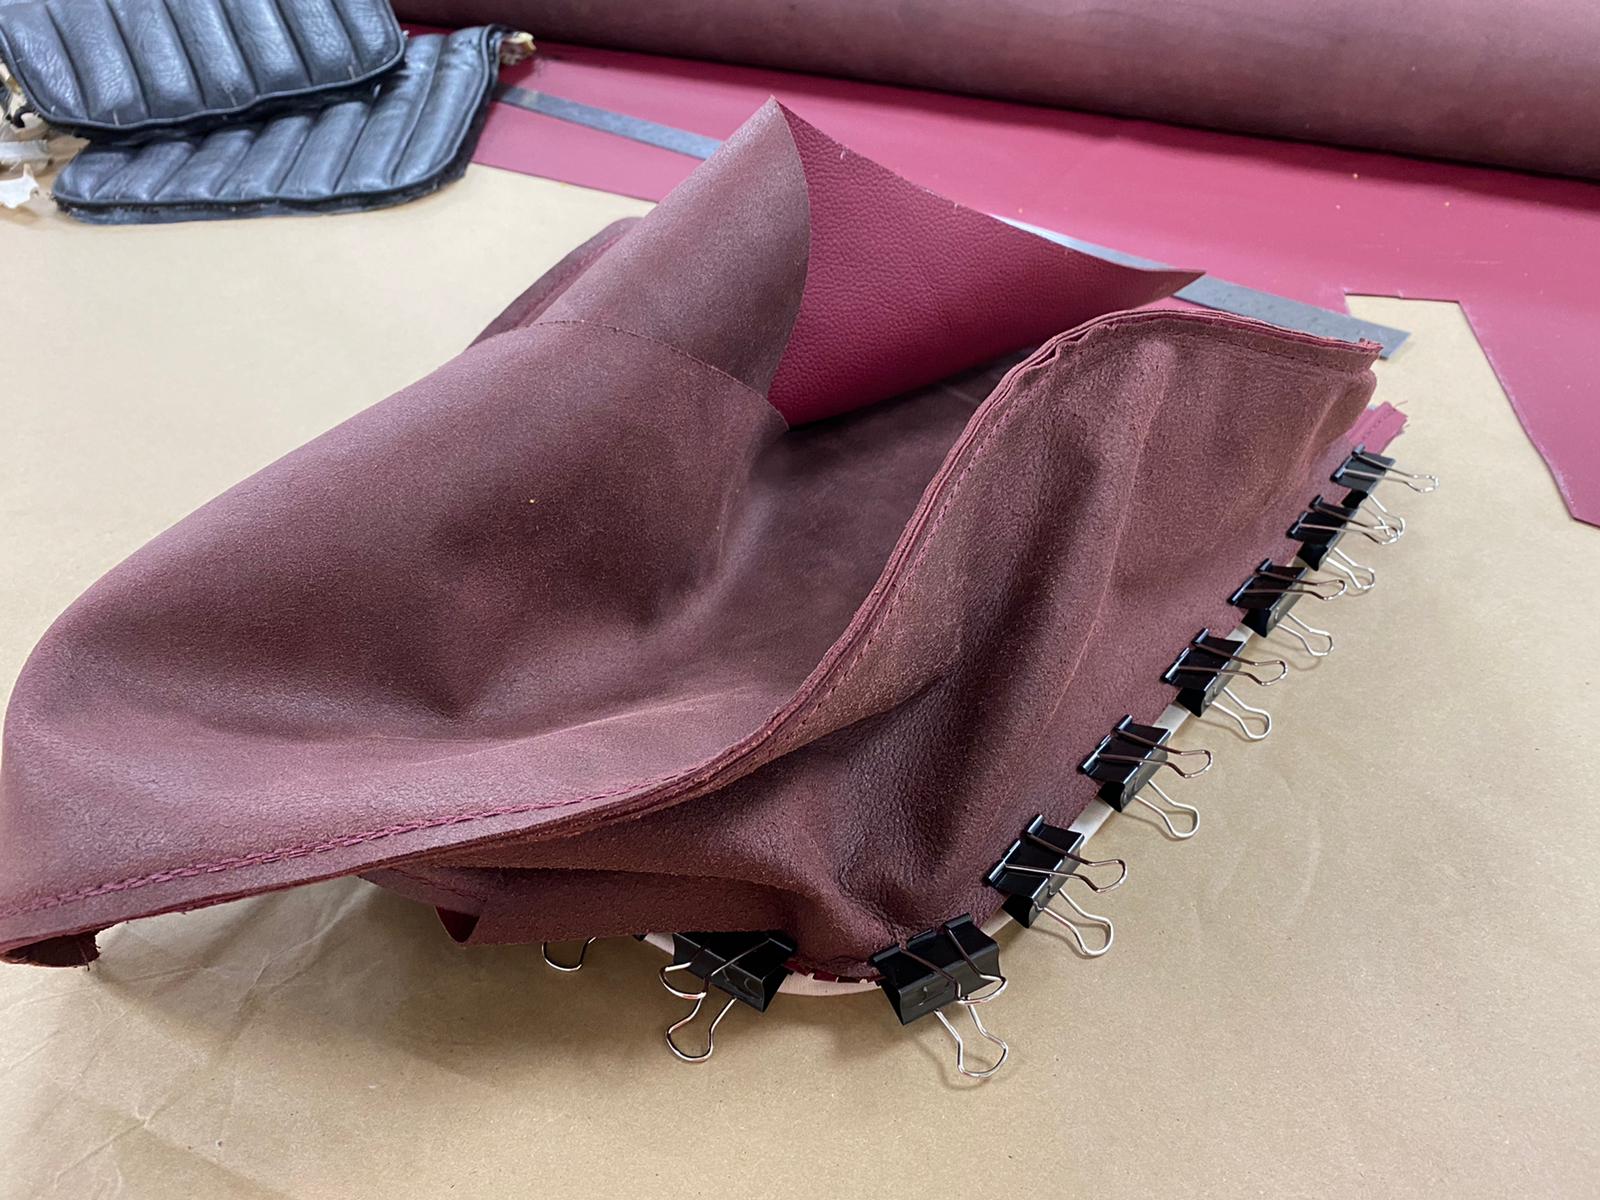
Kath then begun work on some smaller segments of the seats. “I marked out the side bands, skirt and piping” Kath describes “then mounted the side bands onto foam.”
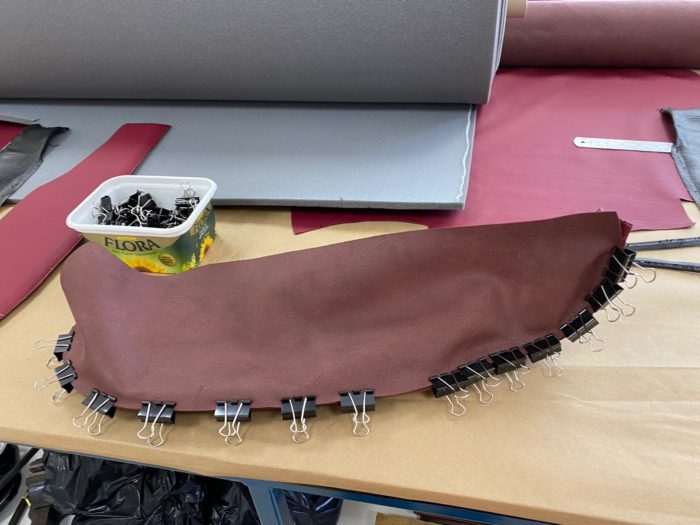
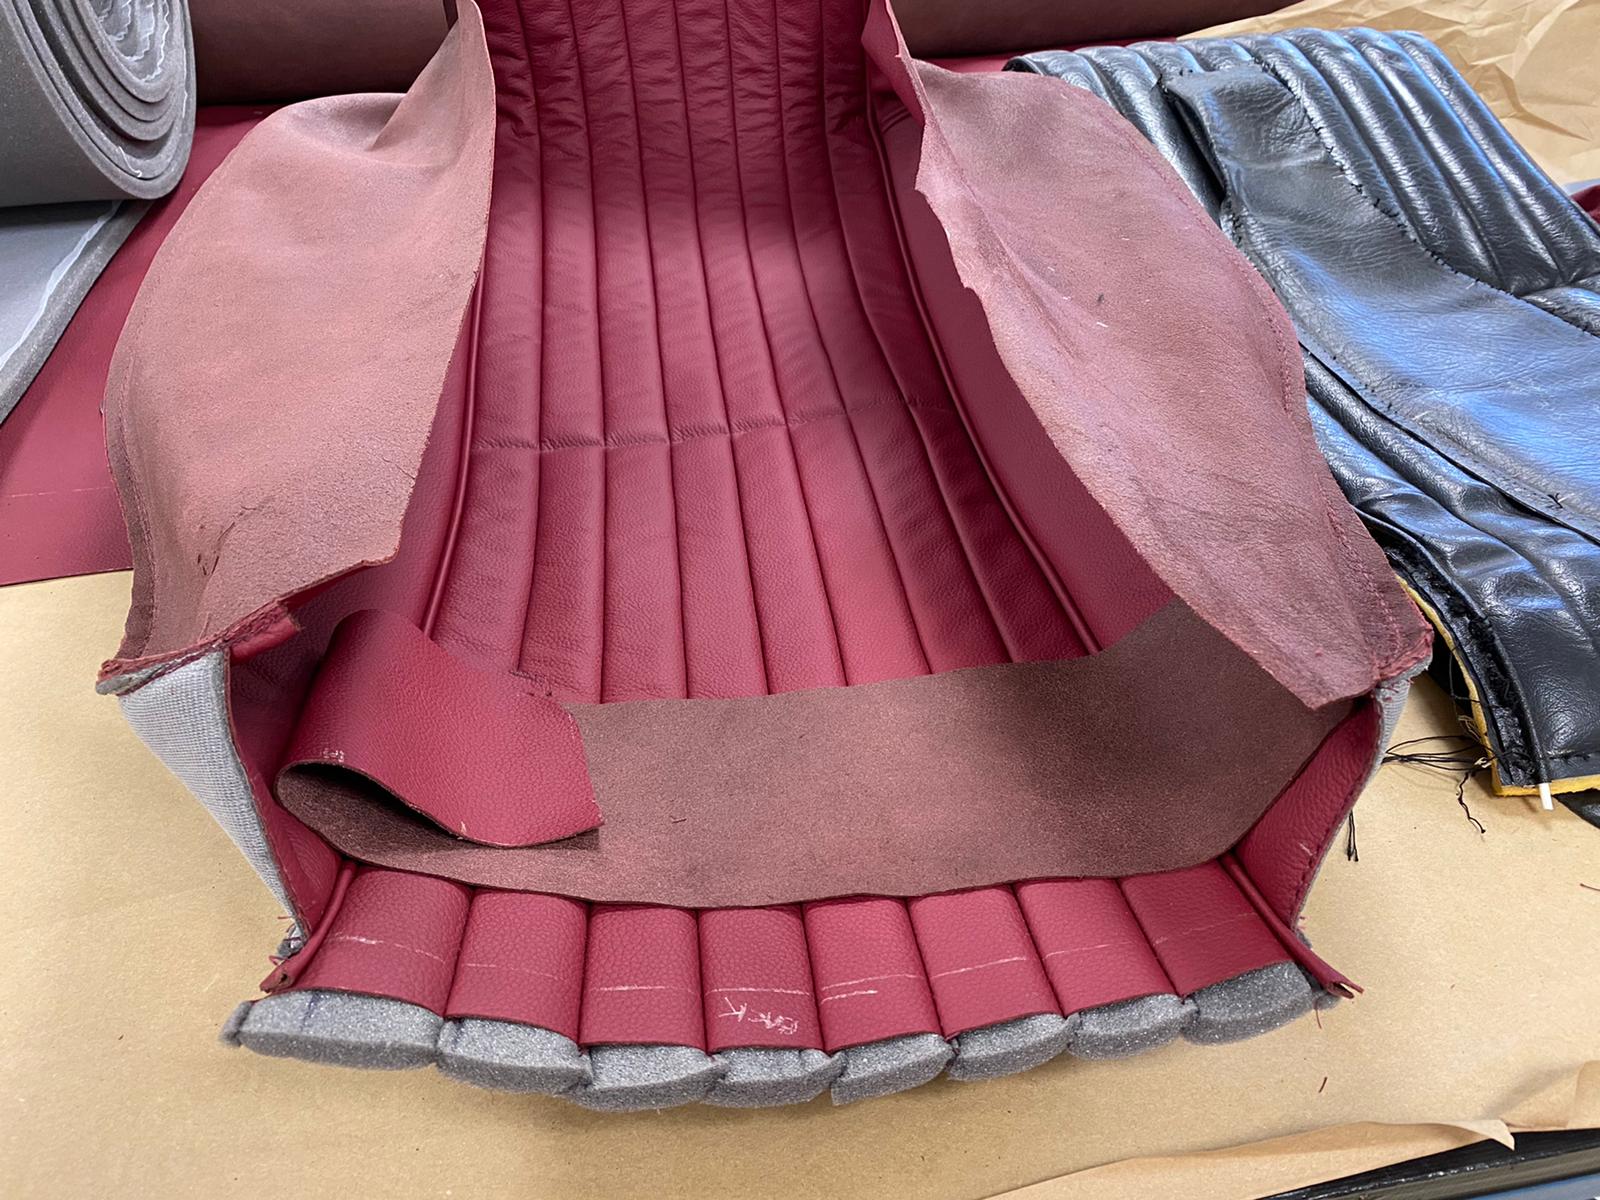
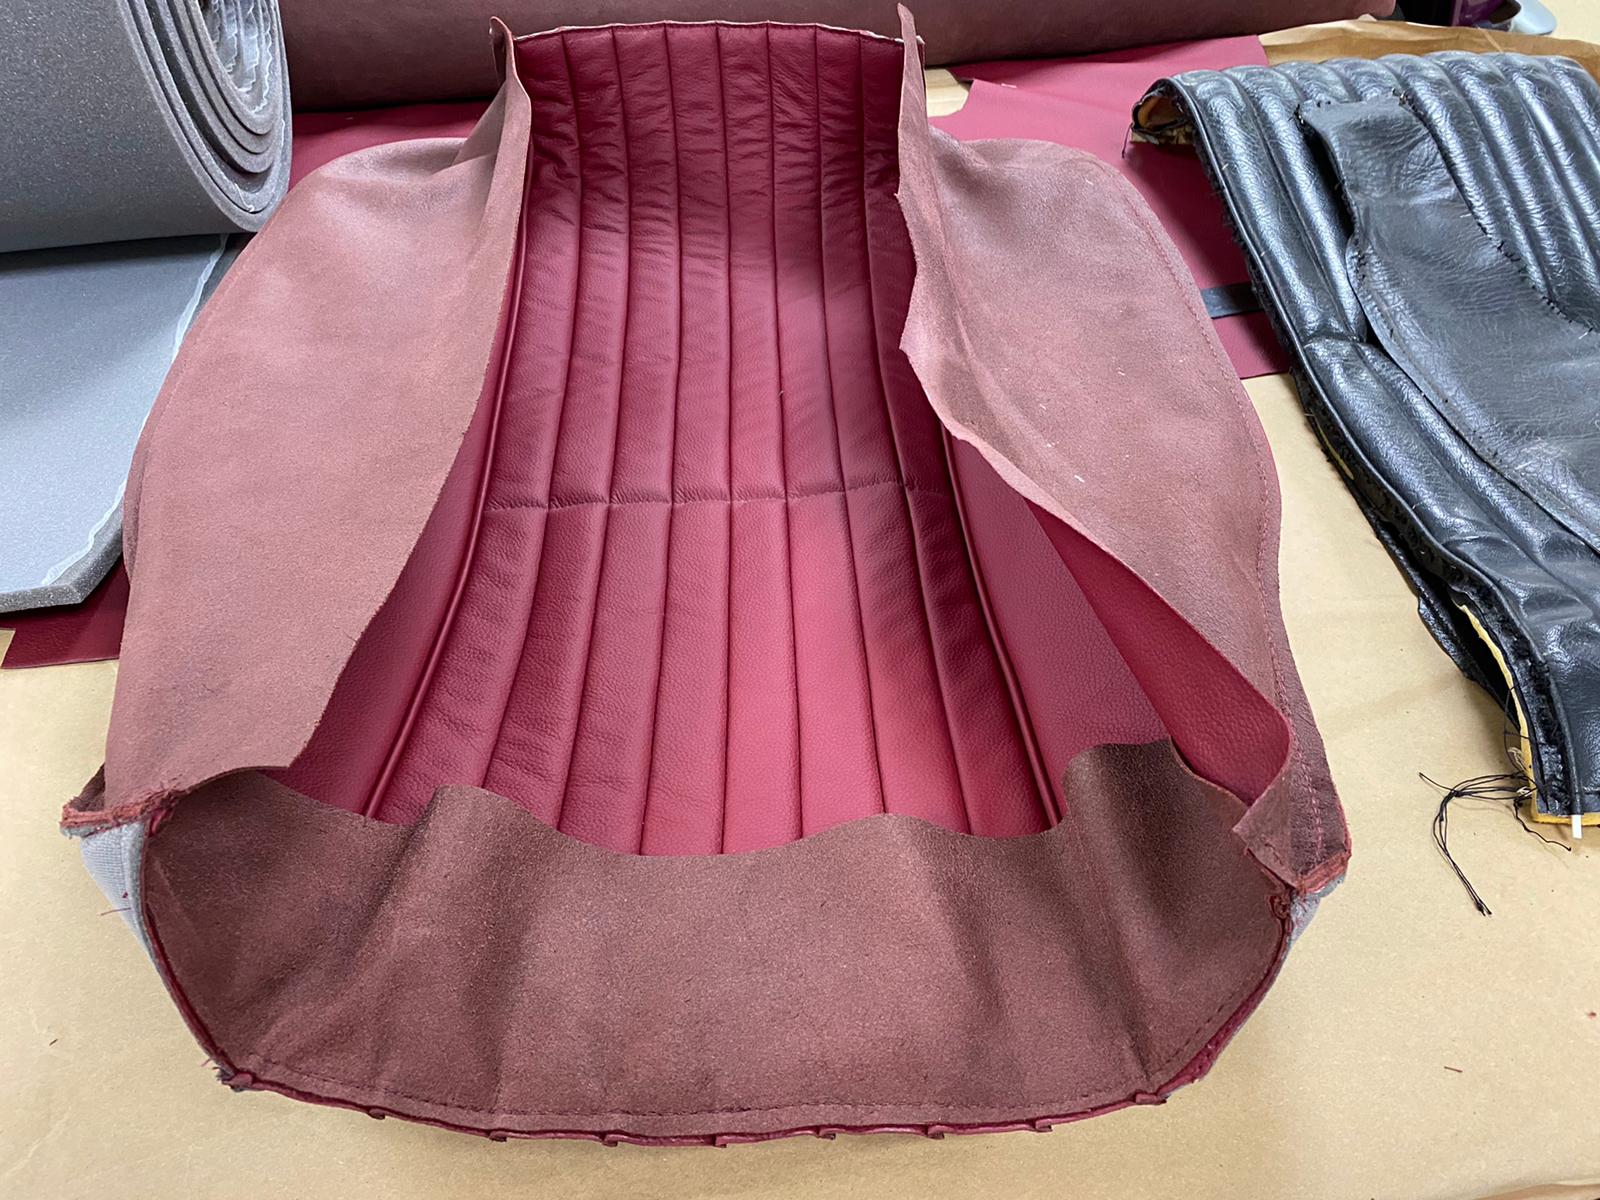
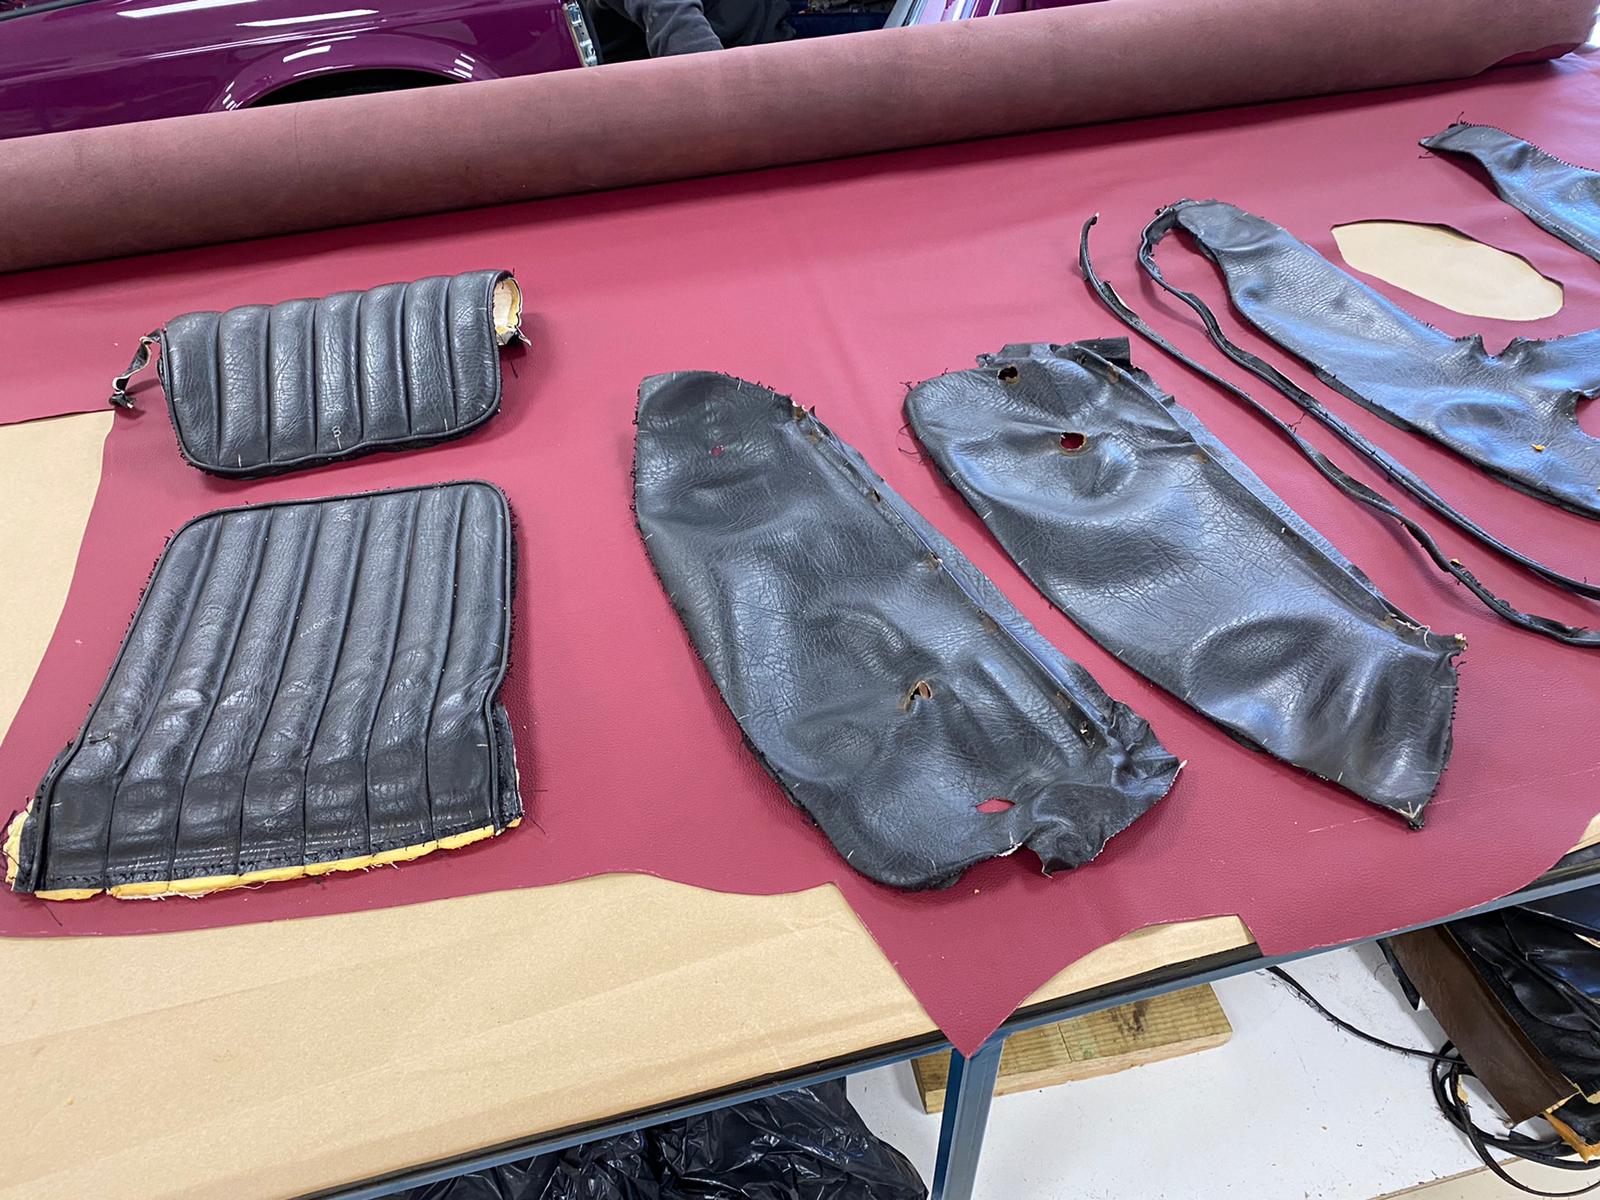
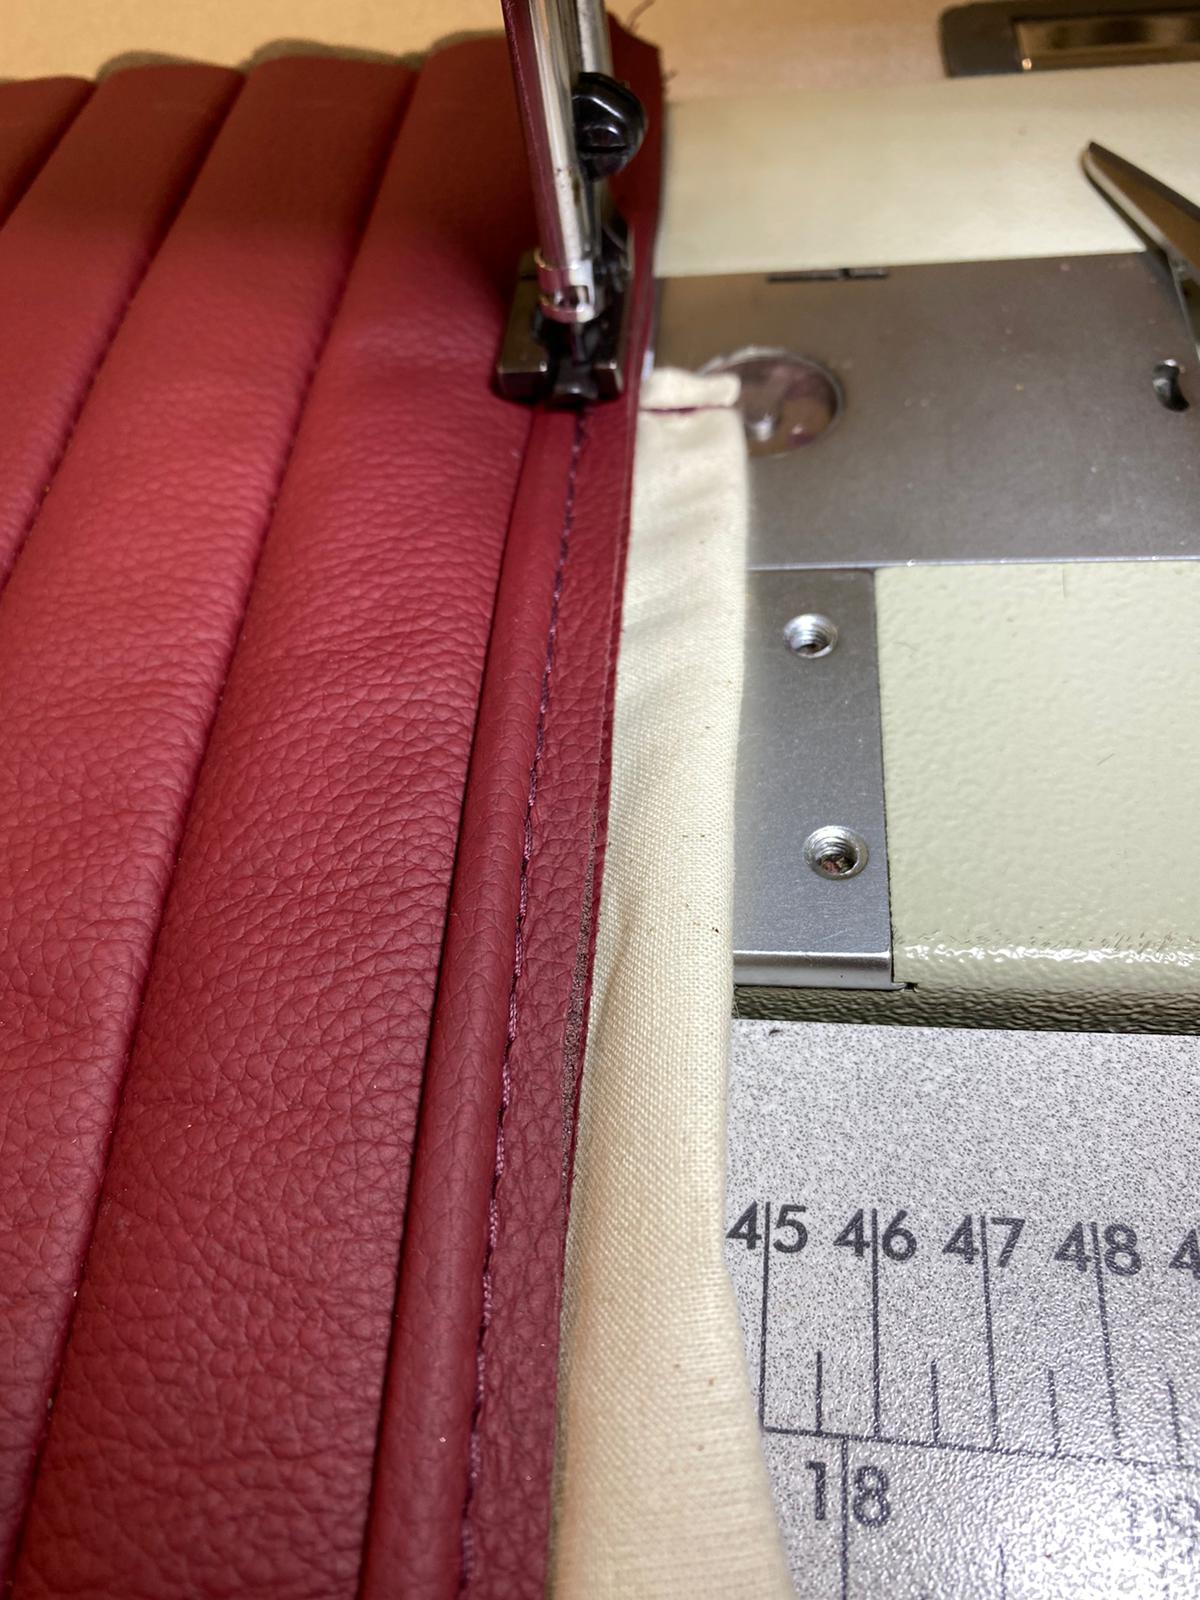
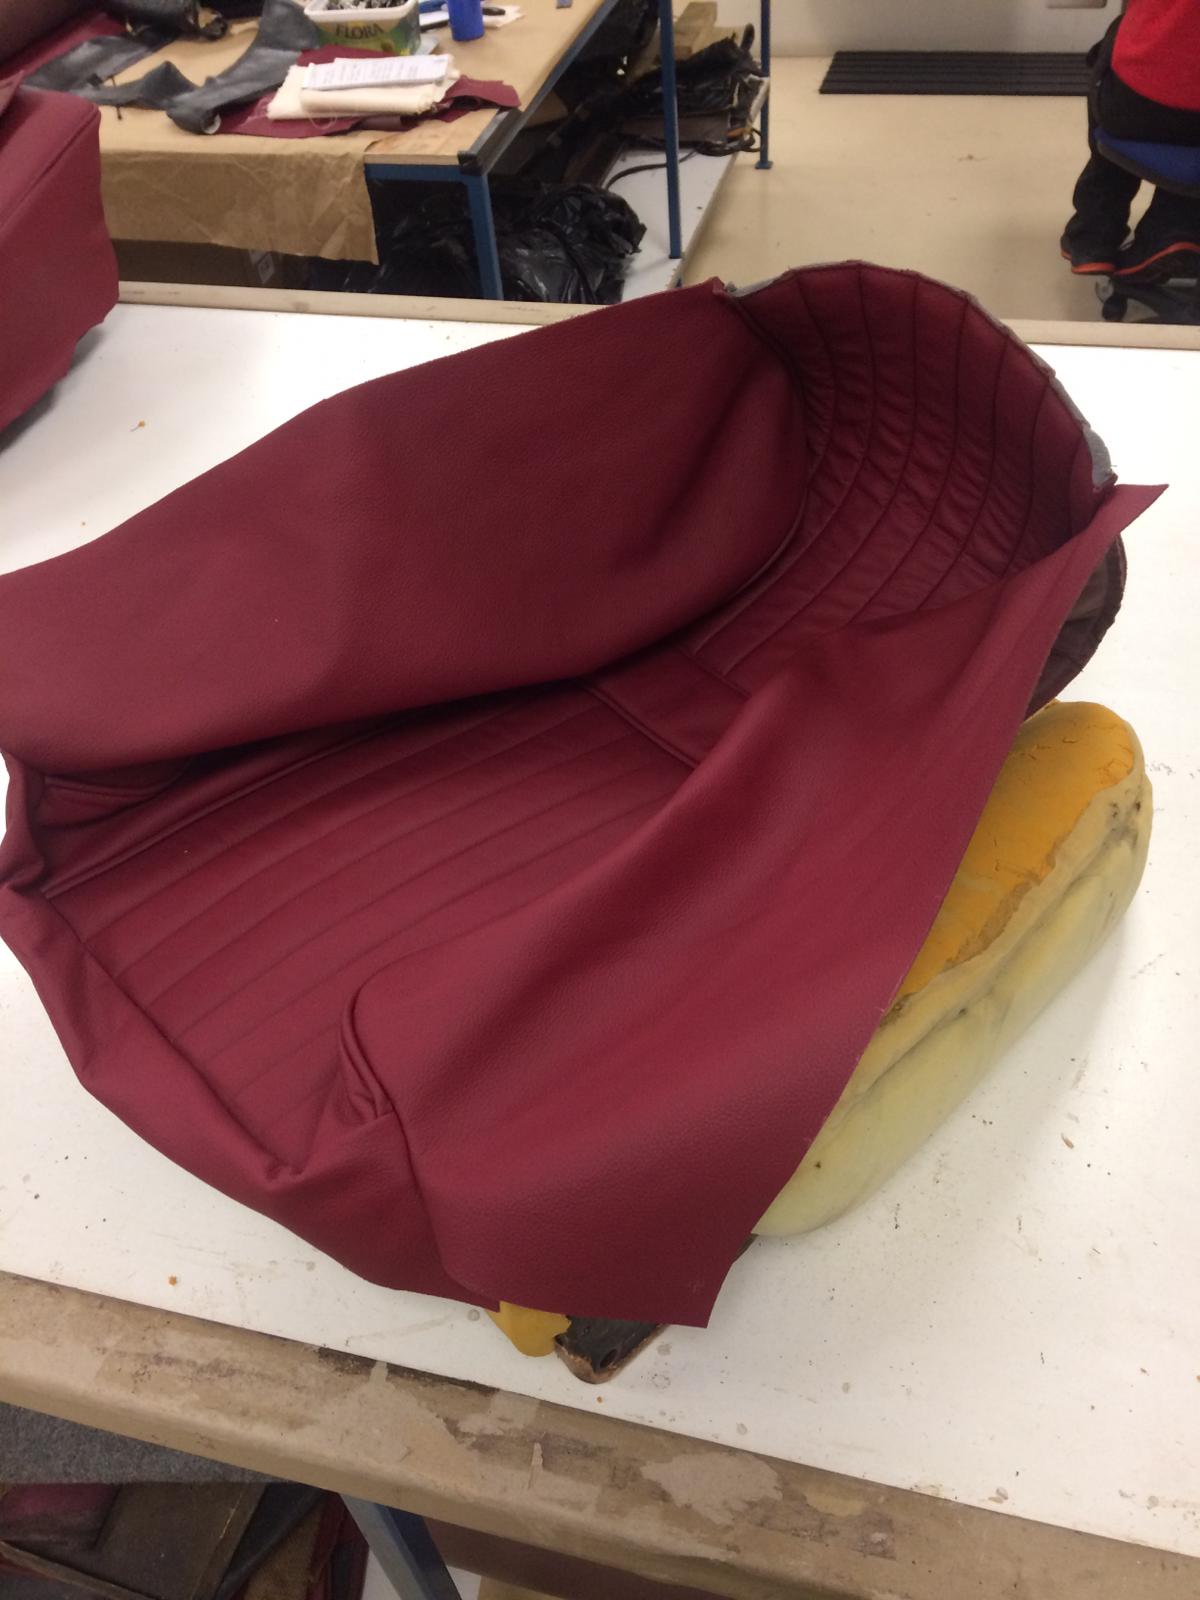
Kath then seals around the edges and trims off any excess, clipping the leather together to hold in place before it’s stitched up.
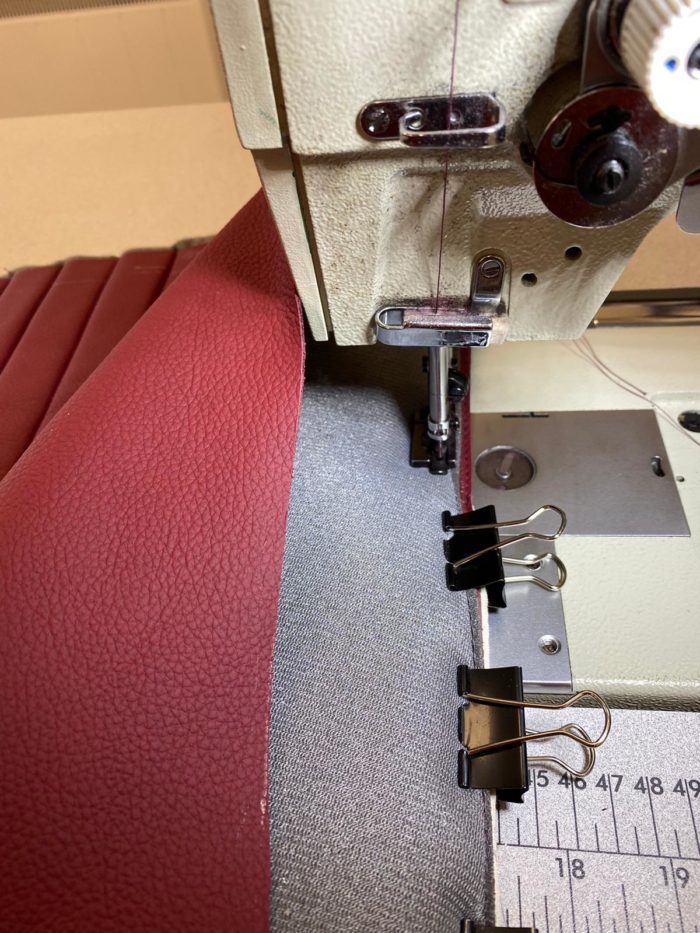
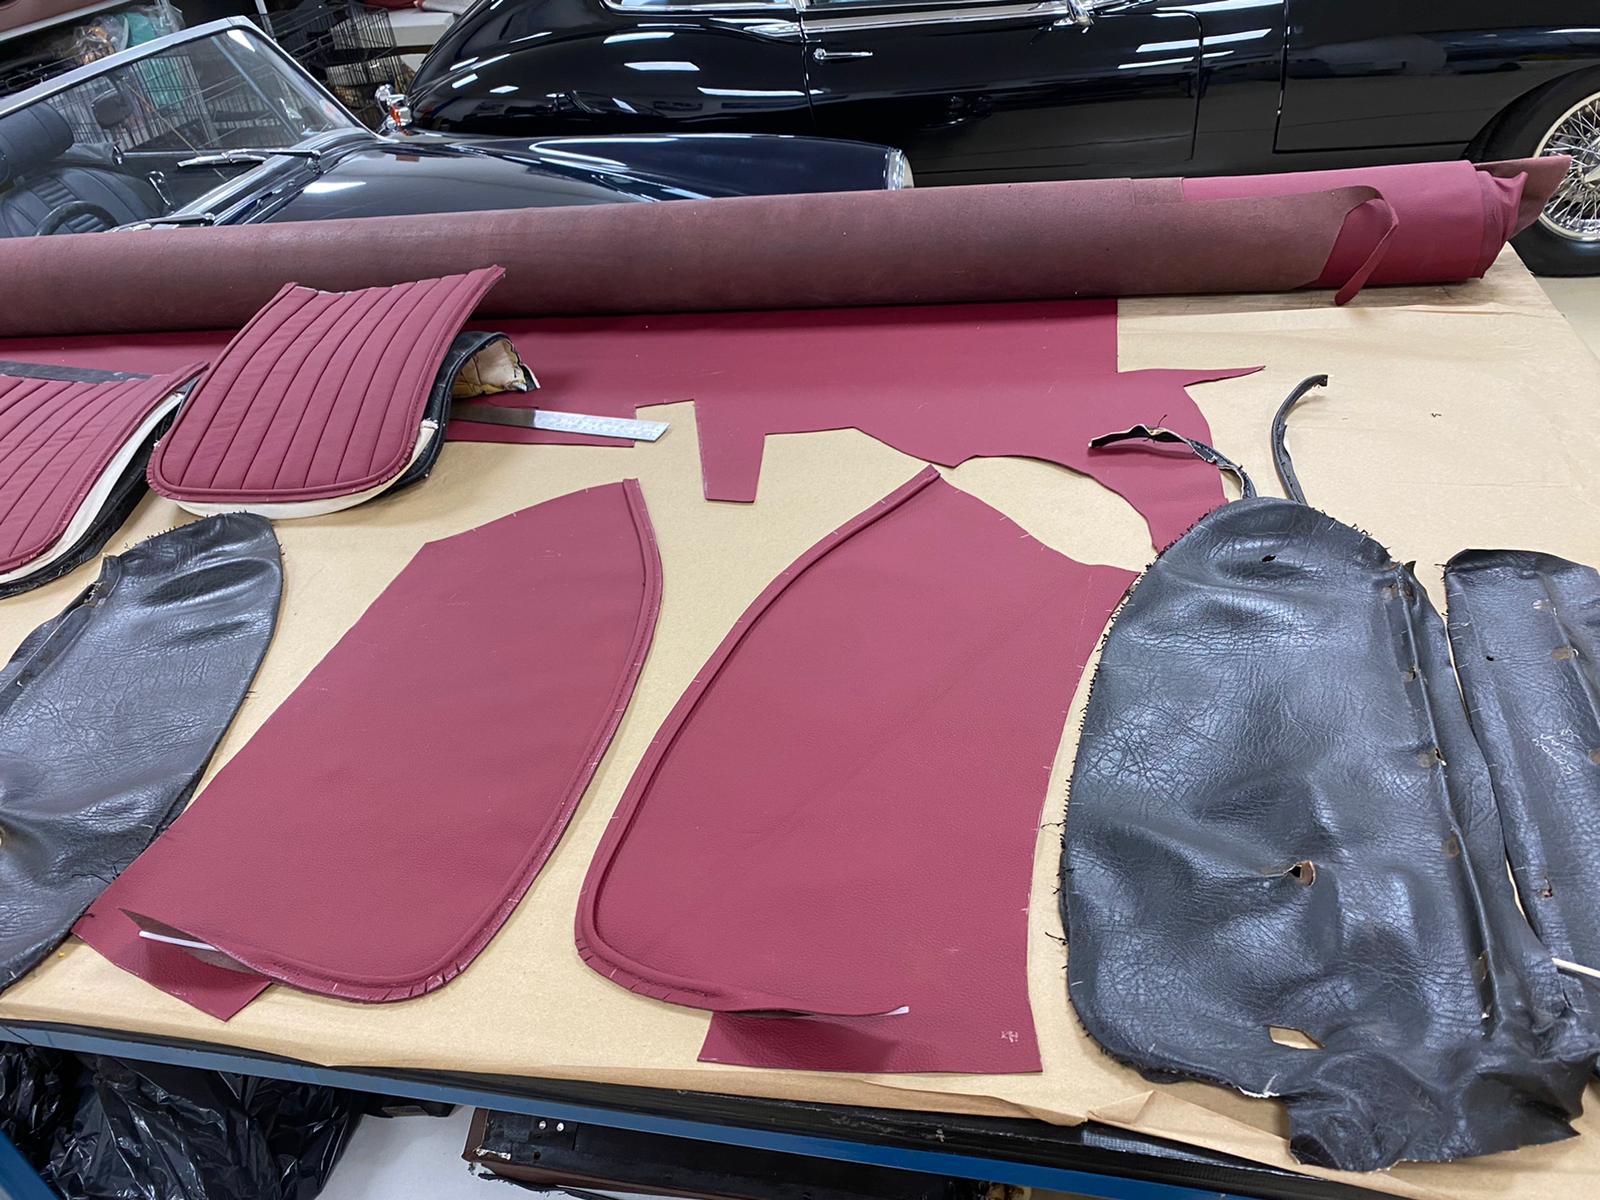
These sections are then attached to the base of the seat. Both sides are sewn on, then the back flap is also sewn in place.
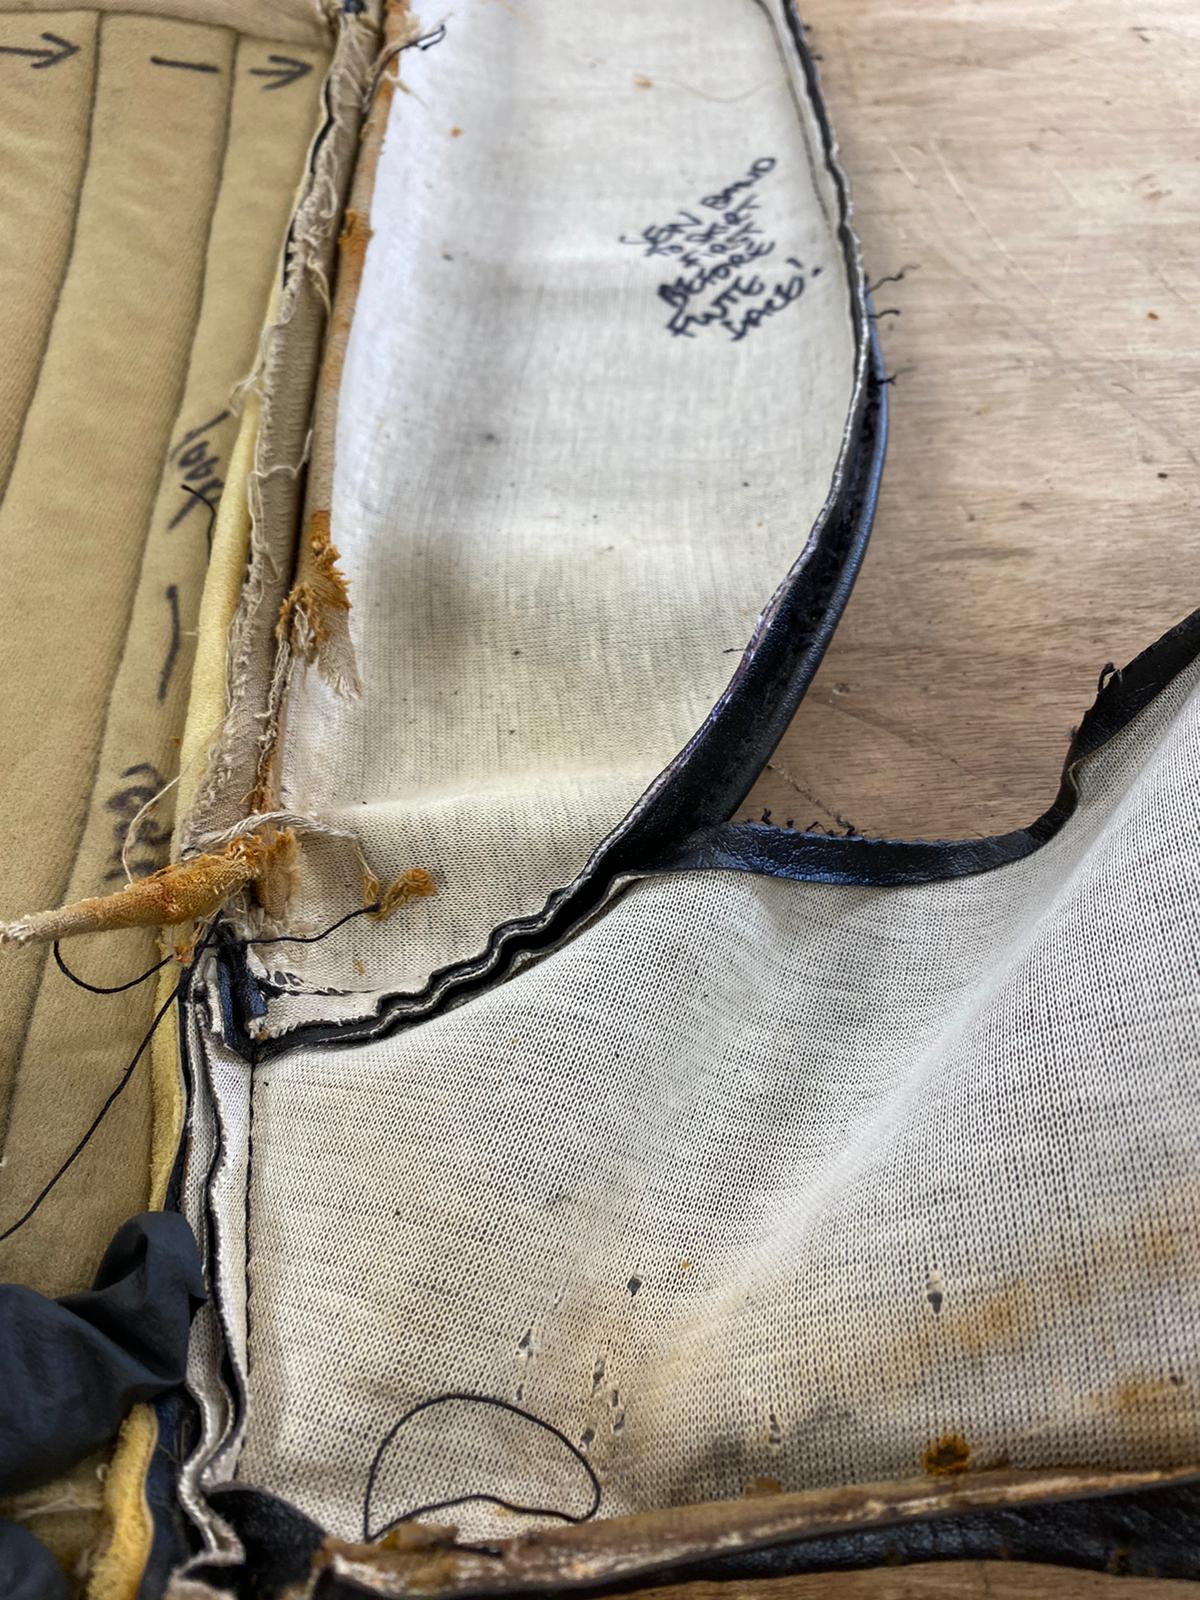
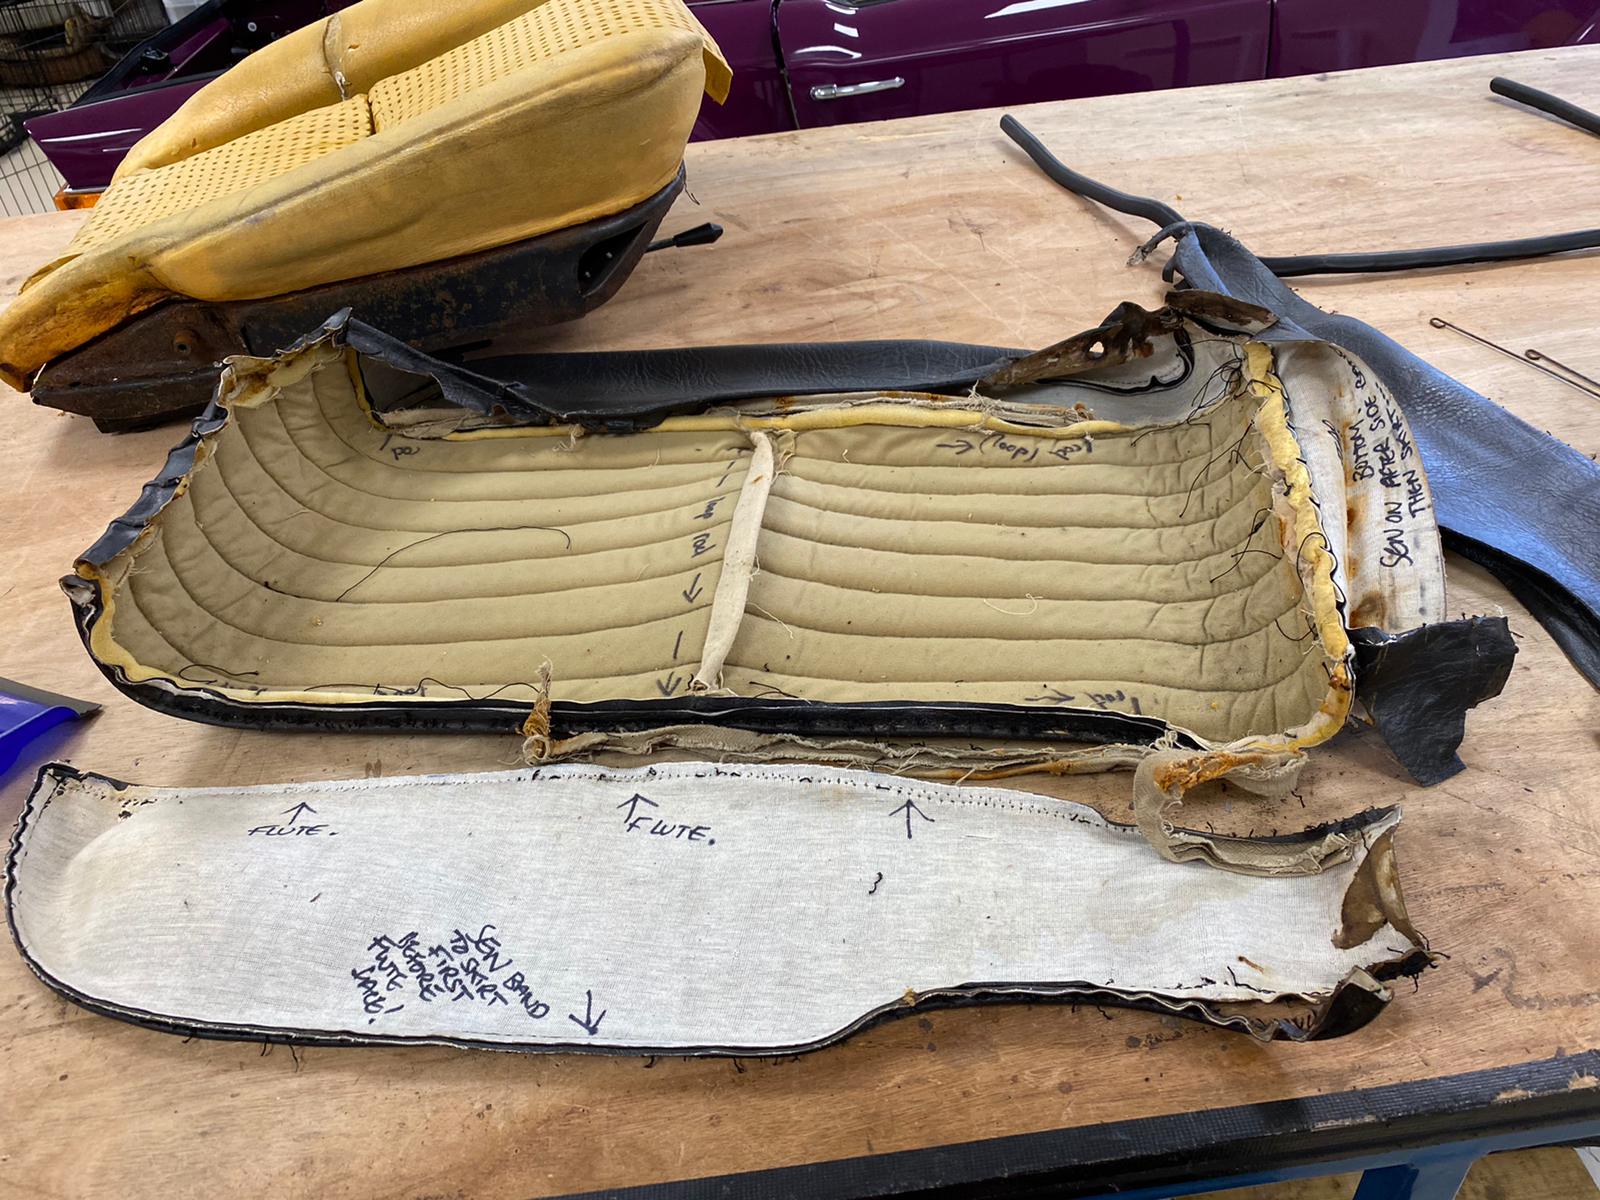
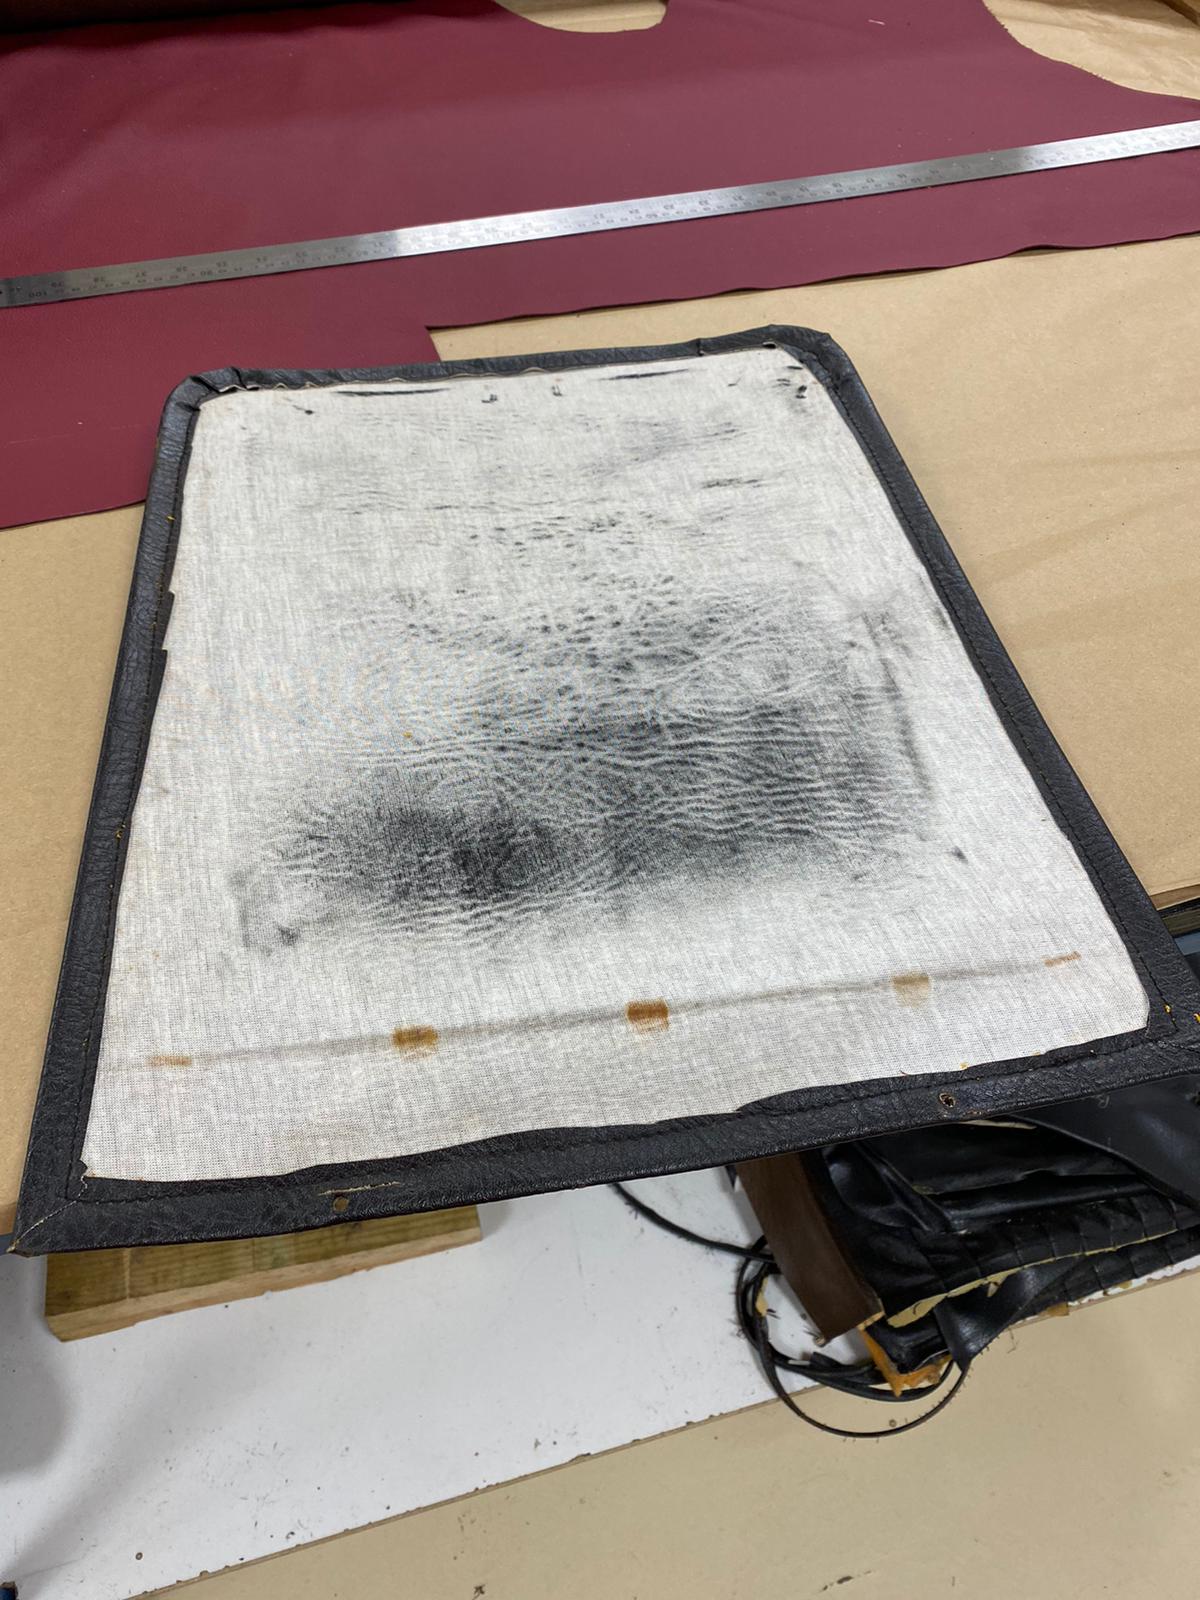
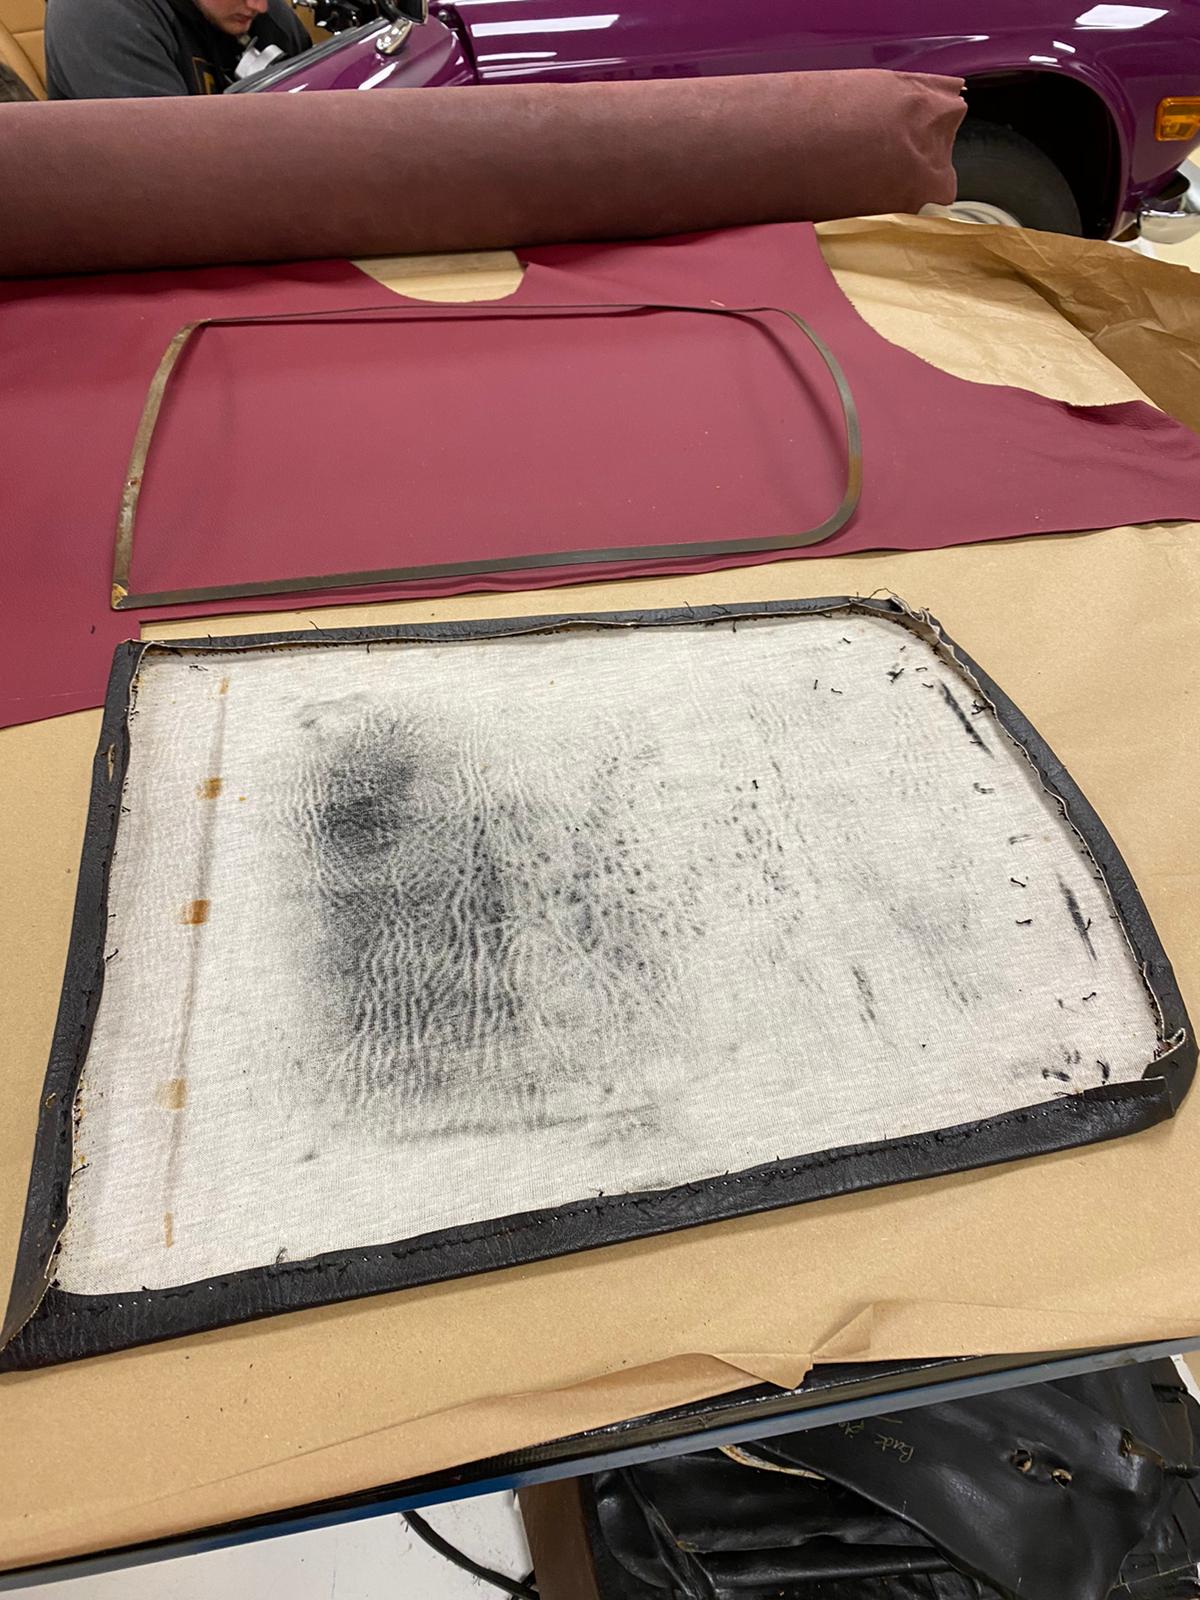
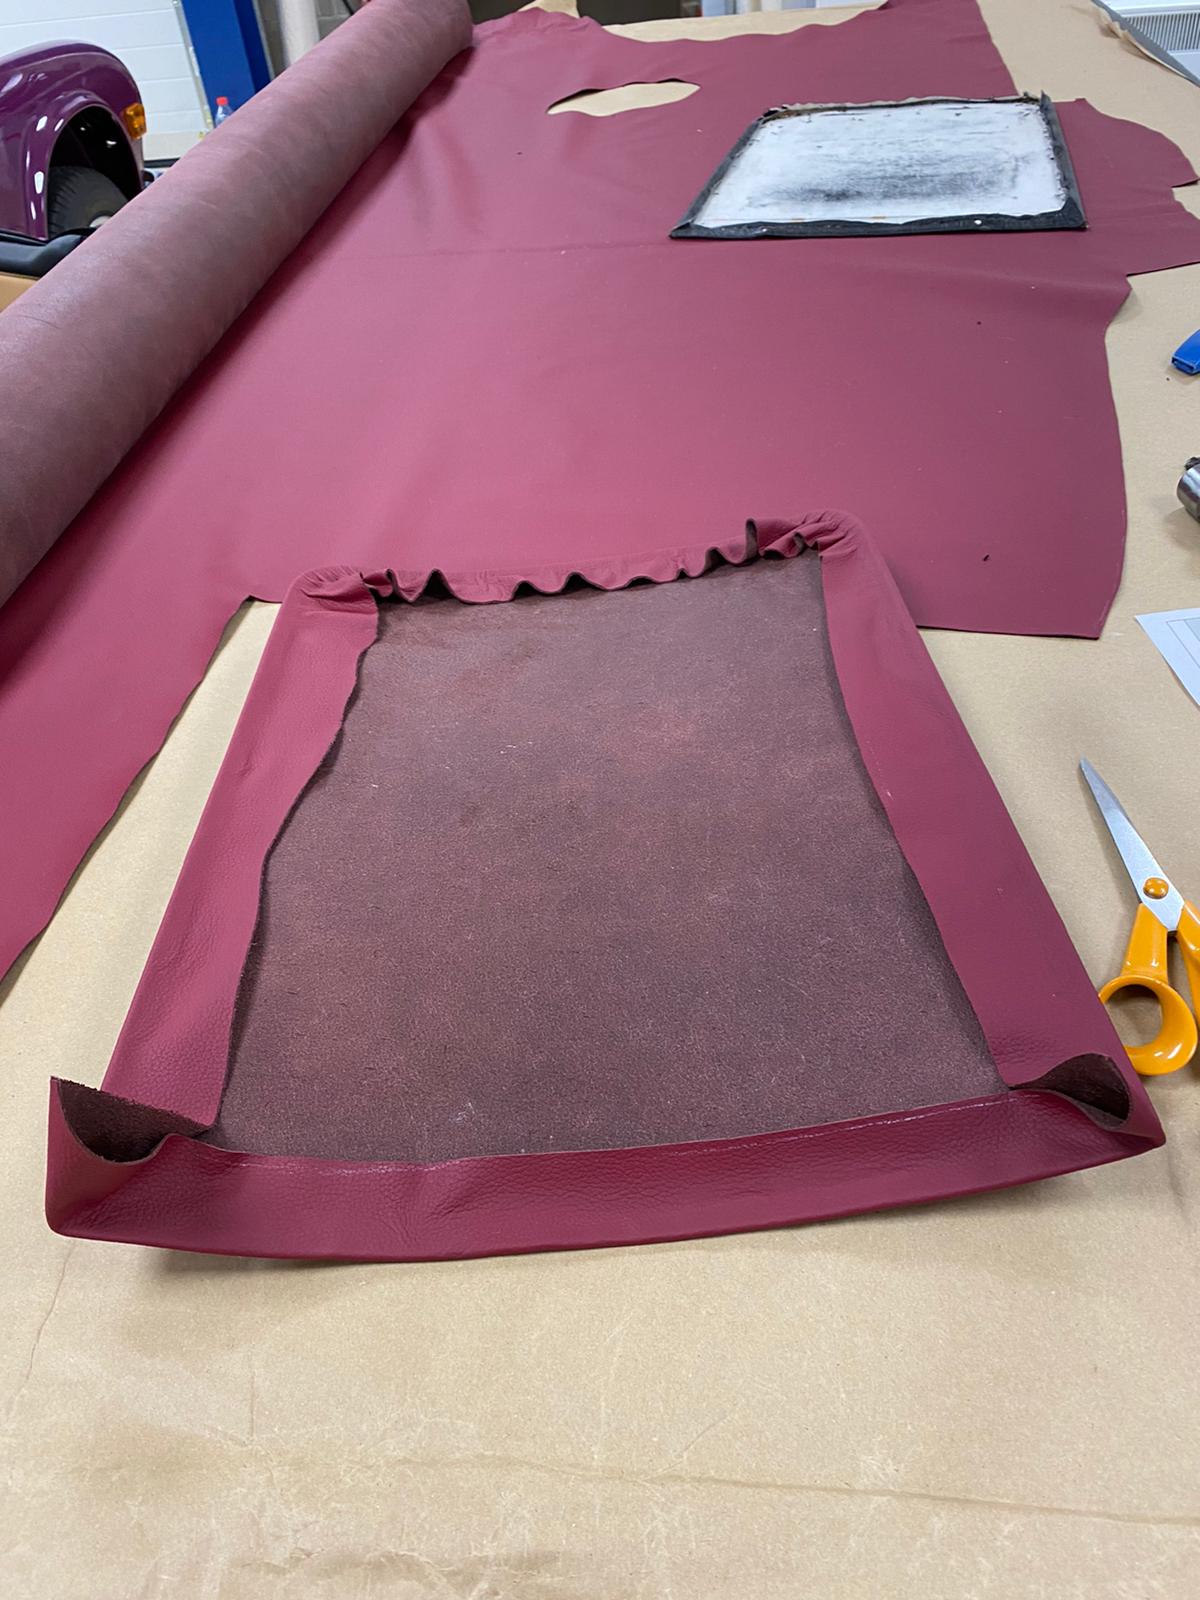
Next up, Kath is sorting out the back panel of the squab. “I unpick all the original stitching” she explains, “again to use the pattern as a guide”.
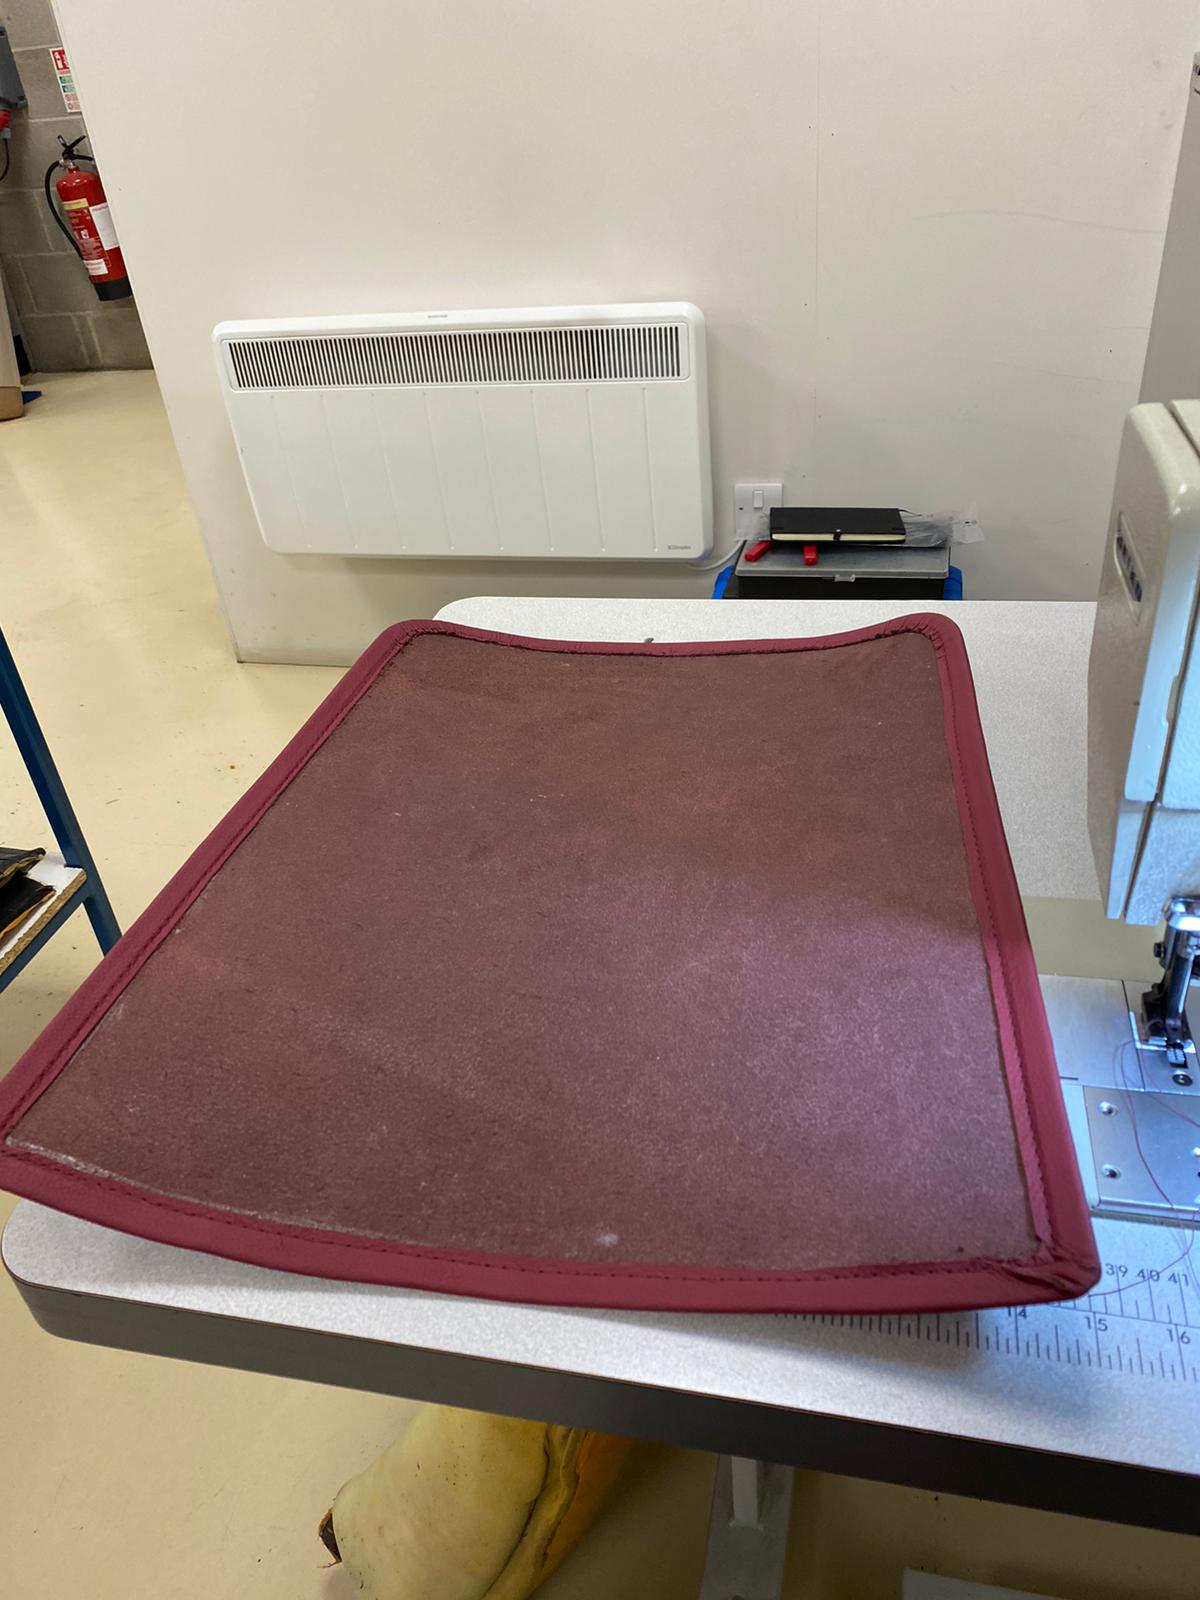
The new leather is then marked out, stuck round with its edges turned and glued. “I then sew around the edges and trimmed off the excess fabric” Kath tells us.
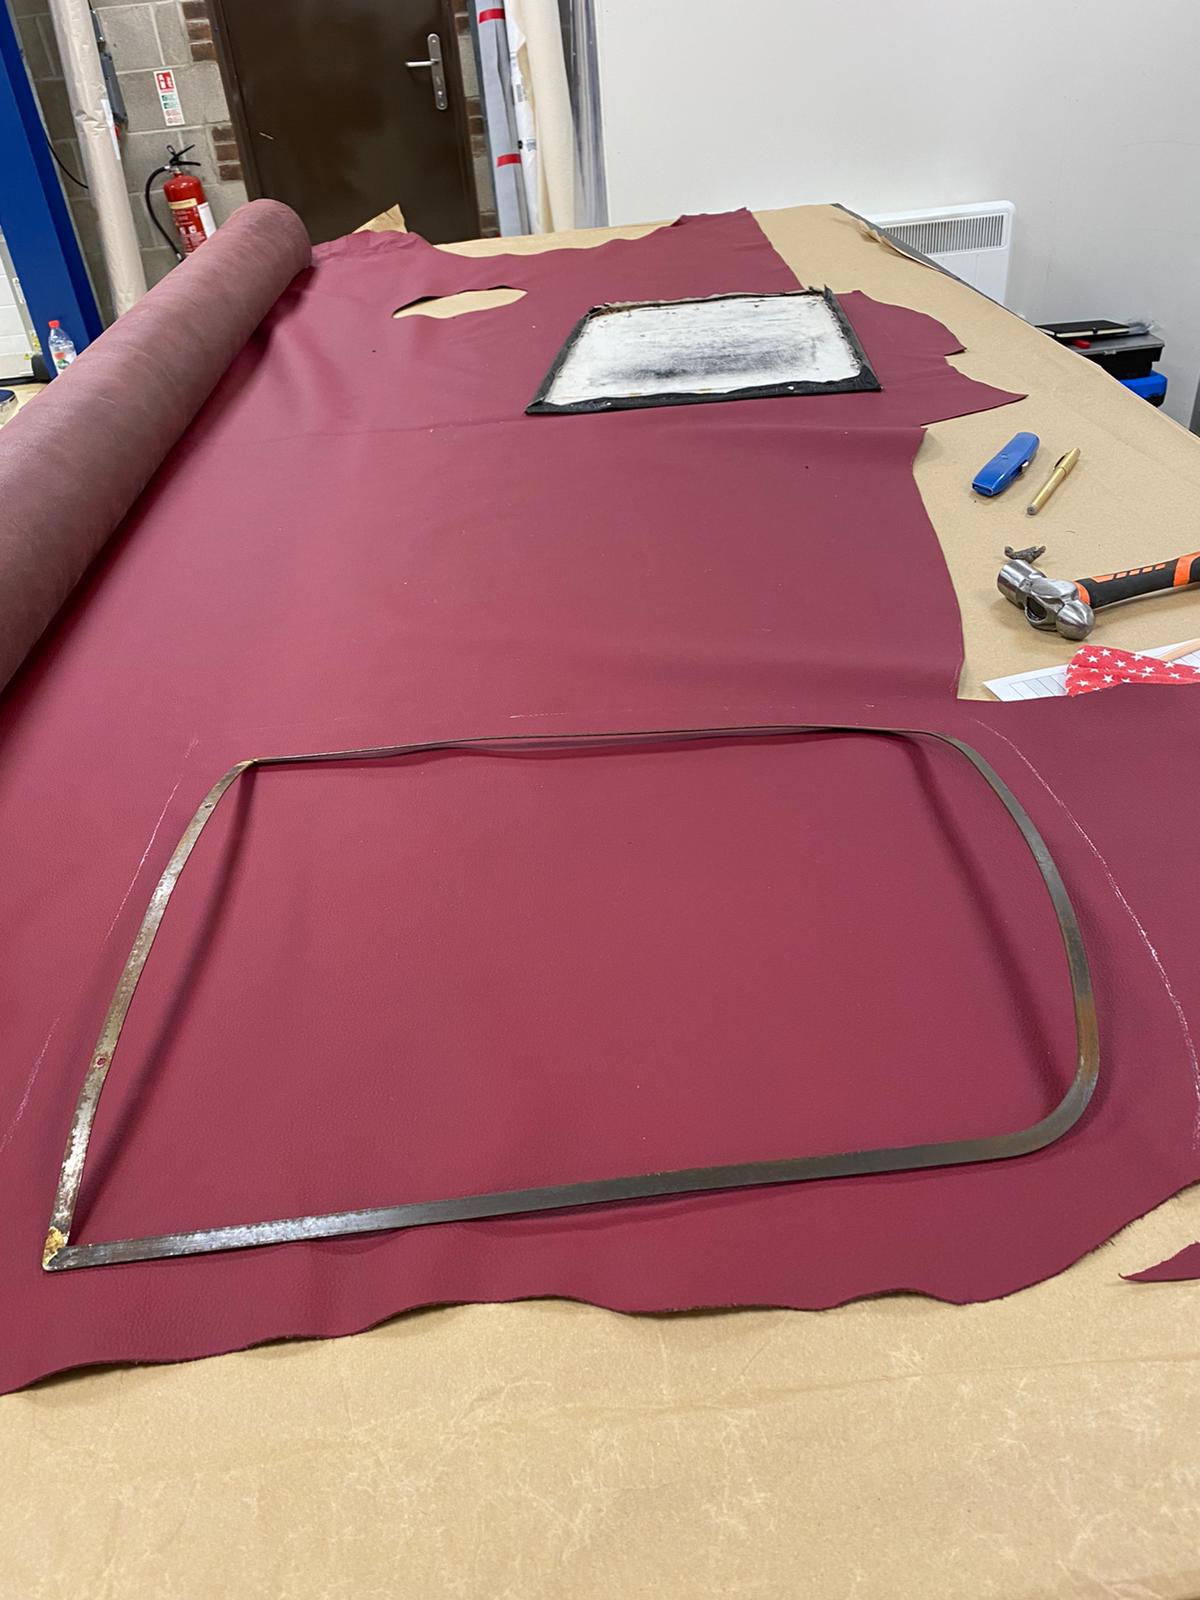


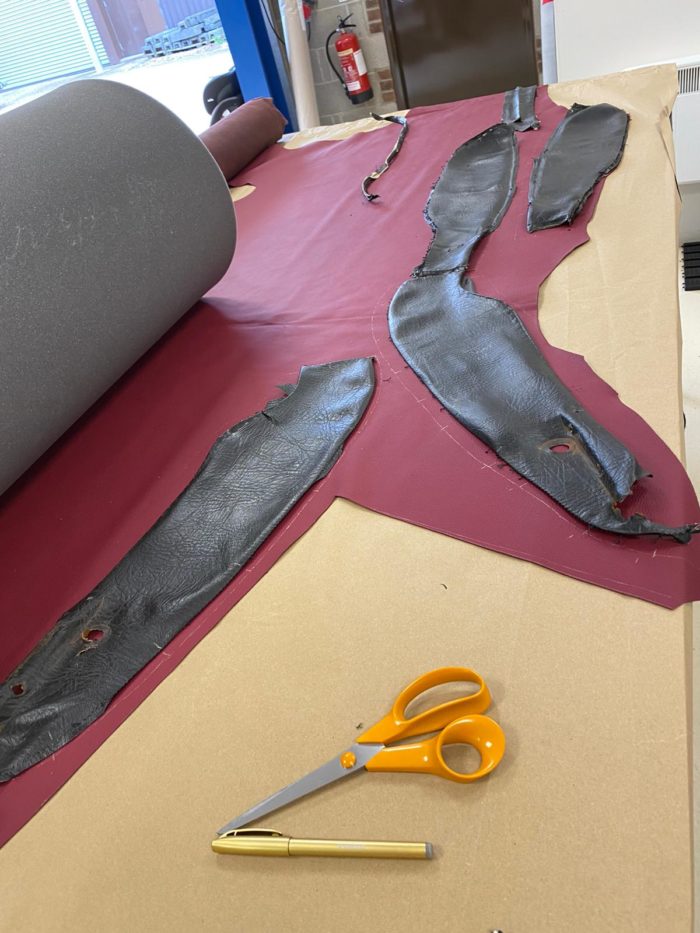
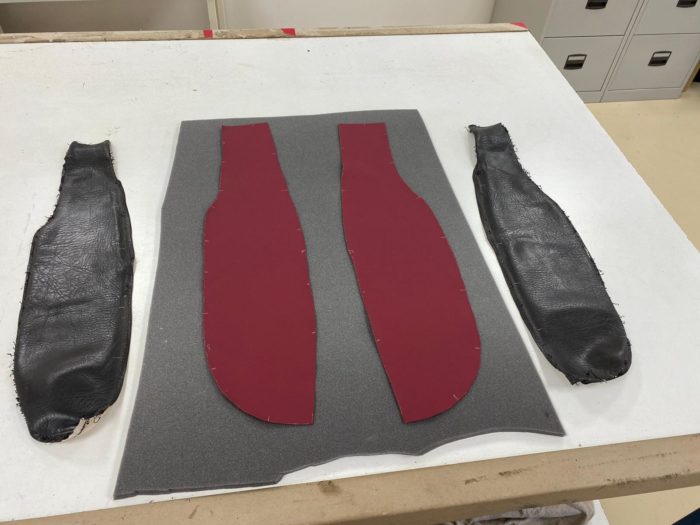
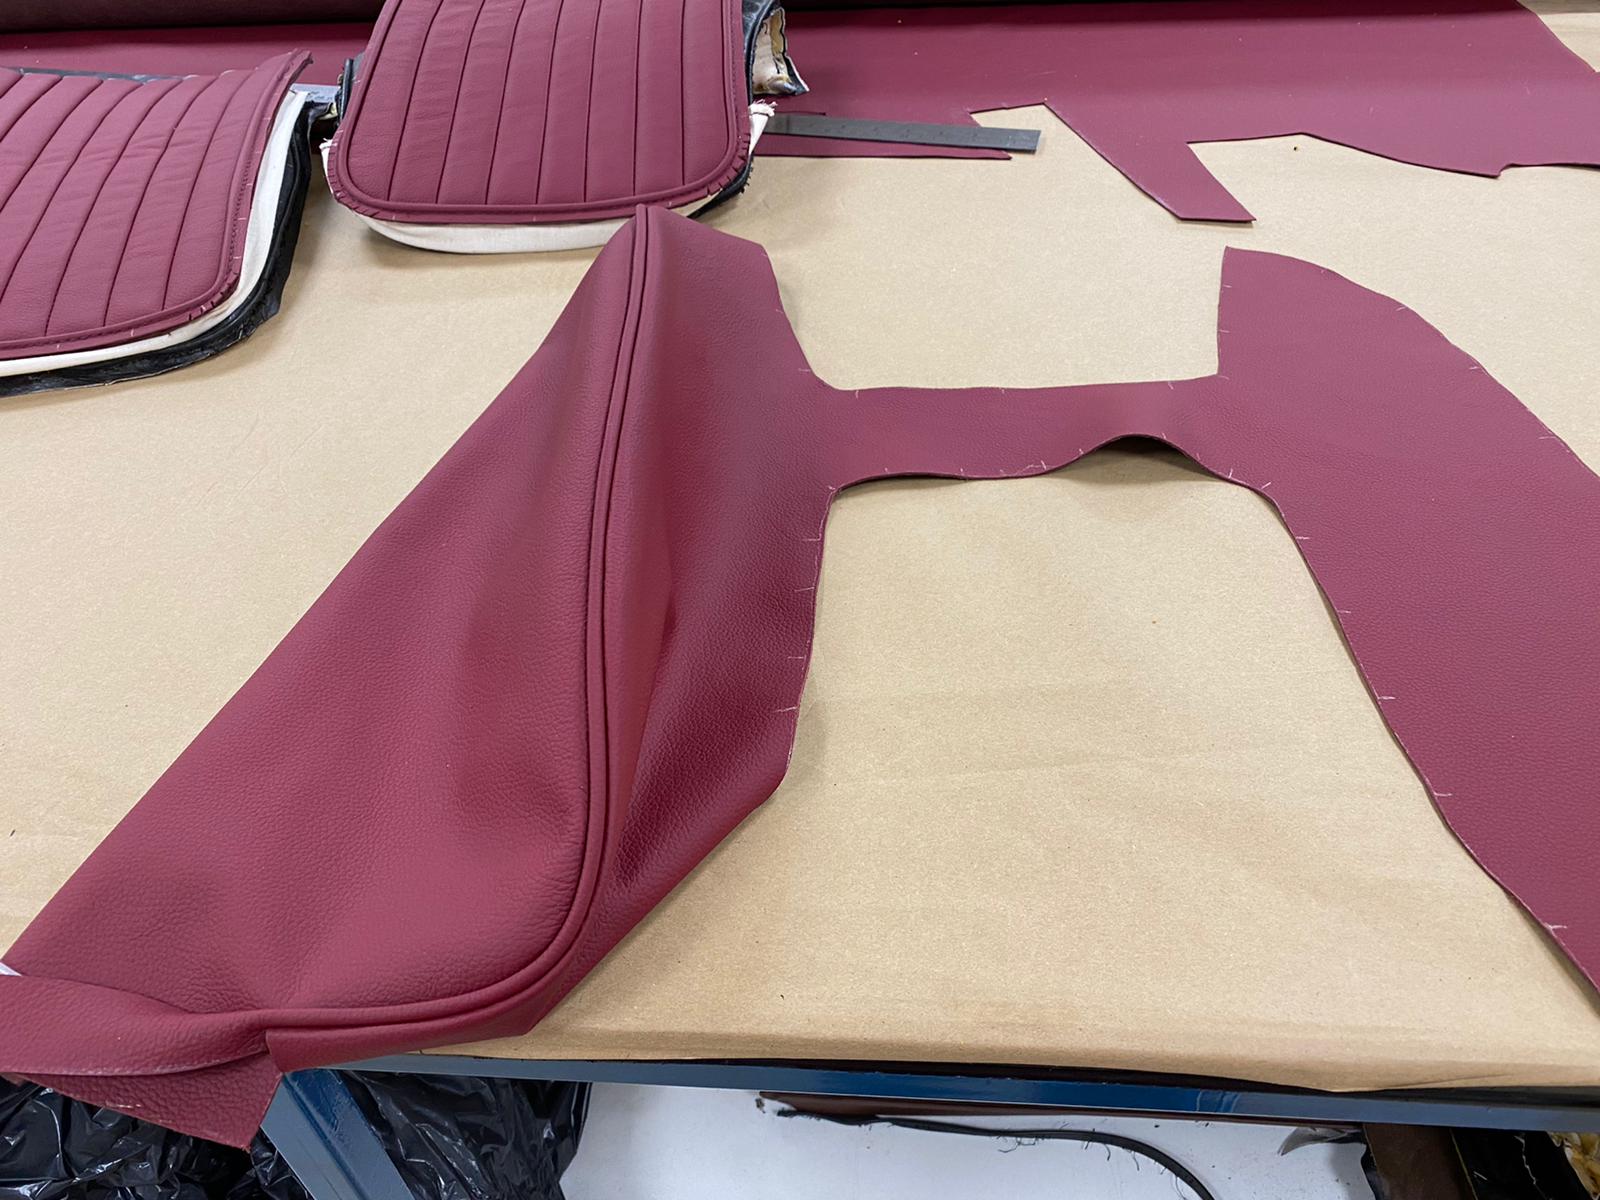
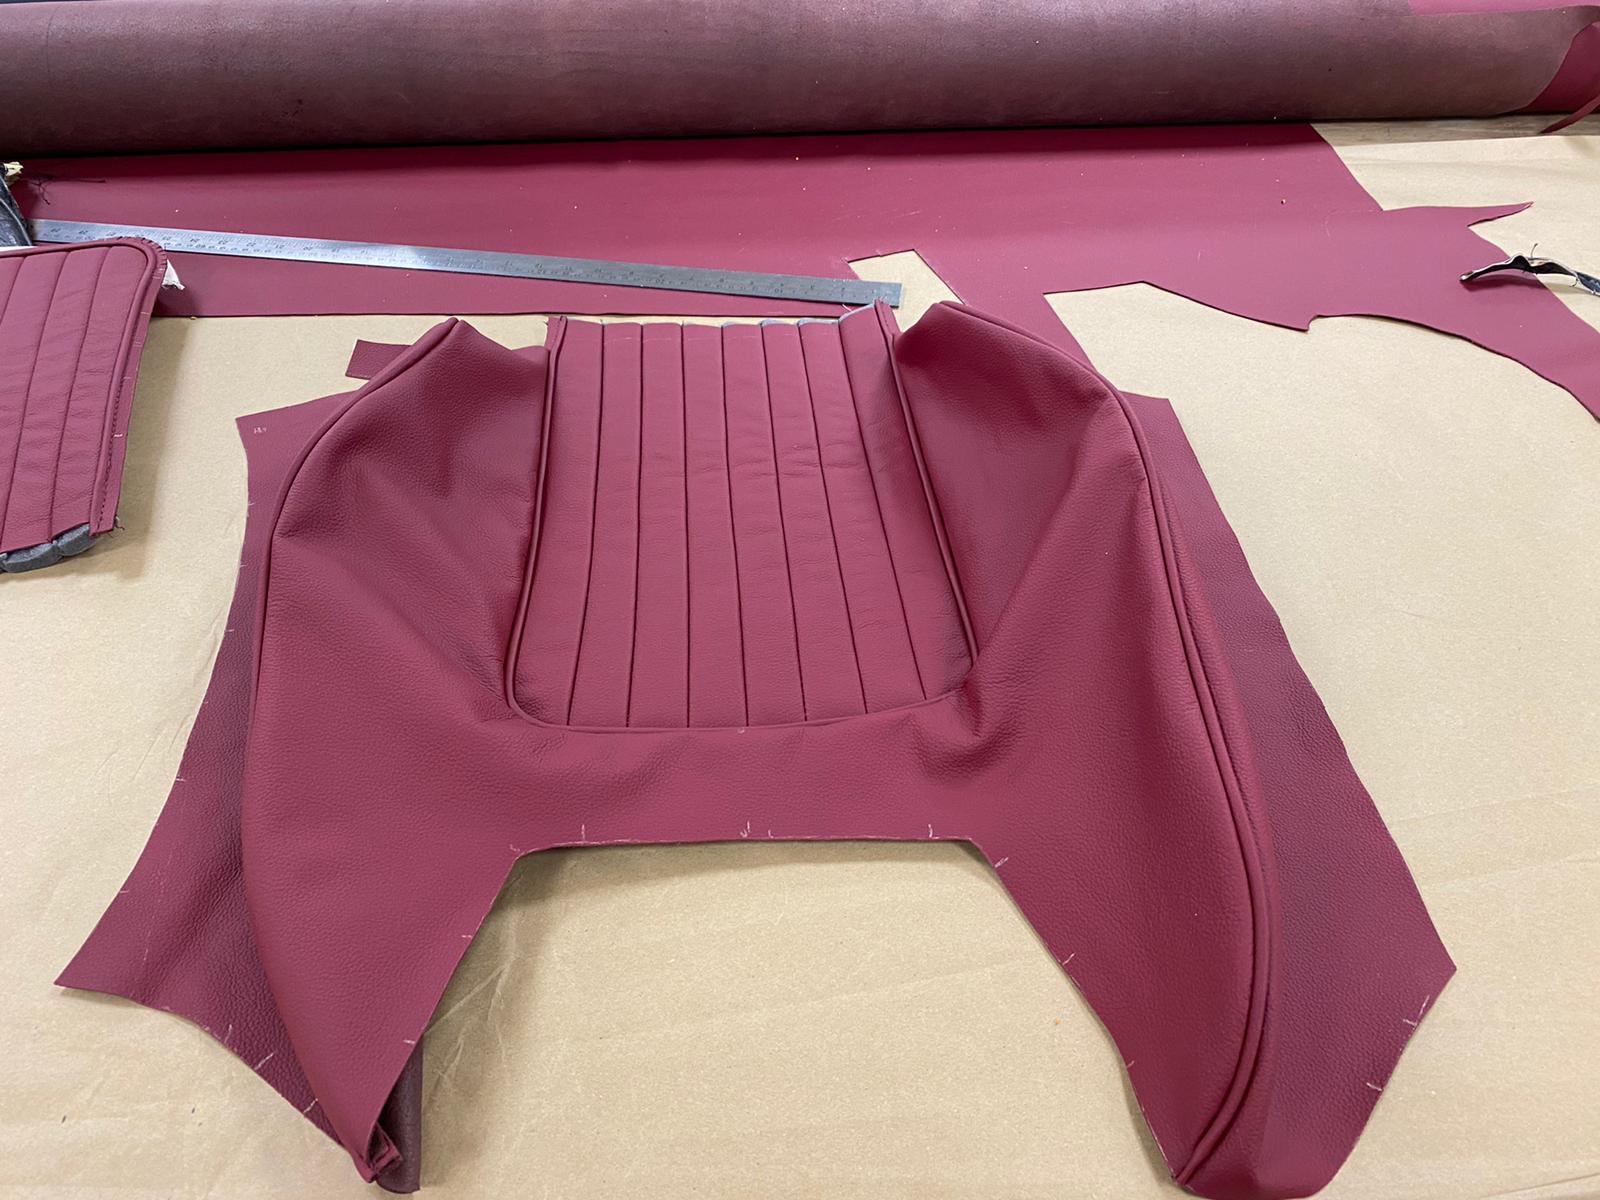
Kath then does the same for the back seat squab. Using the existing leather as a gauge for the seats pattern, marking out the segments in the new leather.
“I then unpicked the seat cover” explains Kath. All the separate parts can then be used to cut out the sections in the new leather.

The individual parts were then cut out of the new leather with lines marked out for the seat to match the existing design.

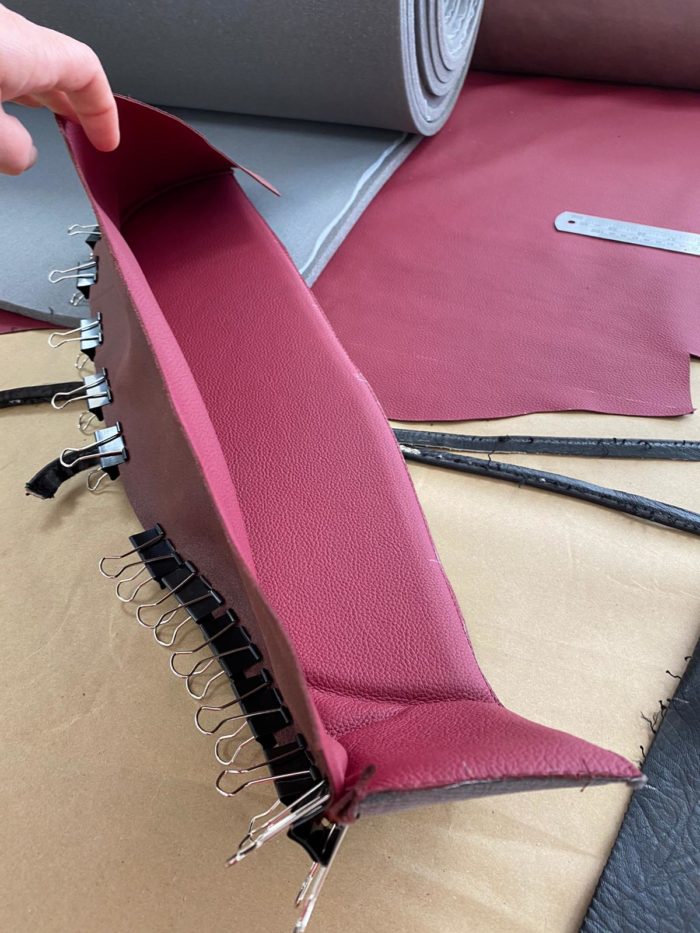
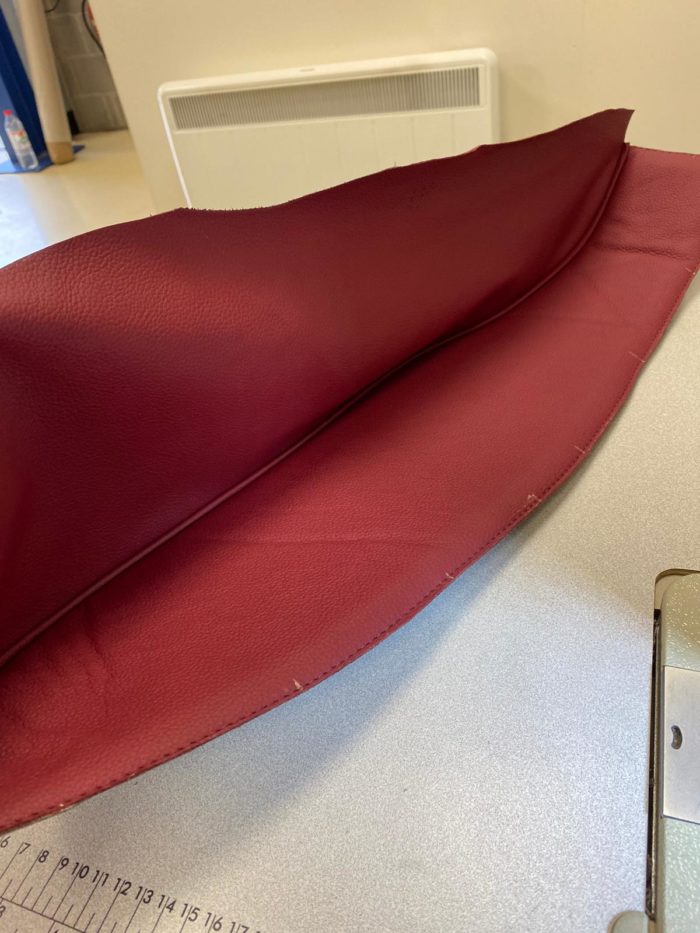
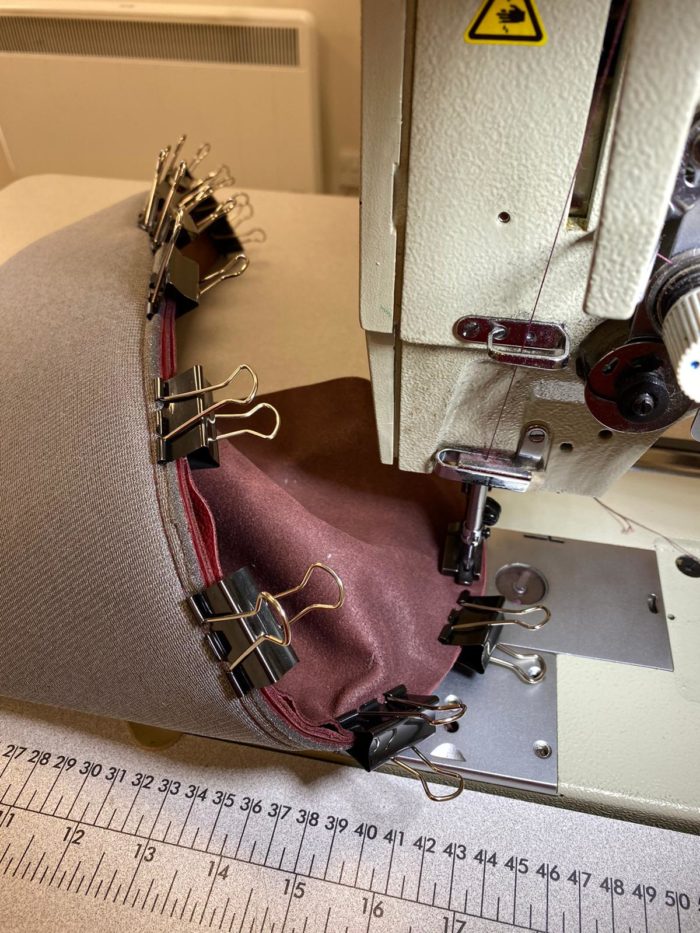
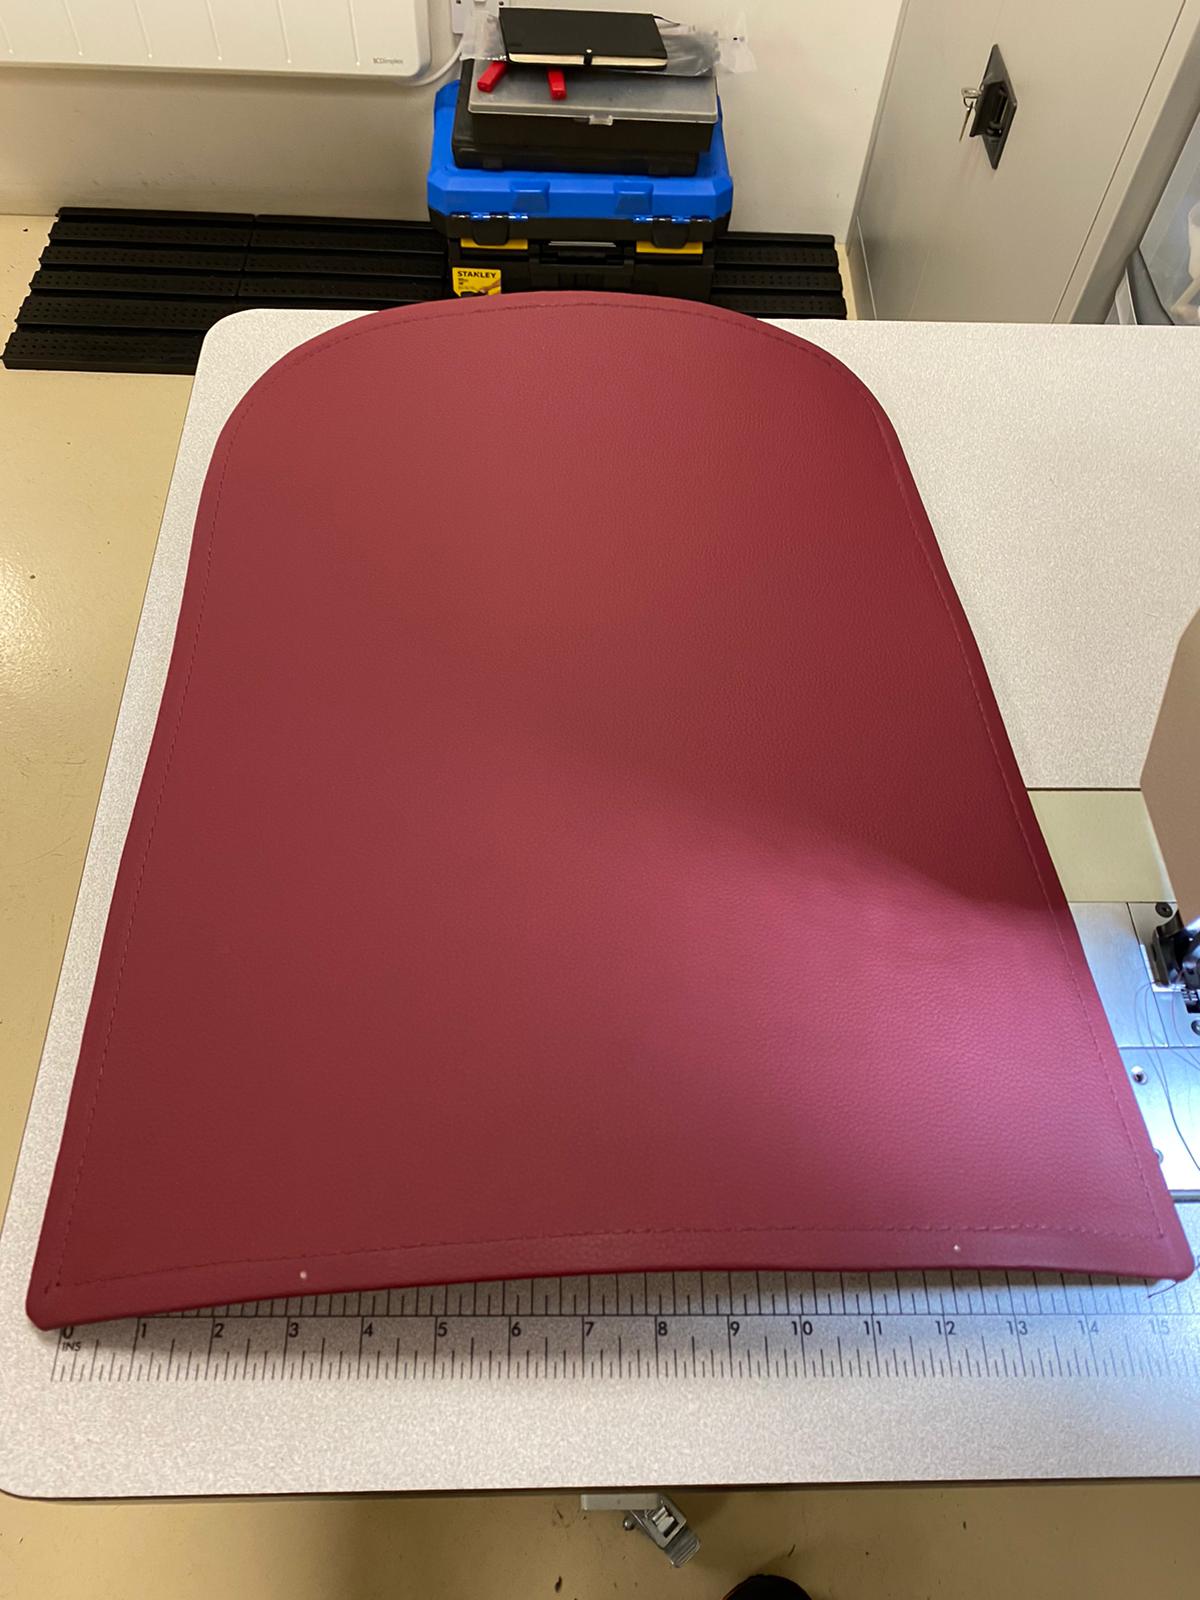
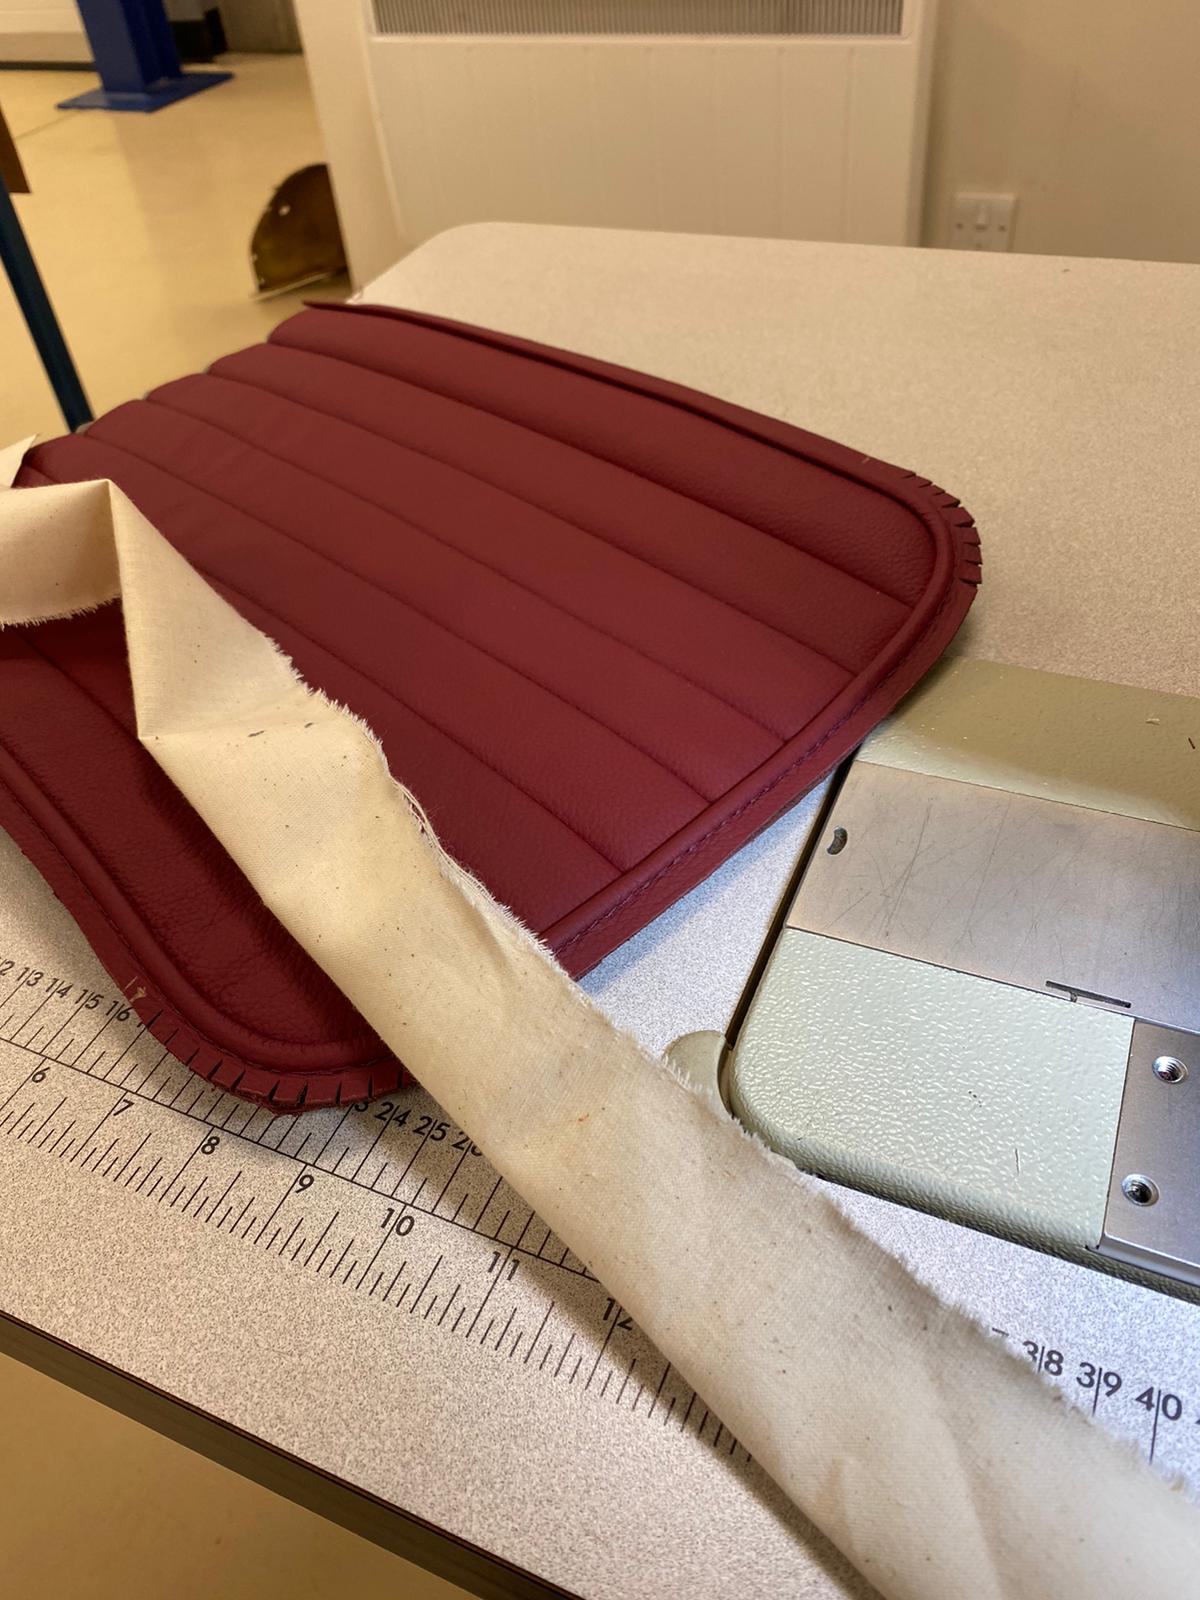
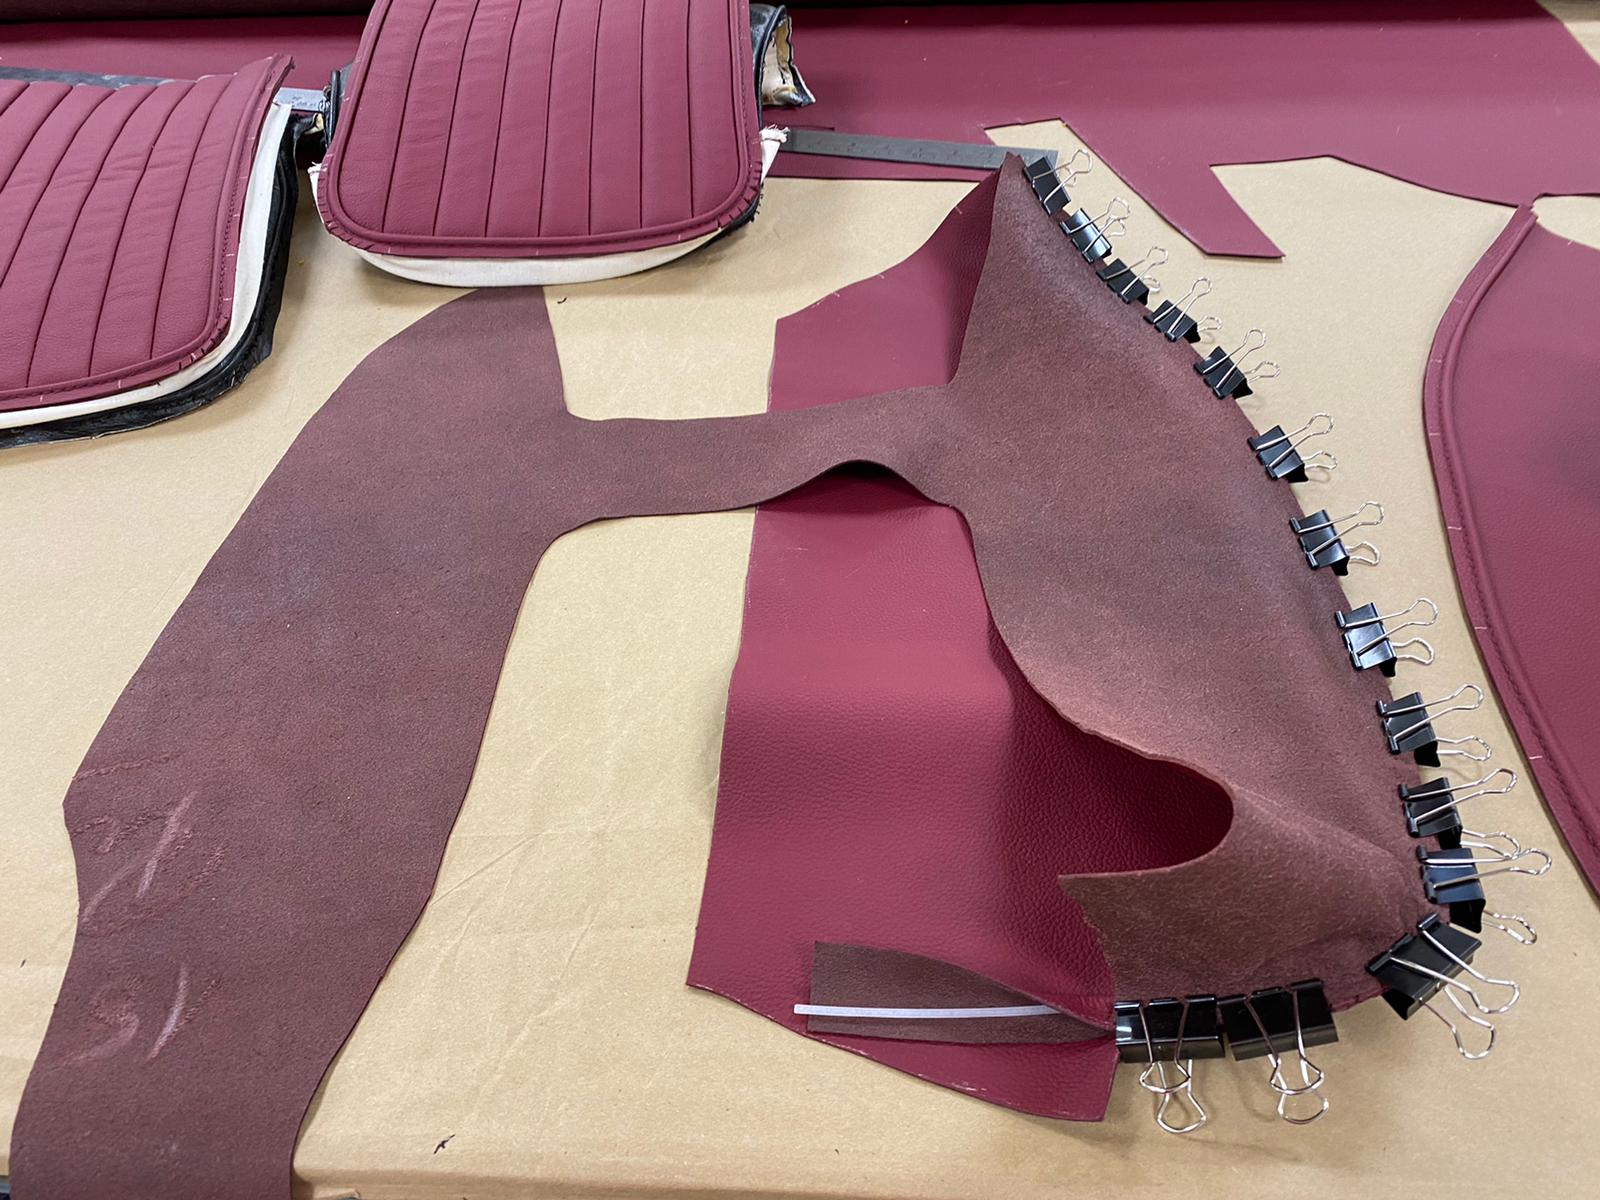
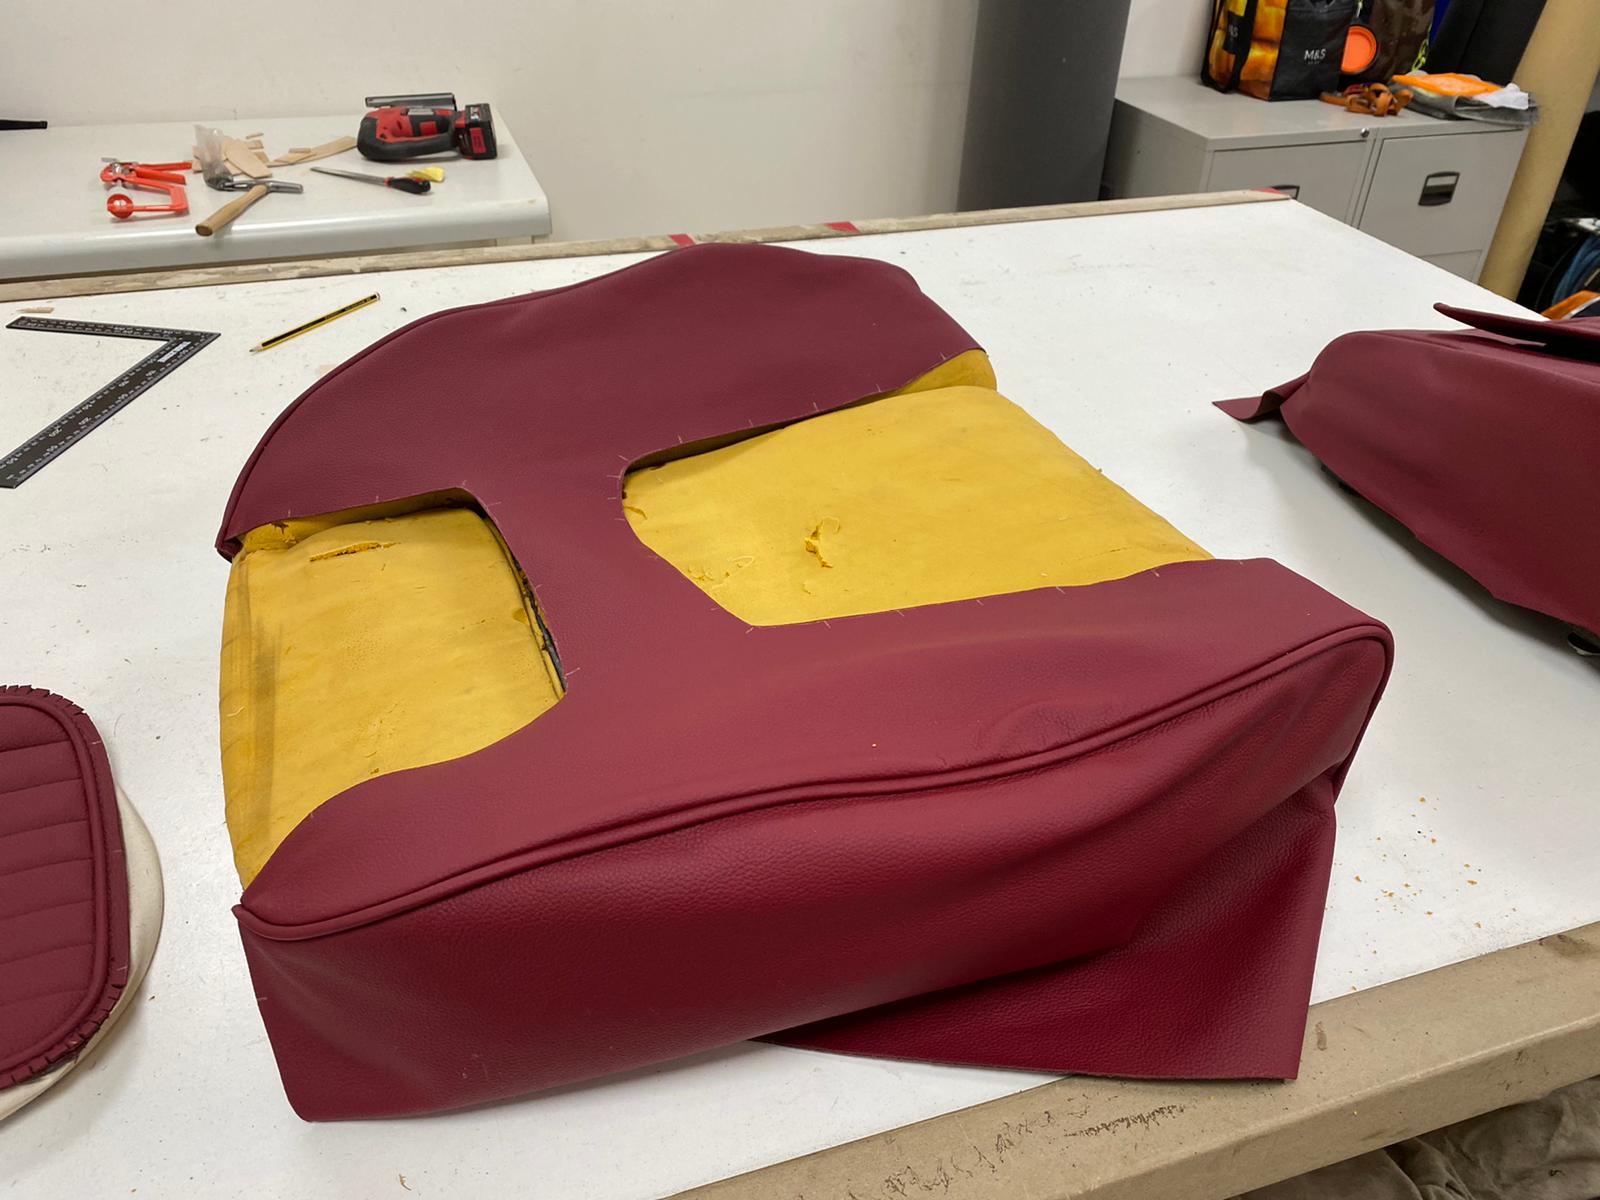
Kath then put pipe around the edges of both panels. ” I sewed a calico loop and piping around the edge” she explains “so I can attach this section to the back of the seat and keep it in place”.

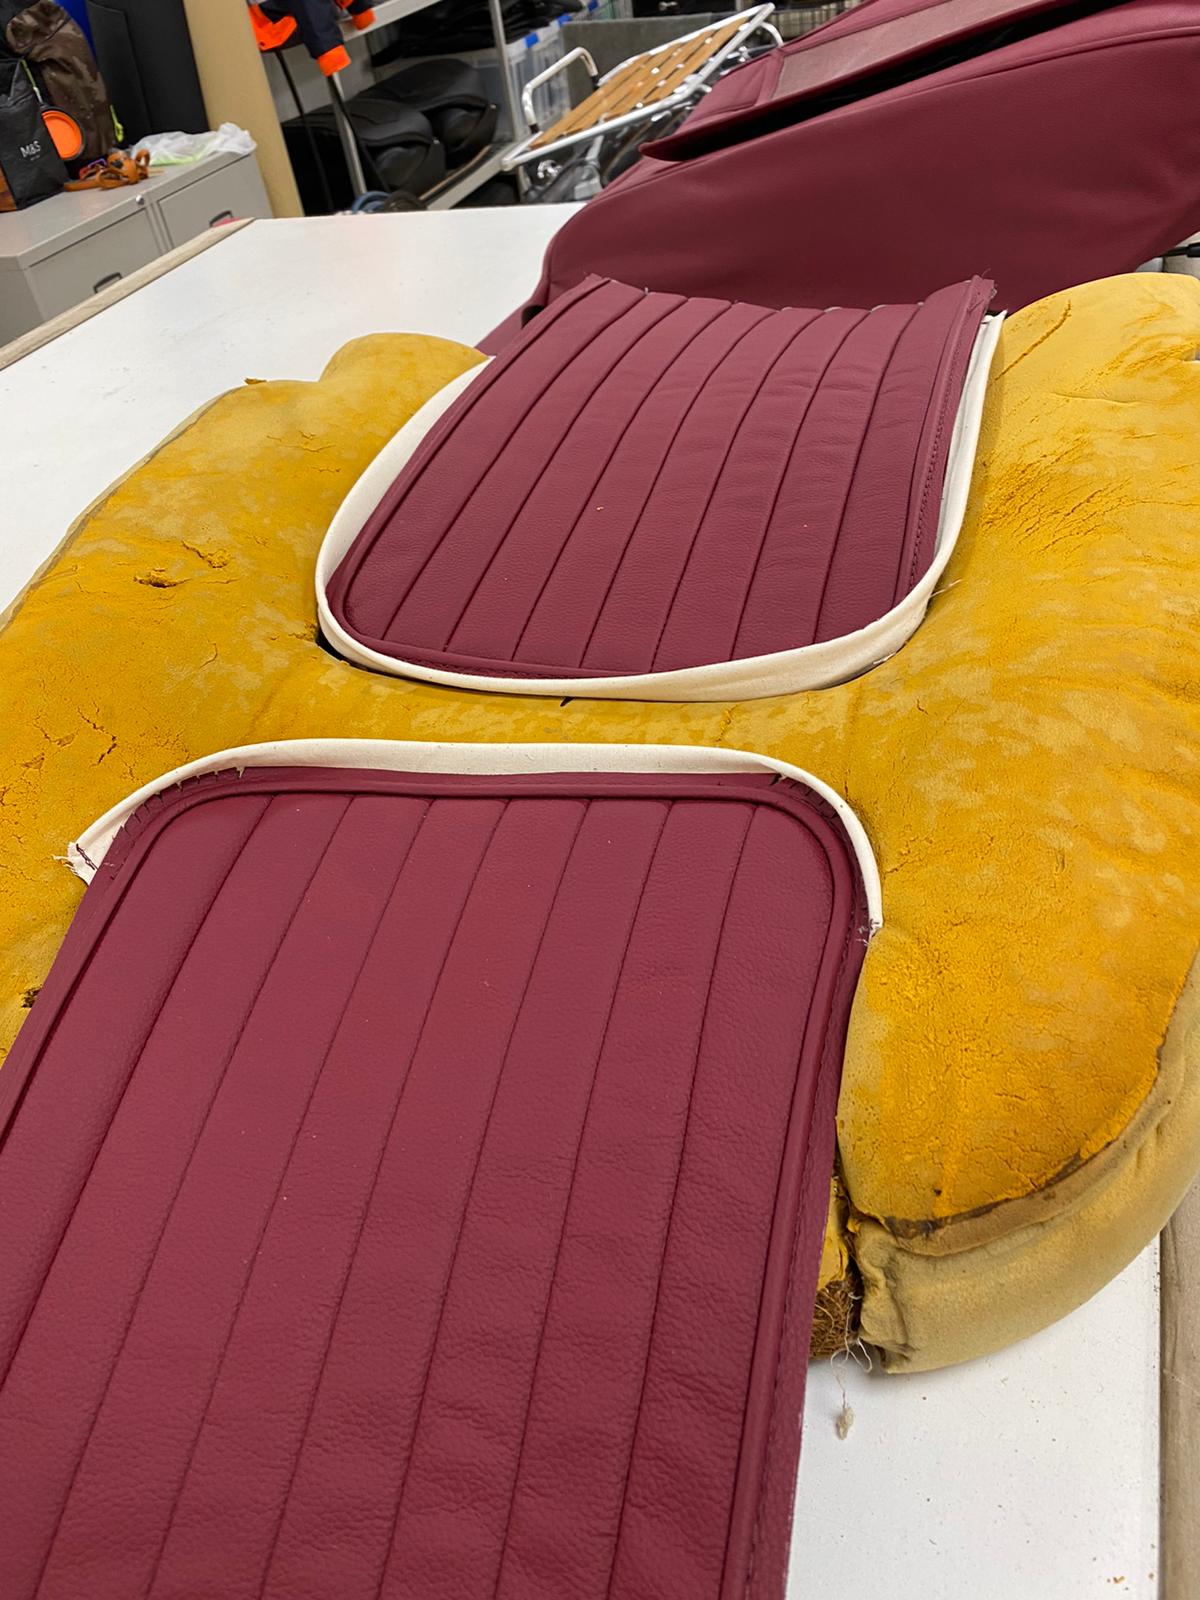
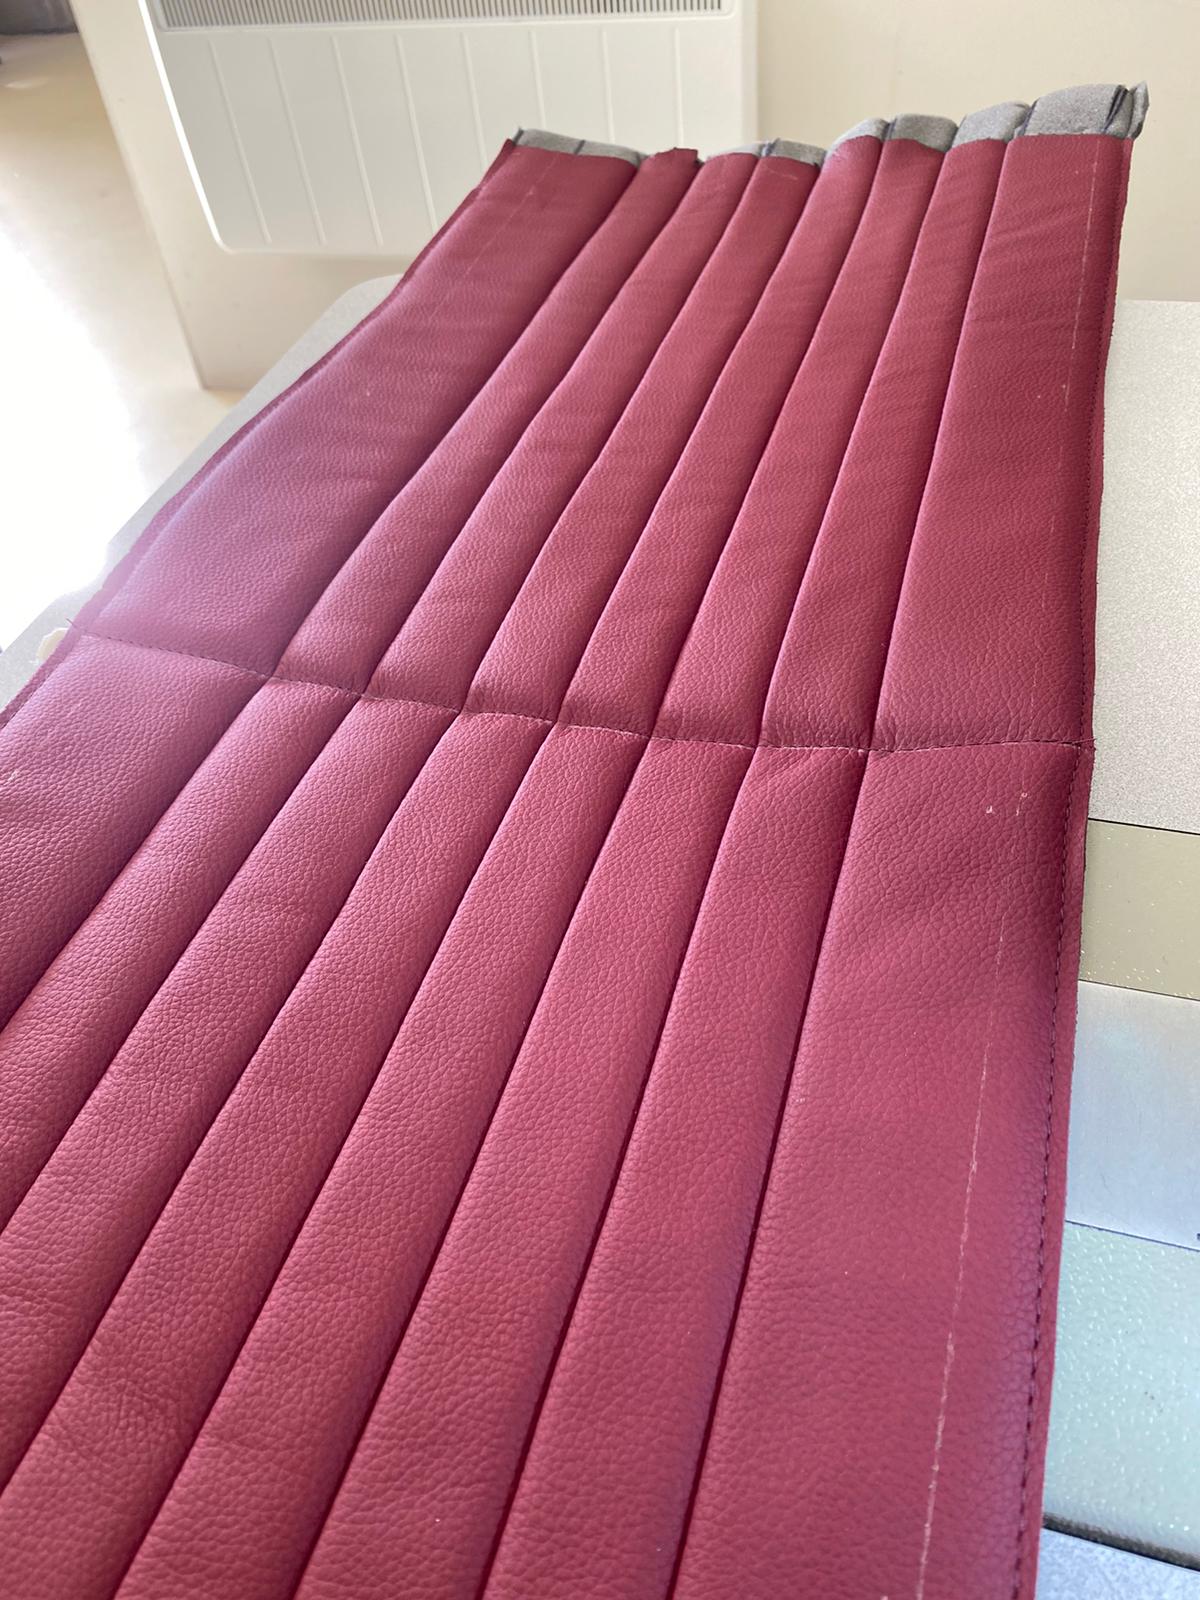
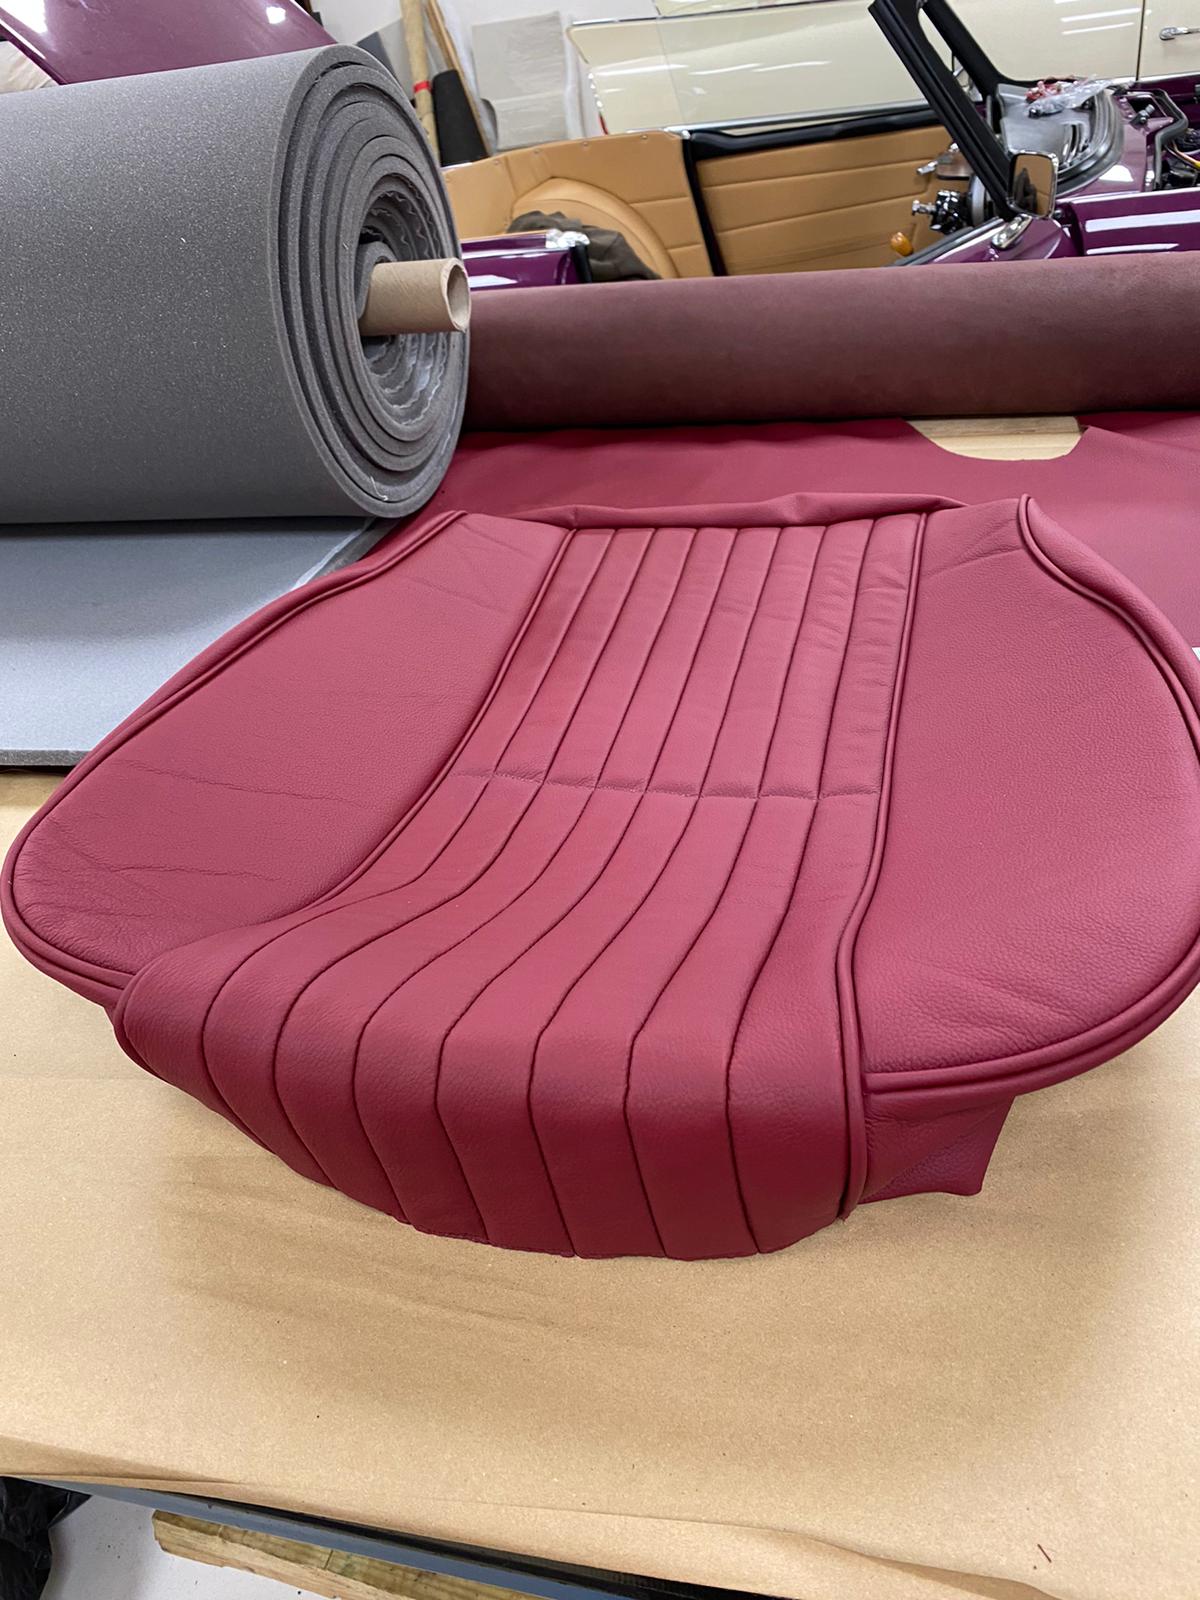
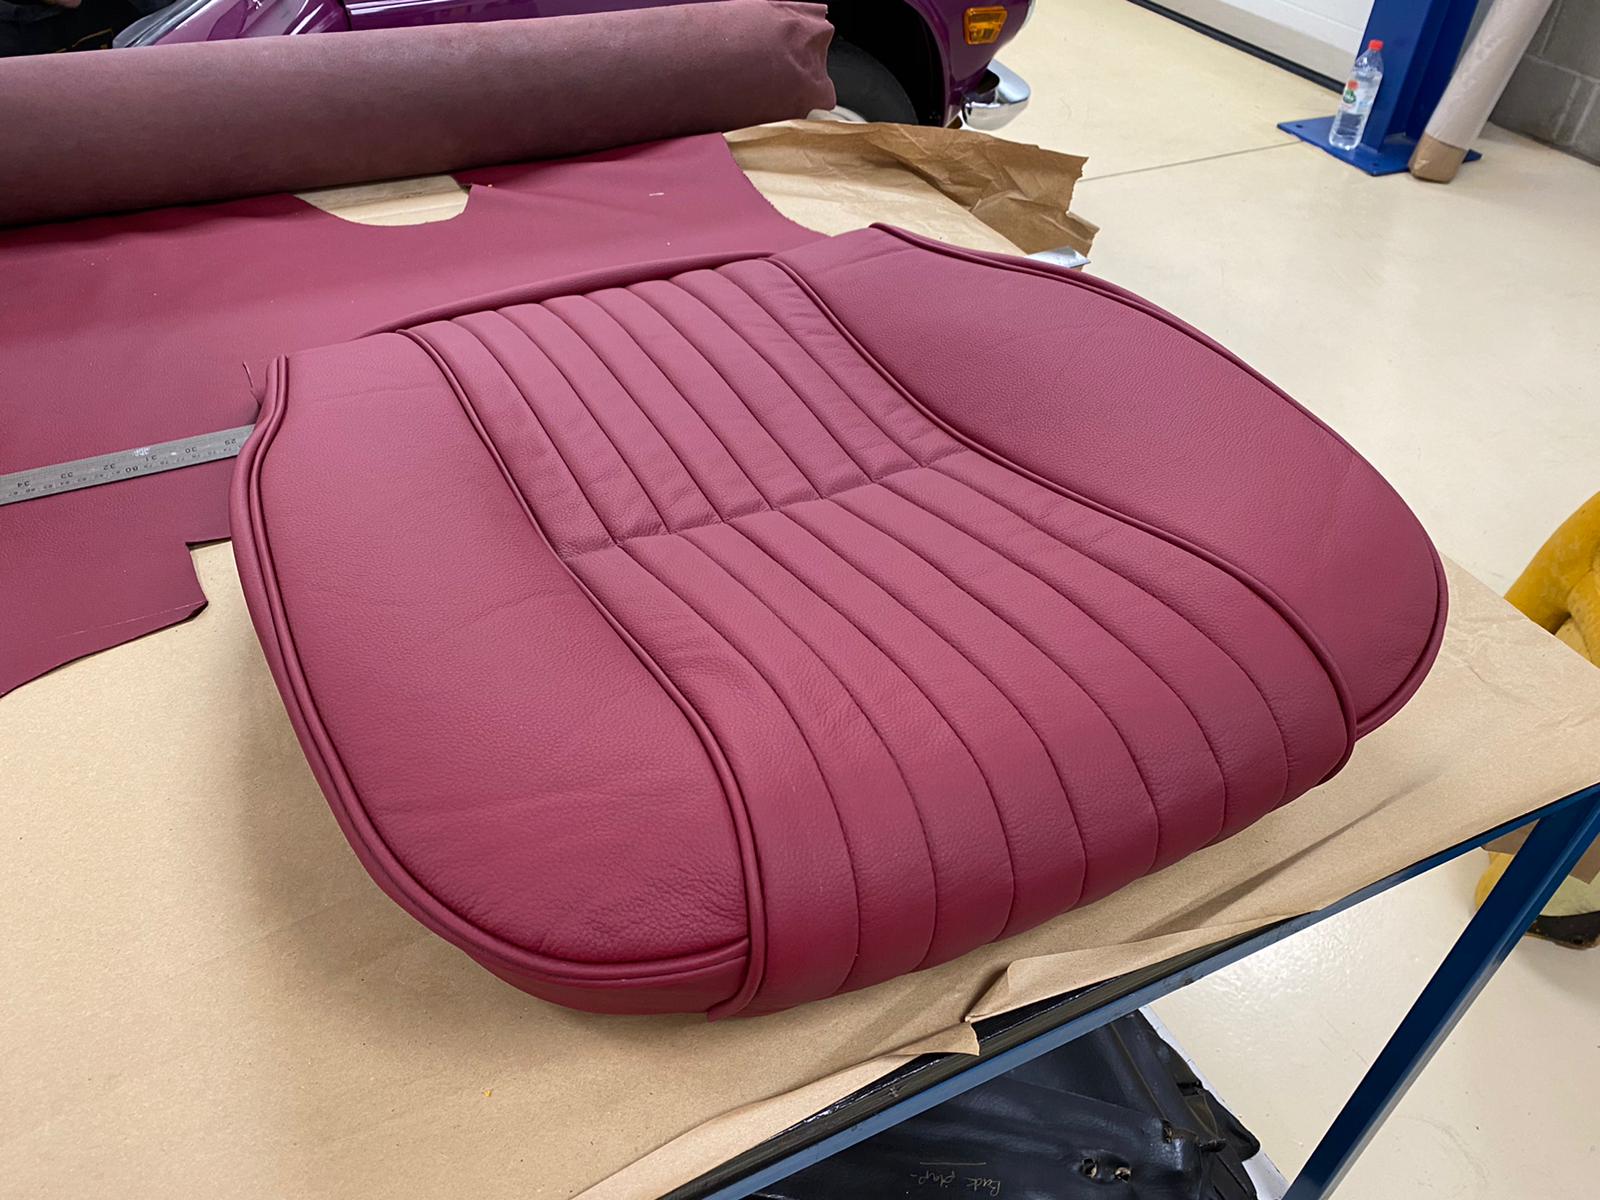
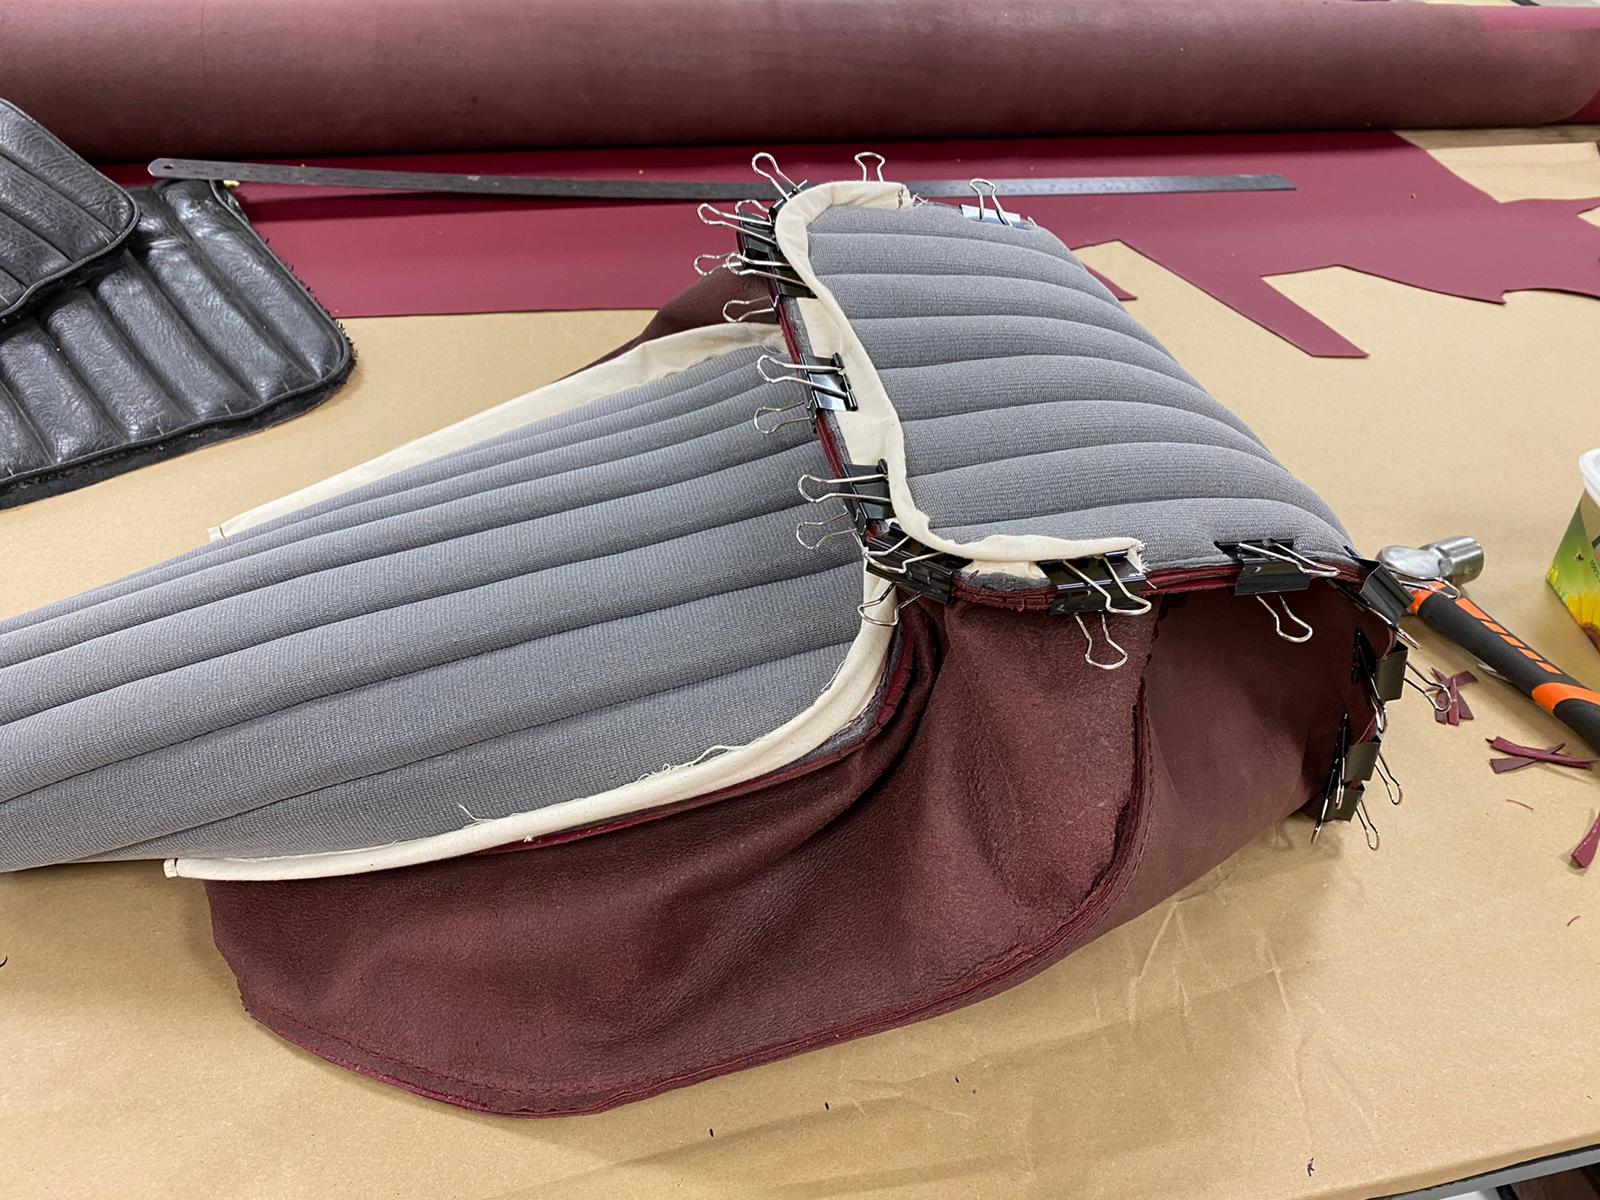
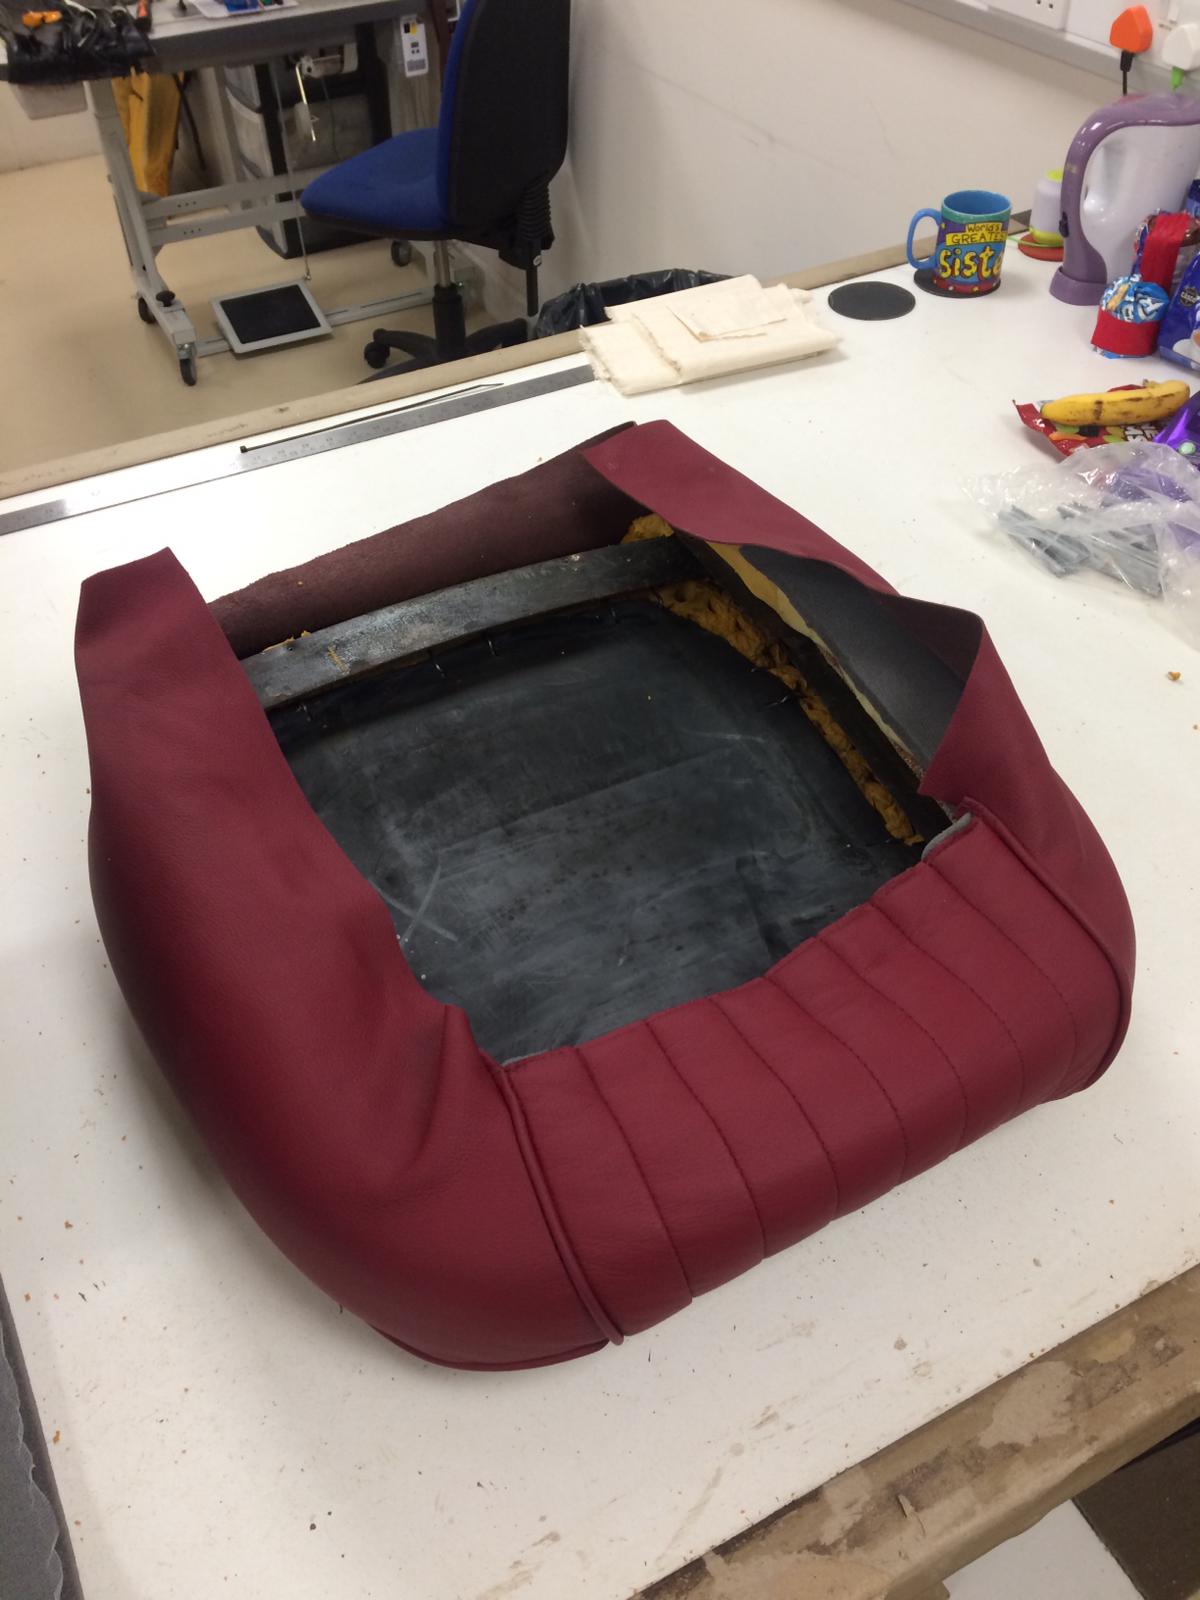
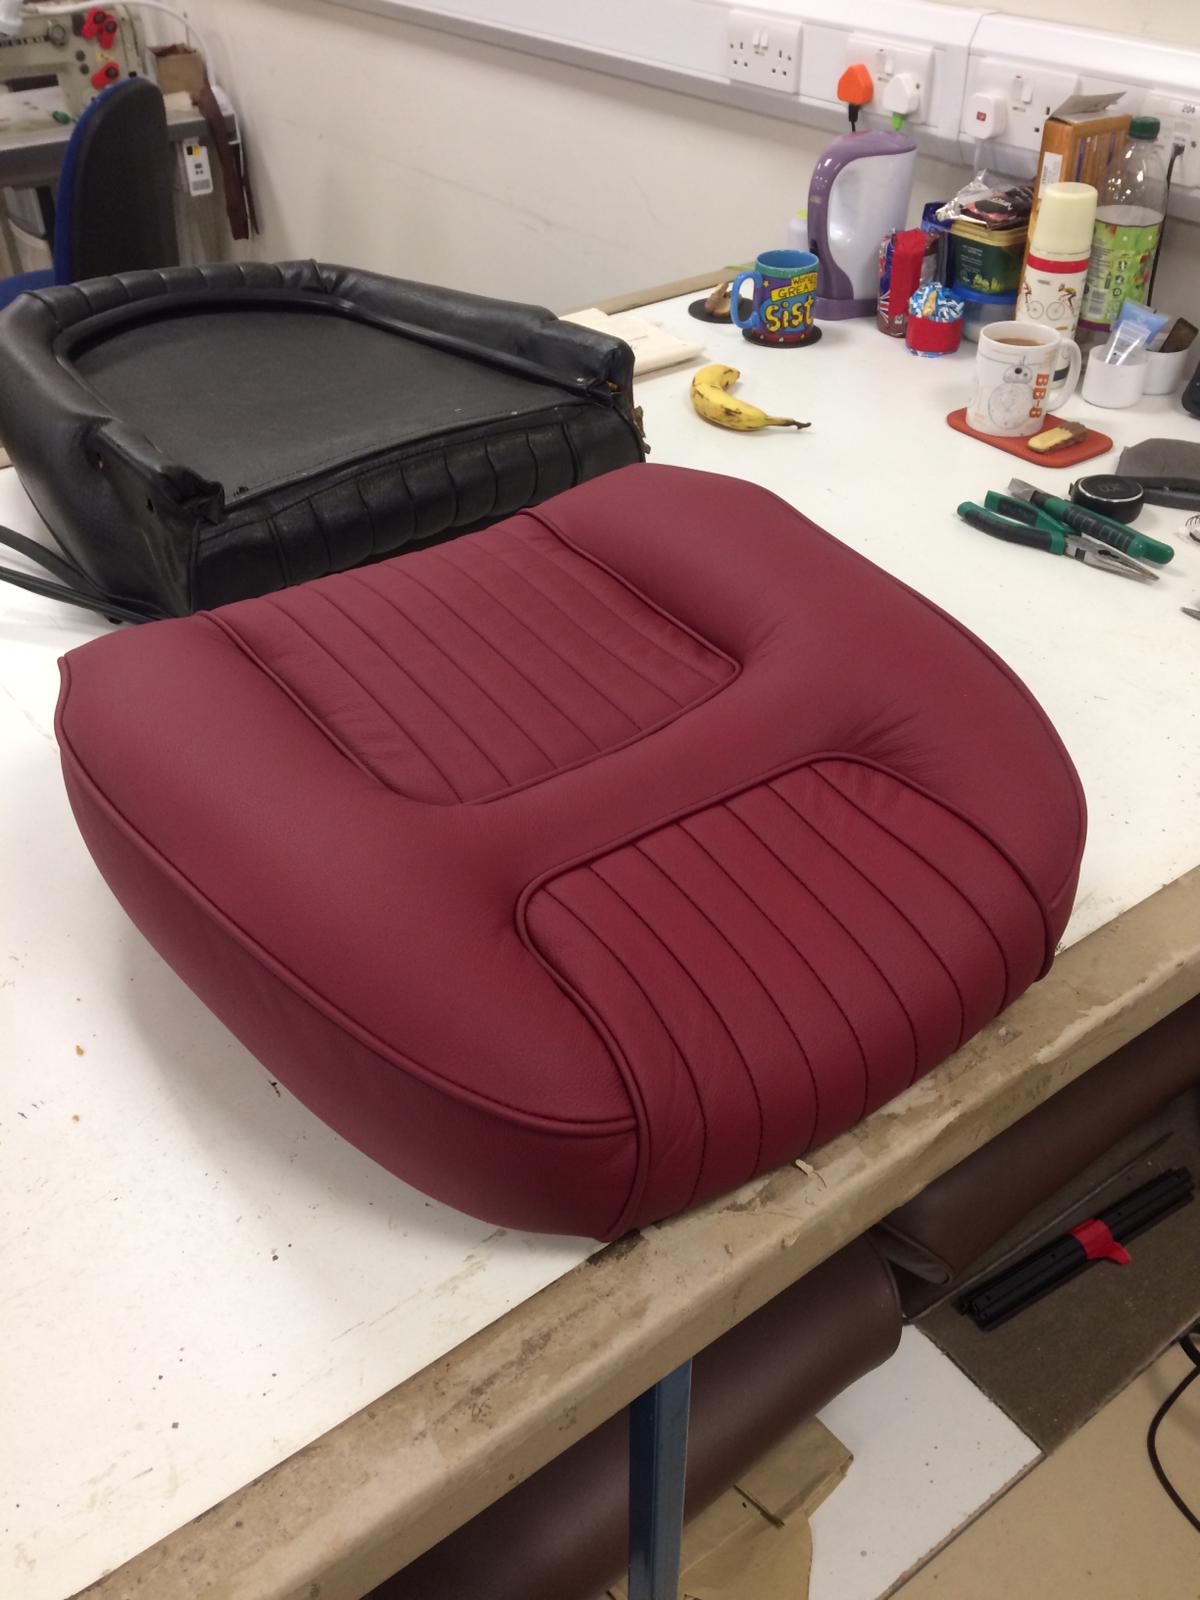
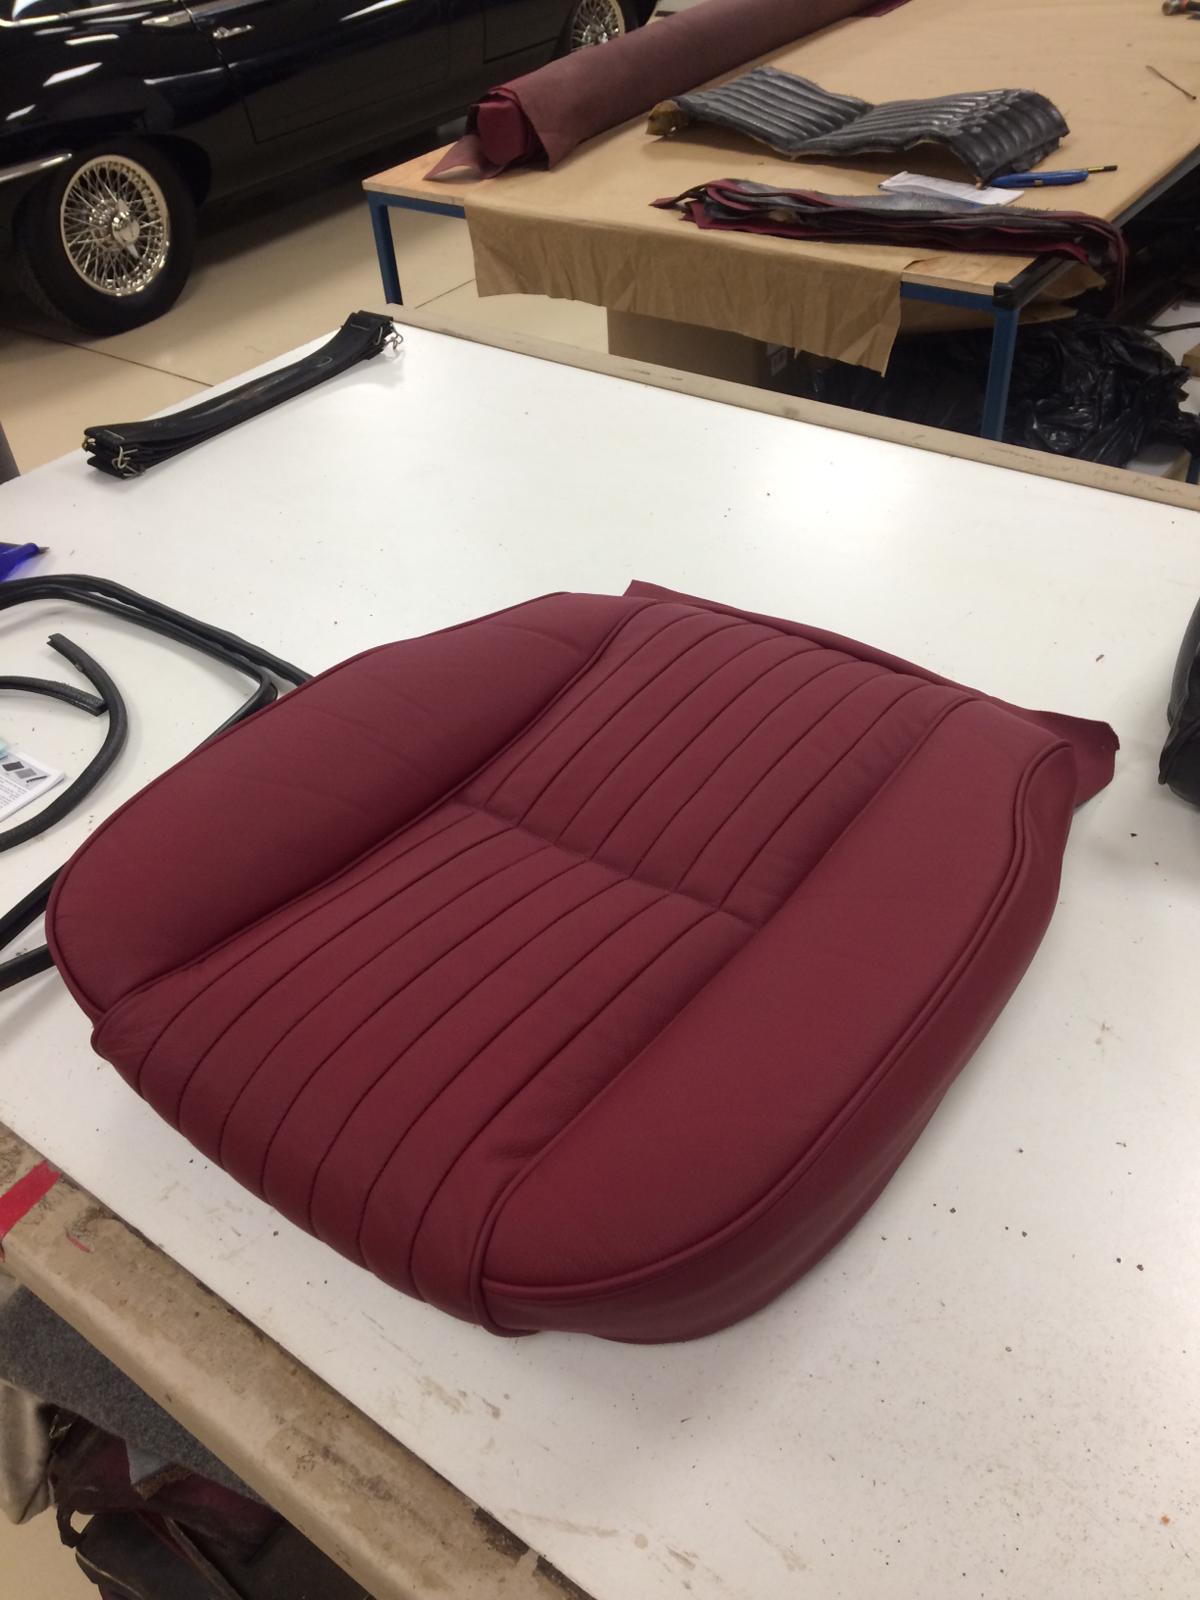
Kath then made a start on the edges of the squab, putting piping around the edge of the side skirt and clipping it to the front section. The cover was then fitted to the foam squab ready for the fluted panels.
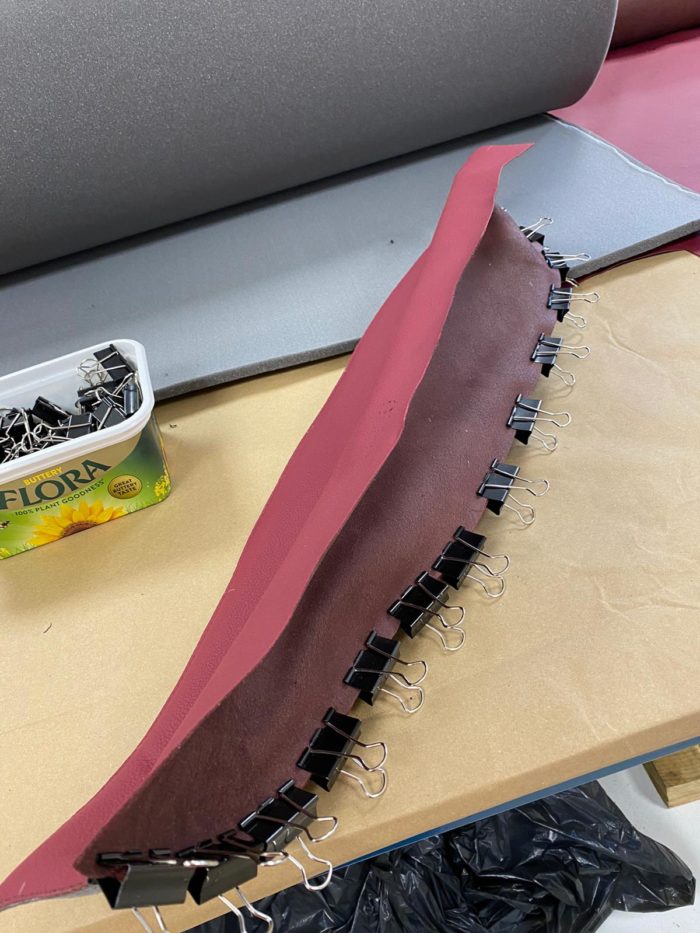
“I clipped the edges ready to be sewn together” Kath explains, “then sewed all the separate panels together and fitted it around it’s foam base”.
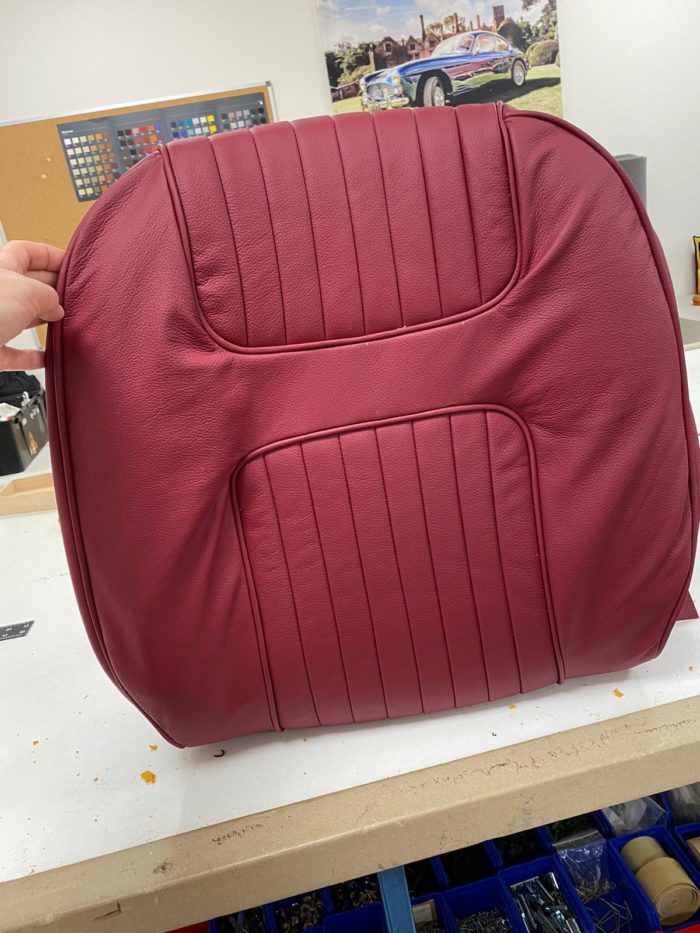
The skills of our in-house seamstress Kath never cease to amaze us! Just look how beautiful this finished red leather seats are.

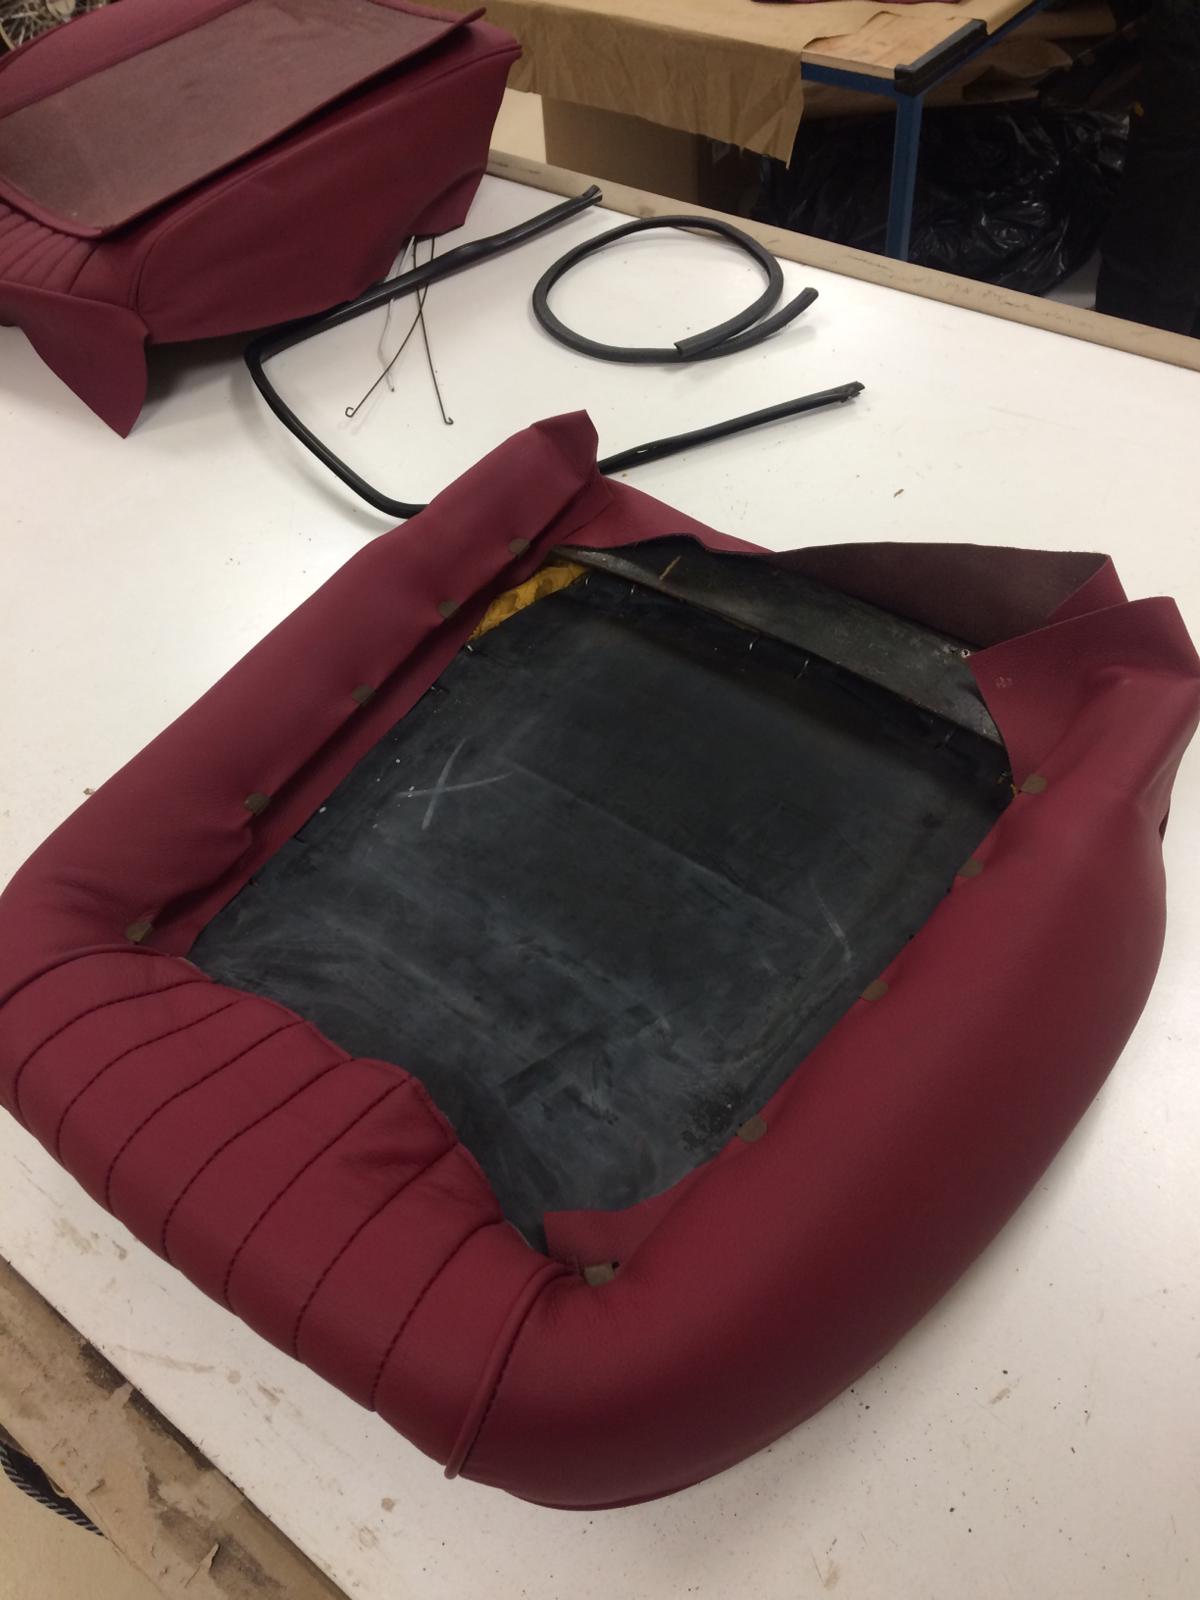
Brian then takes Kath’s seat covers and started fitting them to their new frames. “I’ve fitted the front squab to the frame” Brian tells us, “holding the fluted sections with hog rings”.
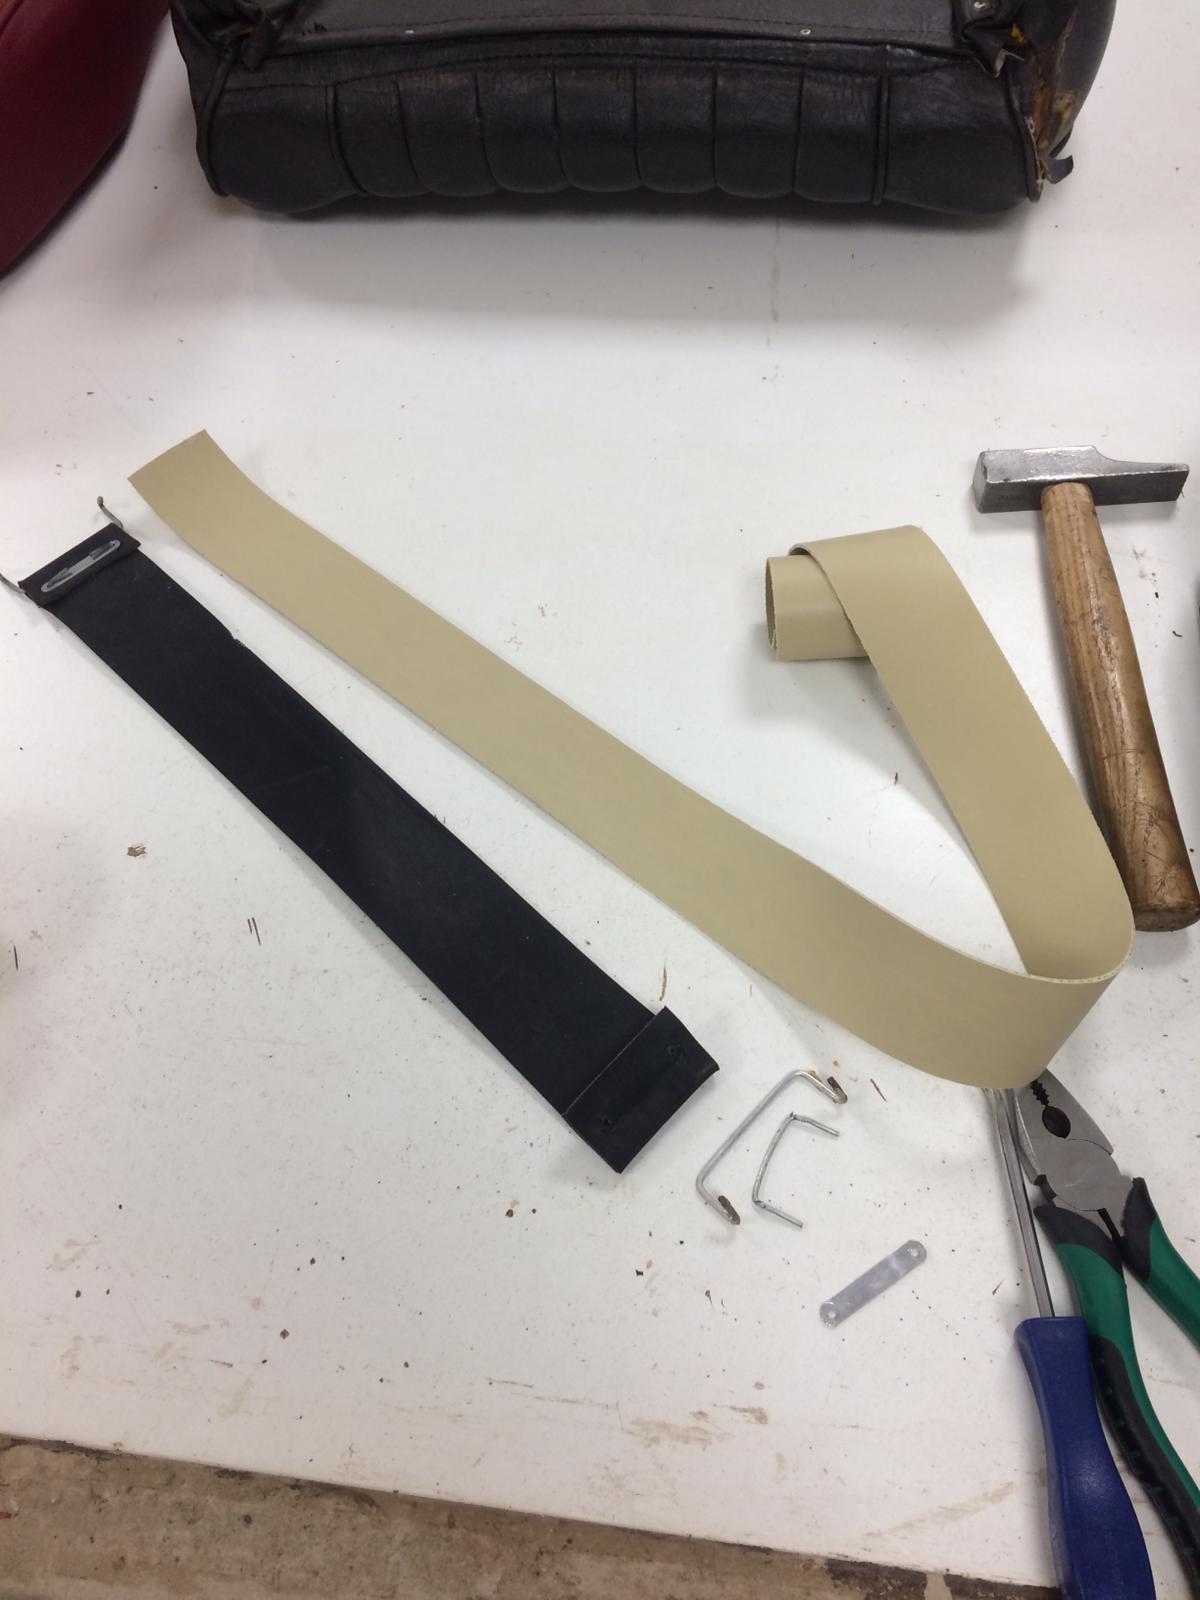
Brian’s also made new webbing straps for each seat and fitted these to their frames. He’s added extra foam to help pad them out some more too.
Brian’s then pulled the cover over tightly around the back of the seat and clipped it into position. The backboard has then been fitted into place.
We can’t wait to see them back inside the car, and give them a test ‘sit-down’!
