Our 1968 Triumph TR5 is still sat in the trim shop having its new interior fitted! Its a very exciting development as fitting trim to a vehicle is one of the final sections that really makes all the difference visually!
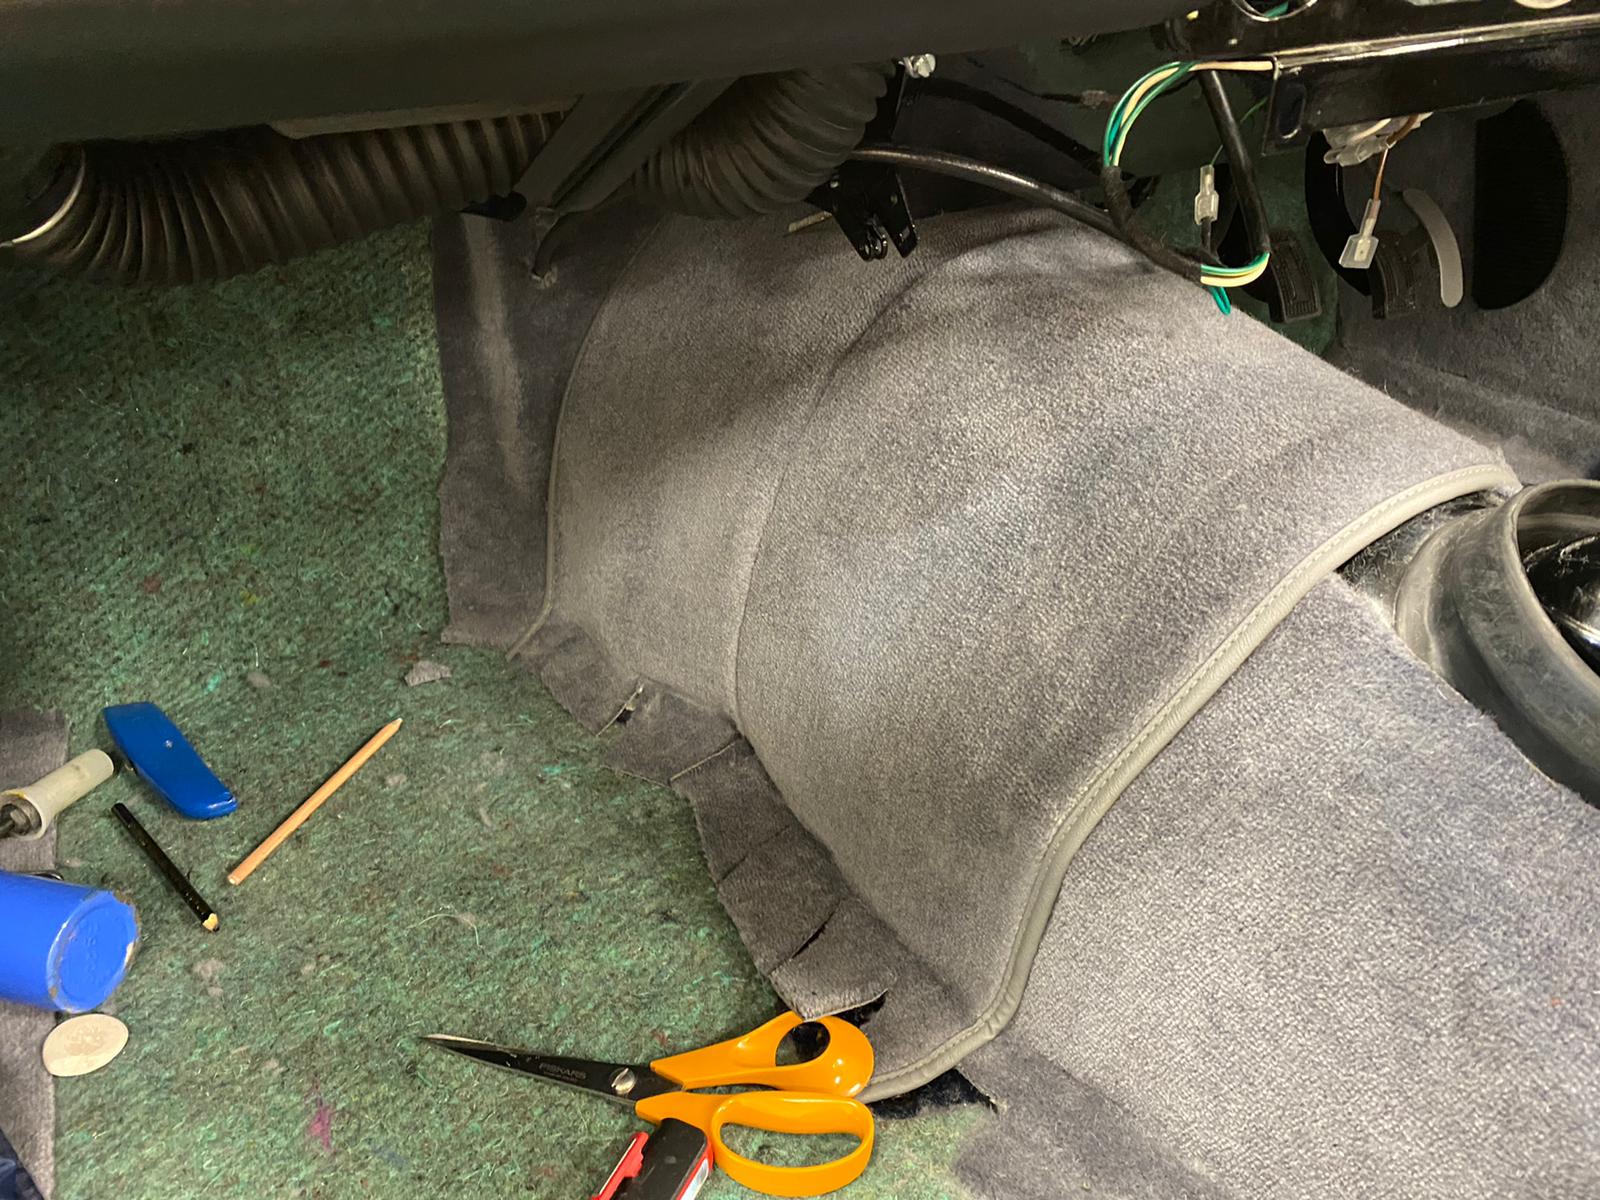
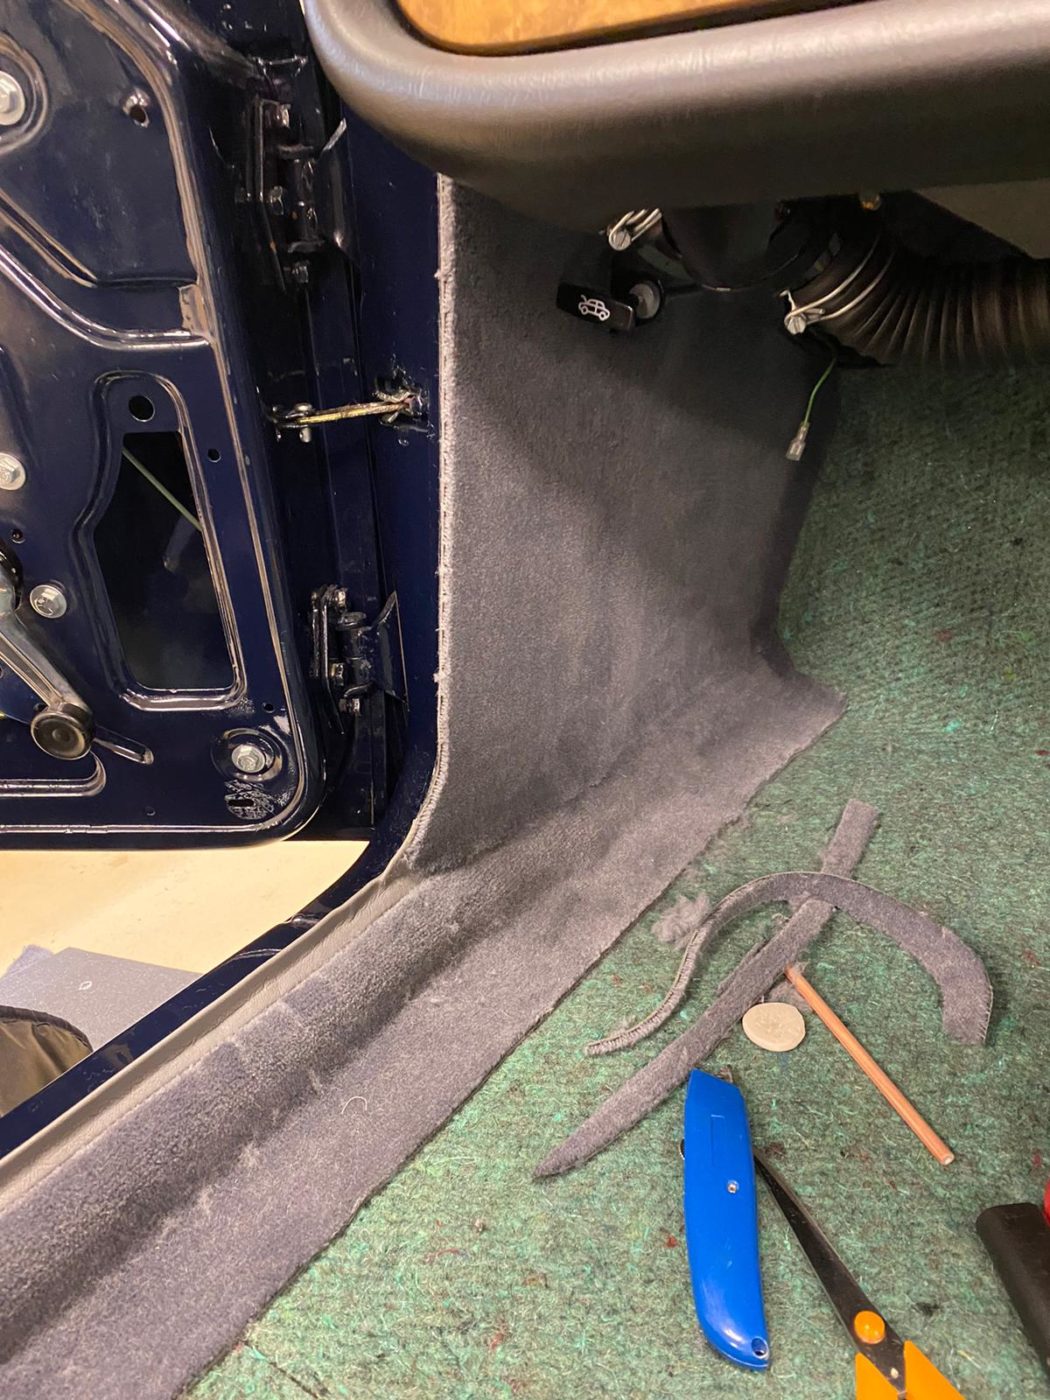
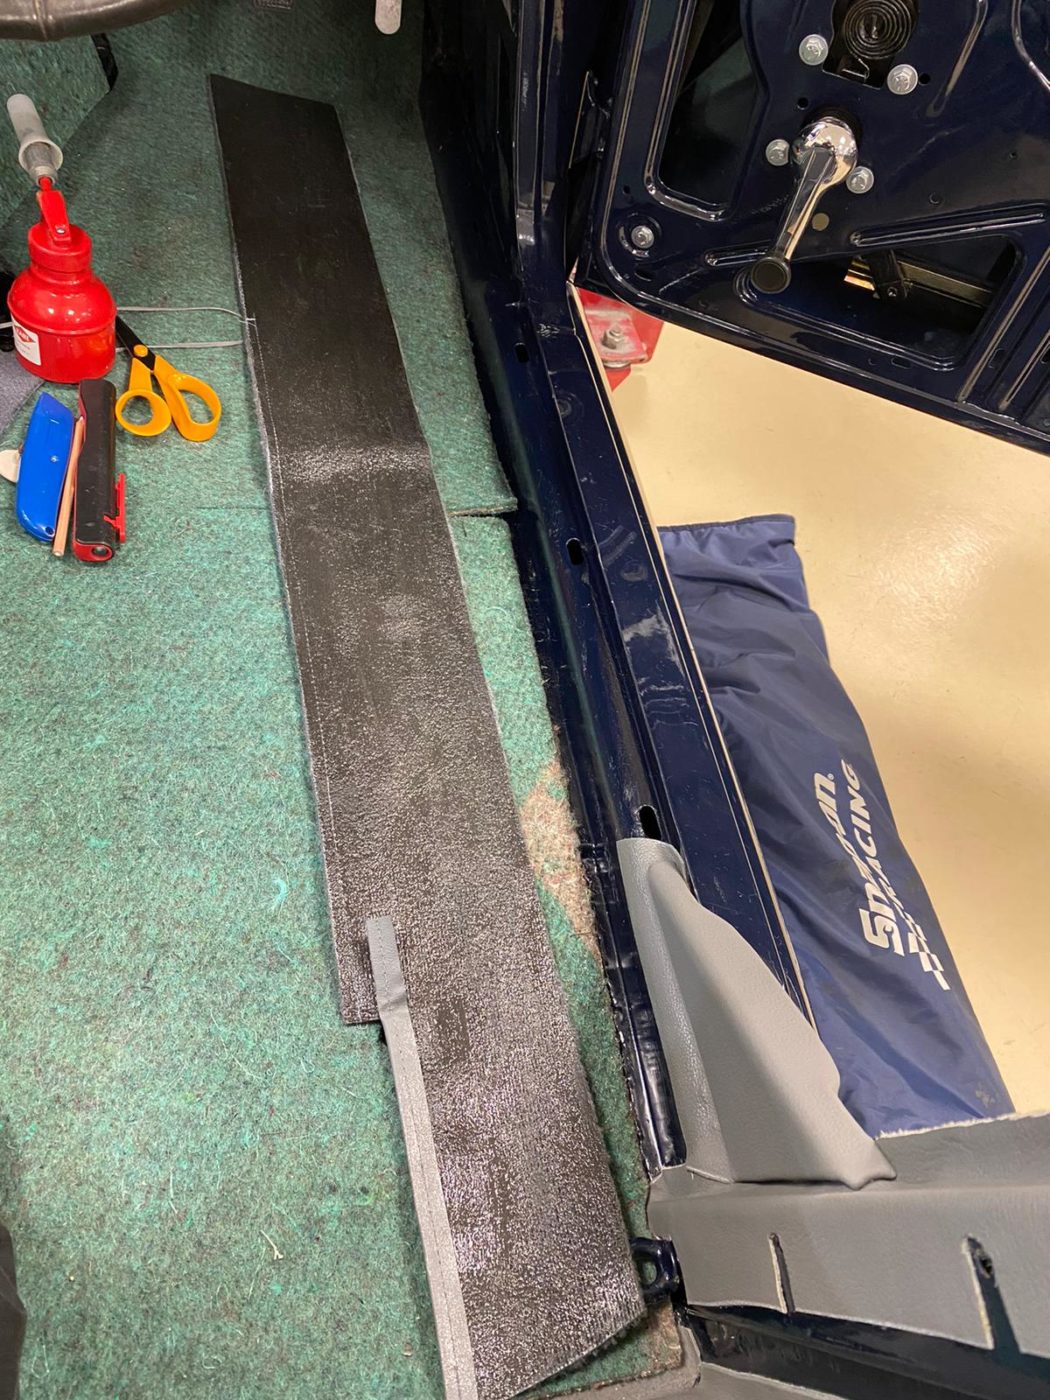
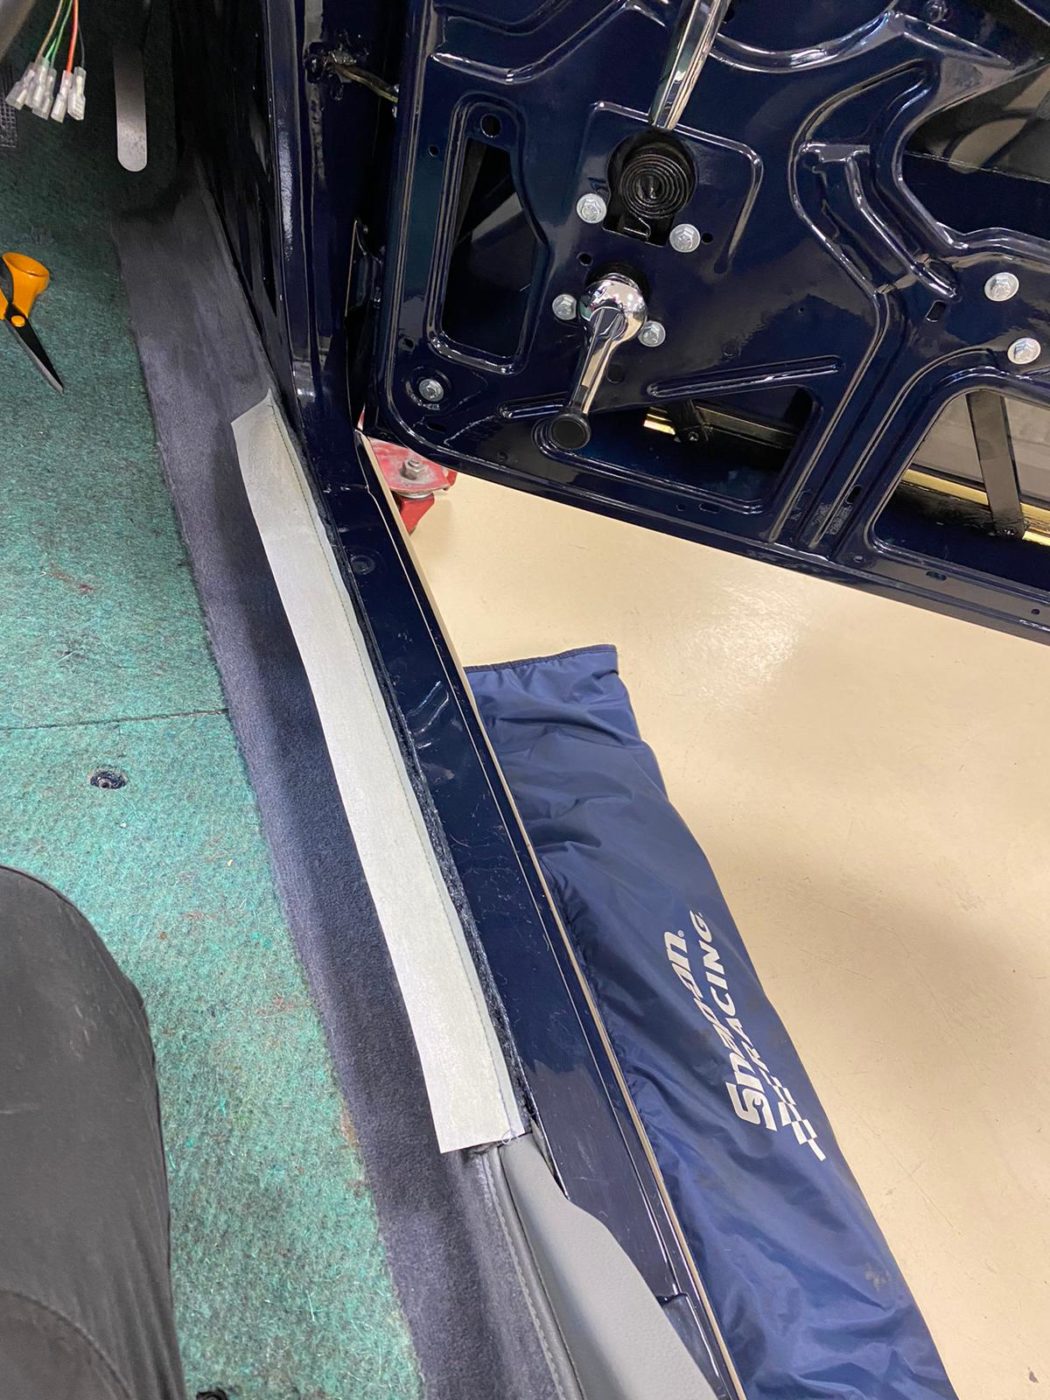
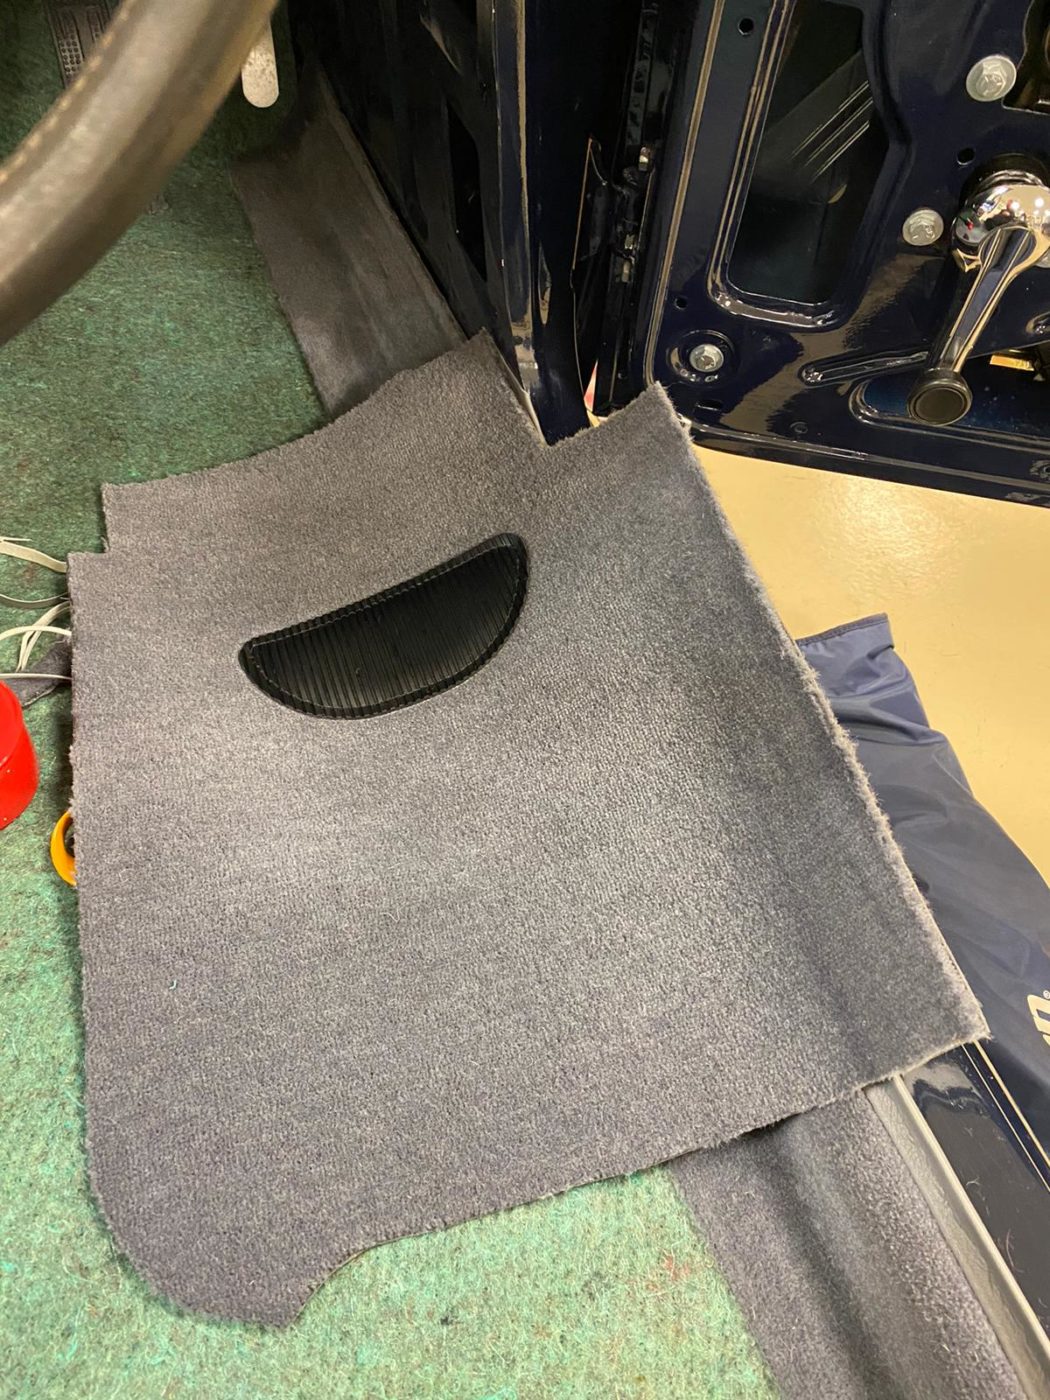
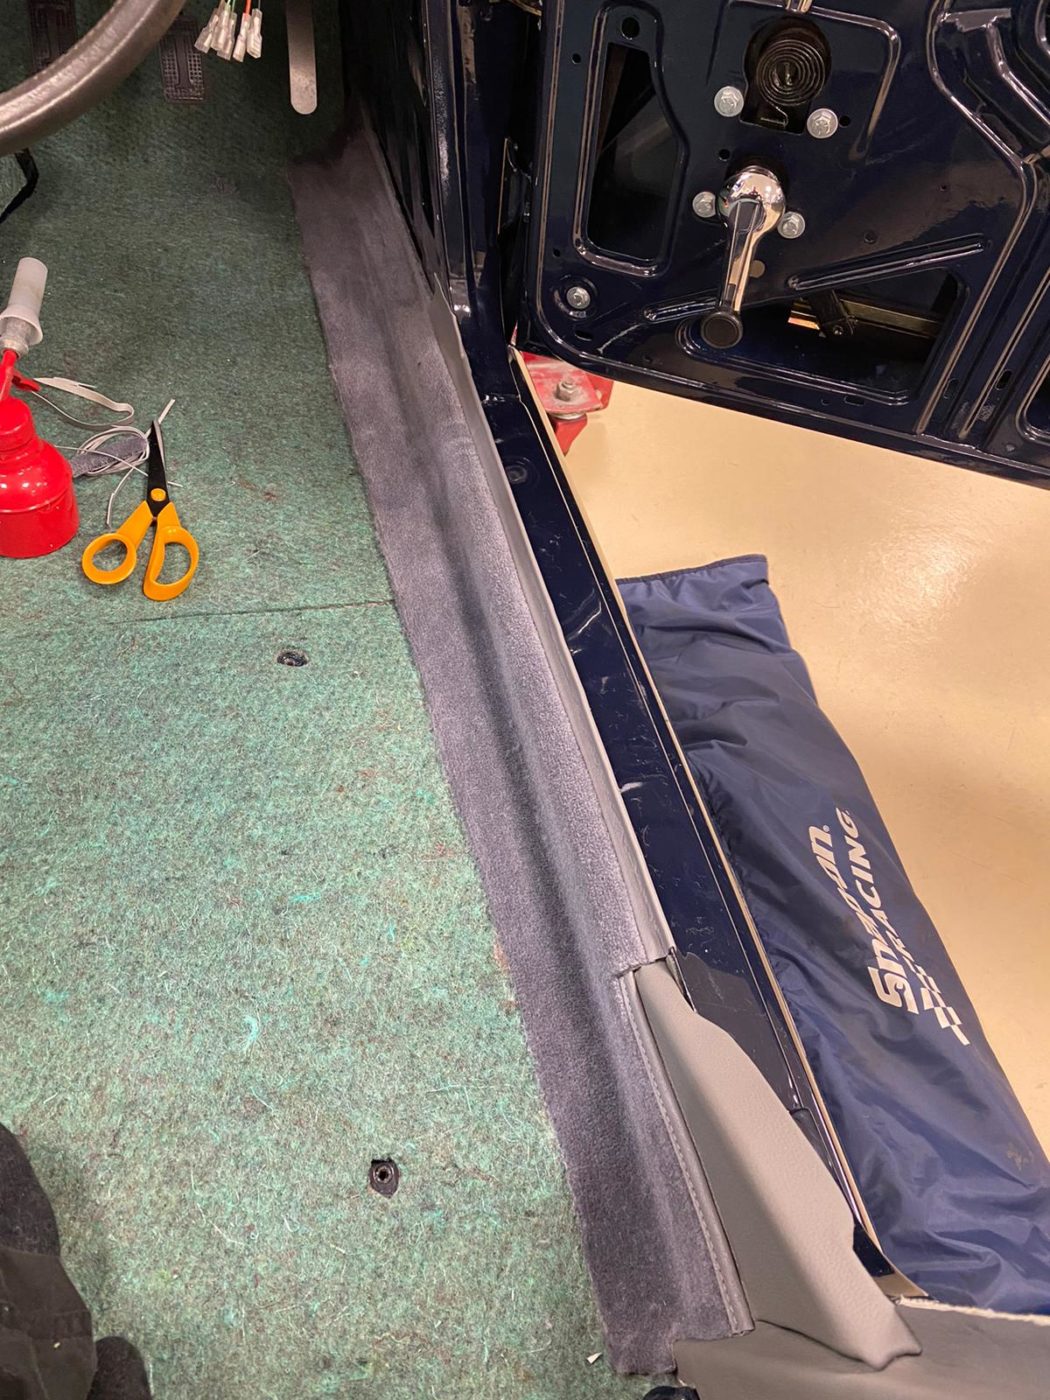
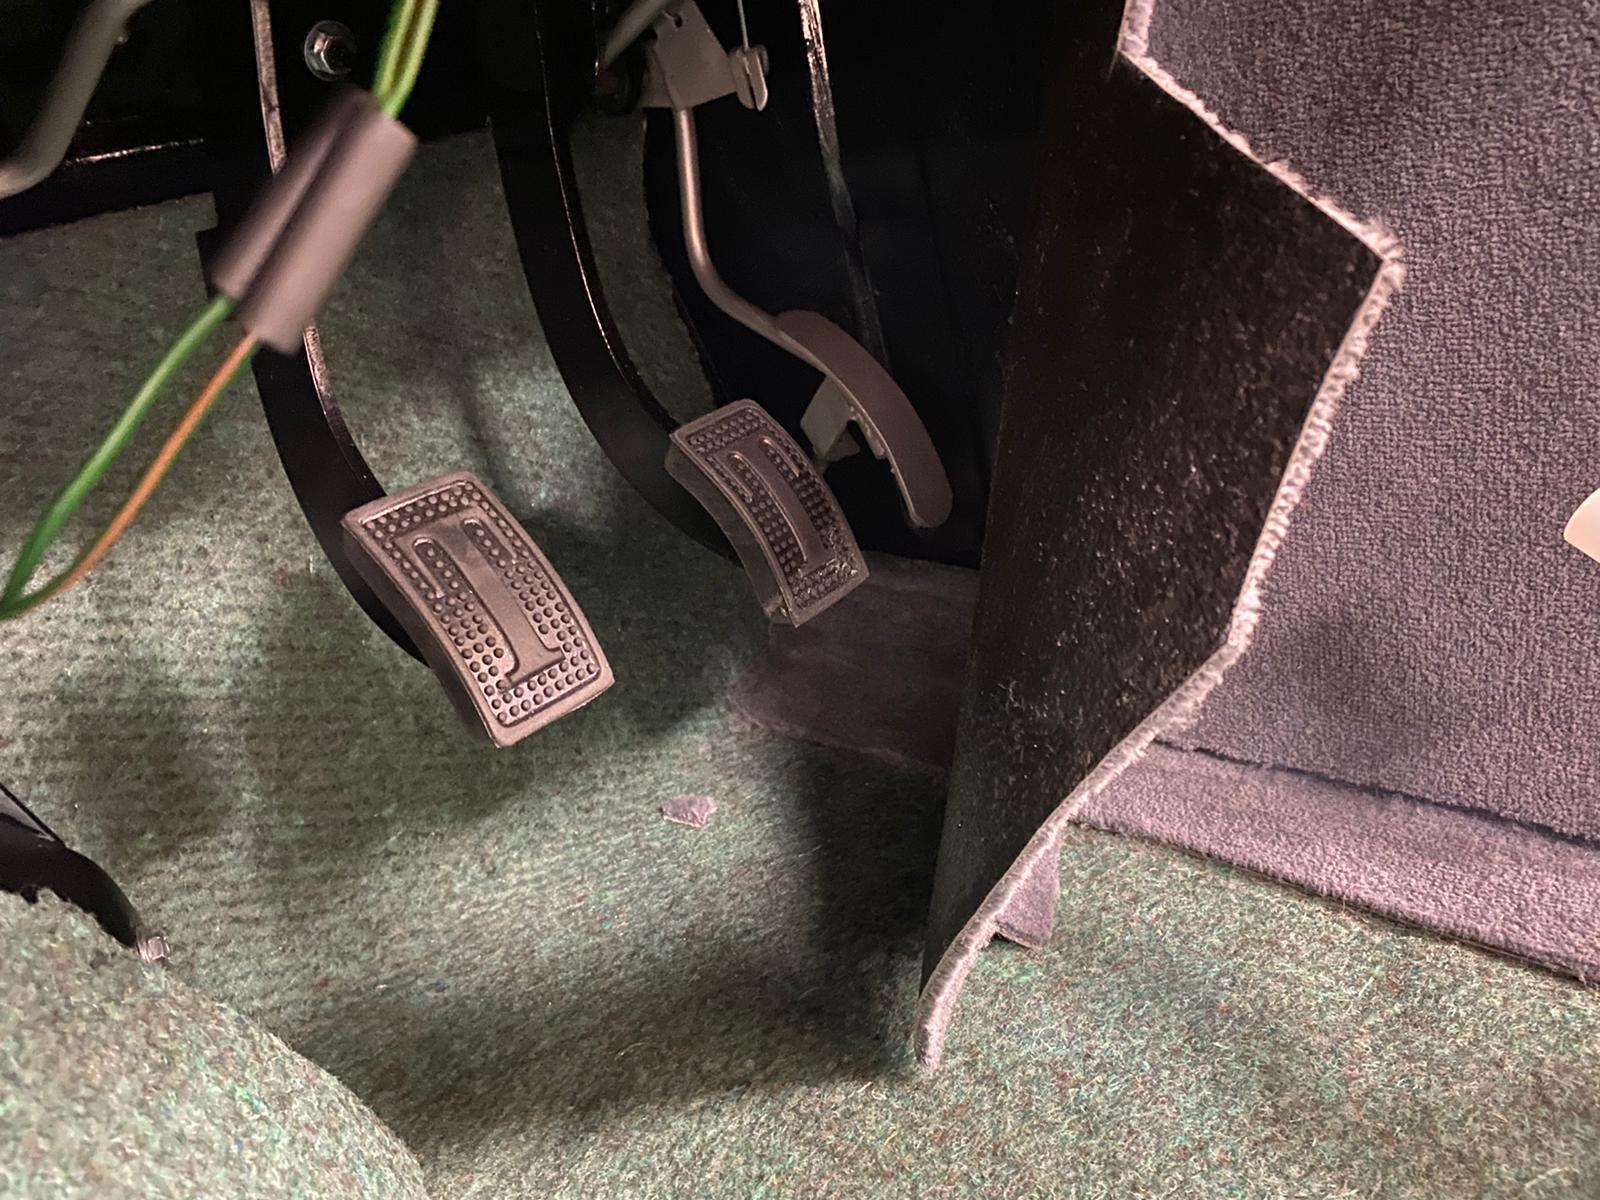
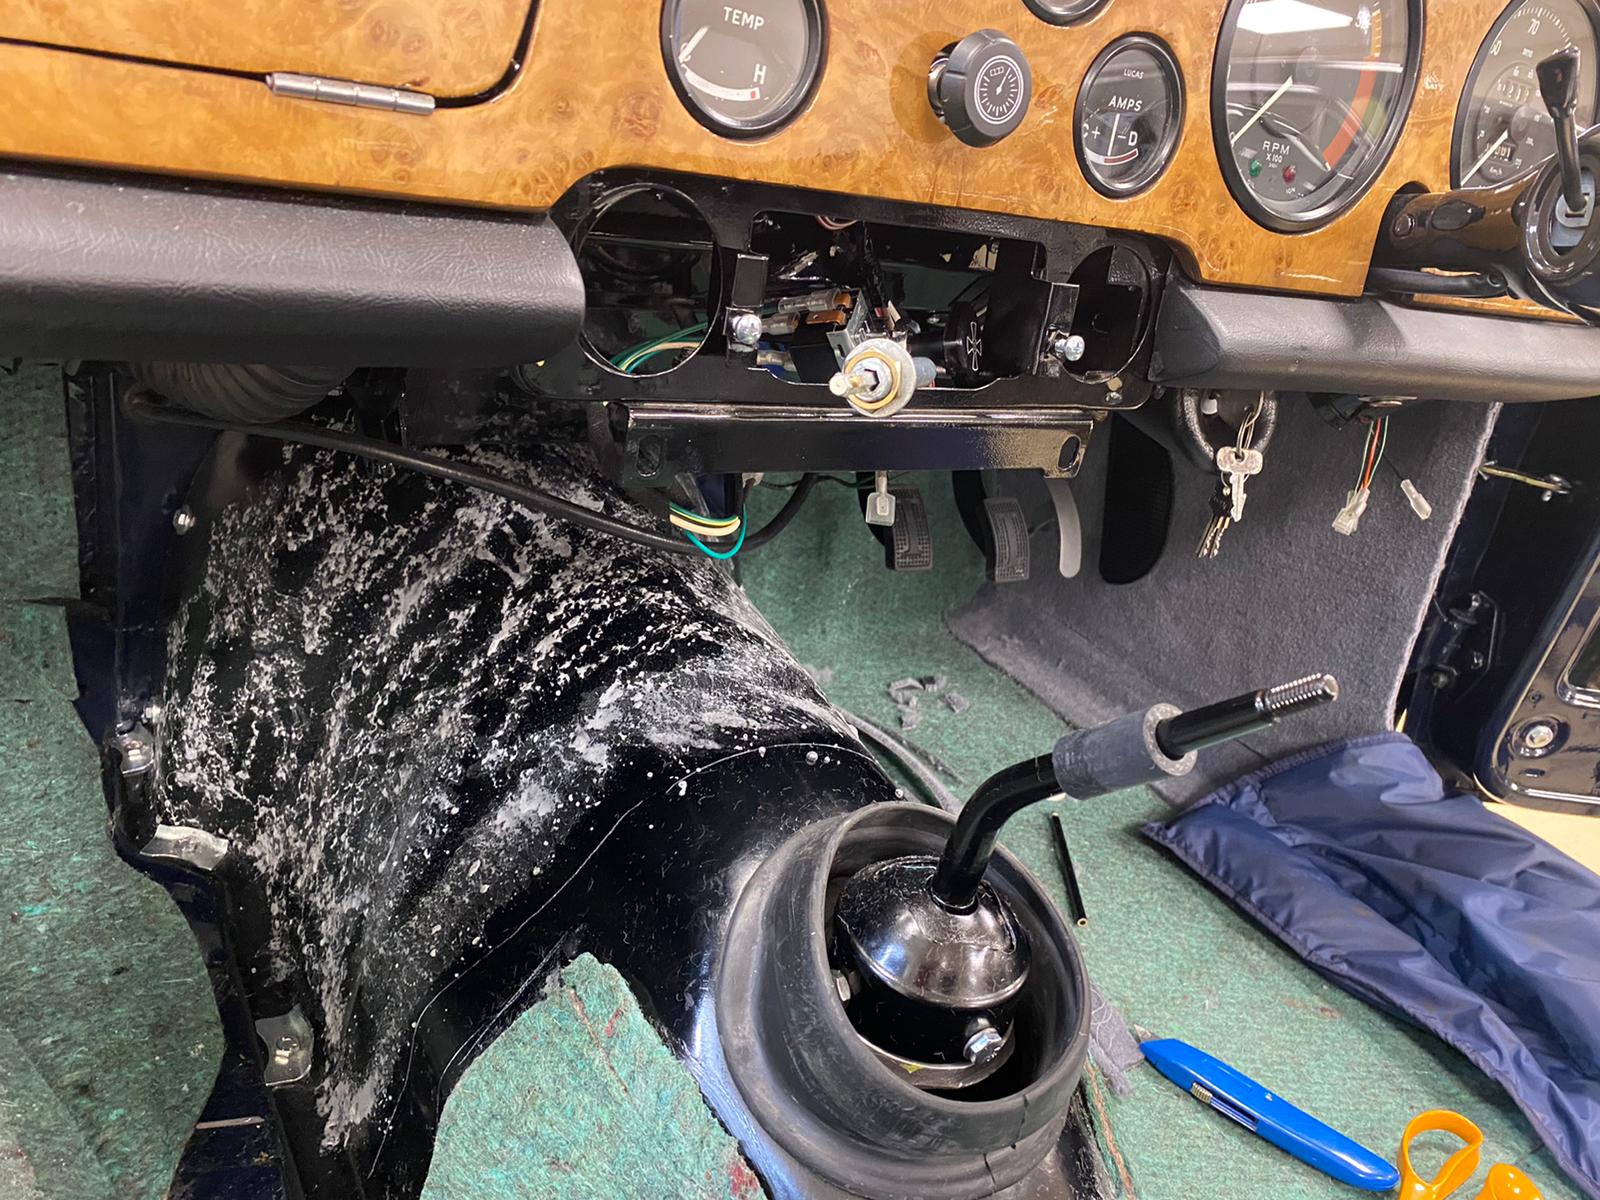
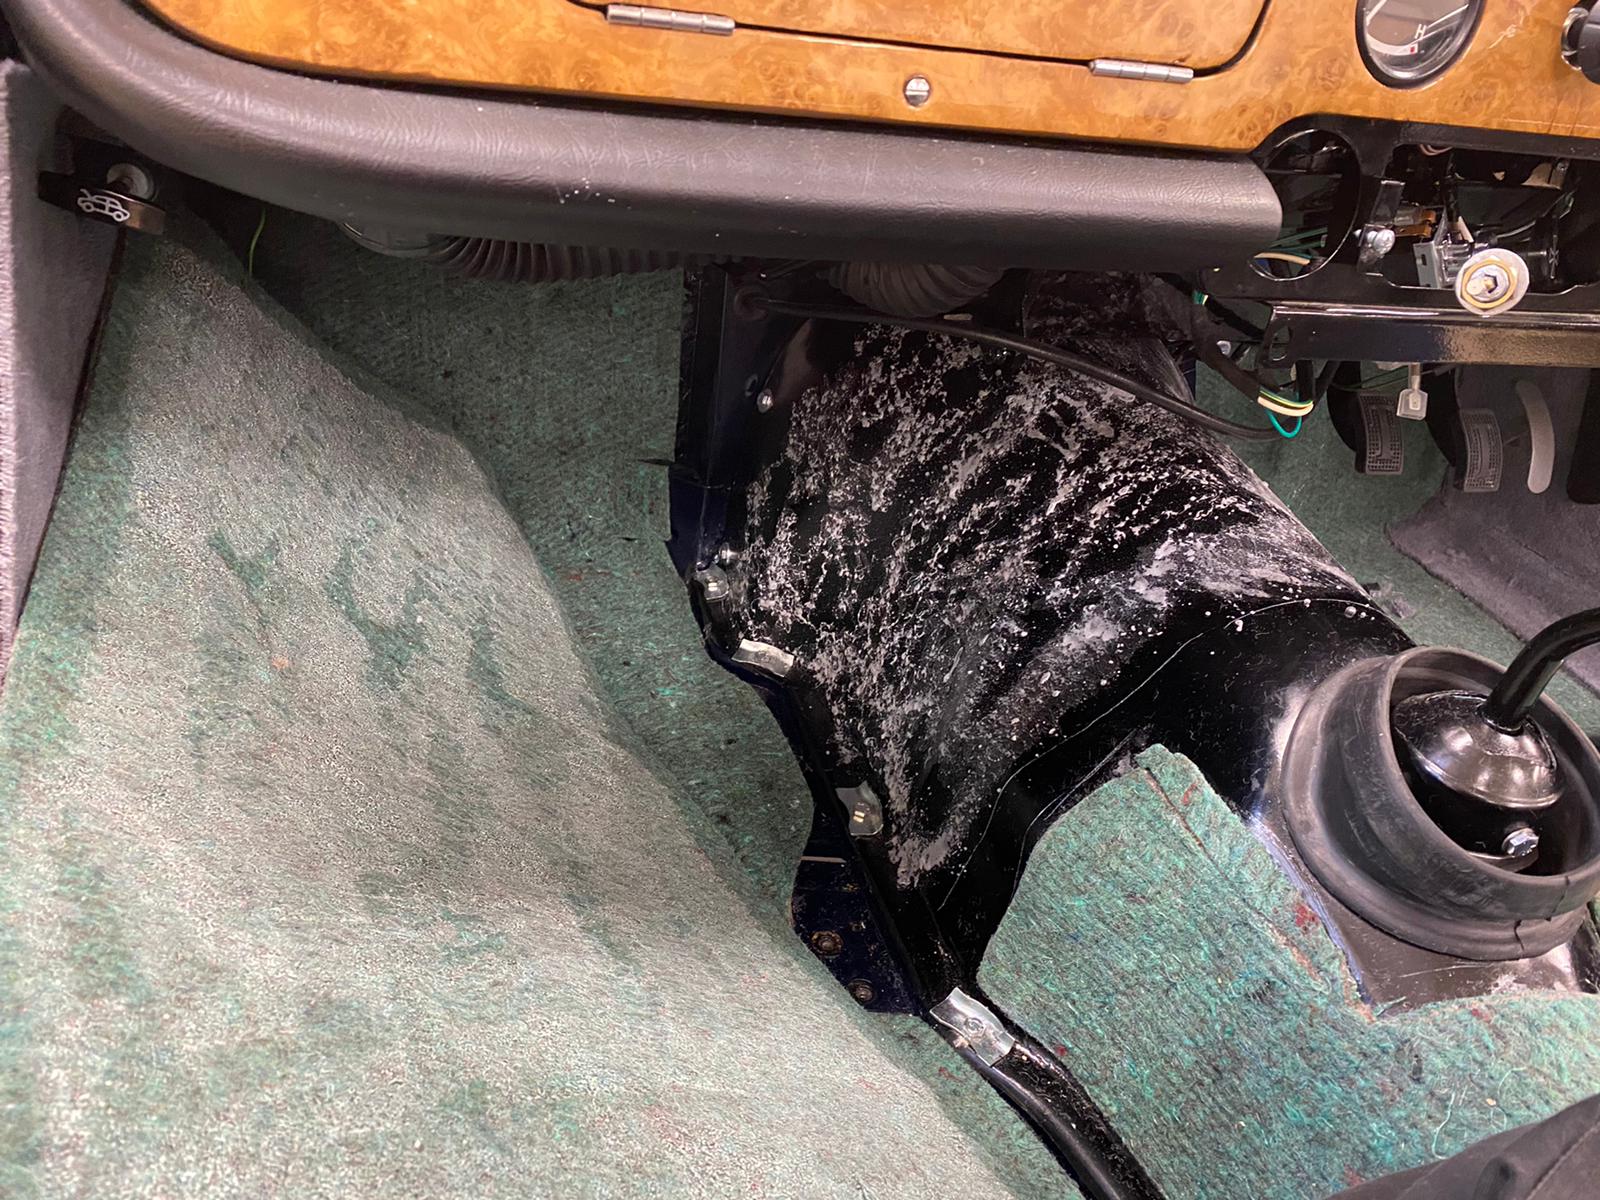
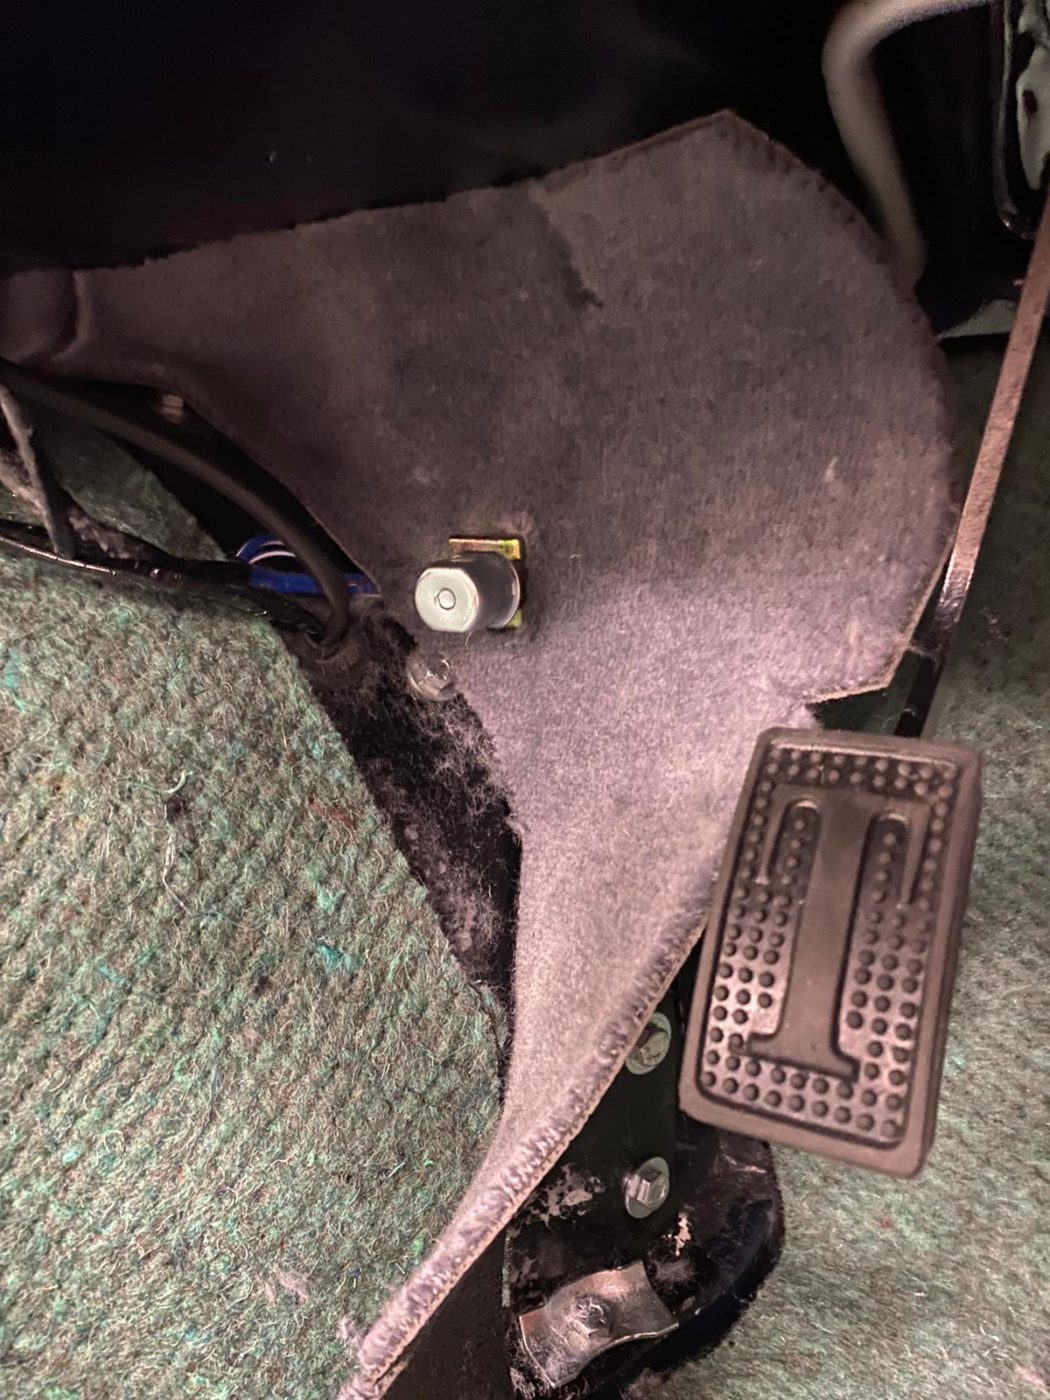
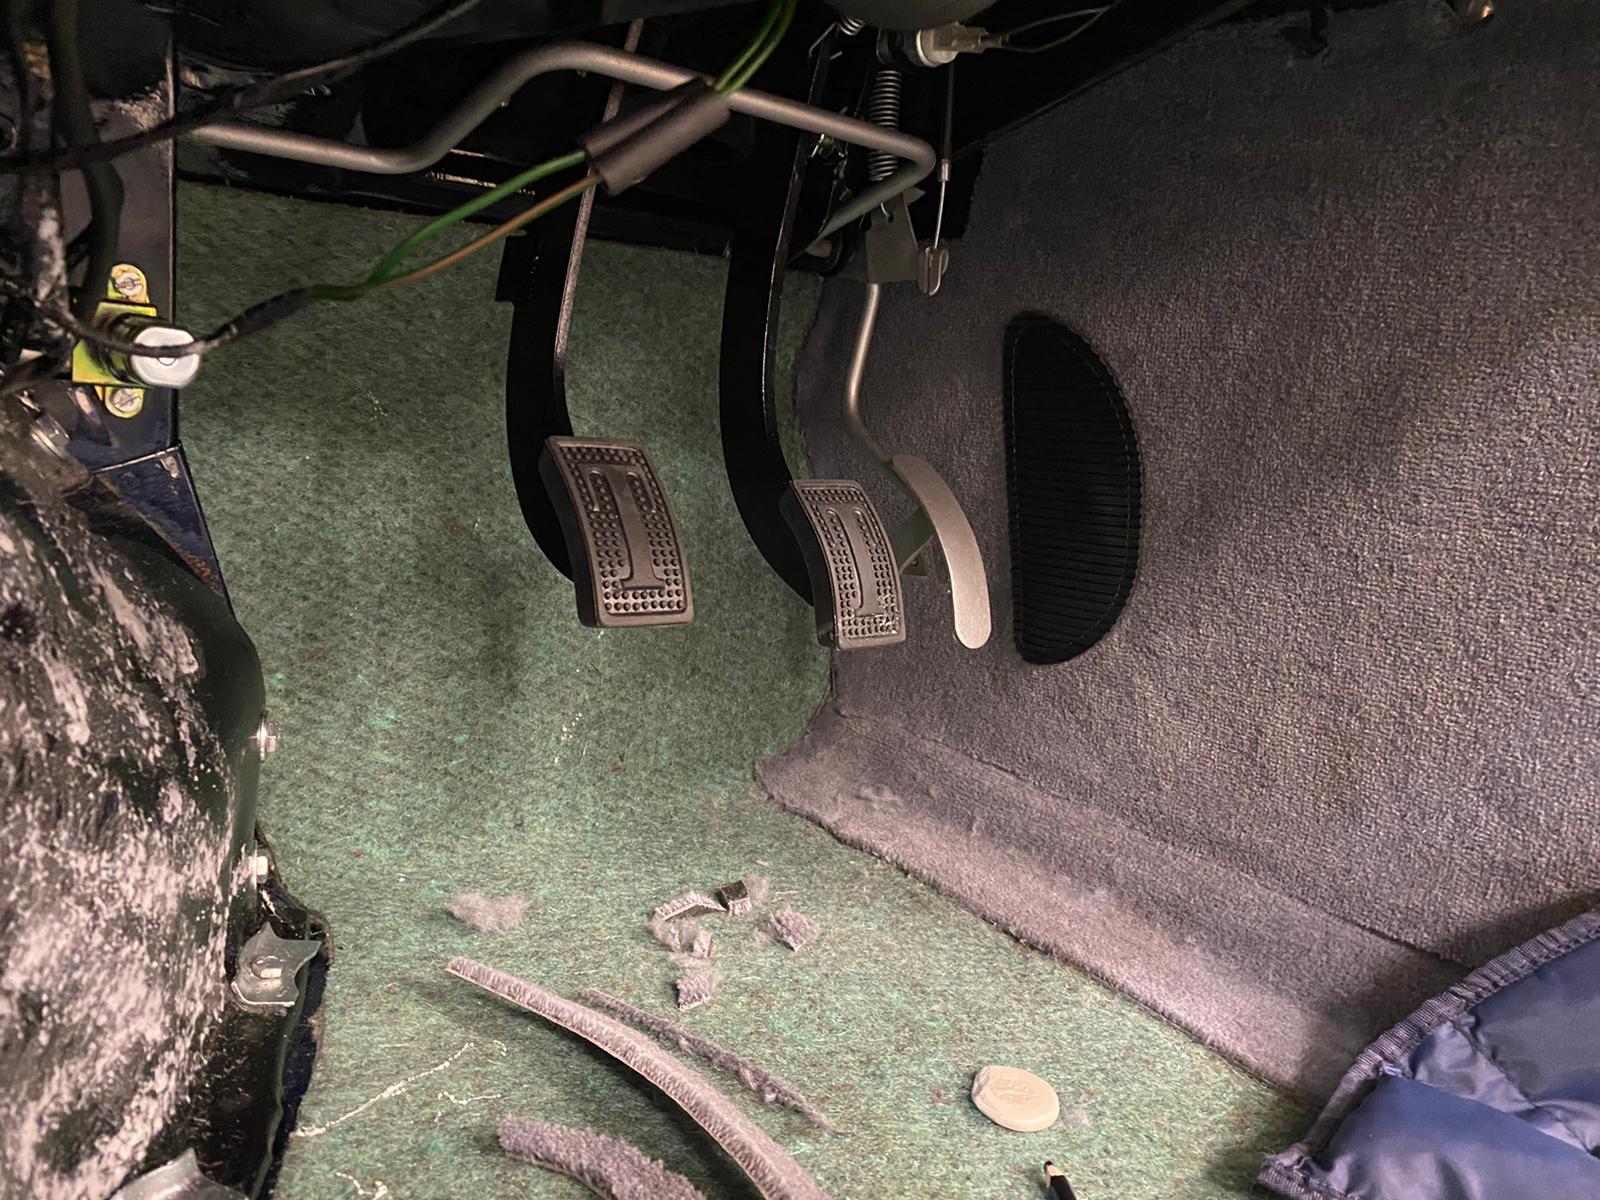
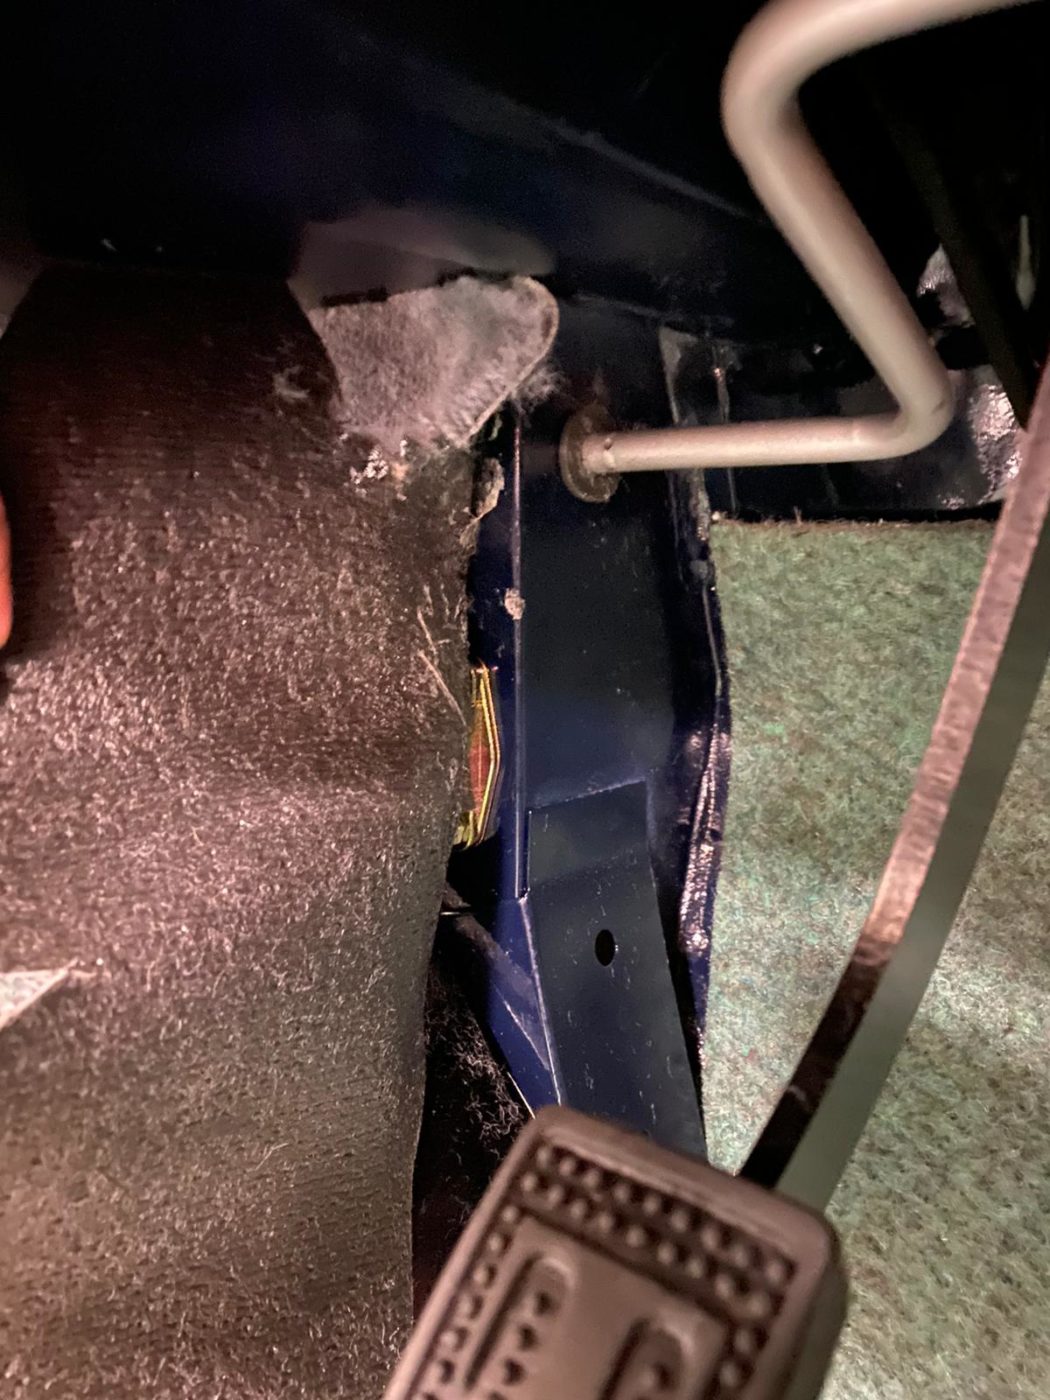
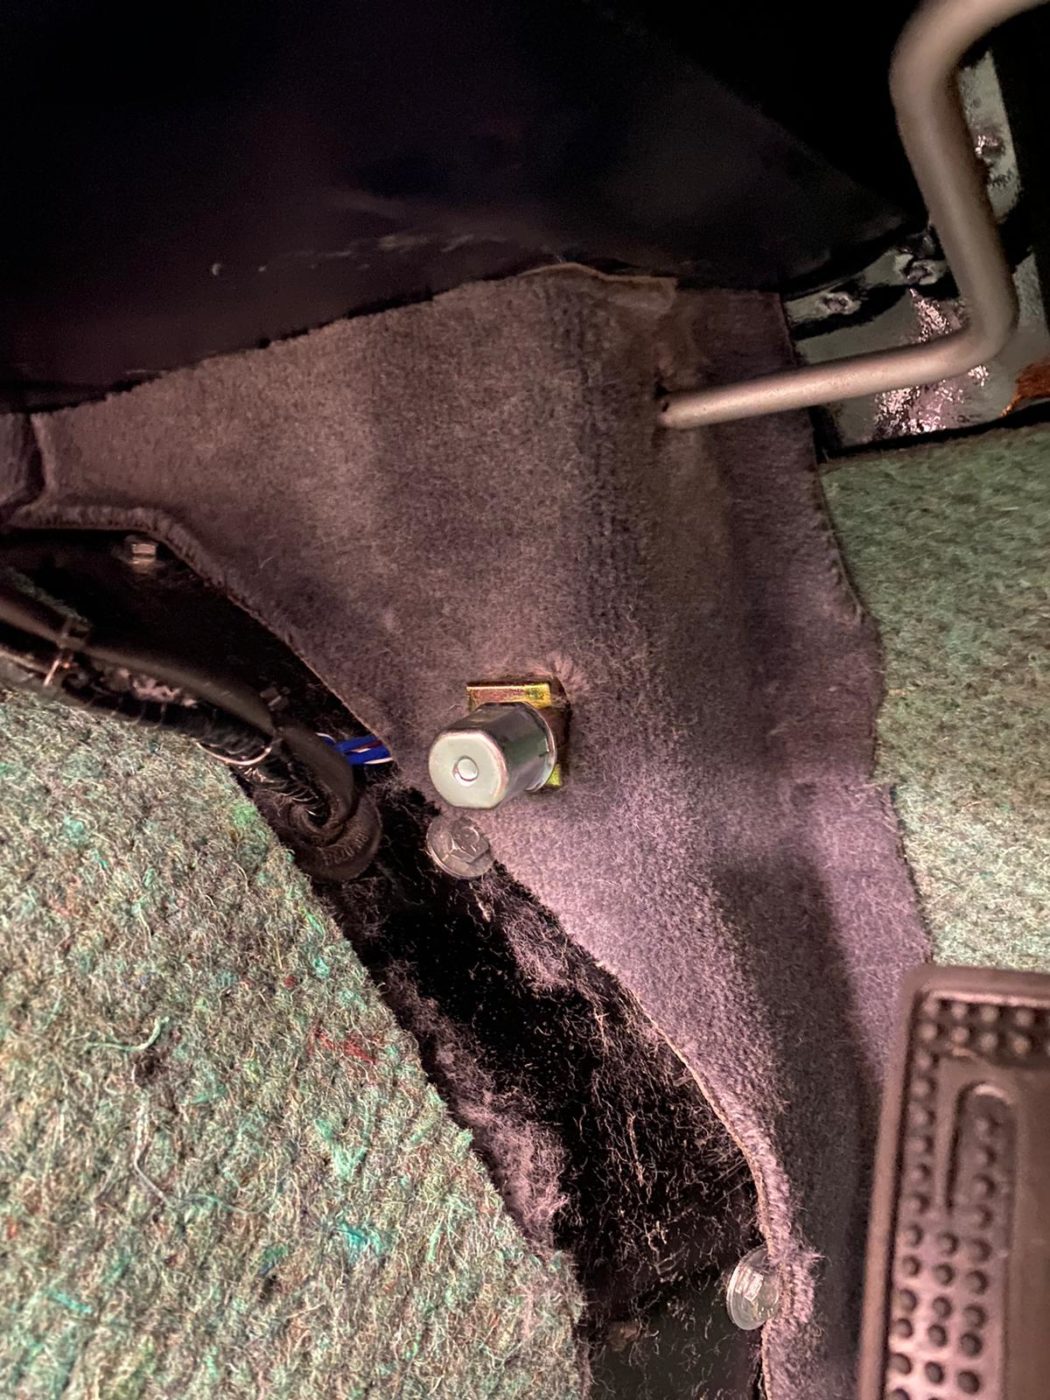
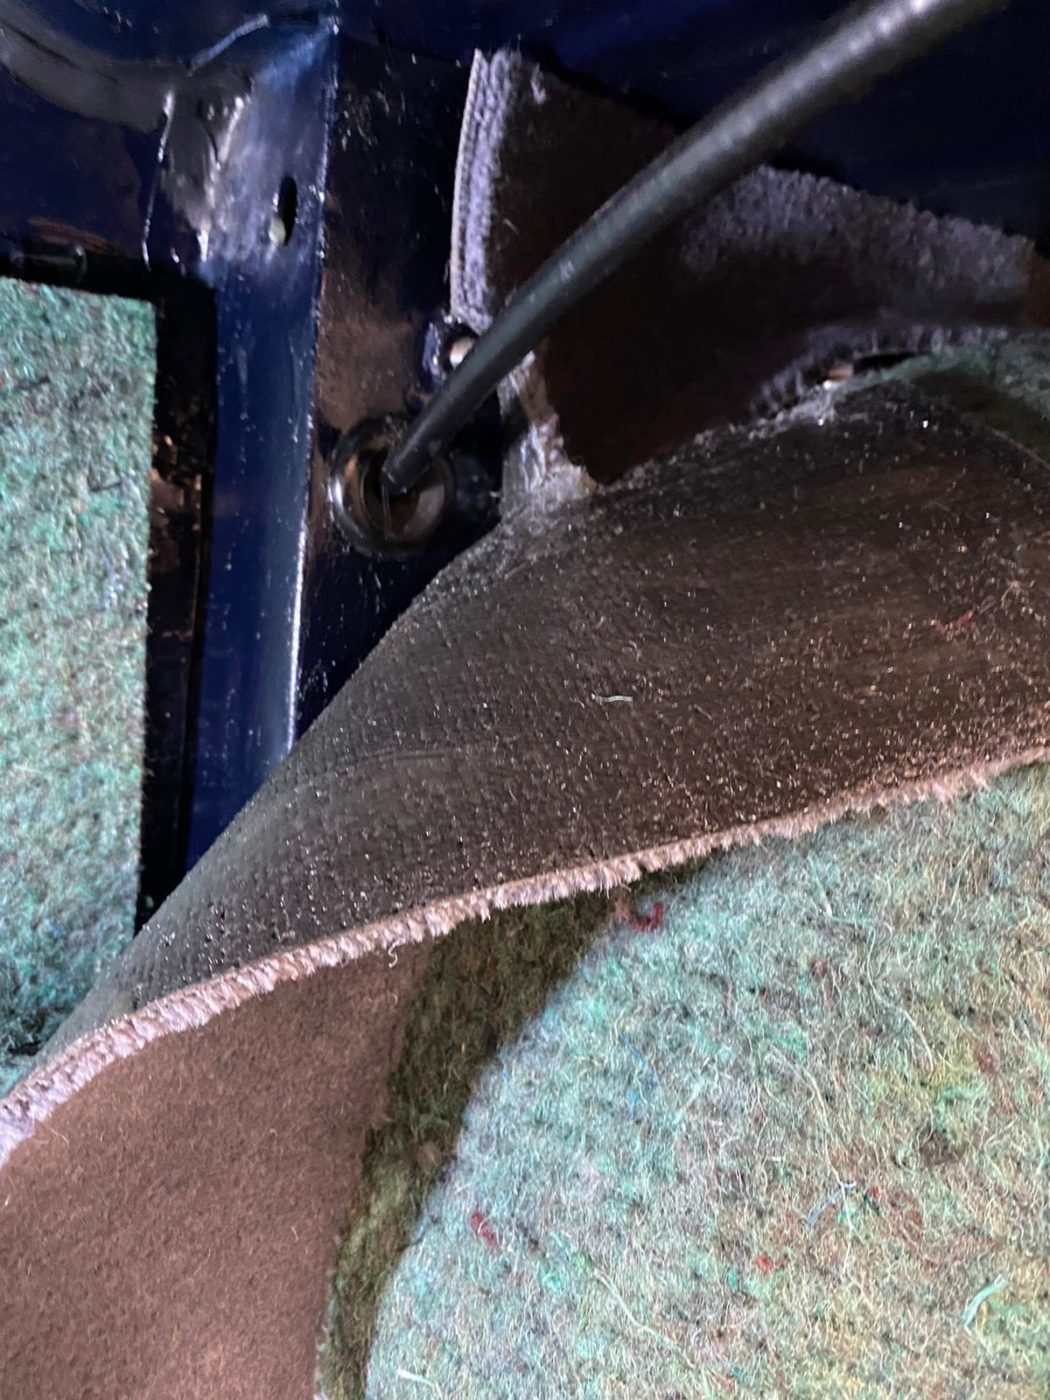
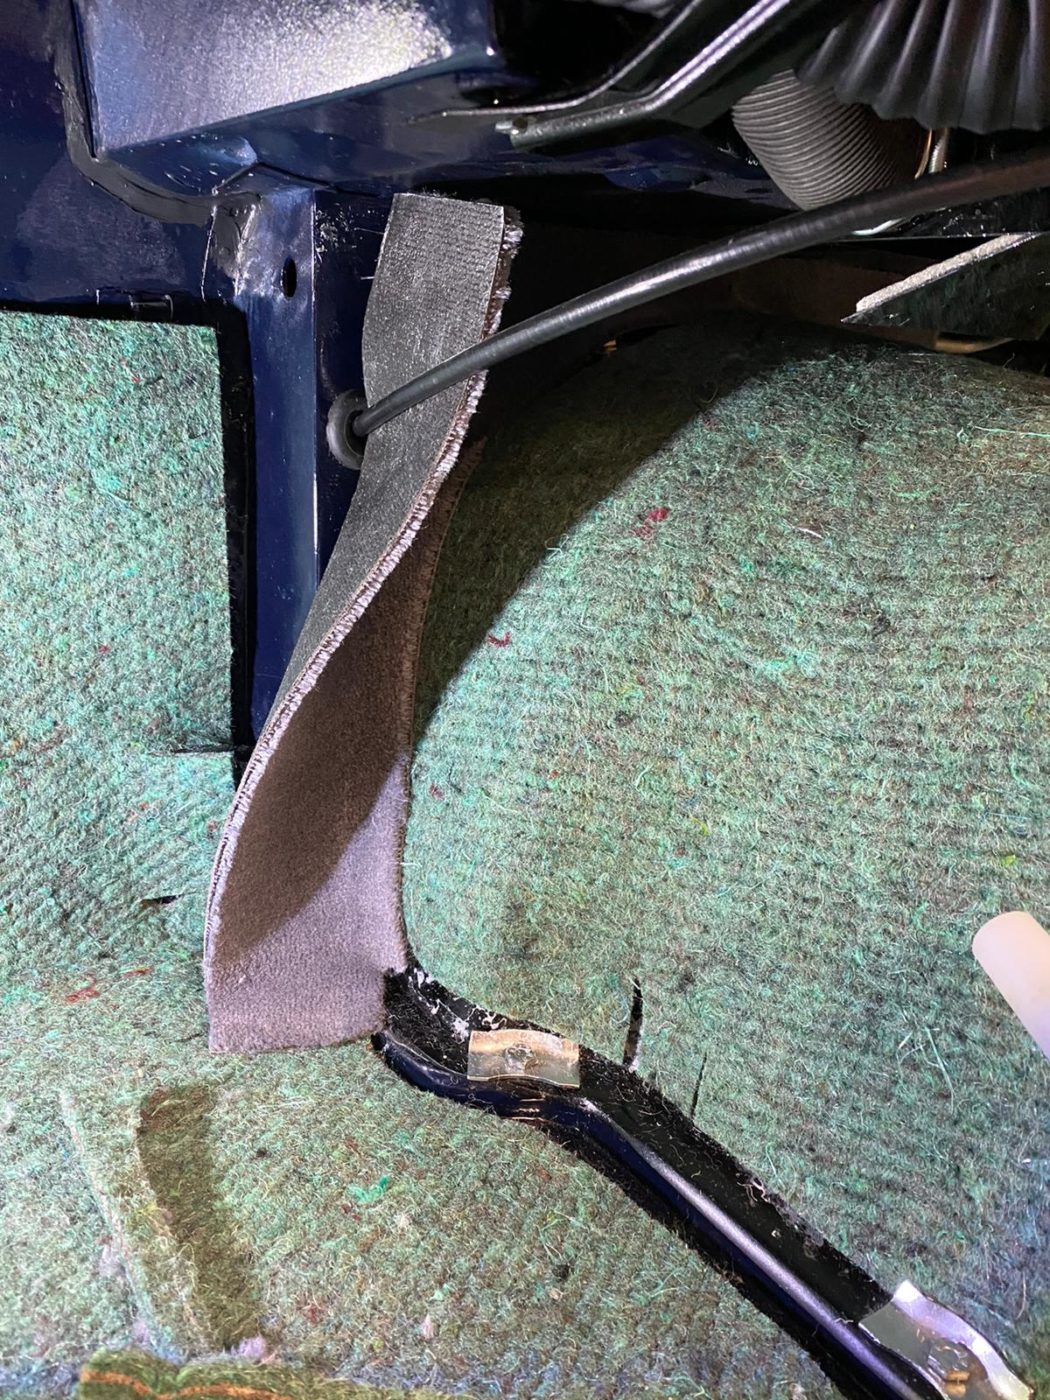
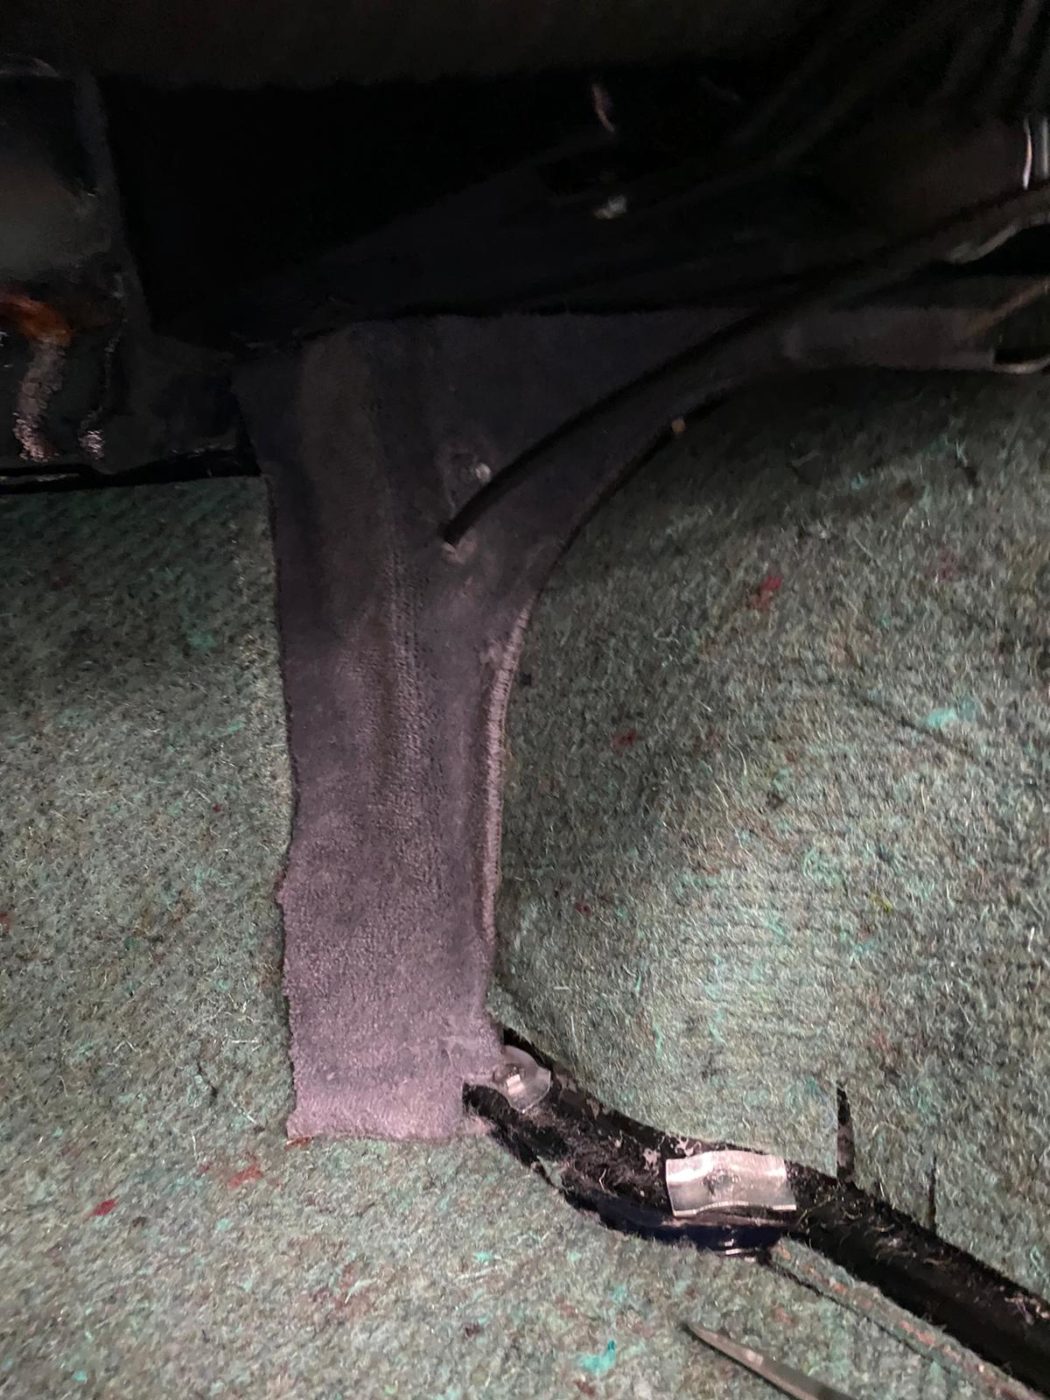
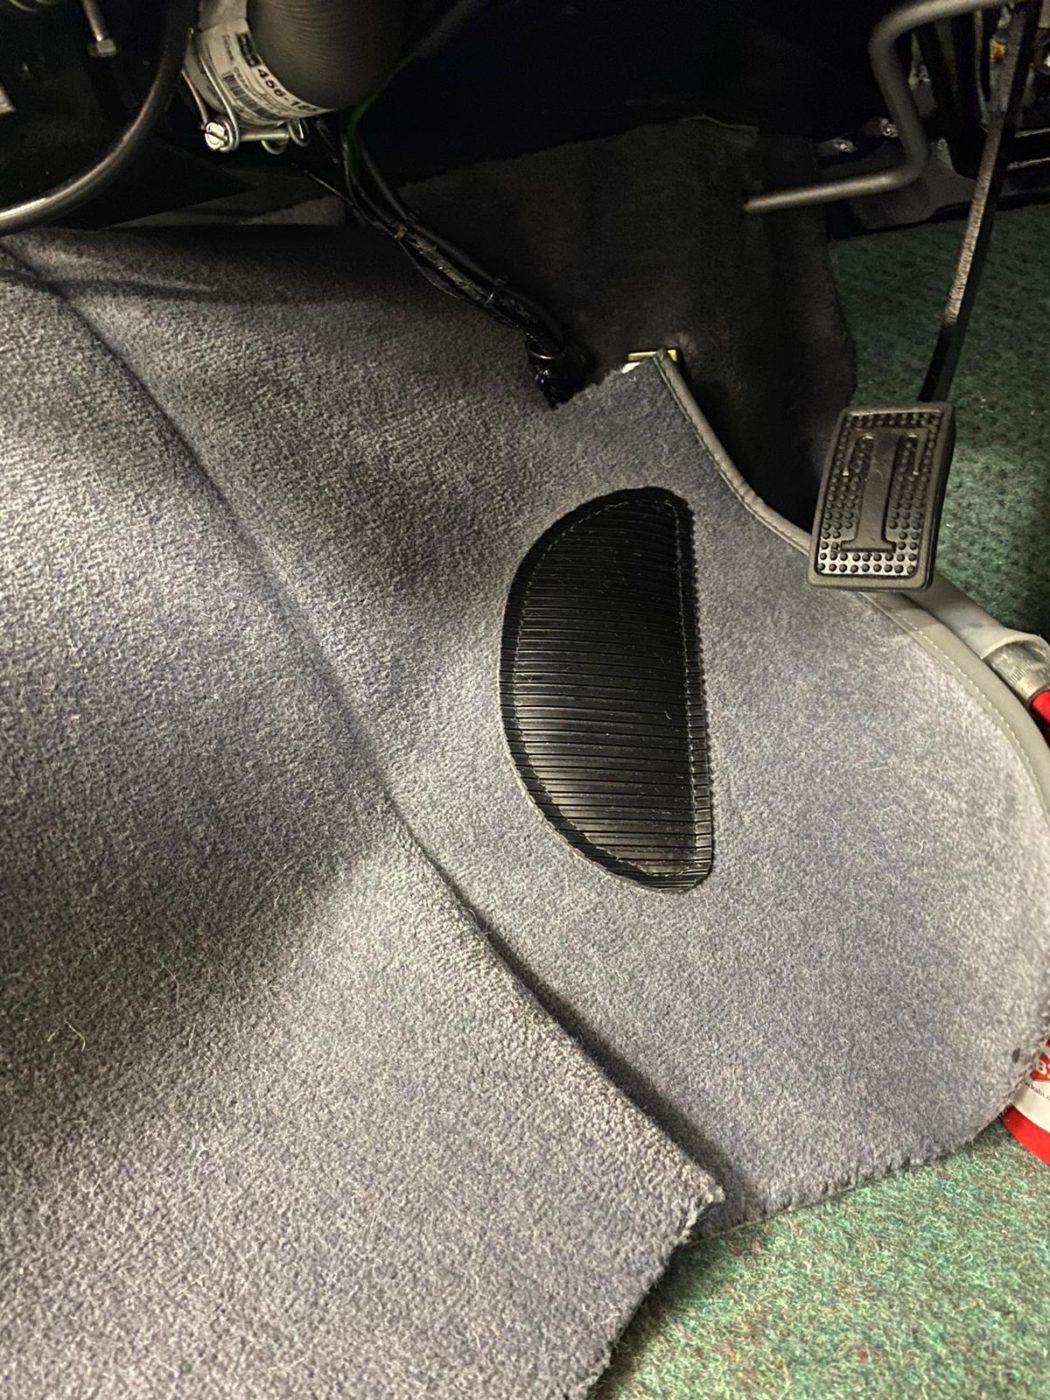
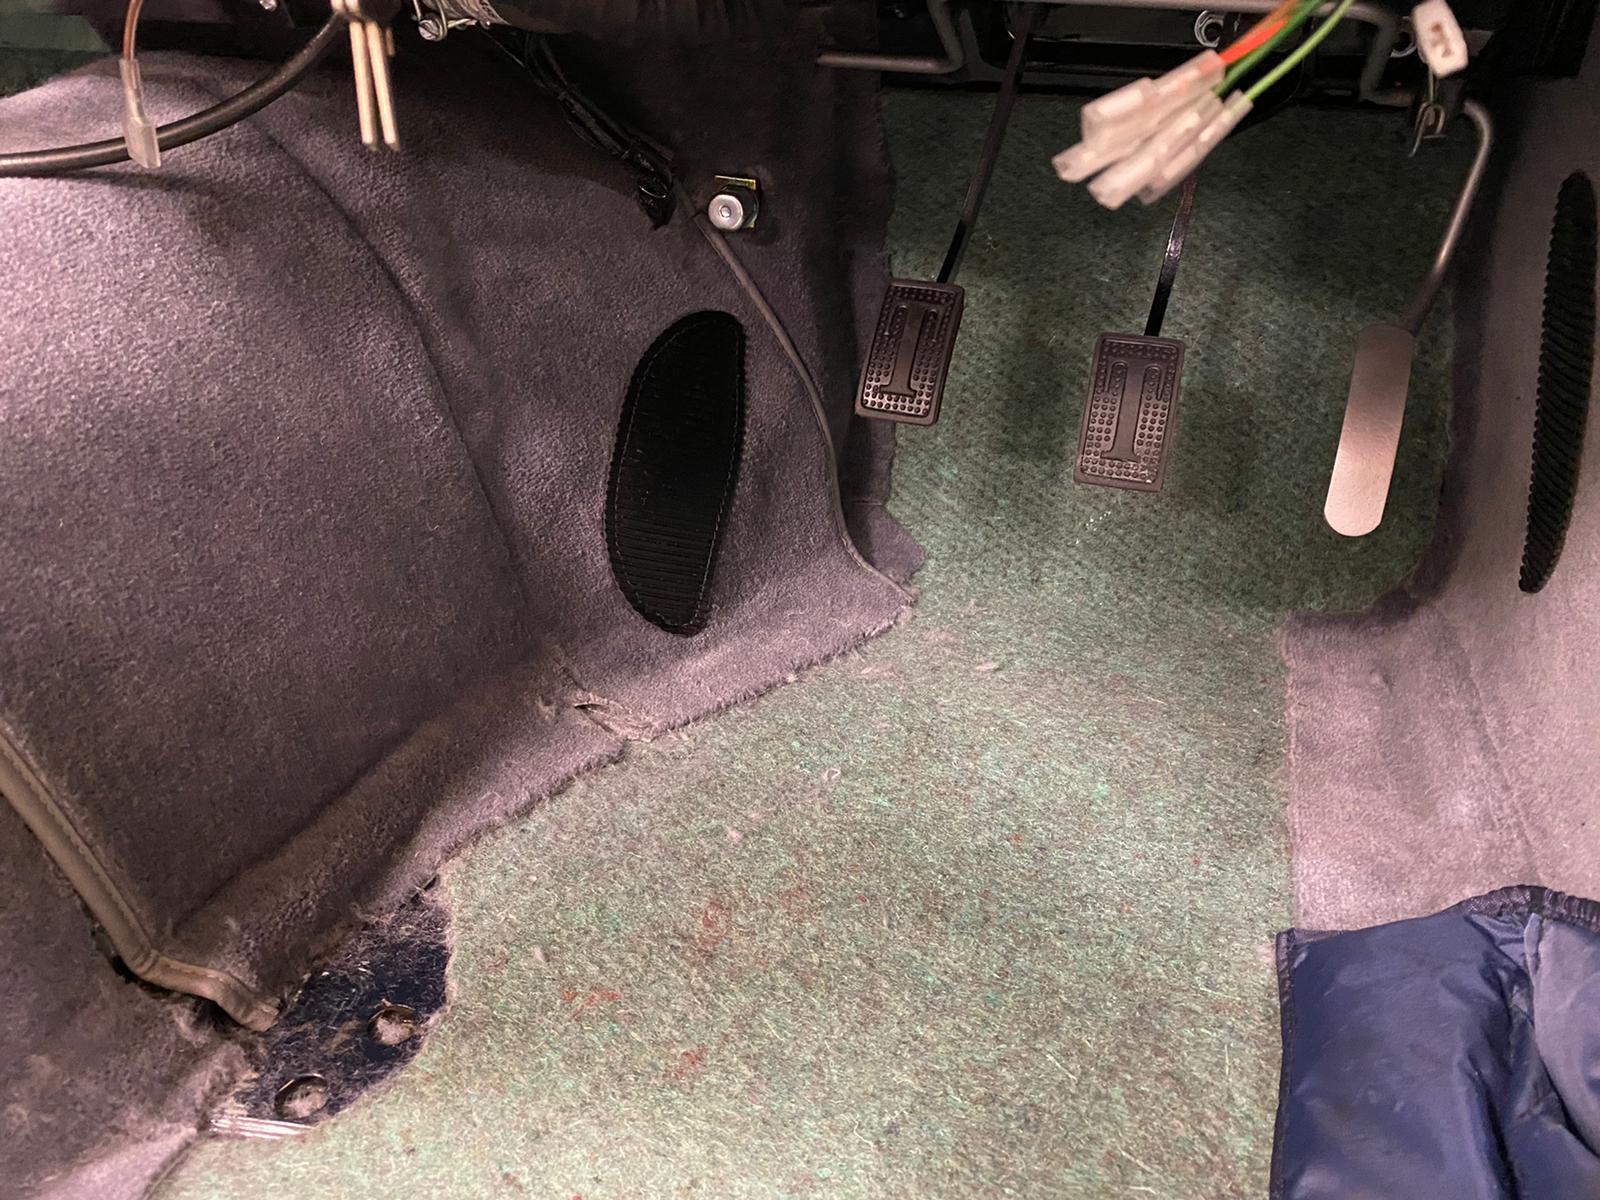
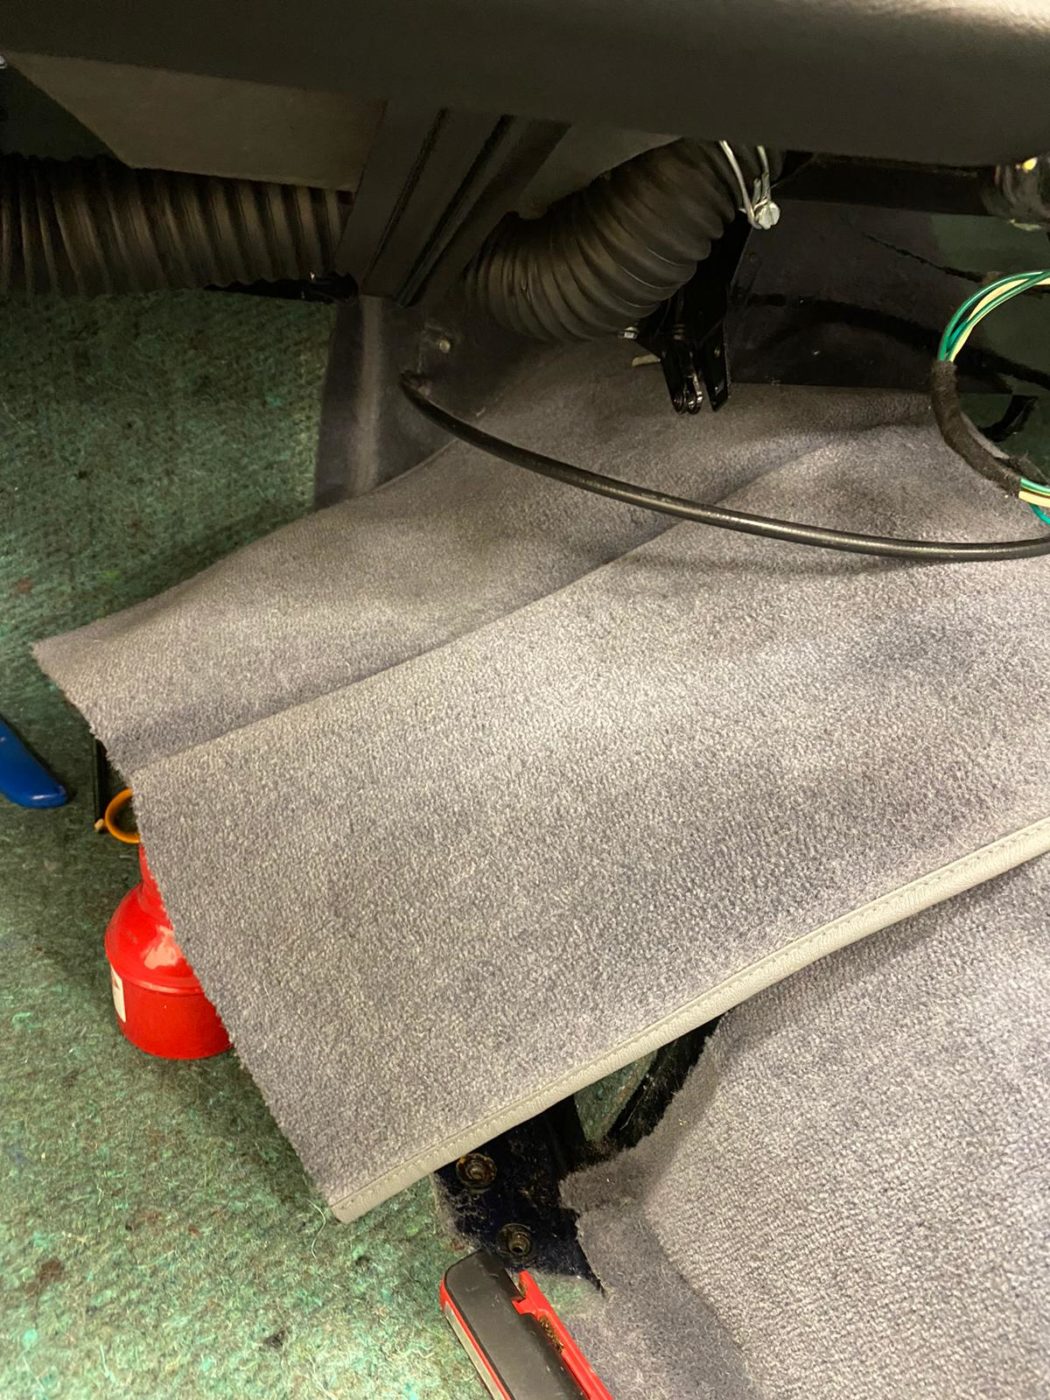
Kath has trimmed around and glued into position the carpet on the driver’s side under the pedals. She’s also fitted the driver’s side sill and the carpet near the accelerator pedal.
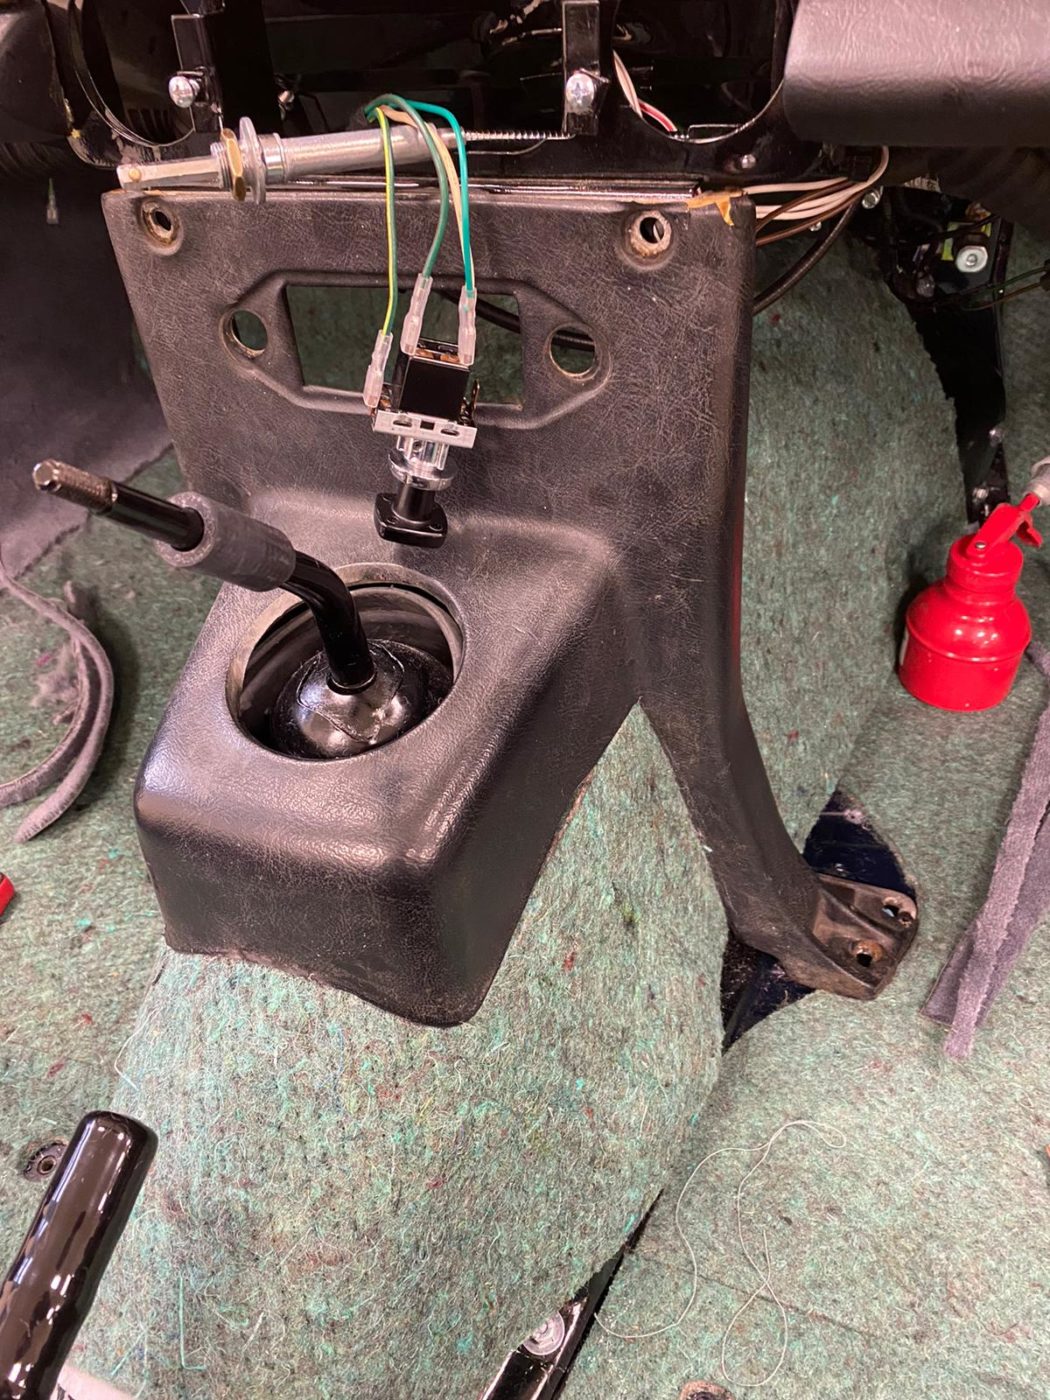
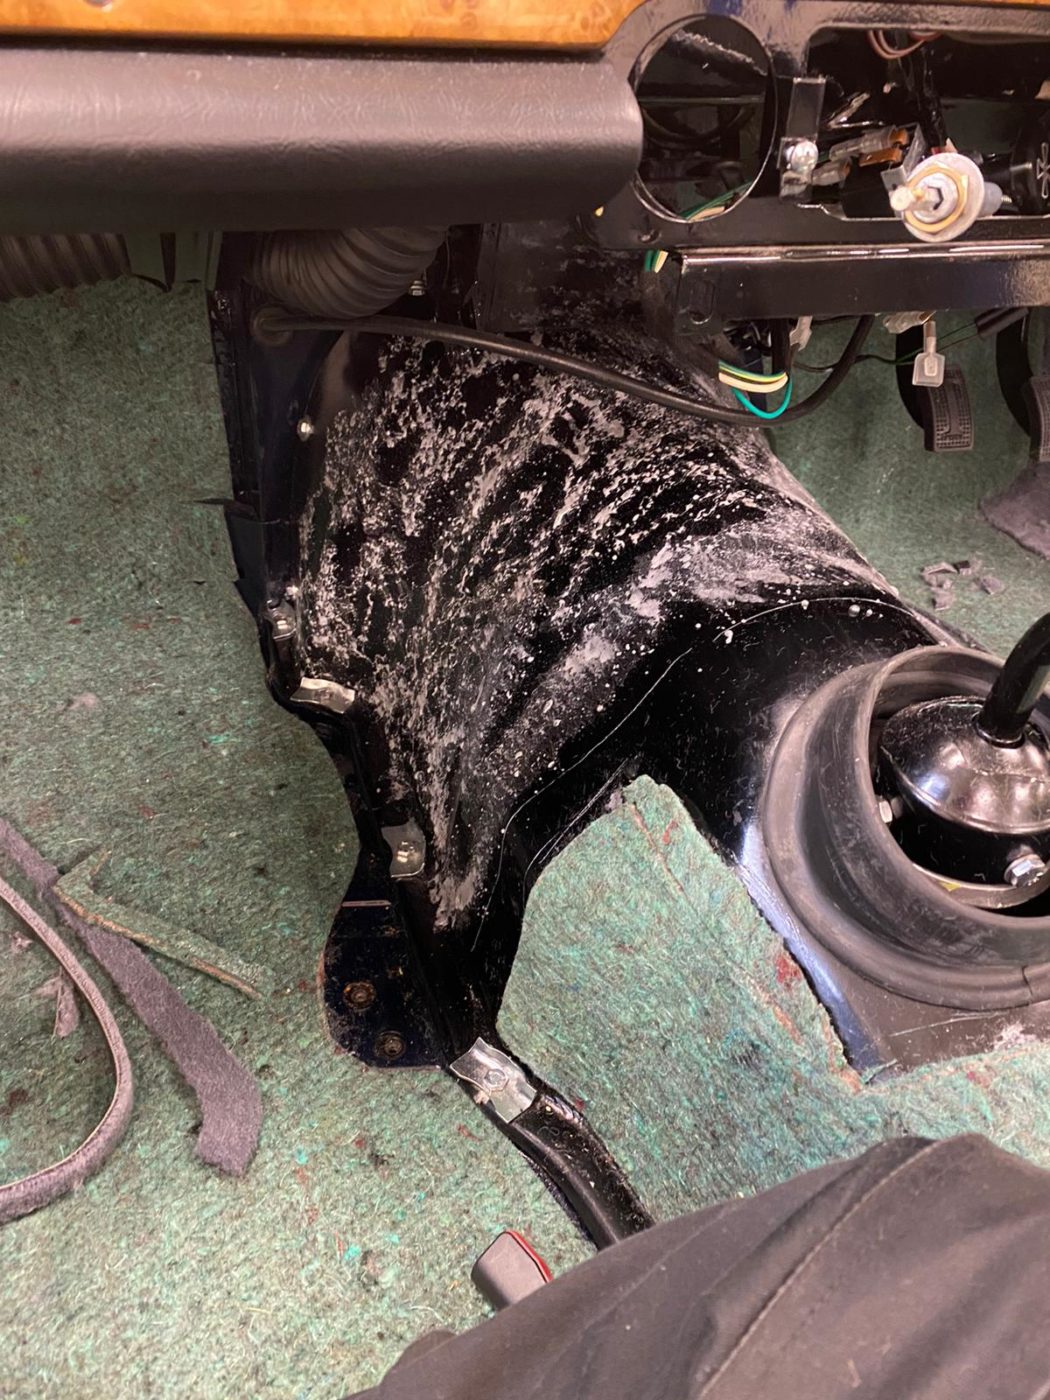
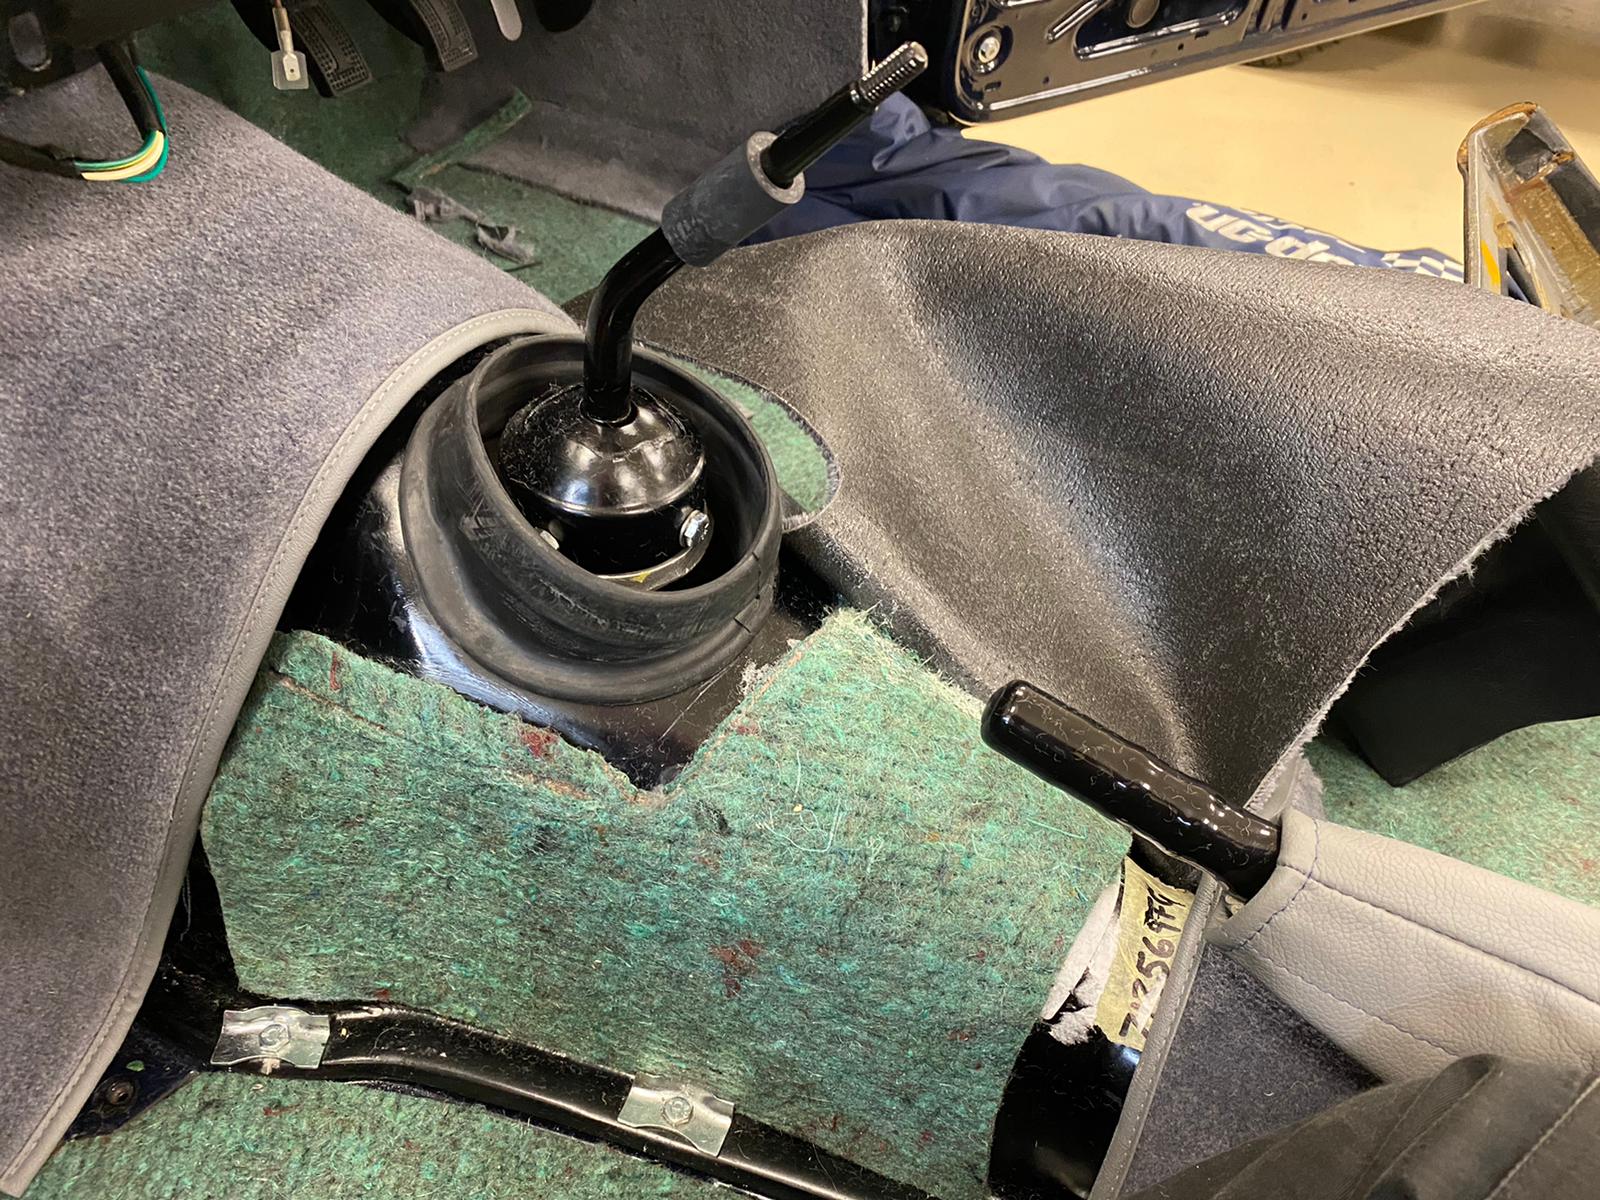
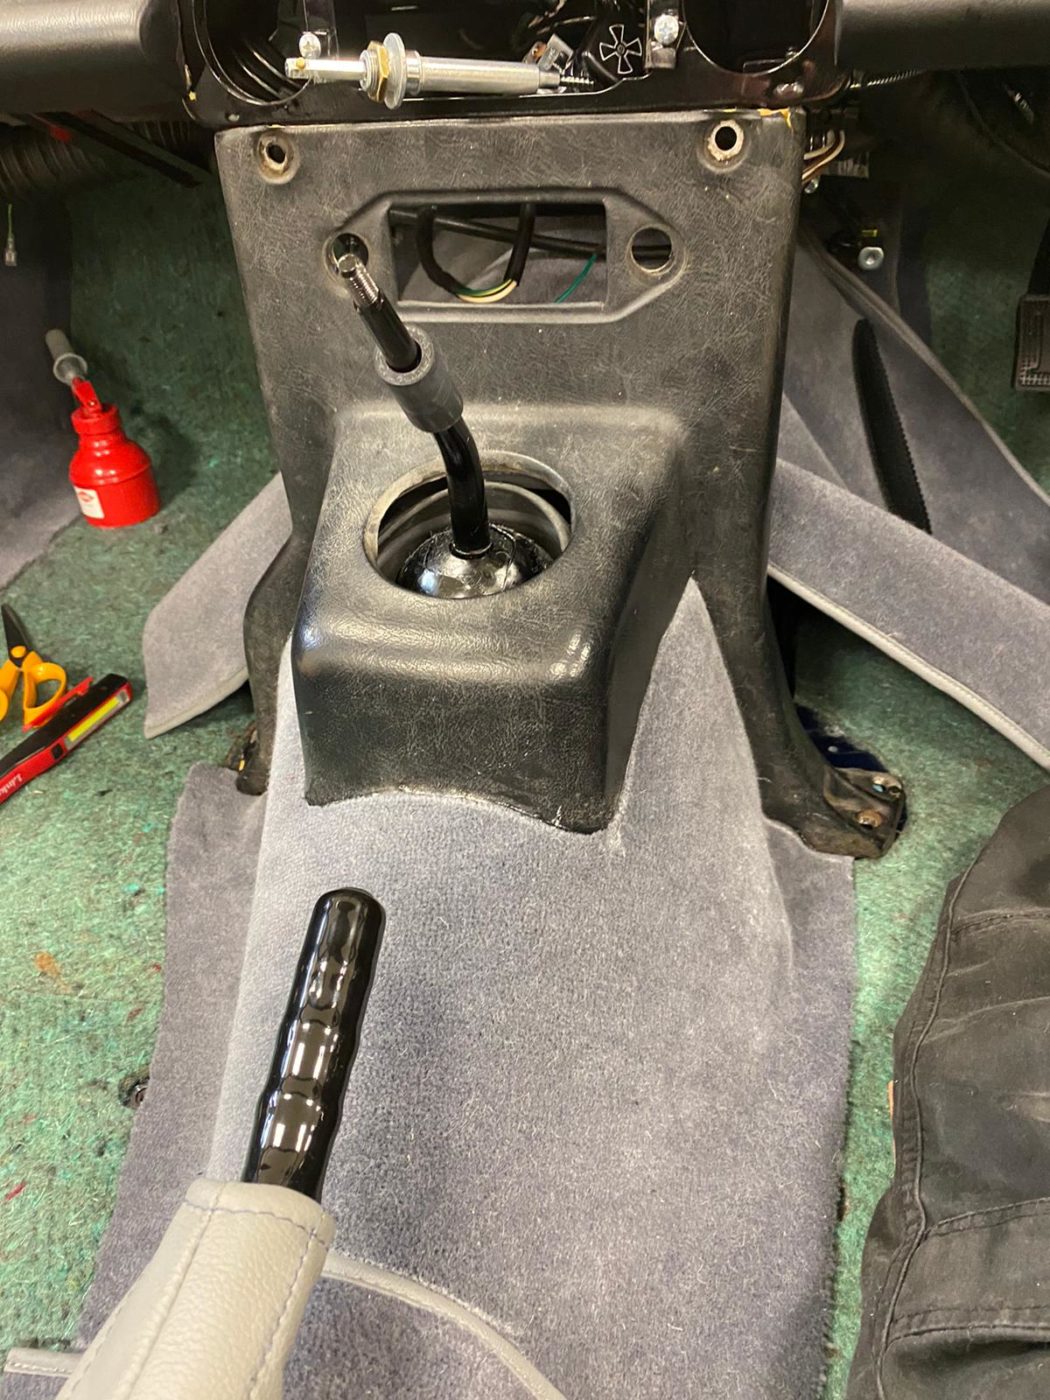
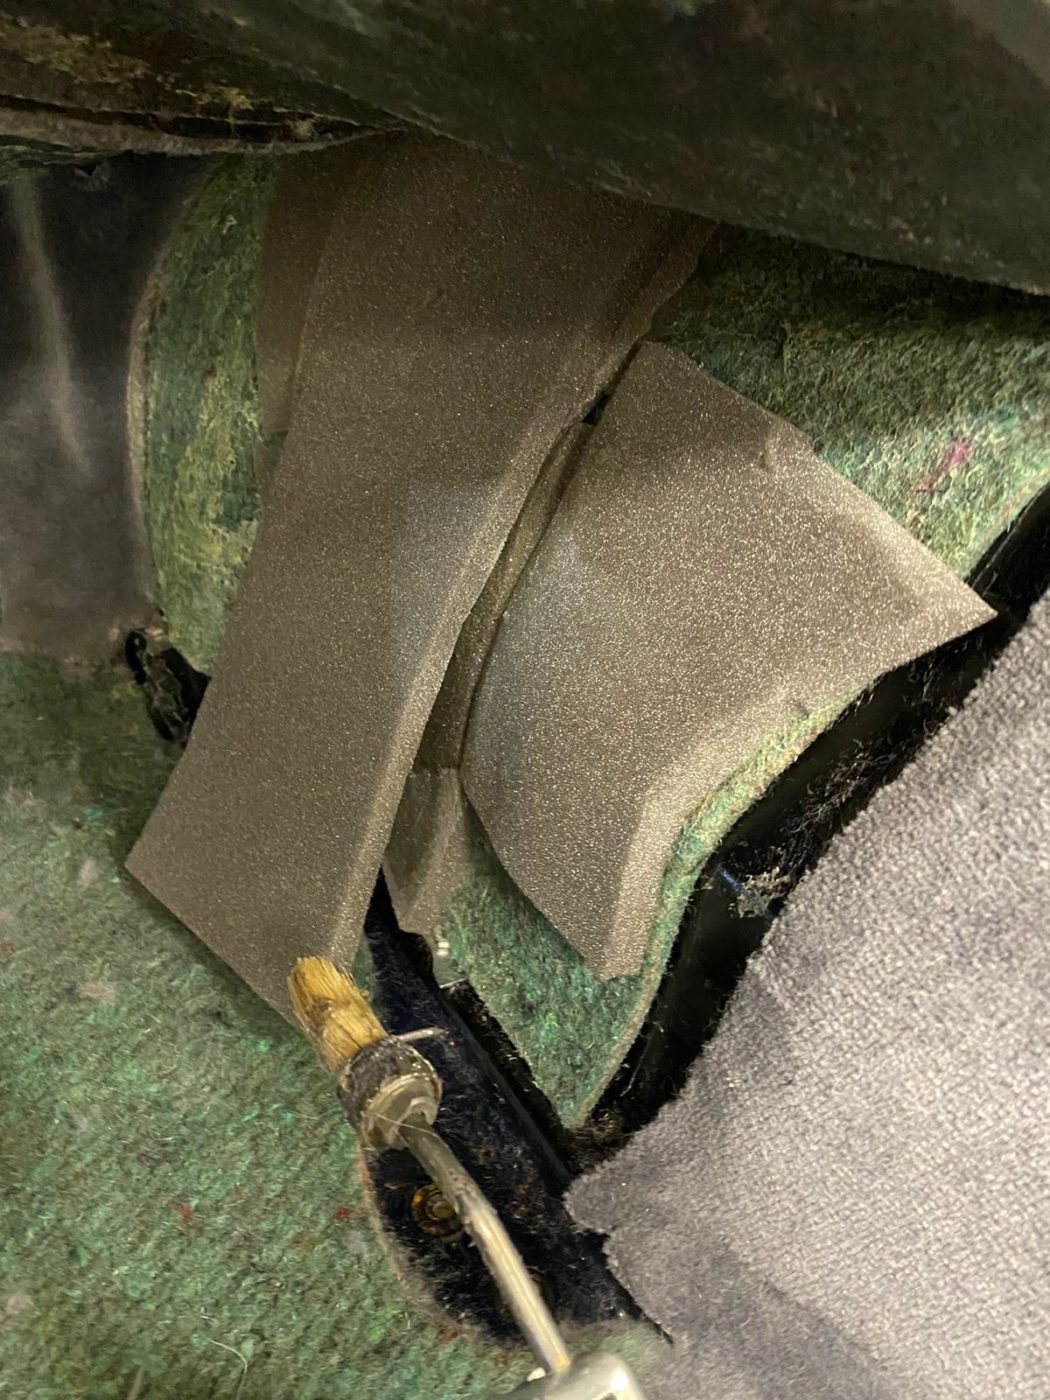
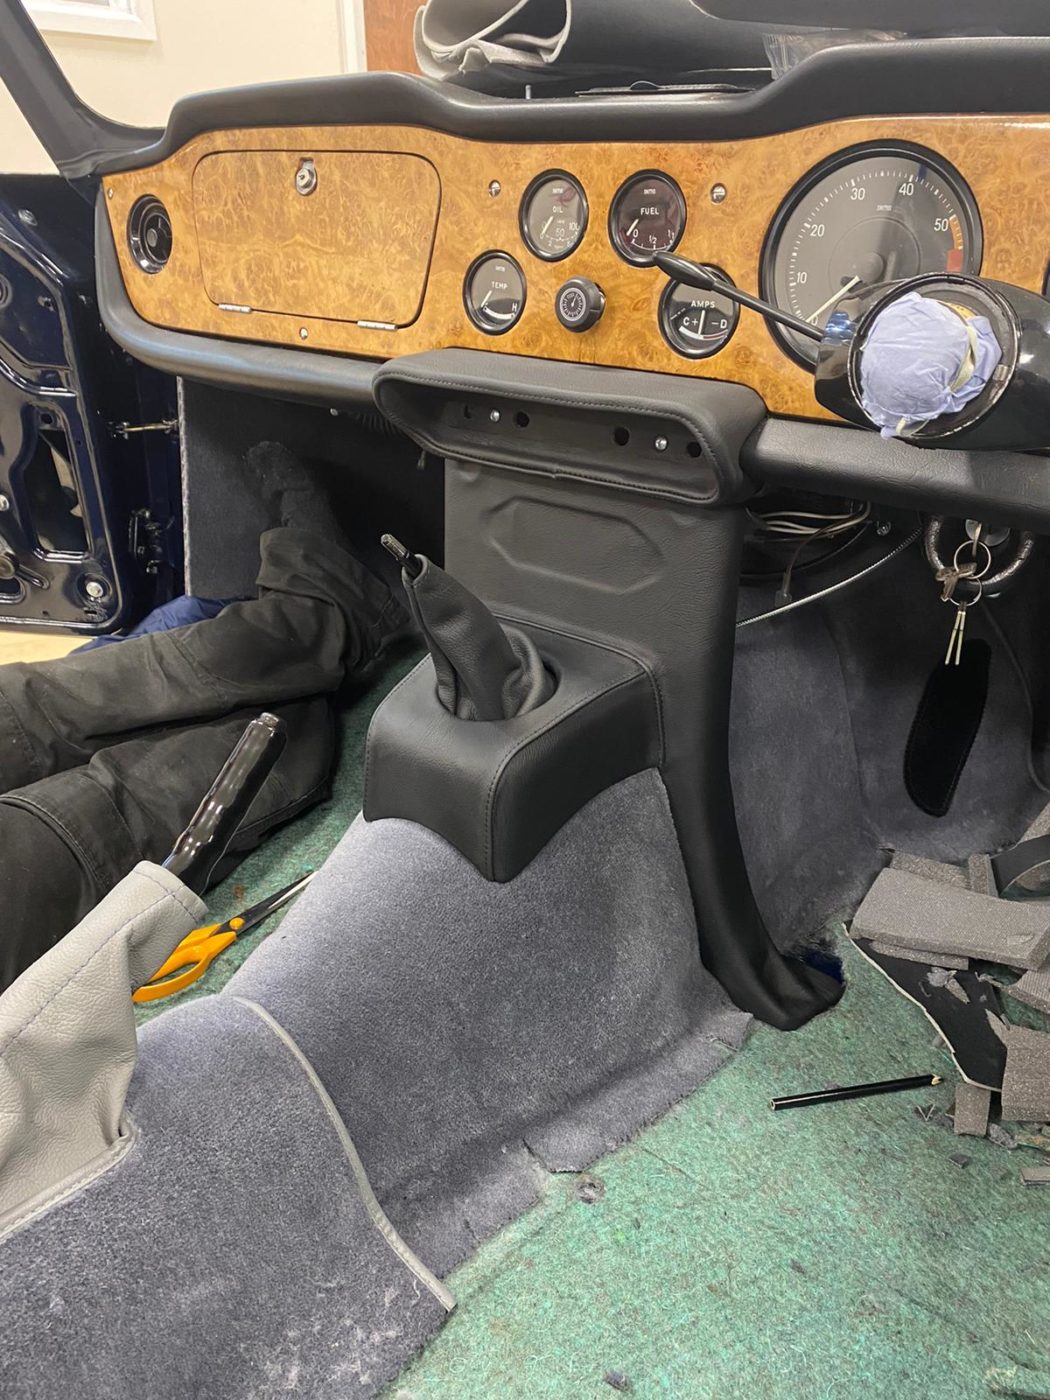
The centre console was then just laid in place to make sure it fits with the sound deadening now in place. Once everything definitely fit, Kath could glue in the sound deadening around the upper tunnel section and glue the carpet in the upper head of the tunnel. She then trimmed around the pipes and wires and lay in the tunnel section. The next step was to then put the centre console in over the carpet to make sure it still fits after each modification. The driver’s side and passenger tunnel section could then be glued in and packed out with foam to make a better fit.
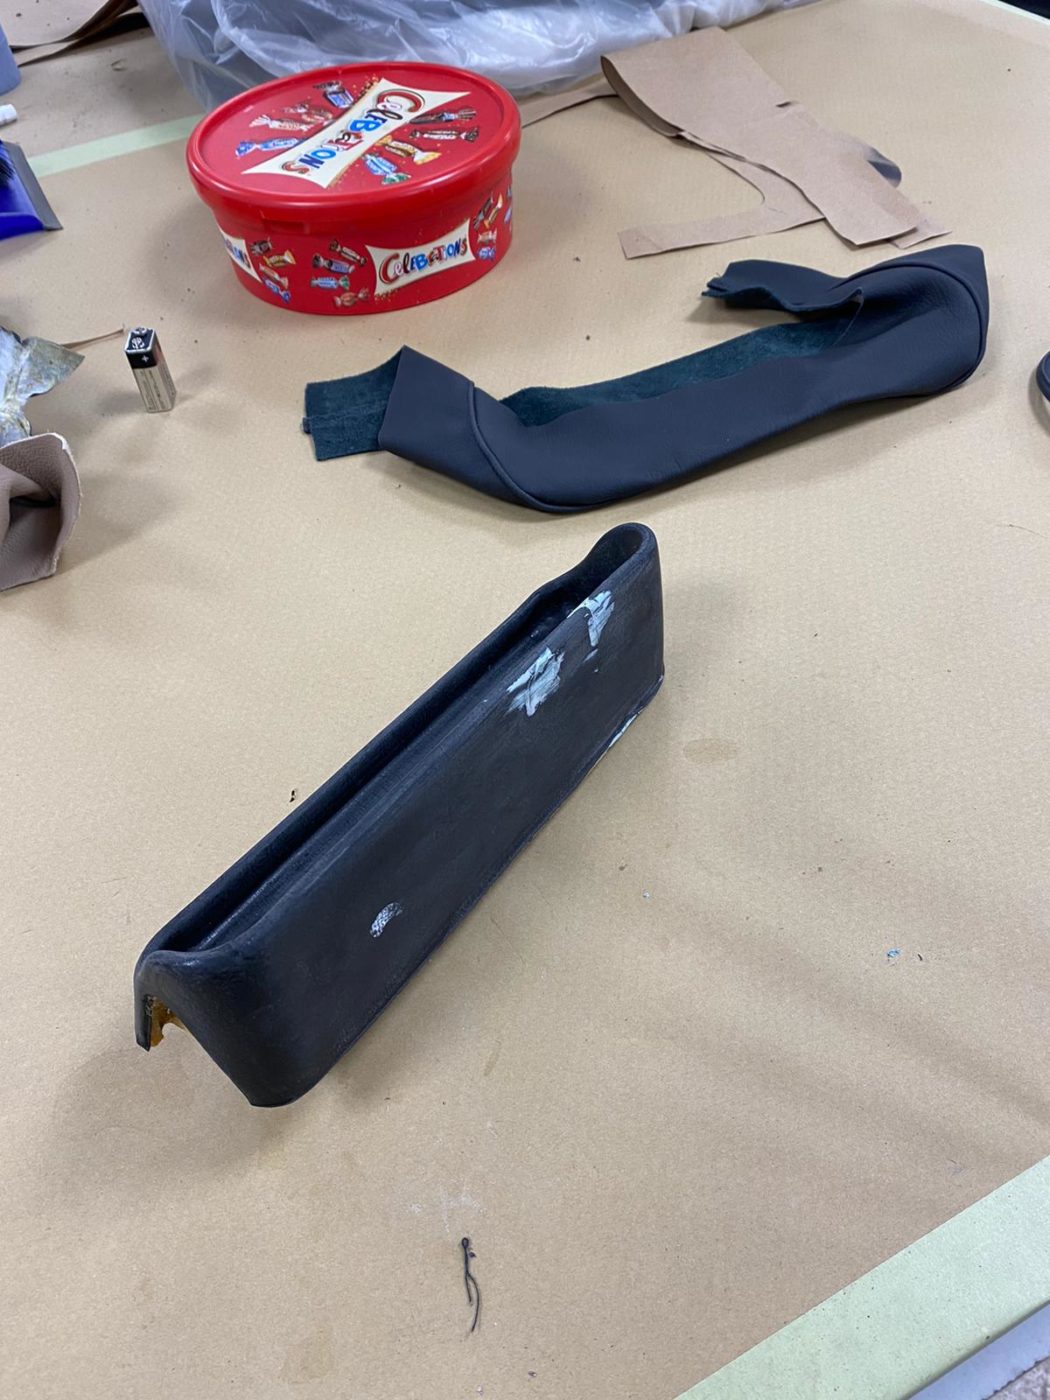
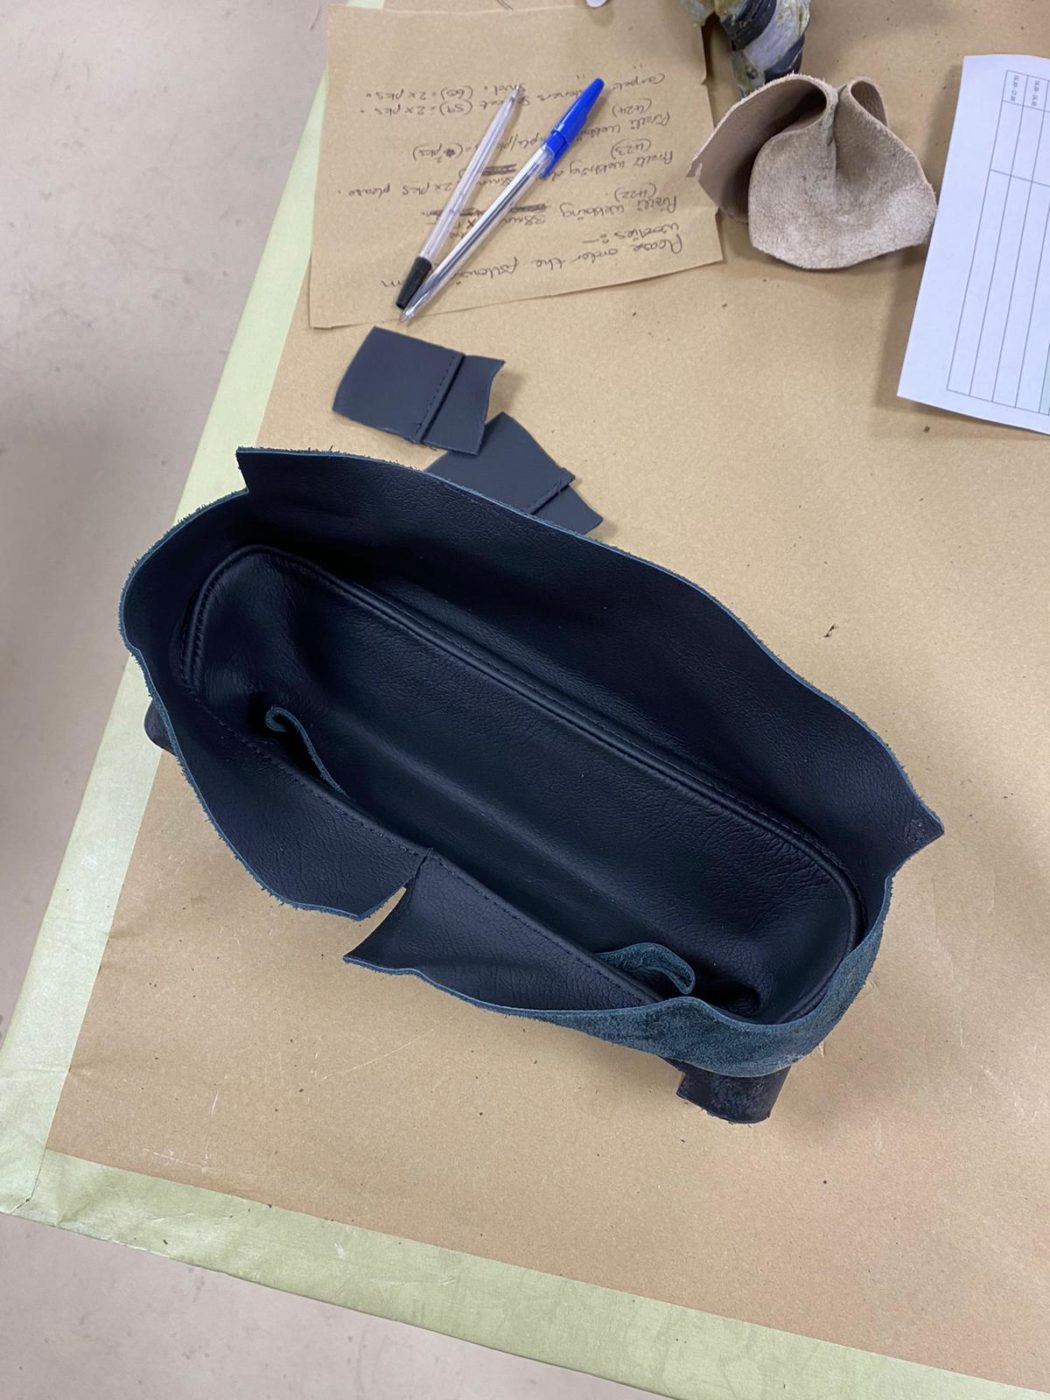
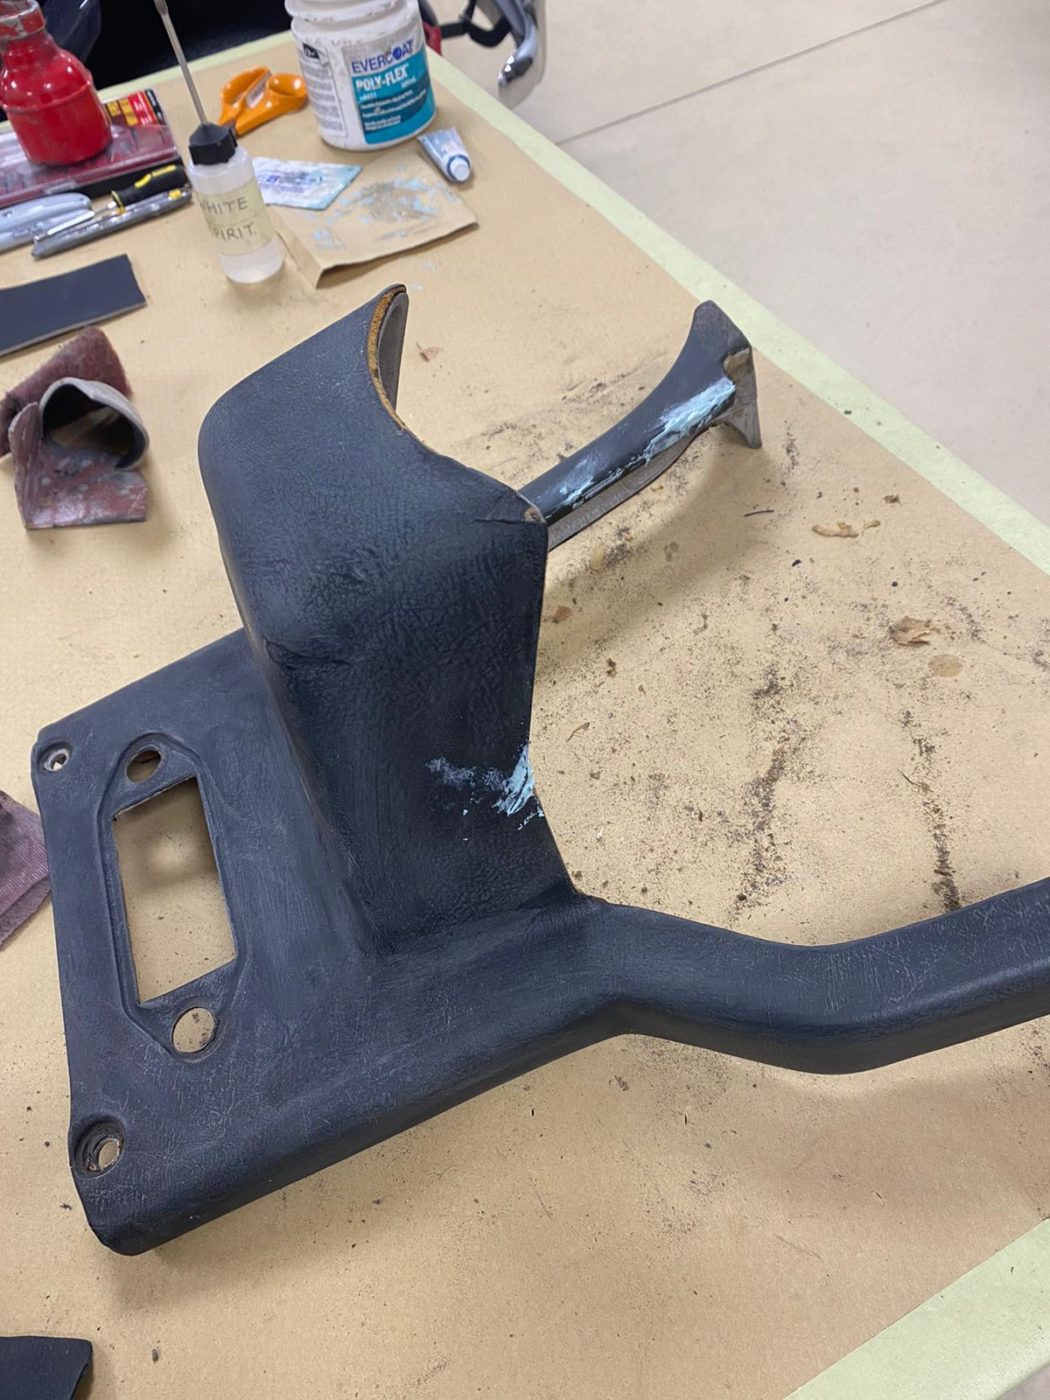
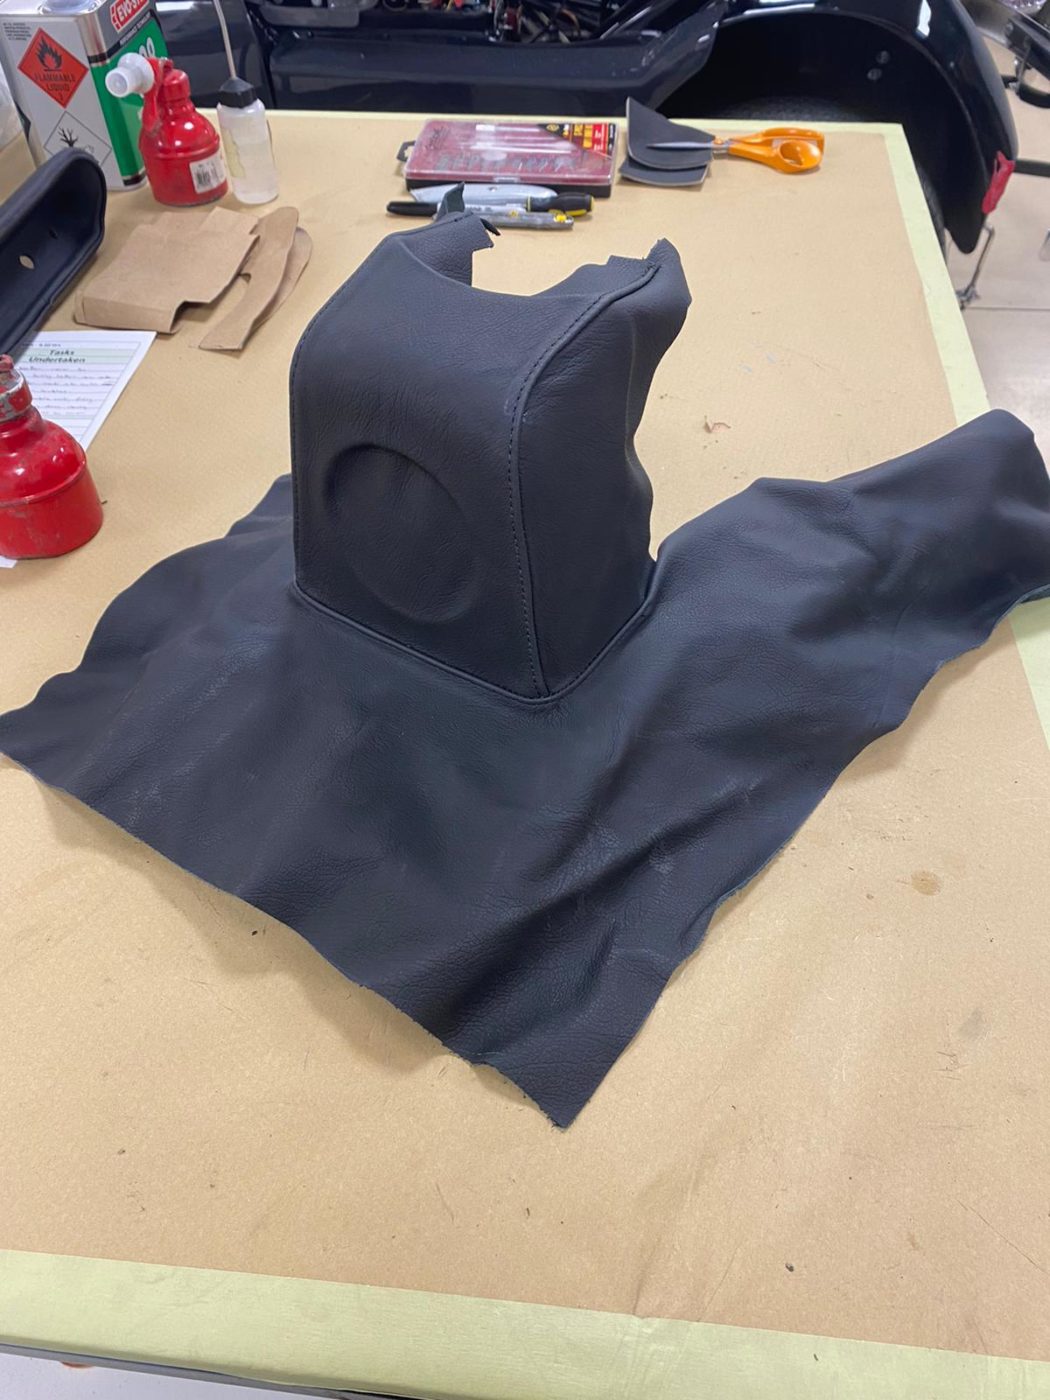
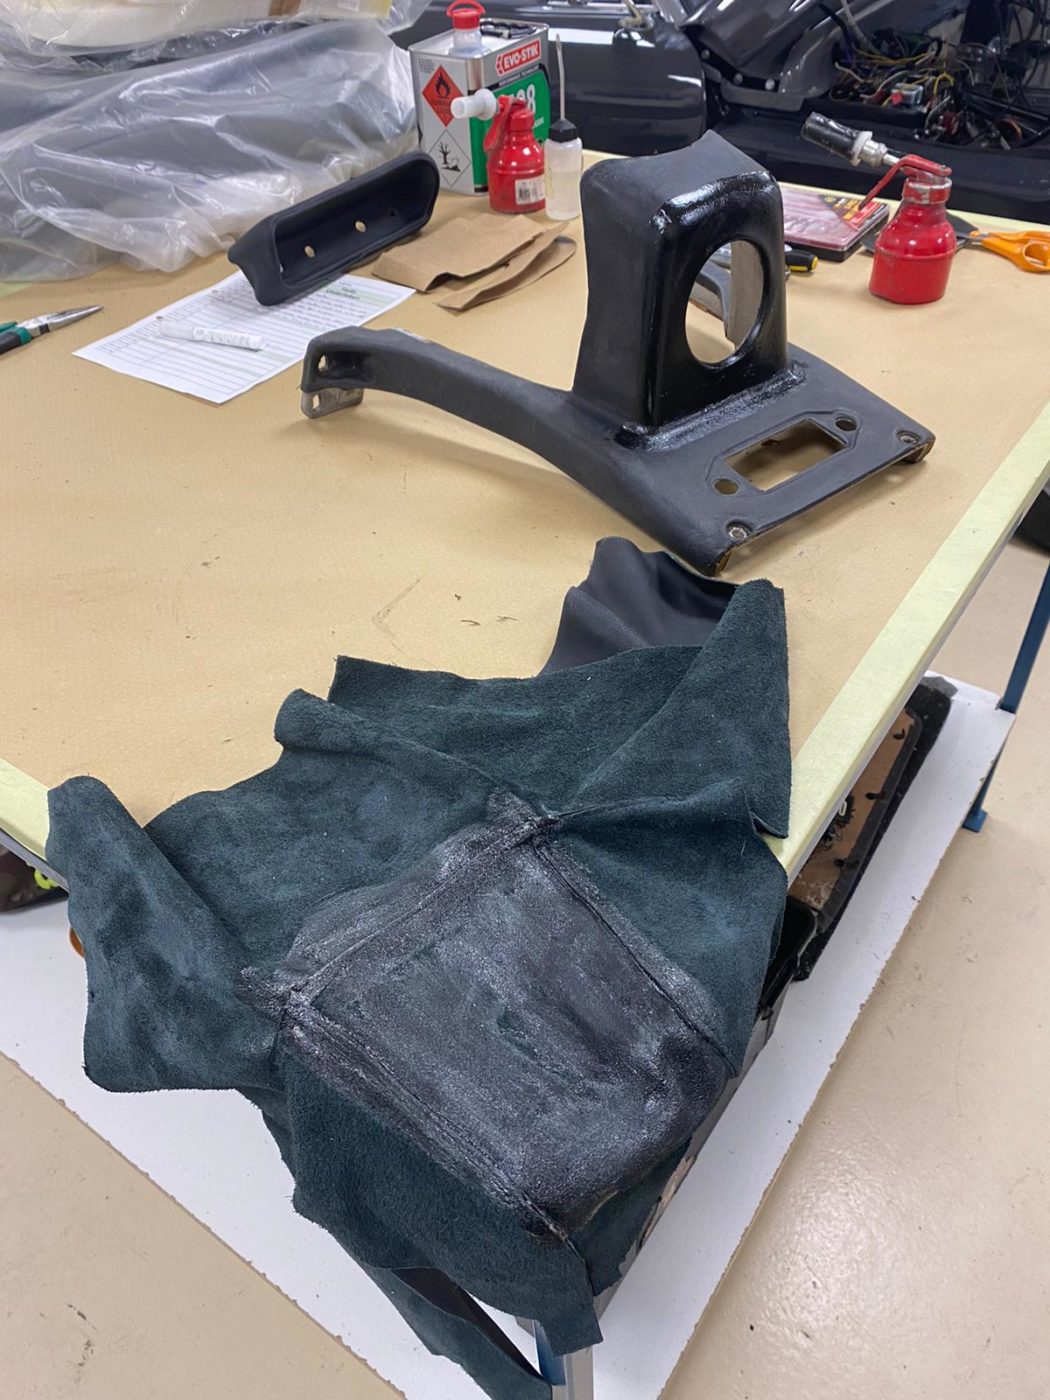
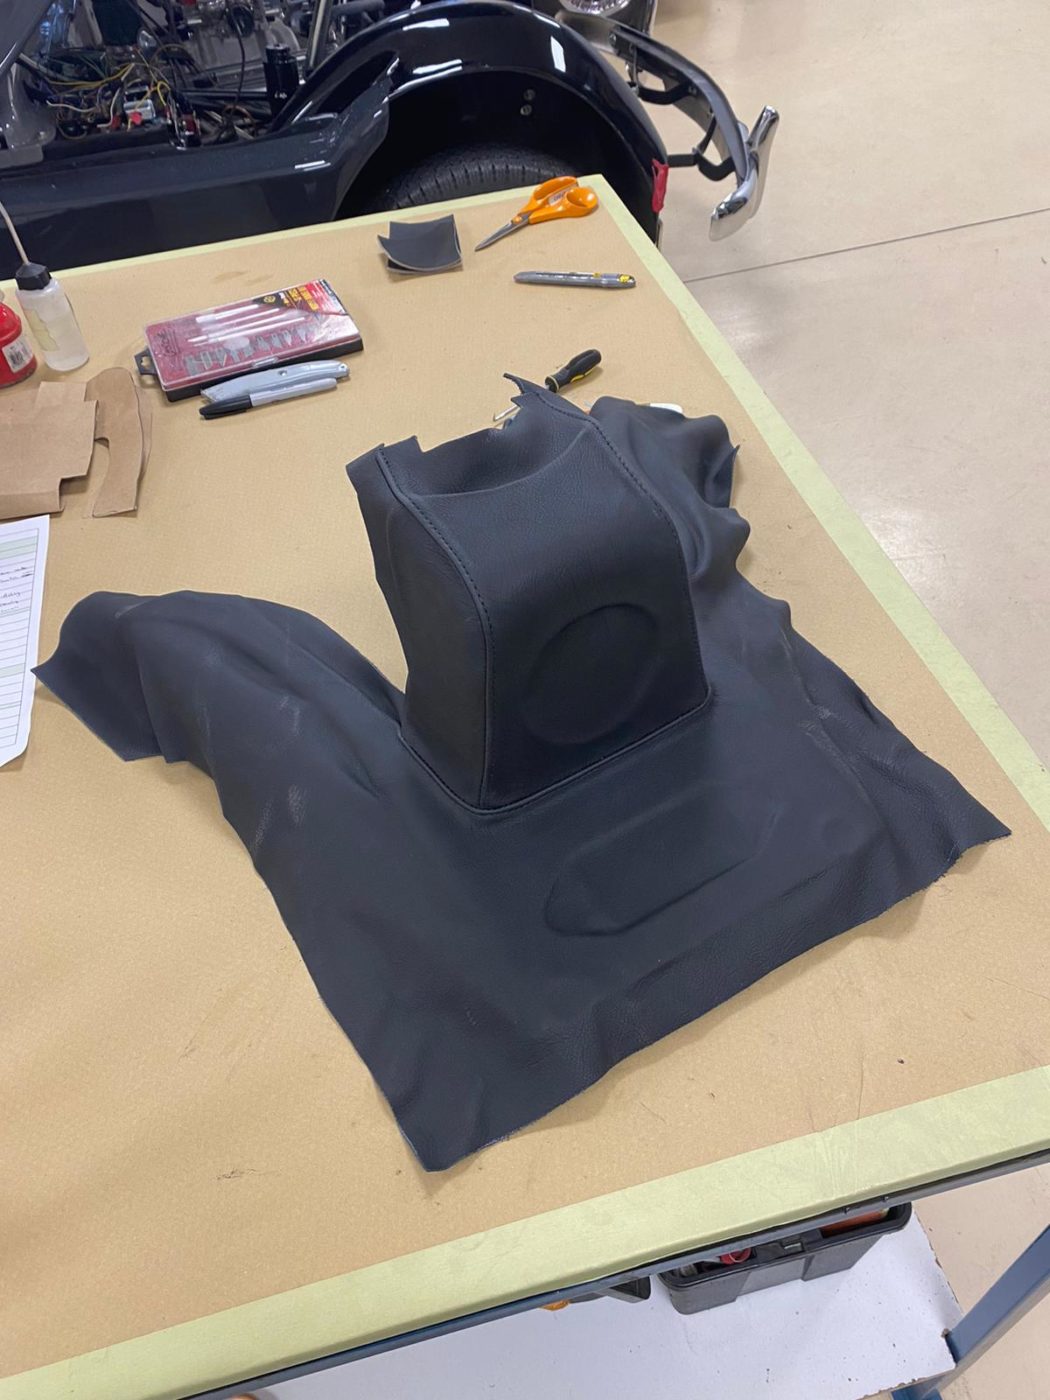
Brian has made up the centre console by sanding and filling the cracks in the existing centre console switch unit. He’s glued the inner section and pushed the leather into place and followed it up by glueing the outer section and pulling it tight around all edges.
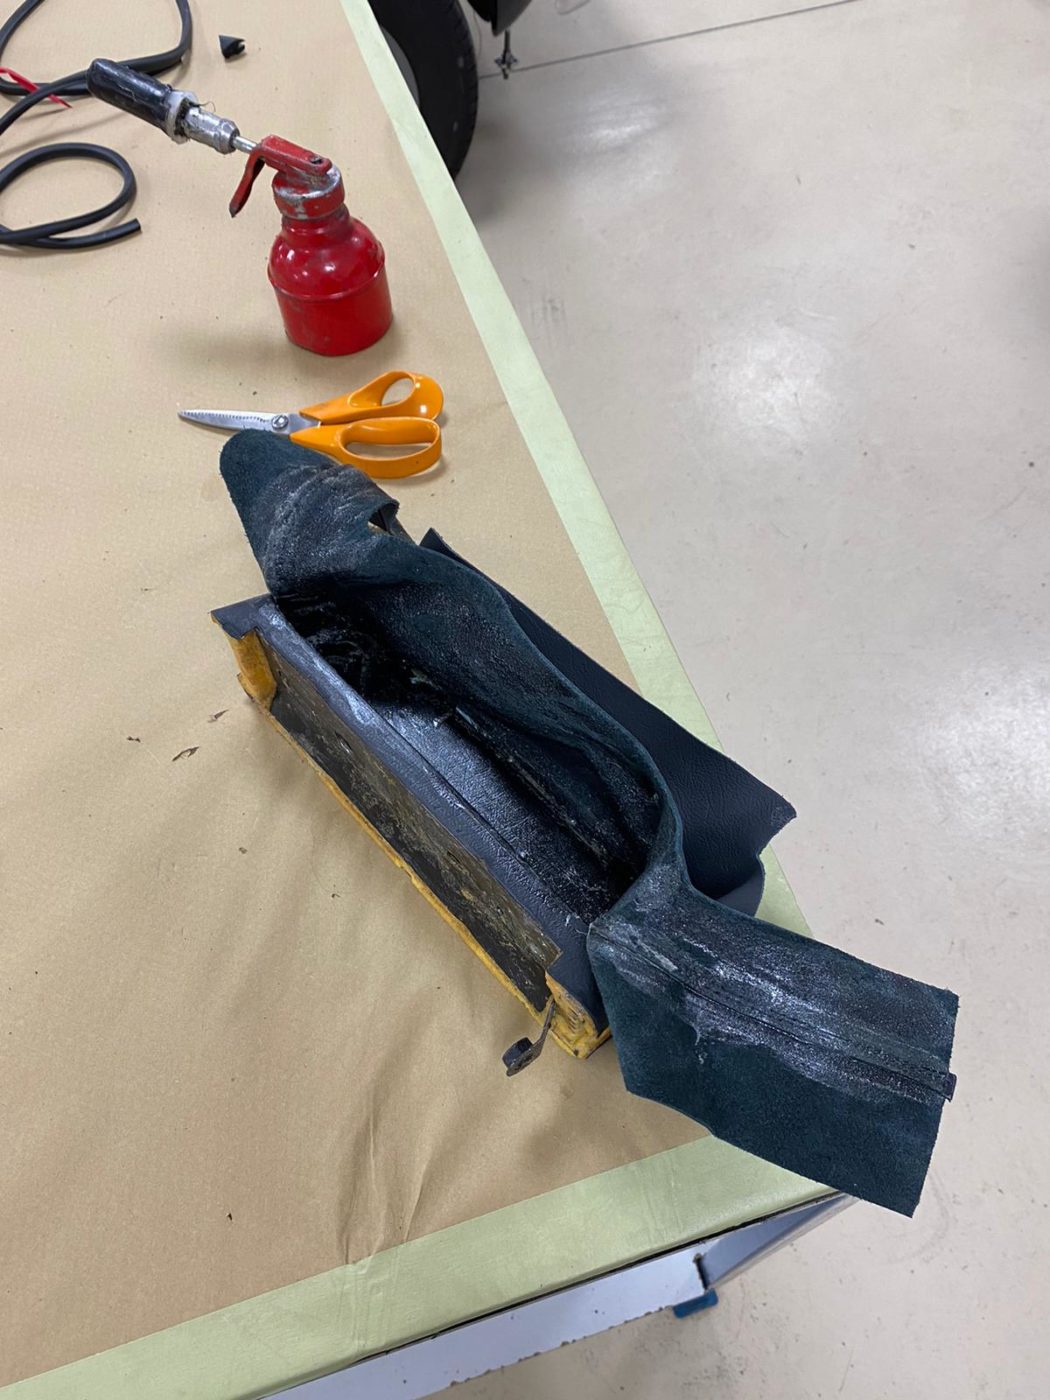
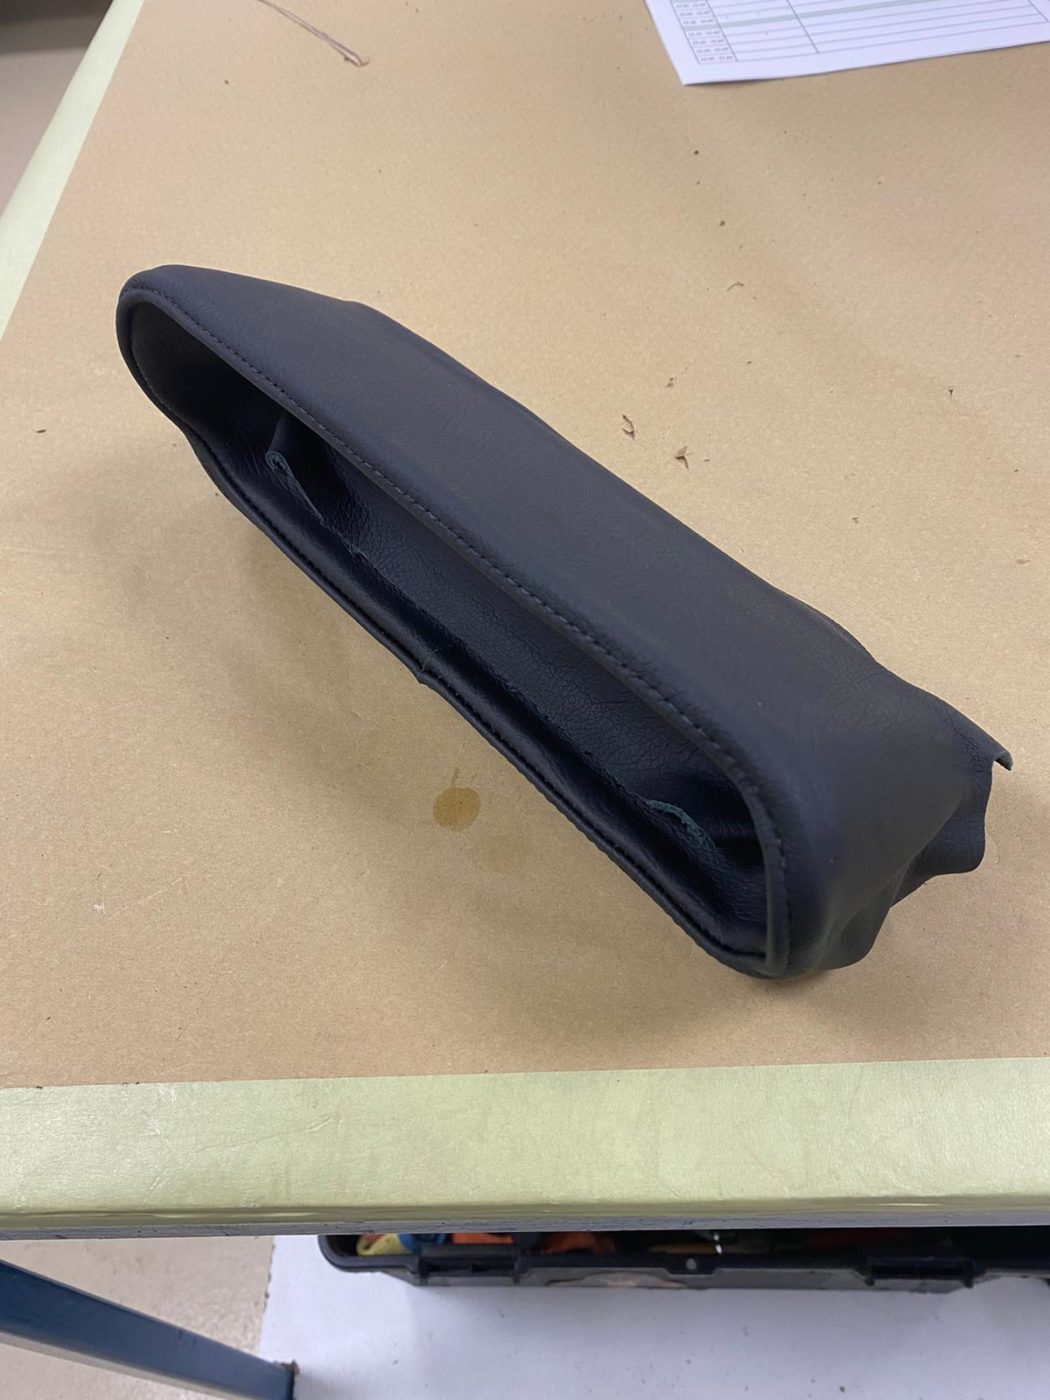
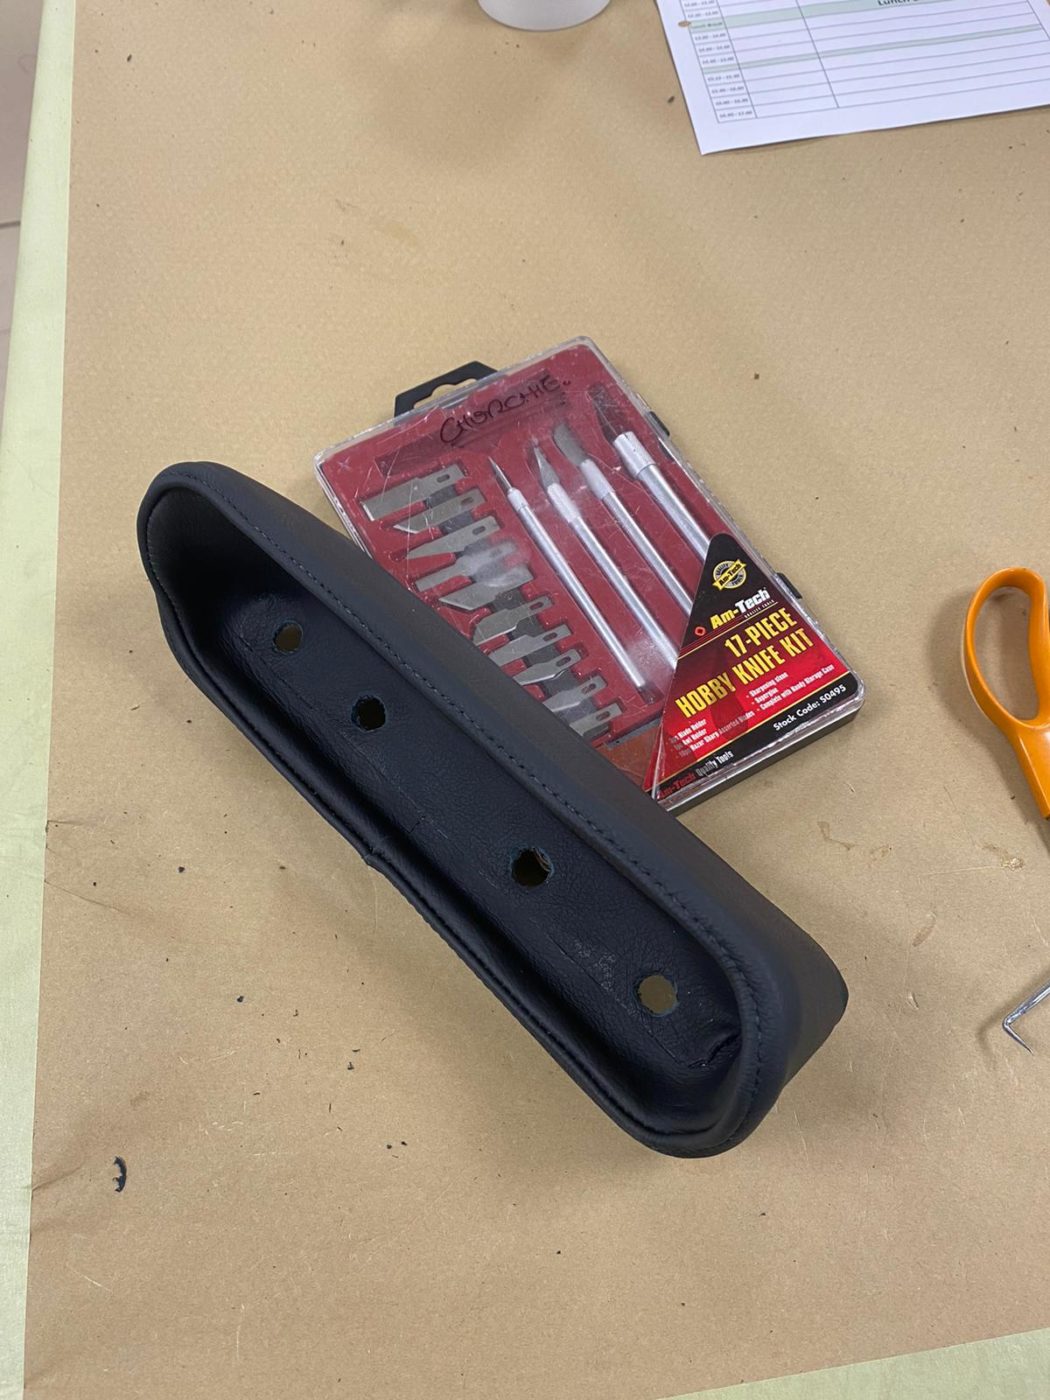
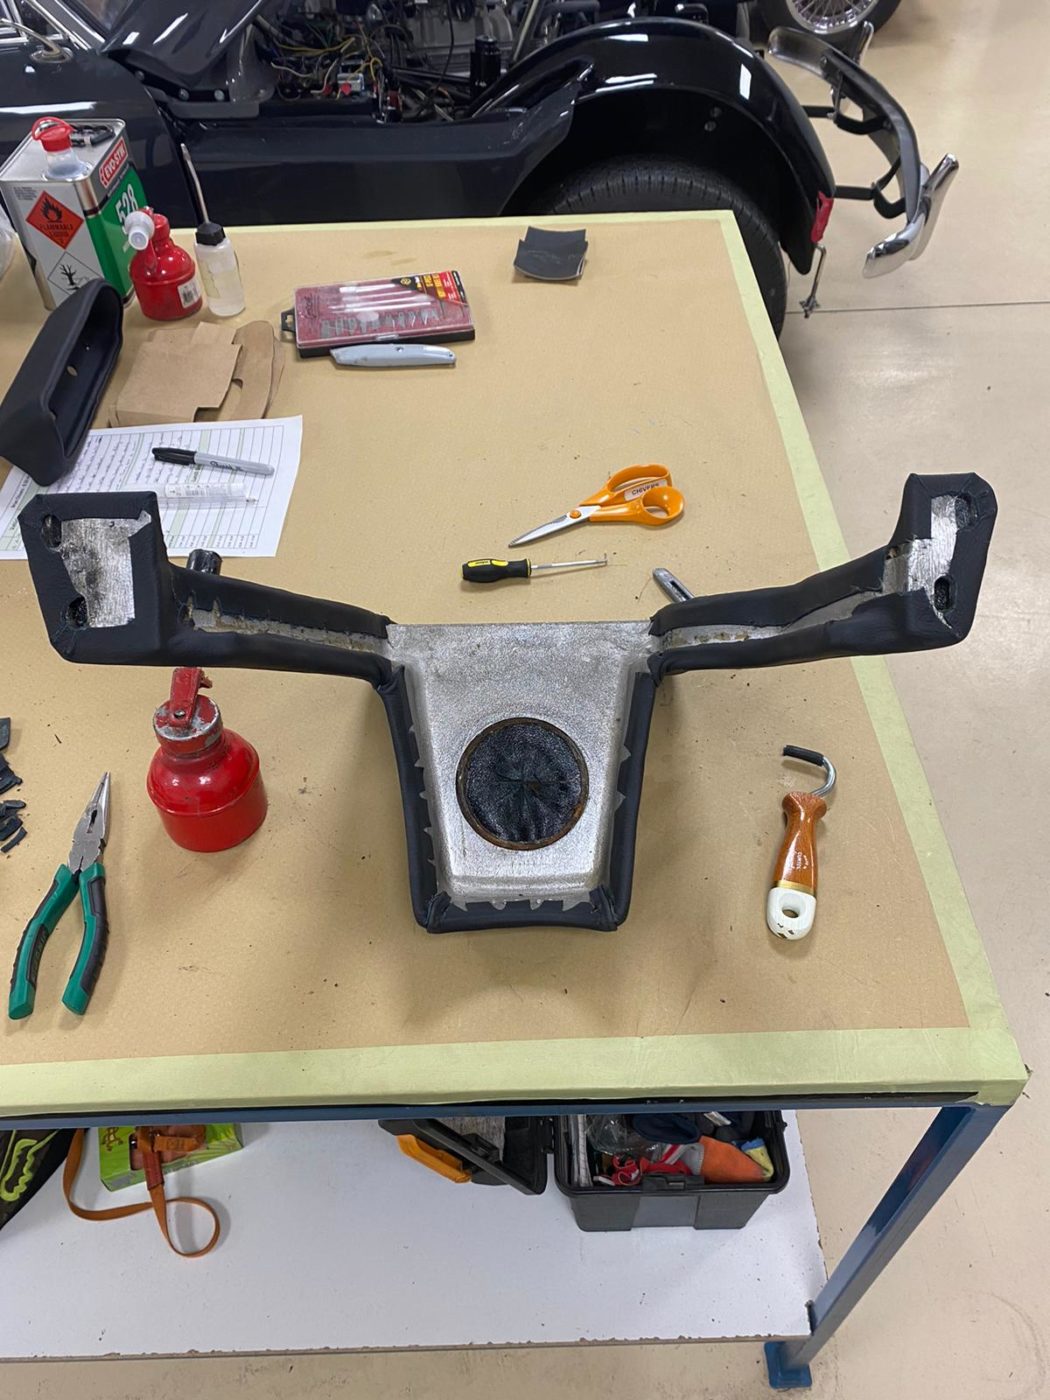
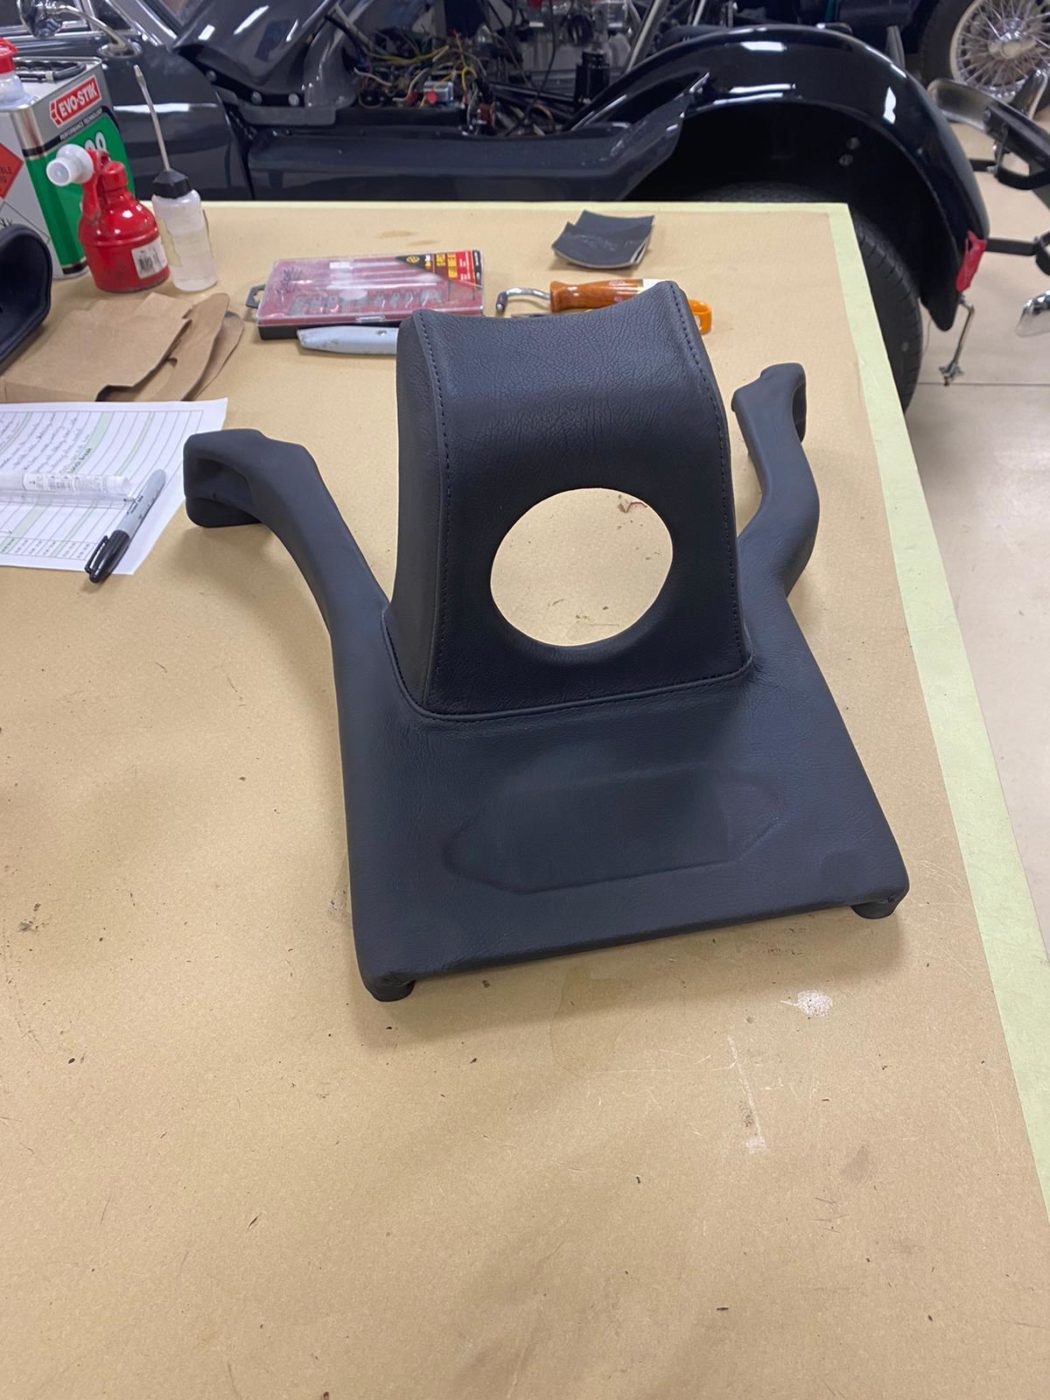
Brian could then cut the holes for the switches and fill the cracks. Once repaired and sanded, Brian was ready to glue the leather to the console, and start on the gearstick section by glueing and stretching the leather around all edges of the console. He then cut and trim the leather to get it to fit perfectly around the back of the console. Once these modifications were made, he could glue the leather and turn over the edges for the gearshift hole. Once these steps were completed, Brian fitted the console into the TR5.