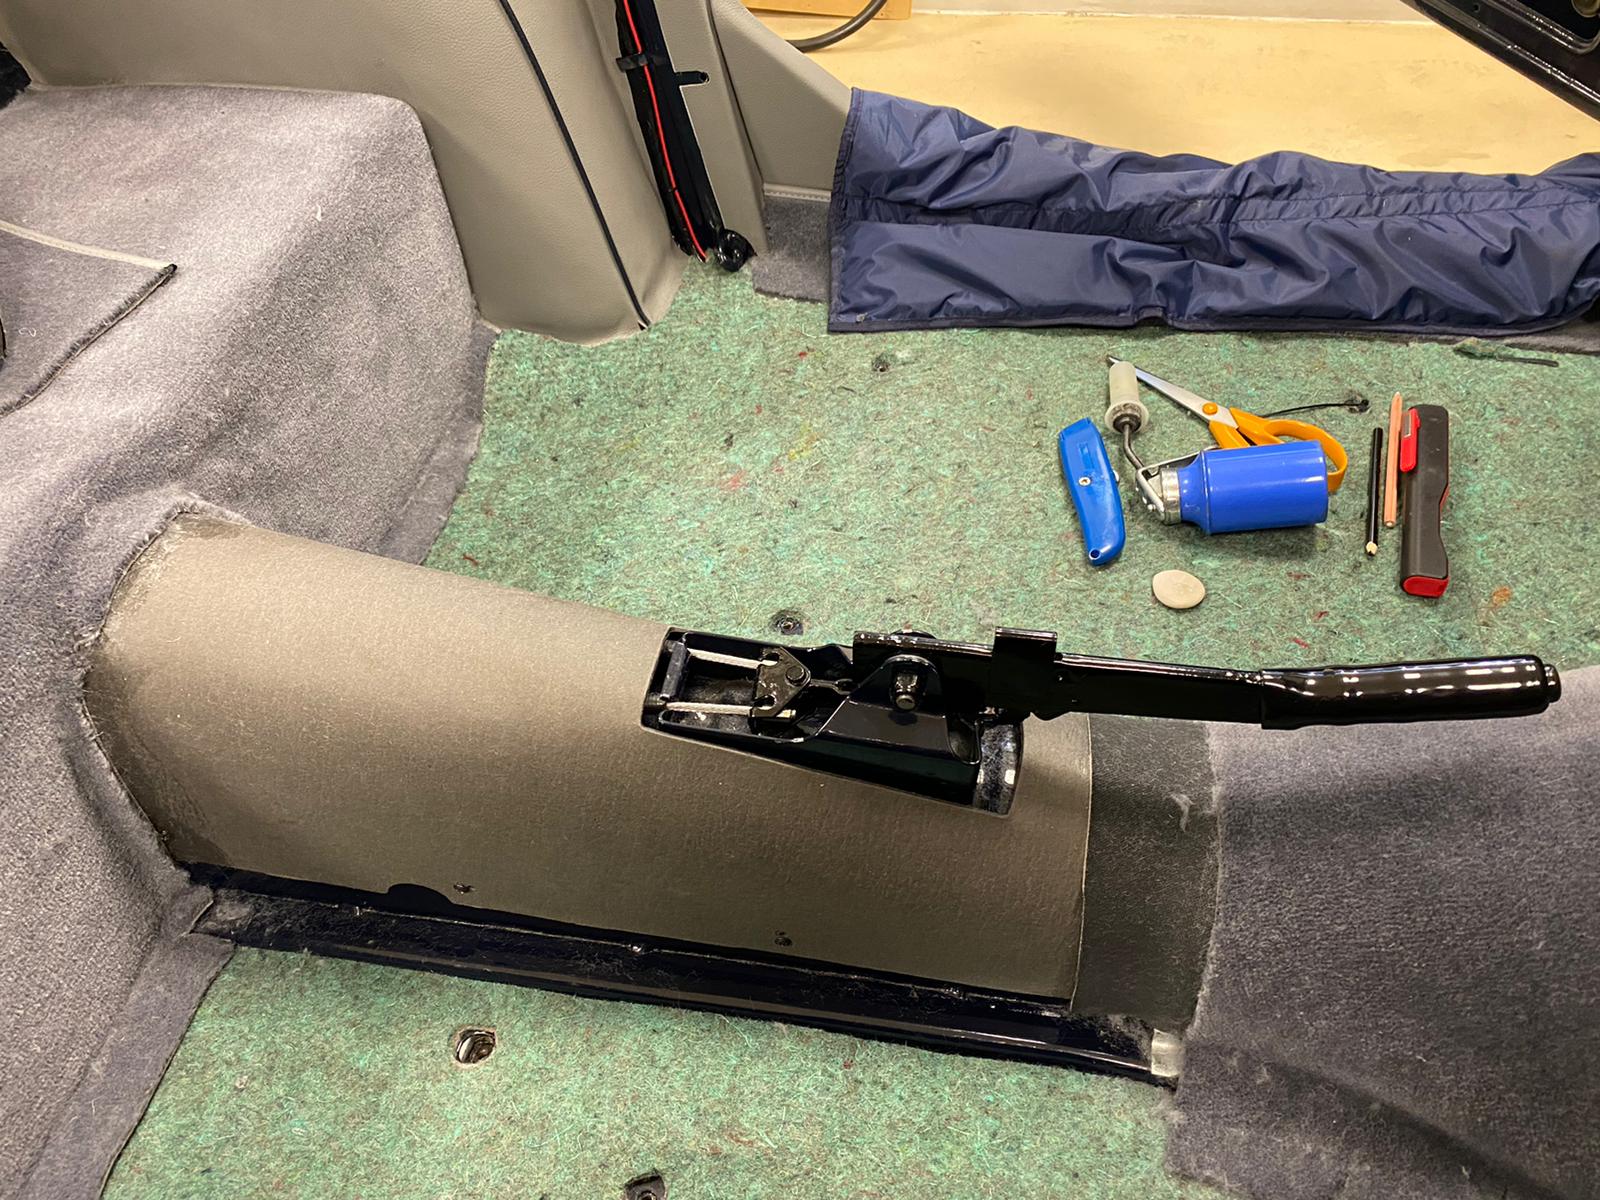
Kath and Brian have continued their work with the 1968 Triumph TR5 and are now tackling the rear quarter.
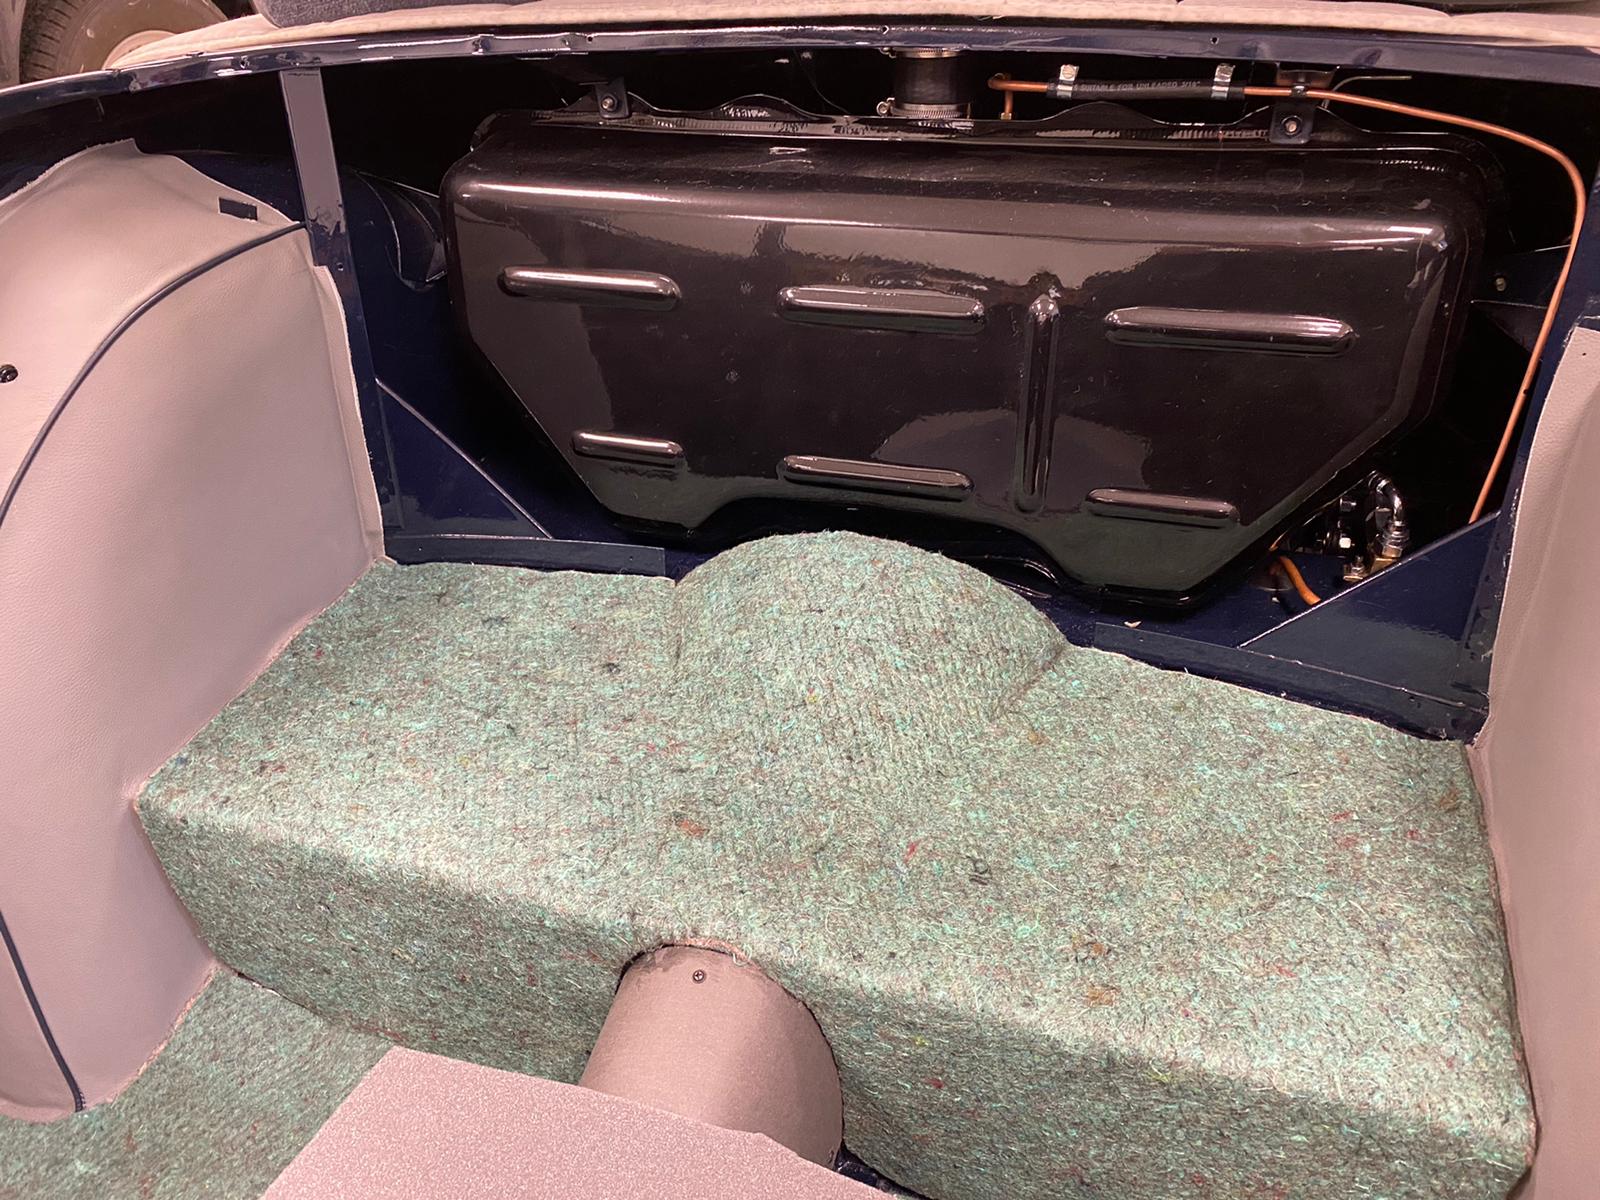
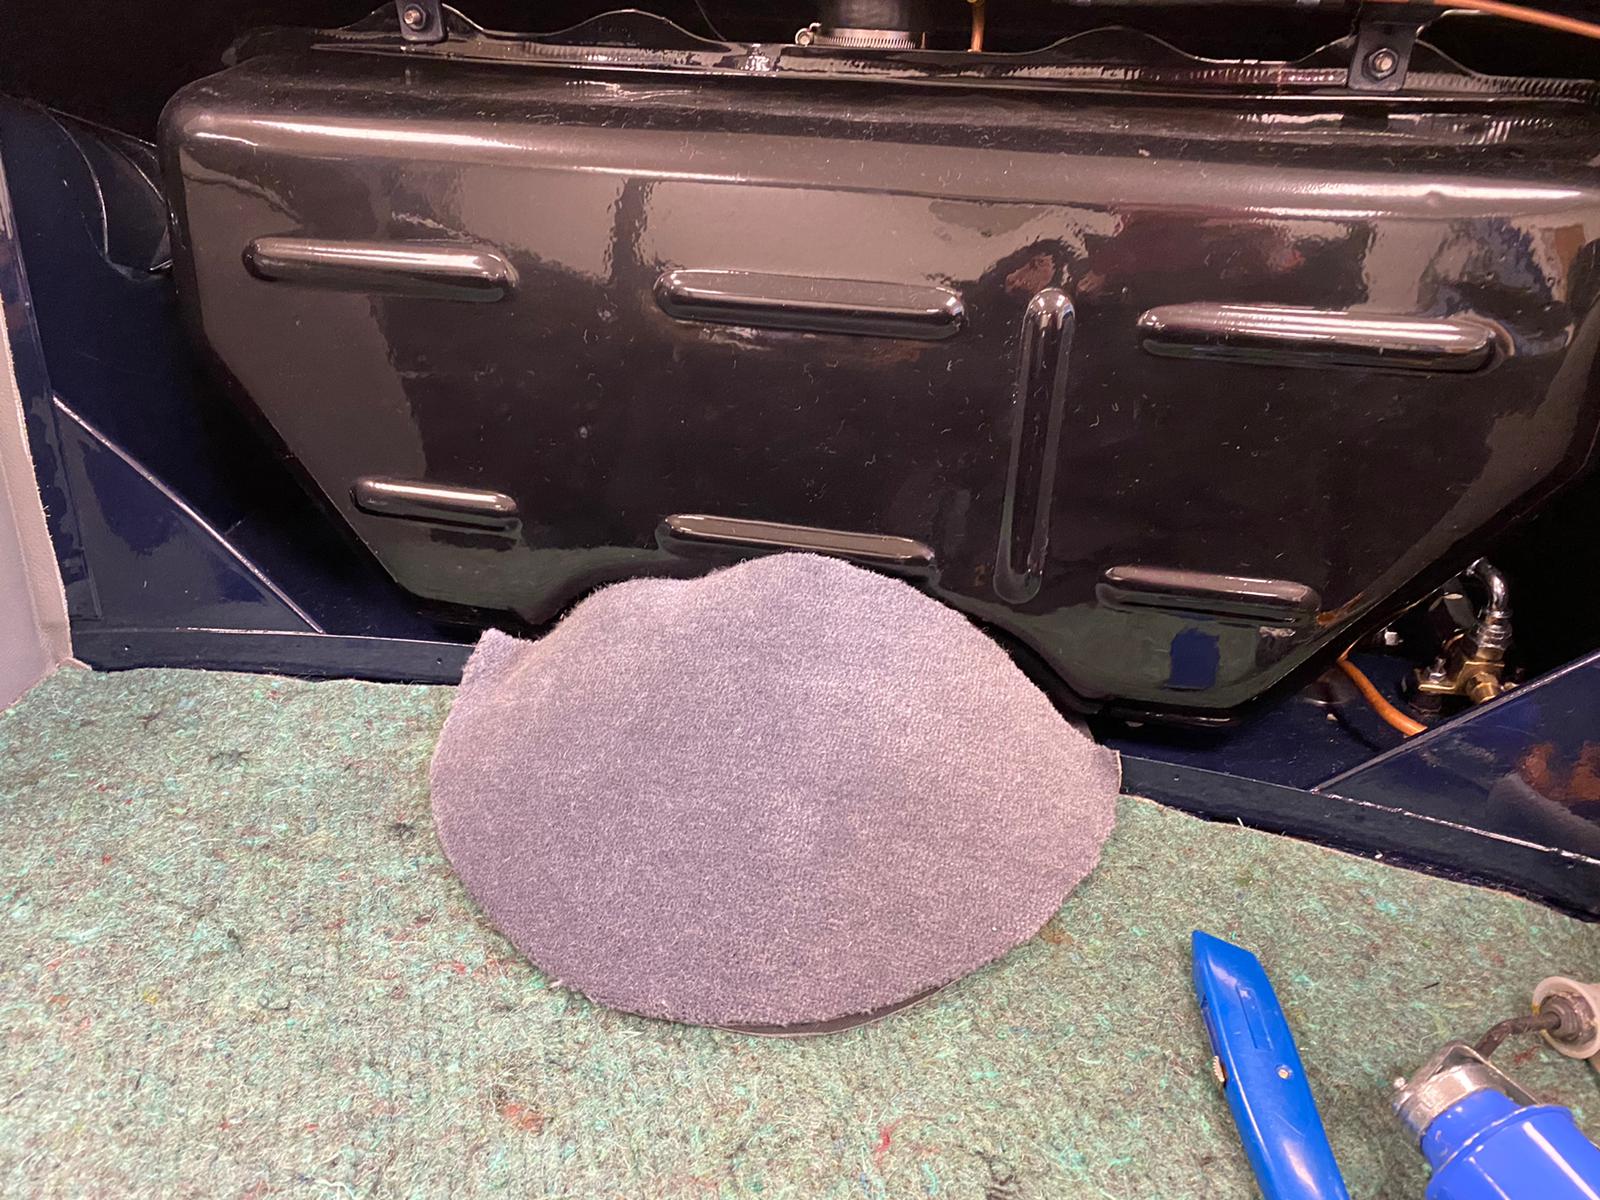
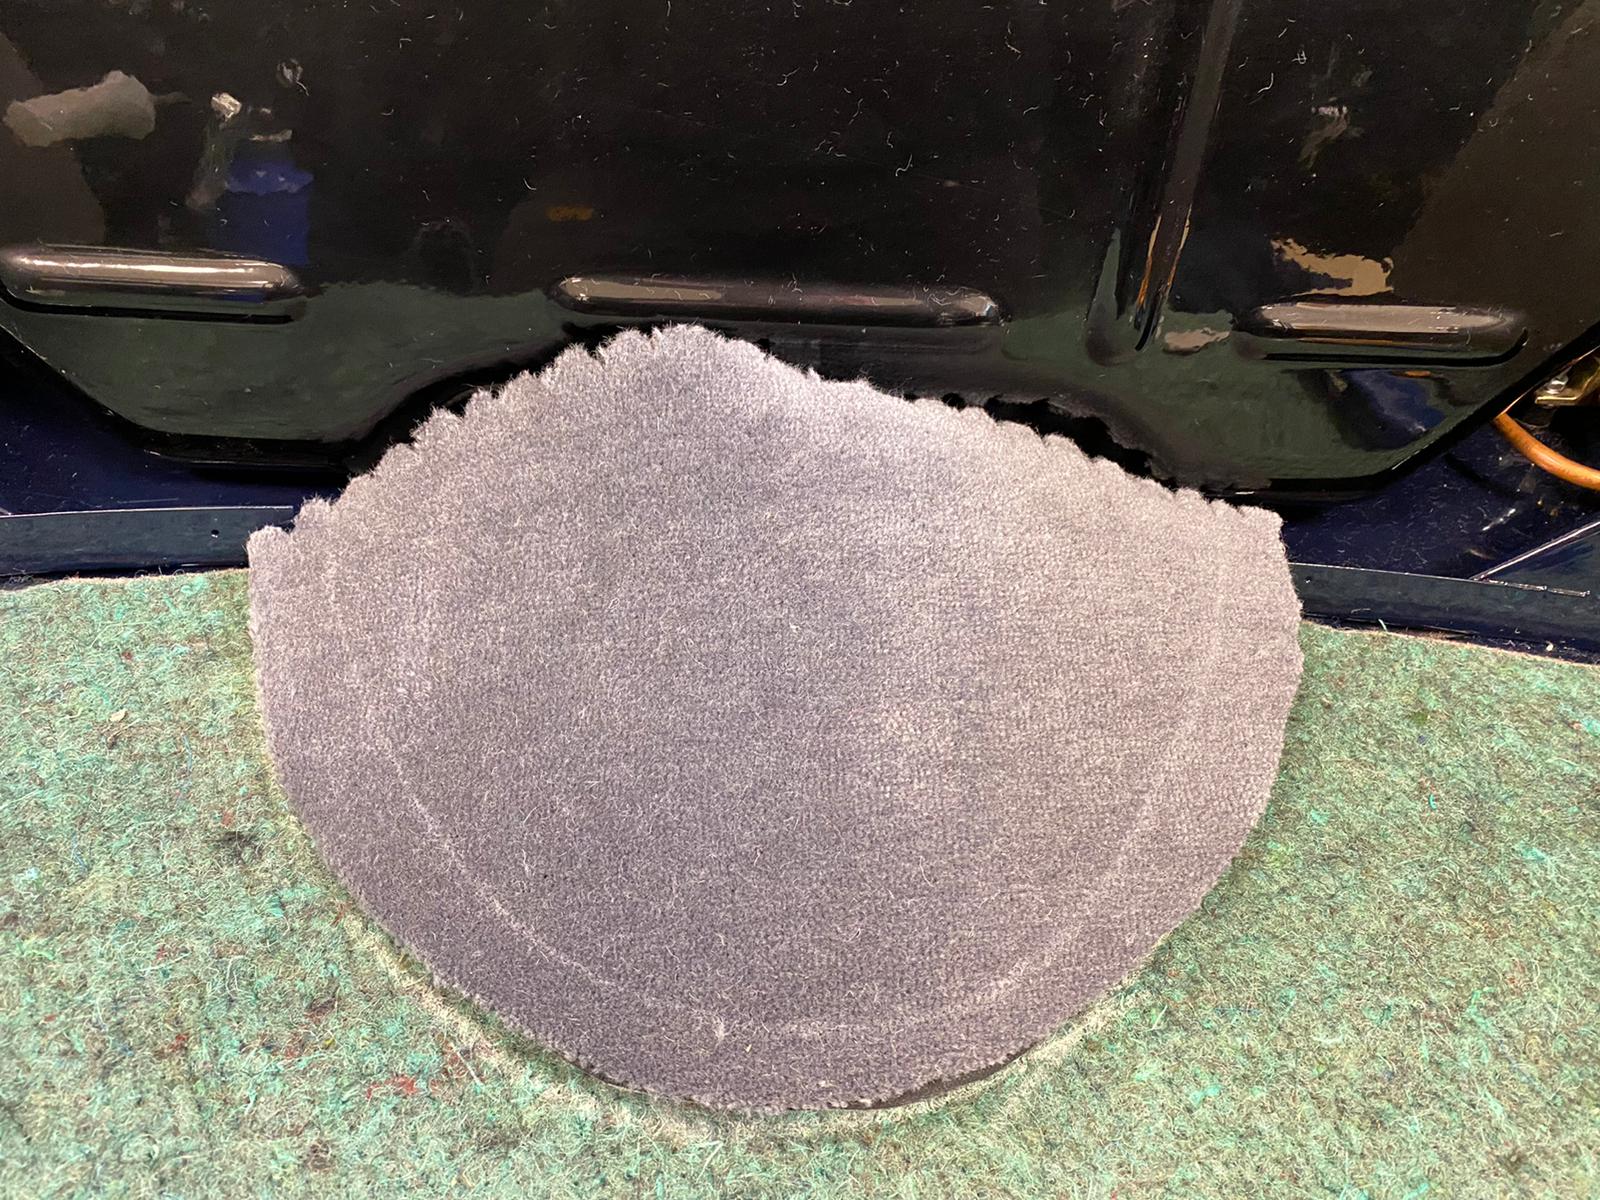
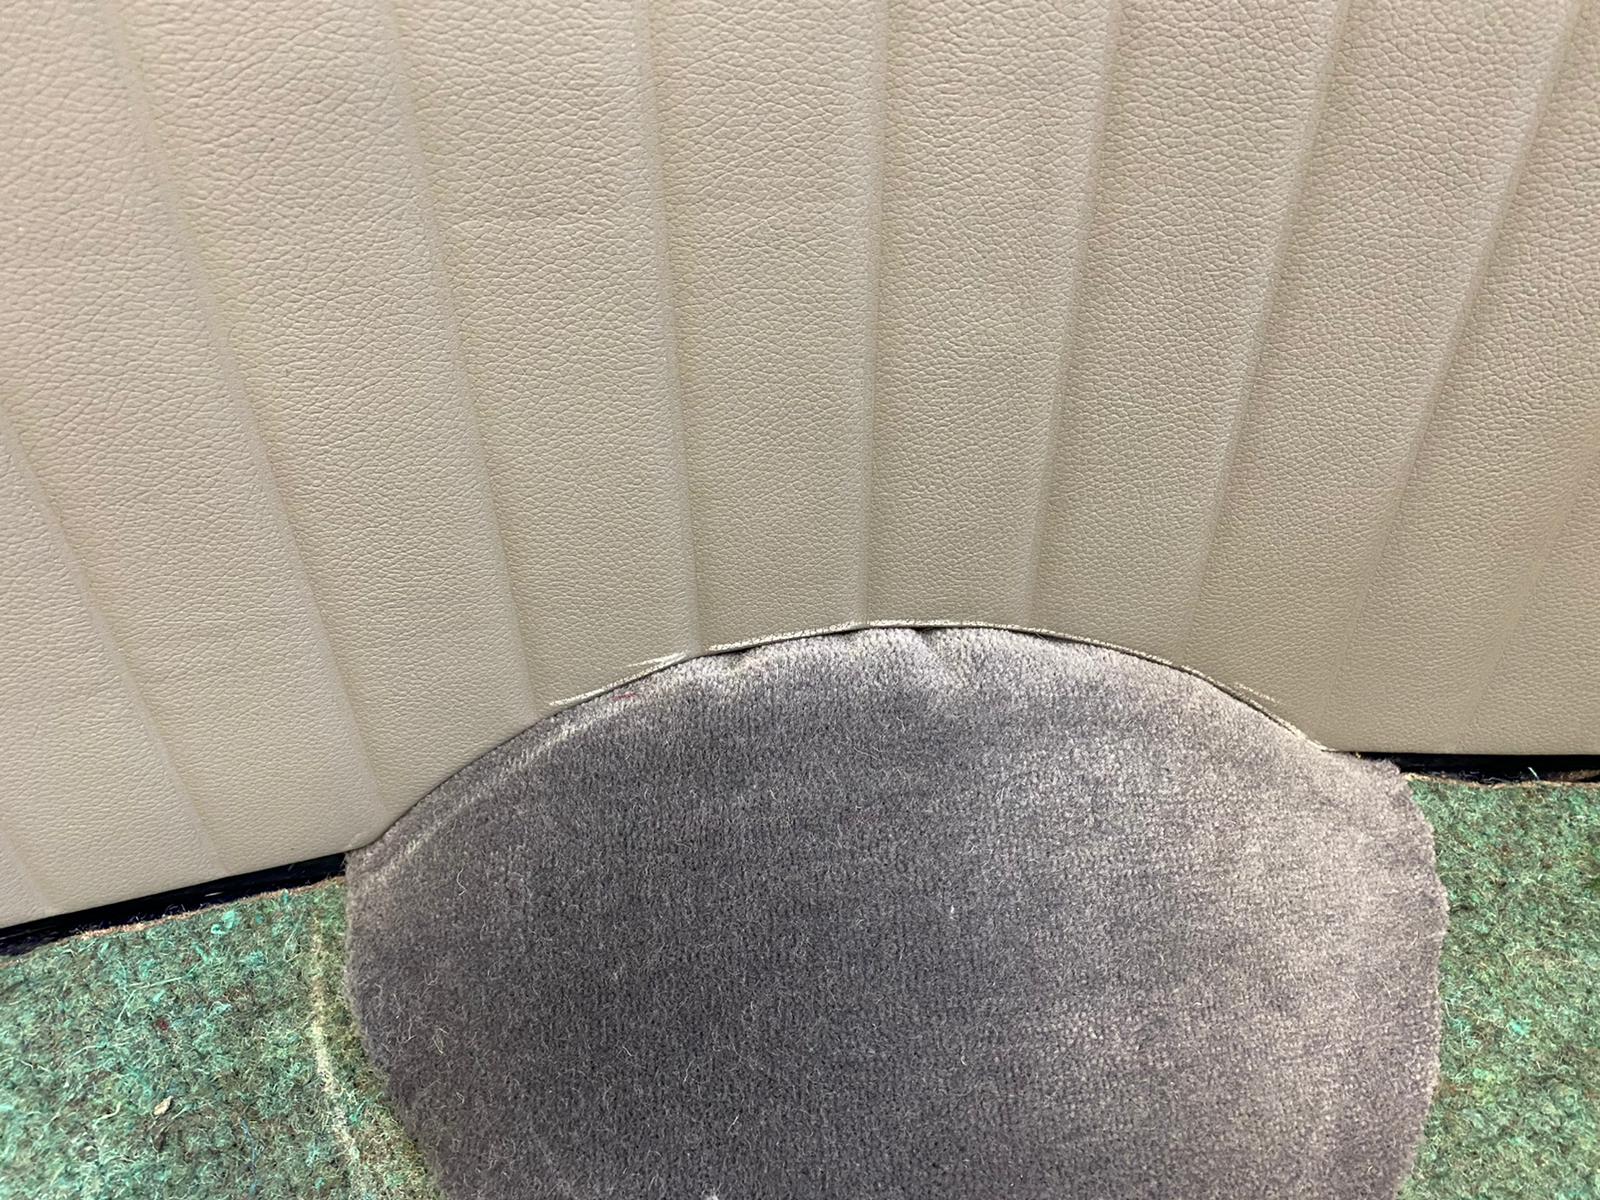
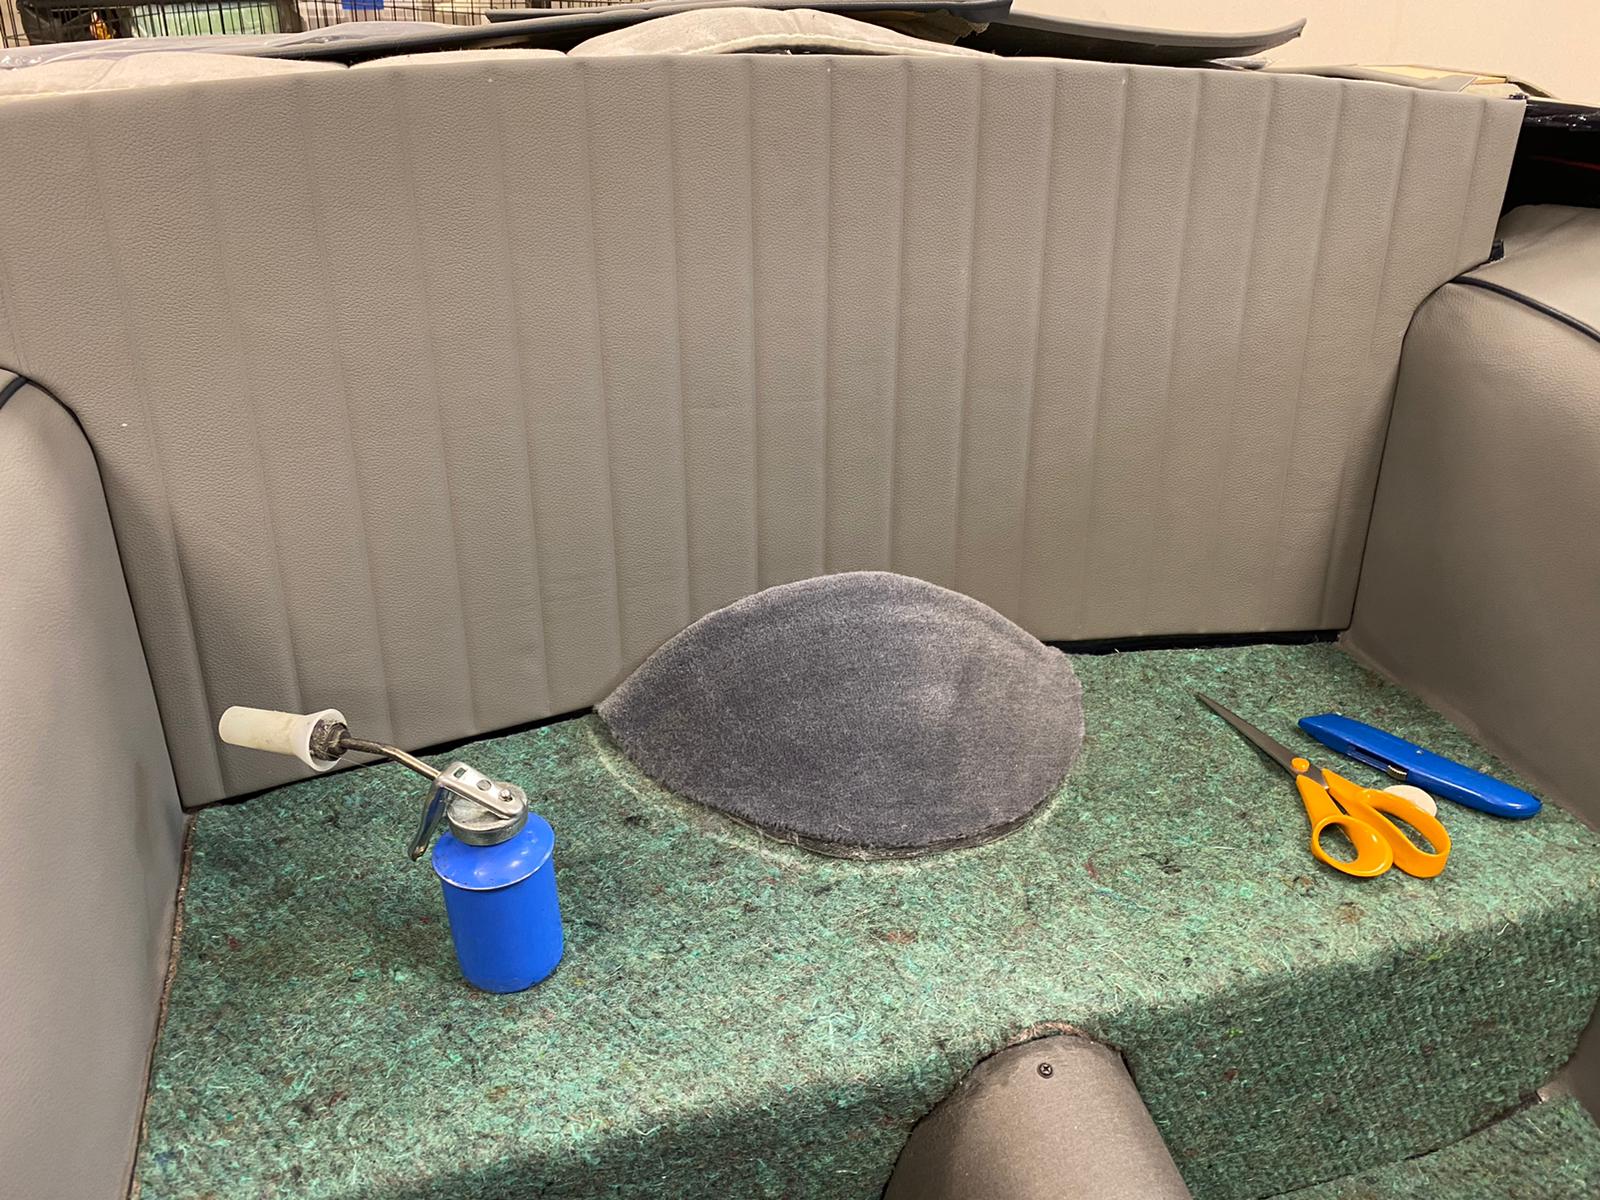
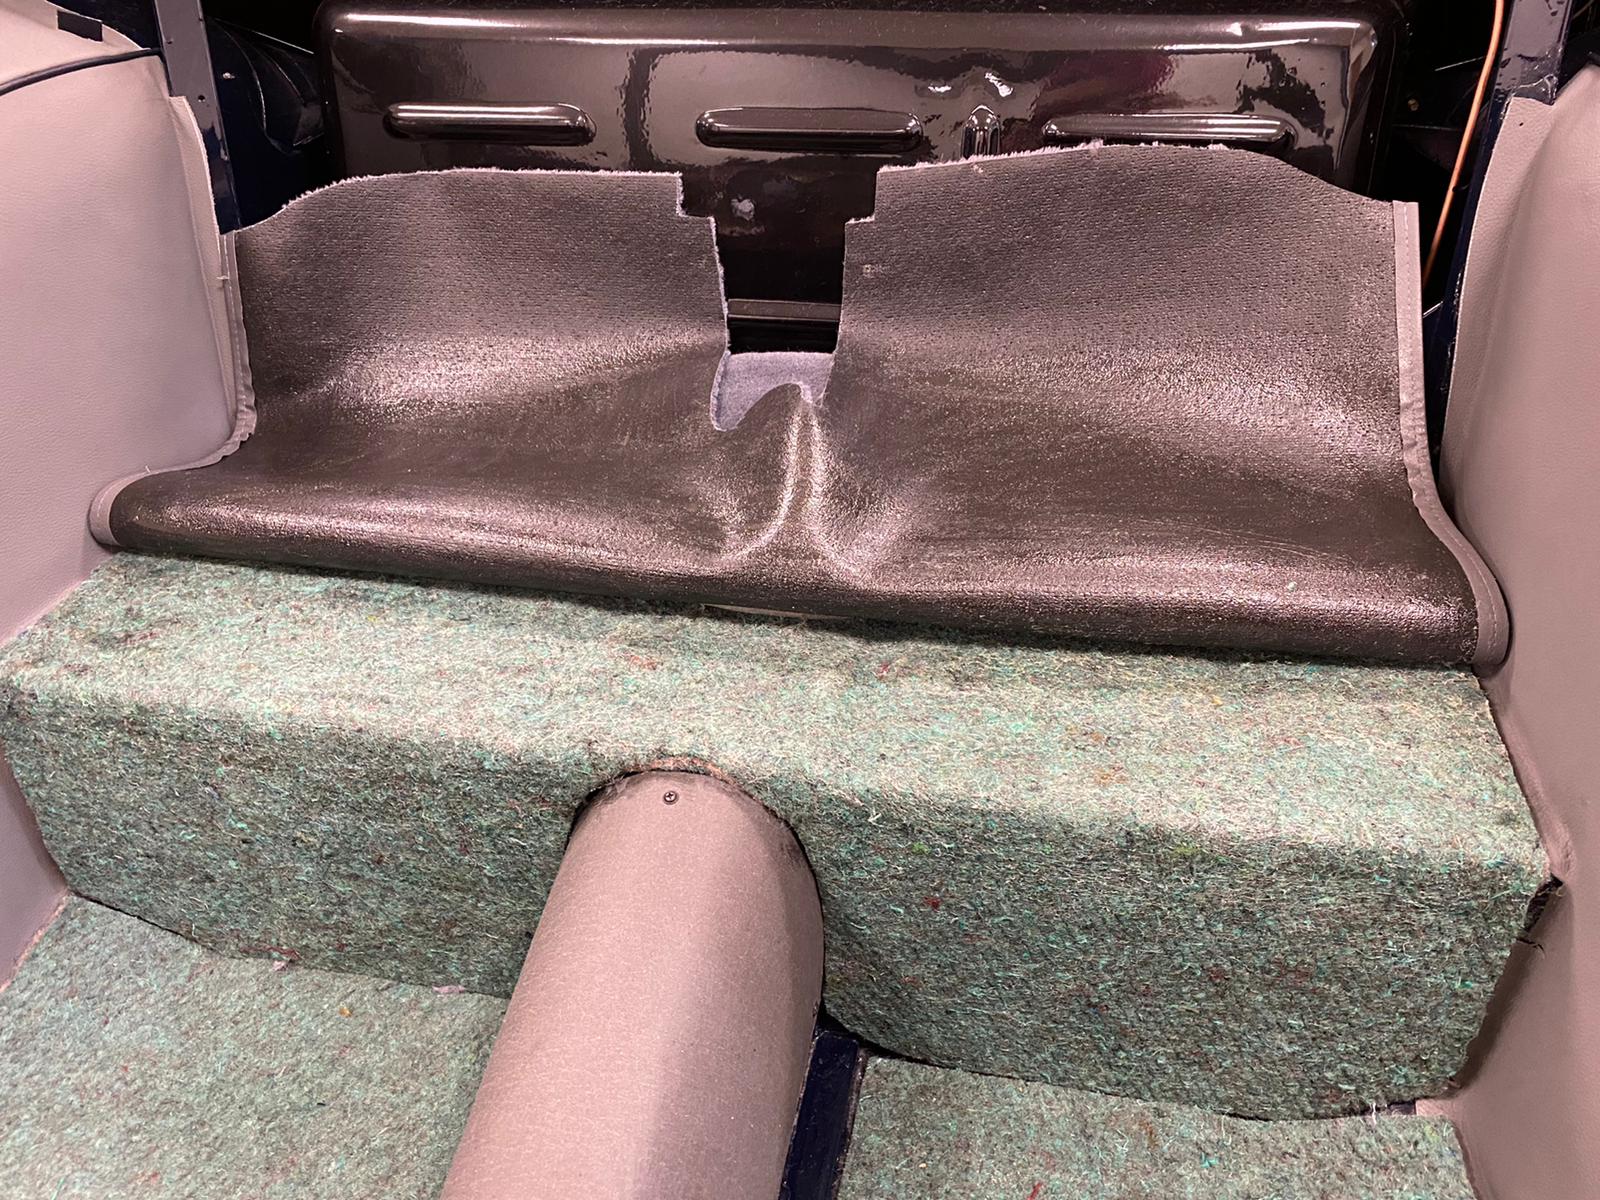
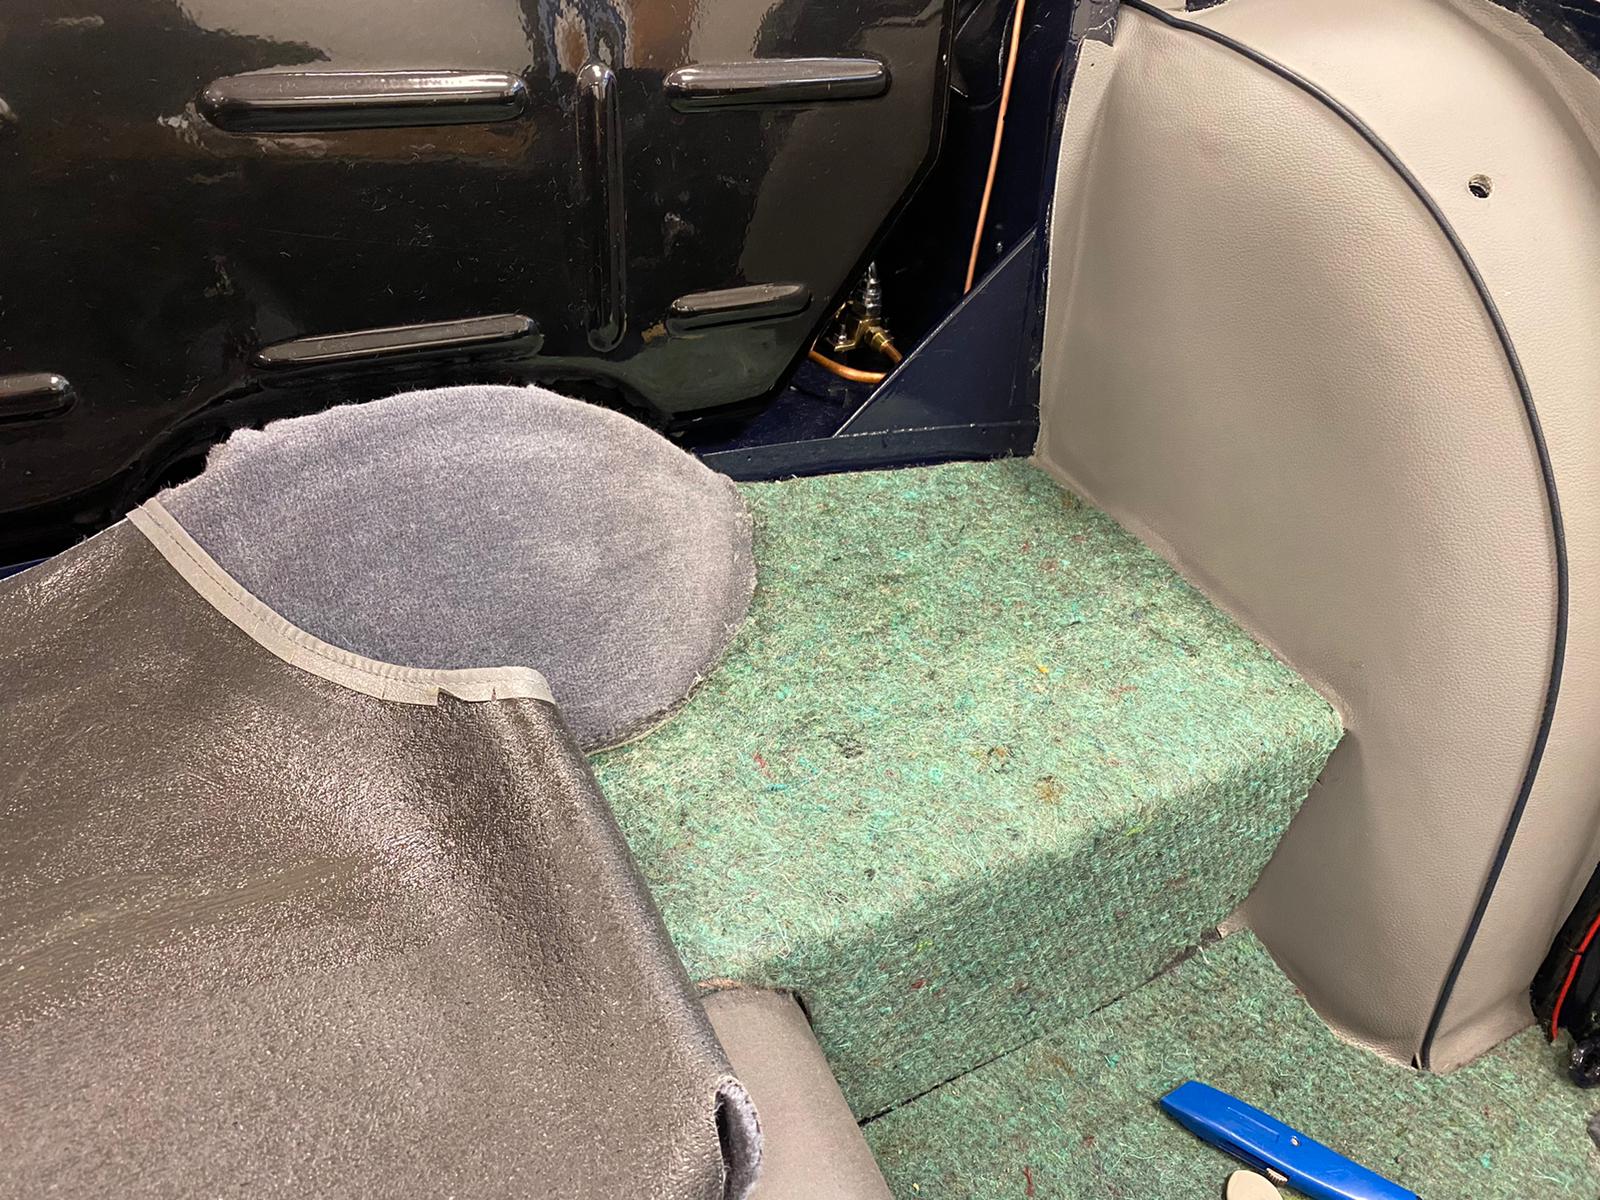
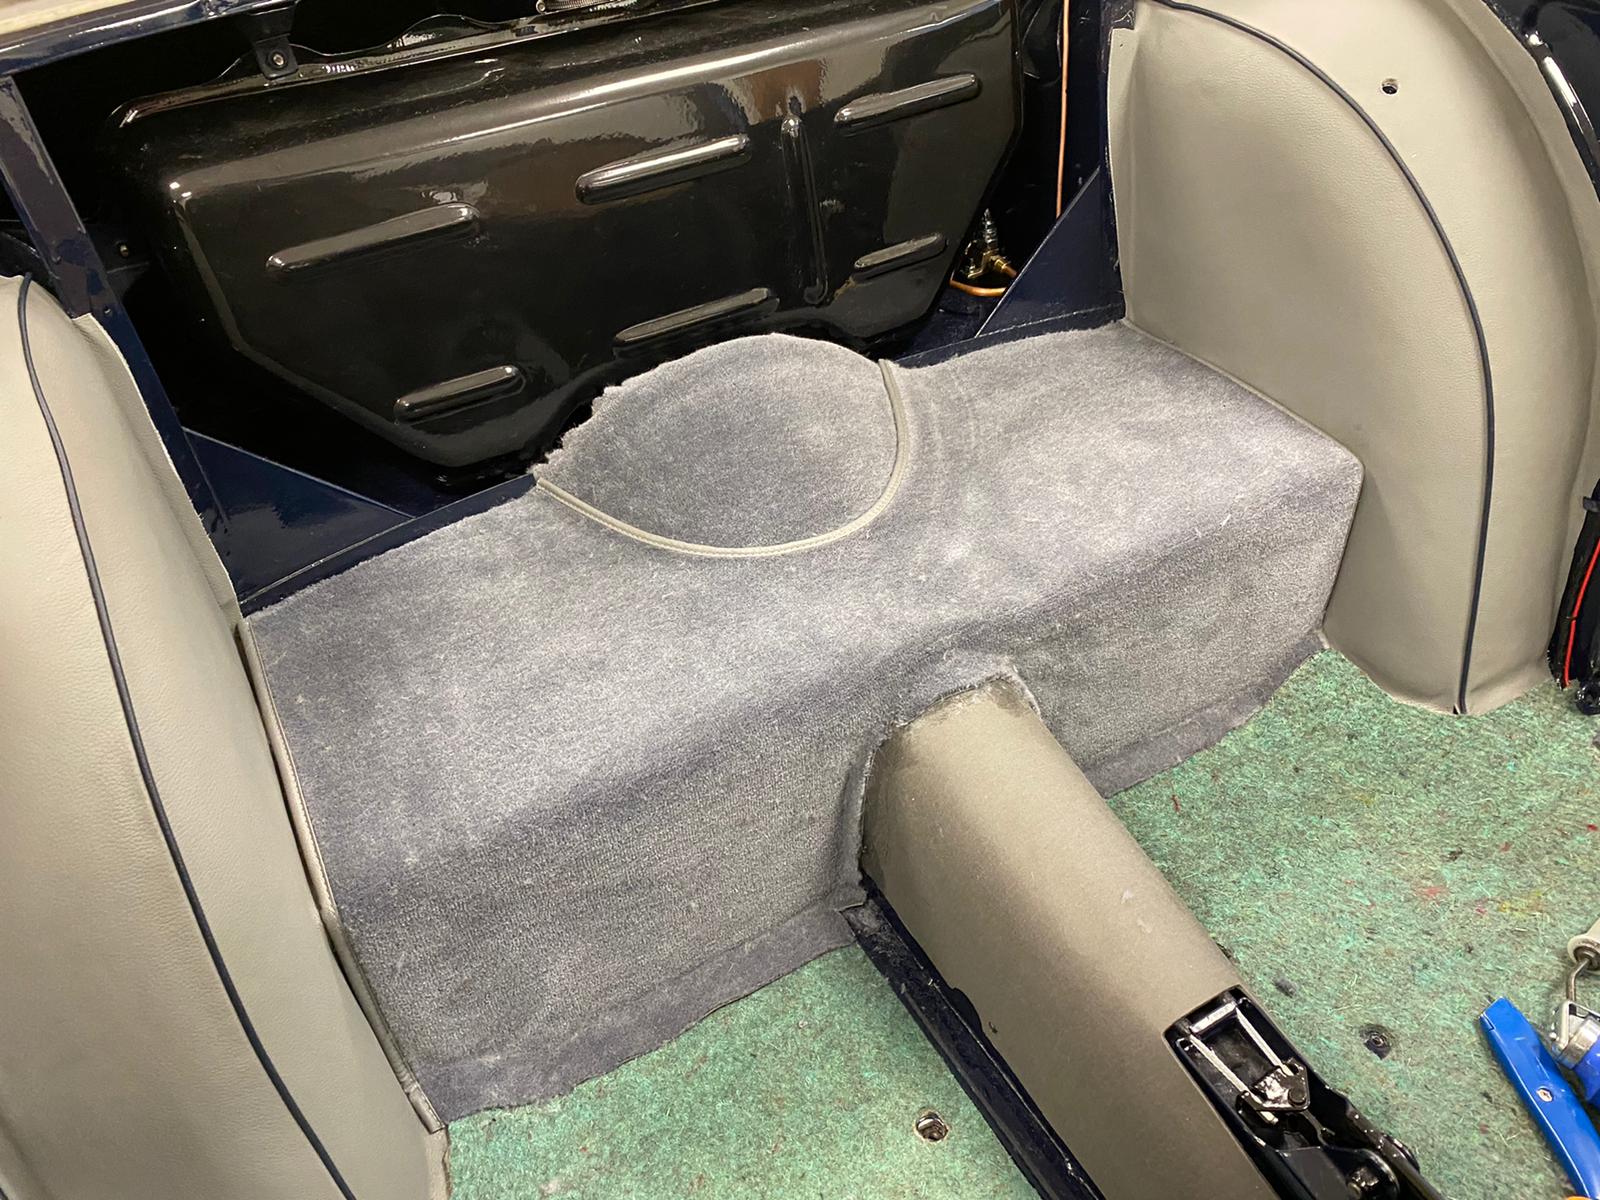
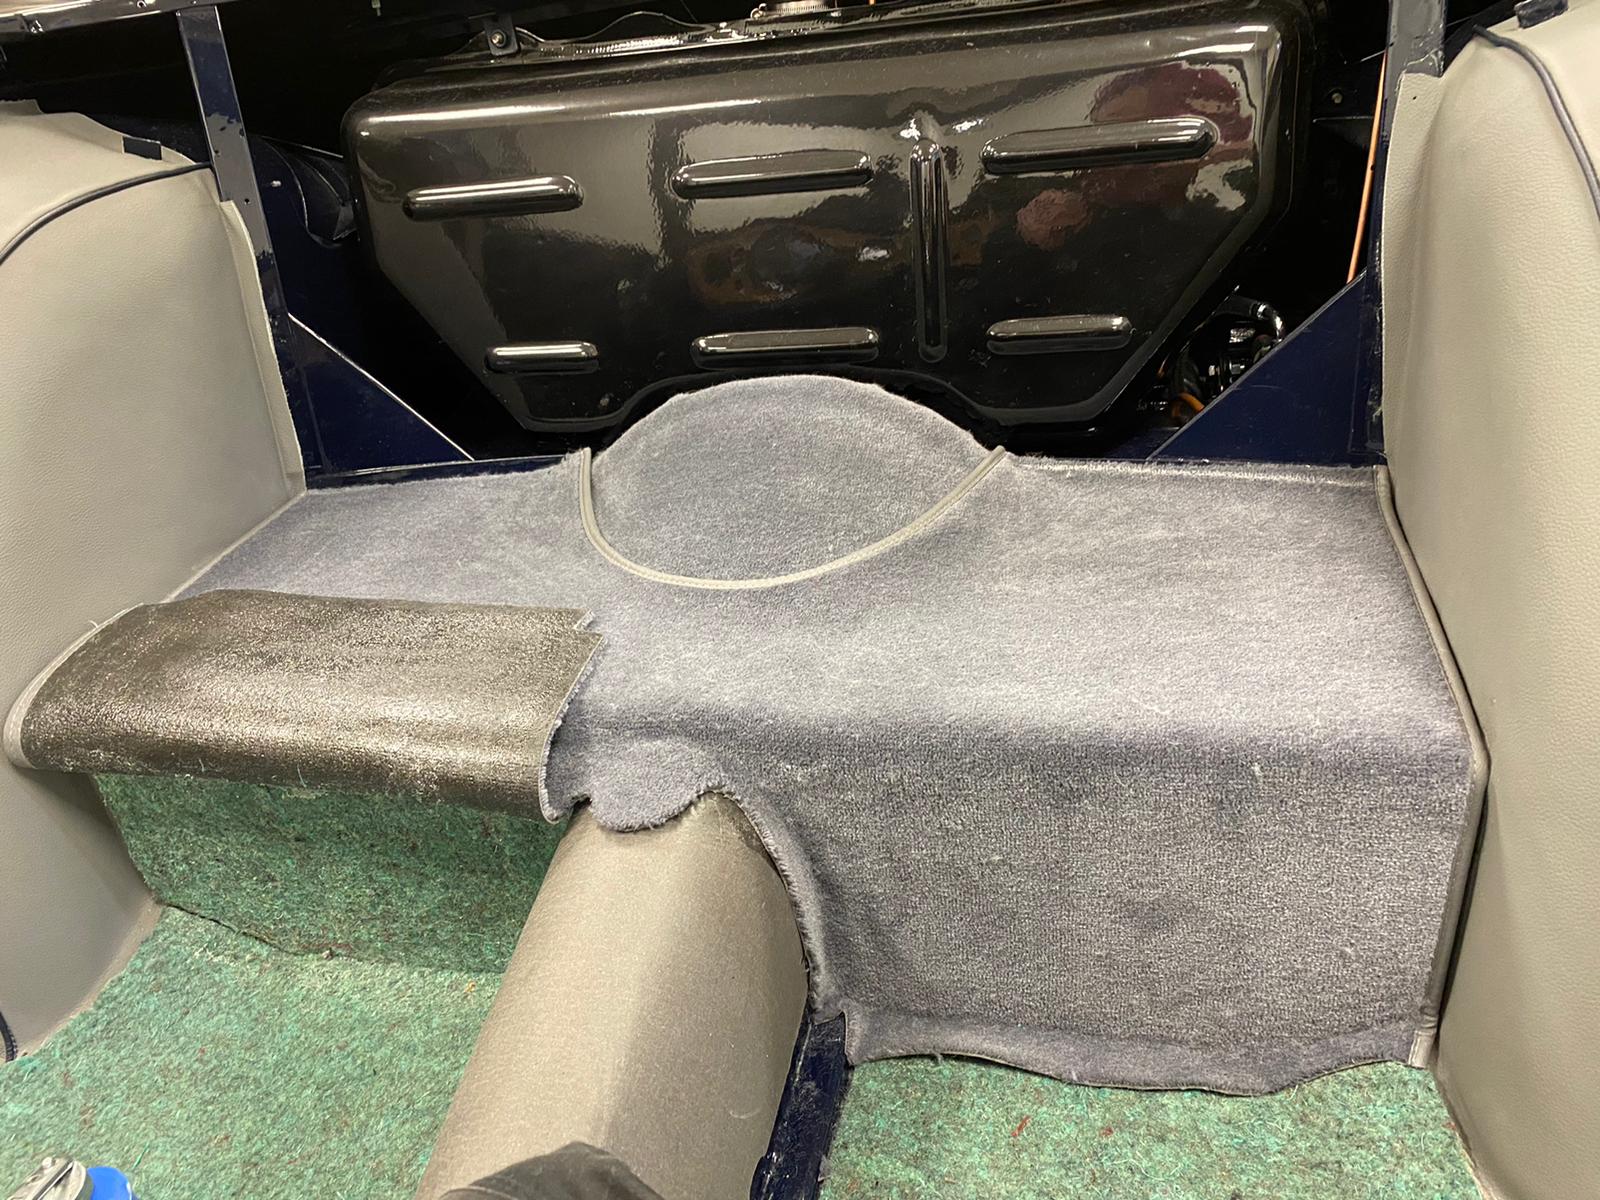
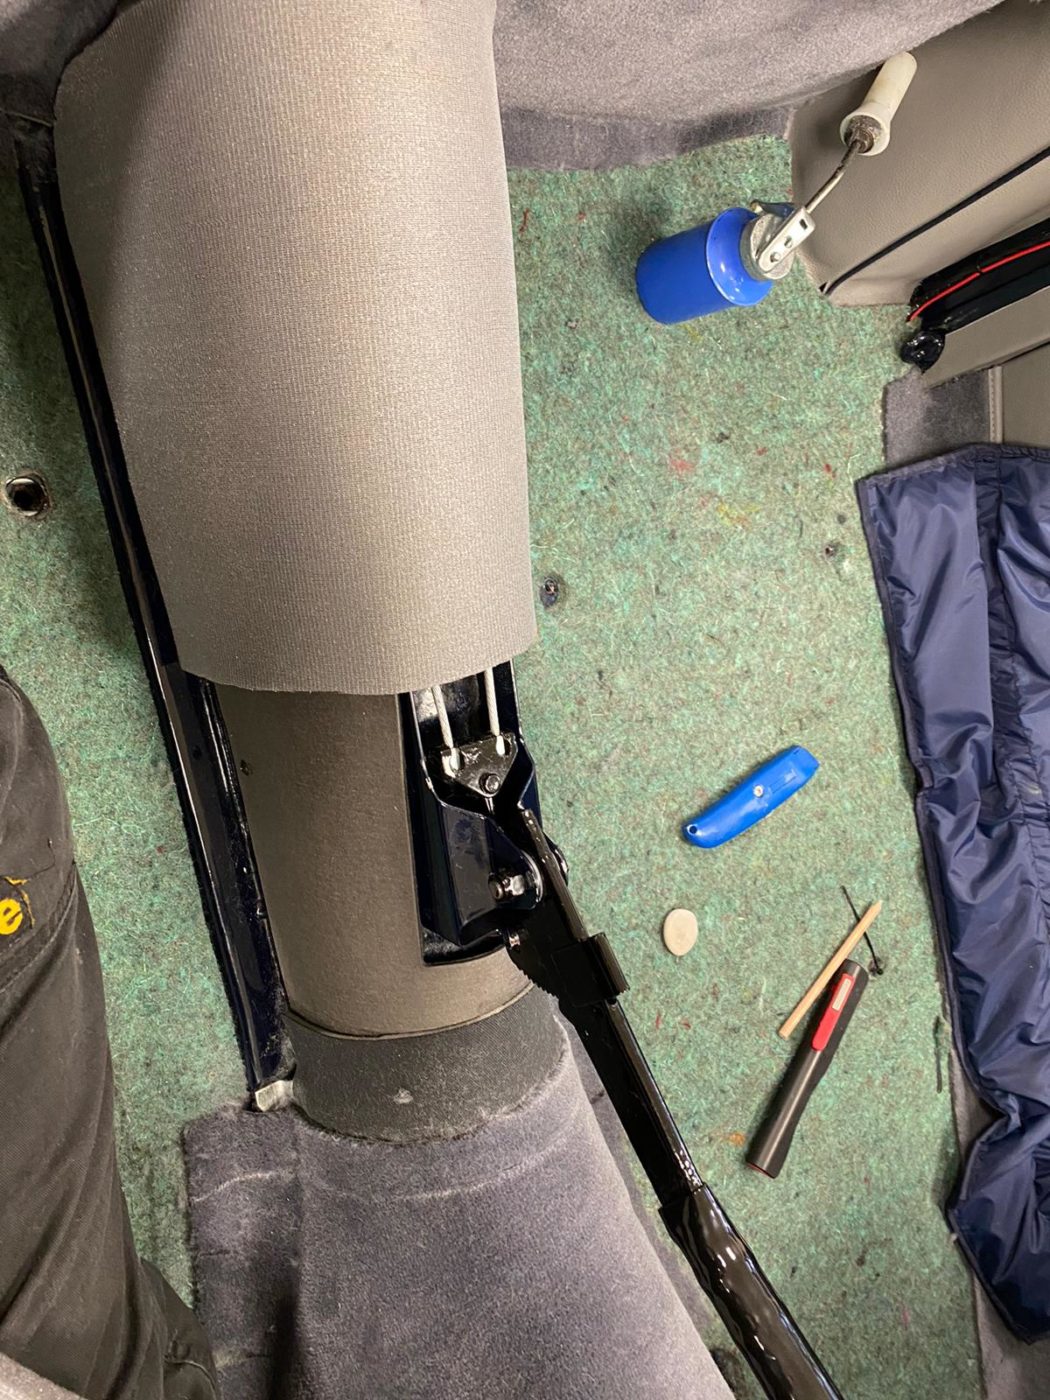
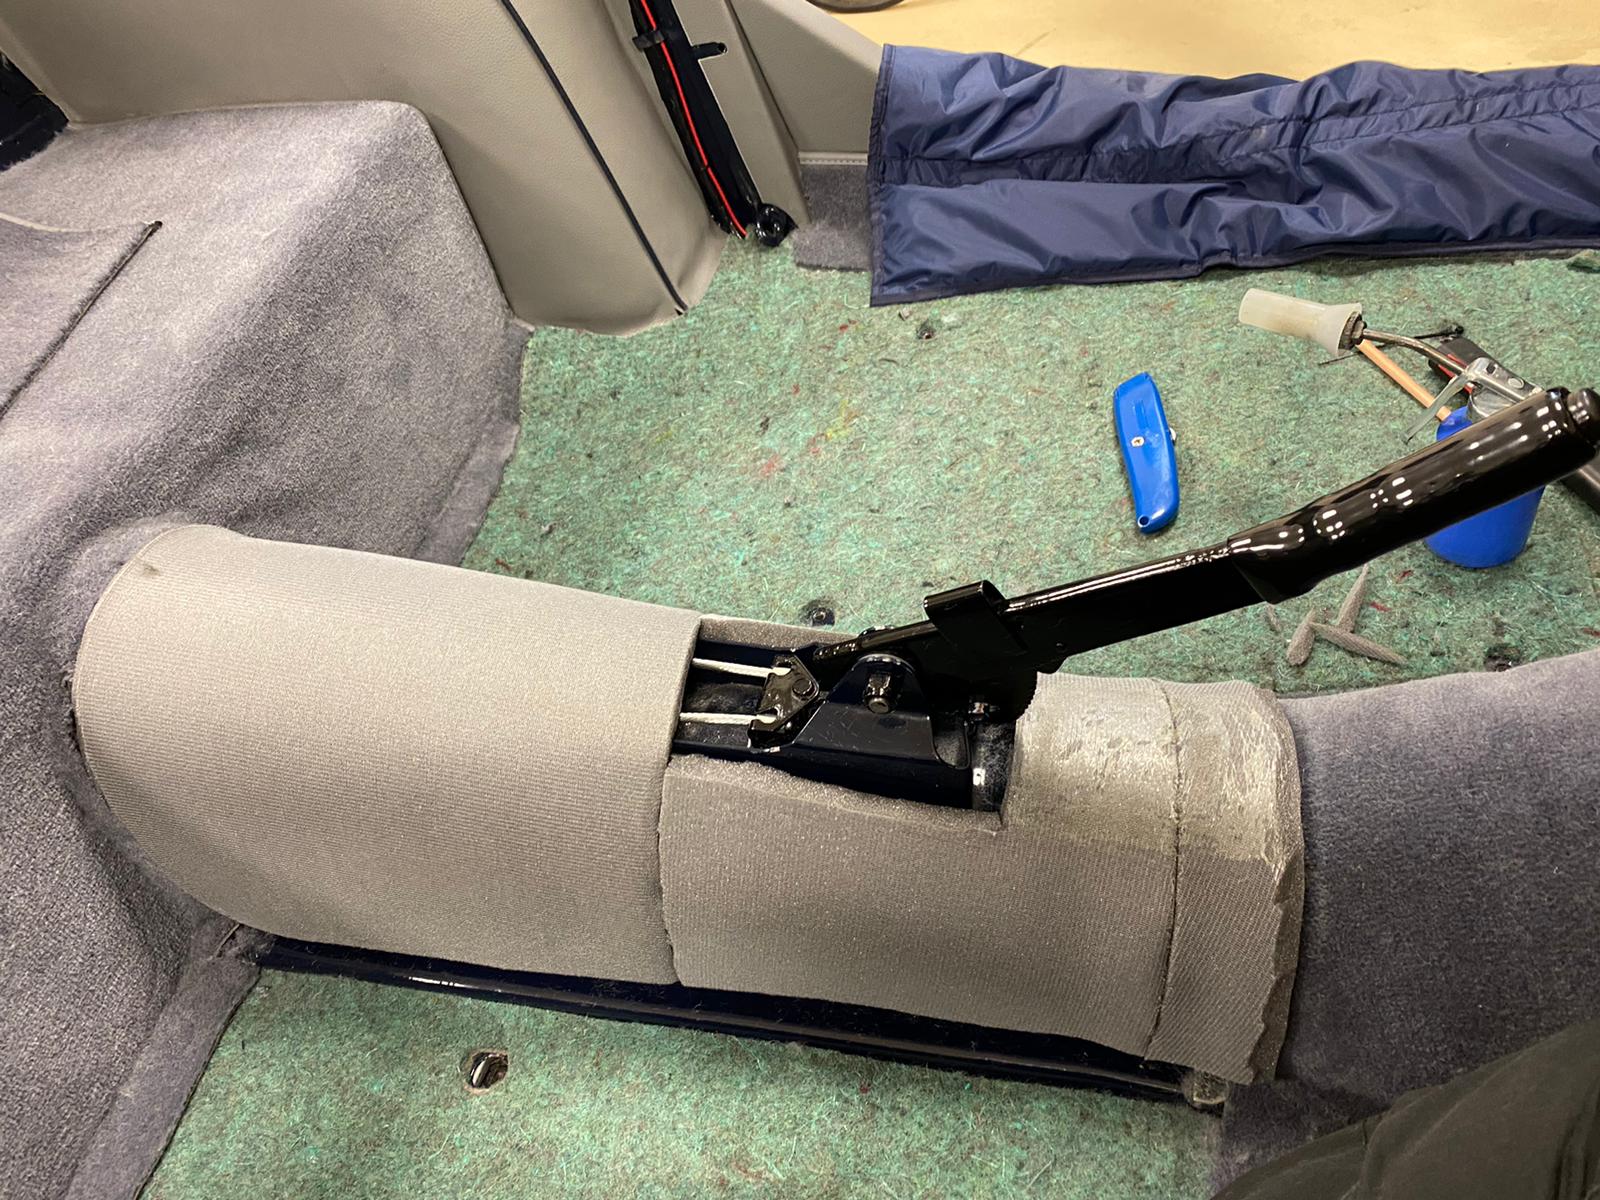
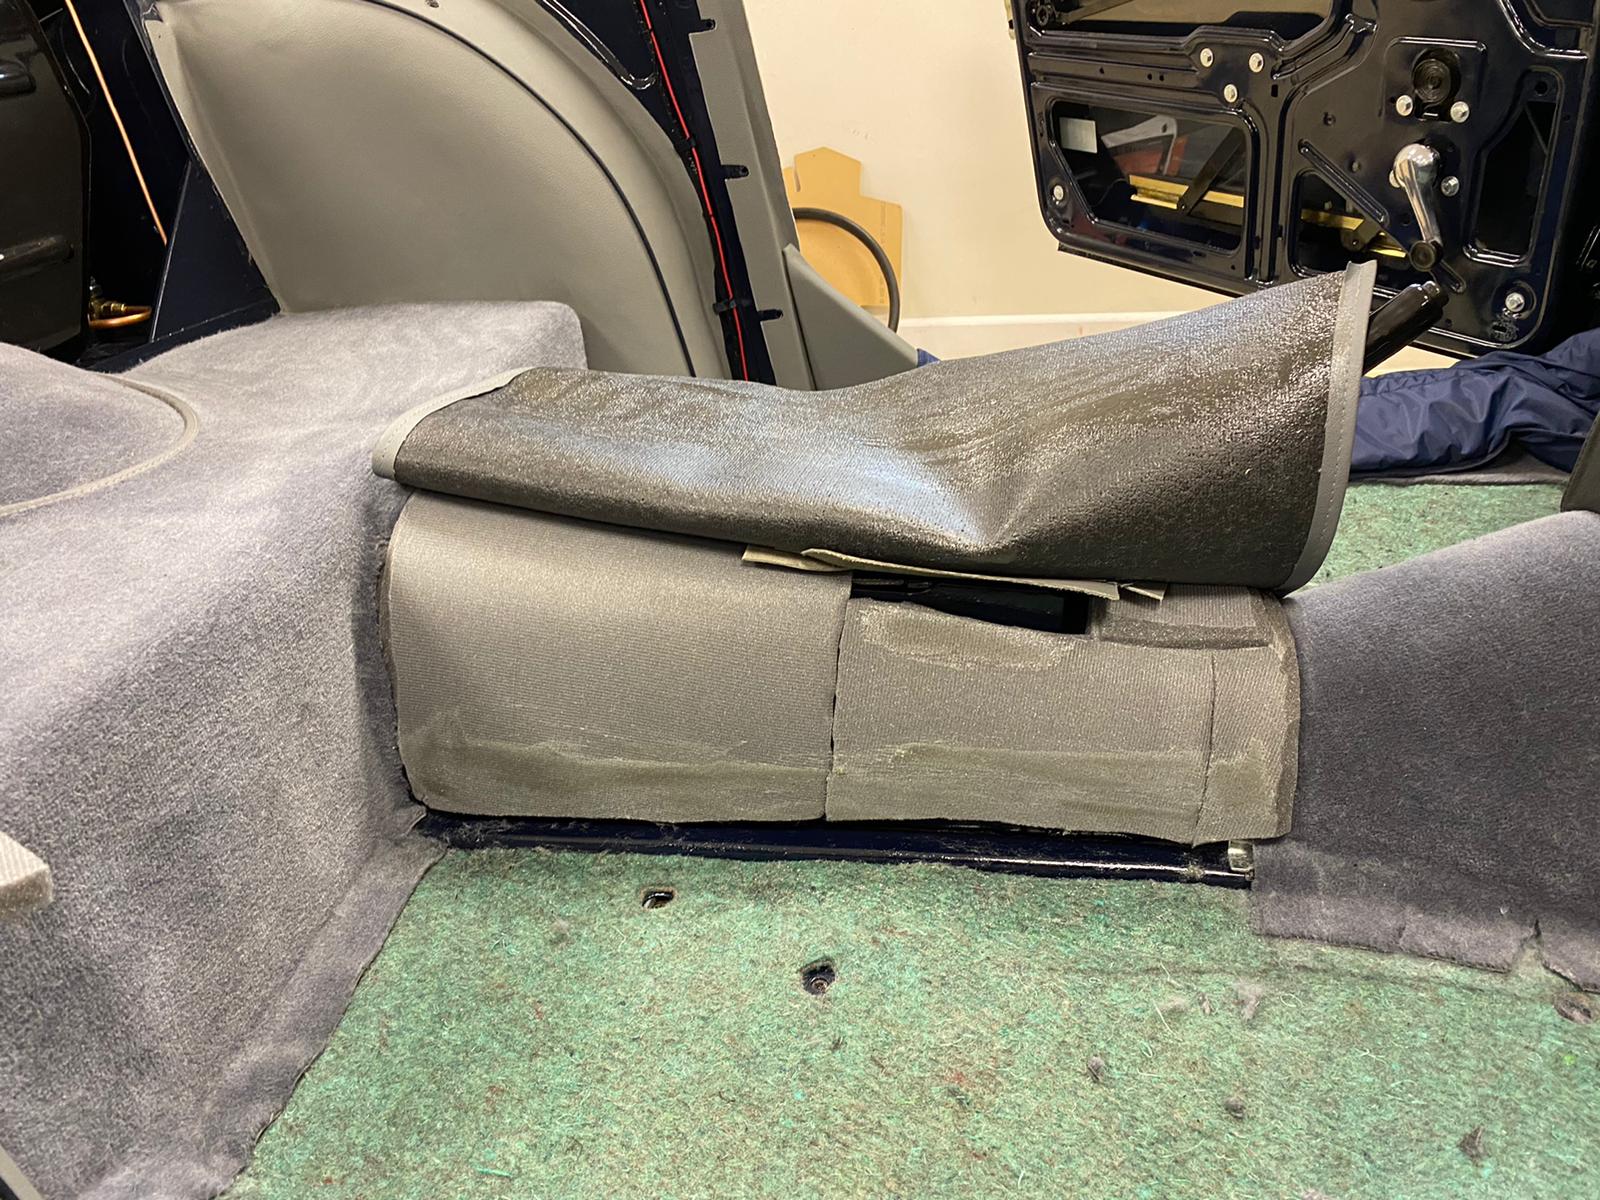
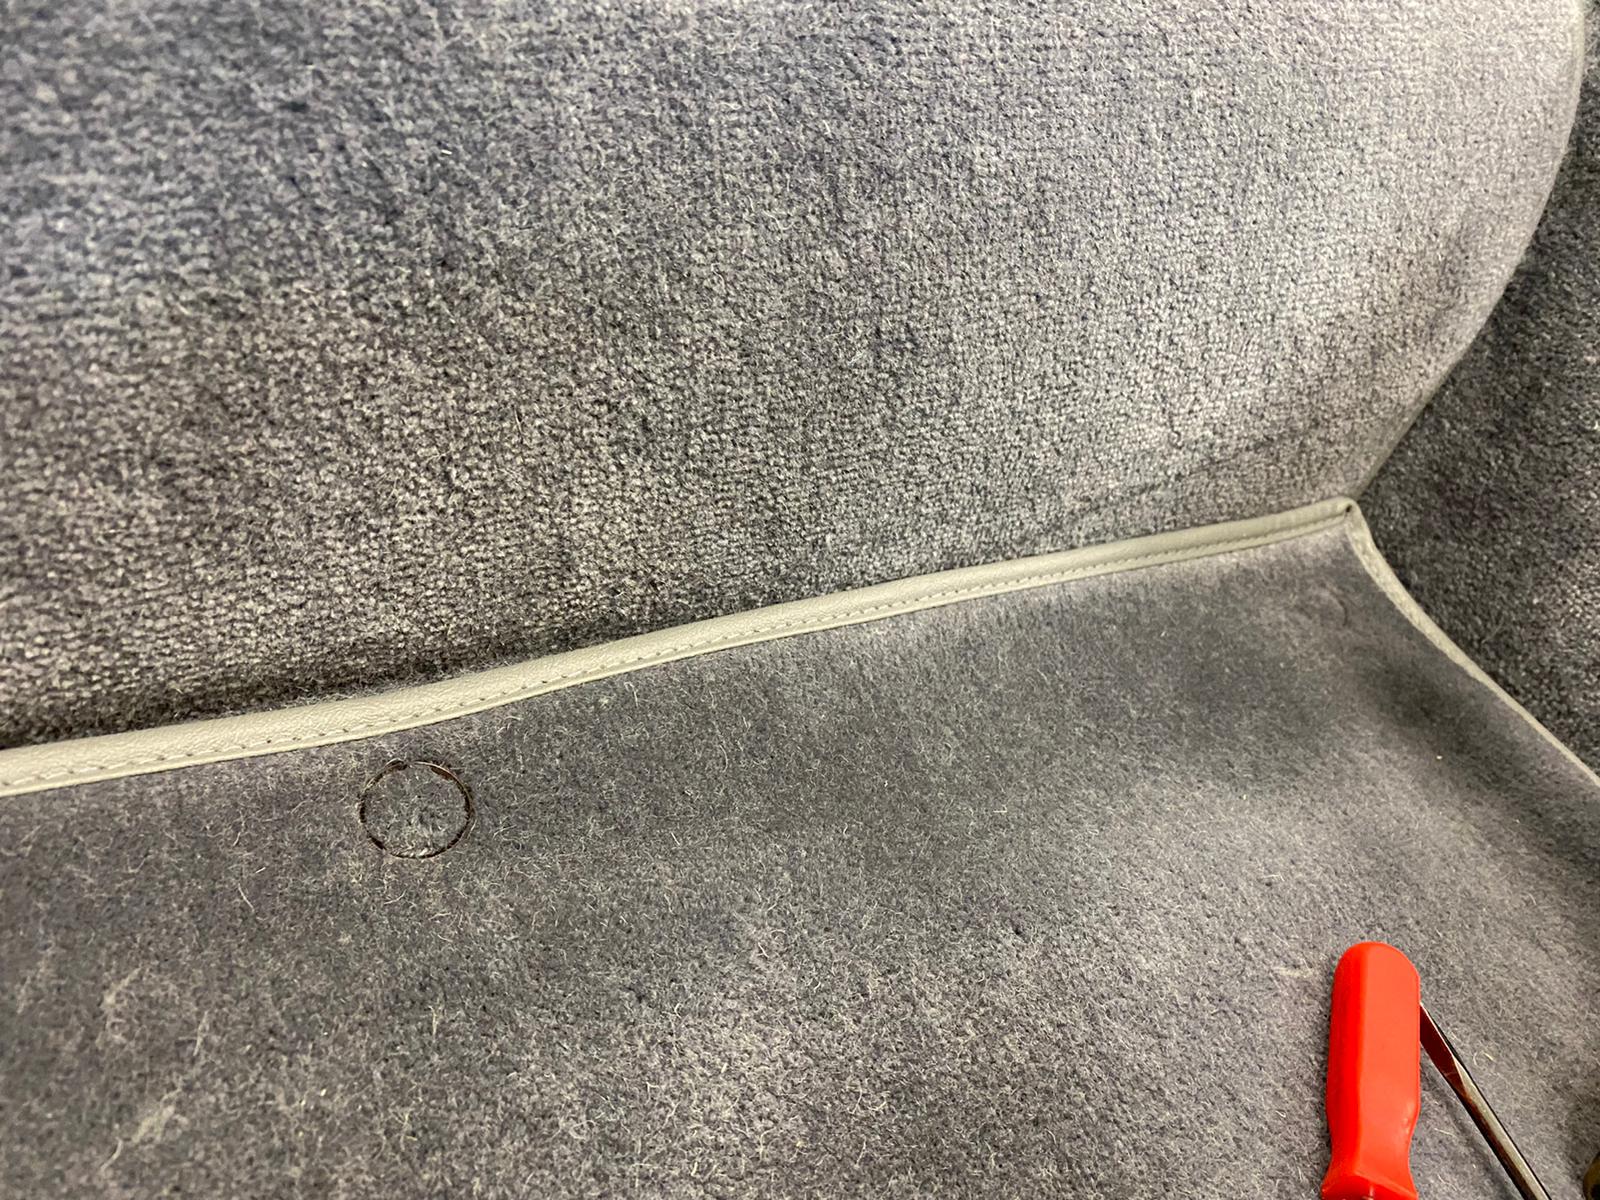
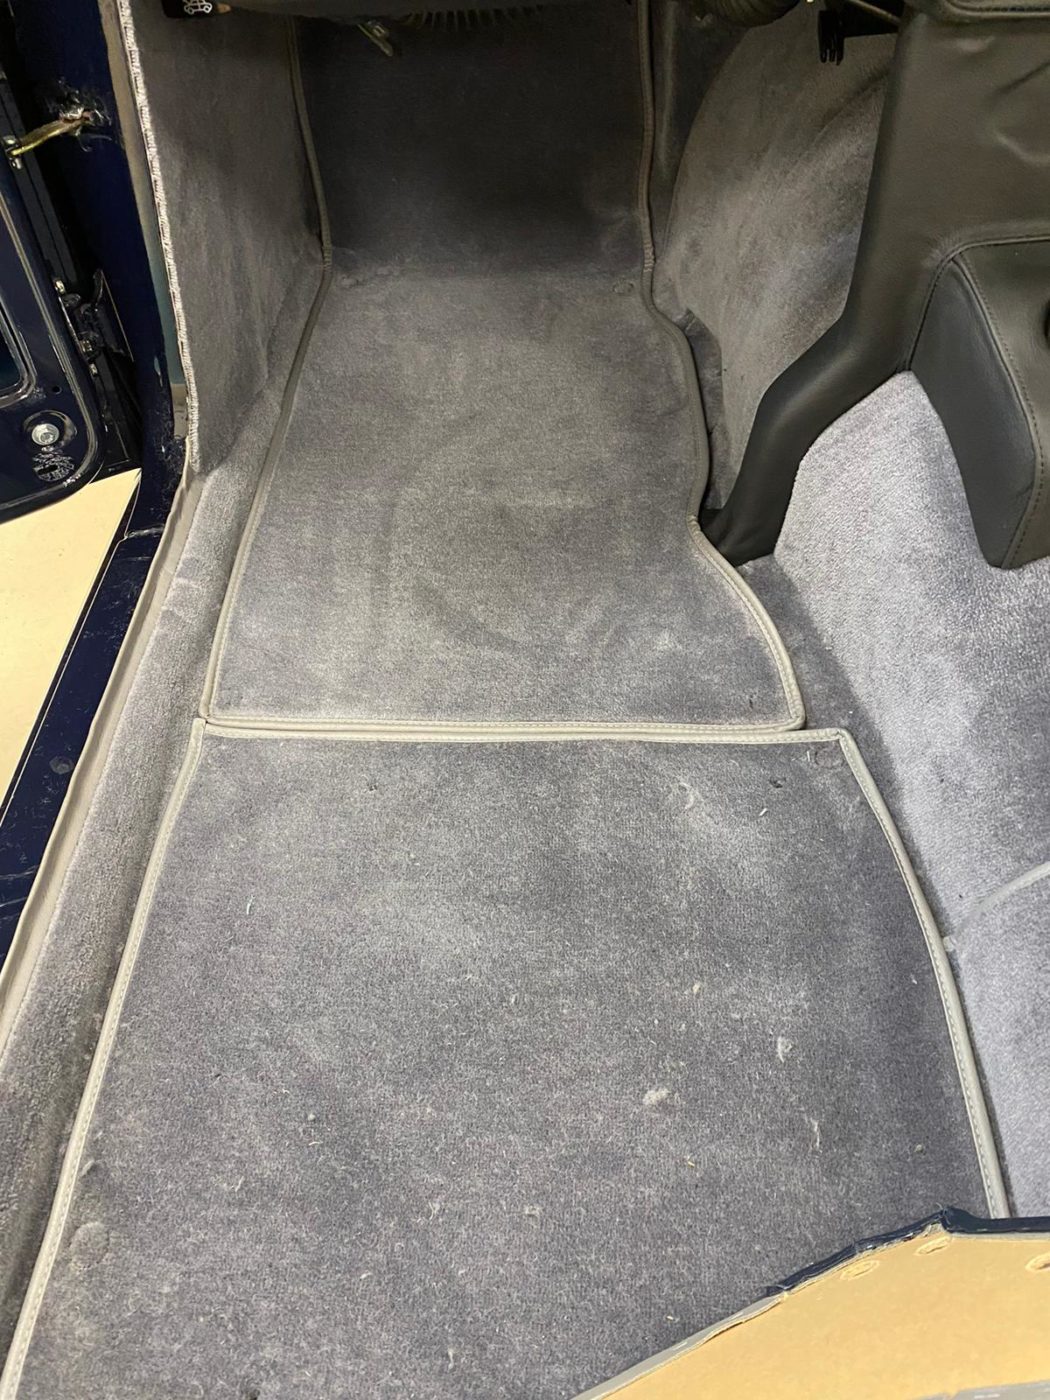
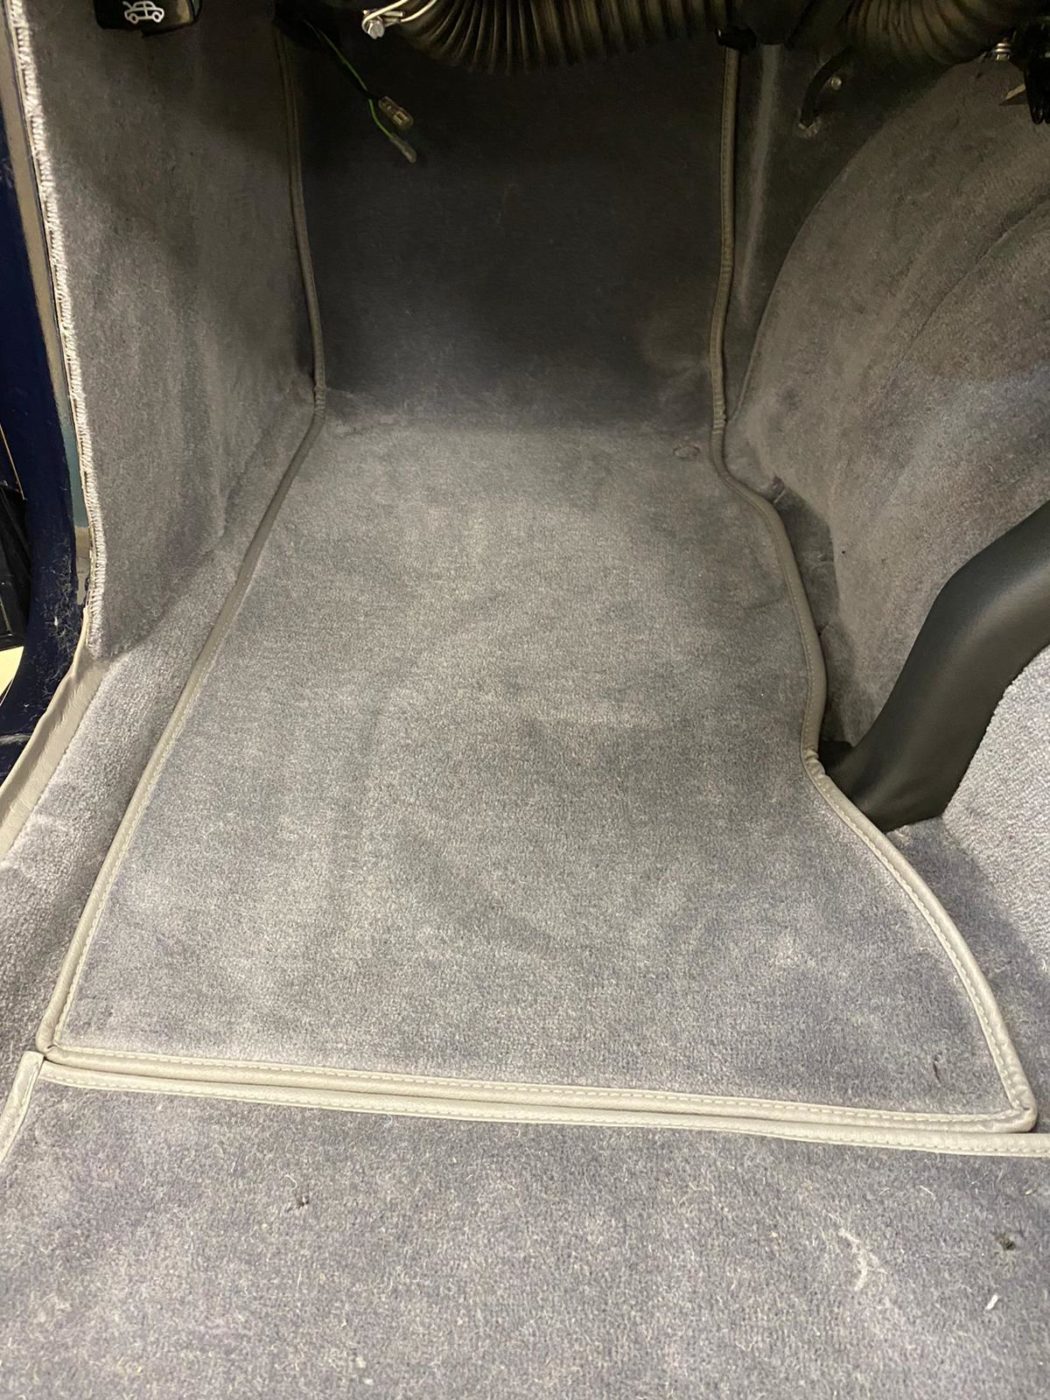
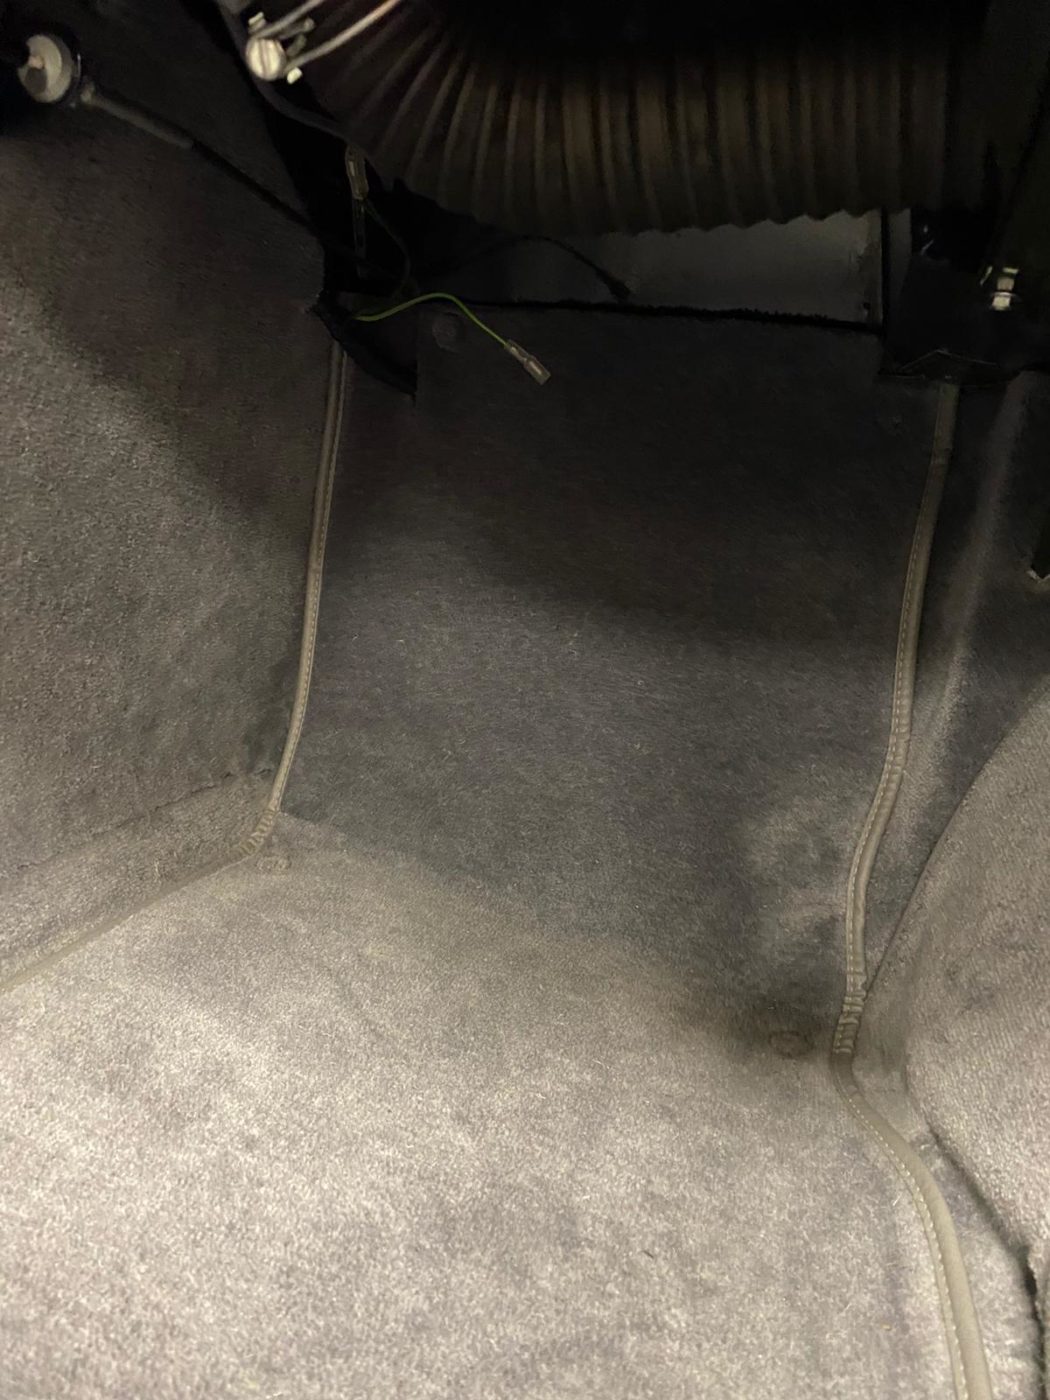
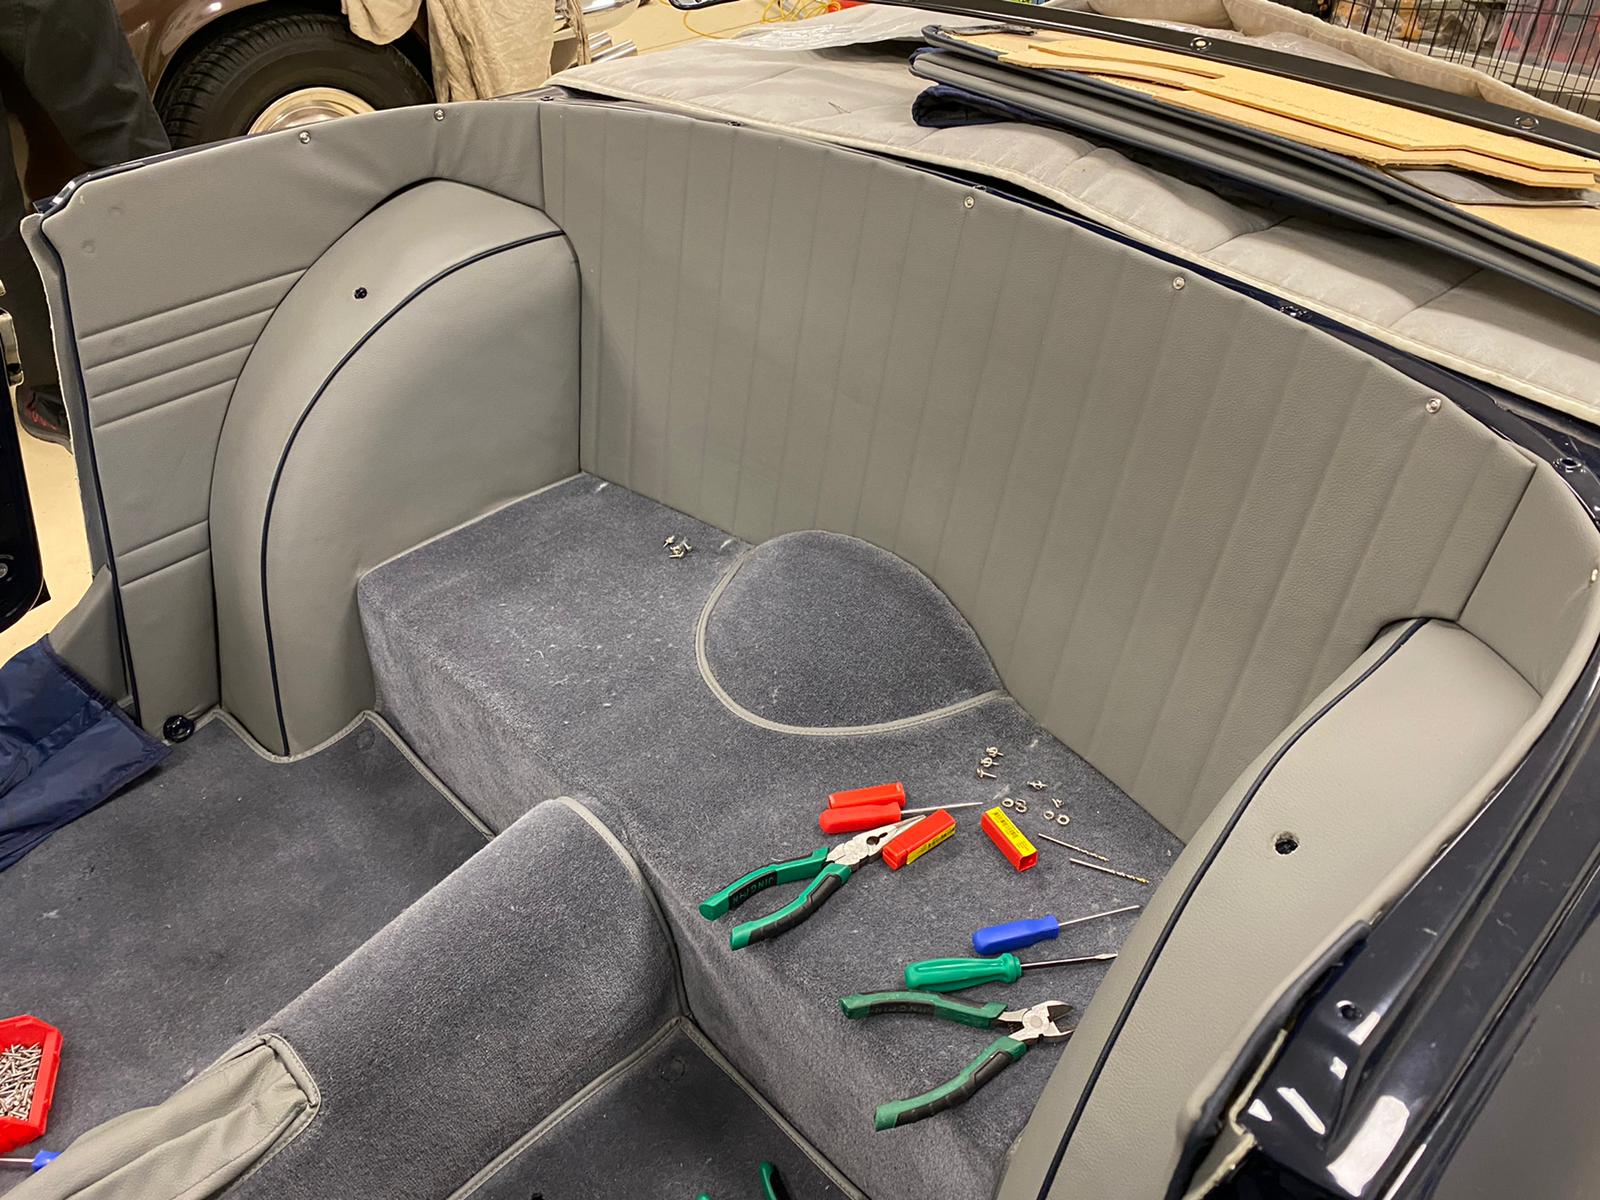
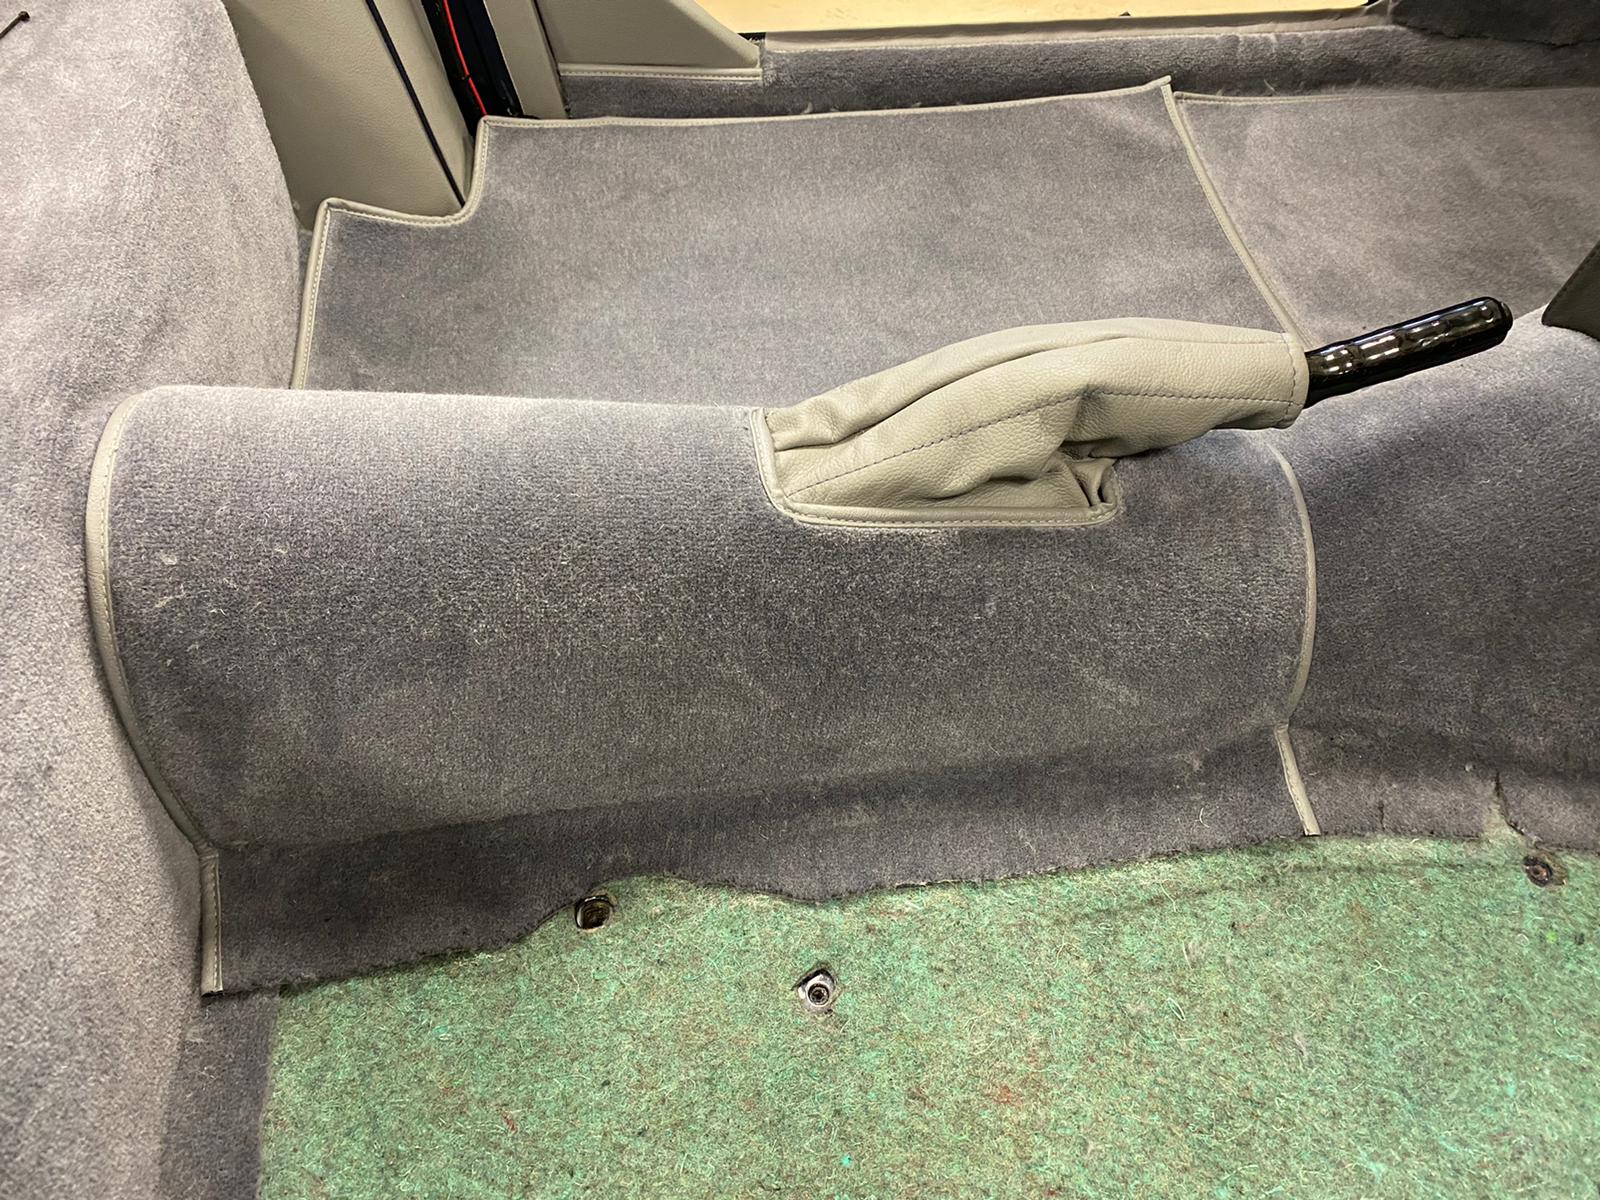
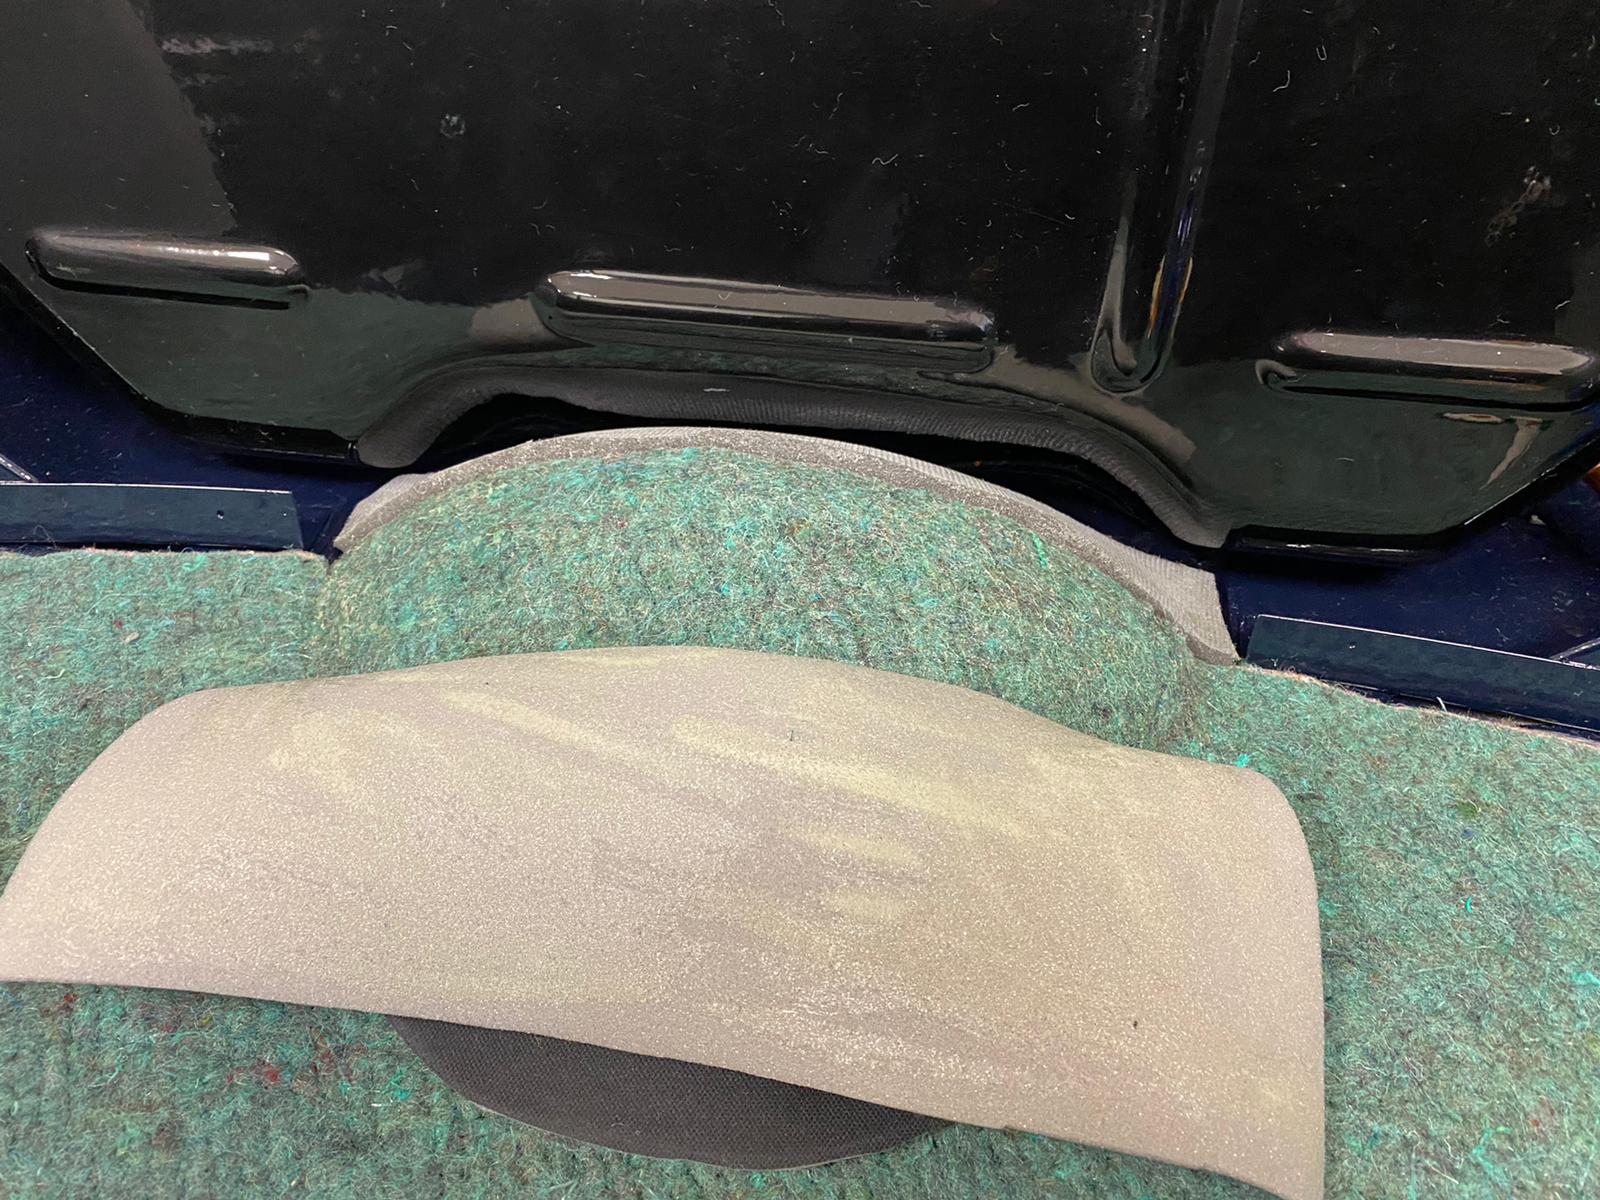
Kath has added foam over the raised section in the boot and positioned the carpet over the foam to get an idea of how it would fit. Once happy, Kath could then glue the foam sections down and pack it out around the fuel tank. Once the foam is stuck down, Kath could then lay in and glue down the carpet in sections, pulling the carpet over the edge and down into footwell so that it fits tight. Once in place, Kath could trim around the corners, and get started on the hand brake gaiter section.
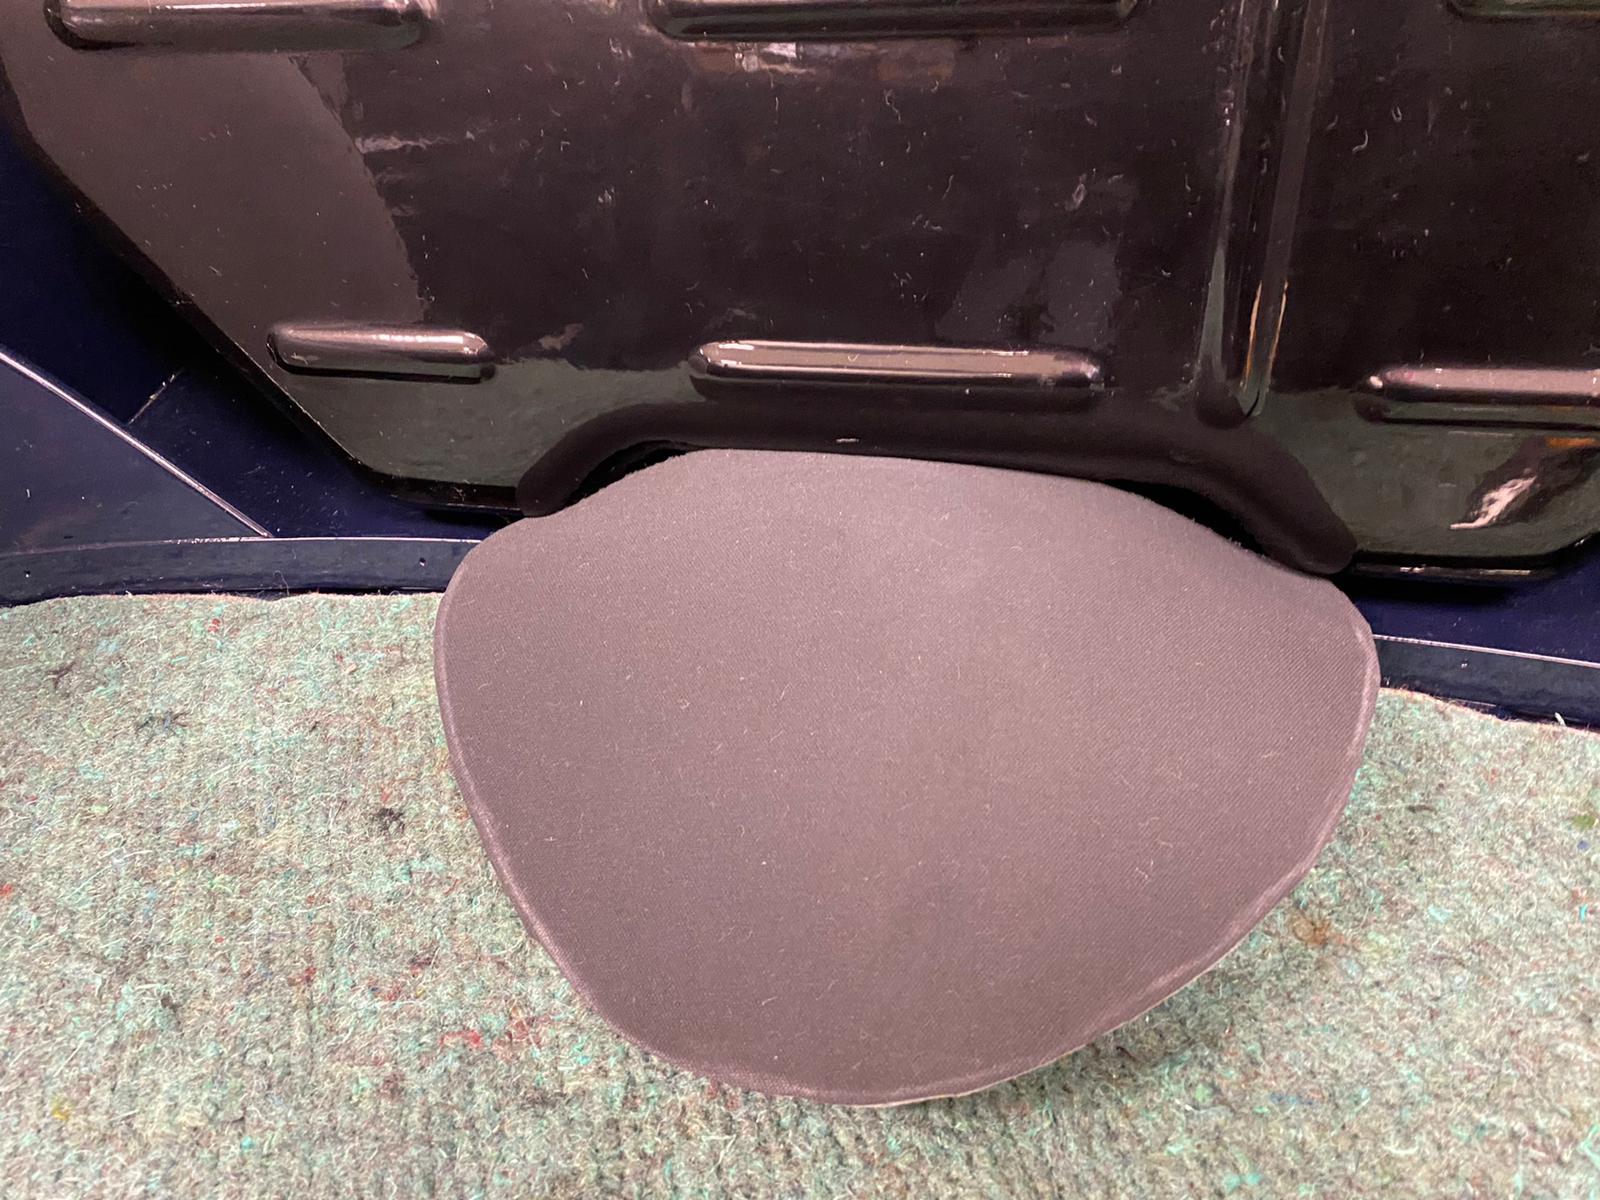
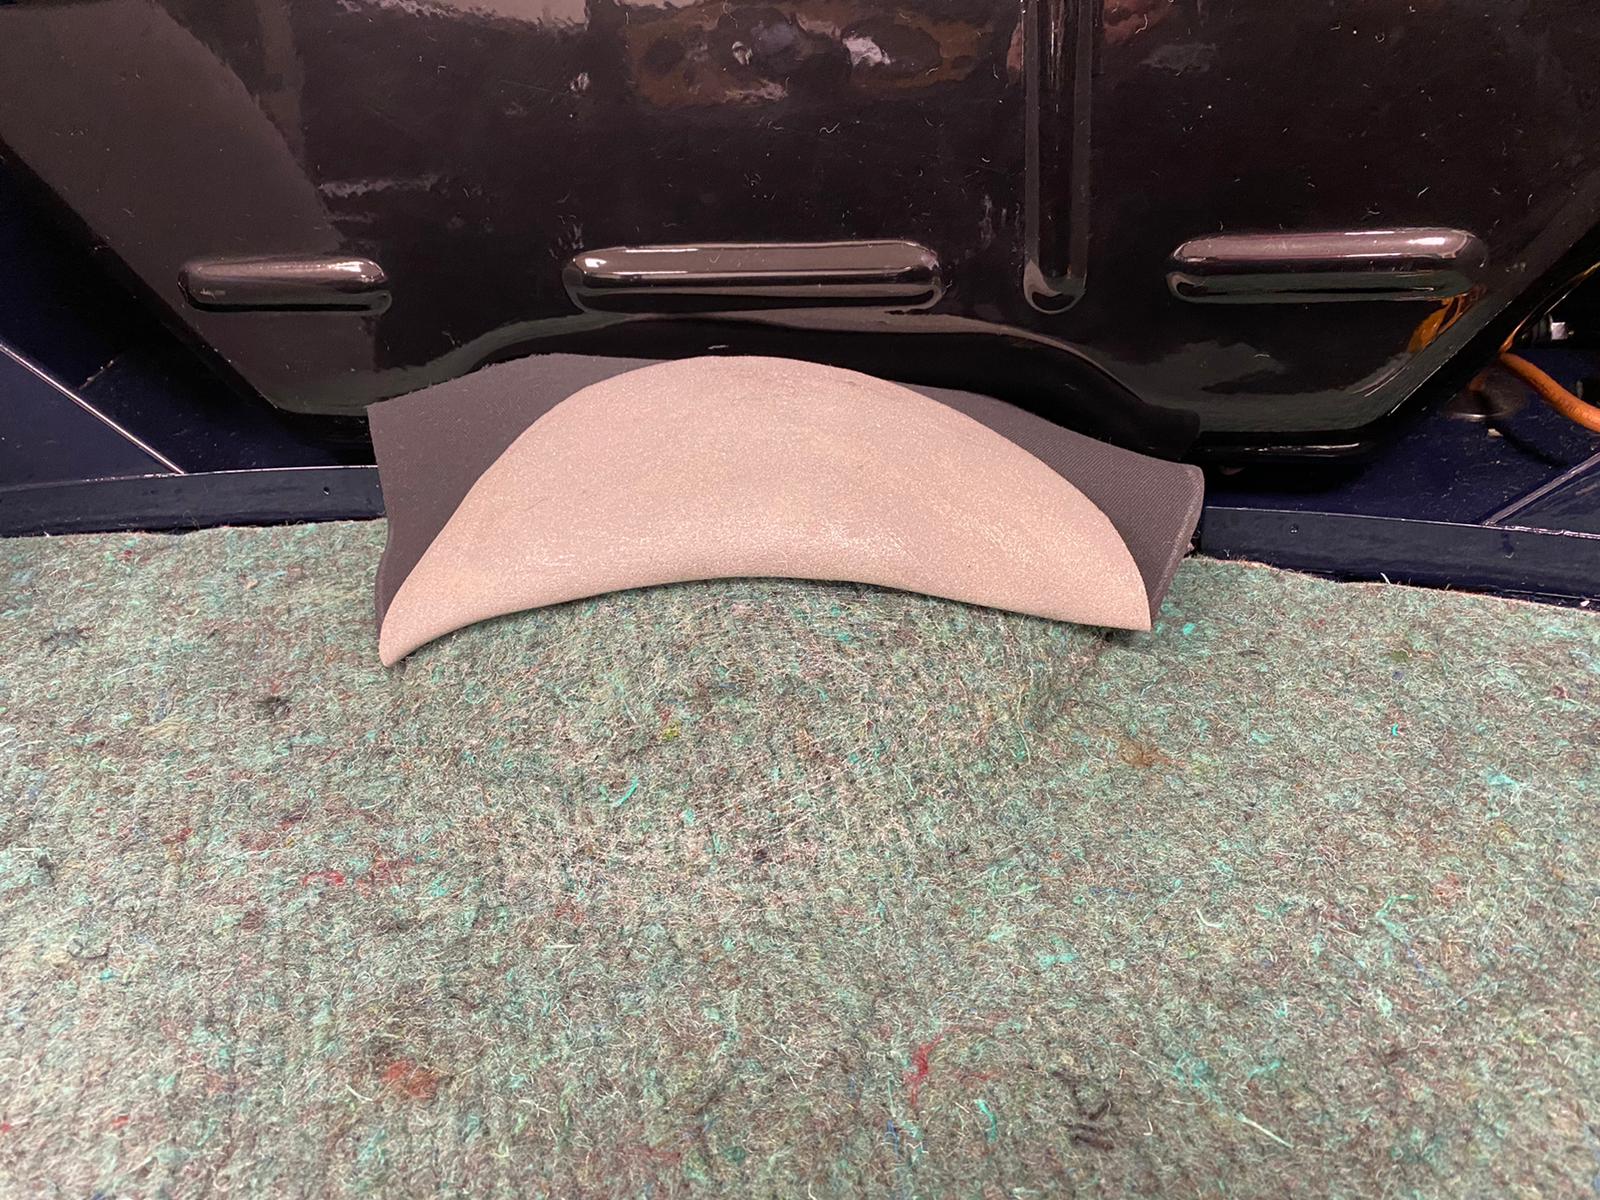
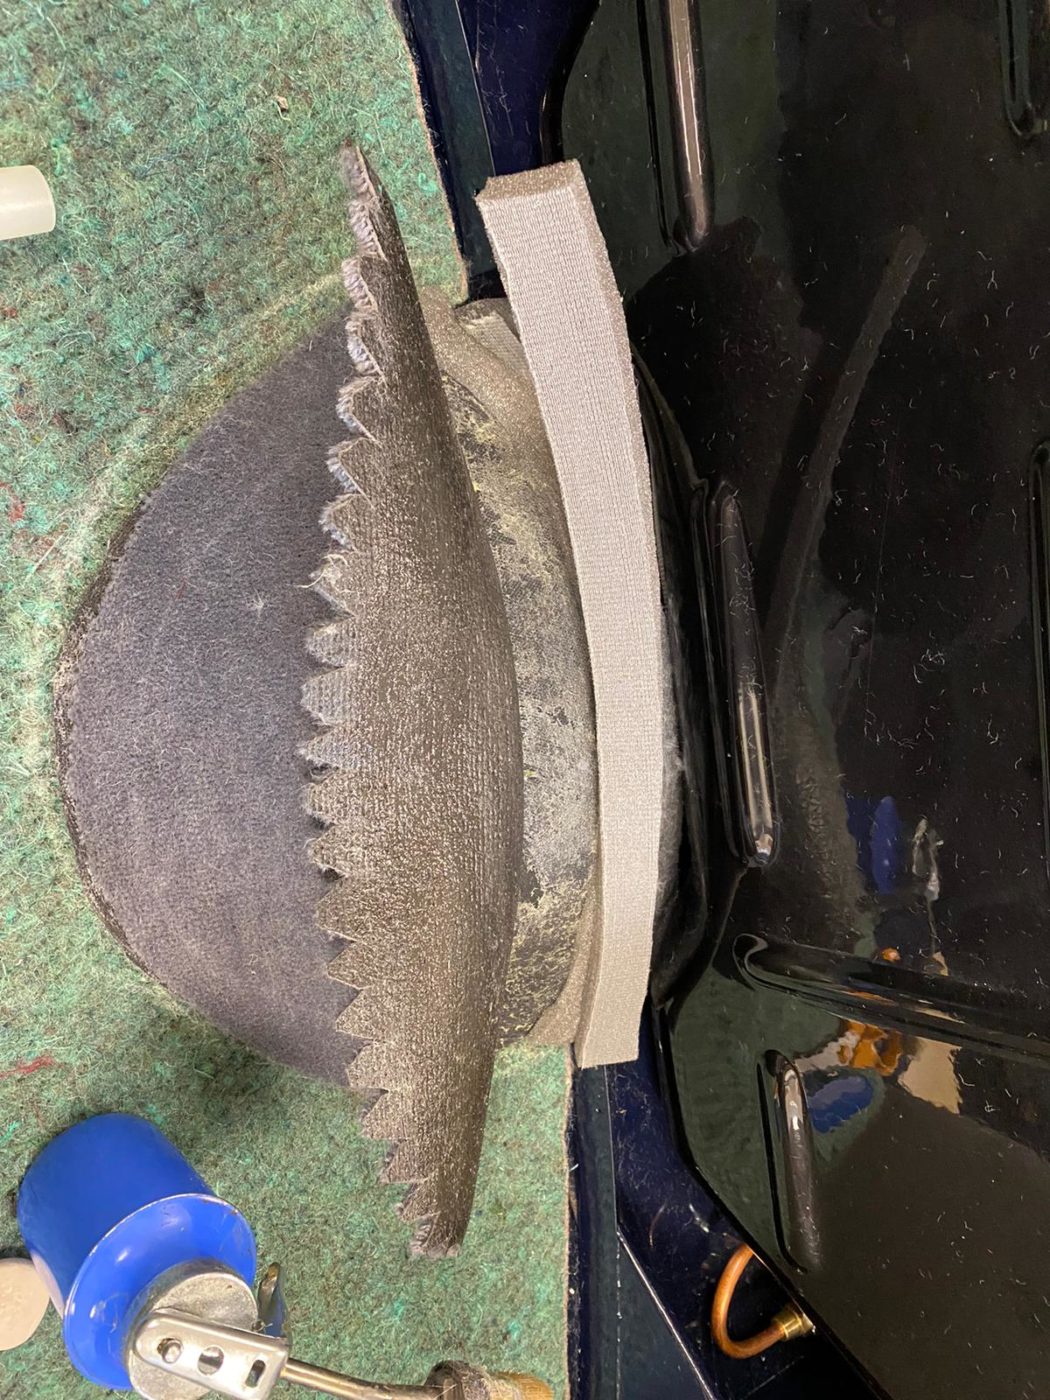
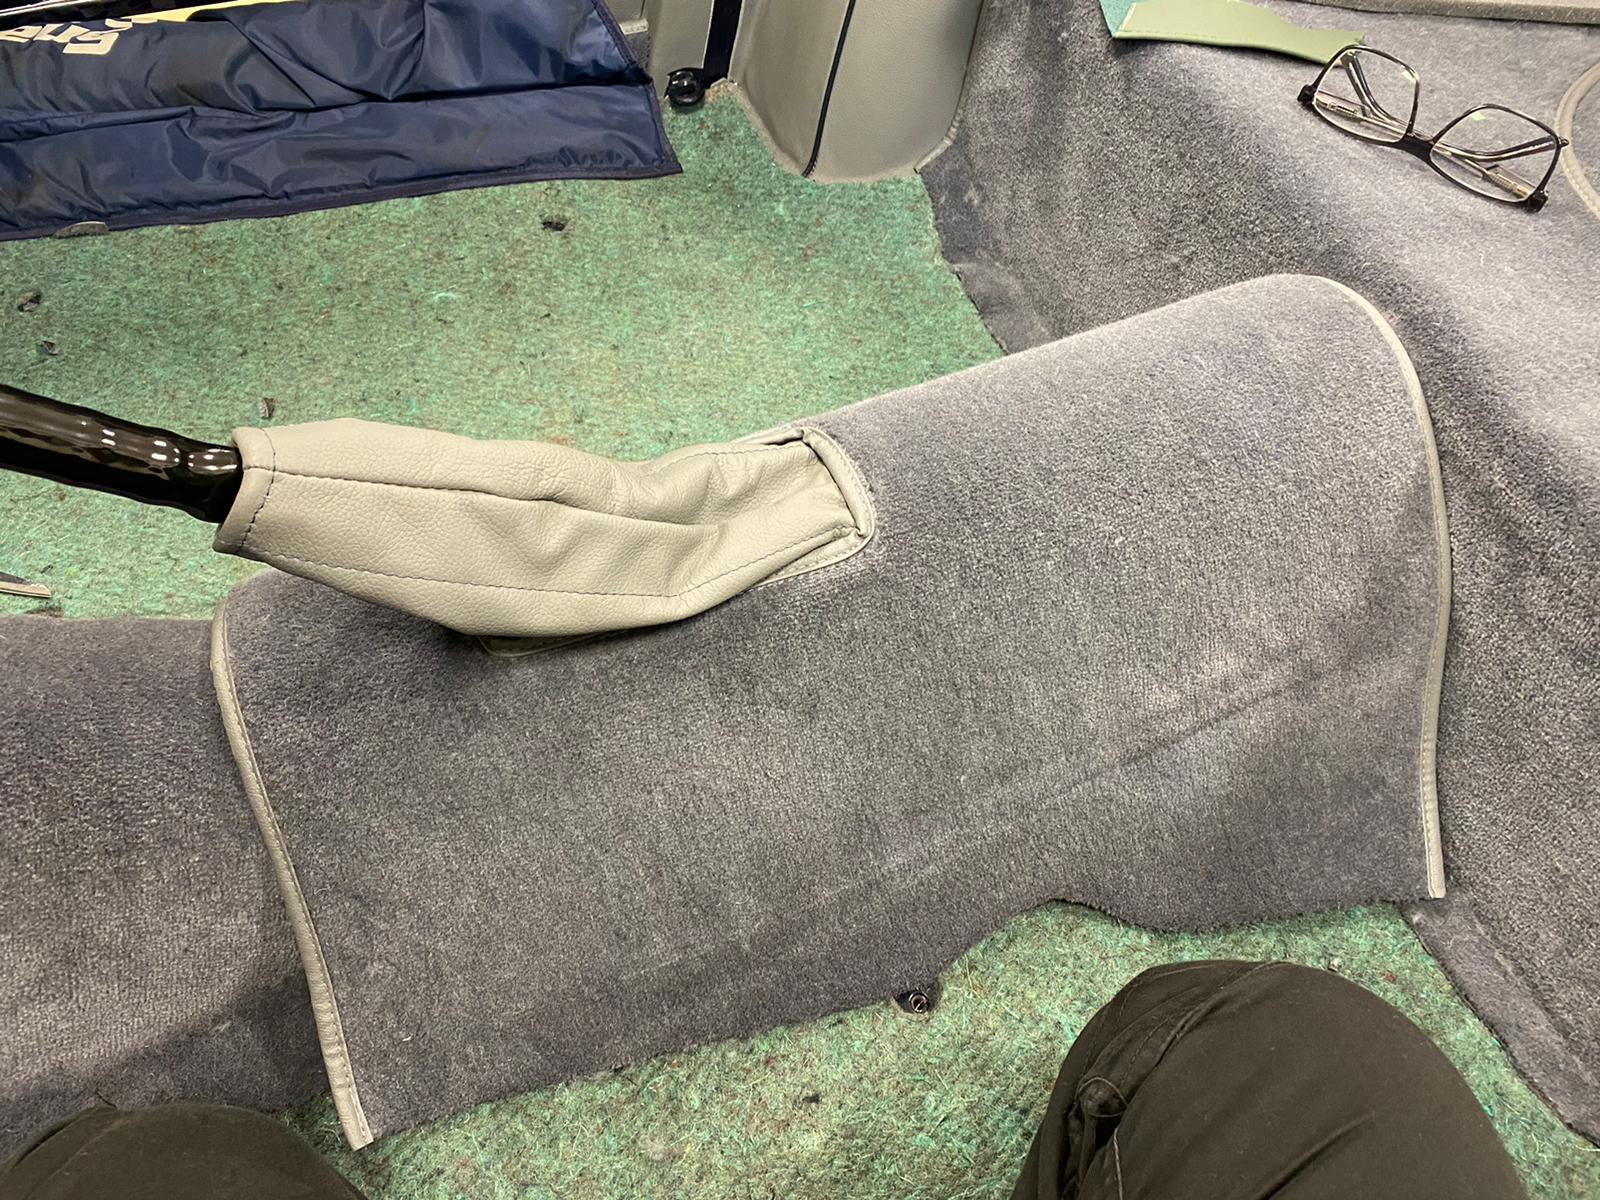
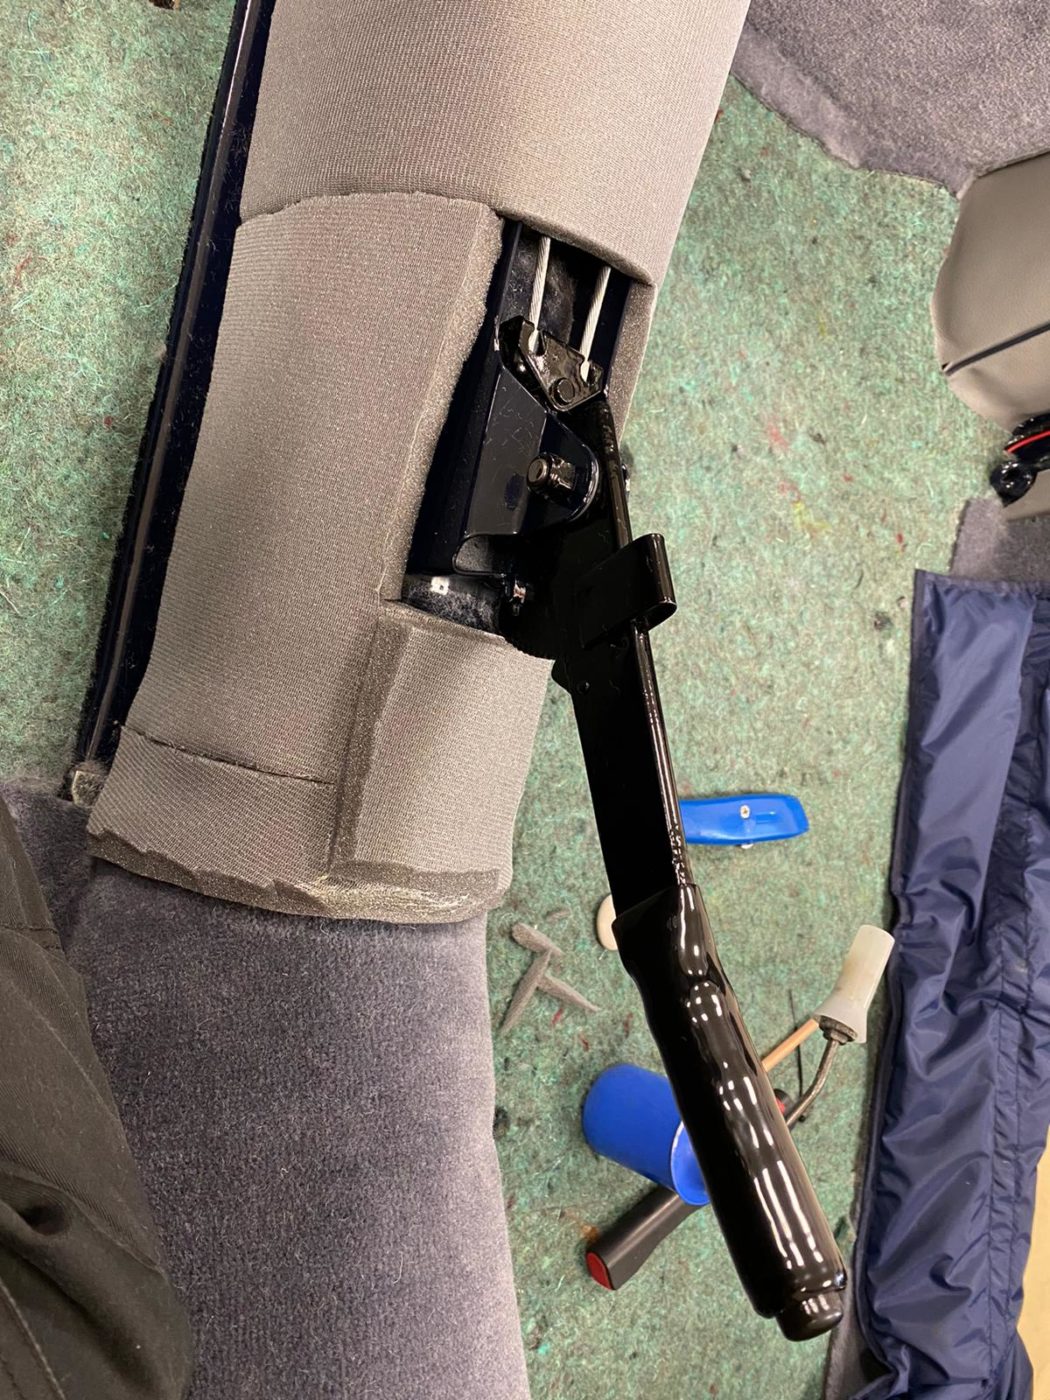
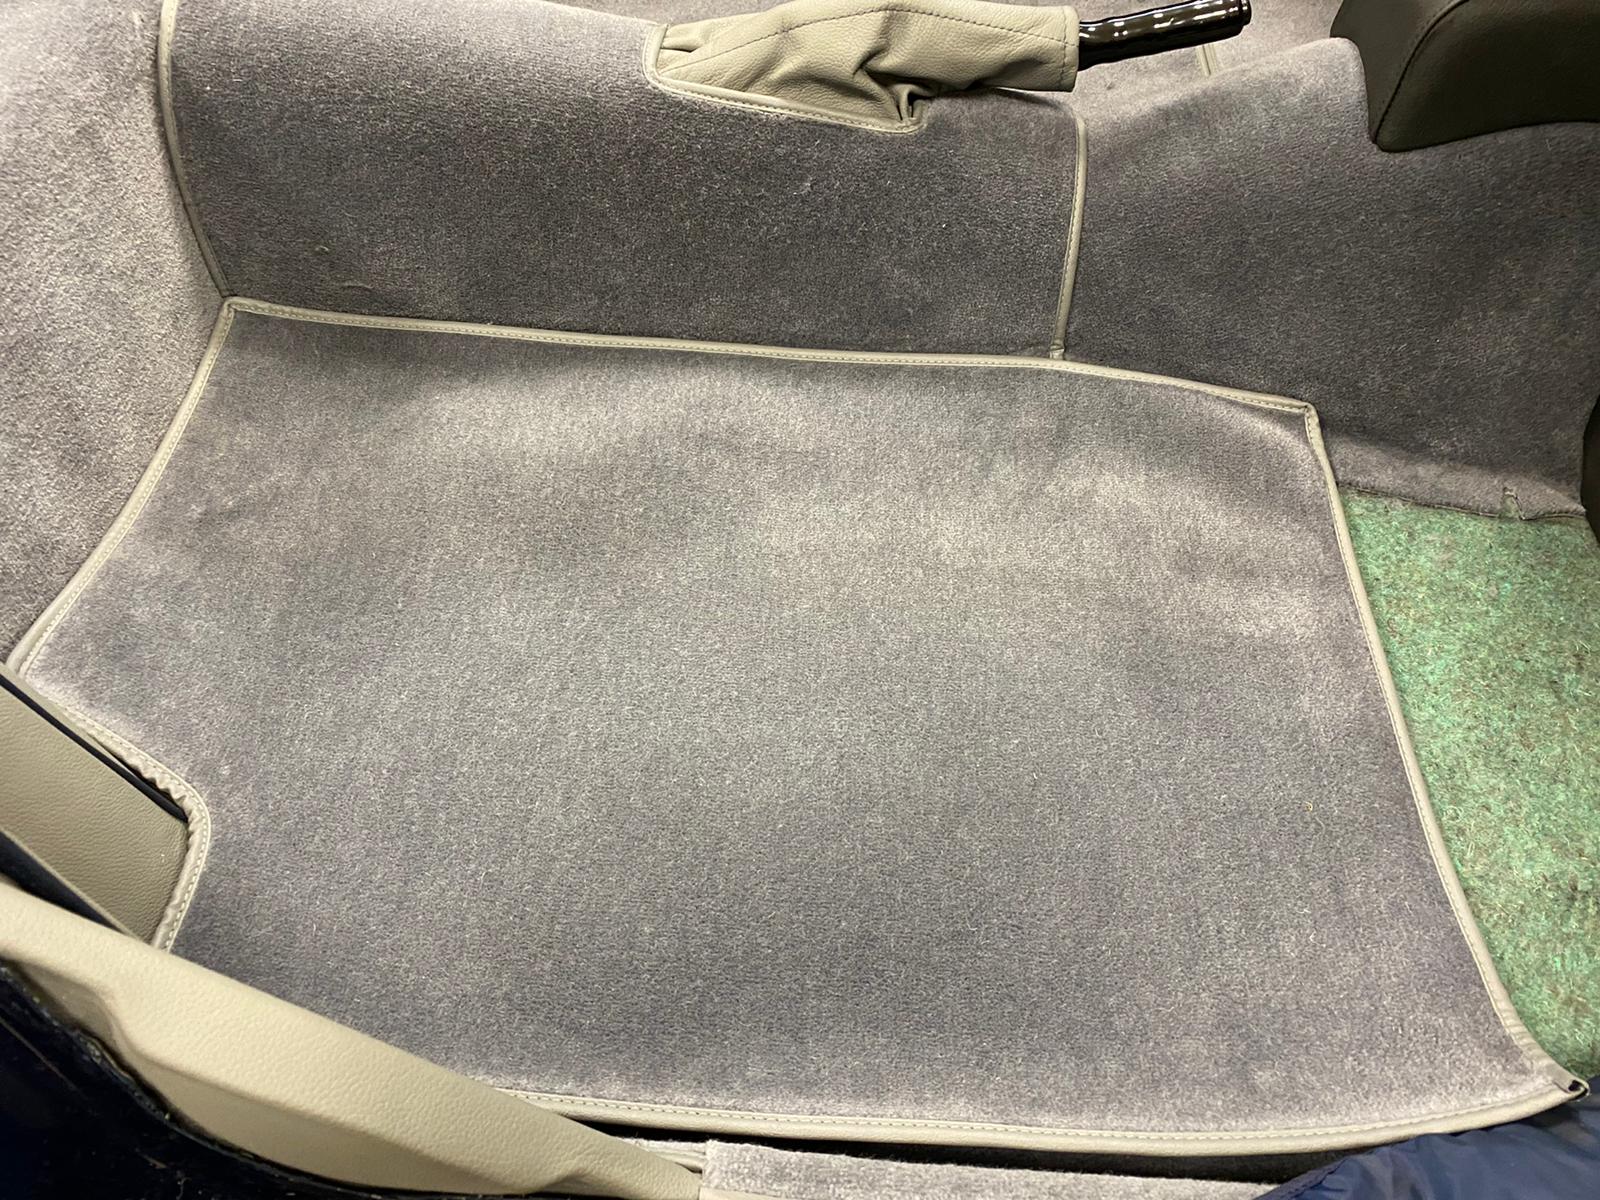
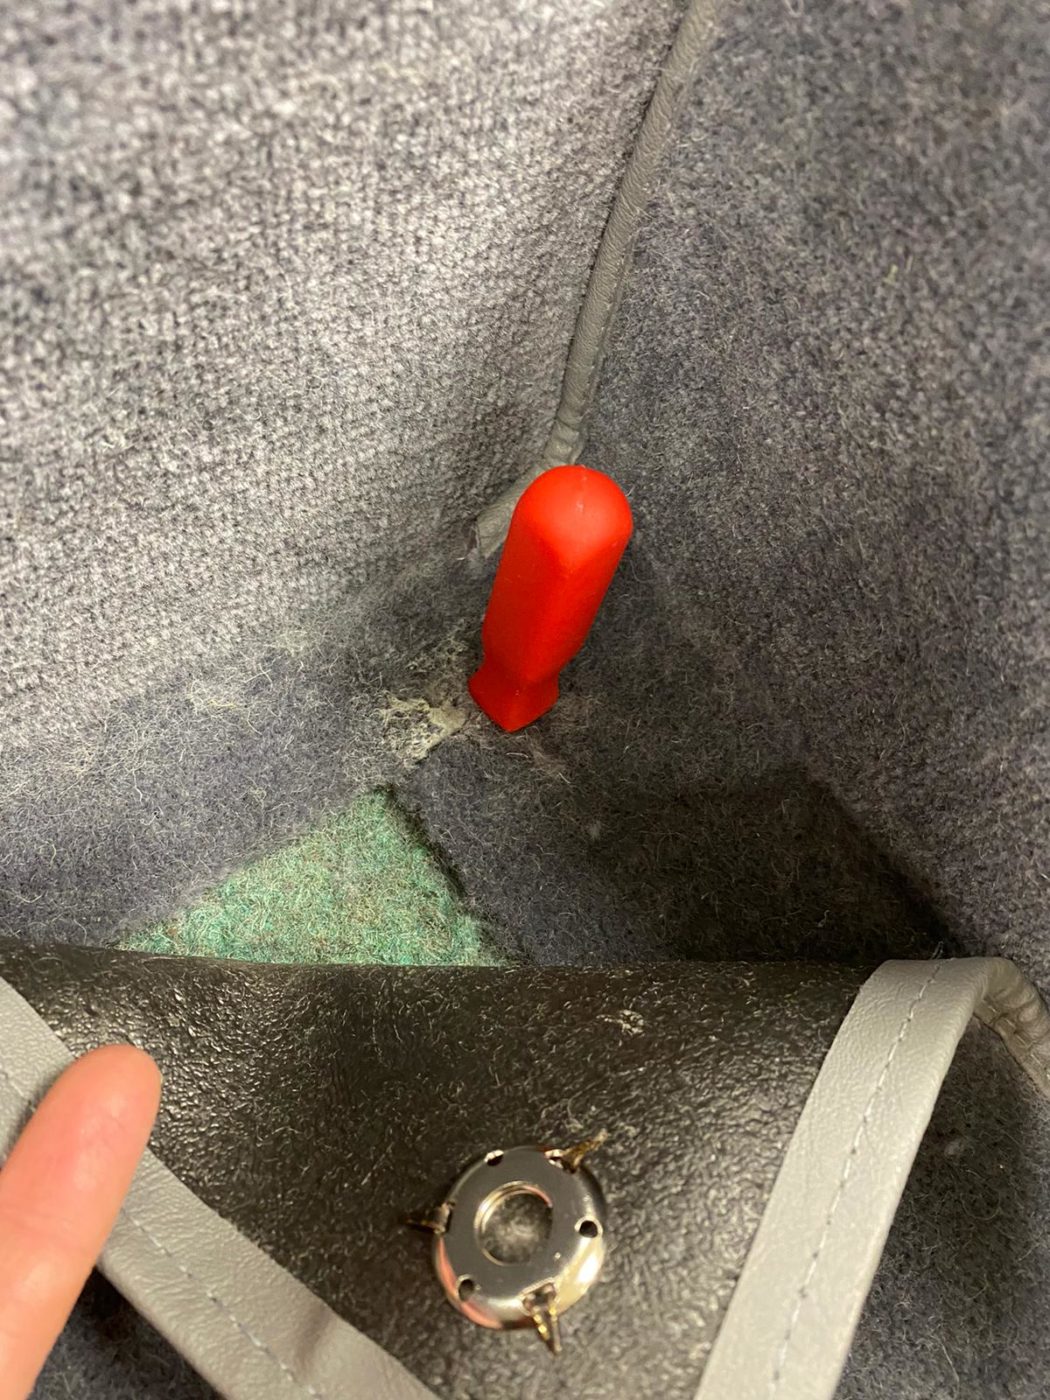
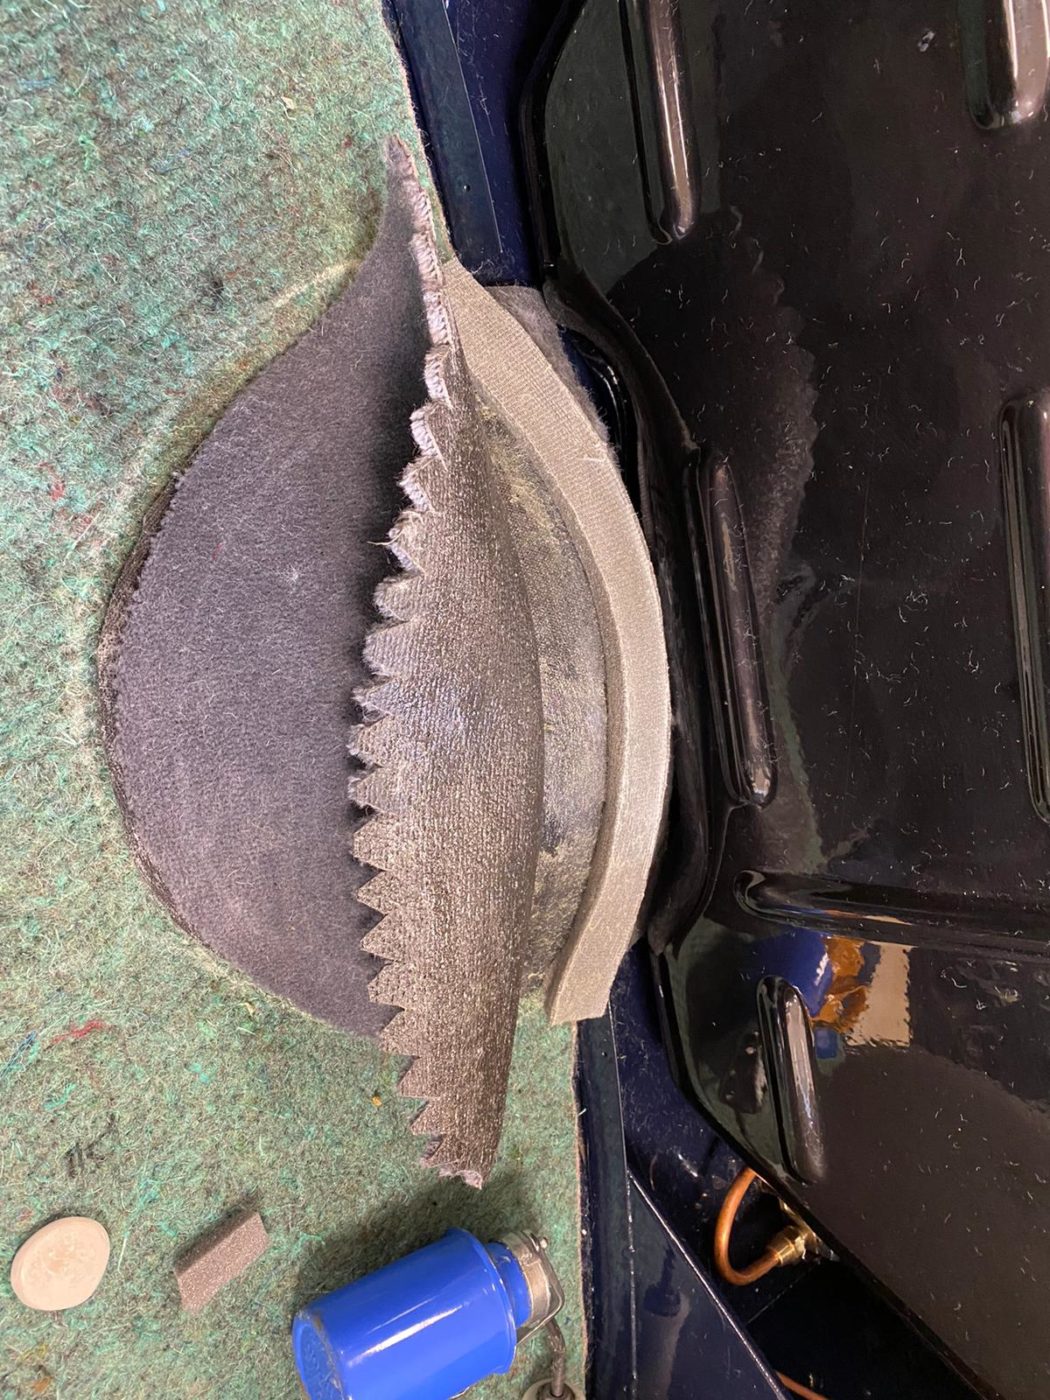
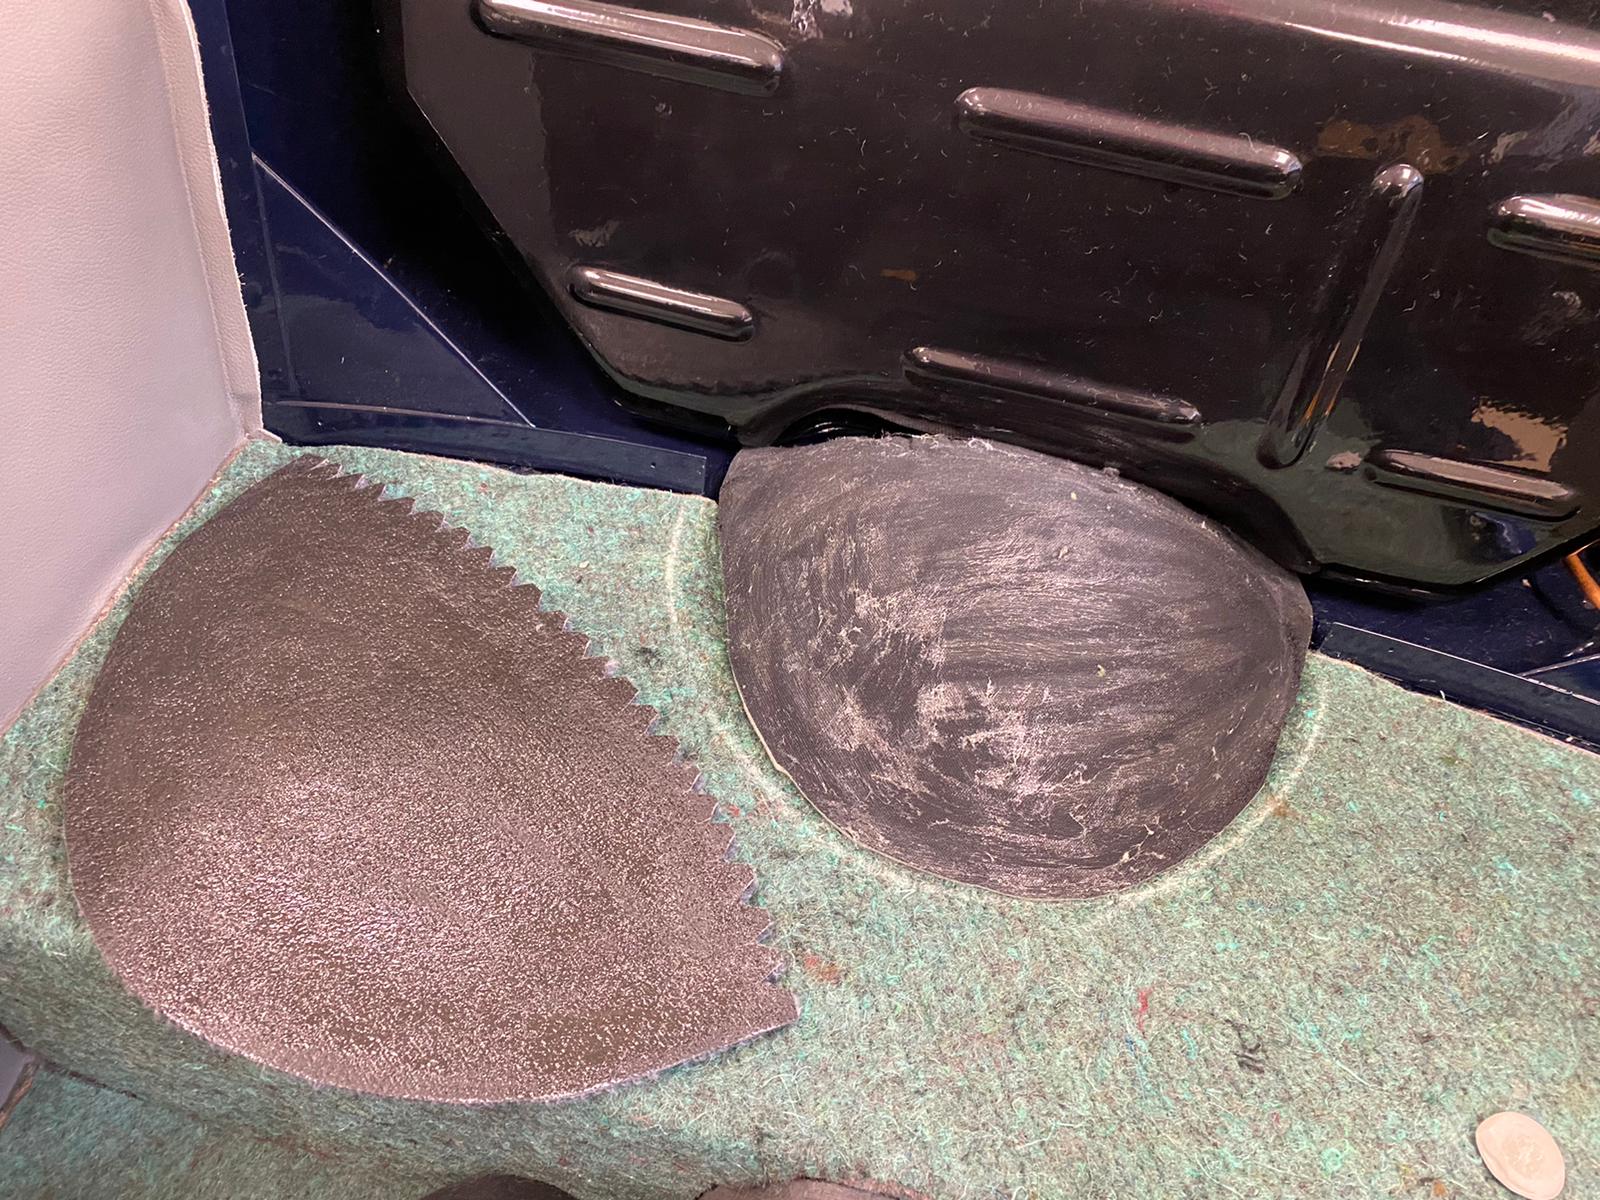
The hand brake gaiter section needed to have foam packed around the hand brake with an 11mm scrim foam piece so that the get carpet fits nicely. Once in position, the carpet can be glued down, making sure the fabric is pulled taught to ensure a fitted finish.
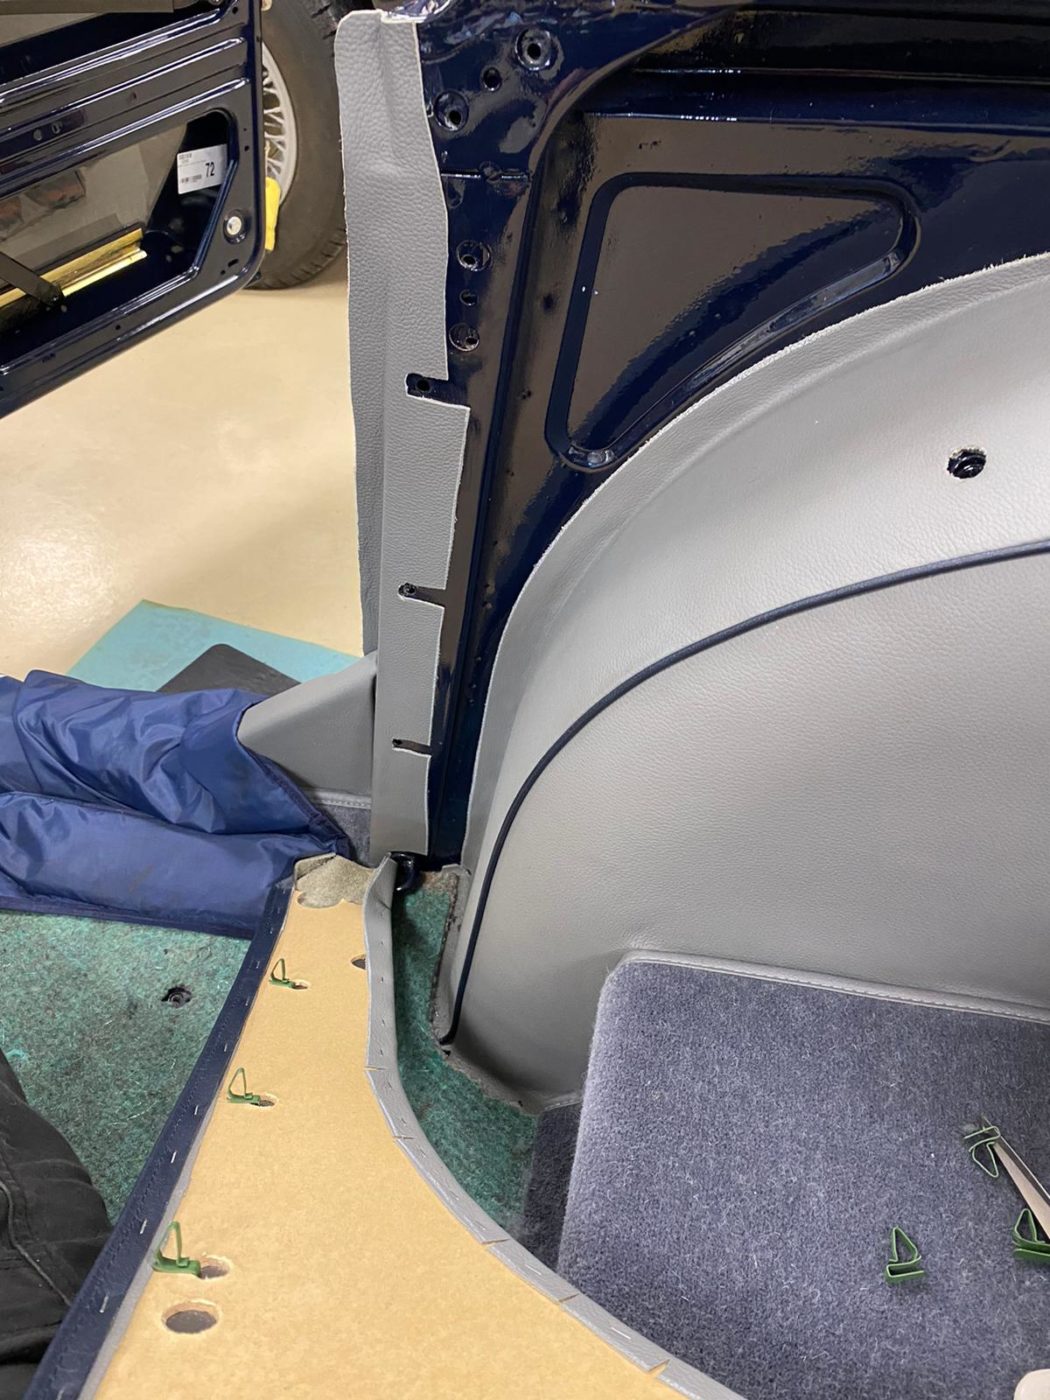
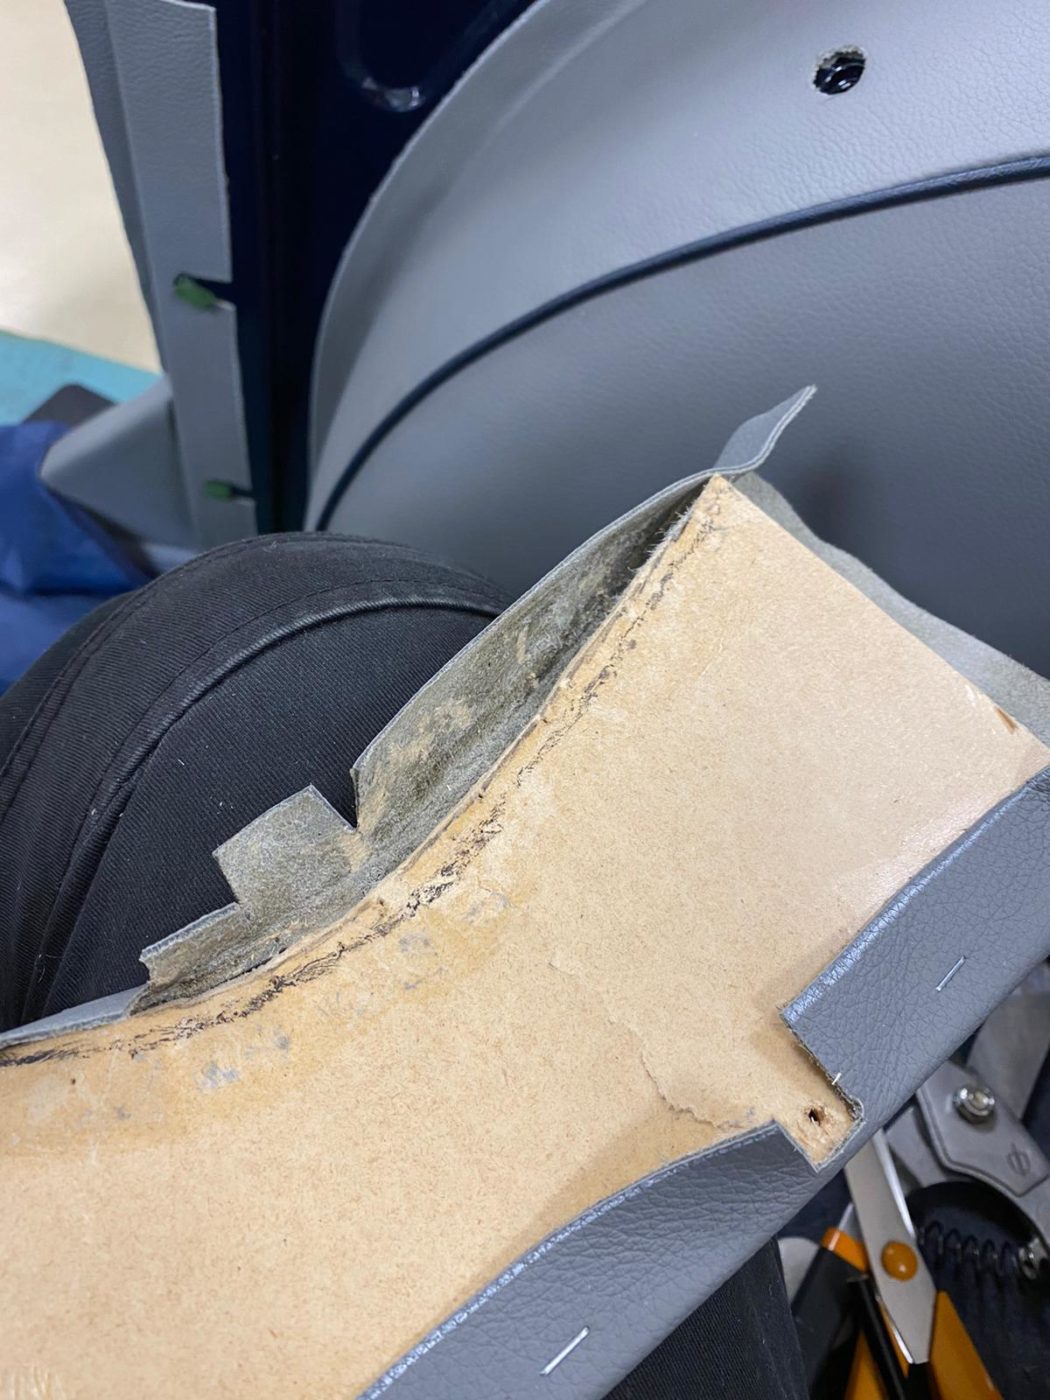
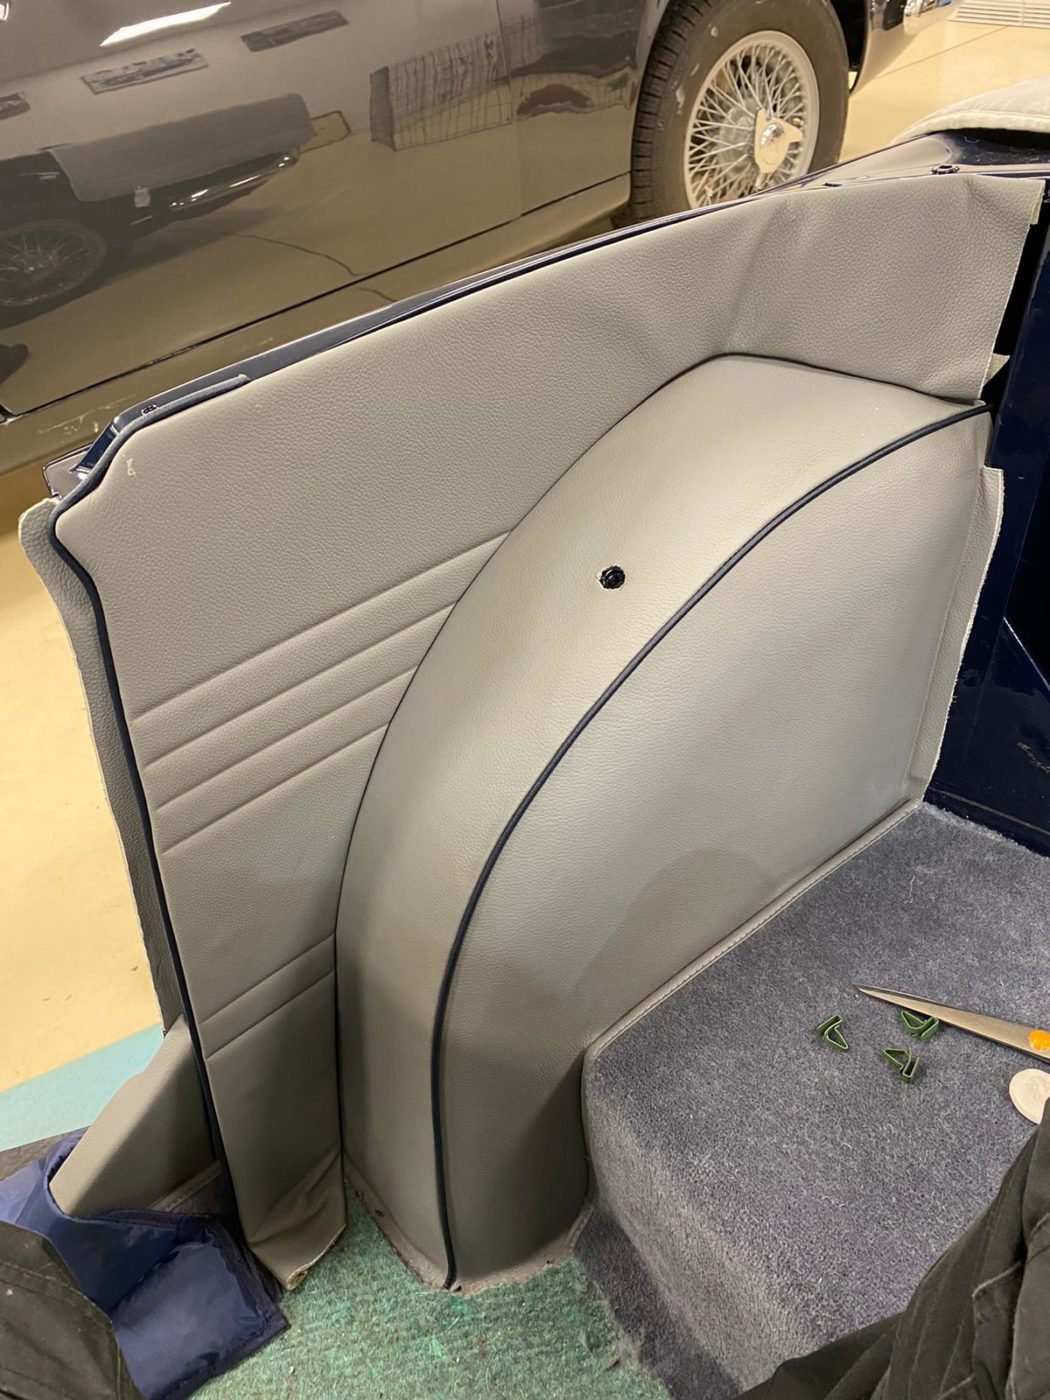
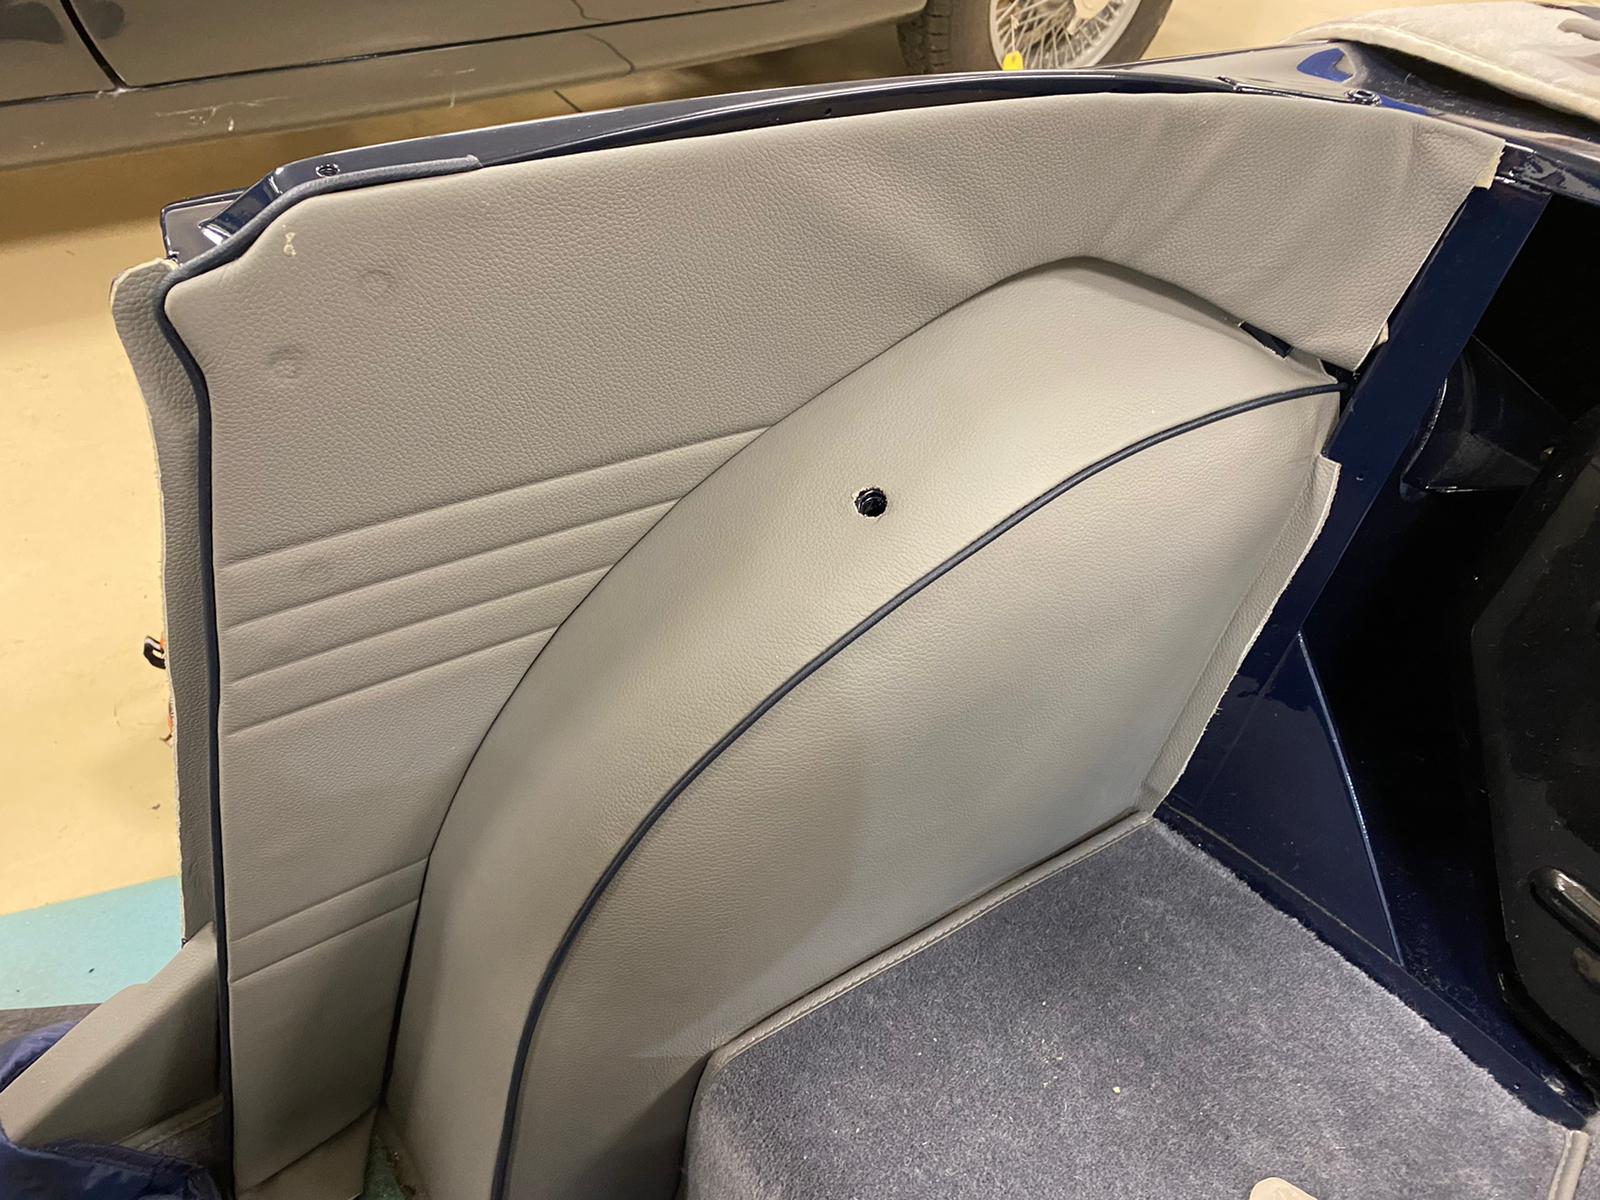
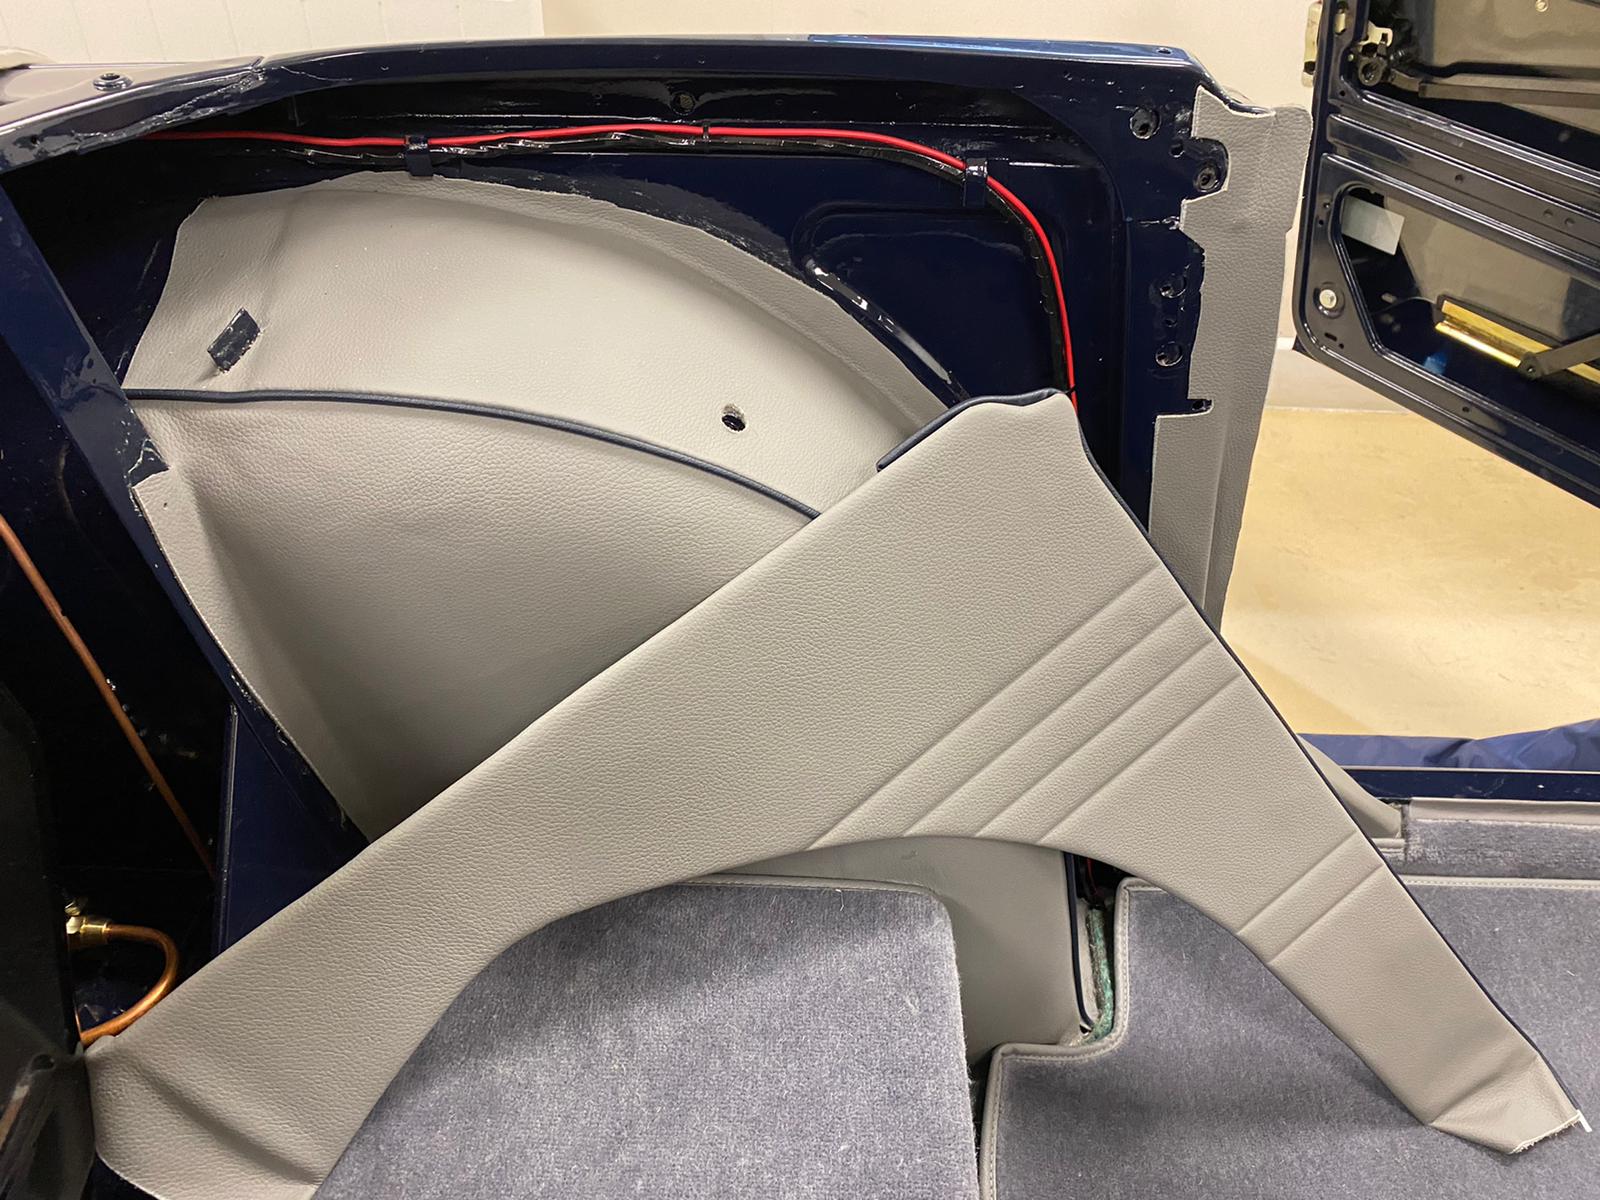
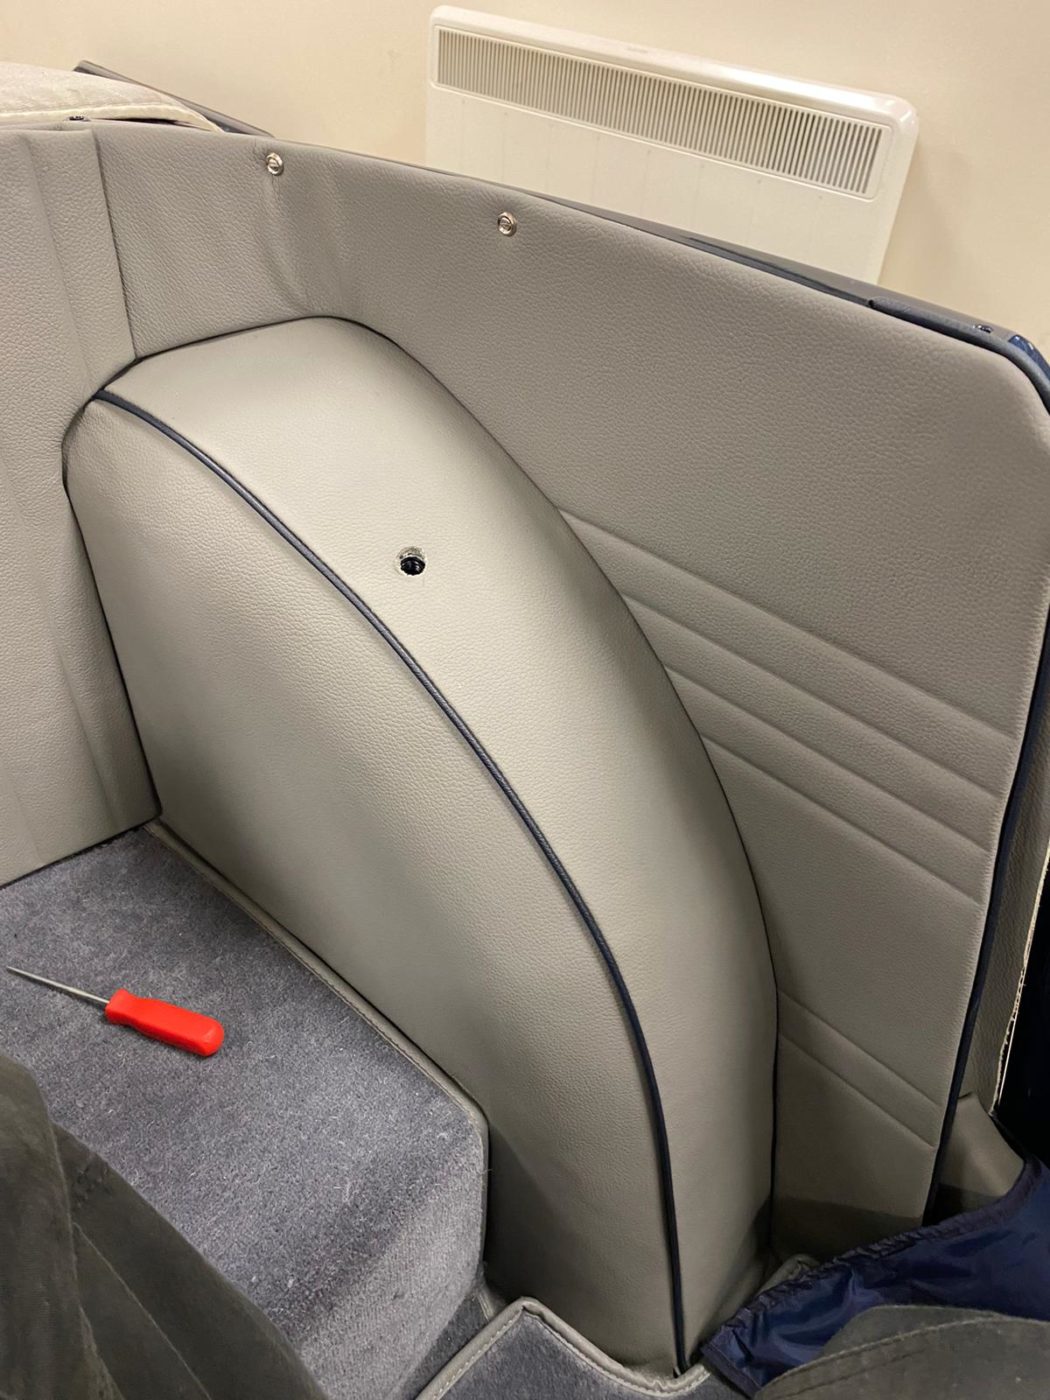
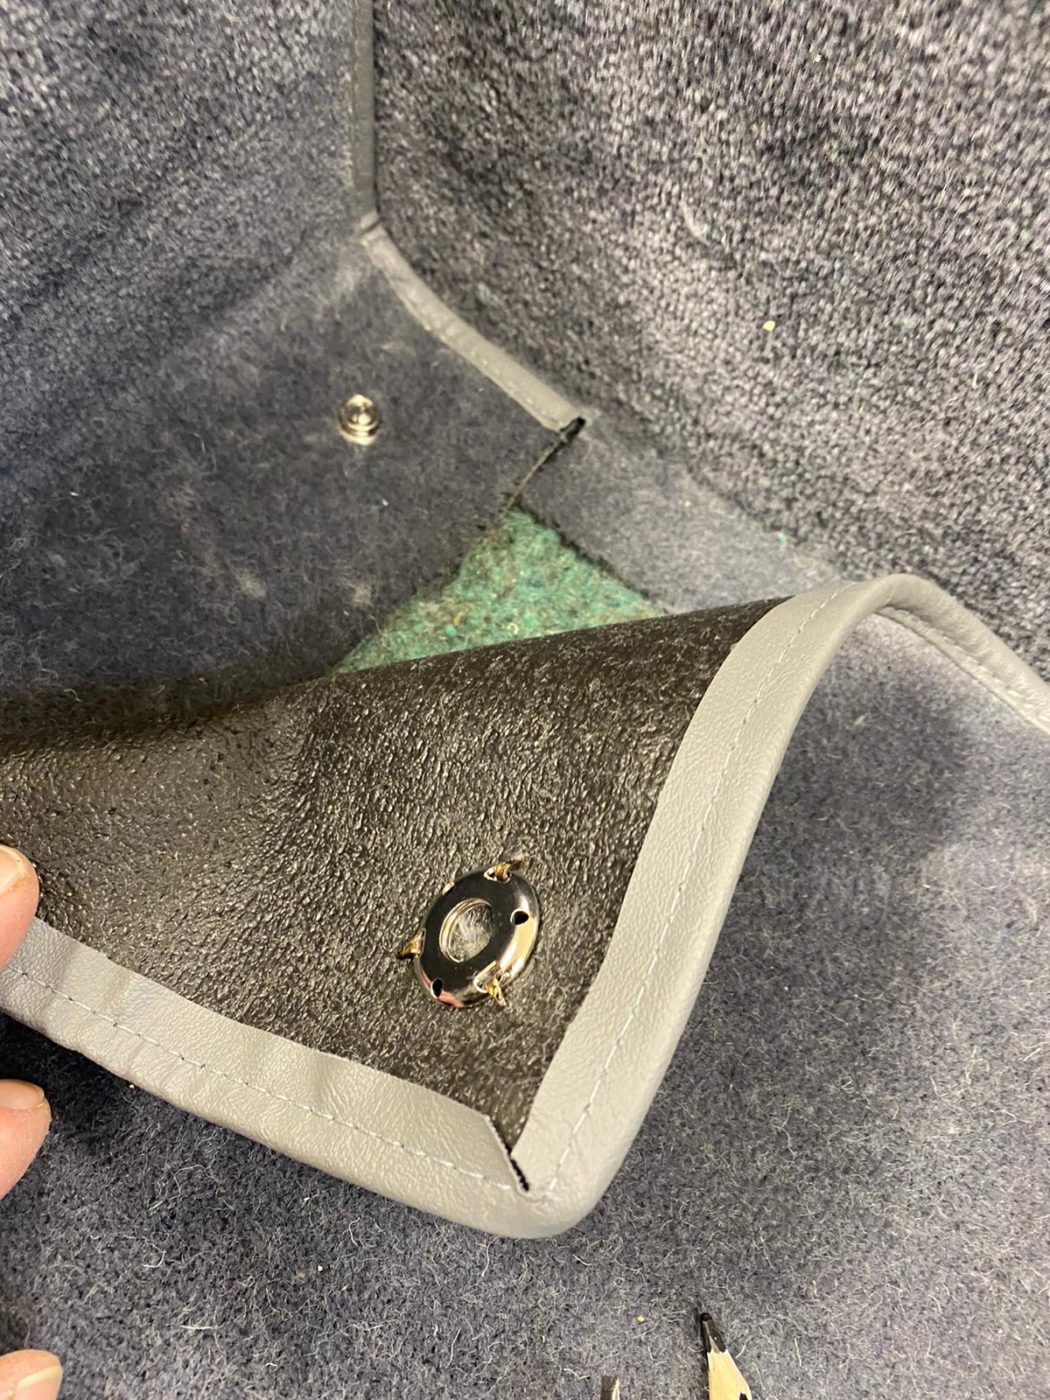
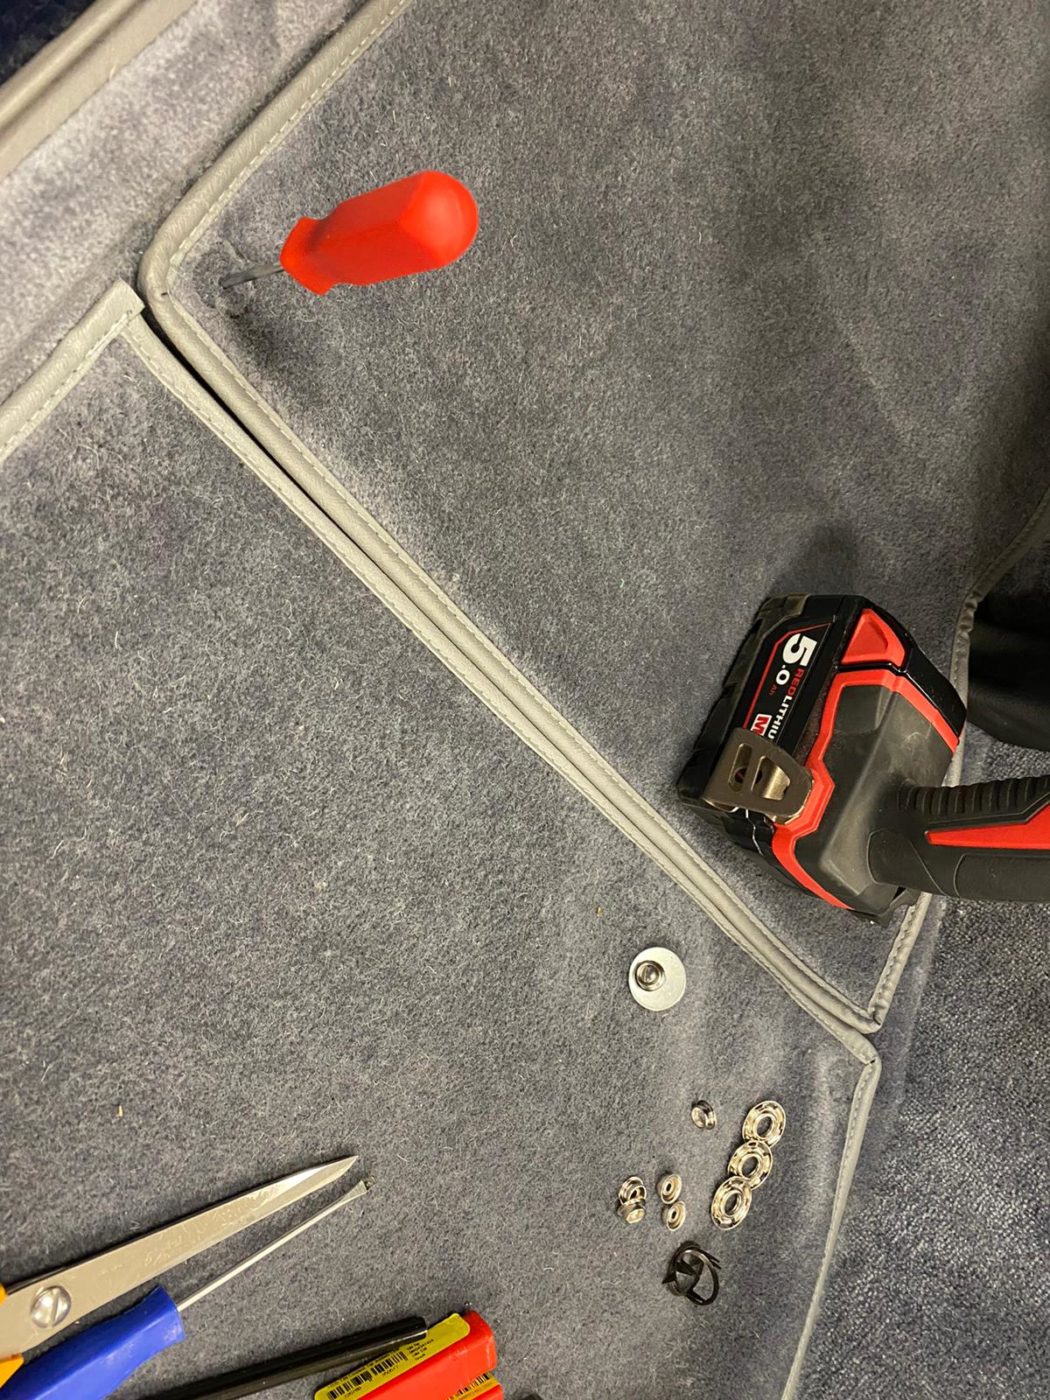
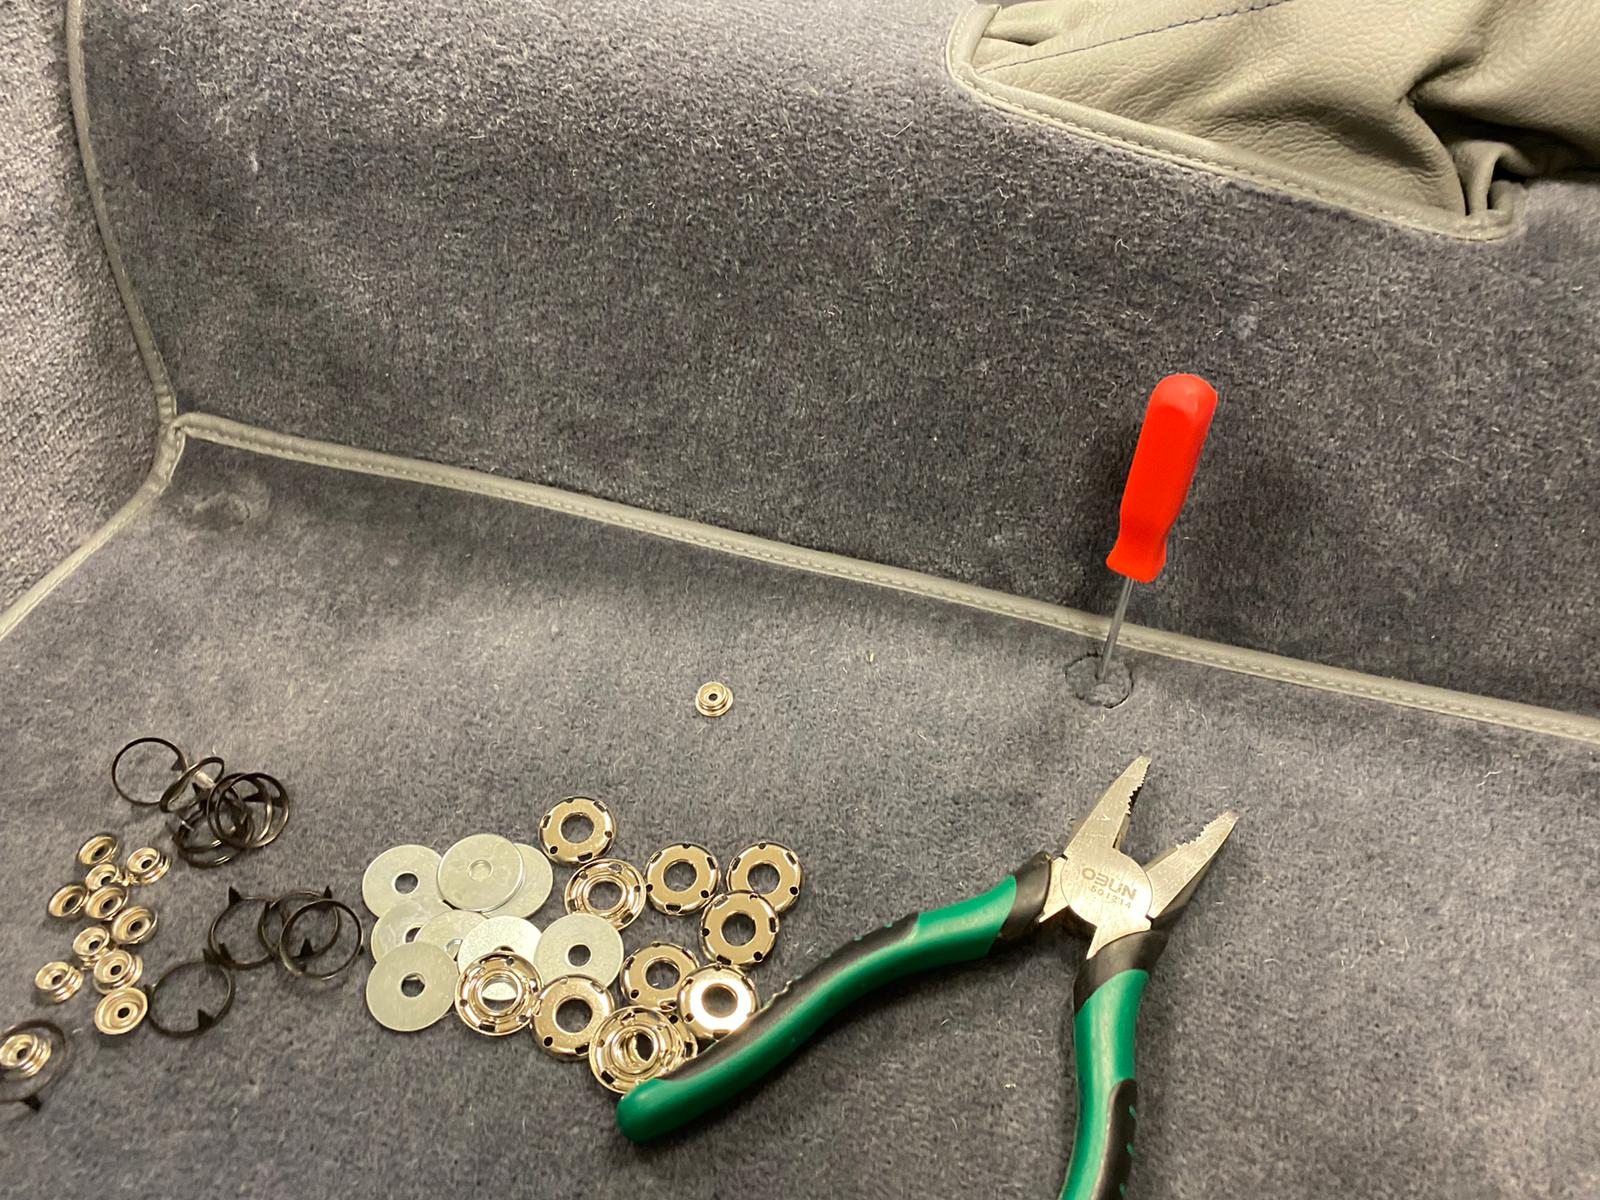
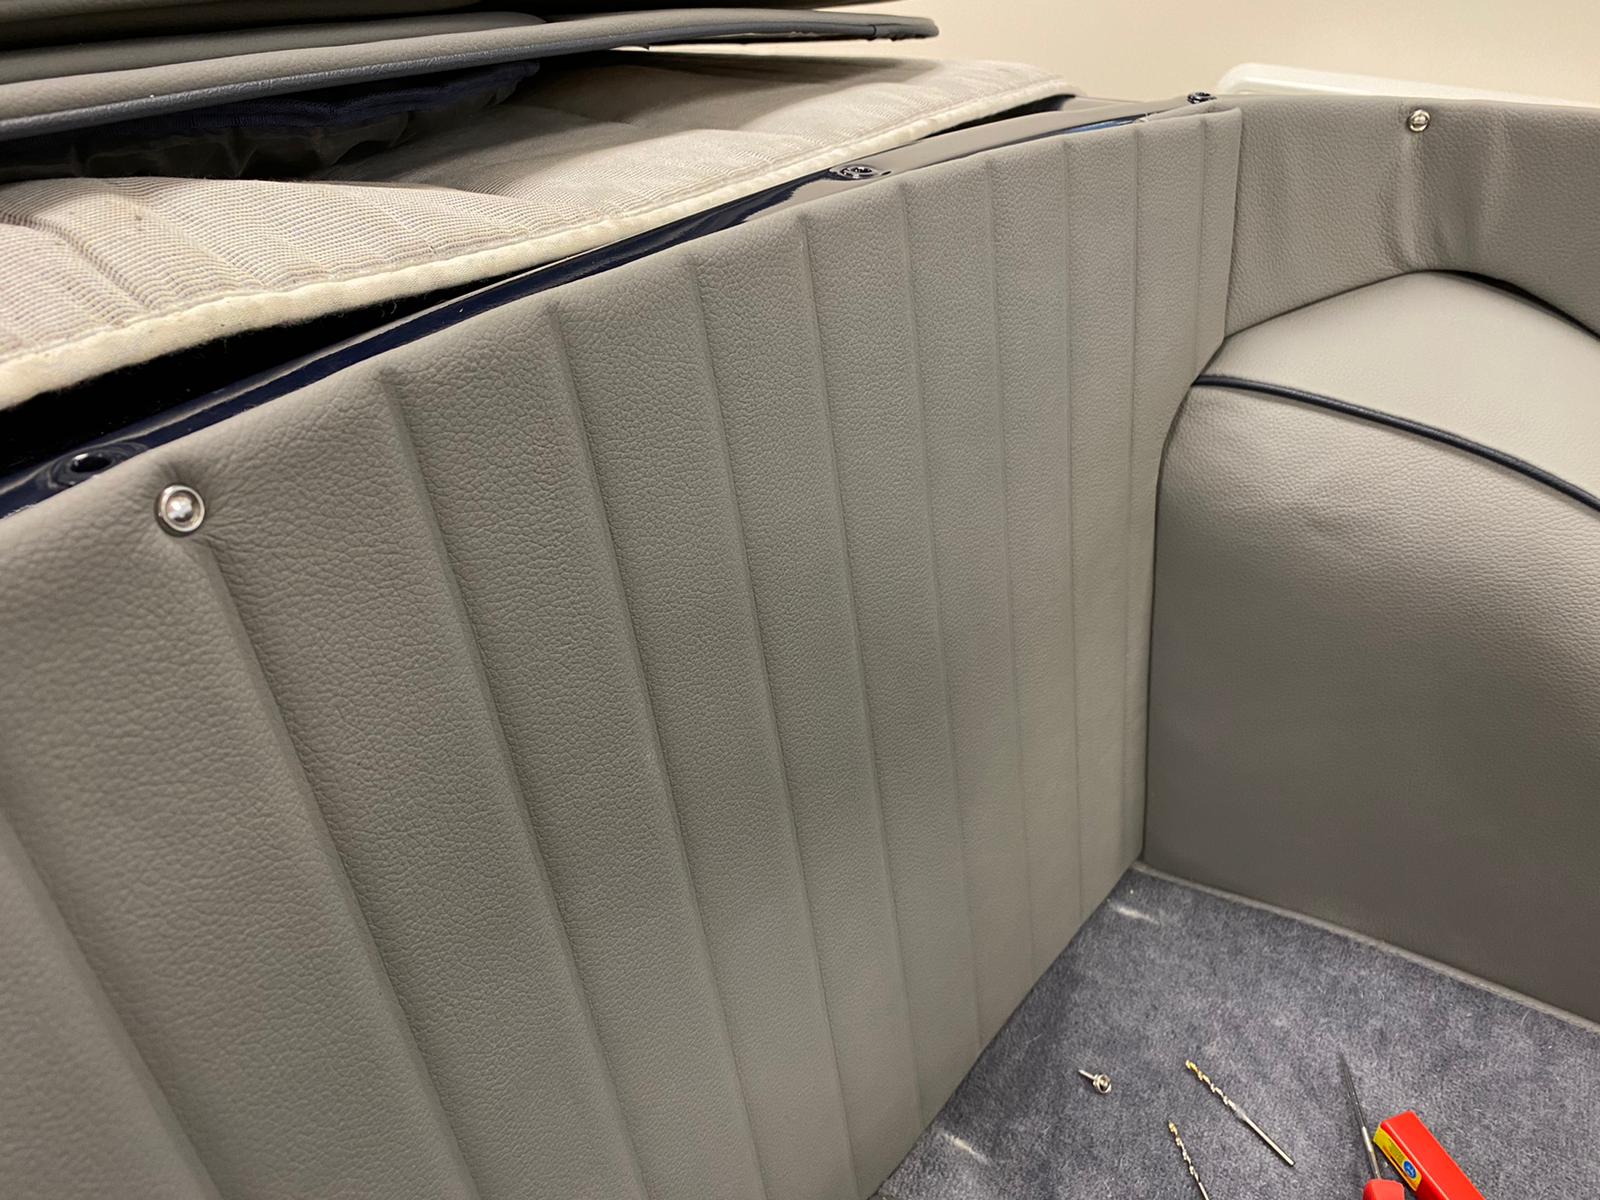
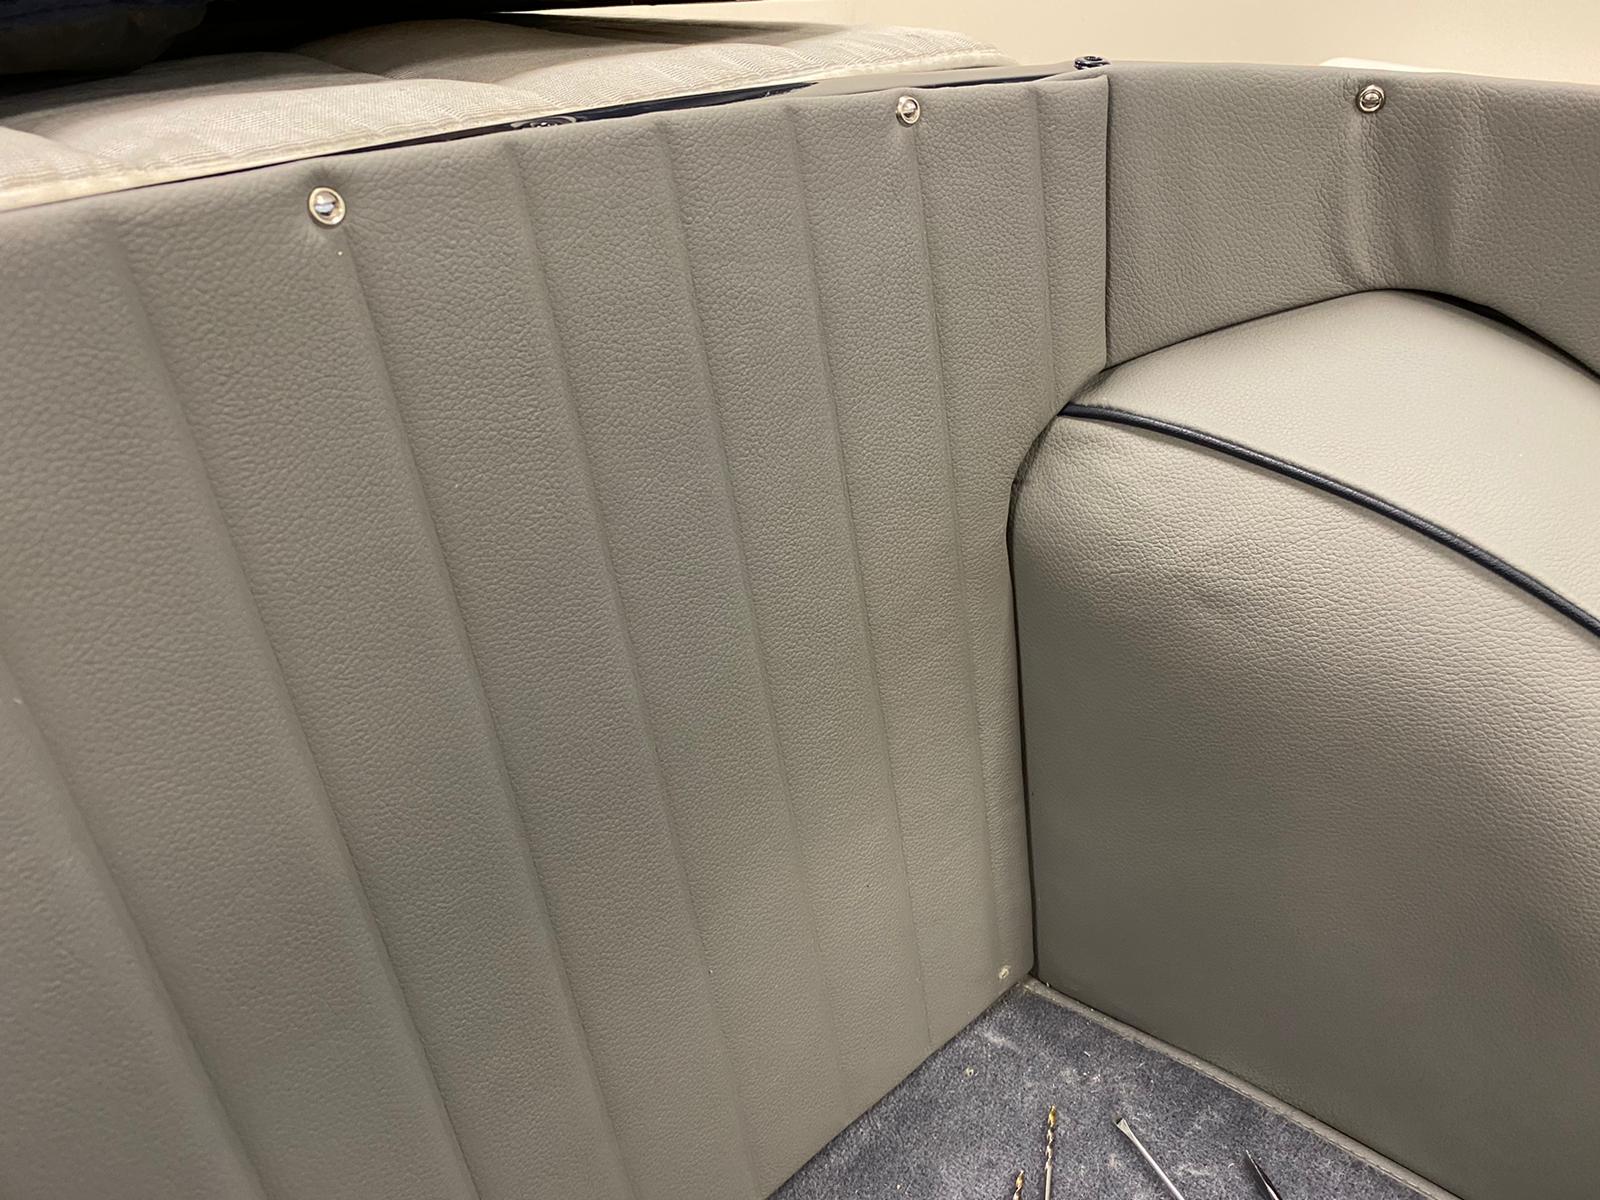
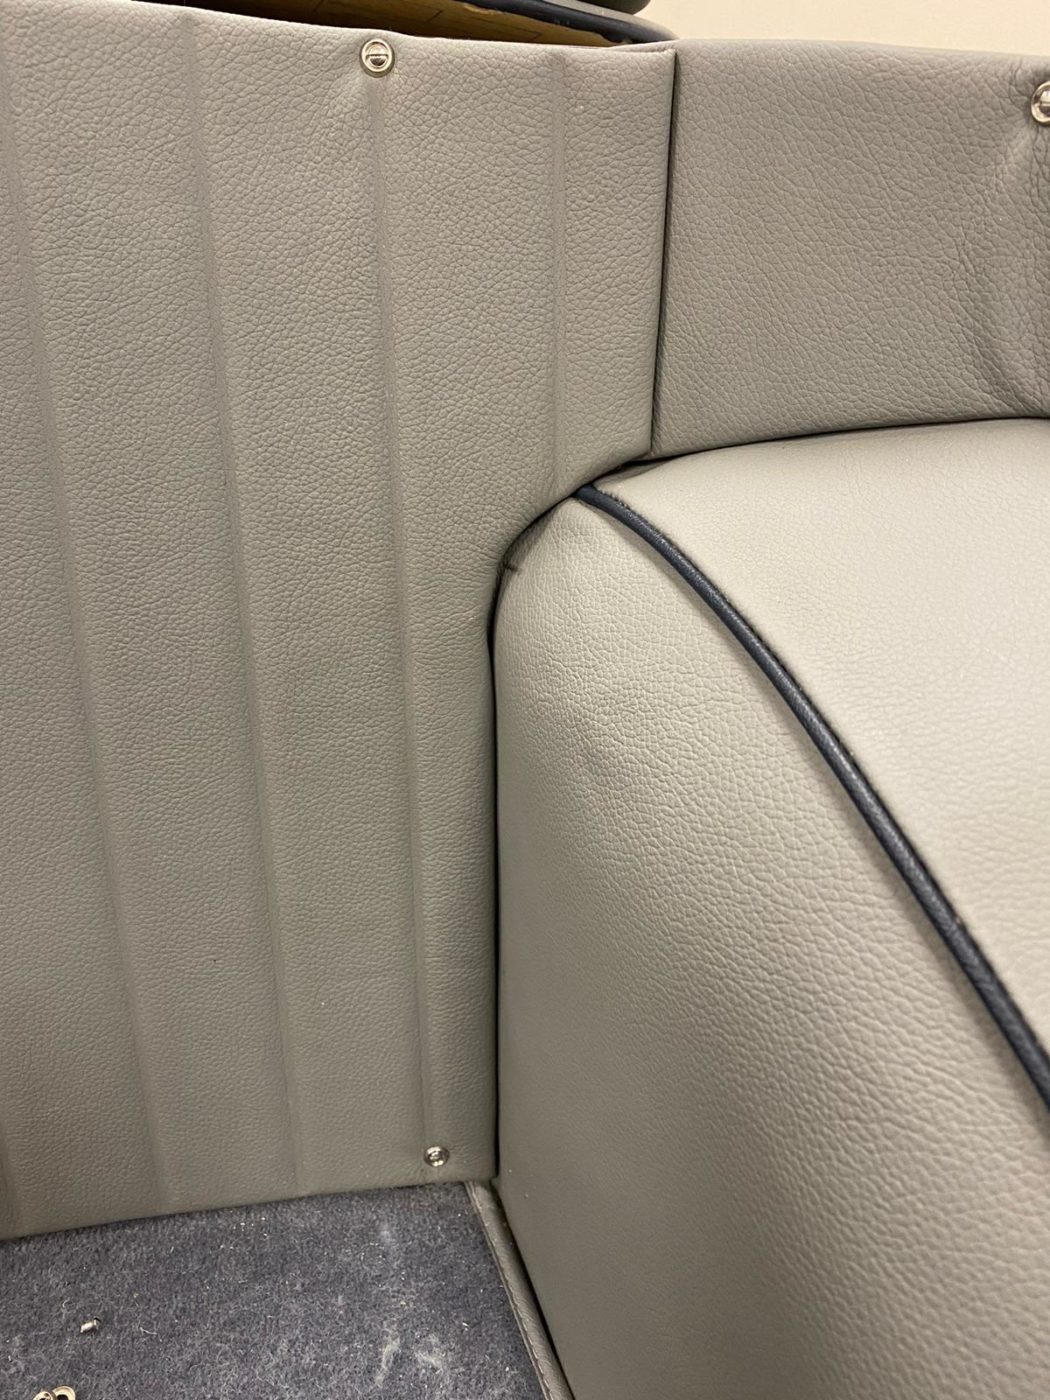
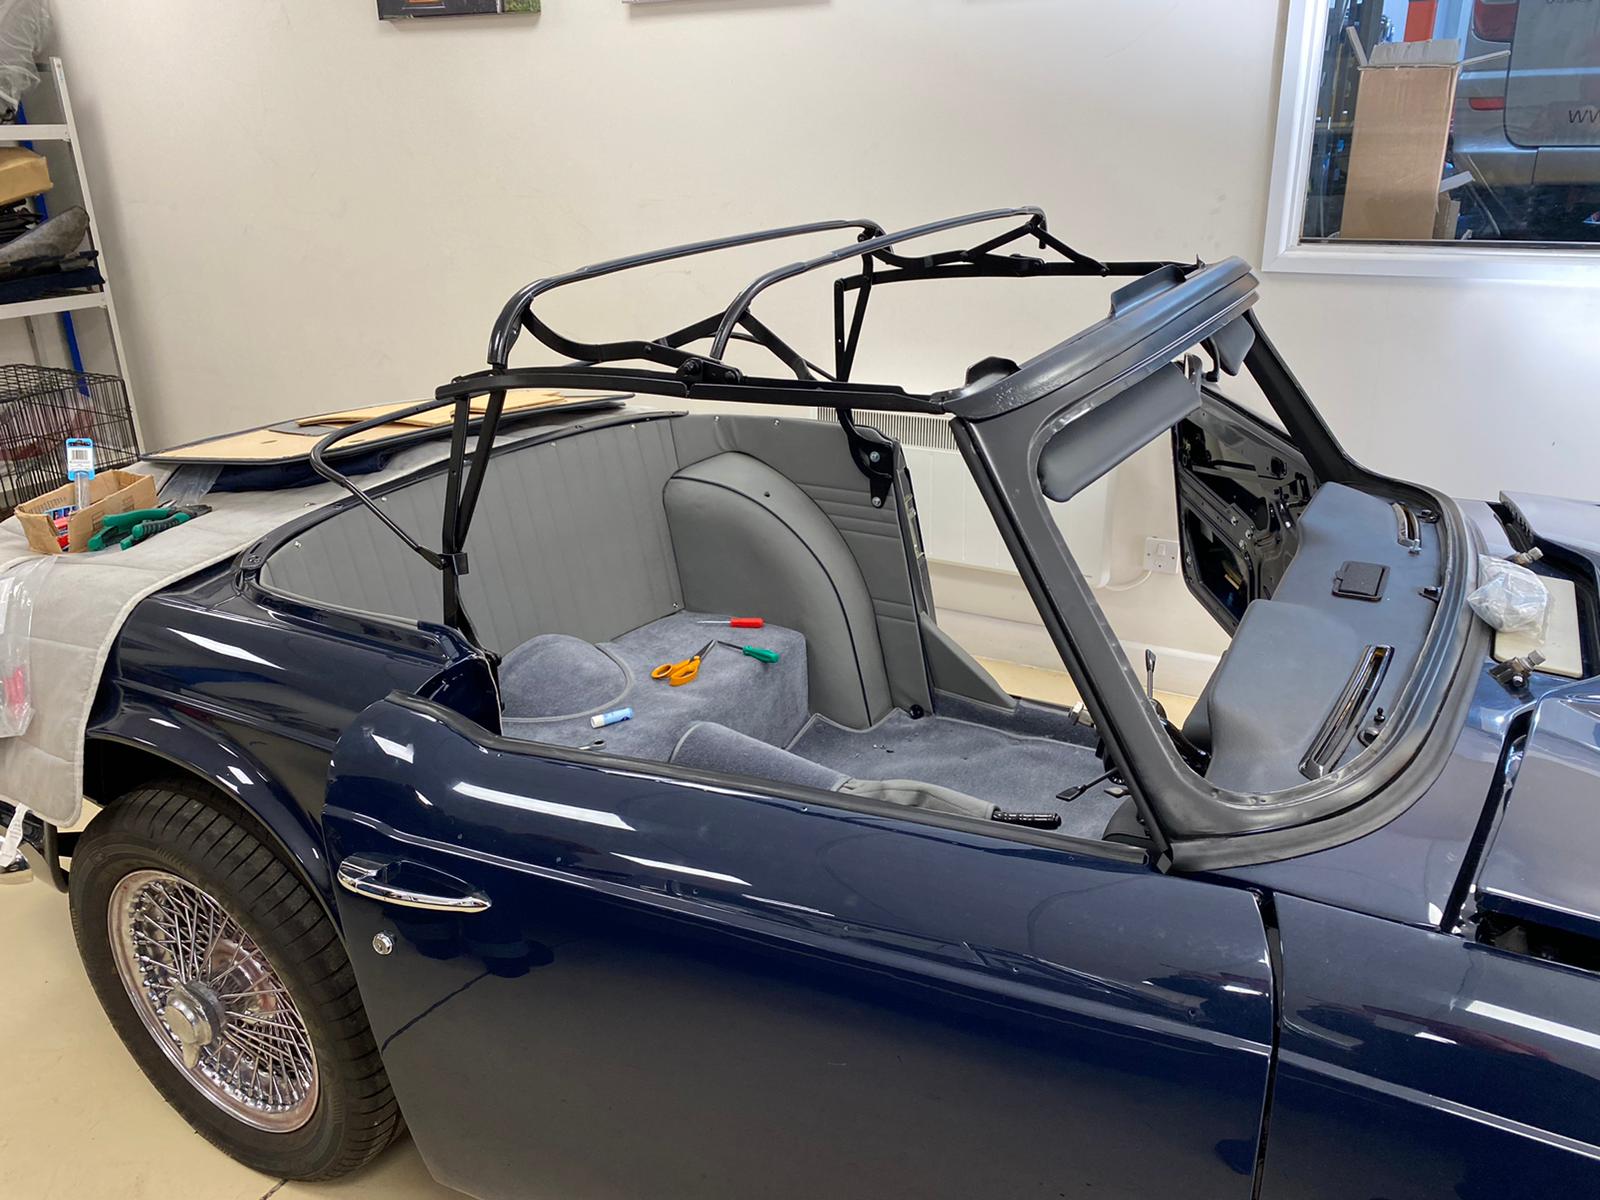
The next step was to fit the rear quarter panels and the door panel which clips onto a board. Kath found that she needed to adjust the panel around the wheel arch and the bottom section for seat belt eyelet first before fitting the sections. Once she had fitted the drivers side rear, Kath could then fit the passenger side and attach the carpet fasteers to footwells so that the mats don’t move about.
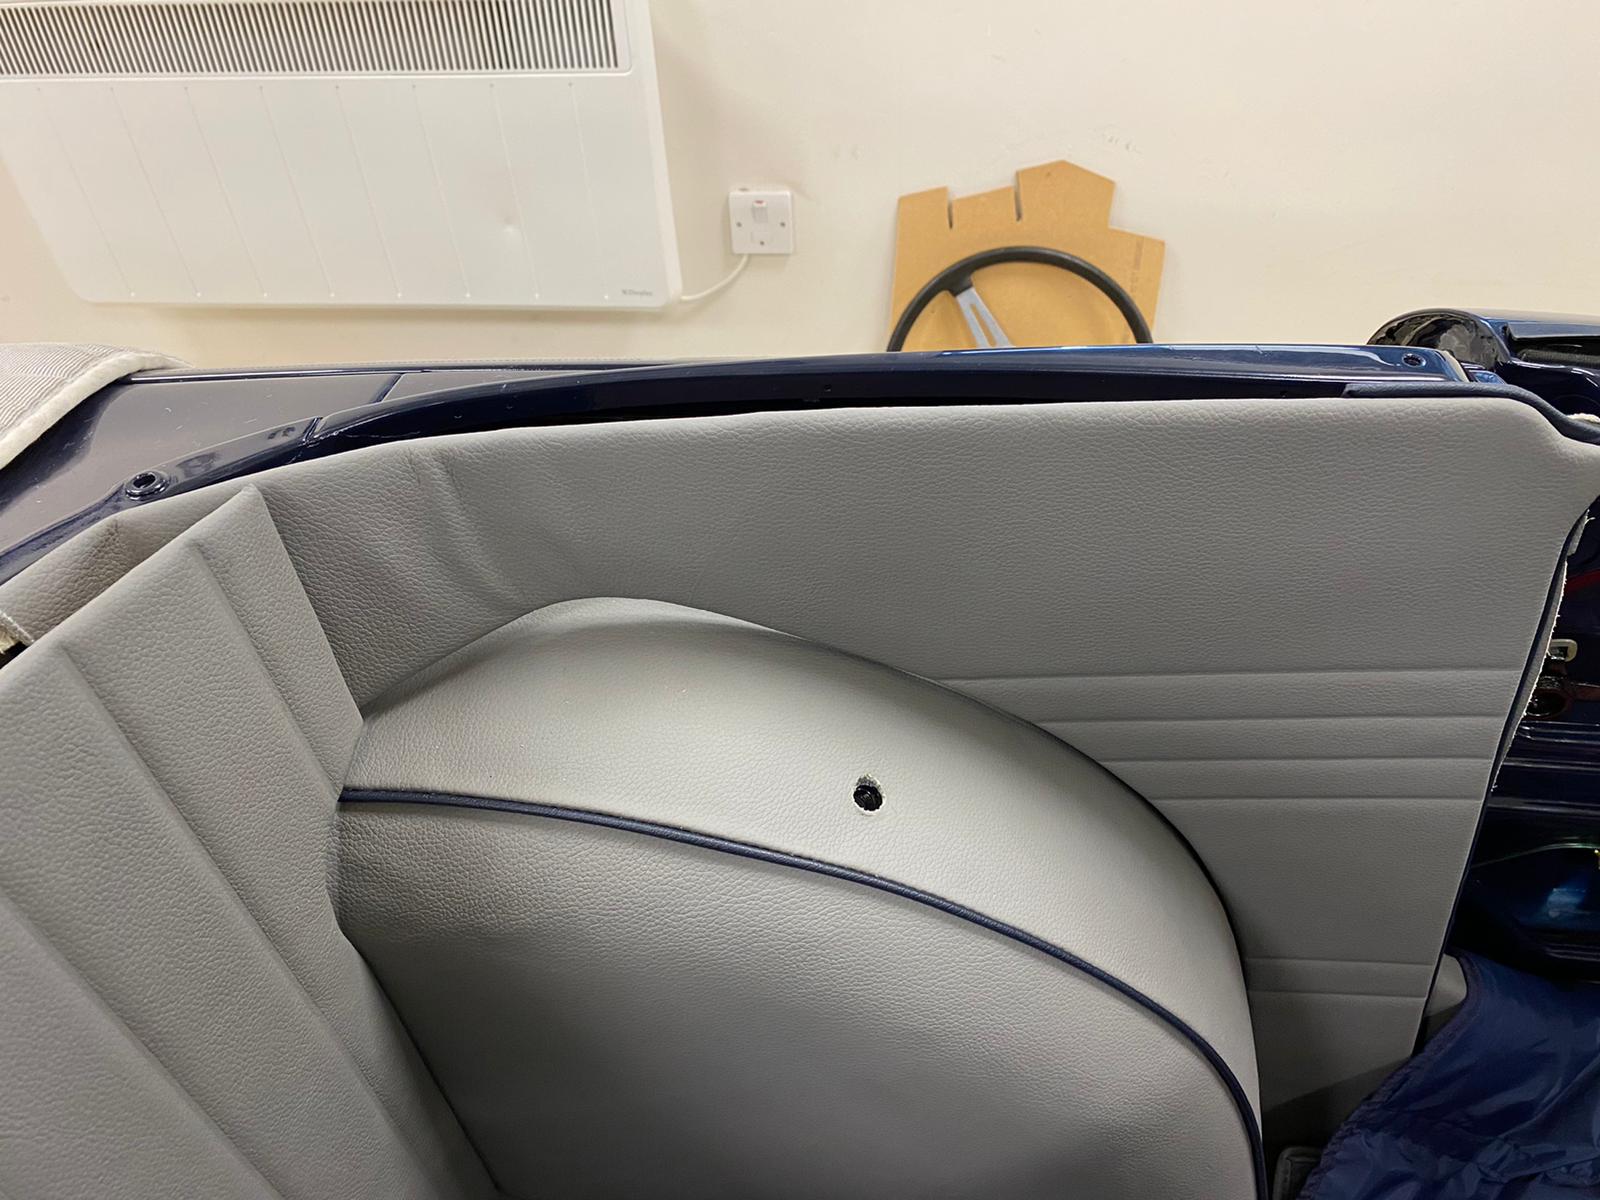
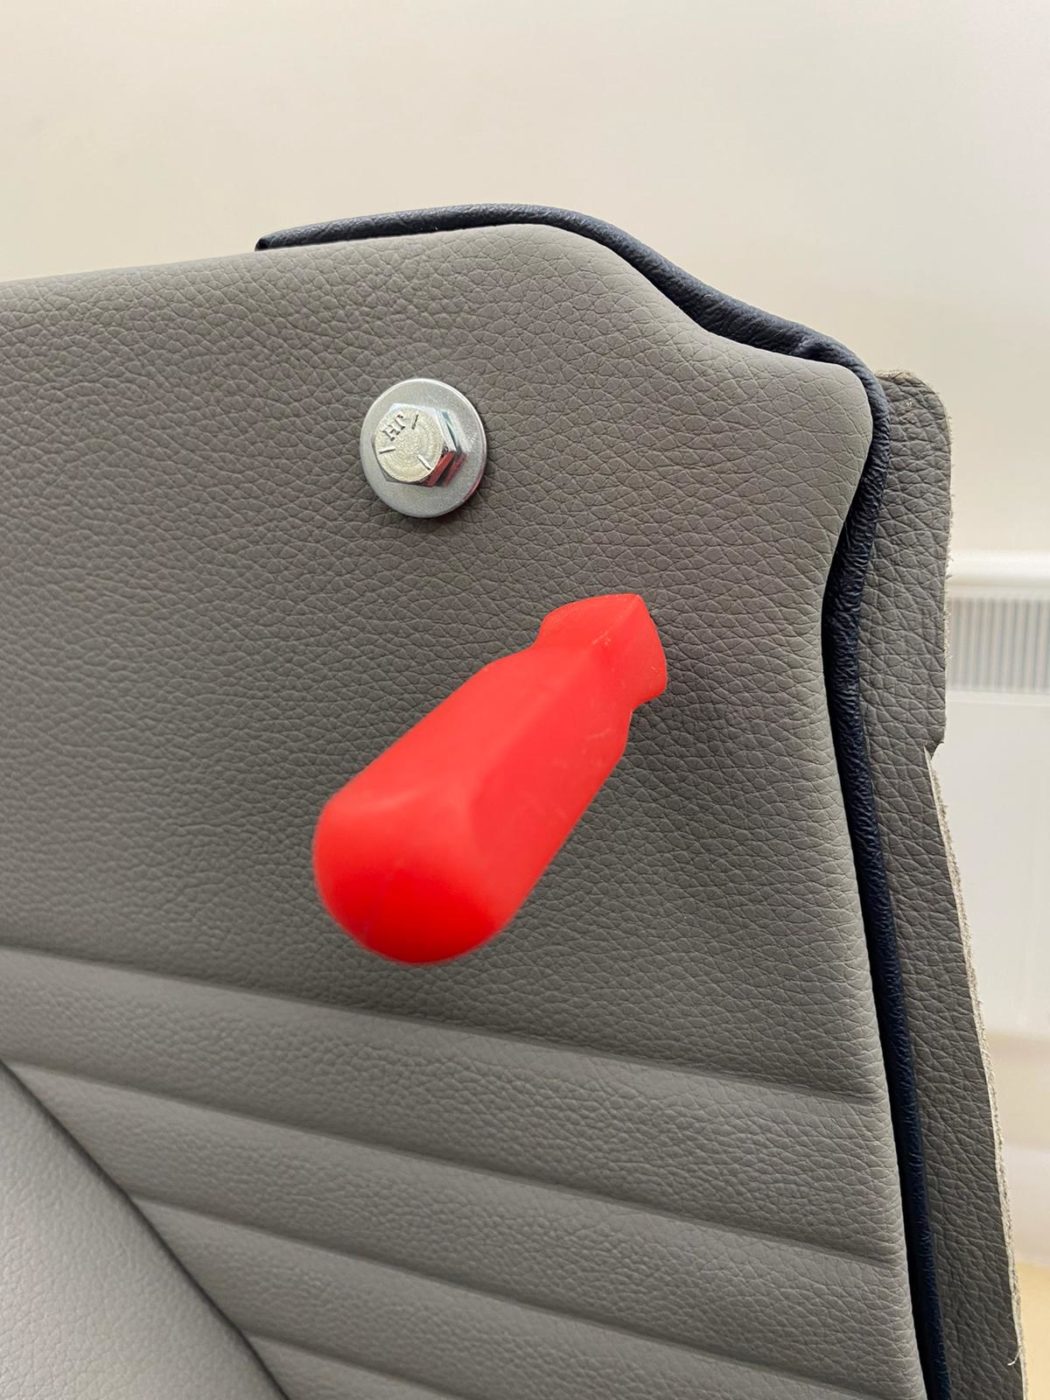
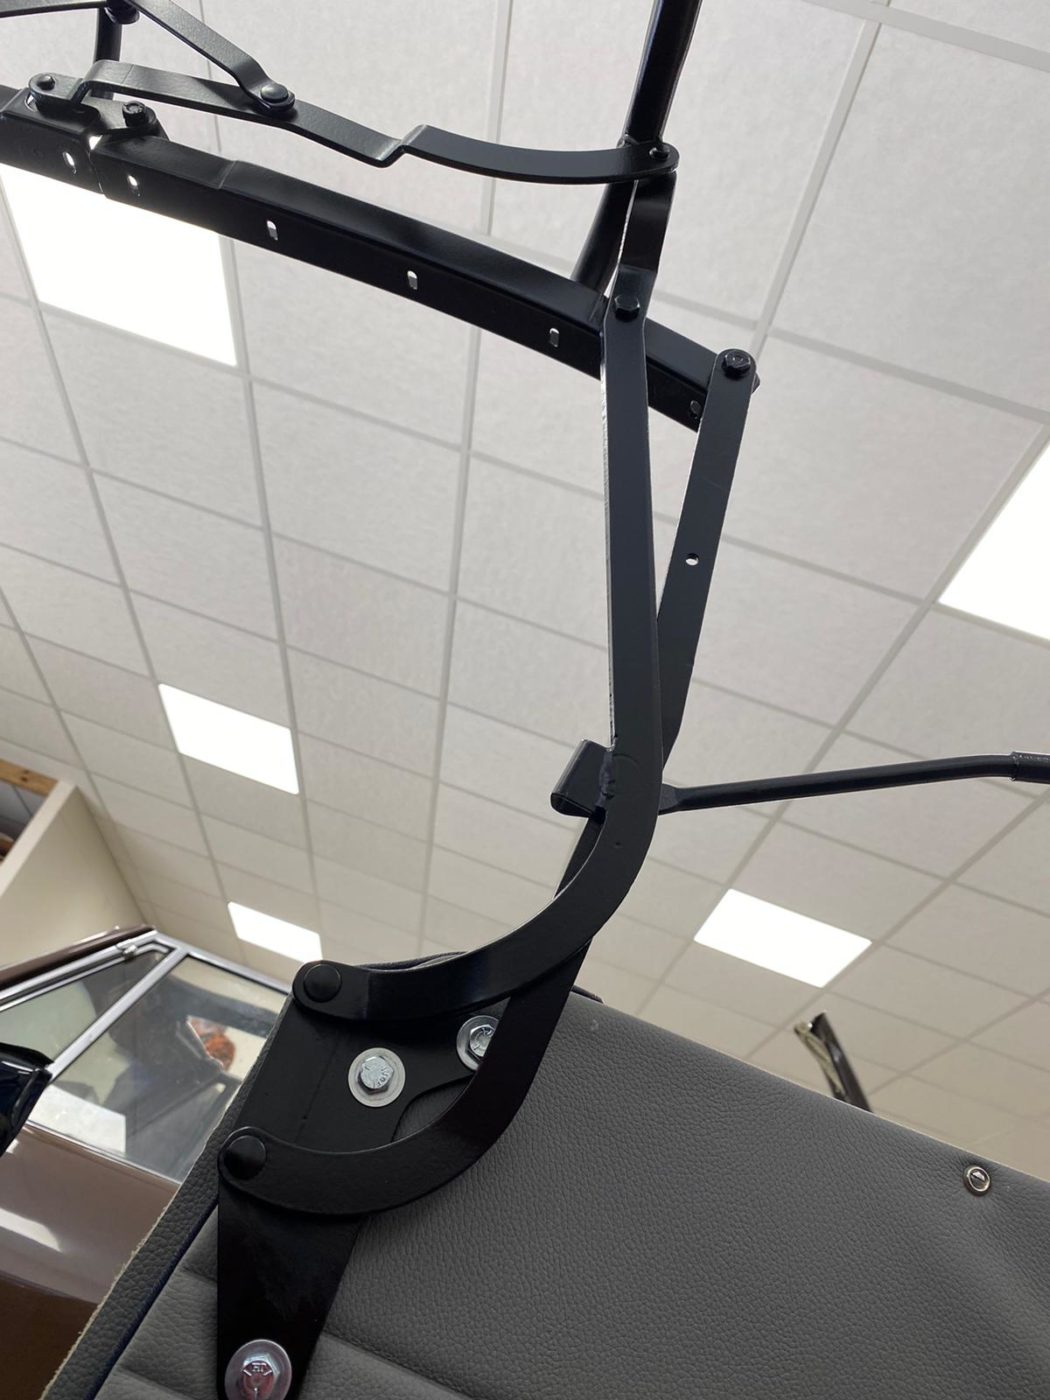
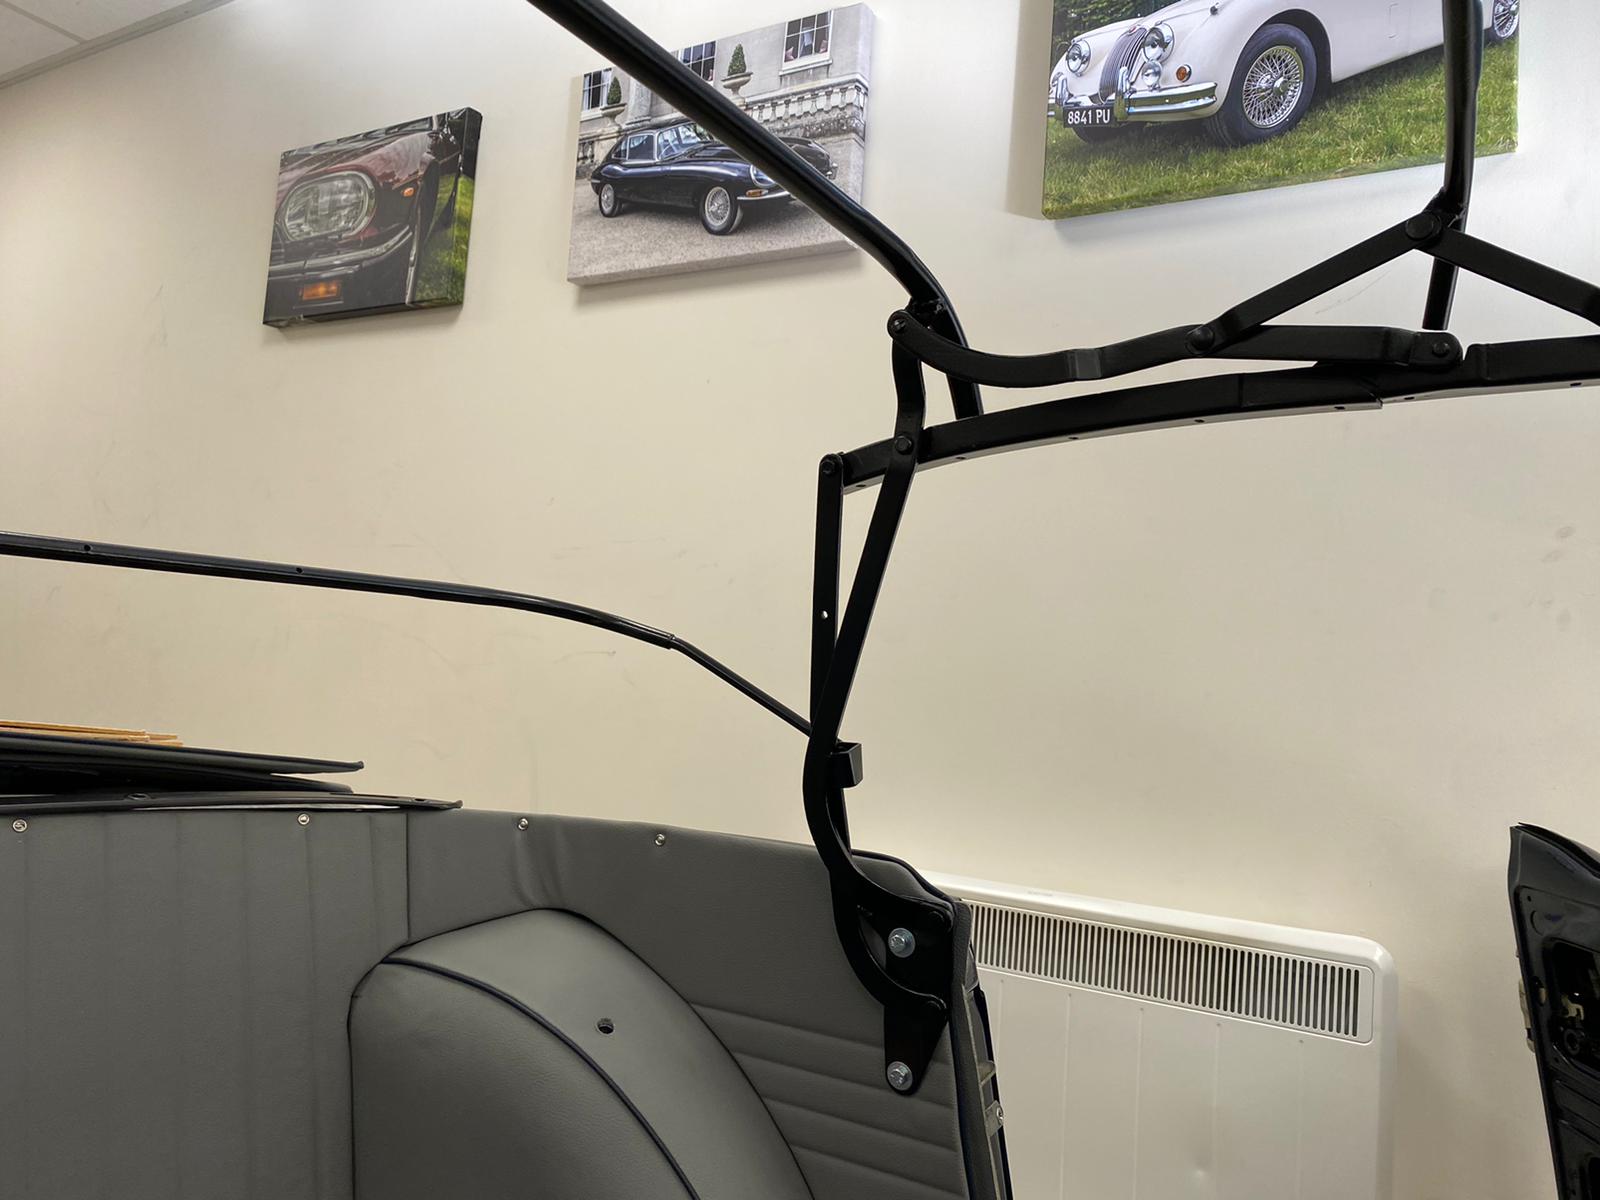
Finally, Kath could secure the carpet down in the upper foot well around the pedals and focus on the rear cockpit panel which needed to be screwed into place. Kath cut holes out for the hood mechanism and fit the hood mechanism in place so that it’s ready for the hood.


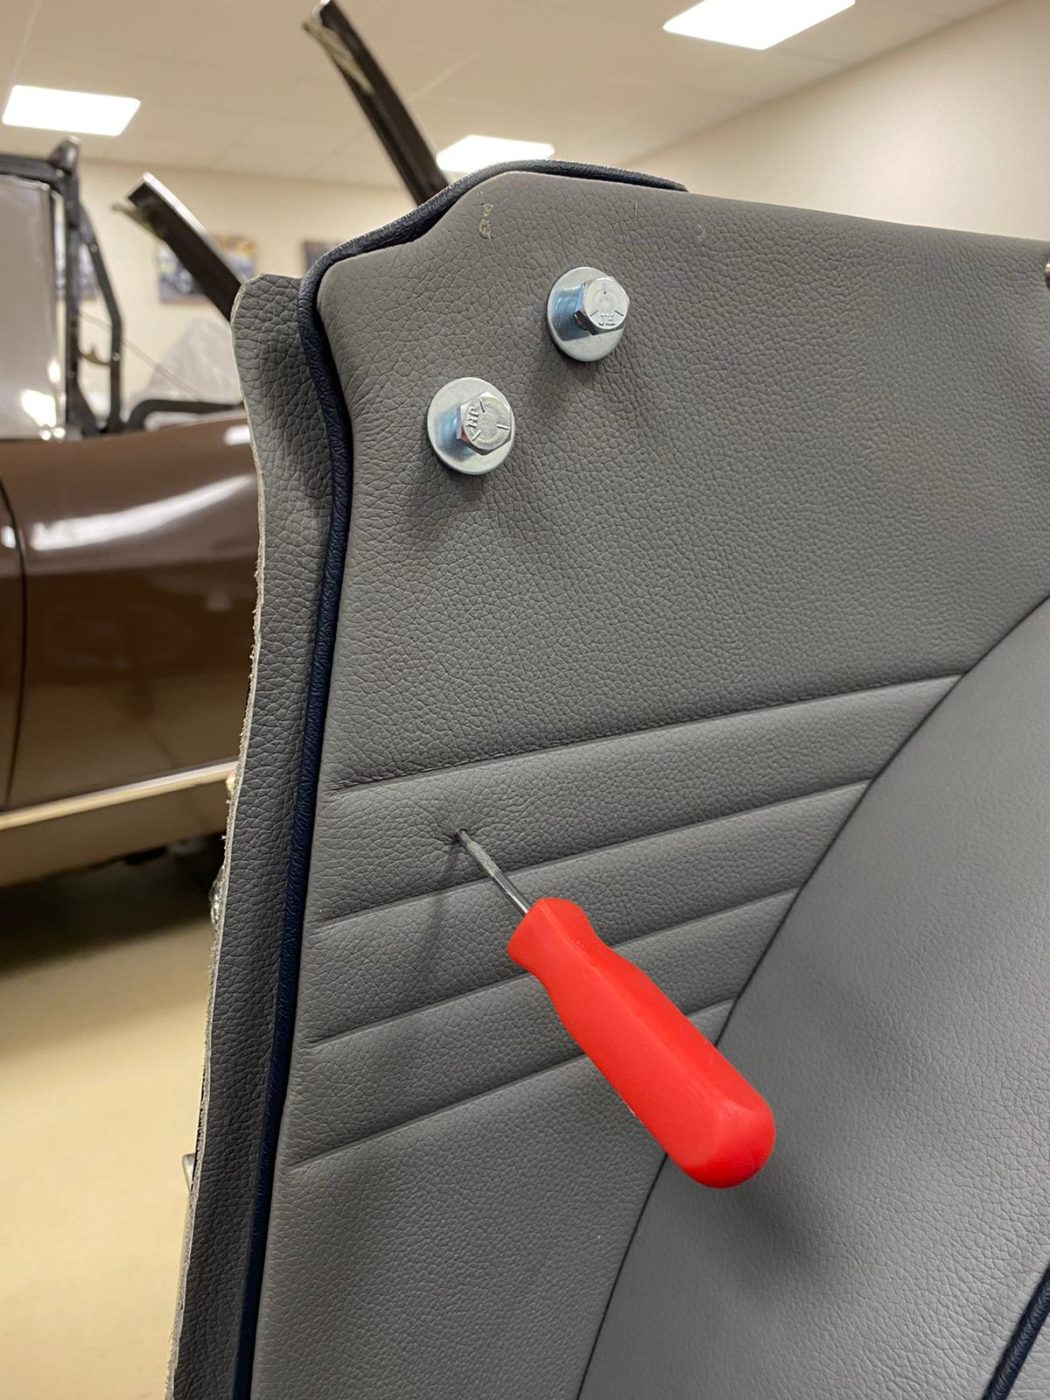
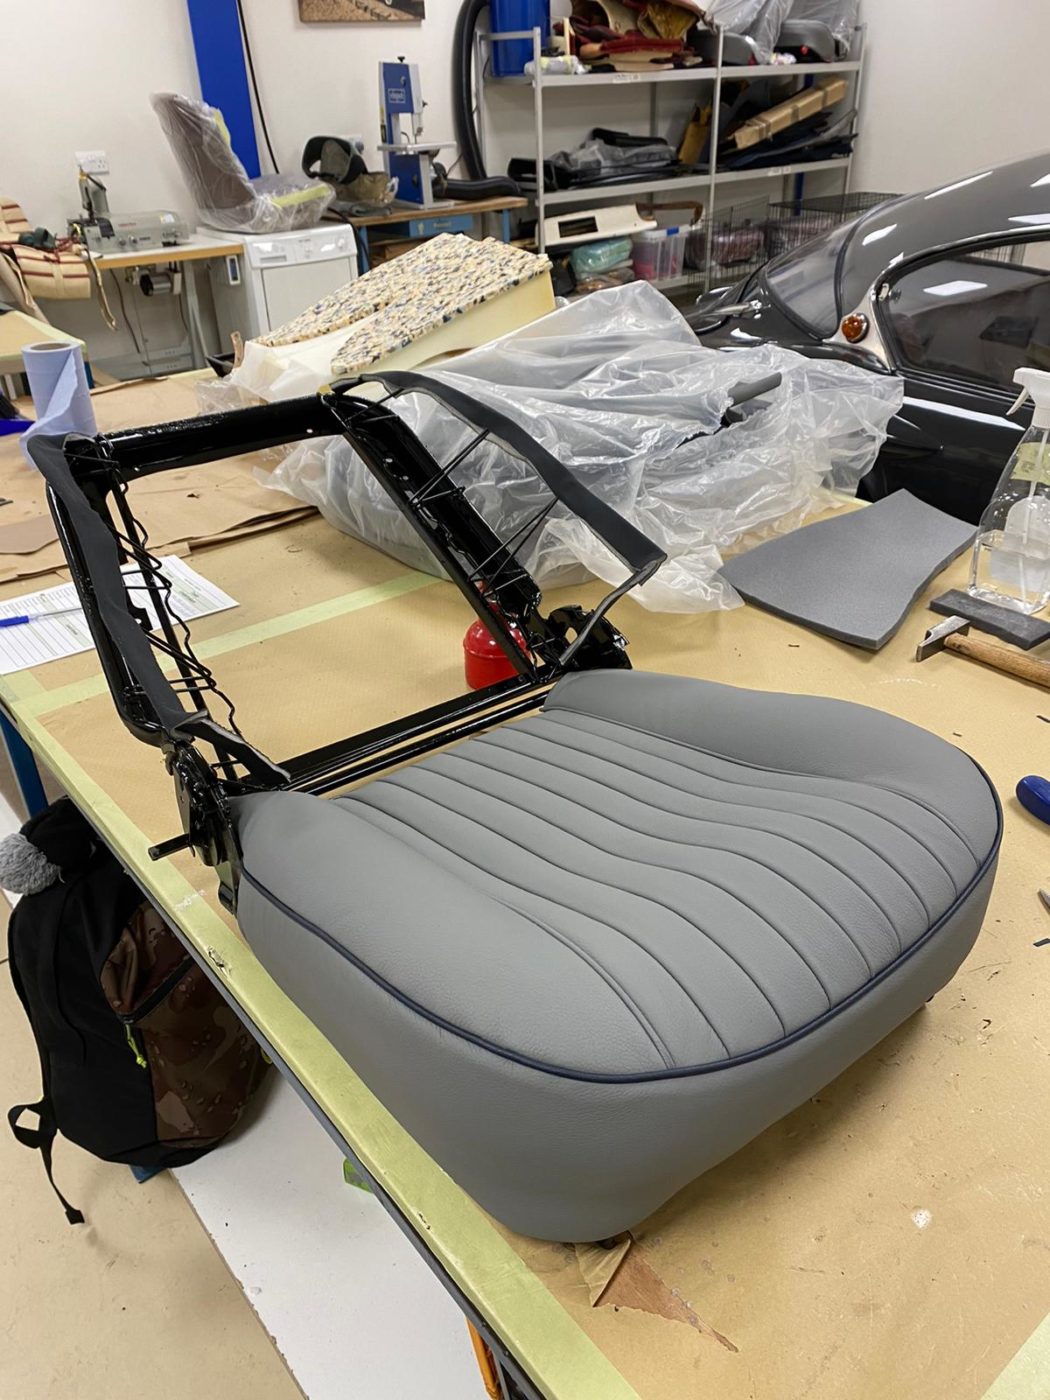
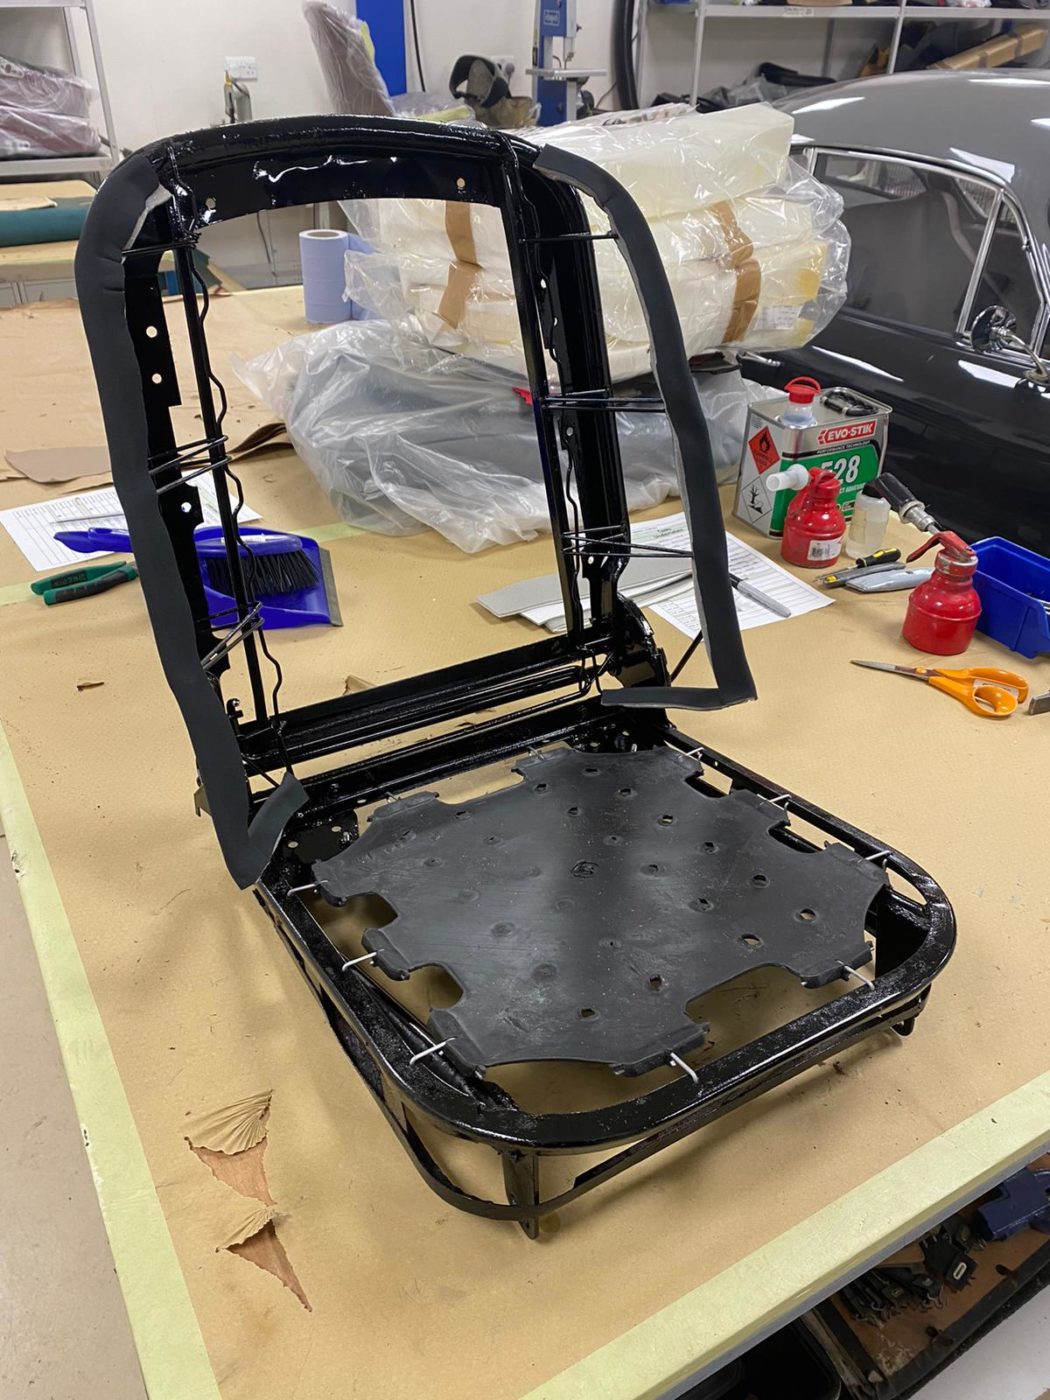
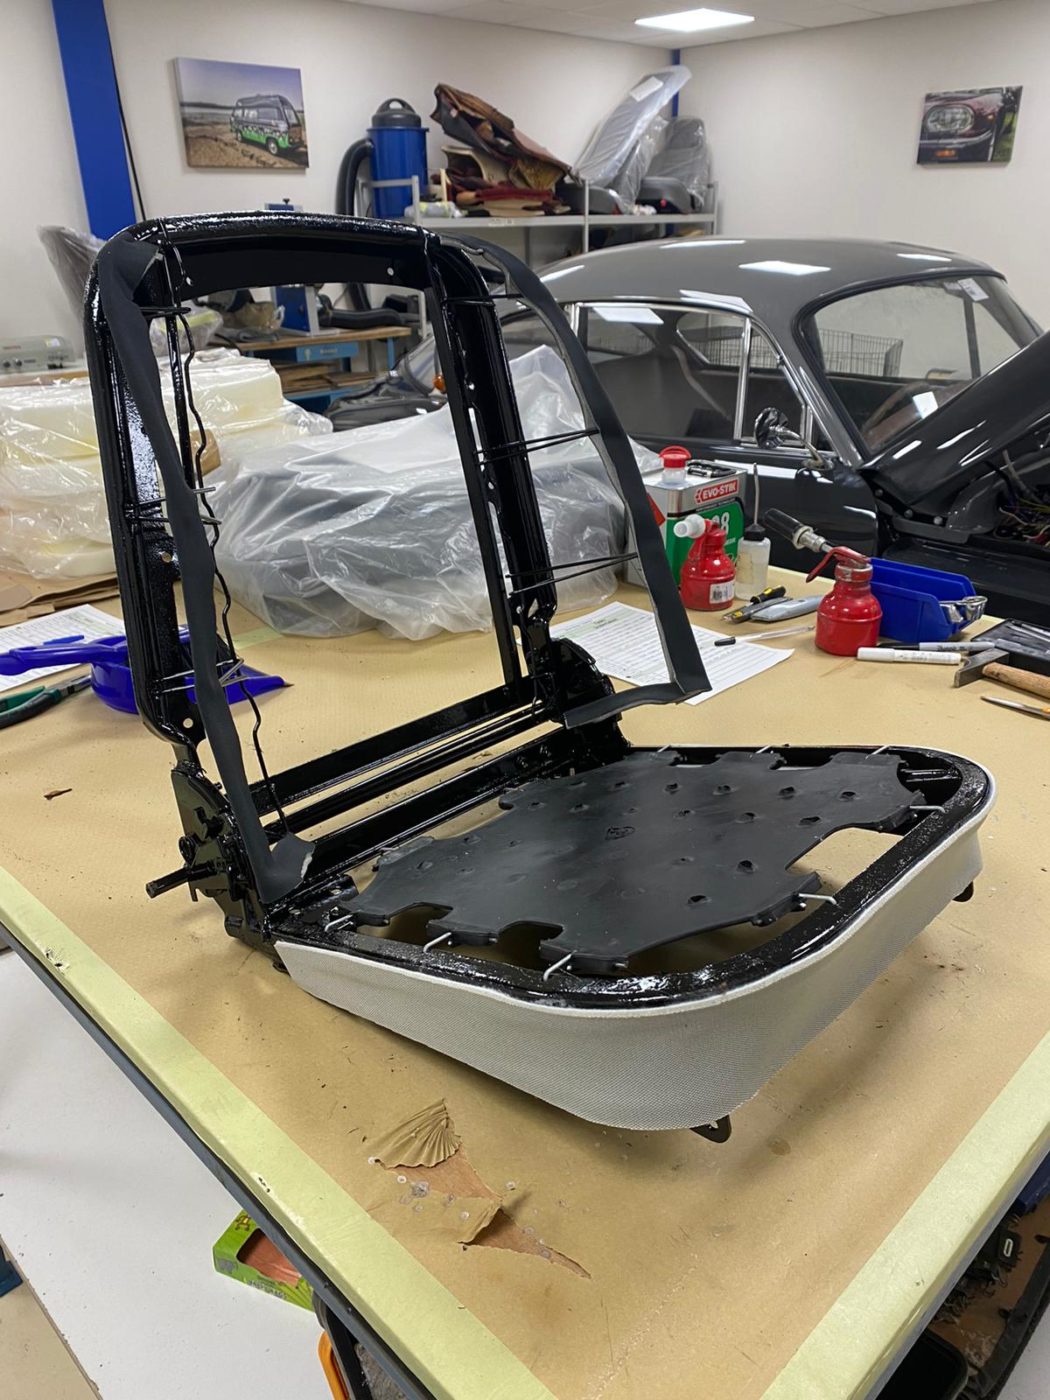
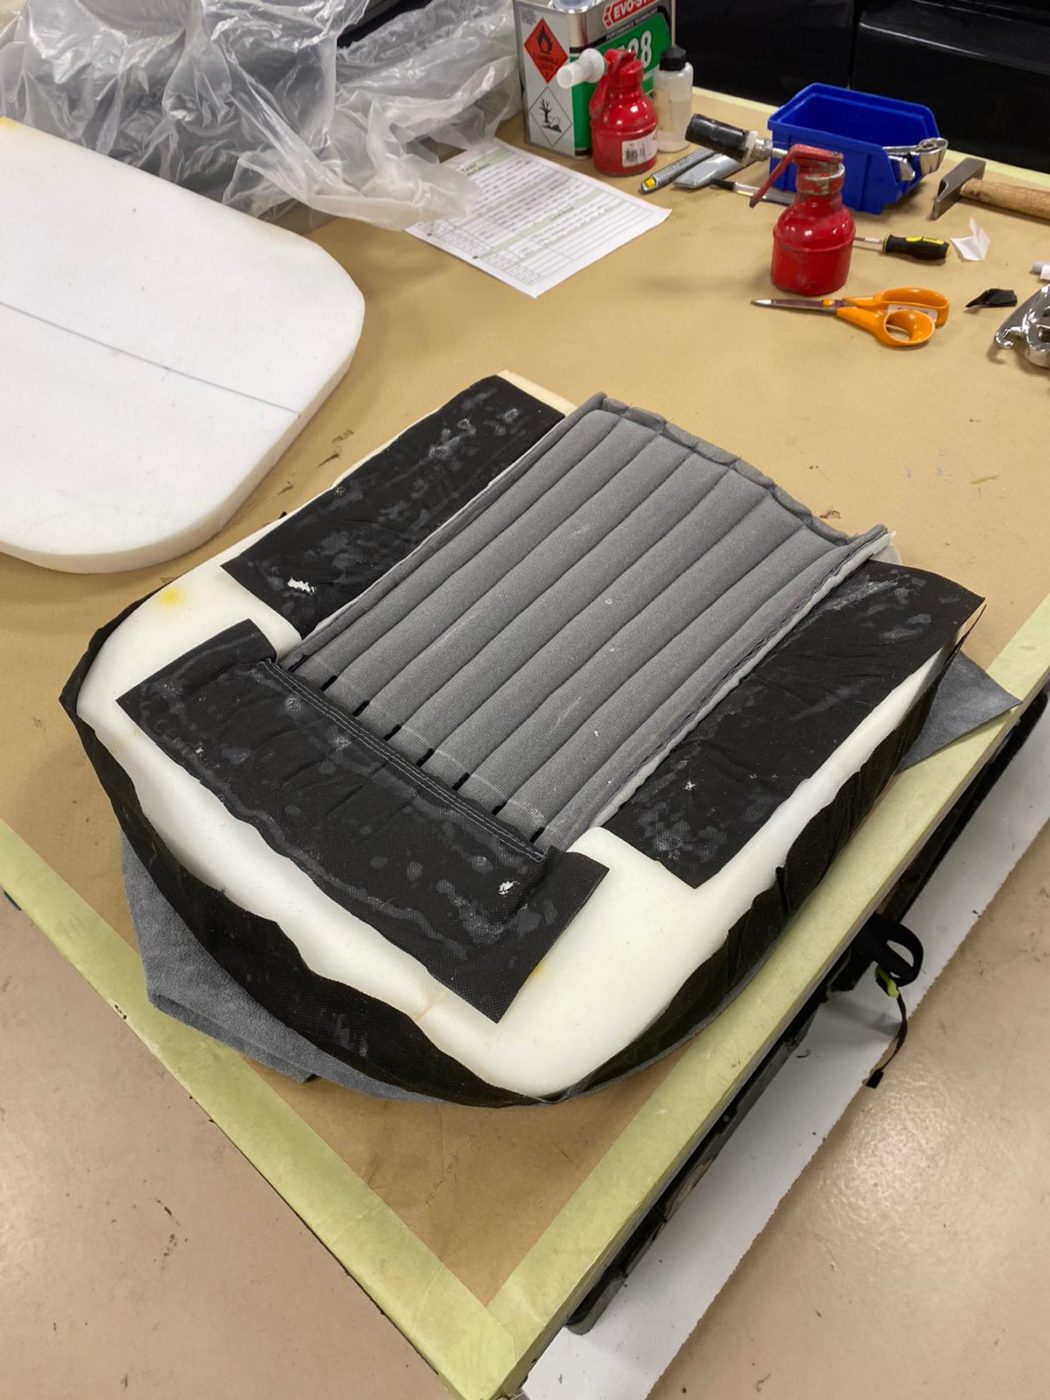
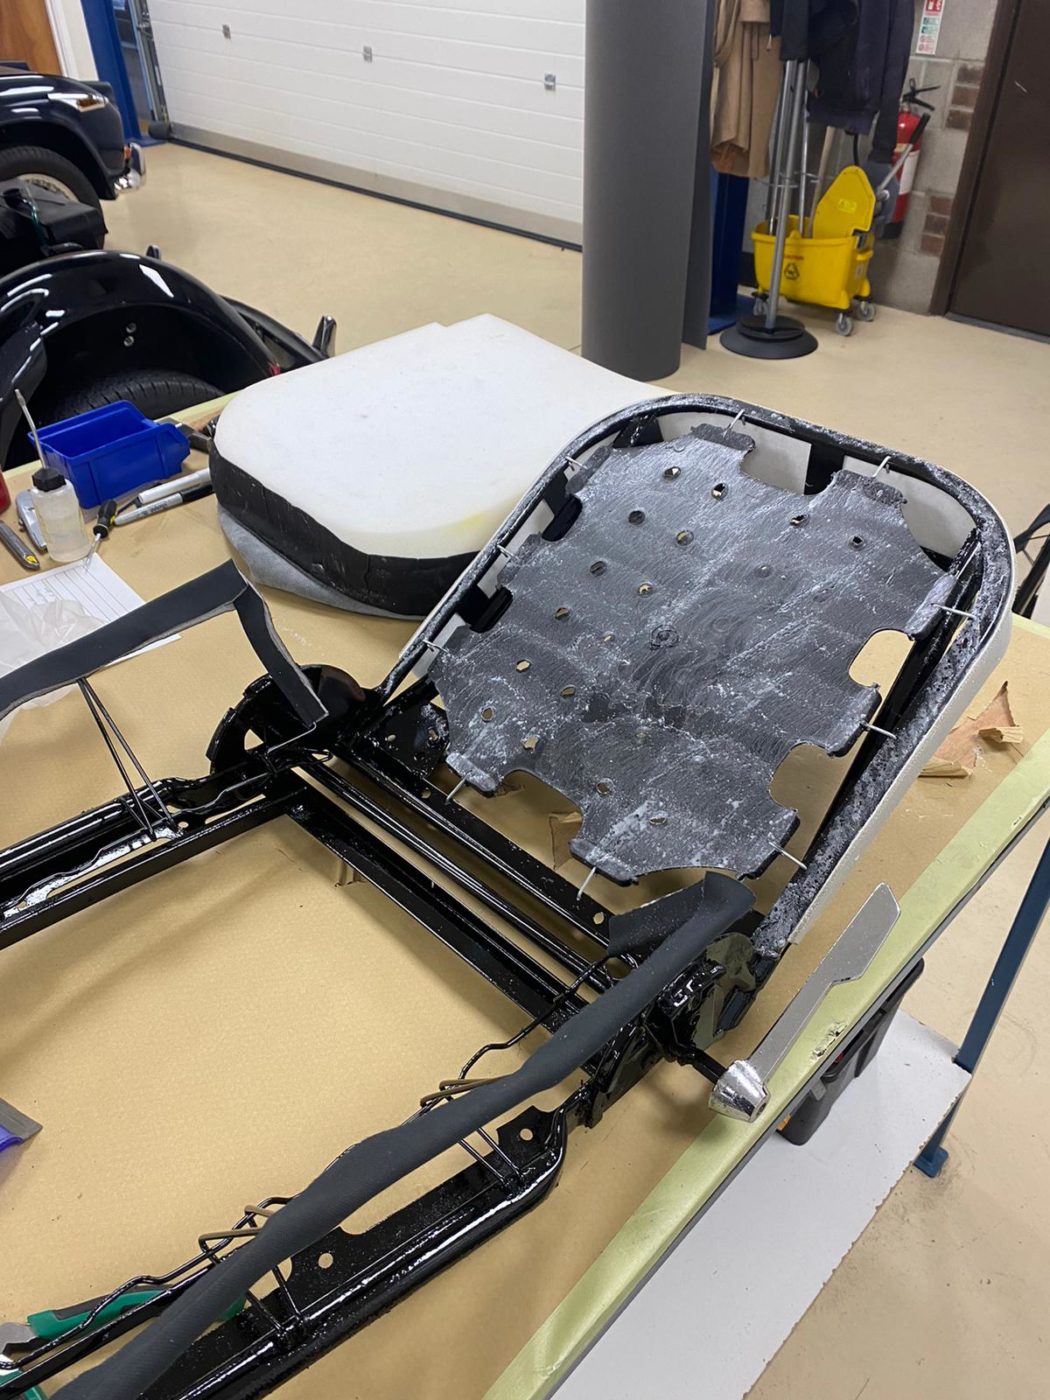
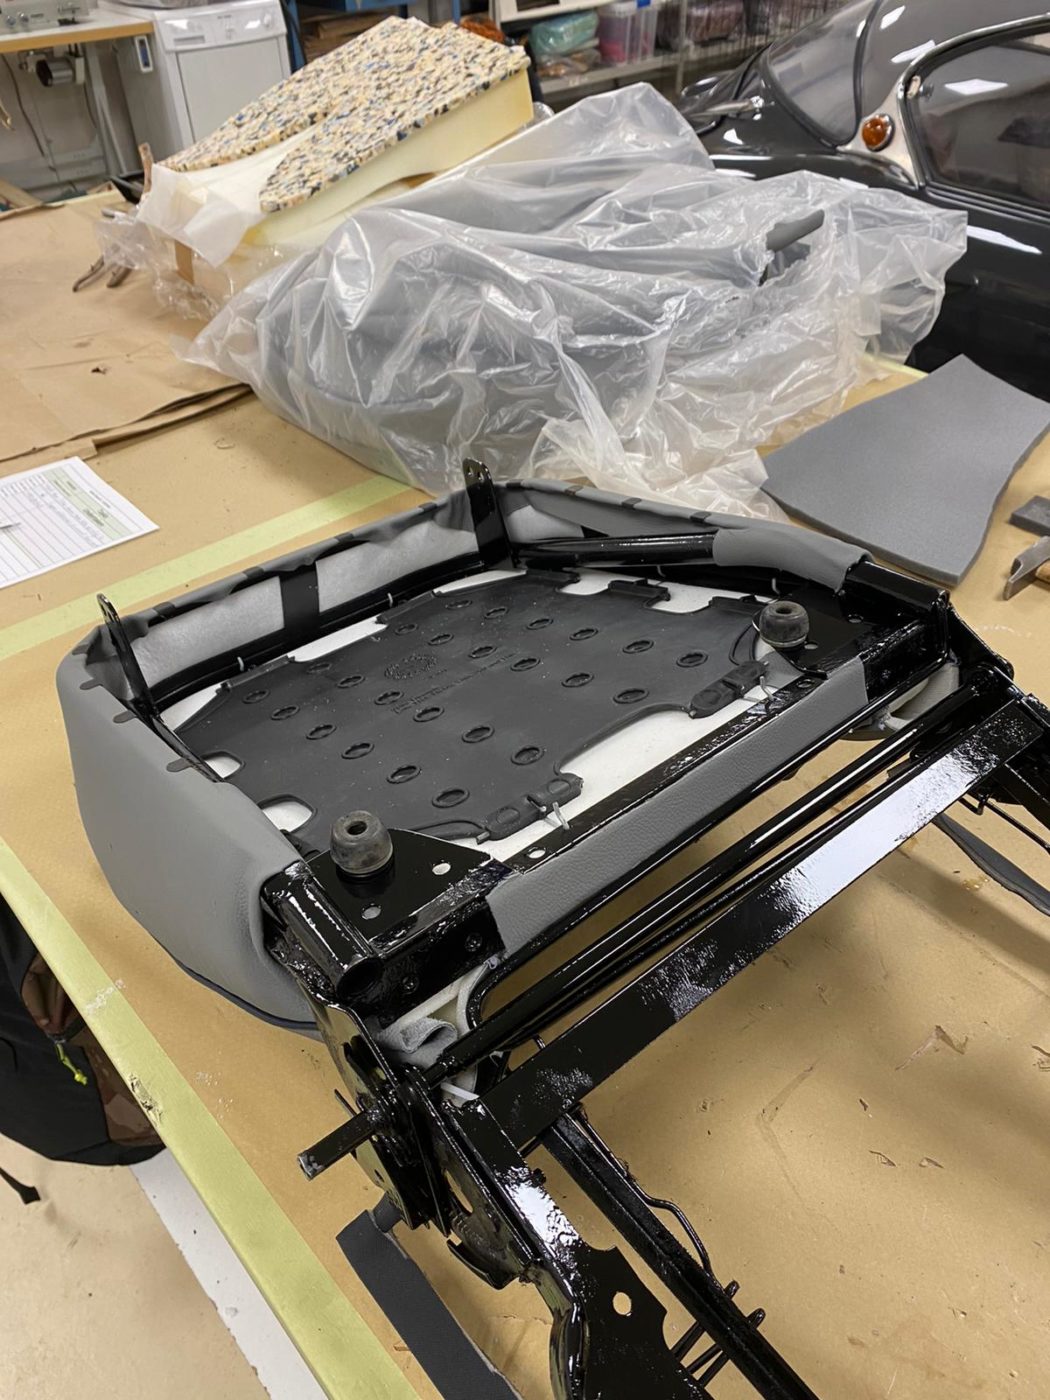
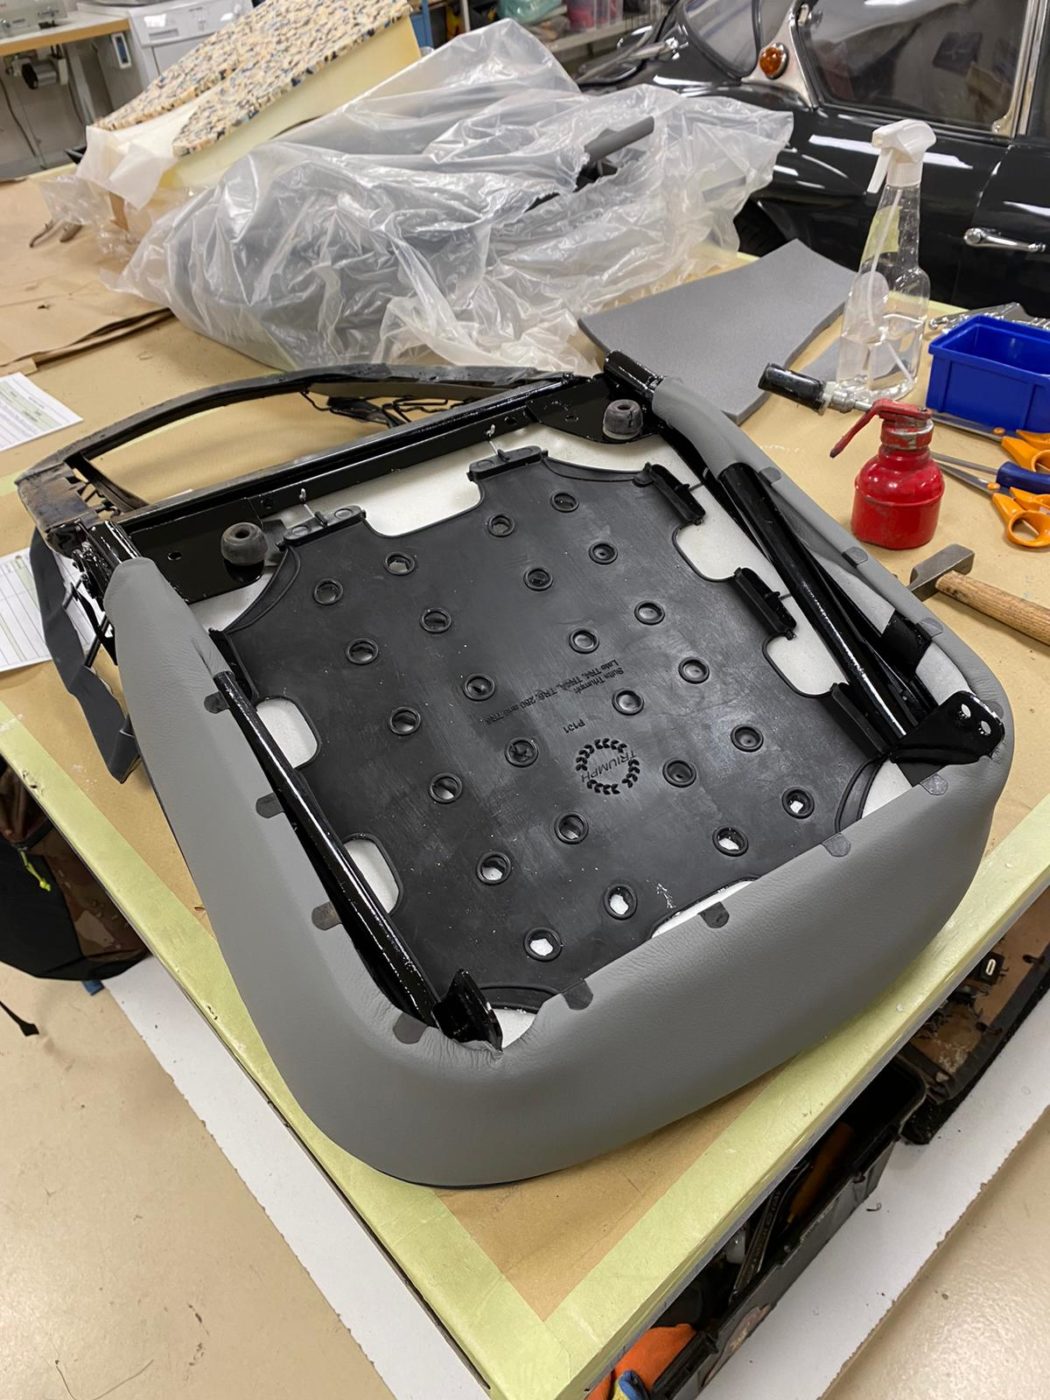
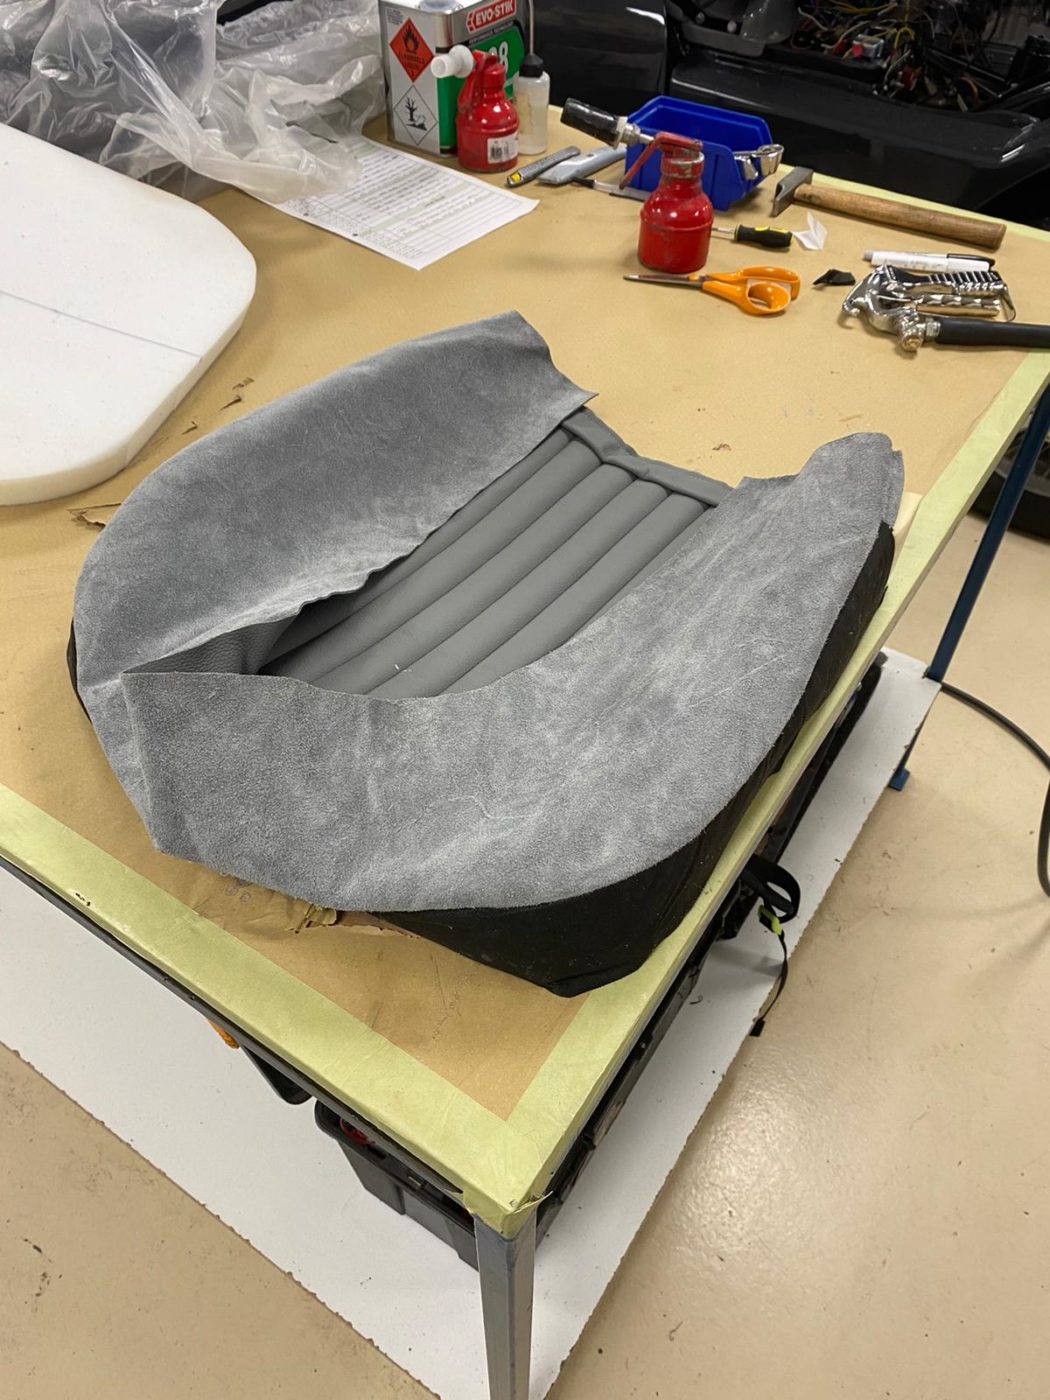
Brian started on the seats and their frames. He began by fitting the rubber diaphragm to the base seat and added foam around the front edge. He then glued the base cover to the upper foam and secured the lower foam in place underneath. The next step was to glue the base foam and cover to the seat frame and add extra foam around the front edge. By pulling the cover tight around the frame and clipping it in place, Brian could then glue the rear flap to the frame.