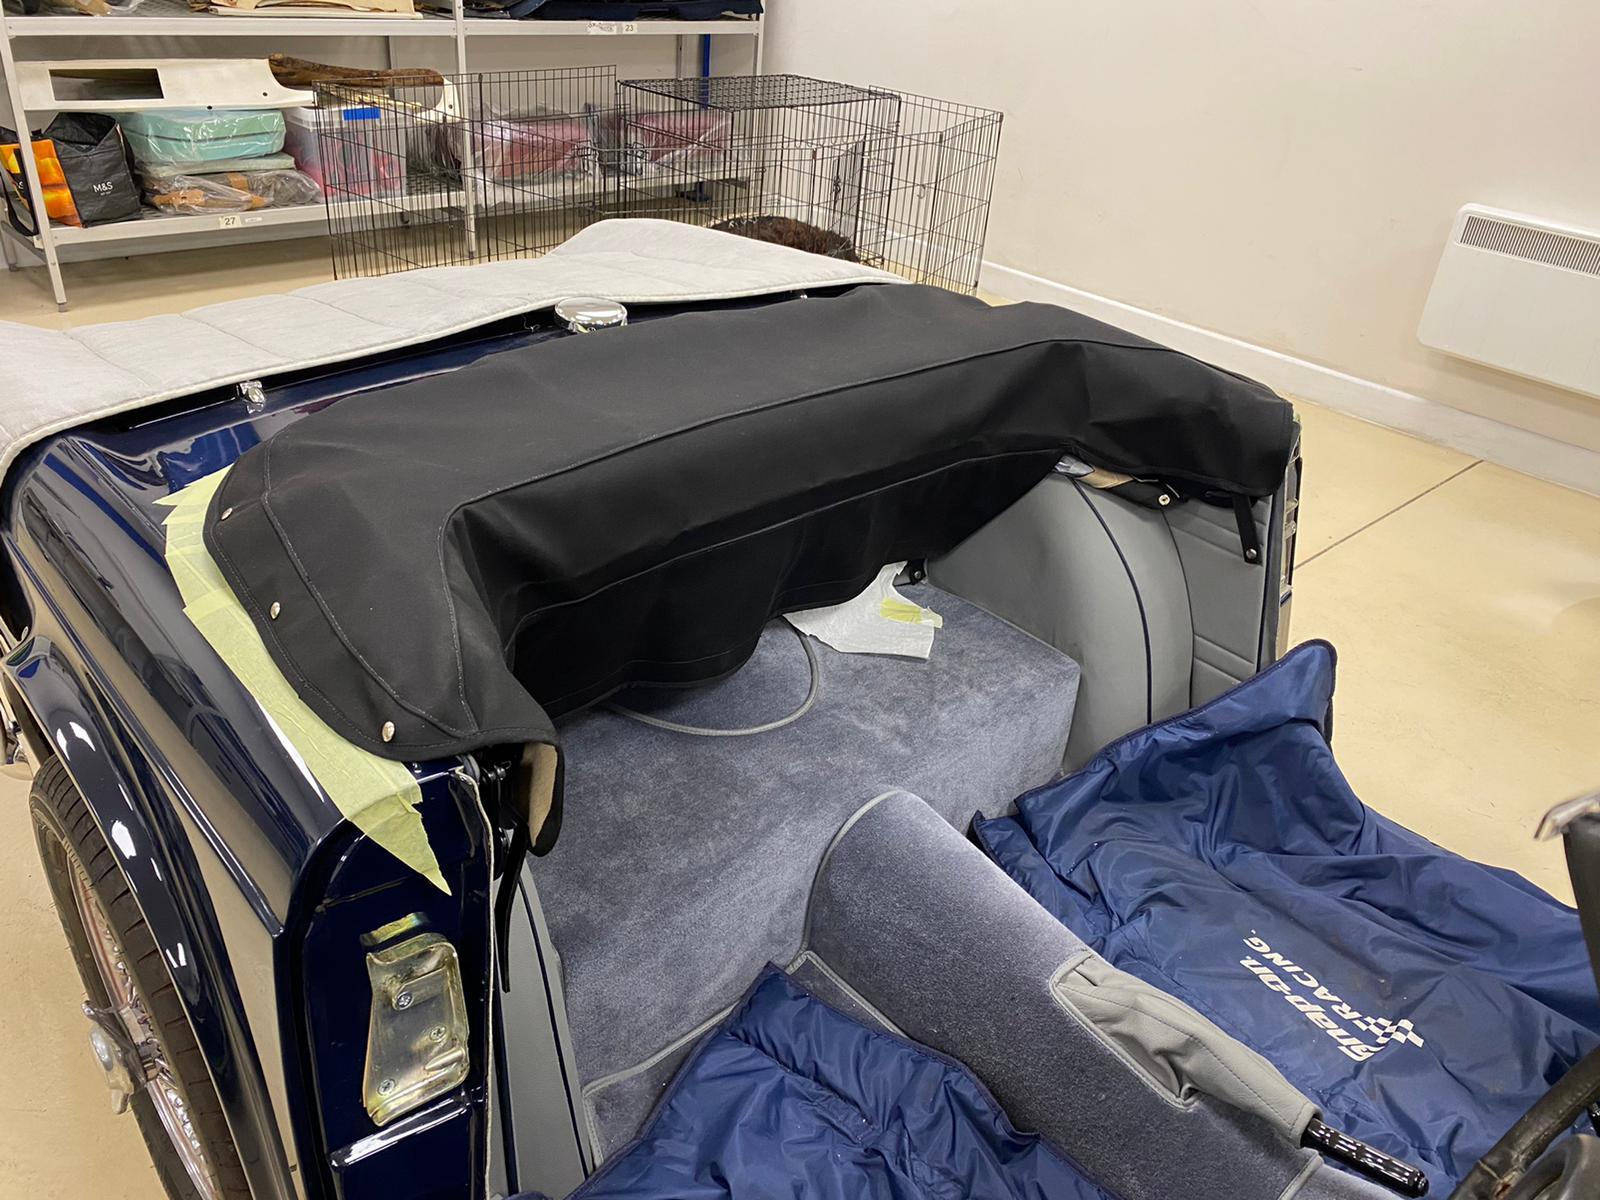
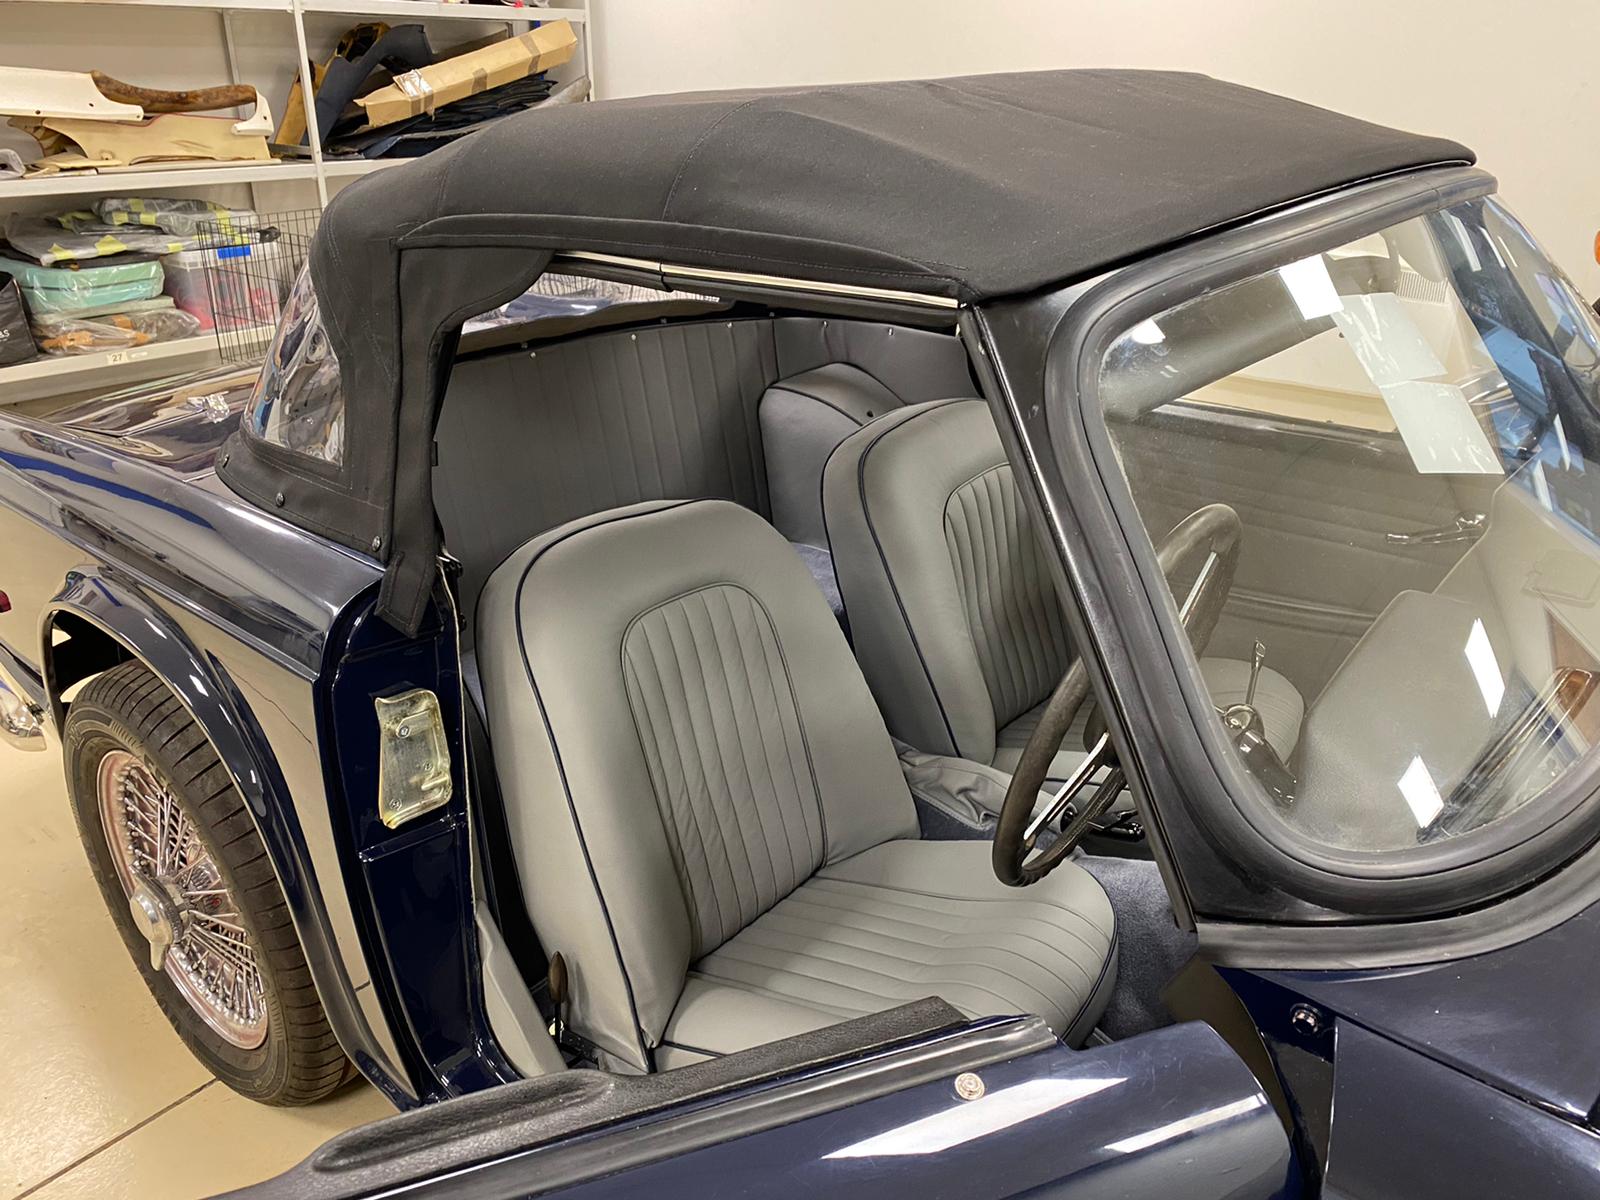
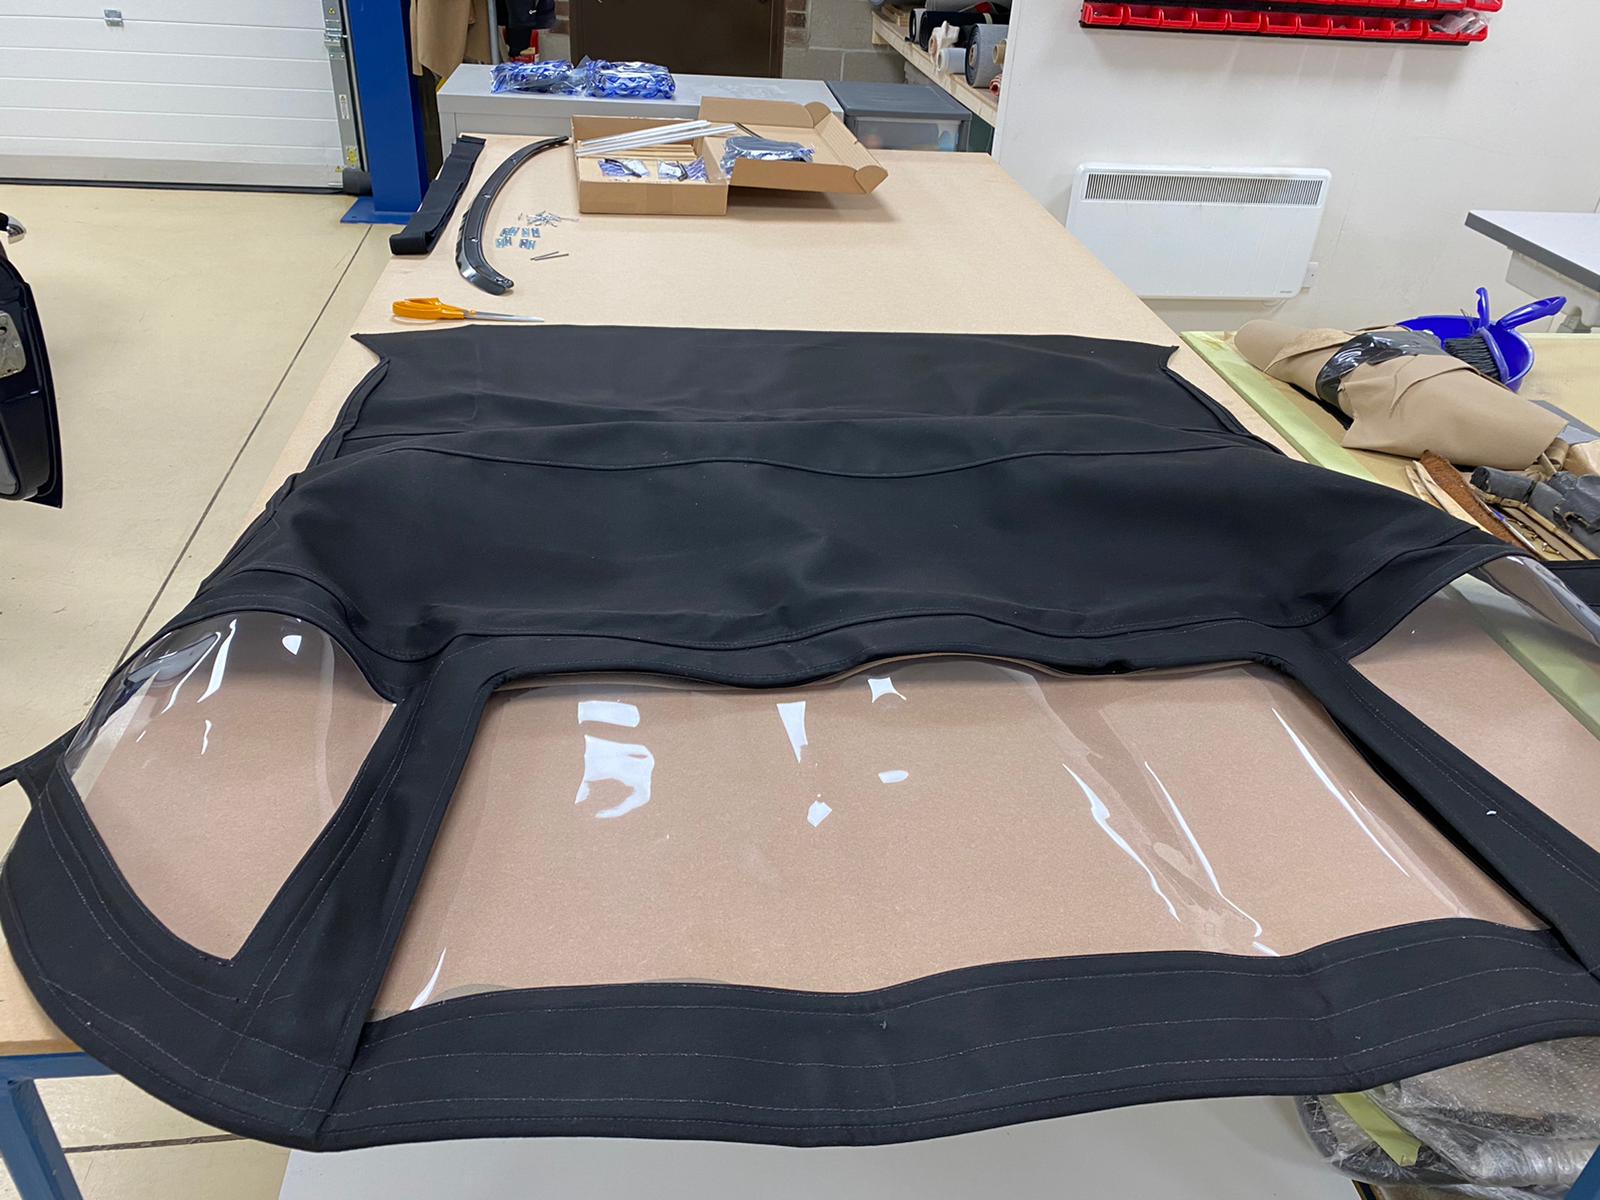
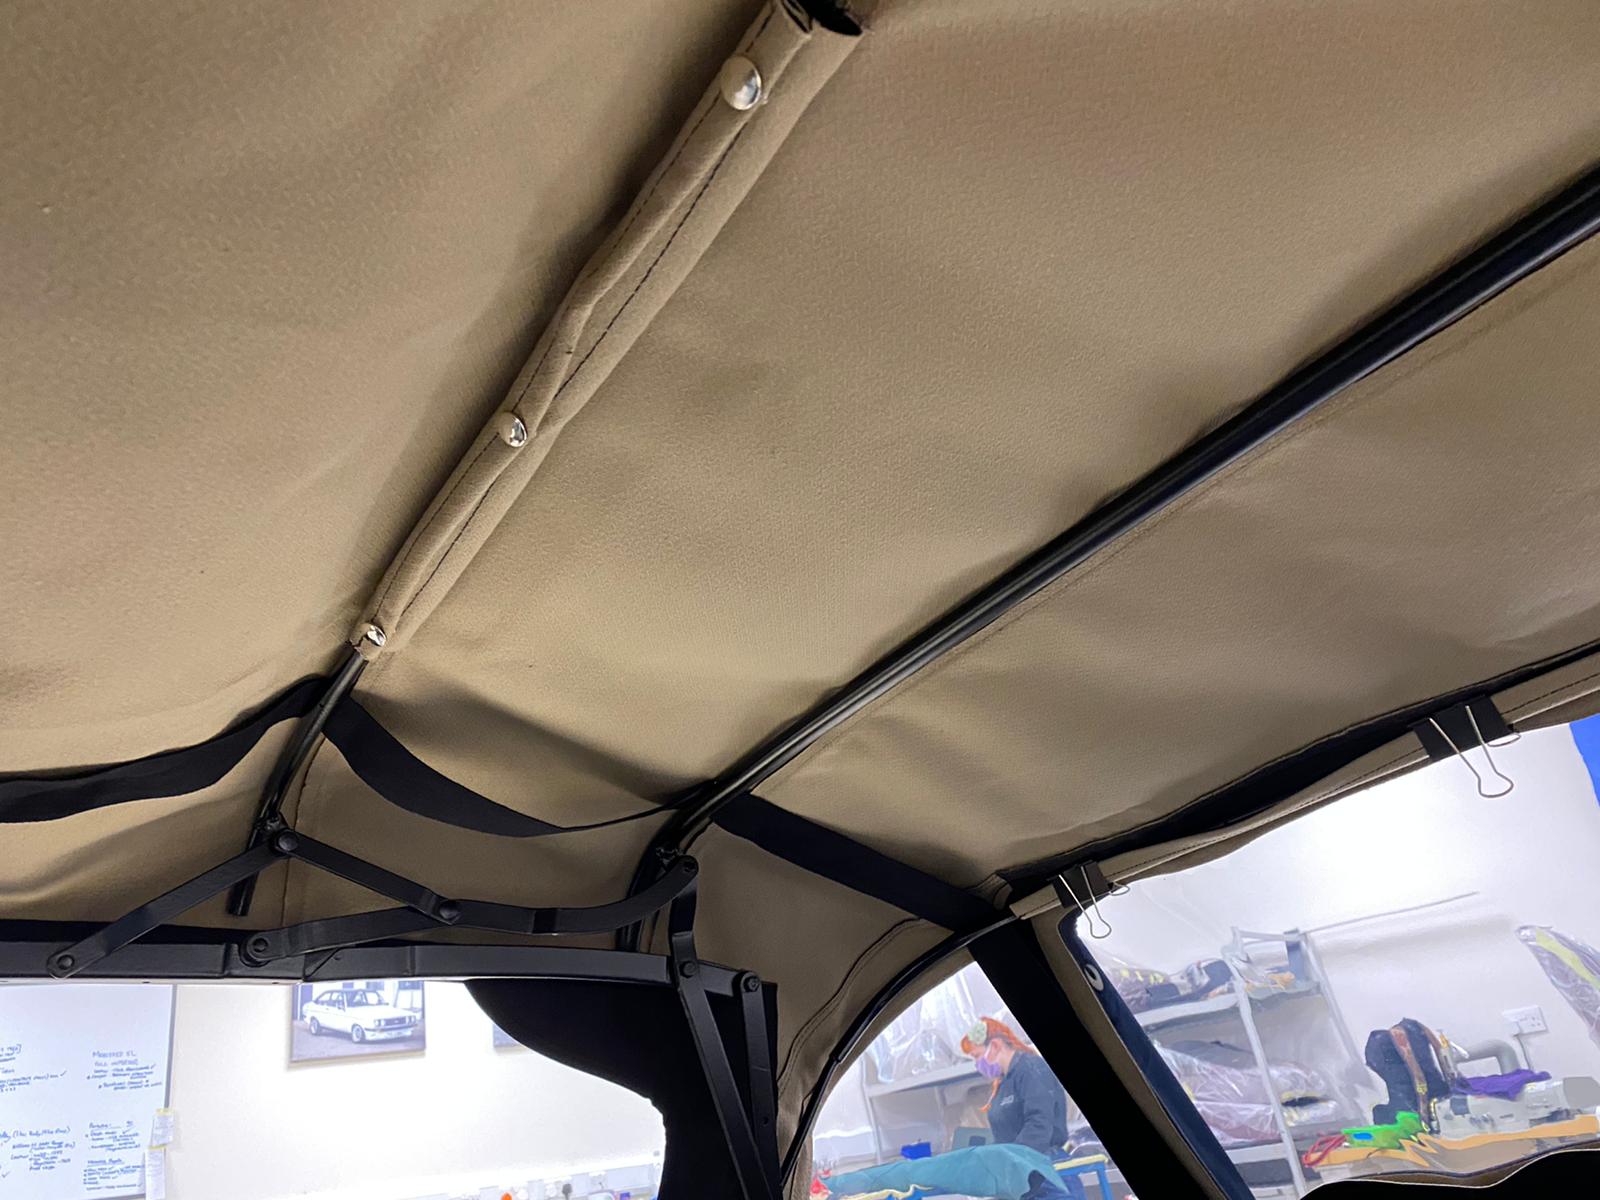
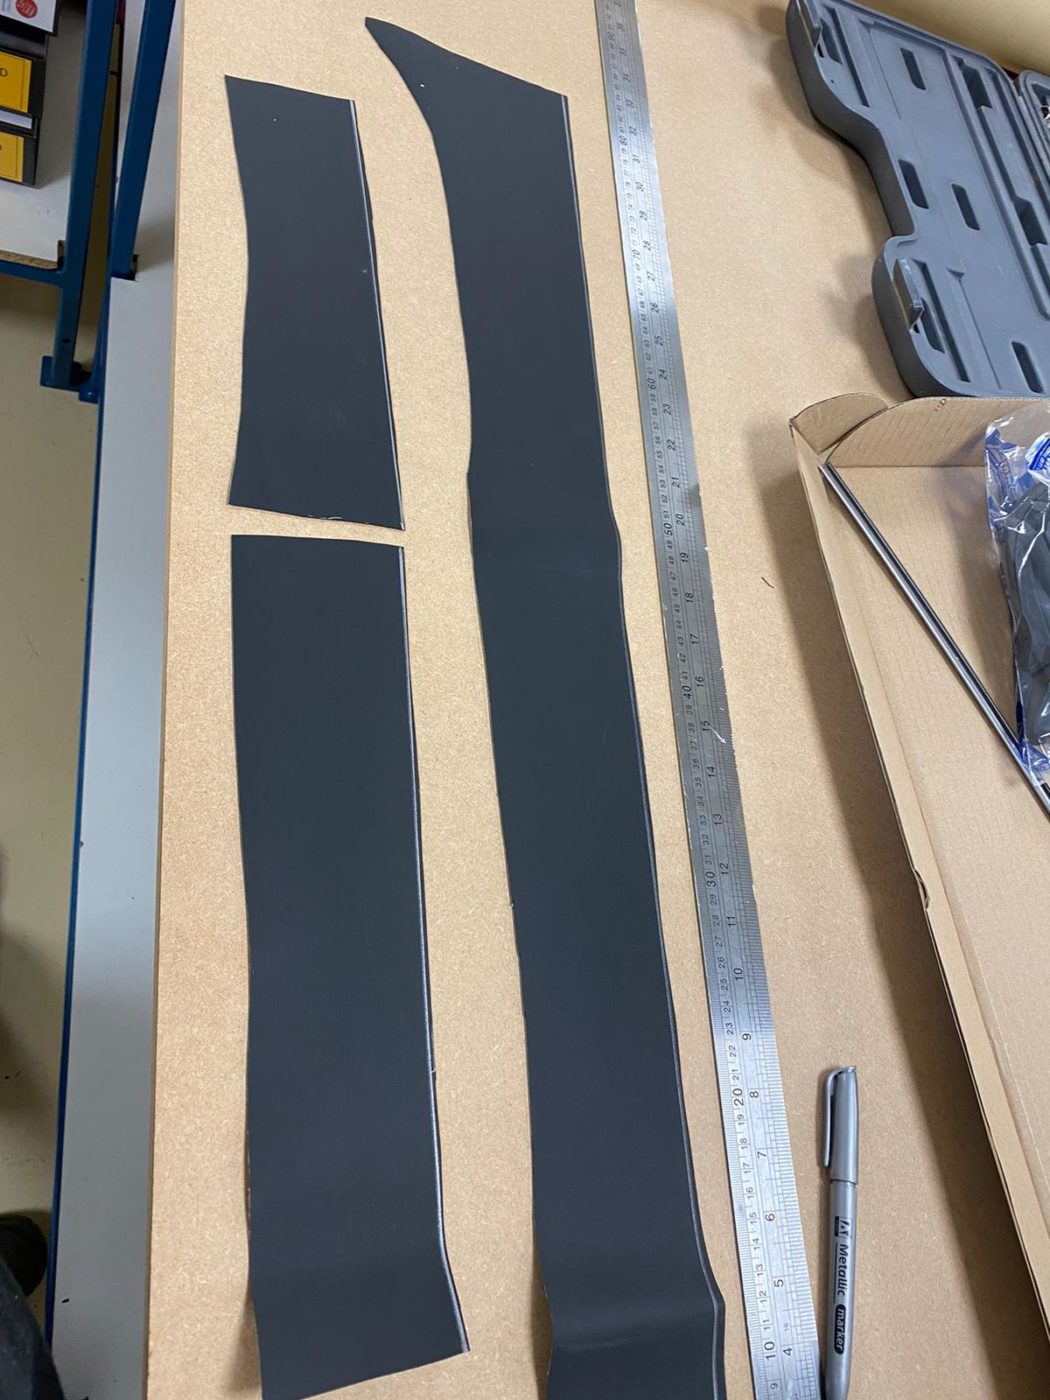
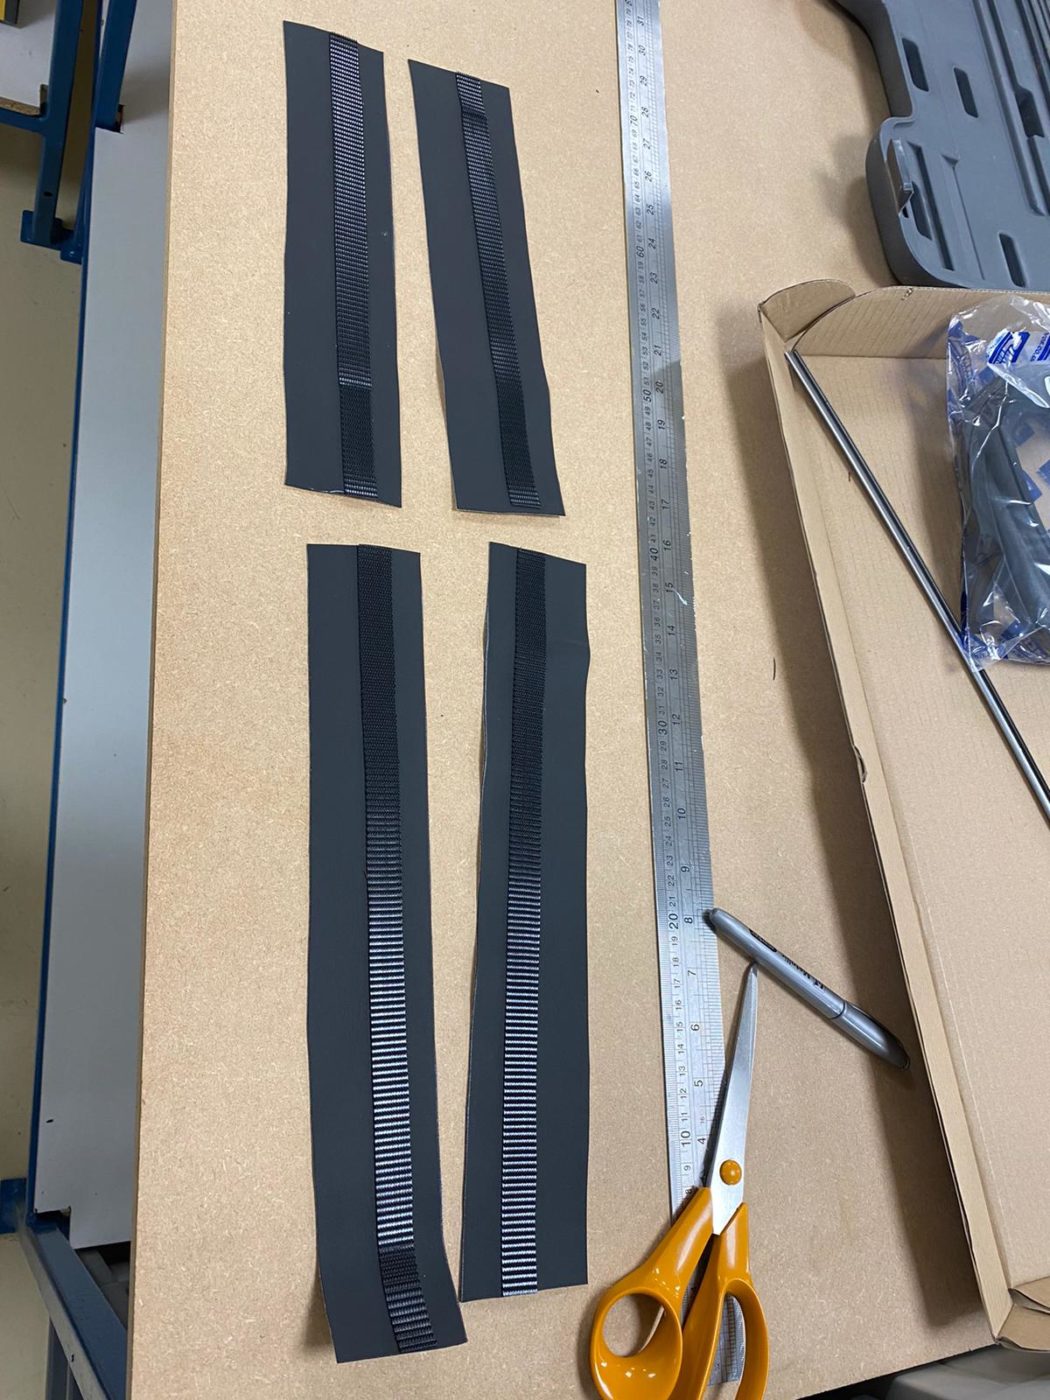
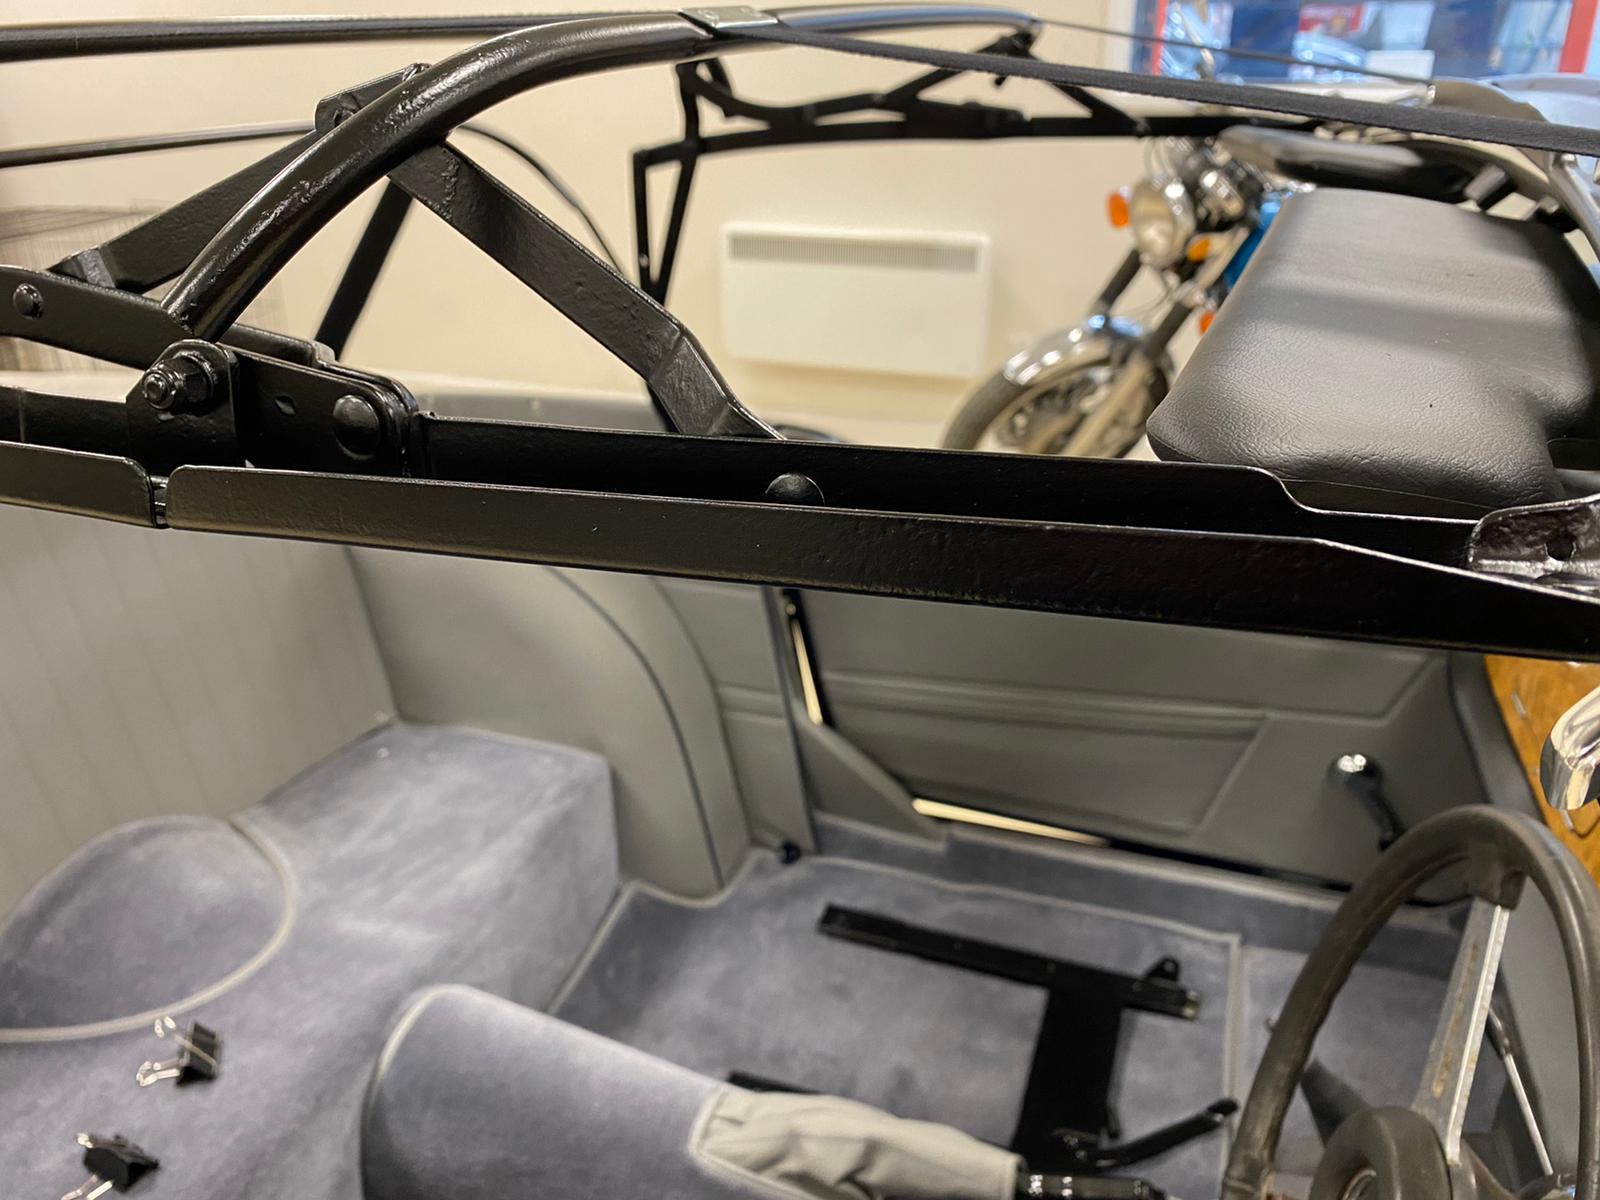
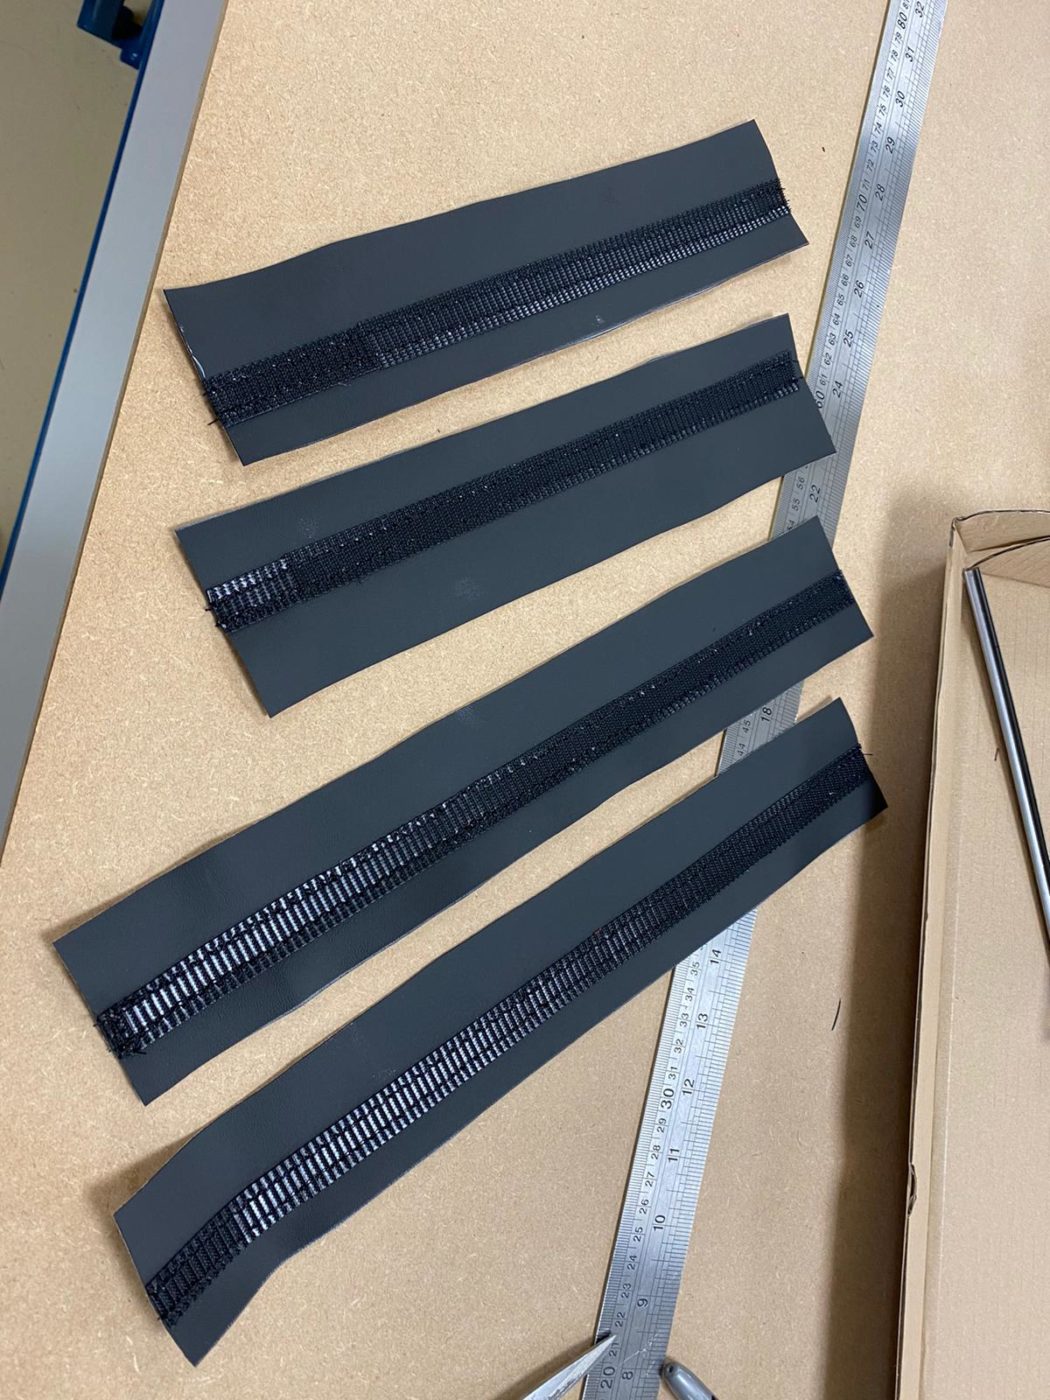
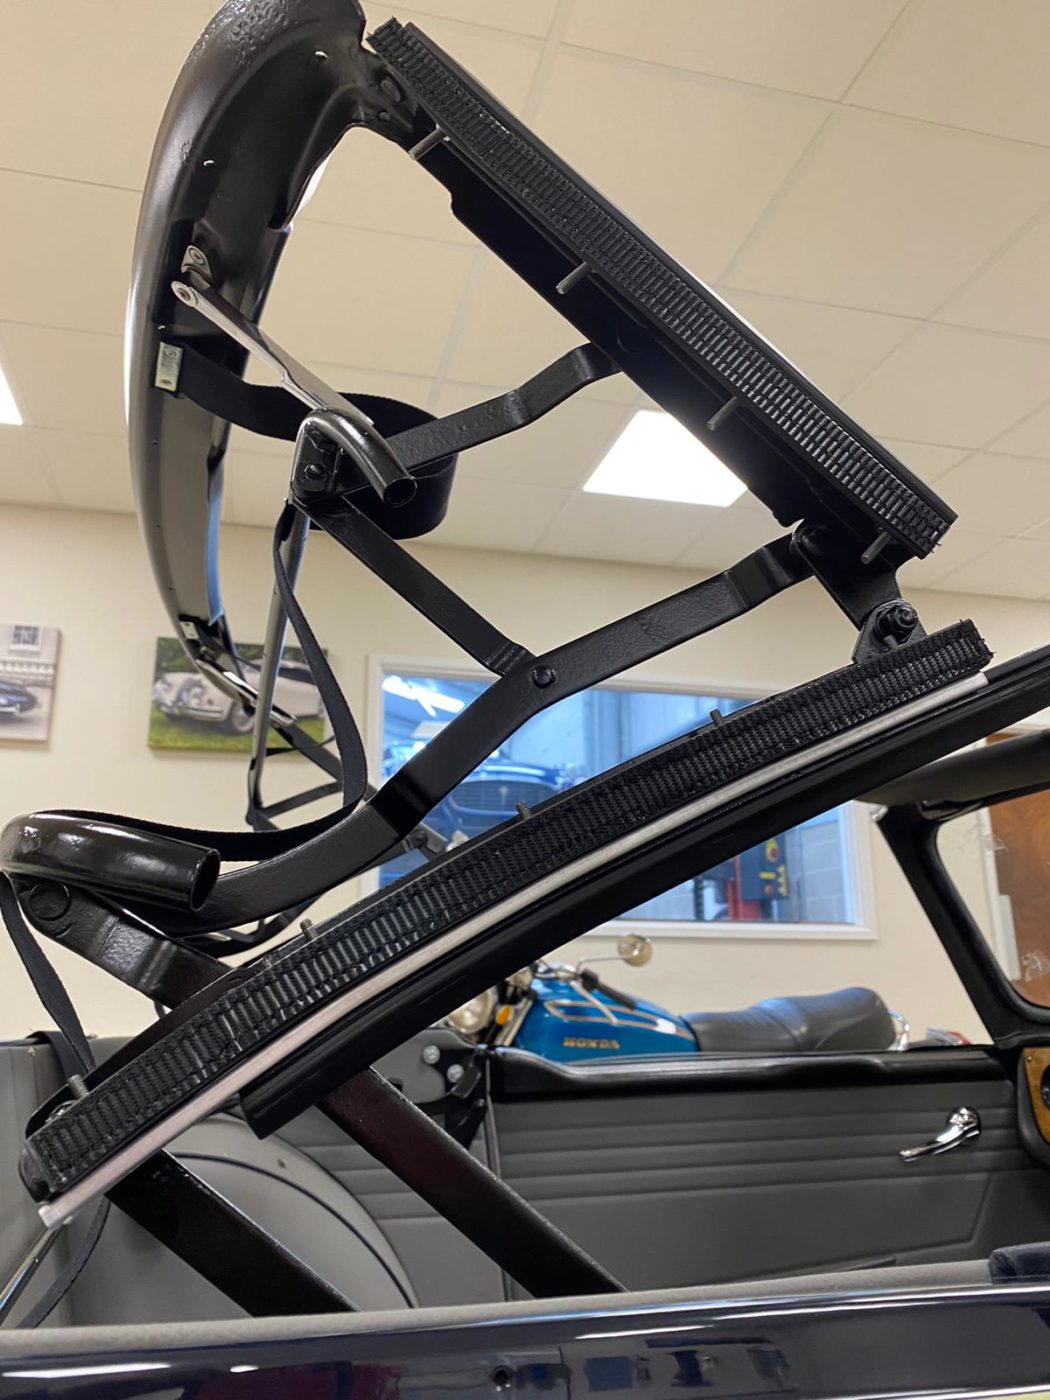
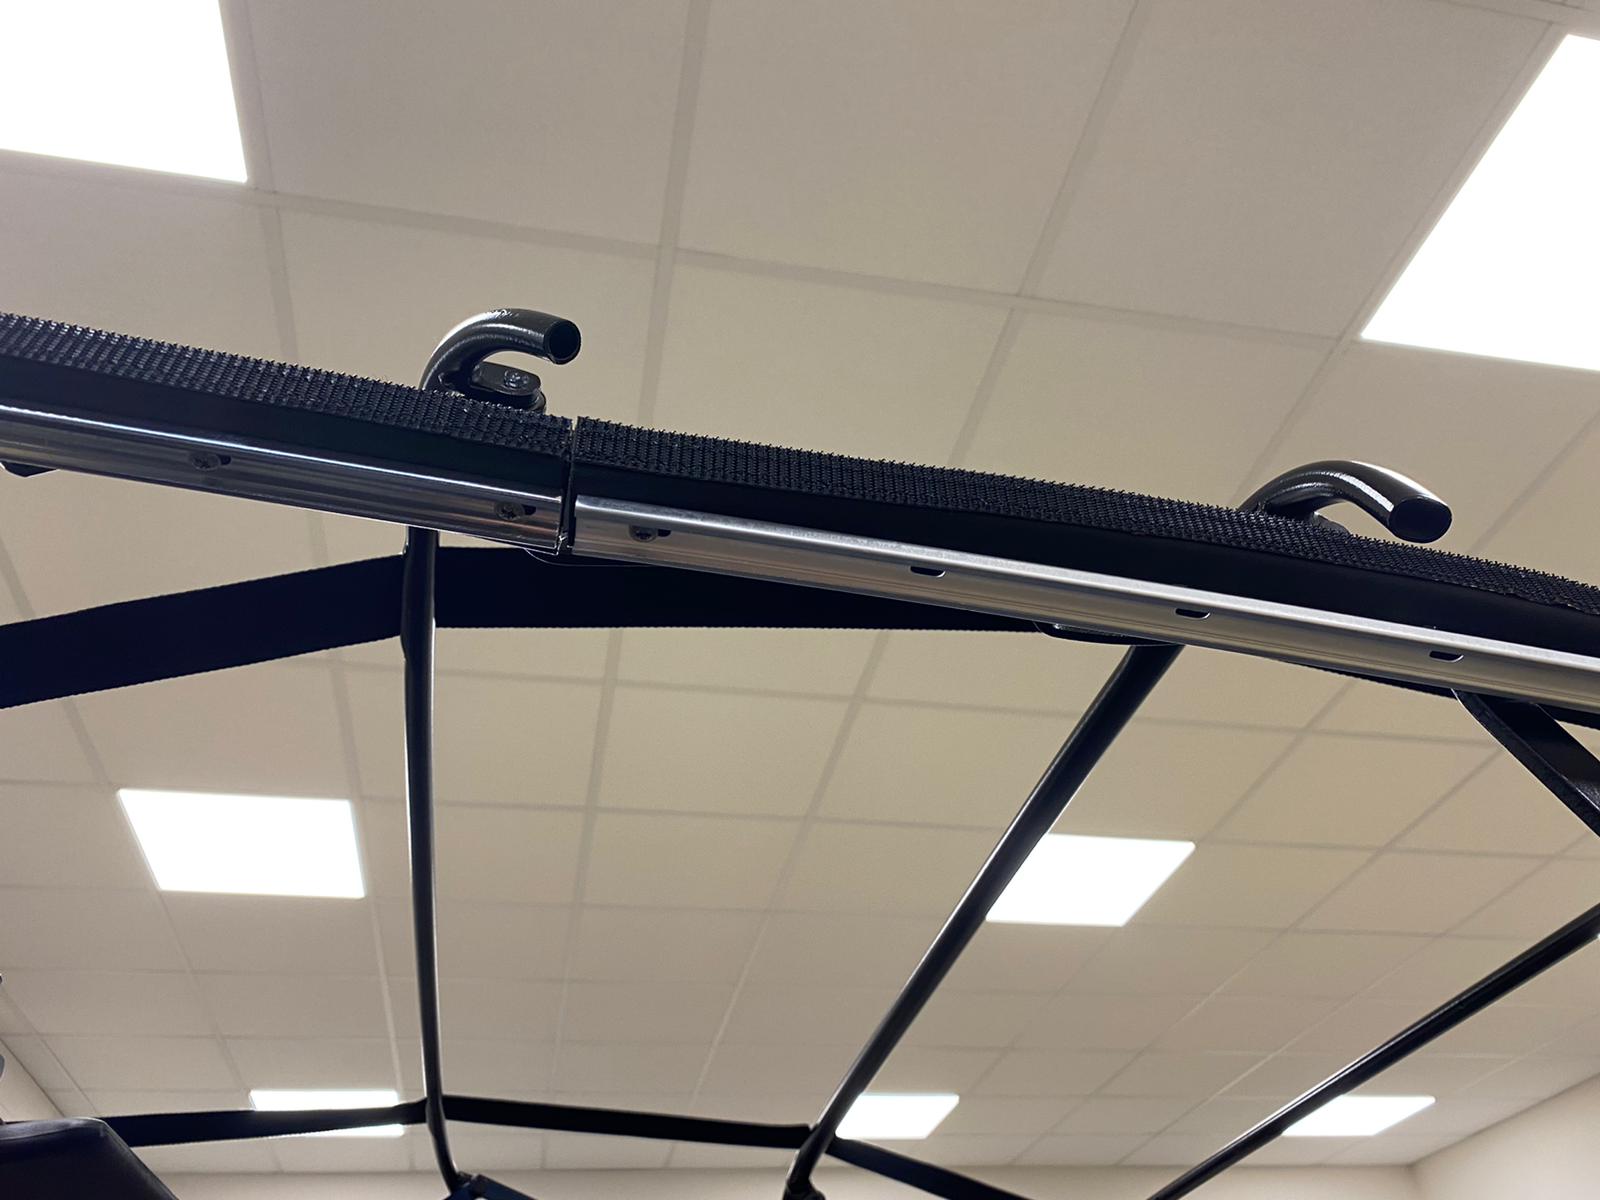
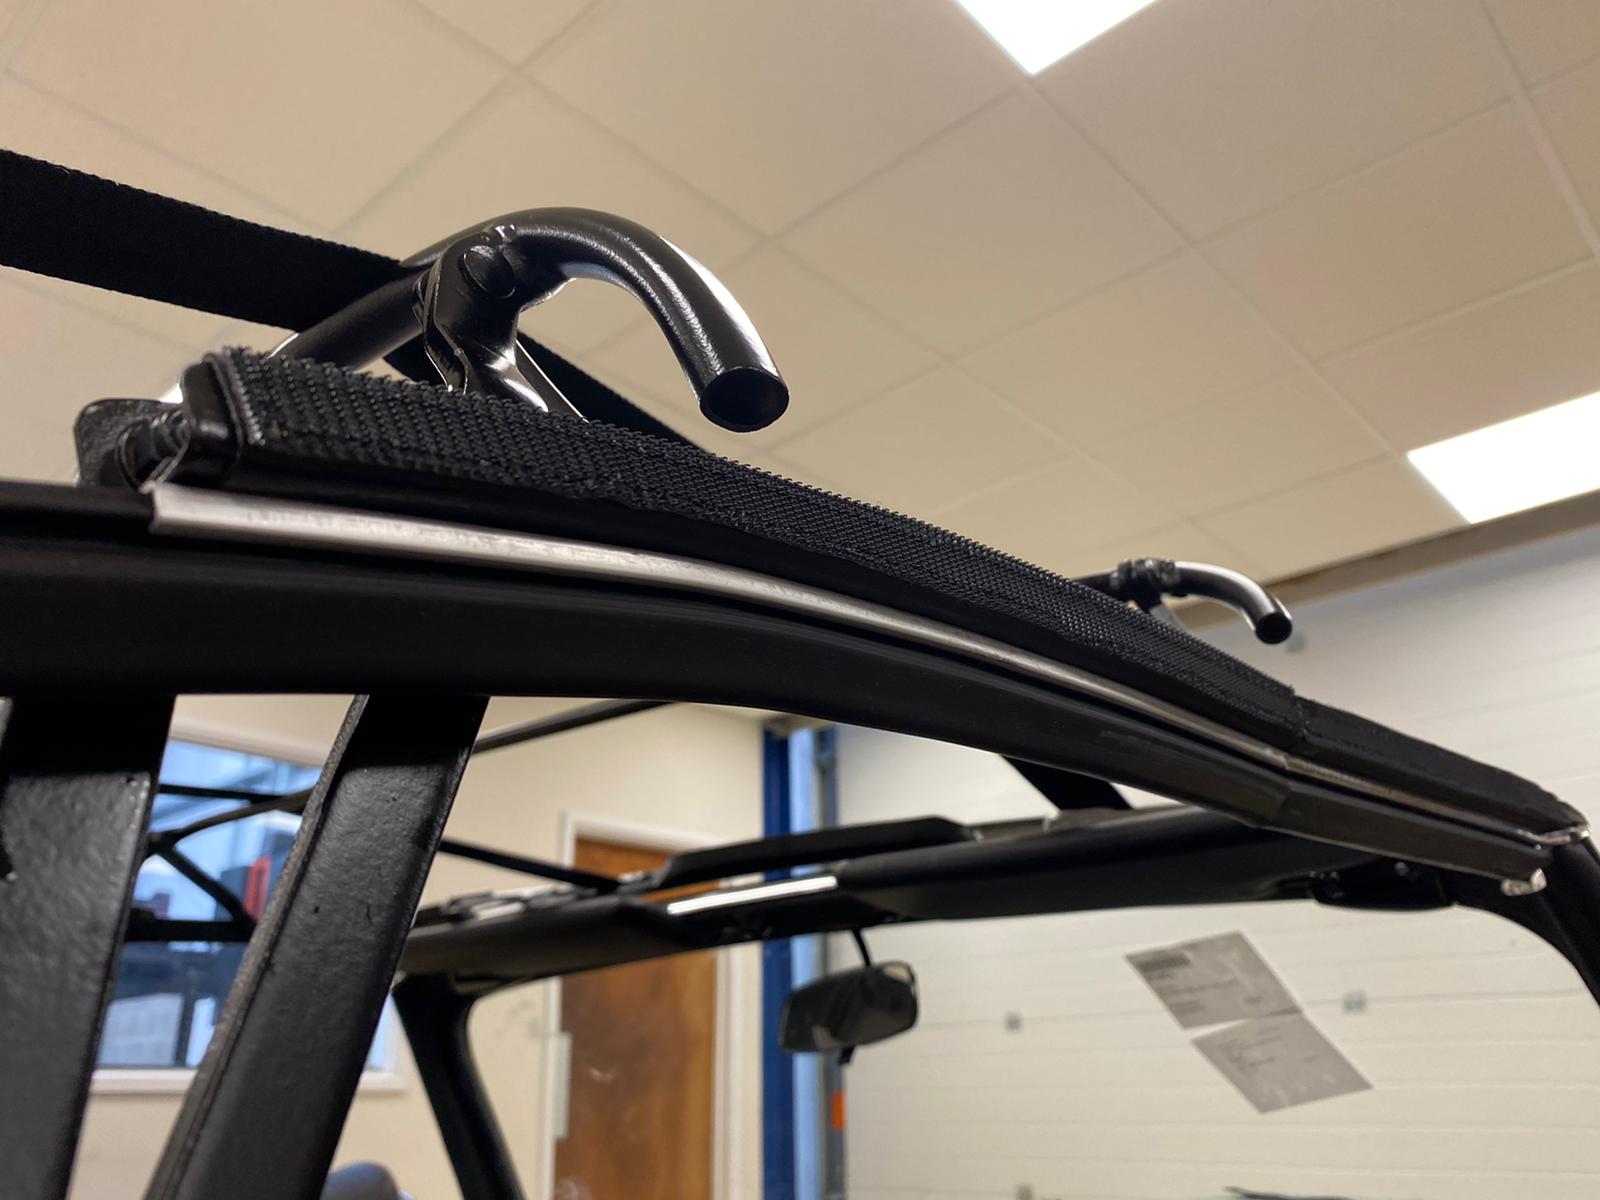
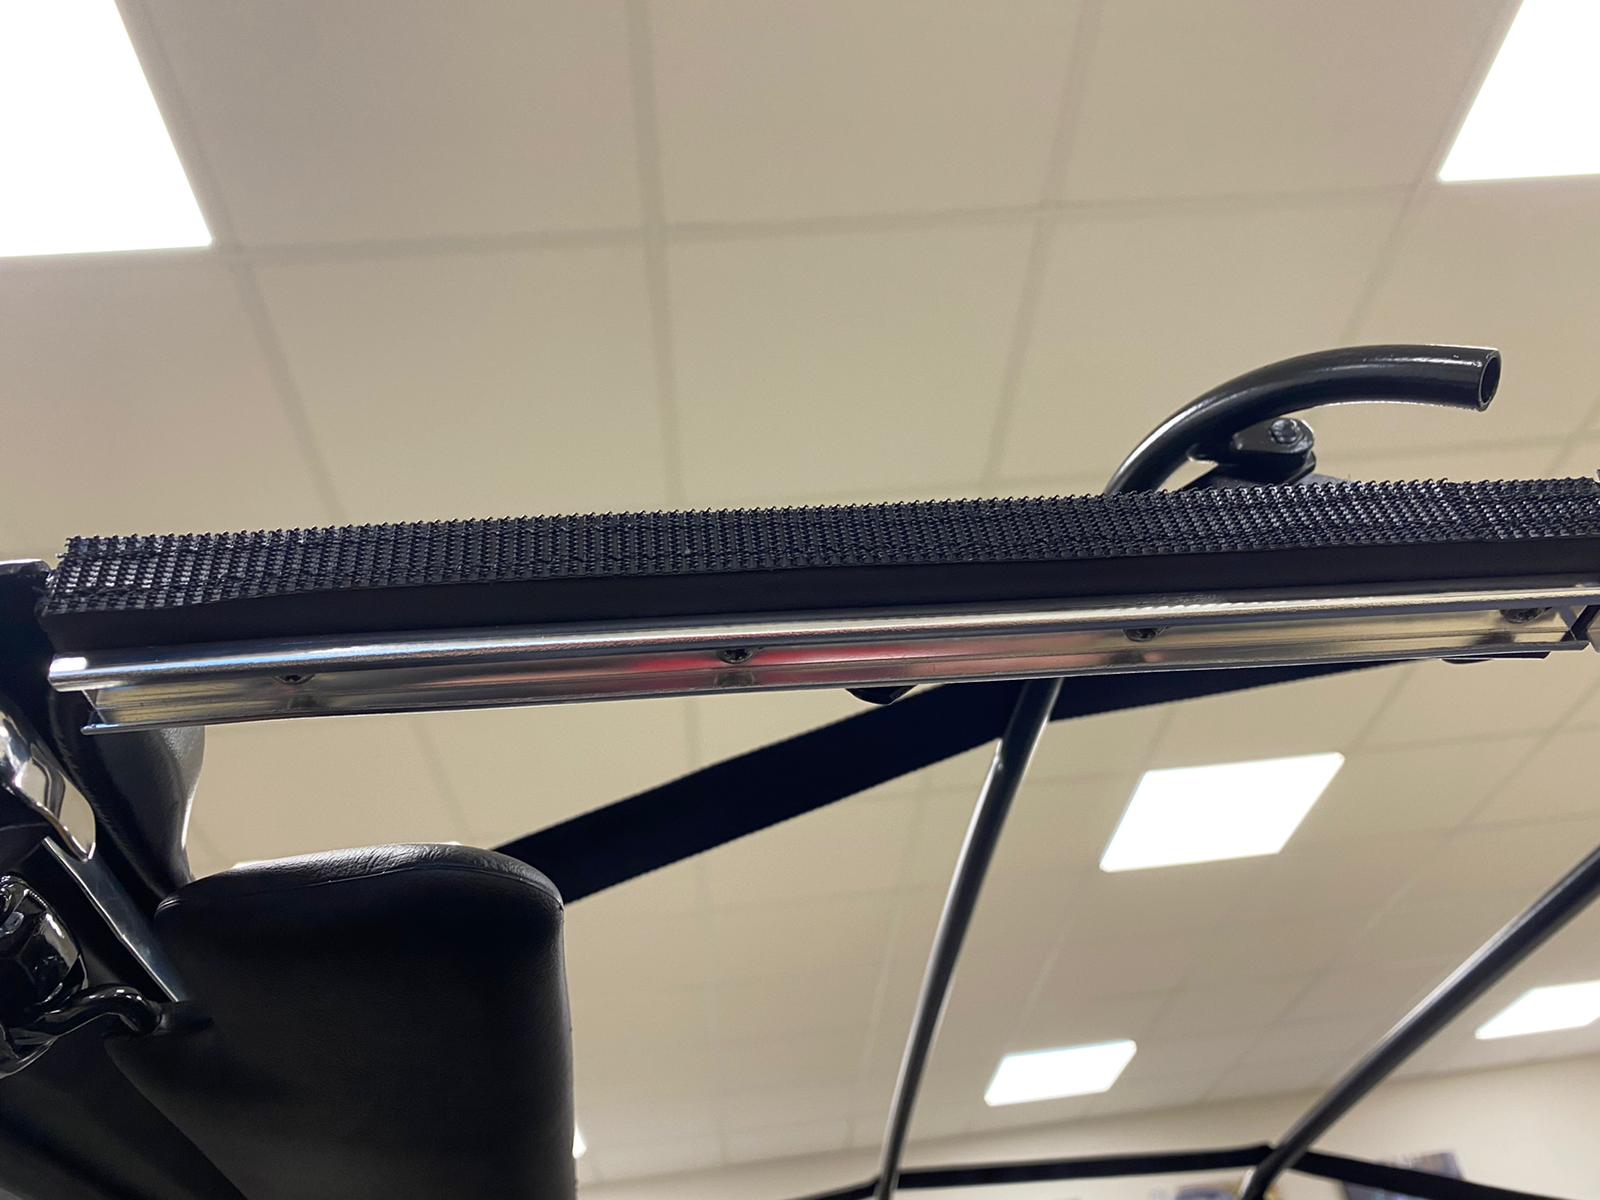
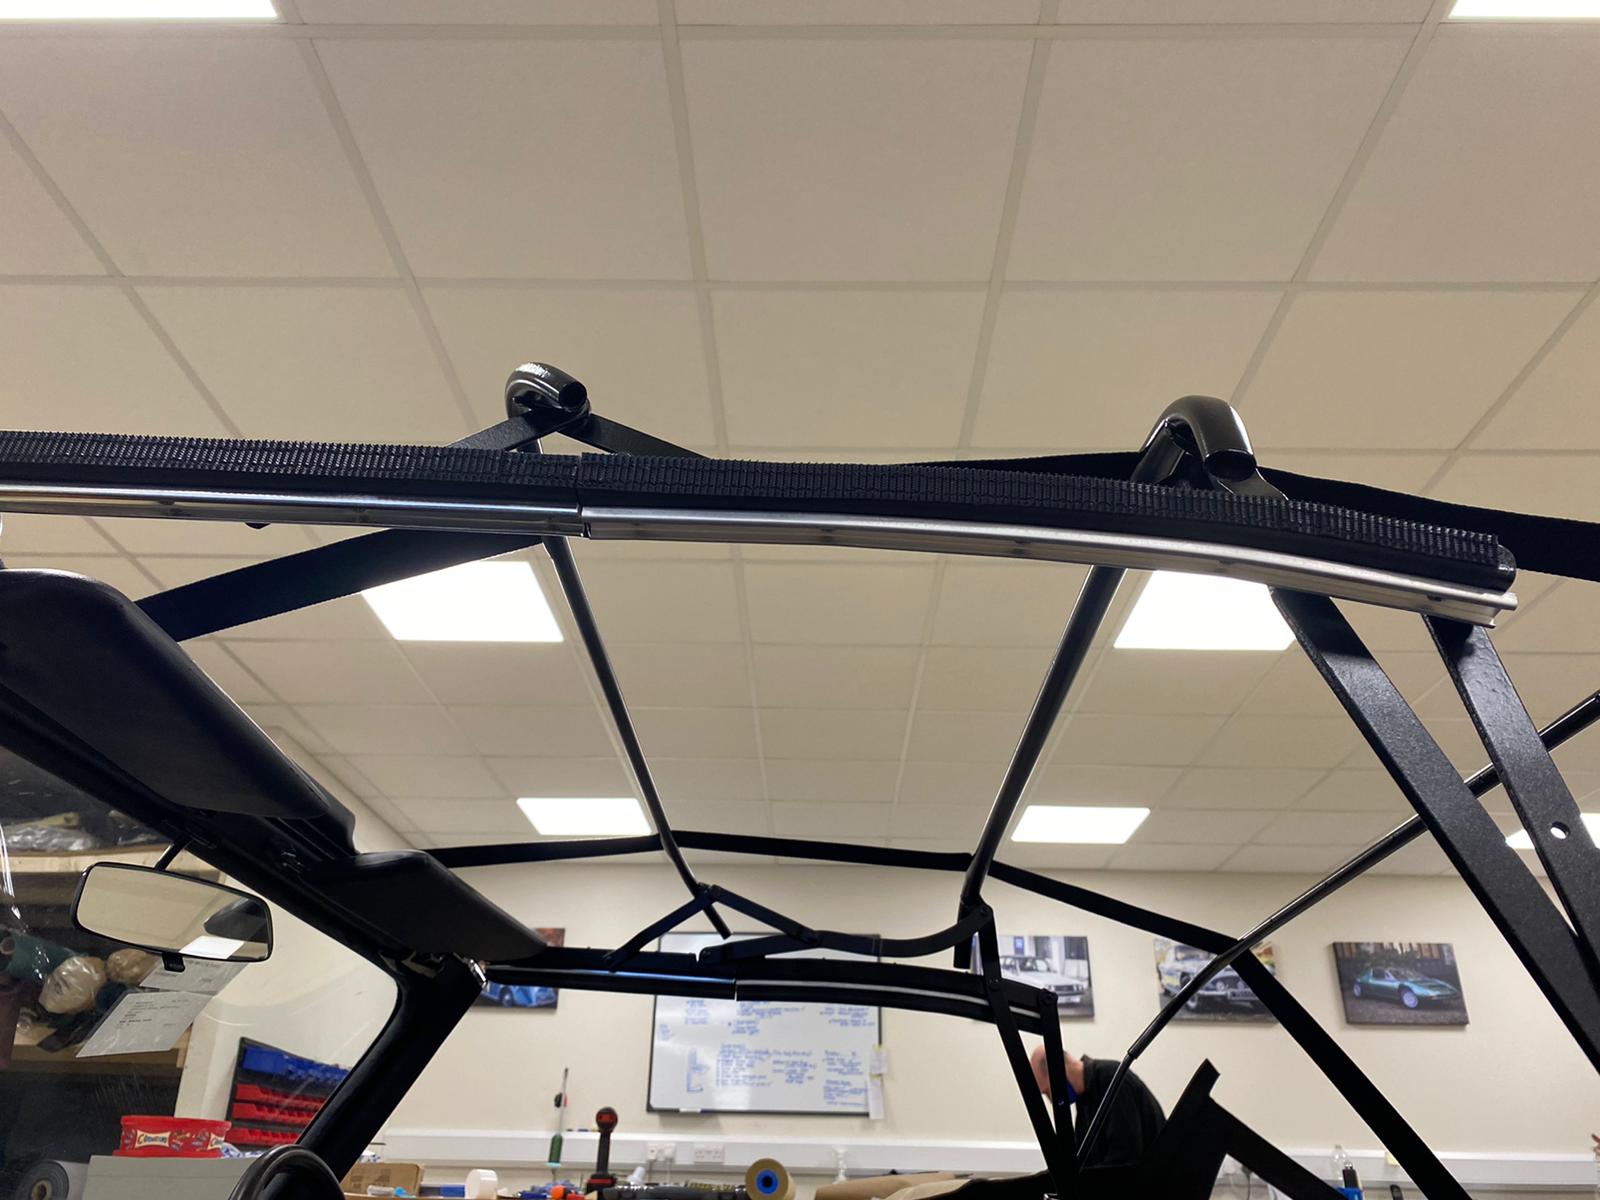
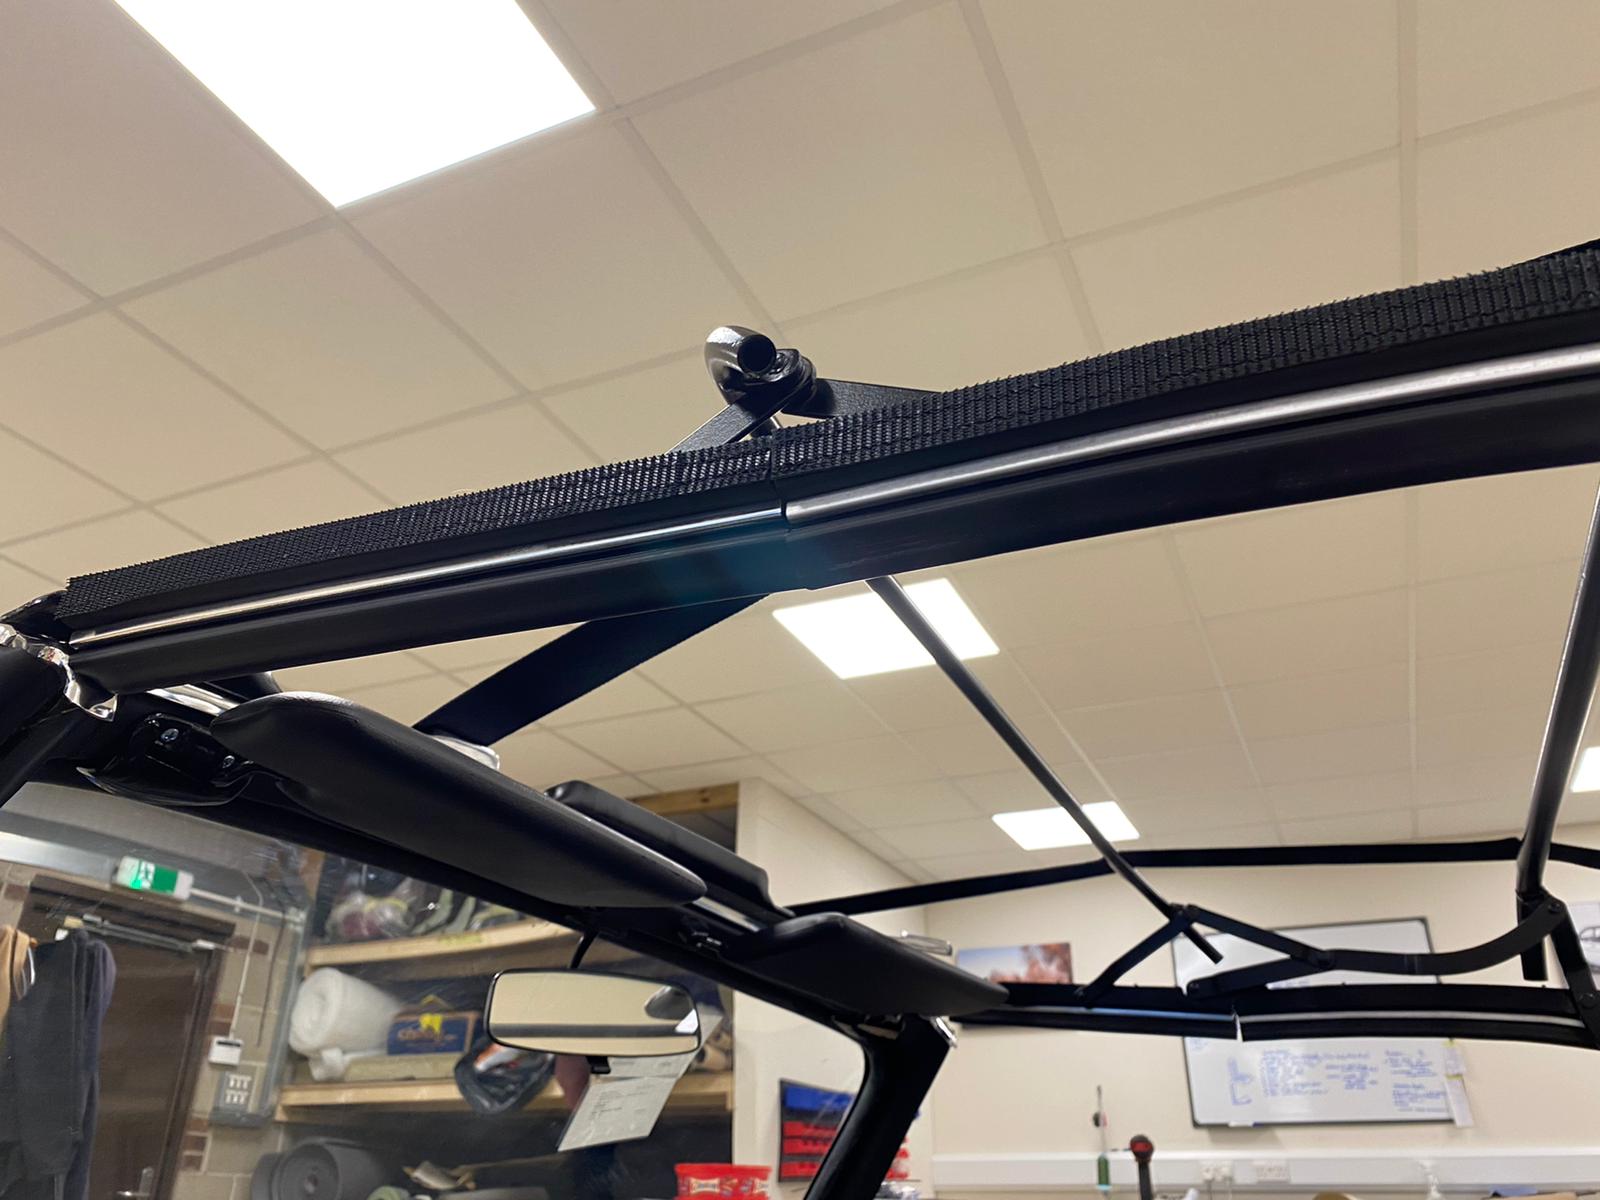
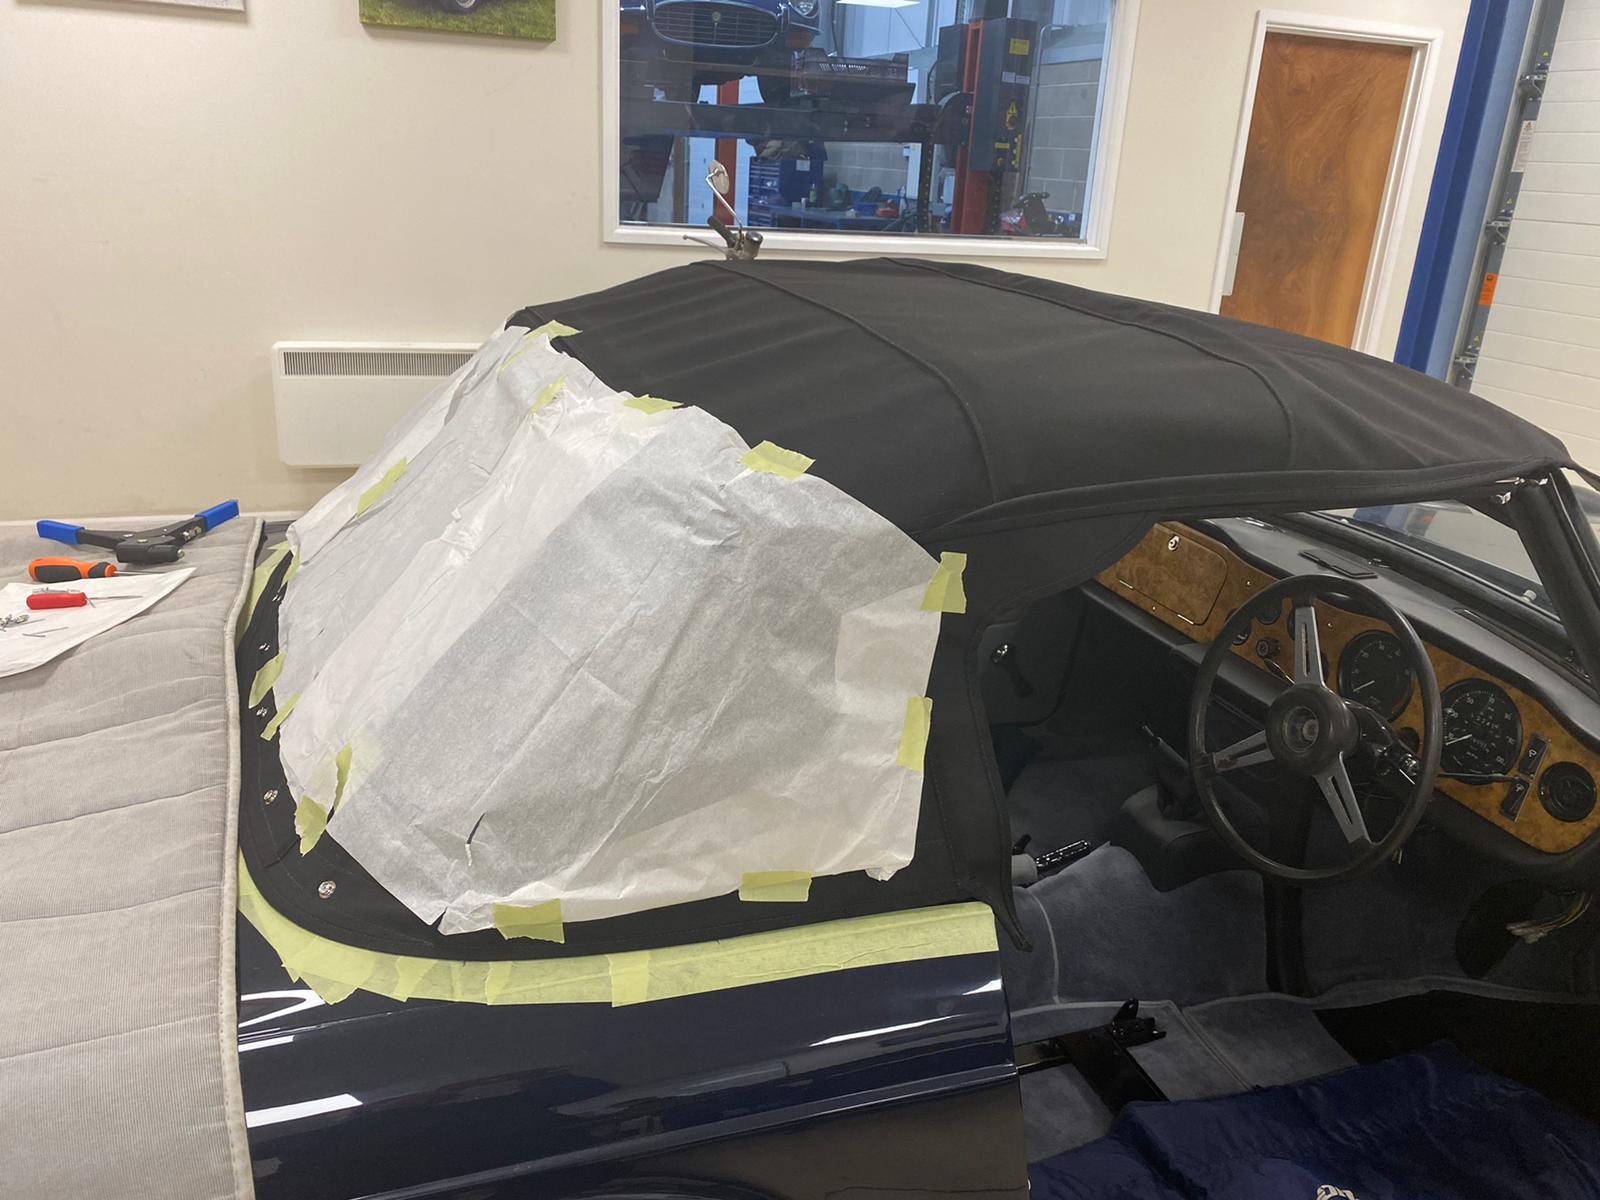
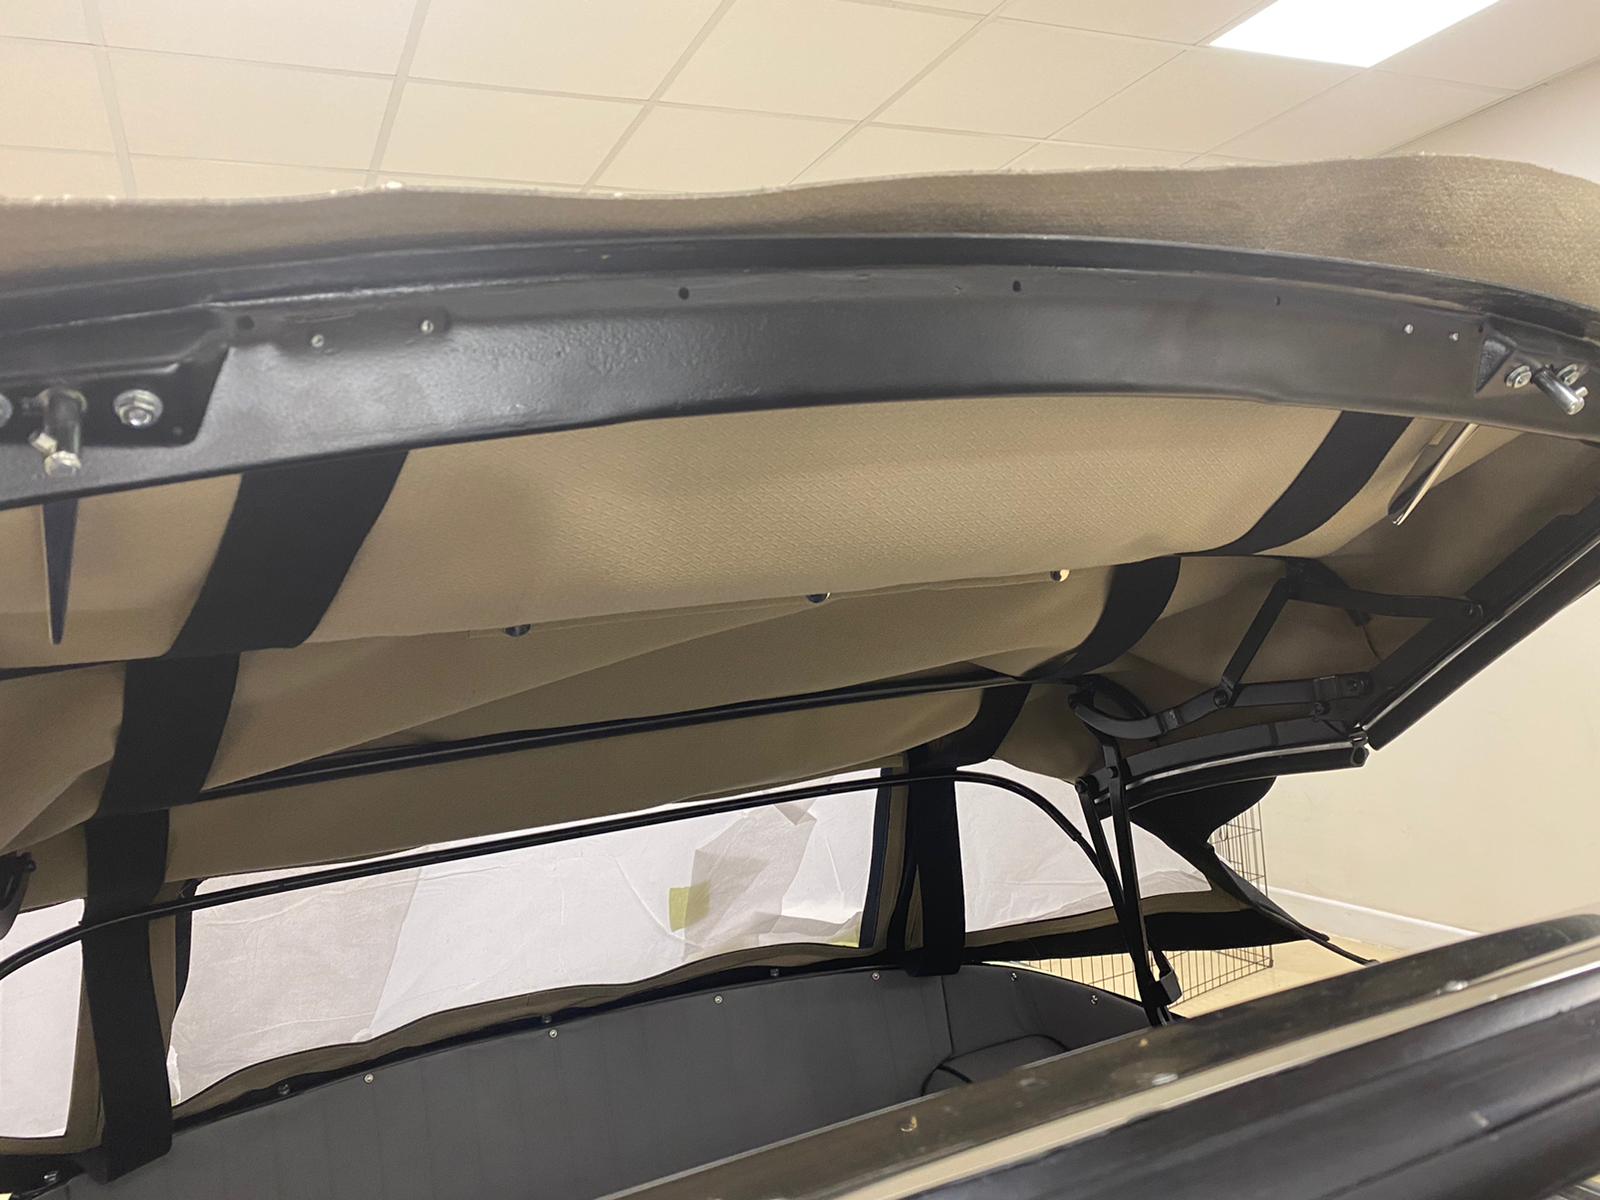
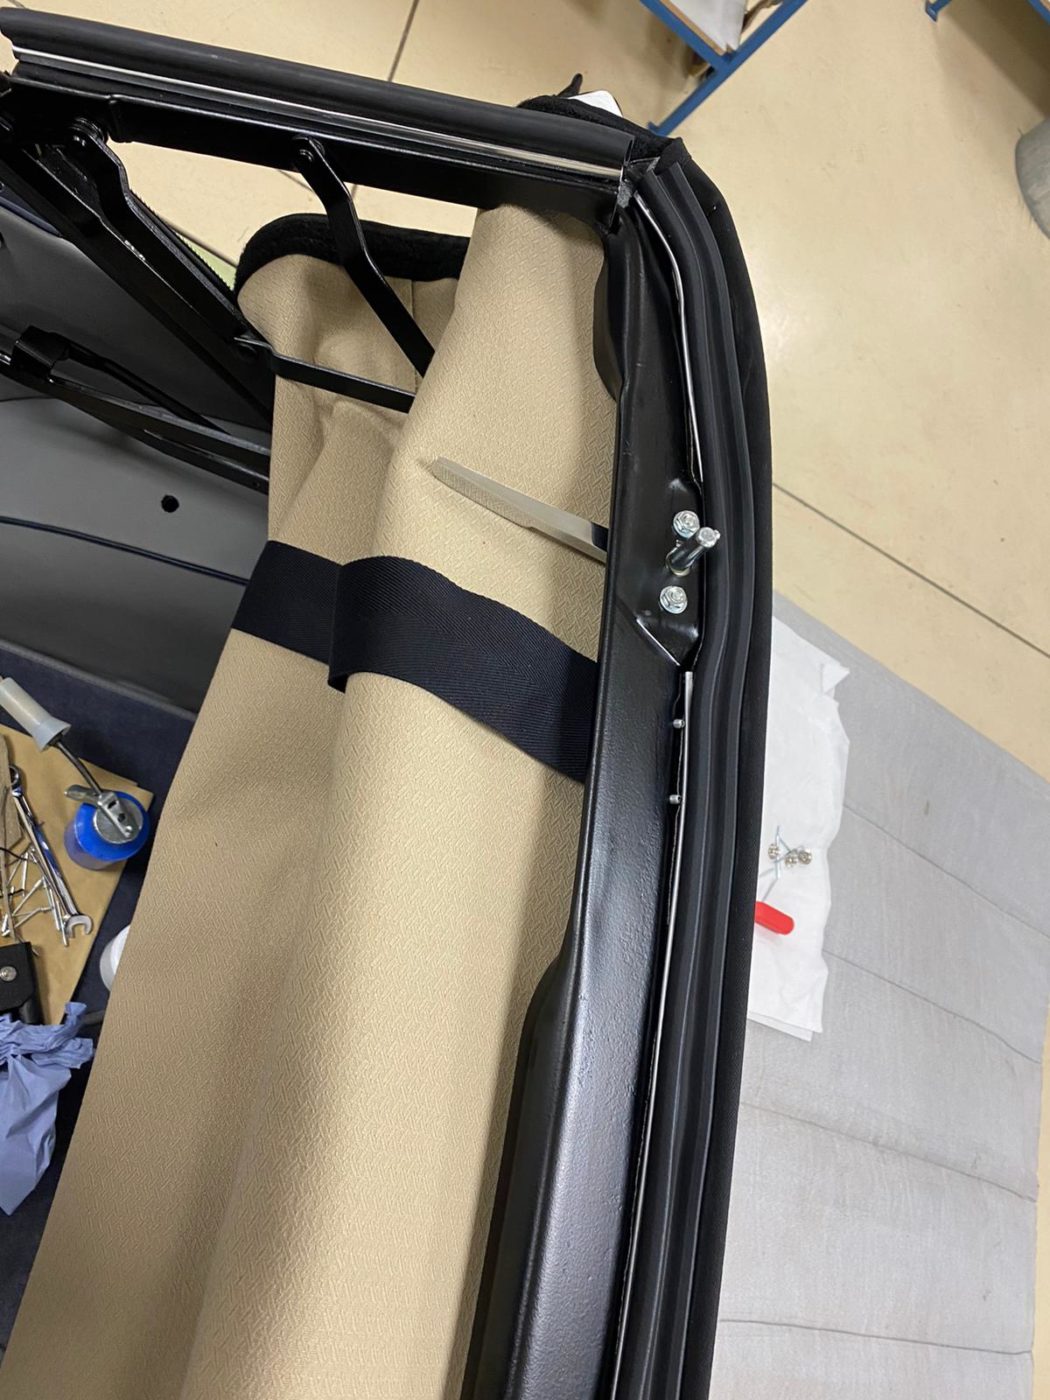
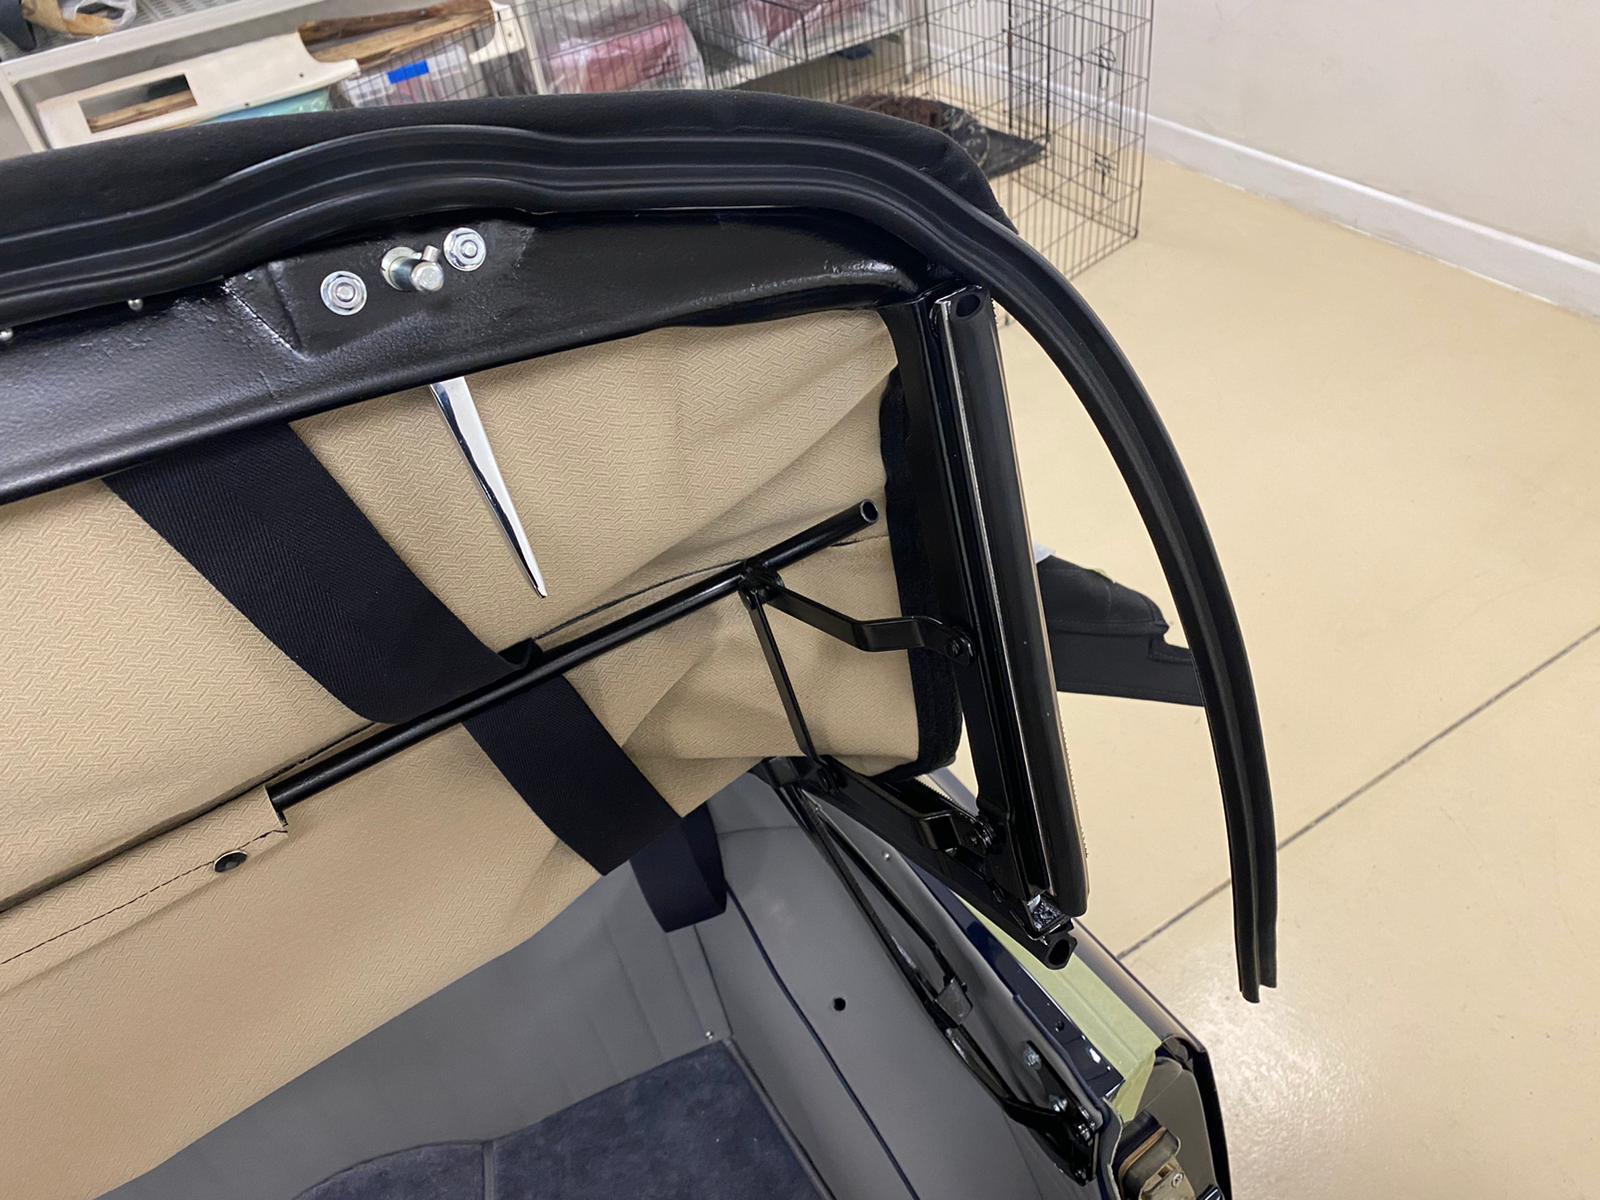
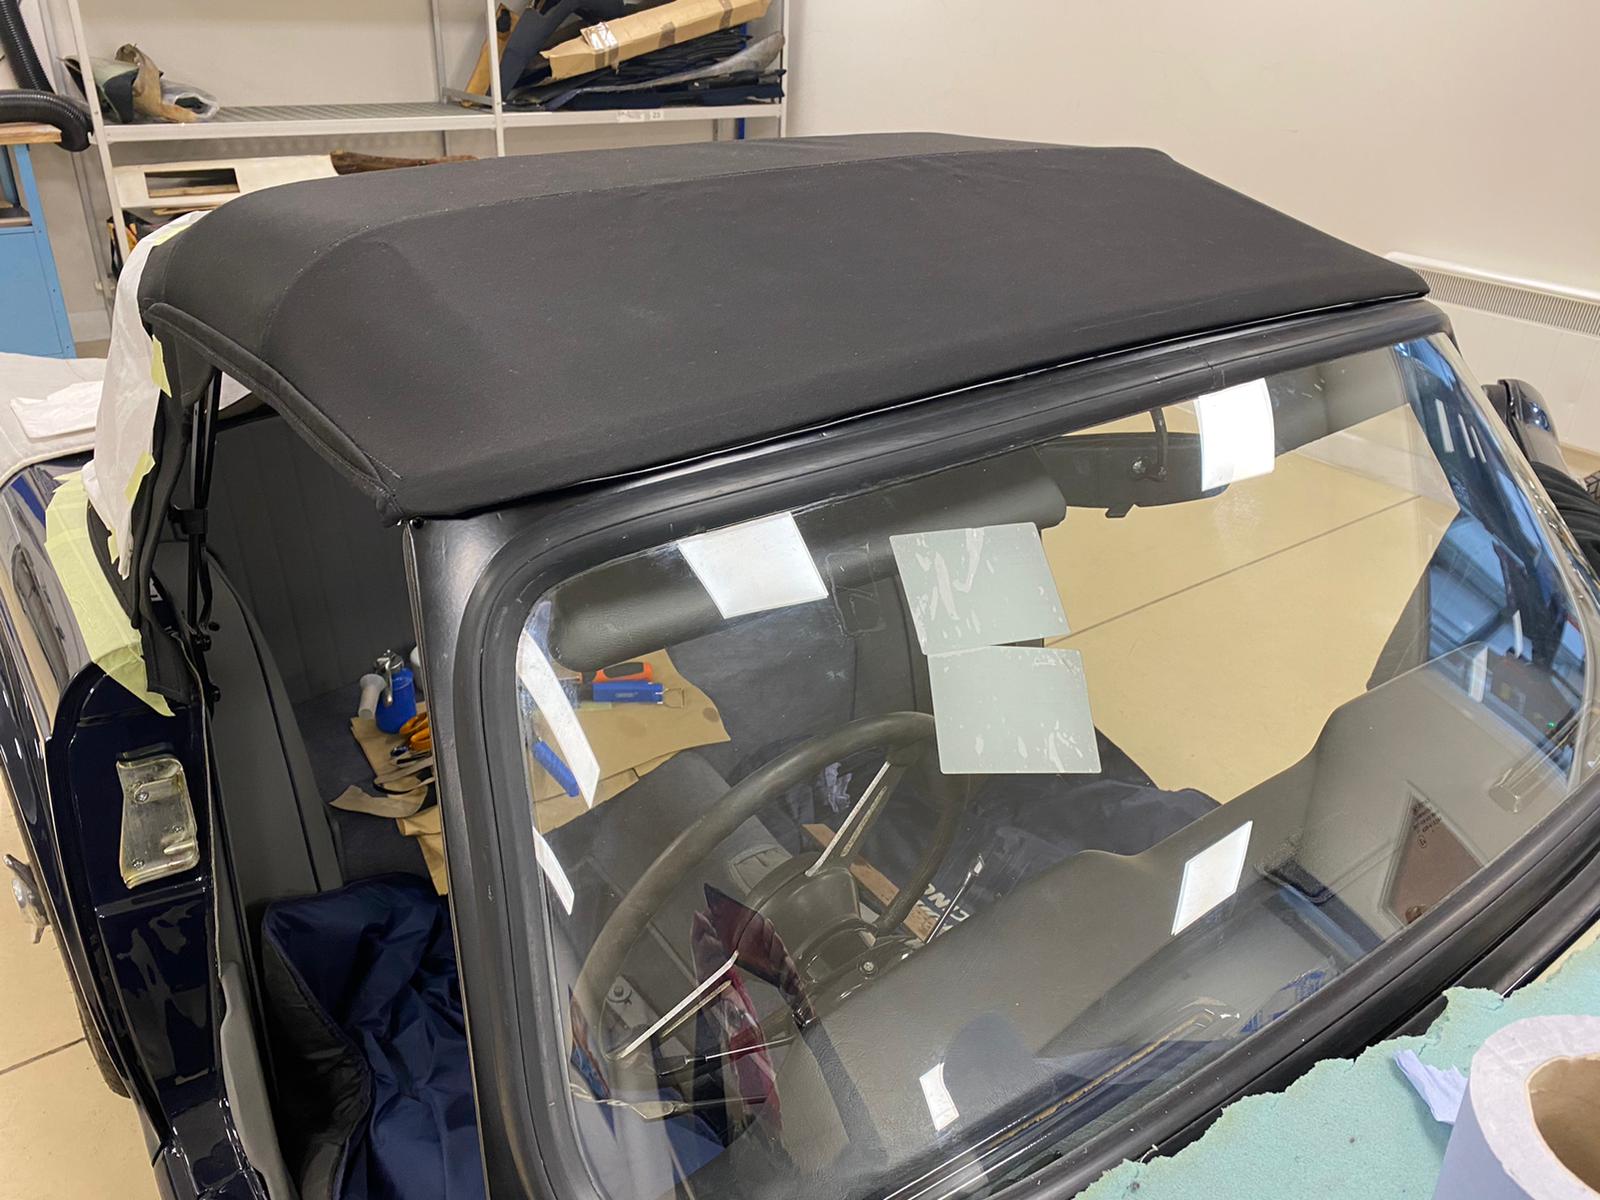
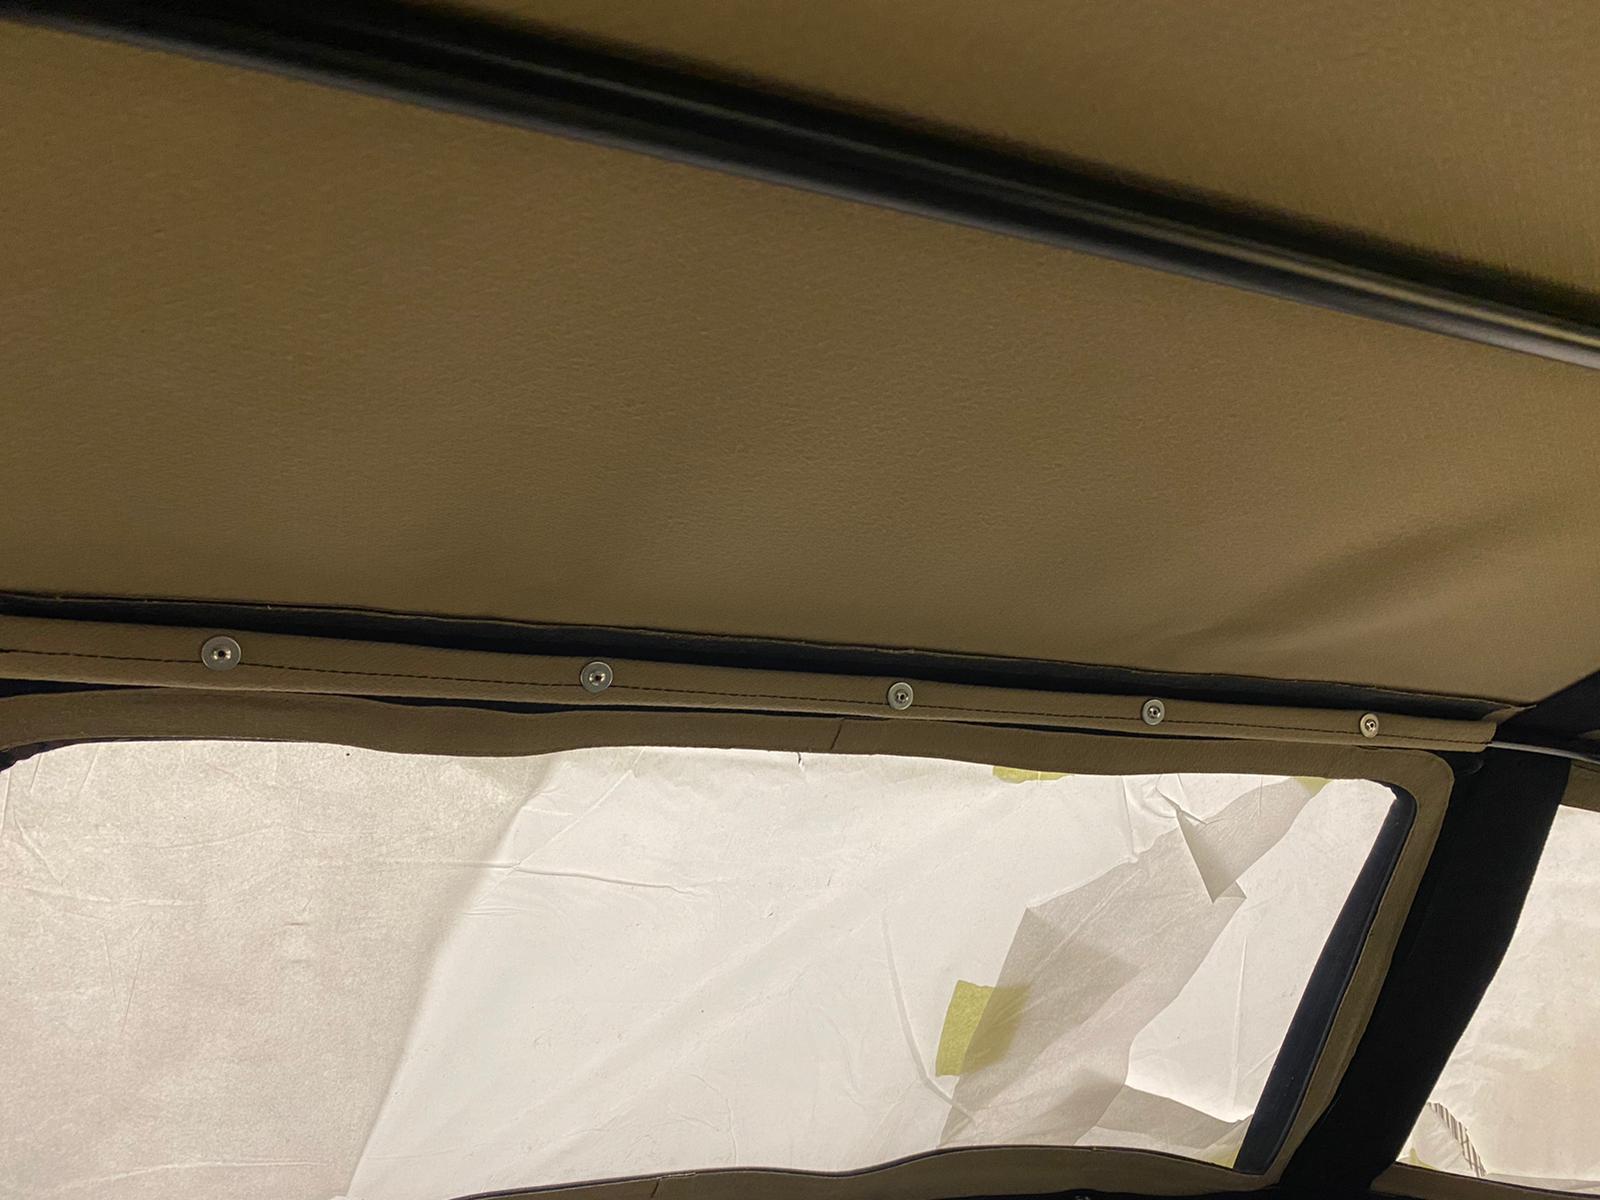
Kath has been working on the TR5 hood recently in the trim shop with the rest of the team. She bagan the process of making the hood by laying the cover over the hood frame and lined up the roof bars with the hood seams. She then took the cover off, attached the webbing to the bars to keep the frame in the right position using the rivets and metal plates. She then made up some vinyl for the edges to go along the side of the frame with Velcro sewn on. This is done so the hood can fasten to the frame.
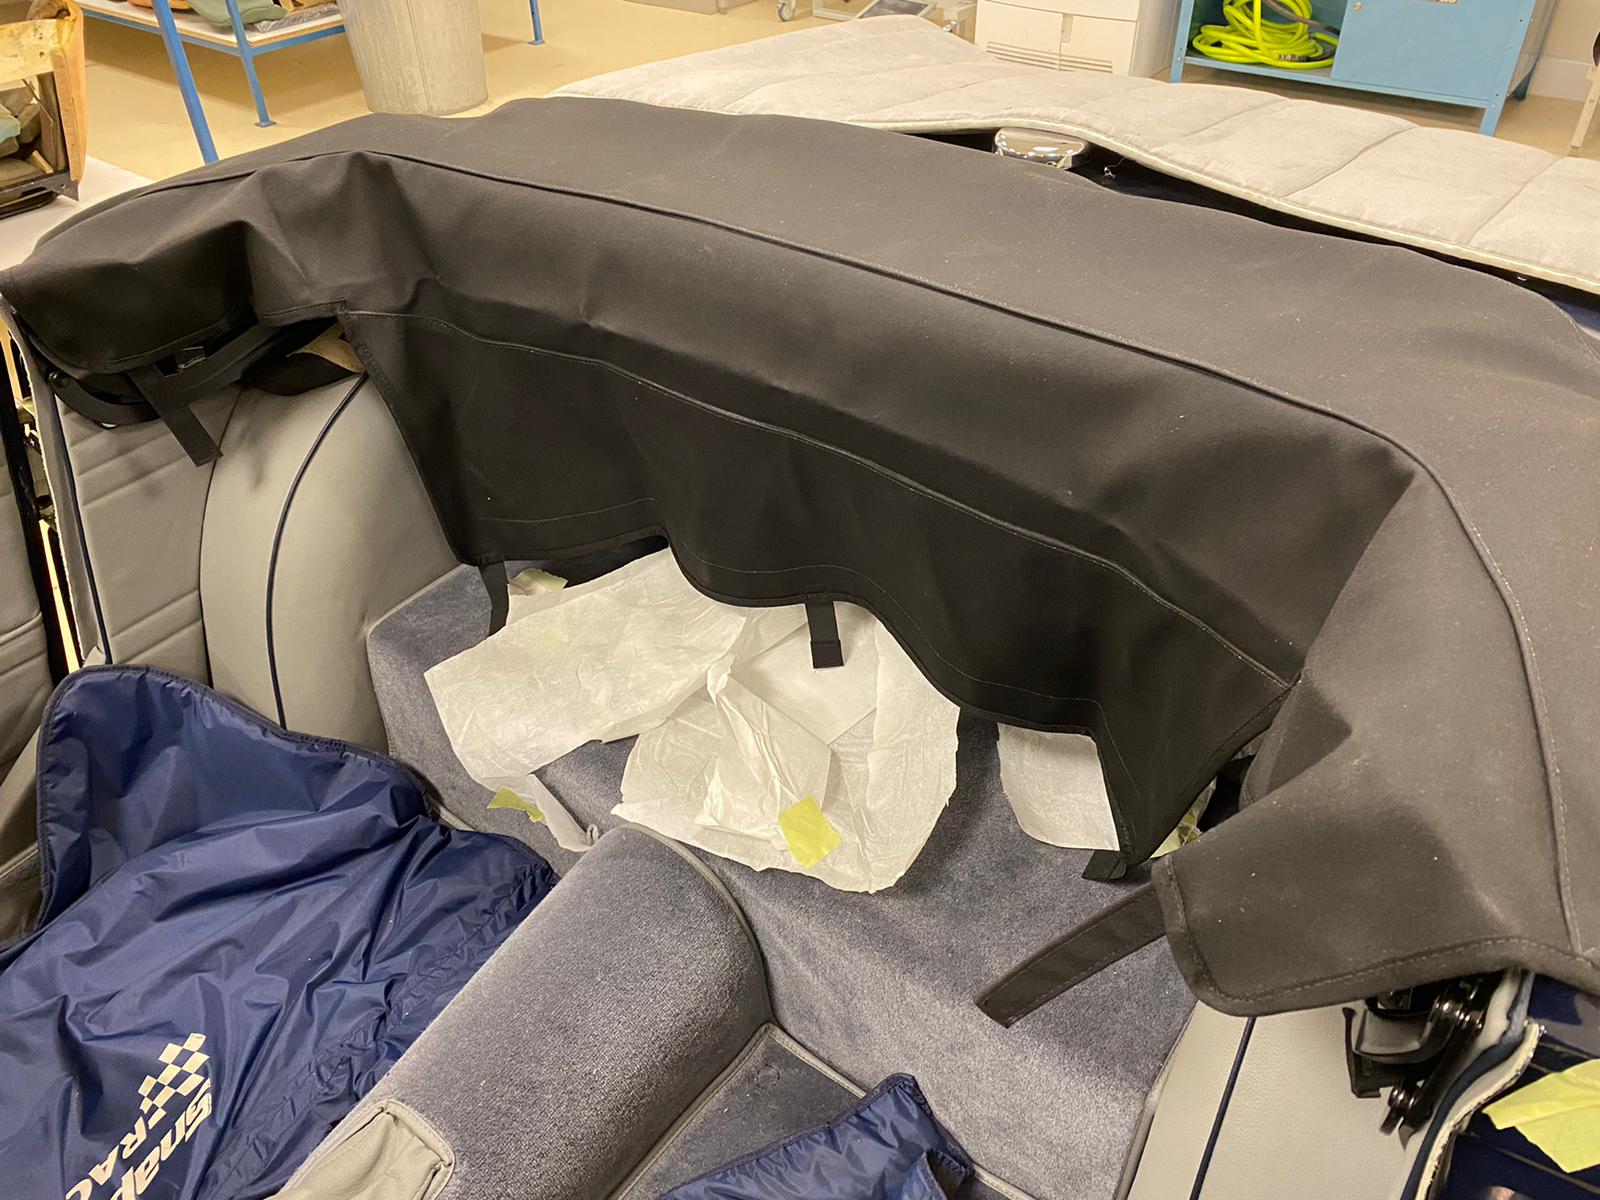
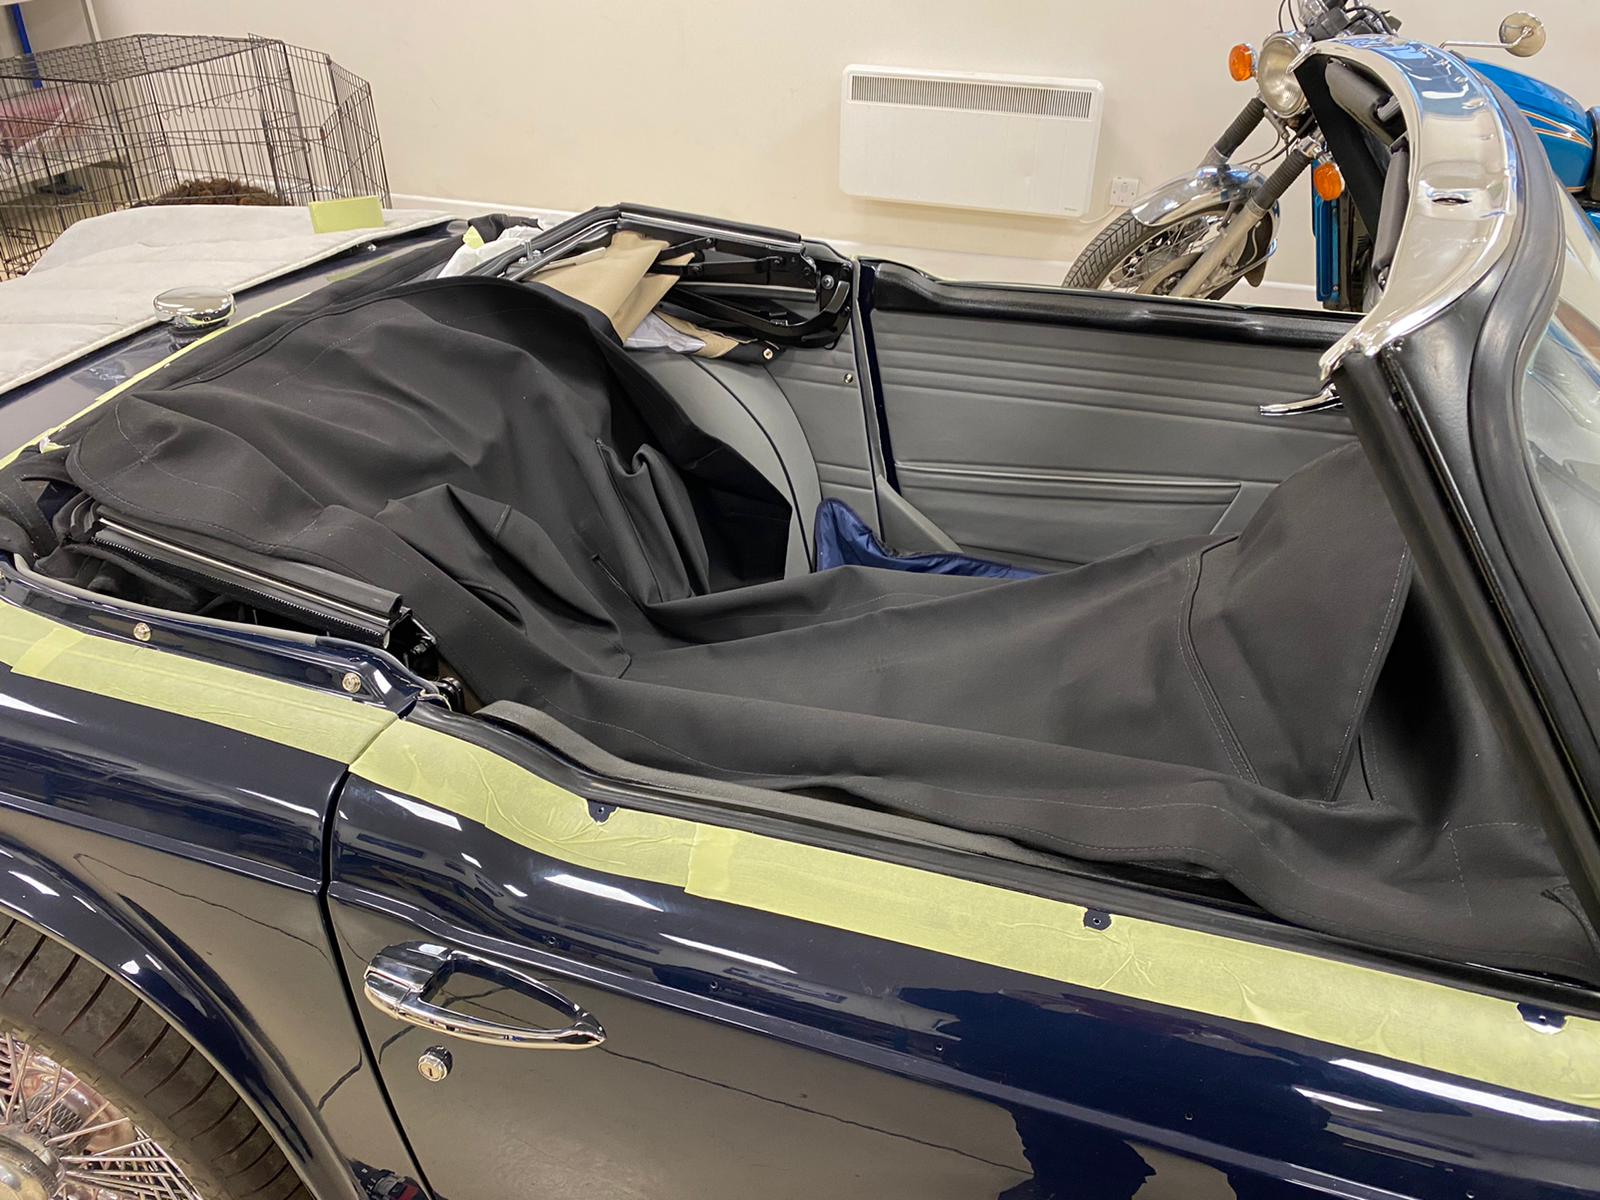
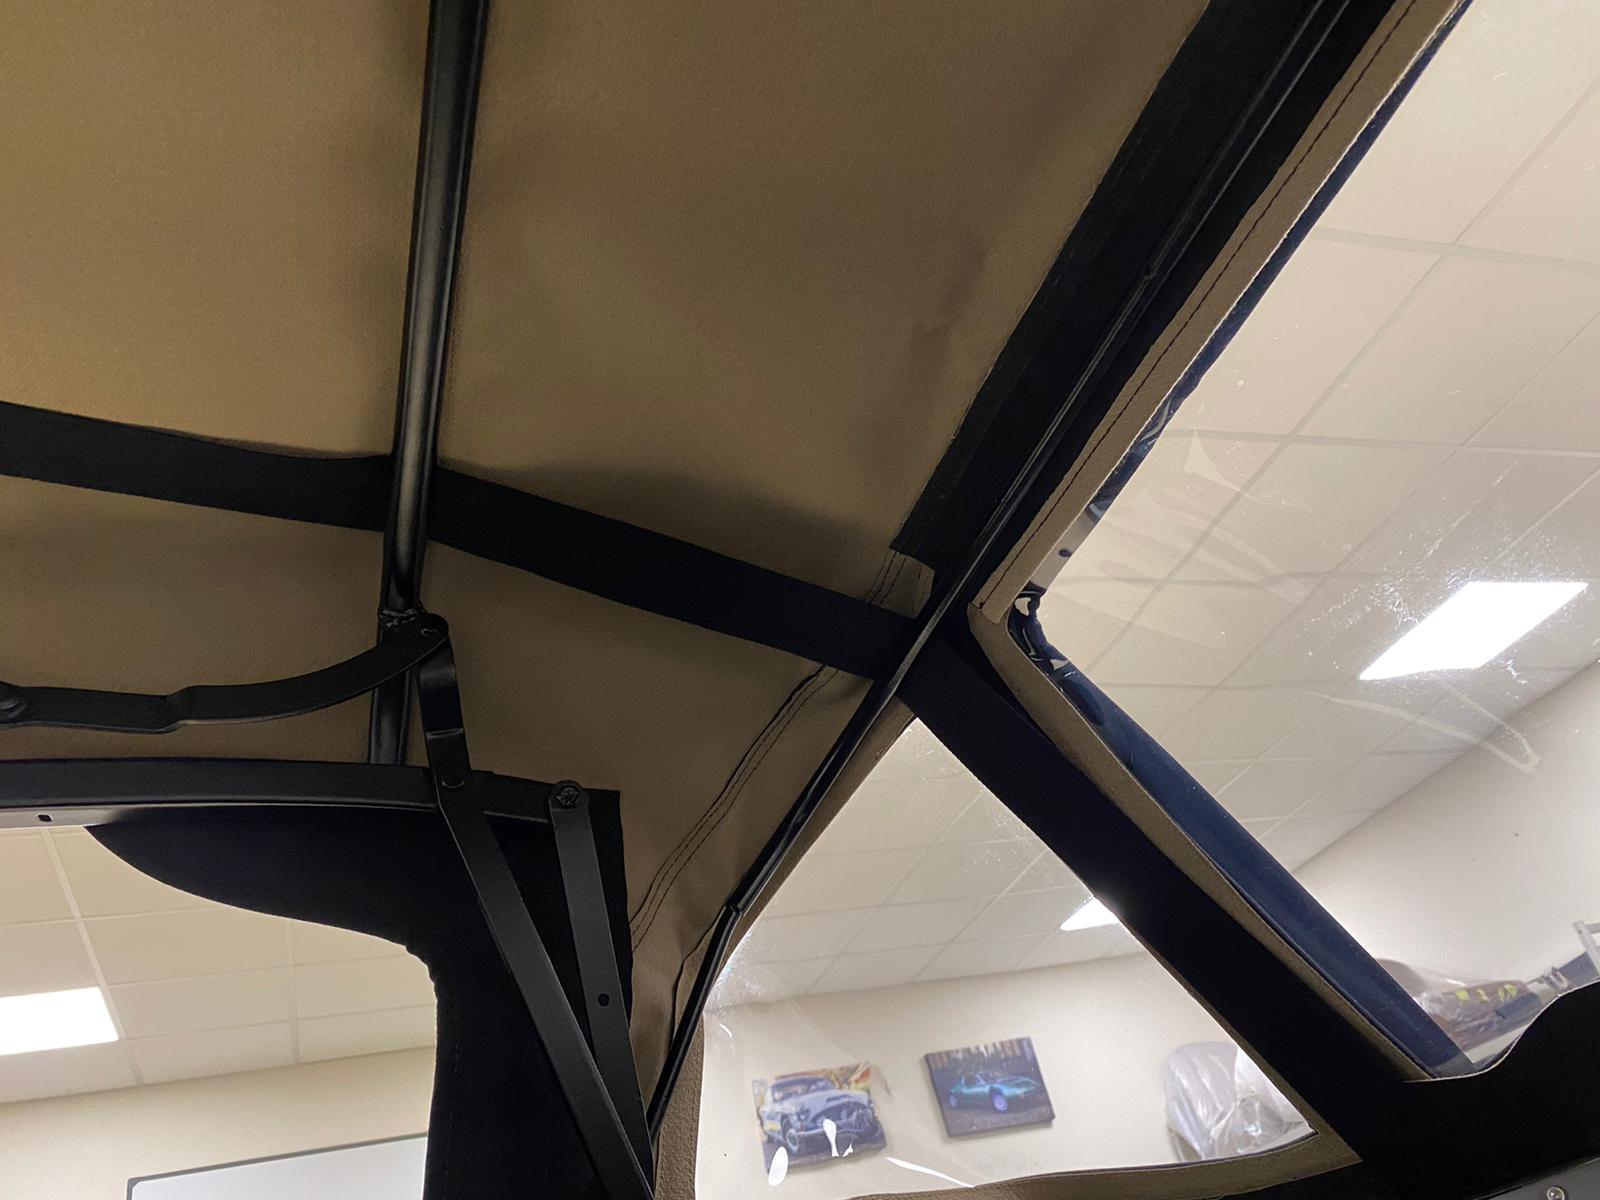
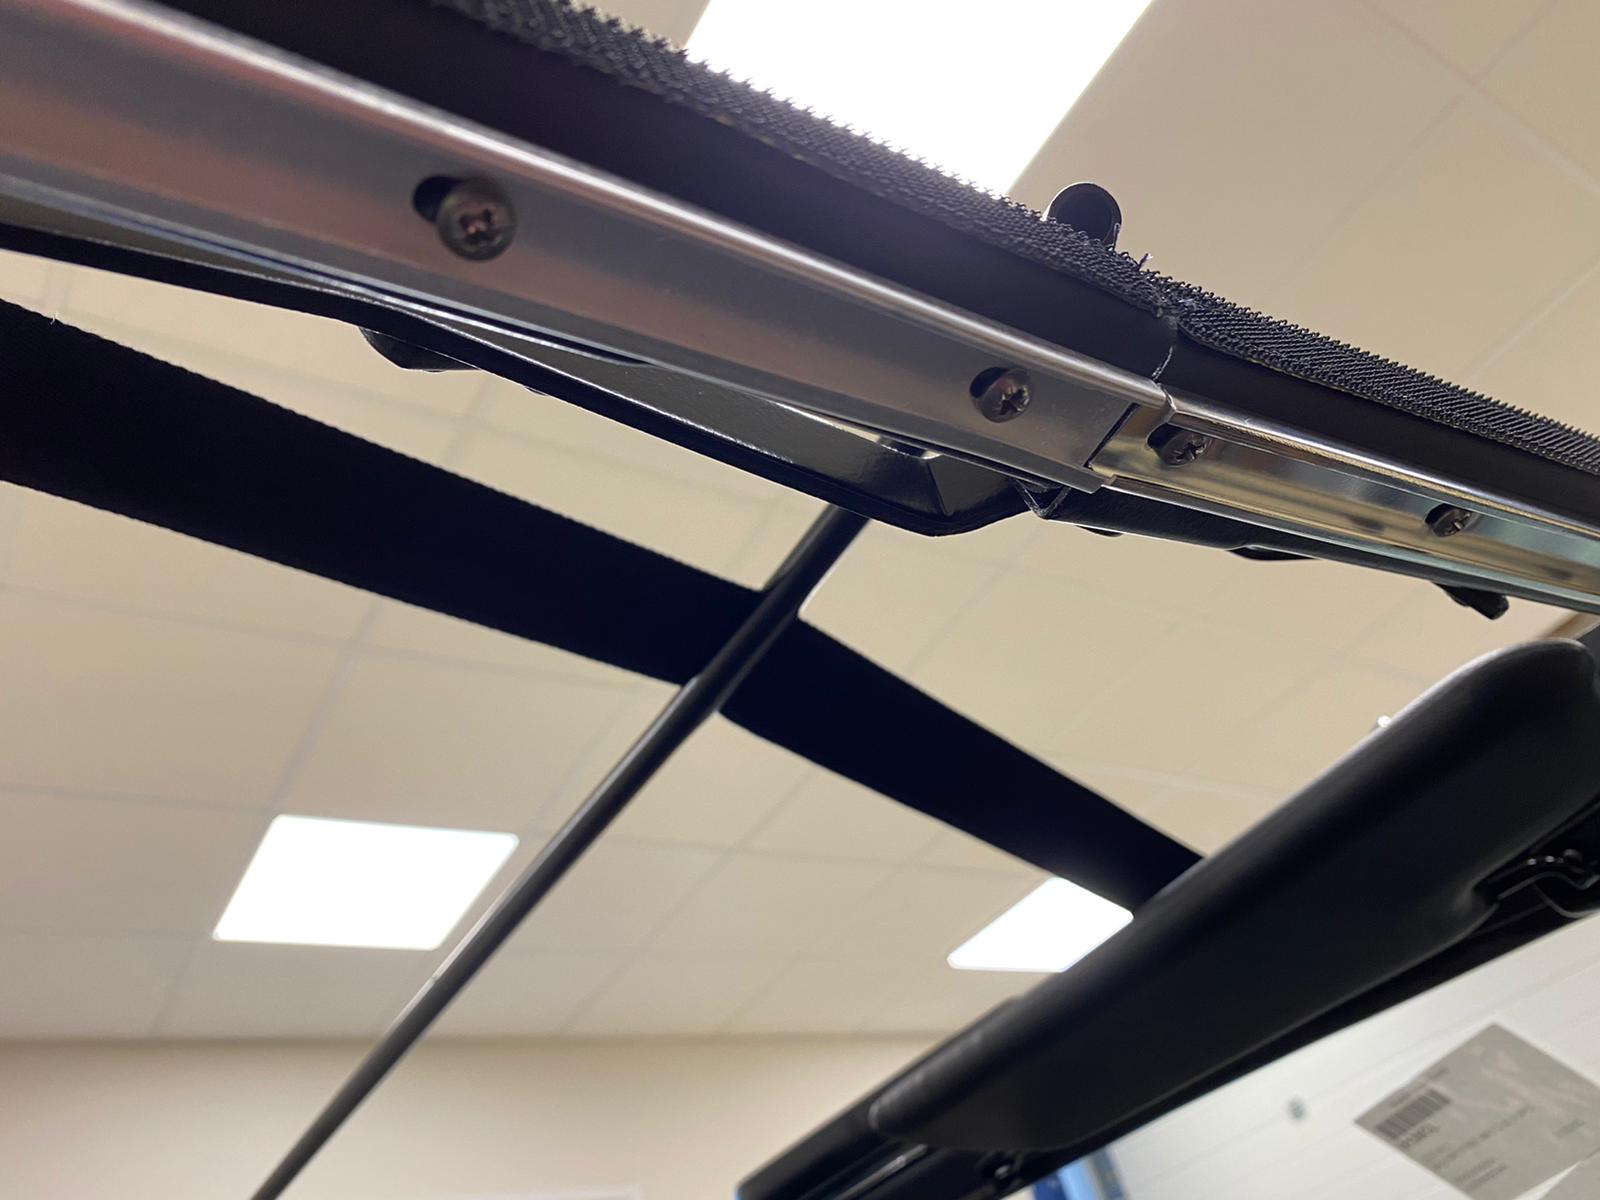
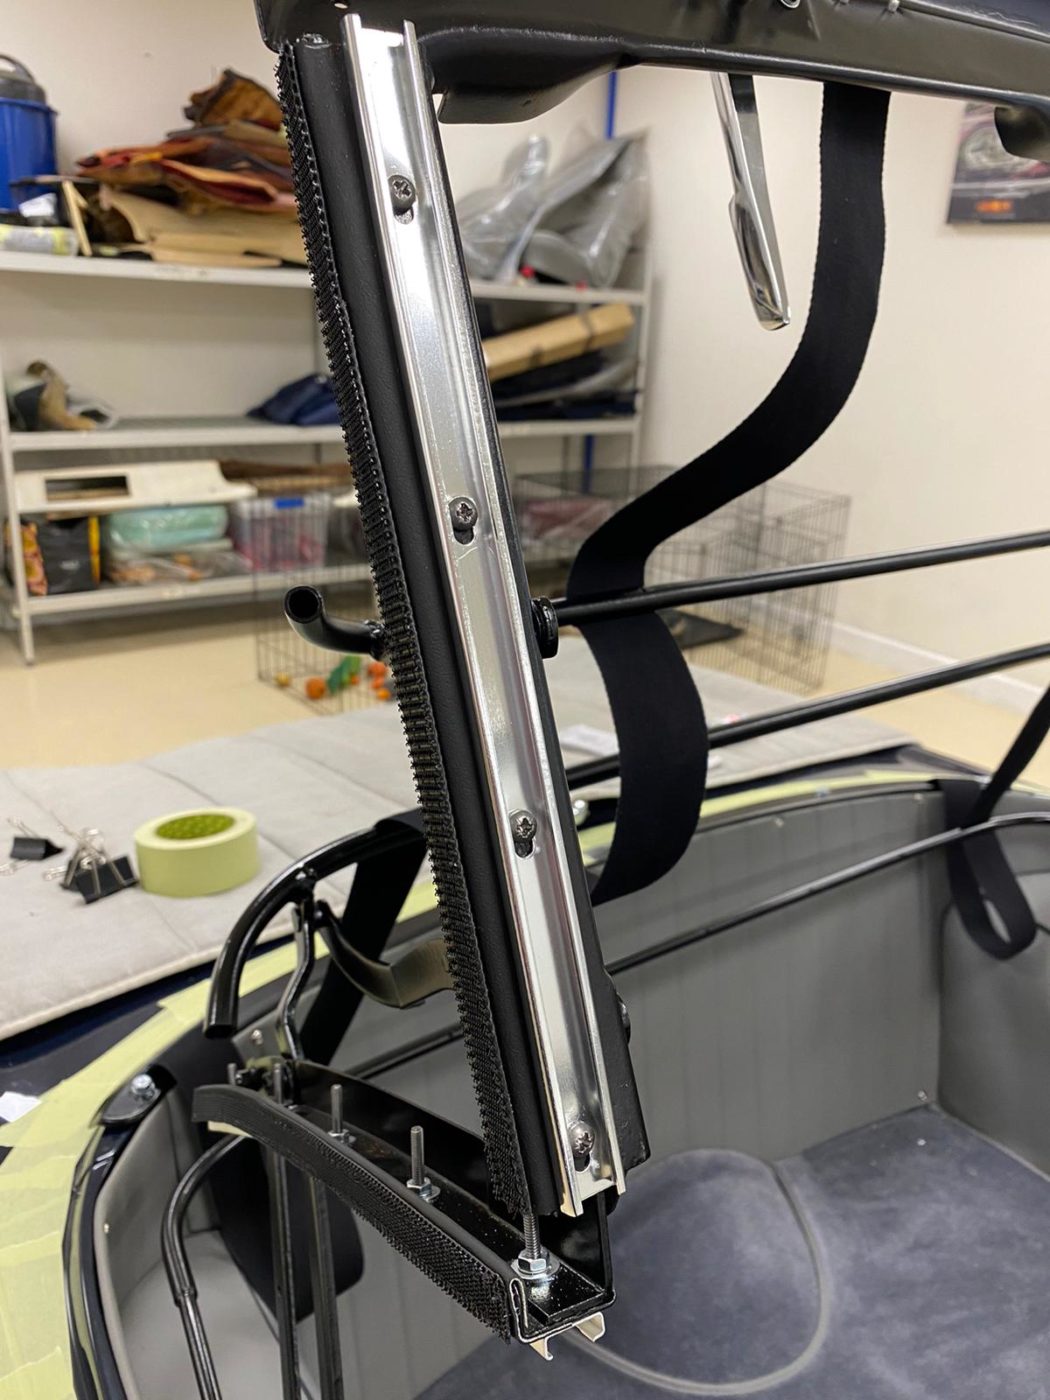
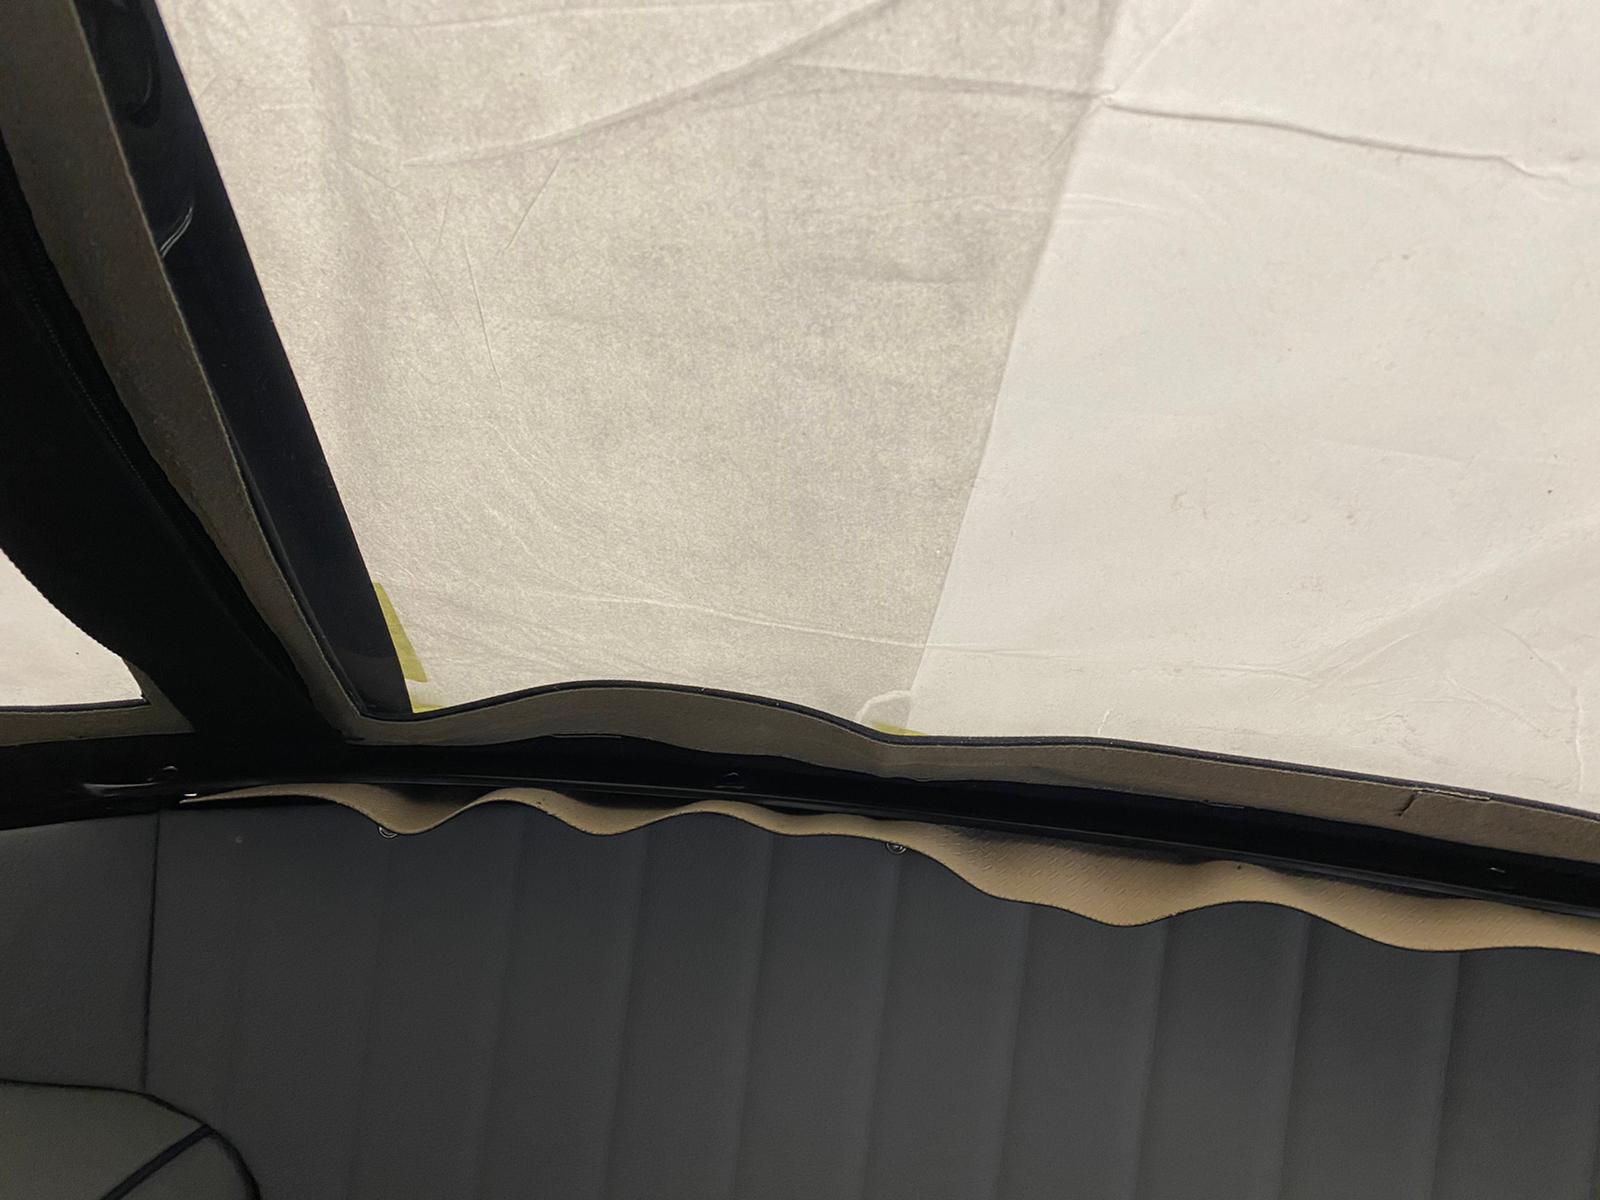
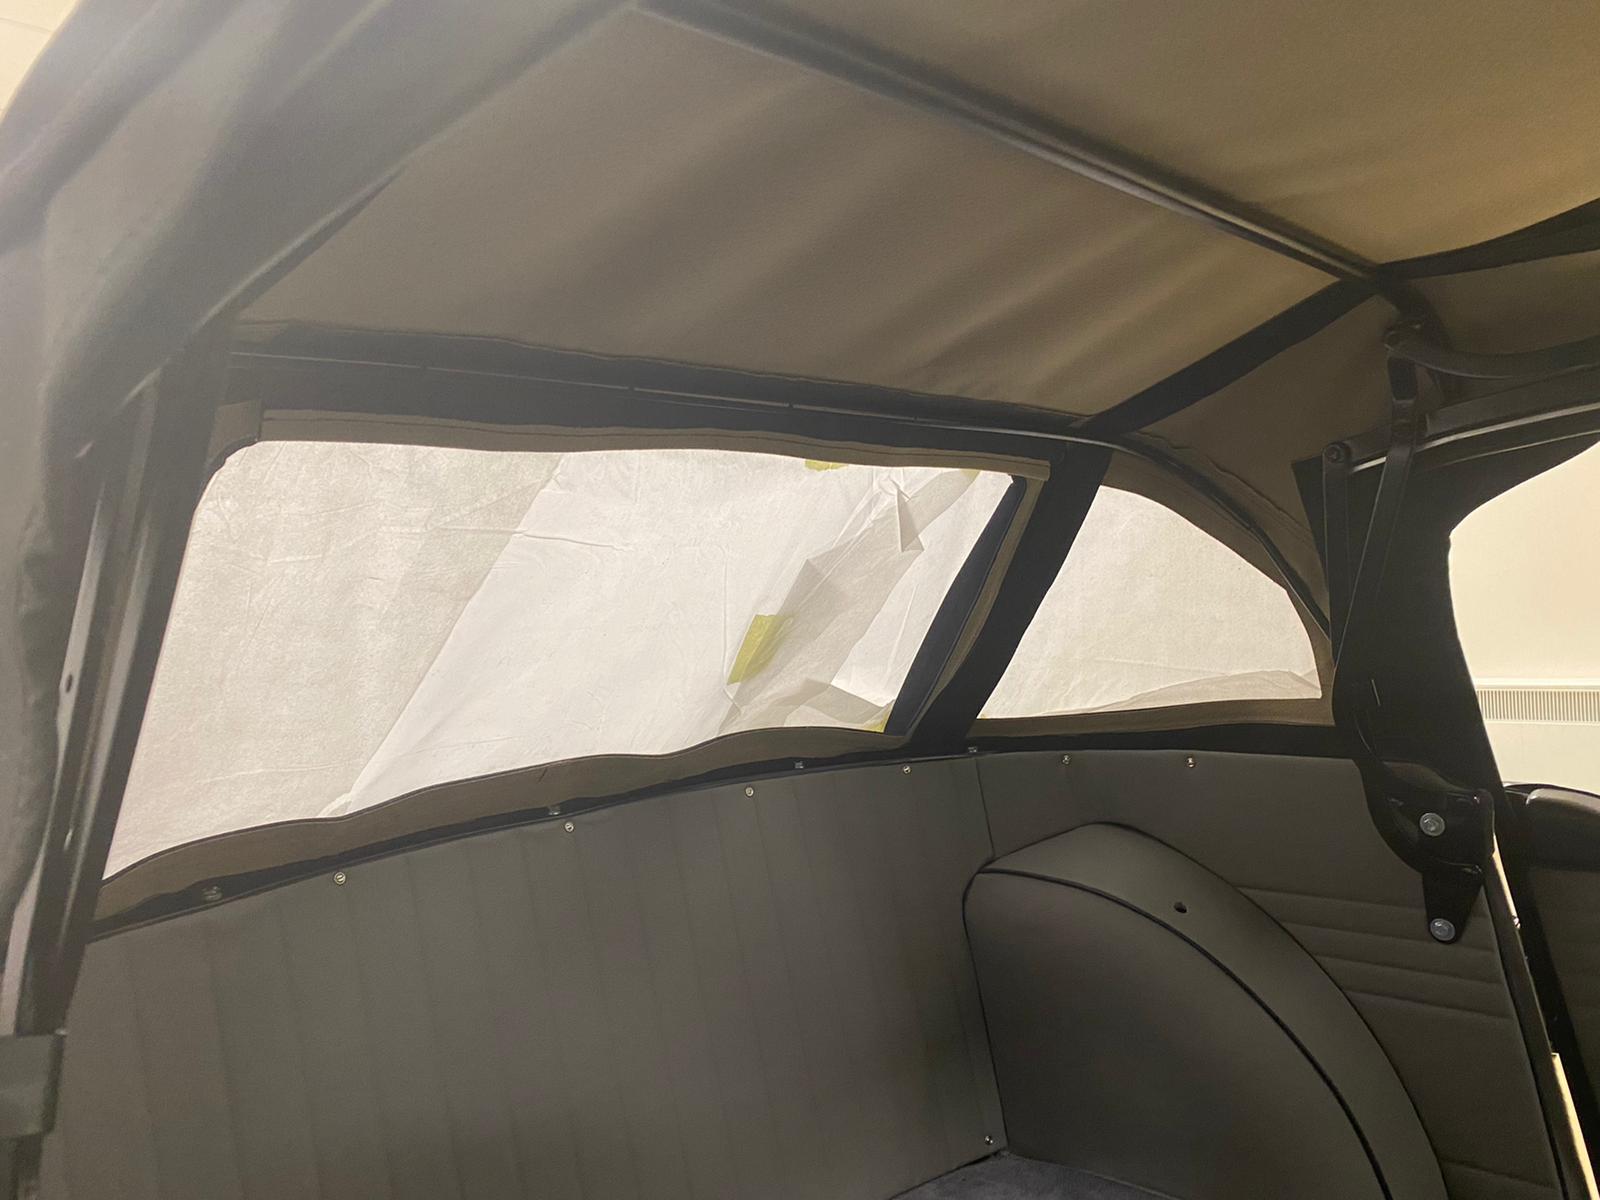
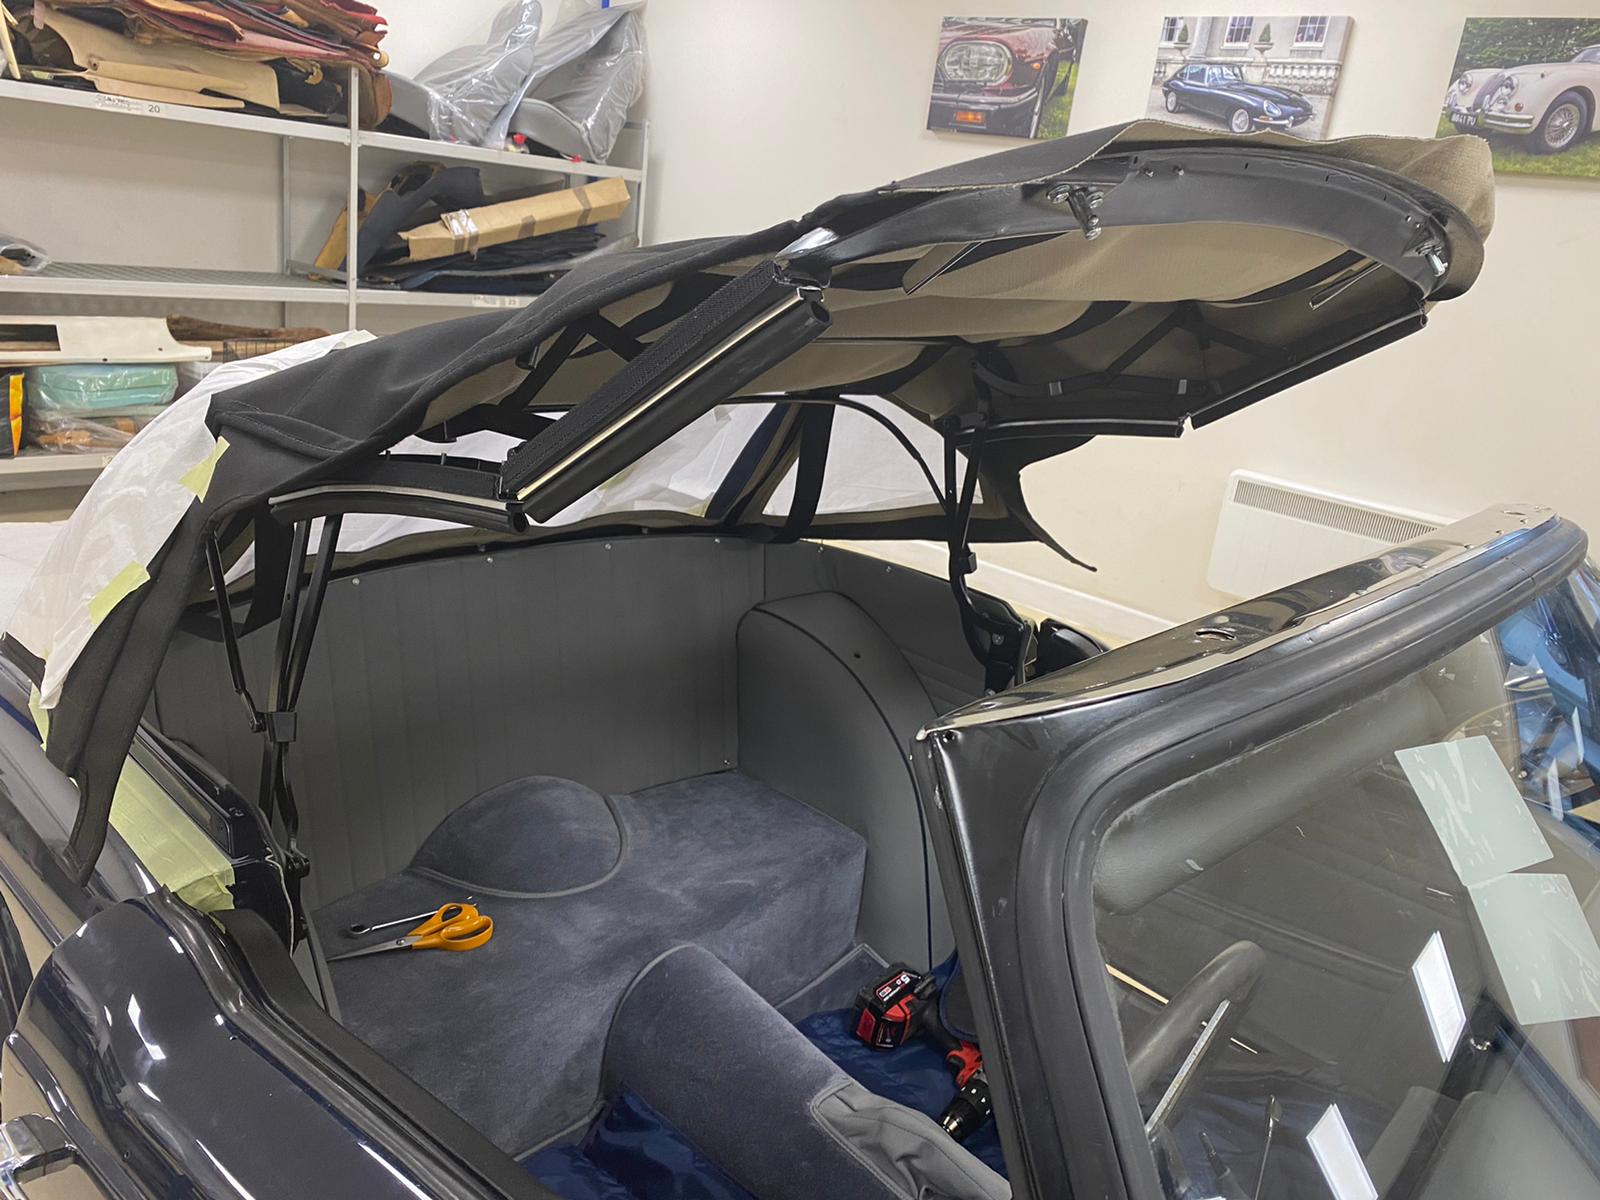
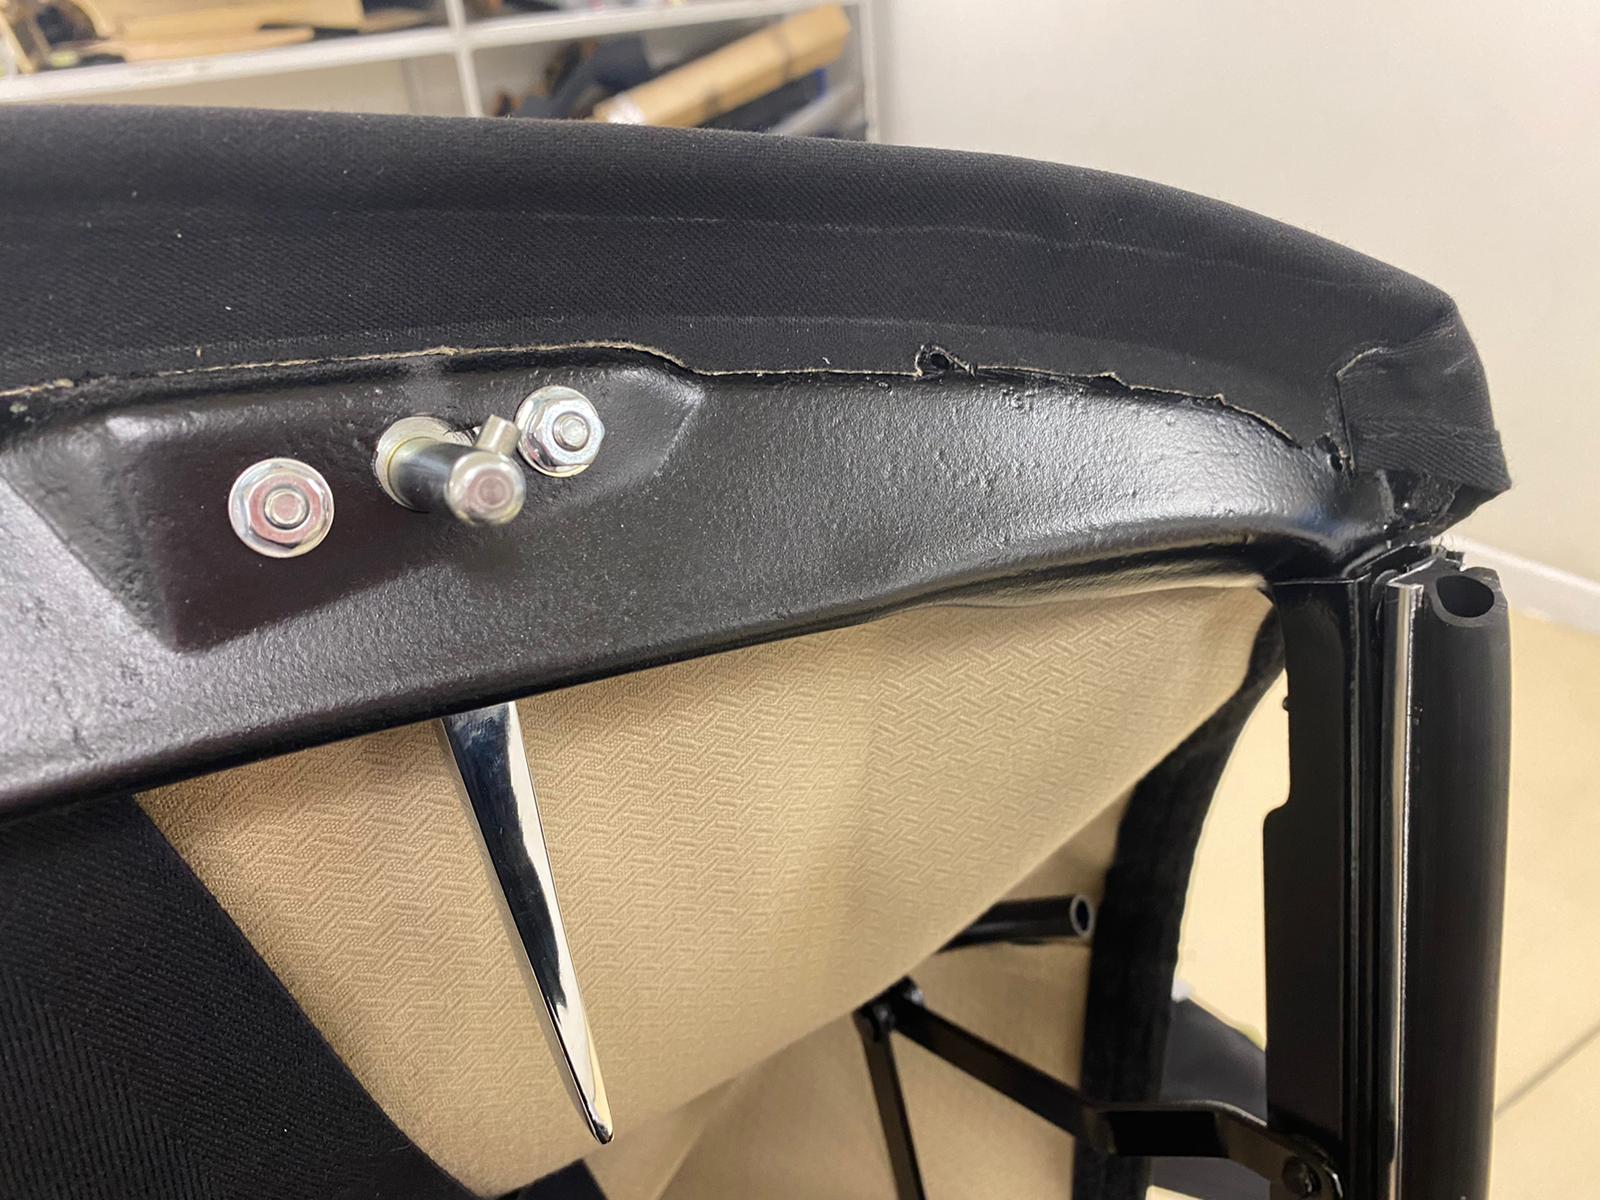
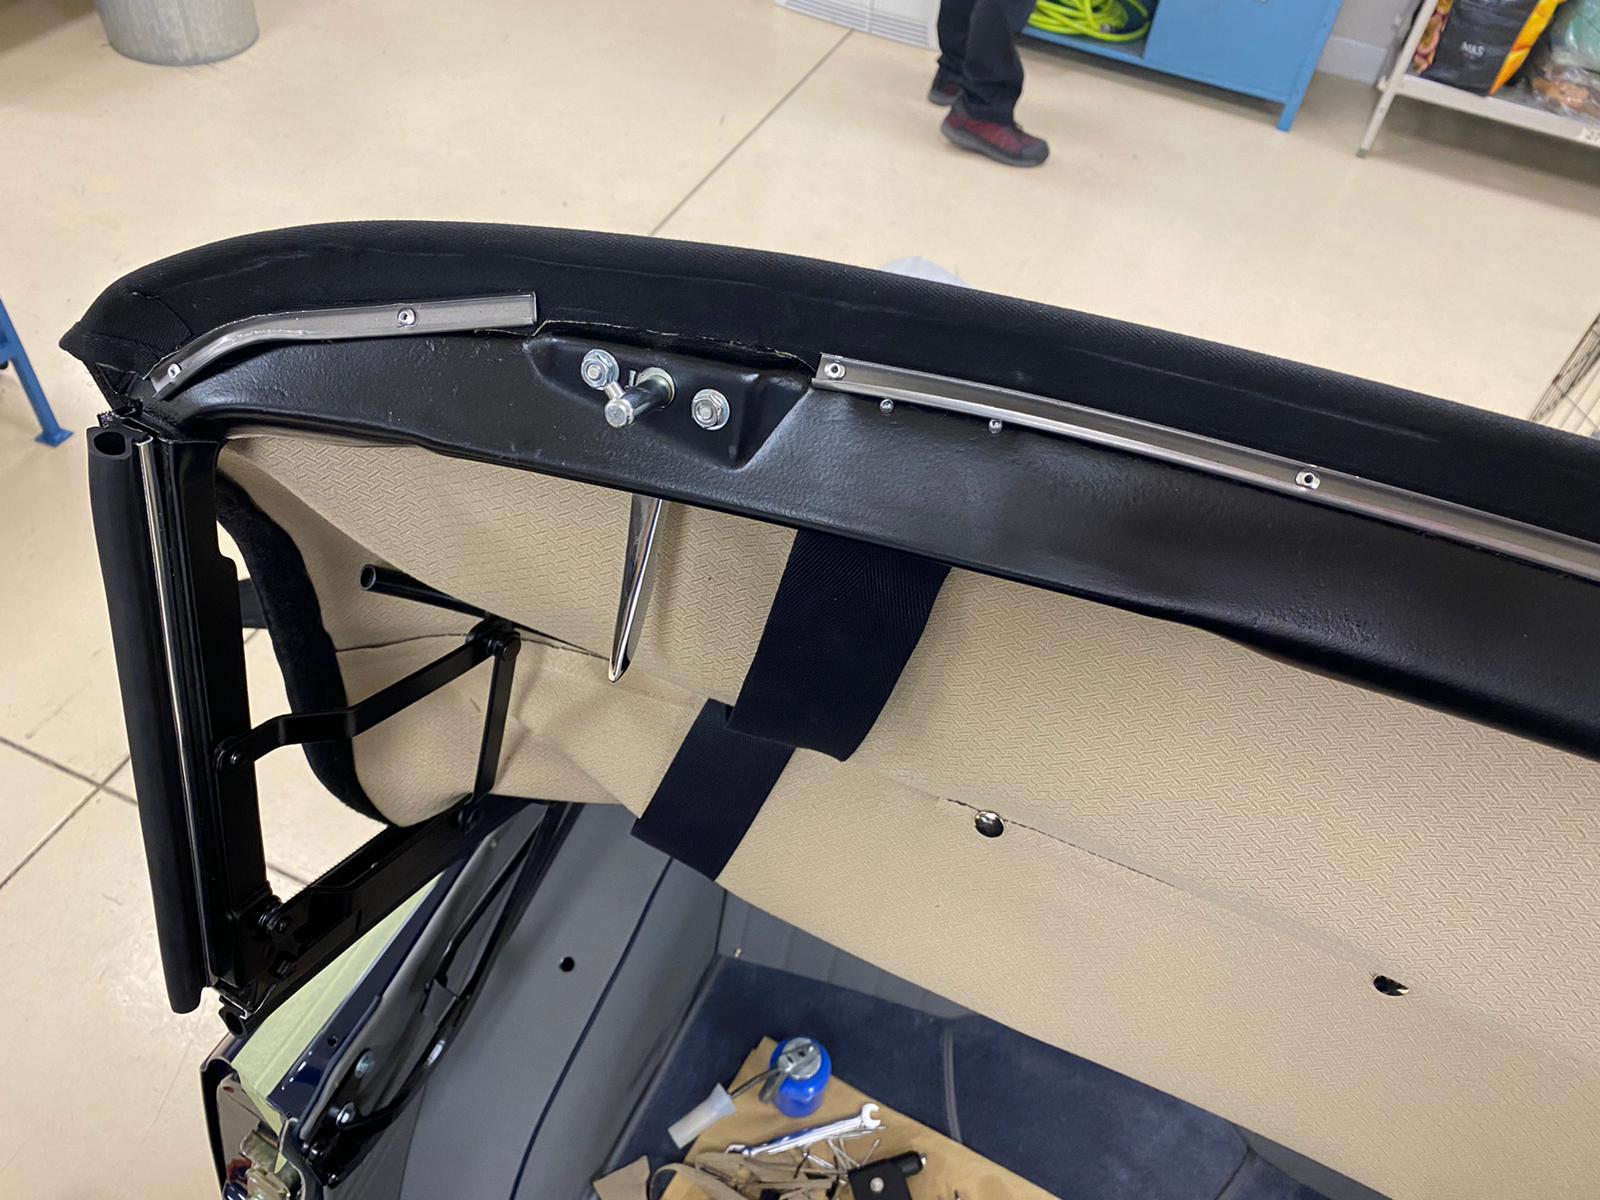
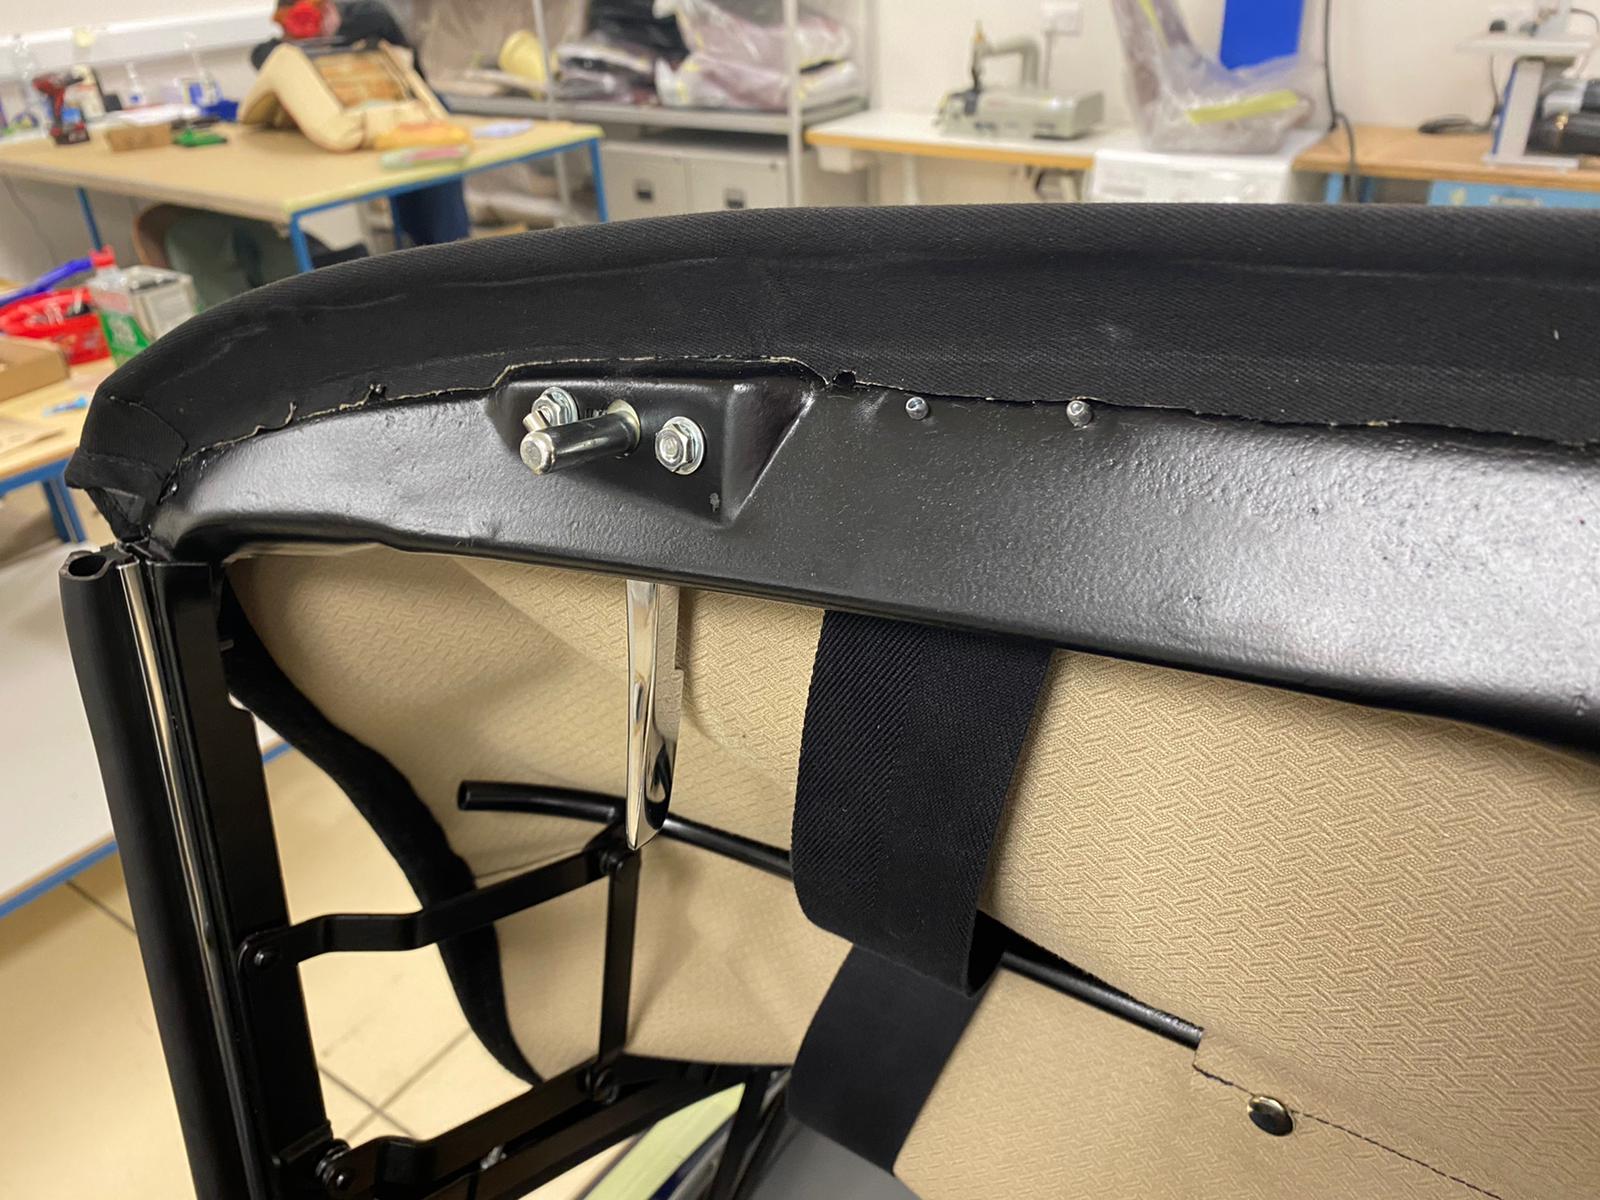
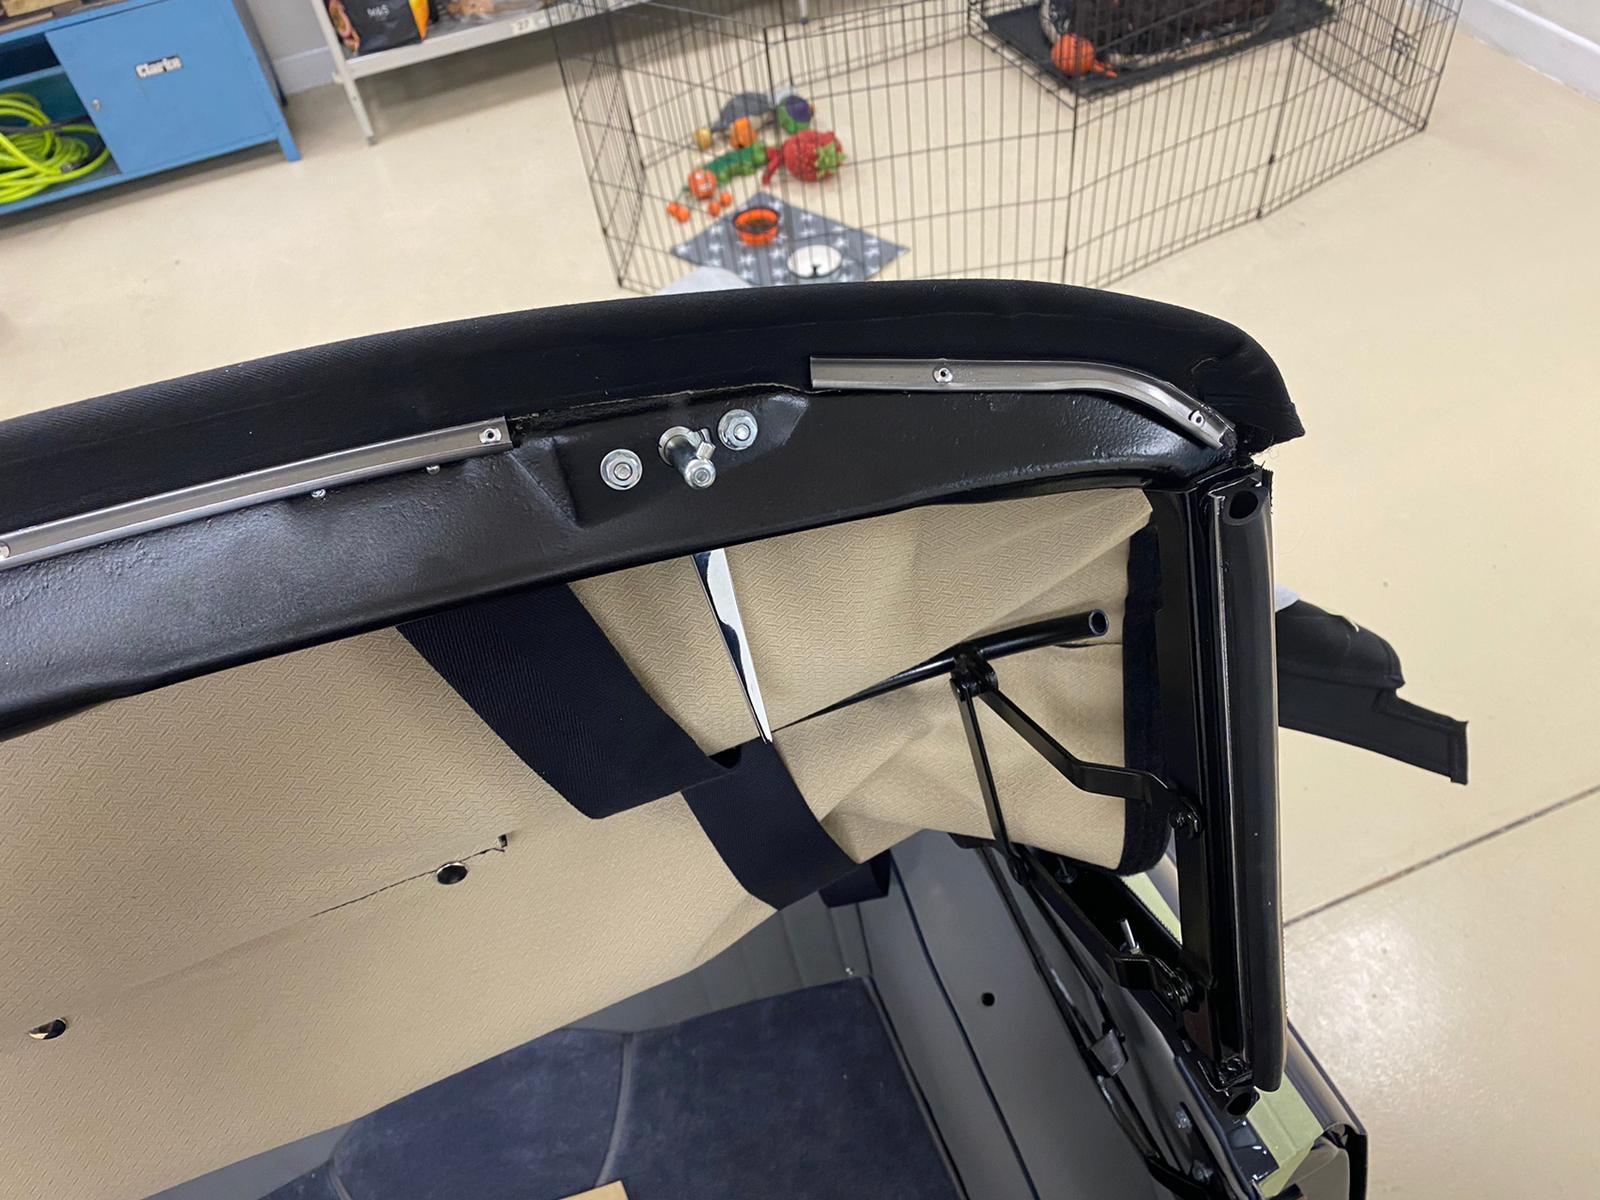
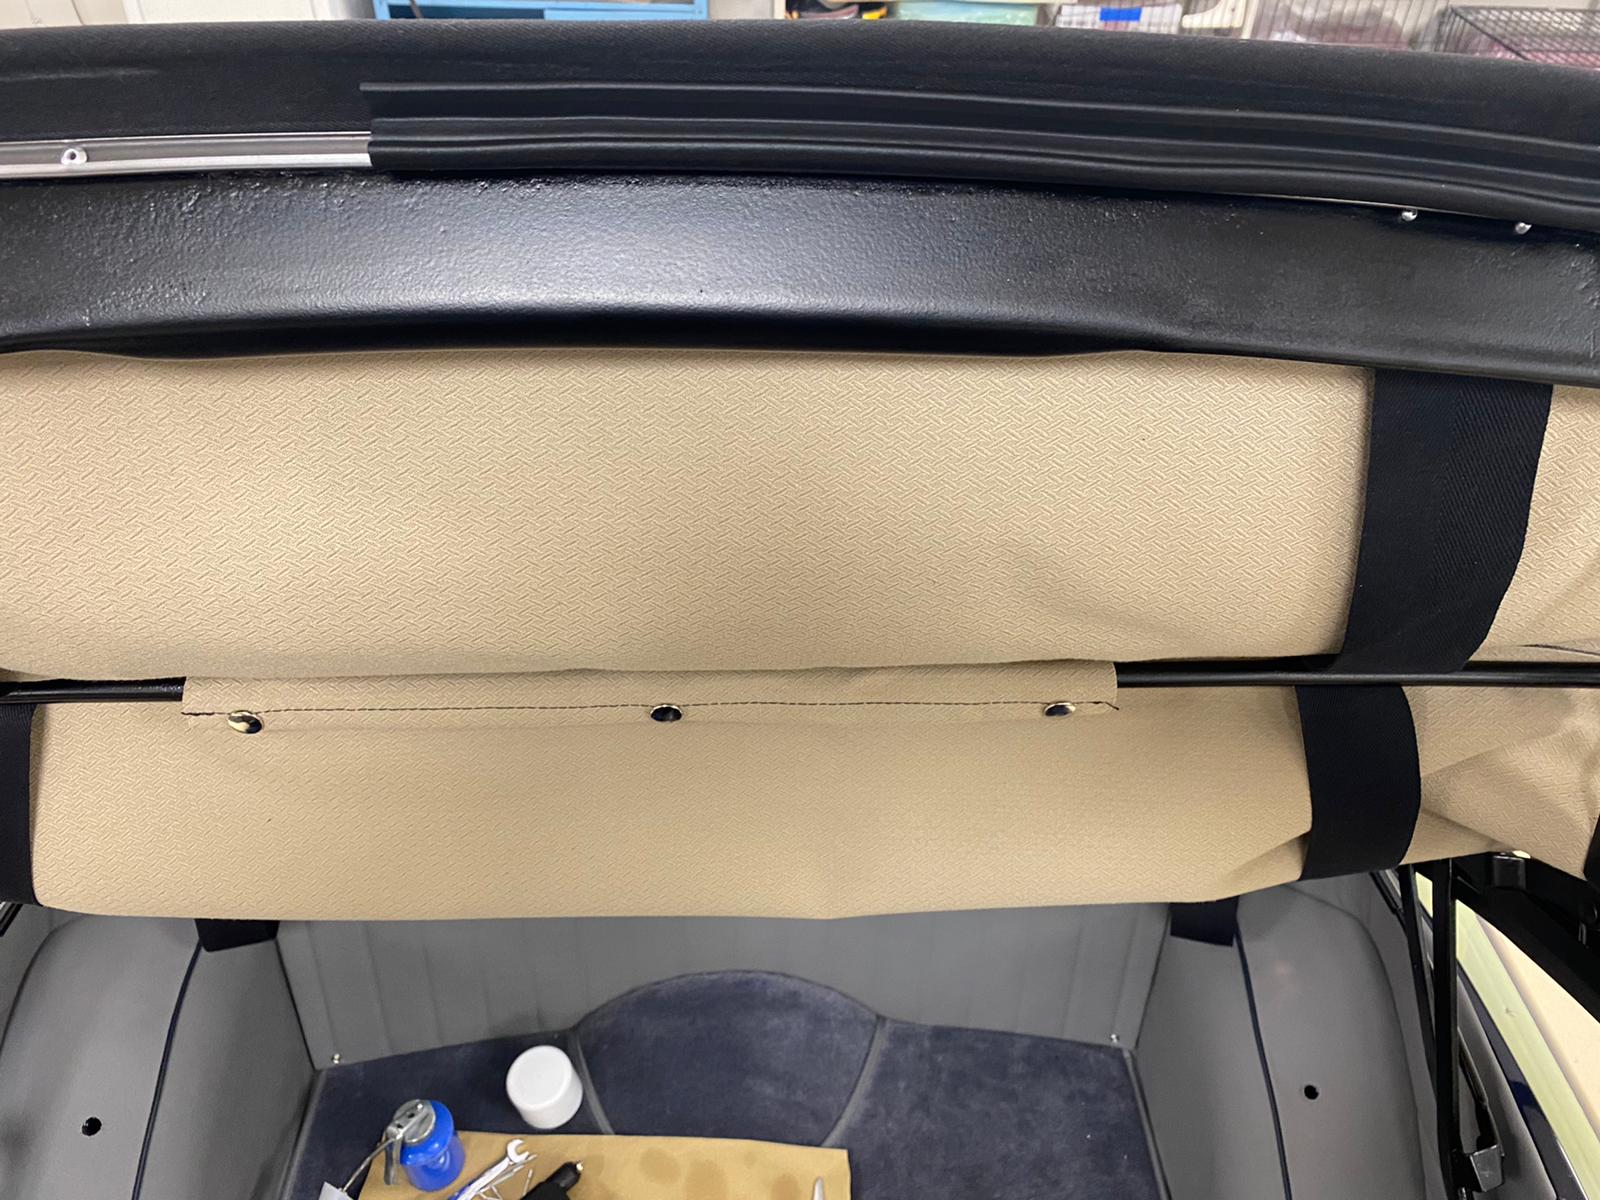
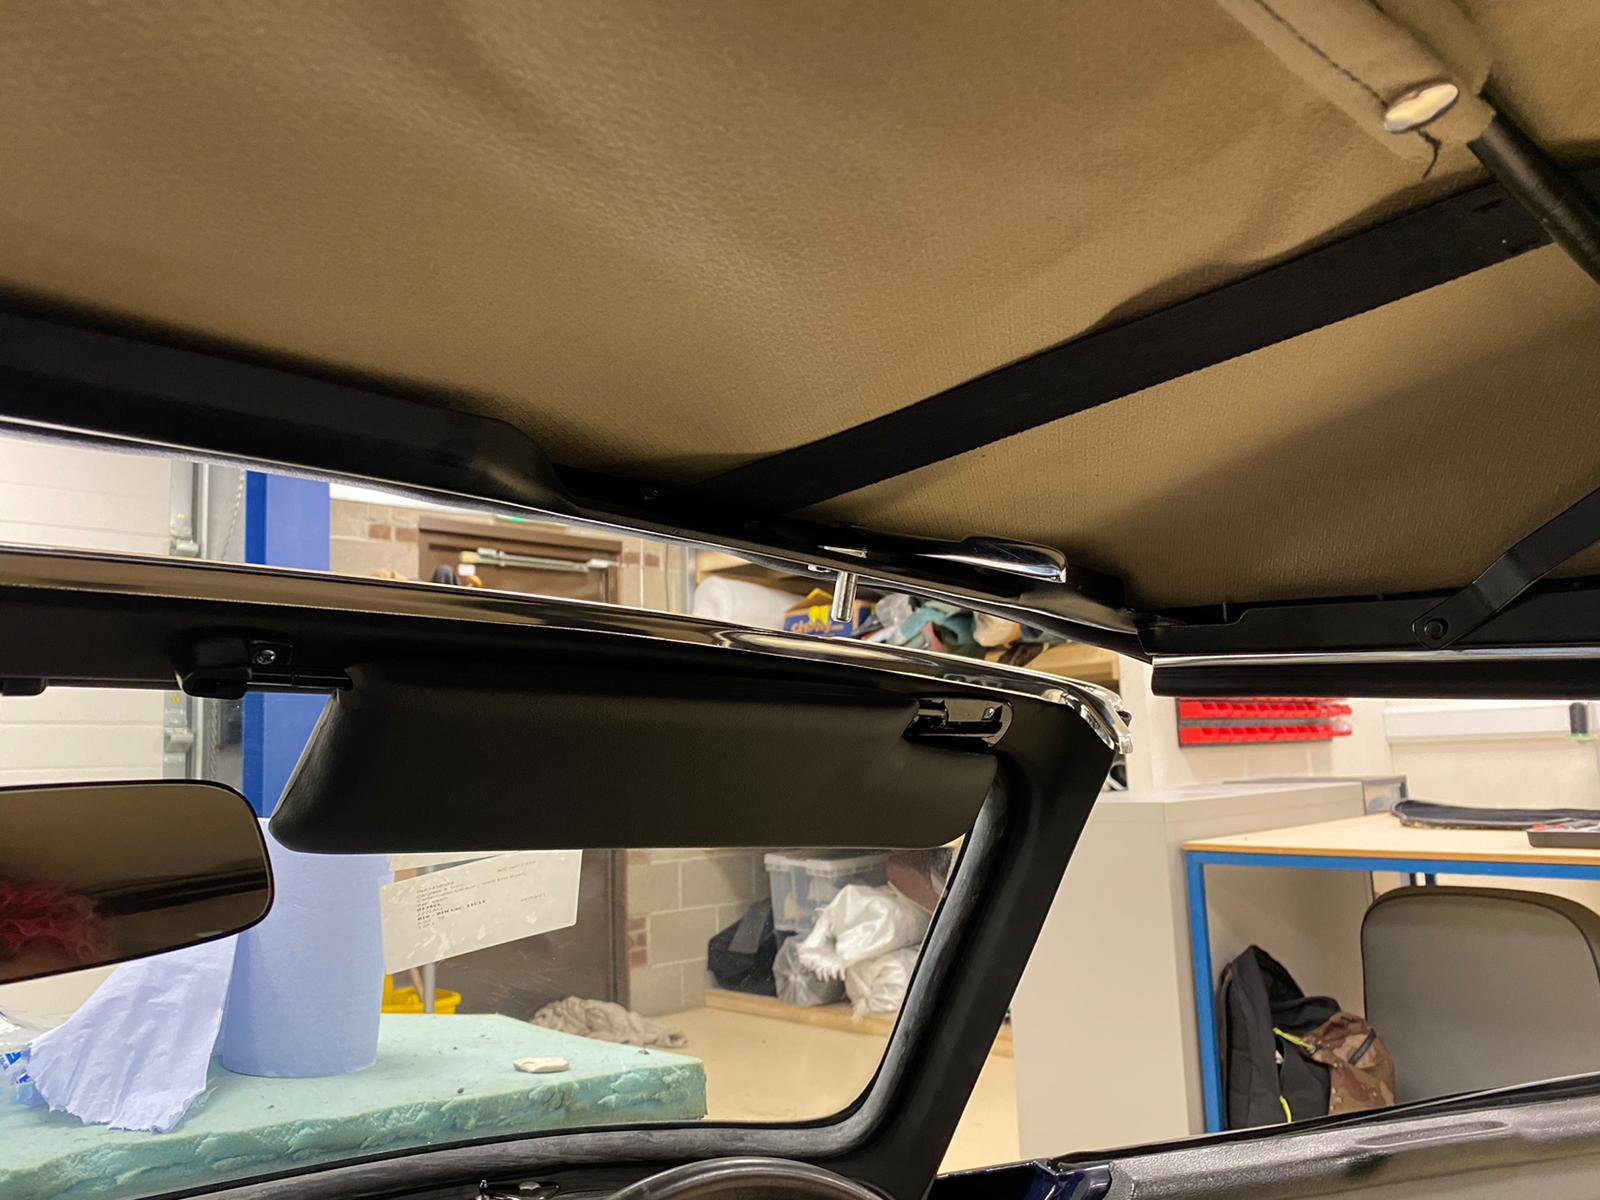
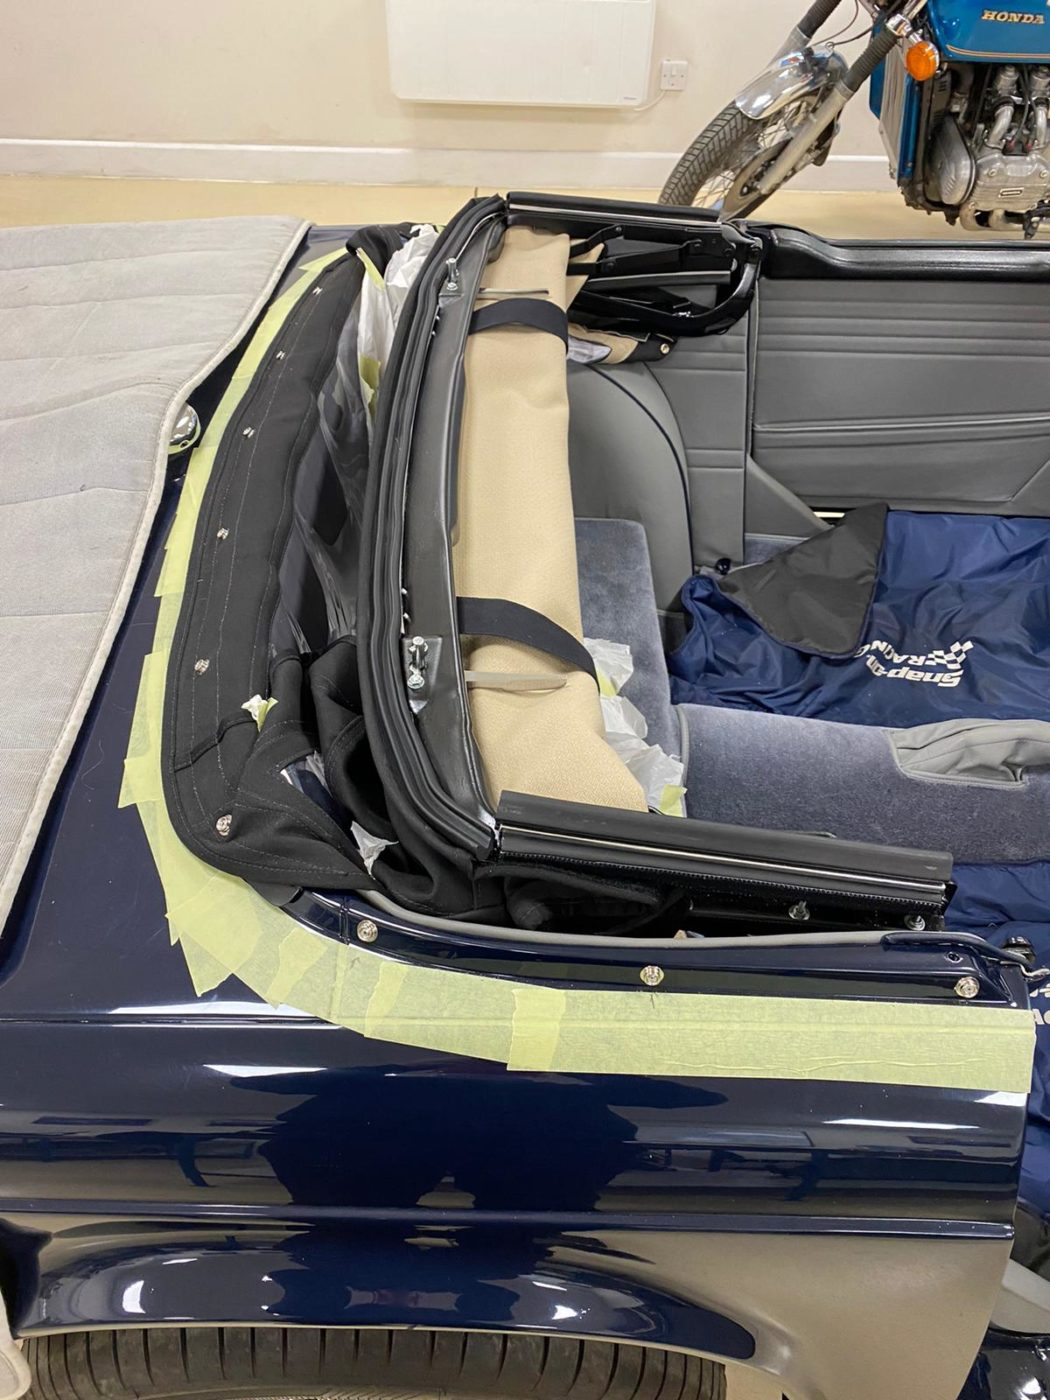
Kath then glued up the frame and vinyl, attached the Velcro strips and bolted on the metal channels on each side for the rubber seal around the top of the window. The next step was to insert the rubber seal, trim the excess off once in the channel and fit a rubber seal along the windows. The rear window rail was then pushed in between the hood cloth so it sits comfortably in the middle.
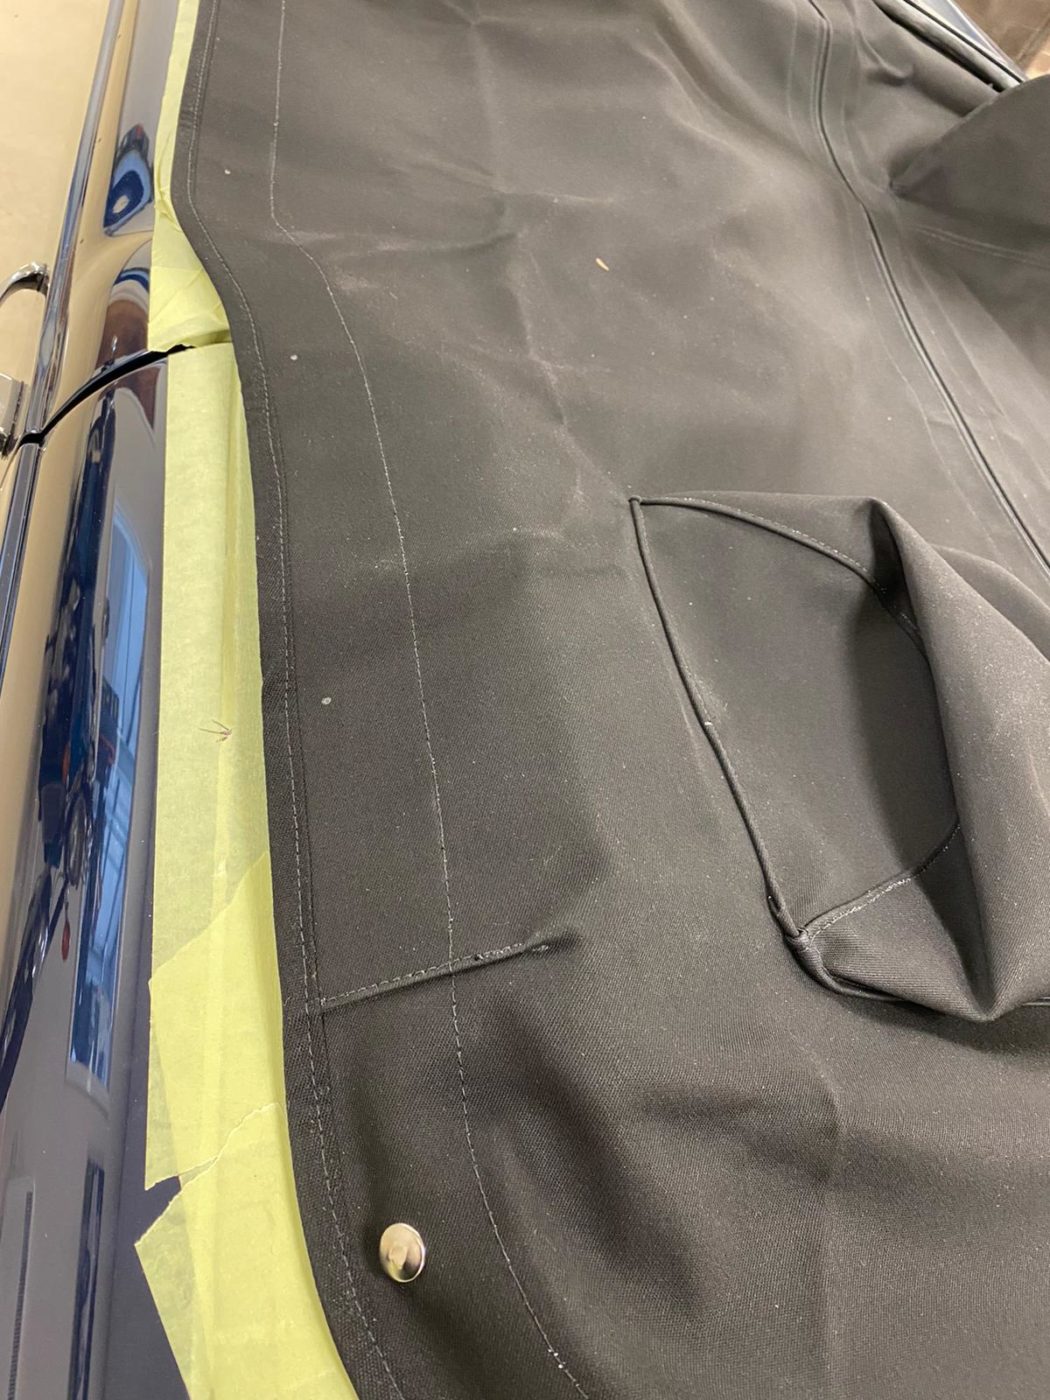
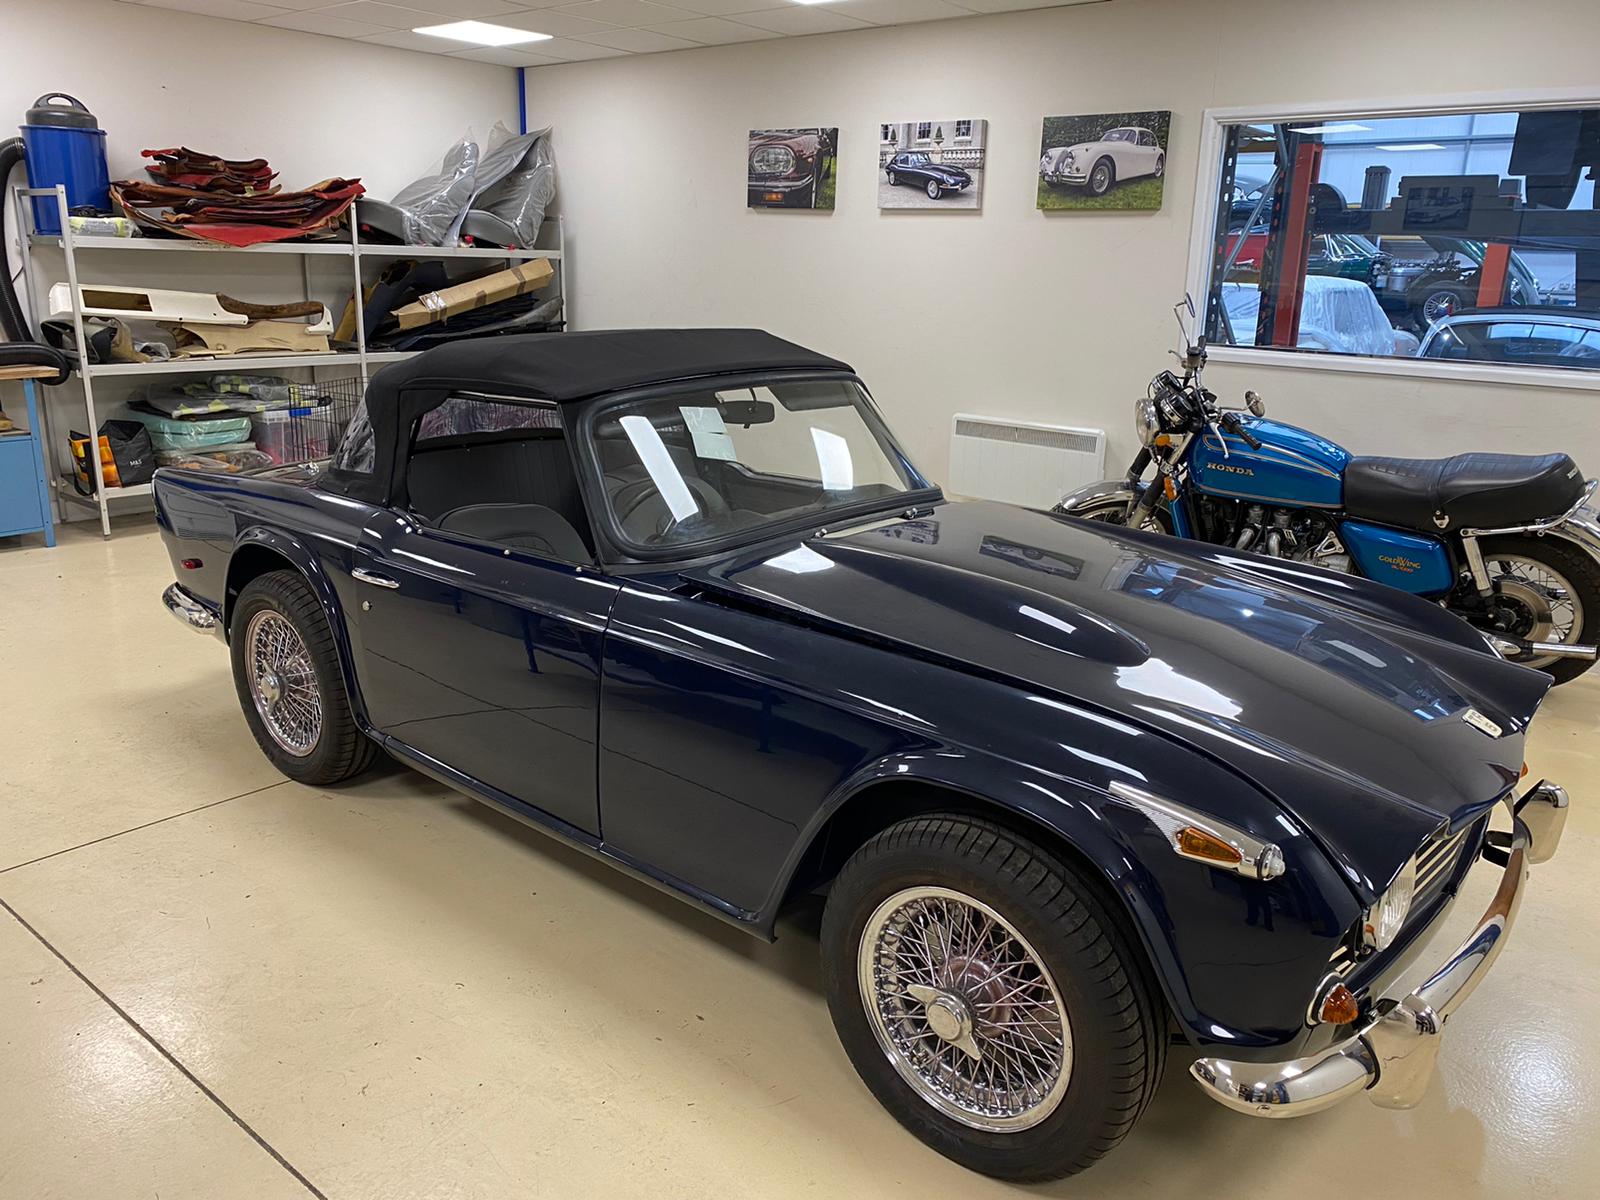
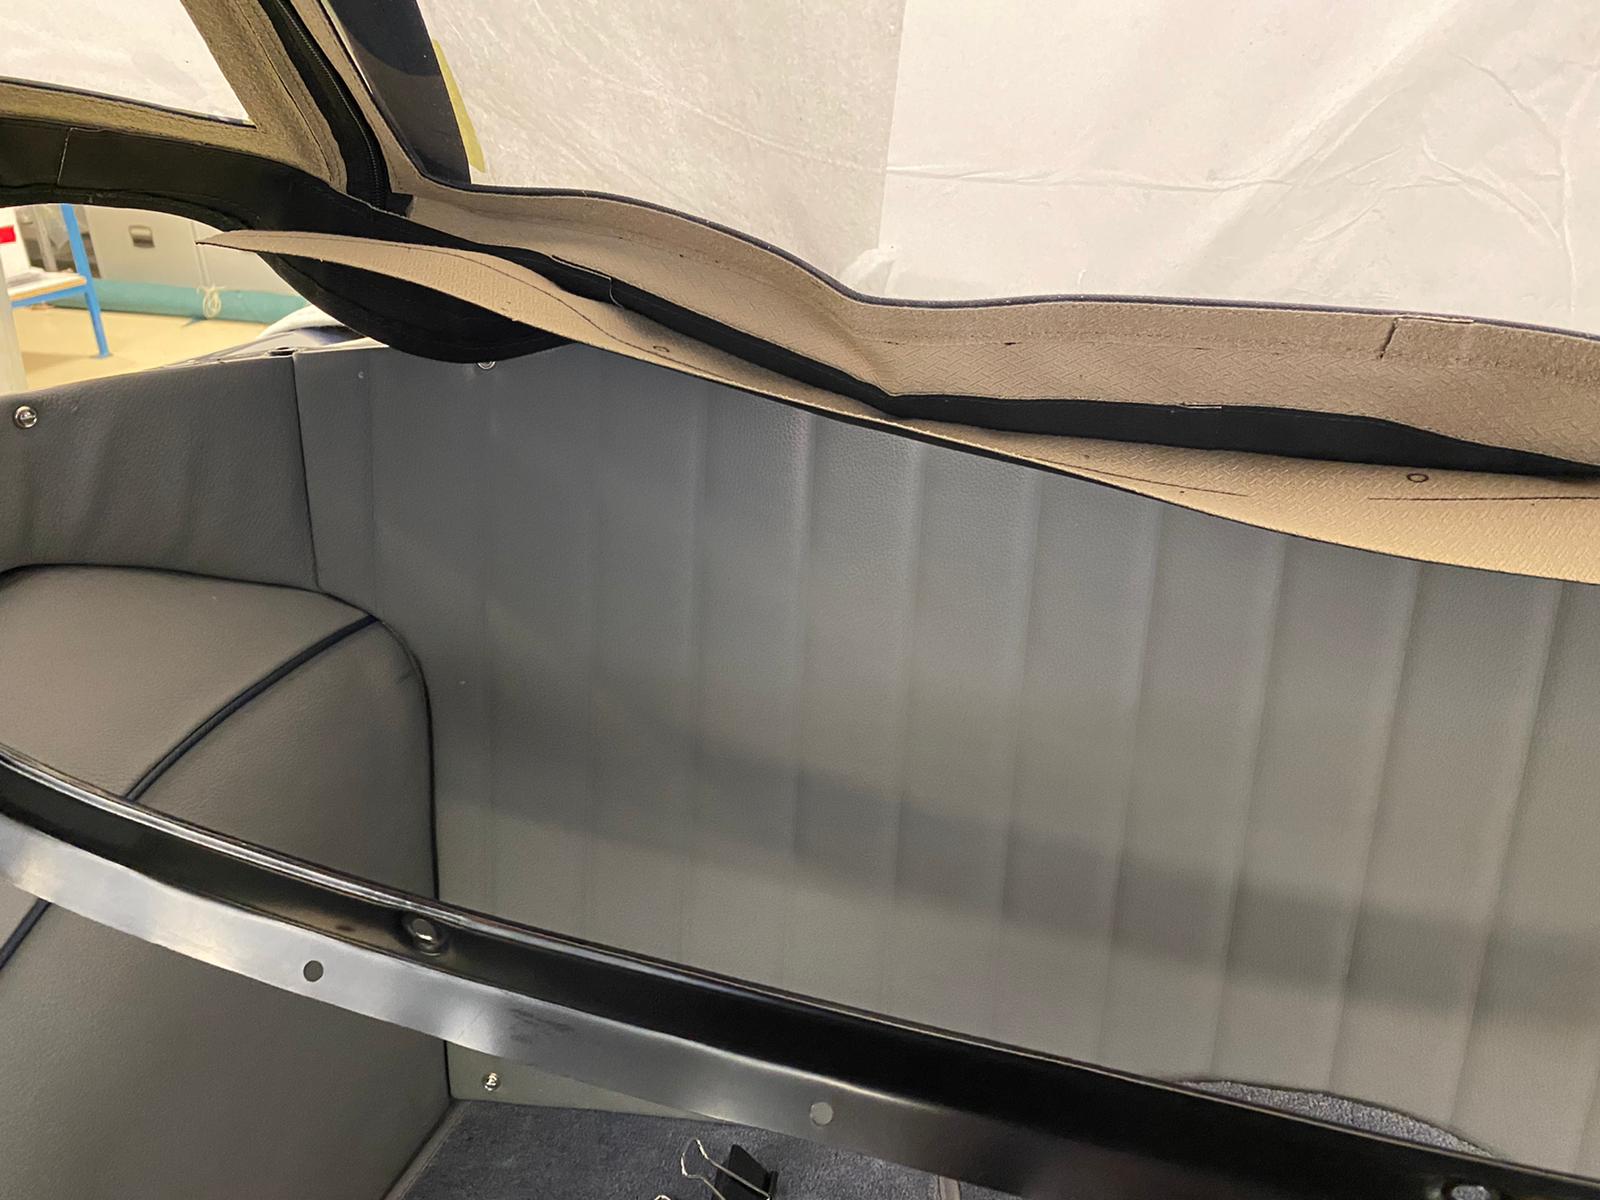
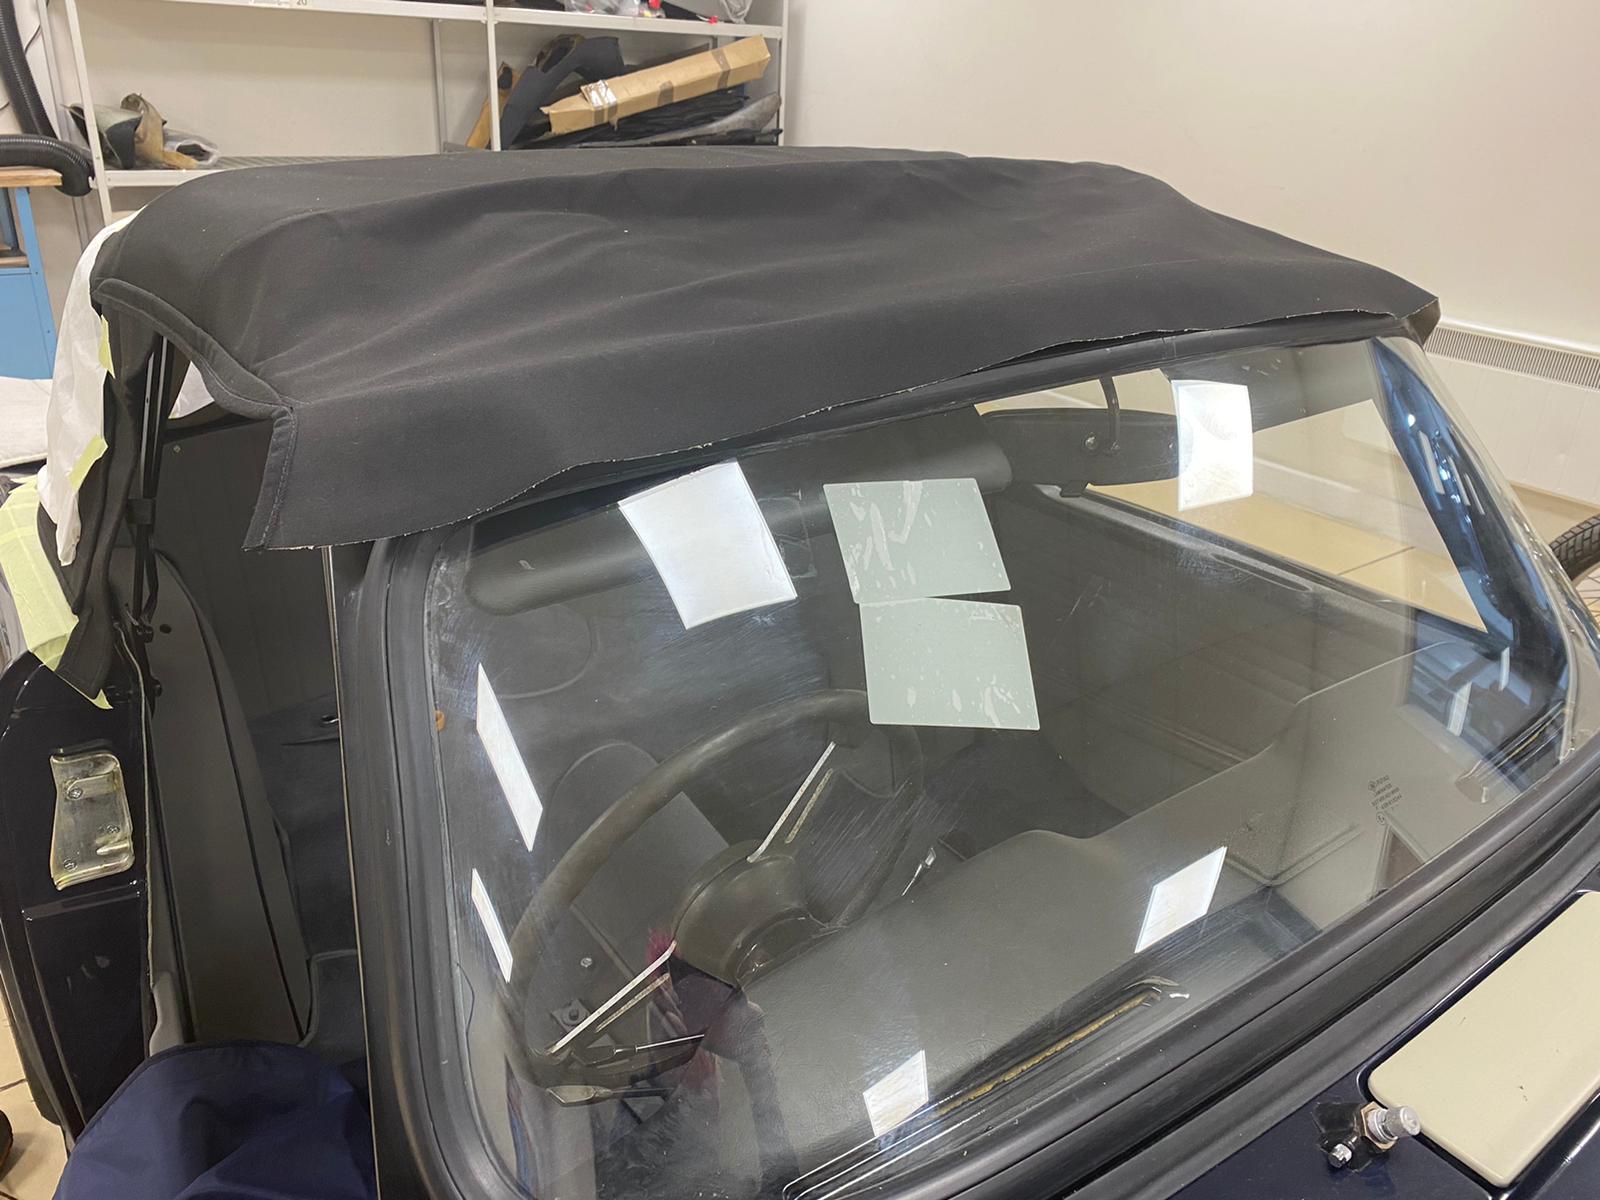
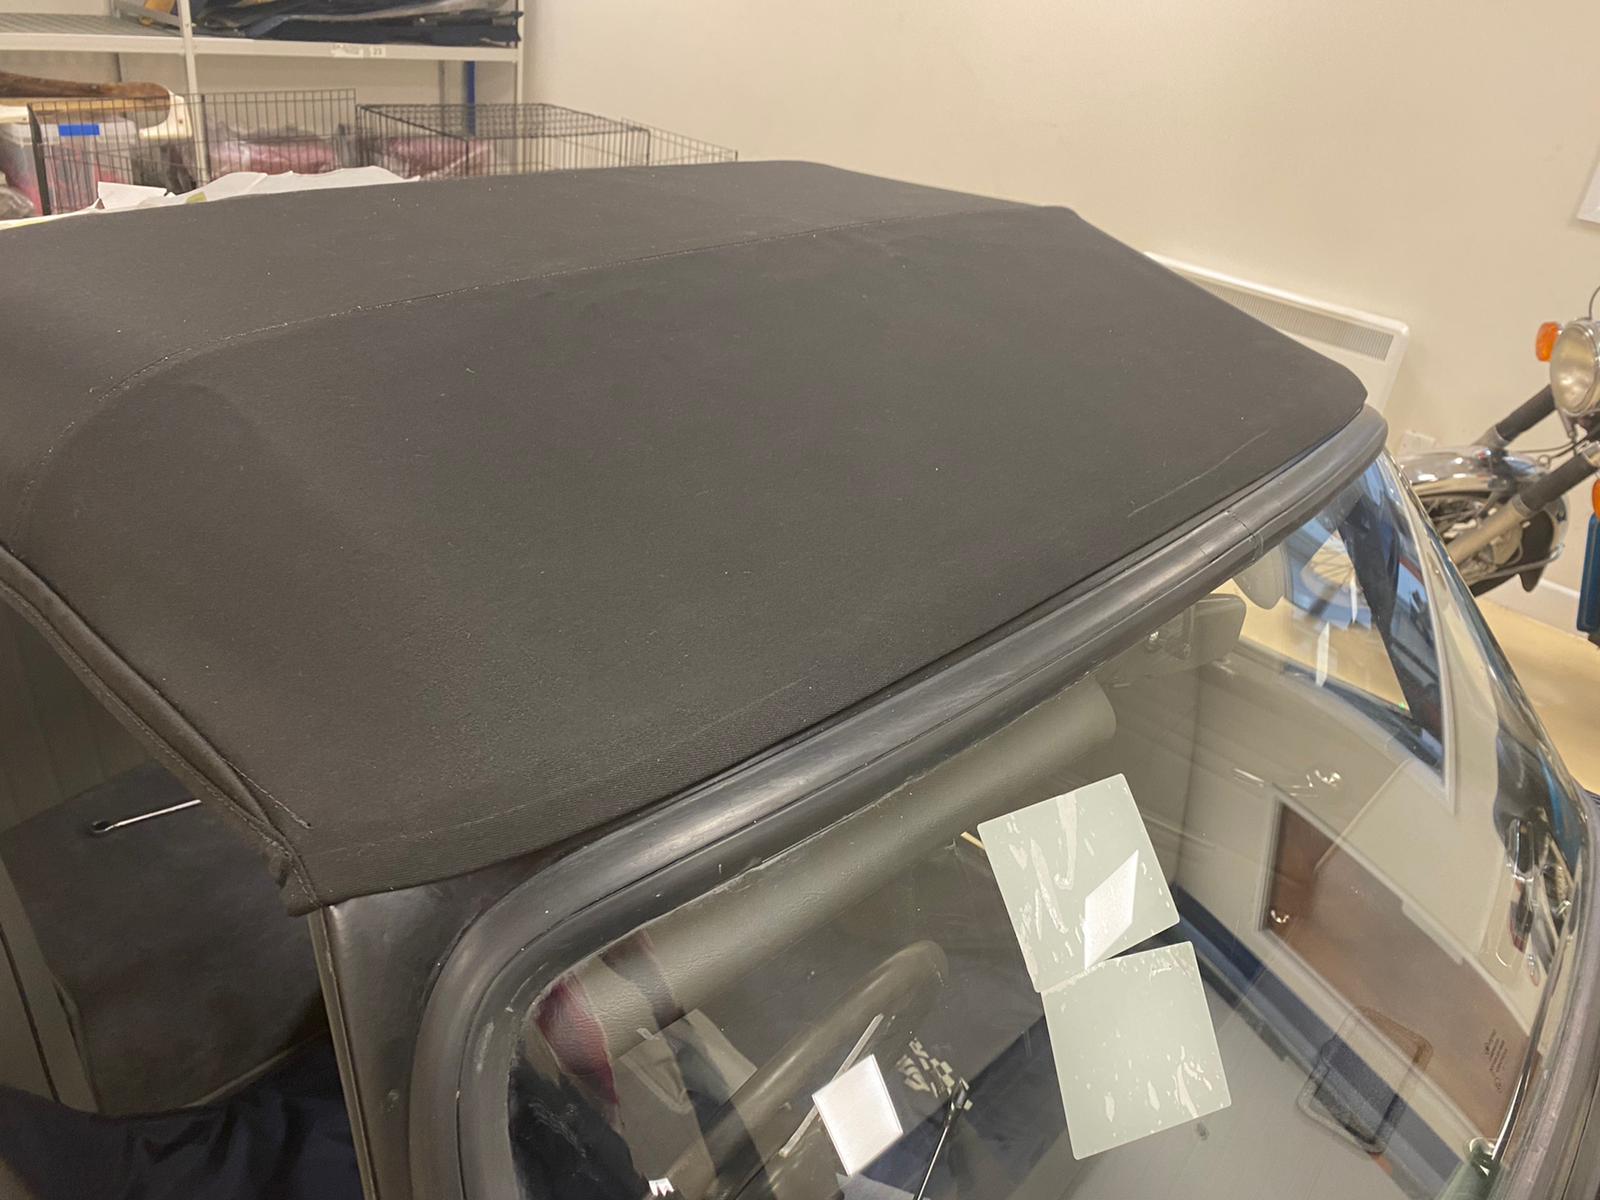
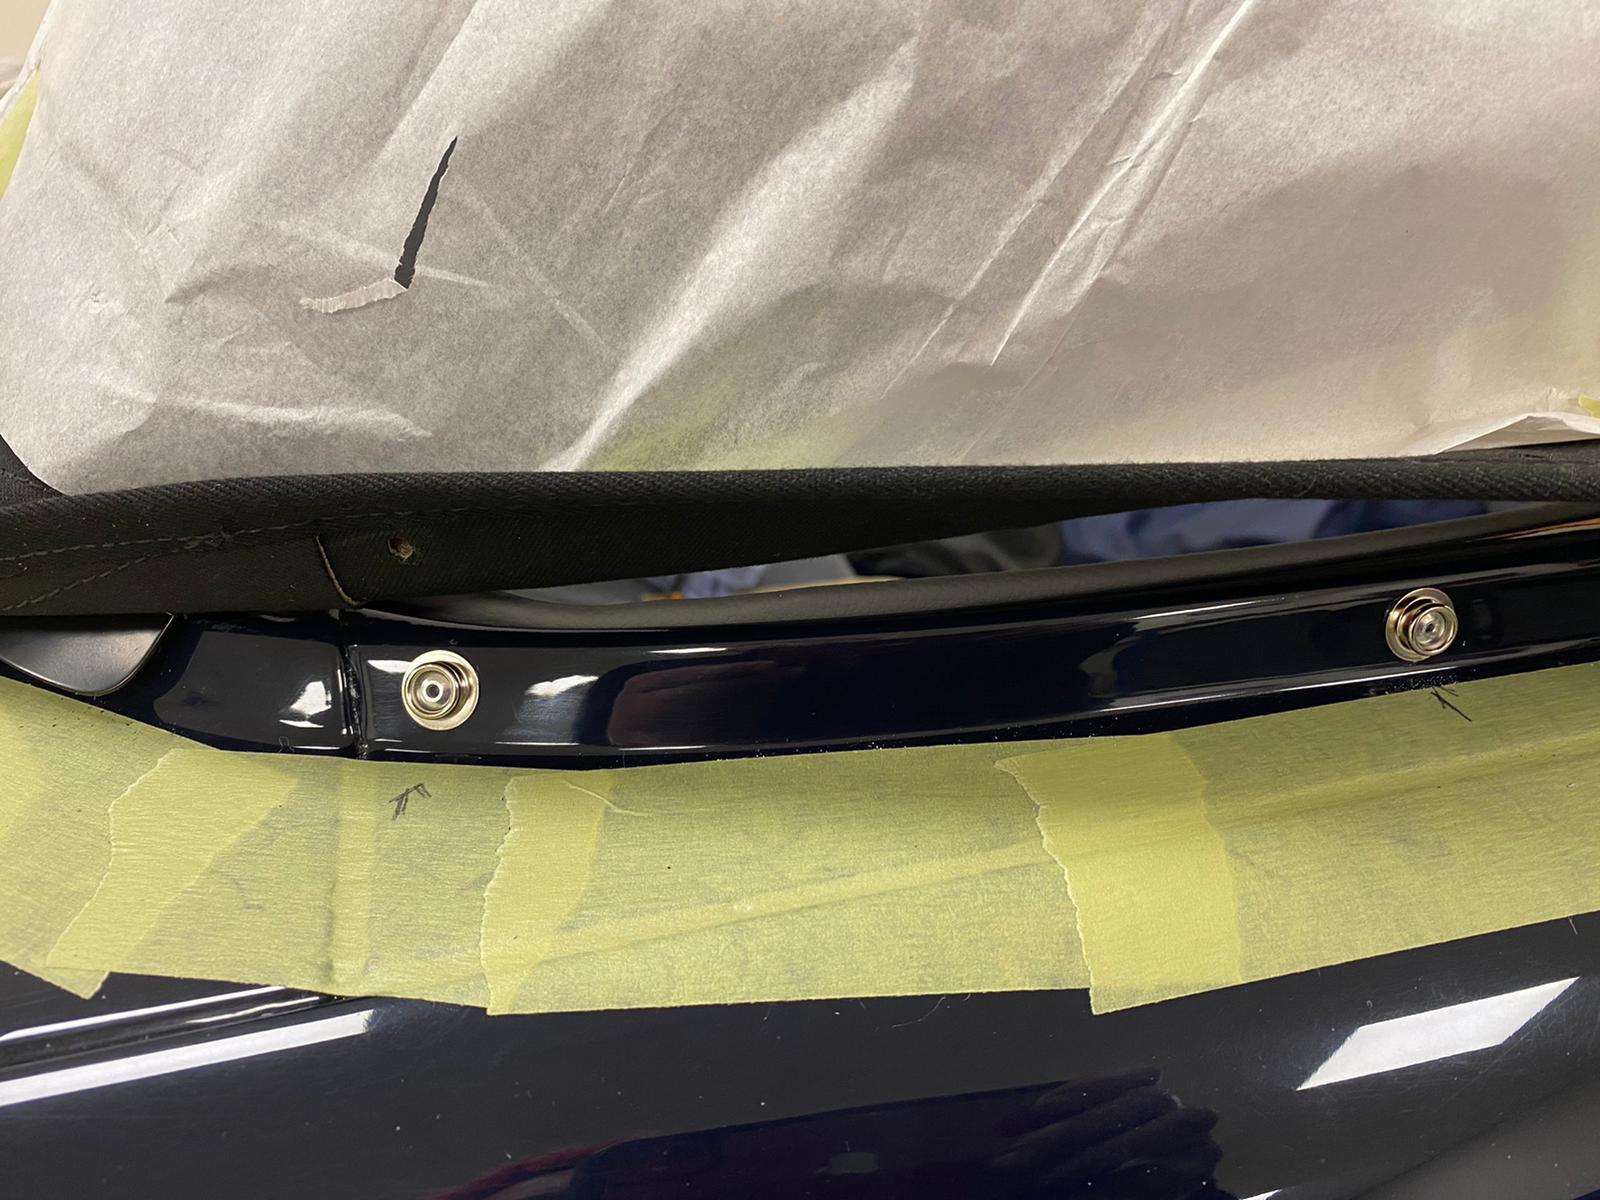
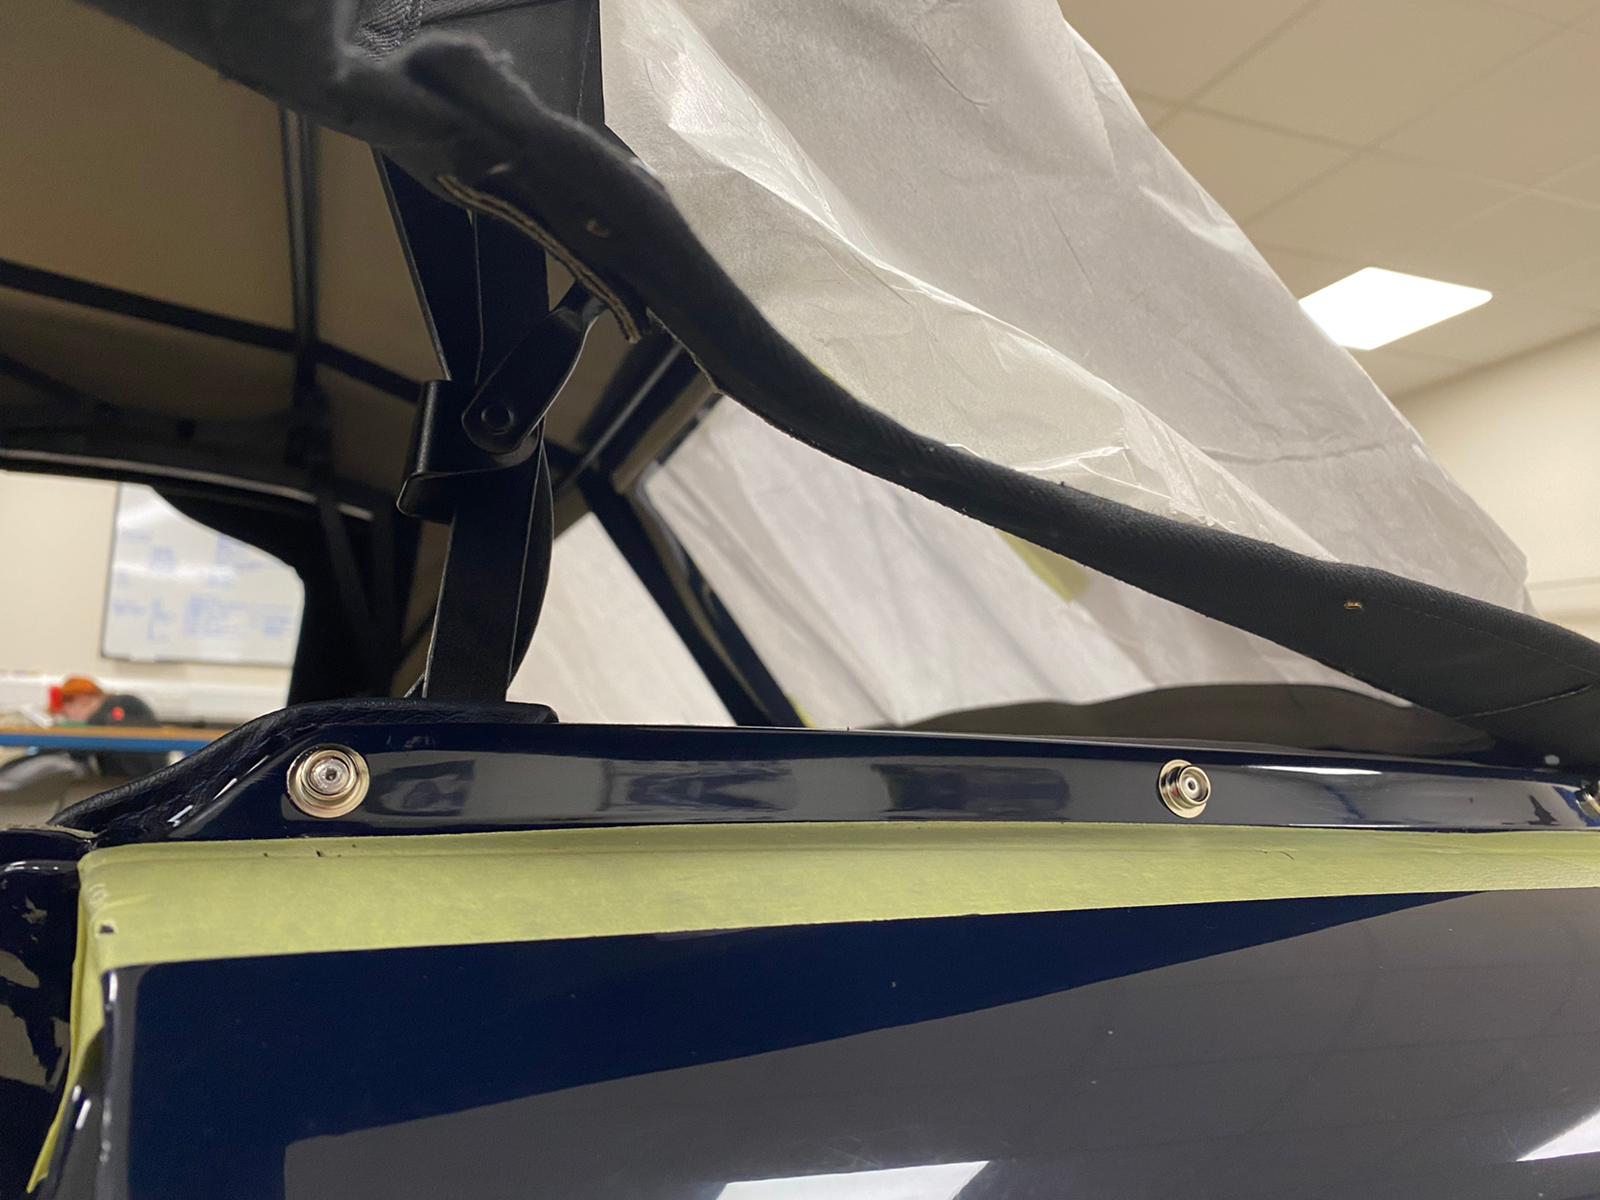
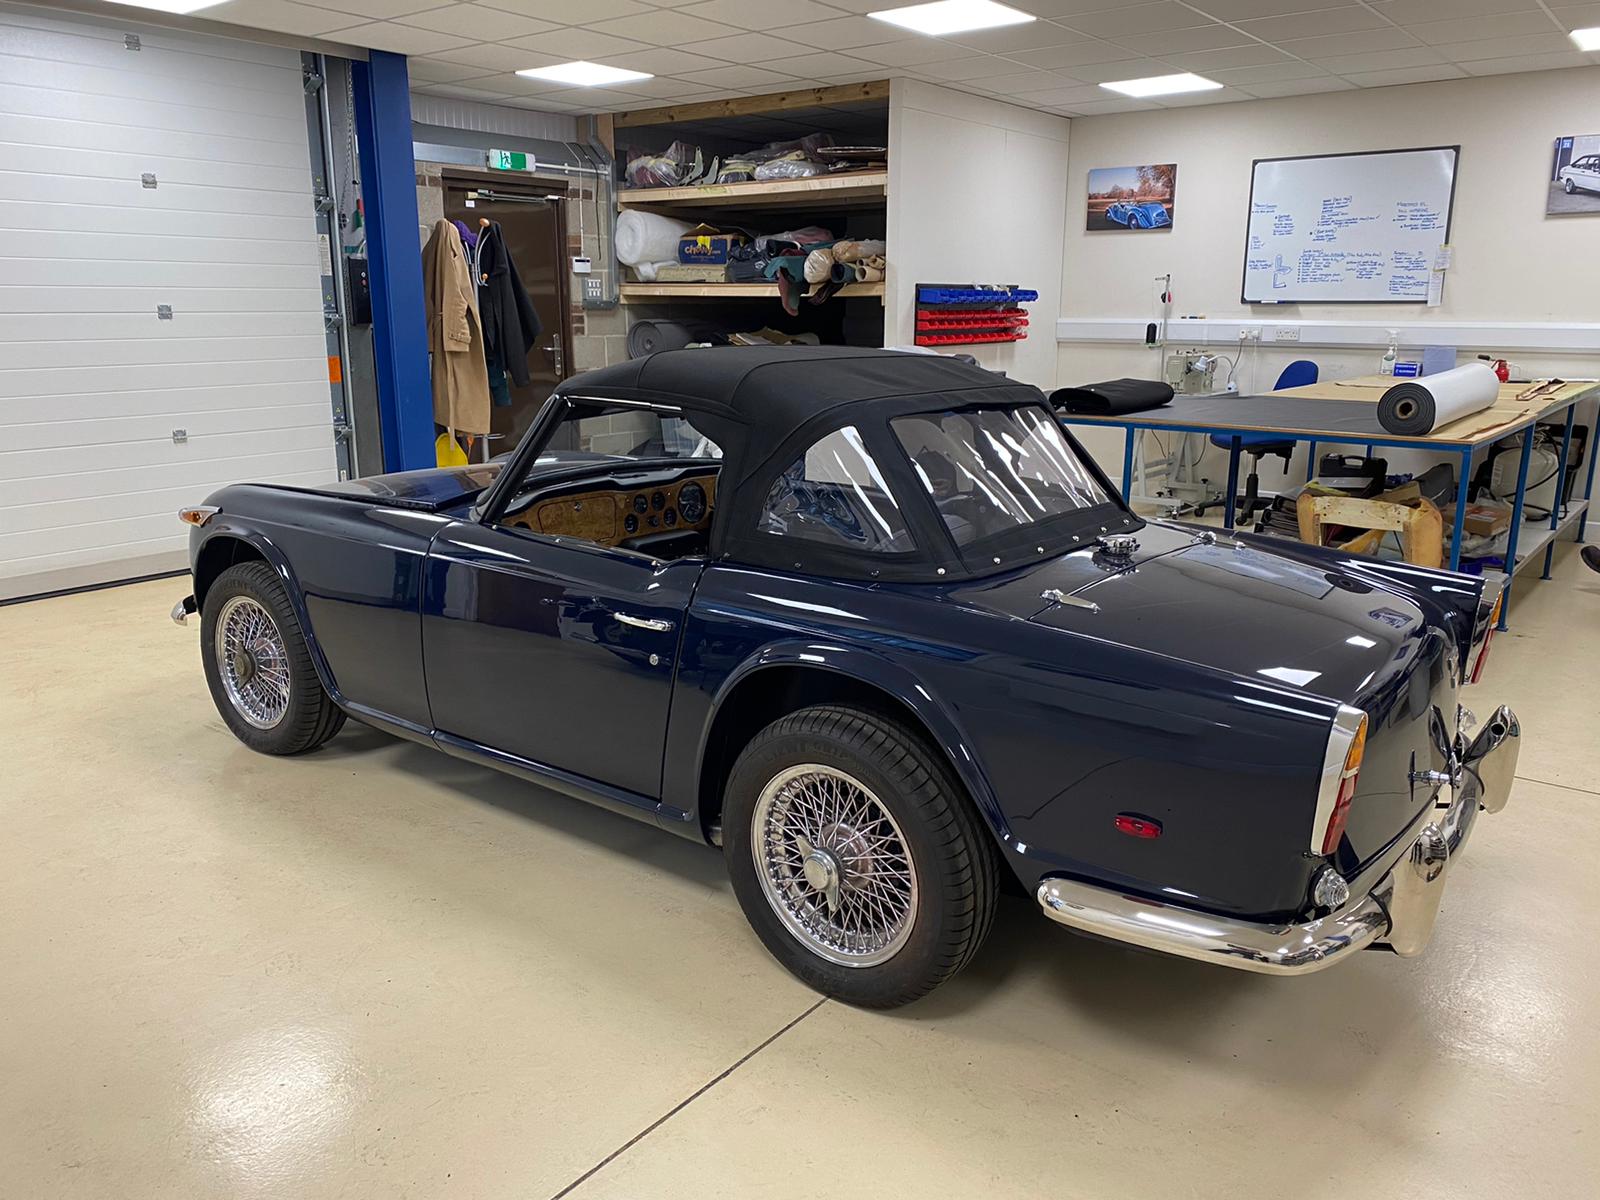
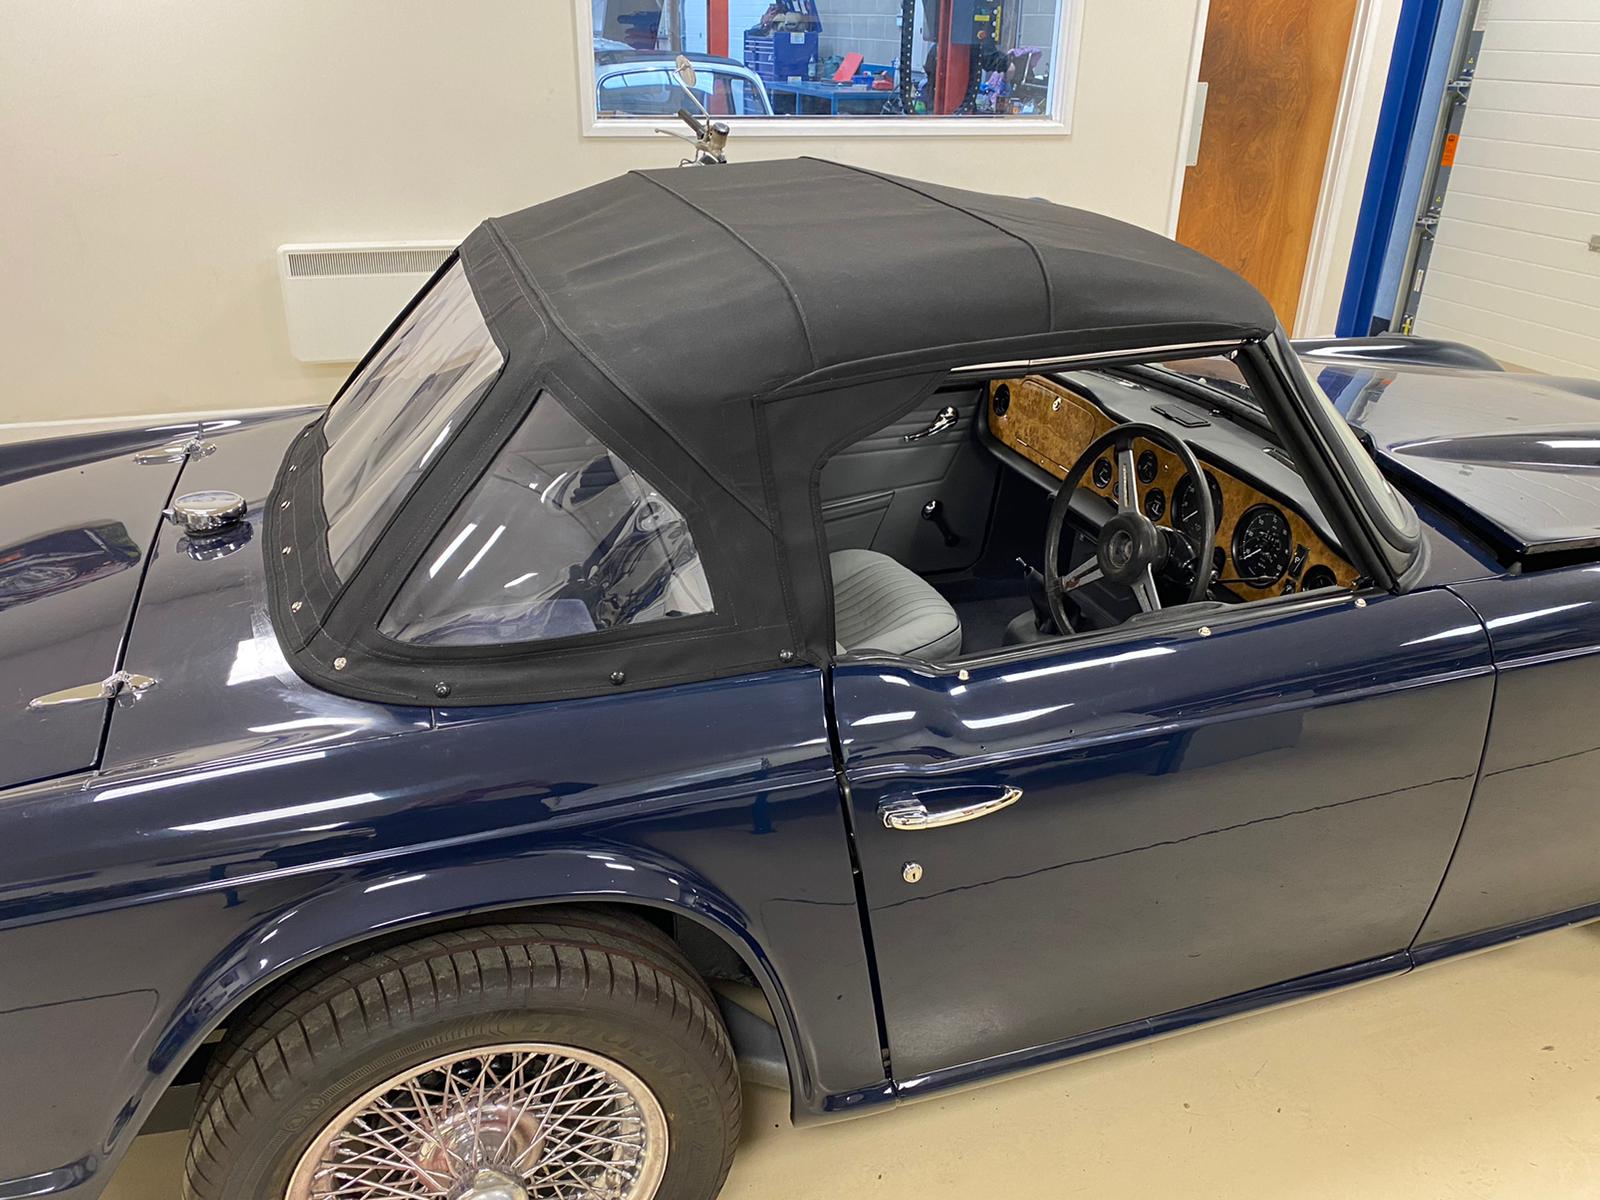
Kath then centred up and glued the cover in underneath the rail. To neaten it up, Kath trimmed off the excess material and bolt down the rear rail onto the car. She then attached stud sockets to the top of the cover at the back and riveted them in place. She could then pull the cover tight at the front of the car, marked the position on the front of the car with some chalk and glued along the header rail and under the front cover. Kath attached the metal channel along the front with the rivets so that they ready to have the rubber inserted in. The rubber is often hard to fit into the riverts so Kath applies some ‘easy slide’ to help it fit in.
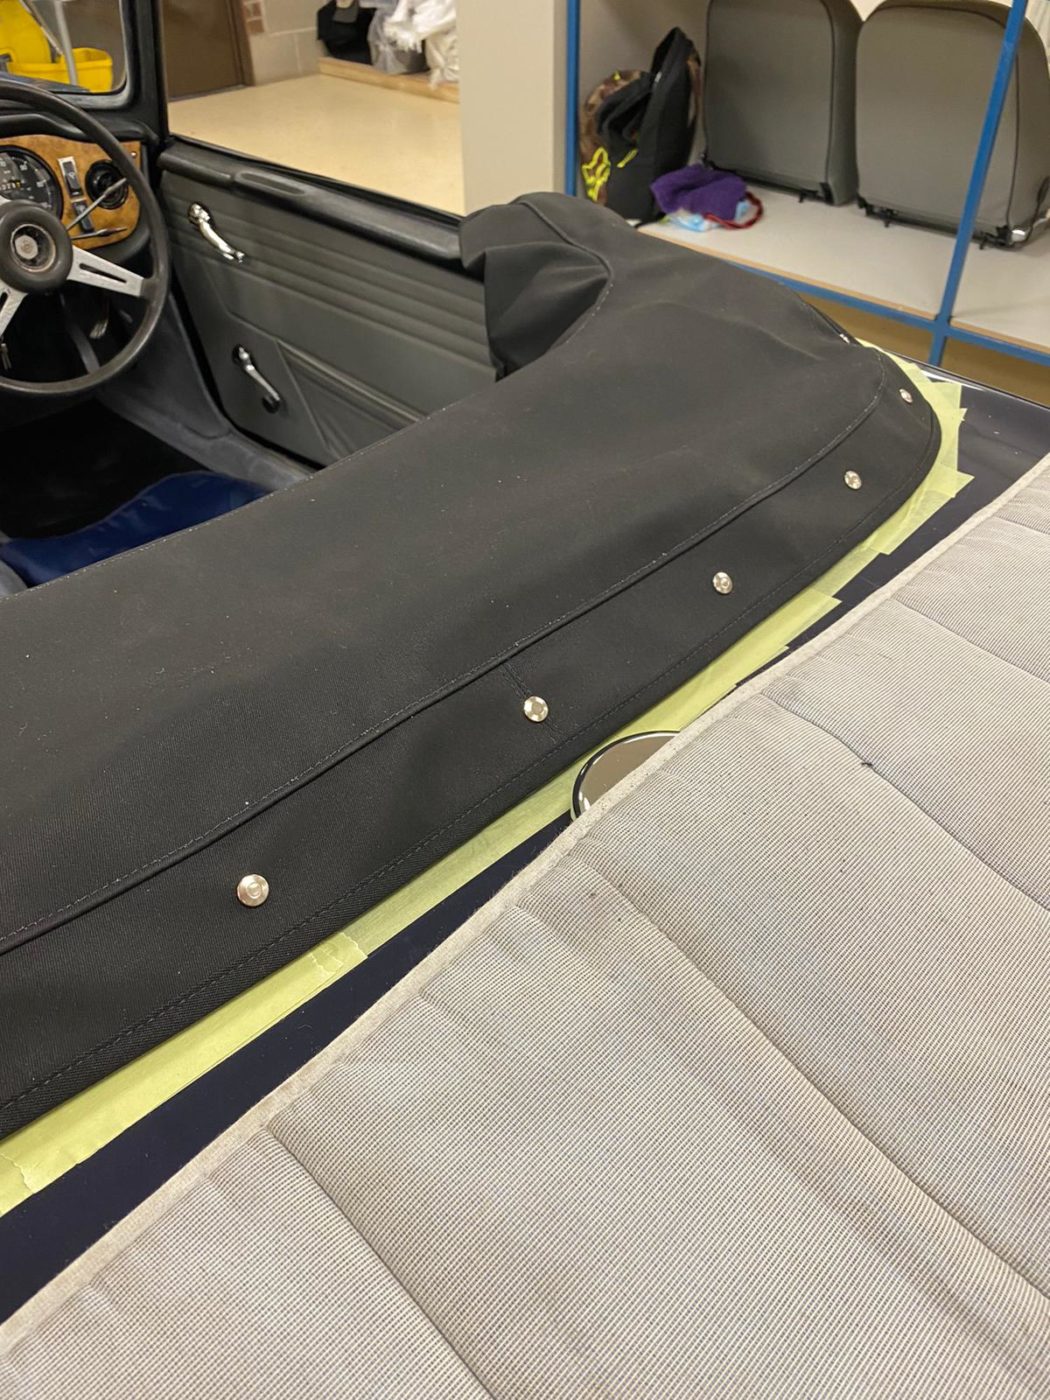
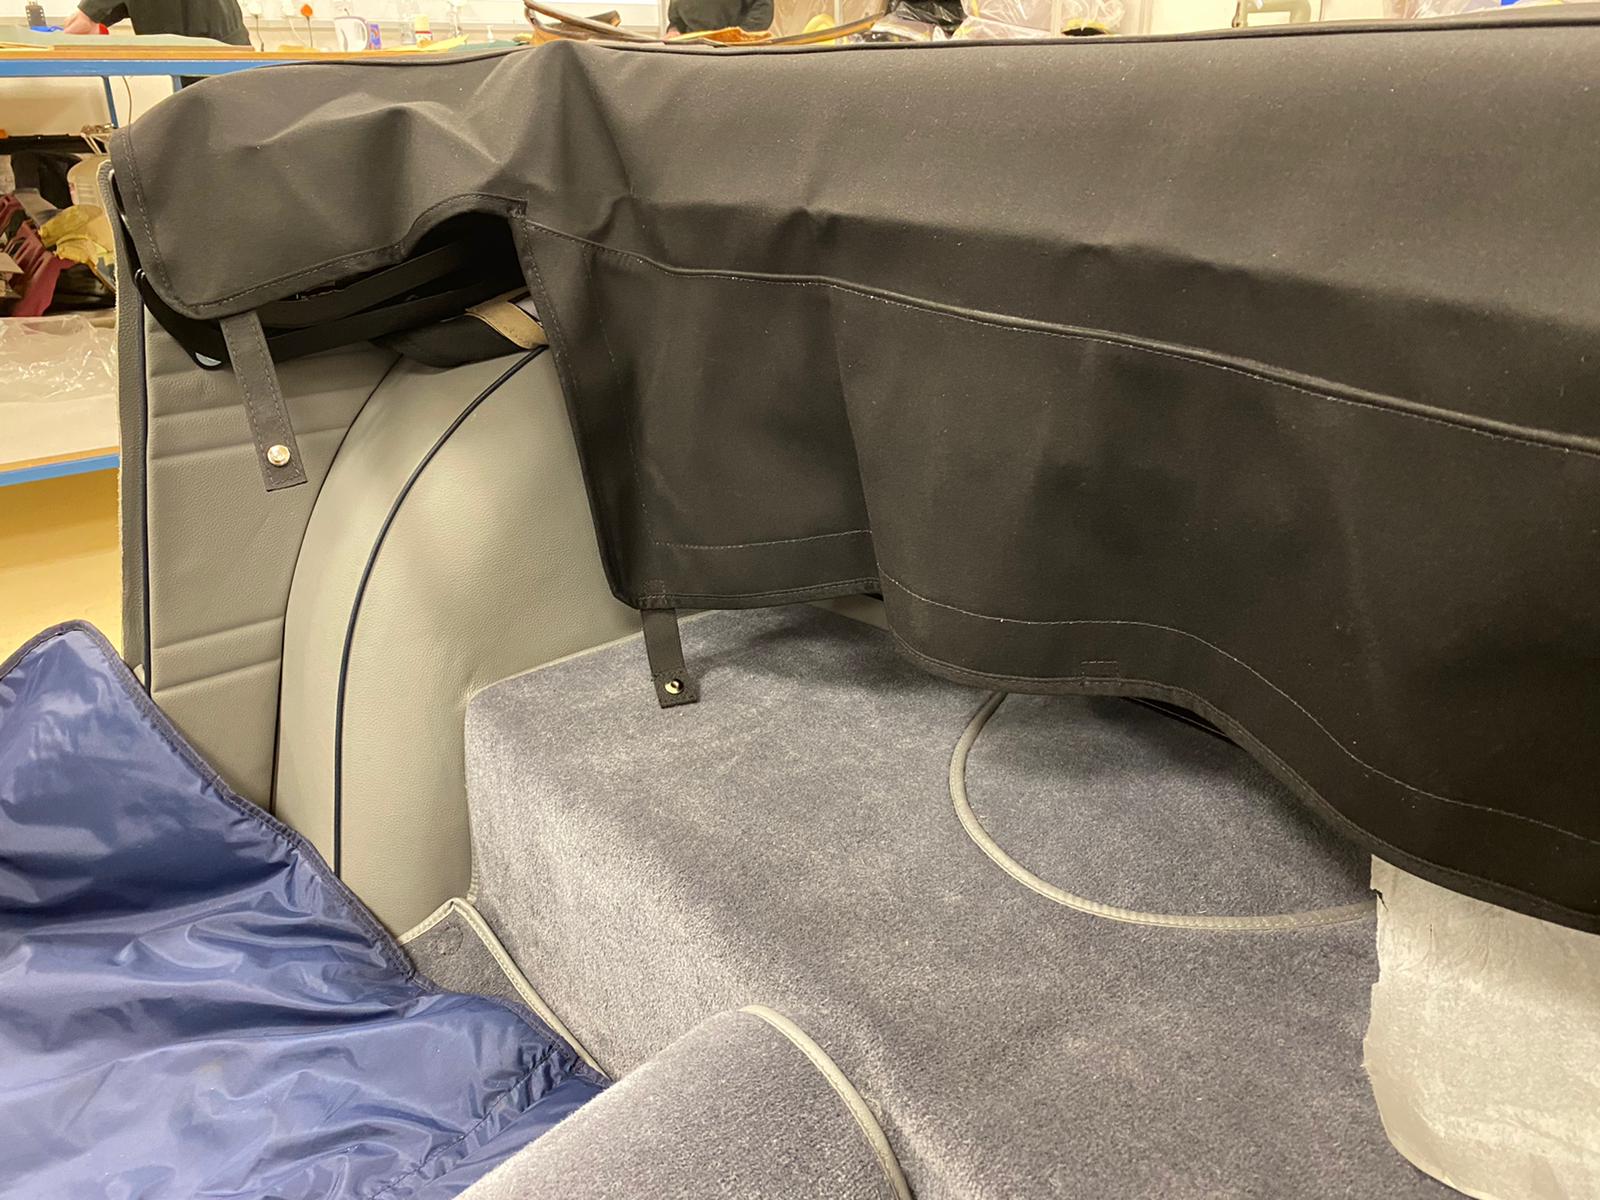
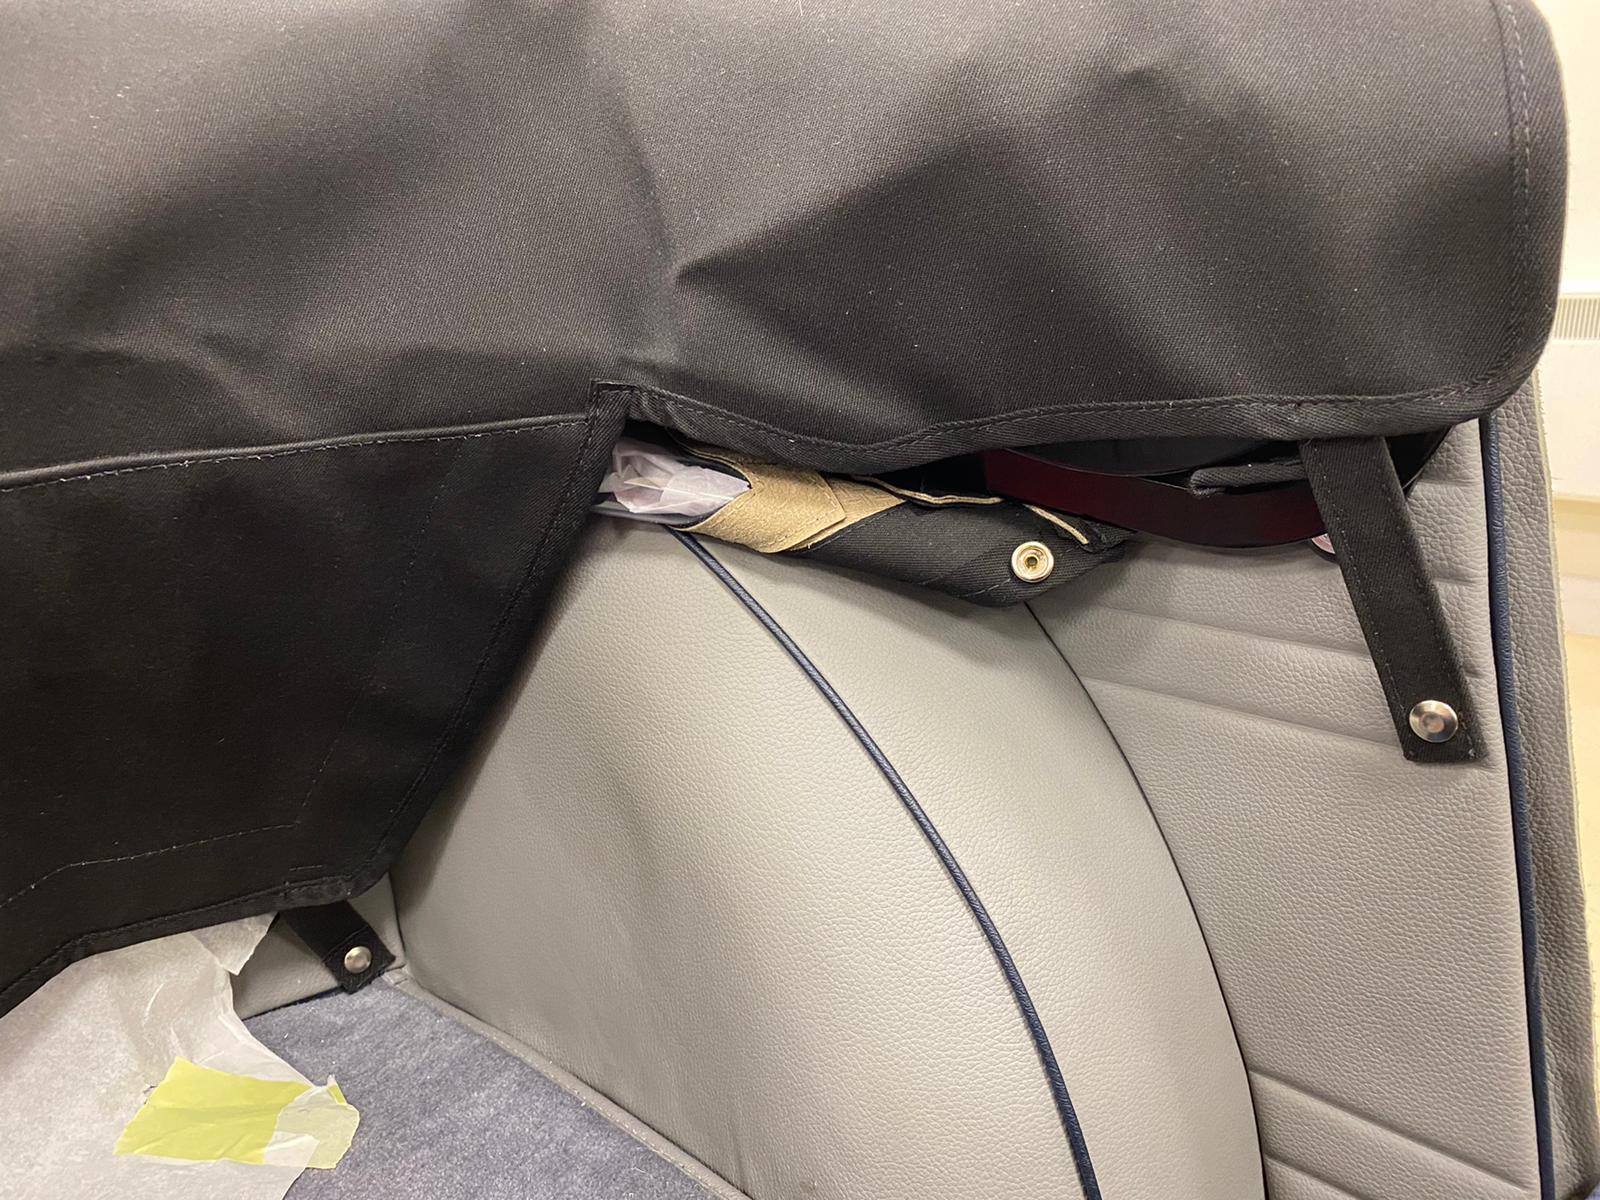
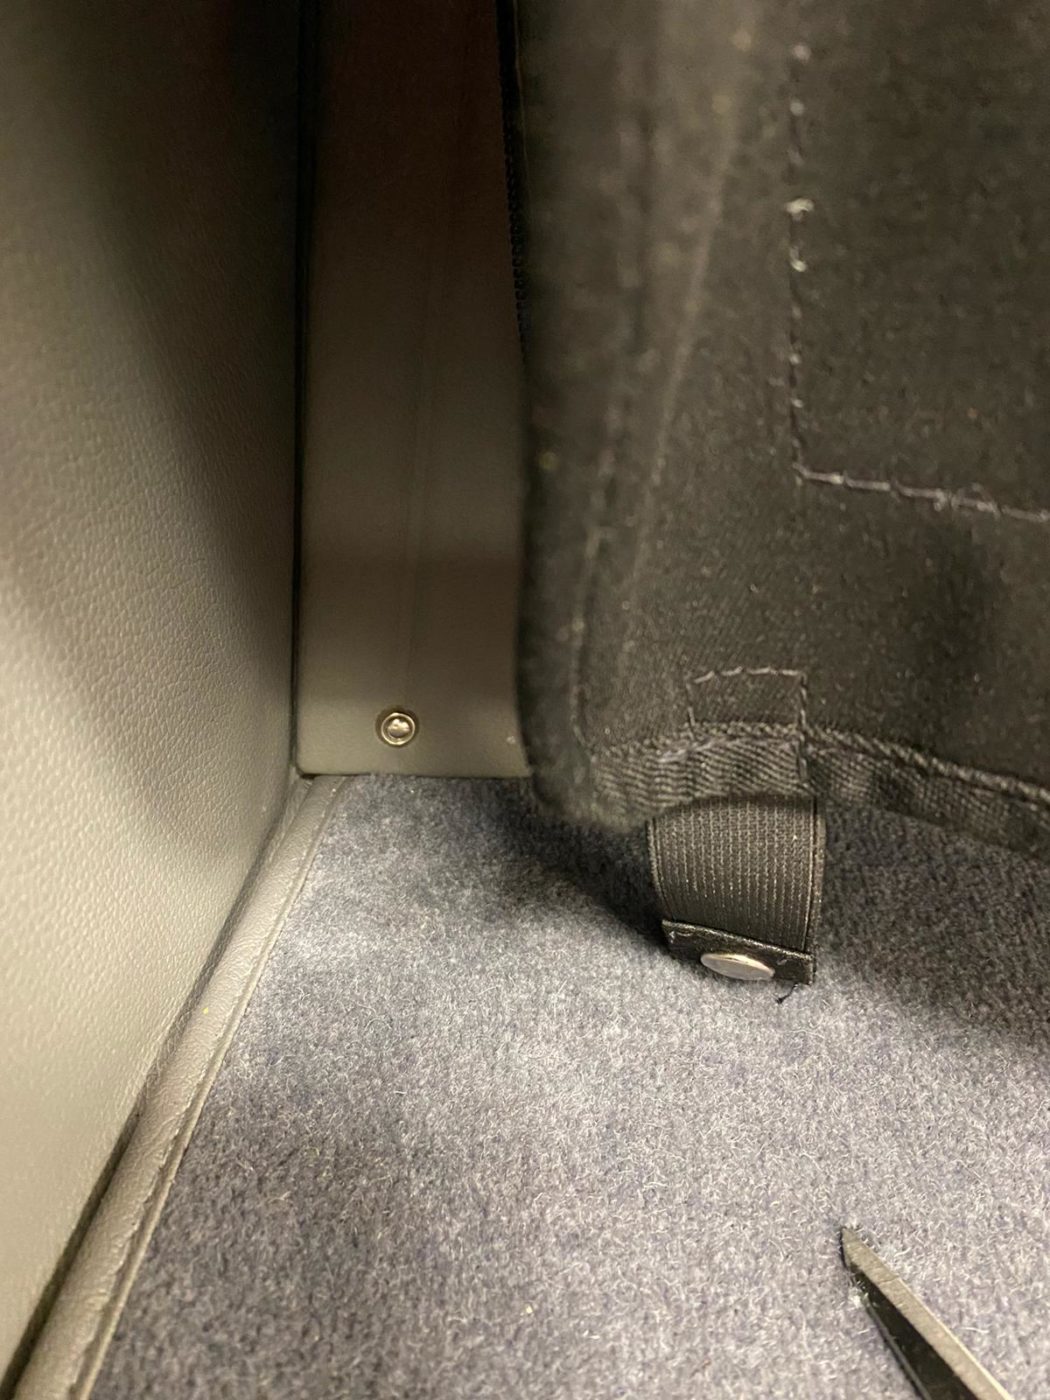
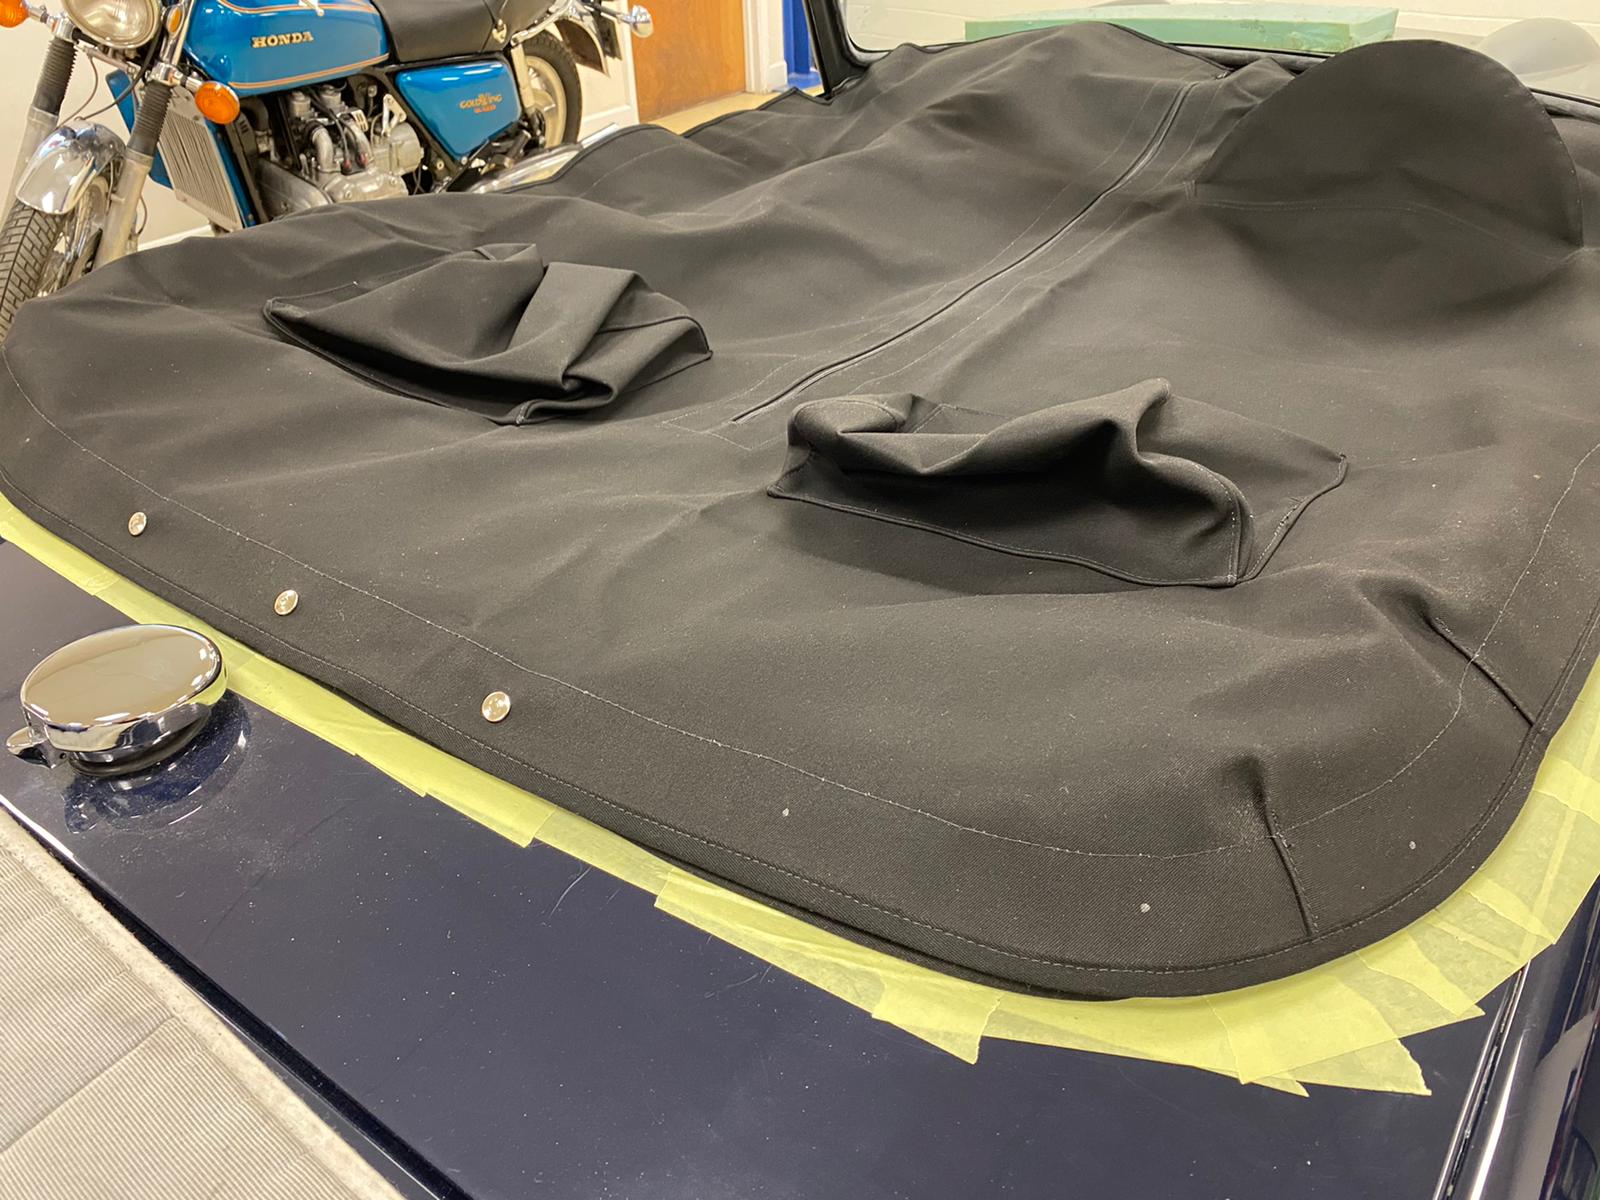
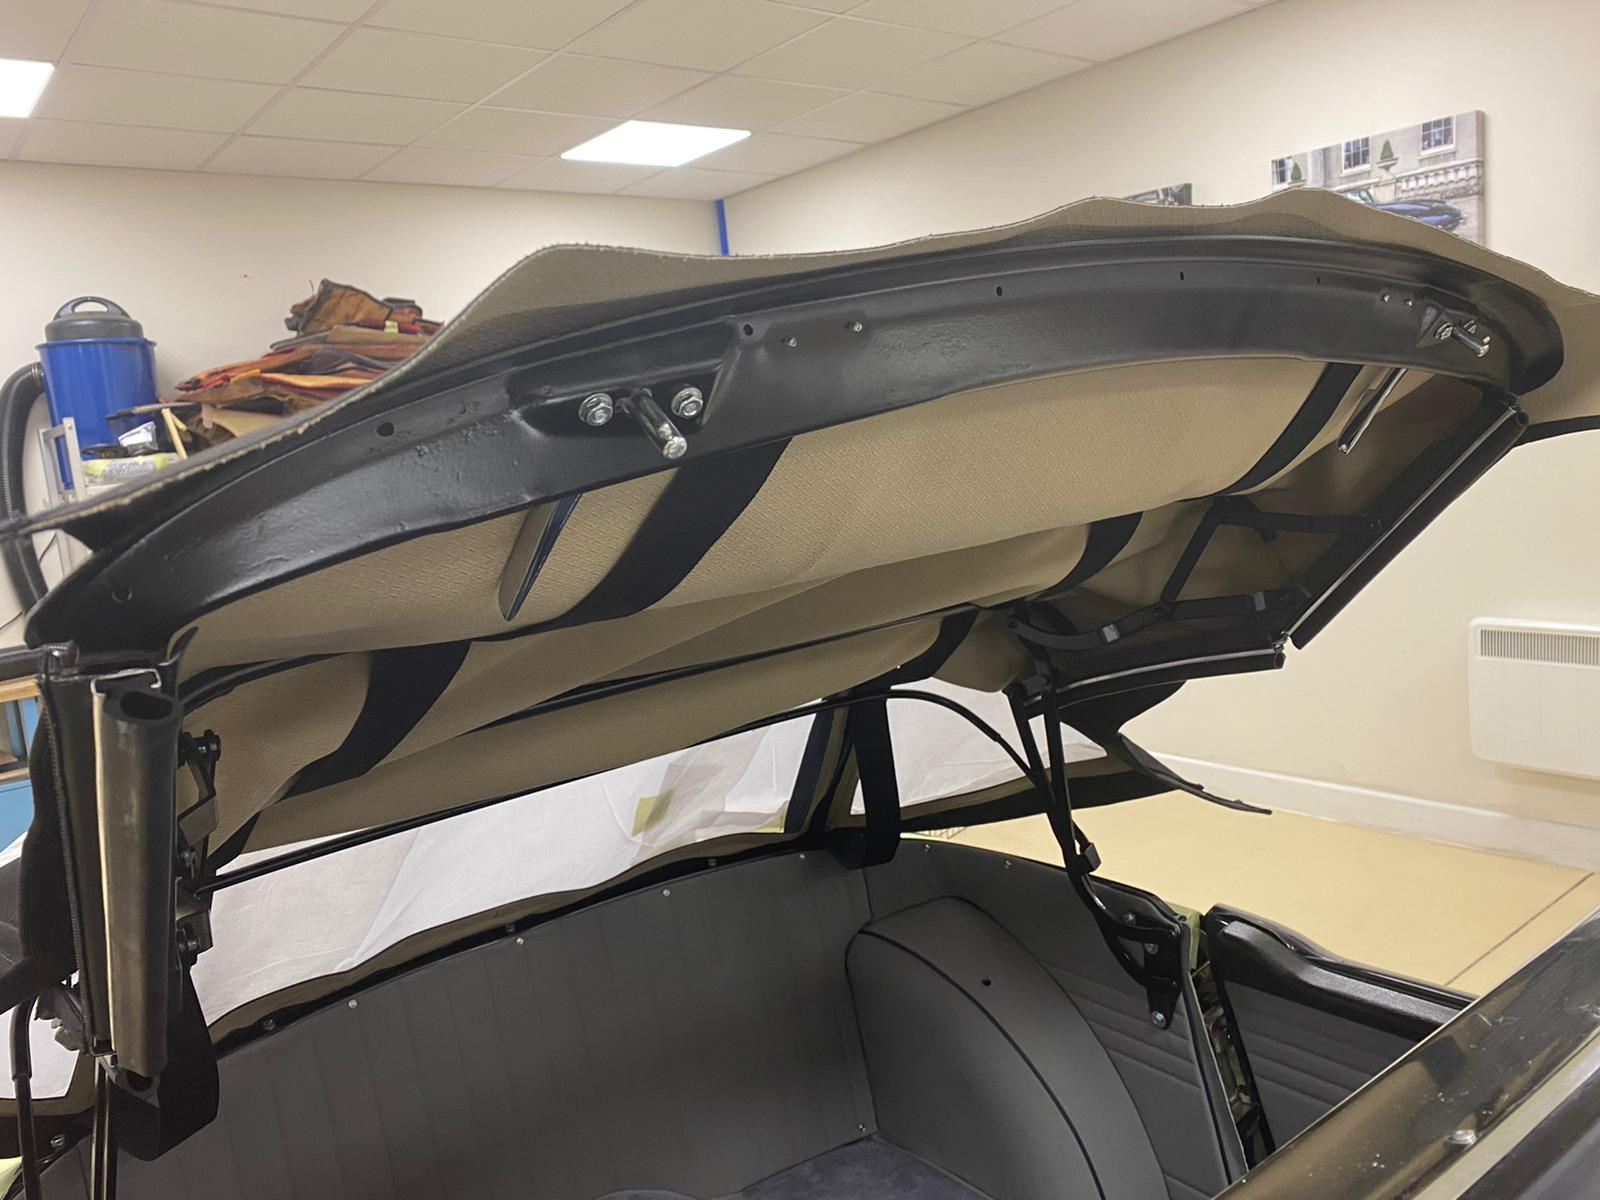
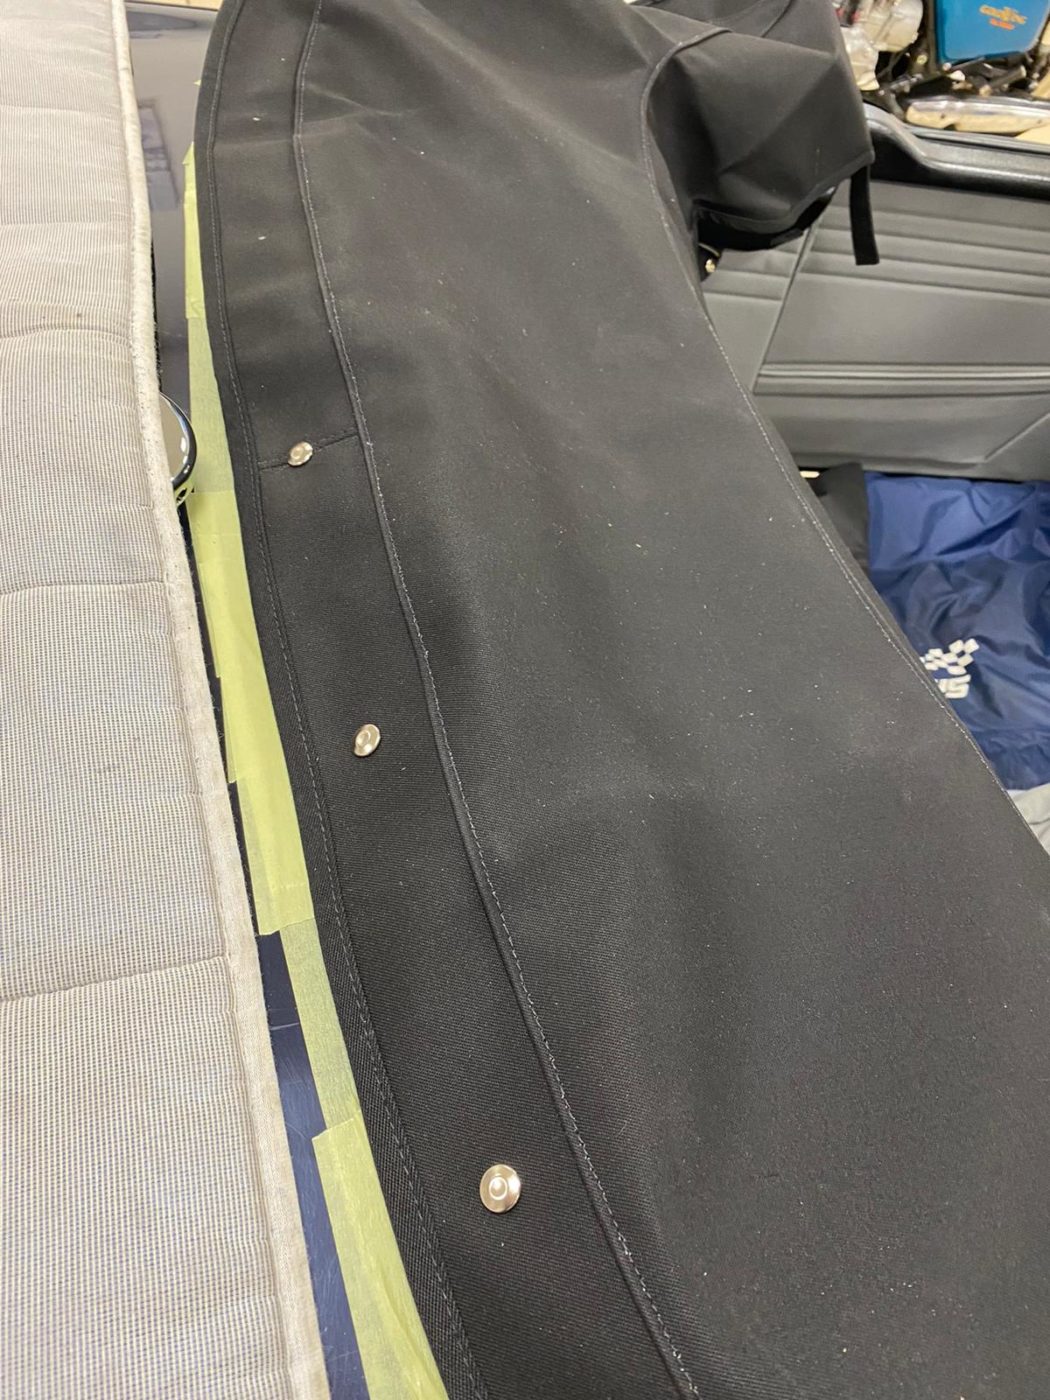
The next step in the process was to attach 3 stud buttons on each rear side to secure hood down. These were riverted on each side of car. Next Kath wrapped the rear rail around & secured it with rivets.
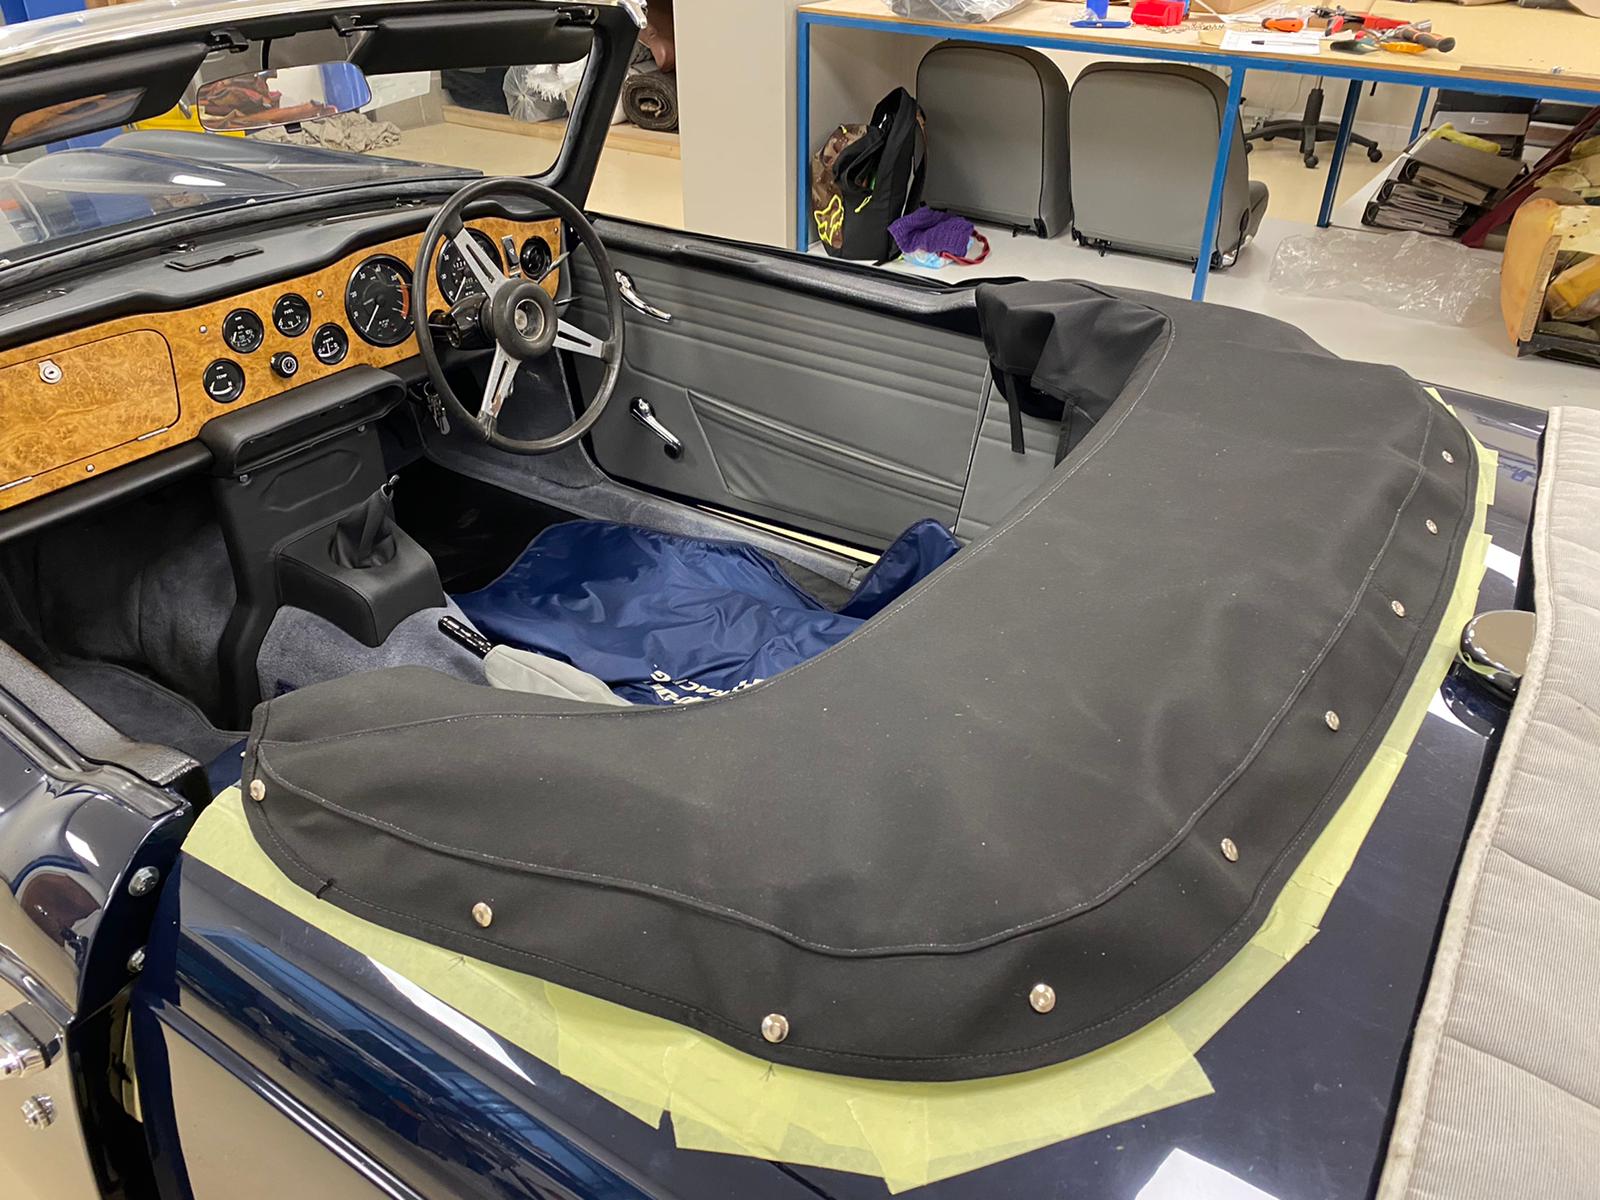
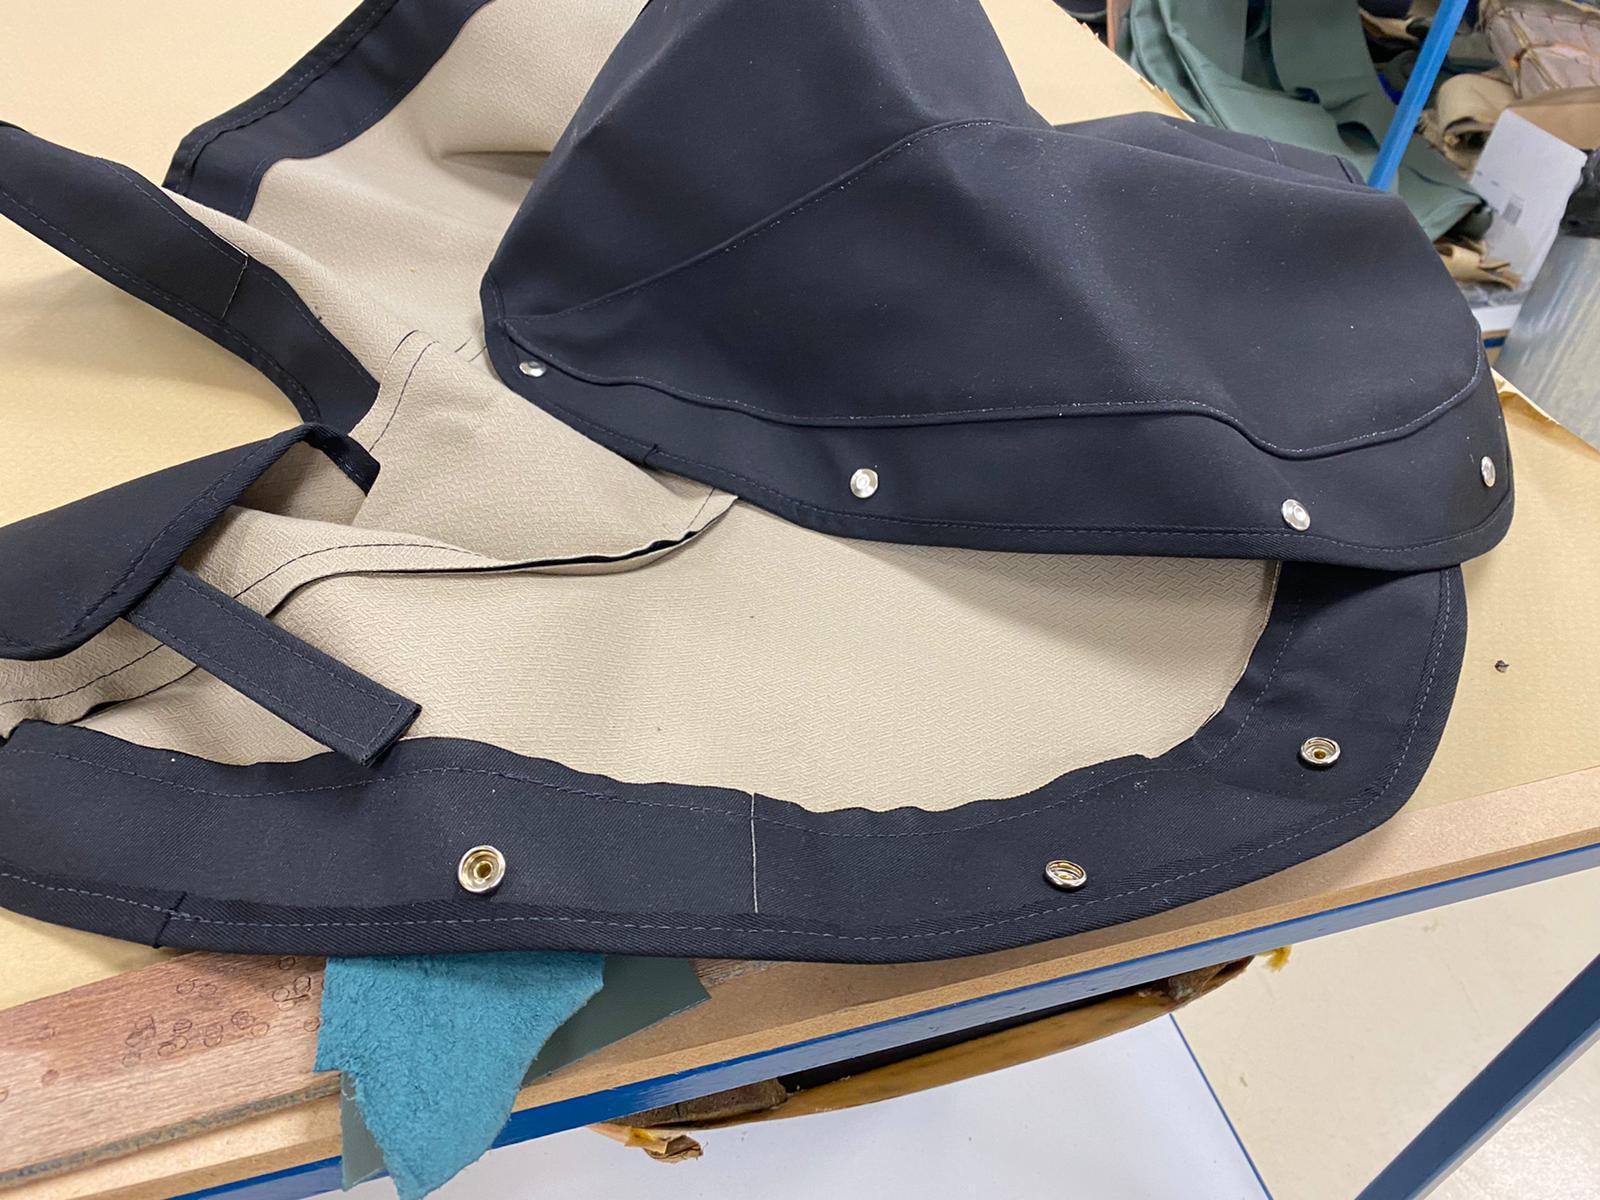
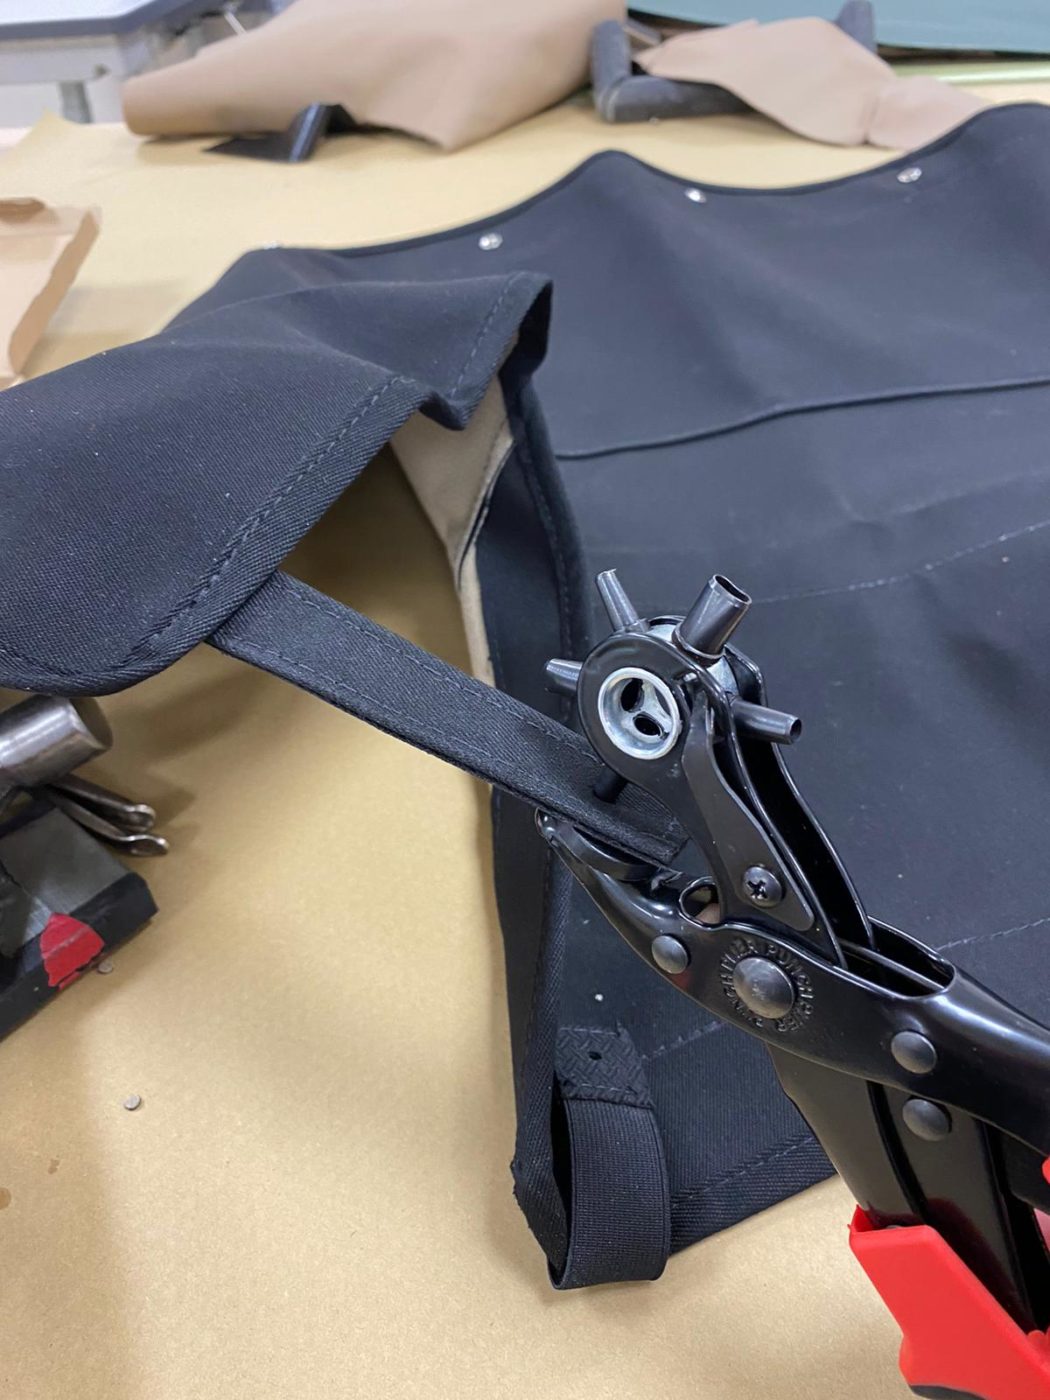
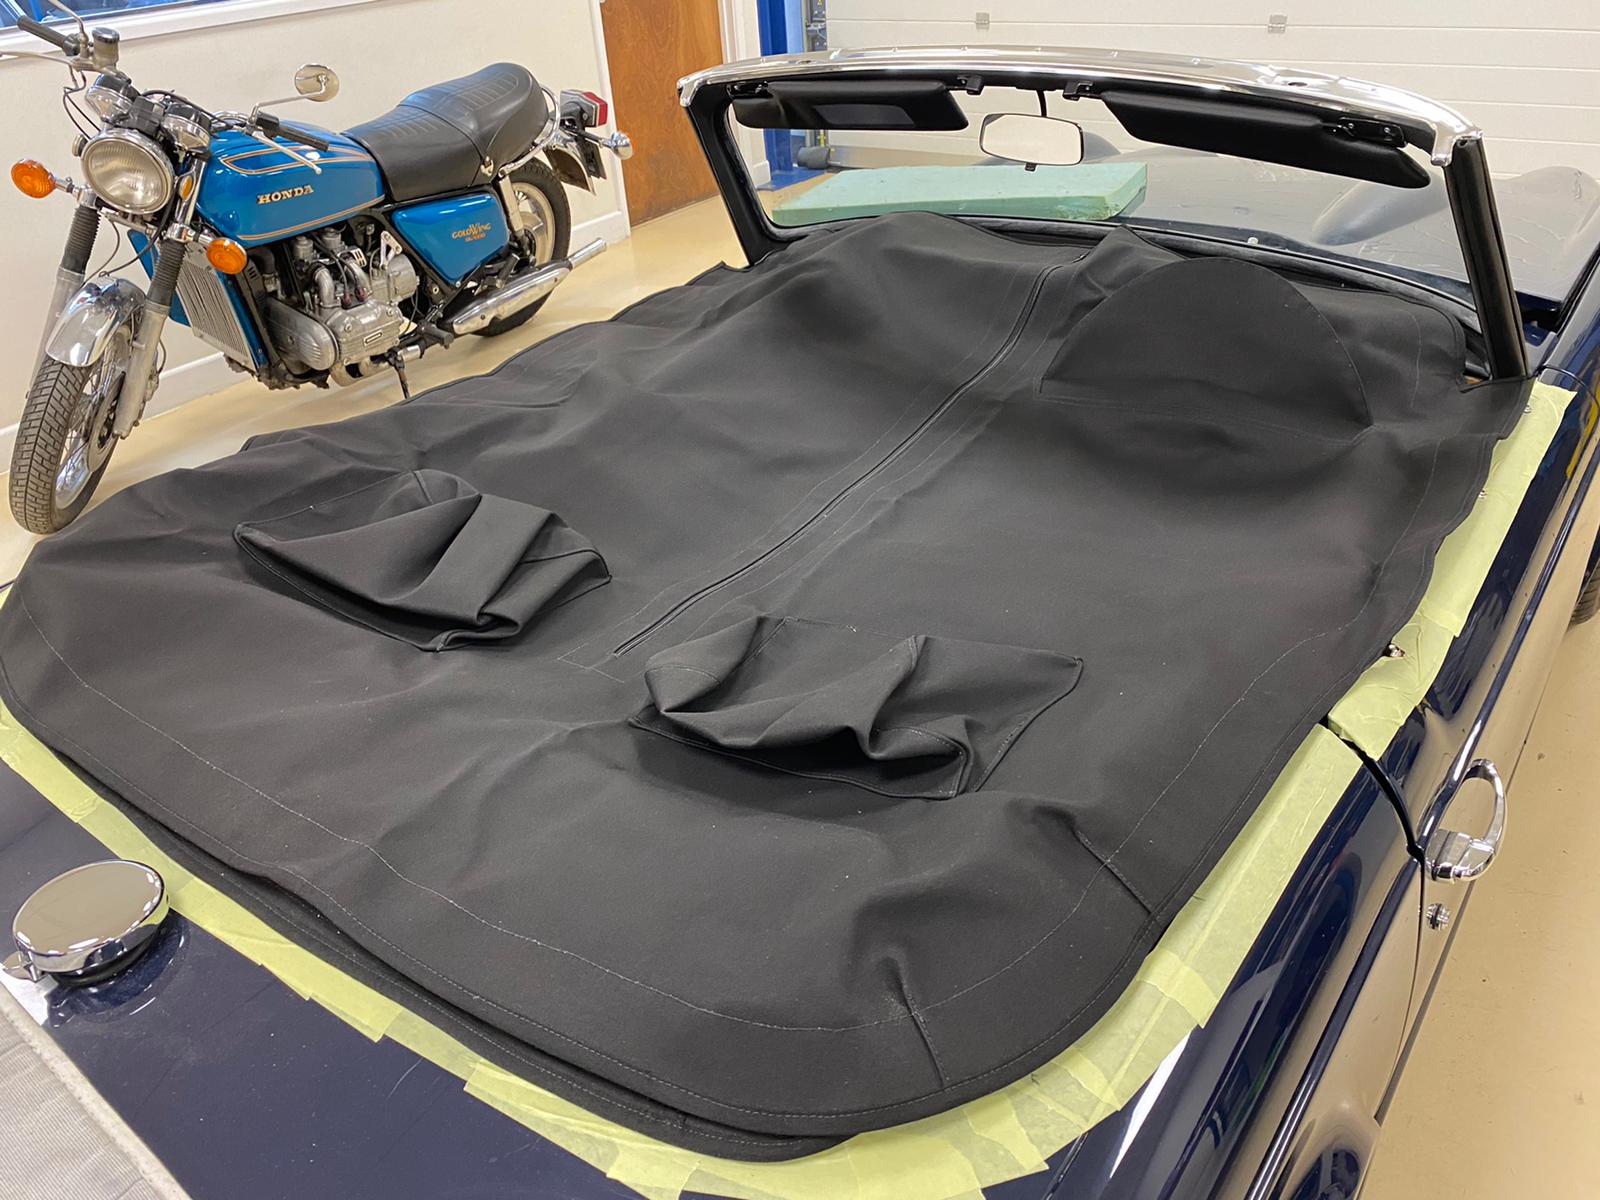
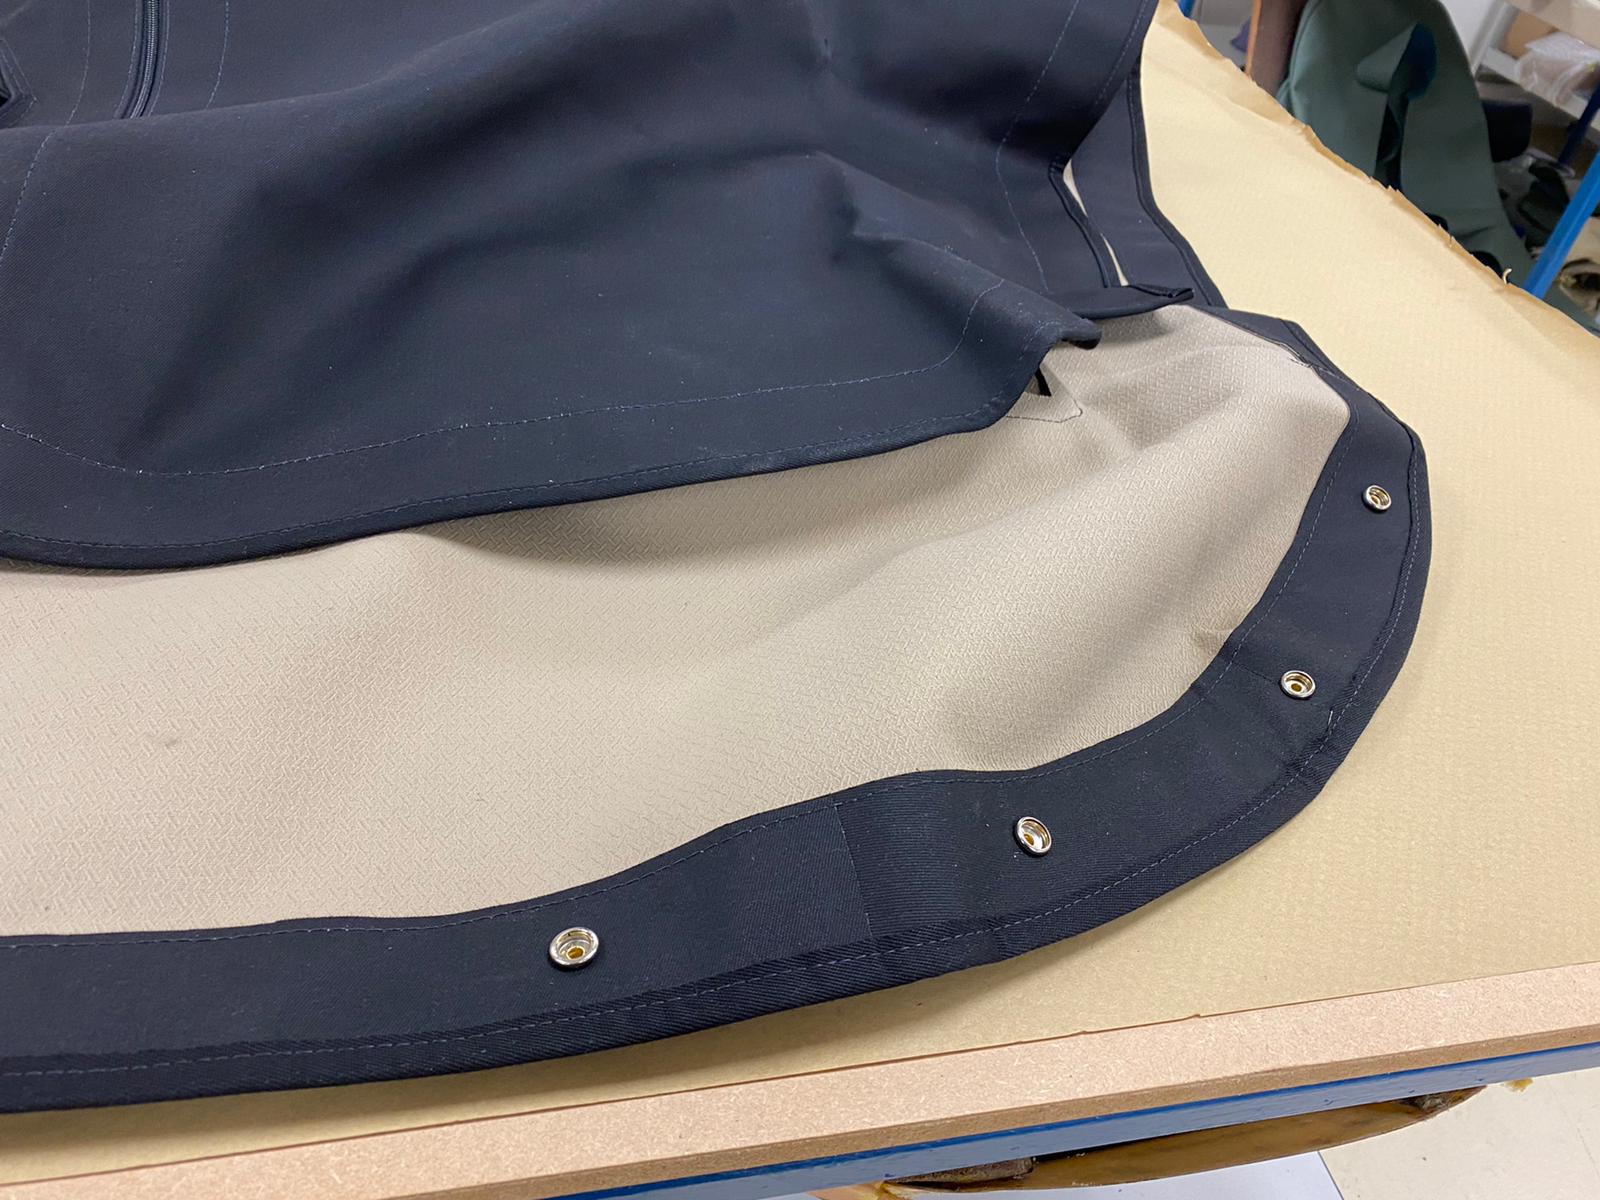
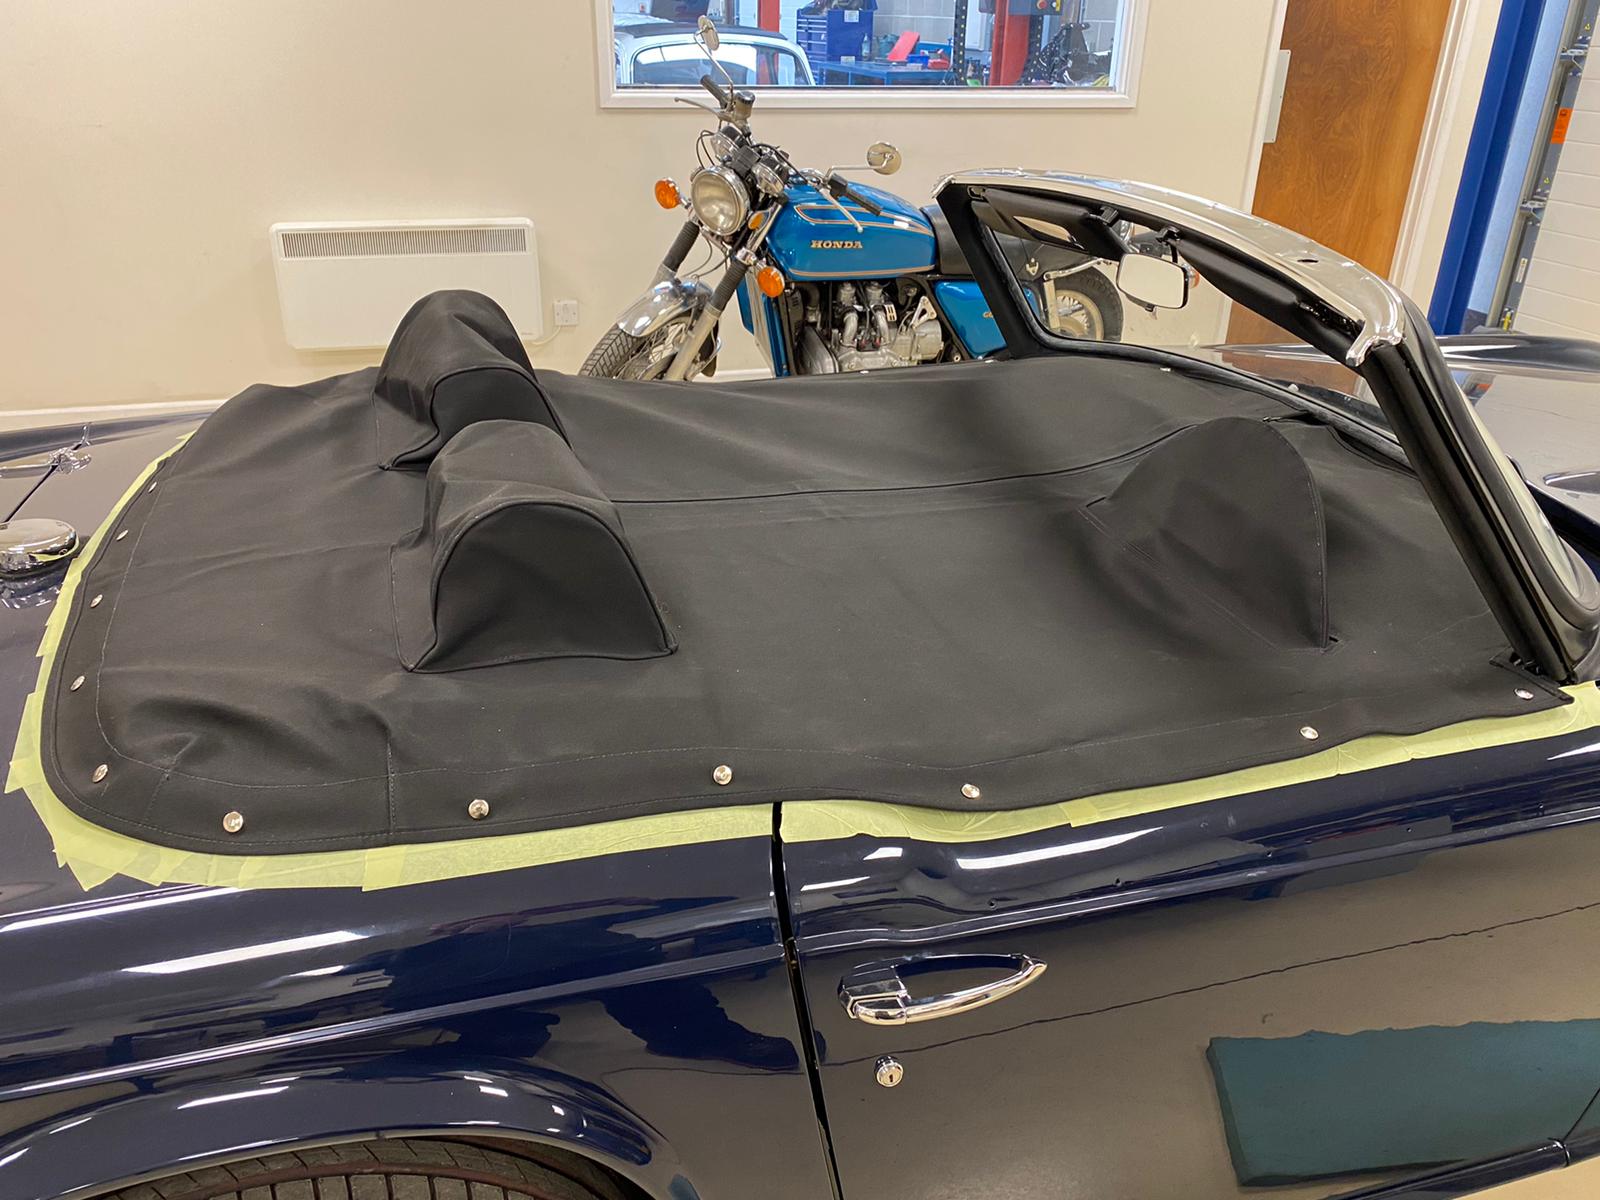
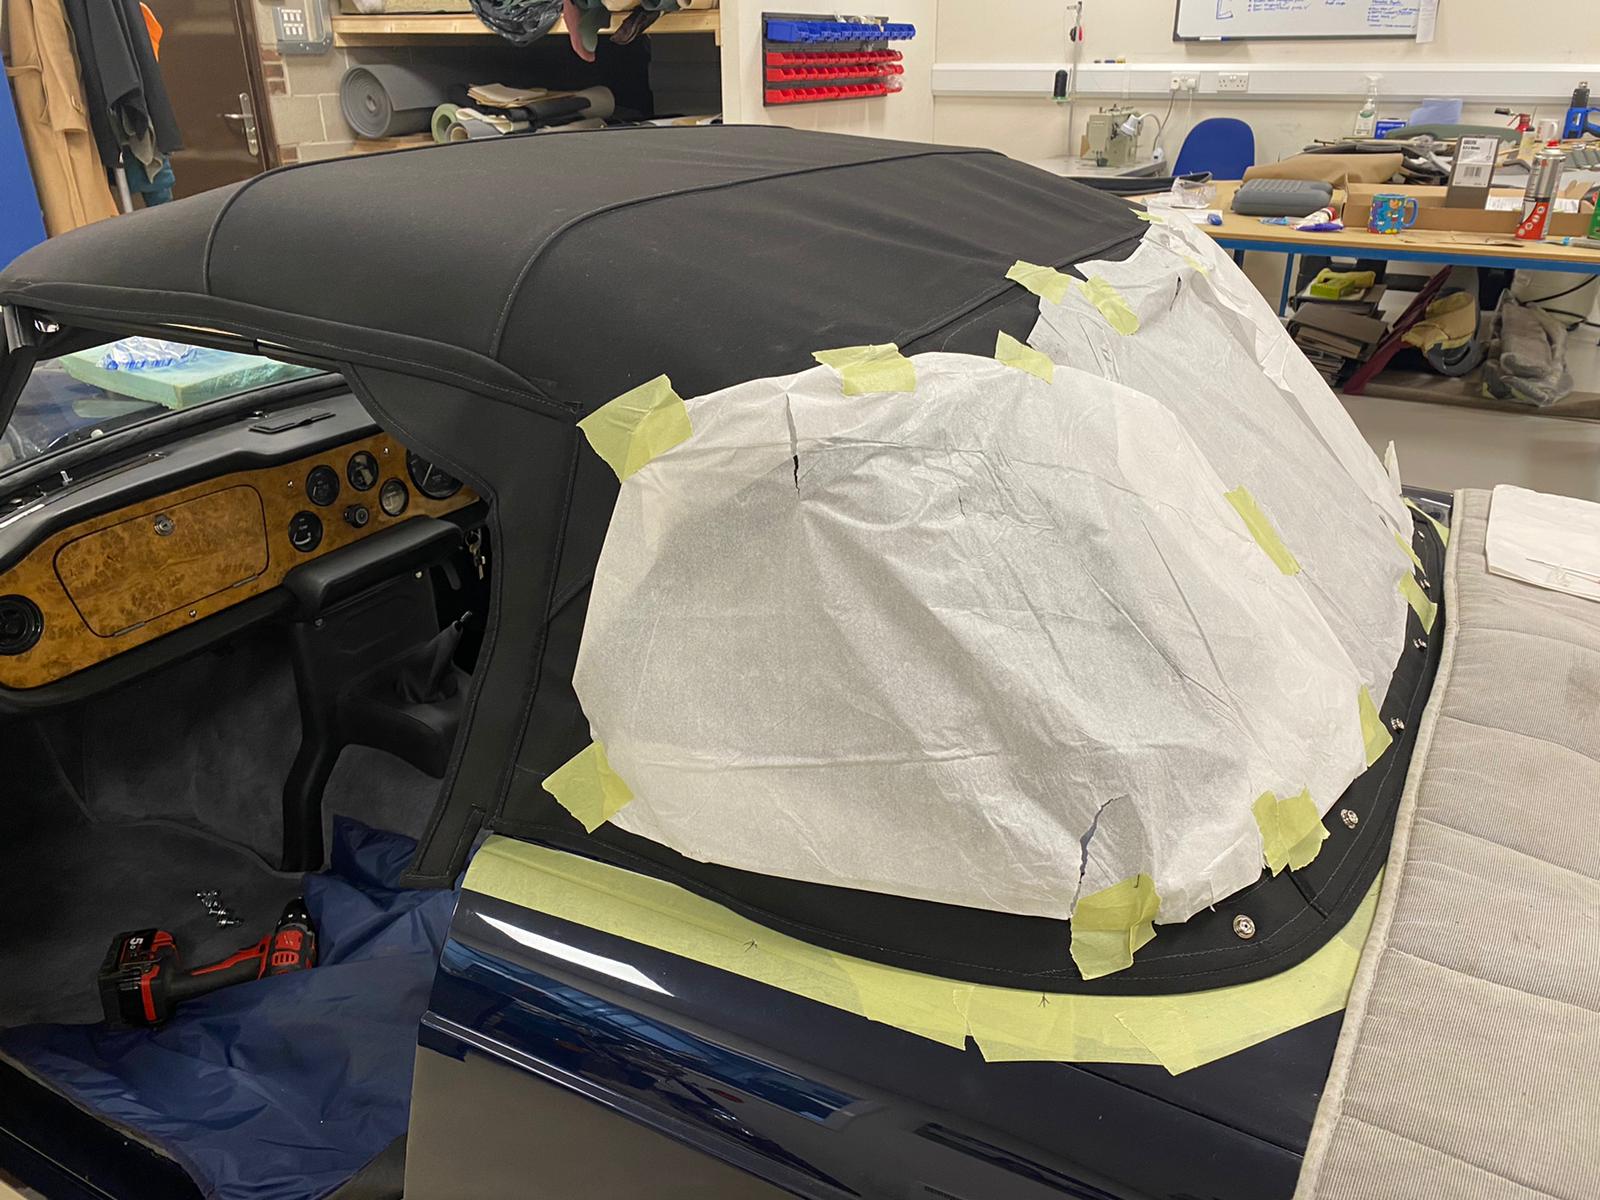
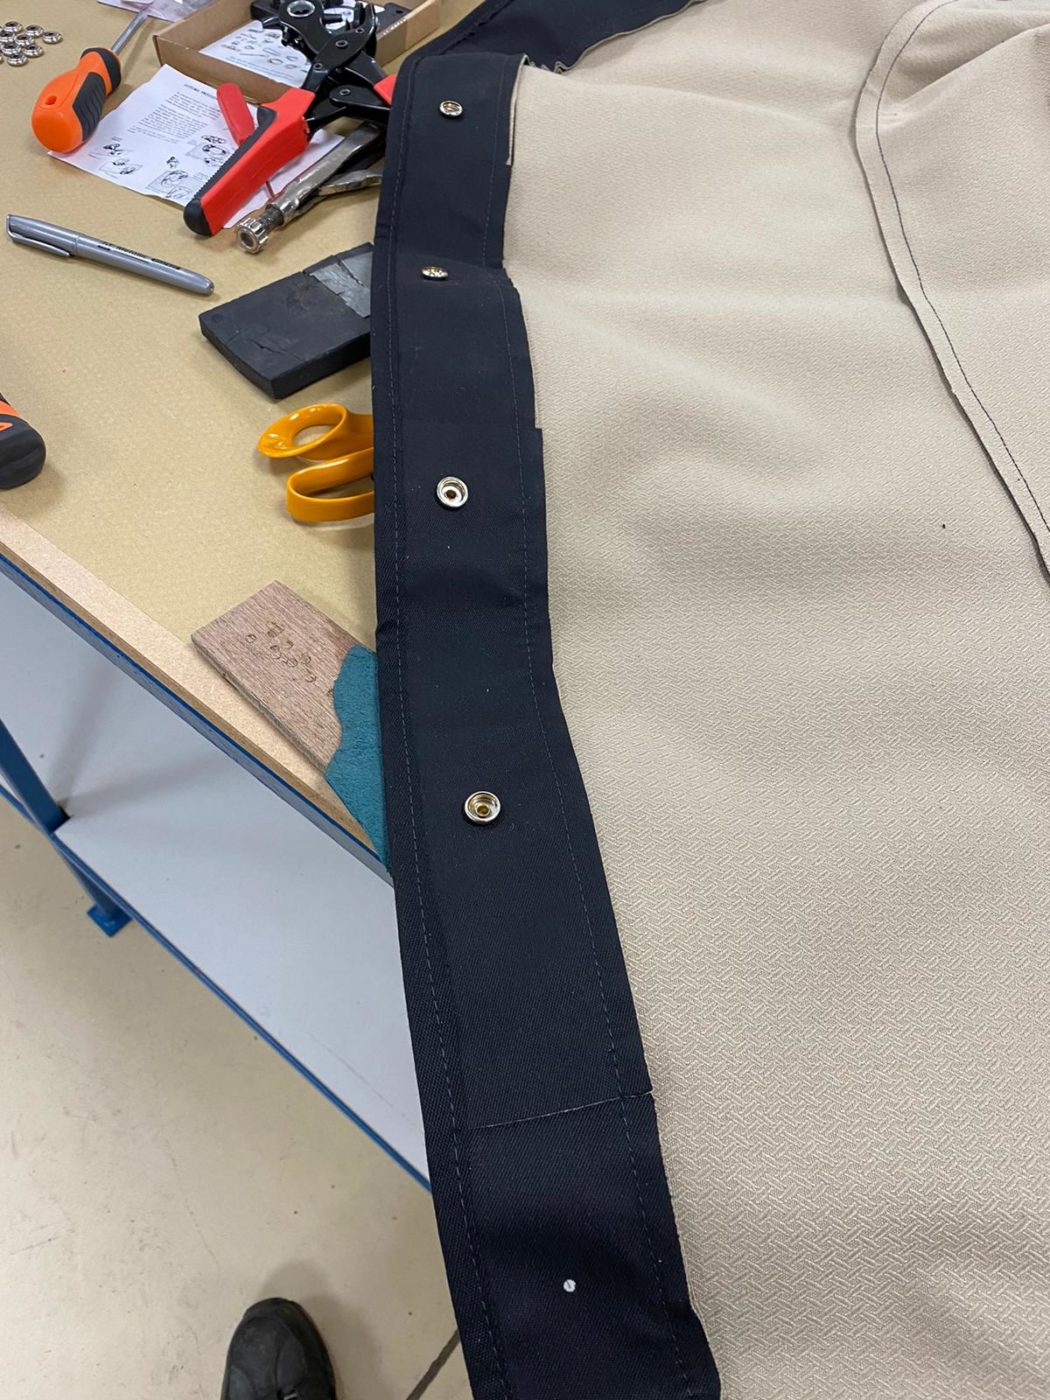
The rear hood cover has also been made by positioning the template cover over the hood and Kath marked the centre. She attached a fastener, pulled the cover tight and marked a few positions of fasteners. She punched the hole out and then attached the buttons. She did this around the outside edge and once the outside was complete, she attached a couple of fasteners inside.
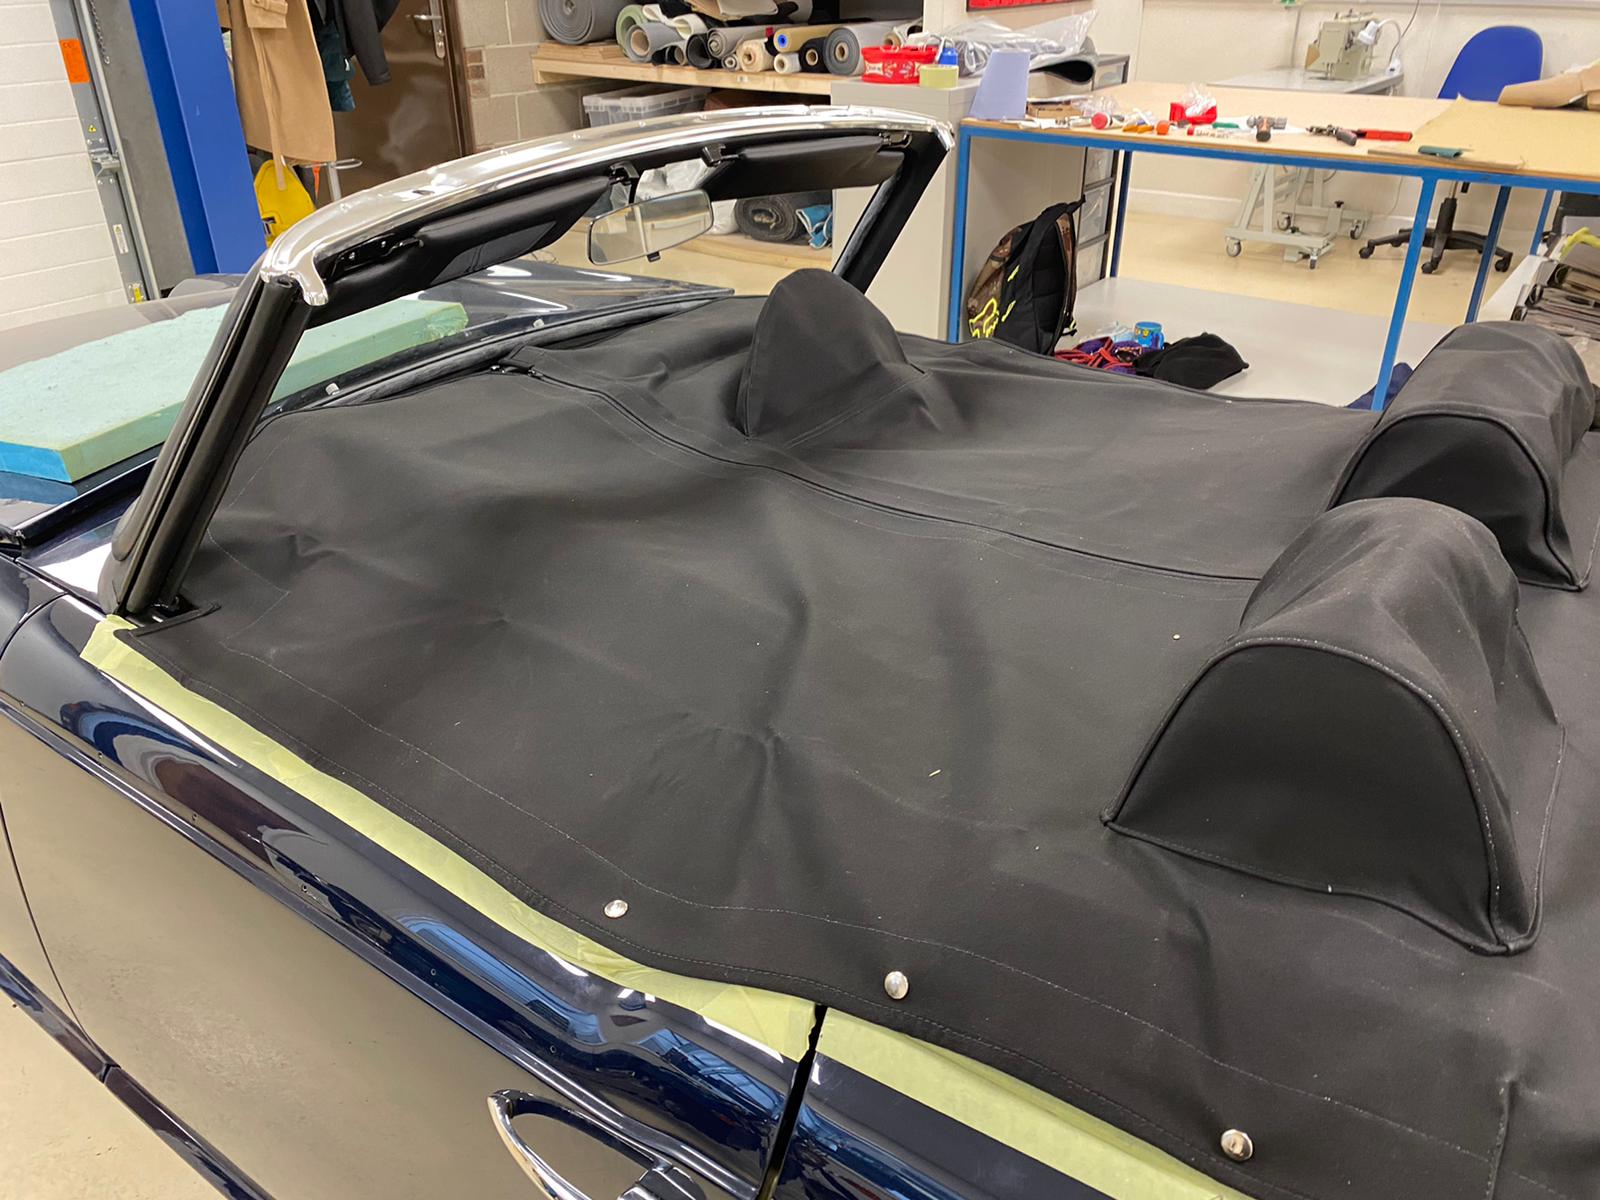
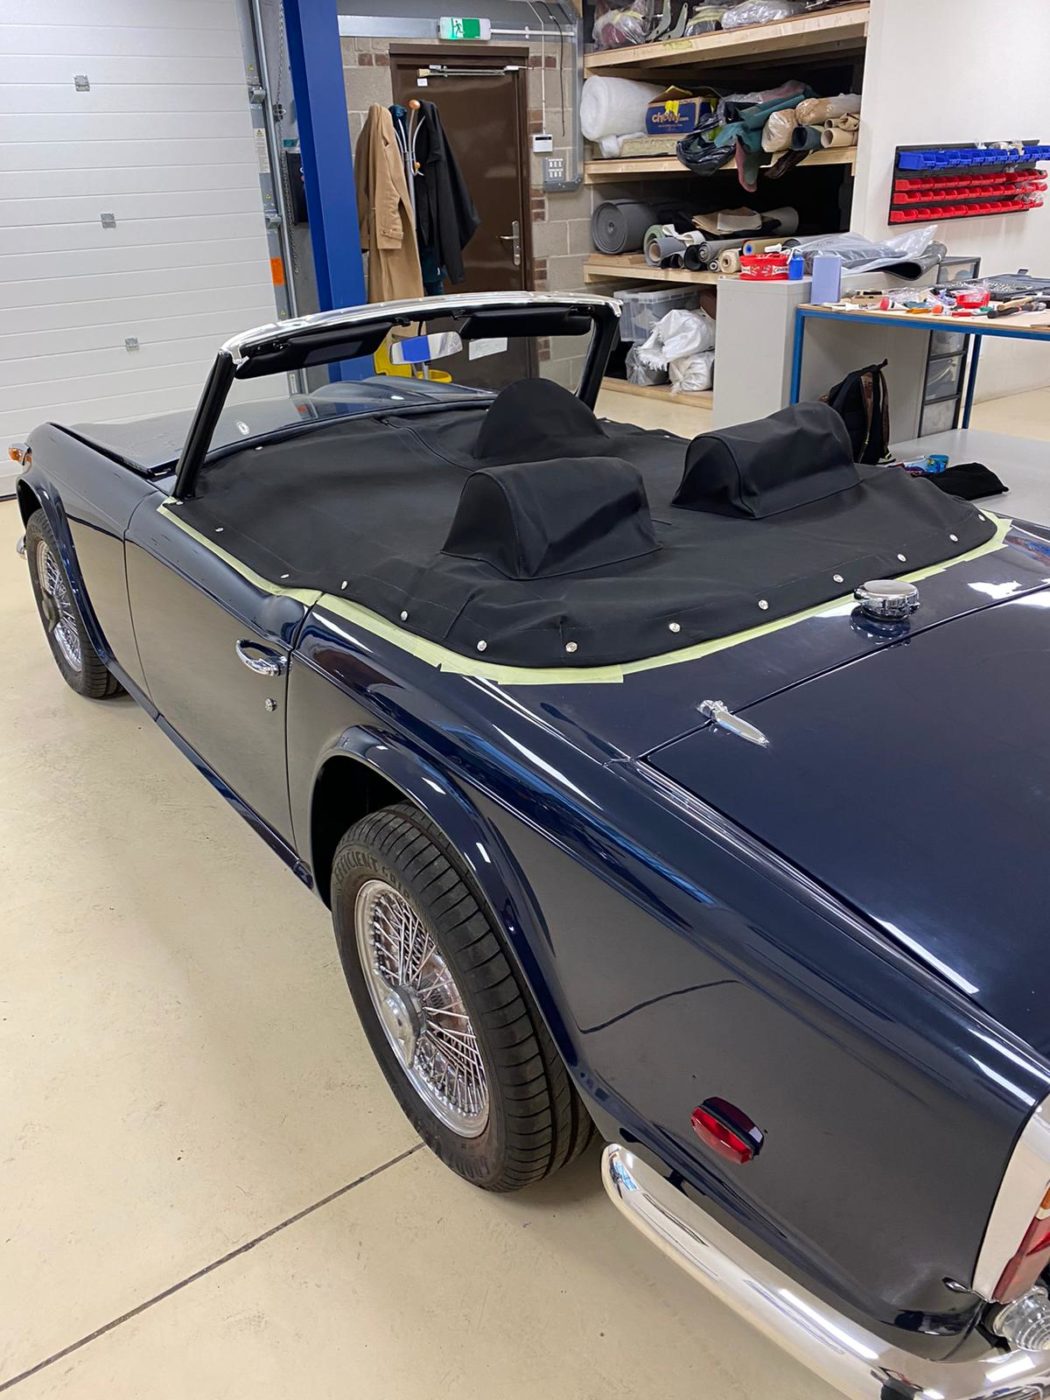
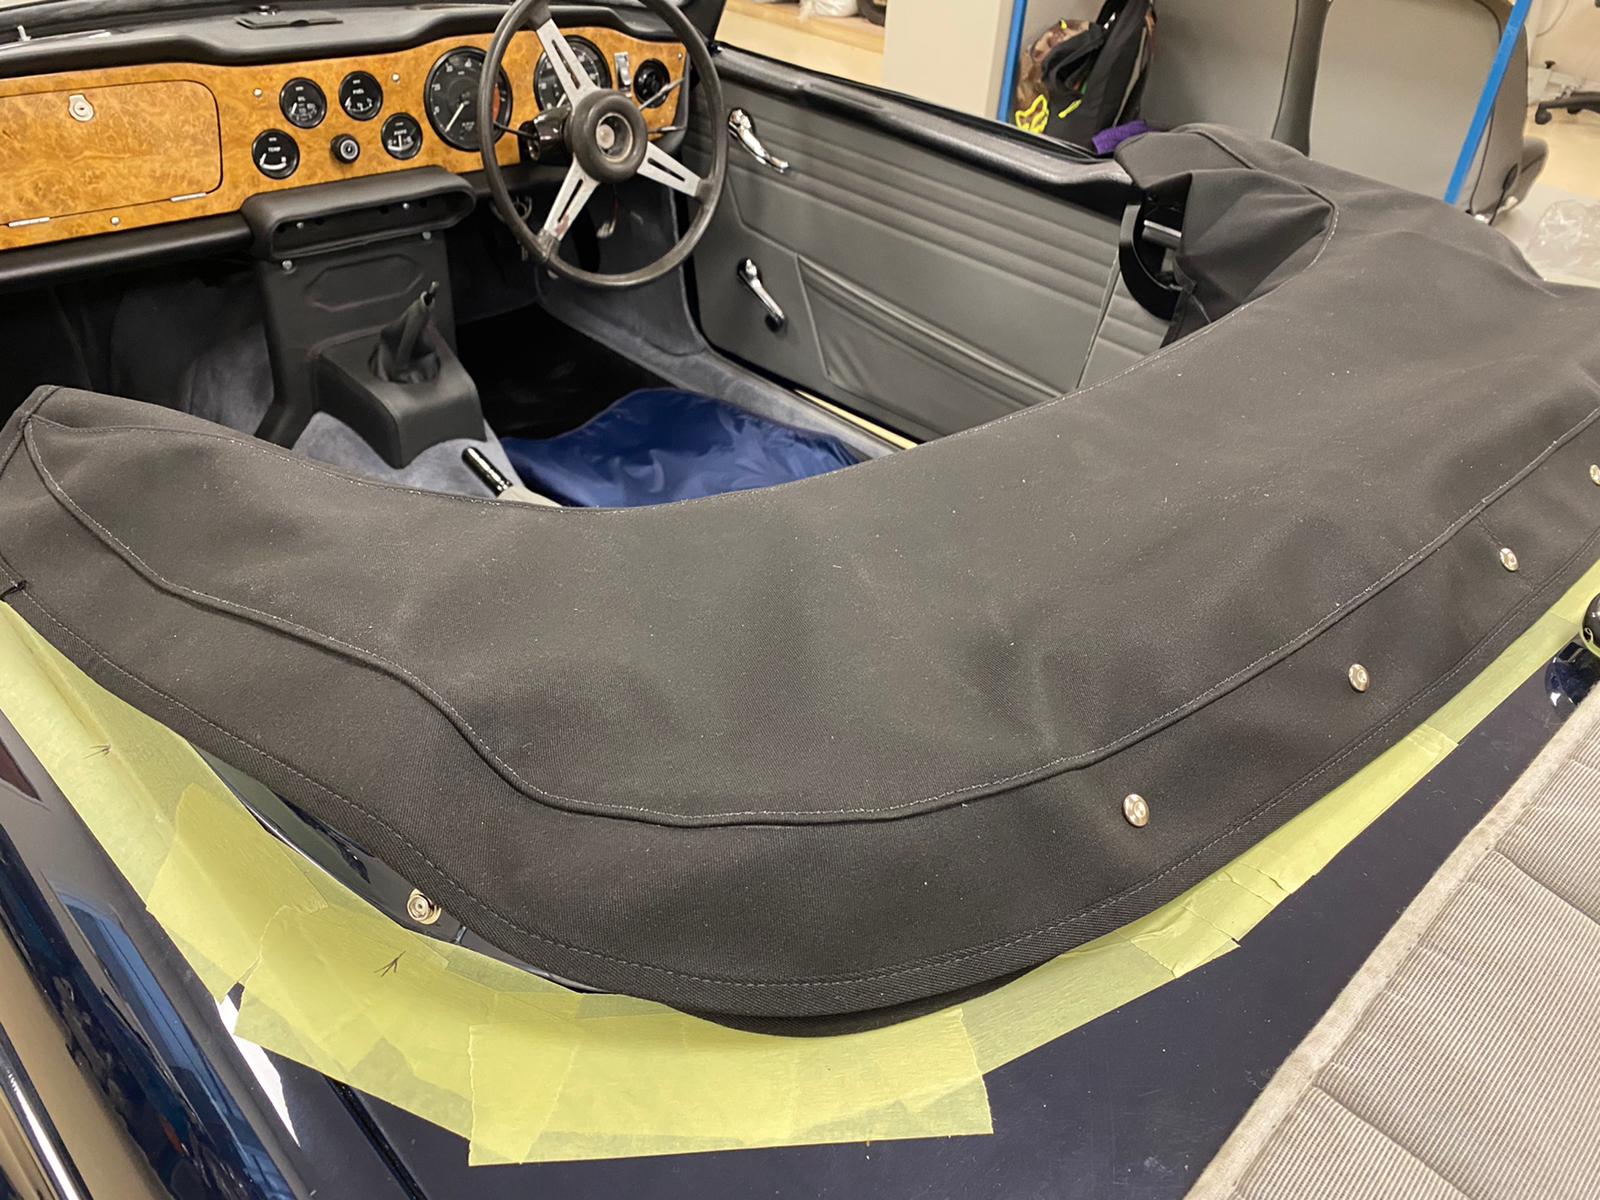
The final step was to make the tonneau cover. Kath added some fasteners along the top edge of the door, riveted them in place on both sides and centred up the cover before adding any fasteners. Kath marked the position of the first few stud buttons, attached the fasteners, clipped them down and finished by gradually go around the edge pulling the cover tight.